Leaderboard
-
inline6
 Subscriber
 5Points1,282Posts
 -
w3wilkes
Free Member1Points972Posts -
gundee
Free Member1Points1,384Posts -

dutchzcarguy
Free Member1Points2,676Posts


Popular Content
Showing content with the highest reputation on 08/20/2024 in Posts
-
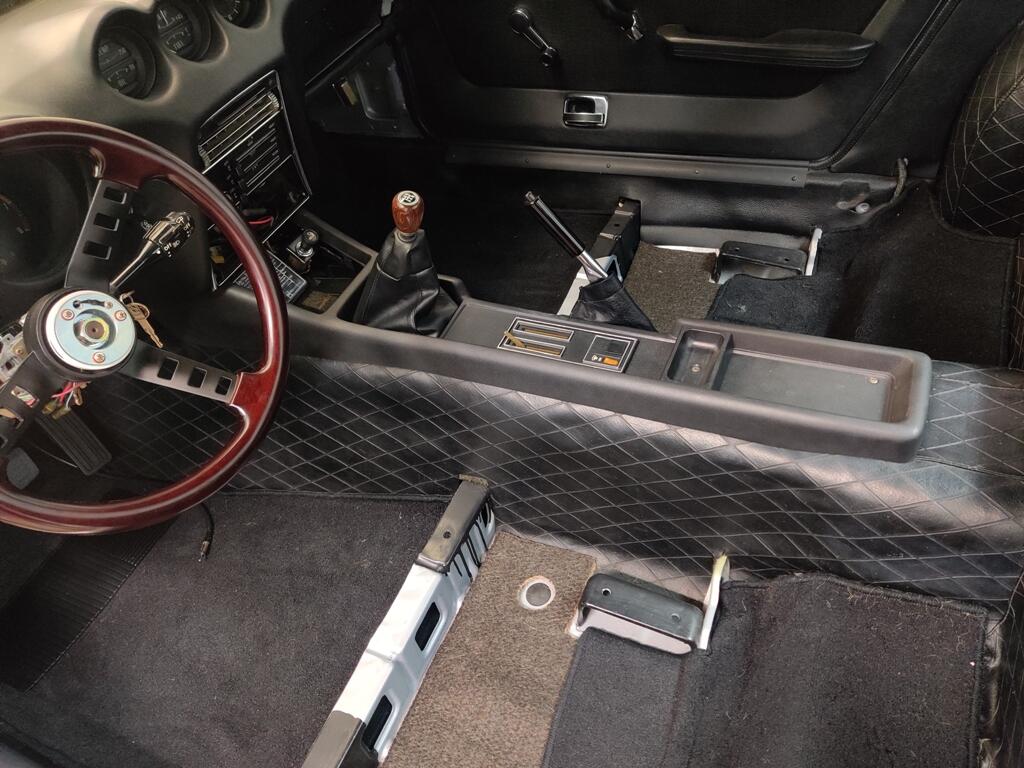
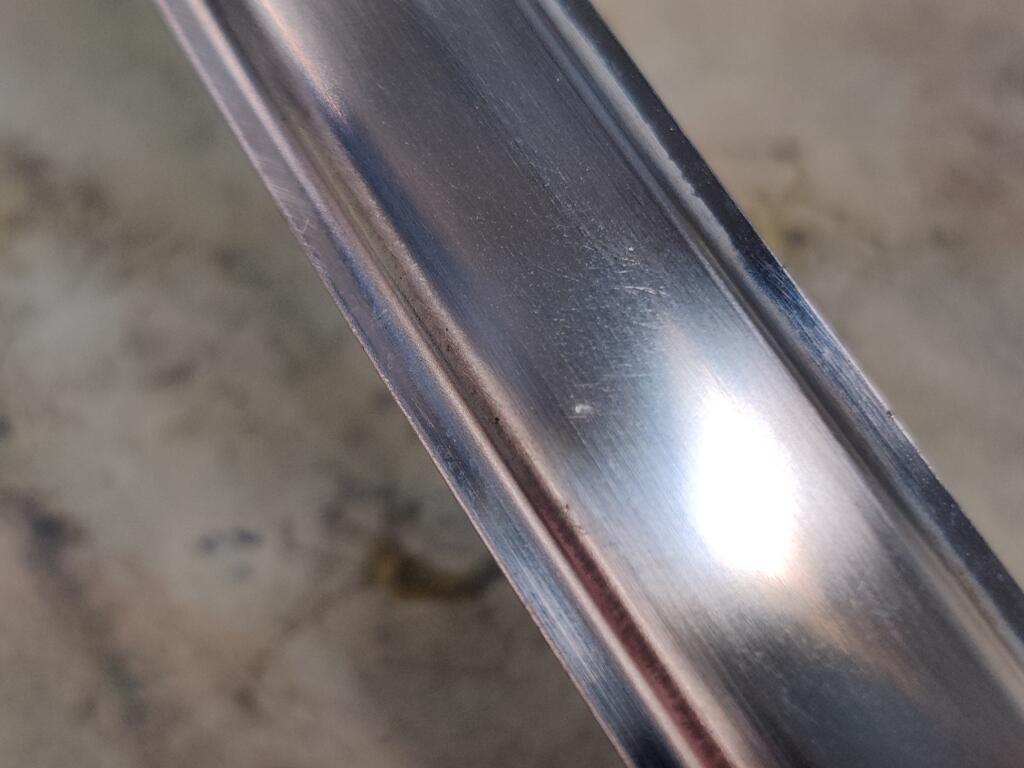
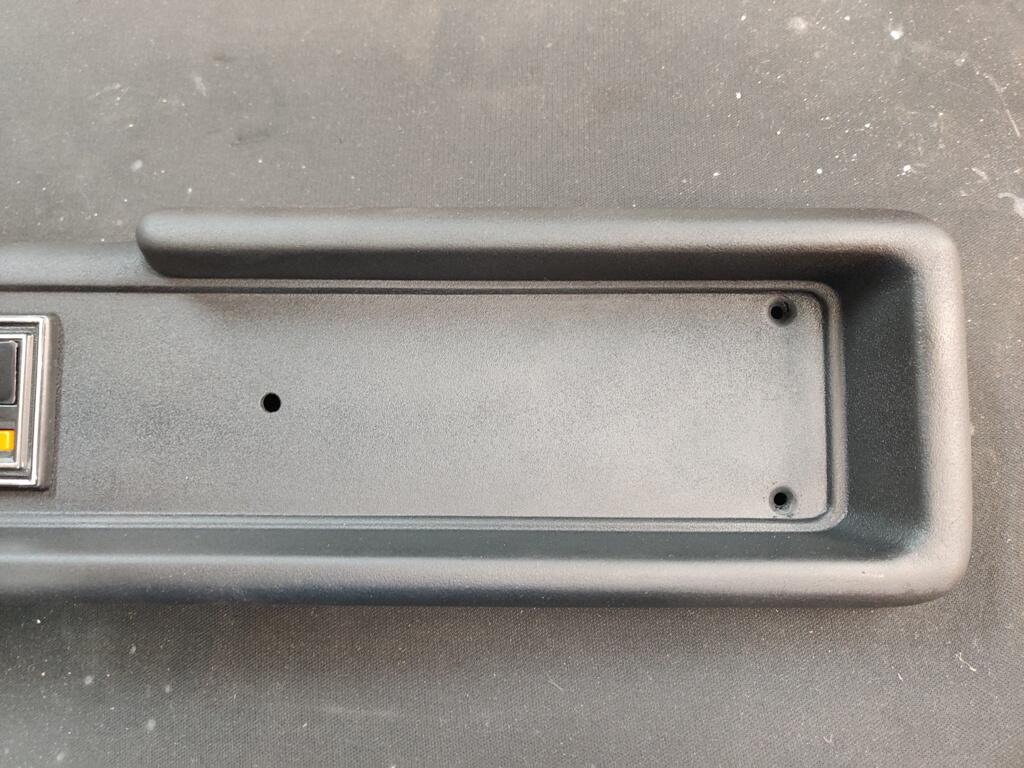
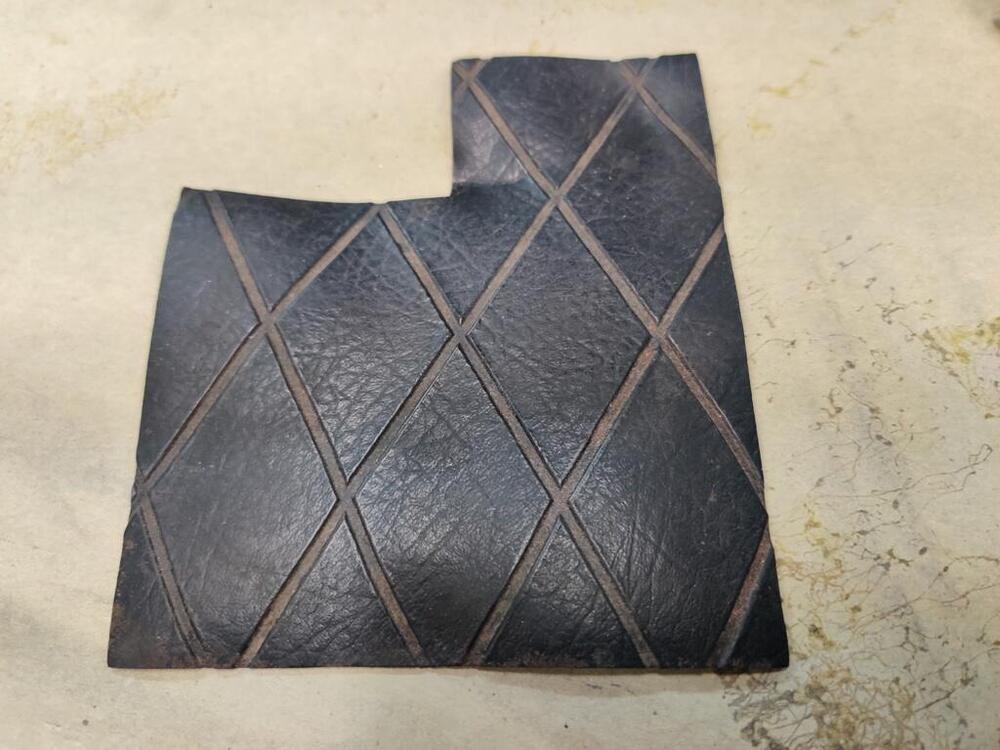
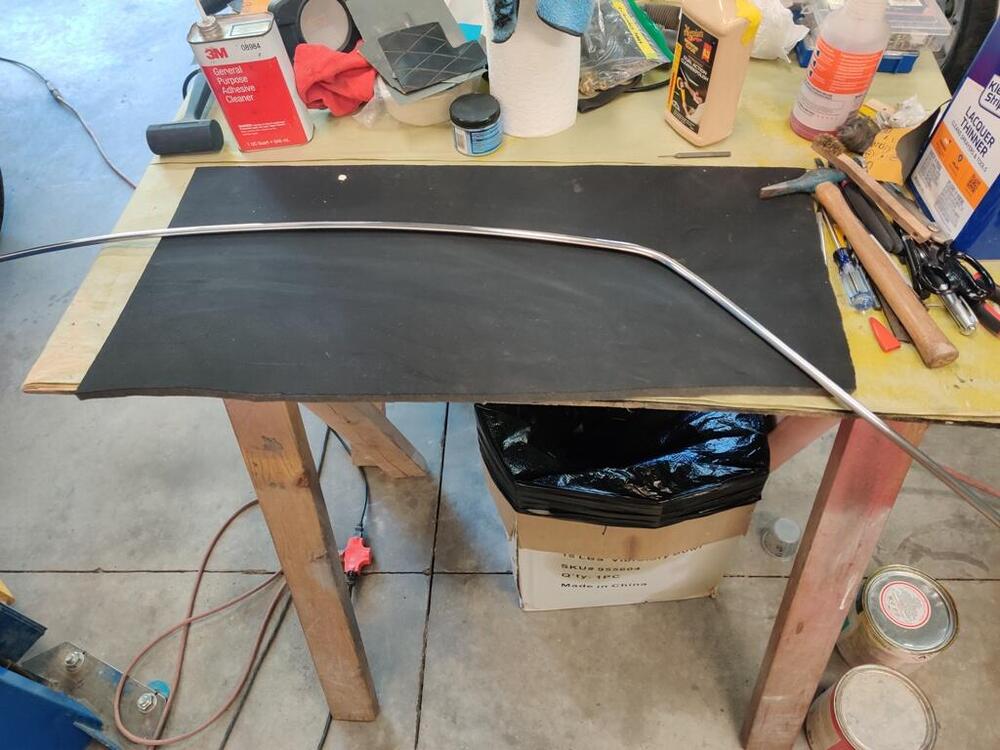
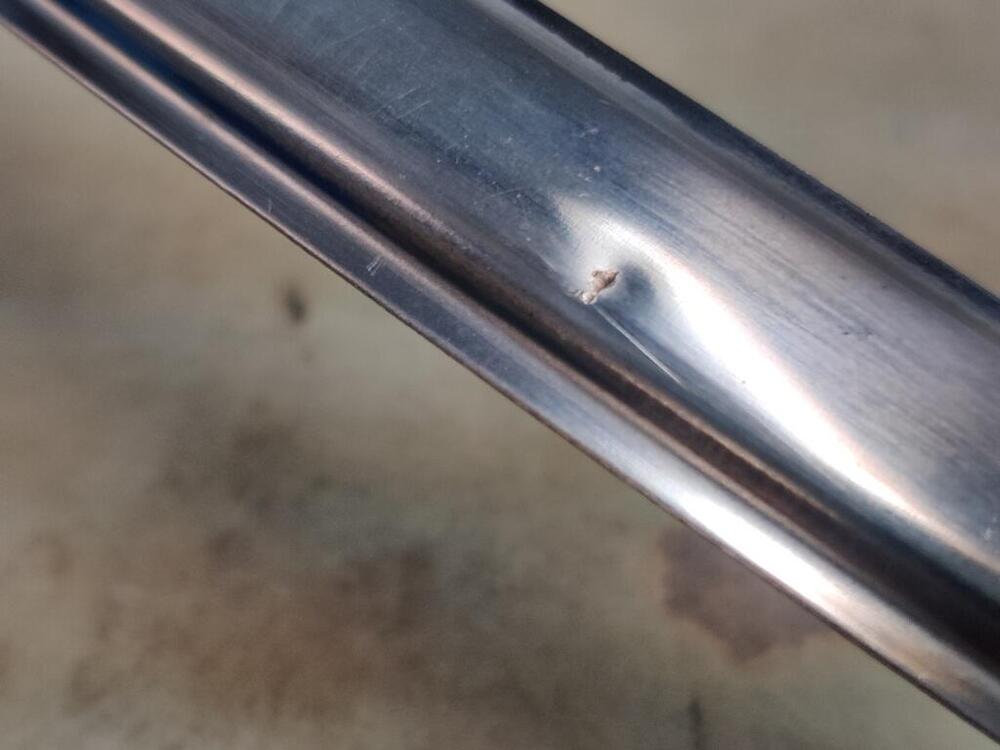
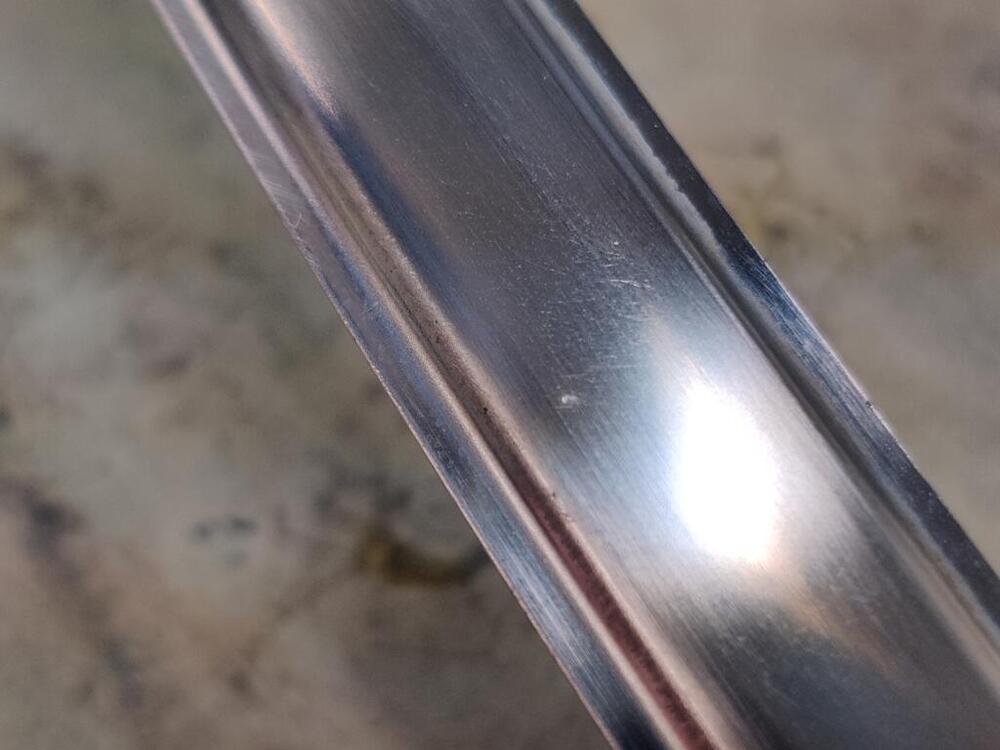
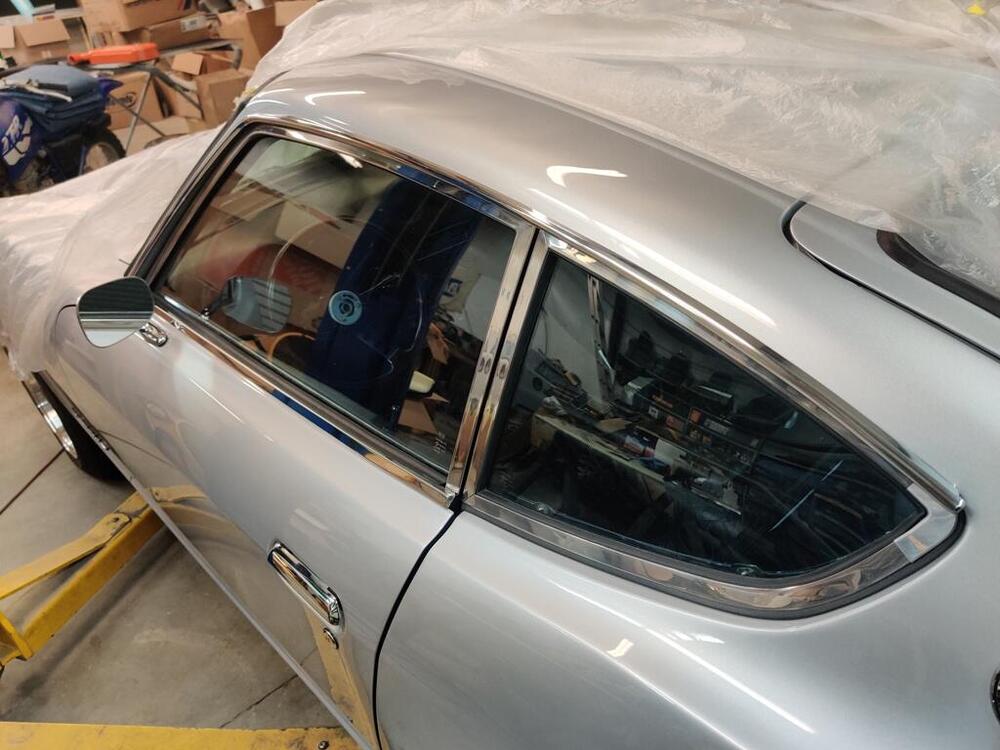
Here are a couple of pictures of the restored center console after installing it. Anyone recognize this piece of vinyl and where it goes? I am thinking it is glued to the top of the transmission tunnel under the ash tray? I started working on stainless trim today. I was able to polish the rain rail pieces without too much trouble. To polish them, generally, I used 1000 grit, then 1500 grit, then 2000 grit, then 2500 grit, followed by a soft rag and some metal polish. All of that was done by hand. I did both sides and installed them. Then, I moved on to the front windshield stainless trim. There were some rock hits, like this one in the trim pieces: To address these, I used a small metal hand punch and a hammer to push the dents out from the backside of the trim. Some experimentation with amount of force assists you with figuring out how aggressive to be. Once I confirmed that I had pushed the metal slightly outwards instead of inwards, I used 320 grit on a paint stick to "mow down" the high spot I had created. If you look closely, you can see when the 320 grit has leveled the high spot. From there, I double checked my work by using 400 grit, then 600 grit. At that point, I took another picture of the spot above: You can see the tiny nick still present, but there is no longer a dent. From here, I may try one more time to raise that nick and go with 320 again. Or, I may just move on to 800, 1000, 1500, 2000, 2500 and then polish. I figure I have about 2-3 more hours of work to get the front windshield and rear hatch stainless trim pieces done. Also, I put up a classified ad for the top center piece, as I just realized that was missing from the car when I bought it. If you have a nice one you will part with, let me know please.


 4 points
 -
Do this.. as the stainless is very thin.. no one will notice that tiny pixel.. on the trim. GOOD job! 👍1 point
-
I do not understand needing a choke on for 1 or more minutes. In that climate where you live. Use to start only if needed then shut off. If that was my car I would have a radiator shop test and recore it if necessary. I had to do that on mine. But now you can buy aluminum radiator replacements for 240Z's. It may be cheaper to buy one of those if the old one is bad. You also may have one of those old style water pumps with impellers that rot away and cannot move water anymore. You want the better type with cast impellers. Cooling systems should be in perfect shape in your climate.1 point
-
1 pointI thought the function of the valve was to stop the water flow once the engine was up to temp. If the valve is removed then hot water will flow through the intake manifold, might contribute to vapor locking (percolation). I've seen posts somewhere in these forums about removing that water circuit completely from the Y connection on the spark plug side of the engine and plugging the thermostat connection. And also plugging the intake manifold flowthrough passages.1 point
-
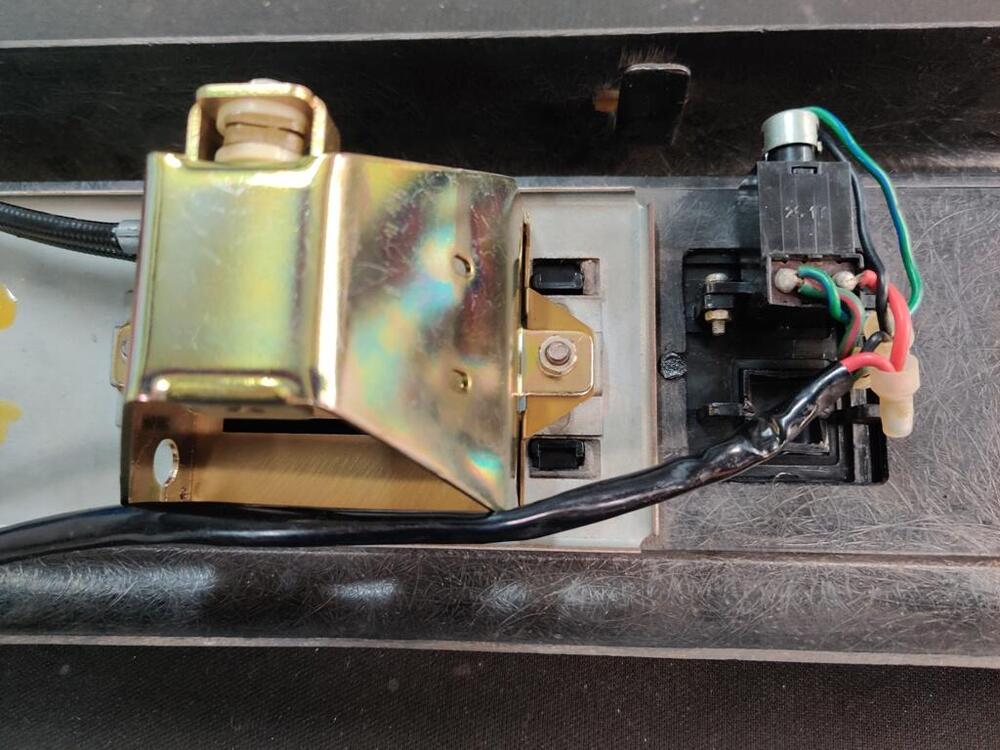
Dave - the switch contacts were weak - I could start the engine (since the AFM is bypassed when cranking) - hear the pump relay click off & the engine begin to stall, then quickly apply pressure to the AFM contact (cover removed) - and the engine will resume normal operation. I retensioned the AFM contact post to make sure the connection is more consistent. I can observe the switch function now by way of the LED I added. I'll add a pic of that for reference.
 1 point
 -
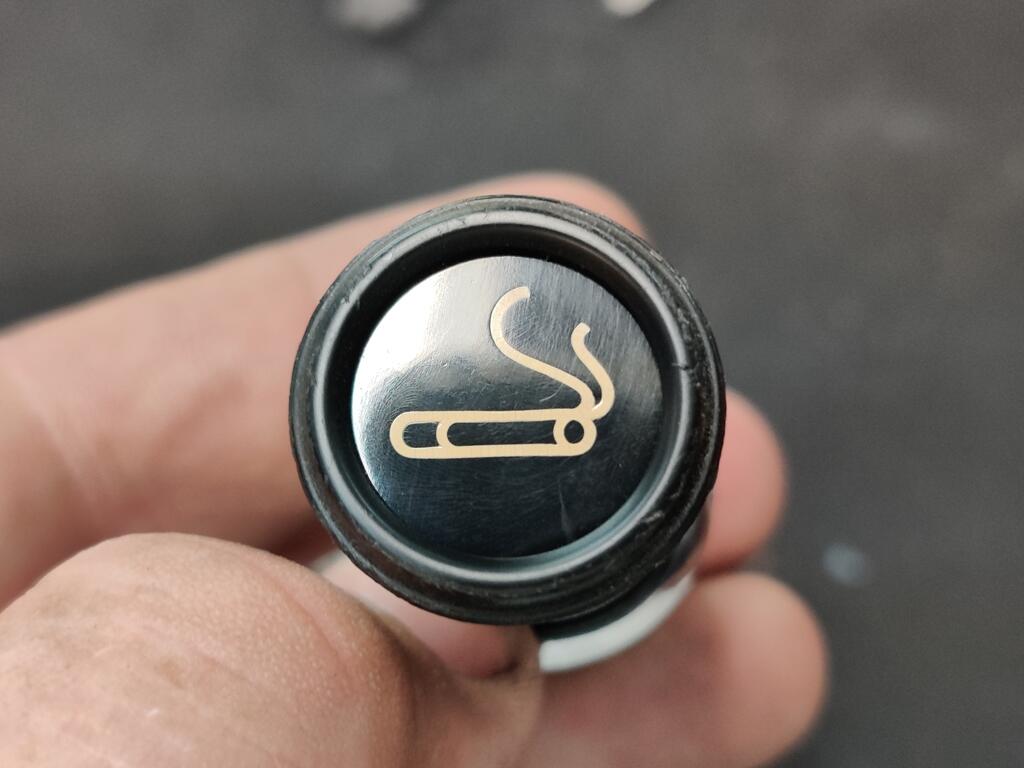
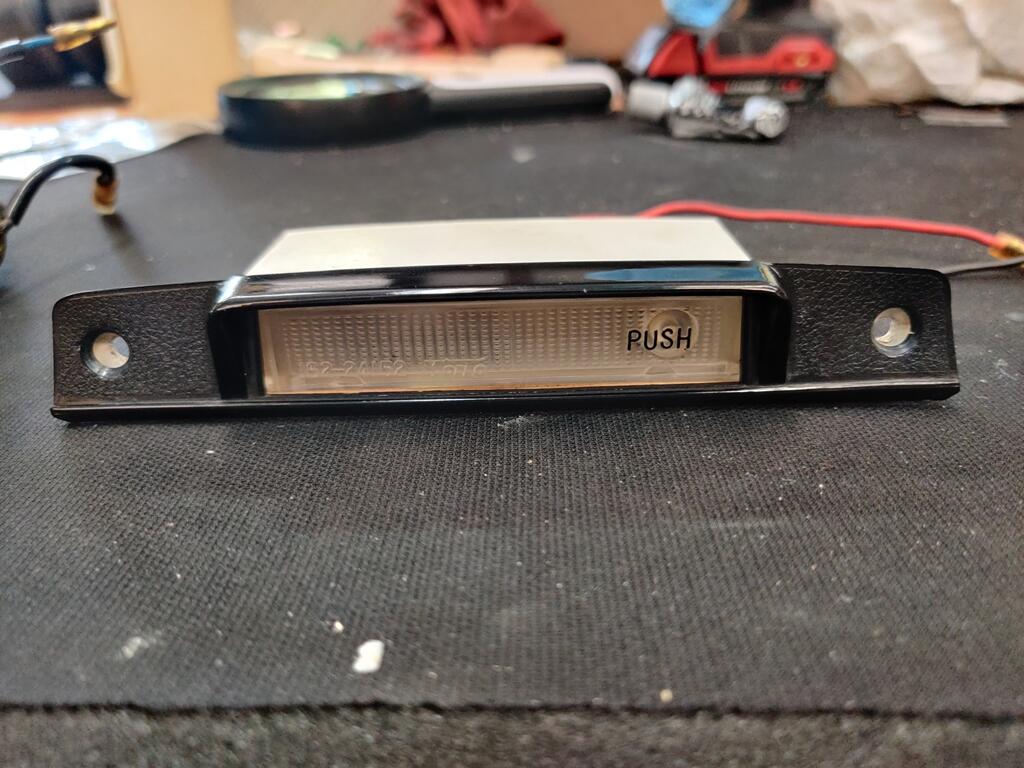
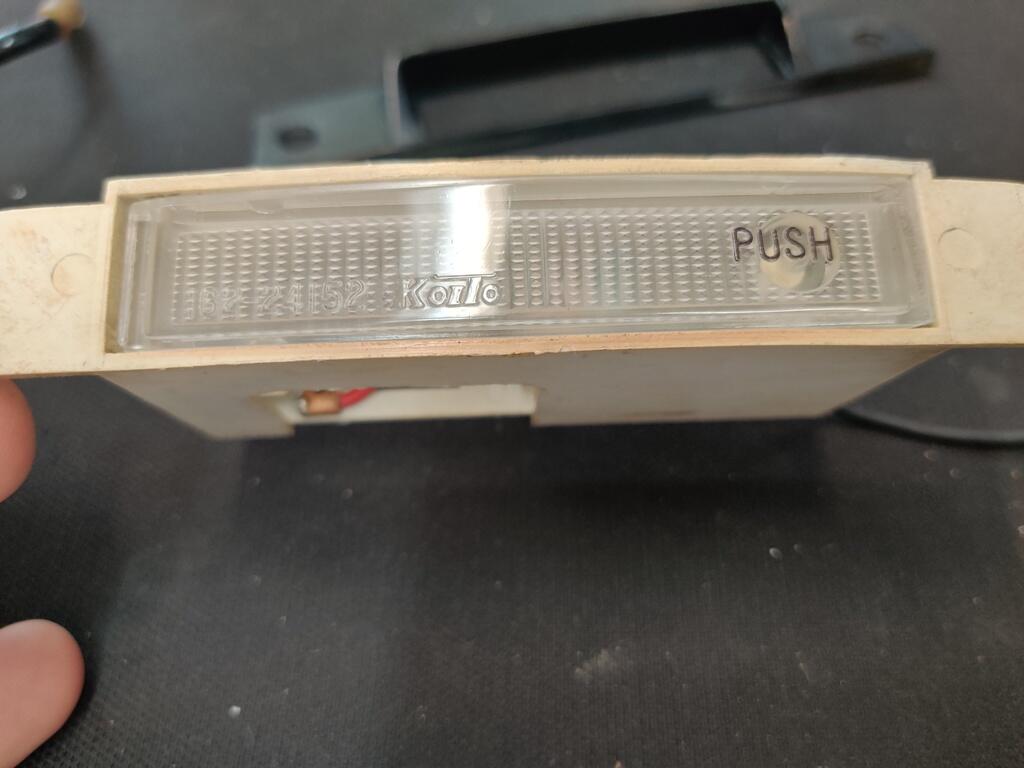
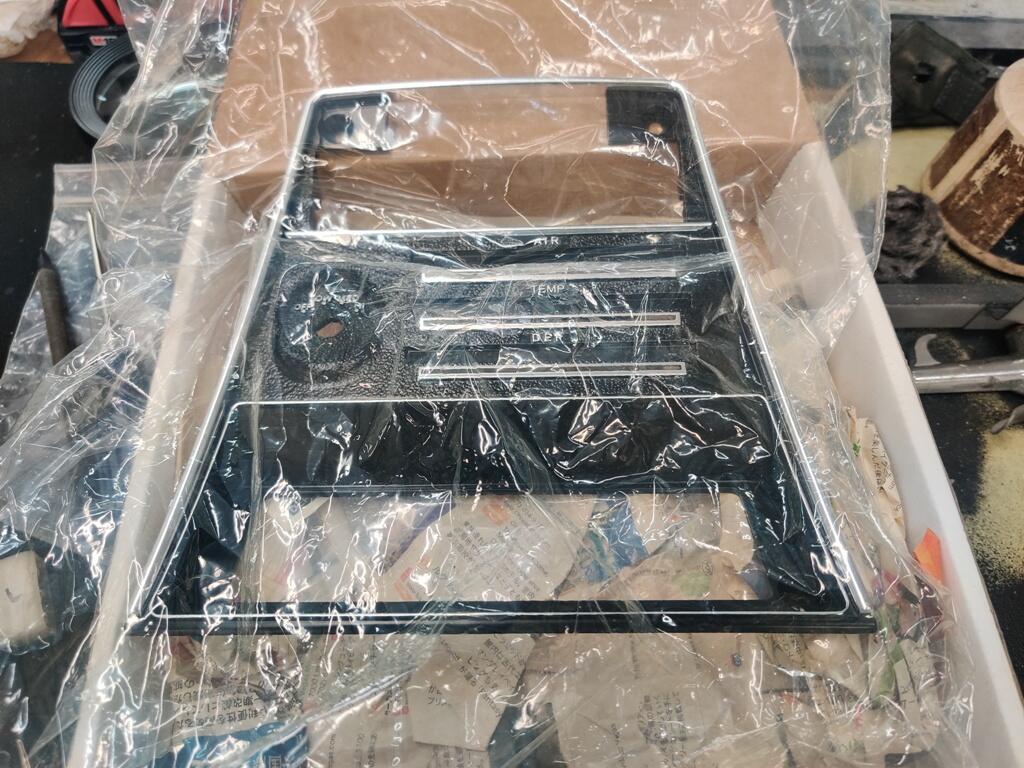
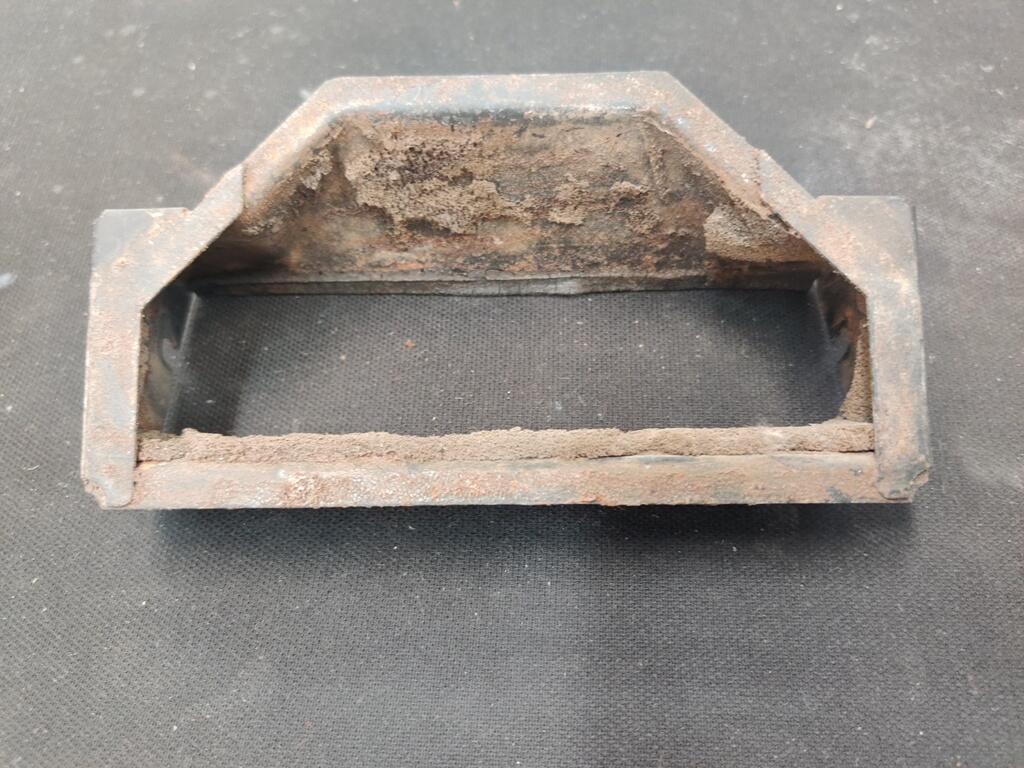
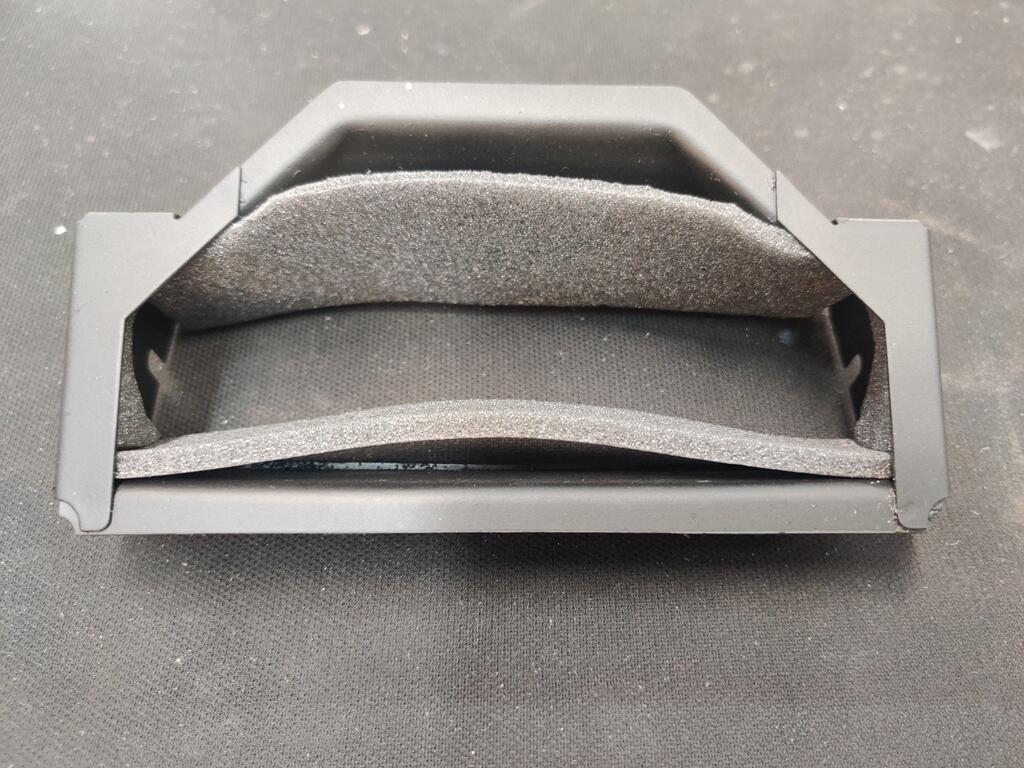
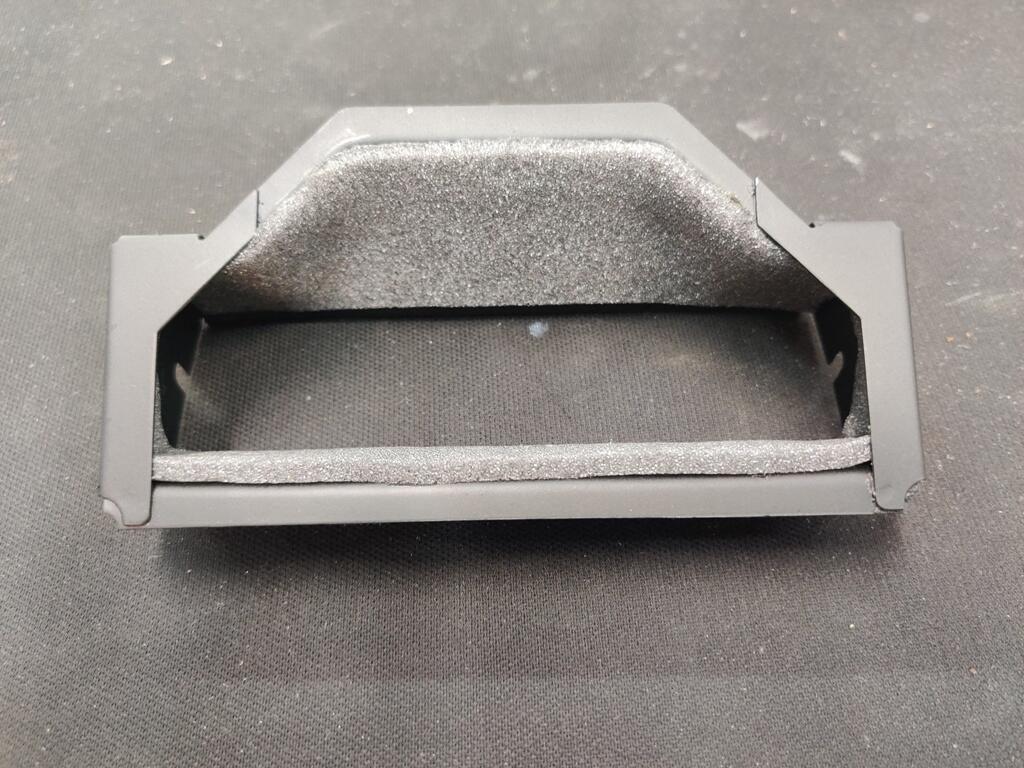
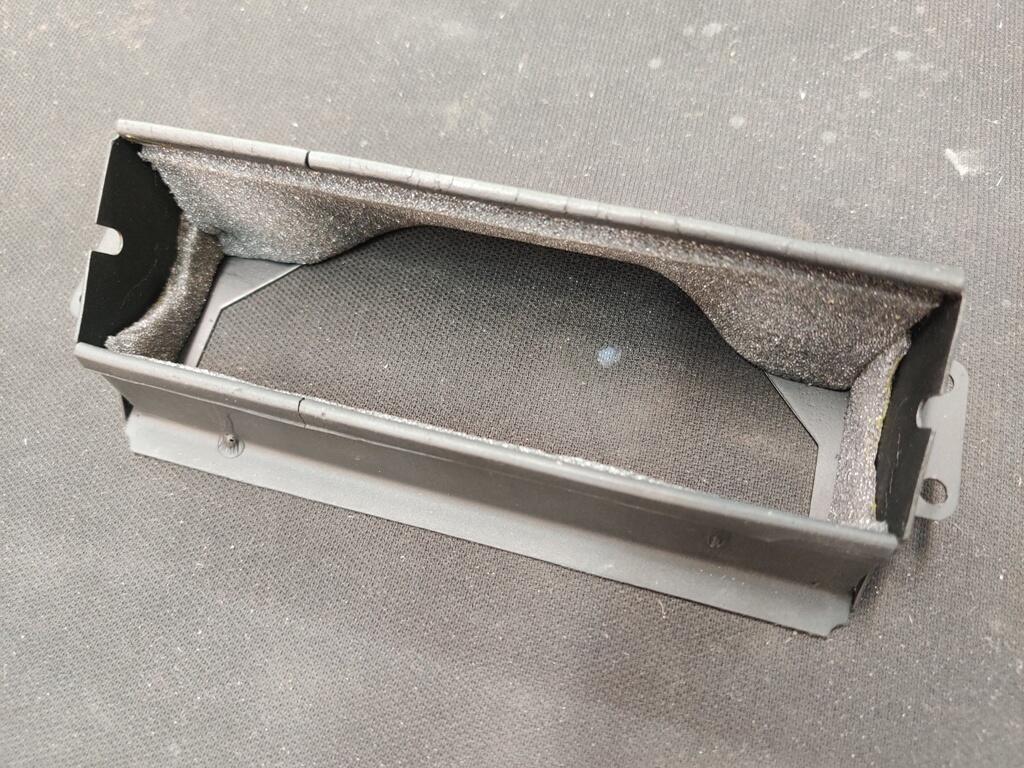
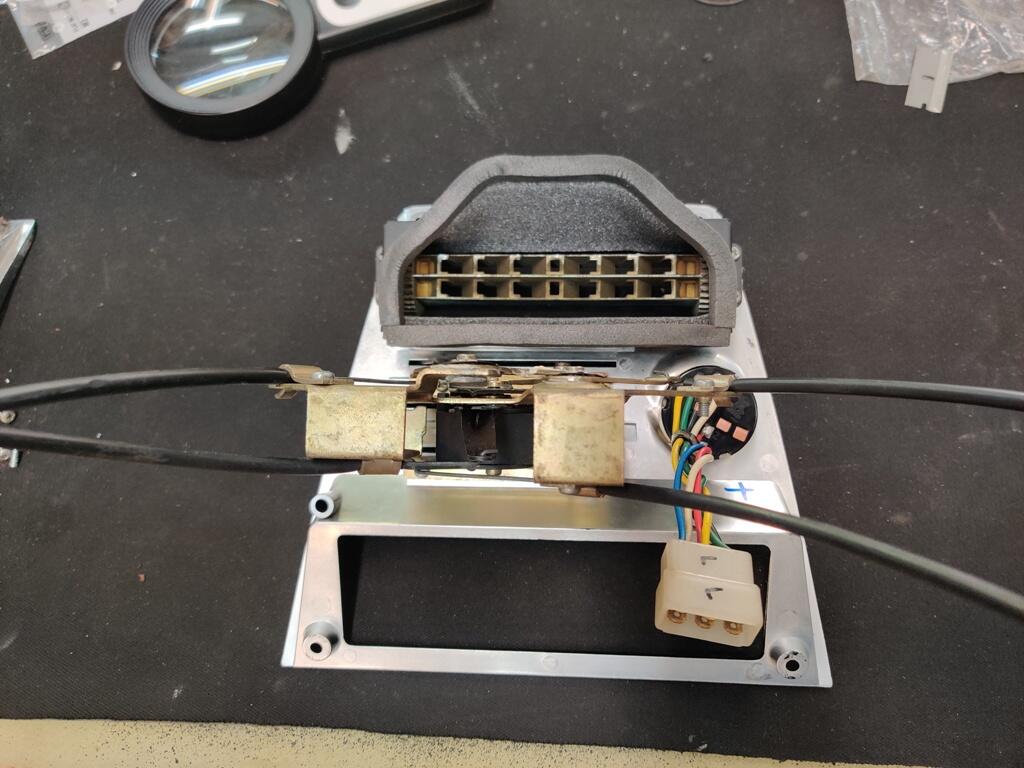
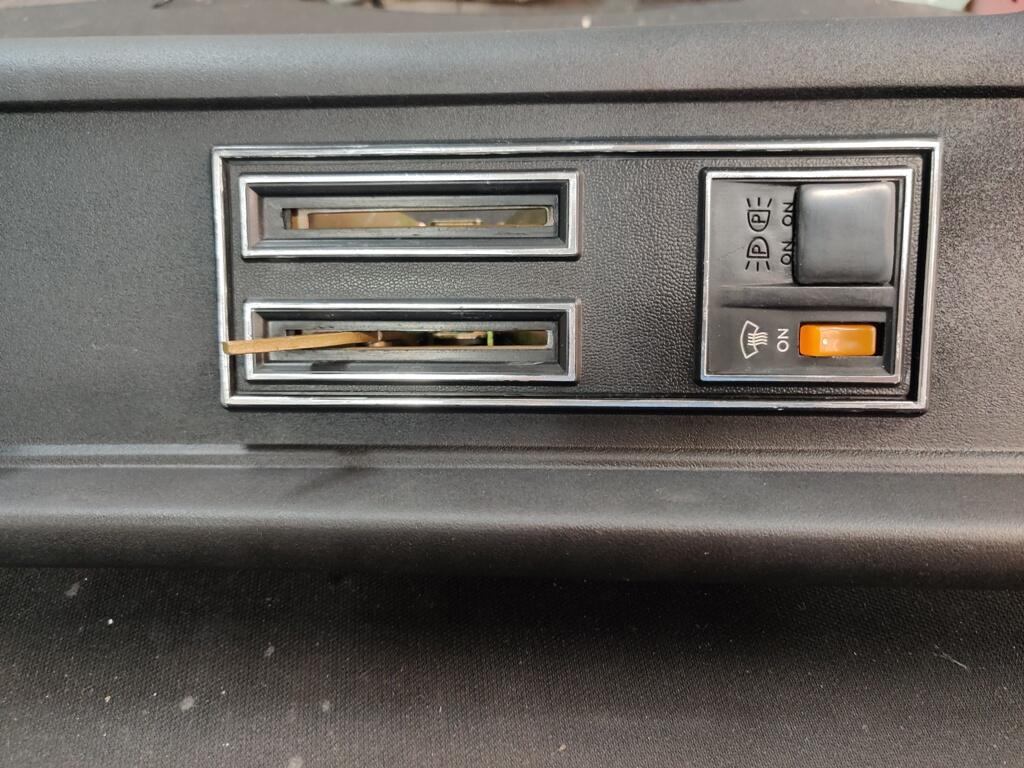
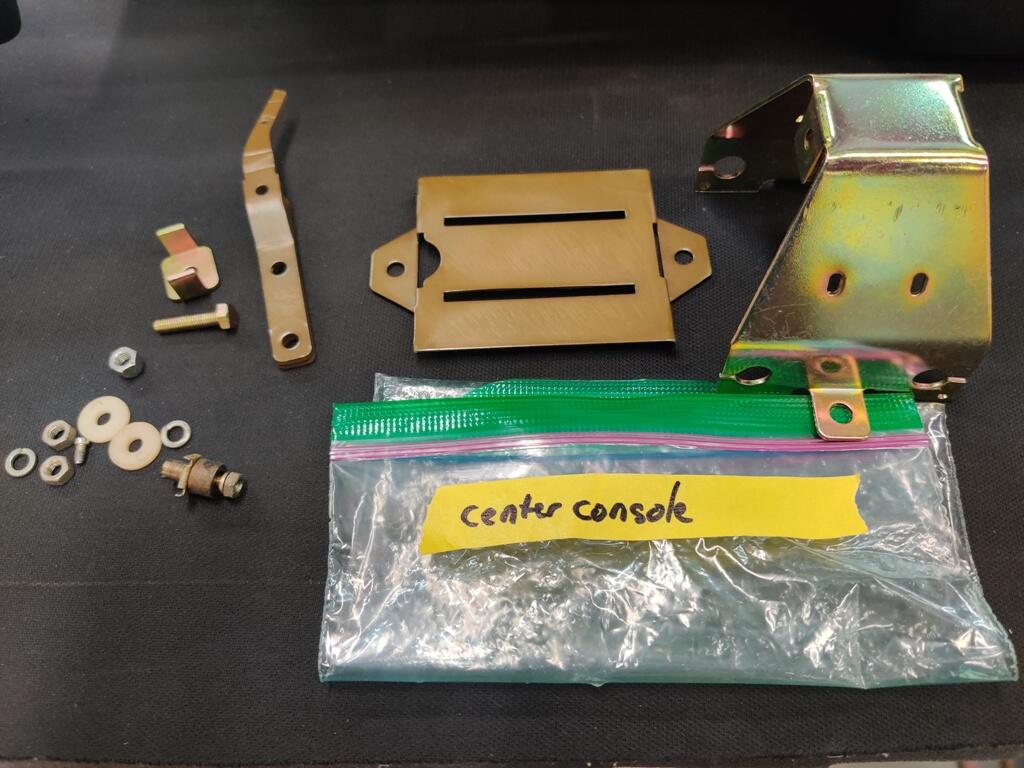
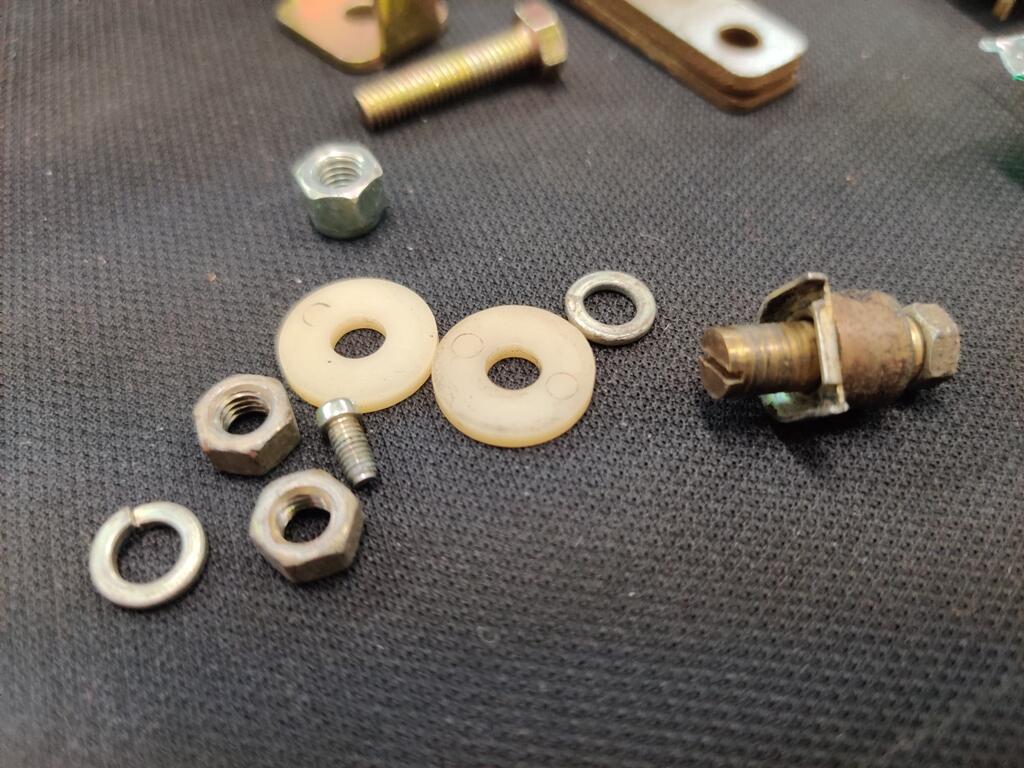
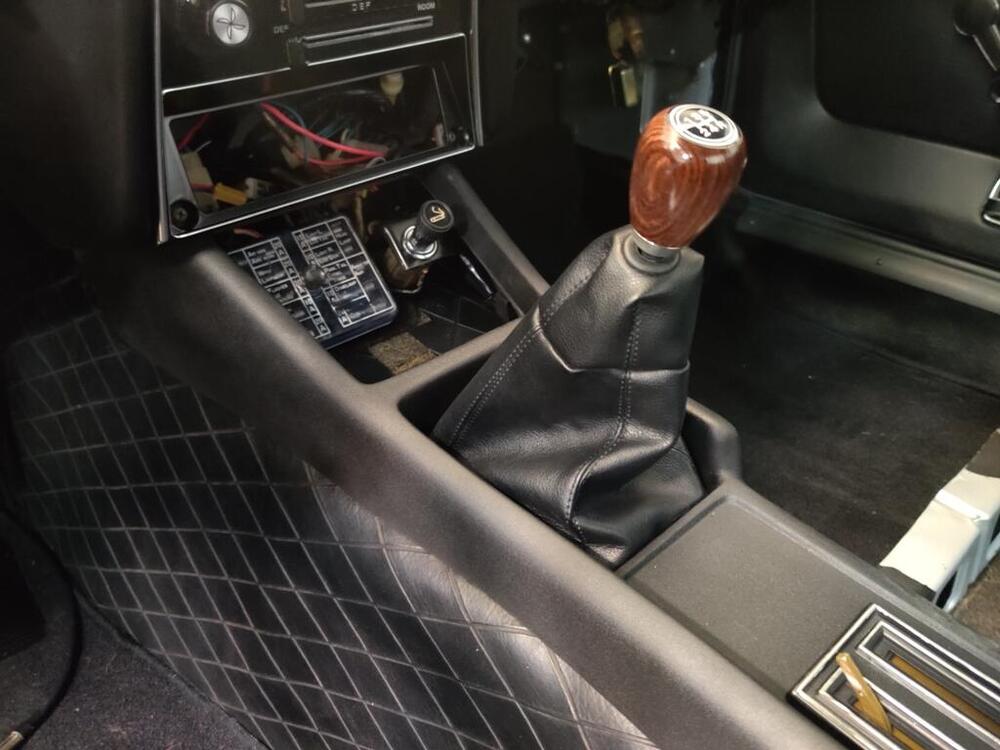
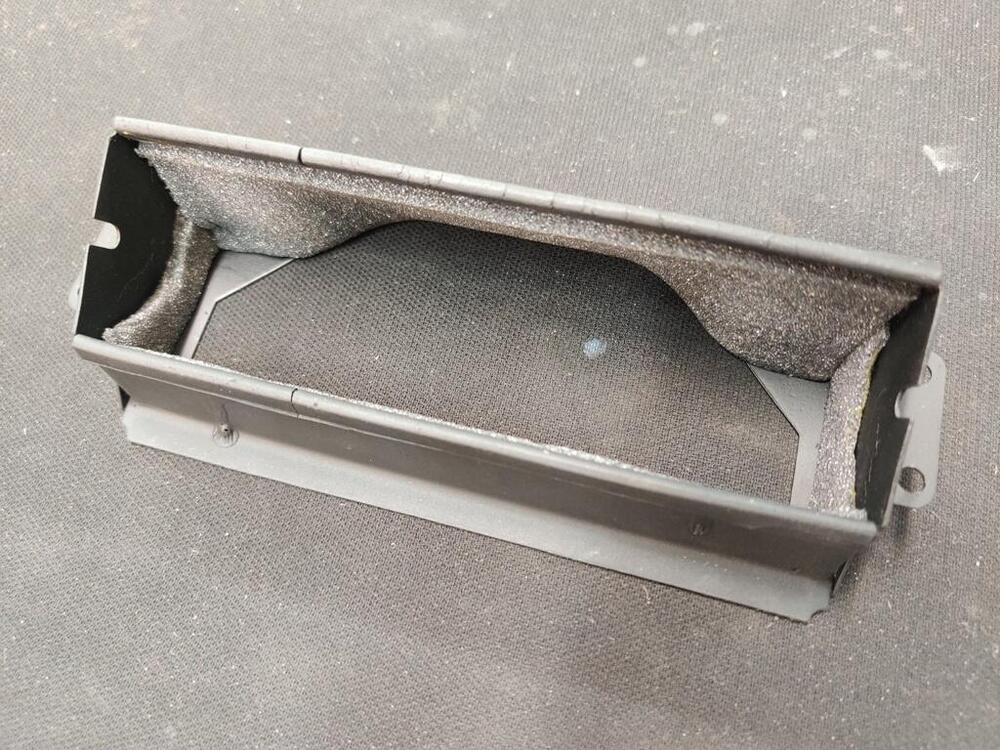
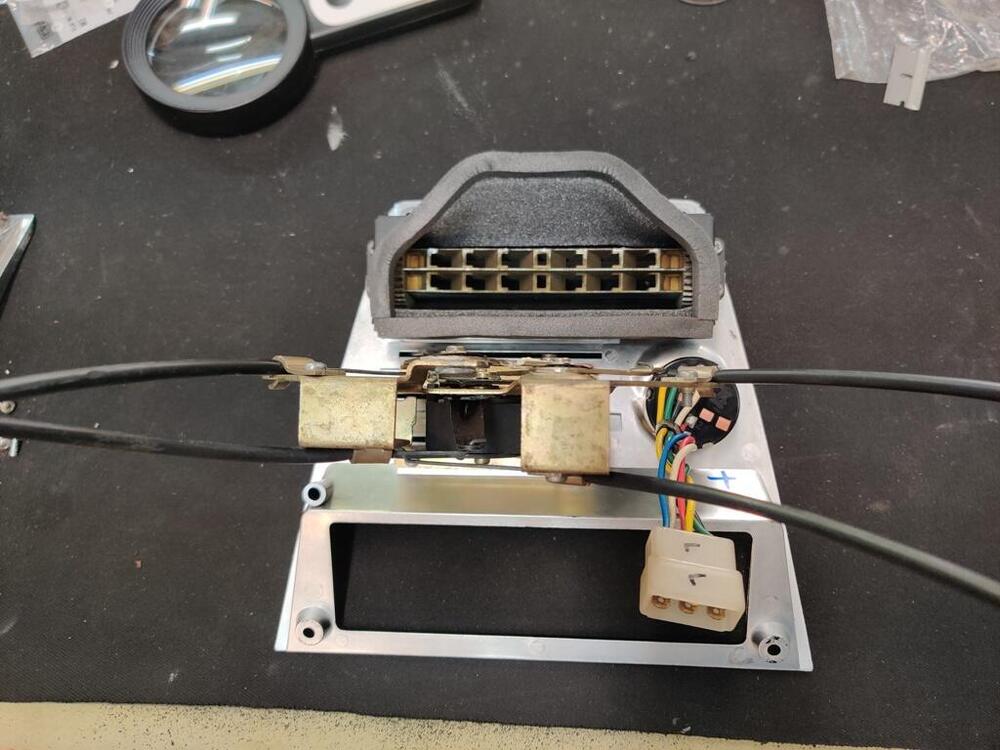
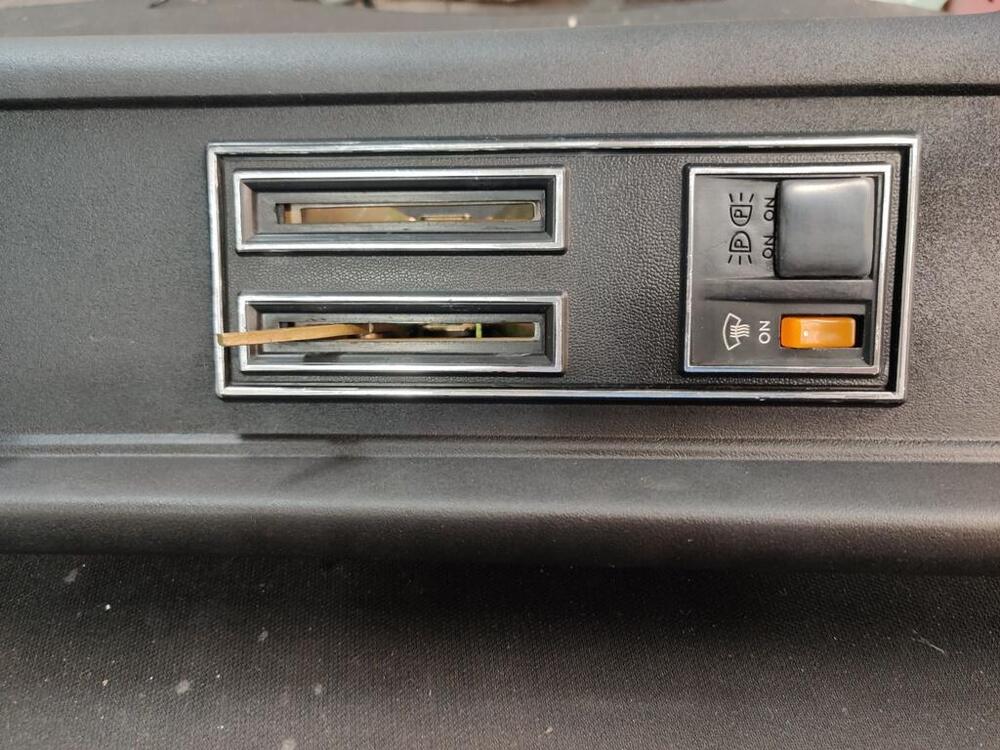
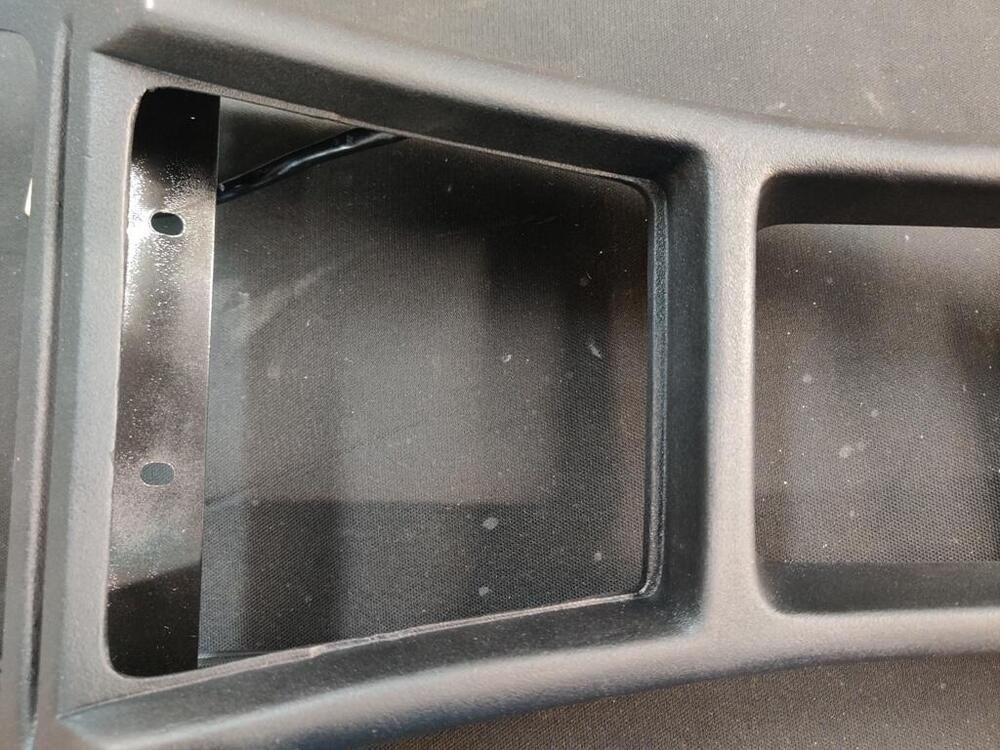
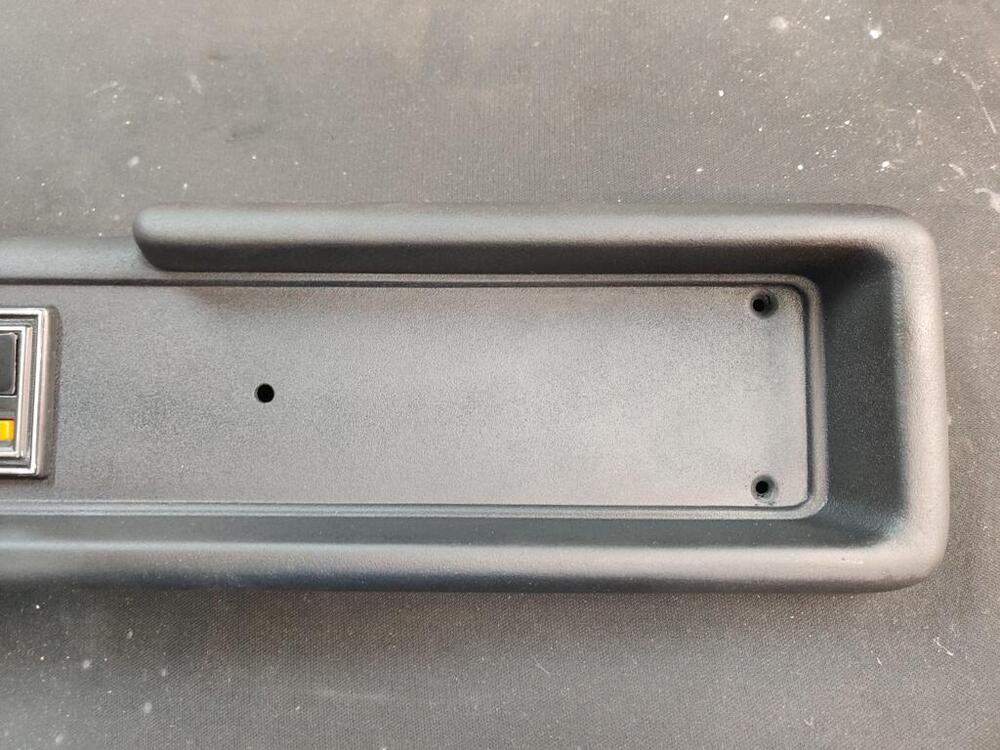
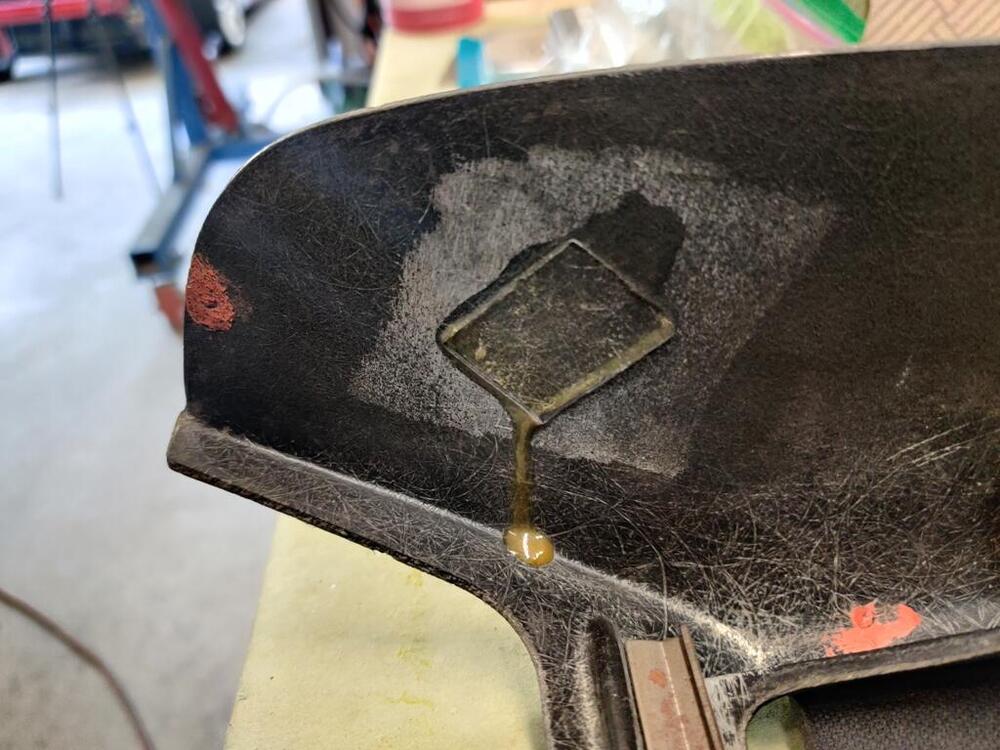
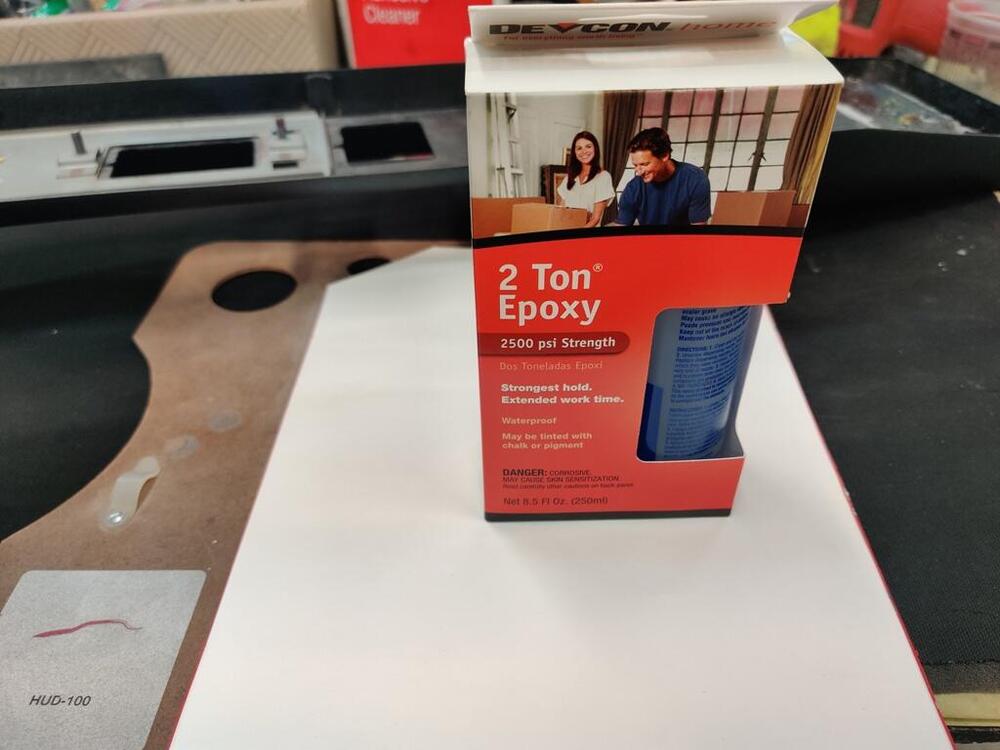
I didn't have much time this weekend to work on the car. Main accomplishment this weekend was getting a suitable shift boot installed. I didn't take pictures, but basically I used a stock 240SX rubber shift boot and a metal ring to seal up the hole on the top of the transmission tunnel. The 240sx transmission fits nicely in the car, and places the shifter in the stock location (unlike the 280ZX transmission). To seal the tunnel opening, which I left stock (uncut), all I had to do was bend the metal sealing ring at the edges. The diameter of the boot and the associated ring is wider than the top surface of the tunnel. So, by bending the metal ring on the sides, it folds those downwards. It took a while to get it shaped properly. To install it, I drilled holes in the top of the tunnel sheet metal and installed rivnuts. This is one of the very few (and insignificant)sheet metal modifications on the whole car. However, removing the 240sx transmission and installing the stock boot, etc. can easily be done. In addition to finishing the center console, I am in including some pictures from earlier work restoring the map light and cigarette lighter. Interestingly, the little picture of the cigarette is not painted on. If you remove the little disk from the lighter, you will see it is two pieces of plastic, one white and one black. The cigarette with smoke rising off of it is actually part of the white backing piece. So, you can sand and polish the disk without worry of "erasing" the cigarette. I also polished the map light lens. The map light as disassembled, electrical parts polished, and then reassembled. I took apart the center dash controller, cleaned and lubricated everything, then reassembled it. For all of the cables, I removed the metal wire from the plastic sleeves and straightened any kinks, polished the wire, and reassembled them. Center panel is an aftermarket reproduction part. I found that I had to file the opening for the fan switch a bit (off of center) from its original location to get the fan switch to align with the off, low, med, and high settings. Stripped old foam and paint off of this piece, cut new foam and glued that in place. There is a metal strip that gets glued to the center console on the front inside surfaces. The old glue was still present and helped me "locate" the strip in the correct location after I glass bead blasted and painted it. The glue I used was a 2 part epoxy (which incidentally has a similar appearance to the glued used originally). For the starter cables, I replicated what I did for the center panel cables. I removed the hard wires from the cable housings, carefully straightening any kinks, and then used metal polish to clean the wires. For the cable housings, I sprayed WD40 inside of them and then blew them clear with compressed air. I then rubbed lithium grease on the hard wires and reinserted them in the cable housings. The console fit nicely when I finally installed it today. I didn't get any pictures showing the installation of the reproduction shift boot, but that fit well. It looks stock, which is nice. The center console was one of the big projects left to do and it feels good to have that done.


 1 point