Dave WM
Free Member
-
Joined
-
Last visited
Everything posted by Dave WM
-
 well well well got the colortune installed results 1&3 def look to have issues, mostly blue or no fire at idle, fine at partial throttle (purple/blue) 2,4,5,6 mostly yellow at idle. I assume the yellow is the enriched idle to avoid starving on acceleration. The miss "seemed" to correlate with the no fire (black) missing pulses on 1&3. when partial throttle was applied it moved into the purple zone if anything a tad rich, so I will not be using the pot as that only makes it richer. This is with a engine temps a little less than 1/2 guessing about 165f. Next step will be to get them flow checked and cleaned.
 -
I plan to shoot some video of it (colortune/vac gauge) later. There is a injector cleaning service near me that does the ultrasonic cleaning etc.... that I plan to try as well.
-
My 75 starts well drives well, gets good gas mileage, BUT has always had a slight miss sound at low idle. I say low idle since when warming up the AAR keeps the idle higher. After it warms up it drops into a recurring miss. I tested things like compression (fine) spark timing (fine) fuel pressure (correct) and vacuum (a little low 17hg at sea level). Since it only seems to miss at idle and reading up on mixture level having an effect on vacuum (I presume do to less than an optimal burn, reducing overall efficiency resulting in lower rpr for a given throttle opening) I decided to try the temp sensor pot mod. I used a 500ohm WW pot, added some bullet connectors for easy of series insertion into the wire harness. full CW adds 500 ohms to overall resistance now. I started the car and drove it to warm up, while idling I turned it up. there was a noticeable pick up of RPM, maybe 100 max and the slight miss became almost unnoticeable. Further testing had the vacuum go from 17 to 18 (I could dial it back with the pot 0 added ohms 17 500 added ohms 18hg). I suspect that my OE injectors may not be optimizing the spray patterns perhaps even a single one is off (the slight miss) that is compensated by the added fuel. I don't consider this a perm fix, more a diagnostic tool. Since I don't have an O2 sensor I don't have a good way of directly reading the fuel mix, but I do have one of those colortune clear plugs on the way. The plan is to try it in each cylinder and see if I can notice an issue. I tried a load test but it did not show any real problem (on spark plug disabled at a time, listen for drop in RPM or lack of drop). Lastly I plan to pull the injectors and have them professionally cleaned.
-
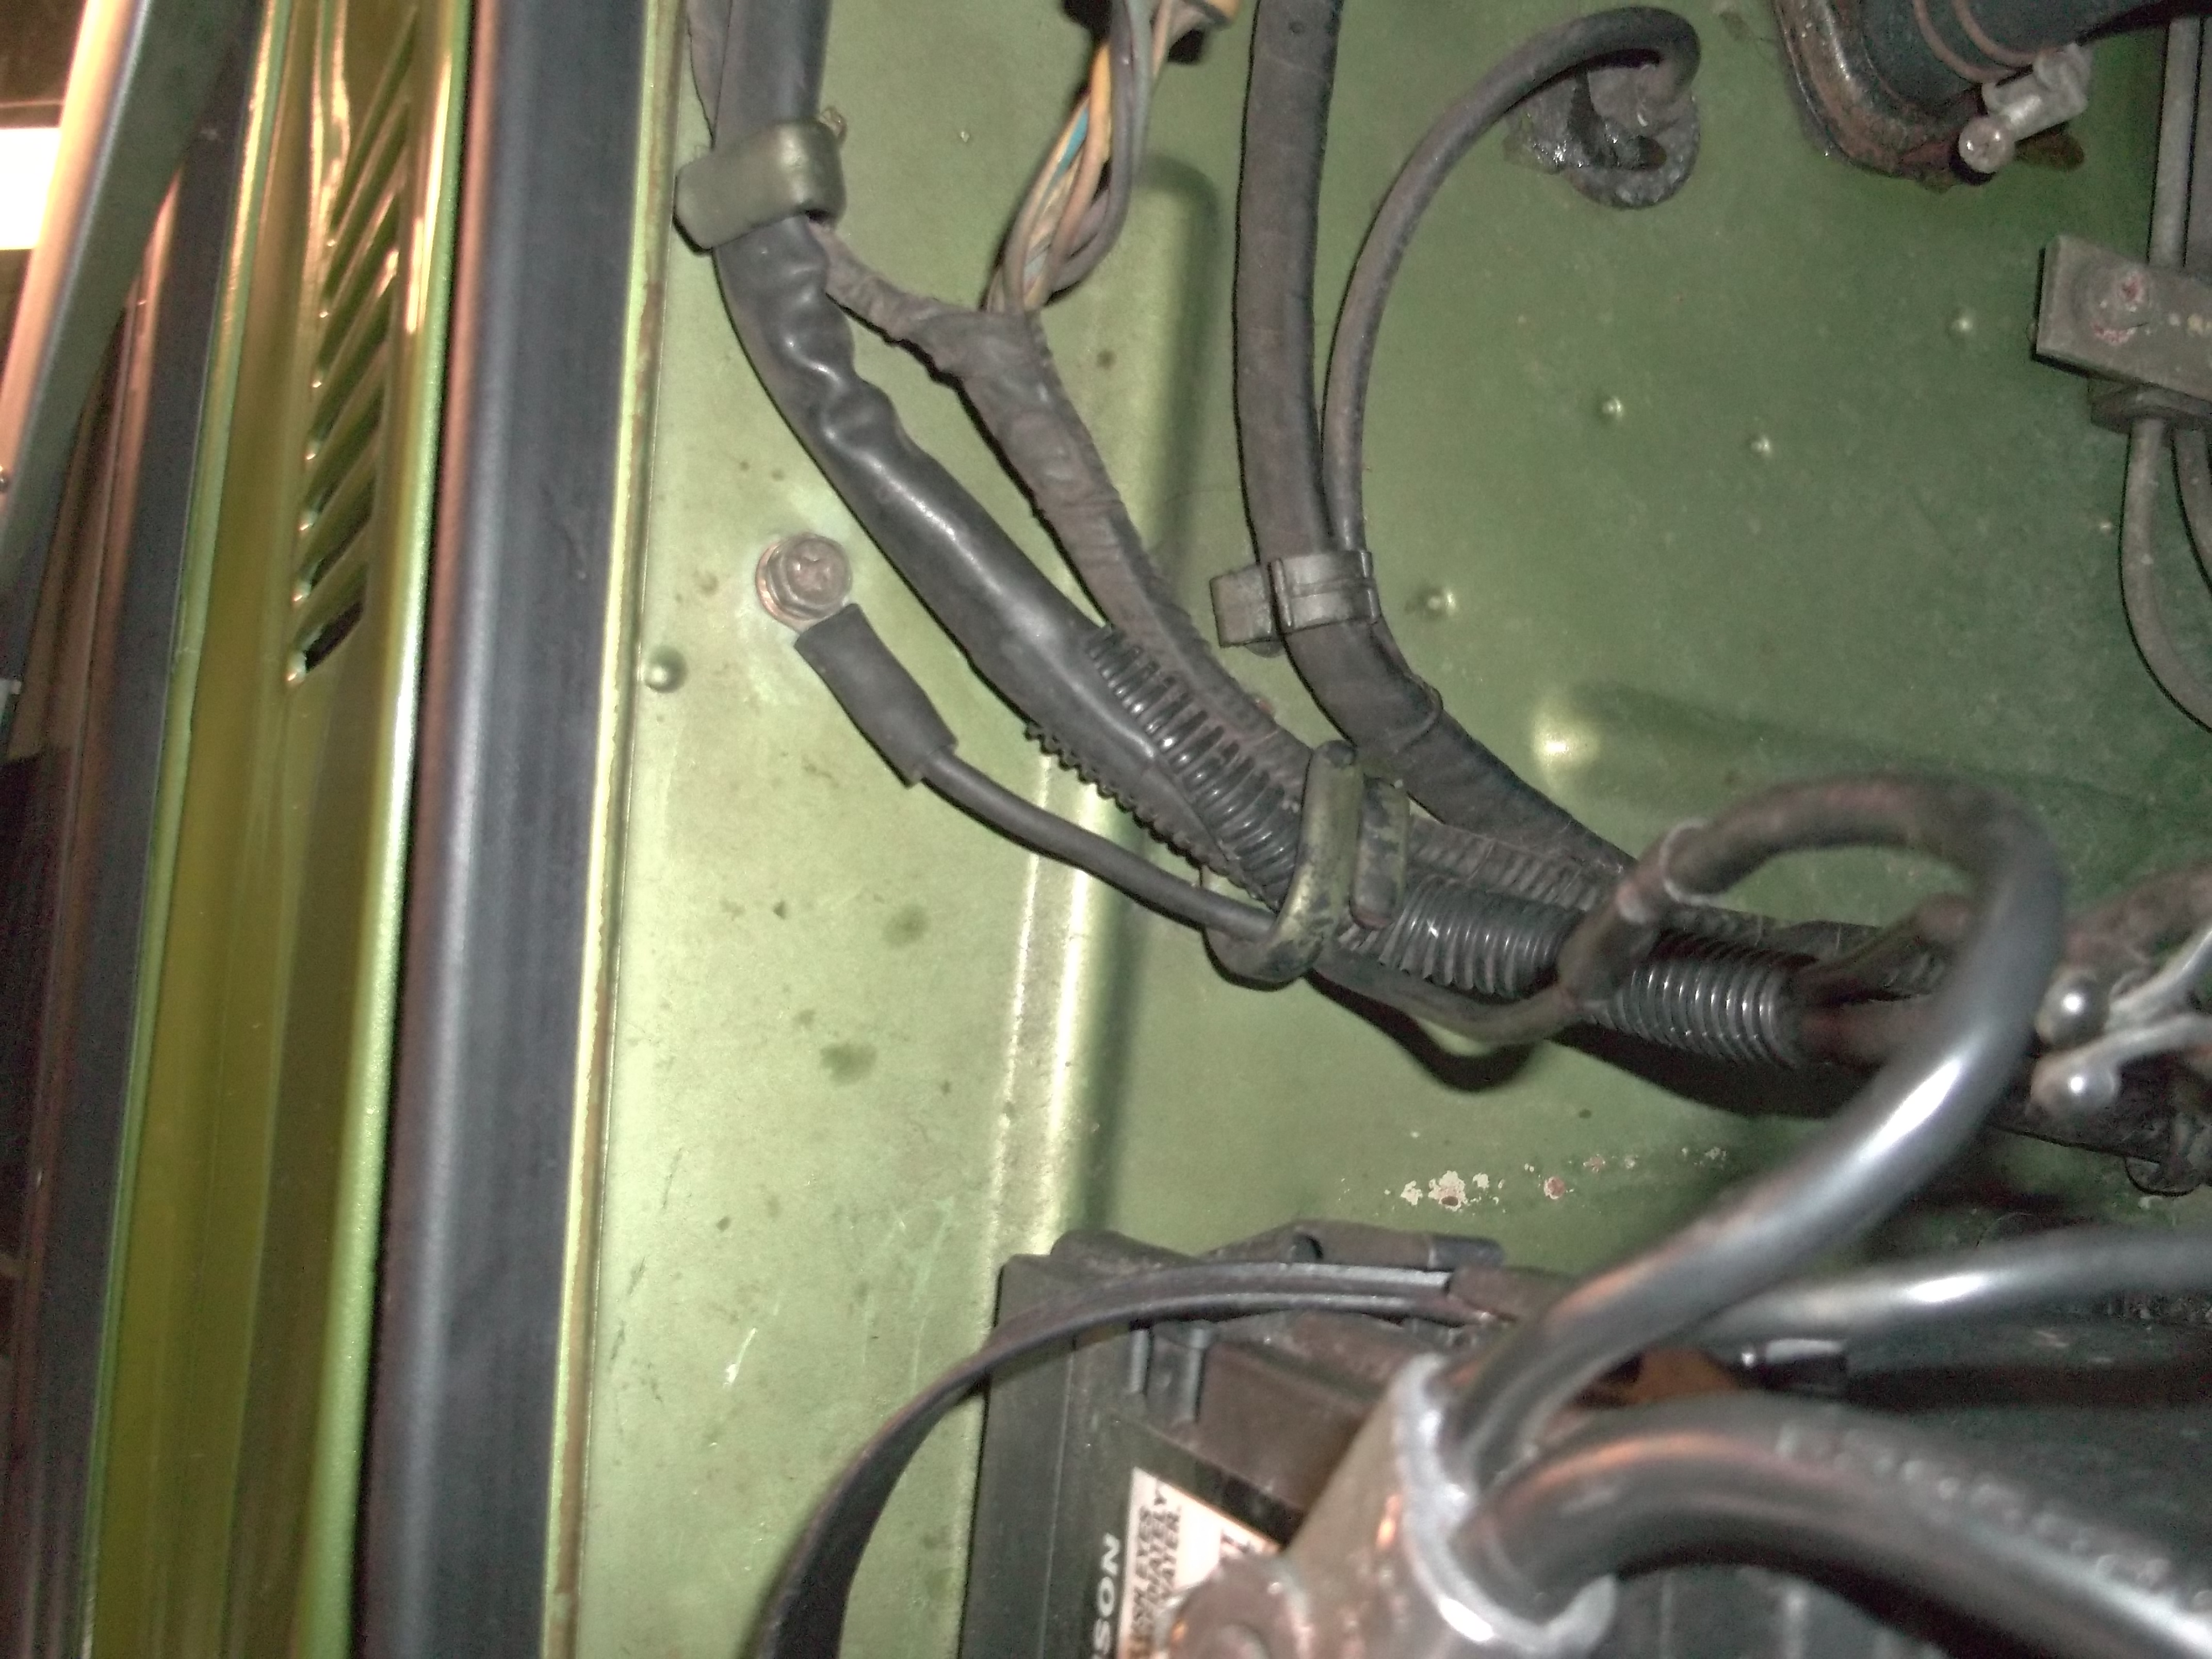
added a pic. I found that battery connector at a local retail auto parts place, the thicker ground wire was not quite long enough to reach the fire wall, so I had to splice the OE lead. I was careful to get a good soldered joint there. Note the wire from the battery lead was actually a larger gauge than the OE lead to the firewall. I considered getting the larger gauge to finish the connection but figured if the OE gauge was ok per design I would not need it any larger.
-
On my 75 there is a direct connection from the battery to the chassis up near the fire wall. so the neg term has 3 leads a big one to the starter mount bolt, one to the EFI harness and one to the chassis thru the firewall bolt. there are more of course but those are the ones directly connected to the battery. interesting how they kept changing that stuff around. I suspect the firewall bolt one may be missing if the battery cables are non OE, its a pretty short connection of about 6-8 gauge IIRC.

-
why not change the oil back and see if the knock goes away?
-
this is not rocket science, you need to trace the battery voltage starting at the battery post. with key on and car voltmeter reading 8.5v check for voltage between the neg post of the battery and a clean bolt on the chassis, should be near 0 volts, if not then you have a poor ground connection. check voltage from chassis (neg) to fuse links each side, voltage should be the same and should be near full battery voltage, if not you have a problem with the spade connectors or the fuse link itself. beyond that you will need to start tracing things like fuse box voltage, combo switch voltages, etc.. I think the key is the headlights being weak. they do not go thru the ign switch so I think they should be able to be traced down. Once you find out the problem there I suspect the rest will fall into place. again, no need to do anymore trouble shooting on why the engine is not starting until you are able to get a 12v reading on the voltmeter.
-
Thanks J! you are right. anyway it was pretty cheap.
-
its fun to get a set of resistors and make up various P and S connections and the real fun bridge circuits, and see if you can calculate the V drop at each junction. add that to the fact that this is really a kind of square wave , not even a sine wave AC and you have an inductor and a resistor and it gets real tough real fast. Bottom line is either his battery is bad, wiring or contacts are bad ,injector(s) bad, or ECU is bad. No reason to keep trying to start until you get those voltages right. I suppose its possible the dropping resistors are all nearly open but not likely. My bet is a bad battery or cable connections from battery to ground (chassis ground), remember he has dim light and low horn. I would not do another thing until that was resolved.
-
-
the positive goes to the injector thru the resistors, but unless the other side of the injector (load in the circuit) is grounded thru the ECU power transistor, no current will flow. If you have an open circuit there will be NO voltage drop regardless of the resistor in the circuit. example you take a 9v battery put a 1K ohm resistor in series with it and read the voltage. there will be essential NO drop (still 9v) other than a tiny bit due to the load of the voltmeter (20meg) the 1000/20000000. the dropping resistors act as a voltage divider only in series with the injectors.
-
My map light was intermittent, the on the dash not the roof. I popped for a used one off ebay, guy says is does not work, I tried it and seemed fine. Anyway it had the wrong connector, but my parts stash turned up some new pins and the plastic shell I needed so off with the old and on with the correct. All good now. But I decided I need to understand the issue so now that I have a working light I felt ok to try and fix my old one. I was concerned that it may break upon disassembly, but it was no big deal. Lesson learned disassemble and re assemble with it in the "ON" position, just seemed to work better. Don't loose the little bearings (plastic pivot points). they will fall out and roll away. the "switch" is just a couple copper contacts on either side of the housing, very flexible soft copper, I cleaned them, but don't really think that is the issue. What seems to be the issue is there copper contacts mounted on the ENDS of the light bar. they mirror the plastic but need to stand proud of it just a bit. on mine it seemed like on had shifted just enough for the profile of the plastic to be even with the copper. when this happens the contact become unreliable. I was able to pick at the copper bar mounted to the side and pull it back proud of the plastic. that fixed it. I suspect this is supposed to me a friction fit, I could see evidence of a solder iron used to trap the copper sides in the slot of the light bar. So I assume its inserted during assy, and then sealed in with the iron melting a bit of the plastic. A more permanent fixation may be to use a tiny bit of wicking glue, but I don't know if there would be a good bond due to dirt/oil etc not to mention the plastic and metal. For now it works and I will just keep it as a spare. The soft copper that is mounted in the housing does not have any fixation method really it just sort of floats. I suppose there is no need as the plastic light bar hole it in place by copper when on and by plastic when off. Bottom line they can be fixed, just use a thin blade to pry open just enough to slip the pivot out, and don't lose it.
-
JSM I don't think he should see any drop with the engine on but not running the dropping resistors will only drop voltage in the presents of a load (injector firing). Unloaded there is no current flow, therefore no voltage drop across the resistor. If you have 8.5v at the ECU there is a problem. Does your voltmeter on the car still read 8.5v? you need to find out whats going on. I check the battery AT THE TERMINALS, do this while cranking, should not be below 10v. When not cranking it should be over 12.5v
-
yea, that's why I wanted him to confirm everything with power off by checking continuity, but must be right now. agree a working injector could be used for a noid, that is a closer load test etc.. I have used mech stethoscope, but unless you have listened for it before you may not have the "ear" calibration needed
-
I still don't like hearing about dim headlights. Test the battery with a voltmeter while cranking should not go below 10v are the terminals getting hot? time to break out the FSM and start checking voltages. My guess is either the injectors are clogged which has been covered above OR they are not getting a signal to fire. A noid light would be next to test for that.
-
On mine the thicker wire went to the positive terminal thru a fuse link wire connected in series with the positive lead of the battery. Since there is some confusion here I would HIGHLY recommend you disconnect the wires, unhook the battery and do some continuity testing from the wire ends. Example remove the 36 pin connector, disconnect the battery and test what you think is the neg lead to the various EFI connector pins designated as neg, there are several (not the ecu) to confirm continuity. NEVER test the ECU pins themselves, only the connector that is attached to the harness and only with the battery disconnected and the key off. the positive should trace to the ign relay, pull out the relay and confirm continuity at the socket back to what you think is the positive lead (larger wire) in the harness near the battery.
-
-
-
only need to get it below the sending unit. so if its actively leaking you will need to take it down until it stops. prob 3 or so gallons off full should do it. having it tilting forward will make it more likely to leak. you could just loosen the ring and see what happens, if it starts to leak tighten back up and drain some more. the chocks are a good idea, but what you want to prevent is the ramps from collapsing.
-
on those I would suggest you put some 6X6 wood post right under the opening of the ramps. Never trust a single point of failure.
-
No you do not. you should jack up the car and remove the rear wheel passenger side to get better access. Always use a lot of care when the car is on jacks both from a personally safety stand point (of course) and not to damage the underside of the car. I remove the tire and put it under the frame rail as a backup in case the jack were to fail. I actually use the tire under the frame rail, a jack stand on the diff mount cross member AND leave the floor jack under the diff just enough to keep it snug. that way I have 3 points to keep the car up.
-
if you mean the fuel level sending unit, yes they can cause leaks. if you are lucky its just the O ring, if you are unlucky its the thru post themselves. I assume you removed it while working on sealing the tank. Start by putting on a NEW ring, may as well buy a NEW lock ring as well, they are cheap. You need to make sure the sending unit is oriented properly for the gauge to work right. Take your time to make sure you have the O ring in correct and try to tighten the lock ring evenly, tap on all three prongs so it goes on concentric.
-
I can tell you one thing to watch out for. IF you do decide to mess with that bolt make sure you get the locking nut good and tight. I did not and the bolt slowing back out until it began to limit the return of the brake pedal. Each time I applied the brake the "free play" was reduced just a tiny bit. this went on for weeks, so slowly that I did not notice the reduced free play until one day the brakes essentially lockup on me. That was no fun as trying to get off the road they got smoking hot. Just saying in case you do get under there and start wrenching on it.
-
could be a high resistance joint at that connector. On mine the Positive lead of the starter is also where the wire that goes to the fuse links (and rest of the power supply for most everything else) is tapped. Since you are getting low voltages at the cars voltmeter and I presume at the fuse block (inside the car), I would start with just making up some new battery cables, esp if the ones you have are the least bit suspect. You can confirm a lot of stuff by reading the voltage at the fuse box with a load on like the ign key in the on position. If there is a high resistance somewhere there will be a voltage drop. Measure the voltage there with a multimeter. If its low then start working your way back to that starter connection. Another clue is with a heavy load like the headlights on the resistance will present with heat. So turn on the headlights, ign off, feel the connector at the starter, it should not be warm. Some clarification is in order, there is a solenoid that electrically is a high current switch. one side is connected to the starter motor windings, the other to the battery thru a big wire, nothing in between. there is also a smaller wire with a spade connector, this goes to the ign key, used to activate the switch and the engagement of the starter gear with the flywheel ring gear. The wire harness has a large gauge wire white IIRC that shares the same connection to the solenoid as the big wire to the positive of the battery. This wire goes to the under hood fuse links via the wire harness. The negative of the battery is connected to the starter physically and electrically by a mount bolt used to hold the starter to the transmission bell housing. All these wires need to be low resistance connections of a wire gauge suitable for providing the starter with the current needed to crank the engine without a significant voltage drop. there are fuse links that are also separate from the fuse link boxes, they are the ones that feed the EFI directly from the battery terminals (not at the starter but at the battery post). they plug in and can have corrosion issues.
-
the return in just an open tube, should respond well to mechanical clearing as well.