inline6
 Subscriber
-
Joined
-
Last visited
Everything posted by inline6
-
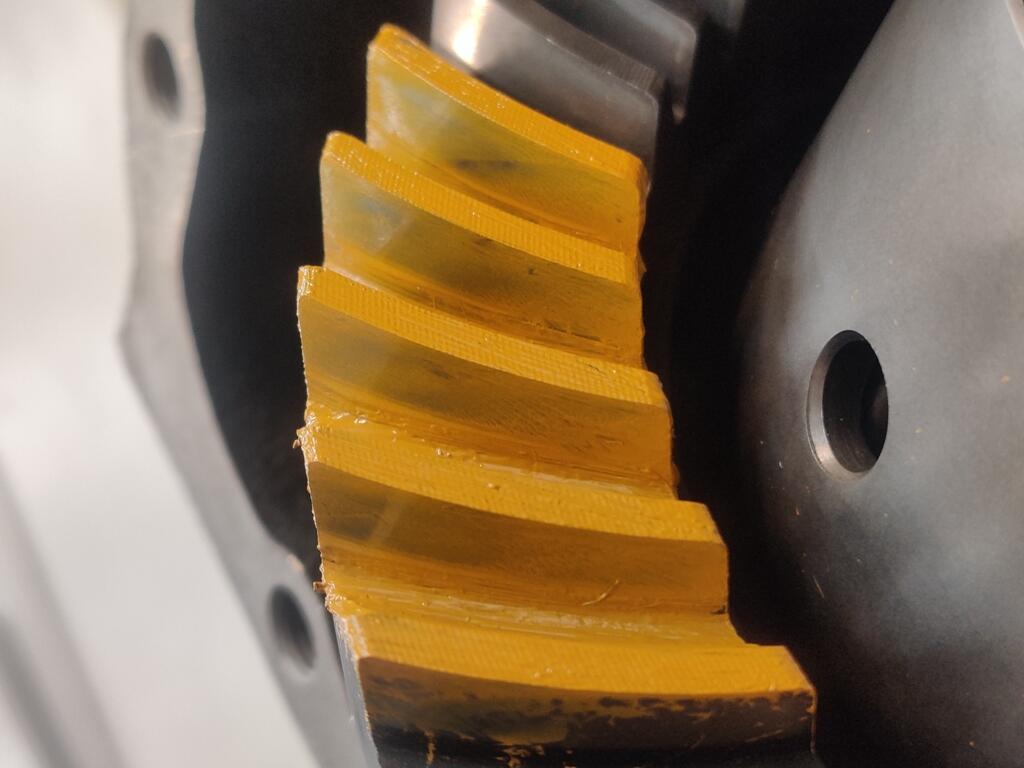
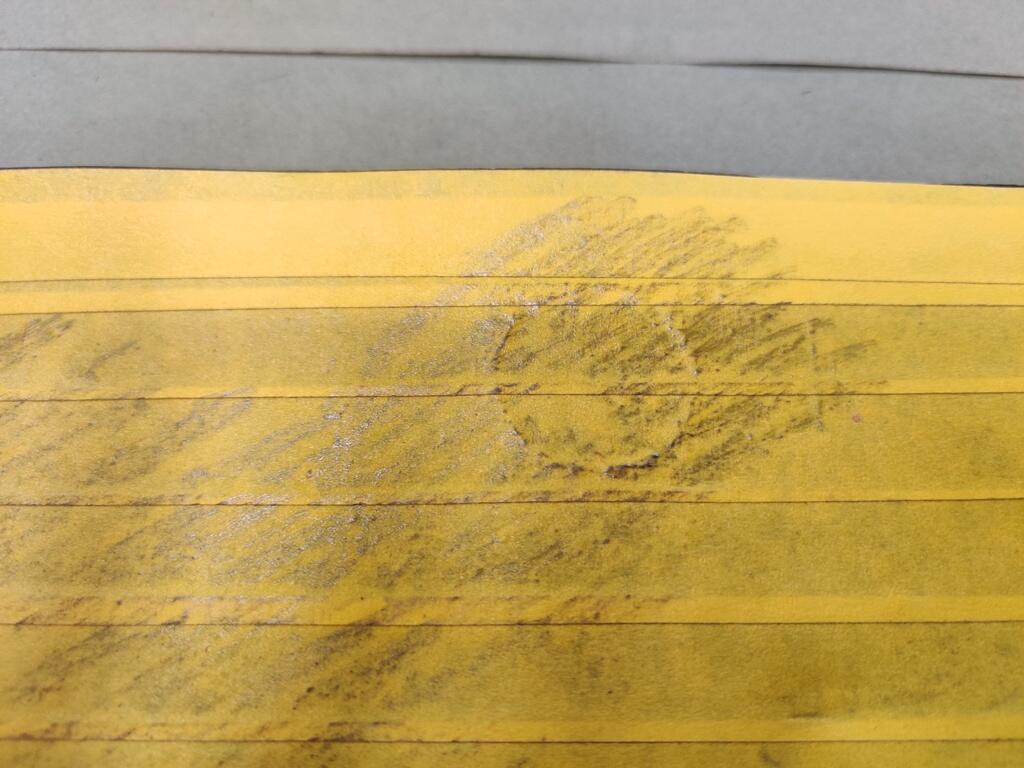
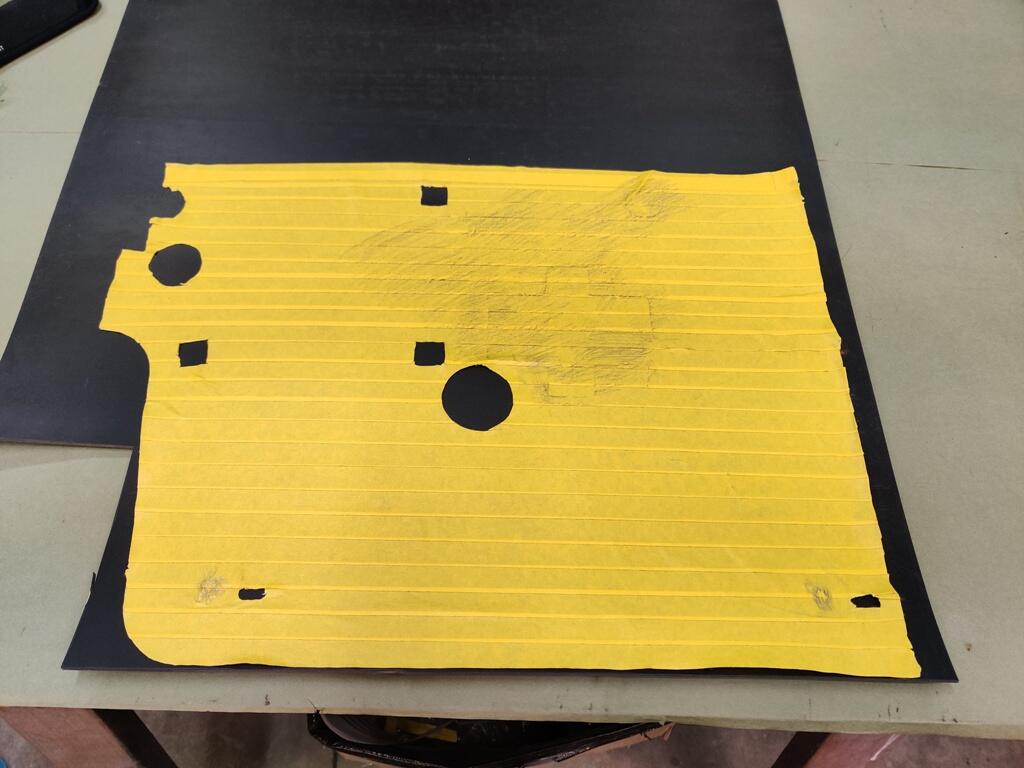
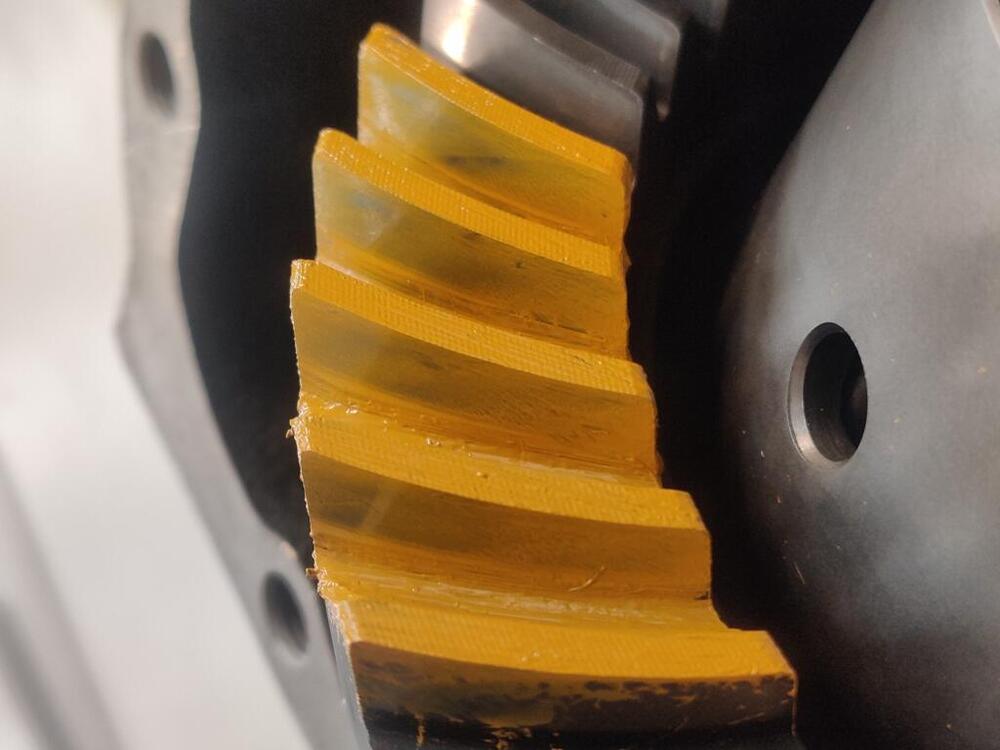
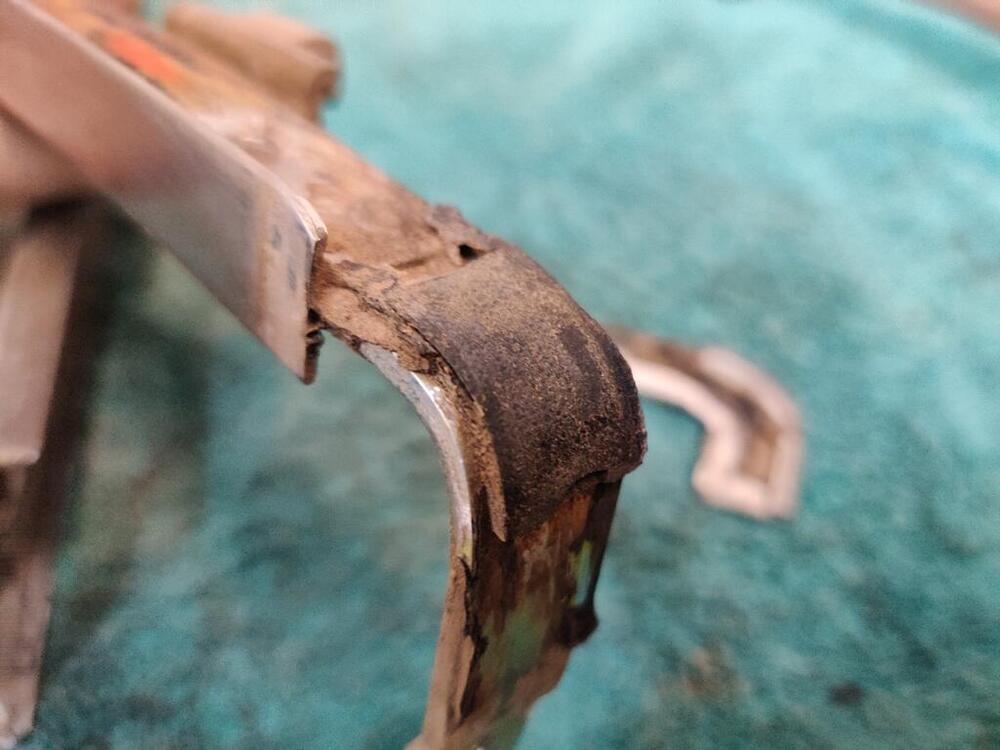
 Thanks for the links. I will check them out tomorrow, as I continue to think through everything, especially after my experimentation today. From my efforts today, I realized that moving the side shims changes back lash a lot. My issue is, I can't get the backlash in spec just by moving the side shim(s) as the manual instructs. As assembled at the factory, this differential has one left side shim and two right side shims. To reduce backlash, you move shims from the left to the right side. Per the manual, you are not to change the overall thickness of the side shims. Mine are: left = .3mm (0.0118") and right = one .4mm (0.0157") and one .5mm (0.0197"). With everything assembled with factory shims in all locations (including the .126" pinion shim), and pre-load on the pinion bearings set to specification, I had about .020" of back lash. Moving my one left side shim to the right reduced back lash to about .014-.015". With no other shims to shift to the right side, I first became aware of my problem - replacing the pinion bearings changed the pinion to crown relationship from the factory setup. I went ahead with getting some pics of the wipe pattern on the coast and drive sides of the crown gear: Contact appears to me to show heavy on toe (inboard edge of tooth) on coast (first pic), and heavy on heel (outboard edge of tooth) on drive (second pic). Today, I put three shims (supposedly .001" each) in with the .126" pinion adjusting shim. In theory, that moved the pinion .003" closer to the crown gear. I moved the shim that was originally on the left side, back to the left side. I measured backlash at about .018" to .019. I went ahead with getting another set of pics of the wipe pattern on the coast and drive sides of the crown gear: It looks to me like the contact on the coast side is close to the "correct" position. However, on the drive side, it looks like the contact is still too much on the "heel". After posting those pics earlier today, I went back out to the garage, and moved the left side shim to the right, and measured backlash. It was about .010" to .011". That was very interesting - it seemed like I had improved things overall by bringing the pinion gear about .003" closer to the crown gear. As a last iteration today, I cut some more shims. I took the pinion out again, and stacked a total of eight .001" shims together with the .126" factory shim. My thought was that perhaps moving the pinion .008" closer instead of .003", I'd be able to keep the one shim on the left. This time, when I got everything back together, when I torqued the pinion nut to the same 124-ish ft lbs, the amount of effort required to rotate the pinion was much higher than the times before. I backed the nut off again and retorqued. Same thing. Somehow, the pinion turning torque has become excessive - it is difficult to turn by hand. I am not sure what happened but I was using the same torque wrench that I had issues with on the front strut nut. Anyway, I will attempt to sort that out tomorrow. I see the torque spec in the differential manual that was uploaded to the resource section today is 101-123 ft lbs., while my factory service manual shows 122.9-144.6 ft lbs. Dang it. Anyway, I measured backlash, again with the side shims back in their factory locations. This time, I got about .014"-.015". So, with the side shims in their factory locations, I appear to have progressed from about .20" with the .126" pinion shim, to .018"-.019" with the three .001" shims added, to .014-.015" with the eight .001" shims added. And when moving the left shim to the right in combination also, I measured backlash at about .014-.015" with the .126" pinion shim, to about 010"-.011" with the three .001" shims added, and about .007"-.008" with the eight .001" shims added. It took most of the day for me to work on this. In conclusion, stacking a bunch of home made .001" shims in addition the existing factory shim which is between the rear pinion gear and the rear pinion gear bearing, does not change backlash a lot. But it does change it. By comparison, moving side flange shims has a larger effect on backlash. Either tomorrow, or some day next week, I'll pick back up on this again. It helped to write up all my observations, to get what I found out today on paper... so to speak. I need to correct the bearing preload. I hope I didn't damage a bearing. I wouldn't think that is likely though. I will back the torque setting down to about 100 and see if that puts the preload back in spec as tested by checking turning torque with the Quaife unit out of the case. If I can get that in spec again, I'll check the tooth contact pattern and see how it looks. I am somewhat excited that I was able to get backlash within spec. I think this is decent progress.

.thumb.jpg.aba2af3f6712678cad1af47825e26c16.jpg)
.thumb.jpg.5321ae98942f8b2d8f9f8bb6ab900828.jpg)
-
I have a magnetized base and dial gauge. I attach the magnet and arms and gauge on the back of the differential to the surface that the rear cover bolts to. I get the arms situated so that the dial gauge pin is vertical with and sitting on a ring gear tooth. Moving the carrier one way, then the other by hand, you can measure the amount of free play, which is the backlash.
-
I don't see it in the resources section yet. After stacking .004" of shims to the existing pinion adjusting washer, and putting the side shims back in the original locations, here is where I am with measurements: Backlash is between .018" and .019" (factory specification is .0039" to .0079"). Here are pics of the wipe pattern from before adding .004" in shims: And after - note that I moved the .011" side shim from the right to the left at the same time. I dunno. While the first pic (coast side) appears to have the contact in about the right place on the coast side, the second pic (drive side) appears to have the contact too far on the heel. Before I take it apart again, I will experiment with moving the side shim again and check the contact pattern. It's cold in the garage today - making this even less fun than the not fun it is.
.thumb.jpg.cb5d545f3d74bcc098185eb64cdcdaee.jpg)
.thumb.jpg.cb2c04de86bd6fa4ebab525d23382391.jpg)

-
That manual looks very interesting. Seems likely to have far more information about assembling a differential than the factory 240z workshop manual. Thanks for the link - an interesting read!
-
Yep, I installed them yesterday! Thanks for the info.
-
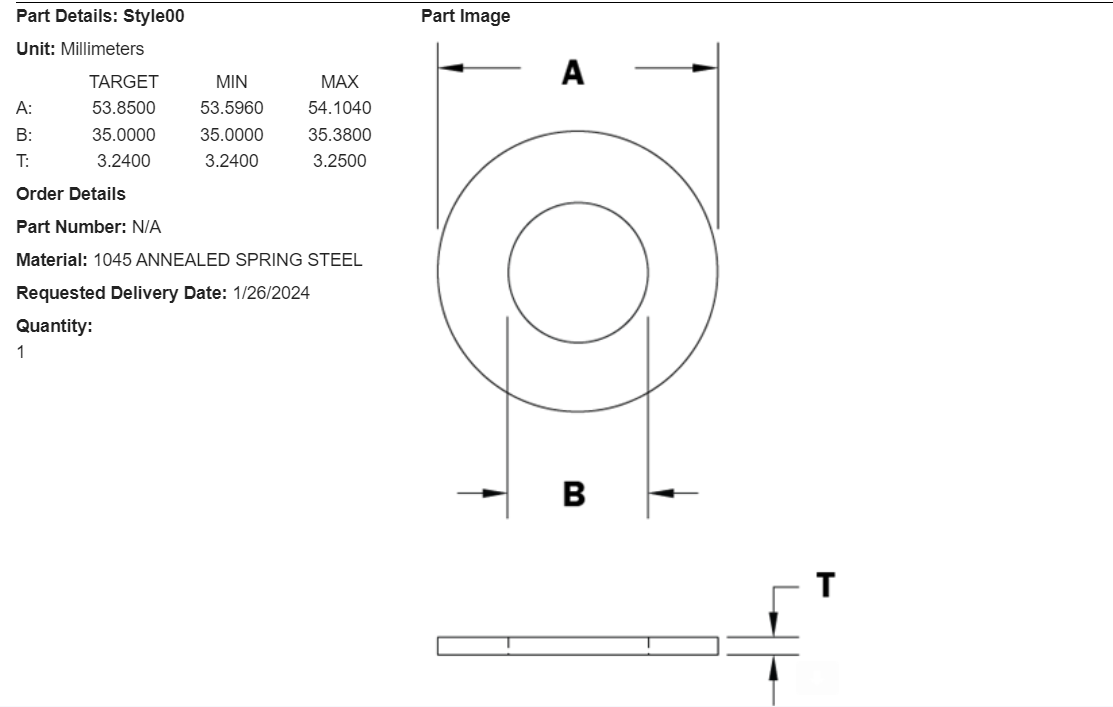
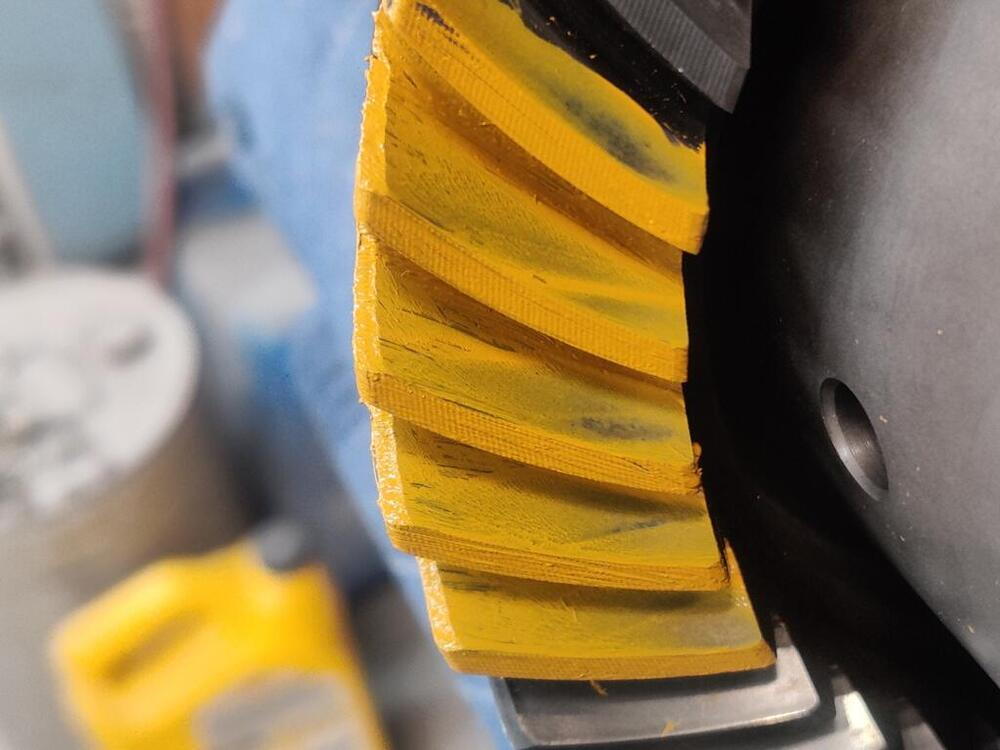
They came back to me with requirement for 100 pieces minimum to continue. So, they are now not an option. Thanks for the info on the sizing and material. My next step will be to try to shim stock and assembly to see if I can determine the thickness I need. Assuming that is successful, I will be trying to find a machine shop to make me one out of 1045 or something similar they have on hand.
-
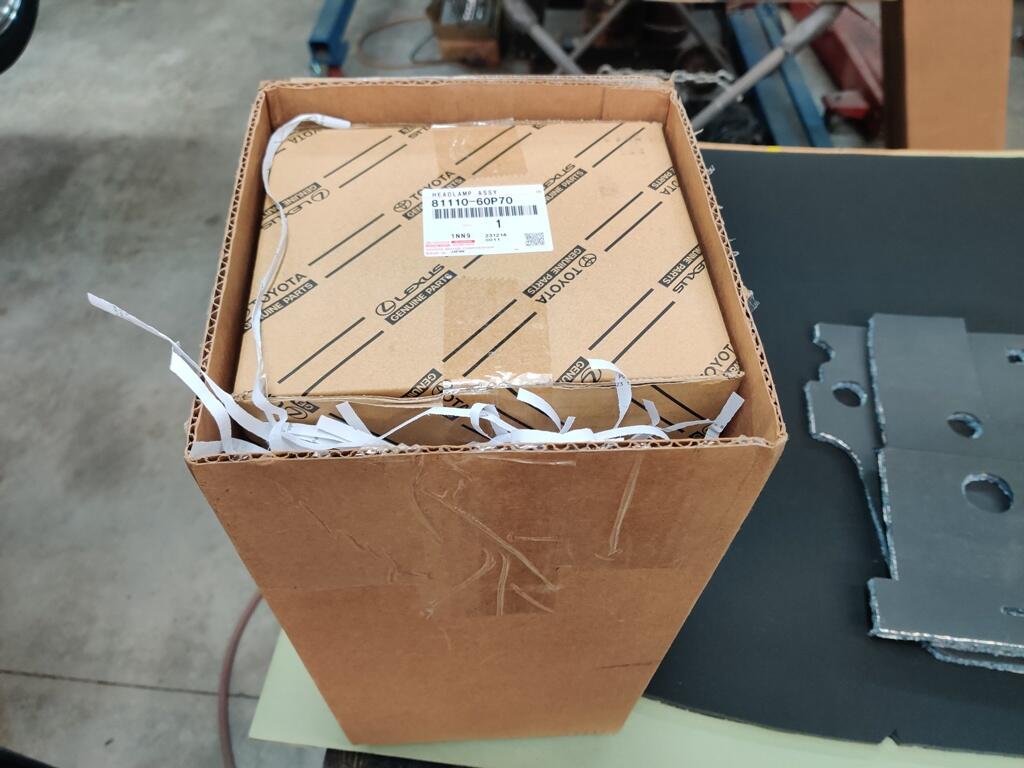
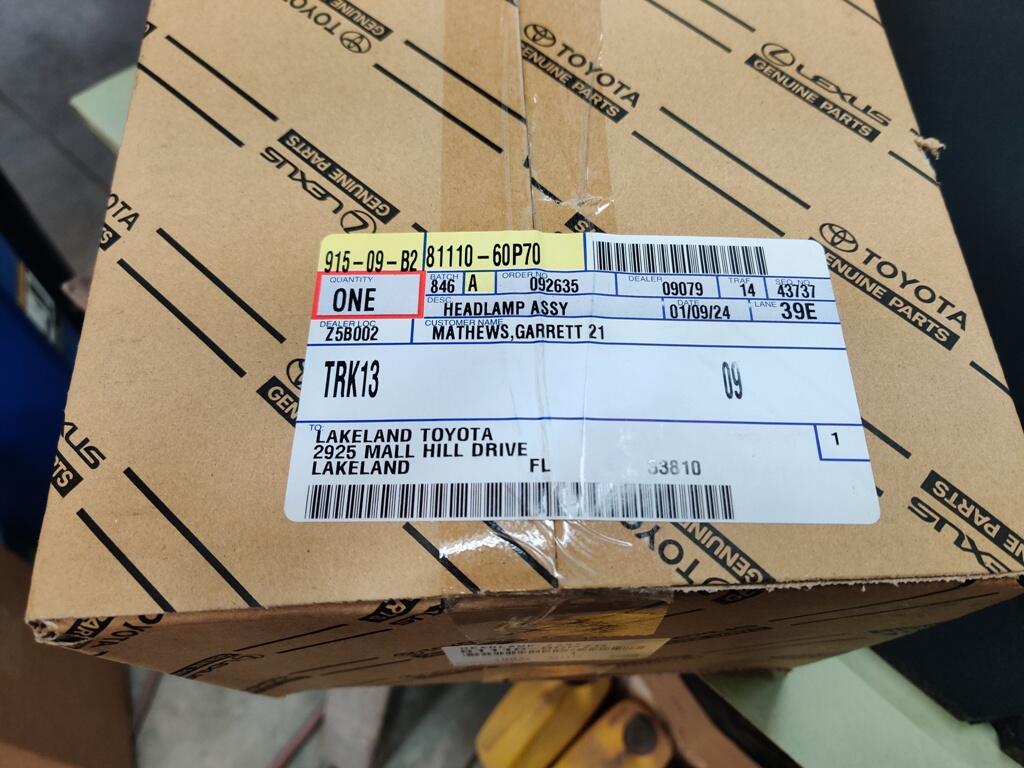
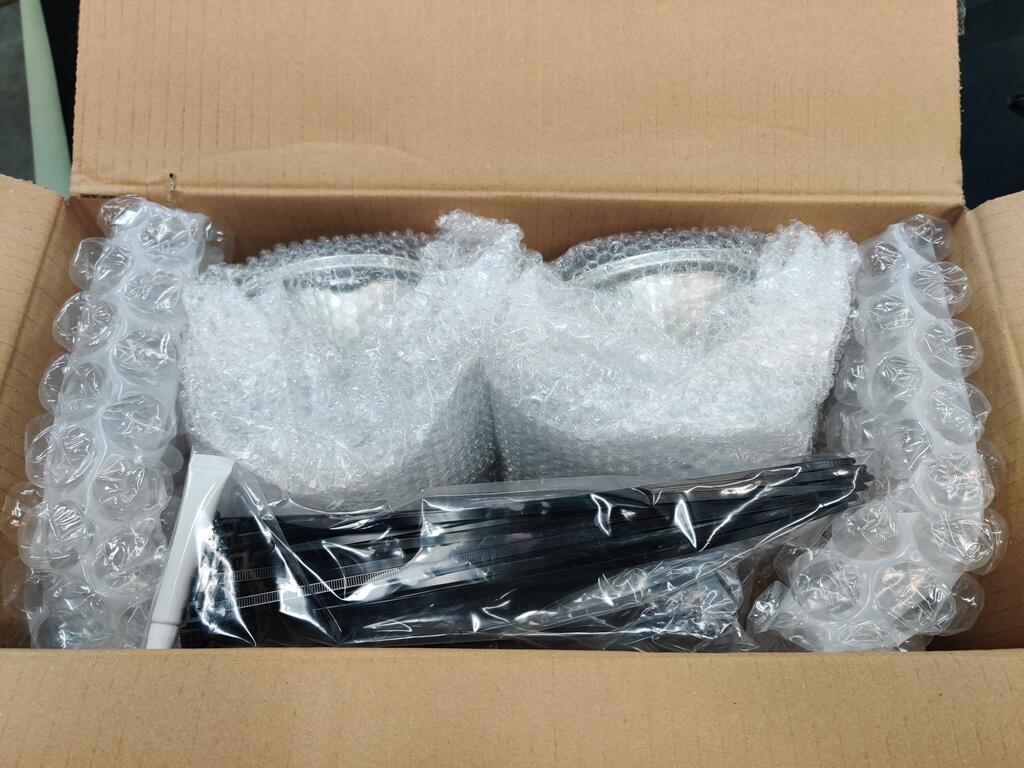
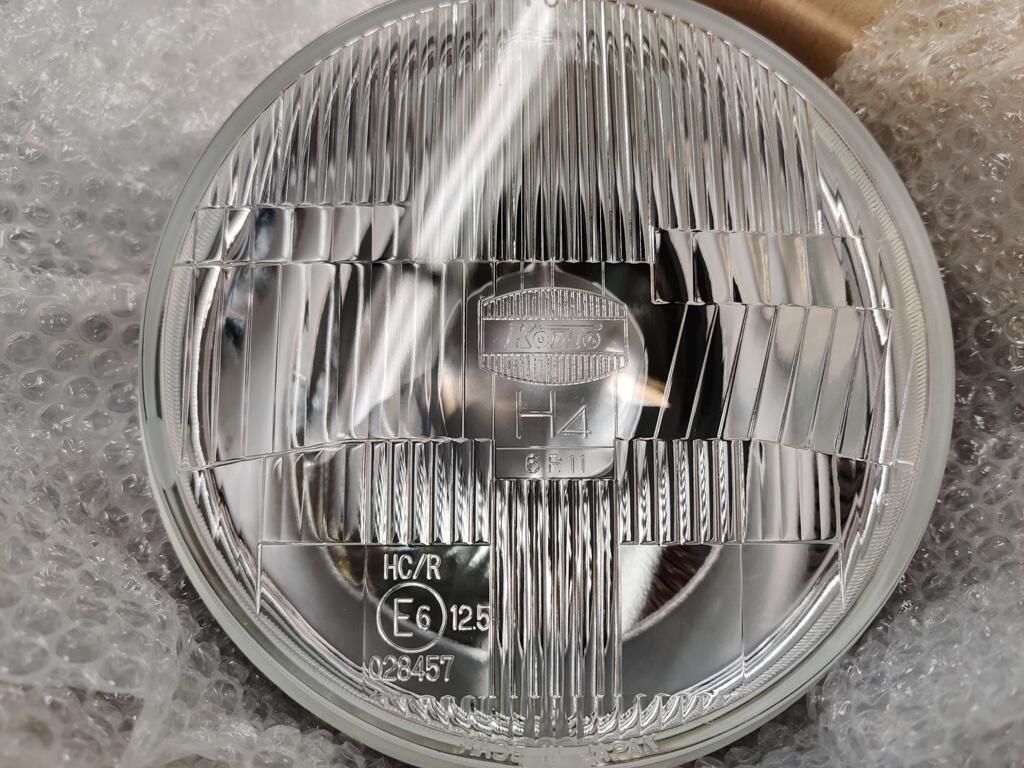
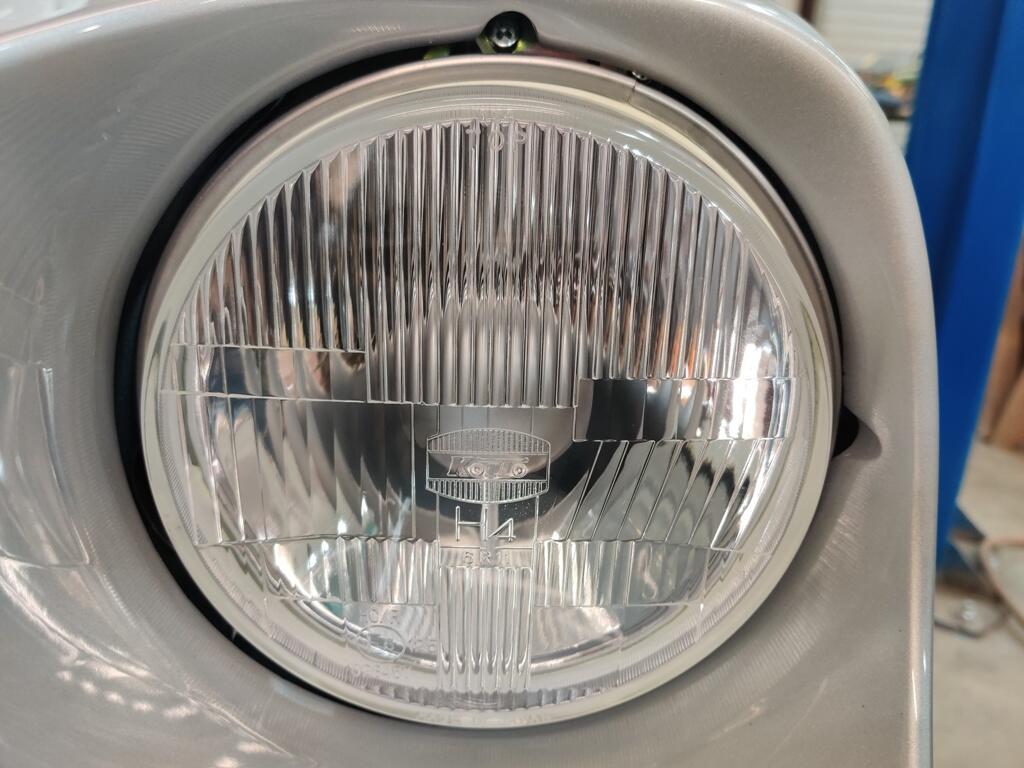
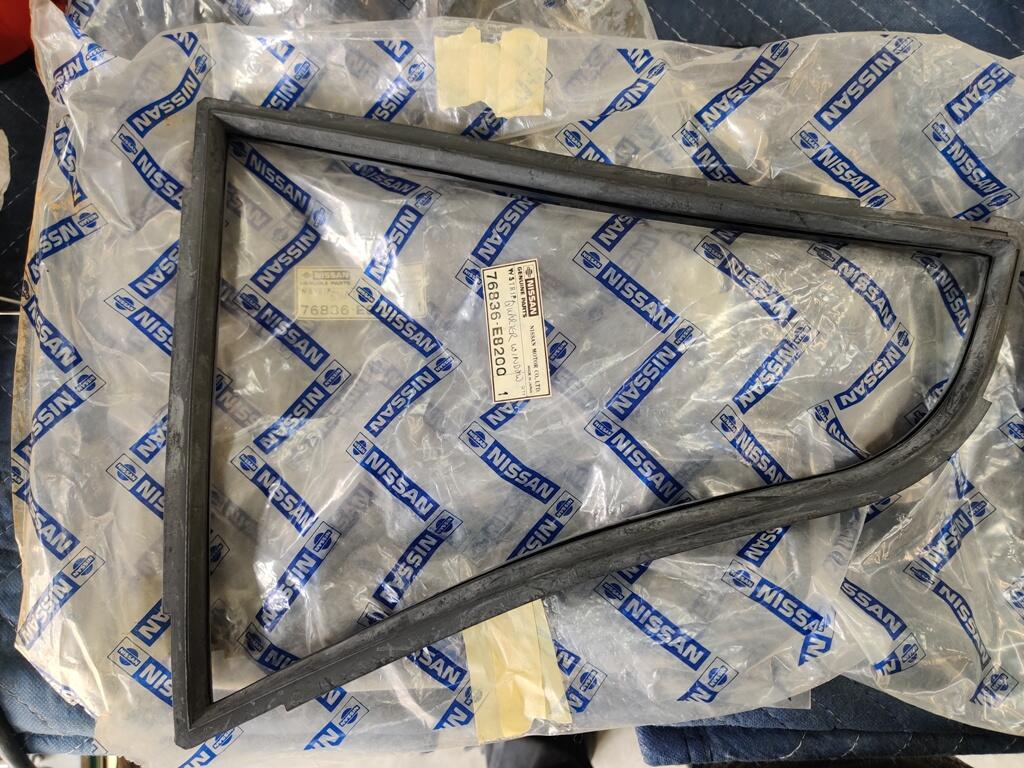
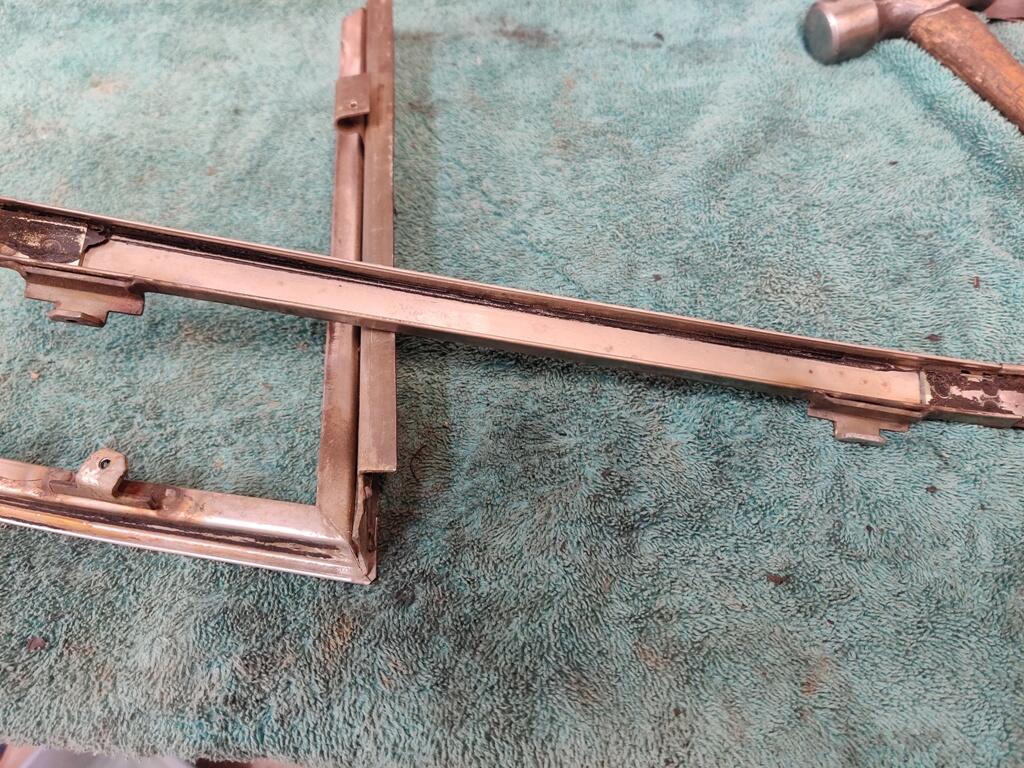
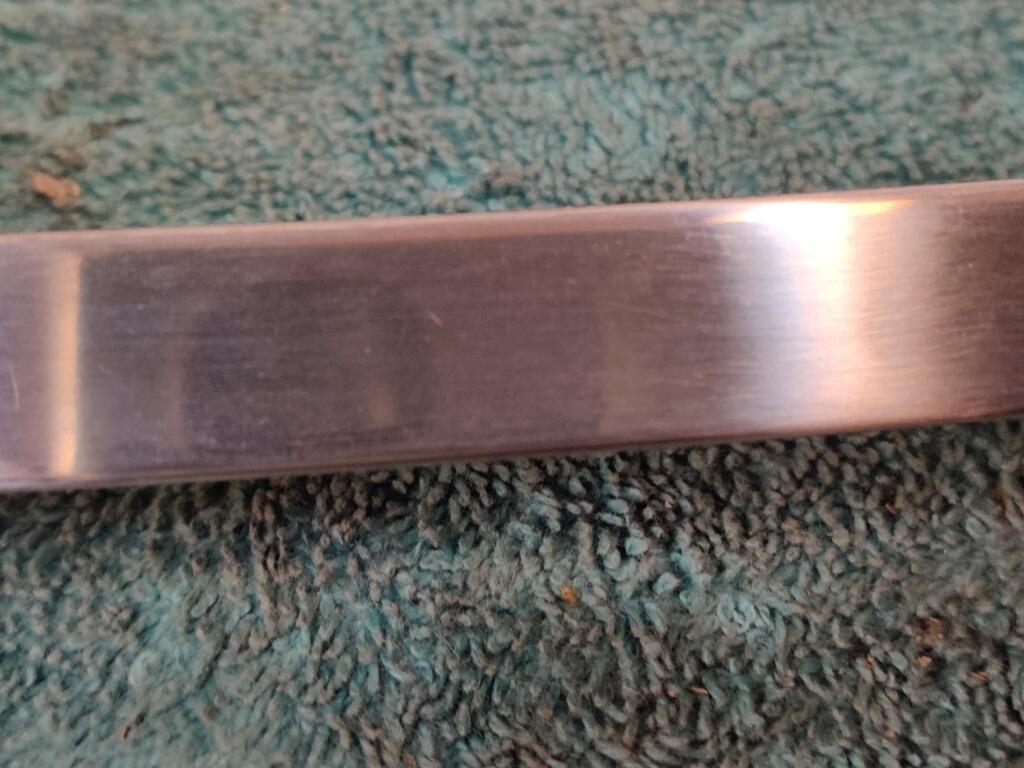
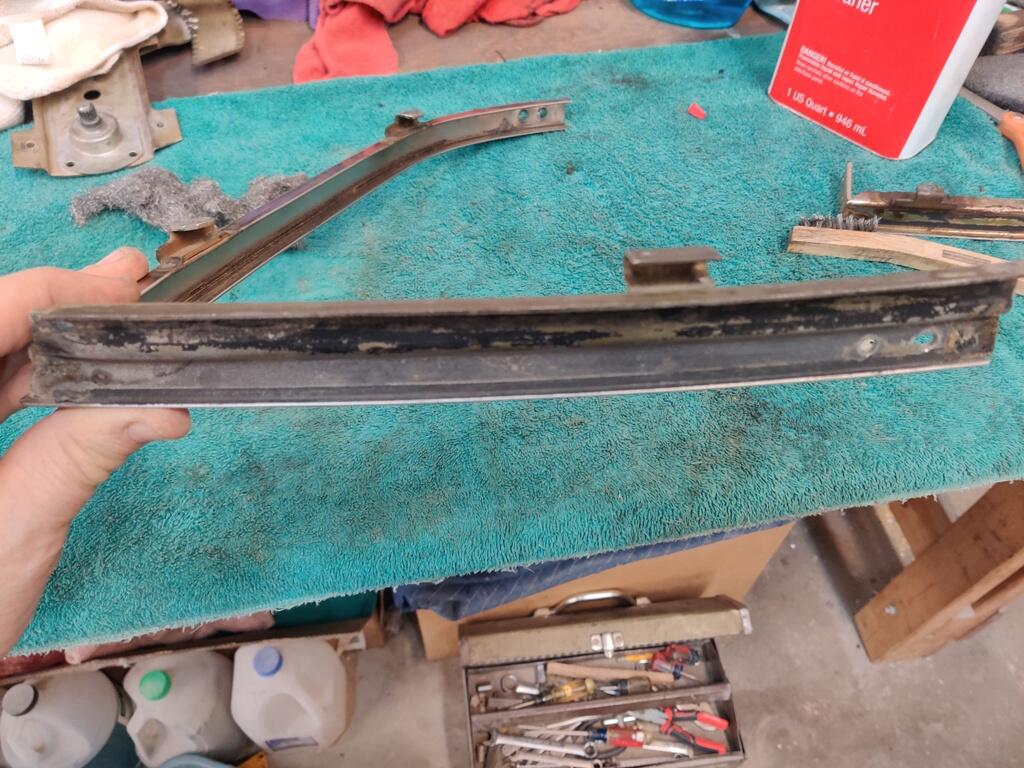
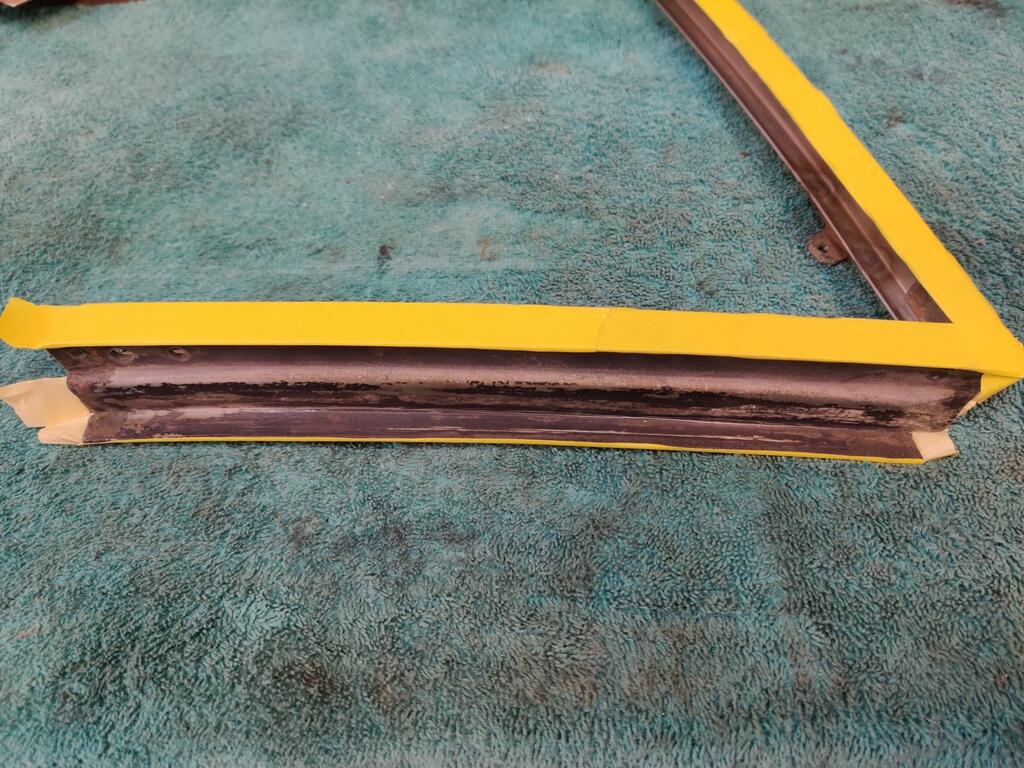
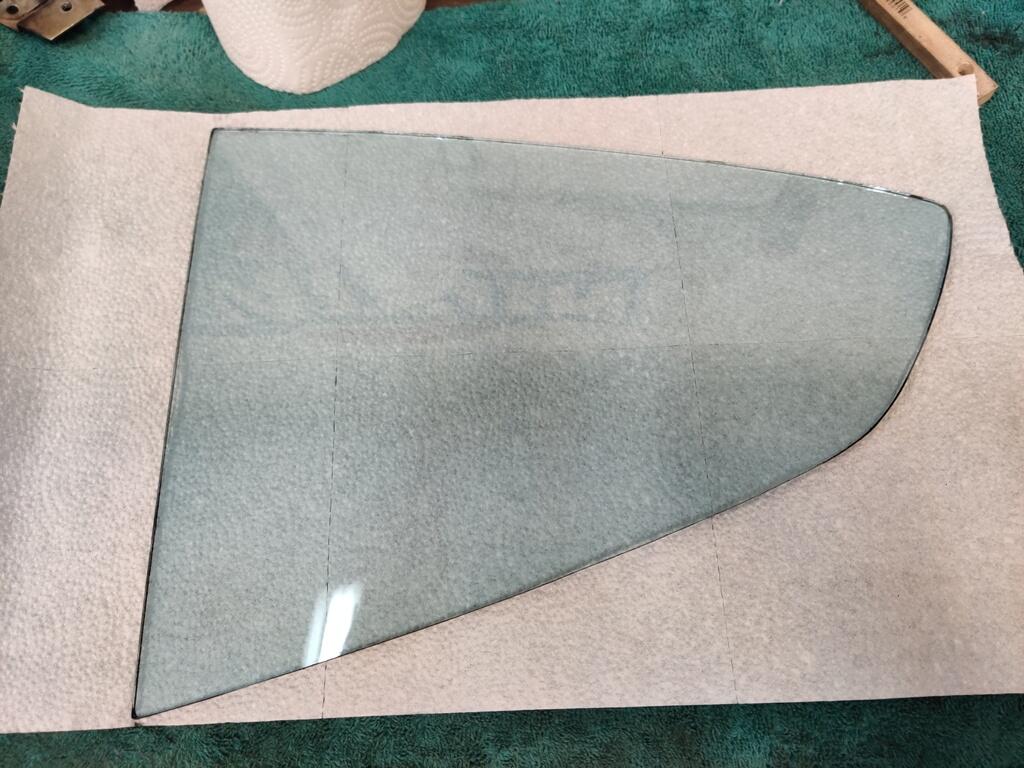
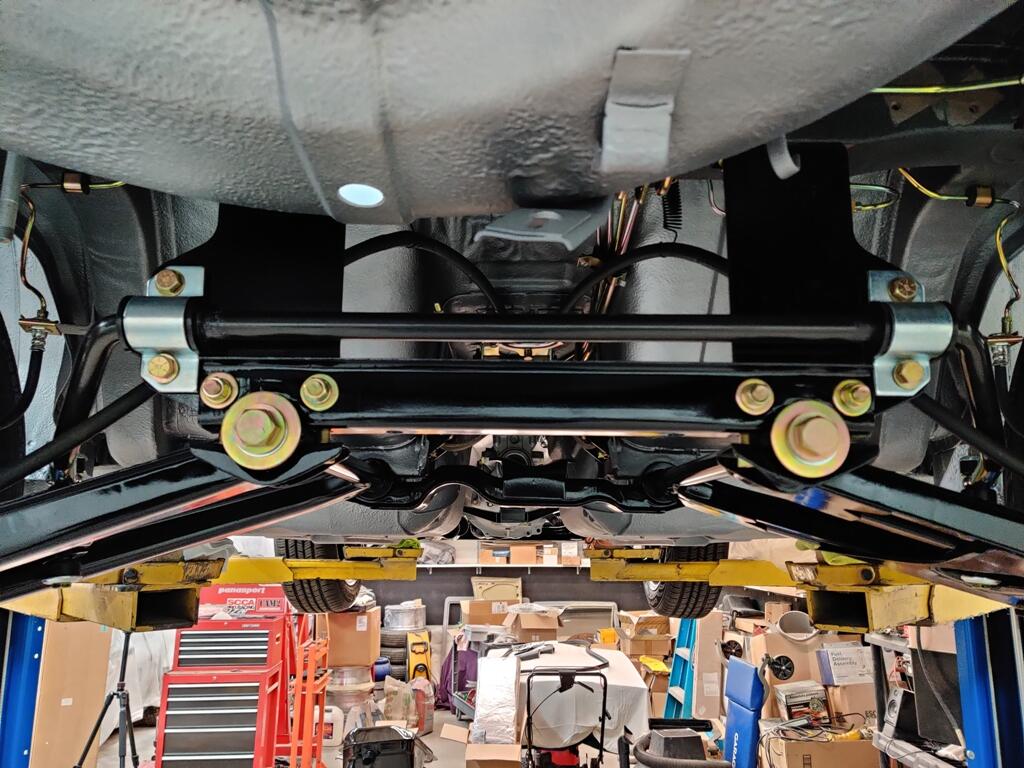
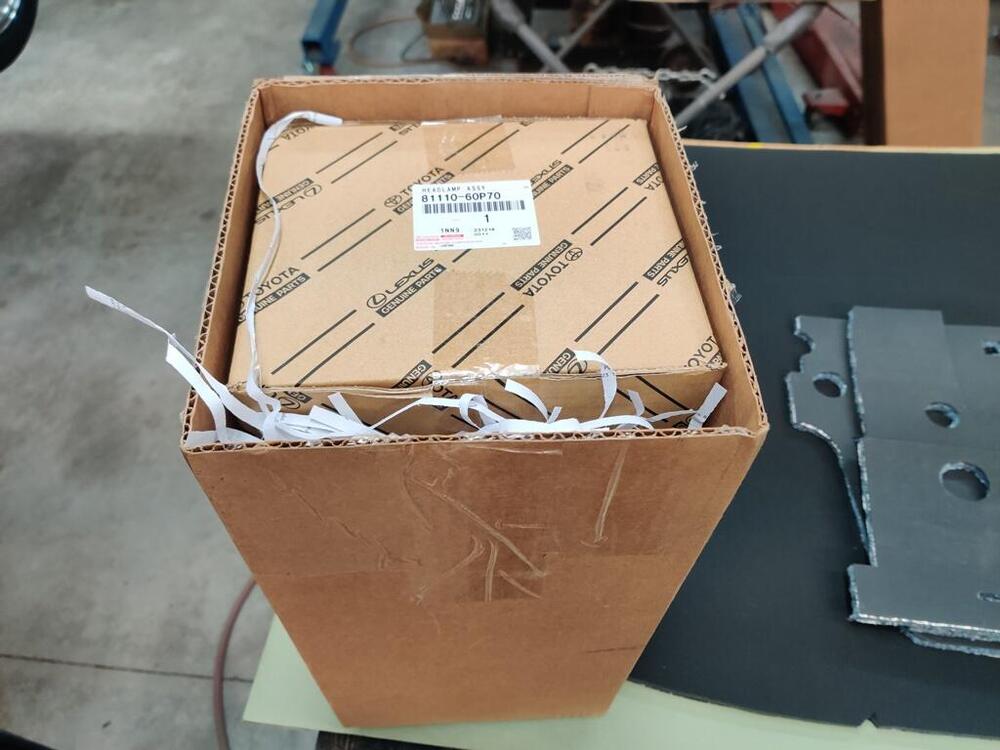
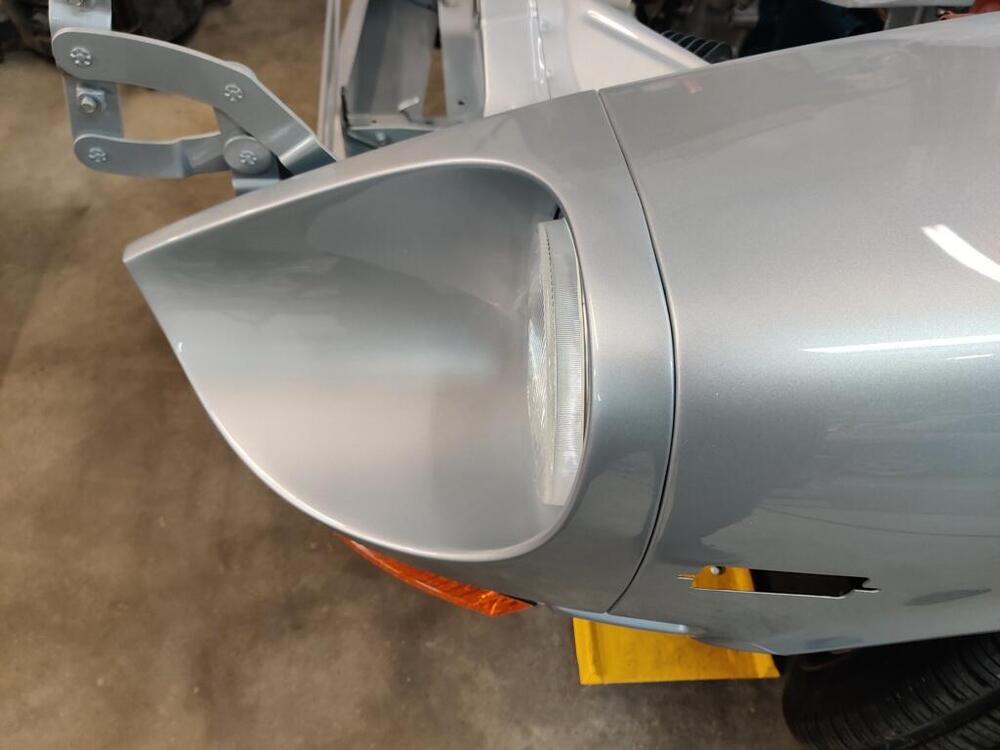
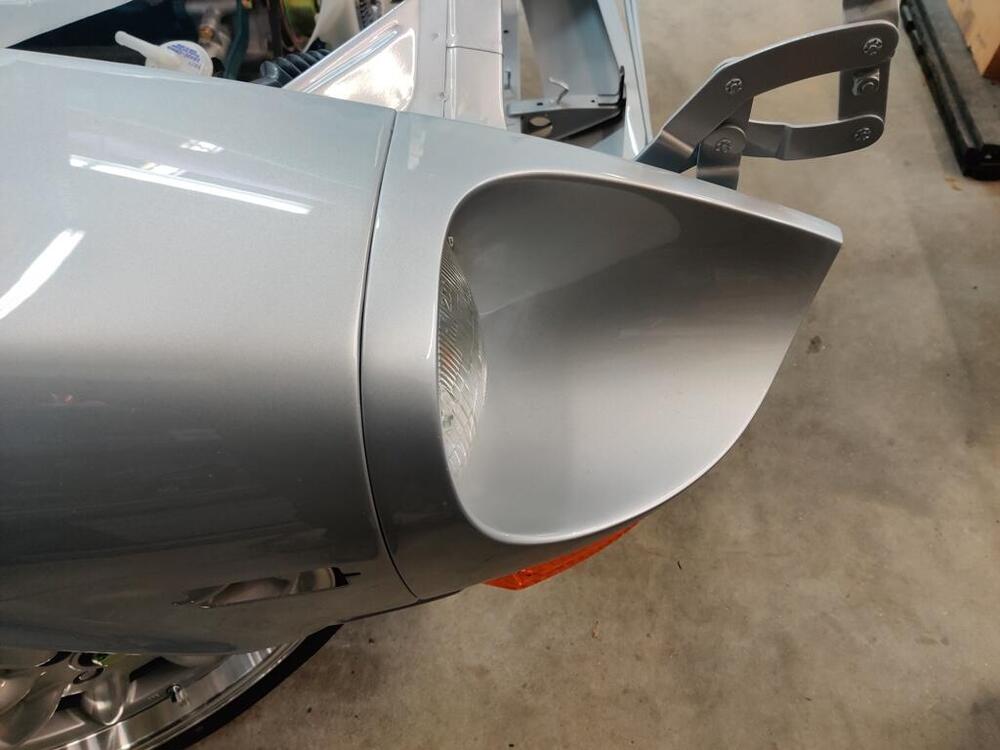
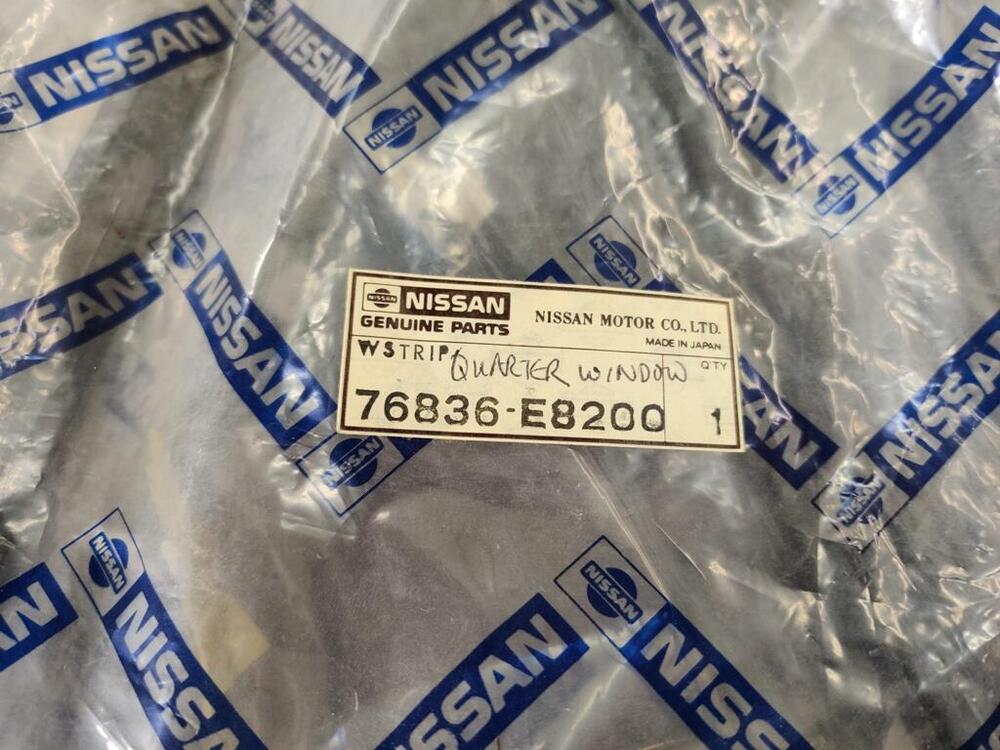
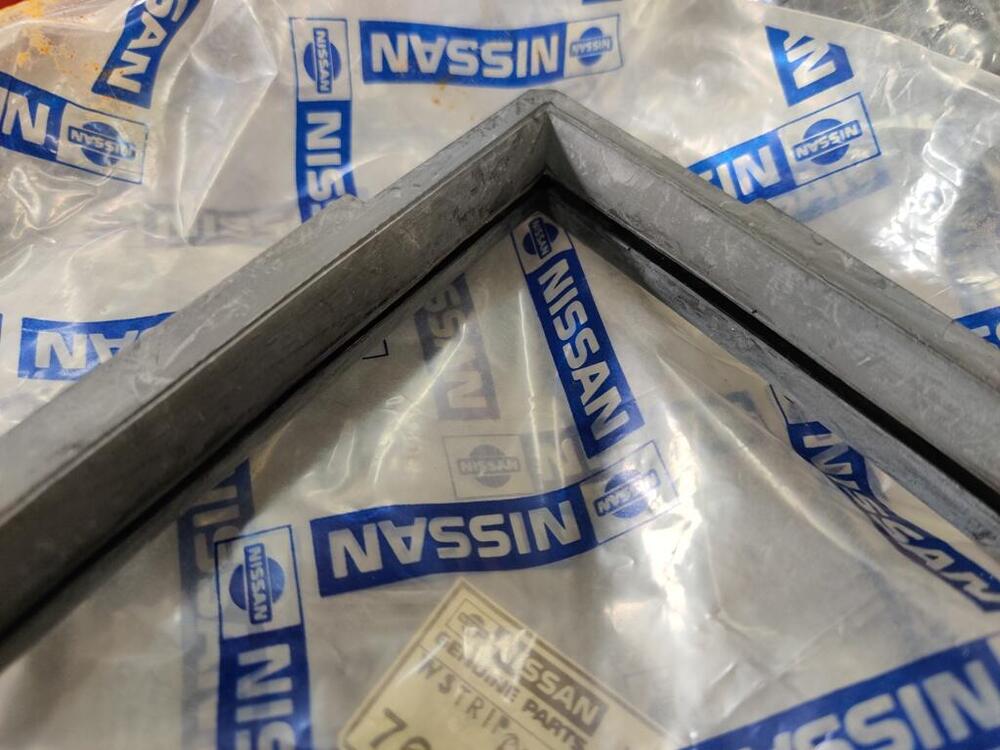
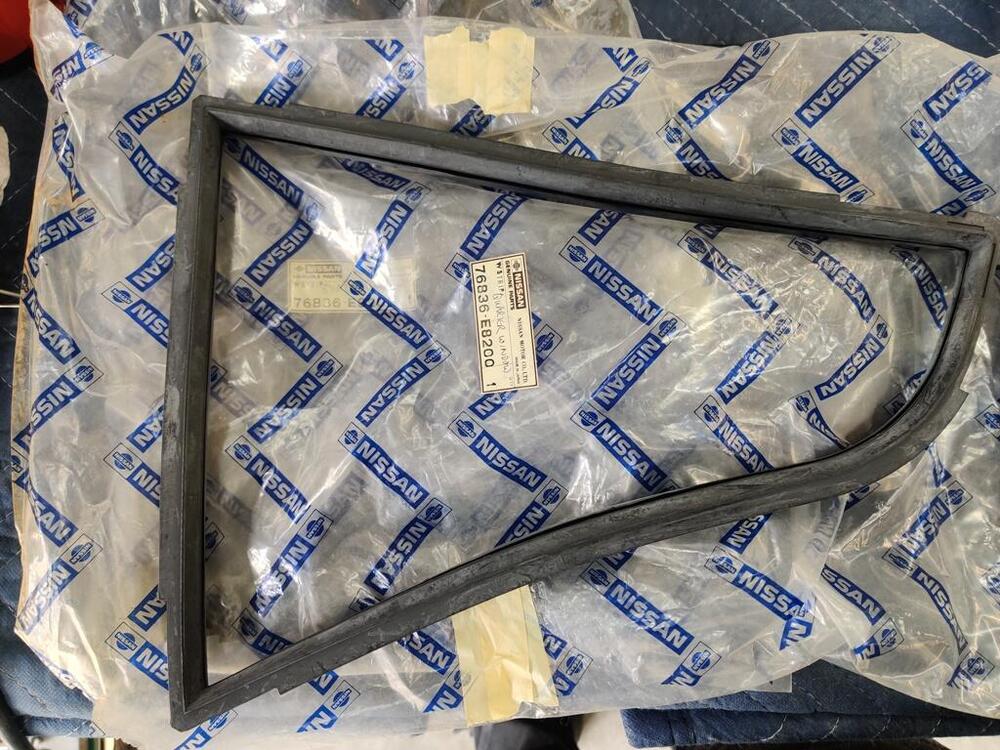
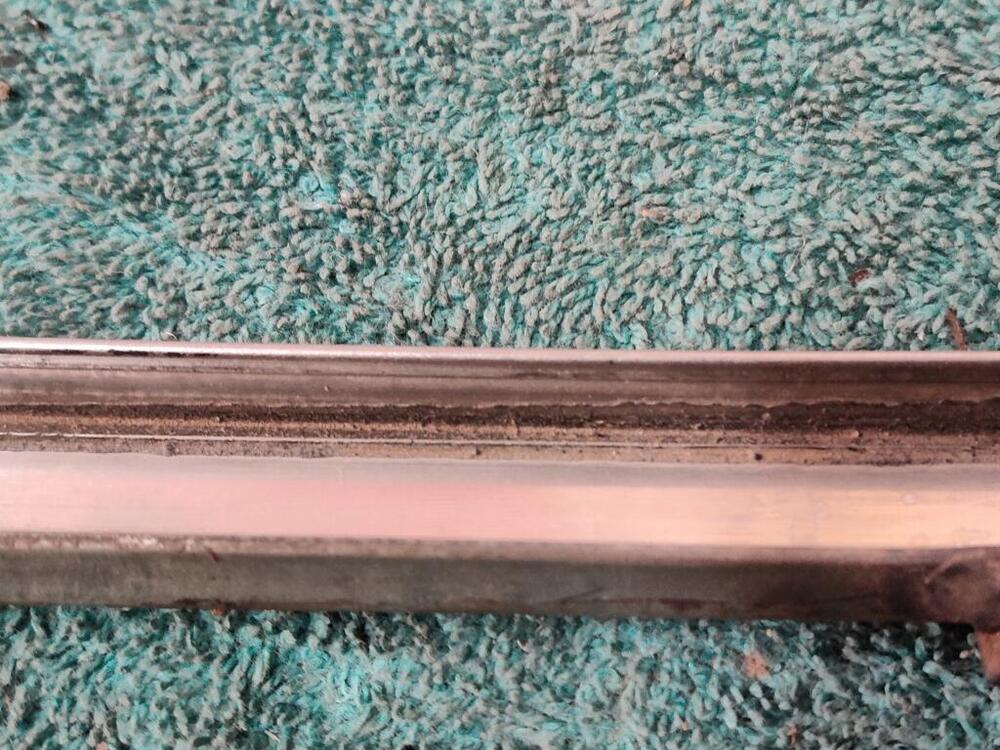
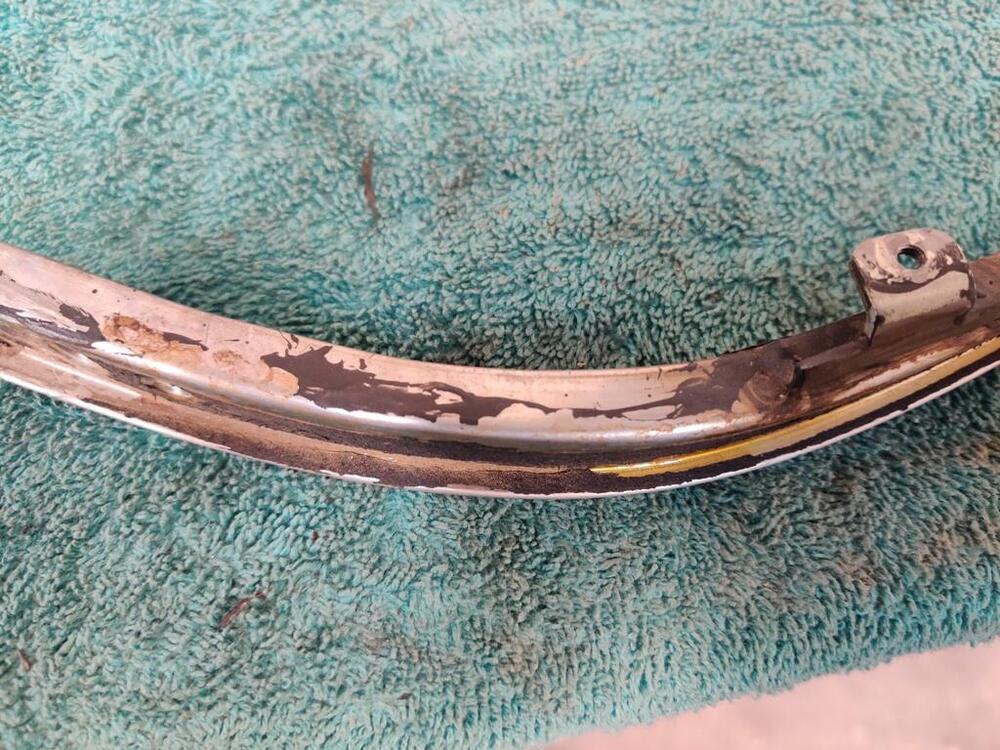
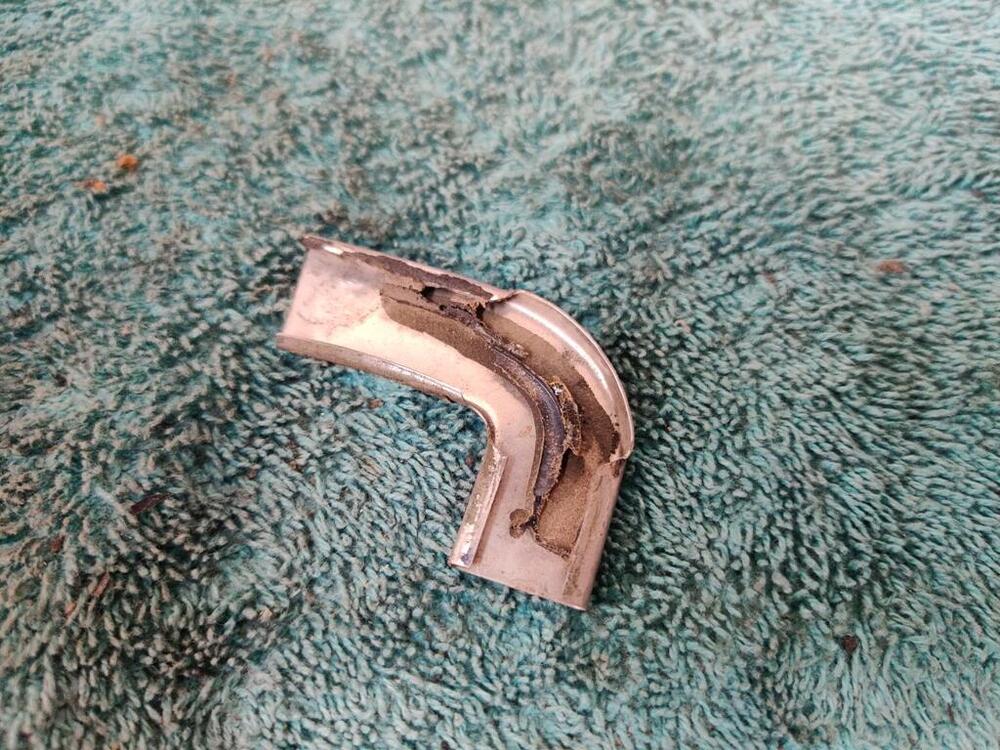
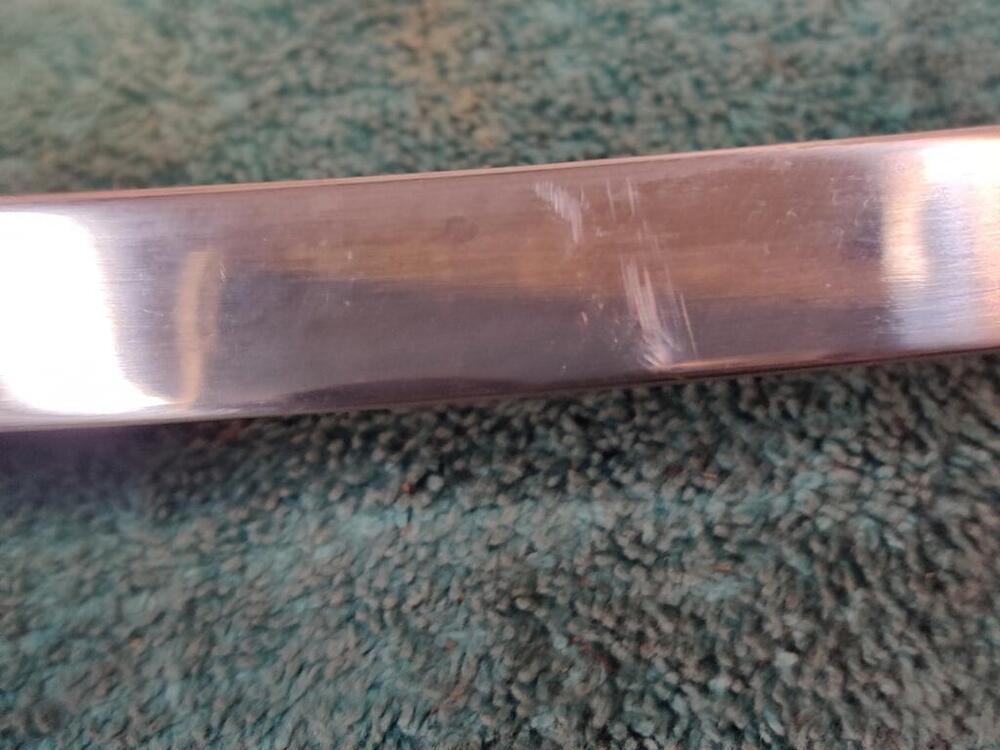
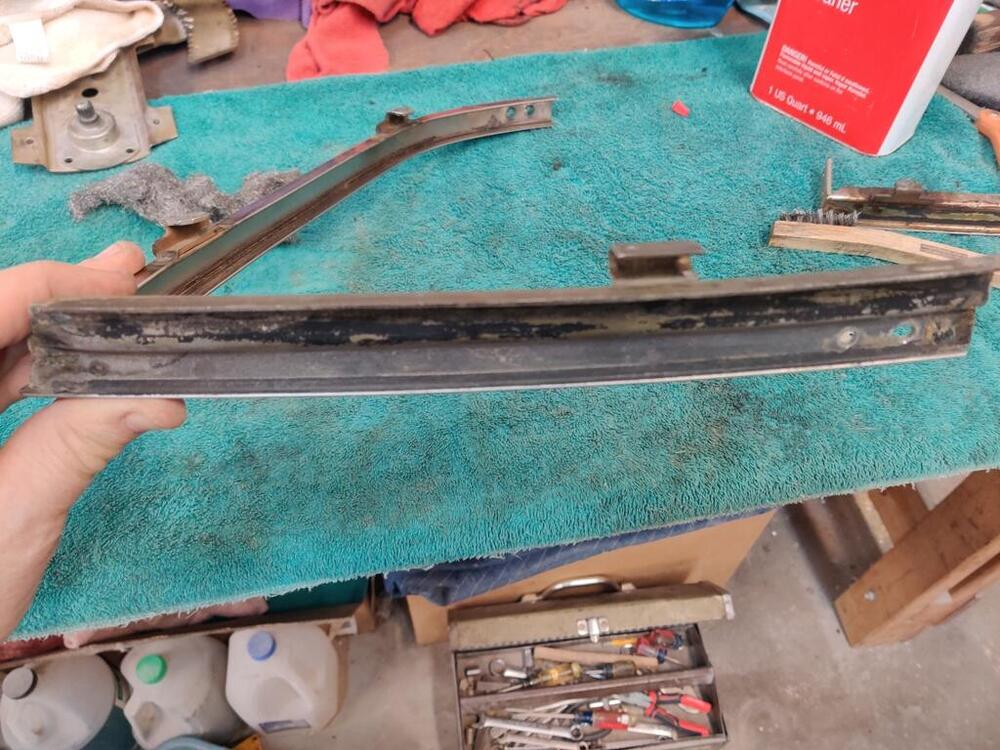
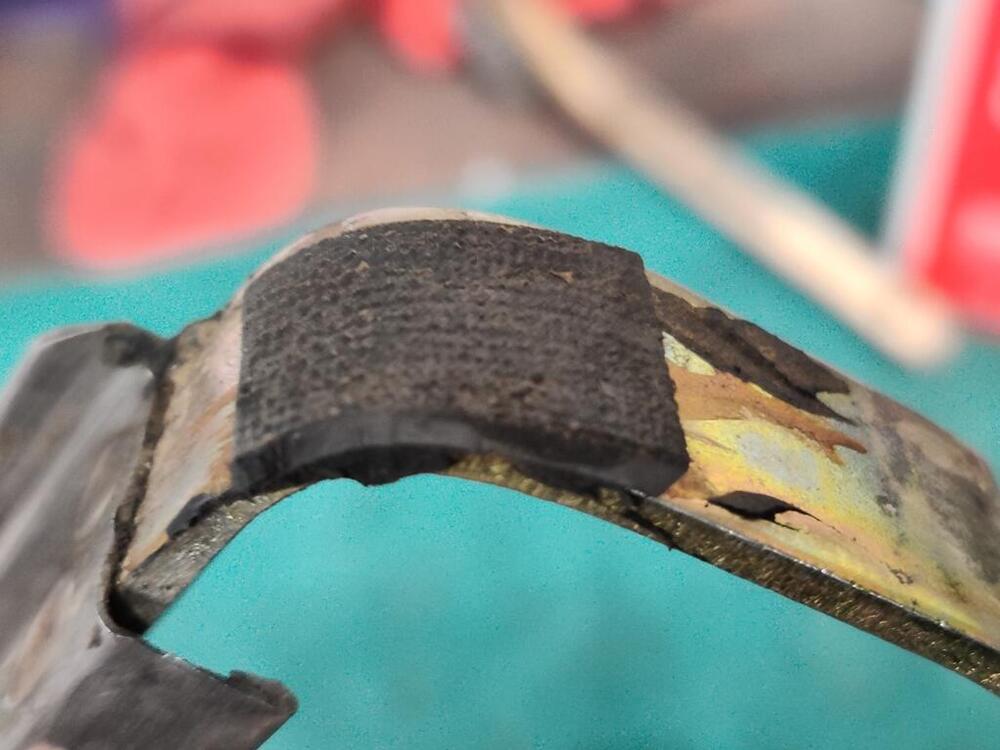
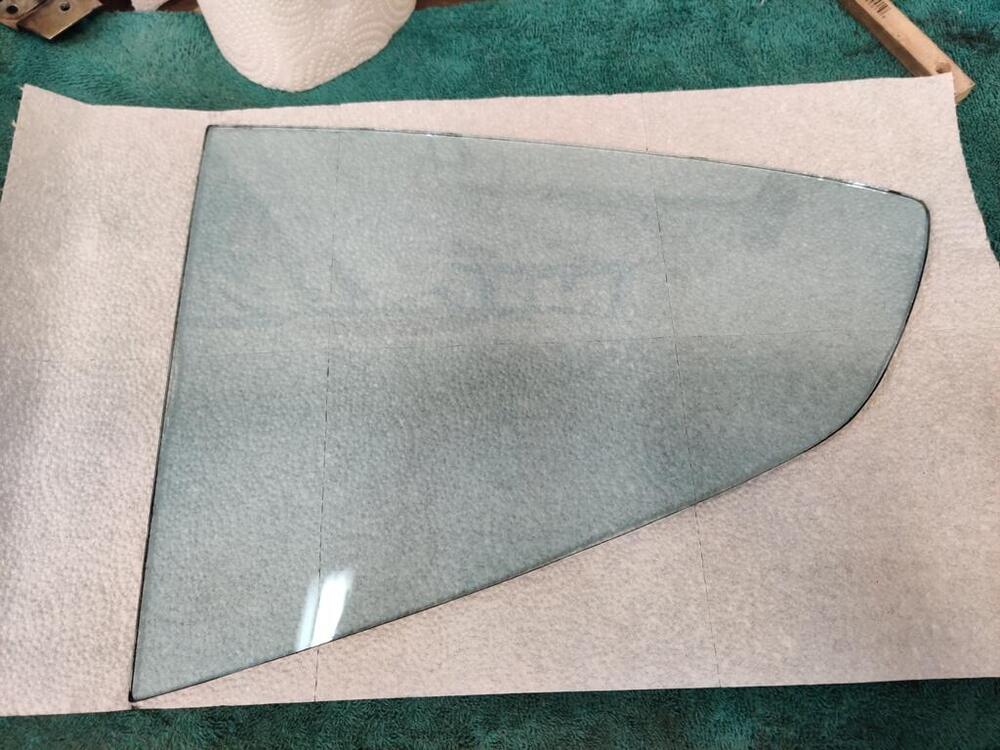
I had today off from work, so I continued on the car. I received this today: I came across the thread that @SteveJ posted about these. When I looked up the price, I couldn't believe how cheap they were. $16.92... plus $14.50 in shipping. So, I opted to buy these Koito H4 units for this car, and I will put the Hella ones on my track day 240z. The side profile is a bit different - it sticks out from the headlight housing, and is not my preference vs. the sealed beams, but the light on the road will be much better. Then I started on redoing the quarter windows. Some of the NOS parts that came with the car included these: After careful disassembly, I noted some of these details. A bead of sealant was put along the outside edge of the channel. Also, you can see some of the black paint that was brushed on by the factory worker. This is more evidence that the quarter windows were in place on this car when that person came along with their brush. 🙂 Also, the little corner piece had a lot of window sealant on it, presumably to help lock it in and keep it from moving. The back, upper corners have extra rubber layers which build out that corner a bit. Without them, the sealing in that corner is not sufficient when the window is installed. Pictured is only one of them. Showing some light scratches and the original finish on the stainless outside surface. Also, the edge facing the back of the door is not stainless and is painted semi-gloss black. Masking for glass bead blasting in the cabinet. A close up of the rubber pad in the upper corner, and one glass, cleaned and ready to install. My very old windshield adhesive hardened inside the unopened tube, so I ordered another today, and set the quarter window project aside. Then I installed the Suspension Techniques rear anti-roll bar. Interestingly, I had to open up the holes a touch which mount the bar to the vertical hangers. The bolts would not fit through otherwise. So, a decent amount done today.


-
I saw, yes. Yet another $120 I would have to spend. Perhaps it was a poor decision, but I thought about it for sure, and decided against it. That is an Interesting point about sealing. I'll need to heat the hose again for sure to get the gas tank installed. I'll investigate what is available to assist with sealing at that connection.
-
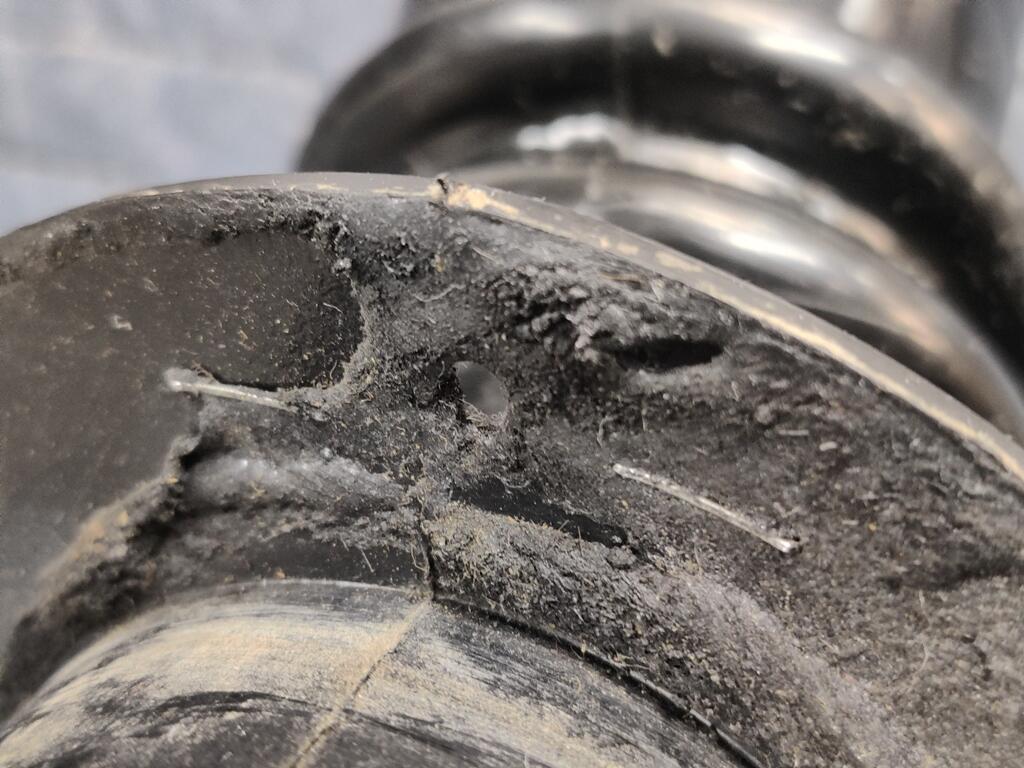
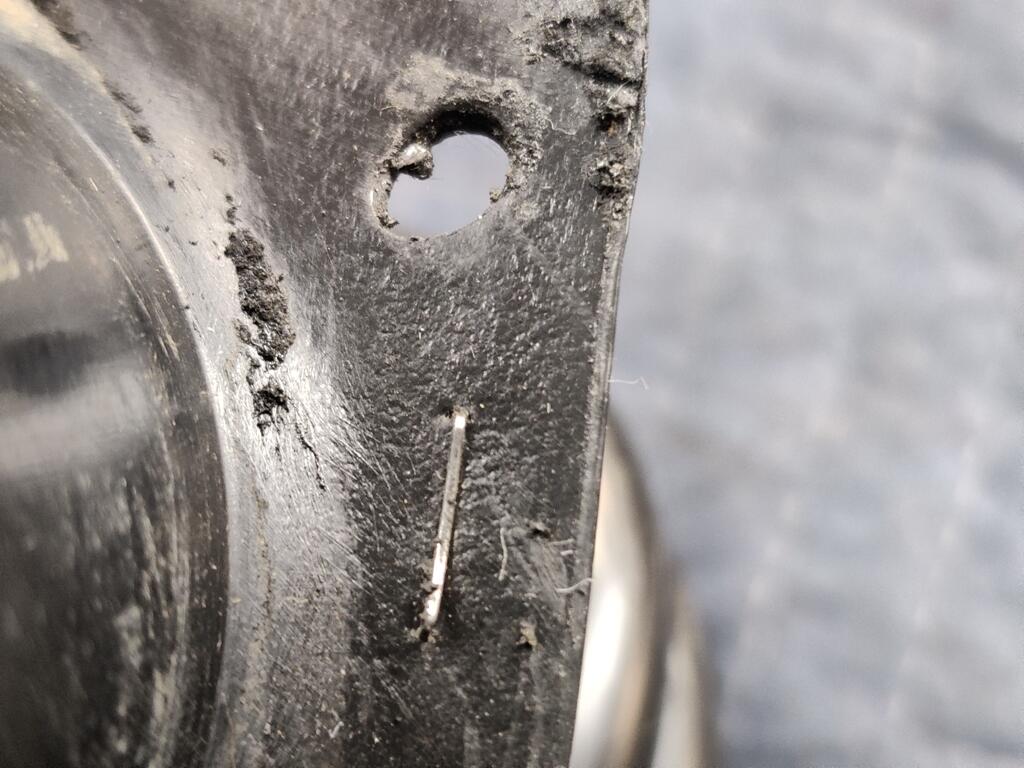
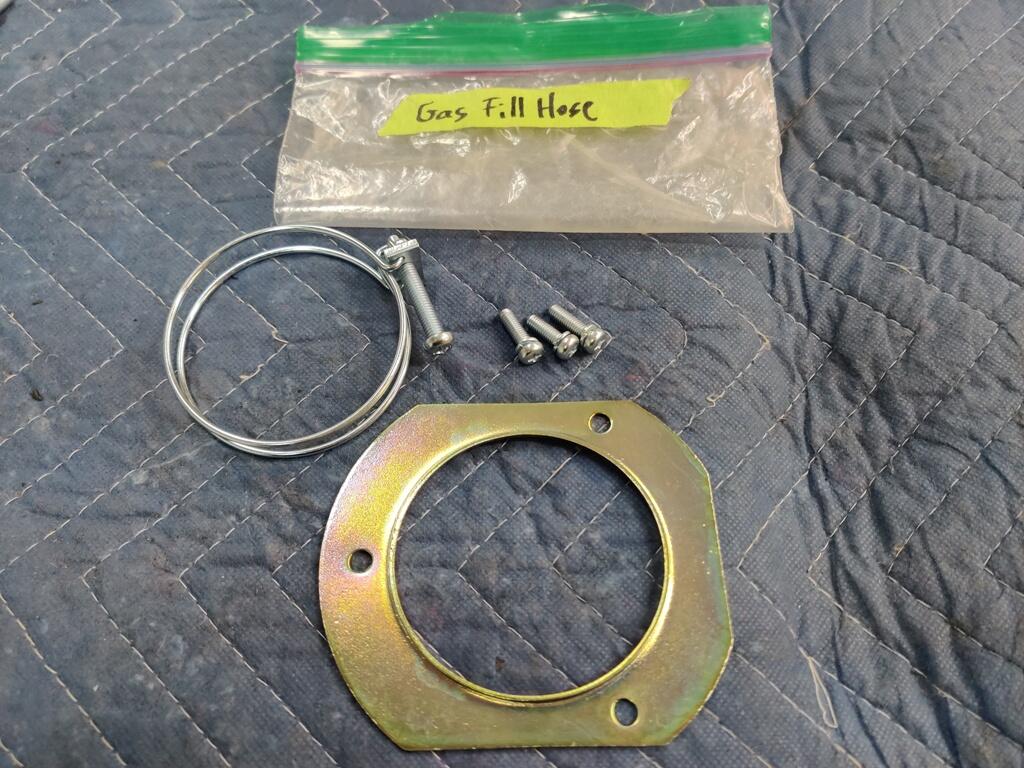
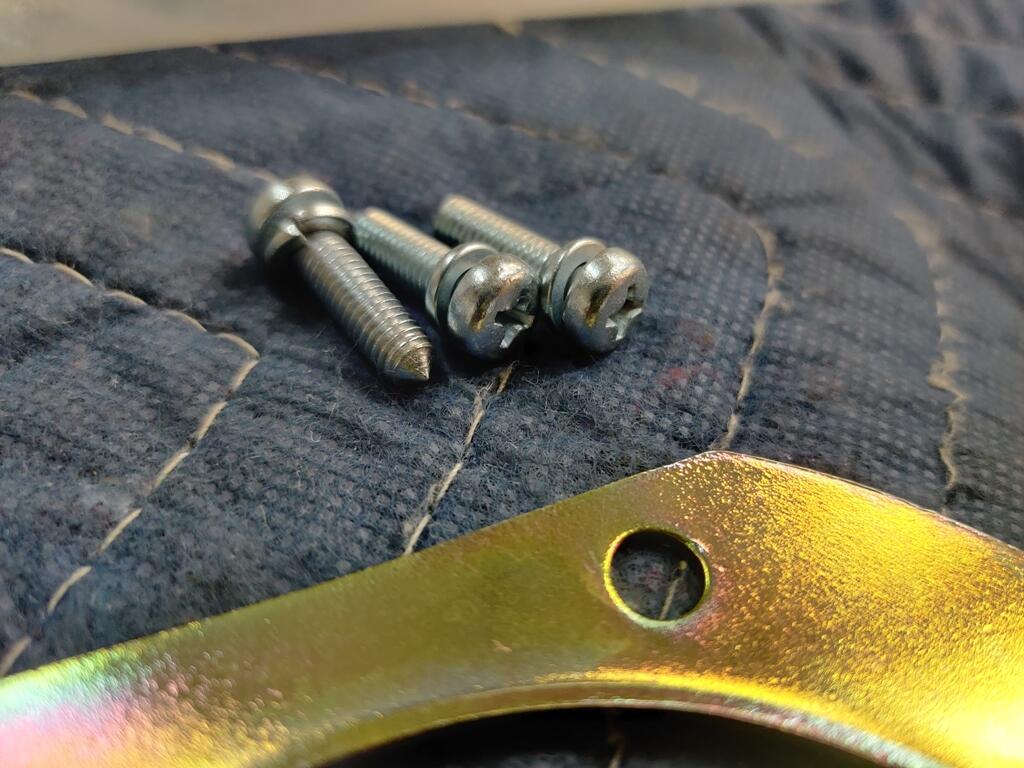
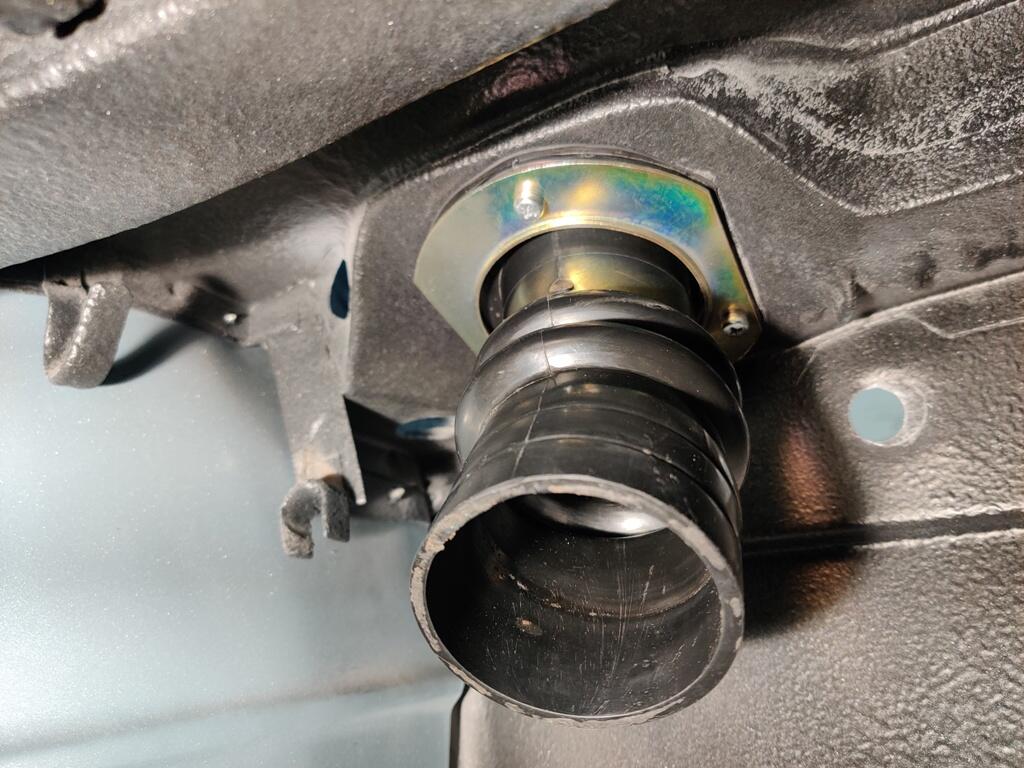
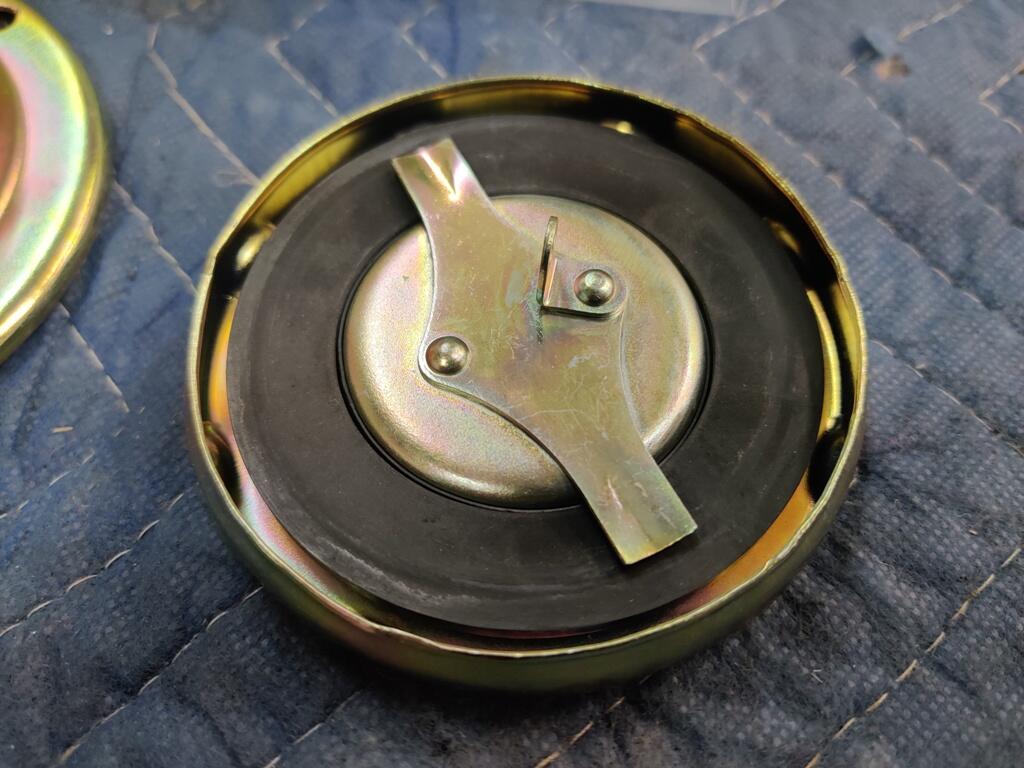
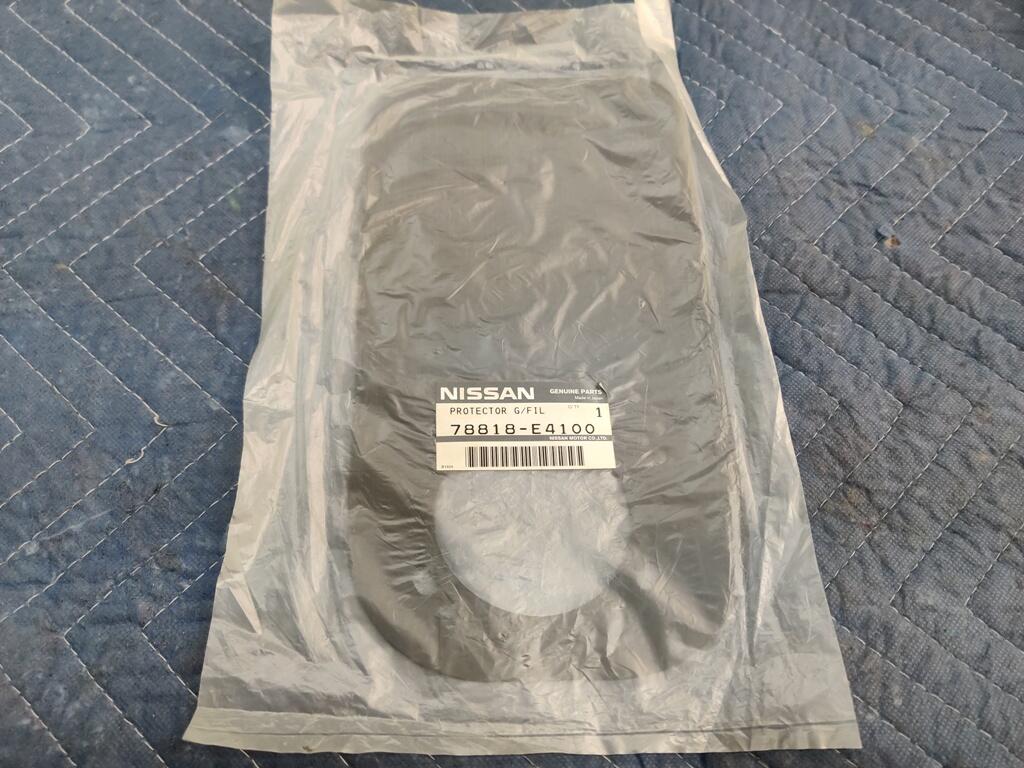
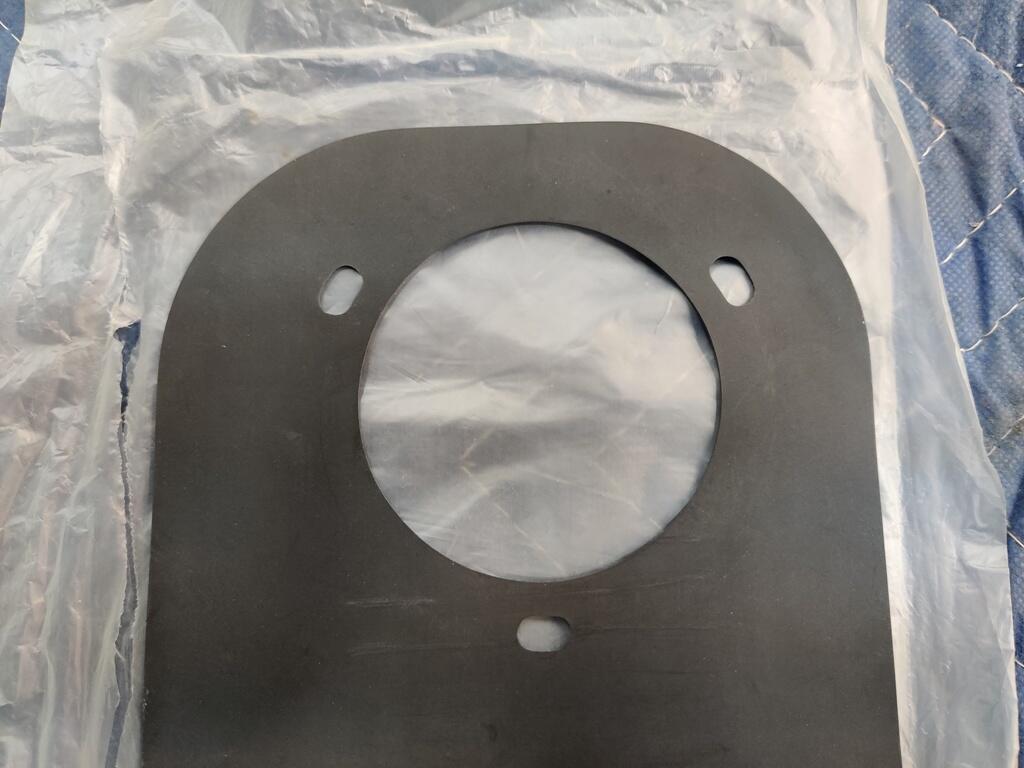
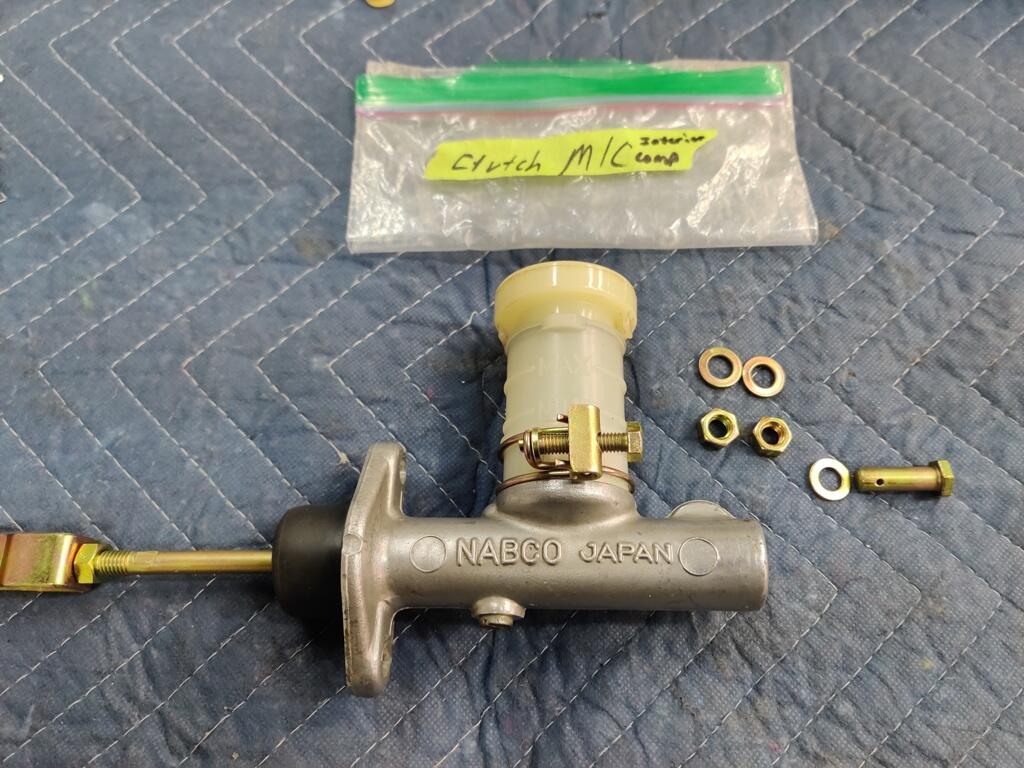
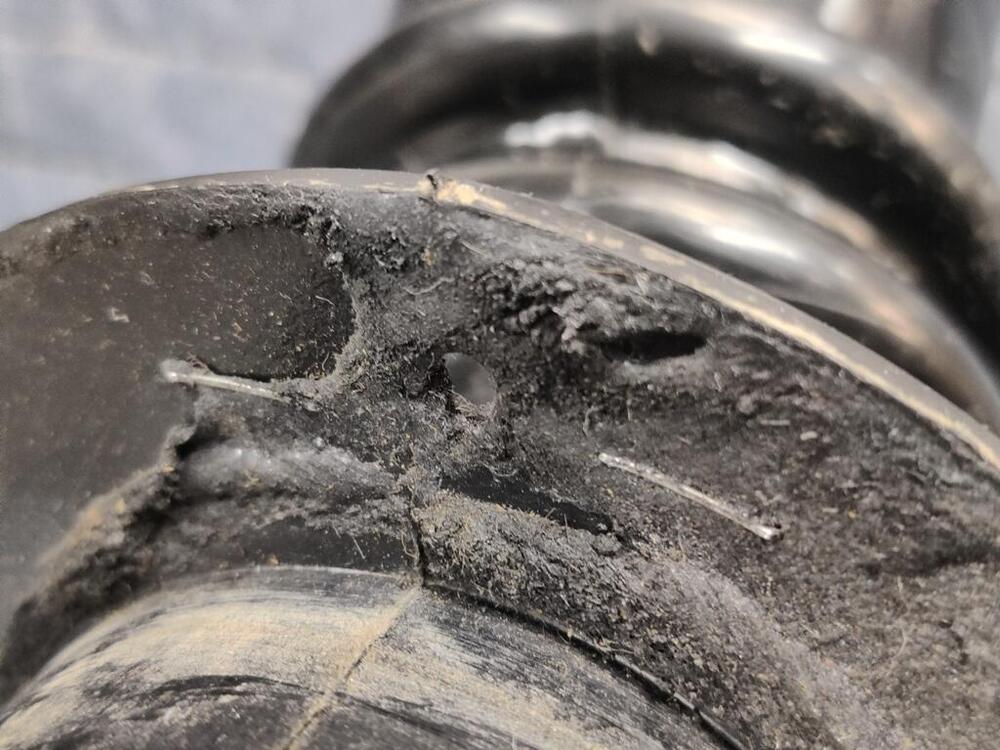
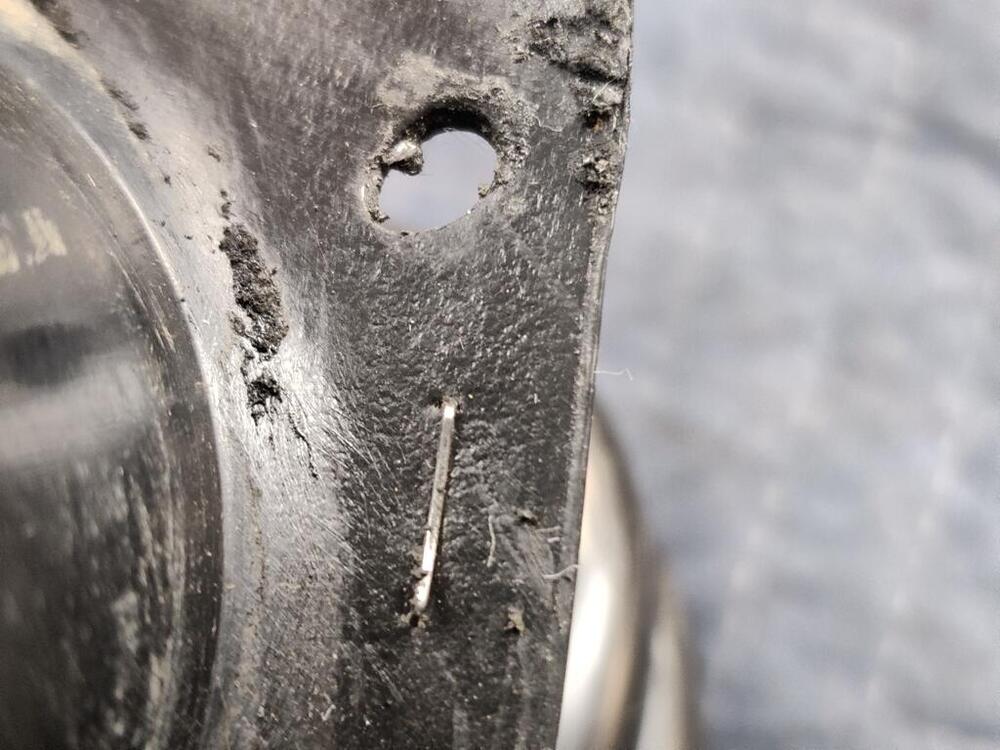
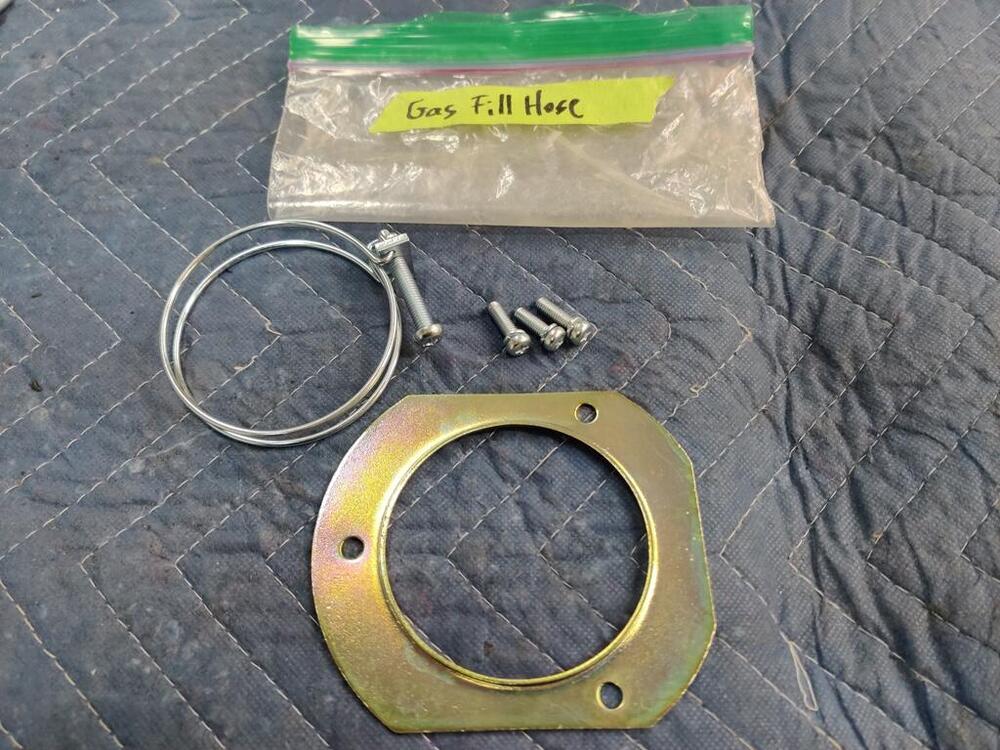
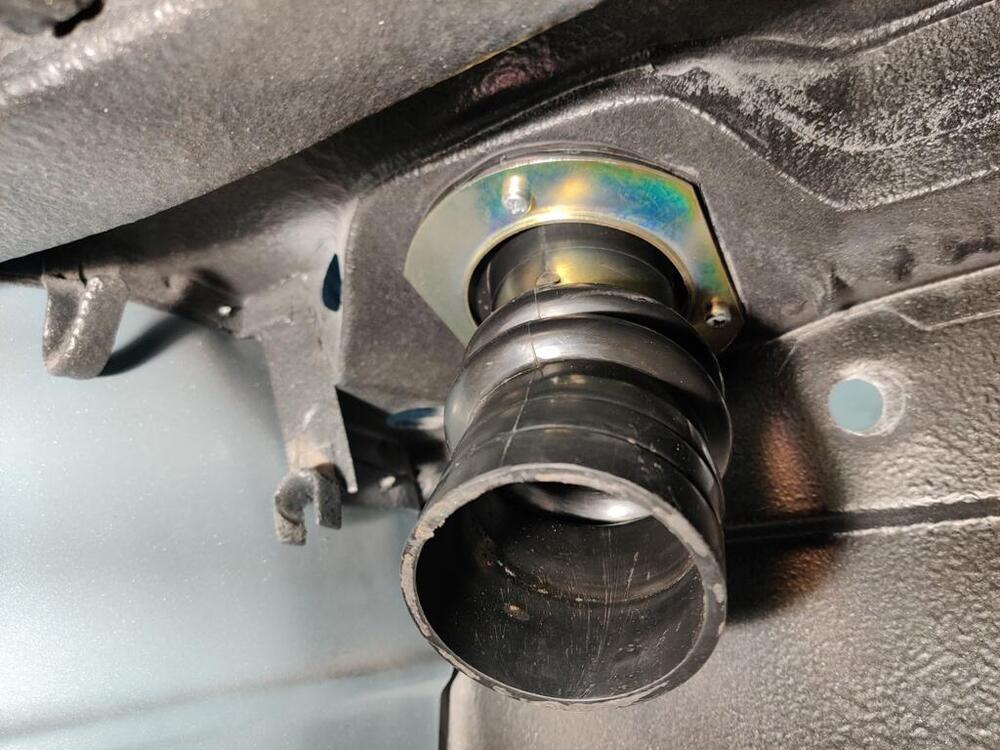
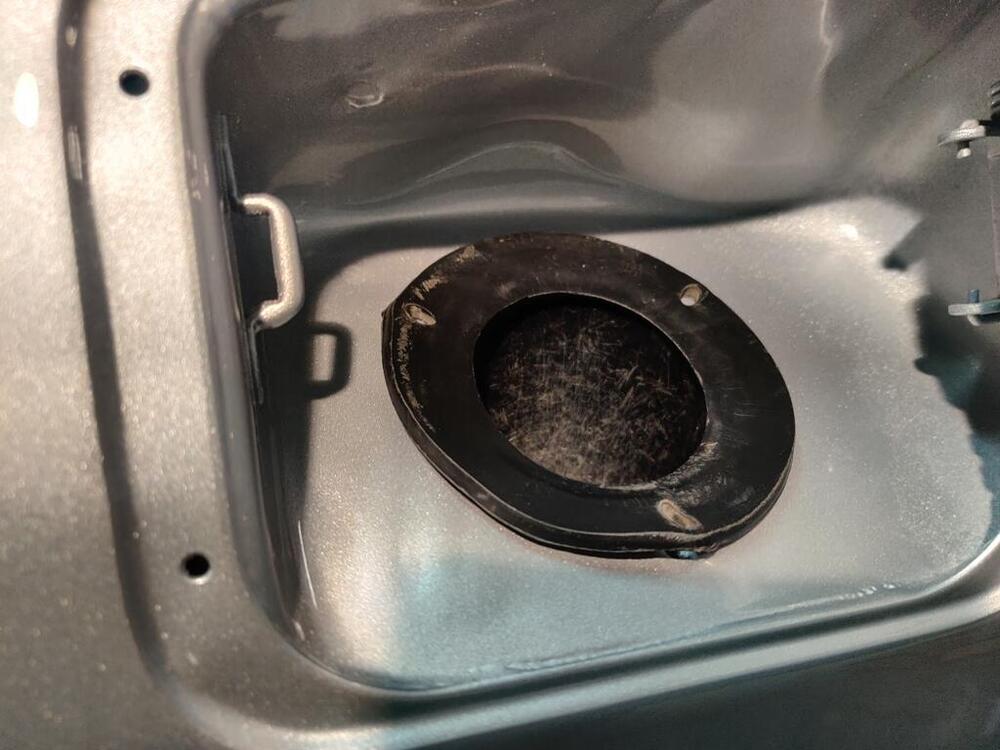
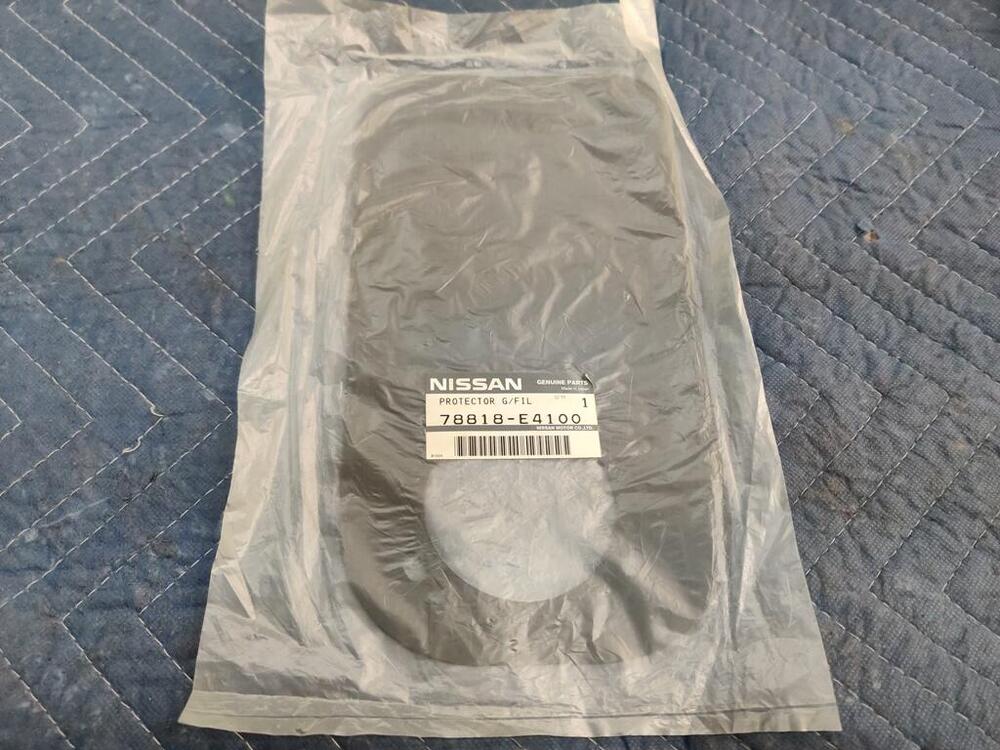
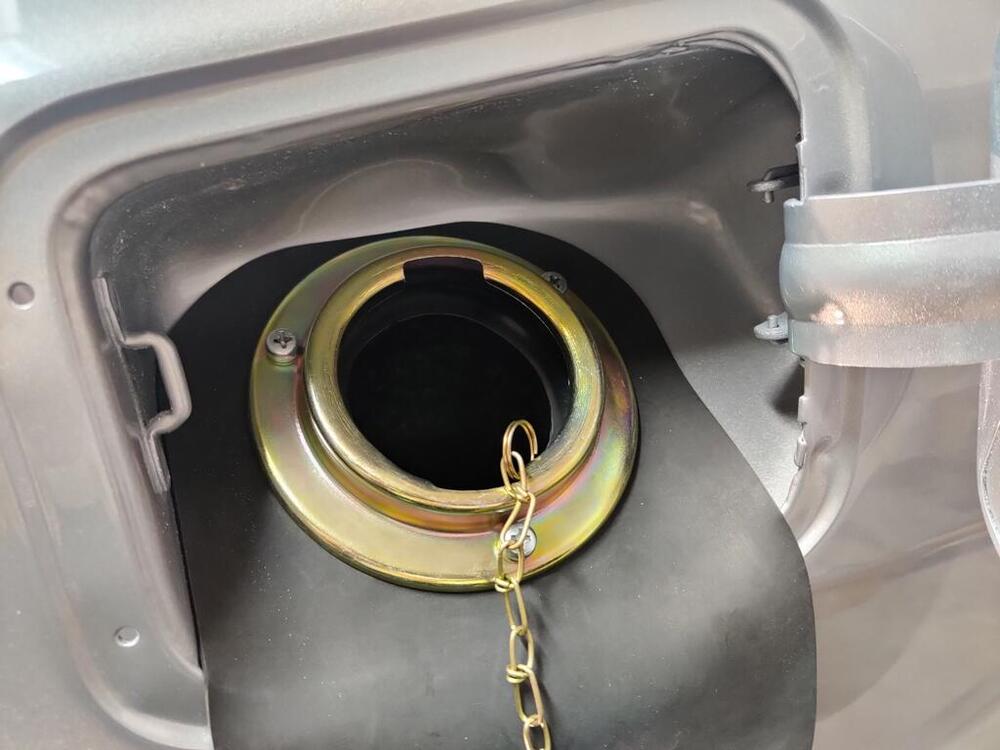
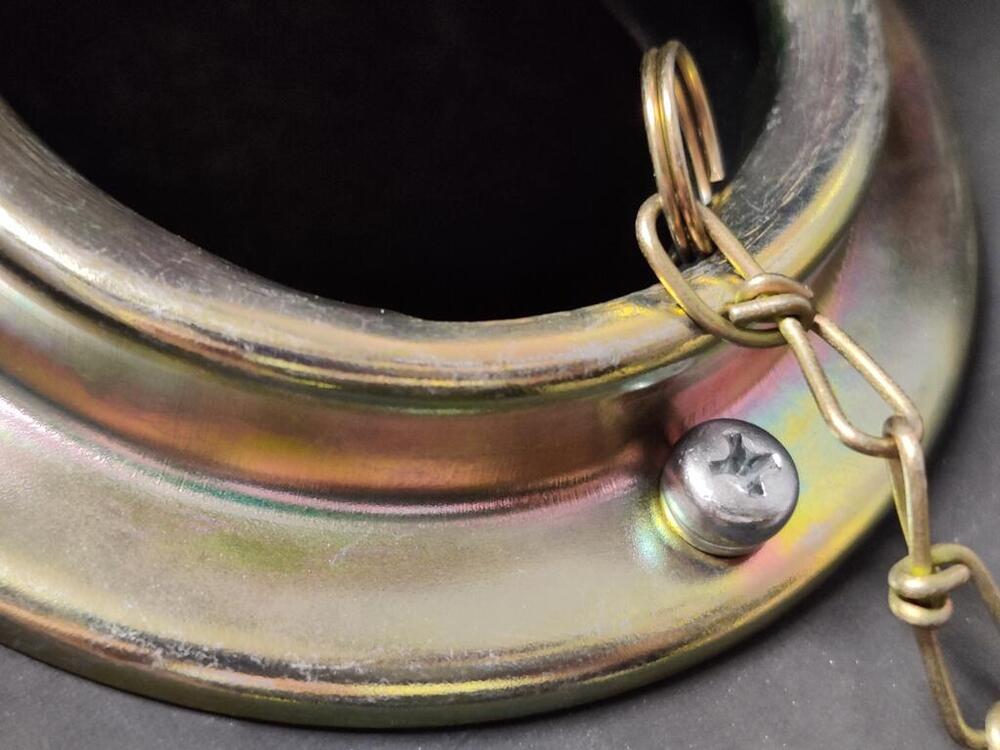
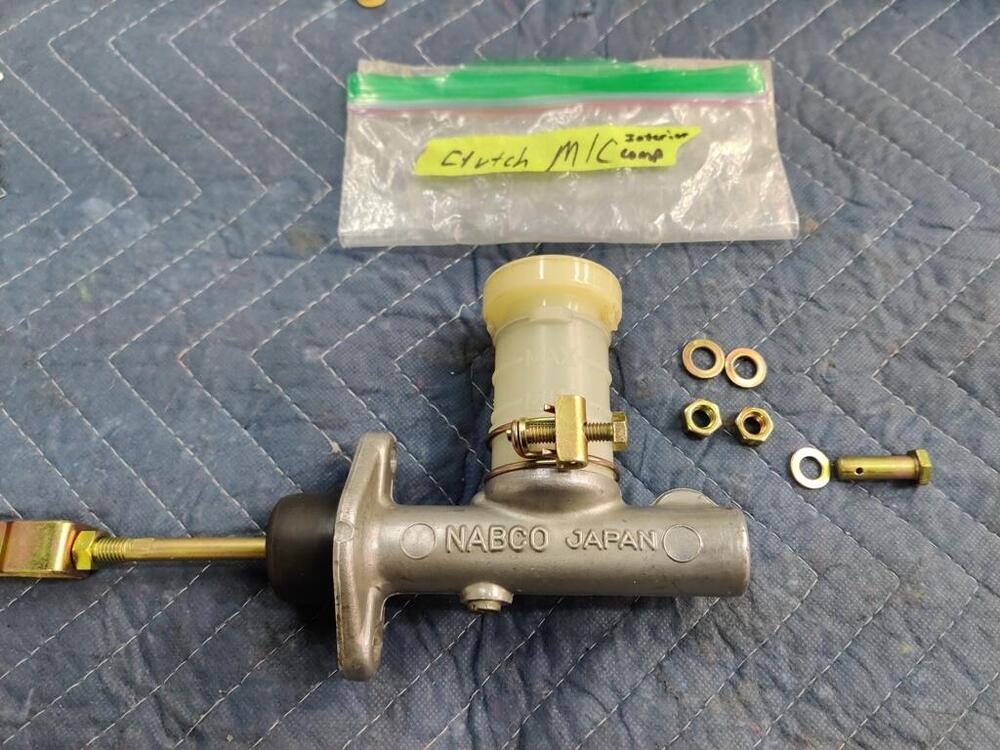
Today I put a couple more parts on the car. Because the shop is a bit cool for most of the day, I don't want to mess with gluing anything. So, I am holding off on interior related stuff for a moment. I put the clutch master cylinder on. I find it interesting that the clutch MC is Nabco when the brake MC is Tokico. Is this not original? Then I worked on cleaning up the gas tank fuel inlet hose. I found it interesting that the rubber gasket that went between the bottom of the car and the lower mounting flange was stapled in in place originally. Cleaning the grim and old rubber gasket off took quite a while. Then I had to heat it with a heat gun in order to get the lower mounting support plate onto the hose. The hose is hard and inflexible until you get some heat in it. Then, you have a limited amount of time to work with it until it freezes up rock hard again. I made a new rubber gasket (out of some thin neoprene sheet I have) and put that between the hose mounting flange and the body. The hose is 53 years old hose and as I said before, completely inflexible until you heat it. And it has shrunk a tad. So, lining up the holes and putting in the screws is extremely difficult. I had to heat and re-heat the hose carefully until I was able to get the screws into their holes. Up top, it is part 2 of hell trying get the upper hose flange through the hole in the body. Eventually, I got it - I had to reheat it about 12 times... and my hands were wearing out trying to squeeze the hose and pull the flange through. I went hoarse from screaming at it. 🤪 Then, I had to heat it again, in order to put the gas cap flange on. I found a suitable diameter object to shove into the hose to help spread it in all directions while I heated it. This counteracts the shrinkage which causes misalignment of the holes in the flange to the body. After heating it up carefully (as it is on the body) I pulled the object out and quickly put the rubber flap, flange, and screws in. Note: the original rubber flap that protects the body of the car from the dangling gas cap is cut asymmetrically. The main hole is offset to one side a bit. It is nice to have that bear of a project complete.


-
Thanks for offering assistance. At this point, options are good things. I will keep updating the thread as I learn anything new and will reach back out to you if either of those routes look best.
-
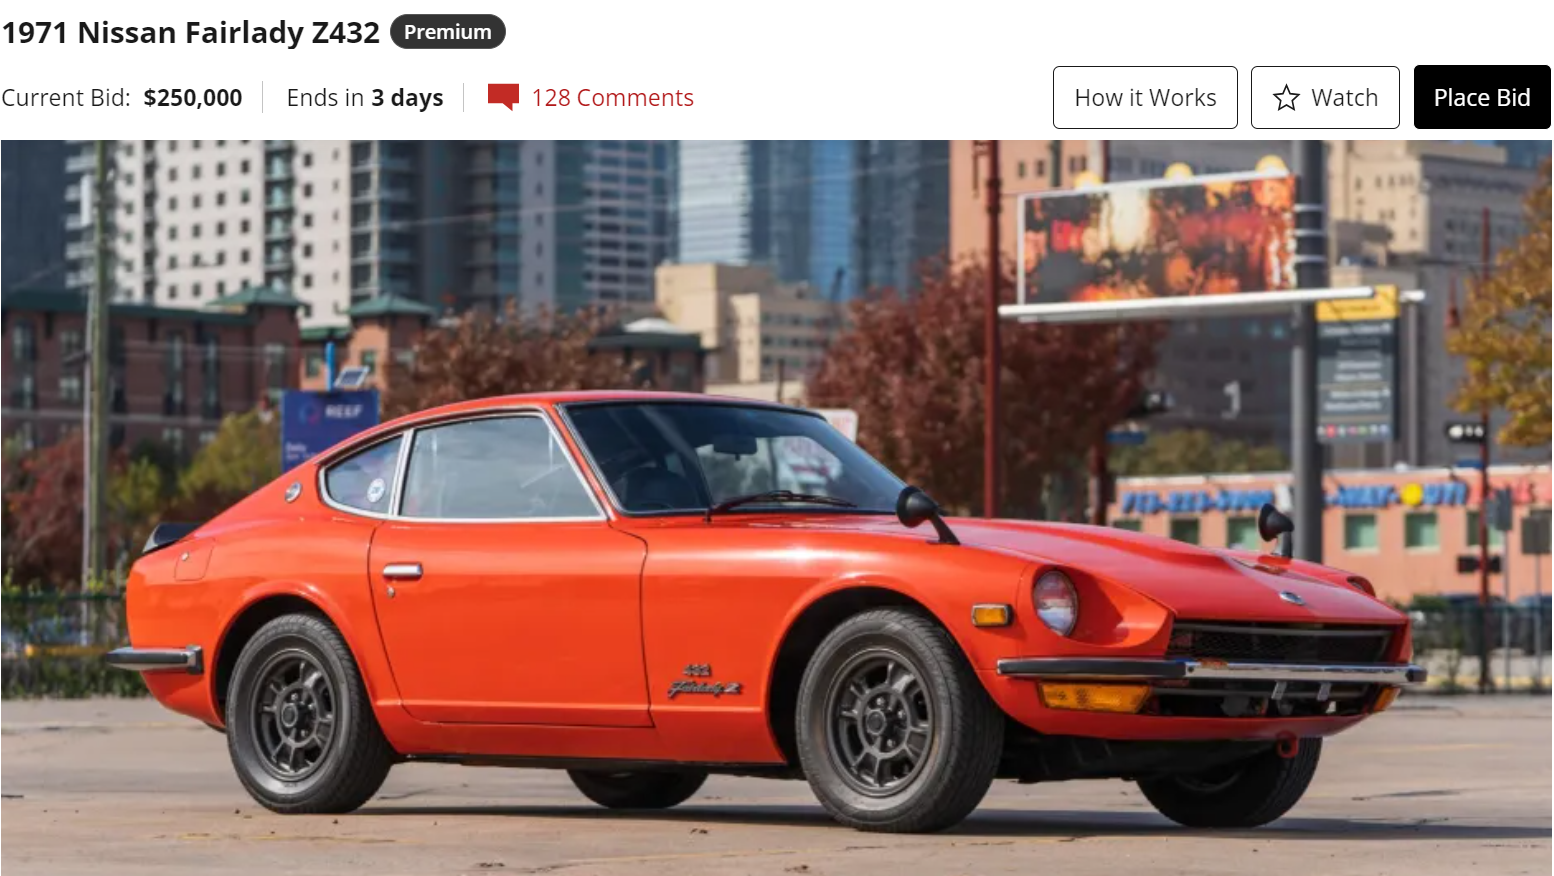
At a quarter million with 3 days to get your bids in...

-
Here is what I supplied for a quote: Another option I thought of is to contact local machine shops to see if they could make me a shim, or shims. It seems to me that a round bar could be chucked up in a lathe, turned on the outside, then bored and finished to 35 mm on the ID (and chamfered on the ID), and finally, cut off to get me one shim of the thickness I need. I suspect that it would need a touch of finishing on a flat stone. .001" shim stock is on the way to me.

-
I will soon be installing the windshield in my car. In the "How to Restore your Datsun Z-Car" book, Wick Humble recommends installing the stainless trim after the windshield is in the car. I was planning to go that route. I hadn't thought to install the stainless in the gasket before putting the weather strip on the glass. Interesting. Patcon, is your WS a factory one?
-
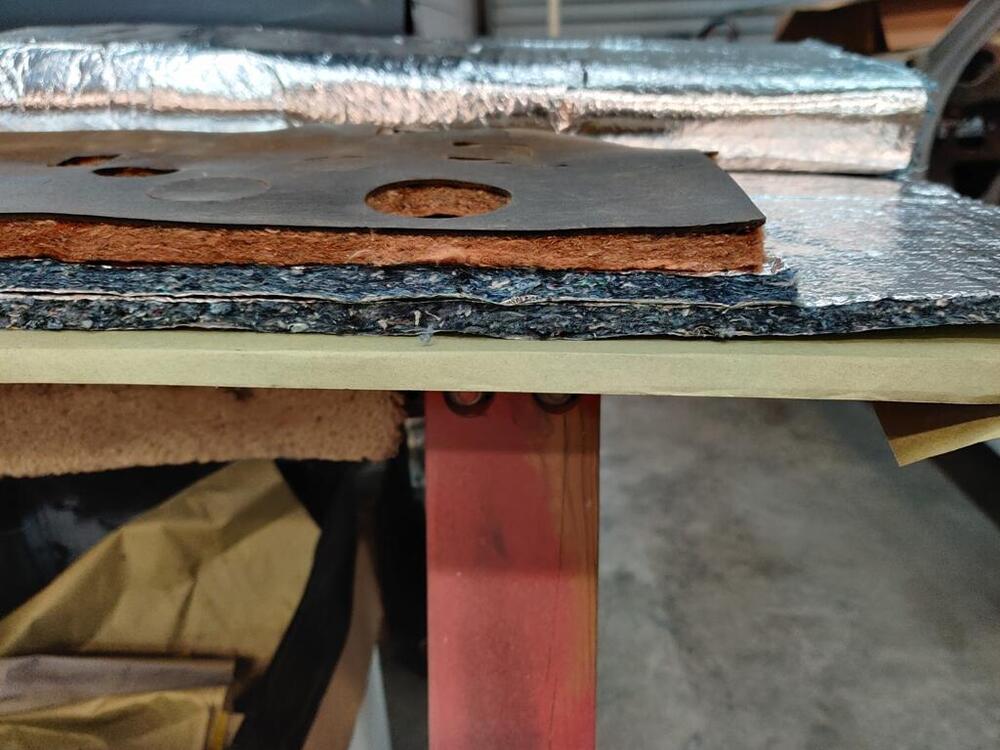
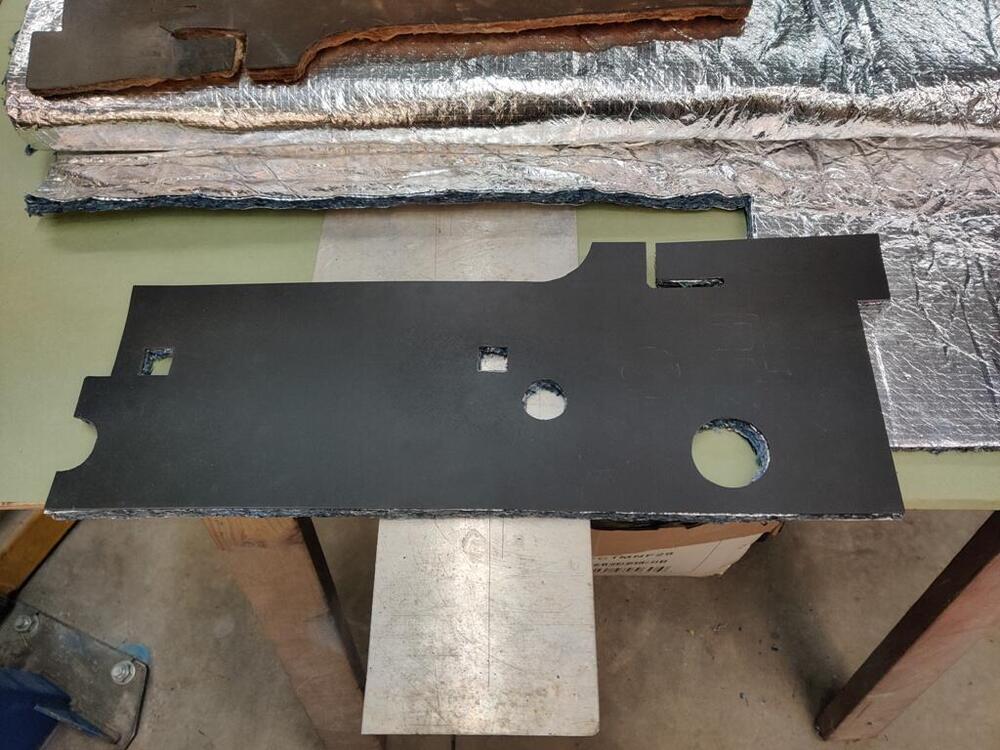
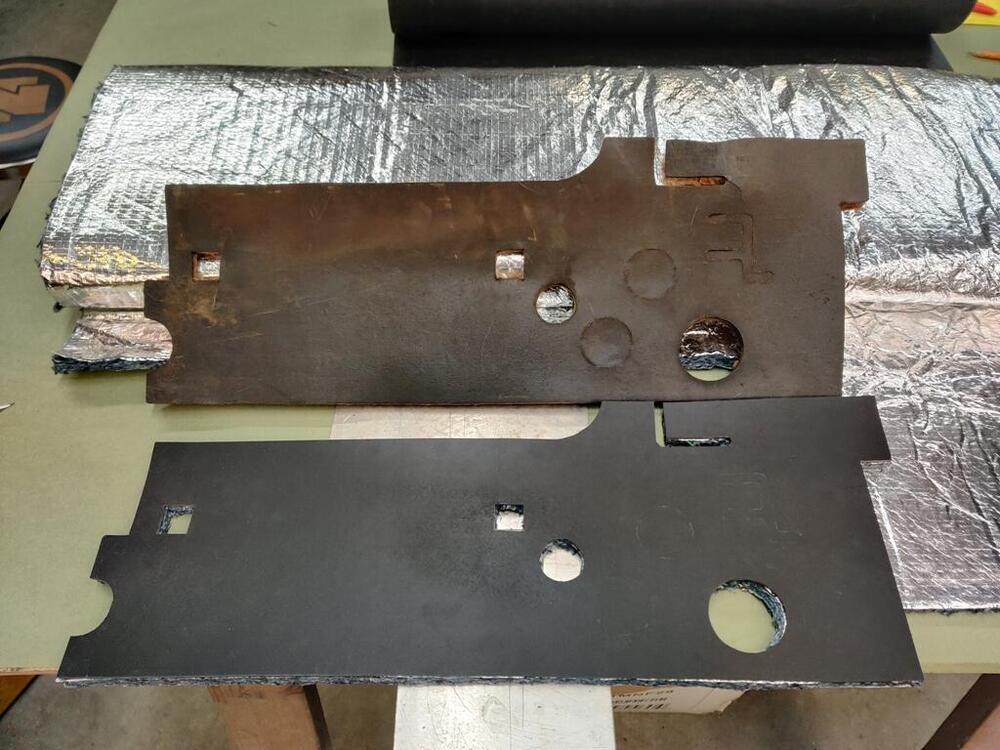
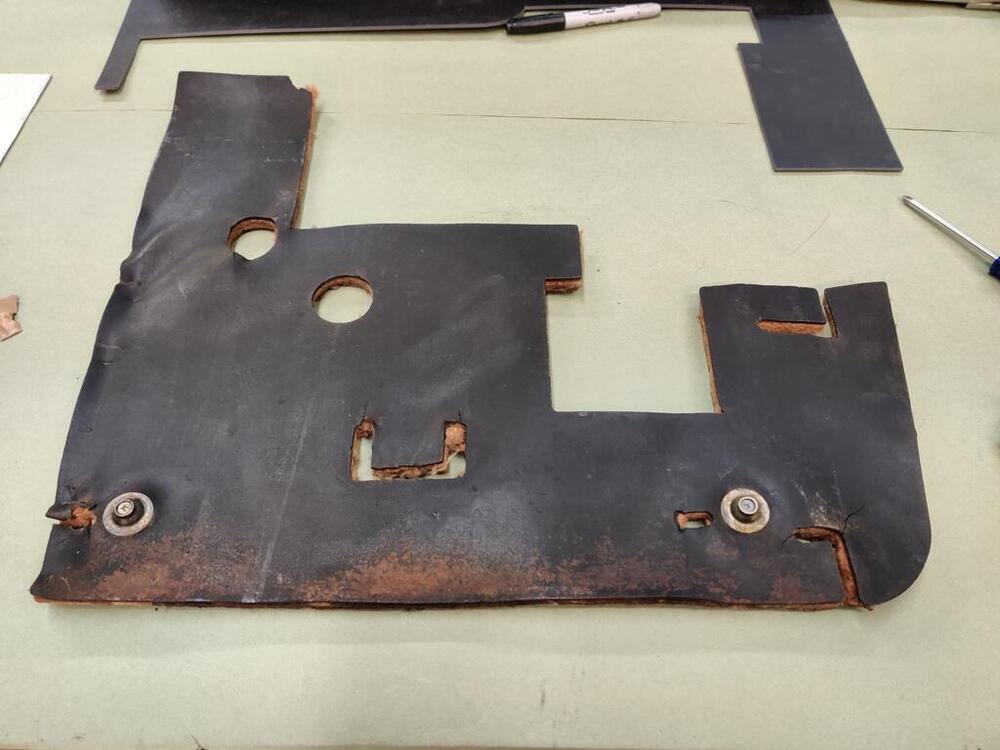
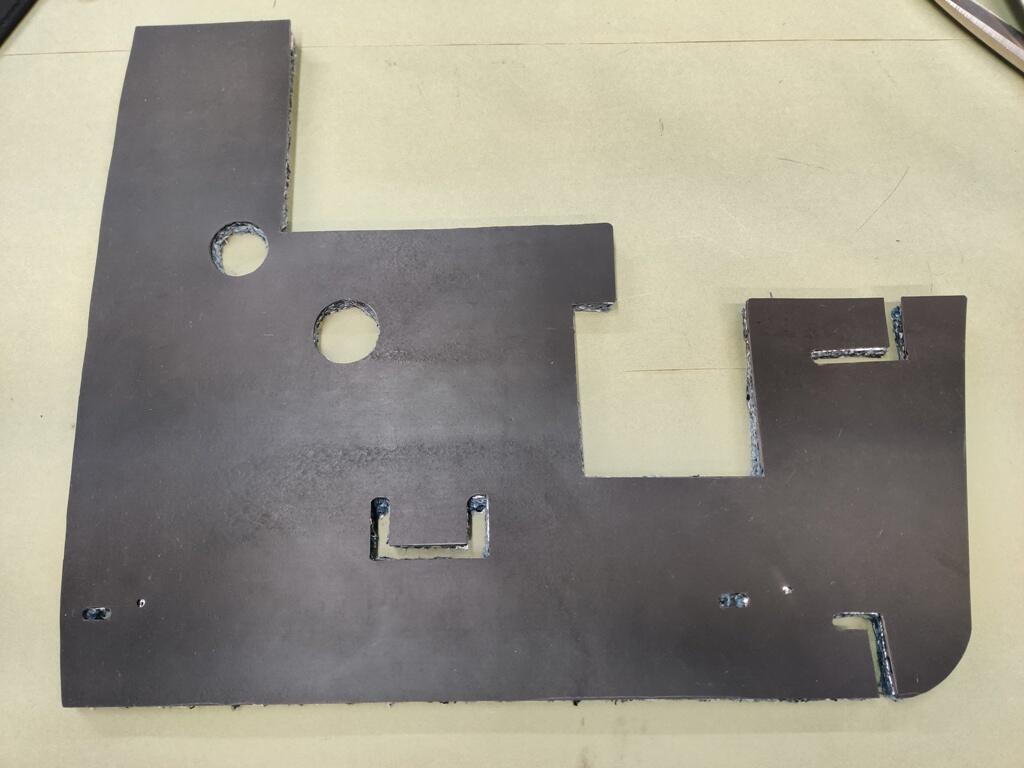
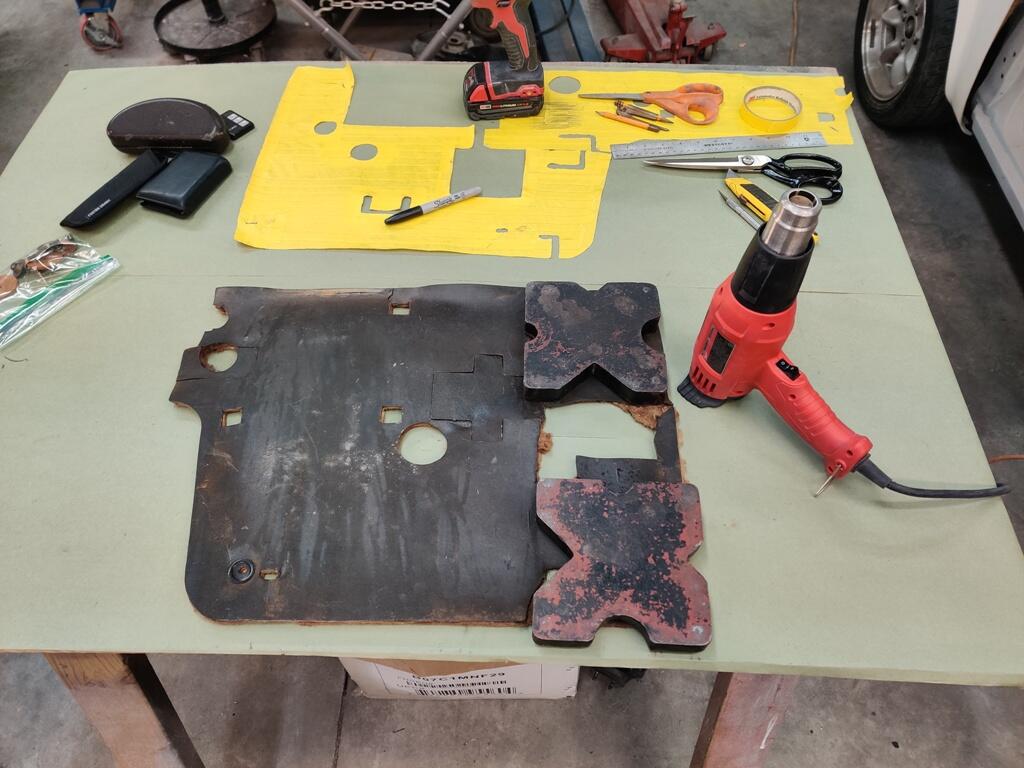
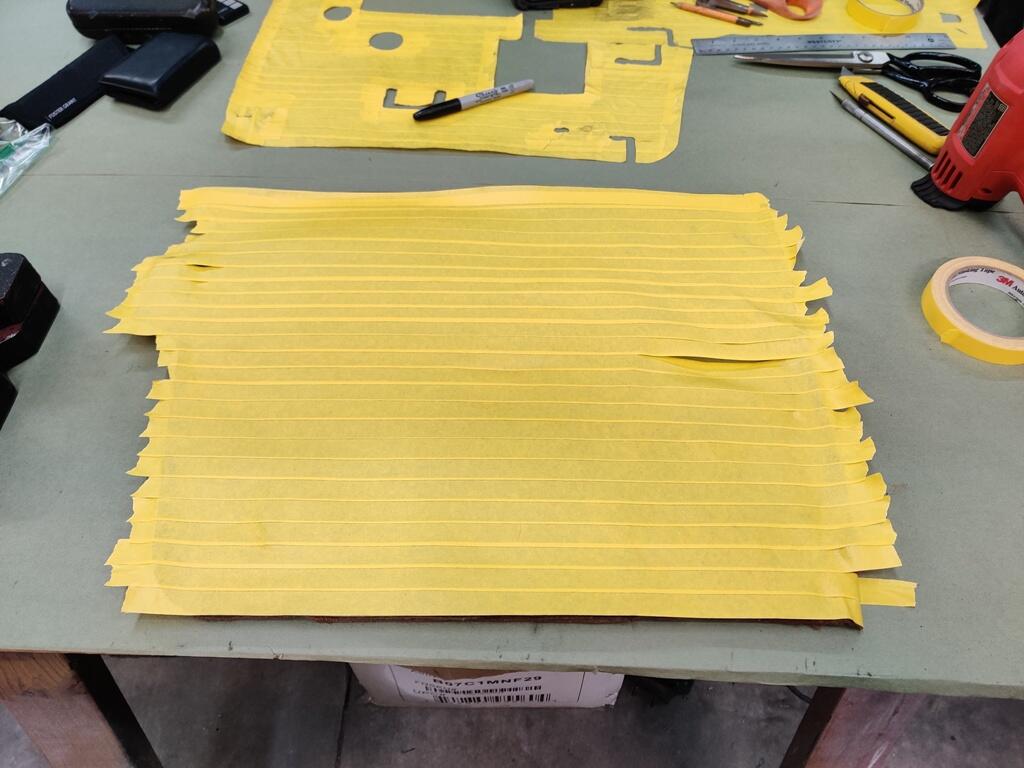
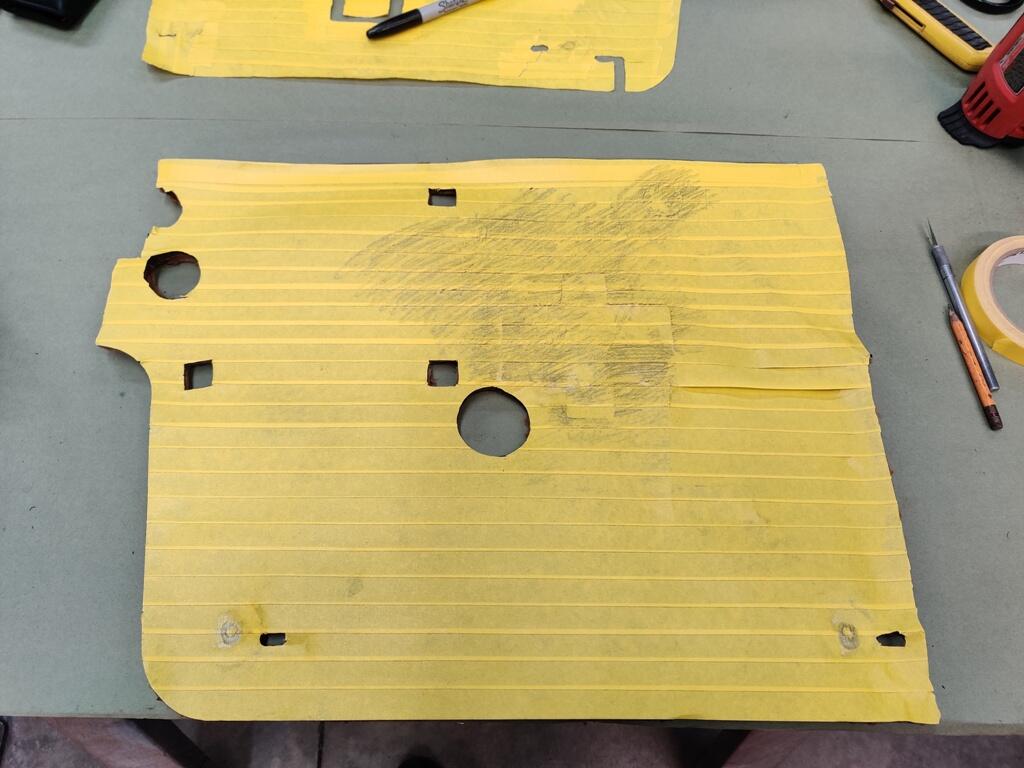
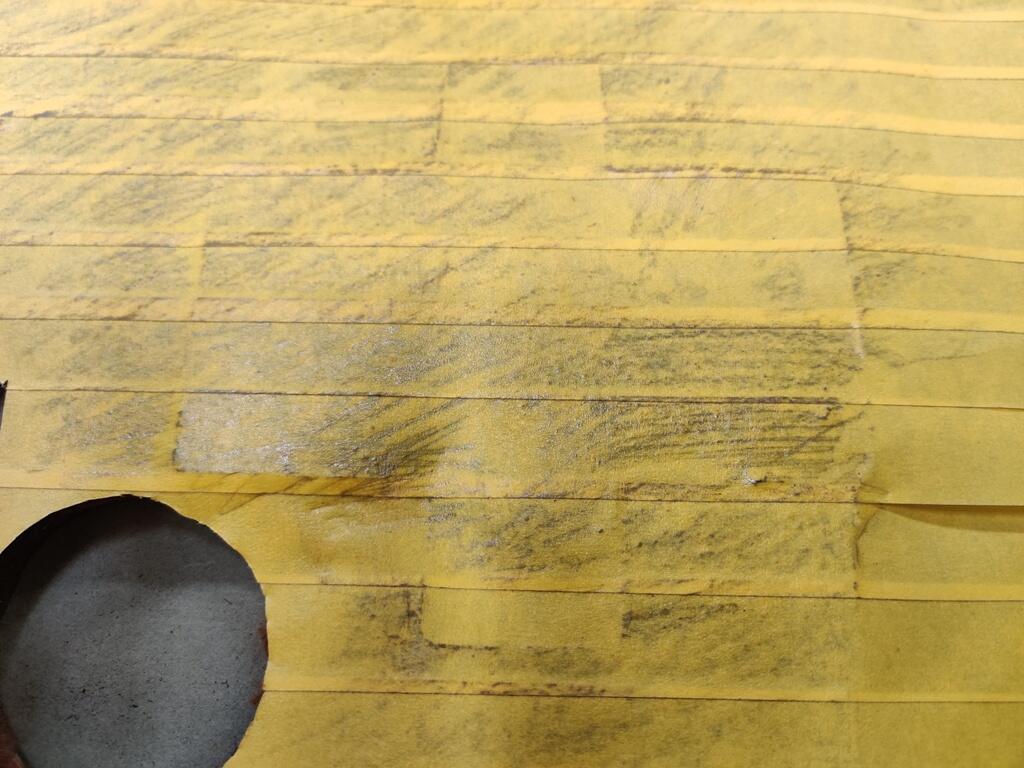
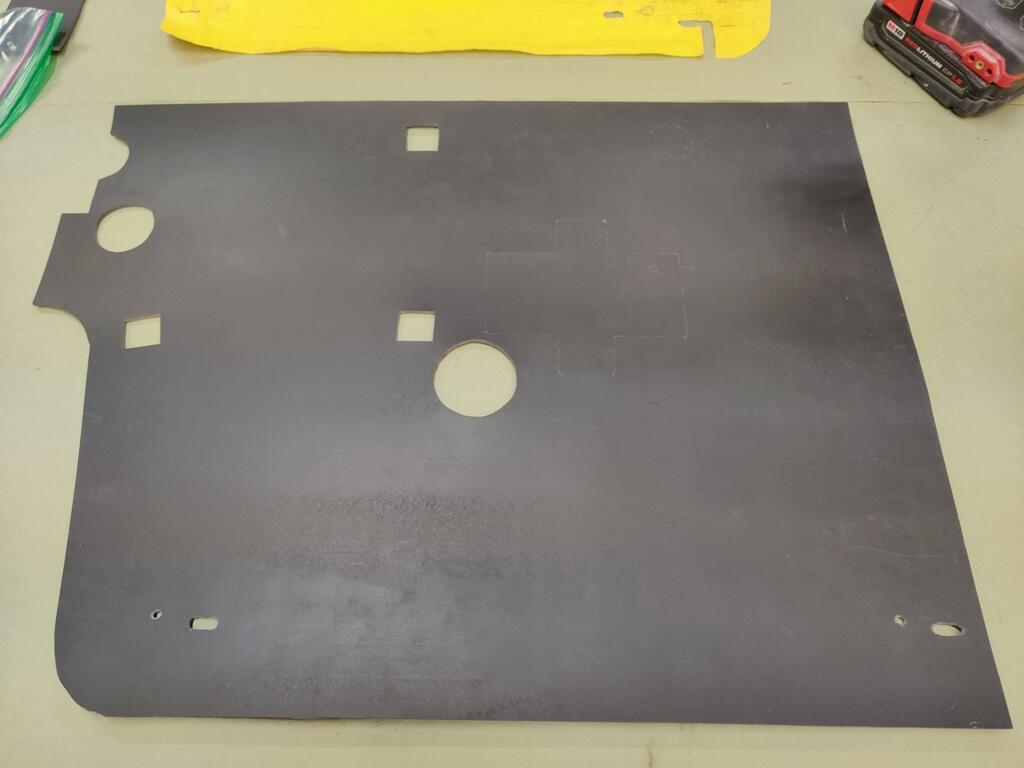
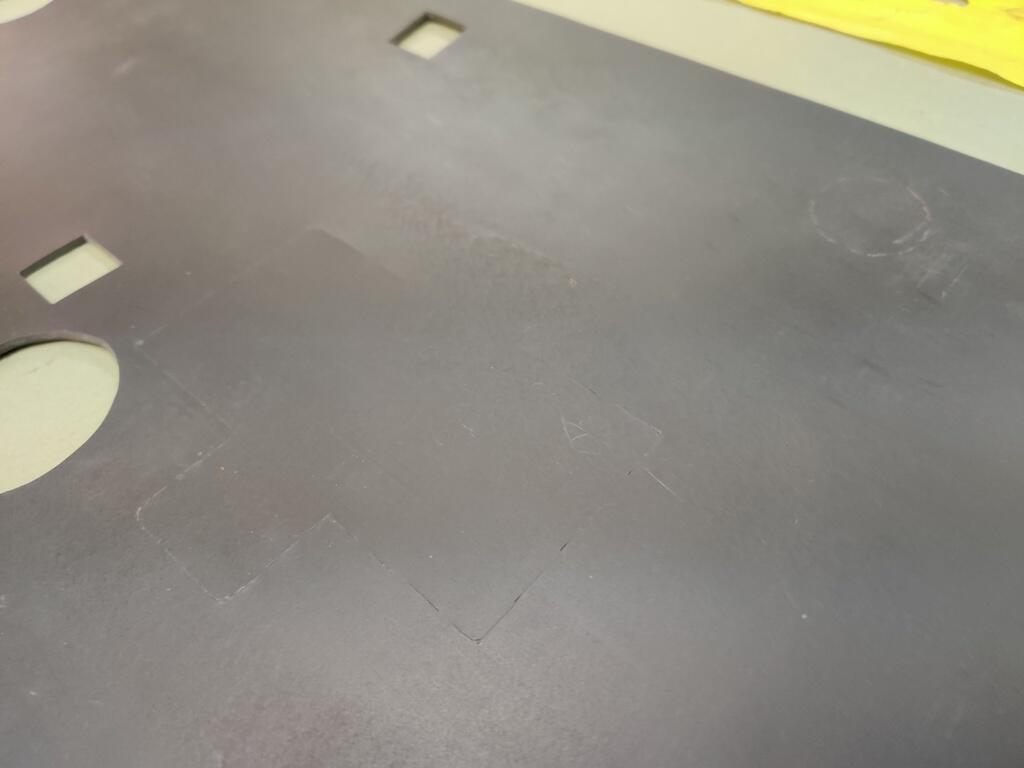
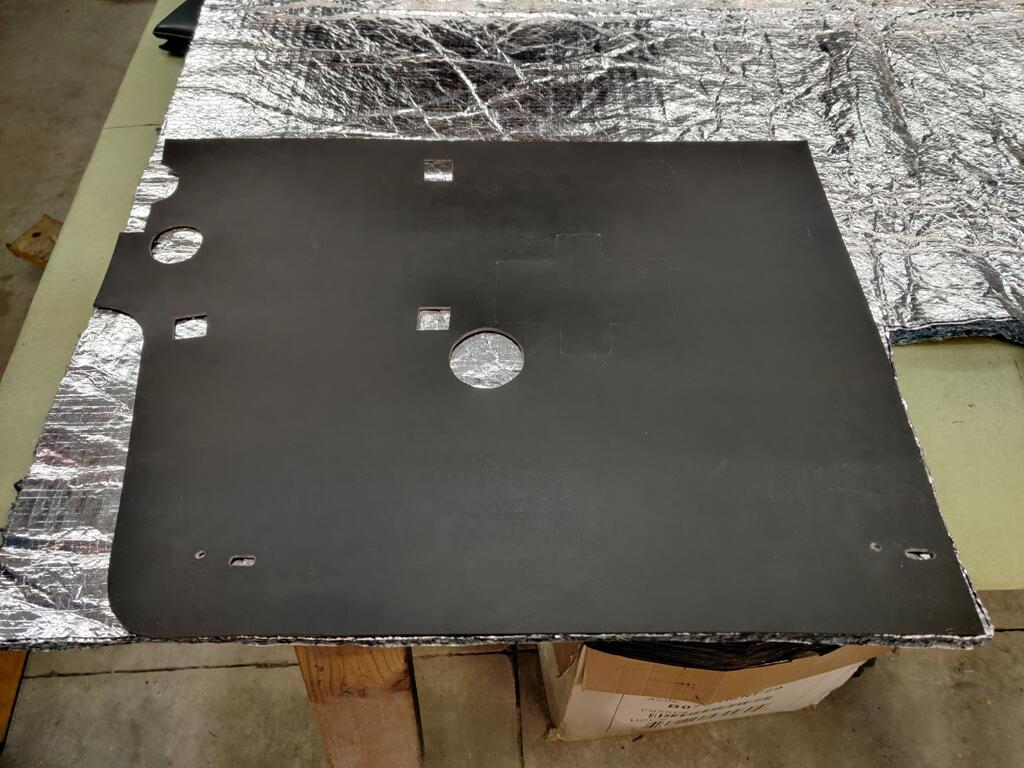
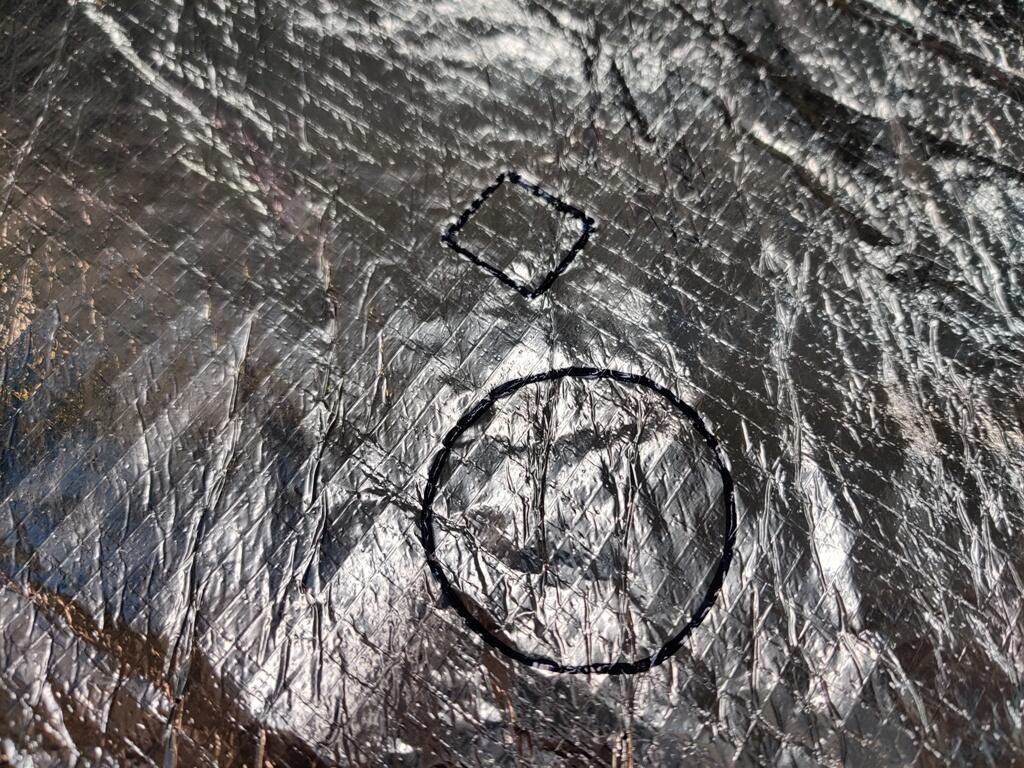
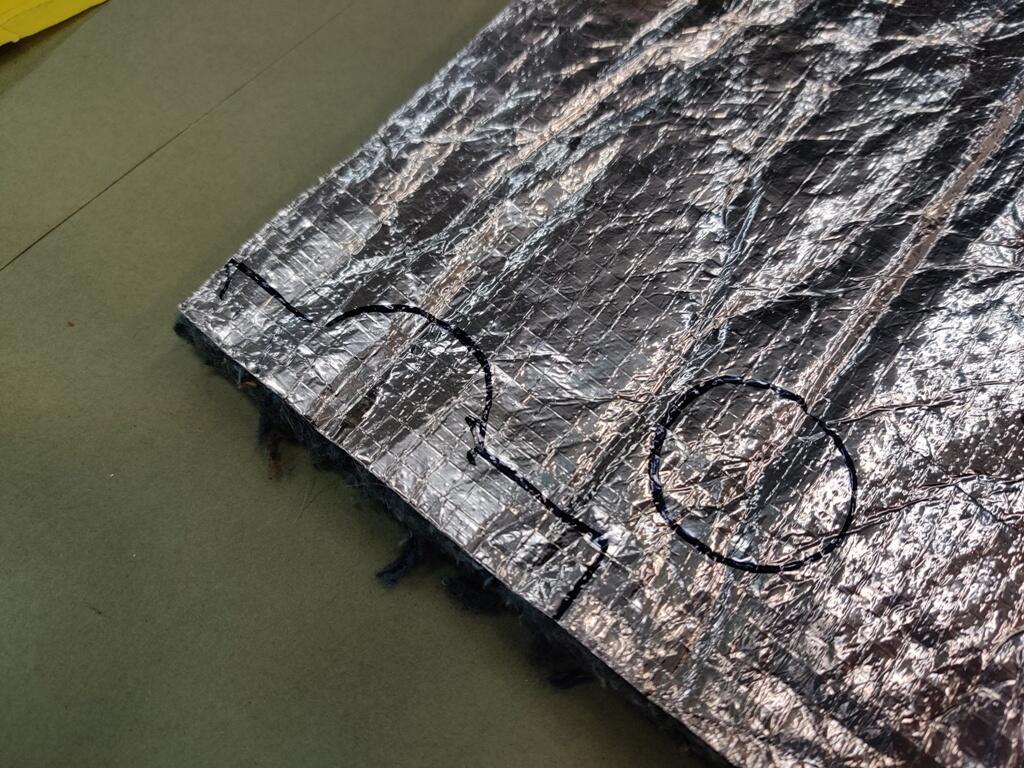
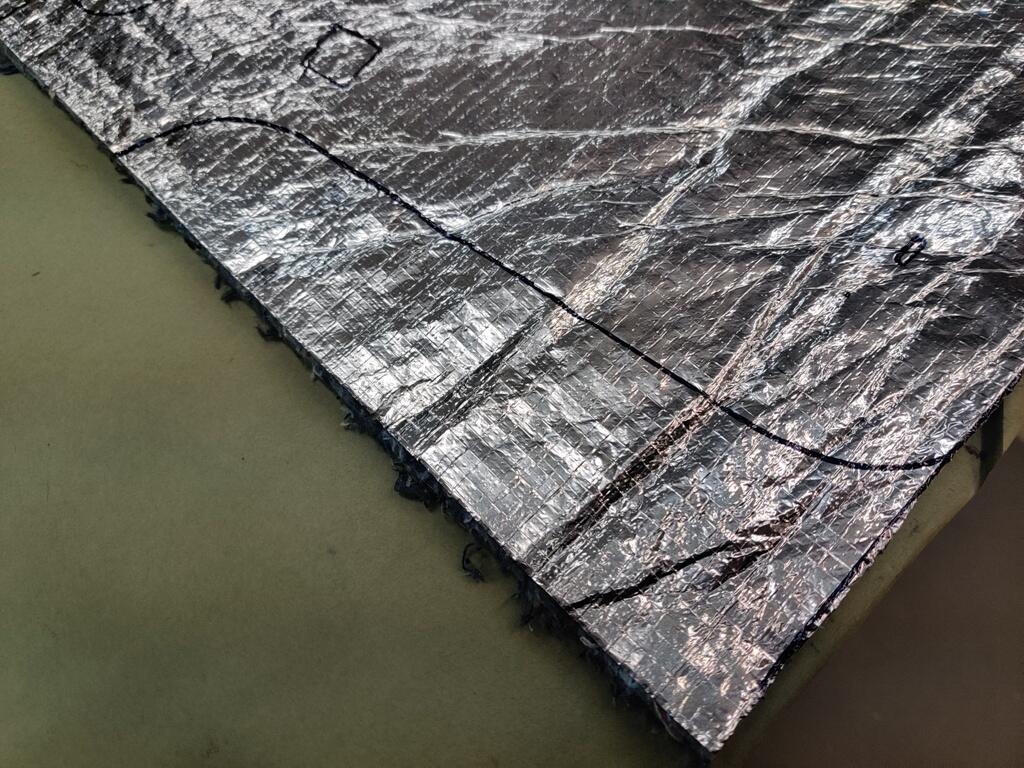
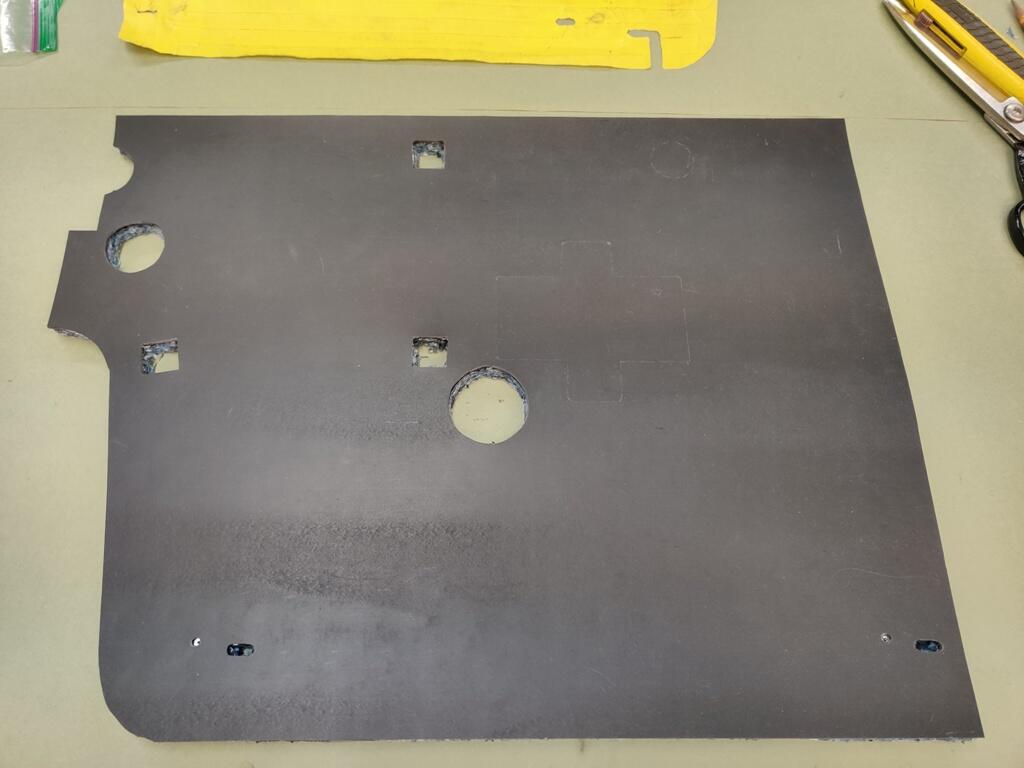
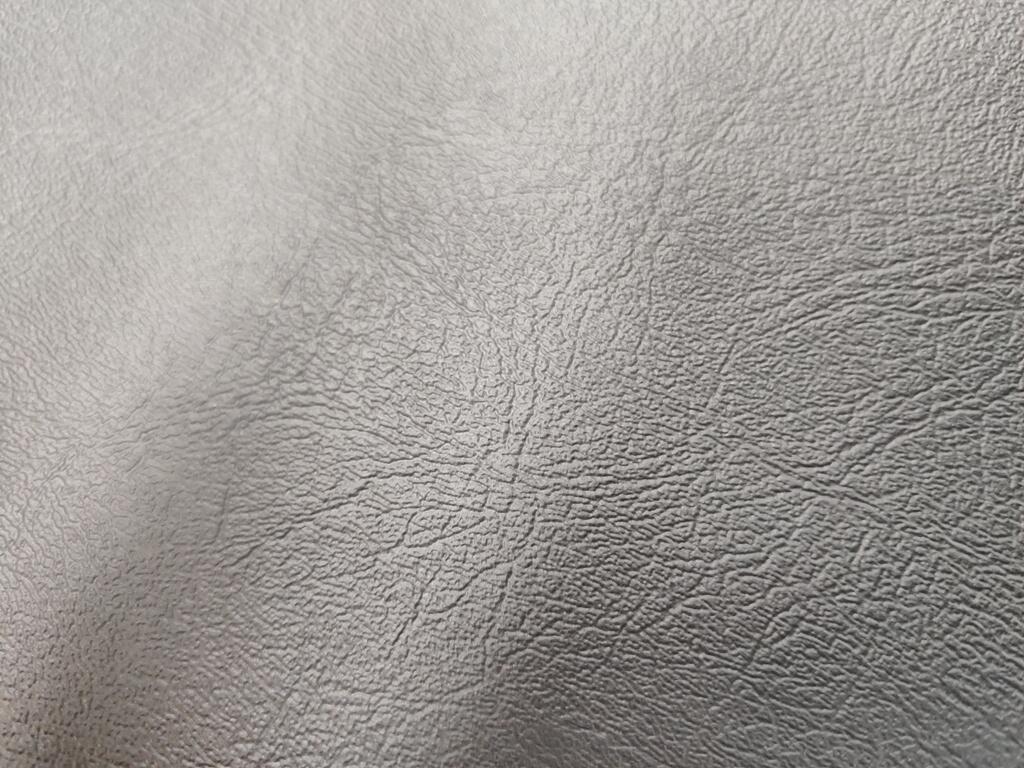
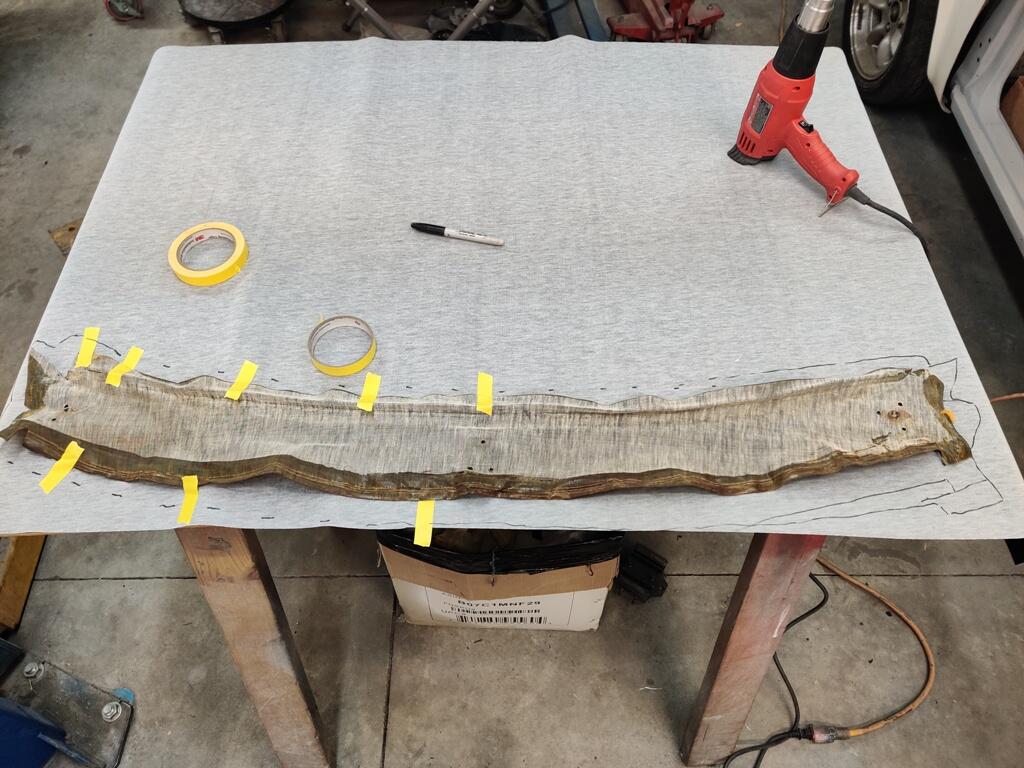
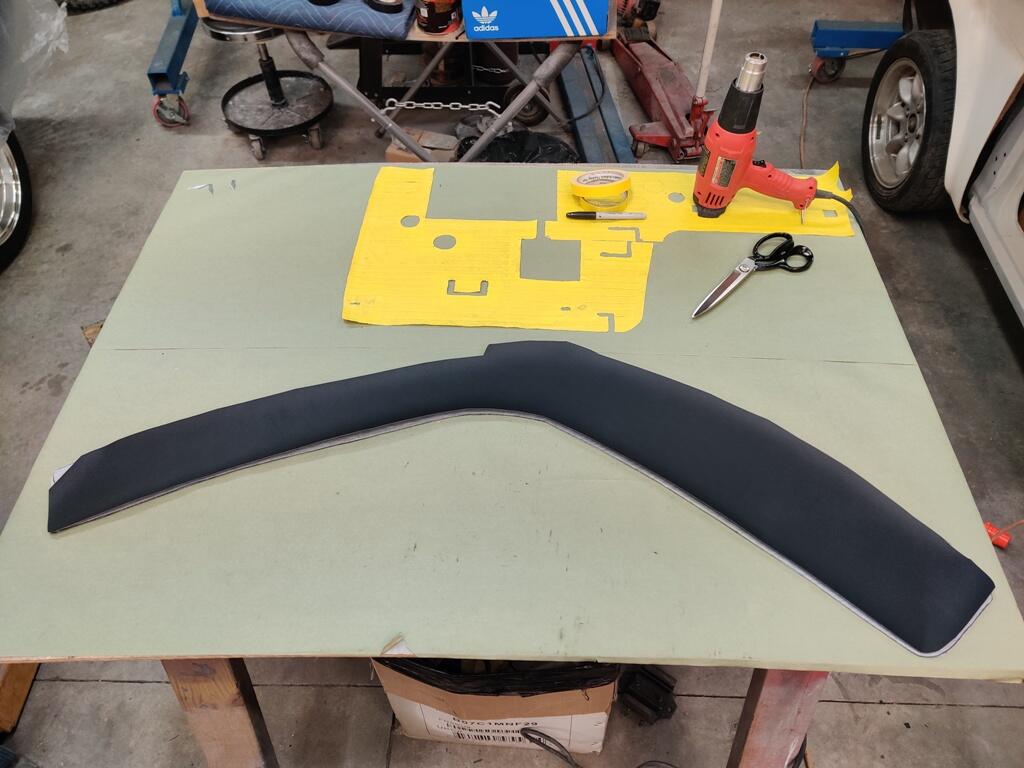
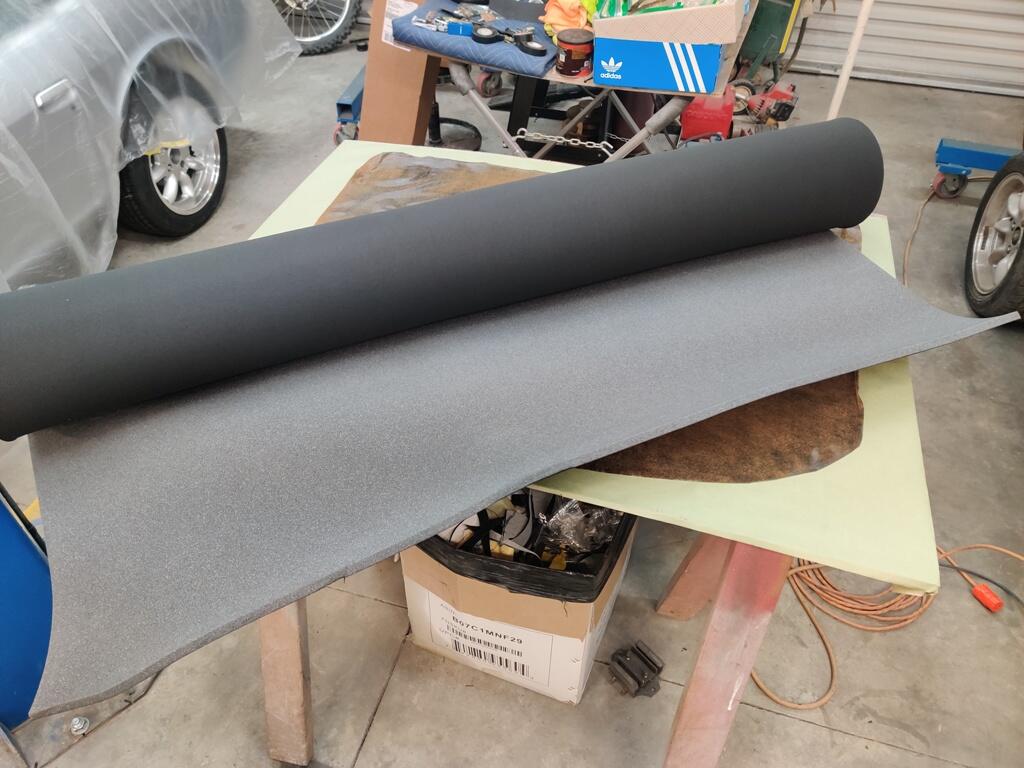
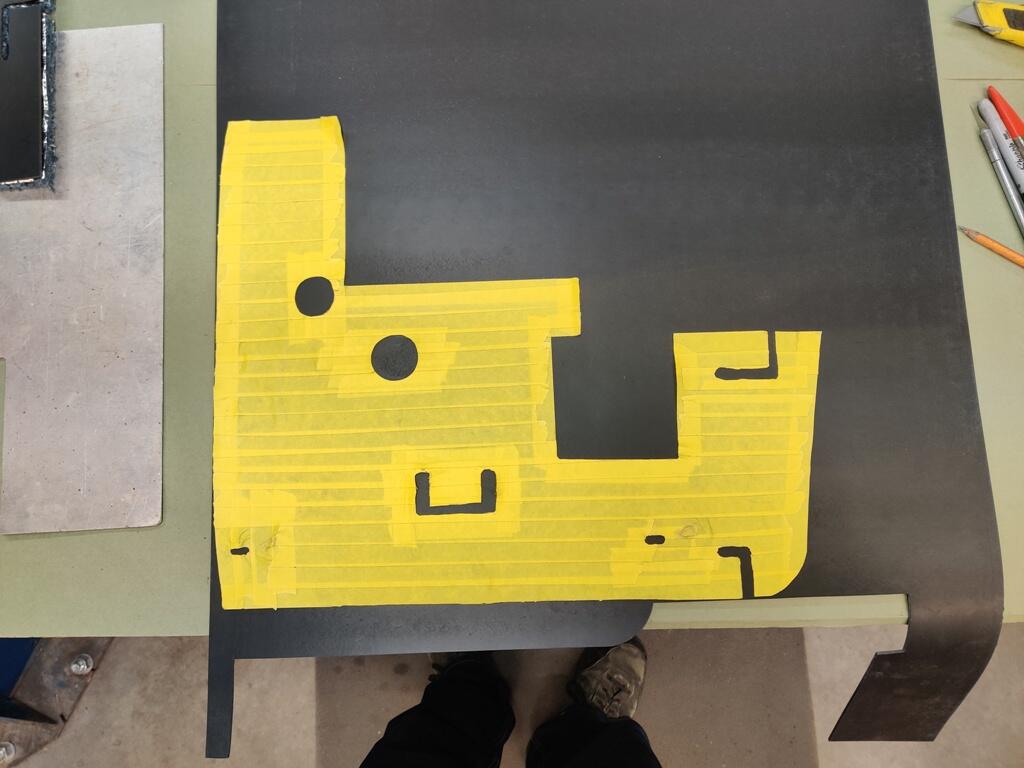
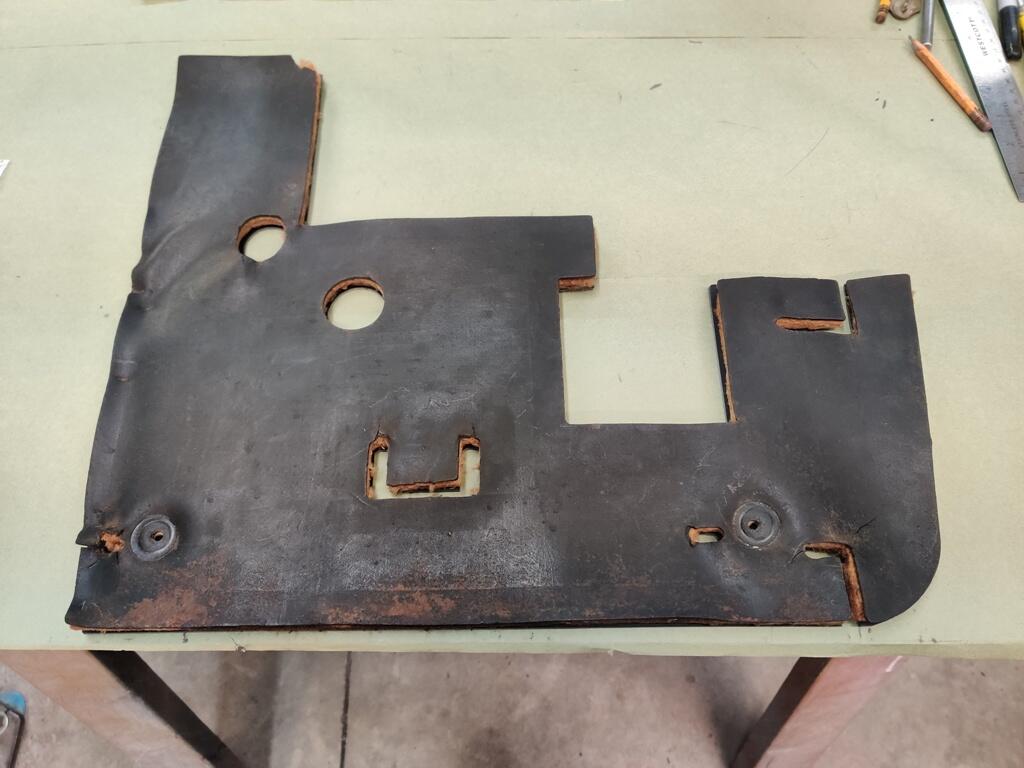
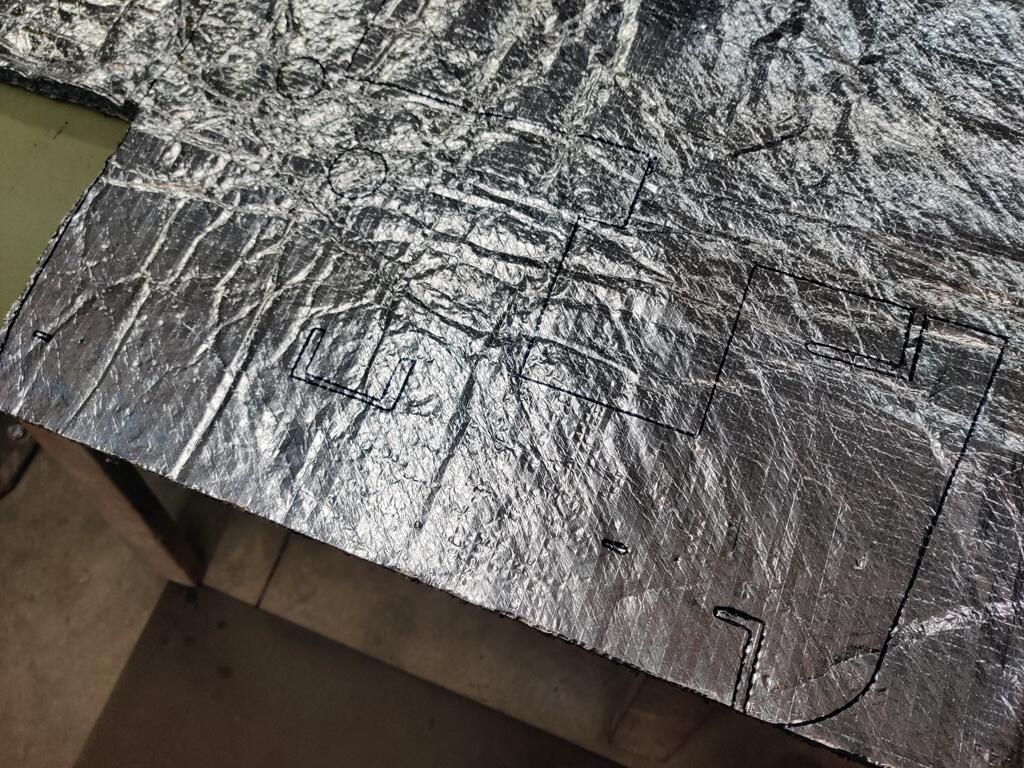
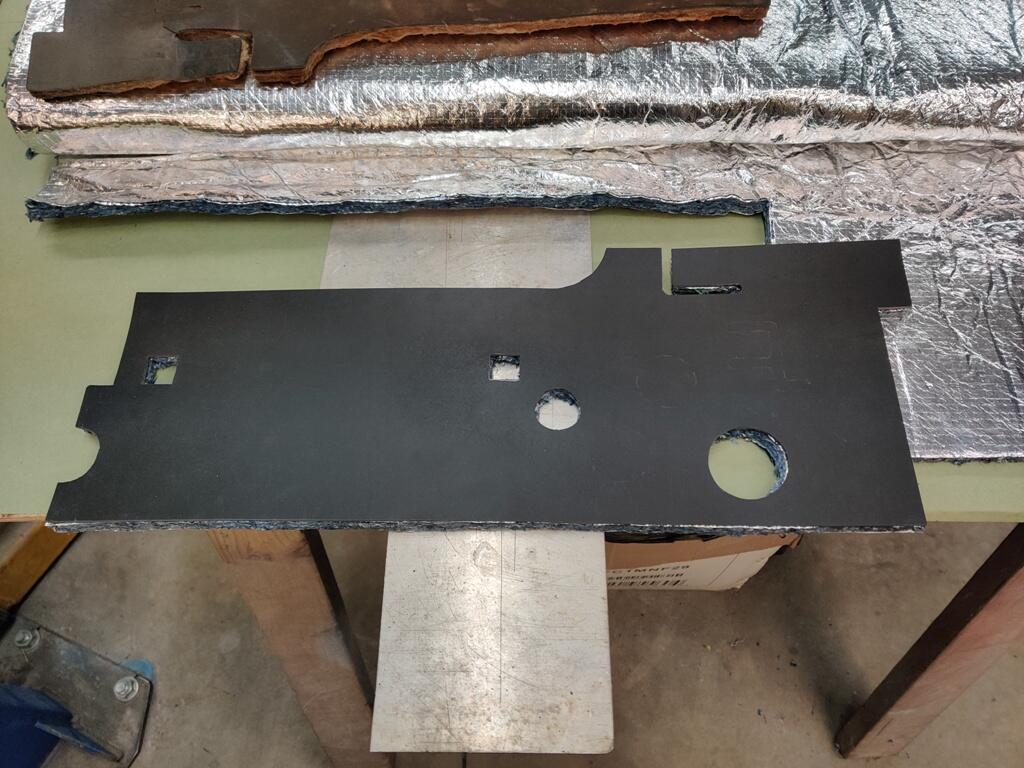
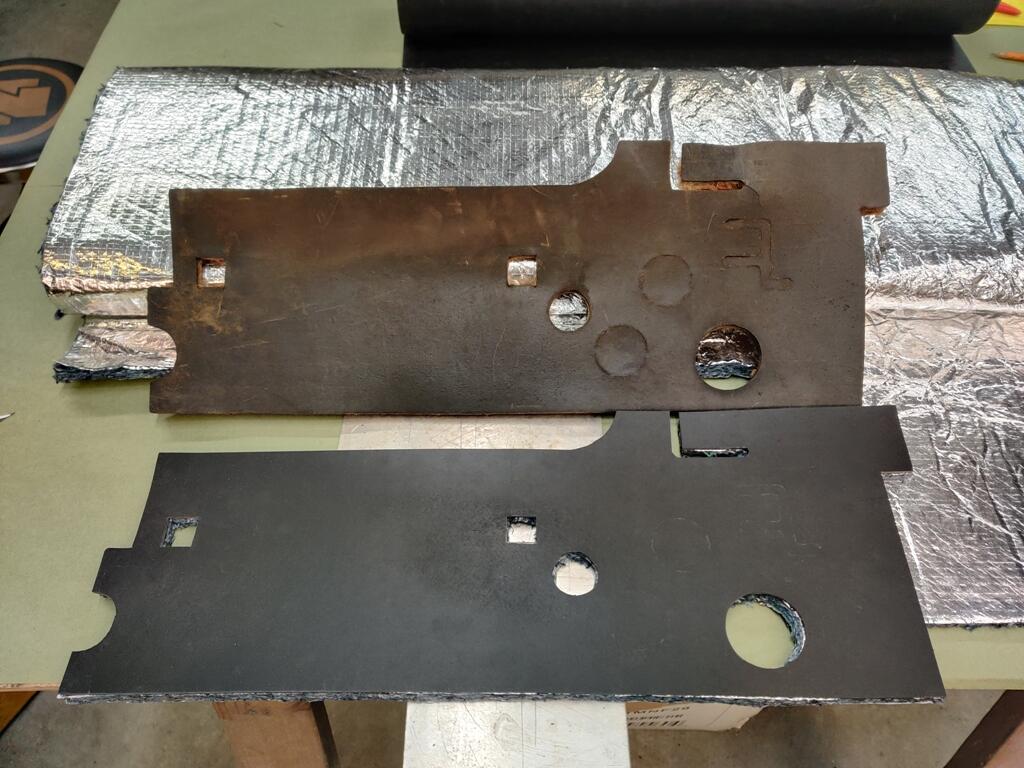
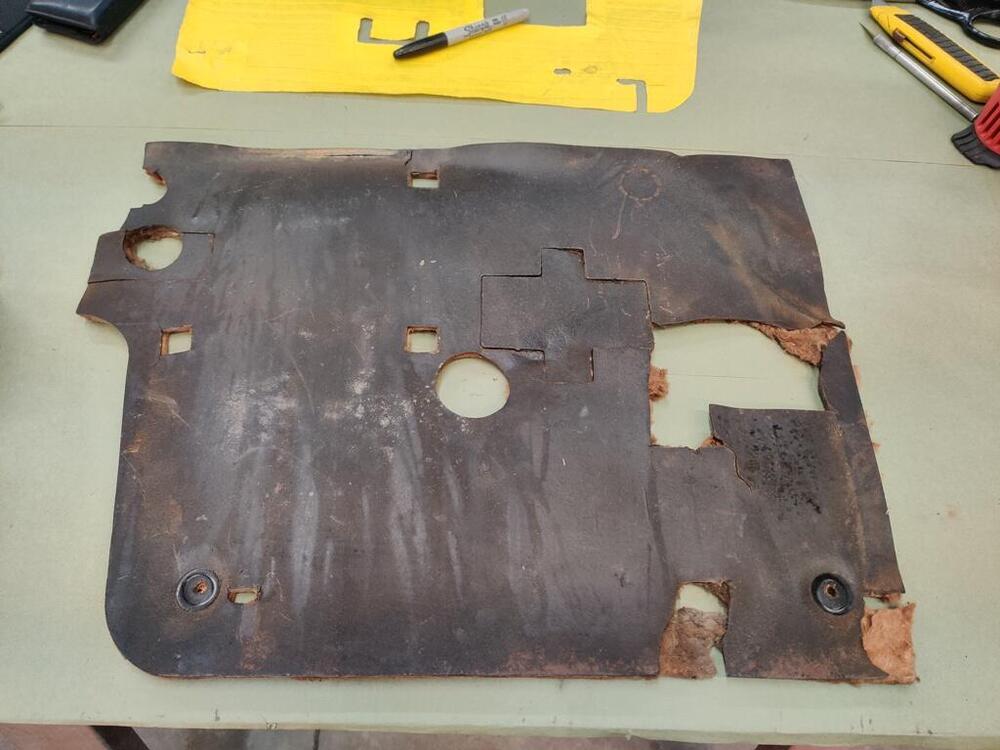
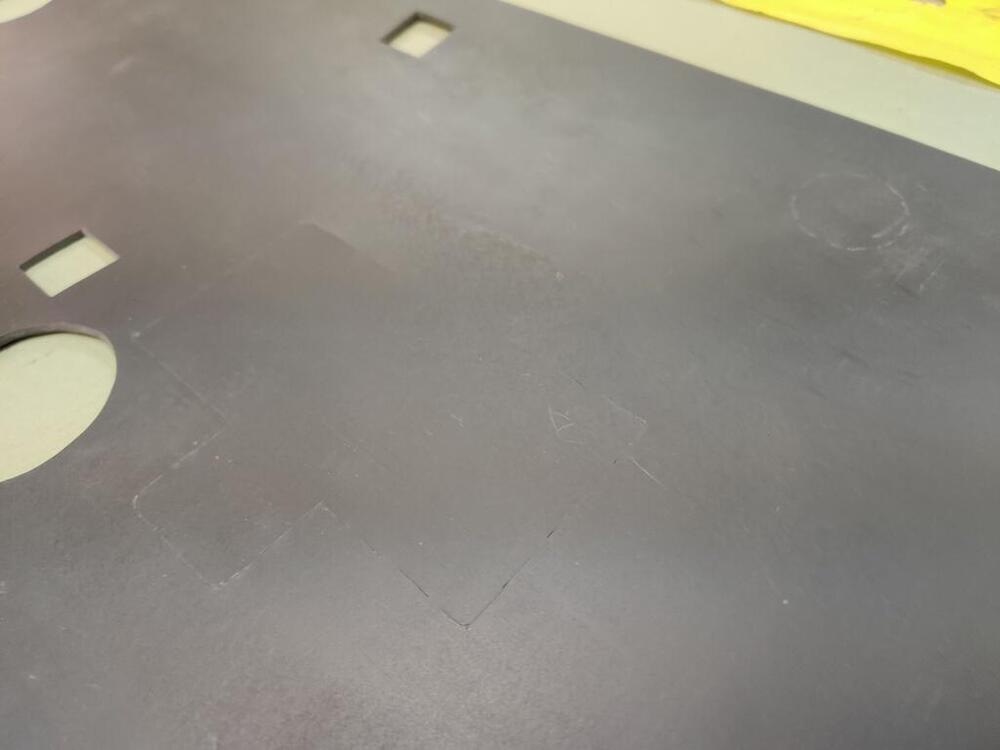
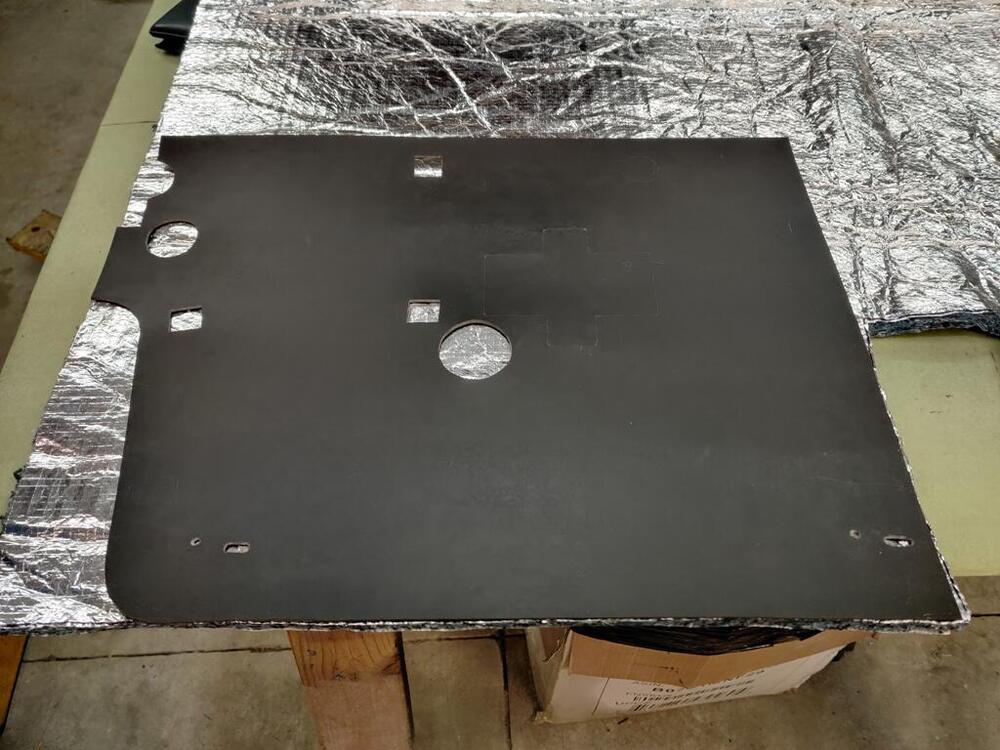
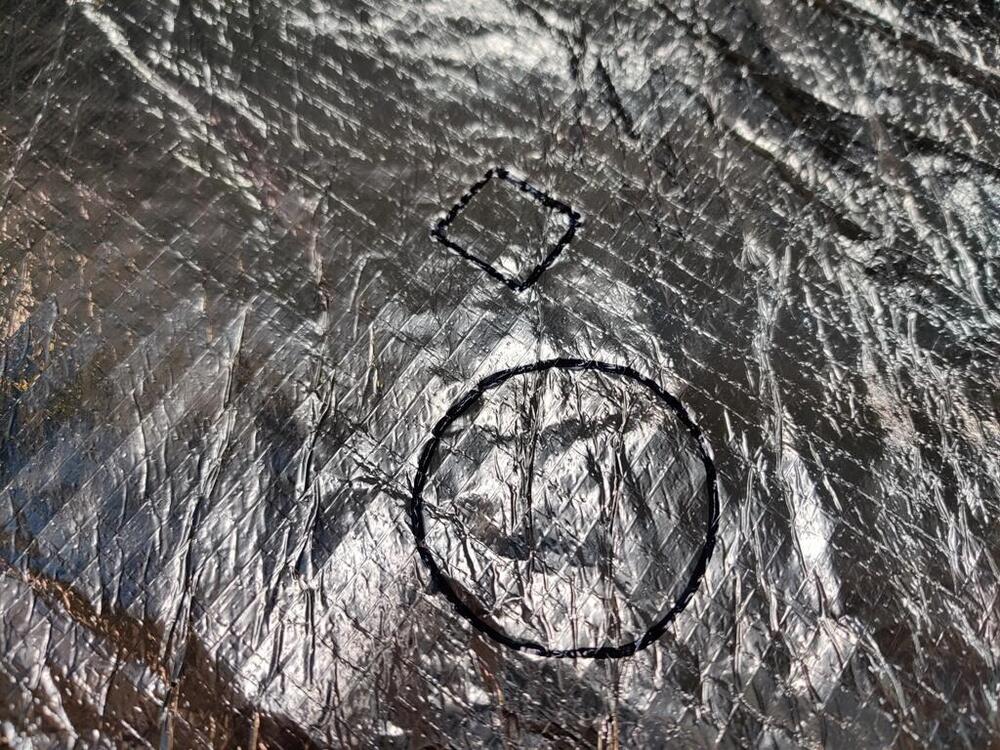
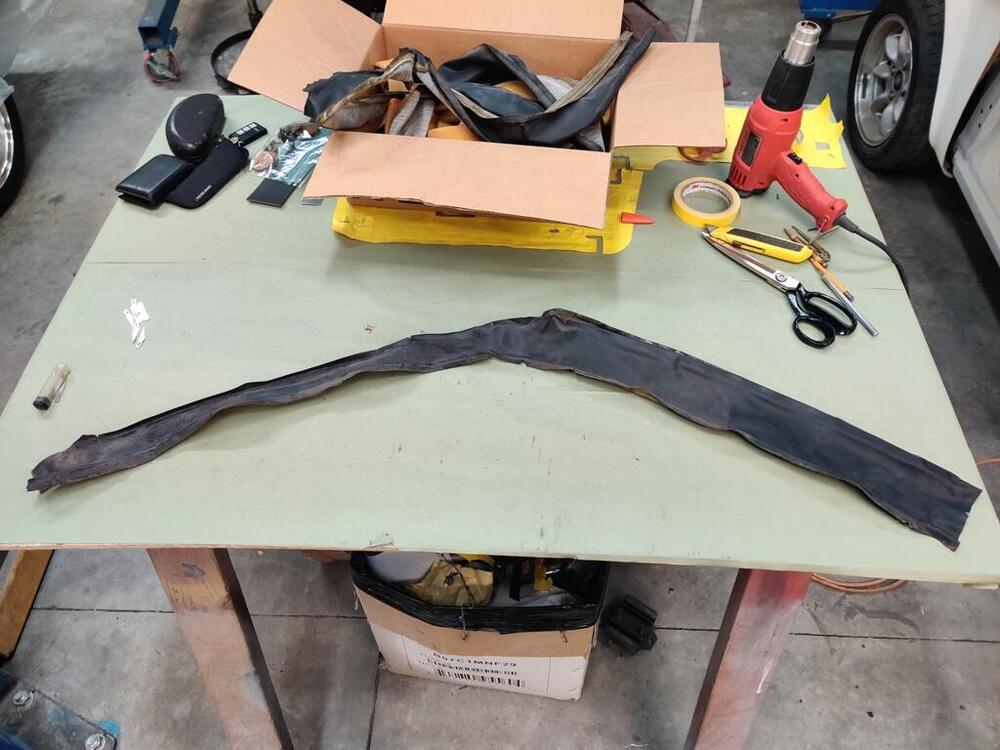
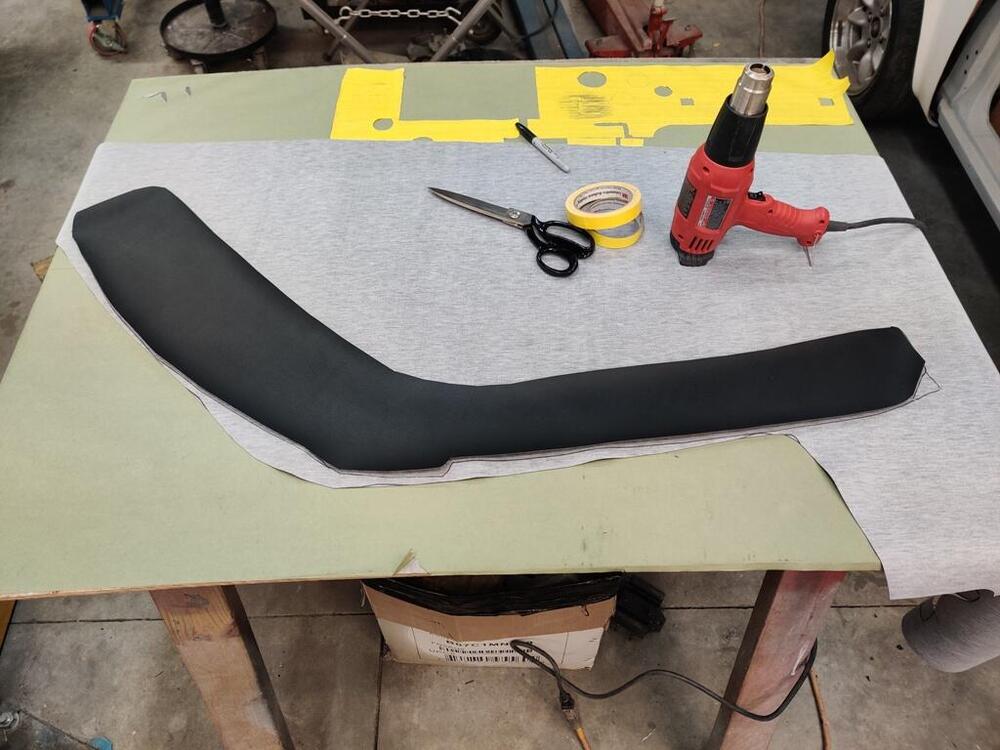
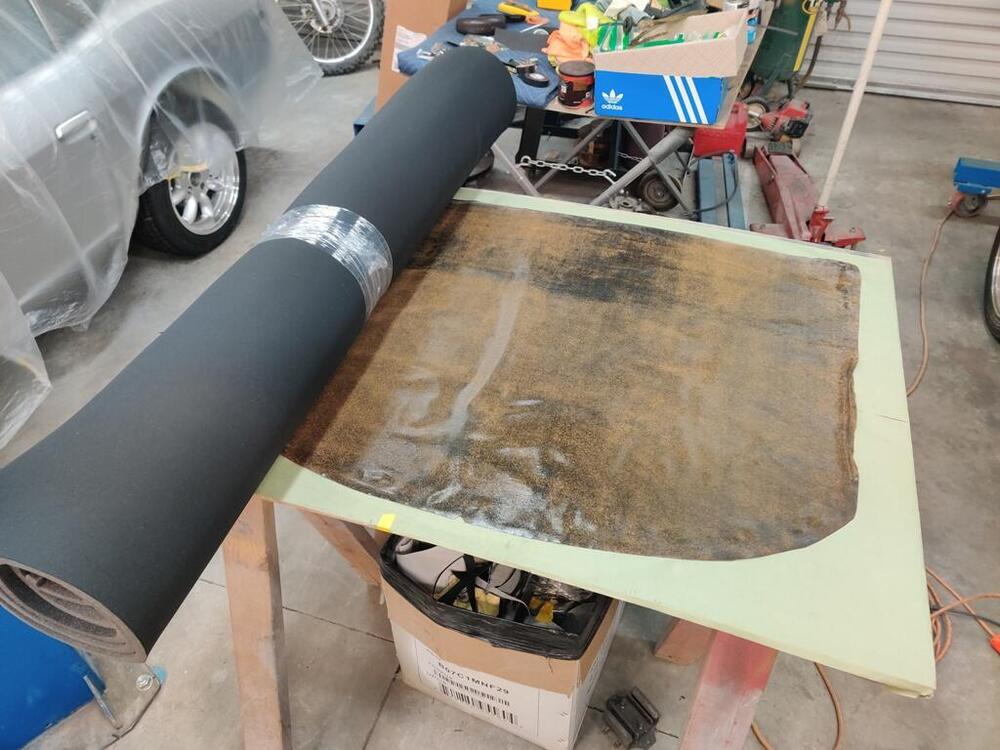
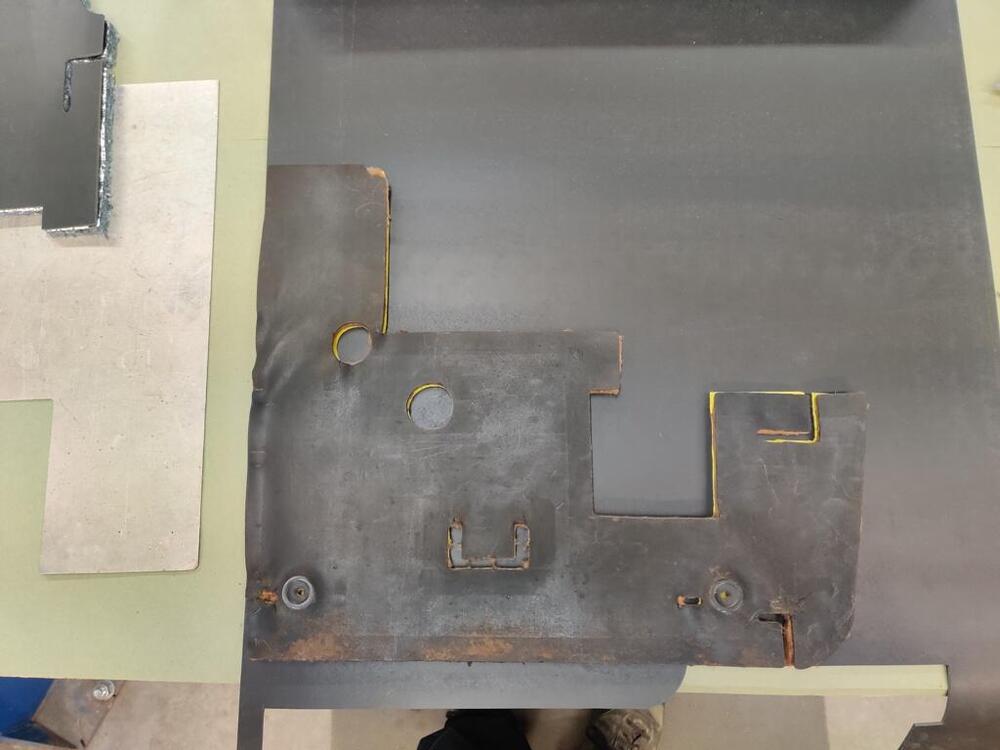
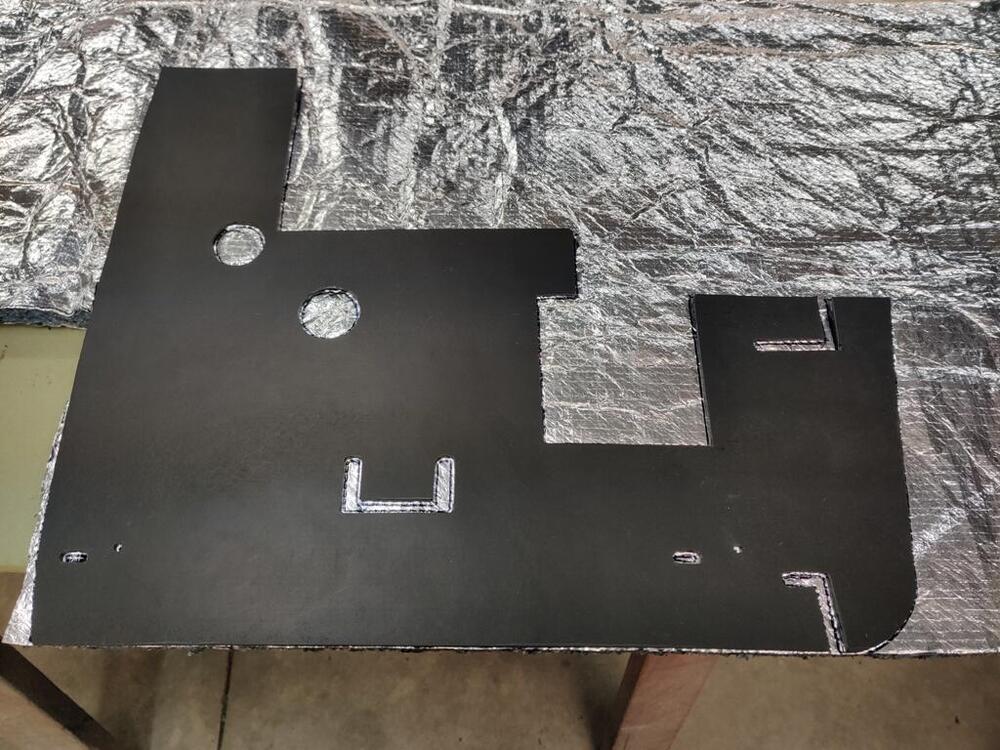
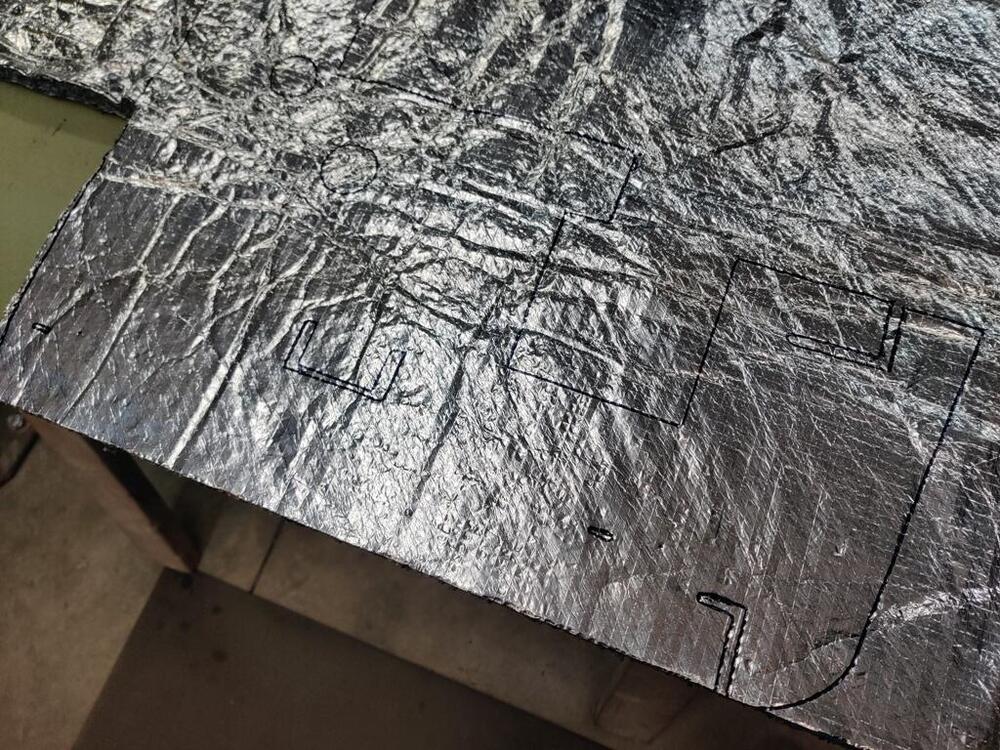
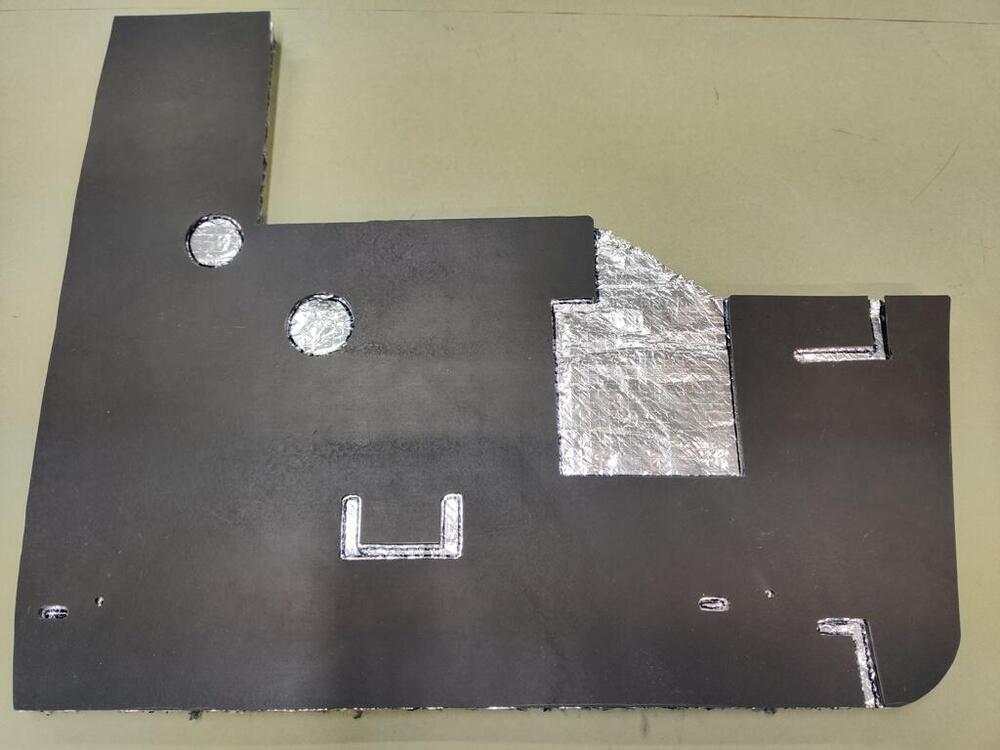
Today, I was able to finish cutting the materials for the left firewall pad, and complete fabrication of the parts to the right firewall pad as well. For the right pad, I started by heating it up with a heat gun to assist with flattening the bitumen - it had several wrinkles. I used my hydraulic press plates to flatten and cool the bitumen. They are heavy and also helped to cool the bitumen while holding it flat. After getting it reasonably flat, I applied tape and trimmed it so it could be used as a template. As before, I peeled it off of the old and stuck it to the new material. Then, I trimmed the new material to match the tape template. When the new pad was made out of butyl rubber, I laid it on top of the new insulation and marked the cutouts. I used a black Sharpie to mark the foil. I think it took about 3 and half hours to make this part. Then, I grabbed the old header and A-pillar vinyl. Unfortunately, it would be too difficult to reuse because of all the glue on it, and some tears on the left piece. I found some vinyl online that looks kind of similar. Before cutting the new piece, I used the heat gun again to get the old pieces as straight as reasonably possible. Then, I drew on the backside of the vinyl, providing a generous amount of extra on all sides. I cut the piece for the header out first, then one of the A-pillar pieces. Then I flipped over the new A-pillar piece and used it as a template for the other A-pillar piece. Lastly, I retrieved the old headliner vinyl (with foam stripped off of it) and the new foam piece I bought. I am going to attempt to glue the original headliner vinyl to a new piece of foam. I don't have high hopes that it will work well, but I will give it a try. I bought enough of the foam to make a second headliner. If I have to, I will attempt to find a new piece of vinyl that will be suitable for a headliner, and glue it to this foam.


-
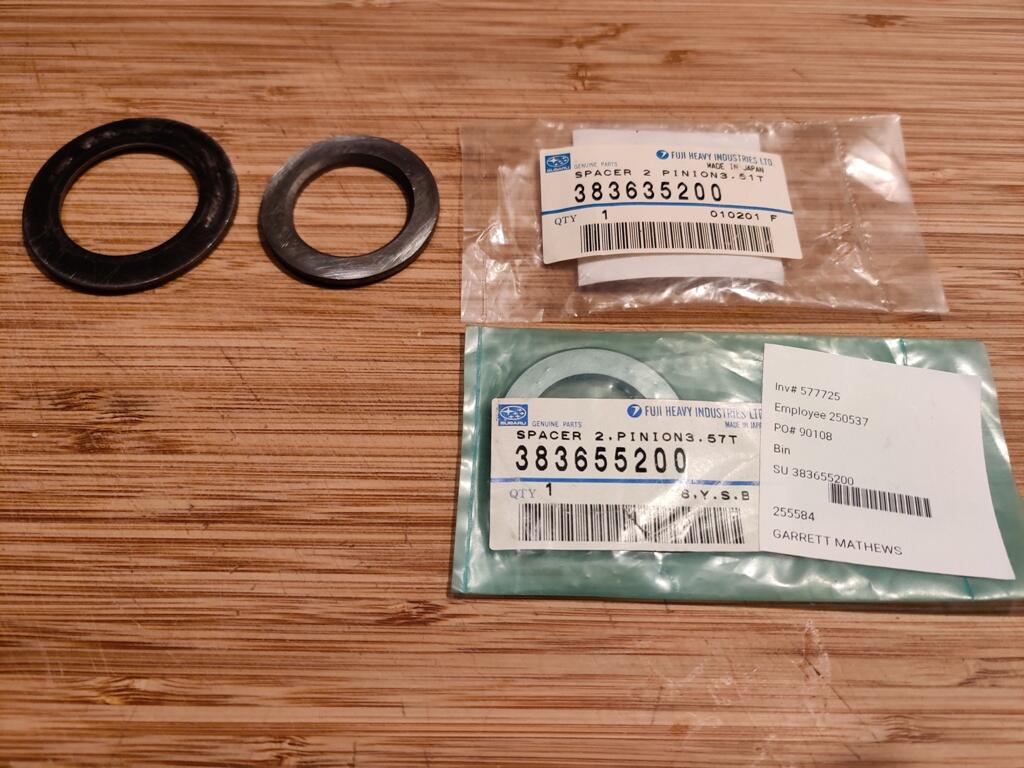
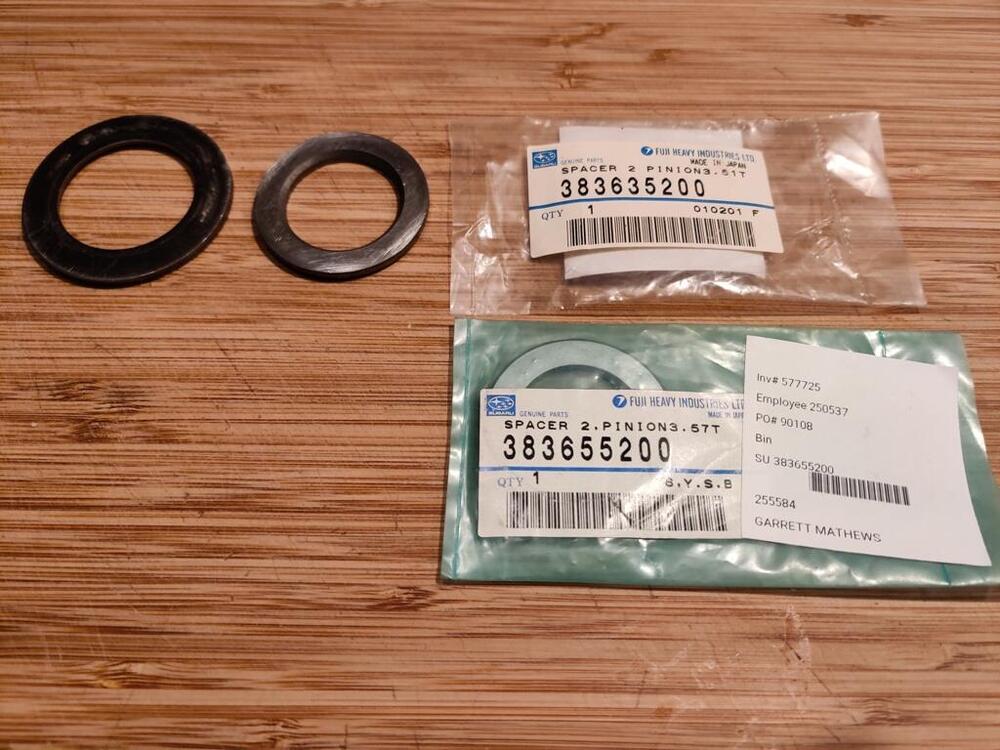
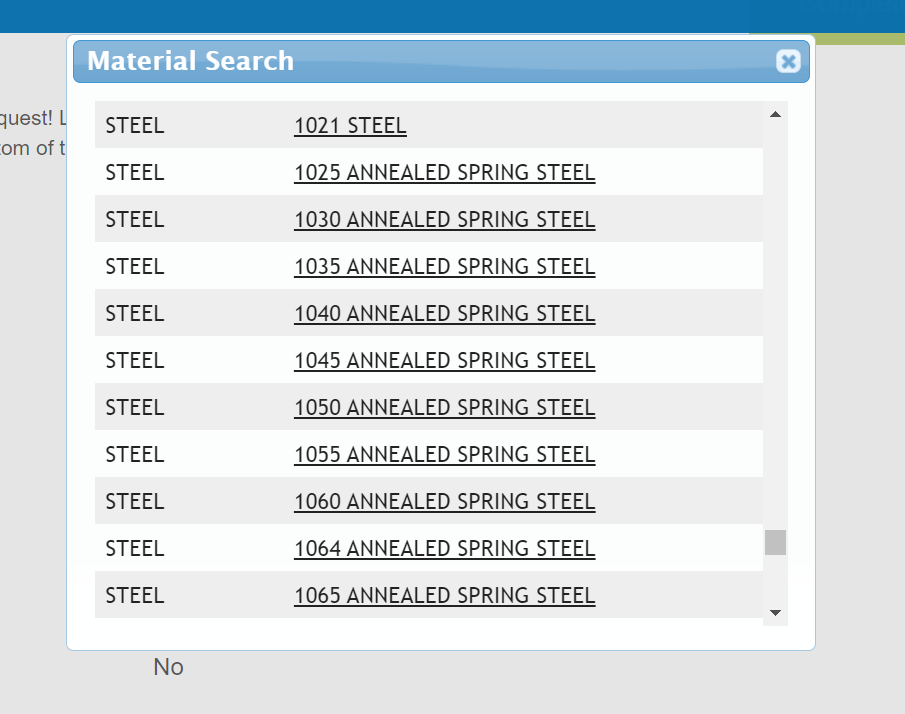
I received the two shims today. And, they are different than the one that came out of the differential. I checked the part numbers, and they are correct. I sourced all the differential bearings from Subaru, and they all fit perfectly. I used the same application - 04 Subaru STI for those and these shims, so I don't know what the issue here is. These new shims are likely for the R160 instead of the R180. After more searching online and coming up with dead ends, I remembered that I sold a 4.38 R180 to Troy Ermish not too long ago, so I pinged him on Facebook Messenger, asking him if he knew of a source for pinion shims. He responded within seconds, which was nice. He said "I never remove the pinion". In fact, he said that twice during the chat. He looked online a bit and couldn't find anything. He suggested looking for generic shims, and that I may be able to find something with a 35 mm ID (the original shim has a 35 mm ID and 54 OD). So, then we get back to some of the prior questions regarding "hardness"... and what thickness? I found this place online - they make custom shims: https://www.phoenixspecialtysales.com/. I am stepping through their online quote functionality, and they have many material options: I'd like to get a quote for one shim and see if this route is an option. @Captain Obvious, can you recommend a material option? I will also place an order for this, with the plan of making some .001" shims out of the material and then will proceed with trial and error to arrive at the thickness shim that I need: https://www.amazon.com/Stainless-Strips-Drillable-Cutble-Thickness/dp/B0C2YQW284/ref=sr_1_20?crid=1ER6Y6II7JTM&keywords=shim+steel&qid=1705200847&s=industrial&sprefix=shim+steel%2Cindustrial%2C102&sr=1-20
-
Note that one of those still has the spring clip on it which holds the arm in the pivot. Just mentioning that, though I realize you are dealing with a seizing issue. I'd drop them in a cup with WD40 or motor oil for a couple of days and then try again.
-
As an update, I should be receiving the new Subaru shims tomorrow.
-
Getting your hands on those is super exciting. I have placed several orders for Steve's products. I am thrilled that he is a reliable resource for these otherwise unobtainable parts.
-
View Advert Need a 240z driver door glass Looking for a driver door glass for a 6/71 240z - ideally looking for one with the same markings in the etched information on the glass as my right side door window. Mine has a dot above the S in ASAHI (1971) and a dot above the M in TEMPERLITE (4 = April). Thinking $50 to $200 depending on condition. Let me know if you have one from before 7/71. Thanks. Advertiser inline6 Date 01/10/2024 Price Category Parts Wanted Year 1971 Model 240z
-
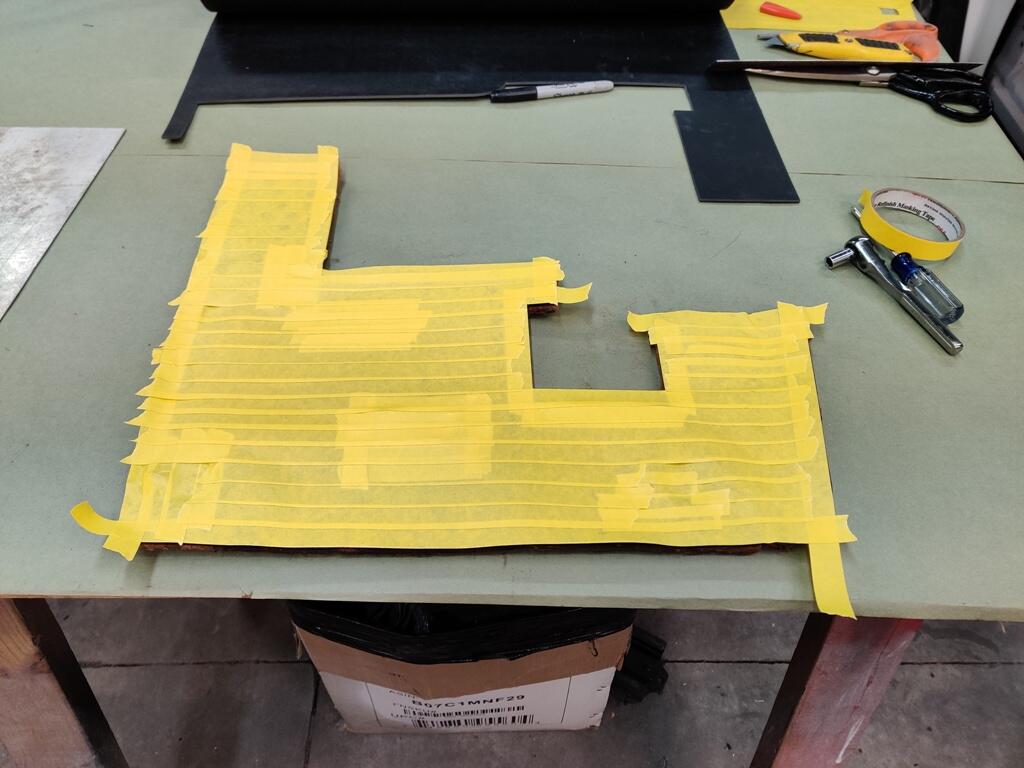
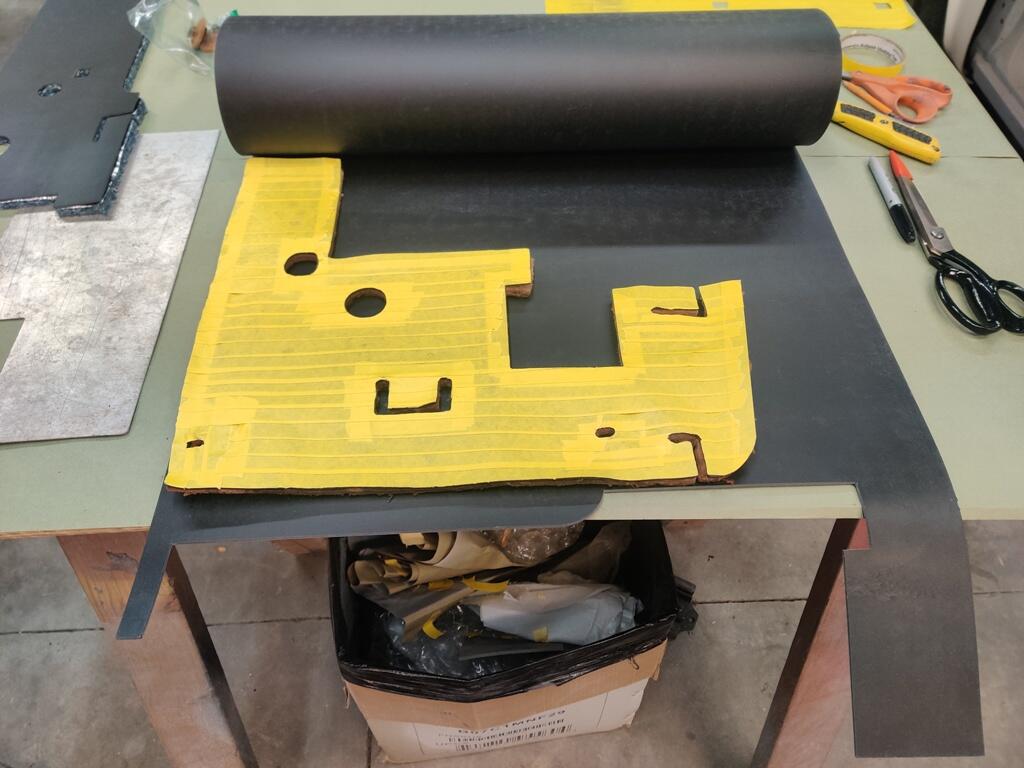
I was able to make more progress tonight on the firewall pads, this time moving to the left side pad. Covered in tape, then the cut outs, and the old on top of the tape pattern: The tape pattern on the butyl rubber sheet, the butyl rubber sheet after cutting out under the old pad, and the old pad placed above the new rubber cut out: The new rubber cut out on top of the new insulation, the outline in black marker on the insulation, the partially cut insulation under the new rubber cut out: The work to do this is somewhat tedious, but the results are pretty good. I decided to quit for the night rather than finish cutting the insulation for this pad.


-
Interesting. While I have a wipe pattern from assembly with all new bearings, I do not have one from before I disassembled the differential. In all probability, it had never been apart before, so the wipe pattern before disassembly should have been "close" to correct. I do recall (and posted somewhere earlier) that I measured the back lash before I took it apart and it was well within spec. So, I guess I will hope that centering the contact pattern will put it back close to where it was and minimize noise for the reason you point out. Well... Unfortunately, my history of experiences of having others do car related work for me have more often turned out to be disappointments than good experiences. Another way of saying that is: the majority of the time I hand stuff off to someone else to do, it doesn't get done well enough. Now, I am freely admitting that I am a perfectionist. And that is probably more than half of the problem. However, it can be very hit and miss with having someone else do this (as well as other) types of automotive work. If there is a place that is highly recommended by people with personal experience with the work, I will gladly and seriously consider it. I just assume that either: most differential rebuilders (who are still around) won't touch this, or I'd be better off not playing Russian roulette with the places that pop up with an internet search. Then, there is the weight of the thing... shipping both ways, etc., but that is a secondary set of issues.
-
That shim stock is still in my Amazon cart. My thought is that instead of binding, the pinion will move closer to the crown gear, possibly so much so, that the tooth contact moves past the center of the crown wheel, but not too far. And maybe, I end up with an amount of backlash that is acceptable? My original wear pattern looks too far forward on the crown gear to me... Depending on what happens with the thinner of these two new shims, I can proceed with the buying the shim stock, and seeing what size I actually need, and then possibly modify one of these thicker washers to that spec. Thoughts?
-
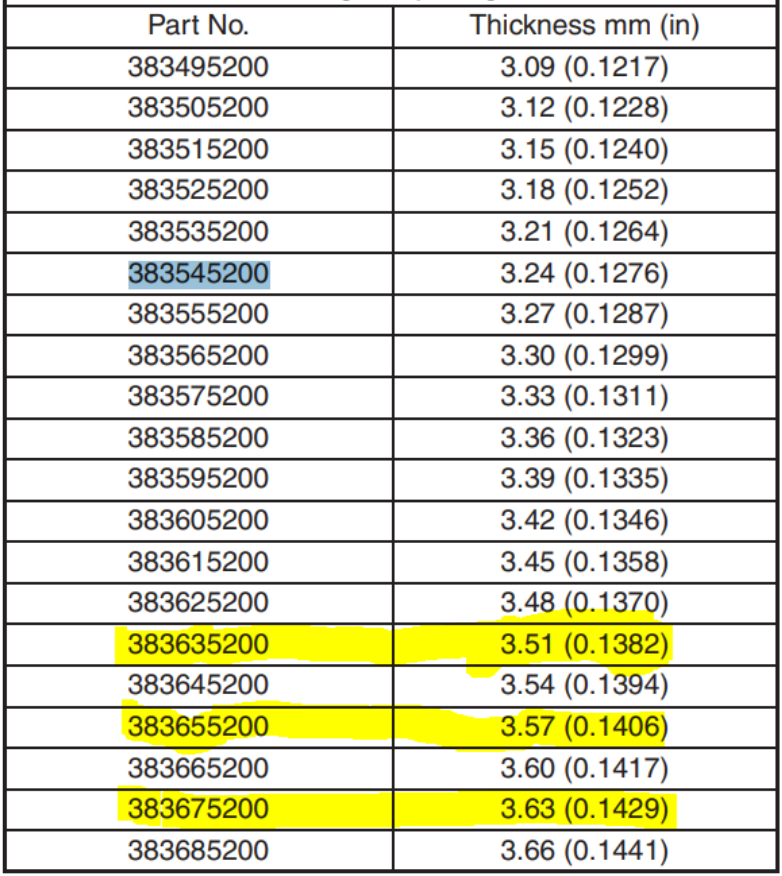
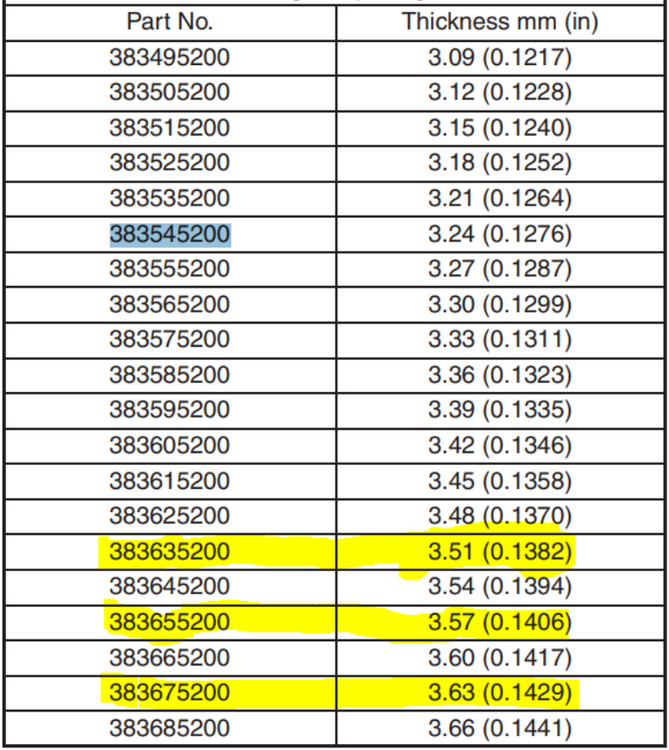
The pinion shim was not in the shipment I received. Instead, they cancelled that part and sent me the rest of the order, a few carrier side flange shims. Since the shim I took out only measured .126" thick (possibly part number 383535200), I again looked at the shim part numbers that showed as still available (yellow highlight below): The 3.63 (0.1420) is the one I ordered before and was/is on national backorder. So, I ordered the other two in yellow highlight yesterday, and found out today that they plan to ship them in about 4 days - they are available! Now, we just have to see if either of those will work to bring my backlash into spec. The difference between what I took out (.126") and the thinner of the two I will receive (.1382") is .0122" or 12 thousandths plus 2 "tenths" or two tenths of a thousandth. There are lots of different shim thicknesses in the chart between these two, which makes me think a little change in shim size goes a long way toward changing the mesh of the pinion and ring gears. But, we'll just have to wait and see.
-
I found that the board material inside of 3 ring binder/notebooks worked very well when I redid those in my track car years ago. Something like this: https://www.officedepot.com/b/binders/N-1035691 If you have some old ones laying around, that might be more appealing that sacrificing new ones
-
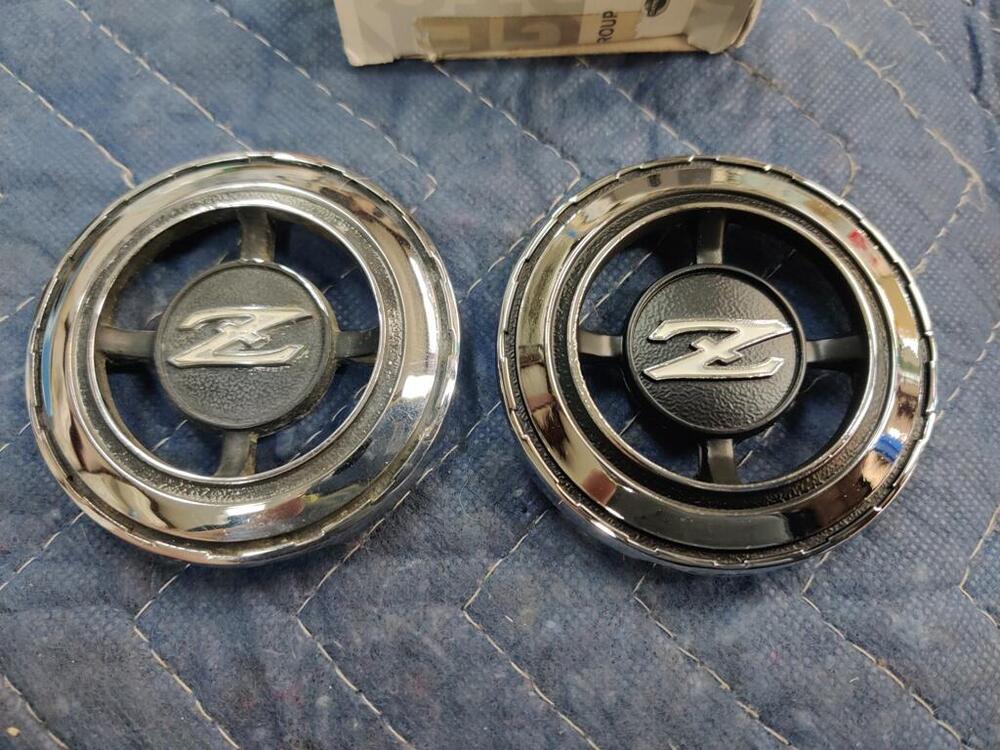
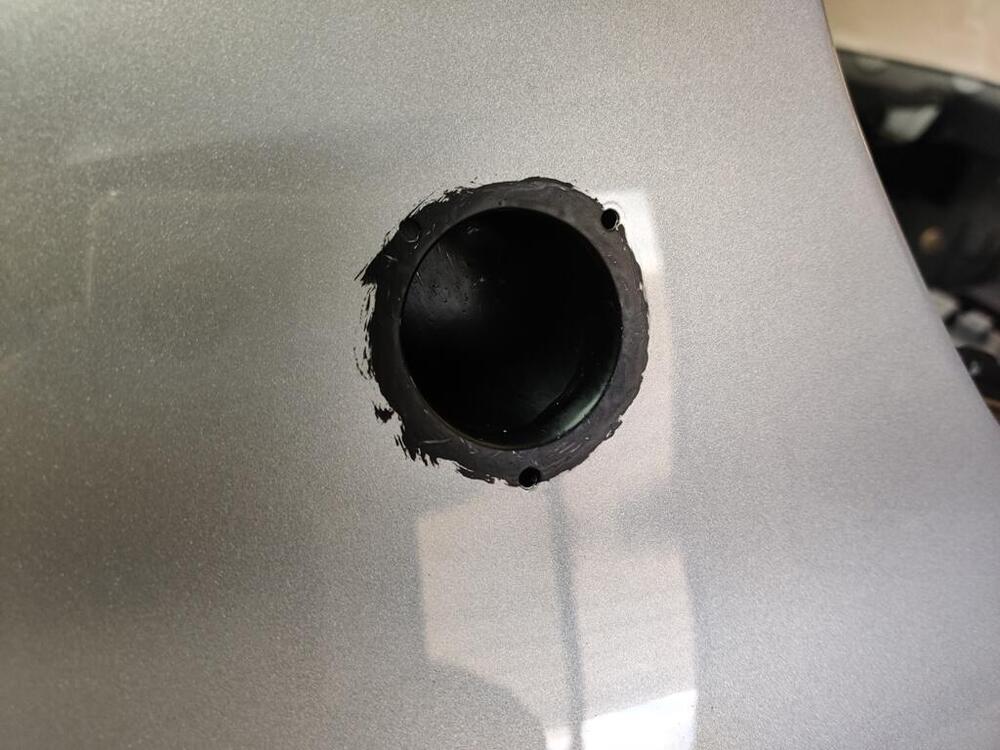
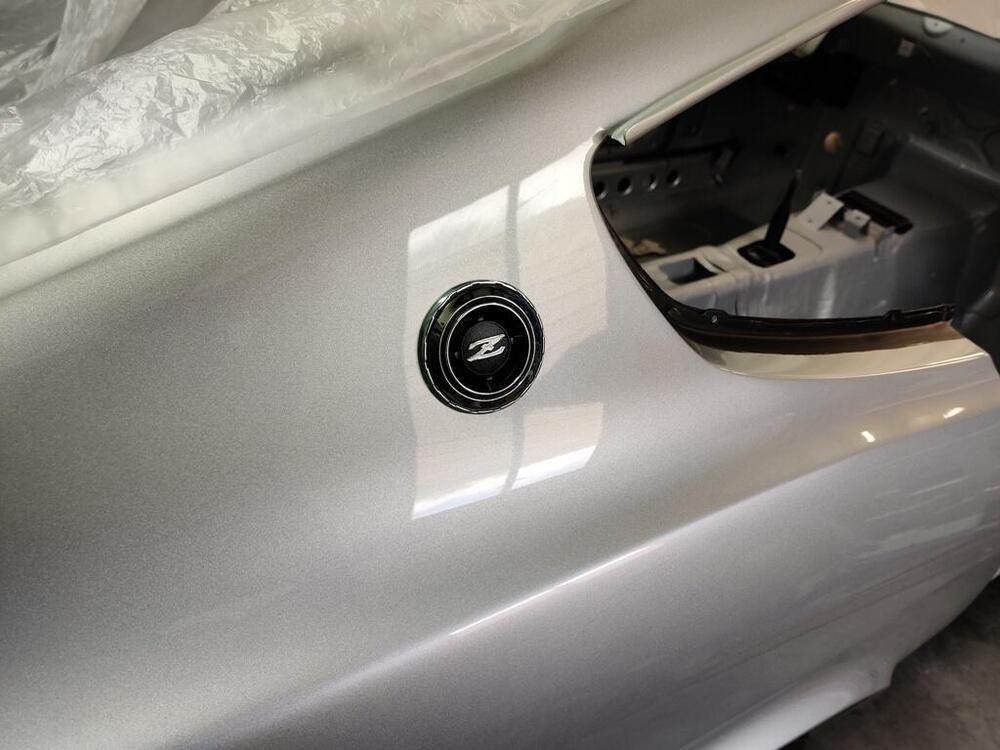
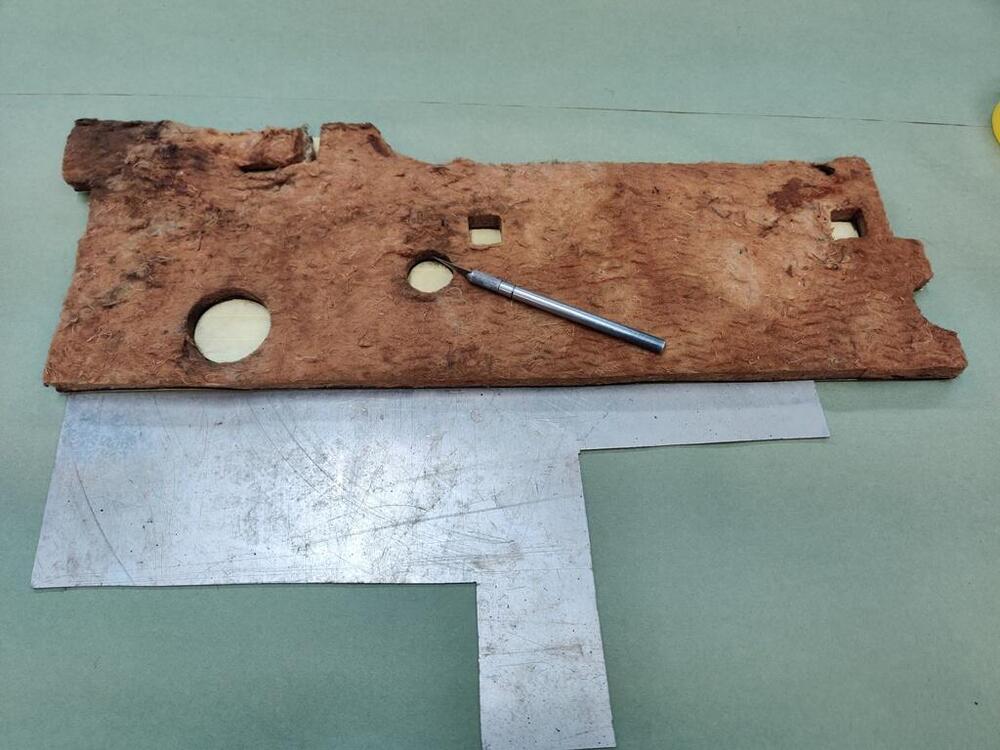
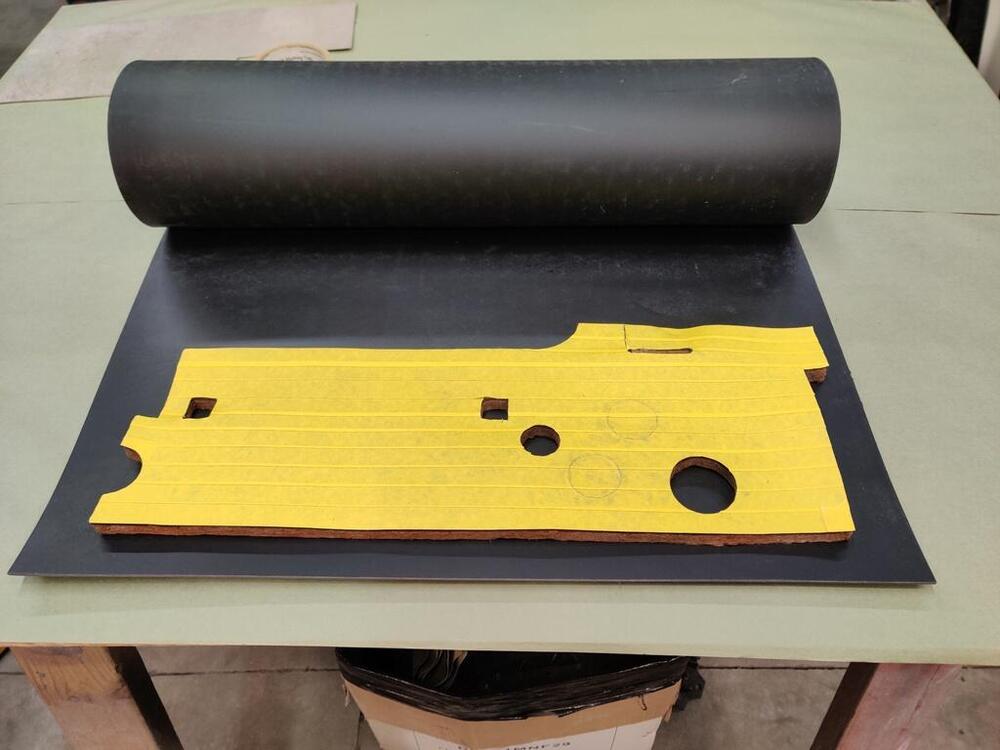
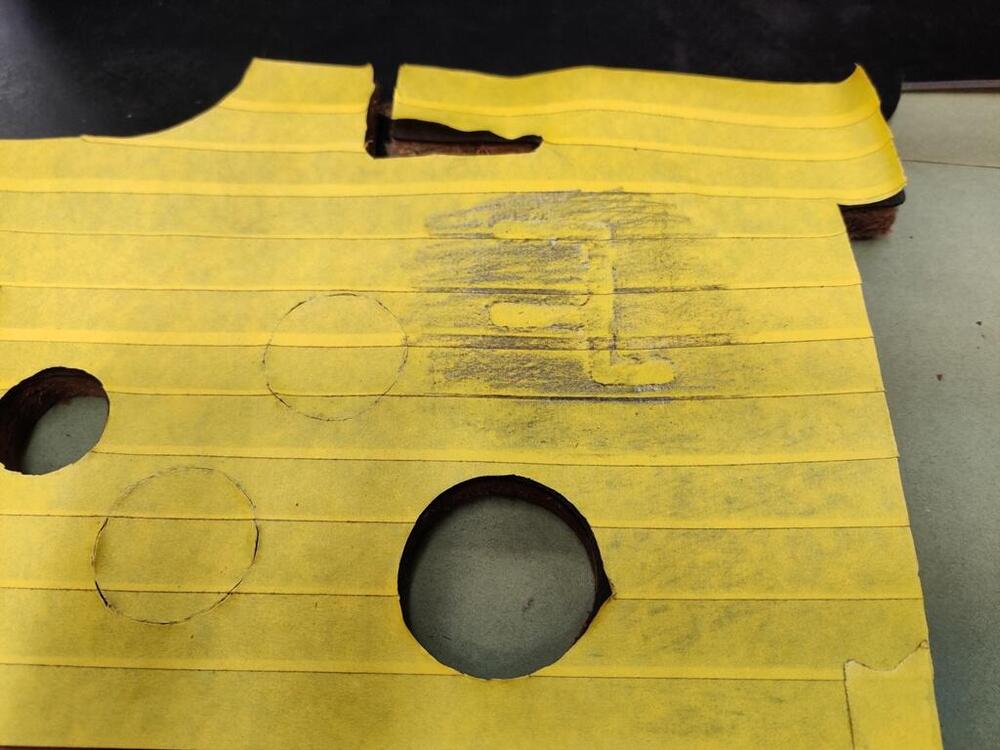
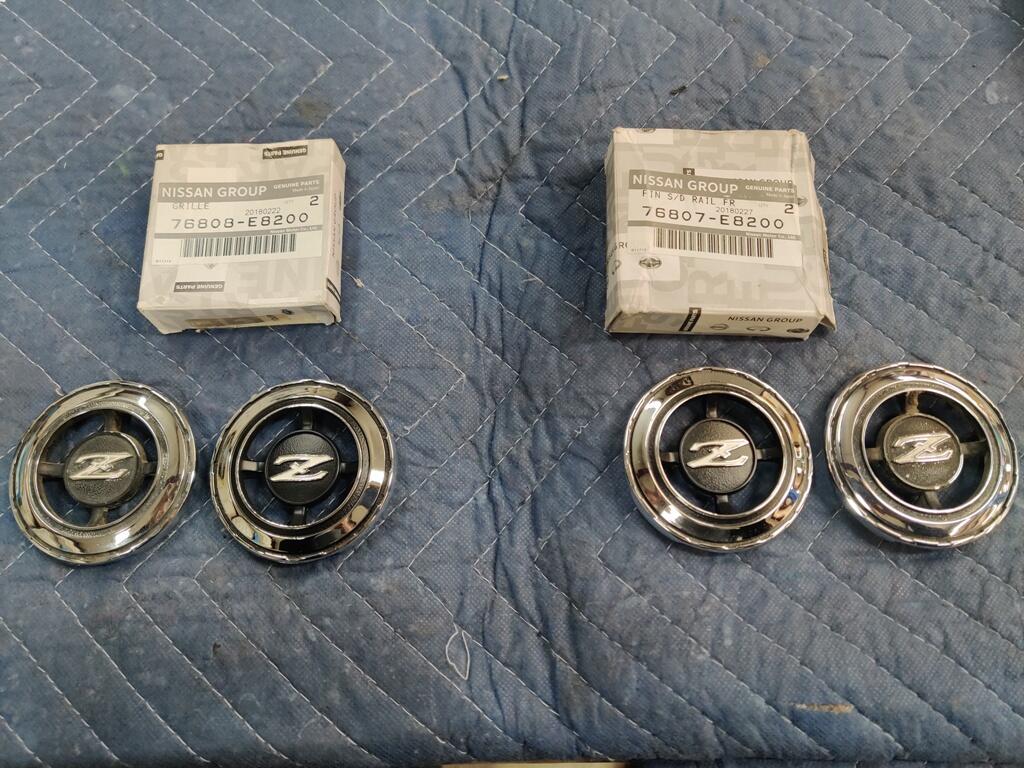
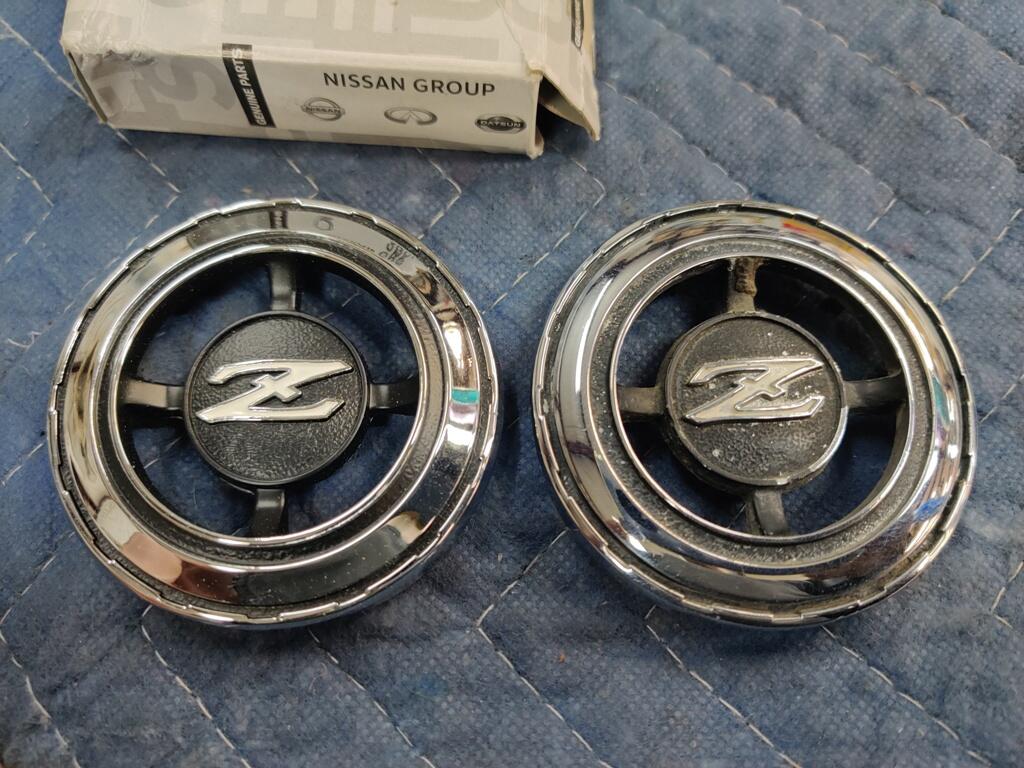
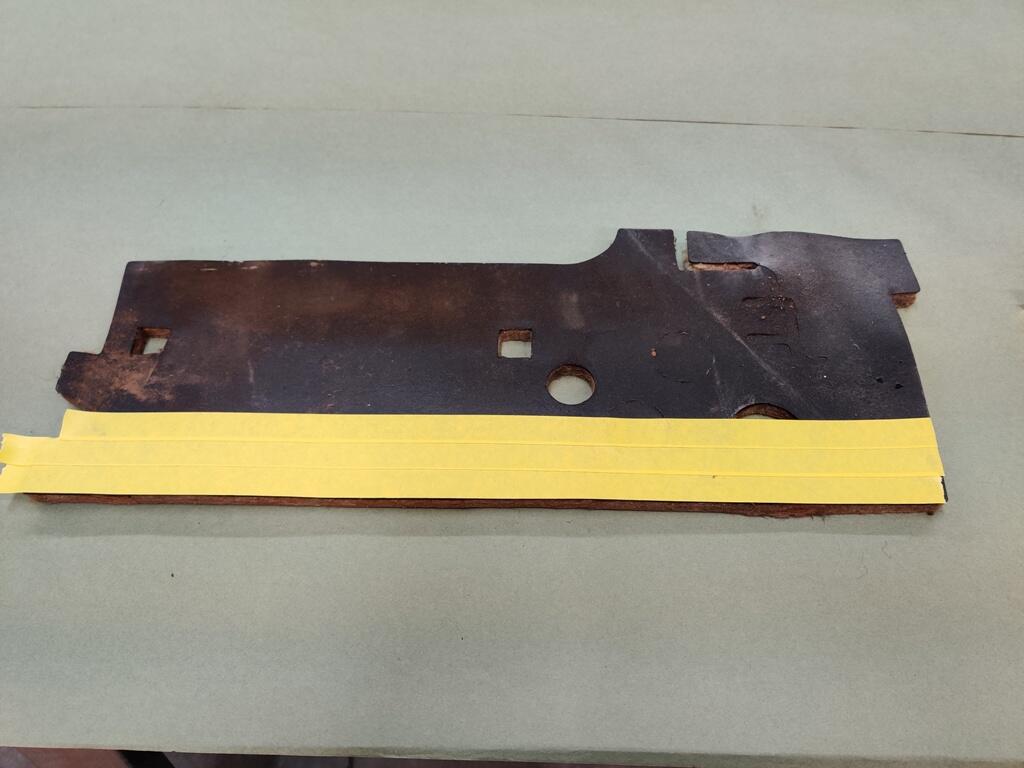
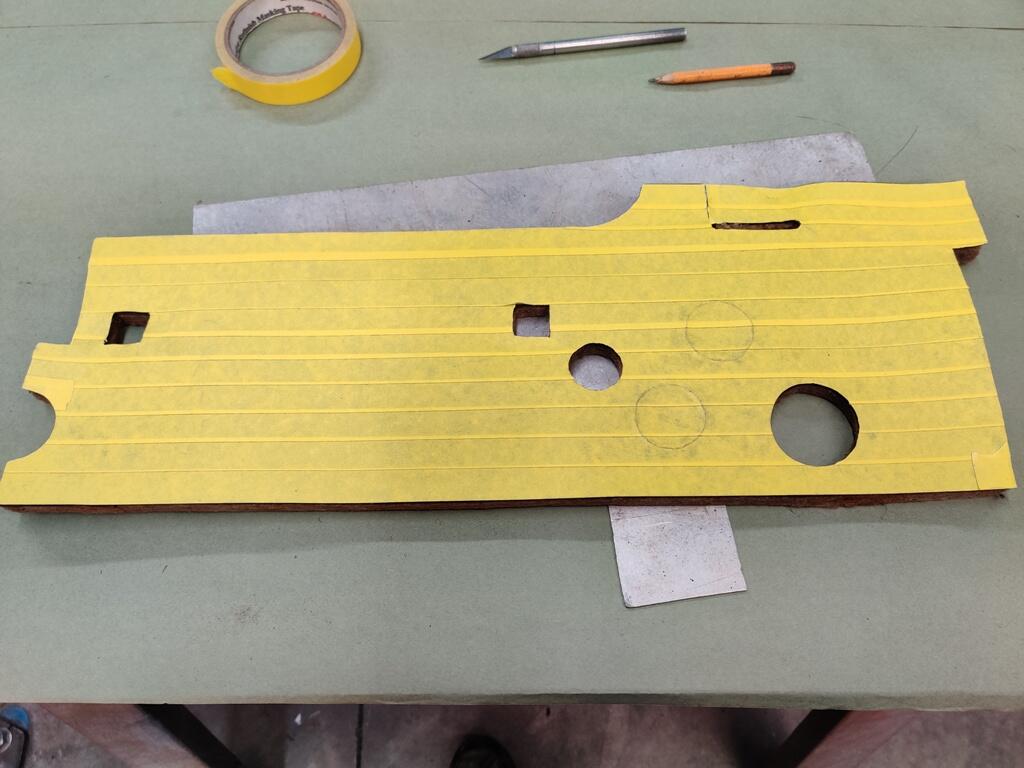
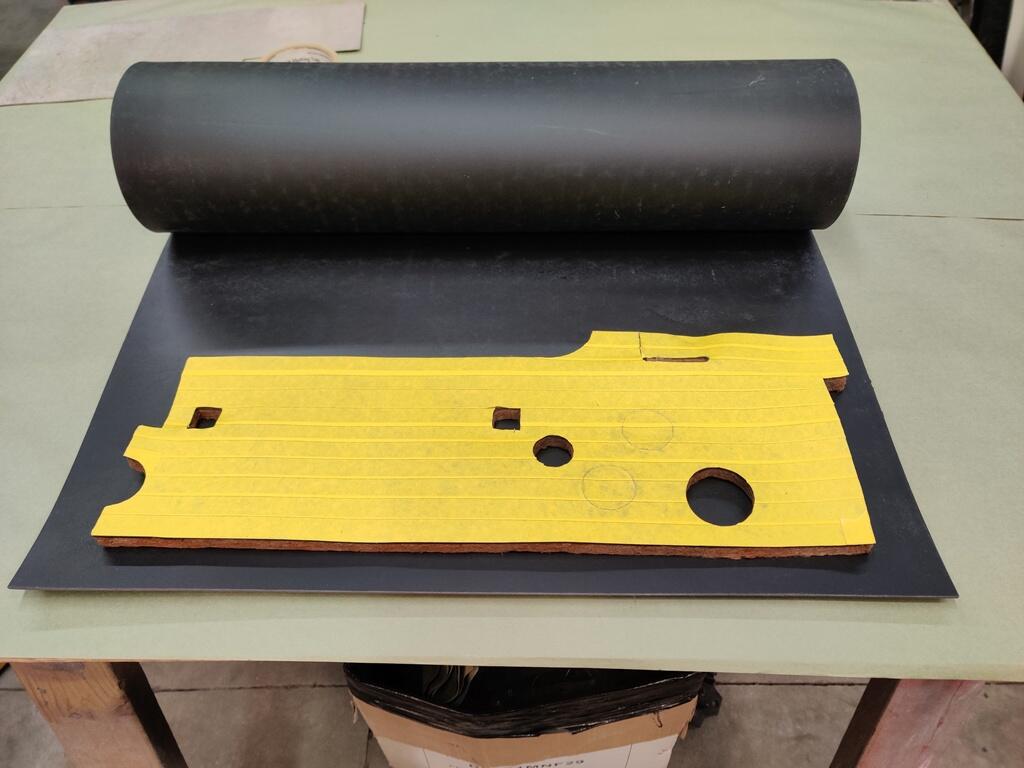
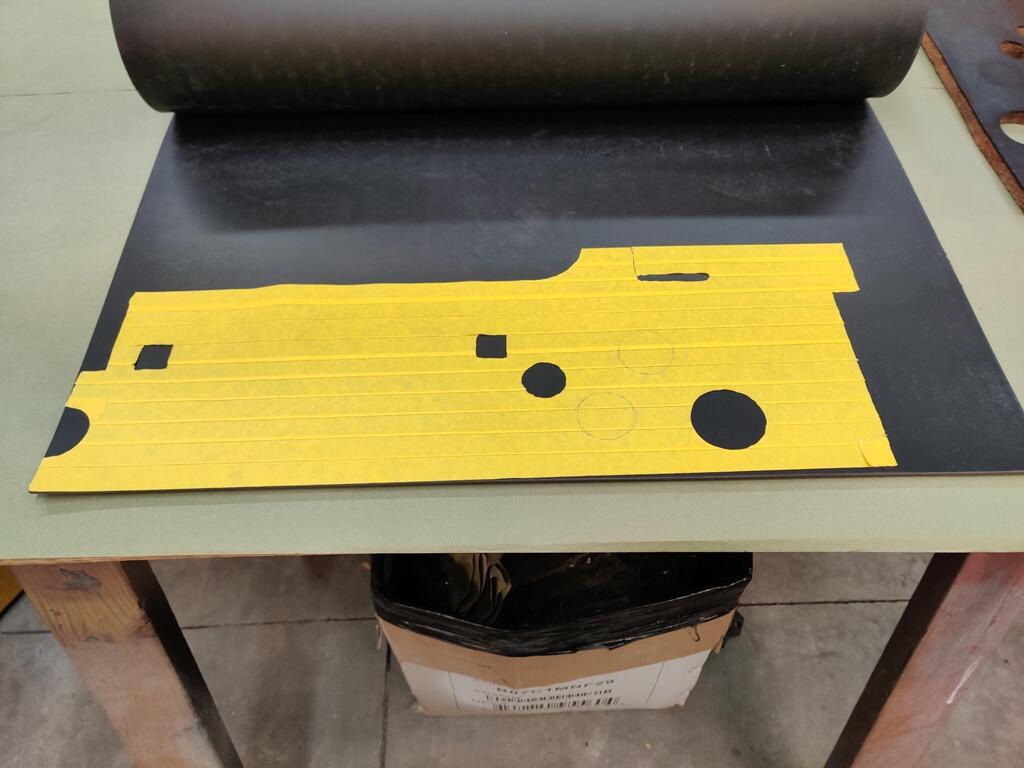
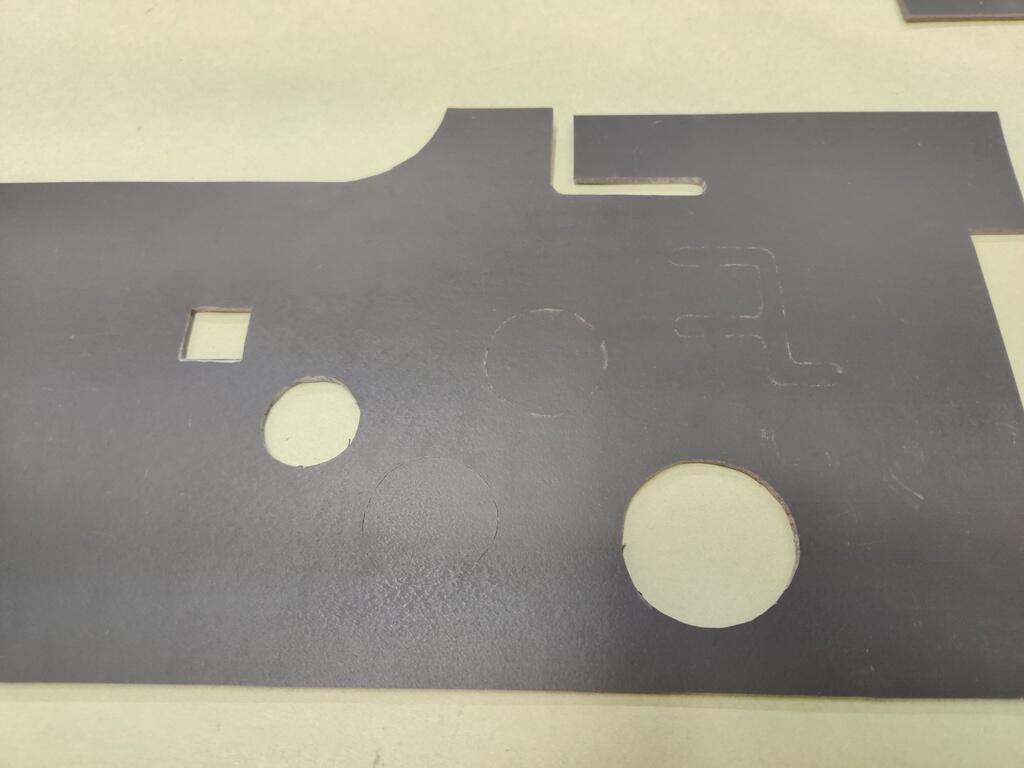
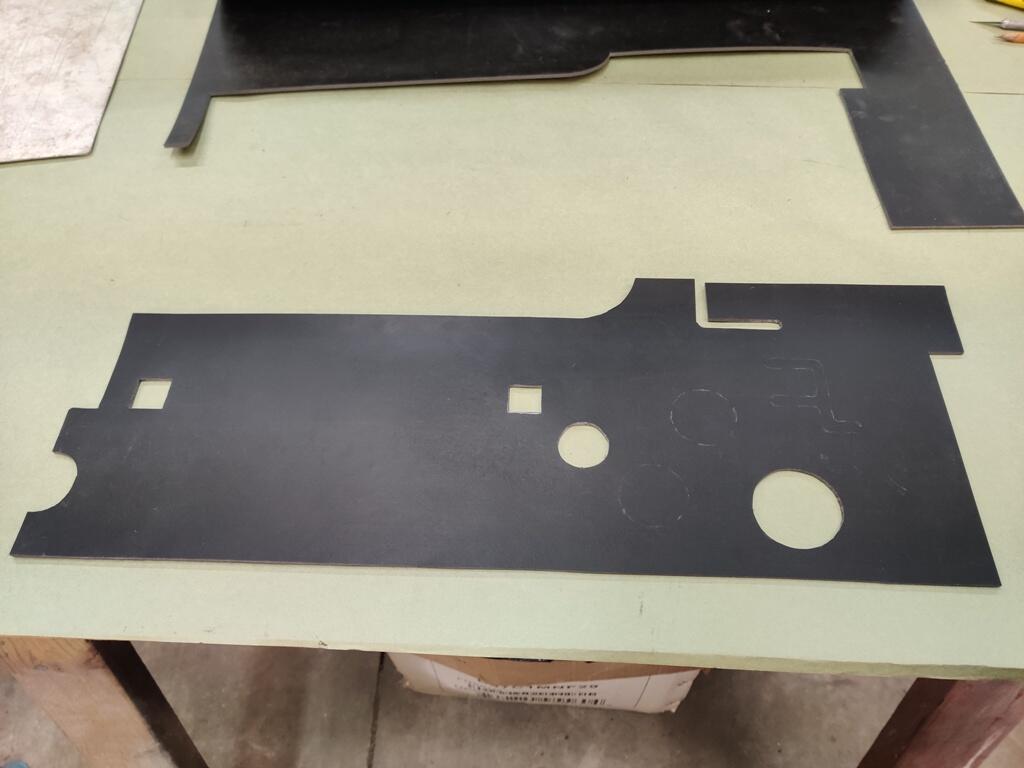
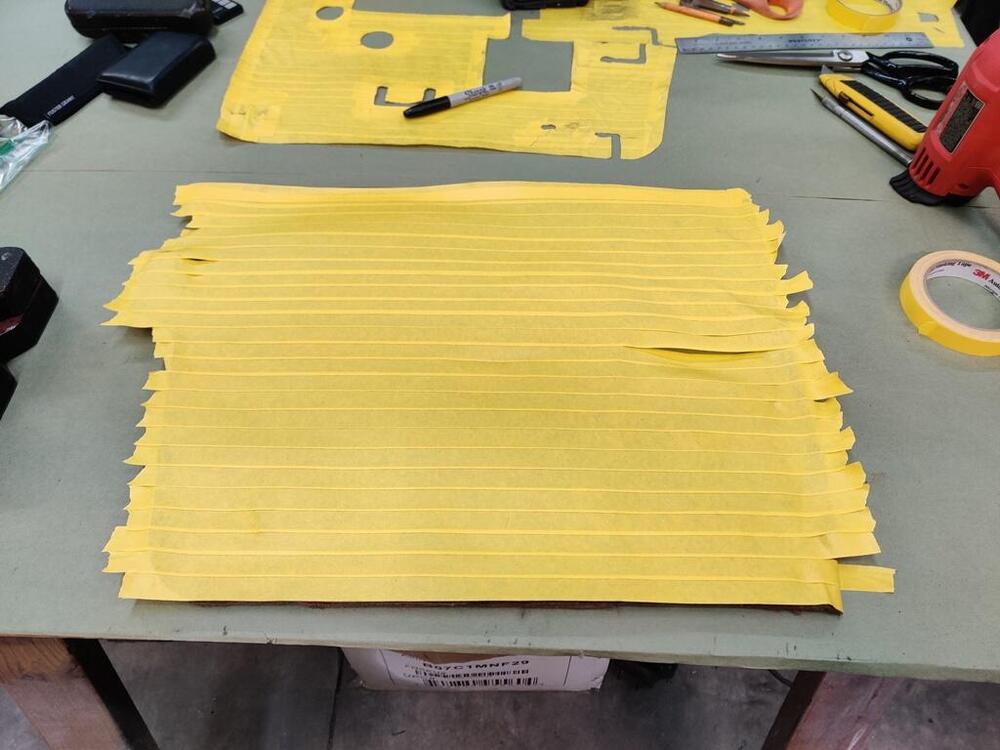
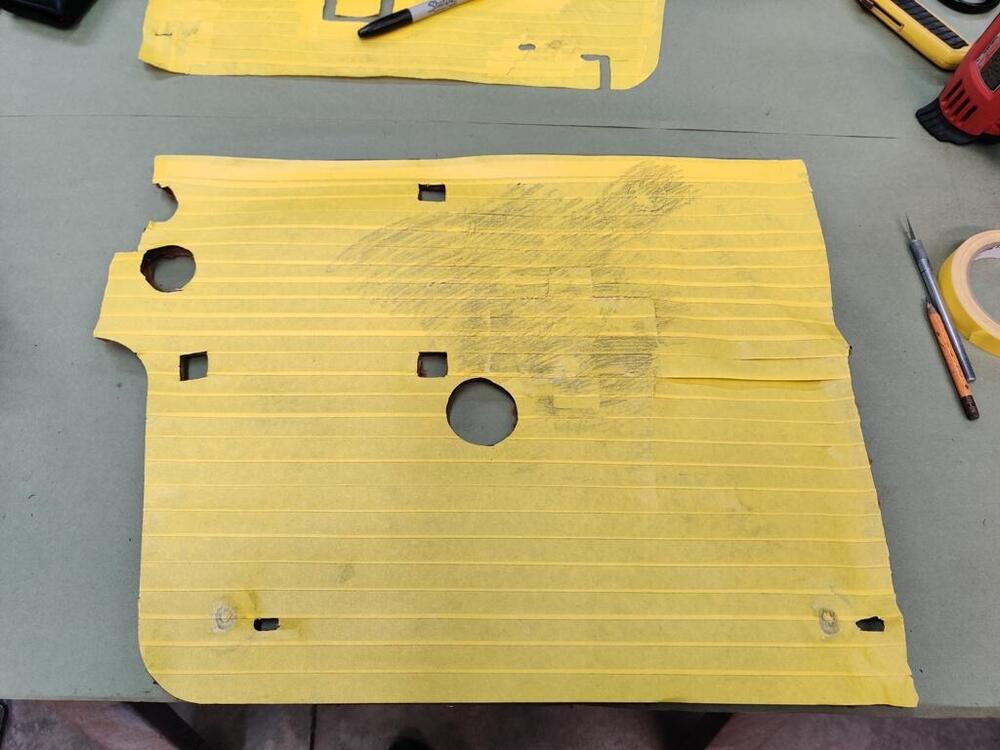
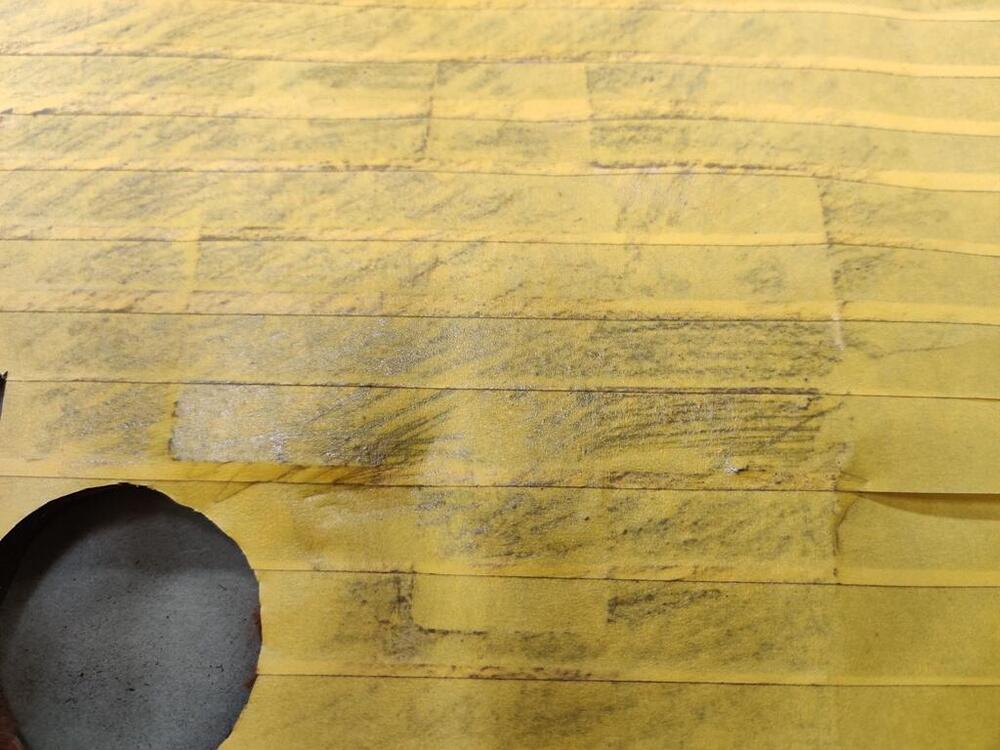
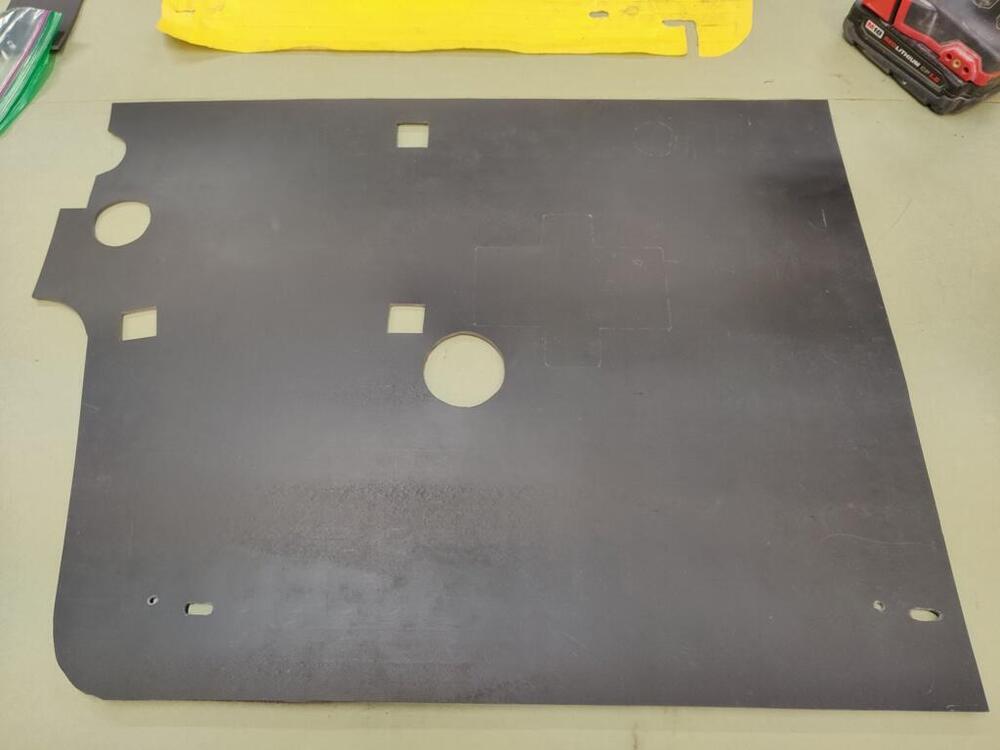
It was fun working on the car today. I started with putting quarter panel emblems on. Once again, I sprayed some Krylon flat black paint into a cup and used a brush to black out the vent hole. The original emblems are in pretty good shape. With a little polish and some repainting, they would have looked very nice, but I purchased new ones (these are also metal) a long time ago and it was less work to take them out of the box and install them. I did have to open up the emblem mounting holes a bit due to primer and paint build up. And I put a bit of silicon on each of the emblem posts before installing to seal up anywhere that I may have broken through to metal while cleaning up the holes. After that, I cleaned off one of my work areas to start a new project - the firewall pads. In a previous effort, I tried to revive my originals by using some mild thinner to clean the asphalt/bitumen surface... and using a heat gun to straighten out some wrinkles. But, neither effort worked well. And my right side pad has a fair amount of cracking/damage. So, I spent many hours looking online for a suitable product that looks like the original bitumen sheet. I found "bitumen" to be available only outside the US, and even so, I couldn't determine if what was available would look original. I did find a product from Second Skin that looked the part - this is the same company from which I bought the floor sound deadening pads. Today, I started with the small, center pad. I covered it with strips of good quality masking tape. When peeled away from the original part, this makes a nice template. Then I used a sharp Exact-o knife to cut where there were holes from the factory. For kicks, I also made partial cuts where the factory had partially cut, but not removed the bitumen. This didn't add that much time and was fun to do. After the new butyl rubber sheet was cut to look like the original pad, I grabbed the other product I got from Second Skin. It is some felt type padding with a type of foil on both sides. I thought about trying to use the factory felt, maybe after cleaning, but decided that even I have limits to my insanity. This product is about the same thickness and is a similar material, though a different color, obviously. When I purchased this, I was thinking I would have to double it up to achieve the factory thickness. However, I will not, and so, I have plenty of extra! Next up will be replicating the driver side pad... After spraying some contact adhesive to the back of the rubber and face of the insulation, the new piece will be done!