inline6
 Subscriber
-
Joined
-
Last visited
Everything posted by inline6
-
 Also, I have updated my 240z fastener information at this Google sheet. The hatch hinge hardware is in the body section. The other related hatch hardware is in the body exterior section. I need to organize things a bit better in the sheet.
 -
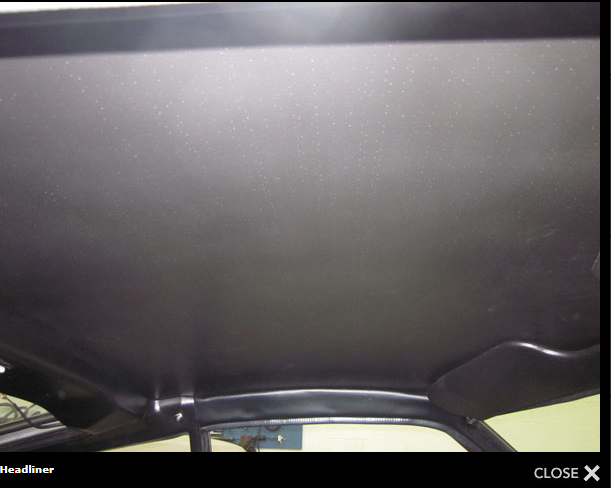
That is a good idea. He's looking for a left window for me currently. I'll ping him. Thanks for providing a picture of the Banzai headliner. It does look nice.
-
Yes, I think that is accurate.
-
Picture on their site: It has holes in it like this in the pic? https://www.zzxdatsun.com/catSoftTrim.php
-
No problem. Thanks for checking.
-
I believe those are fittings are only on radiators for the 240z with automatic transmission. They seem to be more common than automatic 240z's, in my opinion. I think it's possible that for a number of years after production of the 240z ended, many, if not more than most of the replacement radiators were made with those fittings, as they are simply not used when the radiator is used in a manual transmission car. Easier to manufacture and/or stock one part vs. two is how I see it. They are for running tranmission fruid through the radiator - this functions as an "oil cooler".
-
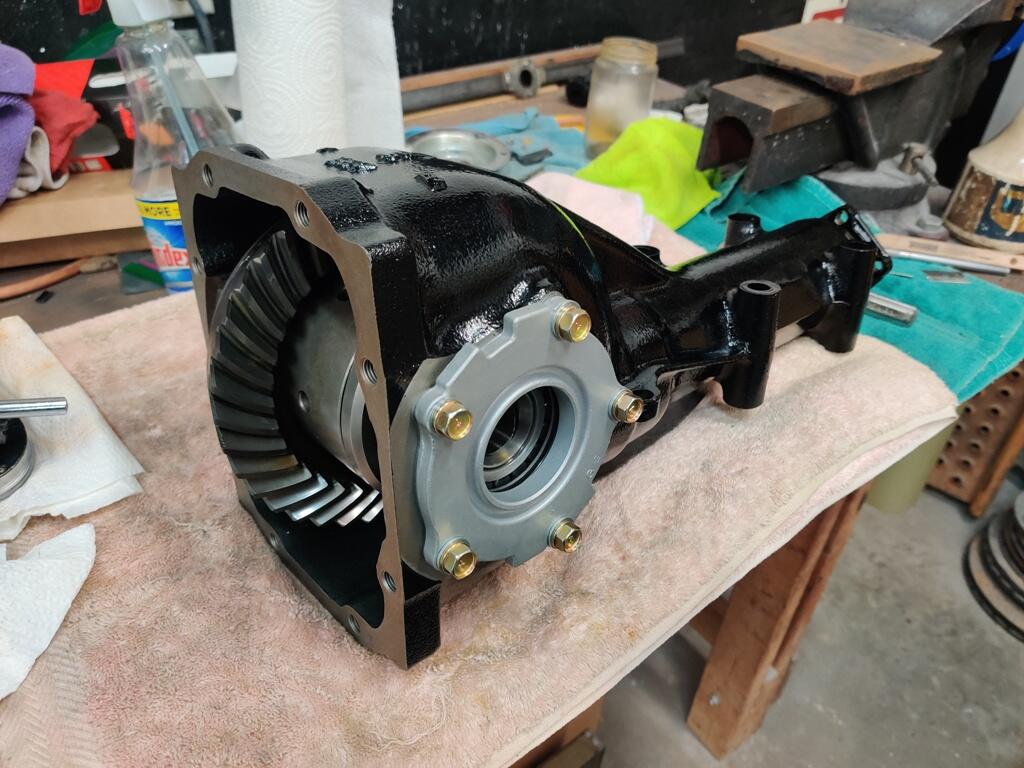
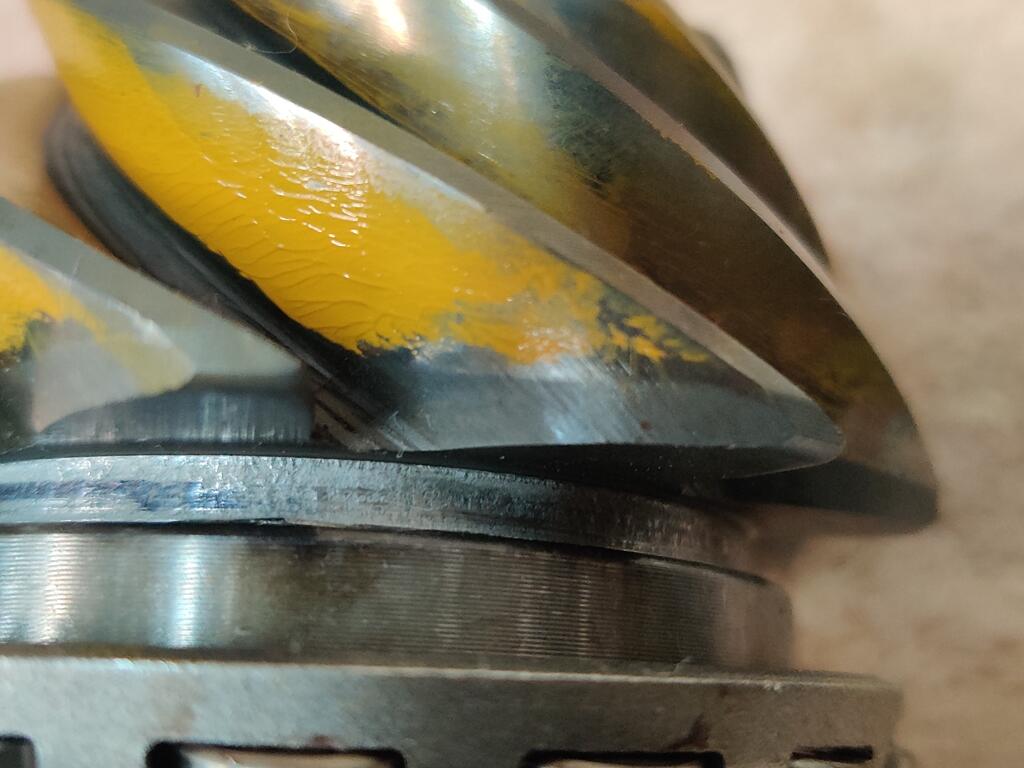
While it was apart, I cleaned all the yellow "paint" off of the gears. WD40 does a great job with removing it. But I didn't have time to reapply before quitting for the day. I'll reapply and check it out one day this week. As it sits now:

-
Ok - please have a look and let me know.
-
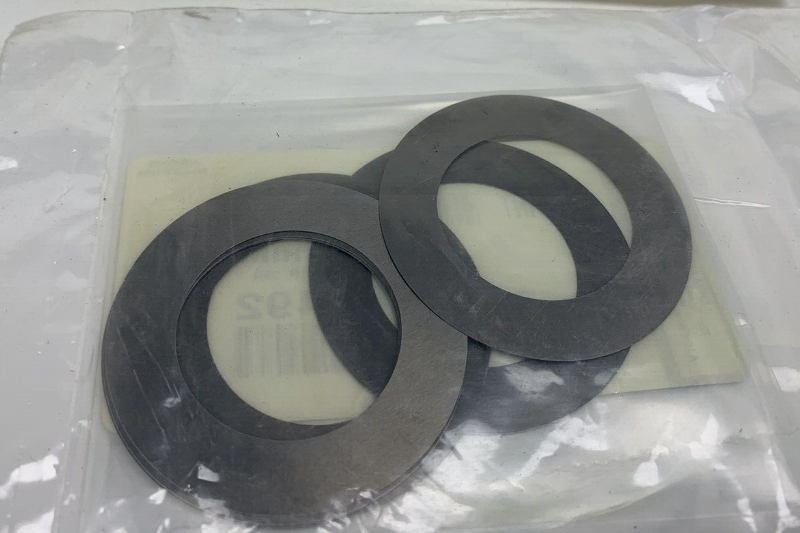
The shims came in the mail on Saturday. They fit like they were designed for the R180. Though the OD is bigger than the original shim/washer, it is no larger the rear pinion bearing. They appear to be high quality/strength steel, but I don't know if I can determine conclusively if they are suitable for this application @Captain Obvious. Probably best to still make a shim out of suitable material. Previously, I had cut .001" shims by hand and stacked 8 of them. This time, I rolled the dice with using 3 of these which are .005" each. During assembly, I replaced the pilot bearing with a new one, and left out the front seal. I torqued the pinion nut to about 100 ft lbs, and measured the turning resistance due to bearing preload at about 7-8 inch pounds (within specification). I also swapped out the side retainer shims for new ones of the same respective thicknesses. The old ones had a bit of rust/corrosion, so I felt it best to go with new ones. Here are my results: With the side shims in their original locations (.3 mm or .0118" on the left side and .4 mm or .0157" and .5 mm or .0197" on the right), I measured backlash at .012". Moving the left shim to the right side flange, I measured backlash at .005" which is within the factory specification of .0039" to .0079" That... is pretty exciting. Basically, each time I "push" the pinion gear closer to the ring gear with shims (a total of .015" so far) the backlash as been reduced. Now, the question is, do I disassemble, and add more shims to space the pinion even closer to the ring gear, and move the one side shim back to the left, or do I go with no shim on the left and the .3 mm +.4 mm + .5 mm shims on the right. It shouldn't matter, right? I mean, what if I add another .005" shim to the .015" thus far and get backlash that is still more than the .0079" max... and then when I swap the side shim from left to right I get less than .0039". I kind of don't want to mess with it anymore.
-
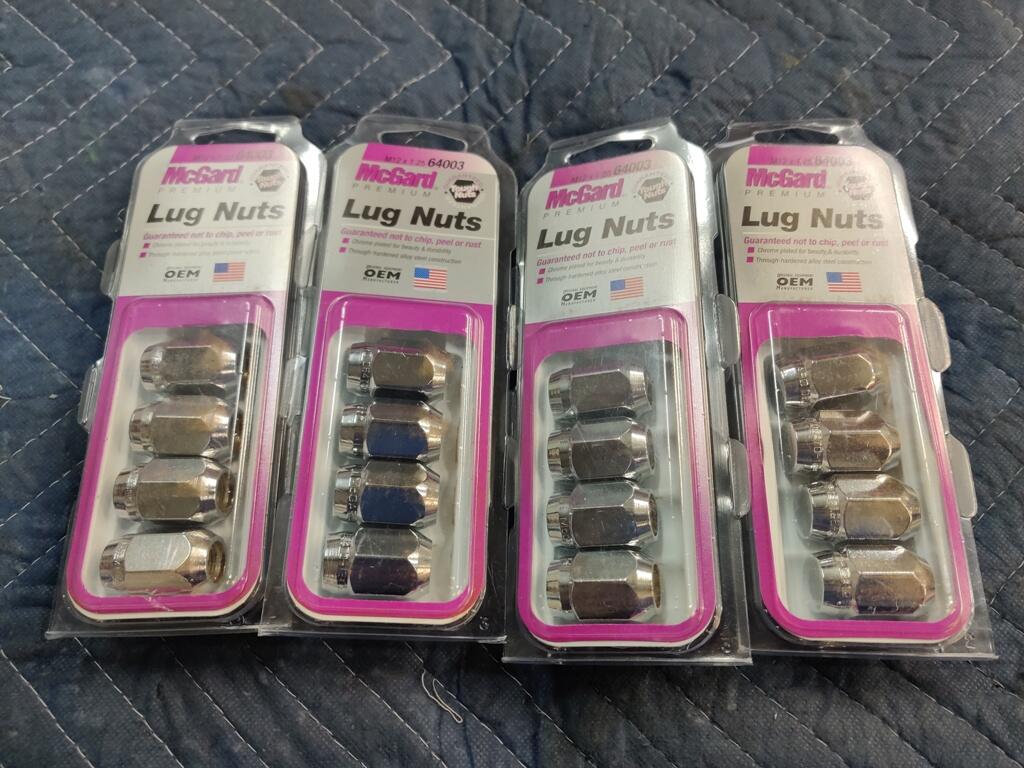
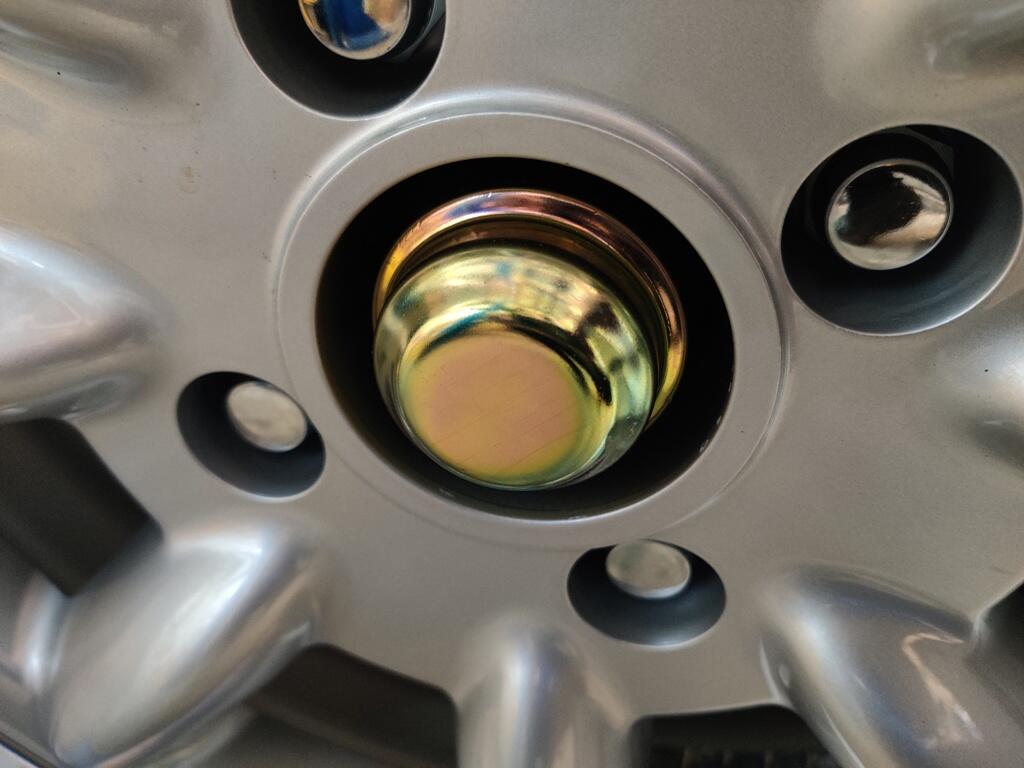
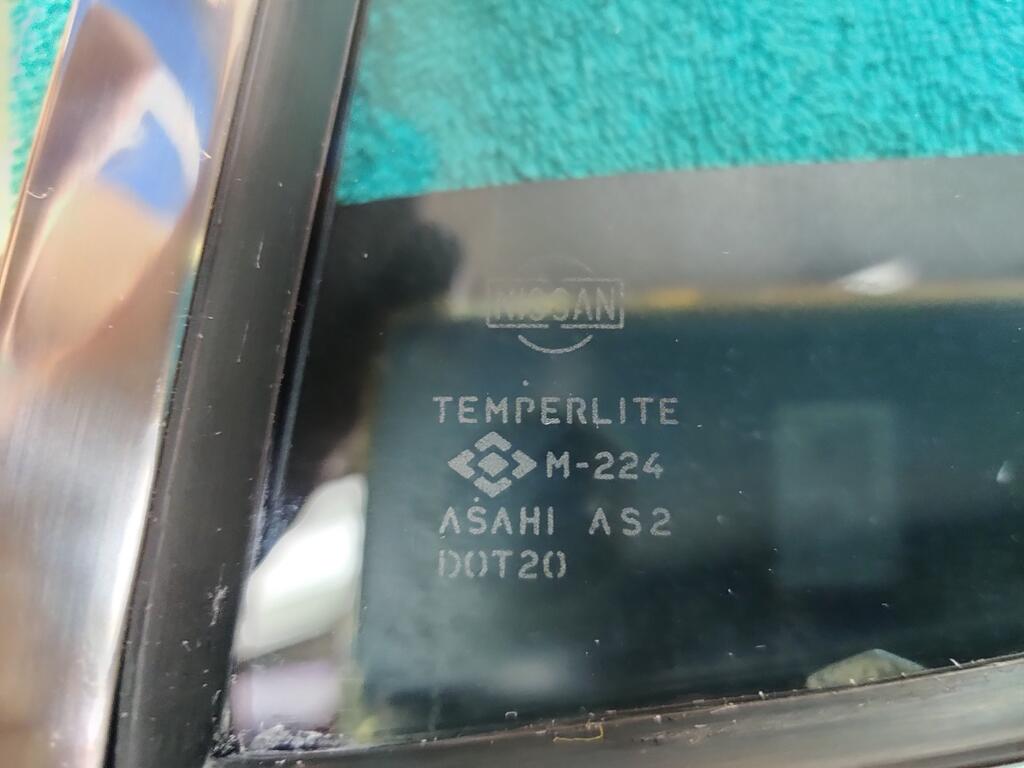
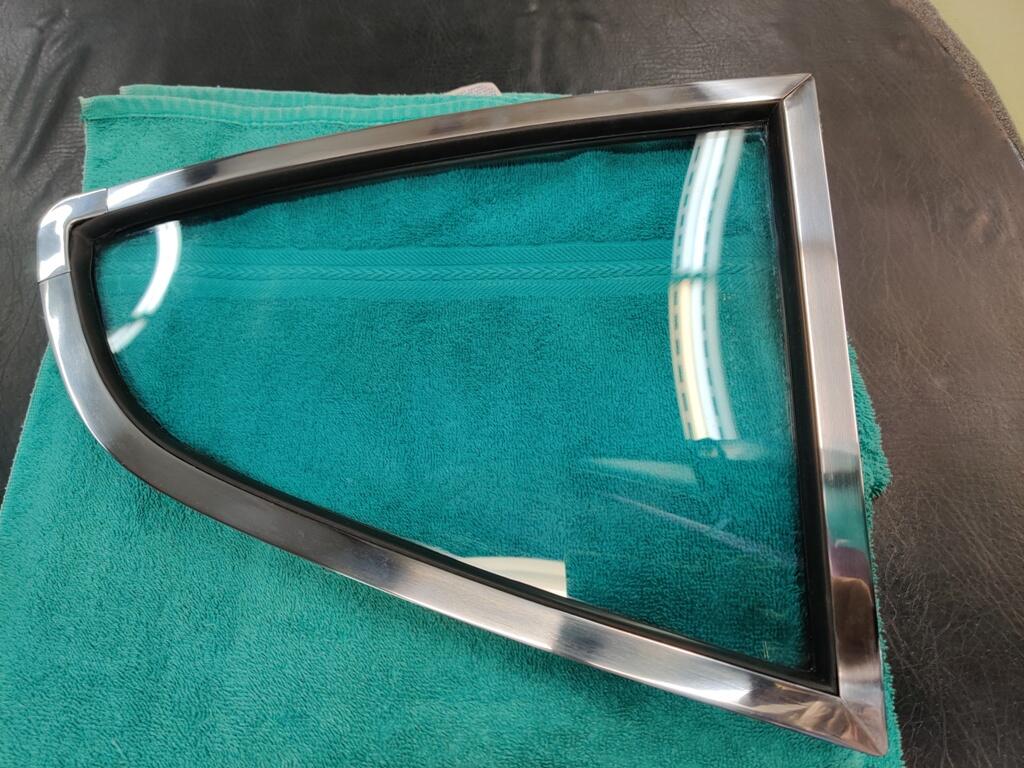
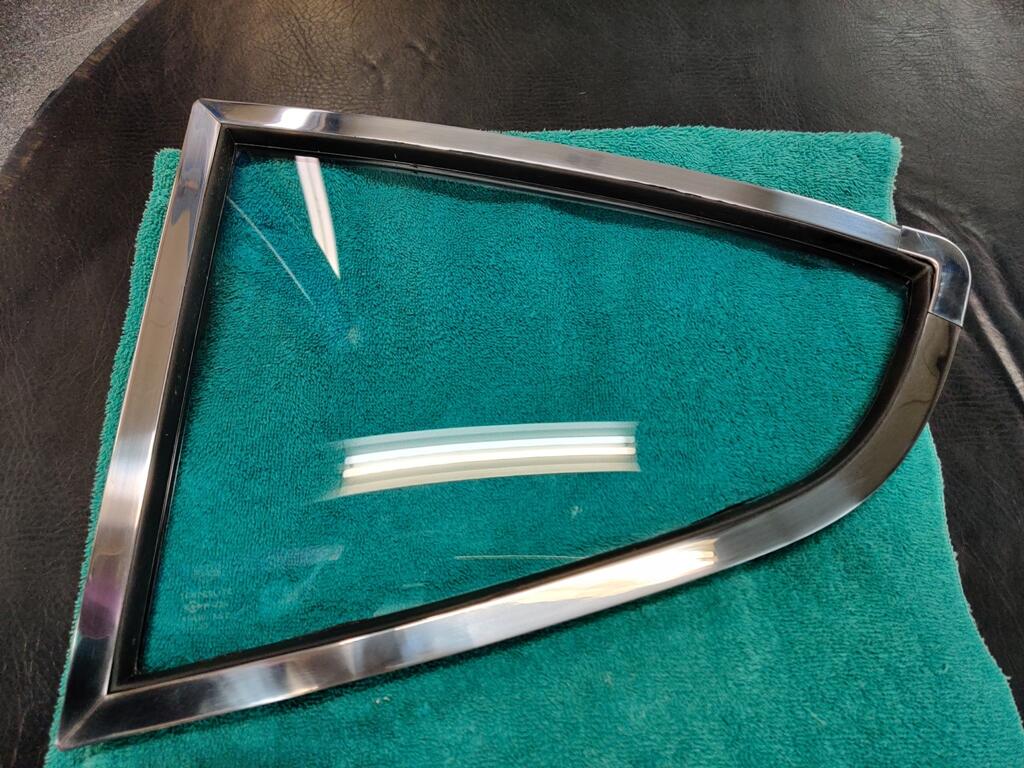
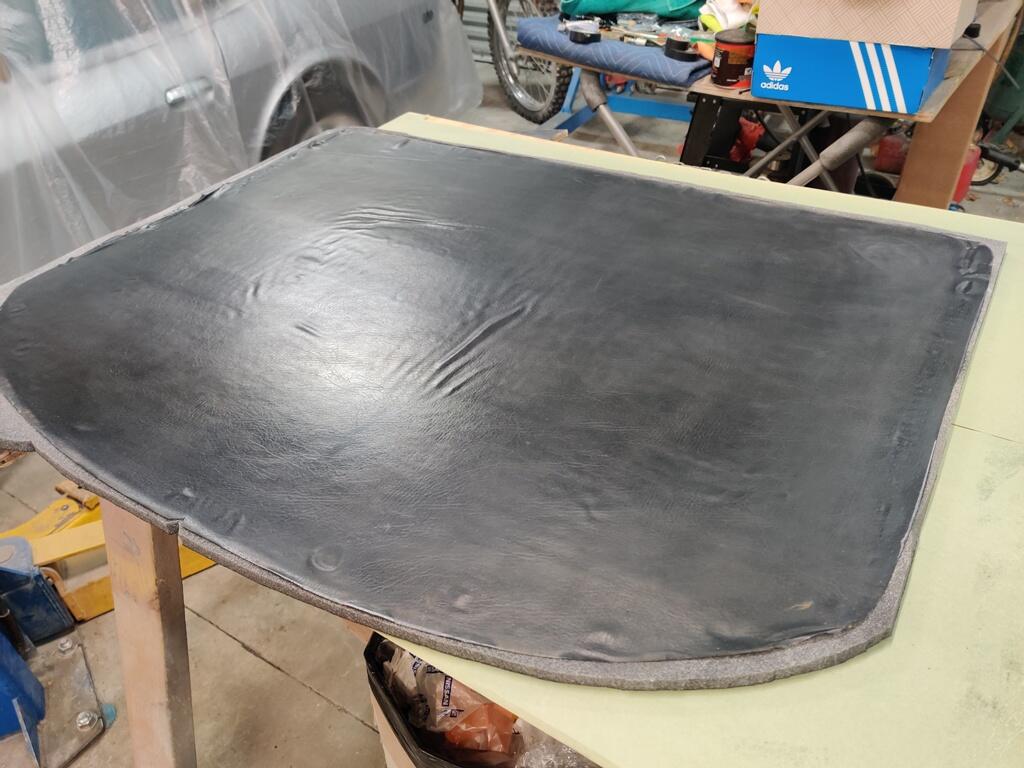
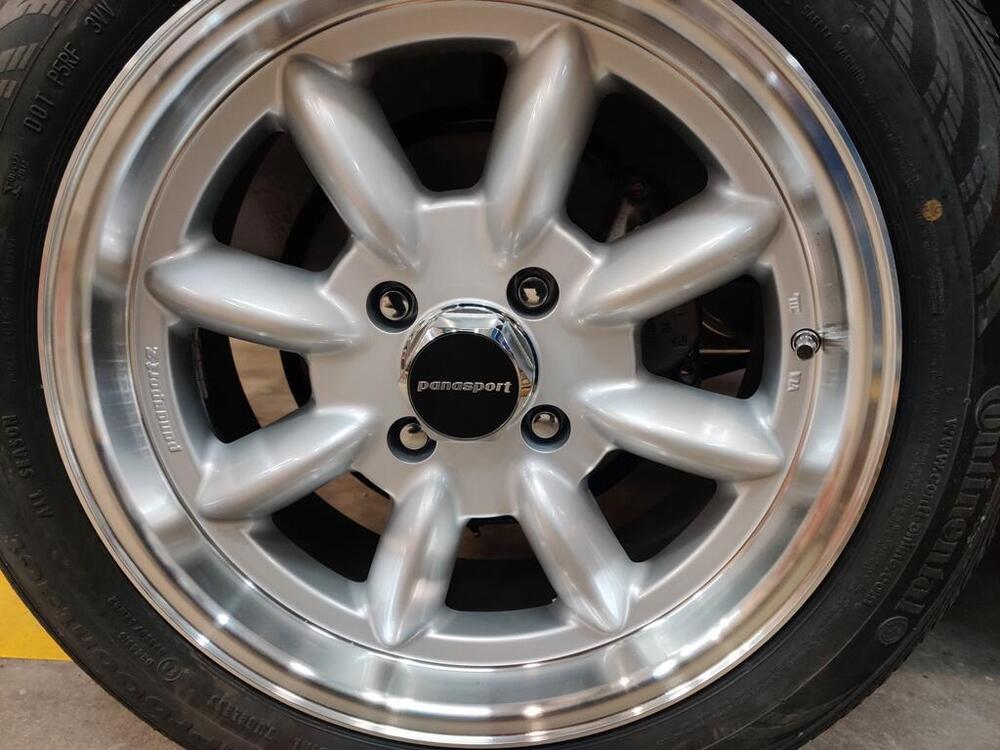
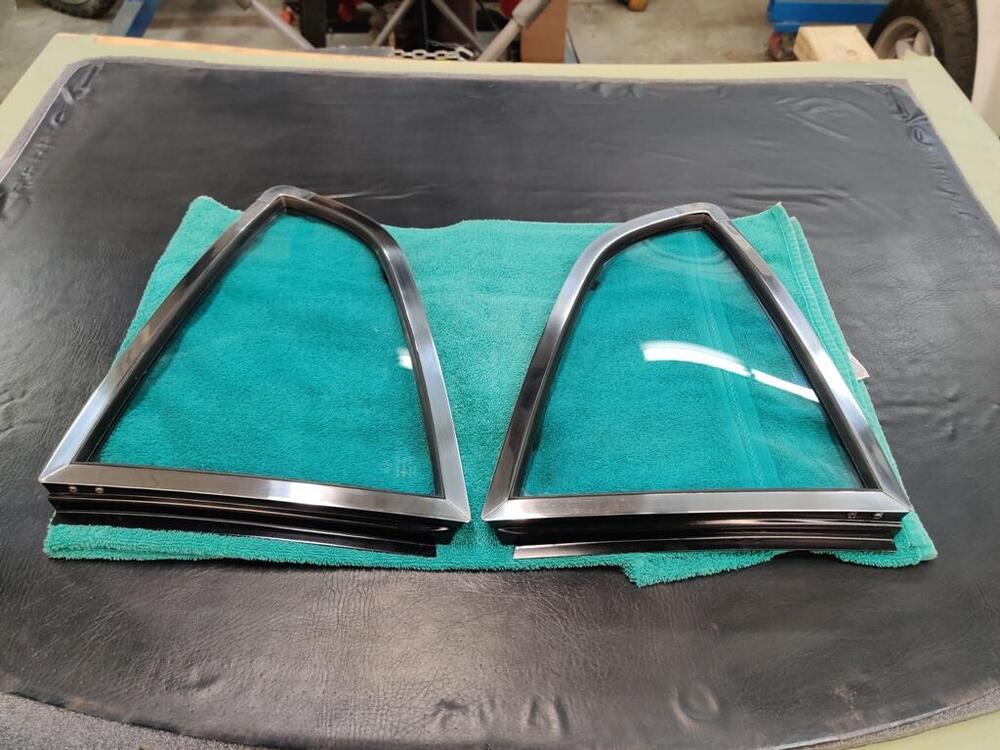
During the time I spent on the car this weekend, I assembled the quarter glass windows into Nissan NOS rubber and into the quarter window frames. It is a rather difficult job, especially when using urethane window adhesive. I set them aside after assembling to wait for the adhesive to dry. I think it is likely that I will install the quarter windows in the car this week. Interestingly, I see that the etchings on my quarter windows date them to May and June of 1971. Combined with the door glass, the car has glass which was manufactured from dates in April through June. New McGard lug nuts showed up on Saturday. They are very high quality. I have used them on my other 240z for 30 years and they still look pretty close to new. I put them on along with the Panasport center caps. While it finishes the look, I kind of like the look of the hub dust covers which I had specially plated in yellow chromate so they would look like those with the original finish. I also worked on the differential. I have a separate thread where I am reporting issues and progress. I think I am much closer to resolving the issue with excessive backlash, and am looking forward to installing it in the car. I also attempted to glue the old head liner vinyl to new foam. Unfortunately, I got a few wrinkles in it. I also discovered two very small slits in the original vinyl after gluing it to the foam. I suspect that when the headliner was manufactured, the vinyl was at a much higher temperature and was pressed against the foam while under some amount of tension. As such, wrinkles would not form like I experienced here. So, because of these issues, I will not be able to use it. At this point, I will need to source a piece of cloth backed vinyl and glue that to new foam. It won't be original, and that bothers me, but I really don't see that I have any other option. I have been looking for a new old stock headliner for years, but haven't found one to be available.


-
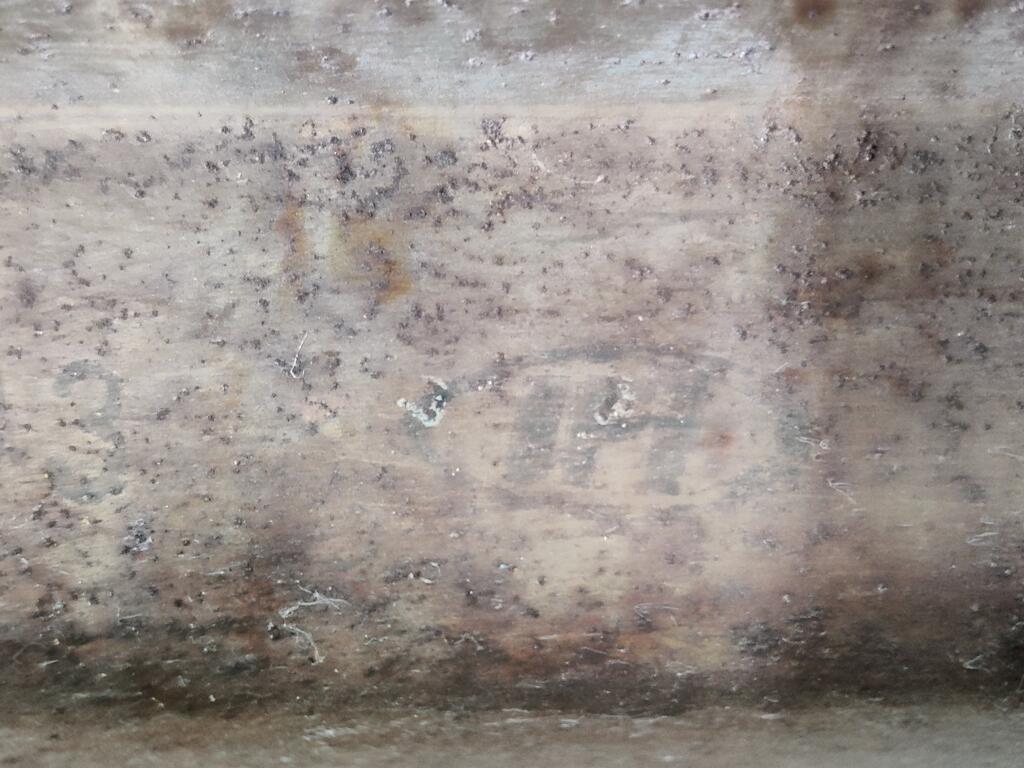
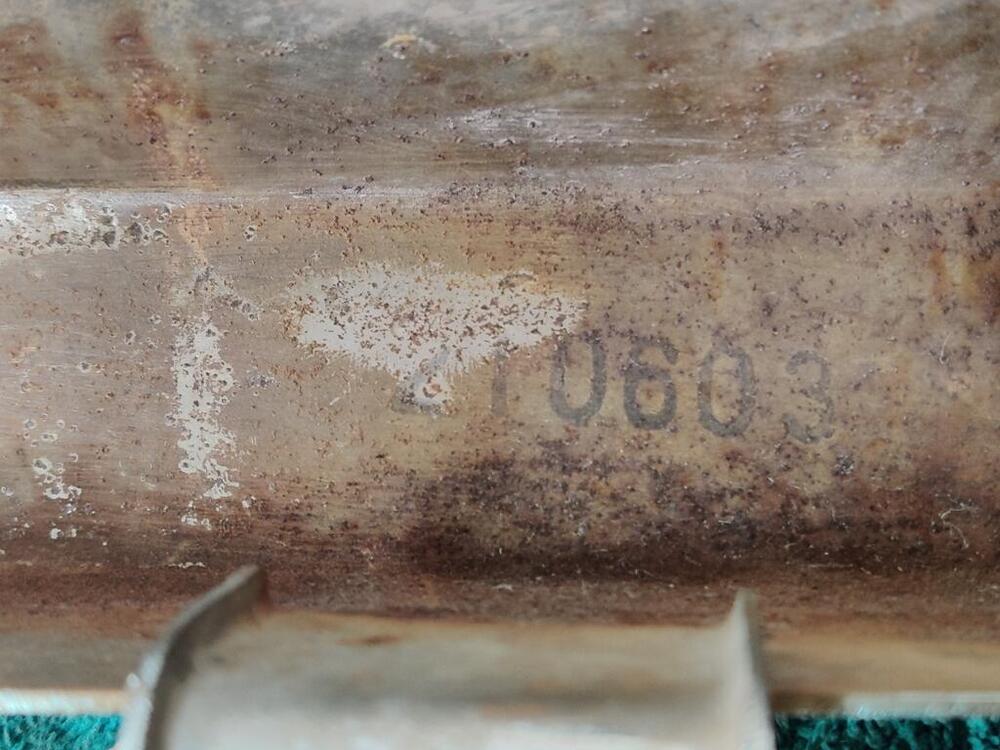
Ink stamped numbers are 210603 followed by IPI or 1PI

-
I wasn't able to find any jute templates in the resource section. Yeah, I'll hold on to it.
-
I have a good trans tunnel jute to use as a pattern. I do not have any front floor or under seat jute to use as a pattern. I definitely have some interest in those. I scored a nice piece of jute, along with what I believe to be an original rear hatch area carpet from eBay recently. It is not perfect, but good enough to use as a pattern, I think. I will take a look for these. Thanks!
-
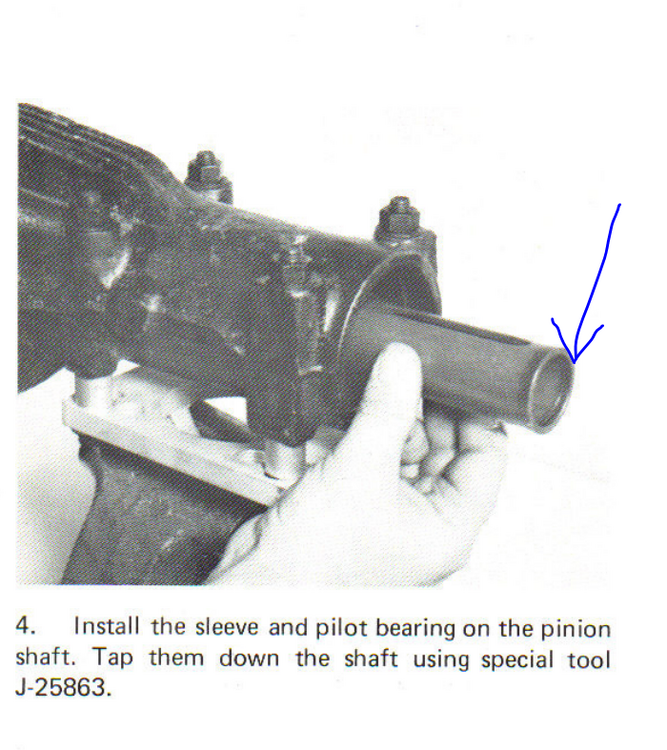
When the pilot bearing goes, the preload on the other bearings is no longer what it should be. Things are no longer locked in place. Note that the sleeve in this picture seats against the back of the pilot bearing: If the pilot bearing goes bad, I believe it introduces looseness, or another way of saying it: the bearing allows longitudinal movement after it is damaged. That longitudinal movement causes the rest of the stack of components on the pinion shaft to no longer be locked in place. Think of it this way: the pinion gear/shaft is engaging with the crown gear, which resists rotation because of tires on the ground. I think that when the stack of parts bearings and spacers become no longer "locked" in place because of the looseness introduced by the bad pilot bearing, the pinion gear can literally pull itself closer toward the crown gear. When everything is locked in place with tight bearings and correct torque on the pinion nut, the pinion gear is locked in position. It can't move forward or backward longitudinally. When the pilot bearing fails, the the pilot bearing inner race which is up against the sleeve in the picture above is no longer locked in place. It can shift longitudinally. This introduces looseness in the rest of the stack of components on the pinion gear. Then the pinion gear, acting on the crown gear, because of the way it is cut, literally pulls itself toward the crown gear due to the force coming from the engine/driveline. The looseness in the "stack" allows the pinion/shaft to pull itself - to slide within the front and rear pinion bearings (these are only a press fit). After the pinion gear/shaft has moved, then the pinion to crown gear relationship has gone all to hell vs. what it should be. And lots of noise ensues. Anyway, that is my attempt to describe what I think can happen. I am hopeful that replacing the pinion bearing and setting preload properly is all you will have to do to fix your issue.
-
I damaged an R180 differential years ago, and it had the same symptoms you are describing. When I would try to turn it from the front flange, it was harder to get turning initially than my good R180. And, I could feel the "bumpiness" as I rotated it, though it was slight. It would lessen if I rotated it quickly. Rotate slow, and it would be very noticeable and even hang up a bit. This behavior wasn't present on the good diff. If I recall correctly, I damaged it by replacing the front seal (behind the front flange) and then torqueing the pinion nut to what felt like 100+ ft lbs... because I didn't have a torque wrench, or some other stupid reason. I knew nothing about the importance of setting the correct preload on the pinion bearings. It's been many years now, so I don't recall how long it took before the noise showed up and I pulled the diff out to examine. It exhibited very much what you describe. I ended up selling it the way it was - it had value because of the unique 3.7 ratio that it was. At any time in your possession, did the front pinion nut come off and get put back on?
-
That clicking noise... It definitely should not be there. It might be the pilot bearing. When you grab the front flange and turn it can you feel the "bumpiness" as you rotate it? I see what you mean about the backlash. Seems to me that either the pinion has moved toward the ring gear, or the ring gear as moved laterally. What I wrote up above would be how I would troubleshoot. And, yes, reading the relevant parts of that manual before diving in would be wise.
-
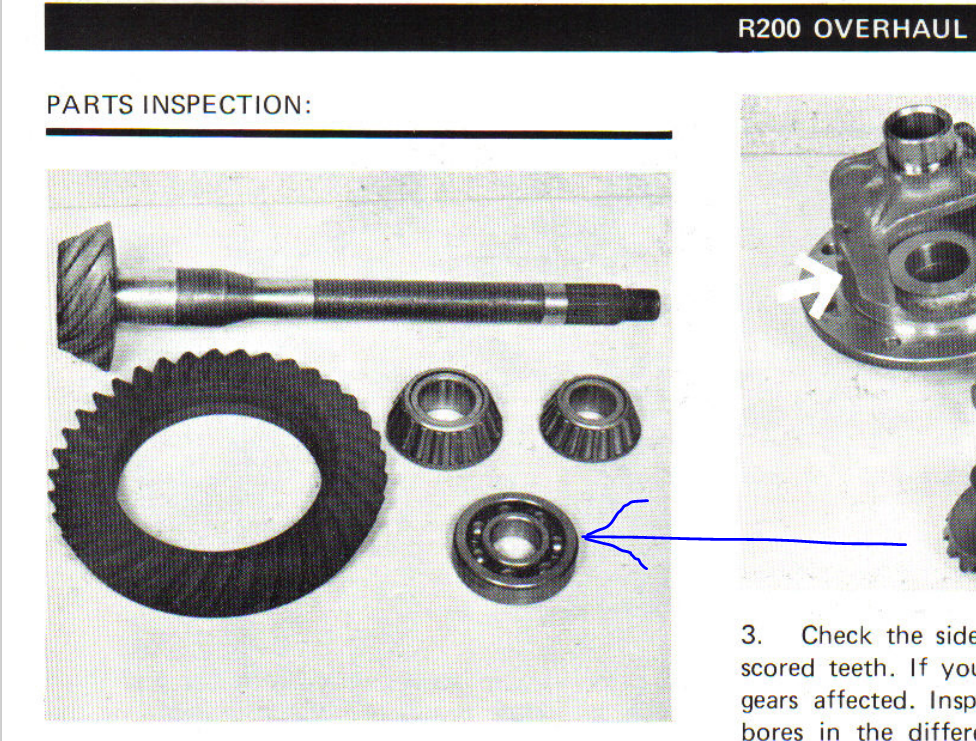
It is the front-most bearing on the pinion gear - in the nose of the differential - blue arrow. Also, note that this manual has been added to the resource section a couple of days ago:
-
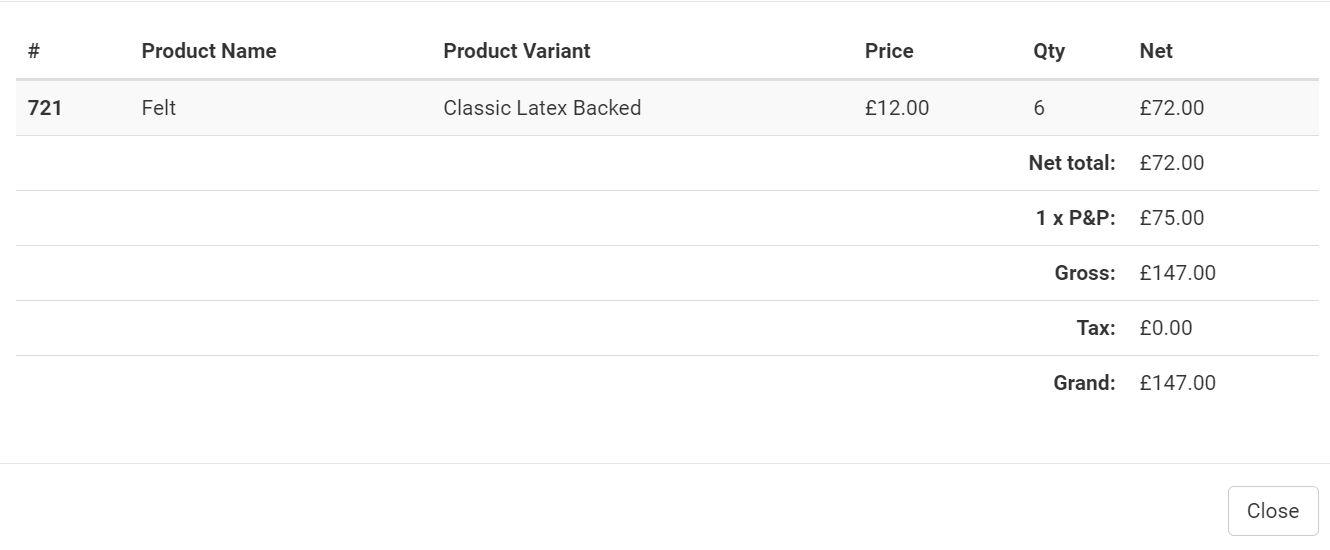
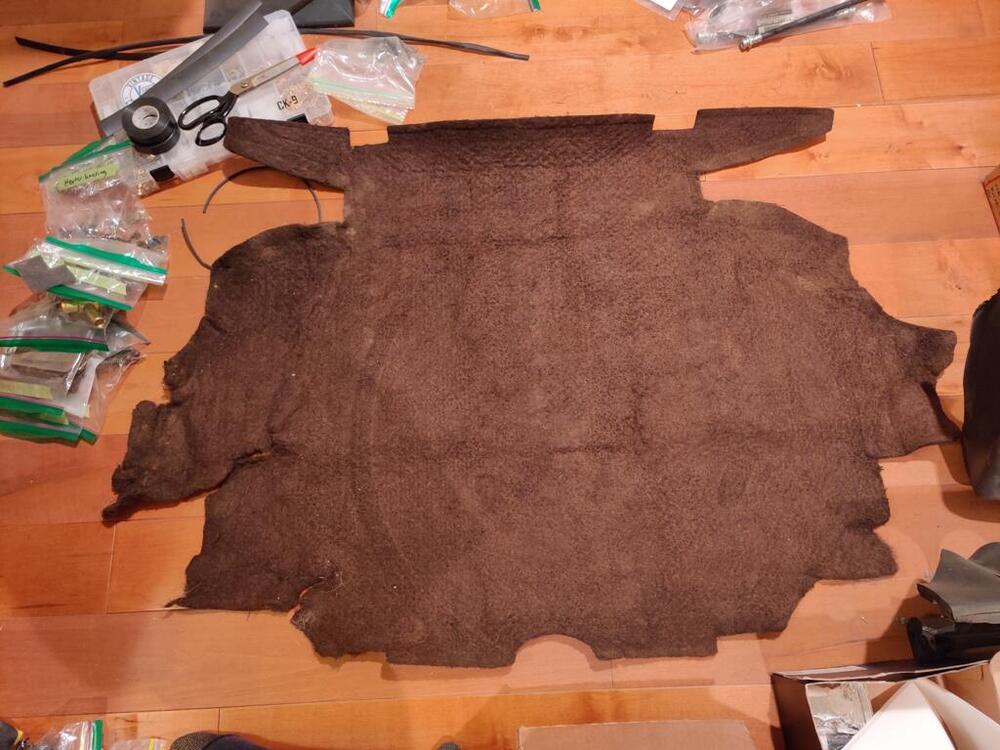
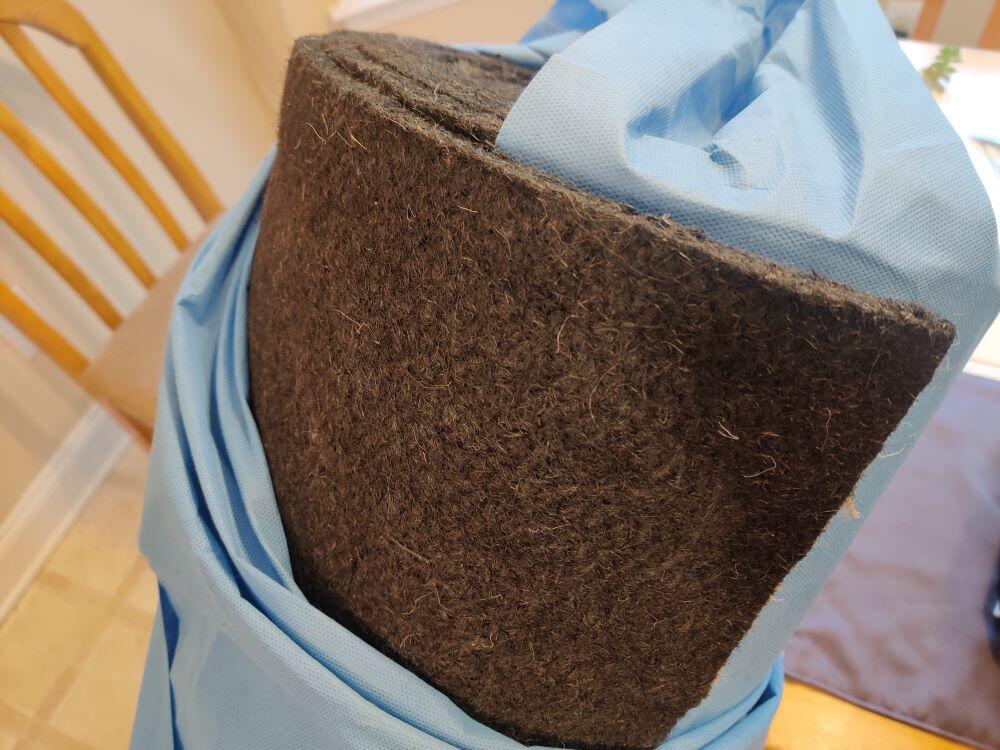
I so badly want to say that Nissan found one more roll of original jute laying around and I was able to source it! 😛 However, I was able to get it from martrim.co.uk. Here is my order info: That is about $186 given current exchange rates, and given how heavy and large it is, I would have figured just shipping would be that much! From the picture, it looks like it is dark colored throughout, however, it is only colored on one side and on the edges. On the opposite side, it is tan. But, it is the closest thing that I can find to the original jute after looking A LOT over the last few years. Now, I need some accurate templates for cutting the jute to match the factory ones.

-
I have been rebuilding an R180 and have learned a few things. Regarding backlash, I don't have to hold the pinion gear. All I do is fix the magnetic base and arms and dial gauge so that the motion of the rod on the gauge, when rocking the carrier, is vertical to a gear tooth. You don't want the dial gauge motion to be at an odd angle to the motion of the gear. Moving the rear carrier assembly by pushing on the gear teeth of the crown gear is easy, and the free play as the gear teeth smack into the pinion gear is very easy to measure. So, you have none... that is odd. Differential problems more often occur with the front bearings. That said, don't go taking everything apart to investigate. If it was me, I'd double check the lash measurement first. If still zero, than I think I would assume that the pinion gear has moved toward the crown gear, from some kind of change (damage) one of the bearings on the pinion gear. Pilot bearing would be the first from a probability standpoint. The front and rear pinion bearings are very beefy. That said, I would not remove the pinion nut or disassemble anything relating to the pinion. I would remove the carrier from the case, and then spin the pinion gear to check for bearing noise. It should be quiet. If not, then I'd suspect the pilot bearing. Very important - Troy Ermish recently told me that he never takes apart the pinion gear/bearings... ever. The reasoning is basically that it is exceedingly difficult to get the pinion gear set correctly when replacing the bearings. Part availability is a big reason for not messing with it. If it was me, and I confirmed noise was coming from a bearing on the pinion, I'd disassemble the pinion (hydraulic press work) and check the pilot bearing (after removal from the pinion gear and case. When you have just the bearing in your hand, you'll be able to confirm if it is bad. Before the next step, I'd put just the carrier back in the case, tighten everything down and check that there is some load (preload) on the bearings. Then spin the carrier by hand to check for noise from the side bearings. Depending on what you find there, side bearings can typically be replaced without additional issues/consequences. Back to pinion. Remove the carrier from the case as you are done with testing that. Then, I'd put the pinion gear back in with the existing gears and spacers, etc. And I'd spin the pinion to check for bearing noise from the front and rear pinion bearings. If they seem fine, then I'd invest in a new pilot bearing, install that, and follow the instructions VERY carefully for setting pinion bearing preload. When that is within spec, I'd install the rear carrier, and check back lash. Use all the stock shims everywhere they are - change nothing. If the lash is within spec, I'd proceed with checking the wipe pattern. That should look good if you don't replace the pinion bearings and use all the same shims/etc. If that checks out, then install the diff in the car, put oil in and test drive. If you still have a problem, I'd recommend looking for another R200. Carriers, (your LSD unit) can be swapped to other differentials with relative ease. Of course, if you have gotten to the point of needing another diff, then checking out the LSD thoroughly before you swap it is ground you should have already covered as well.
-
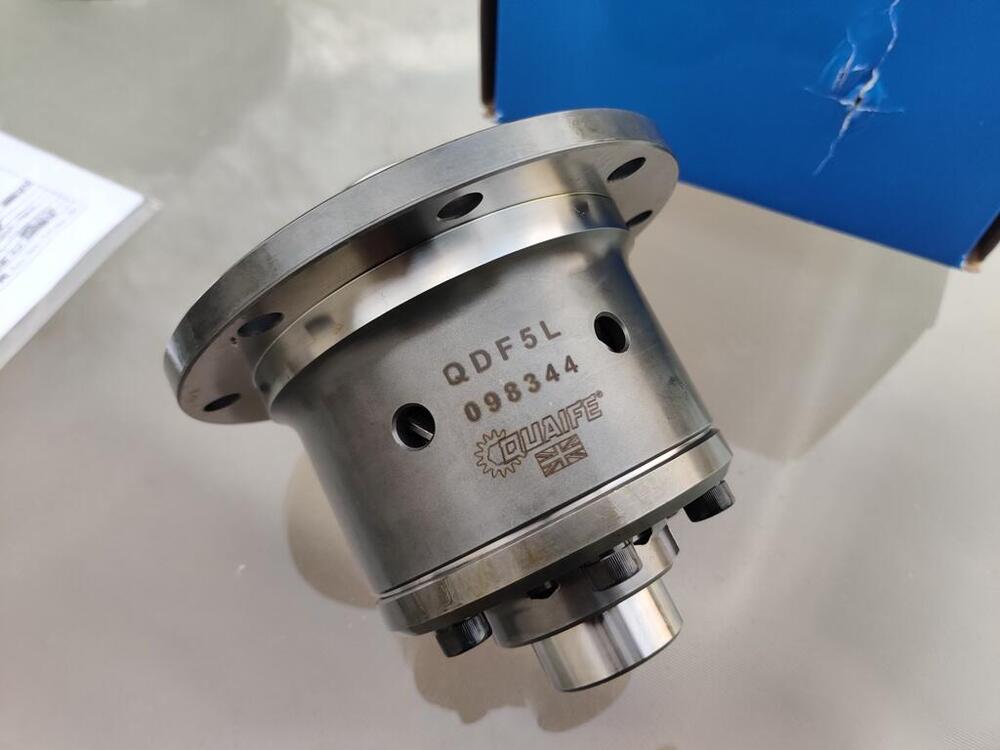
Look what showed up today!
-
There is a spec for runout on the crown gear in the factory work shop manual. Pretty easy for me to check. Regarding the securing of the crown wheel, the bolts were very tight, meaning no slop when securing the crown wheel. And the gear was a tight fit on the carrier as well. I actually had it clocked a touch and couldn't spin it while on the carrier - I had to slide it back off and re-align and slide it back on to get the crown gear bolts to align. I will measure runout before long and post it here.
-
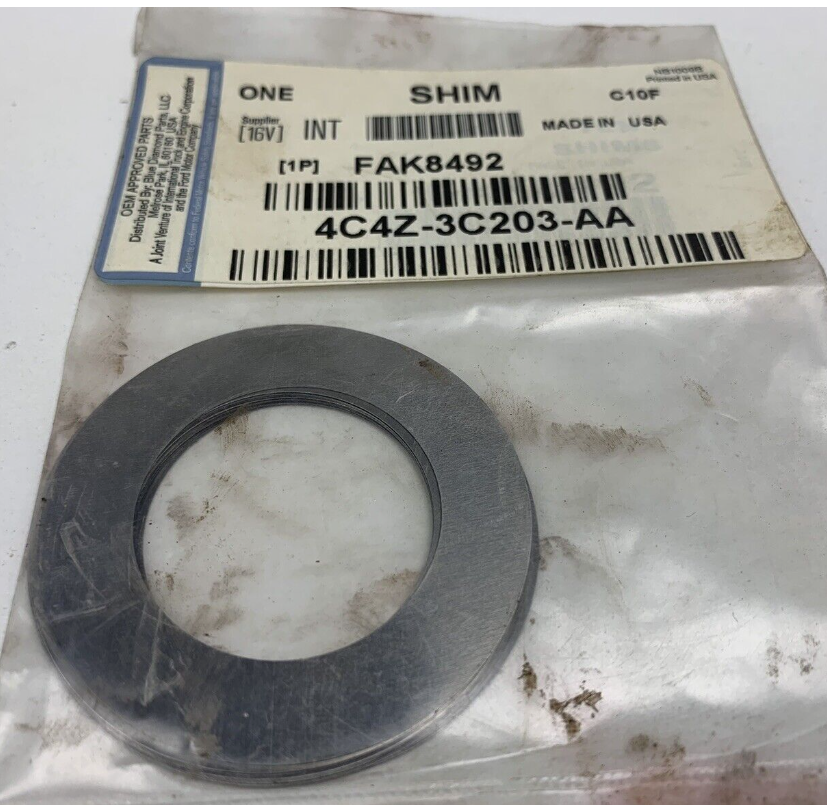
I happened across this 10 pack of .005" International FAK8492 Front King Pin Shim Set on eBay tonight. And these in a .010" thickness on another site: https://www.fleetrite.com/parts/front-axle/king-pin/fltkp8493-king-pin-shim-kit Do these look promising? The stock spacer/shim is nearly the same ID and has about a 2.13" OD These are 1.39 ID and 2.24 OD:

-
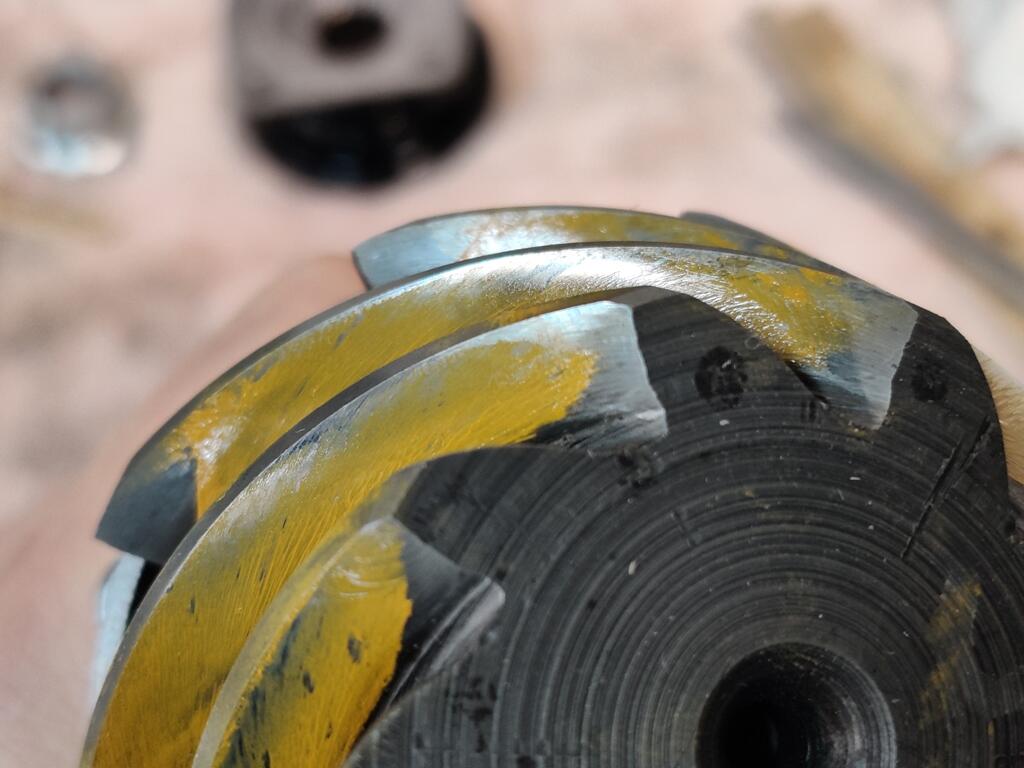
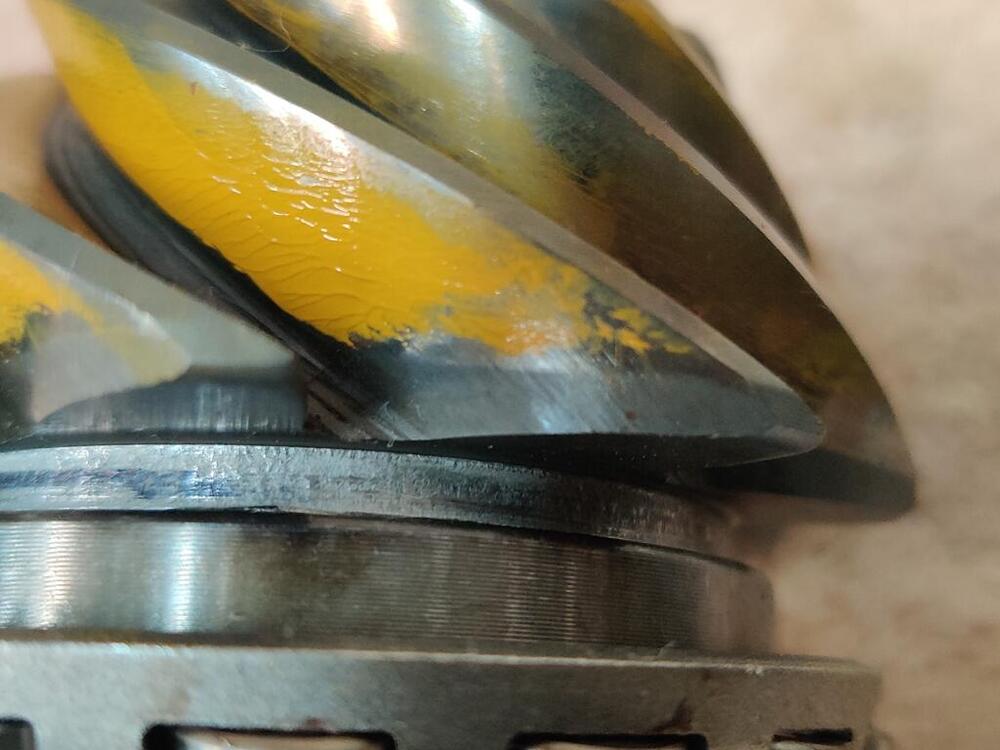
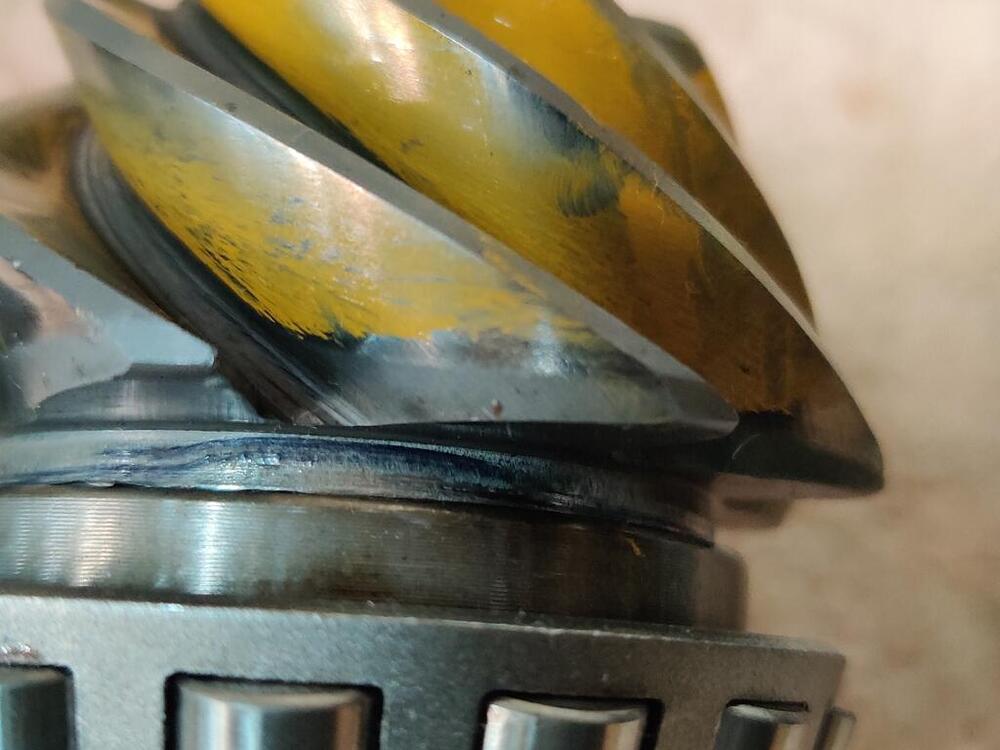
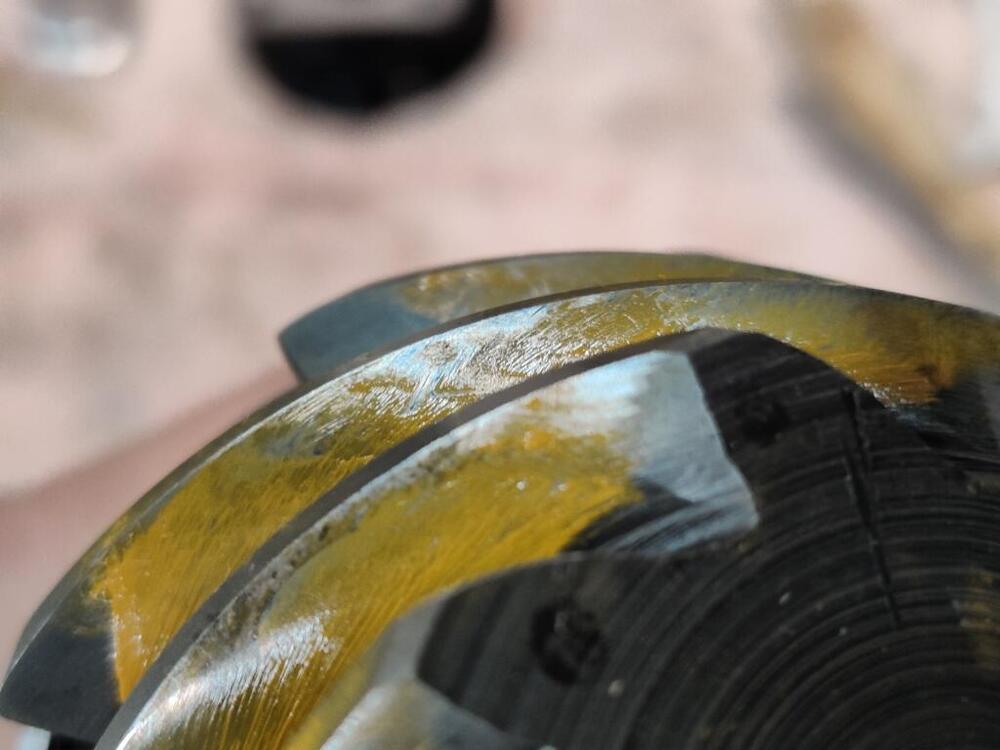
I read these this morning and got some good info and reinforcement from them. Thanks for sharing them. I tried backing of the pinion nut and pressing the pinion shaft down a touch to unload the bearing before retorquing to 101... but the turning torque was still far too much. Long story short, I discovered that I had damaged the "pilot bearing". I had to remove the front seal (destroy in the process) and the pilot bearing. When I ordered all of the diff parts, I ordered two sets of everything because I planned on rebuilding the stock differential as well. I don't know if I will do that, but at least I had spares on hand. How I damaged the bearing is a bit hard to explain. Basically, when you press the pinion shaft in place, if the pilot bearing is already installed, it tends to move a bit from its correct position. Normally, the pilot bearing is installed after the pinion and pinion bearings. It is a lighter press fit the than the pinion bearings. But, since I was working a bit differently with the pilot bearing and pinion seal already installed, when I would press the pinion gear in place the pilot bearing would shift out of place a little. The mistake was putting on the pinion nut and using the action of tightening the pinion nut to squeeze everything together... including shifting the pilot bearing back into place. Once, or perhaps after a couple of times doing that, the pilot bearing got damaged. Along the lines of getting the pinion to mesh with the crown gear has before, have a look at these pics - when I removed the pinion gear today, I noticed the yellow paint vs. the previous wear on the pinion gear: Do you see how the yellow gear marking compound does not quite start at the same place as the old wear line in the above pictures? And, in the below pictures, the yellow extends a bit past the wear marks (I rubbed it off partially so I could see the wear line). I find that to be very interesting. This seems to indicate that the pinion gear is still not extended out as far as it used to be to match the assembled location from the factory! While the pinion gear was out, I installed the carrier and side flanges to check the pre-load on those bearings. It has some... and it feels very similar to the pre-load on the pinion, before I damage the bearing. I think the side shims are sized correctly, so I will not be messing with changes there. My next step is to make 8 more shims and stack them with the first 8 and see how things look. I put together this set of changes based on my experiments thus far. I don't know if it is actually accurate, but it is based on what I have seen with my various changes. shim thickness backlash movement 0.126 .020-.021 0.130 .017-.018 3 to 4 thou 0.134 .014-.015 3 to 4 thou 0.138 .011-.012 3 to 4 thou 0.142 .008-.009 3 to 4 thou 0.146 .005-.006 3 to 4 thou 8 more shims should give me something close to the .142 thickness. We'll see where that puts me. I will be shooting for .005" backlash as that is what it was before I took it apart.

-
Thank you for the compliment. Even with all the Subaru diffs that interchange, the supply these R180 diffs seems to be more scarce as of late, and they seem to be much more expensive. Since I can't find info like this, I am attempting to capture as much as possible to help both myself and others if they find themselves in the same situation. We shouldn't have to accept that pinion bearings can never be replaced.
-
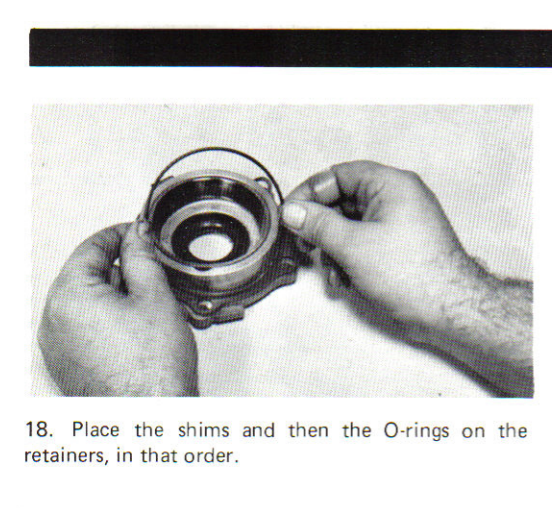
Yes to the question about the pinion shims and washer (4 and 5) - this differential only had one pinion washer and no shims at that location. I am stacking the .001" shims at item 4 location. Oddly, the side retainer shims do not appear to be in that picture. The side retainer shims can be seen in this picture. 9 and 18 are probably in the stock carrier, which I am not using - I have replaced with the Quaife unit: Note that I have not and will not be touching #30 in your picture. Therefore, the "stack" of parts between the front and rear pinion bearings is staying the same. I was able to achieve correct pinion bearing pre-load with about 124 ft lbs of torque on the pinion nut (a couple of times). So, I am hopeful that none of those parts needs to be changed. From your comments about getting the mating of the gears as close to what it was as possible or they may sing/make noise, I will make all the effort I can to make the wipe pattern ideal. Too much back lash impacts the wipe pattern a lot. So, getting the backlash back to .004" or .005" (what I measured before taking it apart from stock) is going to be a goal here. Another thought I had today: just as the pinion spacer has to change because of the new bearings, so it is possible that my side retainer shim "stack" may have to change. The side retainer bearings also were replaced with new. And, as such, they may have slightly different thicknesses from the ones that came out. If so, that changes the preload on the side bearings. I don't have the factory tools, so I can't follow the procedures in the differential manual, but it has been quite helpful. The next time I take the carrier and pinion gear out, I will assemble just the carrier portion to make some kind of assessment on the preload for the retainer bearings.