motorman7
Supporting Member
-
Joined
-
Last visited
Everything posted by motorman7
-
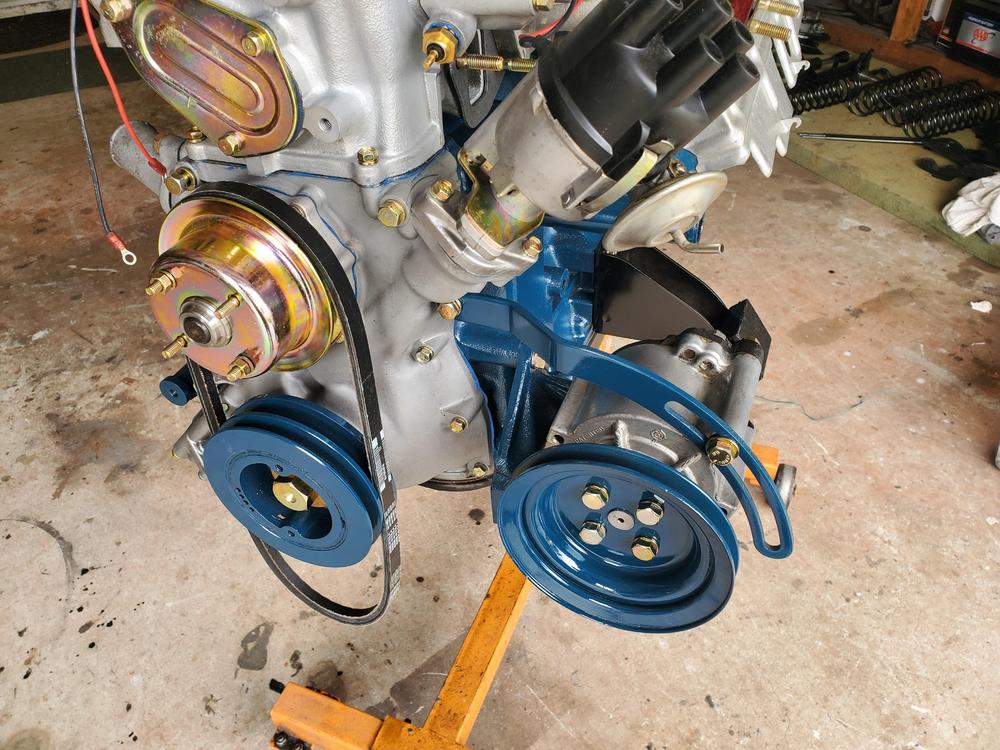
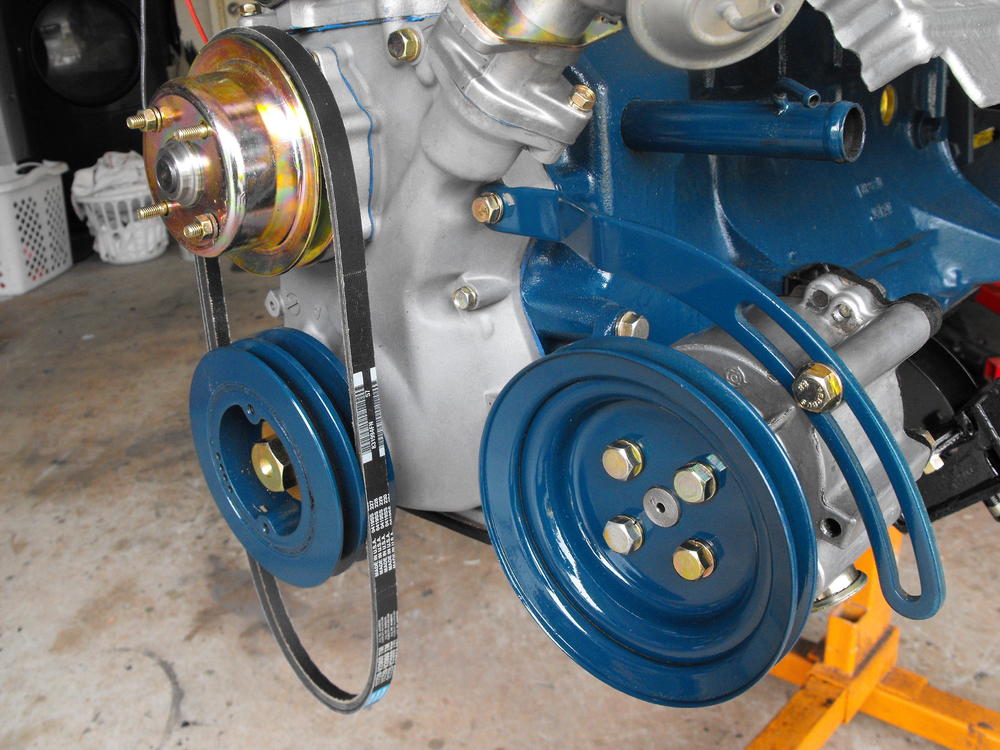
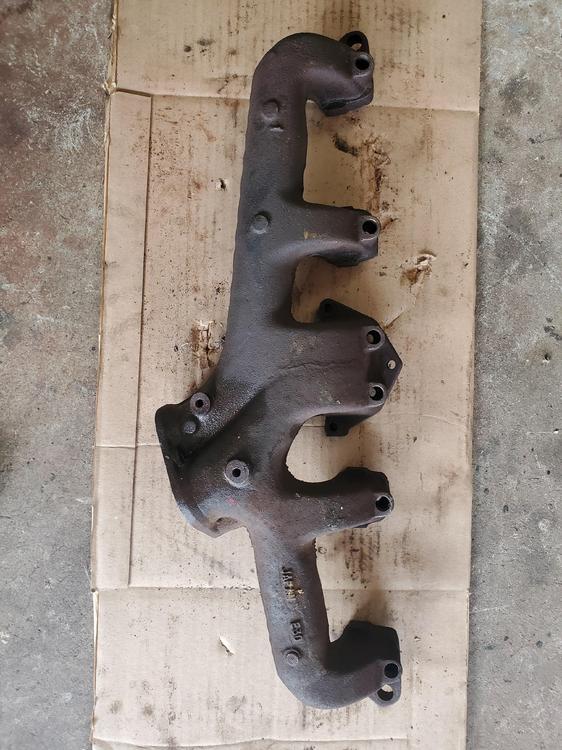
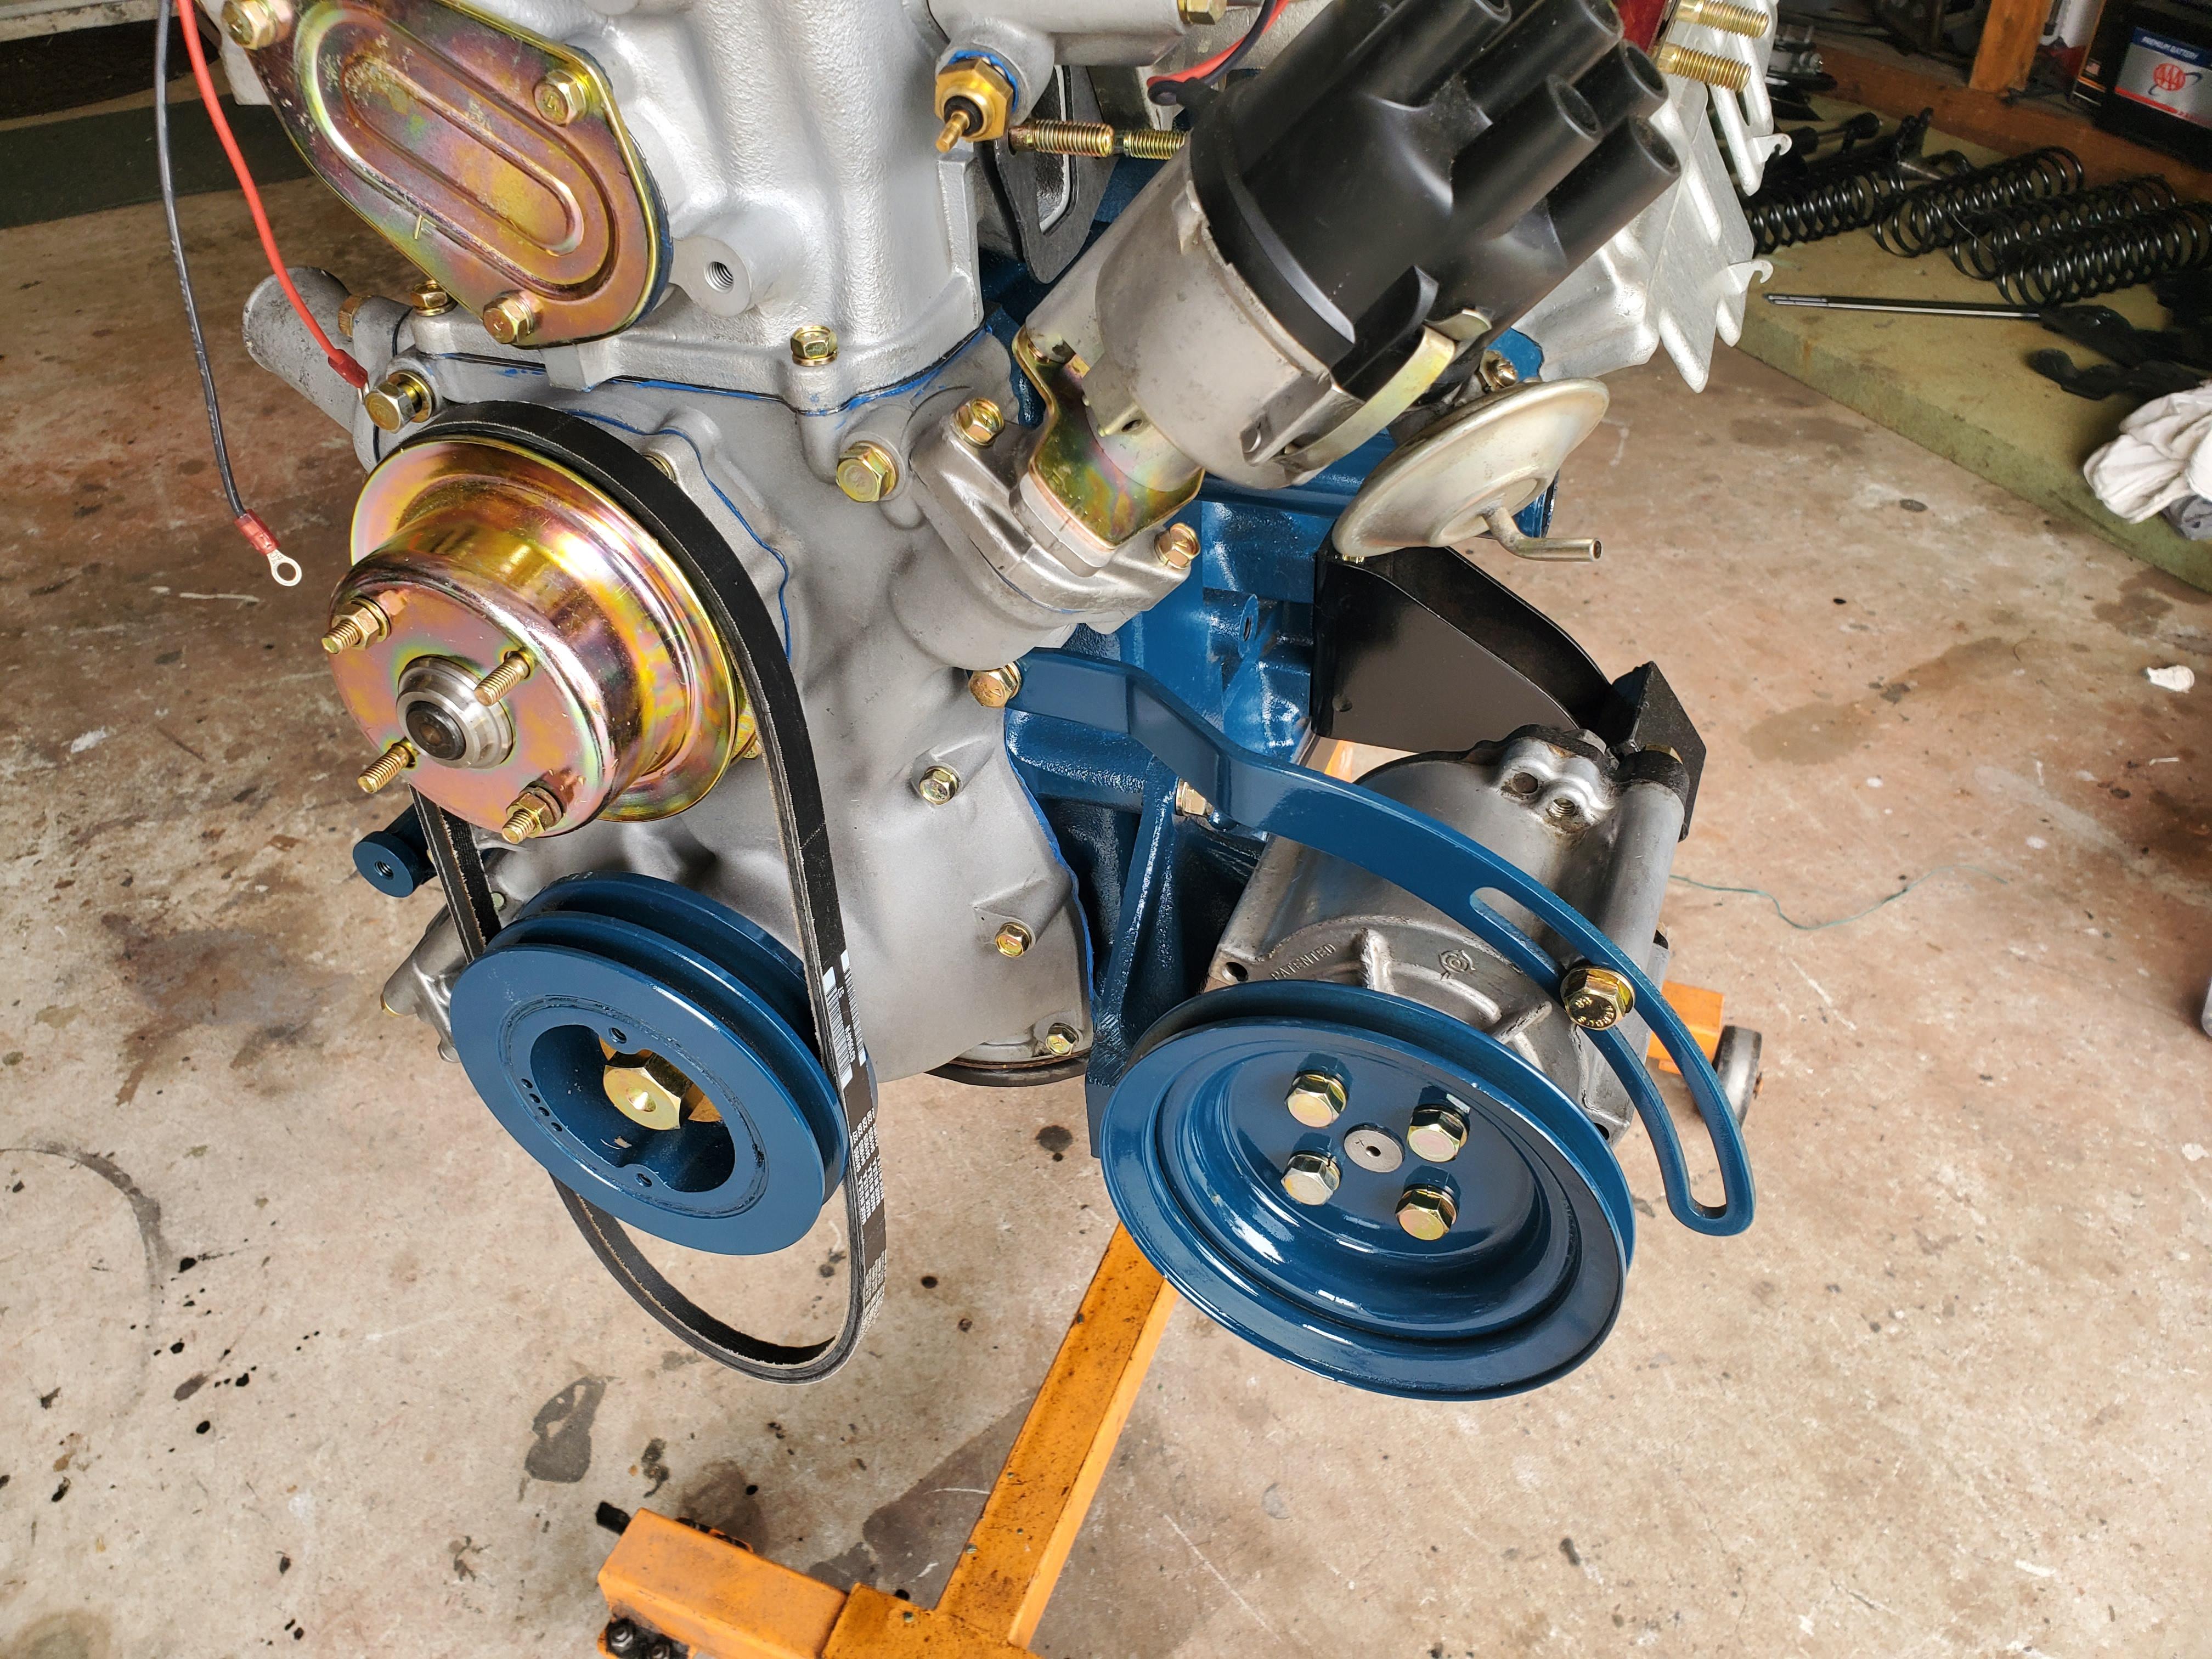
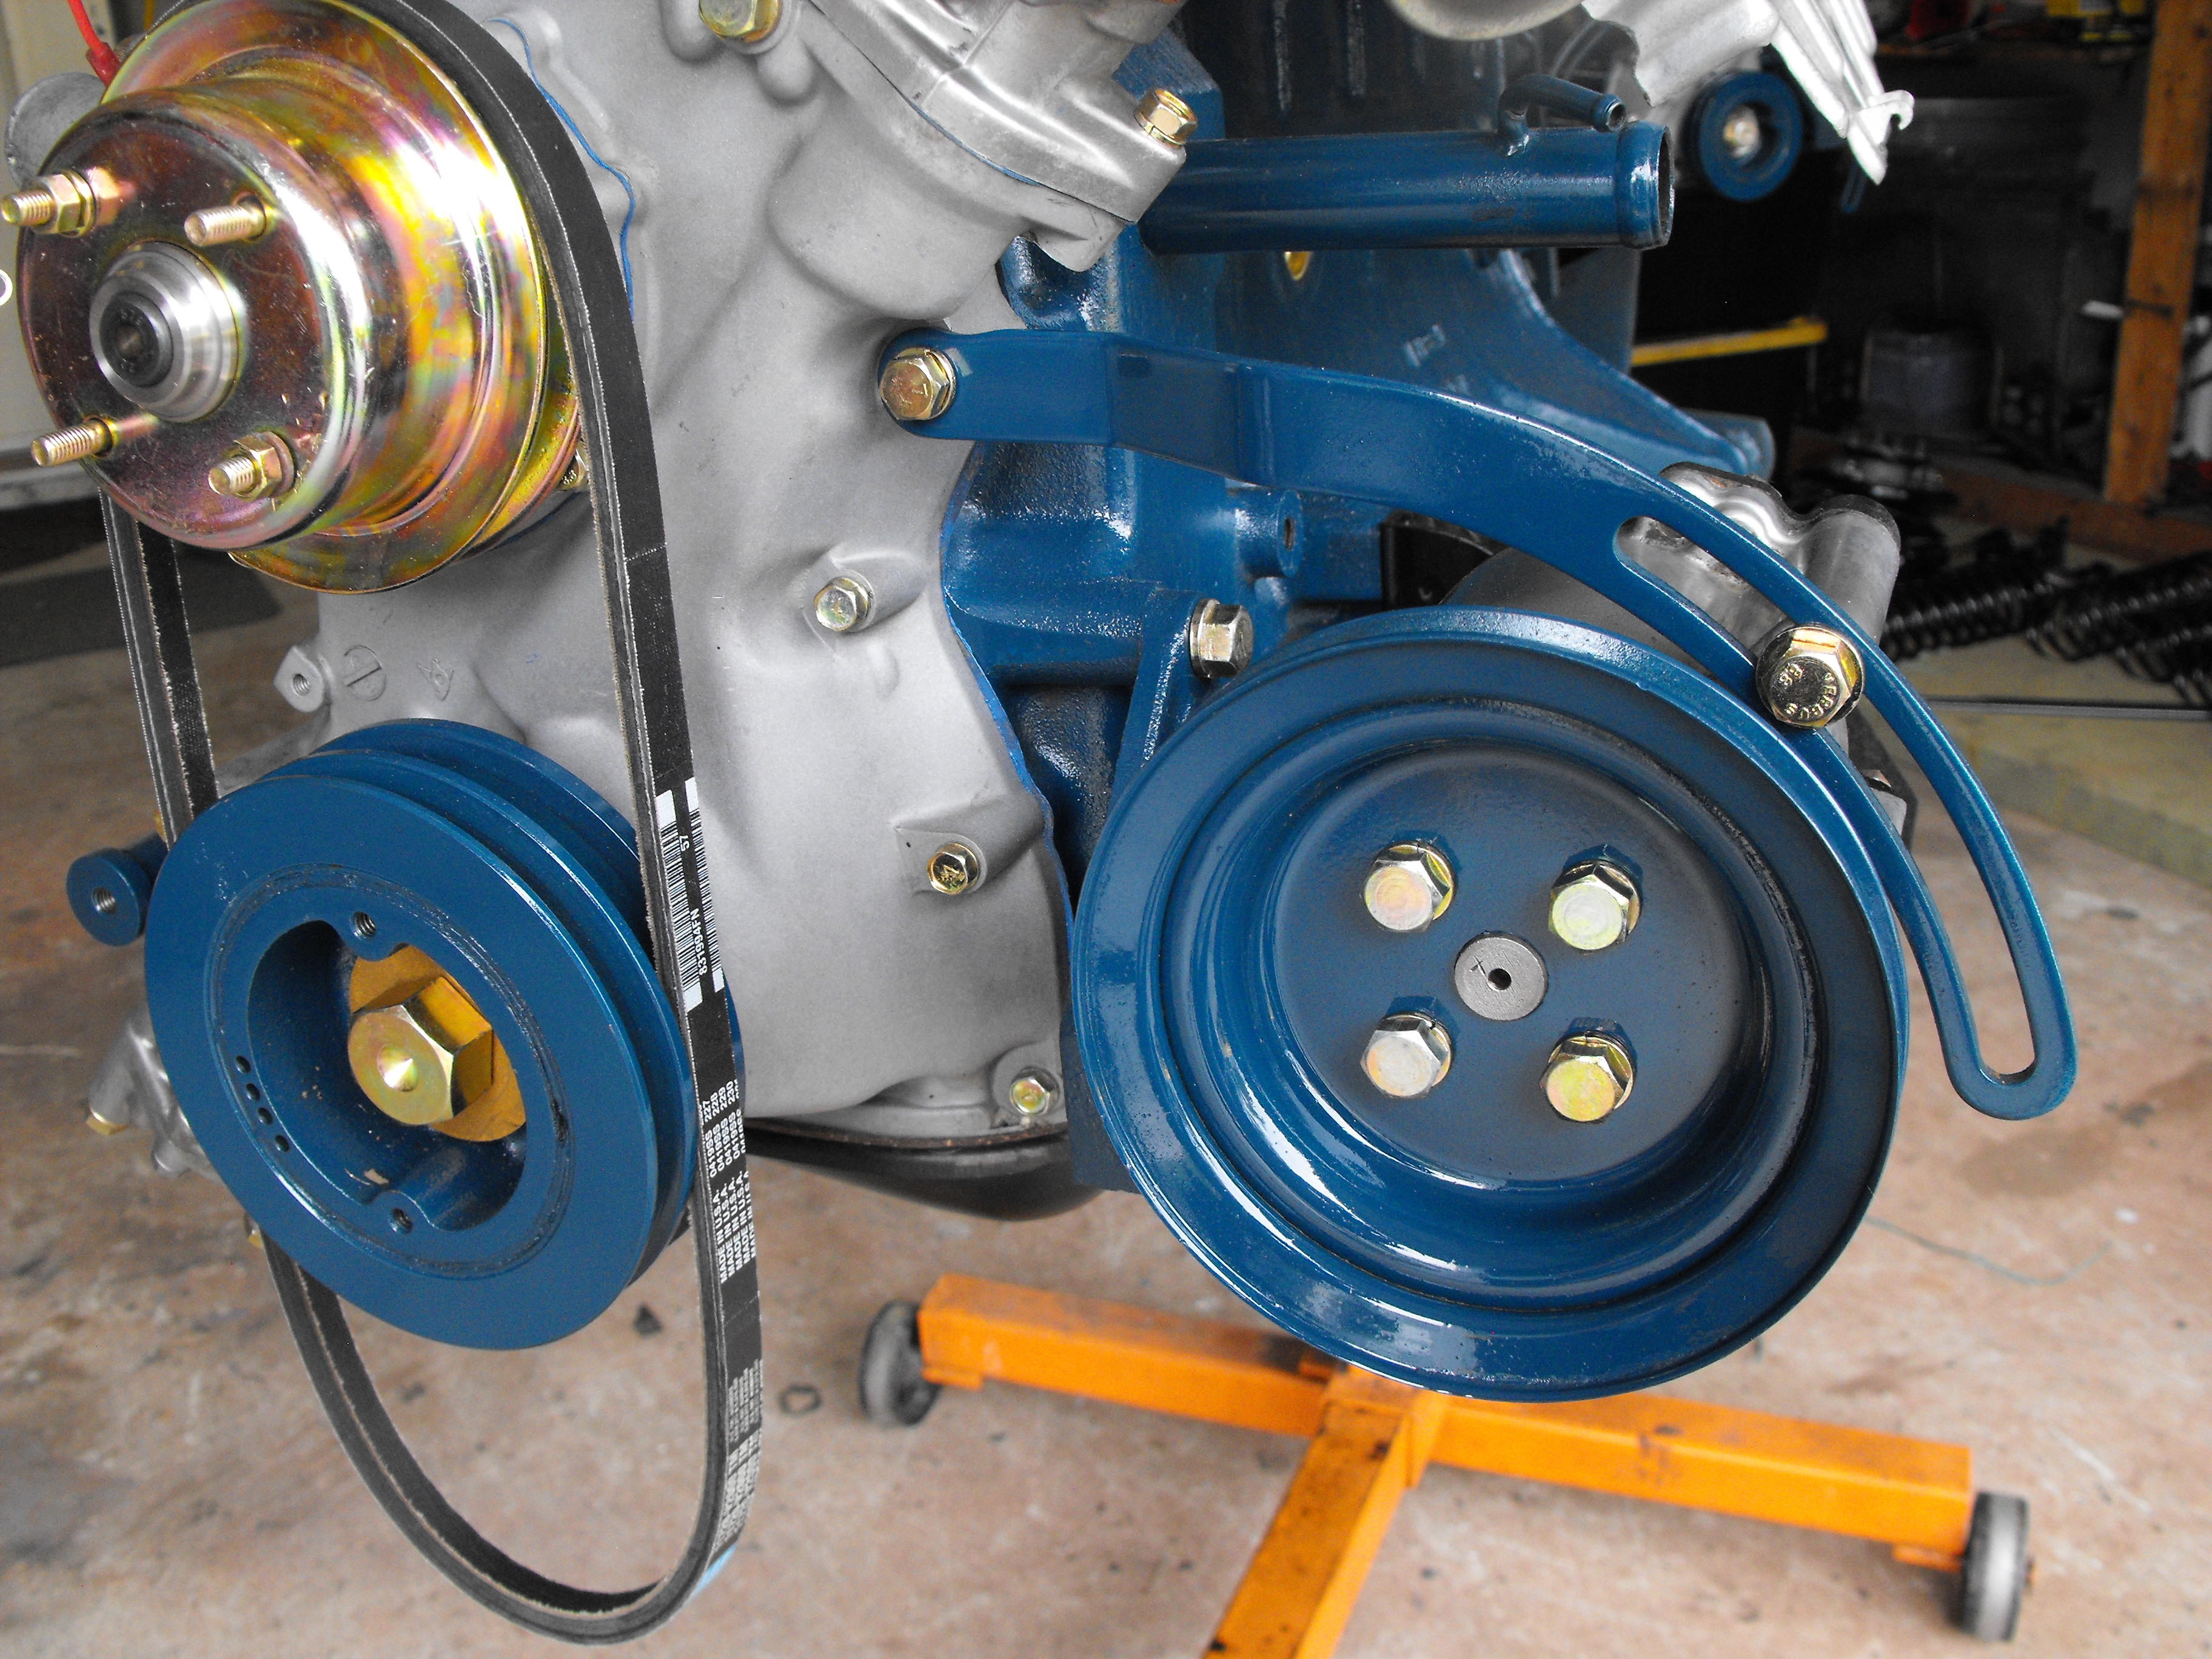
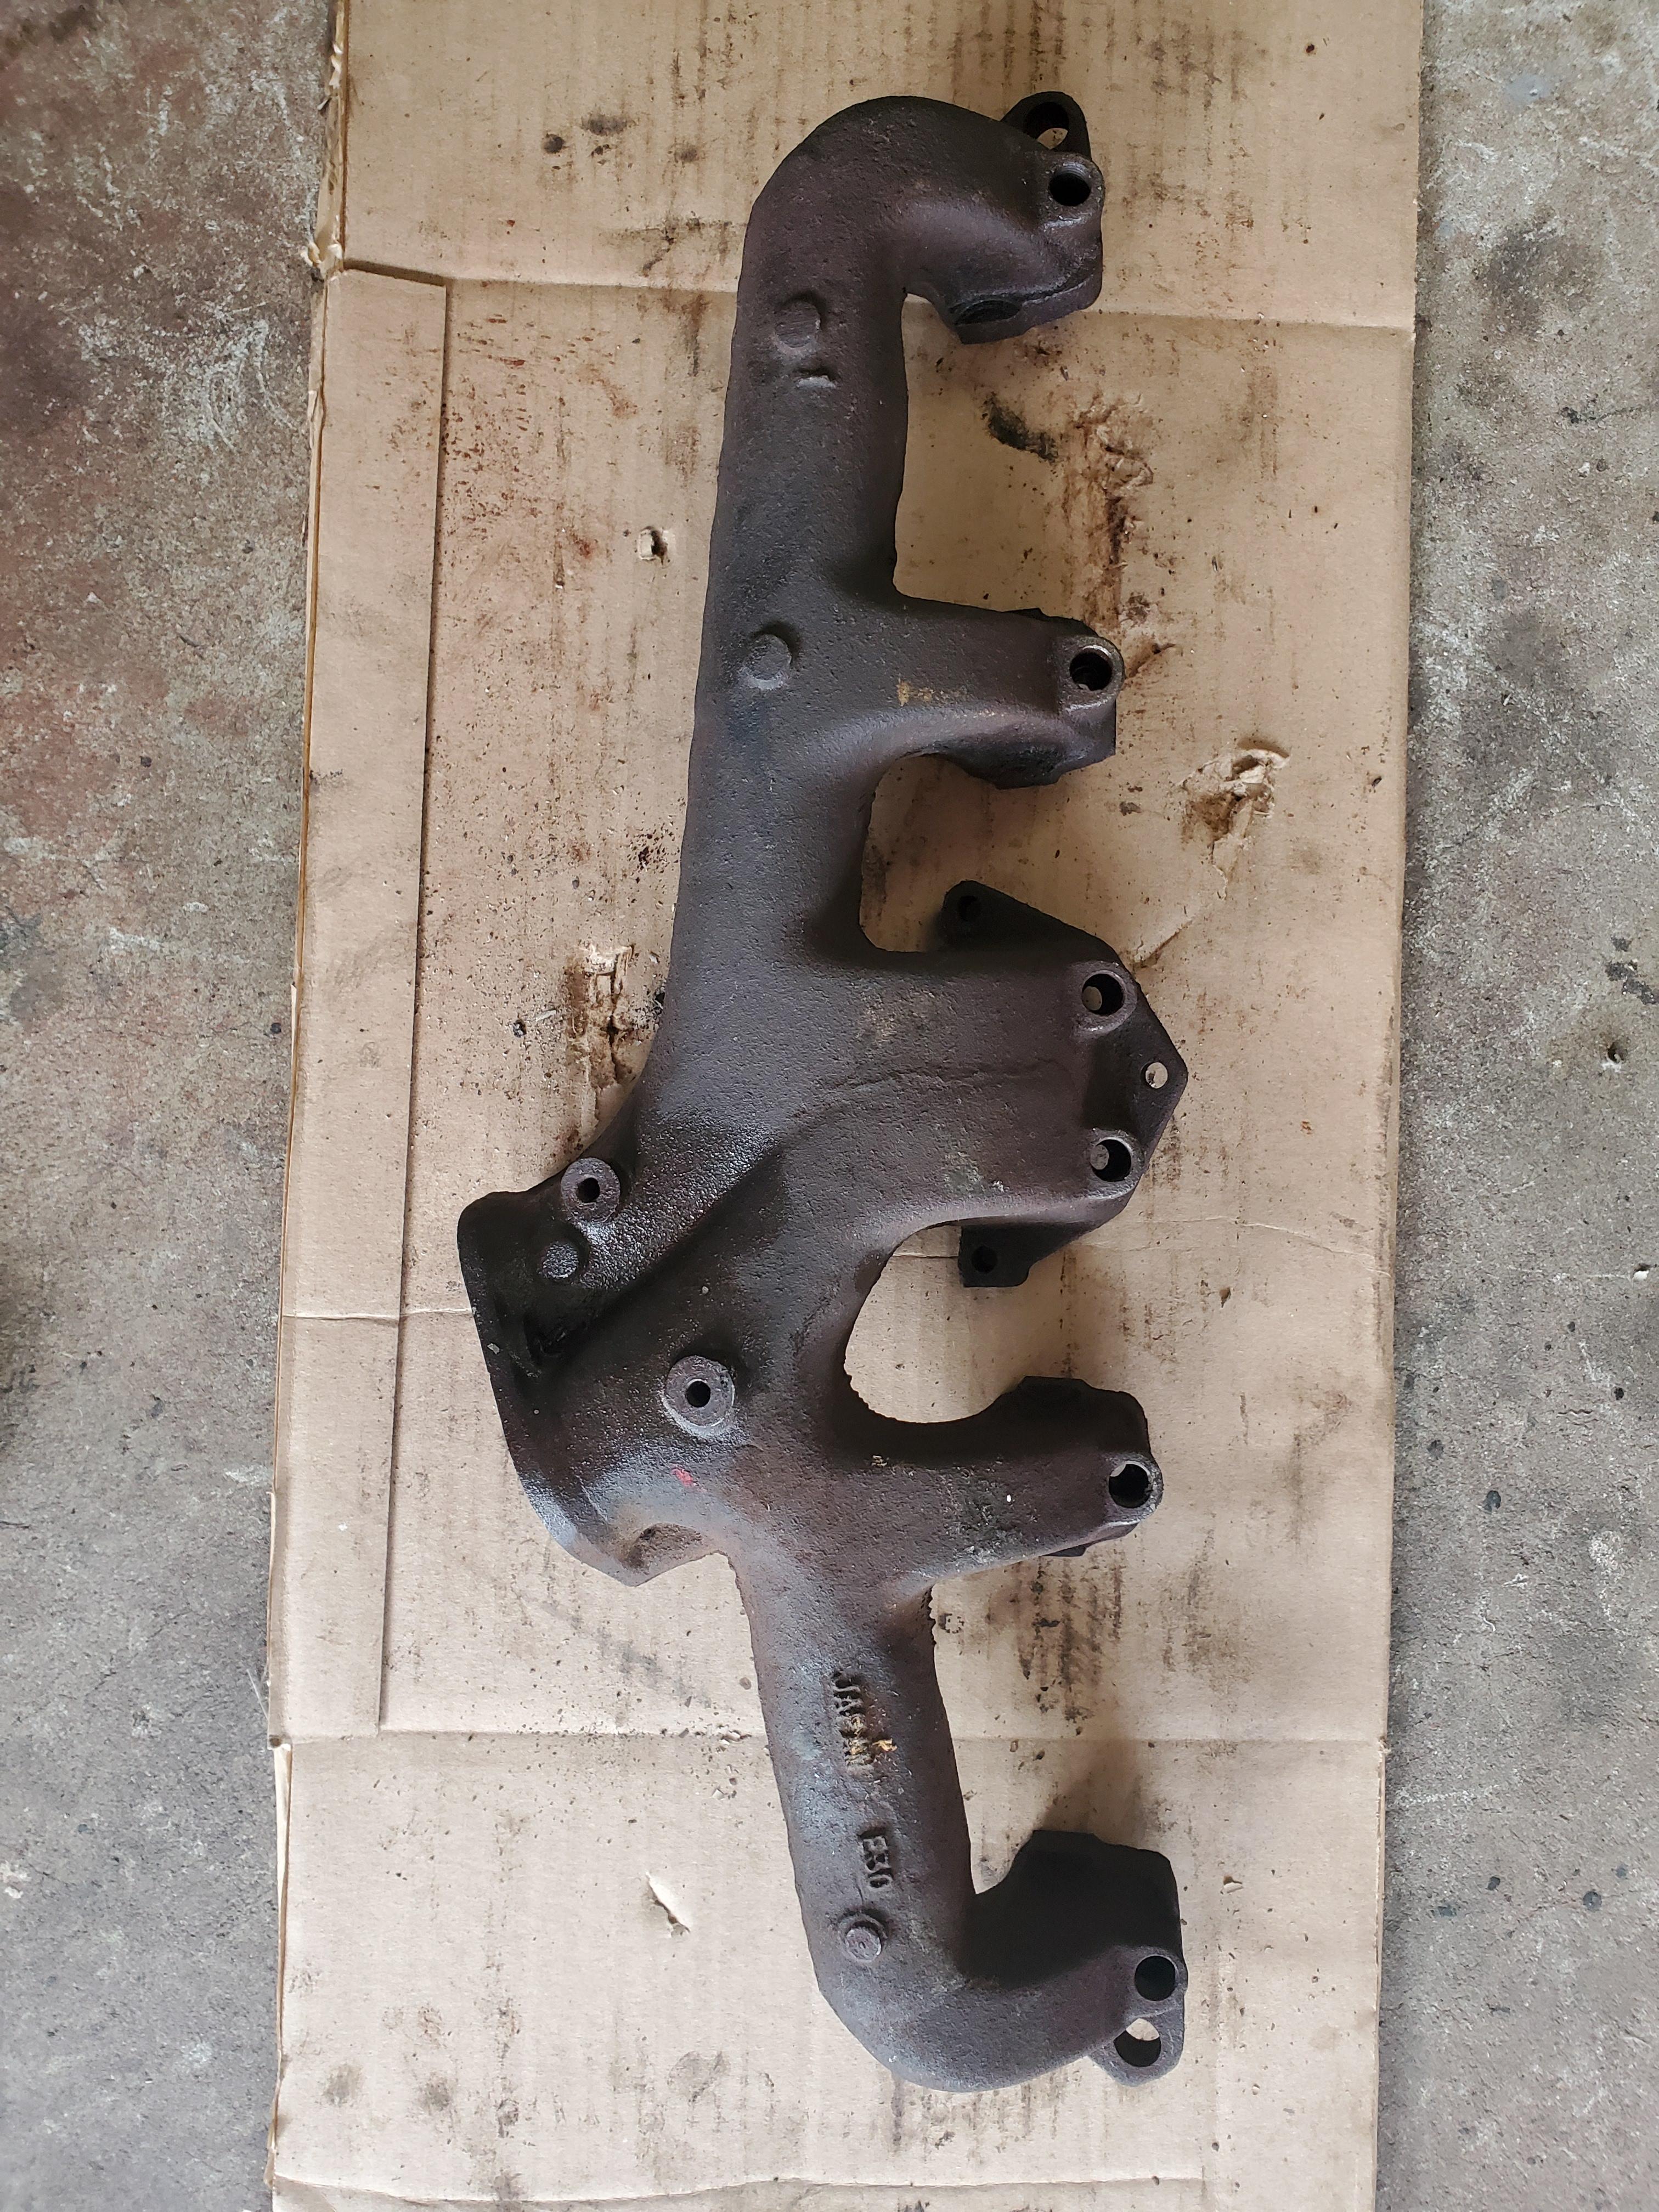
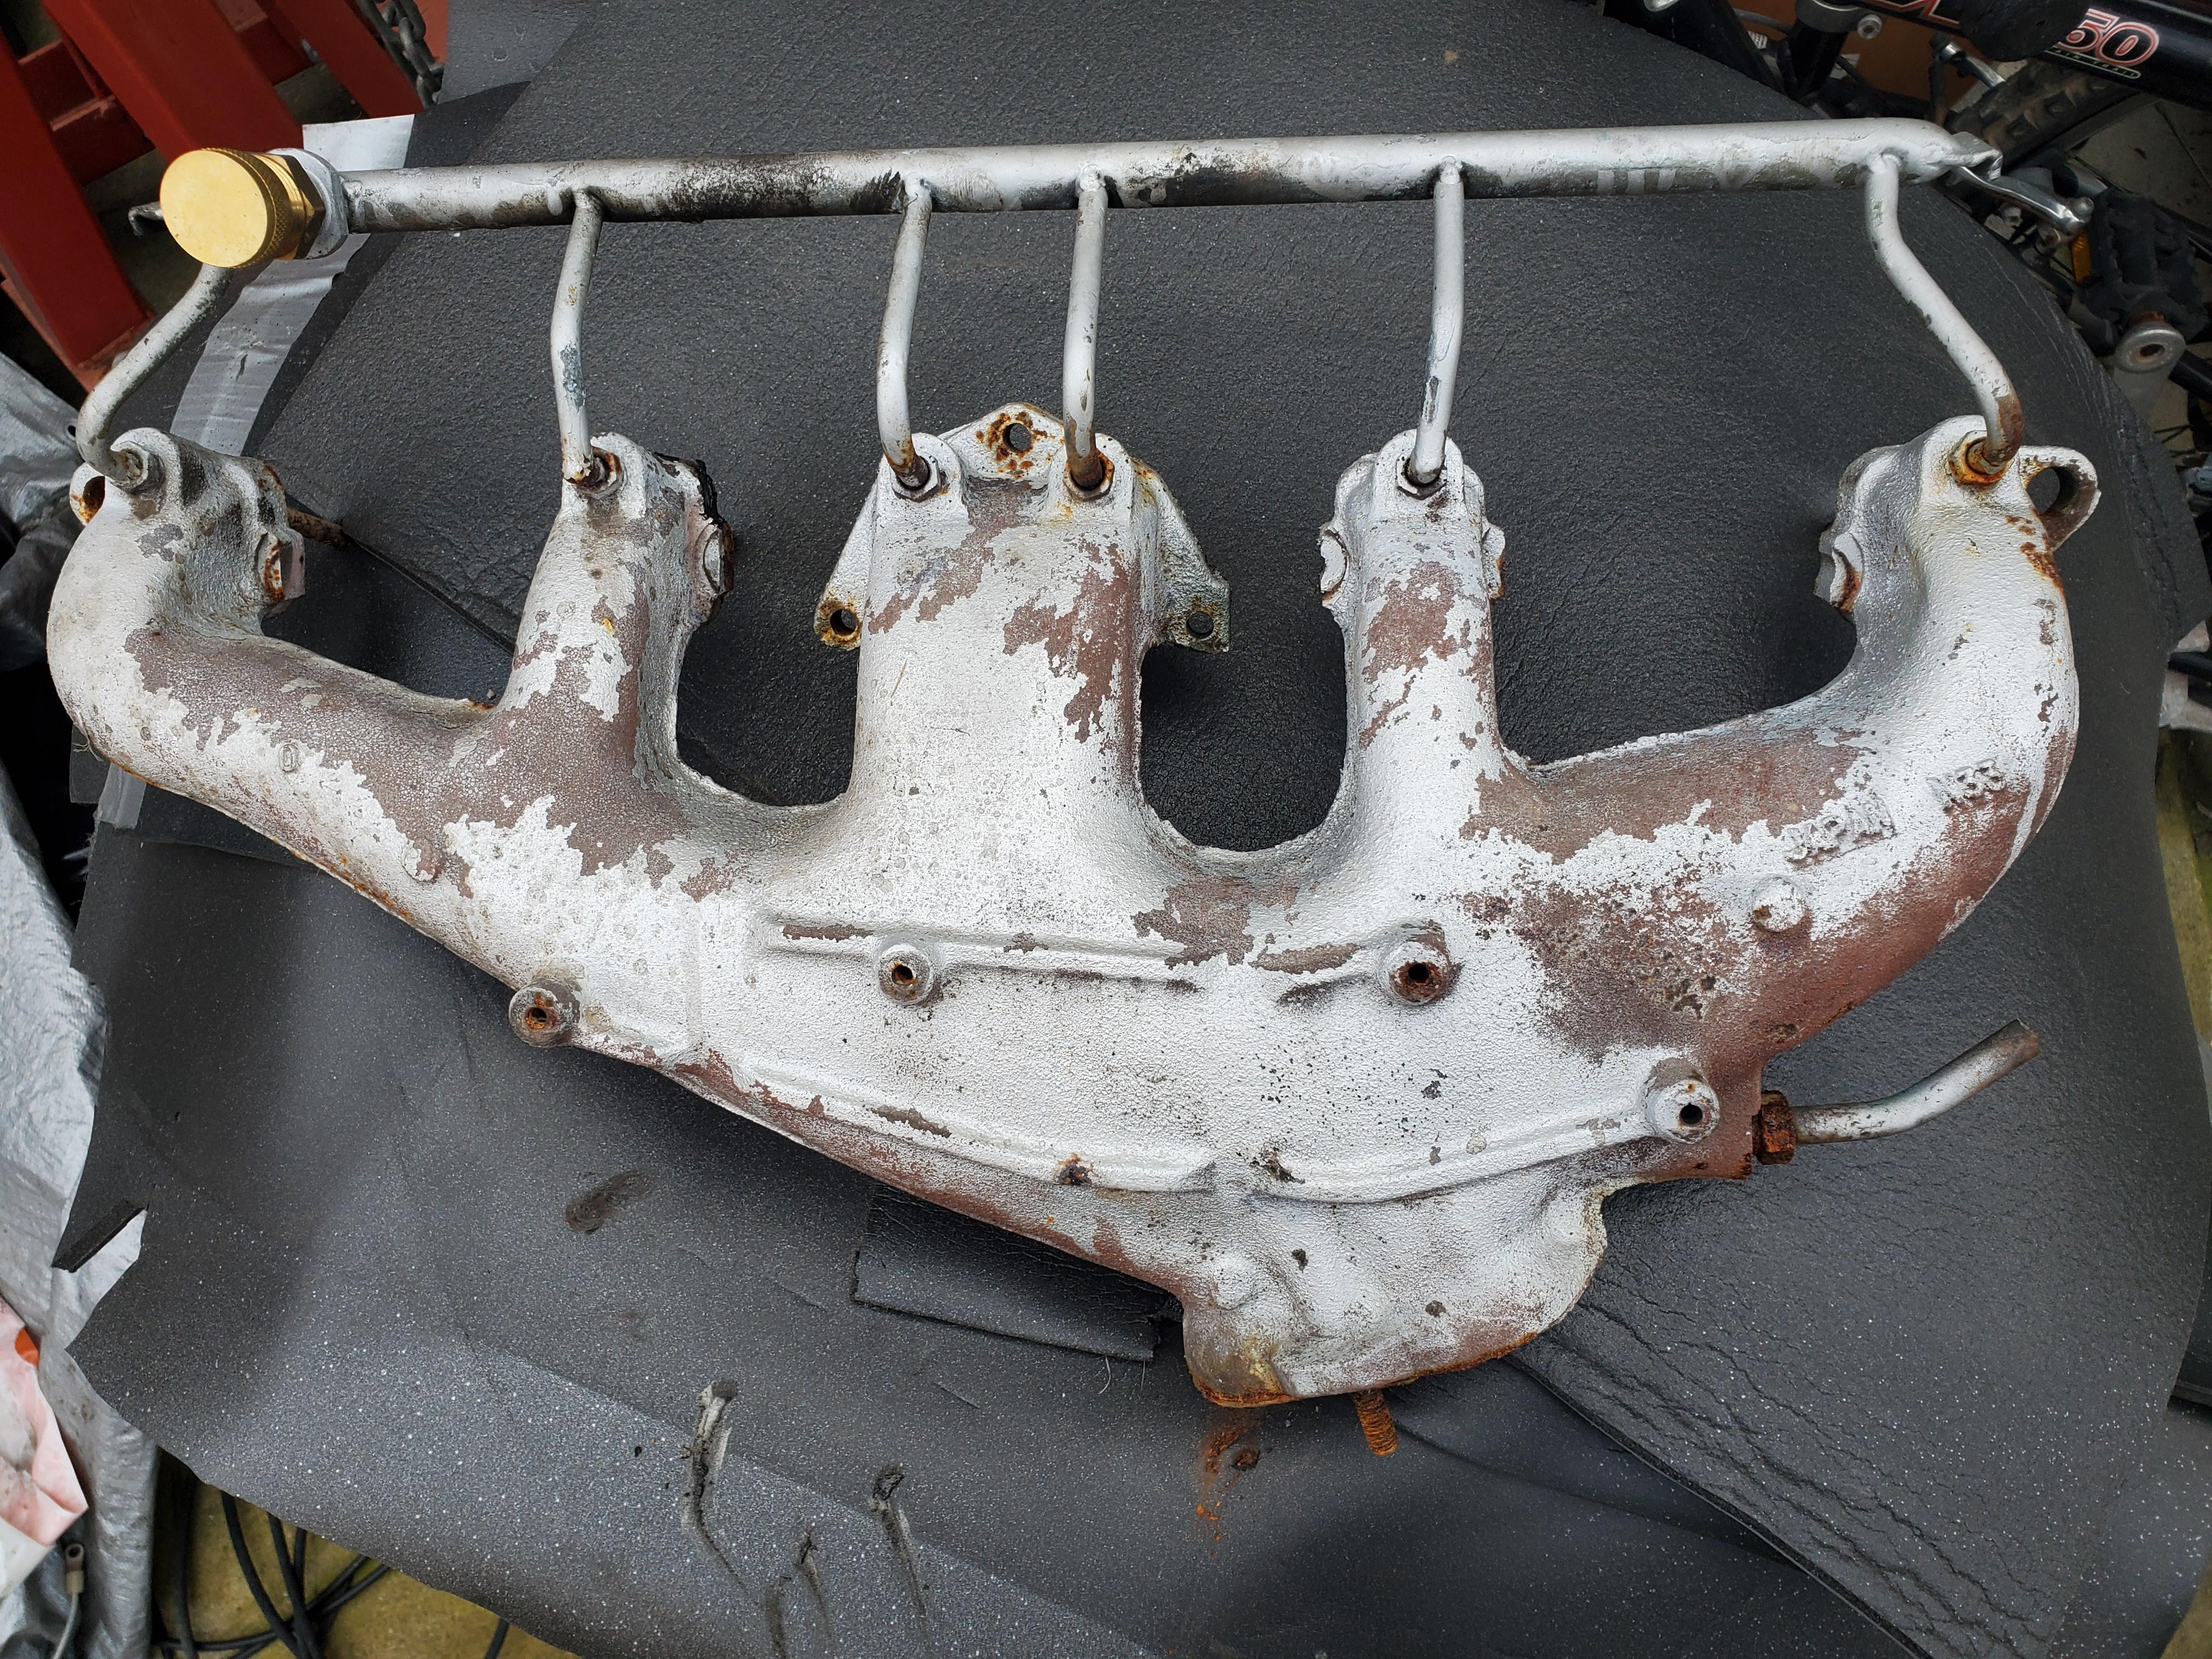
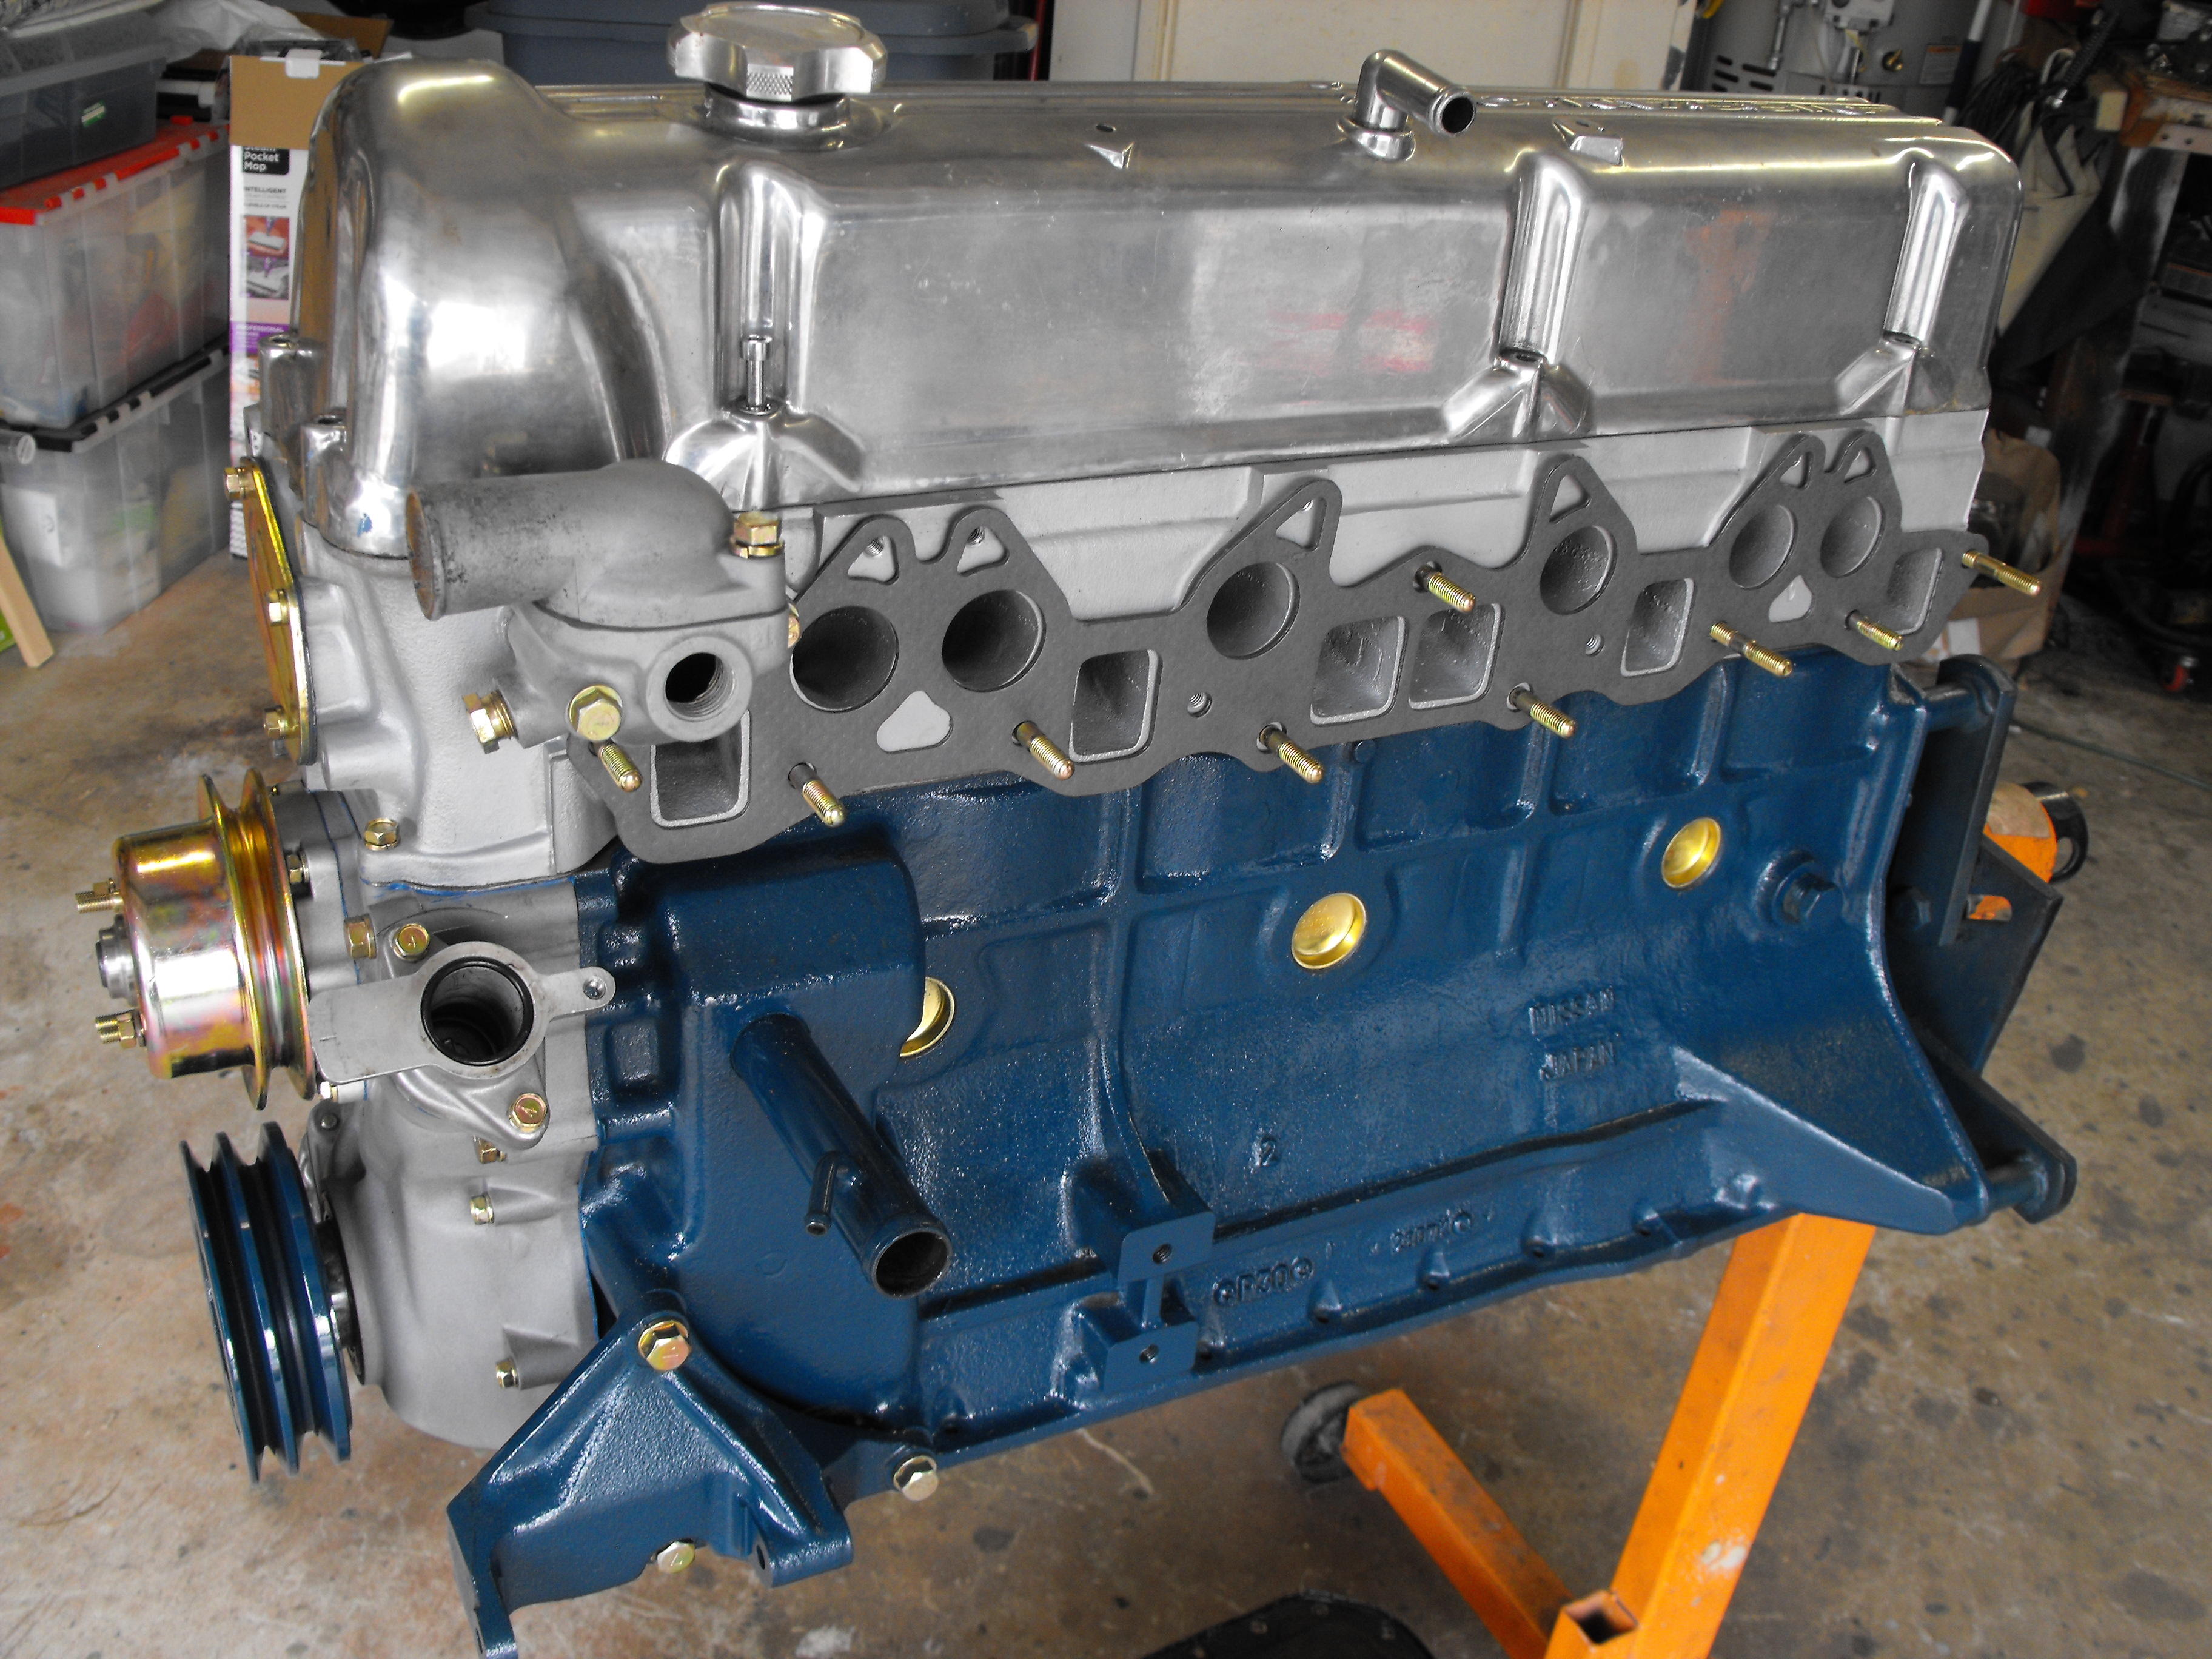
Back from a short vacation, so did a little more work on Orange here. Cleaned and lubed the smog pump and painted the pulley and bracket. Attached those to the block. Spent a little time removing the smog rail from an E30 exhaust manifold which I will use in place of the big old '73 manifold. This works better (visually) with the SUs that will be installed. That way it will look more like a complete '72 motor (It is a '72 build date). Also, I think the smaller manifold will not transmit as much heat to the carbs. Will send it off to get ceramic coating this week. I put on the intake and balance tube loosely. Will secure once motor is put in actual car.


-
Yes, by MRM. Pretty sure I know who that is. Has his own museum up in LA area.
-
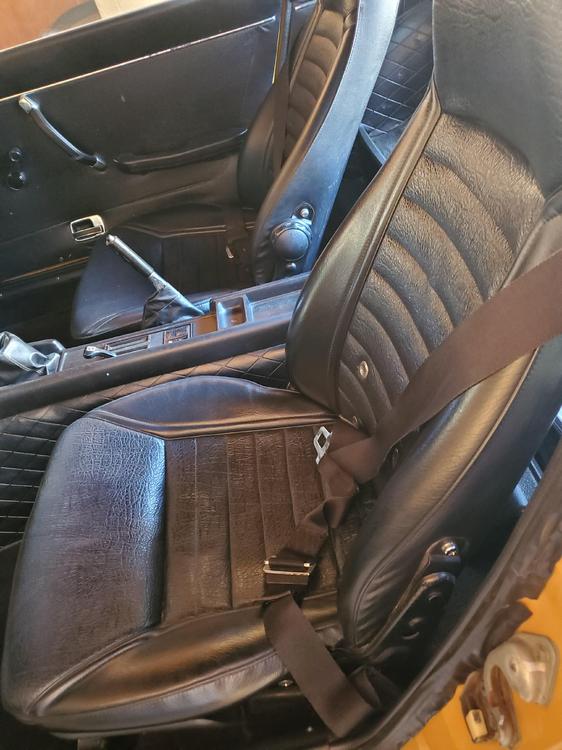
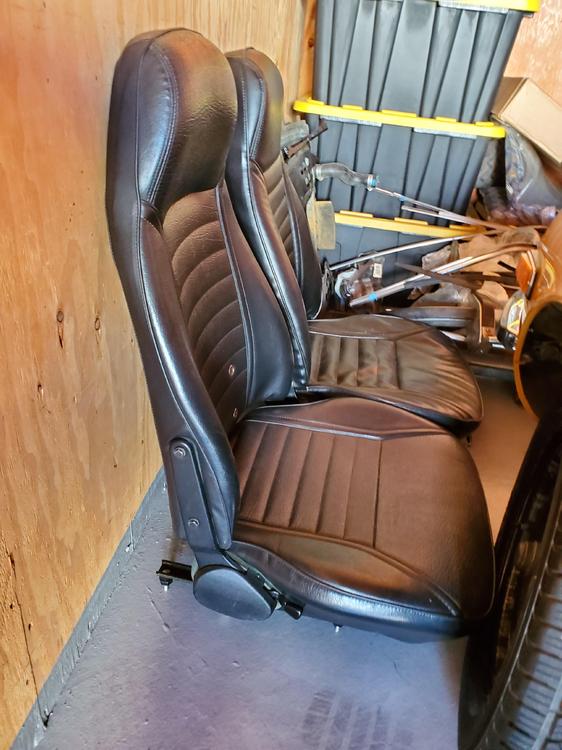
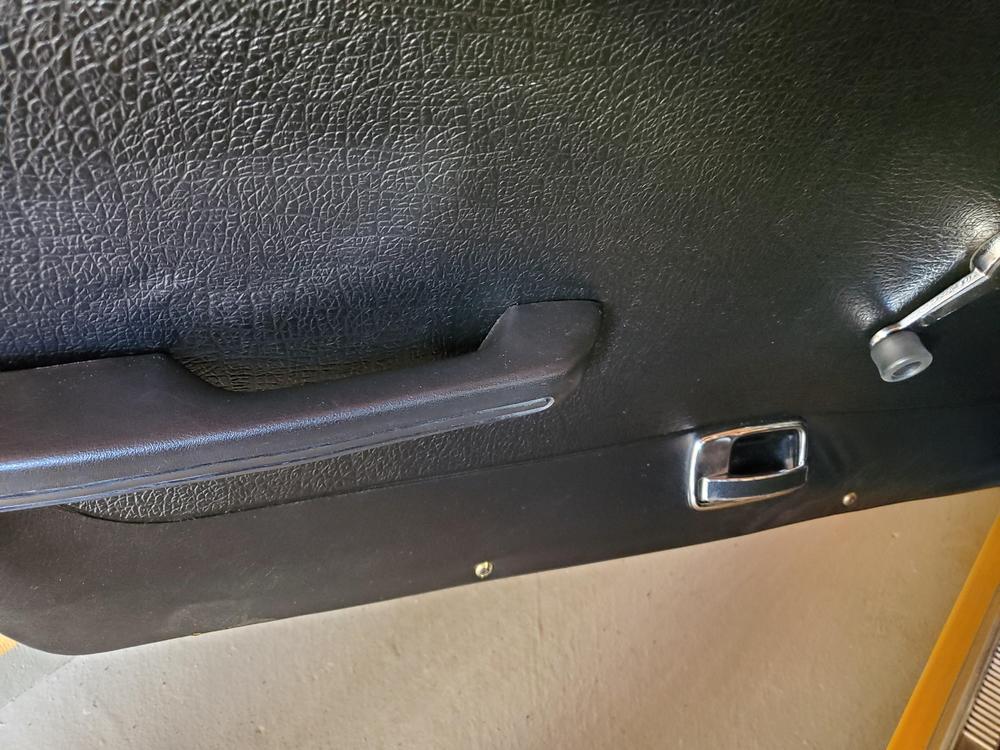
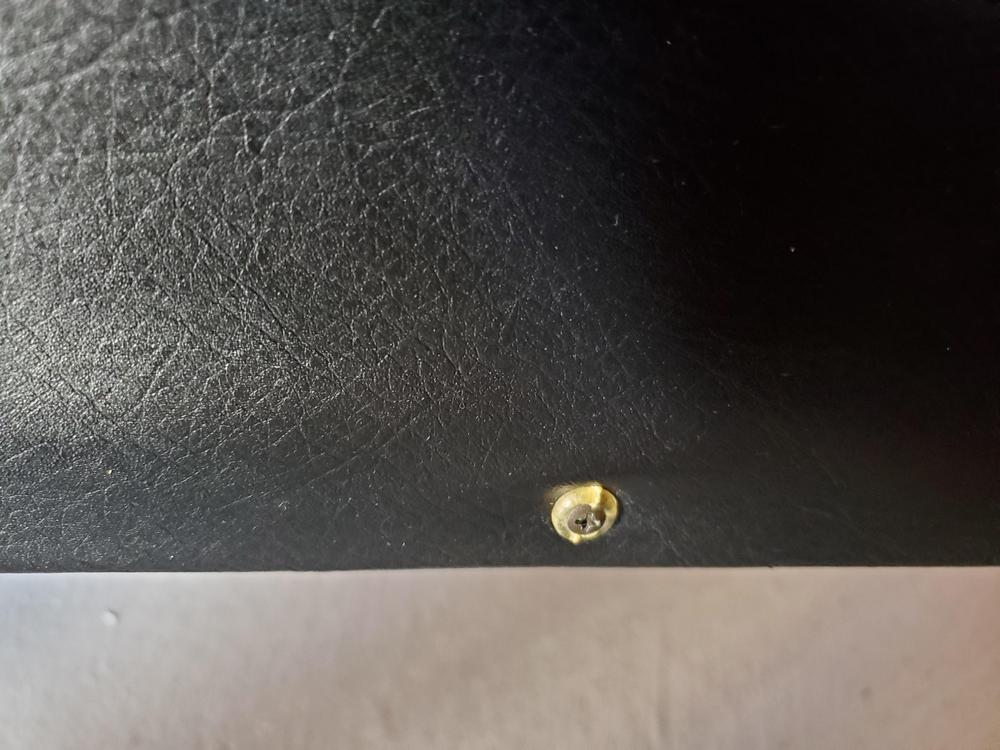
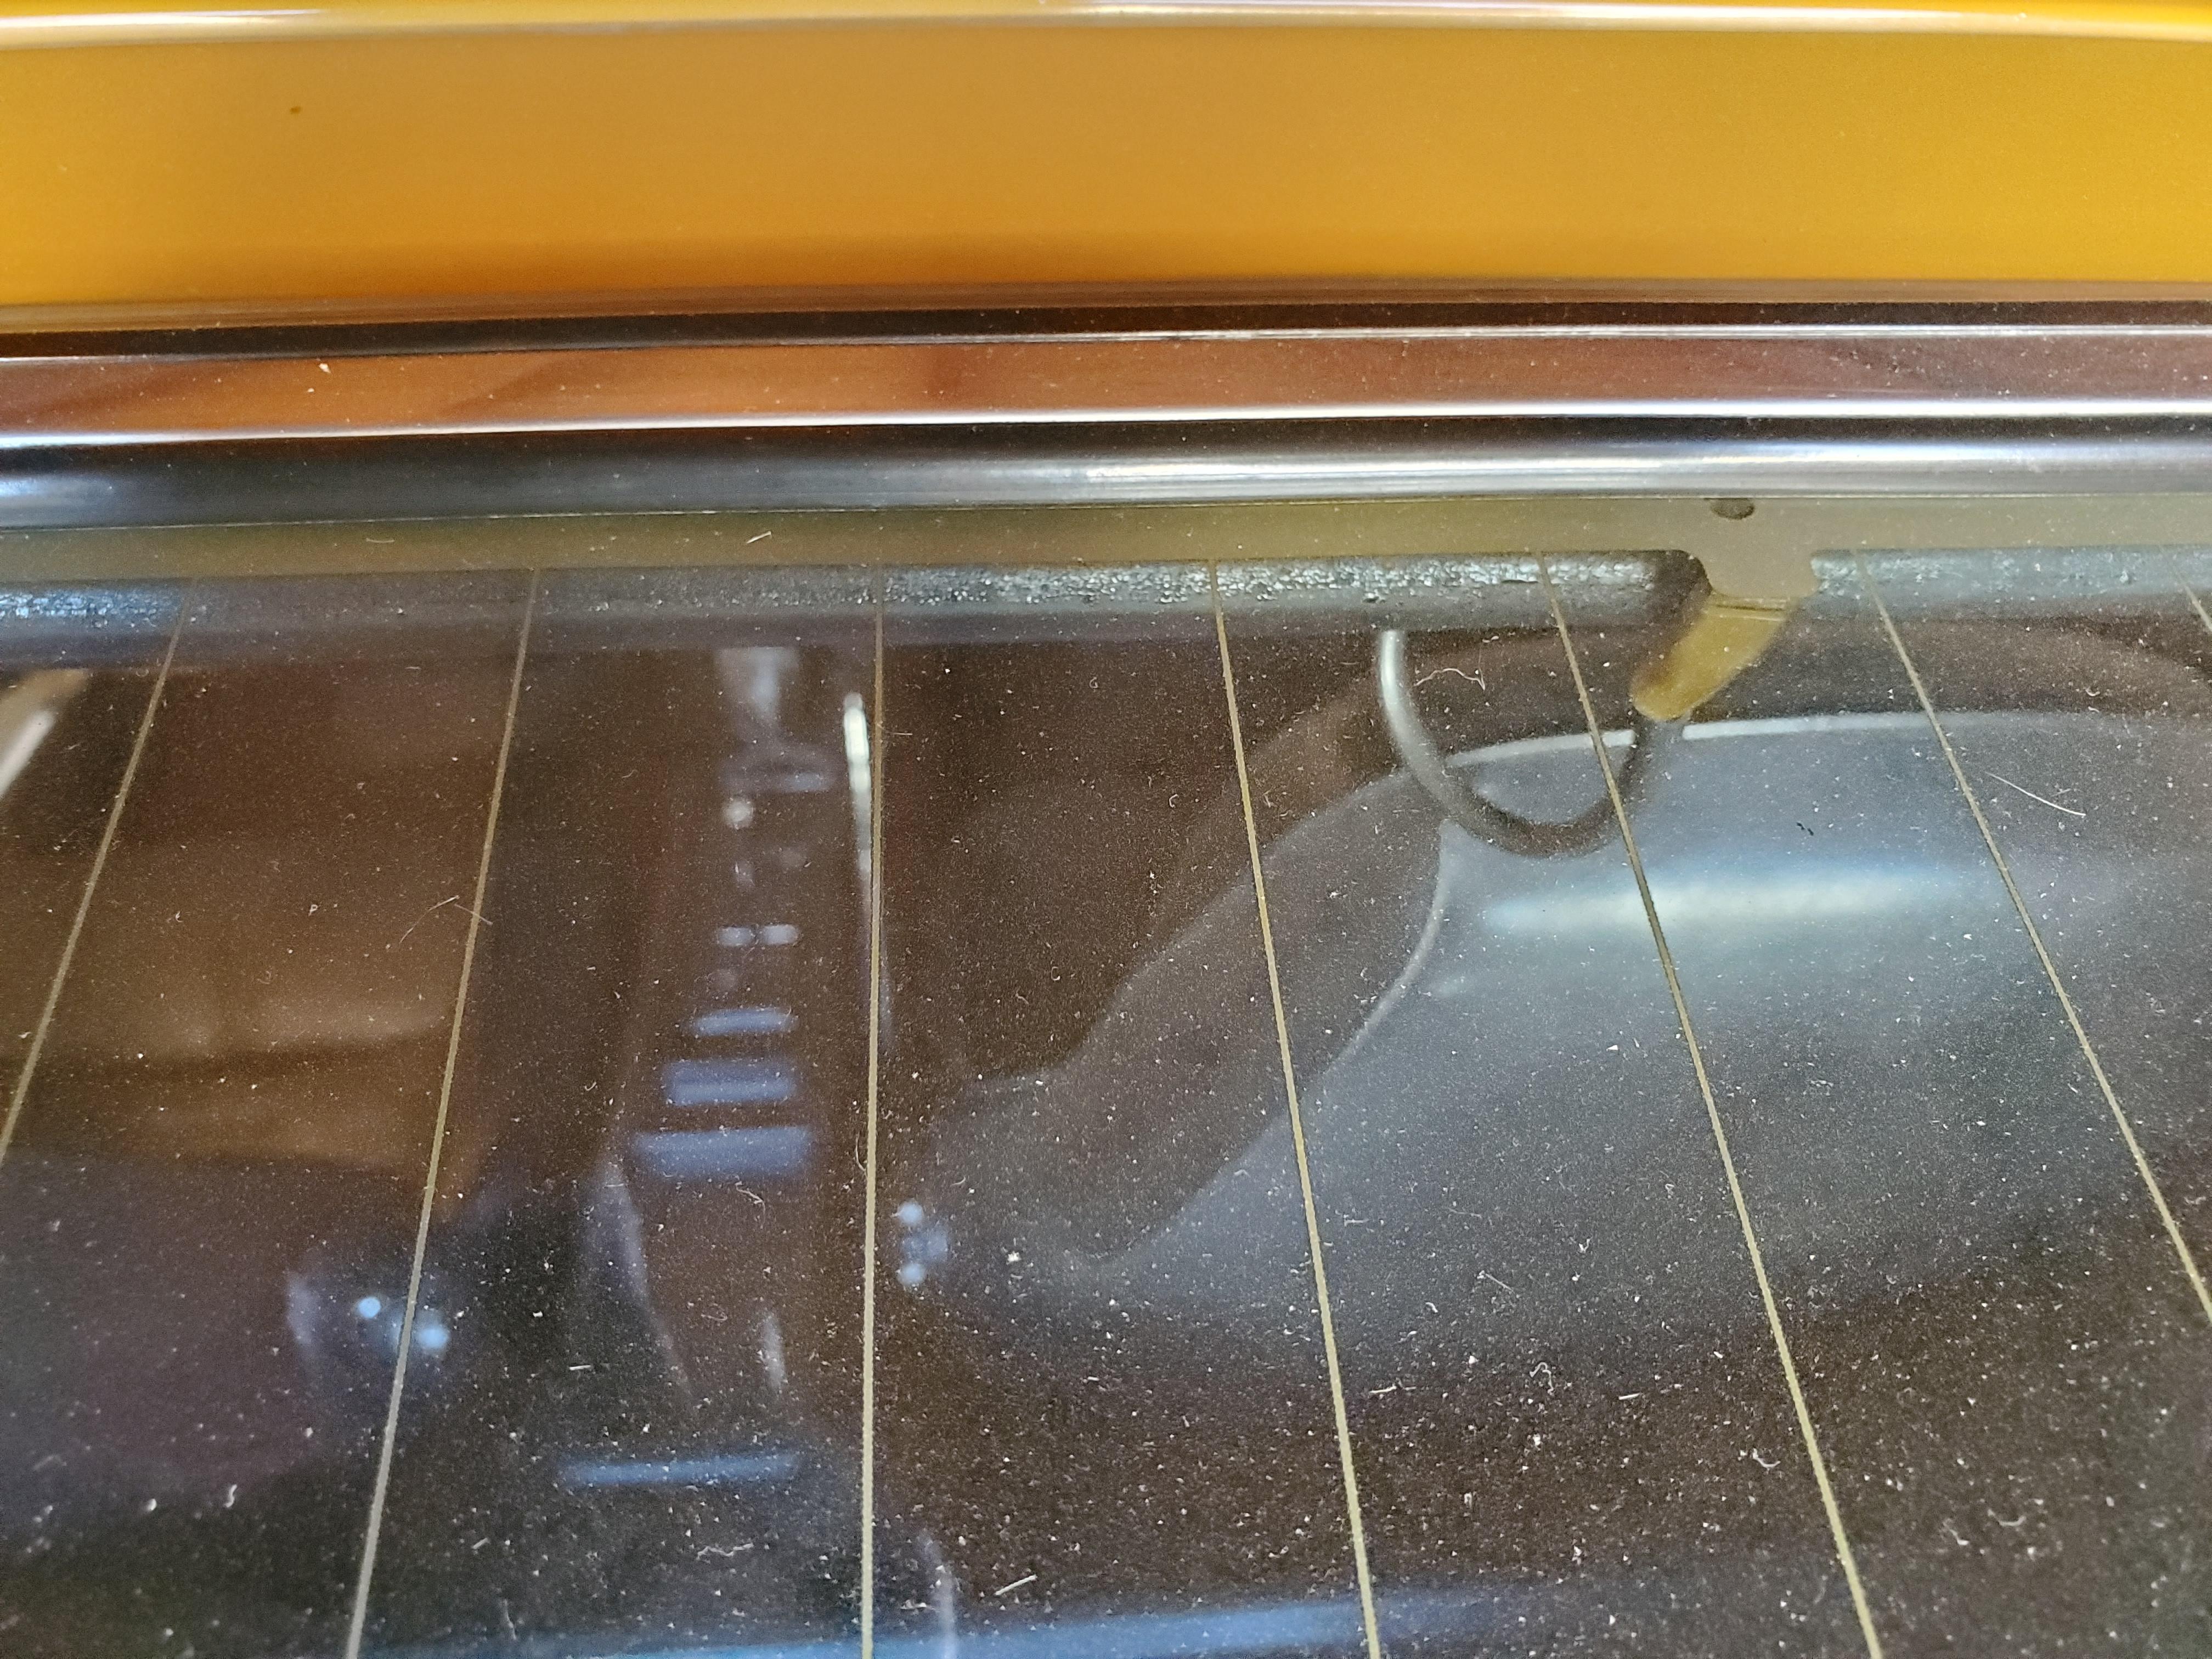
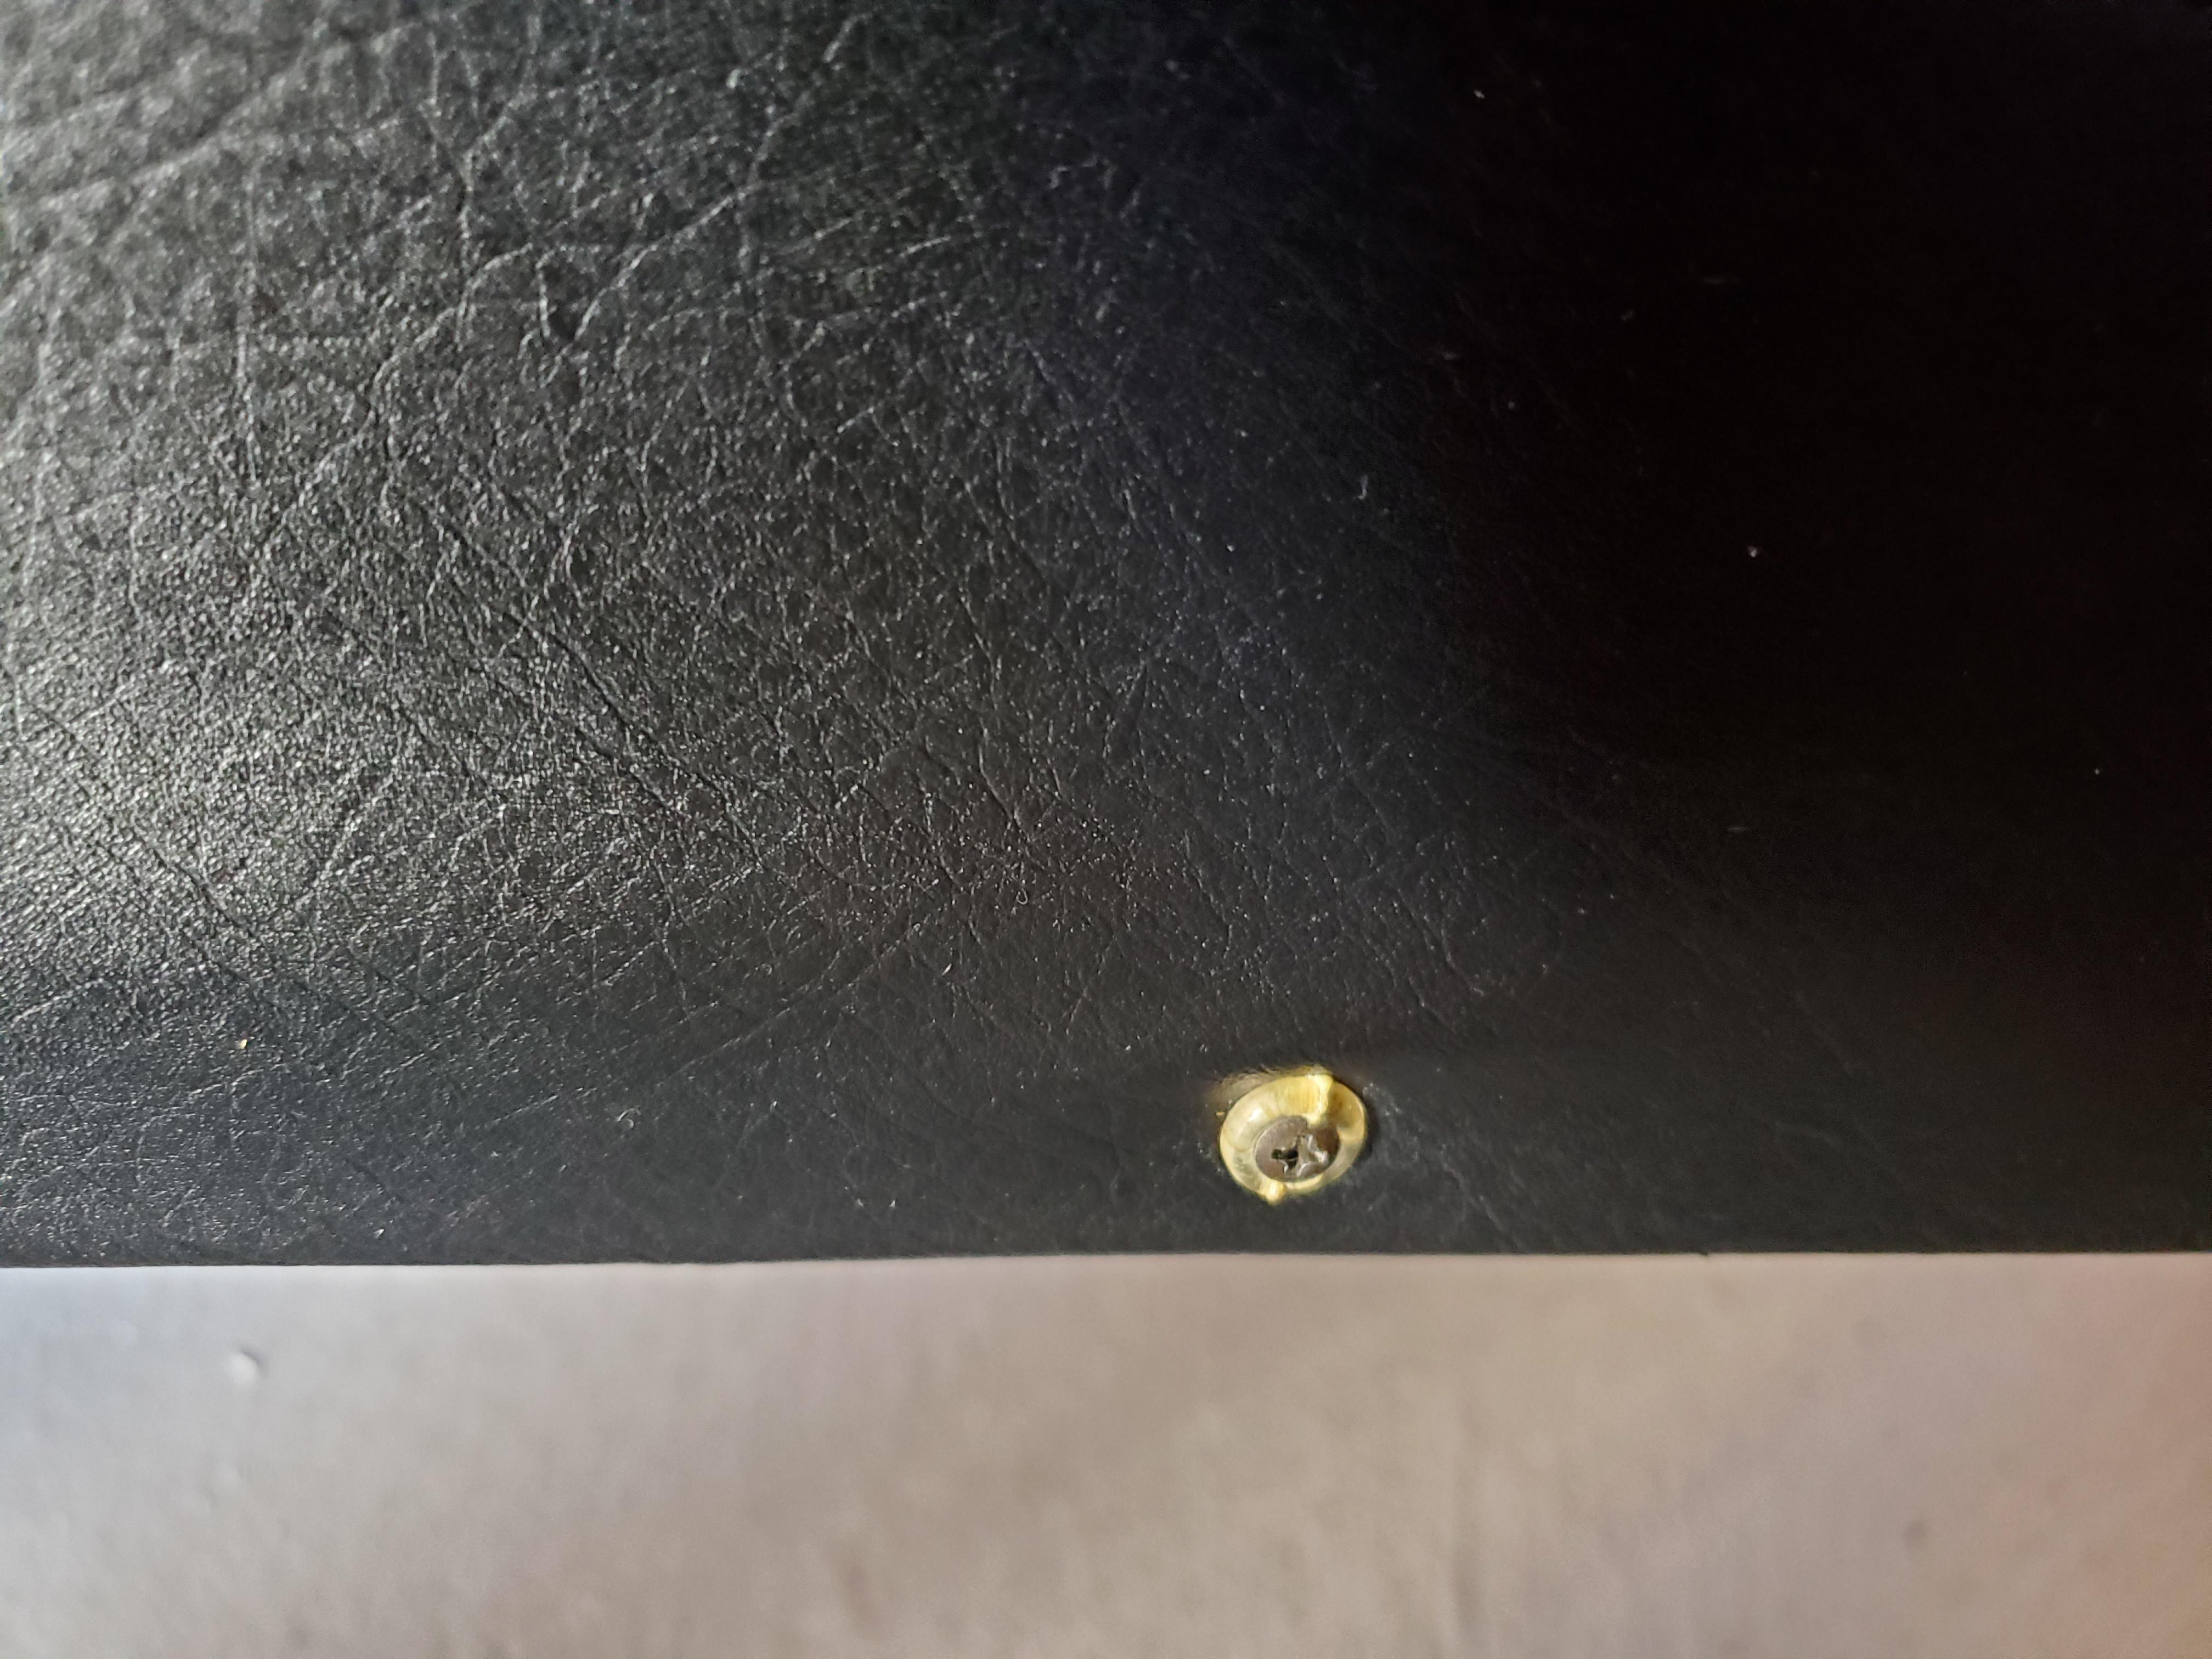
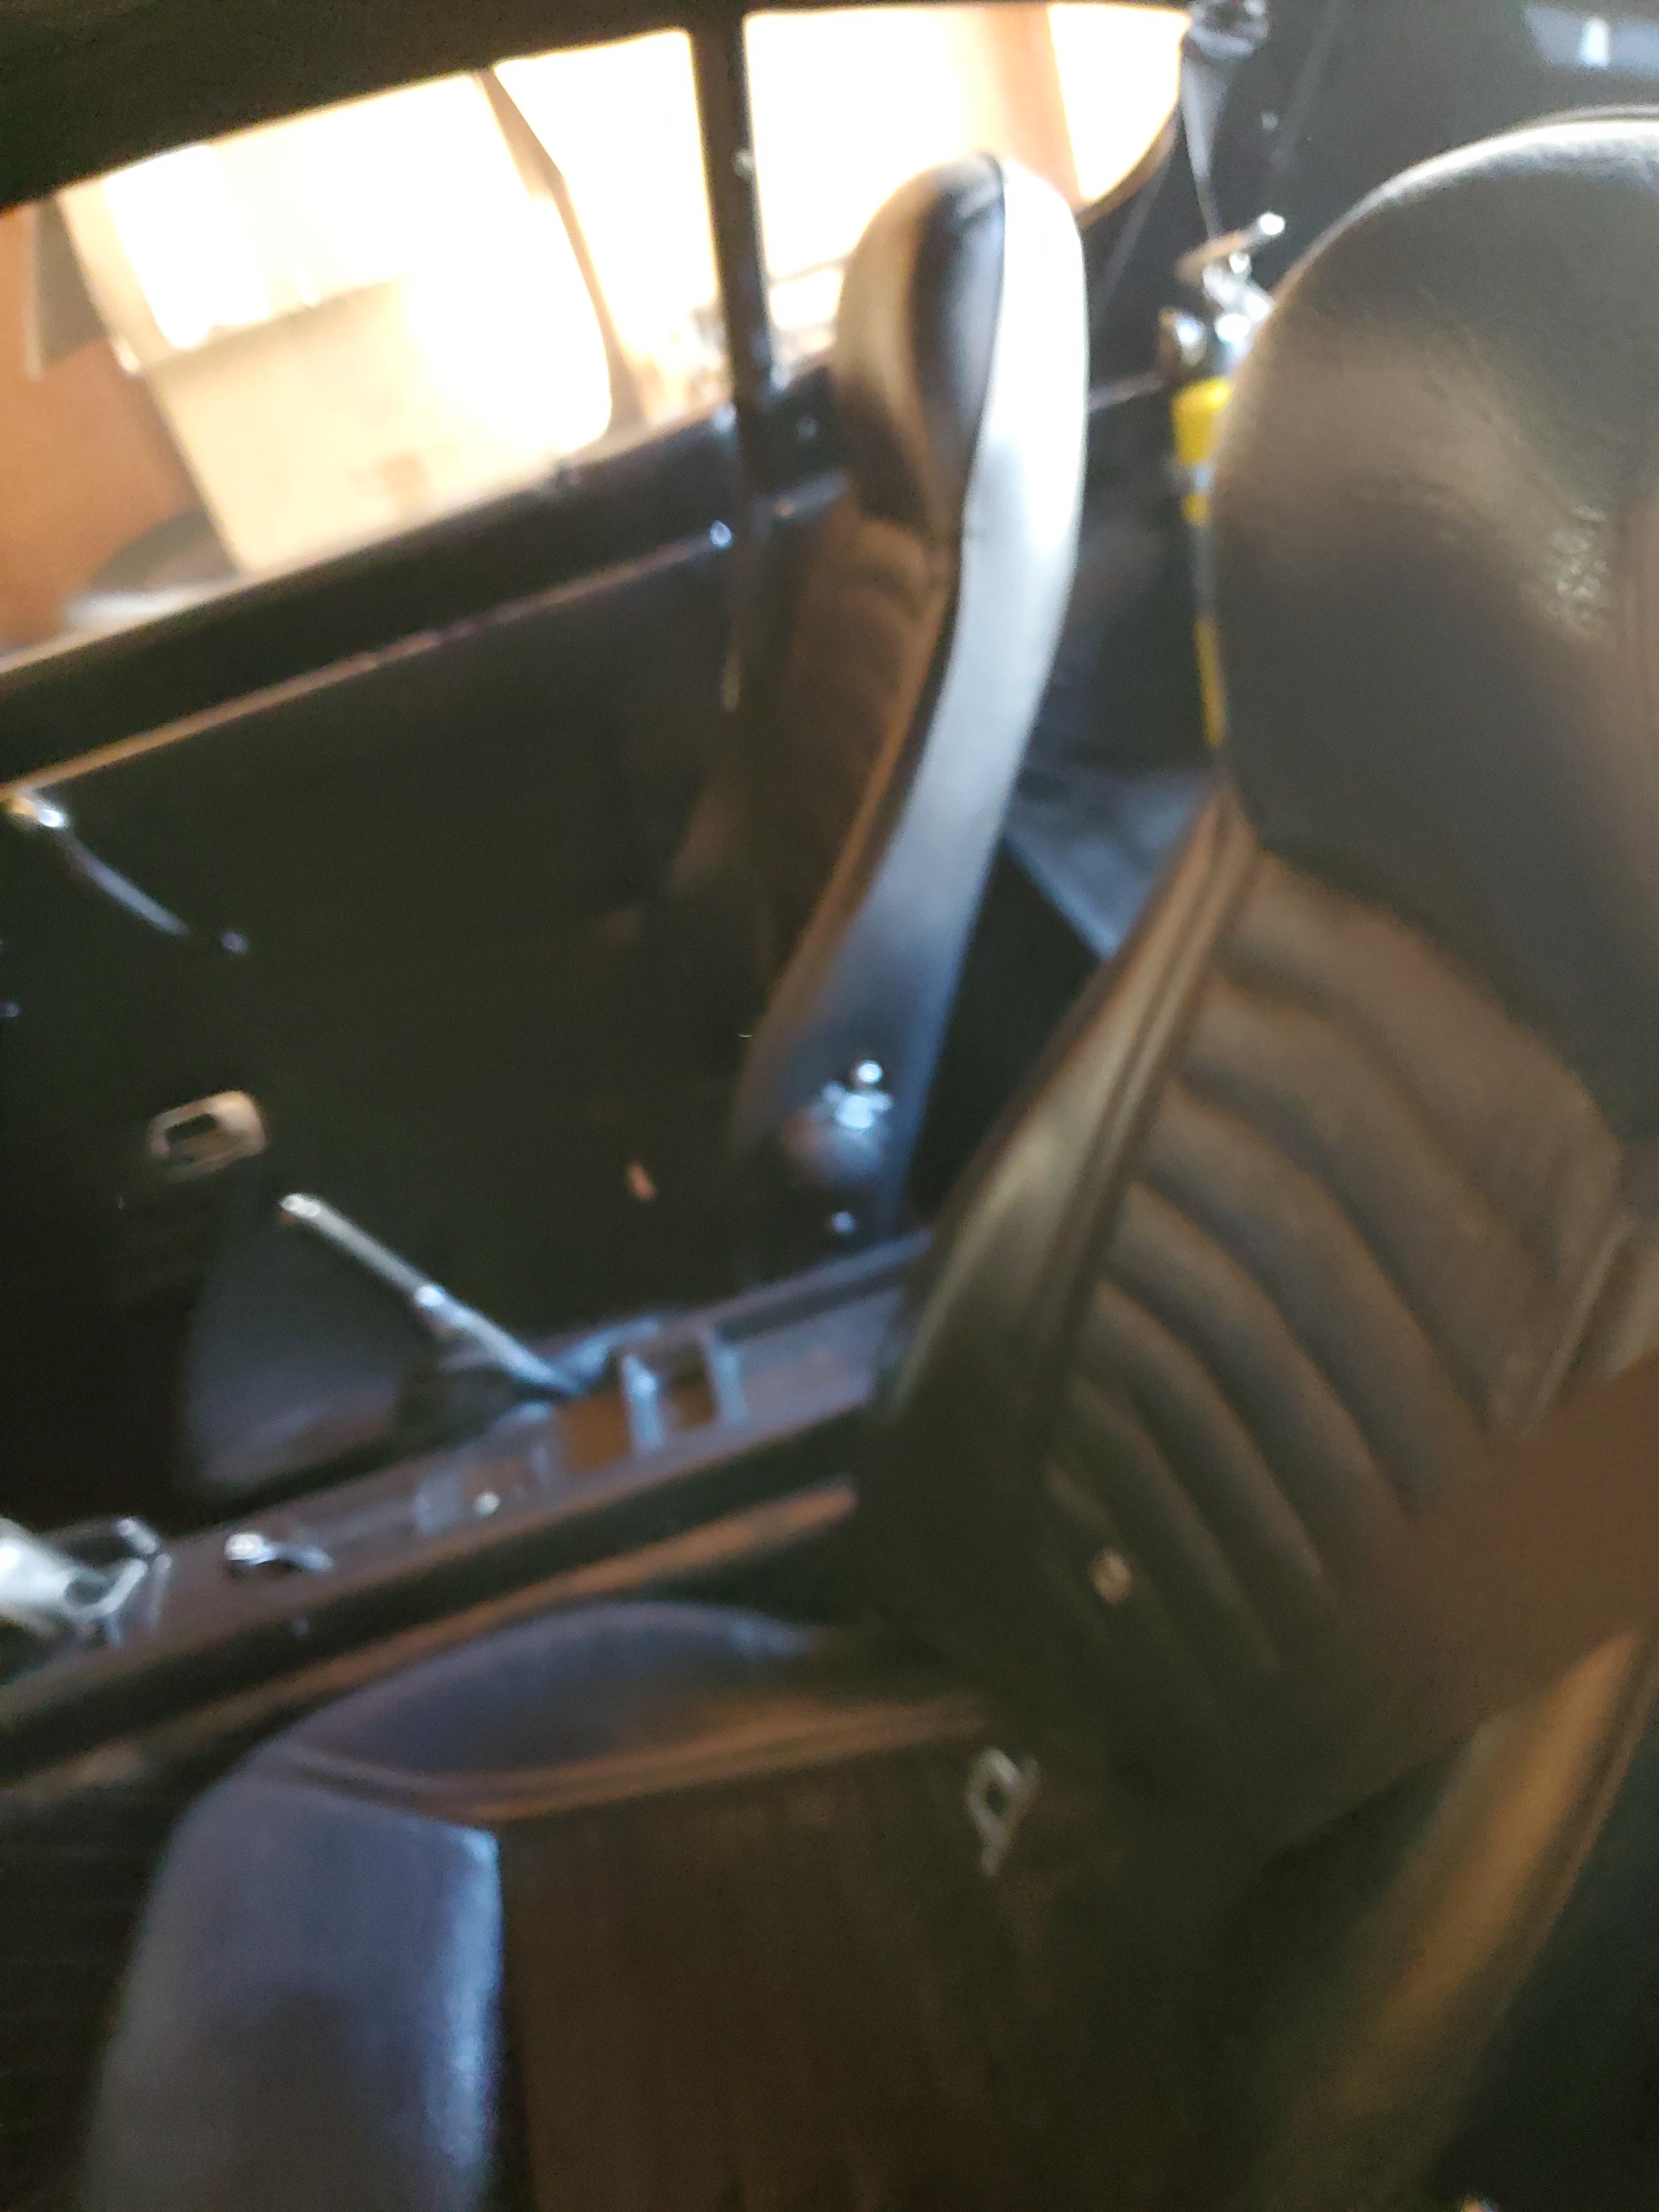
Went to the storage unit today, so took a couple pics of HLS30-02614 of items that we have been discussing. The one loose seat is a passenger seat from a '73 The two door screws look to be 'oval head' screws with a hard clear (now yellowed) plastic collar underneath.


-
FWIW, For the 1973 blue car on the 'We're Bringing Back the Flat Tops' thread I used the blank sticker and went to a Hobby store (Trains and RC cars) and found a transfer stencil that is pretty dog gone close to the original font. I was very happy with the results. No points deducted at ZCON, no one noticed.
-
I would say that the 50 year old seats on my Z look to be in about the same condition as the seats on this green one...only my seats are black. The 'sag' on the base portions is about the same. The backs are also slightly pressed in, in similar fashion. The foam on mine is really starting to go though. I get small crumbles on the carpet below the seat that are from the decaying foam. I would almost push back on the seats being different. Having re-upholstered several of these, I would say it is pretty dog gone difficult to get the rope in the same place seat after seat. Also, not sure if the holes in the material at the factory were 'pre-drilled'. These holes are not on the aftermarket covers so you just have to feel for it. There really is a lot of 'massaging' to do once the vinyl is over the foam. As a result, the alignment with the rope may vary....I think. Unfortunately my '70 is at he storage unit so no quick pics to verify here. ?
-
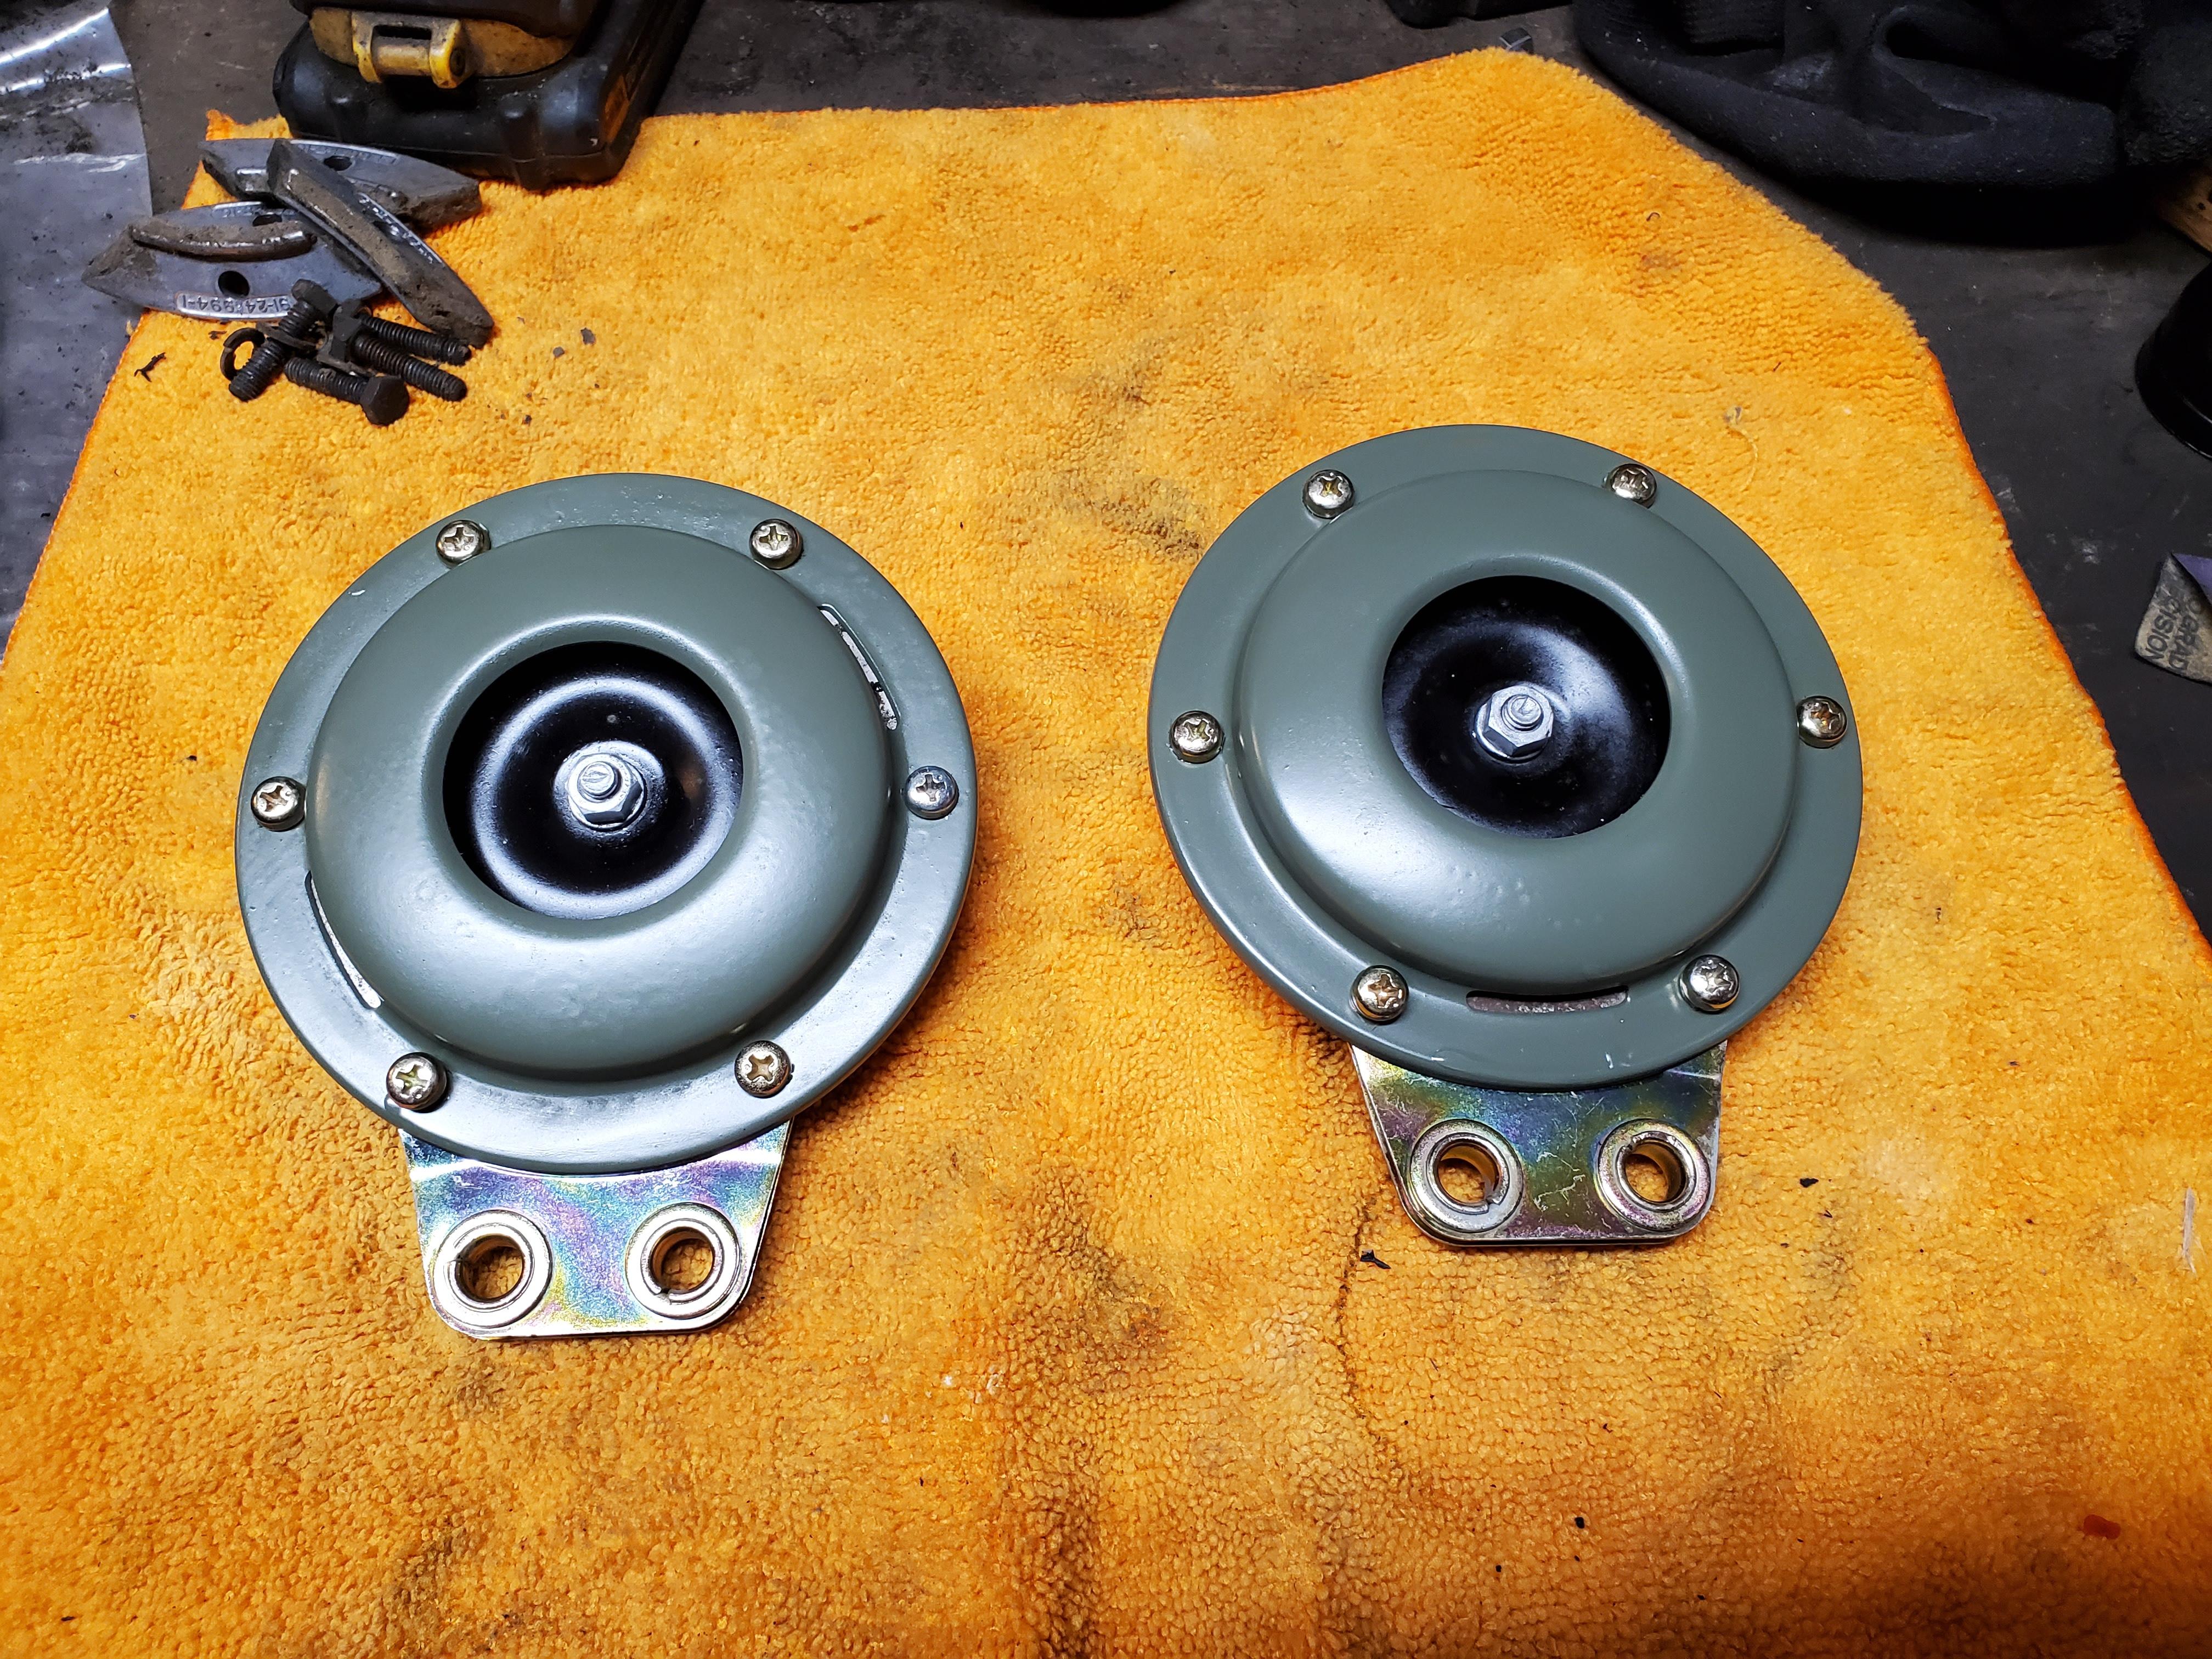
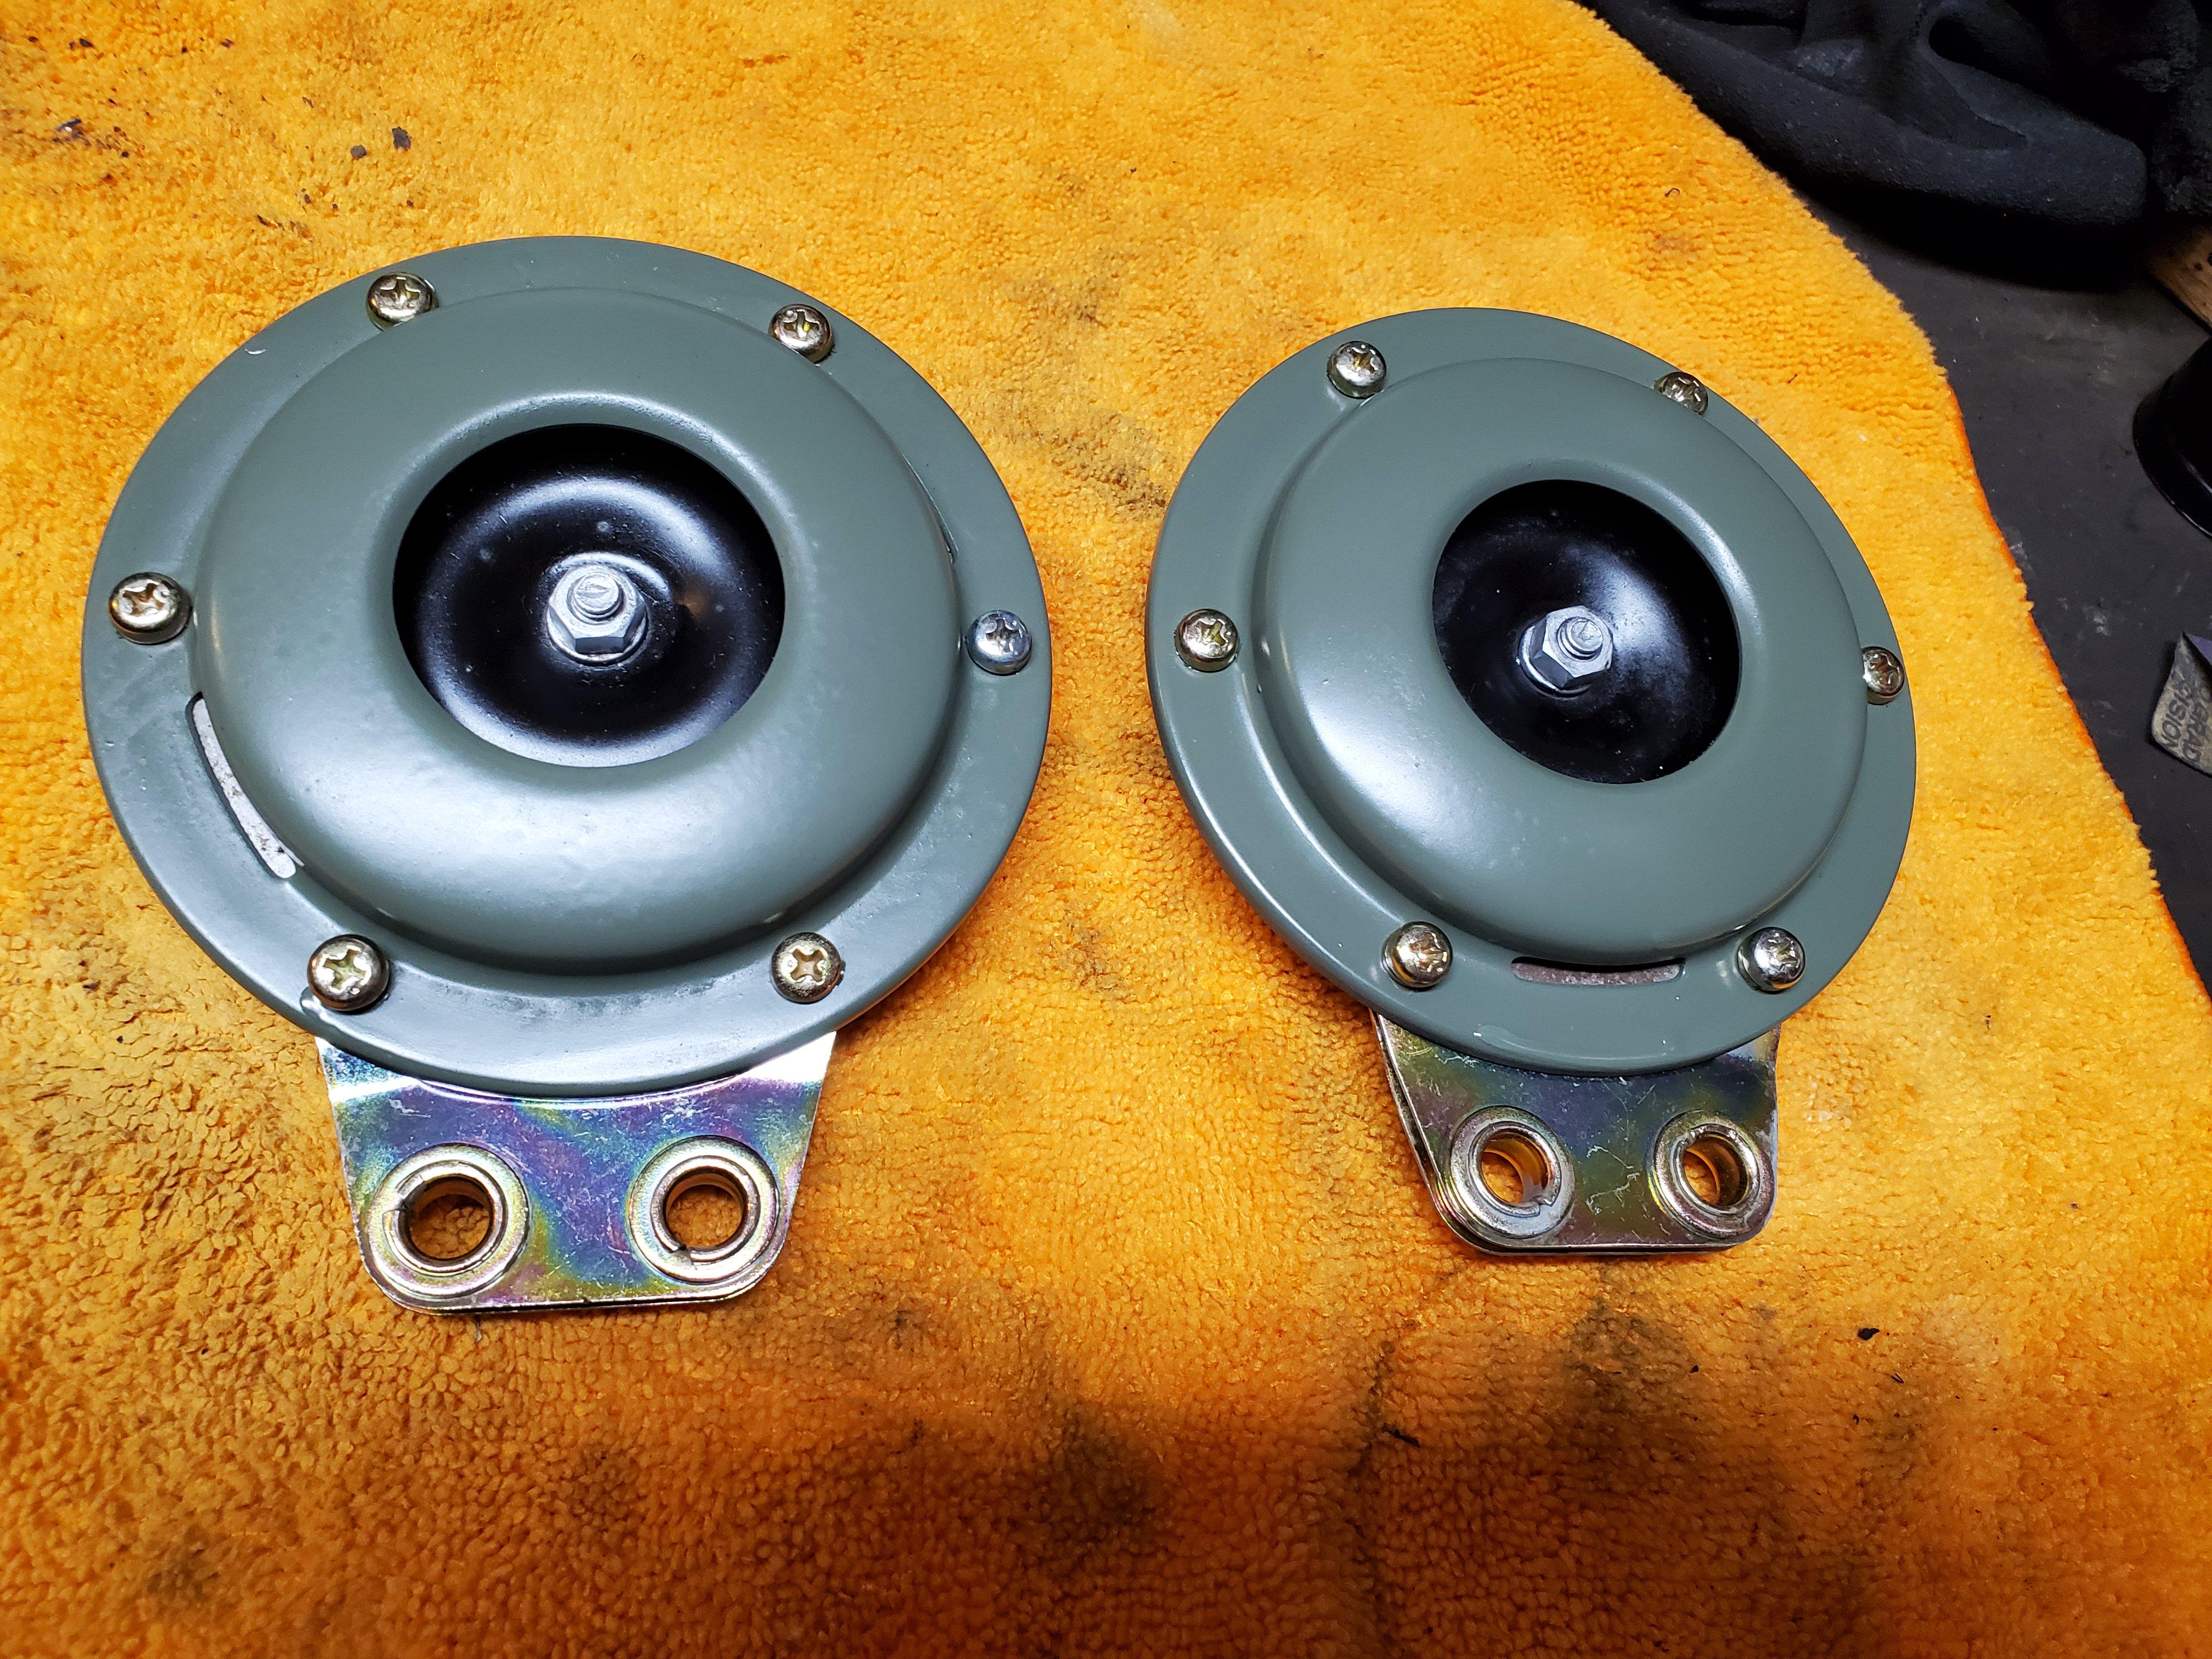
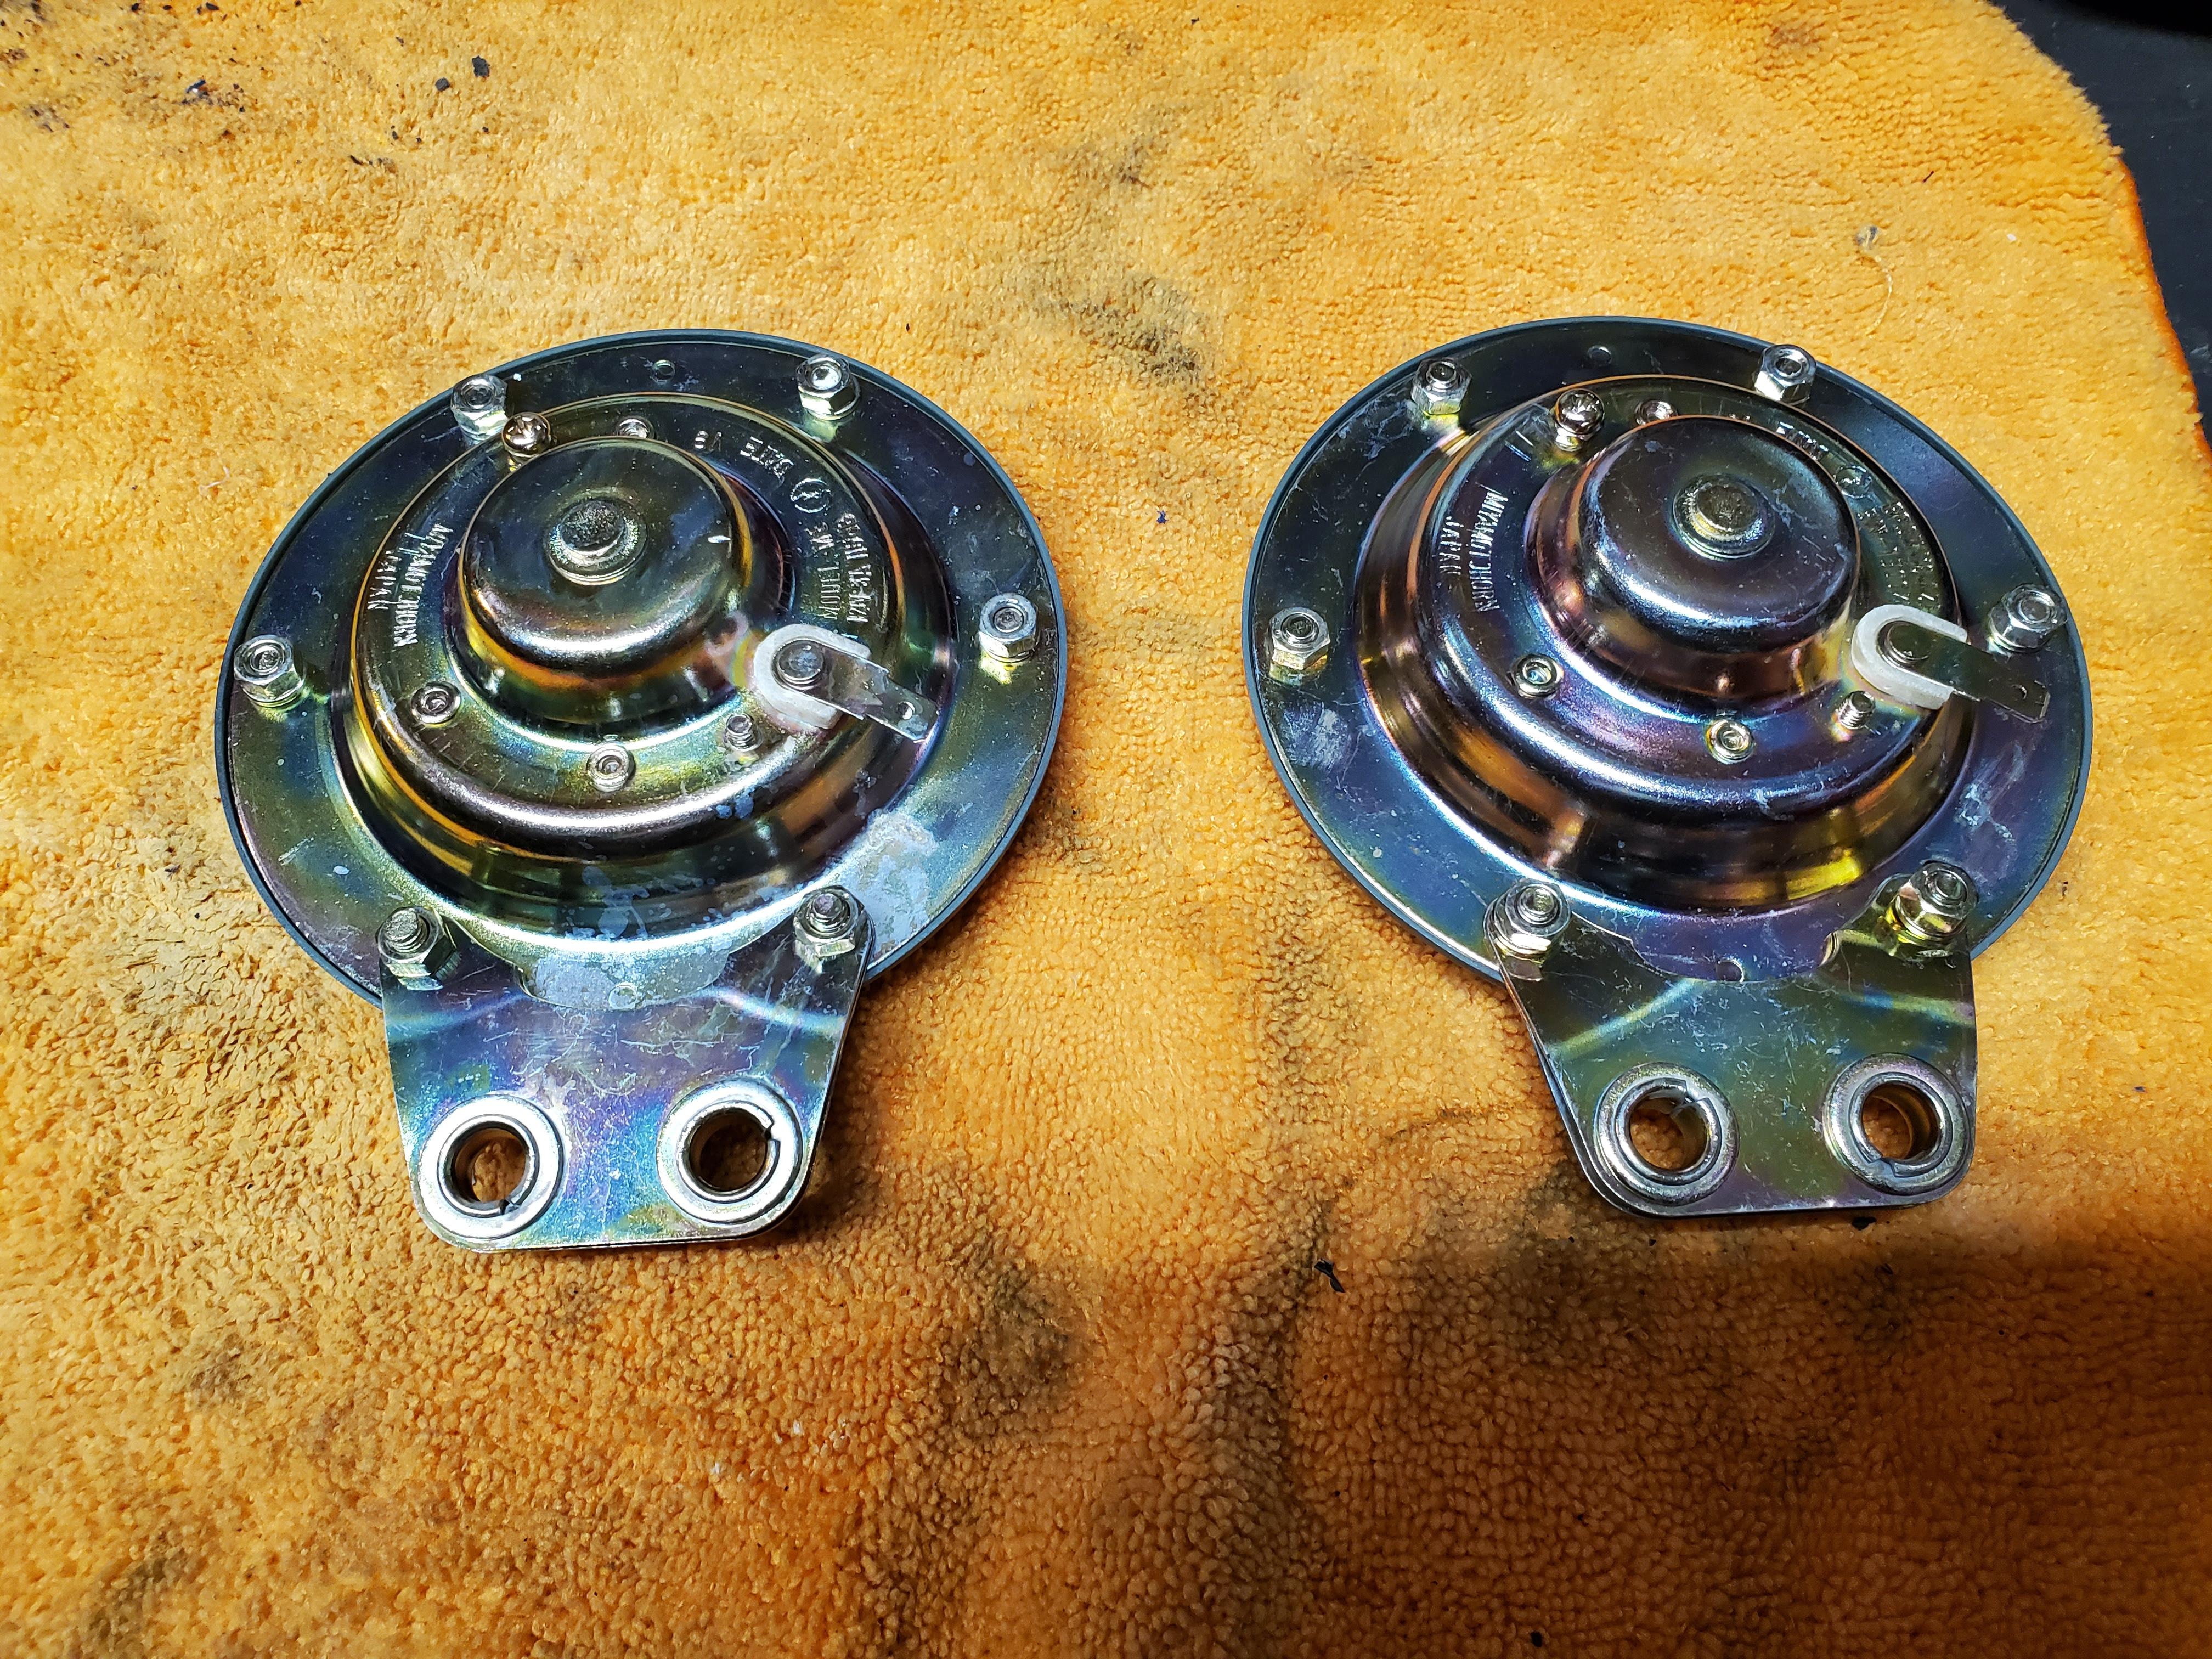
Cleaning up some of the small items here while I wait for the body from the paint shop. Did a clean-up on the horns. I think the olive color is a bit too light, but it's the closest that I could find locally.


-
Interesting. I wonder if the broken T/C rods are on more high performance or race cars.
-
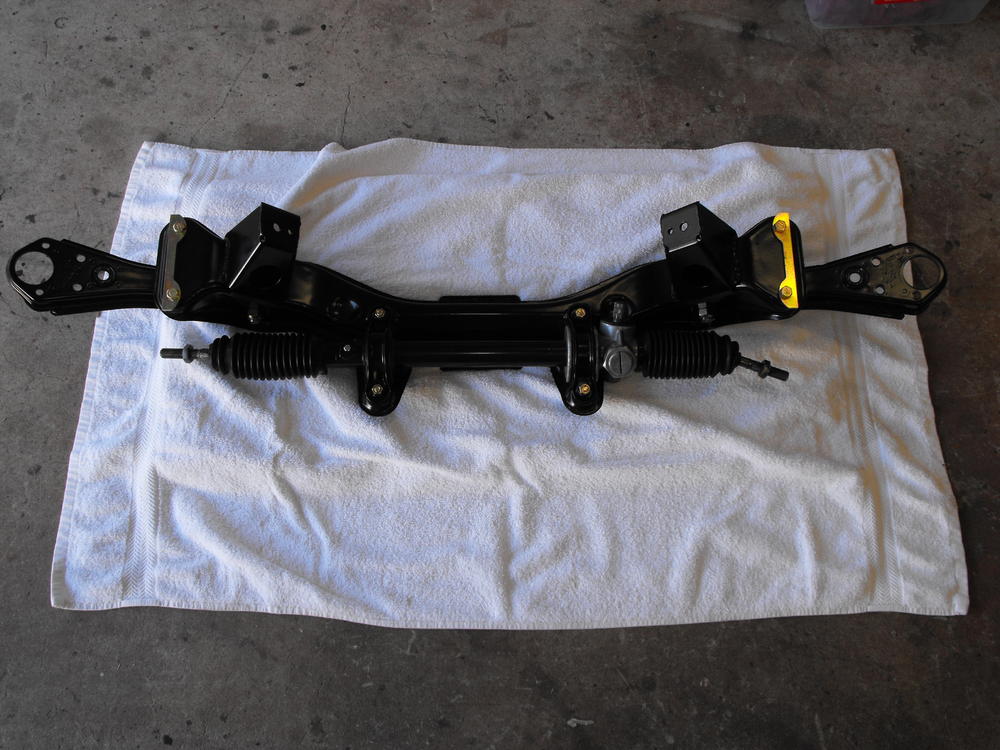
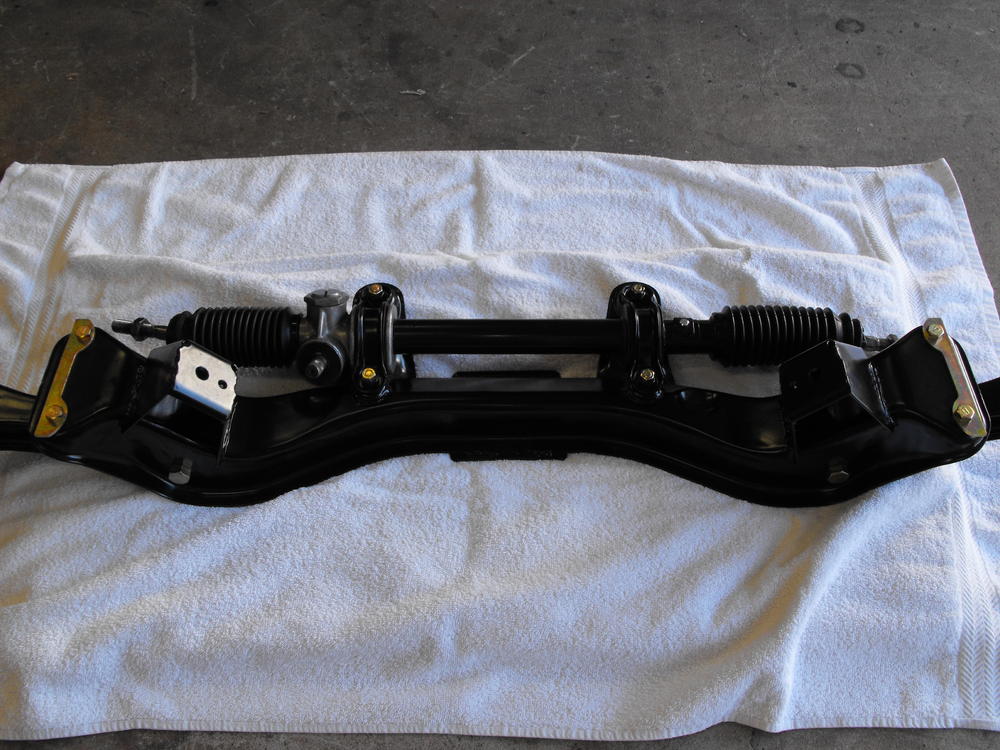
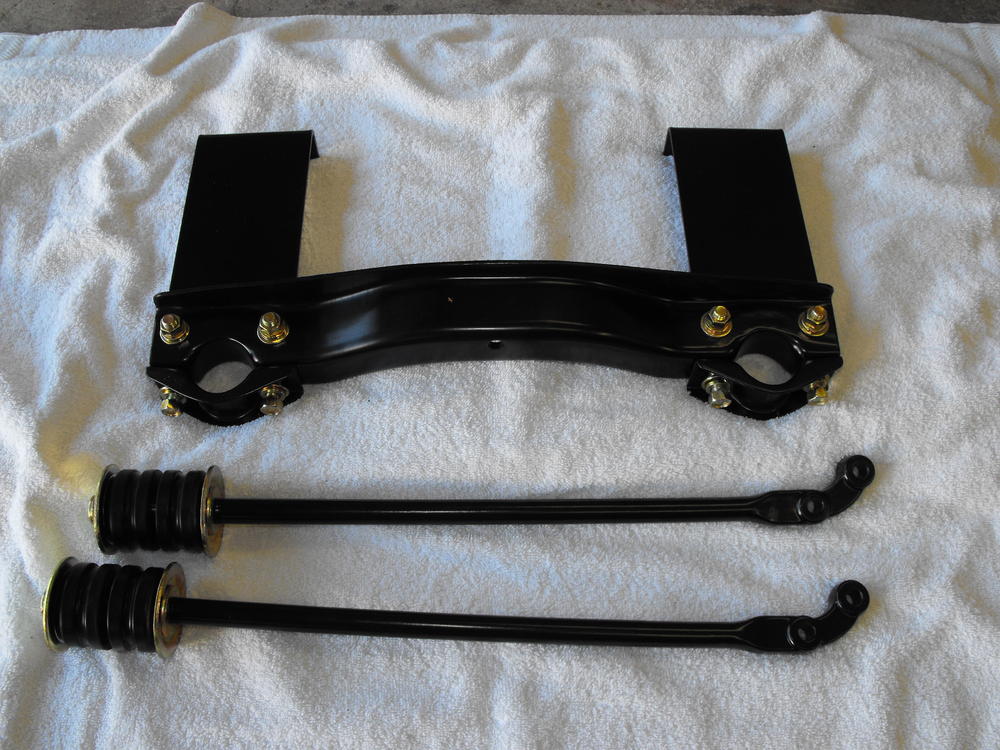
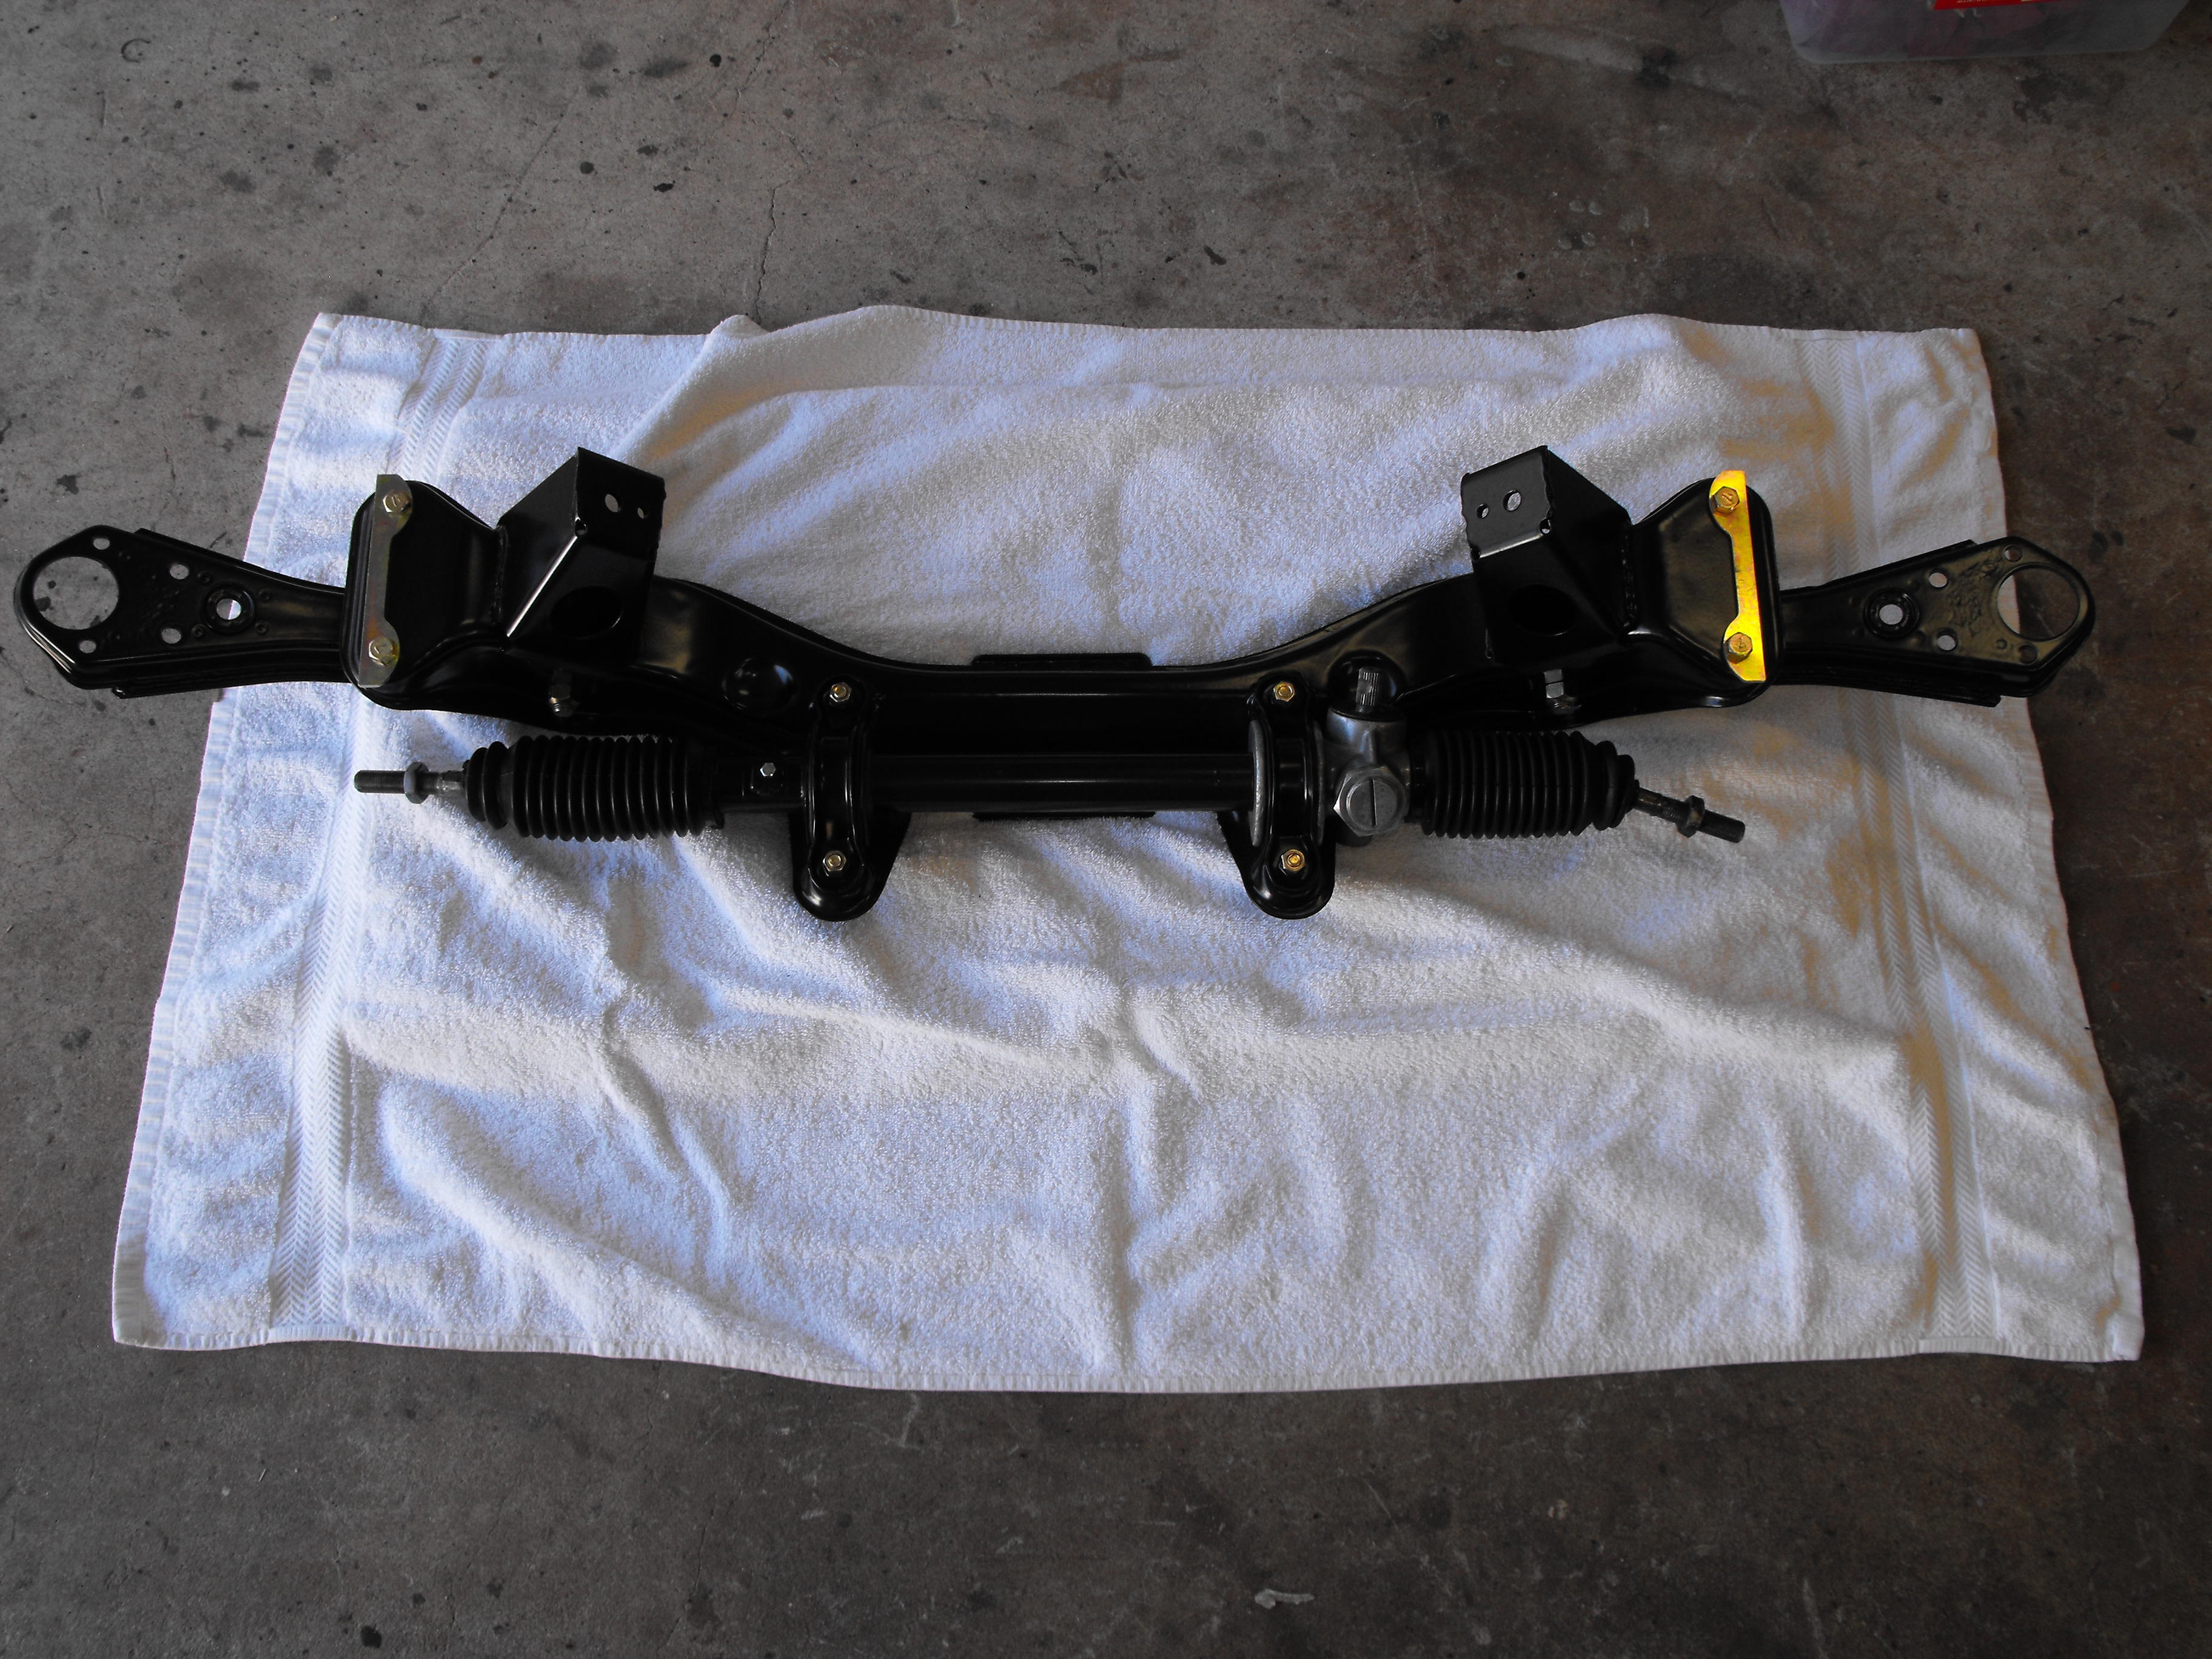
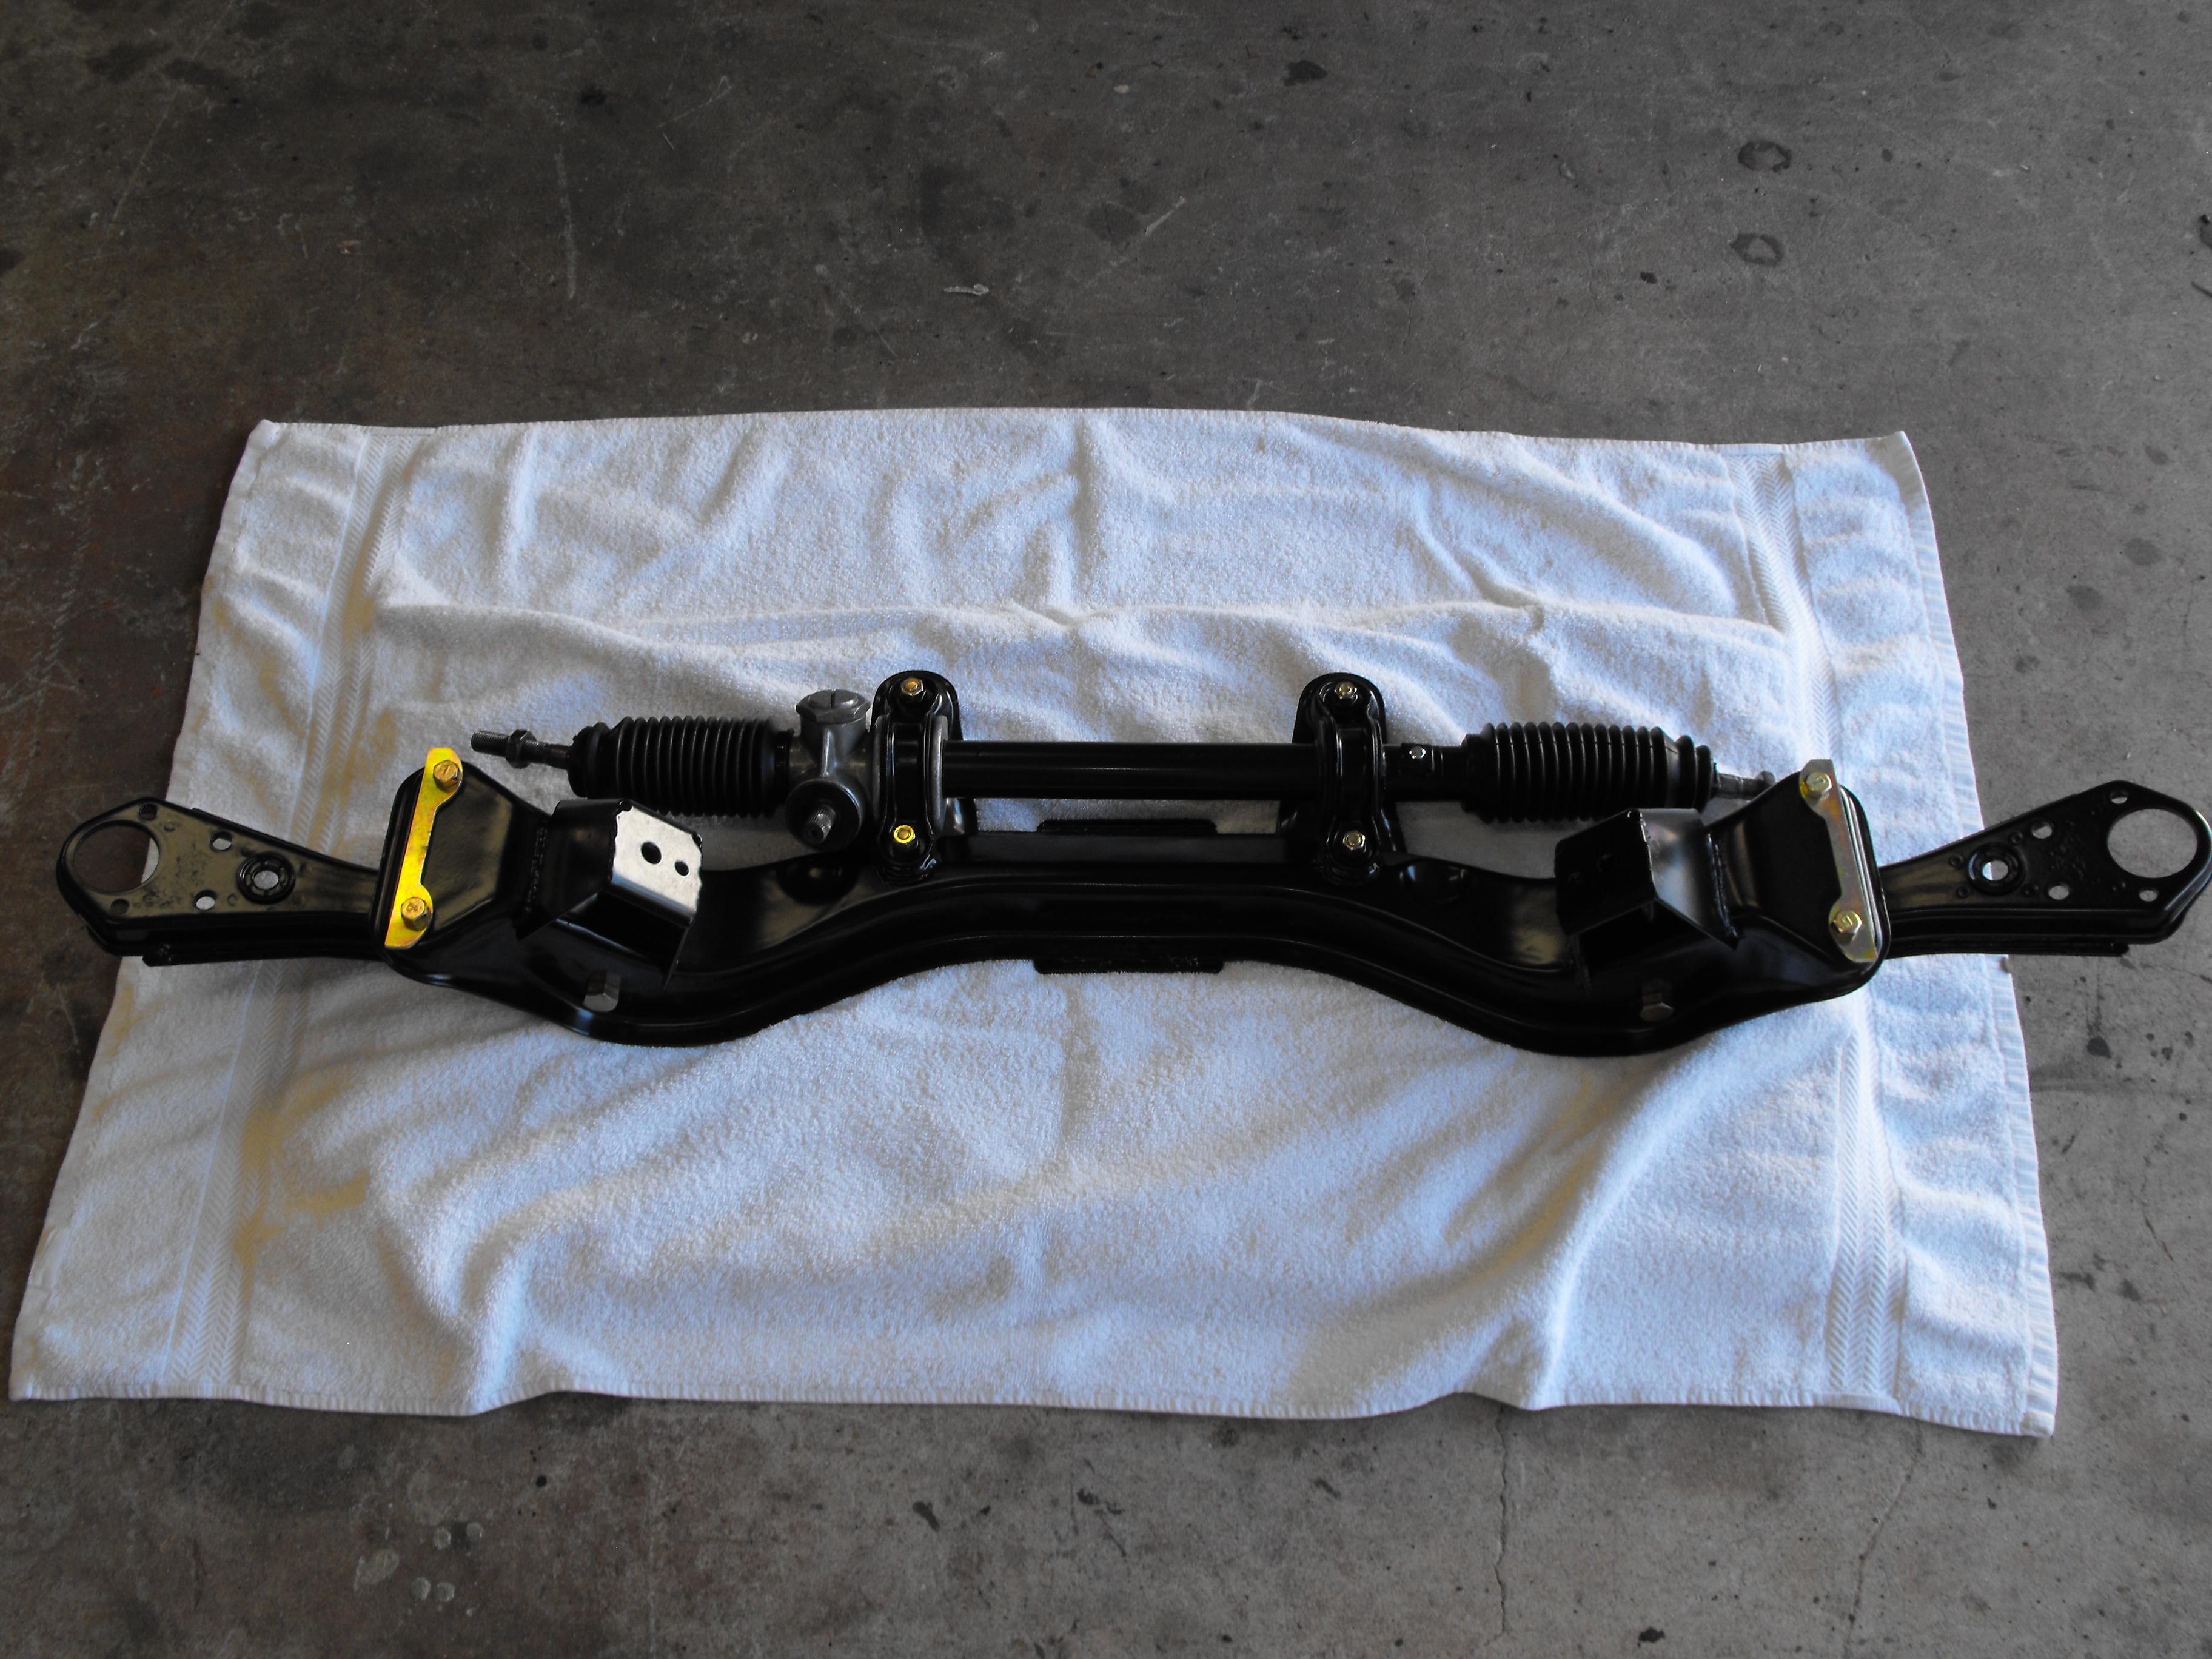
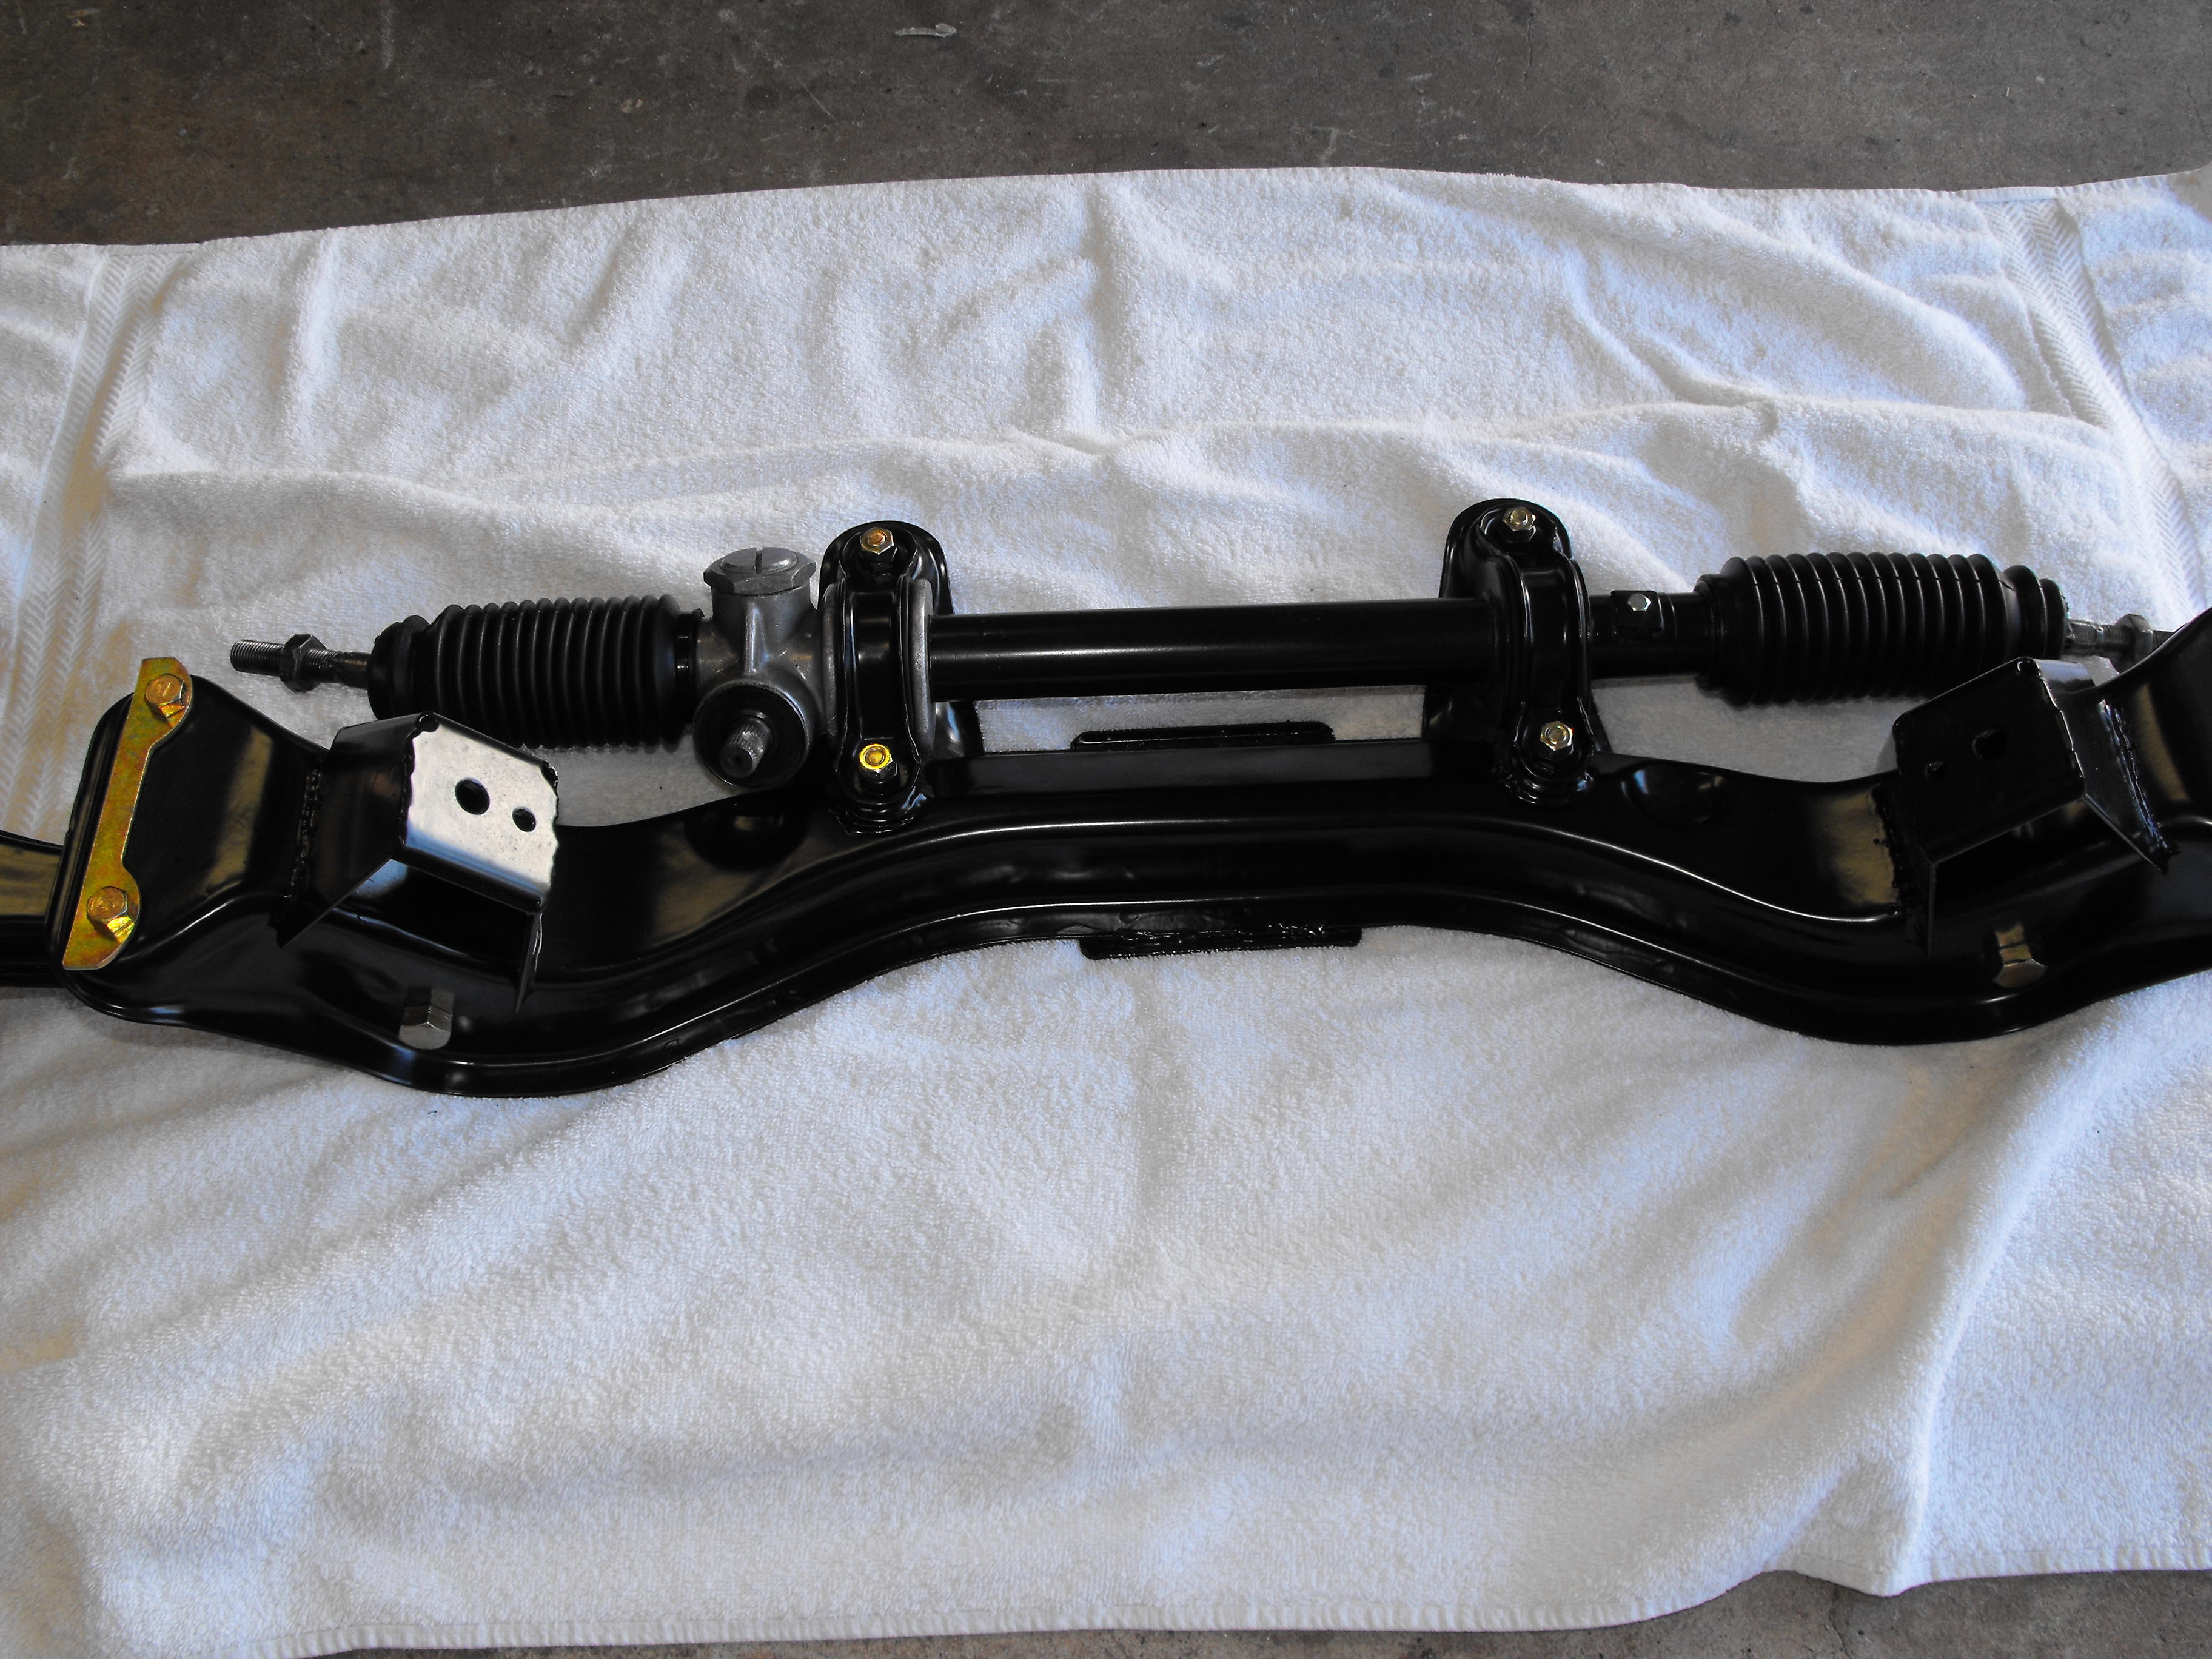
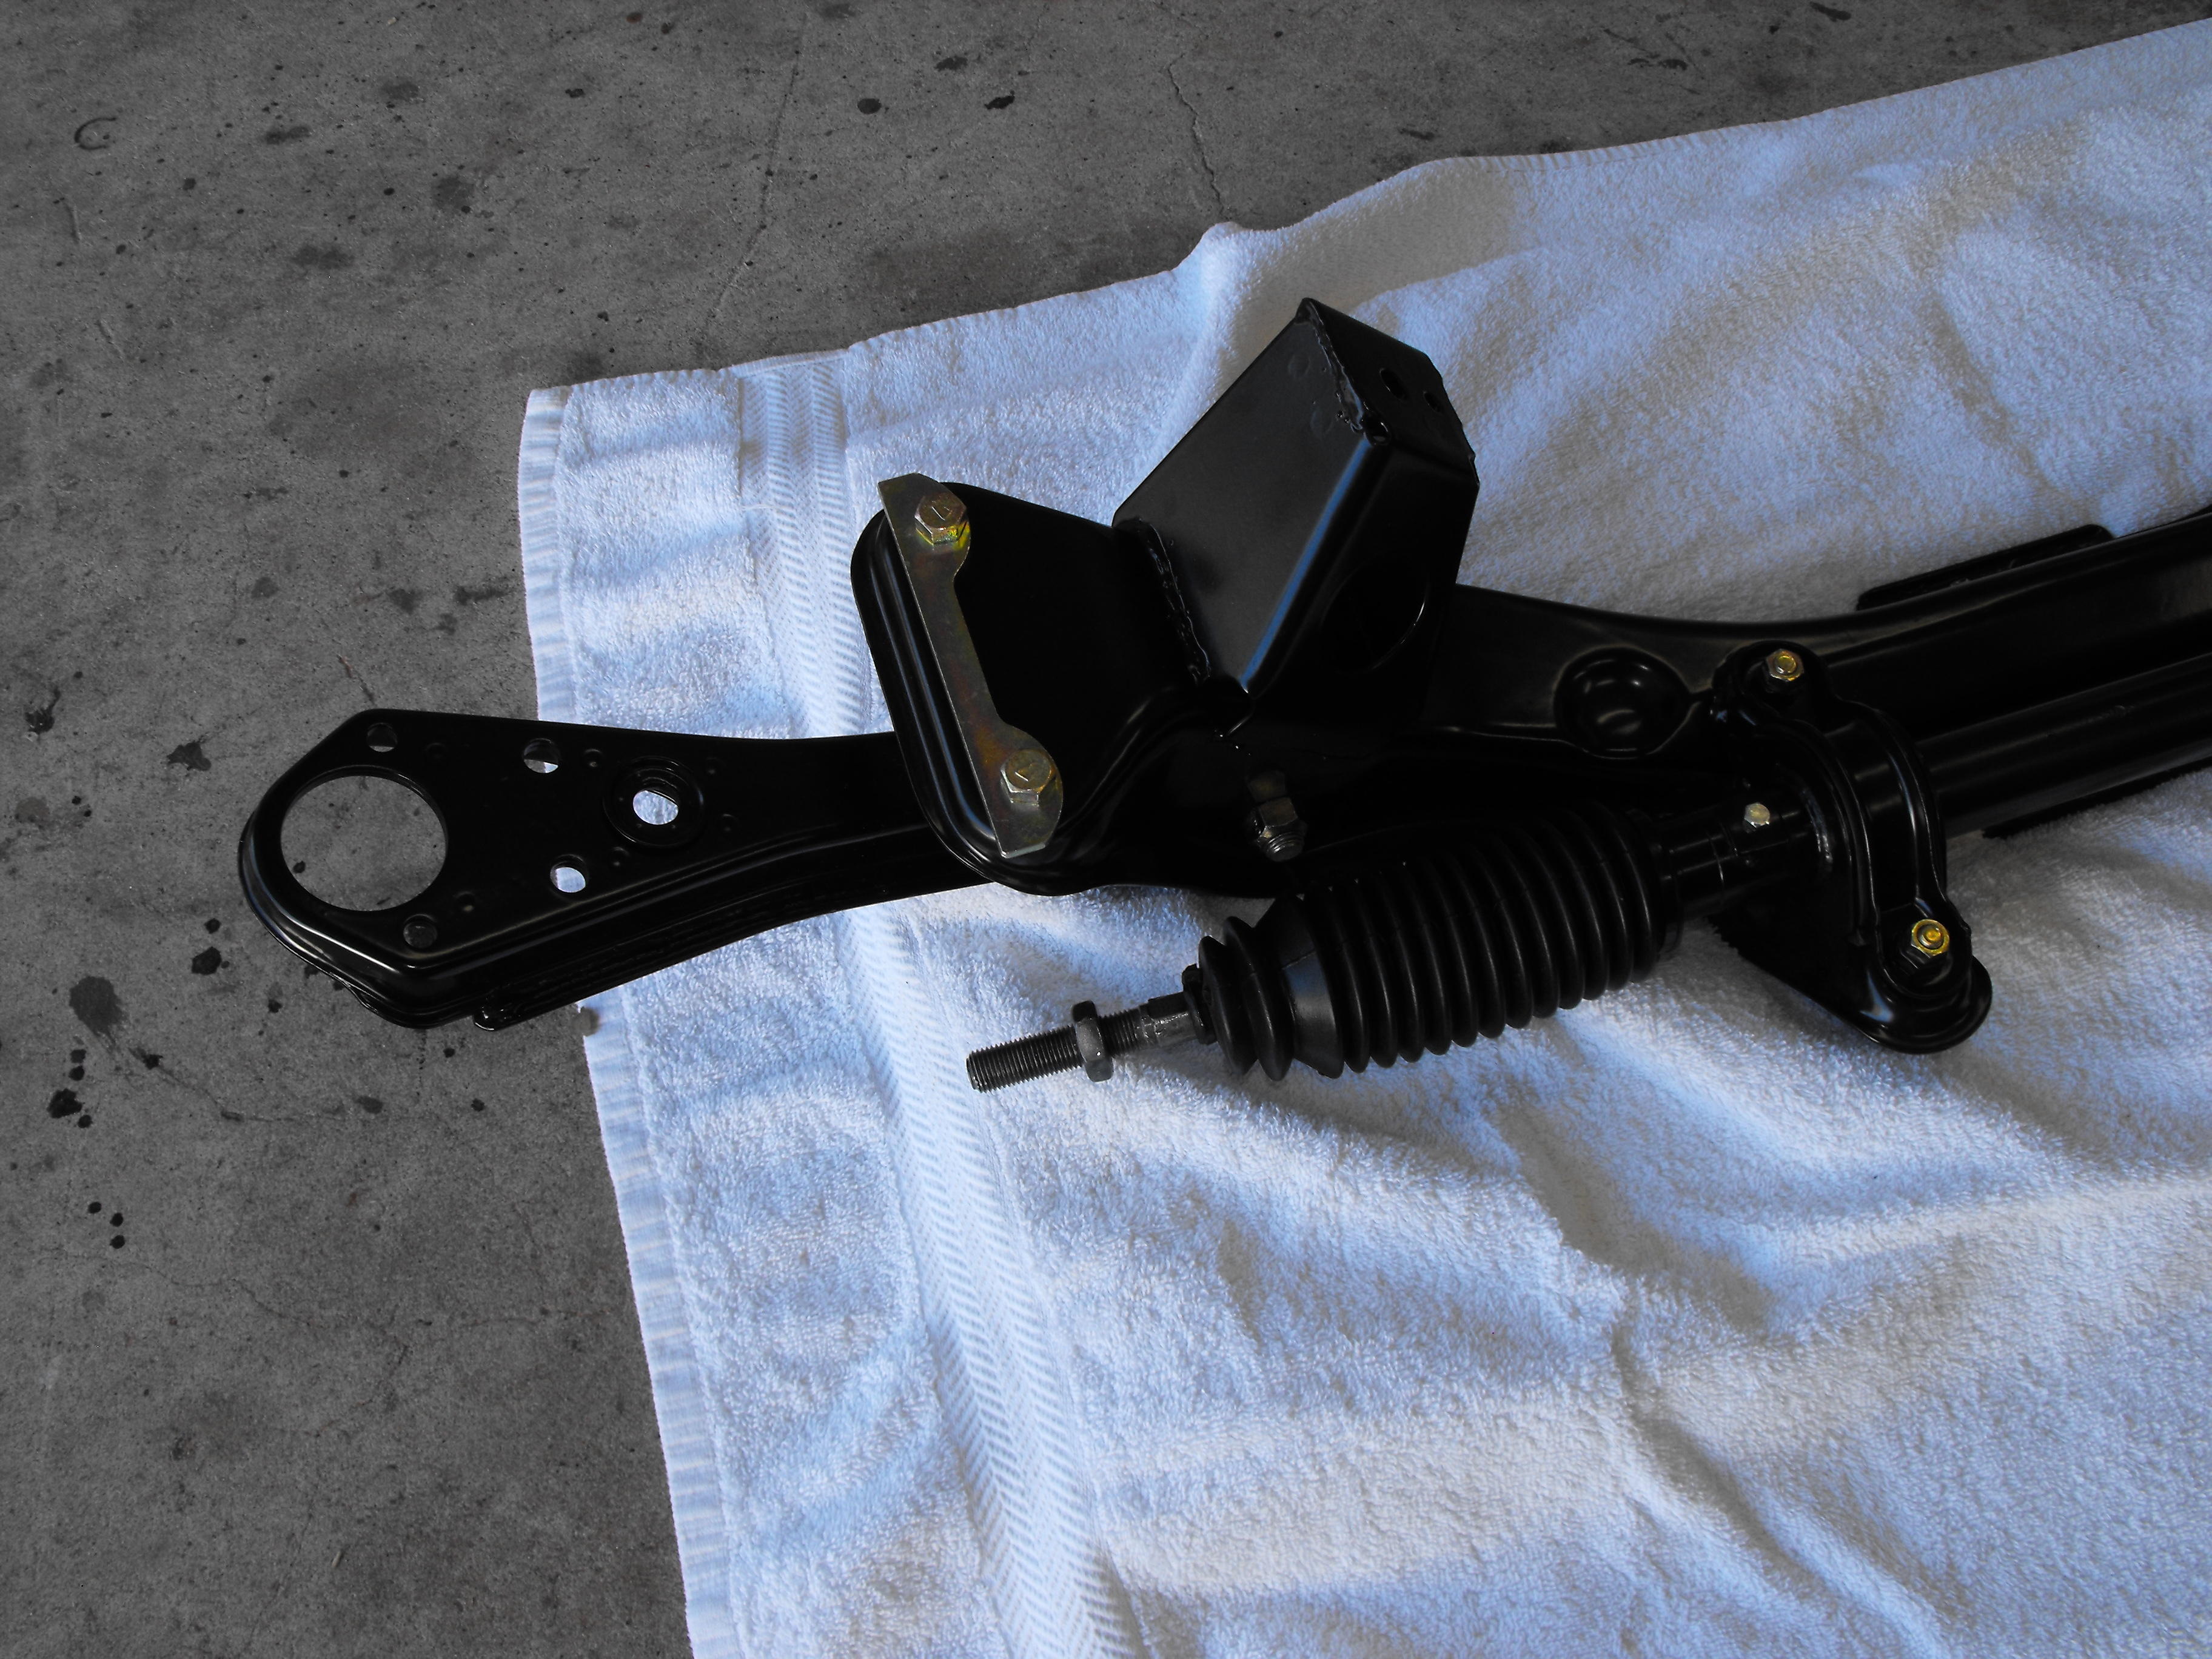
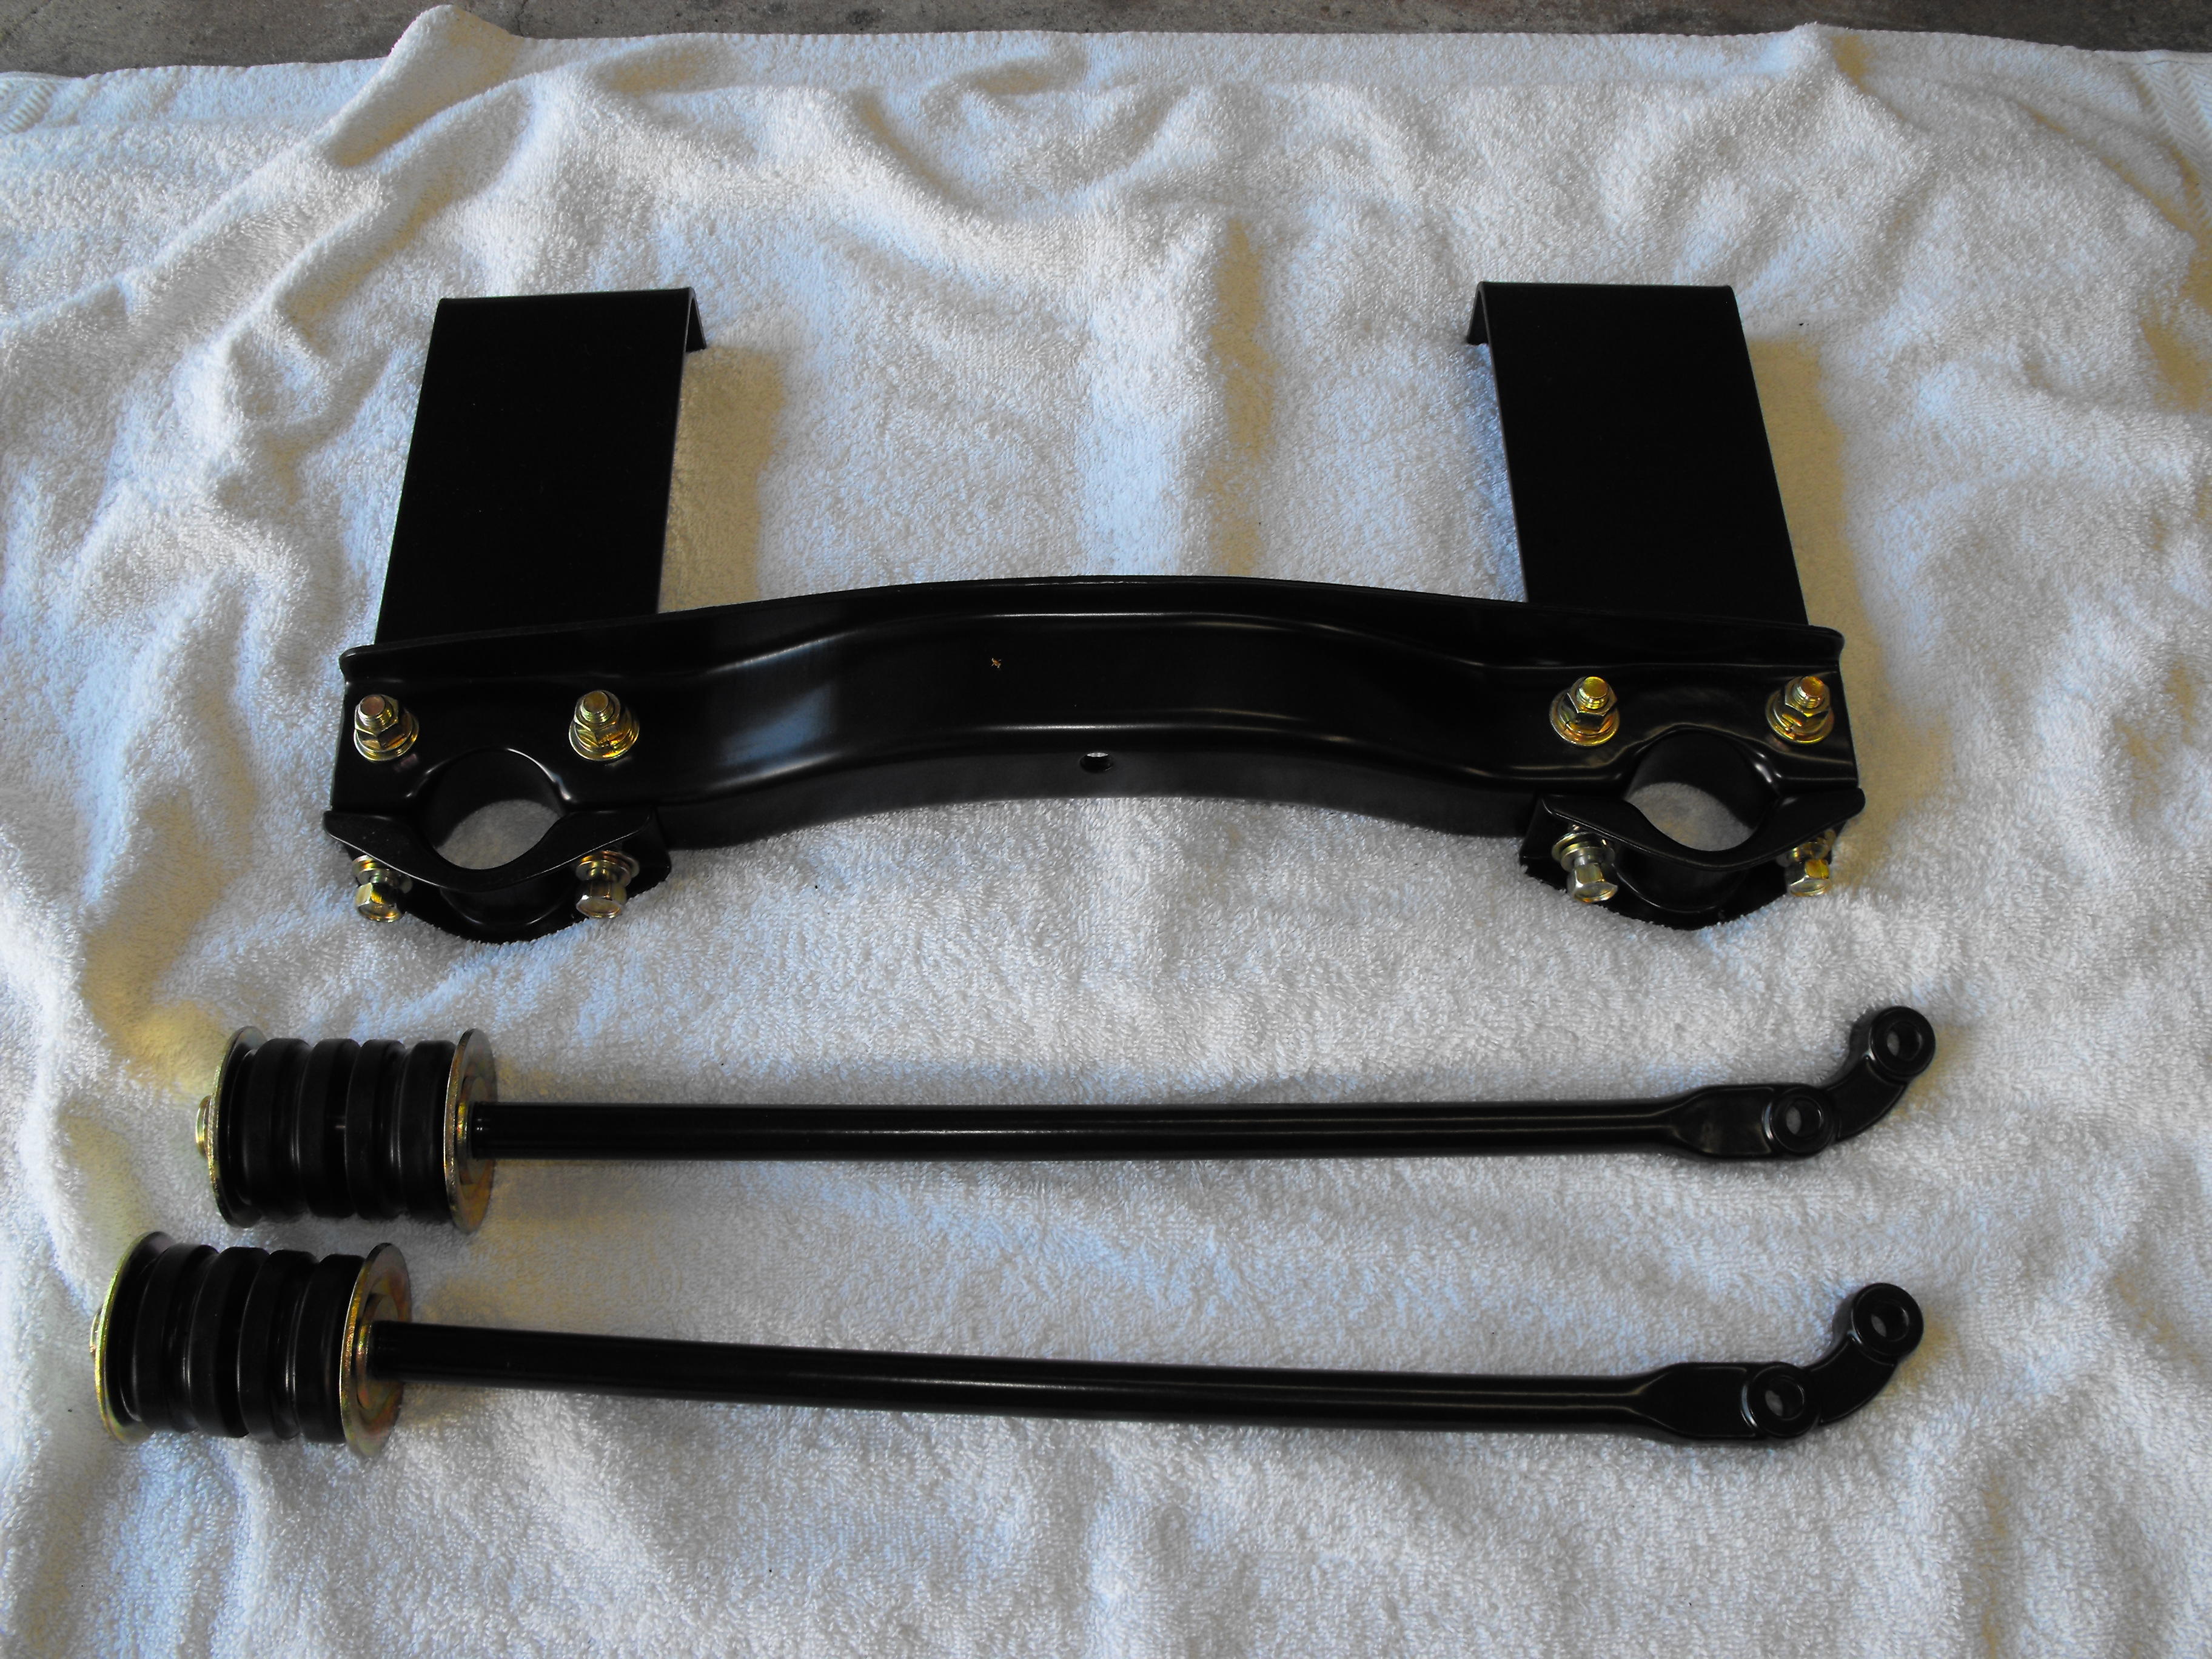
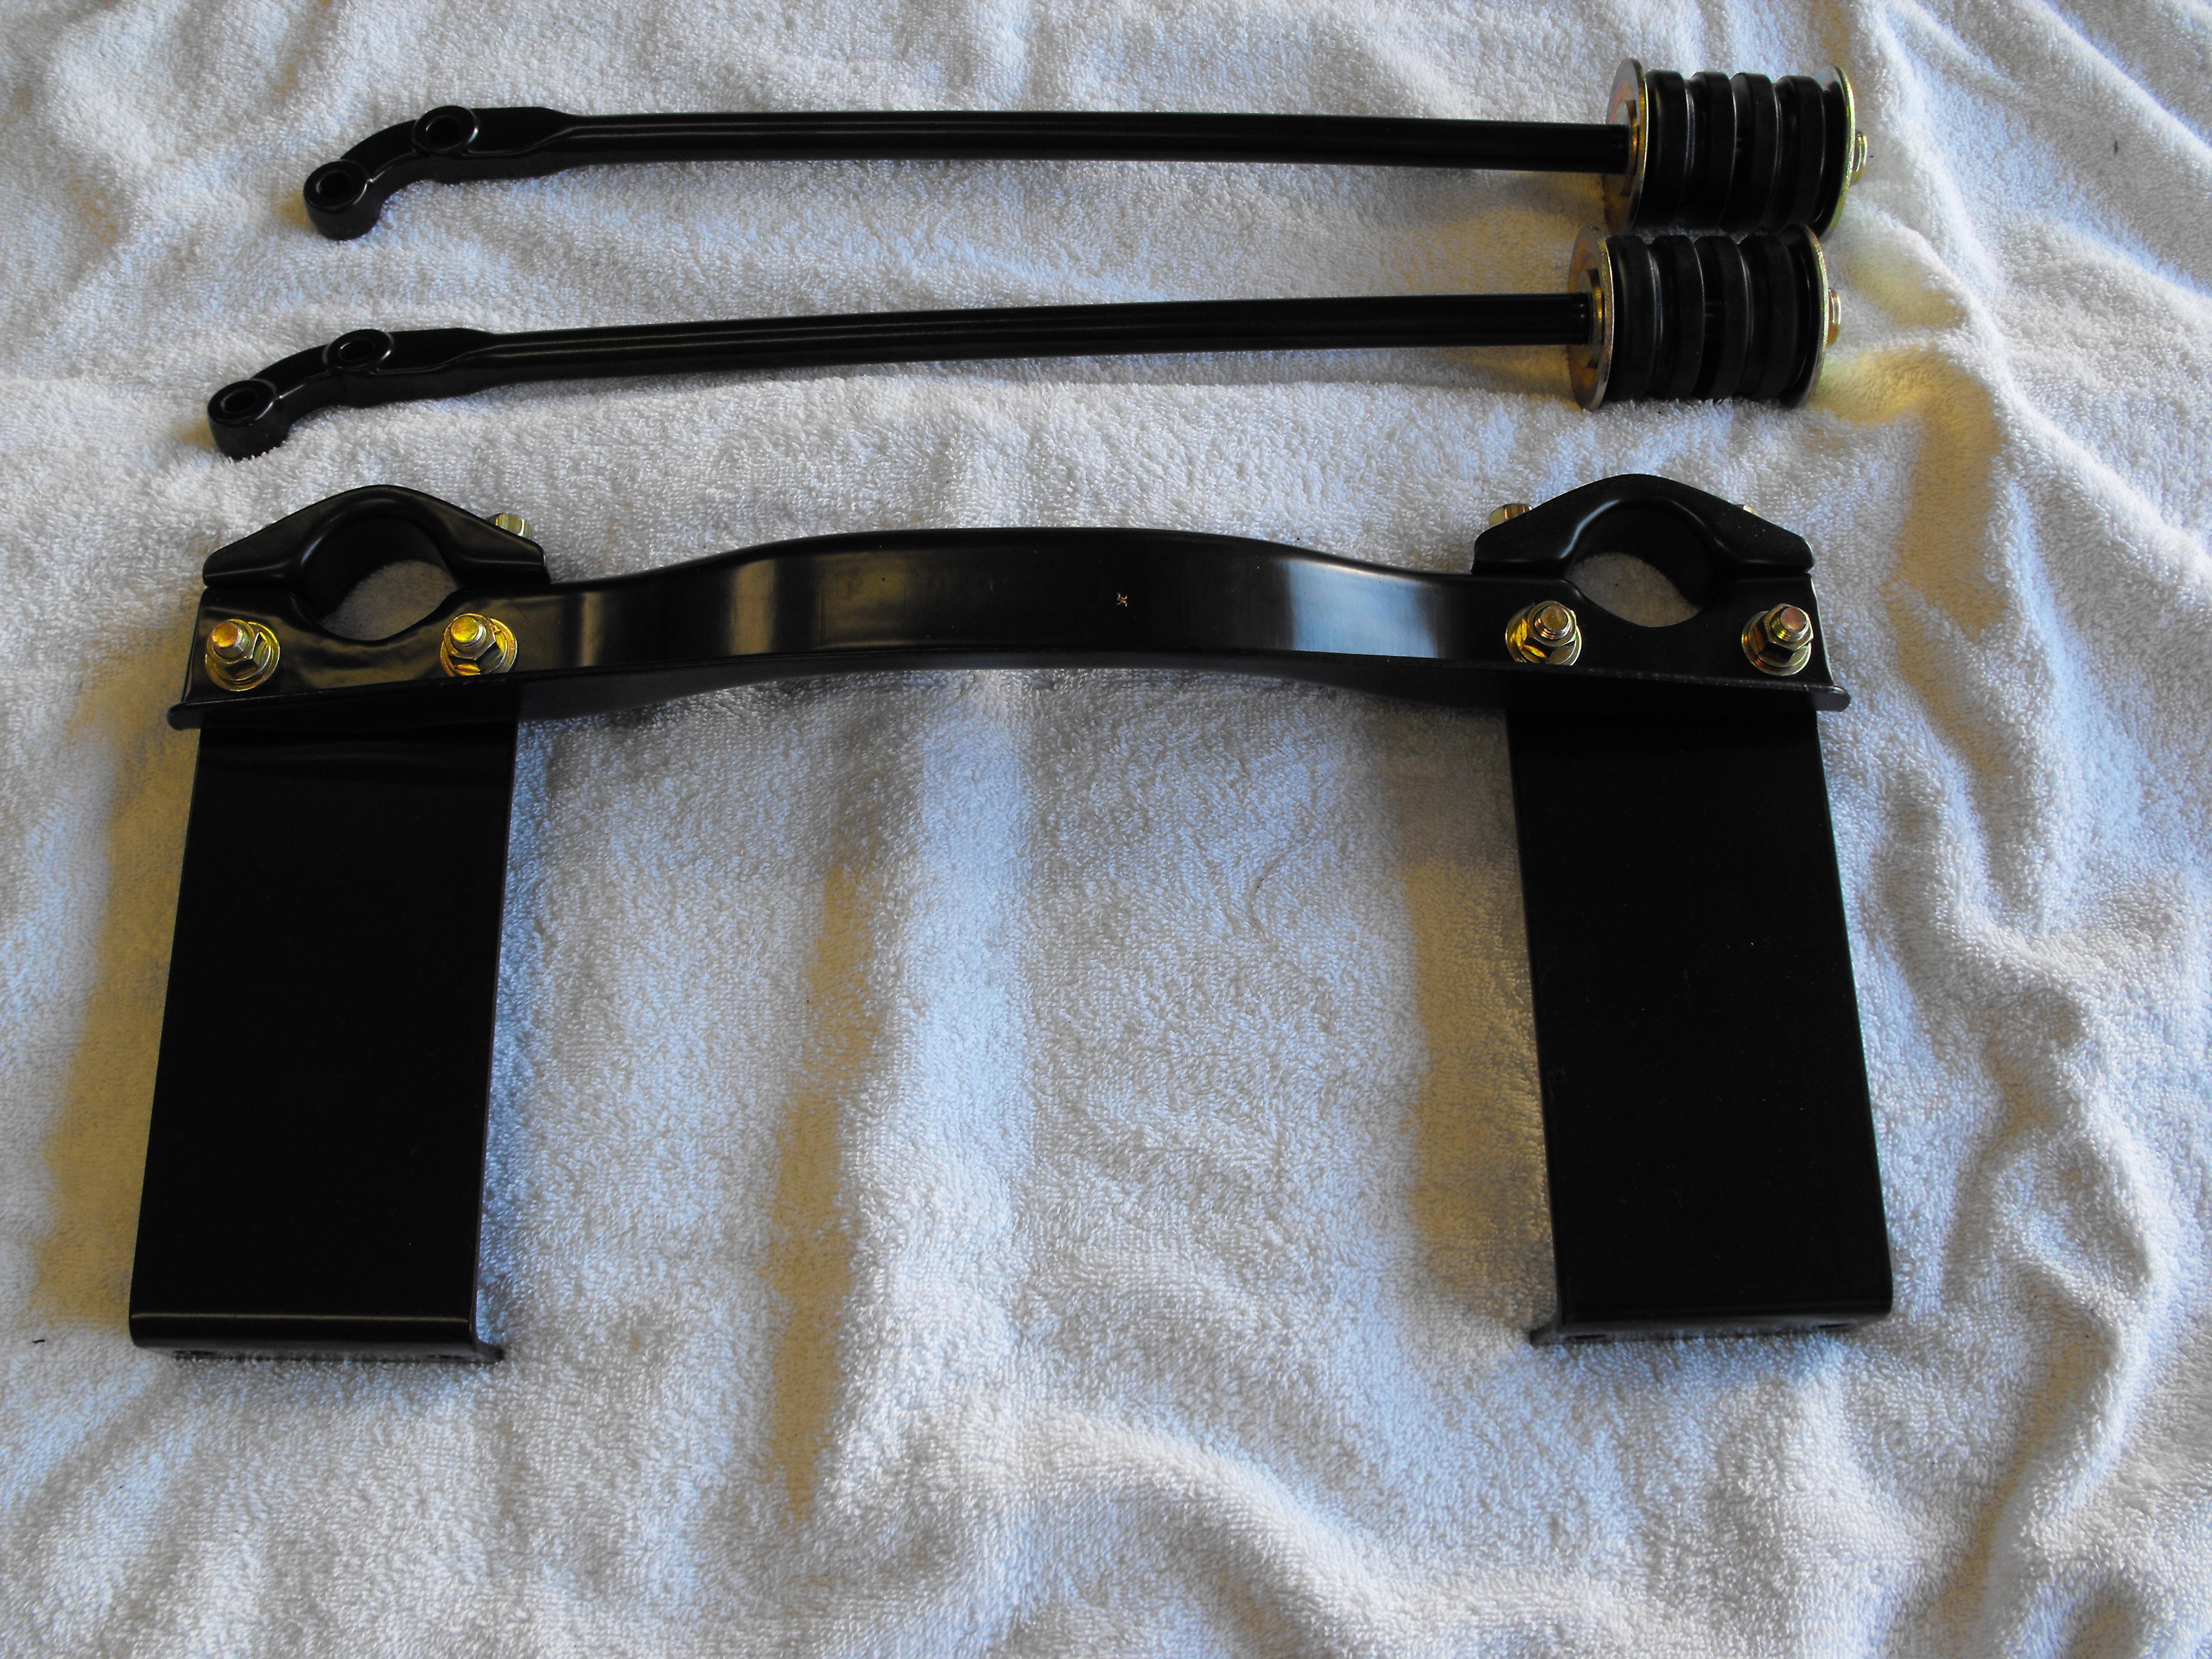
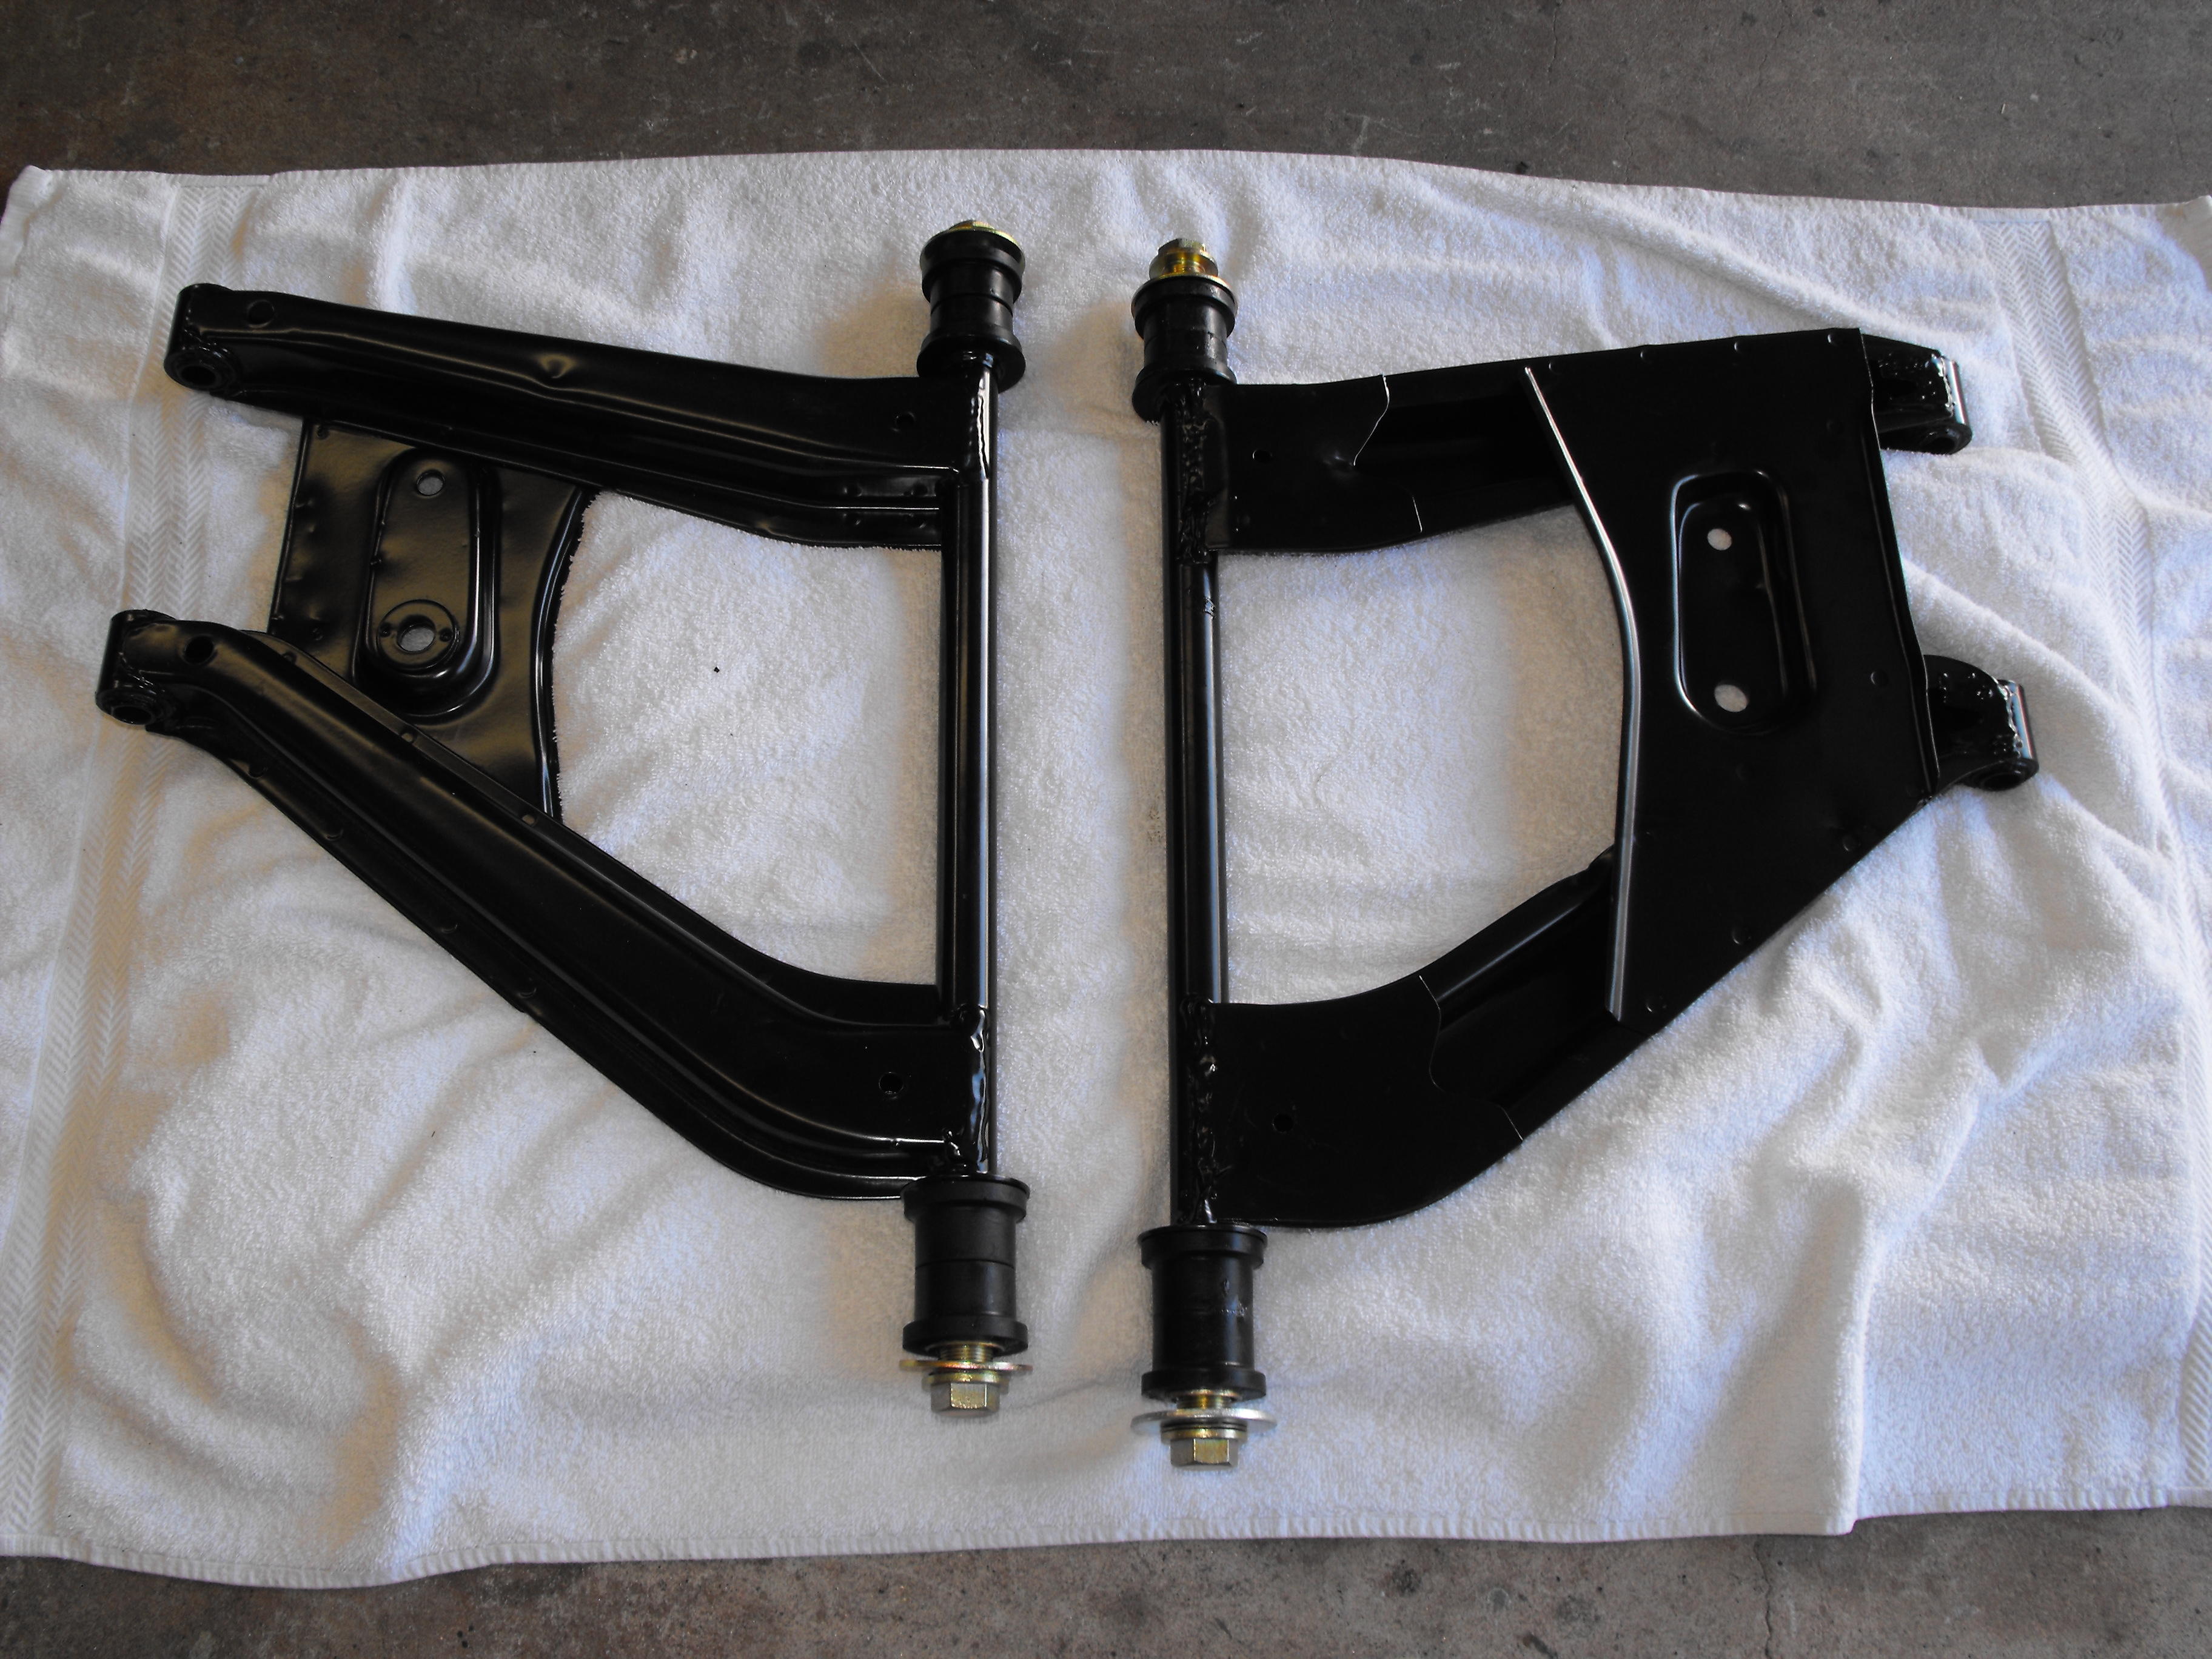
Loosely assembled some of the suspension parts. Finished the steering rack clean-up and attached that to the front suspension/engine support. Loosely installed most of the new suspension rubber. Now I just need a body to attach these to, but I think that is going to be about 4 months from now.


-
I could possibly someday. I often think about quitting my day job and doing this full time. But then again, I think that if it were my day job, then I might not enjoy it as much. It's nice doing this on the side at my leisure.
-
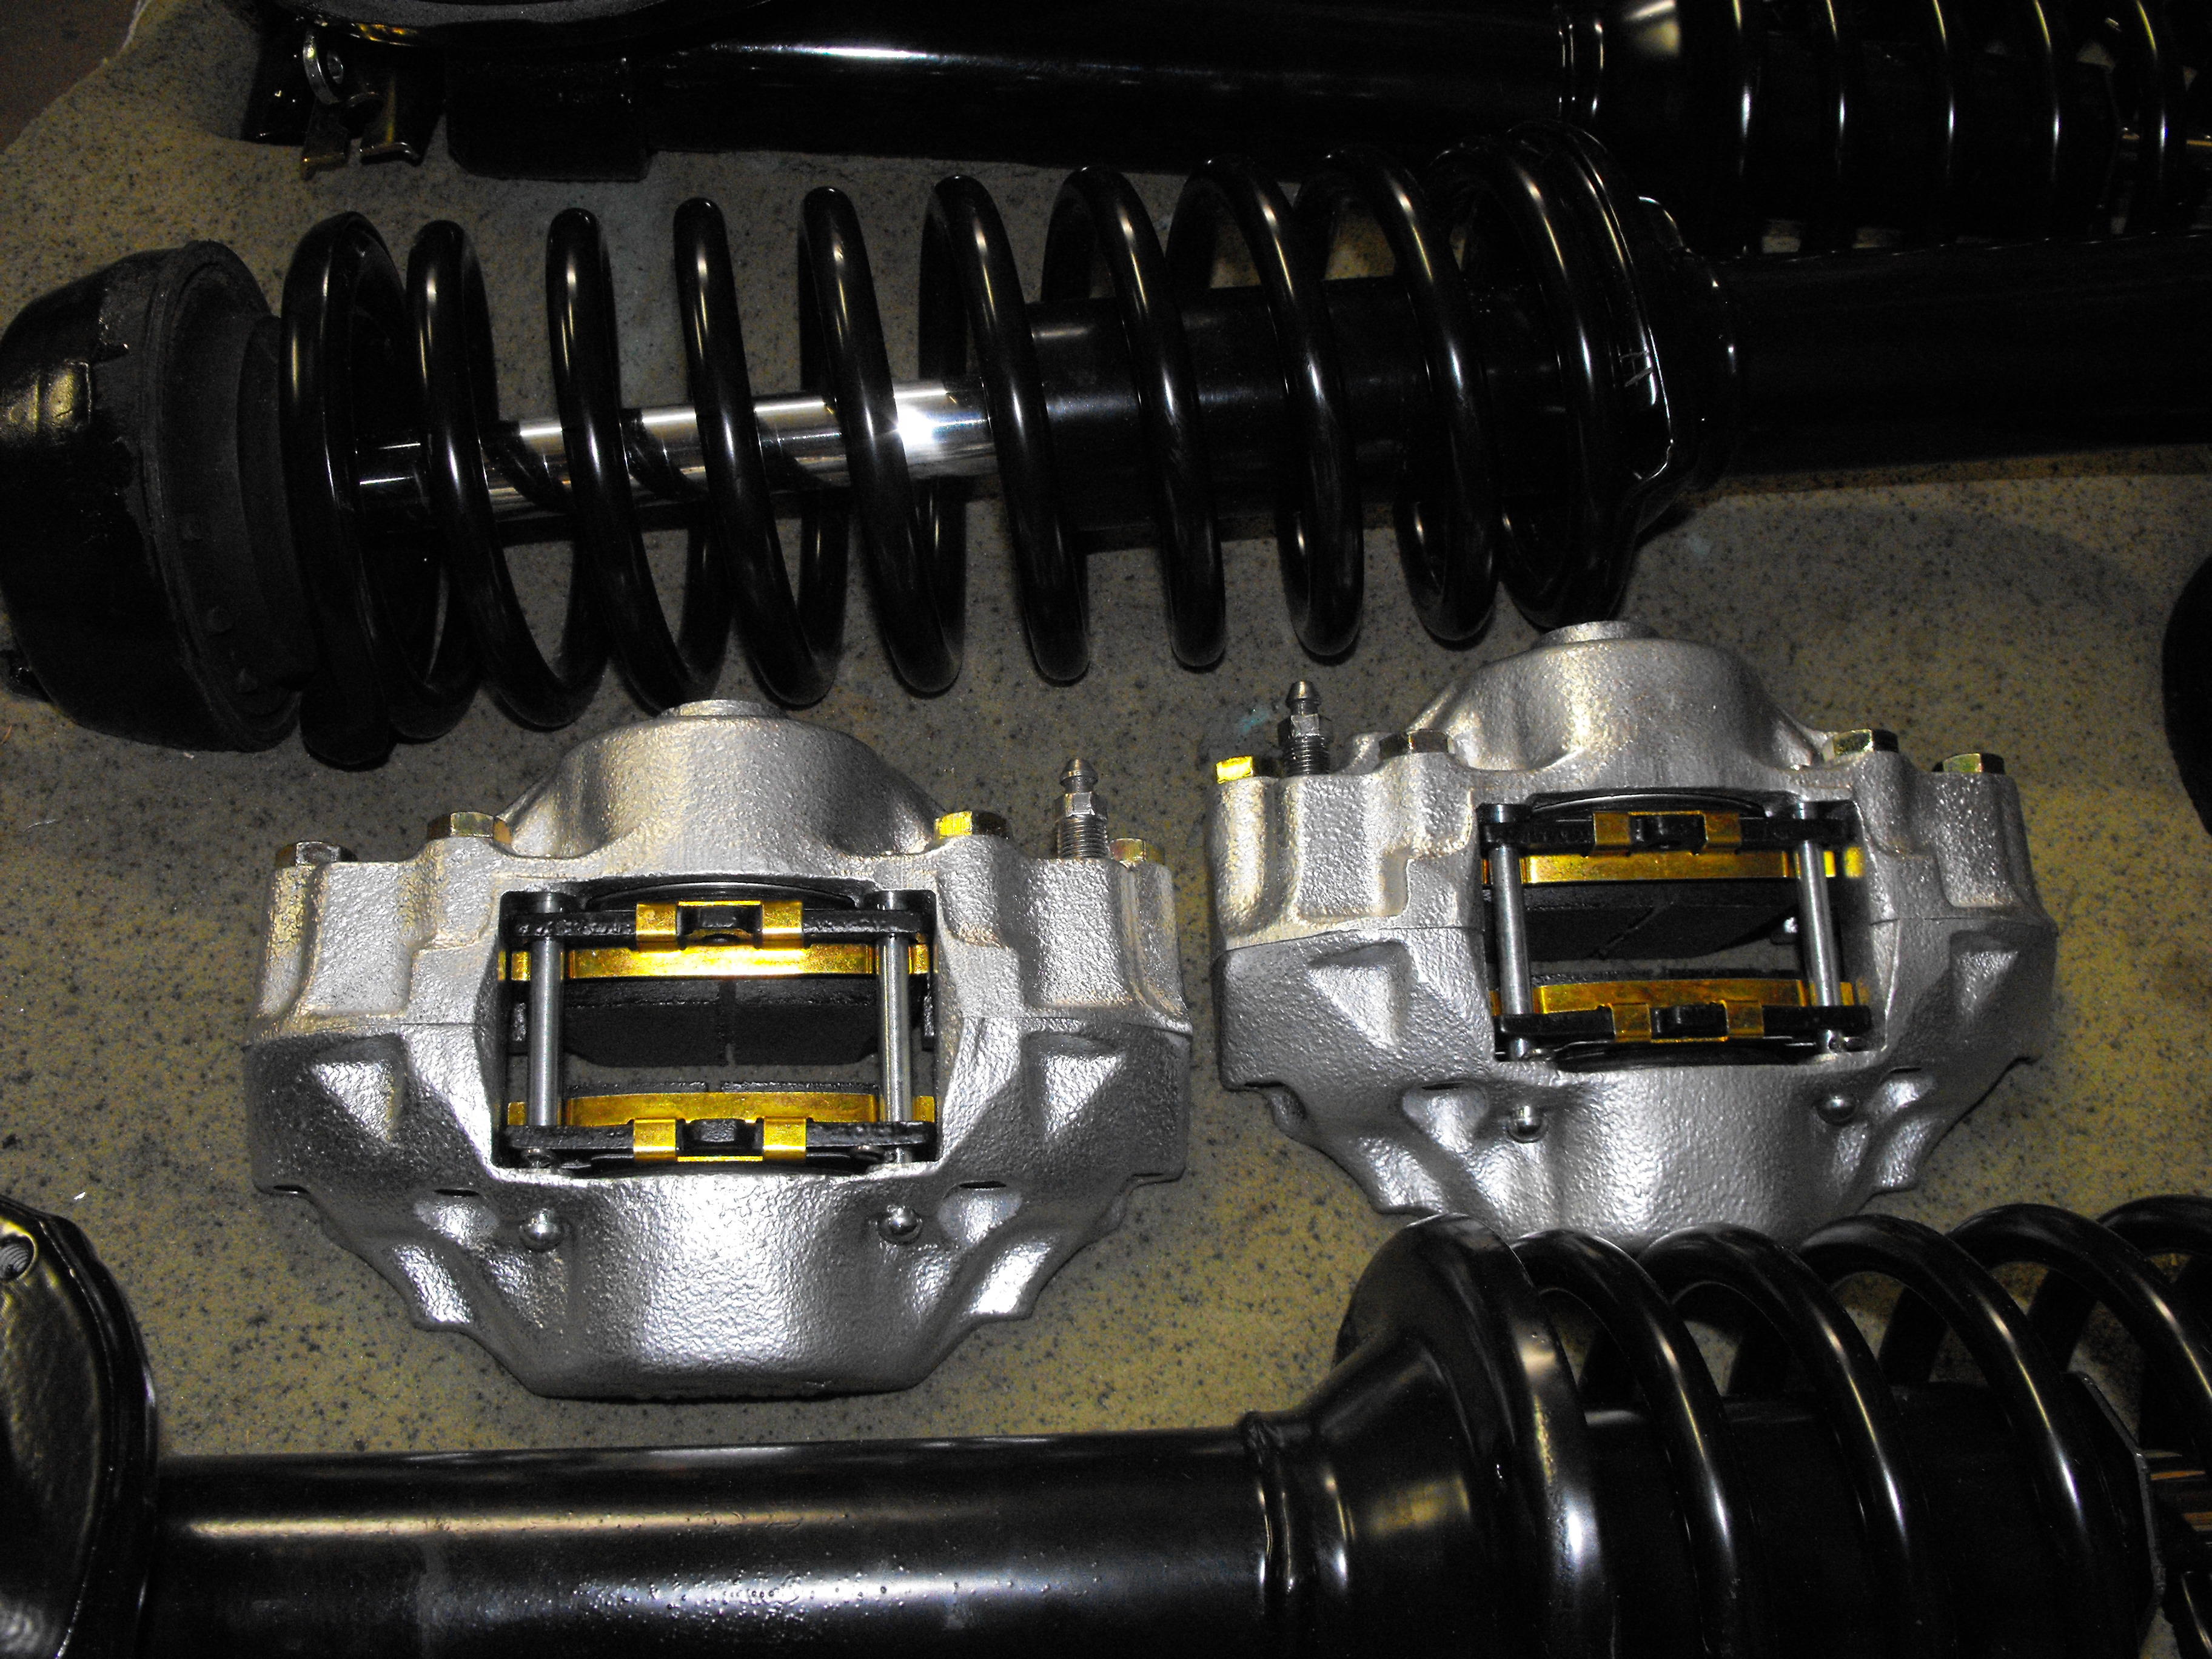
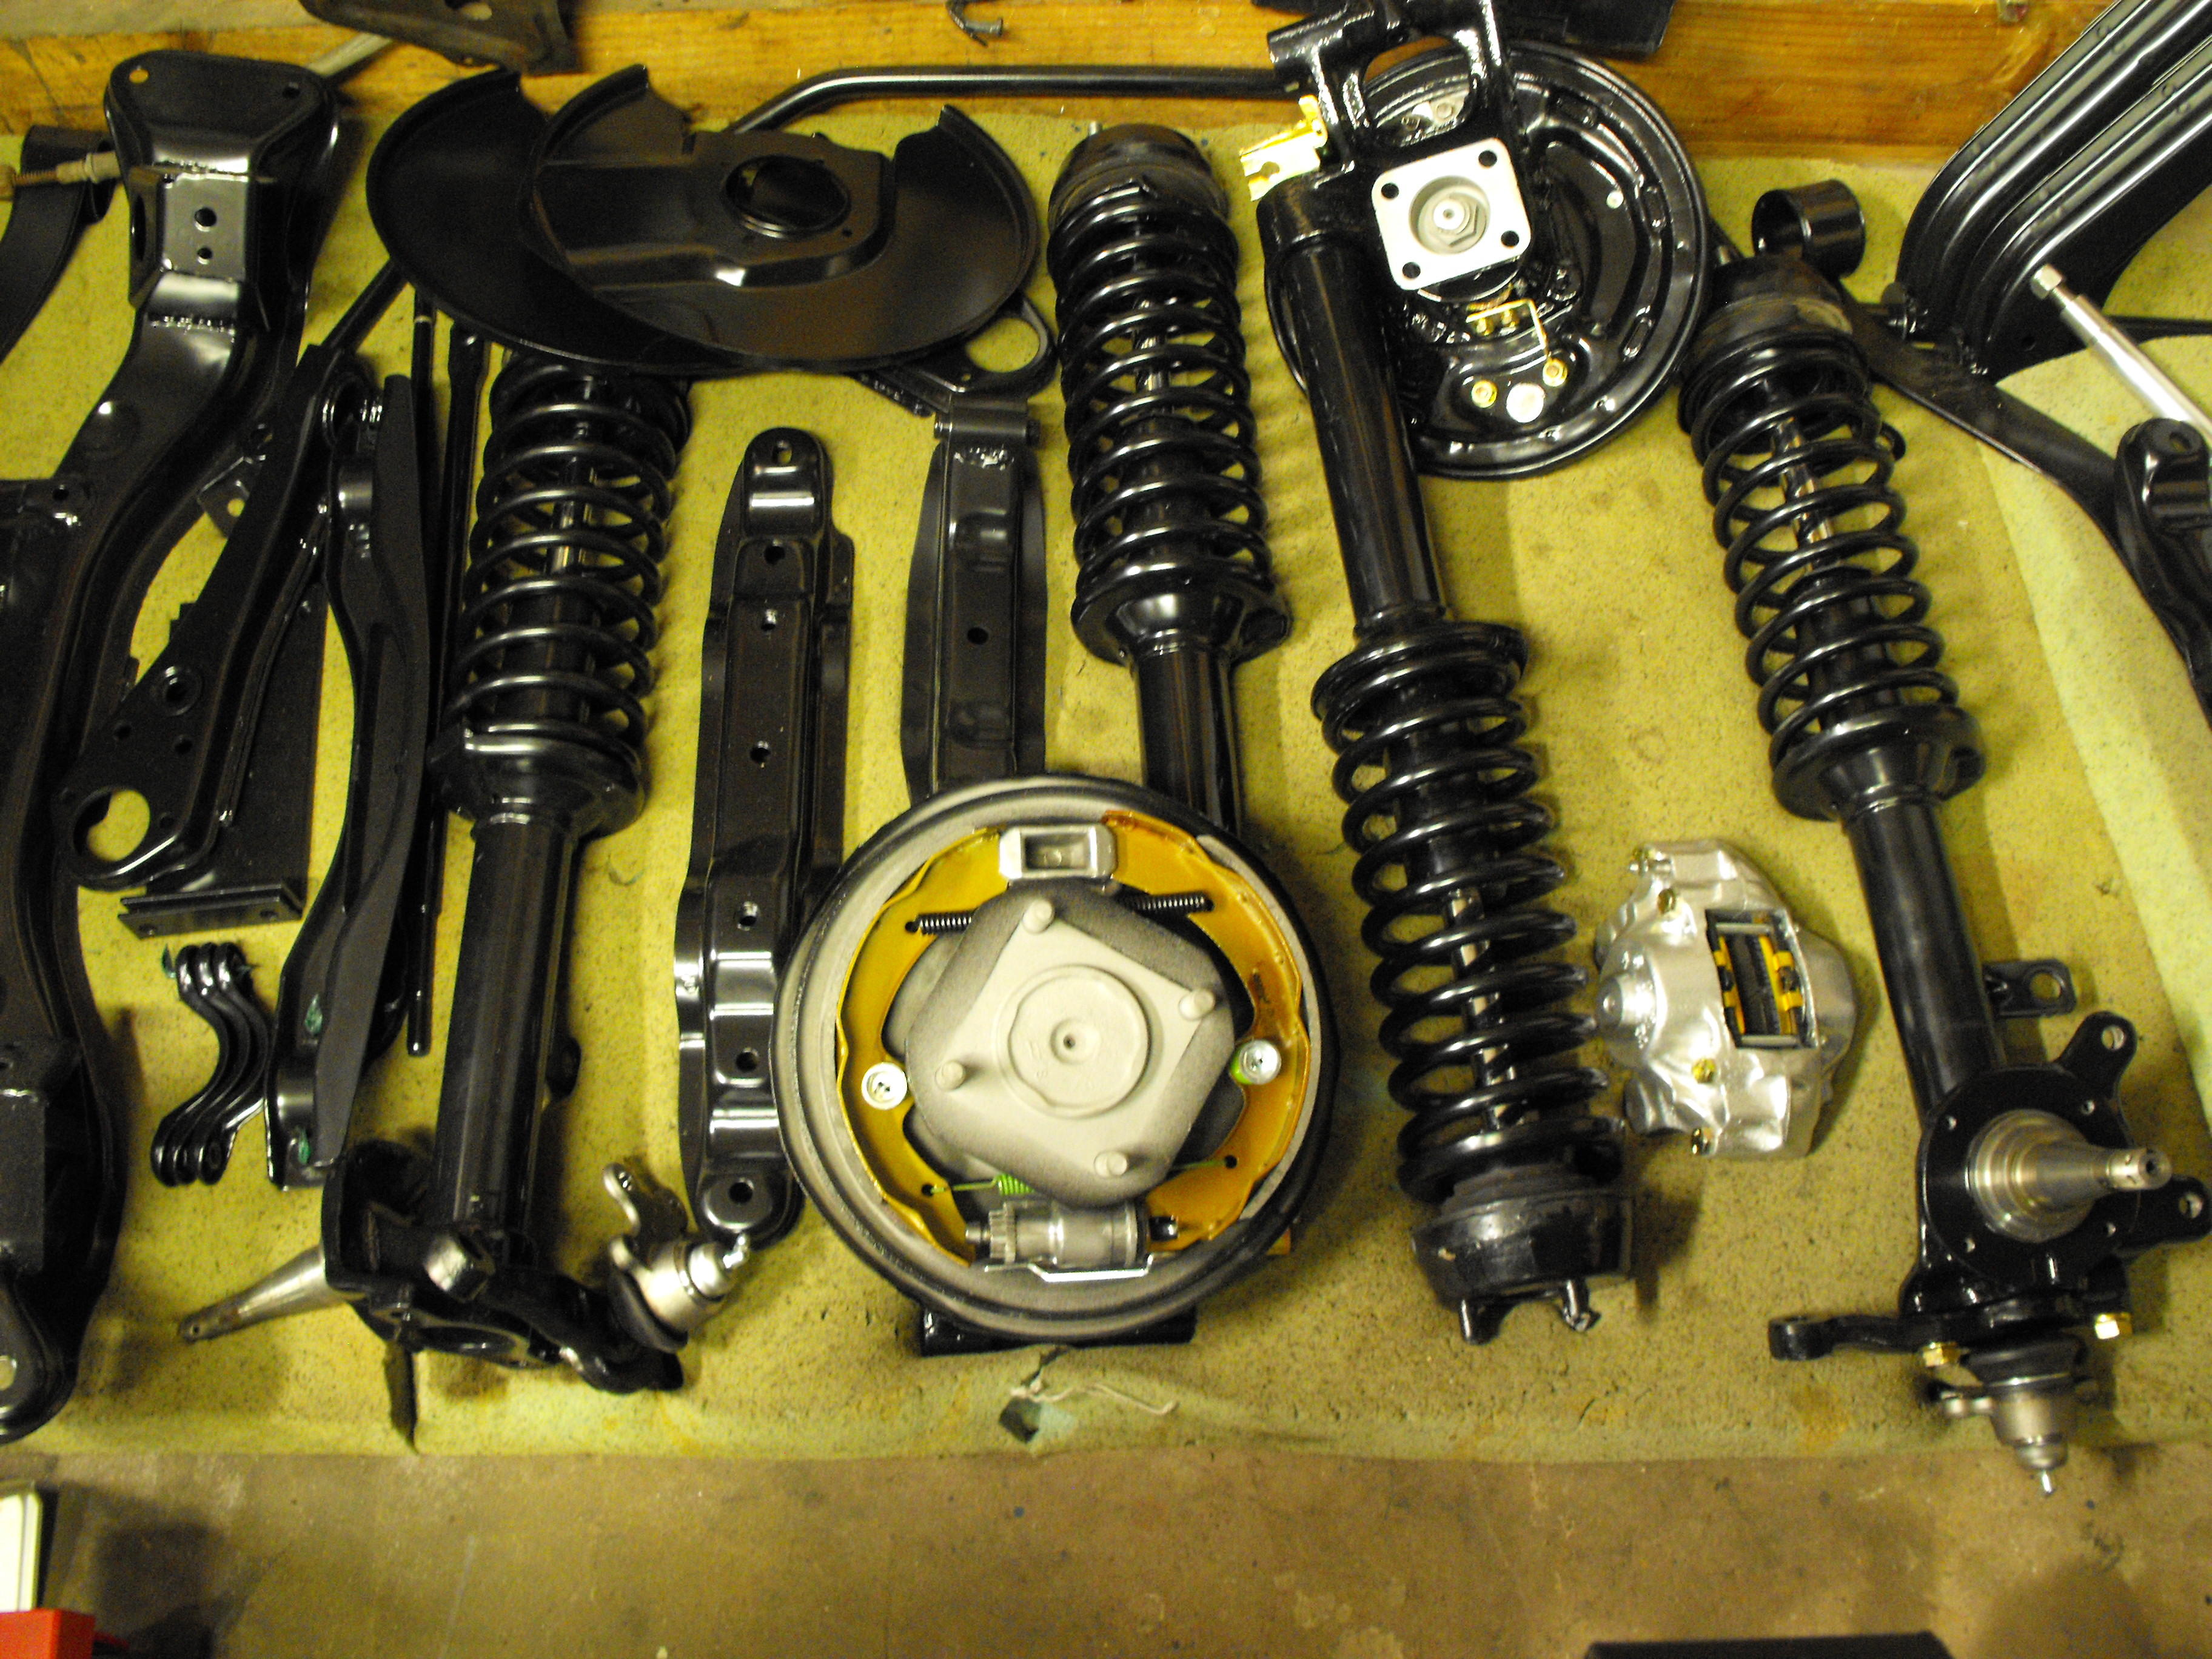
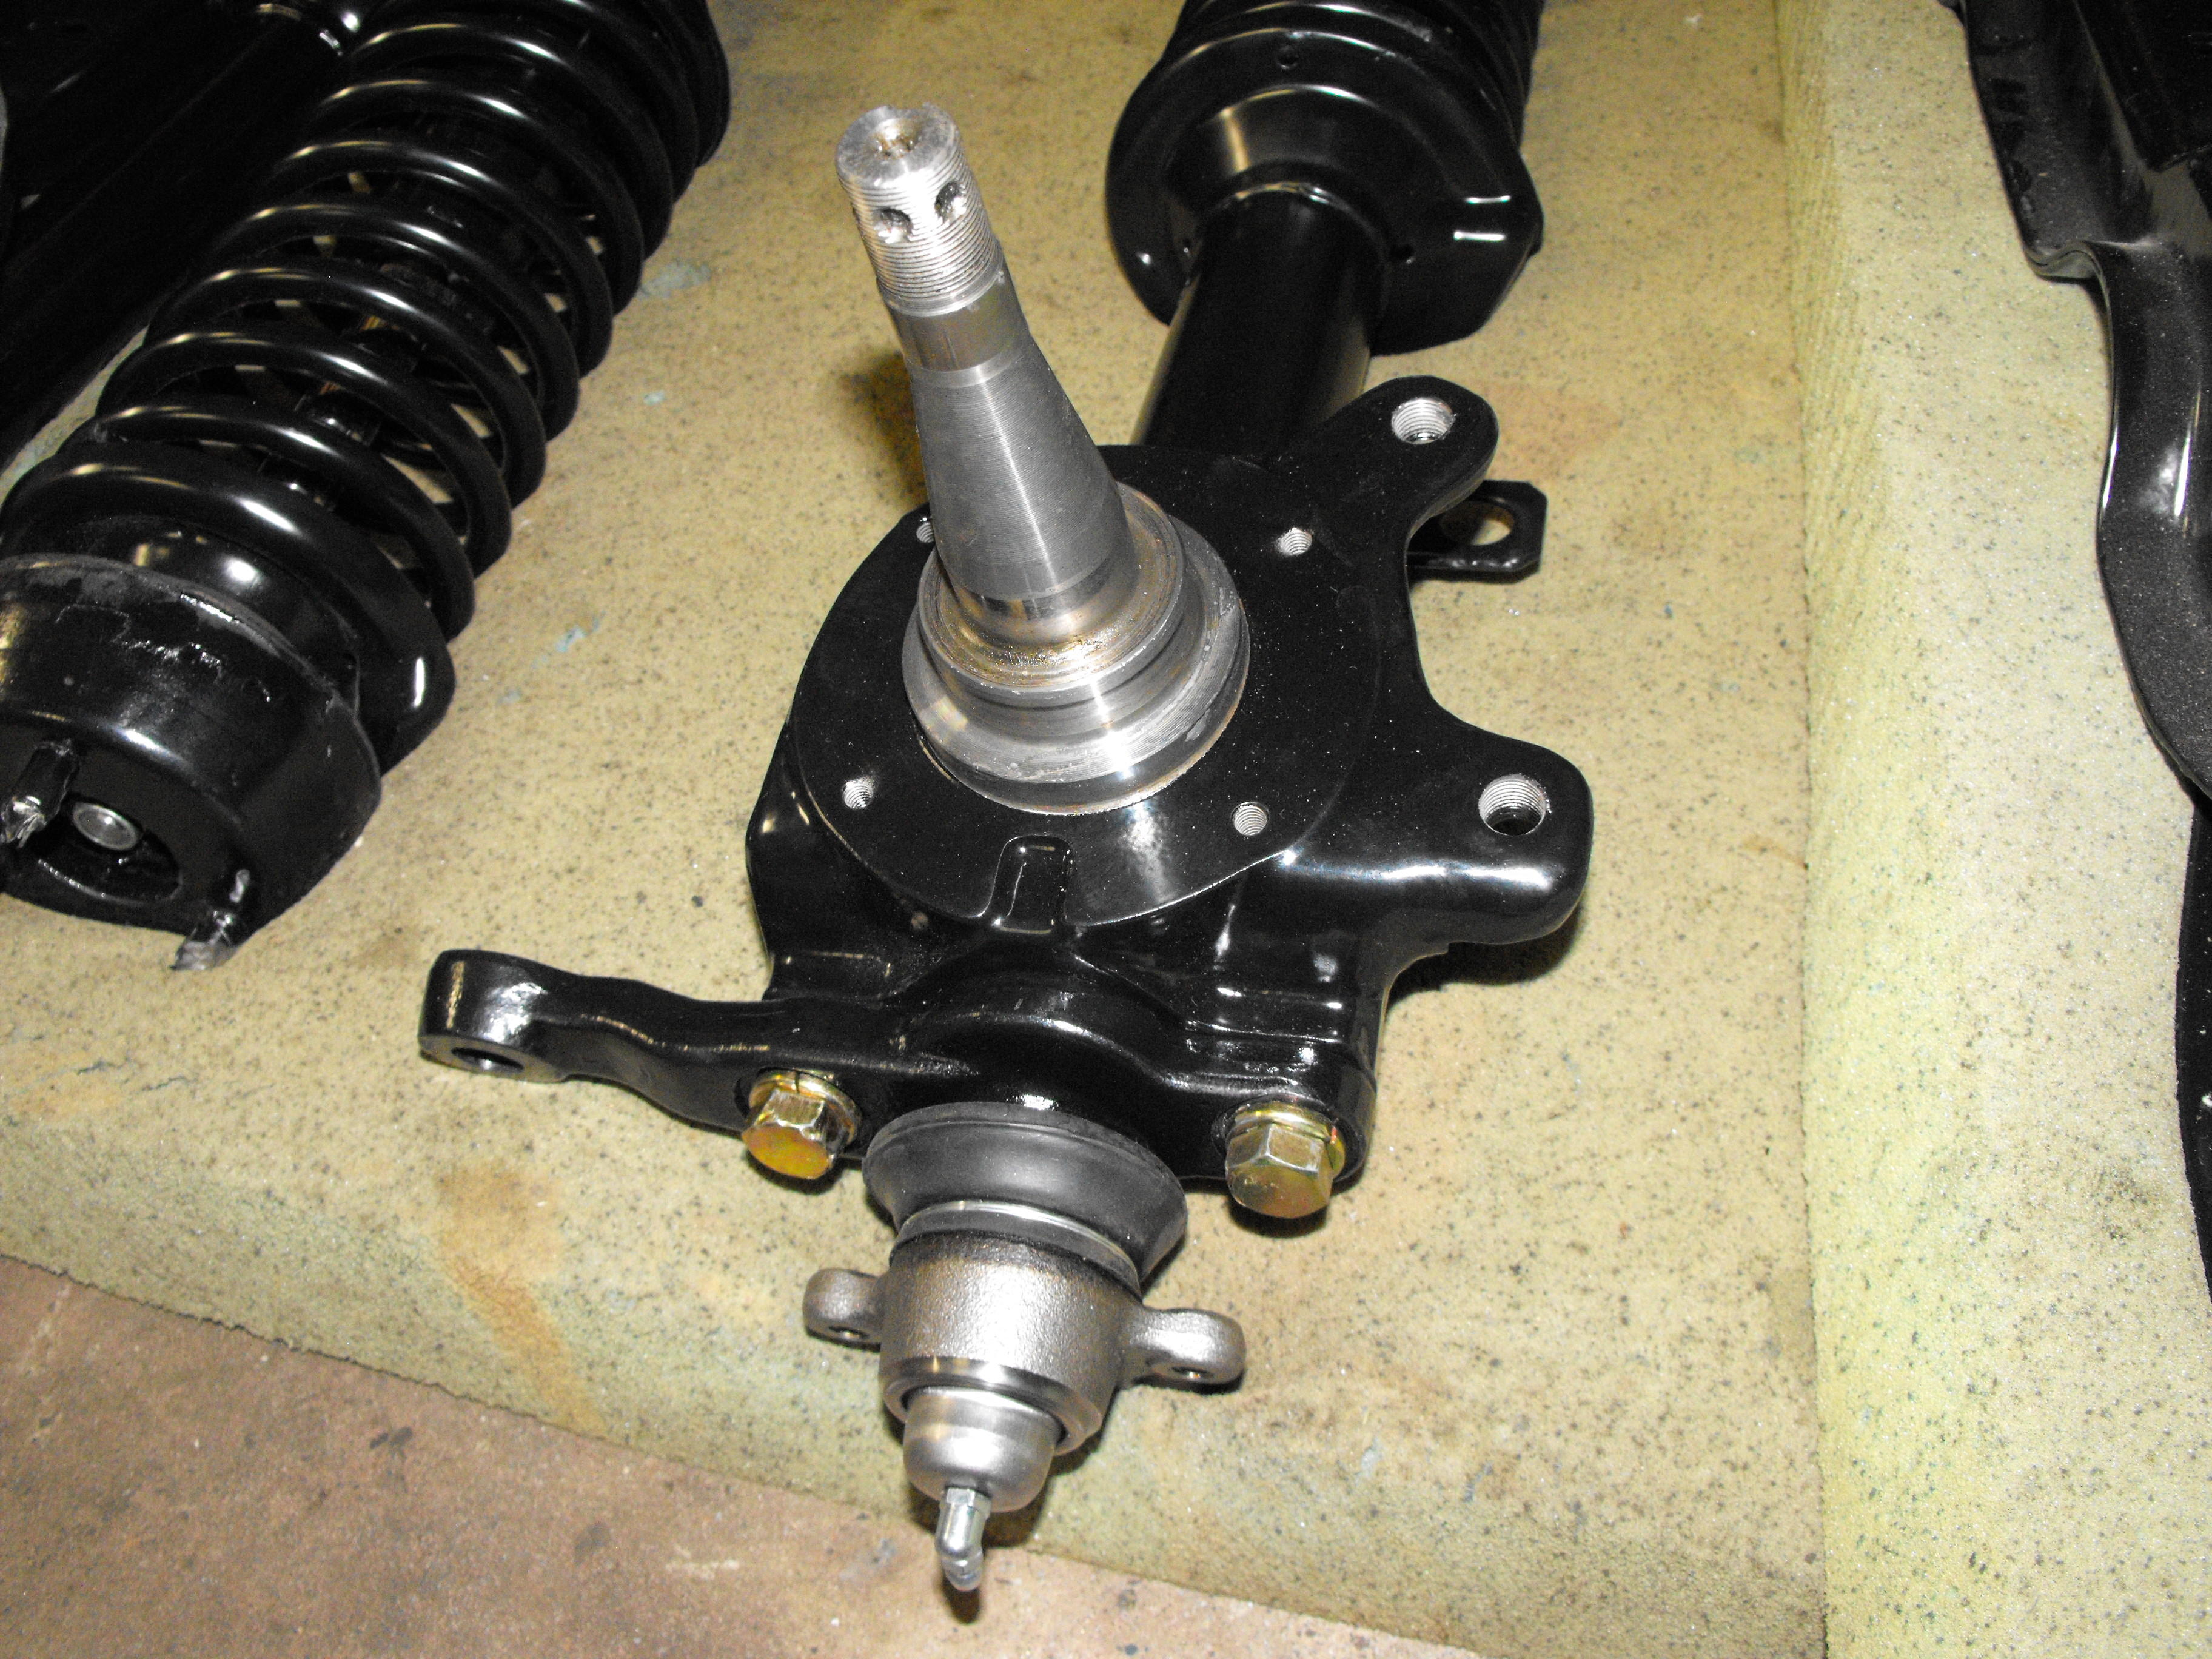
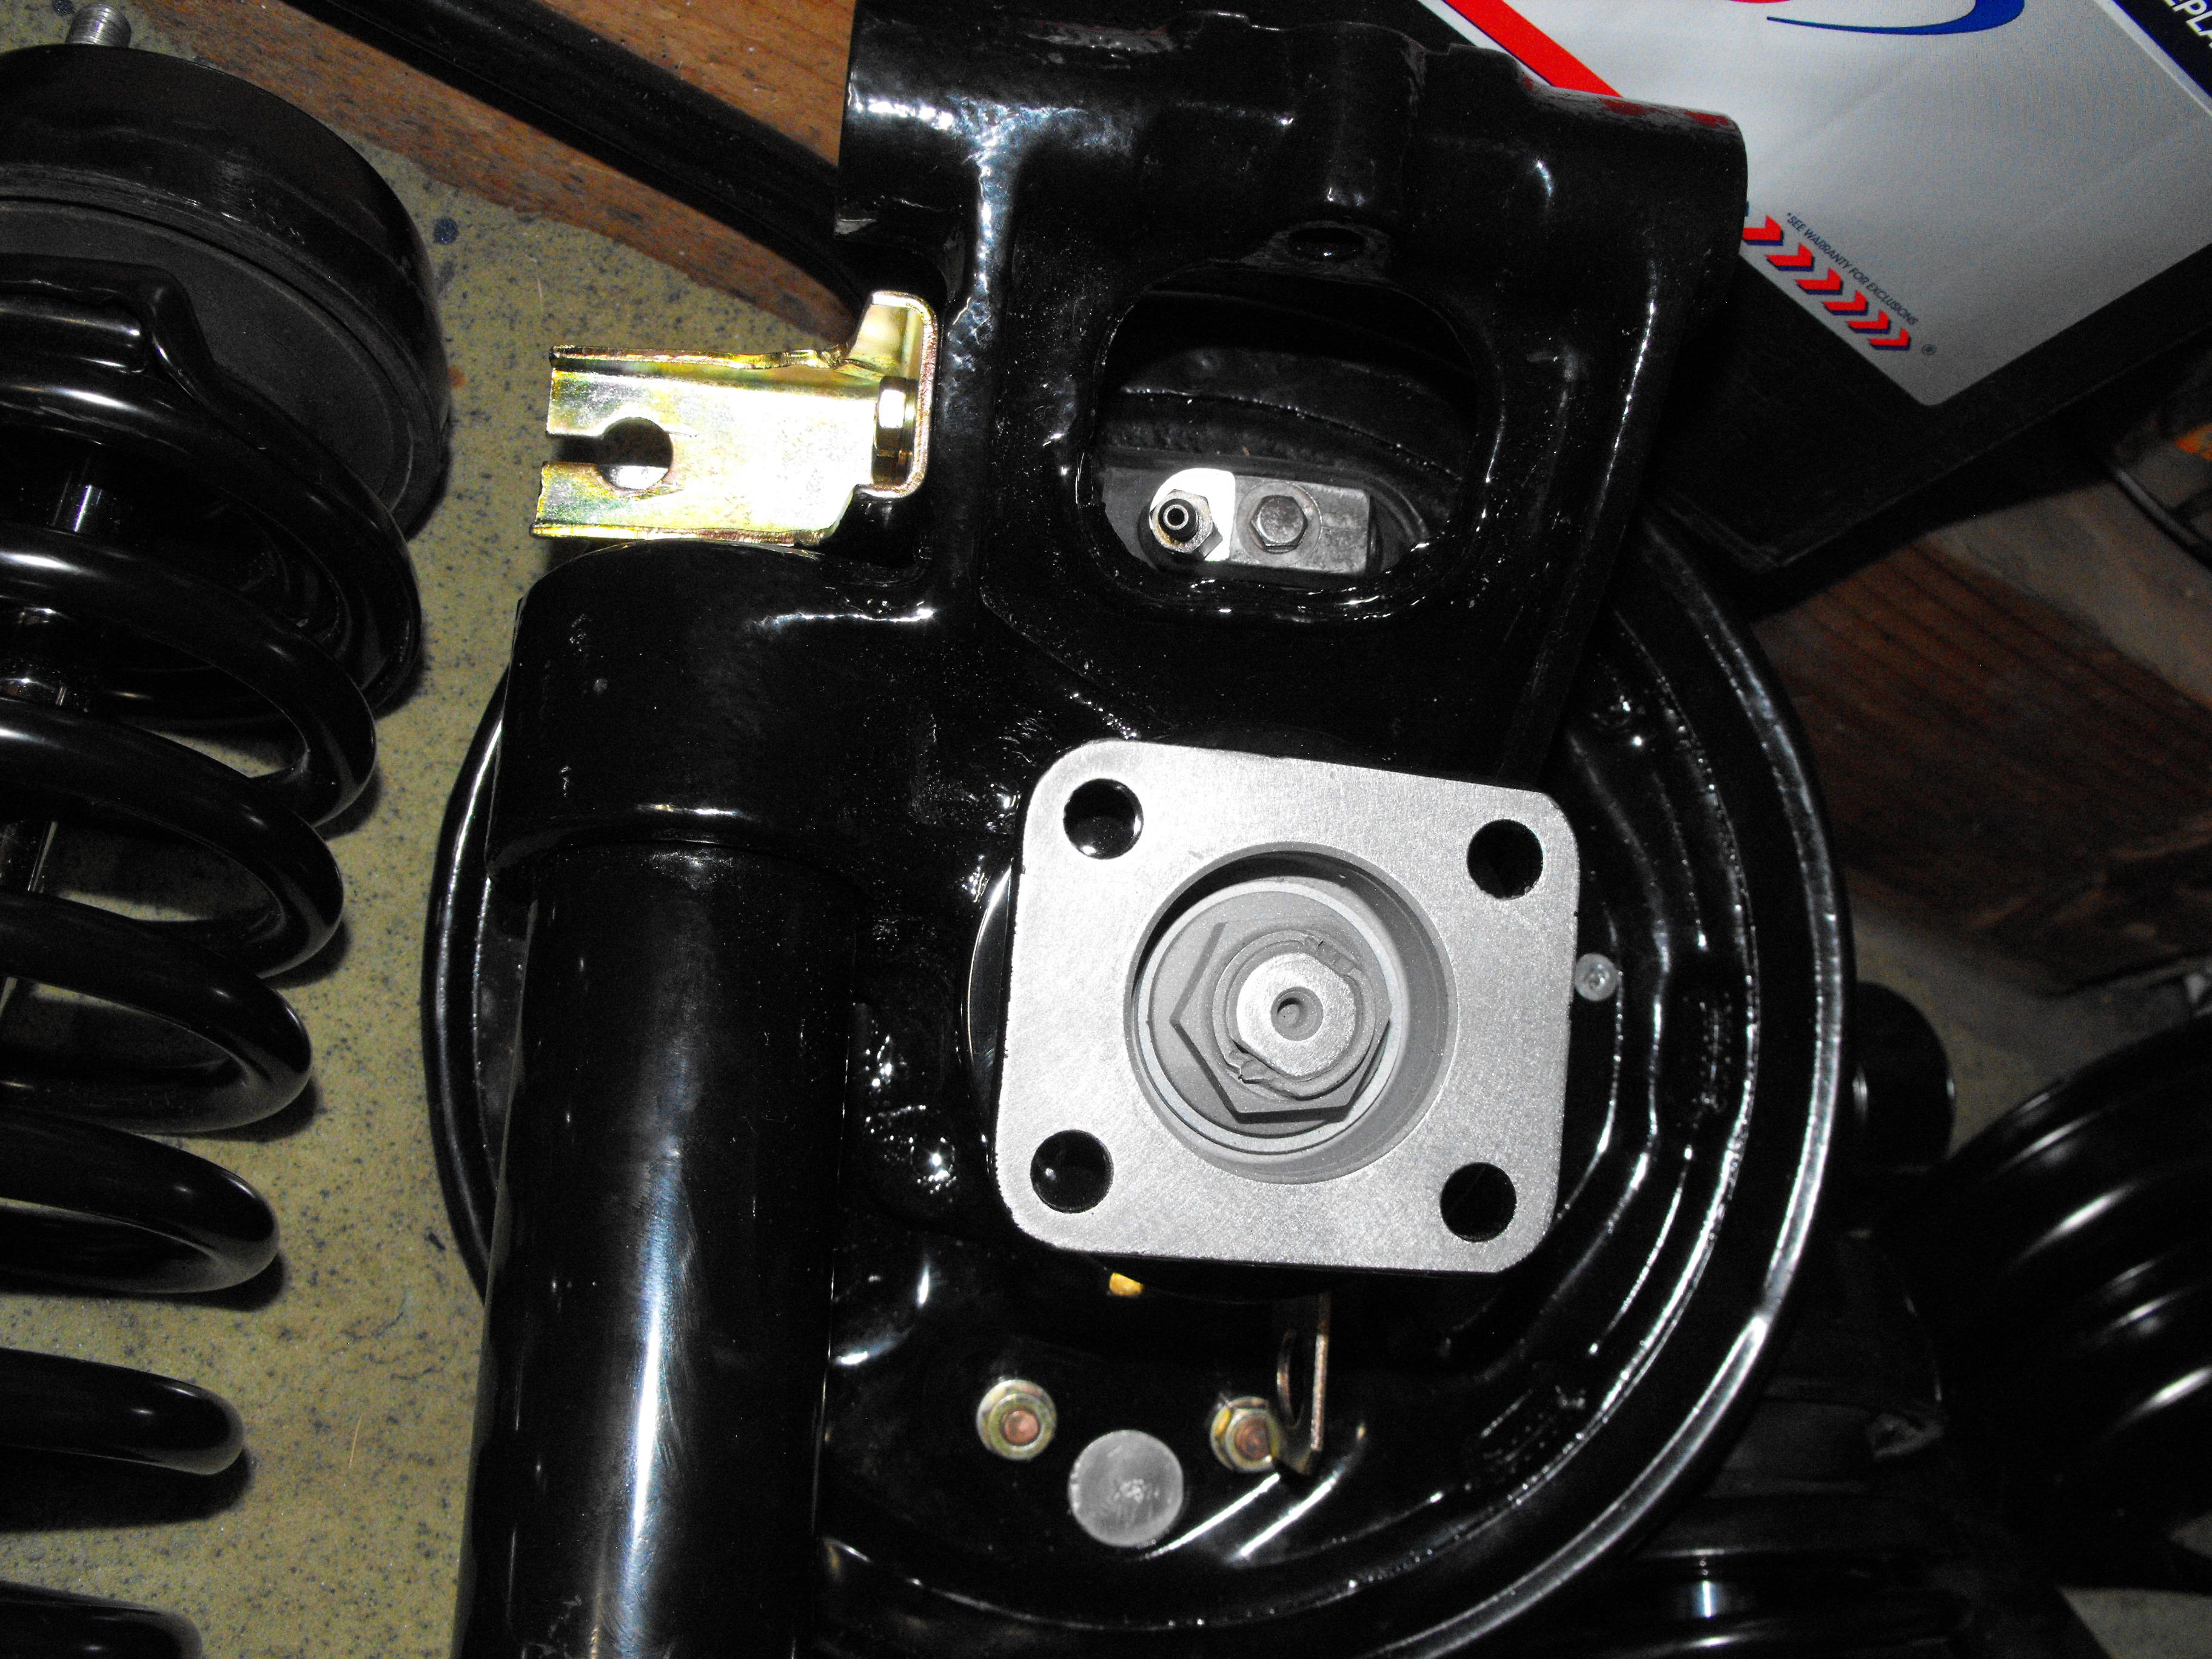
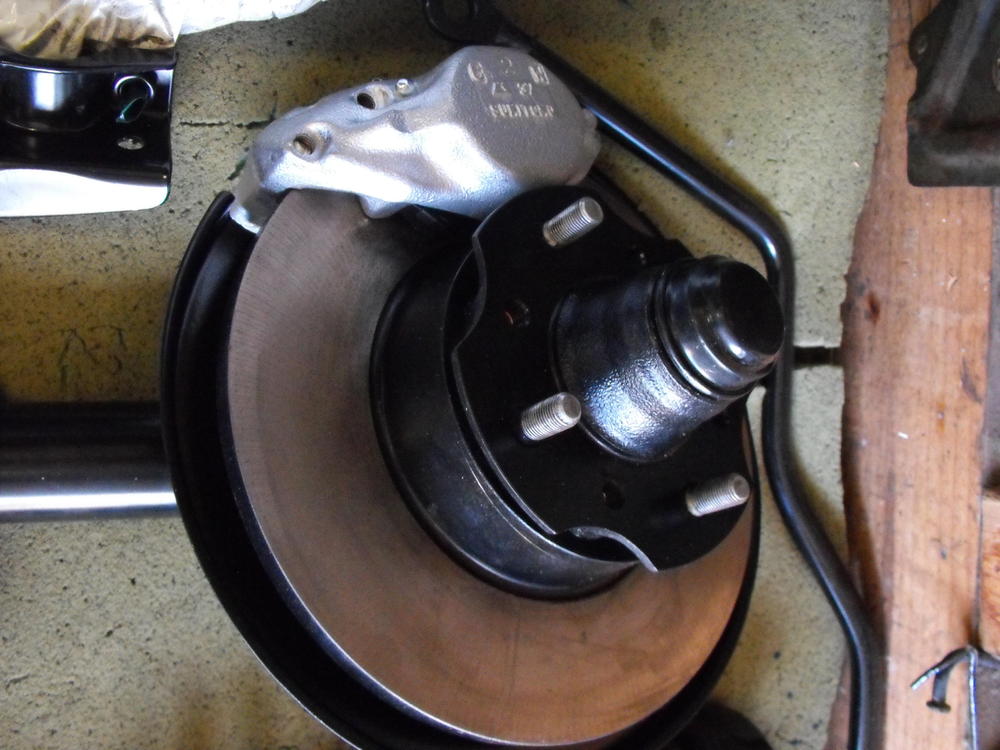
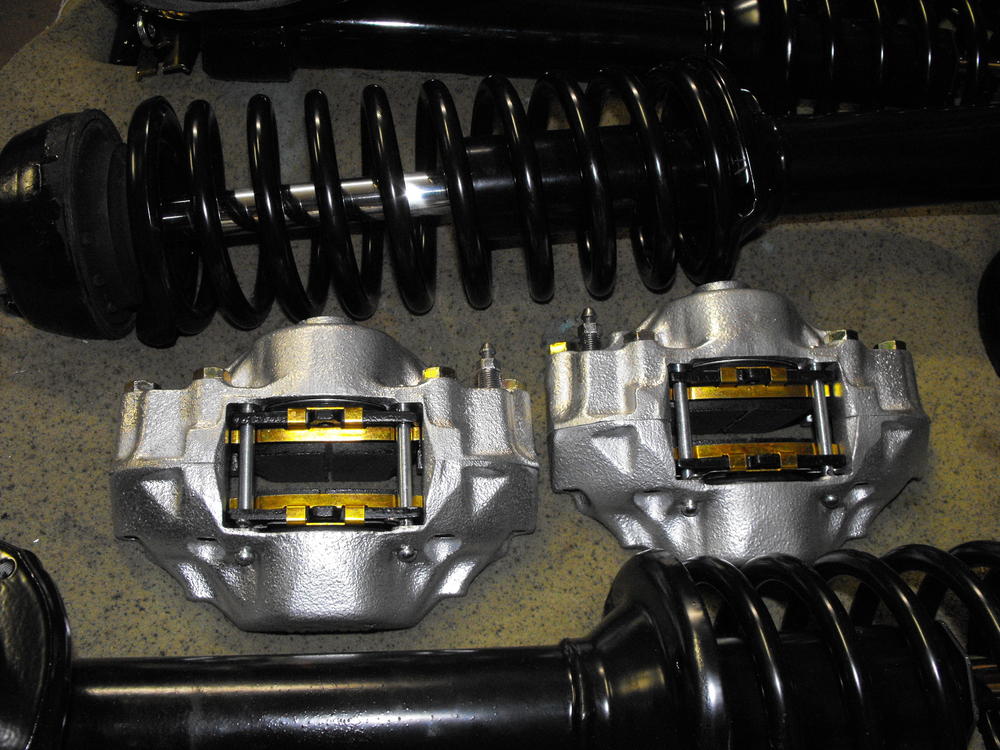
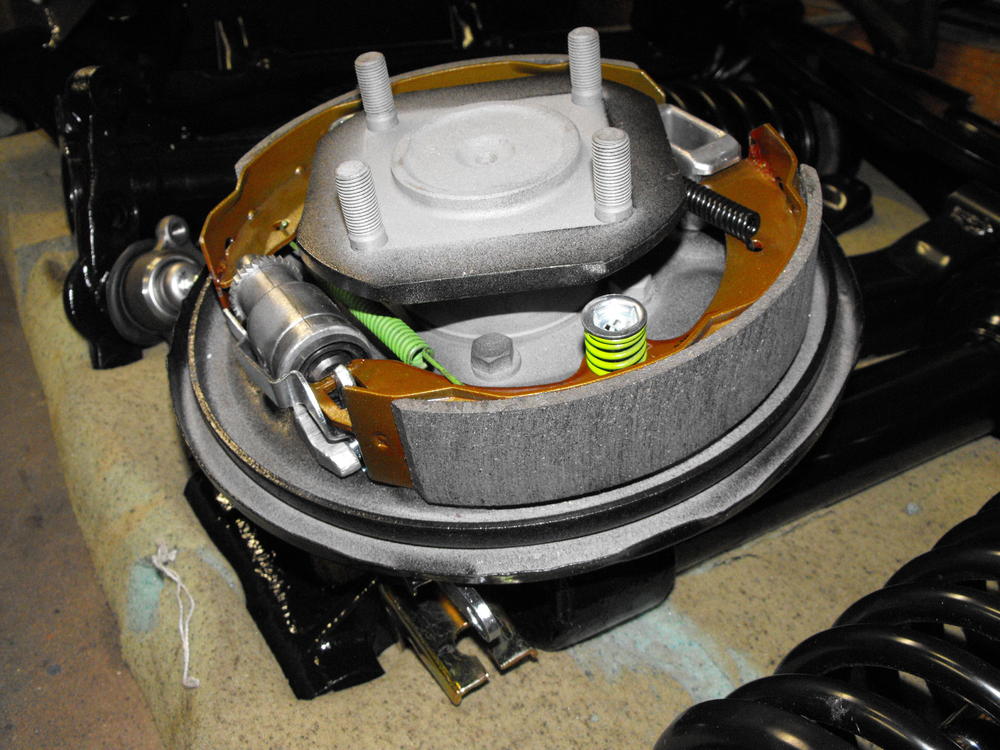
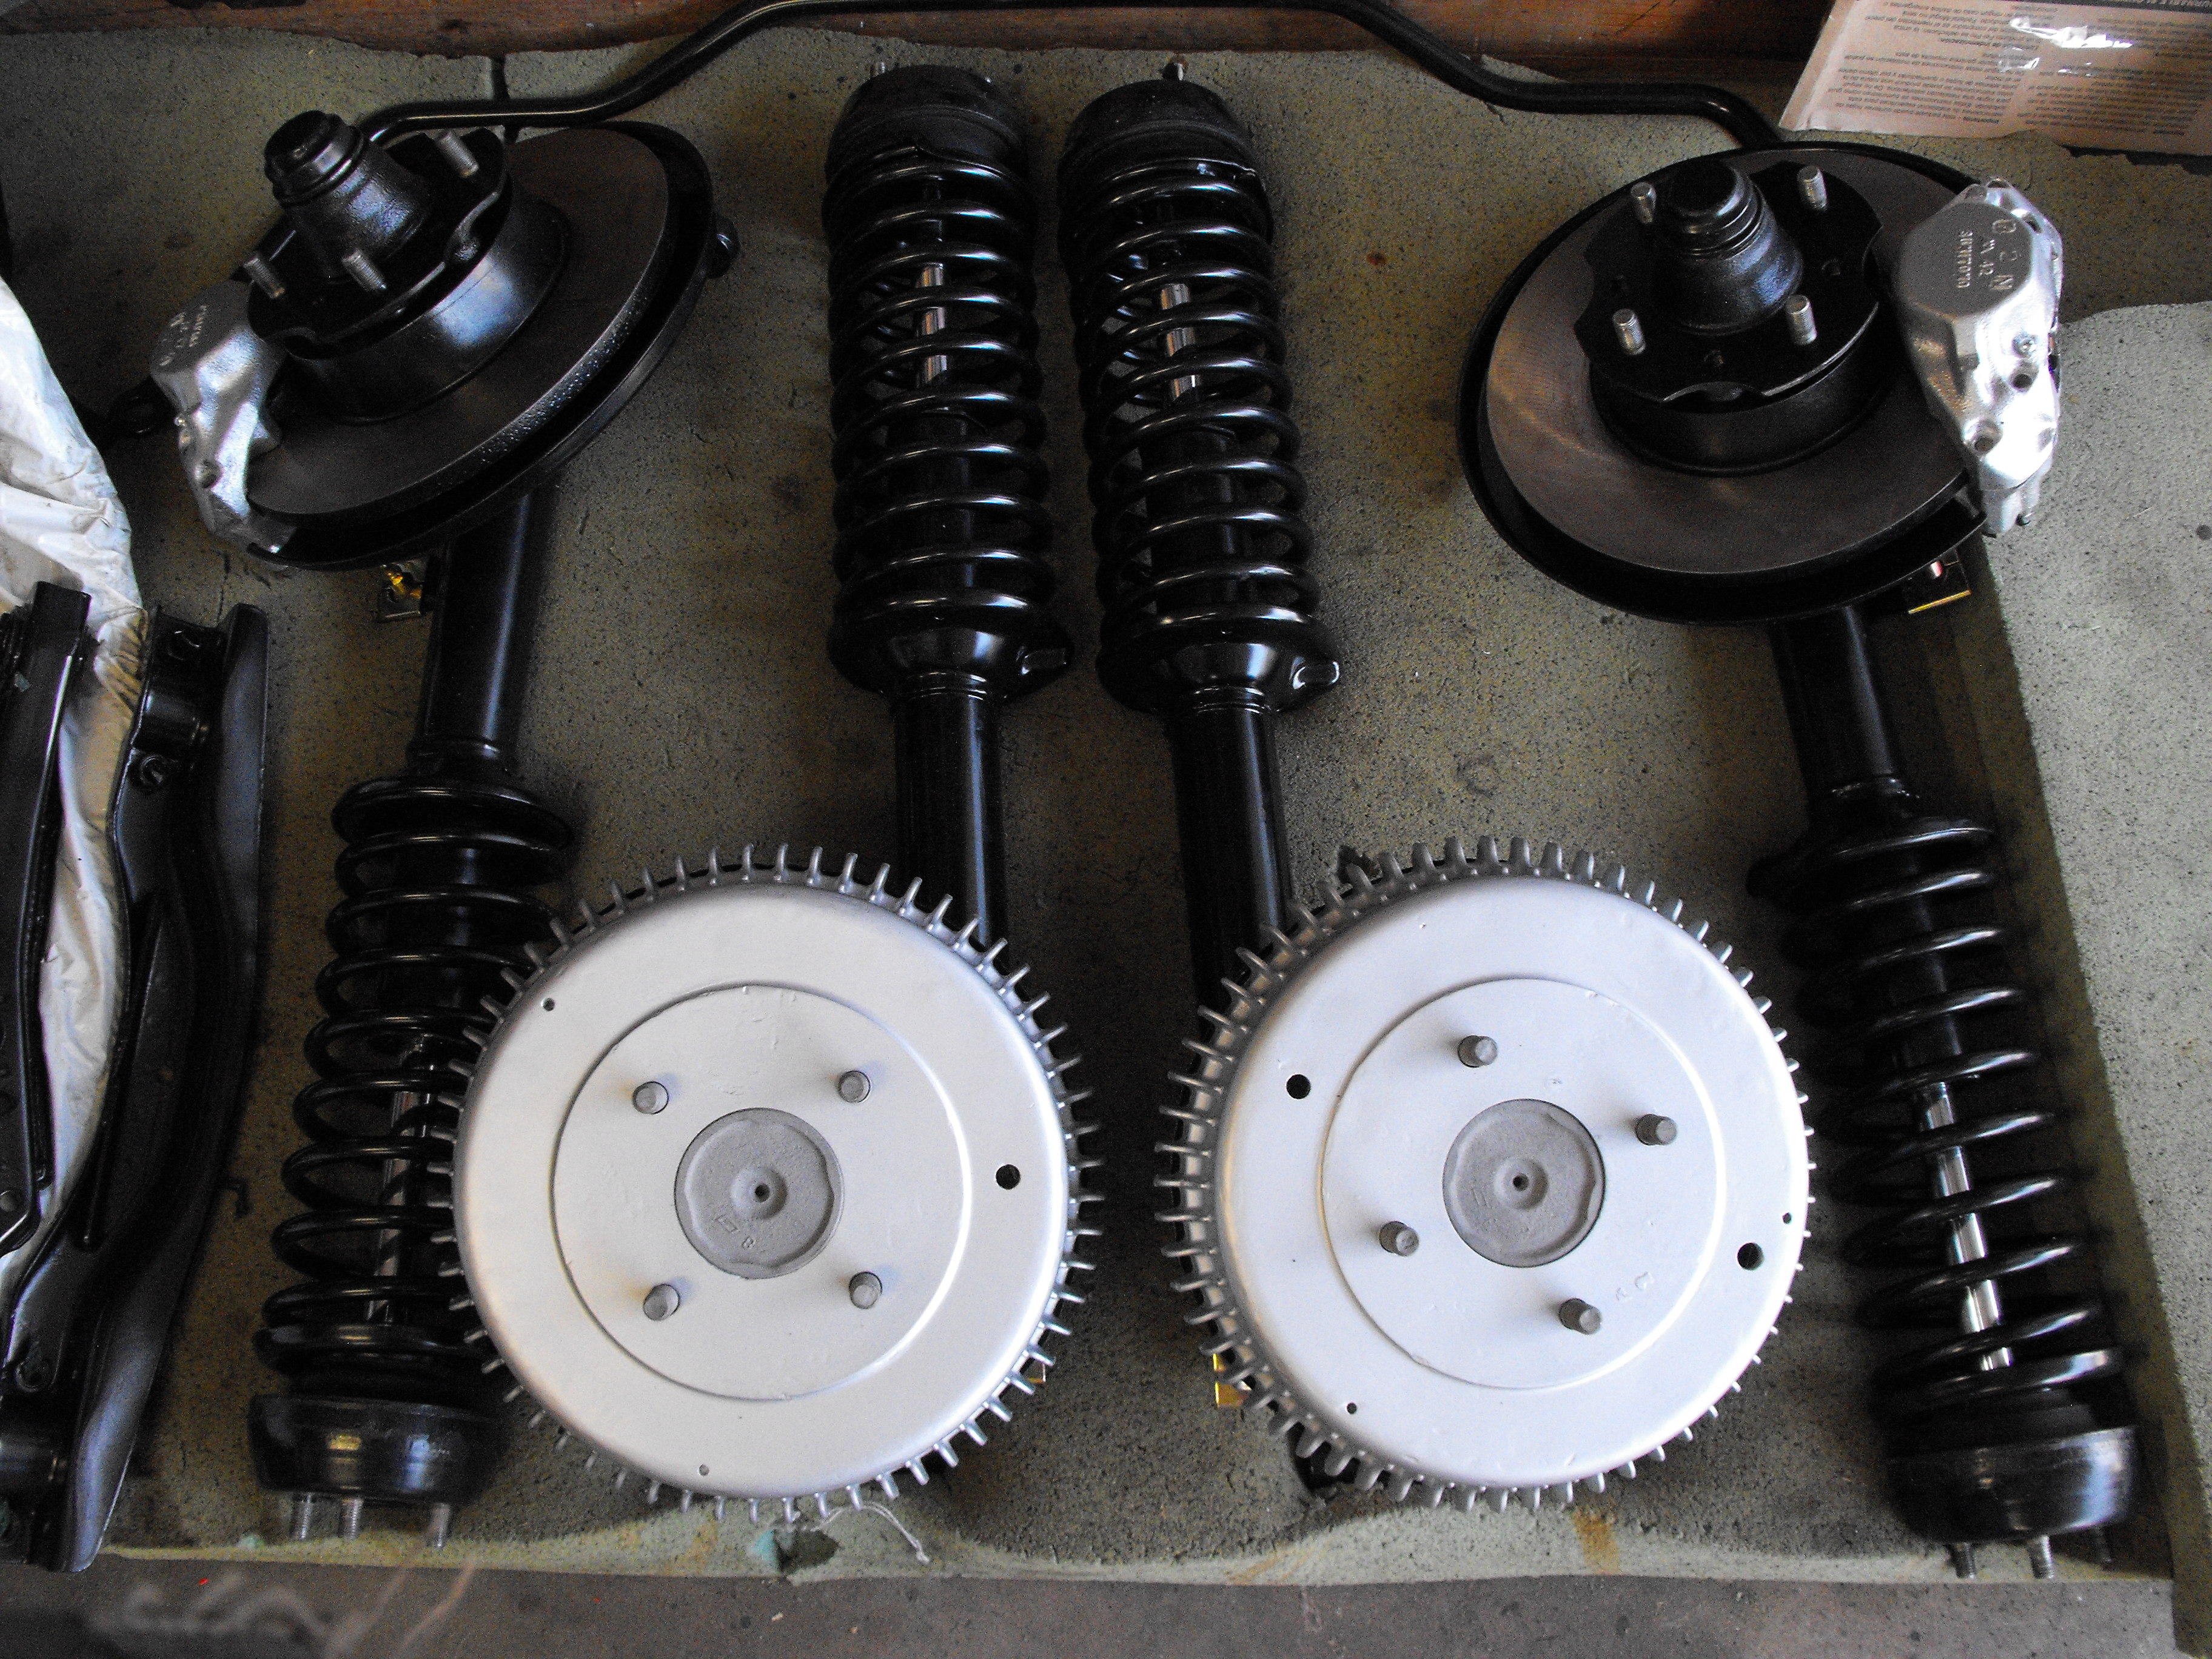
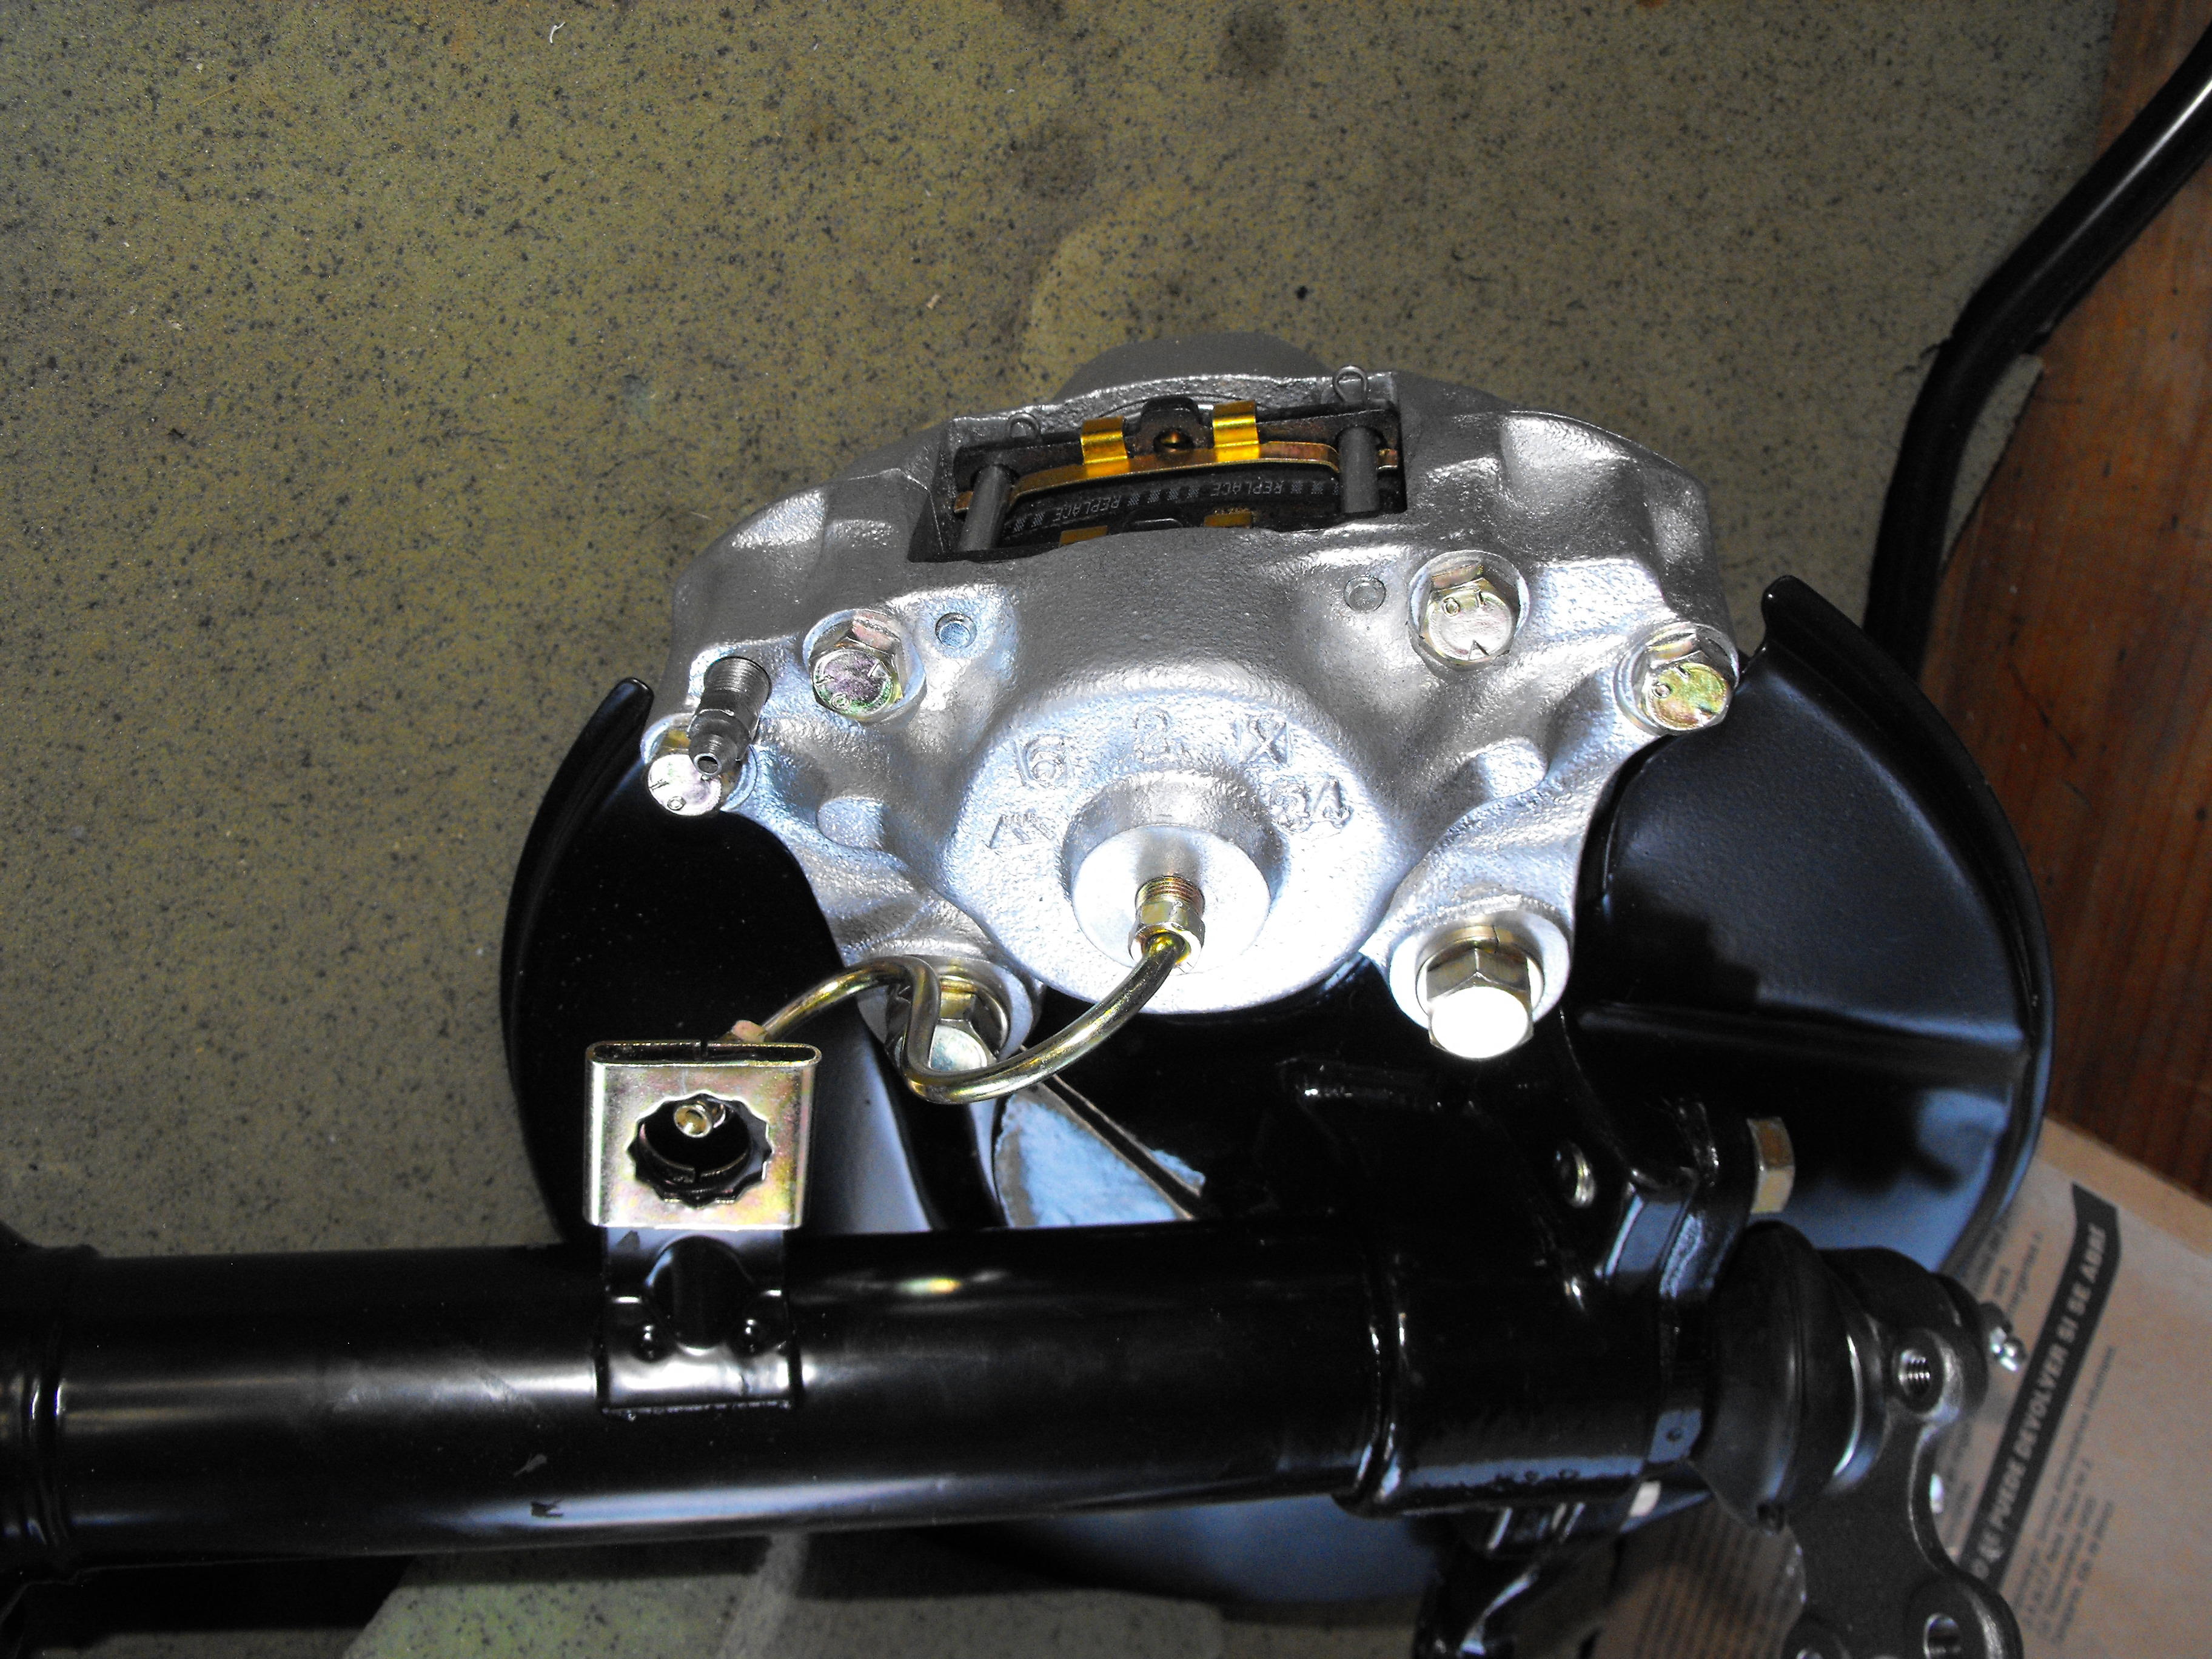
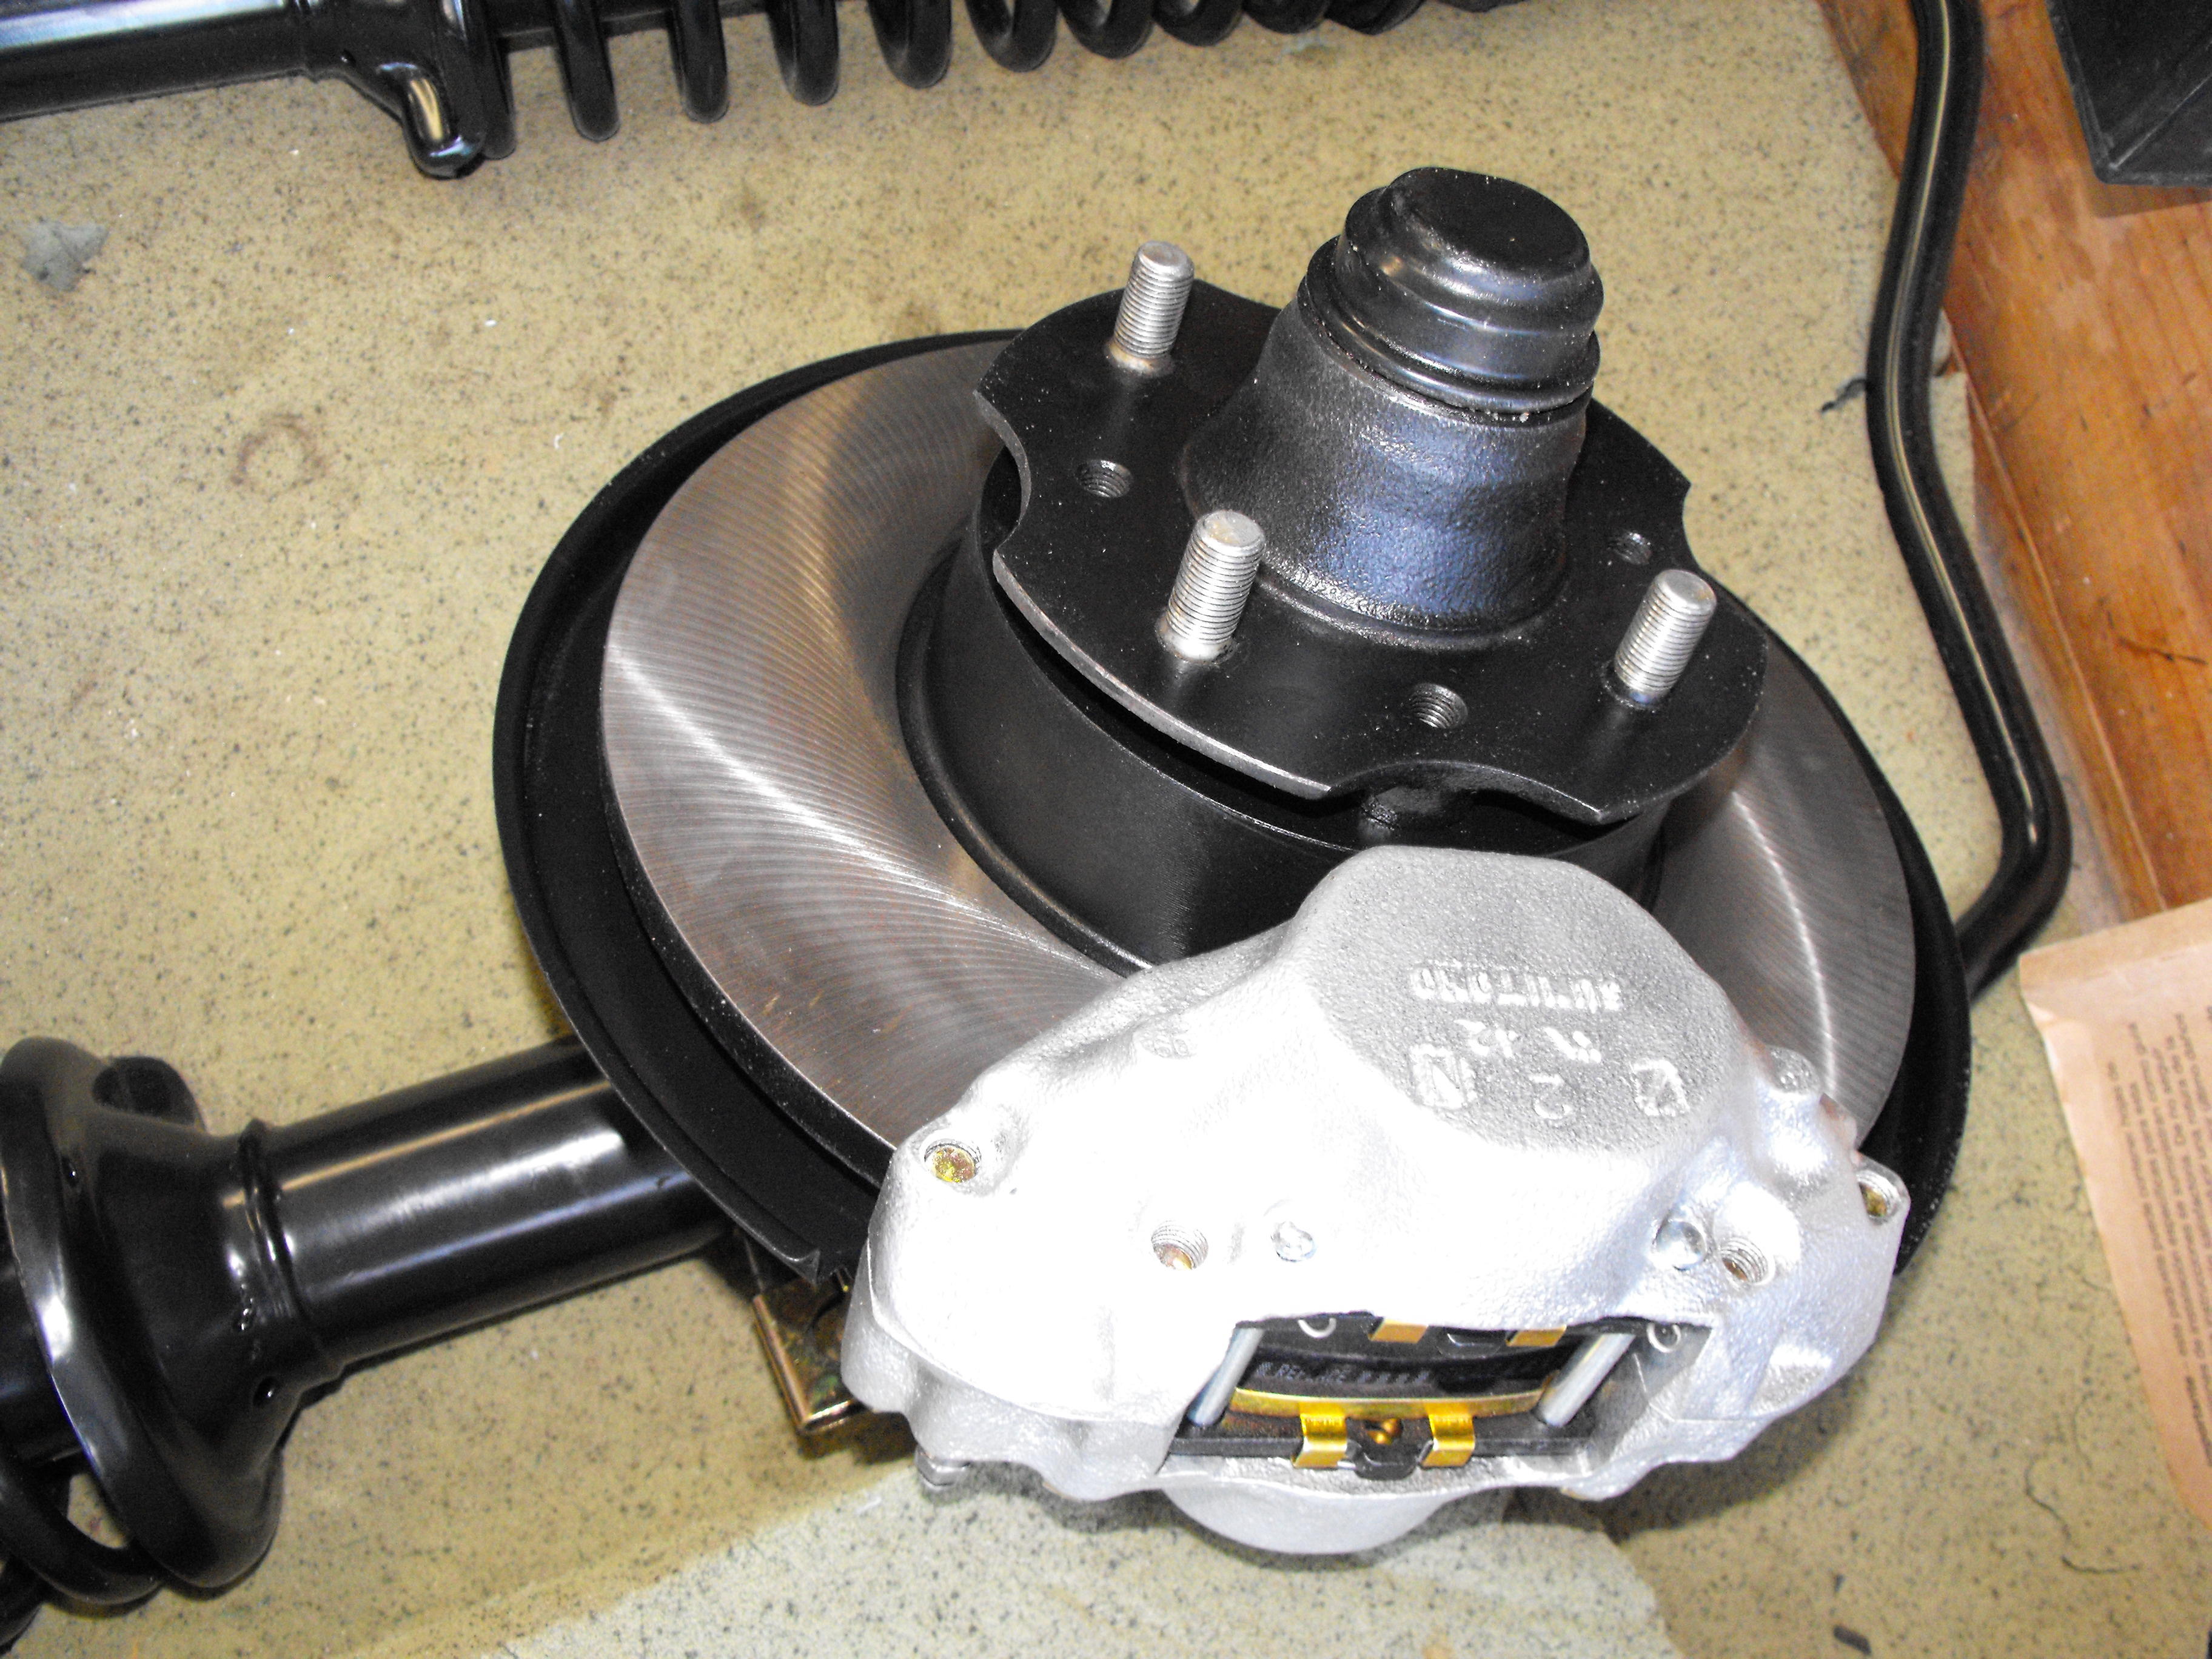
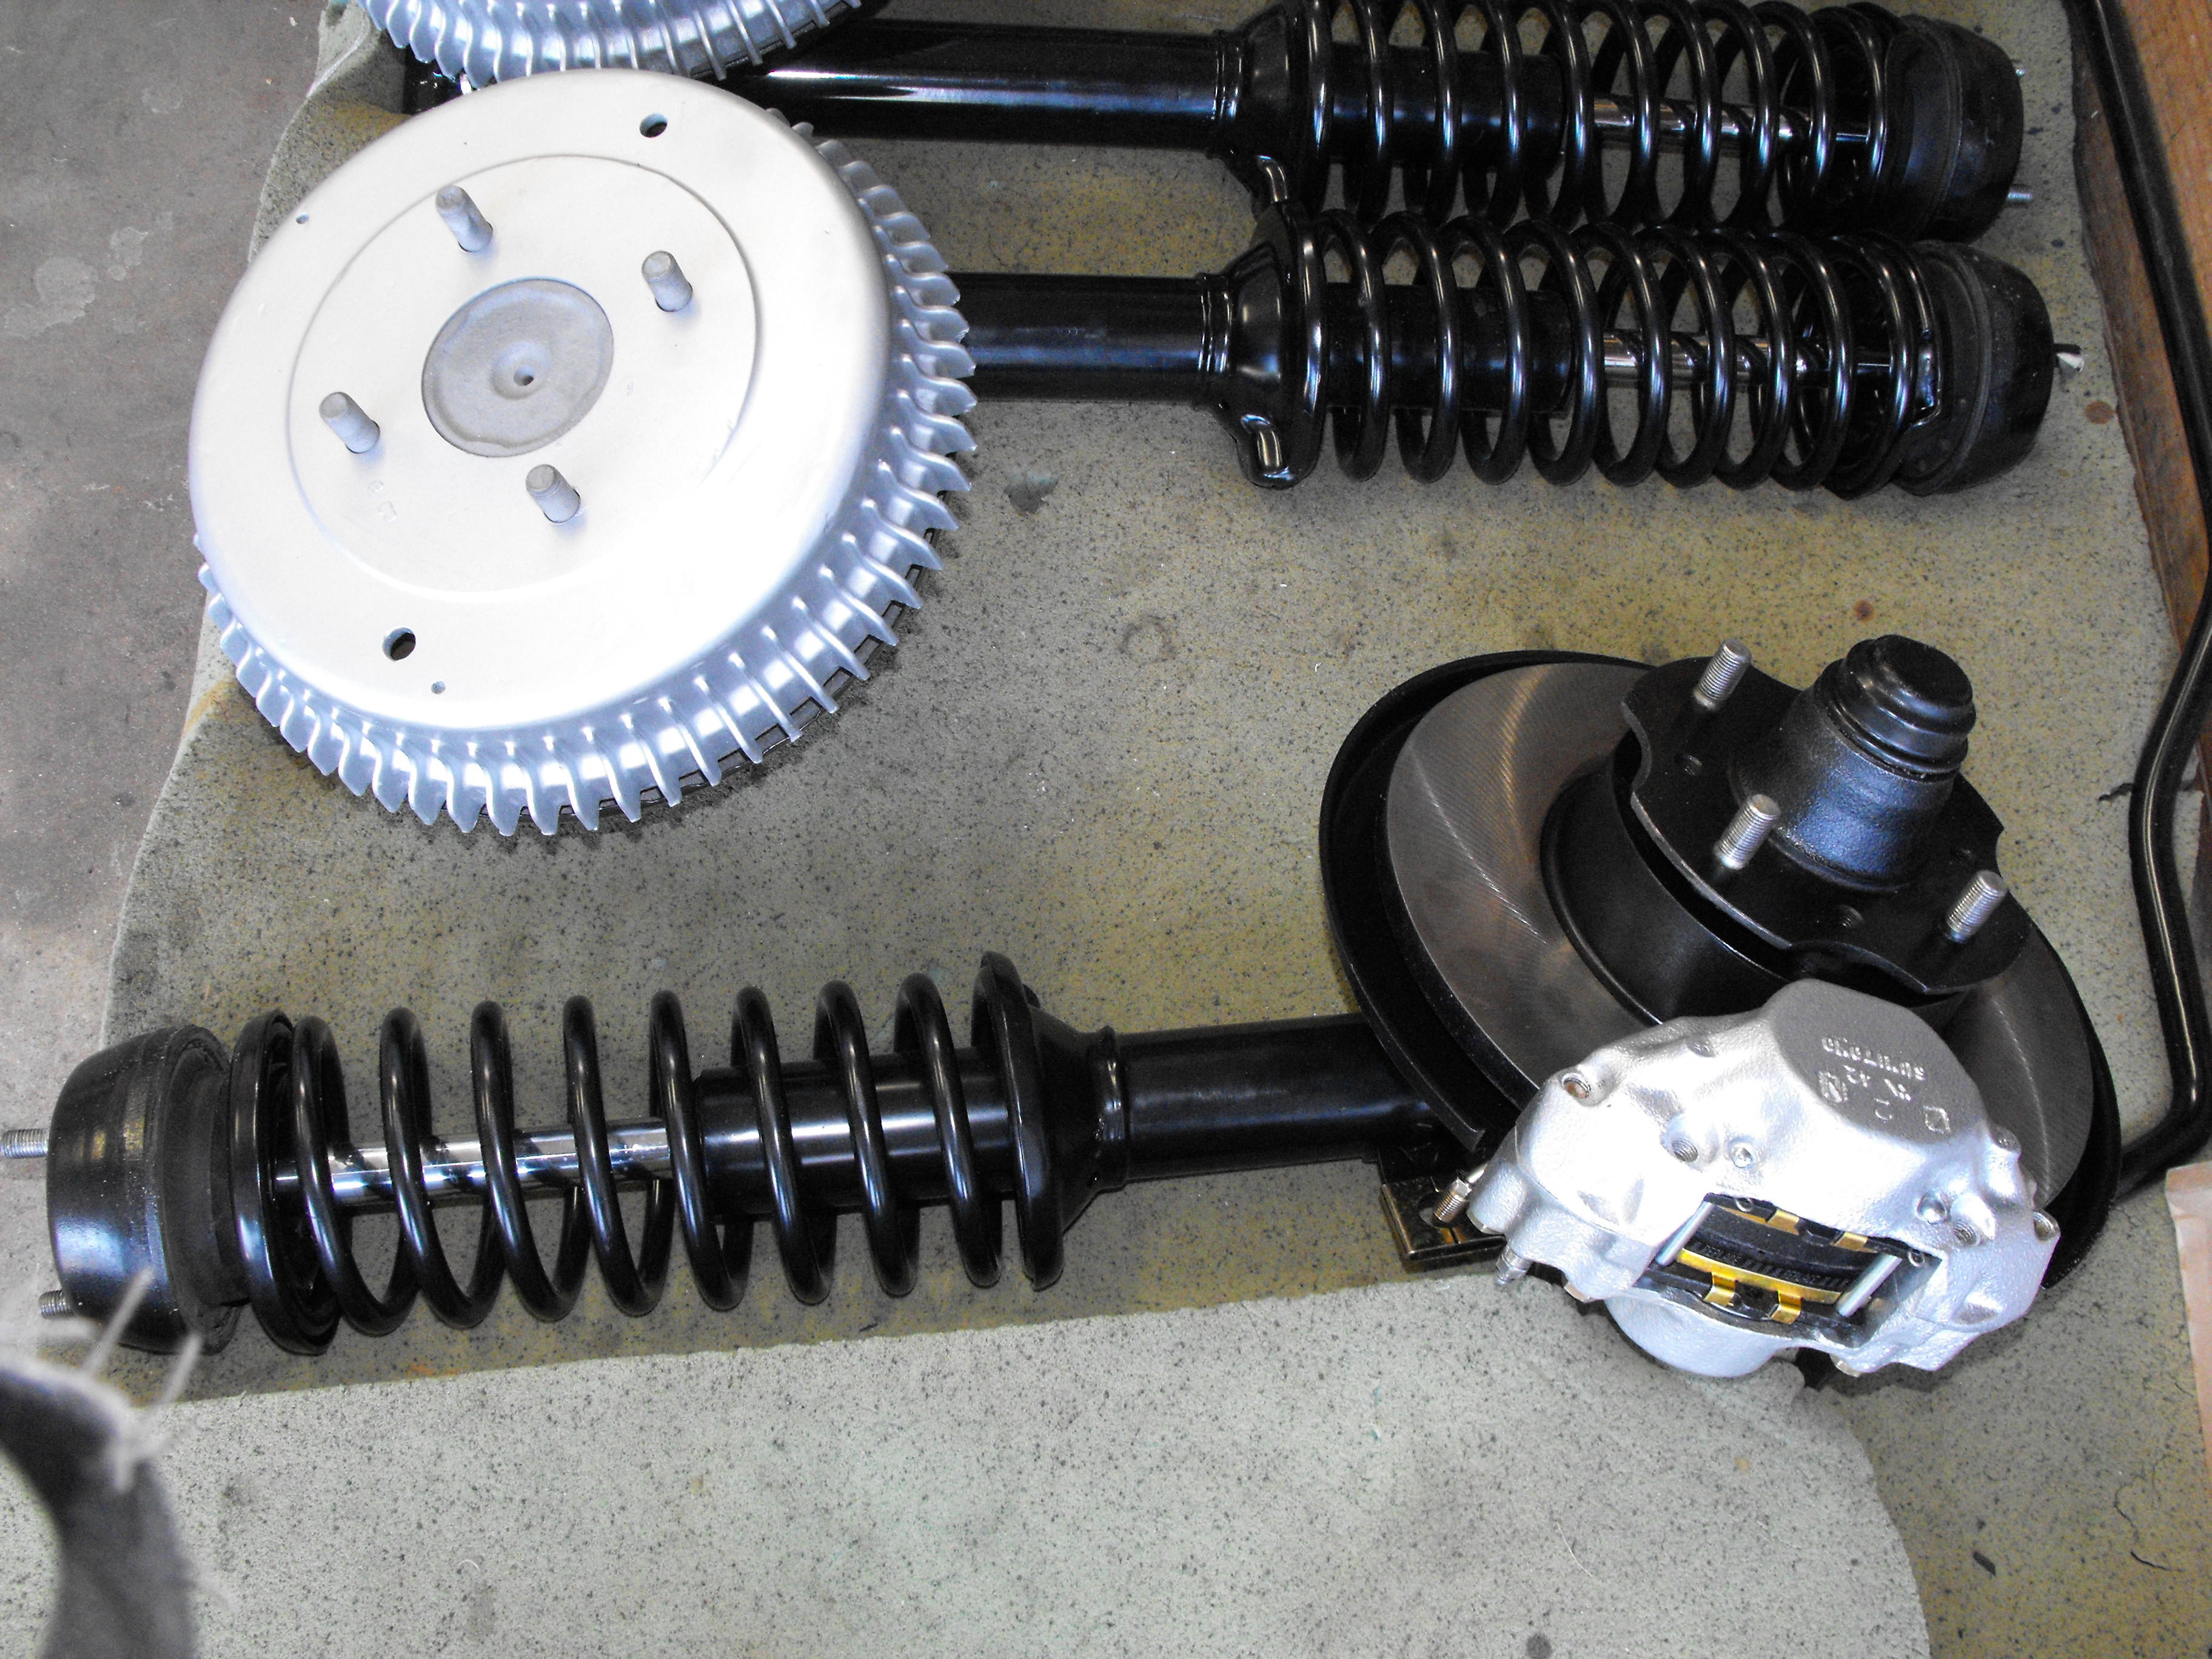
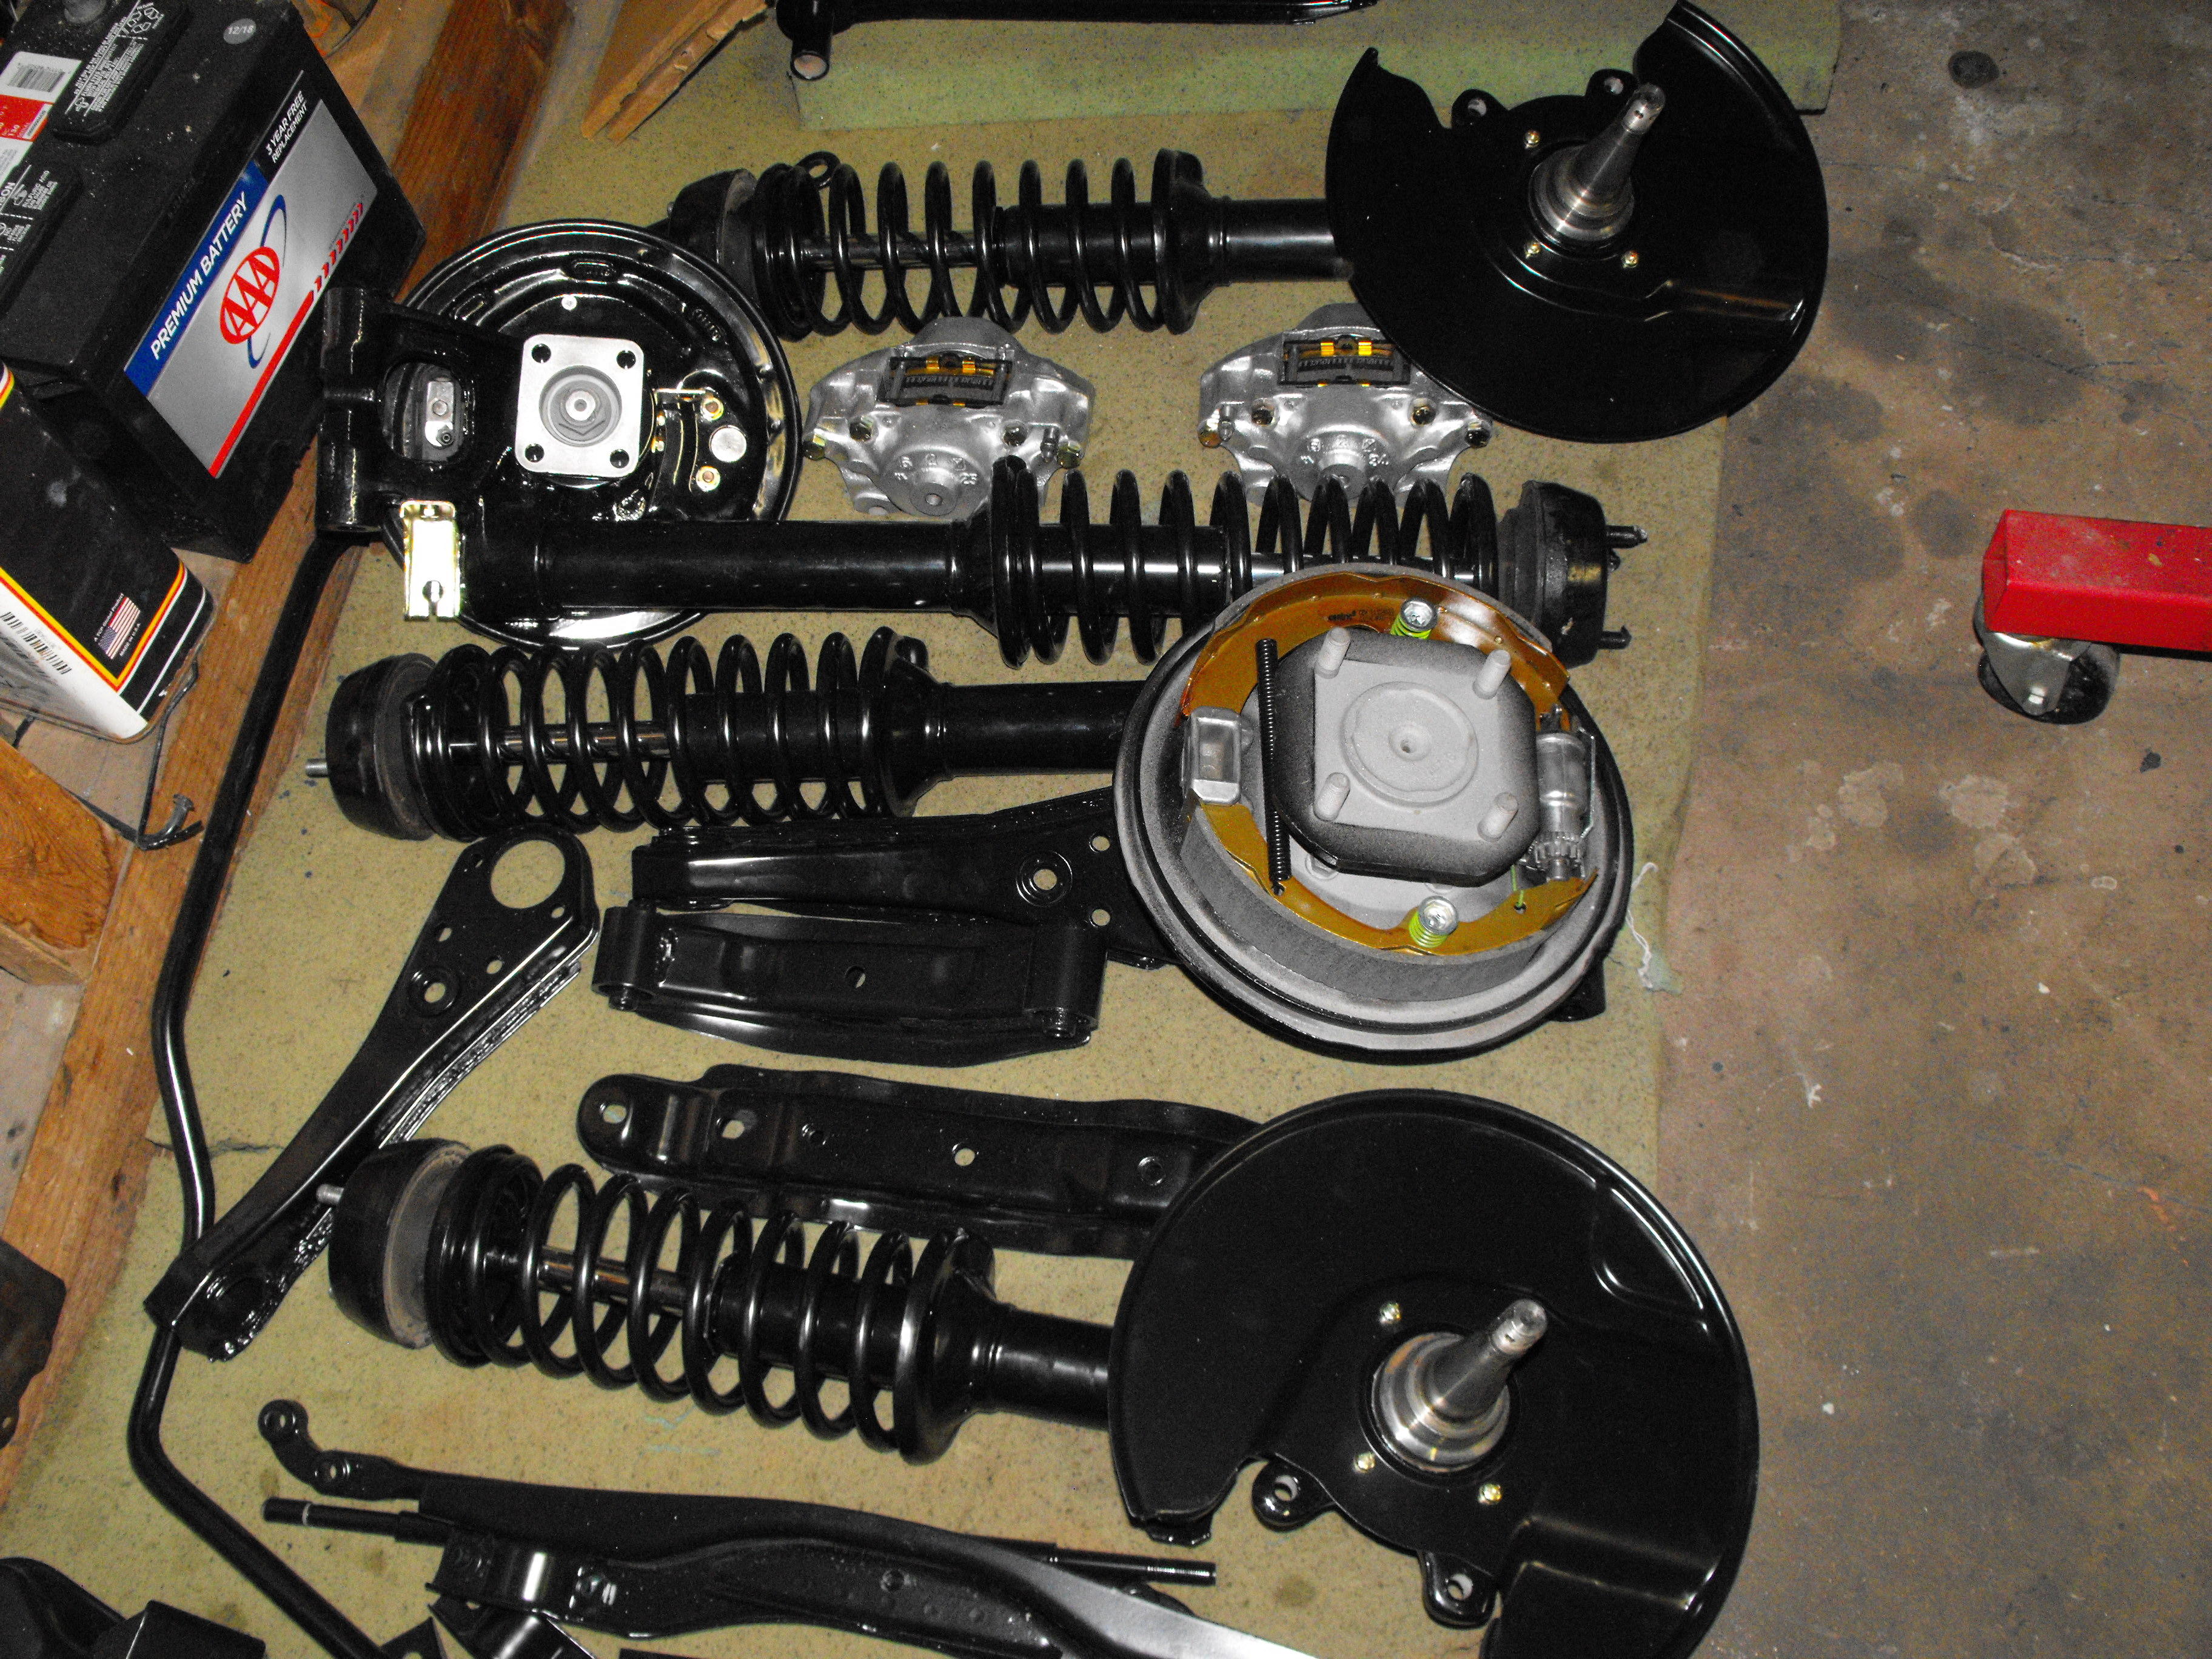
Finished up the front and rear struts this weekend. Cleaned up the rear drums and painted with high temp flat aluminum. Also cleaned up the front hubs and discs. Cleaned out the front wheel bearings and packed them with new grease. Assembled the front hubs, disc and calipers to the struts. Will wrap these and set them aside for now. Will probably start the steering rack next. Still about 4 months before the body is finished and painted. Pics are below.


-
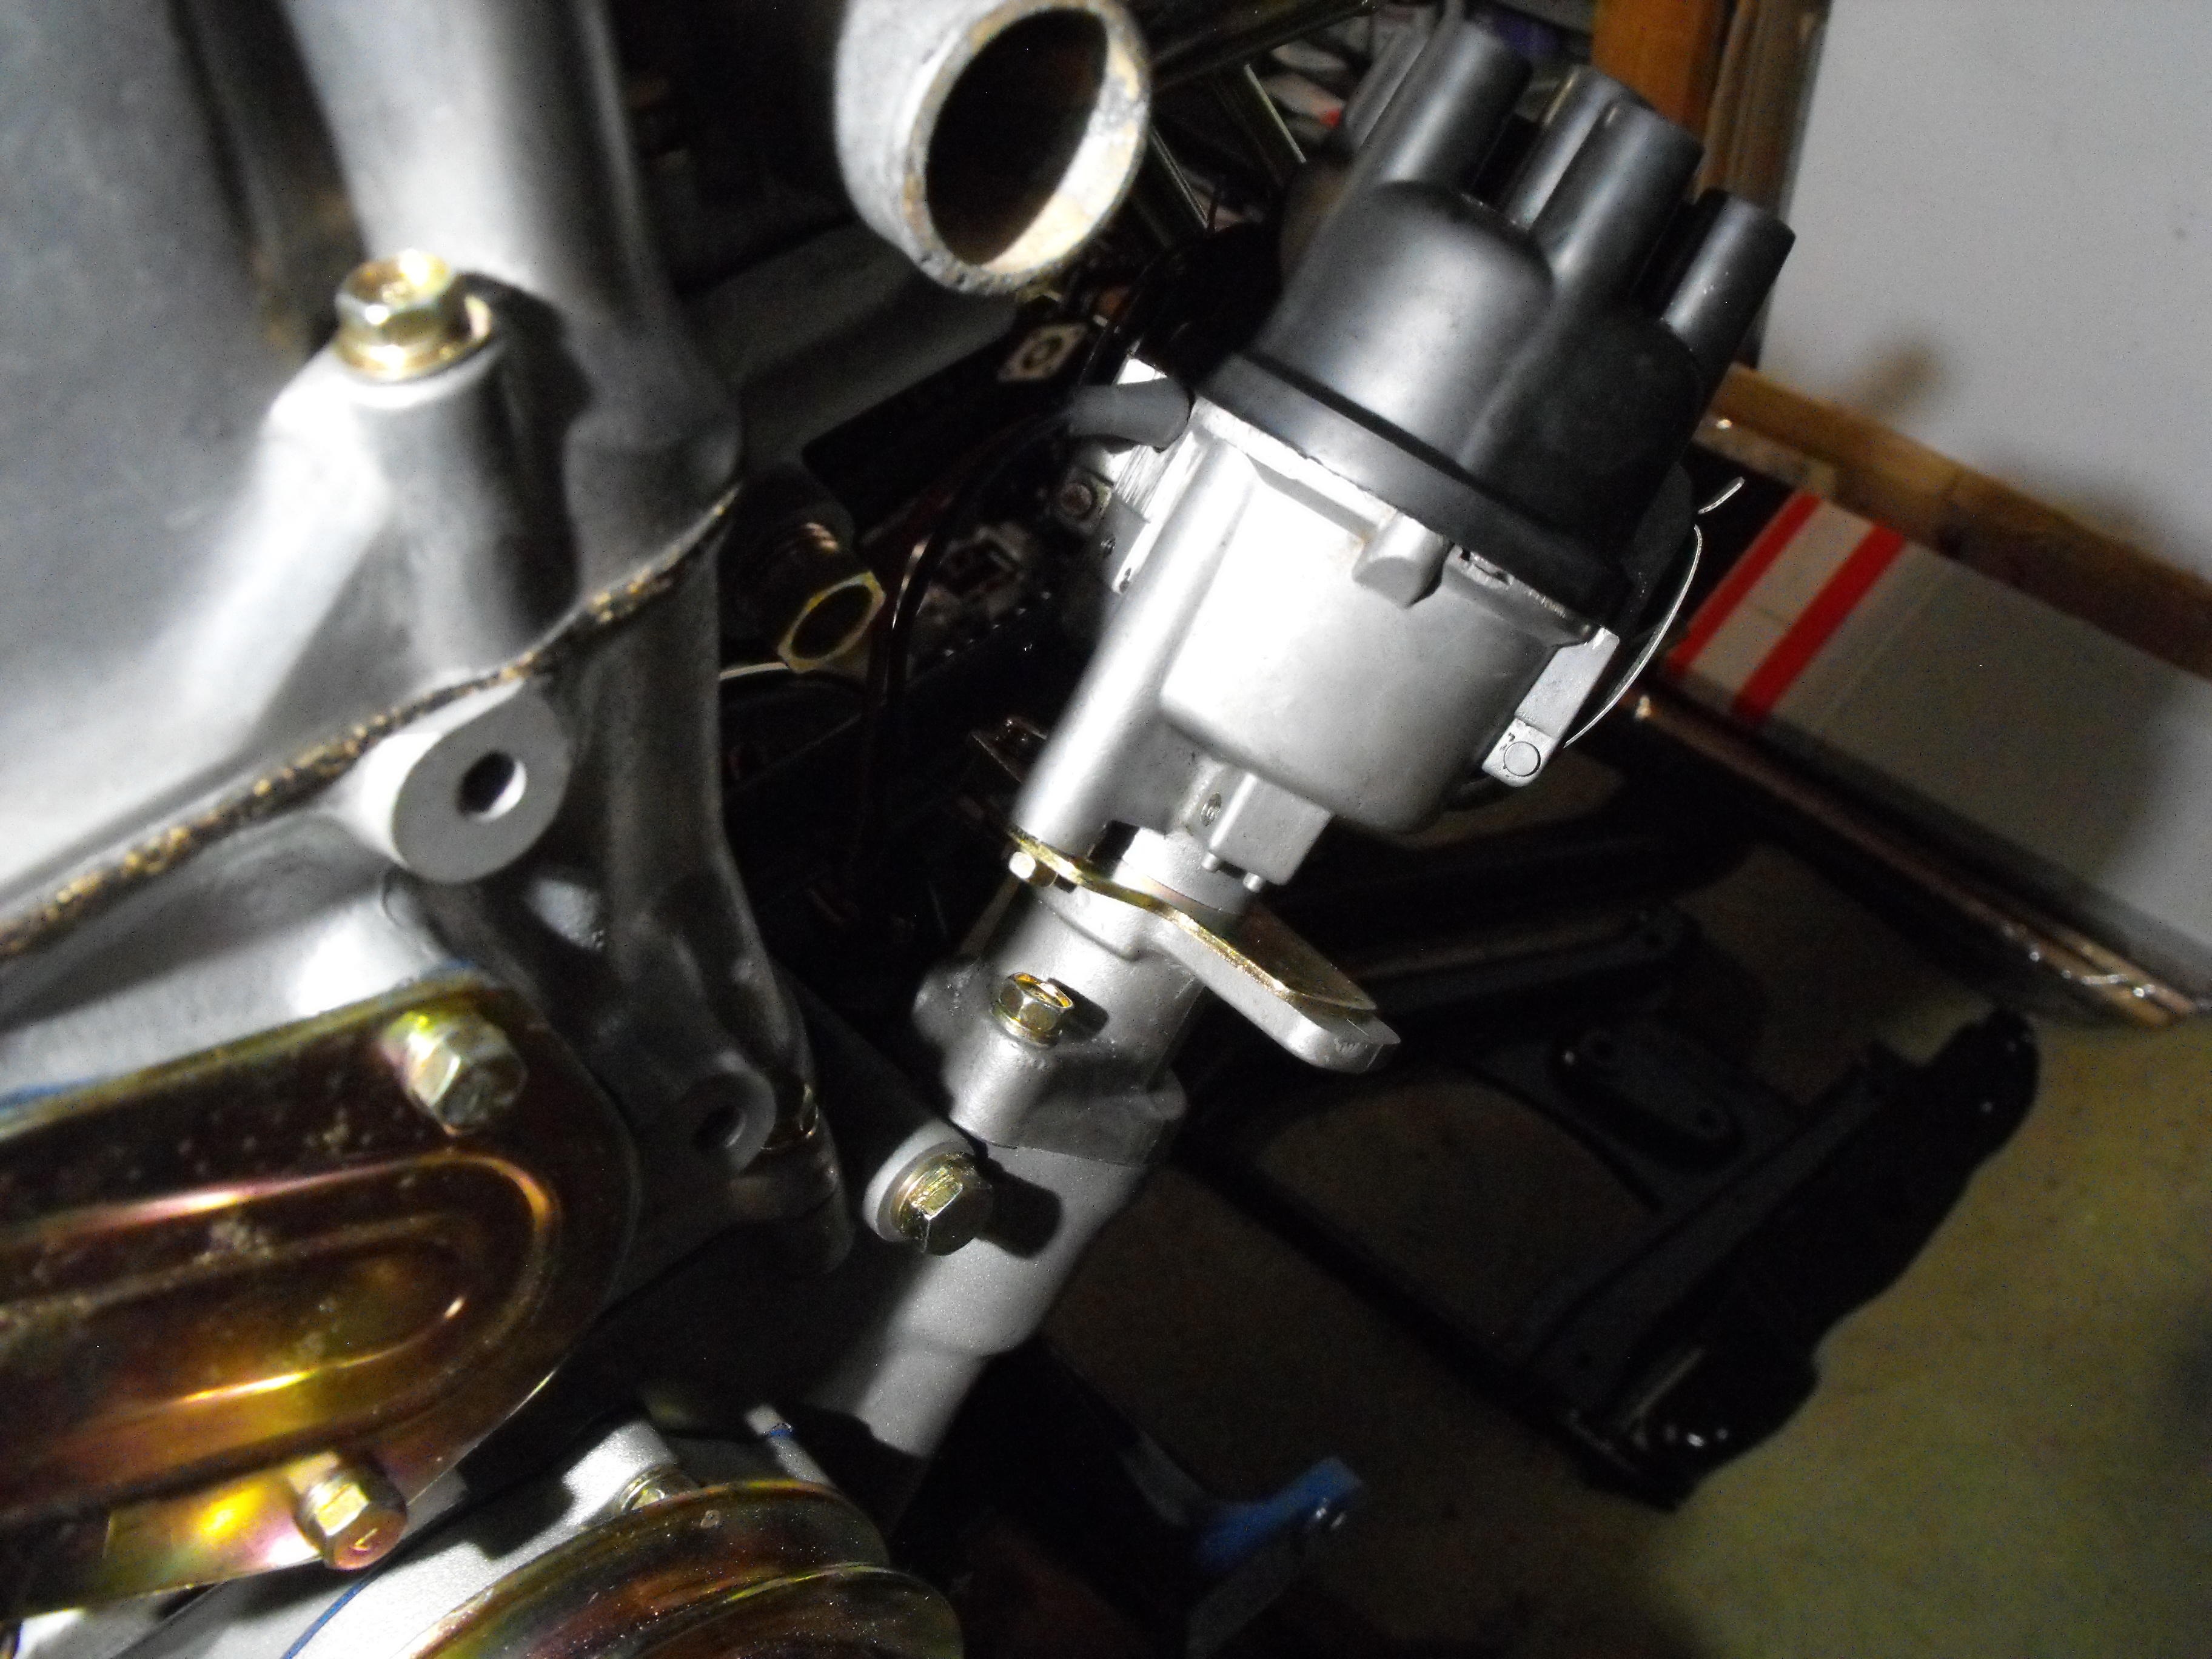
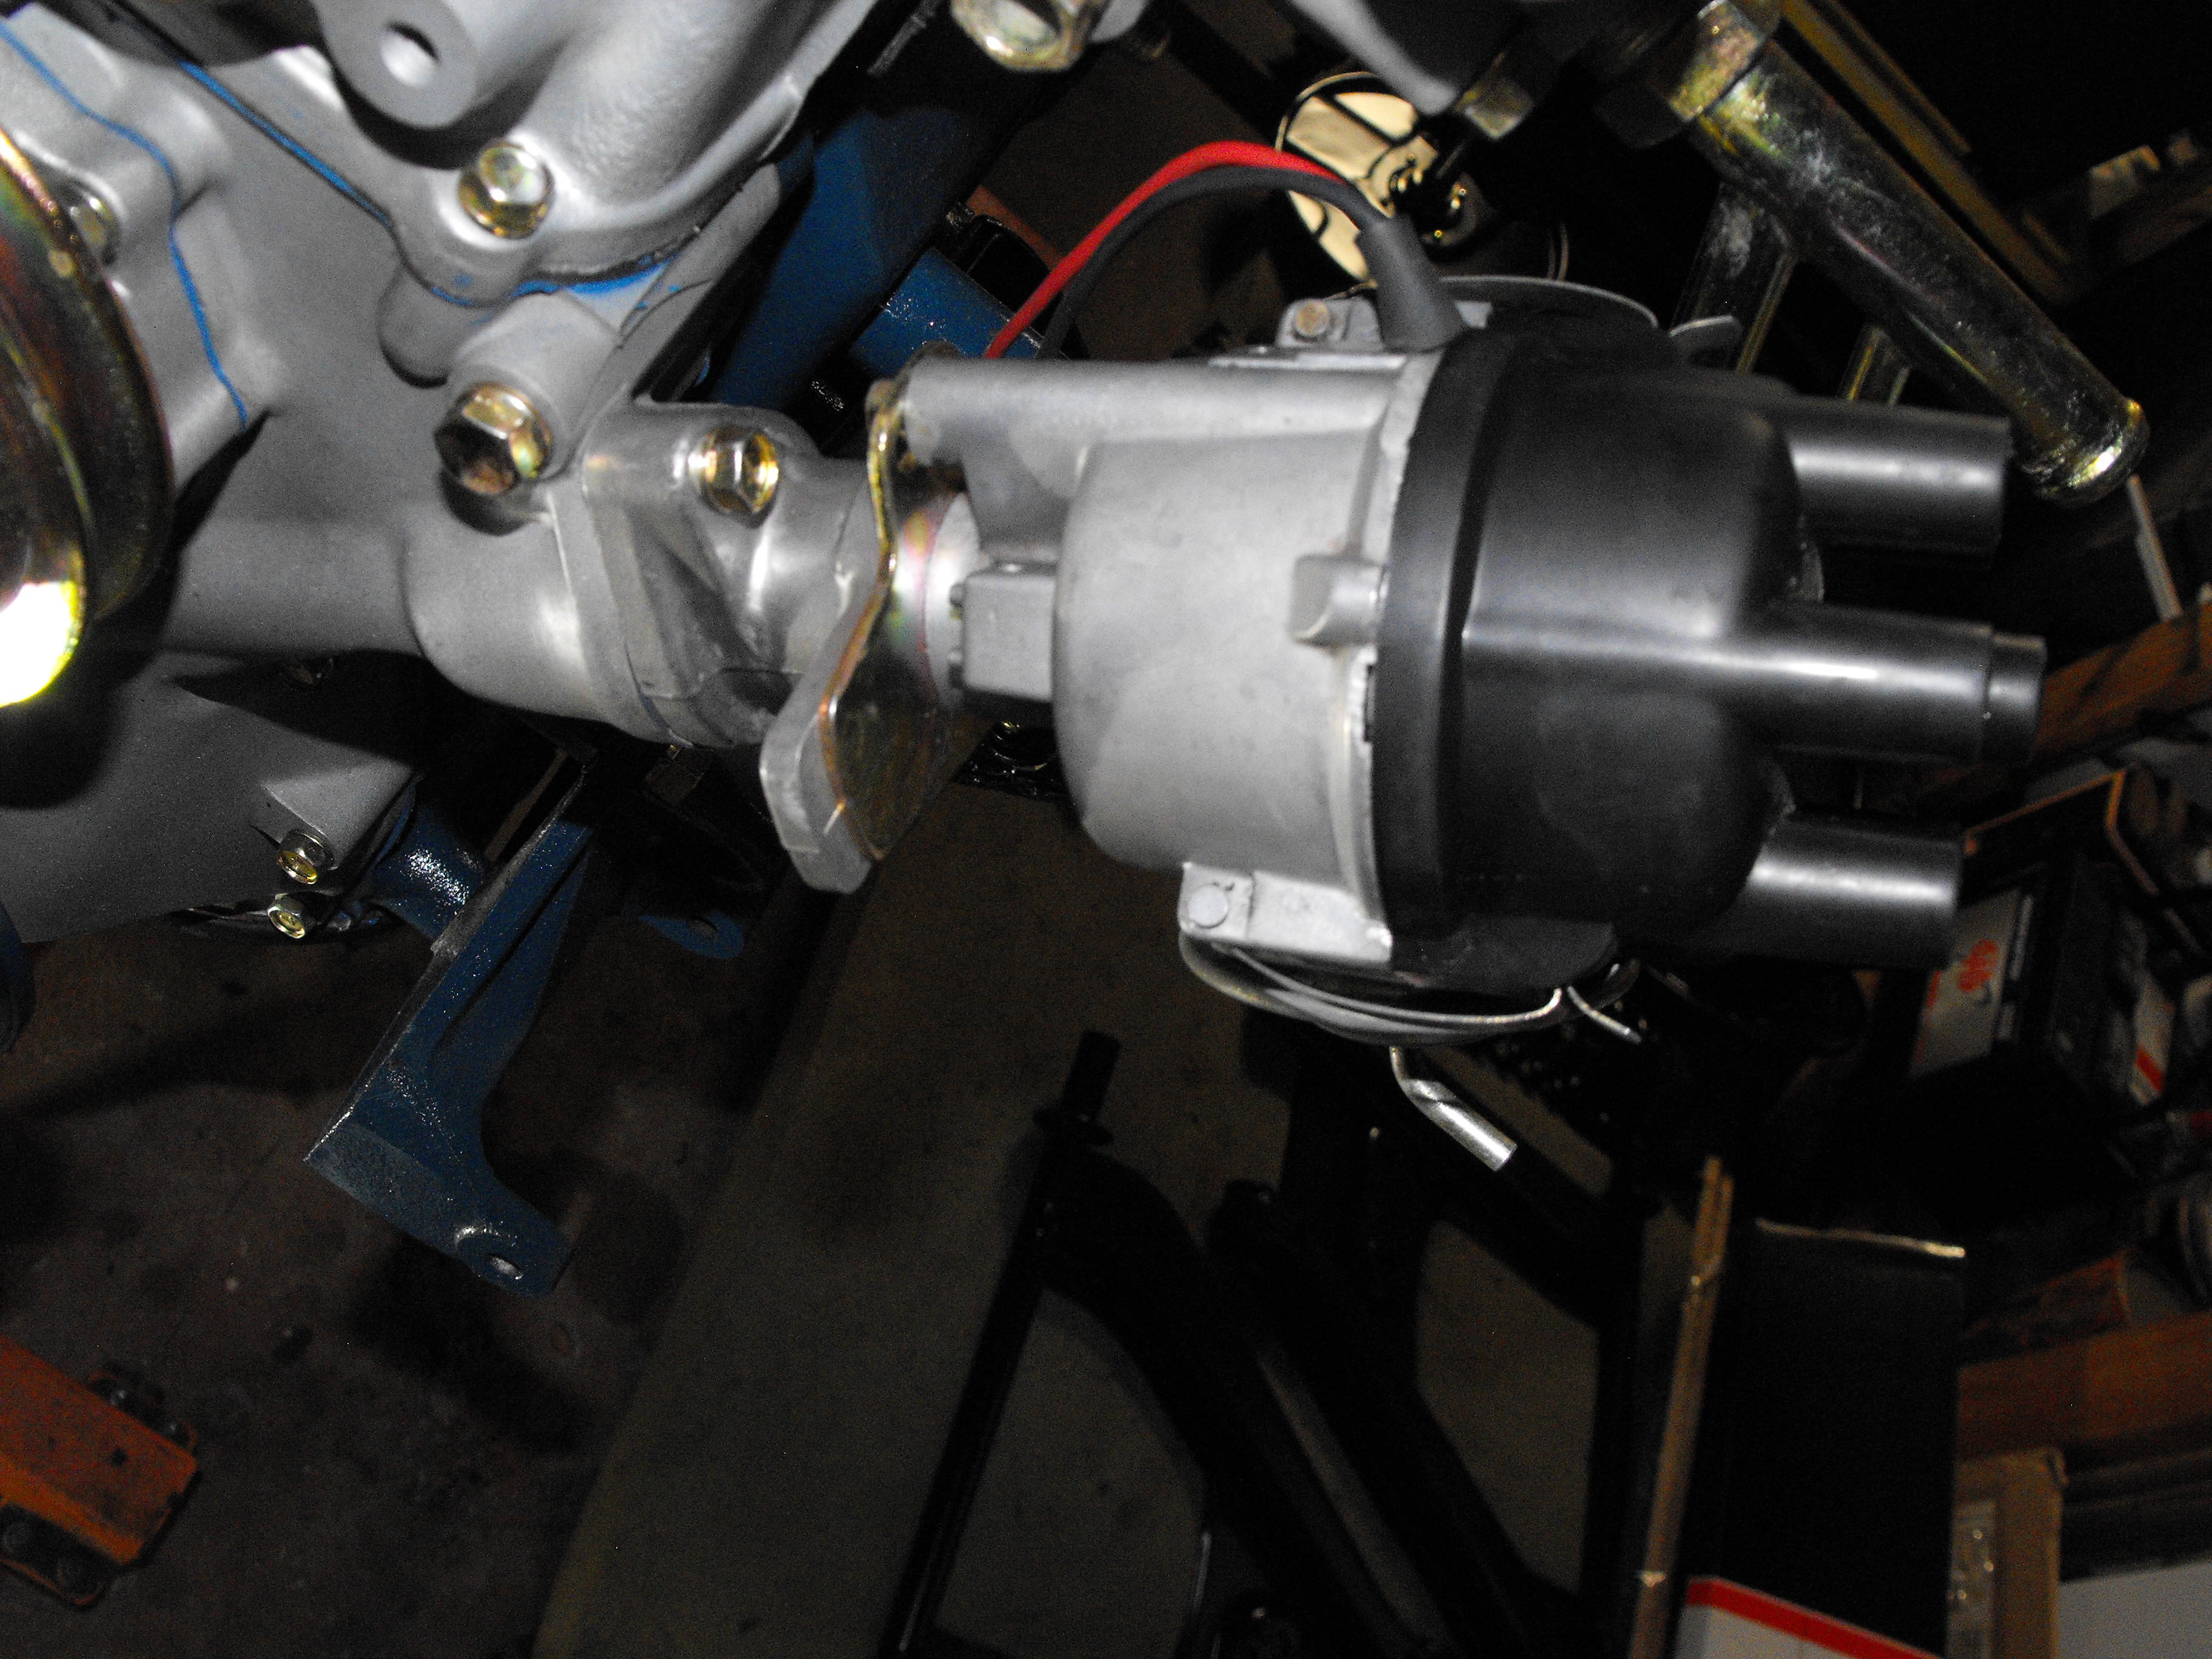
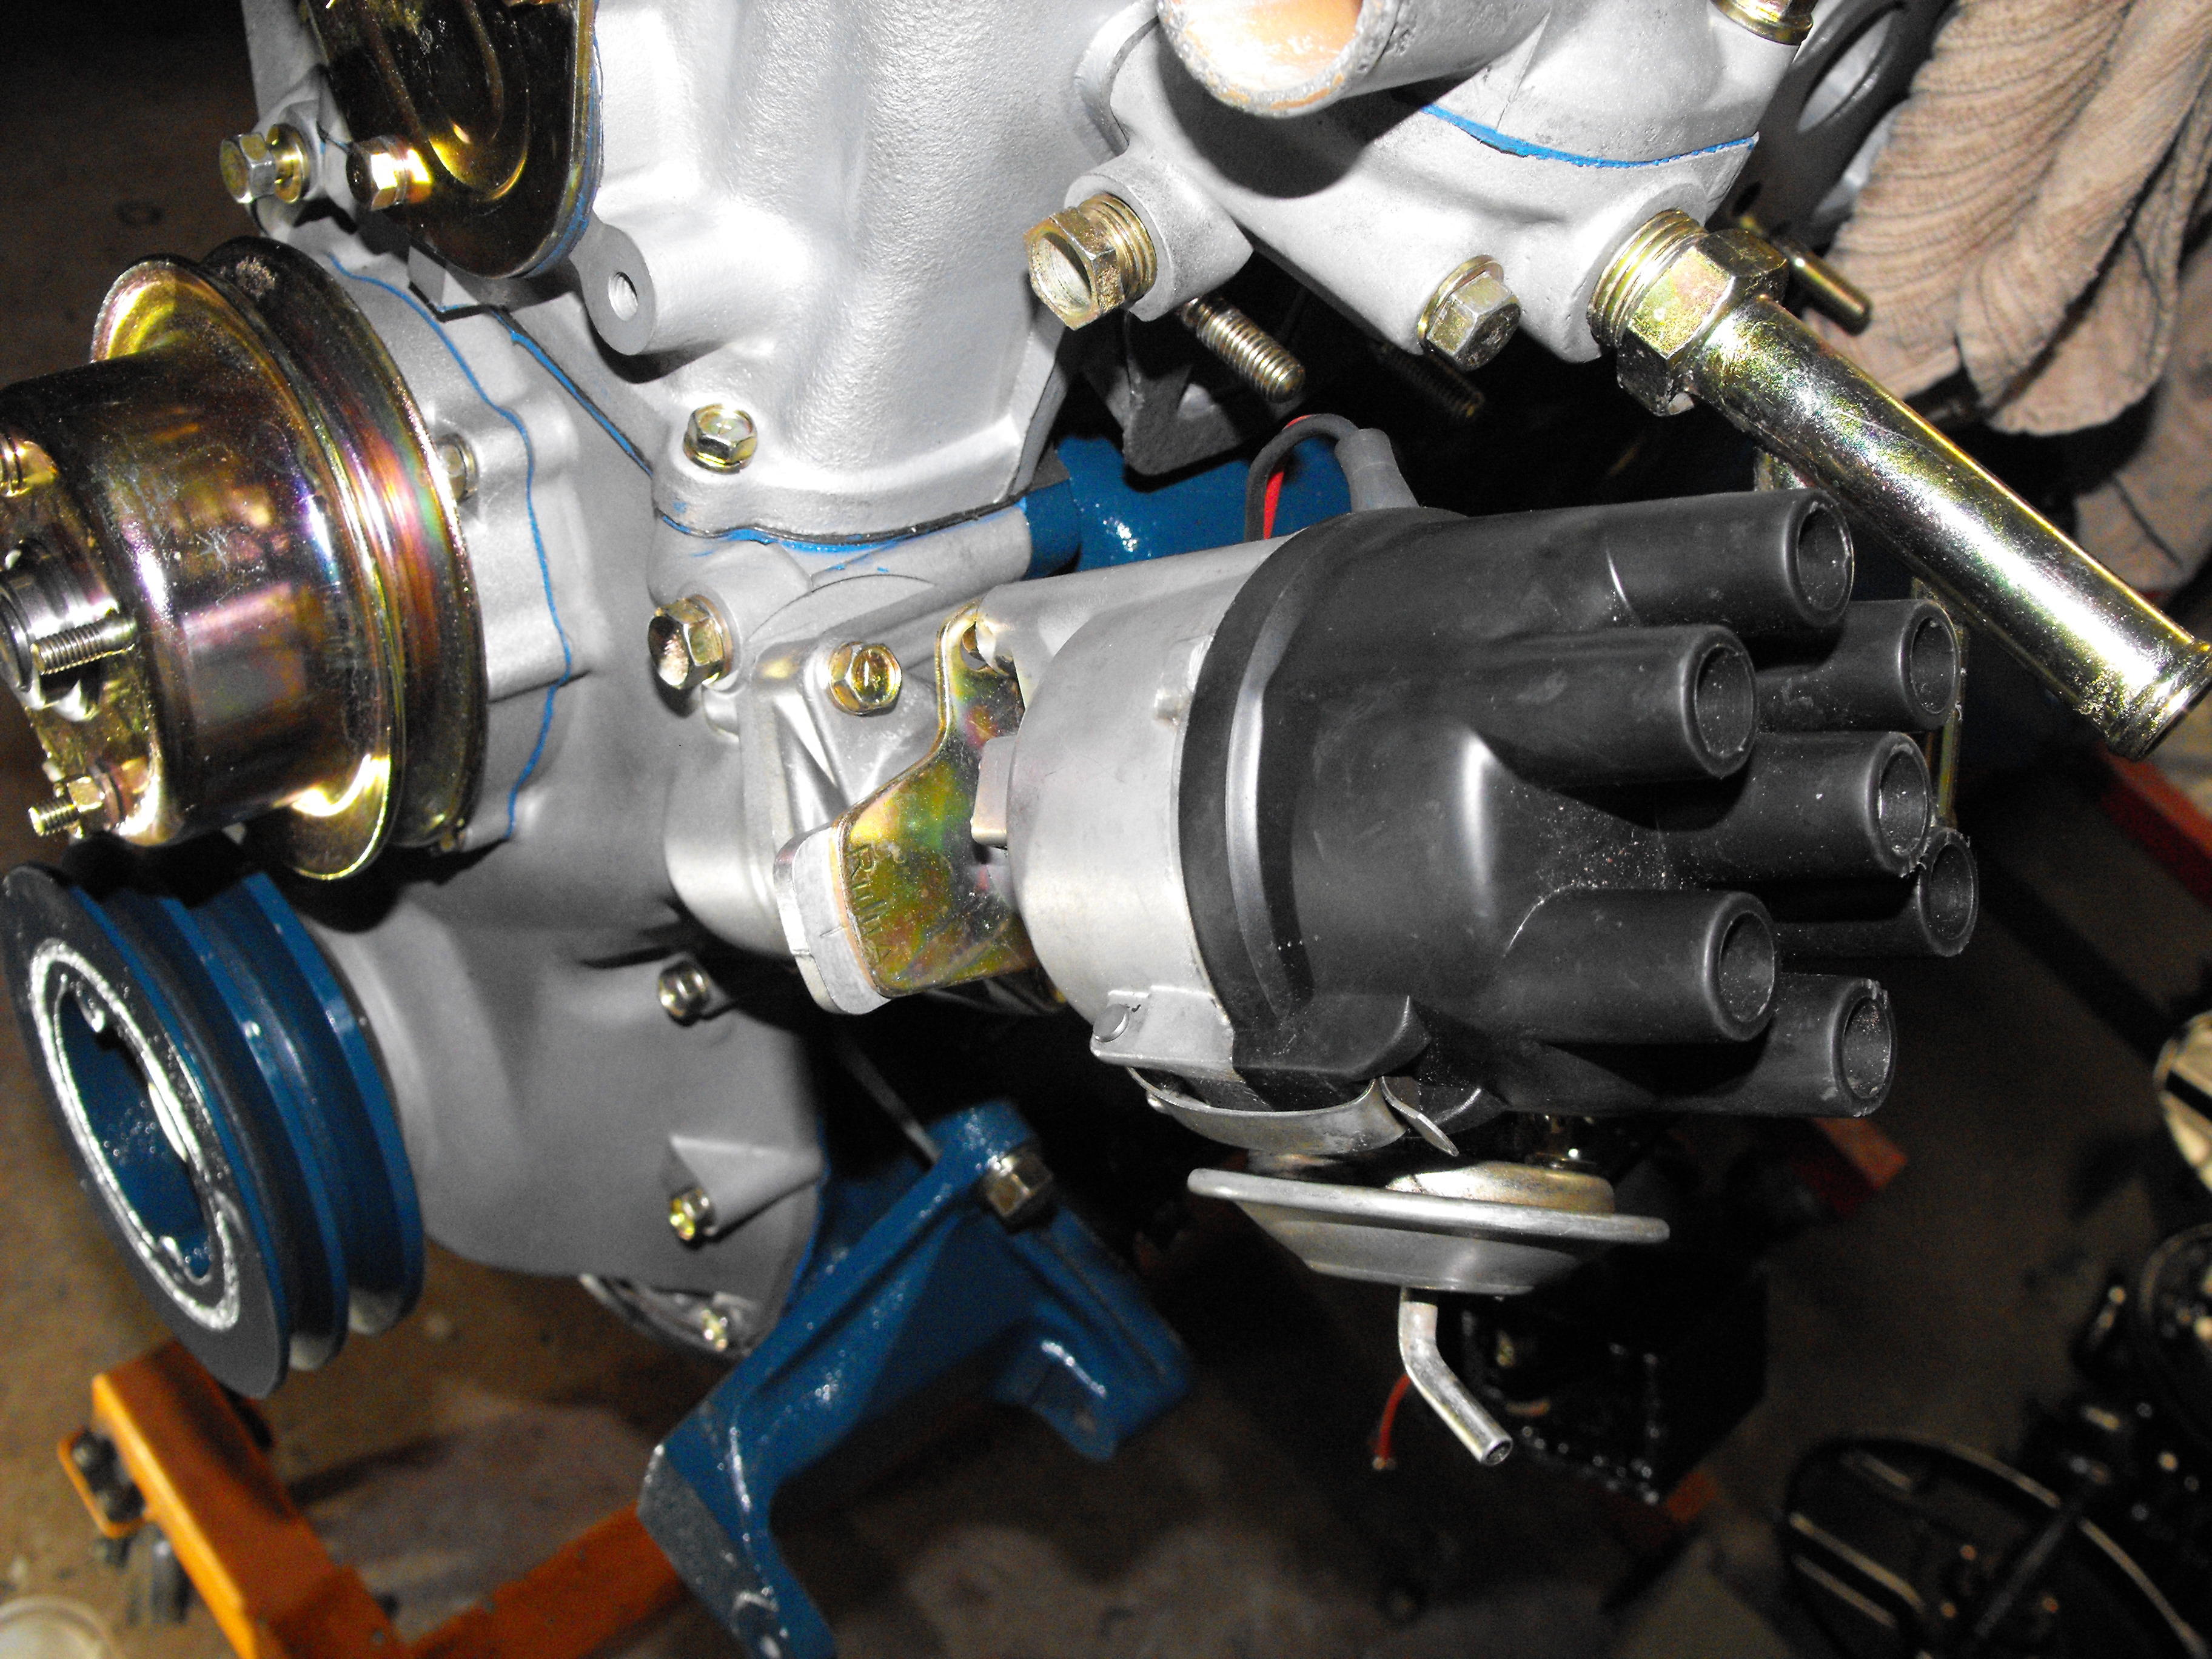
The weather here has been a bit cold and rainy, so haven't done much on the car this last week. Plus with the Holidays, it was nice to take a break and enjoy time with family. Cleaned up the distributor and installed that. We should have a bit of sunshine this weekend, so hopefully can get some more stuff cleaned up.


-
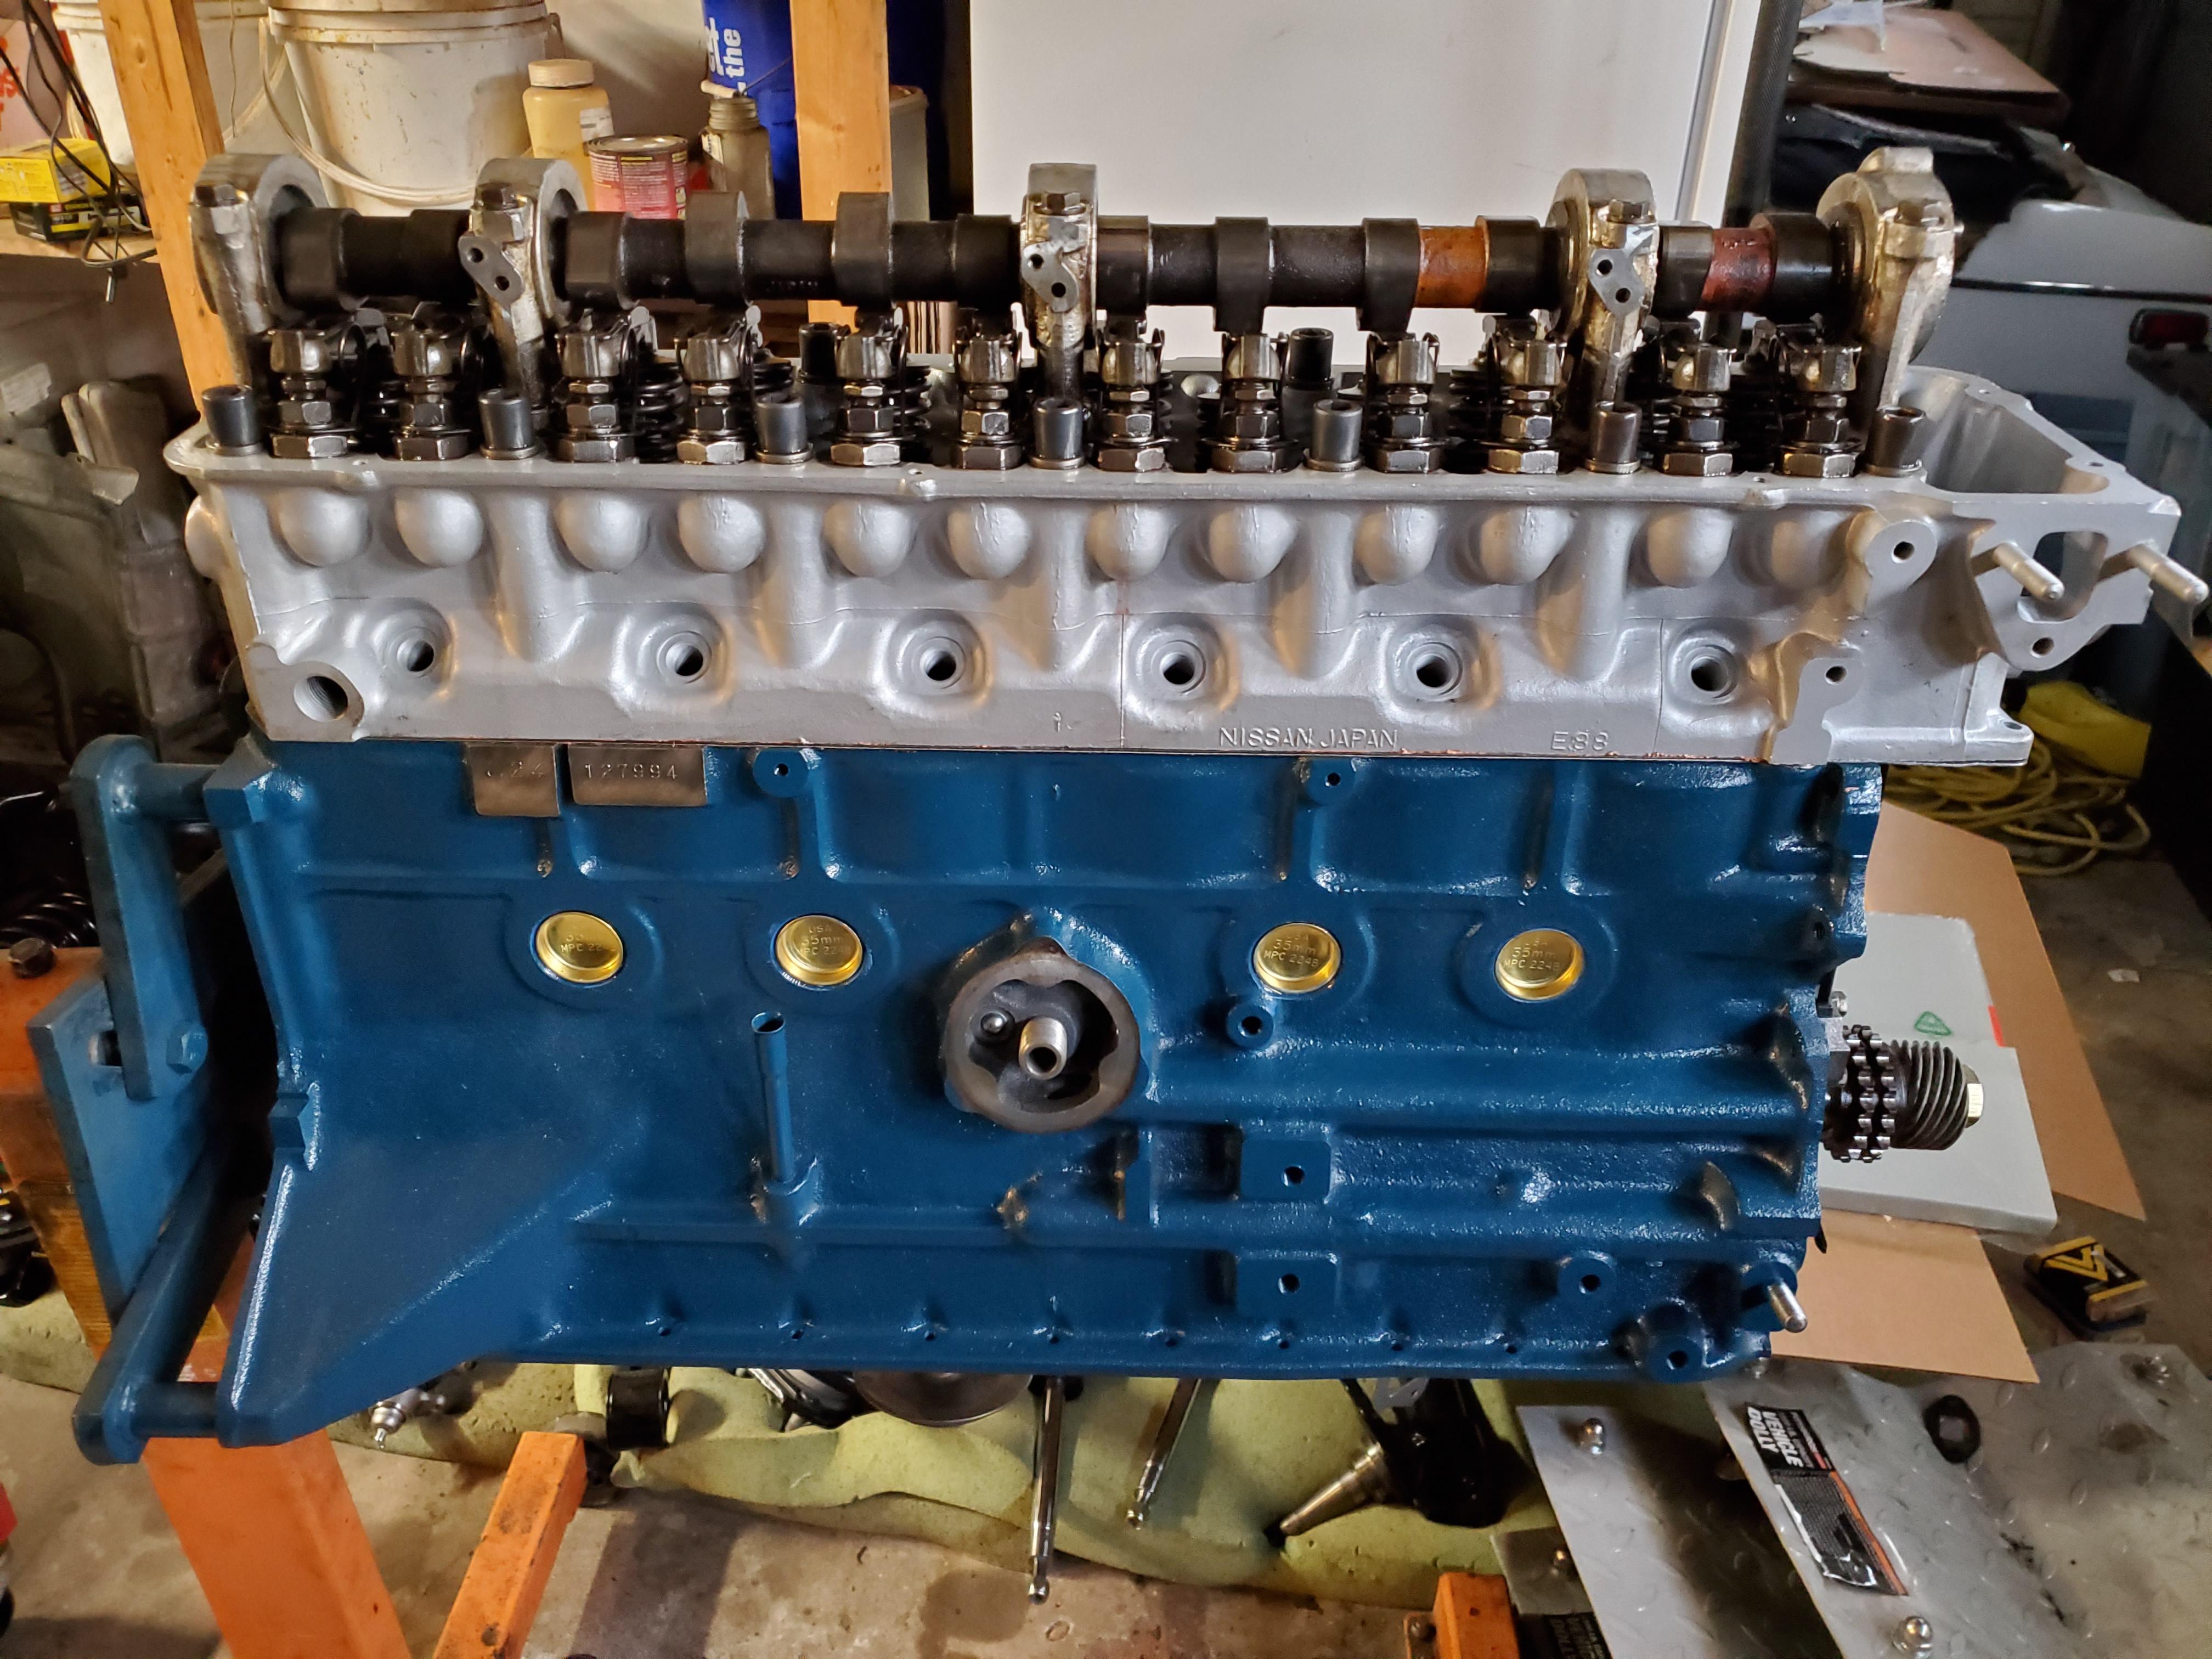
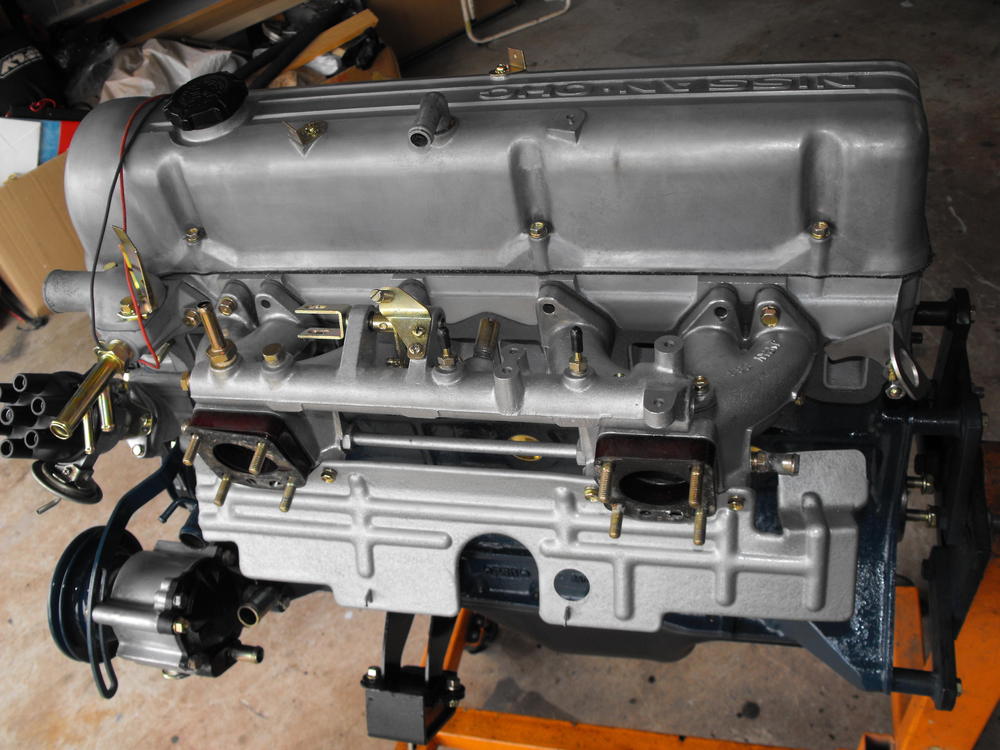
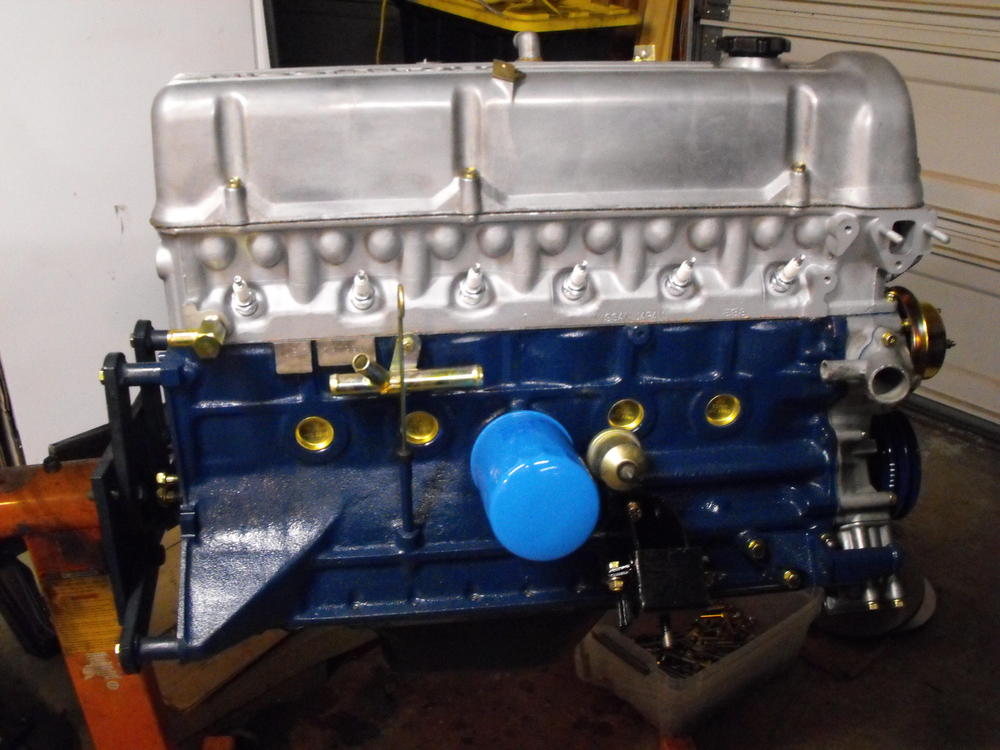
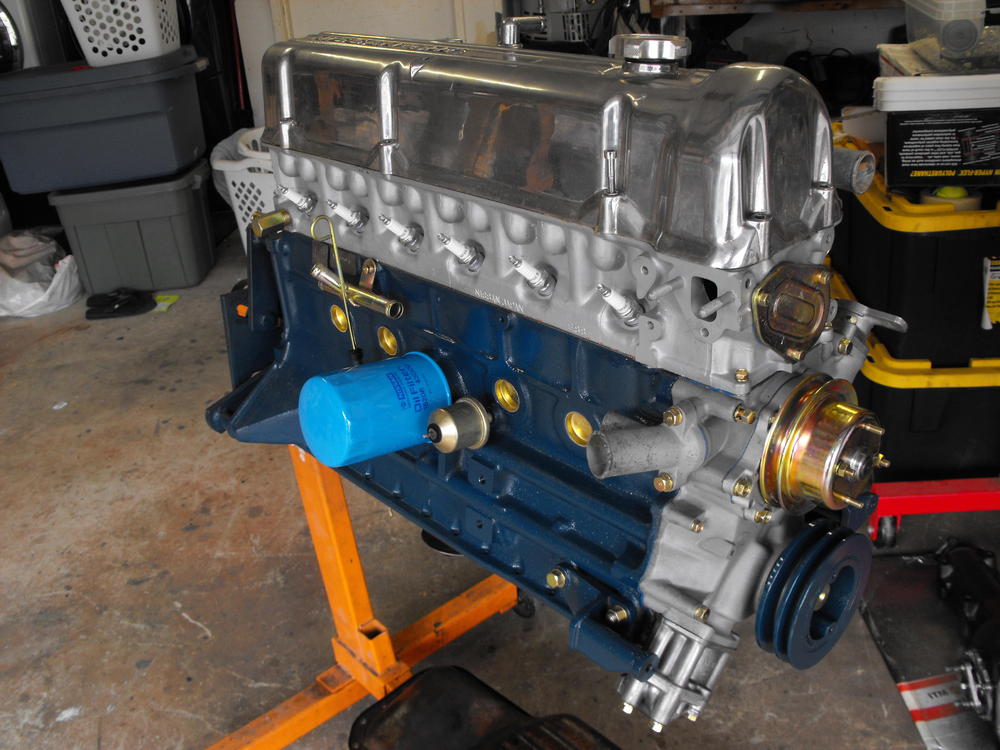
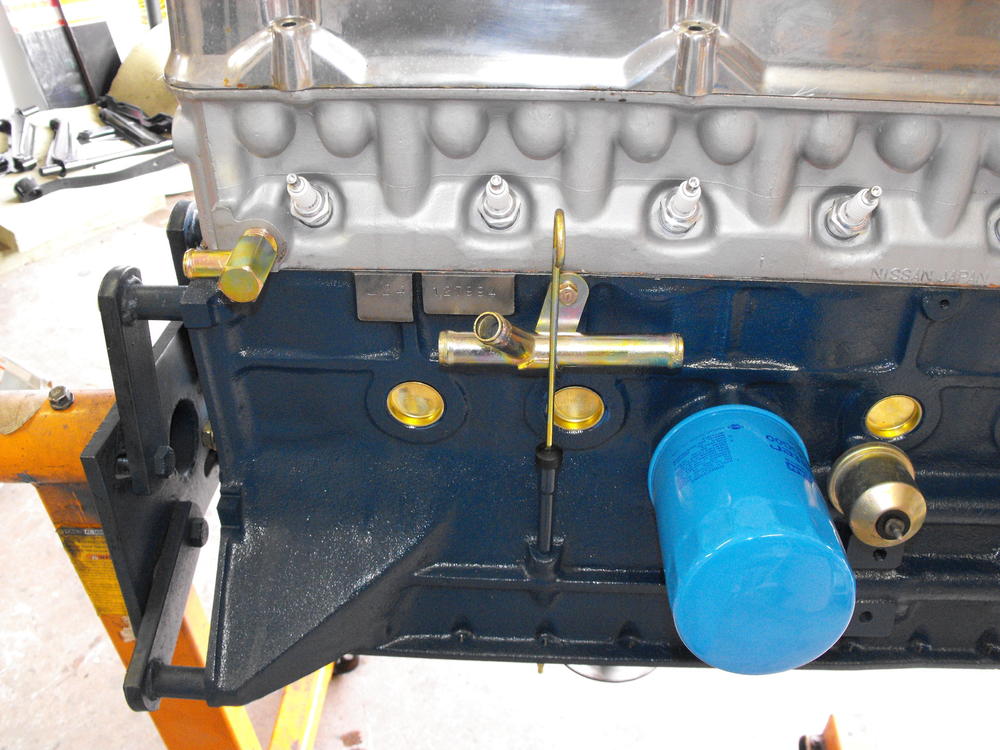
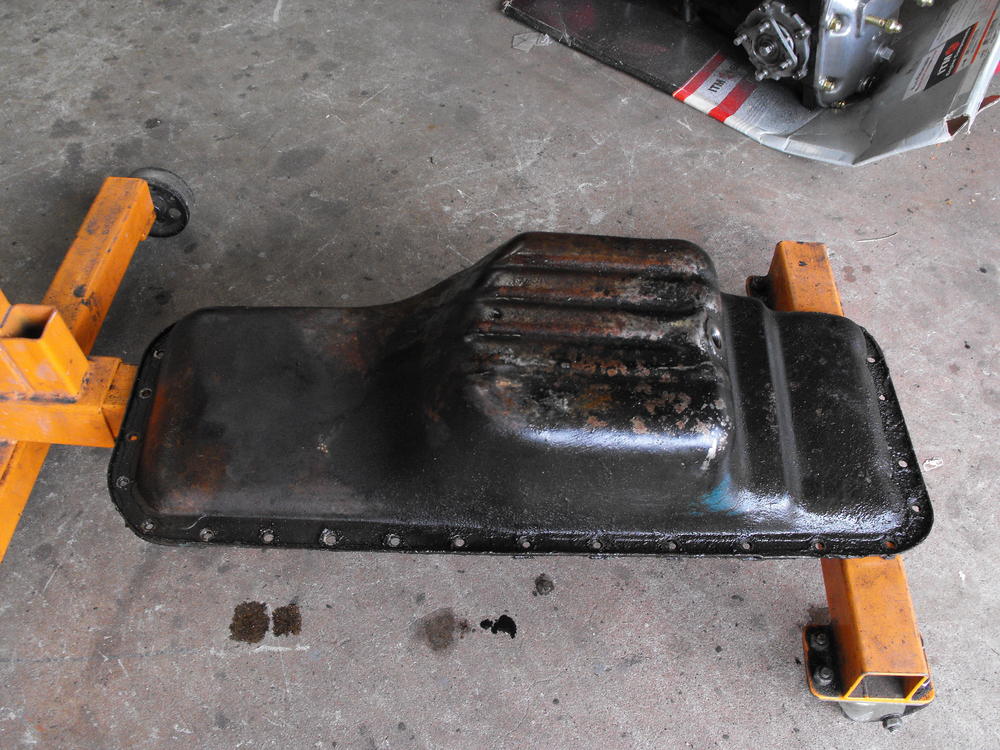
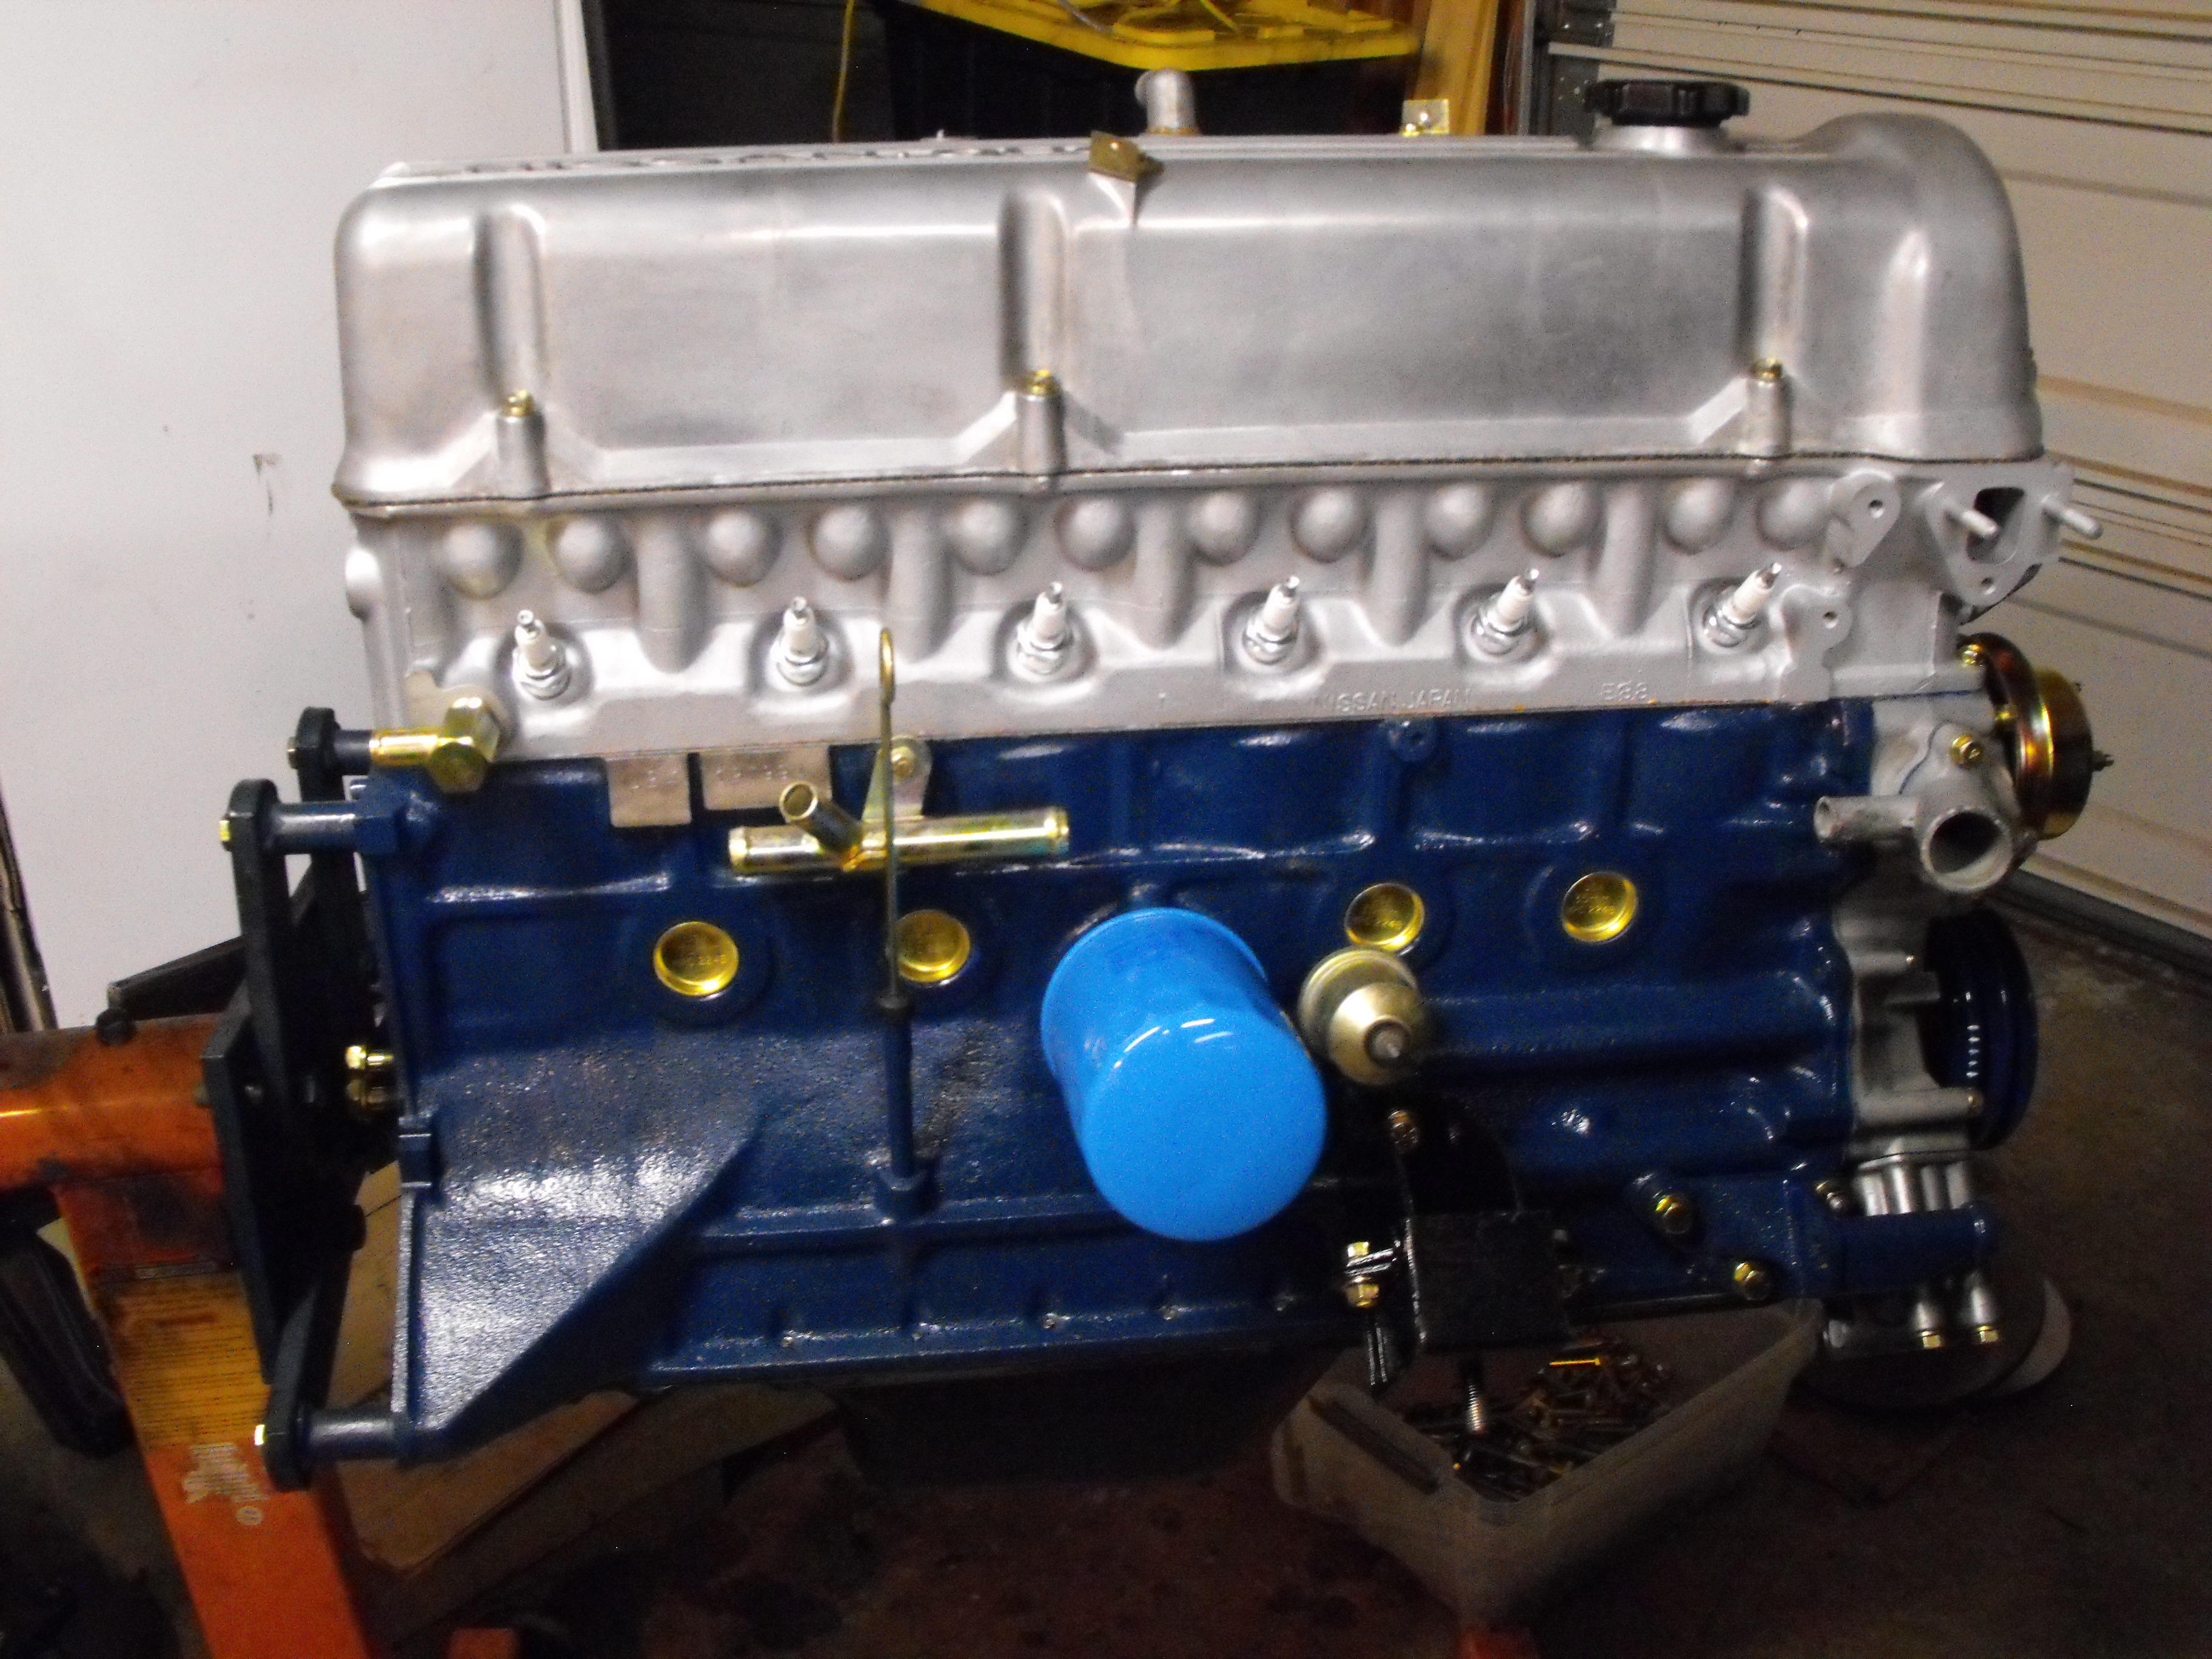
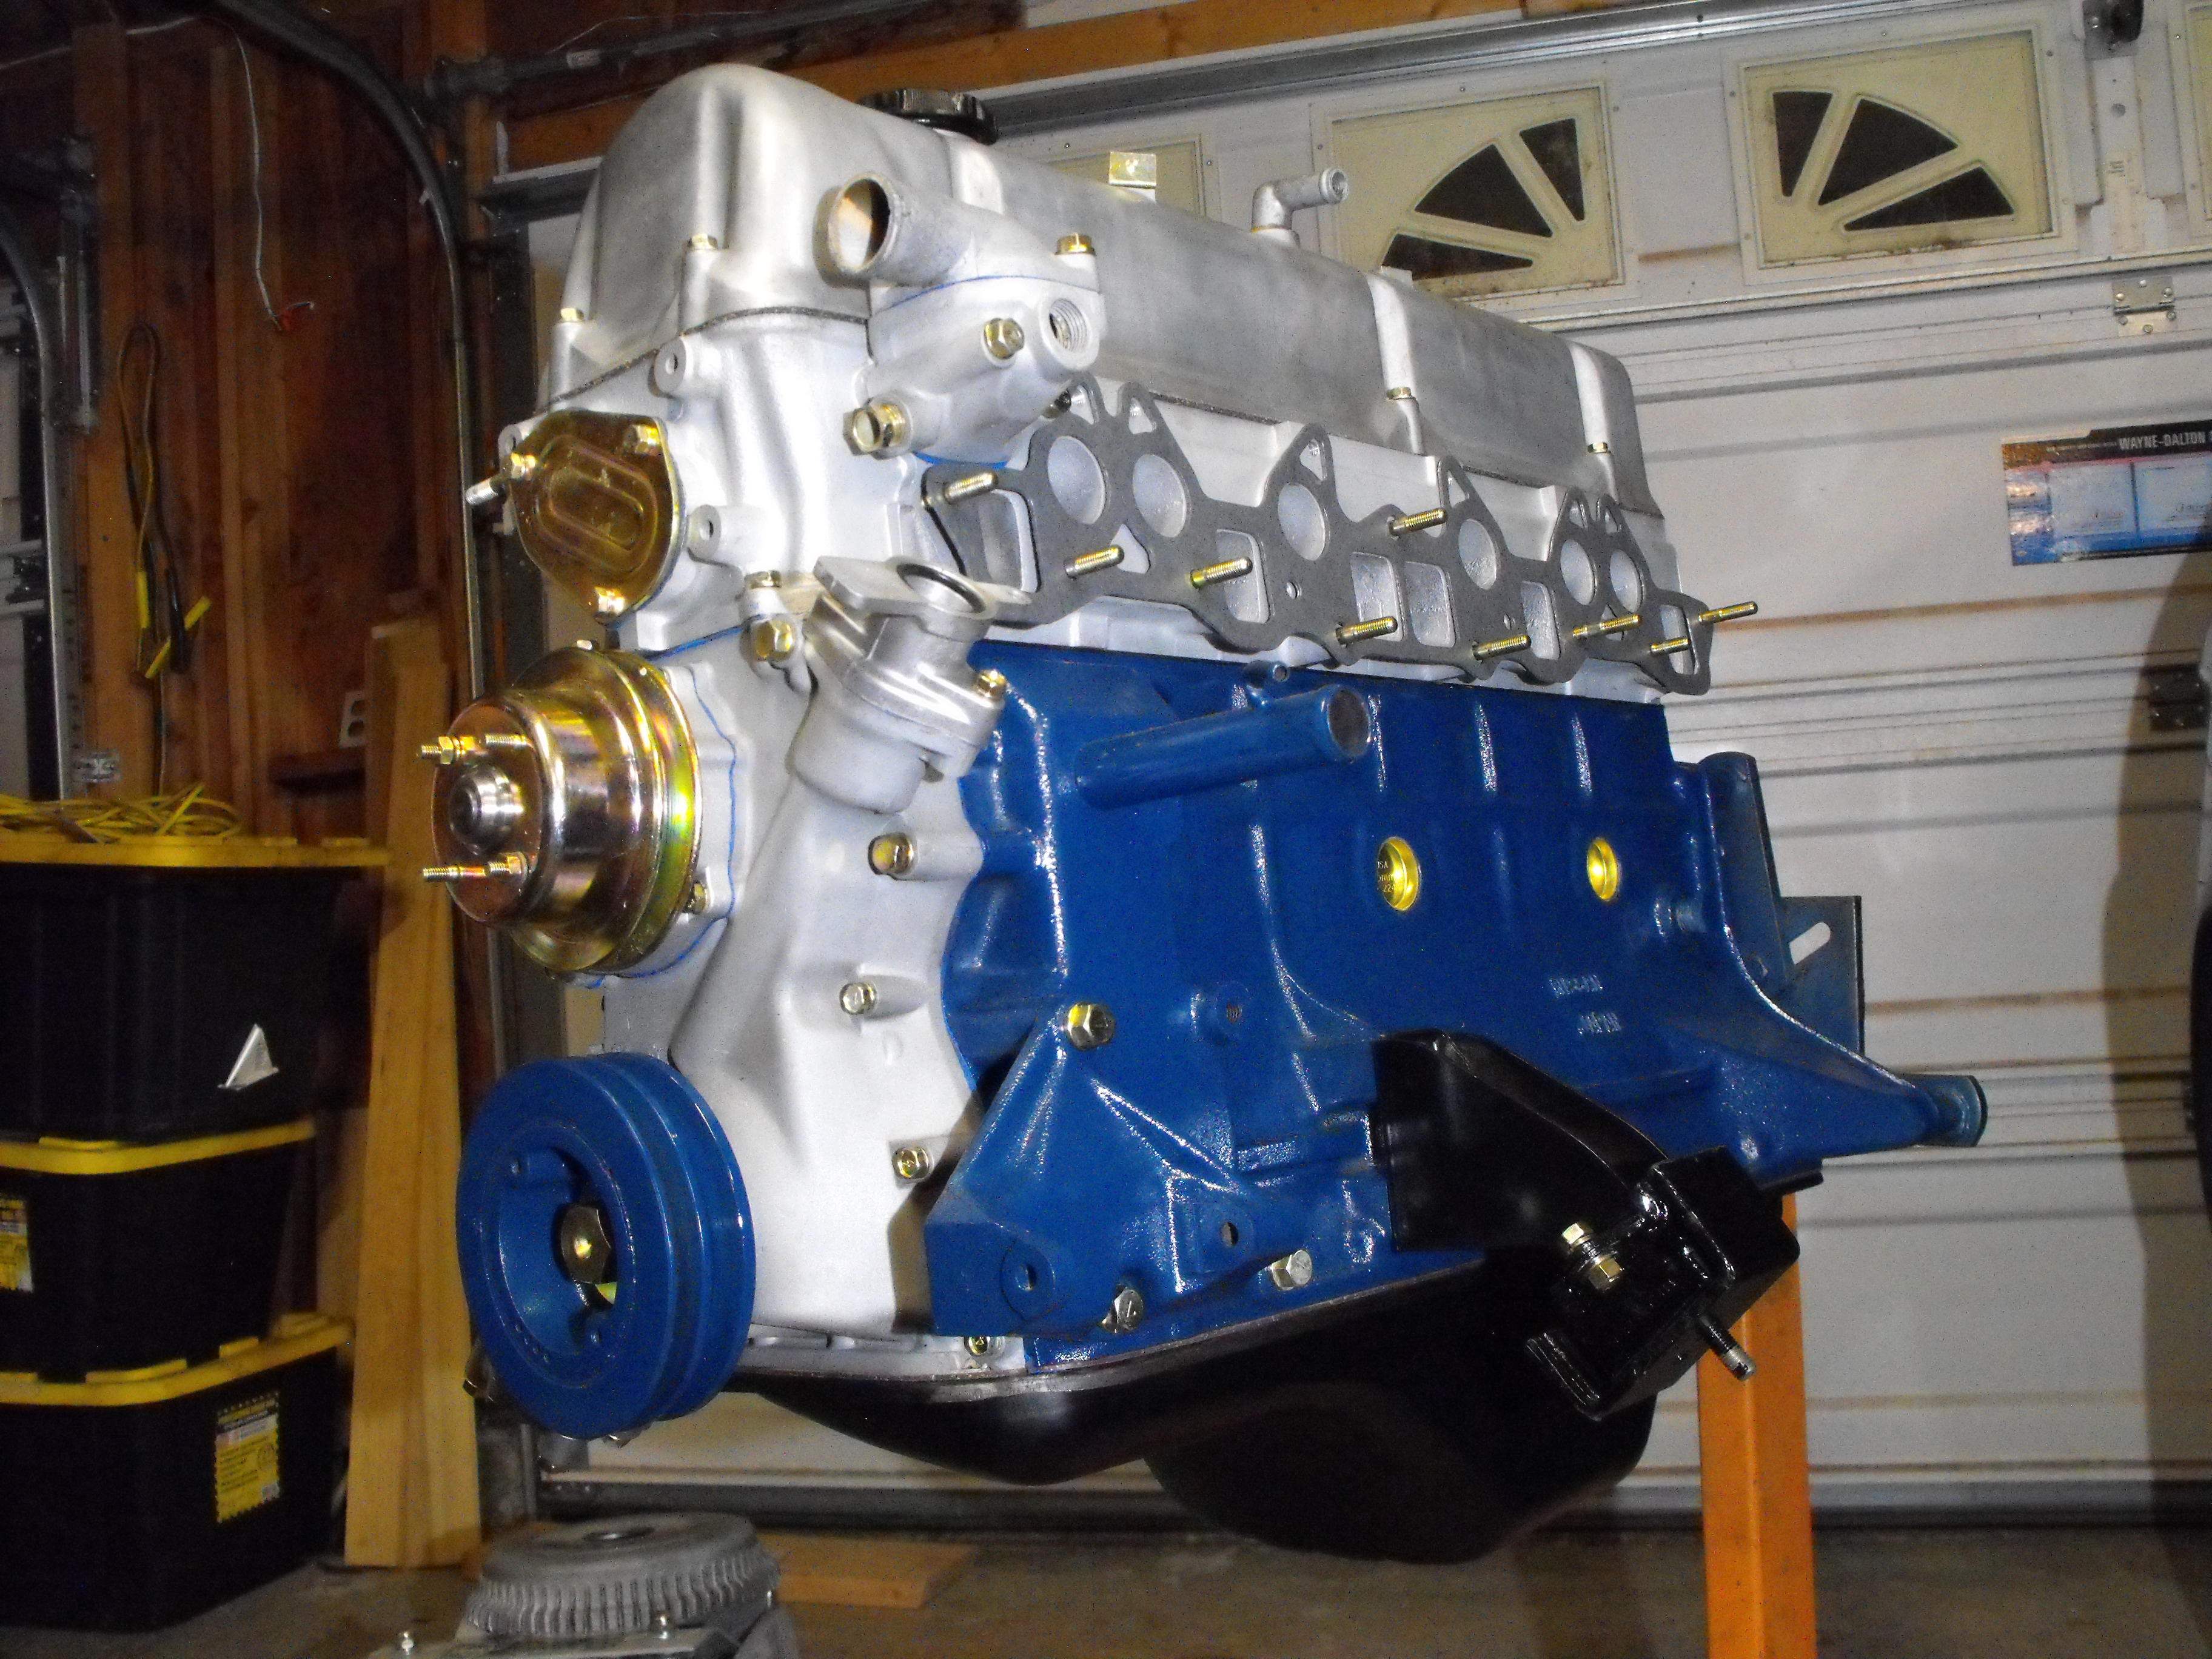
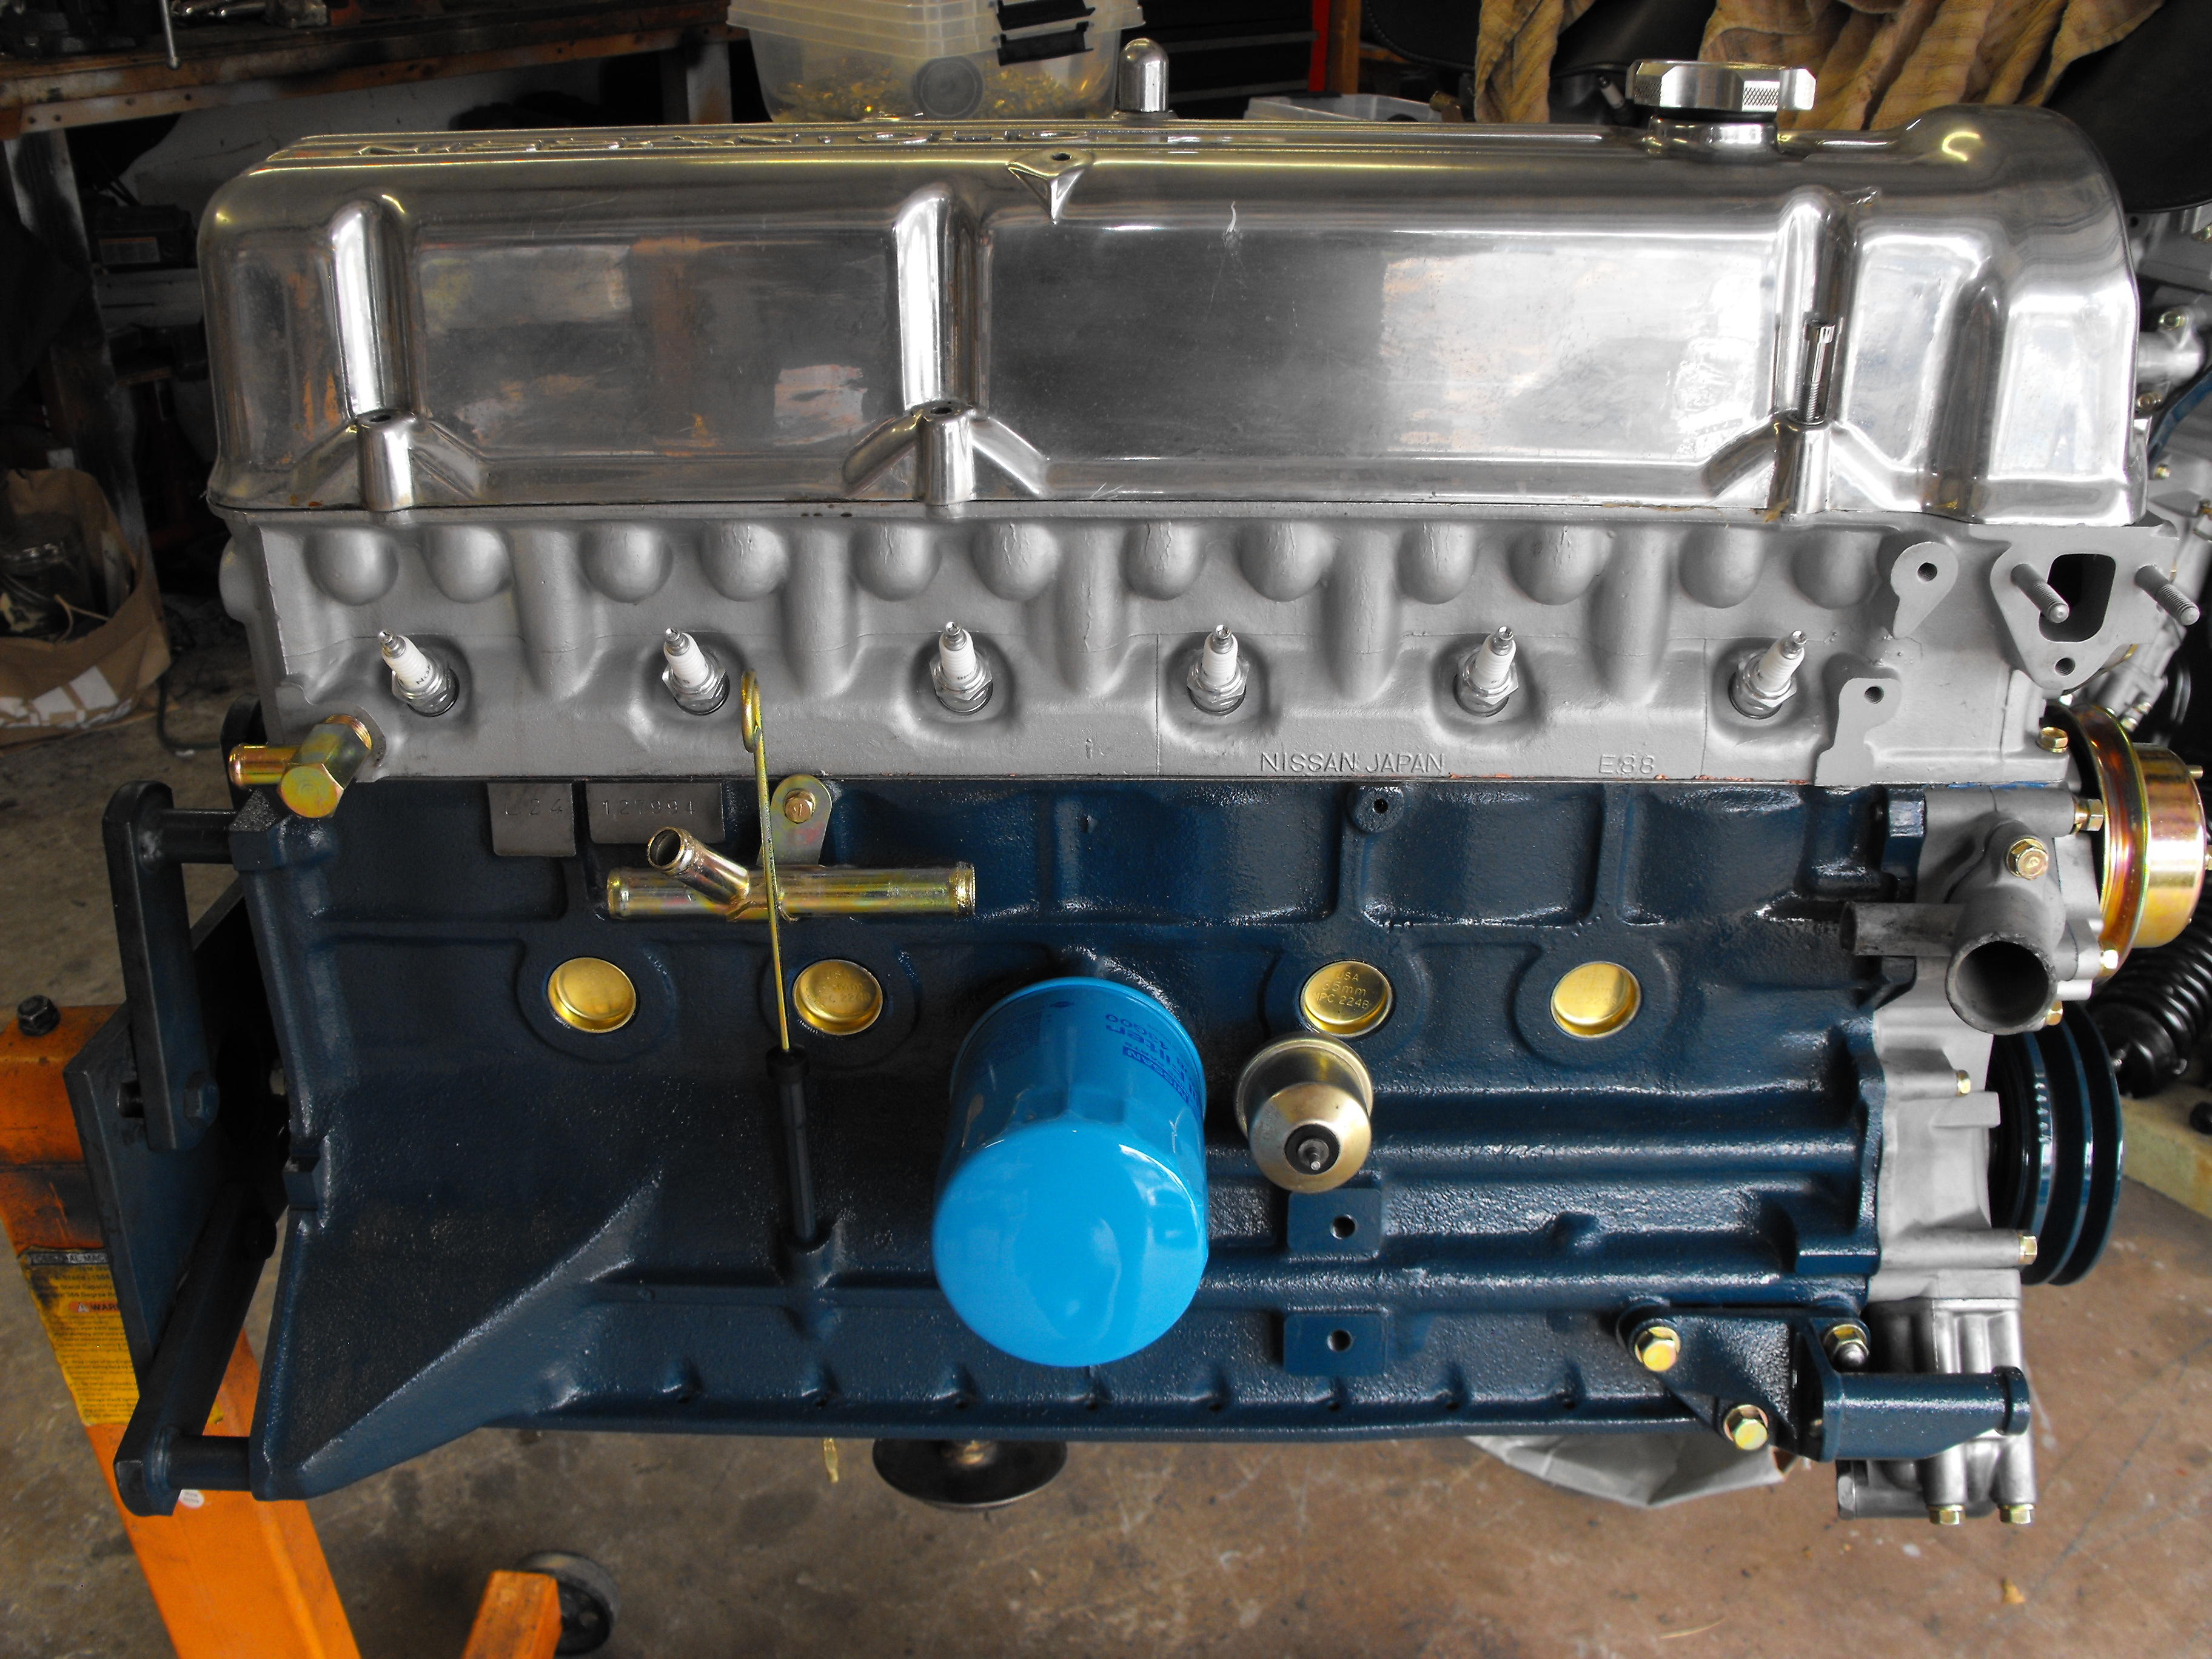
Thanks! Here are a couple more engine shots. Got the oil pan cleaned up and installed, adjusted the valves and buttoned her up with a nice stock valve cover. Will get back to the suspension and brakes here. Drums and rotors are back from the machine shop and ready to install after a little clean-uo


-
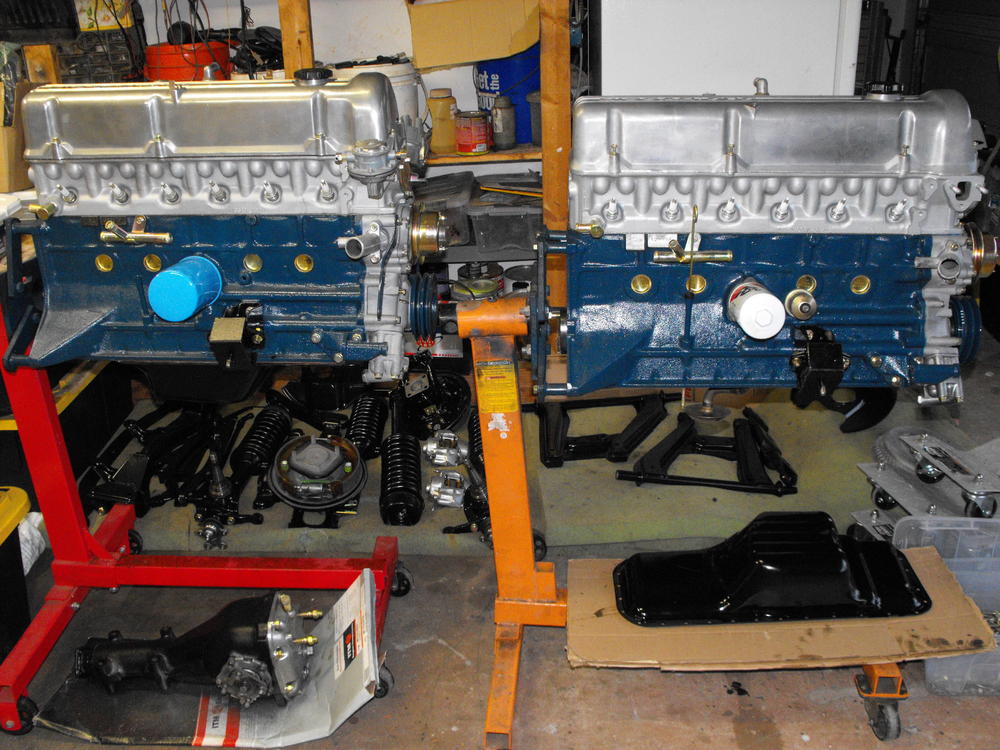
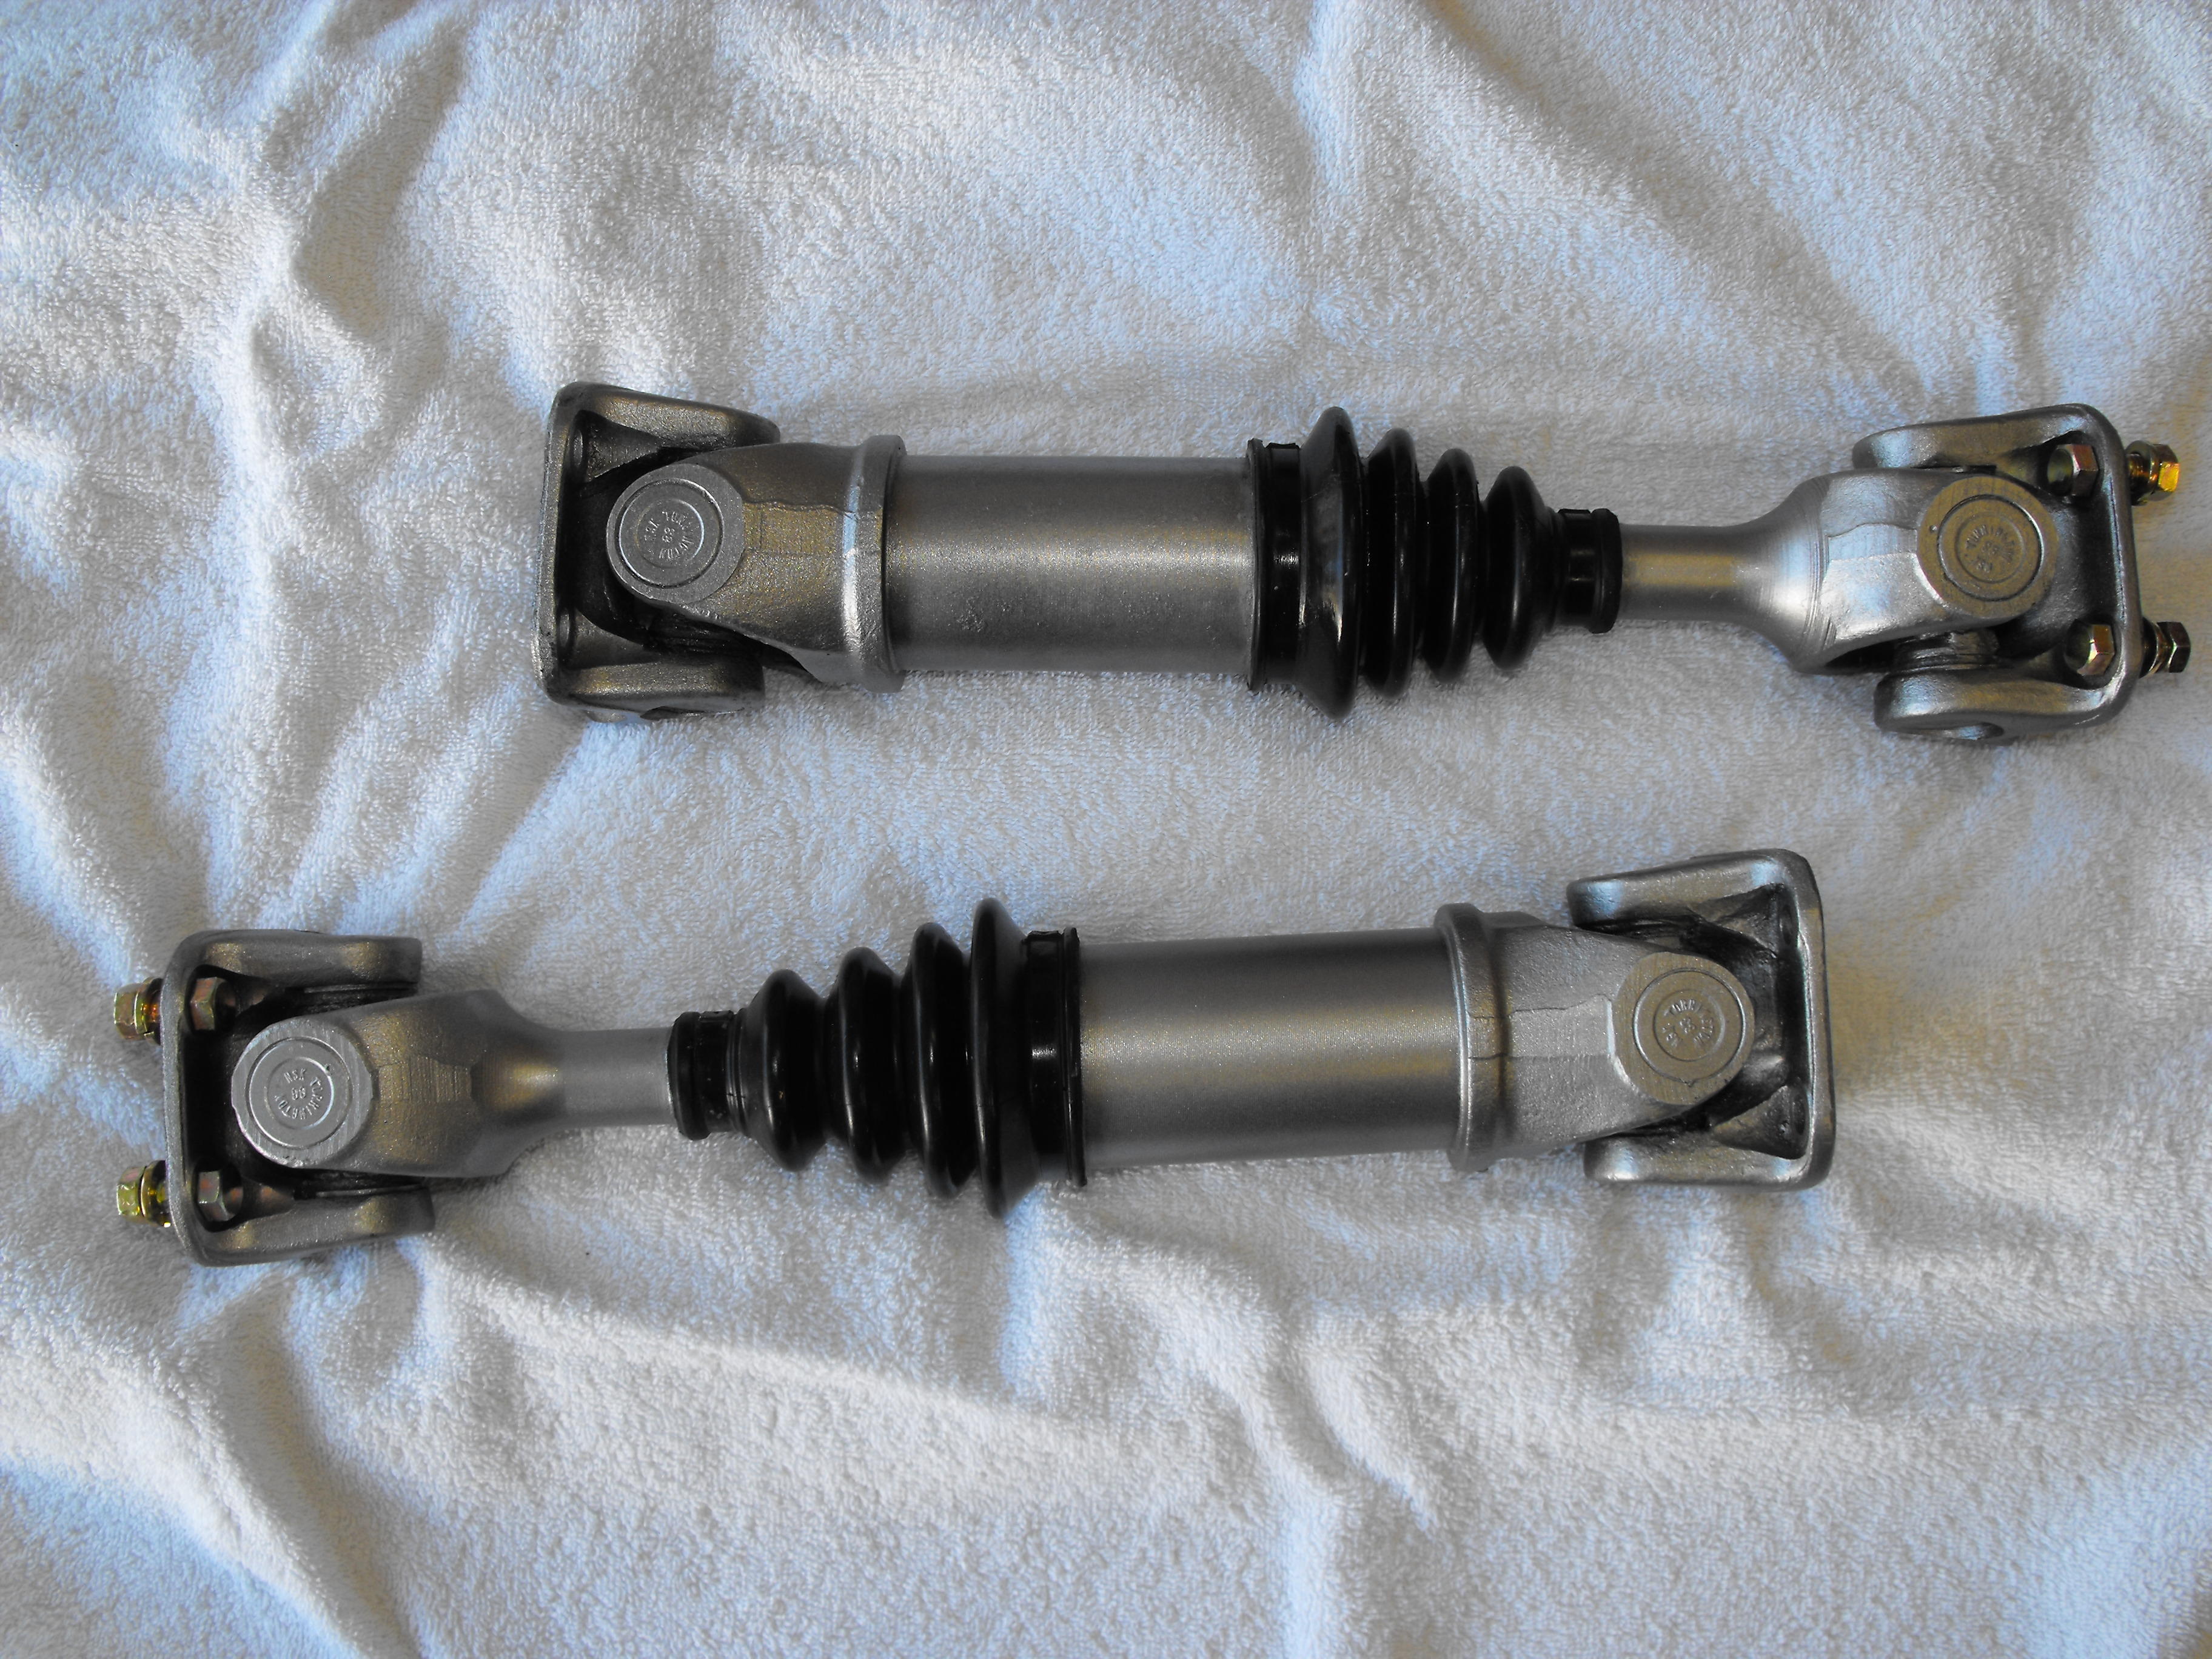
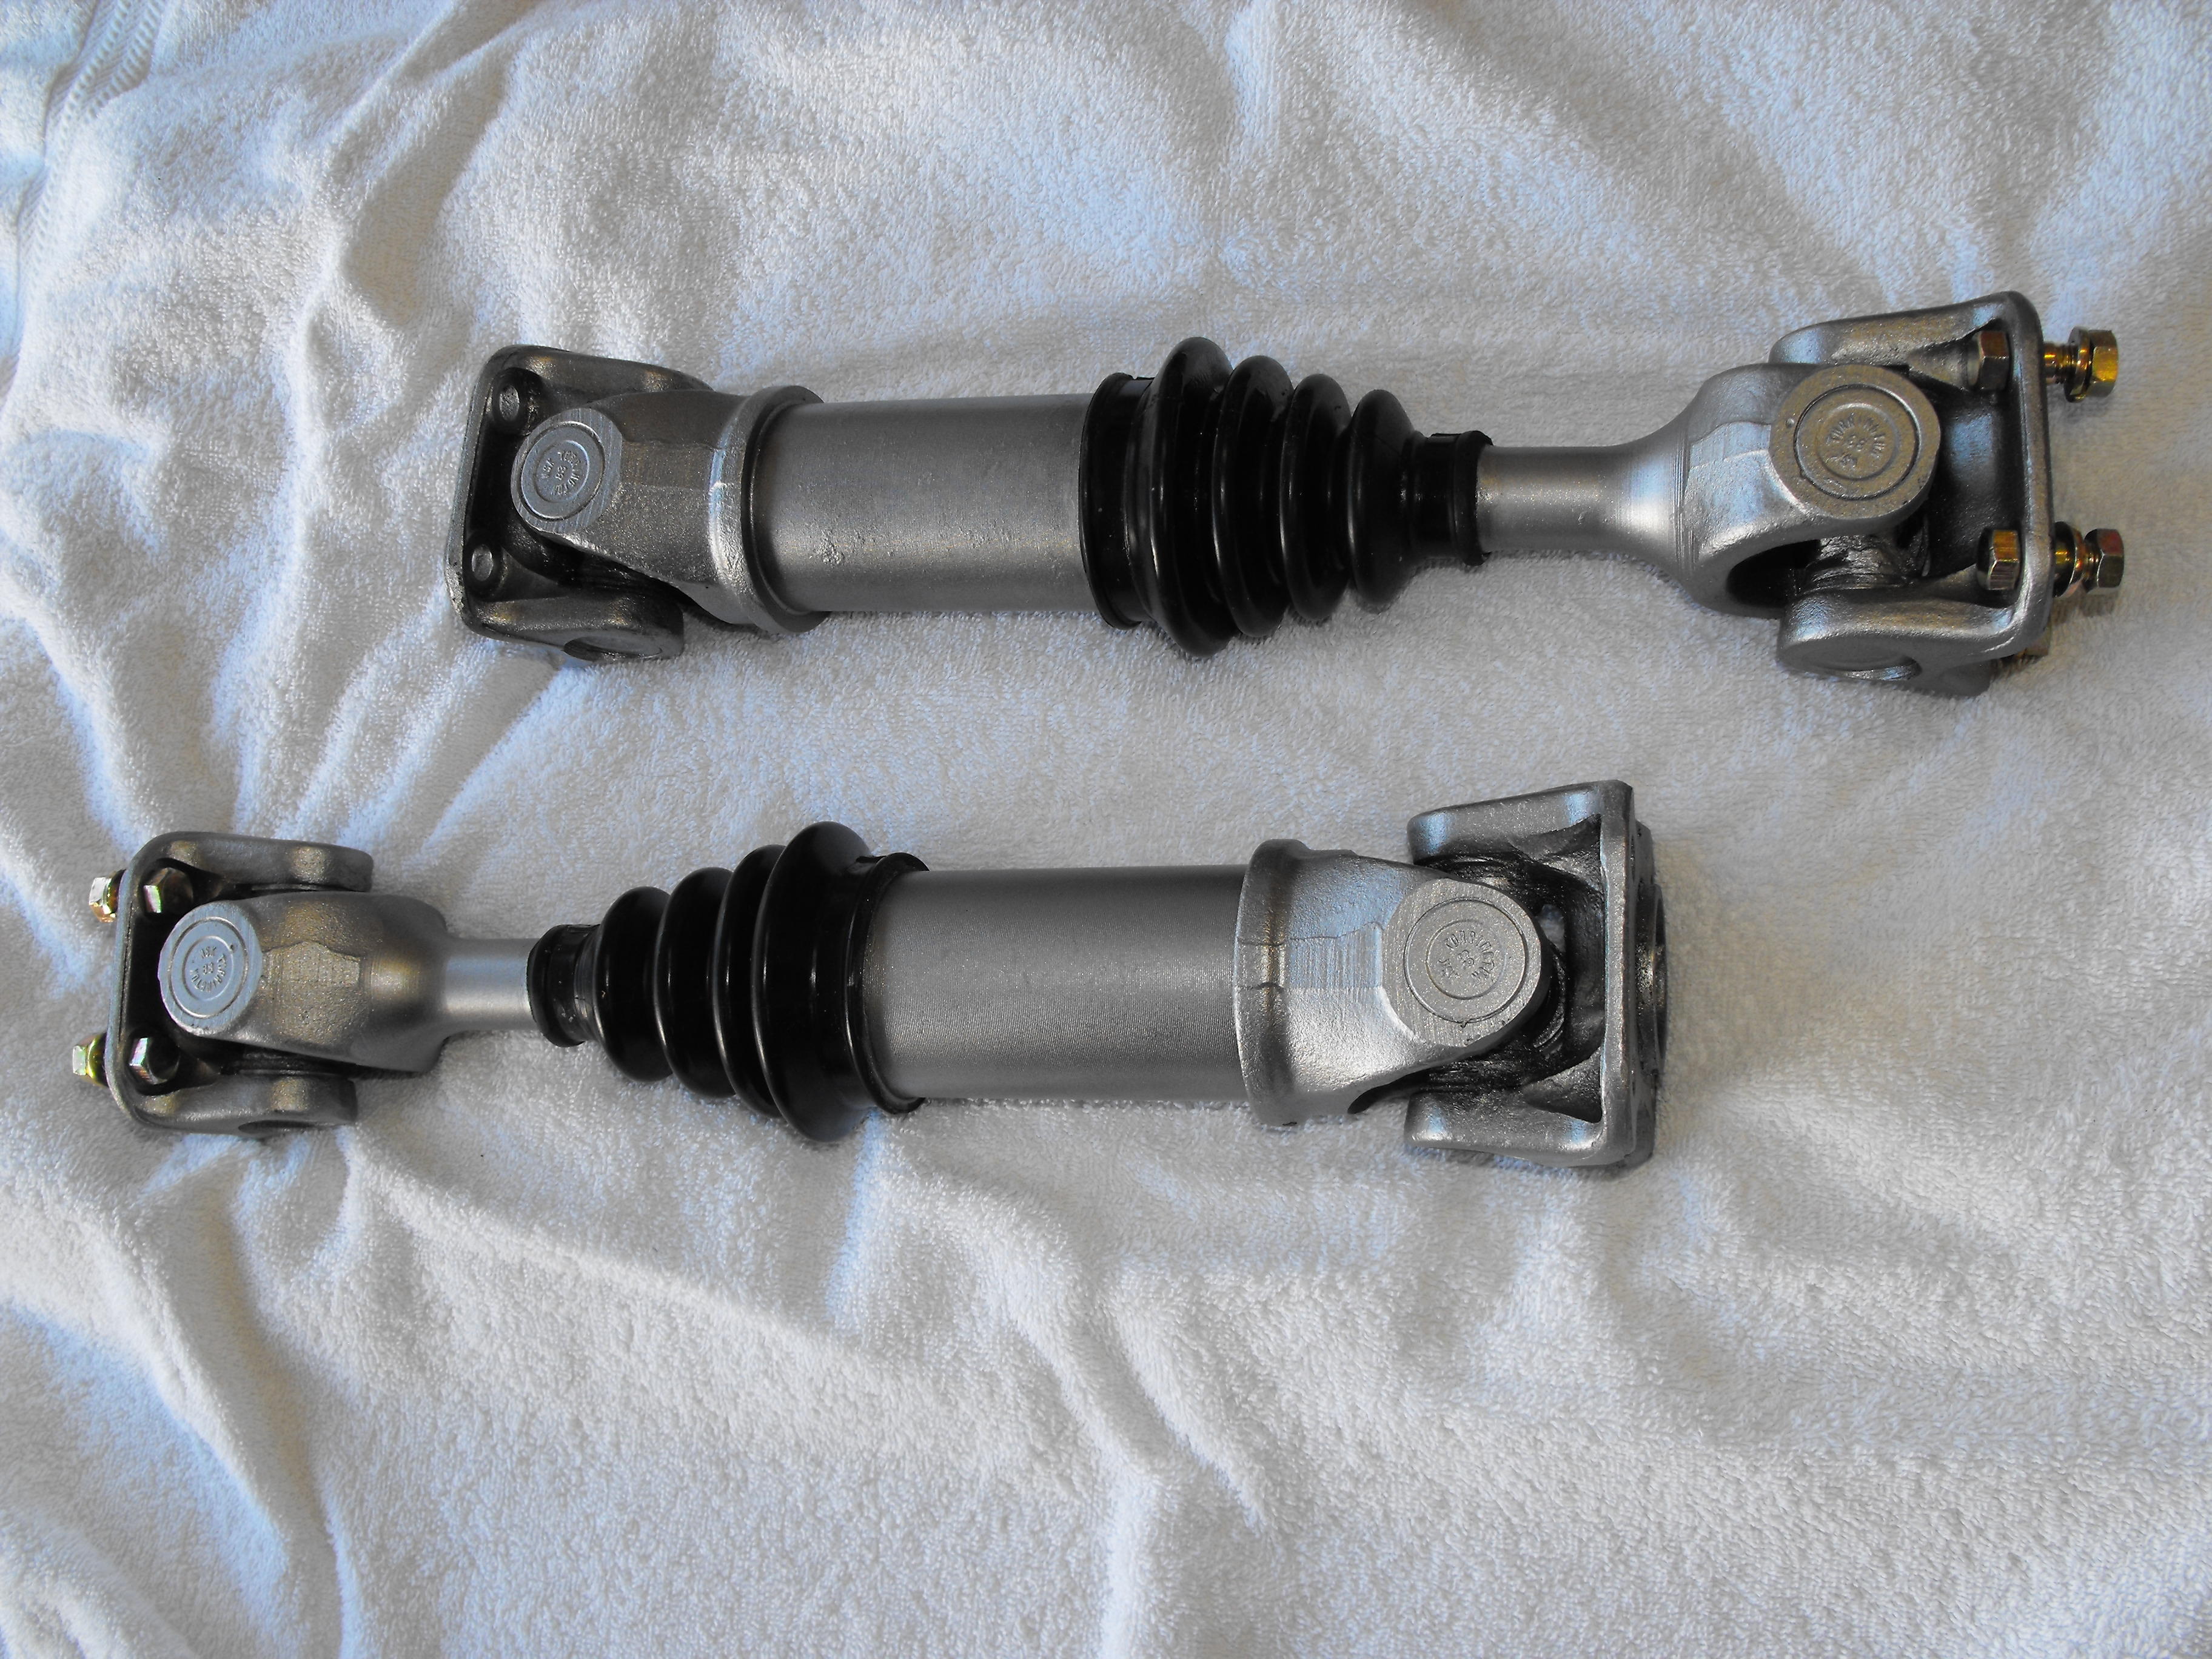
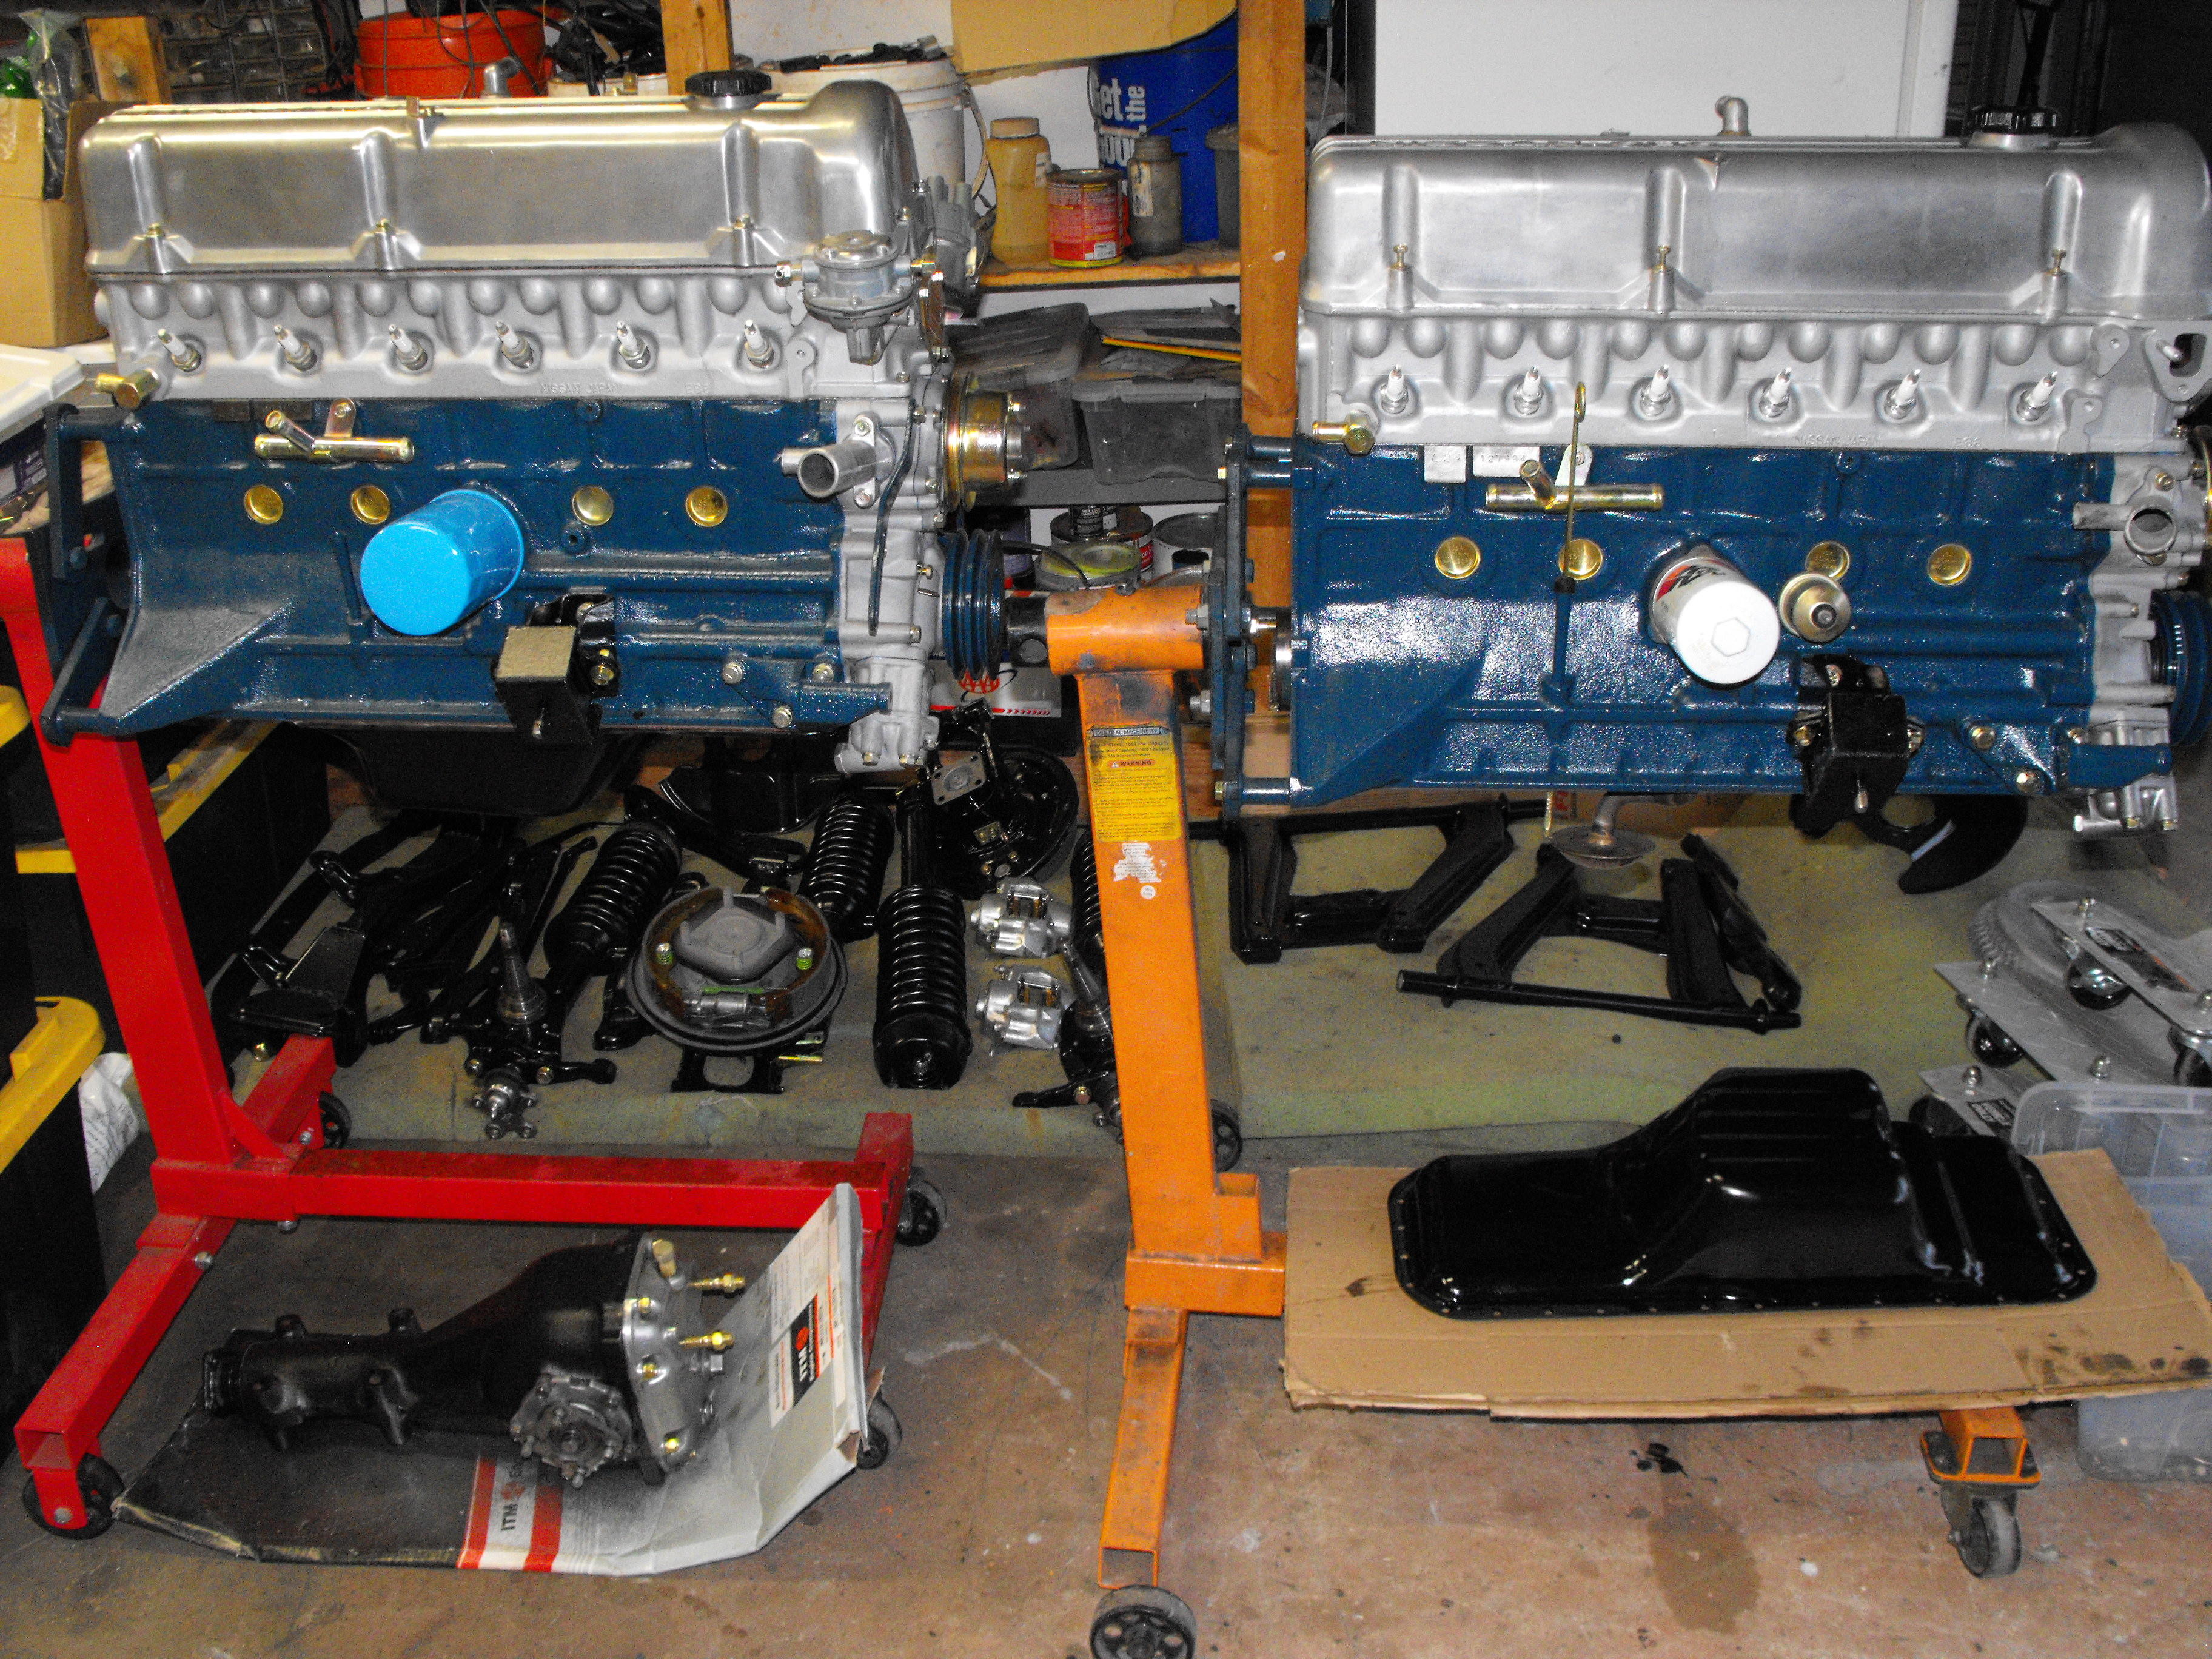
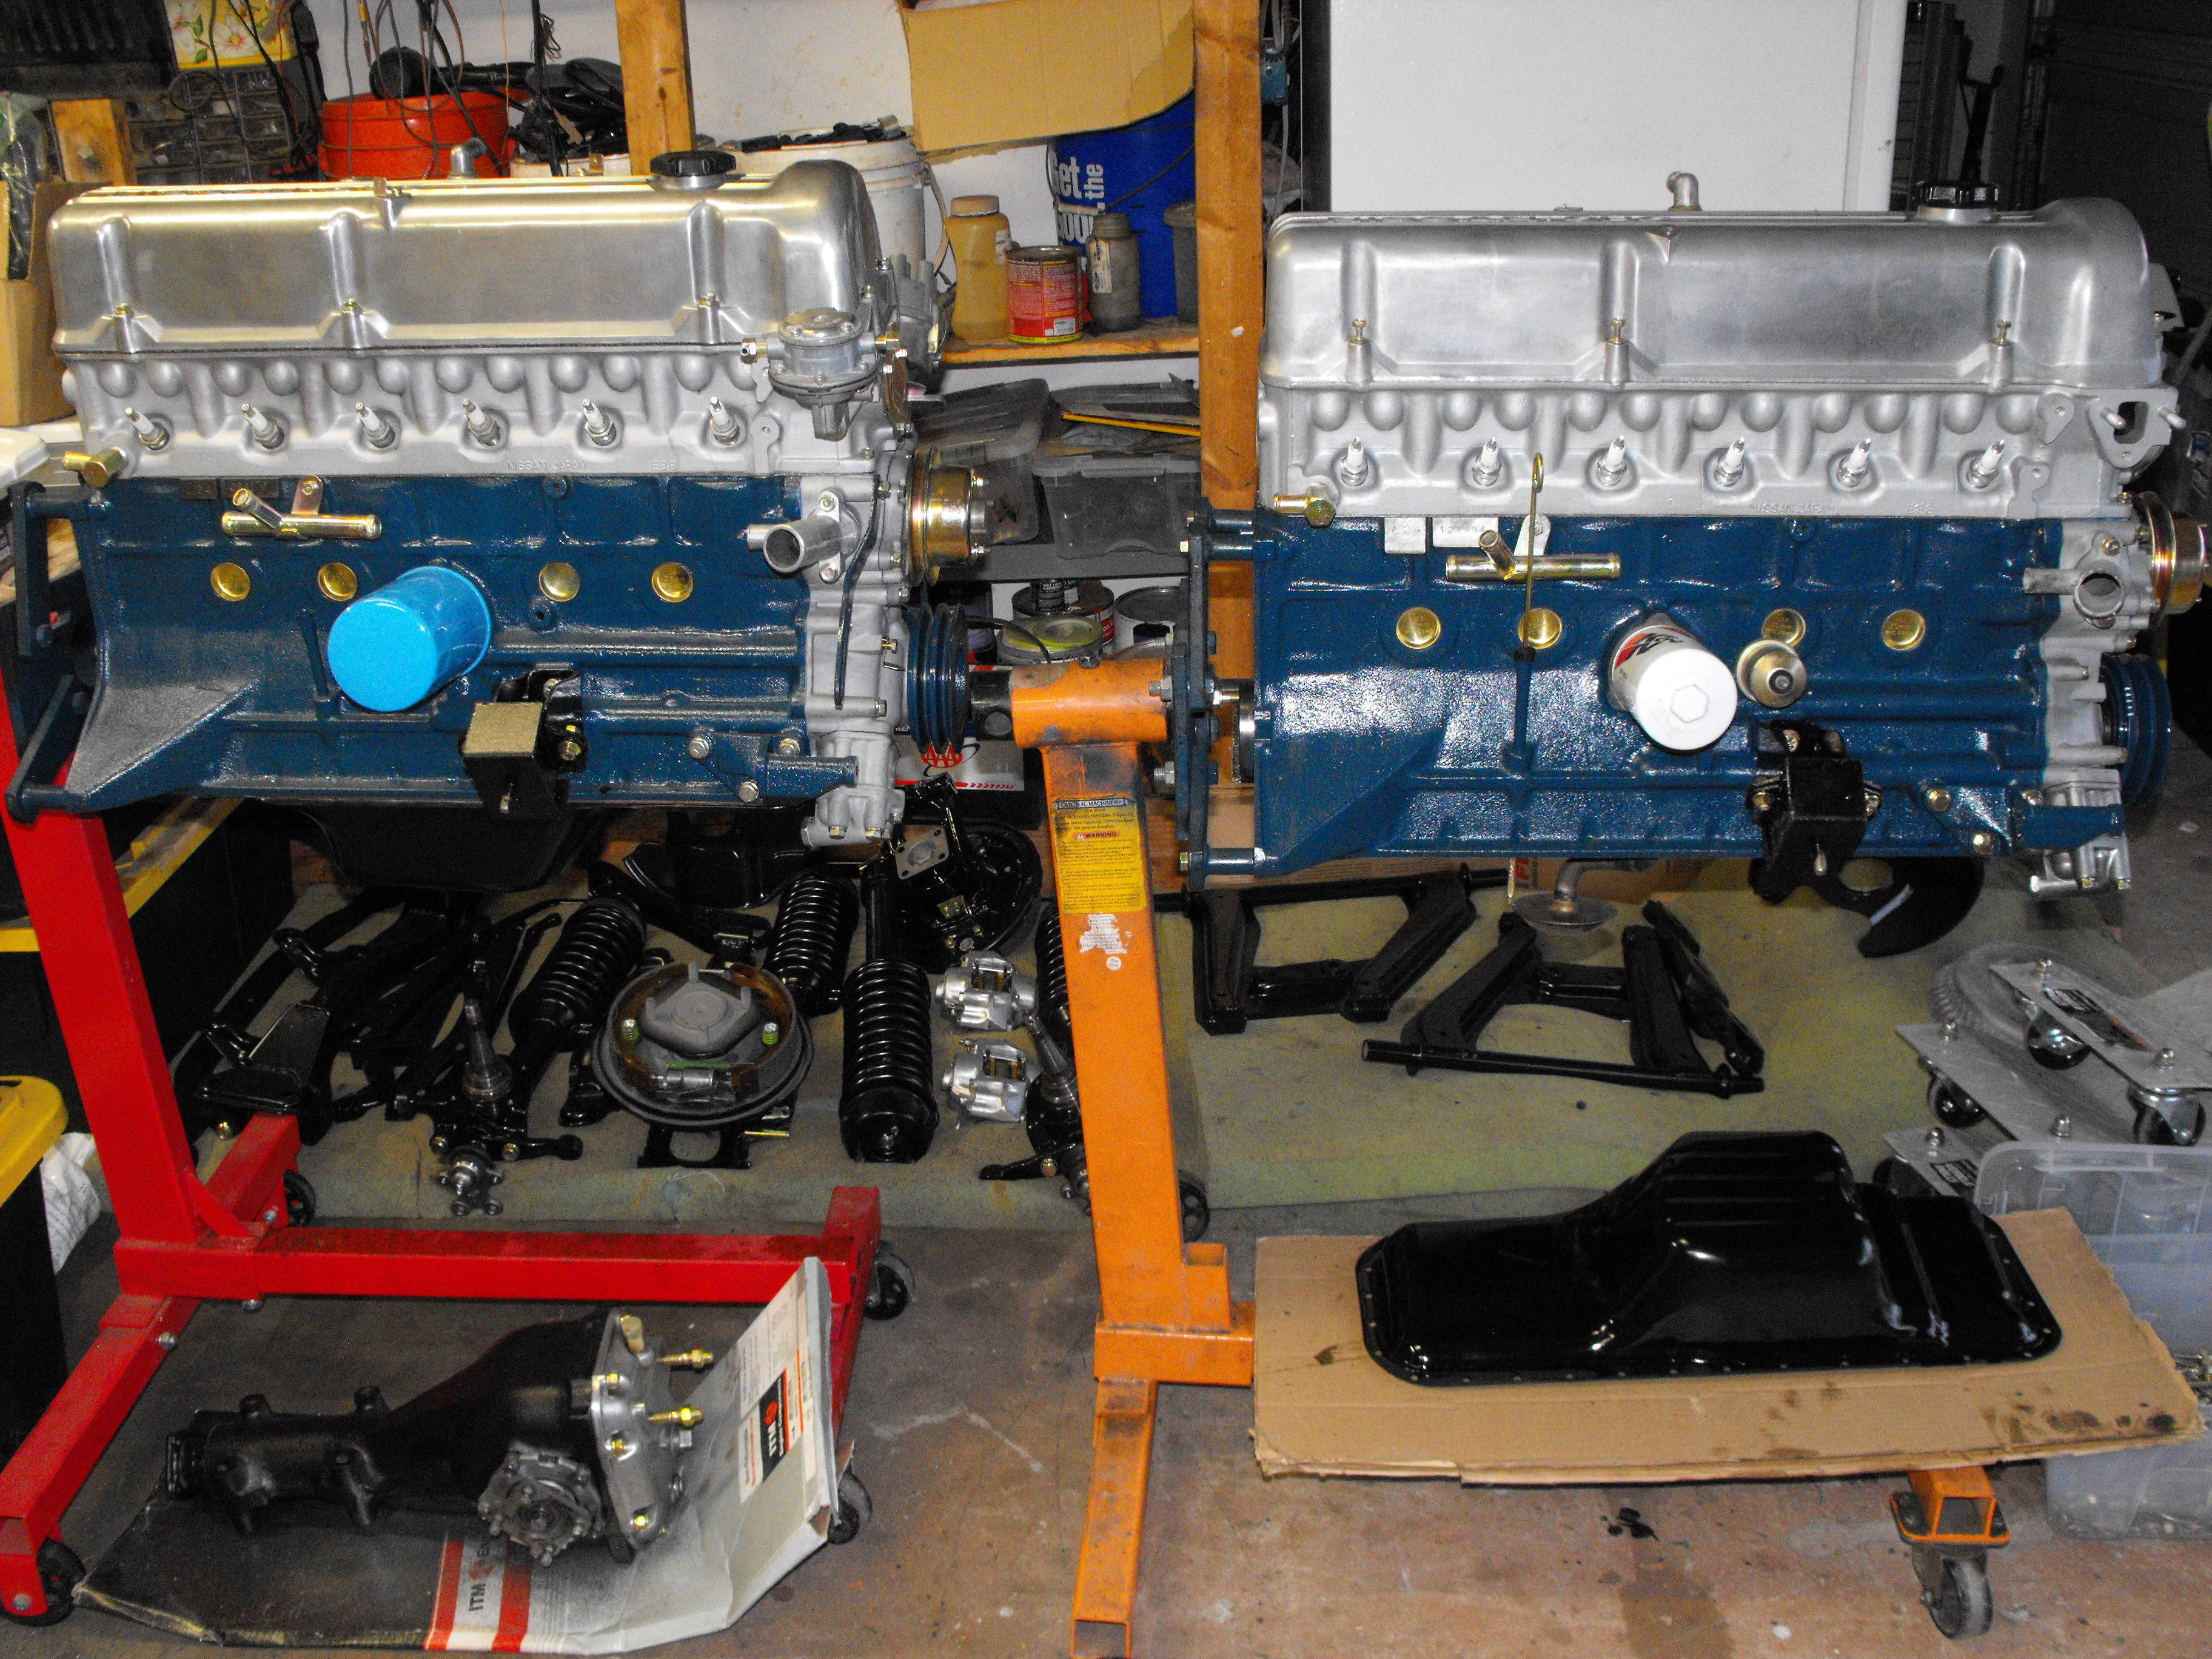
Thought I would throw in a pic of the twins.

-
Engine is coming along nicely. Should have the oil pan cleaned up and installed here shortly. Shiny valve cover is just temporary here. We have a standard finish one in storage.


-
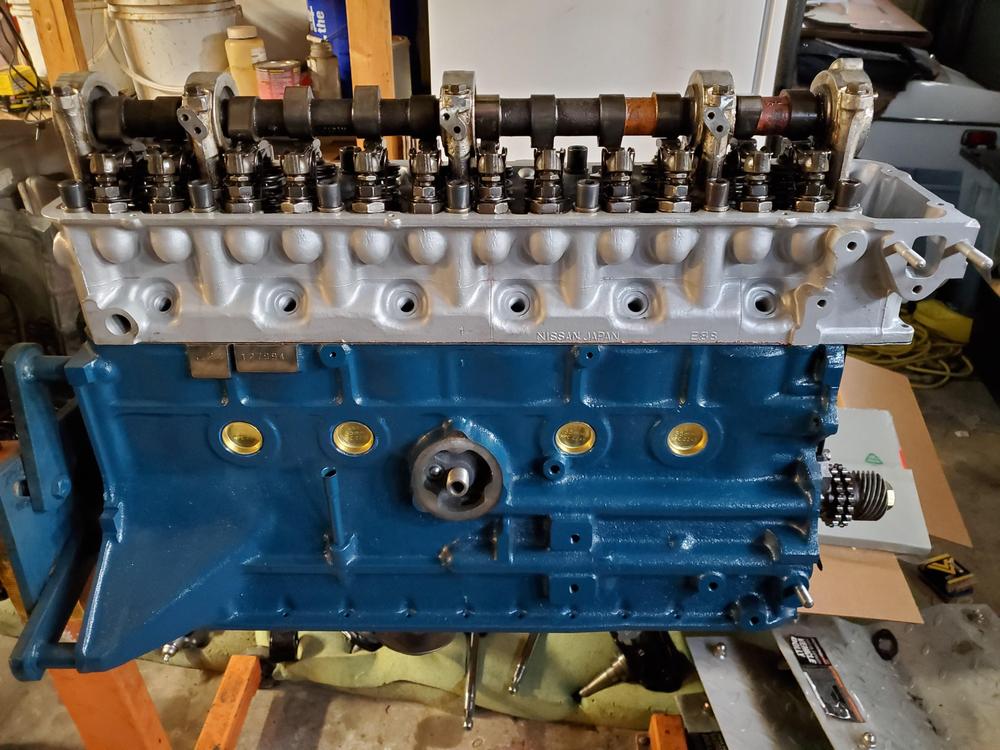
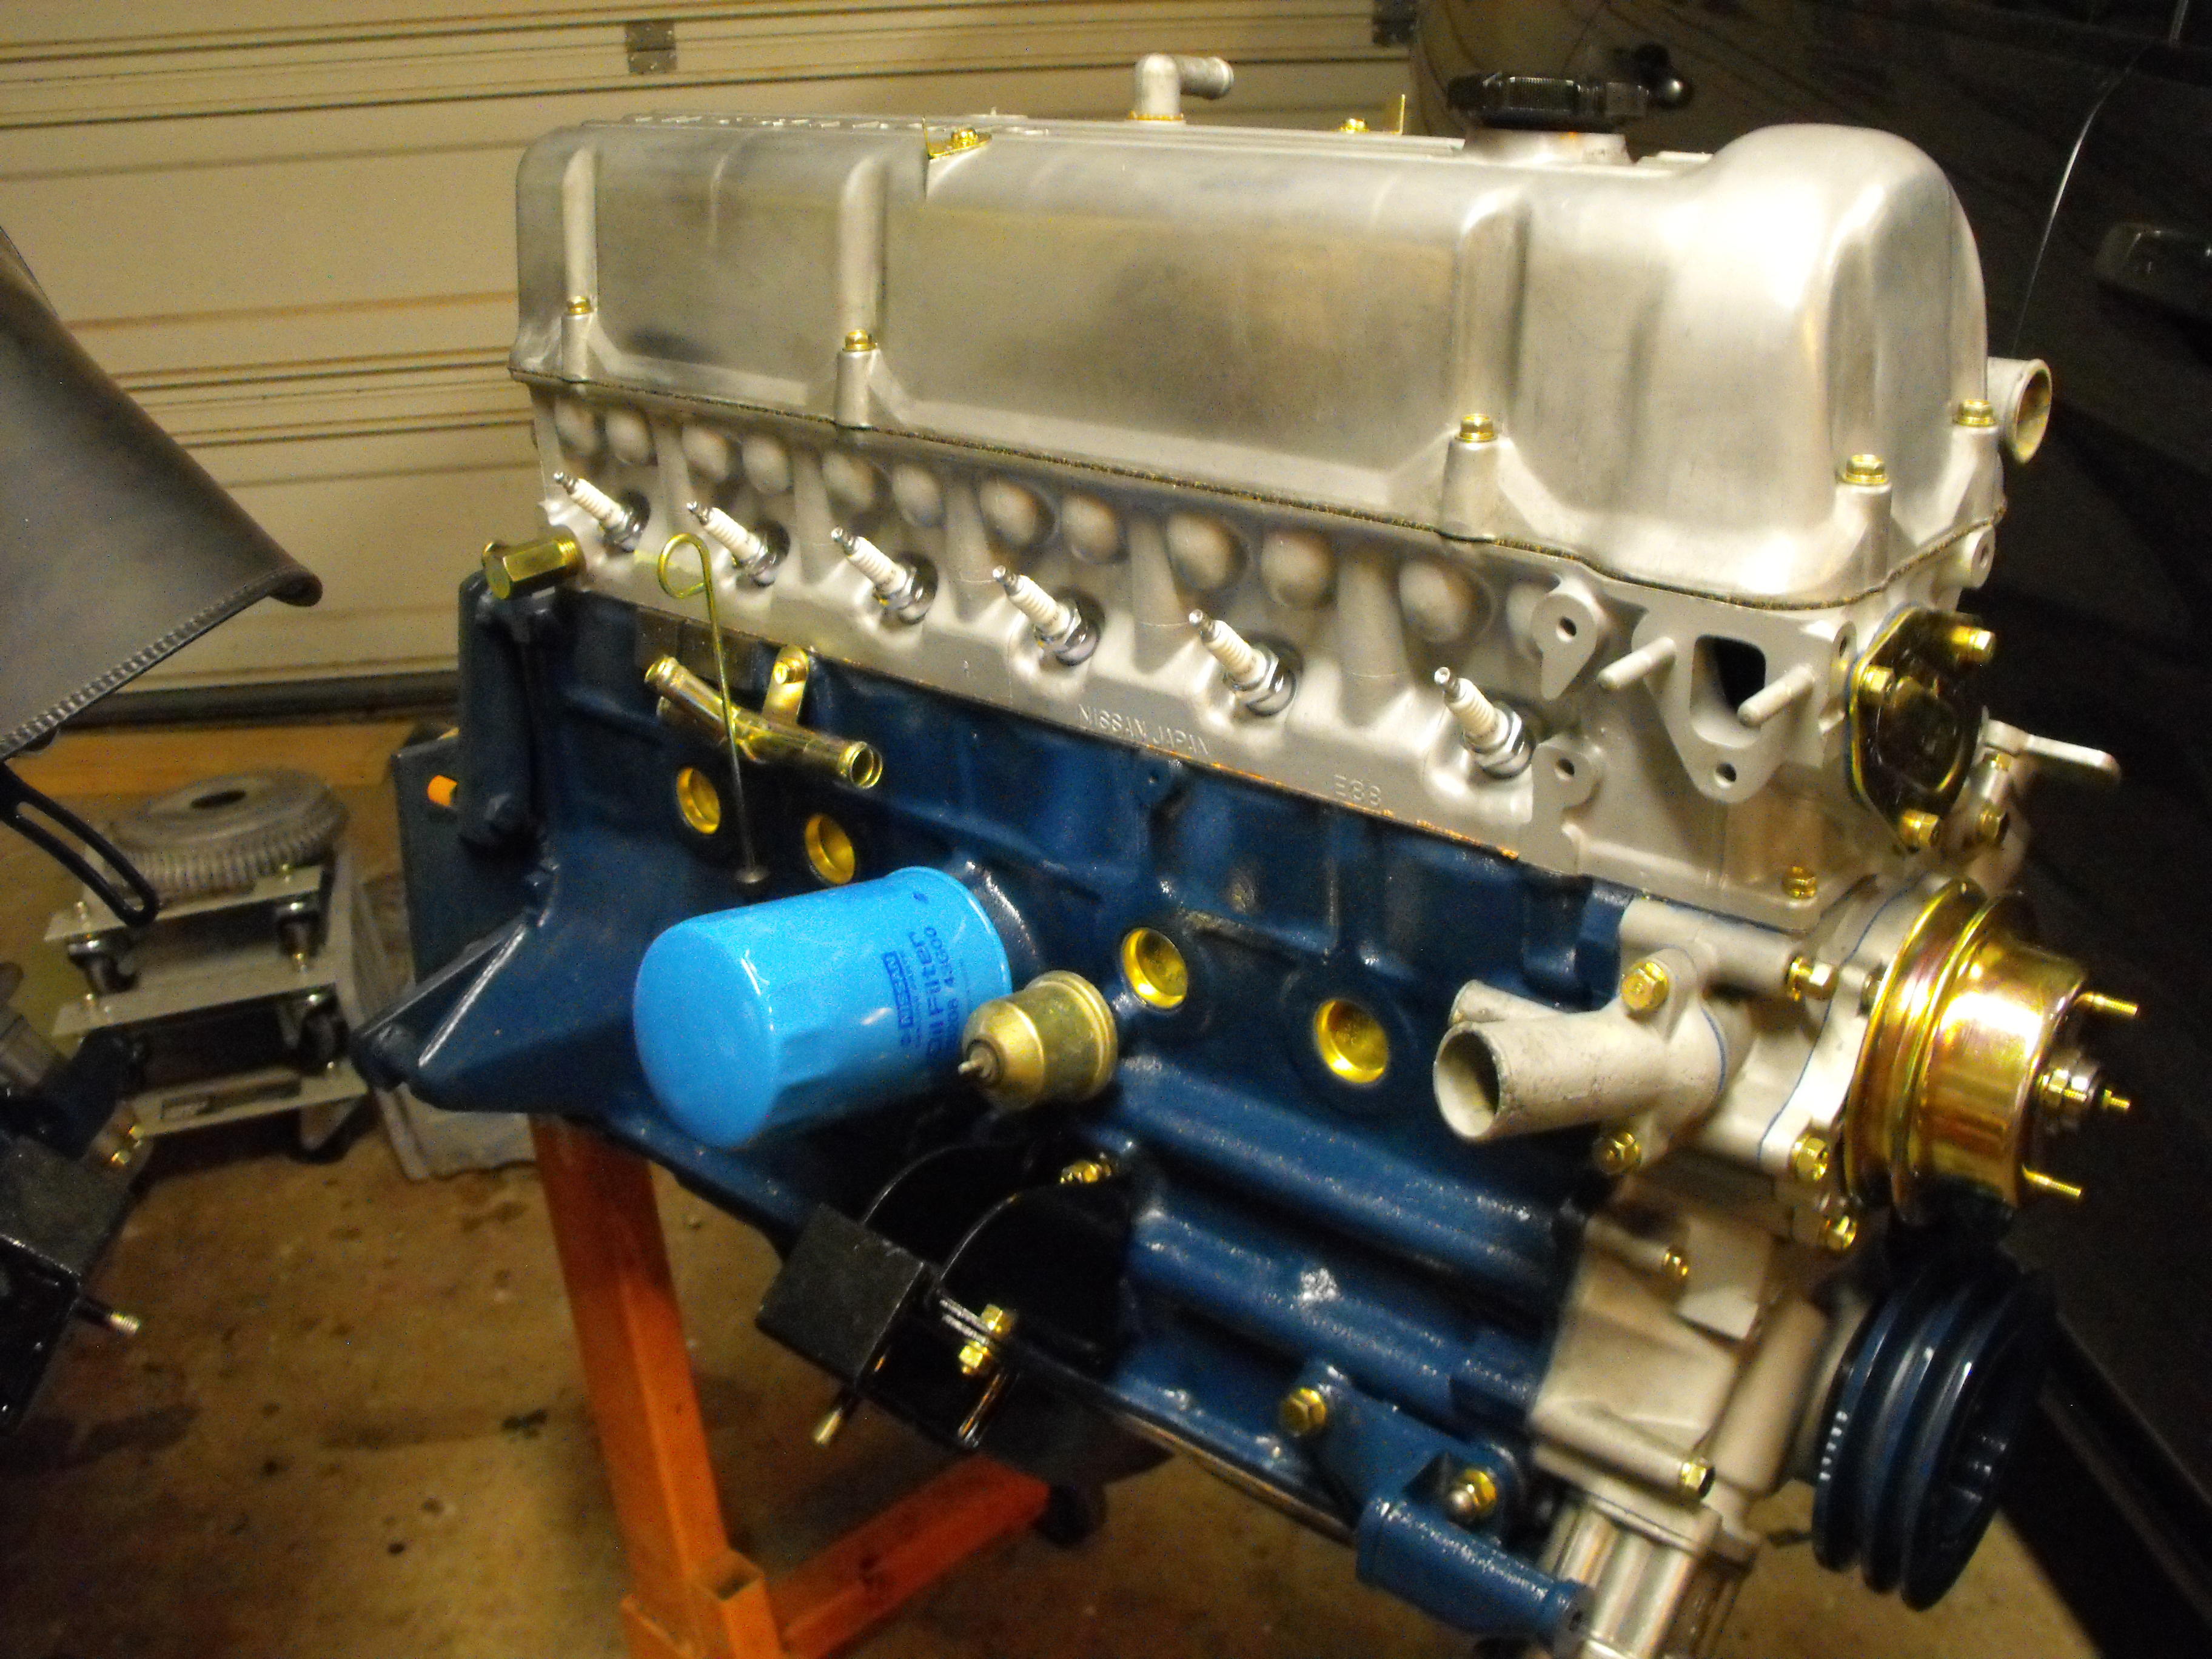
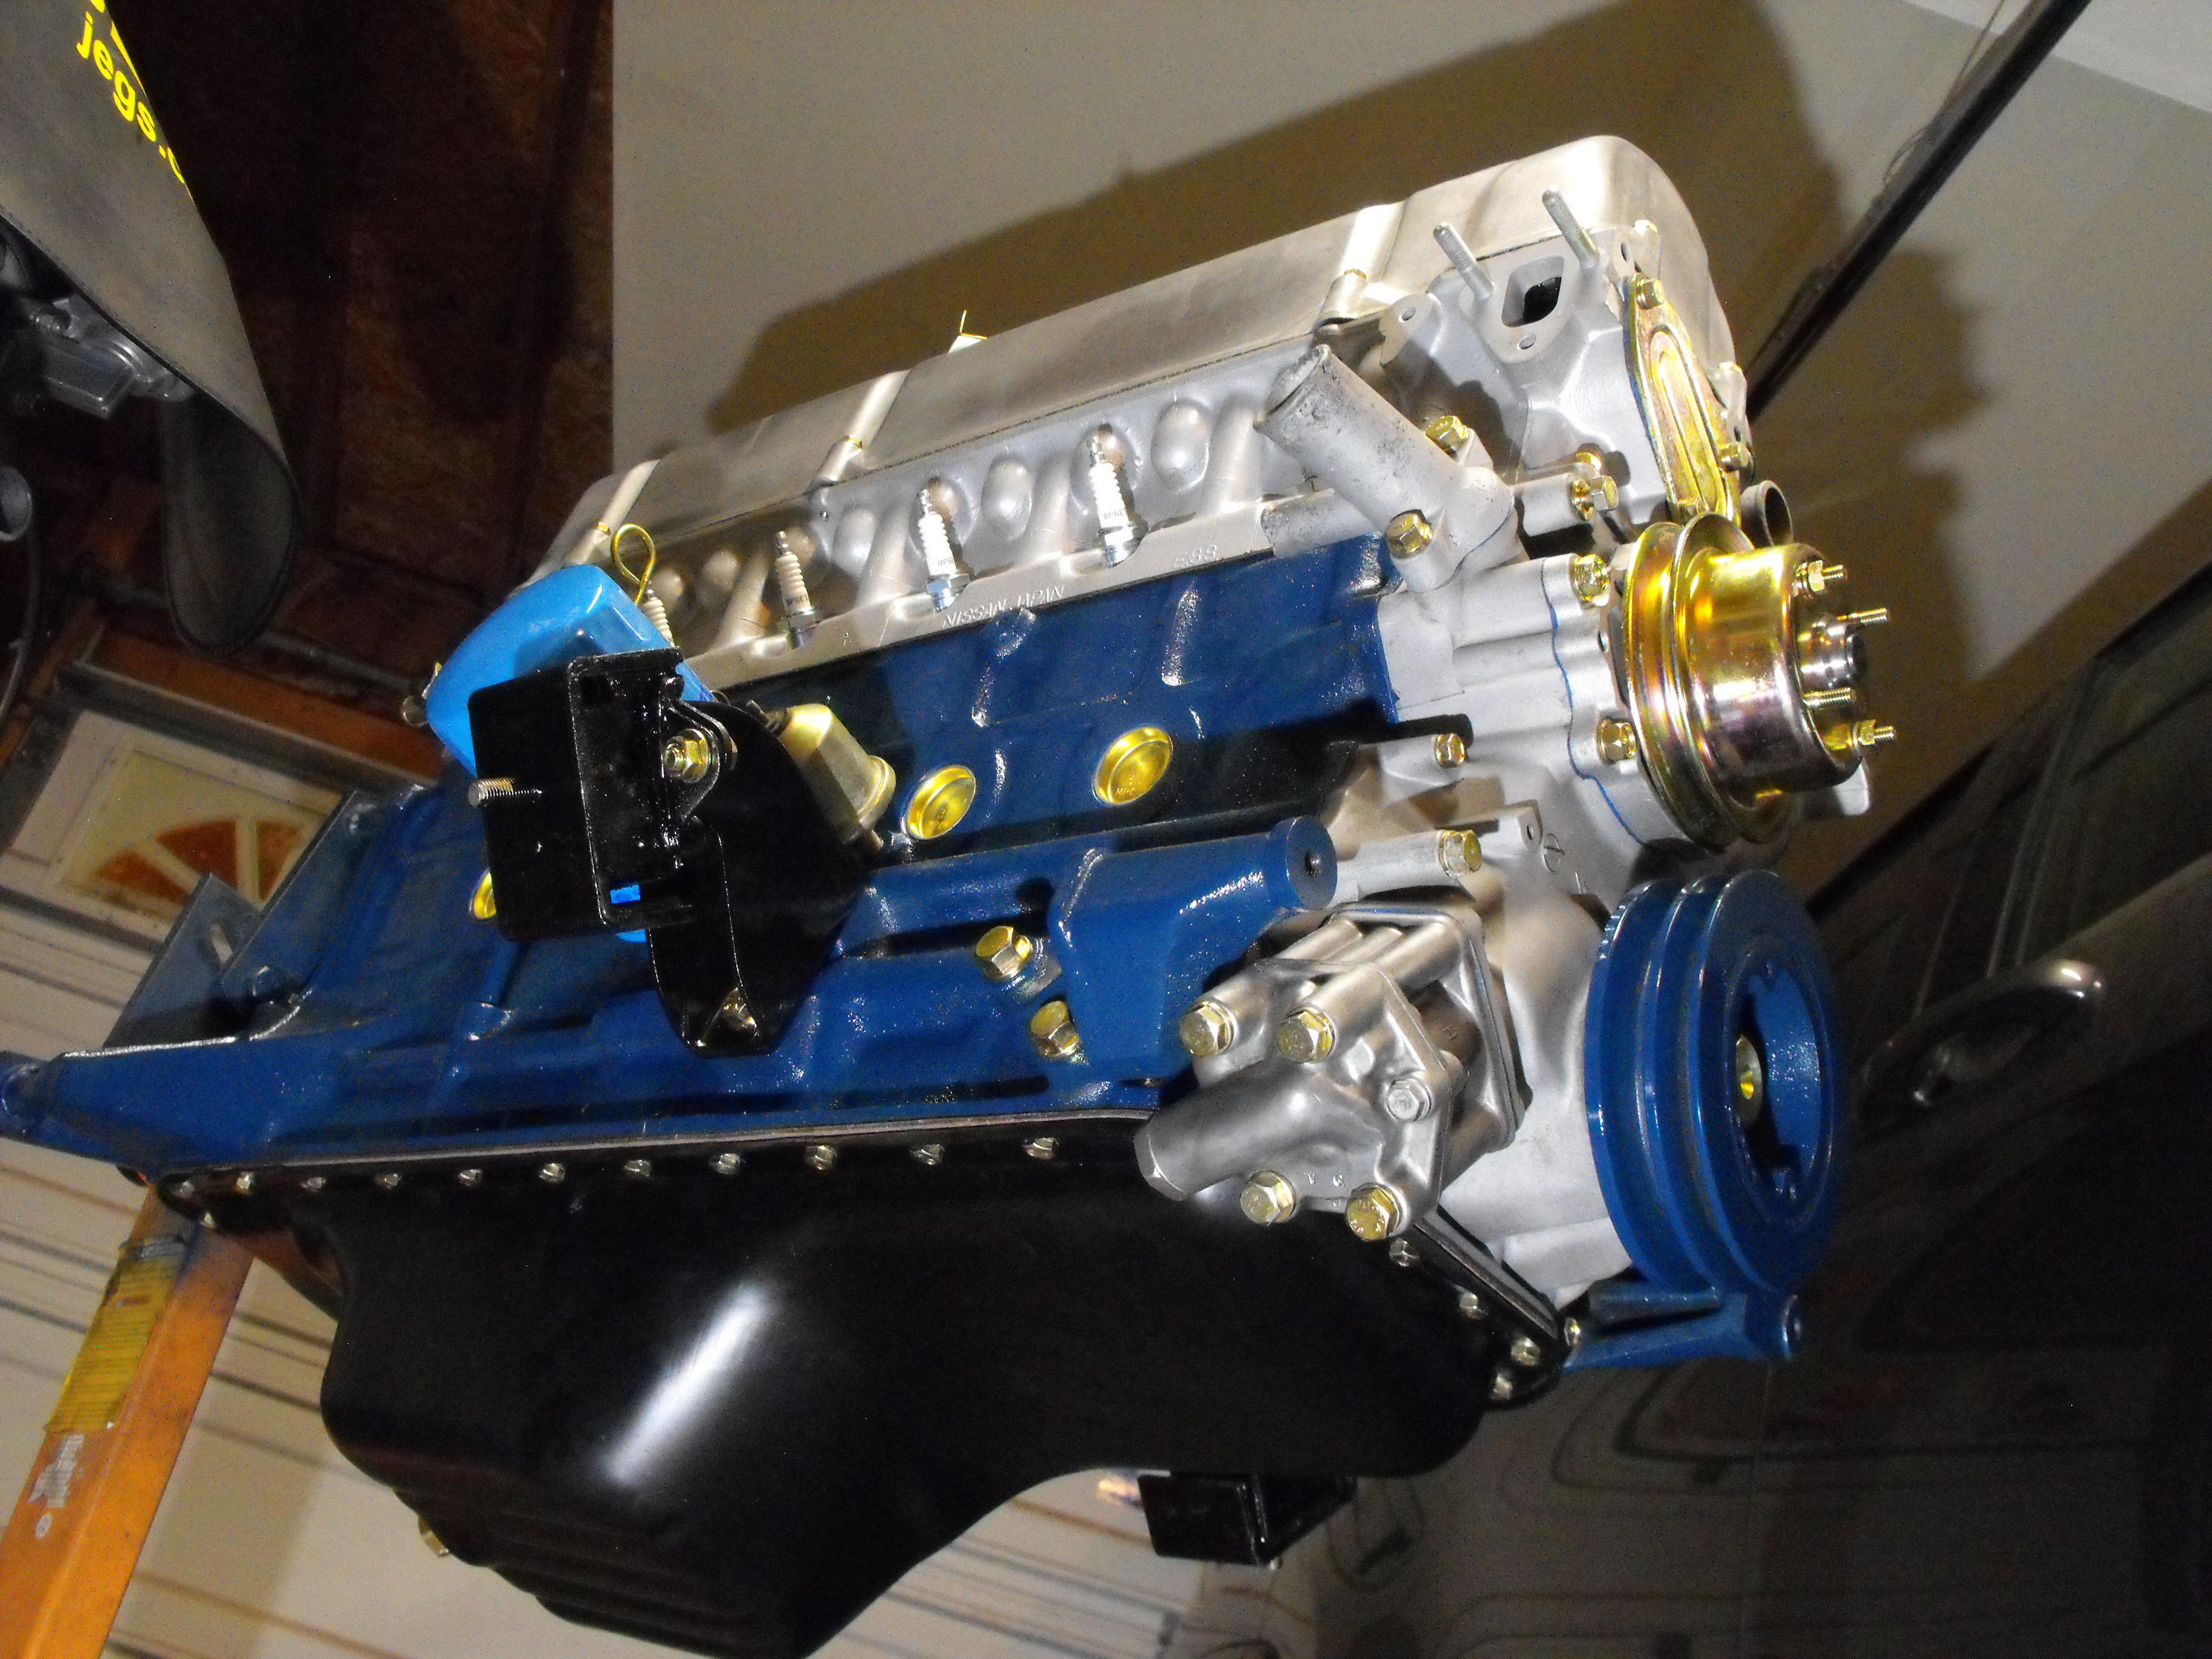
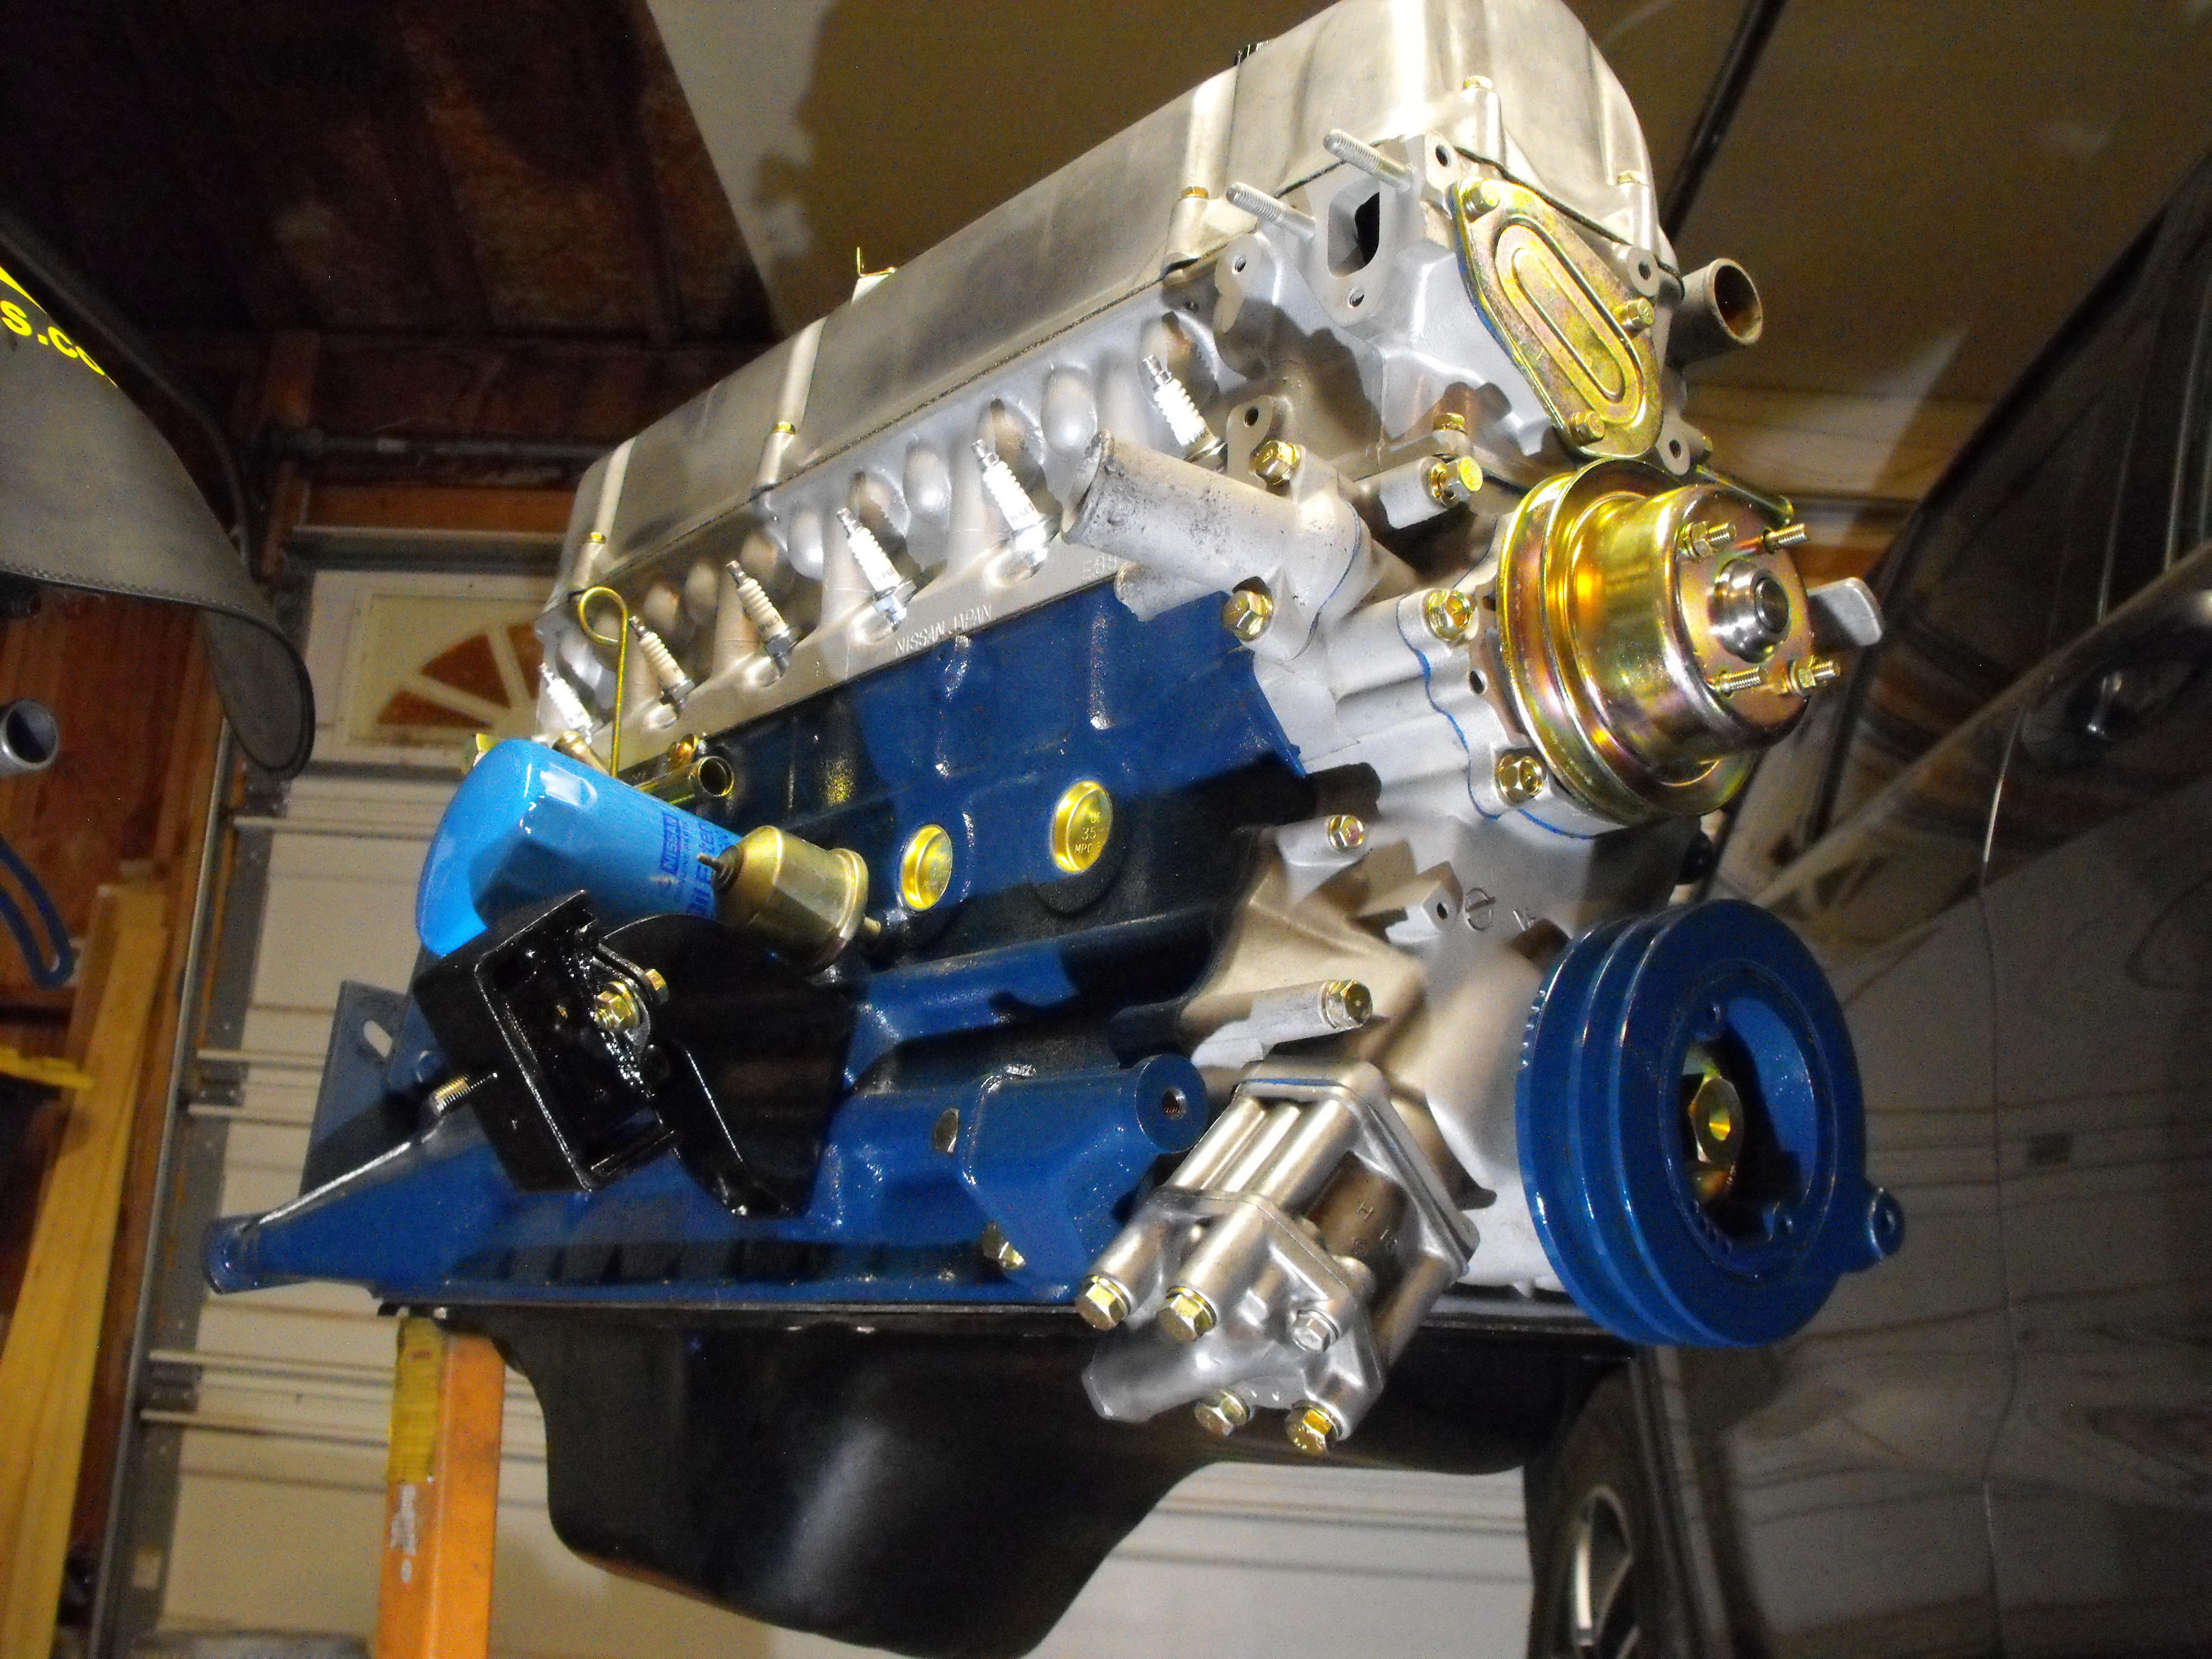
Here's a couple engine shots. Should have the timing chain, front cover and oiler on tonight.

.thumb.jpg.198d5ebff4efff3902e6aa7ba19b282f.jpg)

-
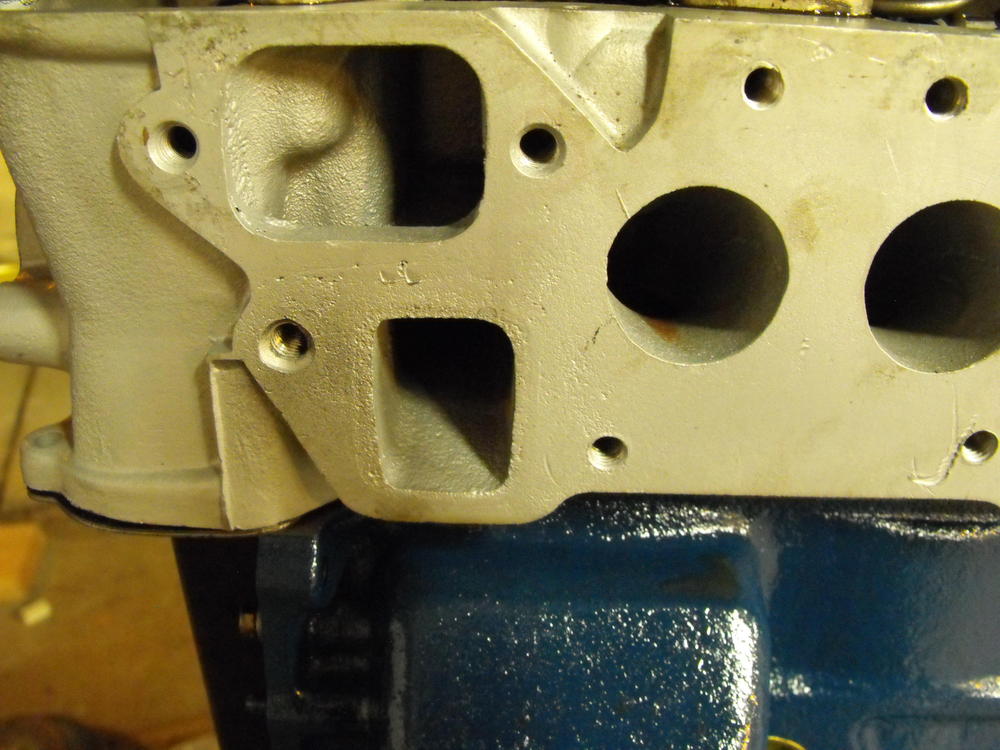
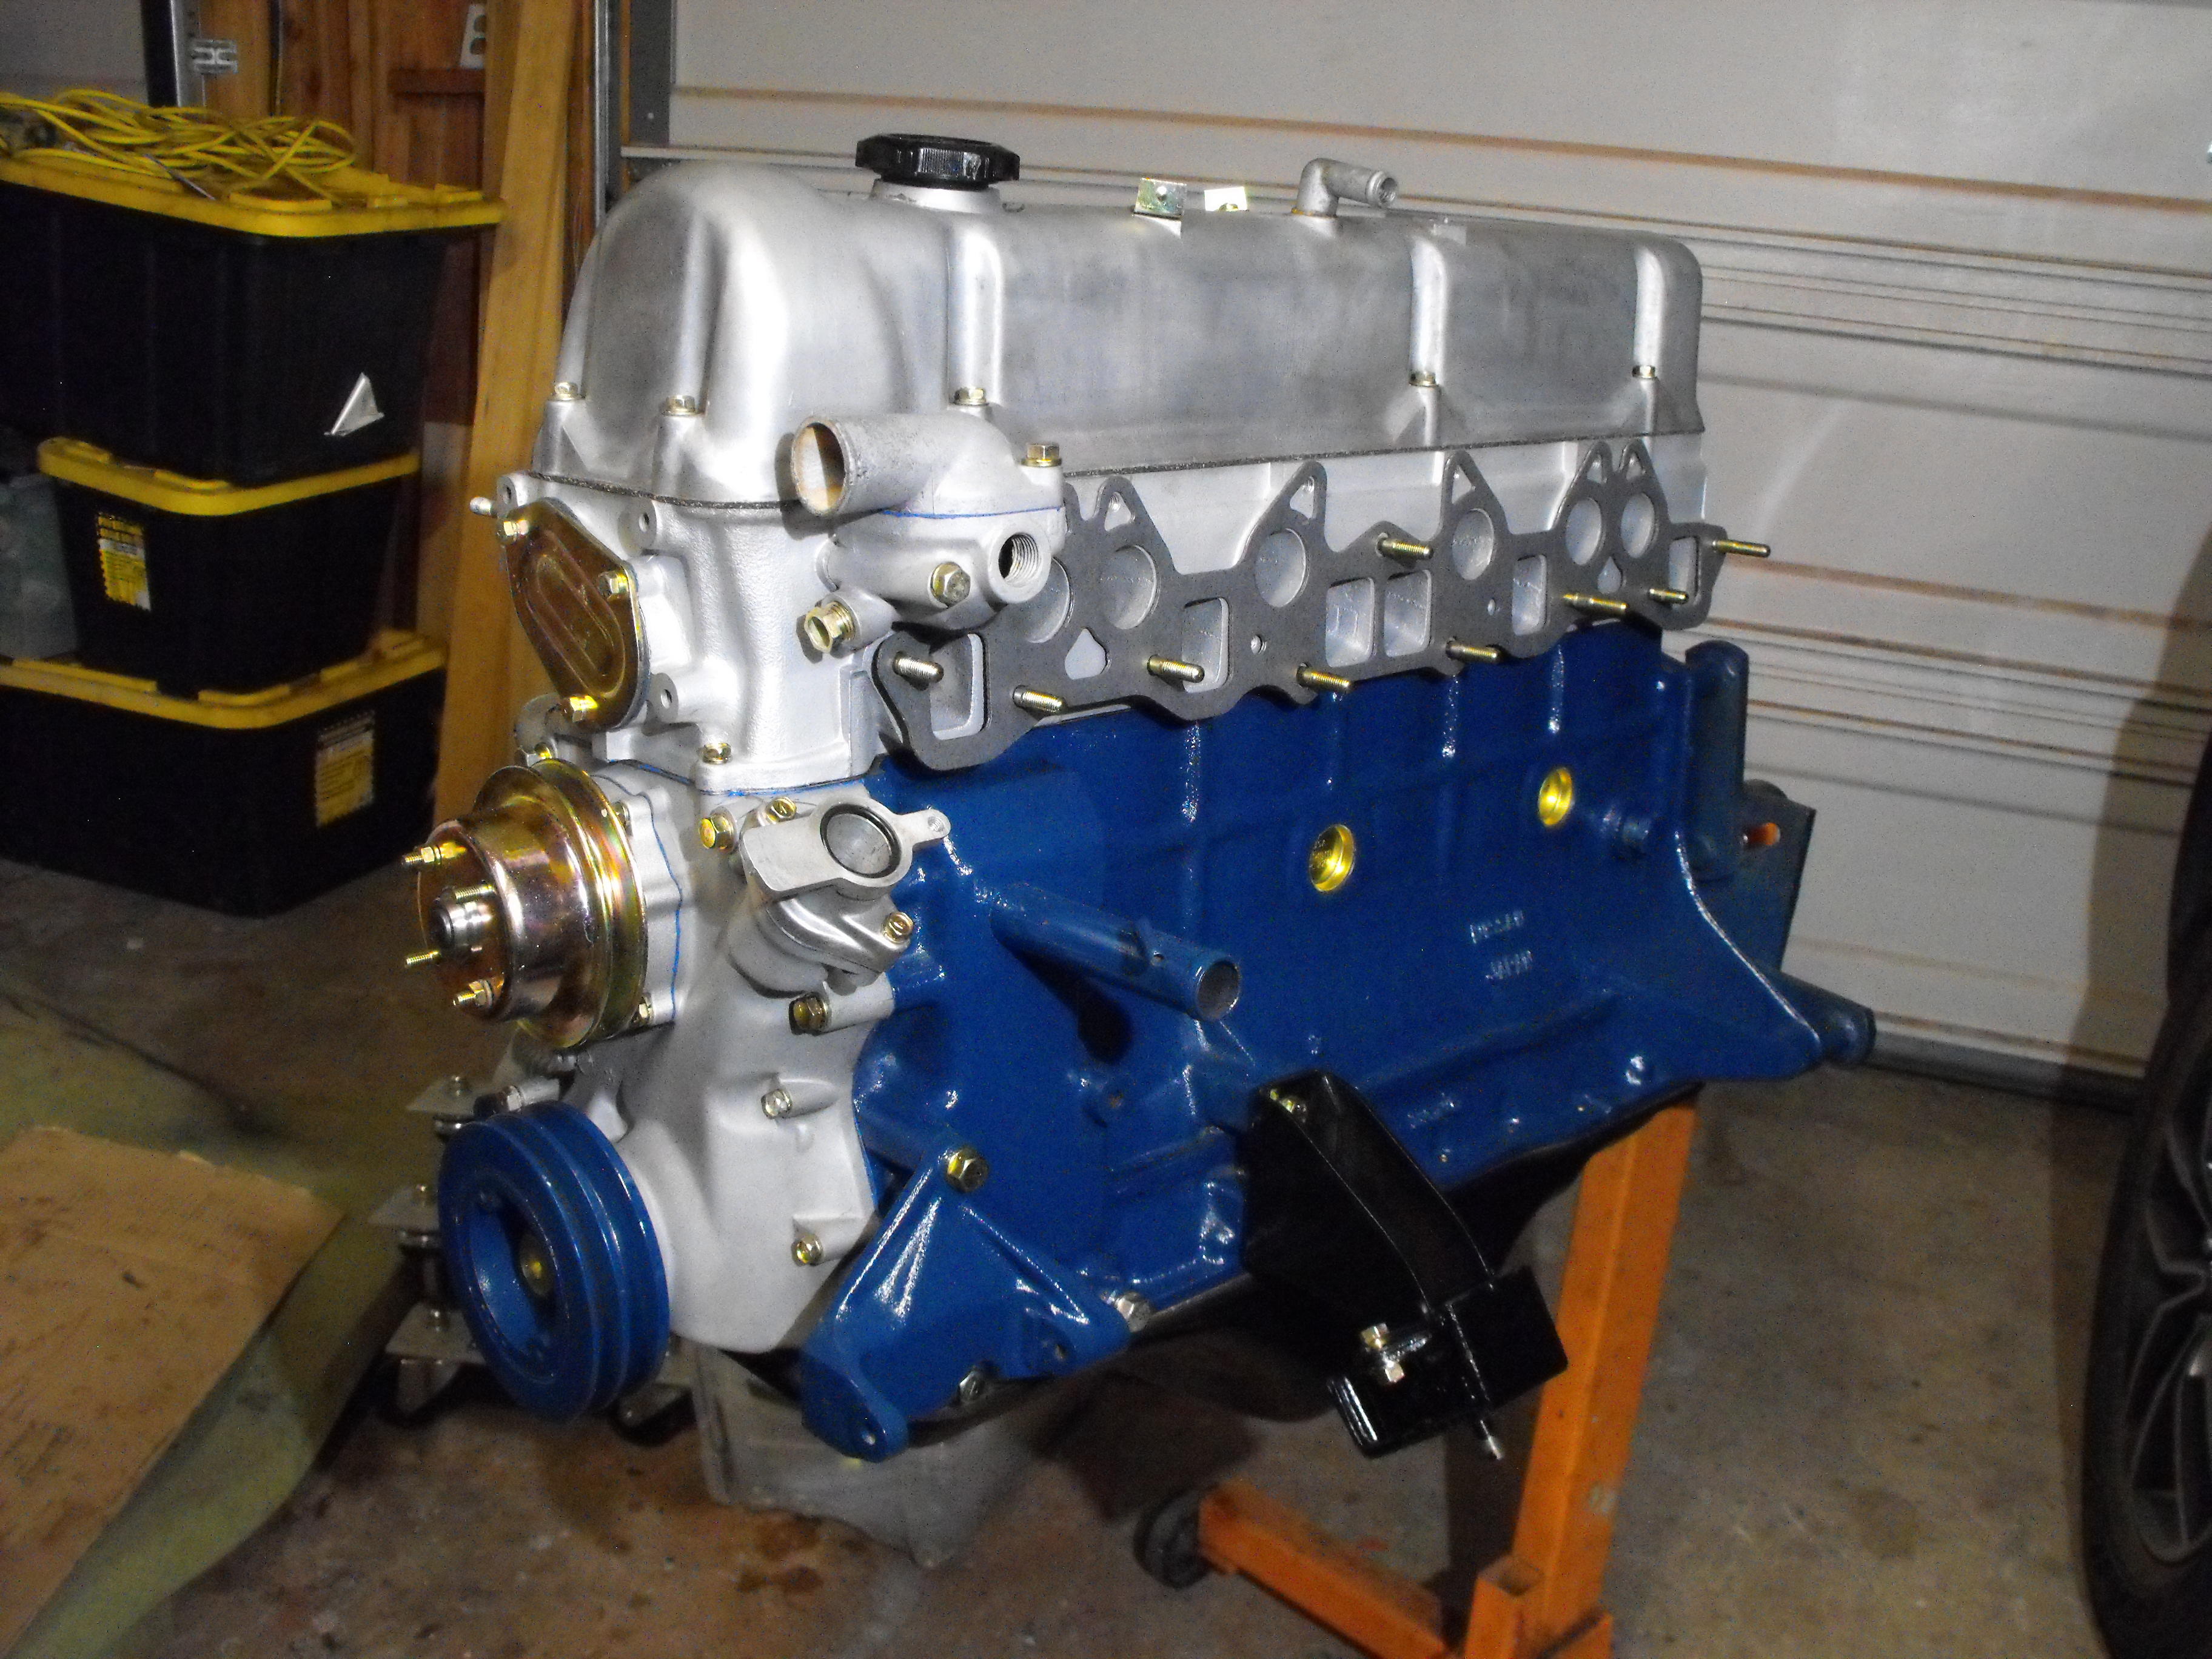
Got the head back. Also installed it this evening. The shop put in two heli-coils in the location where the 'wood screws' were installed. Apparently the Easyouts broke off and were stuck in the head in these two outer exhaust manifold locations. The shop removed them and installed the helicoils in the two spots. Nice work!

-
Thanks for the quality check! Cleaned that up this AM. Interesting, as an engineer, I had to go back and determine why that area wasn't covered as I typically have the whole area taped off. Turns out, I usually use the 2" wide masking tape when taping off these areas. Turns out that my 2" wide tape roll was just about gone and getting a little old so it was difficult to work with. So, I used the new 1" wide tape roll for the masking. Obviously did not get good enough coverage. Also, multiple layers of the 1" tape over cavities does not stick well. So, bottom line is I need to go out and get a new roll of 2" tape. Got it from California-Datsun.com on e-bay for $35.99 https://www.ebay.com/itm/Datsun-Z-240Z-260Z-True-Blue-Green-Original-Color-OEM-Engine-Block-Paint-Can/153656468818?hash=item23c6a3a552:g:HWAAAMXQDjhQ5cP1 Also, for the taillight panel I use the Ford shadow gray with and Matte clear overcoat. That usually works pretty well. https://www.walmart.com/ip/Krylon-BFM0360-Dark-Shadow-Gray-Ford-Exact-match-Automotive-Paint/48341749

-
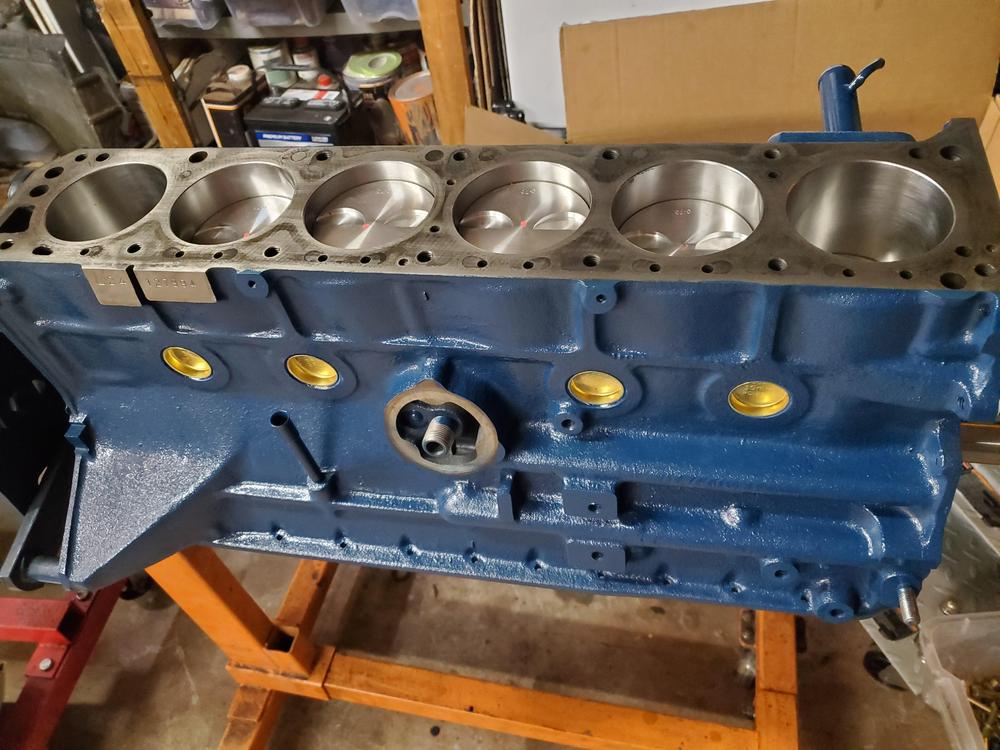
Installed the crank and pistons last night. All new standard size bearings and .030" over pistons. Head should be ready early next week.


-
Yes, keeps it from rusting....and looks cool in the bare metal color.
-
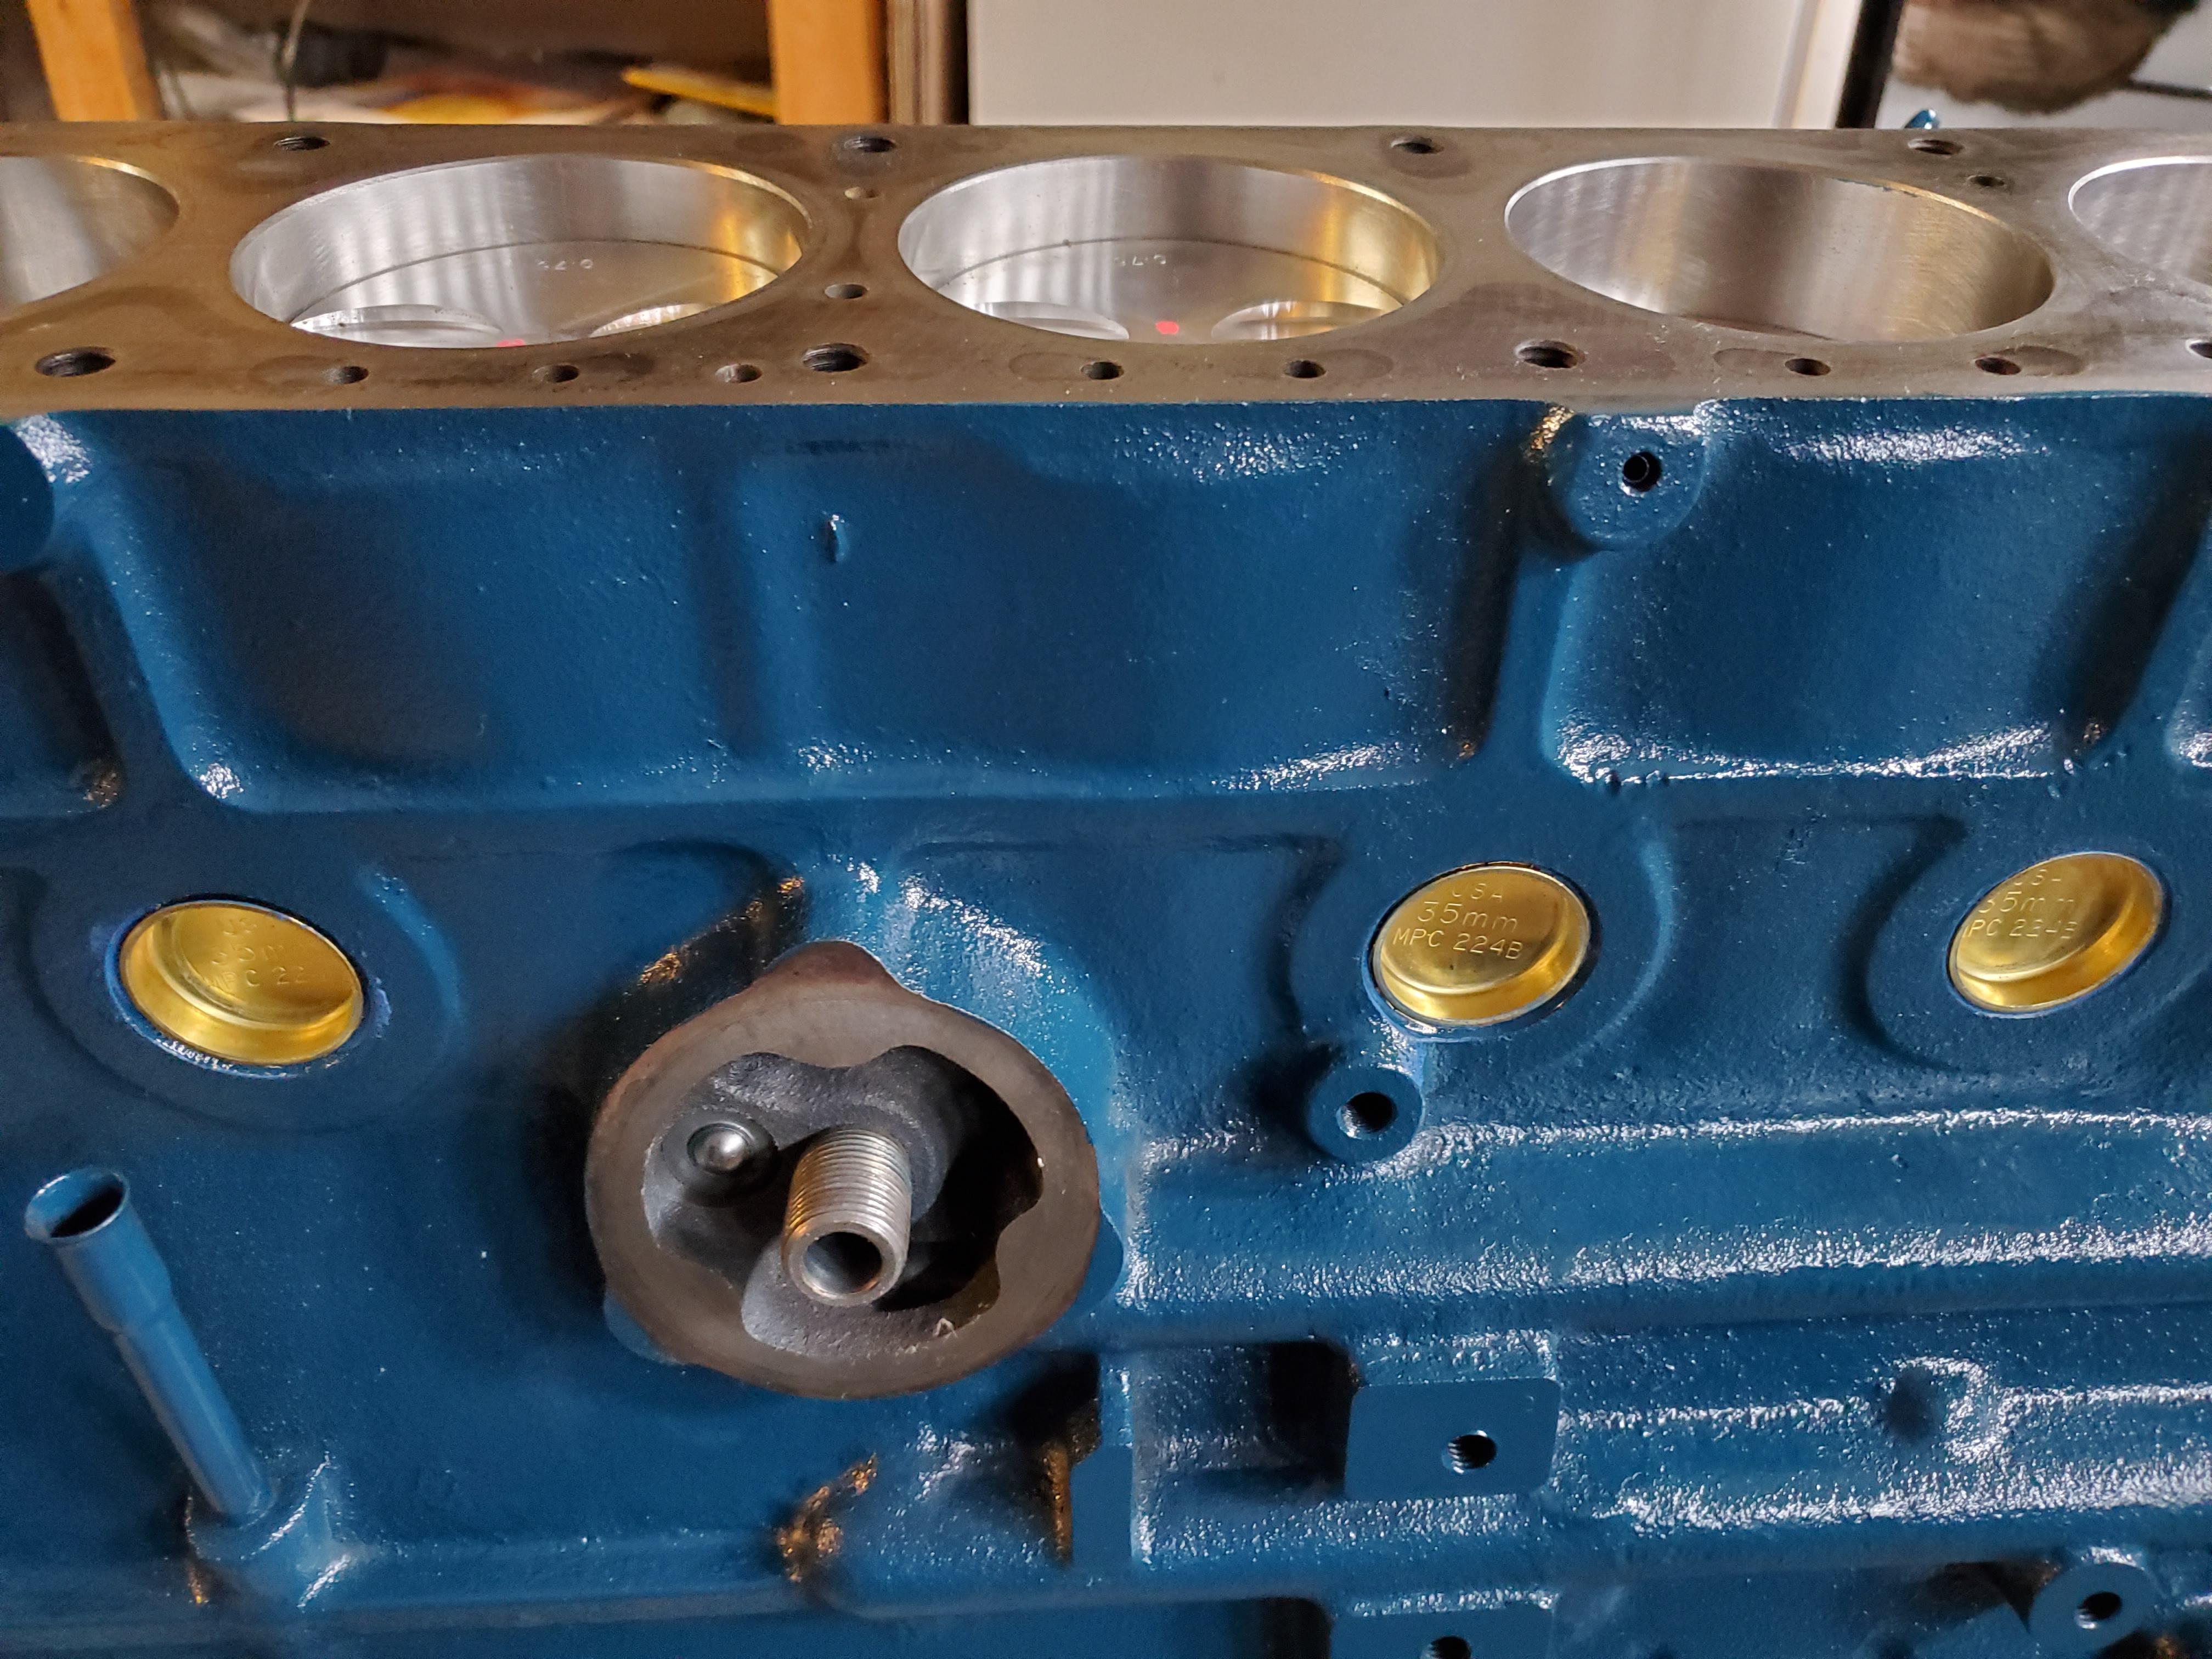
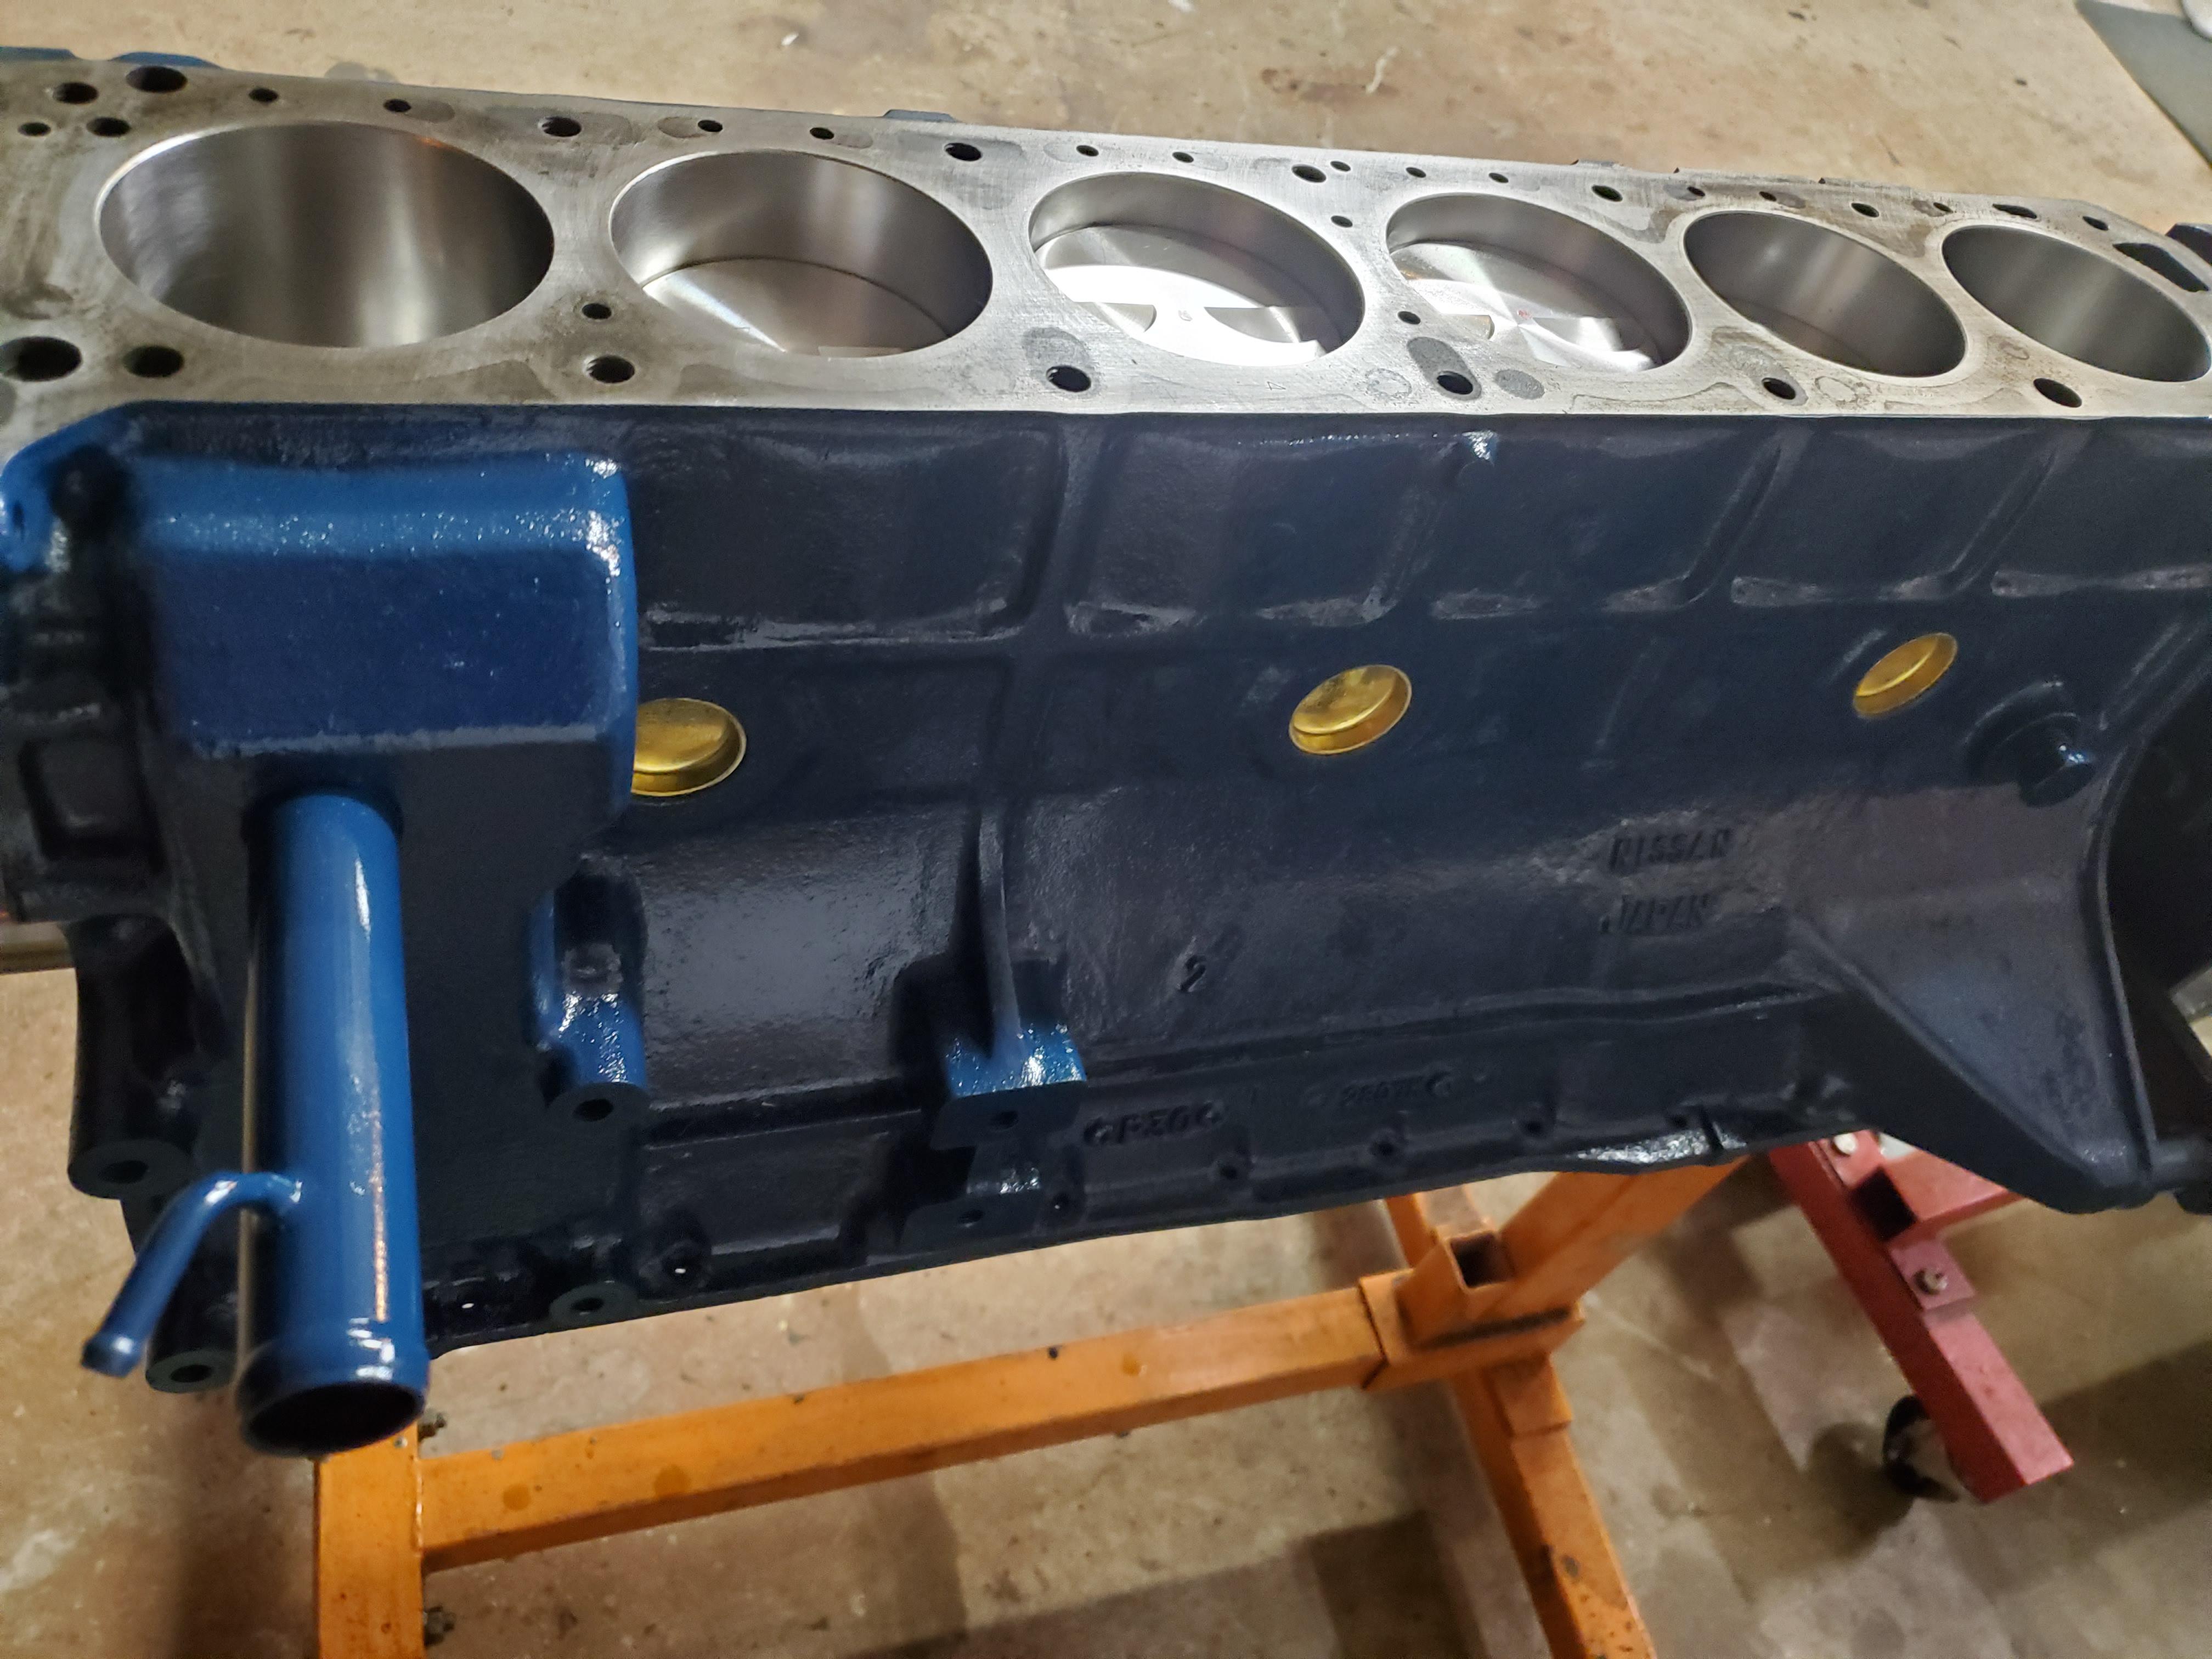
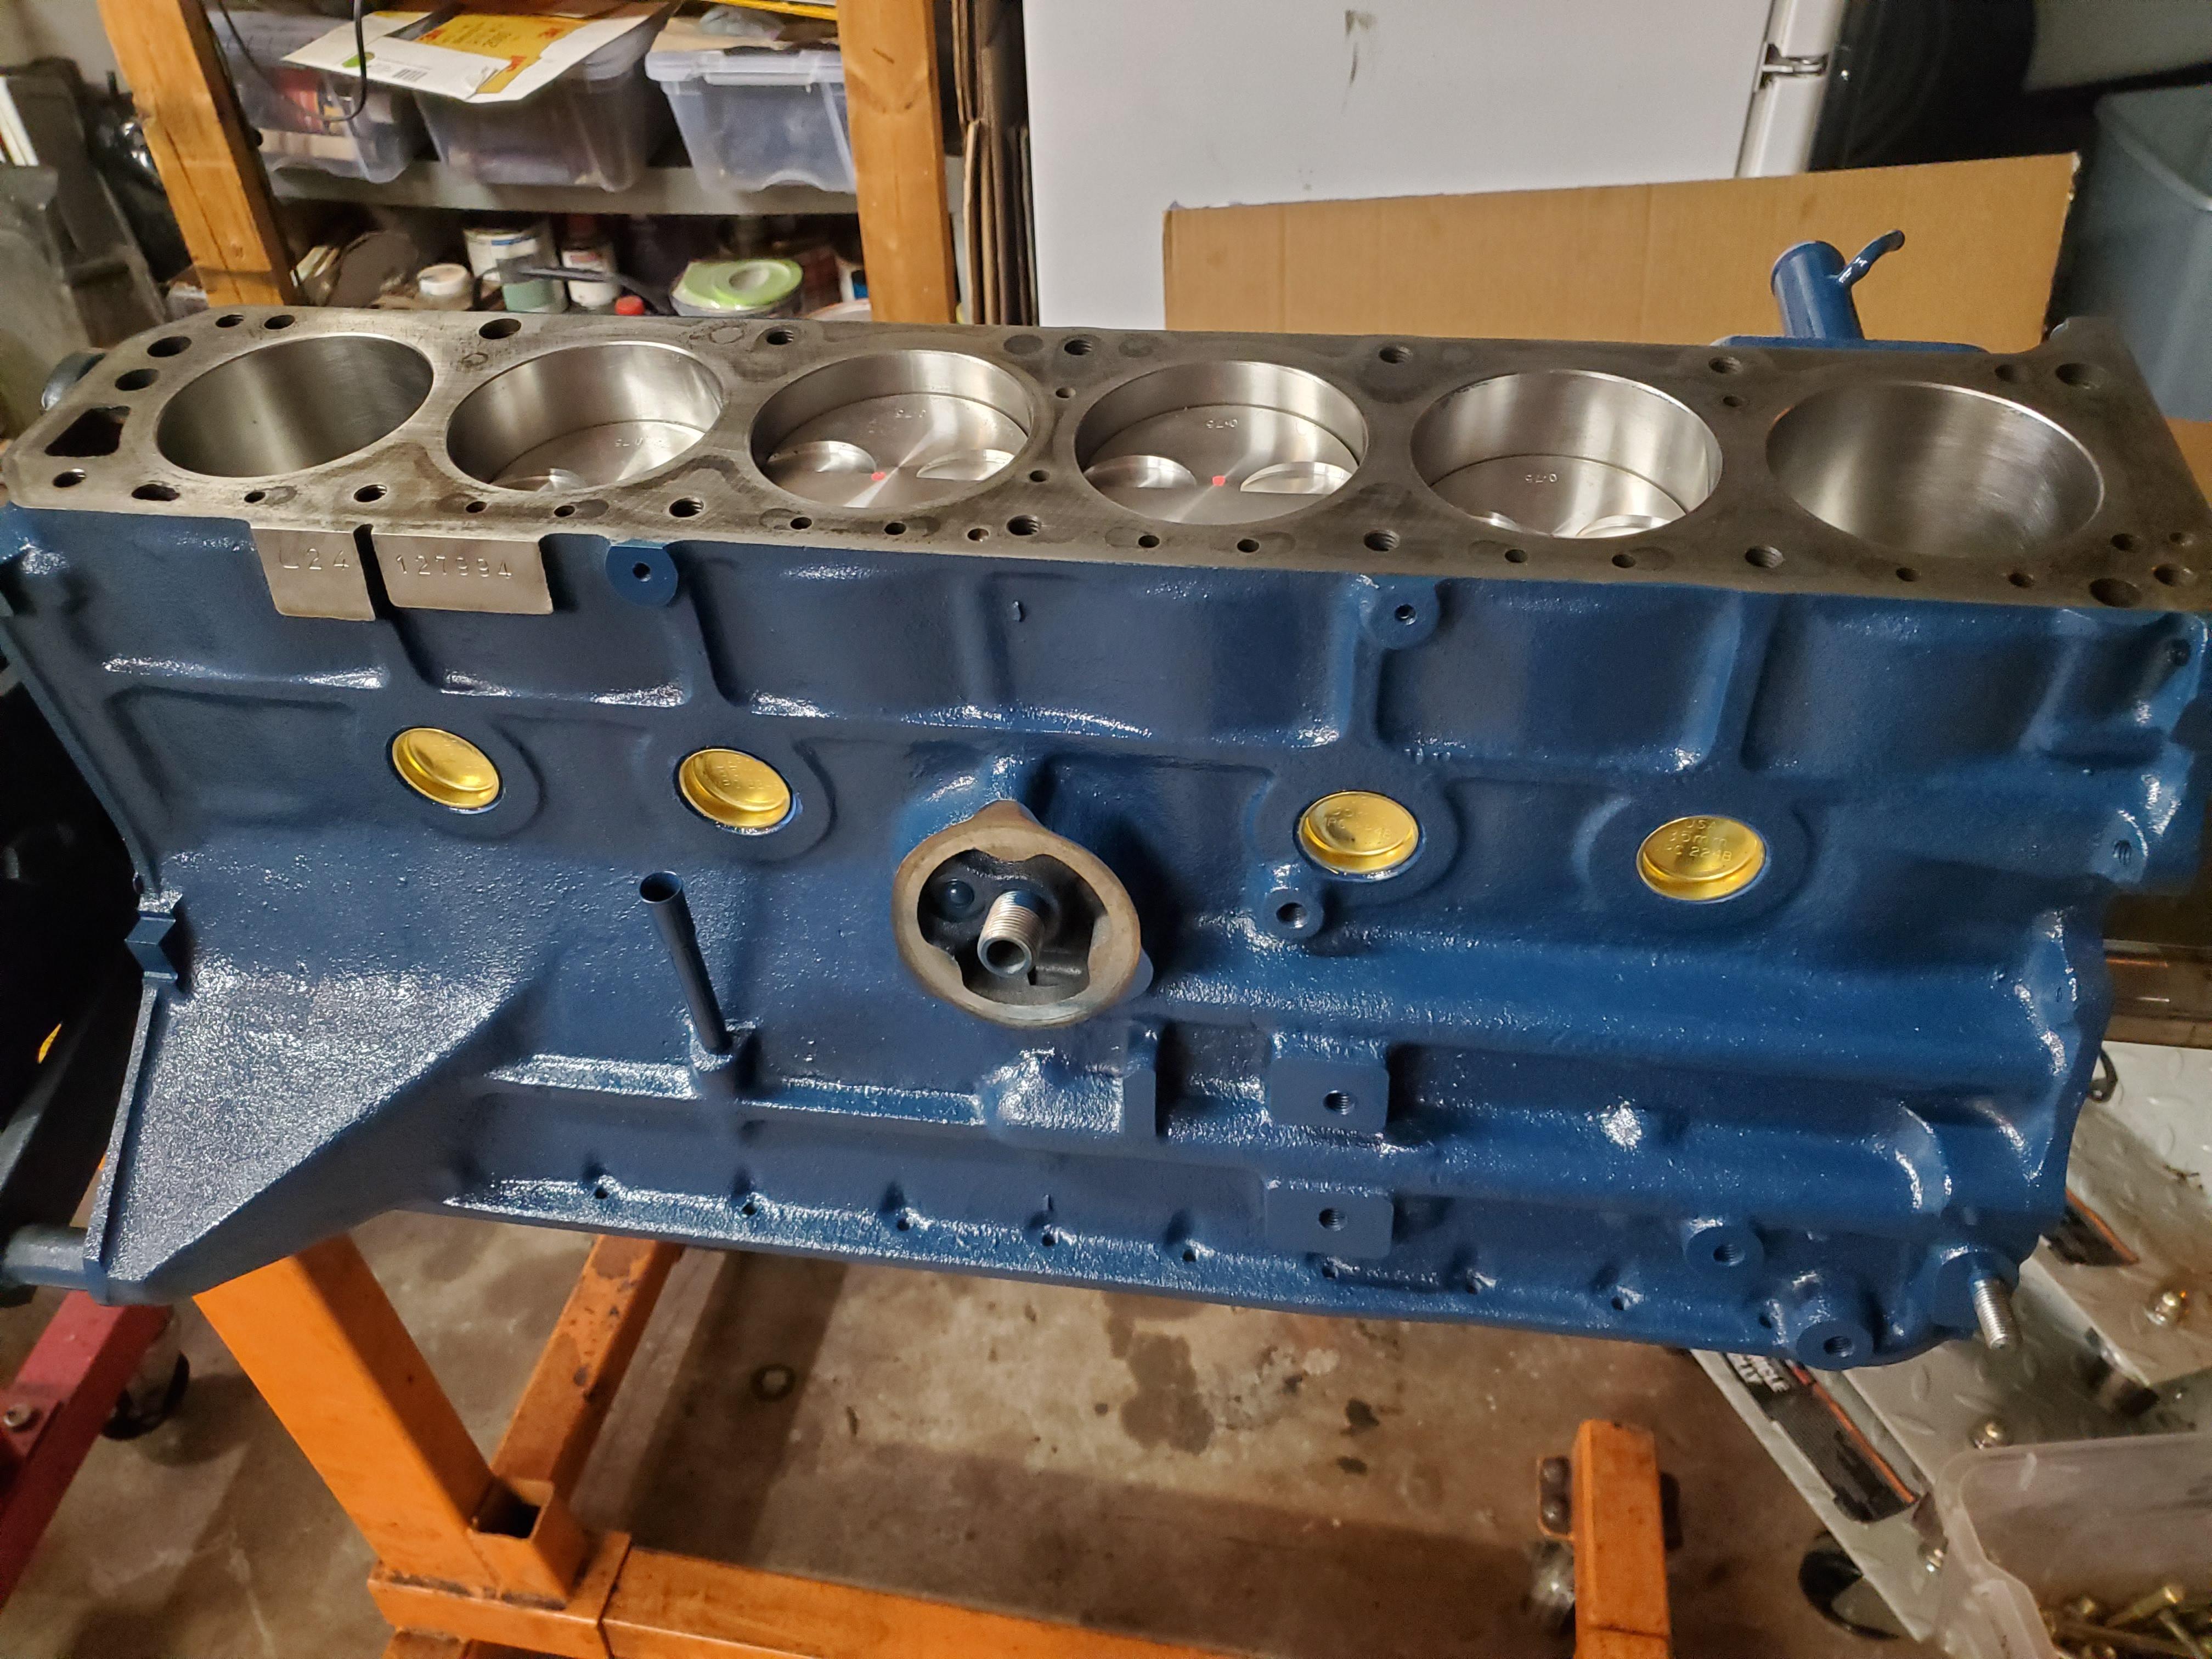
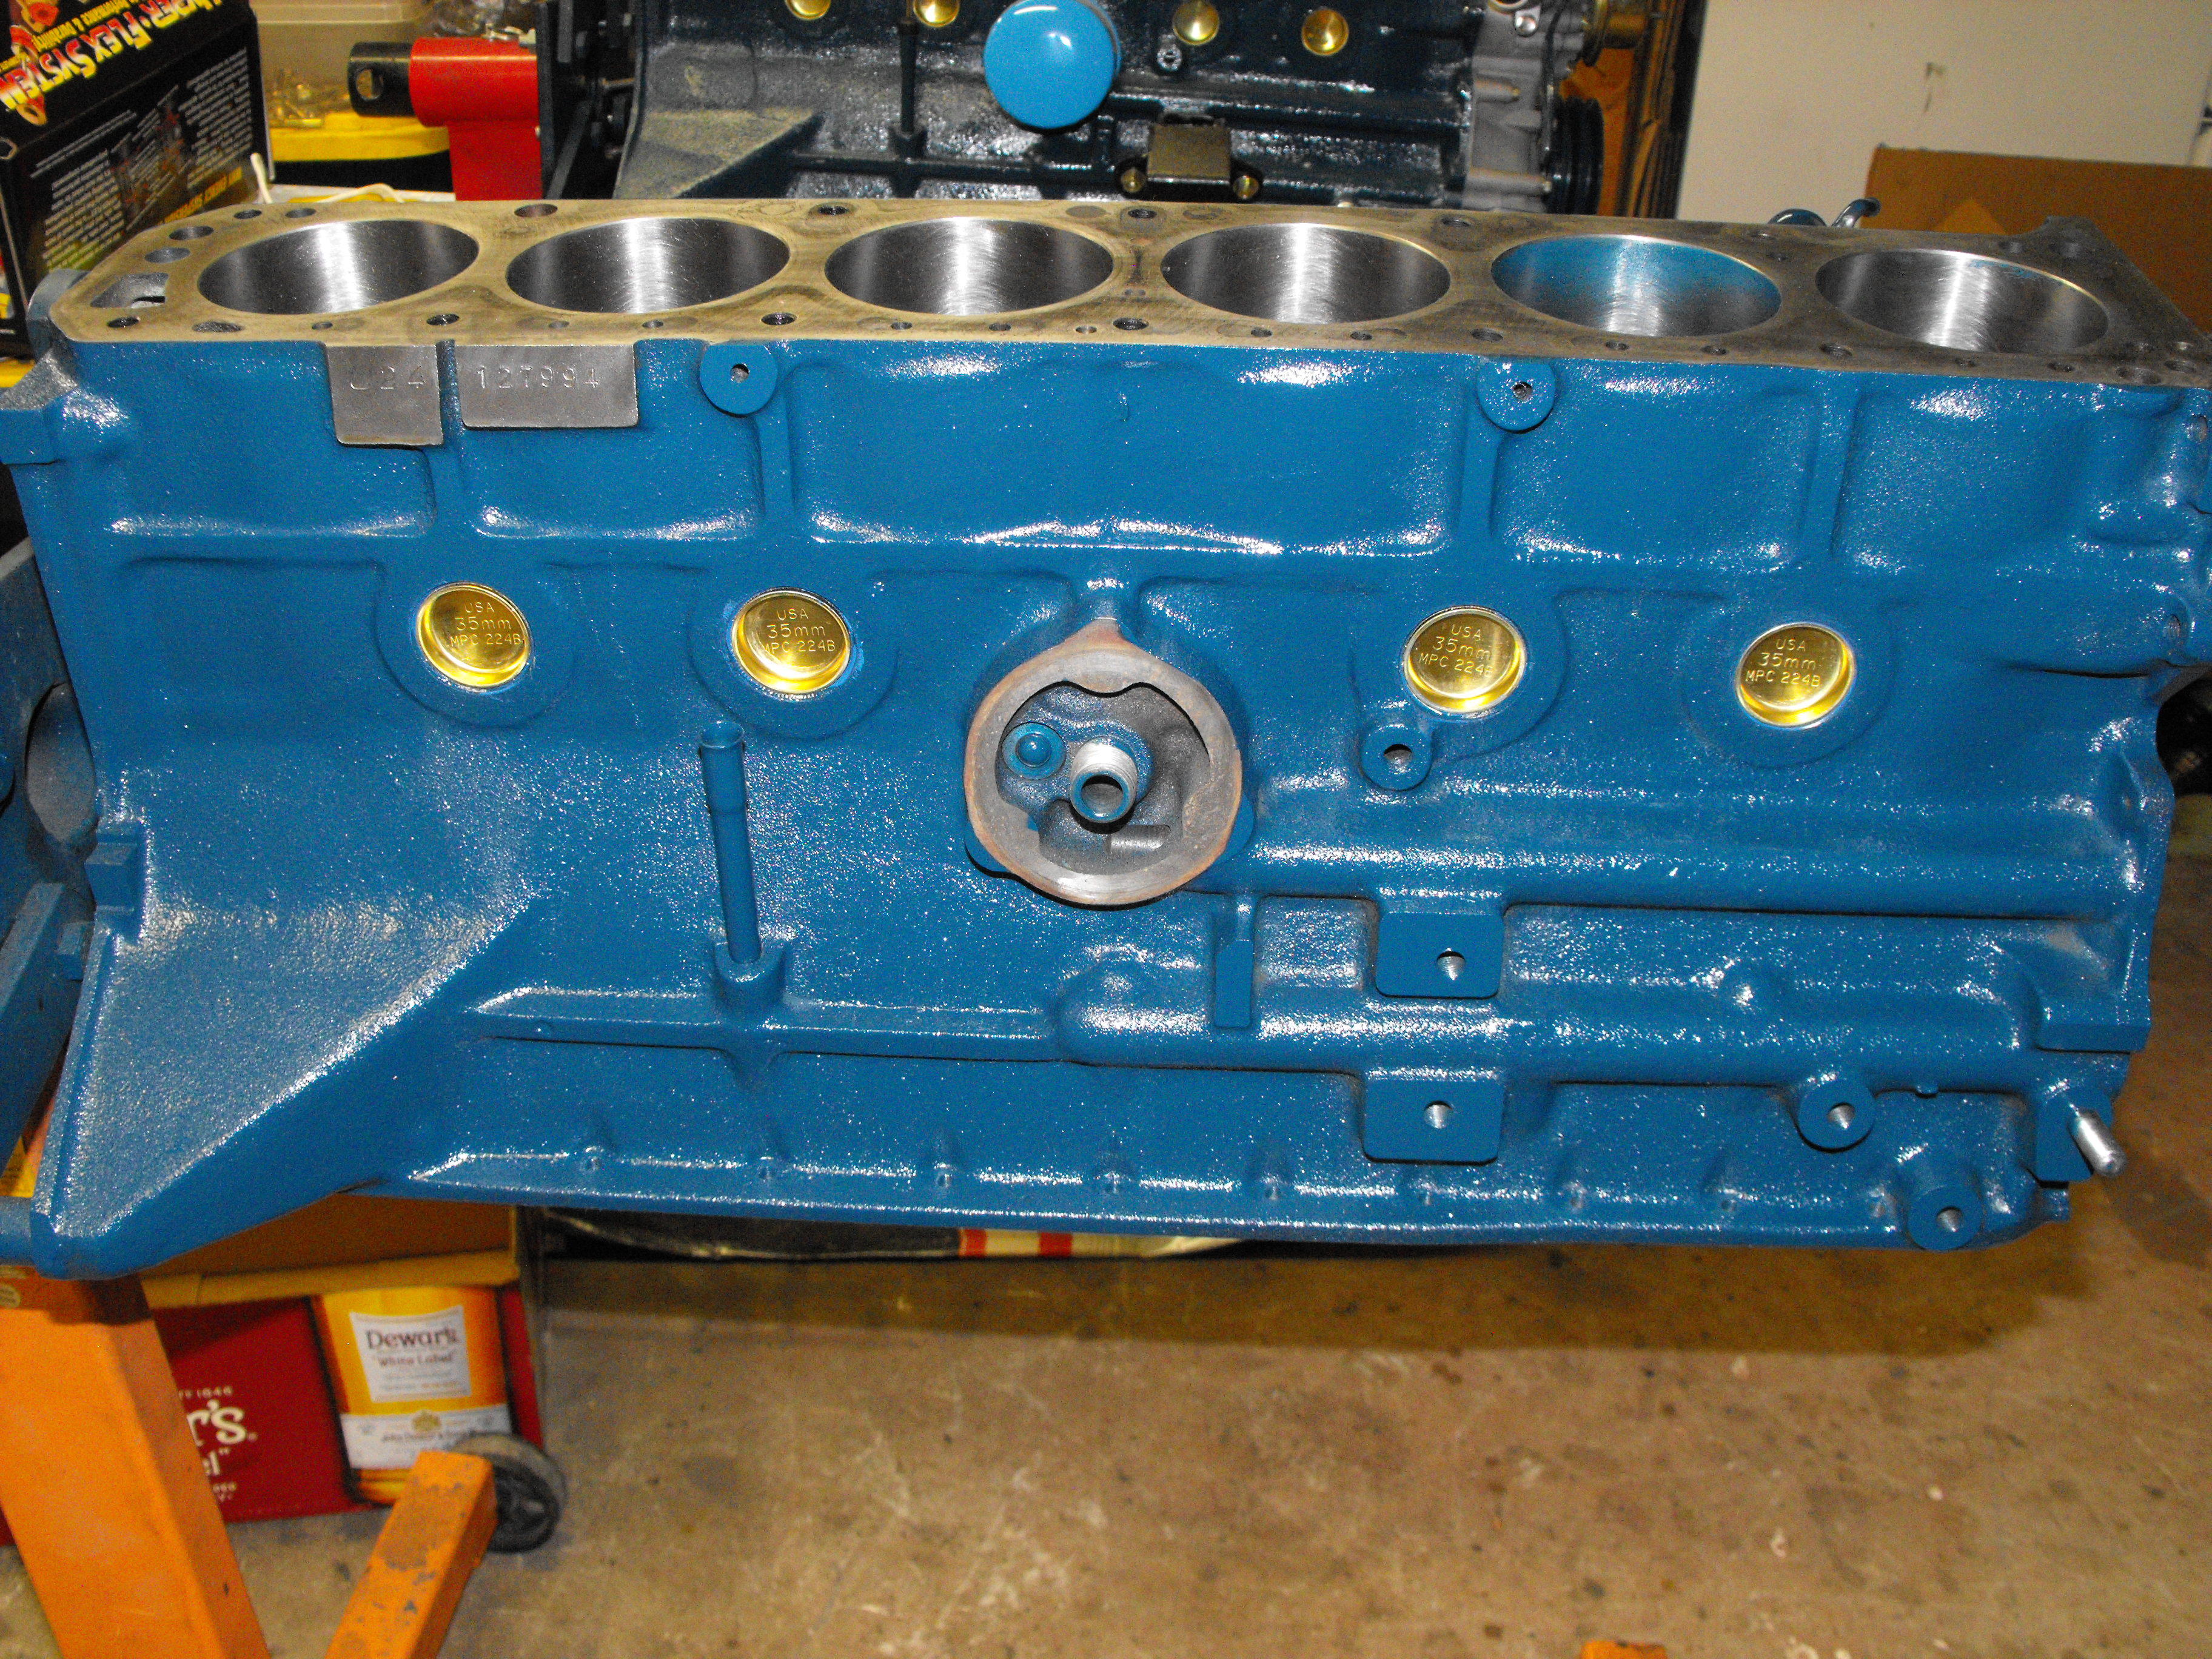
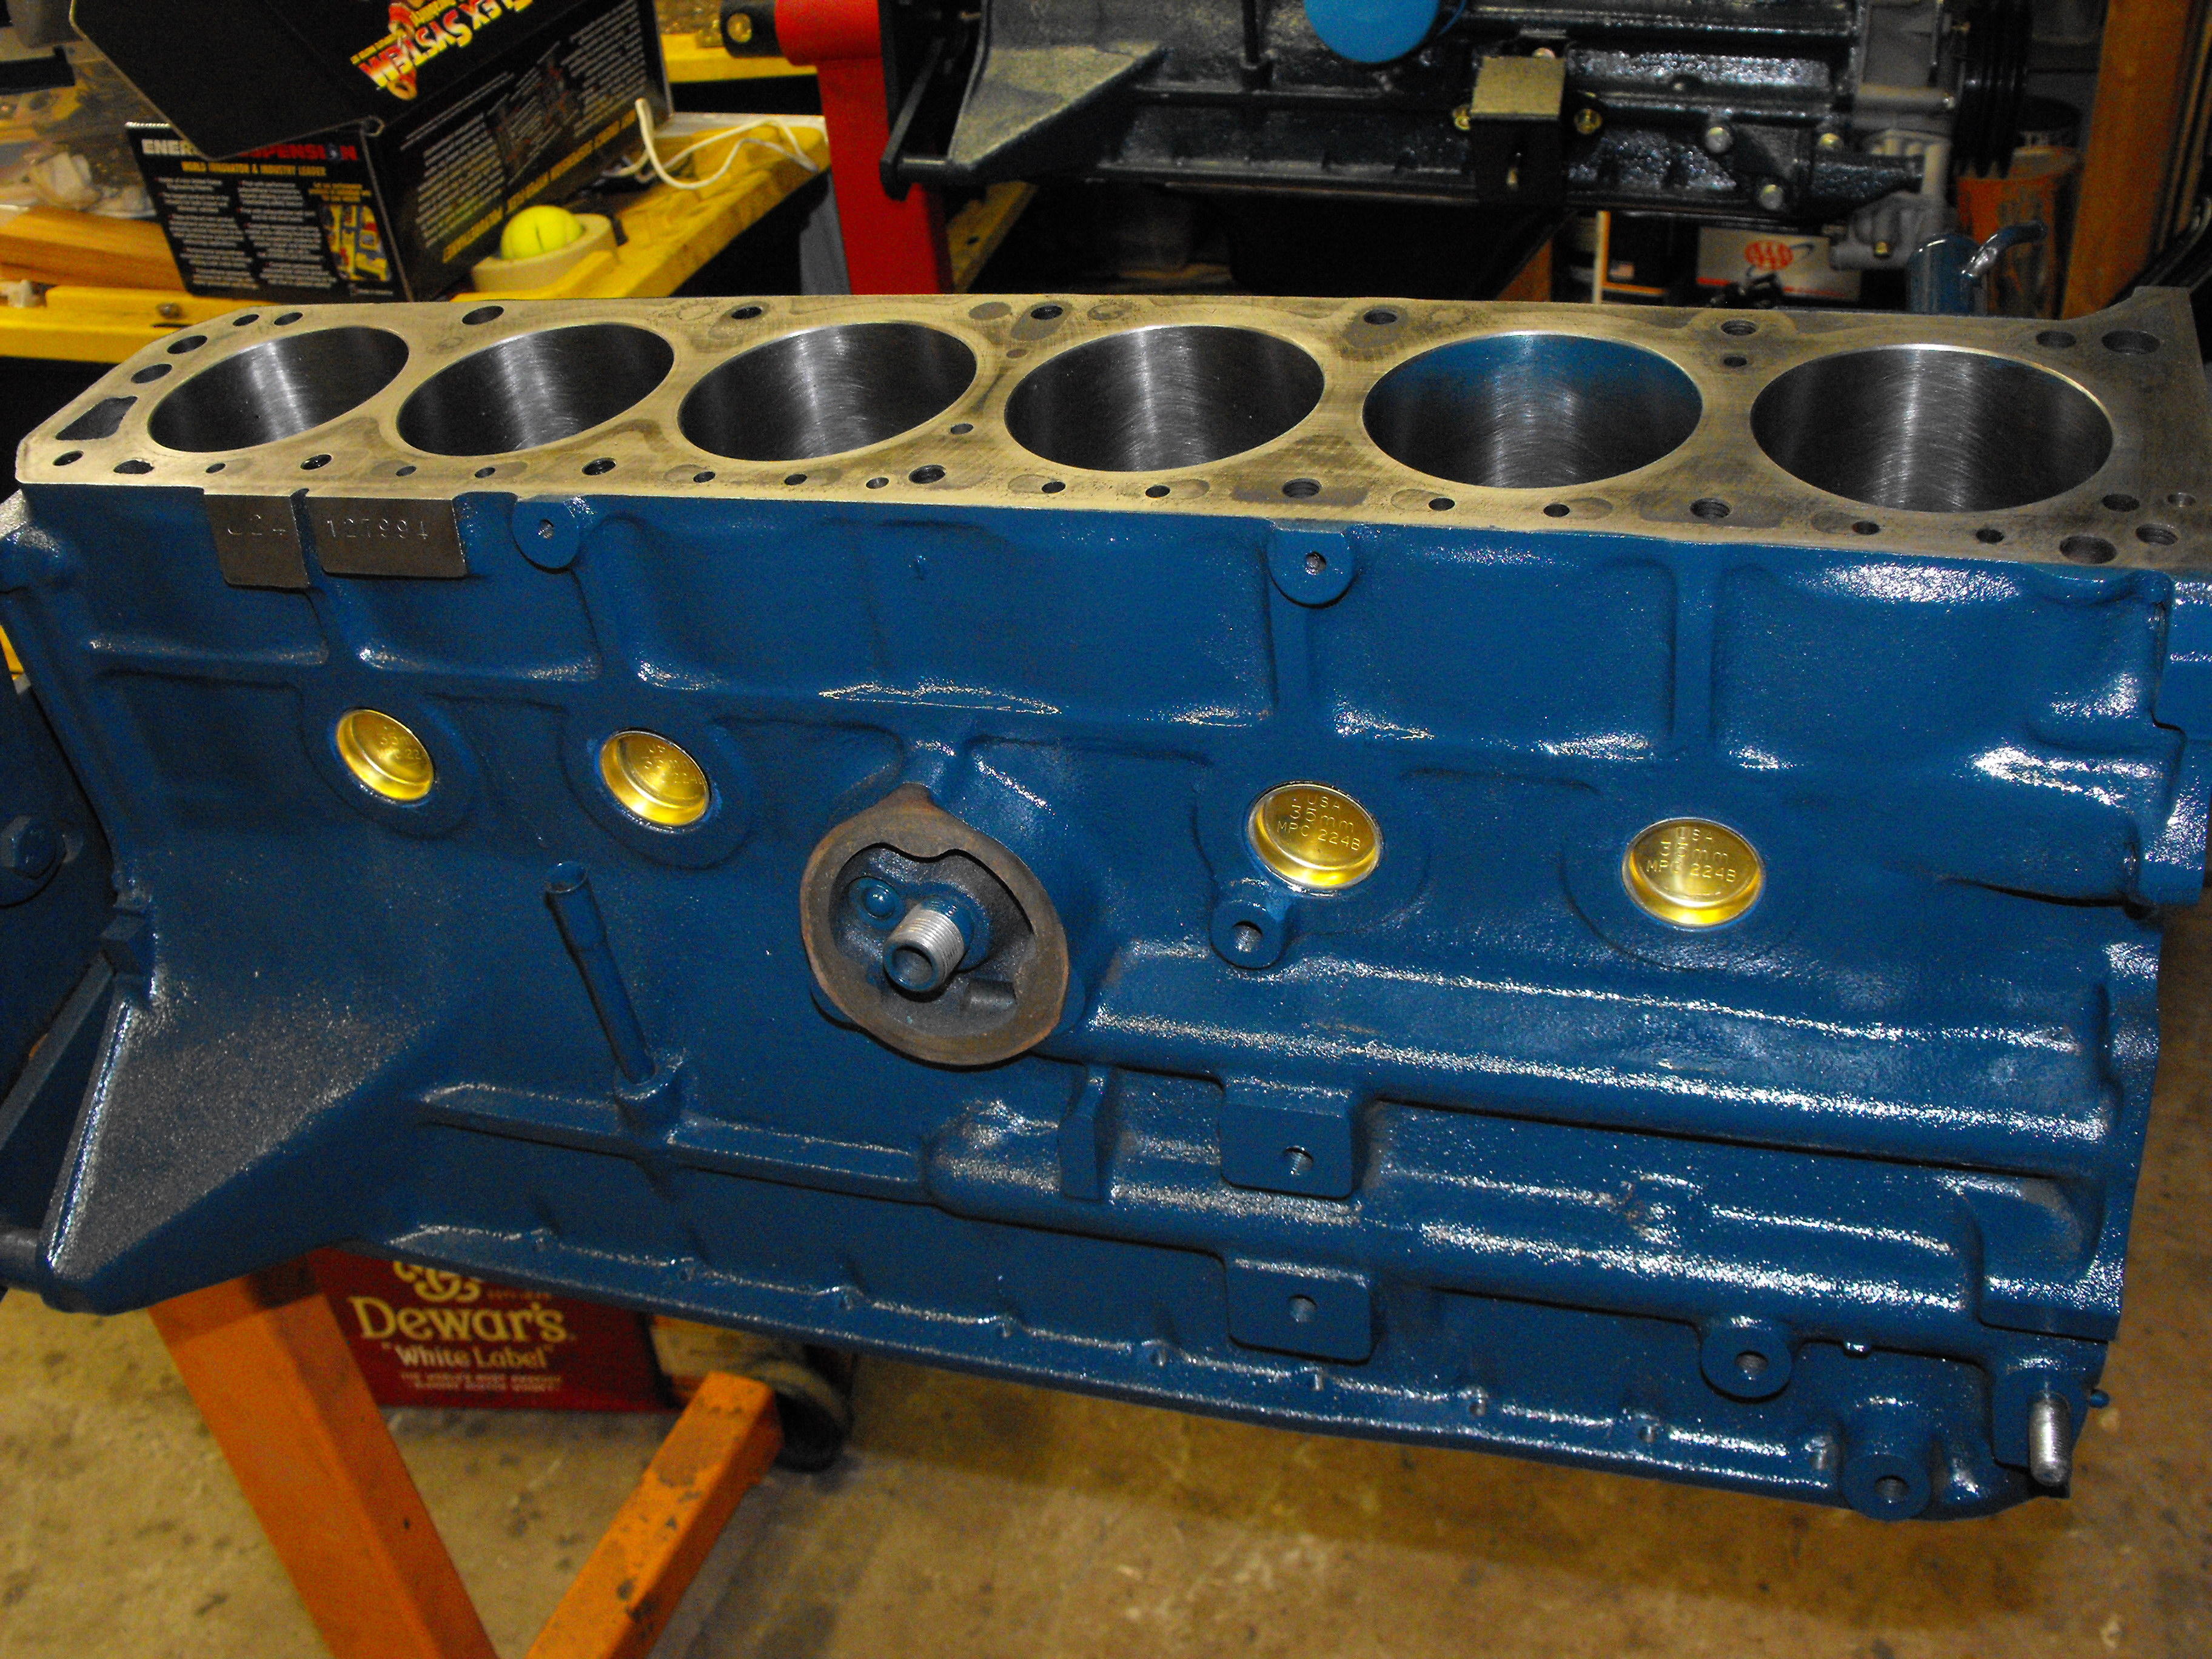
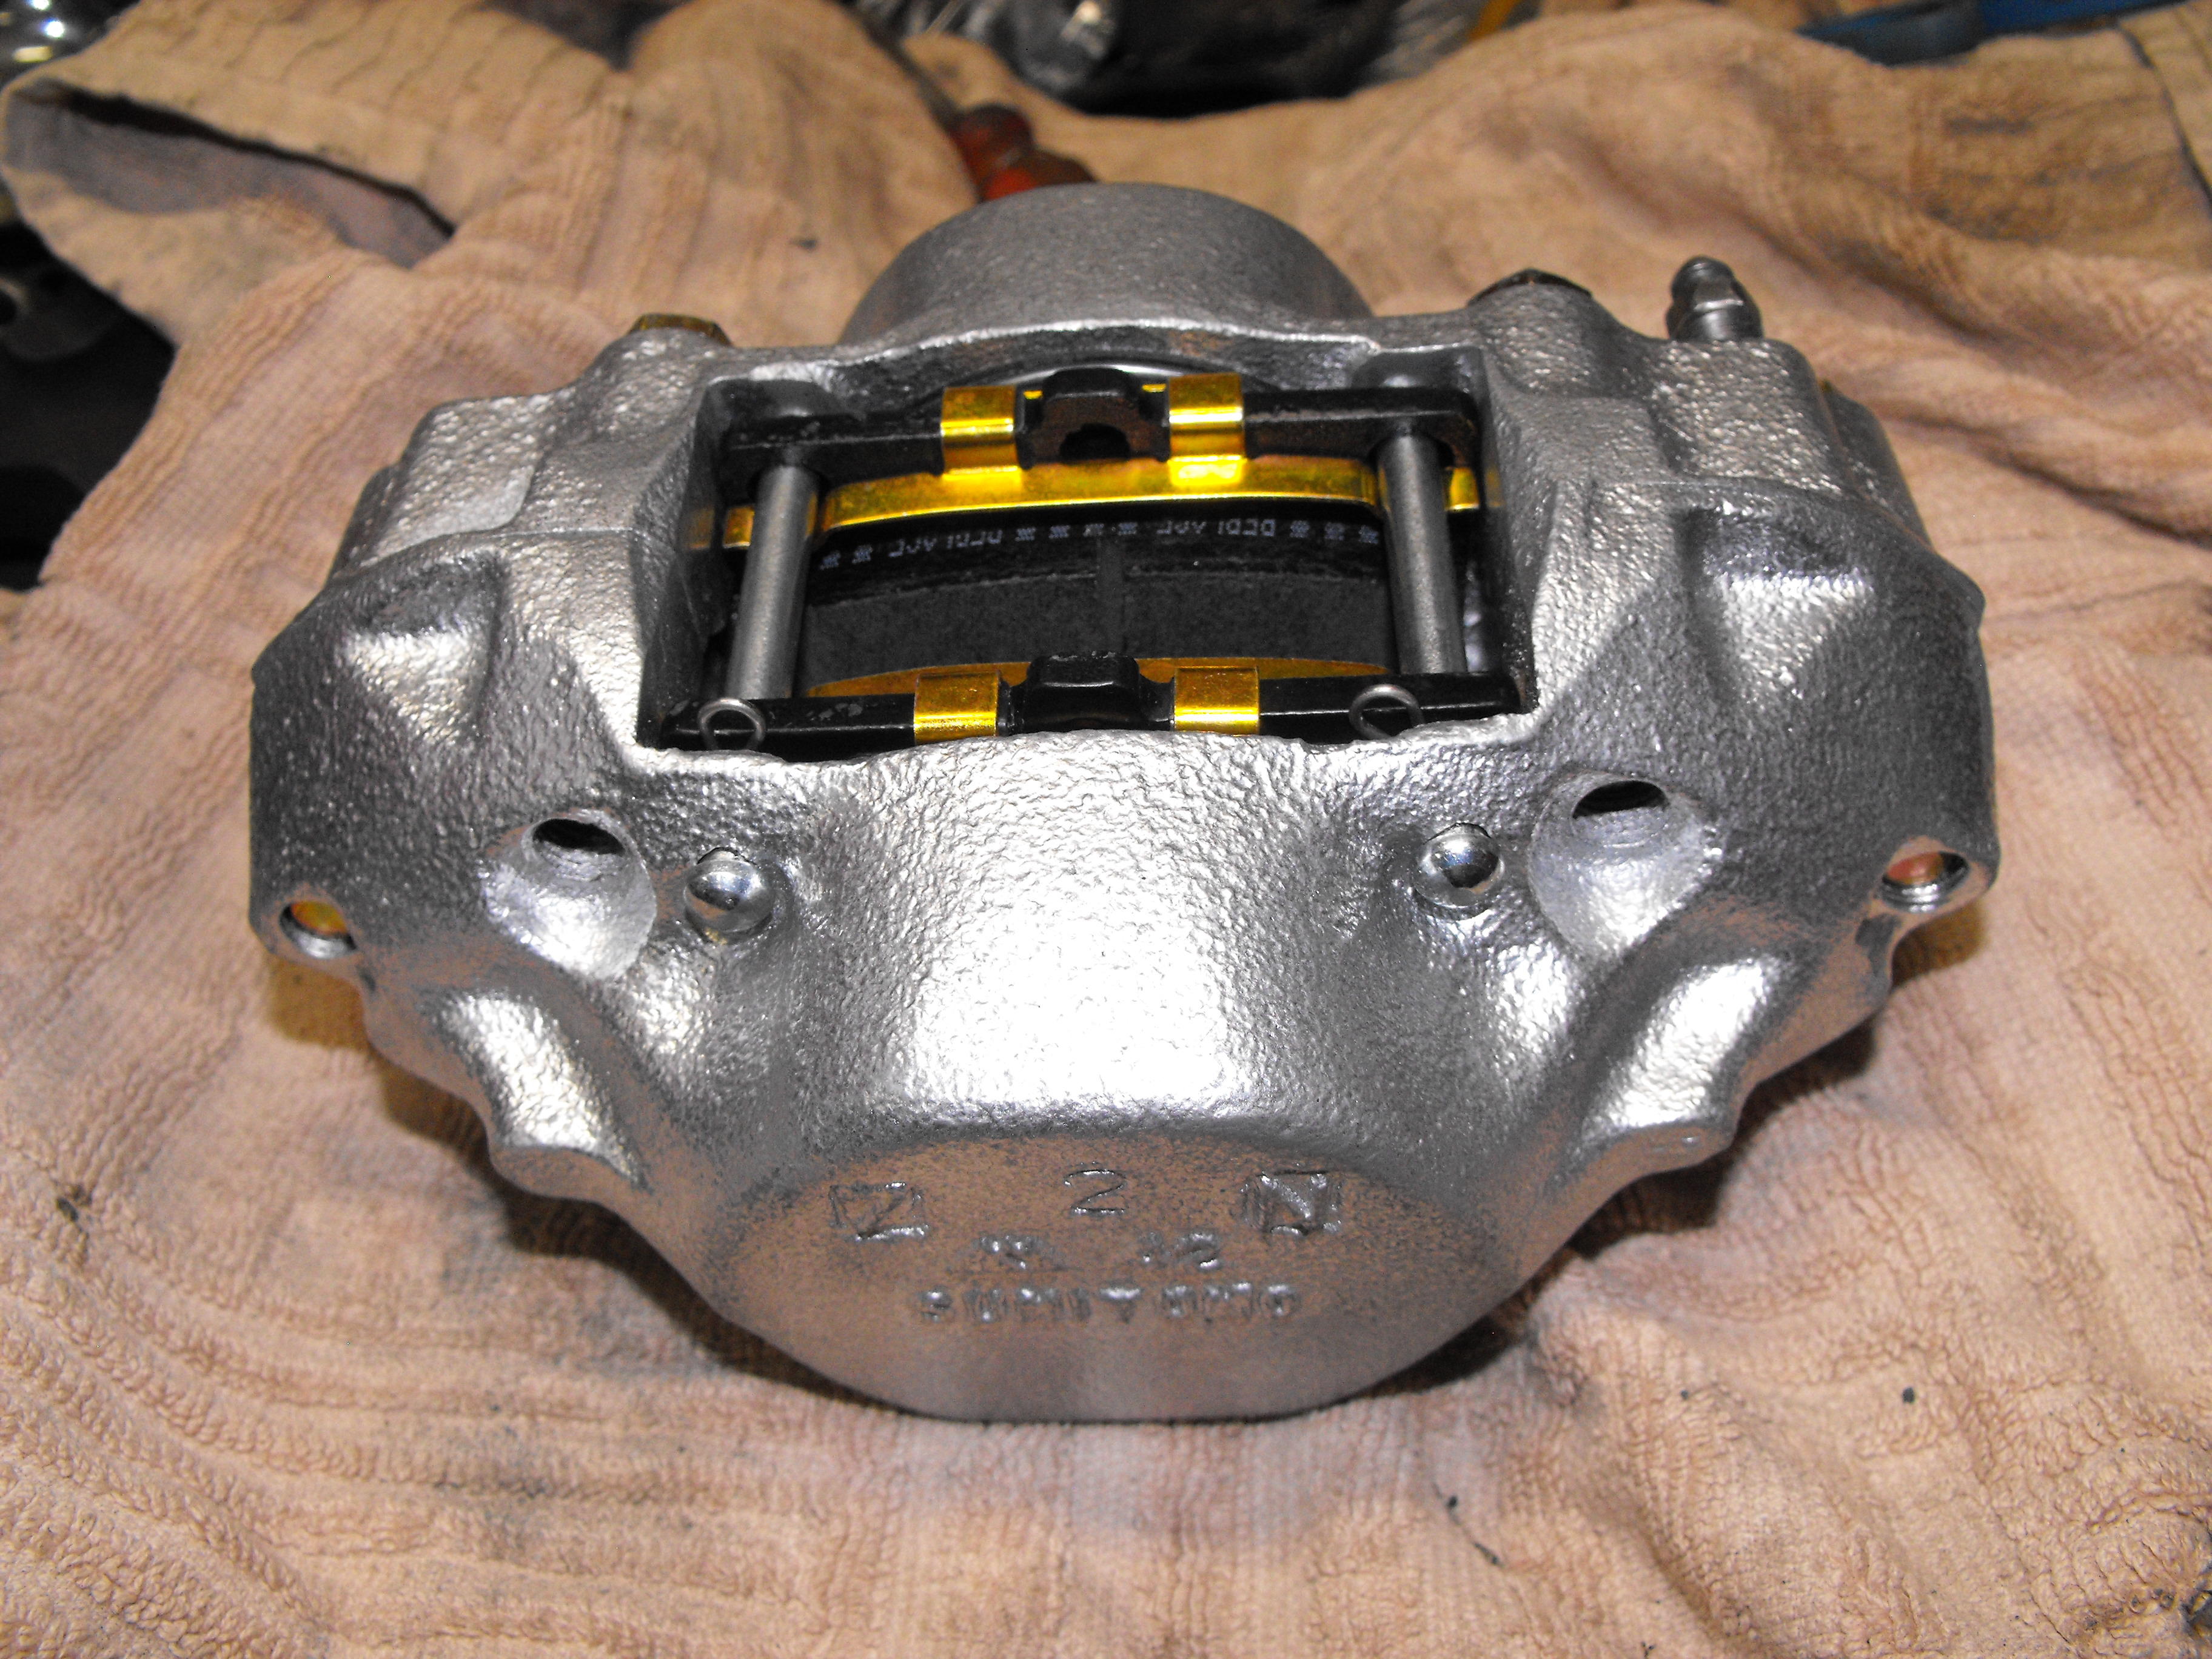
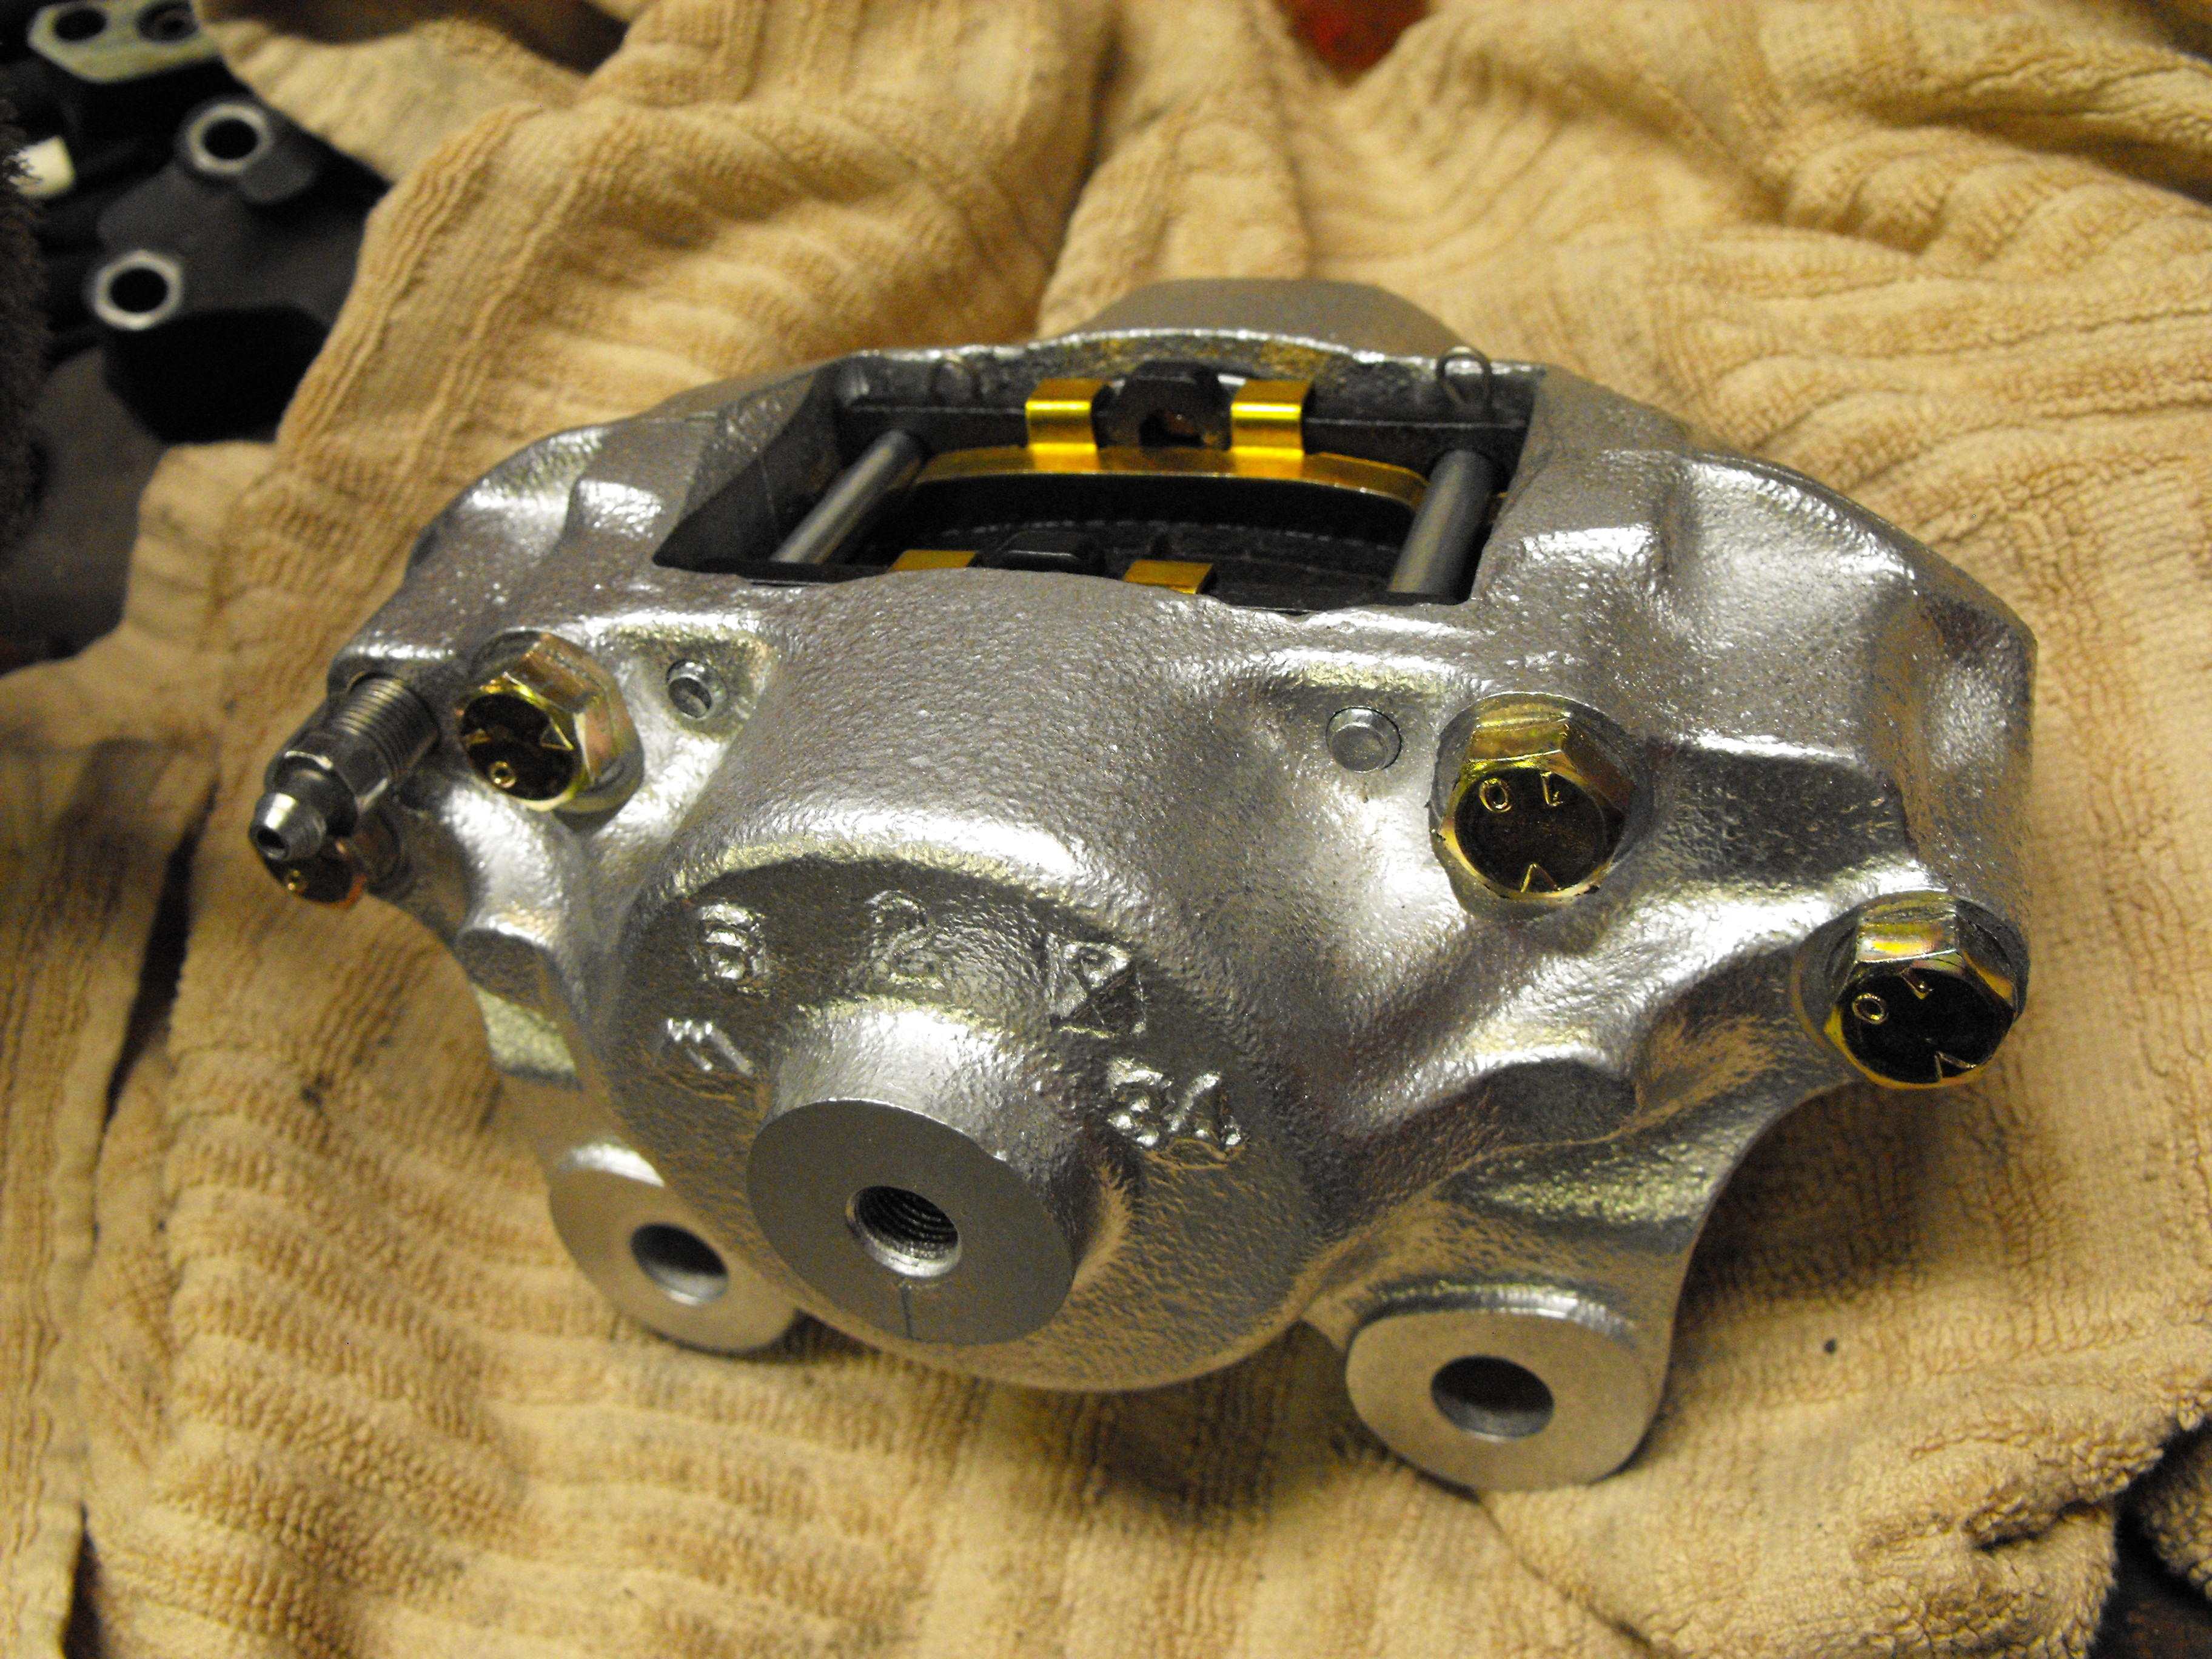
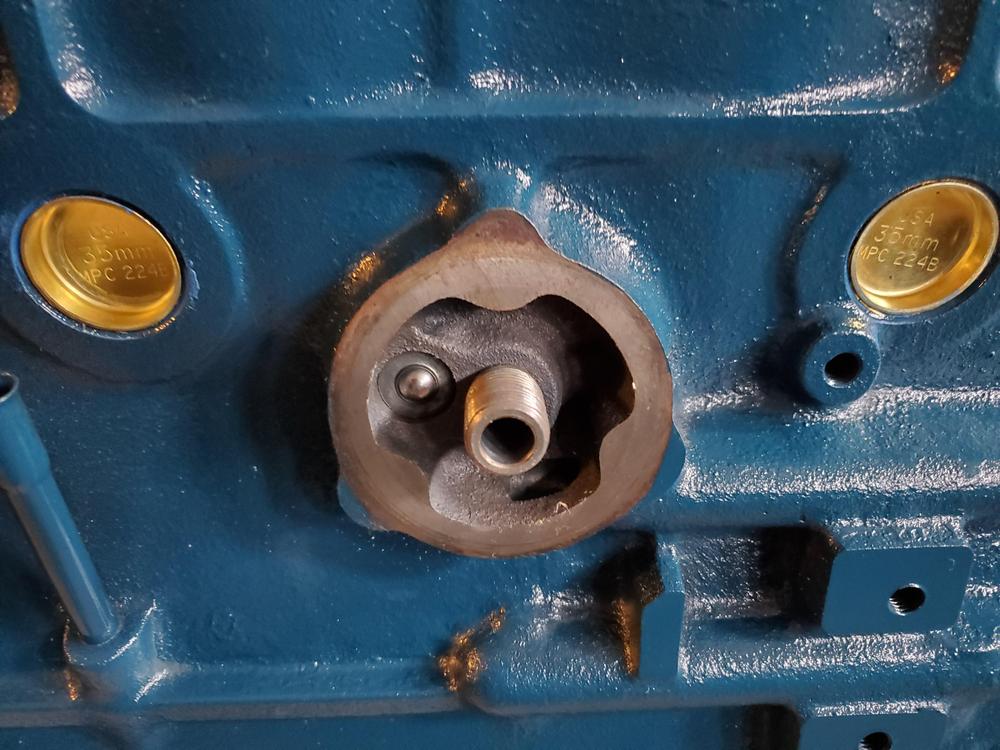
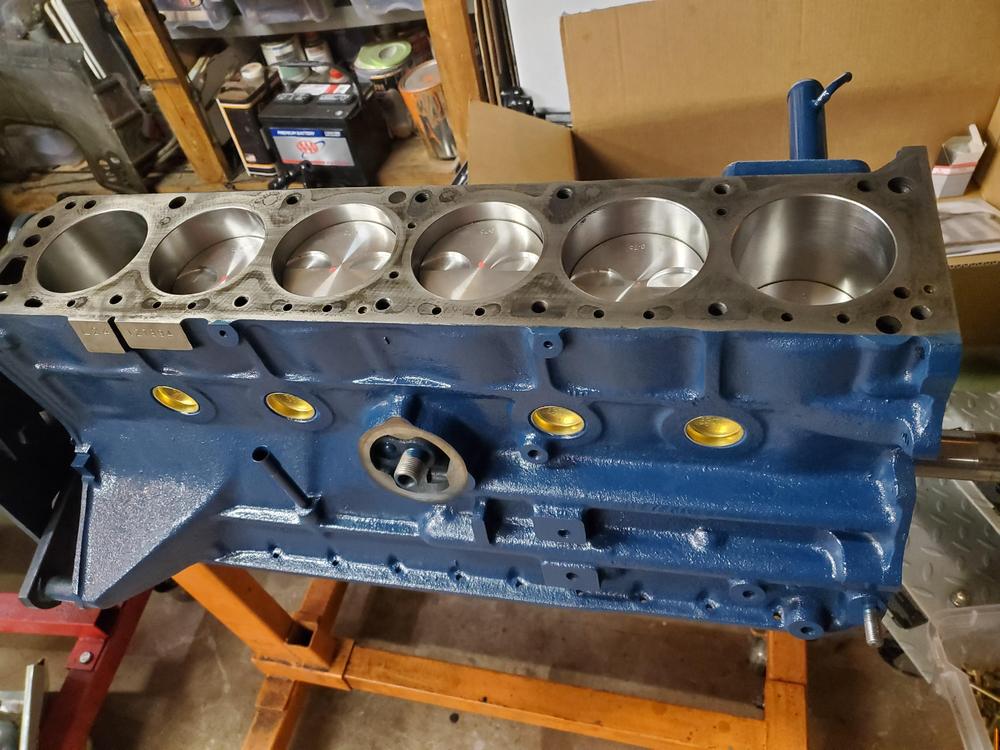
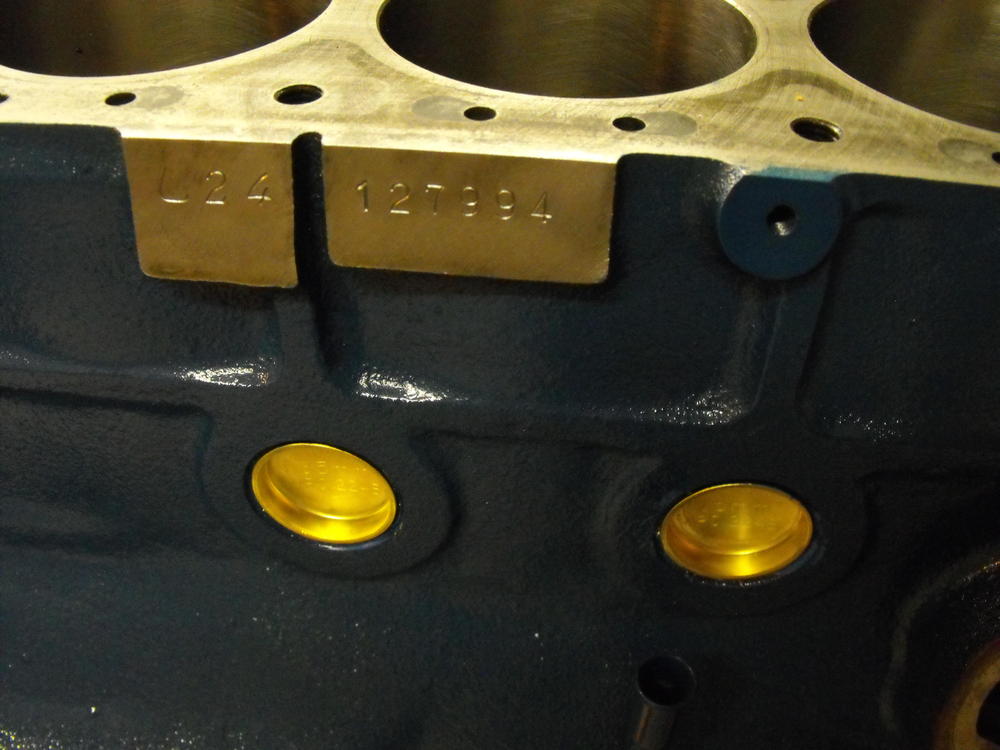
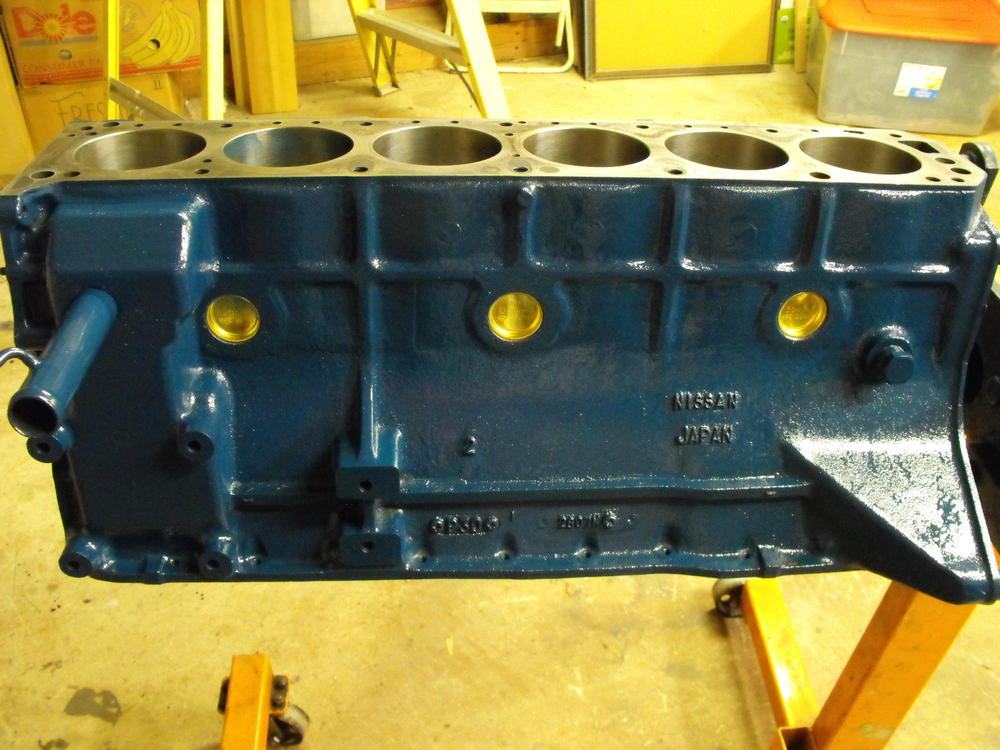
Got the block back from the machine shop. Head is waiting for hardened valve seats to come in. Got the block painted and freeze plugs installed. also finished rebuilding the second front caliper


-
Yes, I am planning on sending the larger parts (fuel and brake lines, etc) and parts that have cavities, like the emission valves, to a local plater. In the past, the 'cavity items' have leaked during shipping and stained the other parts. Pick-up at the local plater for these large and unique items works better.
-
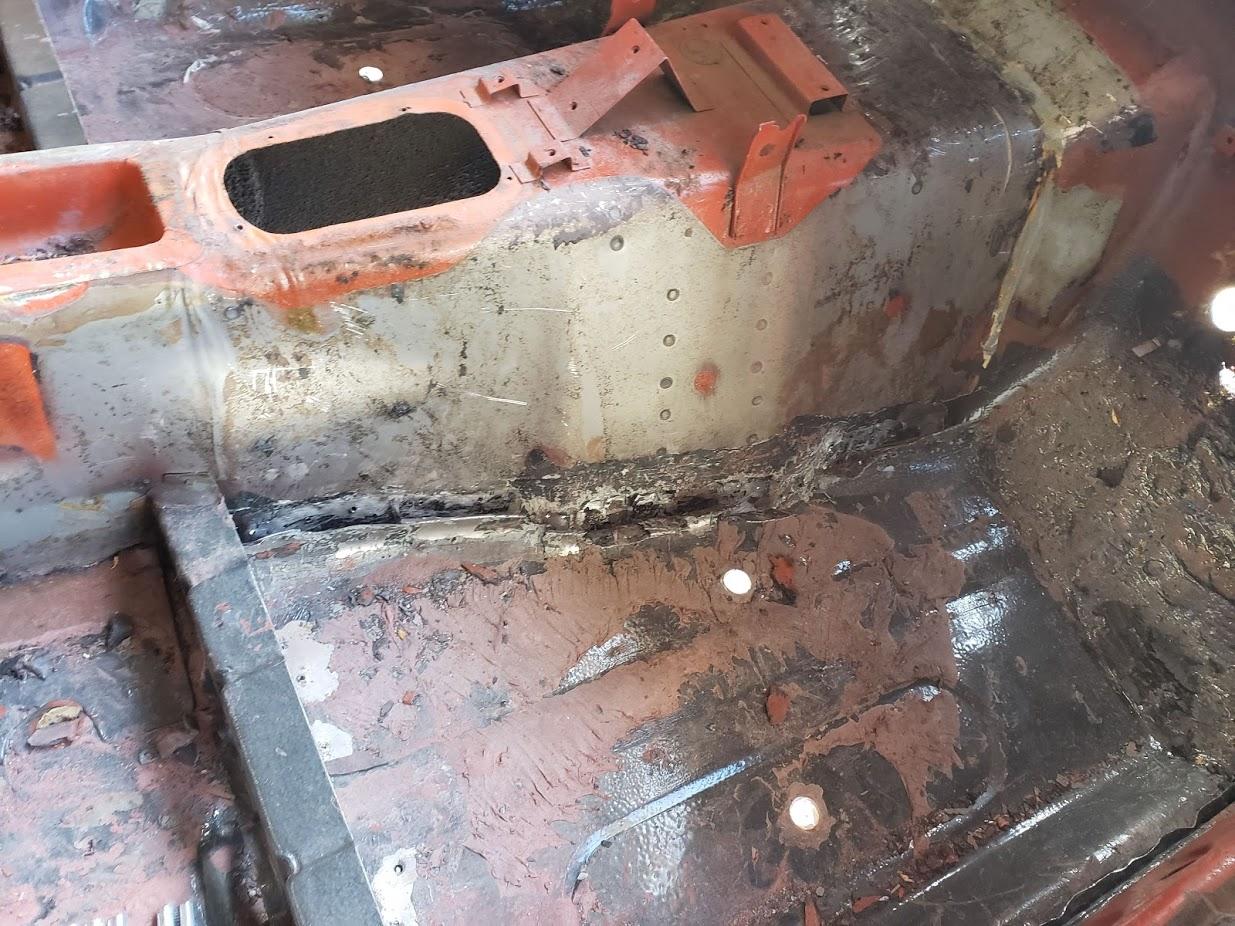
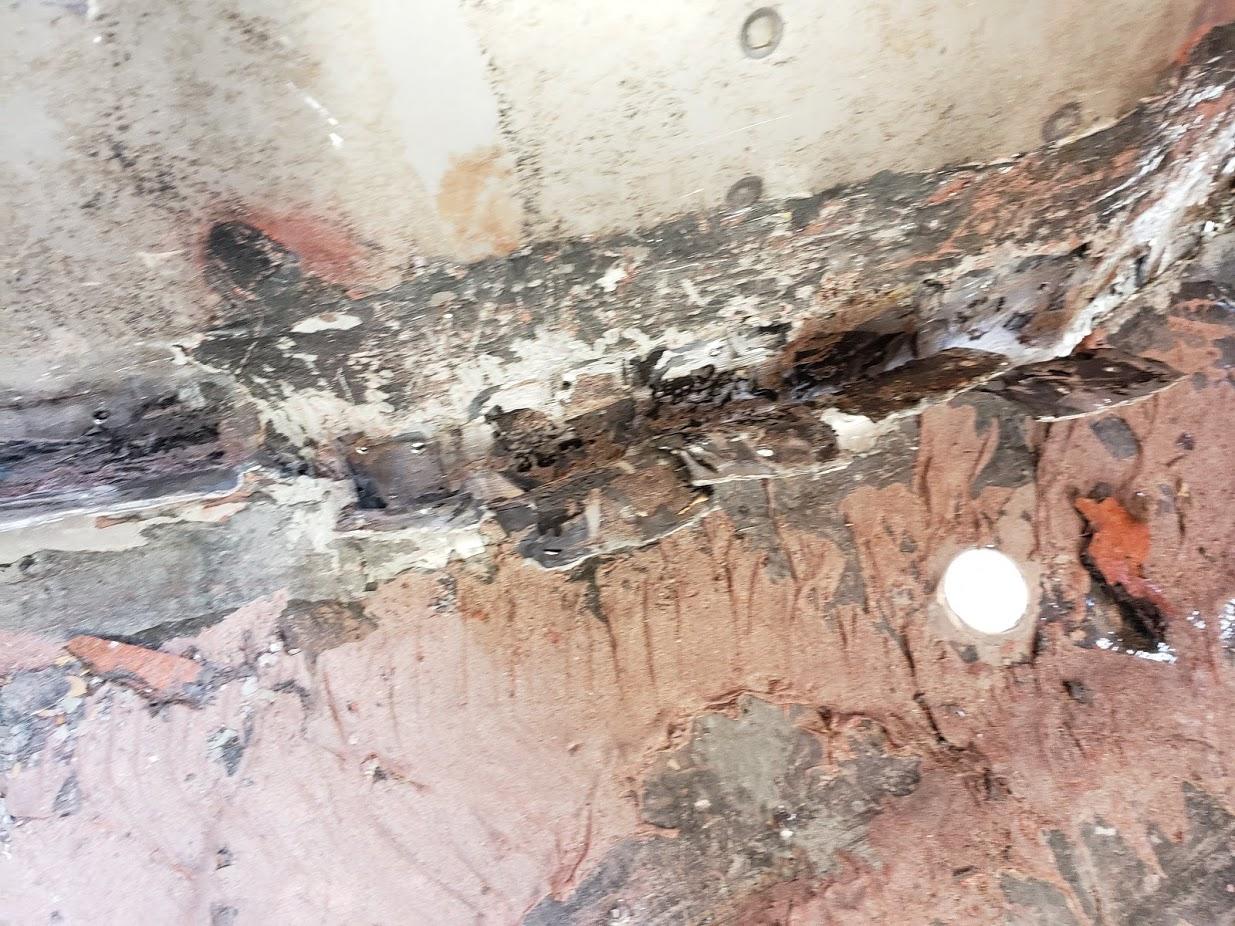
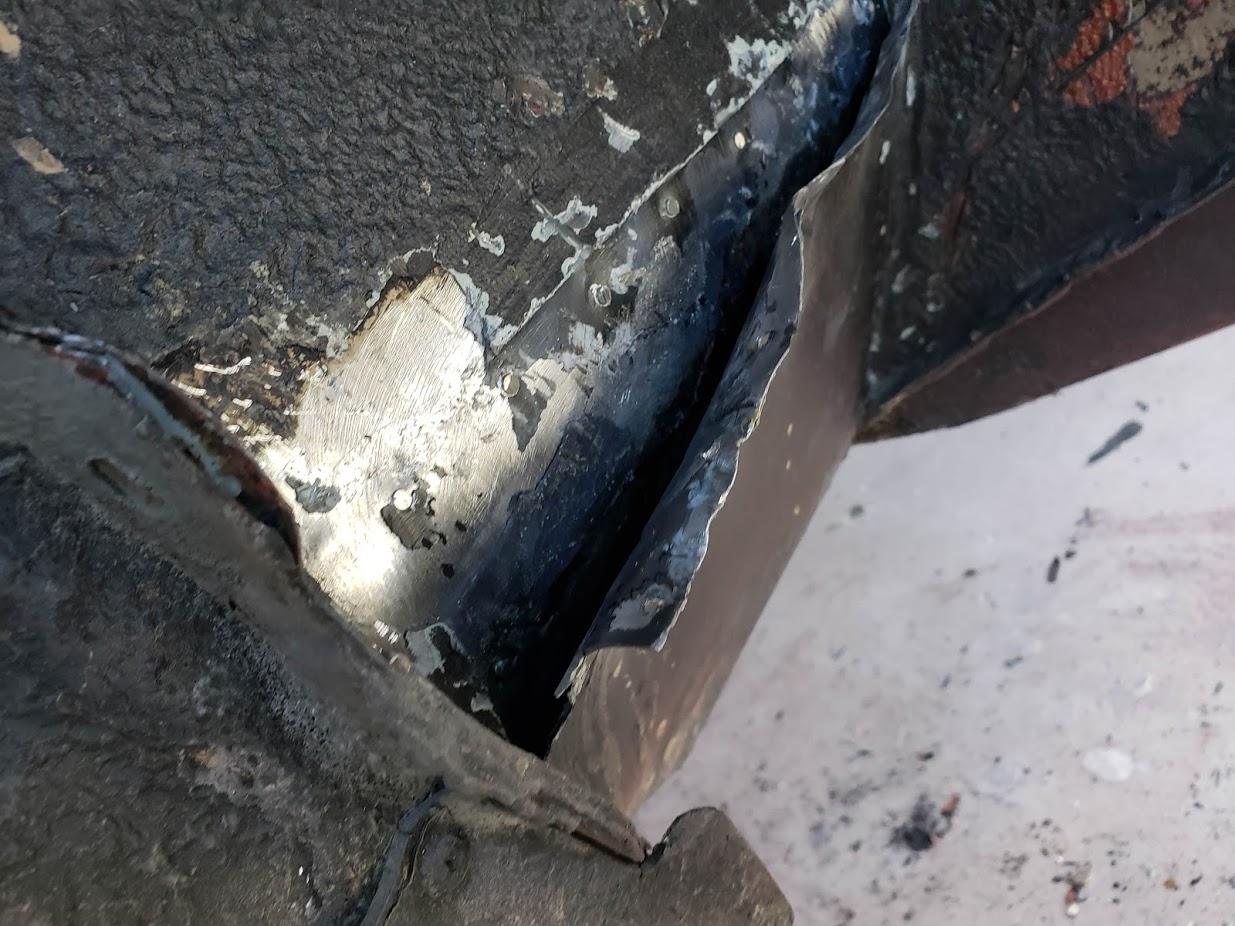
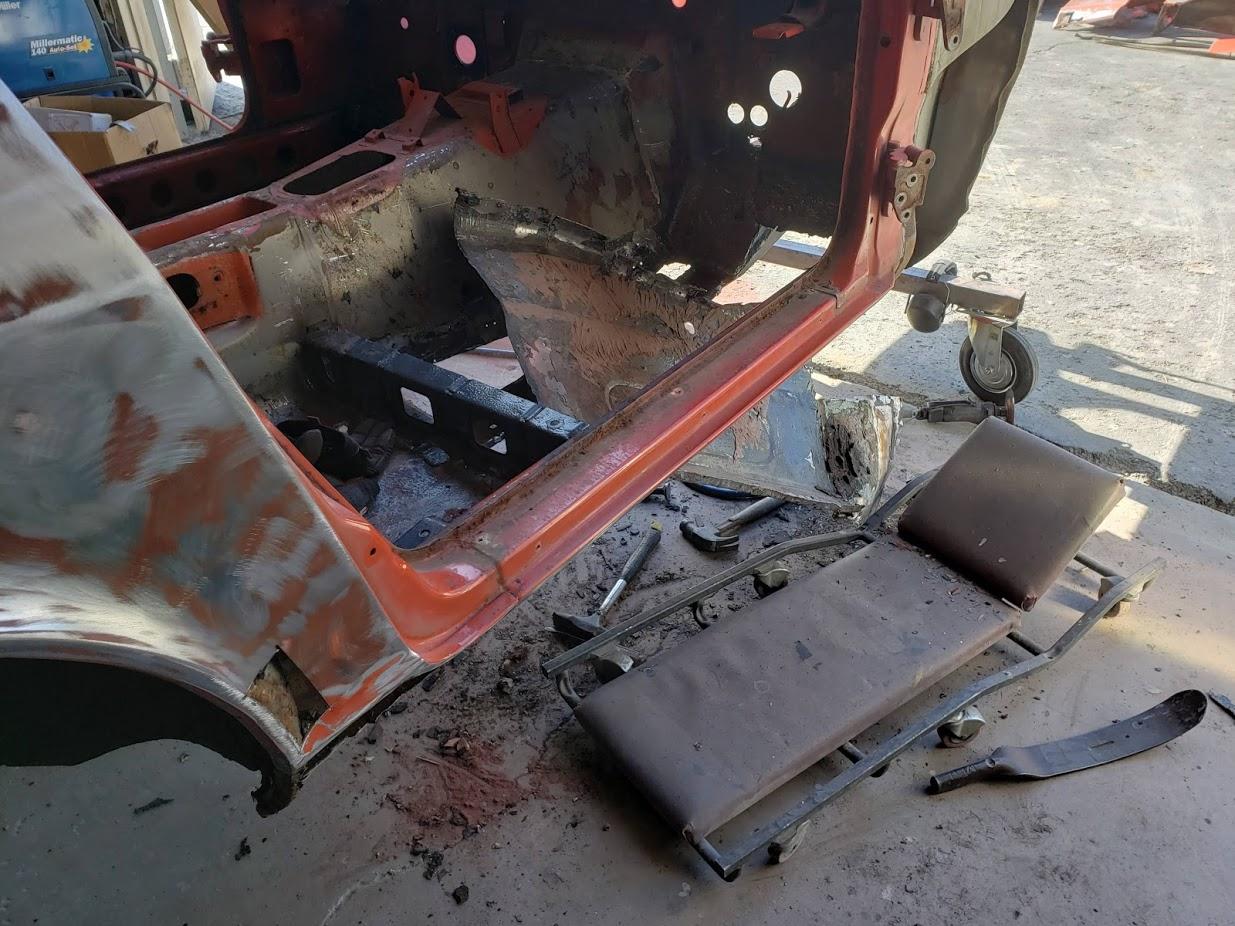
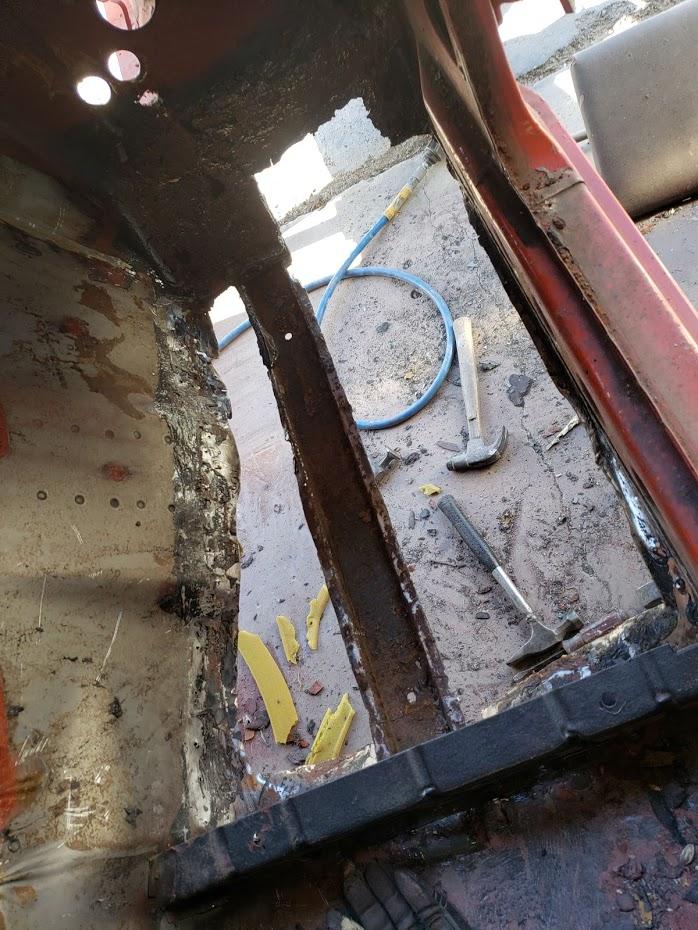
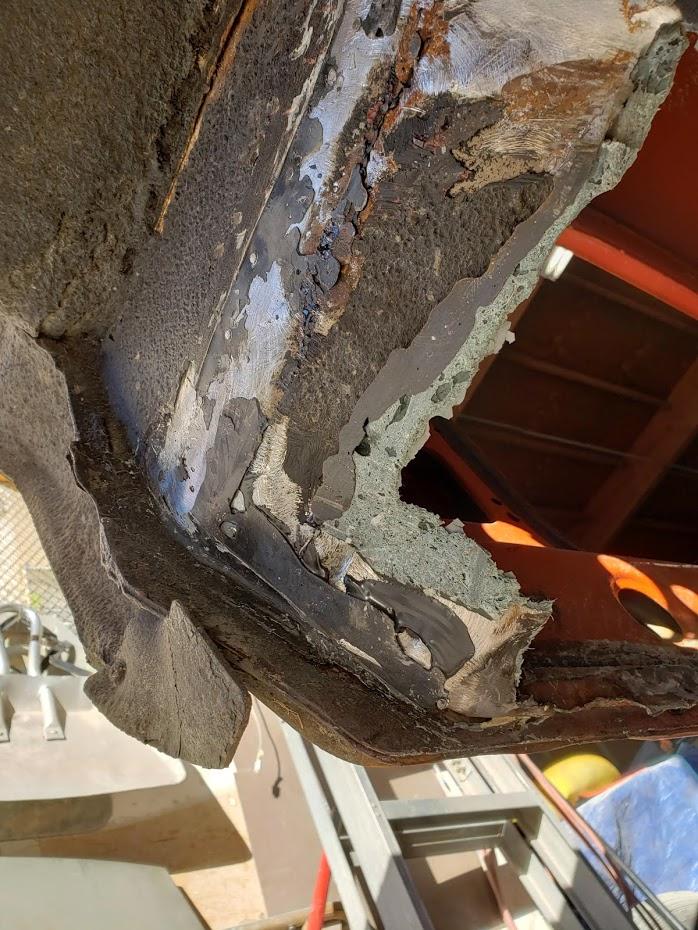
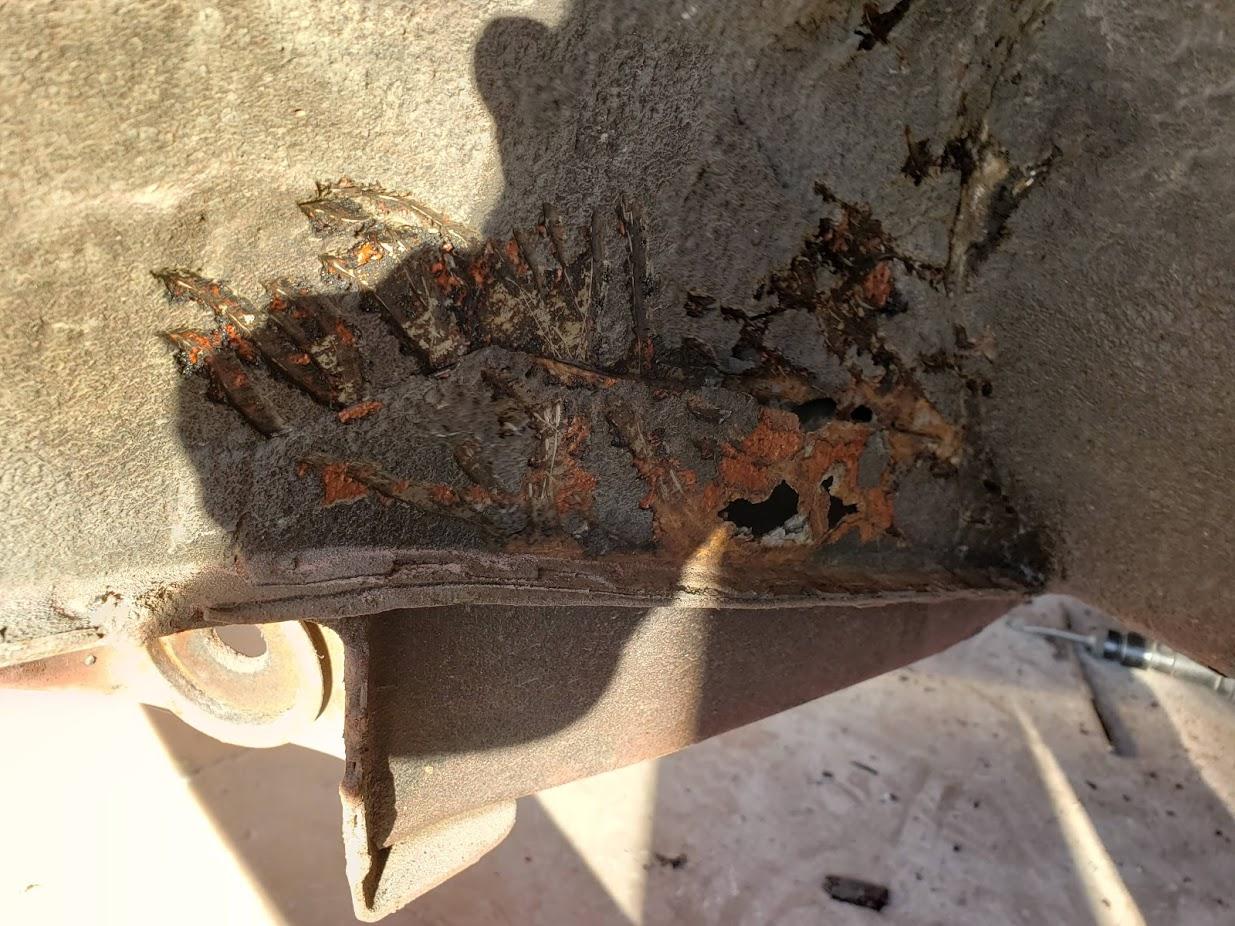
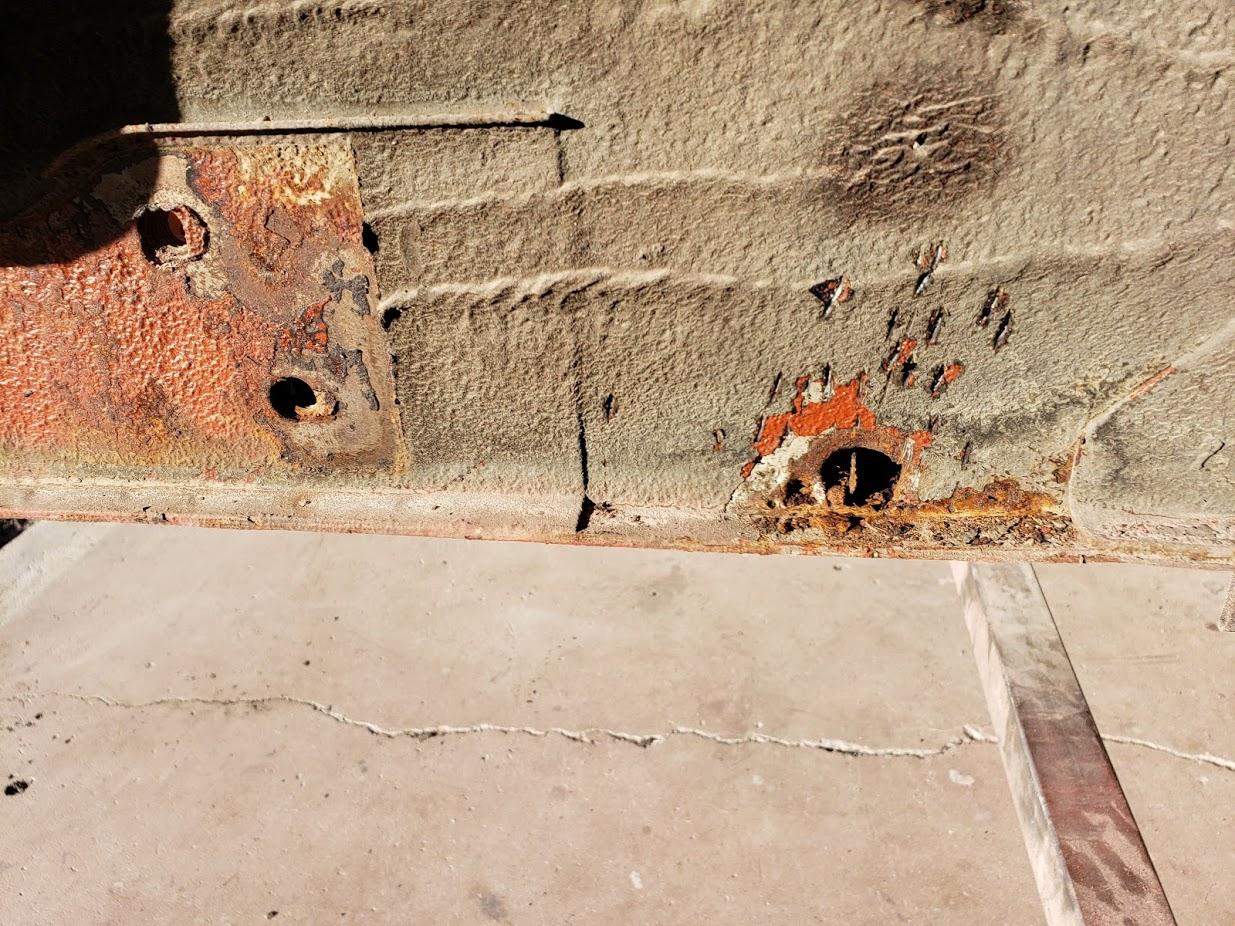
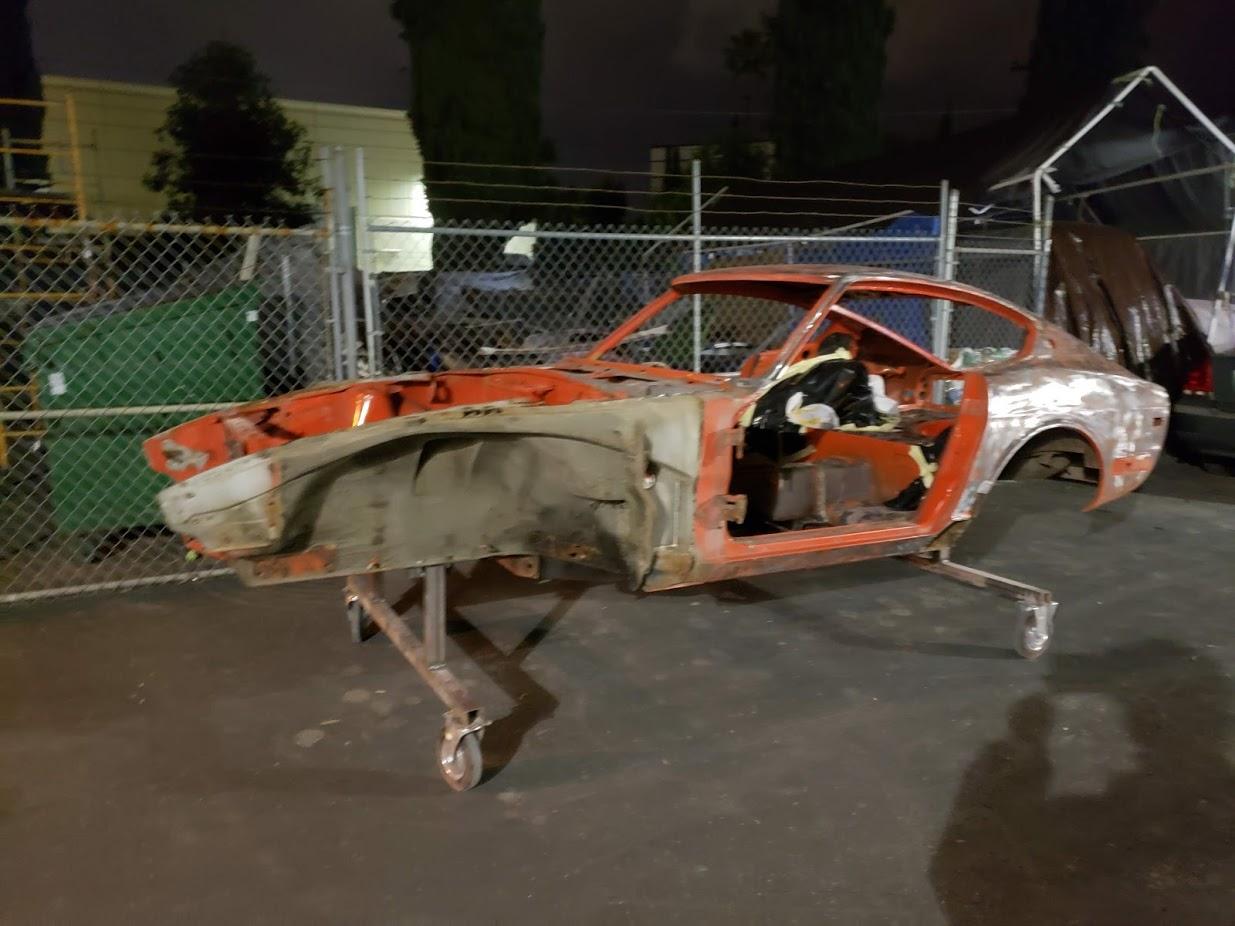
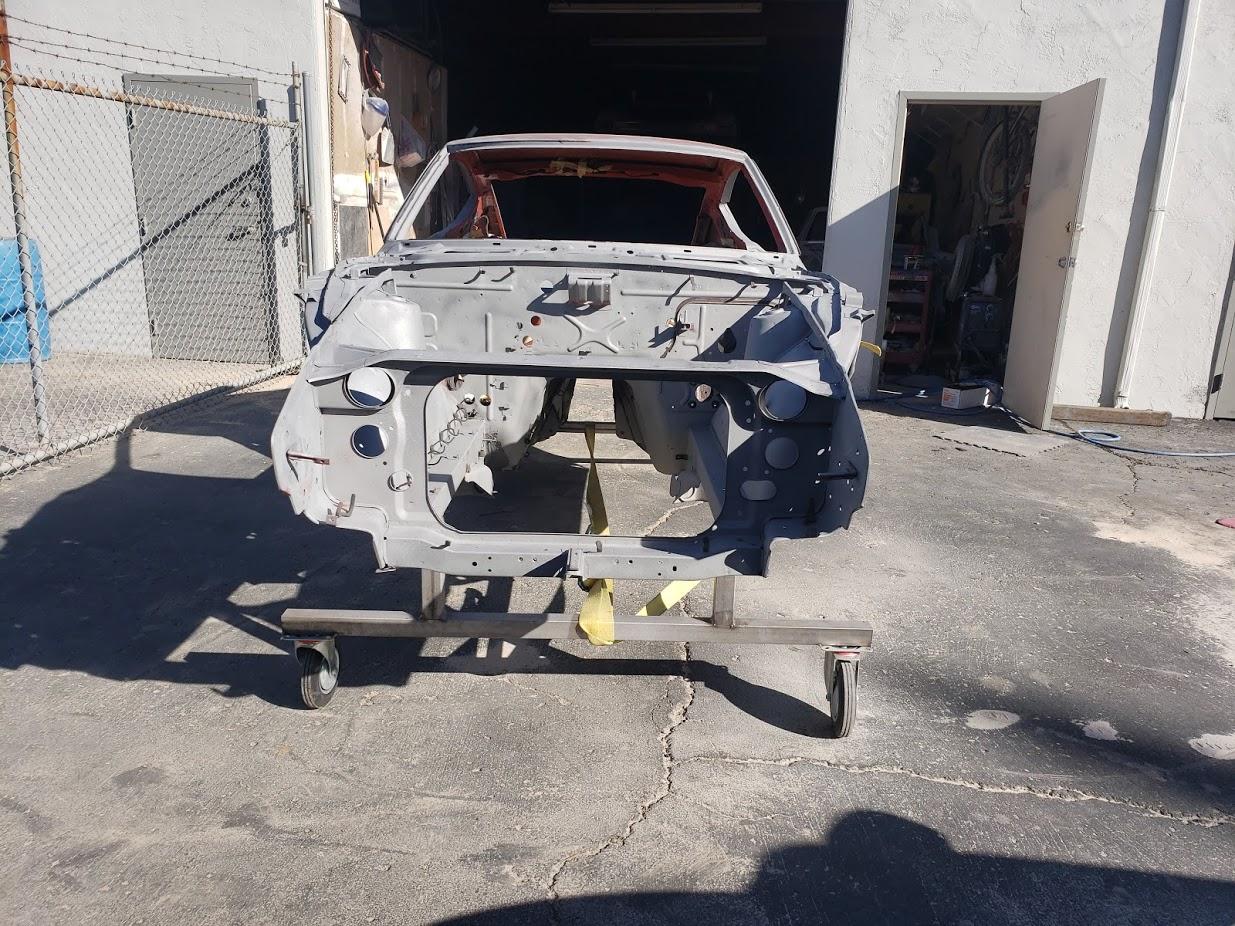
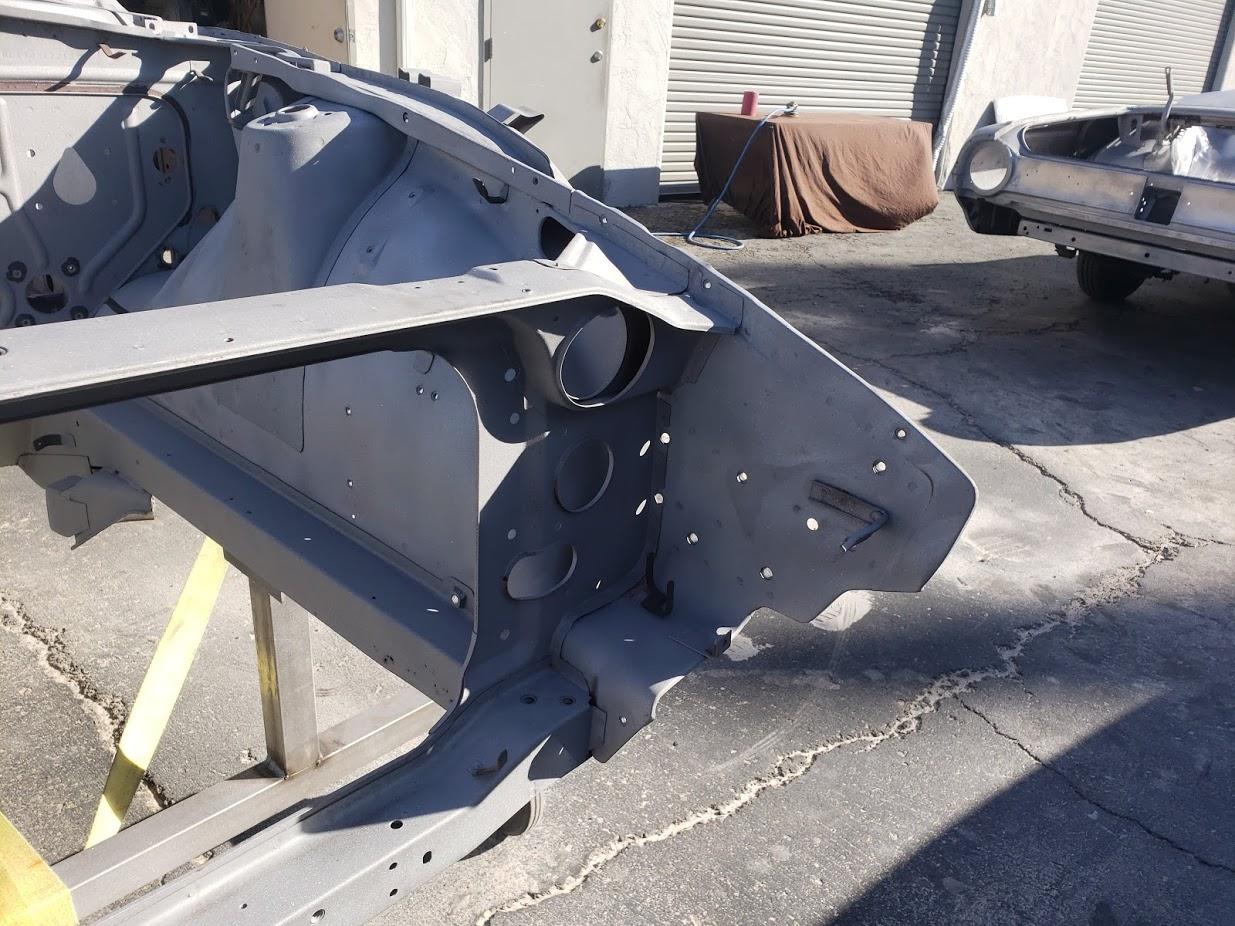
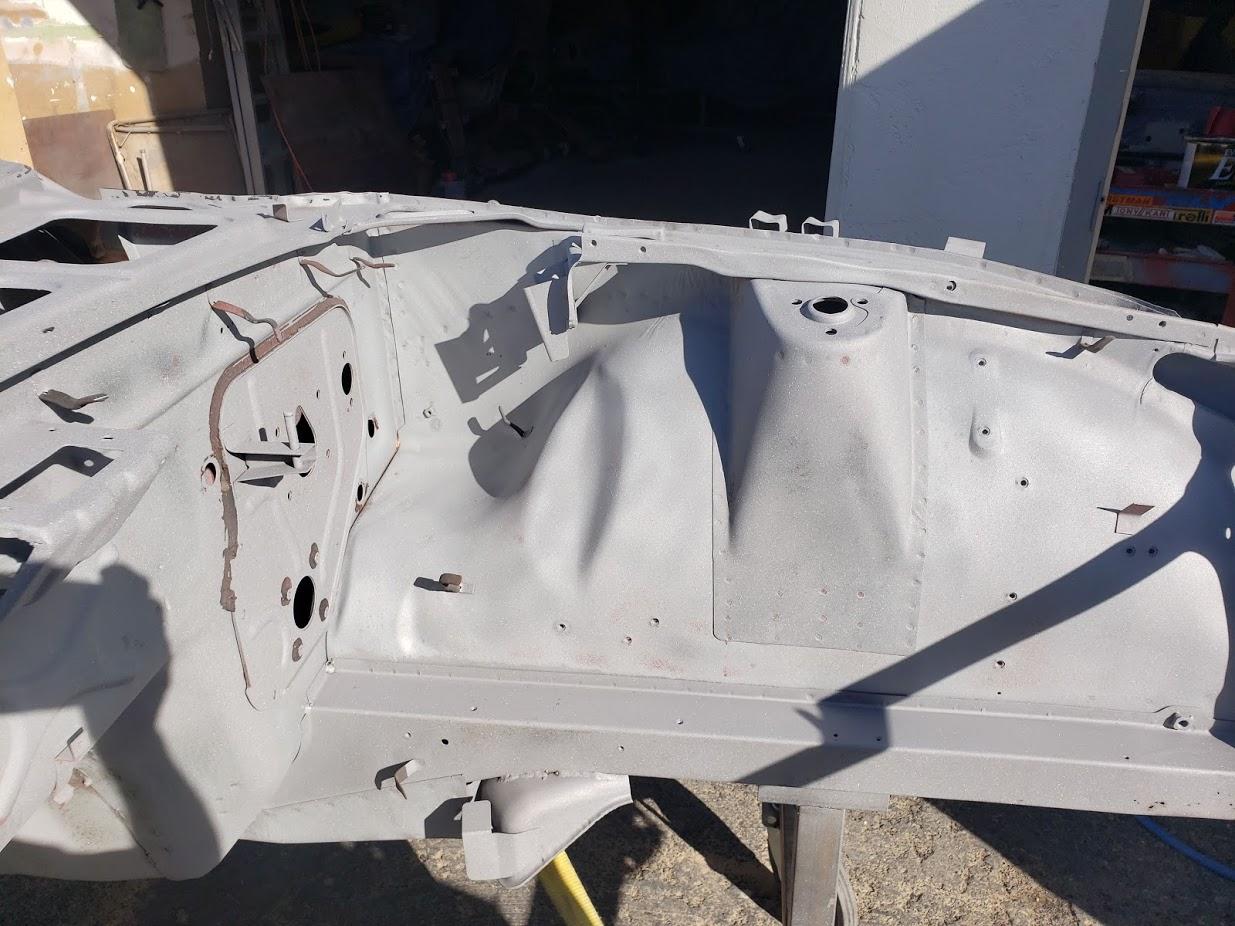
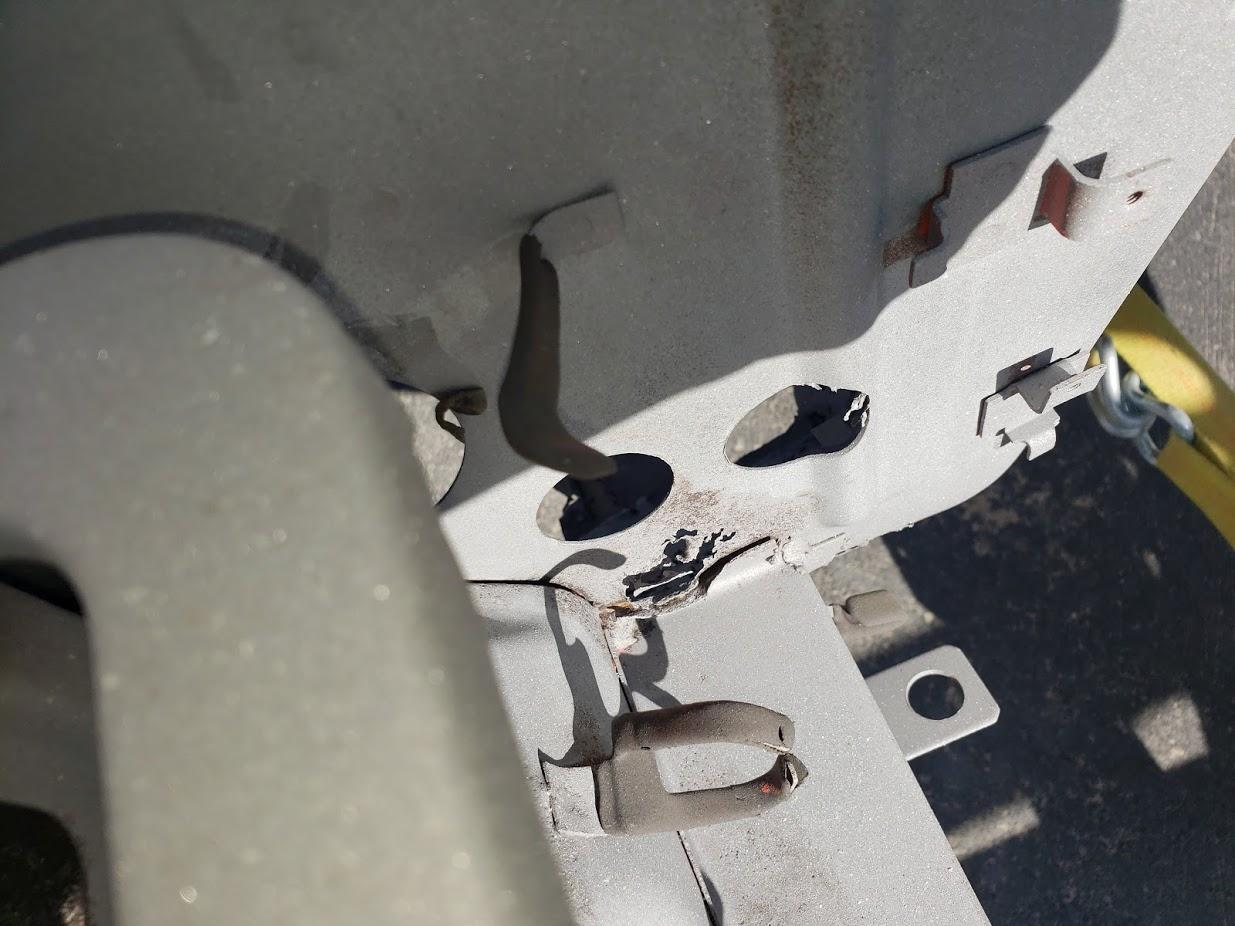
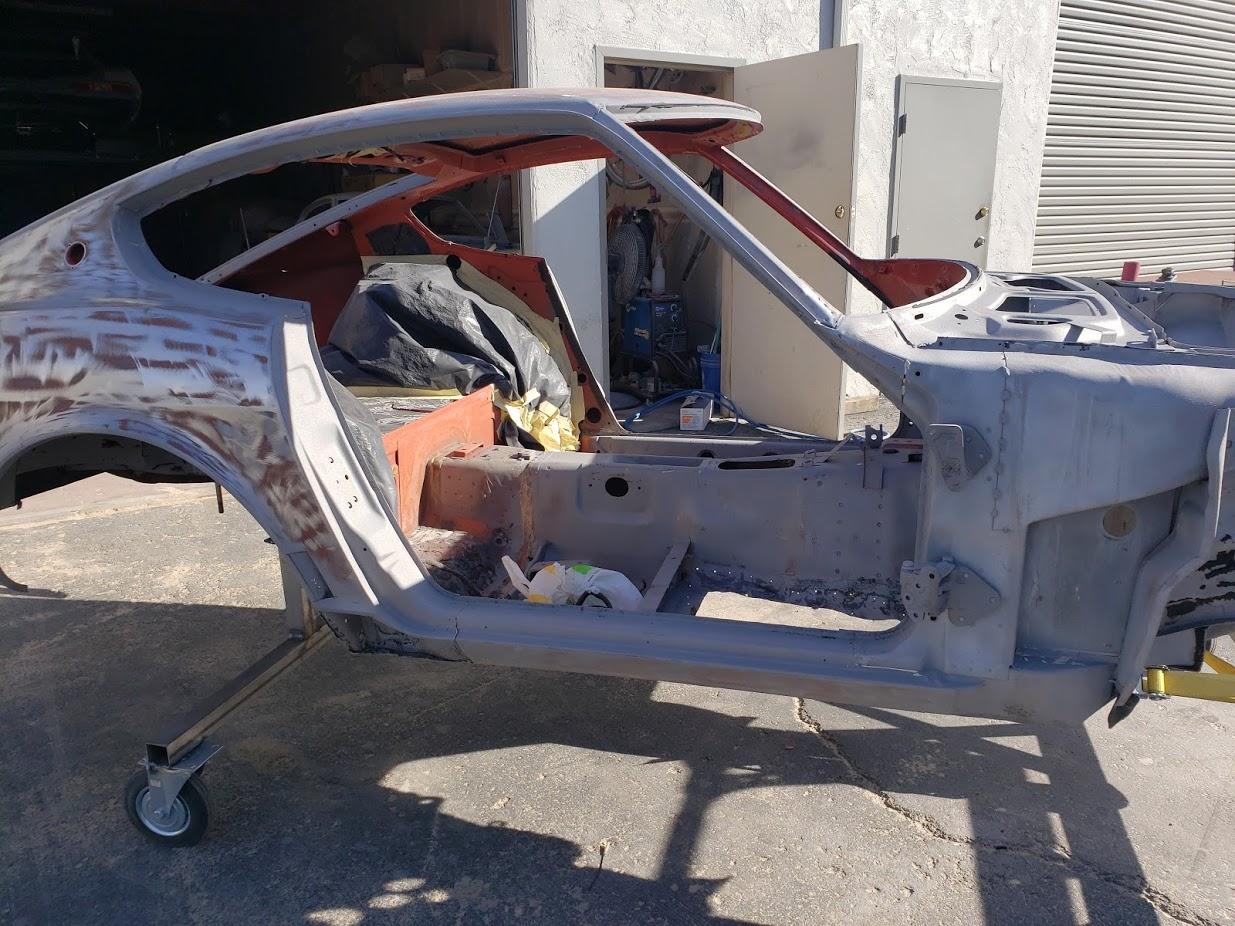
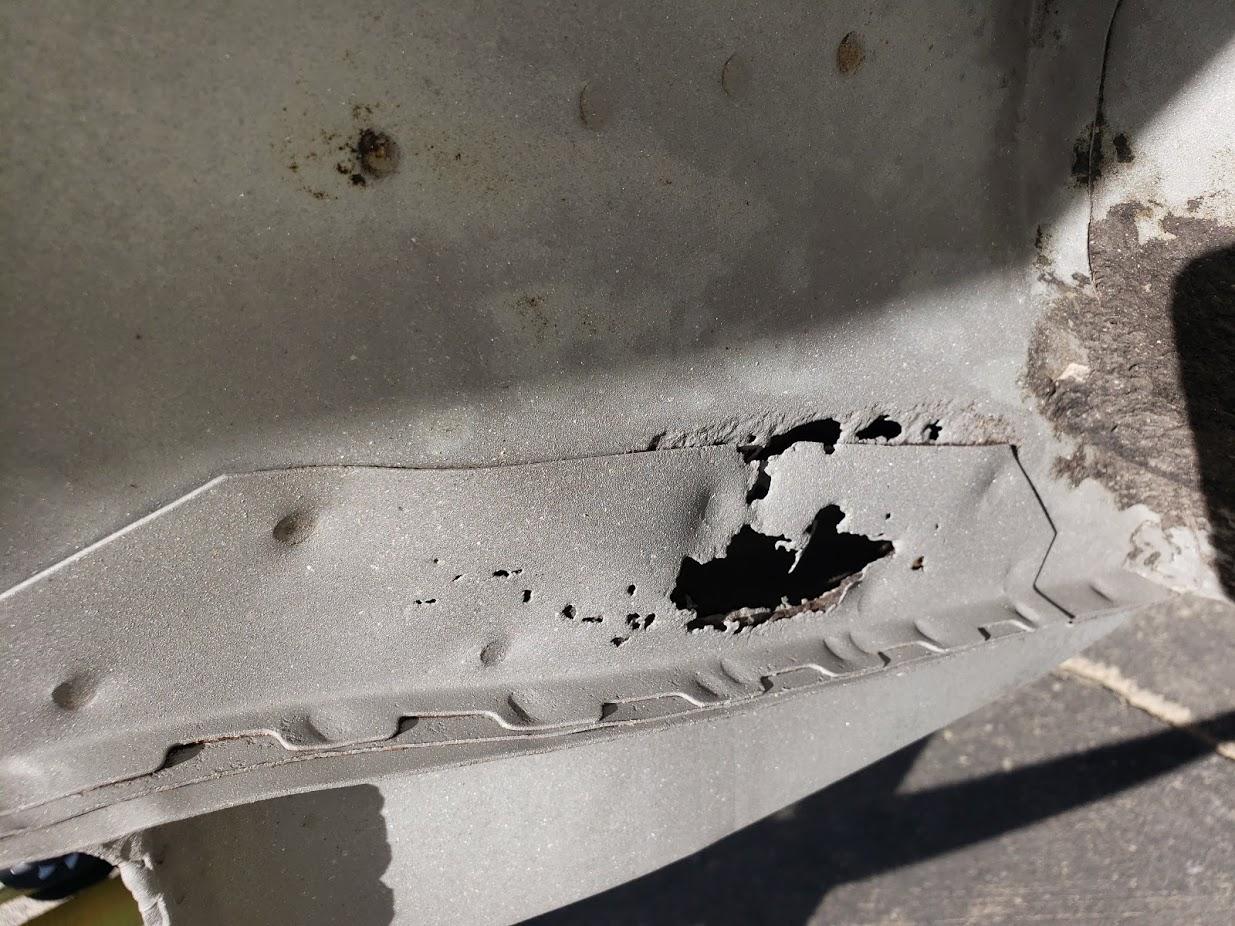
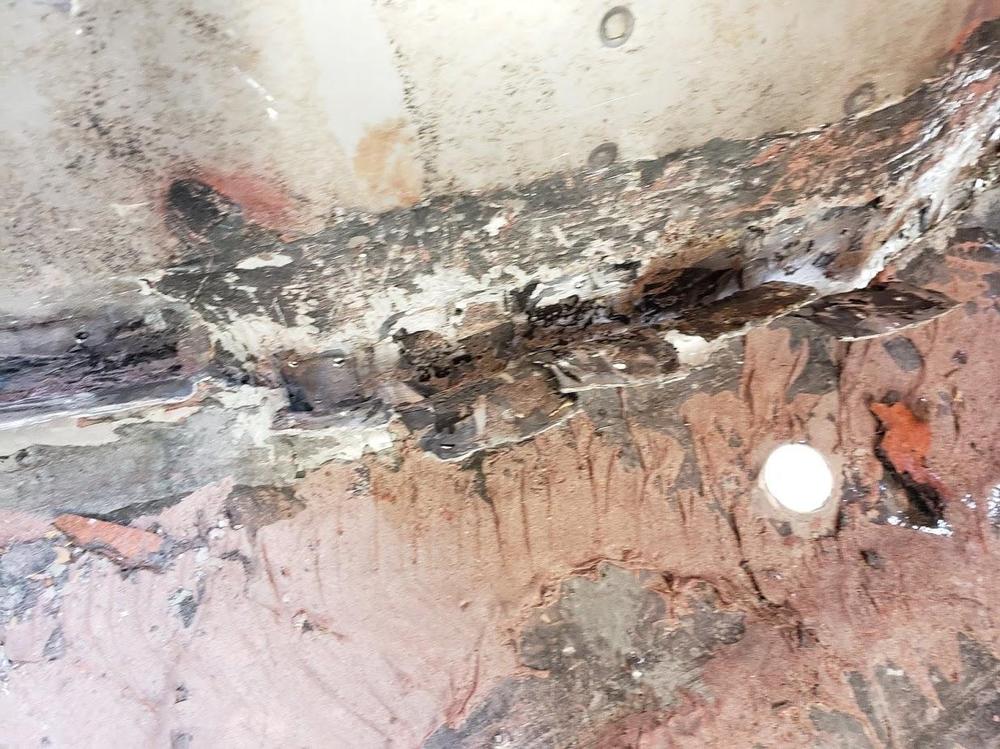
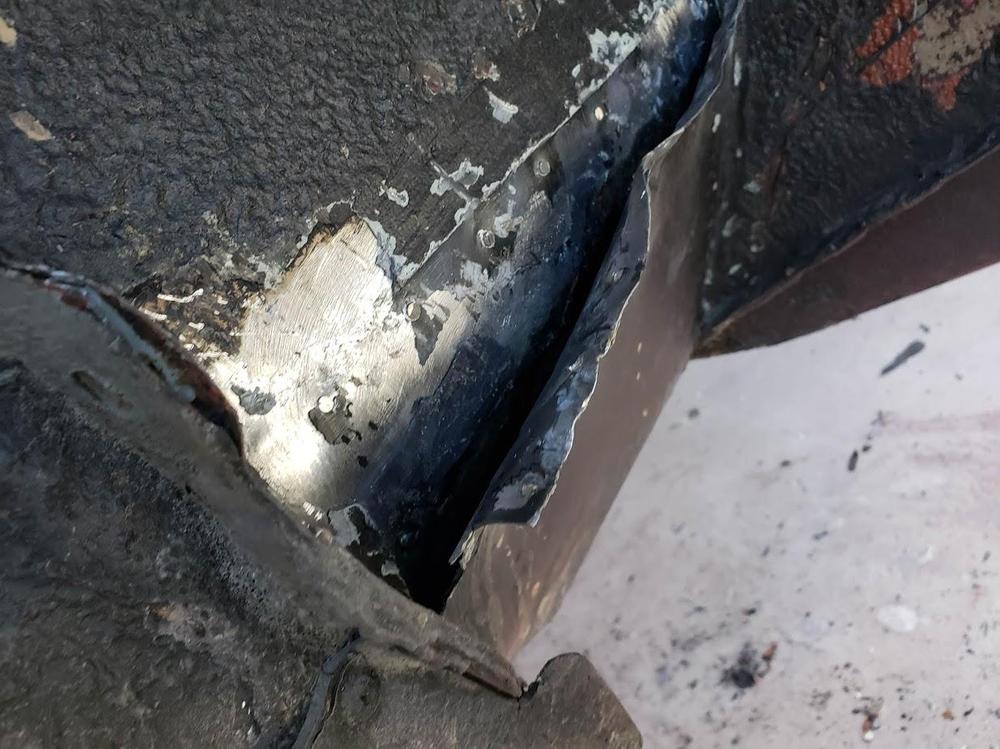
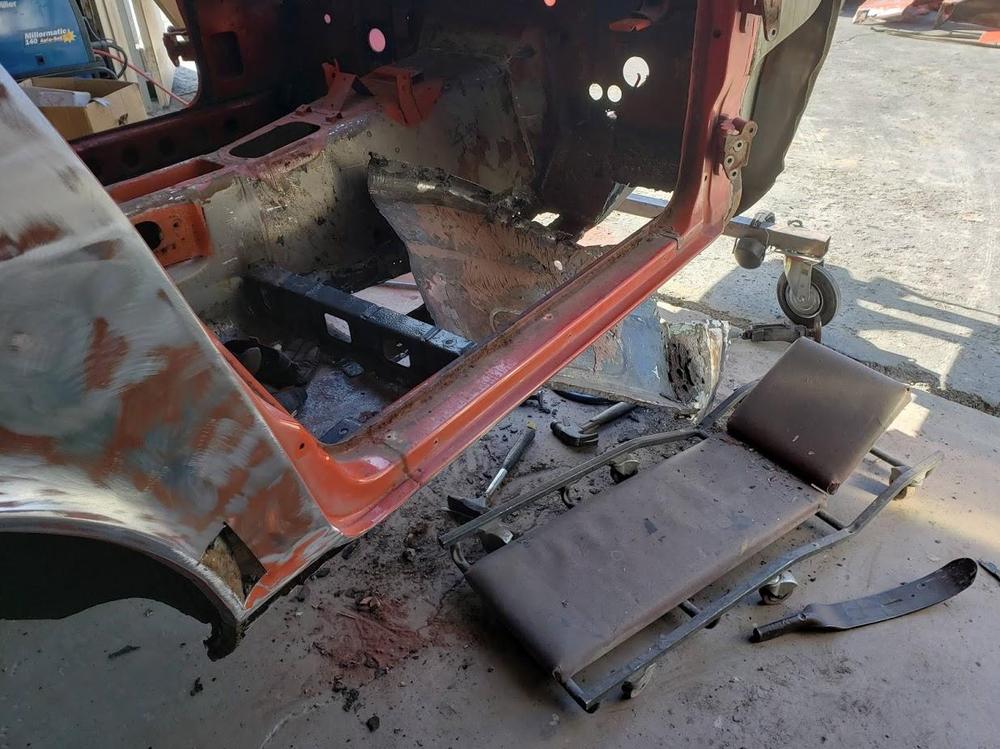
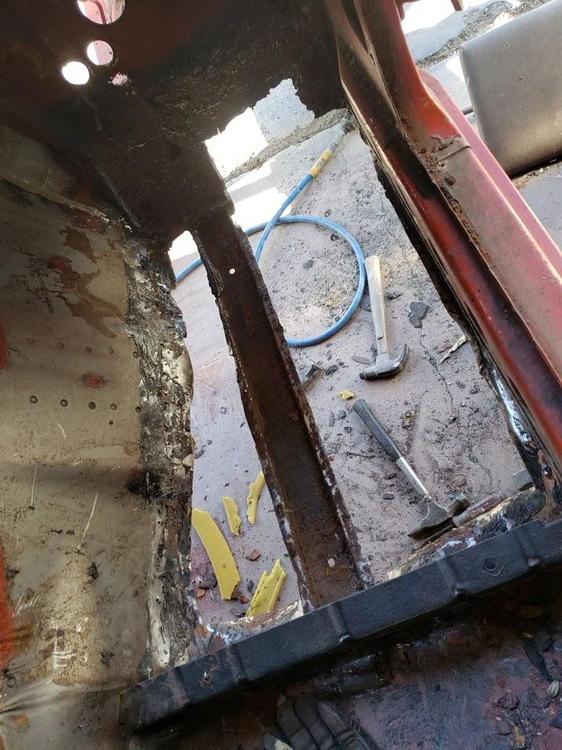
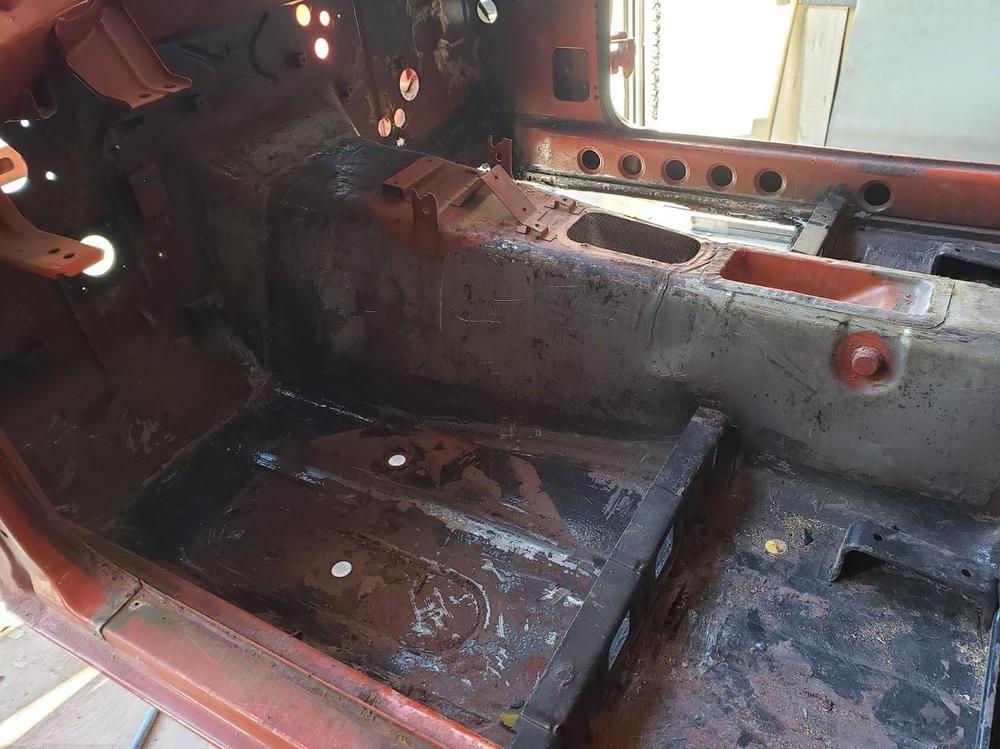
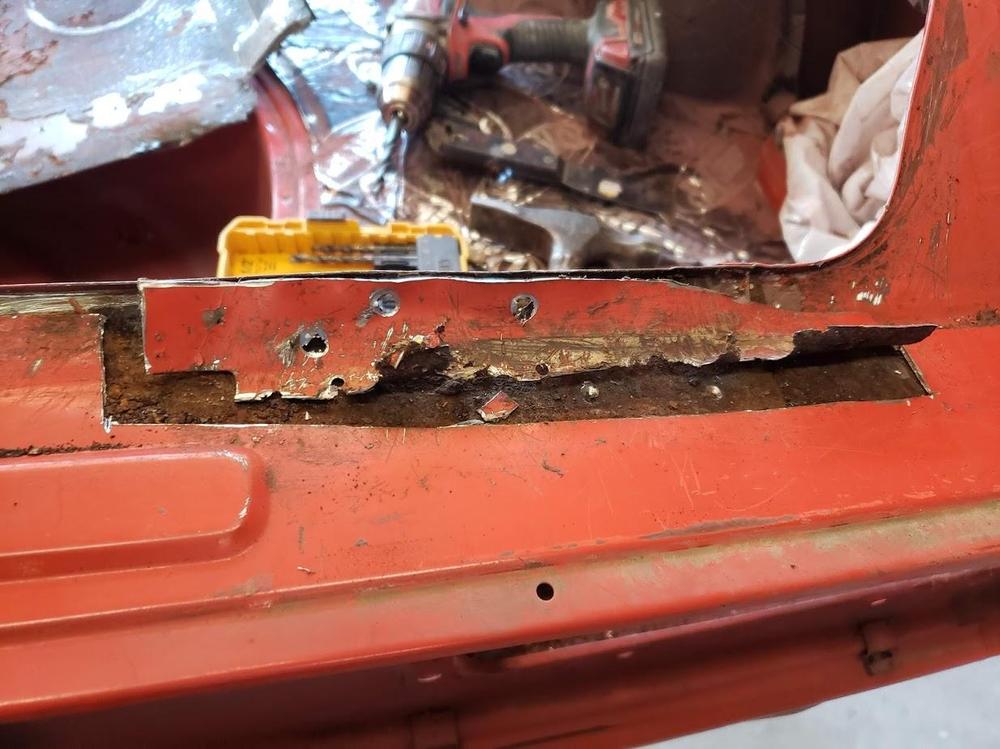
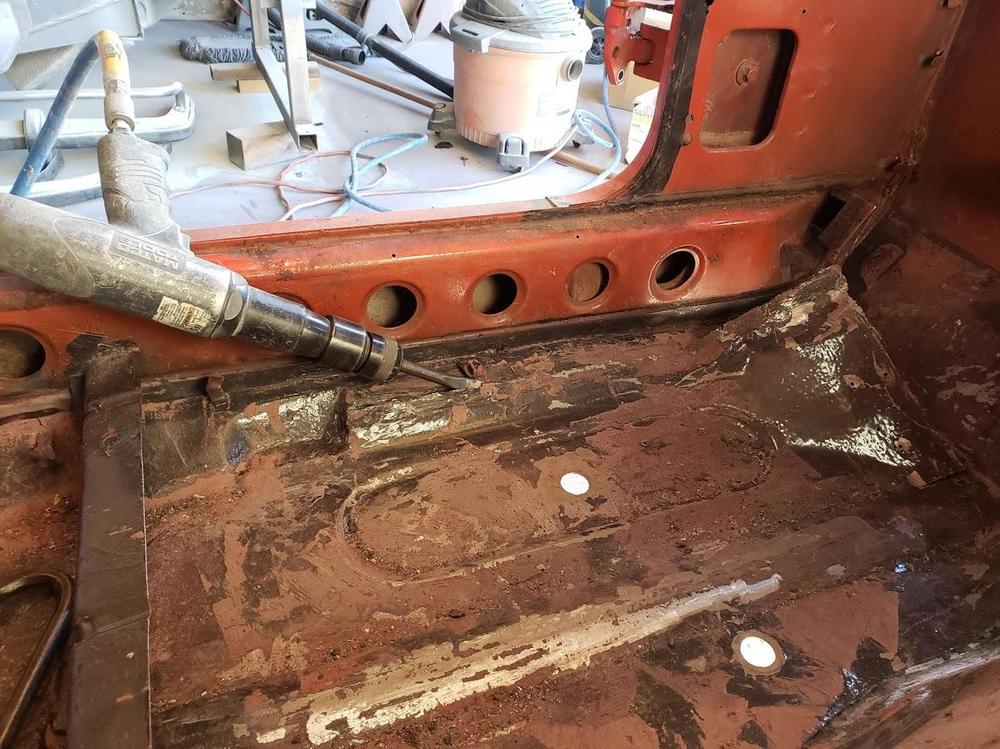
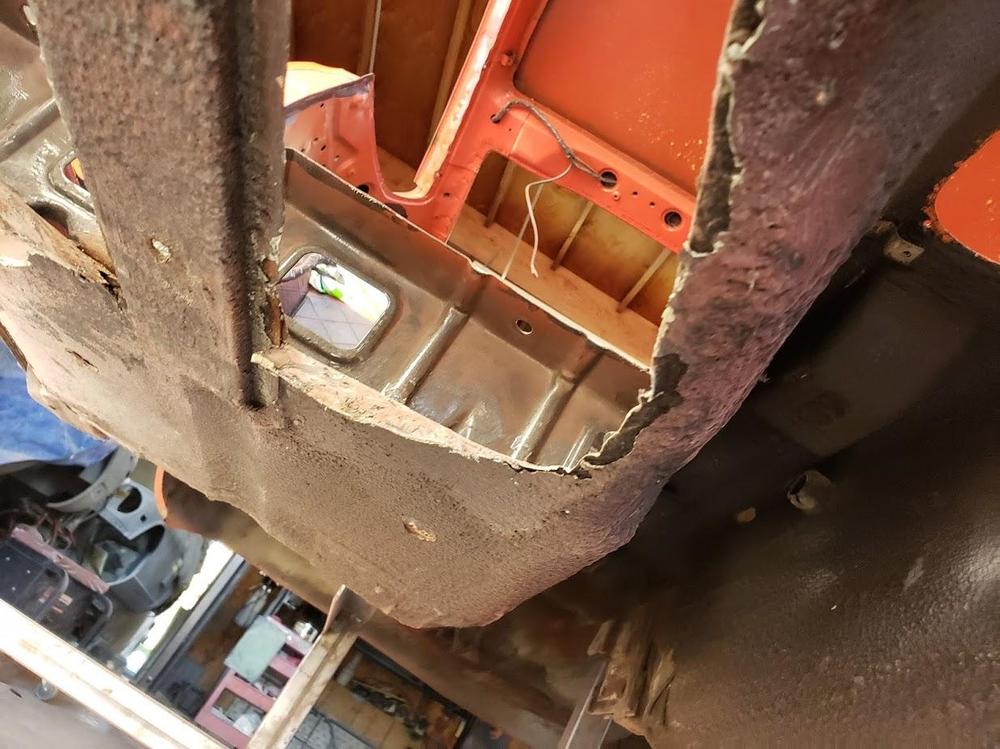
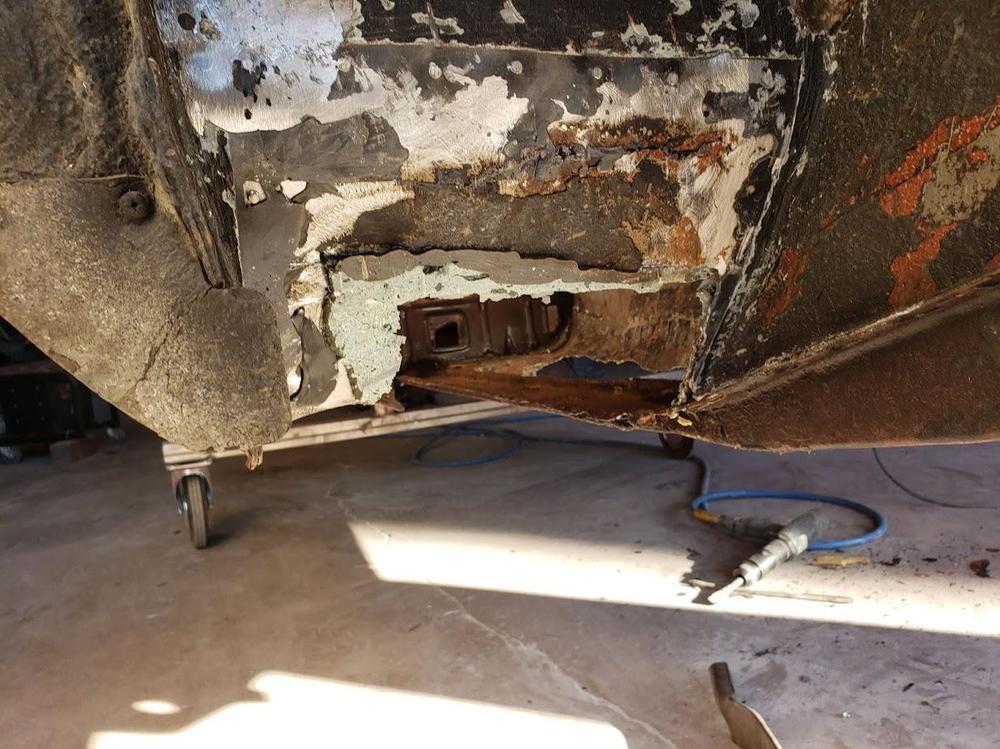
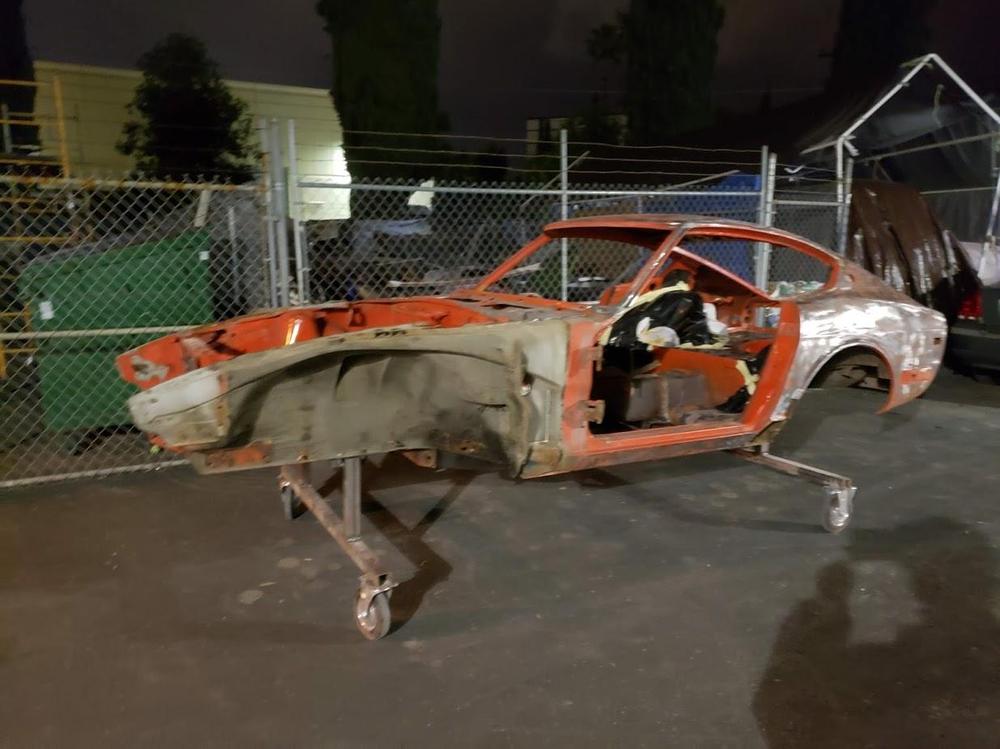
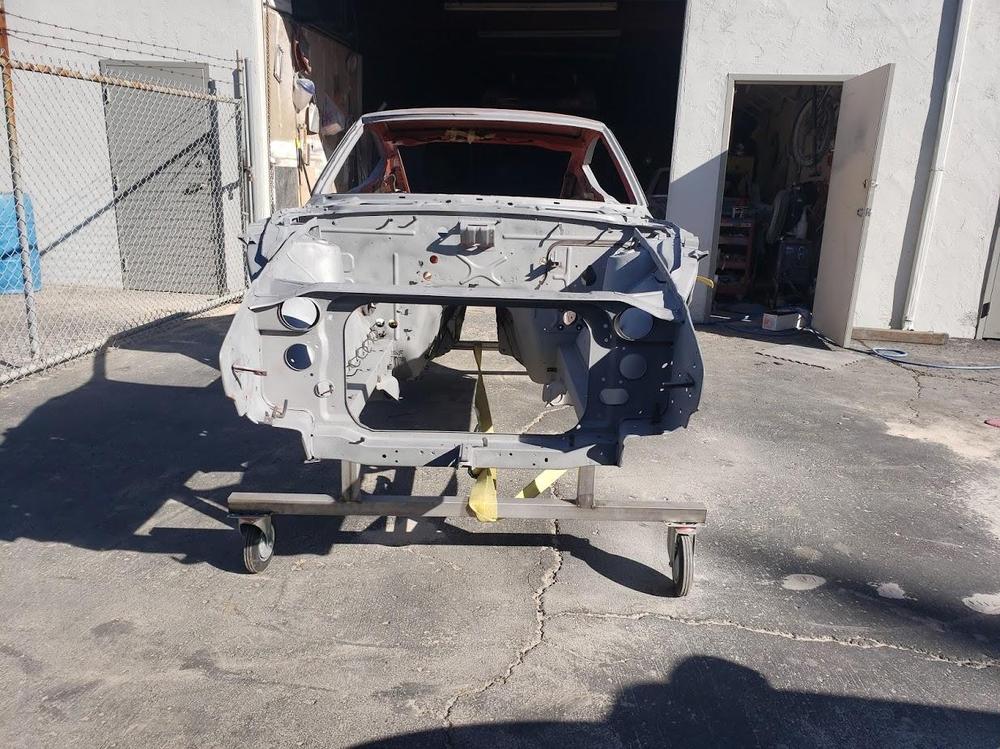
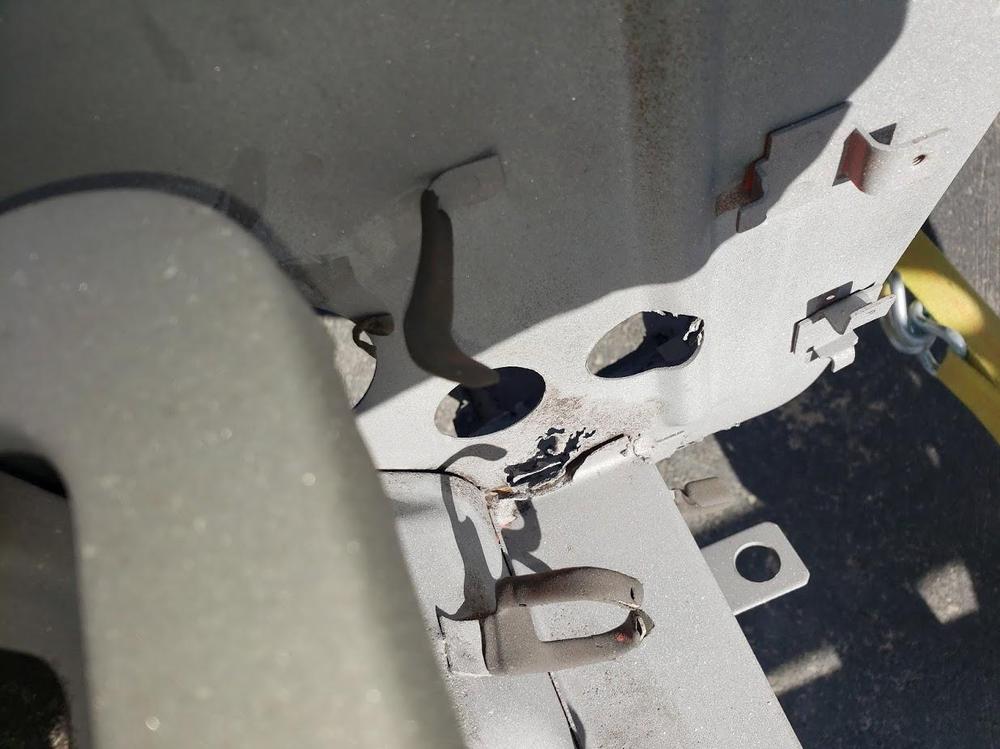
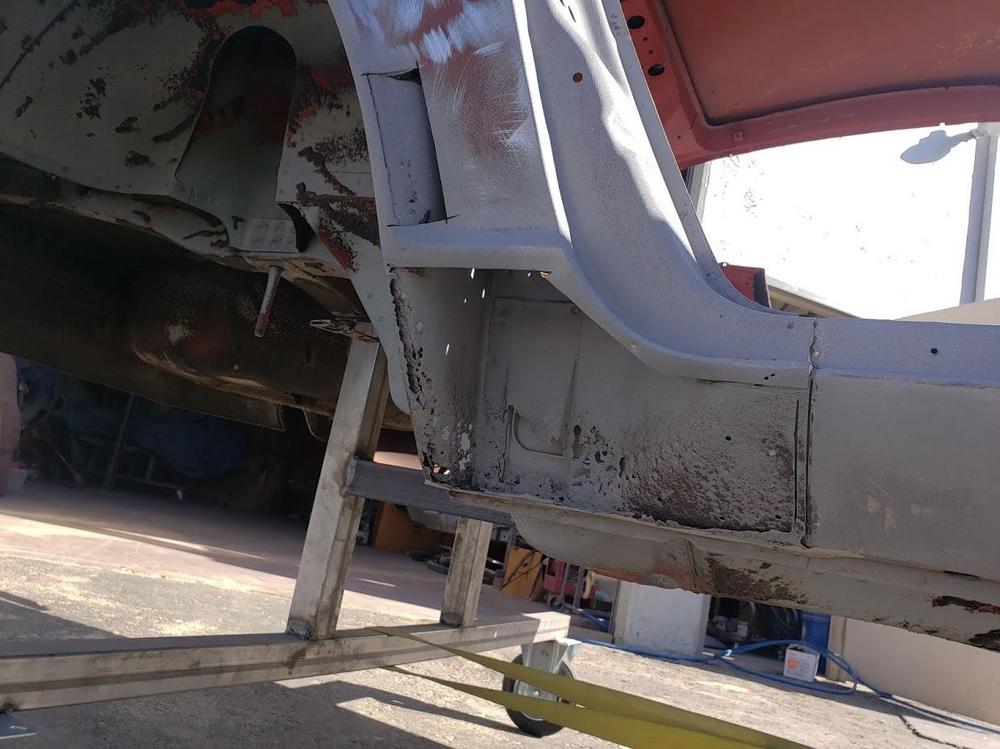
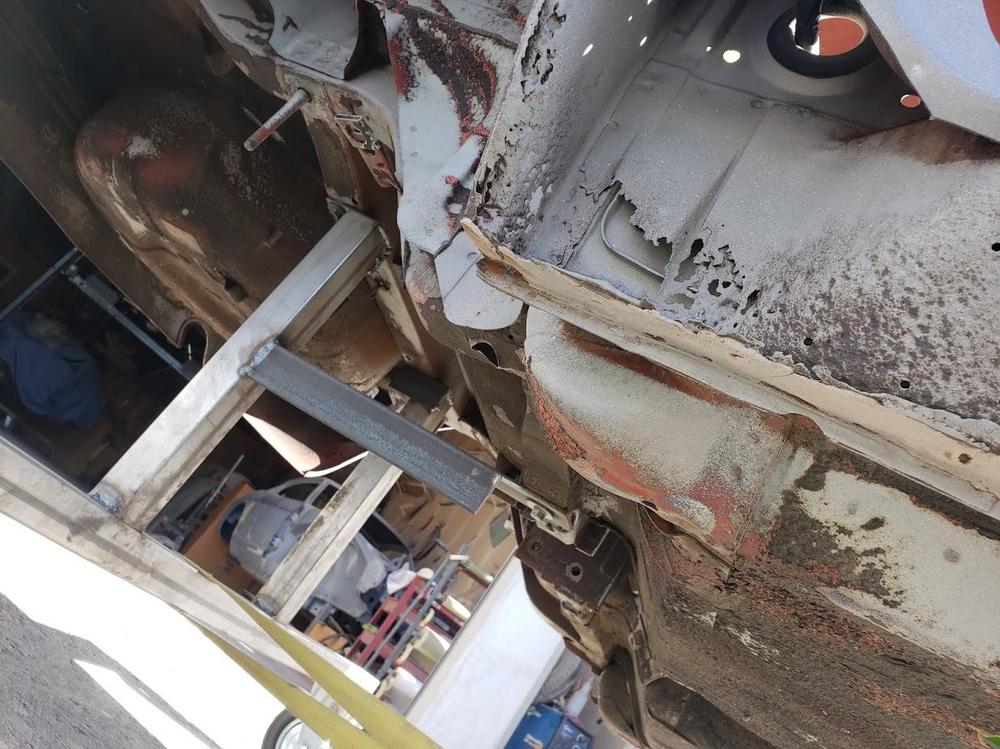
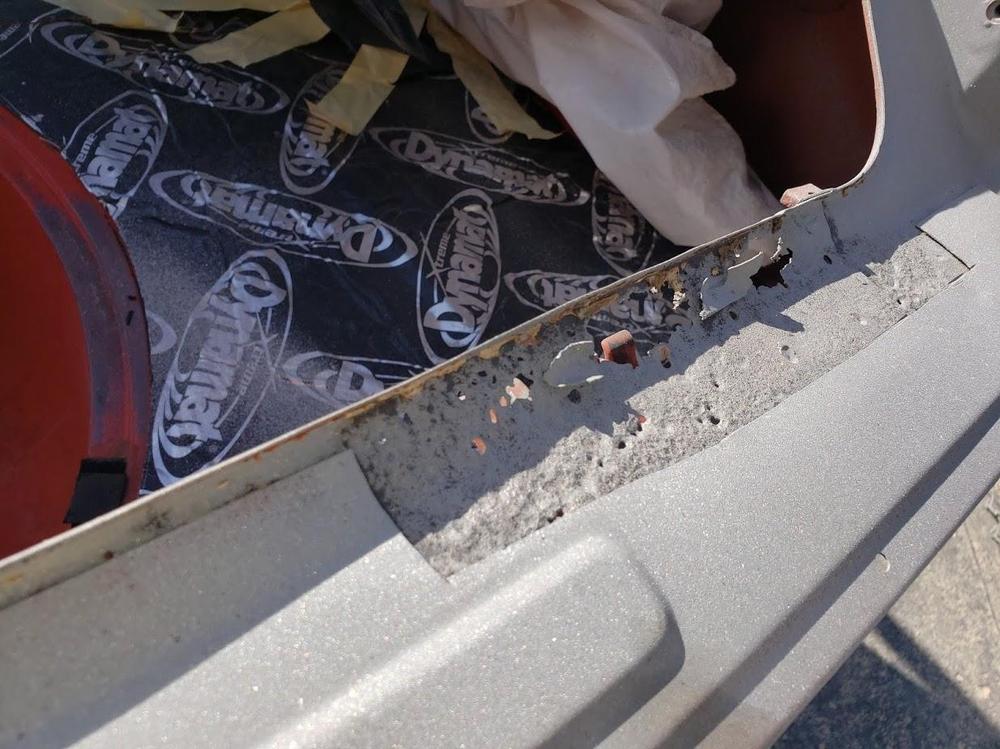
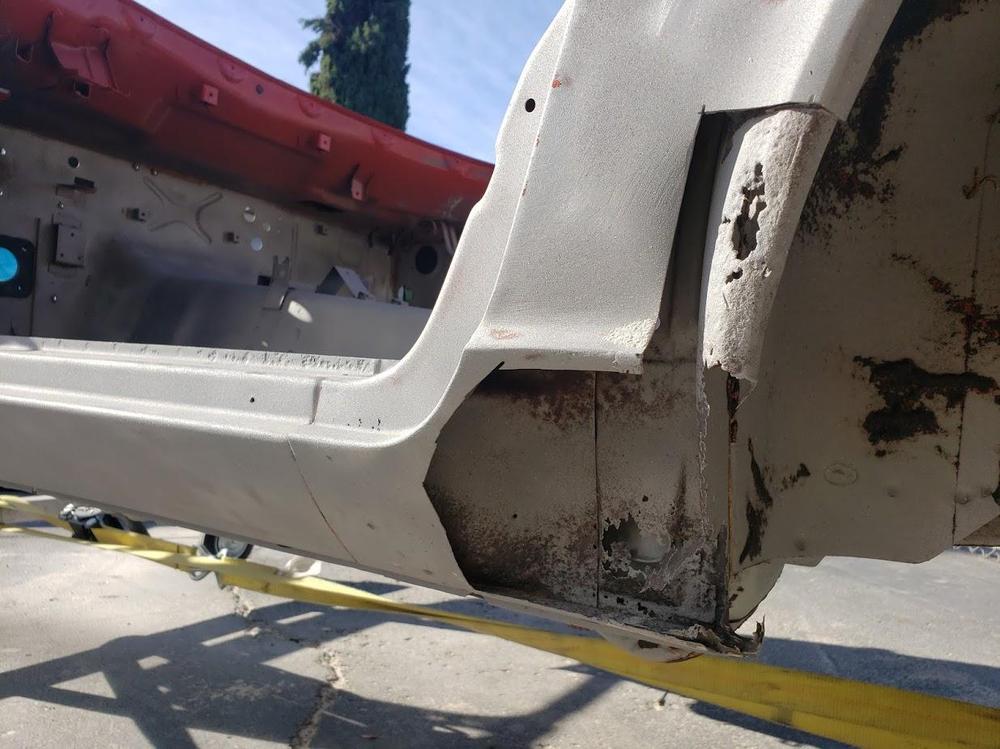
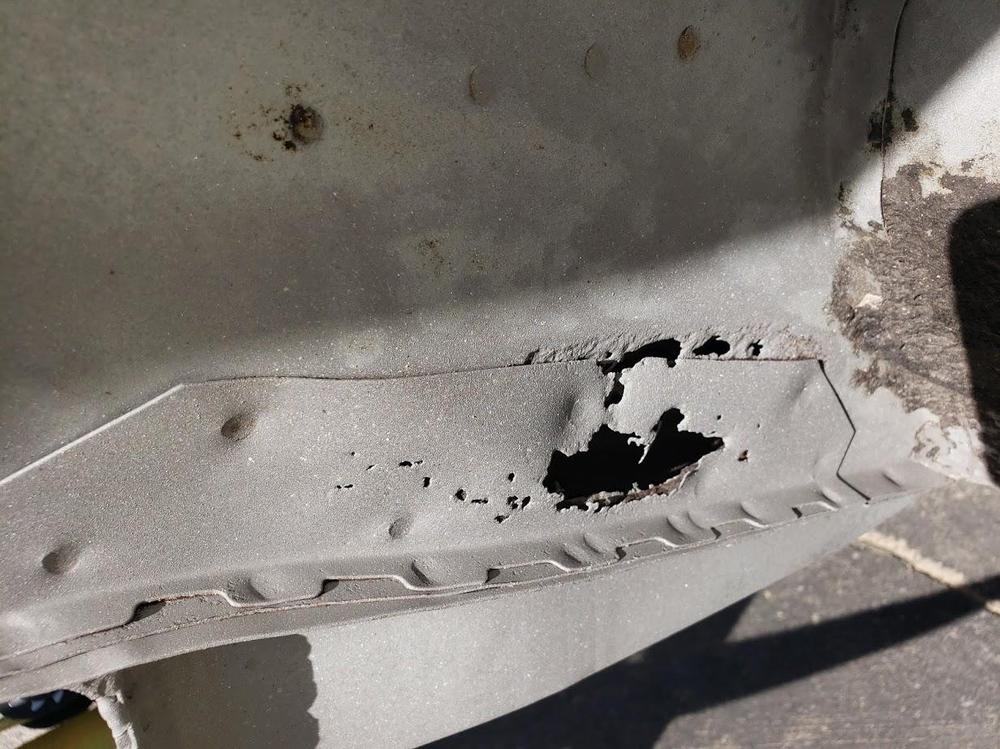
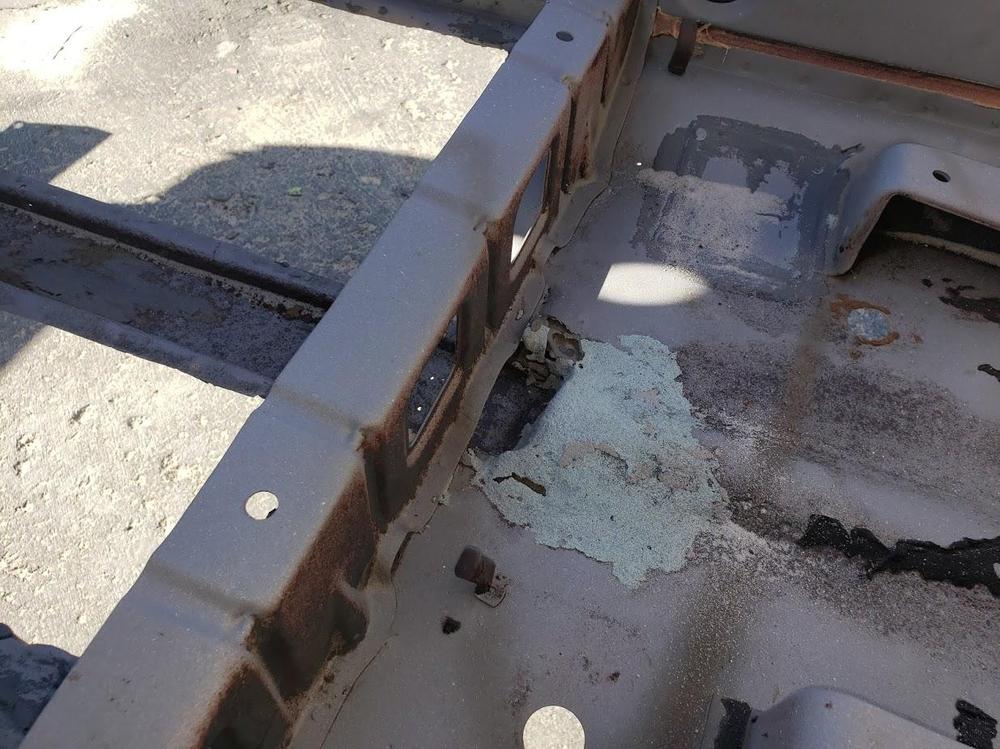
Latest pics from the body shop. A lot of rust eaten areas here, though most are the usual culprits. These are not for the faint of heart. Glad the experts are working on this. It looks like the floor pans were replaced before. The (non-standard) installation method appears to be rivets and epoxy along with some bondo. Also looks like previous rust areas were not treated and just painted over, causing all the bubbles and holes in the paint. Miguel will be ordering replacement panels and sheet metal to weld in after cutting out the rusted panels.


-
-
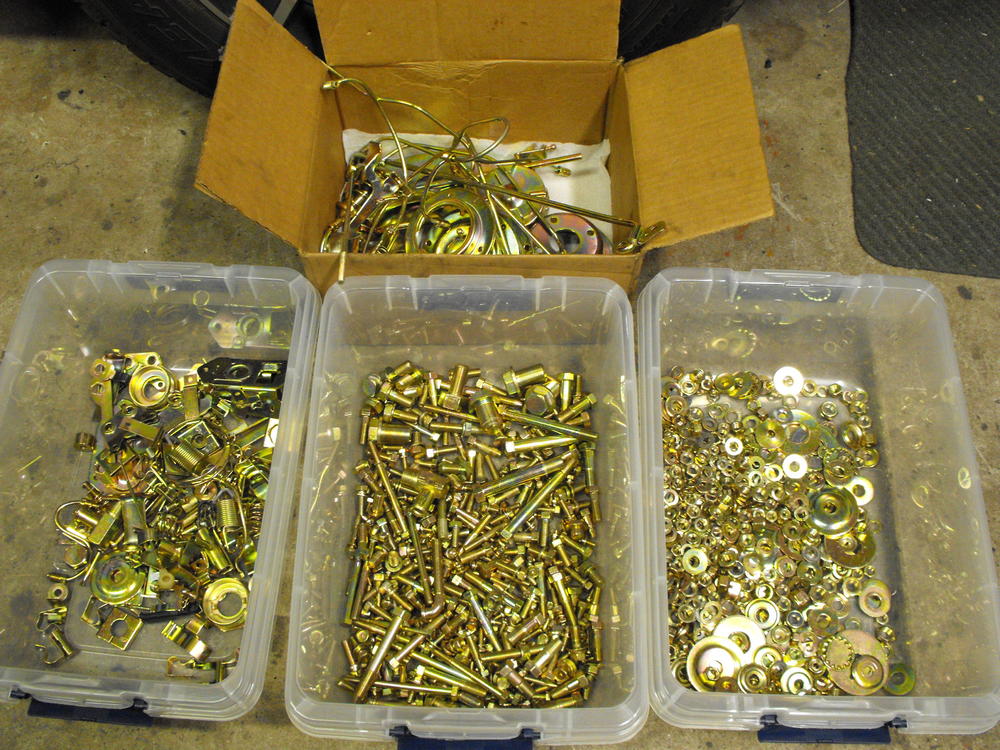
I haven't been hit by one, but did have one fly across the garage once. That was enough to cause me to put a lot of caution into this process. Did a bit more work on the brakes, adding rear brackets now that they have been plated. Had to clean out the holes for the brackets with a tap since they had the powder coat on the threads. Also spent a little time organizing the zinc parts so that things will be easier to find. Finished one disc caliper and half way through the second.


-
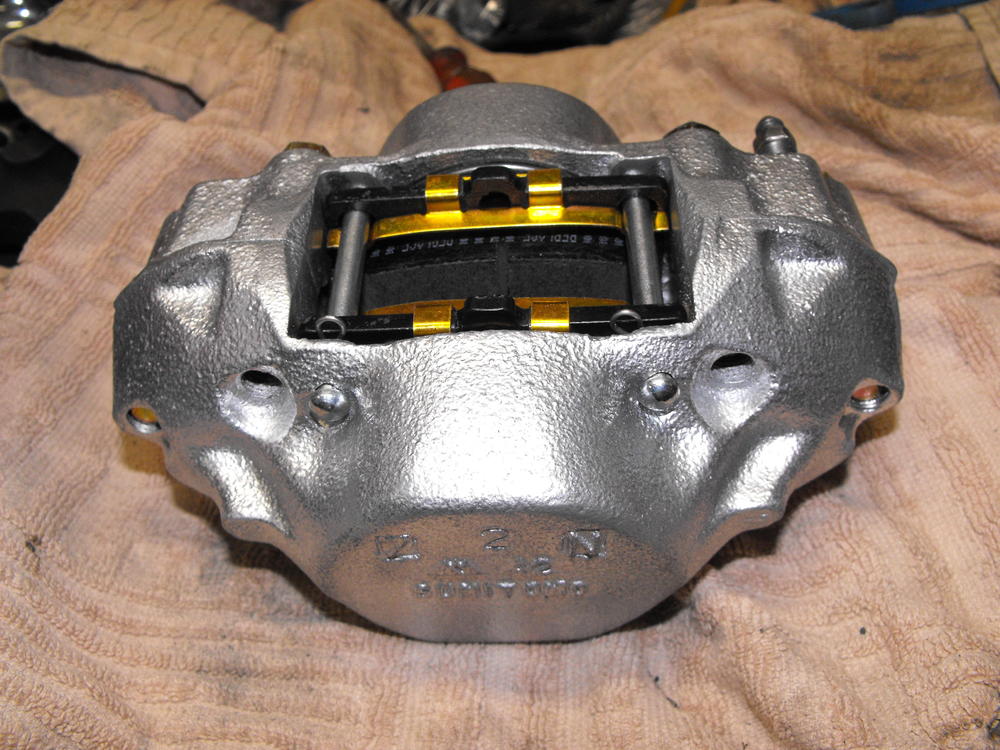
The O-rings come with the caliper rebuild kit. Rebuild is not too difficult. Hardest part is getting the 'pistons' out of the caliper, especially if the car has been sitting for awhile. I typically put Kroil or PB blaster around piston edge and let soak for an hour. Then use compressed air to blow piston out of the caliper. That is the hard/scary part. Wear glasses and point piston away from body when doing this. I then use solvent to clean piston and cylinder, then light polish with 2000 grit sand paper. Blow compressed air through orifices to make sure they are clear


.jpg.a3ac18d898936eb2d6e28eb40ca1892b.jpg)