
DC871F
Free Member
-
Joined
-
Last visited
Everything posted by DC871F
-
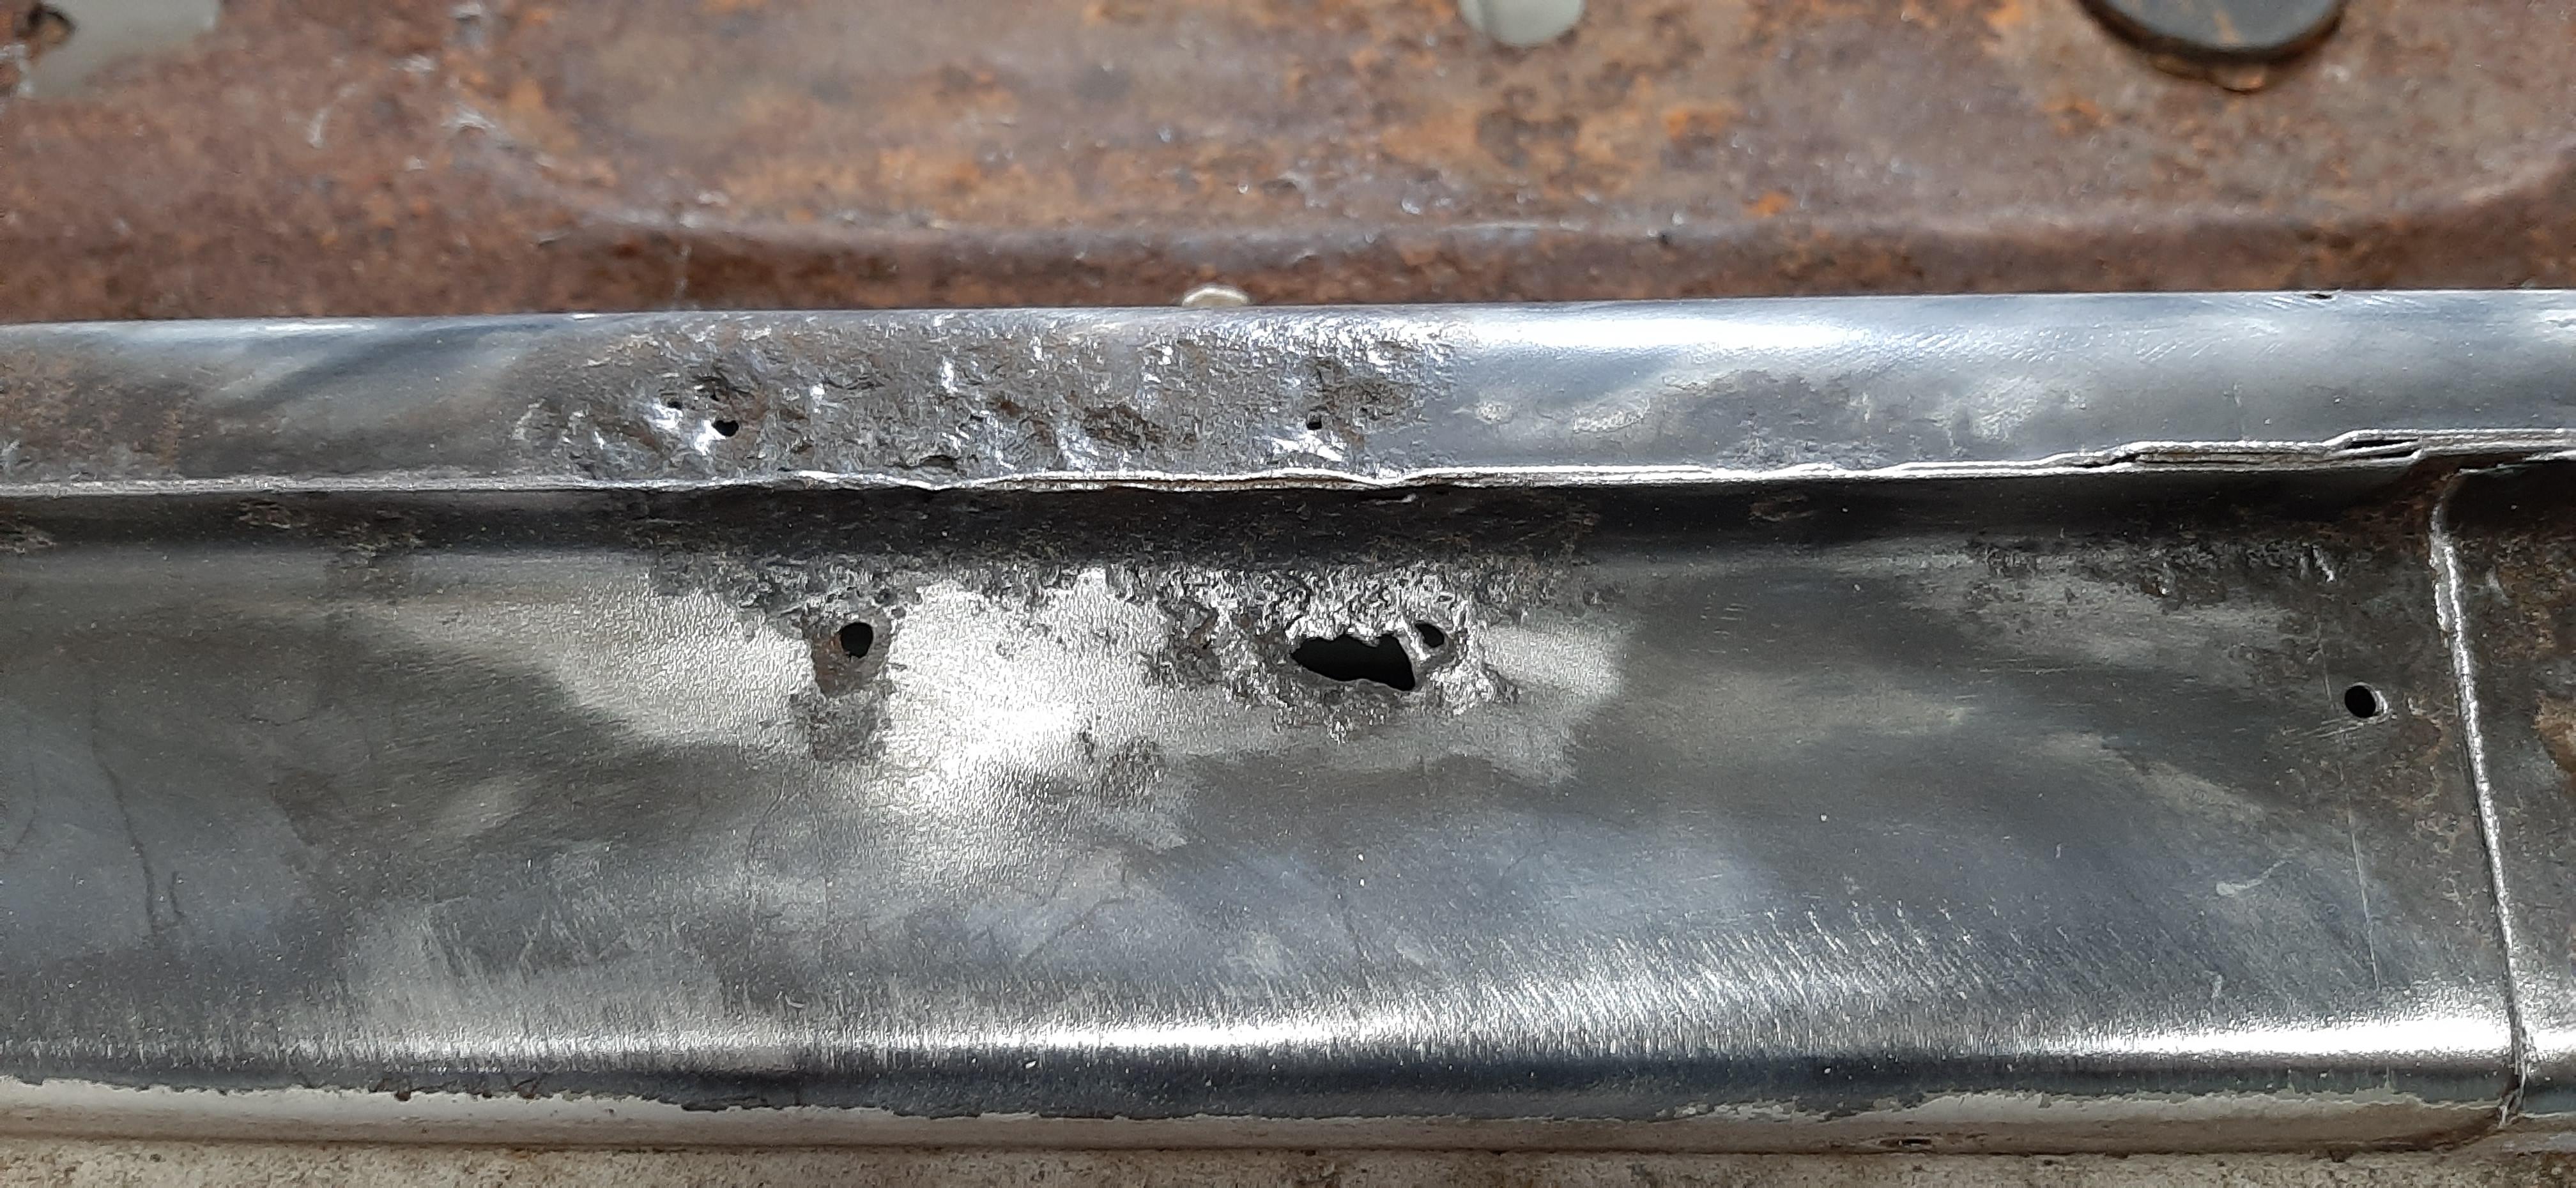
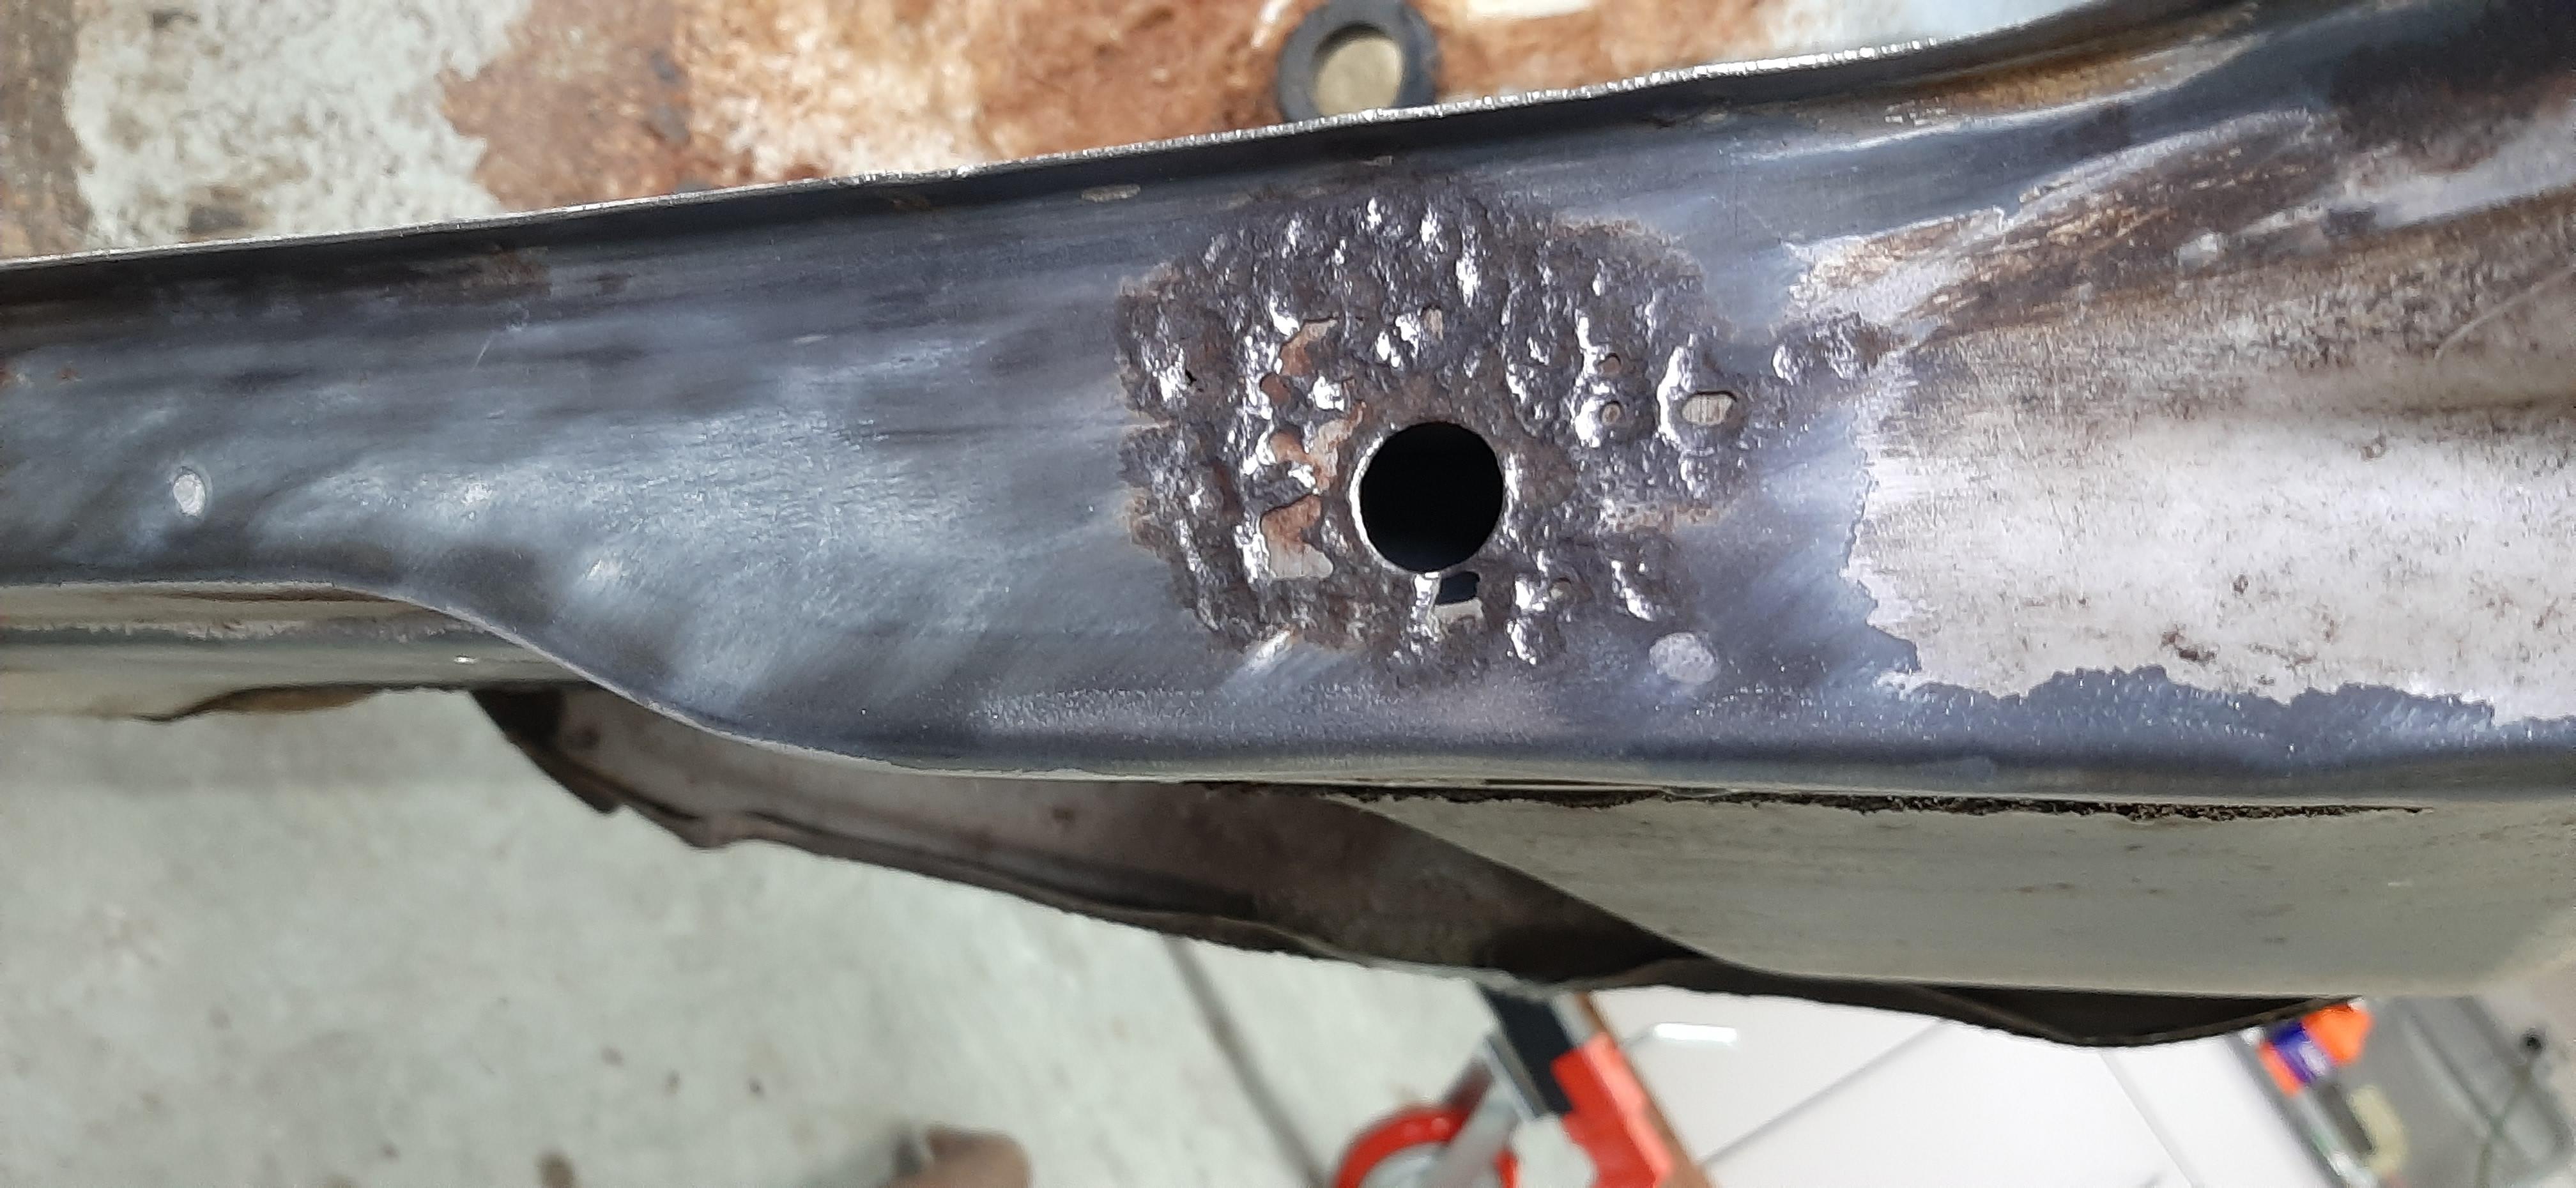
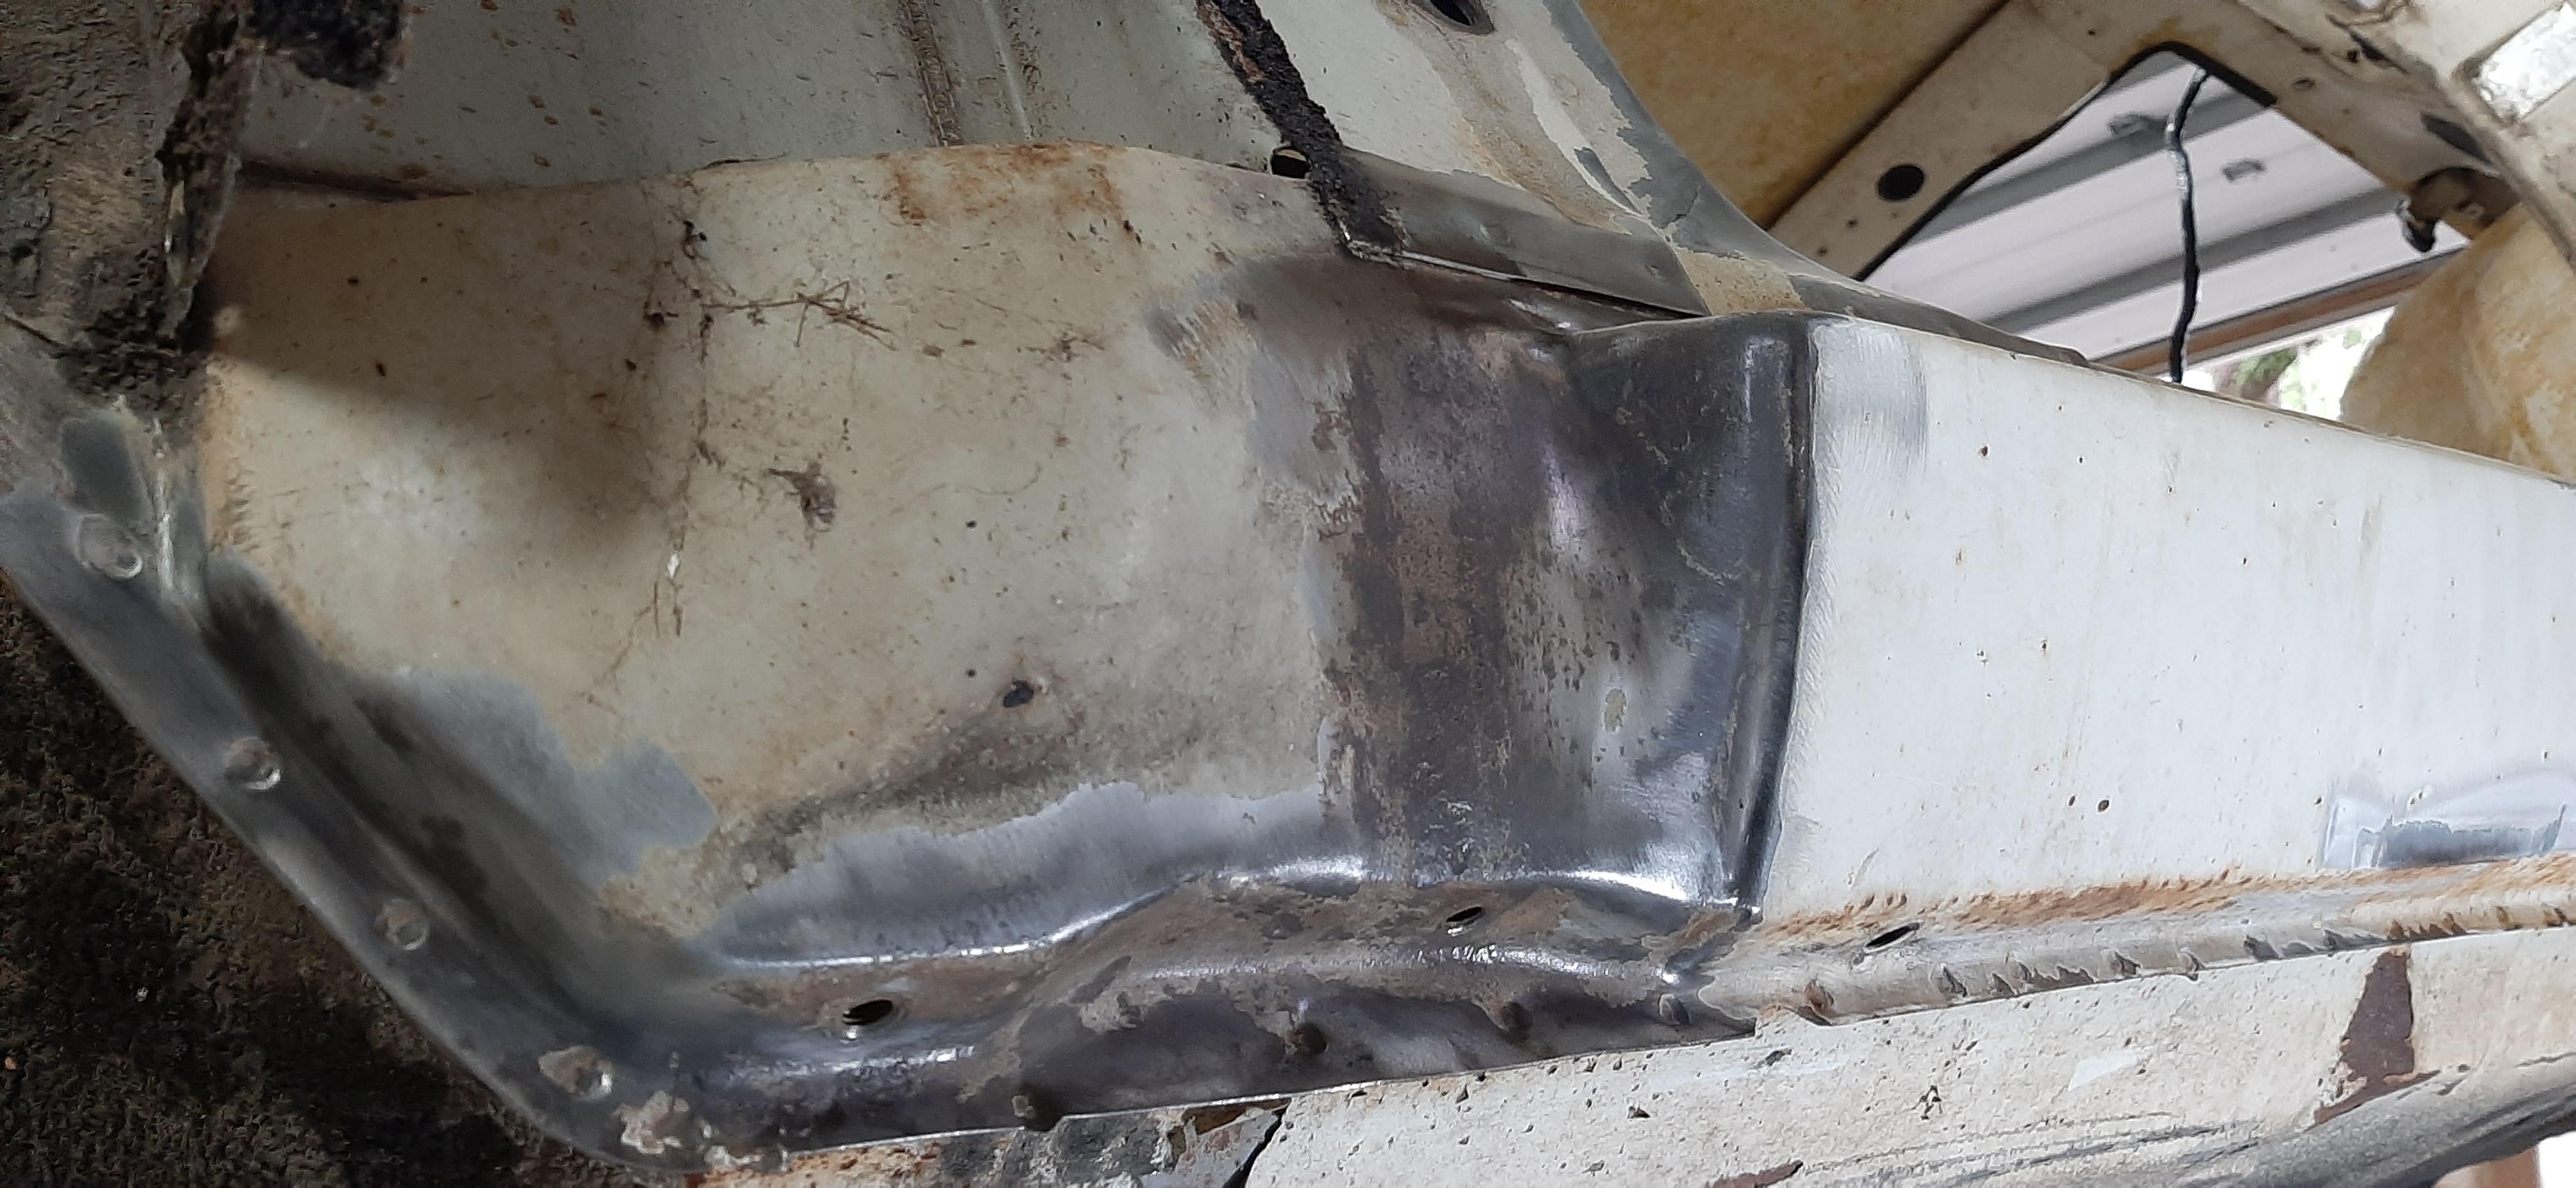
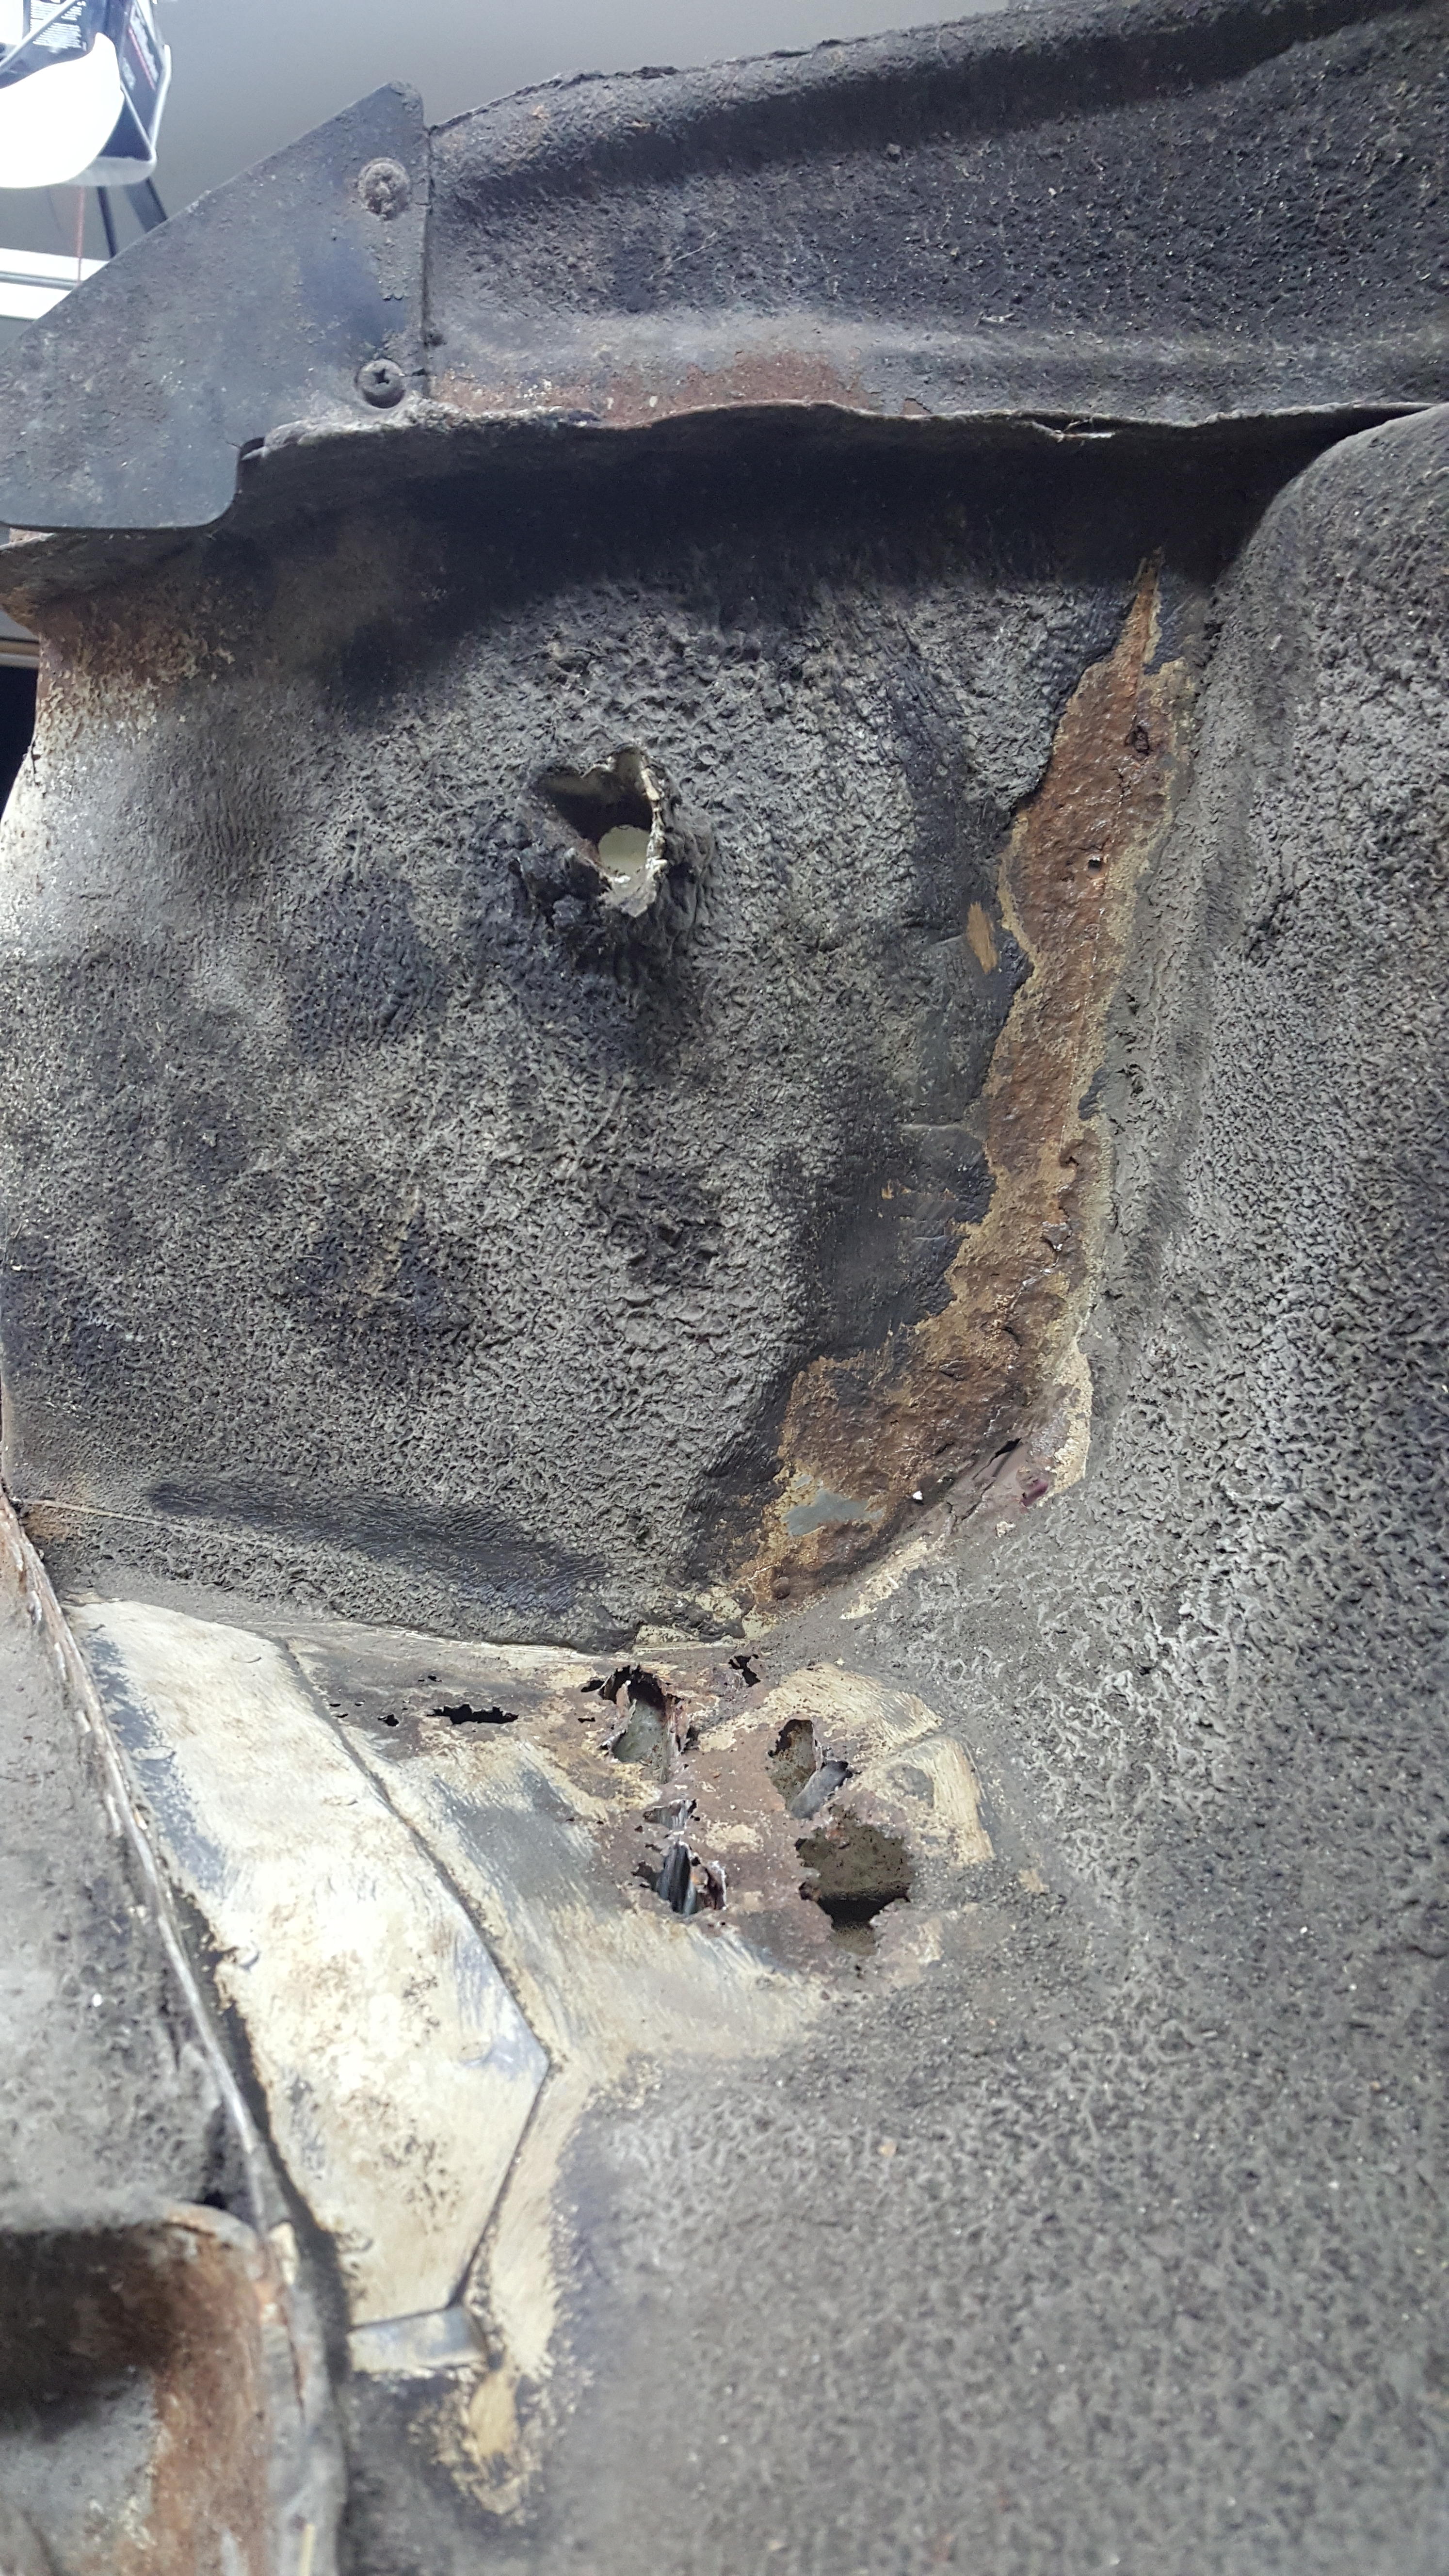
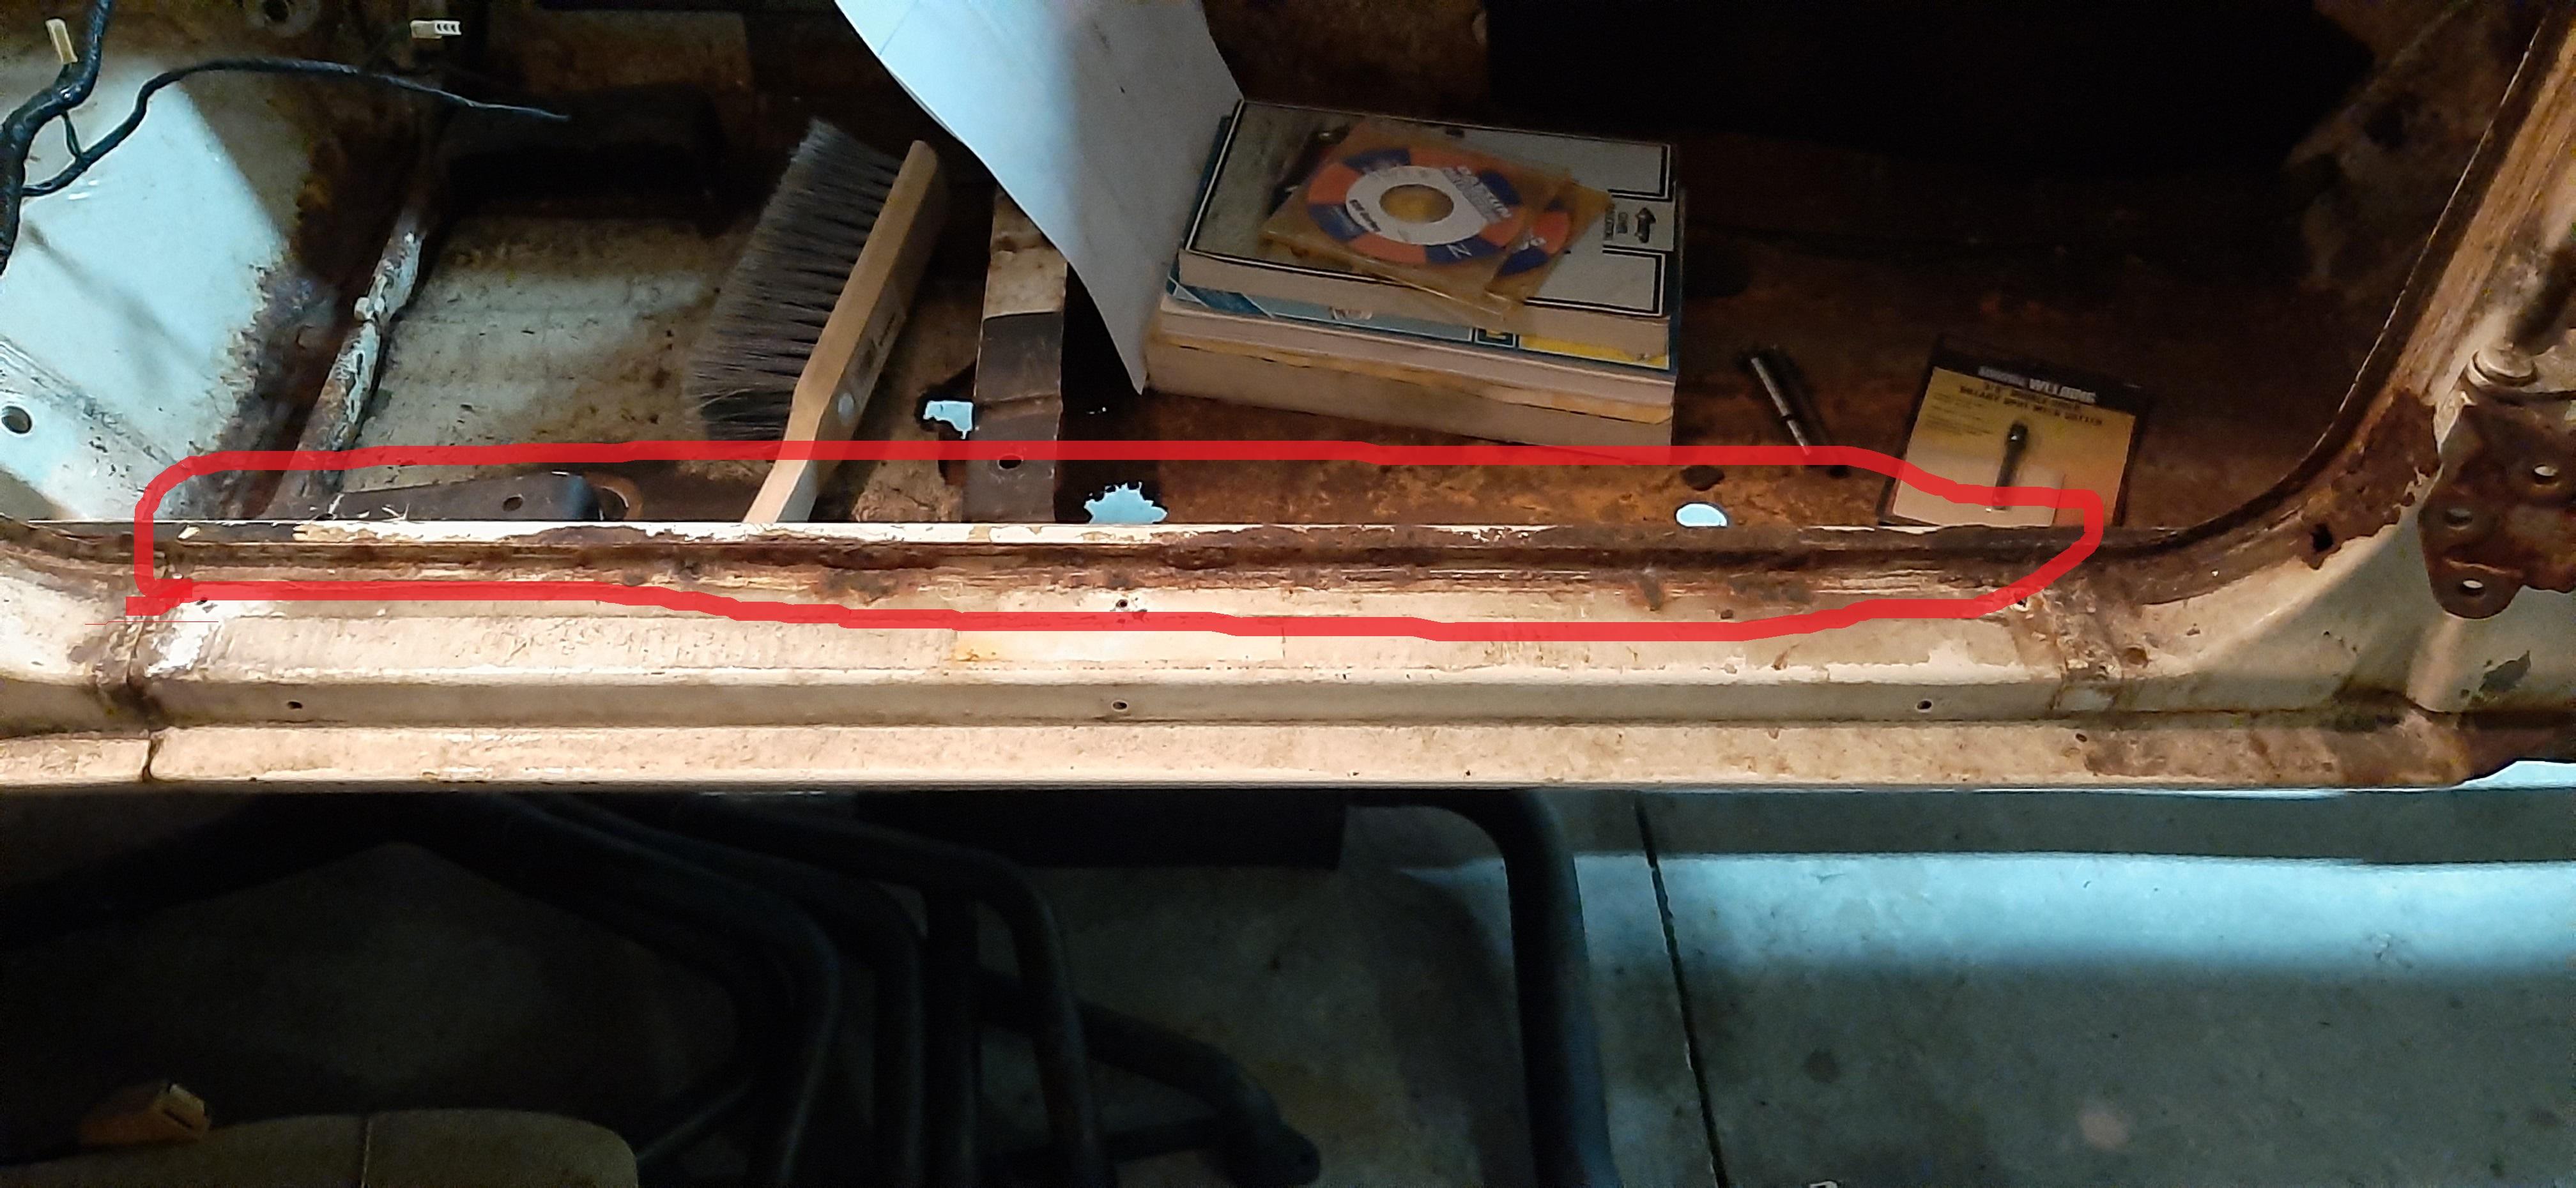
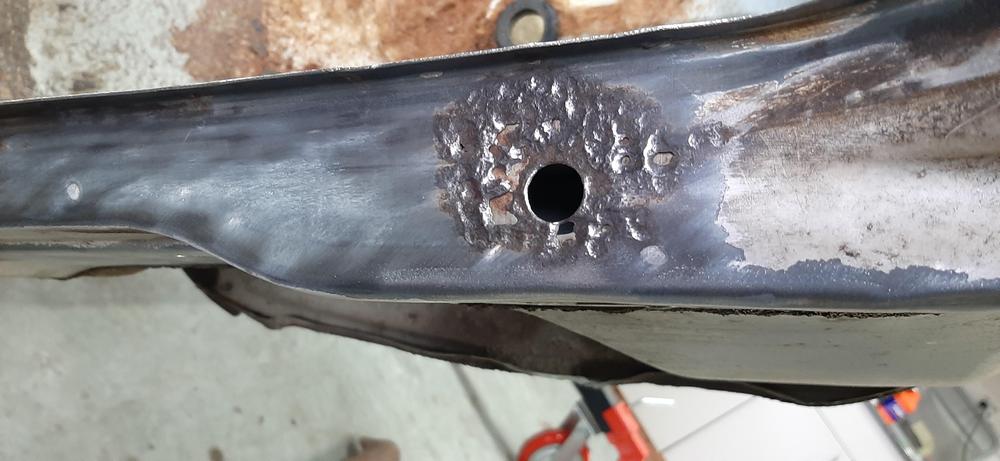
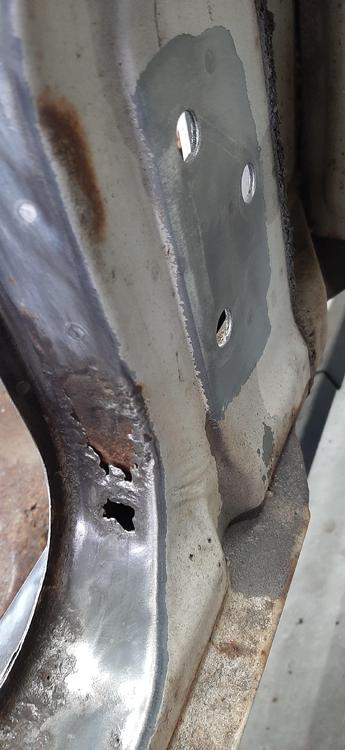
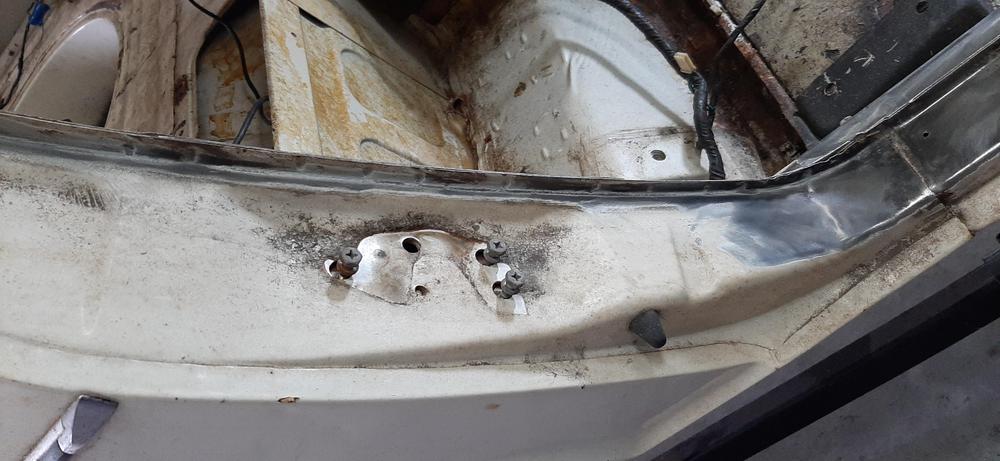
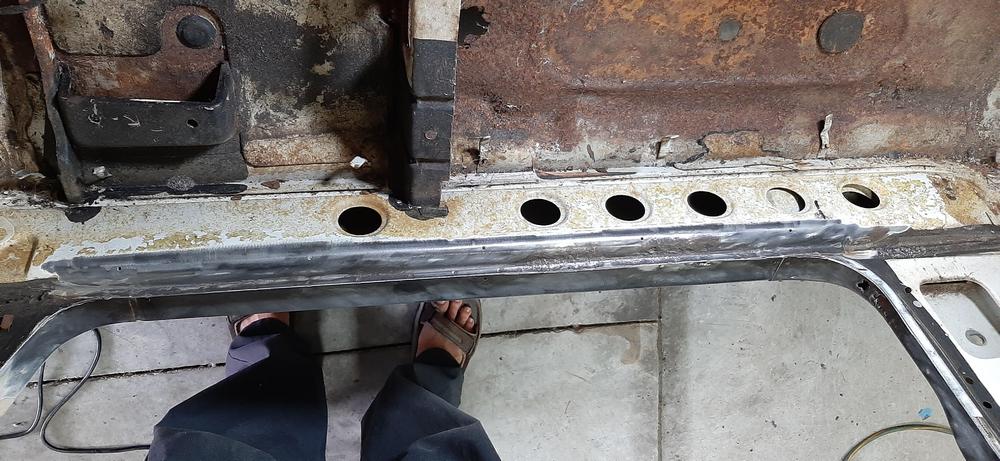
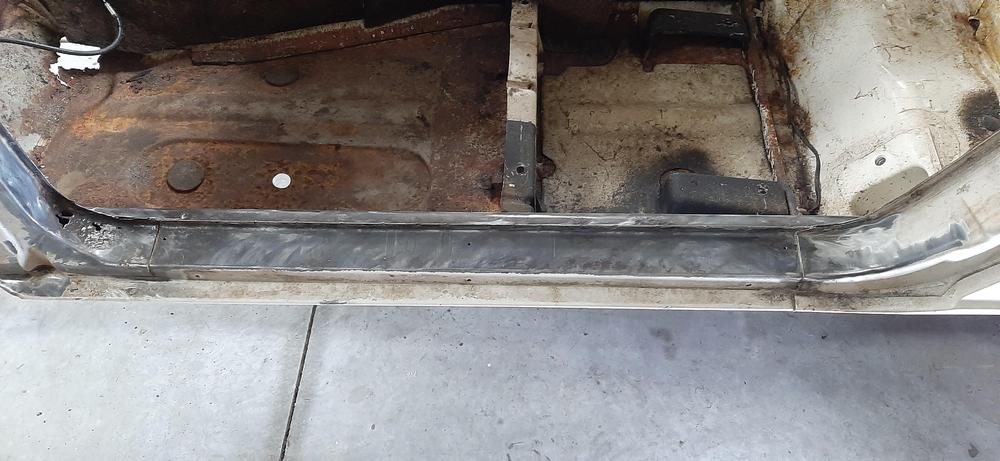
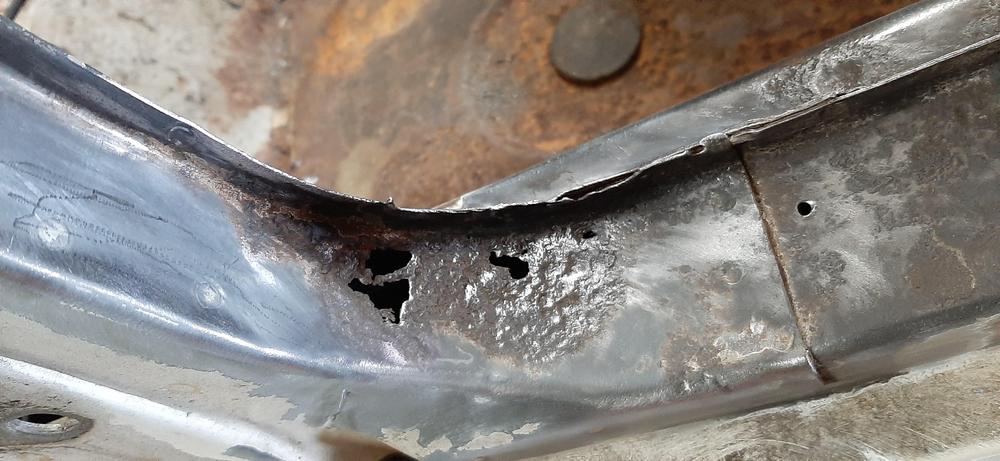
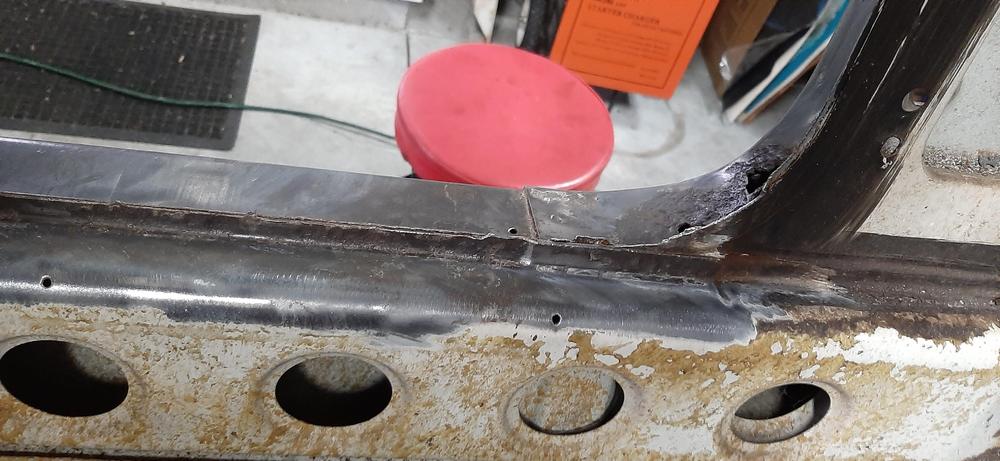
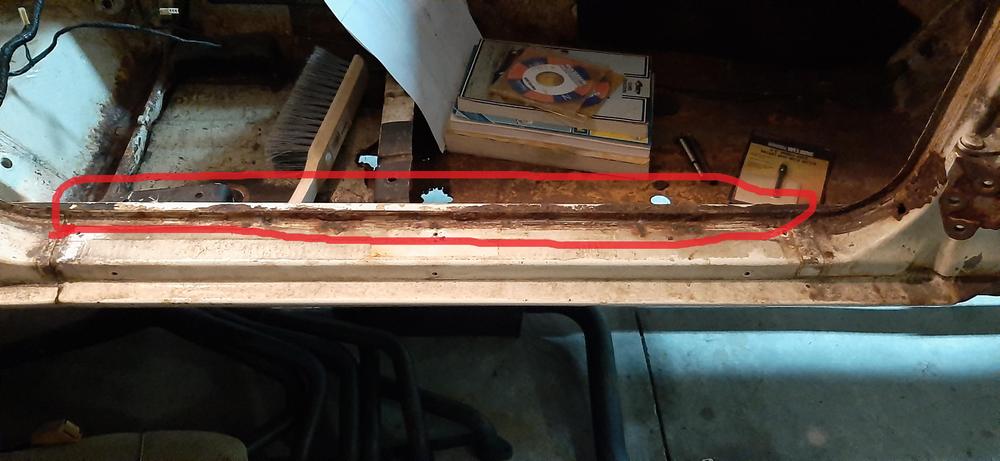
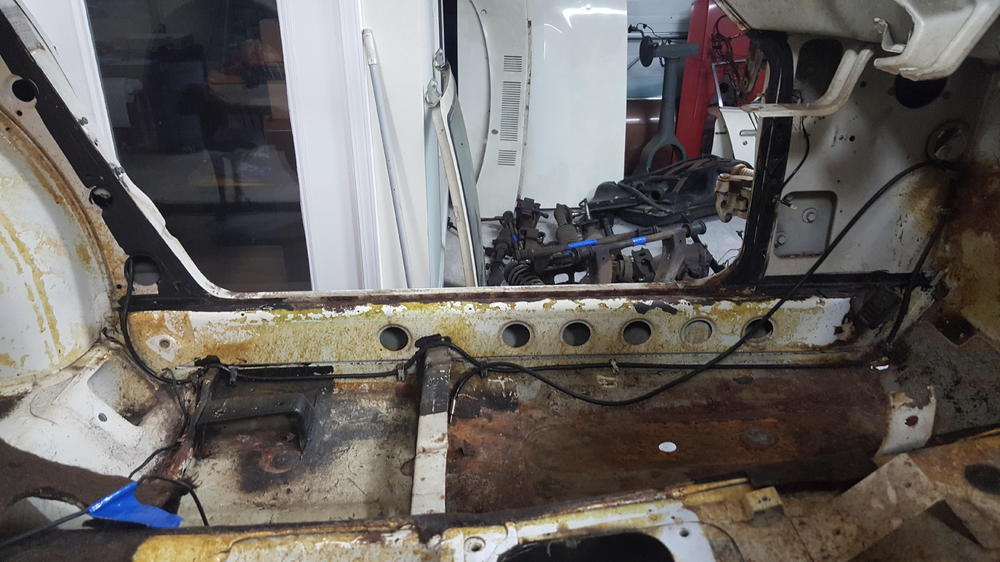
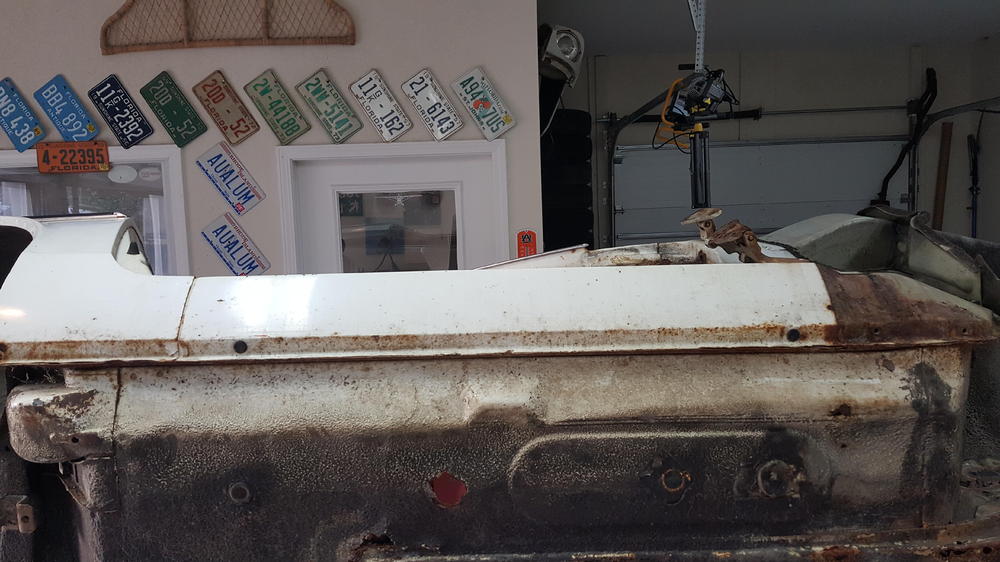
 Got some grinding done today, sills seems pretty good except for a couple holes. Looks like the pinch weld maybe mostly intact!
.thumb.jpg.a7d24285e72aba4d9d357e2f3556c516.jpg)


-
I hear you. This 240 is the 5th one I have had, and try to keep them mostly original, but this 240 is my first rotisserie job, and will be a life long keeper. With that said, it will be my kids problem to deal with when I'm gone, and since I just turned 47, it will hopefully be a few years. Maybe this is a good time to say I'm making a Fairlady tribute as well out of it. Badging, fender mirrors, D hubcaps, JDM tail lights, etc. I love the Fairlady, but hate the right hand drive.
-
Bummer, I was all set for some great Intel. No problem, I'll get a sample and see if I can get a match. I'm definitely going with 904white and the blue interior.
-
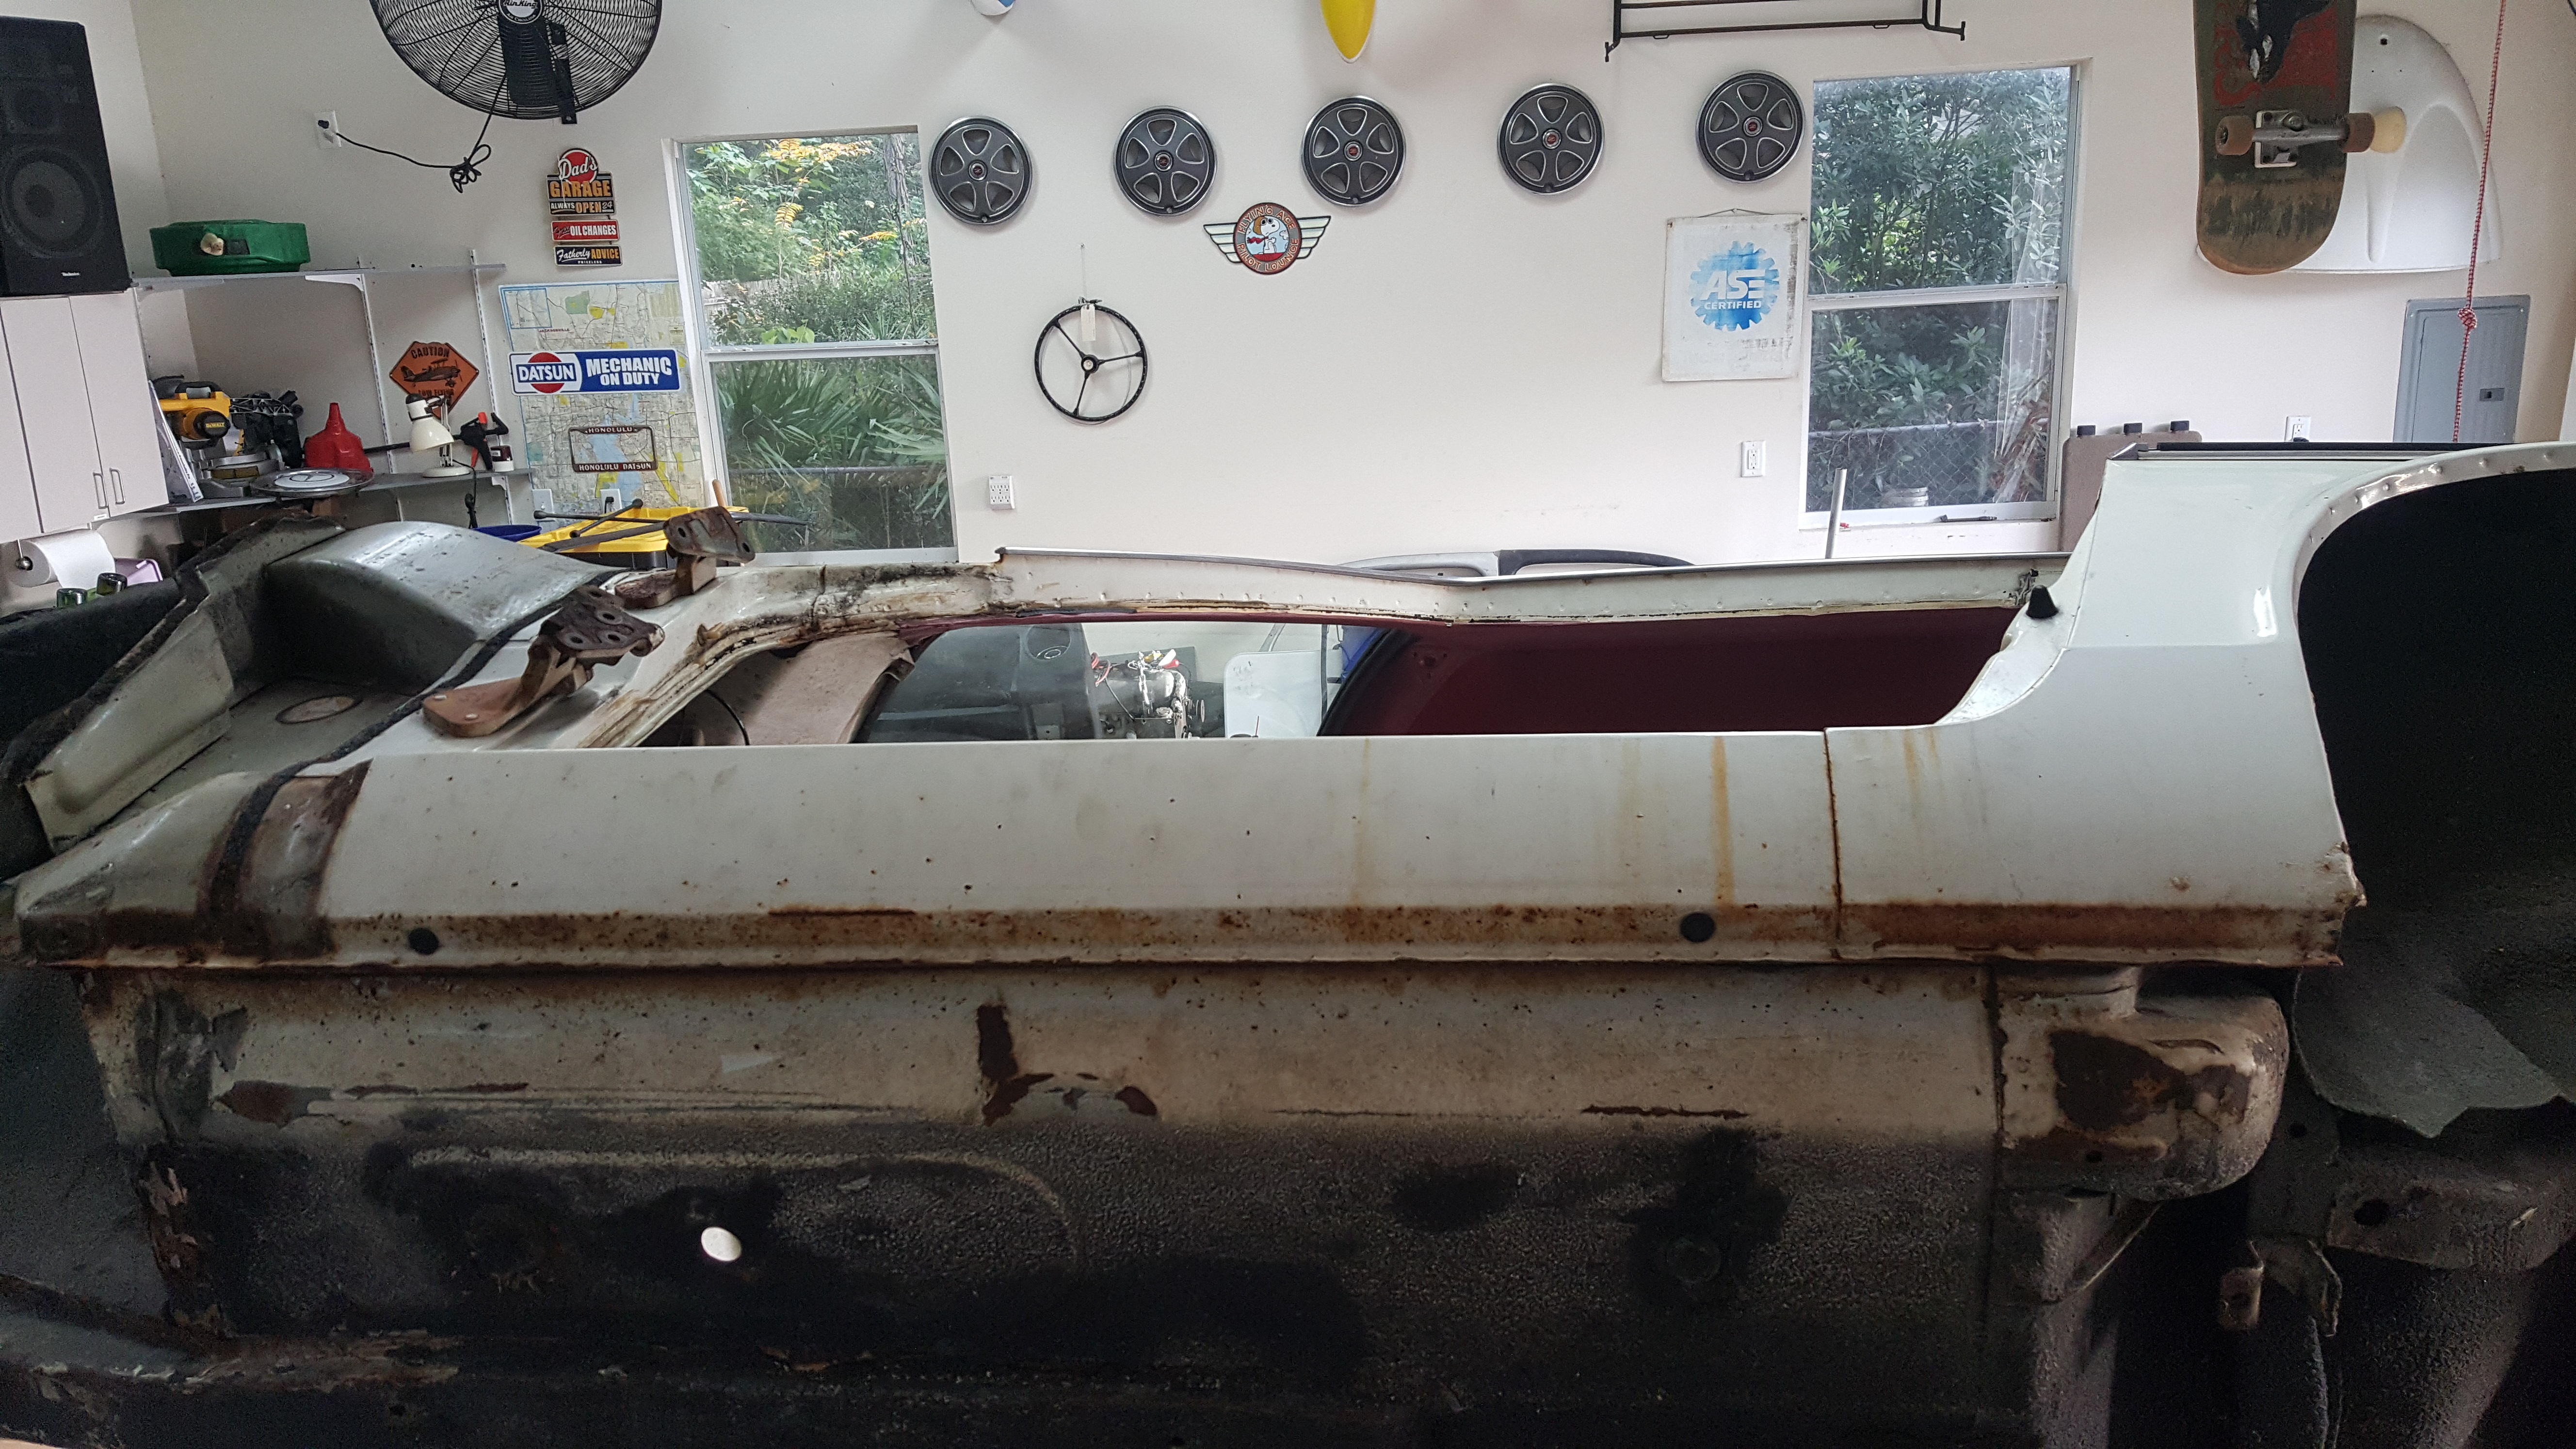
I'm restoring this 73 which has red interior, but I'm really digging the blue, so I think I'm right there with you, its fantastic.

-
Yeah, looks a little dark, but thats from a computer screen. Datsun, kind of like VW, they didnt expect for these cars to be around 50 years later.
-
Is there a spray paint that matches 240z blue interior for plastic panels?
-
Ok, look forward to getting out there this weekend to do some cleaning.
-
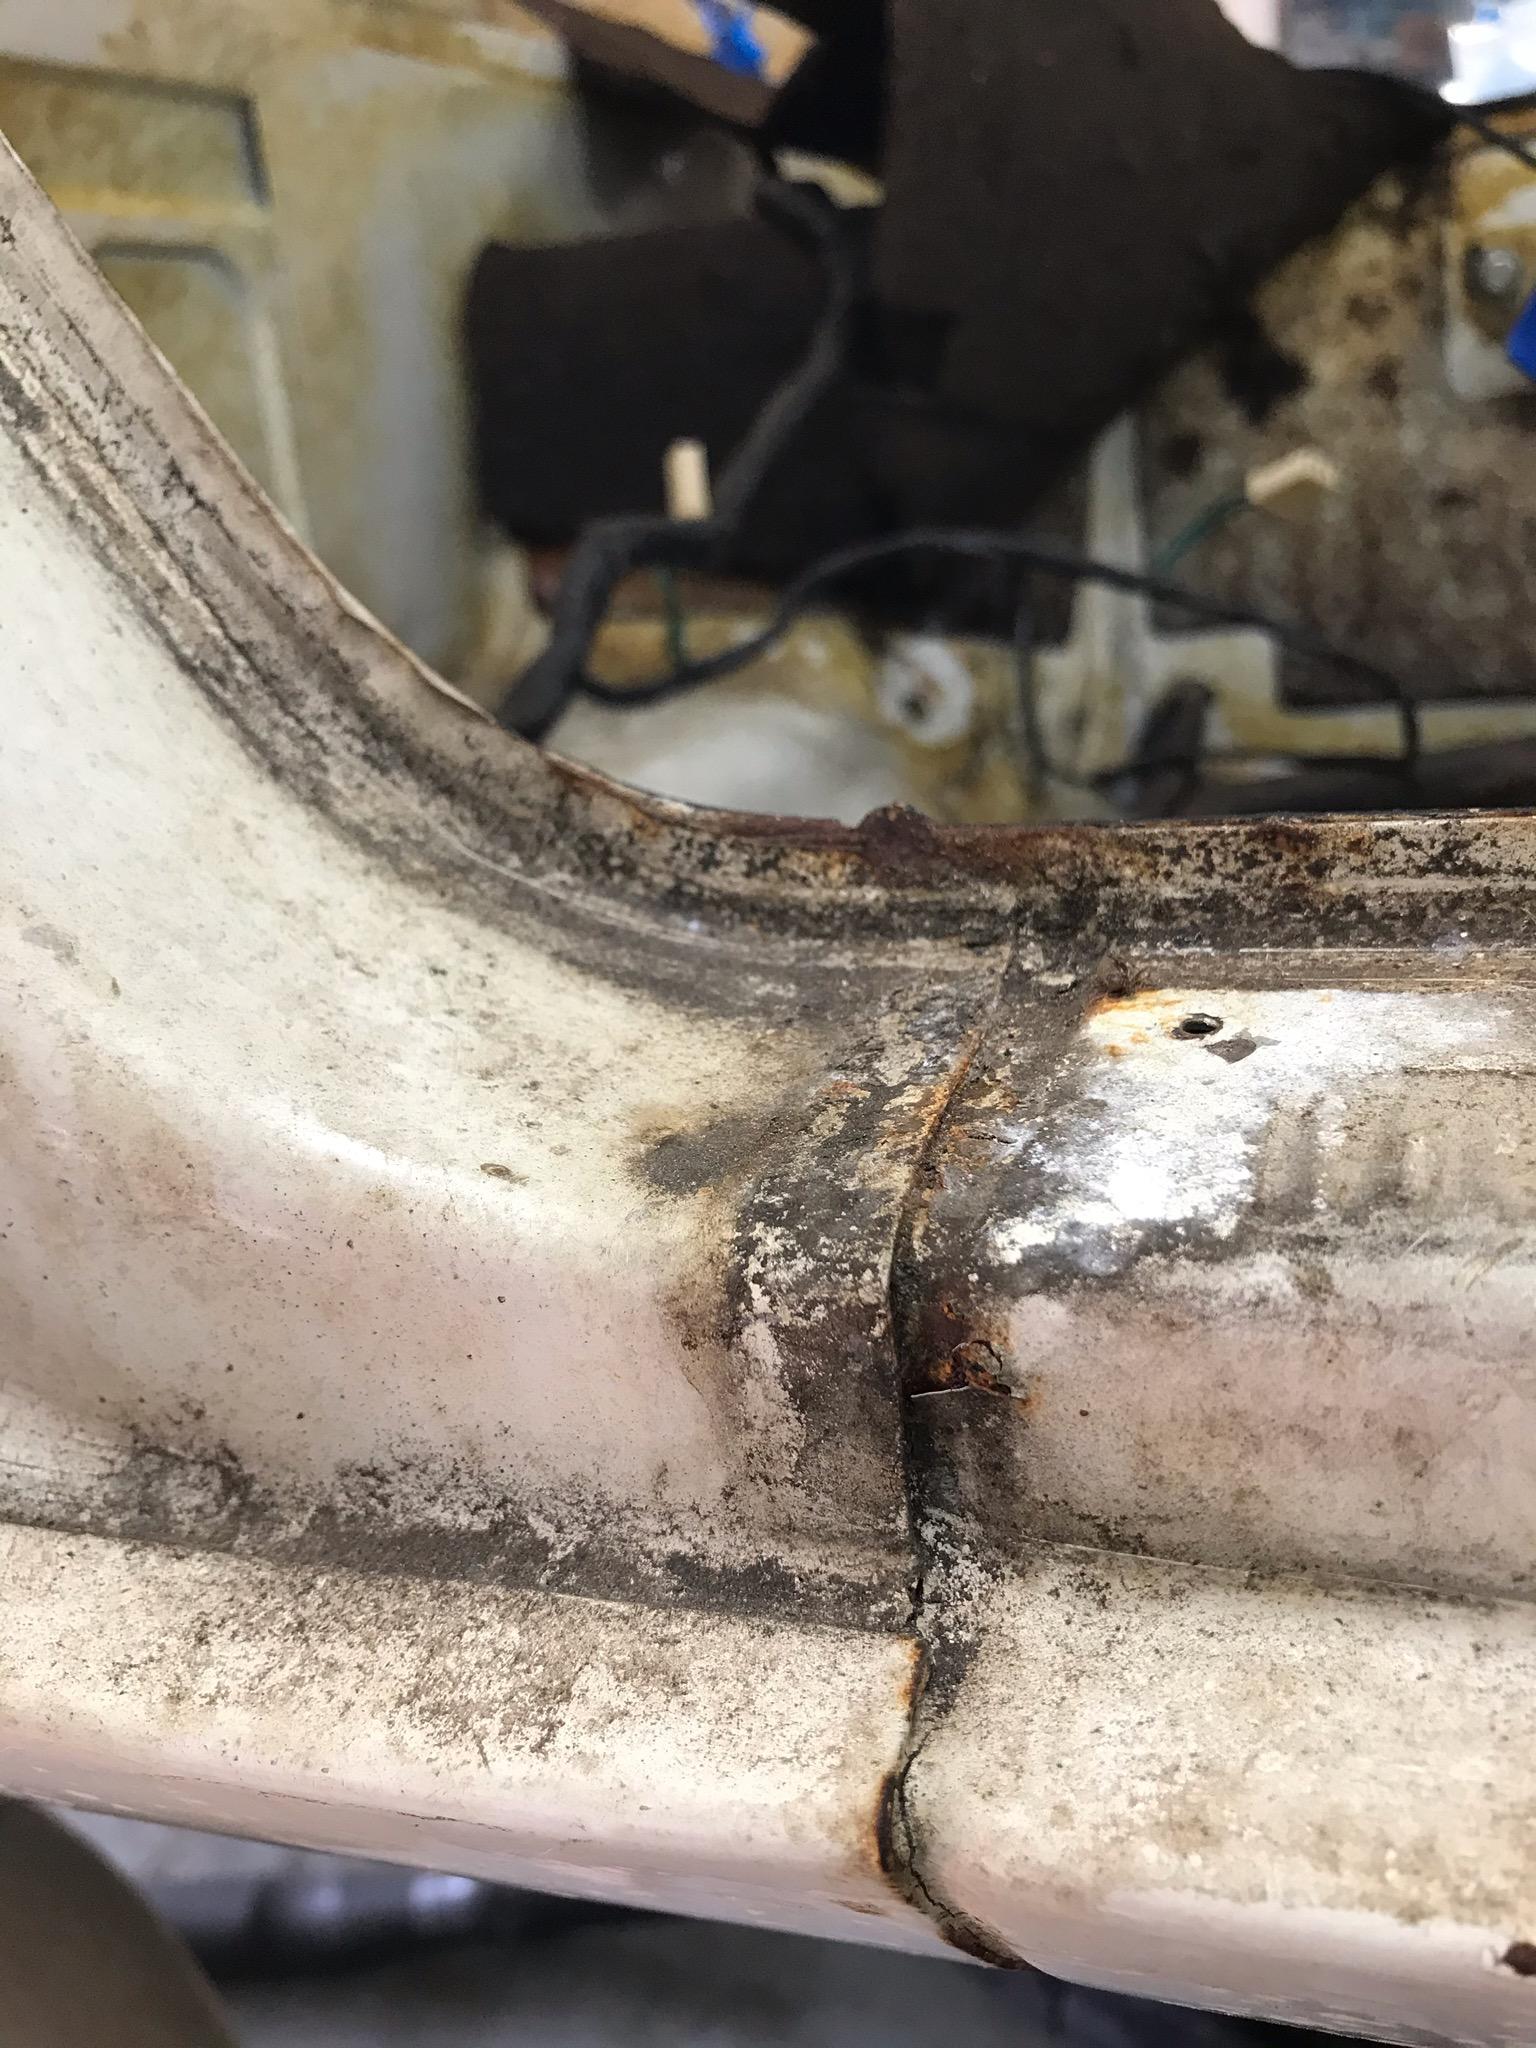
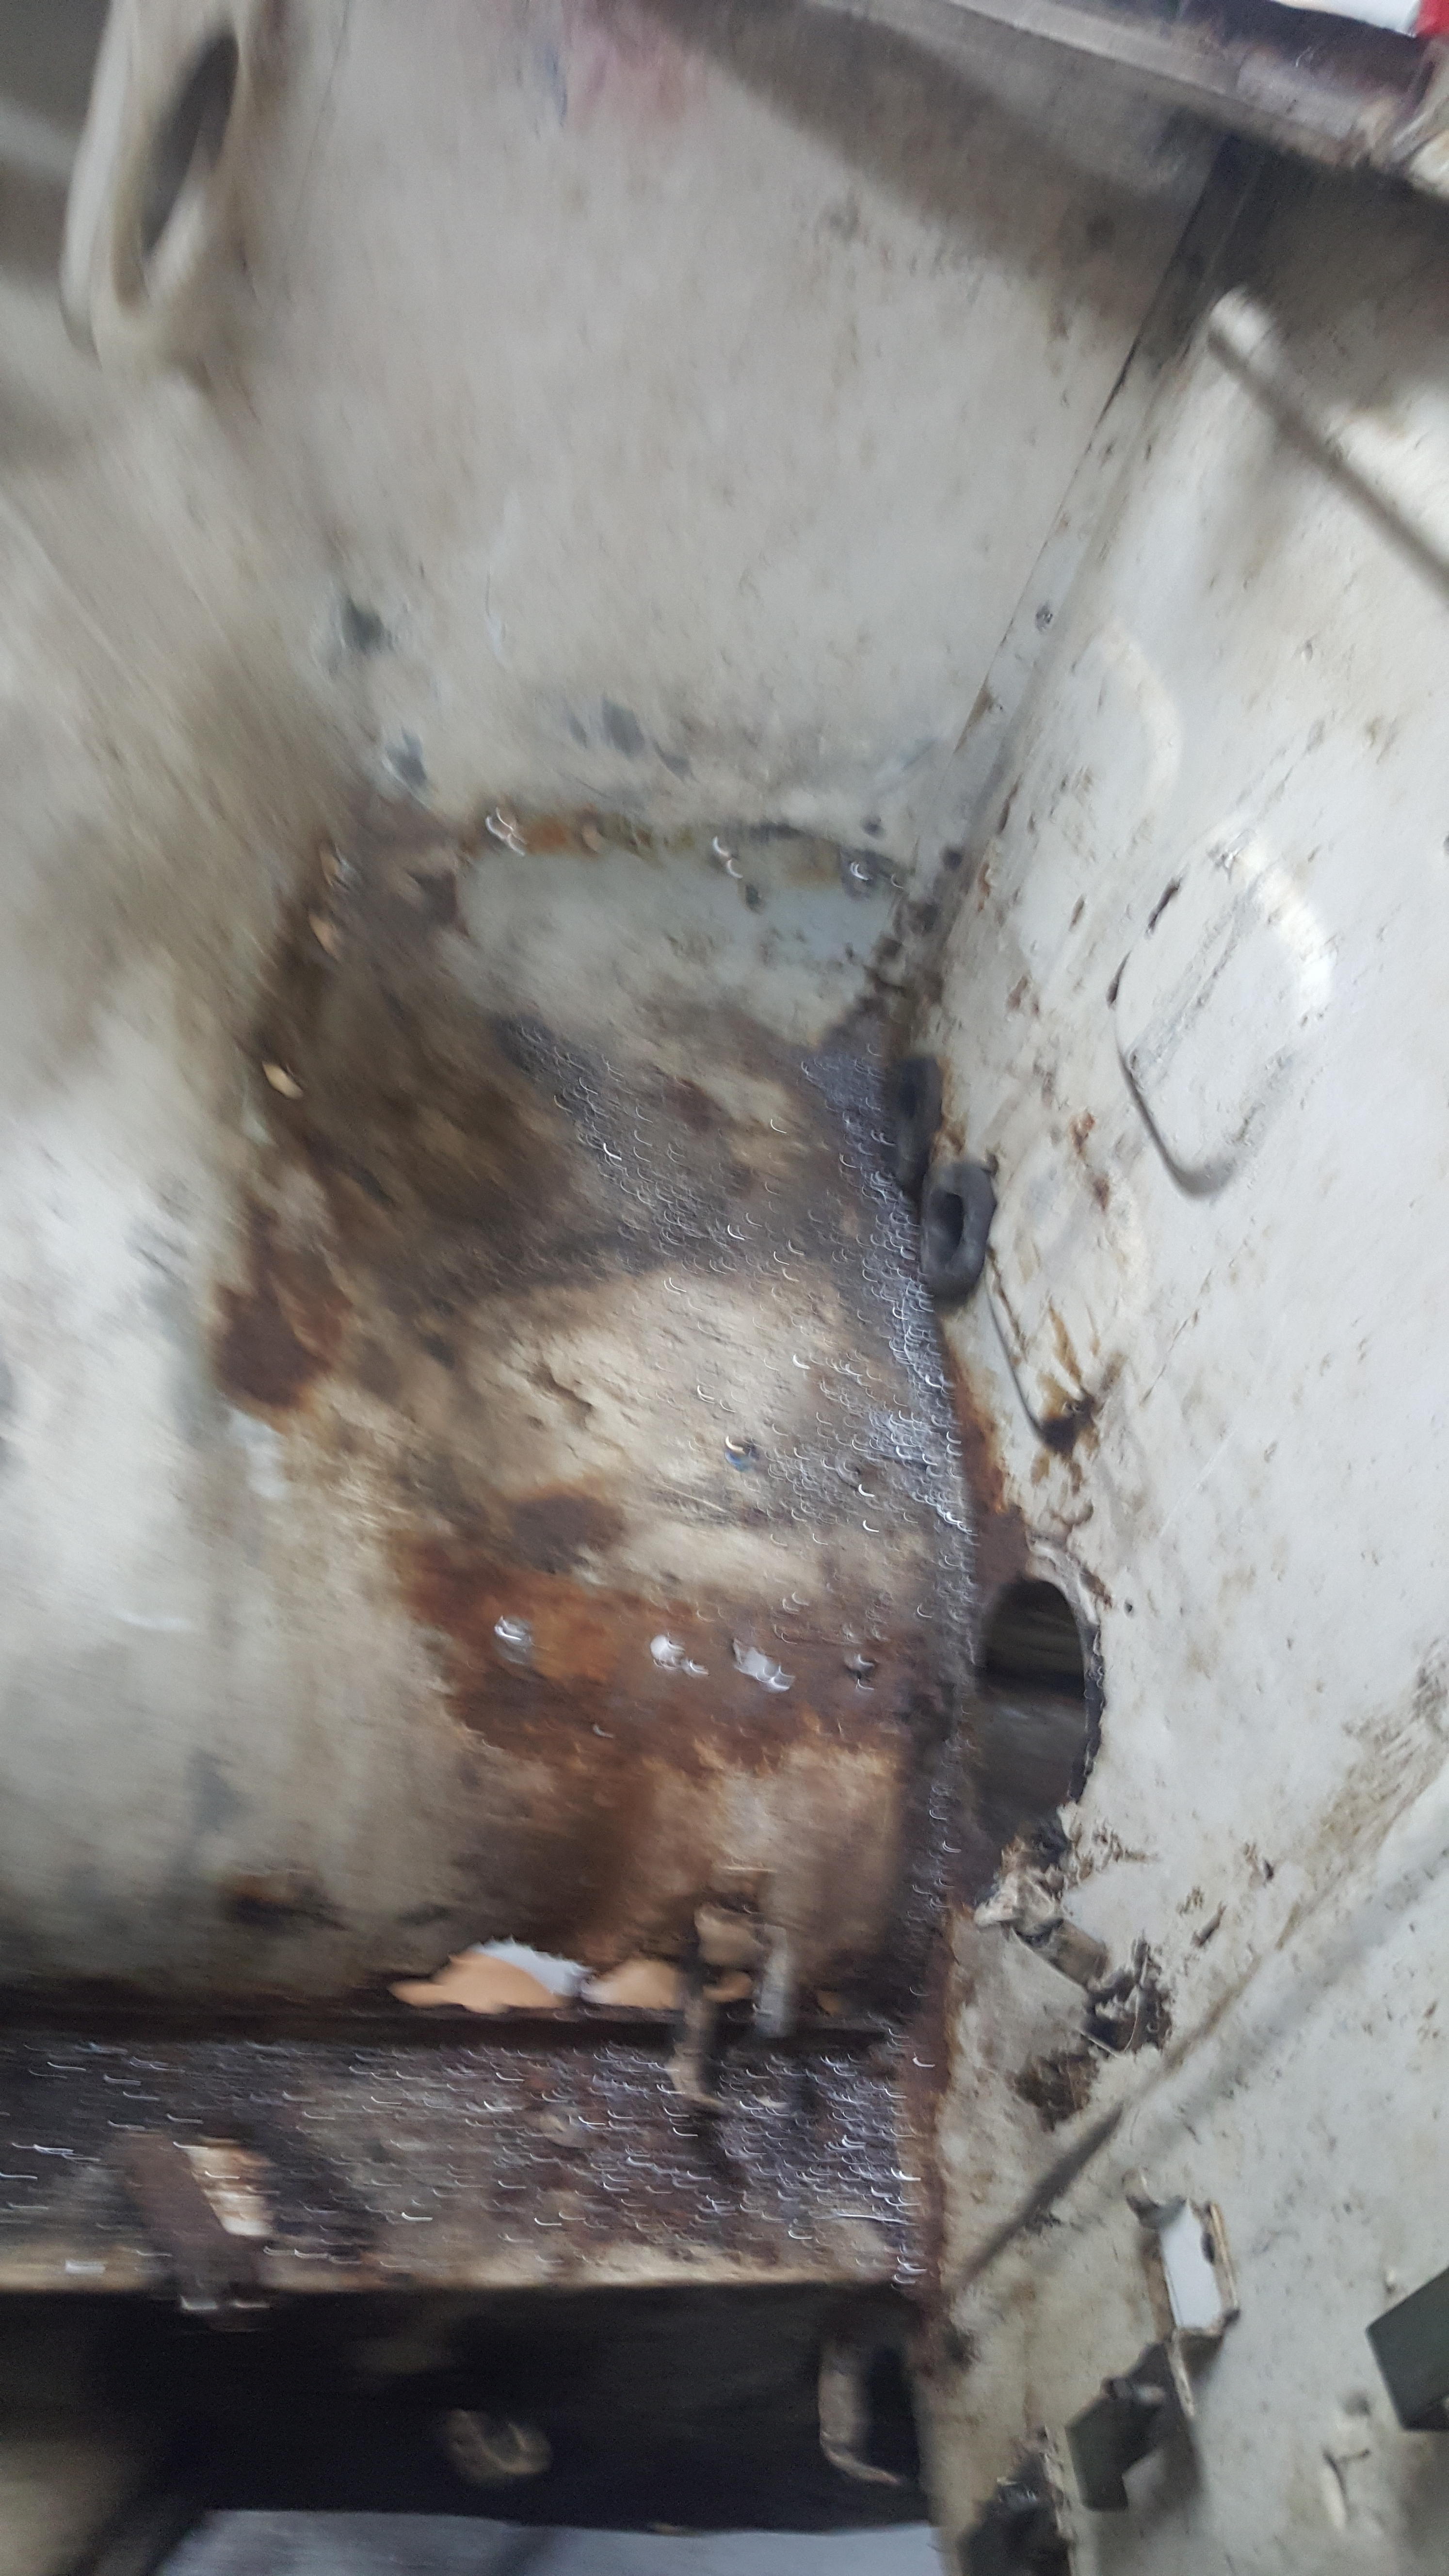
Wheel wells and rockers are solid, rear of the car is very clean.most of the problem are on the pans and supports. Until a few days ago I wasnt even going to worry with the sills until I started inspectinf the sandwiched vertical seem where the door closes. I'm more concerned of trying to repair that seem if the rust is significant. I will be putting new pans and supports in no matter what. I"ll know more in a few days when I start to probe the sills and put a wire wheel on them. Maybe I'm thinking too much on them.
-
I did mull over just spot fixing them, but the areas I was concerned about looks like it may be rusty on the inside of the rails in a few spots. I was trying to avoid doing a restoration just to see rust in the future and having to go back in. Been lurking a few build threads for about 2 years, as an aircraft mechanic and working with aluminum sheet metal for a number of years I feel Im up for the task, albeit it will probably be me measuring about 25 times and then cutting.
-
Yes, I plan on that method when I get home in a couple of days. Honestly it looks like if I started picking at some of those rusty areas it would be swiss cheese in no time. But I figured locally reparing that area with the way Datsun manufactured the sills it would start to unravel so to speak with the two layers of metal there and the spot welds. Like I said before, i'm no metal smith, so recreating the joint on the sills would seem to me like trying to do open heart surgery with a mexican 9/16th.
-
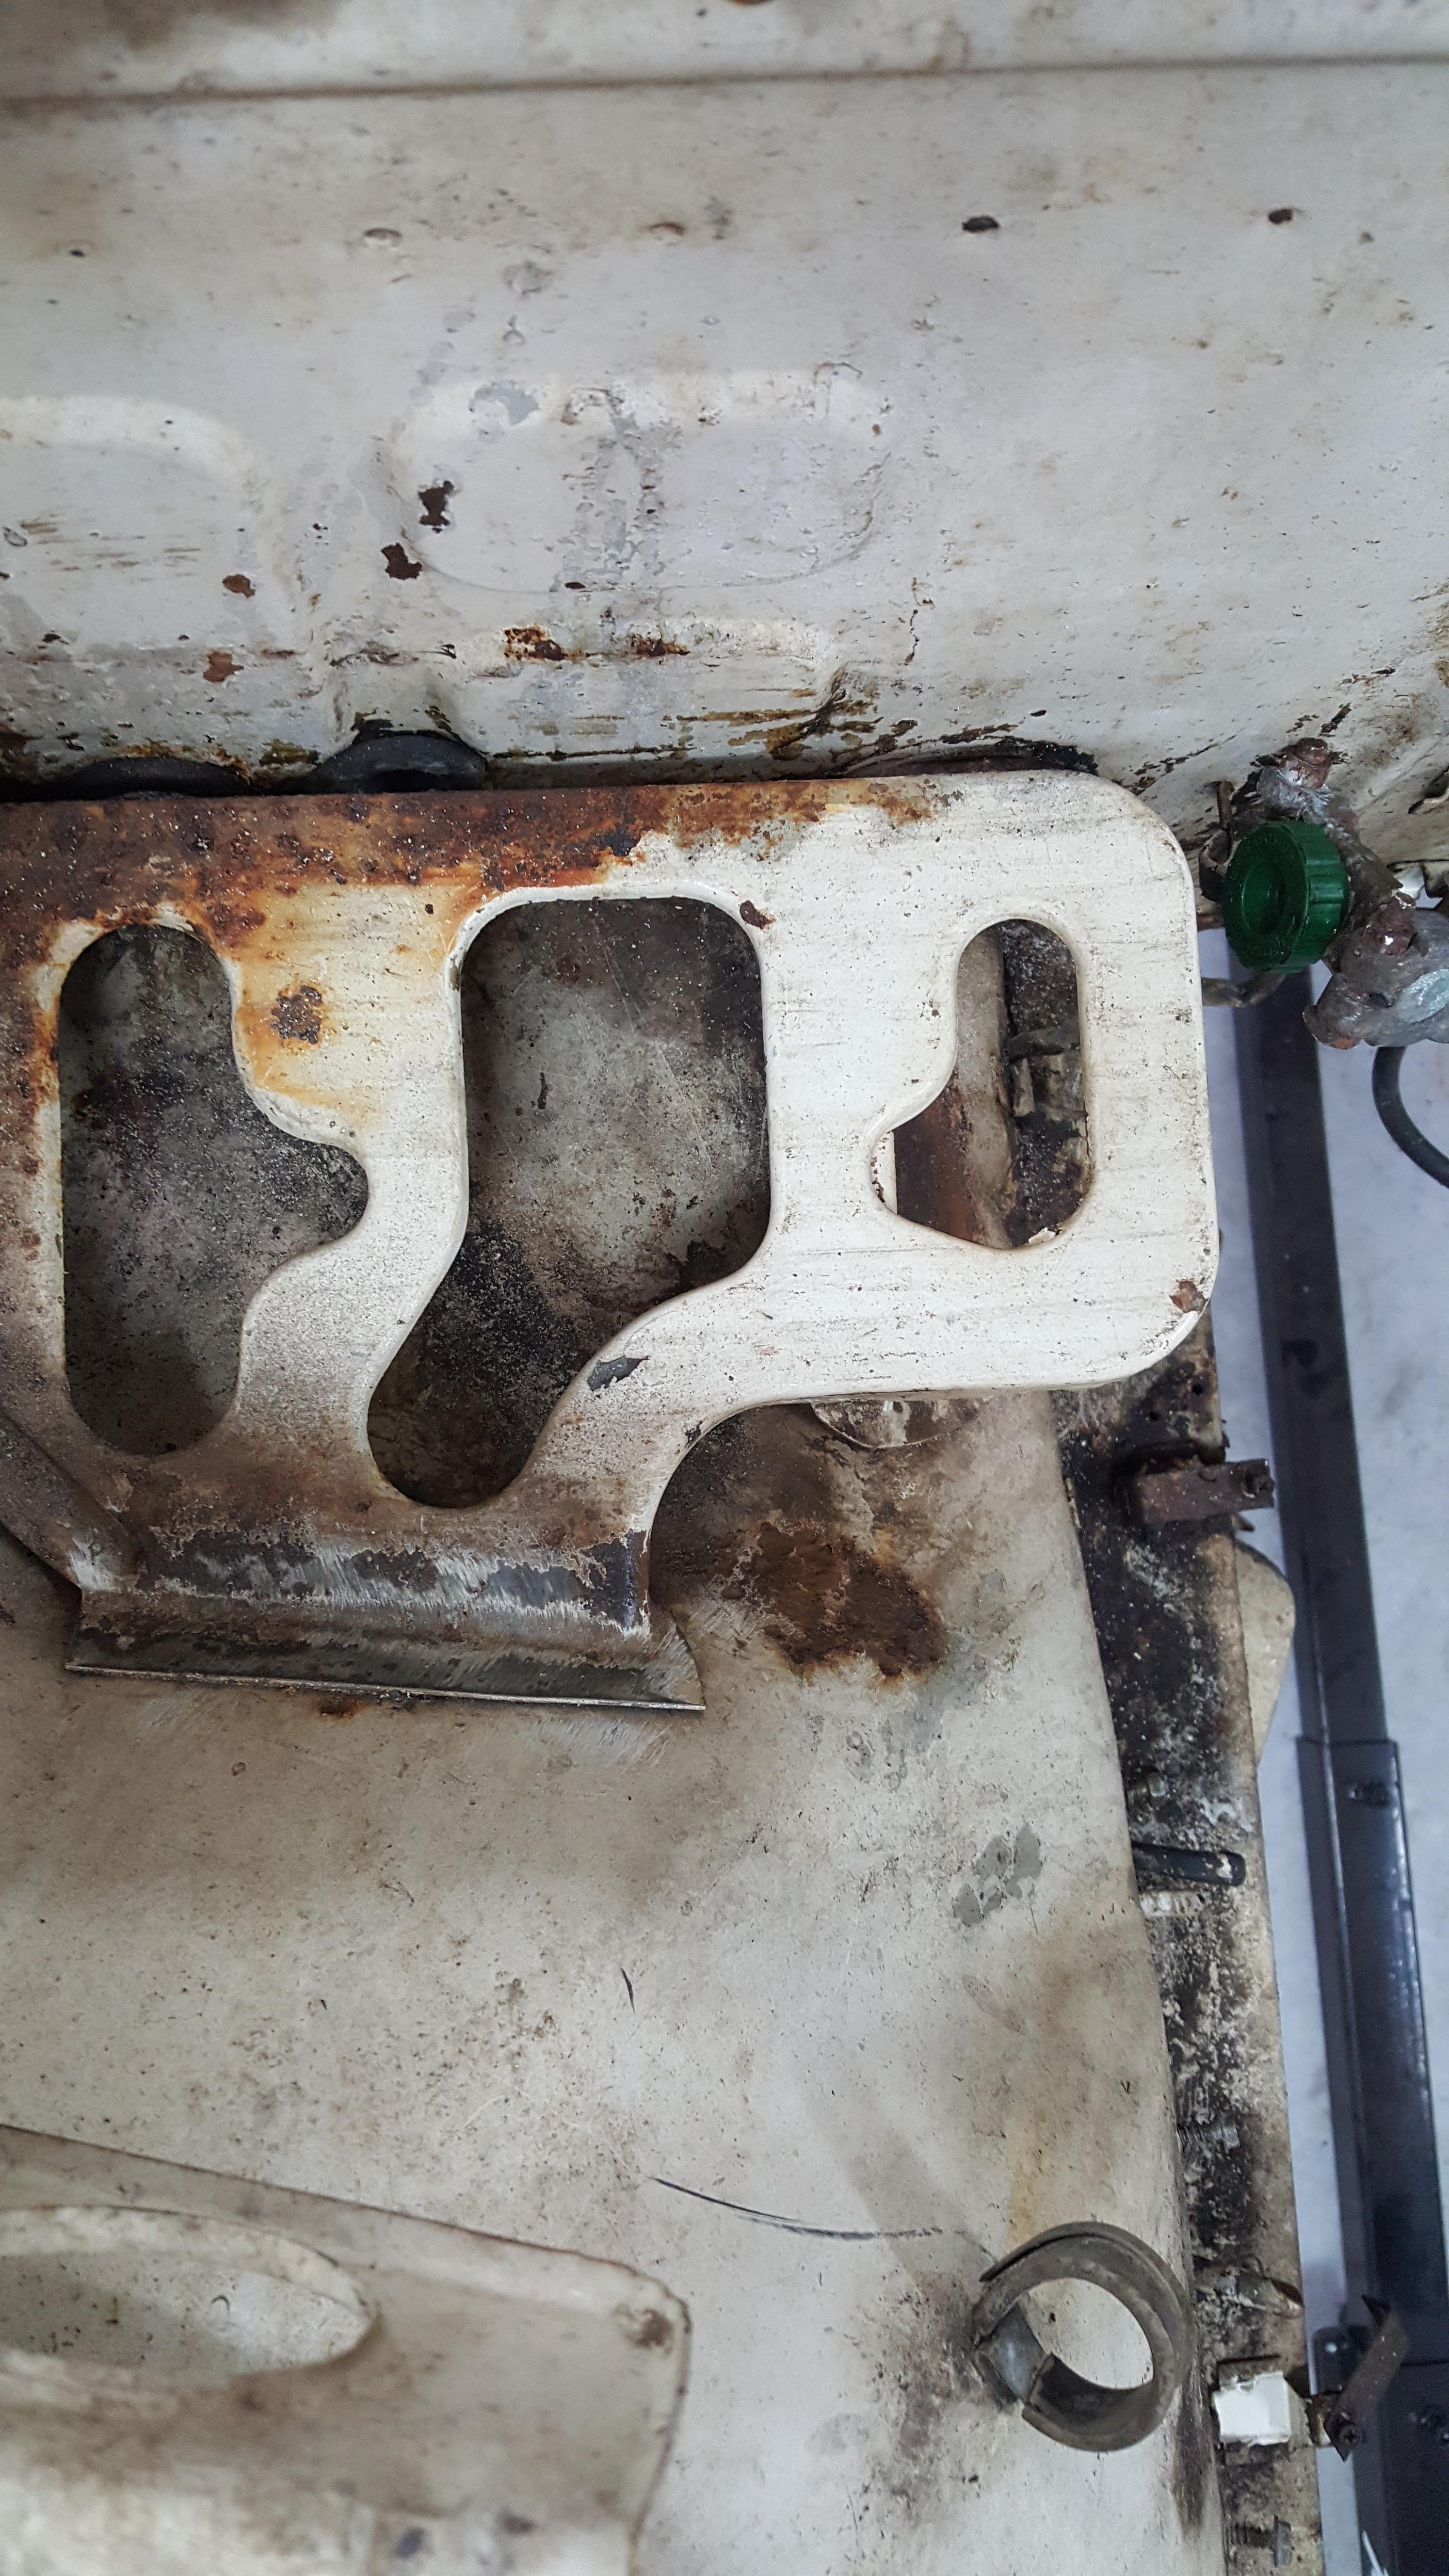
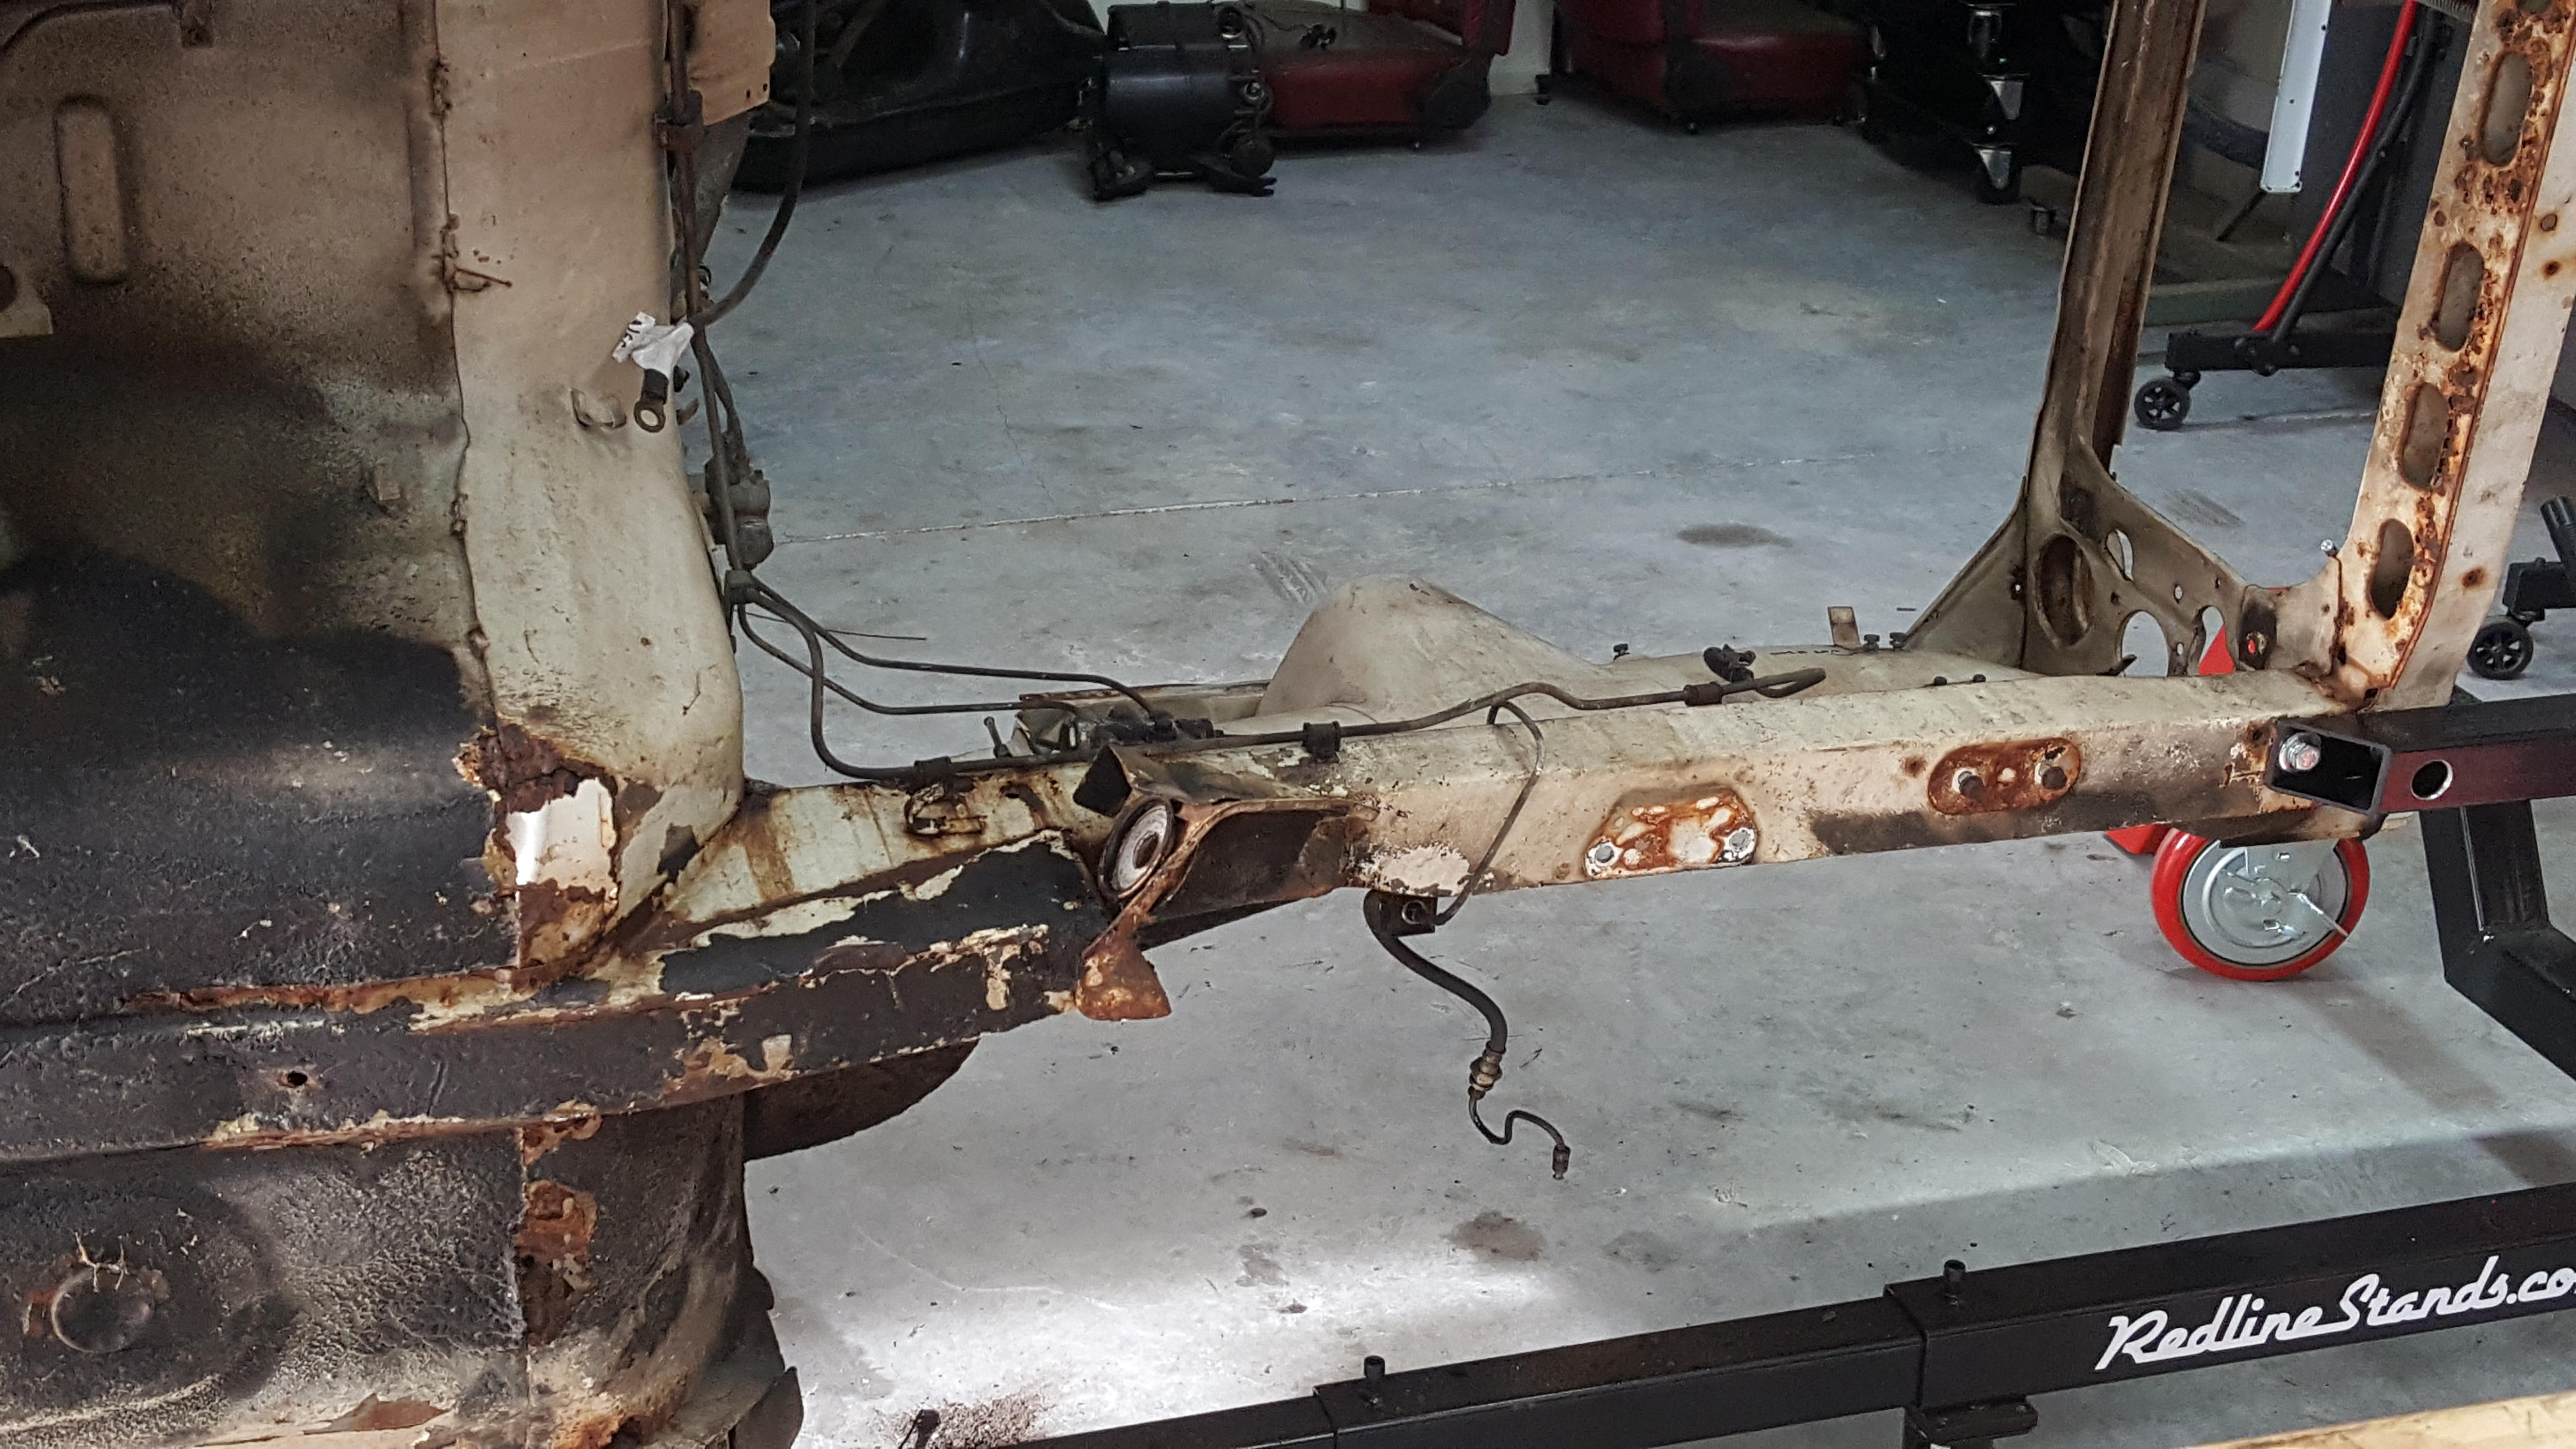
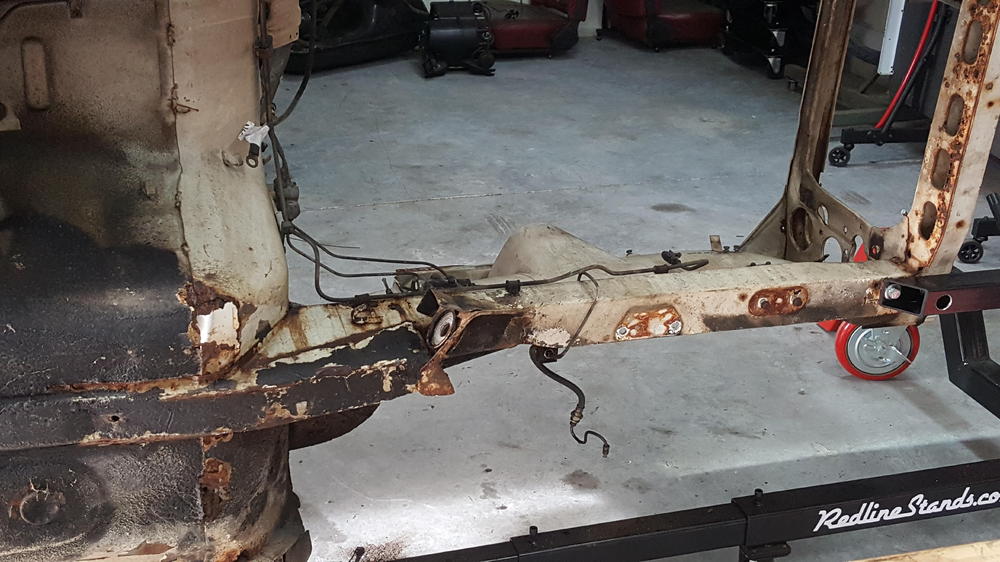
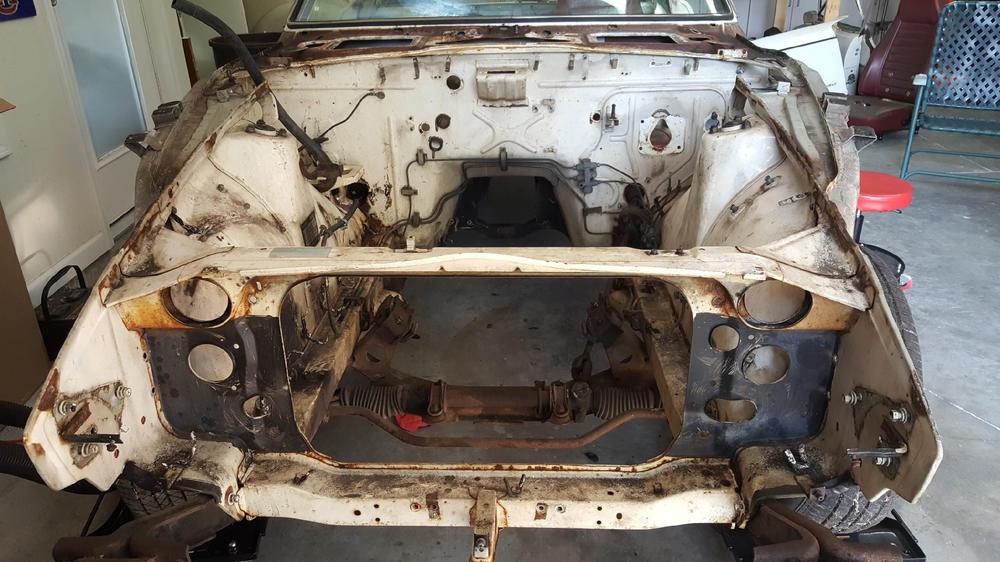
Ok, thanks. On a bigger scale, what would be the best place to start as far as pans, front rails and the forward cross member for the radiator support? The radiator support looks like it may need to come out to repair the rear side where the oval lighting holes are (a bunch of spot welds with a few sandwiched metal pieces in there). If so, whats the best method, repair that, or do the front rails first?
-
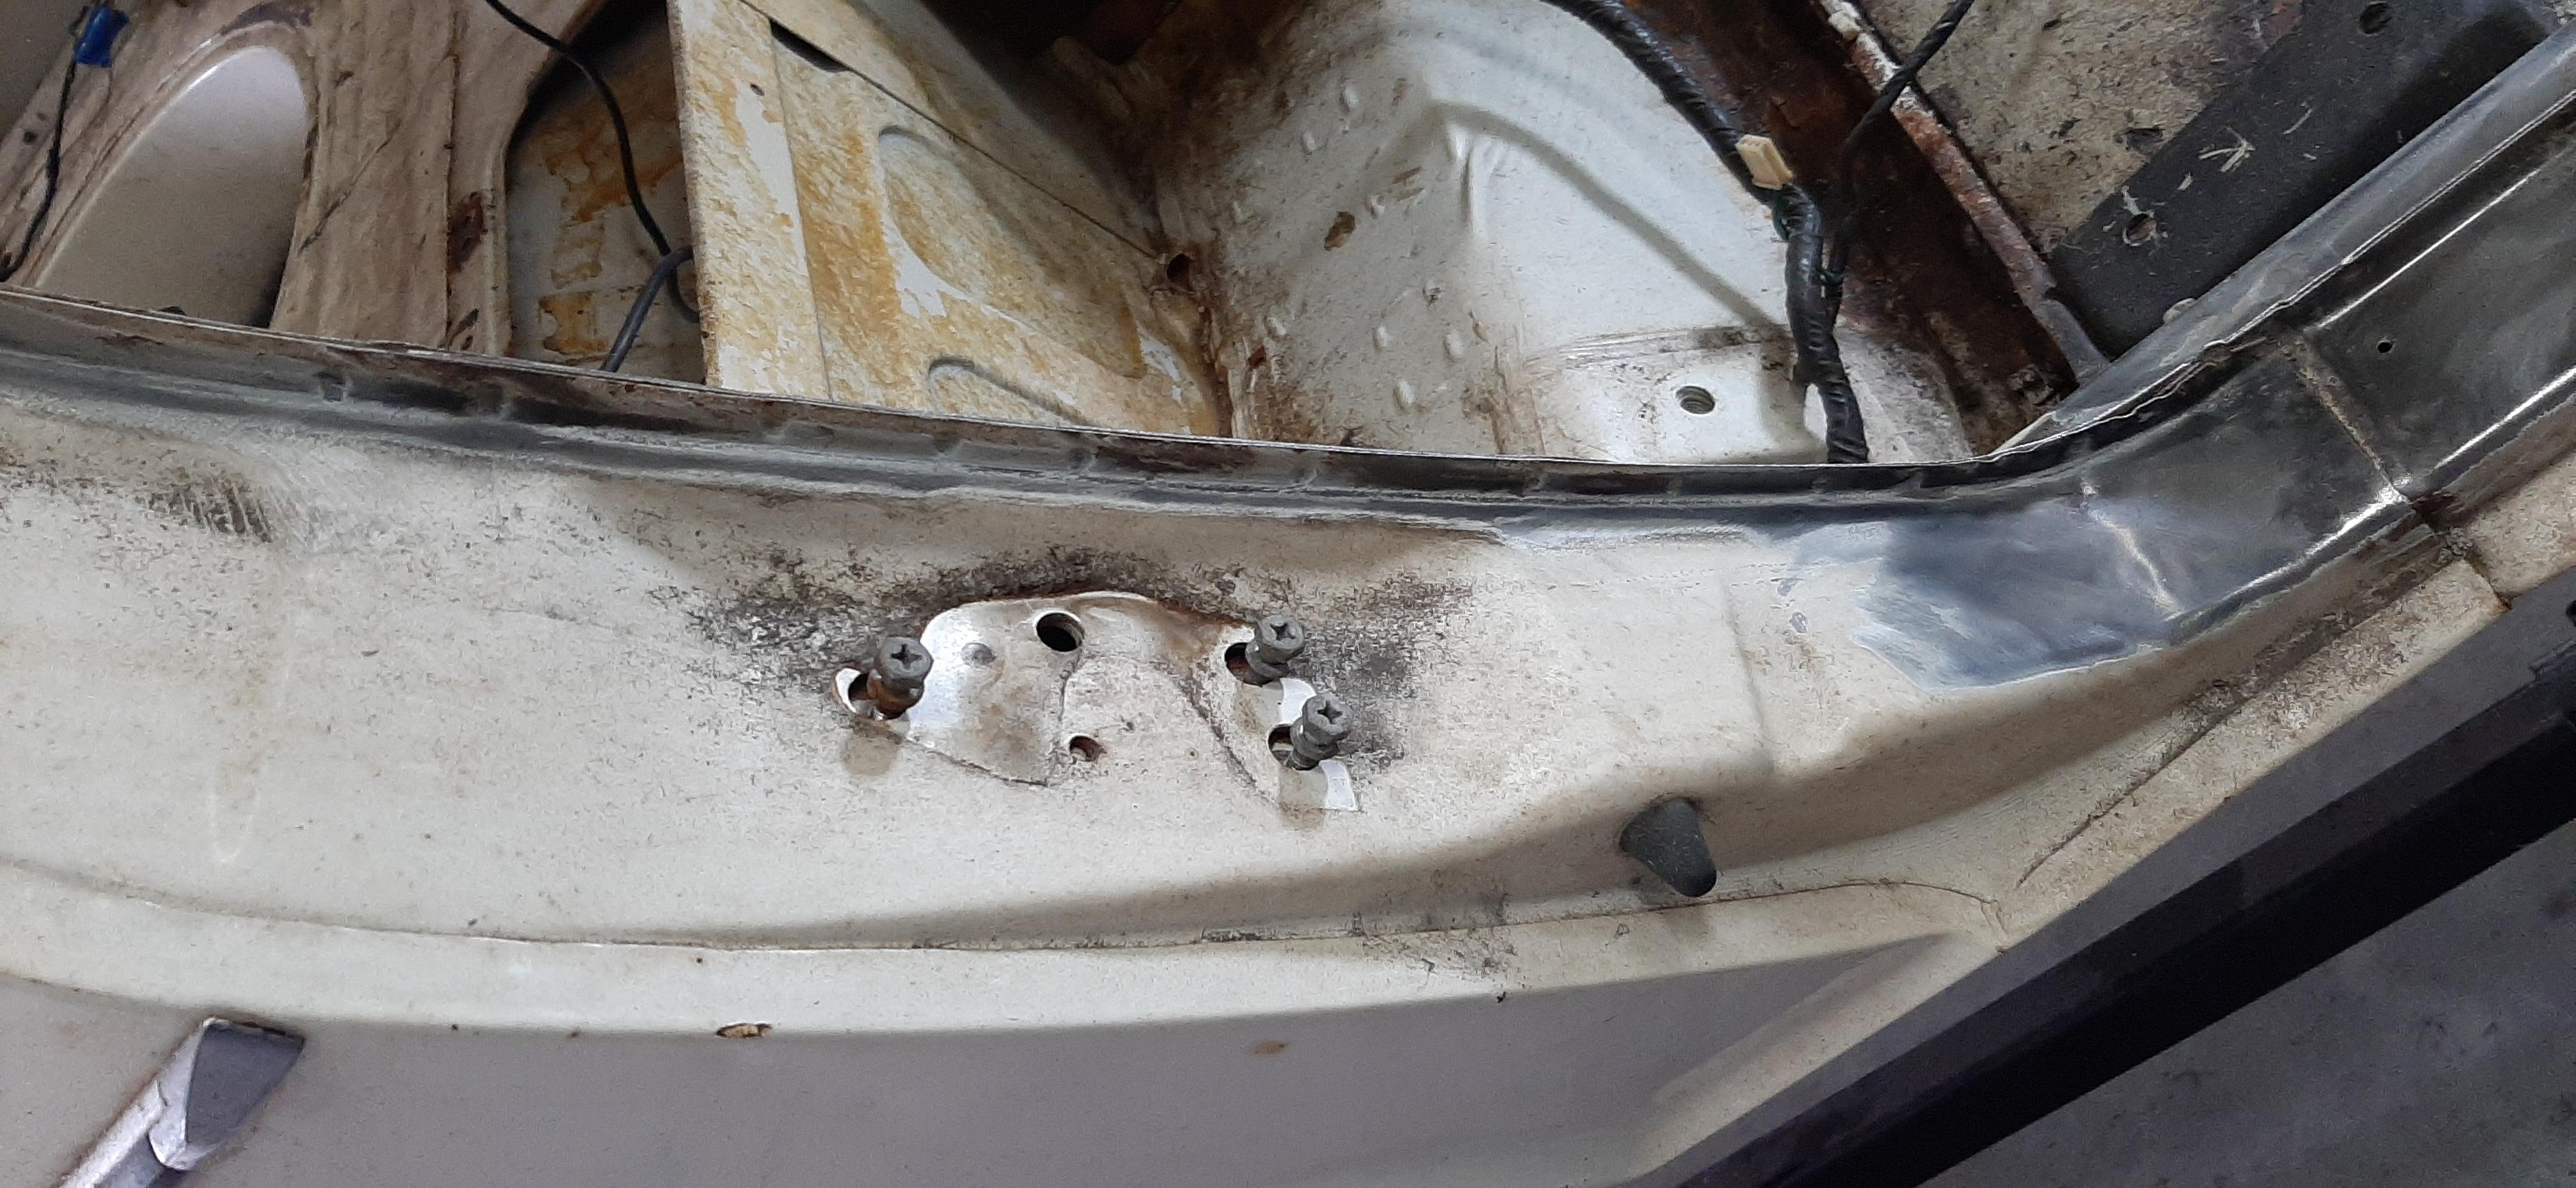
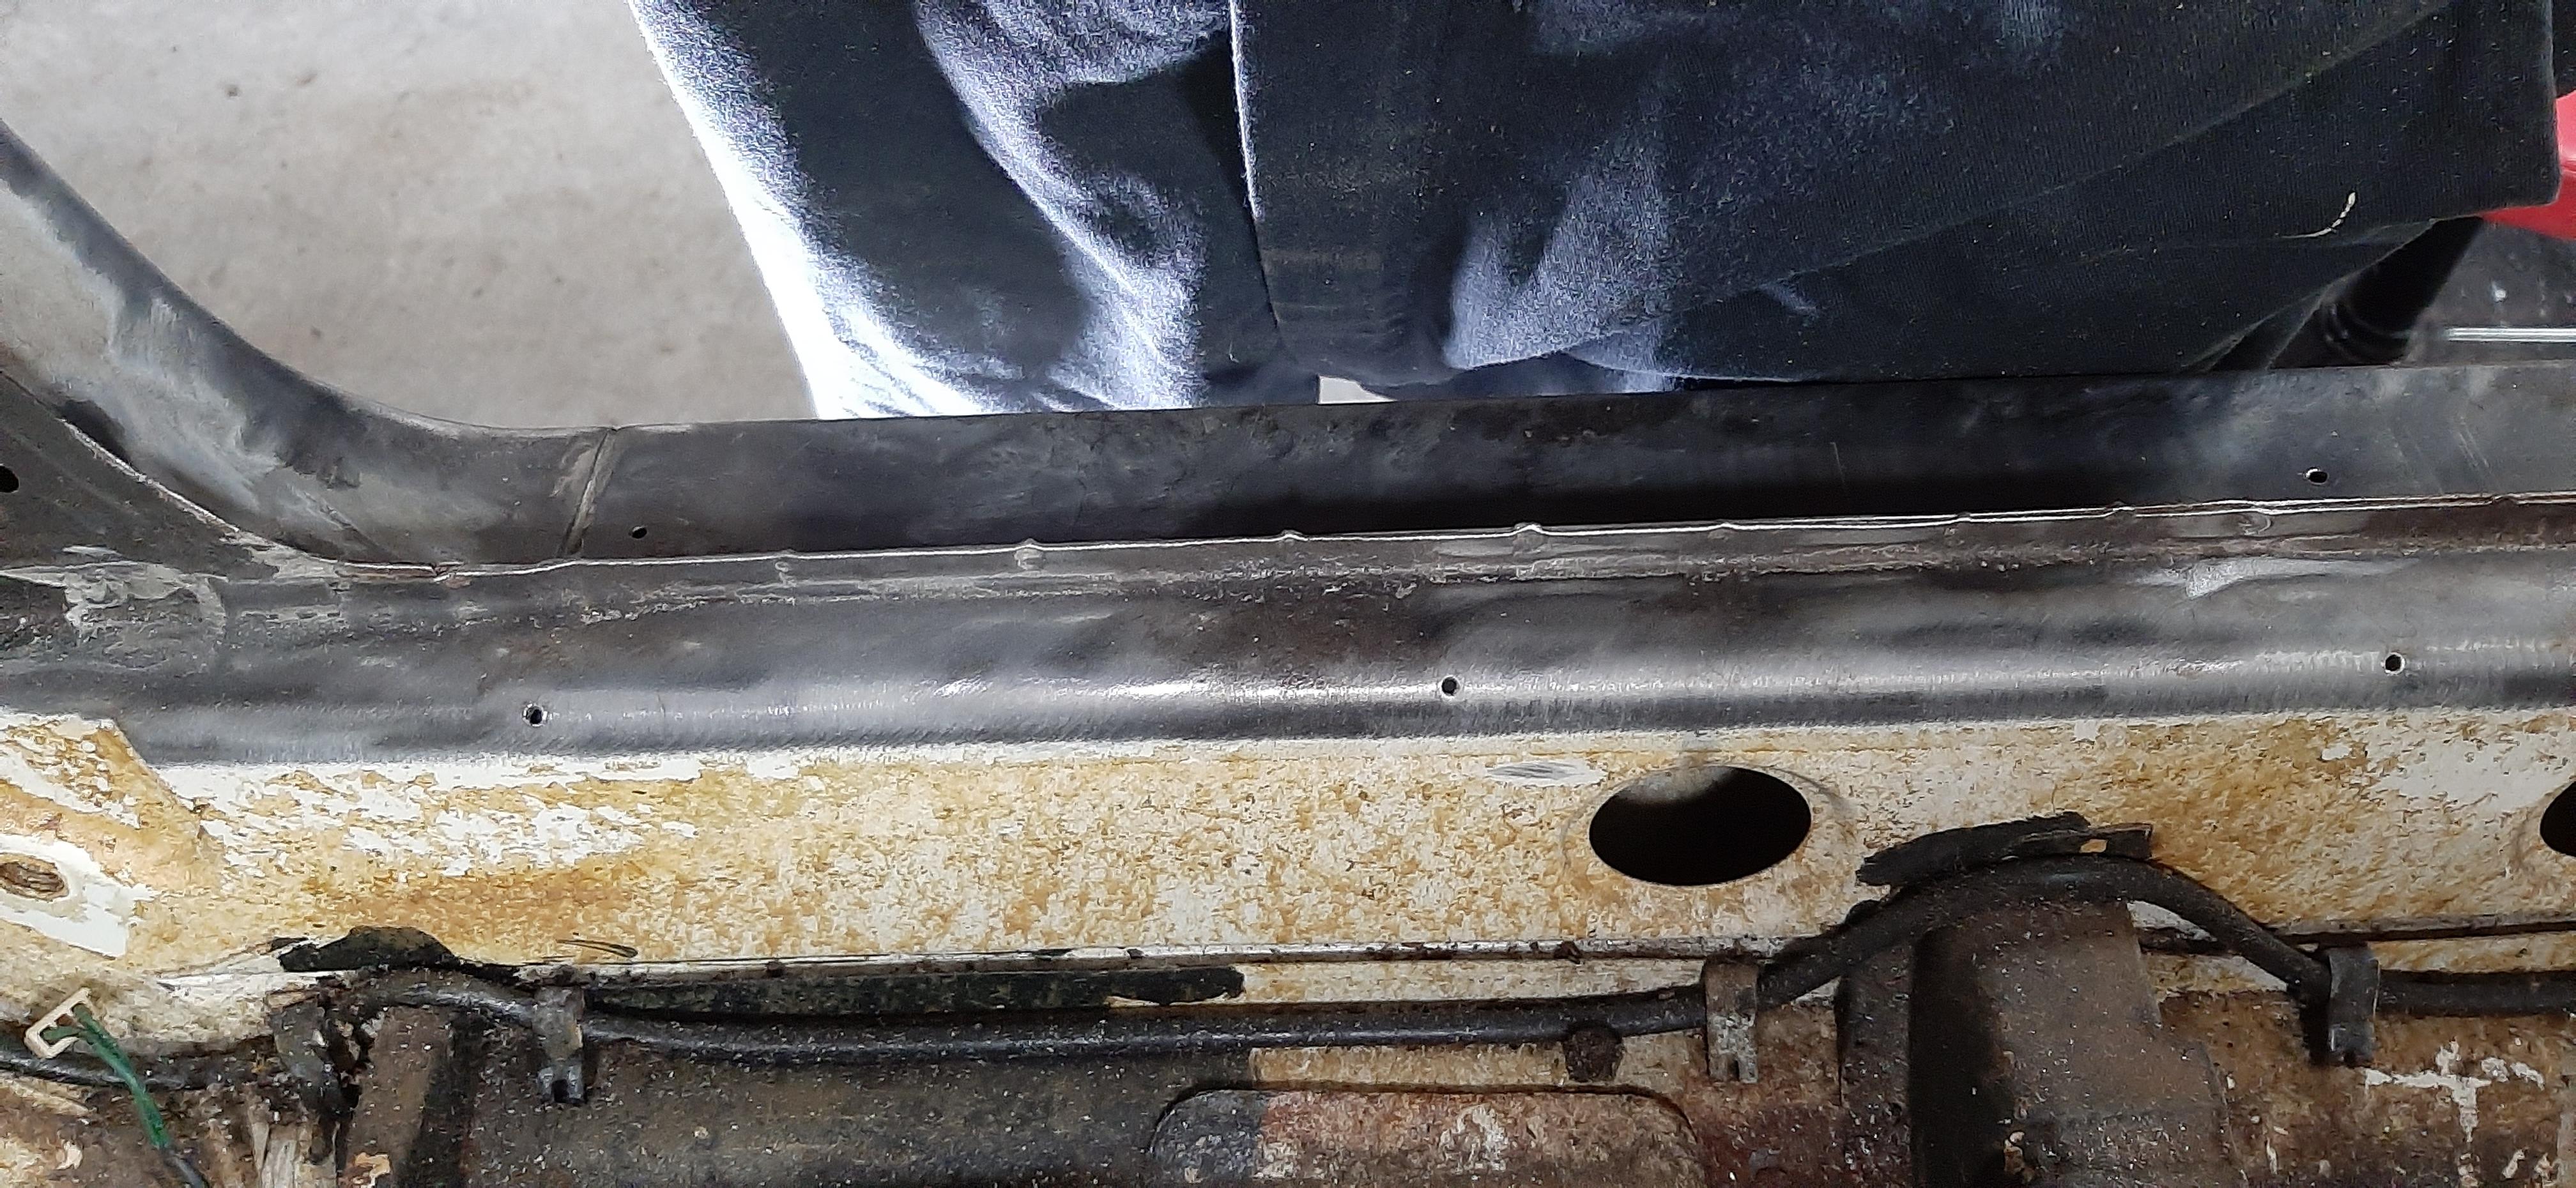
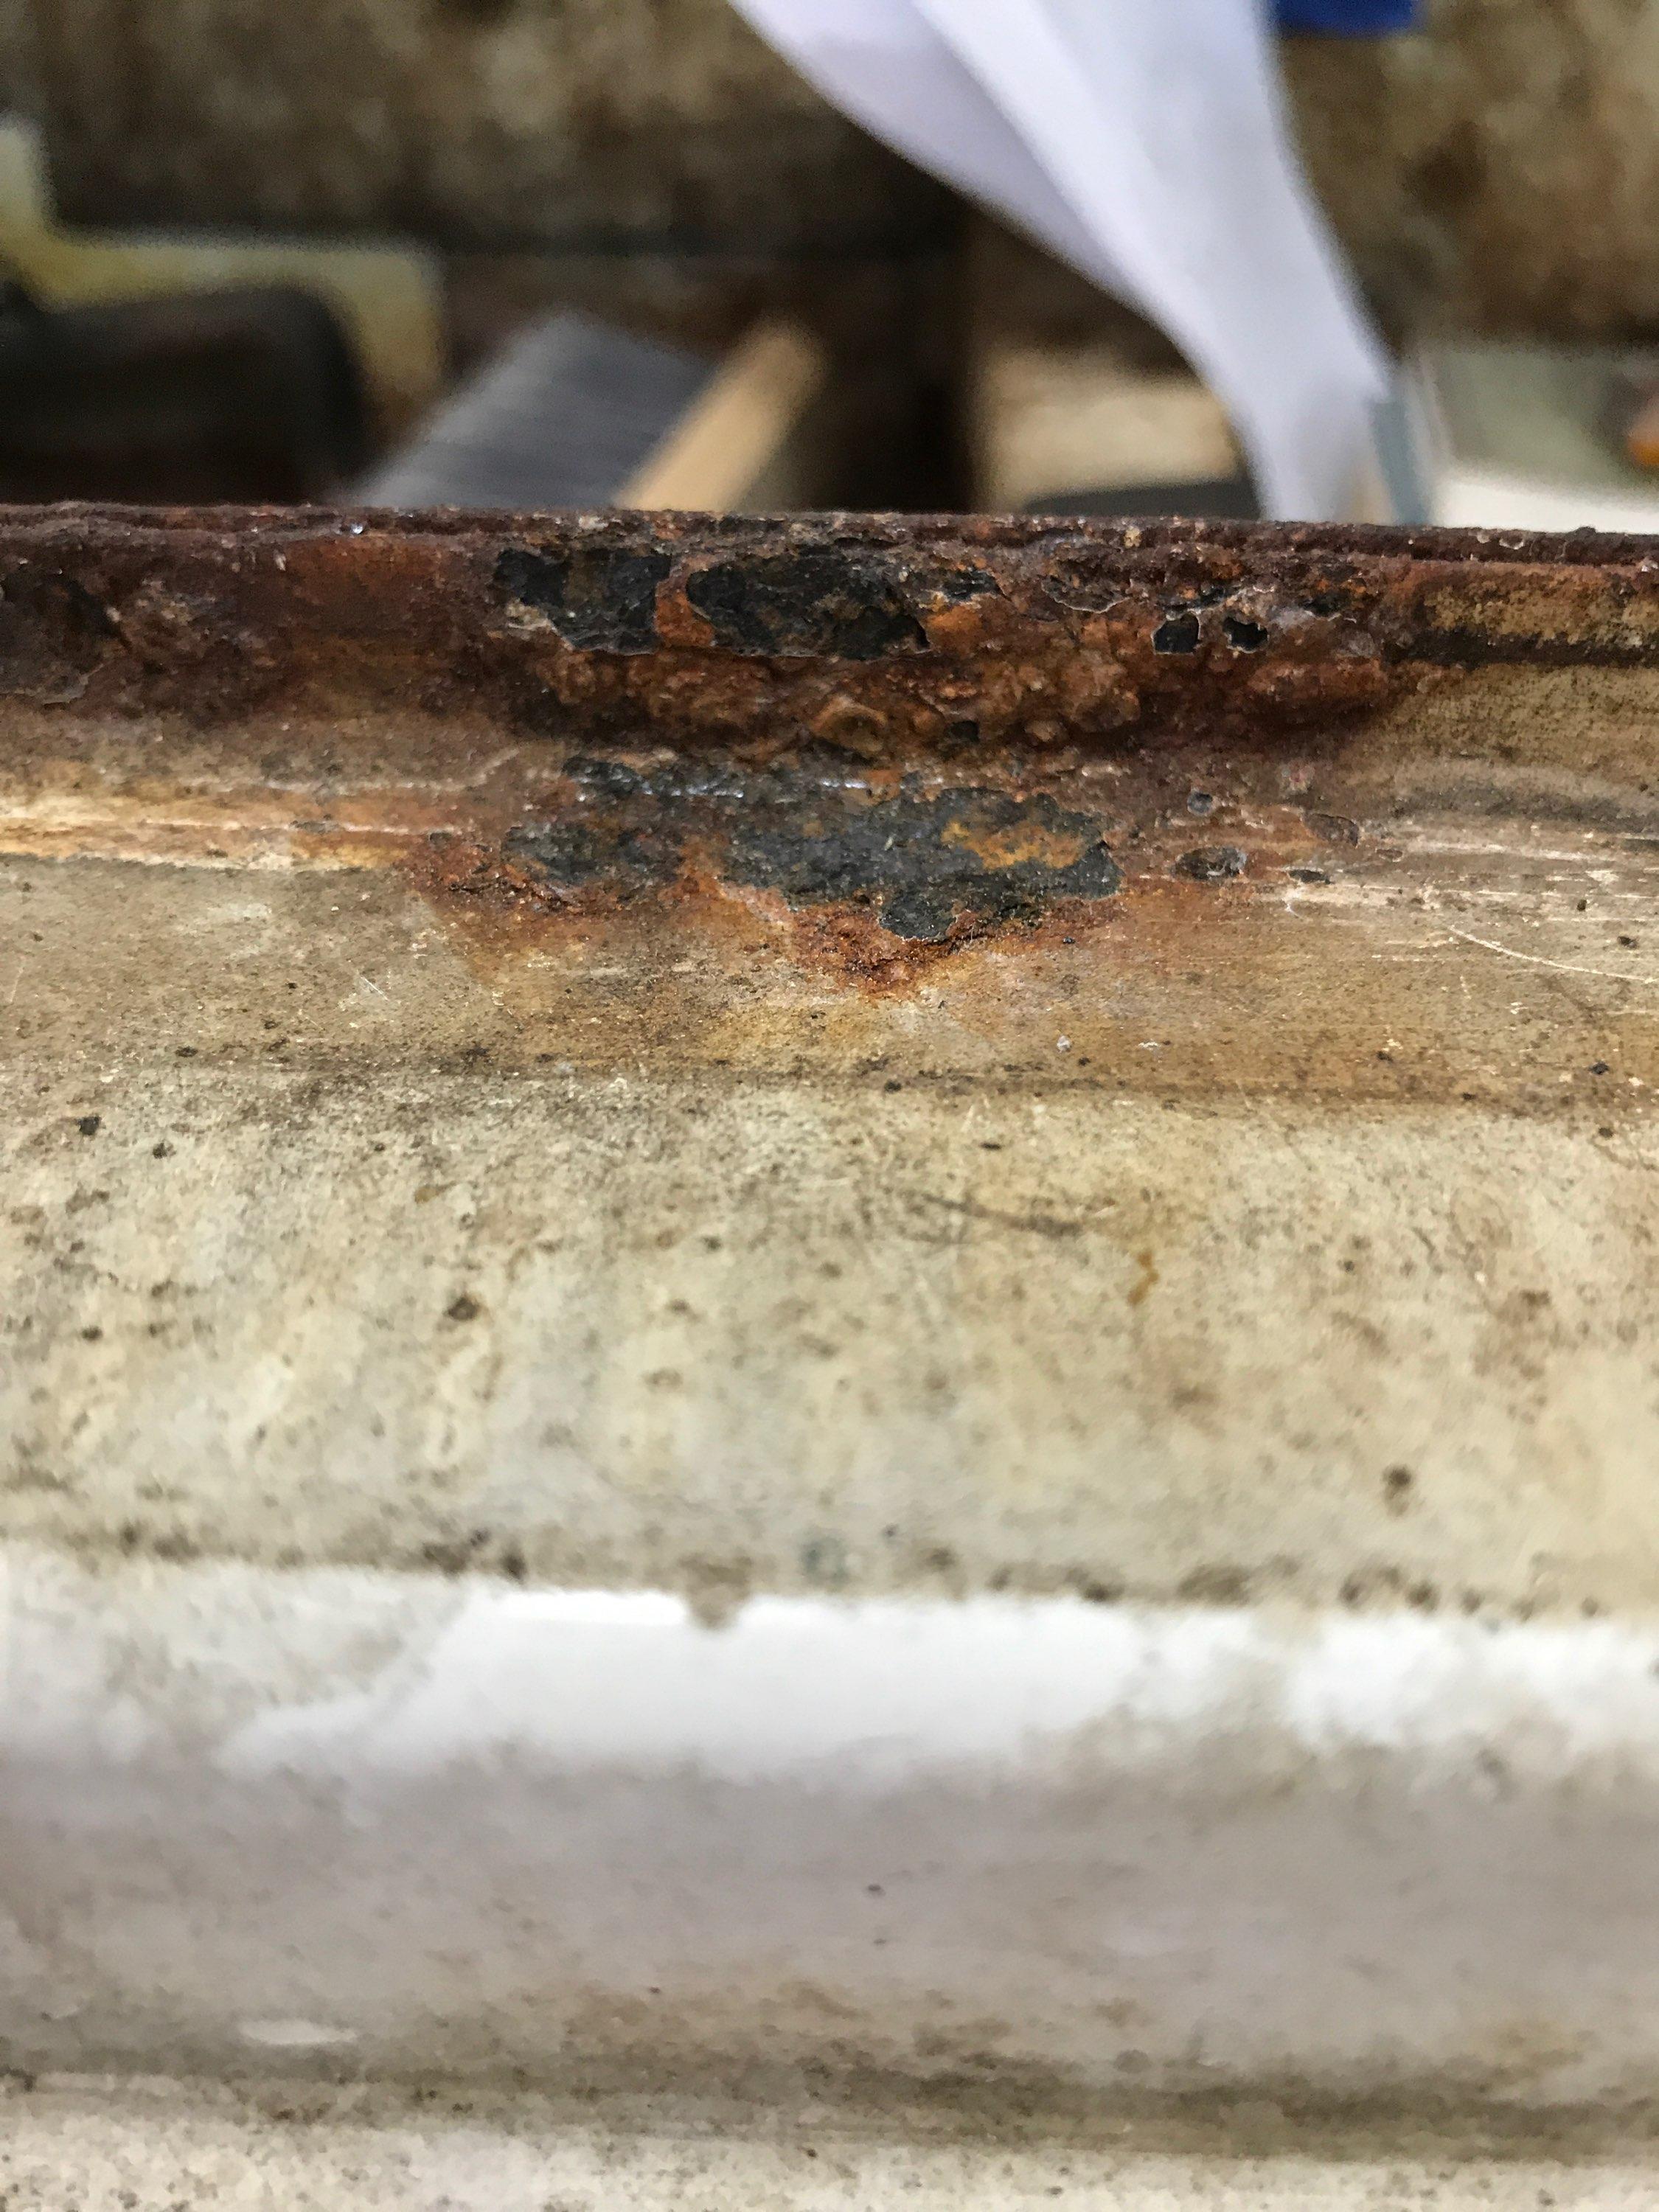
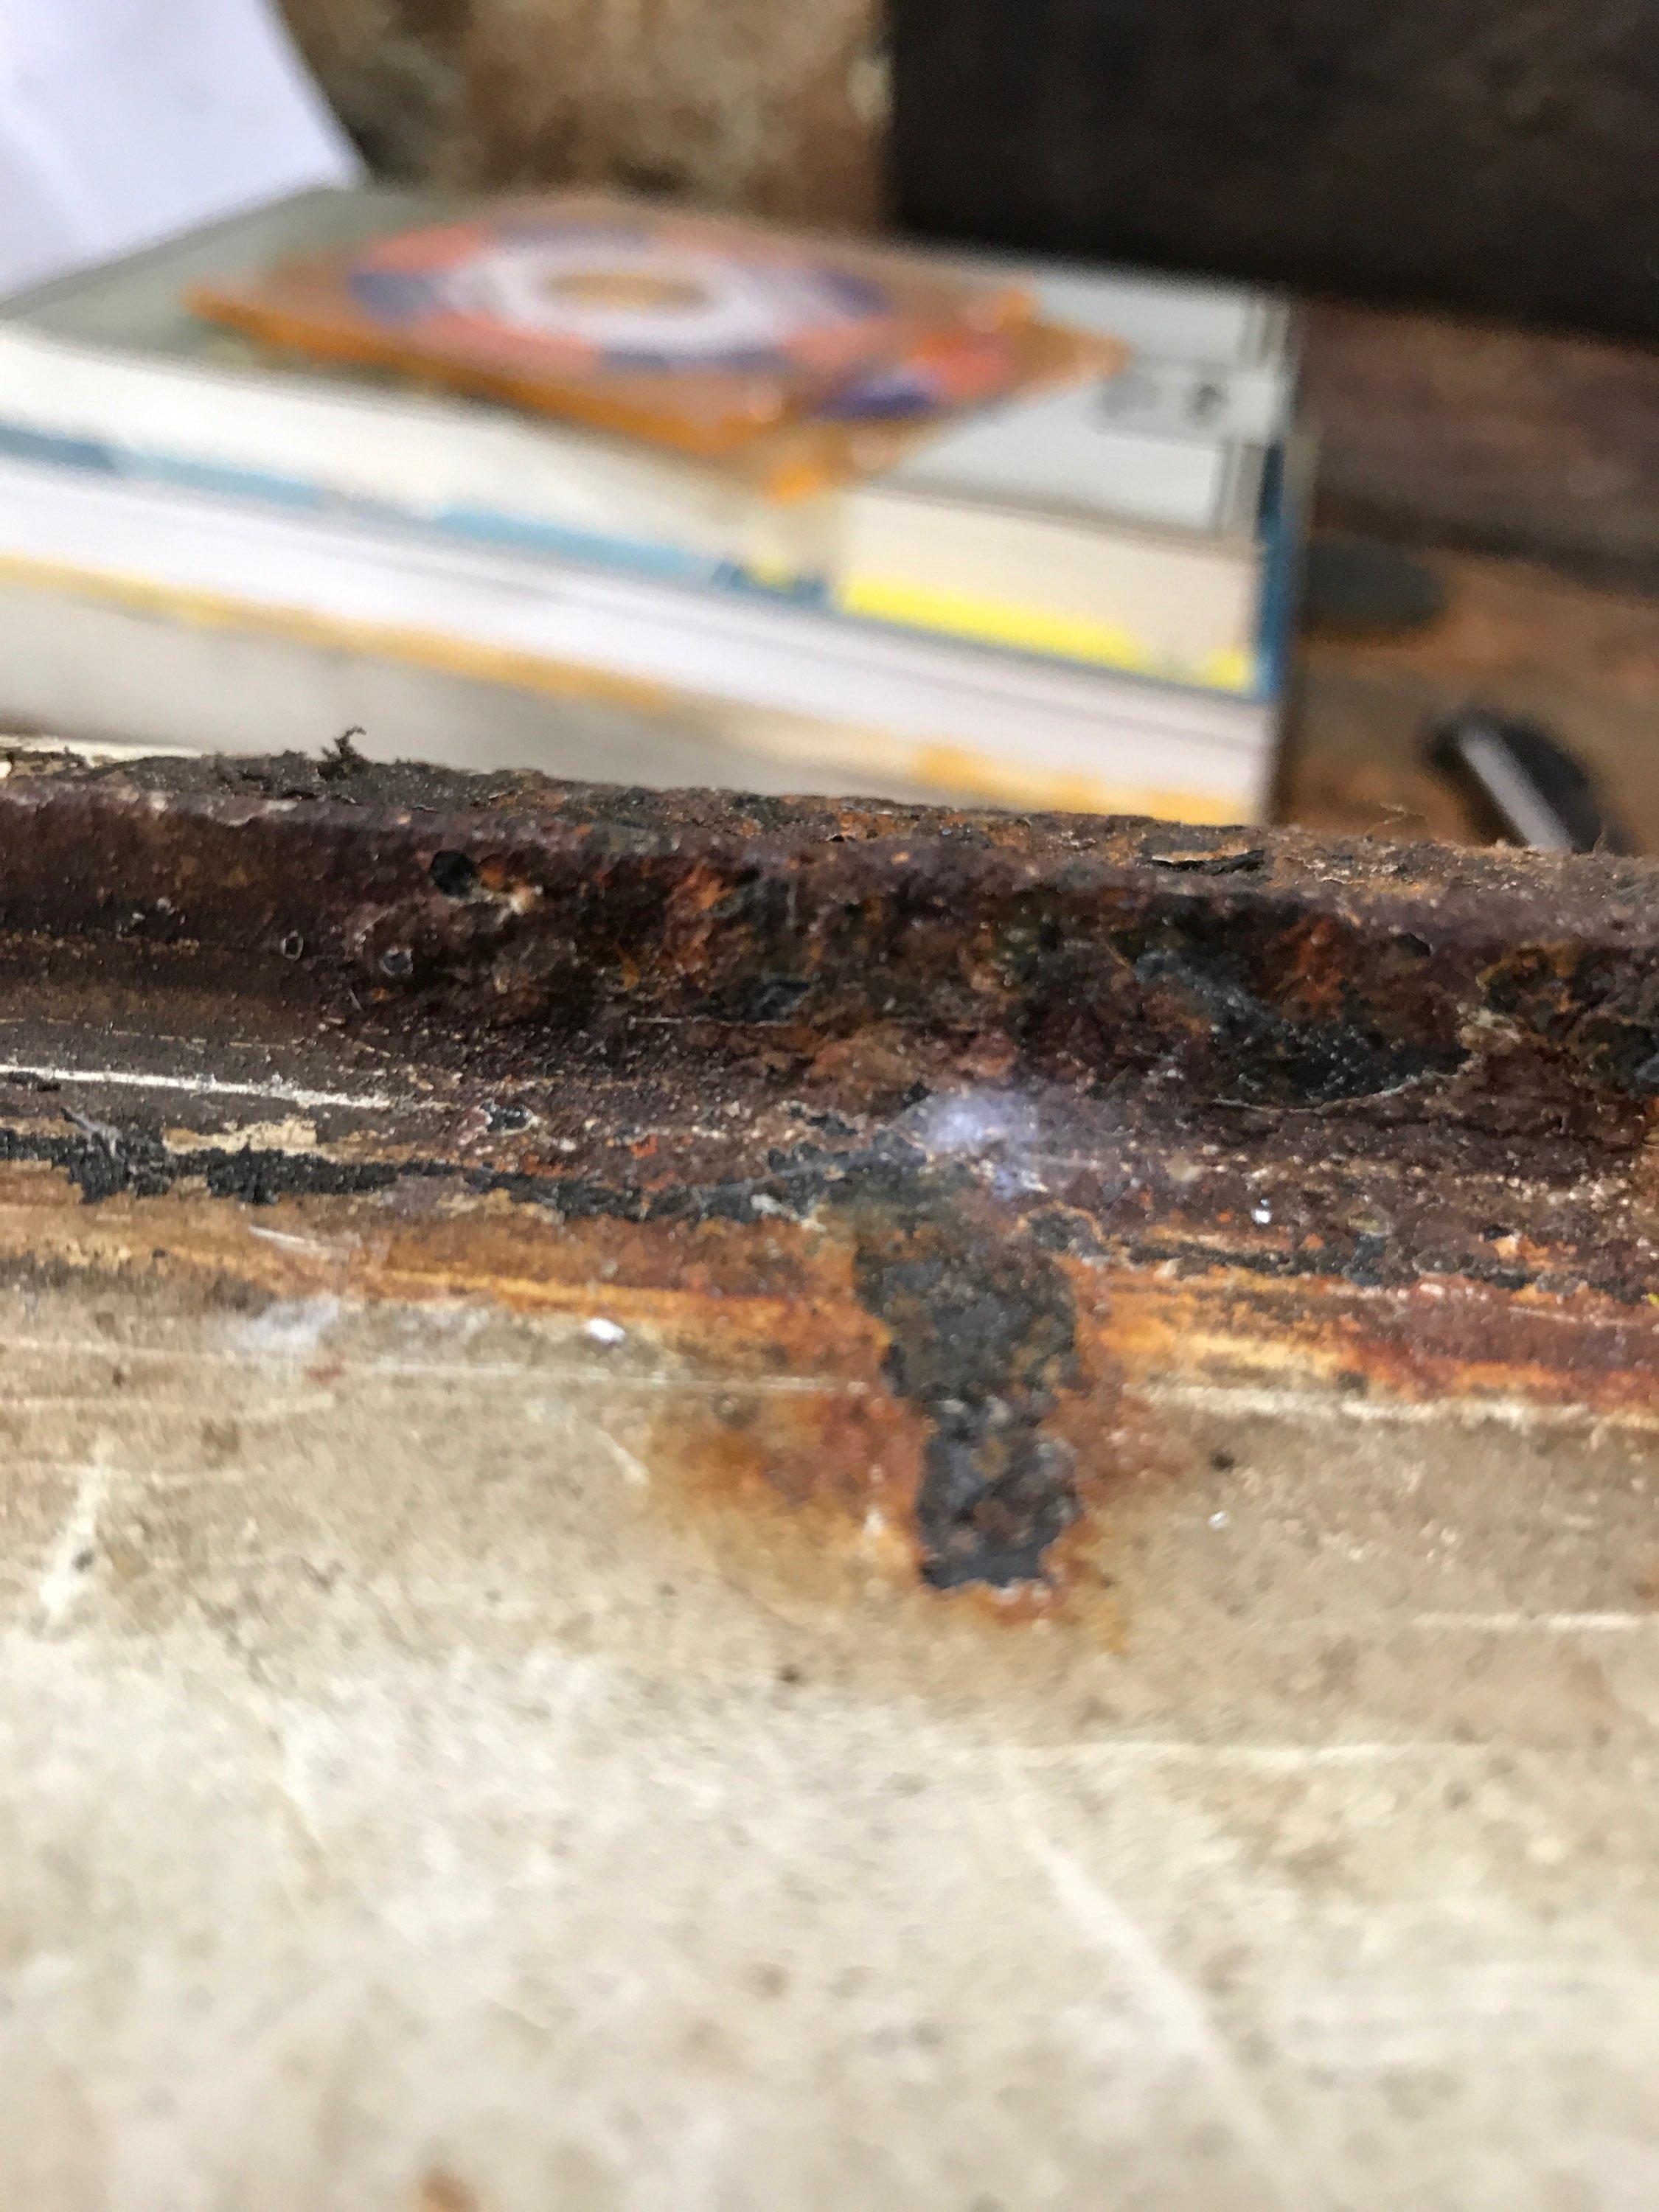
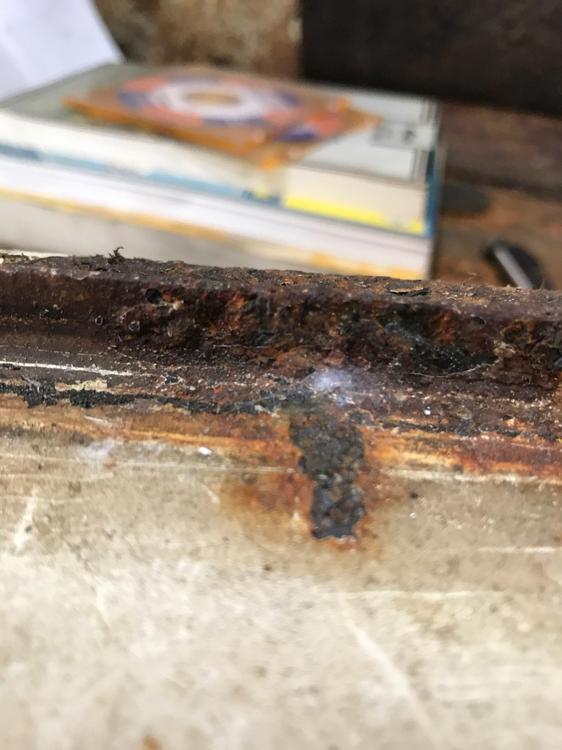
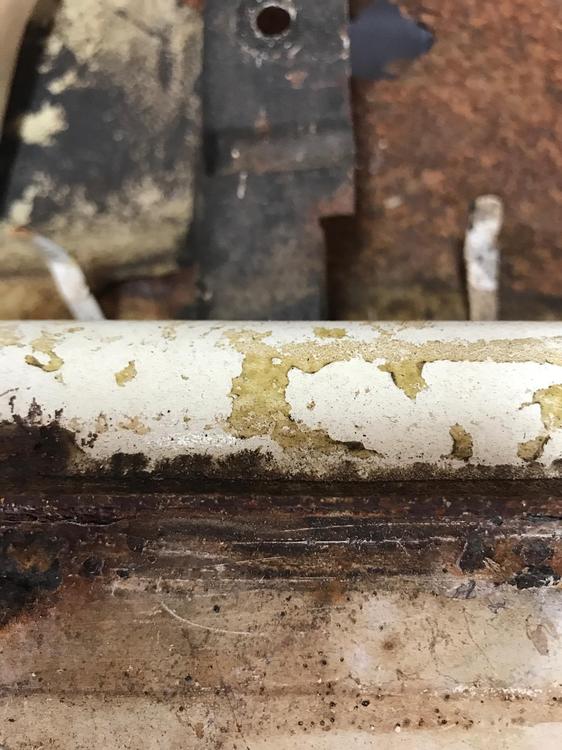
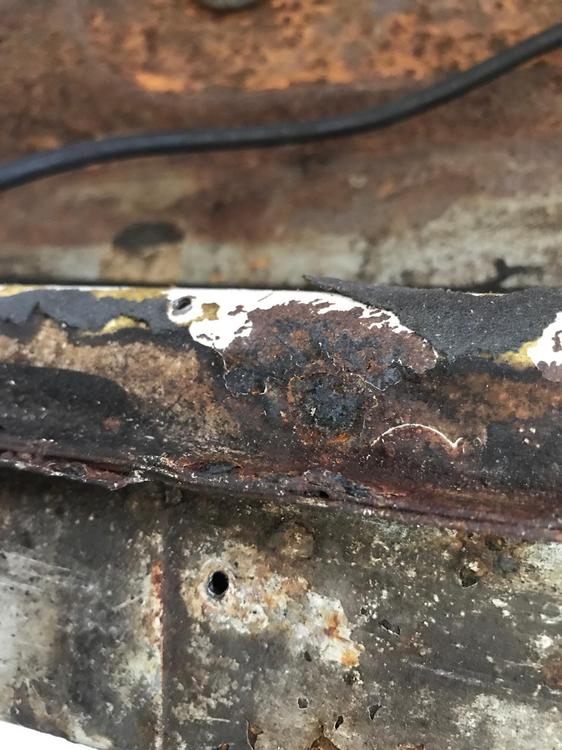
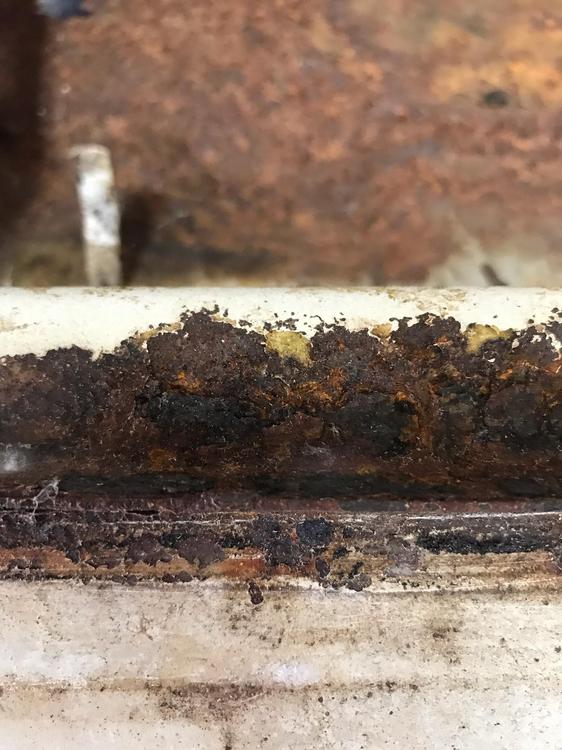
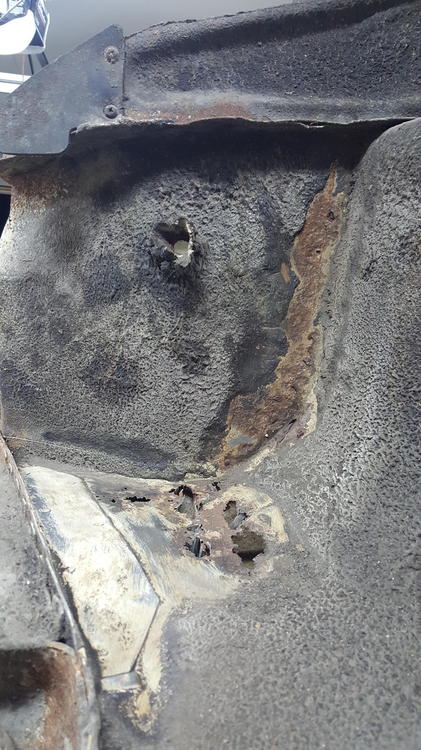
Door sills.


-
Its pitting and flaking off in spot. I figured its got to be rusty on the inside as well. Where the spot welds are there some pretty good pitting in between the sandwiched metal. Will post some pics.
-
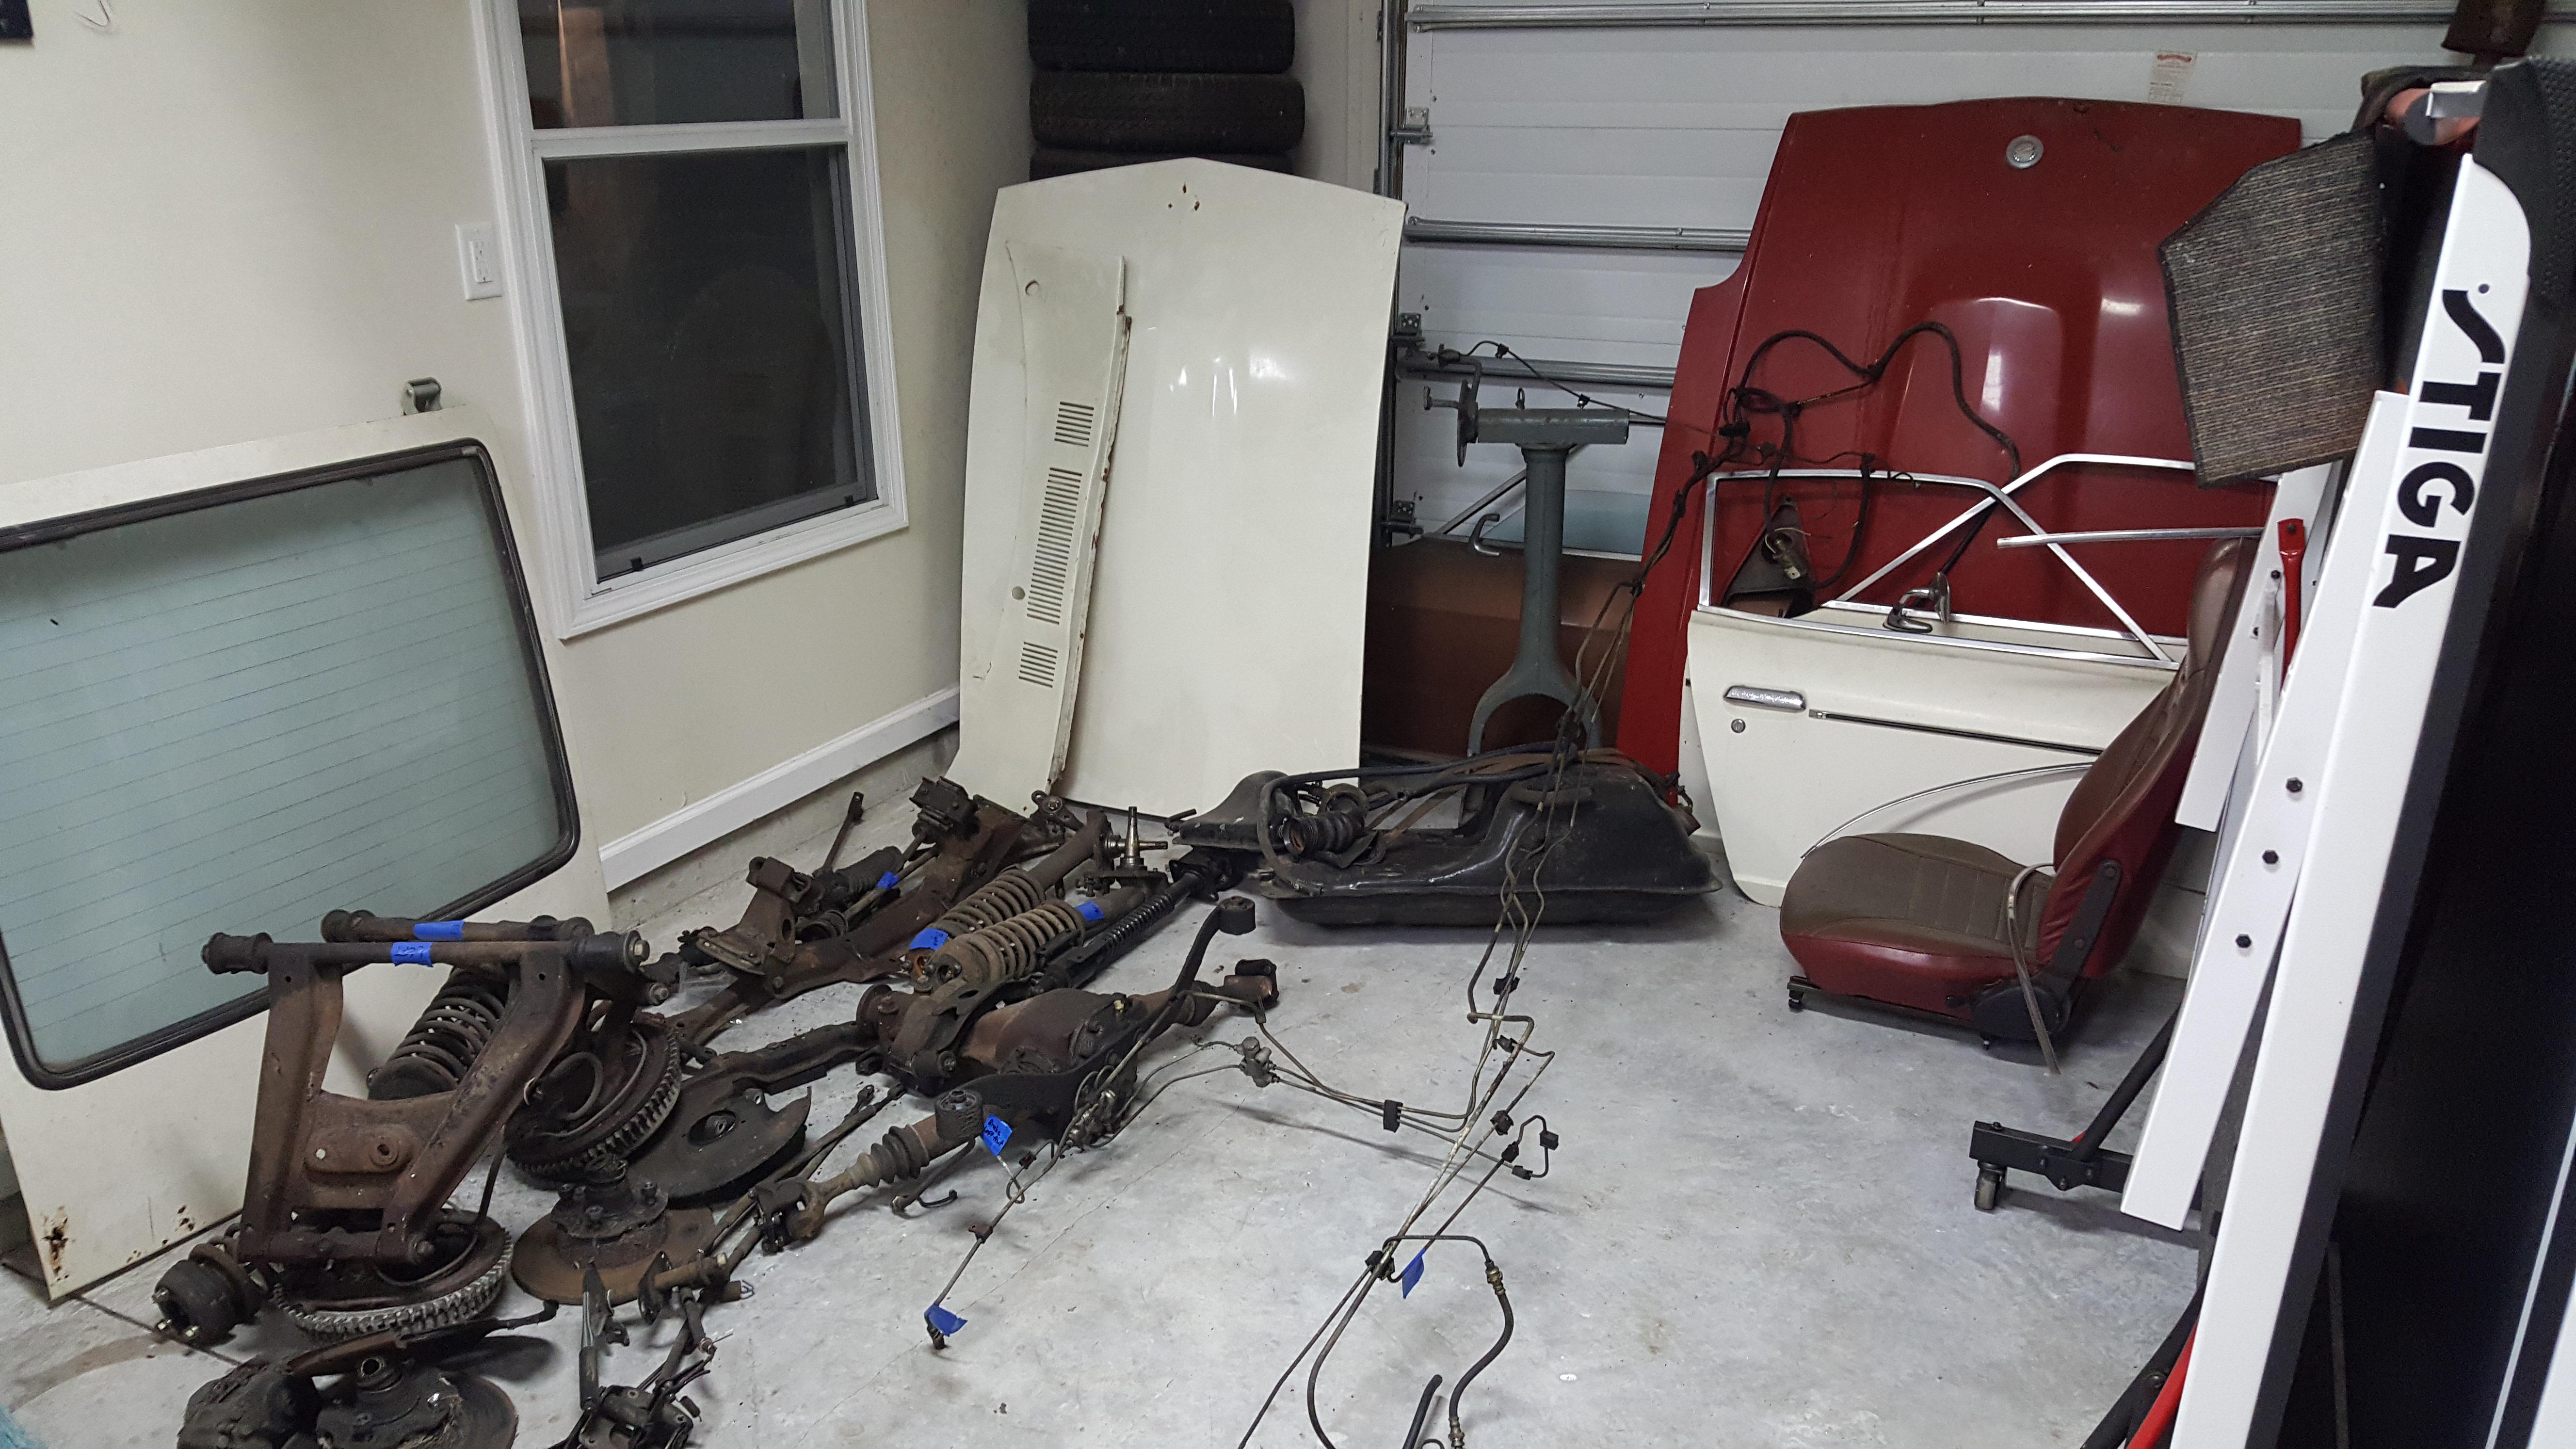
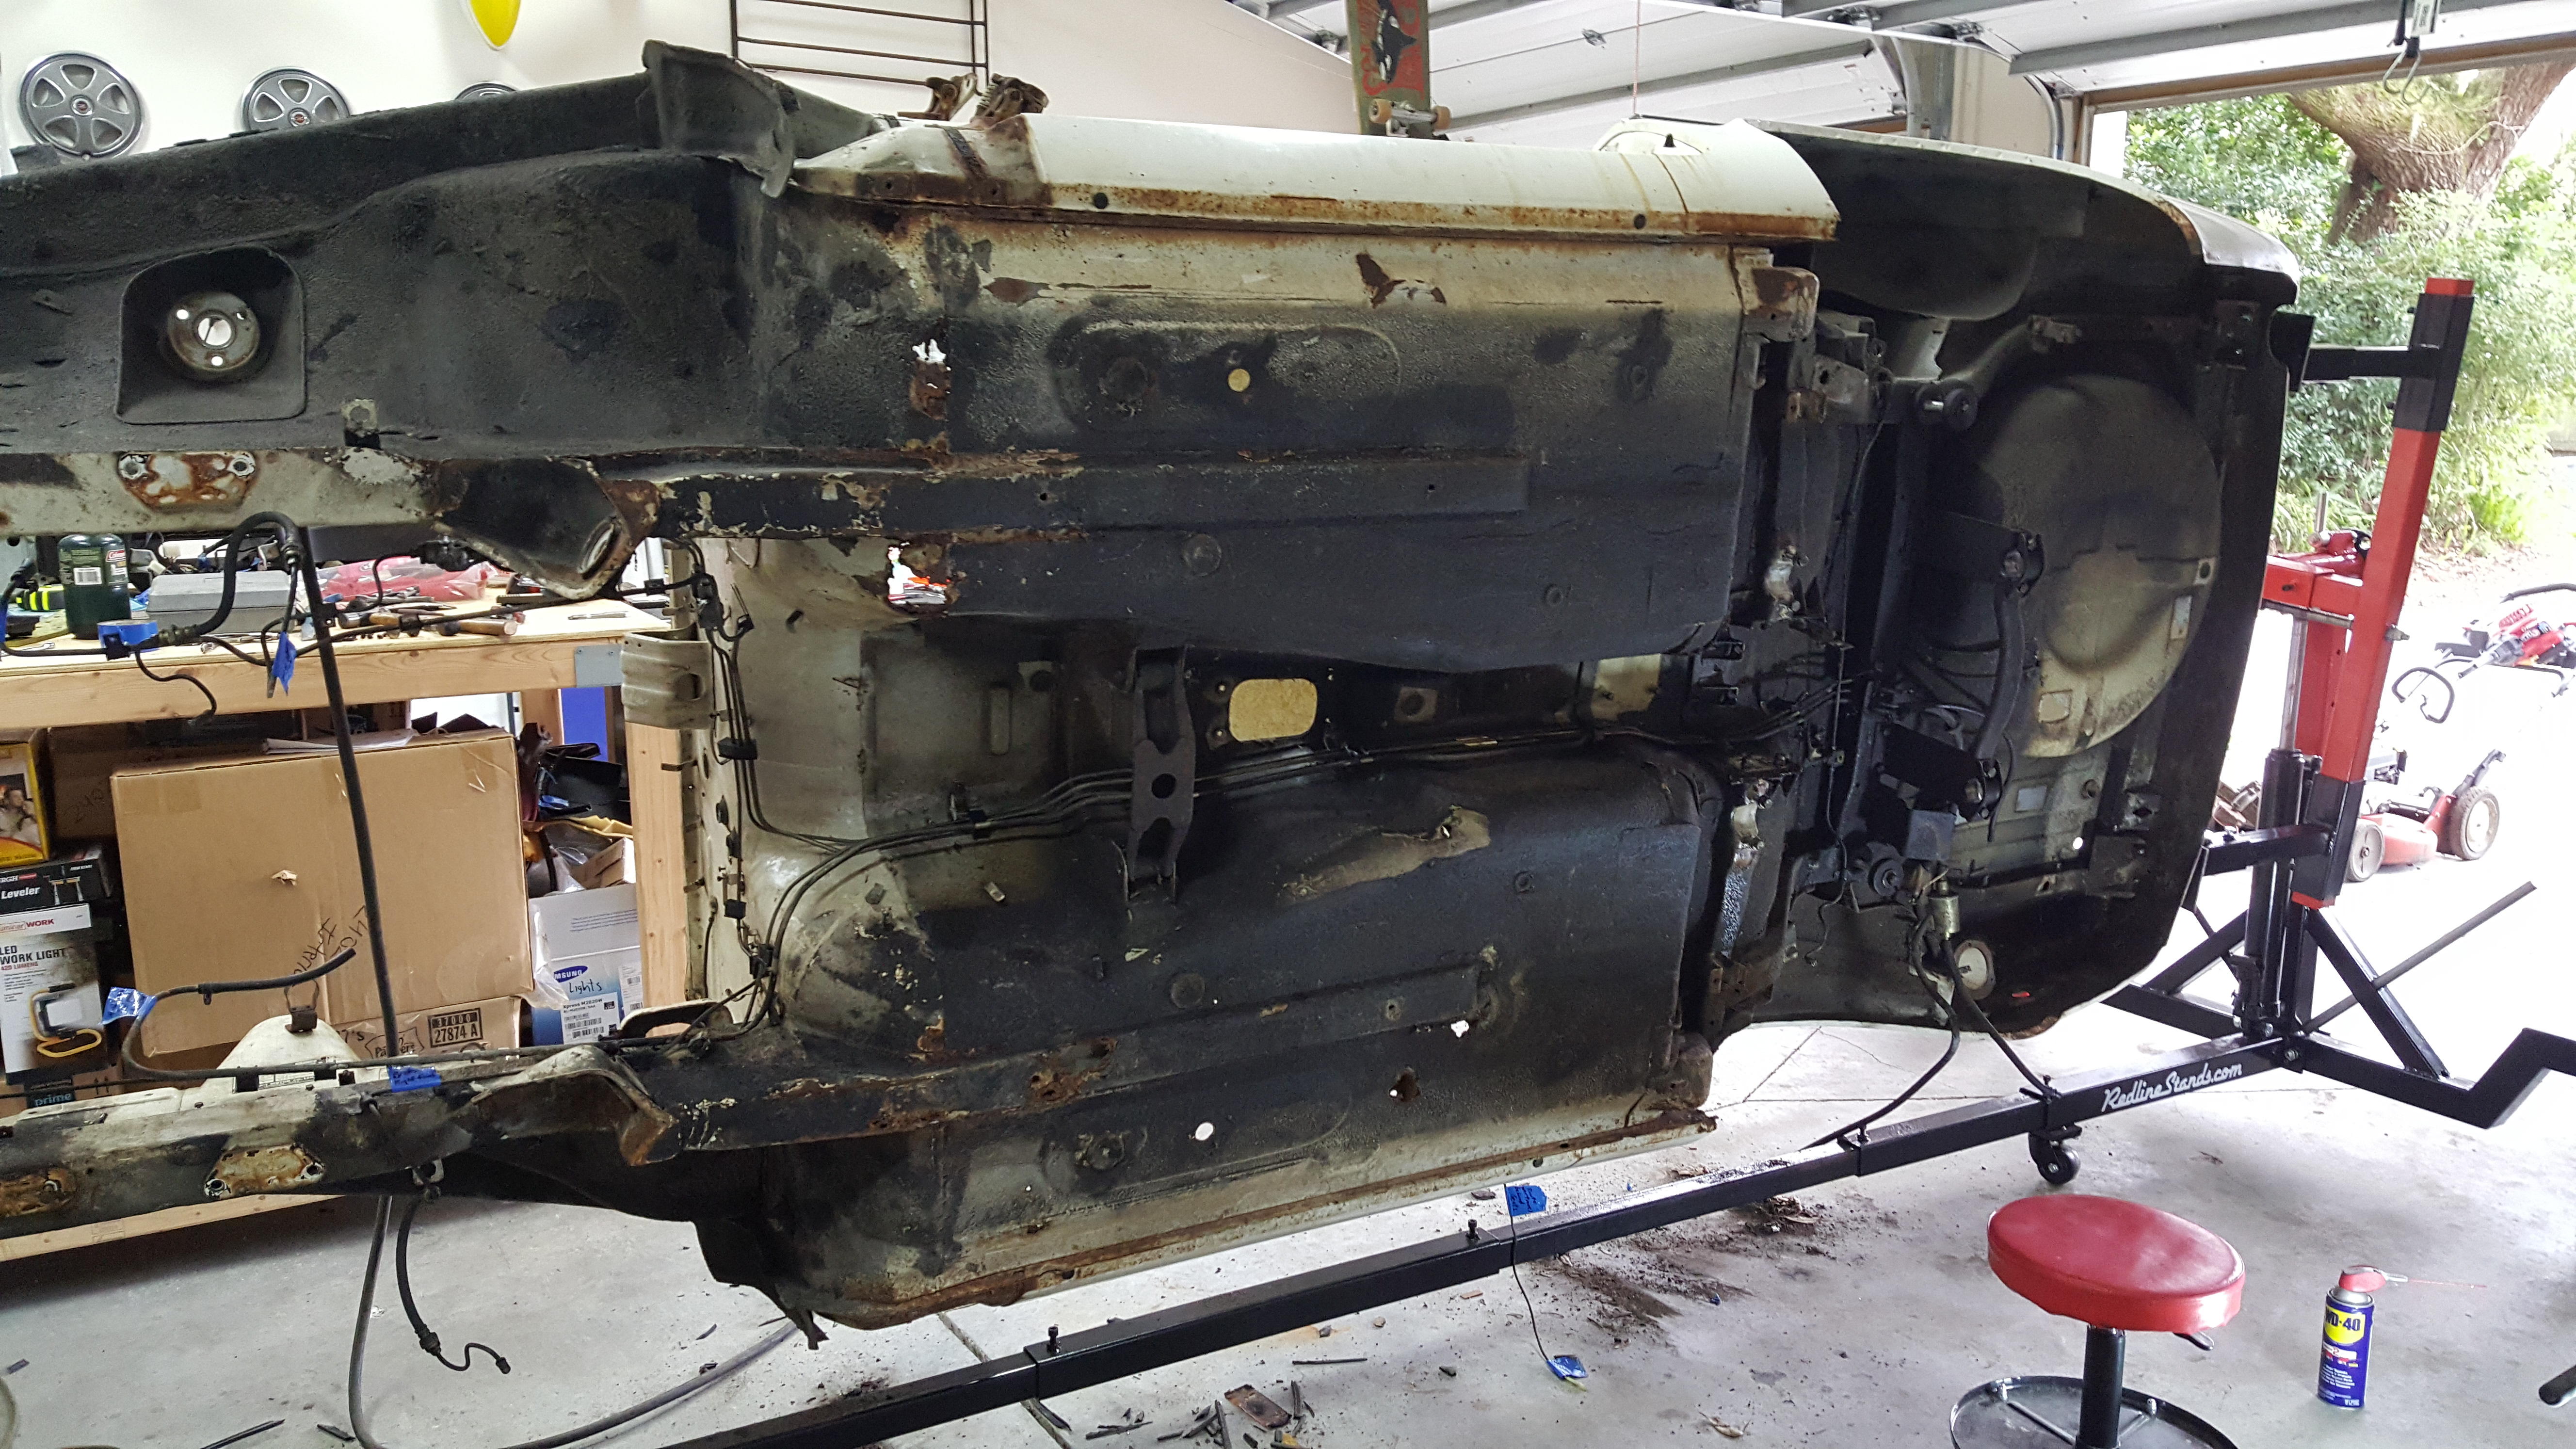
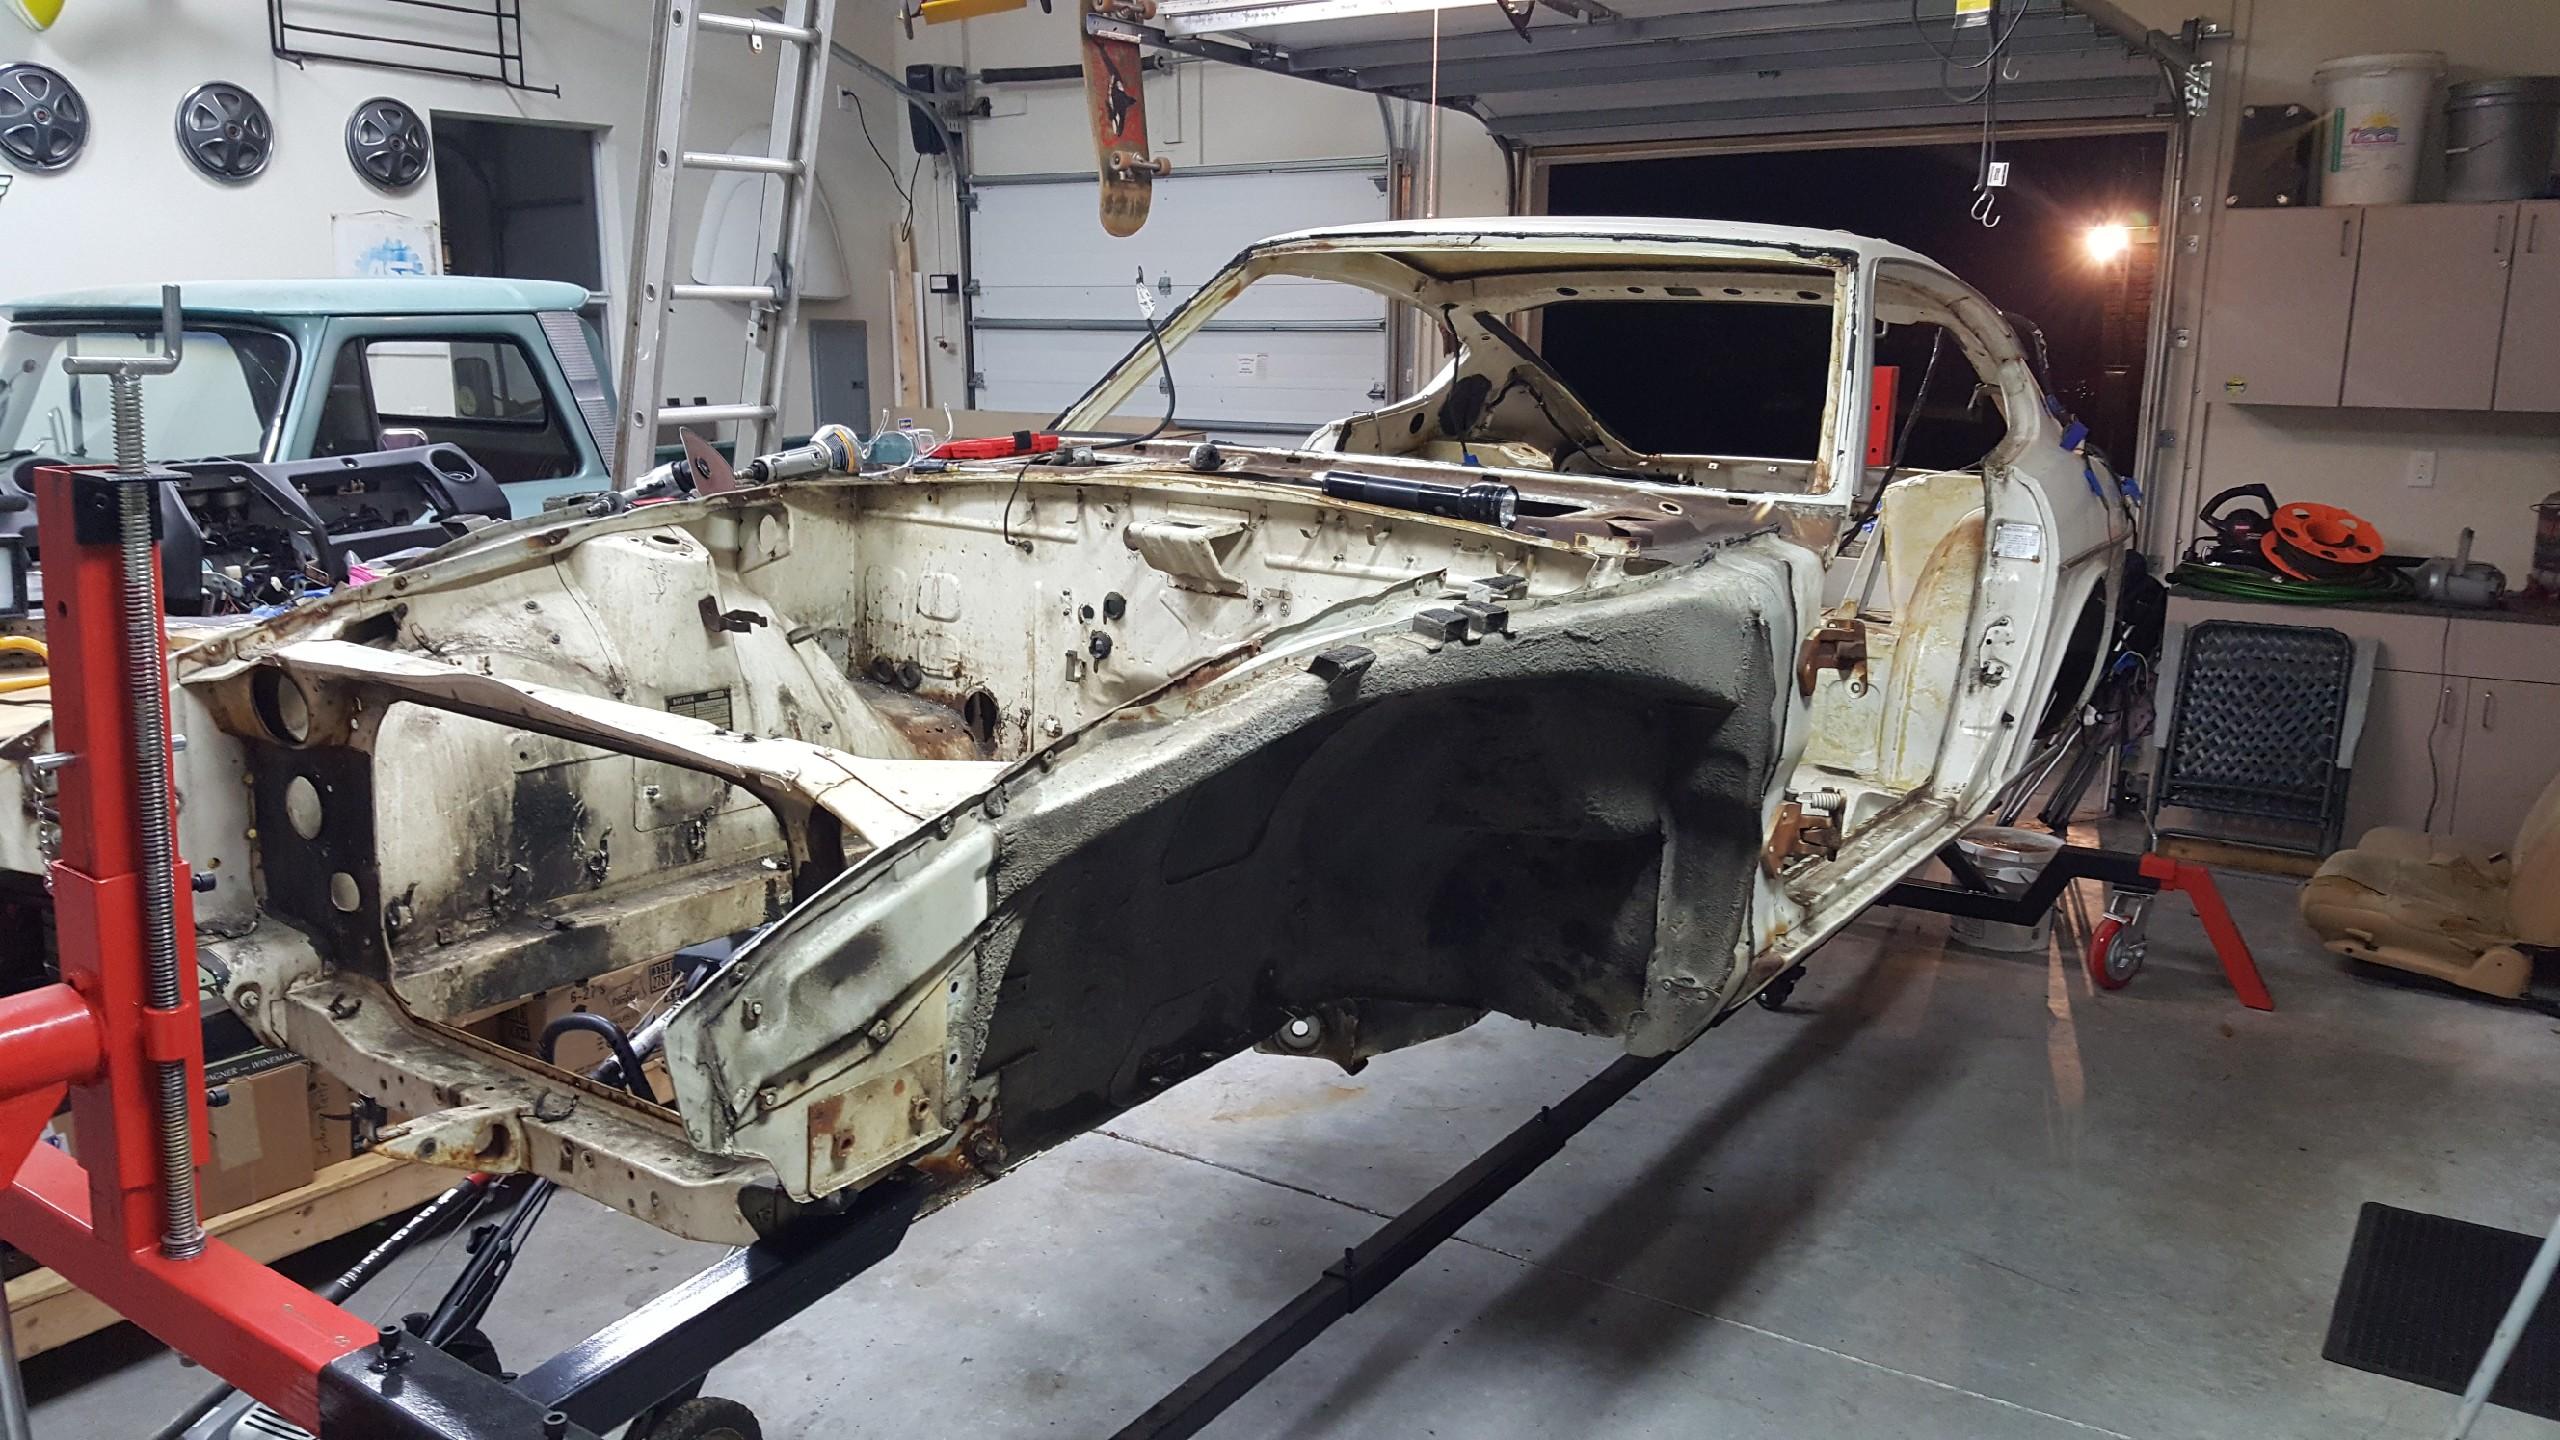
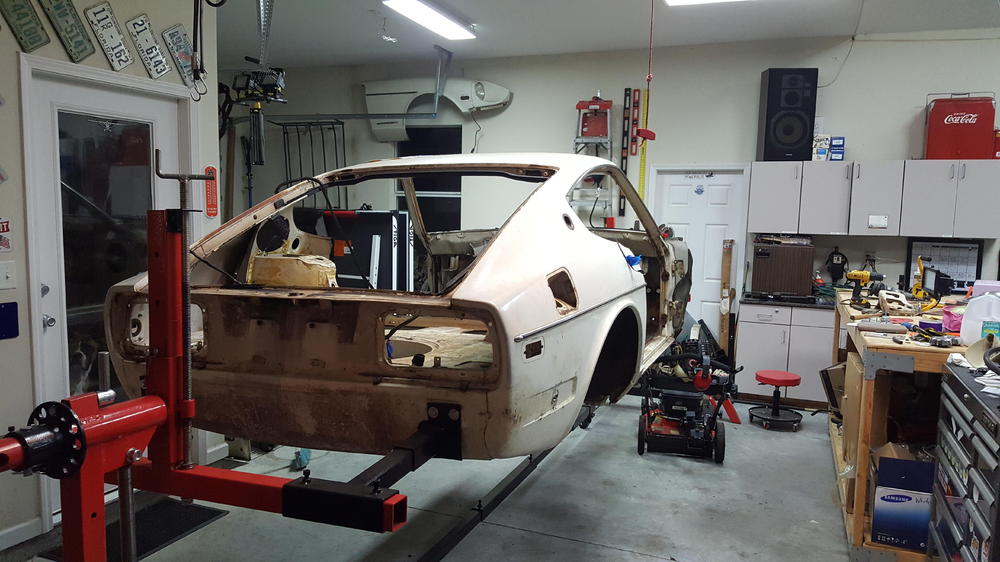
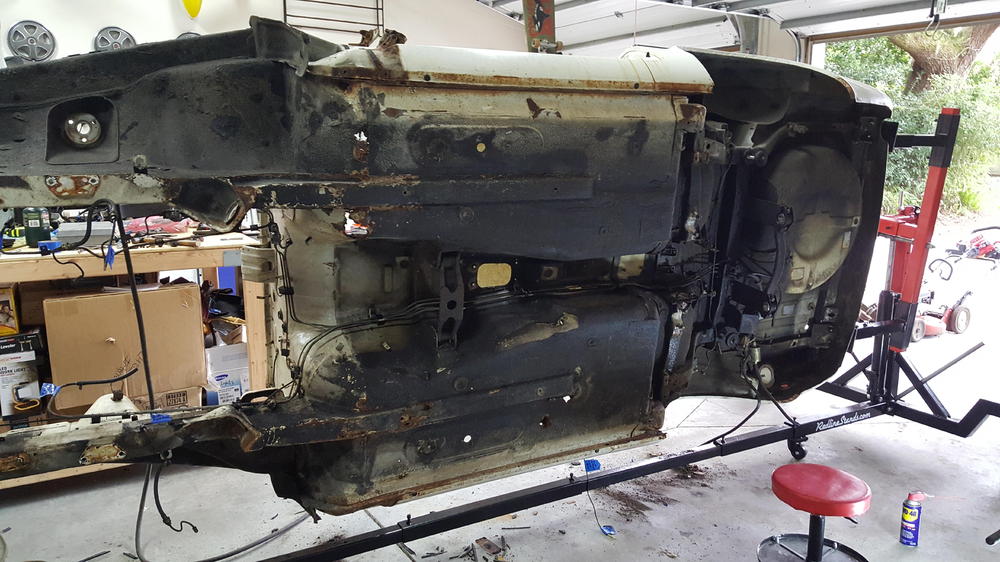
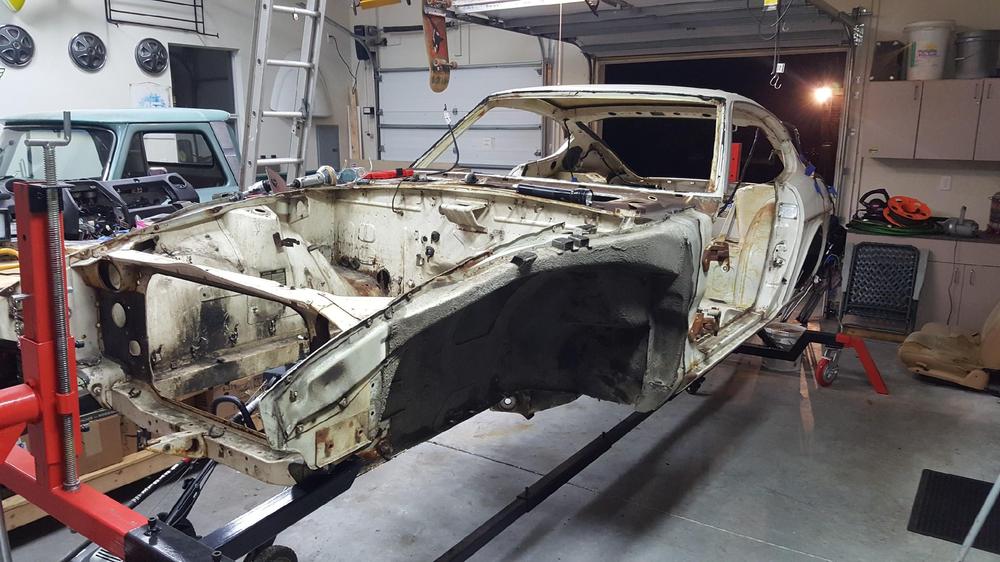
Hi all, David in Jacksonville, FL. I am starting a new thread here in build threads. I have my 73 on a rotisserie and just received my goodies from Zedd Findings, pans, front rails and supports. I have a new MIG welder in hand and I'm about to get serious with cutting and welding (which I'm really not a welder) other than stick welding several years ago, so I will be doing a lot of practicing first. After getting more detailed inspecting trouble areas, I noticed that the sills on both sides where the vertical pieces (where interior trim is attached to) are sandwiched together and spot welded are rusty, so I was thinking I should probably order the Klassic Fab sills and replace them as well. Along with all that, the front support for the radiator inside "webbing" piece where the oval lightning holes are is pretty crunchy as well, but the rest of the support there is solid inside and out. My question is, along with looking for advice, where should I begin as far as keeping the car structurally sound during the process of dismantling? The car currently is being supported on the rotisserie by the rear bumper mounts and the front rails outside where the bumper supports mount. It looks like to tackle the front radiator support beam, that the car will have to be resting on stands and not by the rotisserie up on the front rails. So where should I begin? Thanks all.


-
Perfect, thank you. Just visited Klassic Fab, they have the sills.
-
Awesome brother! Exactly what I was looking for, and more!
-
I was following WHeee, but I didnt see where he had massive sill problems. I searched last night, didnt see much there, maybe the third bourbon was kicking in. I just got Charlies floor pans and rails from Canada. But as I started to asses my plan of attack, I started digging on the sills and it would seem silly not to replace those as well. I check out the other guys threads, thank you! David.
-
Car is on a rotisserie completely disassembled. I understand how its put together, I was just asking if someone knew of a place who makes aftermarket parts for this area. Thanks.
-
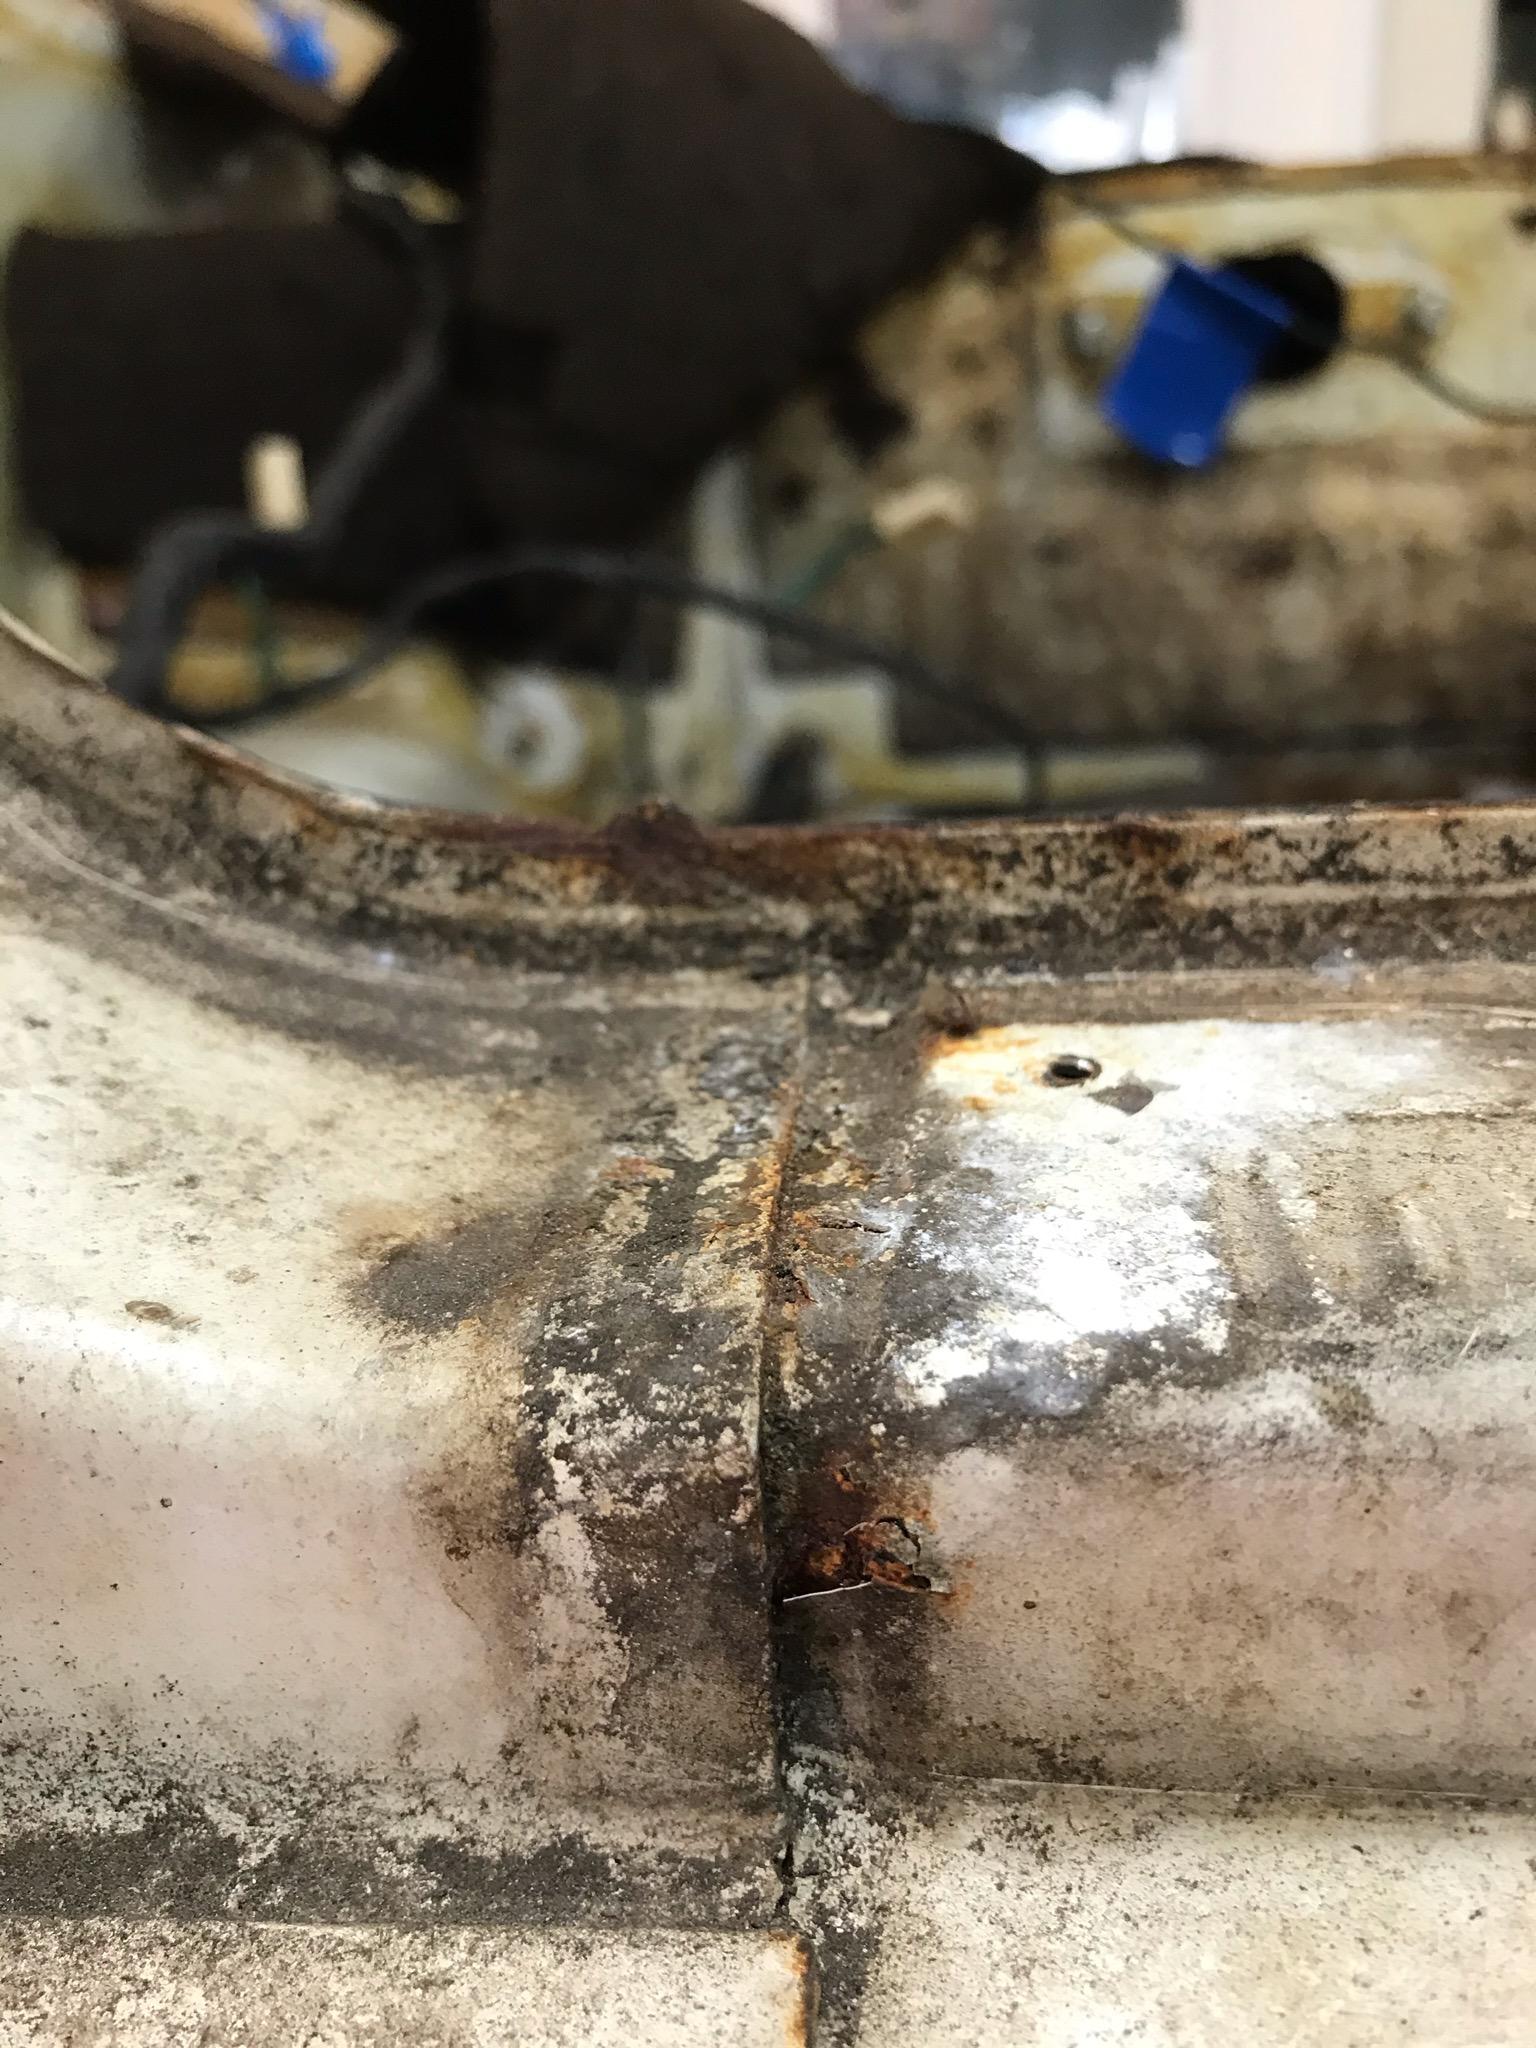
Hi all, Is there an upper door sill repop available? I have significant rust on both driver and passenger side where the thin vertical piece where the door closes. It looks like a gnarly repair if you were to start cutting it out and fabricating it. The car is on a rotisserie. It looks like there are a few joints there from the inner door sill and outer. THanks all.

-
Thanks. WHats the process in drilling out the very front of the rail where it goes into radiator support? Is it just a butt weld, or are there spot welds in there?
-
Hello all, just received front frame rails, pans, and rear supports from Zedd Findings for my 73 240 I have done some searching, but I cant seem to find a good pic of the front frame rail on how to remove it cleanly from the radiator support structure. Looks like it may be pretty complicated to remove without distorting some metal up front. Pics? Advice? Also, whats the best sequence of installation for front rails? Front rails first then go rearward with pans then supports? Thanks all. Note, all components have been removed from the chassis, its a bare shell, just added this pic for reference.
-
The tach jumps around occasionally. Had a turbozx a while back do it severely along with engine misfiring. Distributor and module fixed it, but since I been through a few of these already, it seems the rebuilt units arent up to snuff anymore.
-
Jumps around occasionally. Thats why I'm wondering if the rebuilt units of today are just too long in the tooth.
-
I did extensive work on it while trouble shooting last year. O2 sensor was bad, so change it, EGR, new injectors, rewired and installed new injector plugs, throttle valve sensor checked, cleaned water temp connection, all new vacuum hoses, you get the picture. When I put the last module on, it really seemed to do the trick, but now when you accelerate right around when you think it should keep accelerating it just hits a brick wall and its held back. Starting from dead stop through the gears it does fine, just when you start asking a little more out of it is the issue. I thought the fact that distributors and modules were giving me different results, that I would just chuck it. One module out of three would even allow the engine to accelerate past 1500RPM while just revving the throttle linkage in the shop. Whats up with that? Maybe these rebuilt components are reaching their life span.
-
Well, I'm going back to a problem I was trying to diagnose last year. Two different distributors (Rock Auto) three different modules, with varying results. From no higher end performance, the original problem (stumbling on the upper band of the power range). Then complete R&R of the distributor and module with which resulted in worsening undriveable symptoms. Then I ordered another complete distributor with module and just changed the module that resulted in about 70% improvement. Result, Stumbling idle when it warms up, and high end power loss. Intermediate power fine, highway driving fine, just not when you downshift lets say into fourth gear and stab the throttle, starts to hesitate towards higher end before you would shift to 5th. And I'm not winding it up towards the yellow arc or anything on the RPMs. New cap, rotor, plugs, plug wires, coil, and injectors.
.jpg.1e20eb4e25567b95eac7bd70bfcf25a3.jpg)