kmack
Free Member
-
Joined
-
Last visited
Everything posted by kmack
-
 Sounds like you have a problem in the plug wires. I'd spend the money for: new wires new plugs new cap new rotor new points (maybe new coil, but I don't think it has anything wrong with it.) Install these items, check the valves, timing, and the tune of the carbs, and you should be in business w/ a strong running engine. Just keep an eye on the oil consumption. With the engine sitting that long, the rings may be stuck. Might want to run a engine additive (like Marvel Mystery Oil) in it on the first oil change. Good luck...
 -
Thanks for the ideas, Rick. I'm going to try and tackle some of this this weekend, but it has to be after the suprise Graduation party for my wife on Saturday. I'll let ya'll know what I find....
-
Ok, for those of you following this thread.... I located an angle finder, better known as an "Automatic Protractor" by Sears. It gives the angle in 1/2 degree increments. In order to use this, I cut a piece of 1/8" x 3/4" flat-bar just big enough to fit across the wheel rim from edge to edge. (On my wheels I have a nice flat surface right along the bead of the tire which makes for a pretty good measuring surface.) I then took some wire-ties and strapped the angle finder to the flat-bar. Then I found a small bubble level and mounted it above the angle finder so that I know exactly when the bar is vertical, which I need to do in order to get an accurate reading off the angle finder. I wish I had my friend's digital camera, because this thing looks really "cheesy". :classic: Anyway, so I took some measurements this evening..... Passenger, front = 1/2 degree, negative camber Passenger, rear = 1/2 degree, negative camber Driver, front = 1 degree, positive camber Driver, rear = 1/2 degree, negative camber So according to that, my left front tire is 1-1/2 degrees of camber out from what it is supposed to be. It has been suggested to me that part of my problem might be in the fact that I'm using Gabriel VST strut inserts (AutoZone special), but that doesn't explain why only one side or only one wheel is out and the rest are correct. And still continuing on the spring issue, I plan to pull the springs off and measure them, just to make sure they are where they're supposed to be. I'll keep everyone posted.....
-
Thanks for the help, Rick. I'm going to track down one of those angle finders this weekend. Maybe by next week I'll be in a better mood to actually start working on the thing.
-
Rick, Do you think one of those angle finders (like what is used in construction, I think I can get one at Sears) would be acurate enough for this?
-
So if the manual says " with standard load, camber .... 30' +/- 30' " then my measurement should be 1/2 a degree +/- 1/2 a degree? Is this positive or negative camber? Is it better to have negative or positive camber? How do I measure it? Just use a straight edge on the outside of the wheel and use a degree wheel? Oooooh! My head...too many questions....:stupid: As for slotting the strut tower, I'd like to kind of stay away from that mainly because the other side doesn't need it. Might take away from the resale value later, no? "Why does this side have slotted holes and not the other side?" Something else I just thought of.... if I did slot the strut tower holes, is there anyway to convert the 1/2 degree into an actual measurement (either inches or mm) of how much the strut needs to move at the top of the tower? Maybe I just need to get my body dimension sheet out and just measure the damned thing out myself.... I hate having to rely on "shops" to do work. Sometimes it just seems they want to screw you....
-
I priced both MSA and VB on the seat kits. I ended up going w/ MSA because they beat VB's price. The MSA kit is nice and easy to install. The "grain" of the vinyl is a little different than the original, but you can only tell if you have the original vinyl sitting right next to it. My assumption would be that the VB kit is the same or at least very similar.
-
Sorry to hear about the accident James. And it always hurts to look at any wrecked Z. Even in the junkyards! The damage doesn't look that bad, but it will take some work. Lots of time involved with a spotweld cutter and a hammer and dolly. My suggestion would be to take it down to a shop that specializes in old car restorations. Your insurance company won't like it because of the money. You won't like it because of the amount of time that'll be involved. To do it right, won't be a quick process. But it can be fixed. There is a light at the end of tunnel, it just might be a slow walk to get there. Best wishes....
-
Also, a "small dent" can still mean a fairly larger area of filler will be used. I had a dent in my hood that was about 3" in diameter. after all the filler work, I had a spot that was almost 12" in diameter!
-
First off, never apply filler directly on top of bare metal. Metal can actually absord moisture which can cause the filler to "let go". When going to bare metal, use a good etching primer and sealer first. Then apply the filler. I use a product called "Ospho" which is a mild phosphoric acid to rid the metal of surface rust (which btw, absolutely has to dry for 24 hrs). Then I coat with a 2-part etching primer/sealer. Then the filler goes on top. The optimum thickness for fillers is 1/8" or less. Anything thicker than that and 1) you haven't prepared the metal correctly (as in you haven't straightened it enough), and 2) you run the risk of the filler expanding or contracting different than the metal, which can cause it to let go.
-
Ok, so here's a stumper: I had the alignment (toe-in only) checked and fixed (after a complete rebuild) last Wednesday. This weekend I took a trip of almost 600 miles. Car still pulled a little to the left, but it wasn't bad. When I got home last night, I noticed that the outside 3" of tread on the driver's front tire was starting to show cords! Big time wear! So I took the car back to the alignment shop to have them fix the problem. They checked it all again and said the toe-in was still correct. Now they realize that they cannot adjust the camber on these cars, but they showed me on the machine that the camber on the drivers is out. Too much positive camber. ok, so here's the start of my questions: 1) I have the stock suspension. New strut cartrigdes, ball joints, tie-rod ends, and T/C rod bushings, stock springs. All the manuals say the camber can not be adjusted. The shop recomended that I go to a frame shop and have them pull the strut tower, but I've already had the car on a frame machine once and it's correct. What can I move or adjust? 2) All the manuals have a "measurent" for the camber but it doesn't make sense to me. They list camber as: " 50' +/- 30' ". Anybody know what this means? And can it be translated into degrees? 3) I know I can slot the holes where the strut mounts to the tower. Are there any ill-effects to doing this only to one side? 4) Another option is the get a camber adjusting kit, either for the top of the strut or on the control arm. Any opinions on either one? Which one would be better in this case? I know MSA now sells a kit the mounts on top of the strut assembly and still uses the stock mounting holes (un-cut). Has anybody tried these? 5) The manuals list a different free-length on the springs from right to left. If I somehow happened to get the 2 reversed, could it cause this type of problem? (as if I can somehow believe the answer to my problem could be that easy!) Also, the wheels I have on the car are 14 x 7's, with Yokohama S306 (P215/60 R14) tires. Any other ideas or something I may be missing? I can not drive my car until I get this problem fixed. Please help.....
-
Does anybody know what size wire the fusible links are? 14ga, 16ga, or 18ga? The little metal plug part of mine just broke and I need to replace it, but Autozone only carries them by wire size. Does anybody know the size?
-
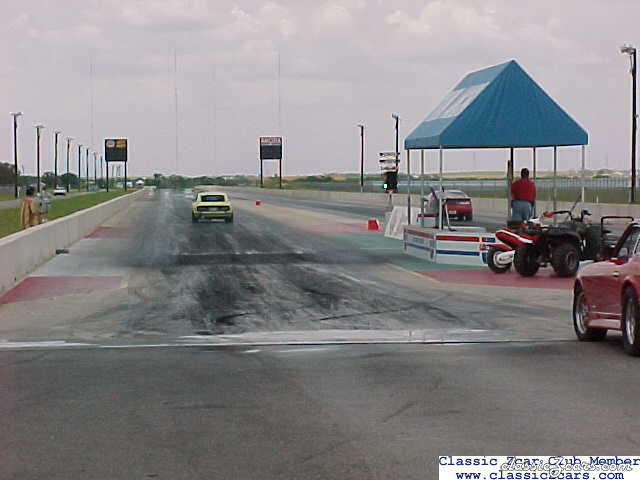
OH MAN!!!! I don't know if Greg Dupree has a green 240Z, but that certianately wasn't the blue "screamin" 280Z he had at the 2002 Convention last month. Whoever owns that car, sure taugth the Z06 driver a lesson in humility! (Now if I can just figure out how to afford an RB26DET for my 240.....:classic: )
-
At the time I picked the car up, I wasn't actually able to get underneath the car, but I did look at them and they looked good. I plan on bringing the car back to my house in the next few weeks (it's in storage right now). I'll keep in touch and let you know the status when I get here. From there I can take detailed pics of it and send them to you.
-
I have the clear title in my hot little hands. I'd like to get $200 for it. Got cash? :classic:
-
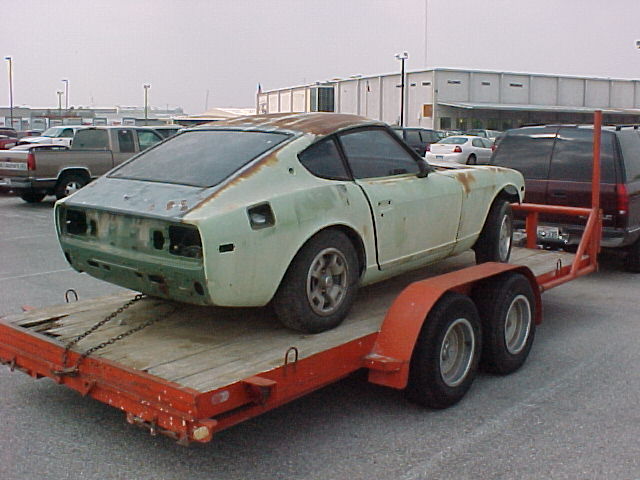
I have a 76 280Z that would make a good restoration project (needs motor, trans, battery & pass. floor repair), but I don't have the inclination to do it myself right now. At least not now after finally finishing my 240. Although at some point I will attempt a convertible project....but that's another topic. Anyway, the point of my question is this. The quarter panels, rocker panels, hatch, rear-facia, etc. on this car are very clean. No rust. The only rust on this car is under the battery and the front part of the floor. I'm tempted to cut this car up and salvage the body panels out of it (cutting only spot-welds) and then part out the panels. But before I do that I'd like to get an idea of what type of market is there for these panels. Anybody have any ideas on this? If you might be interested in some of these panels, I'm going to do something with this car in the next month and will not be asking exorborant prices for these panels either. So let me know. I also have all the glass.

-
Who ever heard of a "Sports-Stationwagon?" Besides, only a contorsionist can fit in those back seats anyway.
-
Use a heat gun or a halogen work light (500 W) and a putty knife. Take the heat gun or lamp and use it to soften the decal. Then use the putty knife (make sure the edge is not real sharp, otherwise you'll take off paint too) and use it to get underneath the decal. Once you have an edge up, then continue using the heat gun and the putty knife to pull it all up. If you work slowly and diligently, you'll have a good chance of getting it all up in one piece. You won't want to hold the heat gun too close to the surface or for too long either. I used a halogen worklight to strip the paint off my car, so be careful. But for the decal, you won't need that much heat.
-
 Is that a bumber gaurd you have mounted up front? Does it serve a specific rally purpose?
 -
There was a middle-aged guy who bought a brand new Mercedes convertible. He took off down the road, flooring it up to 80 mph enjoying the wind blowing through what little hair he had left on his head. "This is great," he thought and floored it some more. He looked in his rear view mirror and there was a Florida Highway Patrol Trooper behind him, blue lights flashing and siren blasting. "I can get away from him with no problem" thought the man and he floored it some more and flew down the road at over 120-mph. Then he thought, "What am I'm doing? I'm too old for this kind of thing" and pulled over to the side of the road and waited for the State Trooper to catch up with him. The Trooper pulled in behind the Mercedes and walked up to the man. "Sir," he said, looking at his watch, "My shift ends in 30 minutes and today is Friday the 13th. If you can give me a reason why you were speeding, that I've never heard before, I'll let you go." The man looked back at the Trooper and said "Last week my wife ran off with a State Trooper, and I thought you were bringing her back." The State Trooper said, "Have a nice day."
-
They appear to be 3 screw carbs which would make them 71 or 72 carbs. (Anybody want to check me on that?) But it looks like you have an early type manifold, or at least the balance tube is (lack of emission ports). Either way, they should be fine as long as you check them out and make sure there are no obvious air leaks around the throttle bushings and that the jets and needles are not stuck.
-
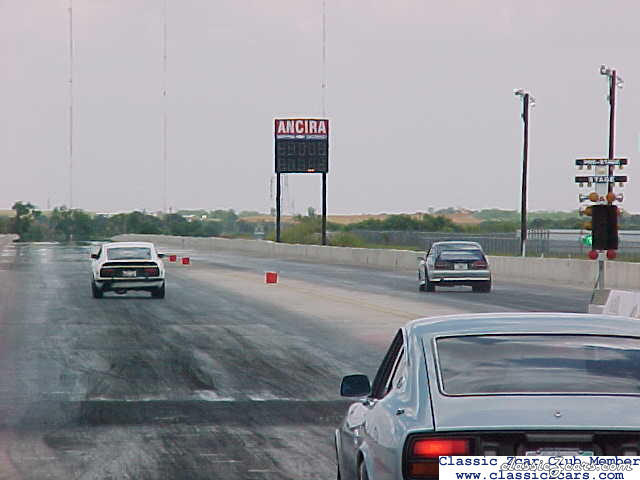
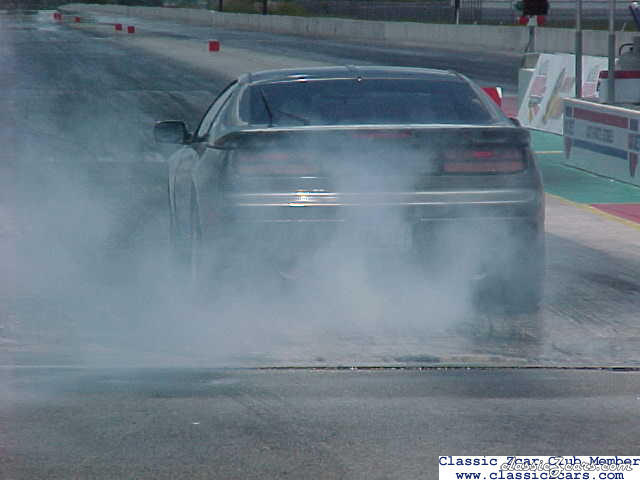
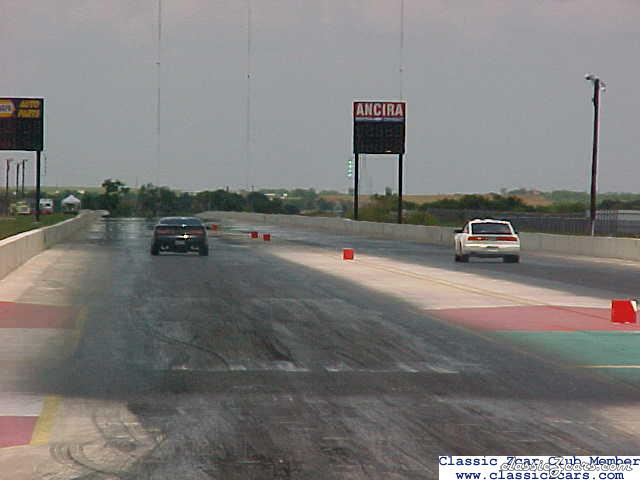
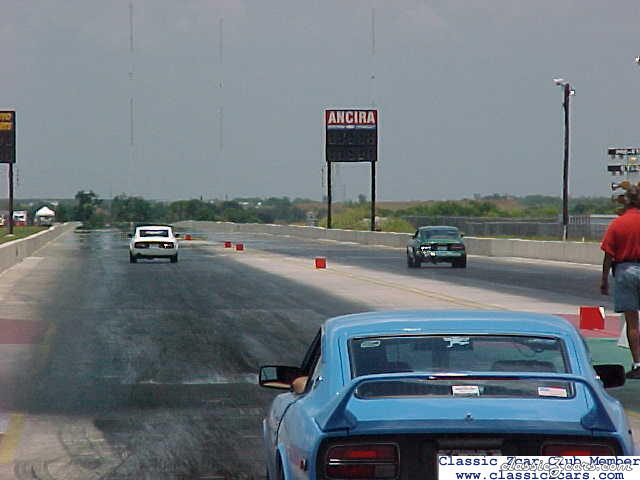
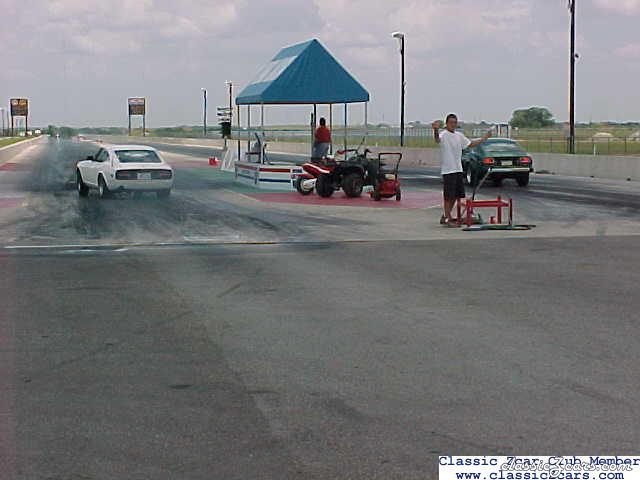
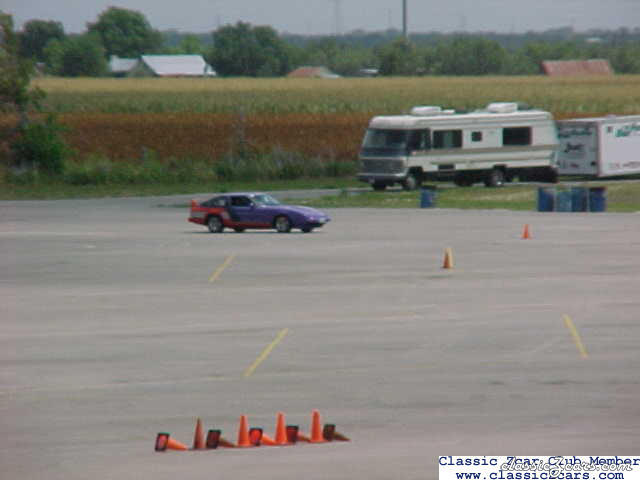
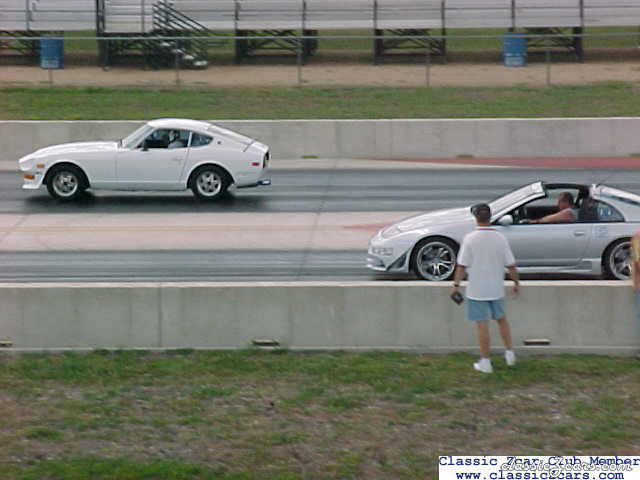
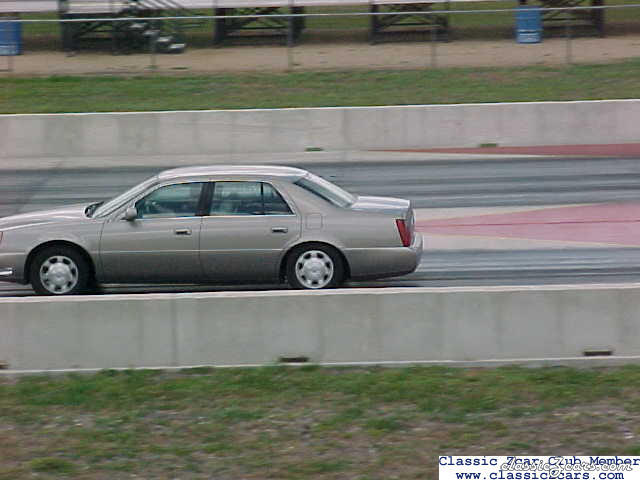
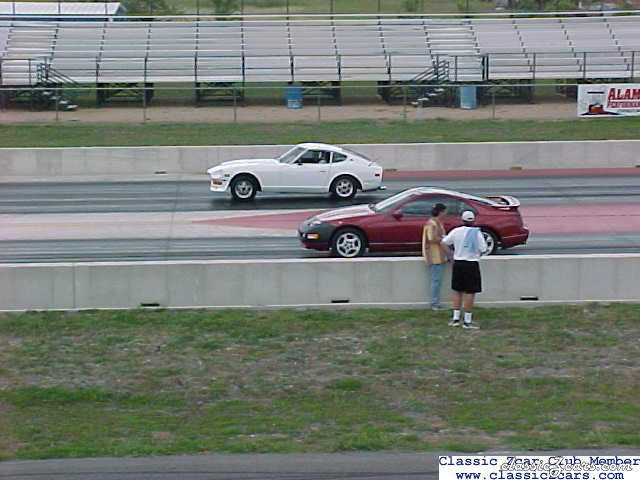
Pics from the drag races and autocross
-
 Convention Drags
-
 Convention Drags
-
 Convention Drags
-
 Convention Drags
-
 Convention Drags
-
 Convention Drags
-
 Convention Drags
-
 Convention Drags
-
 Convention Drags
-
 Convention Drags
-
 Convention Drags
-
 Convention Drags
-
 Convention Drags
-
 Convention Drags
-
 Convention Drags
-
 Convention Drags
-
 Convention Drags
-
 Convention Drags
-
 Convention Drags
-
 Convention Drags
-
-
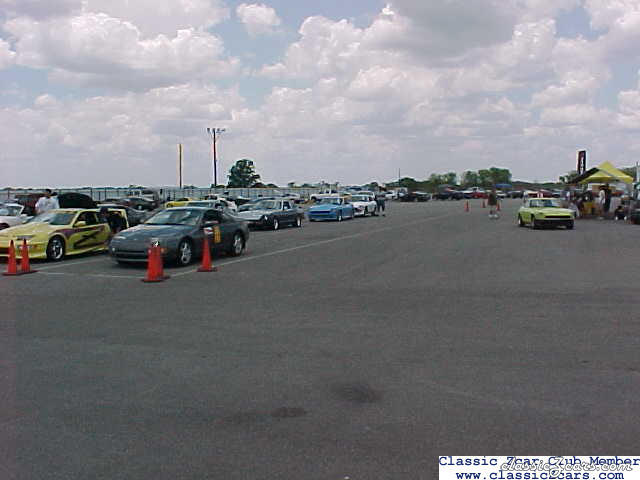
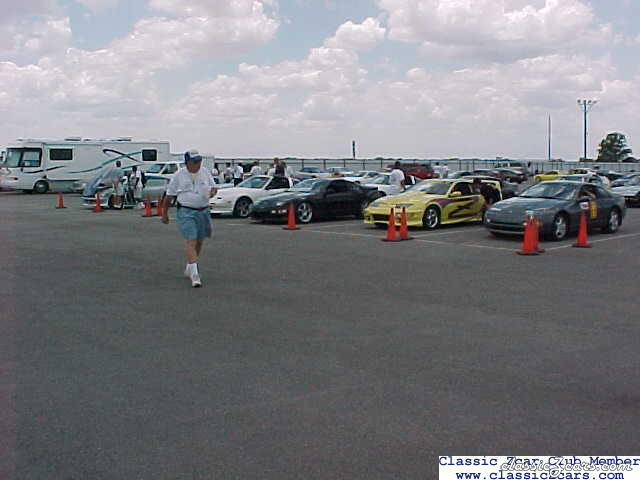
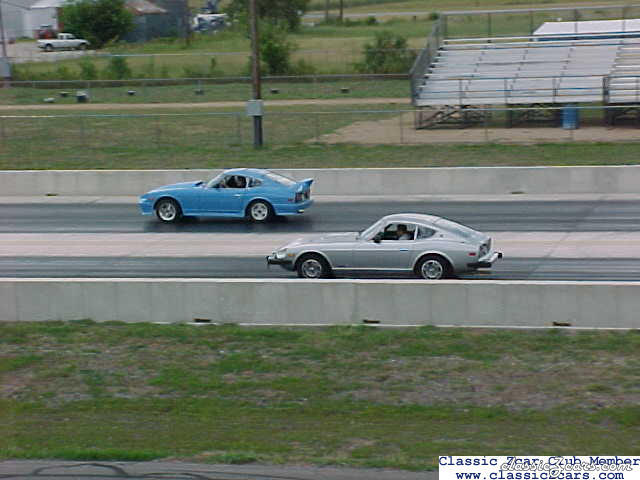
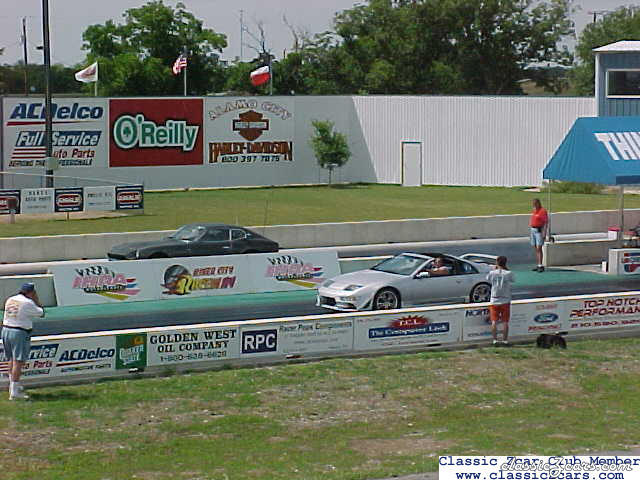
From the album: 2002 National Convention-Drag/Autocross
More cars staged for eliminations for drags. -
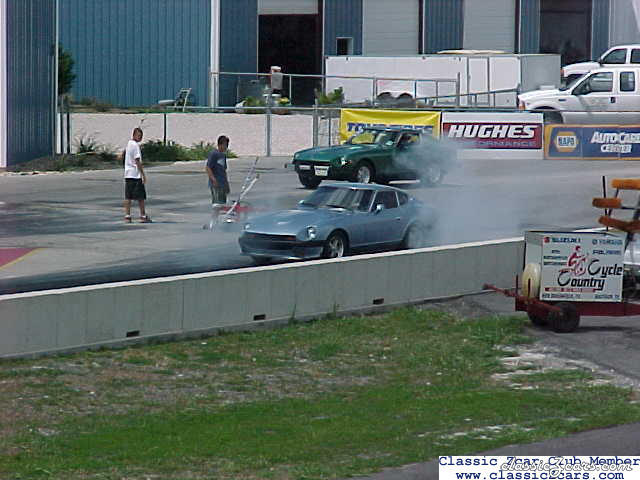
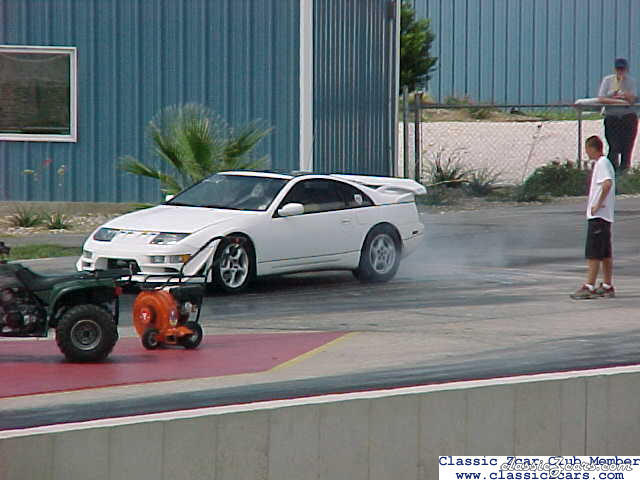
From the album: 2002 National Convention-Drag/Autocross
These are some of the cars staged for the eliminations at the drags. -
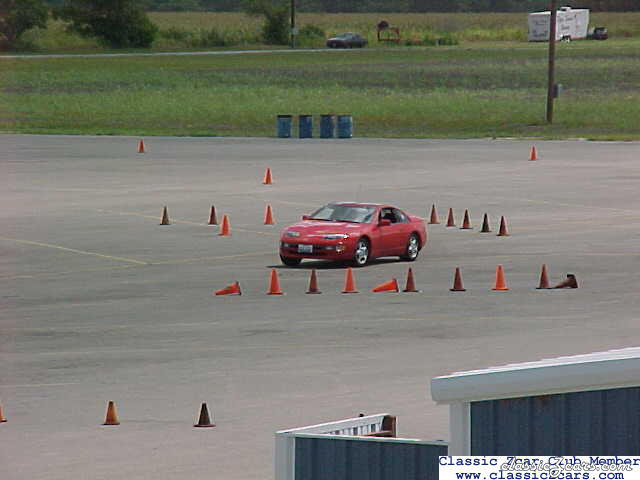
From the album: 2002 National Convention-Drag/Autocross
These are some of the cars staged for the autocross.