Seppi72
Supporting Member
-
Joined
-
Last visited
Everything posted by Seppi72
-
I've been looking at Caswell Plating https://www.caswellplating.com/ as a potential source of chemicals and equipment to do my own plating when it comes to it. They are a bit pricey, considering what the chemicals cost on the open market, but where else is an individual going to do better?
-
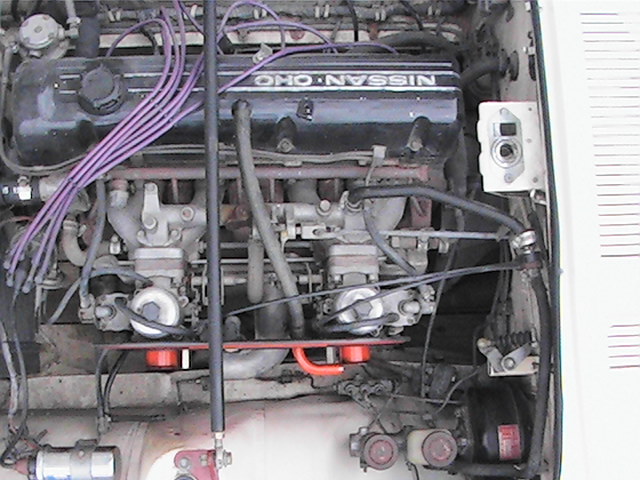
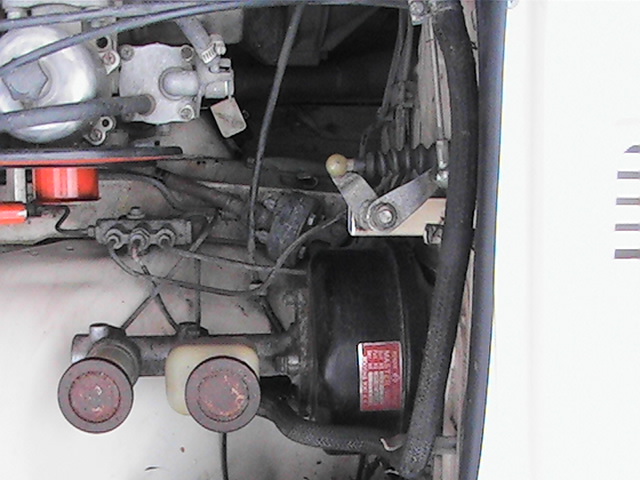
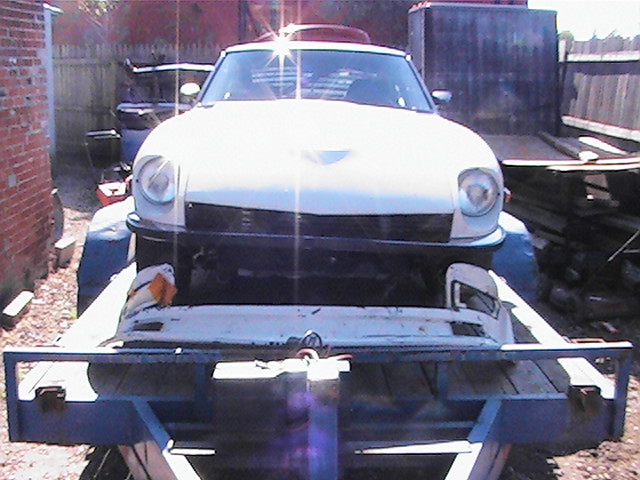
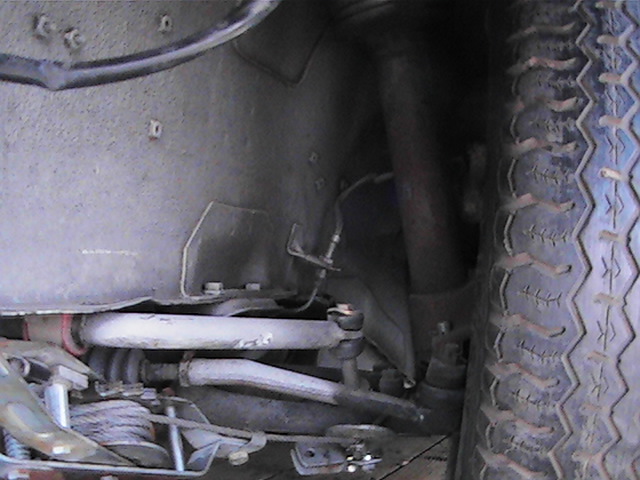
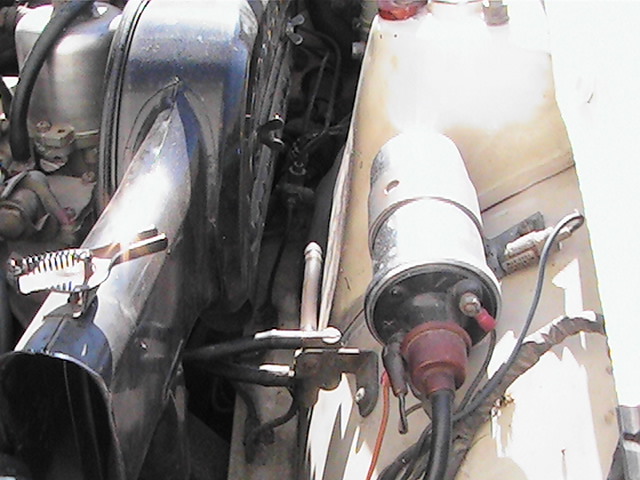
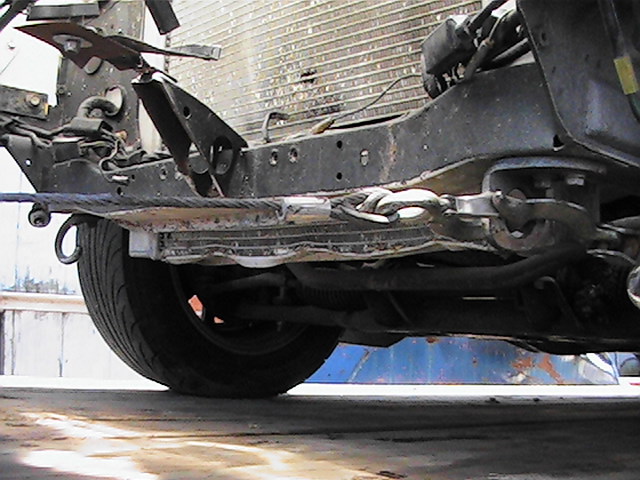
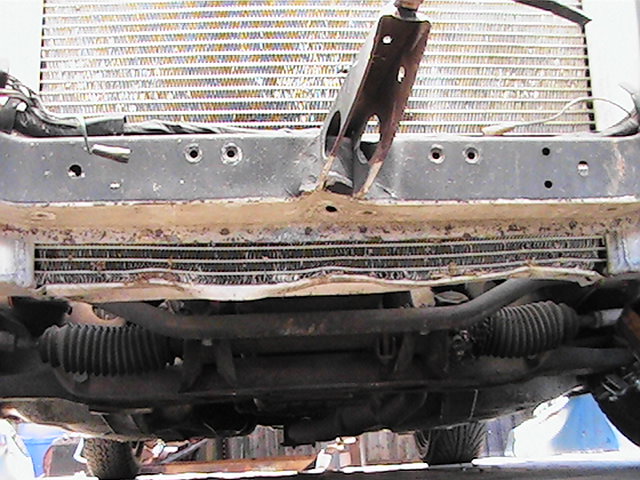
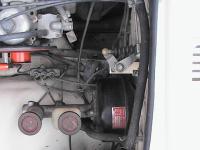
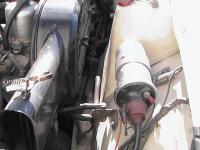
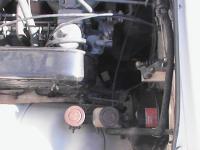
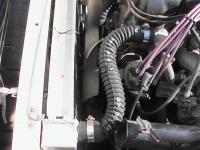
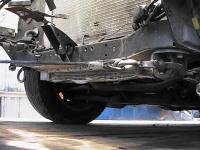
As many of you know, I had an "off" on 9/6/08 and did some front end damage to my '72. The front left frame rail is bent inwards (you can see how much in the two pix attached - look below the two air horns on the carbs - although it's tough to get a true overhead shot of the car as it sits right now) and I am discussing the repair process with both the body shop owner and the insurance adjuster. Initially, we thought that the car could be placed on a frame rack and pulled back into shape. My body man knows at least two local folks who have such equipment (and whom he respects) and he had one come out to look at the car. This guy ended up saying the he didn't know where he would be able to "hook up" the car to do the straightening. I find that very hard to accept and I'm wondering exactly how experienced this guy might be. I've told the body man to have the other local guy look at it too. If the car can't be put on a frame rack, my body man says the alternative is to cut out the bent frame rail, use a portapack hydraulic cylinder to put the front corner back into position and then weld in a new frame rail (which I would get from Zedd Findings). I am hesitant to go this route simply because a body man with a portapack is not, IMO, a good substitute for a frame rack. In addition, all the cutting and welding will drive up the repair costs substantially.:stupid: I found only one previous thread on this topic (#16933 from March 2005) and it didn't come to any satisfactory conclusion. I've PMed the originator, but haven't heard anything back yet. I'm thinking that I need to expand the search for a competent frame shop that will do the necessary work. I'm sure that being close to Columbus, Ohio will allow me to find such a shop. I just would like to get the opinions of folks who might have gone down this route before with an S30.
-
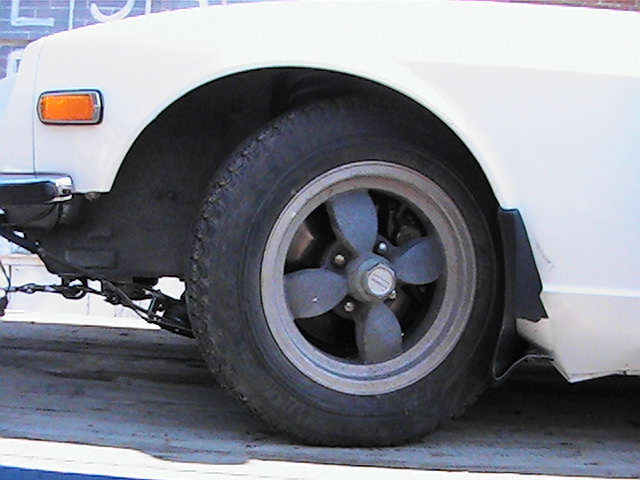
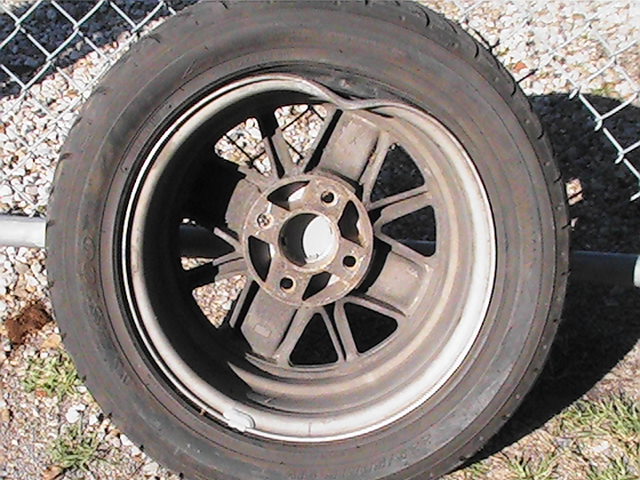
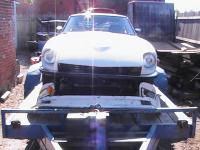
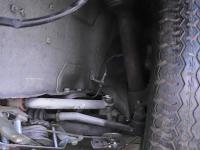
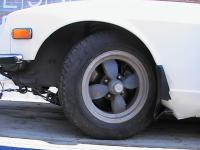
The Hagerty Insurance adjuster came by my bodyman's shop yesterday afternoon and this was the first time the car was in sunlight since the wreck happened. I still haven't gotten decent pix of all the damage - at least not decent enough for this bunch of Z afficianados. The late afternoon light was just too much for the auto-exposure control on the camera. I'll get better pix this weekend now that we can start taking parts off the car. The one that tells it all is the one showing how far back the LF wheel is displaced. On all the others, there's too much shadow. And no, the AR Libre wheels weren't on the car when it happened. The damaged 15" wheel wouldn't hold air so I put on my old 14" Libres to get it on the trailer. Preliminary estimate is $7400, but I hope we can get it back on the road for under $6000.
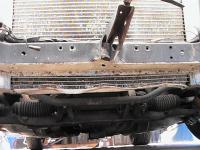

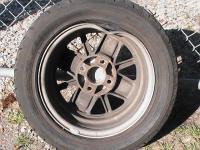
-
I am with you on that, Carl. Personally, I have never found a street tire that is more grippy than the brakes already on my S30 cars. I upgraded to the Toyota dual-piston front calipers on this one a few years ago and I run Yokohama AVS E100 205/50-15. I have locked up the front twice now (the first was a guy not looking when he pulled out of his driveway - no contact). I recall back in the mid-70s, there was a device that I saw advertised in SCCA magazine called the Safety Braker. It was a mechanical device that sensed when lock-up was about to happen and somehow prevented it. I always wanted to get this put on my Z, but by the time I had enough money to make mods, the product had disappeared. Probably too much liability selling that type of thing - even to racers. The device can be seen here (http://www.cwnicholls.com/spitfire02a.html). It's the hexagonal part near the top of the first photo. A "modern" version may have been created by Stewart Development (http://www.stewartdevelopment.com/products.html), now being sold through DPI Performance Racing Products of Petaluma, CA (http://www.dpiracingproducts.com/brksysnacessrys.htm).
-
I've devised and coordinated my local club's (ZROC) so-called "Western Run" in the hills of Logan, Union and Champaign counties in central Ohio for five years now. This past Saturday afternoon, an absolutely clear and dry day, my wife and I were laying out this year's route to be driven this coming weekend. We were on Logan County Road 29 headed west. I'd never been on this section of road before, but it is reasonably wide and has a good paved surface. We were on the downhill part of the road and had entered a portion having an S-turn warning sign with a suggested 35 MPH speed. The initial lefthand portion was easily taken at, perhaps, 60 with no issues. We were on the straight section before the righthand portion. The sun was directly ahead of us (~5:20 p.m. EDT) and glinting off the road. I saw the entrance to the turn. I also saw what I thought was a deer step out of the woods at the inside entrance to the turn. I got on the brakes hard. Too hard, it turned out, and the fronts locked up. We went straight off the turn and got airborne over a 2-foot deep ditch. The car flys fairly well. It doesn't land too well though. We were on a flat, heavily weed-overgrown field and moving right along mowing those weeds down. After 100 feet or so, we nosed into an overgrown mound of dirt and came to a stop at about a 30 degree up angle. No injuries other than an abrasion on my left elbow and both of us with stiff necks from the landing jolt. The car wasn't as lucky. Front airdam torn off. Lower grill locators torn off. Both fiberglass headlight nacelles cracked. Front bumper distorted somewhat. Left front wheel, strut, etc. pushed back about 6 inches. Left front frame rail bent and pushed into the firewall. Left engine compartment wall pushed in a couple of inches. Front bulkhead lower crossmember pushed in about 2 inches and the bottom of the aluminum radiator is bent too. At least three bent aluminum wheels with the inner right rear rim being the worst - pushed in about 4 inches. Amazingly, there is no damage to hood and only slight damage to the front fenders where the airdam was mounted. No sheet metal creases at all. Both doors open easily. No discernable rear suspension damage. No apparent damage to the engine or drivetrain. I'll get pix taken soon and post them to this thread. The insurance adjuster will probably take a look at the car tomorrow after I get it trailered to the shop that did its minor rust repair work and new paint back in 2004/2005 and is currently doing major rust repair work on my orginal owner ’72. I'll be needing to get front suspension parts, certainly front control arms and perhaps a new front crossmember (if it can't be straigthened easily), so those of you with such parted-out items please feel free to contact me. Also, if the wheels can't be fixed, I'd like to replace them. The car has 15x7" wheels that come from a Mitsubishi Starion (or so I'm told). I know they are Mitsu parts because they have the three diamond logo cast onto the inside. I'll get a picture of the wheel posted too so perhaps you West Coast boneyard buzzards can be on the lookout for me. I don't think anyone in Ohio would even recall what a Starion was. More later.
-
As long as you realize that you will undoubtedly have at least $5000 spent on this car by the time you're done, it's your call. Project cars are great as long as you know what you're getting in to. That's the value of having "friends" like us to lean on. Our combined experiences make all of us vastly more knowledgeable. When you visit the car ths weekend, take a jack and pull all the wheels so you can check the wheel wells for rust using a screwdriver probe. If you don't know where to probe, you can look at my gallery or PM me. My original owner '72 has every rust condition known to Z-dom to one extent or another. Your potential purchase looks pristine by comparison. I'm gong to spend well over $10k getting my car resurrected, but that's my sentimental choice. Some may gasp at my folly, but where else can you end up with a screamer for that kind of money? Besides, at 57, I'm only going to do this once.
-
The level of ZDDP has been reduced in recent years because of the effect the phosphorus (P) has on the catalytic converter life. The levels went from 1200 ppm P to 800 ppm P. There is excellent info on this very topic in the latest edition (Fall 2008) of Hagerty's magazine. I just got mine yesterday and it's at home right now. It's the one with vintage racers on the cover. It's not on their Web site yet, however.
-
I've never noticed the "look" of a tranny base and I'll have to check that out. I just saw in that first picture of your engine bay that the tranny has "280ZX" written on it and know that's how most boneyards ID things when they've been pulled for safekeeping. I'll flip out if my local one ever starts using notebooks to record its inventory. By the time I "check out" decades hence, they may have upgraded to a Timex-Sinclair:p
-
Well, you know, Jason, that if you want to take the car to "stock" you're going to have to give up that 5-speed and probable 3.90 rear end. Now, I just happen to have a gen-u-ine 4-speed and 3.54 rear from my old '72 with only 46,500 honest miles. Even though you're out west, wanna trade?:classic:
-
Your S30 looks to be a fairly sweet ride as it was when you brought it home. I hope that the chassis is in good shape so you don't have to mess up your paint job. The engine compartment looks fairly stock for a '72 although it does appear that you have a ZX 5-speed tranny and some kind of custom exhaust. What's your intention in working on the car? I doubt there's any S30 knowledge that would help you with your 350Z (Z33 ?) and vice versa. Or maybe it's that you want an engine you can understand intuitively. That's why I love my S30 cars.
-
We are all here to help each other enjoy our cars. I shall be happy to assist you in any way that I can. Where are you located in Mexico? If you are close enough to the U.S. to drive across the border for parts, that will make probably your project go much easier.
-
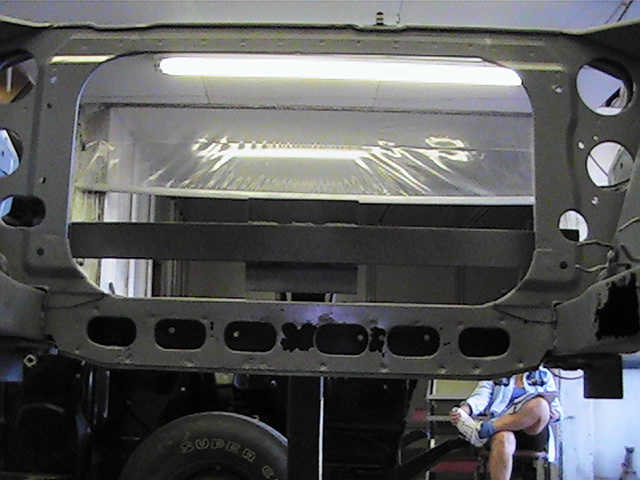
My '72 is all sandblasted and epoxy primed and rust repair is underway.:classic: I know what's ahead of me for the next few weeks, but I'd like the opinions of those who have "gone before me" on one aspect. That is what to do when repairing the rust damage on the front crossmember. A photo of the current situation is attached. While it's not blatantly obvious from the photo, there is rust-through on the backside of the x-member between the oval openings. It is worse between some than between others. Numbering the ovals 1-6 from L to R, there is no apparent rust between 1-2 and the worst is between 3-4. I think you can see the extent on the others. My thought is to (1) remove the entire back "wall" of the x-member, (2) treat the inside surfaces with sandblasting, Ospho and an appropriate coating (POR-15 ?), and (3) weld in a solid wall piece. I frankly don't understand the purpose of the factory openings and I don't see what harm would attach to eliminating them in my rebuild. There are plenty of drainage openings on the underside of the x-member and I could always create more. Besides, I could always create a template and paint black ovals on the new solid piece to give the OEM effect. Let me state that I am NOT going for a restoration here and this car will NEVER see winter driving while I own it although it will likely see some rain. So, if any of you have insight into what Datsun was thinking regarding the design of this piece, I'd like to know. And, certainly, I want to know what you think of my proposed fix - pro, con or ambivalent.
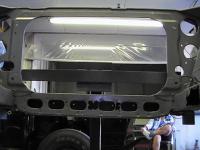
-
I'd say you have the same problem I do with my '72; viz., the choke on the aft carb is not resetting when the lever is pushed in. I have to manually reach underneath the carb and push the piston to the "home" position. I'll take care of this come winter when I have the carbs off to install a new header. In the case of FI, is it possible that one (or more) injector(s) is(are) not "resetting" as things heat up? I honestly don't know how these injectors are controlled (a "chip" somewhere, I presume) and the problem could just as well be mechanical as electronic.
-
The work happened over the course of about four days last week and we finished up yesterday afternoon with the final epoxy priming. Now we just have to wait for room to pen up in the body shop and we'll transport the shell there for rust repair. In truth, as JimmyZ and AggieZ said, getting all the sand out was a major task and took well over eight hours of my time alternating between the air hose and a shop vac. I also found that "spinning" the shell on the rotisserie really helped to get the sand moving so it could be removed. Even so, every time we rotated the shell to prime, there was more sand showing up. Fortunately, none of it got caught up in any fresh epoxy. As for treating residual rust, I ended up using Ospho. I used an artist's brush to apply it along every spot welded seam since there undoubtedly has to be rust in those locations. I used a 1" bristle brush to get up into the shock towers where the sand couldn't be directed. Again, having the shell on a rotisserie made this task quite easy (and no phosphoric acid dripping onto my face). I used a 1" foam brush to apply epoxy to these same hard-to-access areas. The other regions of concern were the frame rail tubes underneath the rear deck. There is no way to get sandblasting in there, so I resolved to treat the interior portions with Ospho. The sandblast guy had an old siphon gun originally designed to apply undercoating. This had a 3/8" diameter, 1. 25" long cylindrical aluminum tip with two slots cut about halfway through into the end so that the discharge would be a fan spray coming out at a right angle to the cylinder axis. I used threaded hose barb fittings to secure the spray tip to a 3-foot length of reinforced 1/8" ID vinyl tubing. A similar fitting at the other end attached the tubng to the siphon gun outlet. I attached the tip so the the discharge slots were aligned with the identification info printed along the hose. This way, I could tell which way the slots were facing. A little experimenting with water showed that a nice mist was created at the tip with about 70 psig air. For the frame rails running parallel to the axis of the car, with the shell in the "normal" attitude, I inserted the tip and tubing through the holes underneath the shock tower braces from inside the car; either running forward or backward as needed. I fed the tubing to the end of the run and gradually withdrew the tubing while the spray was discharging. Knowing that the tip was facing upwards, I anticipate that it hit the "roof" and sidewalls and ran down to coat the "bottom" of each rail interior. Any excess Ospho ran out of the water drain hole at the end of each run and was caught in plastic pails. On the passenger side, there's a cross tube in the aft leg that allows a fuel line to pass through. For that leg, I also had to insert the tip from the end drain hole. Fortunately, there's a corresponding hole in the rear deck that gives access. This had to be slightly elongated so I could insert the tip. For the cross member frame rail, we turned the shell 90 degrees, inserted the spray tip towards the "up" end of the rail and sprayed while I slowly rotated the tubing and tip inside the rail. We kept this up until we saw a goodly amount of Ospho run out of the lower end. We then rotated the car so the other end was "up" and repeated the process. This method, I believe, is the best way to treat any interior rust short of dipping the entire car. There's some rust through to repair on the aft crossmember (the one that runs parallel to the rear bumper just inside the sheet metal) so I'll Ospho that when the bad section is cut out.
-
Thanks, Zak, for that possibility. I'll take a look on a dealer lot. One other thing is if anyone here is capable of (or knows where it can be done) "photoshopping" (I don't know of a better term right now) what various paint accents might look like on an S30. I have a few ideas for adding royal blue racing stripes on the orange base color and I'd like to see how they'd look. I wouldn't mind hearing from you folks on similar "racy" details that might have impressed you over the years. For instance, I thnk we'd all agree the BRE look is classic (I'm staring at my #46 Revell model right now), but I'm trying to go in a different direction. Perhaps something along the lines of the Gulf GT40s, but with the colors reversed; i.e., orange base color & blue stripes.
-
Some of you may know that I'm in the process of rebuilding my '72. As of this afternoon, the sandblasting will be finished and it will be on to the body shop for panel replacements, etc. My car was 918 orange when I bought it in 1971 and I want to repaint it orange. However, I don't want to go with the OE color and we're going to do base coat / clear coat. What I want is the most eye-popping orange that's out there. The color I want is "Arrest Me, Officer" orange. In fact, years ago when I first thought of repainting the car, I considered throwing Day-Glo orange pigments into a clear Imron over a white base to get a fluorescent "Blaze" orange. However, the organic Day-Glo pigments of that era (mid 1980s) weren't stable on extended exposure to UV light. This was surprizing as it's UV light causing them to fluoresce in the first place. But that's just me, the physical chemist, talking. I'll check to see if the technology has improved in 20 years, but it's doubtful. Anyway, I'd like to know if any of you have a candidate orange that I might consider for such a BC/CC paint job.
-
It's so lovely that I scanned the whole thing, but it's too big (15 MB) a PDF file to upload to the Web site. The stated weights are 2350 manual and 2400 automatic. One of these days I'm going to have to upgrade my home connection from dial-up.
-
Yeah, Bruce, I forgot about cops. They're the next best thing to having your own personal criminal.
-
Zedyone: I figure anyone who really wants to steal an S30 already knows how to do it.:cheeky: If there are Web sites where I can go and buy info that allows identity theft, there're probably a slew of them devoted to "how to steal a 'model X' car." As for getting in the Z, that should be realtively easy too with the windows up. Because I took my doors apart last weekend, I kind of remember the "monkey motion" for the door locking mechanism and a coat hanger should do the trick. Khrystina, if you can wait until tomorrow, I can practice tonight on a "spare" door I have and send you a PM.
-
But any long-time owner can probably recite this for you. Once you're inside and still keyless, here's what you'll have to do (assuming you own an S30 model). 1. Unscrew the steering column cover (four #2 Phillips screws on the underside) 2. Drill out the two "security bolts" from the ignition collar and use a screw extractor to remove them 3. Unscrew the remaining two Phillips screws from the ignition column 4. Remove ignition assembly from the steering column 5. Unscrew the electrical switch from the back of the key lock mechanism 6. Use a stubby flat-blade screwdriver to turn electrical switch and get car started With this technique, you can drive your car forever, if you choose to. Just remember to take the electrical switch with you whenever you park the car. Of course, you won't be able to lock the car, but that's a small price to pay for having wheels.
-
I know that the "vitals" were published in the various sales brochures. I don't carry the one for my '72 model with me, but I can look when I get home tonight. However, if someone out there has a sales brochure for the '70 model year, they could scan it and send the PDF file to you. That's about the best proof one can expect to find short of putting your particular car on a scale.
-
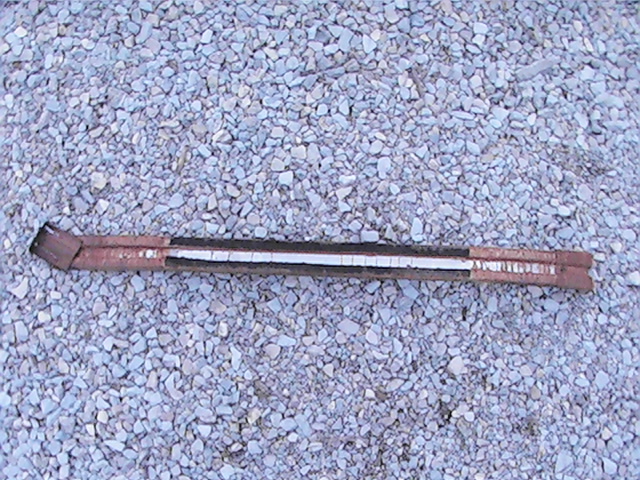
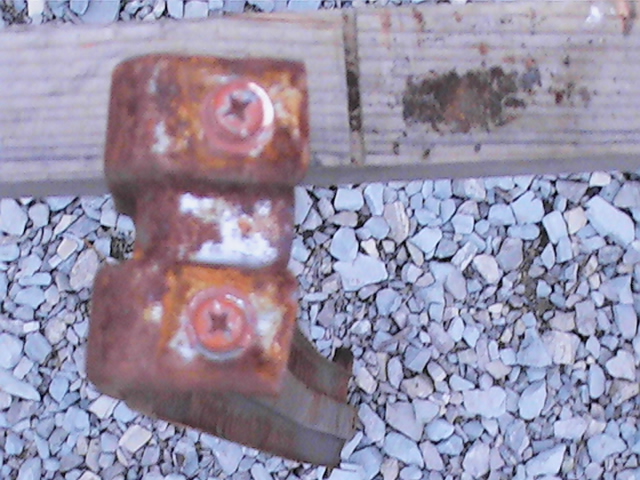
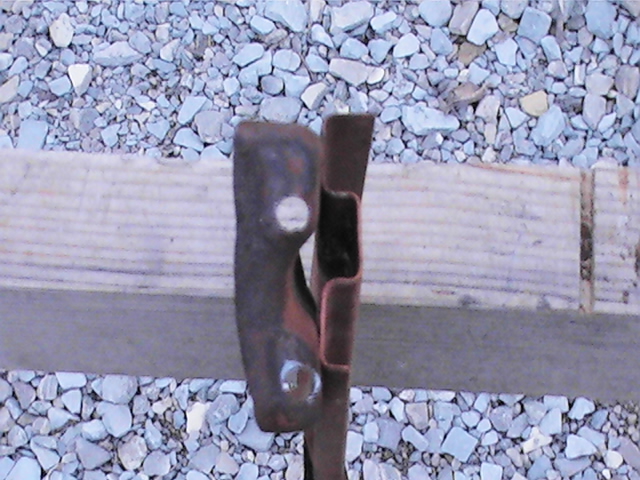
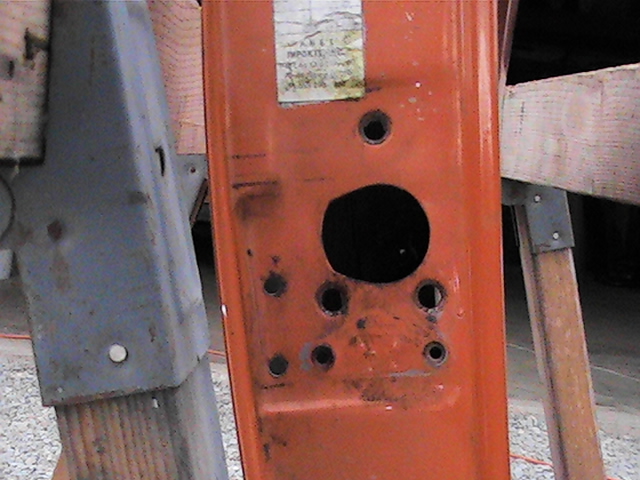
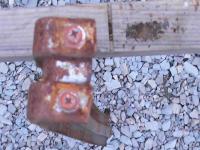
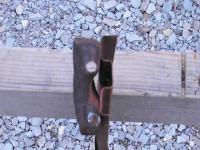
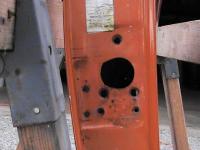
I spent part of last weekend disassembling my doors. Once I got all the "guts" out, I was left to ponder the rust on the inside, which was not too bad. Regardless, I want to kill ALL the rust that is there and get the treated surfaces sealed to forestall any future rot. However, I discovered in each door panel the “curiosity†that I'm calling a reinforcing beam. This part does not show up as a separate piece on the parts microfiche because it's integral to the door panel itself. The first picture shows the side with the strips of, let’s call it, black “foam†that keep the assembly in intimate contact with the door skin. The curious part is the fact that the beam is attached by two machine screws at the front end of the door panel (second picture) and then by two spot welds at the rear end. I don't know why Datsun would have done things this way - I don’t think it's a clearance issue - but there it is. In any event, I wanted to remove this beam so both it and the entire interior of the door panel could be treated and protected. I used increasing drill sizes to cut the spot welds, starting with a 1/8†bit and finishing off with a 1/4" bit. I note that on my early '72 (and this may be unique to each and every car), the spot welds were located very close to the bend of the beam (third picture) where it transitions into a flange that then mates up with the portion of the door panel to which the lock mechanism is attached (fourth picture). The former spot welds are the holes on the far left. It is my intention to replace the spot welds with machine screws similar to the case at the other end of the beam and, if I can, relocate the attachment points further away from the bend so I can weld nuts to the back and give the screws adequate grip. I’ll use pan head screws unless there really are interferences, in which case I’ll use countersunk screws as is done for the lock mechanism. · Has anyone else ever removed and then reinstalled these beams? · If so, what technique did you use to reattach them?
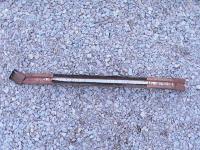
-
One thing I think needs to be stated is that there is a difference (to me at least) between what people call "bare metal" and sandblasted metal. To me, bare metal is that piece you welded in to replace the rotted panel. It has a "mill finish" that, when compared to a blasted surface, is downright smooth. Perhaps, too, bare metal might be the designation that could be applied to the metal surface after you've sanded off all the previous coatings. Regardless of that last sentence, bare metal is tremendously more smooth than blasted metal. Consequently, when someone says "do such and such on bare metal" I have to make the logical assumption that they ARE NOT talking about the metal surface that results from blasting. To me, they are competely different animals. Obviously, we have at least several forum users who are highly knowledgeable on this matter and I'm claiming to be one of them. Do any of you mavens subscribe to the definitions I have stated above? Is there a spectrum of bare metal types? I suppose that because I'm going to be contributing to their profit margins, I think I can reasonably ask both PPG and DuPont for their definitions of bare metal and expect answers:).
-
I took my Mitutoyo micrometer to the wheel arches and rocker panels yesterday. I measured the wheel arches at about a 0.93 mm average thickness, which translates to 366 mils. Depending on which conversion table I want to believe, that looks to have been stamped from 20 gauge sheet. For the rocker panel, I got about a 1.00 mm average thickness (394 mils). This looks to have been stamped from 19 gauge sheet. Of course, I could only measure about an inch away from any edge and I had to choose flat regions because the mike has flat anvils. Both parts could have been stamped from 19 gauge. I don't know how much the metal thins during the process. The one thing I do know is that it didn't get any thicker:)
-
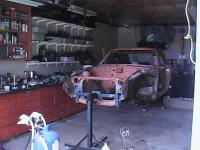
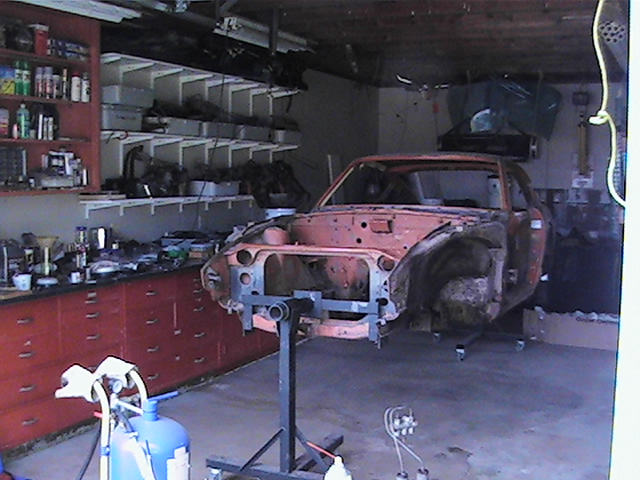
Just got home from trailering my car to the sandblaster. It turned out to be fairly easy and straight-forward, even though we had prepared for something more elaborate. I've had the shell on a rotisserie (see attached photo) for about a month as I was finishing up the removal of the last bits of hydraulic lines and wiring harnesses as well as scraping off undercoating (oh, what a F-U-N job that is). We were expecting to have to use an engine hoist to place the shell on a body dolly to make the transfer, but my body guy thought that the rotisserie was strong enough to handle things for the 5 mile trip. We pushed the loaded rotisserie onto a flat-bed trailer (remarkably easy, I have to say - we didn't even need to use the winch) and used straps and "come alongs" to hold things down and in place. Then it was off down the roads (admittedly back country roads). No muss, no fuss, no bother. My baby's now at the sandblaster and we'll likely start on things tomorrow. Blast, inspect, treat if needed, and epoxy prime each day. With luck, we'll have this portion of the job done by next weekend and we can then take the whole thing down to the body shop for the real fun-and-games to begin. You know, after thinking and dreaming about this for the past 25+ years, now that it's well and truly underway, it just seems unreal. I can hardly wait to document the process. Any and all tips and tricks regarding the sandblasting of S30 models are welcomed.