Parman
 Subscriber
-
Joined
-
Last visited
Everything posted by Parman
-
I agree, that's what I used on all the vinyl and firewall pads. I don't know why I didn't use it on the weatherstrip......I was amazed after 50 years, it just peeled right up and didn't harm the vinyl in any way, still pliable.
-
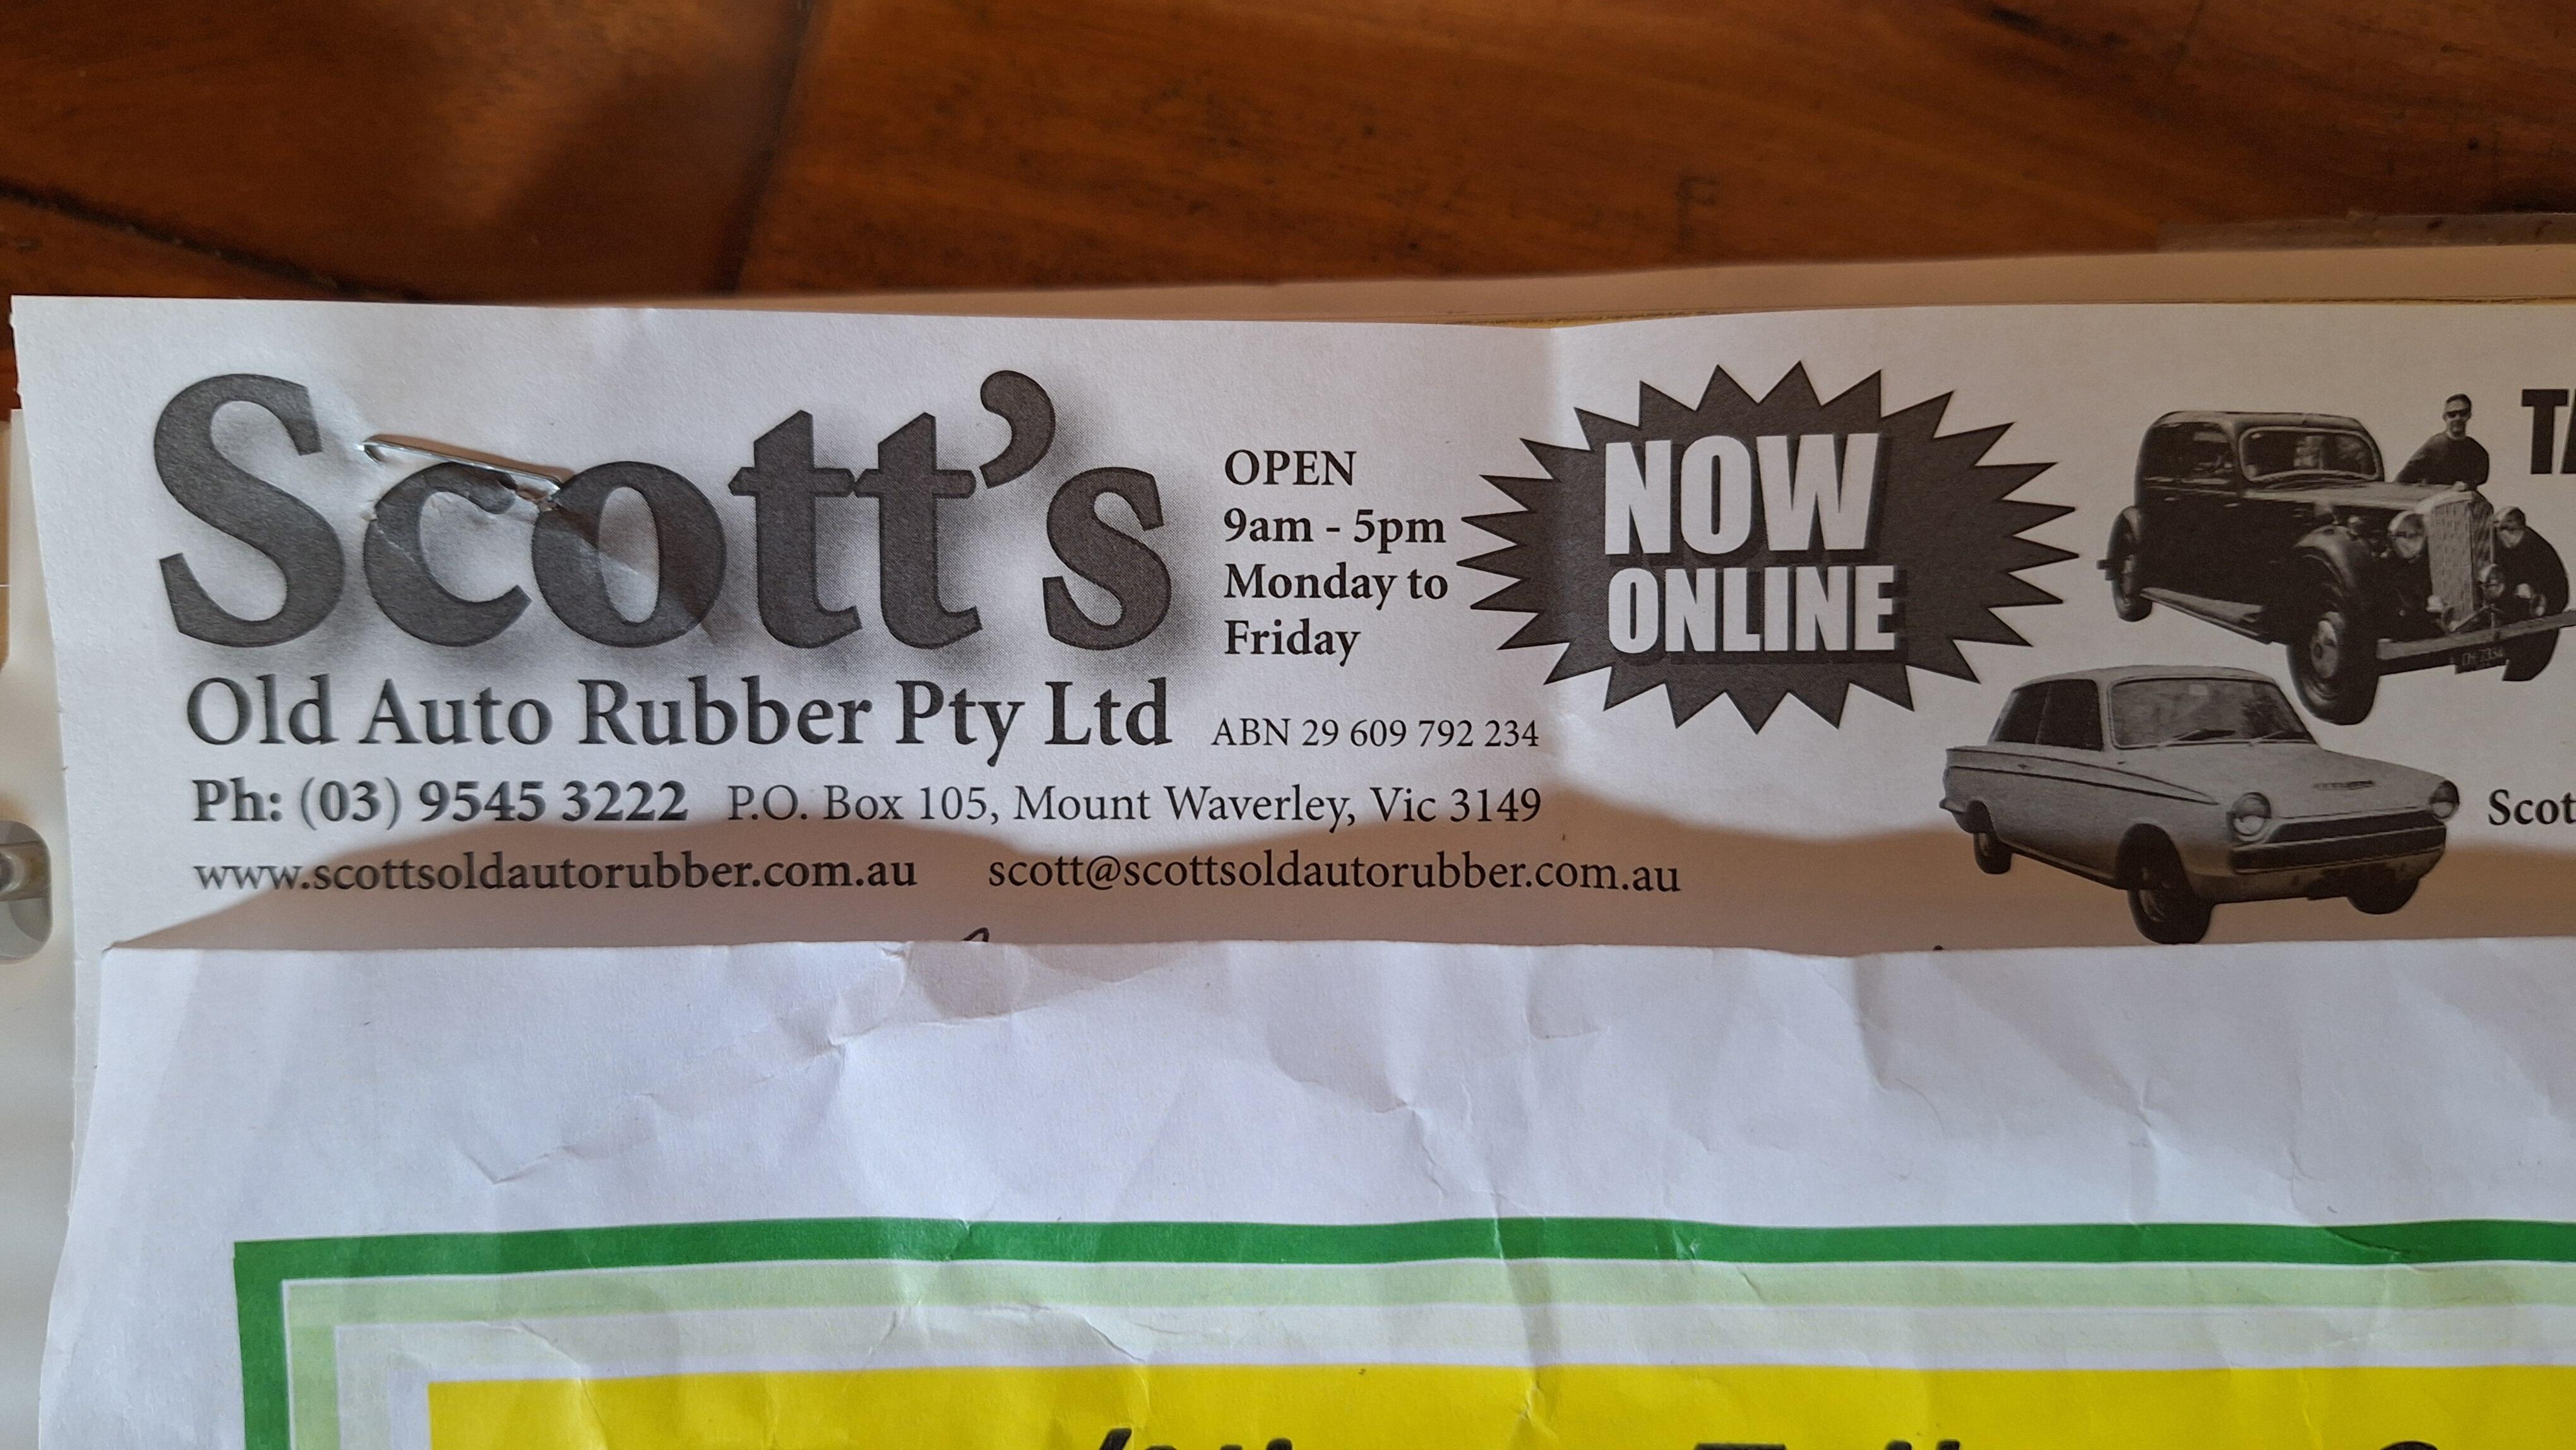
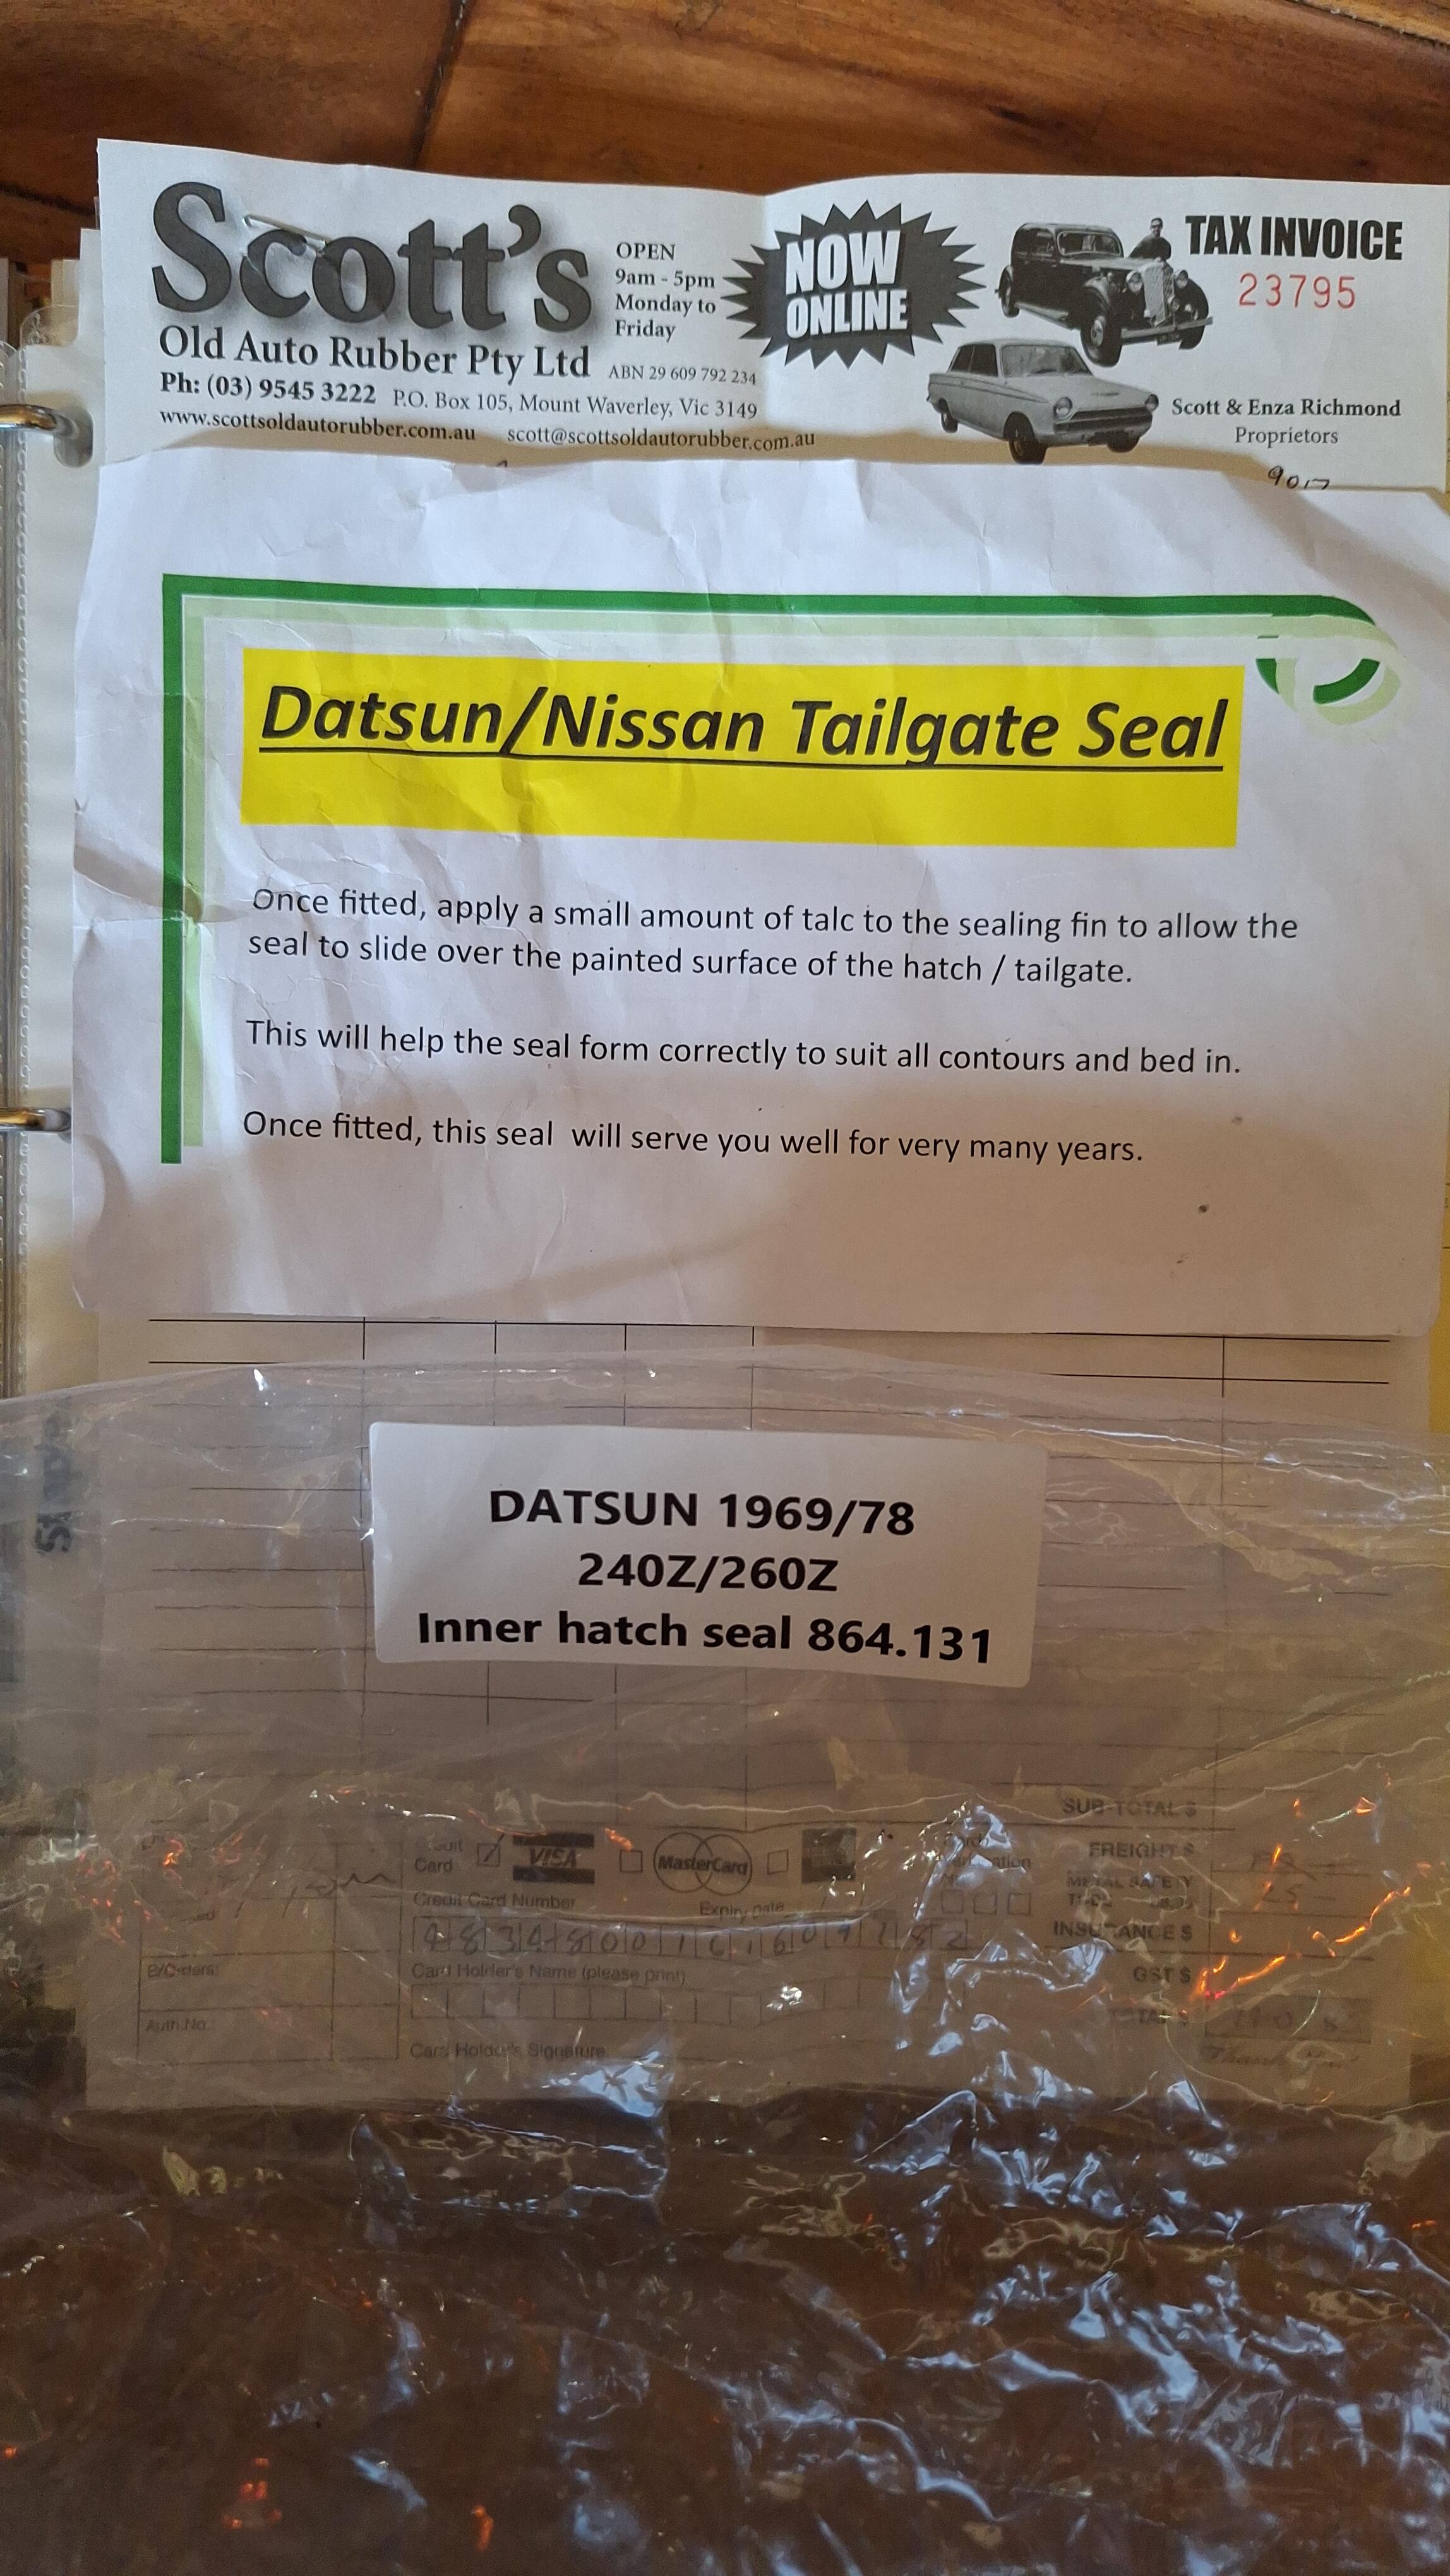
I did clean it! First with alcohol, then the 2nd attempt I even roughed up the surface of the weatherstrip with sandpaper, then cleaned it. I even bought another small tube of the 3M super weatherstrip adhesive from Walmart and got the same results. The fact that the adhesive adhered to the paint so good, made me think that it was still good. The hatch weatherstrip I got from Australia had a totally different feel to it. The rubber was more "sticky". It required 100% talc powder to be applied to it after it was glued on, so the painted hatch surface would slide over it when you closed the hatch, until the seal bedded in.
-
Hi, I used the automotive version. I cut that precision weatherstrip into short pieces, and did some tests gluing them to a painted license plate. I tried permatex, 3M, and goop. Clamped them down, let sit overnight, the goop was the winner. It could be something in the rubber weatherstrip itself, like silicone or something that did not adhere to the 3M. Or, my tube of 3M was old....but the 3M super weatherstrip adhesive sure adhered to the paint good, I mean really really good, but absolutely did not stick to the rubber. I should have known, the same thing happened to me 6 months earlier when I glued an aftermarket door weatherstrip seal to a 57 ford pickup door I was working on. It fell off the next morning 😆.
-
Oh sorry, I finished it up, drove it a few miles, had a very small oil leak I fixed, timing cover bolt(s). The front brakes or hubs were getting hot, resolved that issue quickly. I've probably put 600 miles on the car since. It rides unbelievably smooth and quiet. There's nothing left to work on. I'm at a loss now, it's kind of a strange feeling. What a battle it was though, I really enjoyed the challenge for the most part, and I miss it.

-
That's exactly what the problem was on my car. I had a puzzling oil leak, seep, about a tablespoon every 30 miles or so. Small spot under my car after sitting. I knew the leak originated near the fuel pump, but was fearing the worst, head gasket. This was one of the last of 25 pages of doing a search for "oil leak" that I read. Decided to go check those bolts, YES! I had loosened the bolt to adjust the alternator but forgot to tighten it. The others in the sane vicinity were a bit loose also. Took it for a drive, no more leak.
-
They definitely were. Did that cause the brakes pads to tighten on the rotors? There was some brake dust everywhere. I ended up doing 3 things at once, flushing the brake fluid. Disassembled the calipers, and repack and set the wheel bearings correctly. The wheel bearings heating up may have caused air in the brake fluid to expand and tighten the brakes, I don't know. I just finished it off by adjusting the pedal to the floorboard distance, it was 7", now it's 8". Same with the clutch pedal, it was an inch off. Then set the master-vac push rod length to 3.5mm below the flange surface. I had backed everything off while 15 miles away trying to get home, not knowing what was going on. Things are looking good now.
-
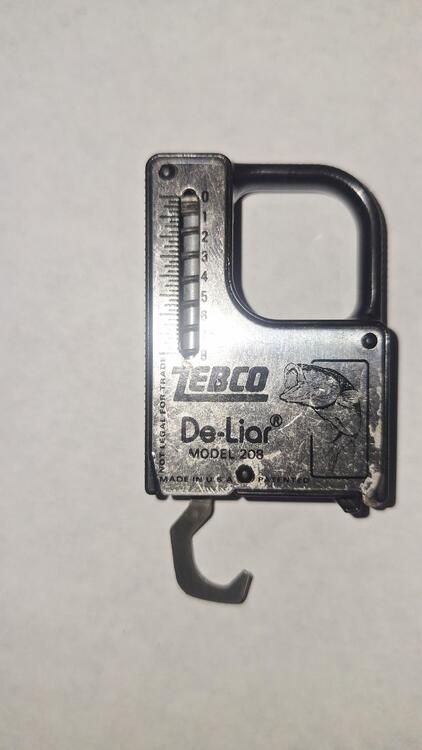
I drove it about 15 miles to the car show, never touched the brakes, just used the E-brake. Front wheels were heated up some. Got home and they were both about 170-180°. I took apart the calipers, they seemed okay. Very hard to remove a couple of the pistons. Oiled them up and reassembled. Checked the wheel bearing rotation starting torque with my fish de-liar. They were both way too tight. Replaced the grease in the wheel bearings with fresh grease and torqued them correctly this time. Went for a drive, problem solved. Wow, fun car!
-
I very much appreciate all you guys. I believe they are the original calipers, I rebuilt them. When I had the one on my bench, I tried blowing the piston out of the inside half with compressed air, but trying to hold my fingers over the 2 holes leading to the other half, I didn't like where it was going, so I stopped. Never did move the piston out. I may have not assembled them right, lack of grease possibly, I don't know yet. I have my first car show locally tomorrow 15 miles away, so rather than break this system apart now, I'm going to wait until next week. Then I'm going to disassemble a caliper and see why those pistons are so hard to move.
-
Haha, rabbit hole for sure. Sitting on the bench, with the caliper taken apart in 2 pieces, the brake pads "piston" ought to be able to compress without having to open the bleeder, correct? The fluid should go back the way it came from. Anyway, how hard should it be to move the piston? Can you compress it by hand or do you need a C clamp like I did?
-
No, I don't think so. But the line was disconnected. It has new rubber hoses, so don't think that's it. The hole in the master cylinder, that creates the pressure when you hit the brakes, is this also the return hole for the fluid?
-
I appreciate all the info. I removed one of the calipers and to compress the pistons, I needed to use a C clamp. Is this normal? Seems like they're awful hard to move. It takes alot of pressure to get them to move one way or the other. So when a guy applies the brakes, then releases the brakes, there's no spring to make the pads retract, they just kinda ride along the rotor. This drag is causing things to heat up and expand, making it tight. Some Fords have springs in the calipers to make them retract. I applied the brakes while the front end was lifted up, it wasn't heated up. After releasing the pedal, there was a more noticeable drag on the rotors. I pulled the master cylinder away from the master-vac, and there was no change. I don't think that's the issue.
-
So are you saying it could just be air in the system?
-
I finally got the exhaust on my car and took it for a drive. After about 15 miles, the front brakes are getting hot. After it cools down, they're both free-ish, slight dragging. Leaving the lines on the master cylinder, I pulled it away from the master-vac. Then screwed the push rod in a ways. I also adjusted the clevis on the brake pedal a couple turns. Took it for another drive today, trying not to hit the brakes, after about 15 miles, got home, jacked the front of the car up, brake pads are tight against the rotors, both left and right. Ugh. Both the master cylinder and master-vac were rebuilt. I did put new pads after restoring the calipers. Whatever it is, it's affecting both left and right brakes equally on the front. When I found this car, it had a later master cylinder on it, with a long tip on the push rod. When I tried to bolt the older correct master cylinder on, it wouldn't fit, the push rod was too long. Fortunately, I had the master-vac that had the shorter push rod in it. I thought I measured everything right, and it bolted up. Anybody got any suggestions? I don't like spilling brake fluid on fresh paint! Why aren't those calipers retracting?
-
I spent good money to ship these corner valances back to him so he could see the problem which I marked with tape. Never heard a word.... I bought a set of pre-cut firewall pads from somewhere... they sat for a long time before I was ready to install them, like 2 years. The drivers side holes didn't match up with the holes in the firewall. I cut them more but now it looked like a hack job and I wasn't happy with it. So, I contacted the manufacturer and showed them the problem, maybe their jig slipped or the tooling got moved, something. I then ordered a blank piece and cut it out myself using my original as a template. The response I got was, "you're the first person to complain about these, it must be your car, we're not changing our tooling". Really! You're going to keep making them this way, that don't fit correctly? That don't line up? Unbelievable. There was something else I returned that didn't fit right, the response was, "we only get 2 or 3 returns a year". What kind of response is that? It's basically saying the problem is not our product, it's you. 🤣
-
Yes, you did offer a replacement valance kit, but wouldn't it be the same as the one I got? If I could not use the one I got from your vendor, what makes you think the one I got from you would fit any better? I don't understand, aren't they all the same? If they're not all the same, why aren't they?
-
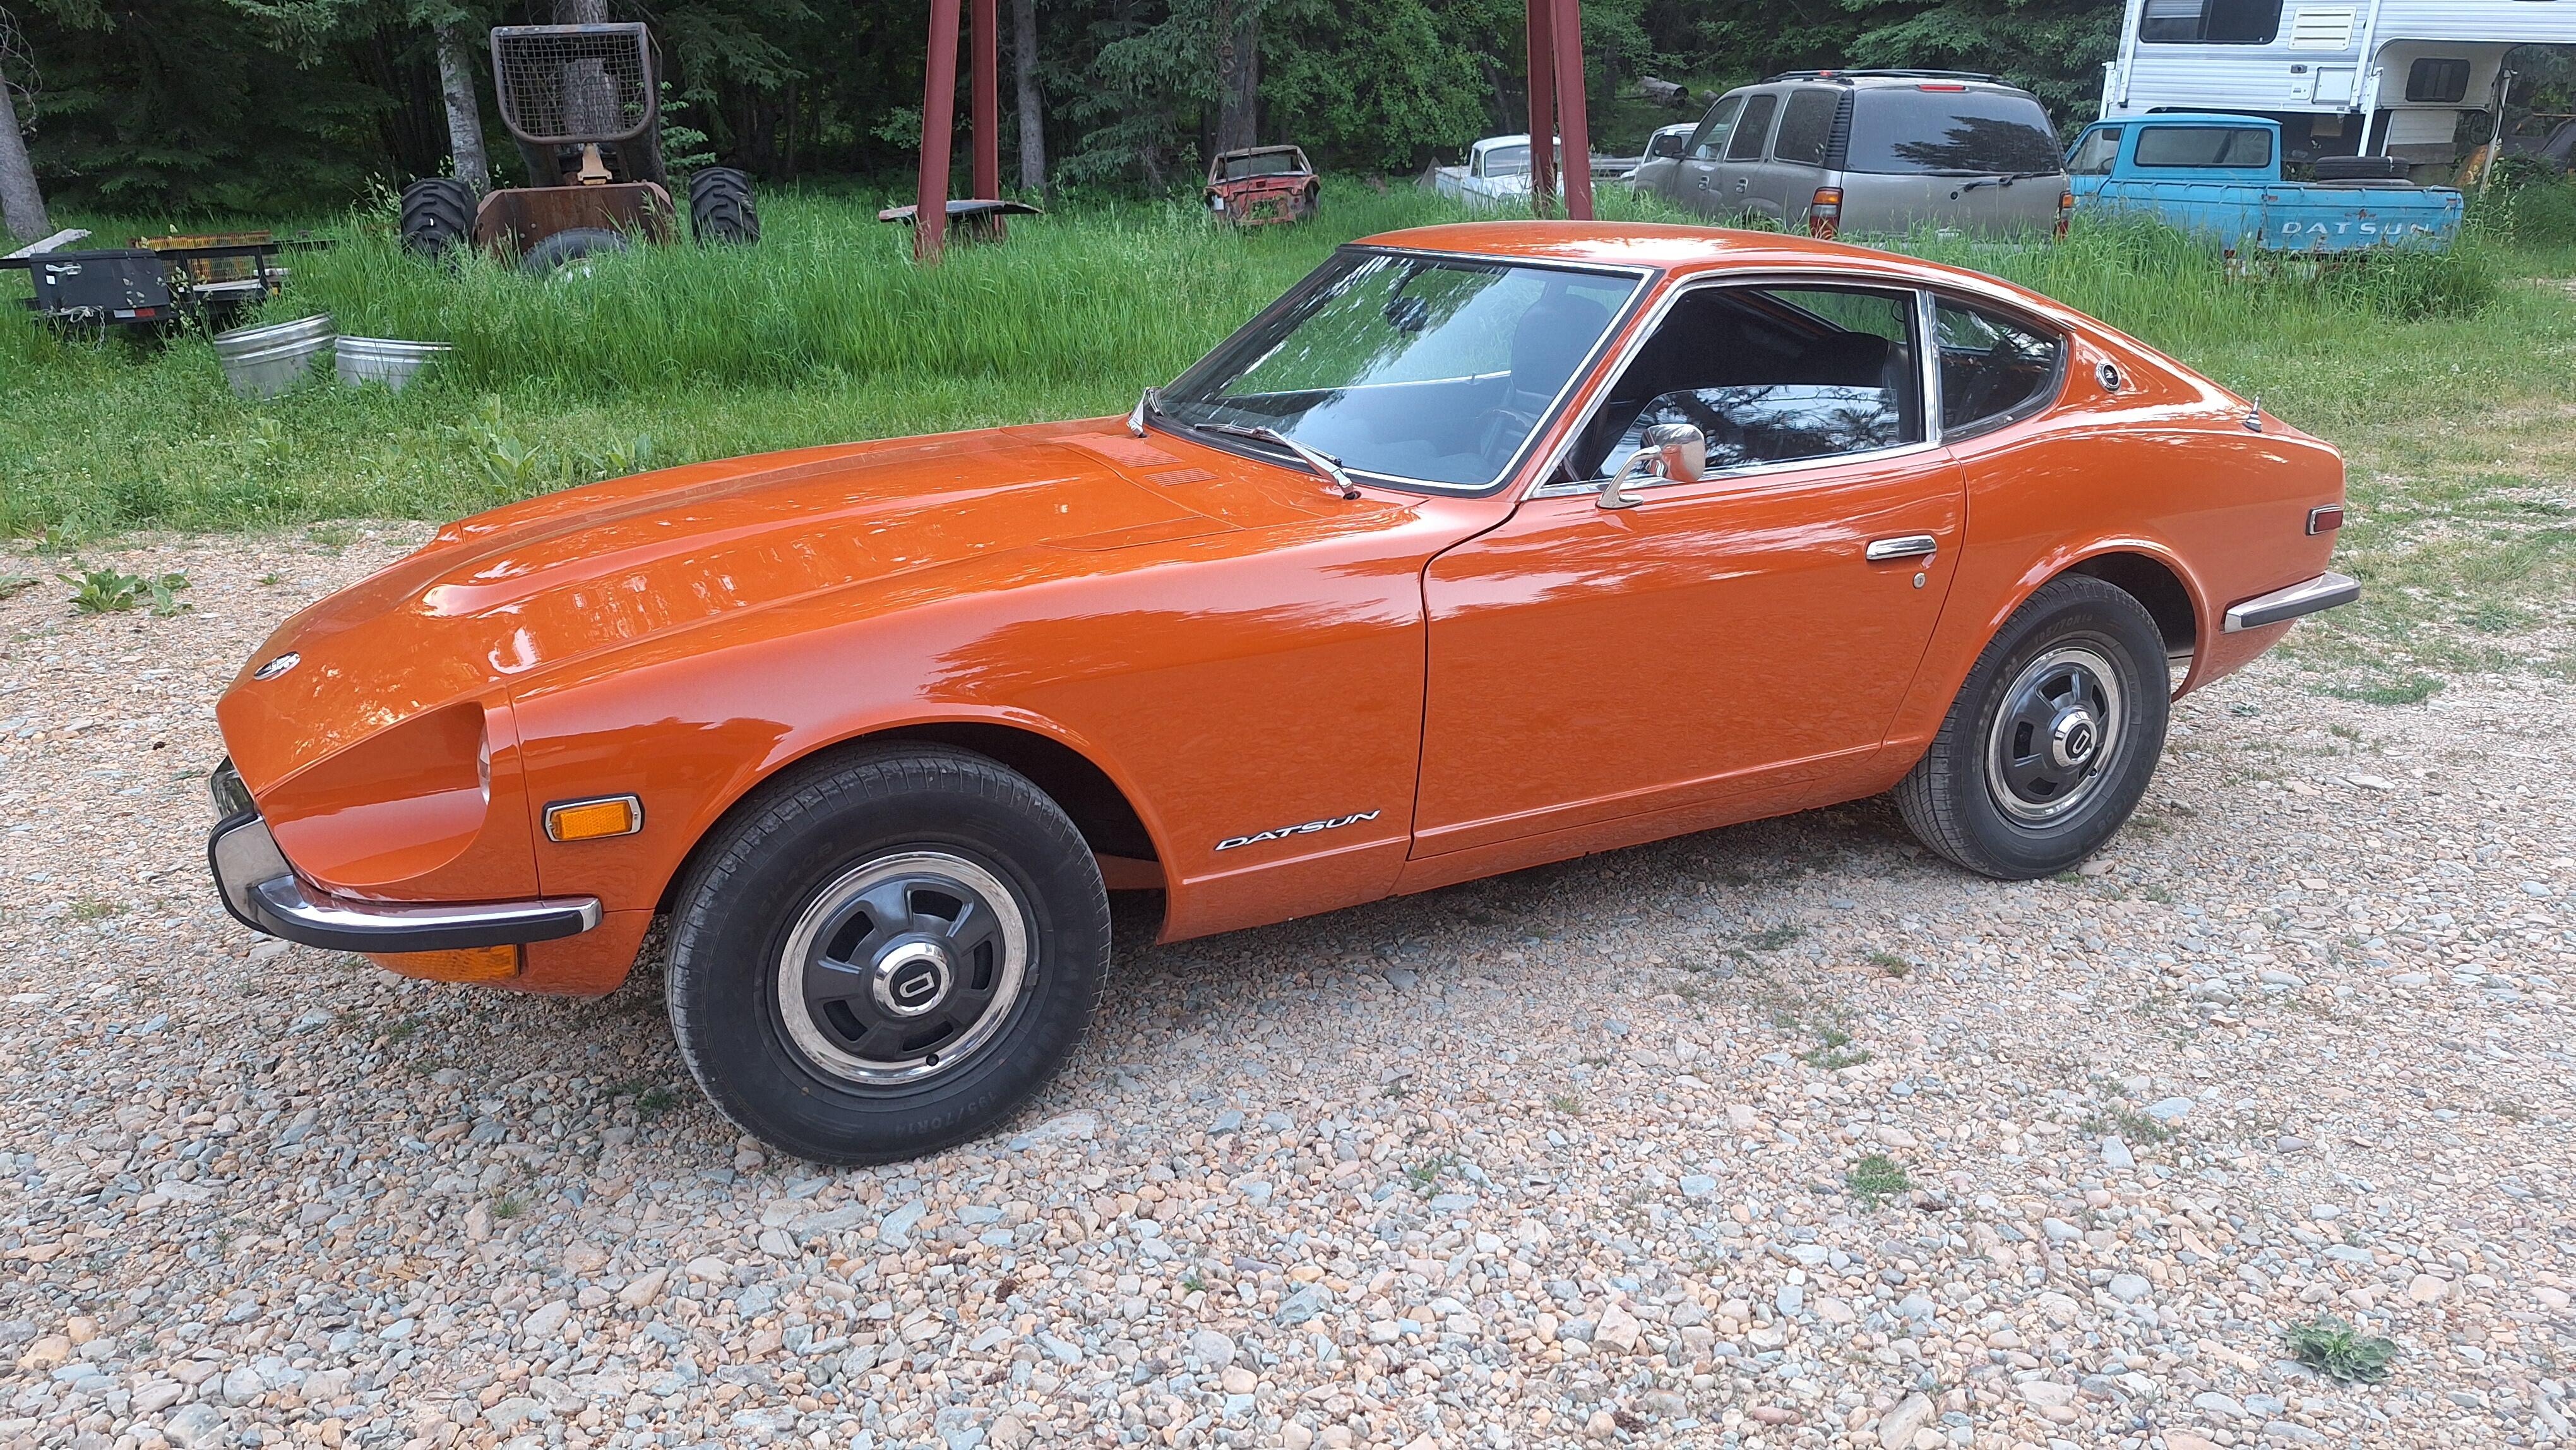
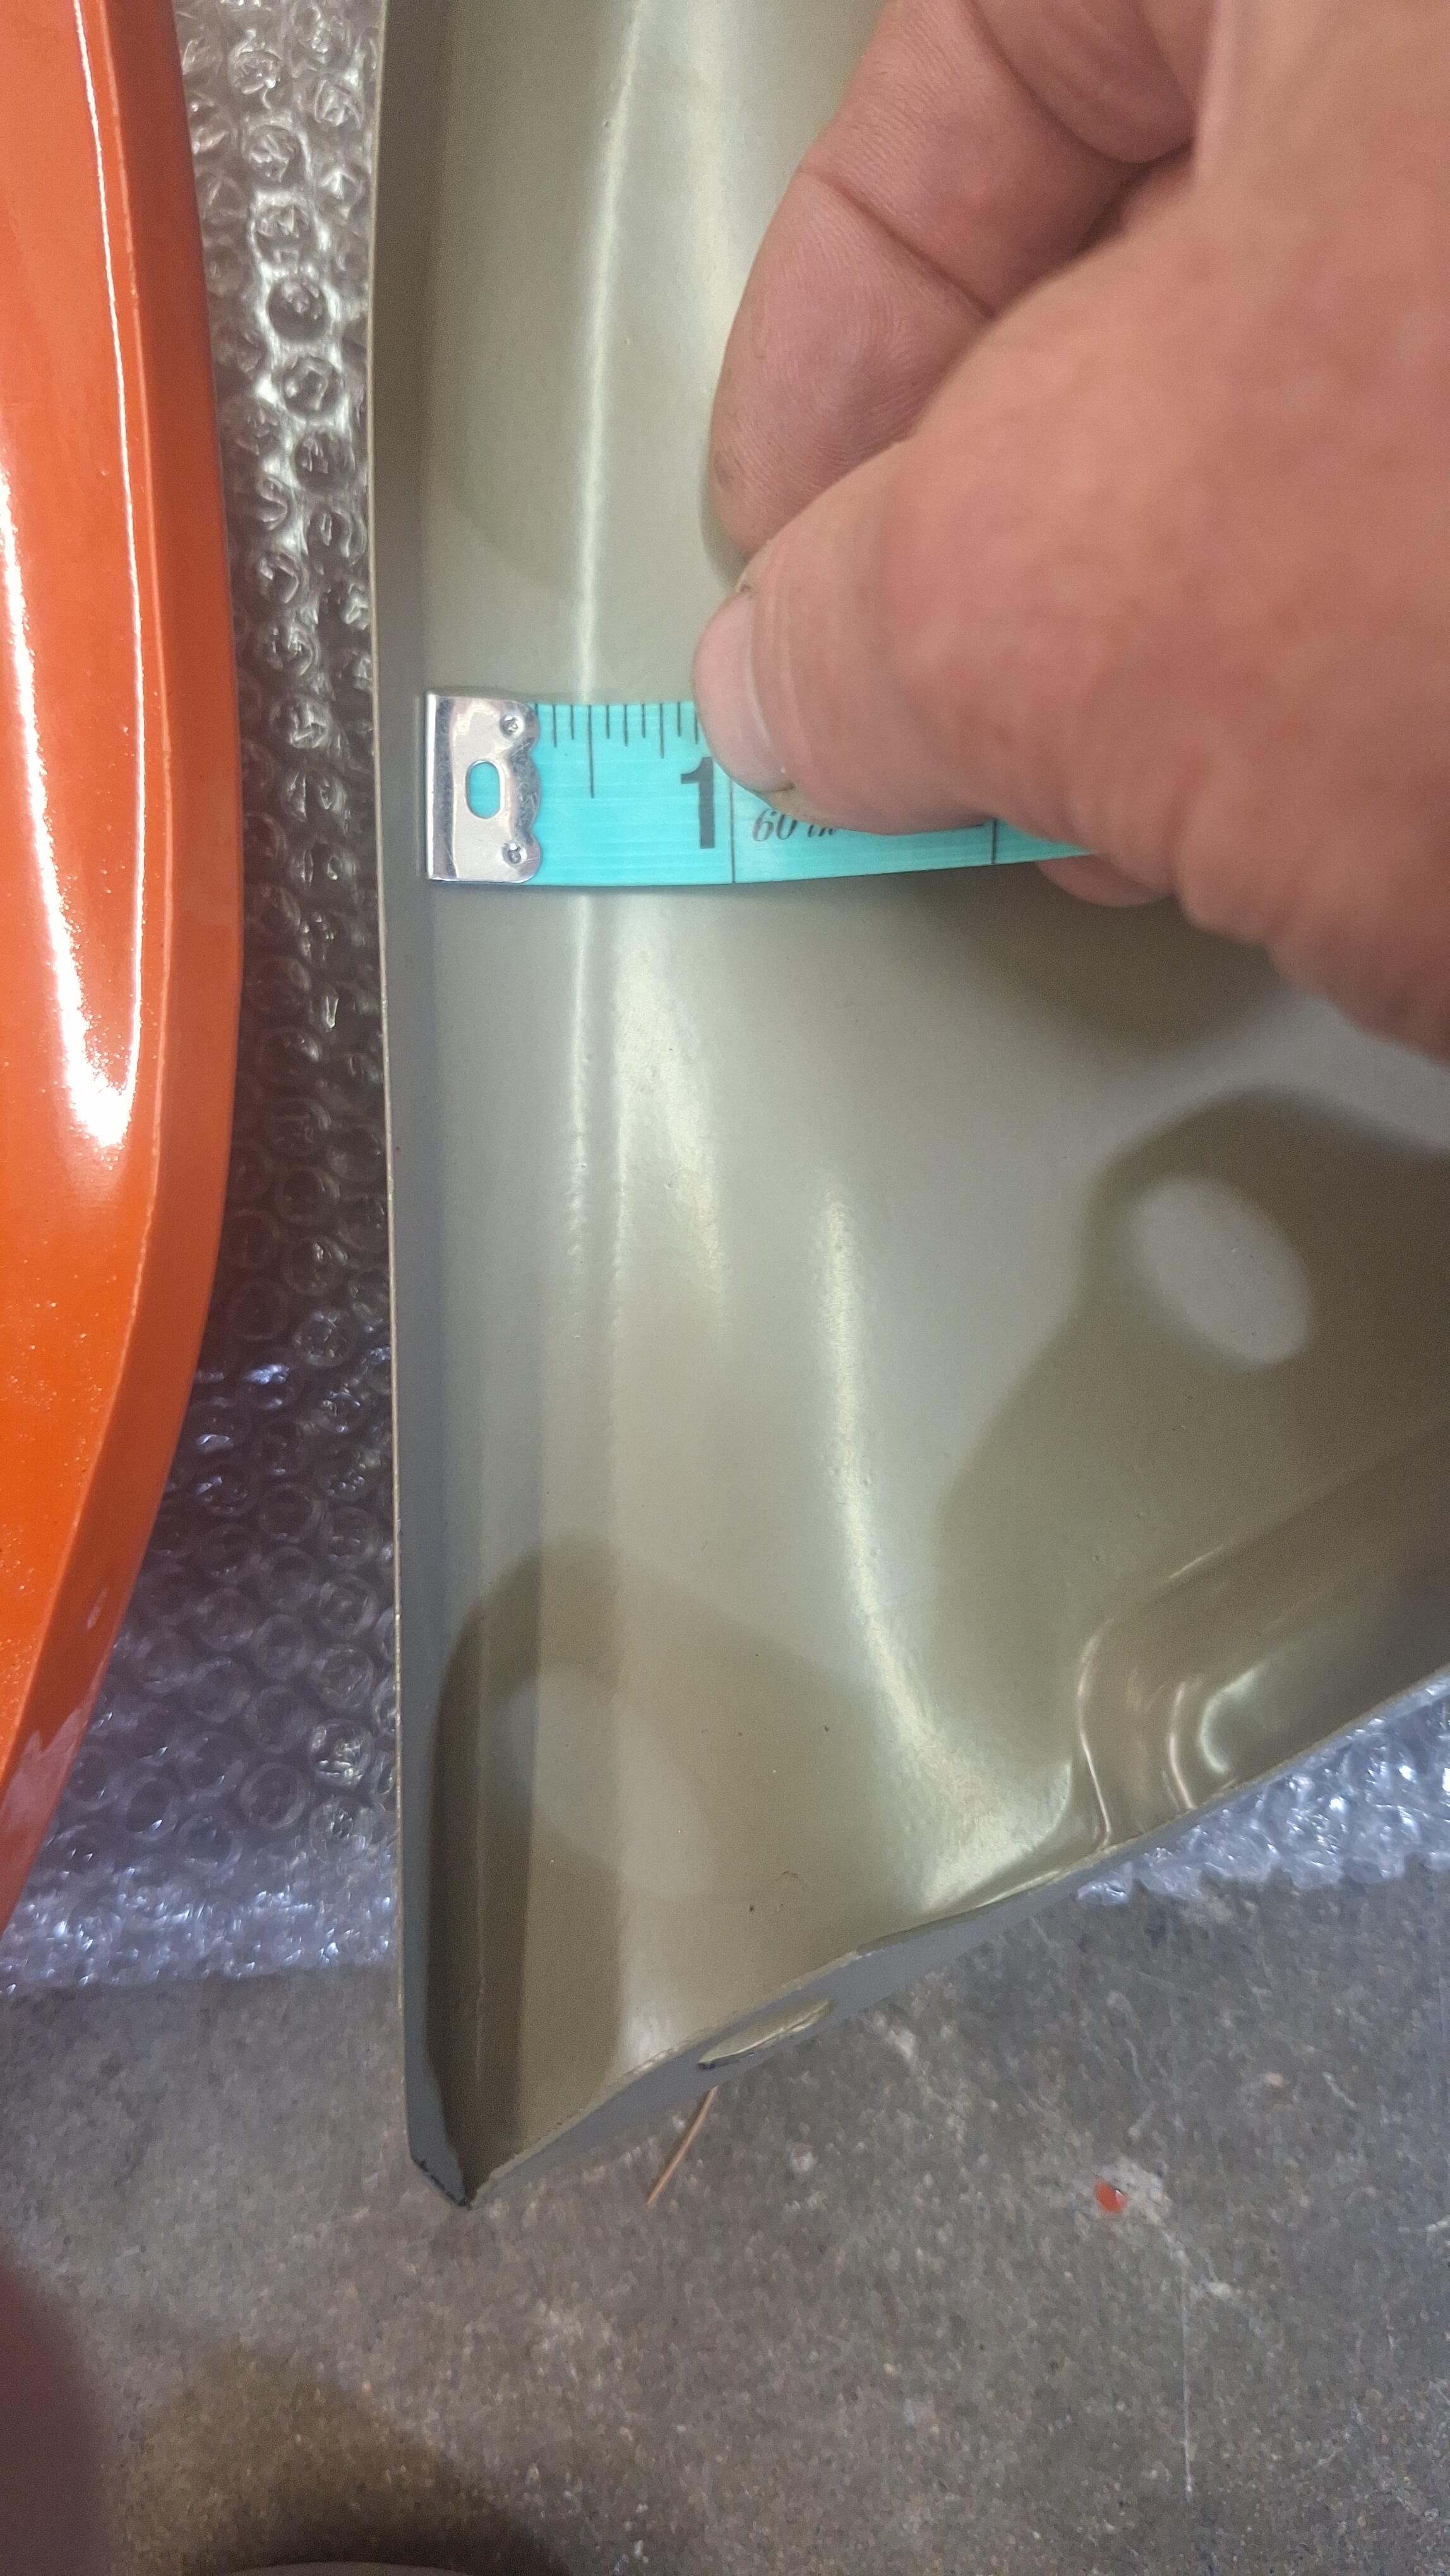
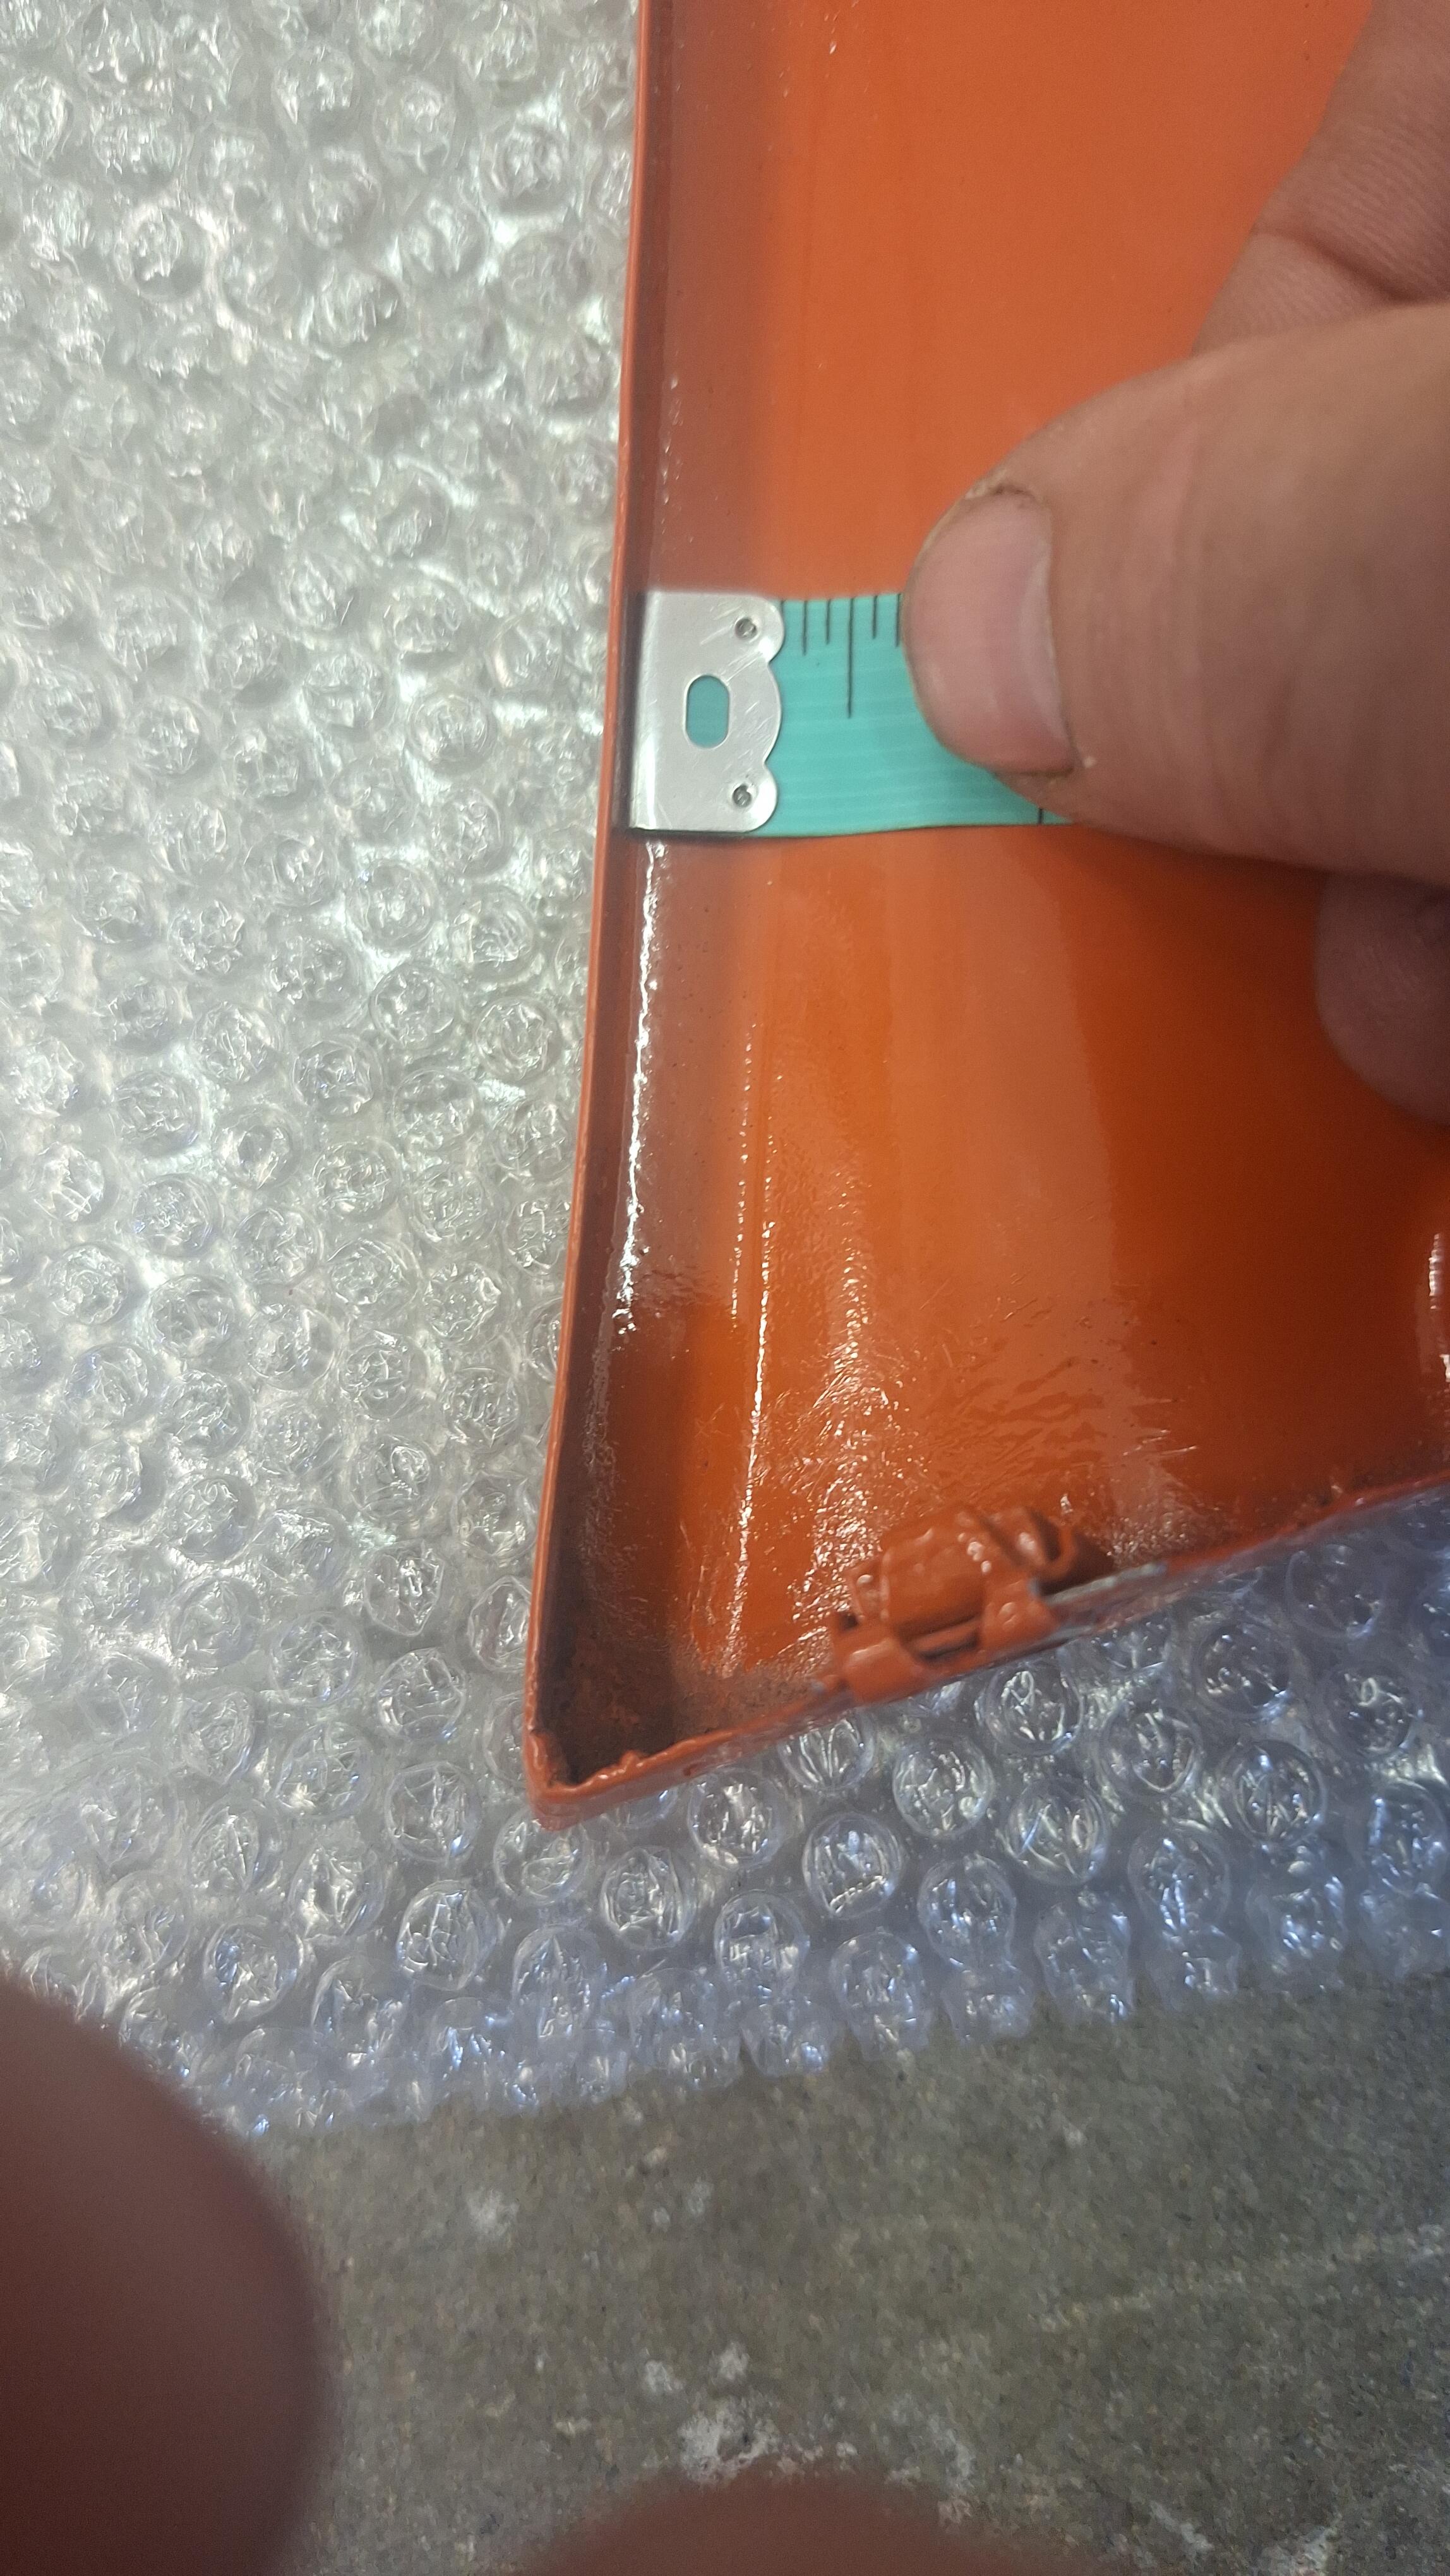
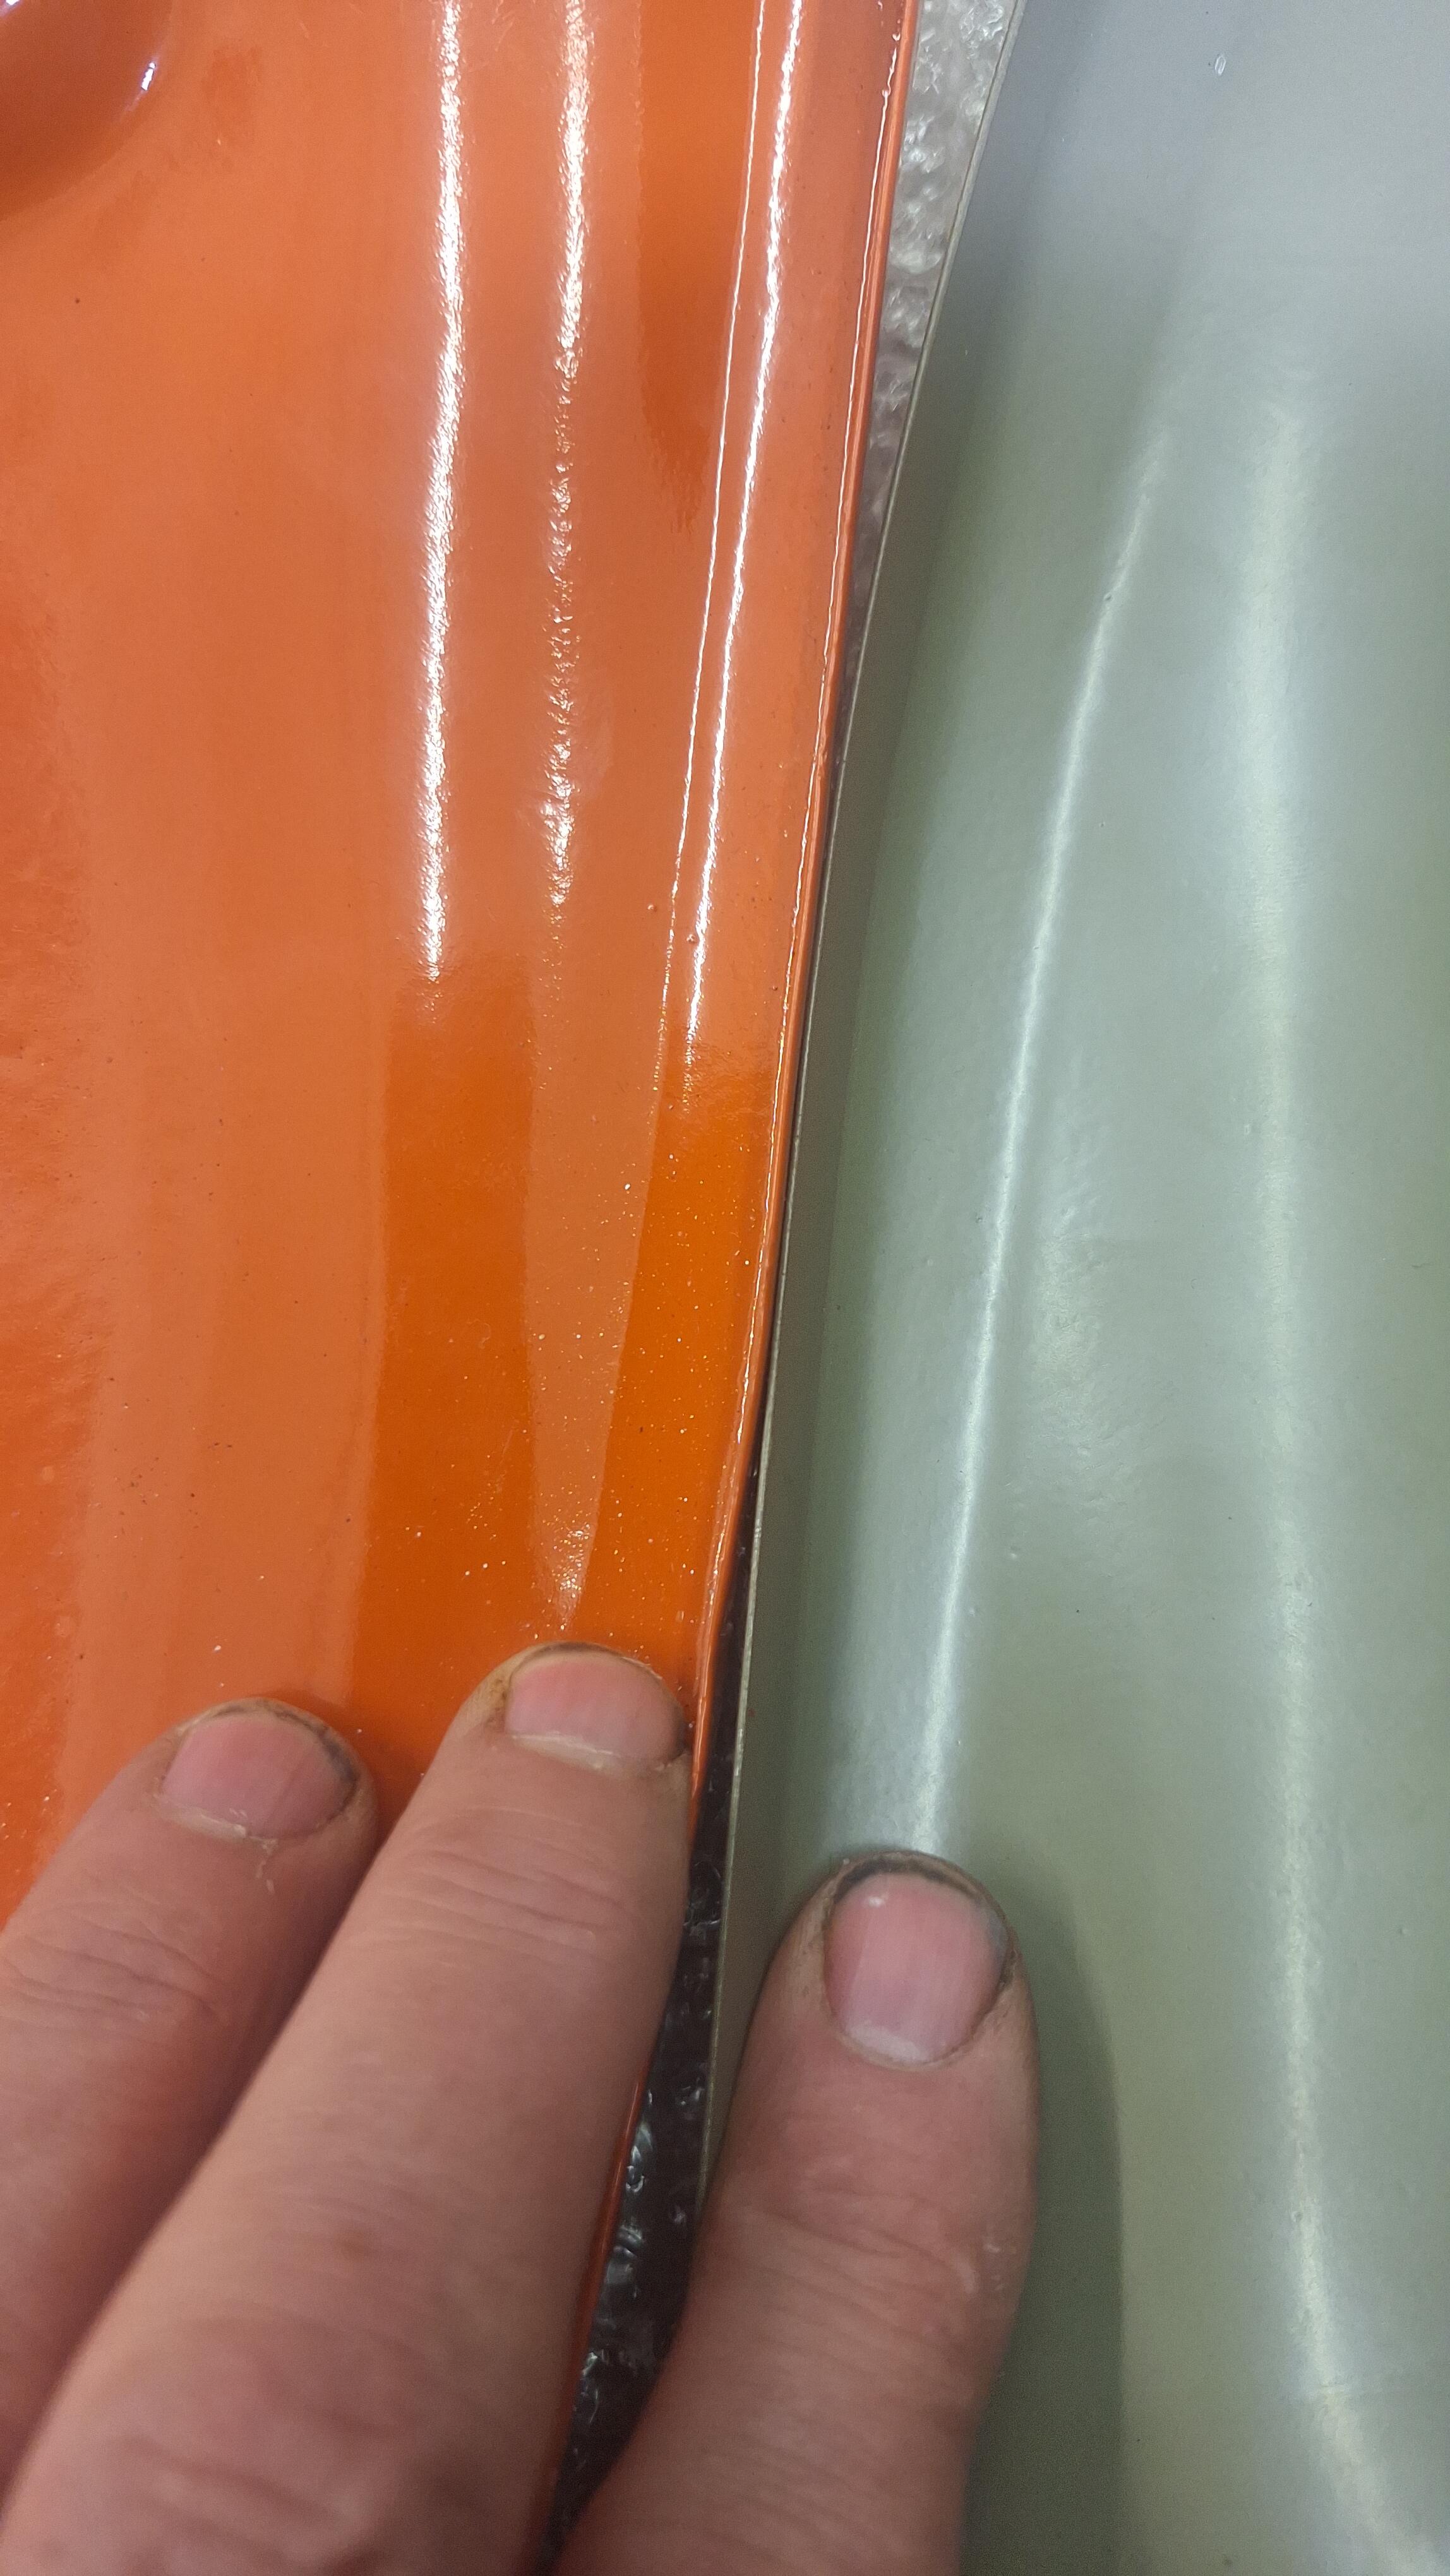
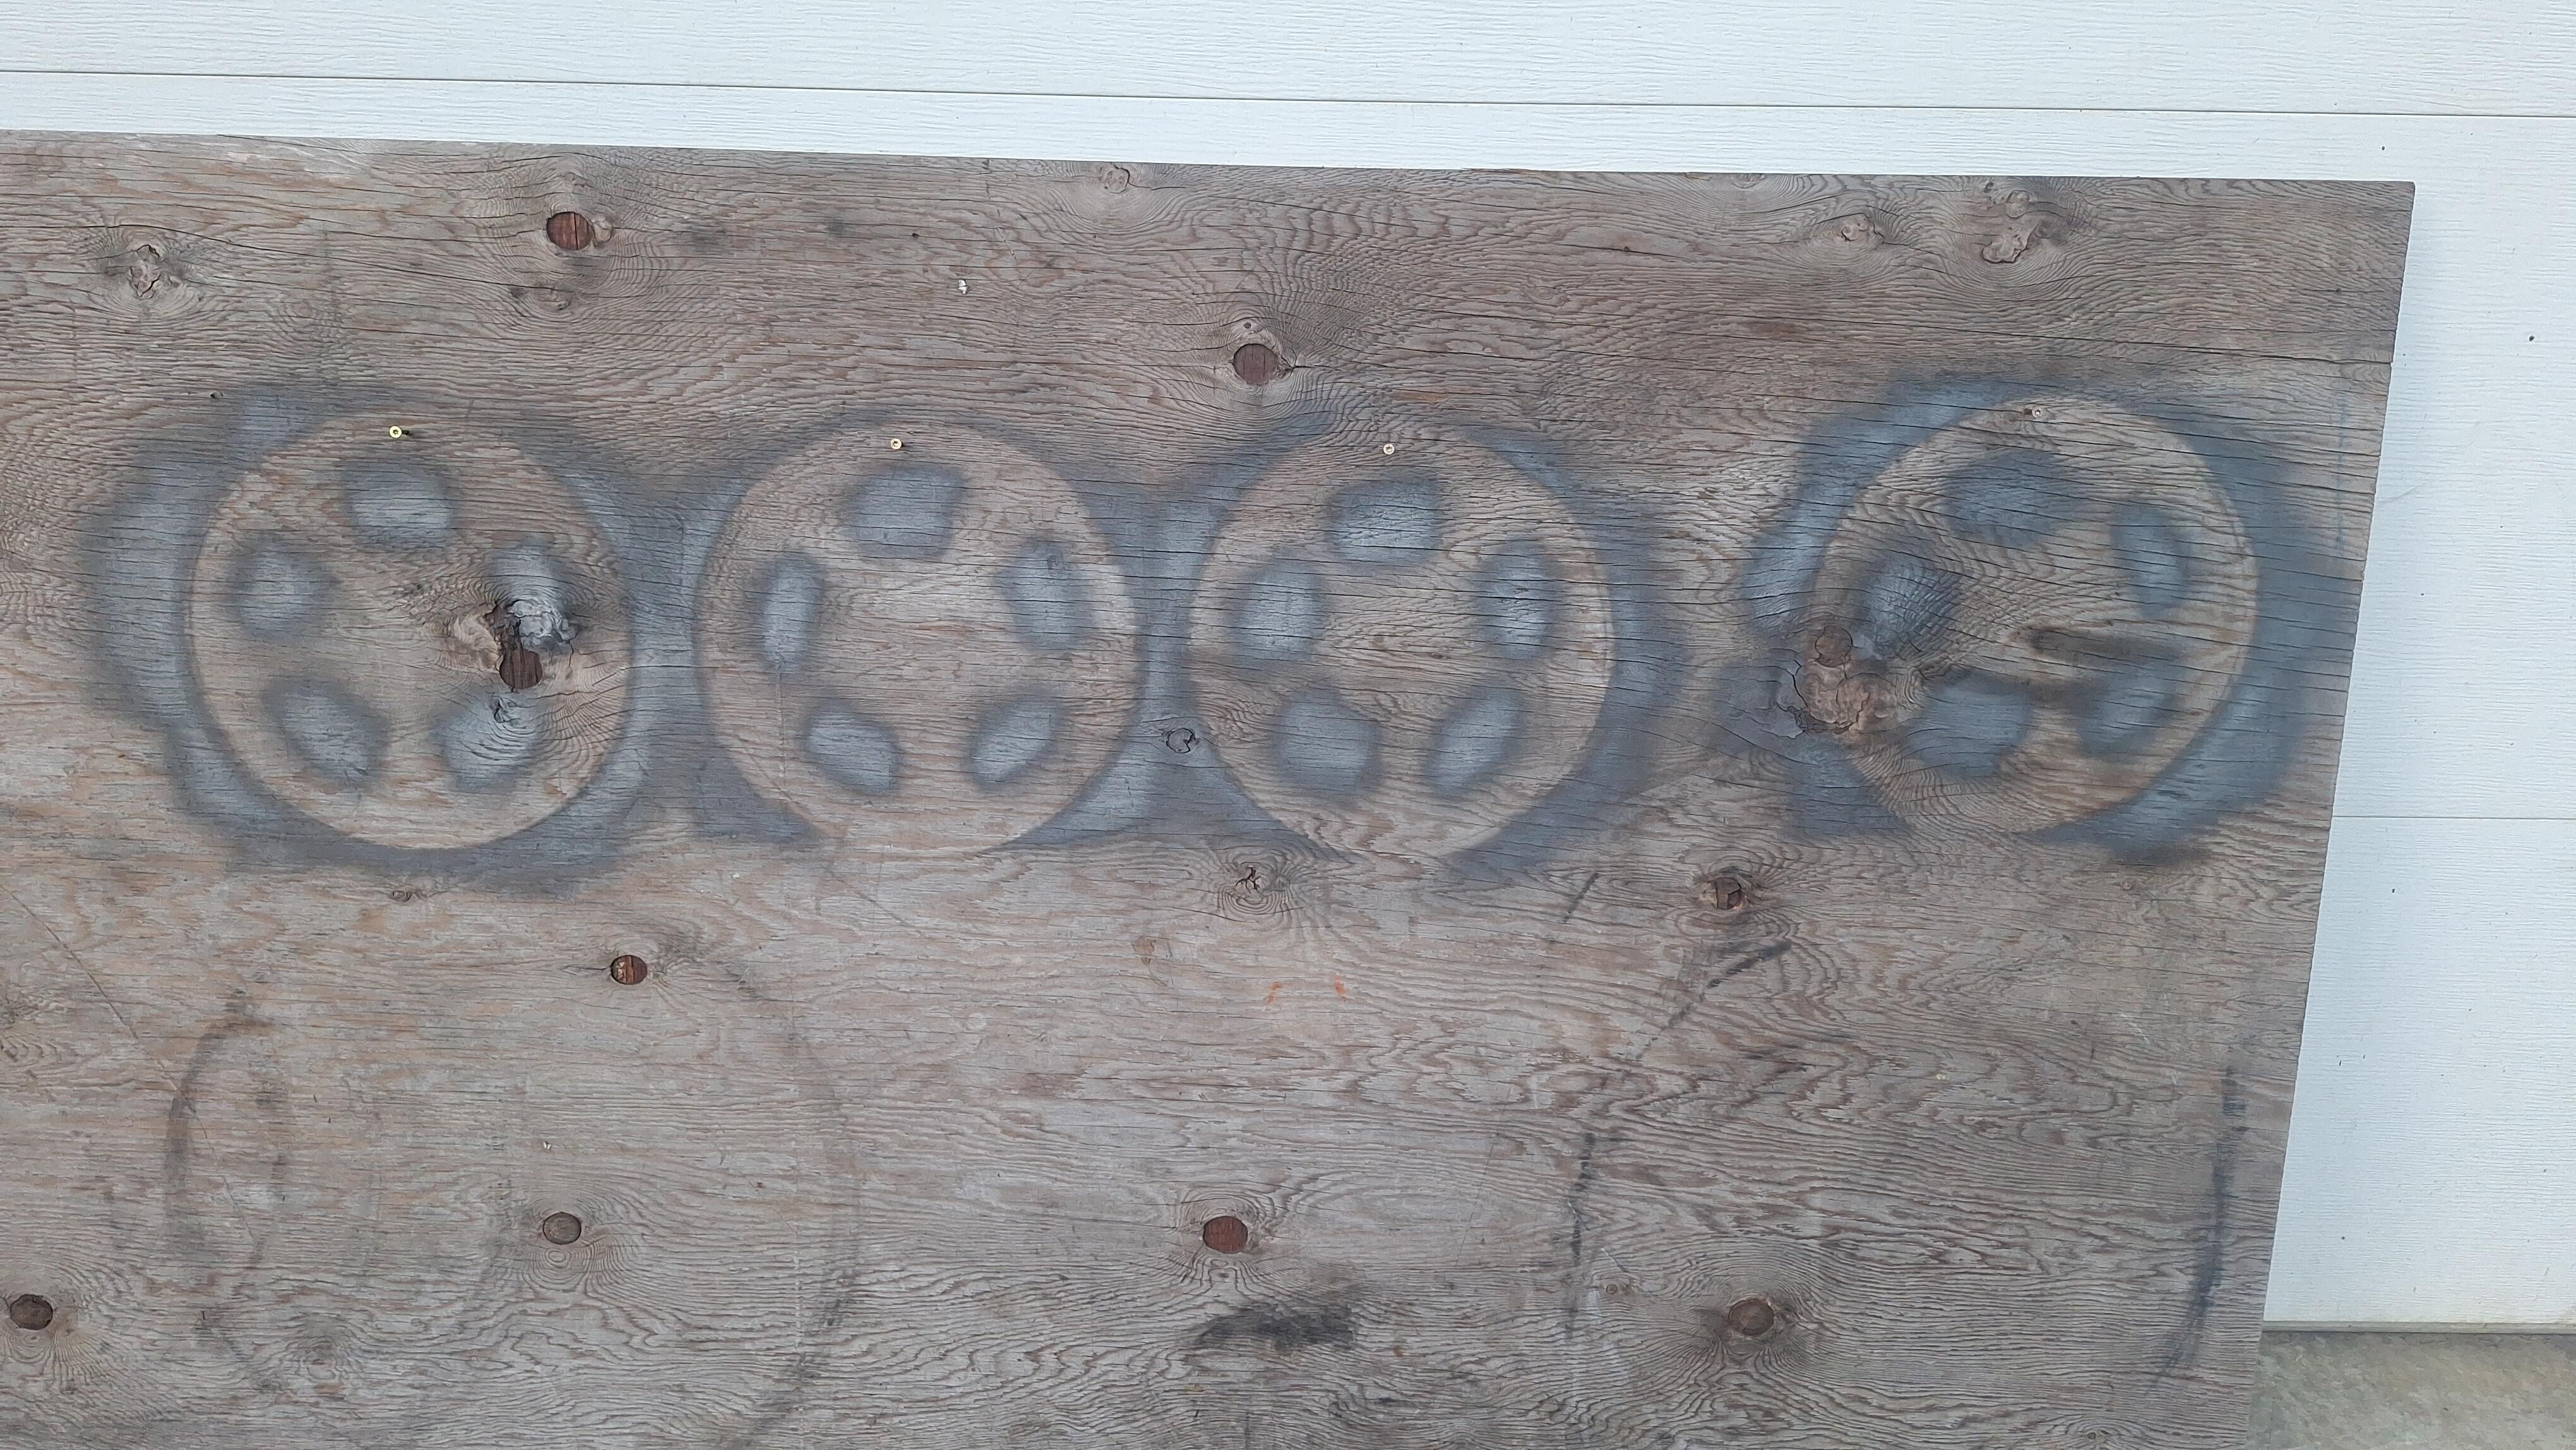
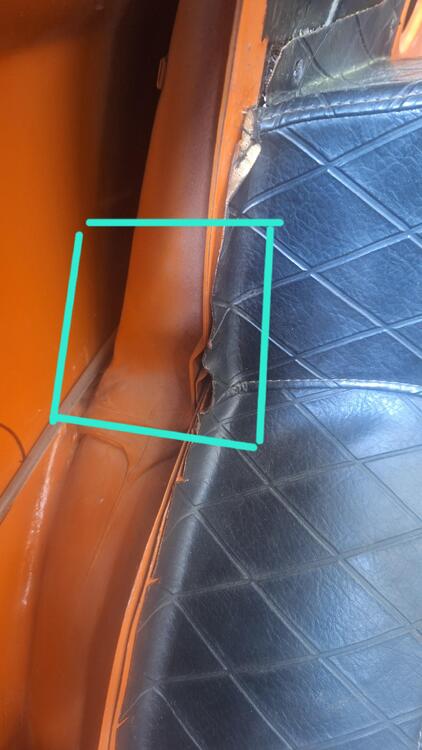
FWIW, I bought a Resurrected Classic's valance set last fall. The body line contours weren't even close. This reproduction had contours that were over 50% wider than the original and didn't match the original fenders. I sent them back the corner valances, showed them the error. No response, no refund, just crickets. I cut and welded on the center valance, moved the holes and got it to fit. Here's some photos of the corners compared to the original.


-
Looking back at pictures of my orange car, there wasn't any rubber pad on there either. There's not one shown in the parts manual. But I like the idea of putting one on there!
-
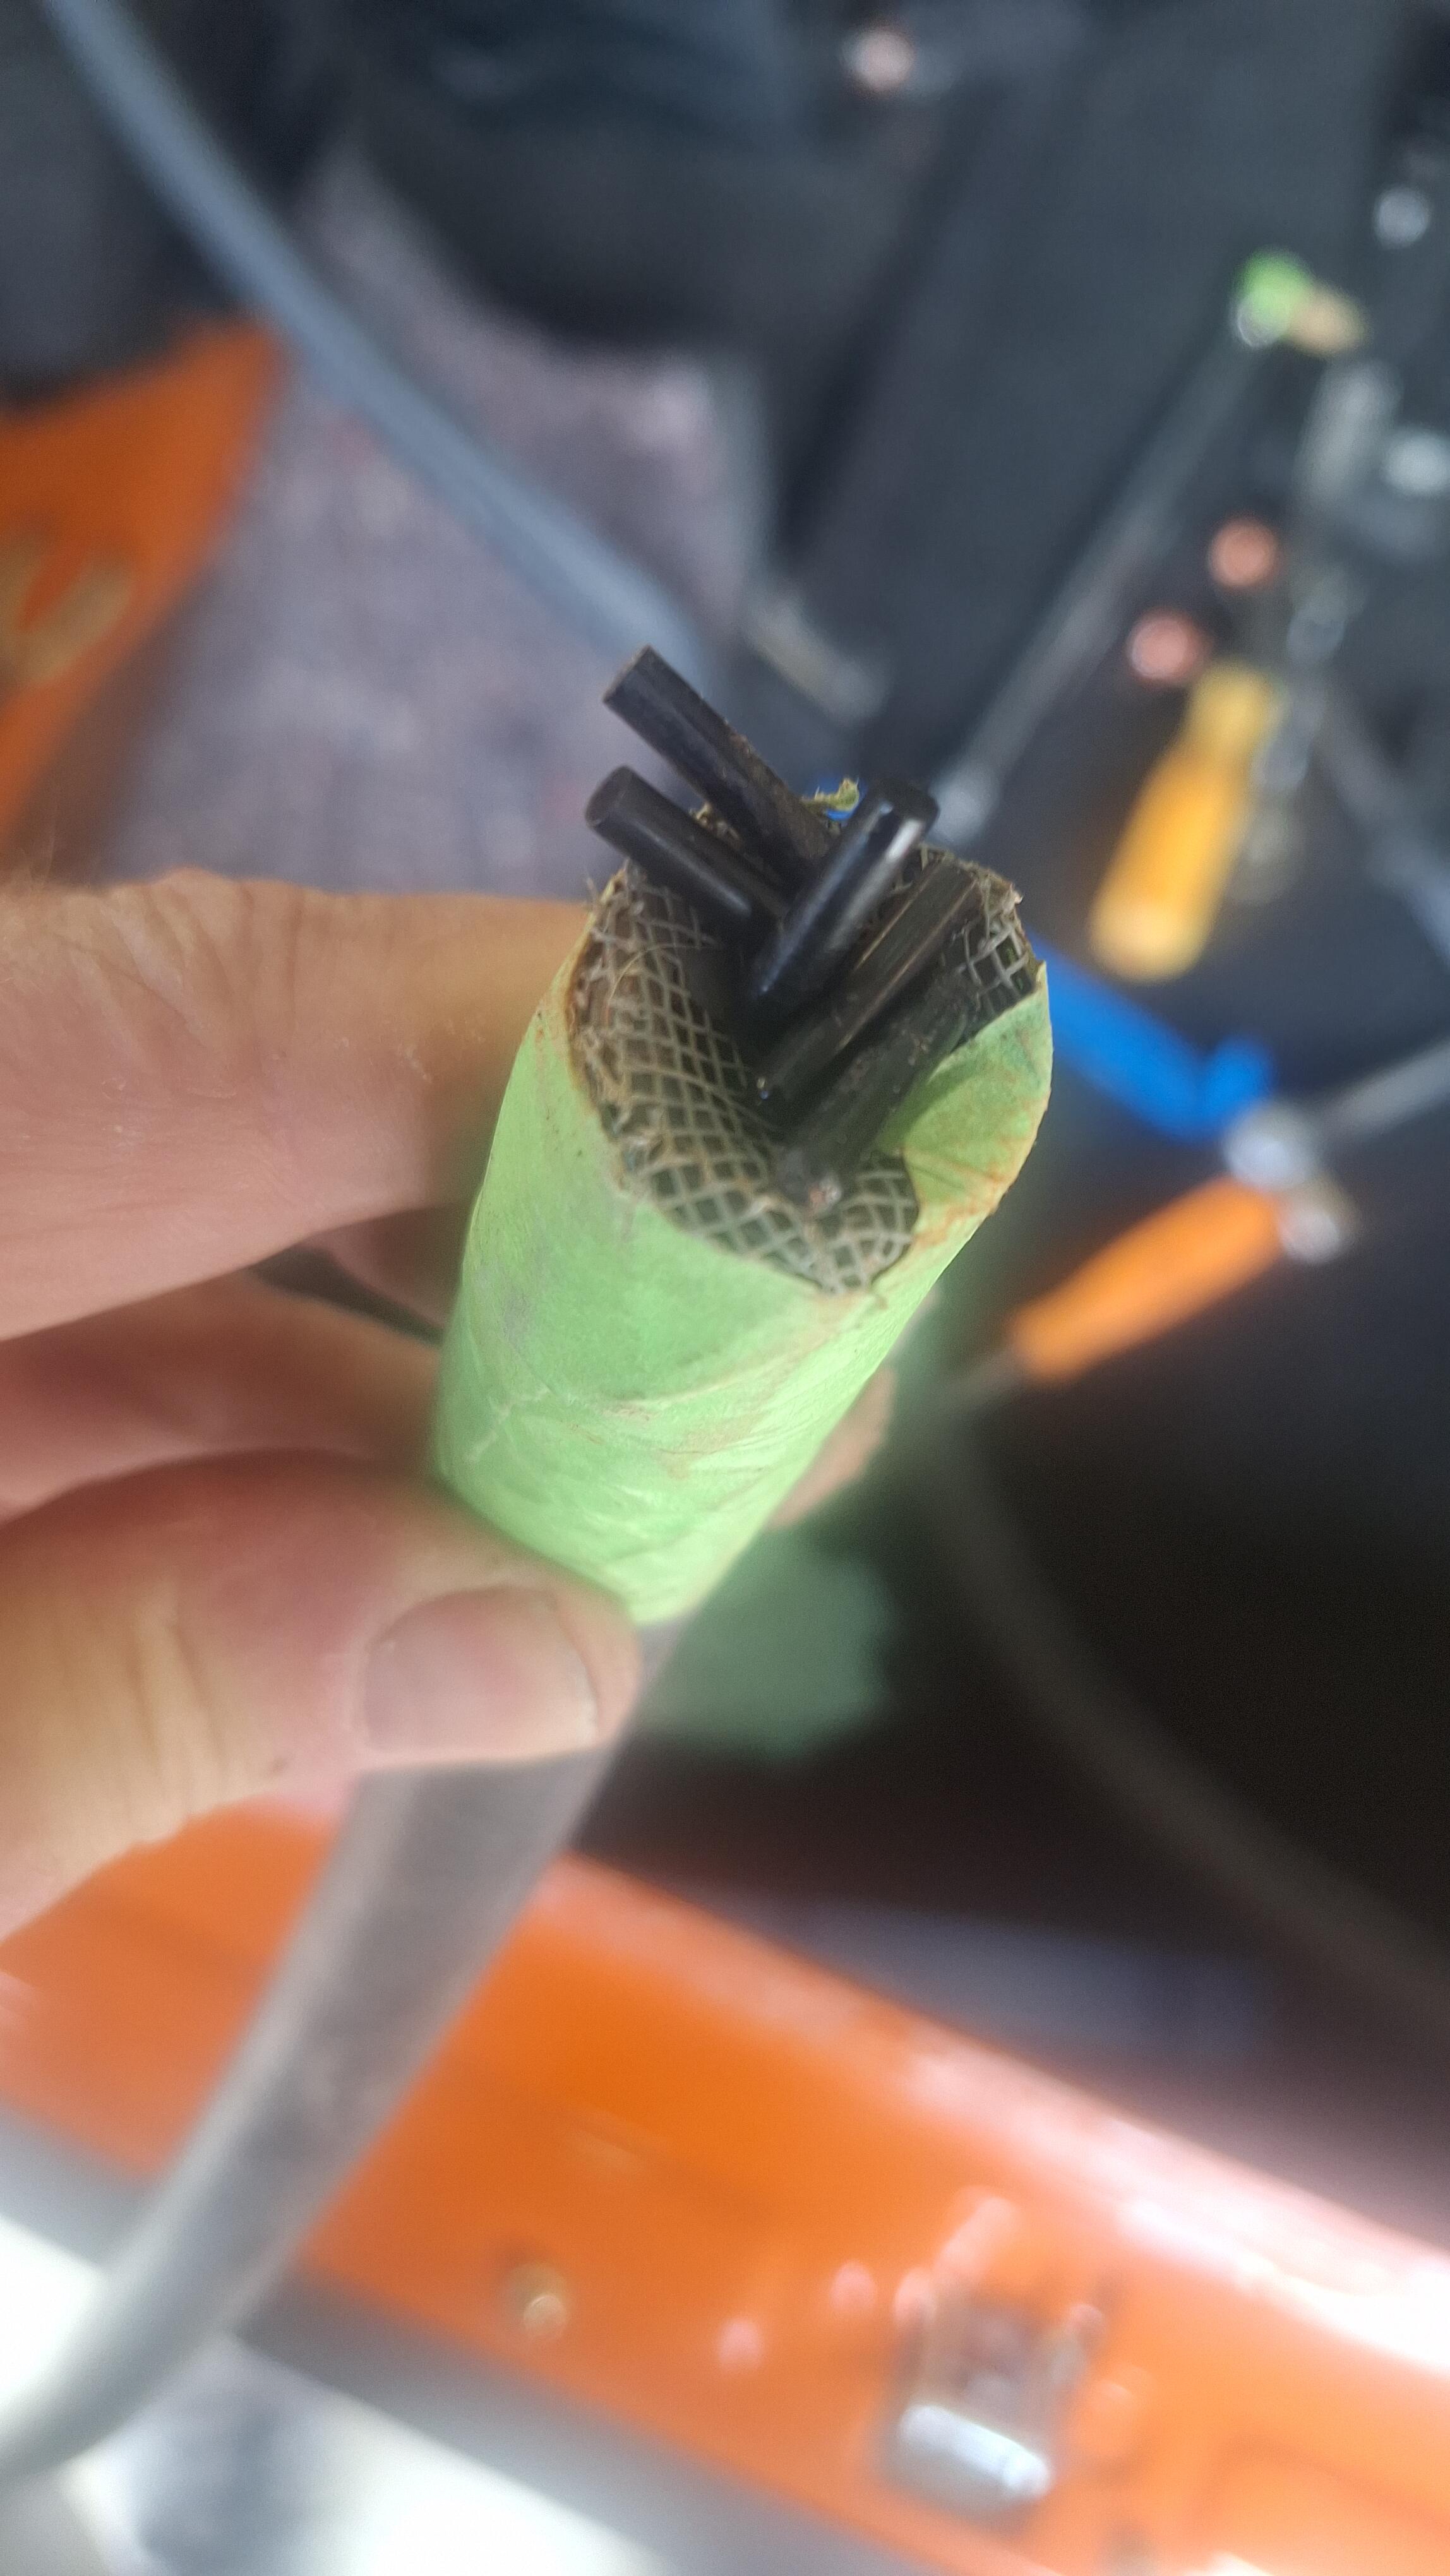
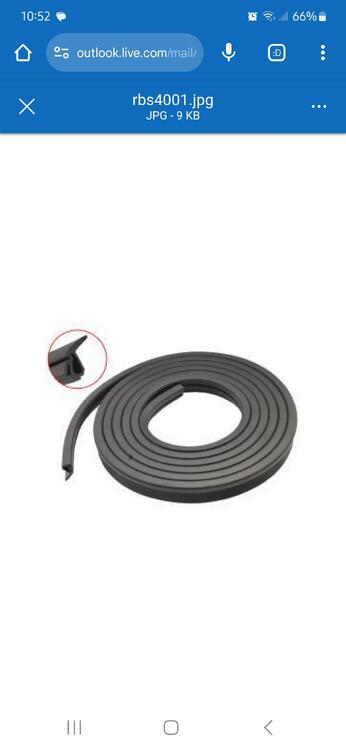
I don't think it's an original Nissan hatch seal, as it's sold by the metre. But it sure is better than what I had. It's not a simple seal swap like it would be for the doors. There's 6 interior panels to remove, then the adhesive. Then there's all those push pin clips, oh, I found out where some of those pins are going, I found the mother load. I think I got 14 of them from this one spot with a piece of radiator hose taped to my shop vac and a piece of screen taped over the end.

-
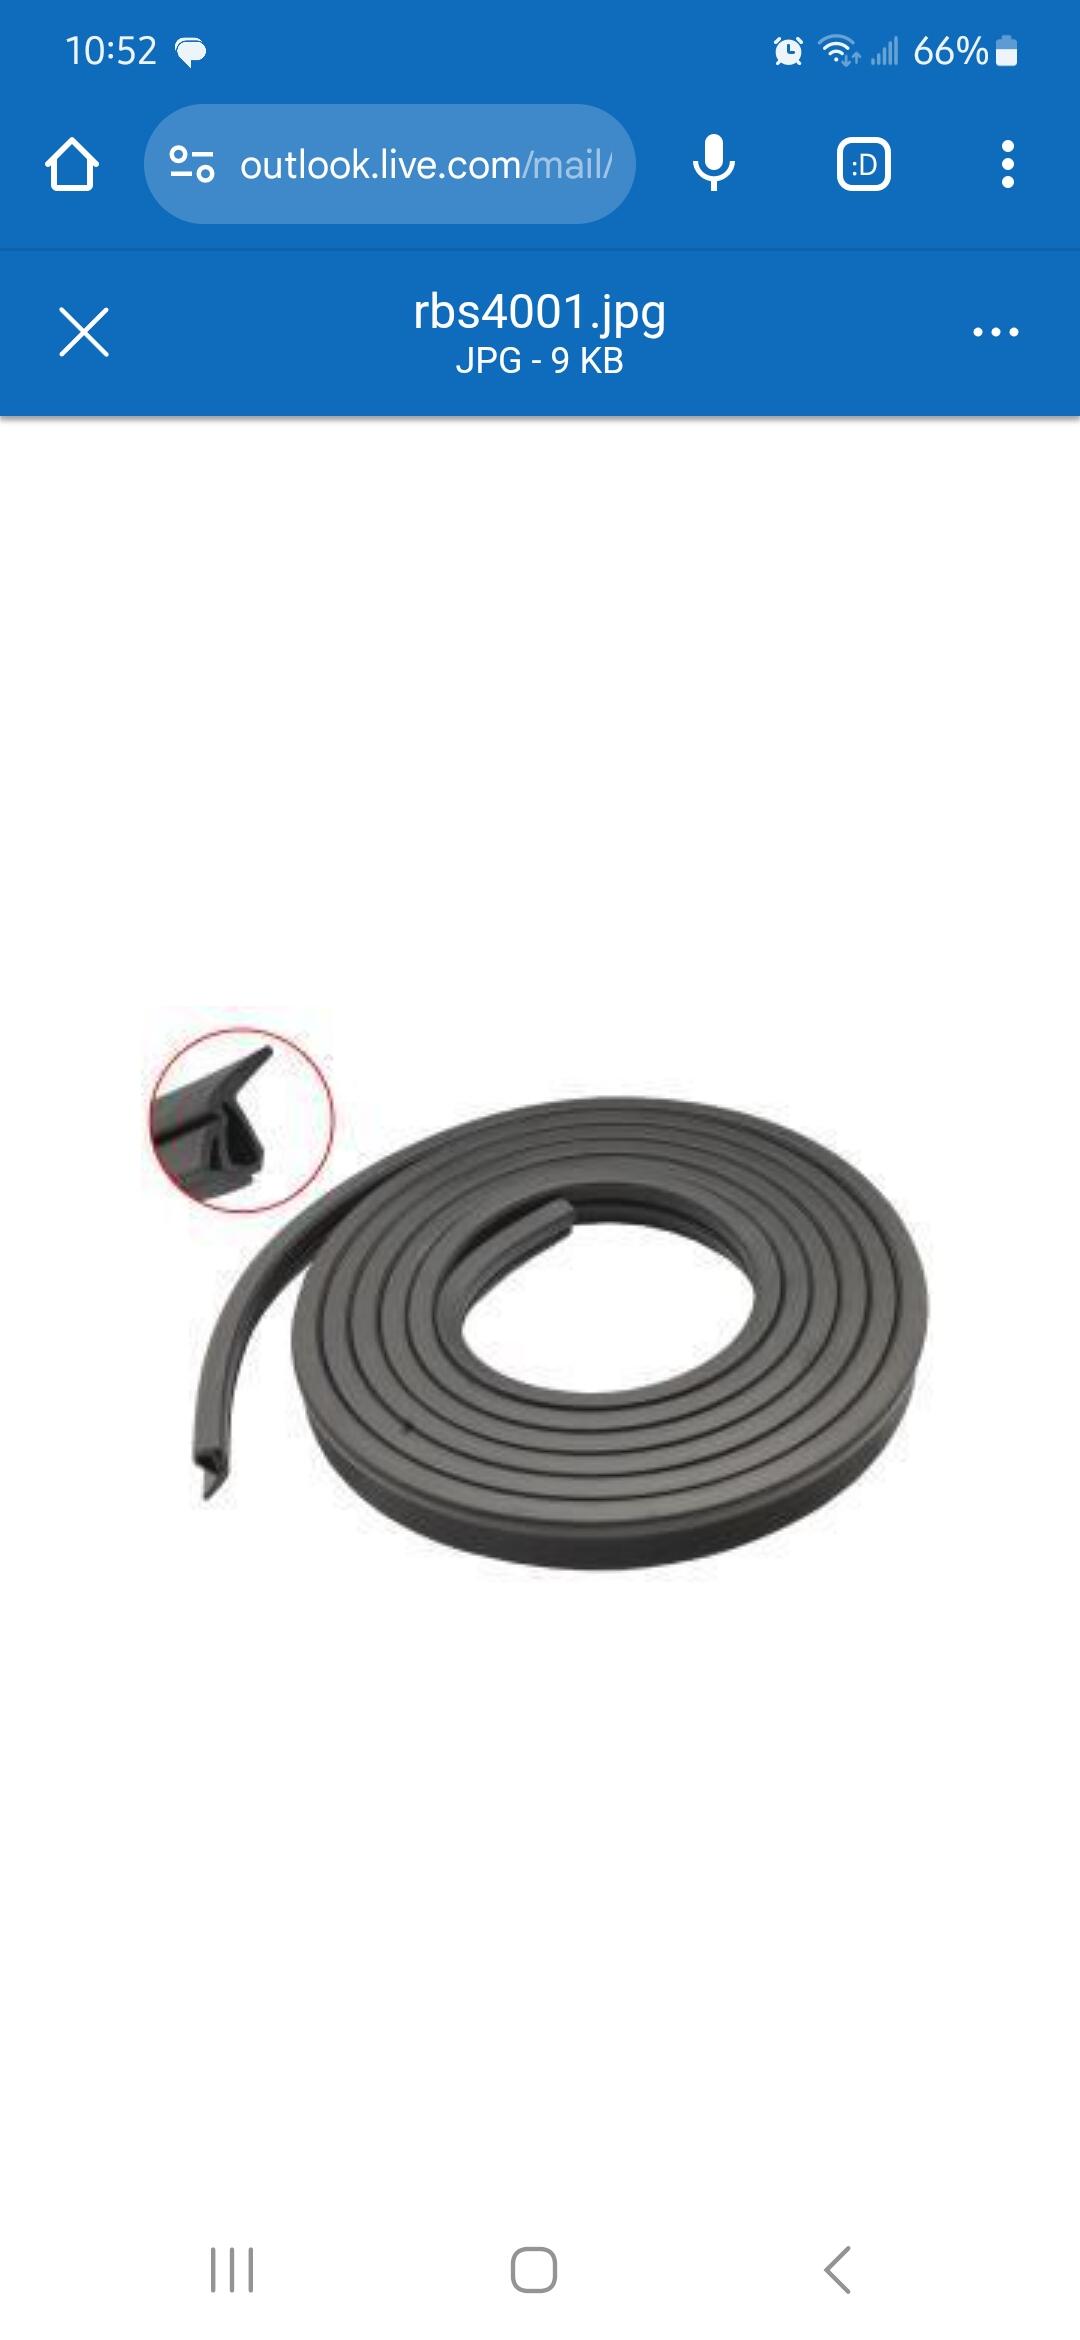
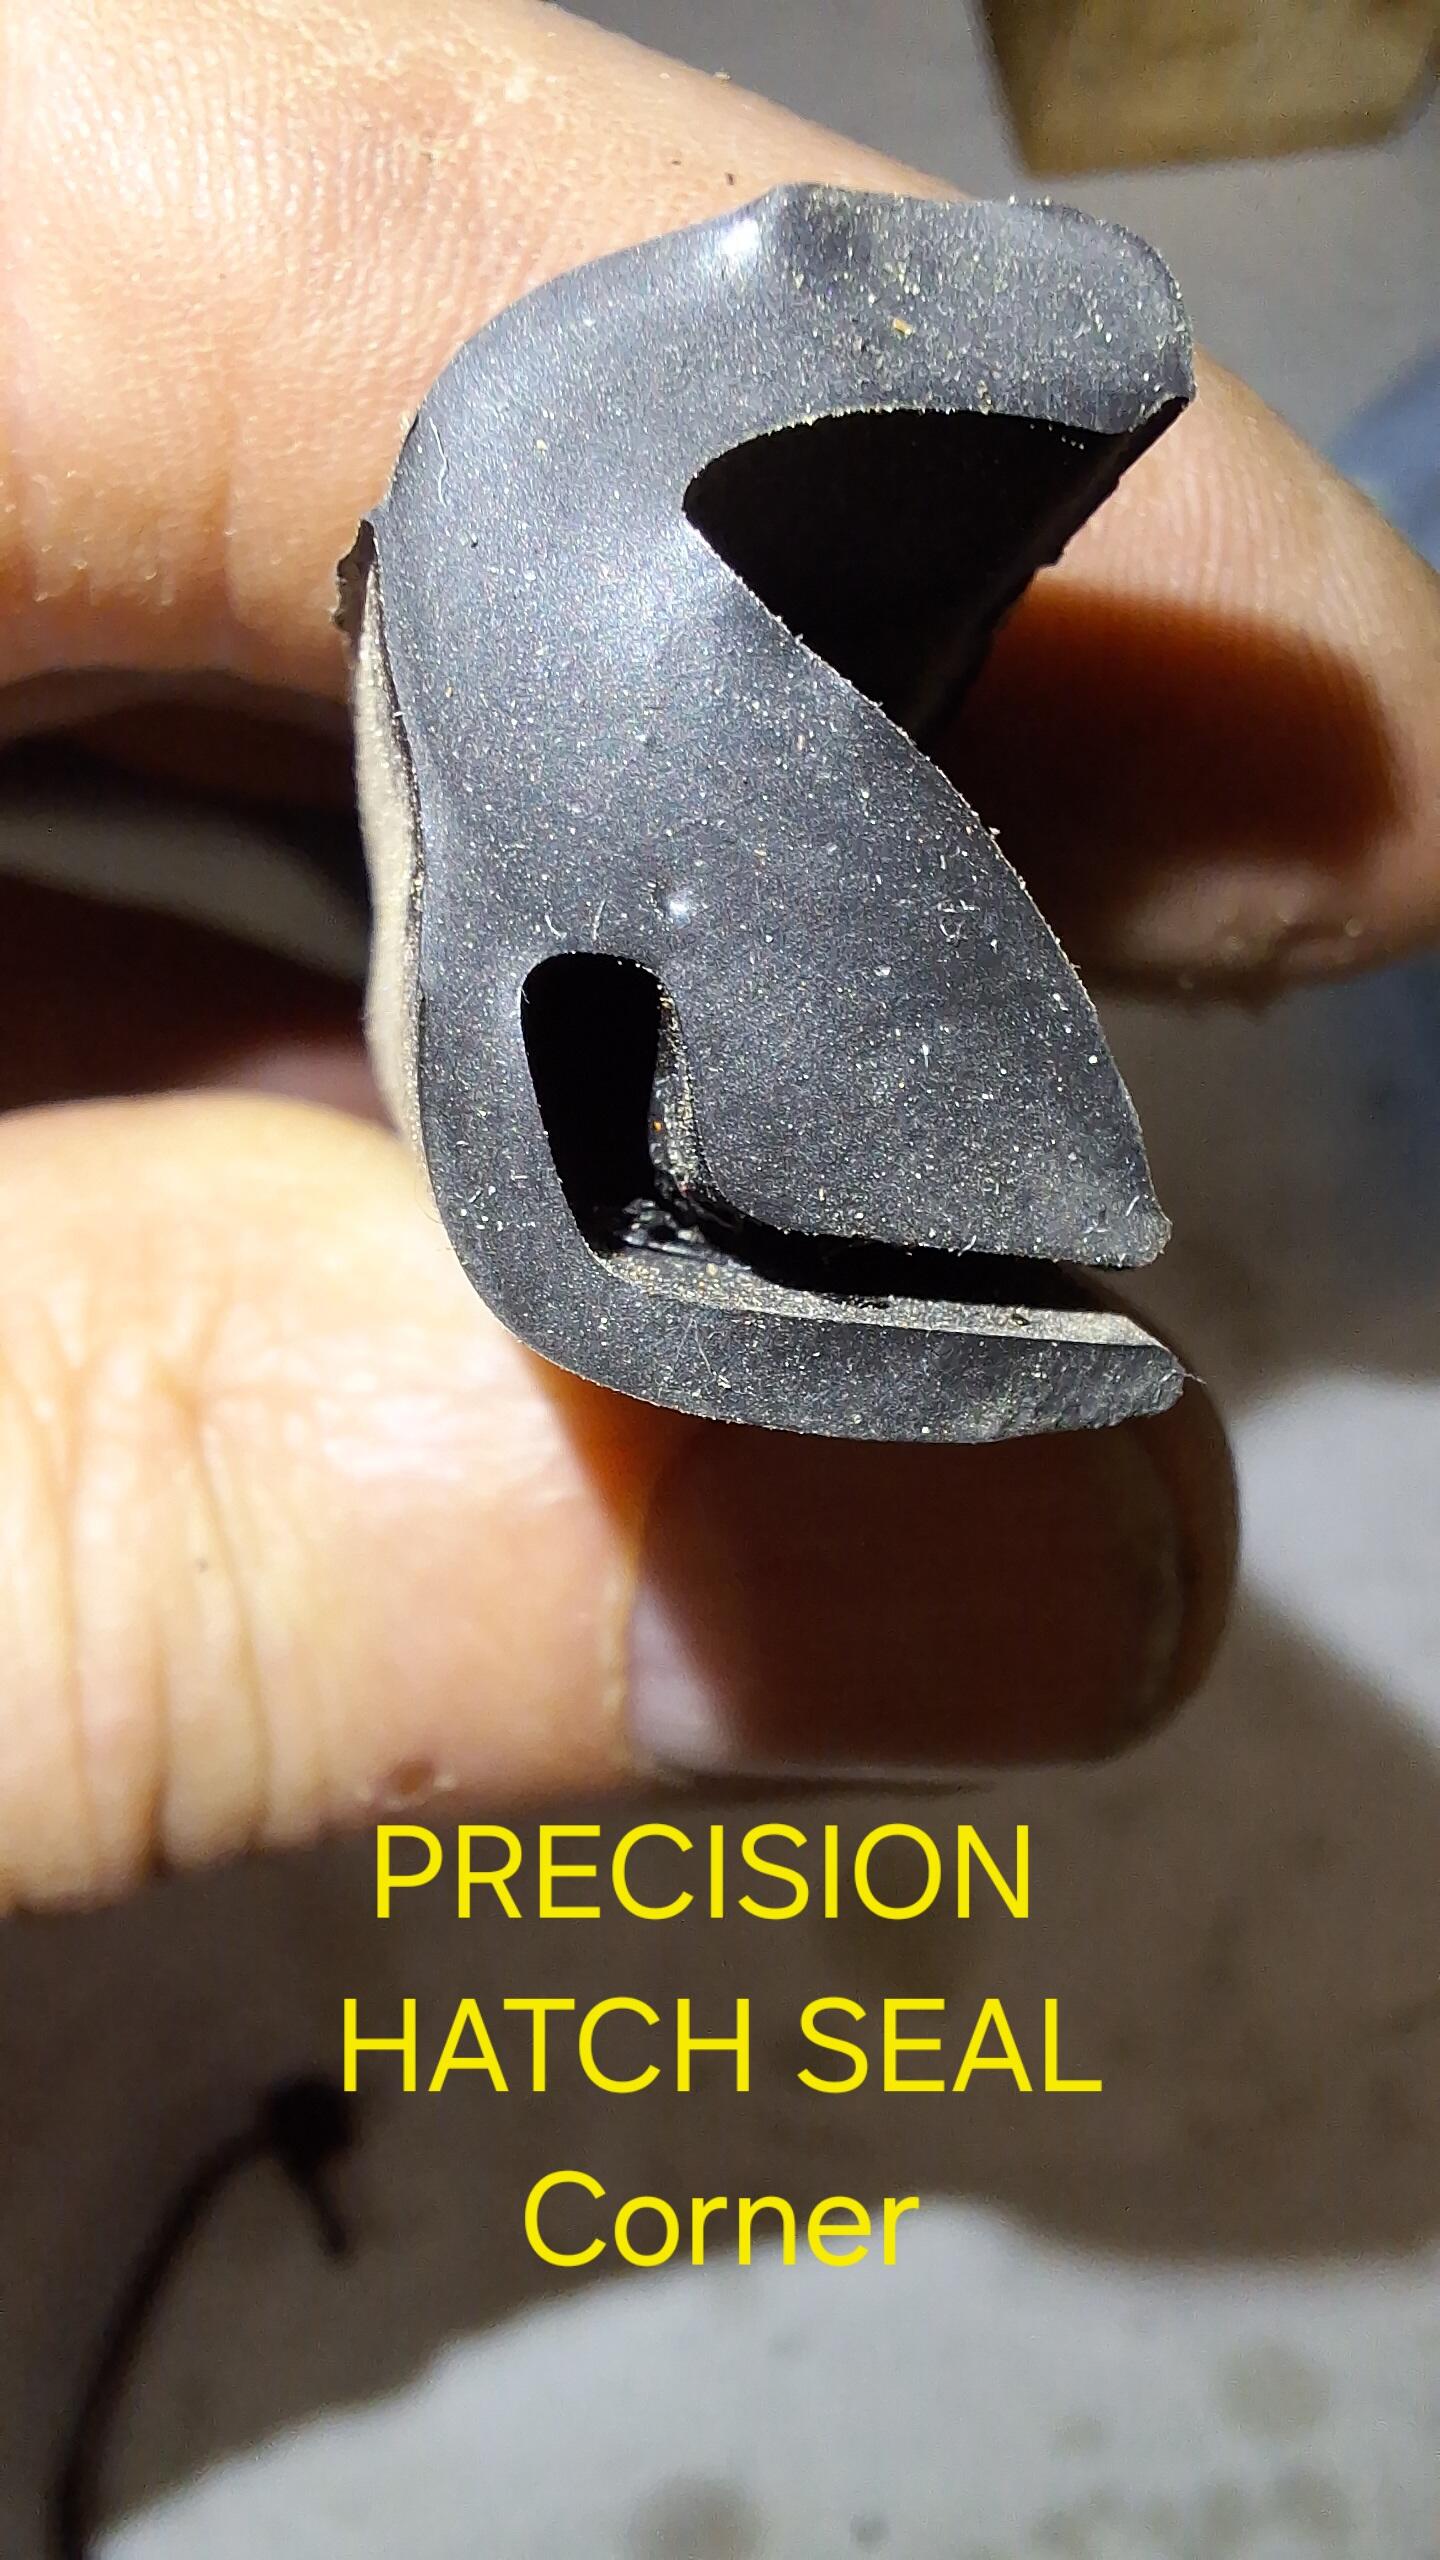
I was going to try it out first, but I just finished installing it and the seal fit like a glove. I think I read on their website that they may be going out of business soon. It's part# 864.131

-
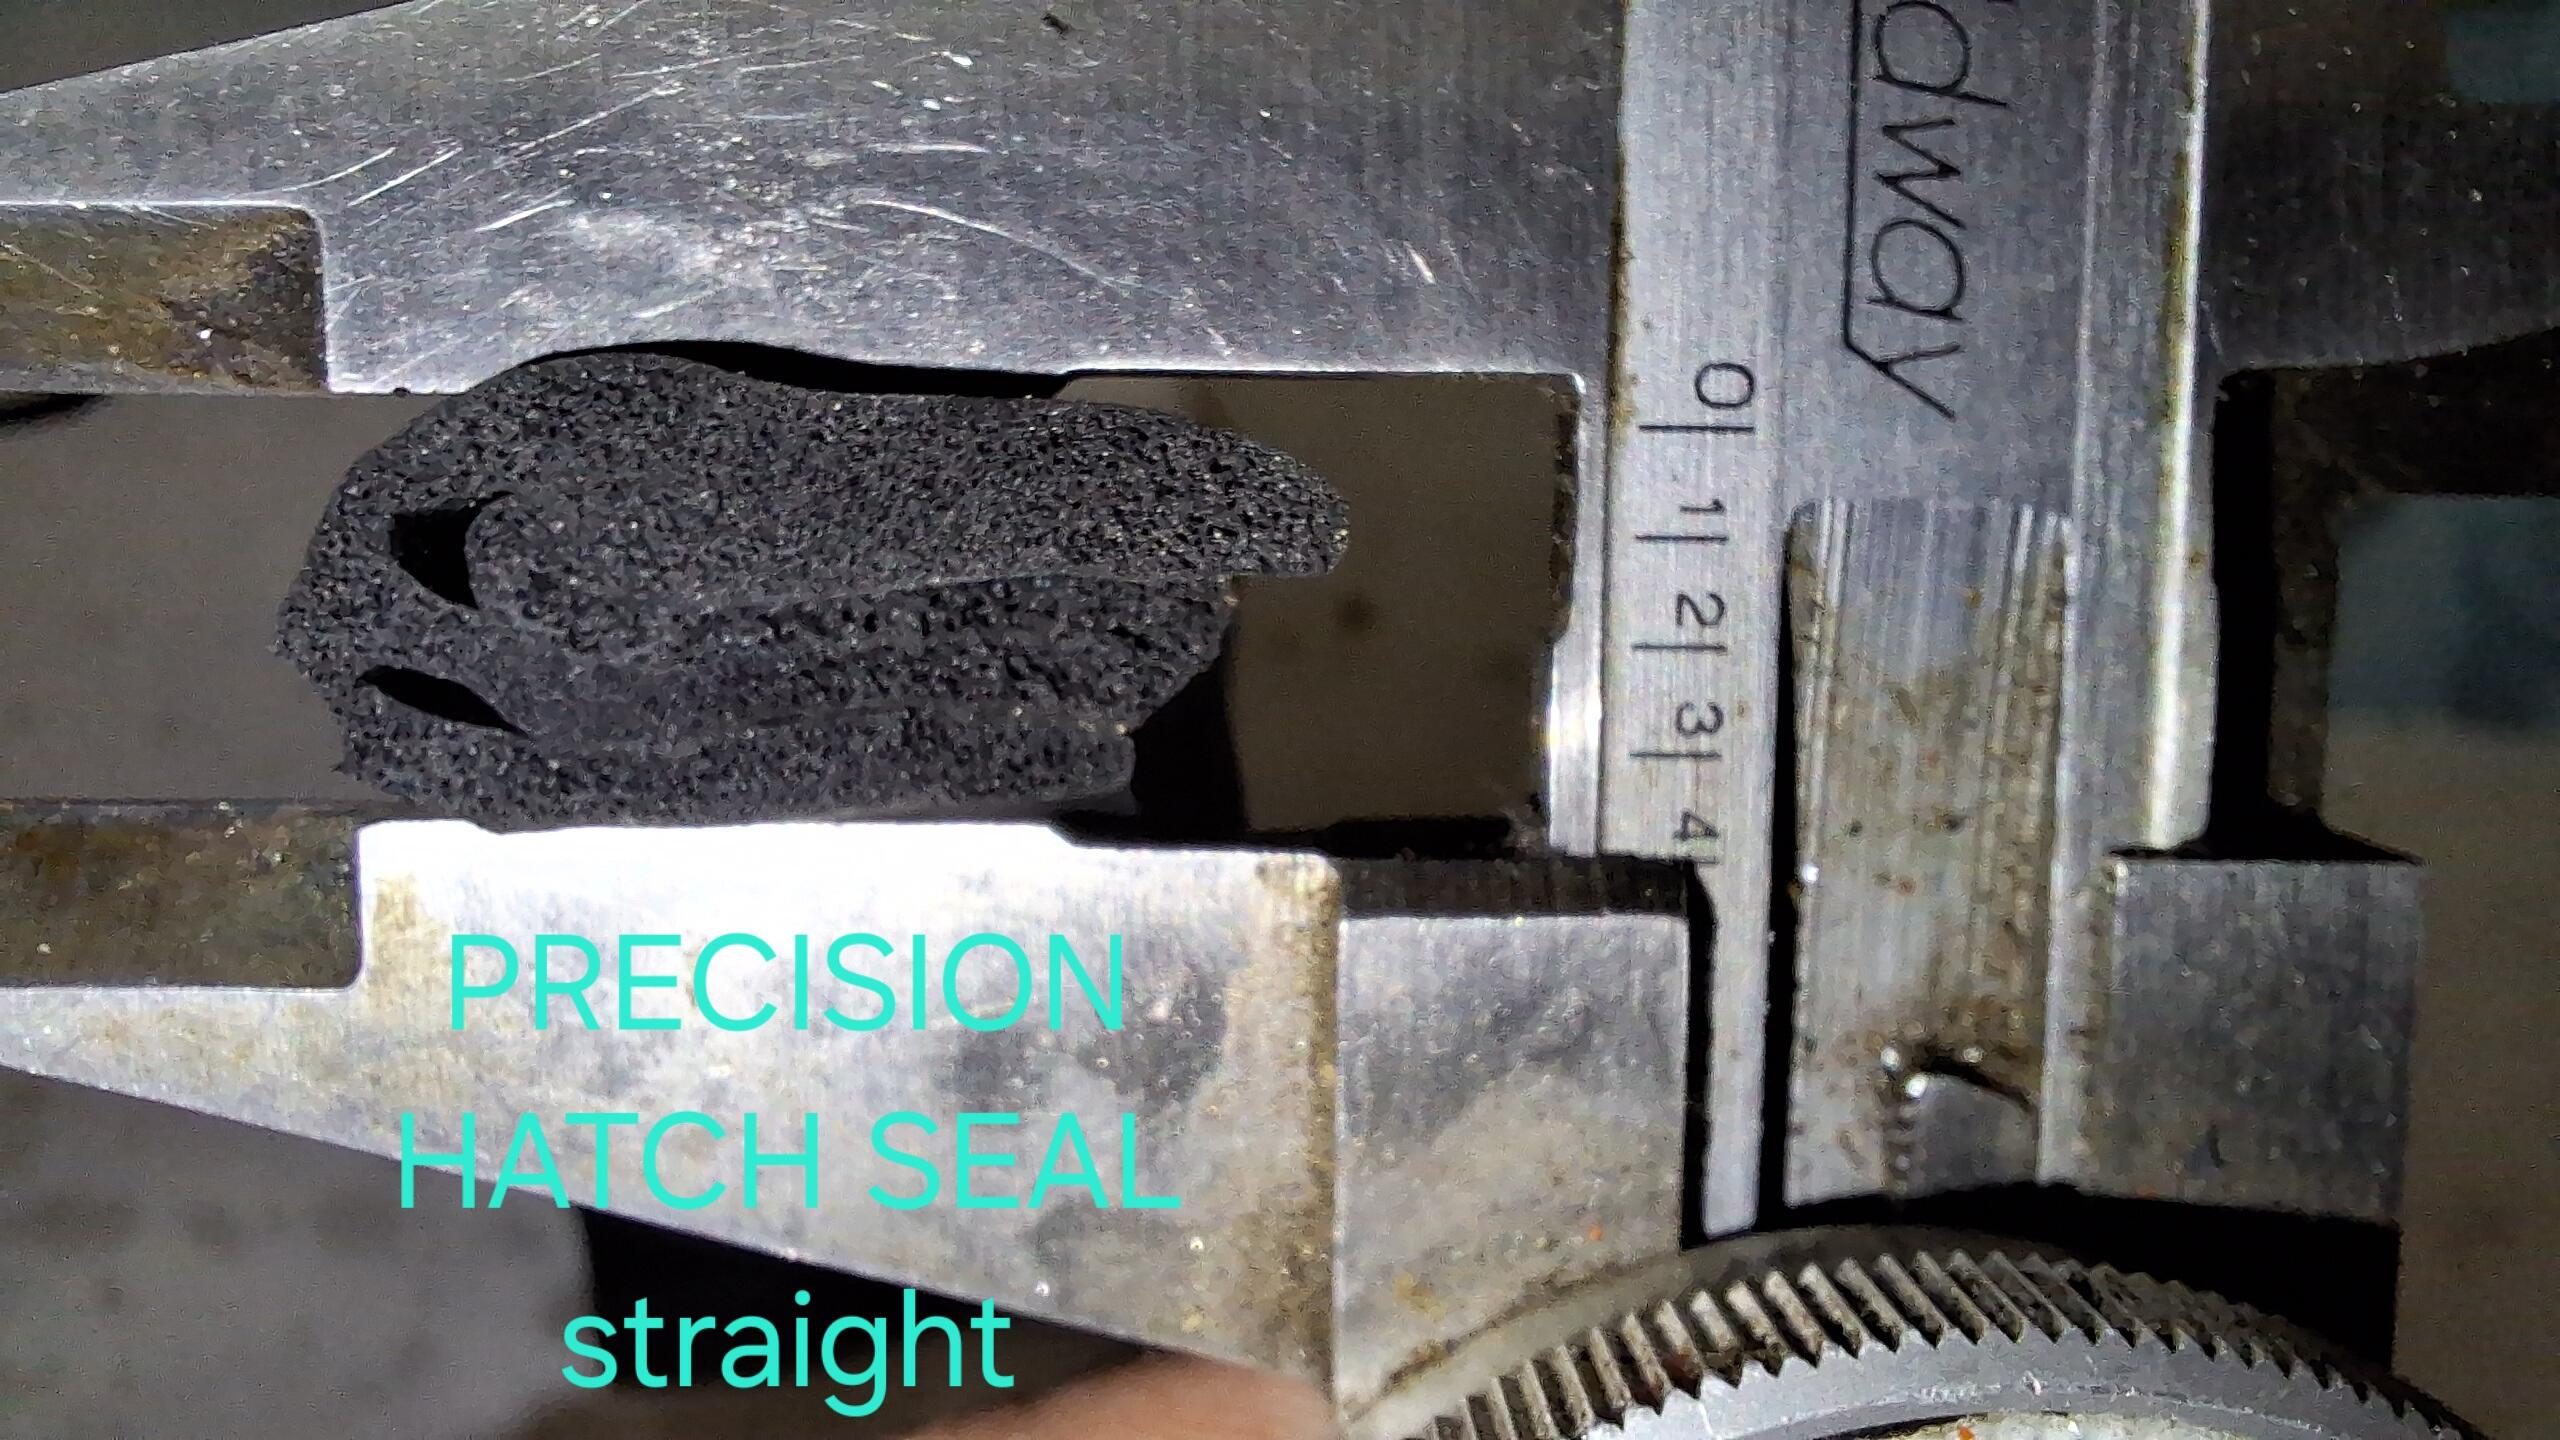
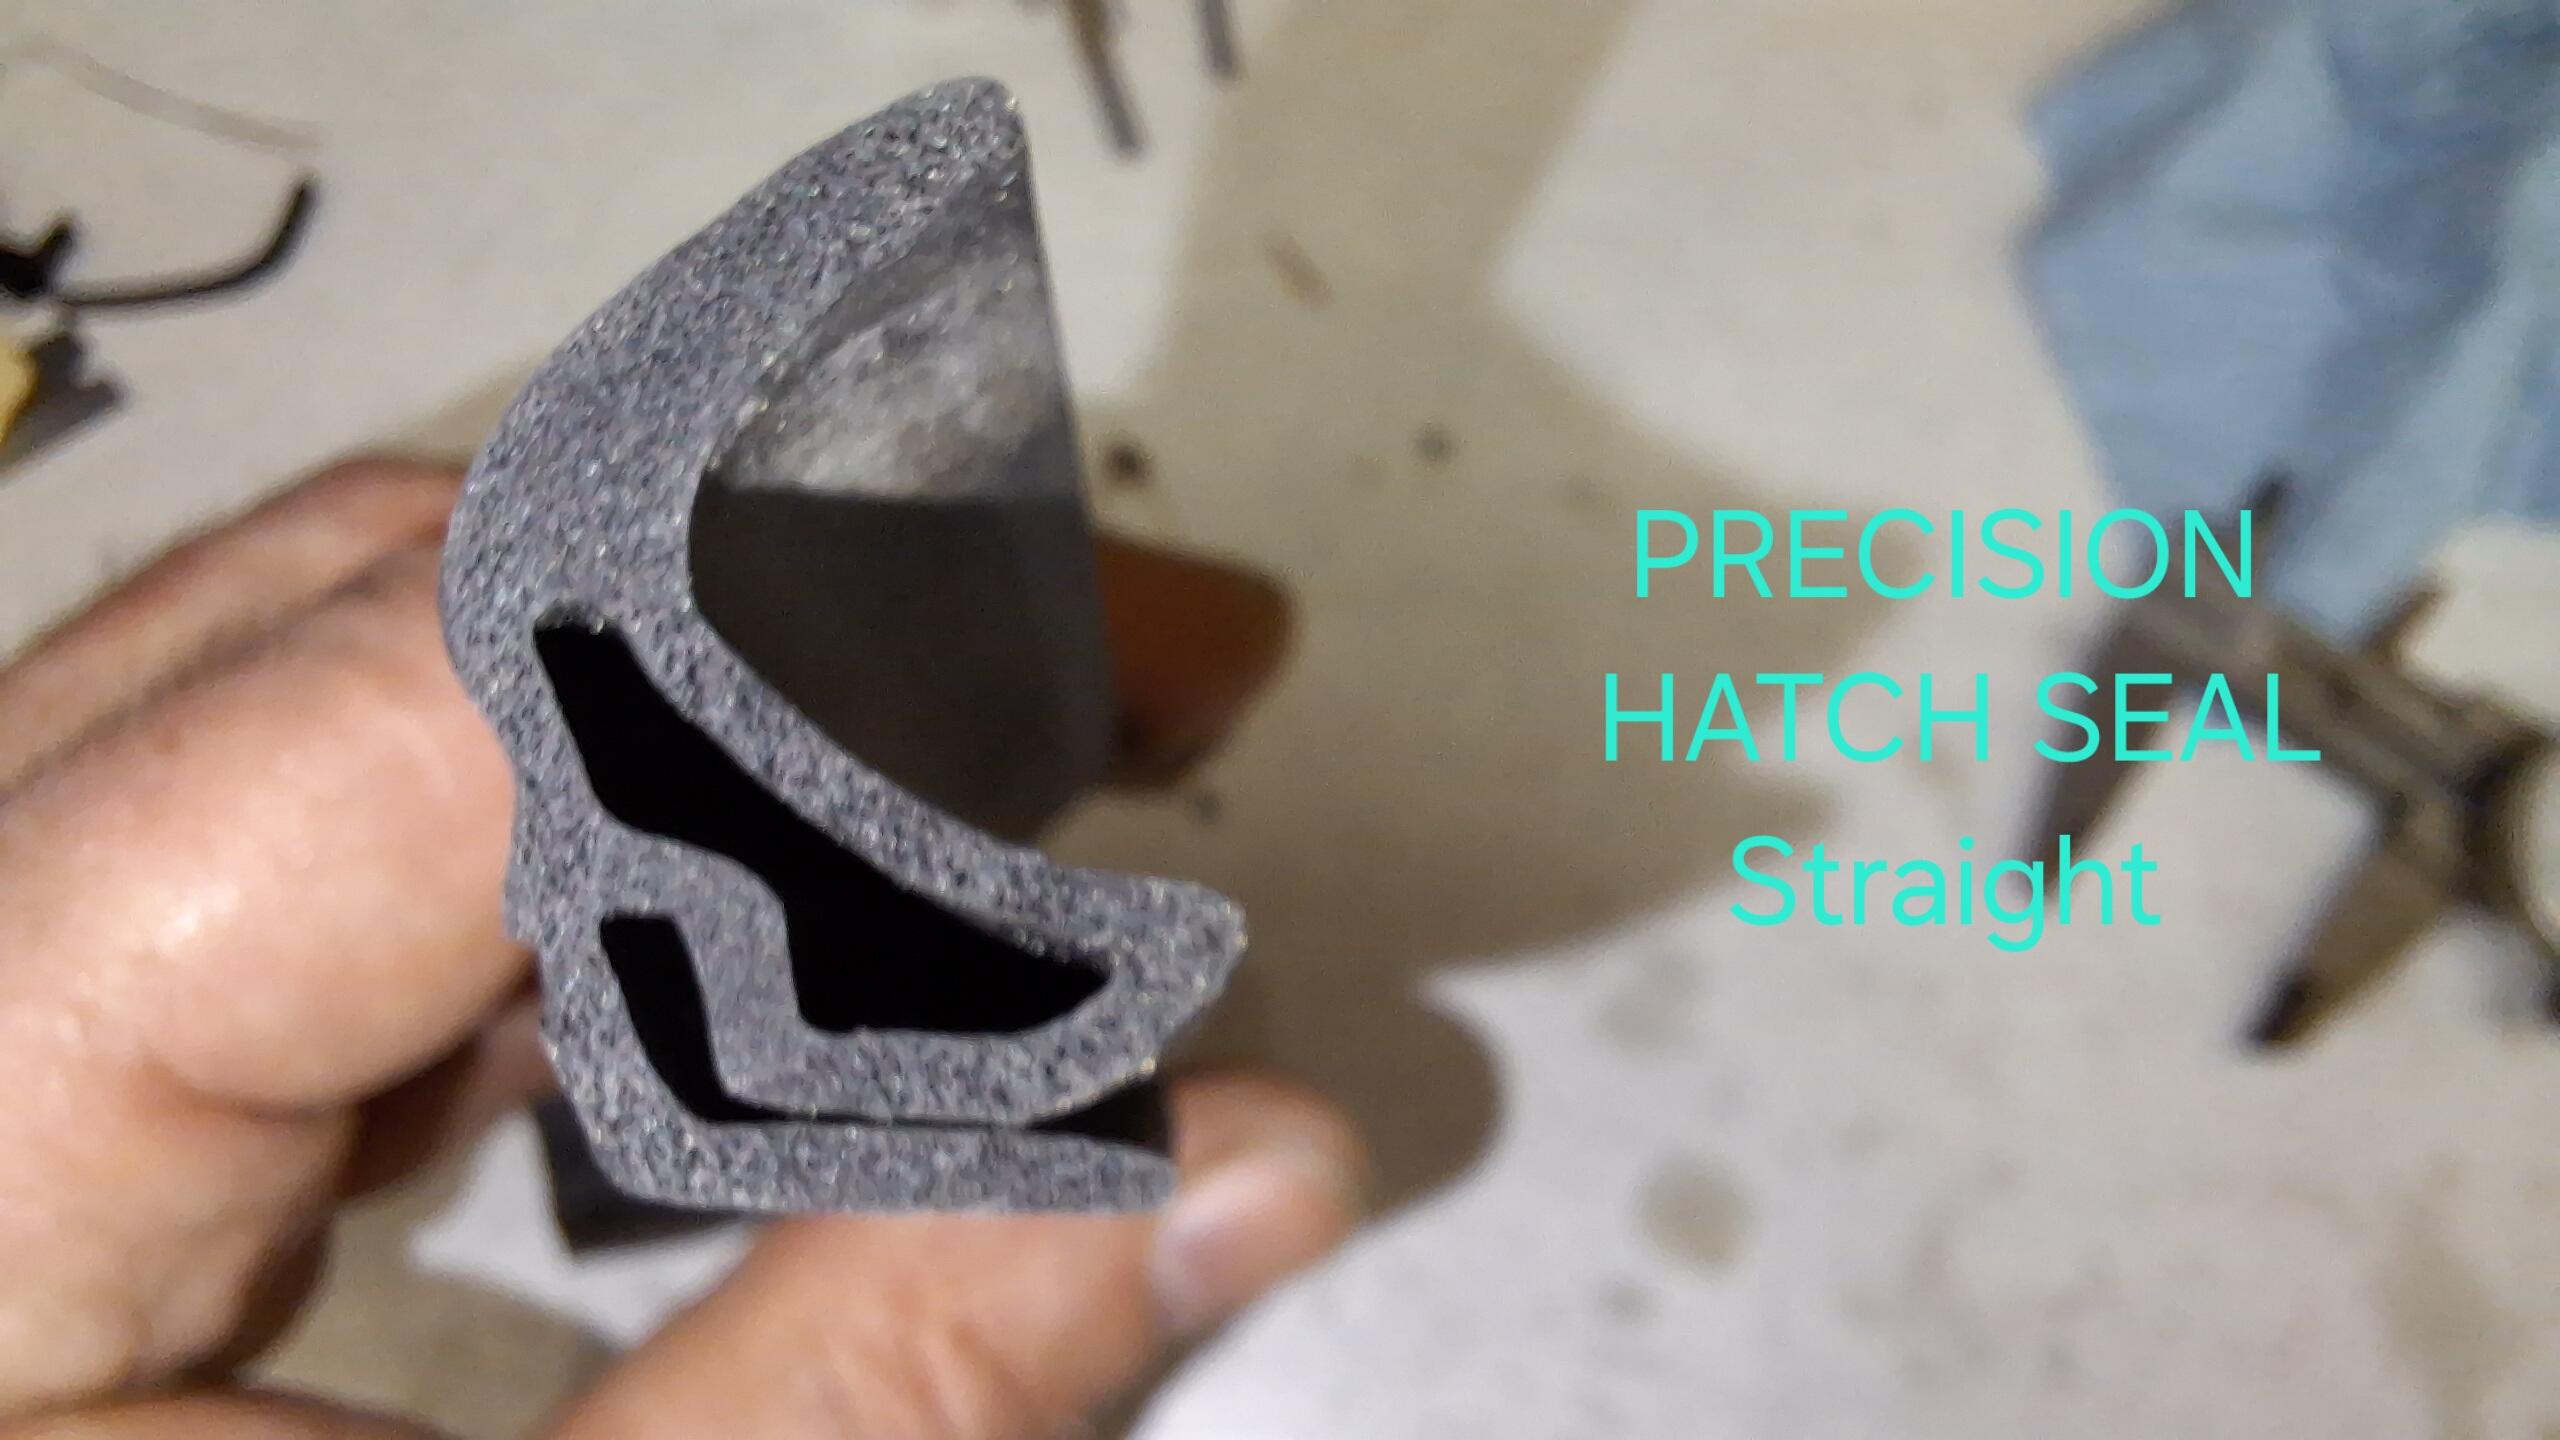
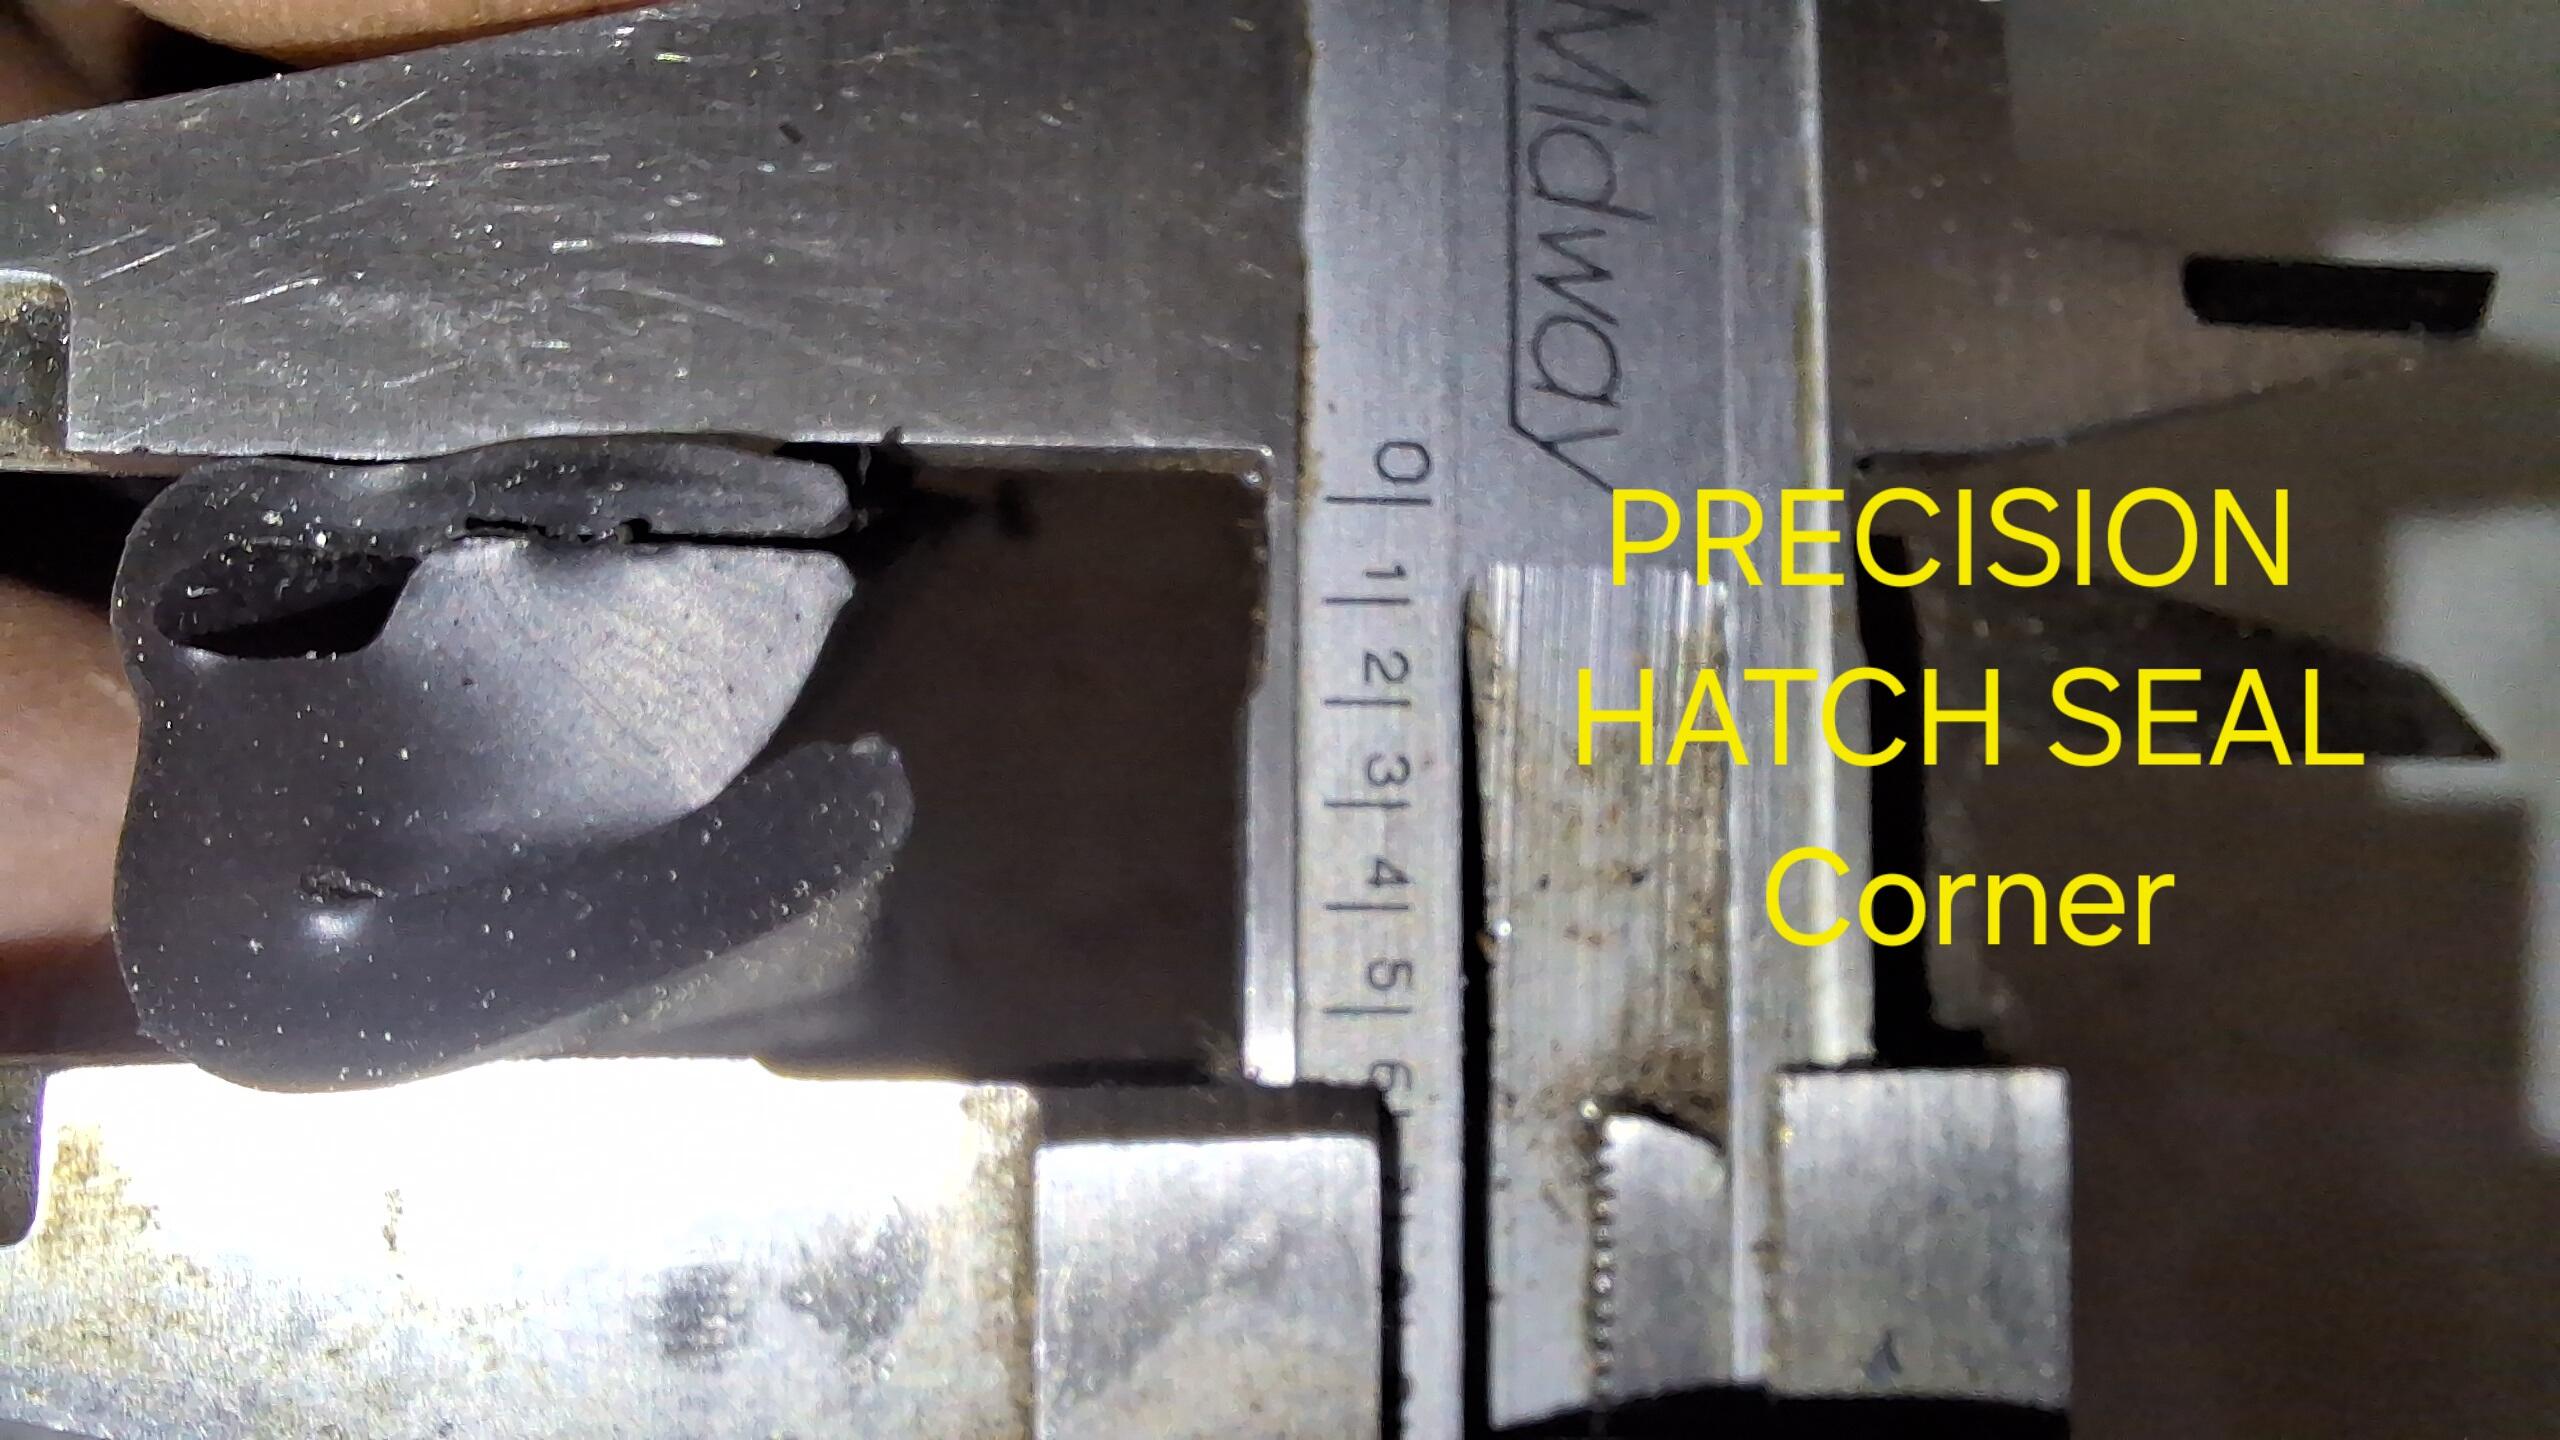
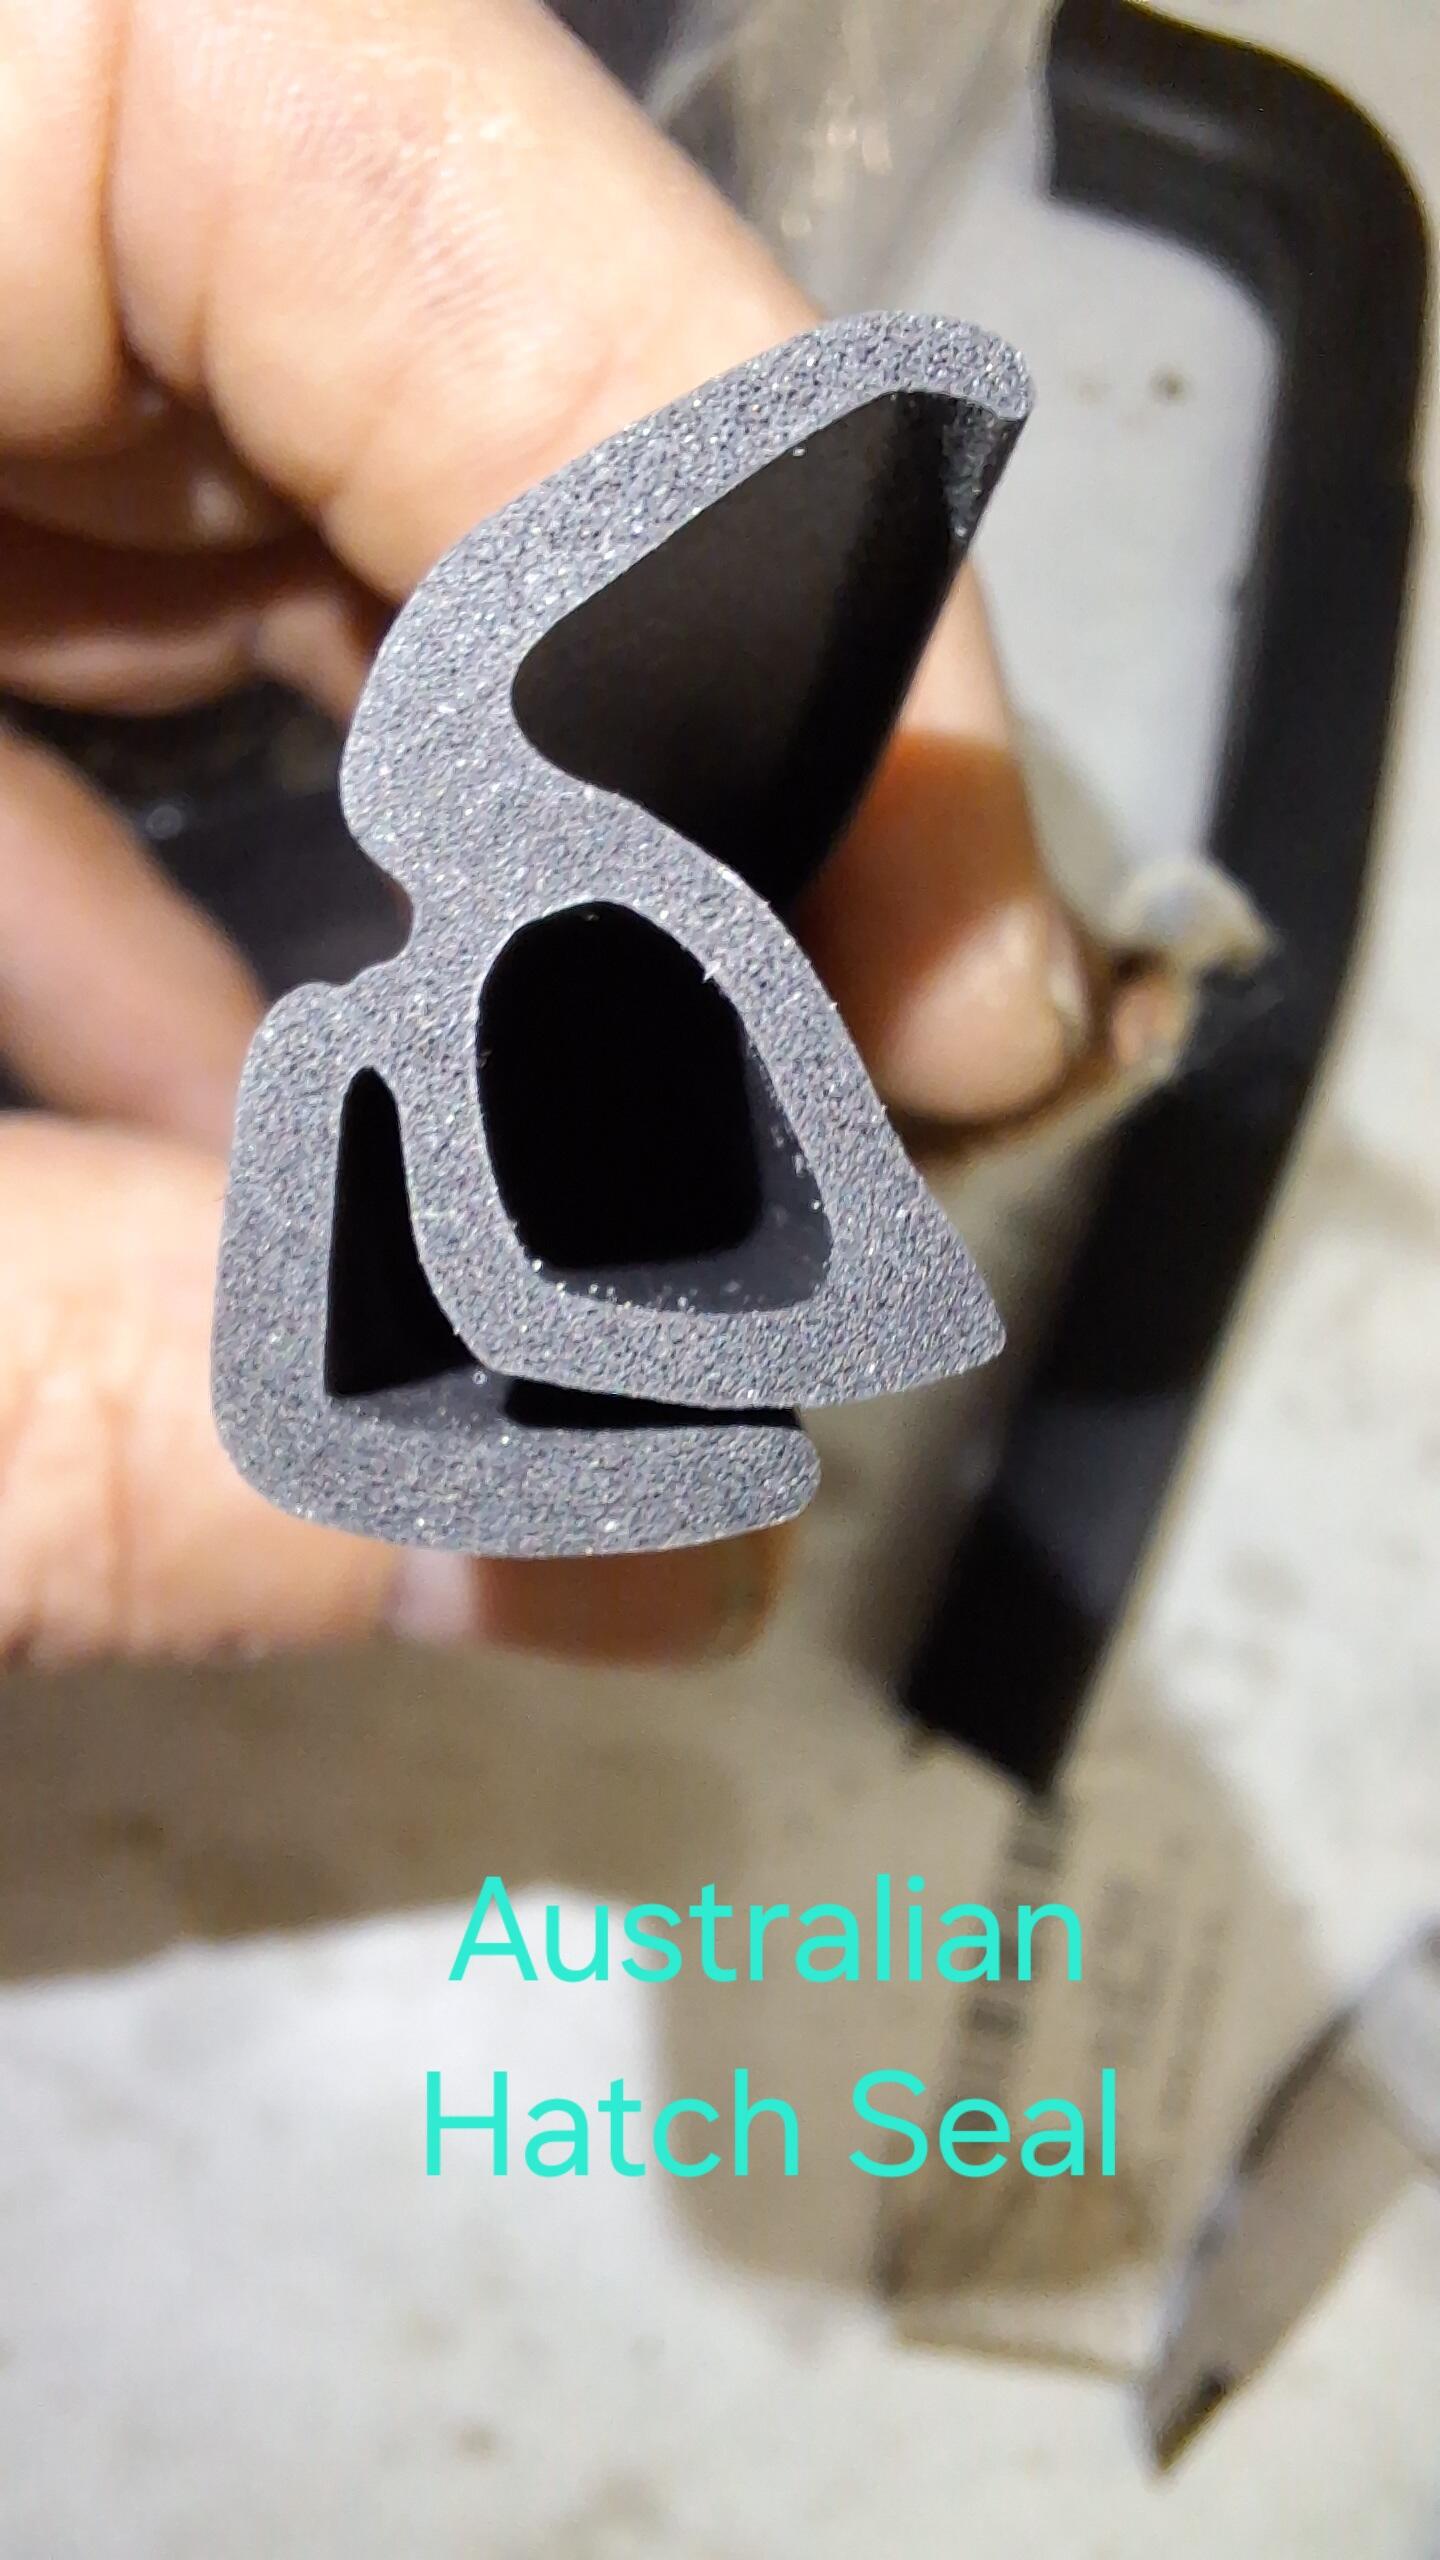
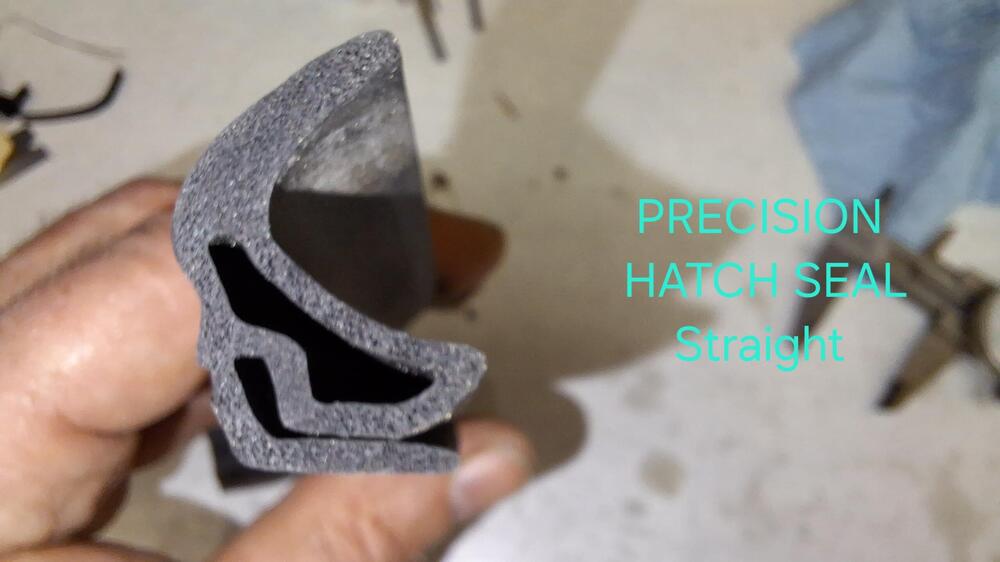
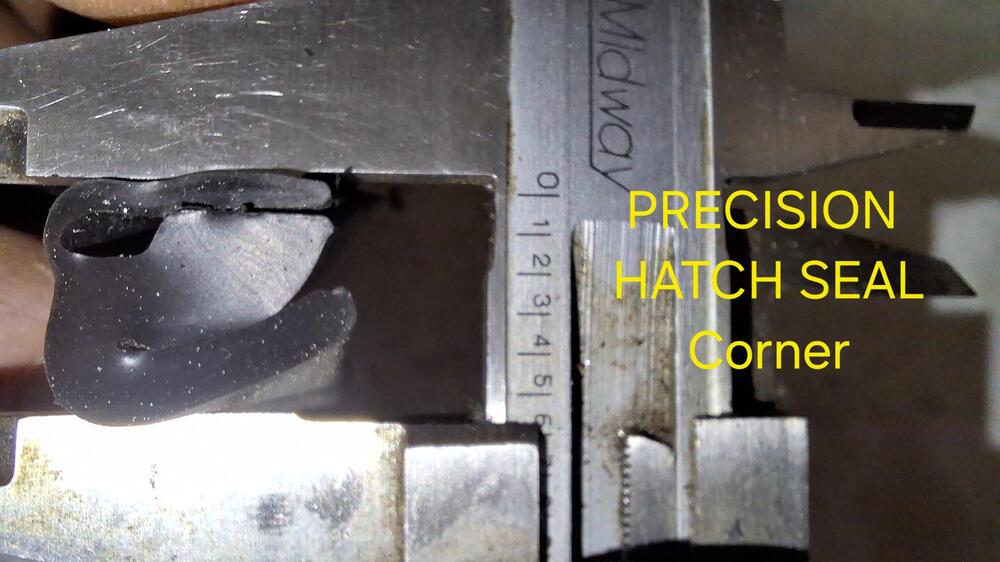
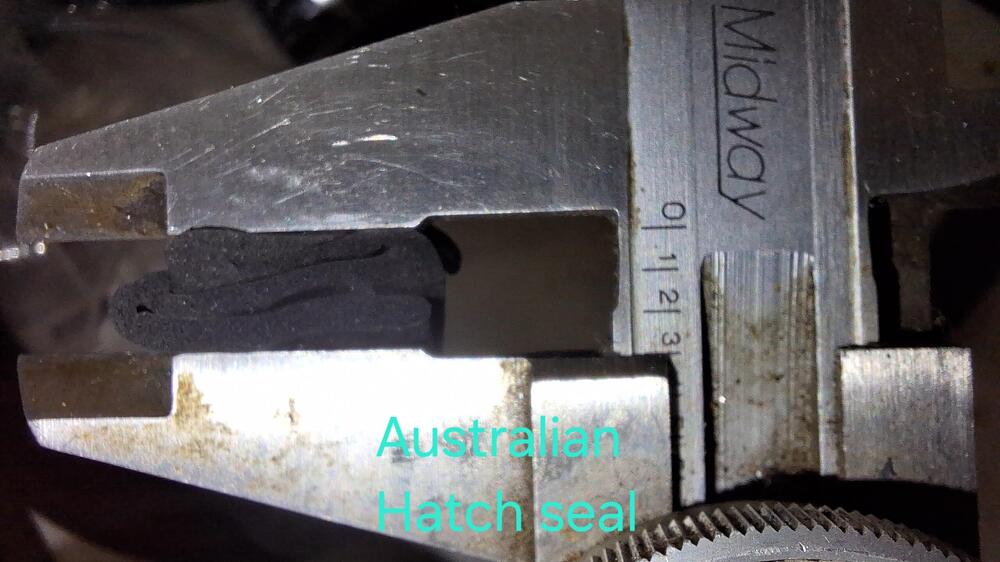
I ordered a hatch seal from Australia. Here are the profile differences between the PRECISION hatch seal and this one from Australia and their compression. This Australian Hatch seal has the same profile throughout the entire seal, unlike the "molded corner" Precision one. The 2nd hatch seal I tried was ordered from VintageRubber and it is identical to the Precision seal, which is anything but precise. 😆


-
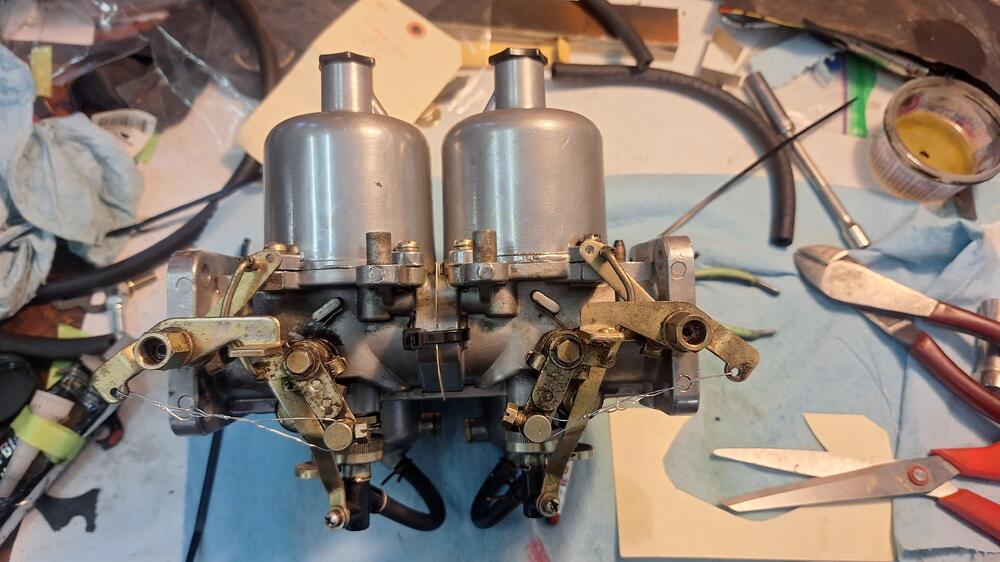
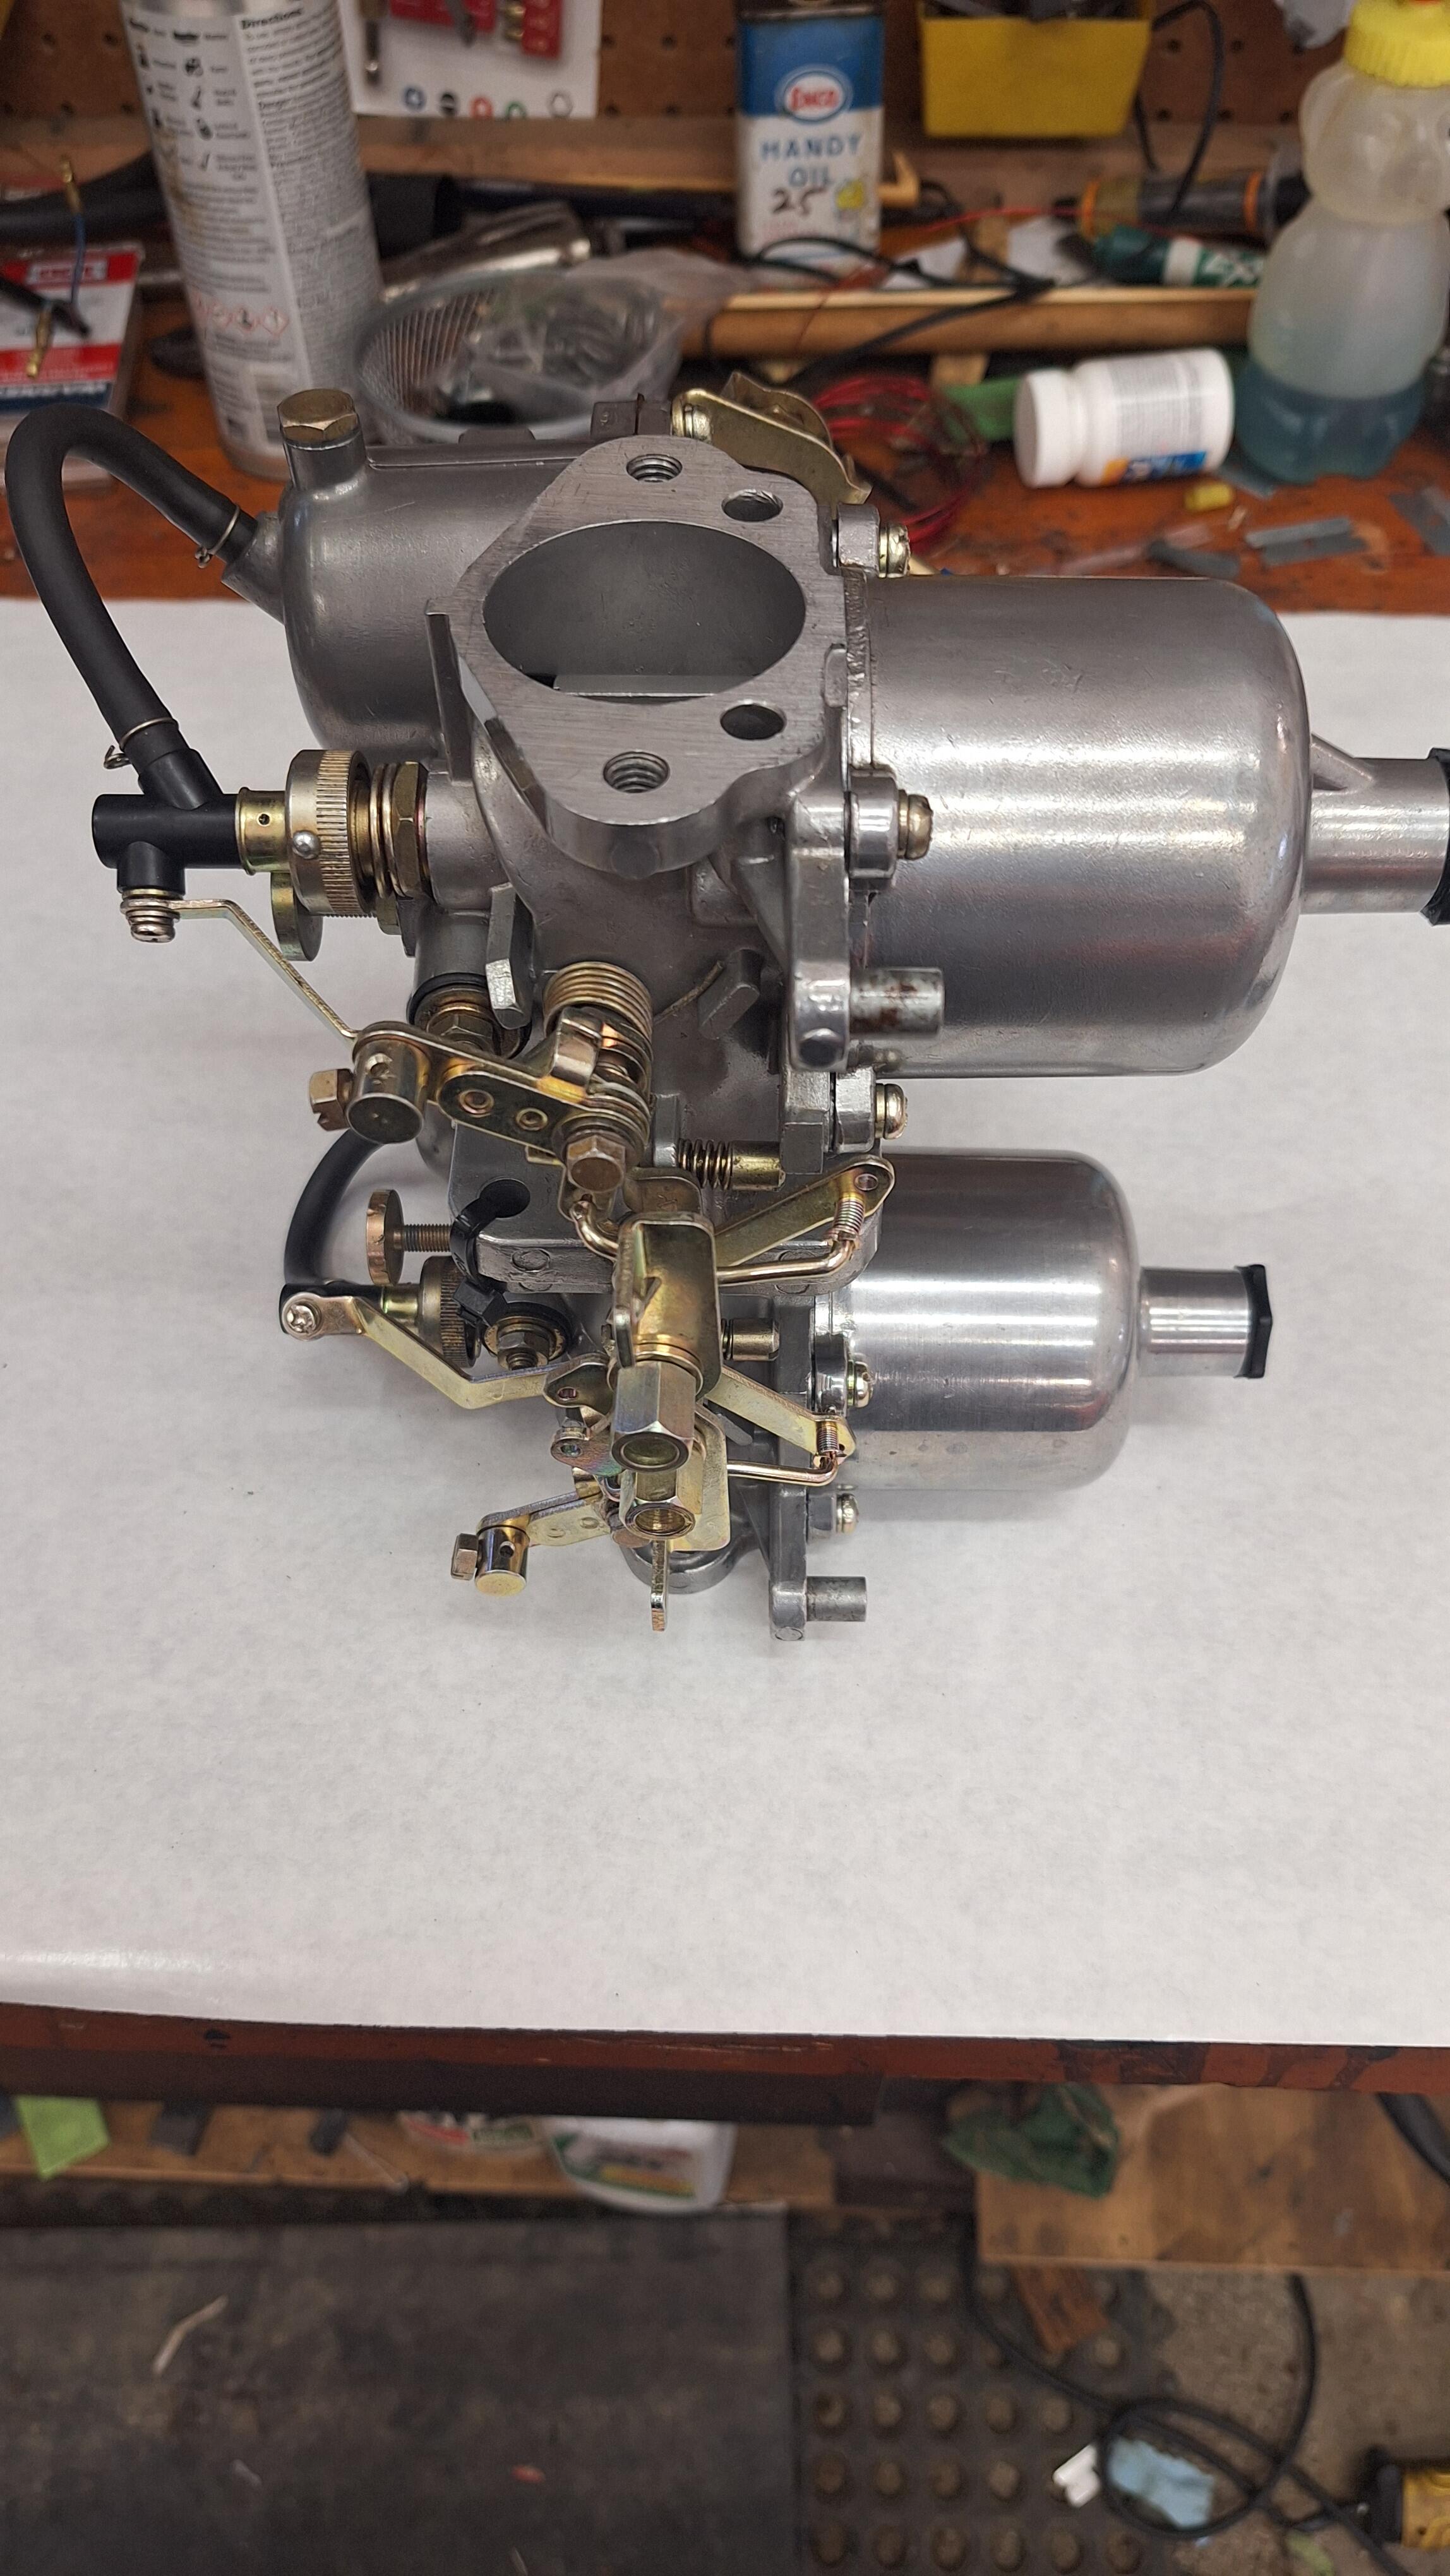
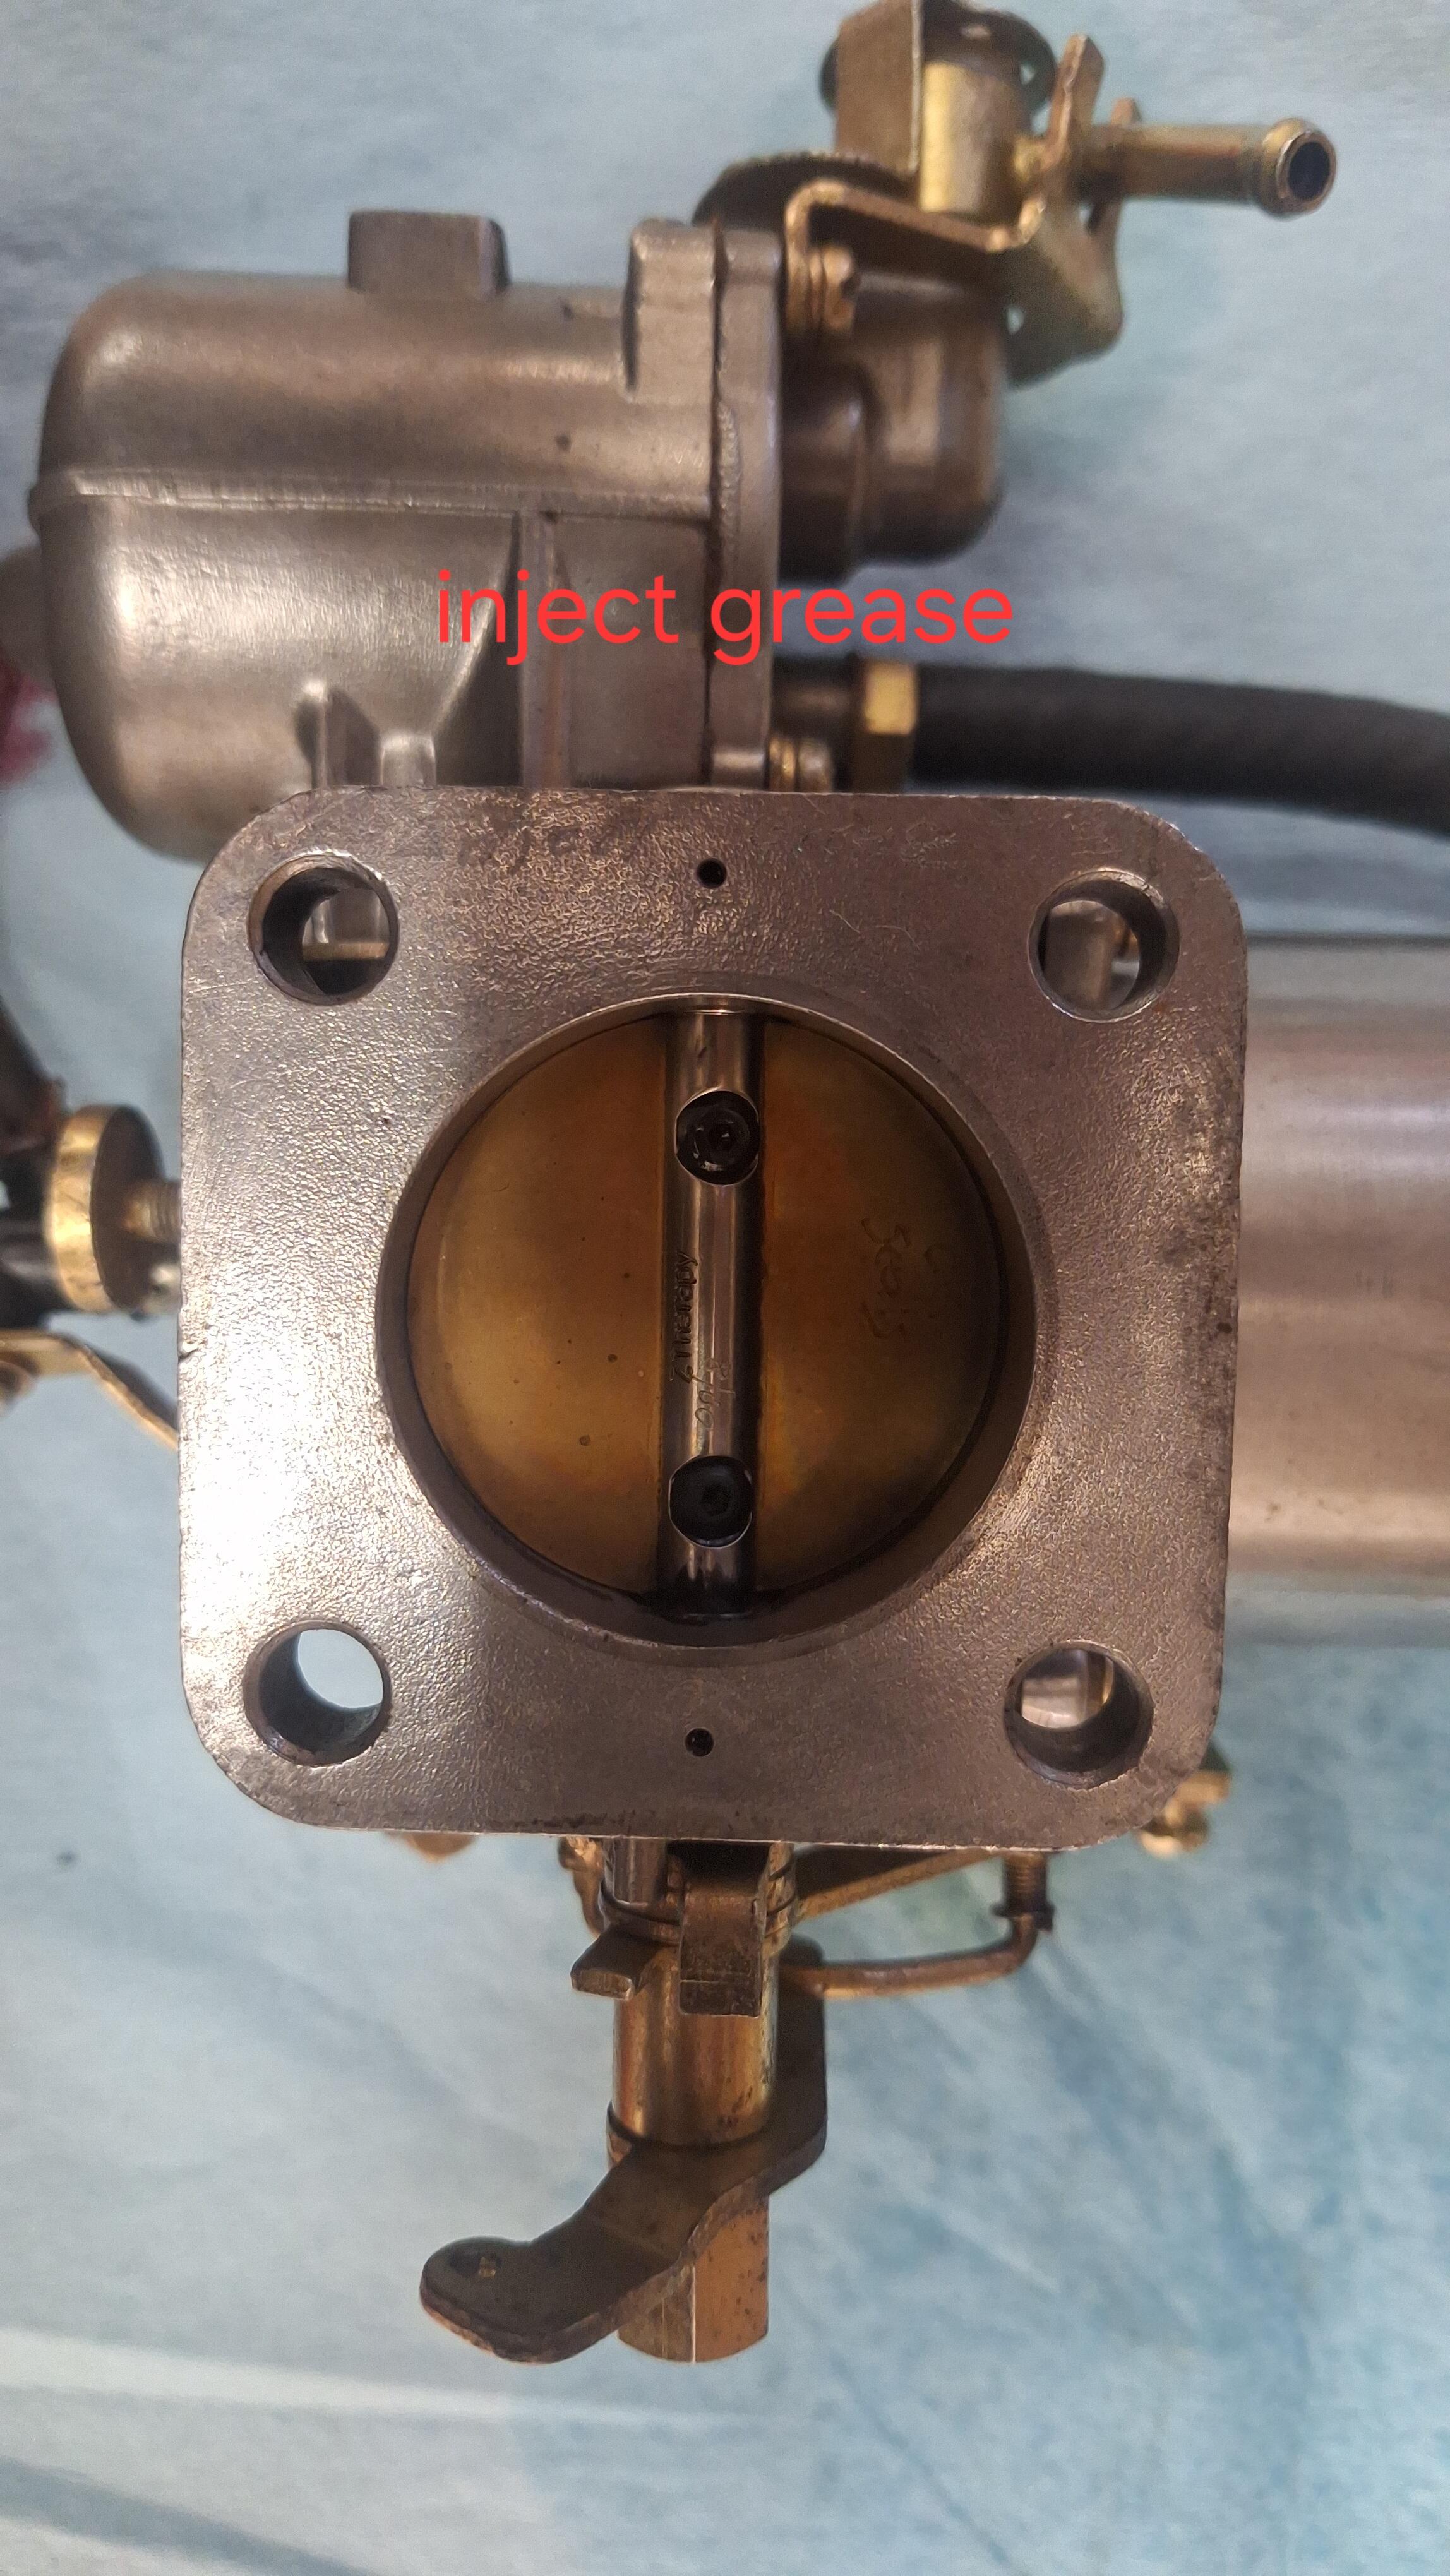
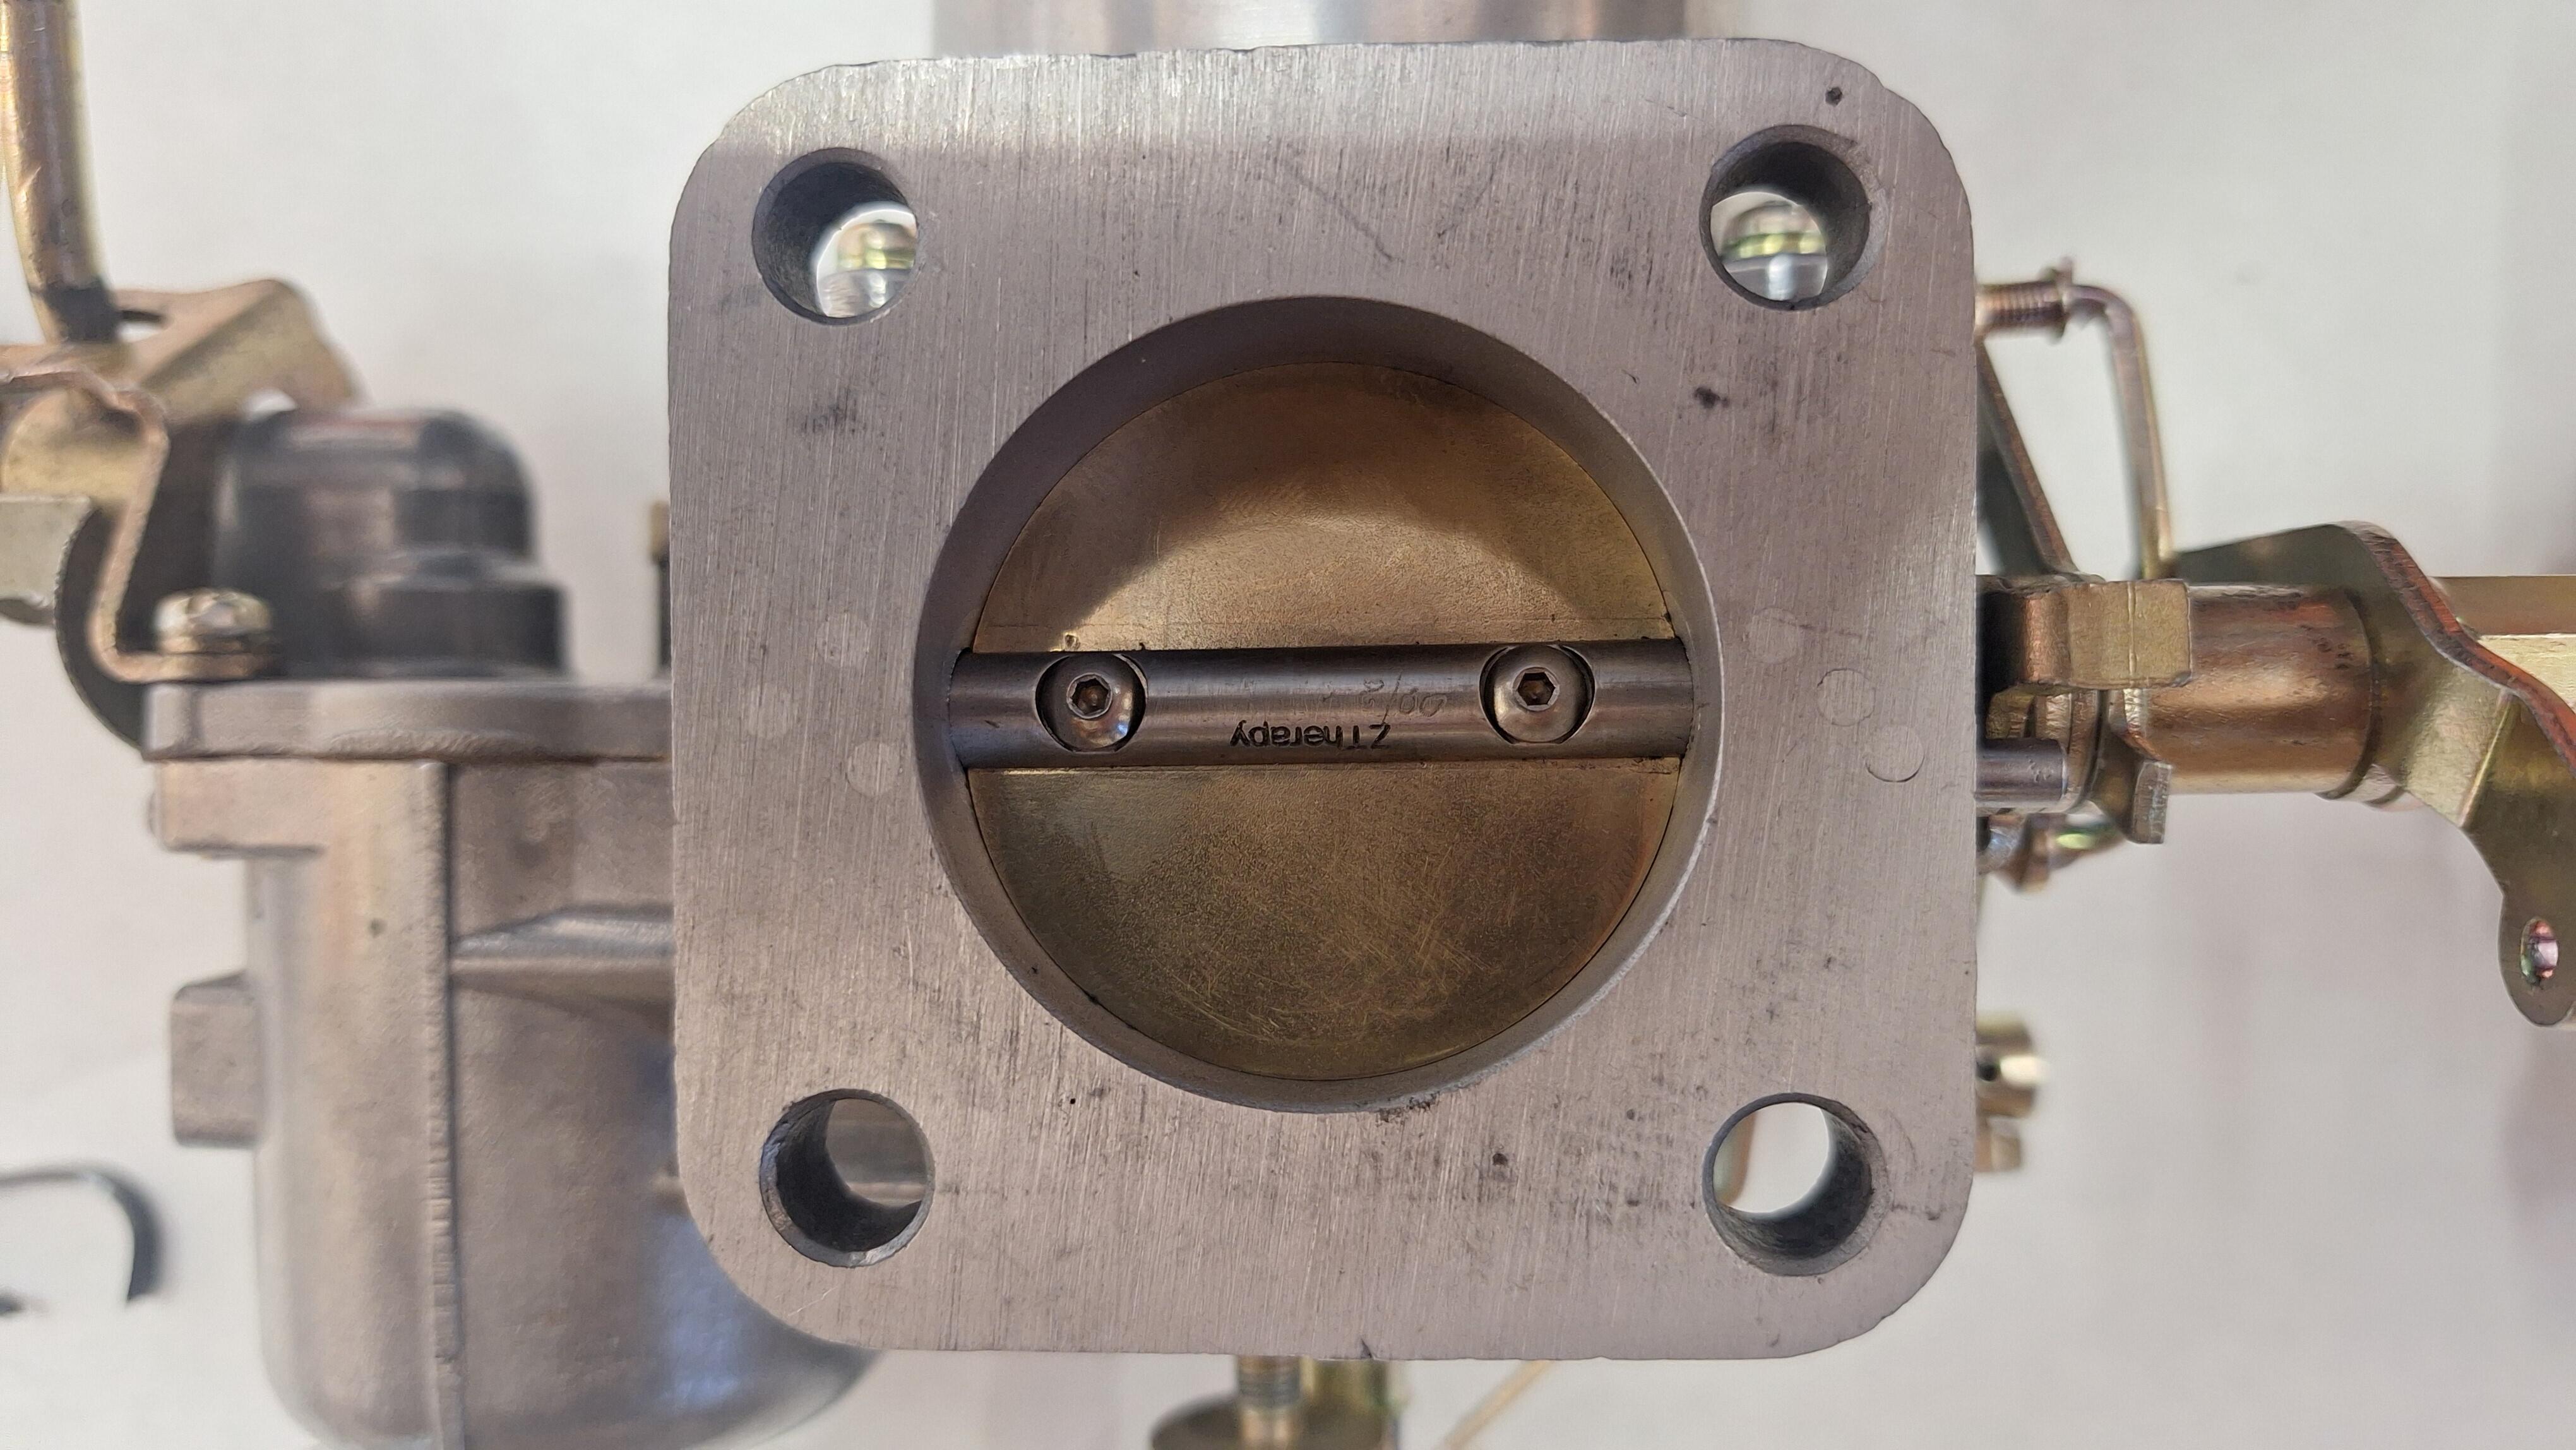
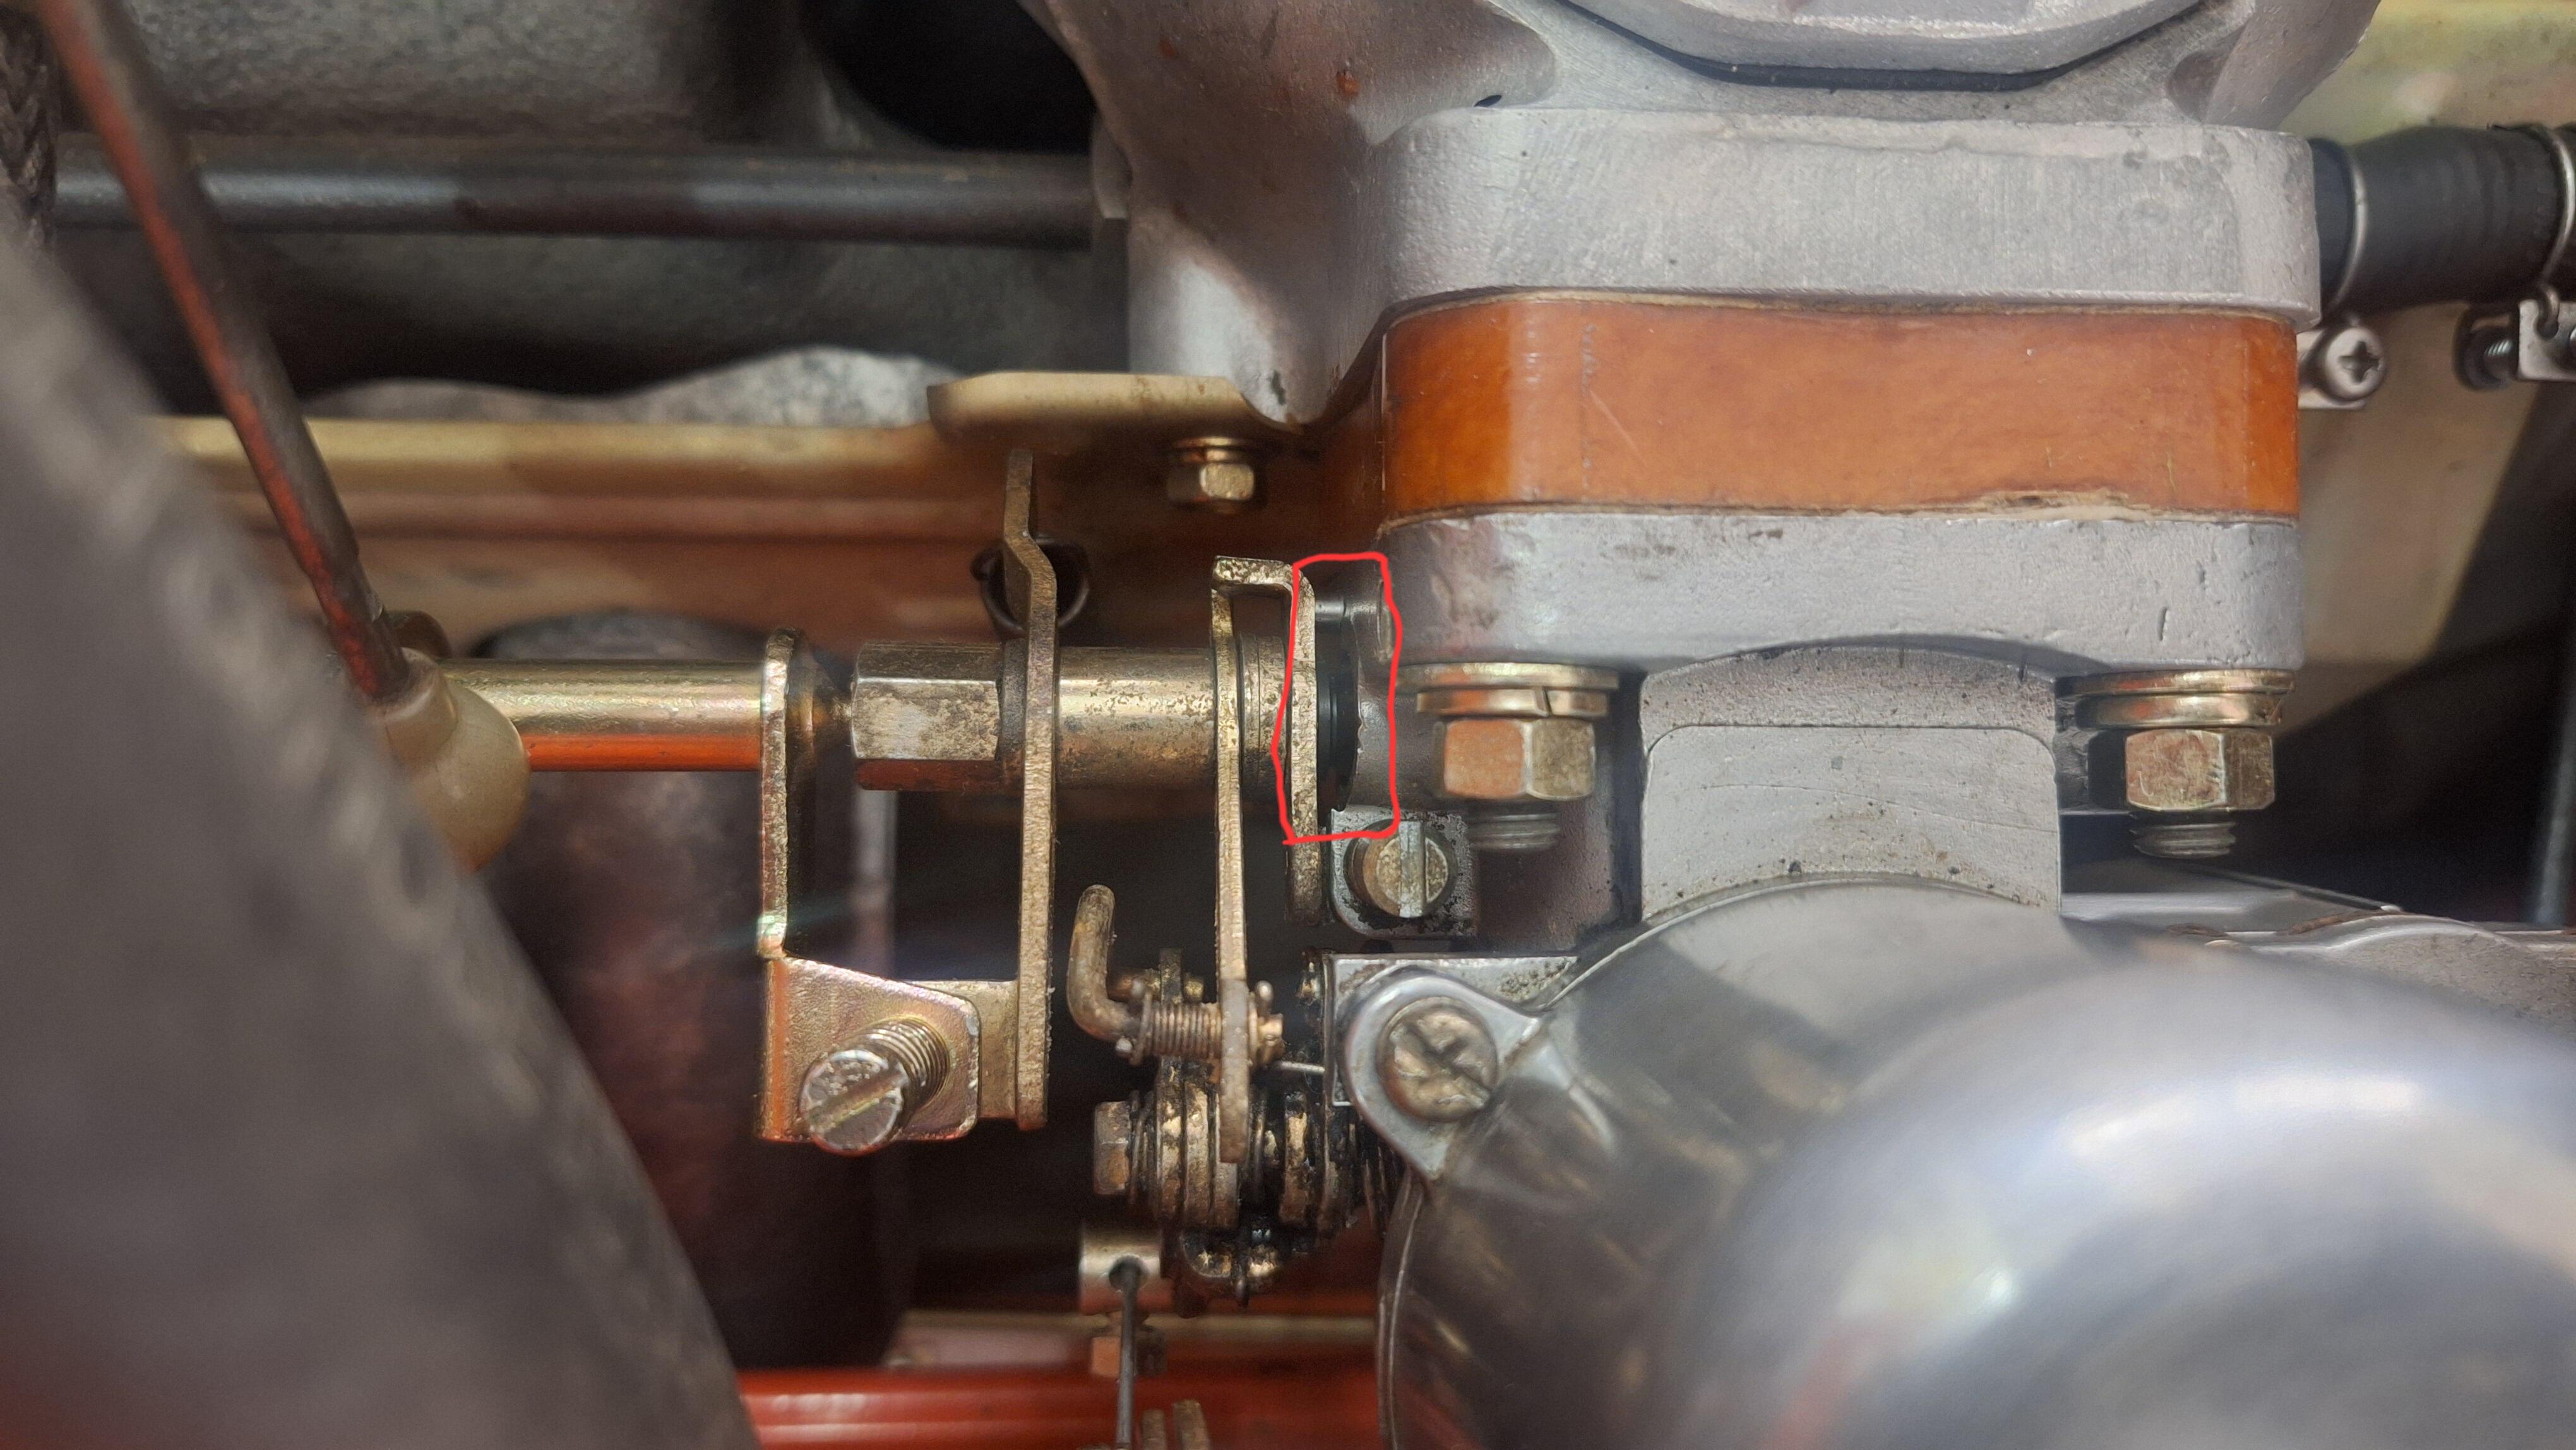
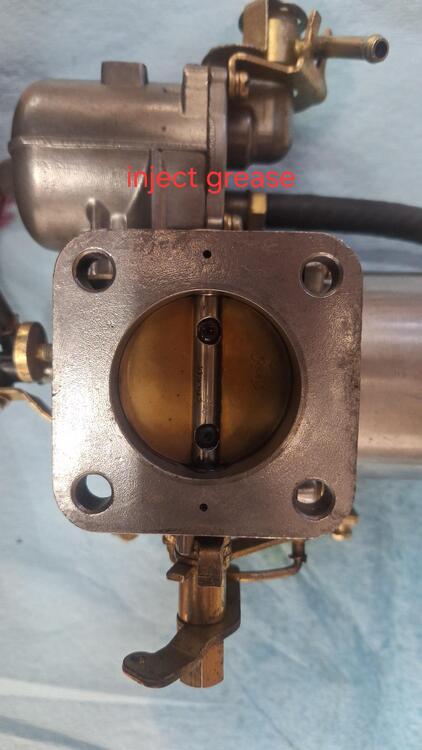
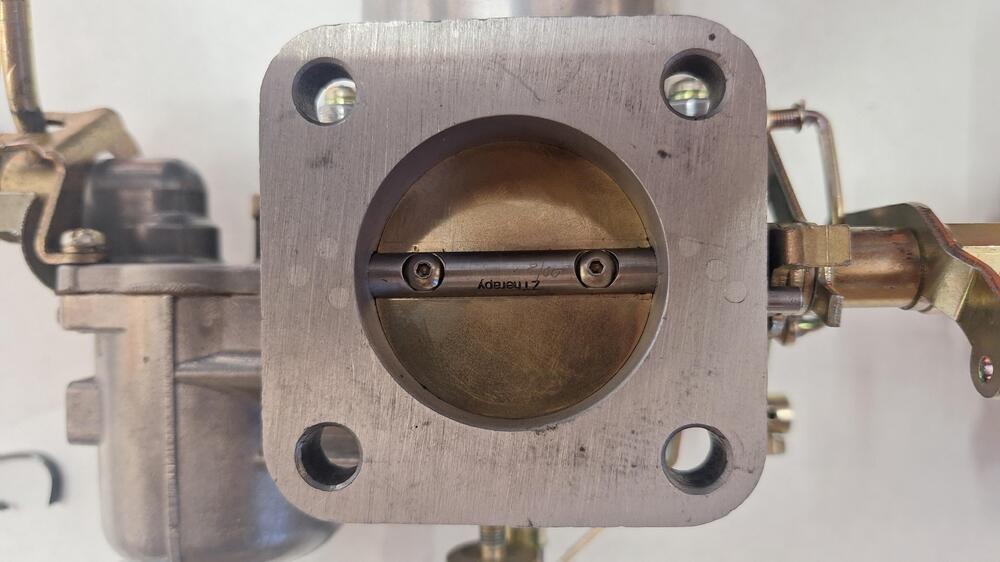
I got the SU Carburetors back from the doctor. When they were done in 8/2000, with updated throttle shaft bearings at that time, there were 2 holes inscribed "inject grease". I believe the grease I injected caused the seal to leak. With the idle screws turned all the way out, I couldn't get it to idle below 1000 rpms, and I couldn't balance them. Ztherapy got rid of those older style bearings, re-machined the bodies, and plugged the old grease holes. I actually have to turn down the idle screws now to keep it running, unlike before.

-
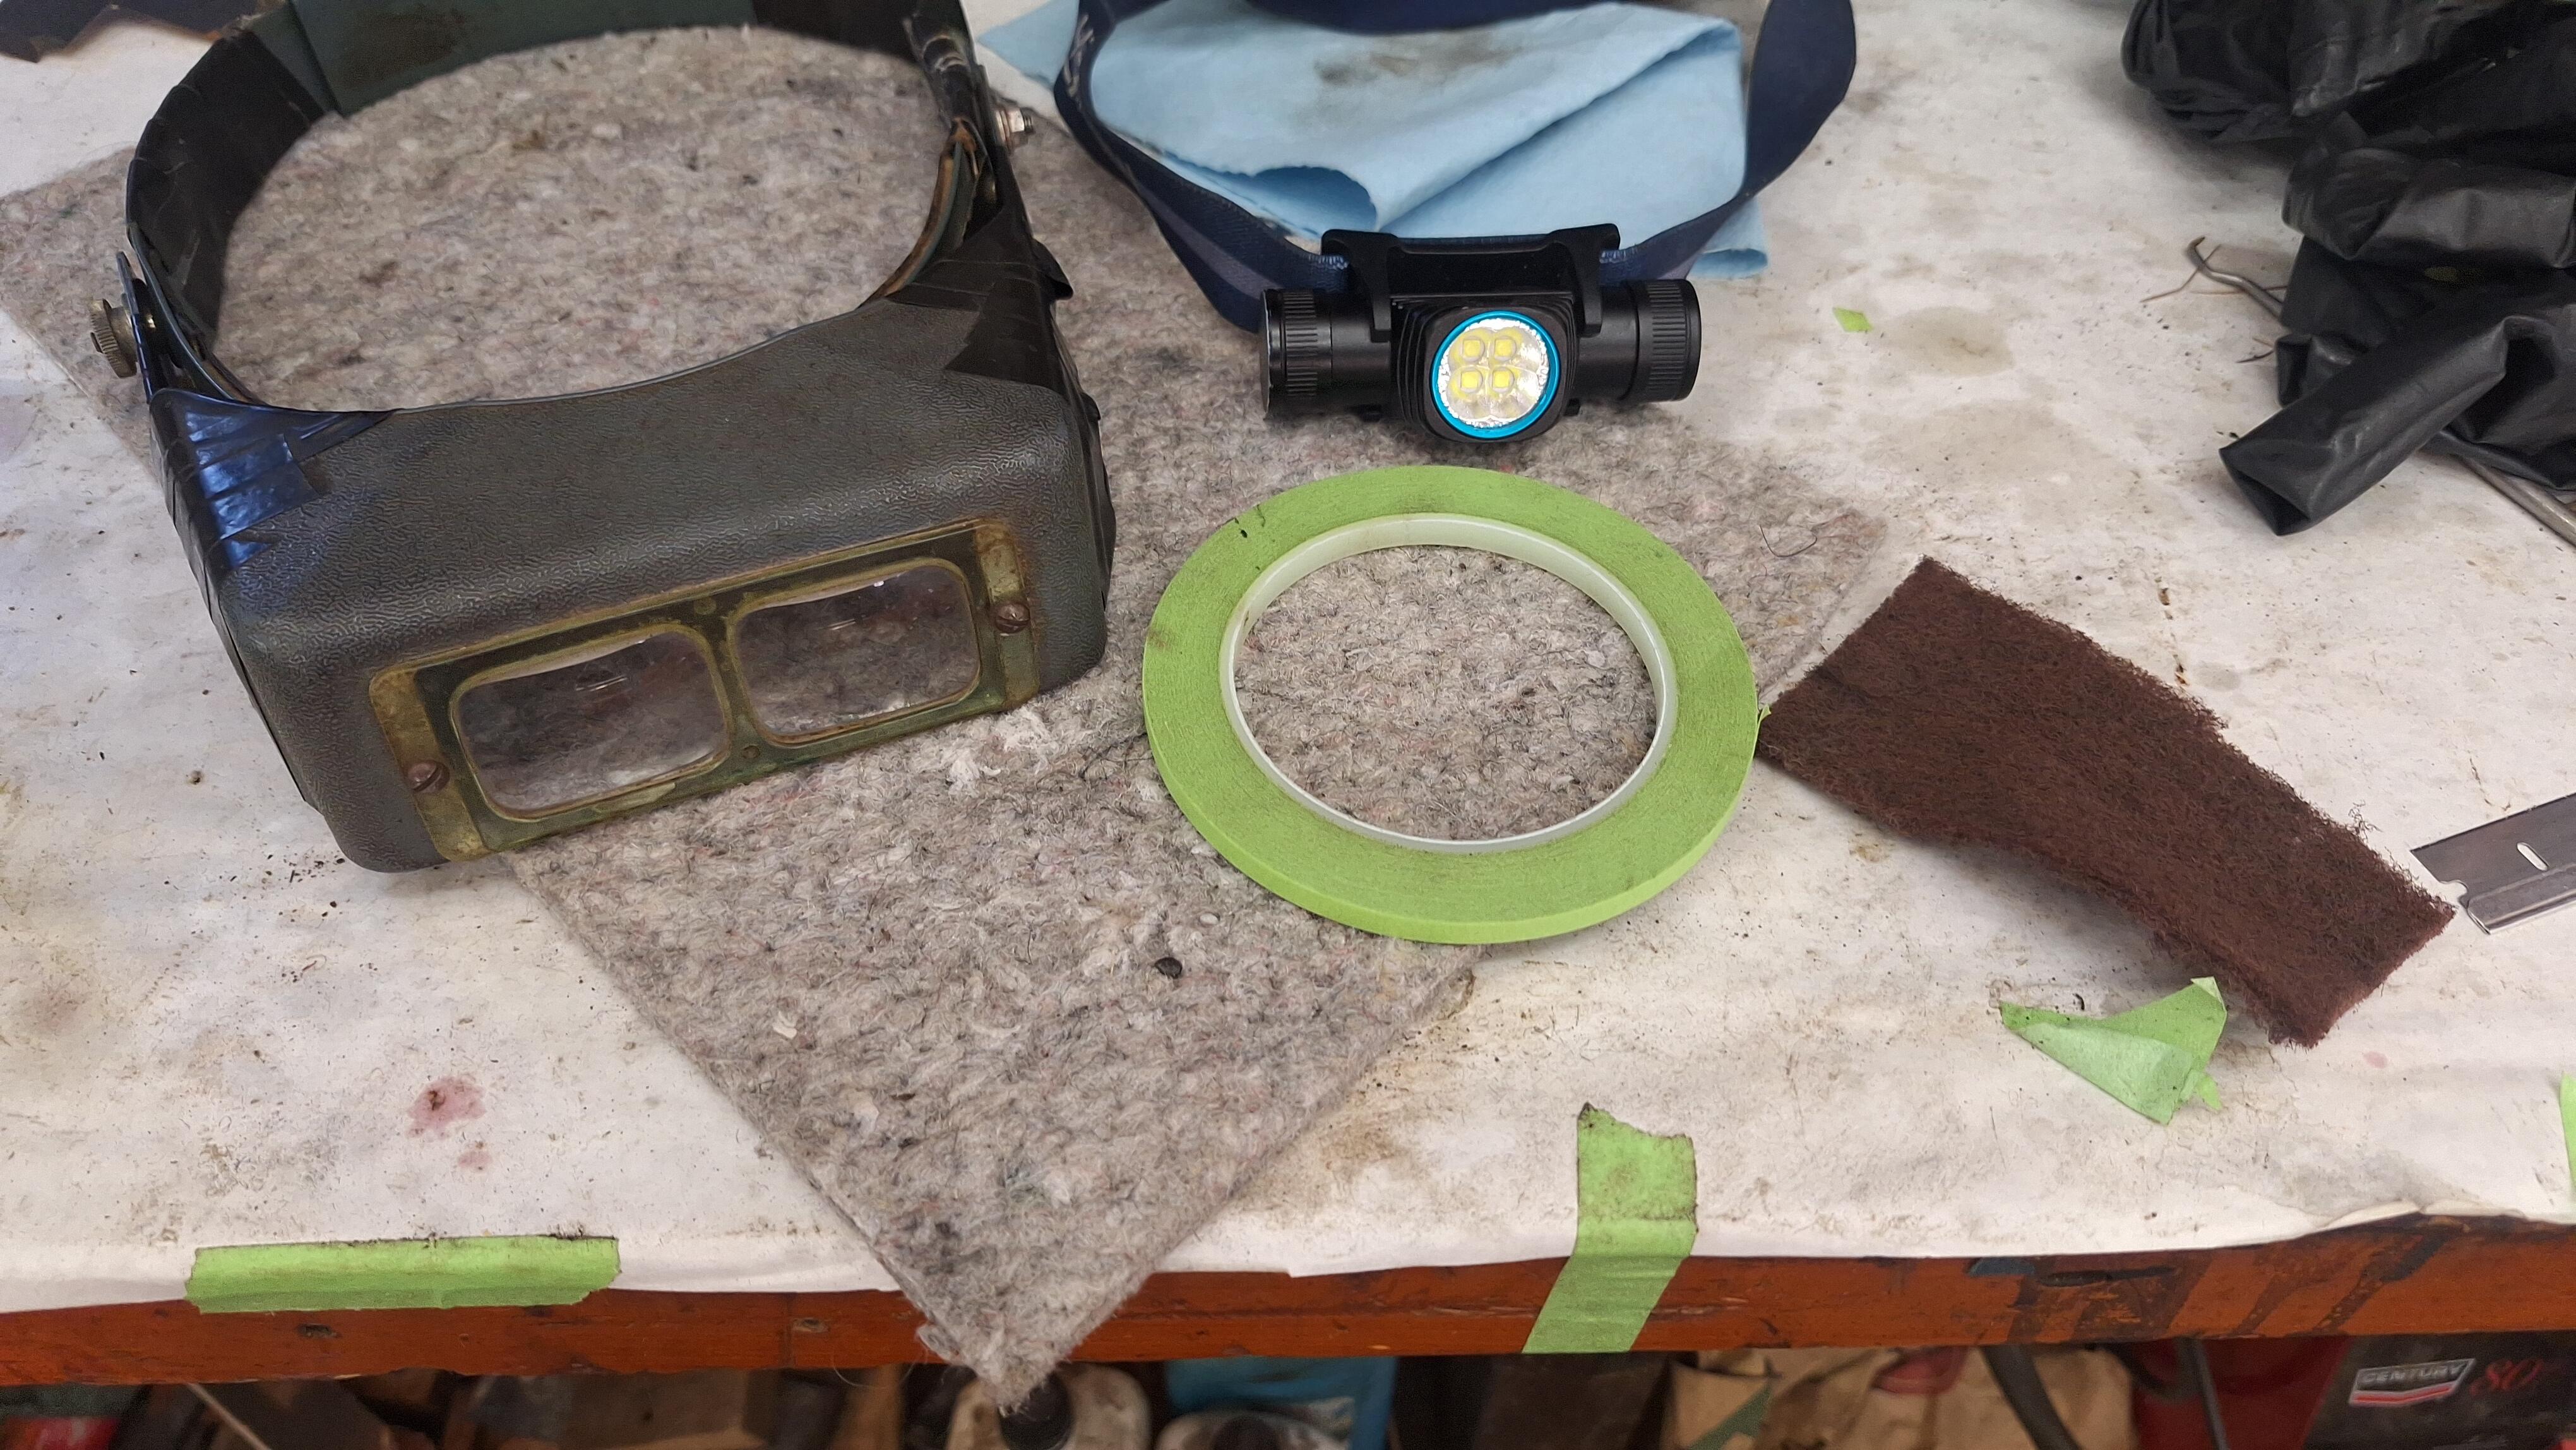
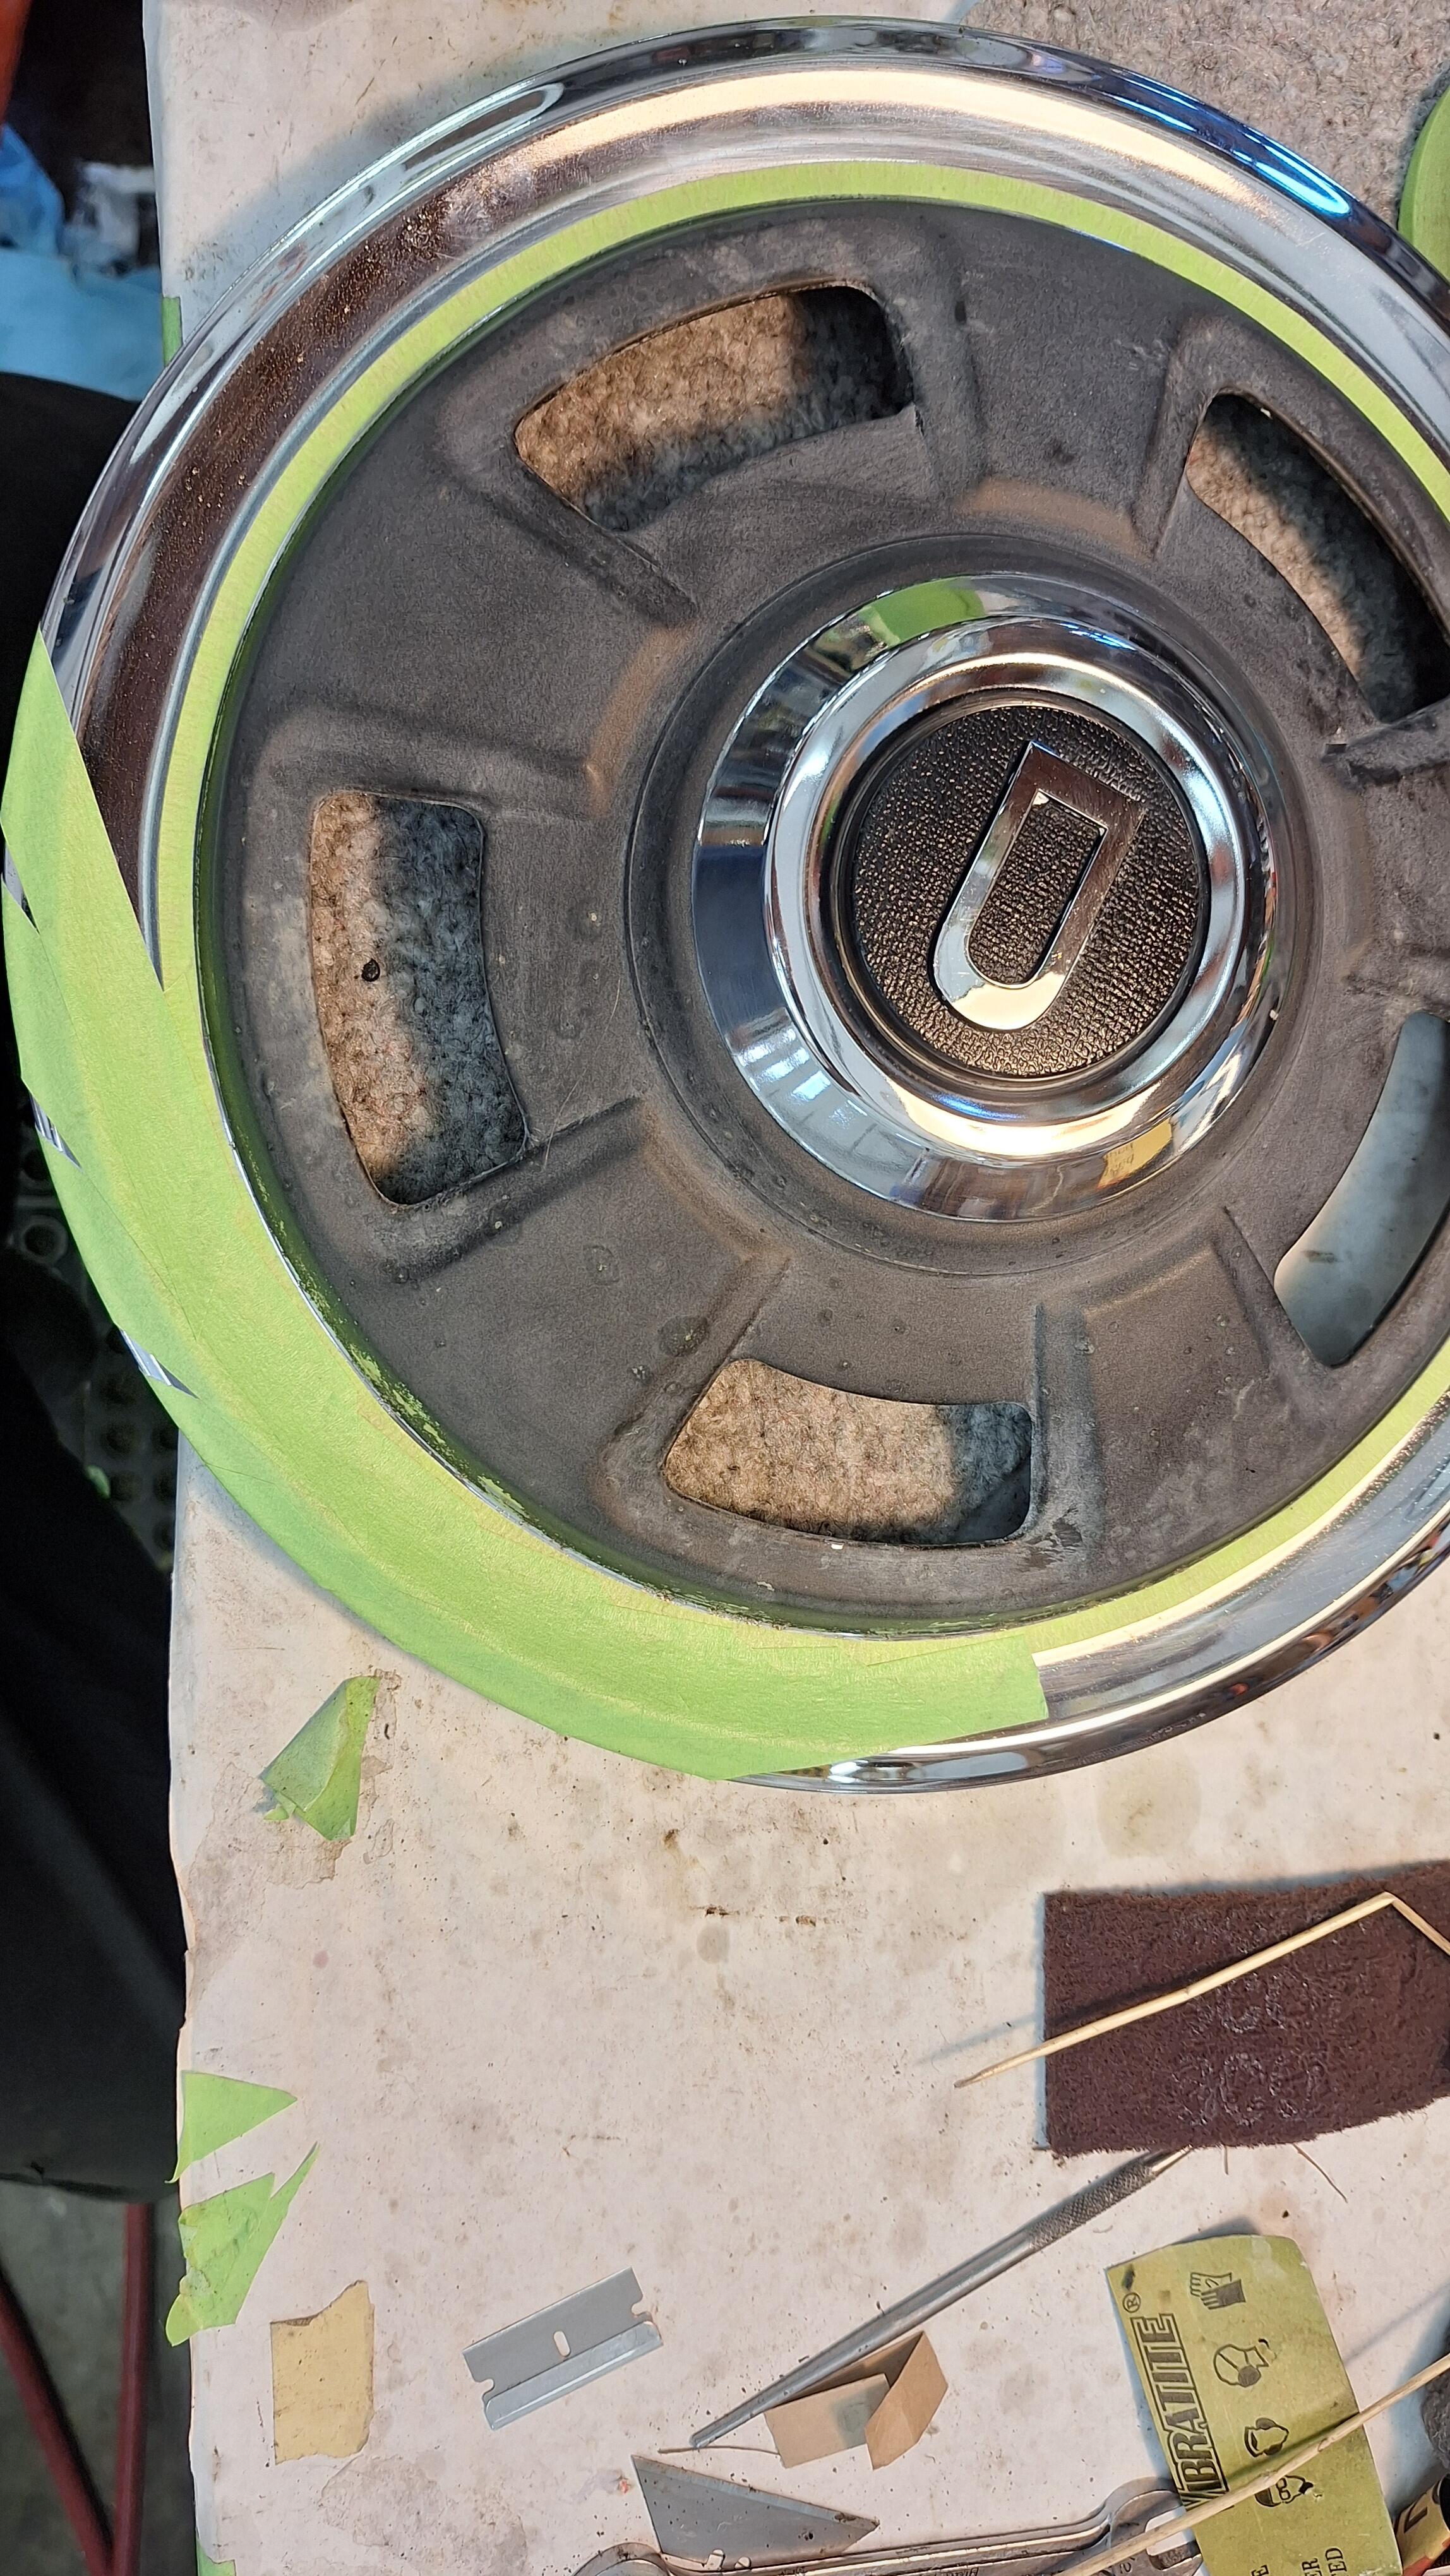
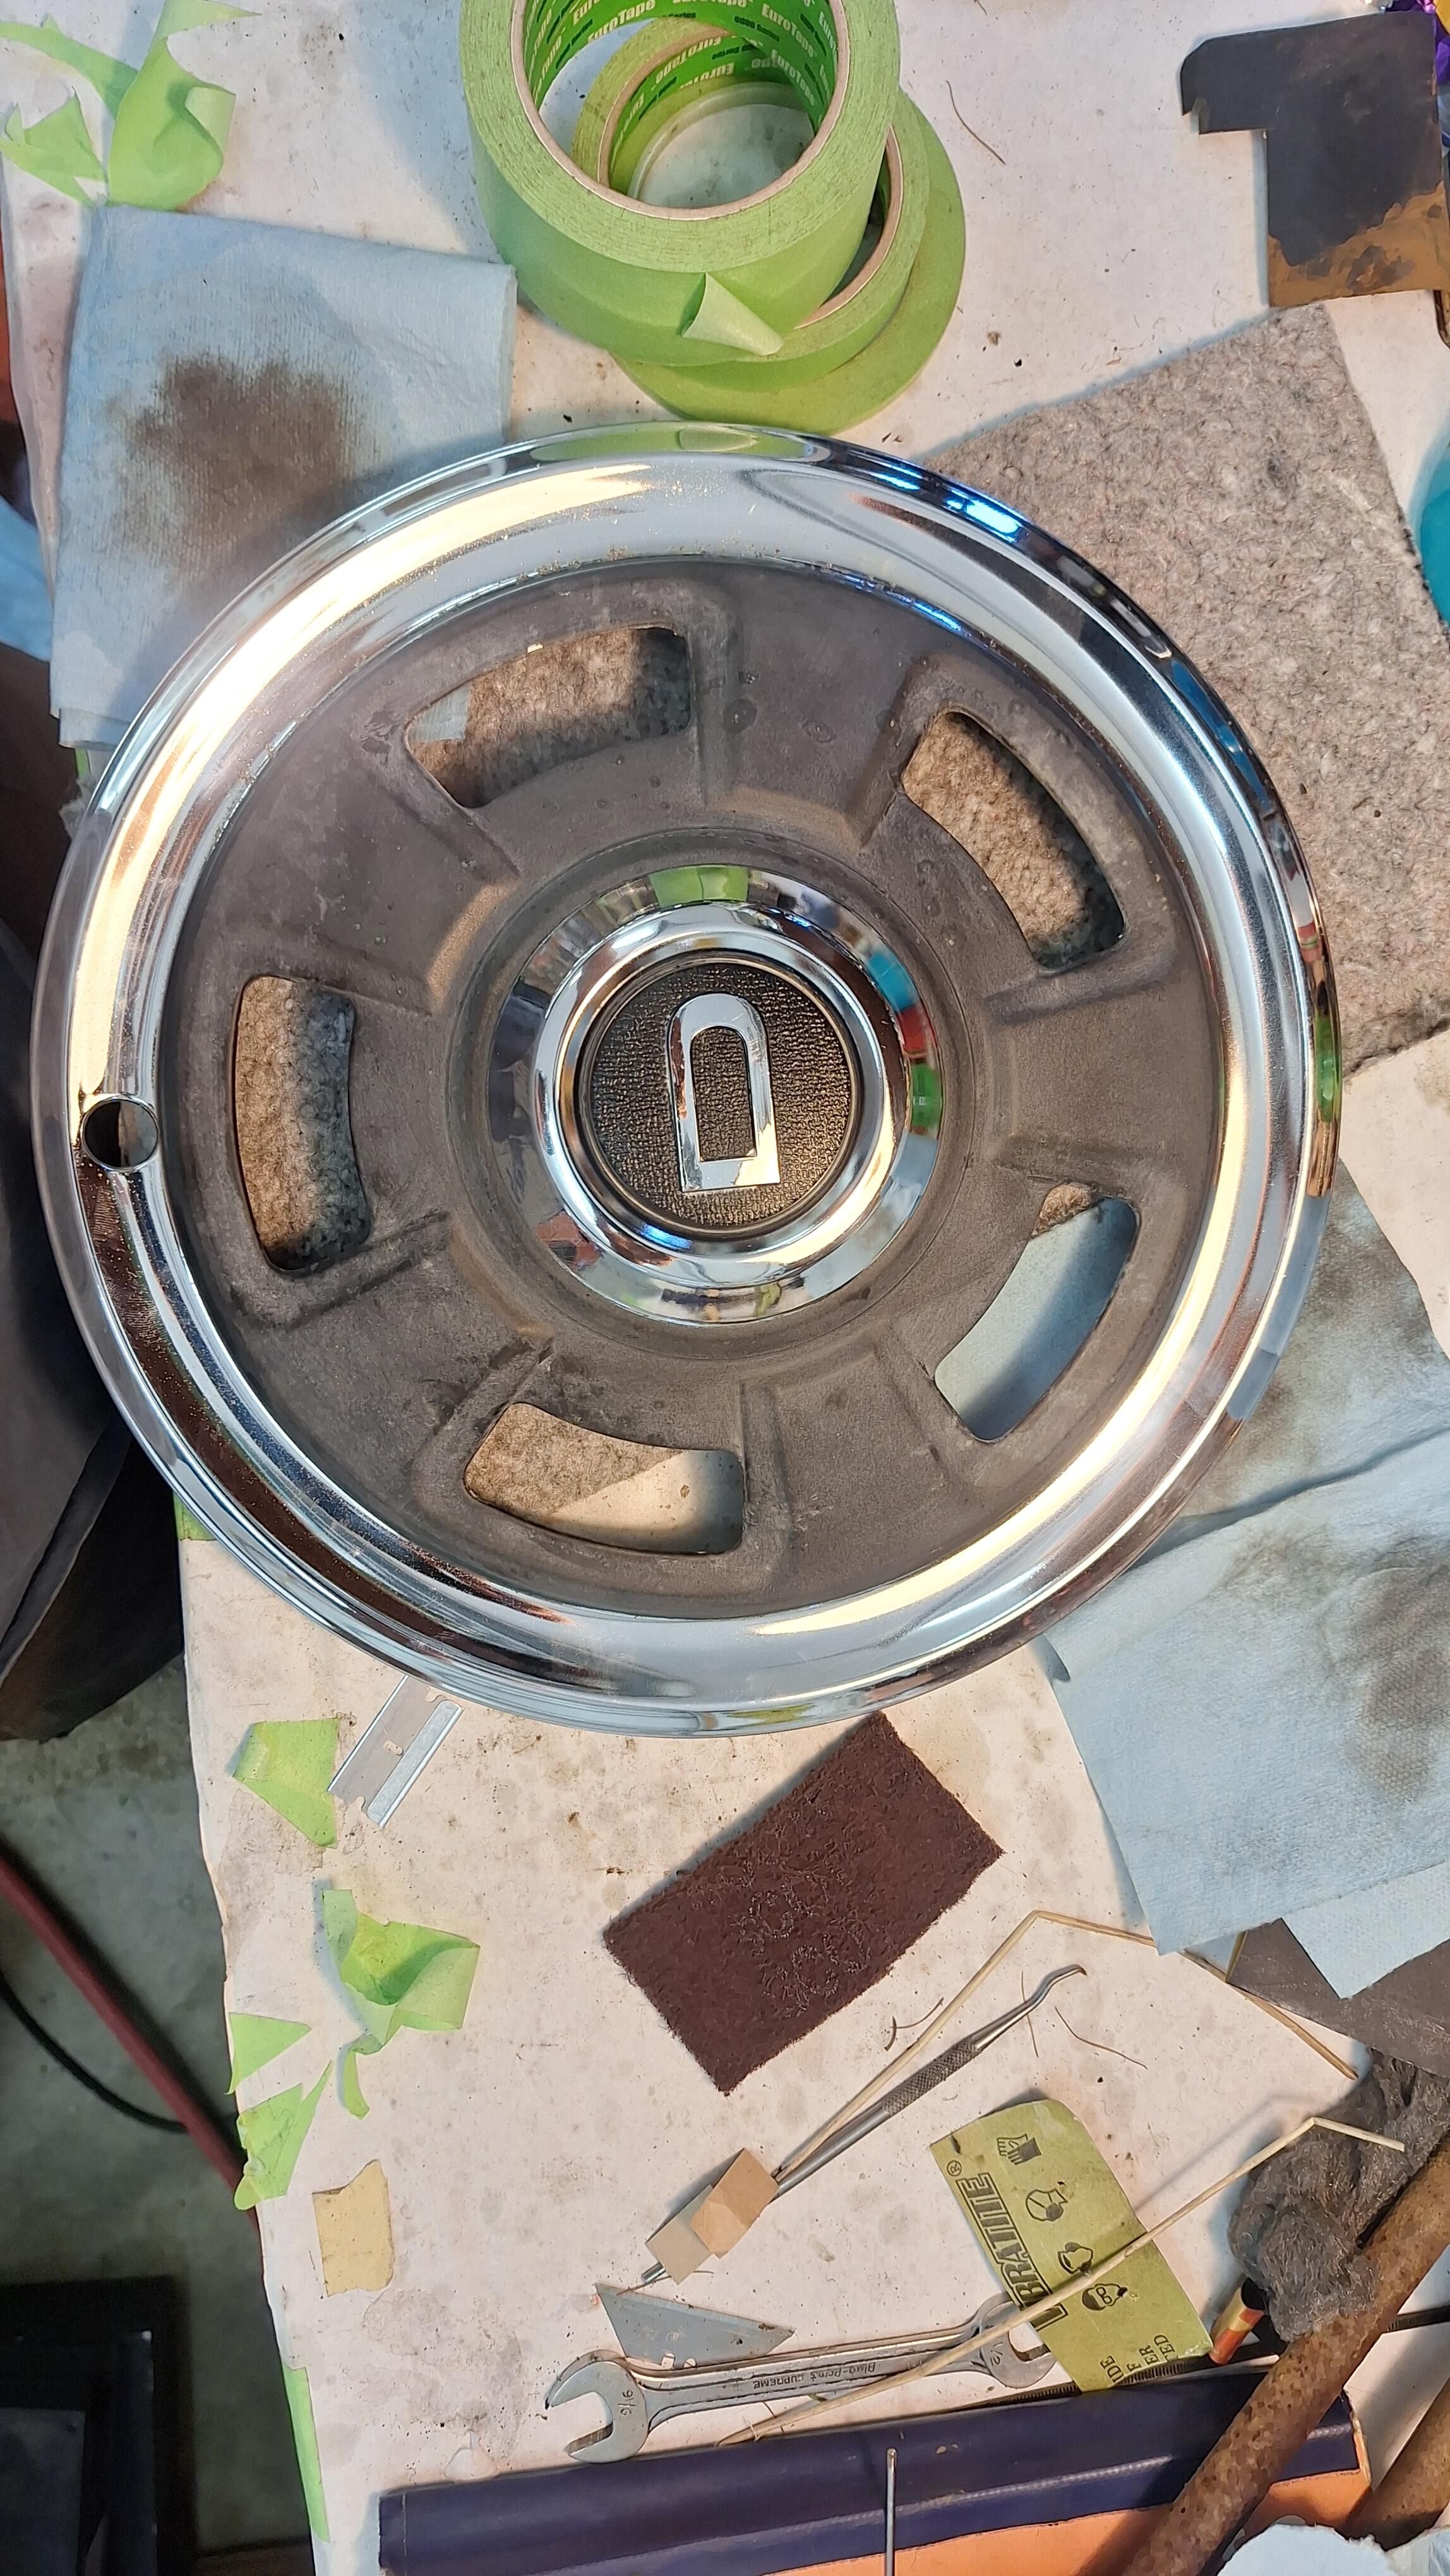
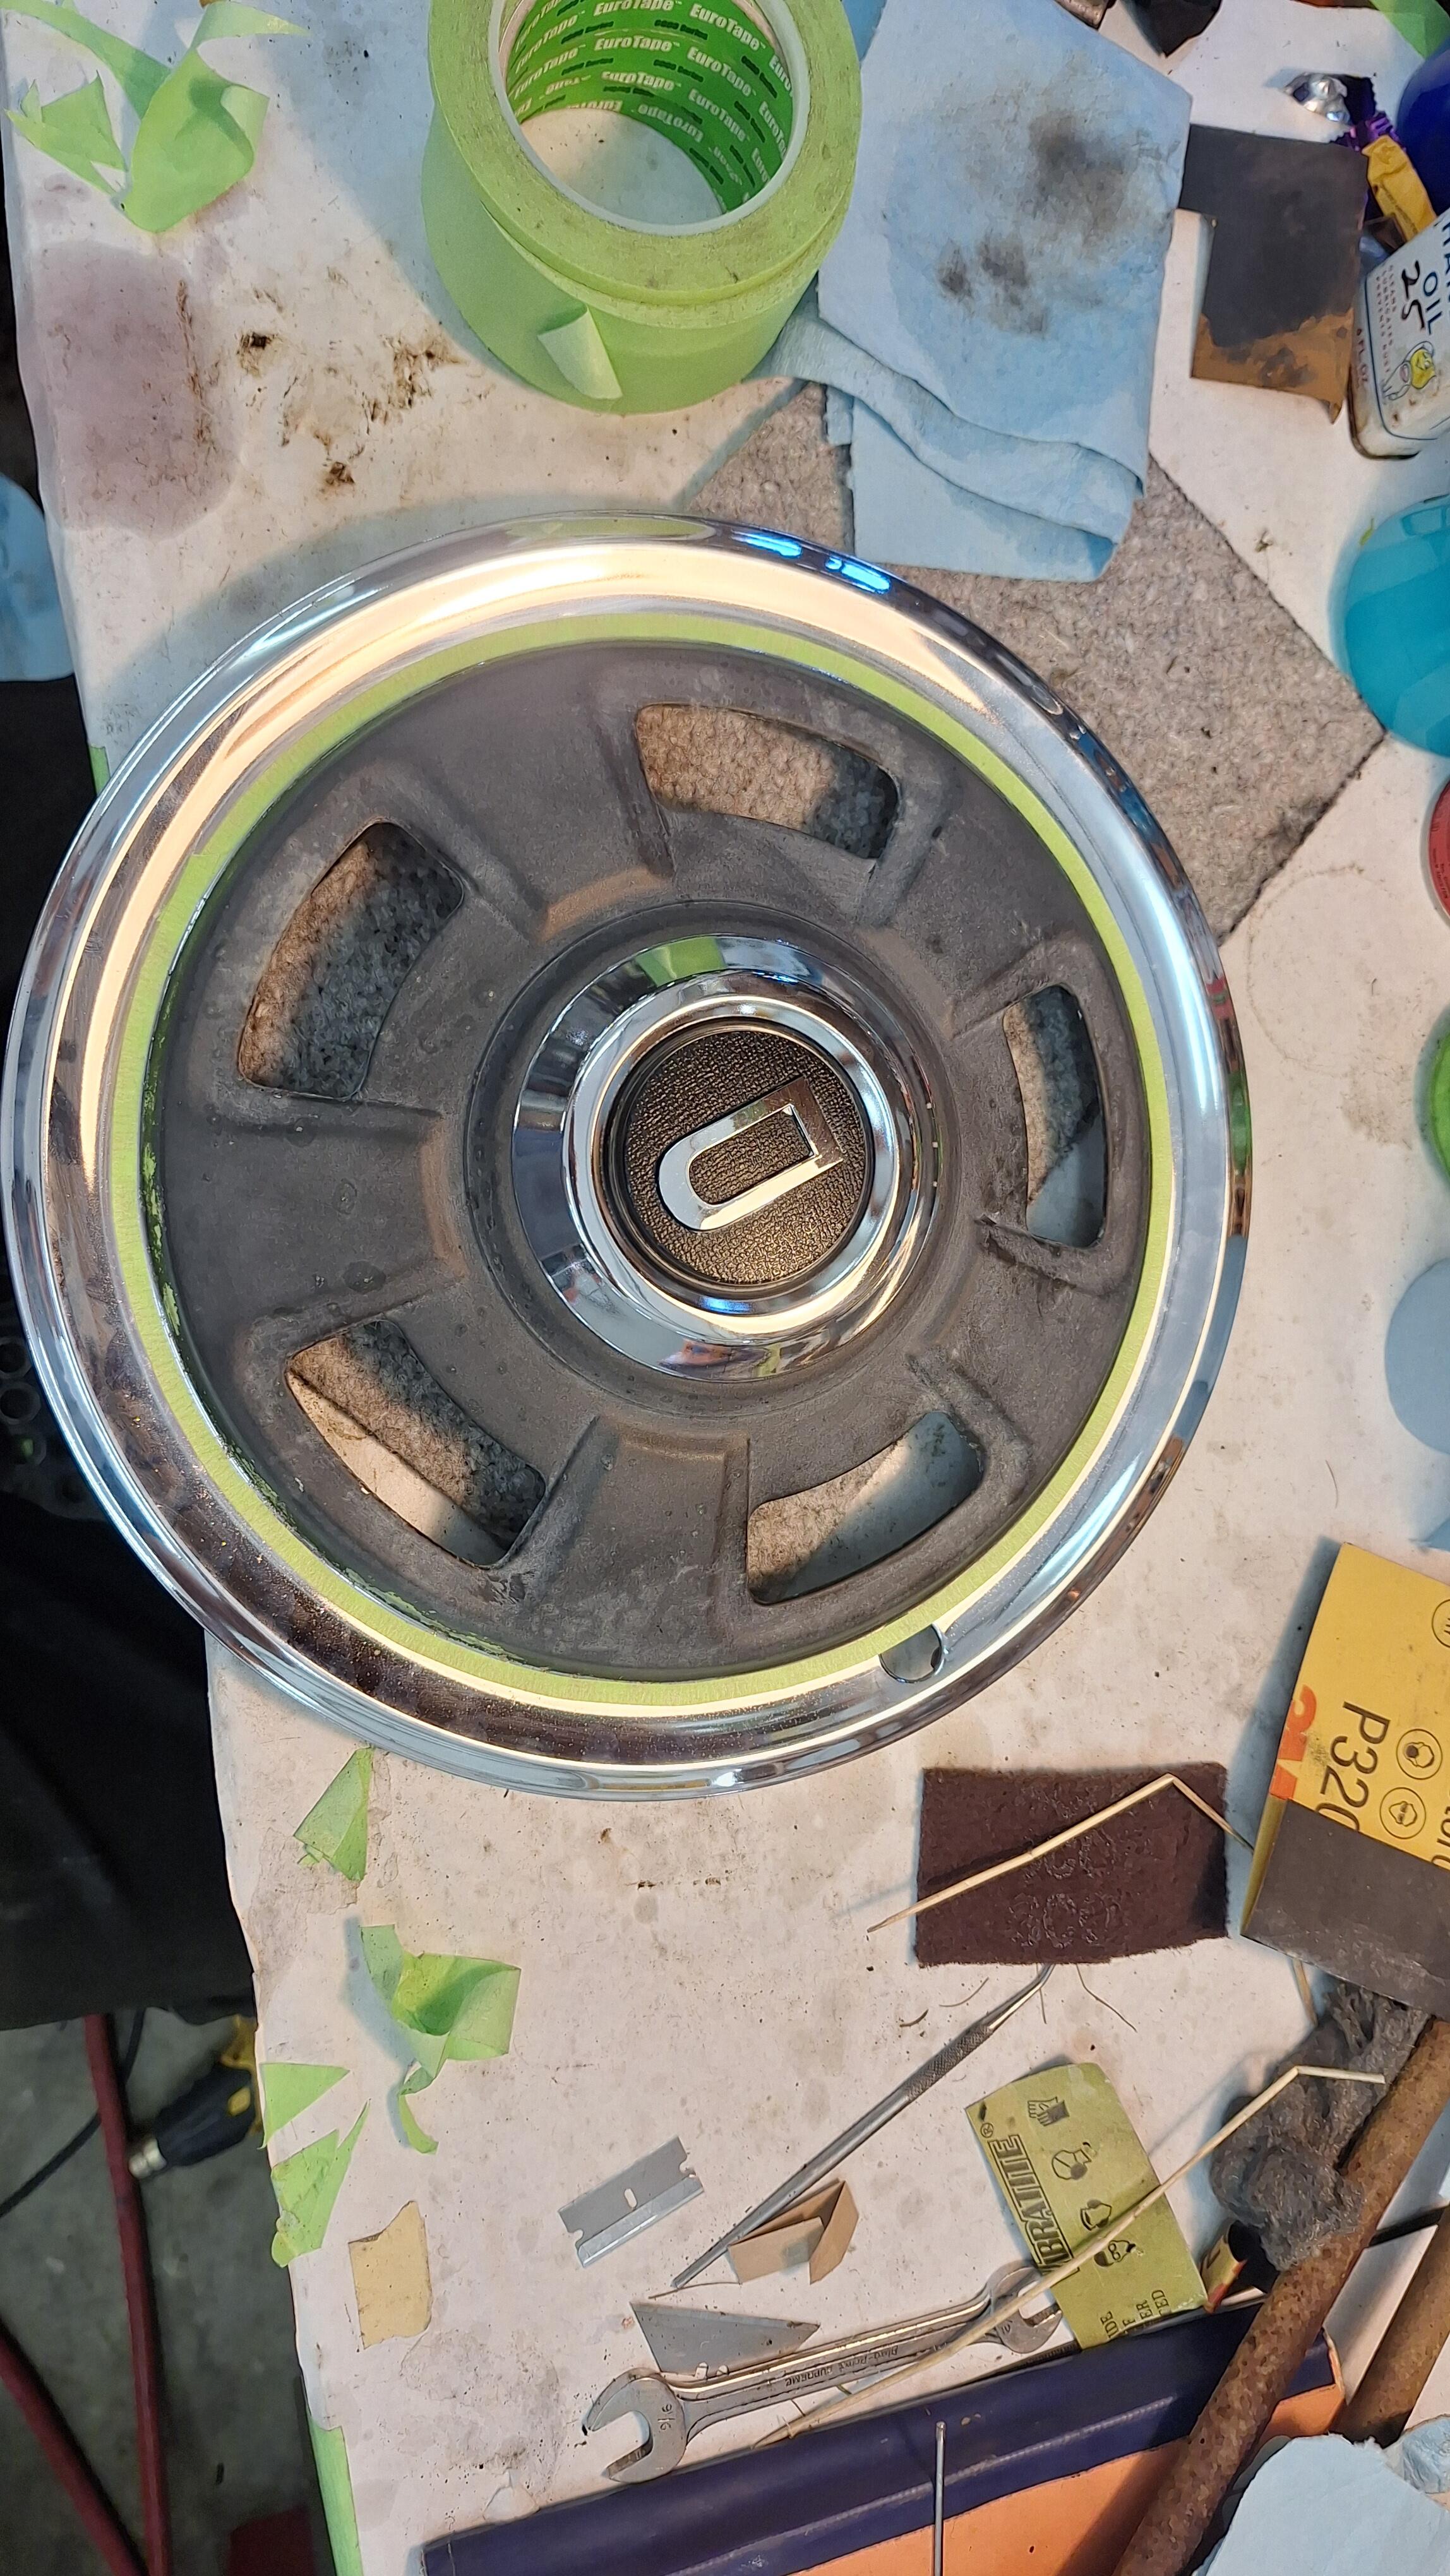
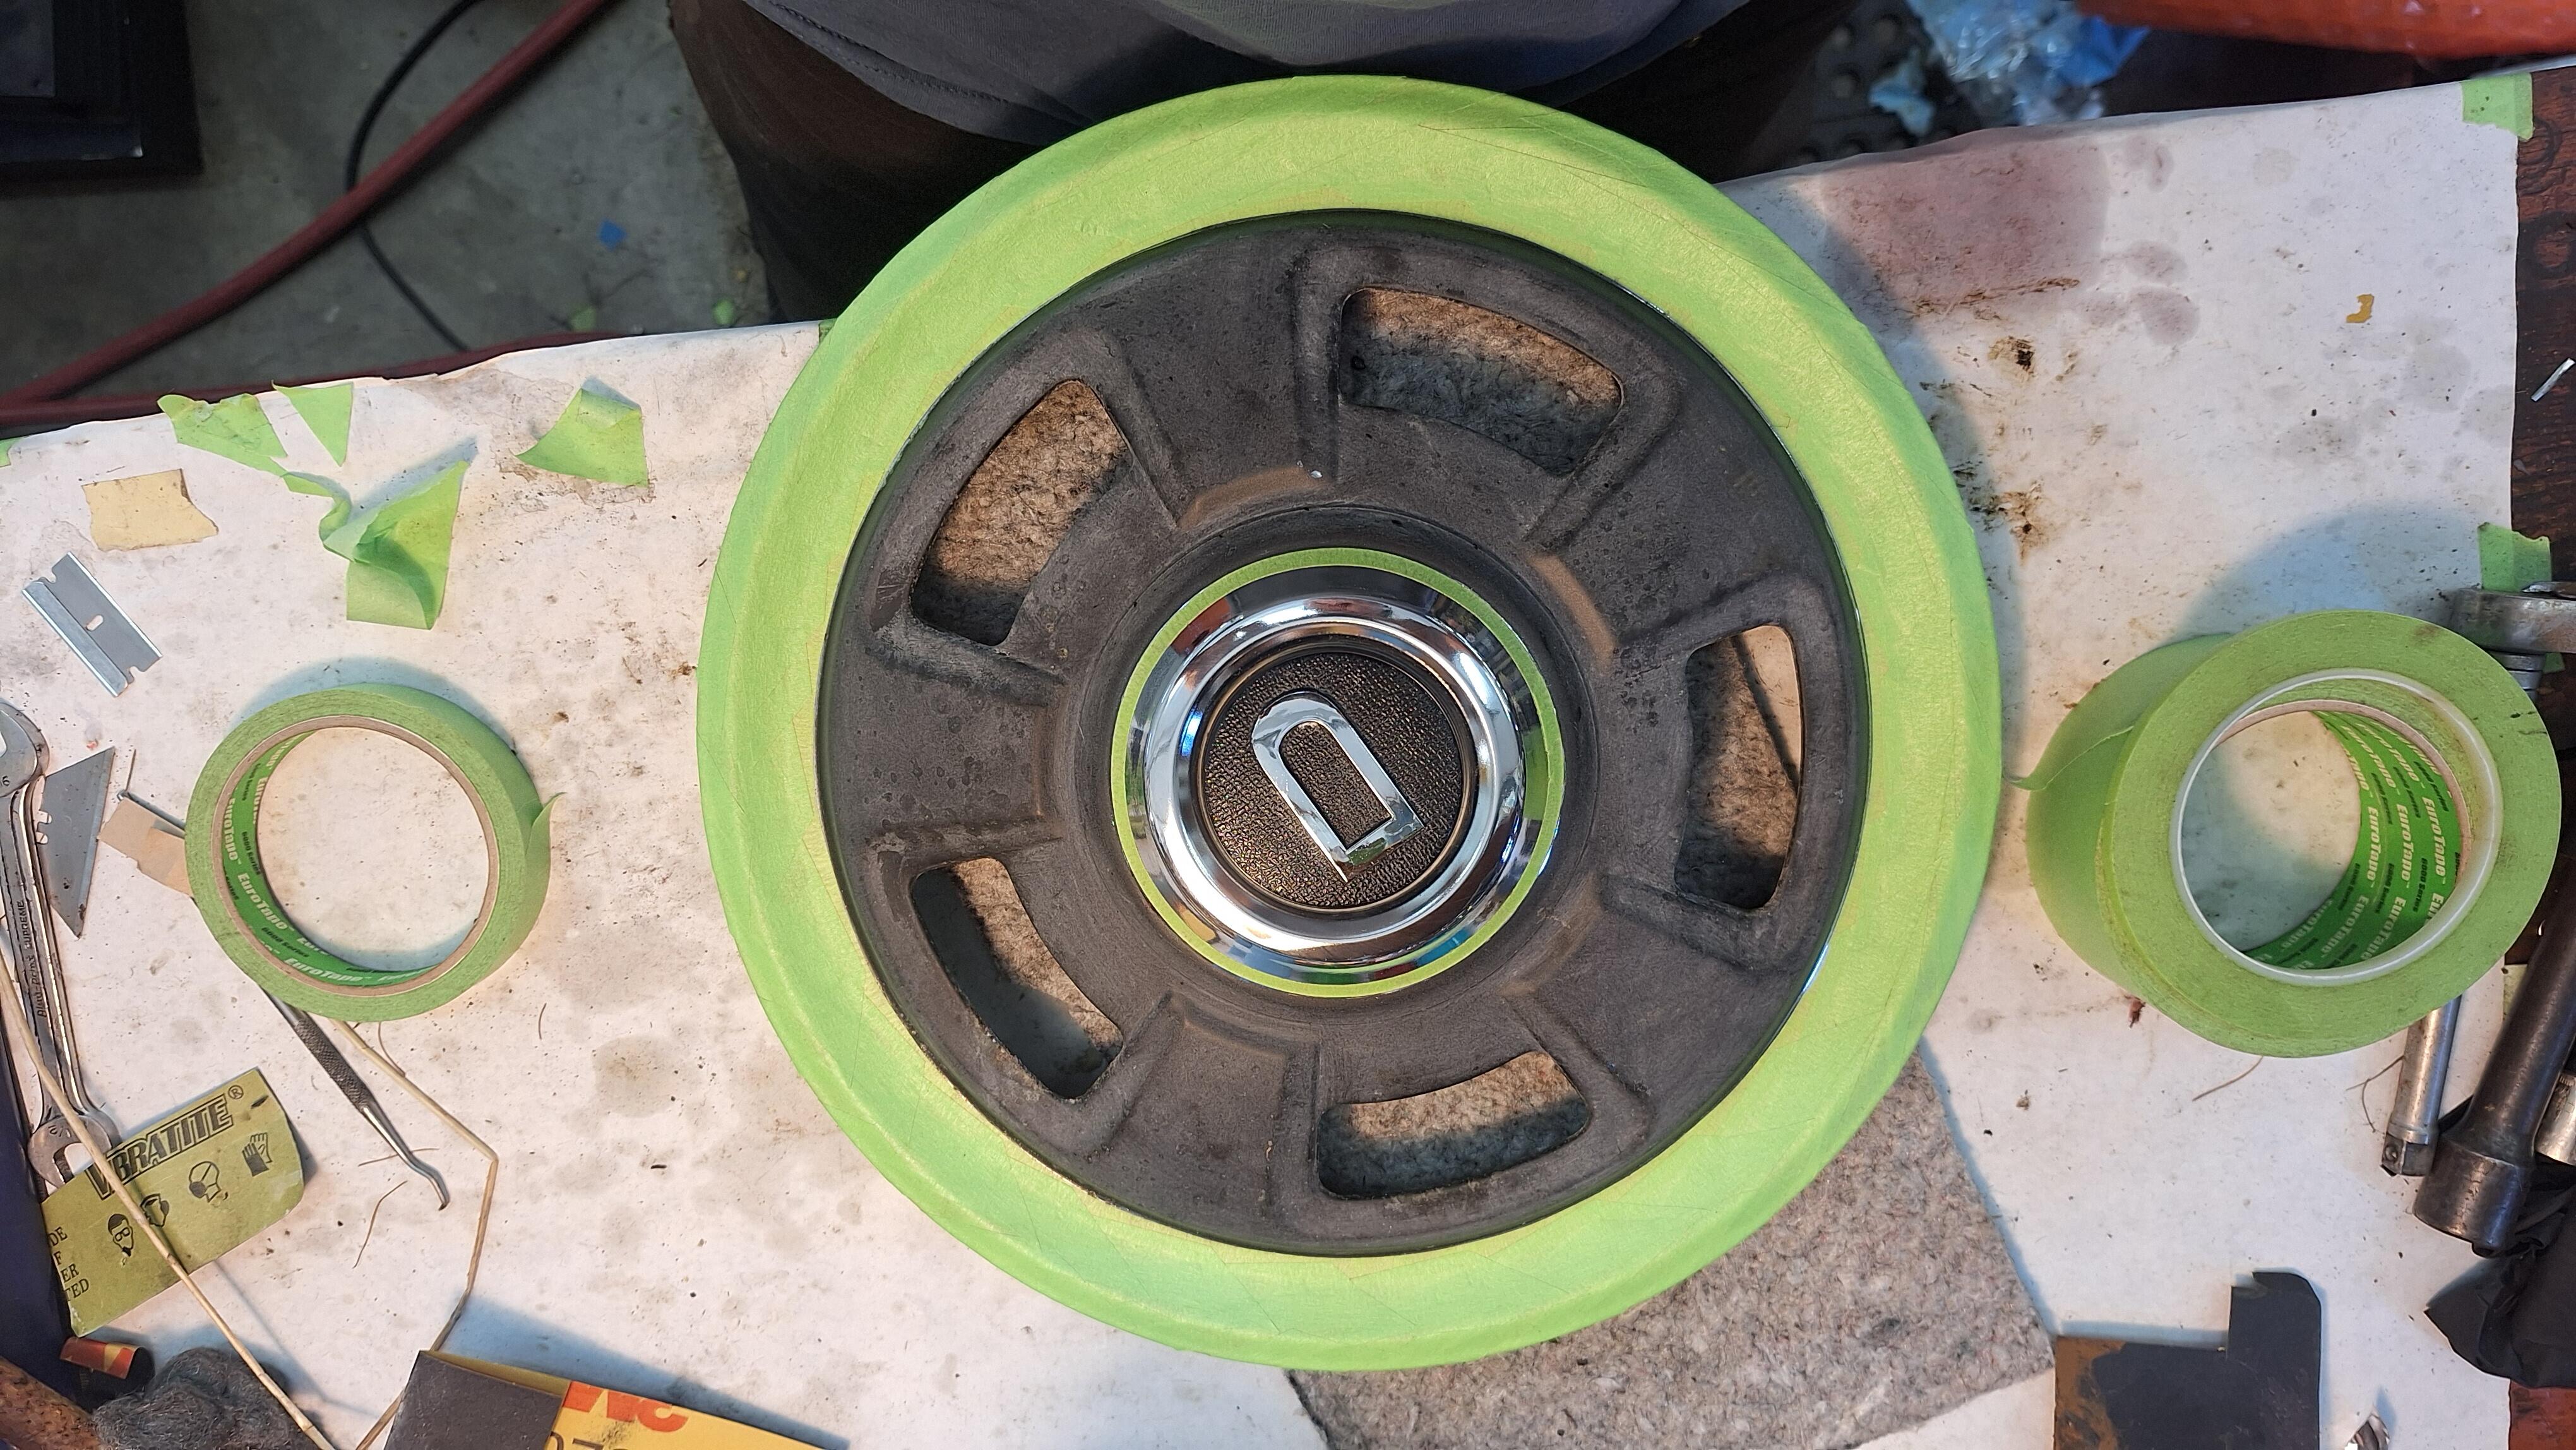
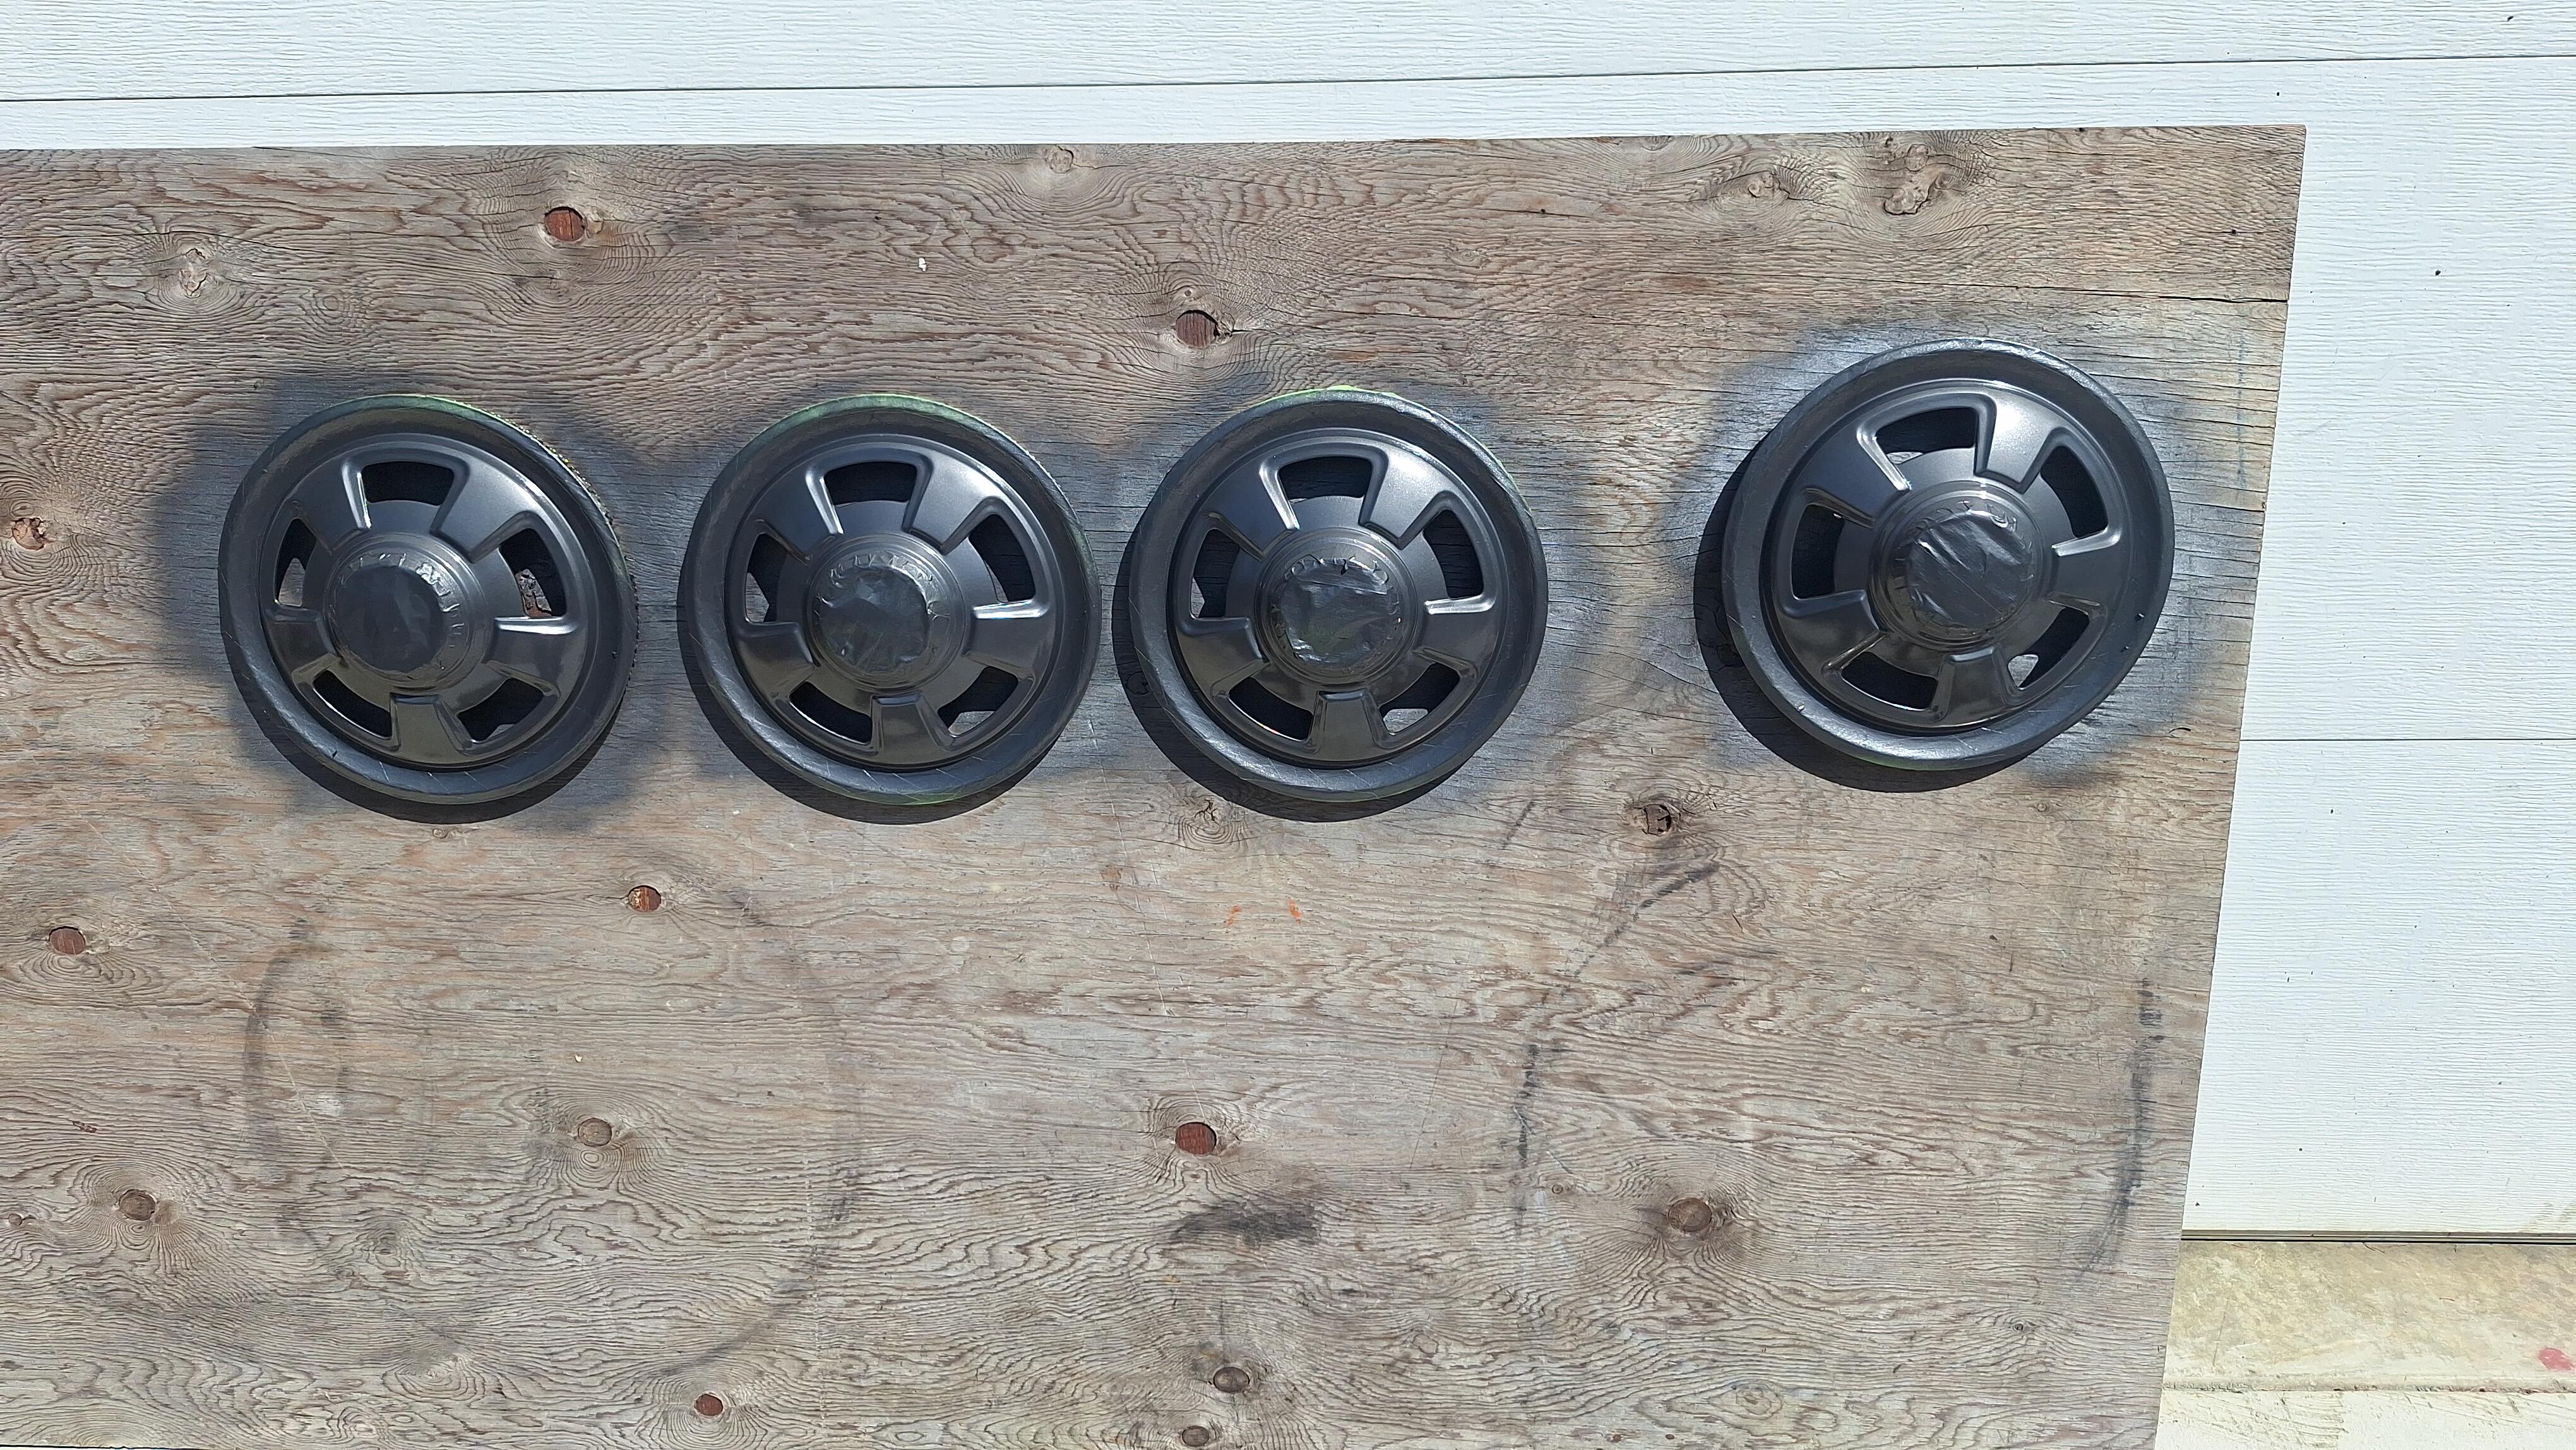
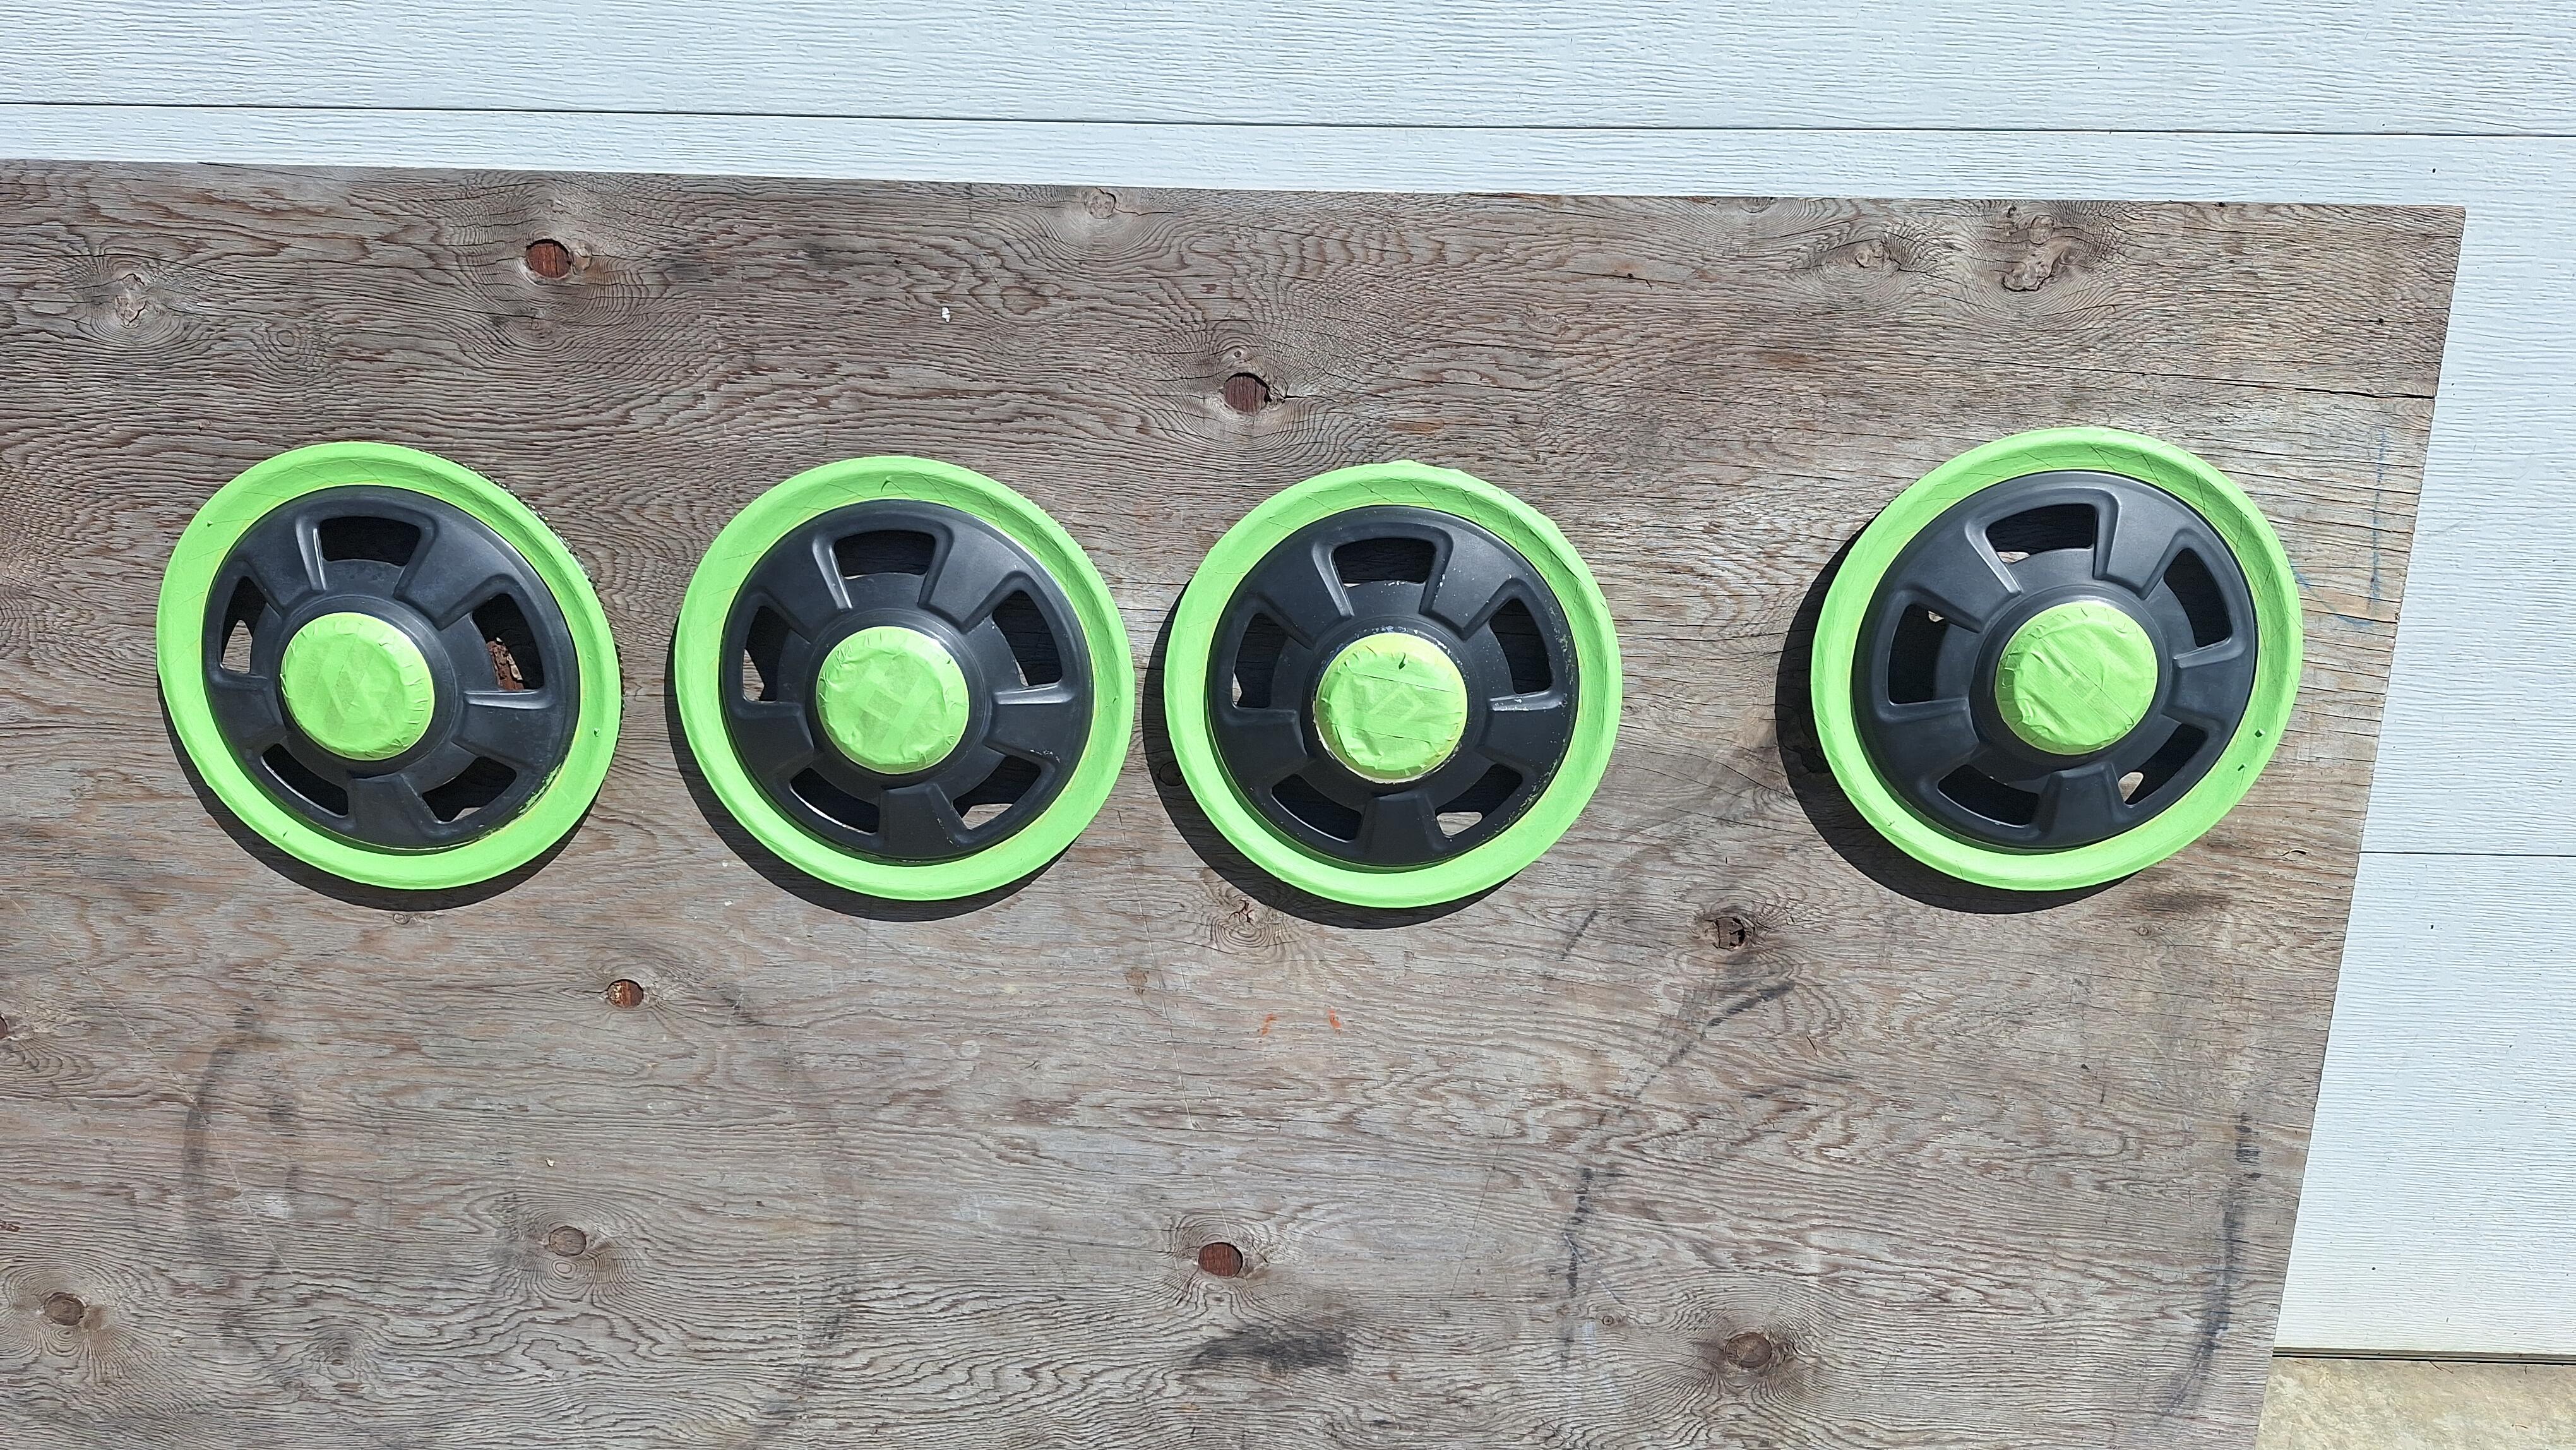
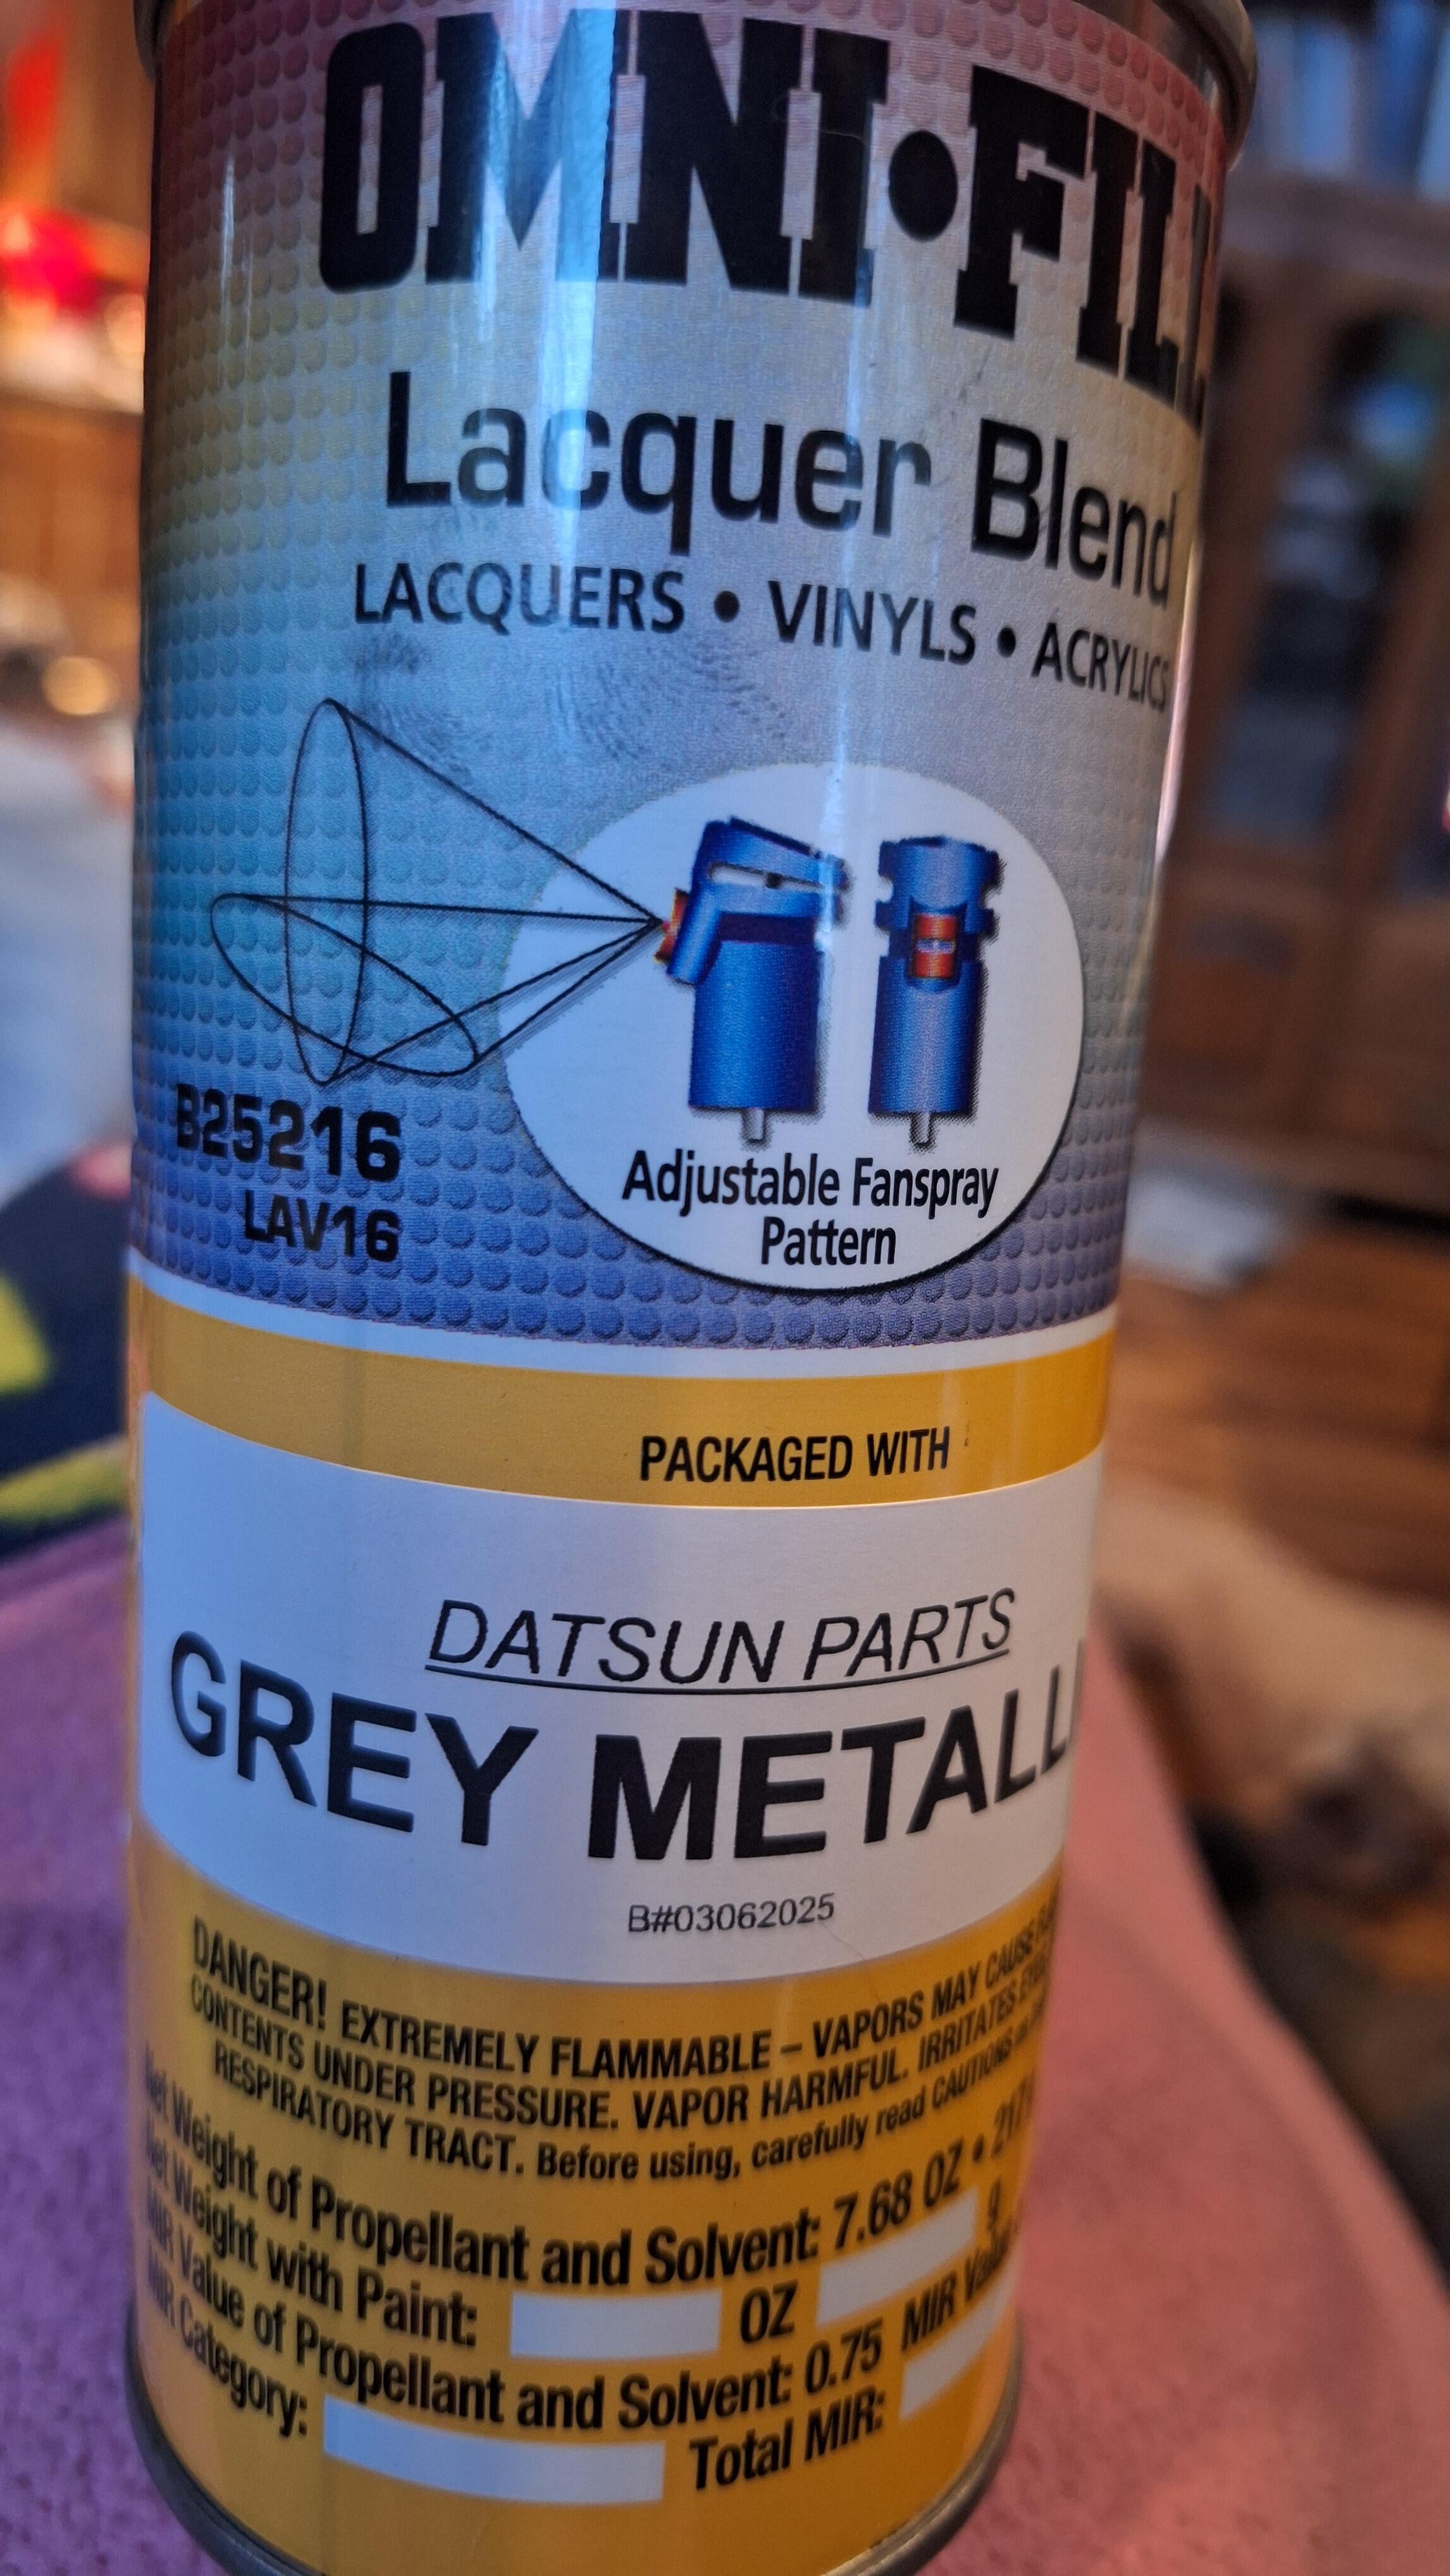
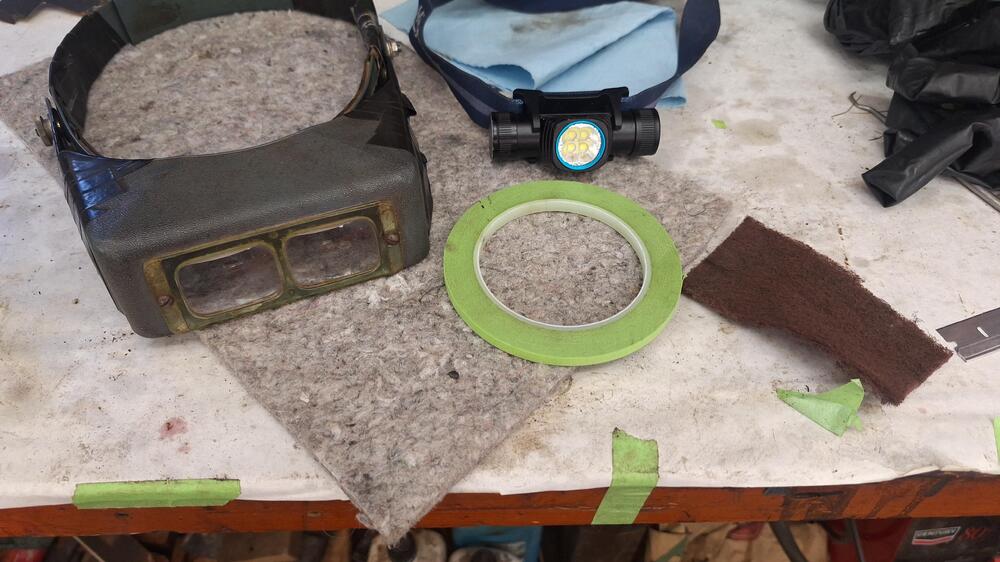
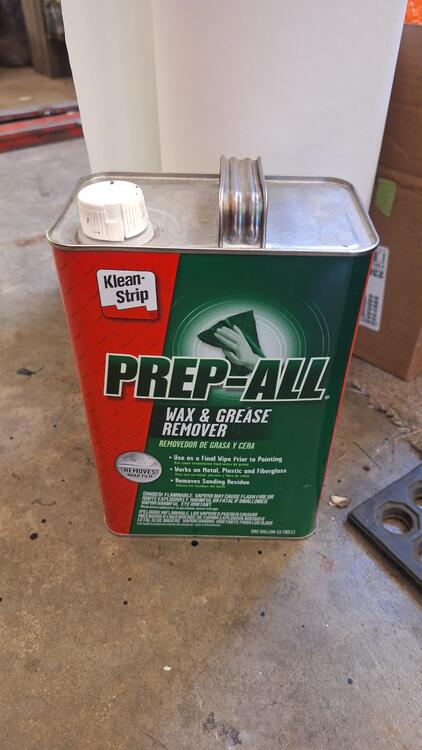
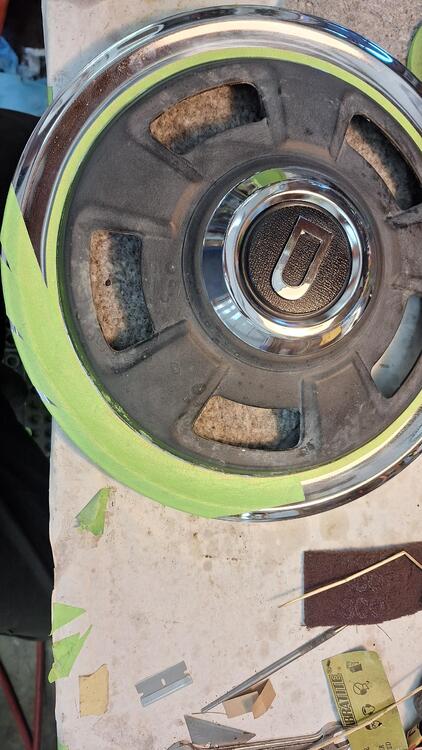
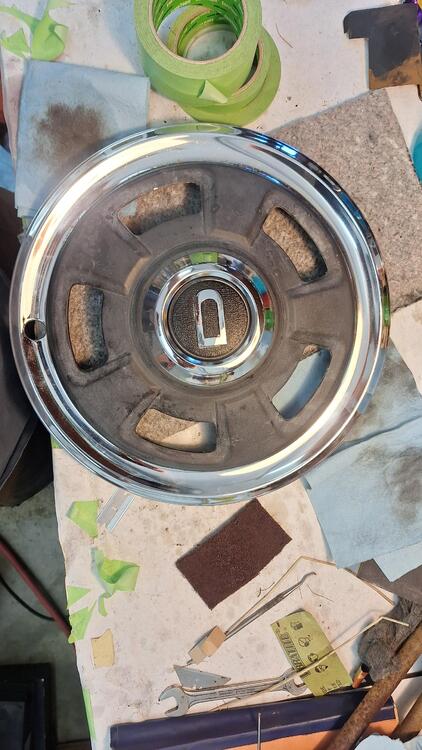
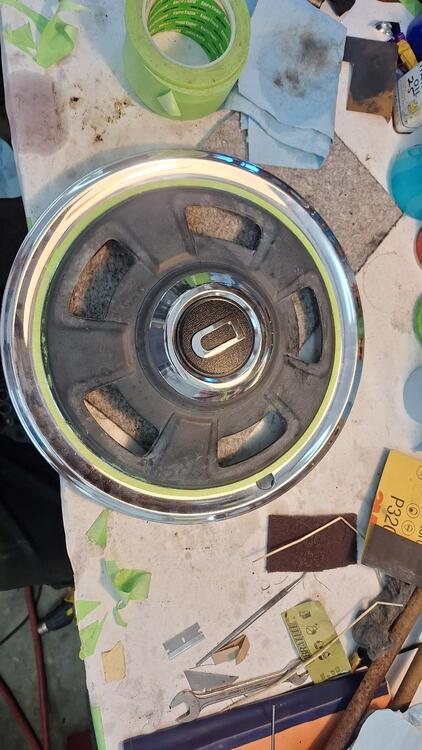
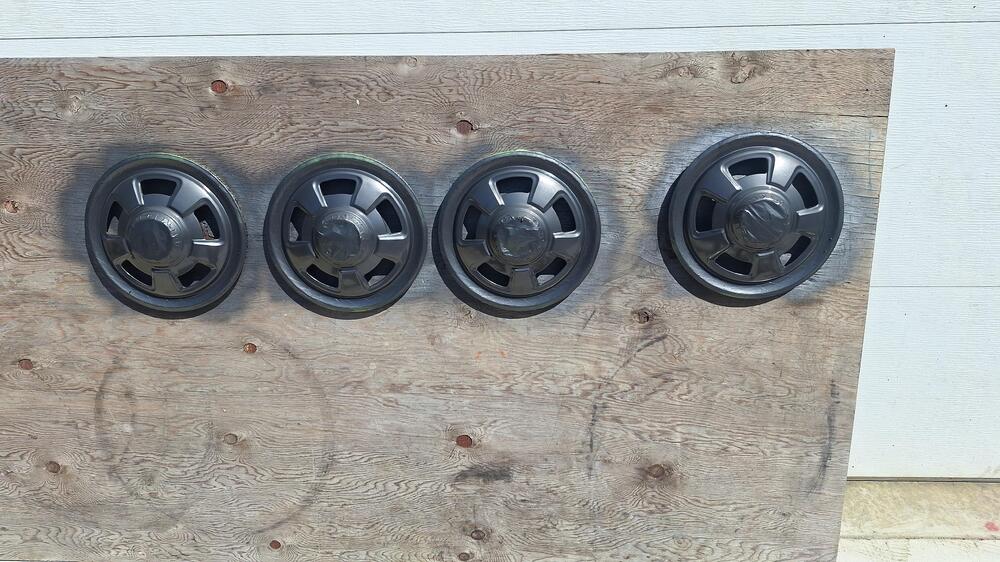
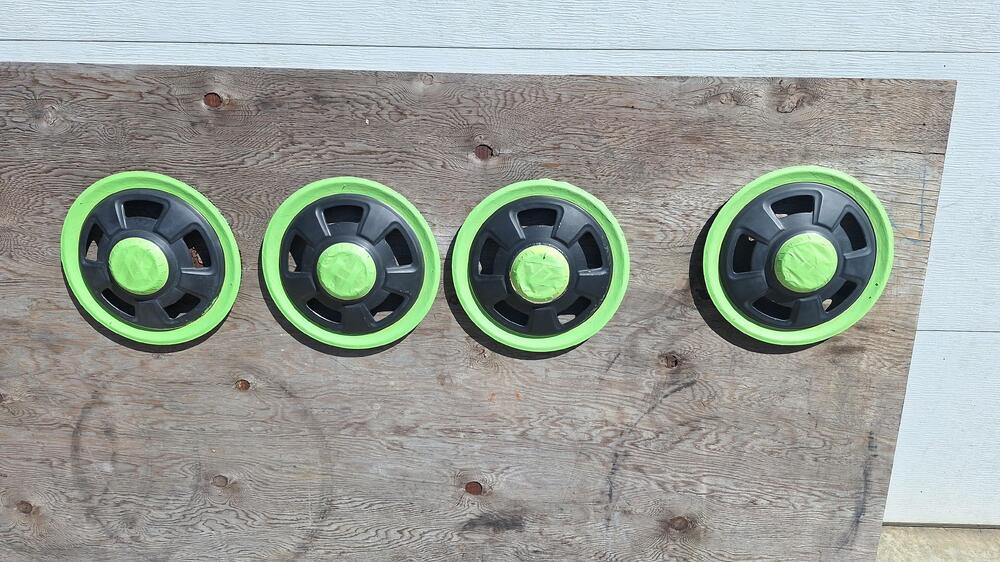
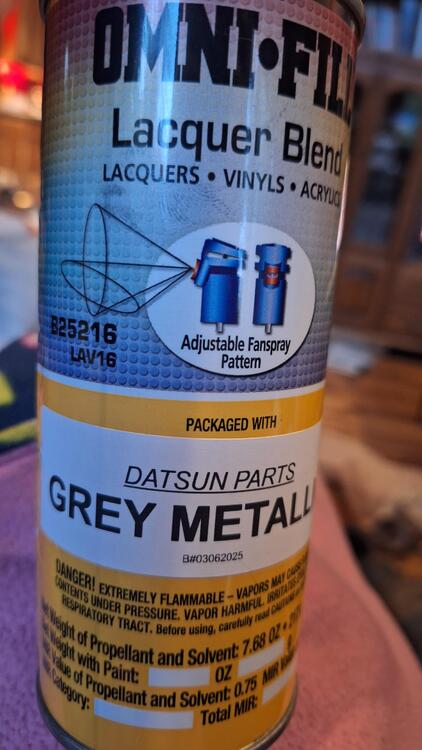
Restoring the hubcaps. I decided to freshen up the hubcaps a little. 3 were a faded gray, and 1 was a darker color, almost blackish gray. My first step was cleaning the area between the chrome and the paint. The tape line. I used 0000 steel wool. Then I degreased it and applied 1/4" fine line tape all the way around. It really helps to see so I used these magnifying goggles and a headlamp, and a good light. Once I had that tape on, I used a wider tape and continued around until it was masked off. Same for the center cap. Then I used a scotch Brite pad and scuffed and cleaned the old paint. Blew it off with air and degreased the old paint until the rag was clean. It took several cleanings, but this is a very important step. Then when the wind quit blowing, I gave them several coats of the Datsun Gray paint purchased from California Datsun, great stuff! An hour later, I removed the tape. It came off easy, pulling at a right angle to the paint.


-
Nice! Thanks
-
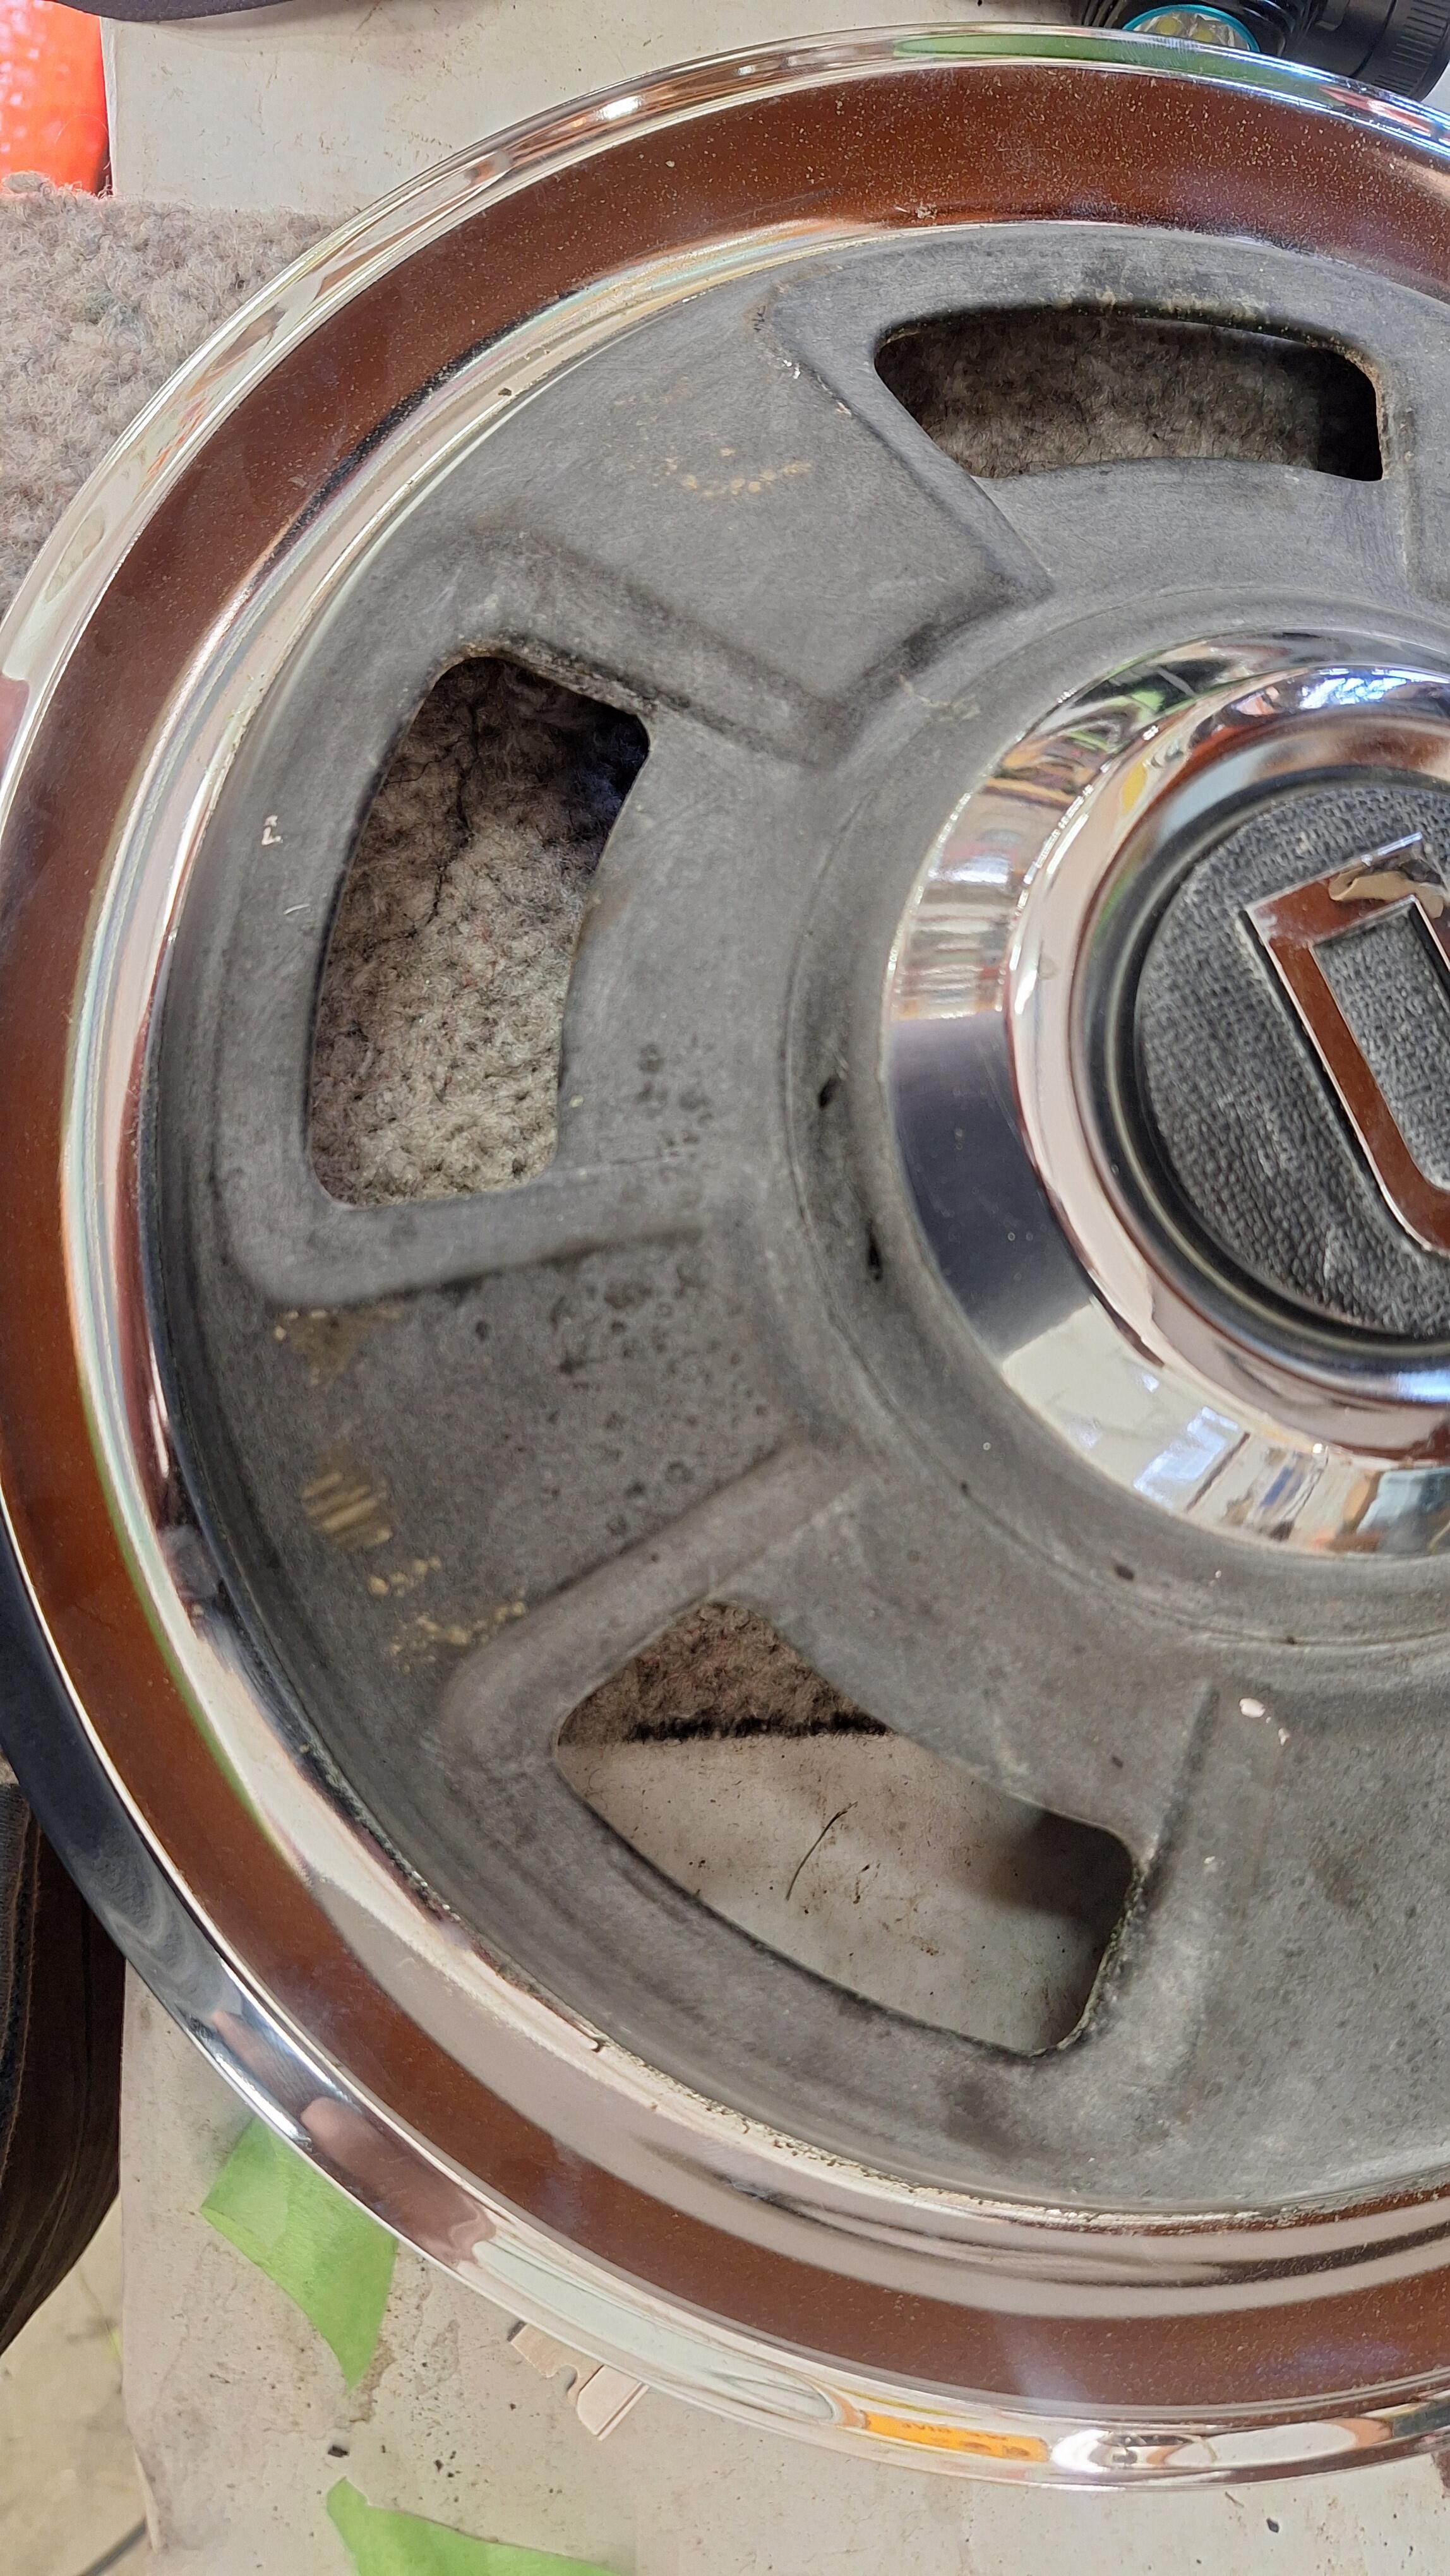
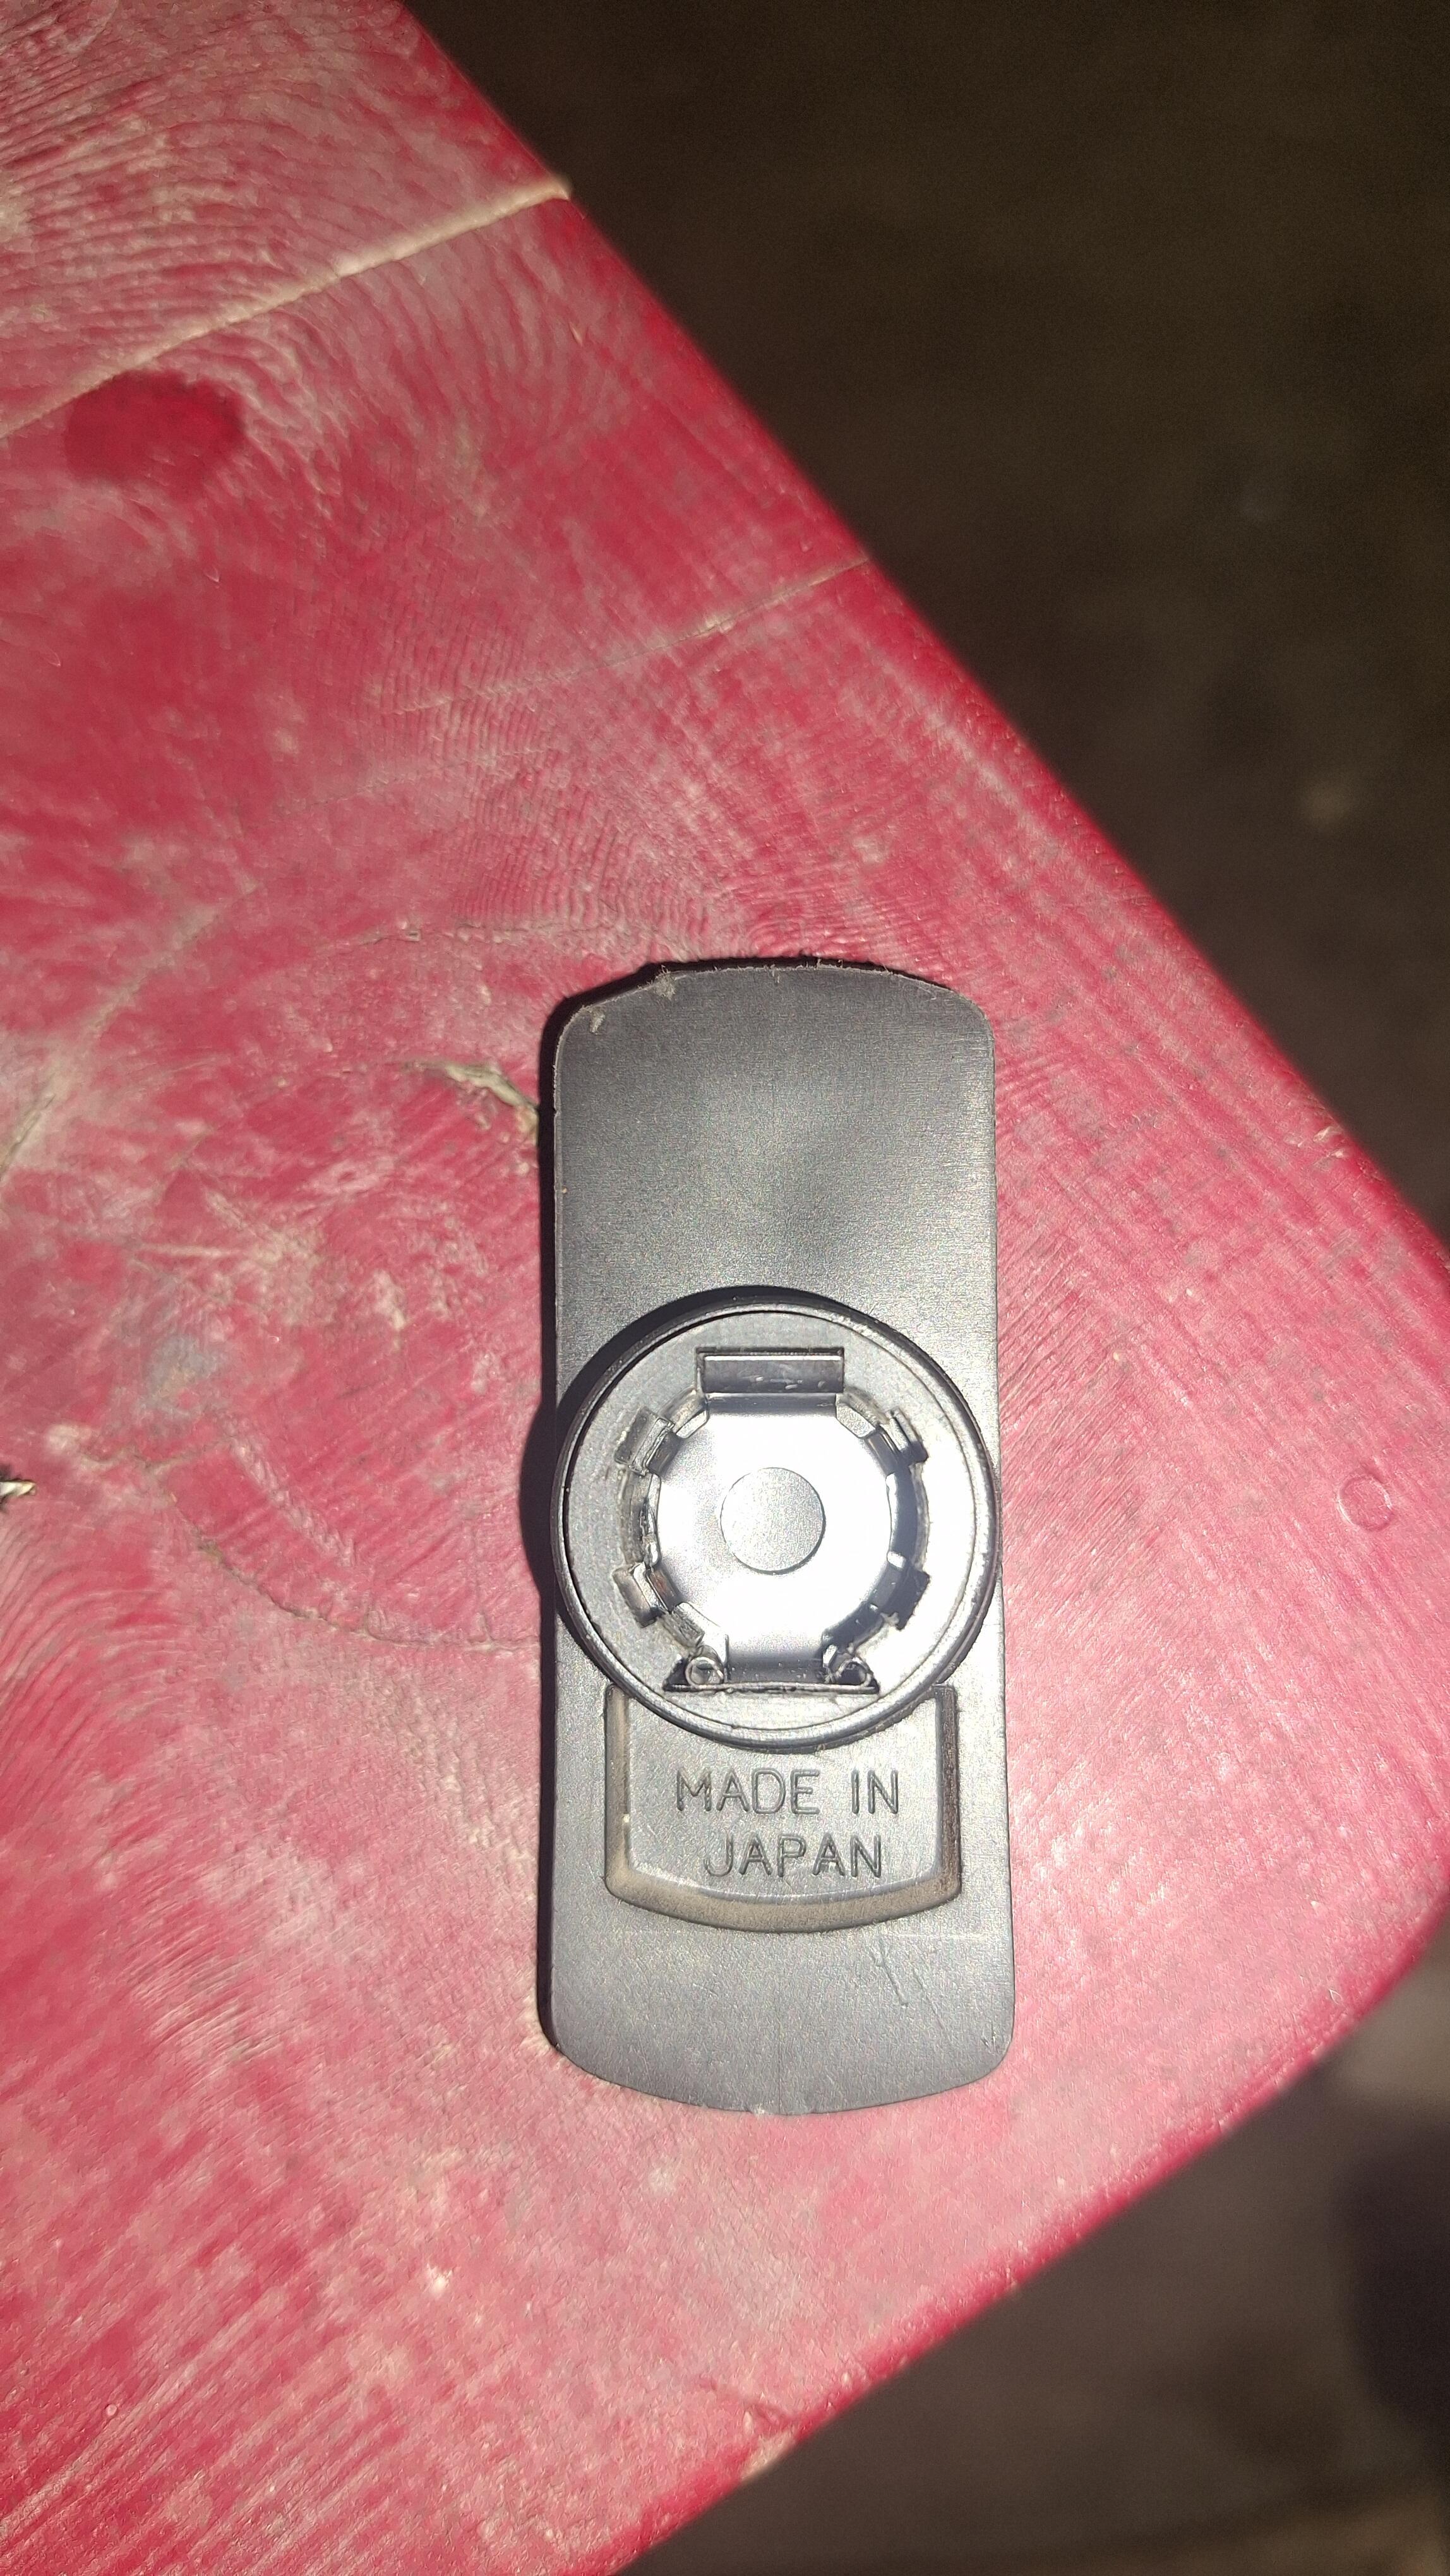
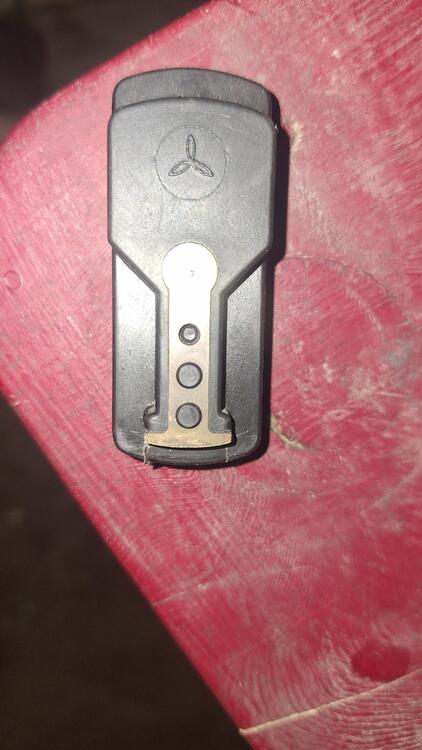
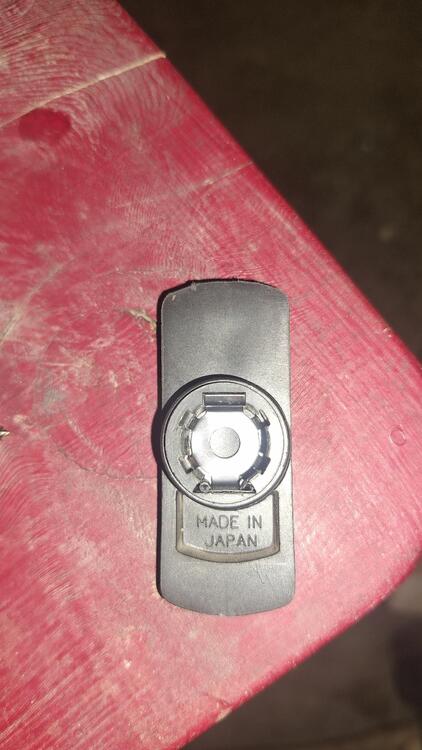
Can anyone identify the logo or symbol on this rotor? It's of high quality and I would like to find another one. Could it be Mitsubishi?
-
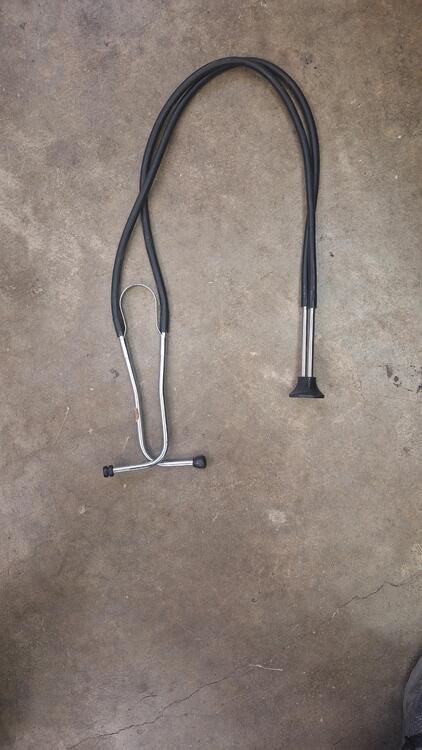
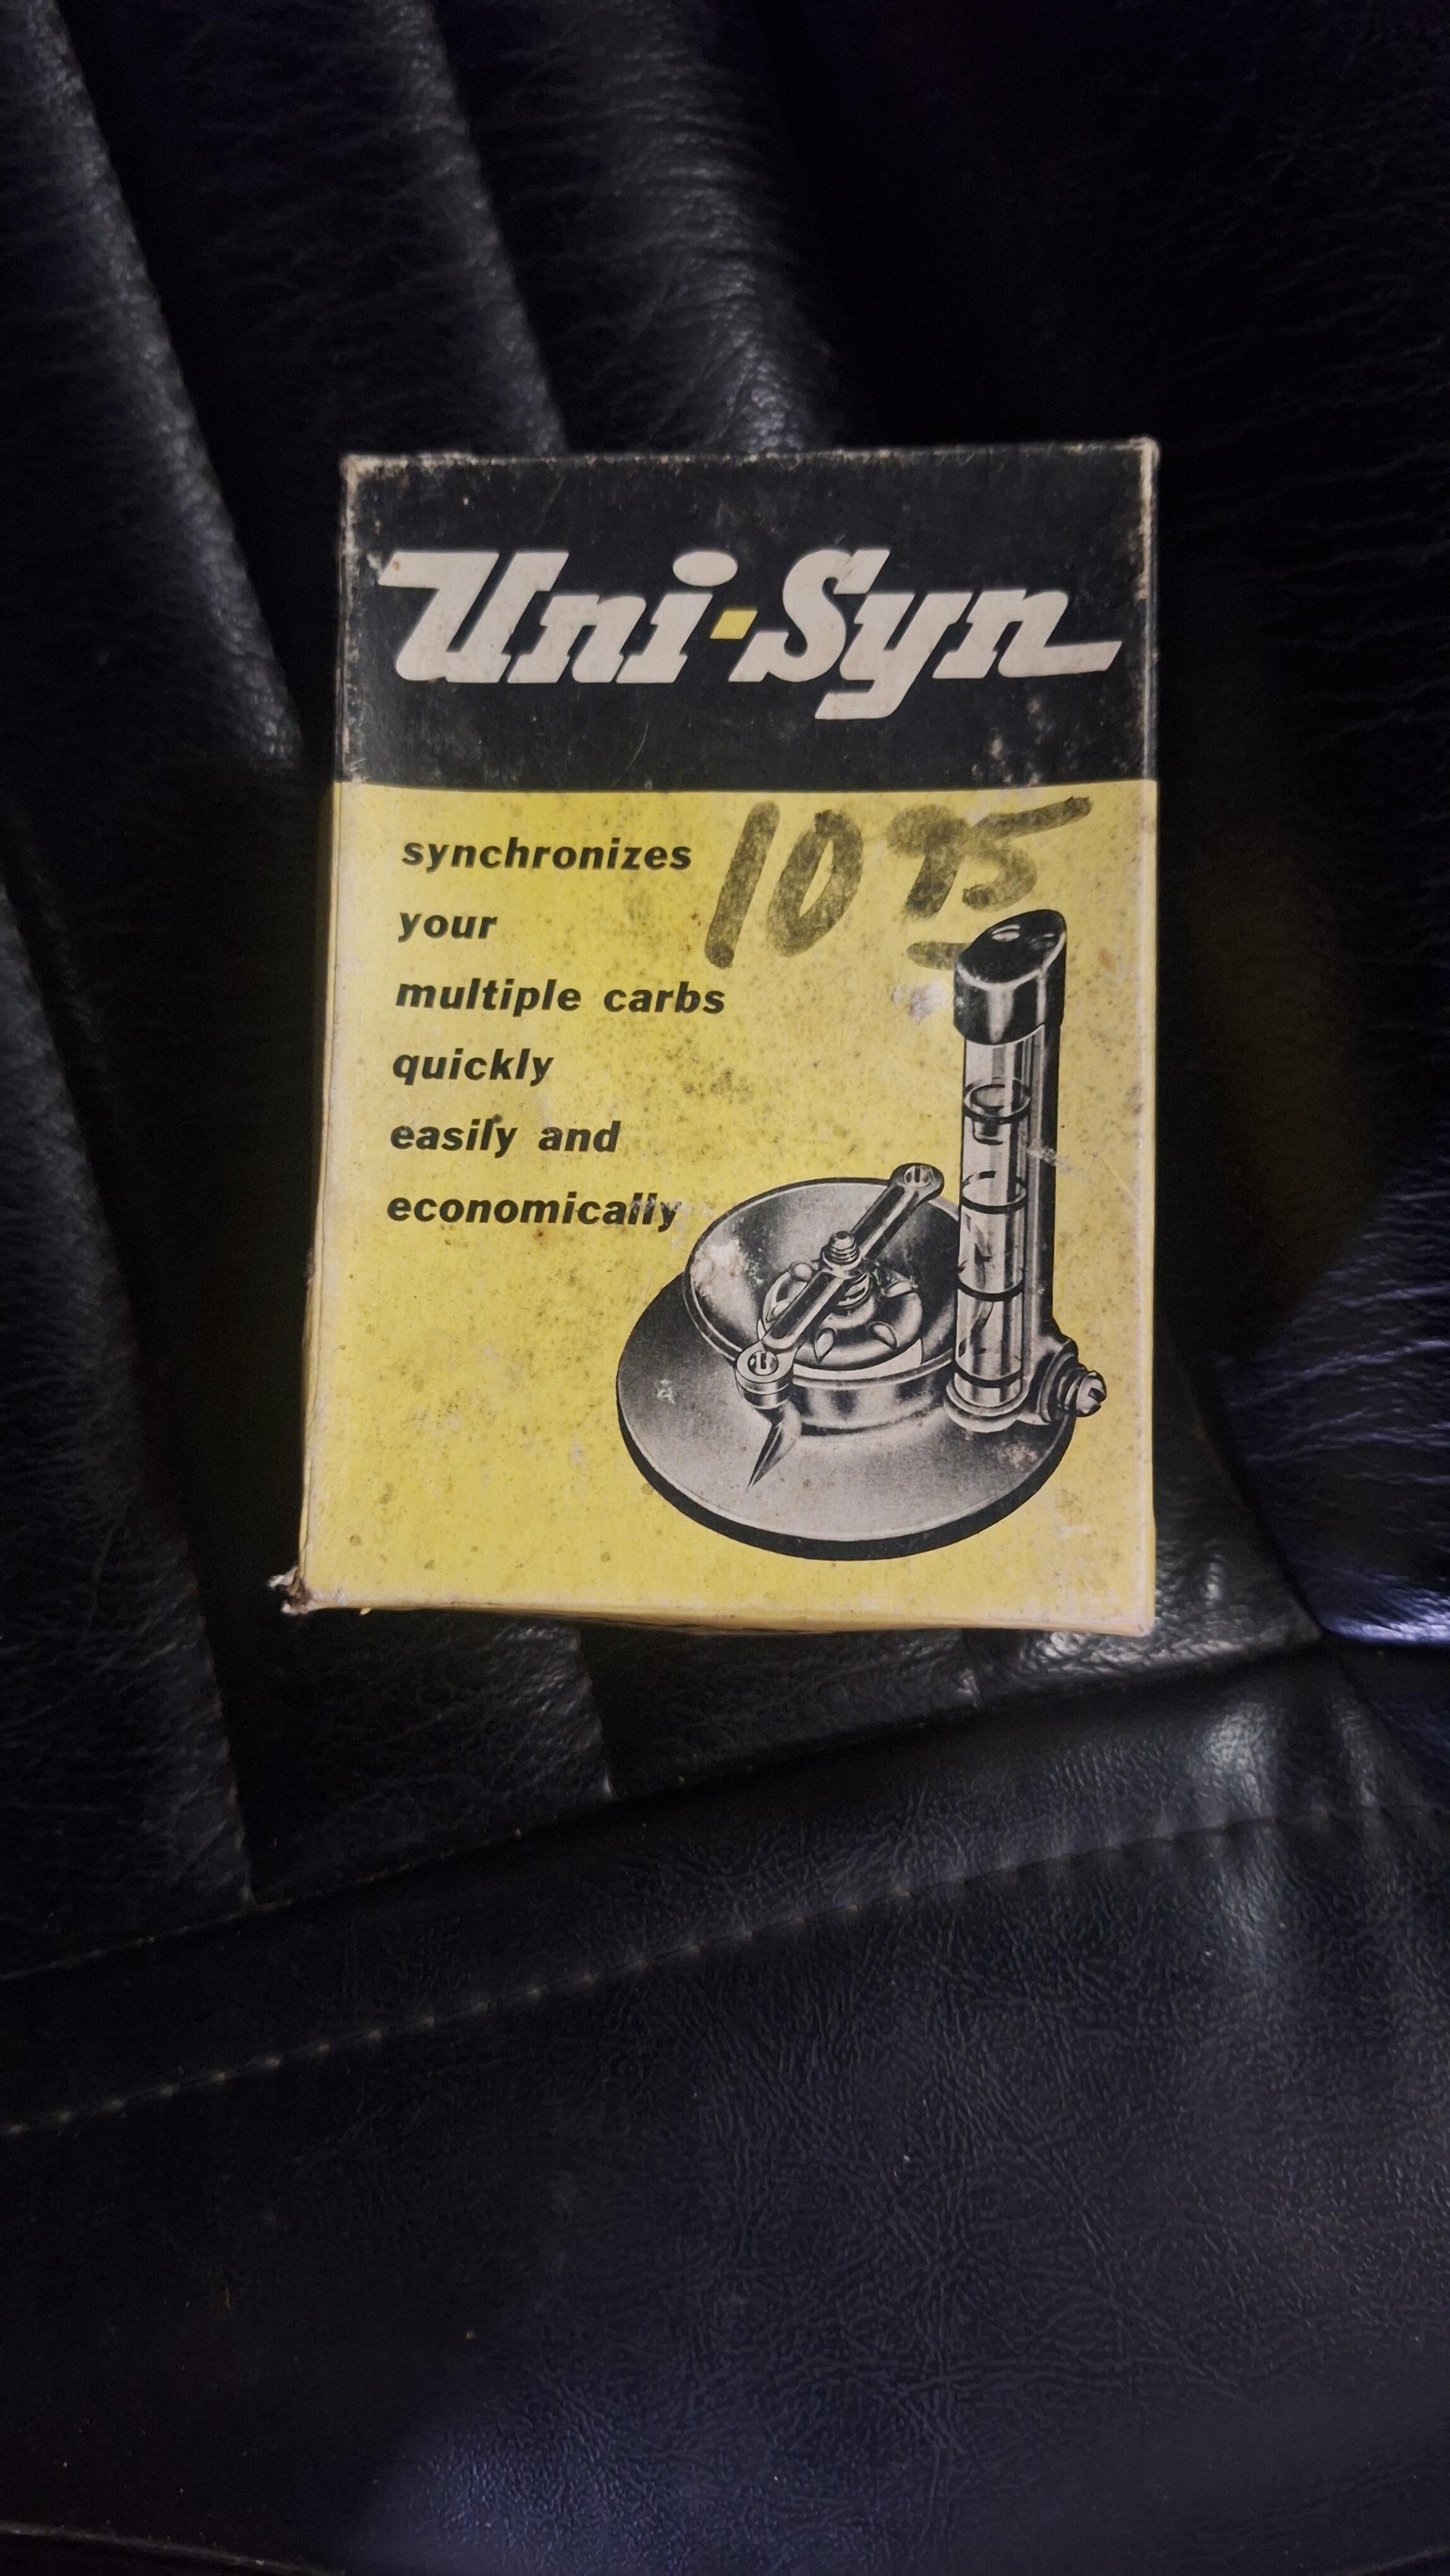
After adjusting the valve lash a couple times, I timed the distributor which was really close. I tried my hand at tuning the carbs. This video VHS and flowmeter came with the car. I backed everything off, but still was getting a 1,000 rpm idle. Seemed a bit high. I would put the flow gauge on the front carb and adjust it so the ball was in the middle. Then go to the rear carb, the ball was way high, no way to back down the idle screws anymore. I figured there must be a vacuum leak somewhere. I squirted brake clean around but didn't make any noticeable difference. I couldn't get them the same. The next day, while fiddling around with it, I grabbed my broken stethoscope, and started poking 1 of the hoses around when whaaam! There it is. The rear carb is leaking around the throttle shaft. These carbs were just done by ZTherapy 2 or 3 years before the car was parked some 22 years ago. I had a chat with them, boxed them up, and they are now in their hands. I hope it's an easy fix.....