


240ZBUILTBYME
Free Member
-
Joined
-
Last visited
Everything posted by 240ZBUILTBYME
-

-
-
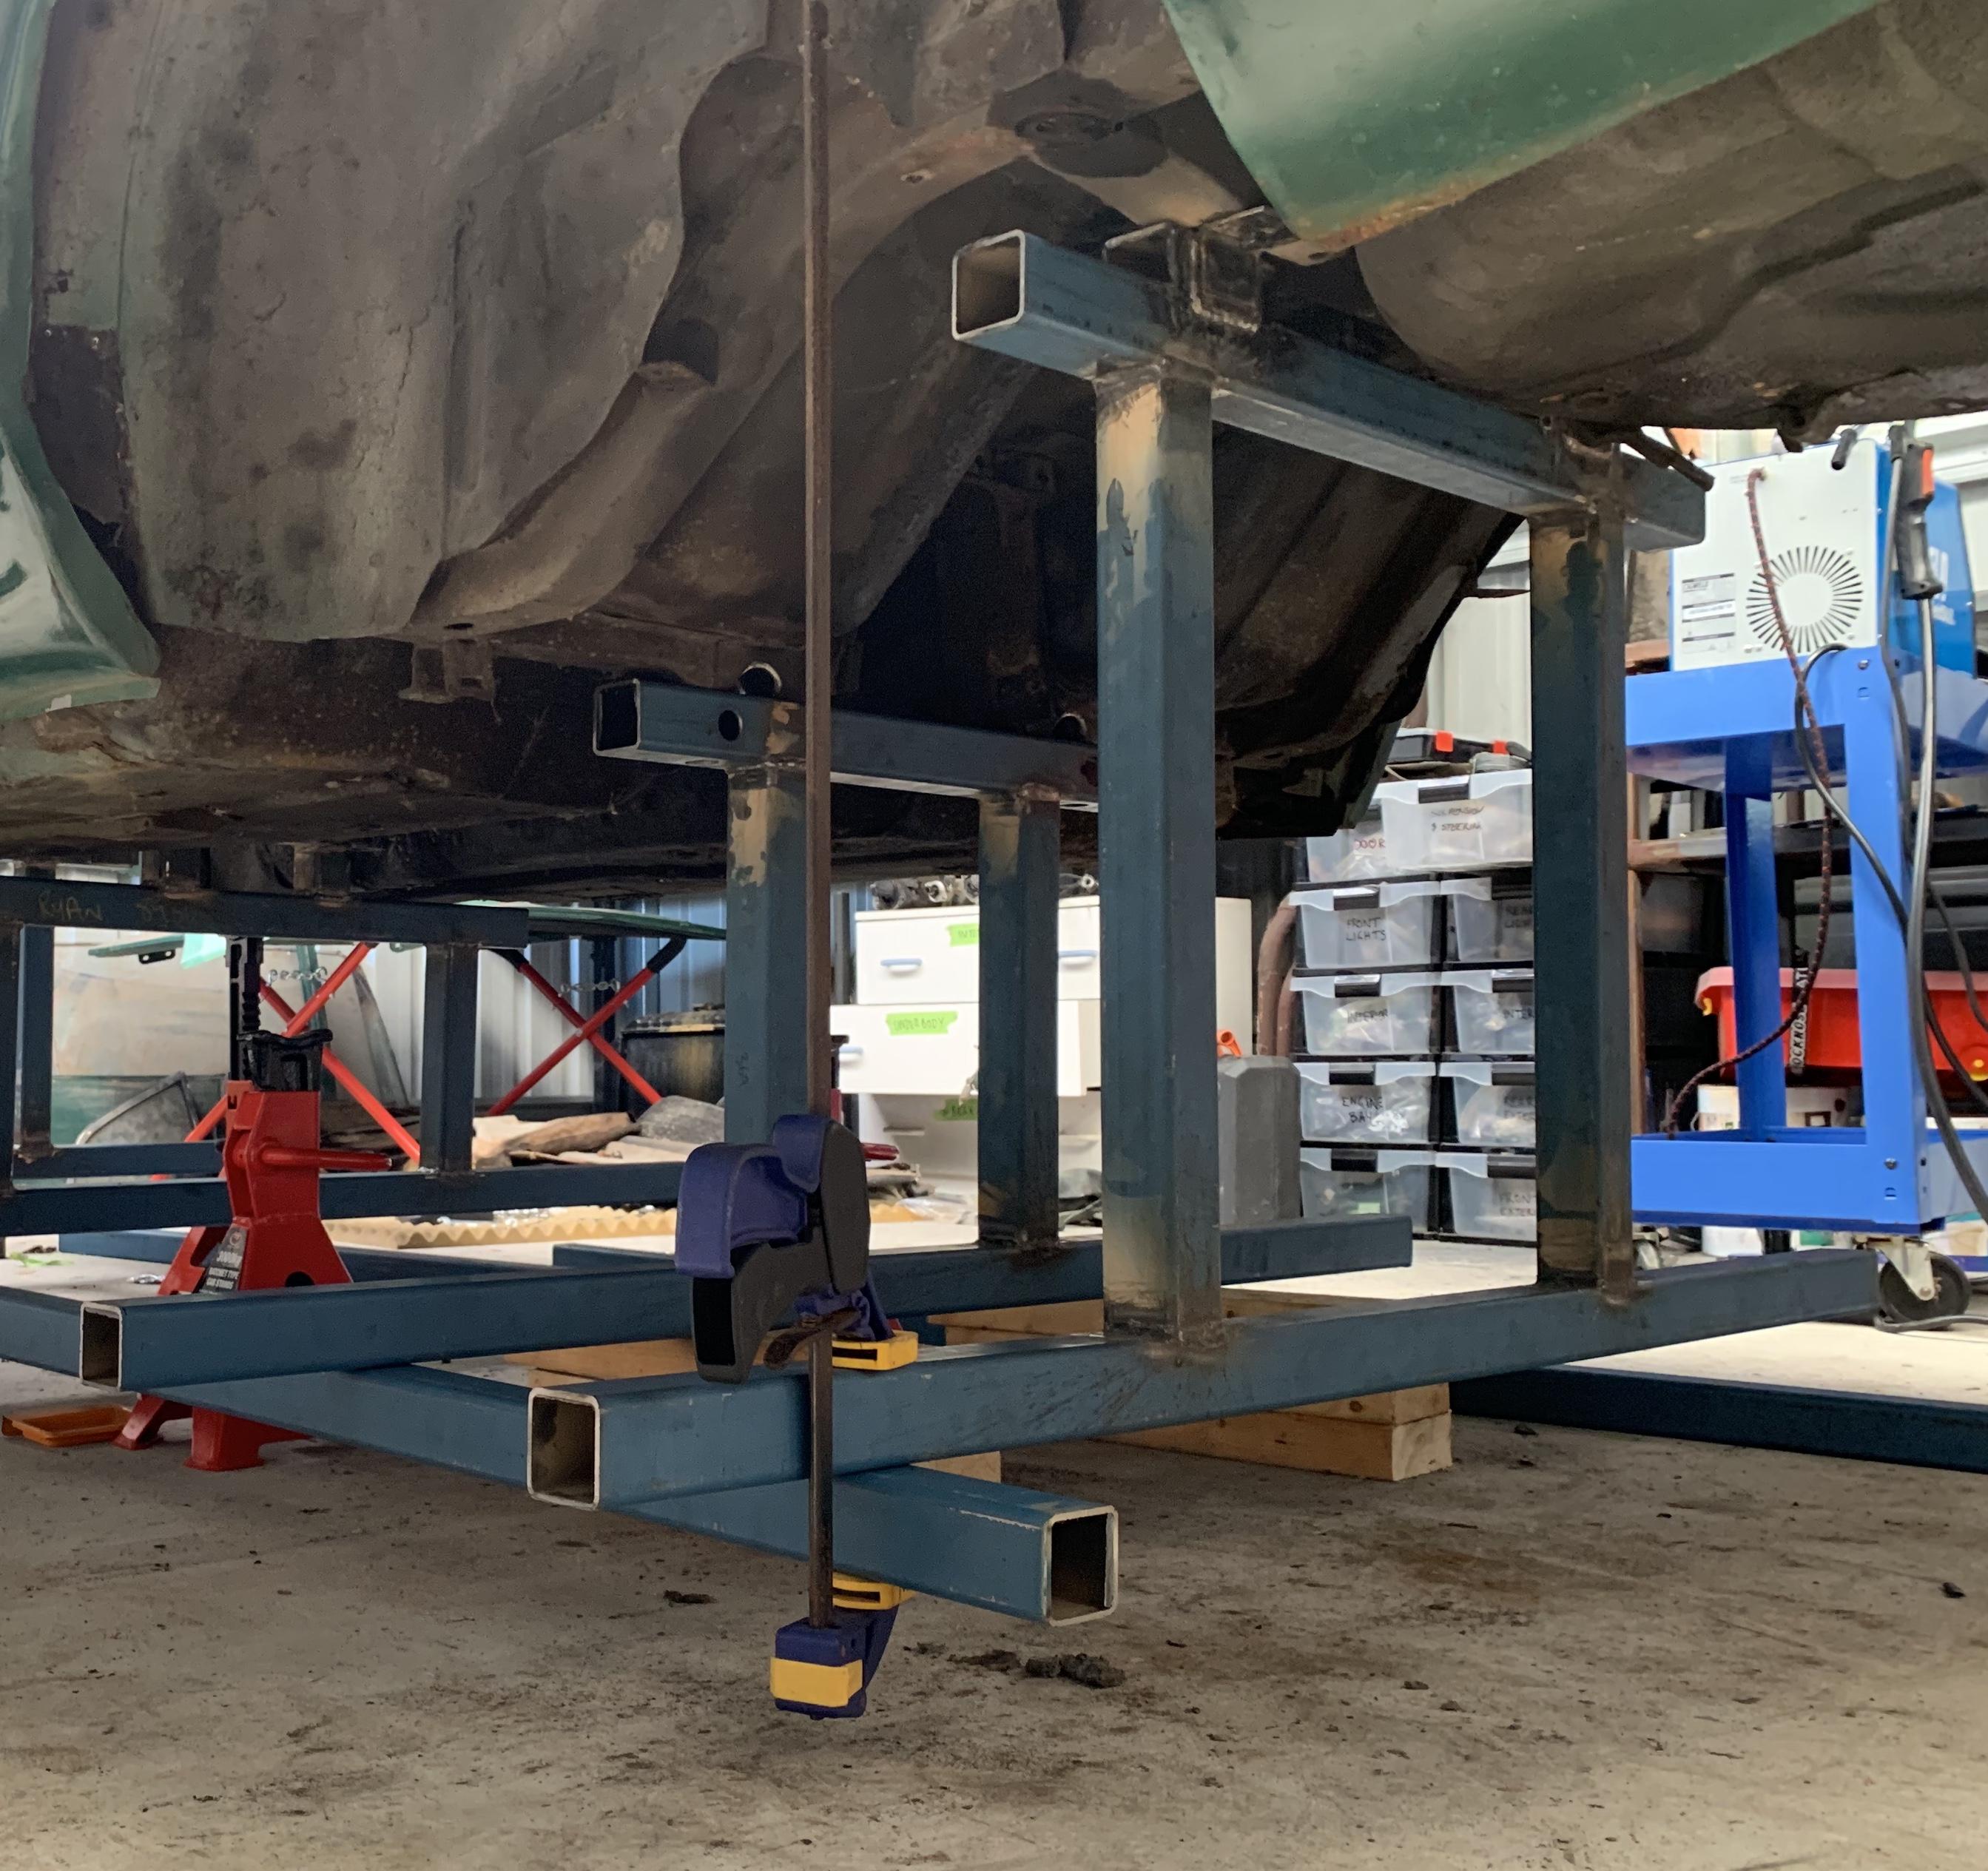
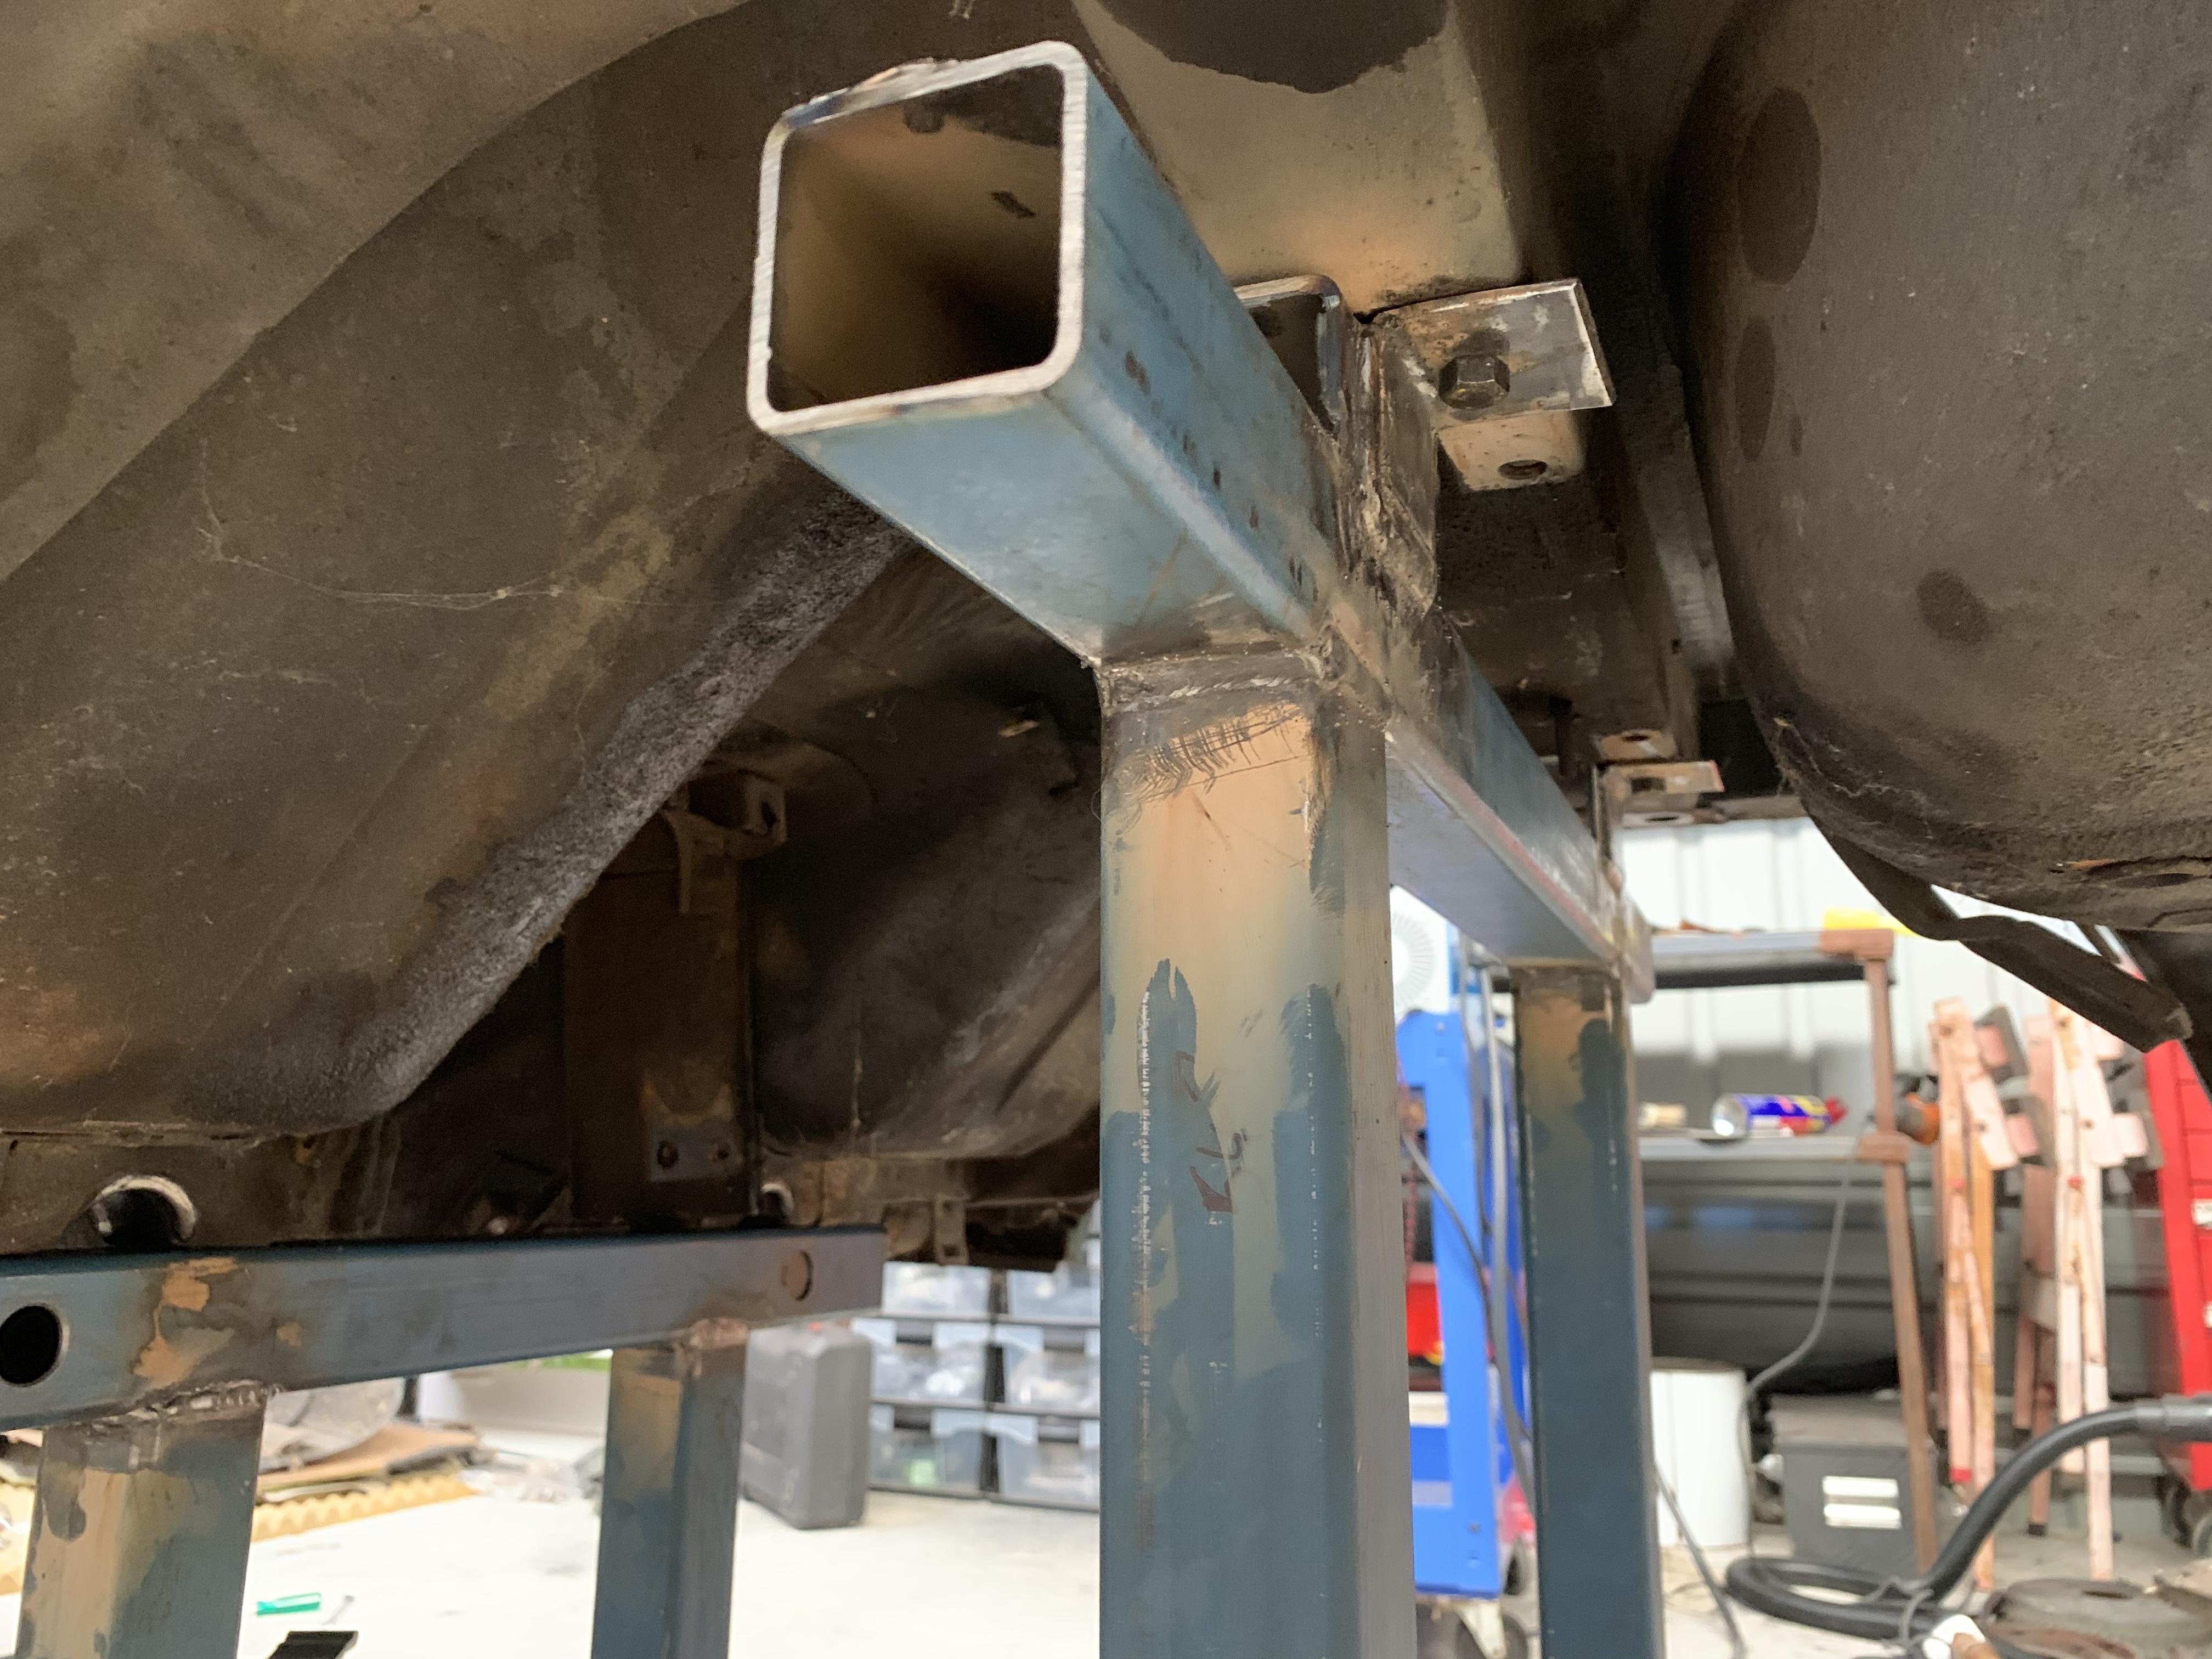
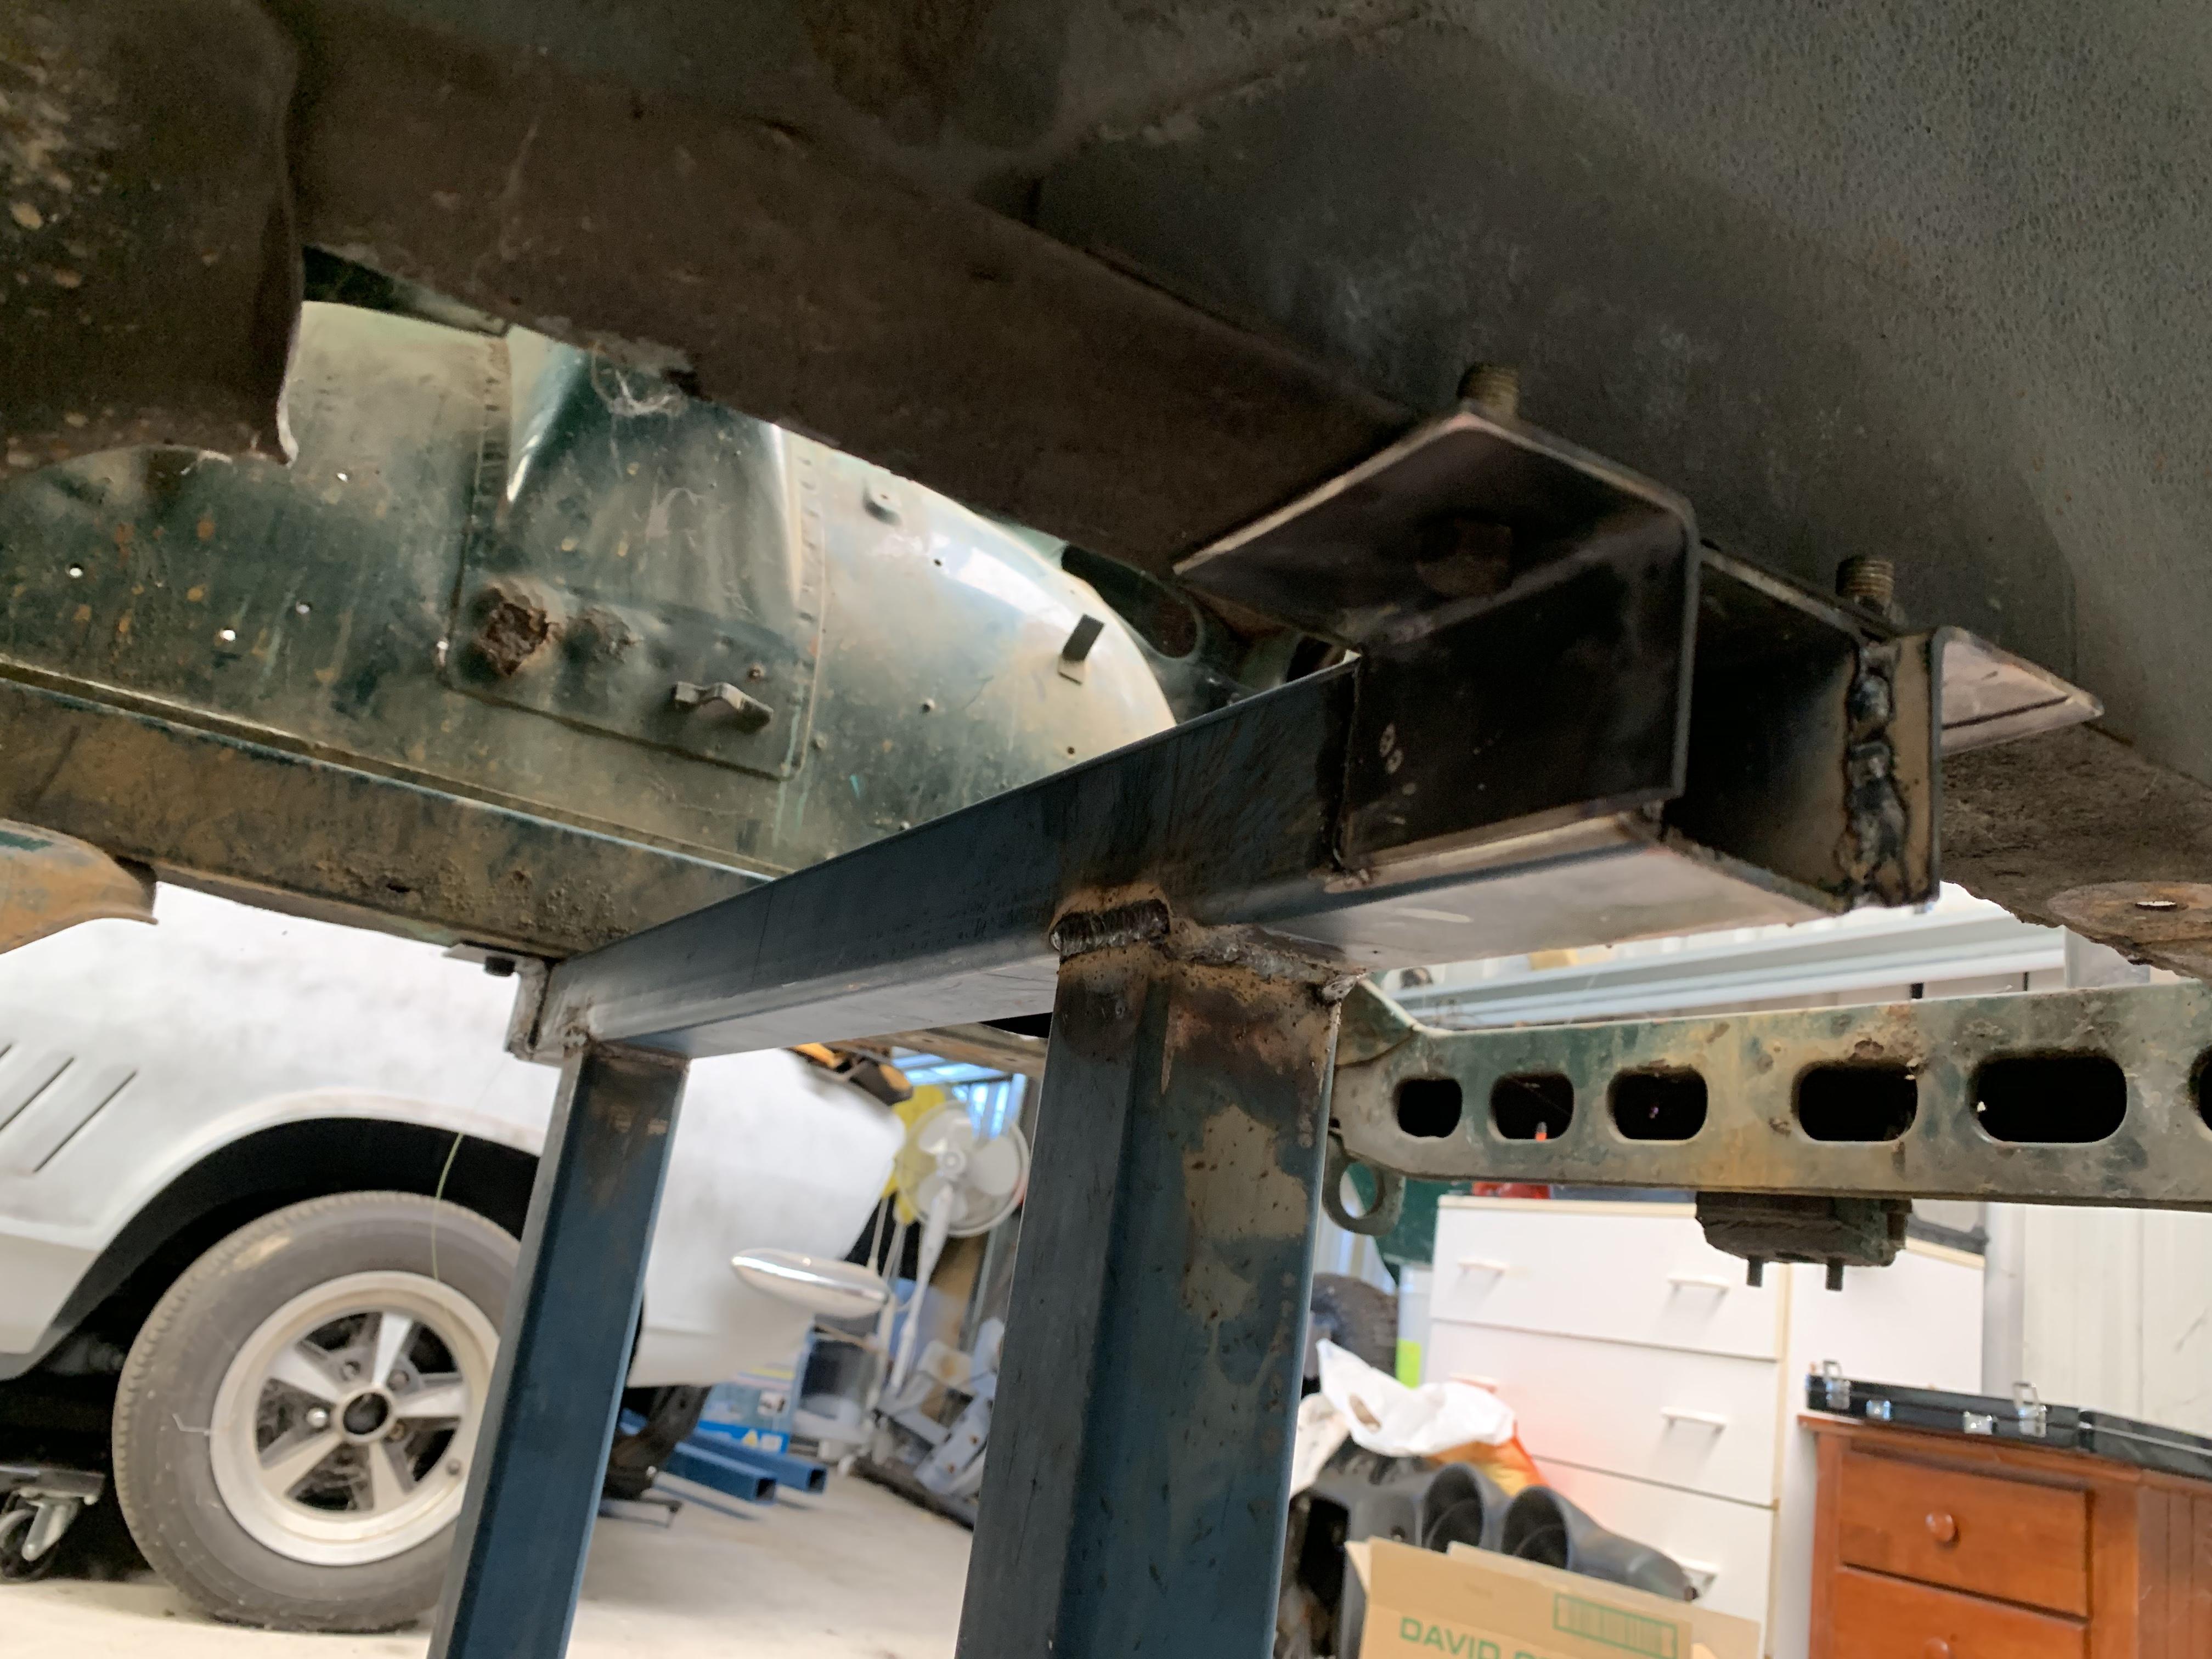
Welded the angle onto the front cross member frame, drilled holes and bolted in place bolted gearbox support frame into position, this was a bitch... not a lot of room to work with. If I had my time again I would move the uprights closer to the middle and shorten the top horizontal length as this frame will probably be annoying when I replace the floors.


-
-
I get so jealous seeing how little rust some peoples cars have....🥺 congrats, nice find
-
So finally finished the teardown.... took about a year.... my teachers always said I was slow.... now comes the hard part... check out the blu tack repairs toward the end...(don’t know what you call it in the rest of the world....it’s the stuff you use to stick your 240z posters on your wall?) Ryan
-
-
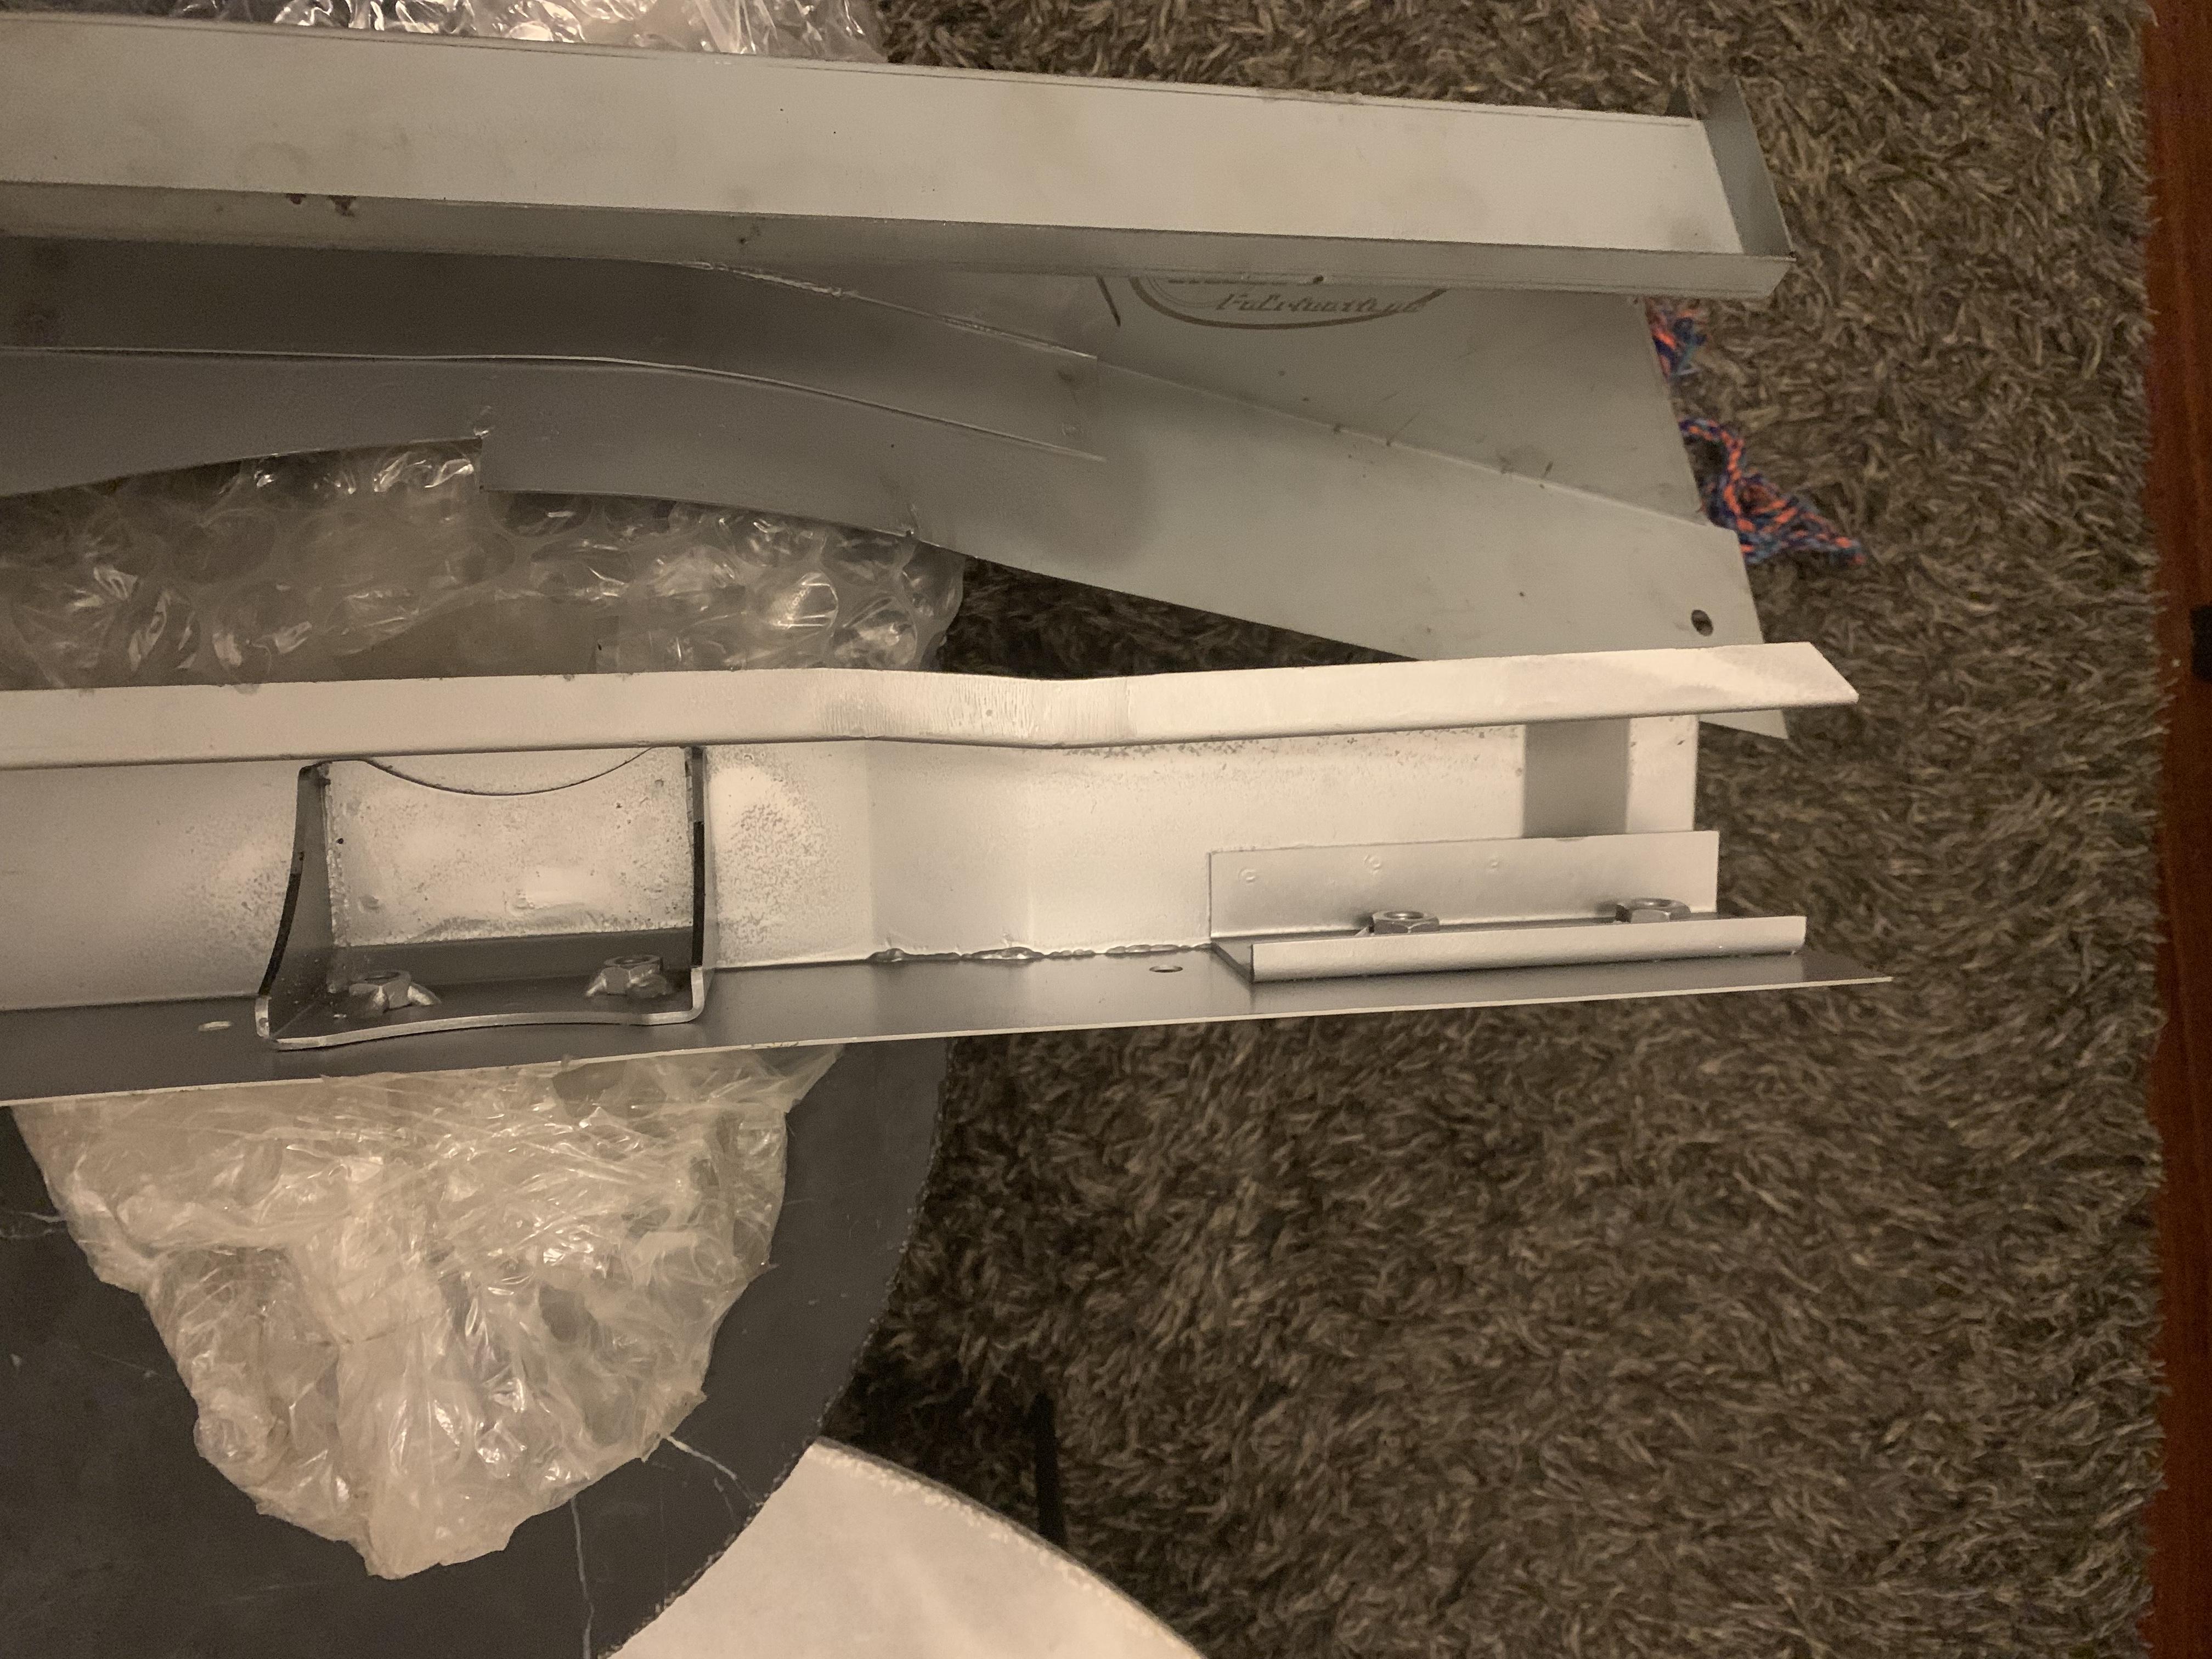
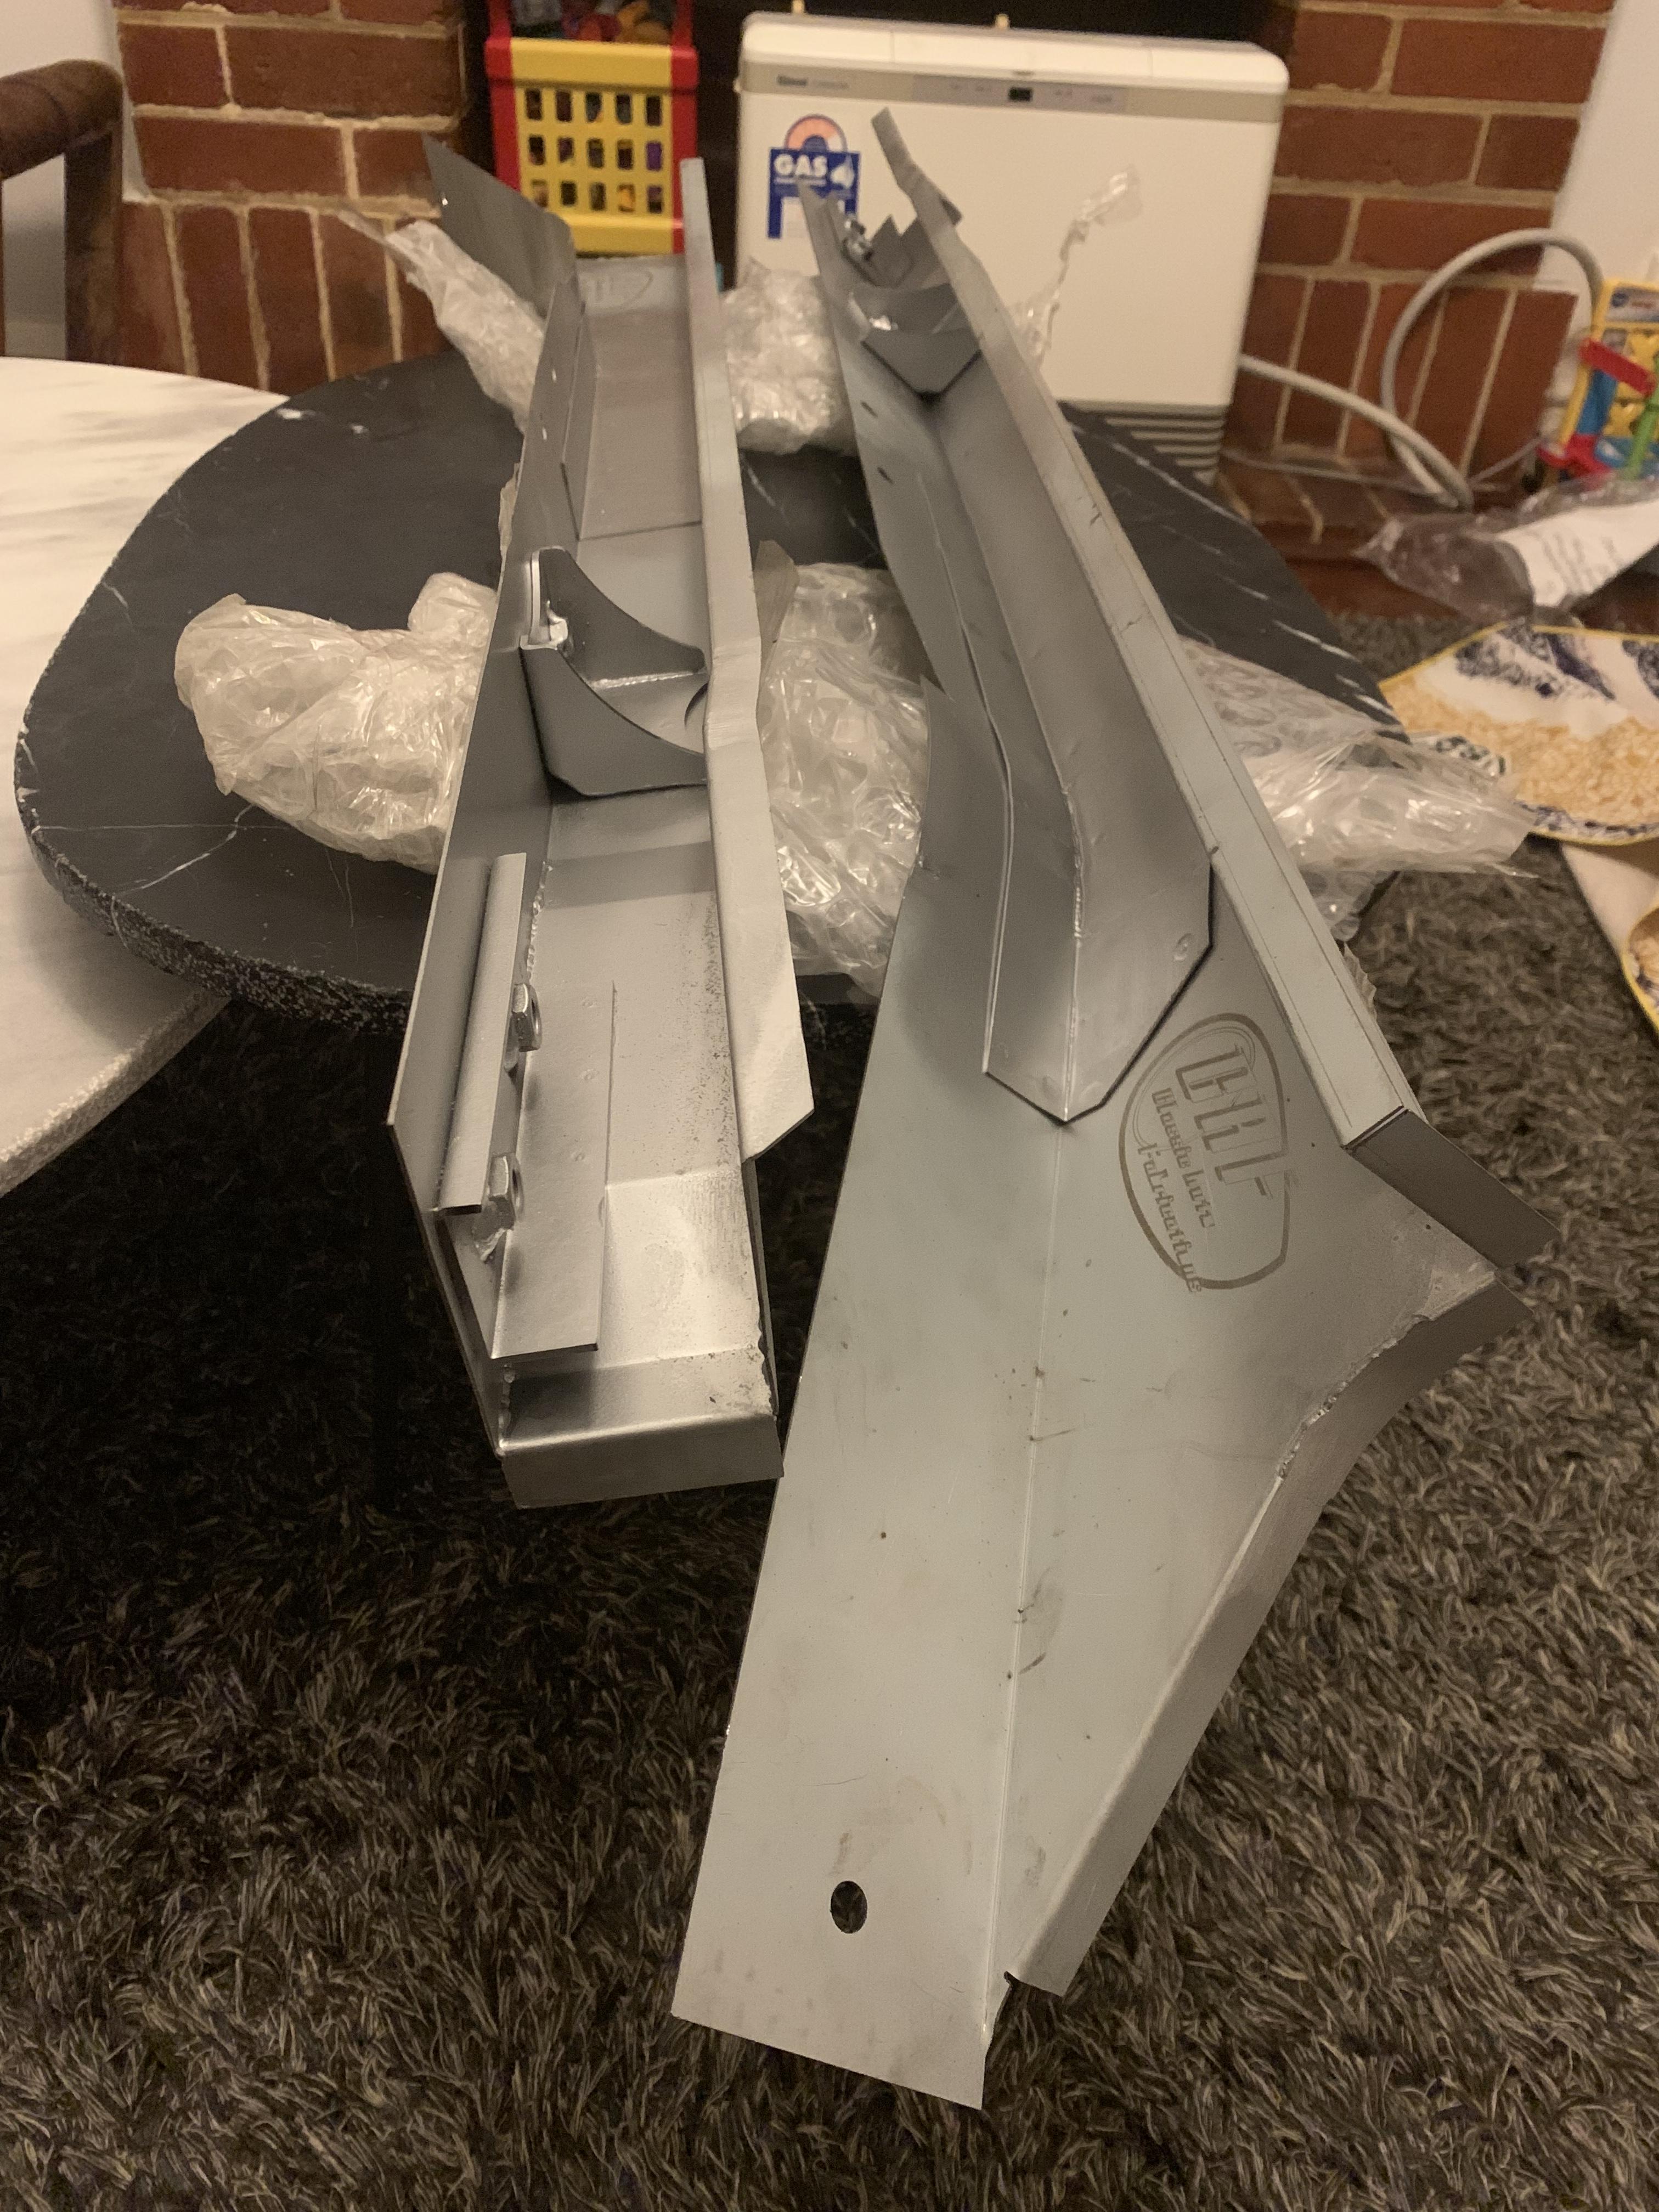
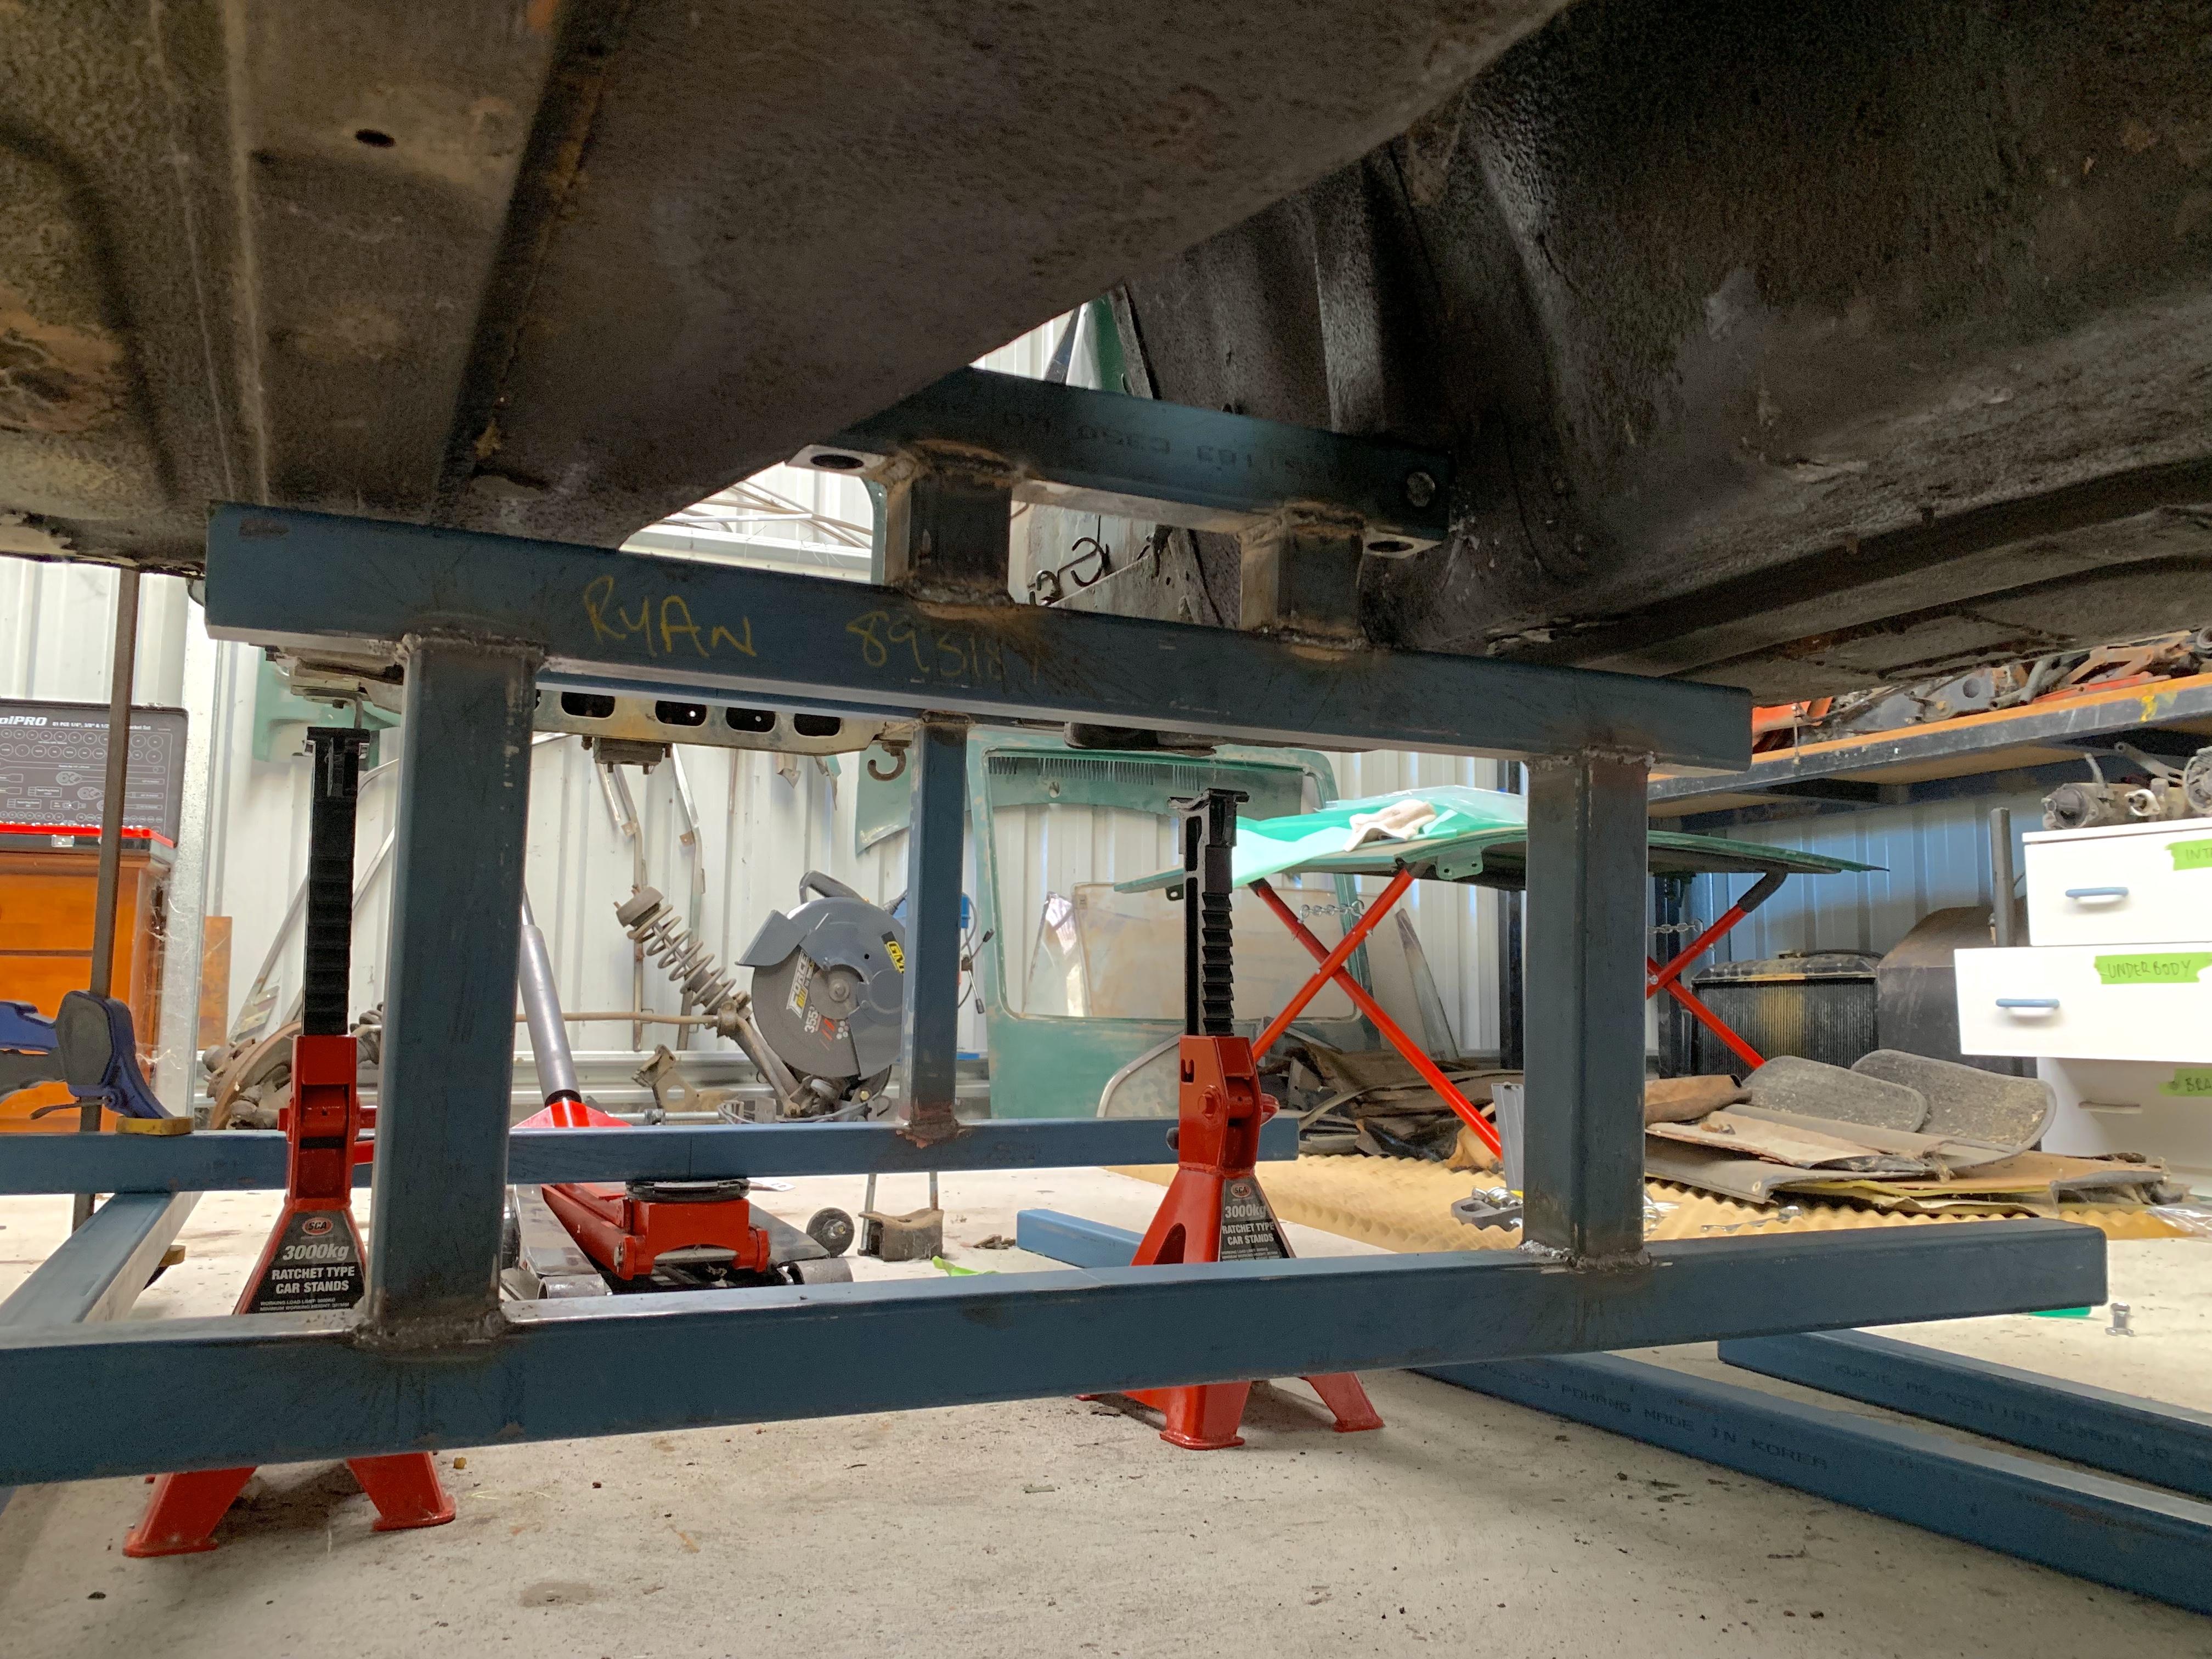
Completed the next frame which attaches to the gearbox support mounts in the trans tunnel. Drilled out the bolt holes and made sure it fit before welding onto the rest of the frame. My welding is getting better and quicker. But still slow as... this took me 5 hours including drilling. Came out square so I’m happy! next time I hope to finish the last 2 frames...
-
I checked out some of your thread last night Jon, your goals seem to have changed since you first got the car! I think it’s a good decision to go the ground up resto. But I have to say the zclub forum website sucks! Won’t even let you view photos unless you’re a member!!! Might have to join just to follow your build.... 😝 Like you I am time poor and the car is not at my place so I only work on it one day a fortnight as I work 1 week on site out bush, then have 1 week off. It’s definitely intimidating taking on the bodywork with no experience, but if we go slow and use the knowledge of the veteran z restorers I think we can achieve success. Look forward to watching your floor replacement as that will be first cab off the rank for me once my car is blasted. Ryan
-
Thanks Mike! With my hatch hinge seals the rhs did but I couldn’t get the LHS out without damaging it, depending on cost I will most likely replace these but thanks for the hot tip! I’ll keep in mind for other rubber parts I might be keeping, there’s not many to be honest as my car was not loved like yours was! And the Australian summers are hot and dry so rubber perished quickly. With those cable clips I found the only way was to use vice grips. Same with the soft brake line clips. Ryan
-
Thanks Jon! I’m really enjoying producing the videos, it takes a bit of extra time when working and time to edit them but if I can keep it up I will hopefully have my own personal 240z documentary at the end! That’s awesome we are not far off one another! Will have to bounce off one another. What’s your username on zclub? Have you got a build thread? This site is really amazing for info and guidance, 90% of the S30s are in the USA so I figure it’s got to be the most comprehensive forum with possibly the most experienced z enthusiasts. KFVintageJDM panels are awesome but like you I will have to see what the fit is actually like before I can really say. Haha of course I posted the prettiest welds Jon! There were some shockers don’t worry! Yeah @ConVerTT is a DIY god! We are but mere mortals in his presence lol I’ll pm you with some questions on the jig. I sent Kent a pm but he must be out living his best life instead of lurking through build threads like me.... thanks so much for your encouraging words Jon Ryan
-
-
-
-
No worries mike just amazing to see what a looked after and loved car can look like after over 40 years. After you’re done it will see out it’s next 40 years easily. Thanks for your feedback on the videos mike, appreciate it. Please do comment on the videos with any advice you have for me, great to know experienced z enthusiasts such as yourself are watching and ready to guide this padawan learner.... ryan
-
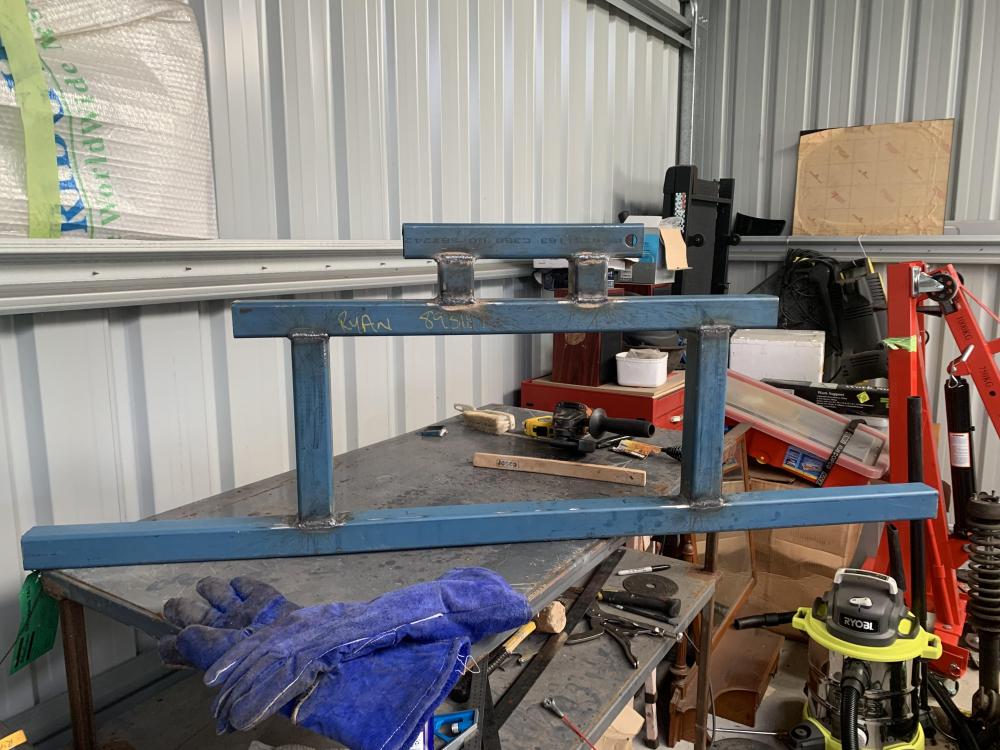
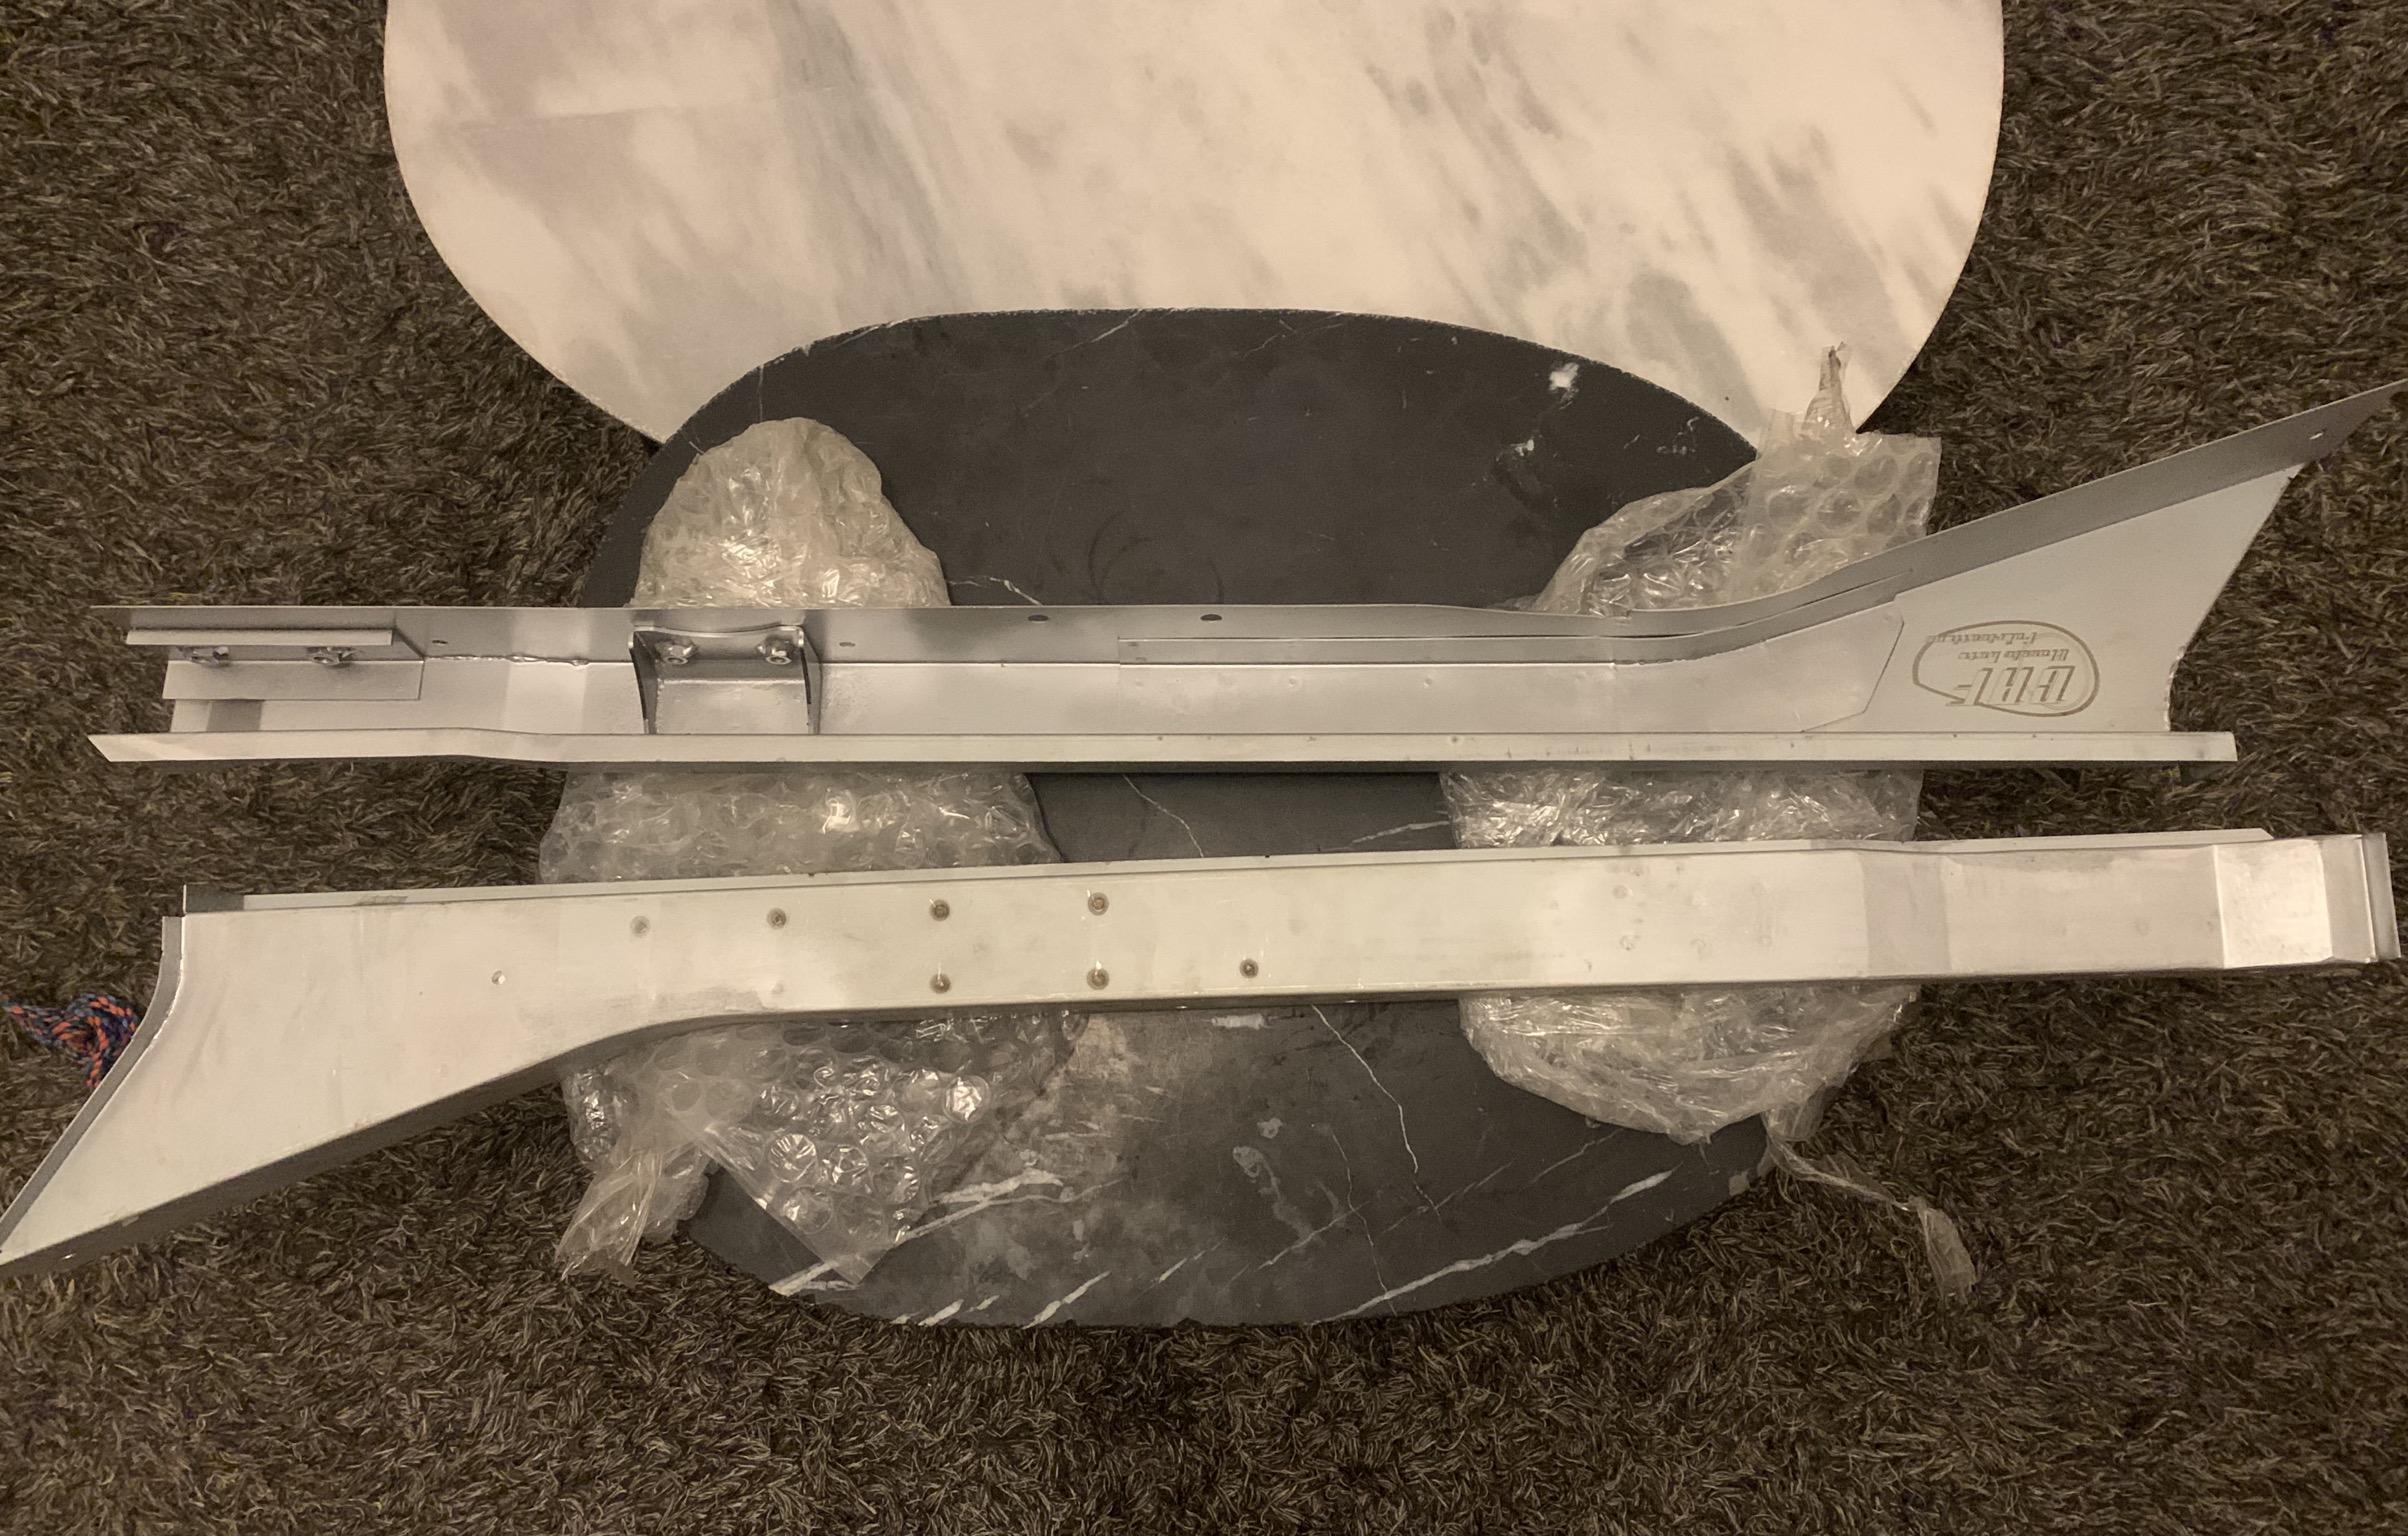
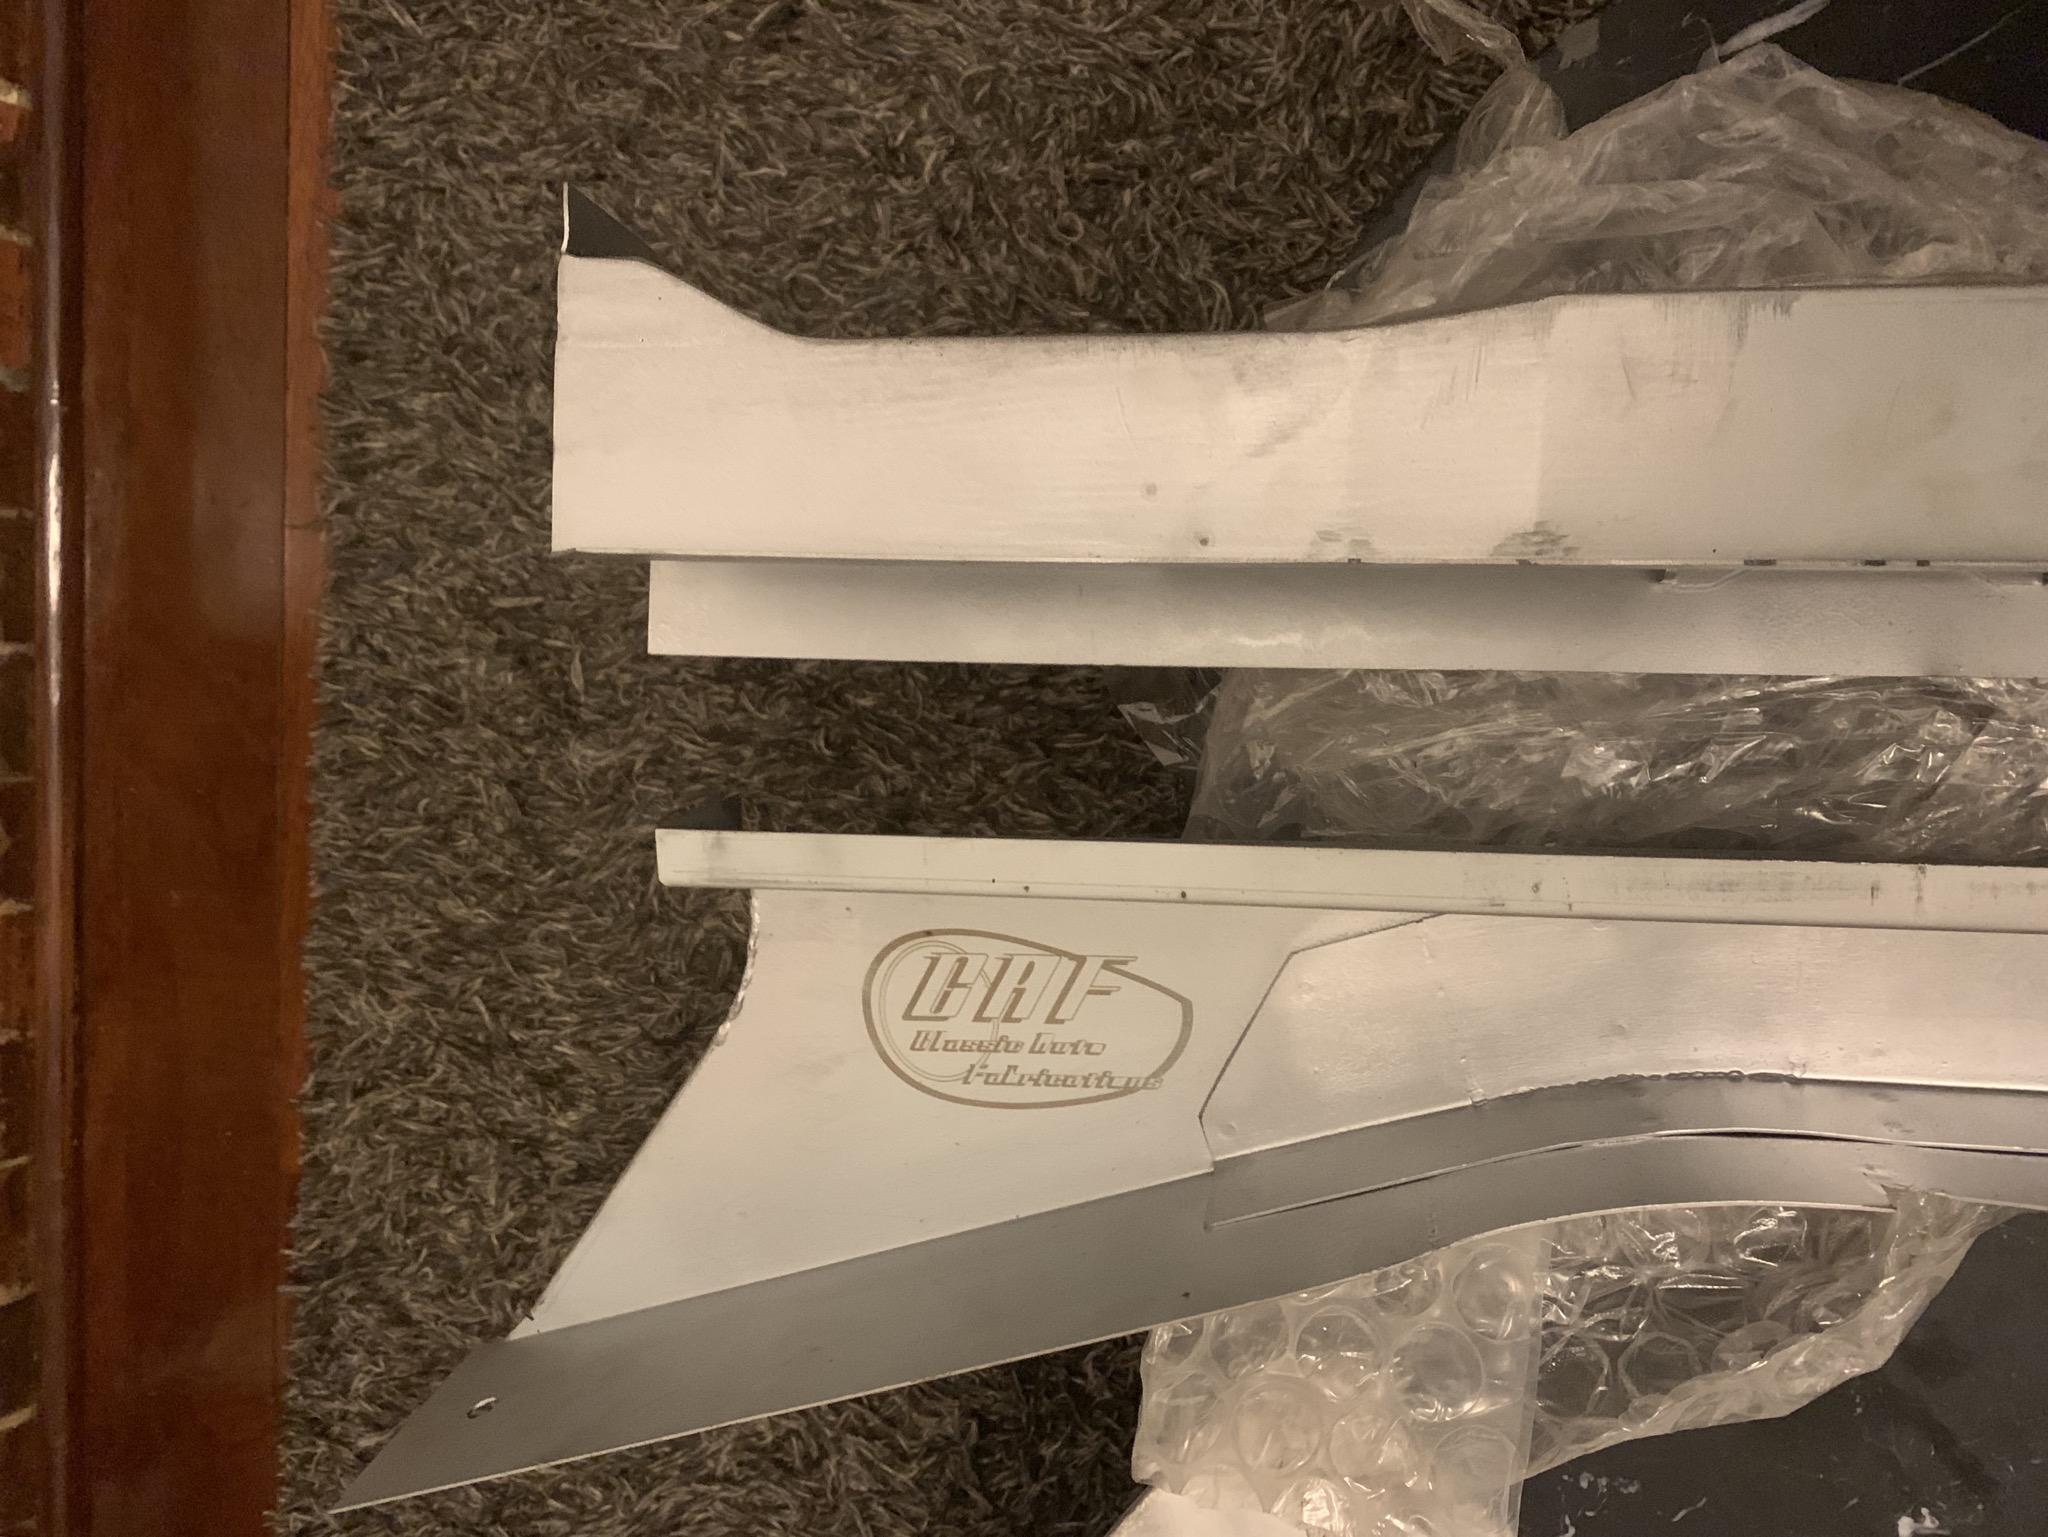
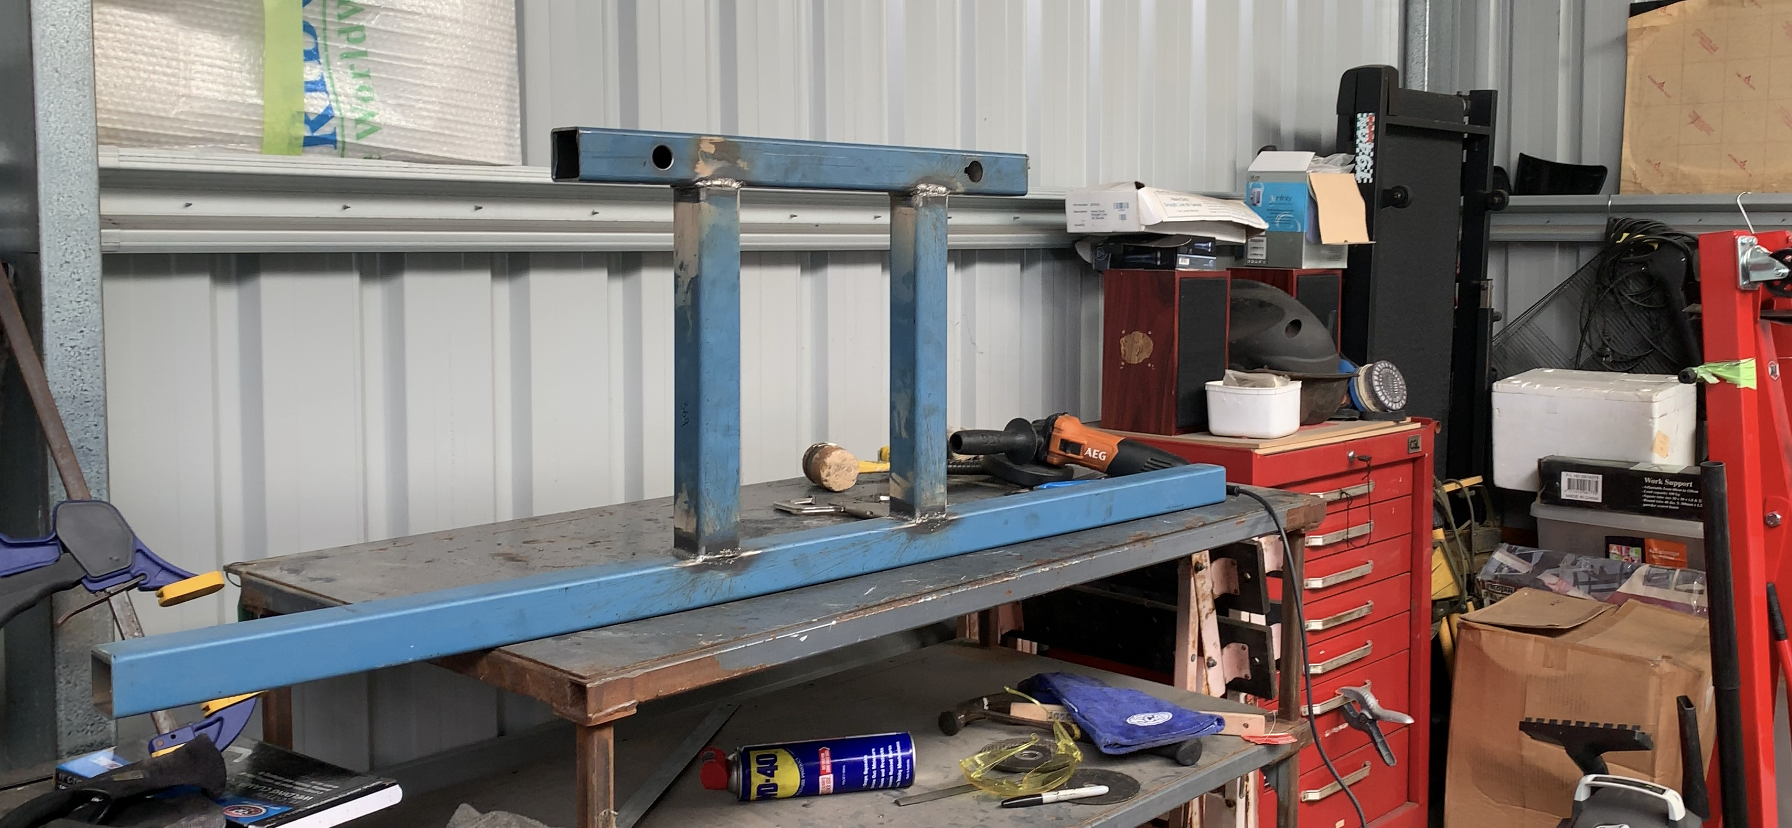
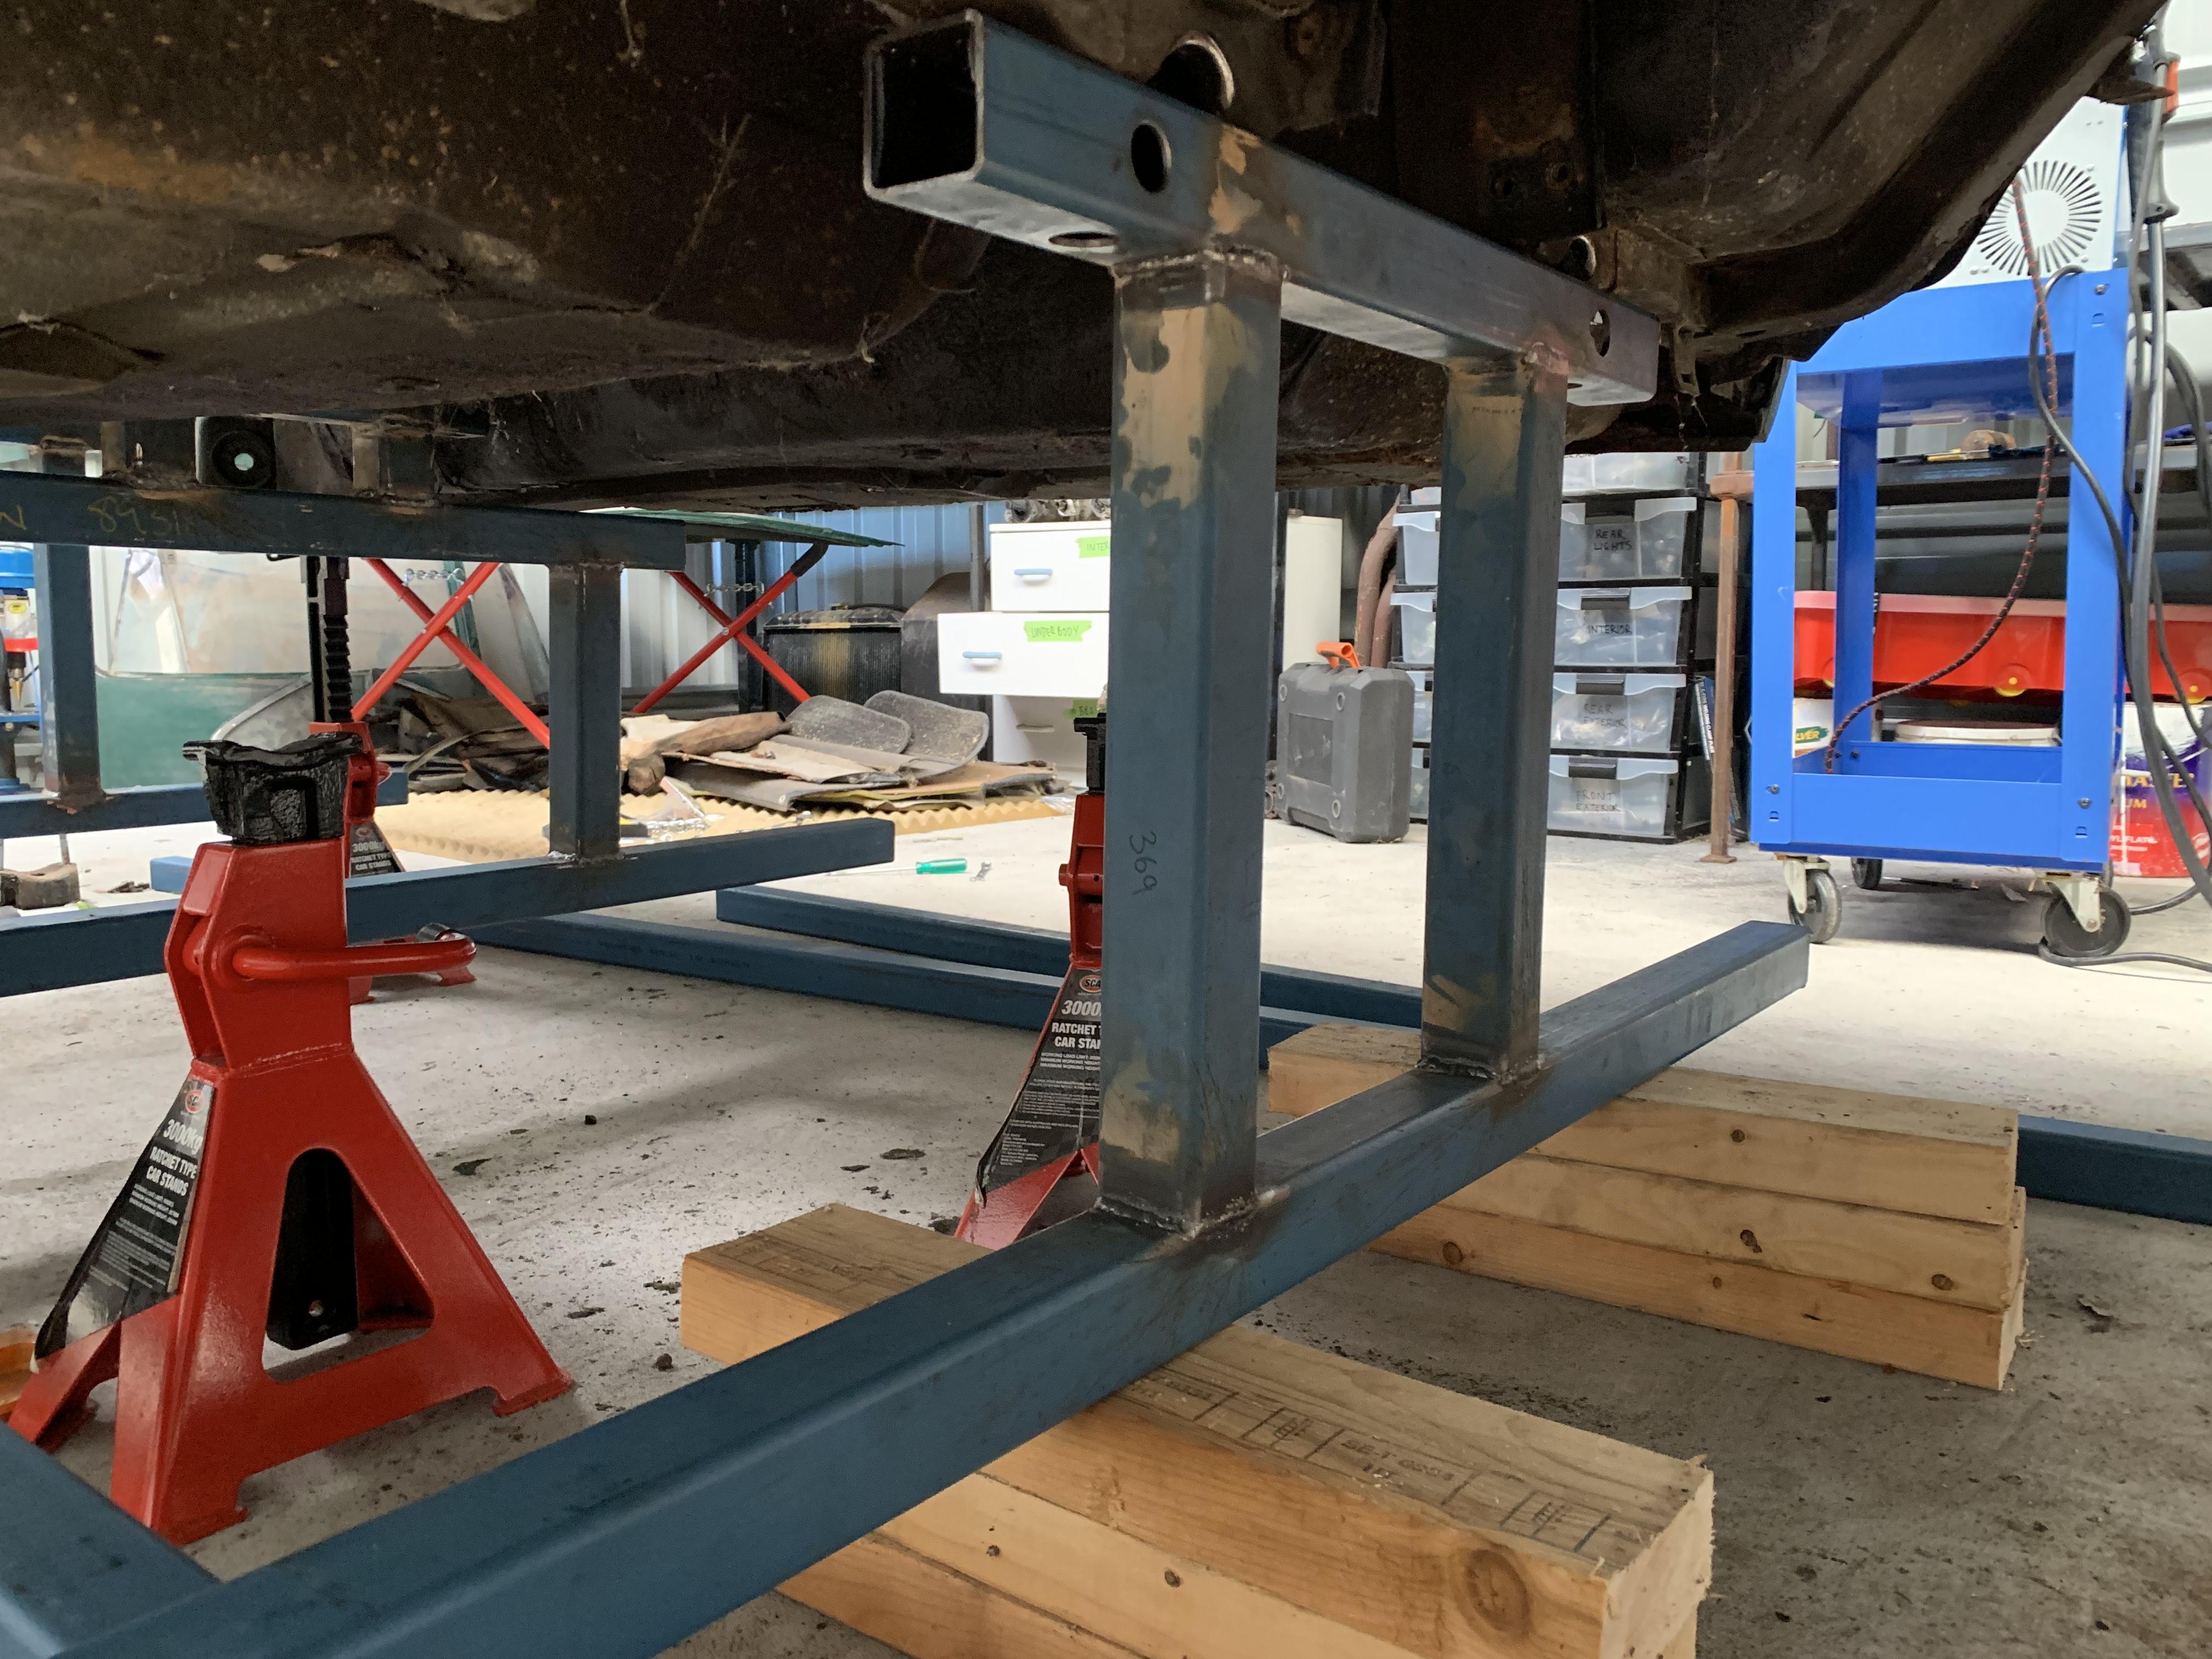
And here is the total progress for the week, it’s not much but it’s something. First frame completed for the chassis jig, this will bolt into the front sub frame holes, still need to add some angle for the bolt points. (Hope @ConVerTT is proud his design is being replicated across the globe) This took me about 1.5 - 2 hours. It’s the second time I’ve welded and the first time I’ve done any metal fabrication on my own. My main goal was to keep it square. Had to cut out and reweld a few times due to welding/tacking in the wrong sequence which pulled the frame out of square. What I learnt was: - tack on opposing sides so they pull against each other as they cool - weld the fillet weld t joins before you weld the flare bevel welds (where the beveled corner meets the cut edge on a t join) -when welding the flare bevel weld work mainly on the bevel corner edge and work back into the straight edge occasionally or you blow holes. Also lay flare bevel welds flat so they are facing up, so the molten metal falls into the gap. Not sure if this all makes sense, it does in my head... - tack the whole frame together before you do any full welds Came out square! I’m stoked, next few frames should go heaps quicker. Ryan
-
-
This week also swapped my diff for my new Subaru R180 LSD diff with kemeari flange adapters. Looks very nice... I will tidy up the back plate a bit more and throw some clear on at some point. This is officially the first completed part for the car! Unfortunately it wasn’t done by me but I’m celebrating nonetheless! LSD in a 240z for under 2k.( AUD) Also picked up a second hand RHS door skin, got it for 2/3s the price of a new one so that’s a win. Has surface rust but good otherwise. Also collected my steering wheel, might need a new horn pad but I’ll research how well they can be restored, it’s not really a circle anymore and internal foam is perishing due to age. Photos of these to come
-
received the outer rockers and rear hatch panel from KFvintagejdm. Panels look really good especially rockers, very oem looking, I don’t know how they compare to tabco items. Even have the captive nuts for the front fenders. Rear hatch has a pressing that is not quite straight but I’m not fussed as no one will be seeing it.
-
So not a great deal done on the car lately, had a terrible bout of influenza which took 3 weeks to kick. And had a week long course in between all of that... i did however get my hands on a second hand spot welder! It’s had a fall and is missing some parts but it should do the job. Got it for $350 (AUD) Missing arms/electrodes and a 15a power plug. So didn’t get to test it prior to purchase, but the guy seemed trustworthy and said he hardly used it and said to bring it back if it doesn’t work. Not too big a deal. Opened it up today to see if anything internal was damaged when they dropped it. All looks good inside. I’ll try straighten it up later. Plan to use this on frame rails, floor pans, rear hatch panel, rear valance, inner/outer rockers, a few other spots and roof skin replacement if I end up doing that on my own. I’m hoping it will save a lot of time and effort.
-
Bathurst is the hallowed sacred ground of Australian Motorsport, if you said anything bad about it we would have to declare war. 🤣
-
Hahaha you had me going, that’s exactly what I thought when I saw the photos! Ryan
-
Thanks X! Yes they cause more damage than repair usually... its a Holden Torana LX or LH, I’m not an expert on holdens, always been an import freak... but these are very rare to find unrestored. It isn’t mine unfortunately.... though my uncle does have a fully restored Holden Monaro GTS HQ which does make the knees go weak, I’ll see if I can get a photo sometime, it doesn’t see daylight often unfortunately.... Ryan


Important Information
By using this site, you agree to our Privacy Policy and Guidelines. We have placed cookies on your device to help make this website better. You can adjust your cookie settings, otherwise we'll assume you're okay to continue.