Dave WM
Free Member
-
Joined
-
Last visited
Everything posted by Dave WM
-
 after the trick..
 -
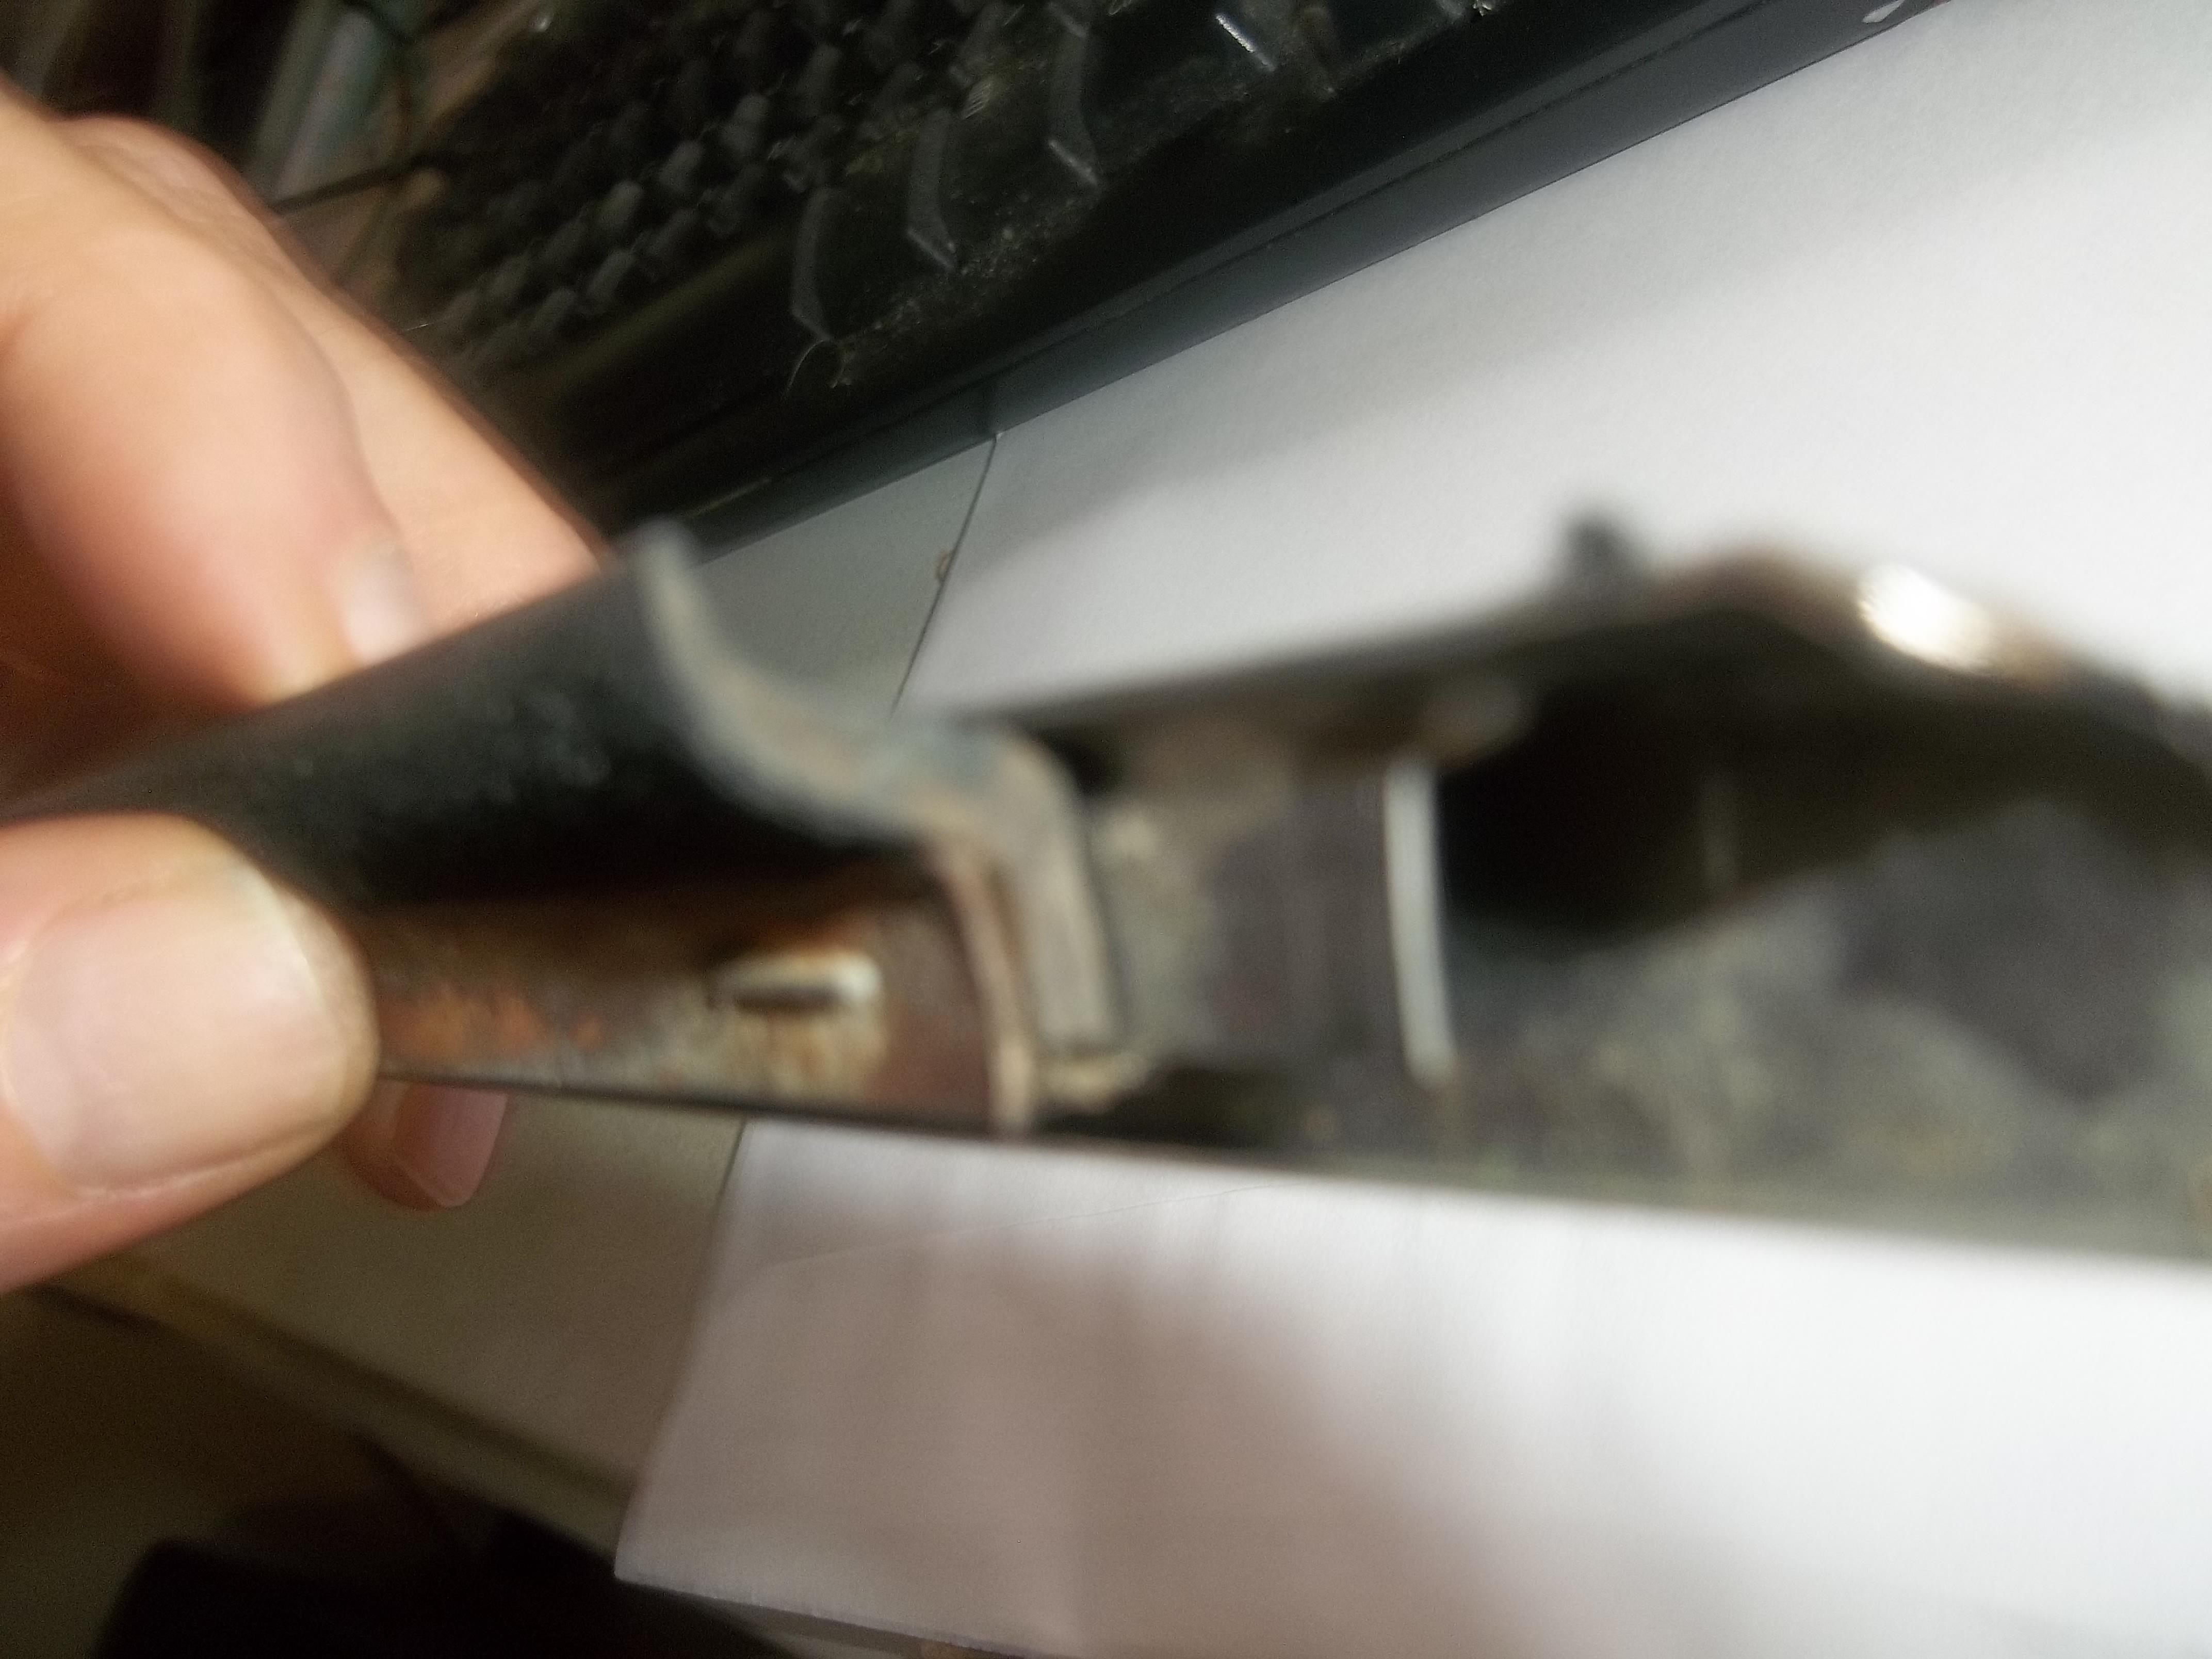
I have the new lower felt on the way, I hope I can pull the door sash (think that is what they call the frame that has the felts inside it) with out having to remove the window or regulator. The lower felt was shot on the back of the sash that extends down deep into the rear of the door was shot.
-
gave it a try, I put two washer, maybe 1/8" total between the front guide rail top bolt and door skin, effectively angling the window more outward as it traversed the guide. I tested this out by 1st just loosening the lower bolt a little and the upper bolt a lot, then I could push on the head of the top bolt and observe how it effected the window, making it angle outward. Glued to washers together and carefully pushed them inside the door and guide. once they were started I was able to use a pick to grab them from the opening in the skin and pull the hole of the washers into place. No washers were used on the bottom bolt. results are promising, I will post up another video tomorrow. Beats the he!! out of completed pulling all the parts out for a maybe fix. Considering how little use the windows get, I will be happy if this does it. I will still replace the channel felt in the sash both upper and lower. I did my best to get lithium spray grease on all the moving parts including guides and wheels. Great tip!
-
think that will fix my problem here?
-
Just went out and tested again, up and down several times, no more issue. Will be interesting to see if the other door has the same initial problem. Now I just need to wash the car and see if any water weeps out the bottom of the door, I think I will remove the door panel and look for it while washing.
-
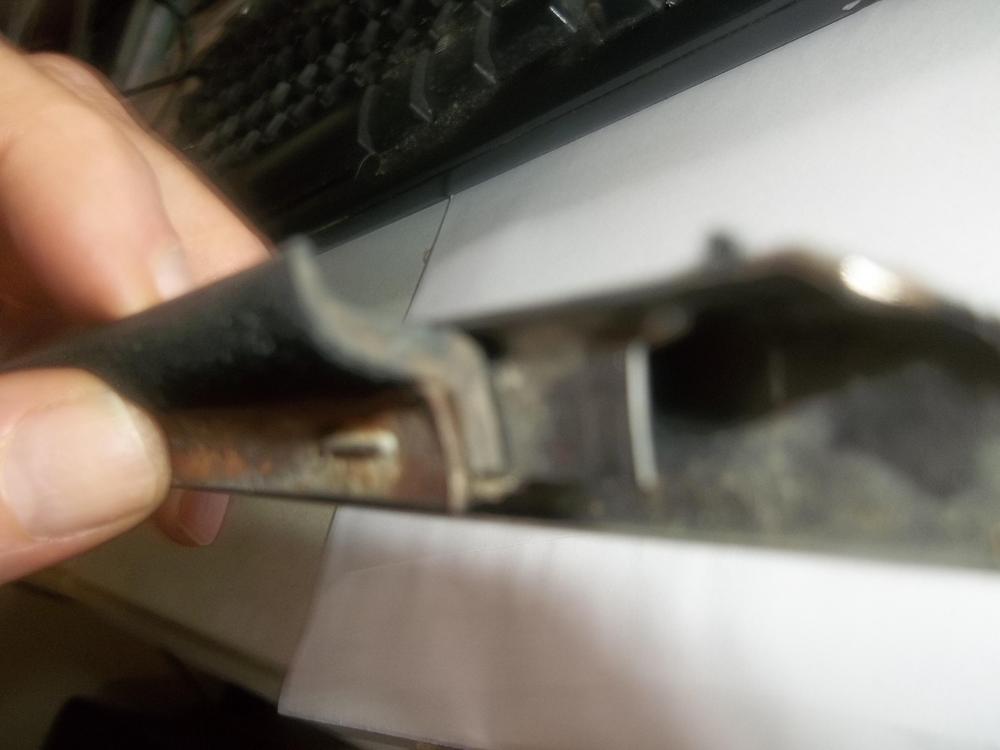
the old rubber was barely touching it, no pressure at all the new sweeps it very nicely. Tried it early today and it seemed fine (as if the rubber had relaxed some). the windows do have the pressure roller pushing the forward part of the window glass inward, I presume to help guide them and keep from rattling. I assume you refer to the window tracks that guide the window regulator up? I will be taking the inner panel off later to look into it. I wanted to grease the regulator and reseal the vapor barrio anyway. I cant see how to adjust the inward outward tilt of the window, short of adding spacers to the bottom or tops of the guides (if that makes any sense, I have not looked at it yet).
-
maybe I should add new fuzzy stuff to door card https://zcarsource.com/door-panel-inner-glass-fuzzy Mine looks ok, but maybe its crushed some....
-
Minor problem, maybe it will work itself out. the window tilts in, apparently from the added pressure of the new rubber, enough so that it will miss the forward part of the window sash as its rolled up. With the old rubber its fine, with the rubber off its fine. I am hoping that as the rubber relaxes and is flexed (a slight push at the top of the window is all it takes to get it to line up as it approaches the top) it will not push as hard and allow the window to stay in line without having to guide it.
-
-
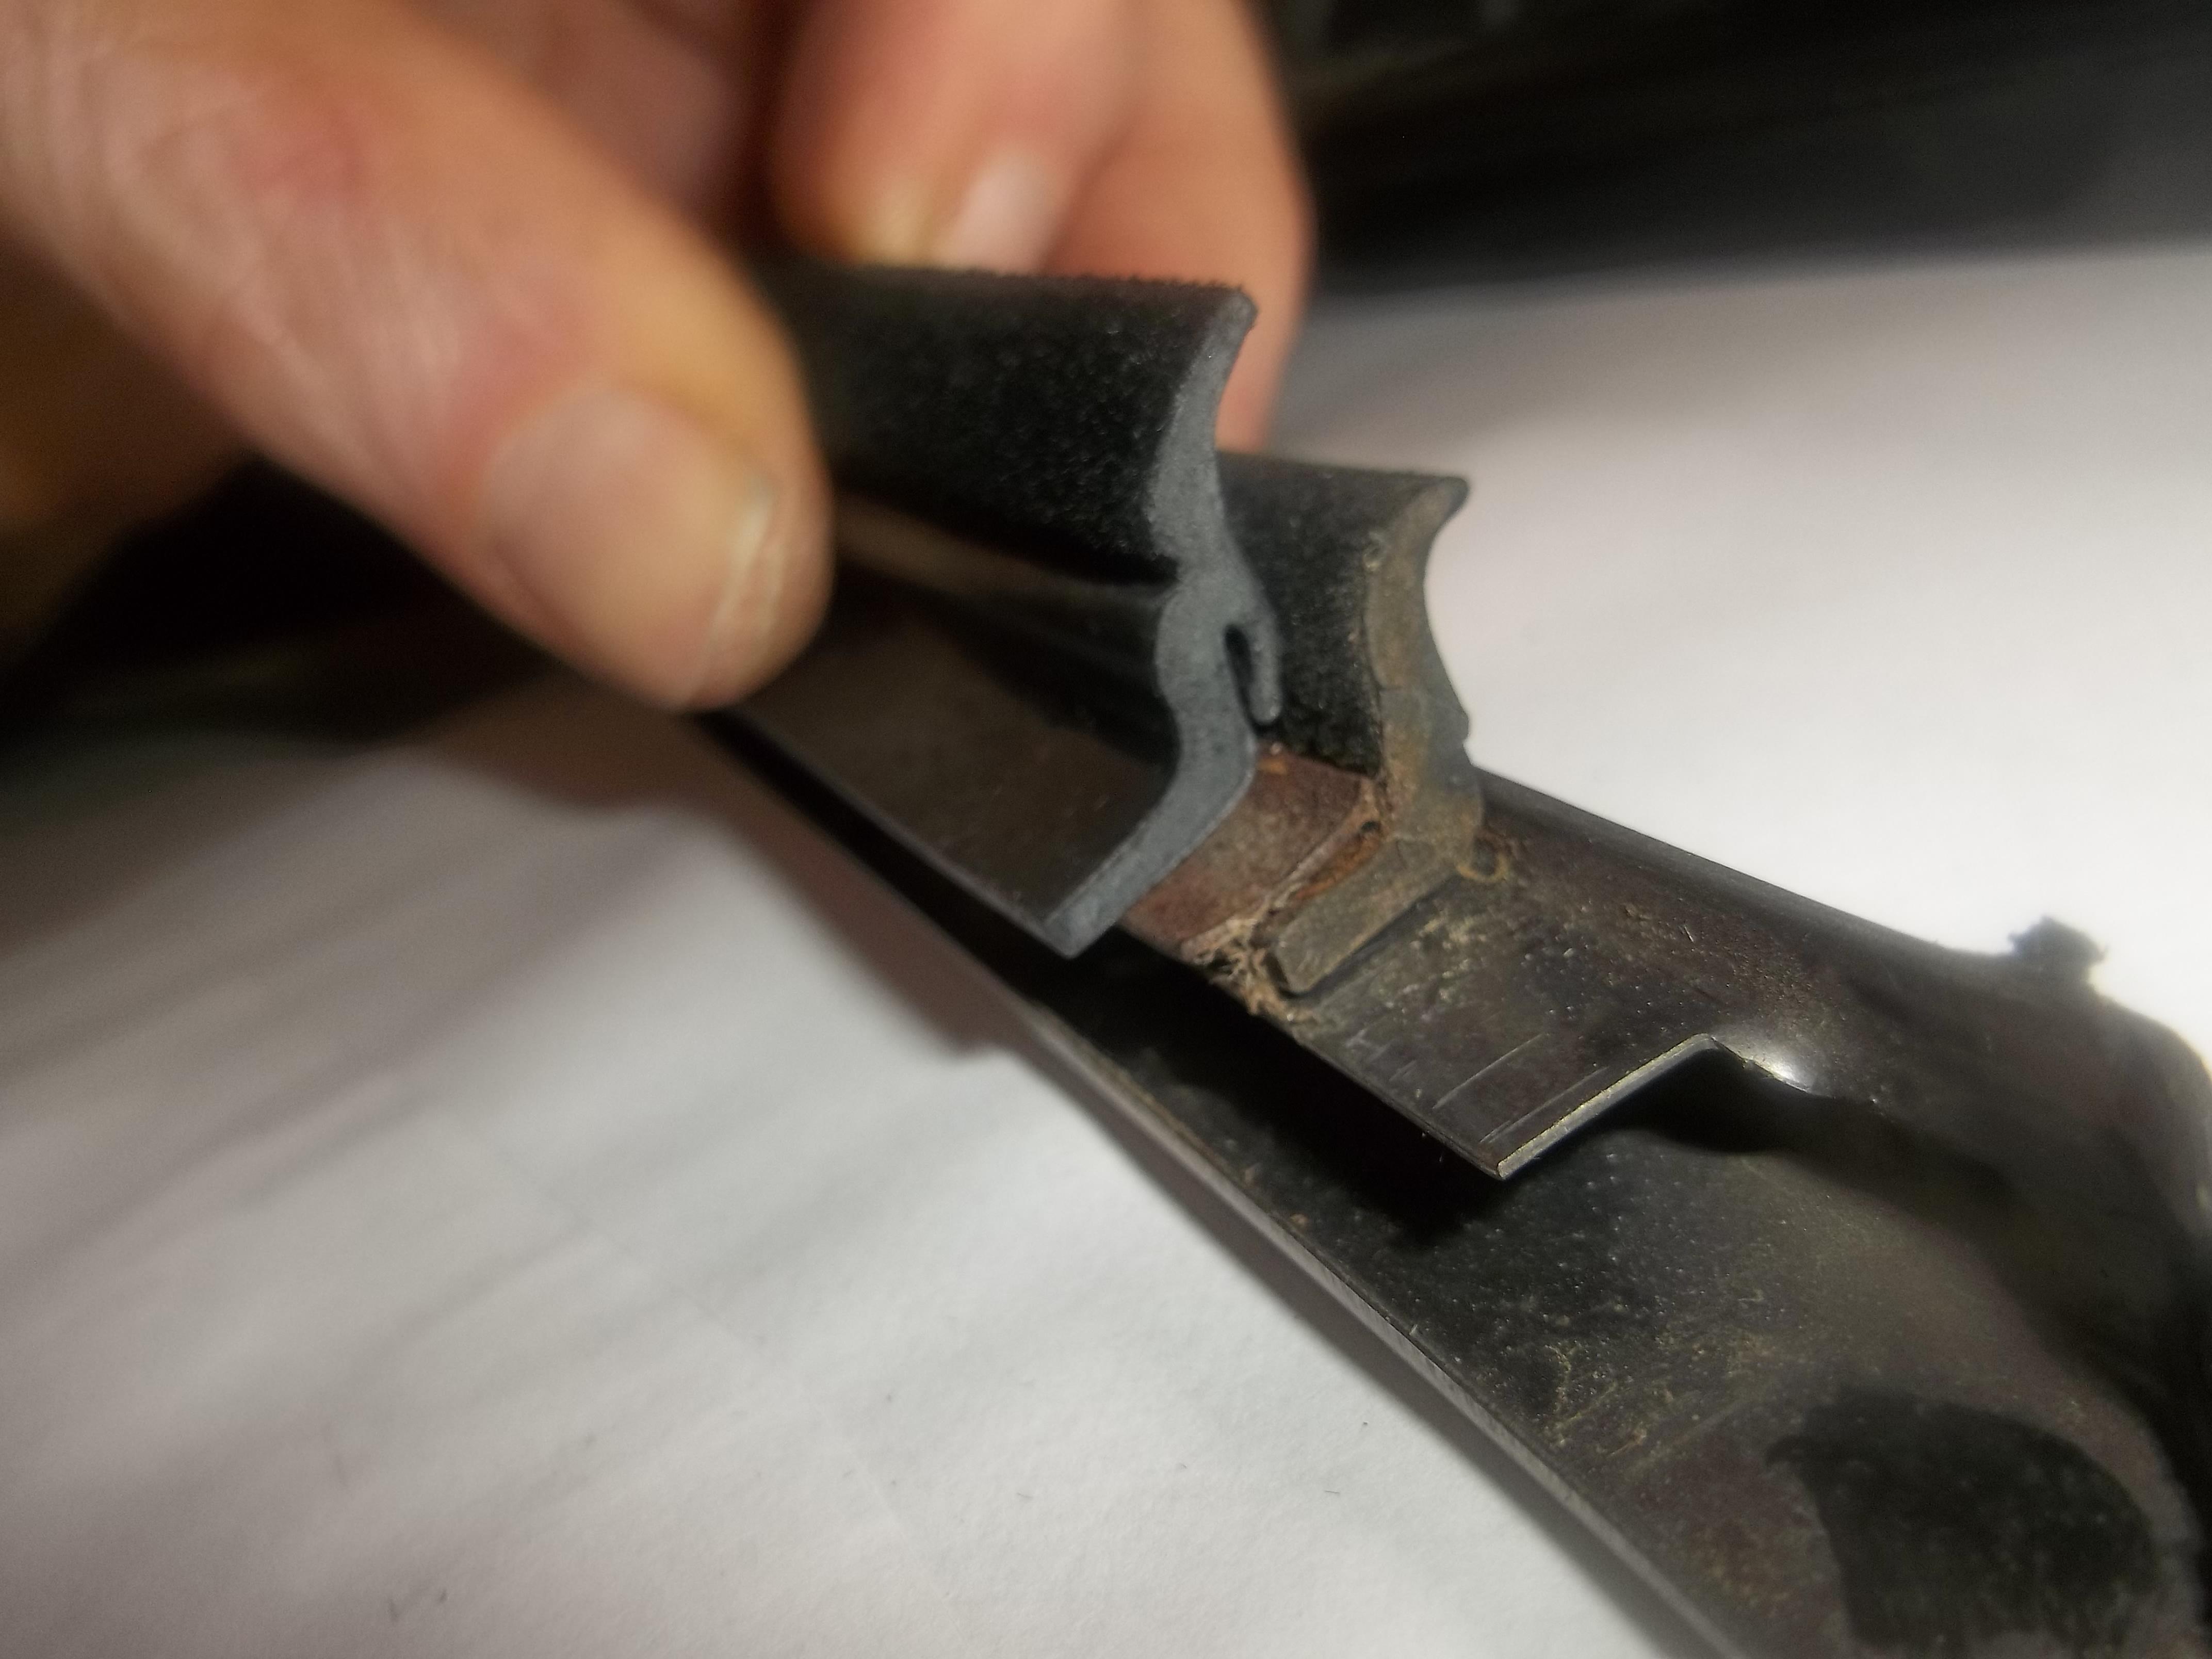
some pics. the replacement has a nice lip that fits over the edge of the trim, preventing any leakage between the rubber and the trim.

-
its going well, I found a piece of music wire in my stash, less that 1/64, as I used a 1/64 drill bit to re drill all the holes. I just hold it in place drill thru the rubber after pre drilling the metal strip and the trim strip and then drop the home made stapes (bent using pliers) into place, I cant find my needle nose to bend the back, but I can tell it going to work fine. To remove the old staples I used a mototool and a cut of disk, got the back sides off the staples cut off, then the rubber and outside strip just pulled clean, taking the staple with it. I will wait for the stapler just to see if it works any better before bending them in place. I can pull the homemades out and drill another hole if need be to match the stapler. It will all depend on the thickness of the shoe that bend them in place. the idea is the stapler does not have to punch thru any metal just has to push thru the rubber and then fold the staple. Now if its a monster maybe it can punch thru the metal as well. The factory obviously did.
-
got the rubber in, ordered the B8 stapler and some 1/4 staples (will be delivered too much of a pita to go to a store and see if it will work, not much$$). Thanks again to Freez74 on the tip, the rubber looks EXACTLY like the OE profile, has the flocking etc...
-
Yarb how are your welding skills? If it was mine I would buy the frame rail part and replace the entire part. I like the idea of a bore scope since you have a large enough hole now to really peek down and see what is going on. if its limited then a patch.
-
ok the parts are ordered, will post up my process with some video later
-
https://www.staples.com/Stanley-Bostitch-B8-PowerCrown-Premium-Staples-1-4/product_112235 1/4 deep 6mm wide, maybe the correct size
-
roger that. I also found this https://www.staples.com/Stanley-Bostitch-B8-PowerCrown-Heavy-Duty-Stapling-Plier-Fastening-Capacity-45-Sheets-20-lb-Black/product_387516 Don't know if its man enough to use for metal, but maybe if the staple holes lined up it would be fine. I will take a trip down to the staples to check it out in person.
-
more research, perhaps something called a "clipper stapler" if the lower jaw is thin enough
-
Yes, please, I can see the lack of working space to duplicate the staple. I was thinking some piano wire formed into a U shape, insert thru existing holes, then bend with needle nose flat.
-
Perfect, thanks for pointing this out, will call them today!
-
https://skillard.com/product/datsun-240z-260z-280z-door-window-rubber-wipe-kit/?doing_wp_cron=1586743688.7477850914001464843750 hmmm, if it came with a flocked back It may be worth a go, I may just have to pop for the expensive option. I hate the idea of spending soo much for what looks like a simple fix, but the more I search the more I realize it looks like the only option that will look "right" and work. I just don't like the idea of water leaking down inside the door any more than it has too. My current belt lines are fully intact but are fairly hard and don't seal along the length of the window.
-
at the very end he mentions why its so wide, lacks flocking on back side that would allow the window to roll down without sucking the rubber back on itself. Will give them a call in the morning, I did not see it on the website.
-
this might work better since is says "outside" has flocking like OE https://www.steelerubber.com/outer-beltline-70-3807-61
-
I will see if they can send me a sample to check fit. Yes I was planning on using the metal from the existing part. I just seems like such a waste to have to buy the complete assembly. Too bad who ever it is that is making the repro kit will not sell just the rubber for those that are willing to do the work and have good un kinked OE metal frames.
-
this looks like it might work https://www.steelerubber.com/side-window-weatherstrip-70-0064-57 I was hoping to just replace the rubber scrapper that is on the outside, searched only could find super expensive complete assy, not just the rubber part.
-
Well I suppose I could start by pulling it apart and assessing the bearing status. If its not damaged is there any real reason to replace? If its open, just clean inspect and replace the grease? If its sealed I suppose you cant really inspect other than by just carefully listening and feel.