Matthew Abate
Community Member
-
Joined
-
Last visited
Everything posted by Matthew Abate
-
That would be my dad's 5.0. He's going nuts with that thing. Last we talked he just finished fabricating a K-member and front fenders to move his engine back multiple inches, rebuilt his carb to sit sideways to eliminate fuel starvation in corners, and fabricated a baffled oil pan with wings to bring his capacity way up. He's in Arizona, so his oil situation has to be just so. In other news, I bought an Exedy clutch kit that can with an FX flywheel off eBay. Hoping this is as good as I have read and won't regret getting a separate flywheel that's a little nicer. I decided not to get a lightened one in order to keep rotating mass near stock to keep inertia up at idle and reduce the tendency to lug down the engine from stop, even though I expect higher-than-stock torque numbers. I also just bought a set of brand new OEM rocker arms. Let me tell you about my little rocker-arm-research saga… first I was about to go insane and buy a set of Kameari rocker arms off RHD for over $600. Then I looked into it and found a couple of places where people recommend that the rocker arm be softer than the cam in order to reduce cam wear. This sounds logical at first, but then I realized there is a reason Nissan brazed on different metal. The three pieces in question (lifter, cam, and arm) are all different hardnesses and there is some intention in having different metallurgy for each contact point. So the ZCC CNCed ones are a no go from the start and the Kameari don't provide enough information to verify that they are or are not going to match with this design intention. I had been reading that the OEM arms are super hard to find, so I looked into sending the 36 arms I have from my three heads in to have them done at Rocker Arms Unlimited, which Madkaw had recommended as superior on another forum. This would cost me $350 or so including USPS Priority Mail in two directions. Just having 12 done would be $217. After a little research I found new OEM arms at Z Car Depot for 36.99. This came to $460 after shipping and seemed like a pretty good price until I realized that if they can get them brand new on a regular basis, they are probably available from Nissan. I really like the guys over there, but every time I go to buy something from them I either find it for less somewhere else, or the shipping expense pushes me toward something else. I dug around a little more and finally found a few part numbers (13257-W0300,13258-21002, and 13257-21000) on the Nissan parts site. A quick google search and, lo and behold!, Courtesy Nissan has them for $29.13. The little secret is that they came on 1984 Maximas and have not been discontinued yet. All told $363.53 shipped. I chose to go the route of 12 brand new OEM rocker arms from Courtesy Nissan for about 50% more than the junk on eBay or having the ones I have reground, and $100 less than Z Car Depot. I still have my pile of 36 arms that I can send to Rocker Arms Unlimited if I want to have spares or sell them, and I don't have to worry about whether or not I got a good grind for my initial application.
-
It's actually at the machinist now, so all clear, but thanks for looking out. Normally I keep all this under a staircase in the basement with ratchet straps holding everything in place and 4x4s wedged in as bracing. Sent from my iPhone using Tapatalk
-
More tear down pics:
-
Not an issue. My dad lives there and would manage the project, as he has several others. However, I have not made a decision yet. I am still talking to other local shops and looking at how I can get portions done in other ways for less. Might have solved the metalwork part.
-
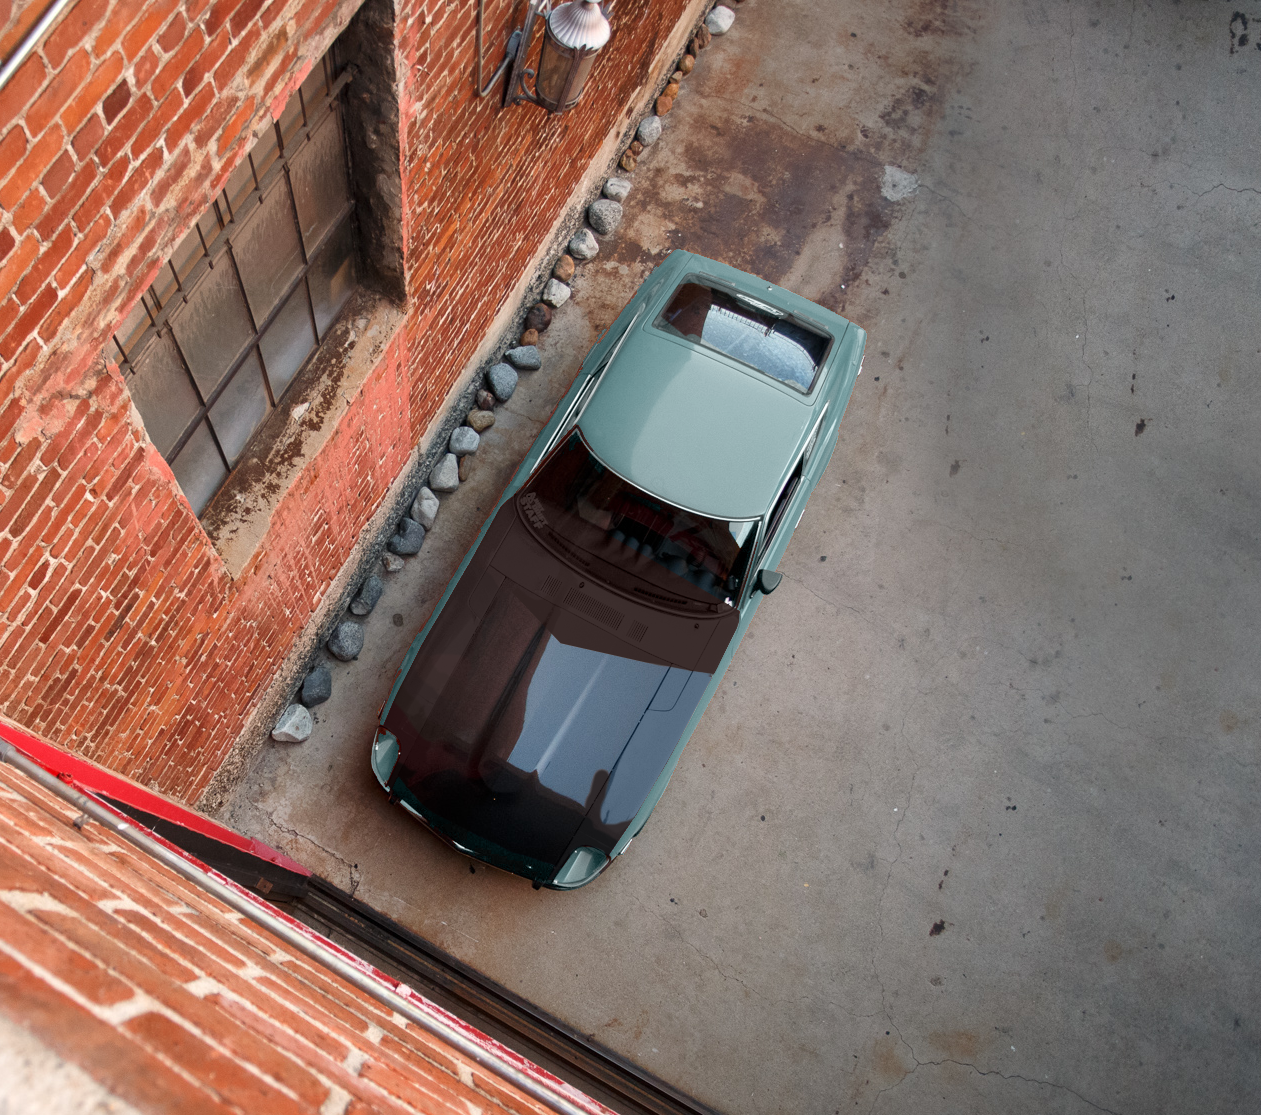
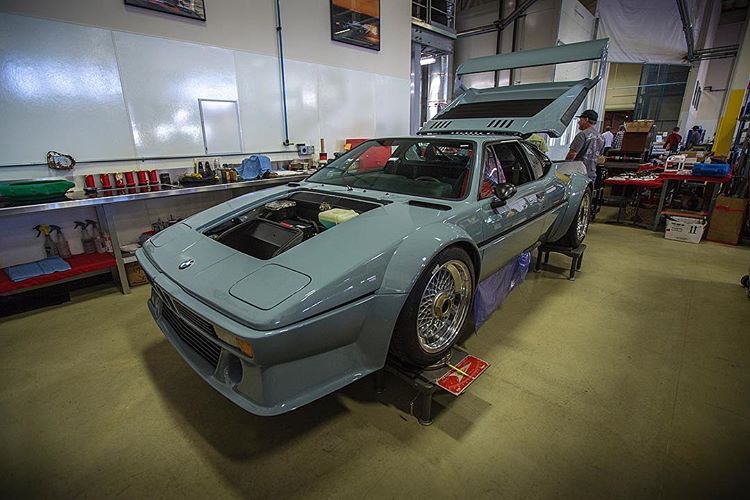
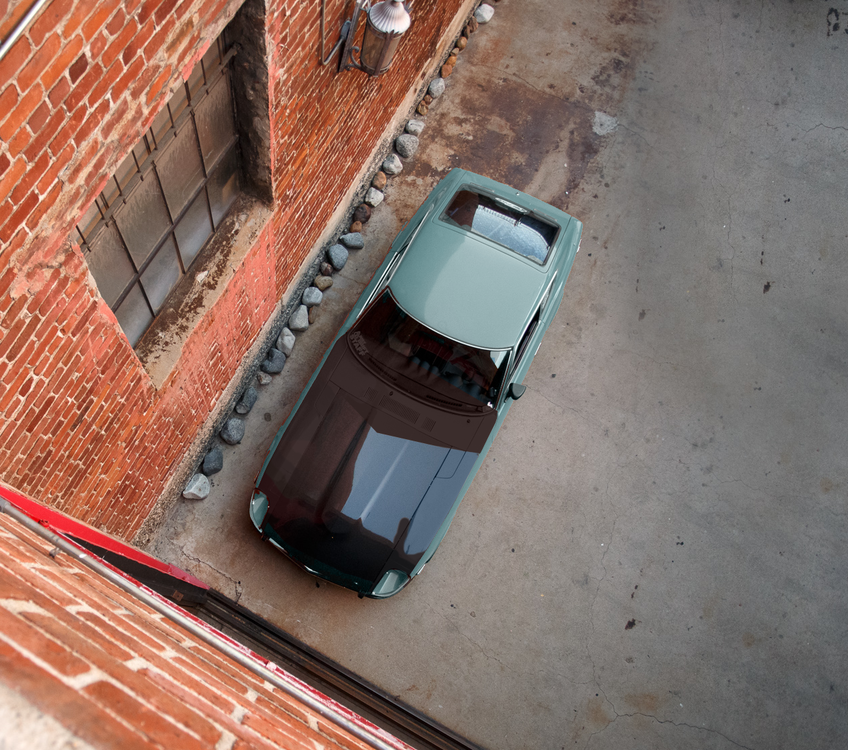
So some more thoughts on paint while I keep pulling crap of this car. I really like the idea of a black hood, but I am not a fan of just the hood. It's defeats the purpose (cutting glare). This looks rad: So I messed around with an orange one I found on speed hunters in photoshop and ended up with this: And then I thought about this color on this BMW M1, also from Speedhunters: And came up with this: Anyway, back to work.
-
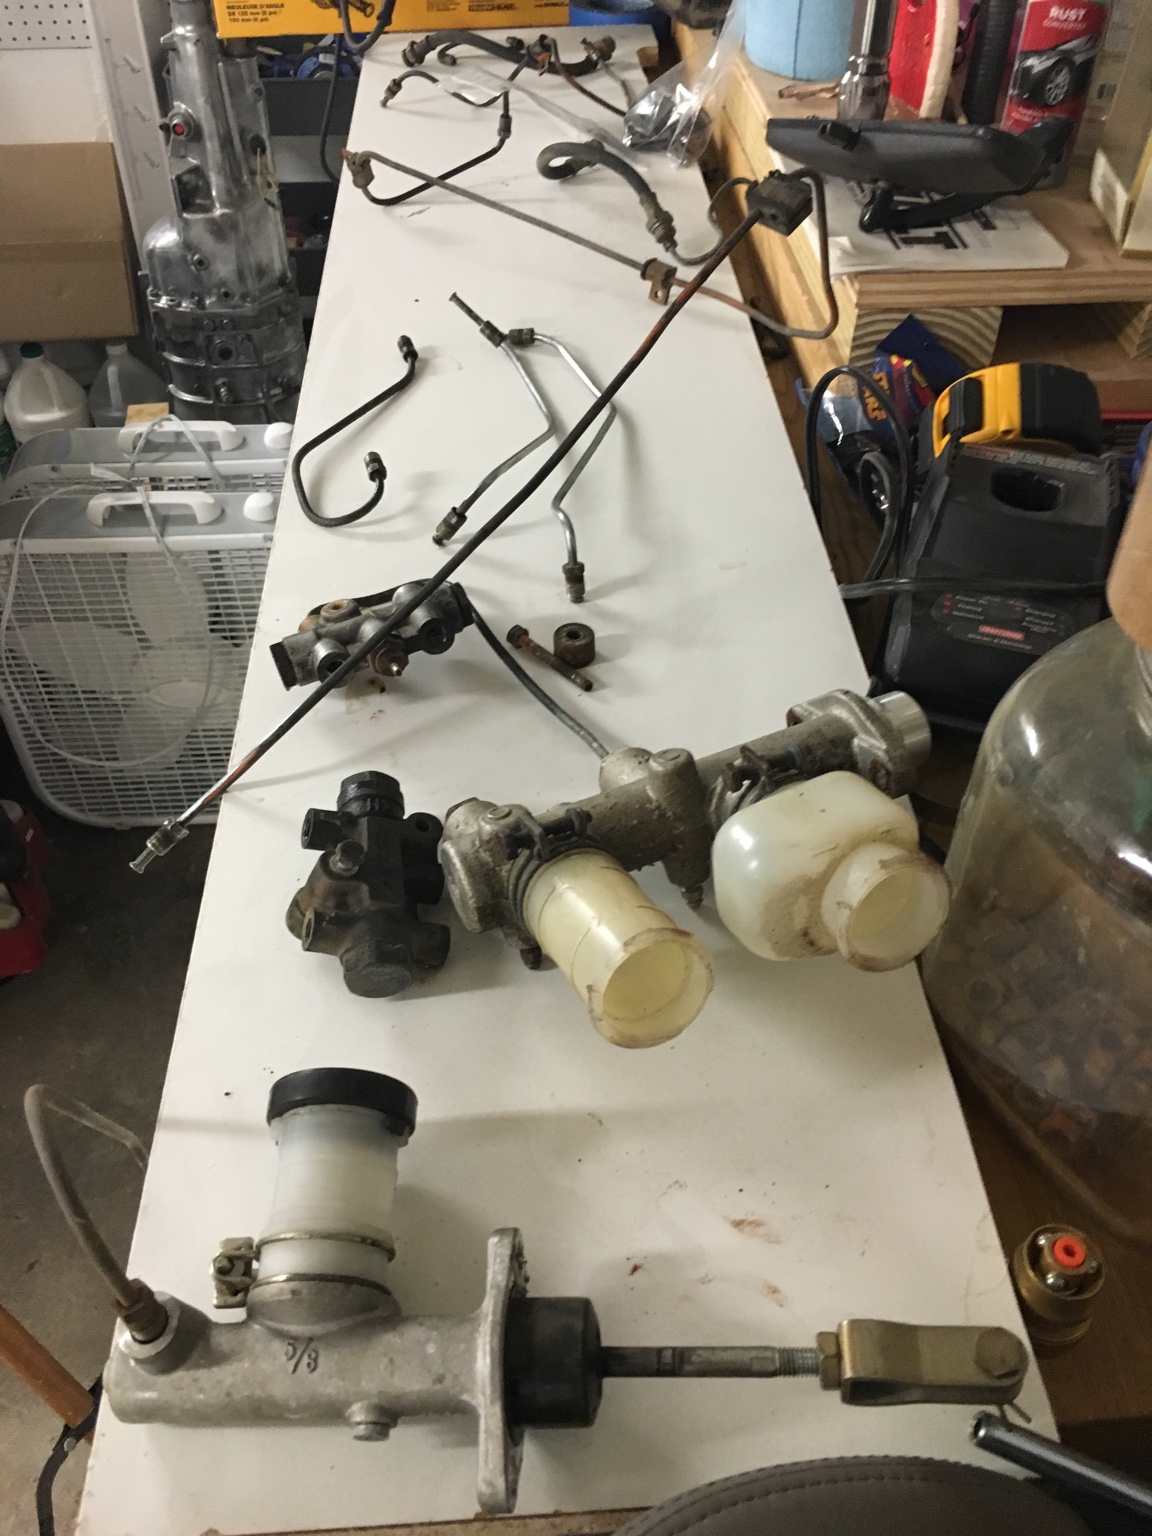
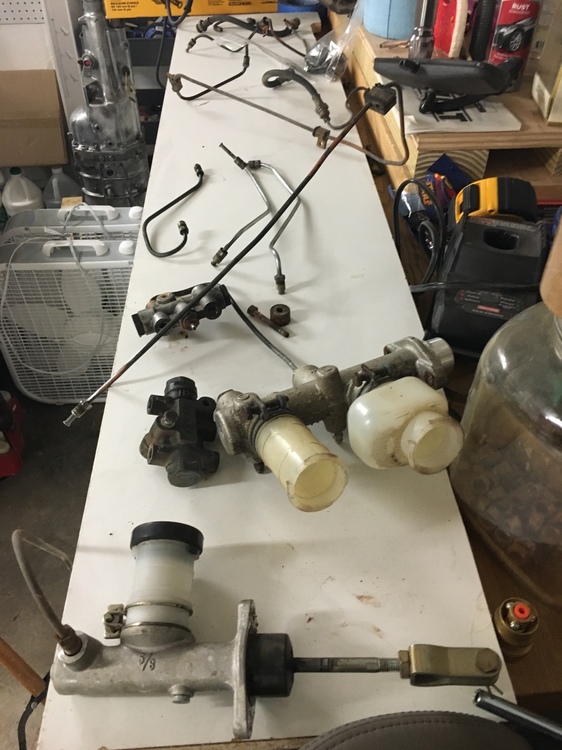
Some progress on the brake and clutch lines.
-
Update: getting quotes from two places in Tucson and talking to a third. Looks like we can definitely knock off a significant portion by sending it out of state. One guy said he can do the work for 1/3 to 1/2 the price with the exact same list of tasks. We'll see what happens and what the quality levels are like, but right now it looks like I need to figure out how to get the car to Arizona. Regarding reassembly and parts labeling: with the things I've pulled off the car myself I have been following all of the advice above, but when I got the car about 3/4 of the parts were in cardboard boxes, so reassembly is going to be... a project.
-
I need to talk to him and see what he thinks we can trim out of the list. He did say his estimate was at the top end for the project list, meaning it might come in under estimate. I think there are things in here I can not do, and there are things in here I can do myself. My dad is having a friend of his who ran a shop in New Jersey until recently take a look and tell me how much of this is New Jersey prices and how much is just the shop being expensive. The former might be unavoidable. Shipping to AZ is looking more in the cards now that I have an actual number. Not sure how I feel about it, though. You pay one way or another. Sent from my iPhone using Tapatalk
-
This is the problem. For where I live this is about what I get from every shop. I am seriously considering sending the car to Arizona to have it done for about $10,000 less.
-
Here's the list of what 28,000 gets me: Remove suspension front and rear Mount on frame rack for floor and sub-frame rail replacement Remove left sub-frame rail and floor pan Test fit left new floor pan and weld in Test fit new sub-frame rail and weld in Fabricate panel to fill in gap from factory rail to replacement, weld in. LEFT Remove right sub-frame rail and floor pan Test fit right new floor pan and weld in Test fit new right sub-frame rail and weld in Fabricate panel to fill in gap from factory rail to replacement, weld in. RIGHT Test fit, weld in and metal finish rear seat compartment box "walls" Remove off frame rack Mount on rotisserie Scrape off loose undercoating from underside of car. Media blast body, body parts and various other pieces. Body work roof. Body work left quarter panel Body work right quarter panel Body work left door Body work right door Body work hood Body work left fender Body work right fender Body work hatch Clearance a pillars where fenders were rubbing. Test fit all body panels to ensure proper fit before priming Remove panels for high build priming Mask body and set up fenders Prime body and fenders Set up doors, hatch and hood and high build prime them Block out high build prime on body and panels to prep for final priming Mask body and set up fenders Final prime body and fenders Set up doors, hatch and hood. Spray final primer. Wet sand body to prep for paint Scuff inside of car, underside of car and engine bay to prep for paint Mask off exterior of car Spray lizard skin on underside floor pan, interior floor pan and roof skin Clean and spray engine bay, interior and underside. (Color to be determined) Remove car from rotisserie. Install suspension front and rear Prep fenders for paint. Mask body for paint Clean, seam seal and paint body and fenders Prep hatch for paint Prep left door for paint Prep right door for paint Prep hood for paint Prep headlight buckets for paint Prep other small parts for paint. Set up doors, hatch, hood and parts for paint Clean, seam seal and paint parts Sand and buff quarters and roof Sand and buff left door Install left door (includes installing main door weatherstripping and latch assembly) Sand and buff right door Install right door (includes installing main door weatherstripping and latch assembly) Sand and buff left fender Install left fender Install right fender Sand and buff hood Install hood hinges and hood Sand and buff hatch Install hatch (includes weatherstripping and latch) Sand and buff cowl panel Install cowl panel Shop Supplies Misc. Shop Supplies (sanding discs, grinding discs, tape, masking paper, etc) Paint 1 Primers, reducers, paints, etc. Sent from my iPhone using Tapatalk
-
Yes. 22,000 to 28,000.
-
Grannyknot, If that's your name and number it's on Google now. Might want to edit that photo (Louvres look rad angled like that). Sent from my iPhone using Tapatalk
-
Got the quotes back from the body shops. Looks like it's going to cost $2,200 to $2,800 to do the rotisserie restoration of the body. The guy I trust the most ended up being the most expensive of the ones that made the final cut. Most of the ones who didn't make the first cyst were also more than $30k. The one that came in sub $20k was super shady. Time to sock away more cash. Sent from my iPhone using Tapatalk
-
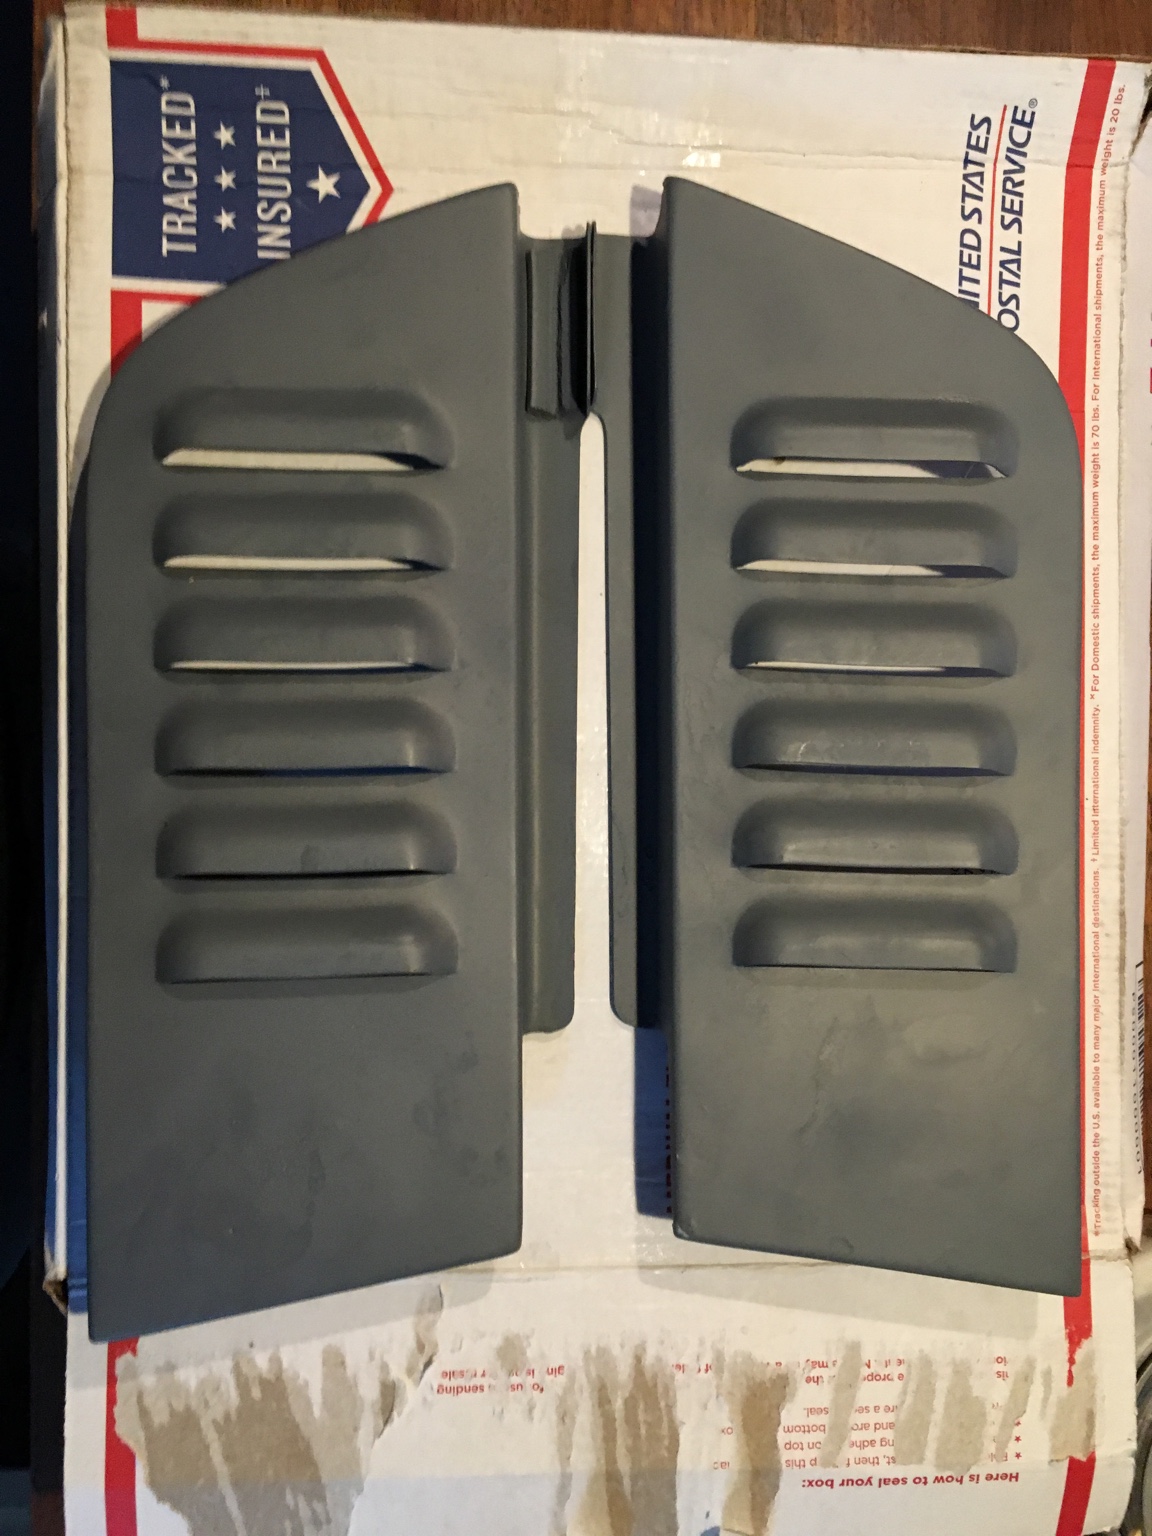
Nice! I like the mellow shape of yours. It was totally an impulse eBay buy and might not be that most effective of all the options, but I like this more than swapping on a 280z hood.
-
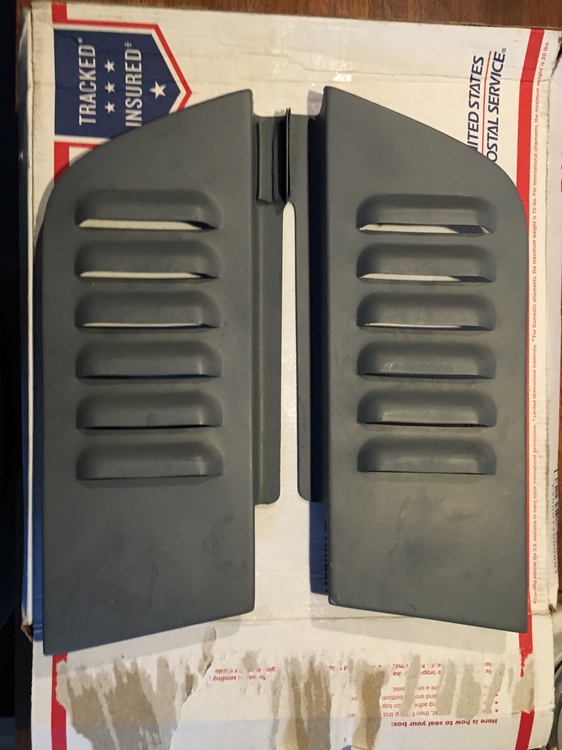
Look at what came in the mail:
-
So when you want to clean out a gas tank, after you tape up and seal all of the tubes make sure you put the tank plug in BEFORE you poor a gallon of carb cleaner into it. [emoji21]
-
Good suggestion, thanks.
-
Quick question: is it safe to submerge the float on the fuel level sender in carburetor cleaner? Planning to clean out the tank tonight and want to use the sender as a plug, but don't want to end up with melted float all over the inside of the tank.
-
Thanks. The site wouldn't let me send anything to him for some reason but it is working now. Read through those posts and don't have the explicit answers, but I'll continue combing through tonight. Thanks guys. Sent from my iPhone using Tapatalk
-
Yeah, I tried sending a PM to him but that function seems to be down for me at the moment. I hear what you are saying about the RPMs. Maybe in the end it won't be an issue, but being cautious until I understand more. Still tons of time and stuff to do before I have to commit. Sent from my iPhone using Tapatalk
-
Okay, I had some of my information a little out of whack. Apparently we had not finalized the compression ratio yet and I was using old assumptions. Everyone seems to think 9.85 to 9.9:1 is the way to go, rather than 9.75:1. I have to figure out where we are going to get our cam, but I know we aren't going to just go big. We want to figure out the sweet spot for low and midrange gains, yes. But we are considering the limitation on valve speed that comes with a big cam and how a smaller cam with more duration can help with that on the top end without killing the dynamic compression. Gotta find the happy medium. Next steps on this will be getting the head worked over.
-
Everything I've read says stay below 10:1. If you guys are running higher and don't have any problems, what's the disconnect? Madkaw, I want to be able to run 89 if I have to by will probably run 91 regularly. Who knows what's going to happen to gas prices next year, and we only have 89, 91, and 93 around here. Regarding the cam, I'm so not there yet. Next month I should have the brain space to do that research, but right now we're looking at Stage 1.
-
Good stuff. Thanks! Sent from my iPhone using Tapatalk
-
Okay this right here is something I really don't have a firm direction on. I had been keeping it low due to numerous comments about pump gas being a problem at high compression. I definitely don't want 10:1 because that seems to be a guarantee of problems when using regular pump gas, but I want to sort of push it to the highest it can be on regular even though I'll probably run supreme. So you're saying take it to 9.85? There's plenty of room to add more CCs to the dome.
-
Yeah, I am planning to do a lot to the head, which is why I hired Lary. He did my dad's last two engines and they perform very nicely, plus he has enough L-series experience to make me feel confident having him work on it. And, yeah, we have a complete L28ET in addition to what we are making for my 240, but that one is my dad's for some project he's planning. Not sure what. Also, I get the impression you felt like you were overdoing it with the comments, which is not the case. I appreciate the advice! This is foreign territory for me, which is why I have professional engine builders putting it together rather than trying to do it myself. But even then, we are looking at what you guys have done and had success with for guidance. I'm not taking anything at face value, but I'm not dismissing anyone's comments either. I've seen a lot of really great ideas on this forum and well as Hybridz, Zcar.com, and others. I've also seen a lot of backyard hack stuff. Just gotta look deeply on every tip and investigate the long run impact, such as the diesel crank or shaving the head or offset grinding the crank. They are all great for particular applications, but they aren't precisely right for the direction I chose to go. I'm glad that I went deep on my research for all of those things before I chose NOT to do them because now I am certain of WHY. I found two solutions, both expensive: Have a custom piston manufacturer make them to your specifications. I am going with Wiseco because I have had a better experience with them on the phone, read that they have good customer service, and have gotten the impression that their product is reliable and the quality matches the price (if anyone strongly disagrees please speak up). I am going with this solution because it matches the precision build strategy that we opted for. Get a set of Z22S pistons and mill of 1.5mmoff with a CNC machine to get rid of the dish. Essentially doing the same as above but starting with a piston that is already halfway there rather than a cylindrical chunk of solid forged steel. This is fine, but You would probably want new ones, and then you are voiding any kind of warranty they came with by modifying them. I think in the end this is actually more expensive, unless you do this to a set of used pistons and I'm not certain it really gives adequate CR despite having read about this on a few threads. Something I forgot to mention above is that the new pistons will also be relieved for valve float, which makes the dome even taller (although we're only talking an additional ~6CCs total, so while it's bigger than the dome on the Datsun competition / European non-turbo 290ZX pistons it's not a huge bulge.