ConVerTT
Free Member
-
Joined
-
Last visited
Everything posted by ConVerTT
-
-
-
-
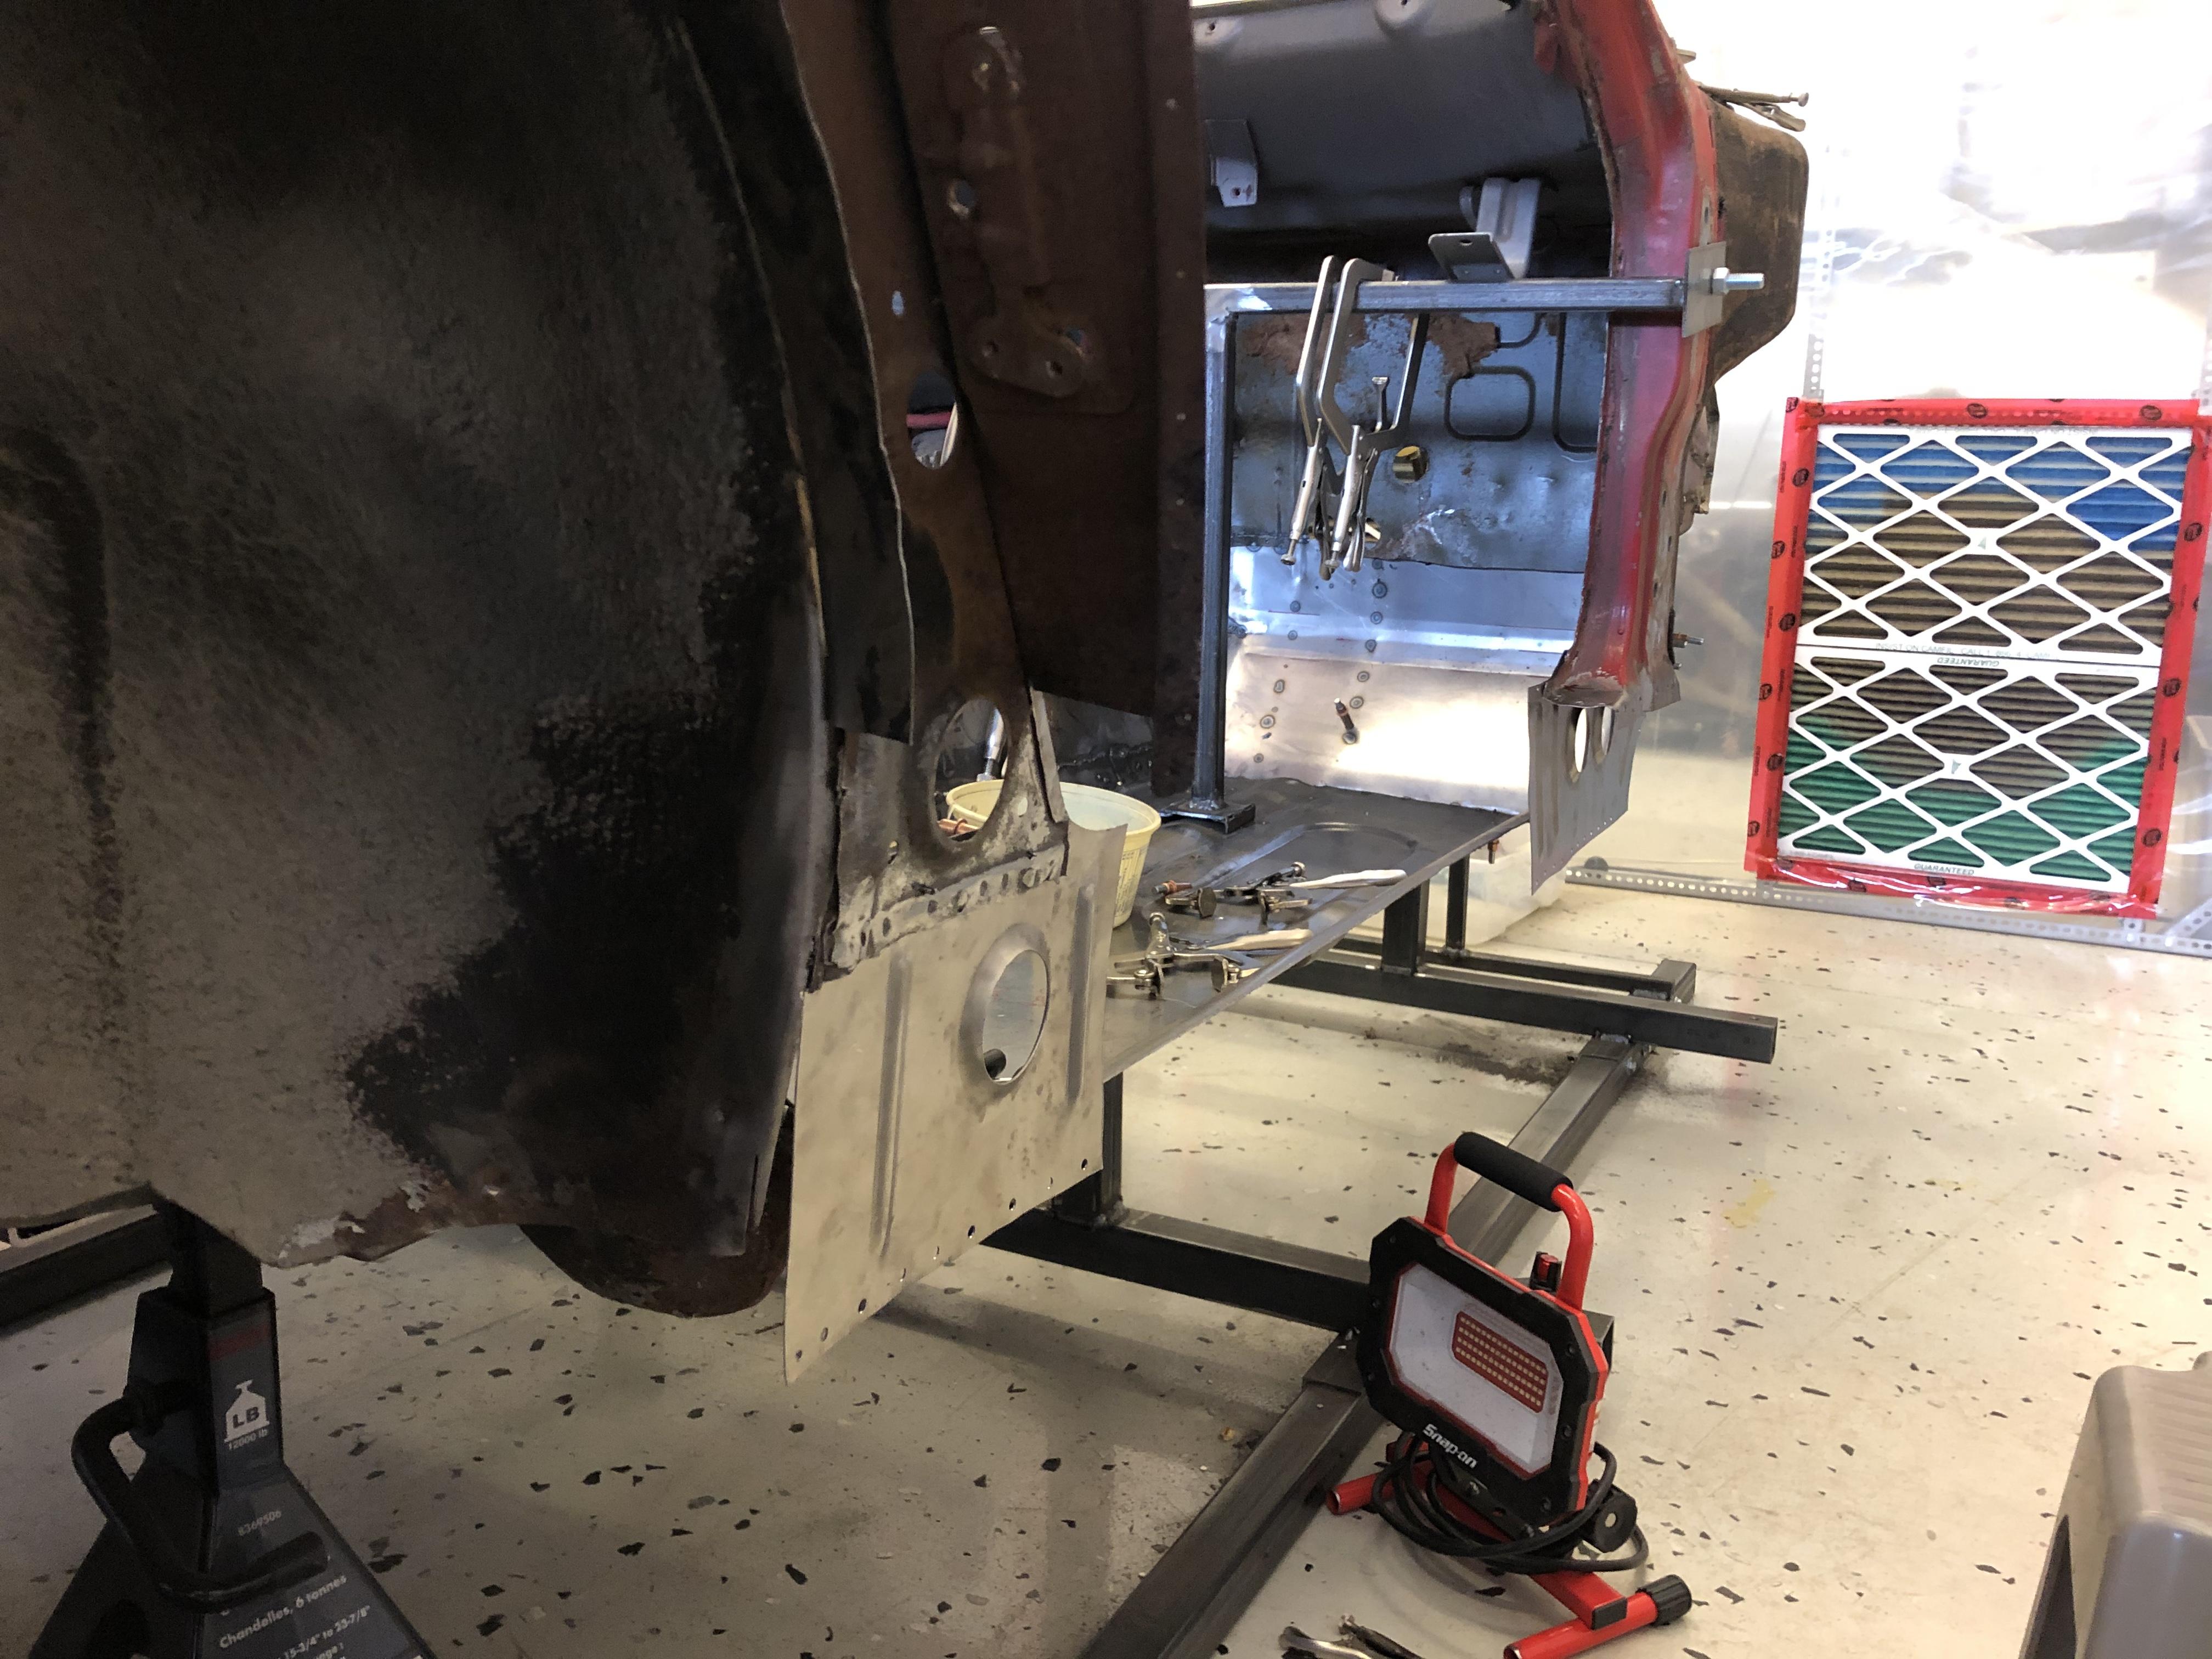
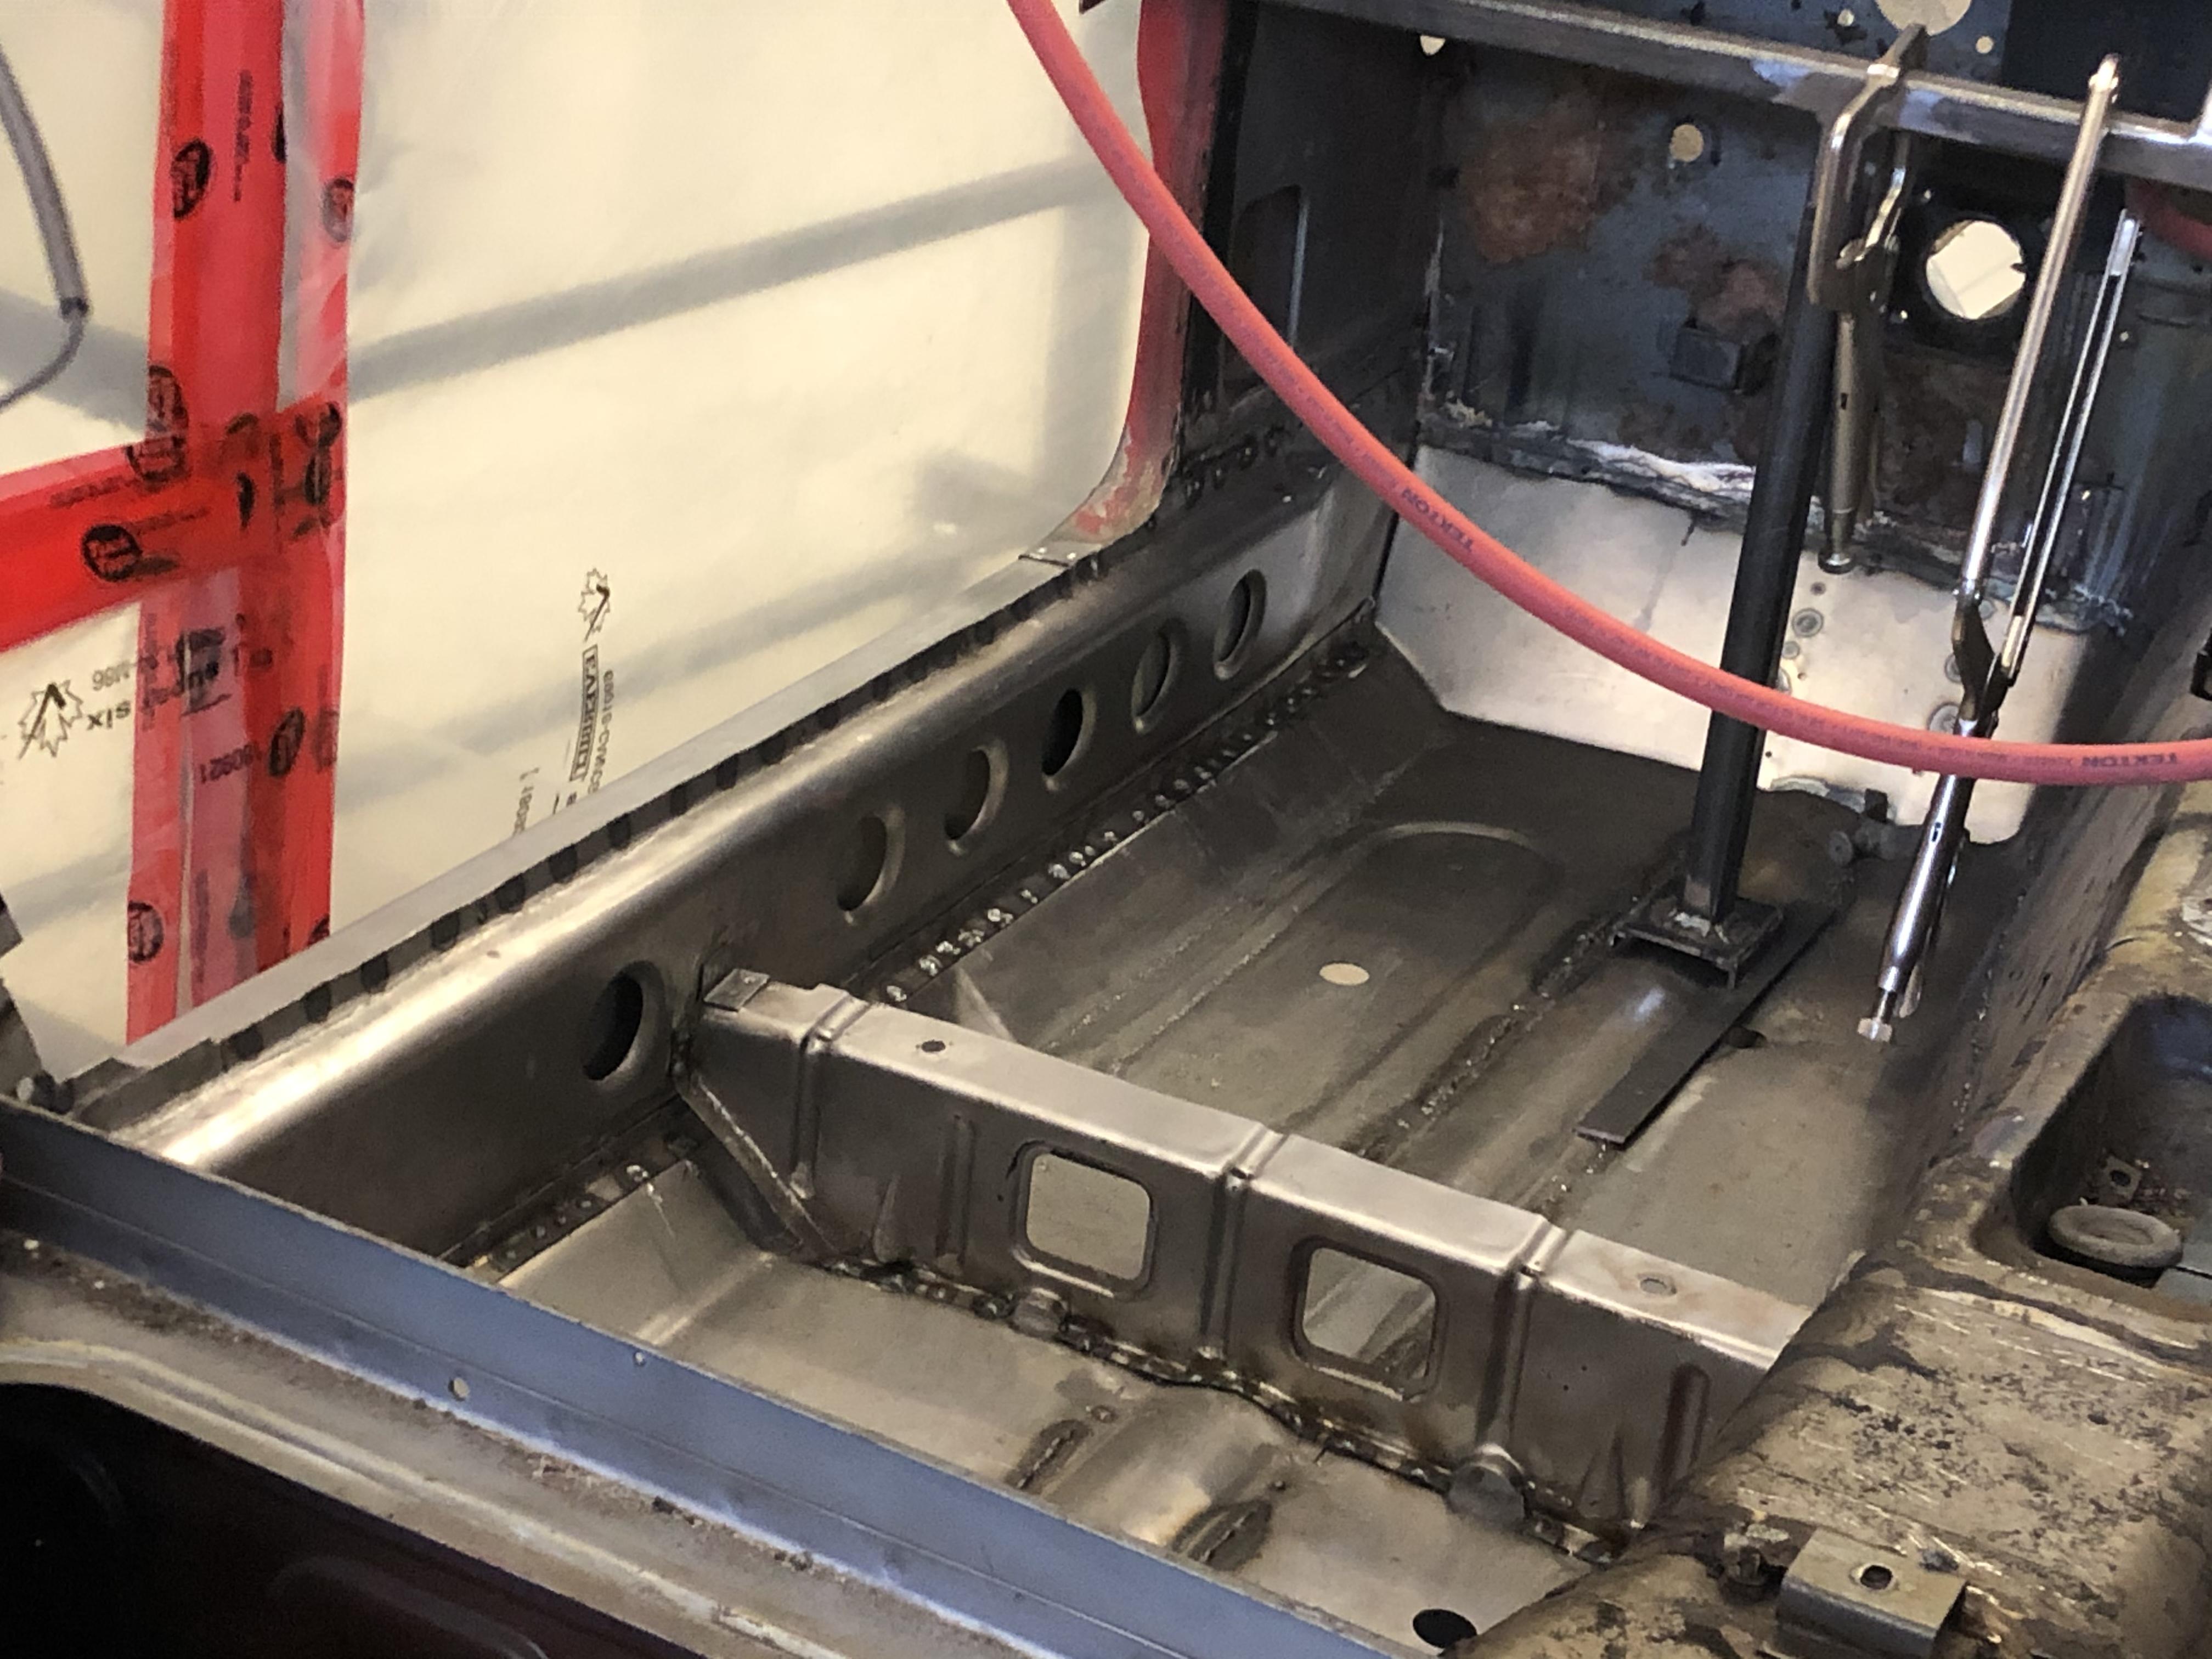
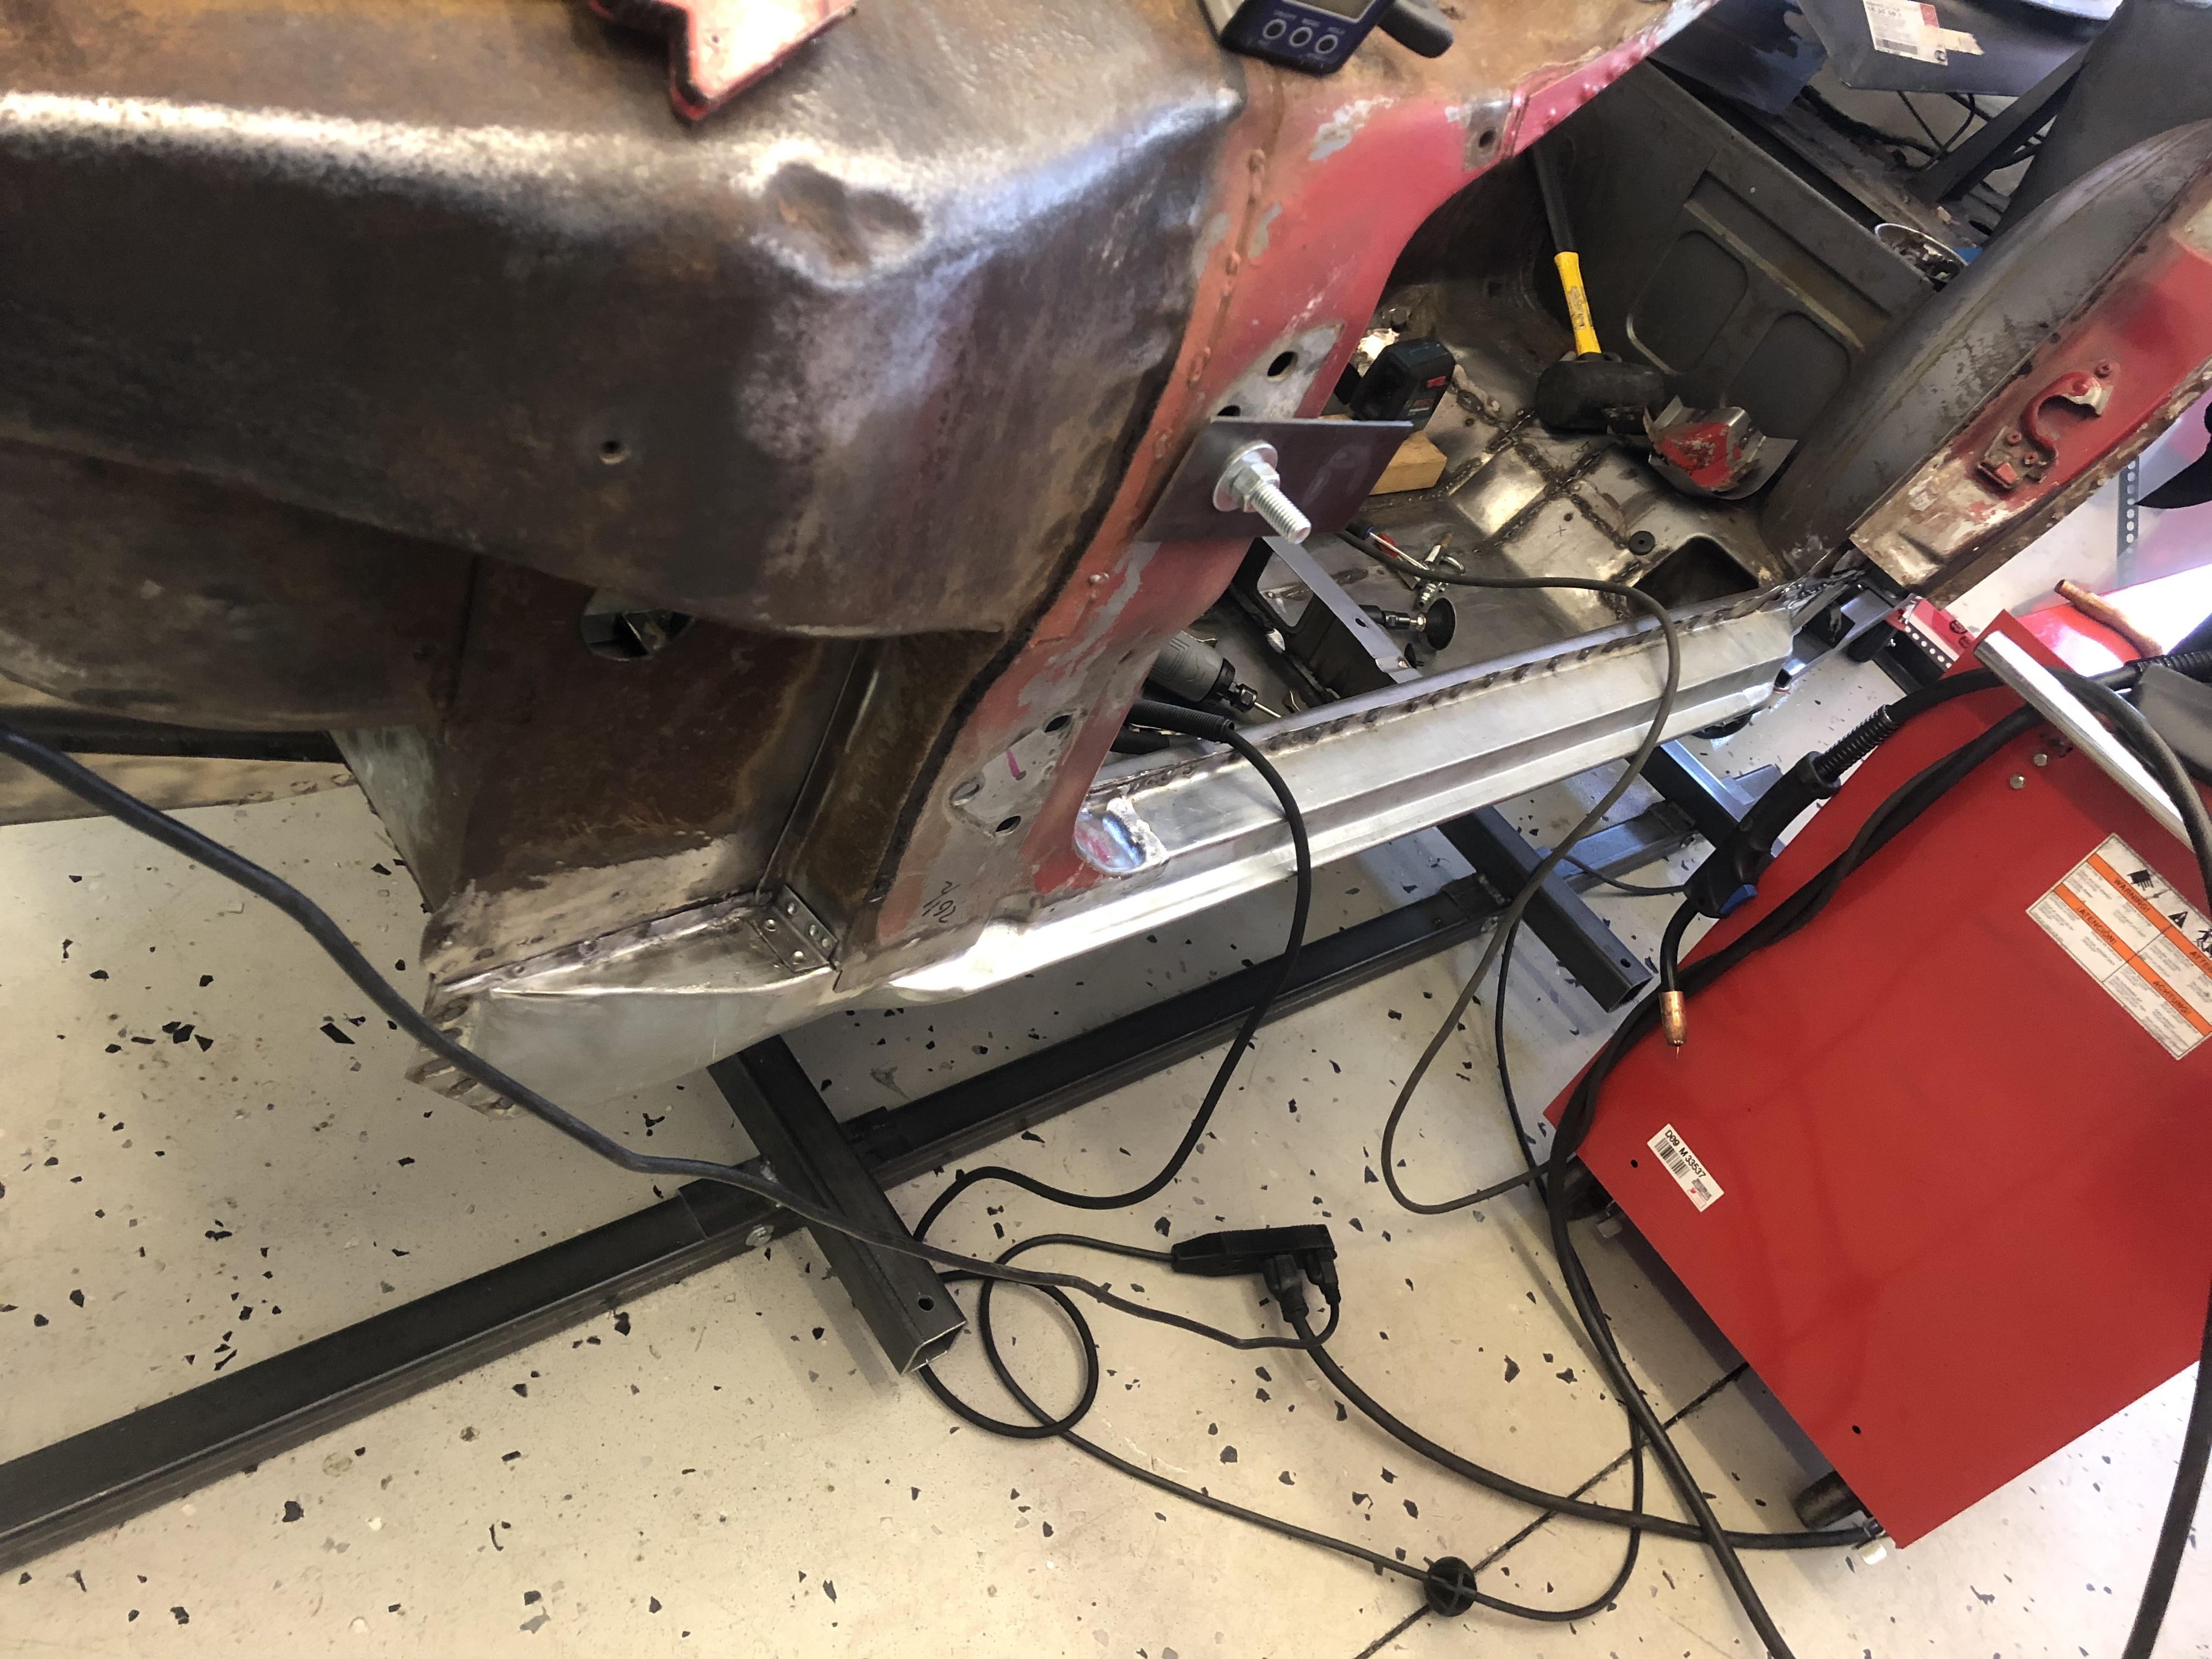
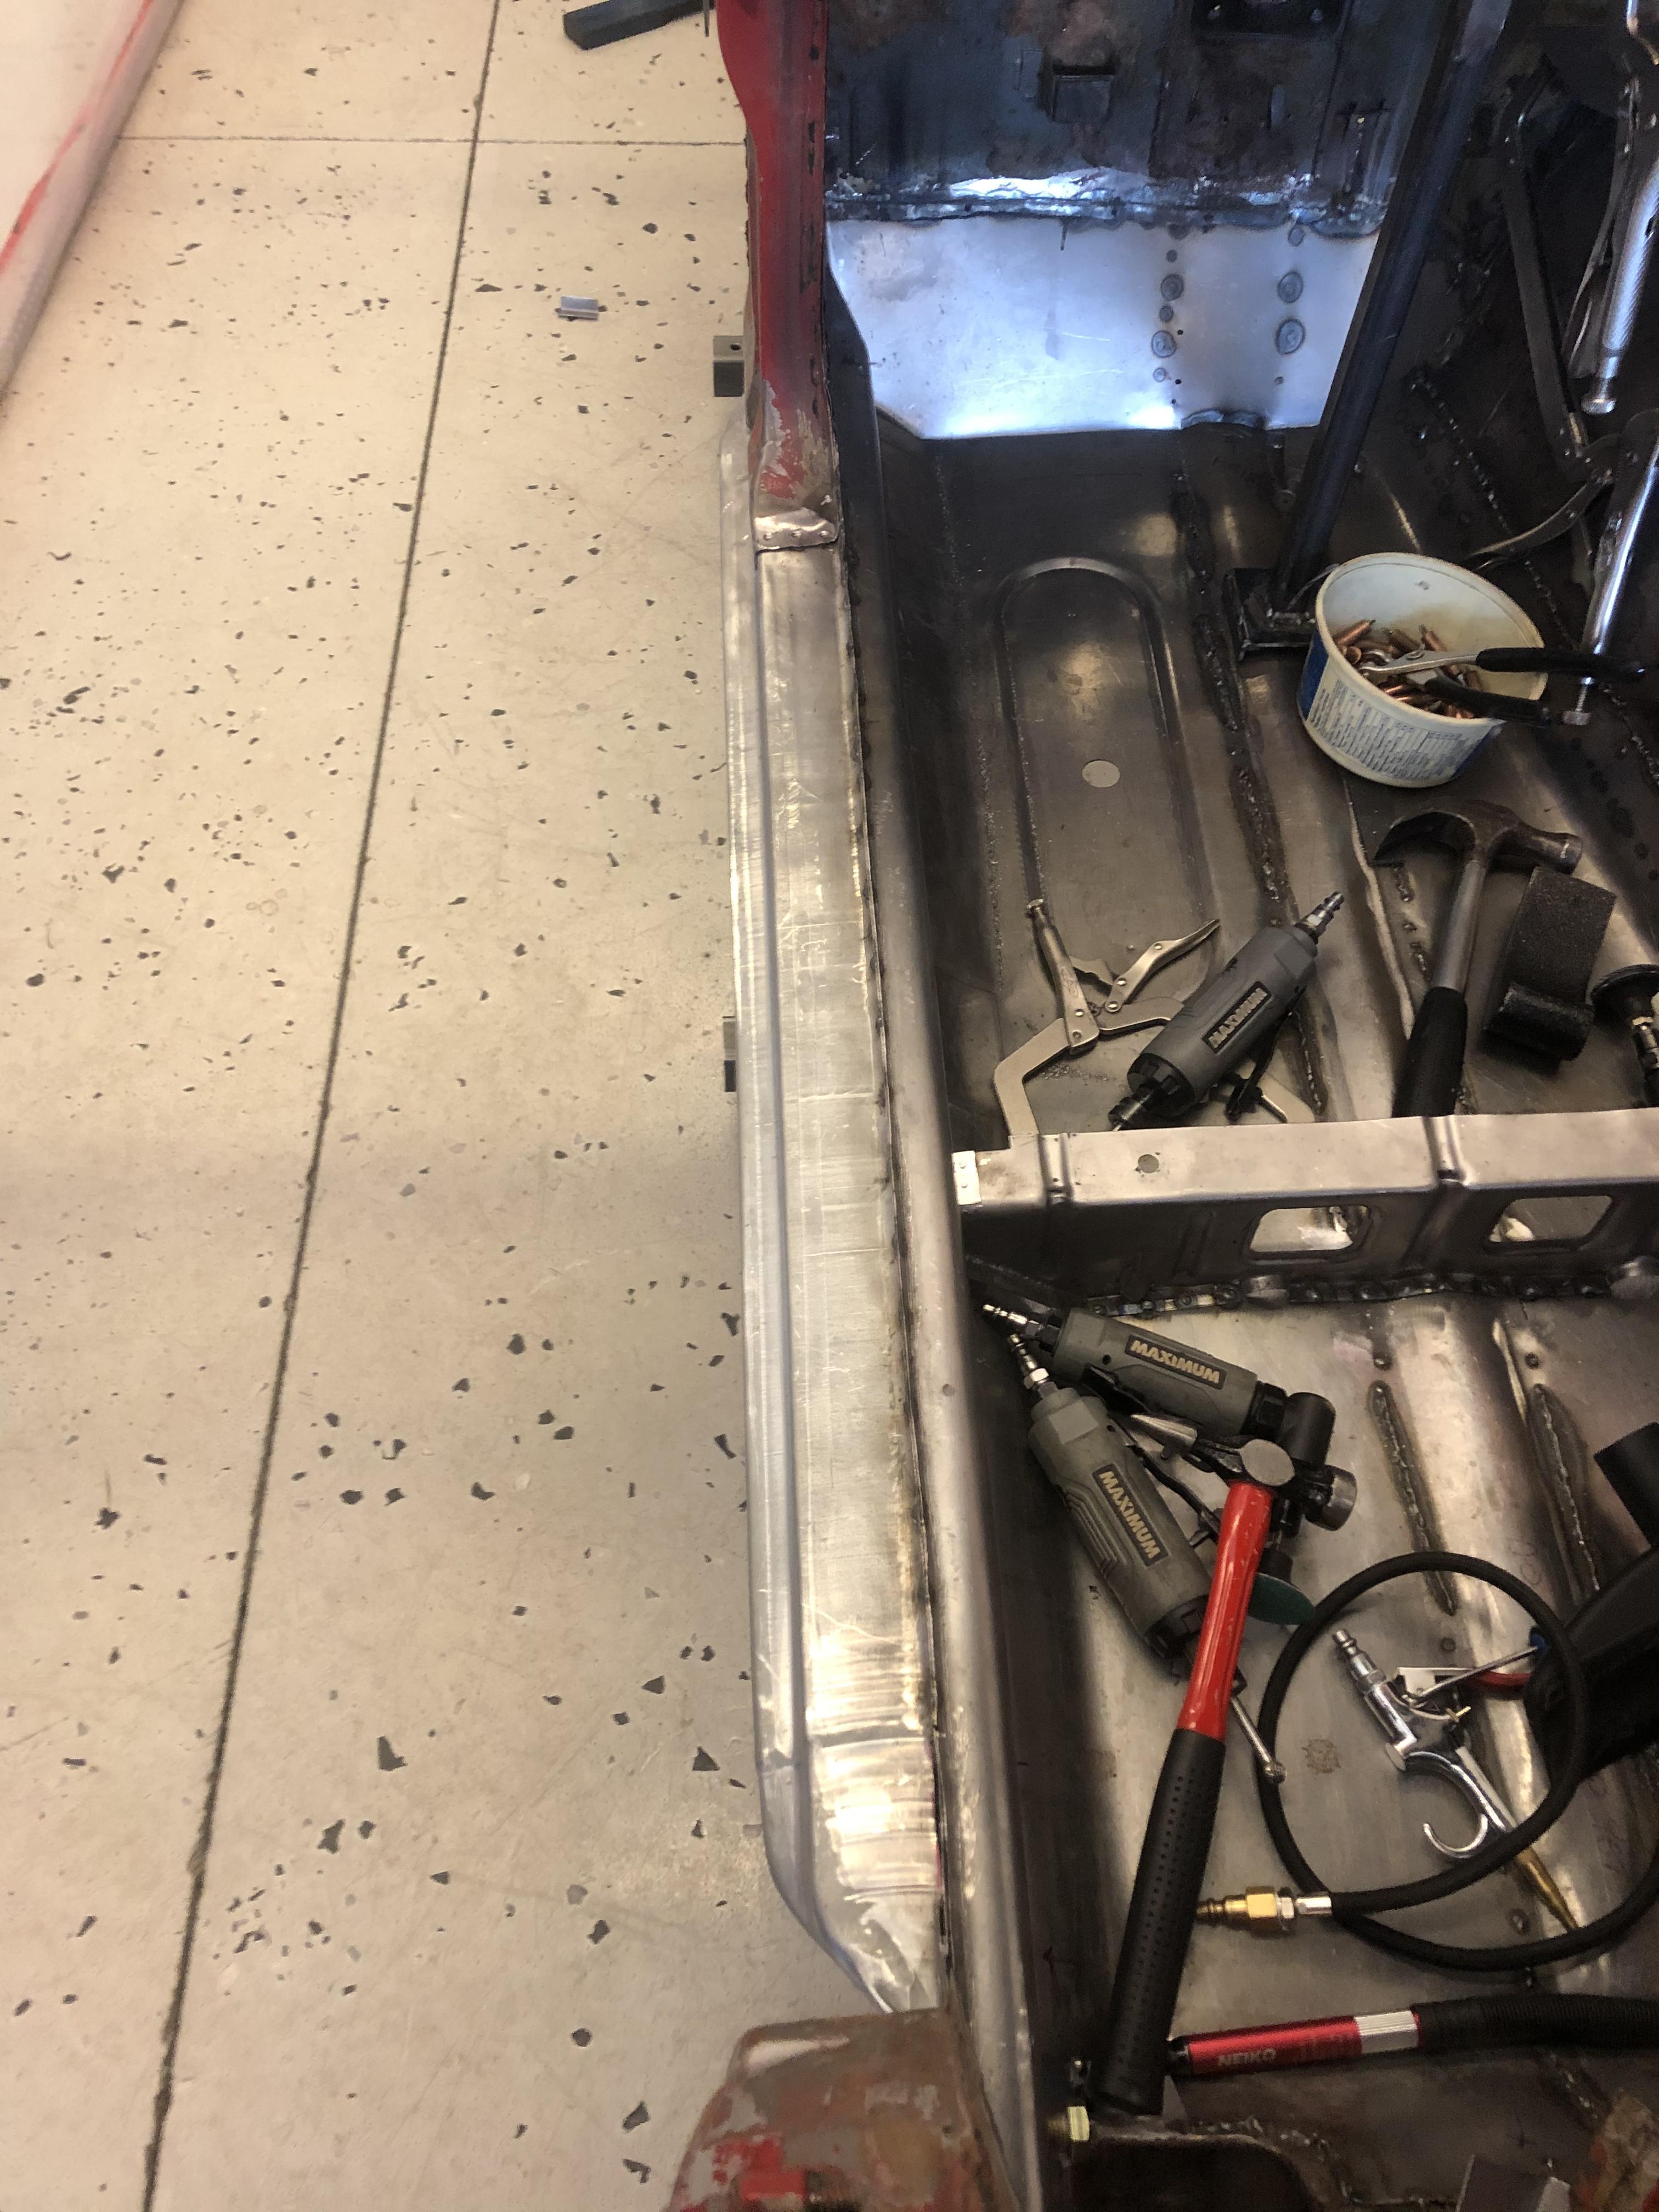
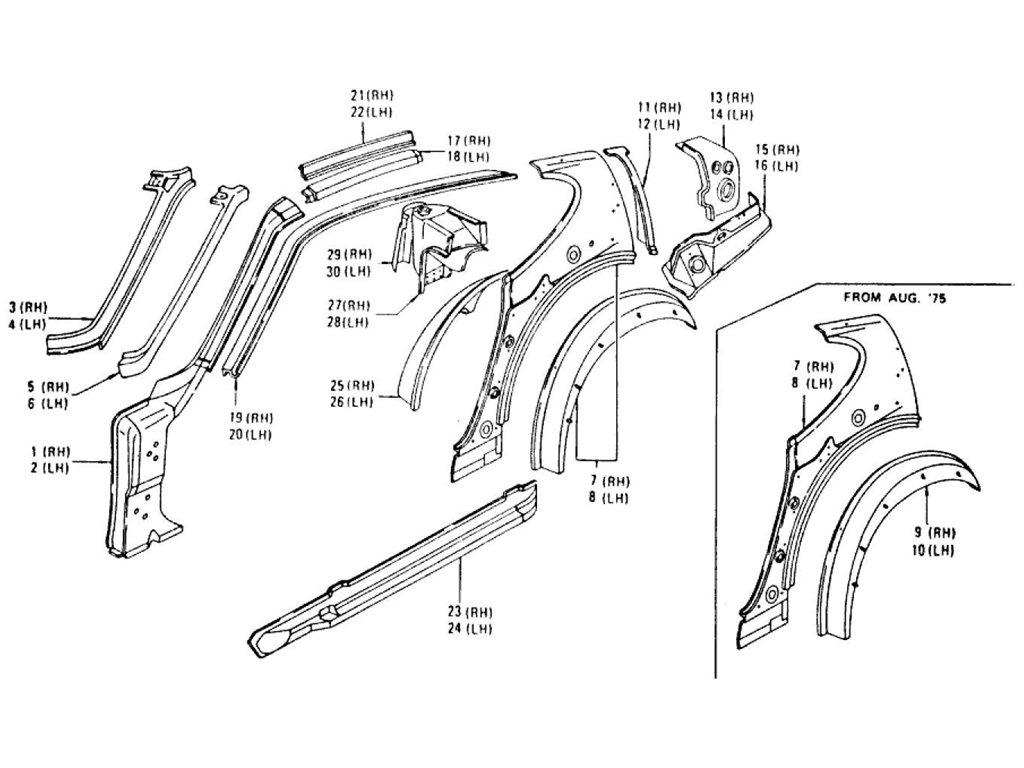
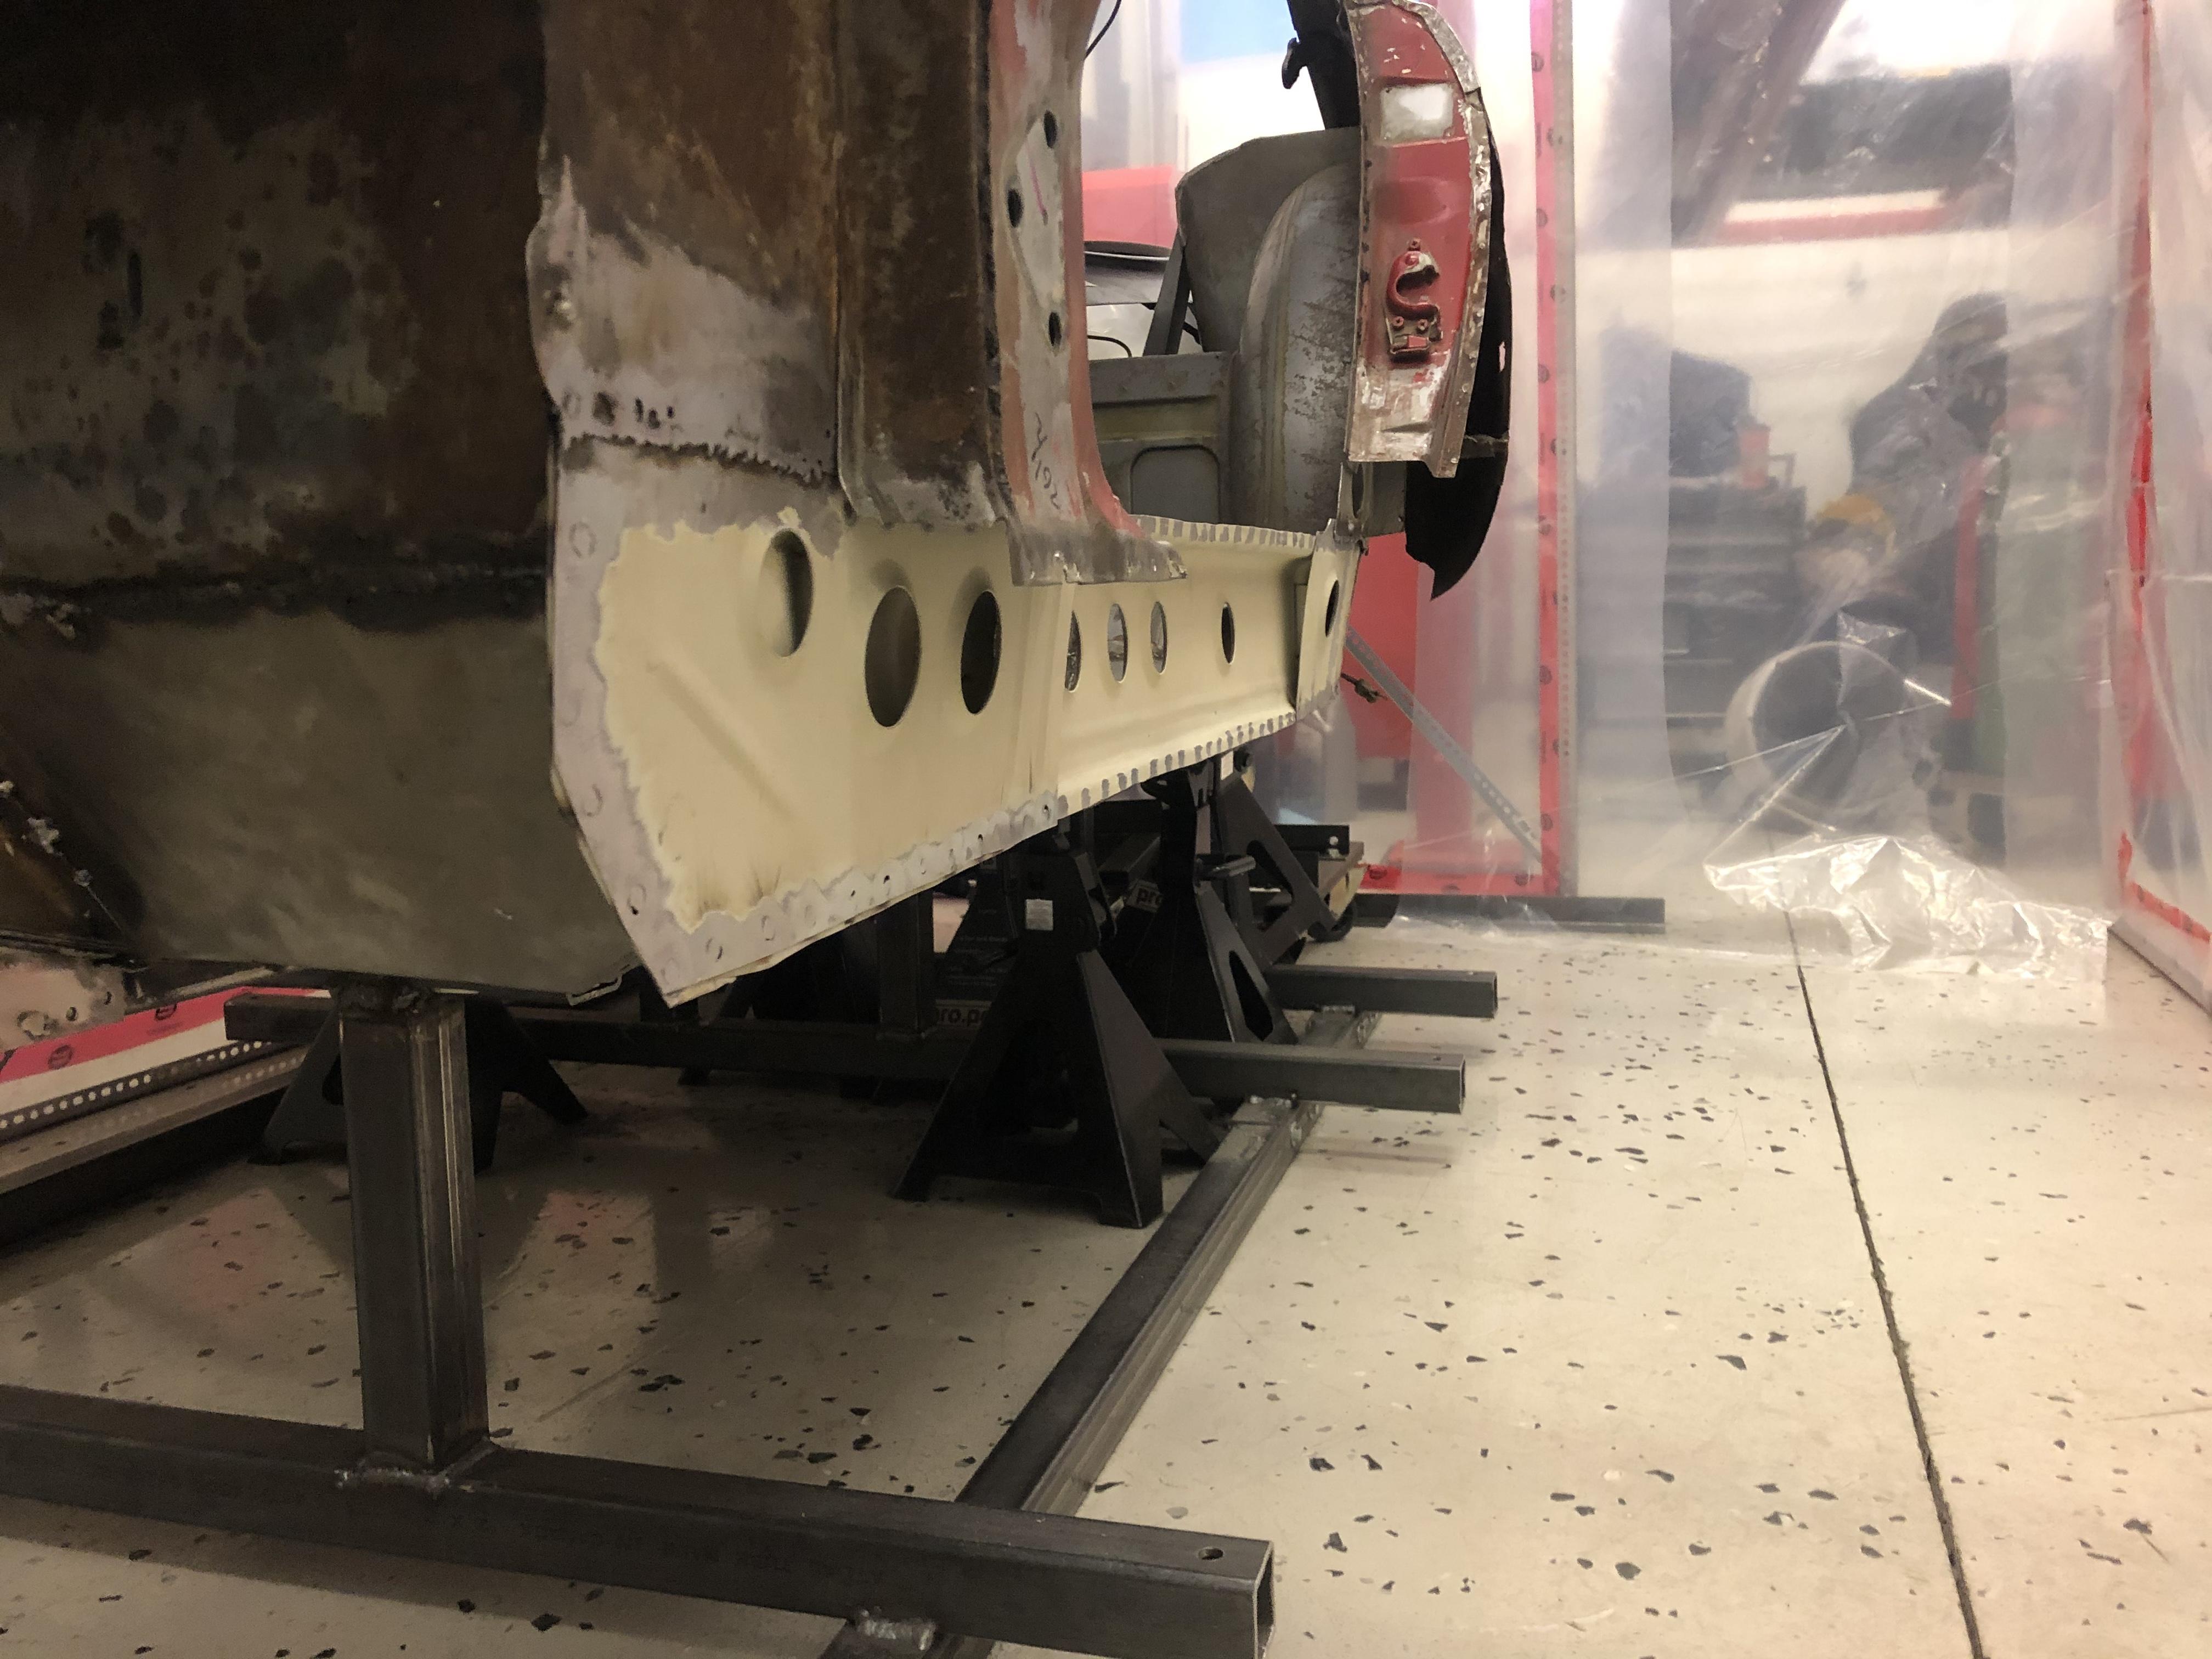
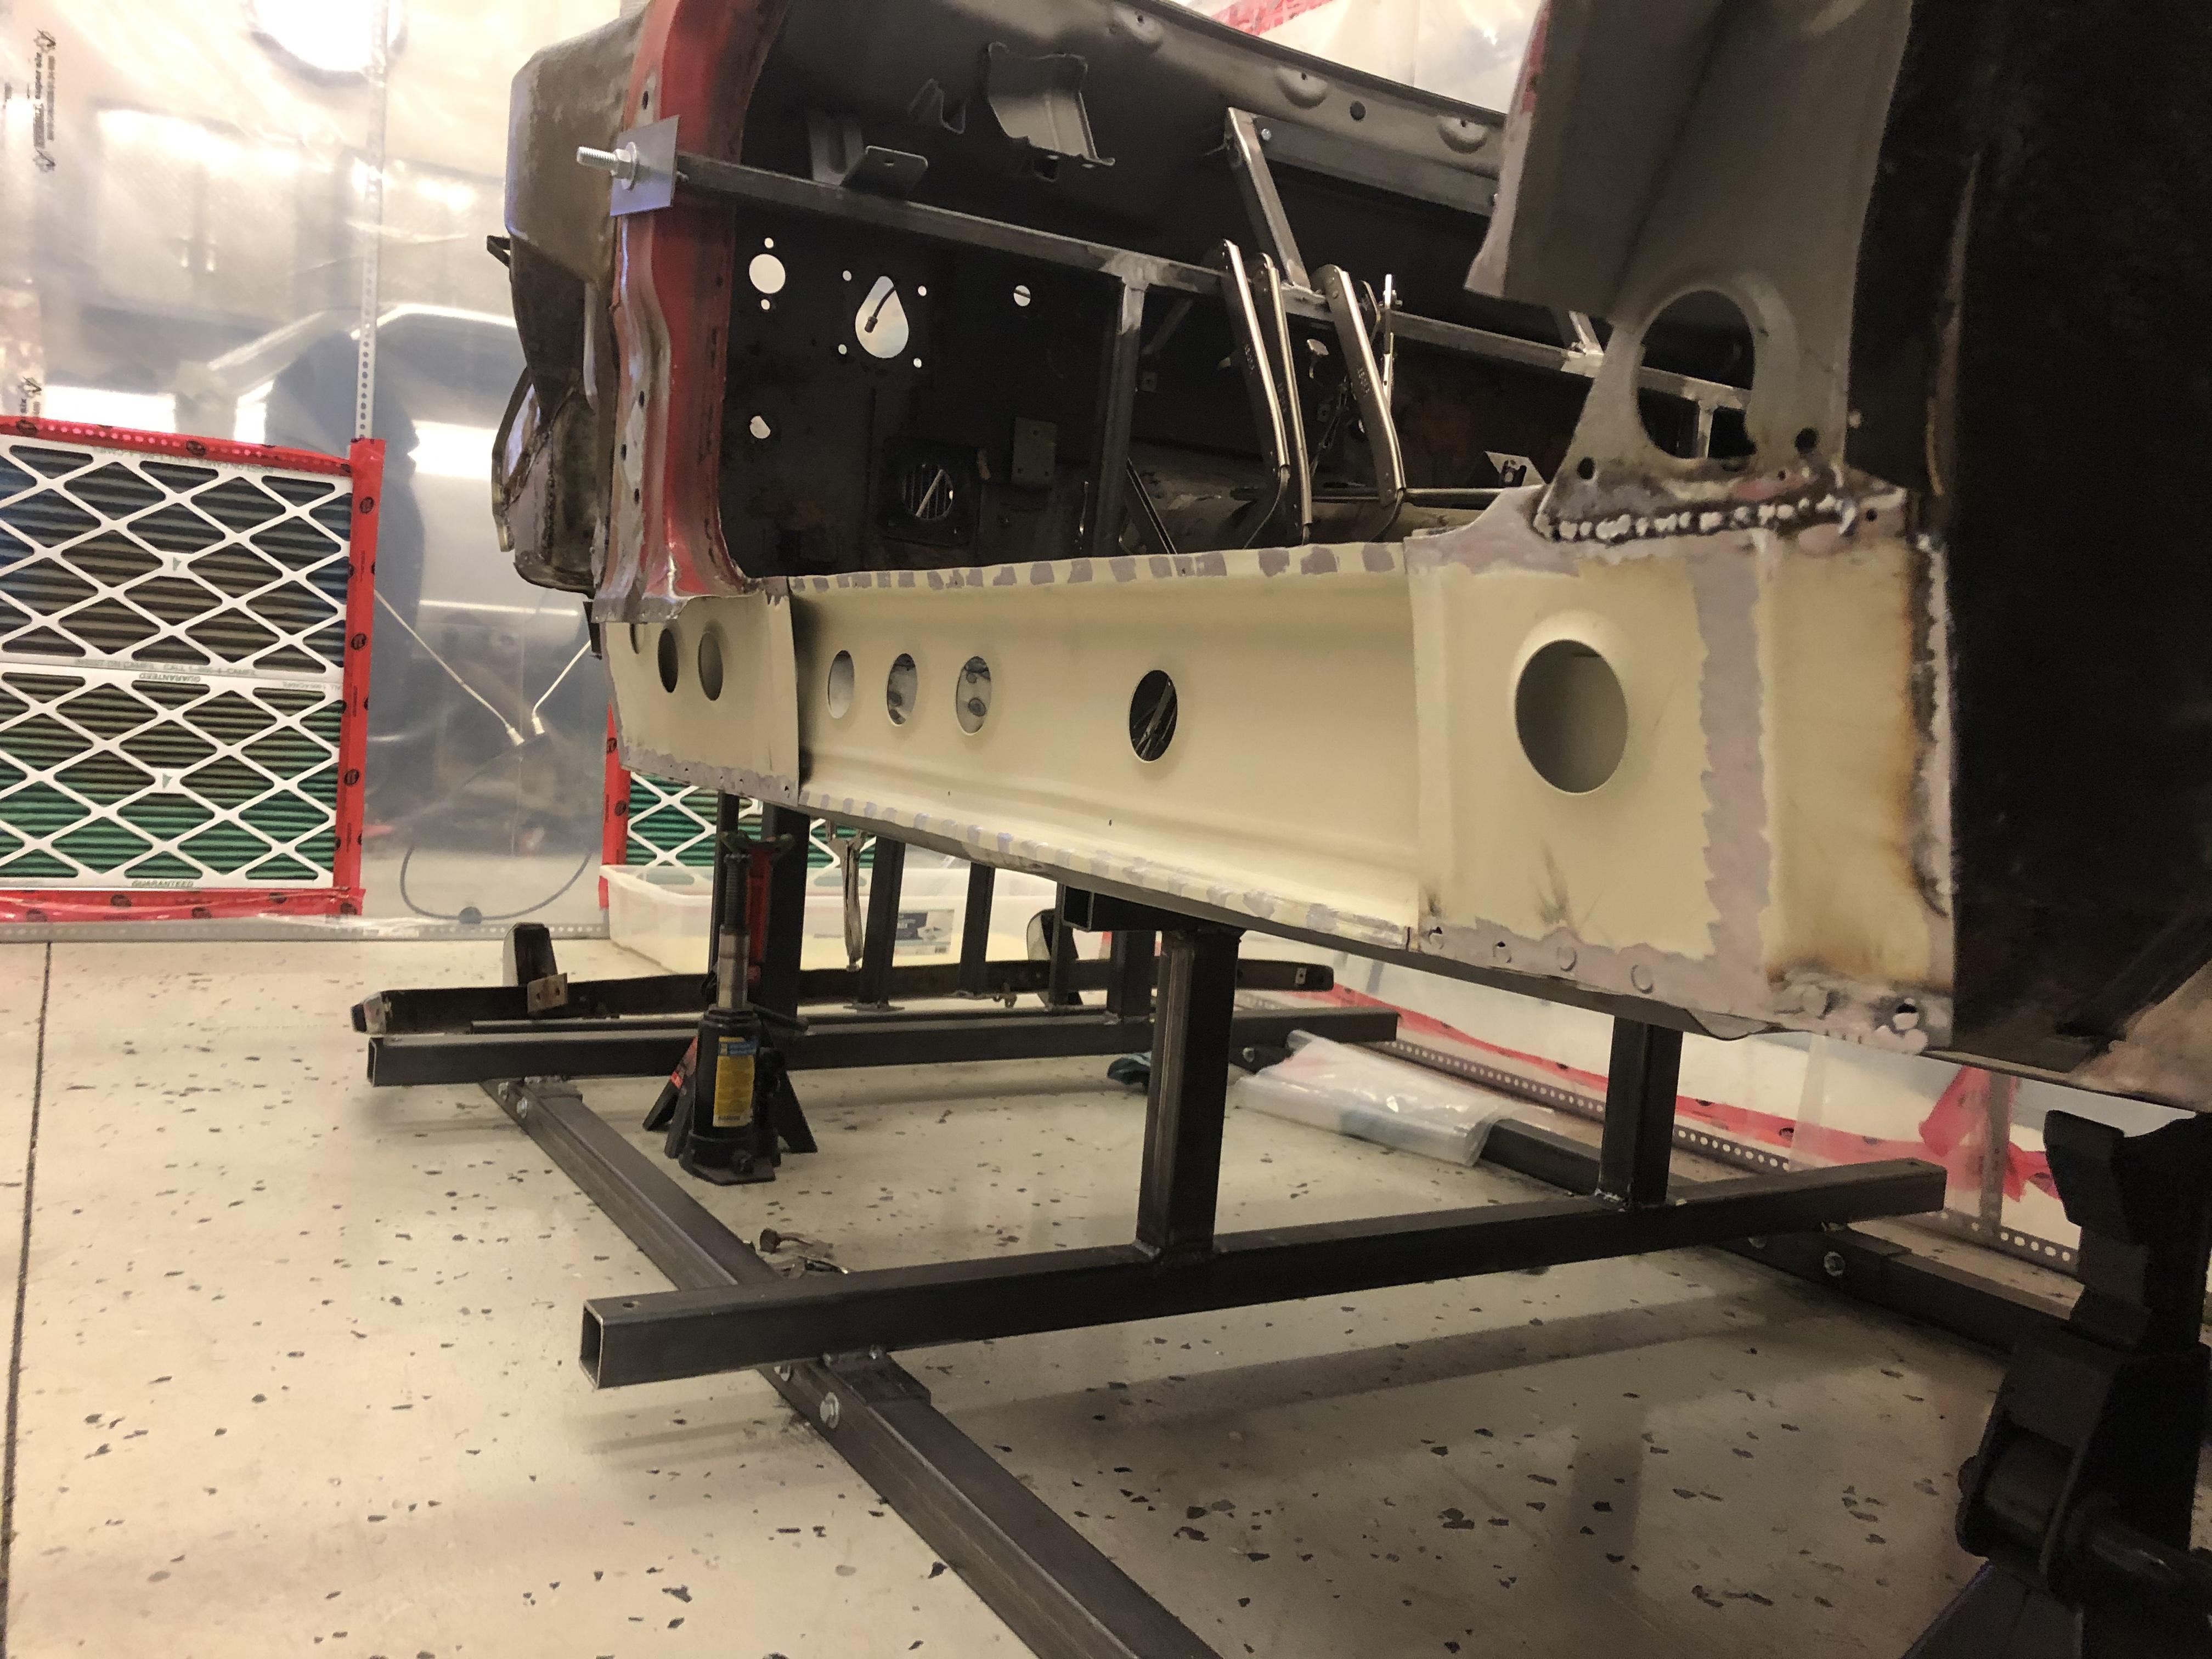
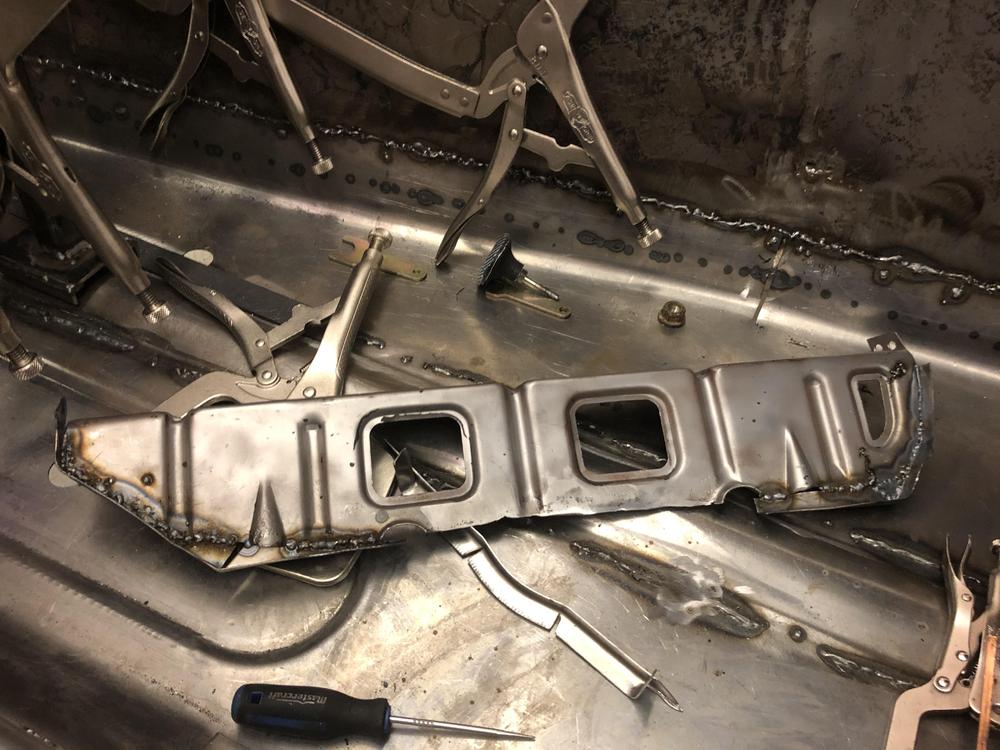
A couple of pics for those that might have missed the DS assembly .... There are two stiffening panels that need to be welded to the inner rear quarter and the inner sheet metal In front of the doors. They were part of the original sheet metal stampings but if your rockers are bad enough that you are considering this repair, then the stiffeners are likely rusted away as well. These panels get sandwiched between the inner and outer rocker. They add rigidity and a larger weld surface to the assembly. (The inner rocker gets welded to the floor, the firewall and the stiffeners. Then the outer rocker gets welded to the outside).


-
-
-
Just read all 4 pages! Great work! On the doors: personally I would focus on the trailing edge gaps by the dog legs and leave the leading edge gaps alone.
-
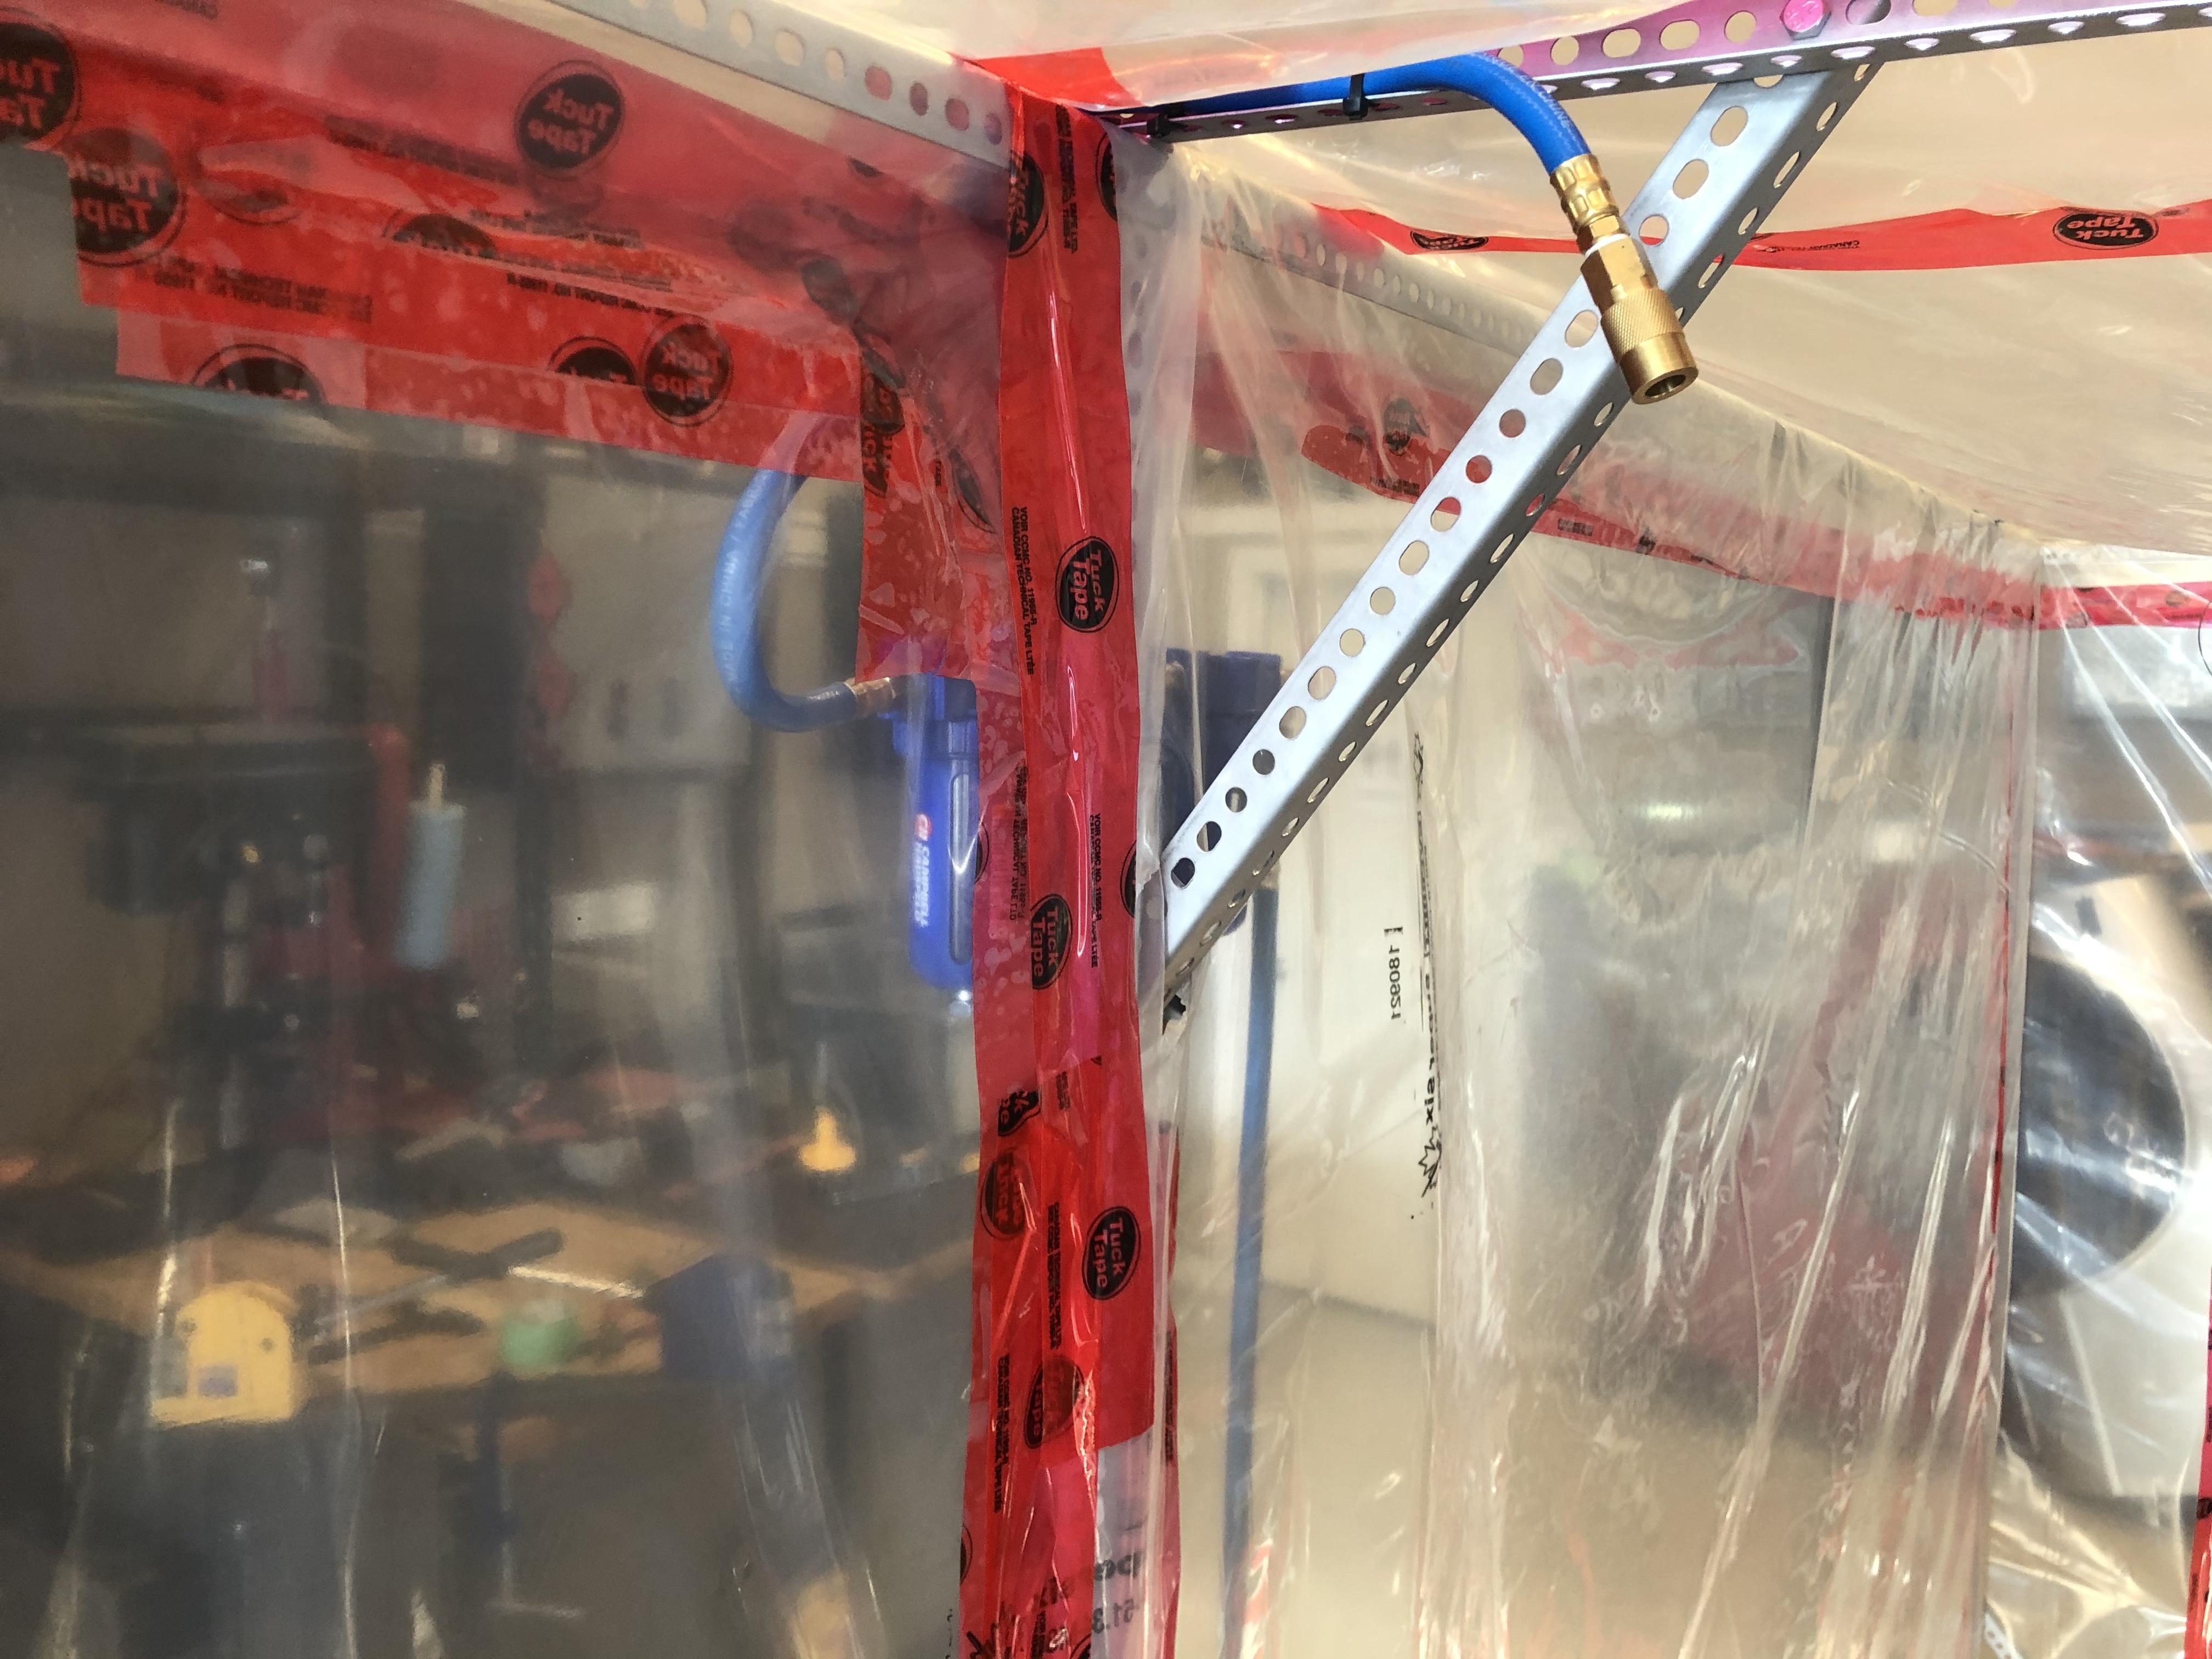
No. The first one is a generic water / oil trap. It's fine for air tools but probably not good enough for paint (some water oil gets through it). The second stage is the oil filter. The third one is a desiccant vapor filter. It's pretty dry here so it might be overkill, but it's also a pretty minor expense in the big picture. (I am a decent "painter" but a crappy "blender" so I need to minimize rework and do a series of one takes ?)
-
-
-
-
-
-
-
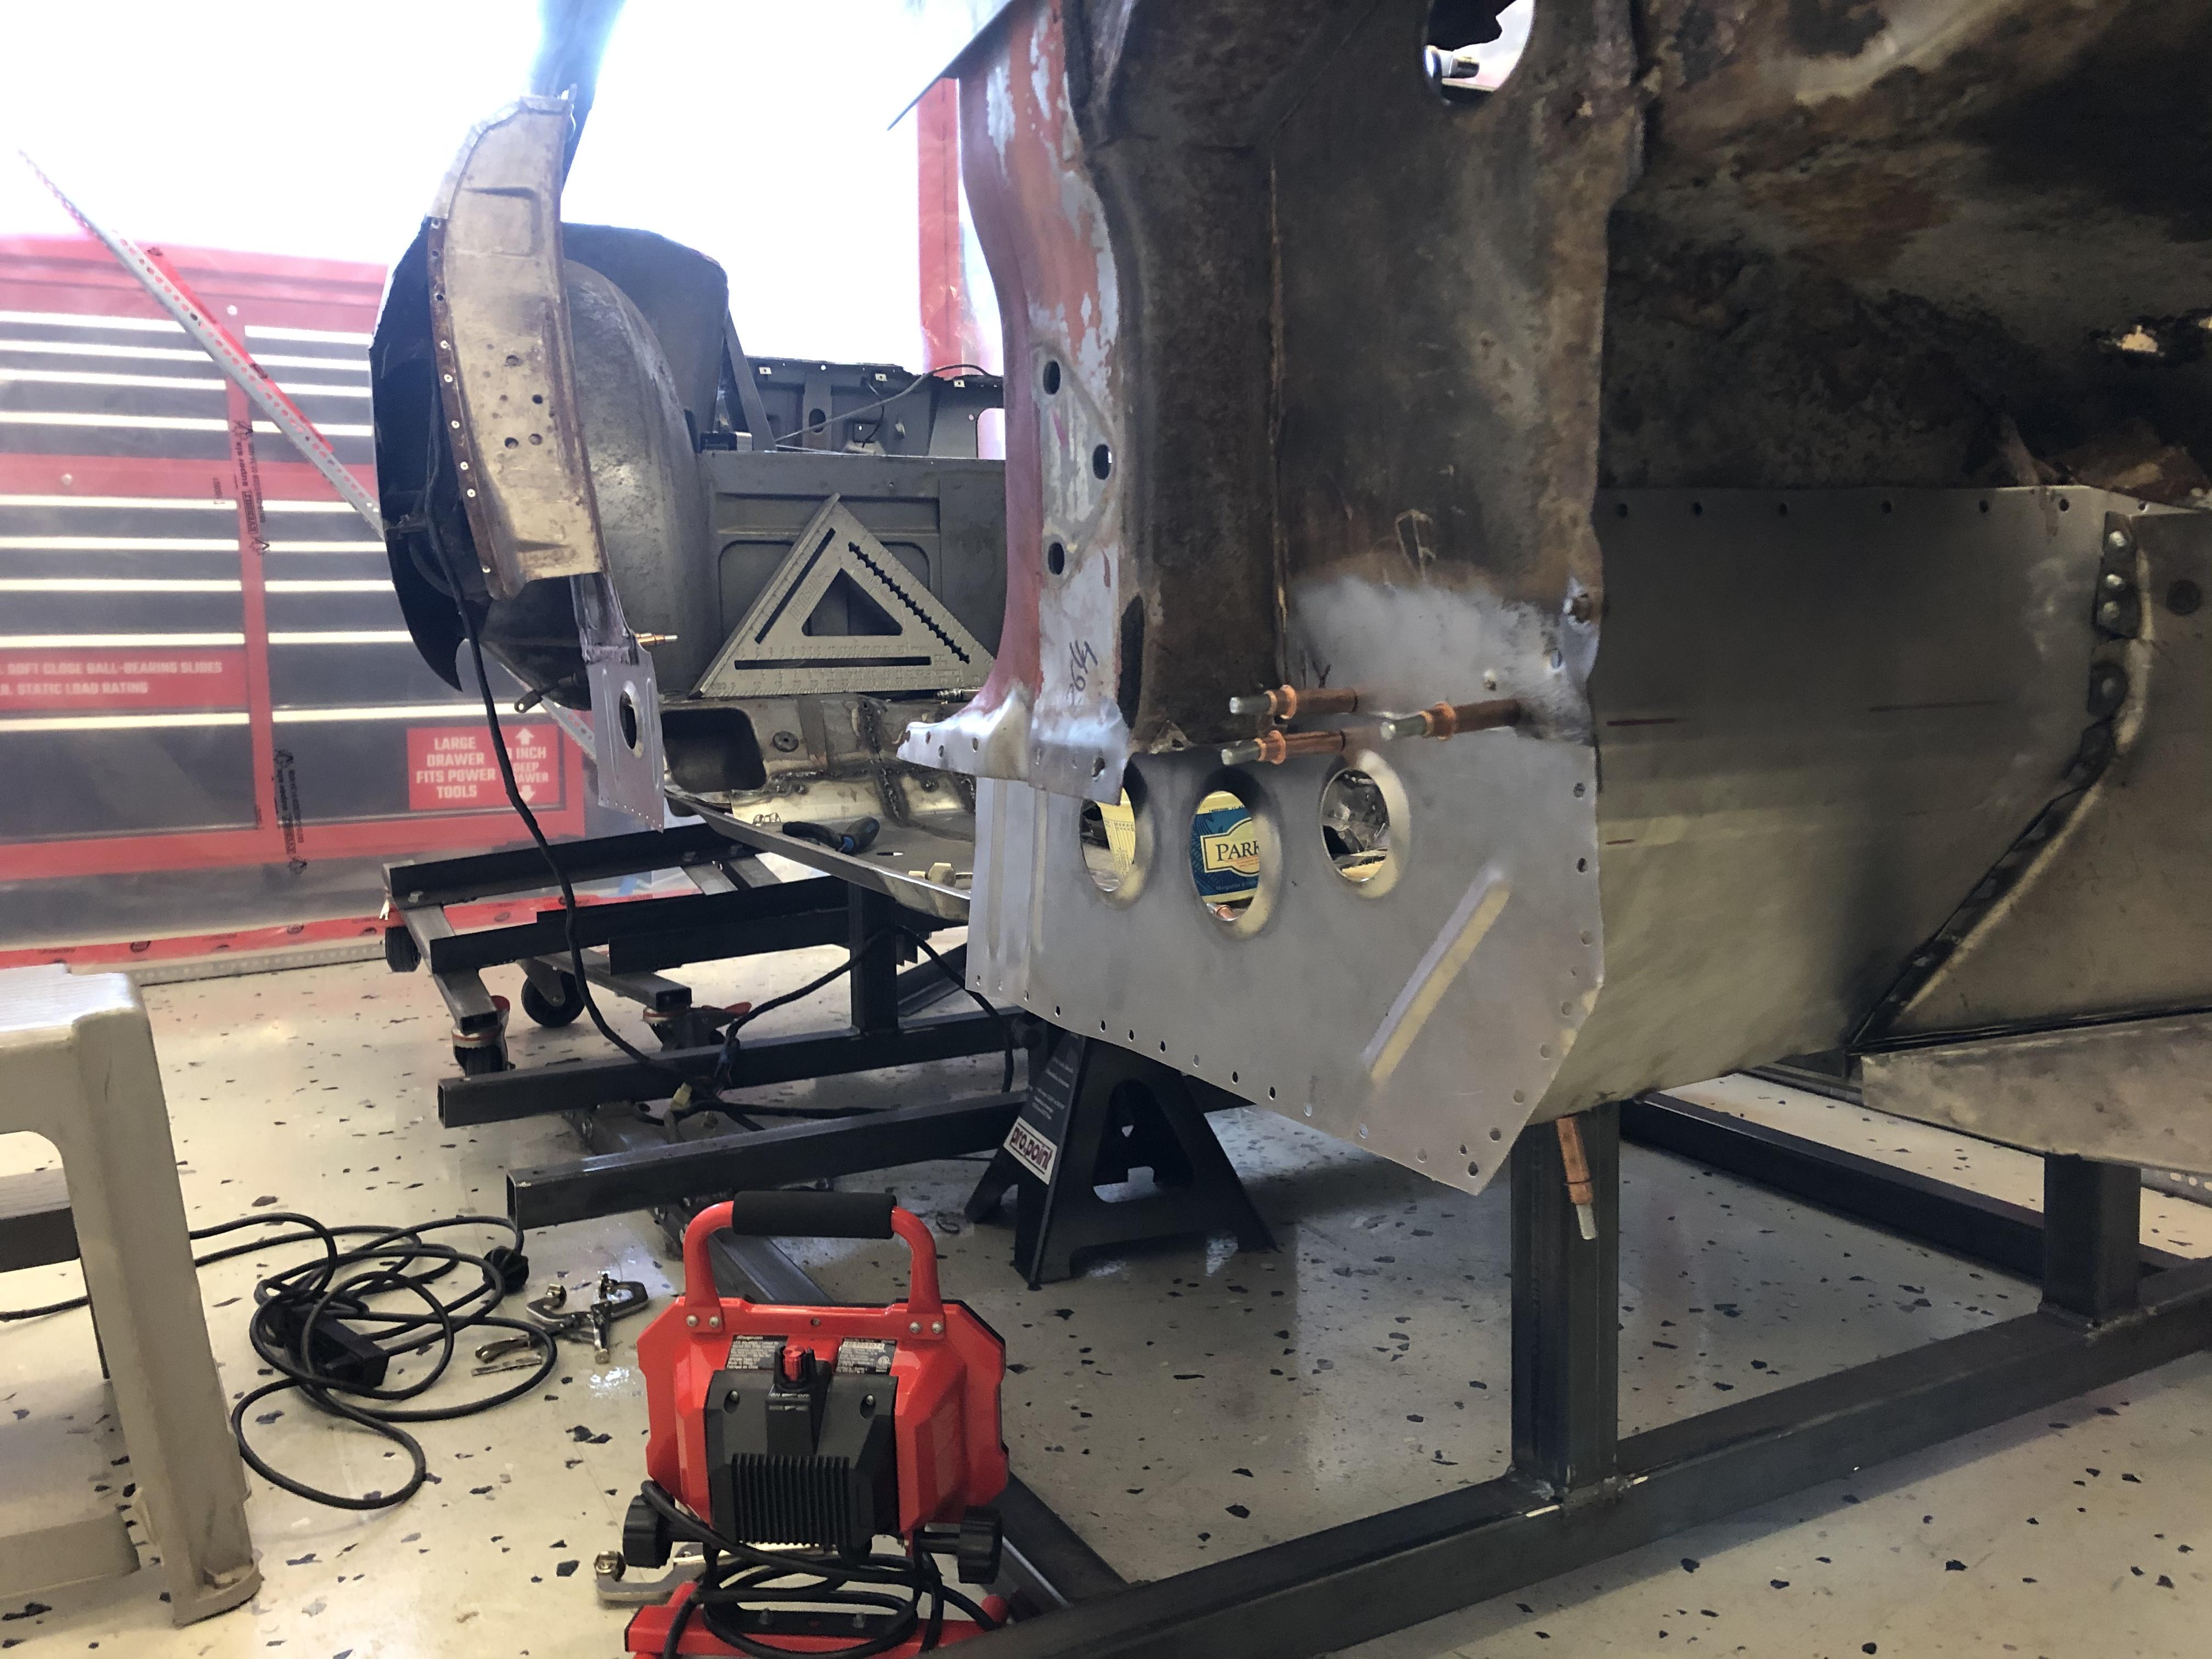
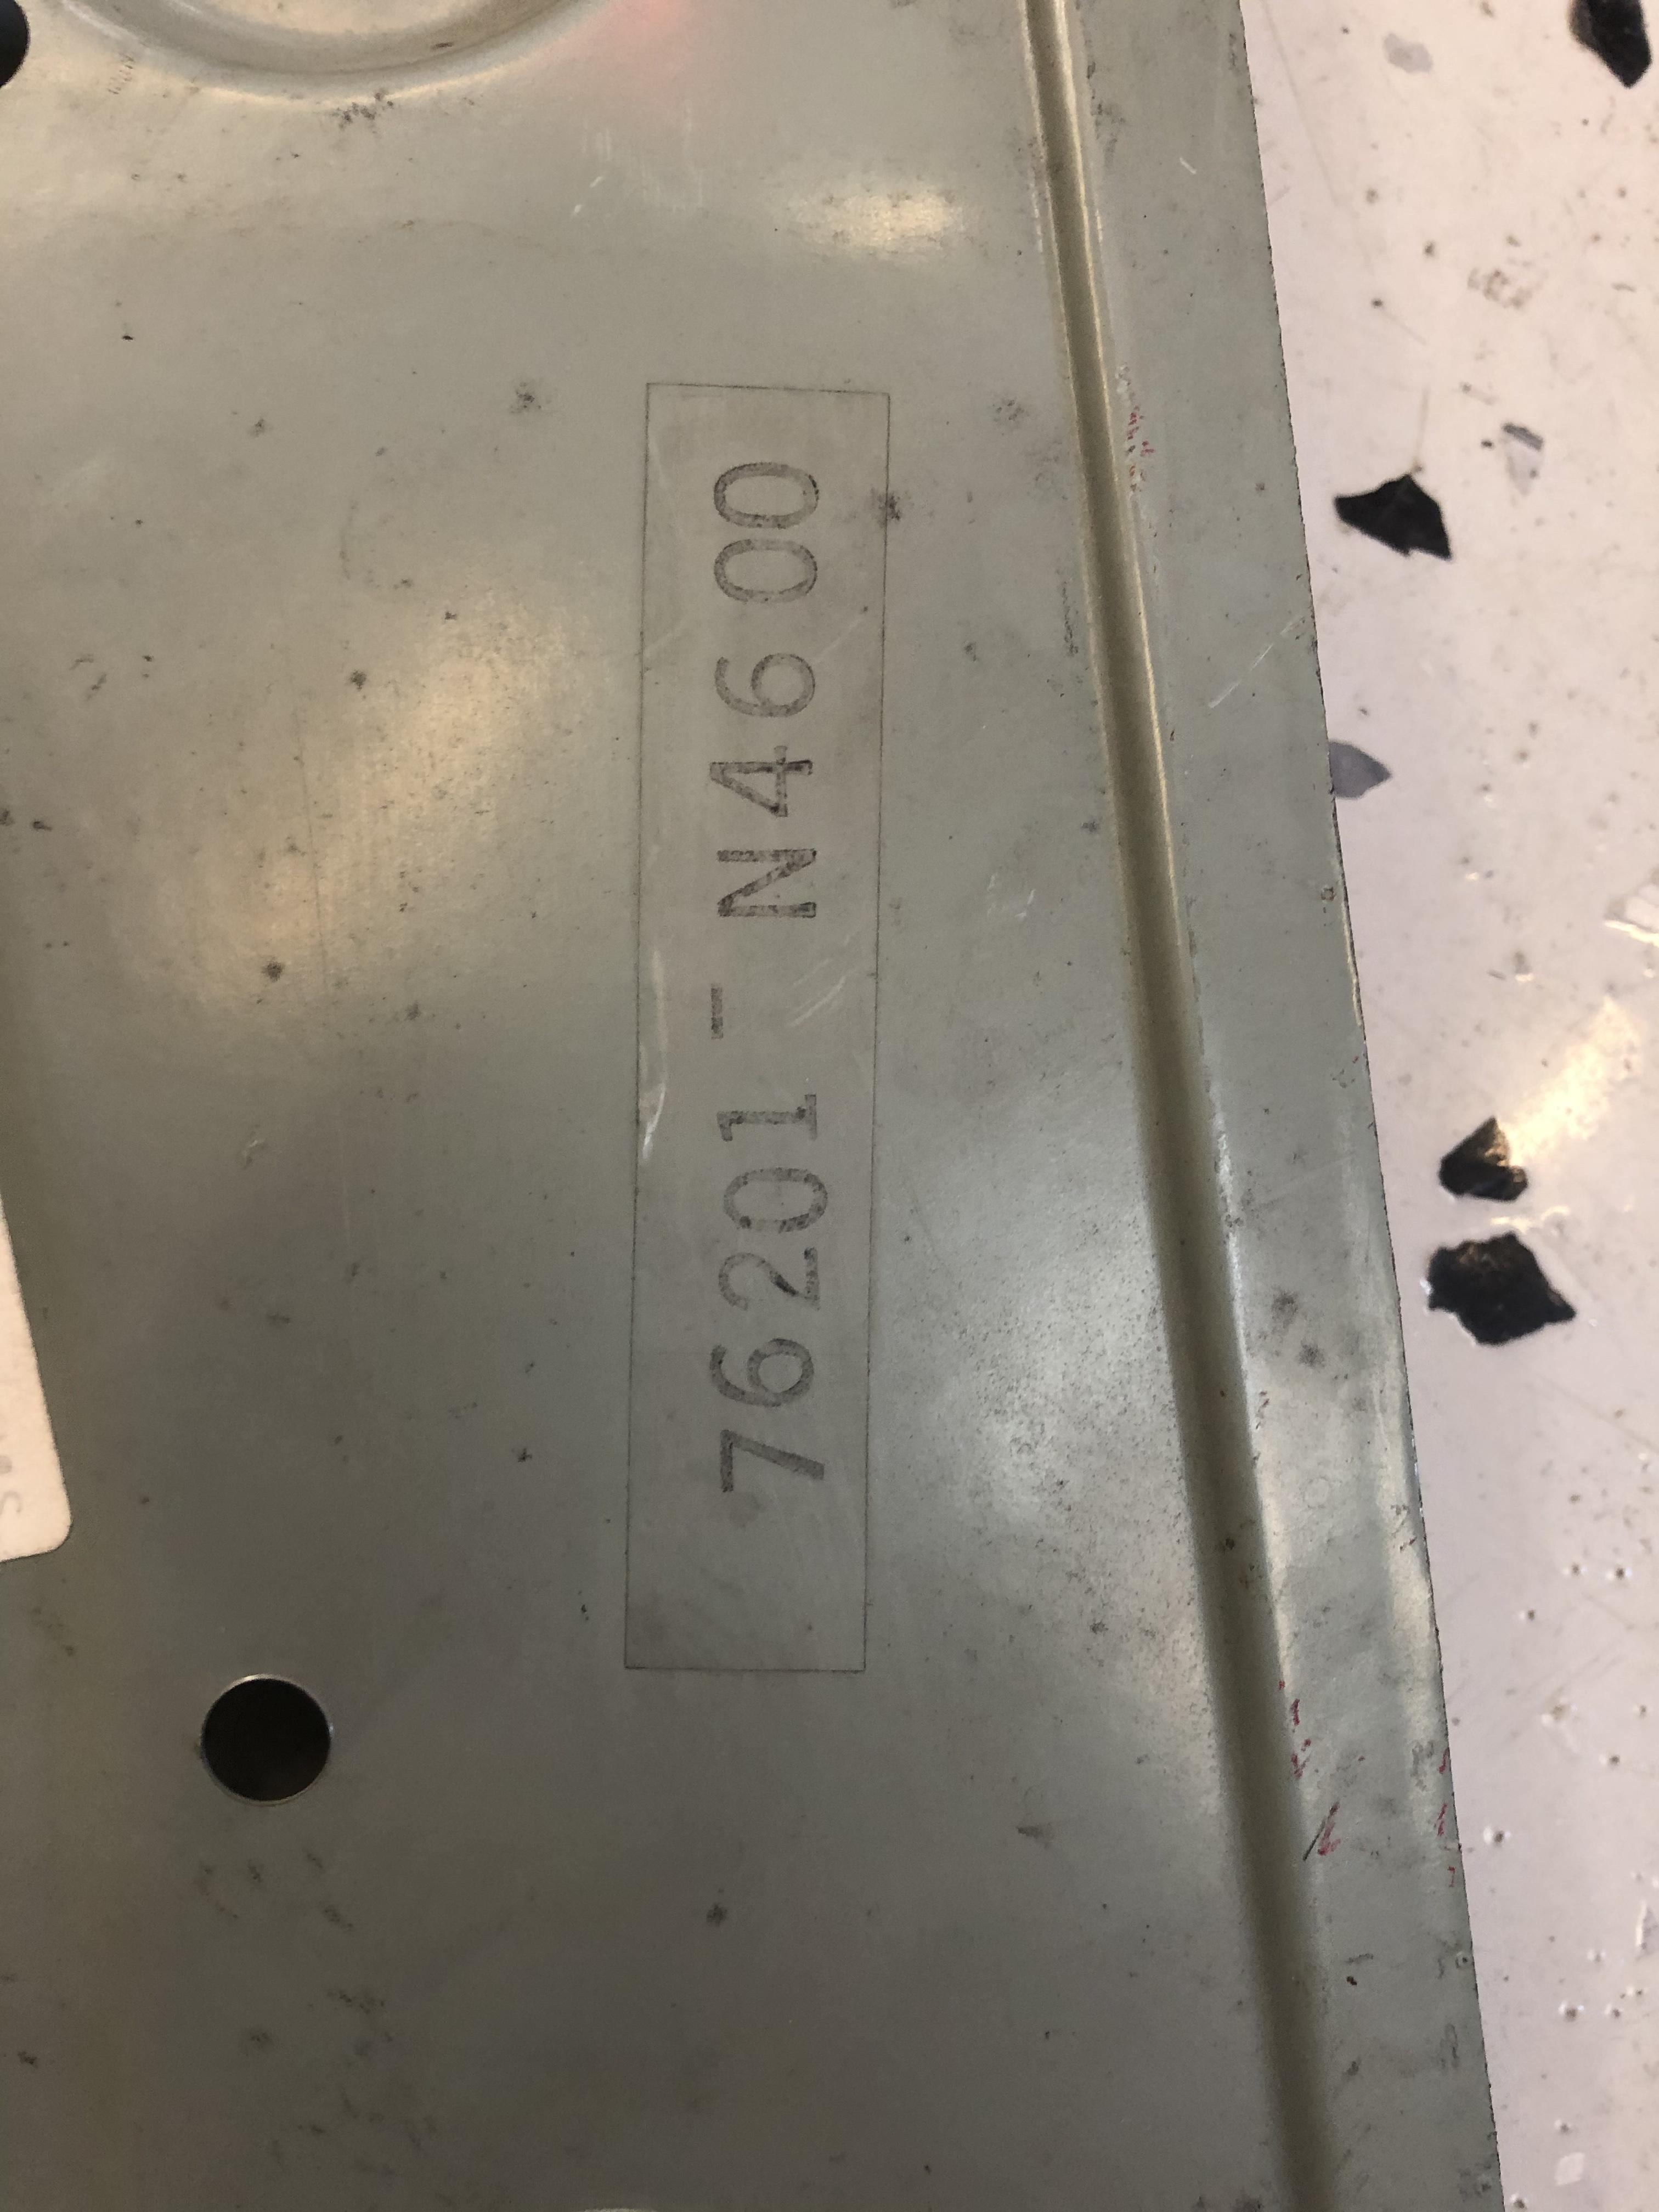
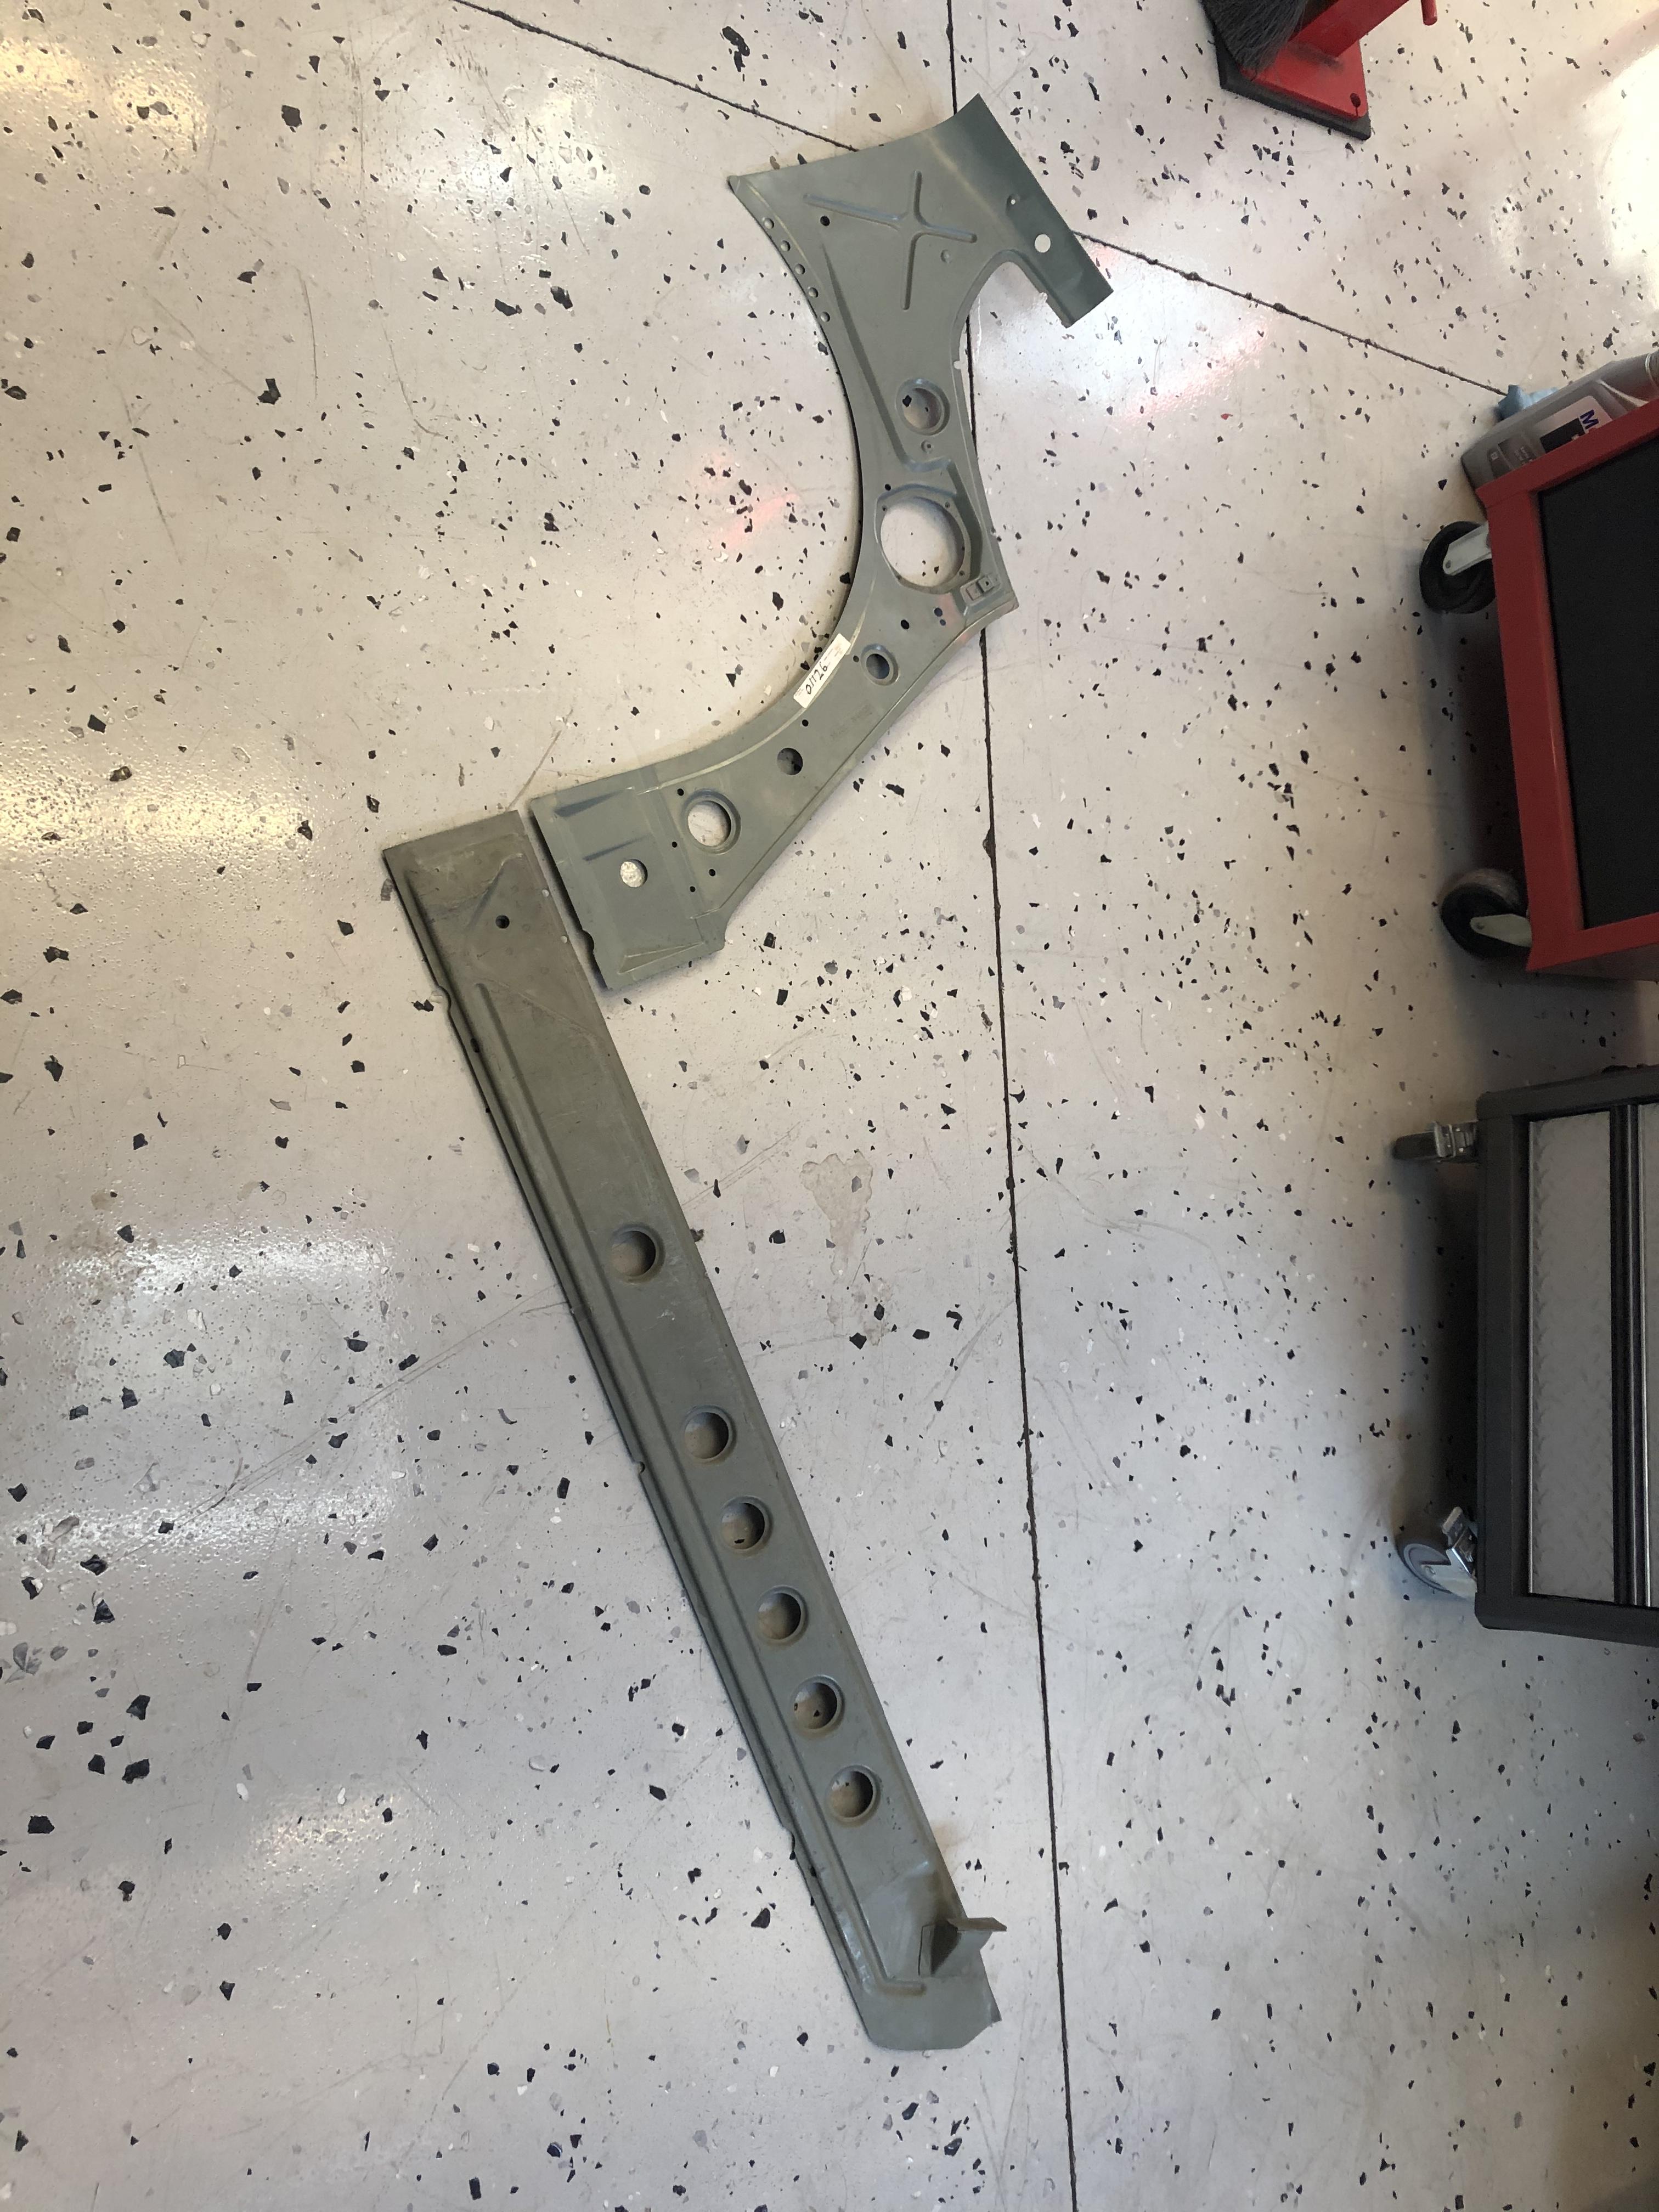
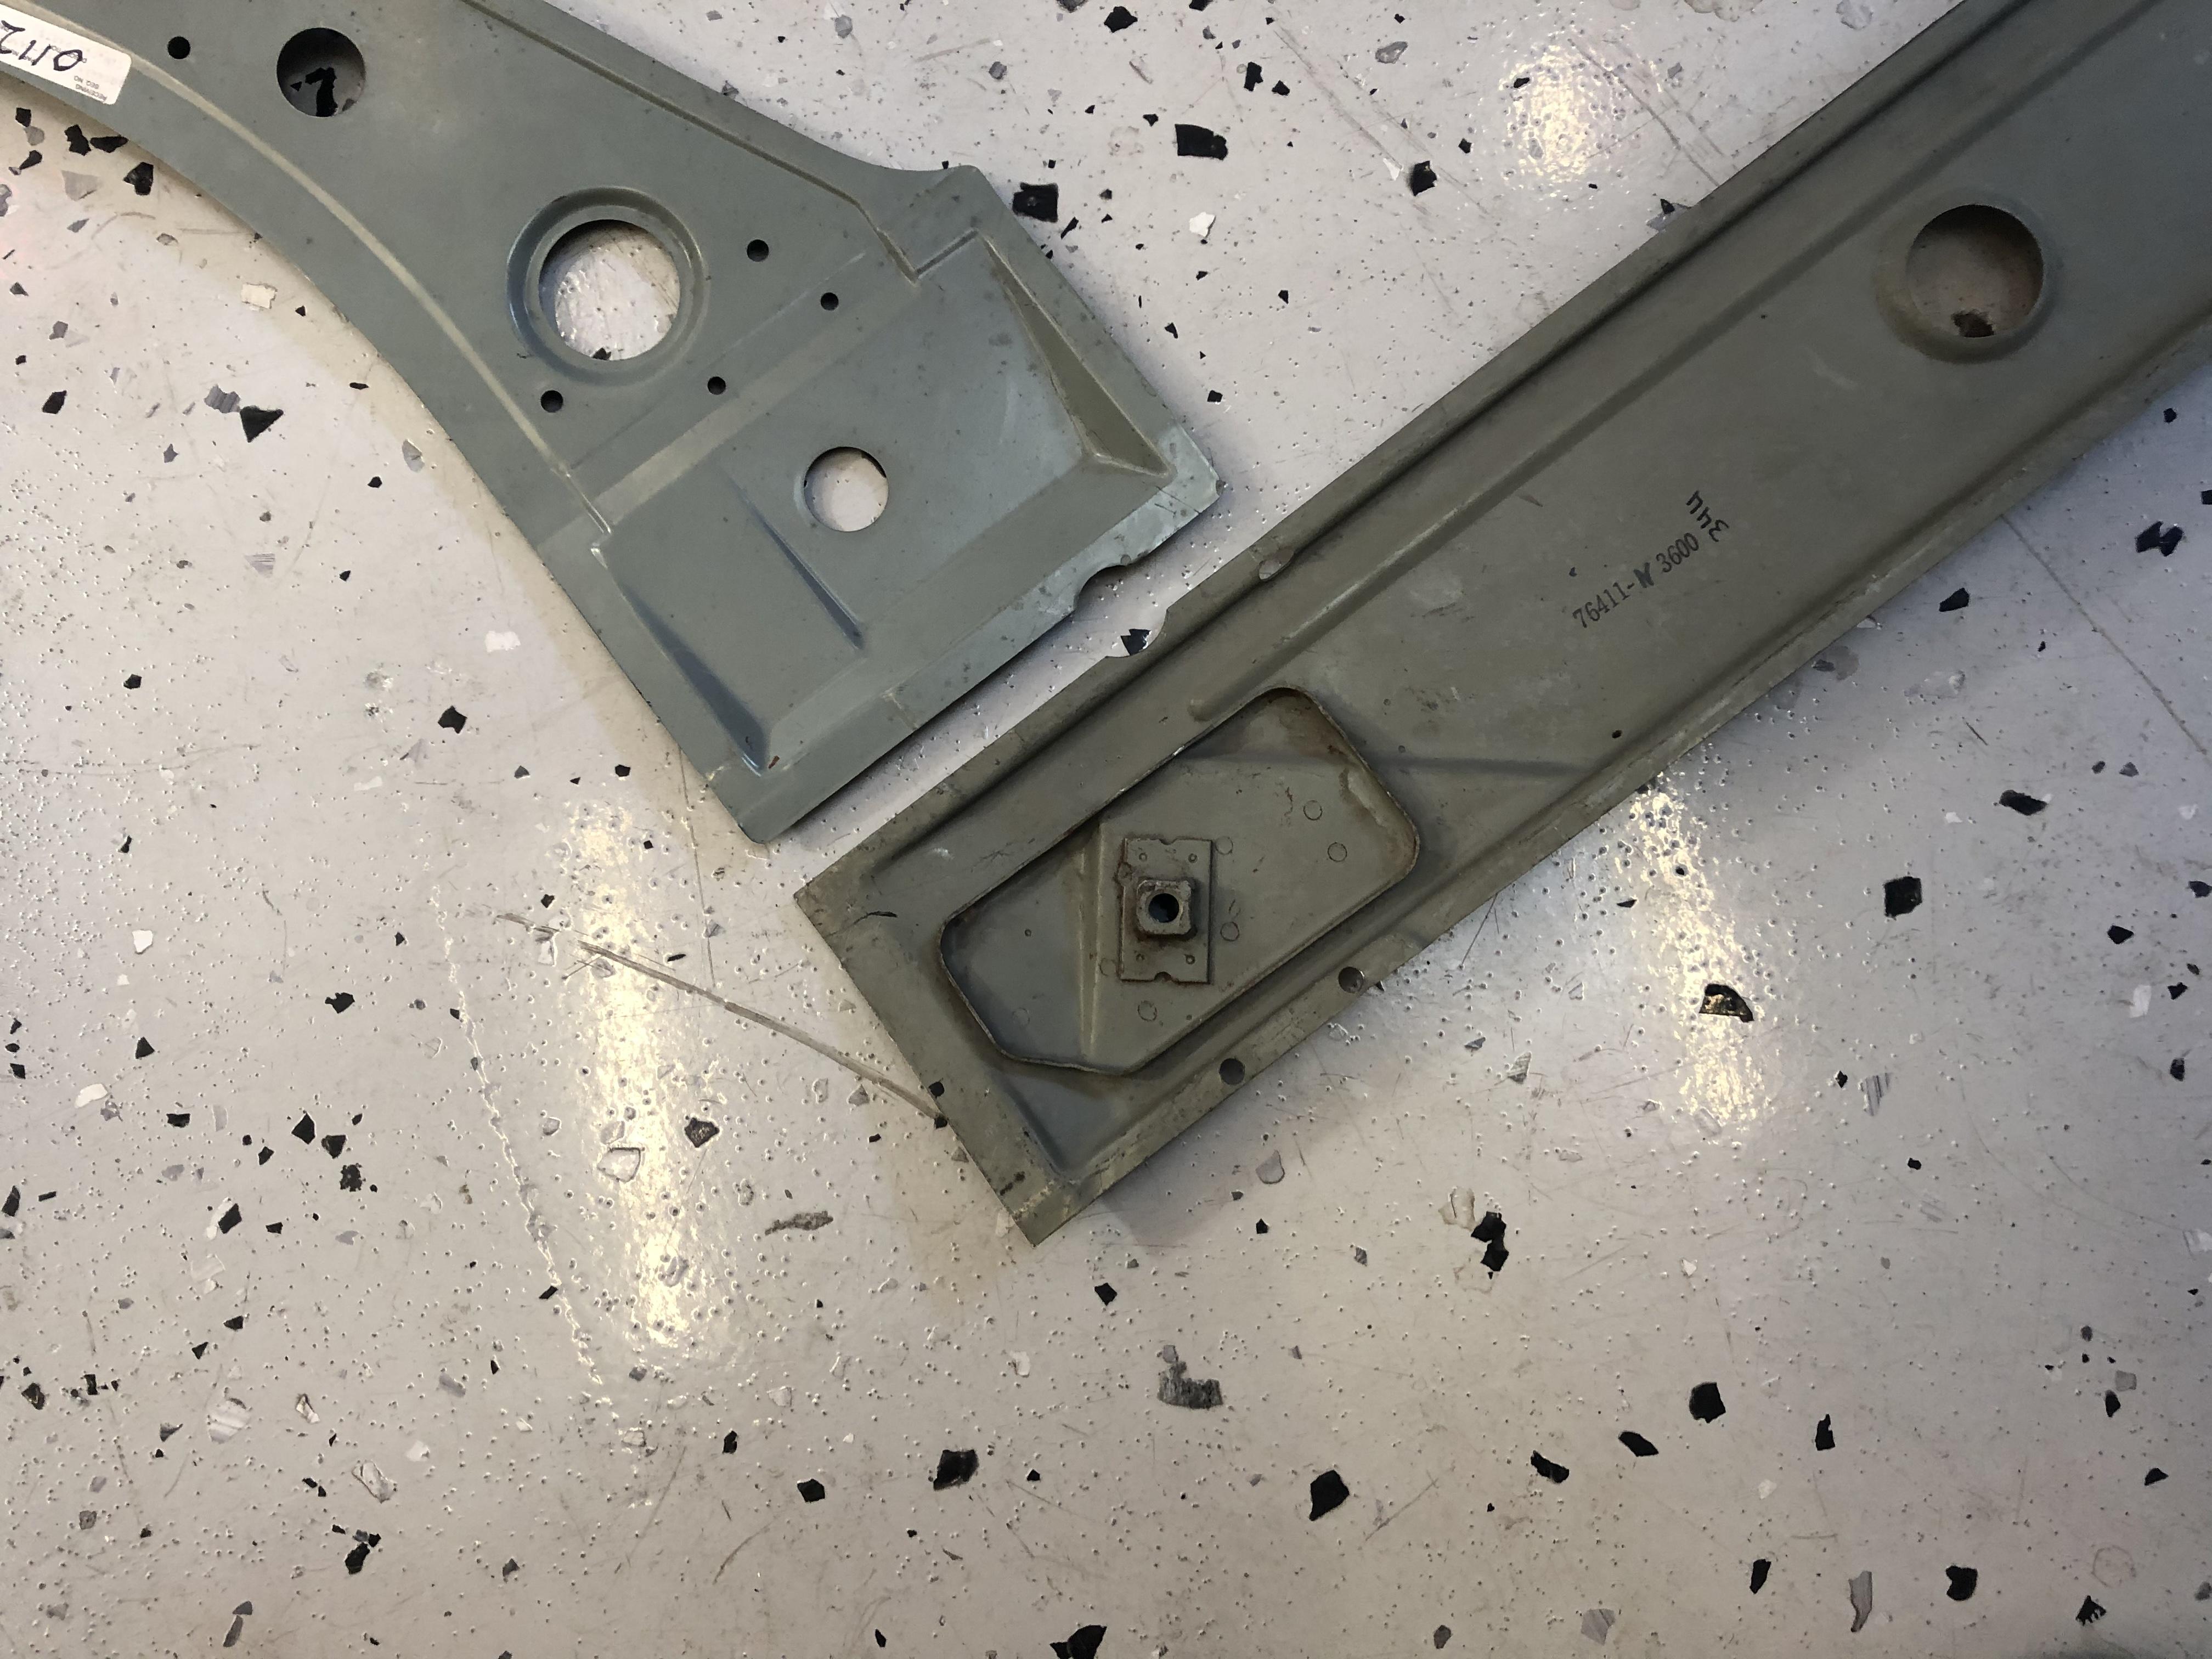
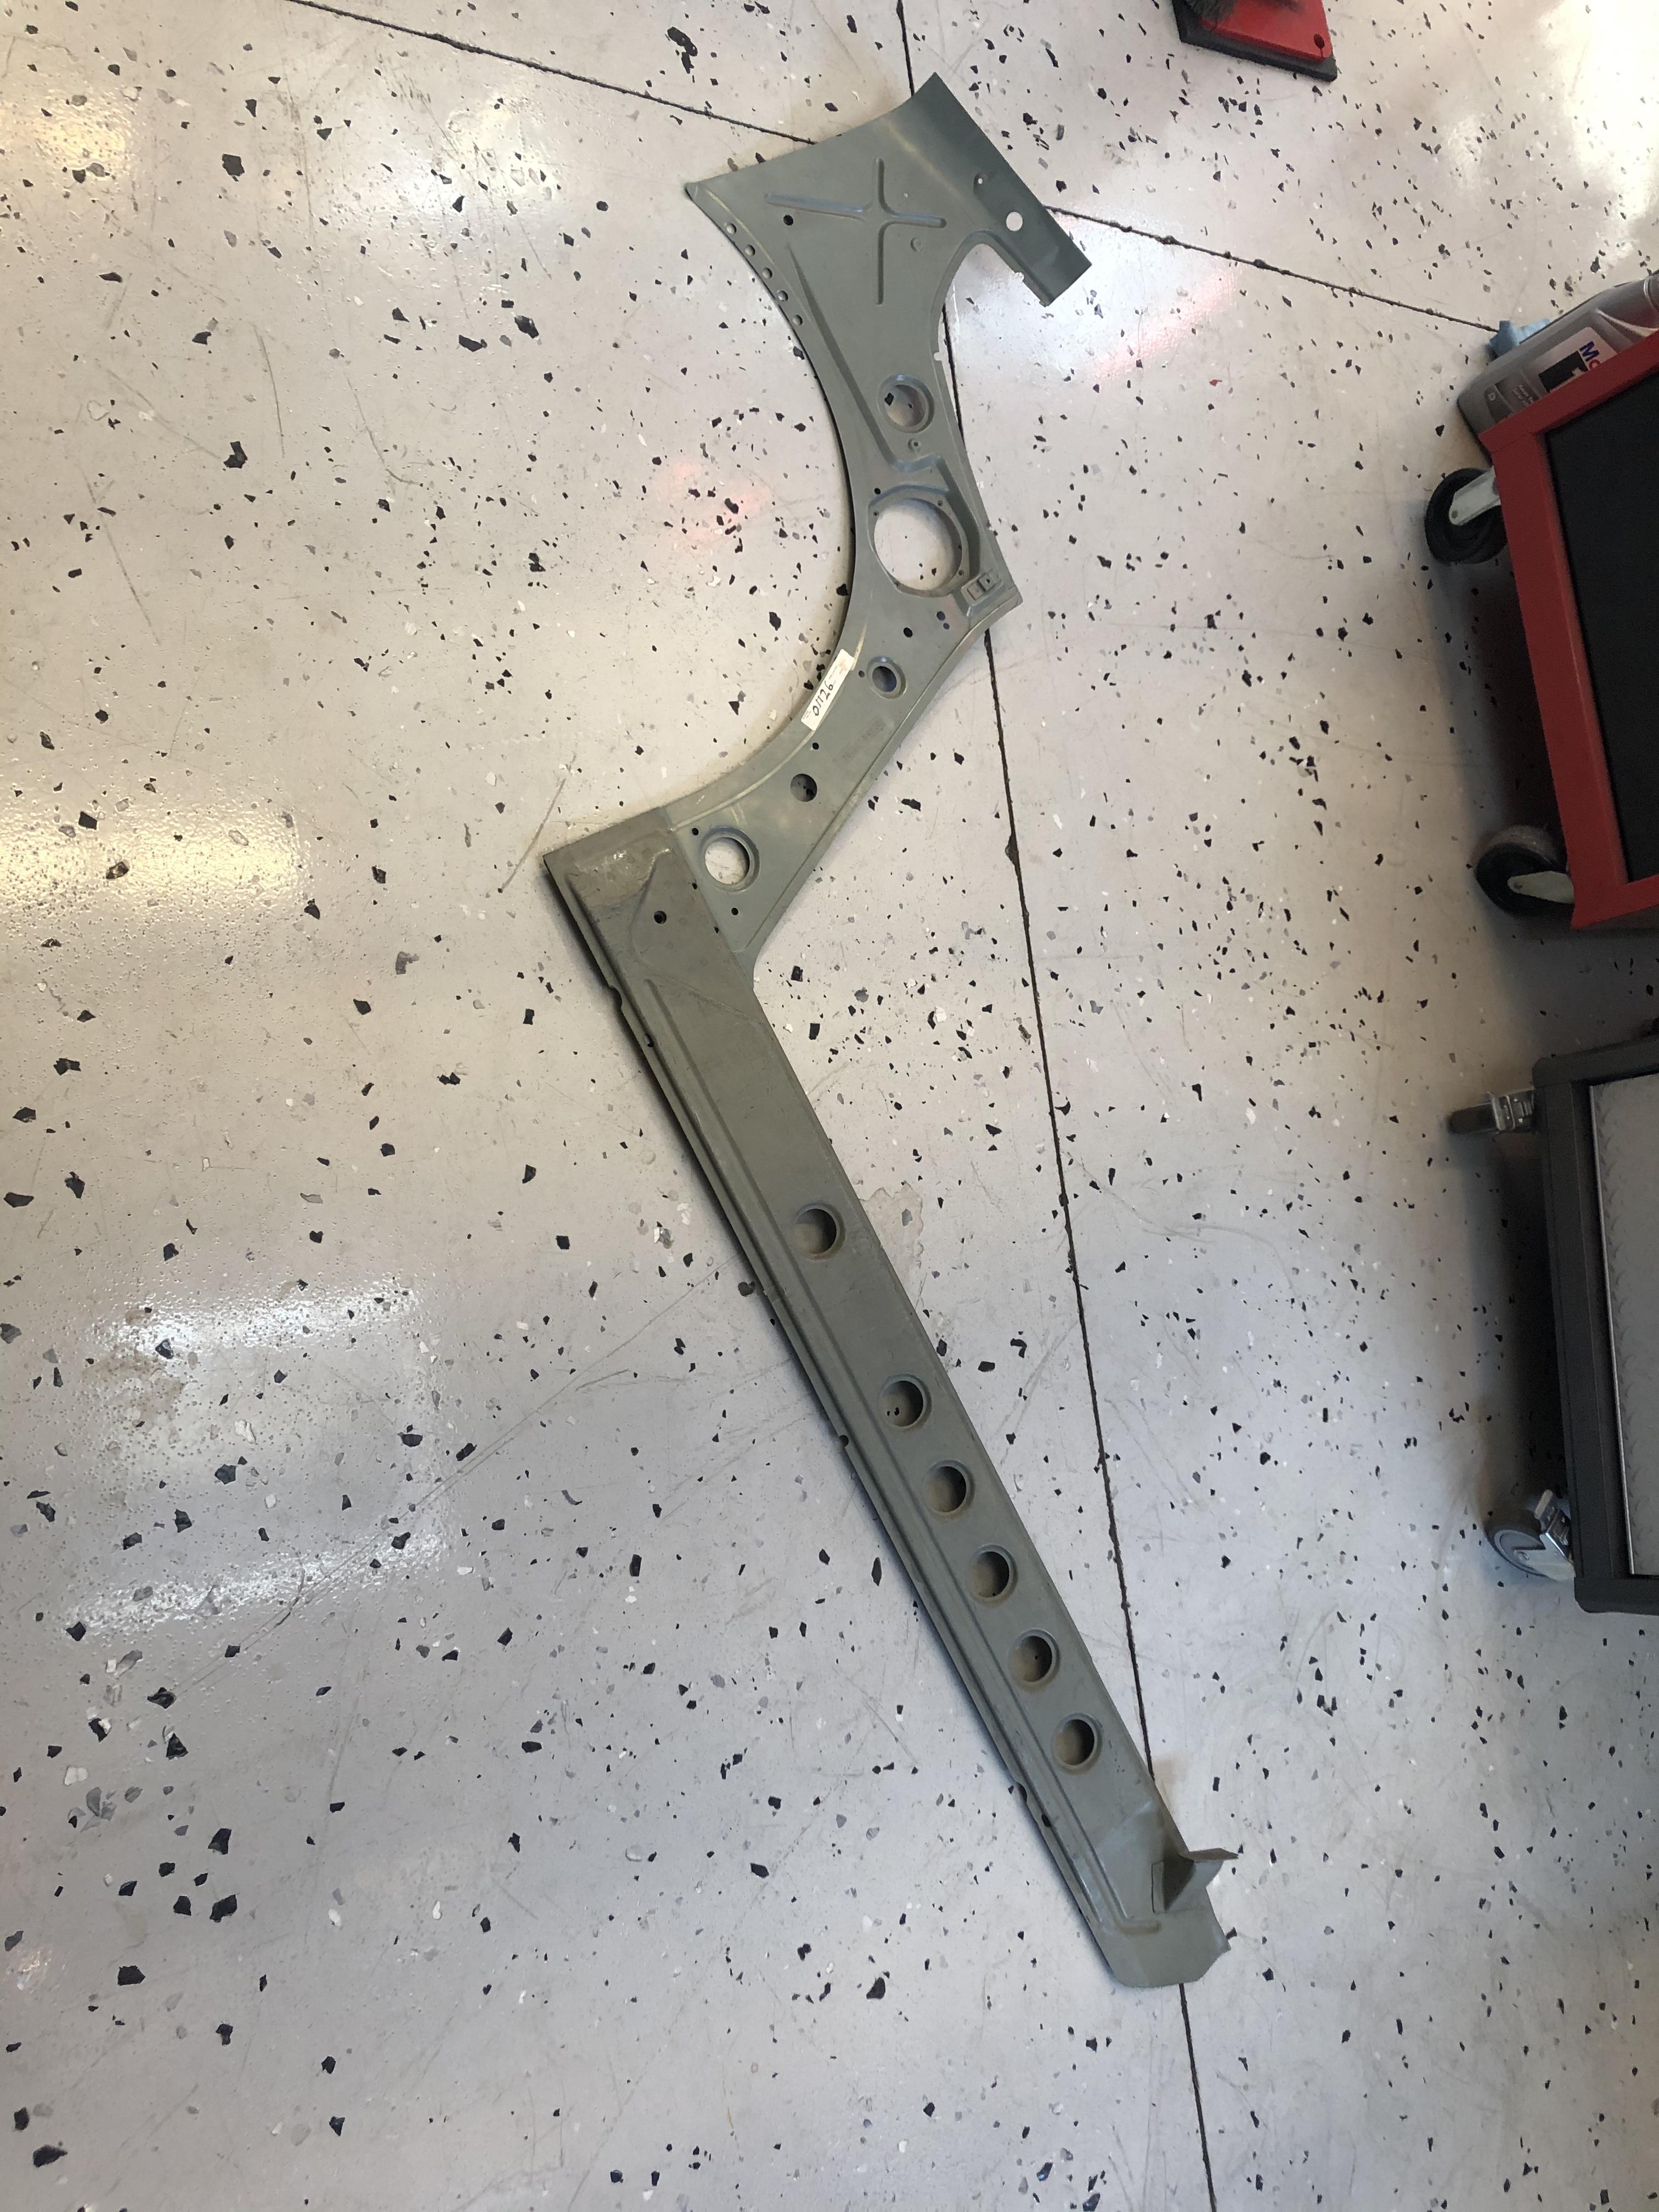
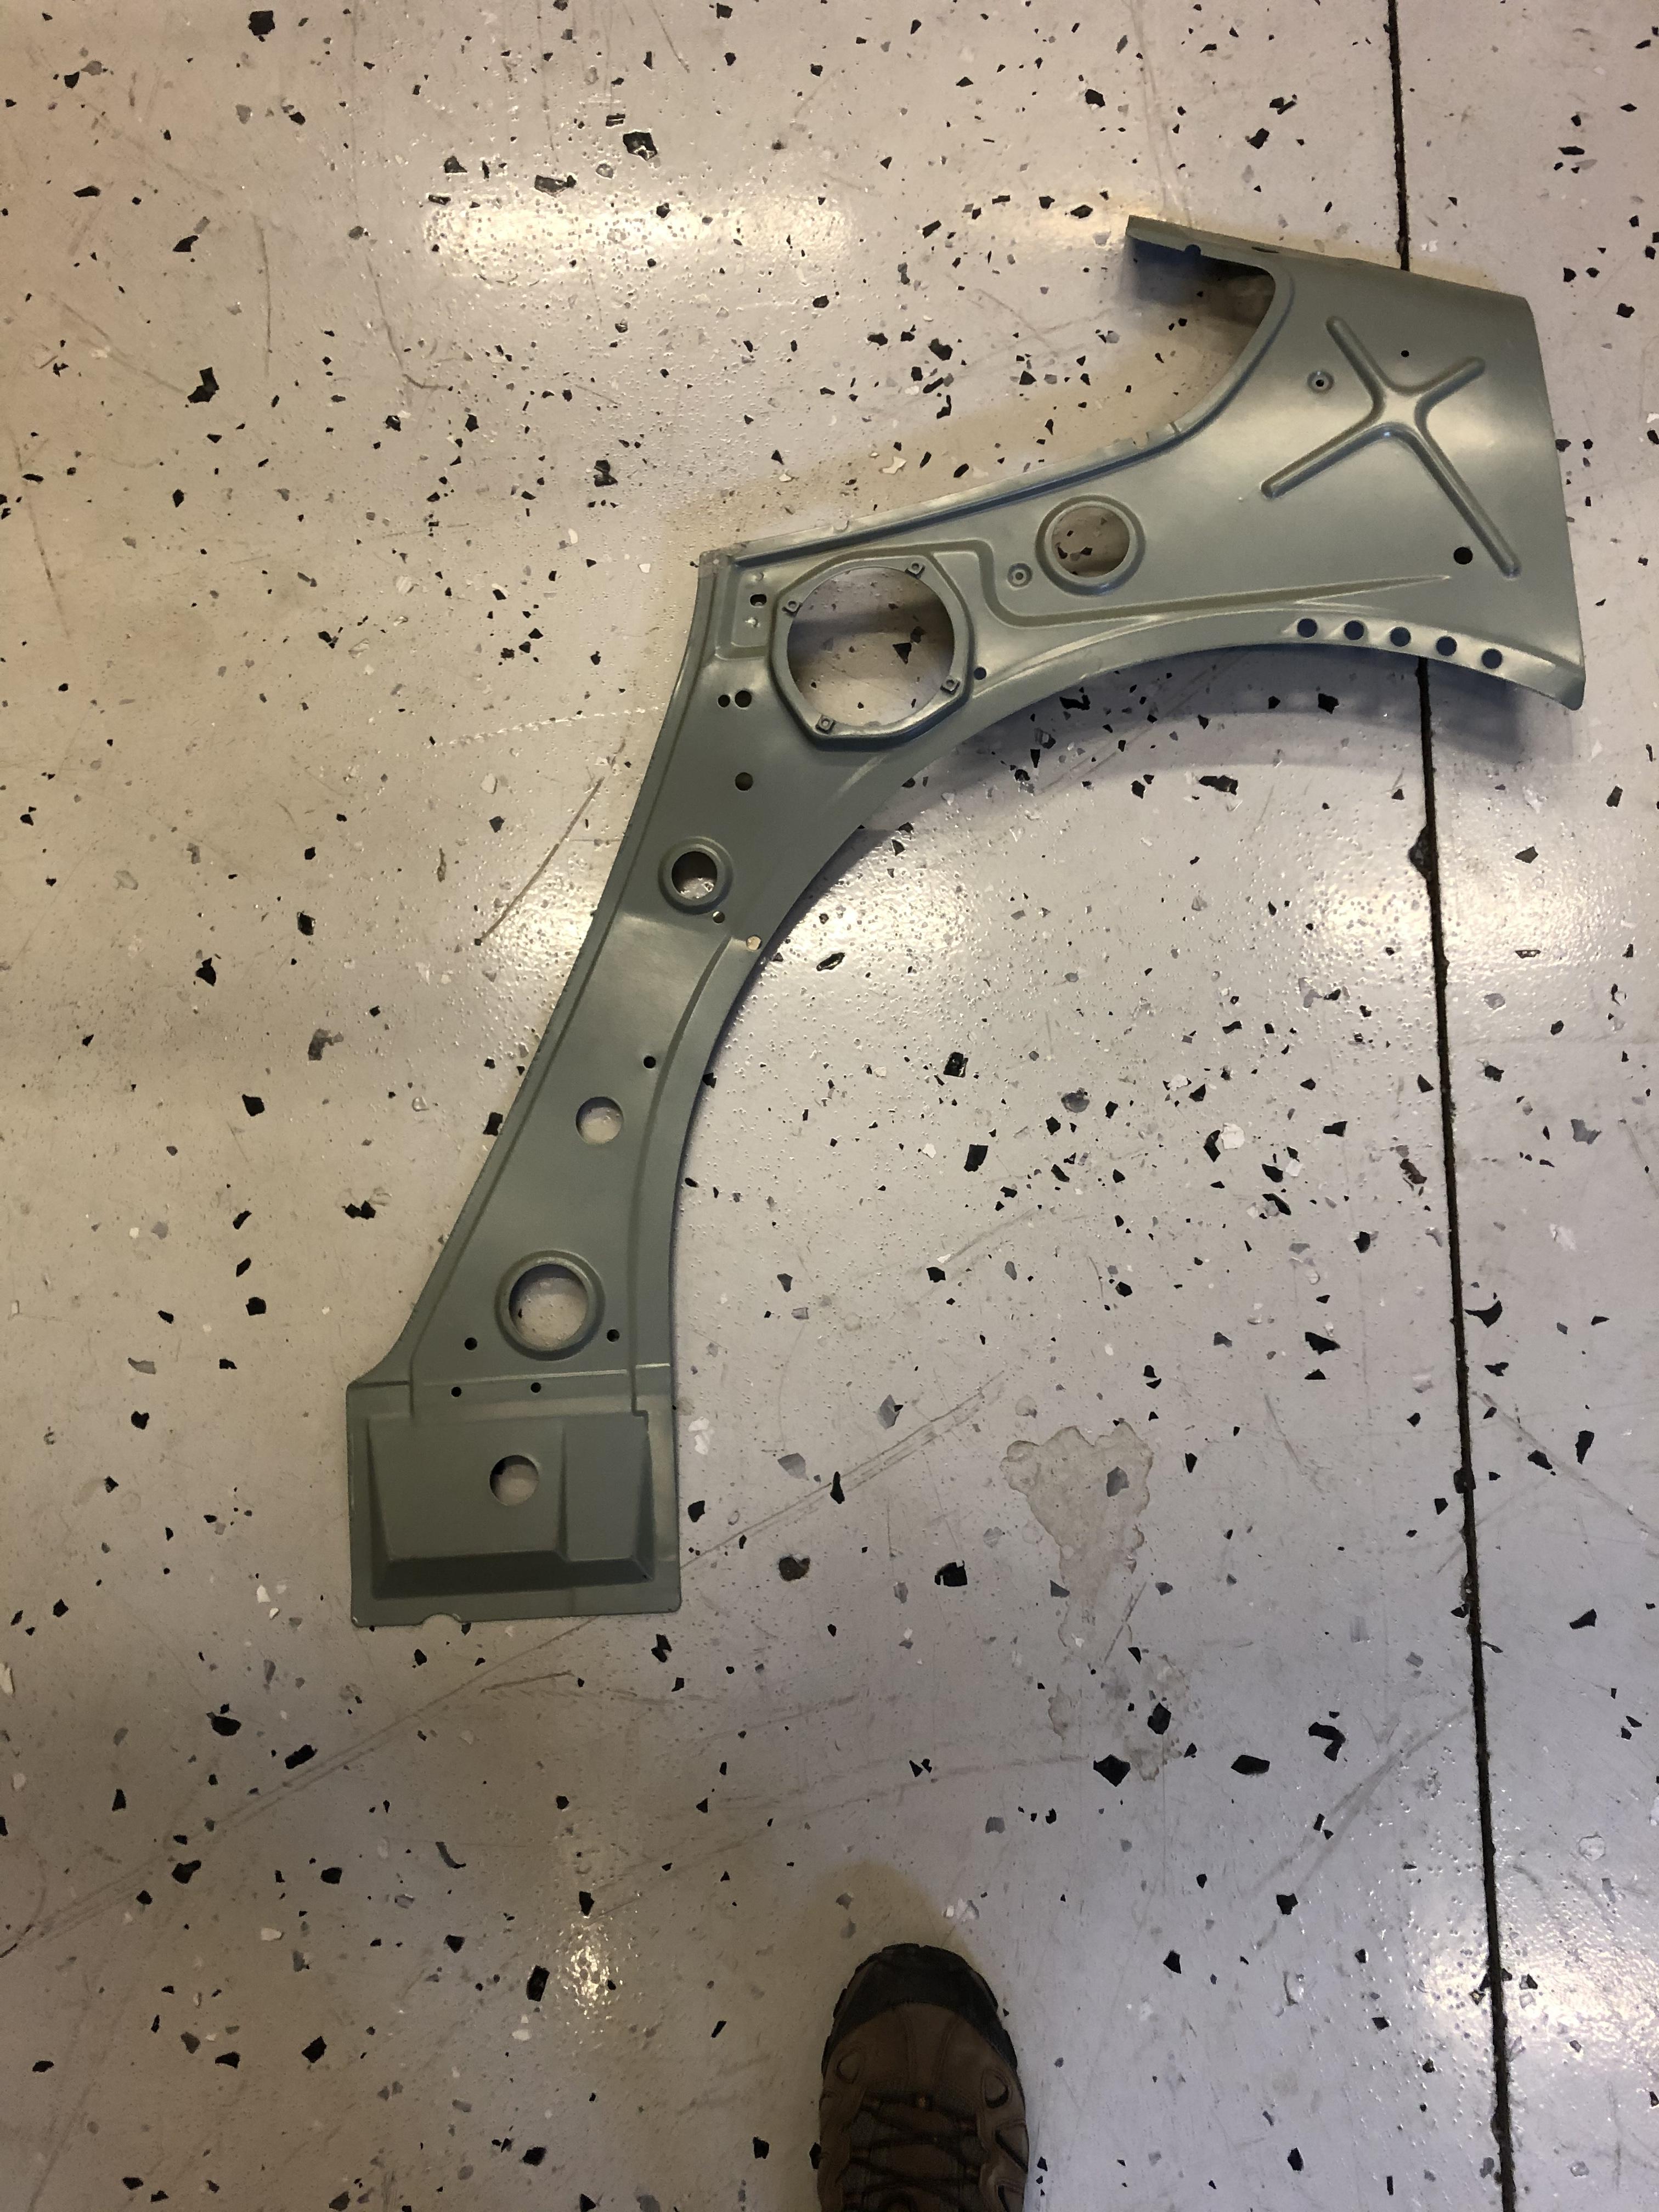
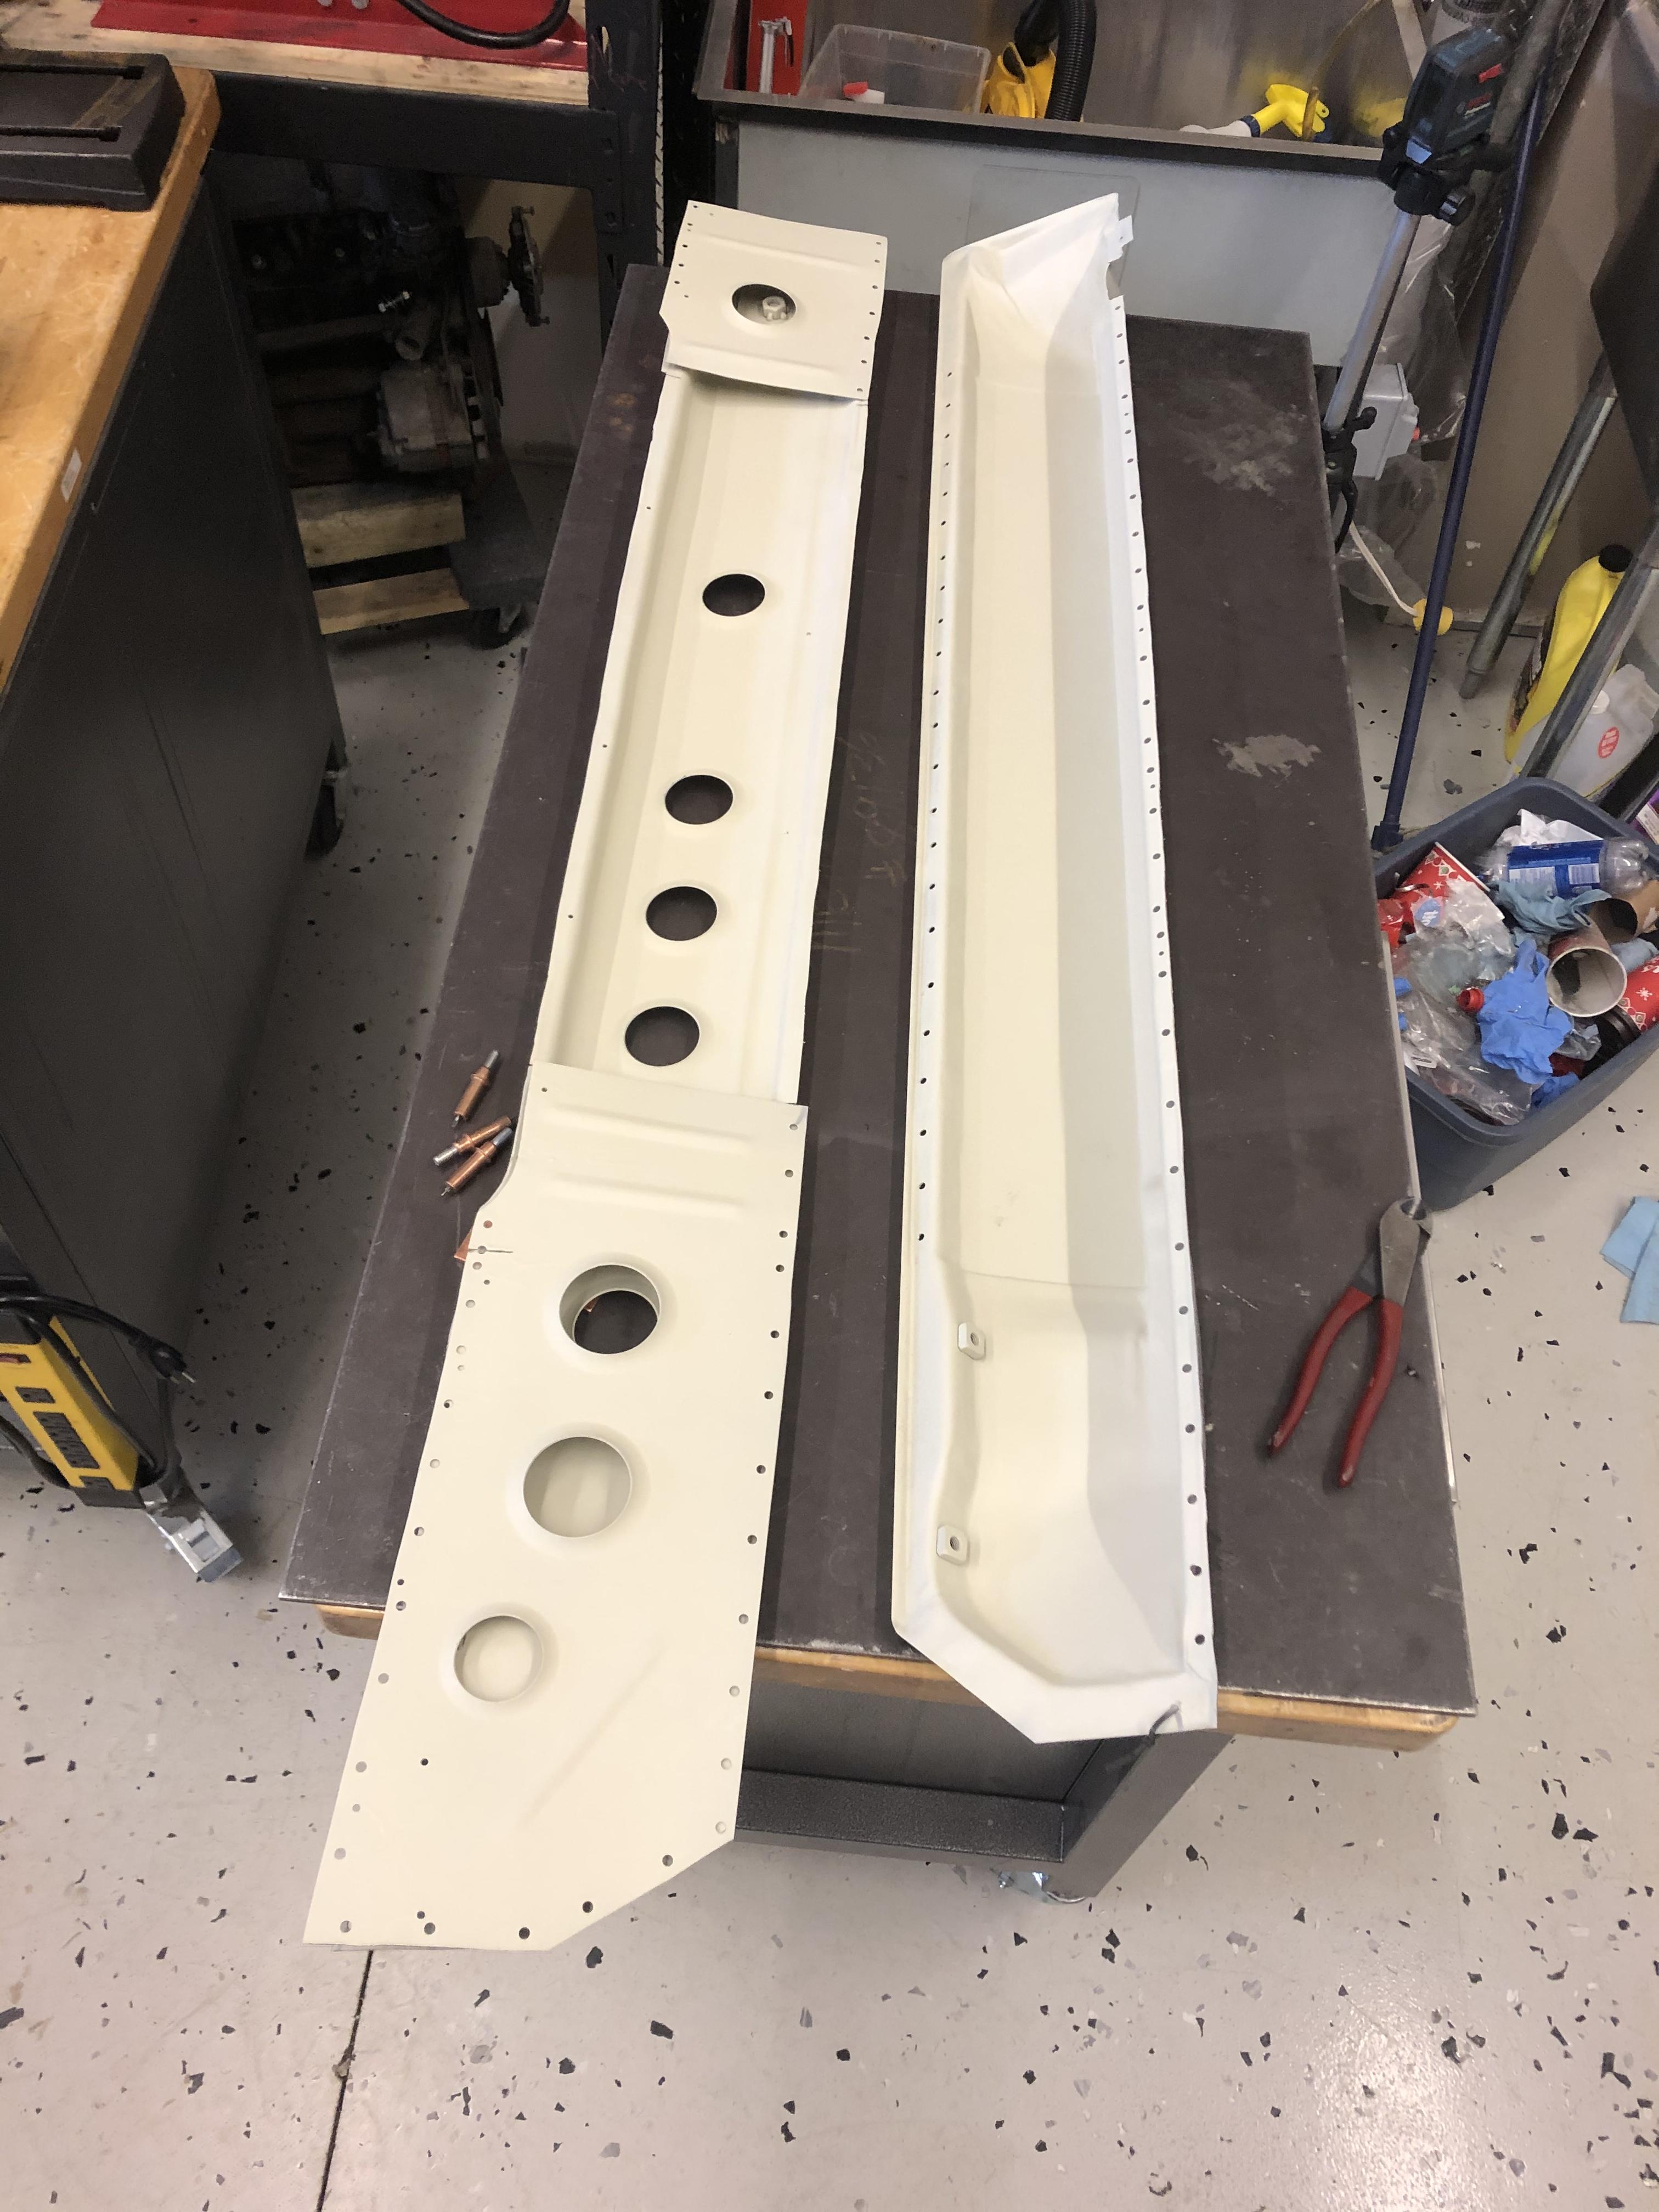
Also, here is another Interesting NOS piece from the garage sale ... I don't know what it is called but its the inside section of the driver's rear quarter. Interesting how the rear rocker panel support is stamped right into this piece ... No obvious part number on this one, but I am guessing that it is from a 74 or later. It doesn't exactly match the earlier stamping as near as I can tell.


-
-
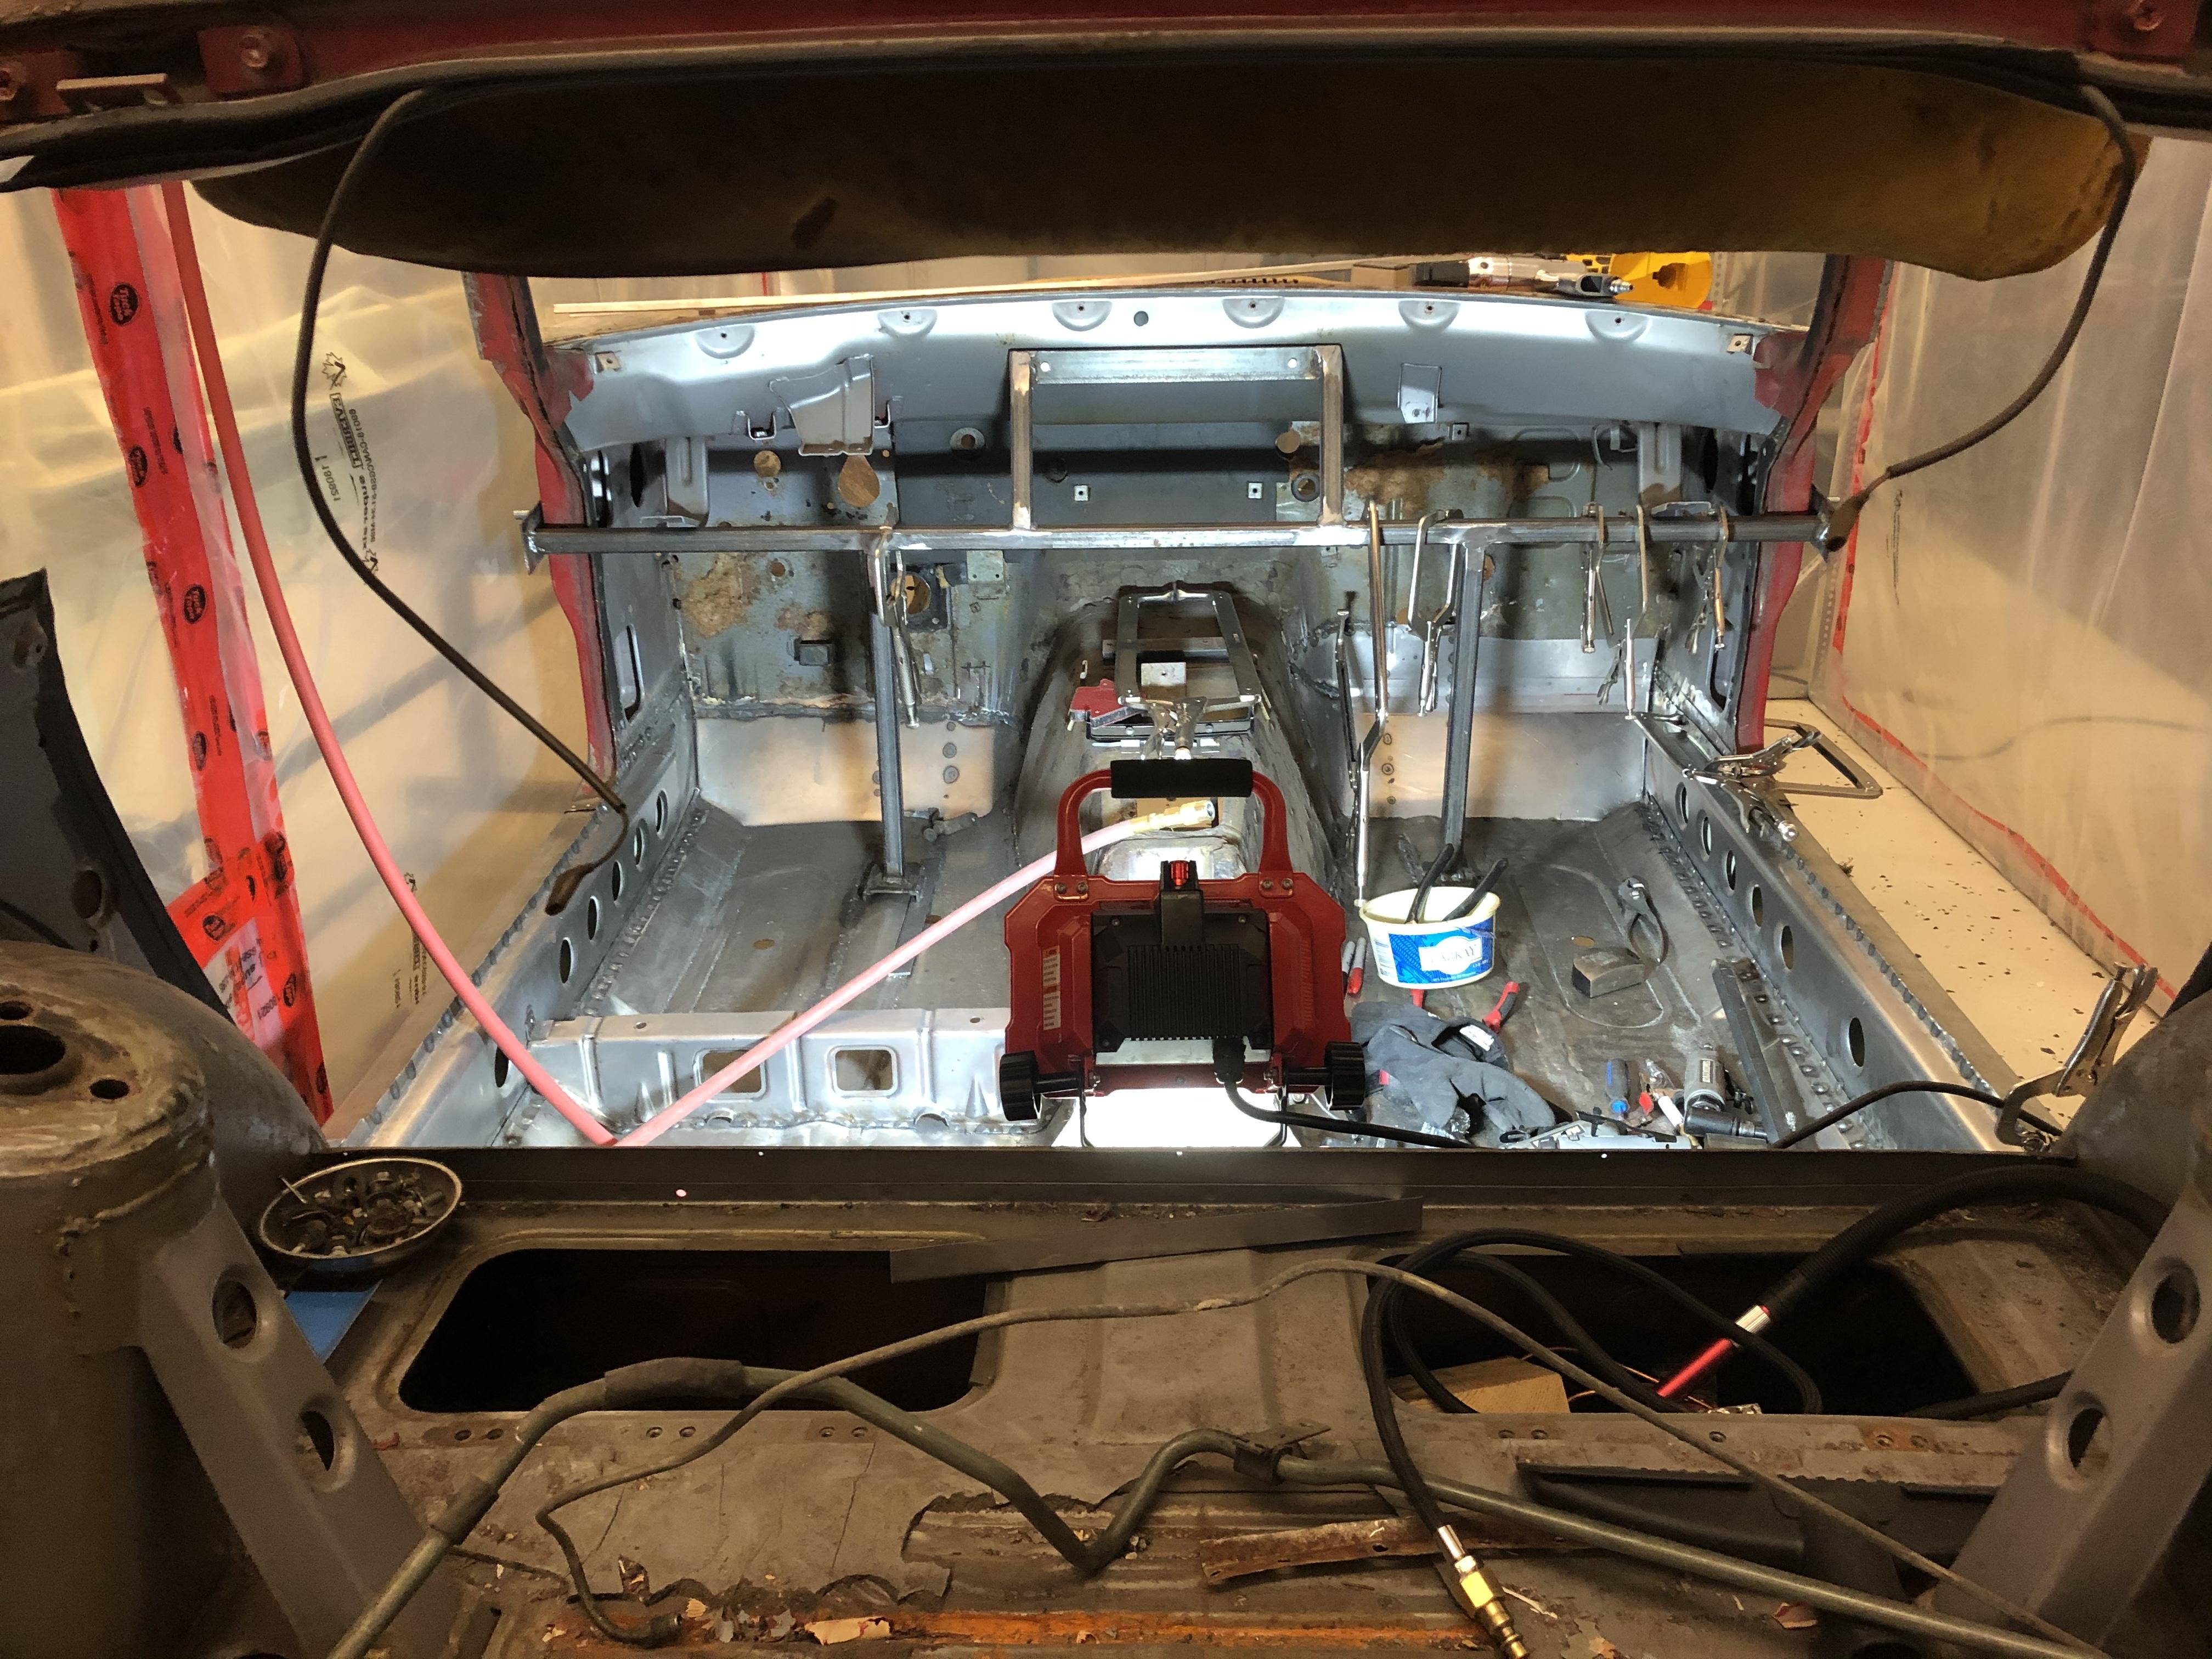
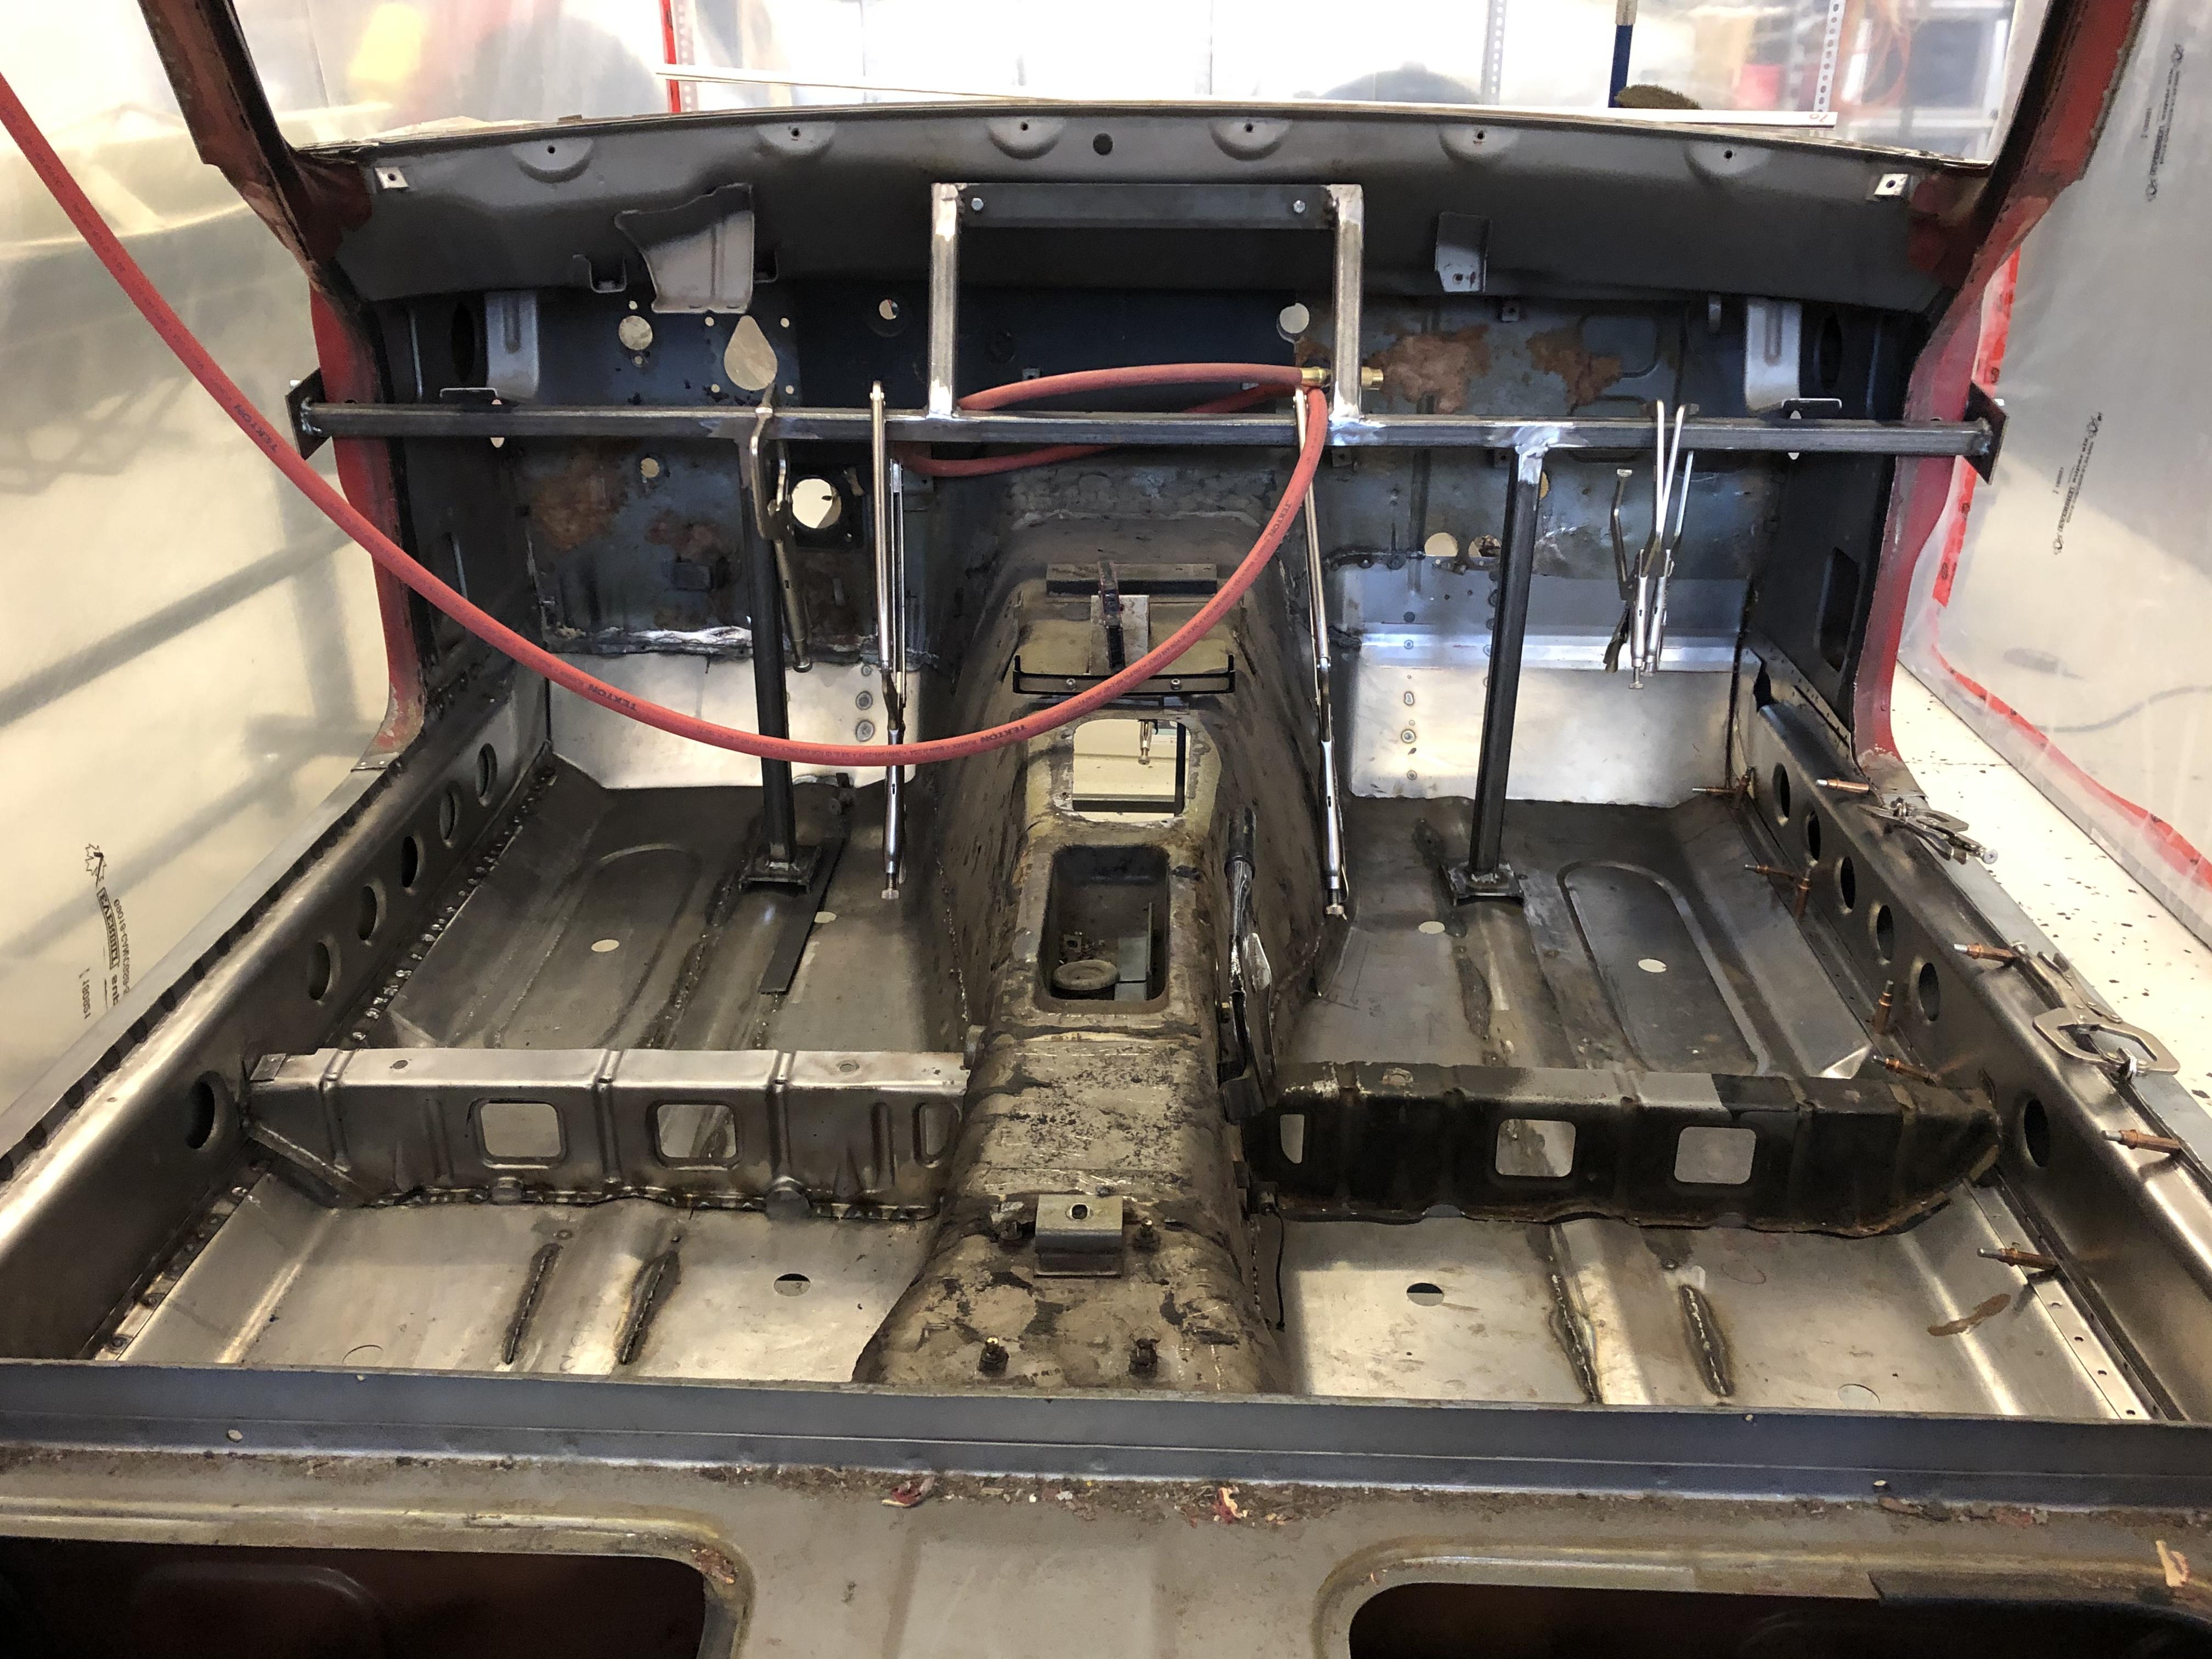
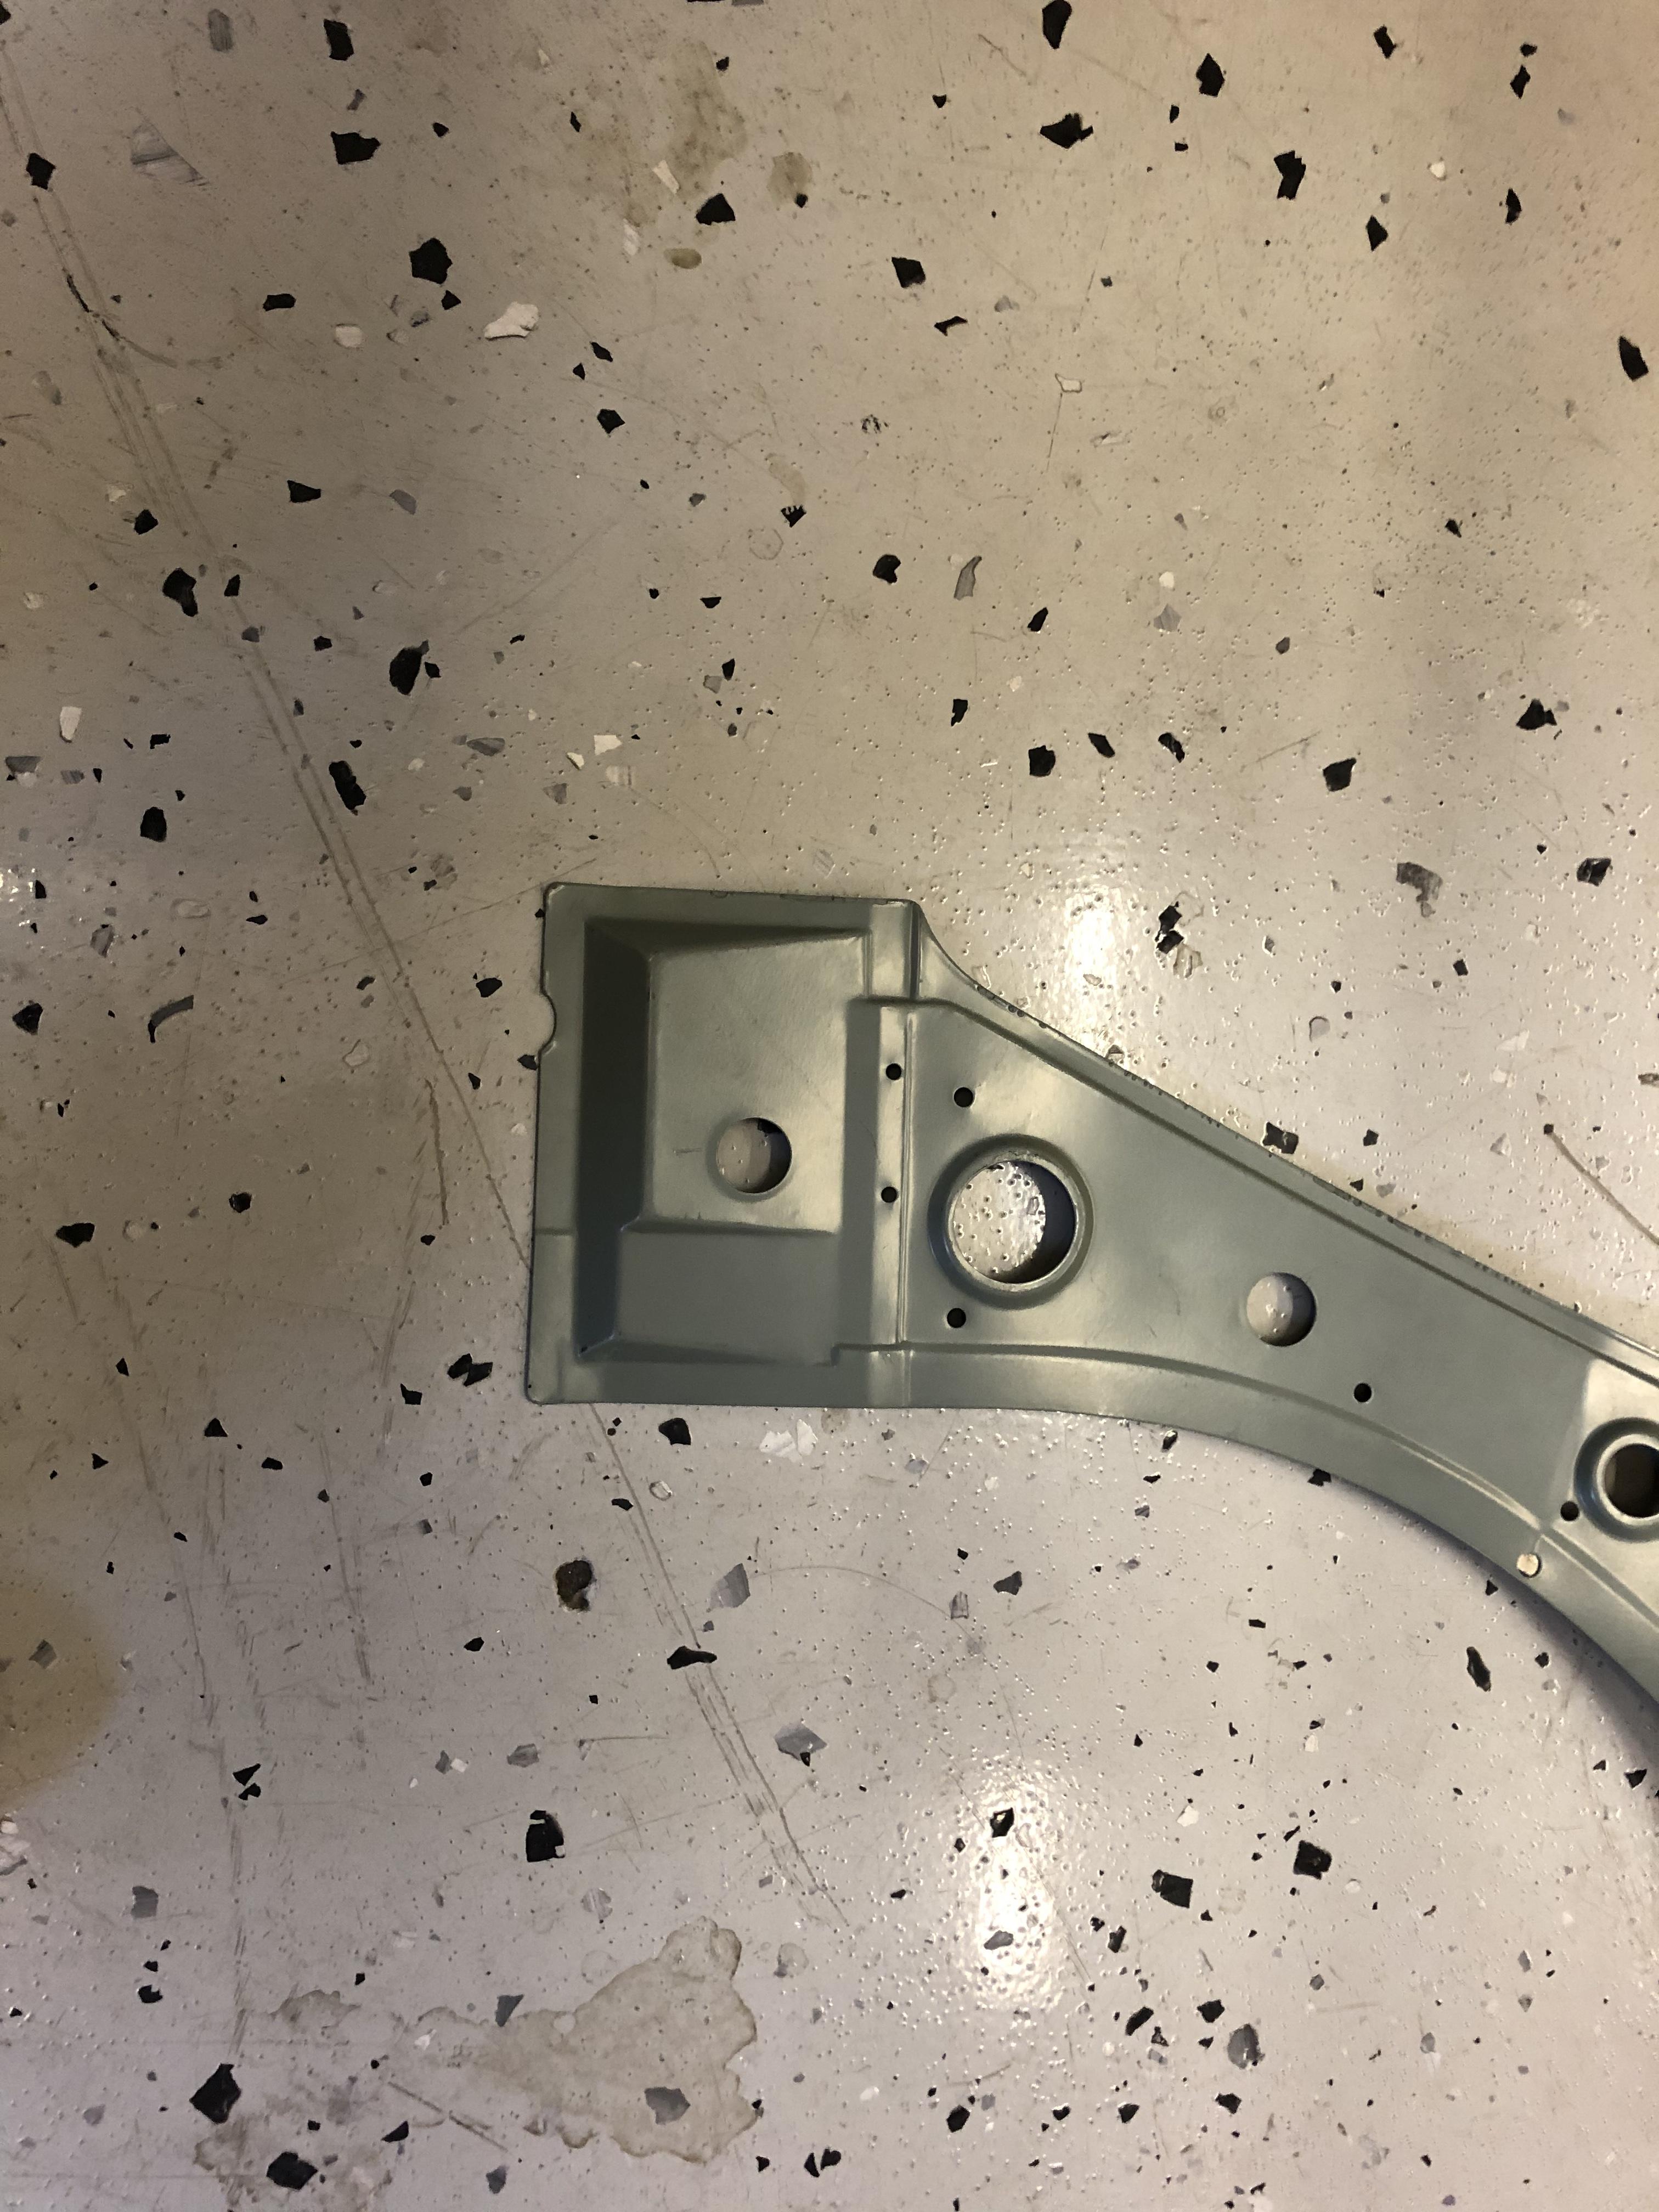
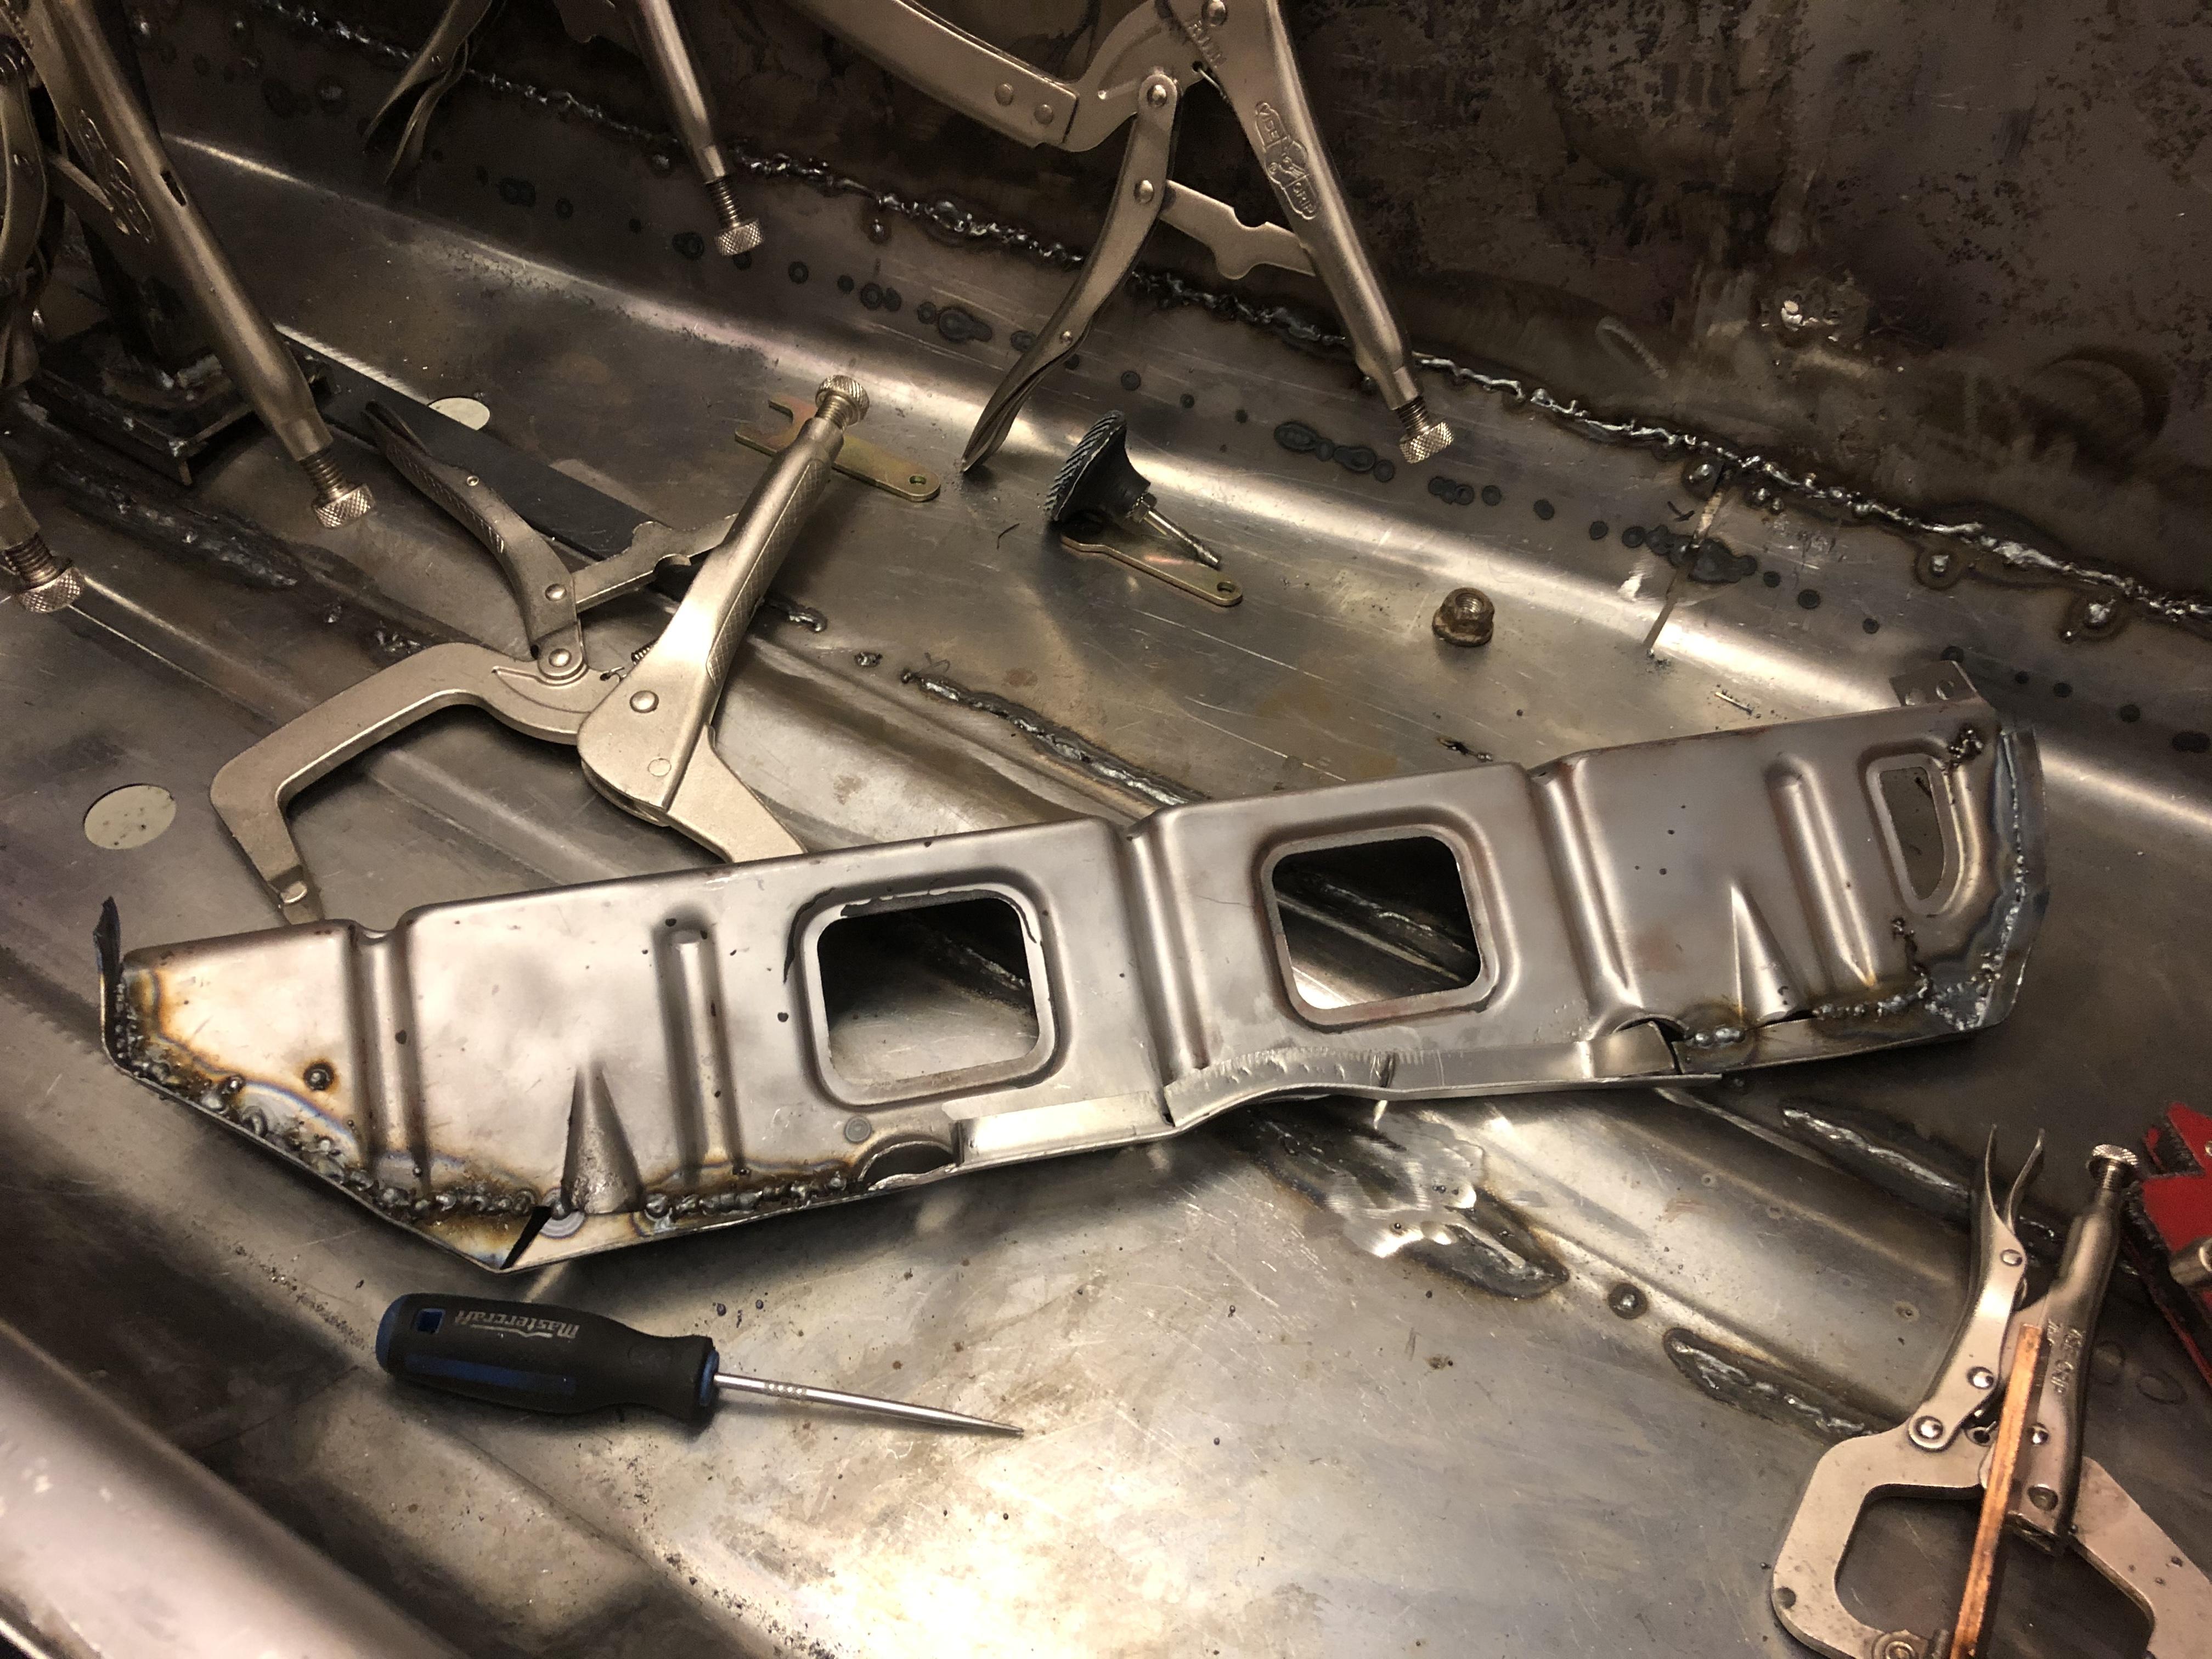
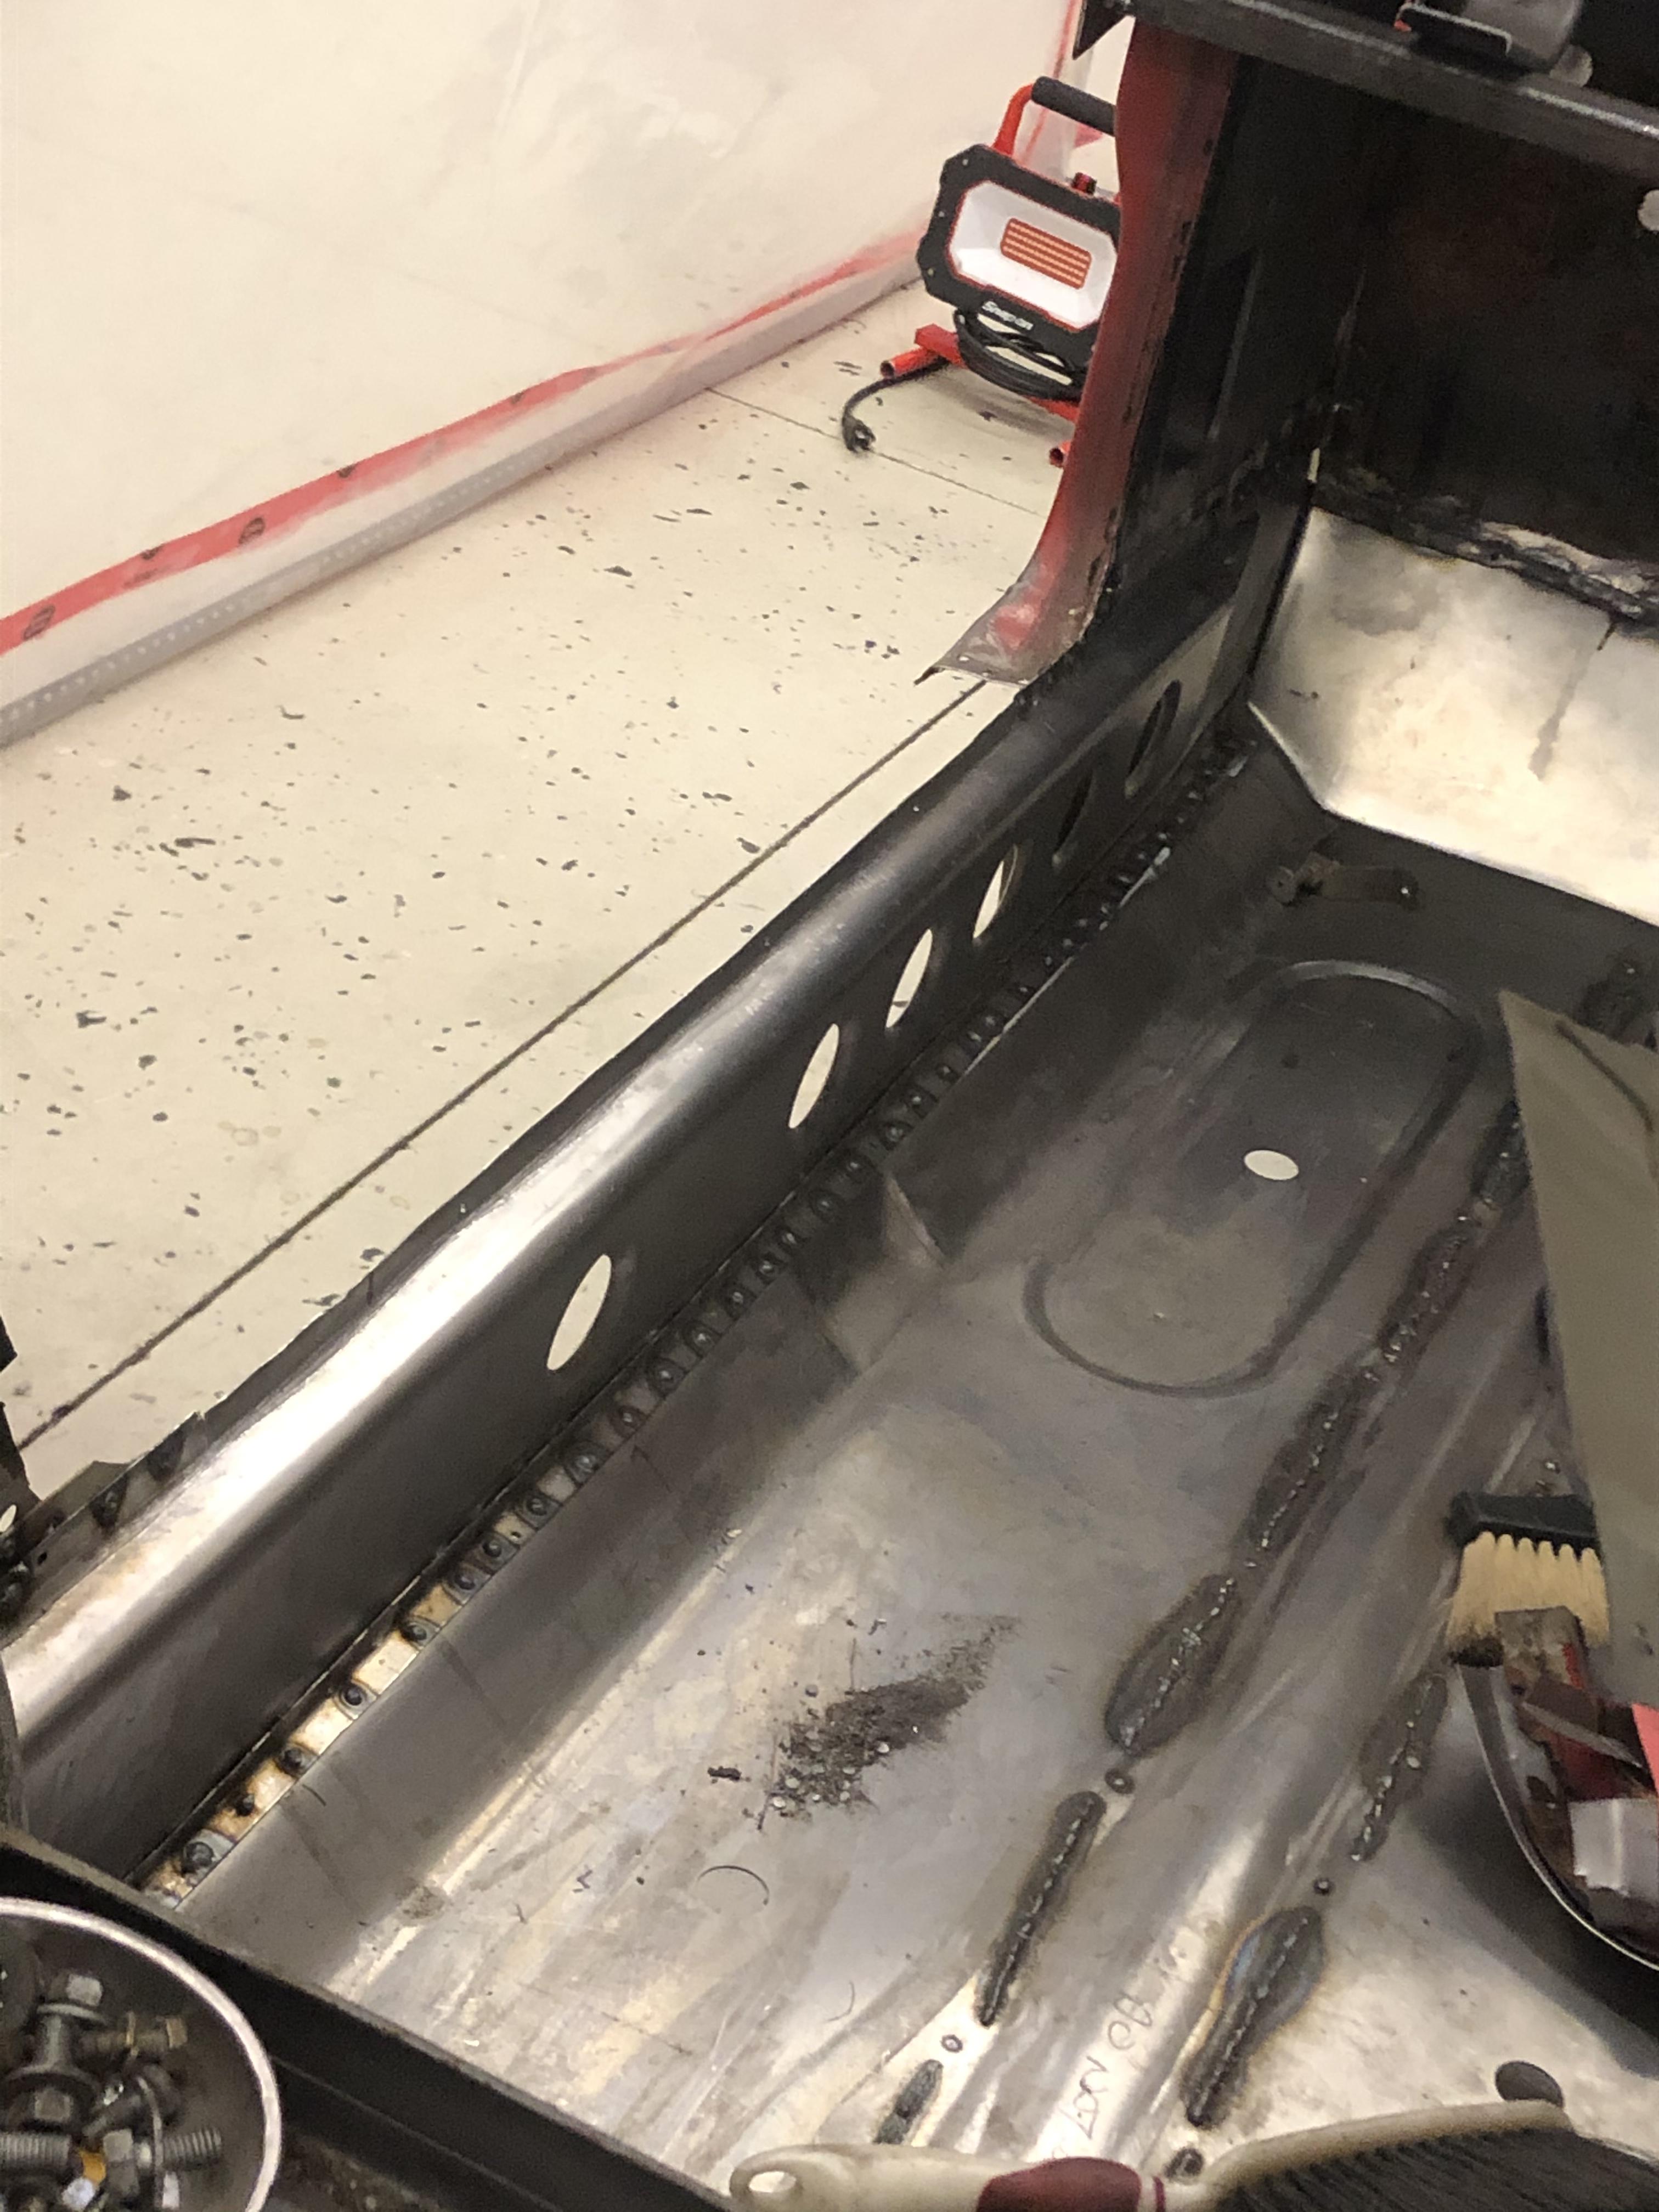
So the seat brackets are actually a) very important as they tie together the floor, trans tunnel and inner rocker and b) actually quite complicated to replicate. So I bead blasted the old one, cut away the rust and am butt welding new metal in place in an attempt to salvage /re-use it. Progress pics ... need to weld in the curved bit and clean it all up ... tomorrow ....


-
Great minds must think alike ... I am coveting your wall art and I also own some project s30's, a "few" 90s 300zx's and an 01 NSX. Looking forward to following this one.
-
I absolutely love this! Nice!
-
-
-
-
-
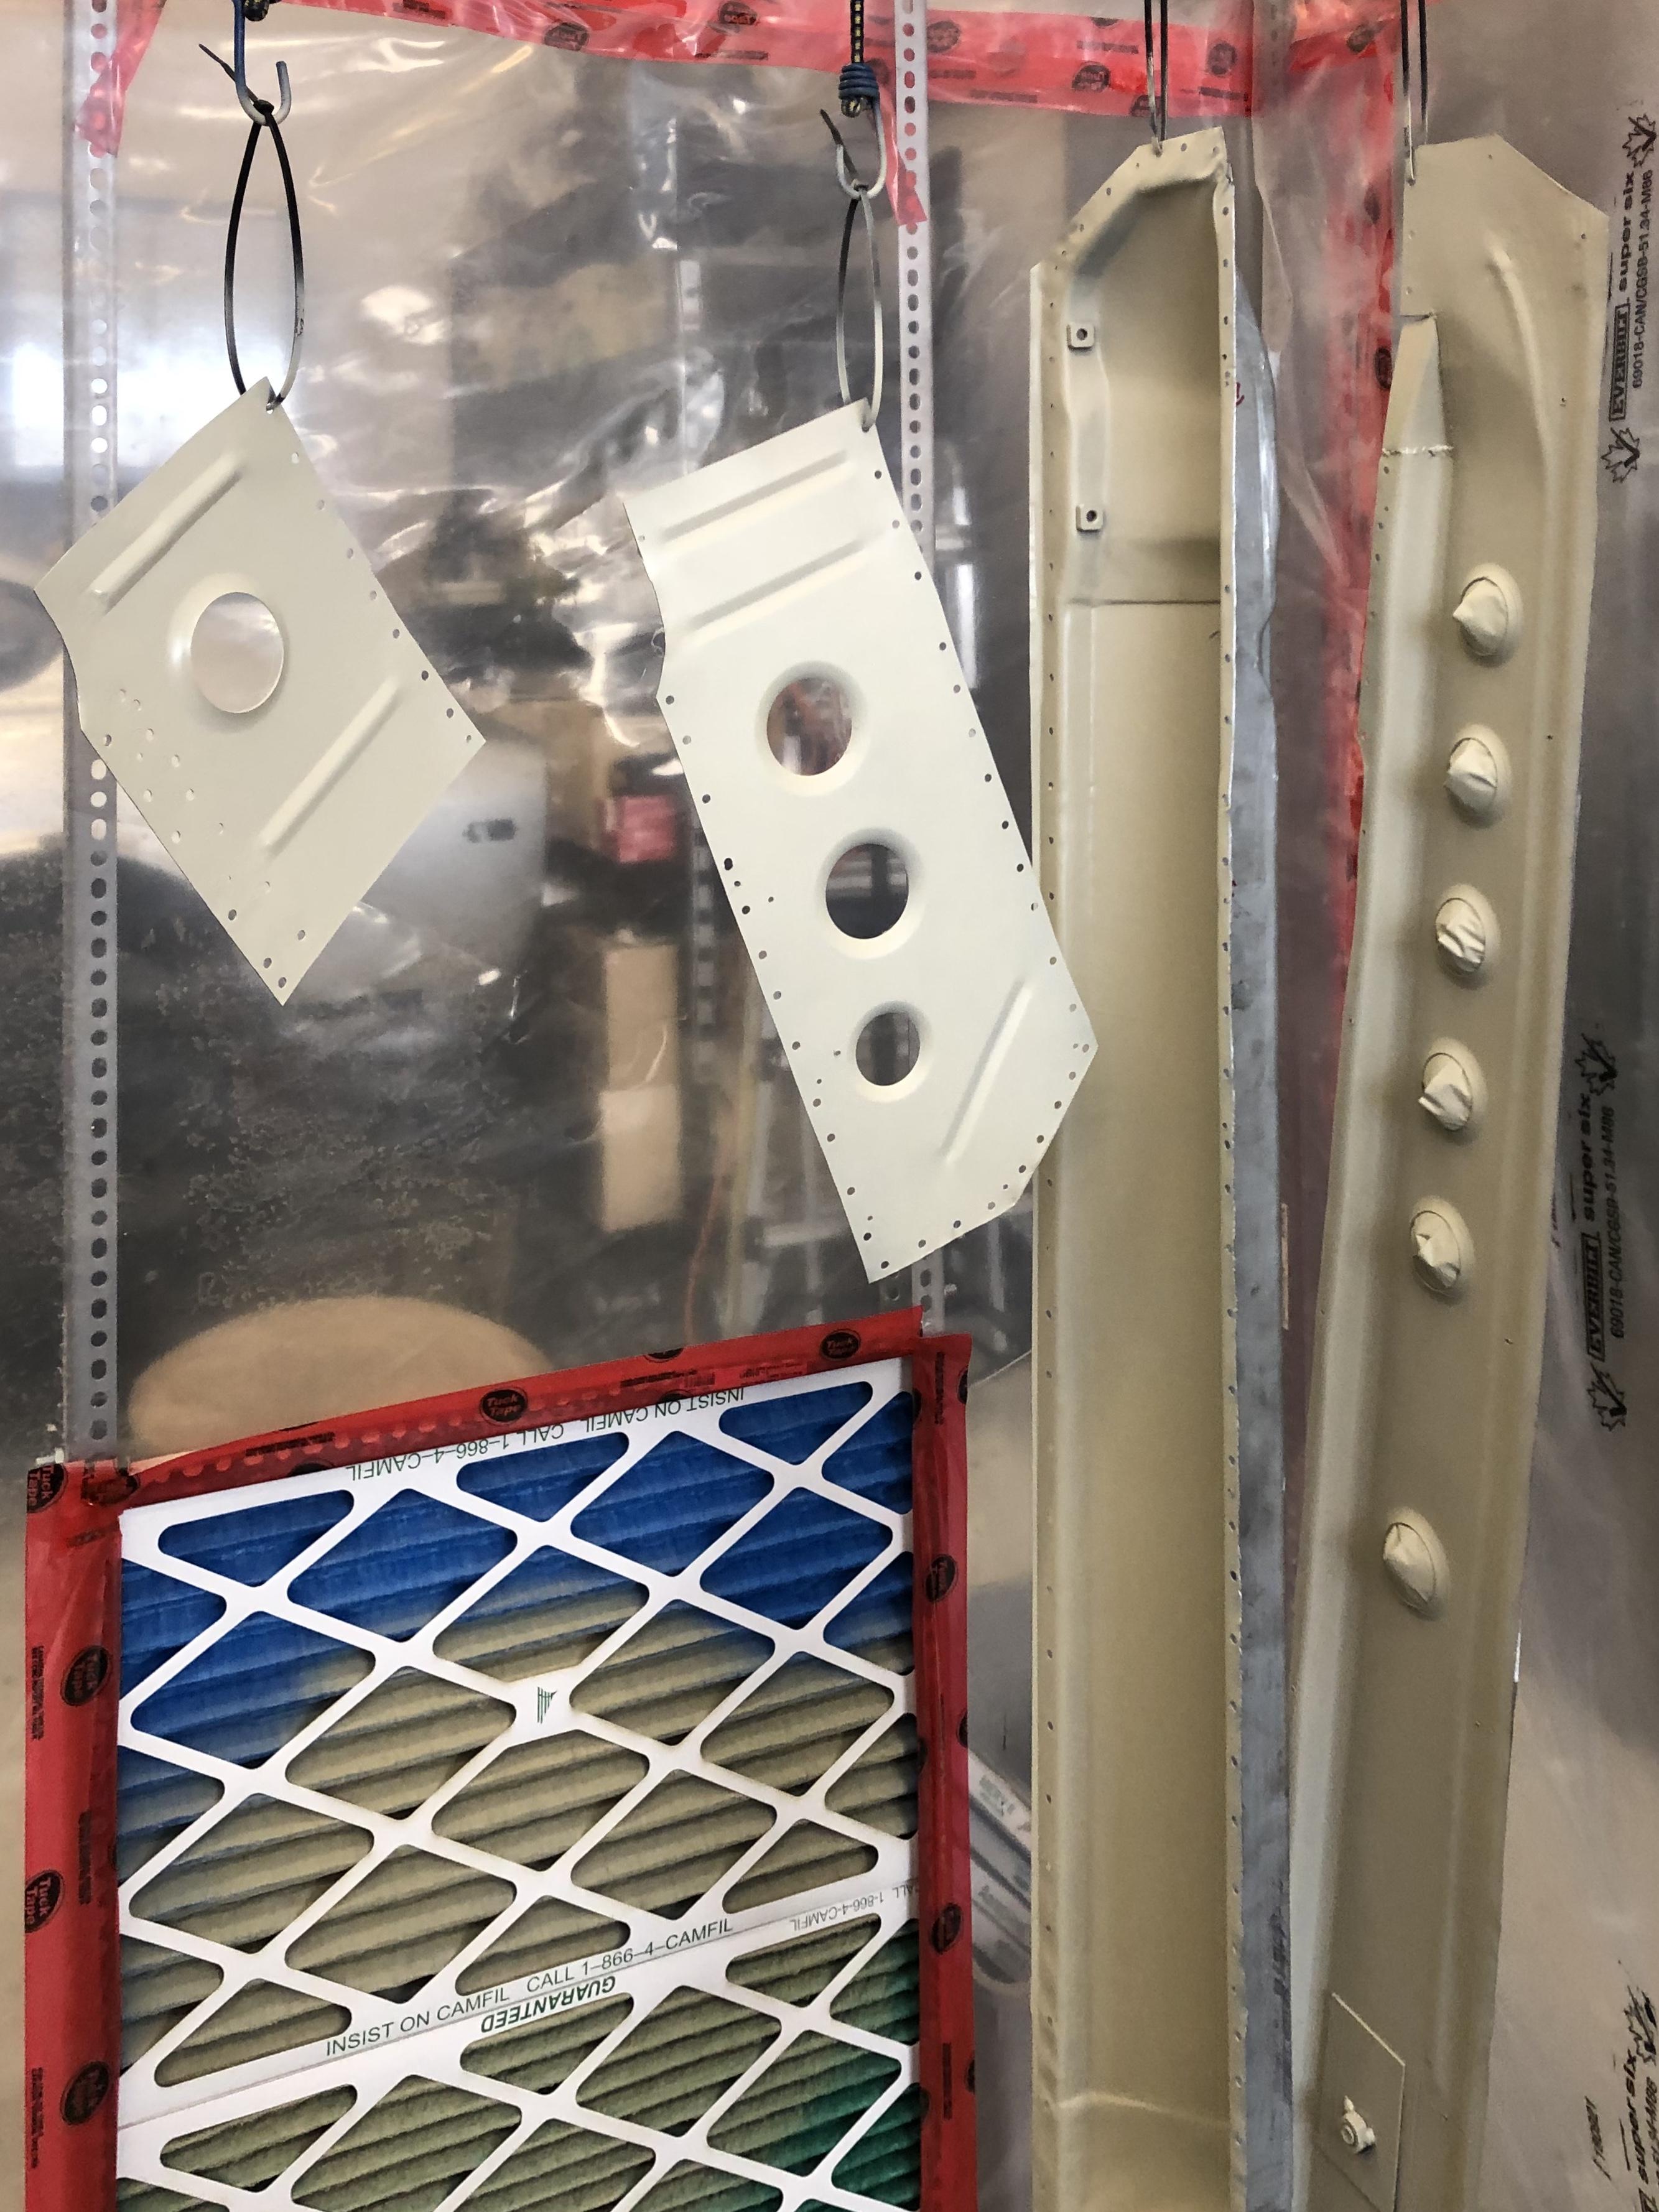
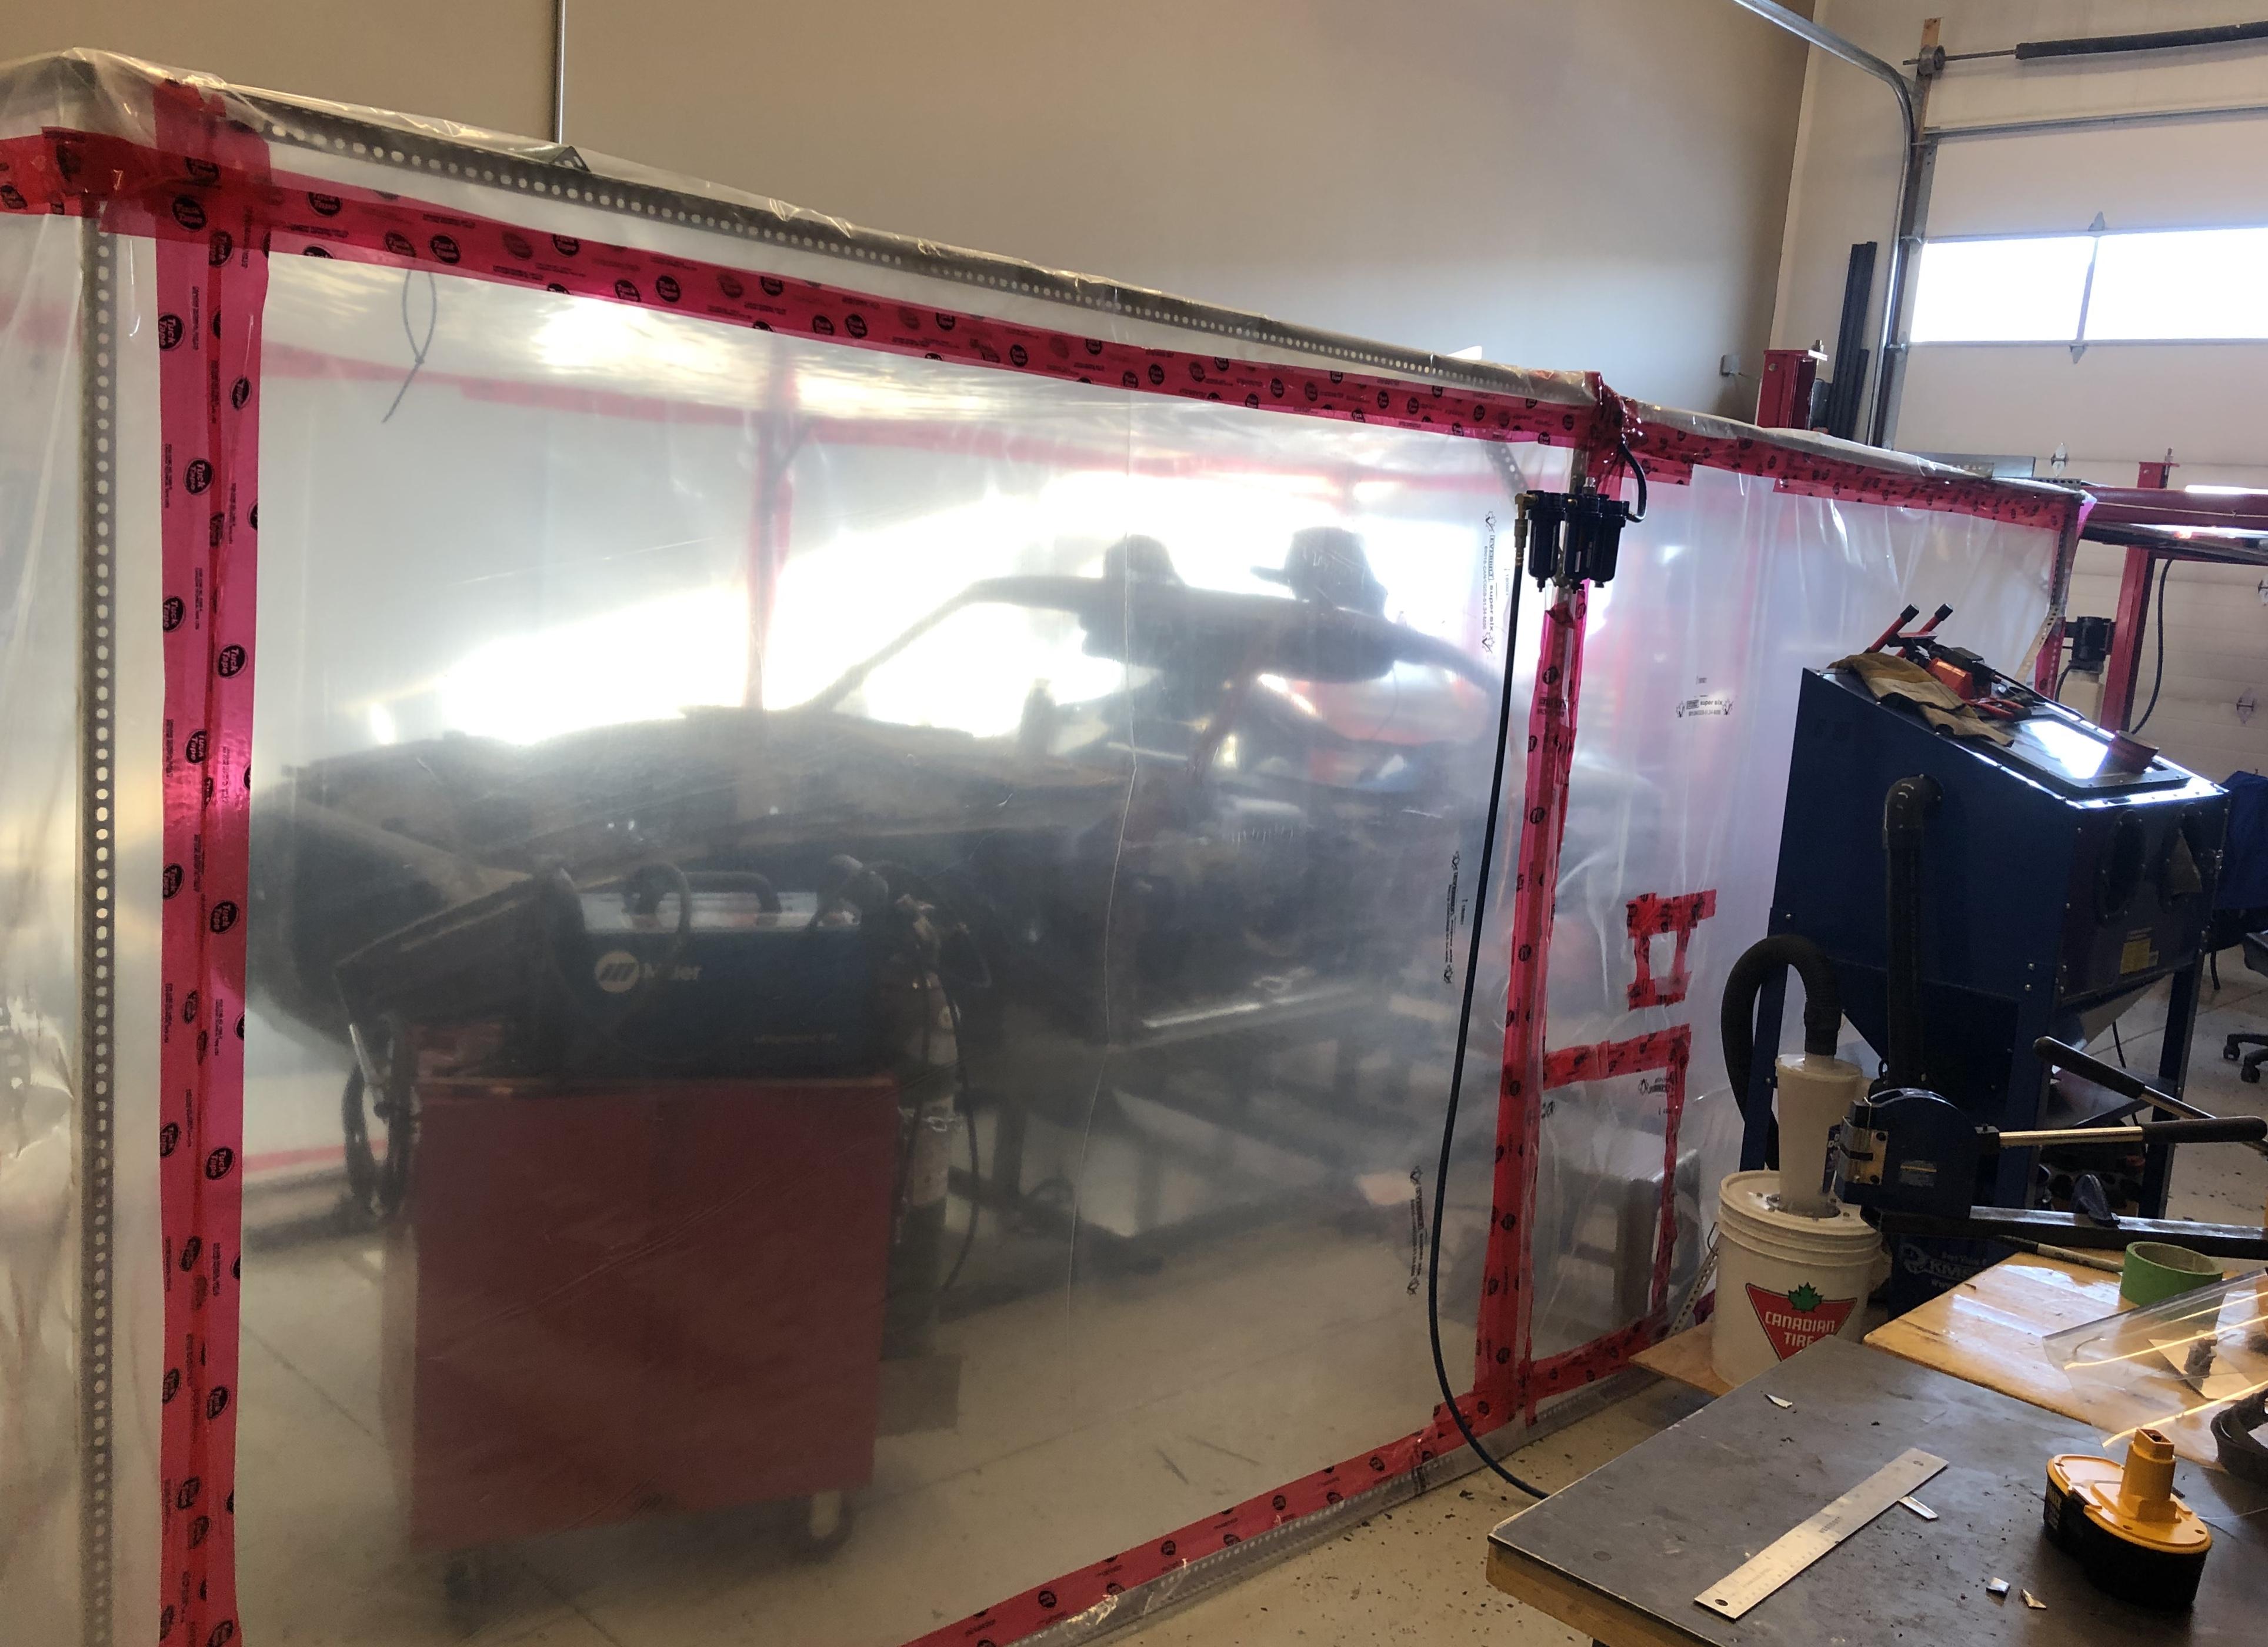
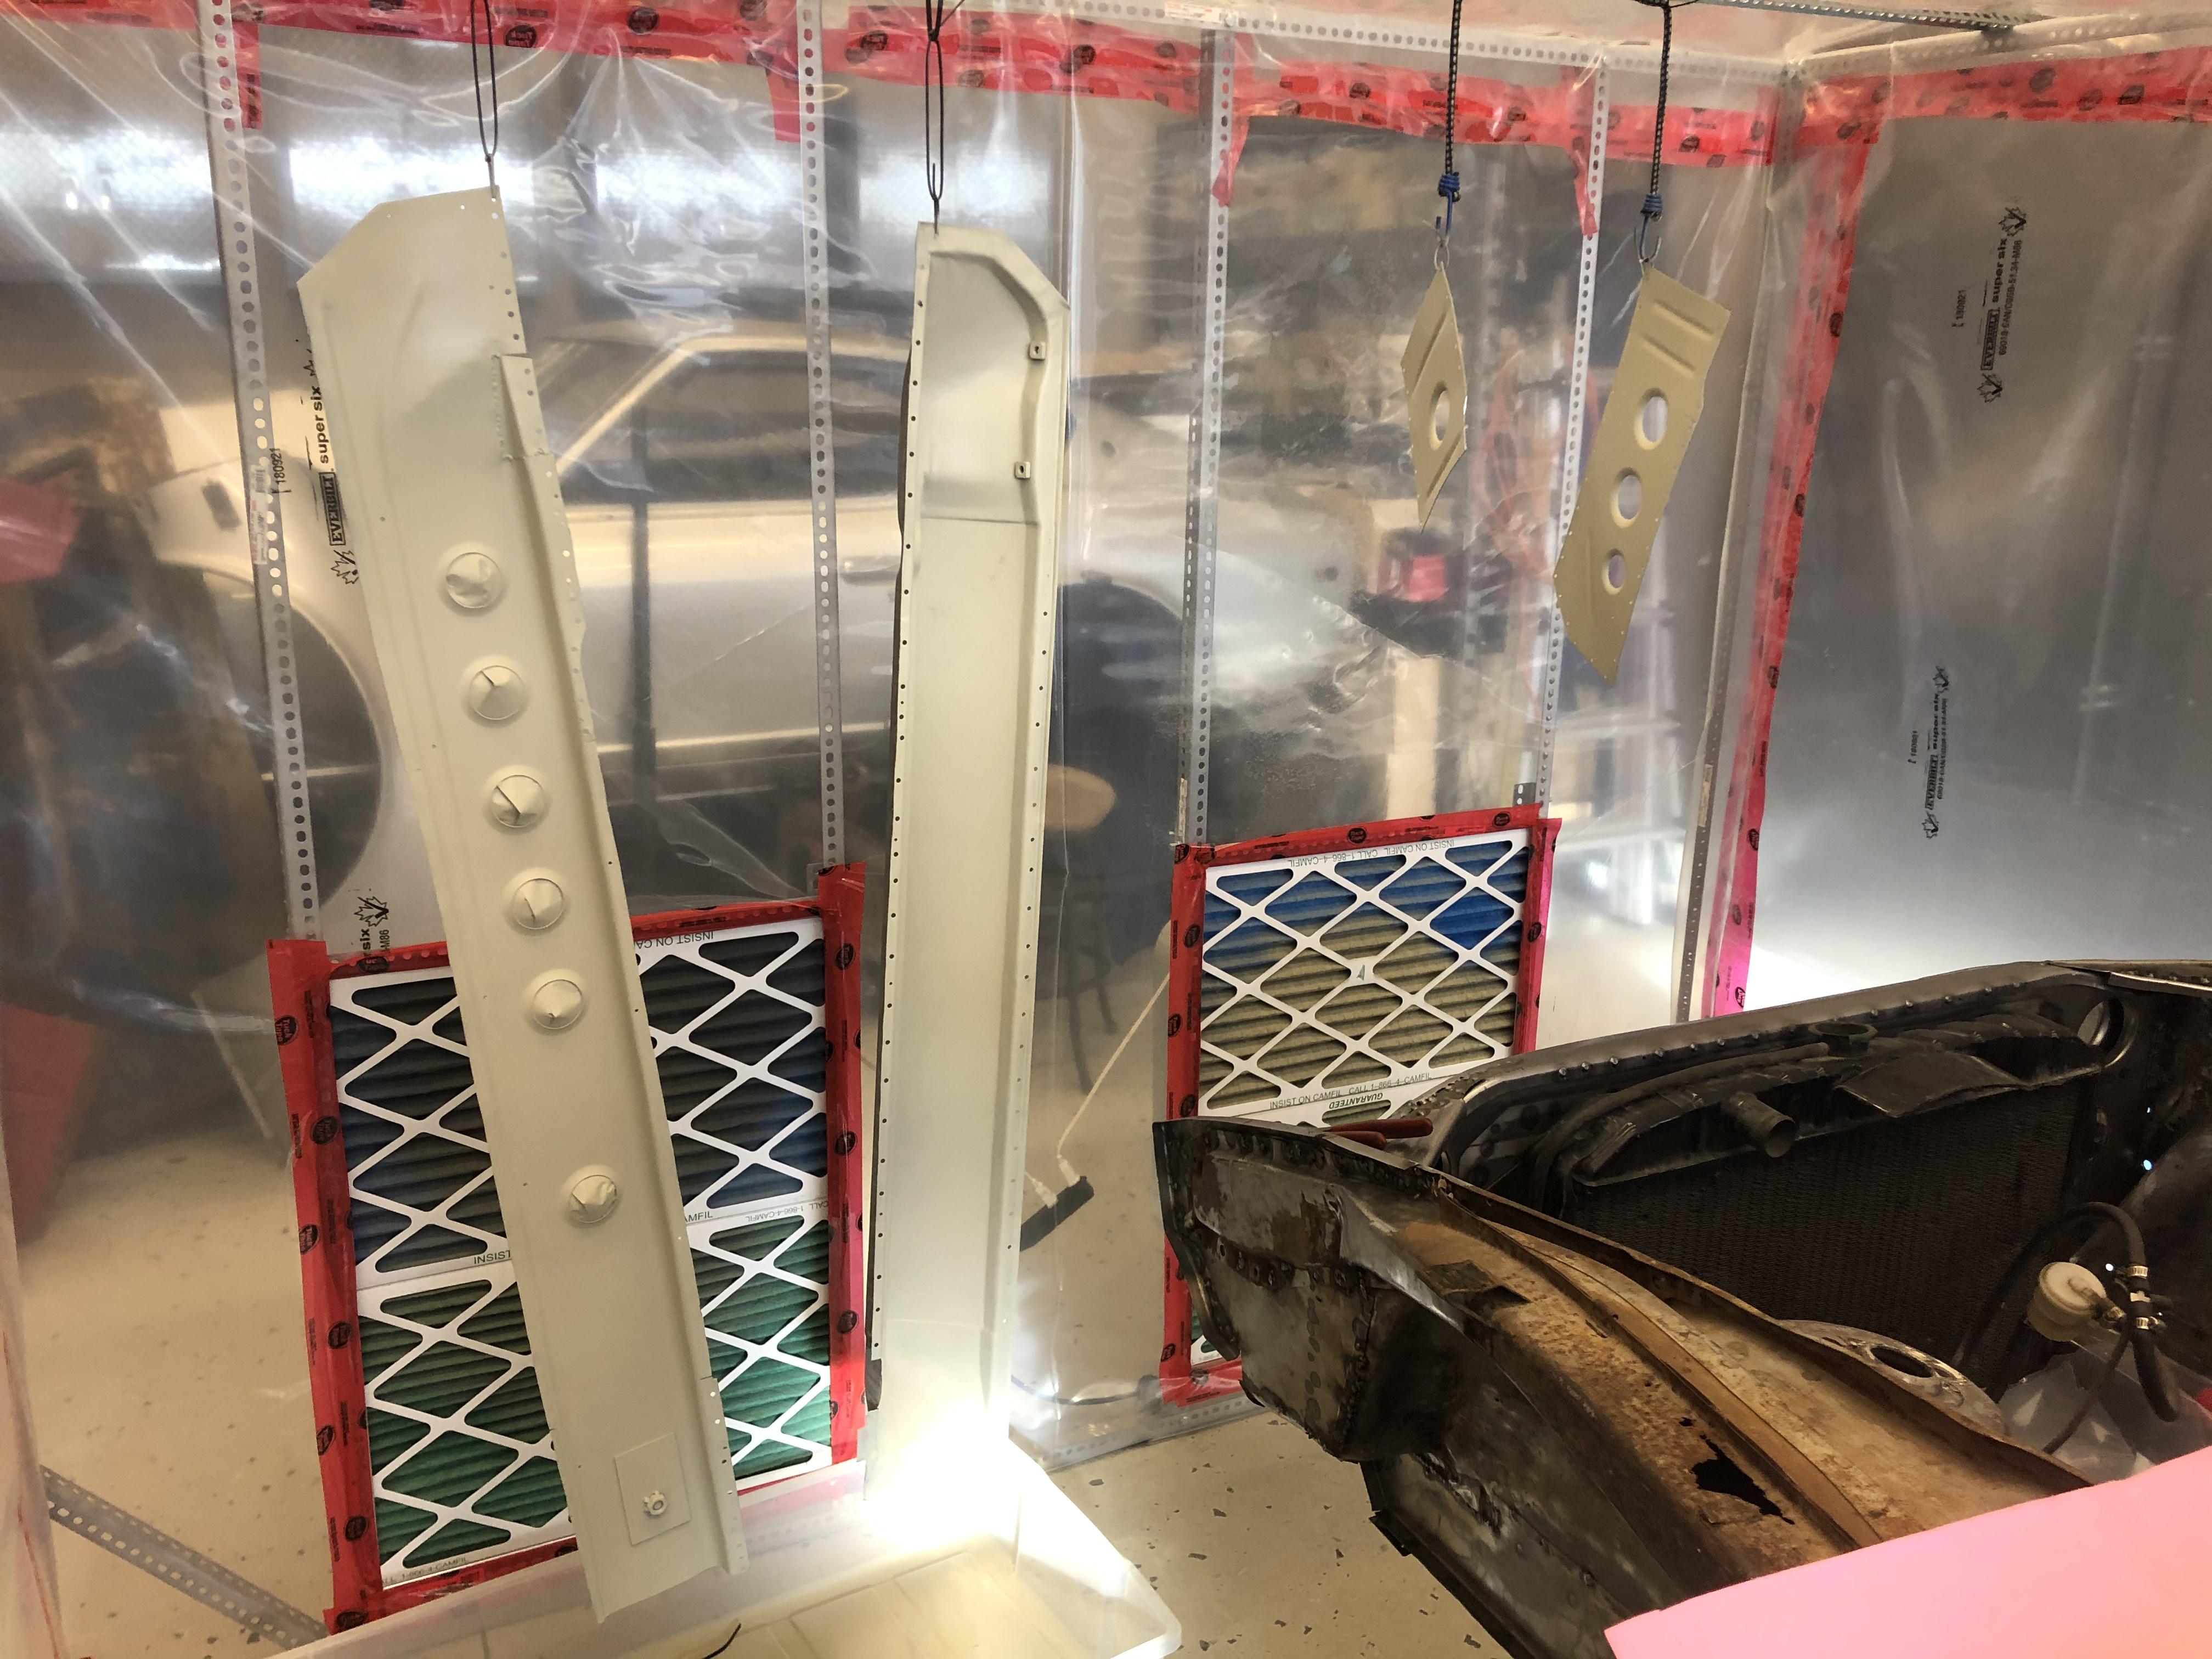
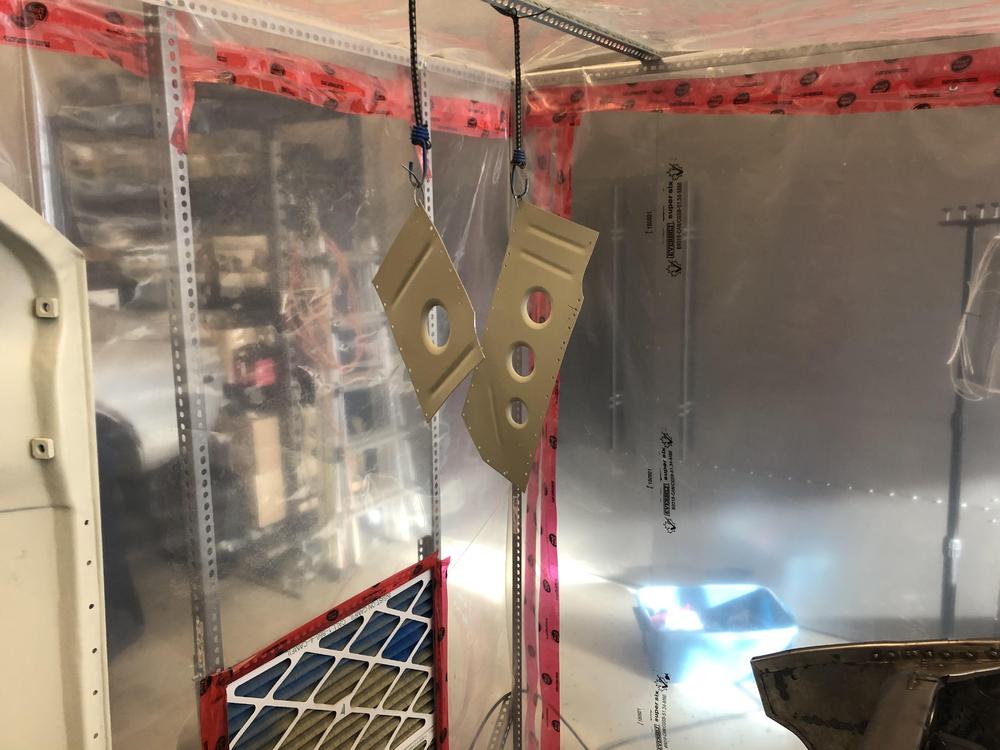
Got a chance to test the painting in the prep booth with some rattle can 2k epoxy primer.... It worked great . You can see where the overspray got drawn into the filters .... Parts came out fine ... welding them in tomorrow hopefully.... Rattle can epoxy primer is ridiculously expensive though. $23 and that took the whole can ...so definitely a laziness tax included in the price.


-