inline6
 Subscriber
-
Joined
-
Last visited
Everything posted by inline6
-
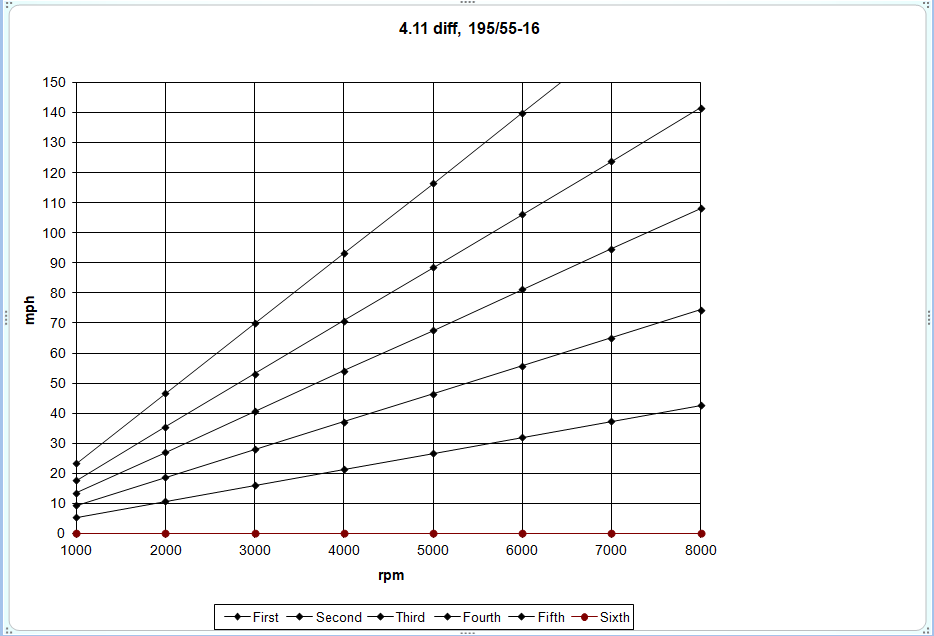
 A comparison of RPMs and speeds in gears between the US spec 4 speed, 3.36 and stock tire size vs. a 240SX 5 speed, 4.11 and 196/55-16 which will go on my car. This tire size is a bit small perhaps. But, I made a slight miscalculation before I bought them, and I am trying to keep the tire from rubbing at all on my stock sheet metal (and the car will have aftermarket springs which will lower it also). Besides the high RPM of the 4 speed for interstate travel, another thing I do not like about the 4 speed is the gap between 2nd and 3rd. Performance is decent in first and second, but then a noticeable lull when then shifted to third.
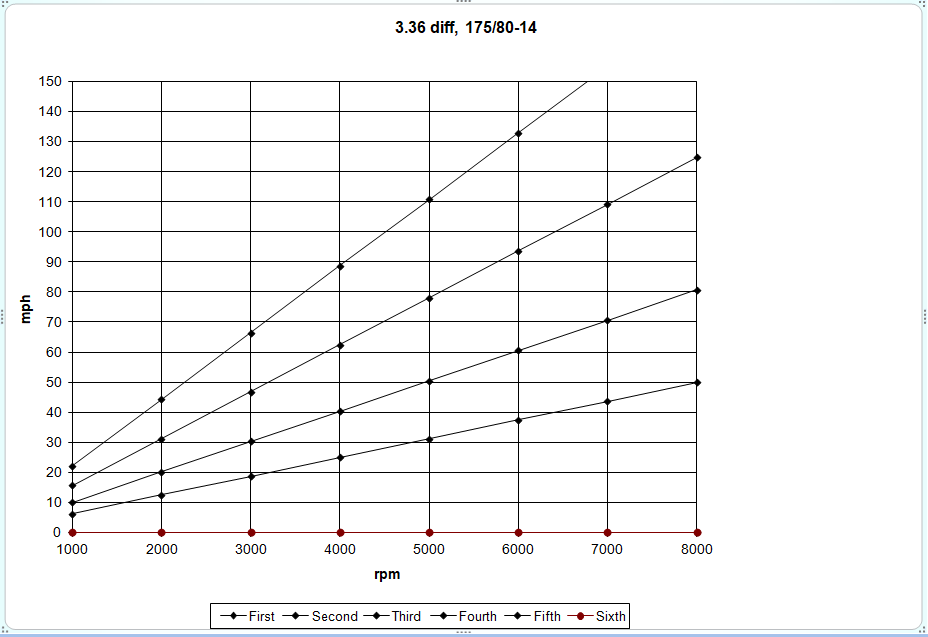
-
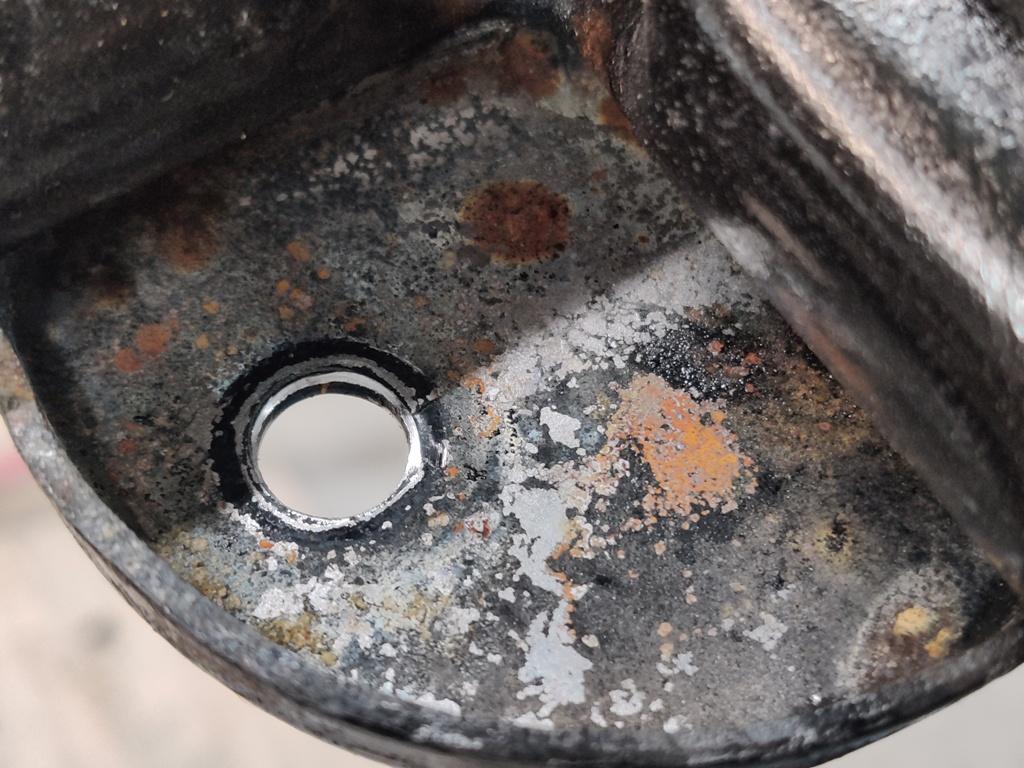
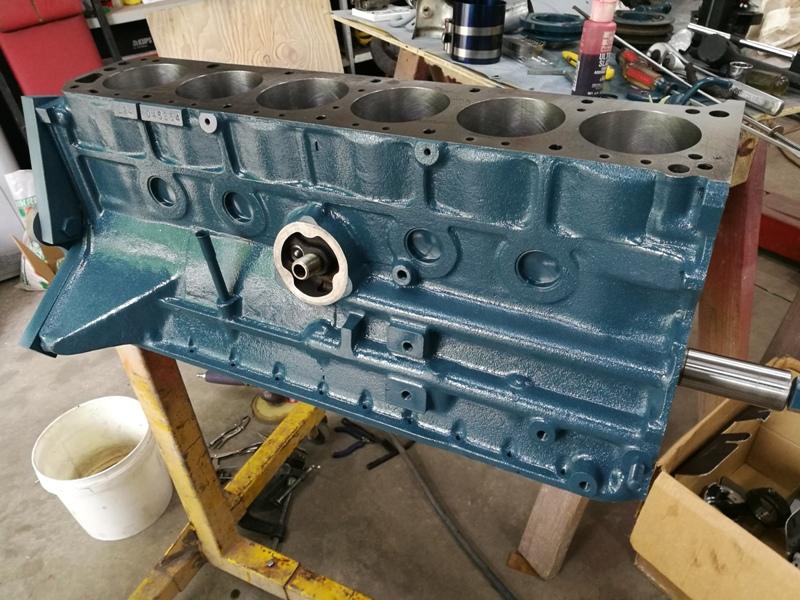
Well, thanks @Racer X for getting me to look at this closer. I continued looking at pics and reading through some old posts and I see a problem that I did not before. Coolant holes in the gasket are not to my liking. My head gasket: My block and head: A Nissan Comp MLS gasket: So, at this point, I don't feel good at all about the gasket I used. I should have checked the coolant holes. It seems best to pull my cyl. head off at this point. I still have the issue of pistons above the deck by .025" and all the thoughts shared earlier in that regard. So, will have to see about how best to proceed. First step is to take the head off.
-
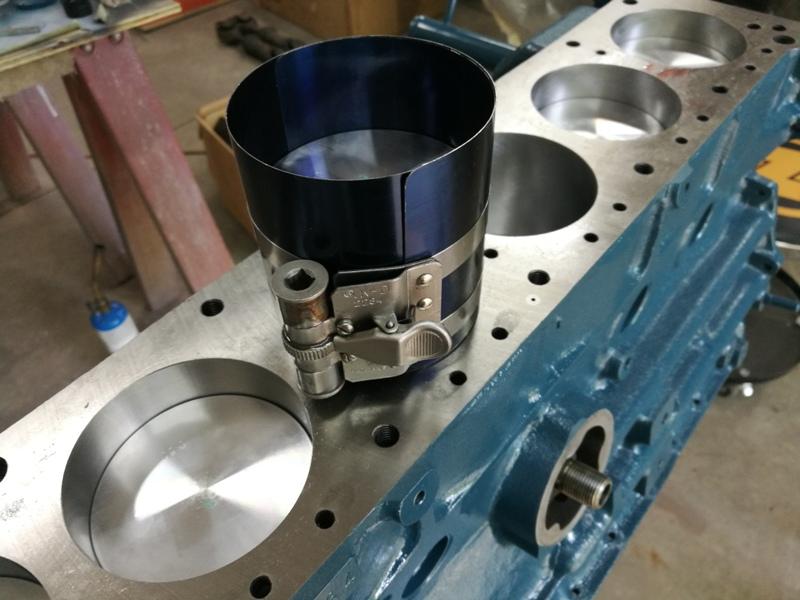
Hmmmmmm. I chose not to do that for this engine. Prompted by your question, I did some researching of eyebrow notching the L24. I found that some people's L24's had valve to block contact. I became a bit concerned that I missed a required modification to keep the larger exhaust valve (or the intake) from hitting. I found a couple of relevant threads: It looks like I should have checked mine out specifically for clearance issues. The head has been bolted and torqued with a new Nissan gasket at this point. I don't know if it can come back apart without replacing the gasket. Kind of a pain... So, my block is bored .030" over which is more than the .5mm Carl mentions. From a valve clearance standpoint, I am probably ok. That said (and I will attempt to verify as best I can without removing the head), is it highly beneficial to do?
-
😖 UNACCEPTABLE Rebel!
-
Hahahahaha! Oh man, there are better things to do than that for sure! Welp, it seems with our little sample of three, that there were... "variations" 😜 In case anyone cares, here is what Nissan has in stock - the part number changed again by the way:

-
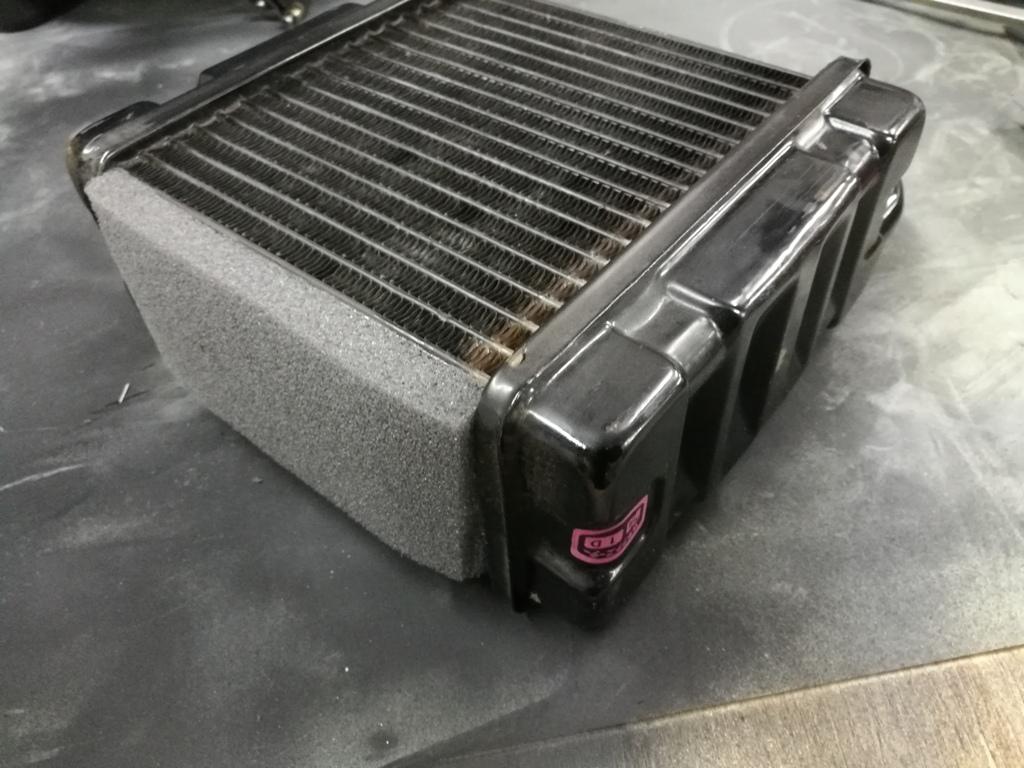
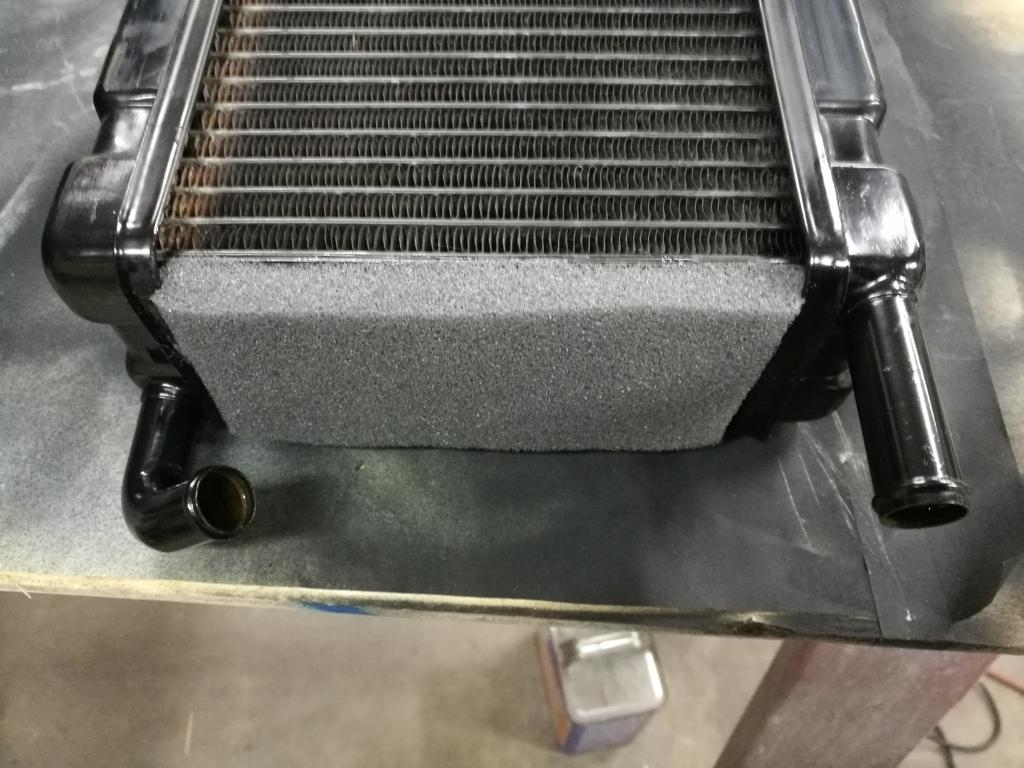
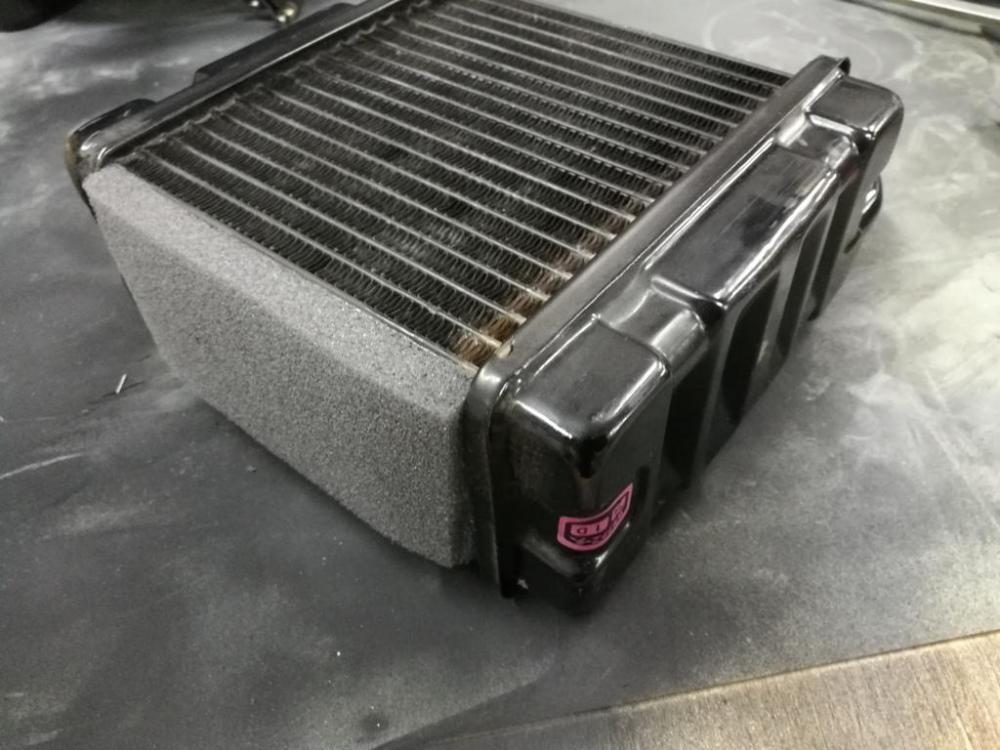
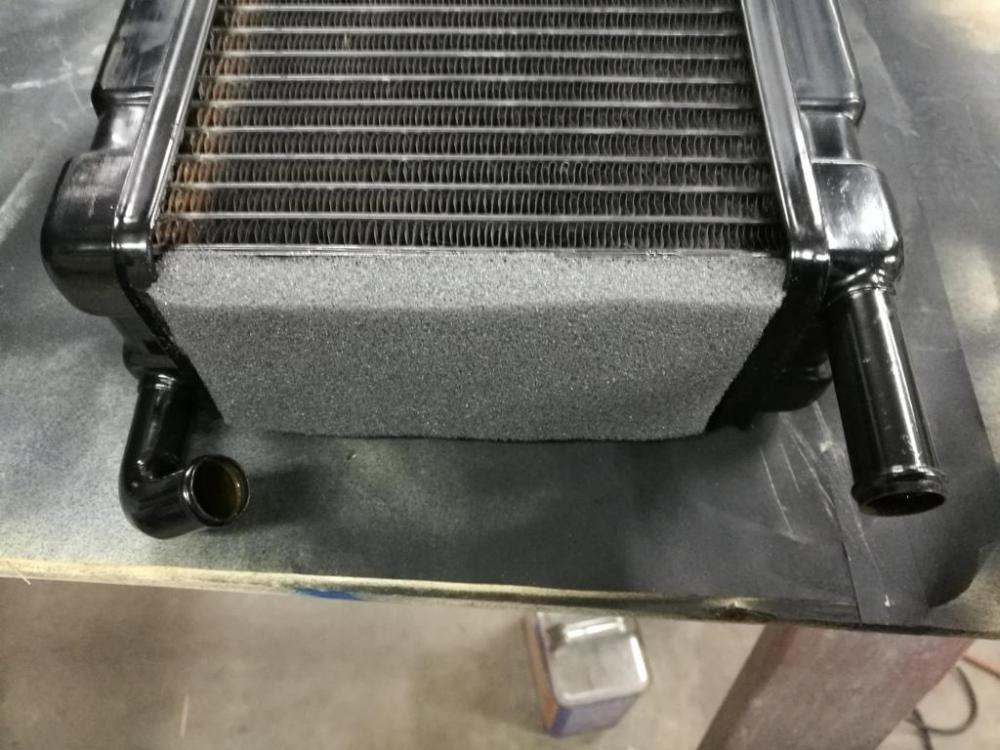
That is a job very well done. Couple of questions if you don't mind? What is the 24271-2P010? Does that part number correspond to the dark piece of thin foam? Did you reuse the original vinyl on the flap door? The hardware... is original and re-plated? Did you lose any when you had them re-plated? I am concerned about losing smaller stuff like those sheet metal screws when I send mine off to get re-plated. When I took my heater core assembly apart, I saw evidence of some foam which was originally glued to the sides of the heater core. It was only about half as tall as my replacements in these pics, but you might want to add that to block off the air gap between the core and the sides of the box, if you didn't already do that.
-
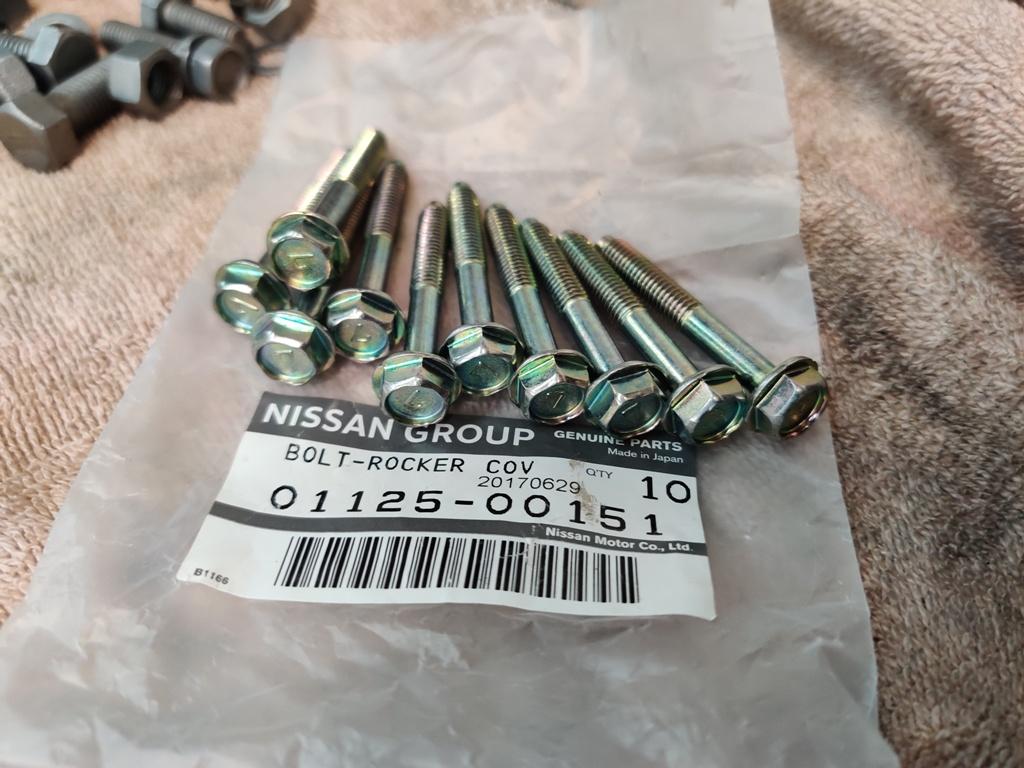
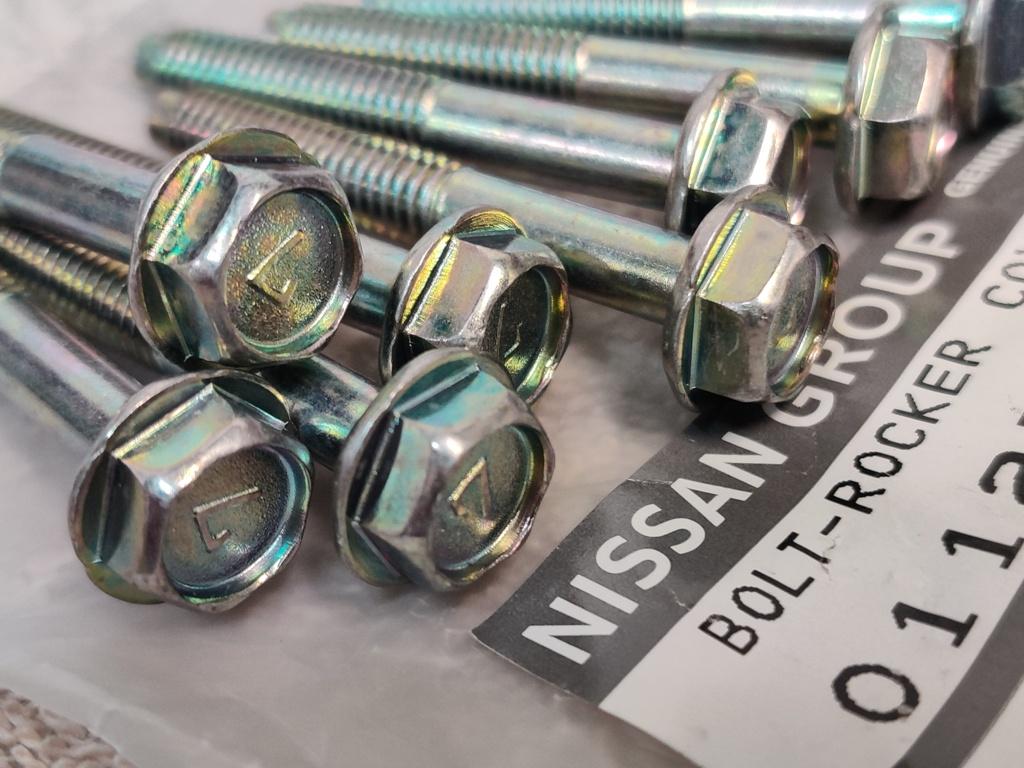
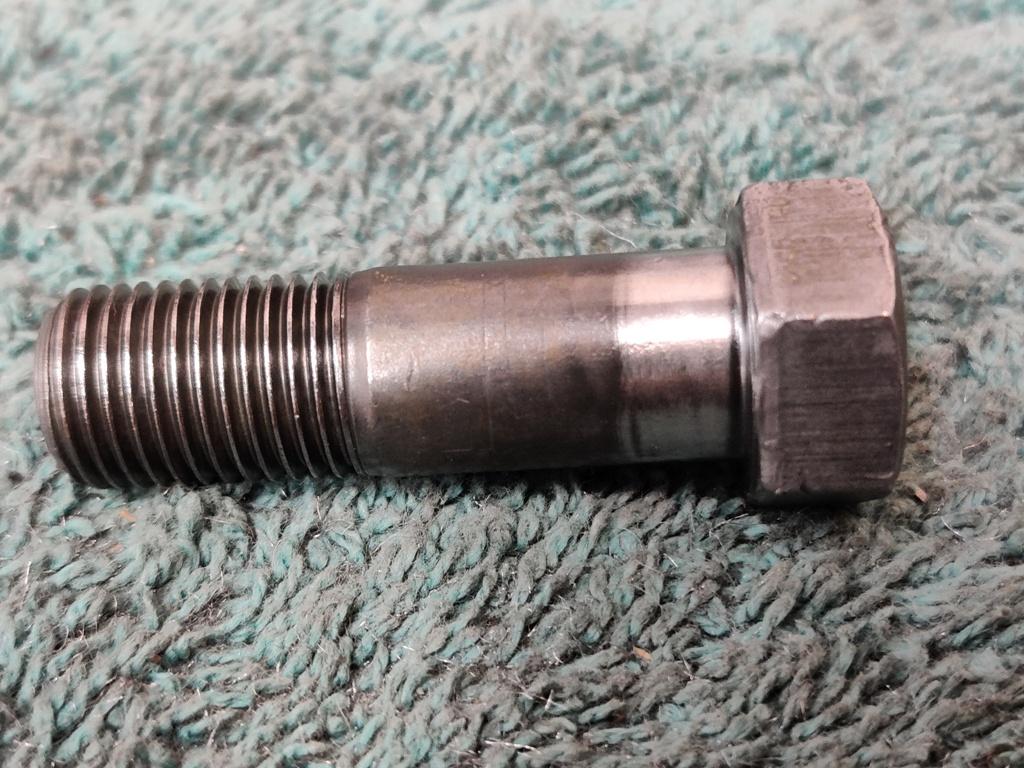
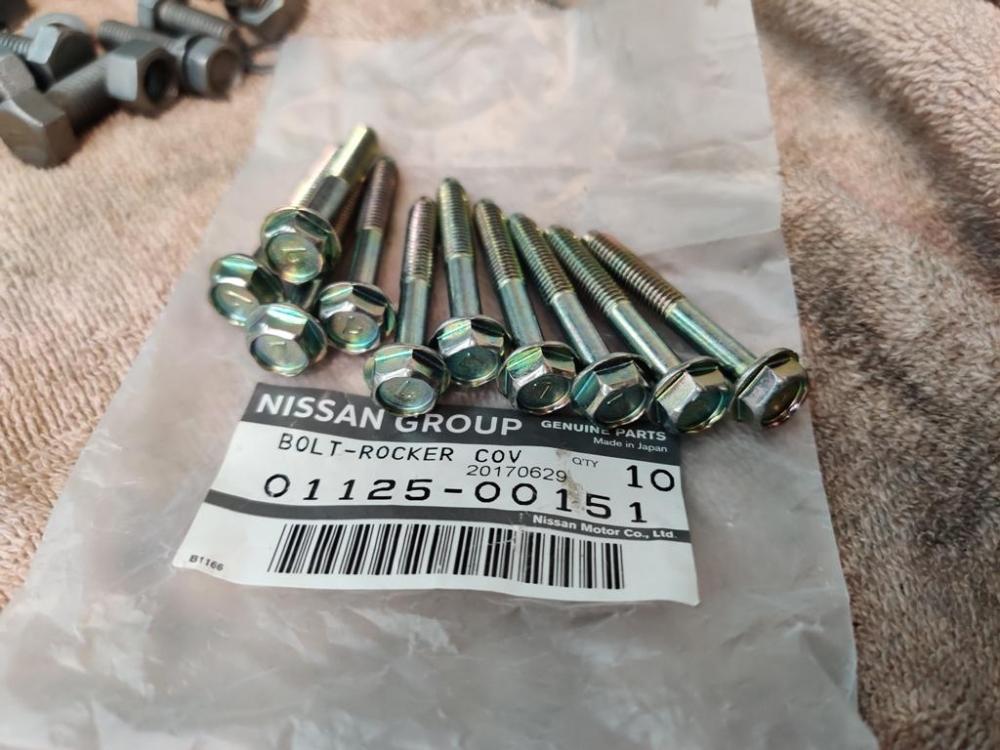
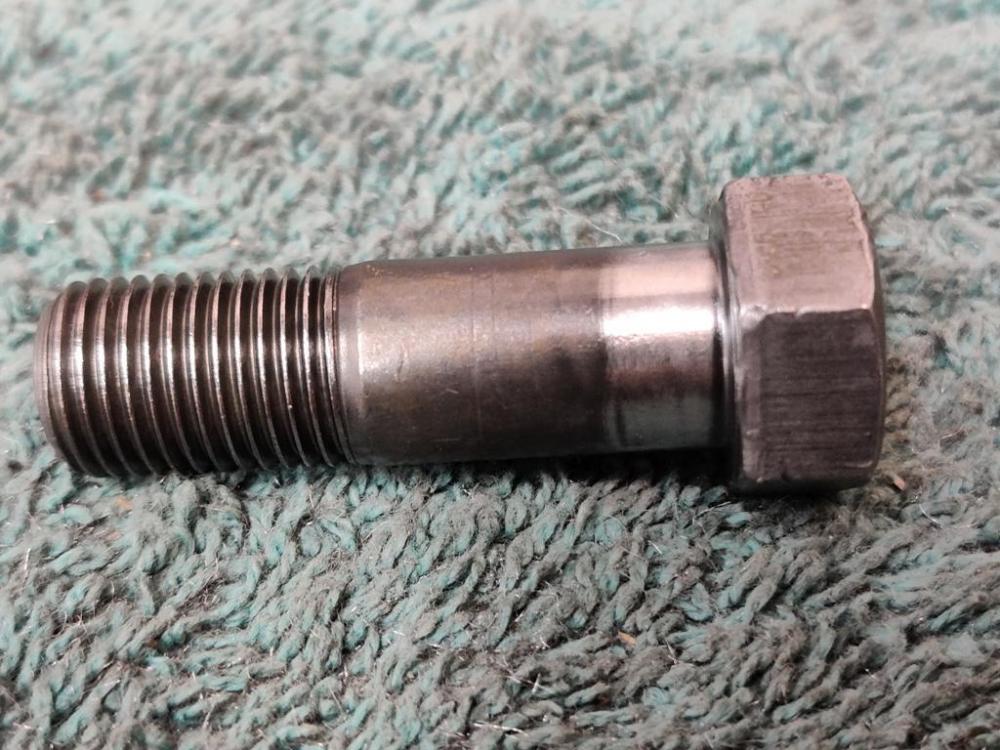
Can anyone confirm that these are the correct valve cover bolts for a 1971 240z? The ones that came with my car were not original. These came from a slightly later engine - I believe they are from a N42 block/N42 head L-28 (which is probably from 1975 or 1976).
-
Dude... Have you ever done a roof replacement on a car fitted with a sunroof? That is a lot of time and effort. Four speed vs. 5 speed does pale in comparison to that, for sure. Regarding rust... I am so glad to be restoring an original AZ car that then sat in a Colorado garage for 28 years as my starting point. I couldn't agree more regarding 2, 3, 4, 6, 7, 9, and 11.
-
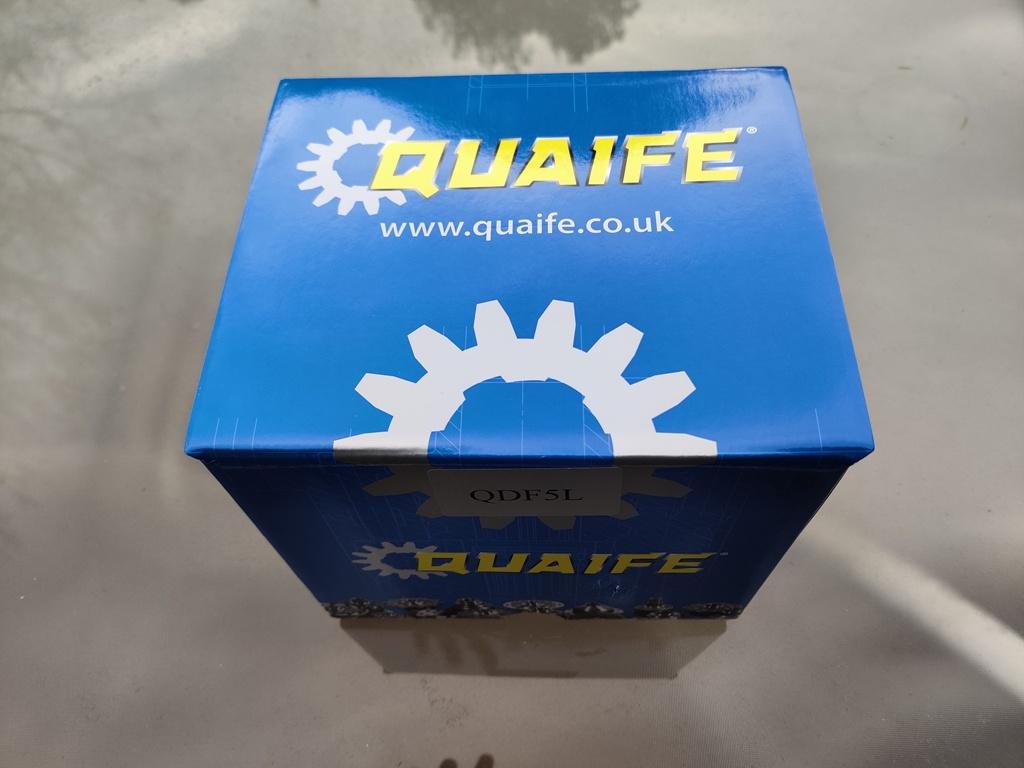
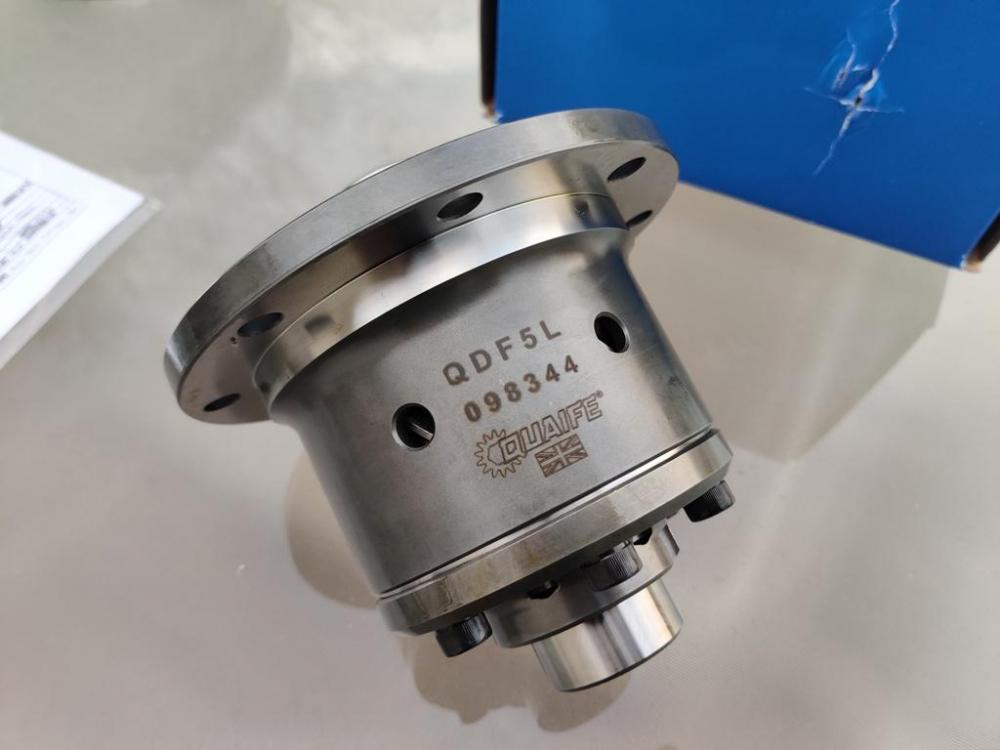
Too funny - hahahaha! I just don't want to rebuild my 4 speed transmission. Seems like a waste of time and money to me. I have decided to put a 240sx 5 speed transmission and 4.11 Quaife lsd diff in the car for now. I will keep the original 4 speed and differential stored out of the way on a shelf in the garage. 🙂
-
I have the original driveshaft from my 6/1971 car. A quick search seems to indicate that the diff didn't get moved back until the 1972 model year cars. I'd have to look at my suspension pieces to confirm that the change wasn't made yet in the production.
-
My memory fails me I think. I recall getting a custom driveshaft made for my 12/70 car to get the 83 280ZX box to work with the rear end after correcting for driveshaft angularity by moving the diff back more in the car. Was a custom driveshaft not necessary? Is it not necessary for the same transmission added to later 240z's? I am also about to put a 240SX 5 speed in the car I am restoring. I'm not sure if a custom driveshaft is necessary for that application, but will determine soon enough. I realize that is a different 5 speed entirely and not part of the point I was attempting to make. Thanks for your comment.
-
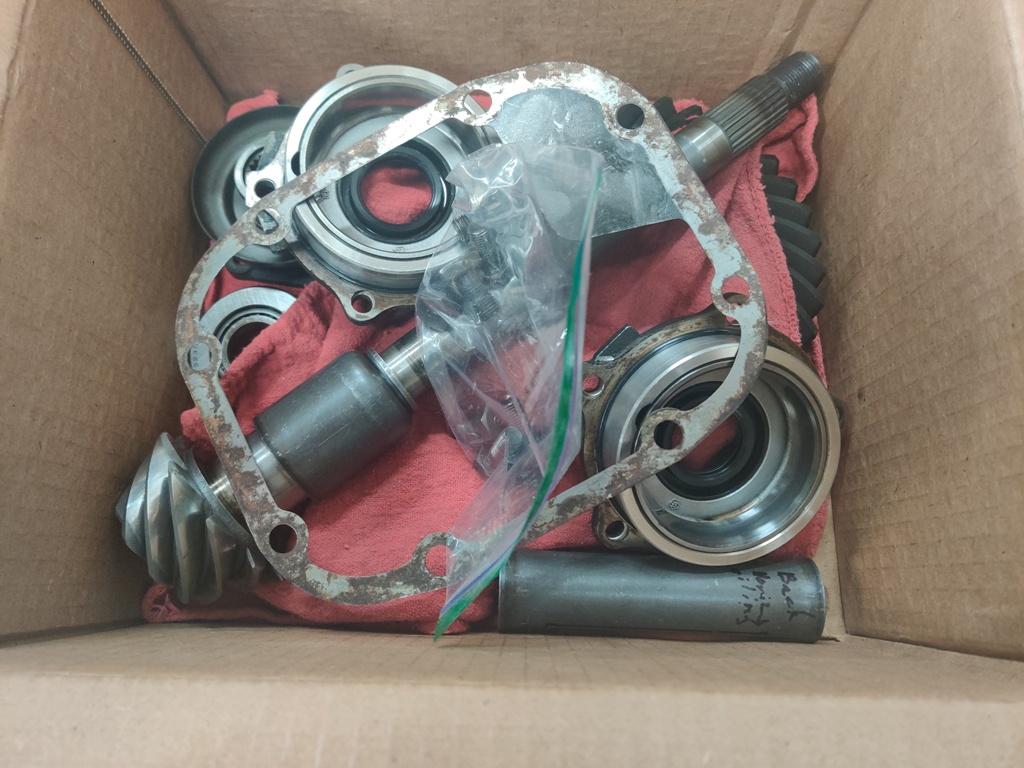
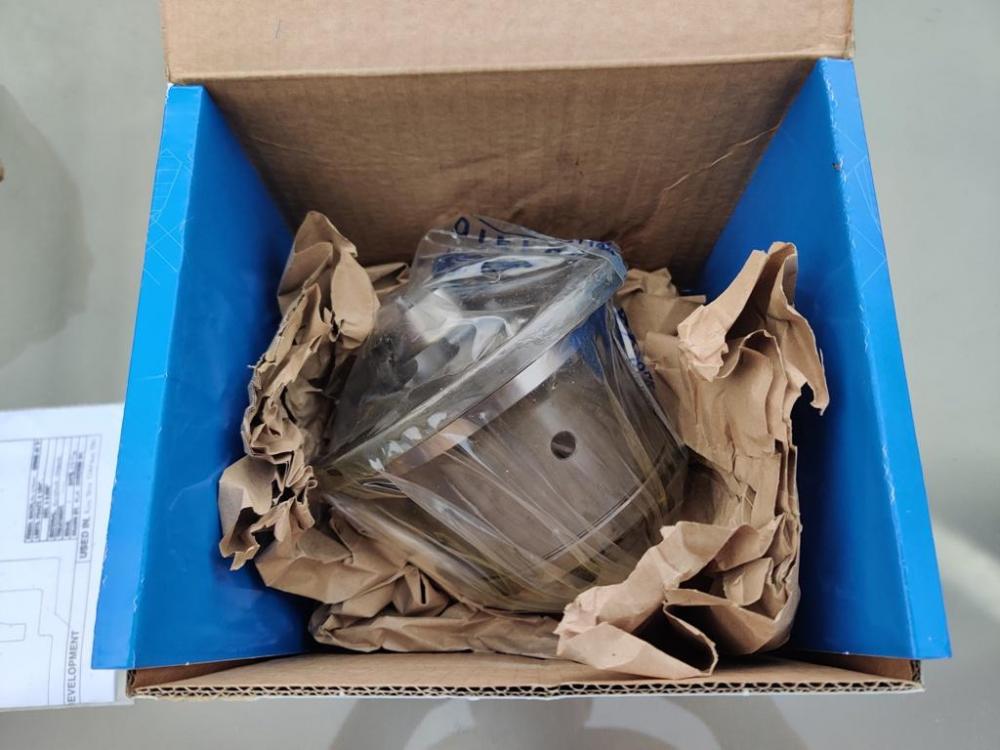
The English differential carrier for my Japanese car has arrived! The 4.11 differential has been dis-assembled: My plan at the moment is to strip, prime, and paint all of the gloss black enamel parts of the car that haven't yet been painted... in one day! That will require suitable planning and space. I am thinking I will wait until I am 100% done with the car body work and have carted it off to the paint shop. That will free up a lot of room in the garage. The list of items is extensive: front crossmember front control arms front compression rods front strut housings front strut springs (both stock and aftermarket) front strut upper spring seat front strut upper mounts front ball joints anti-roll bar anti-roll bar mounting reinforcement plates anti-roll bar mounting brackets steering knuckles steering arms outer (already painted) steering rack housing steering rack mounting brackets steering rack u-bolt brace steering shaft with u-joint front wheel hubs front differential crossmember - diff and front suspension mount differential limiting strap brackets differential rubber isolator mount - front differential rear mount - mustache bar differential rear mount - mustache bar washers with bonded rubber differential case differential front flange to driveshaft driveshaft (already painted) rear suspension crossmember - rear suspension mount rear suspension vertical supports rear suspension brackets - control arms to vertical supports rear suspension control arms rear axle shafts rear axle shaft - inner flange to differential rear axle shaft - outer flange to axle/hub rear wheel hubs rear brake backing plates rear strut housings rear strut springs (both stock and aftermarket) rear strut upper spring seat rear strut upper mounts engine oil pan engine mounting brackets engine mounting isolators transmission mount transmission mounting isolator clutch slave cylinder handbrake handle assembly (partial) radiator gas tank driveshaft (already painted) seat frames lower seat backs upper pedal box (already painted) clutch pedal (already painted) brake pedal (already painted) gas pedal brake booster one way valve mounting bracket brake booster mud guards inside front fenders hood tension rods front tow hooks rear tow hooks battery upper frame Then again, maybe I will do a couple of batches - it might be easier in the long run!


-
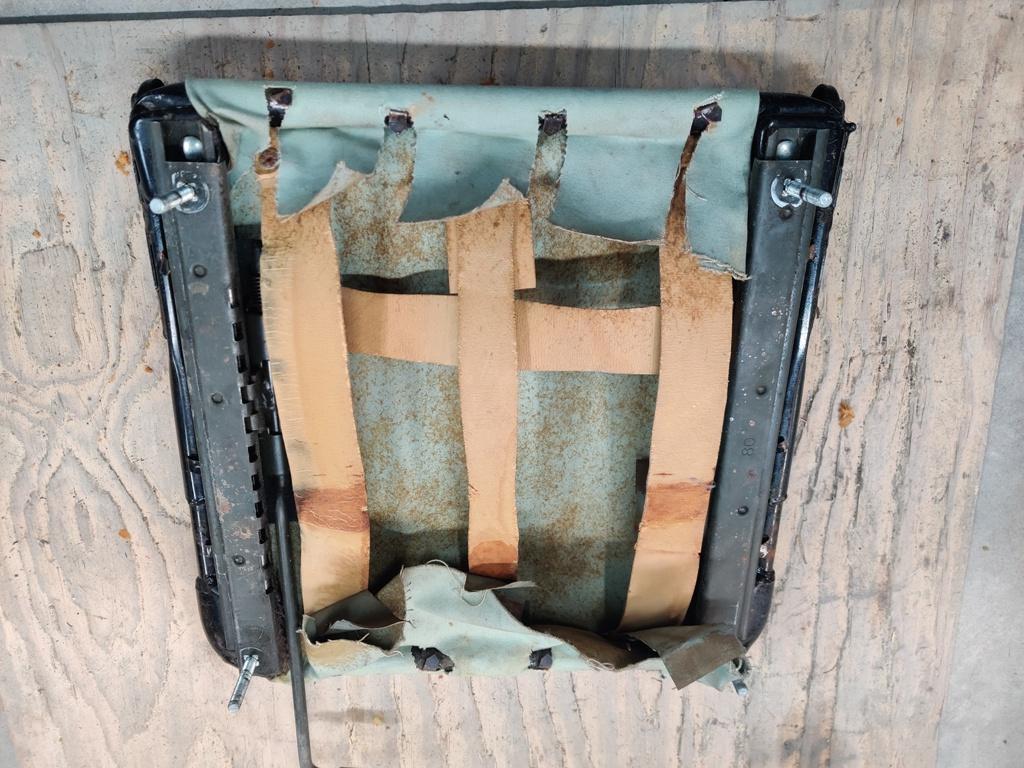
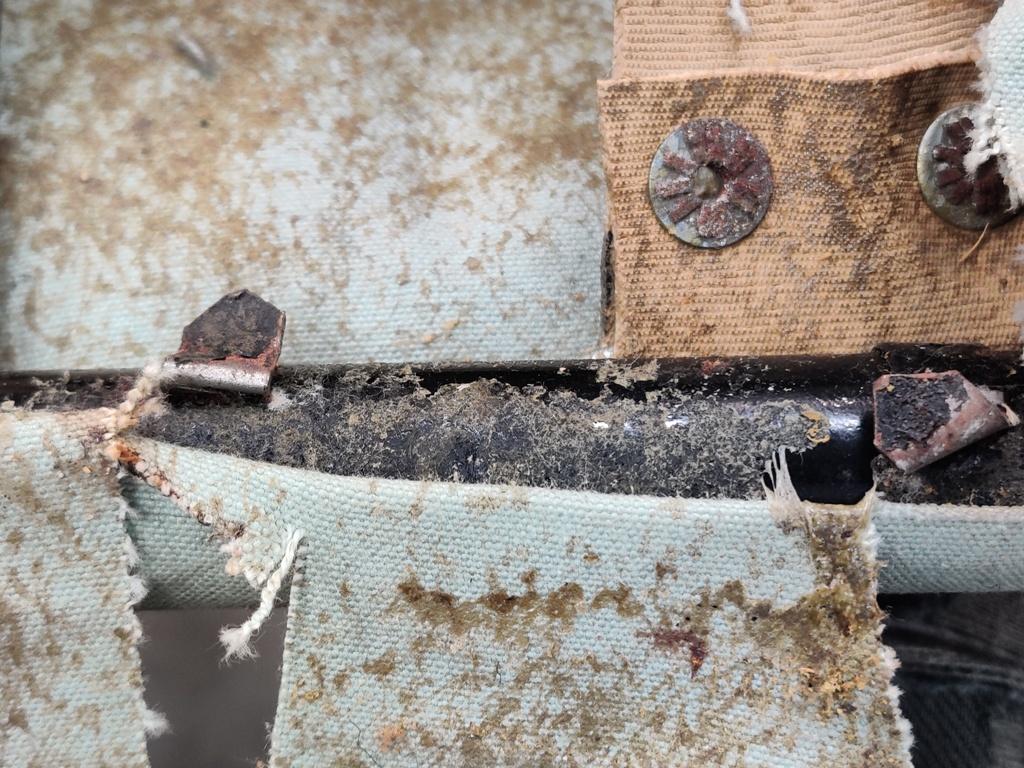
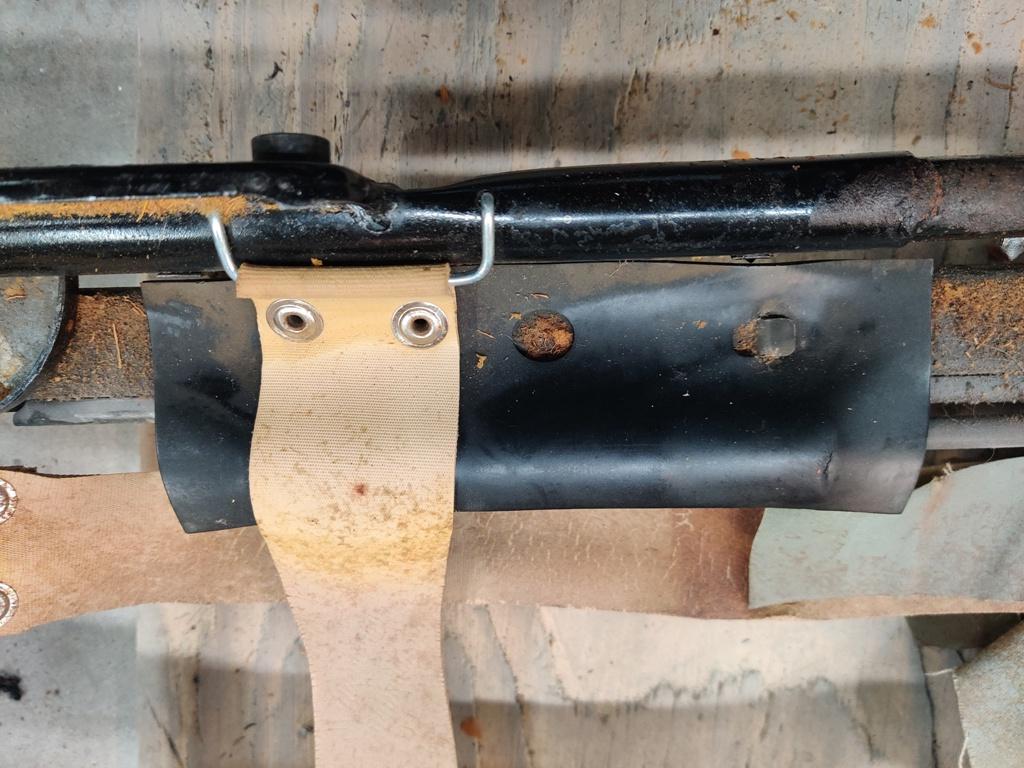
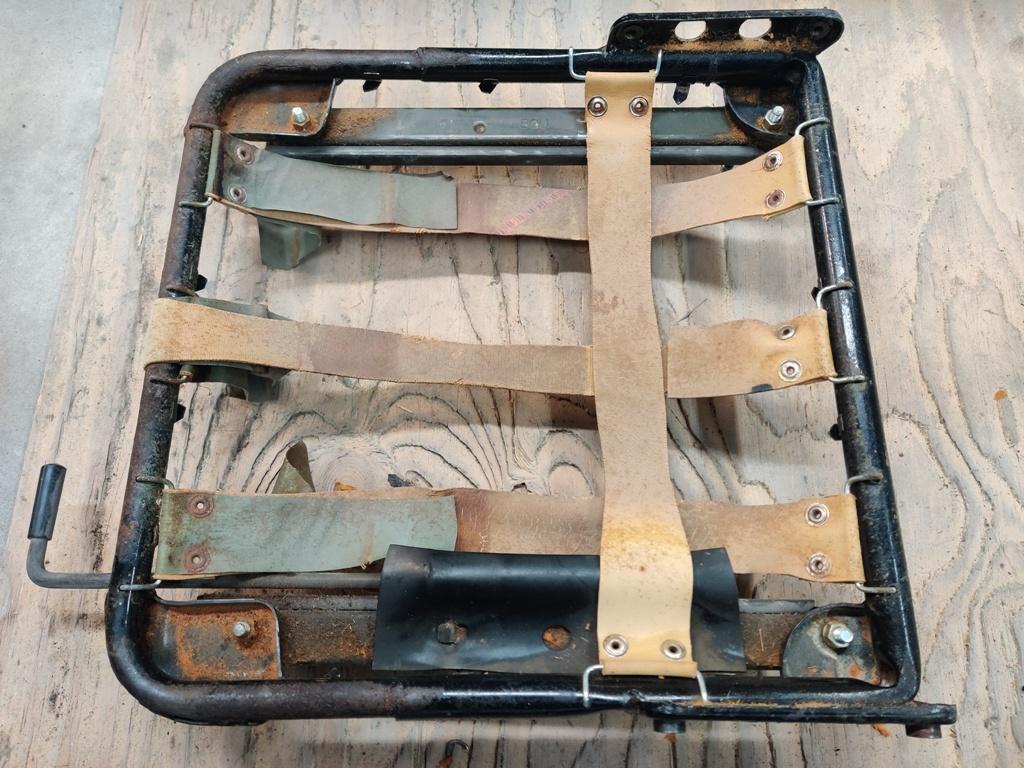
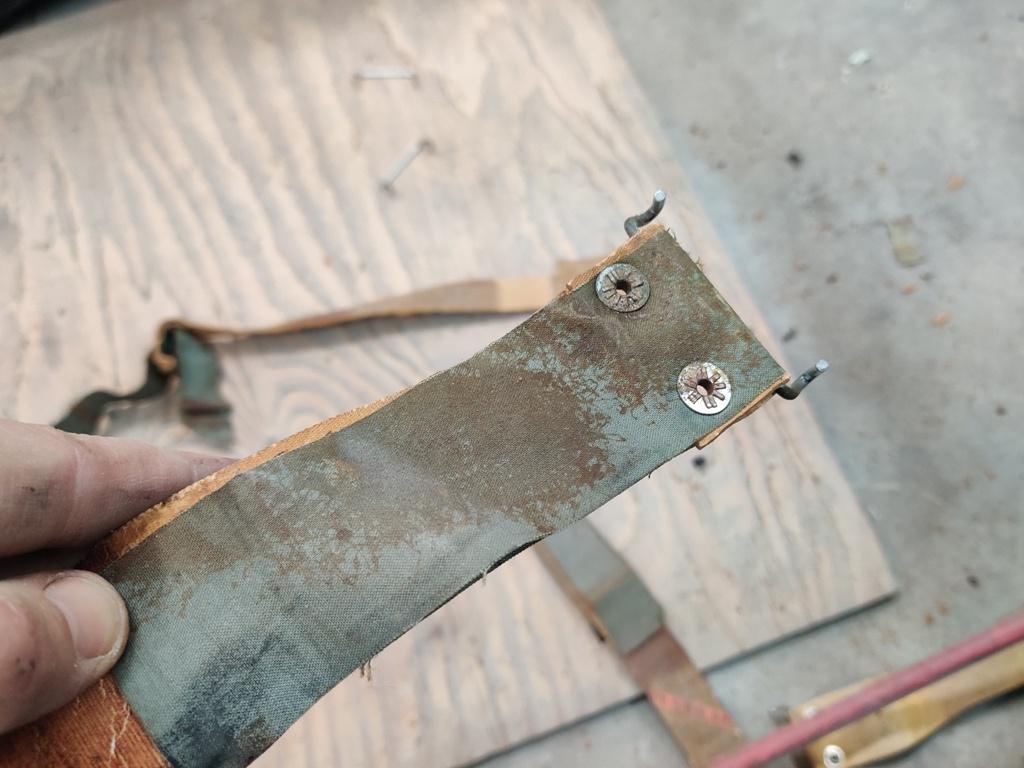
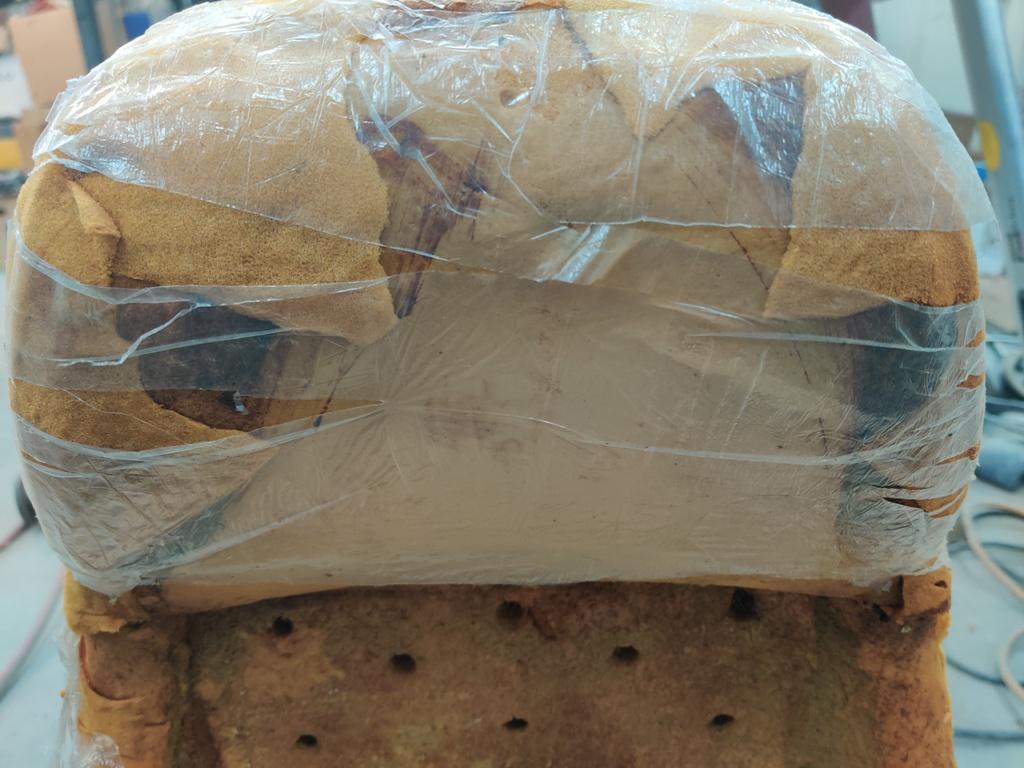
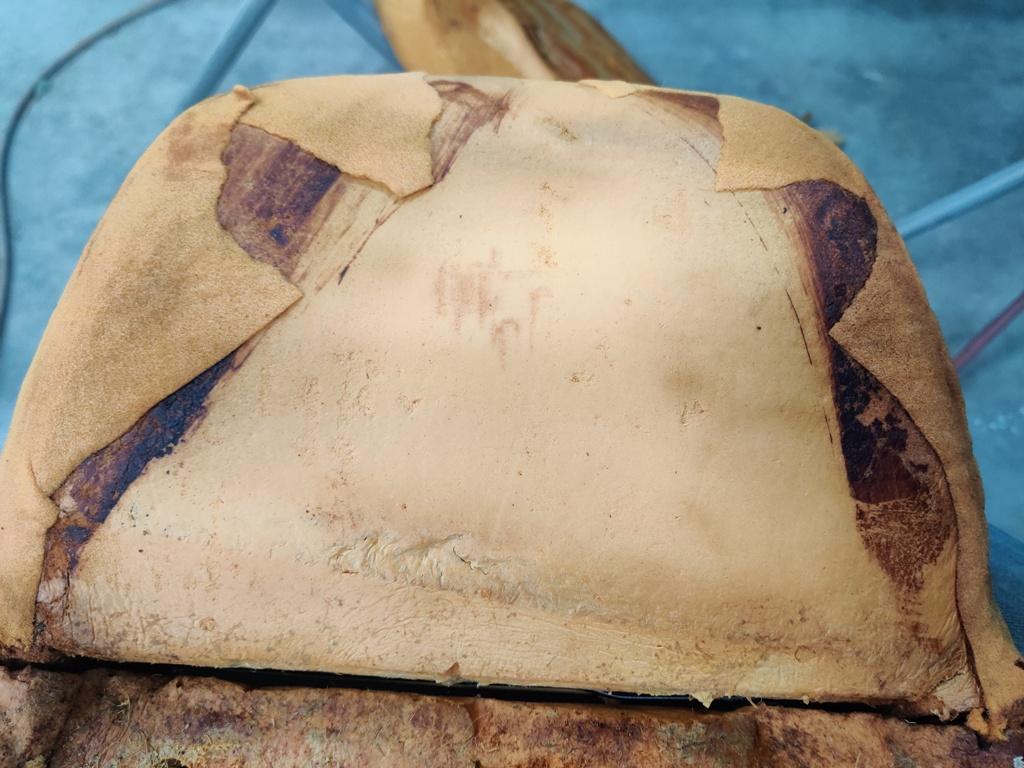
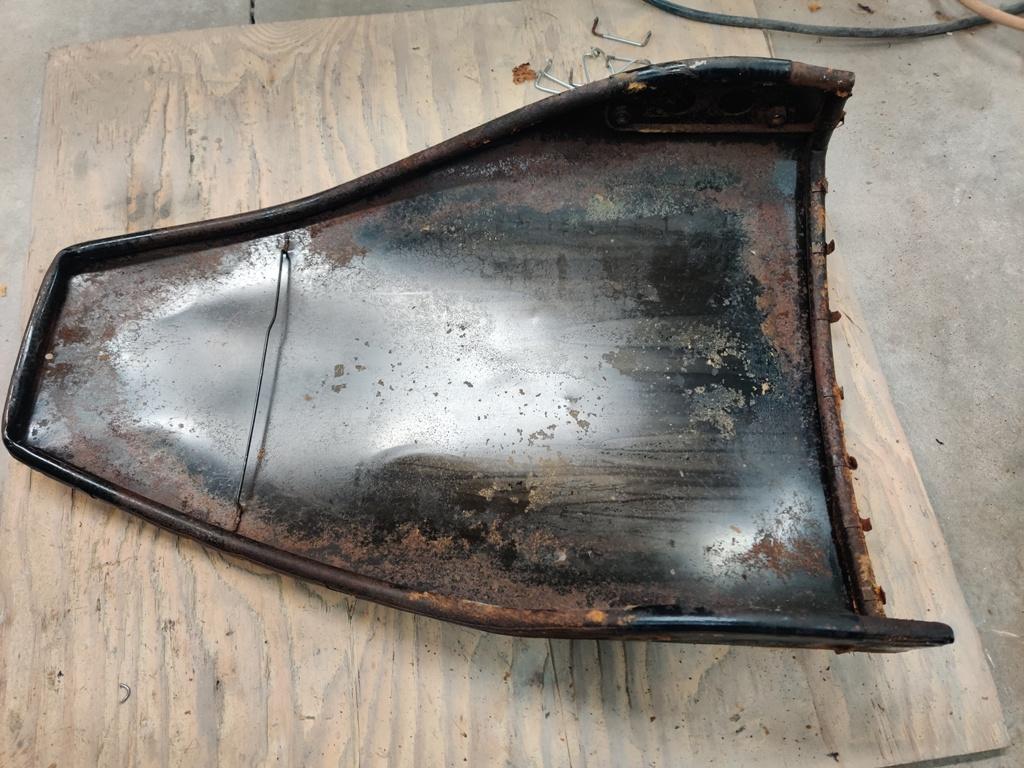
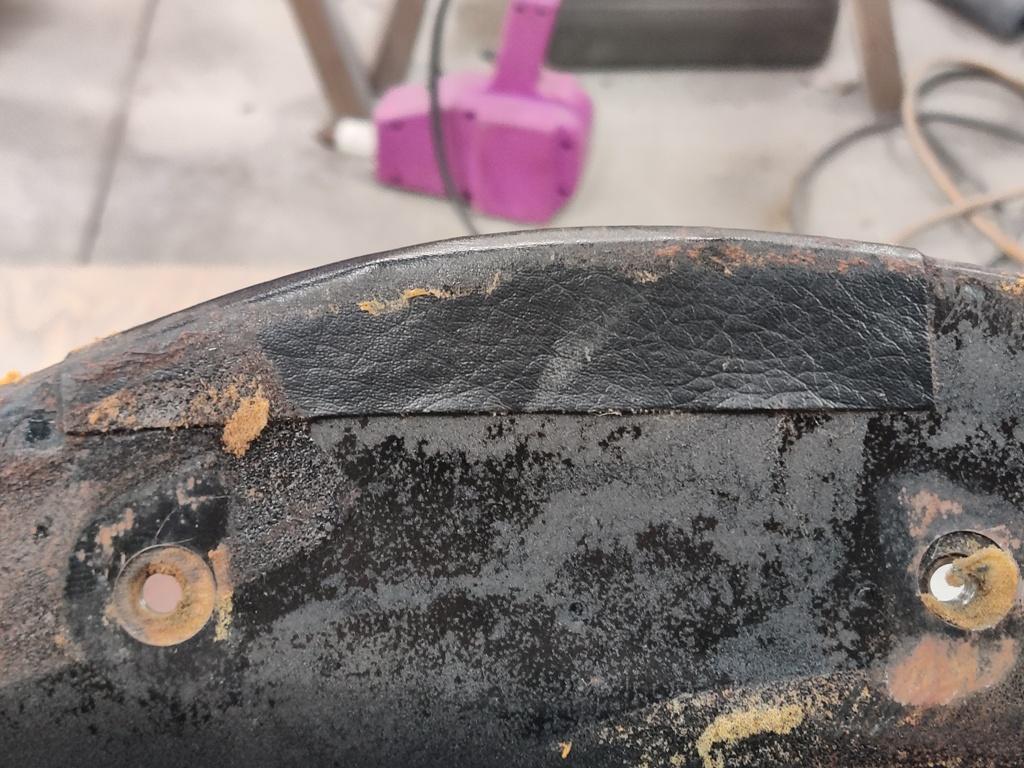
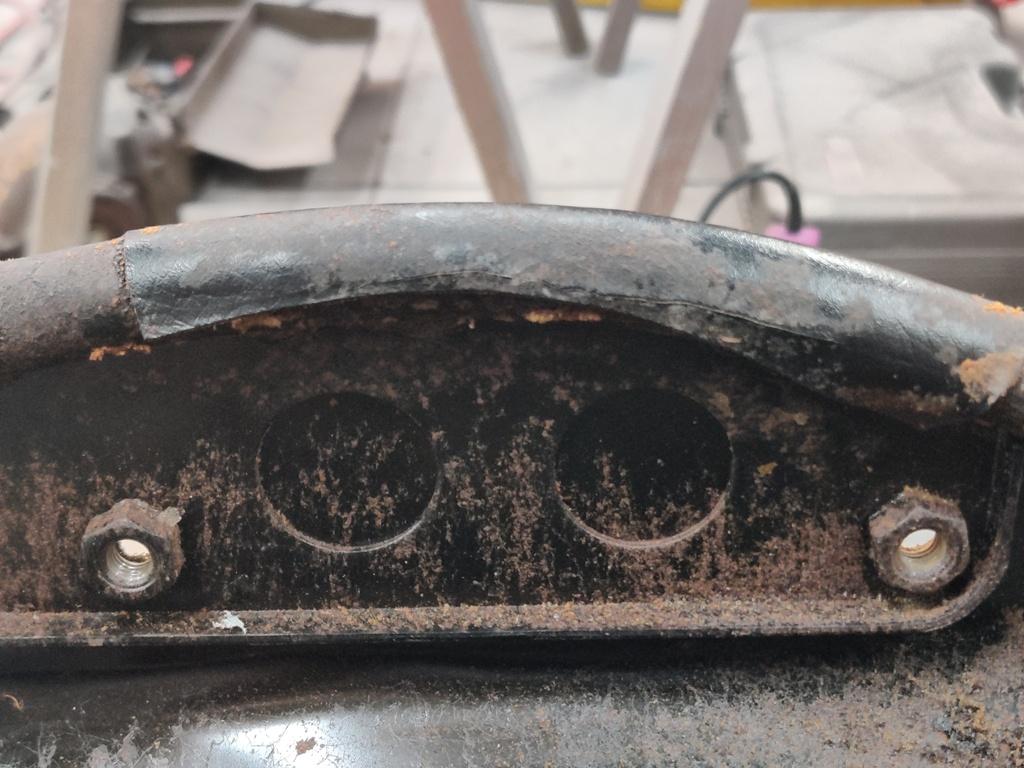
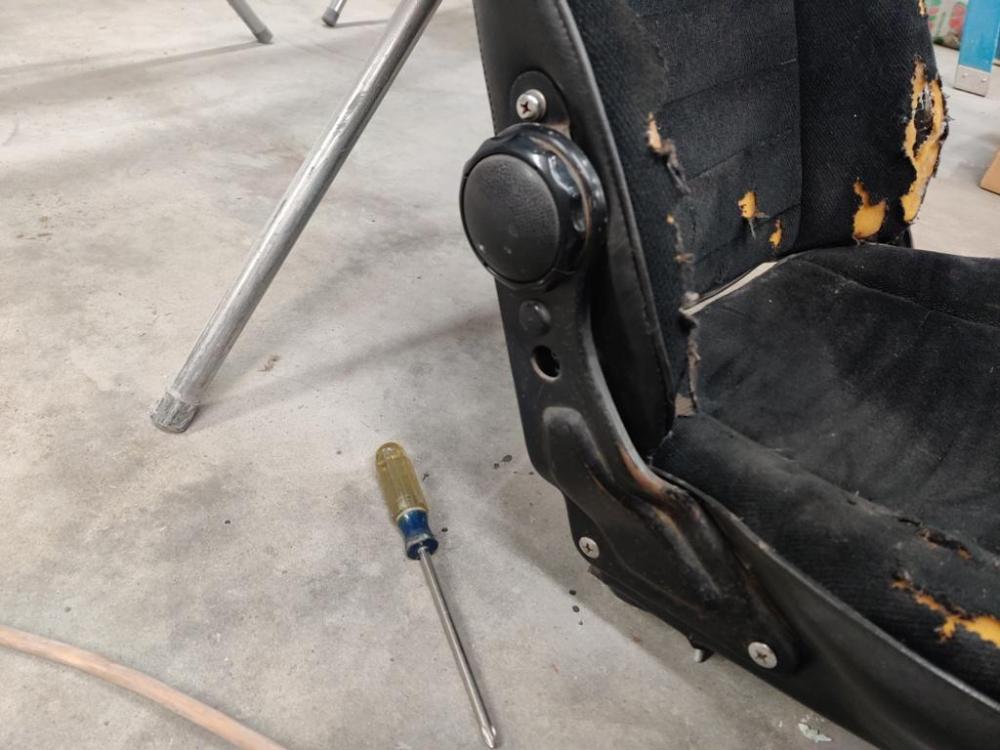
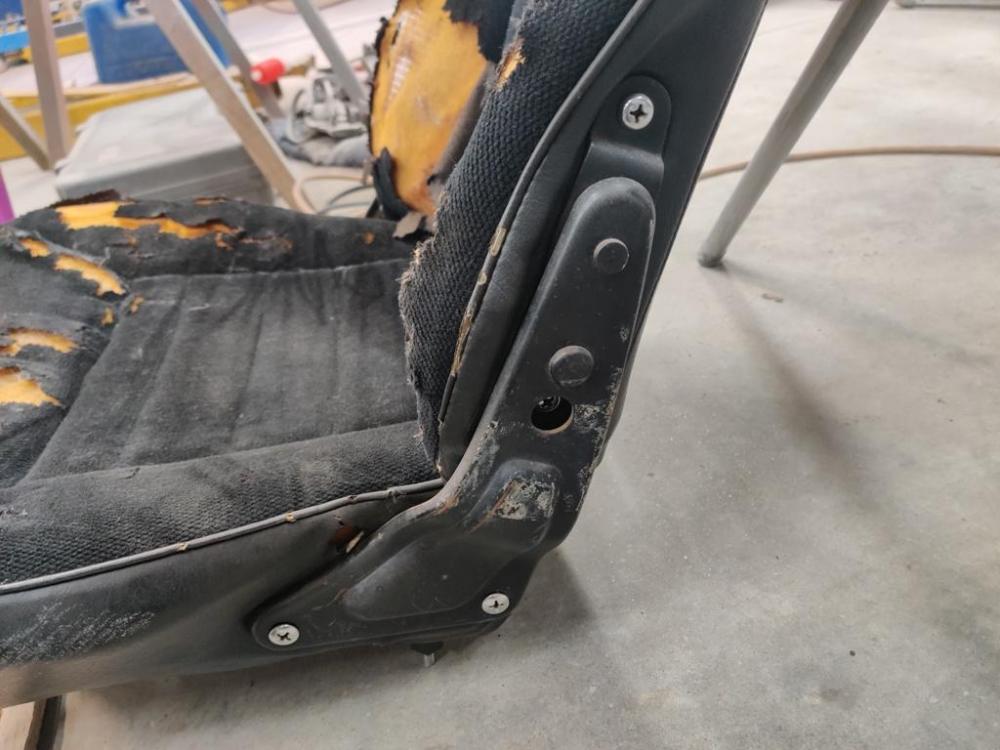
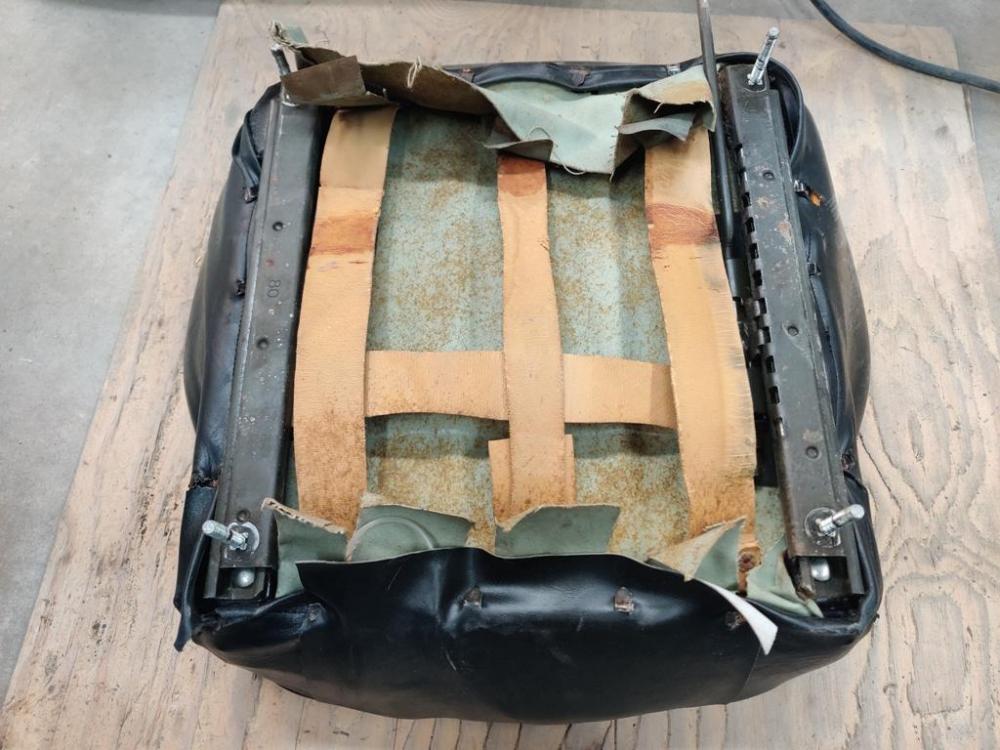
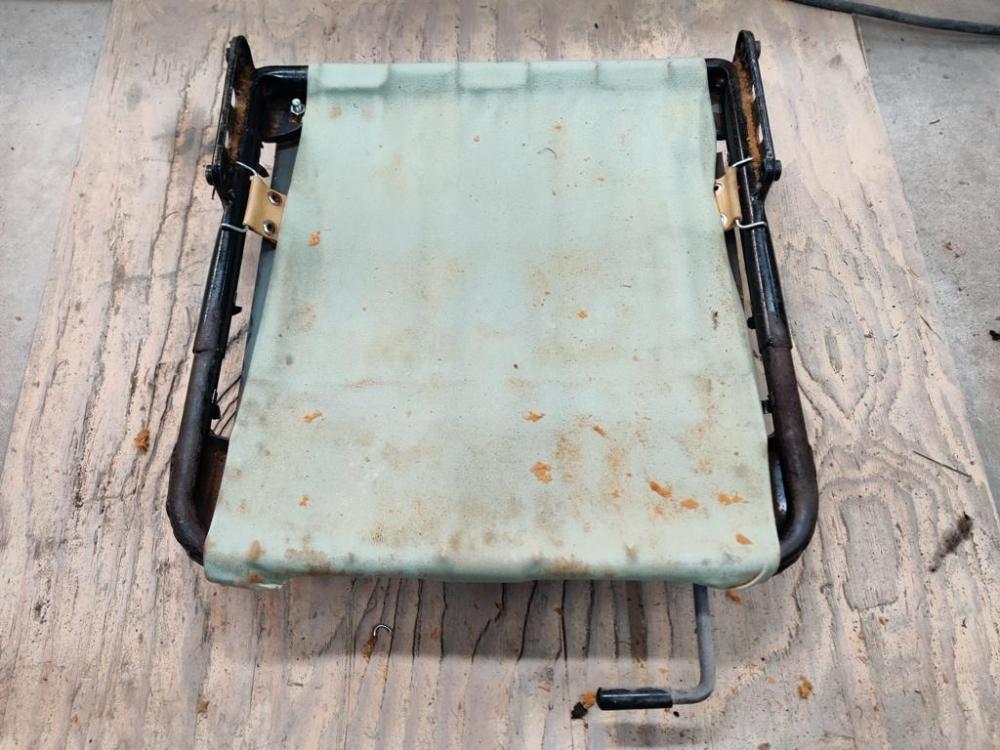
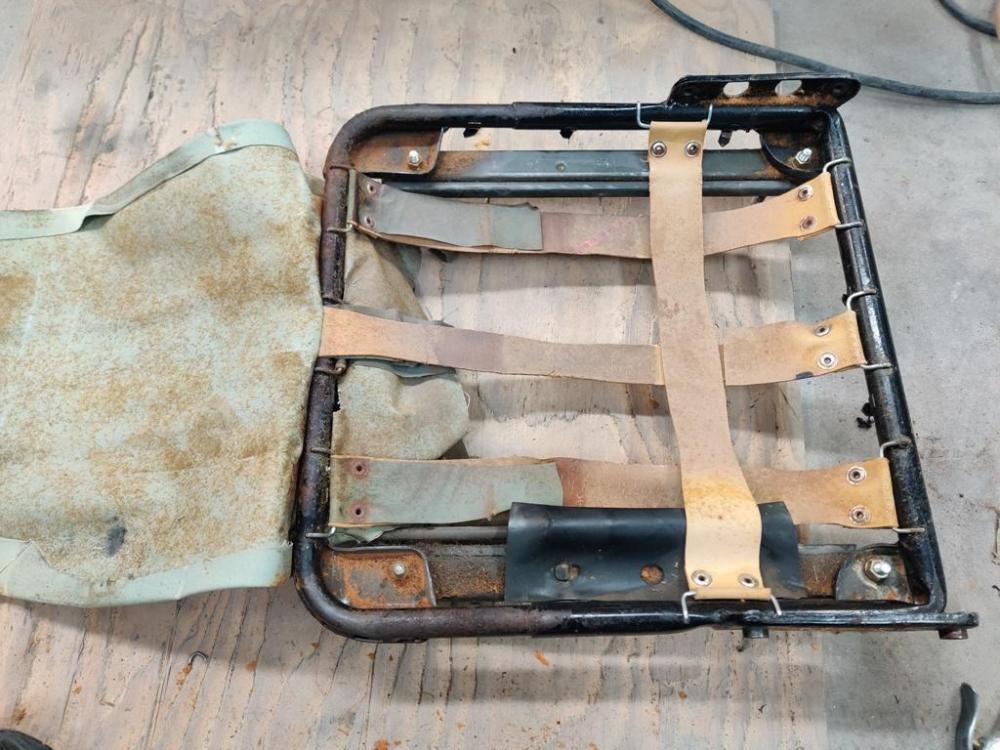
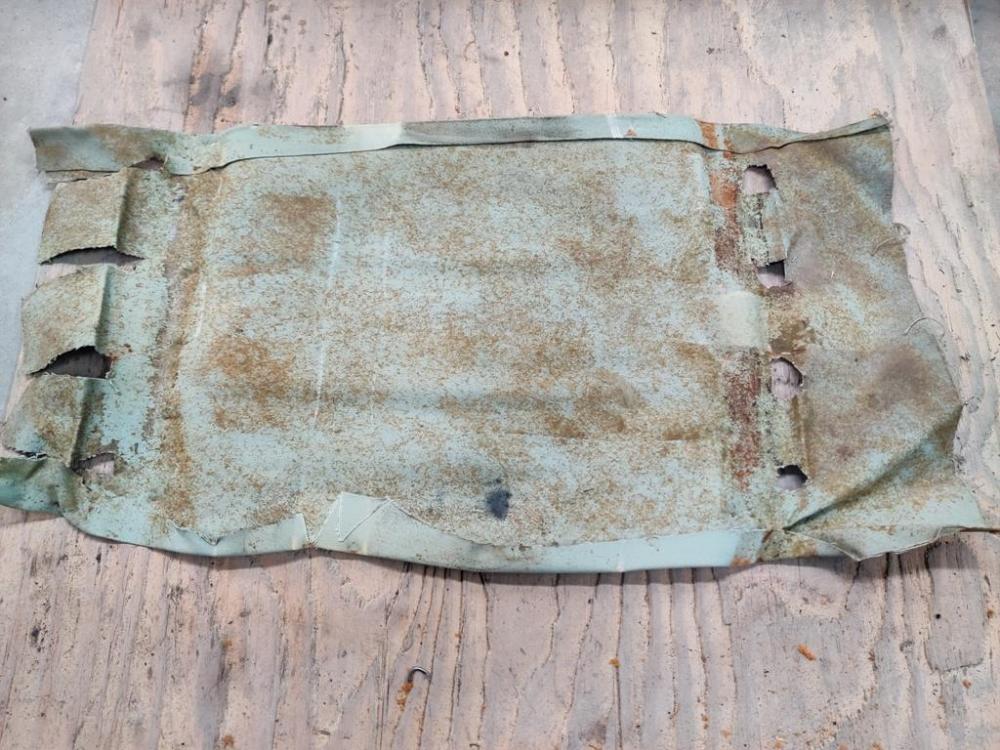
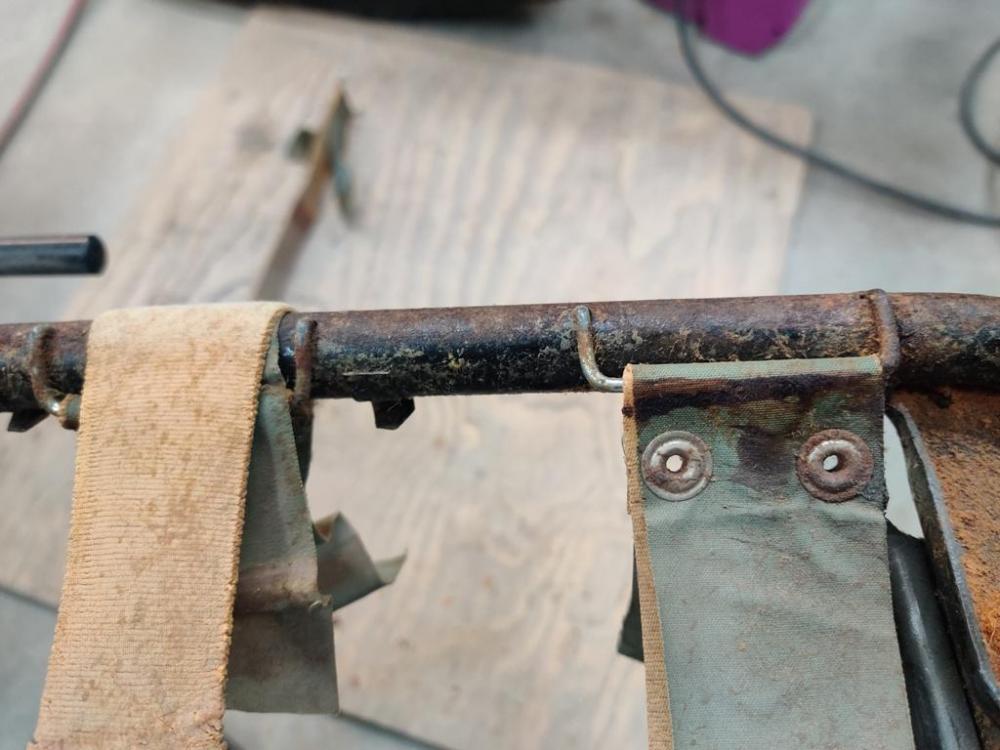
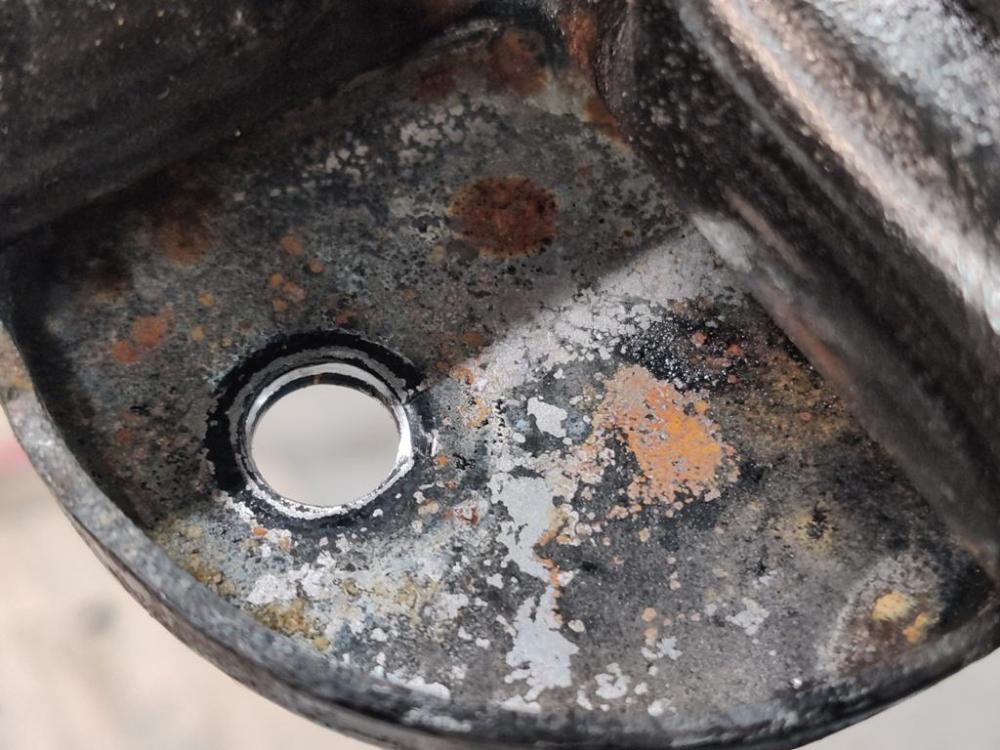
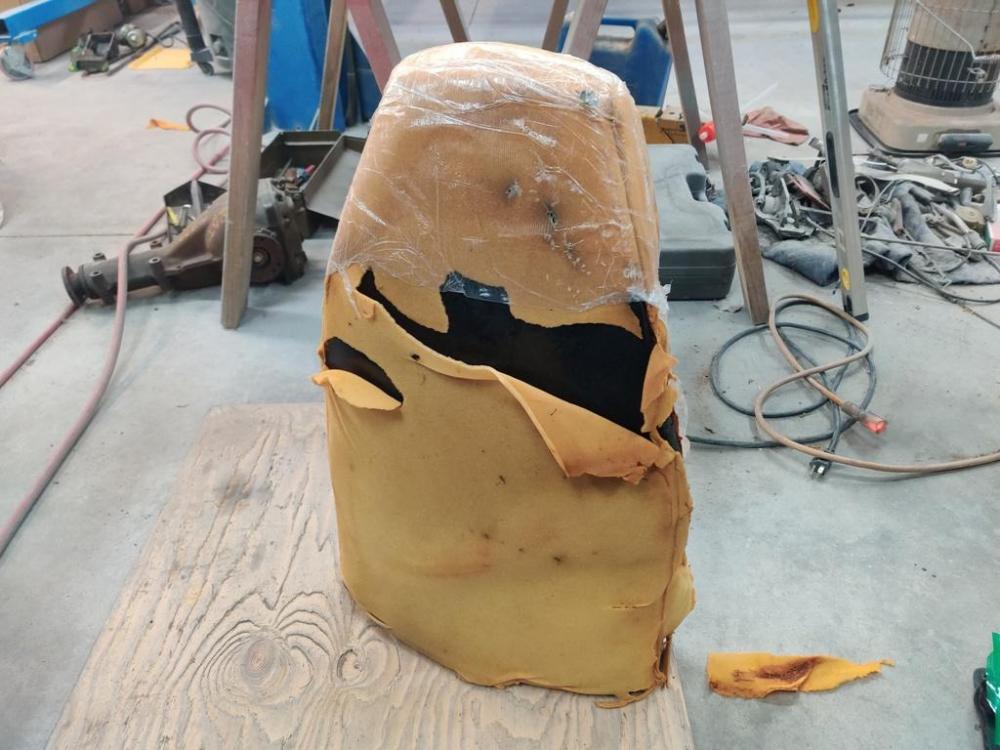
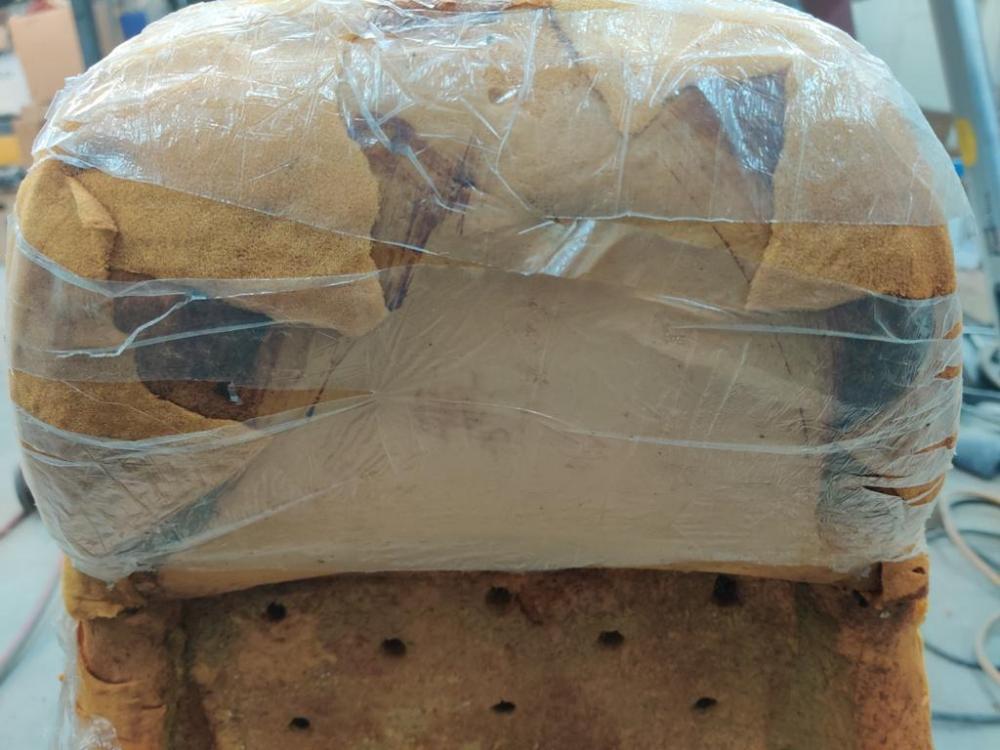
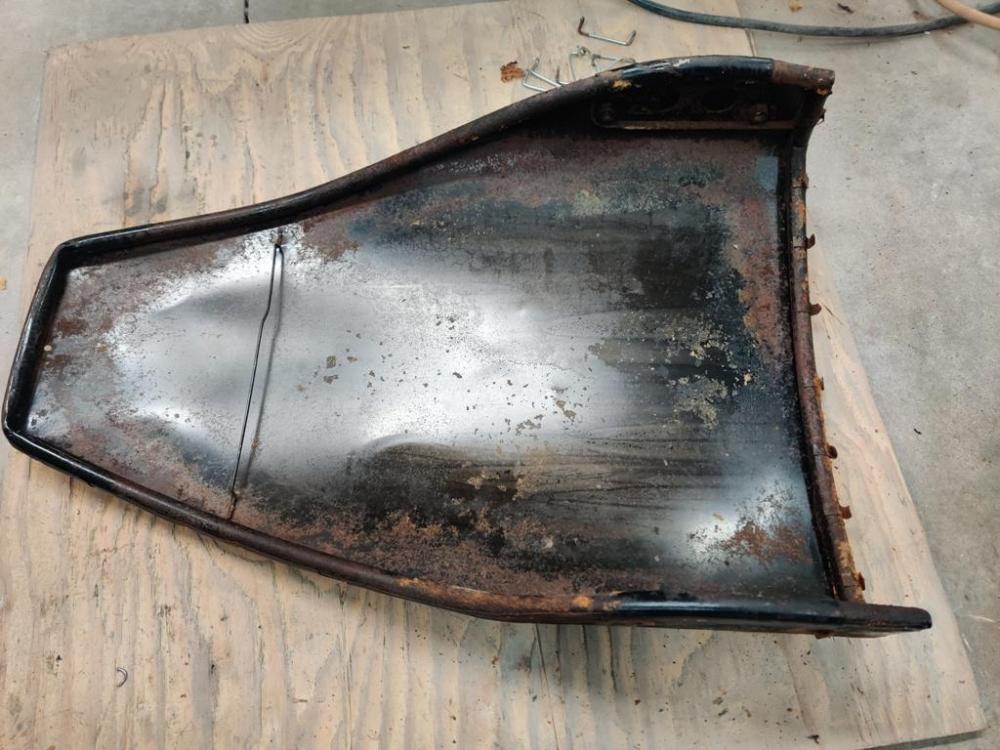
I went on another quest to find hardware that I have not run through the prep process yet and it led me to my seats. The seats had been recovered at one point, but thankfully, whoever did that work didn't disturb much of the original construction. So, I was able to take pics and document how things were done at the factory, which I hope to replicate accurately. Some disassembly pics: A piece of material was glued in place over top of the straps. I found that interesting as the material is just a canvas type cloth was not inherently flexible. So, I don't think there was much give in it compared to the straps which were elastic. The "U" shaped wires that hold the straps to the frame were some of the hardware I was after for re-plating. The "elastic" straps were stretched and hard as concrete. This should be considered a mandatory replacement item for "original" 240z's with this type of seat construction for sure. Bare metal in the seat frame that hasn't even surface rusted. Original foam application from the factory included a thin sheet glued to the back of the seat with edges wrapped around head rest foam and then covered by a super thin clear "bag" of plastic I disassembled both seats, and collected the hardware I needed to get plated. Both of my seat back adjustment knobs are cracked, so I will look for some that are not. The design is not very good on those - they are not very sturdy. It would be nice if there were some one piece billet ones available, but that is not likely to happen. I saved all of the seat foam - in case. I plan on buying new foam which is available from online sources. I have black seat upholstery that was made by Distinctive Industries, and understand that I have to pair that up with the correct foam version (there are a couple of options available currently) for proper fit. For now, the hardware from the seats will be cataloged and bead blasted, tumbled, etc. I am running out of hardware to track down... I think! I am looking forward to moving on from the hardware stage of the restoration.


-
View Advert Fair price paid for 240z parts I need Hi, I am attempting to restore to a high standard, a 6/1971 240z. Here is my wish list of parts I'd like to track down: original radiator without automatic transmission fittings - need upper and lower tanks/caps to be usable Seat recline knobs (not cracked) -- item #6 in the picture here: http://www.carpartsmanual.com/datsun/Z-1969-1978/body-240z/seat-slide/type-1-adjuster-seat/6 plastic vents in front corners of the engine bay (no tears or holes in the vents please) brake master cylinder and caps - correct for a 1971 240z. hood latch top plate (no dents or damage) 1 adjustable length throttle linkage rod with plastic ball joint on each end - long or short - either one metal engine fan blade assembly and possibly mounting hardware Amco - aftermarket rubber floor mats original nissan power antenna or power antenna parts 4 pieces - rubber trim glued to corners of tool door compartments (compartments are in the front of the rear hatch deck/floor area) original 14" Bridgestone 175HR14 RADIAL RD-150 spare tire. Prefer DOT code of (check DOT code on tire) "221", "231", "241" or "251", but let me know what yours is original carpet padding "jute" (brown horse hair like stuff). This "jute" was originally installed under the front floor carpet mats, under the seats, under the center tunnel diamond textured vinyl trim, and under the carpet in the rear hatch deck/floor. This stuff is fragile, and it would be nice, if you have any that is in good condition, to take some care with removal (it was glued to the tunnel) and care with packaging for shipment. Removal with diamond patterned vinyl trim/cover still attached (glued) to the top side of the jute would be preferred. 4 original hubcaps for a 6/1971 240z battery cover (plastic) related parts for 1971 240z original scissor jack and related red painted jack tools, yellow wheel chocks and black vinyl tool bag. I am looking for some in really nice condition. There are letters stamped into the base of the jack that need to start with the letter Q (1971), and then be followed by F (June) as the second letter, then followed by A through Z or AA through EE as the third letter. As best I can tell, I need a jack with any of the following stamps: (QFS, QFT, QFU, QFV, QFW, QFX, QFY, QFZ, QFAA, QFBB, QFCC) Garrett 434-227-2333 Marietta, GA 30062 Advertiser inline6 Date 03/06/2021 Price $1,000.00 Category Parts Wanted Year 1971 Model 240z
-
Did you want to revisit these? I recently sold some items and the buyer used their workplace to get better shipping rates. He emailed me FedEx shipping labels - shipping was a lot cheaper than my "walk in rates". Let me know if you might be able to get better rates. Wheels are packed up and I can get weight and dimensions.
-
Nice... I spy a reverse idler gear that looks like it has no wear. Did you end up replacing anything besides bearings, thrust washers, or seals?
-
Ok, good to know. Before I send everything off, I will separate it out somewhat. Parts with rubber or plastic will be by themselves. Hopefully, I can have them treated separate to avoid damage. I don't have many parts meeting that criteria. Yep. From Jim Arnett's tip, I will be going through all of the hardware and using fine wire to tie together various pieces in groups. I will make sure no hardware is left in an assembled state when it gets put into a box to be shipped off. Those cap parts with the rubber on them are not in the box. The plating looks nice on them, so I elected to leave them as is. The plating on the outer rings of the caps was a bit shabby looking by comparison. So, I went ahead with the full process on them. Thanks for the comments!
-
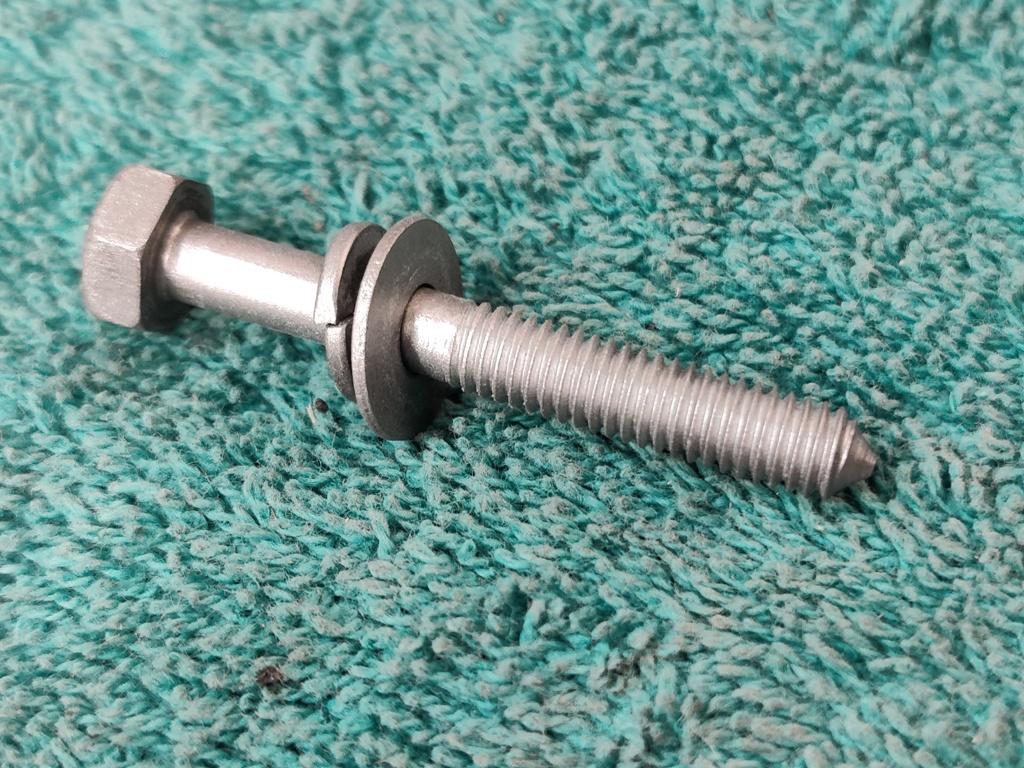
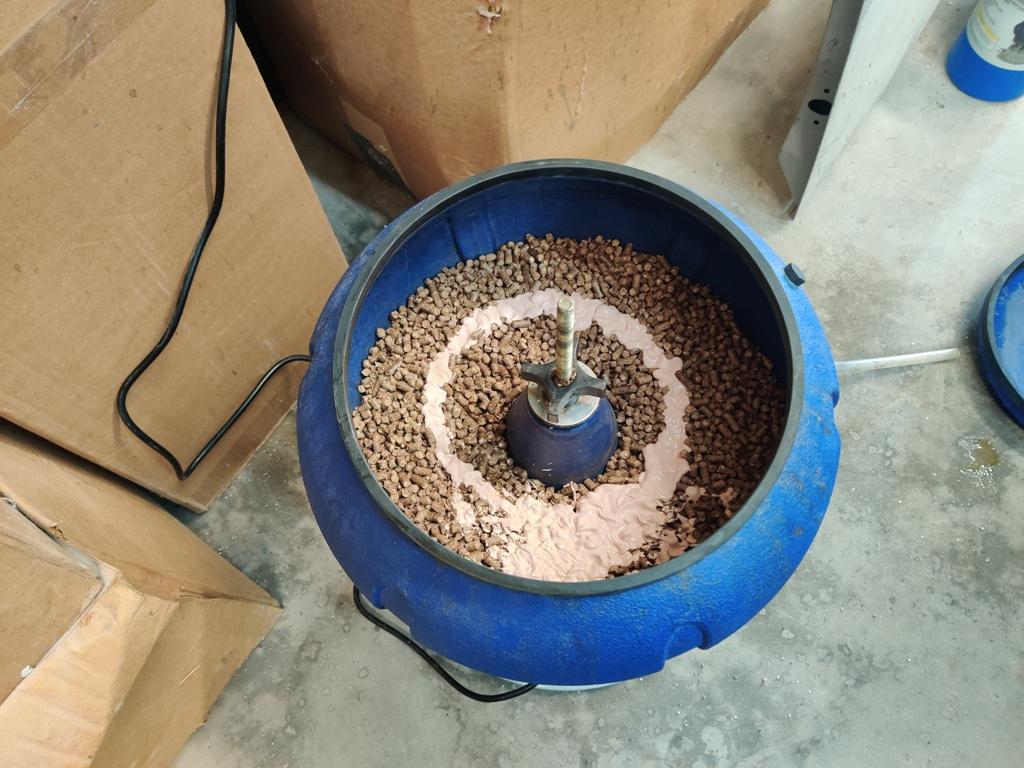
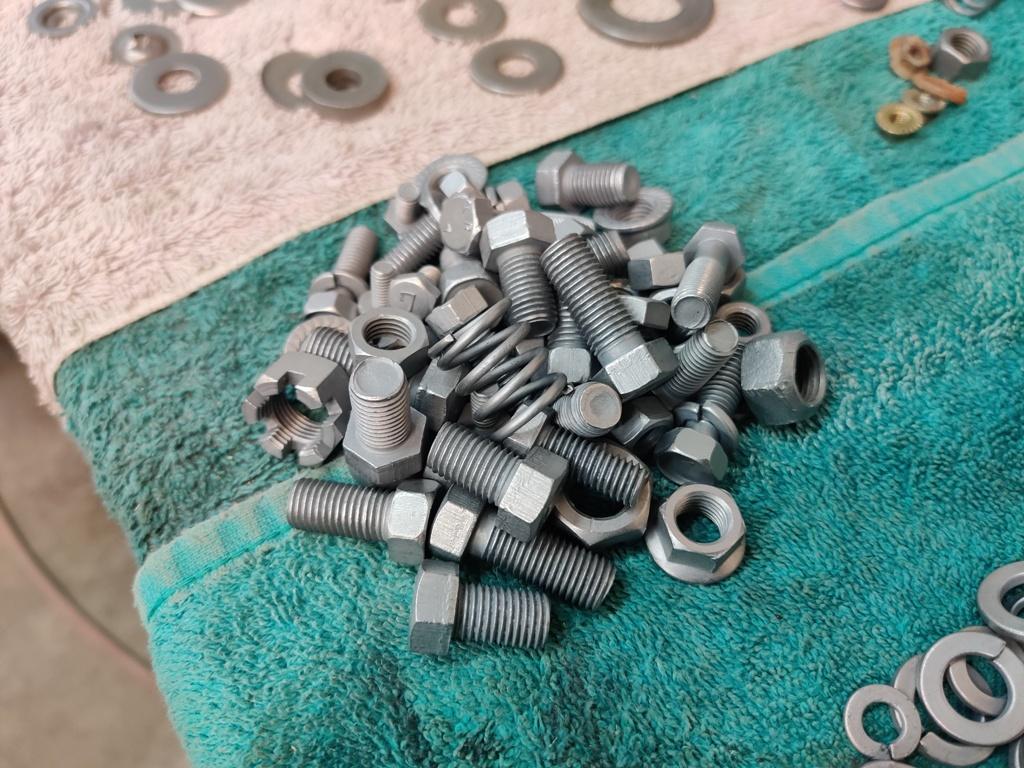
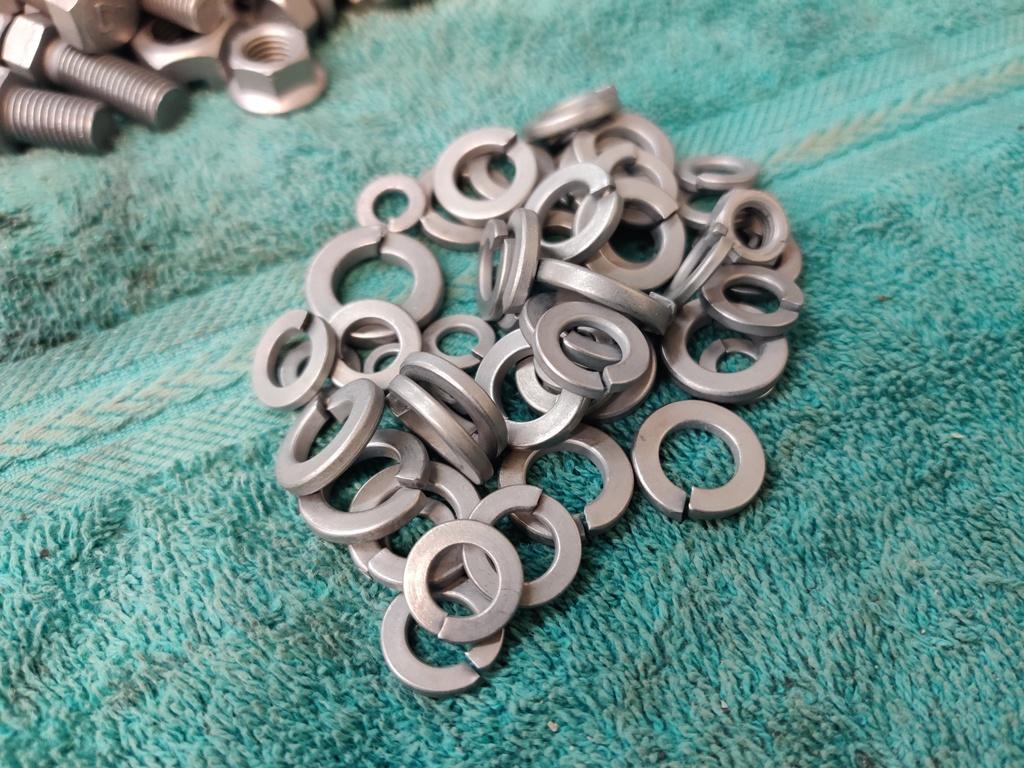
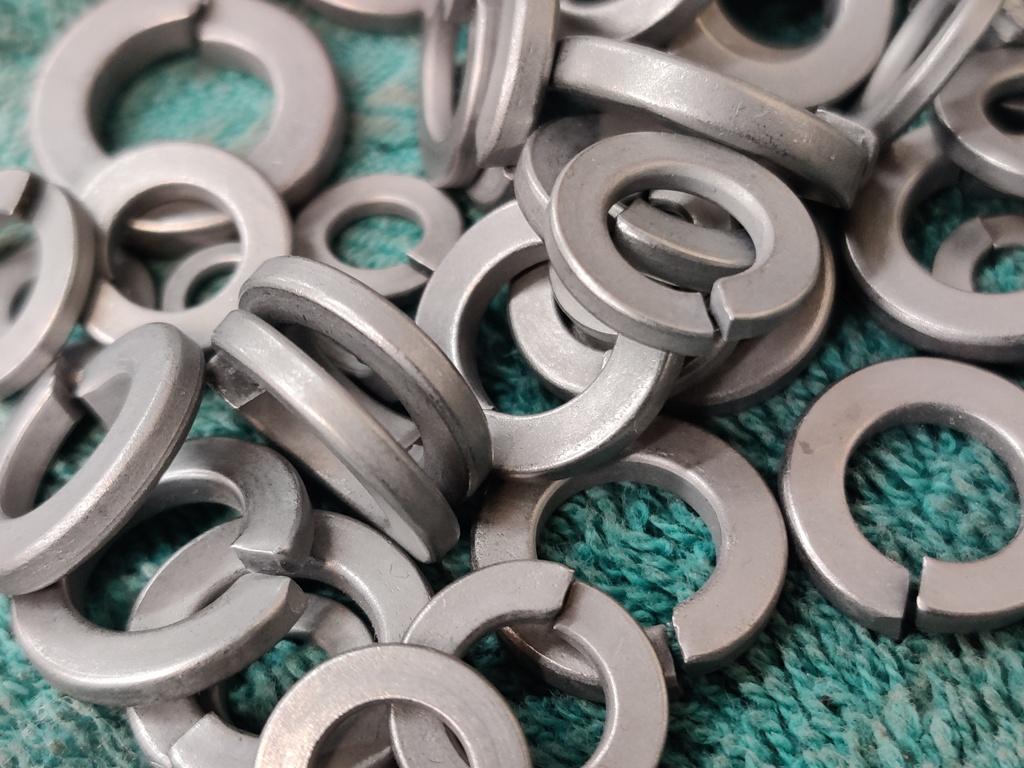
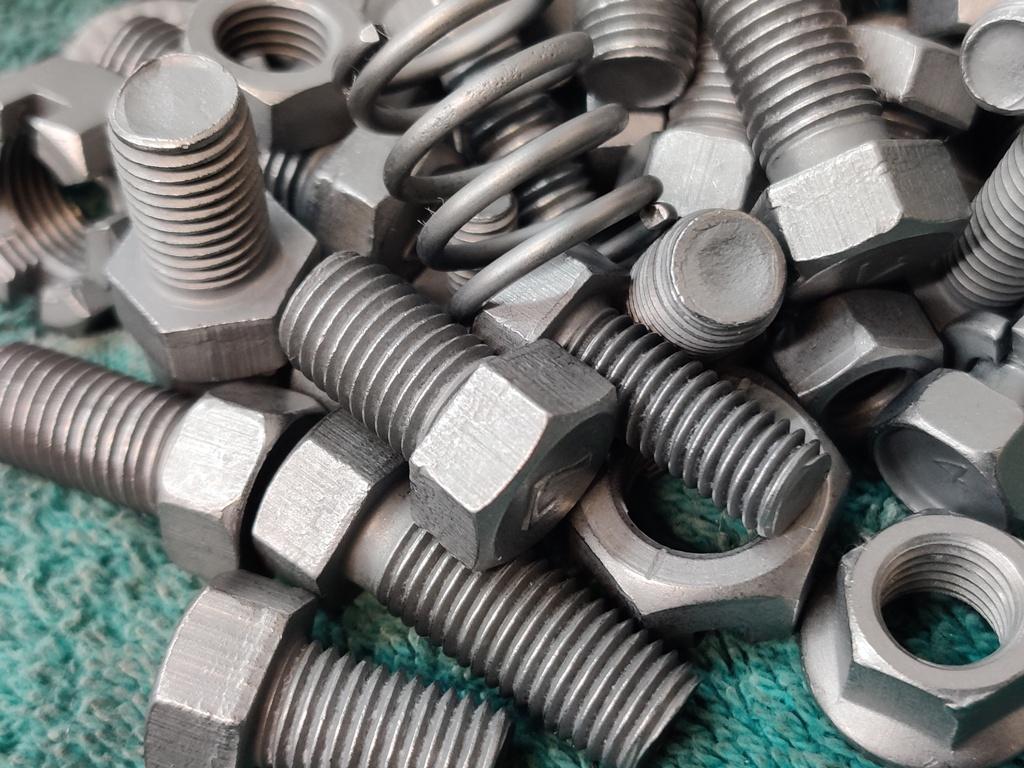
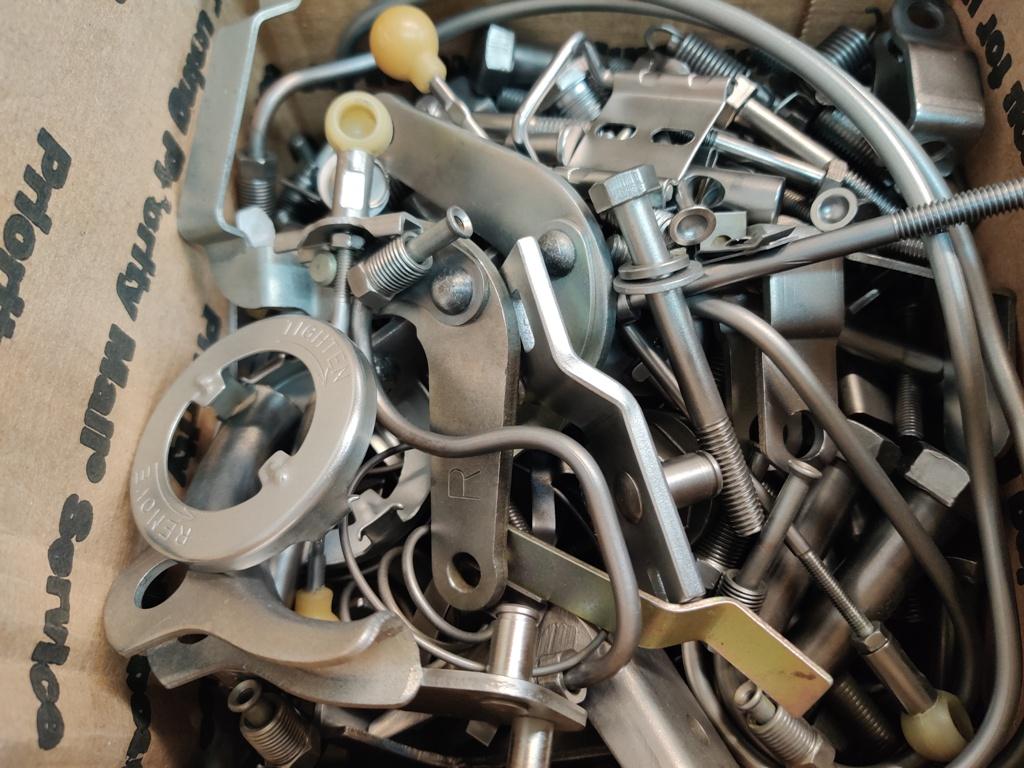
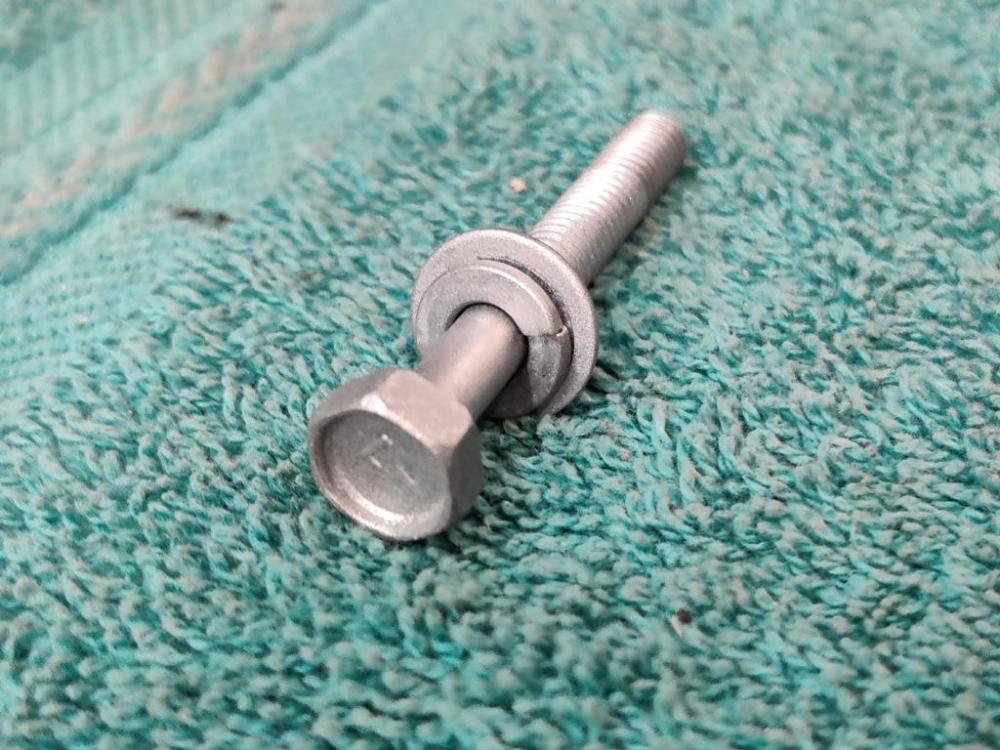
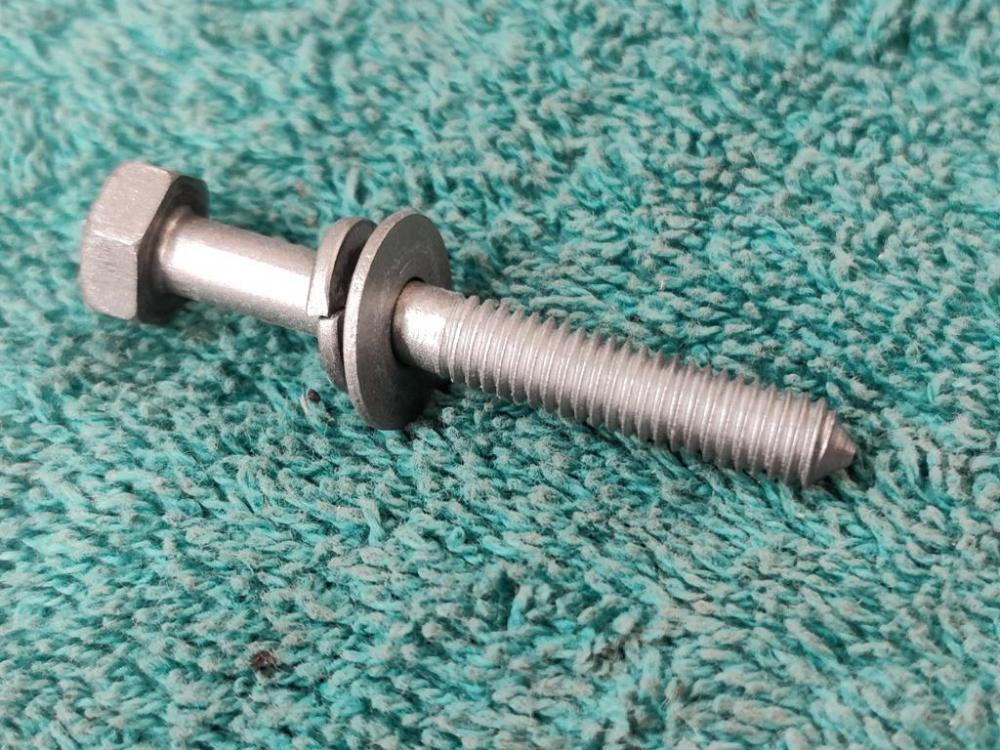
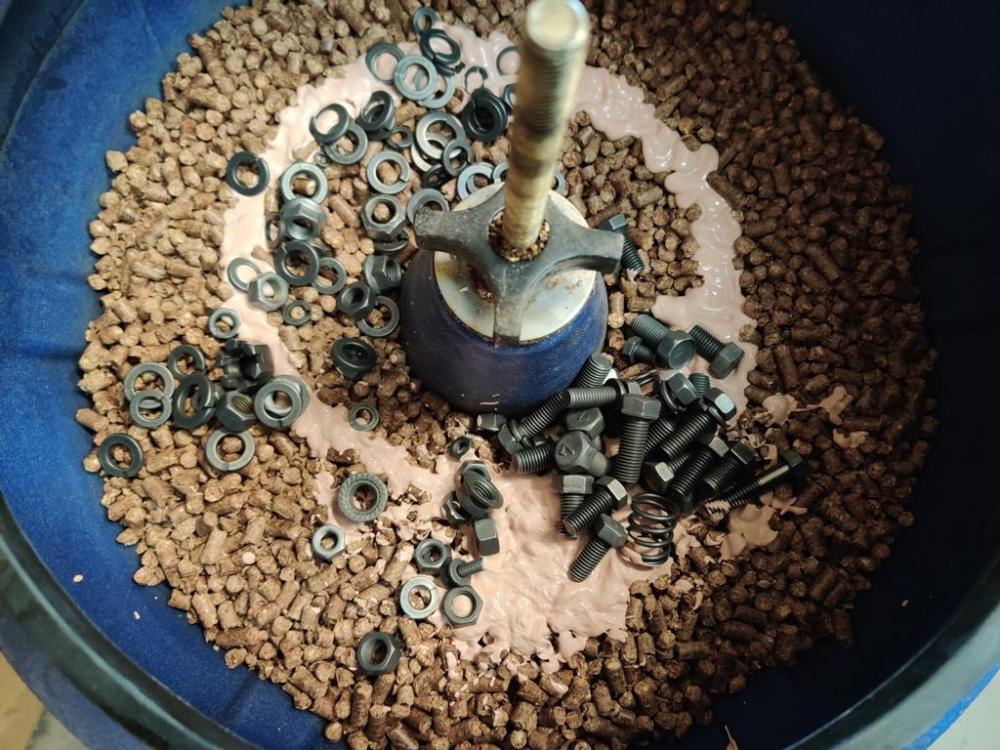
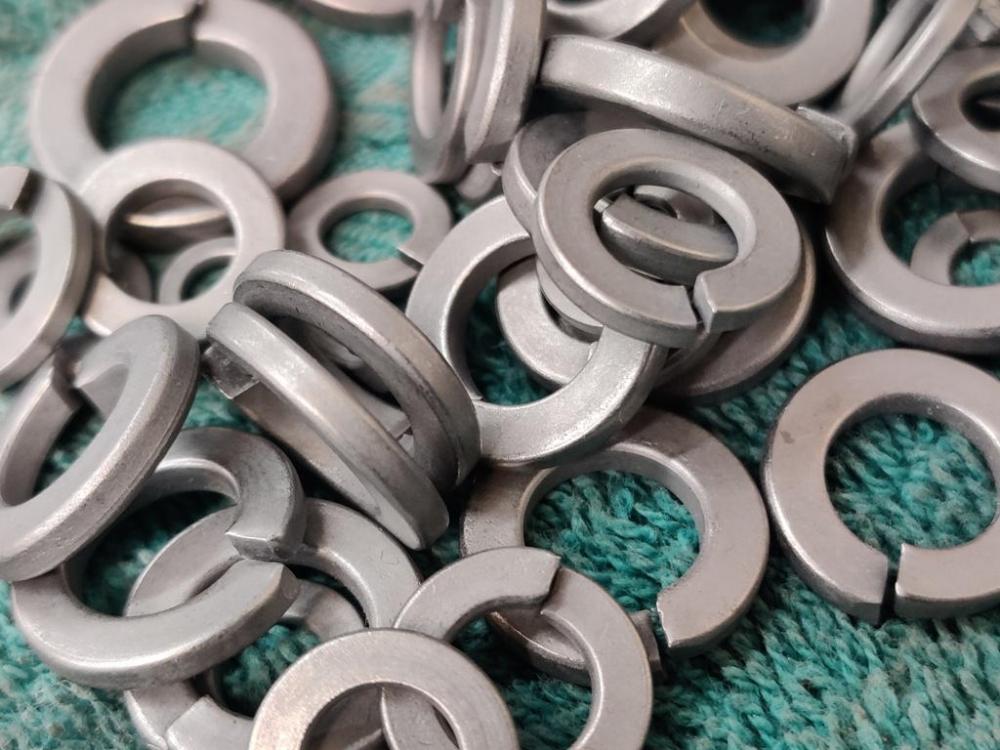
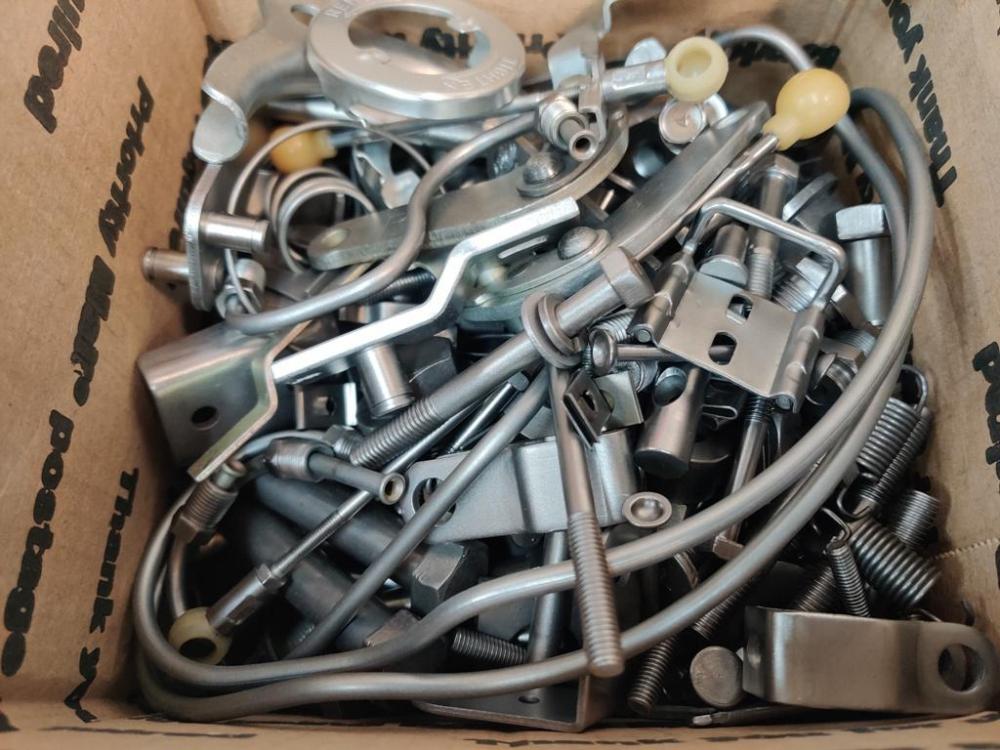
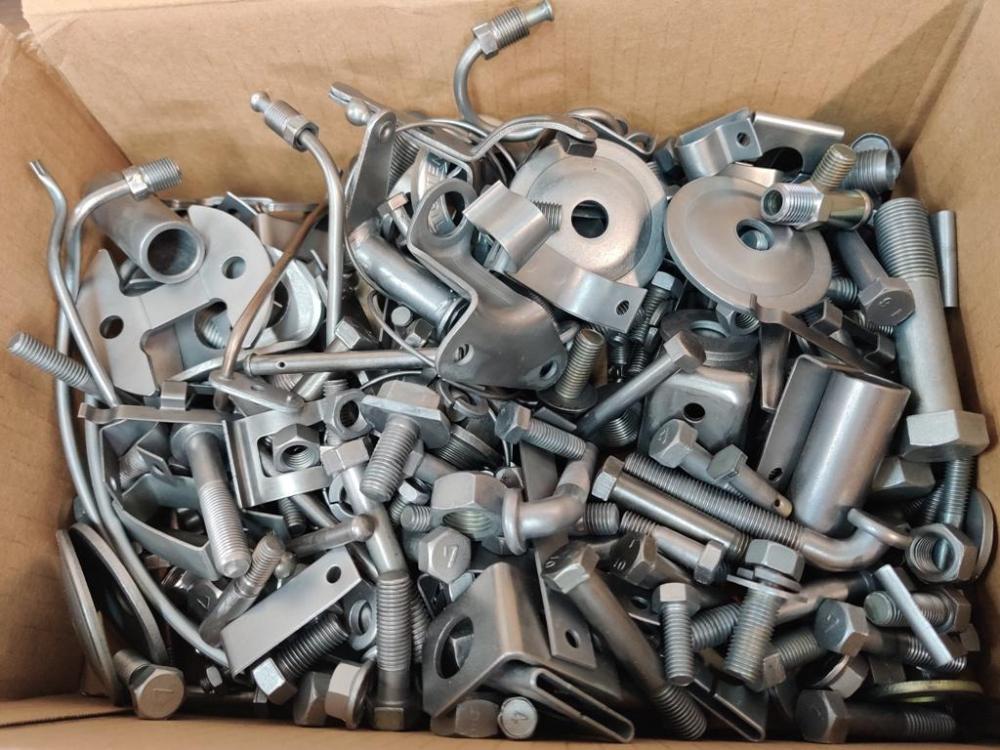
I continue to track down hardware and run it through the process of glass bead blasting, followed by vibratory tumbling with stainless steel bits. And now, I have experimented with another round of vibrator tumbling using corn cobb and Semi-Chrome metal polish. Interesting results with that last one. Some of my hardware came out of the stainless round of tumbling looking a bit dark. On the left here is a "dark" bolt after I hit it with the dremel tool and wire brush. You can see the shiny, lighter silver part. My theory is that the parts in that batch didn't move around fast enough to keep oxidation from making them dark. The right amount of water and citric acid needs to be in the tumbler or the action is "too slow" (I think). Anyway, I experimented with adding corn cobb media and metal polish, along with a bit of laquer thinner for kicks under the theory that it would tamp down the dust a bit and not cause oxidation (rust). After tumbling for a few hours, here is what the dark hardware looked like: They are notably lighter in color. Additionally I blew them off with compressed air, immersed them in a jar of laquer thinner, and blew them off with compressed air again. Close up pics: After all of that, I still ended up using the dremel and a wire brush on the bolts. I am still thinking about a solution that will polish the parts without doing each by hand with a wire wheel. But, at least the amount of time with the wire wheel is low after the other treatments. The box of hardware is getting more and more full. 🙂 Shuffled a couple of times for pics:


-
Part of the reason I am confused by it (again - high valuations for 4 speed equipped cars), is that just swapping the transmission isn't sufficient. Sure, you could switch only the transmission, but for a few of the common 5 speed swaps, performance through the gears suffers without also swapping to a different final drive ratio as well. And some of the five speeds require different drive shaft lengths. Putting a 5 speed can get rather involved, depending on the transmission used, and if done right, in my opinion. Yes though, on the fact that some Z owners drive in a way (short distance, short duration) that 4 gears are totally sufficient. Also, I think a lot of Z's these days don't get driven a lot. Perhaps 4 speed equipped cars aren't dinged in value (on BAT mainly) because they are certainly sufficient when the car is a garage queen.
-
Good info. I suspected that some creativity could be applied to take a mix and match of early and later antenna parts and get a functional "series 1" antenna. I'm on the look out for suitable donor parts. You mention series 2 masts. Do you know when the antennas changed from the point end? My car is a 6/71 series two, and I honestly don't know at the moment which tip the original antenna came with. The antenna did not come with the car.
-
I checked the condition of my 3.36:1 differentials a couple of days ago - the original one and the spare that came with the car. Both have more than the .0078" max back lash, with the one that originally came in the car at about .008". I assume that it has the... roughly 130k miles on it that the odometer and other records indicate. Some work to it (the original one) is necessary. I am inclined to disassemble, replace all of the bearings, and reassemble with the existing spacers/shims and see where I land. That said, I suspect the transmission is in similar condition (some measurable wear). I was able to get the car moving under its own power in my driveway and shift from first to second once without issue (at like 15 mph) before embarking on the car tear down. That is the extent of my knowledge of the condition of the original 4 speed transmission. I have not been thrilled with the idea of rebuilding the stock transmission and differential and putting them back in the car, if I am honest. I get that they have value if restored to original (or as close as possible) function and appearance, and are again put into the car. However, I think the driving experience will be "a little lacking" compared to a 5 speed with a suitable rear end ratio. So, while I will rebuild the original trans and diff, I will be setting those aside. Instead I will also be sourcing a 240SX 5 speed transmission and converting a 4.11 R180 differential (from a 86 Nissan 4X4 pickup) to a limited slip, which will utilize a new Quaife ATB unit. The differential will also be receiving a rebuild. Before beginning disassembly on it, I checked back lash (.005") and examined the ring and pinion. It looks quite good. The transmission still needs to be acquired.
-
For my question, I am assuming the 4 speed is original to the car and the car is still geographically in its "home" market. If the car came with a 5 speed originally and the car is still in its original country of import, then I assume a four speed installed would cause a hit to the value of the car.
-
Thanks for the comment. I noticed your VIN is your signature. The Z in my avatar is a 12/70 also - VIN 16511.
-
Why are 240z's with 4 speeds just as valuable as those that have been converted to 5 speeds? I get that show cars that compete as "original" need them. But that is a small minority compared to all of those (with 4 speeds) that have sold on Bring a Trailer, for example. So, setting show cars aside, why are they as valuable? Being a Datsun enthusiast for over 30 years (early 240z and 510s in particular), my recollection is that nearly everyone chucked the 4 speeds and "upgraded" with various 5 speeds options and matching rear end ratios as necessary. I'd love the hear others thoughts and opinions as to whether you agree with the premise or not and if you do, why the values don't take a hit if the car has a 4 speed. Garrett
-
What year? After 40-50 years, it is quite possible that the arm is bent. There is some adjustment if you loosen lock nuts on the thottle linkage parts. The rods can be adjusted longer/shorter. That said, I made mine to my liking for heel and toe by bending the accelerator pedal arm as needed. I also bent it so the pedal pad is not only closer height-wise but also so there is less gap between the right edge of the brake pedal and left edge of the accelerator pedal. Messing with the linkage rod lengths just accentuated the problem of too much resistance in the throttle linkage required to move from engine idle, causing jerky pedal operation (abrupt throttle opening).