Patcon
 Subscriber
-
Joined
-
Last visited
Everything posted by Patcon
-
 I will look around. I think 1 1/4" is close but haven't found anything yet
 -
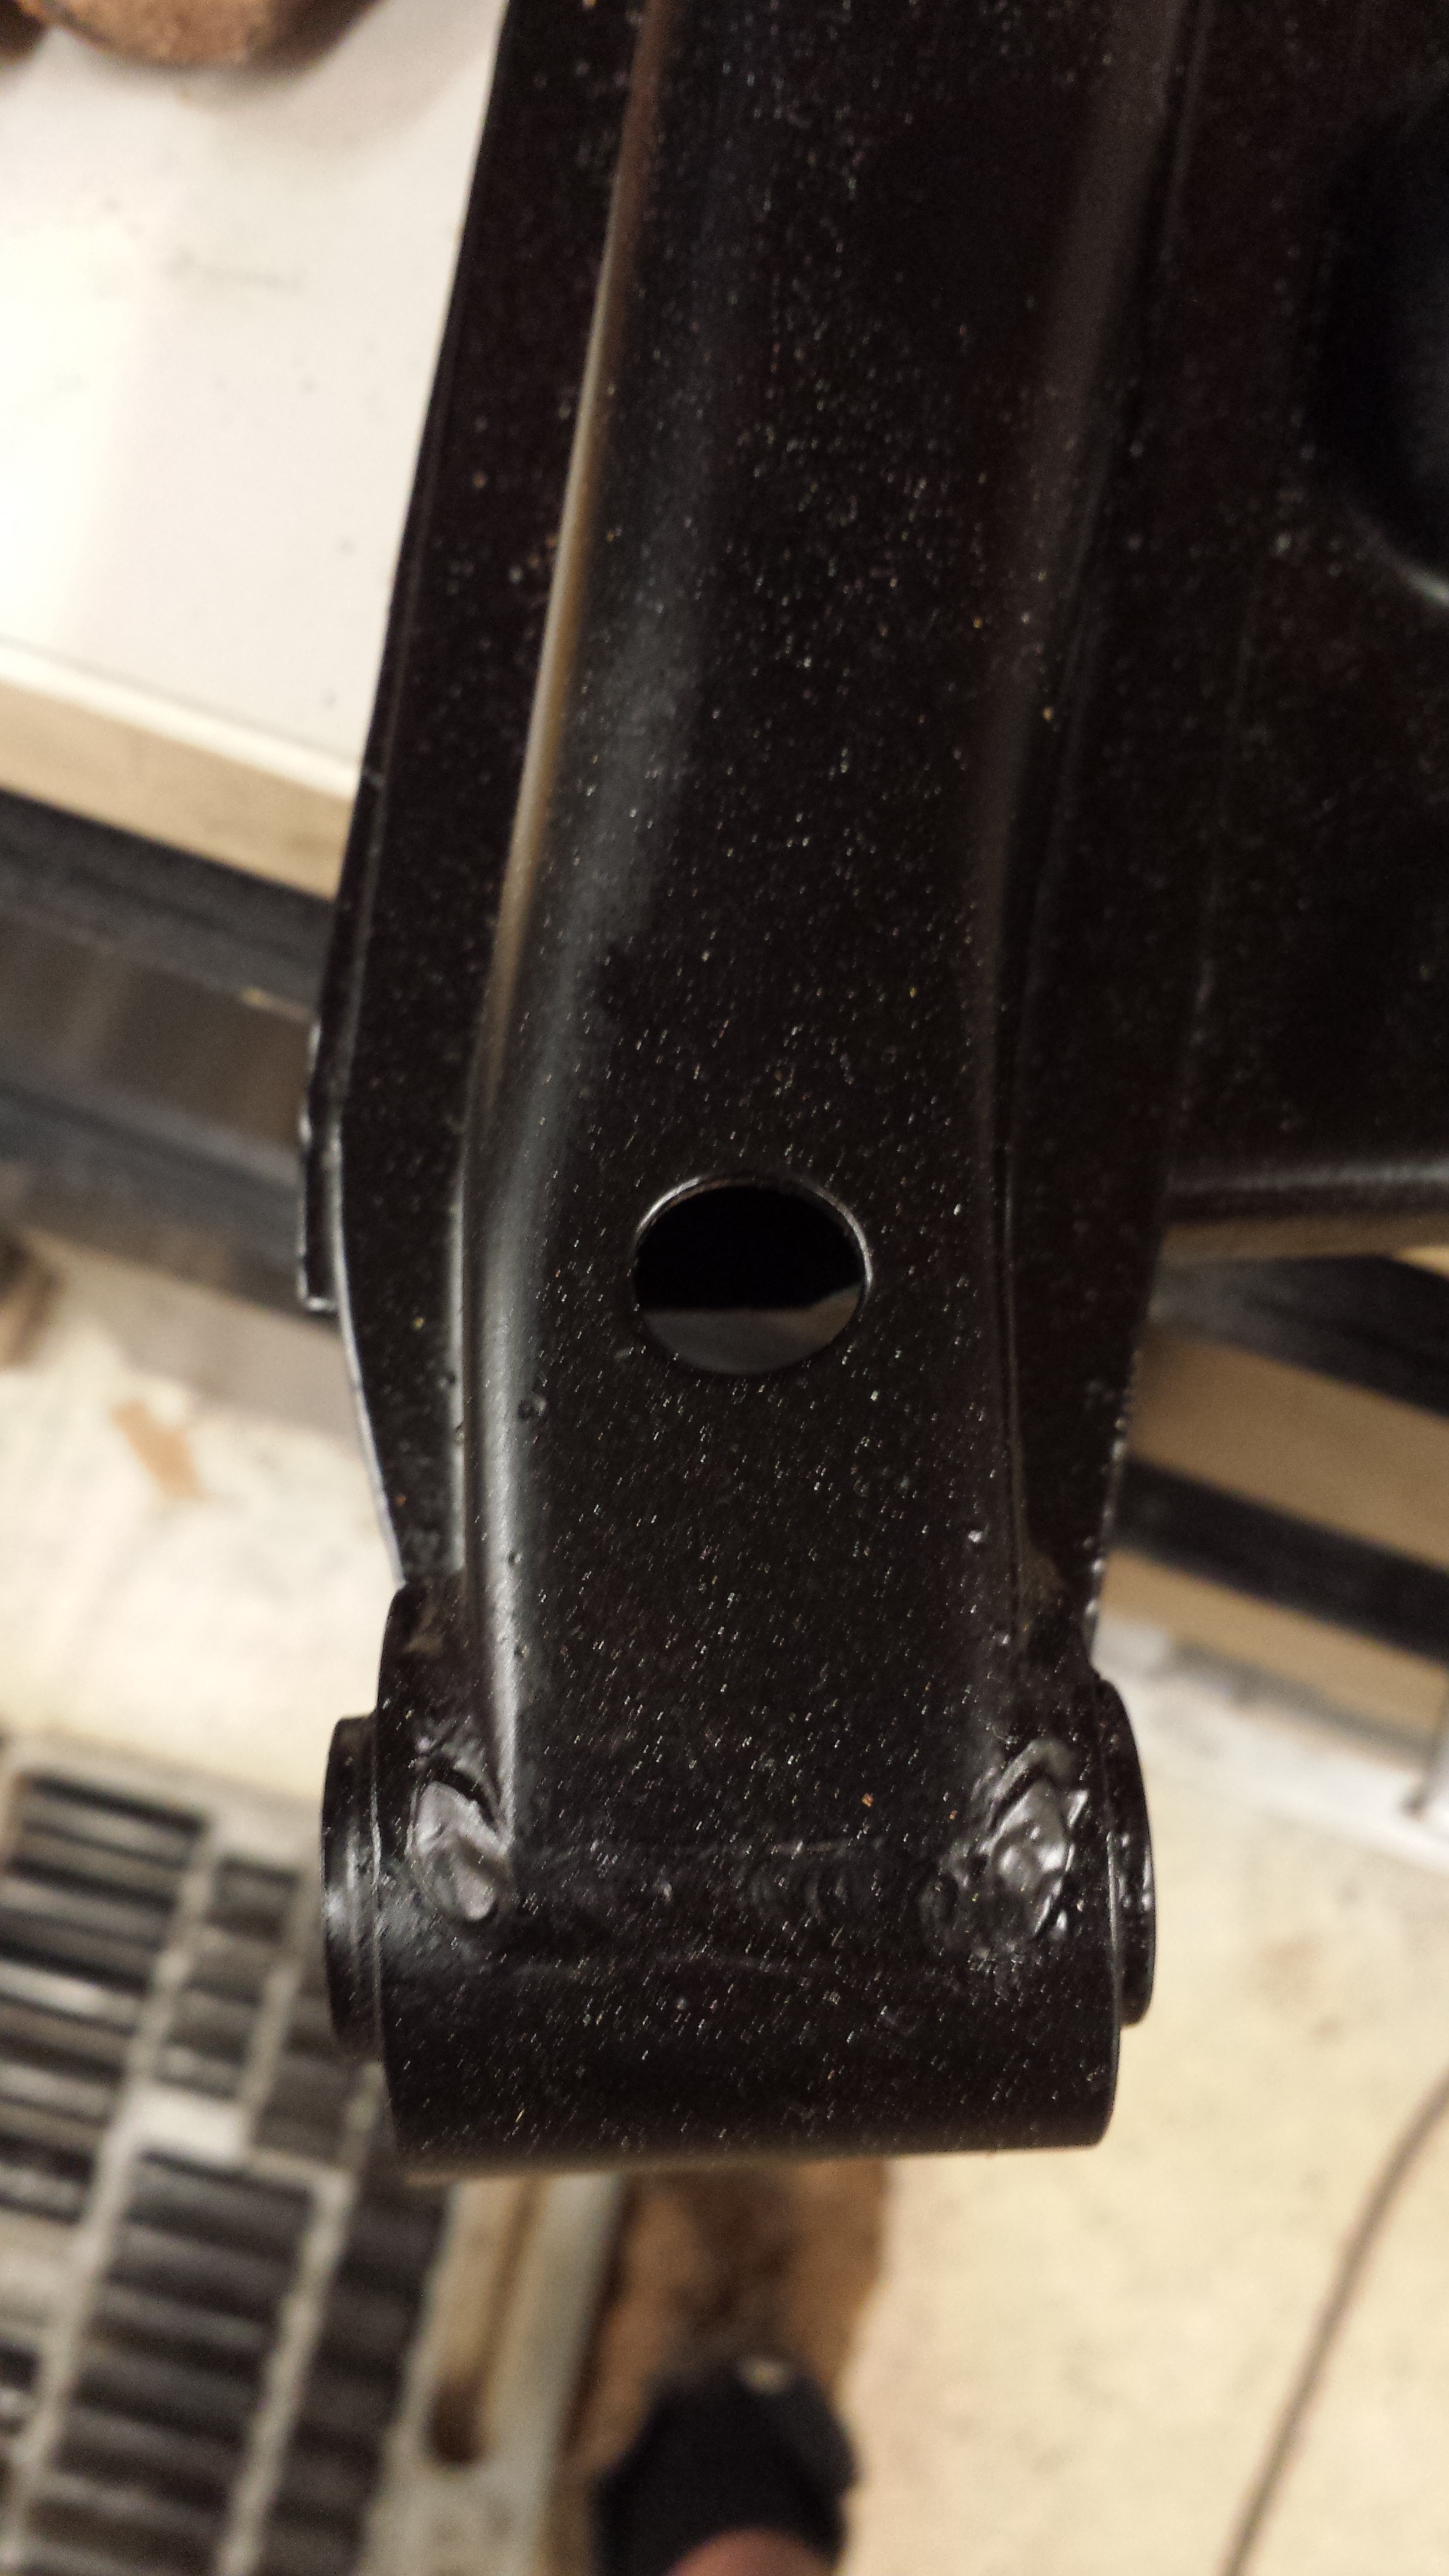
Brown buffalo looking stuff is called "Jute" it is the original padding and is still available from some places. I would say the piece of blue vinyl behind the parking brake is the original vinyl. The best way to seal all the little holes would be welding them shut but unless you really strip the car down pretty far (which I don't recommend) you have a risk of starting a fire (don't ask how I know). Probably the best and easiest thing to do would be to use a little silicone (RTV) sealant and close them up
-
I thought it was a little small off the top of my head, but I wondered about drilling it or reaming it out. I believe it was only about 2mm too small...
-
I did that yesterday and my quick measurement was about .003" different. So basically the same... My real problem with the rear control arms is how to support them. I figured I would have to use a long rod to push through but there is so little metal at the end I don't know how to support it.
-
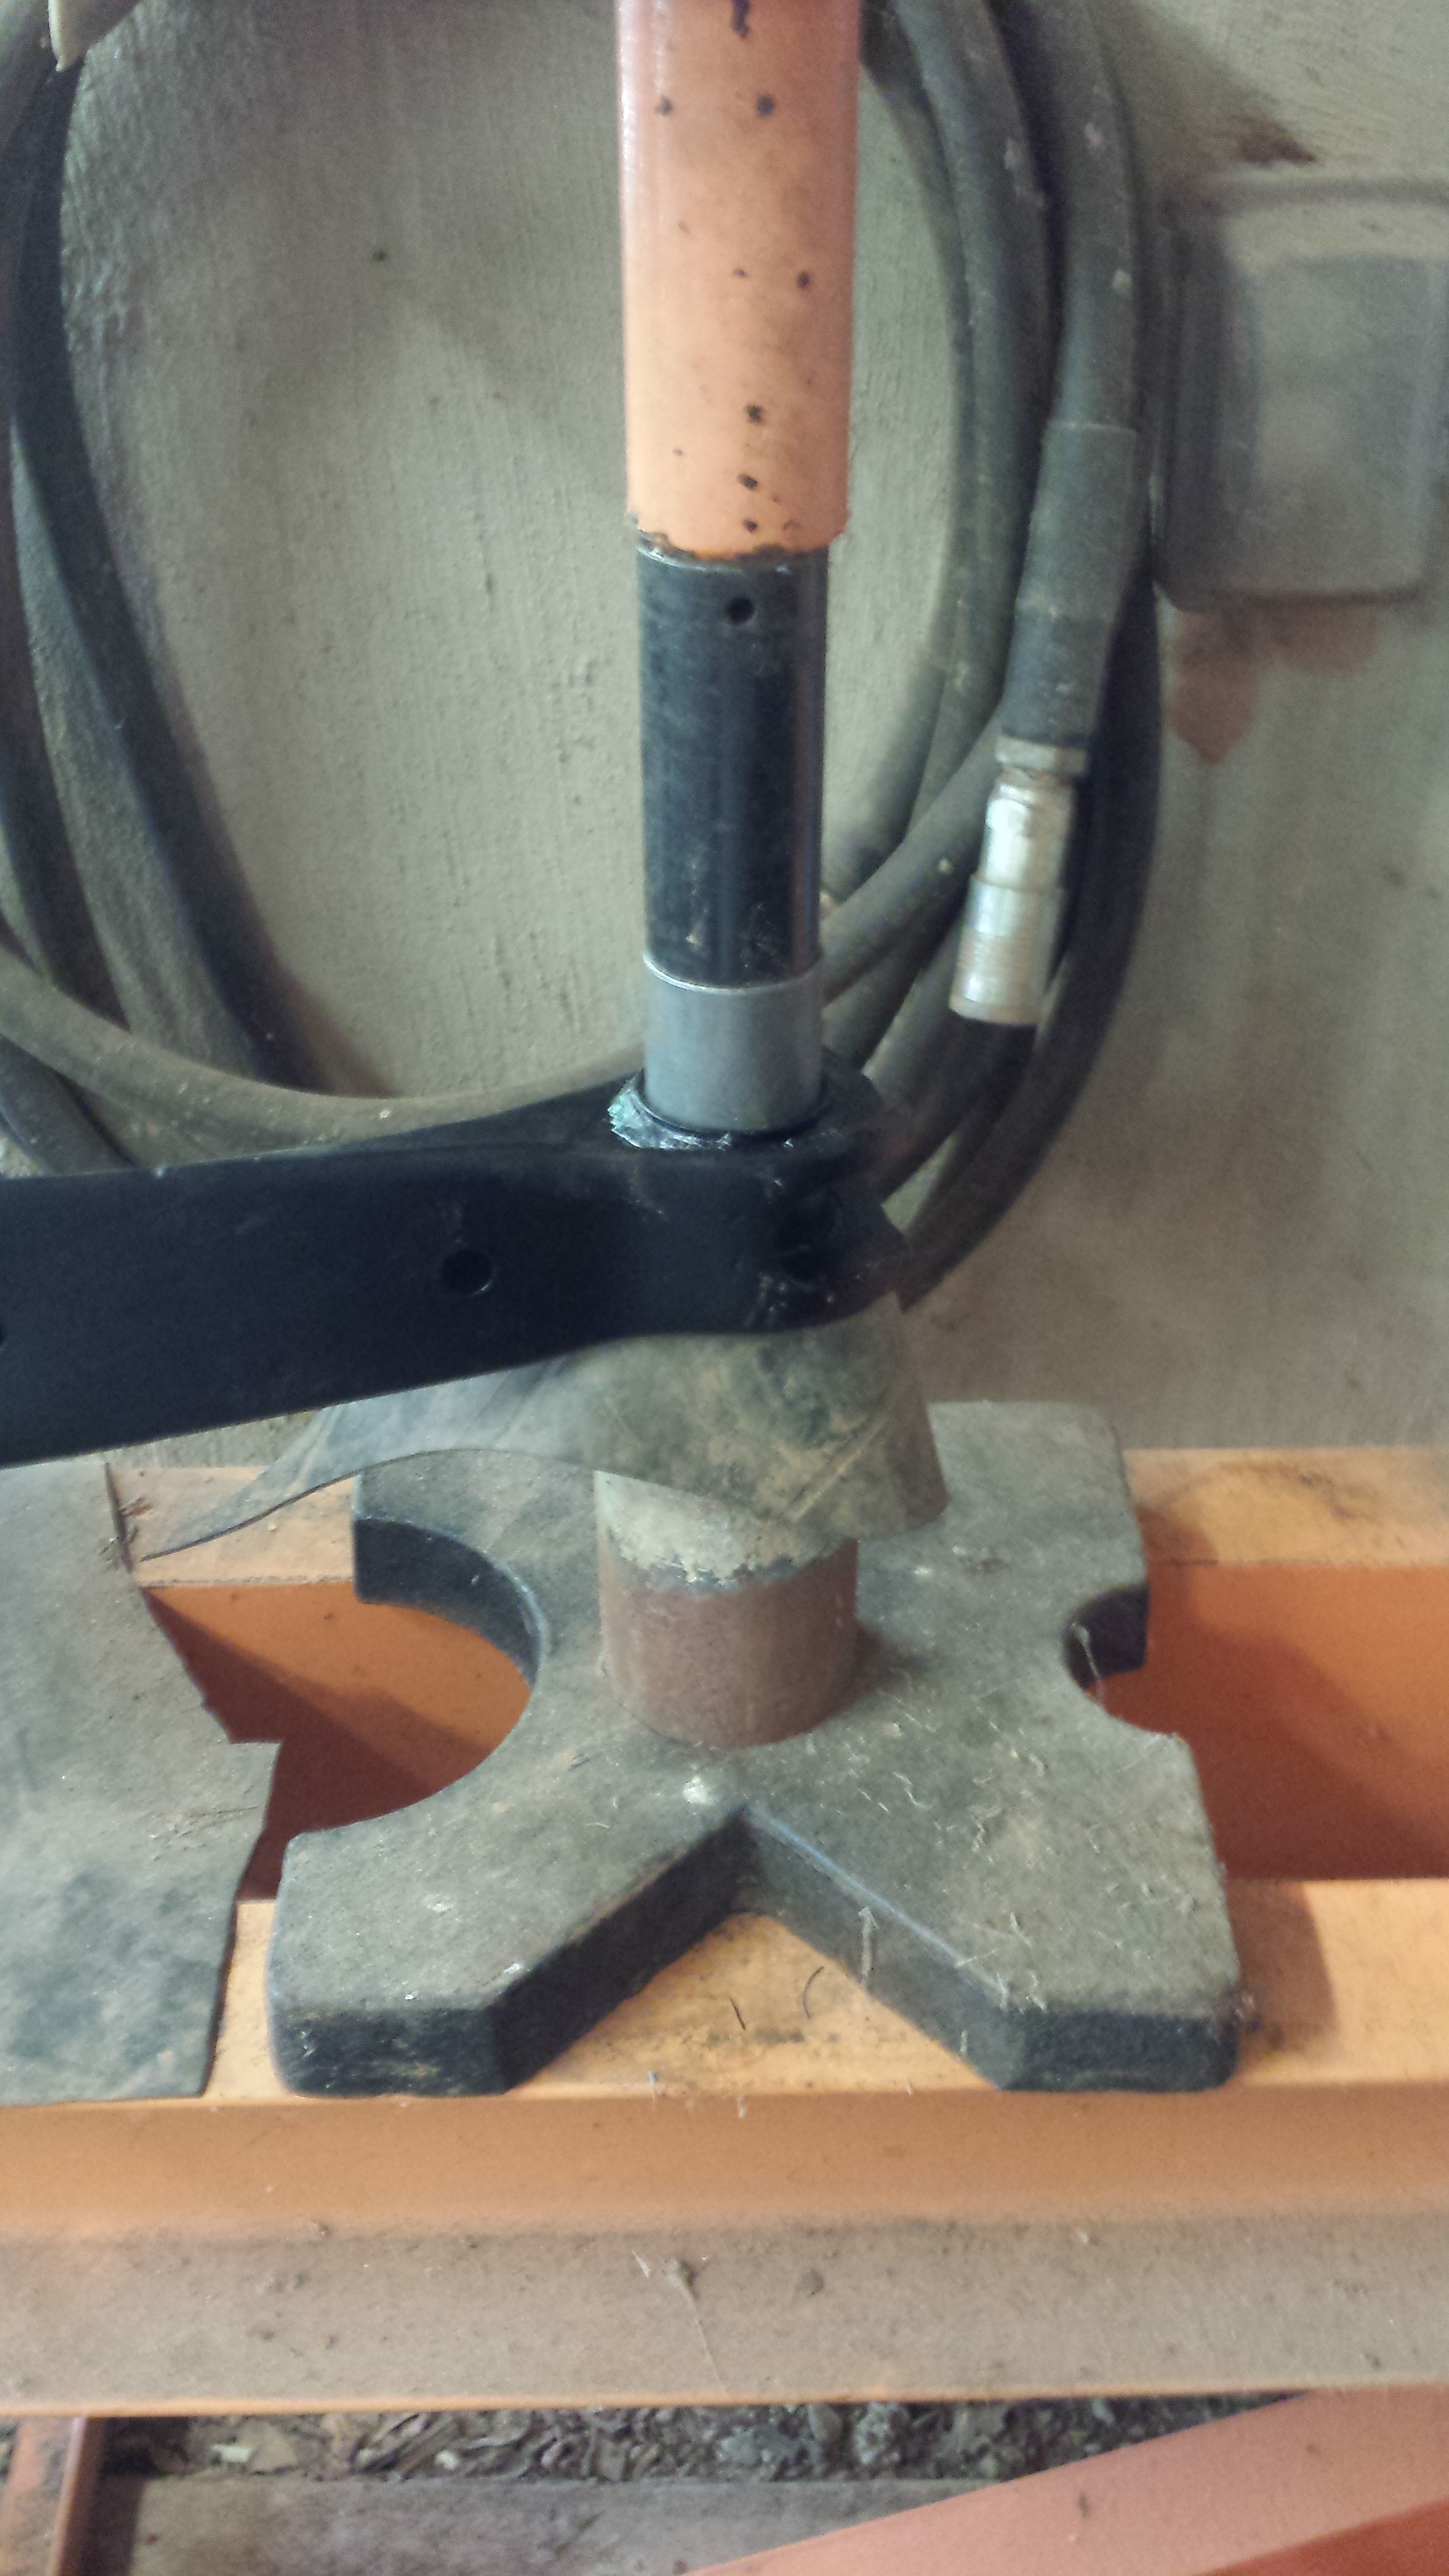
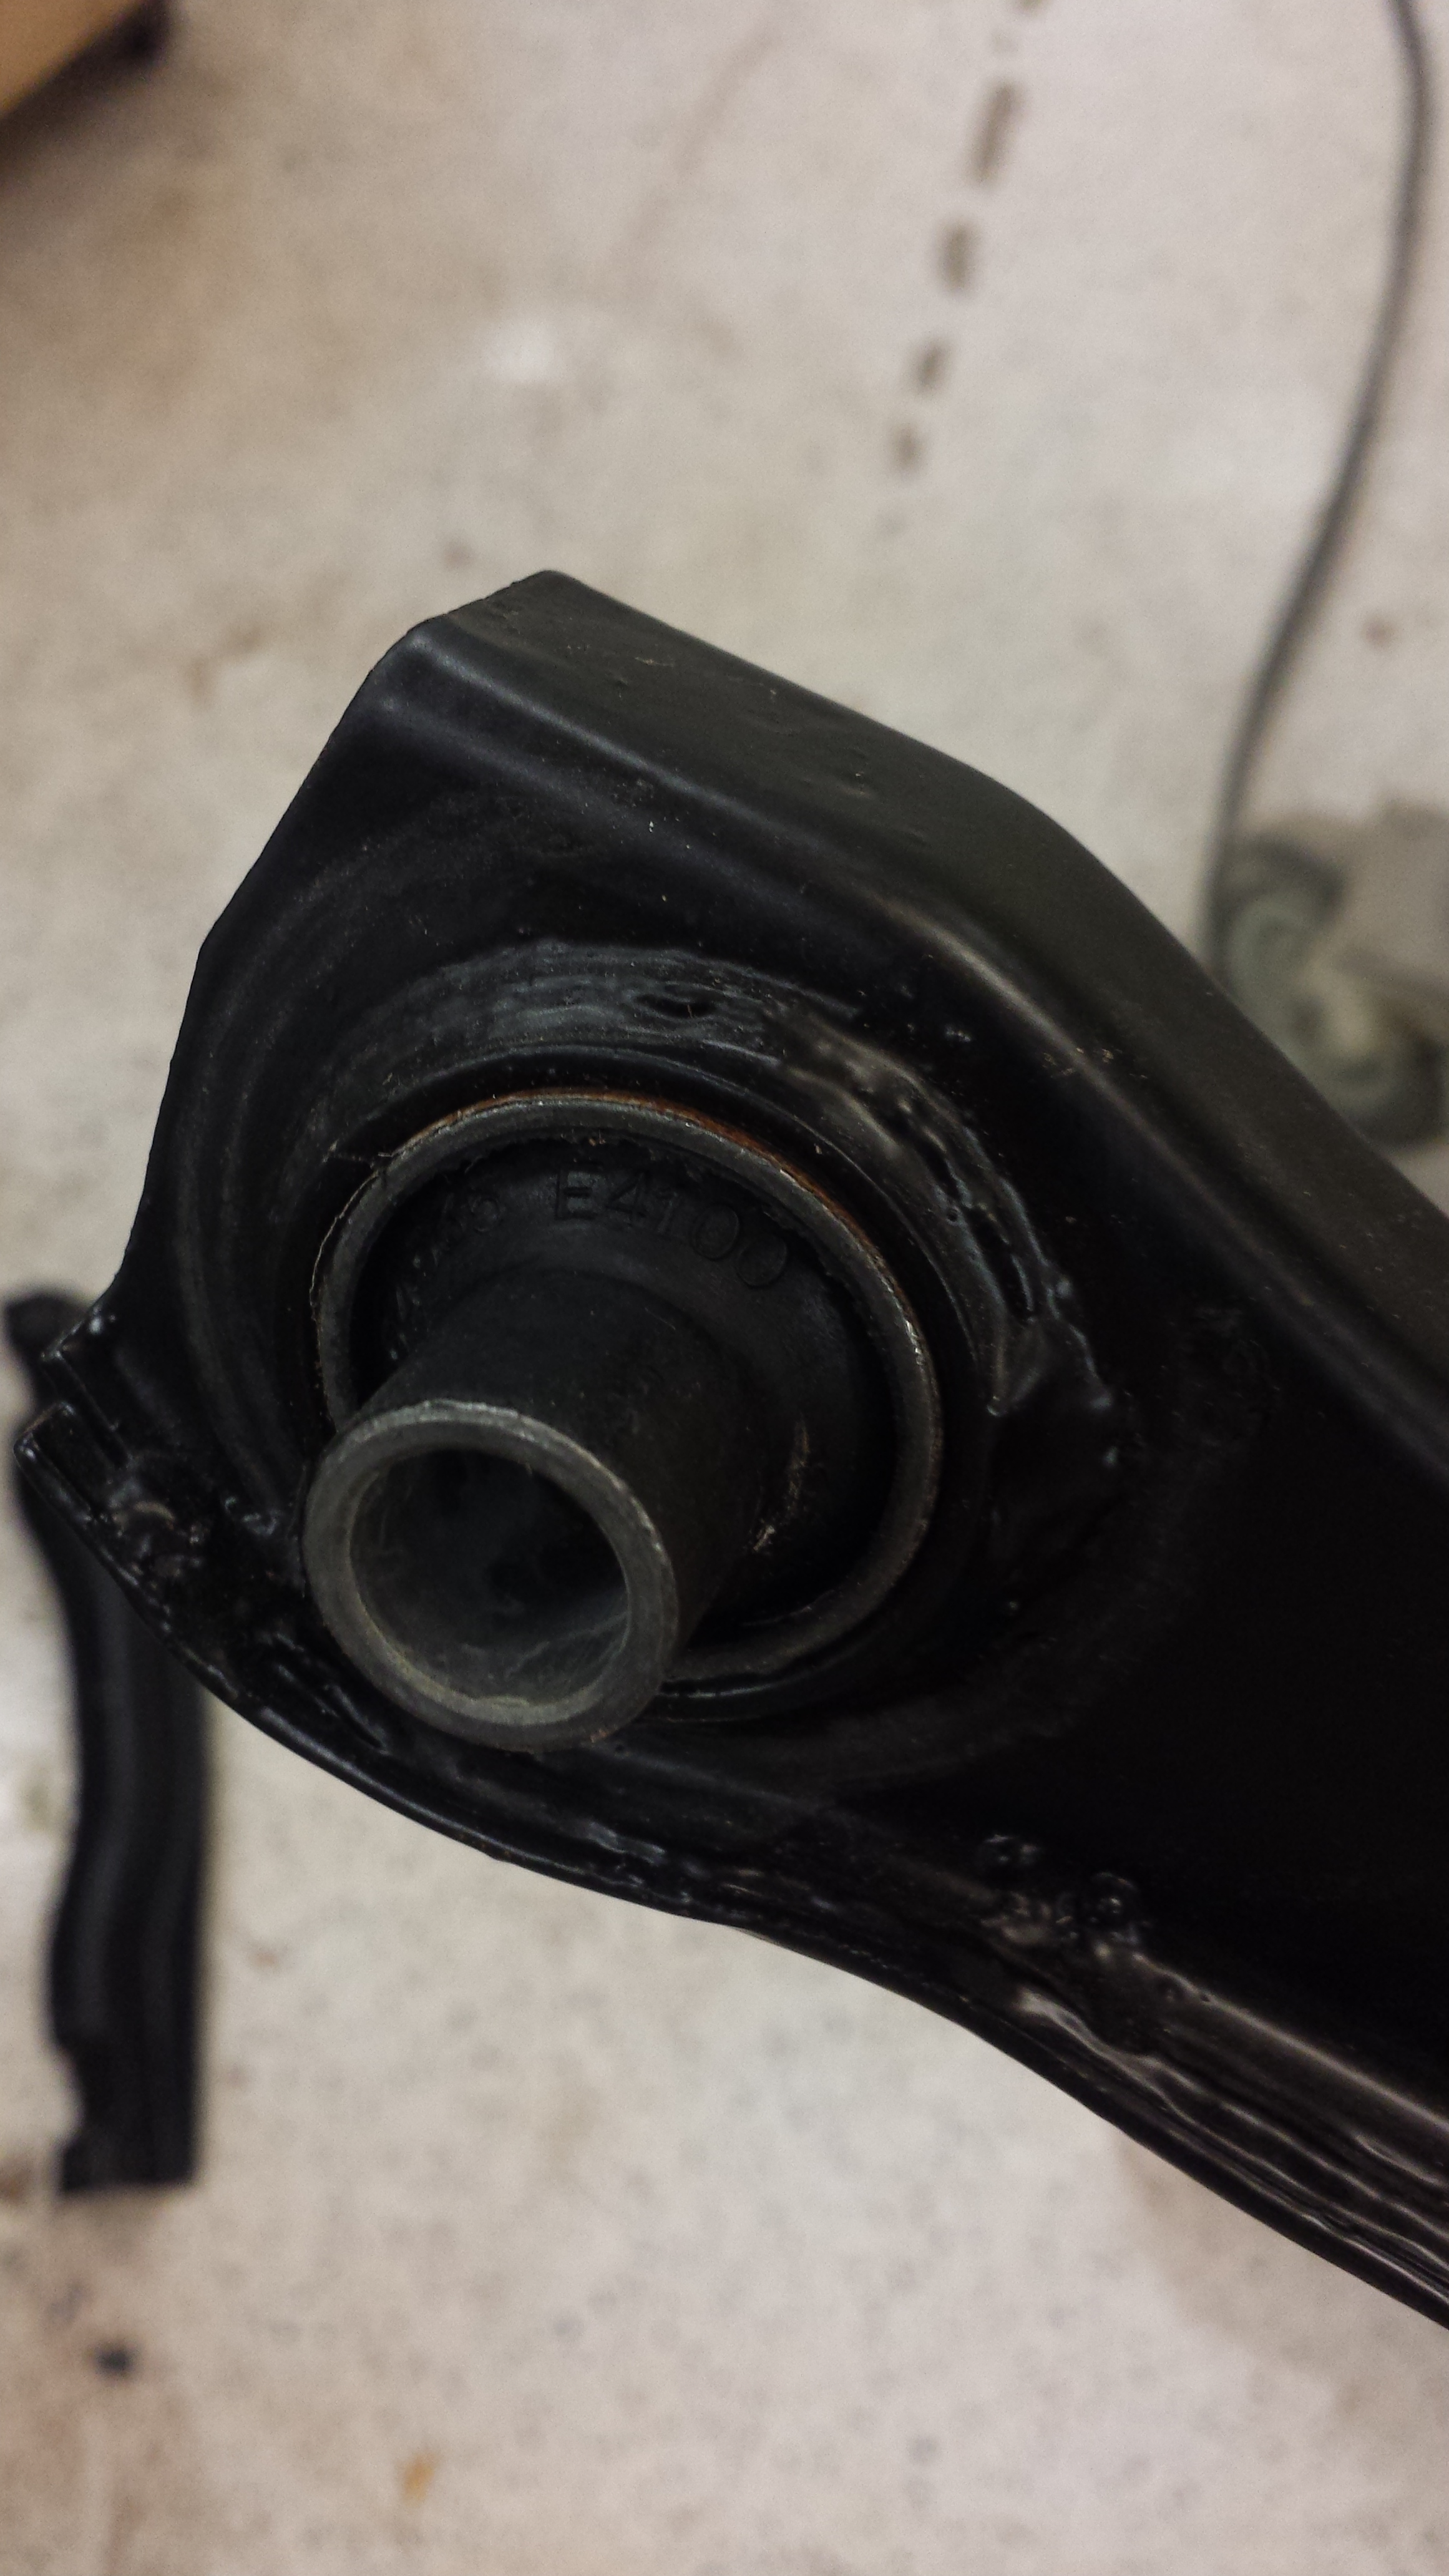
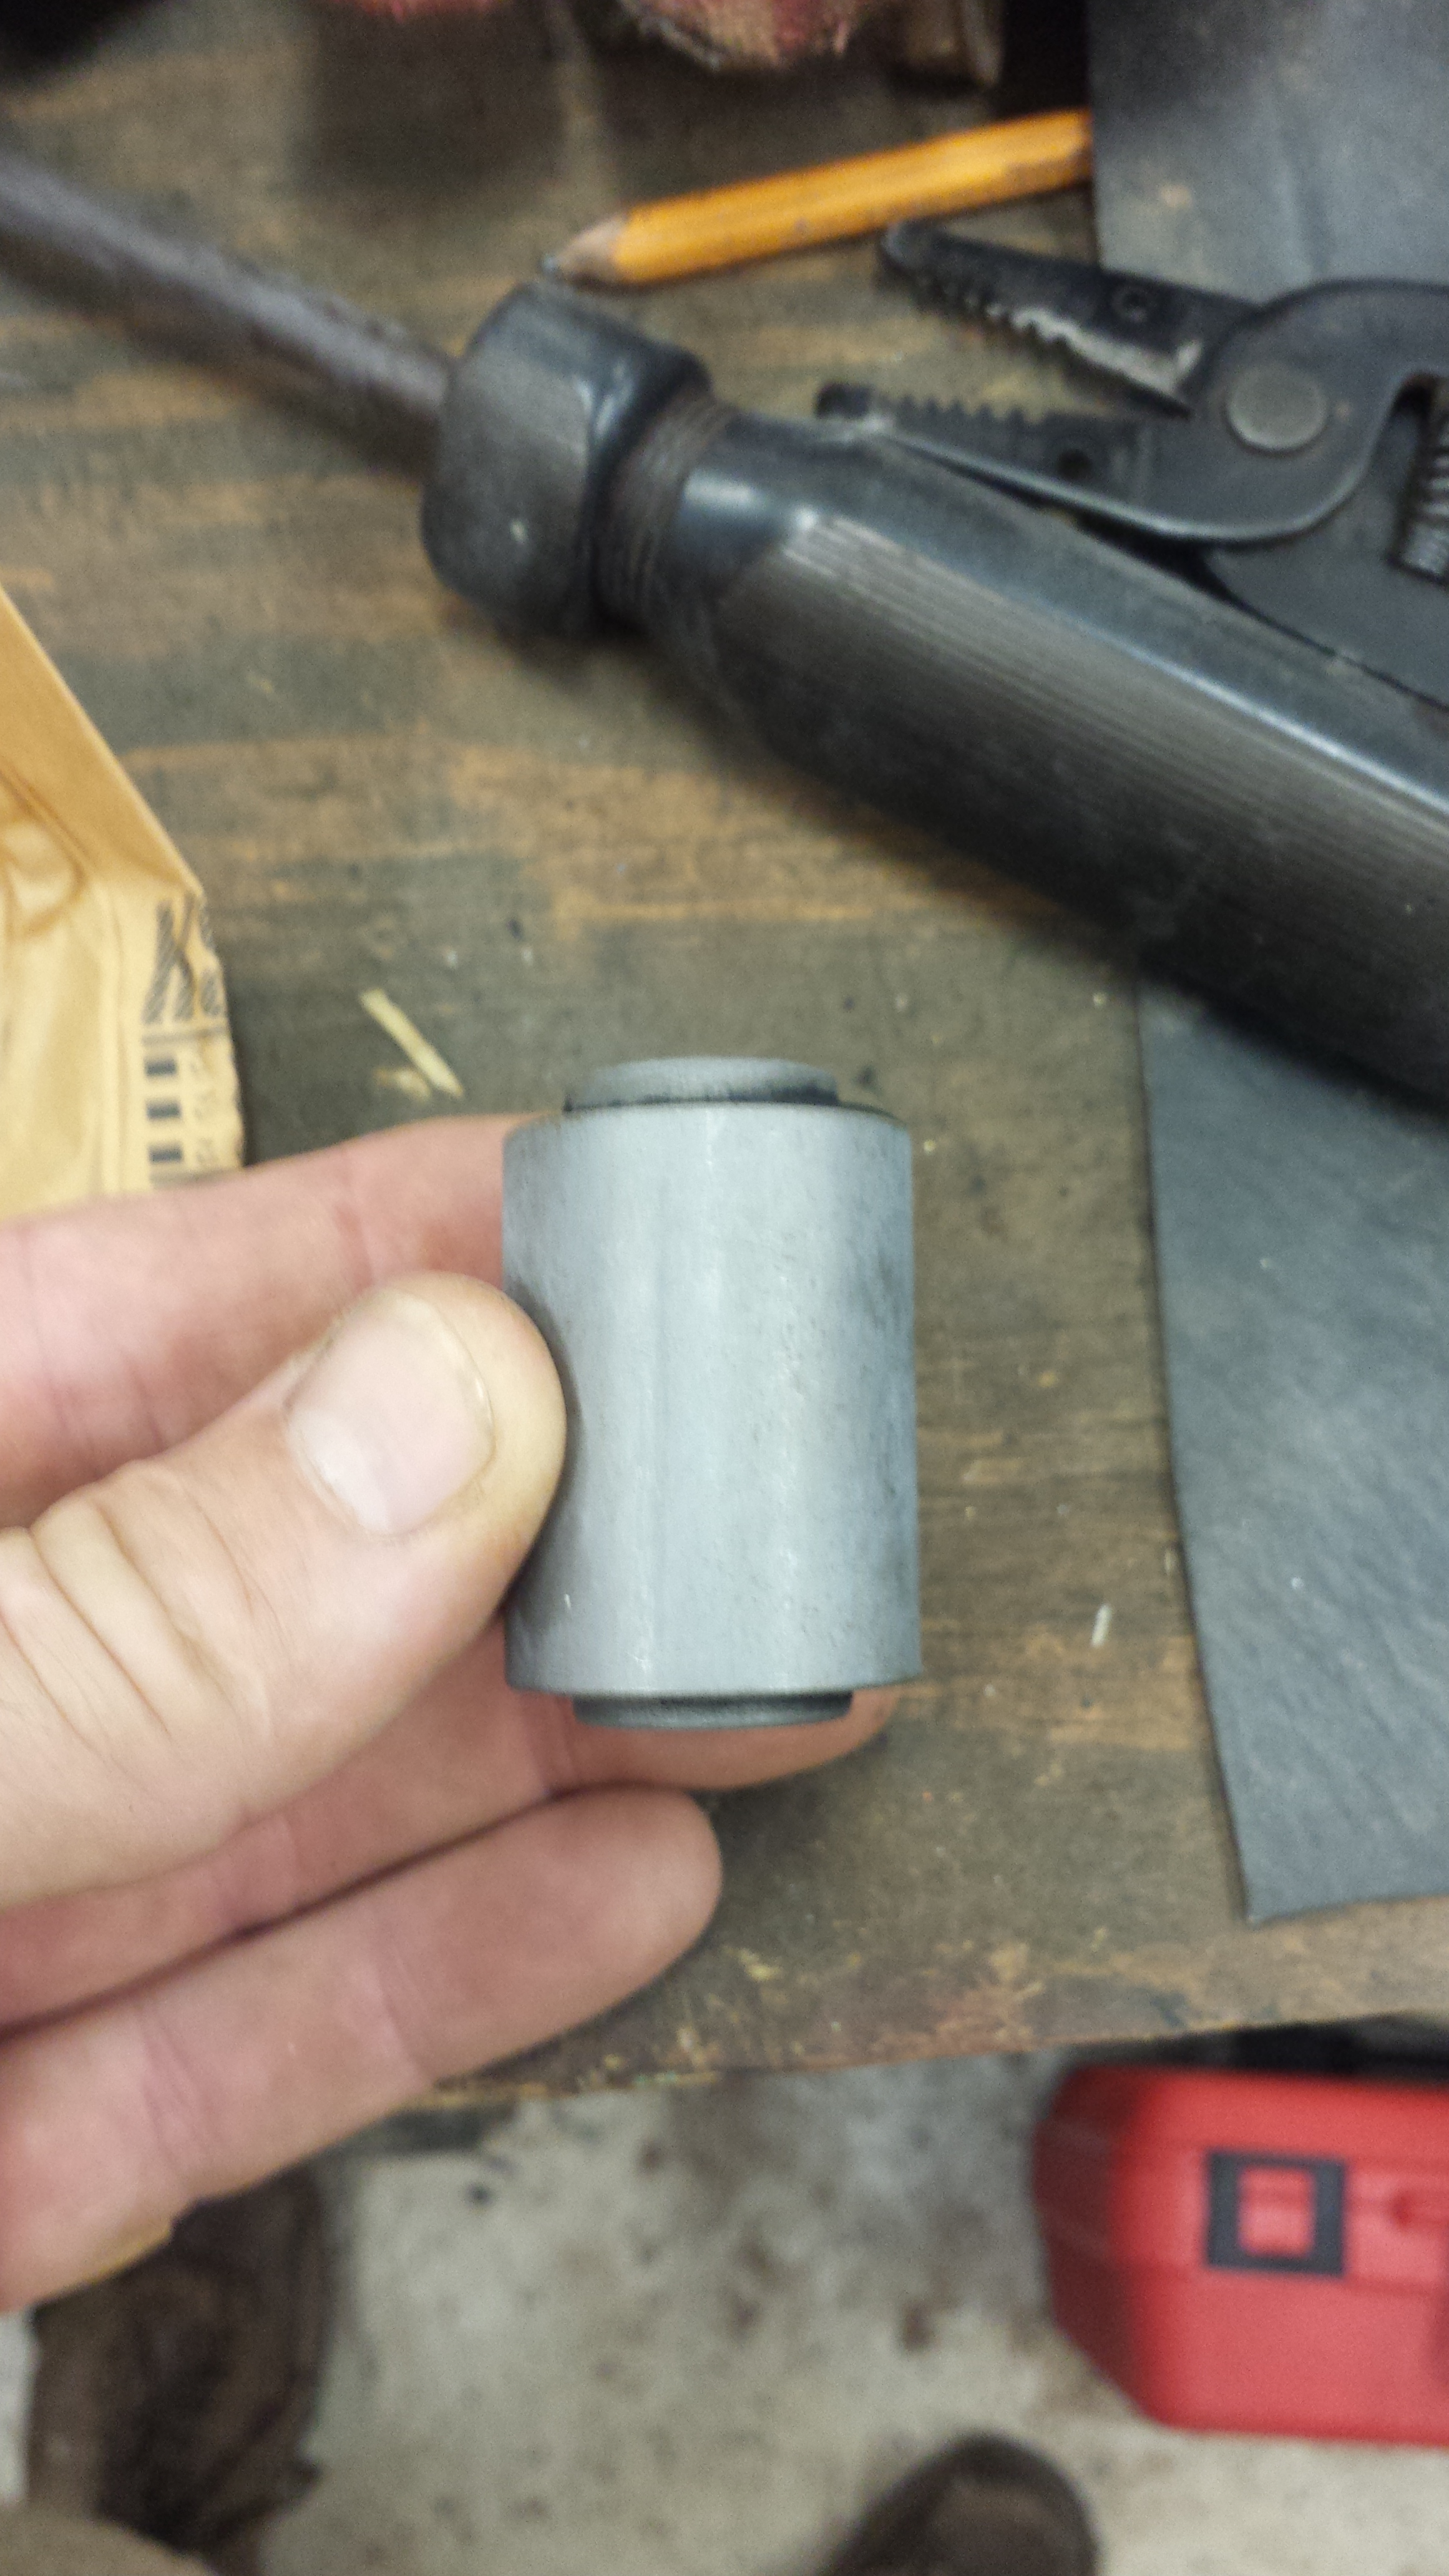
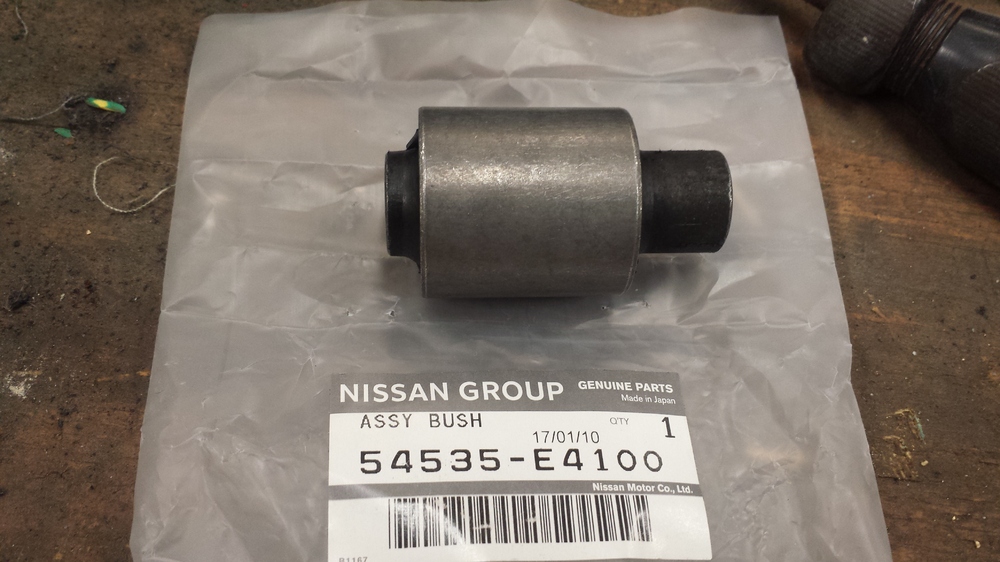
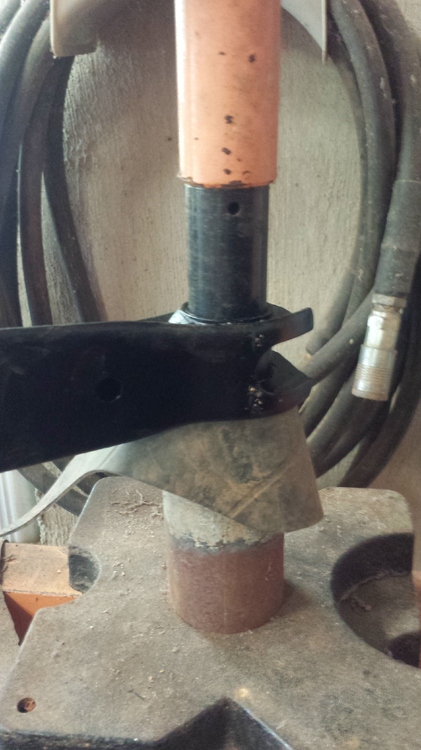
Ok, did the front control arm bushings today New bushing. Manufactured the beginning of this year evidently Pressing the old on out. A piece of 2" pipe with some rubber on top and an impact socket to press it out Sorry for the blurry picture. I guess I moved. Both old bushings out. I was surprised there was very little rust but the car spent most of it's life in the South West Pressing the new one in Done. The first one didn't take very long. The second one took 7 minutes start to finish. No real problems... Now the new problem is the rear control arms. I have a socket that would be large enough to press against but there is really not a good way to set the arm so you can press against it. How have others done it? The original bushings are offset on the rear control arms like the Captain said. About .014" to the outside and .010" on the inside You can see it on the new bushing too


-
Thanks Zed
-
http://www.rockauto.com/en/catalog/nissan,1981,280zx,2.8l+l6+turbocharged,1430312,ignition,crankshaft+position+sensor,7196 available on Rockauto
-
I bought Nissan bushings, I will see if they have the same offset. So you turned the "small" side in, correct?
-
Instead of thread jacking the clunk thread I thought I would move this discussion over here I found some info last night This looked close but I don't think it will work http://www.ridetech.com/components/rod-ends-bushings-and-sleeves/rubber-bushing-insert/ The Moog catalog has lots of bushings but they don't have a section listed by size but there is a ton of info in there for hubs, bearings and driveshafts. Might make for some interesting cross reference info http://www.moogparts.eu/support/light-vehicles/catalogues.html Dorman also makes some but their catalog isn't quite as easy as Moog's https://www.dormanproducts.com/Pages/resources/catalogs/dorman.aspx Random bushings from Ebay http://www.ebay.com/itm/Moog-Chassis-Parts-K200183-Bushings-Rubber-Jeep-Lower-Front-Strut-Fork-Each-/332150998809?epid=83631388&hash=item4d55be0719:g:nUEAAOSwsW9Ywyfg&vxp=mtr http://www.ebay.com/itm/OMIX-ADA-Control-Arm-Bushing-Lower-Front-Rubber-Steel-Black-Jeep-Each-/391335468301?epid=118010097&hash=item5b1d695d0d:g:2soAAOSwp5JWYd9K&vxp=mtr http://www.ebay.com/itm/Suspension-Control-Arm-Bushing-Rear-Lower-ACDELCO-PRO-fits-02-05-Jeep-Liberty-/162572837664?epid=74304523&hash=item25da18a320:g:B38AAOSwIQdZMgaC&vxp=mtr http://www.ebay.com/itm/Suspension-Control-Arm-Bushing-Rear-Upper-ACDELCO-PRO-45G11049-/331813797933 @Captain Obvious
-
Thanks Namerow
-
I figured I would use some large sockets as anvils, but if that failed I would use a hole saw to cut the bulk of the rubber out. Then I have an assortment of rotary cutting dies and a body saw that I figured would do the trick to thin the shell down and collapse it in. I may try to work on it some tomorrow... I knew the bushings weren't symmetrical to each other but which way is the bushing supposed to extend, to the rear?
-
Perfect
-
I really don't want to use heat. All the parts have been painted. "Cart before the horse" sort of thing. Unfortunately I will probably chip them up some. I have a 20T press but I do recall some people having problems crushing them.
-
I thought I would try to press them out first. If they didn't want to come out I would cut them out...
-
I also need to press new rubber bushings in the lower control arms for the front and the spindle pins for the back. Any tips on doing this or pitfalls to avoid?
-
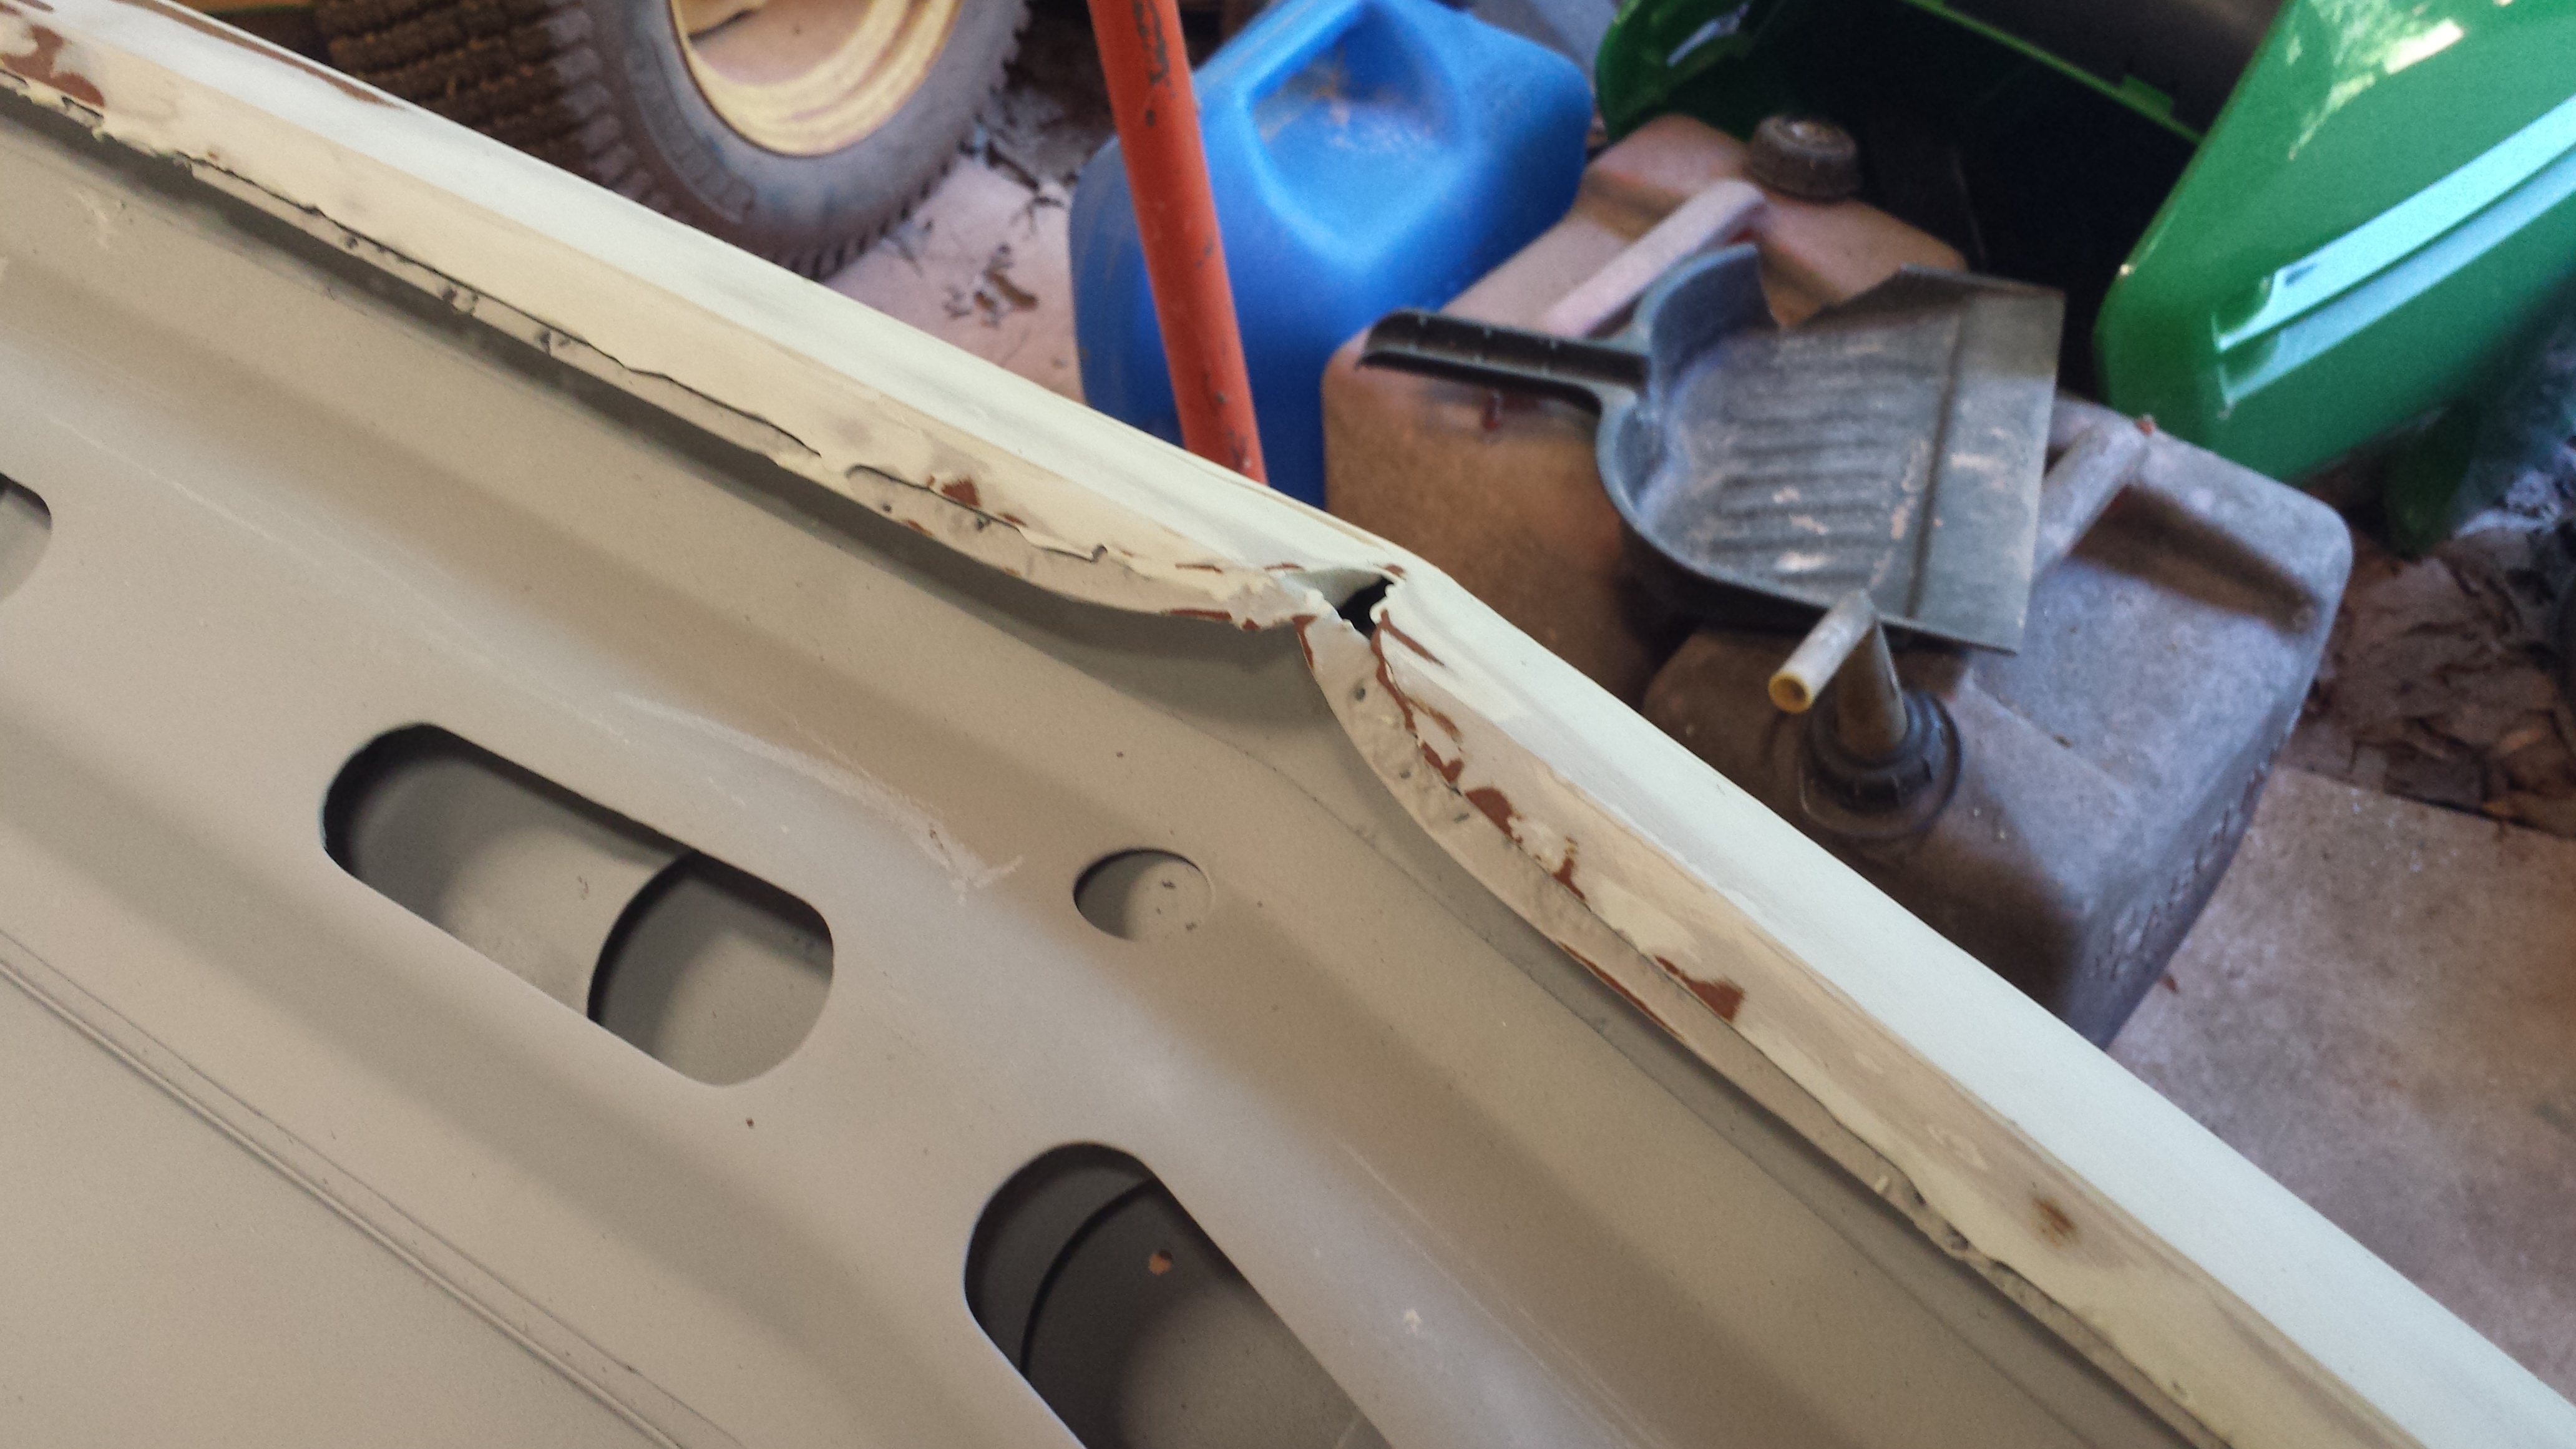
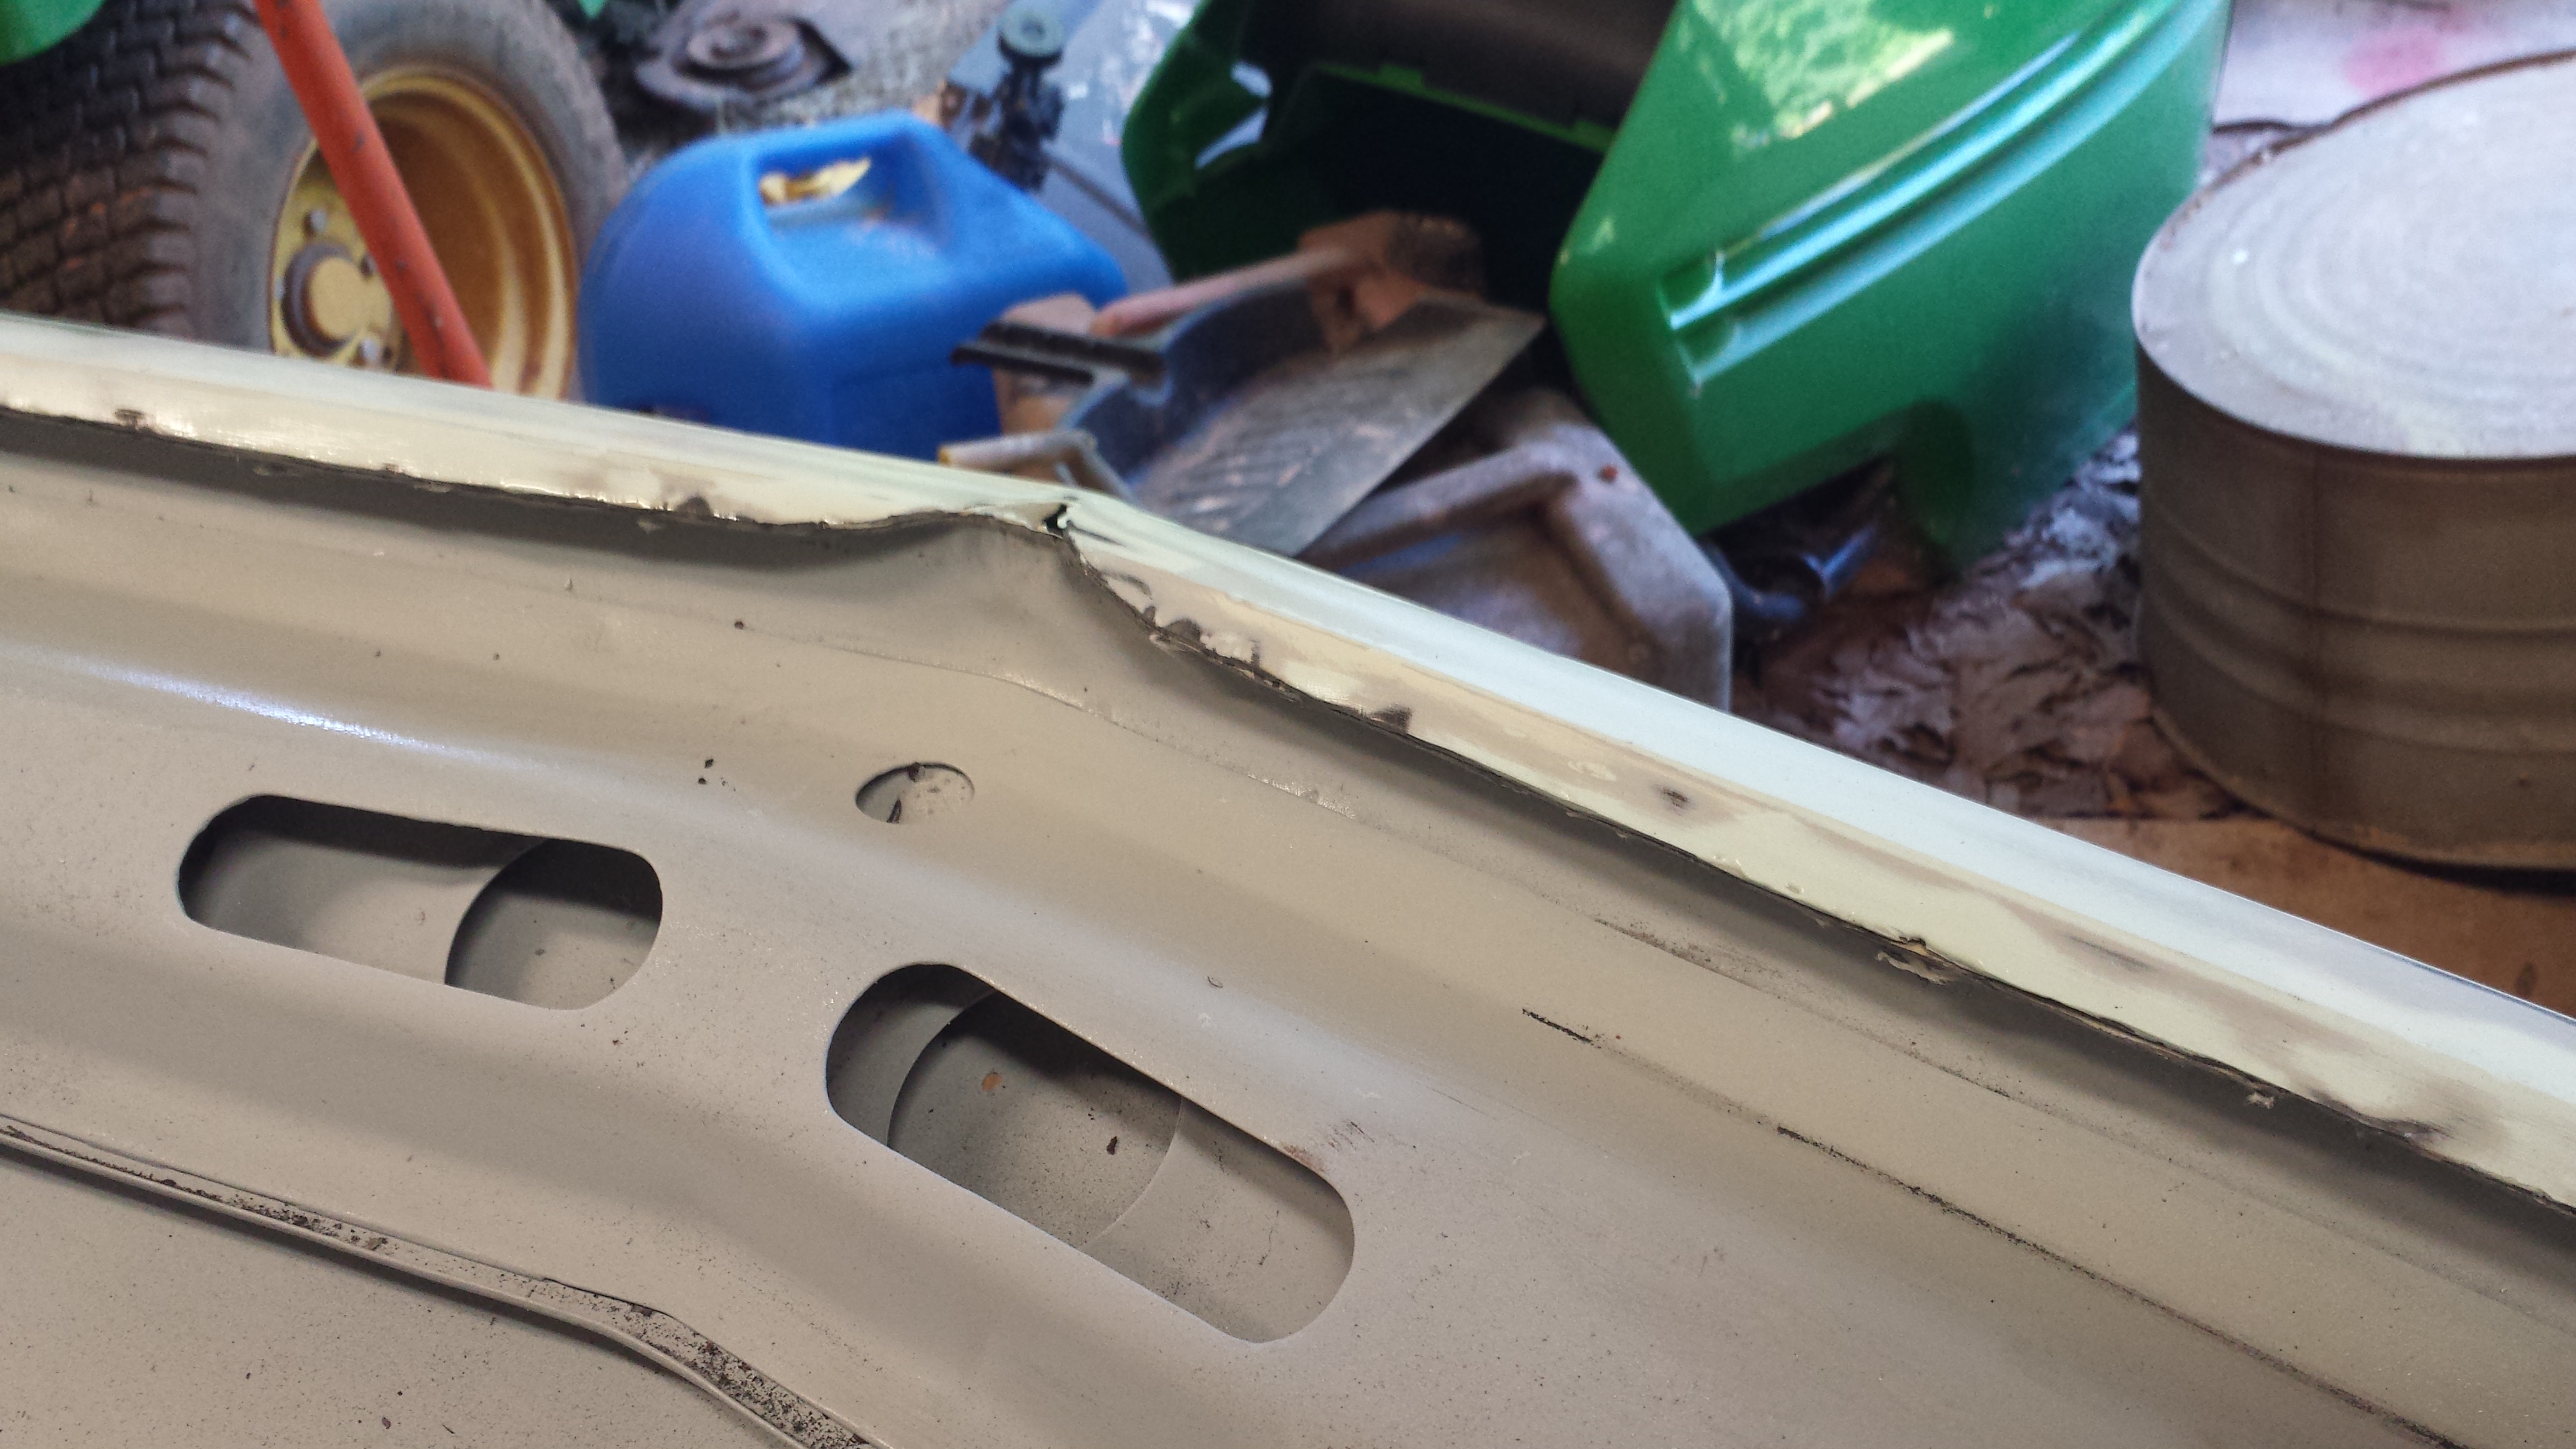
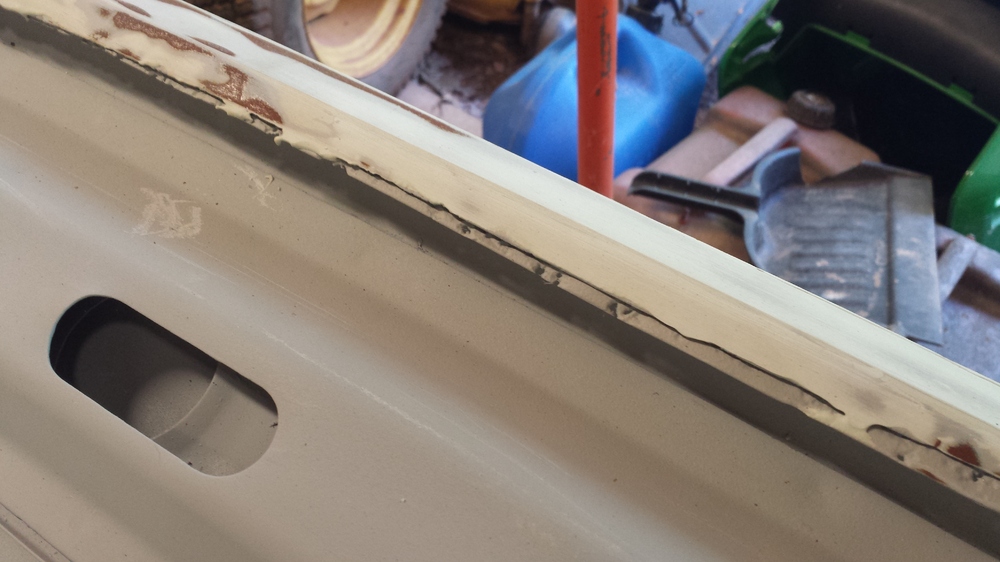
On a separate note, I took the Disepyon approach to my hood. It is an aftermarket hood I have had for 20 years or so. I didn't like the way the 2 pieces of metal meet on the front edge met. They didn't really line up very well. So I took the grinder to it. Much better now


-
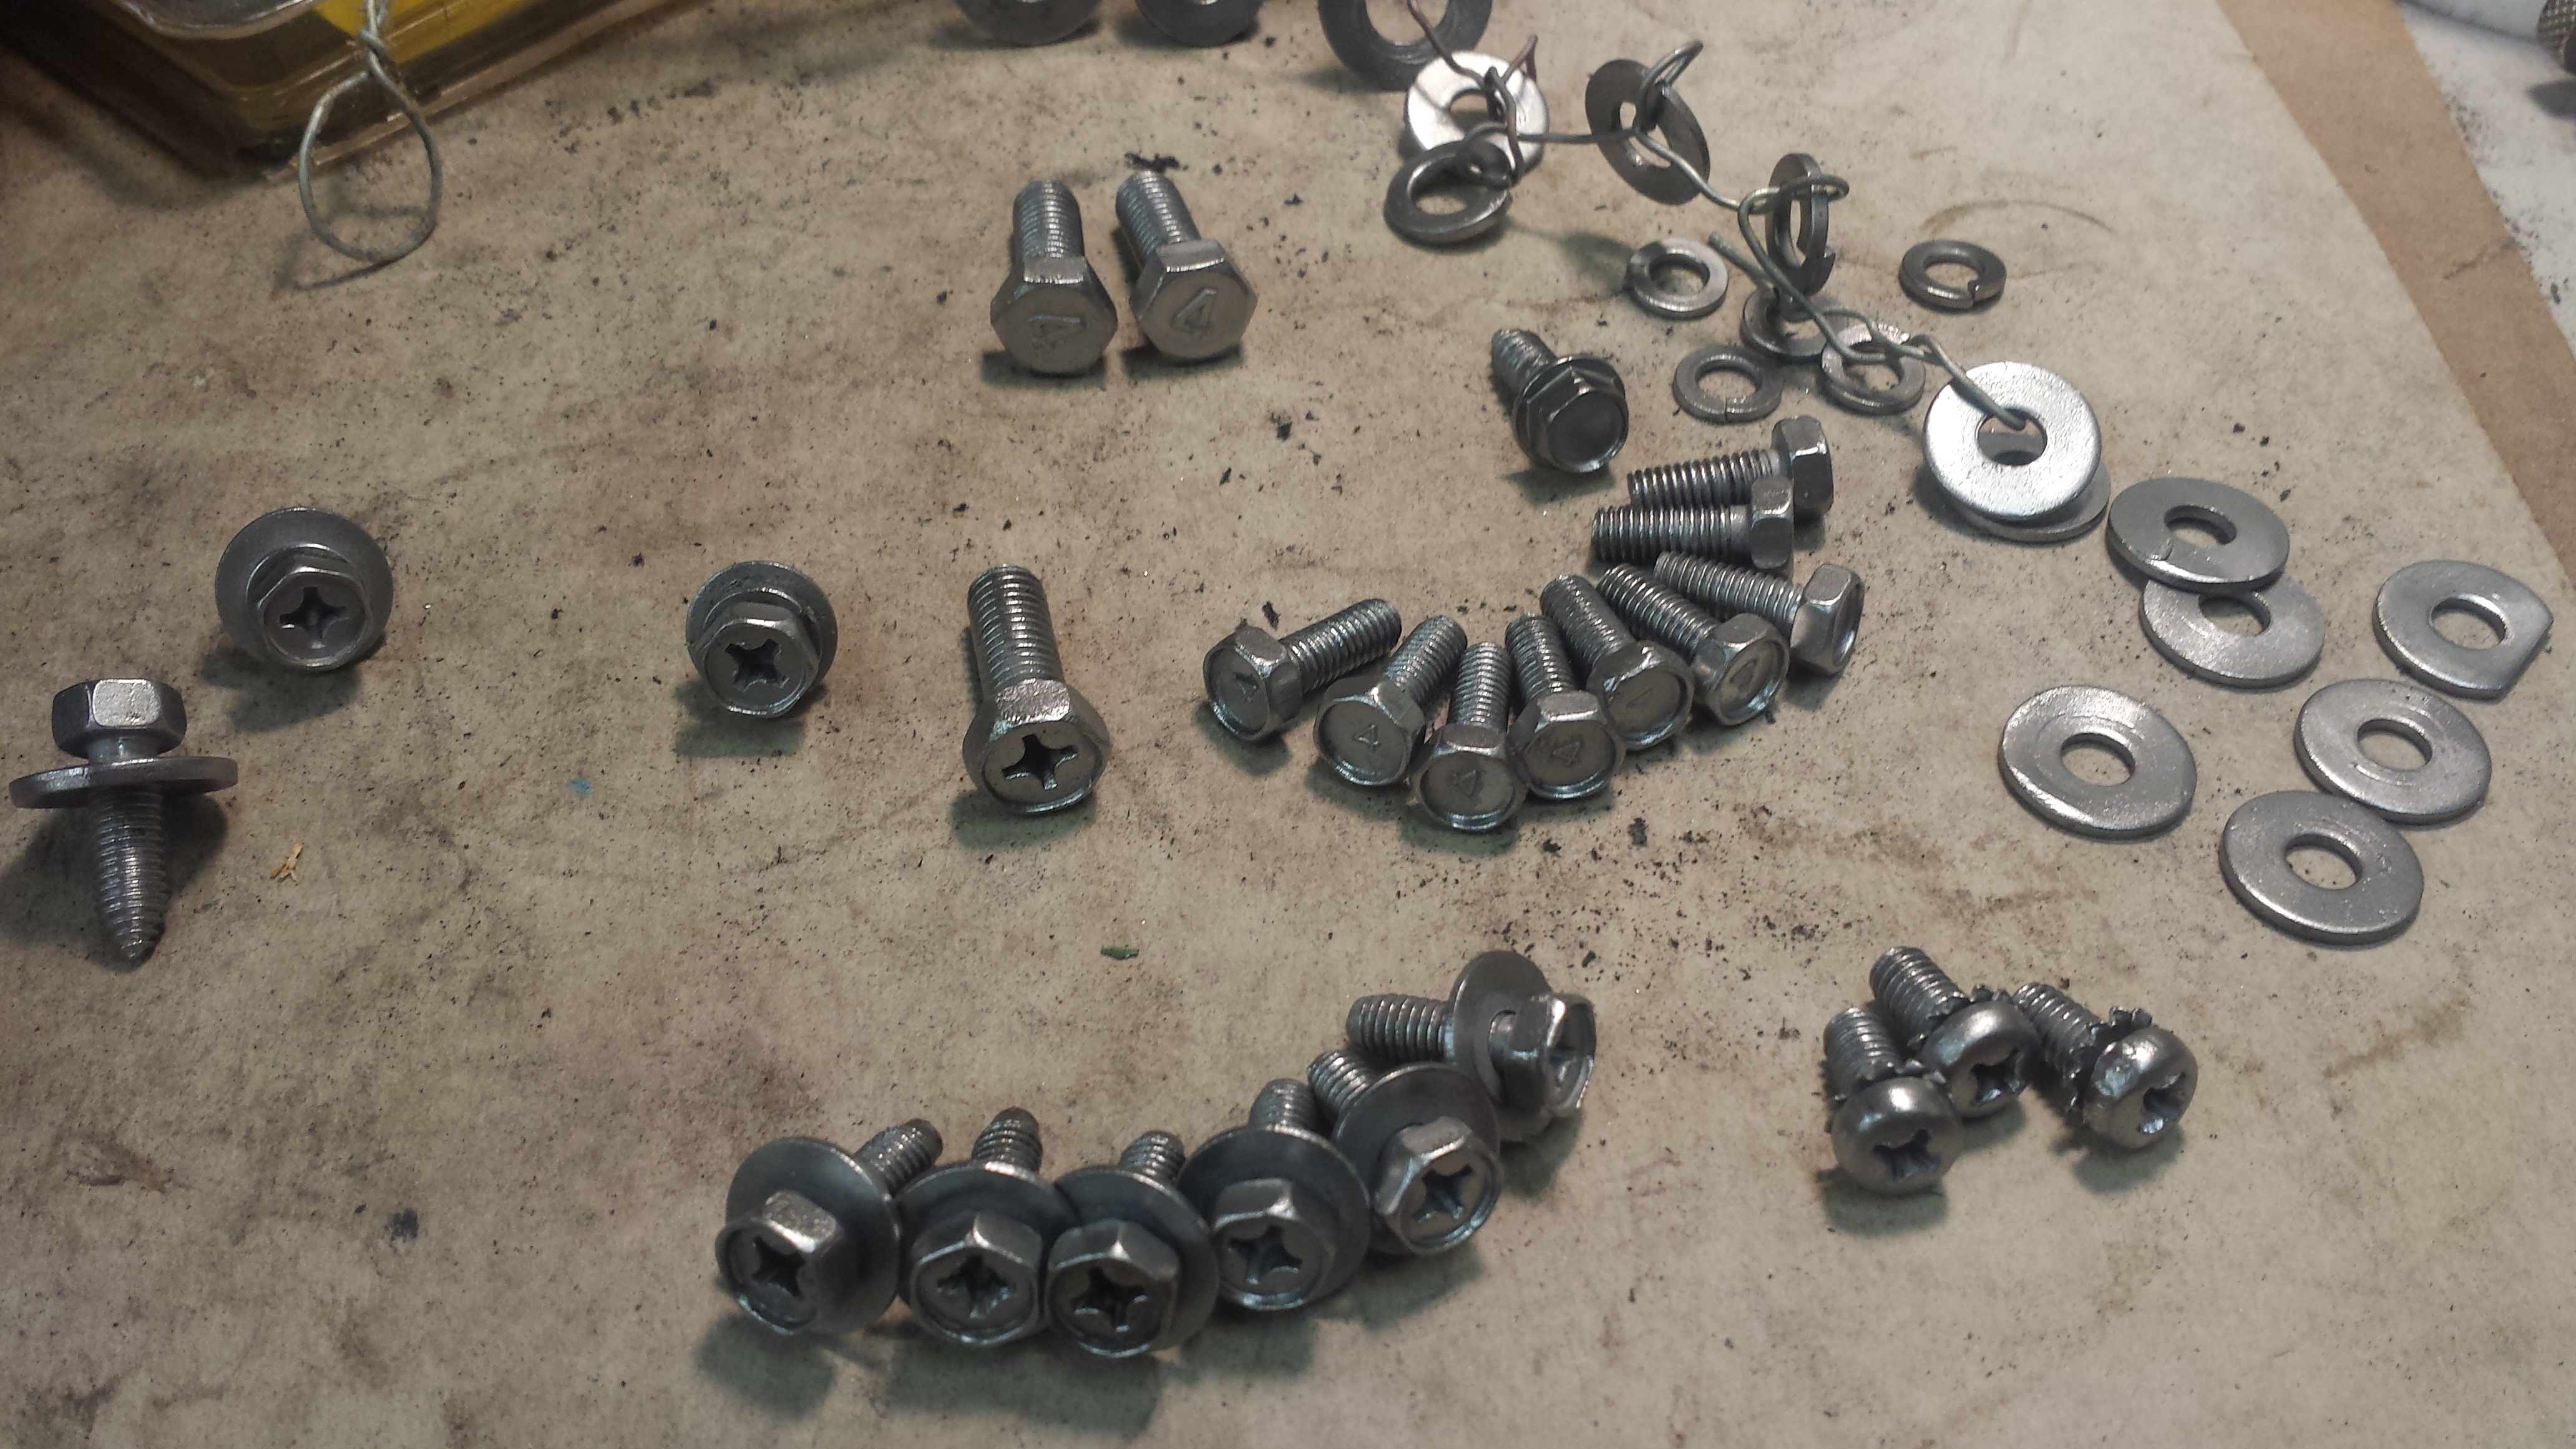
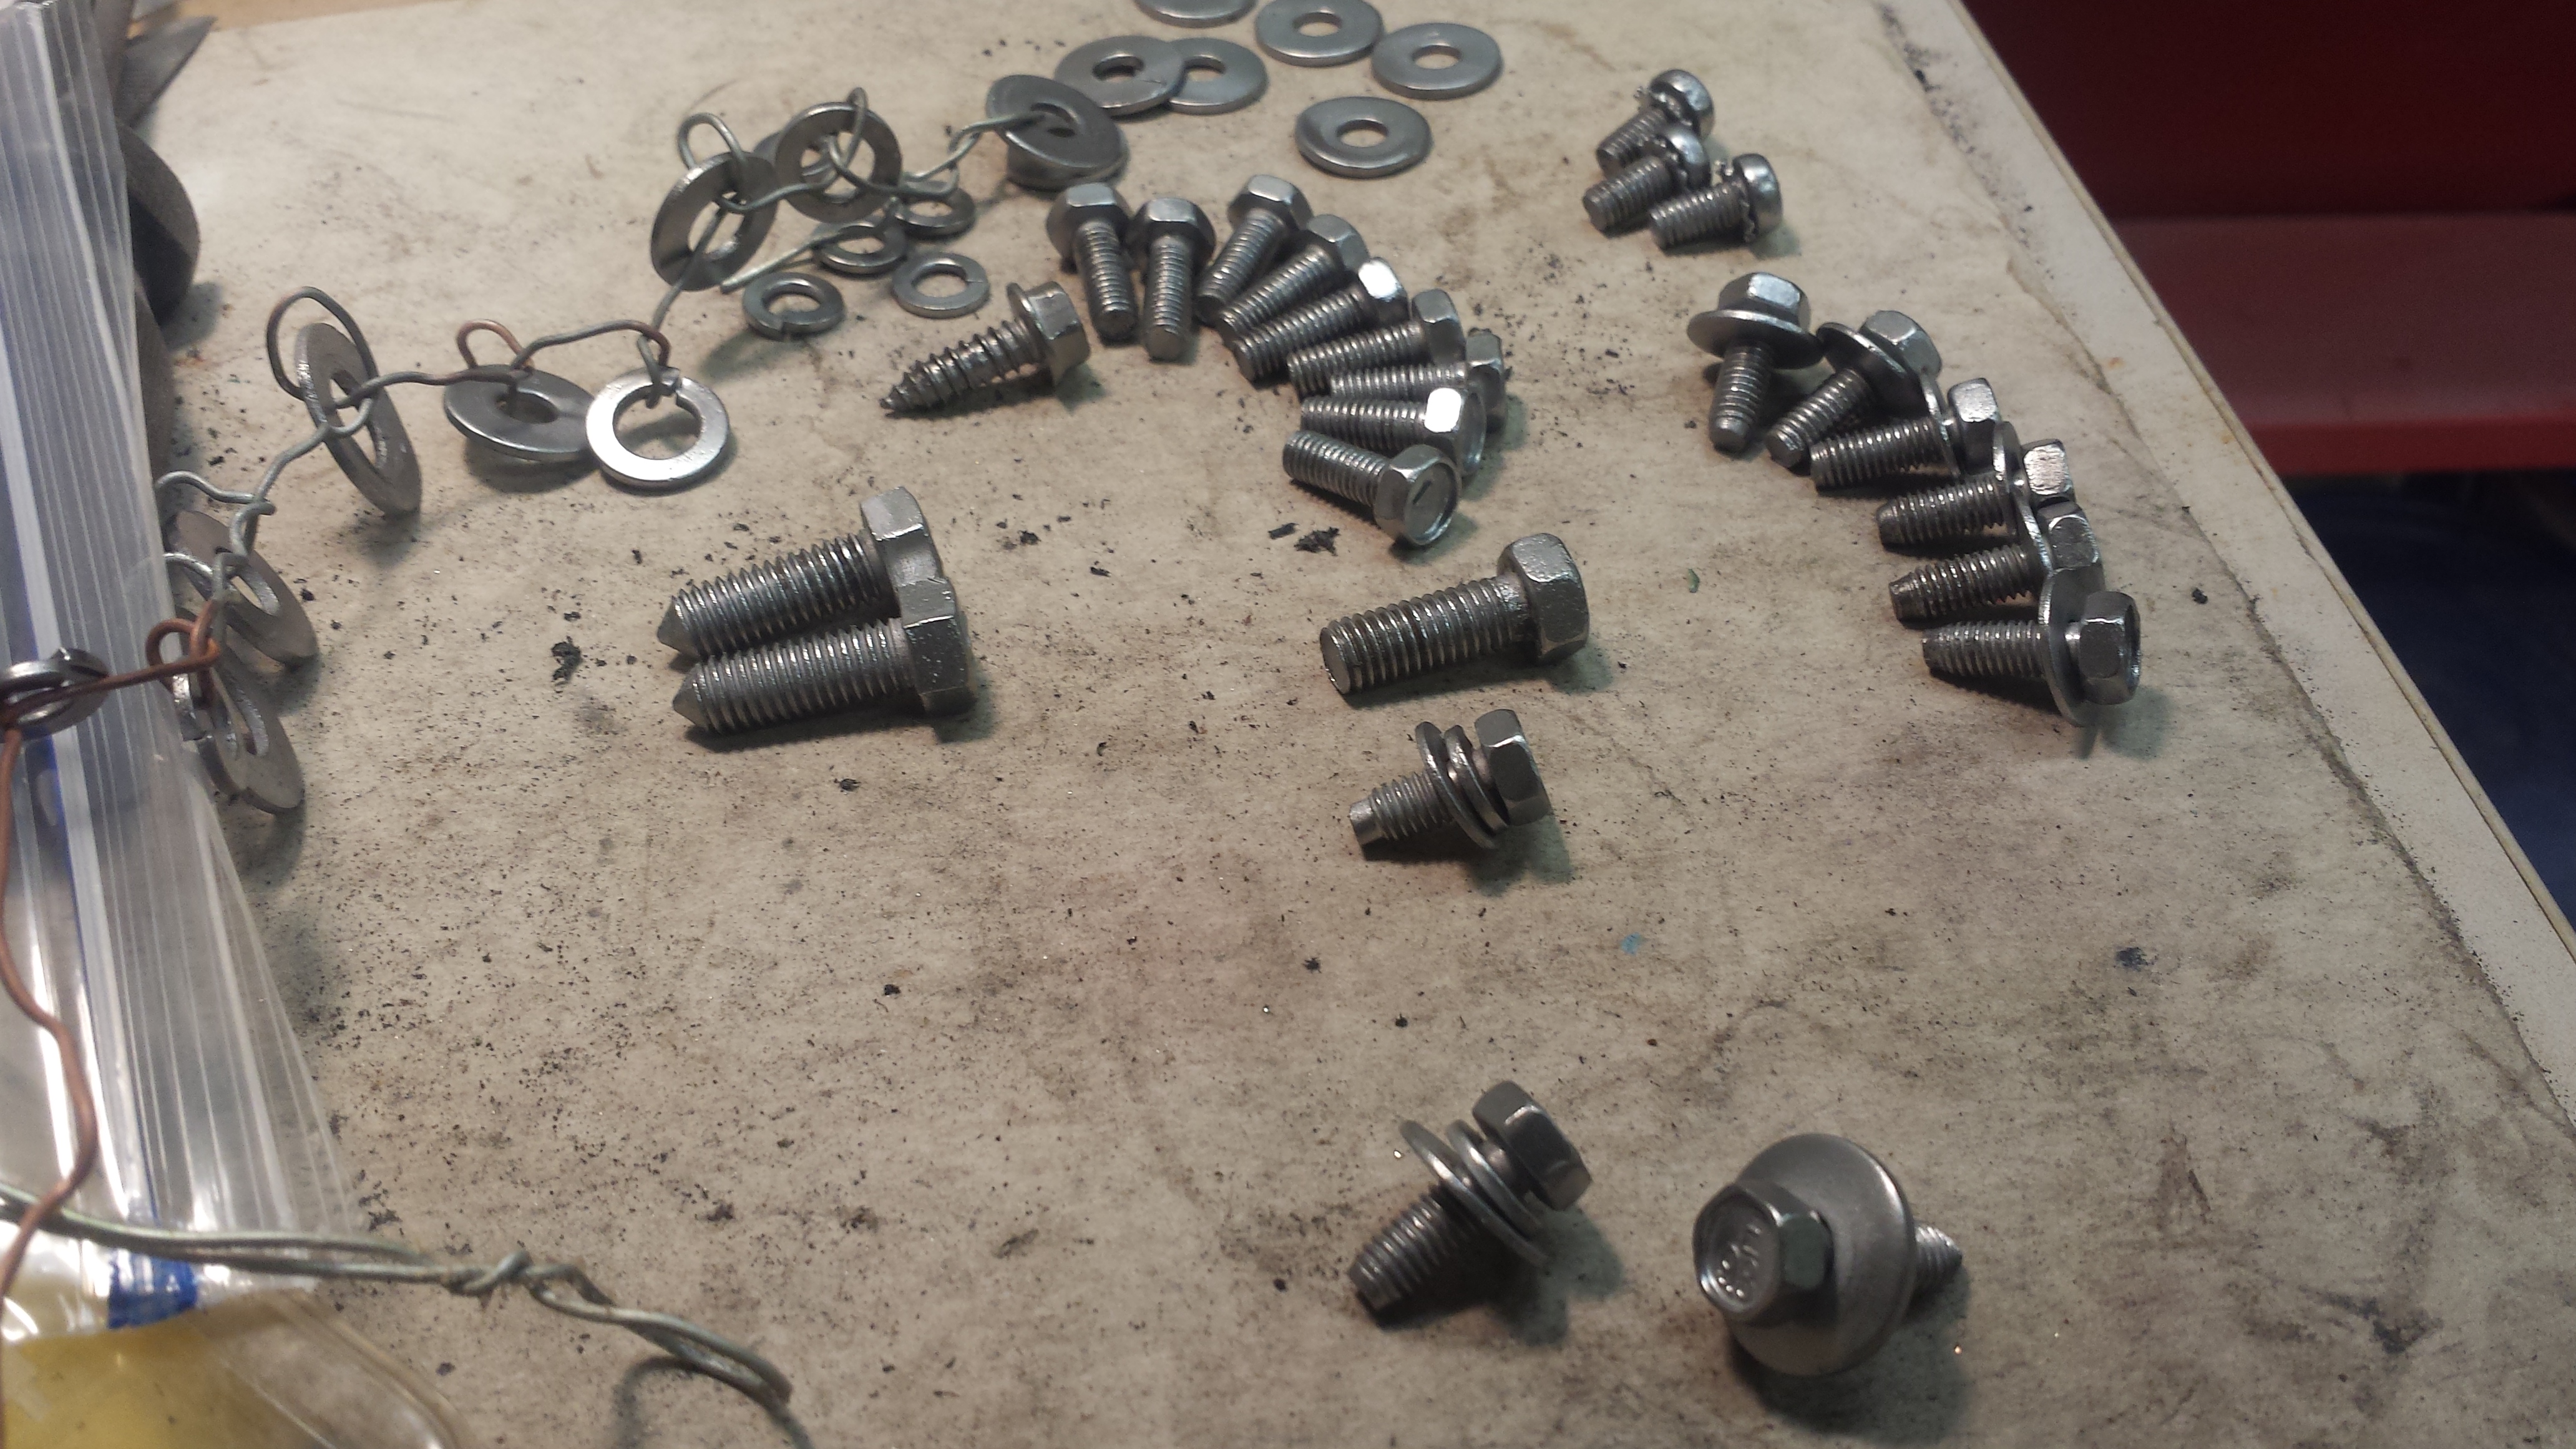
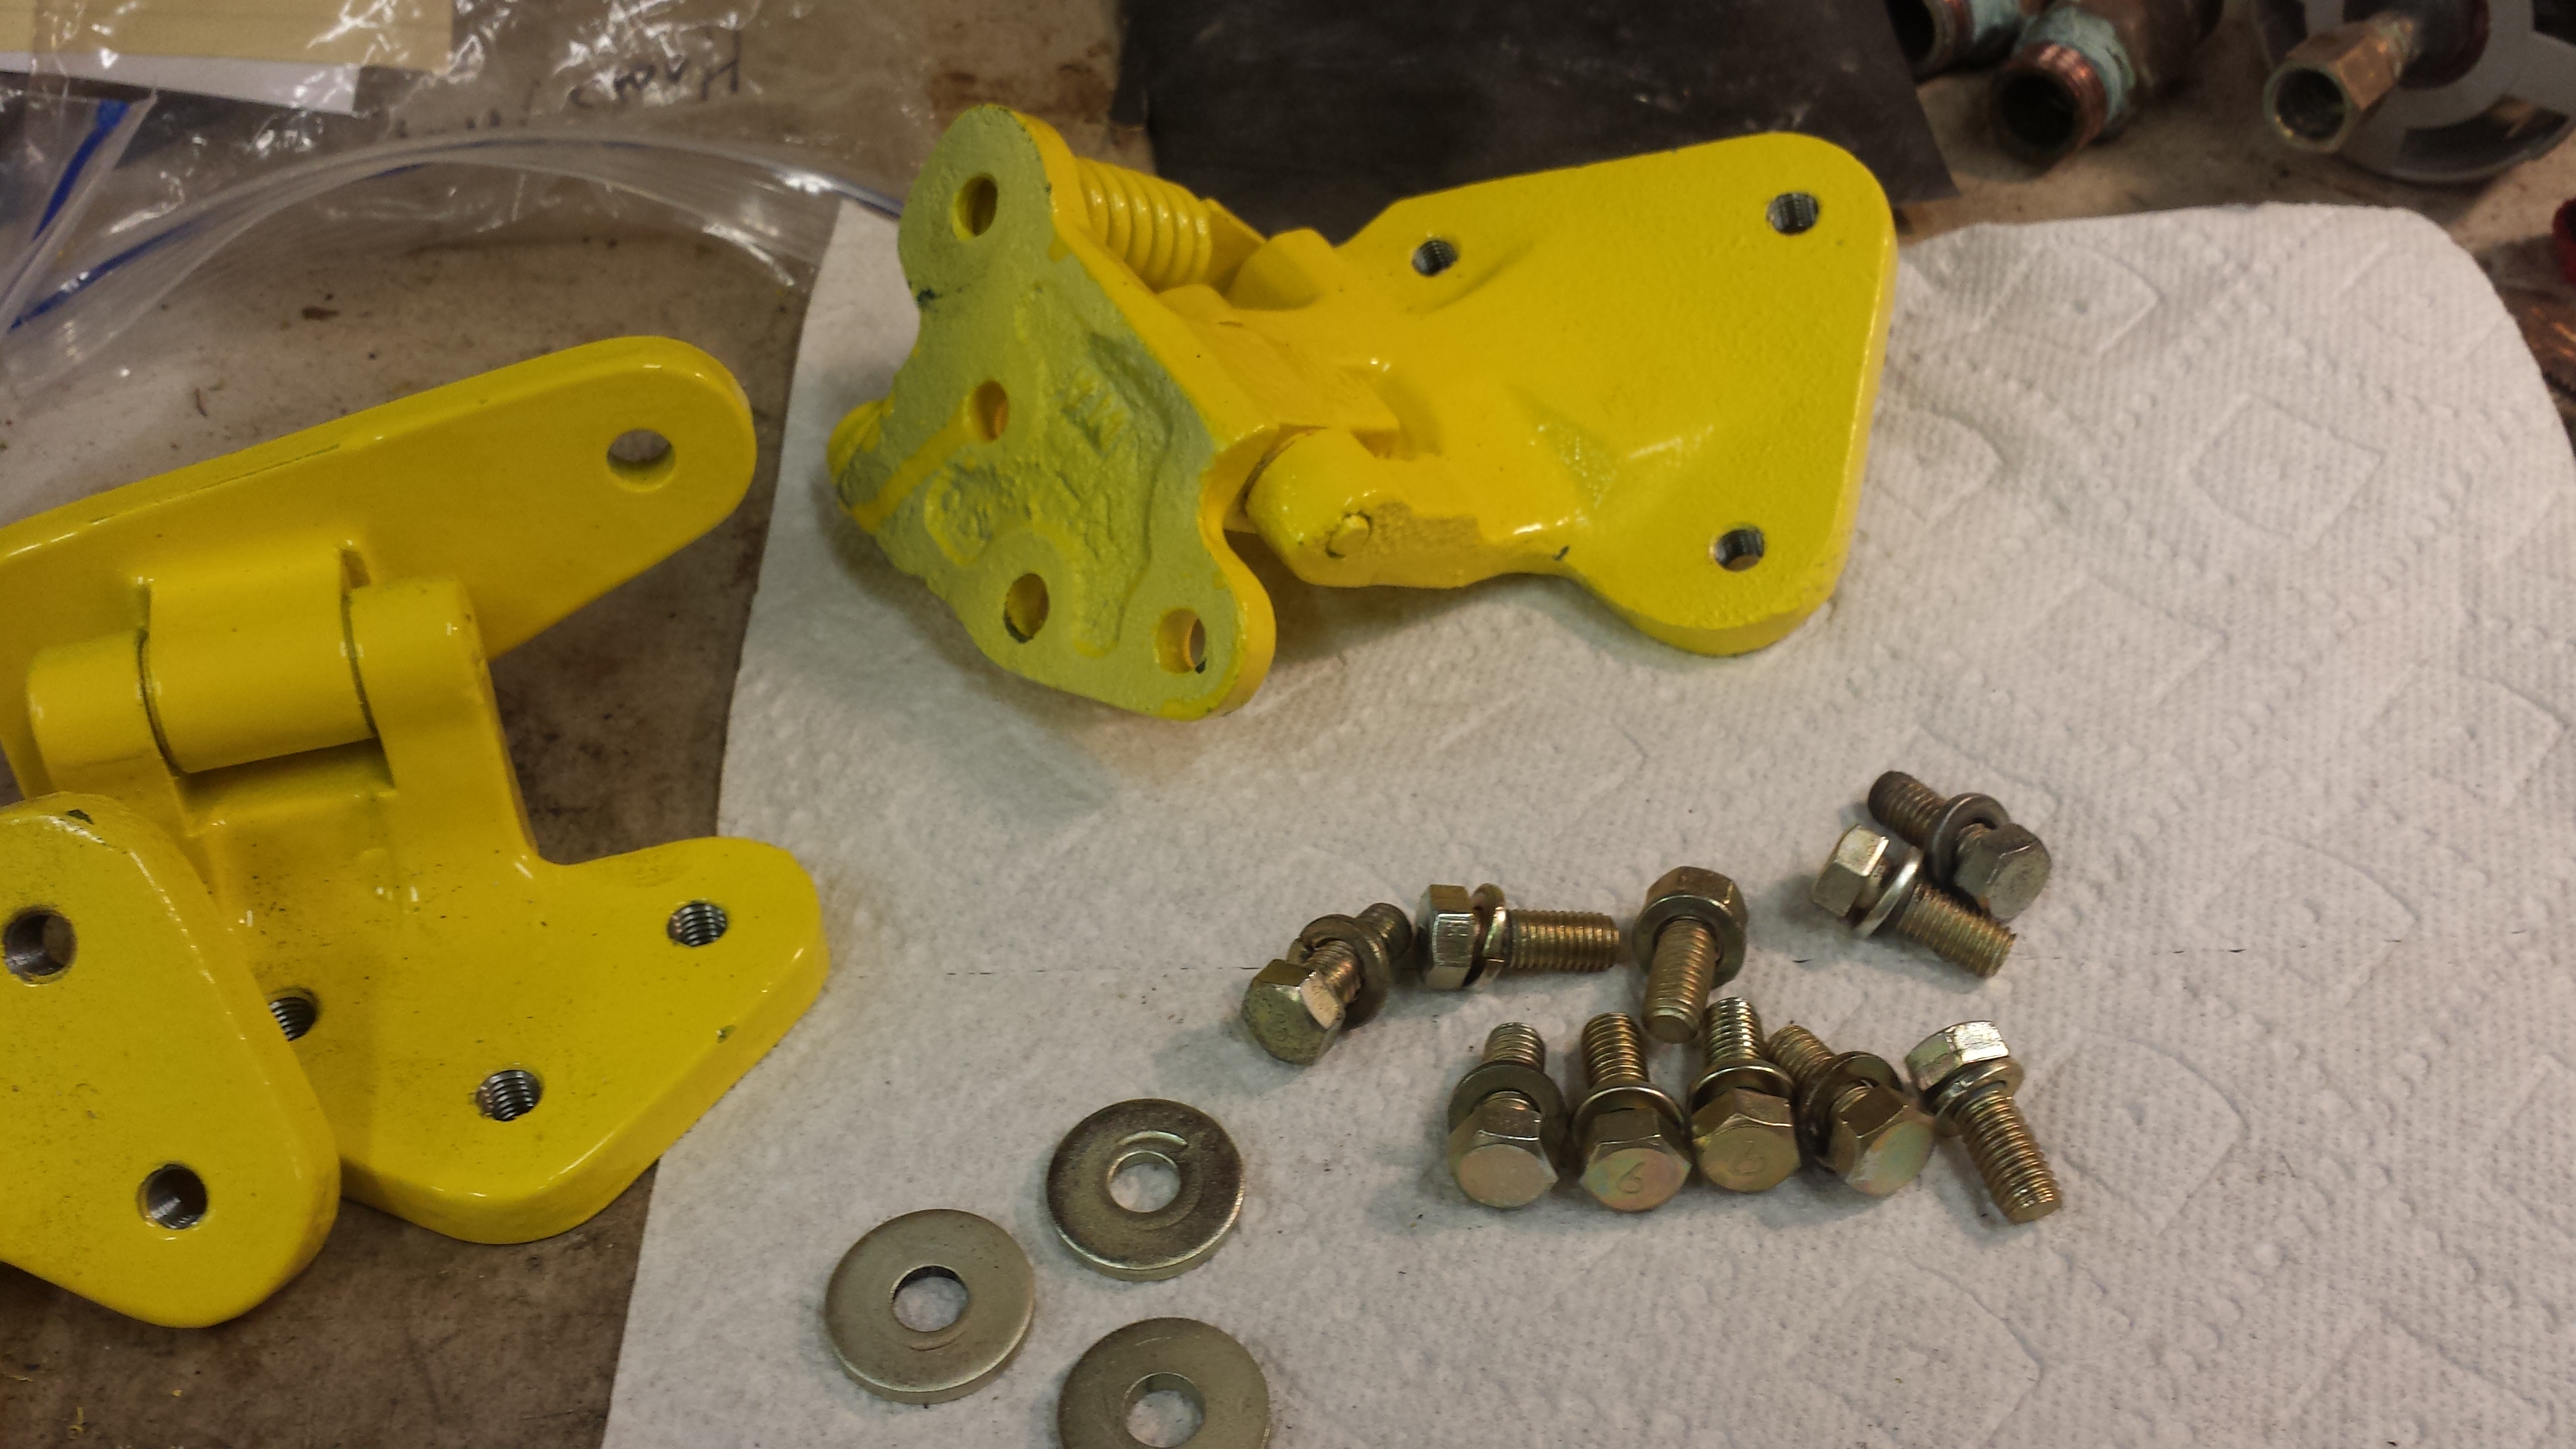
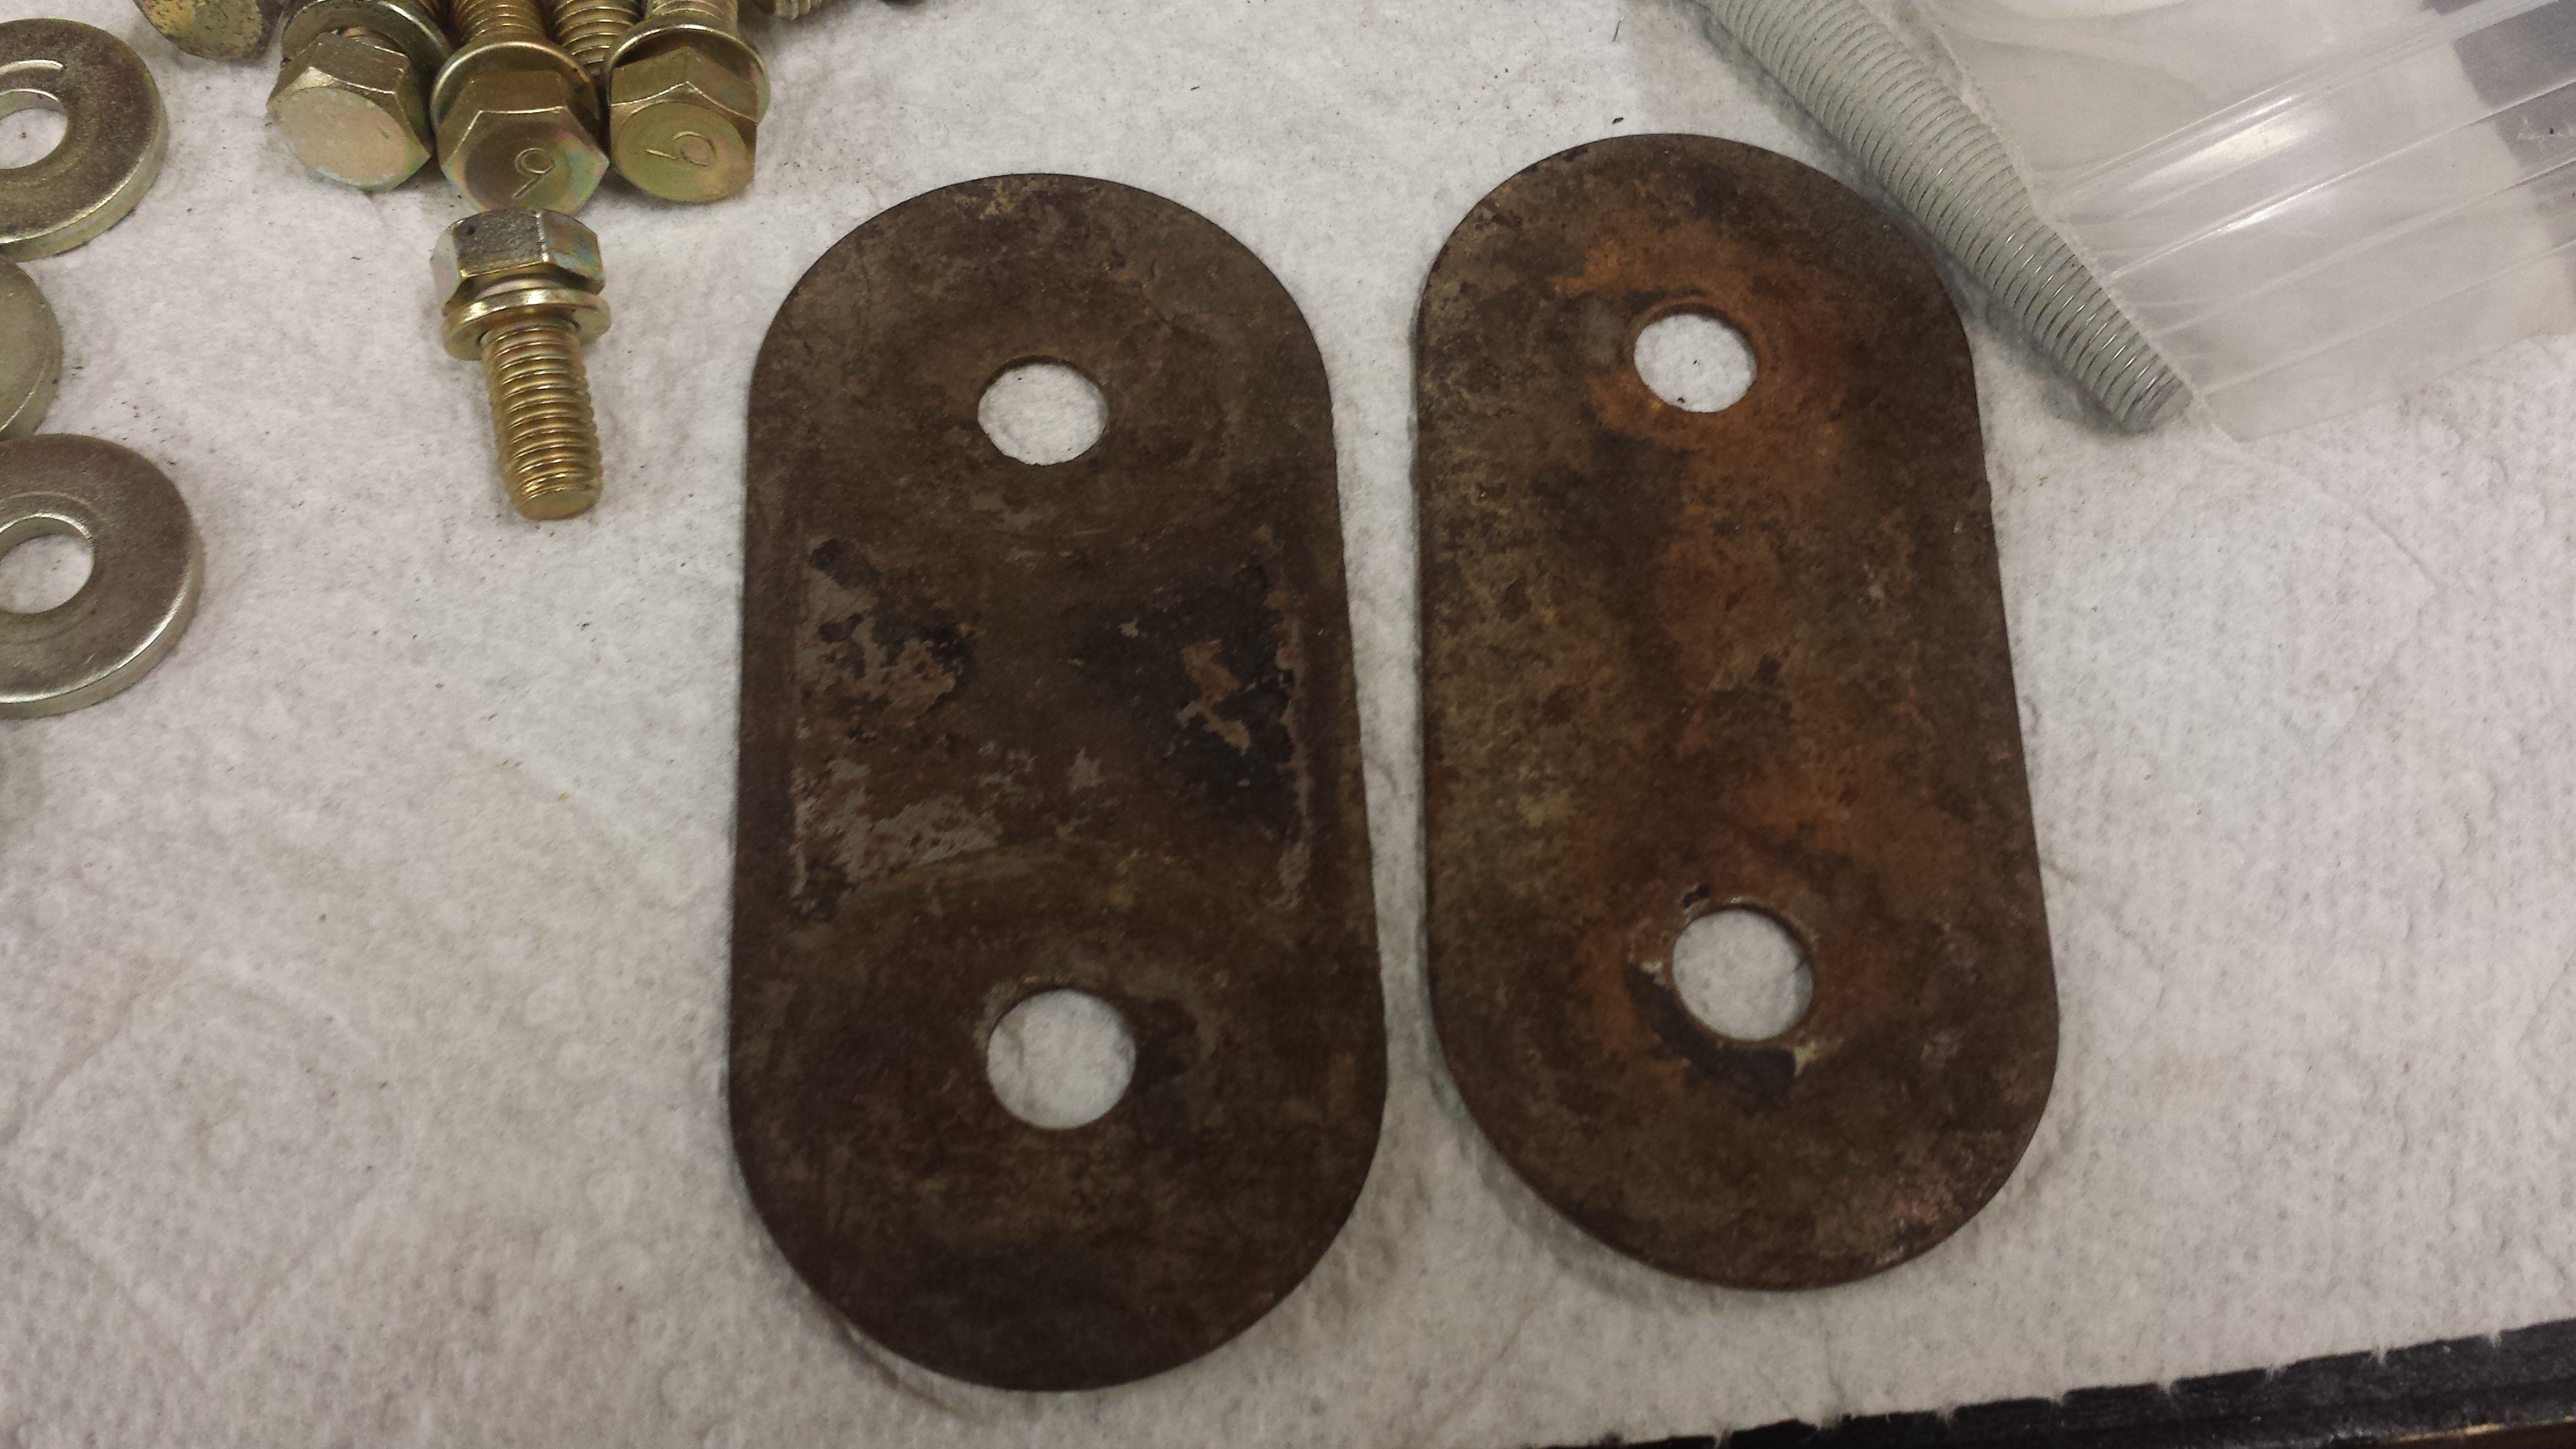
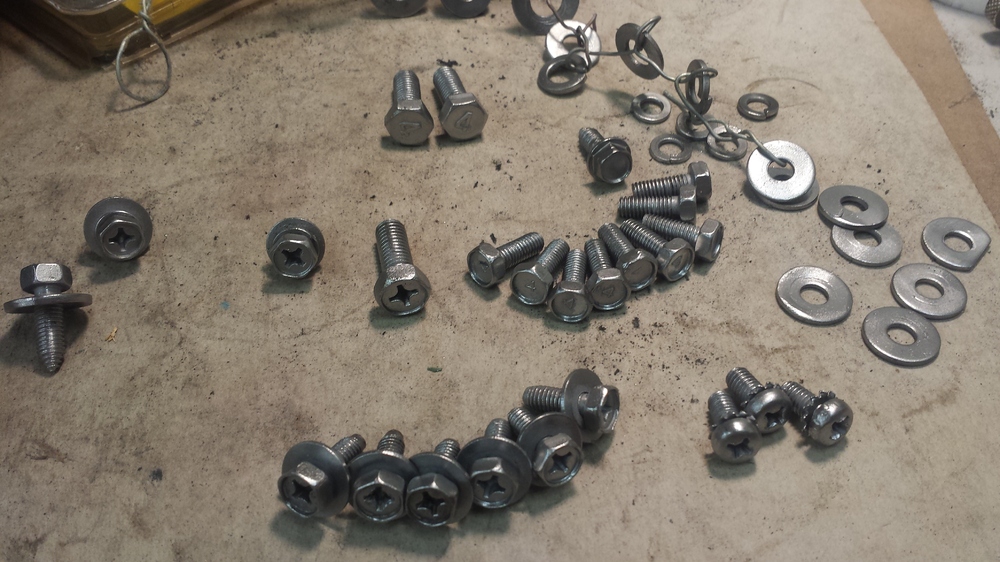
Trying to do something every week to get it moving along This week I plated a few small things trying to get my plating back up and going. I did some small screws for Cody's 510 But along that line. I realized I have no idea what color to make certain screws and bolts I was stringing hardware and then realized I don't know if all of this should be clear or yellow zinc The other bigger problem is I don't know where all of these go... I didn't do very well labeling hardware when my kids helped me strip the car. Many times I recognize the hardware and know where it goes but not so much today Any help identifying fastener locations would be great. Are the flat sided washers for the front fenders? I made a serious mistake at Zcon this year. I had some excellent vehicles to make pictures of so I knew where the hardware went but it slipped my mind. I believe these are the door hinge bolts.M8x1.5 x 18L or so... I think they should be yellow zinc and the thick flat washers that go inside the body should be clear zinc or yellow? these sway bar plates I believe should be yellow zinc...?


-
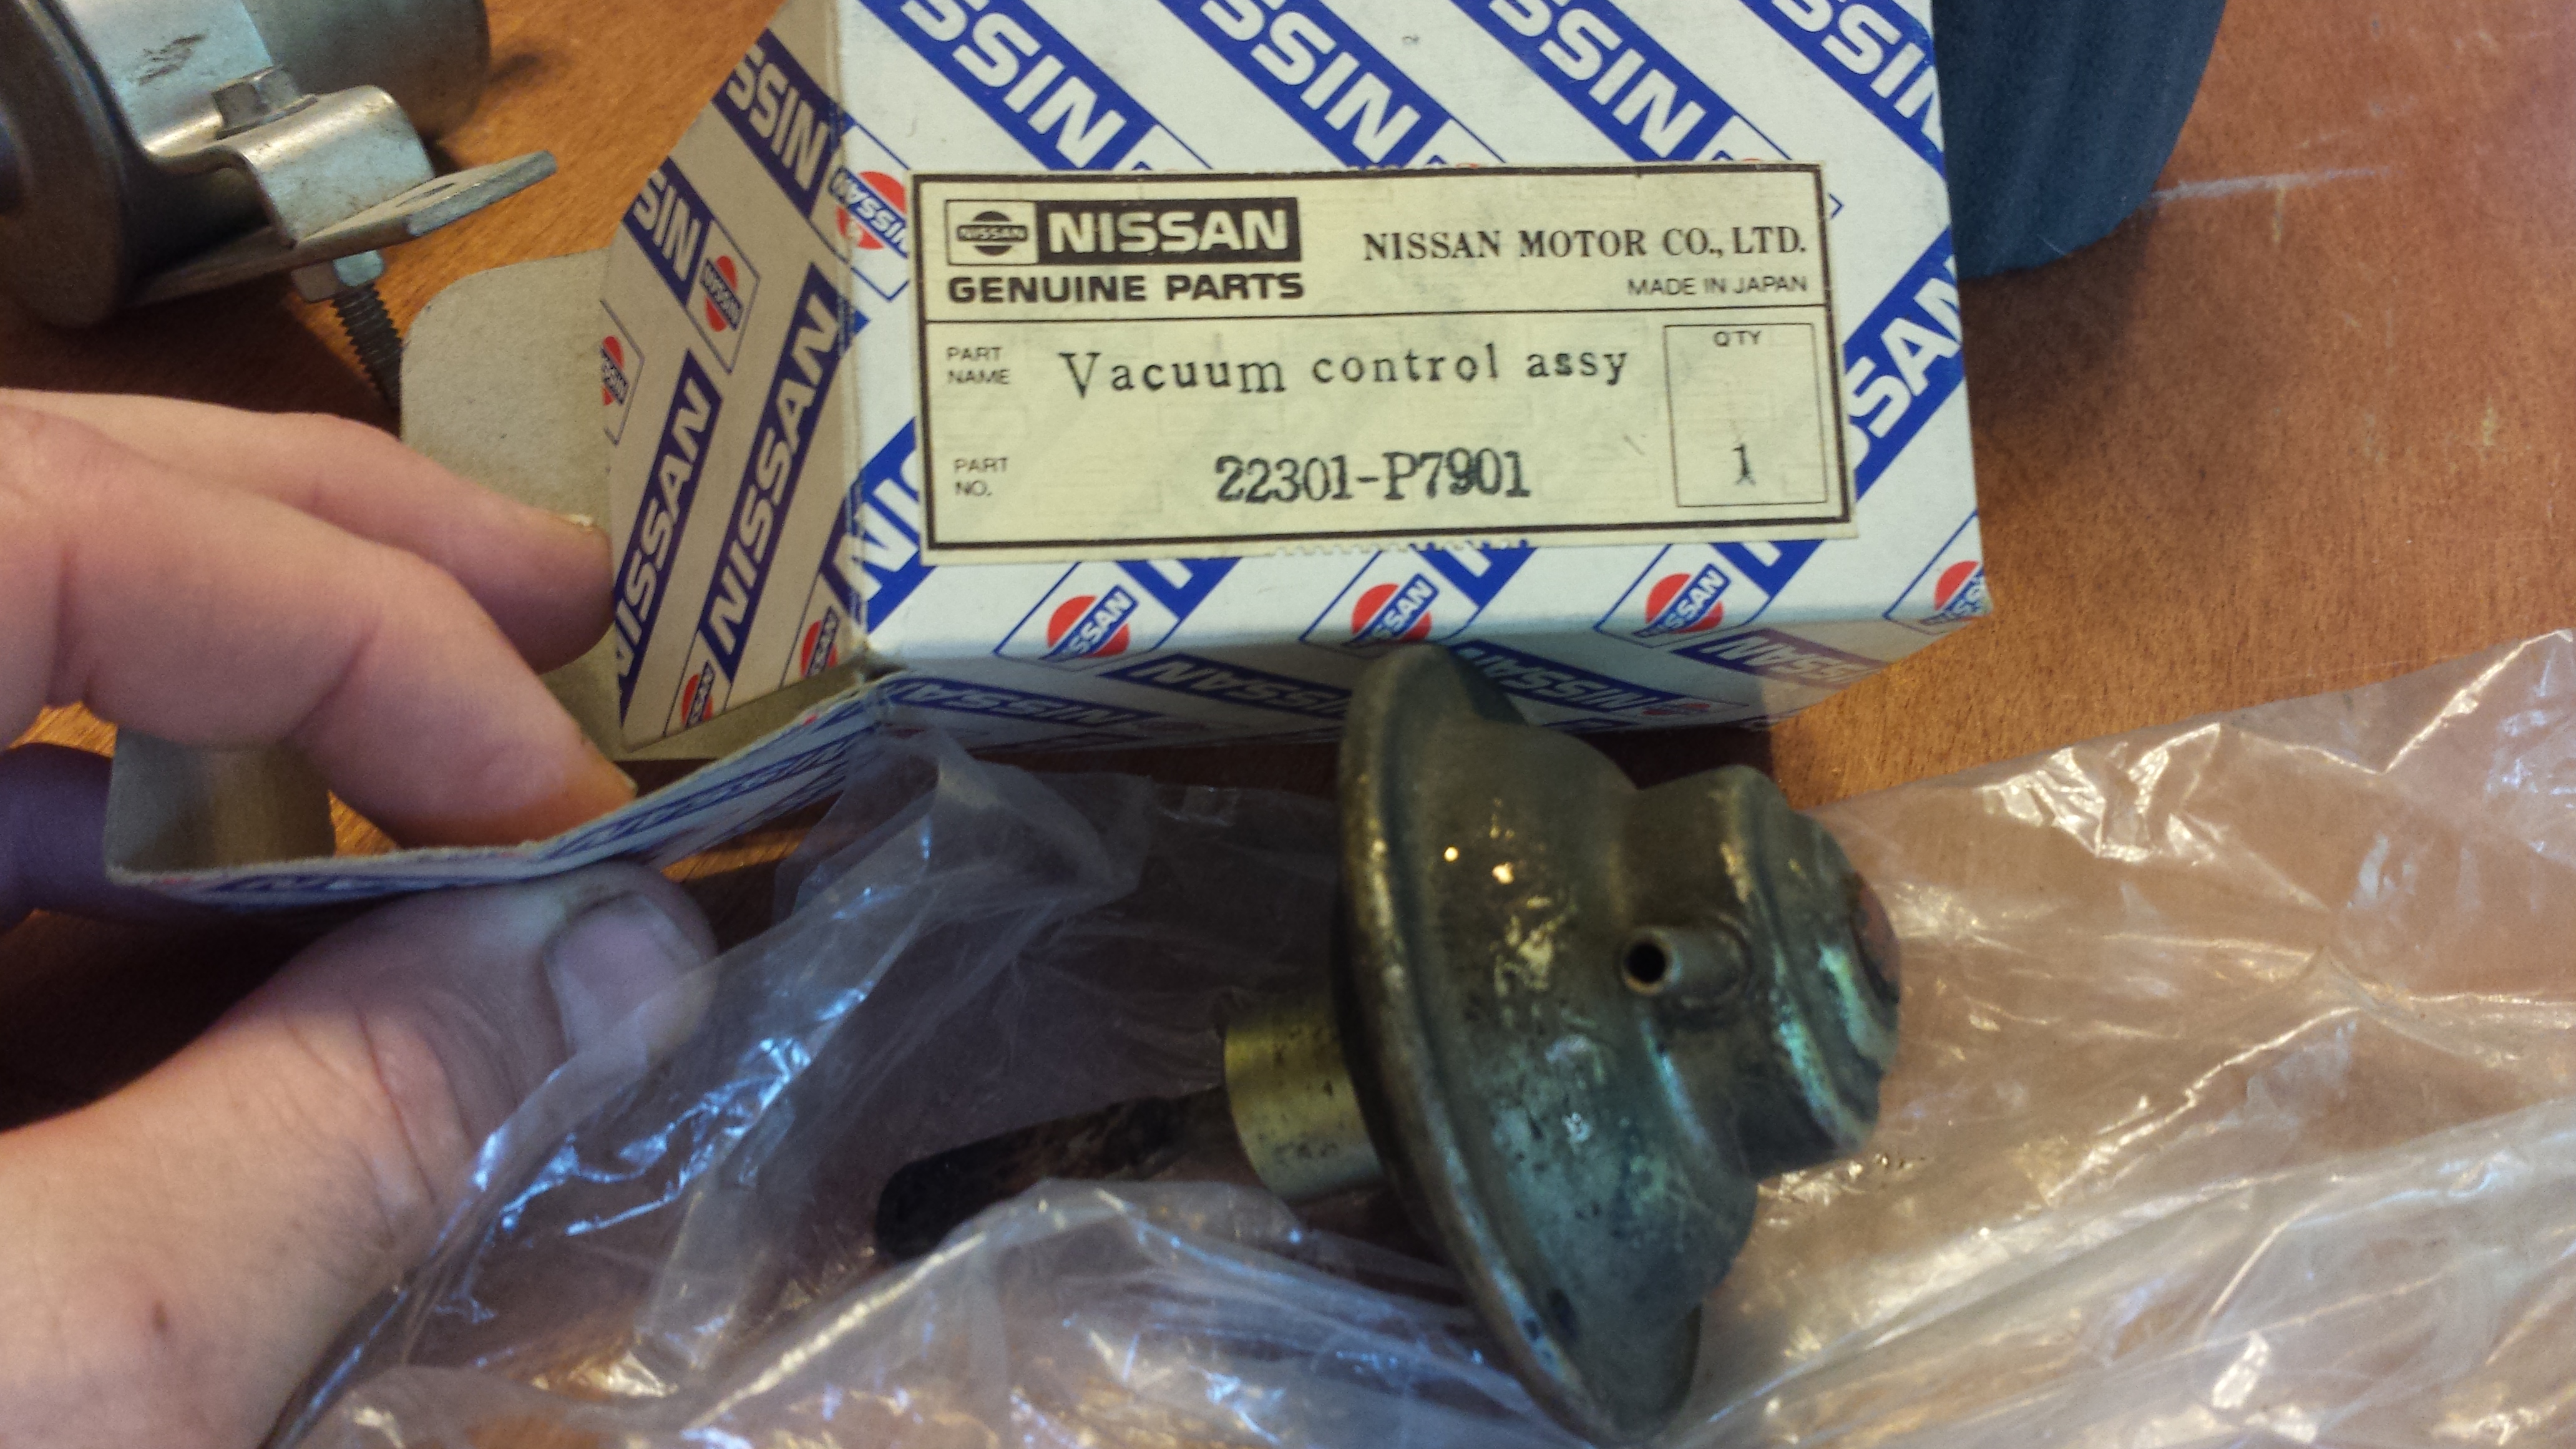
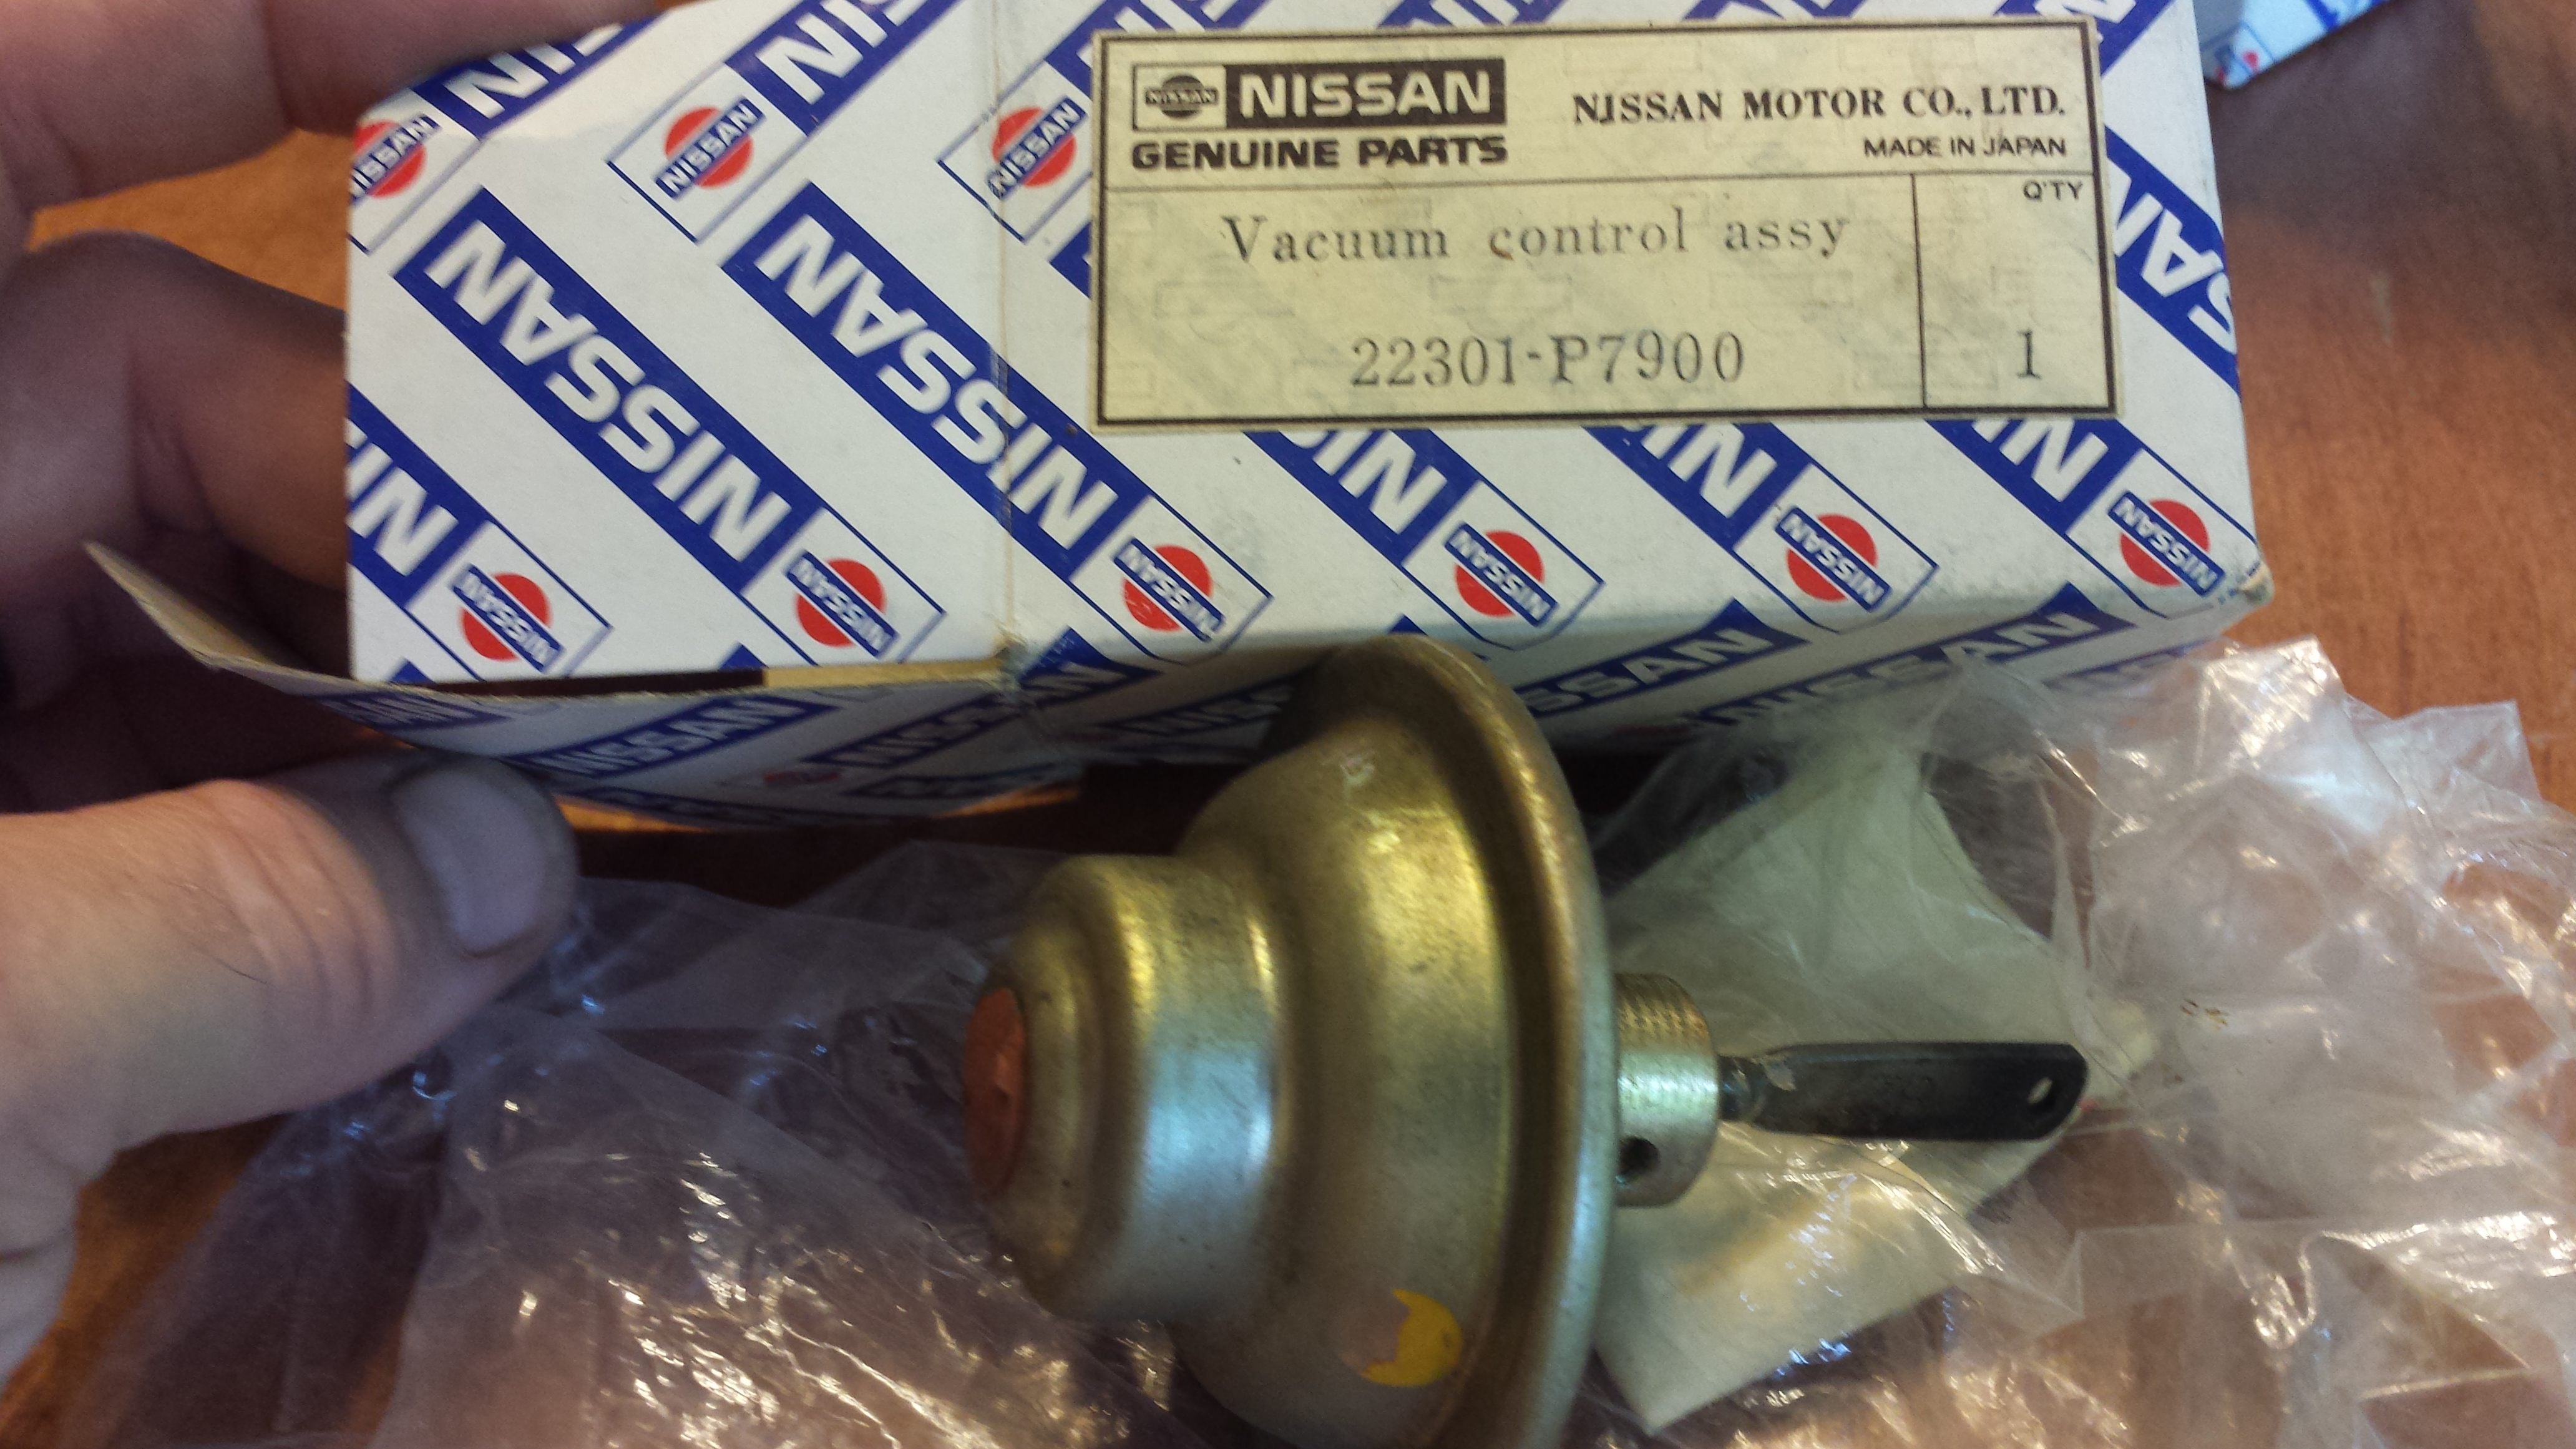
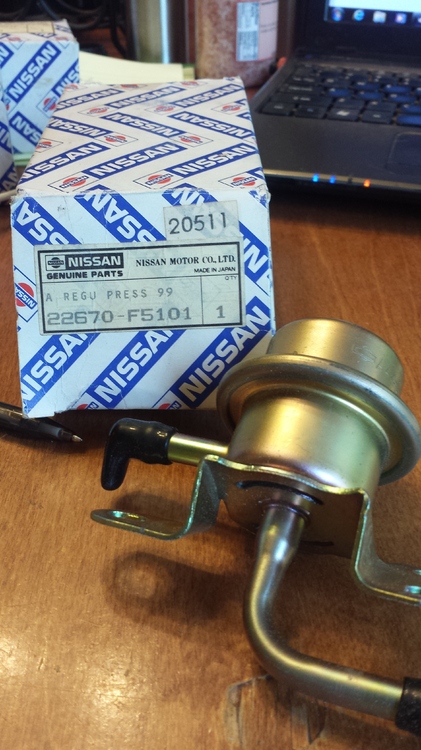
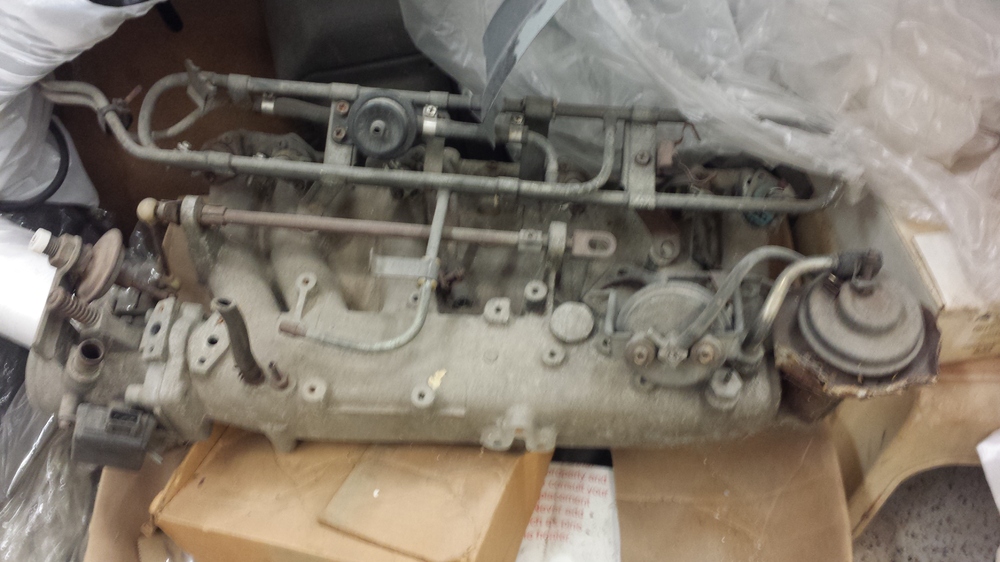
I have a pile of parts that have been laying around in my shop. Time for them to go...Make an offer I have these two vacuum advance assemblies one is marked 22301-P7900 the other is 22301-P7901 unknown history and I can't even verify that is what they are... Fuel pressure regulator I believe, NOS with the receipt in the box Later intake manifold with the fuel rail more coming later


-
@Captain Obvious Can you post up the dims from the NOS replacements?
-
http://www.ebay.com/itm/Tail-Lamp-Assembly-w-Amber-Signal-Light-1-Set-Fits-70-73-Datsun-240z-/252839101035?fits=Model%3A240Z&hash=item3ade62826b:g:oBwAAOSwCU1Y38Ko&vxp=mtr http://www.ebay.com/itm/1970-1971-1972-1973-Datsun-240Z-Tail-lamp-Assembly-w-Amber-signal-Light-1-Set-/322470206327?epid=1836686509&hash=item4b14b8db77:g:MzwAAOSwA29Y38Sh&vxp=mtr http://www.ebay.com/itm/DATSUN-JDM-240Z-260Z-280Z-TAIL-LAMP-LIGHT-ASSY-/201974520428?hash=item2f069e9a6c:g:9TAAAOSwiCRUmTaz&vxp=mtr http://www.vintagerubber.com/Datsun240ZTailLightEuro.aspx Some quick options I found... The lenses from VR are about what a whole set of lights costs... I know there are at least two other vendors that make replacement lenses, but I can't locate them right now. Repro's aren't exactly the same as JDM due to trademark infringement issues
-
A set of reproduction tail lights was about $400. Lens are probably about half that. Check Yahoo japan auctions too...
-
@siteunseen Yes those are Euros. They use to be really rare but several people make reproductions now. I would go that route now if I didn't have two sets of "Euros" laying around...
-
Have you tried just jacking the car up and rotating a rear wheel to look for where the slack is?
-
-
I have 2 sets already and I paid $90 which includes shipping for the last pair. I don't want to run any poly if I can help it. I just don't think its necessary and would prefer not to risk squeaks or harshness. I was just trying to find out if they ever sourced some...