


Namerow
-
Joined
-
Last visited
Posts posted by Namerow
-
-
-
I've often seen pictures posted by CZCC members where their Z is perched up on axle stands, front and rear. Getting a car up on stands at either the front or the rear is easy. I'm curious to know what the accepted wisdom is for getting the other end elevated and then getting the stands extended to full lift. Can it be done safely in one step, or is it better to start with the axle stands at minimum extension and then go back and forth in steps from front to rear until both ends are up all the way (i.e. the axle stands at maximum extension)?
-
On 5/24/2025 at 11:47 AM, inline6 said: It seems that I should go ahead with uploading it to the resources section, as it is pretty much as complete as I intend to make it.
That would be a great addition.
@Mike Within the 'Knowledge' tab, there seems to be no appropriate 'category' for Inline6's list. Perhaps we could benefit from an additional category called 'Hardware'. It could hold contributions dealing with fasteners, hoses, materials, finishes, chemicals, and the like. Maybe even an additional one, titled 'Tools'.
Years ago, two other Z owners created similar 'S30 Fasteners' spreadsheets. However, neither was even close to yours in terms of whole-vehicle coverage. Both of the authors ran out of steam after listing about 20 items. One of them actually included photos of some of the more important items. Easy to see why he tired of the project fairly quickly!
-
 1
1
-
-
-
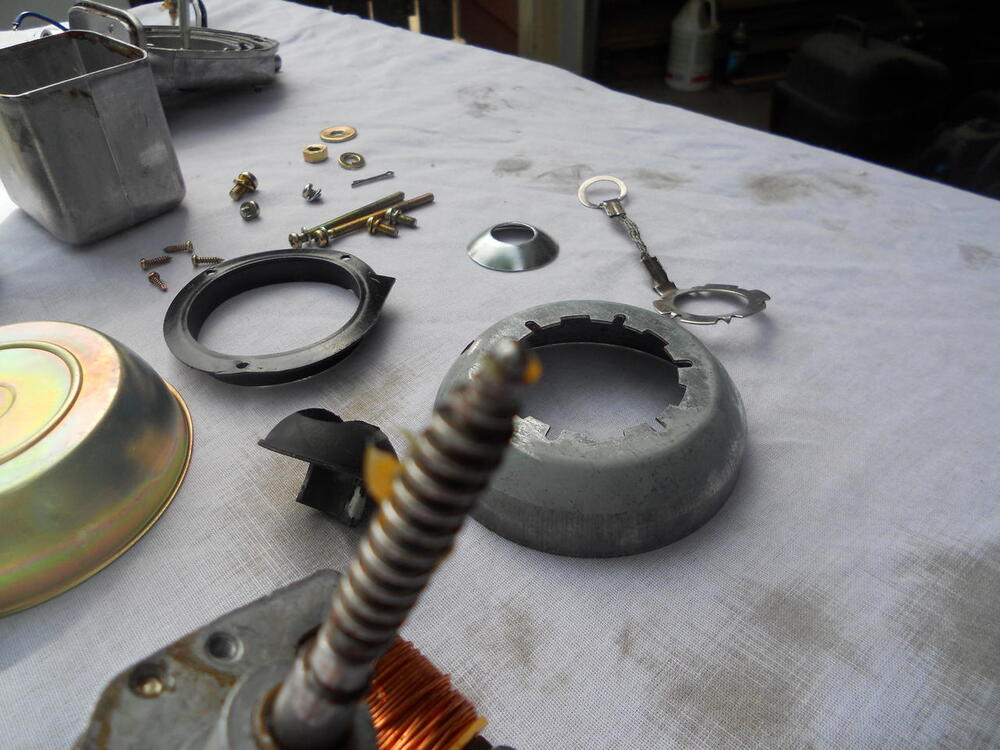
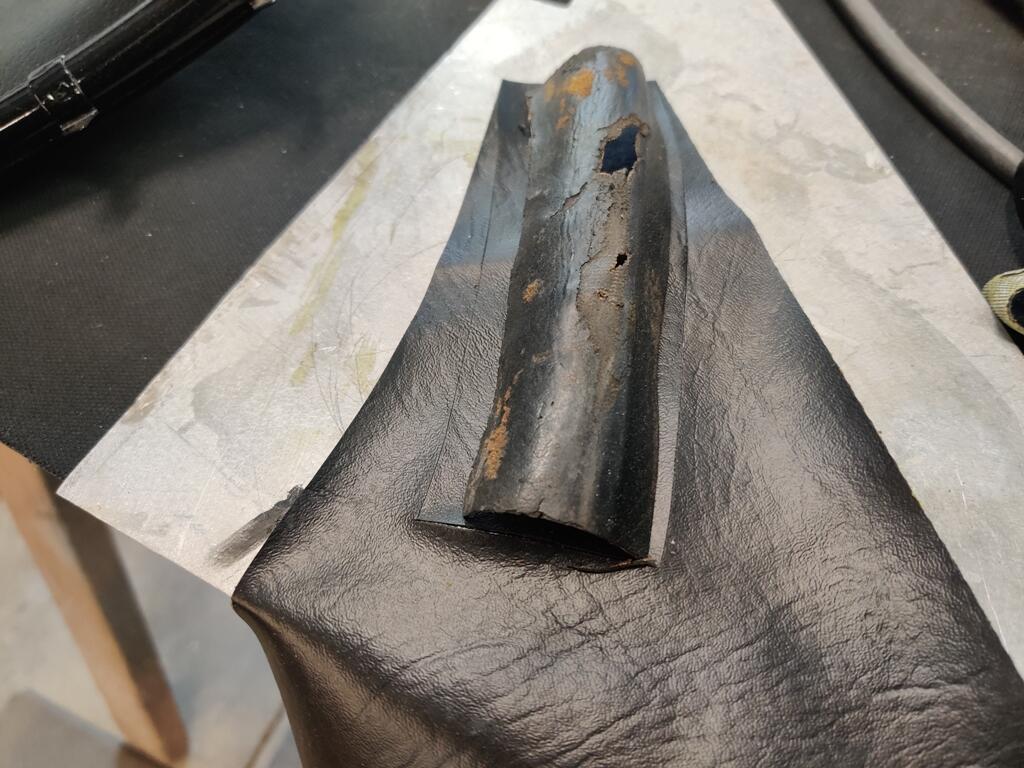
On 5/17/2025 at 9:57 PM, Captain Obvious said: I suspect that ground connection to the antenna is NOT simply from connection to the body, but is in fact, a dedicated ground wire leading to the antenna.
I think that the 'ground wire' consists of the braided wire shown in this photo of the disassembled antenna assembly from my 1970 Z . The larger, toothed washer gets clamped between the assembly casing and the inside of the fender, while (IIRC) the smaller, smooth washer slips over the antenna mast. The purpose is to ground the mast...
-
Edited by Namerow
Correction: The data actually does include the bolt grade numbers where relevant. My mistake.13 hours ago, inline6 said: There is copy of the workbook in the resources section of this website as well.
@inline6 What do you mean by 'workbook'? And what do you mean by 'resources section of this website'? (I can't find anything tabbed as 'Resources')
p.s. Thanks for the link to the spreadsheet. That's the most comprehensive and detailed list of S30 fasteners that I've seen so far. All that's missing are the part numbers (although adding those would be a huge task). If possible, it would be a great addition to the 'Knowledge Base' section of the CZCC website. Do you know the identity of the author?
-
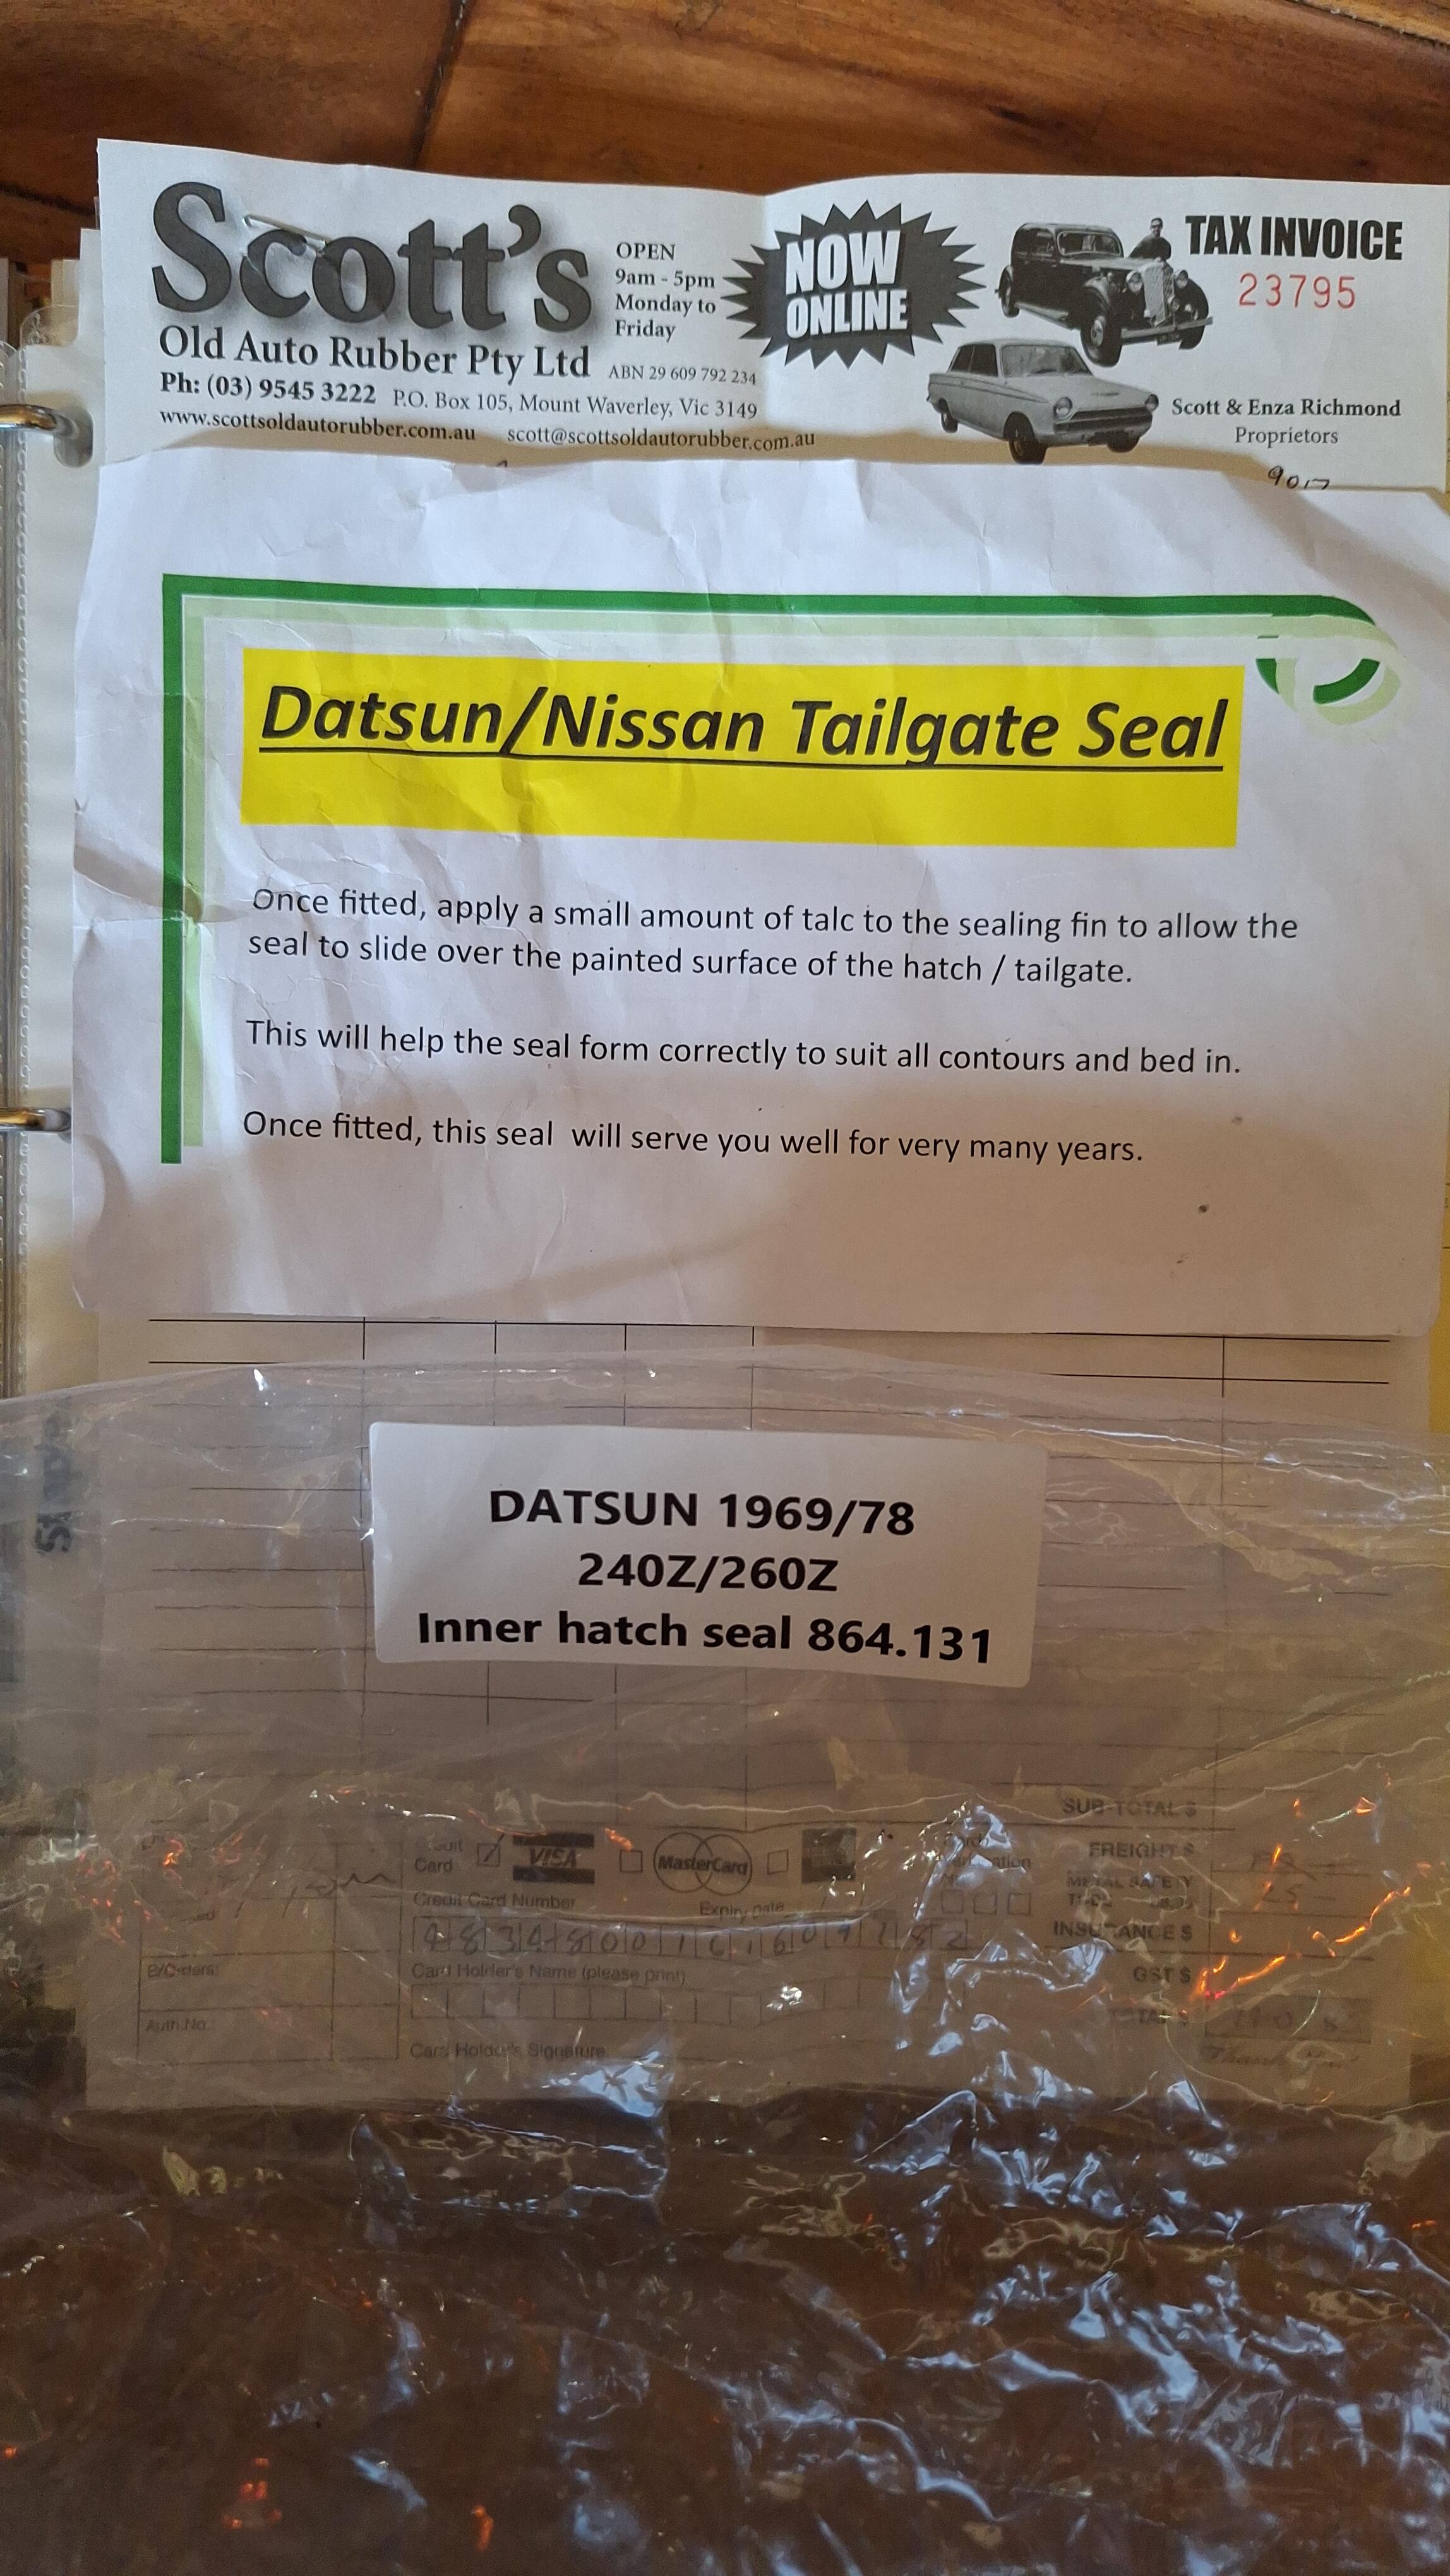
15 hours ago, Parman said: I was going to try it out first, but I just finished installing it and the seal fit like a glove.

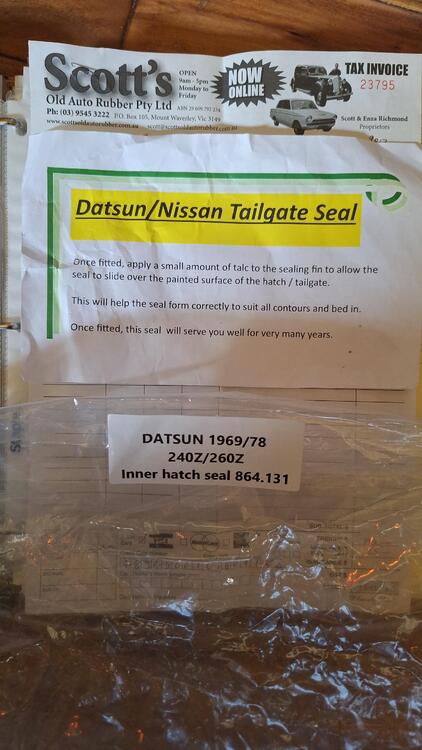
I think I read on their website that they may be going out of business soon. It's part# 864.131
Website says they'll be closing down the business at the end of 2025 (they've been in operation since the mid-1980's, so that's a pretty good run). They appear to be re-sellers, rather than manufacturers (I suggest this b/c they're offering an extensive catalogue of parts across dozens of badge plates and vintages). I wonder where they've been sourcing that Z hatch seal. Japan, maybe?
-
5 hours ago, munters said: Hi Nils
Those are all Brass Synchros from the (FS5W) Transmission our Swiss Gearbox (FS5C) has the Porsche type.
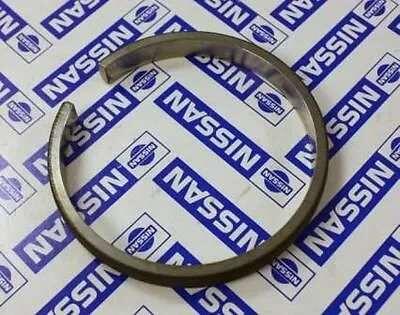
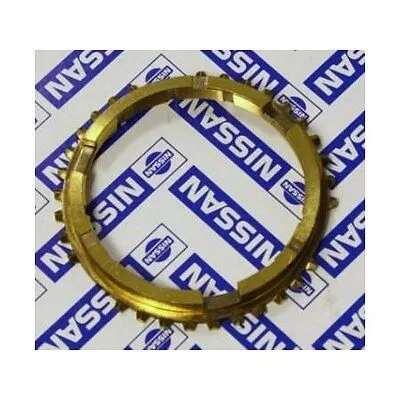
W = Wide Ratio (uses Warner-type brass synchro’s)
C = Close Ratio (uses Porsche-type steel ‘servo’ synchro’s)-
 1
1
-
-
4 hours ago, ZROT said: I'm located in Western Canada
That's a big area. If you're near Calgary, @zKars might be able to help you with a replacement hub.
-
20 hours ago, 72 Datsun 240z said: I only rev it up after driving for 30 mins once parked.
You'd better correct or explain this. Otherwise, the CZCC members will write you off for good.
Specifically: No one (in their right mind) tries to rev their engine up to 6000 rpm at rest. Hot or cold.
-
2
-
-
I've been using slotted hockey pucks as lift pads for several years. They work quite well. Just make sure that the slot is wide enough to keep the puck from wedging itself onto the pinch weld strip and deep enough so that the load is taken by the rocker and floor panel metal on either side of the pinch strip (rather than by the pinch strip itself).
-
2
-
-
I suspect that Nissan, based on its limited world knowledge in the early 1970's, fell victim to expectations that repairs would only be carried out by authorized/factory-trained specialists who lived up to Japanese-market standards. I'll bet there were zero lift-point-related damage issues experienced by Japanese Z owners during the first 2 or 3 generations of ownership. Or maybe never.
Until computer-controlled powertrains intervened, the American automotive service industry was the Wild West. Maybe it still is.
-
Faulty PCV valve? Not surprised. The quality control for these 'consumable' automotive parts is atrocious (spark plugs may be the only exception). They can cripple a car's performance, but spotting a defective item is difficult. You really need to install your 'tune-up' parts one at a time. If the car's performance collapses, you know you've just installed a new-but-defective part. Moral: Buy only the best -- even though they're just 'routine maintenance' parts. Even then, be alert and be suspicious. The auto business is a low-margin enterprise. Even name-brand 'replacement parts' manufacturers have to skate close to the edge in order to keep their shareholders happy. p.s. They do a much better job when it comes to supplying parts for new cars b/c now there are new-vehicle warranty costs involved and their customers (the auto manufacturer) will pay more to keep those costs under control. In the auto biz, it's all about $$$.
I will defer to others when it comes to your fuel pump circuitry. My thesis is all about making the system (your engine, along with its fuel and electrical systems) as simple as can be, so that problems much easier to diagnose. Once that's done, you can add back the complexity (emissions control equipment) as you see fit. If it were me, living in Panama and driving a carbureted 50-year-old classic, I'd limit that to the PCV system. All the rest of the 240Z's emissions control gear, viewed from a 2025 perspective, is -- not to put too fine point on it -- finicky crap.
-
1
-
-
The 240Z engine is a remarkably simple and well-built device... except for the emissions control system. The latter is a train-wreck, typical of the auto industry's late-1960's, analogue-era, pre-ECU/fuel injection, band-aid solutions. The problem was not unique to Nissan. Whether it was the USA, the UK, Italy, France, Japan -- they were universally bad. Why? Because the technology available to the industry that was 'ready for prime time' (i.e. wouldn't get the manufacturer sued for incompetence) was nothing better than a lash-up. In the end, the only answer proved to be a combination of electronic fuel injection + computer control. It took almost 10 years to get there.
In Panama, you are re-living the 1970 Los Angeles nightmare -- high temperatures + traffic jams + complicated, ineffective smog equipment technology. Plus -- as I mentioned in an earlier post -- the pssibility that your local gas may be substandard.
My advice: 1) Remove all of the emission control equipment; 2) Run the tank dry and then fill up at the biggest, brand-name gas station in downtown; 3) Place your trust in a top-quality auto shop that has a lead mechanic who has proven credentials with carburetors (preferably SU carburetors); 4) Only if steps 1, 2 and 3 can't get the engine running properly should you consider removing the cylinder head.
-
3
-
-
10 hours ago, CanTechZ said: For some reason I was attracted to this six pack?
Colour matching is really important.😎
-
1
-
 3
3
-
-
Edited by Namerow
Less words.I suspect that JAlex's problems may be the result of poor local fuel quality combined with local high-temp conditions. Not sure that any of us are qualified to provide proper guidance on that combination. Maybe not even Nissan.
It may prove difficult to find qualified tech help in Panama.
That said, I hope the new mechanic proves to be up to the task and this will end with JAlex piloting Panama's best Z on his local streets and highways.
-
3
-
Things in Japan are not as 'obvious' to an outsider as they might be in NA and Europe. I agree with CO, in that Kays may prove invaluable. However, you need to be specific about what it is that you're looking for.
-
1
-
-
-
On 12/18/2024 at 7:24 PM, Richard McDonel said:
Expert advice from two sources in I'm to sand the to-be painted areas with 60 or 80 grit
I wonder if "60 or 80 grit" was really meant as "360 or 280 grit"? Those would be credible recommendations for paint prep.
-
1
-
-
-
 1
1
-
-
On 11/1/2024 at 6:55 PM, scarguy055 said:
Transmission was replaced with B style by Datsun dealer early in life.
The 'B' transmission's design places the base of the shift lever further forward relative to the front face of the bellhousing, resulting in a number of complications when a B unit is installed in a car that was designed for the A unit...
- Base of shift lever hits the front edge of the cutout in the transmission tunnel when 1st or 3rd is selected.
- Shifter knob comes too close to the HVAC fascia when 1st or 3rd is selected.
I'm curious to know how this issue was handled by the dealer who did the B-for-A transmission swap in your car.
p.s. I like the wood cradle that you built to support the car. I know of another Z owner who built a rotisserie from wood.
-
2
-
1
-
-
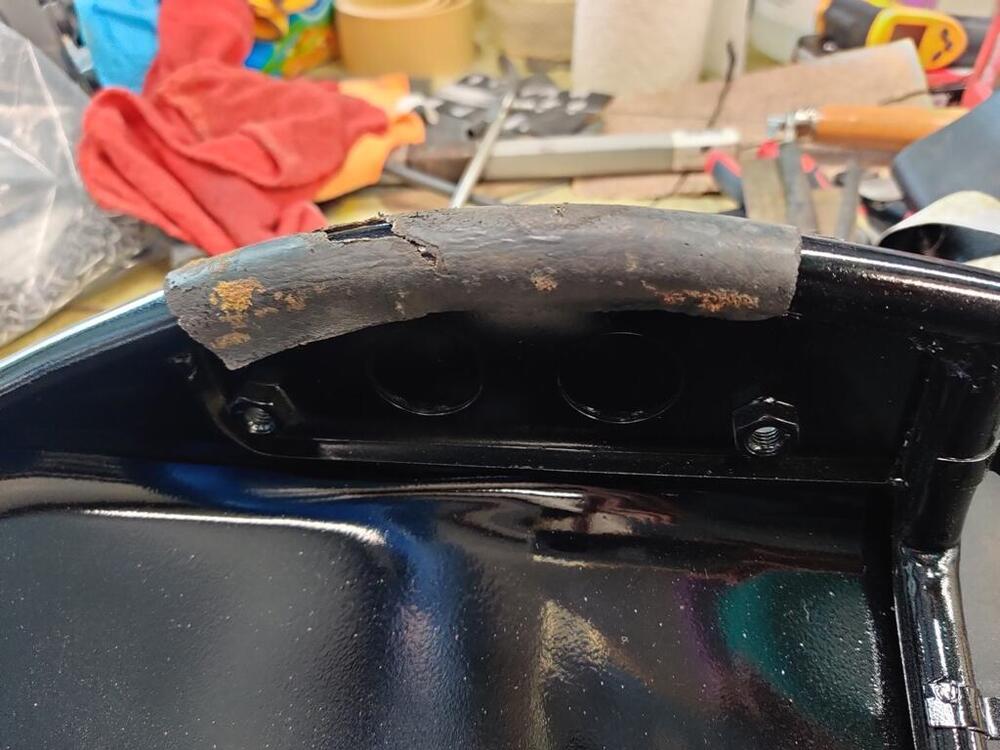
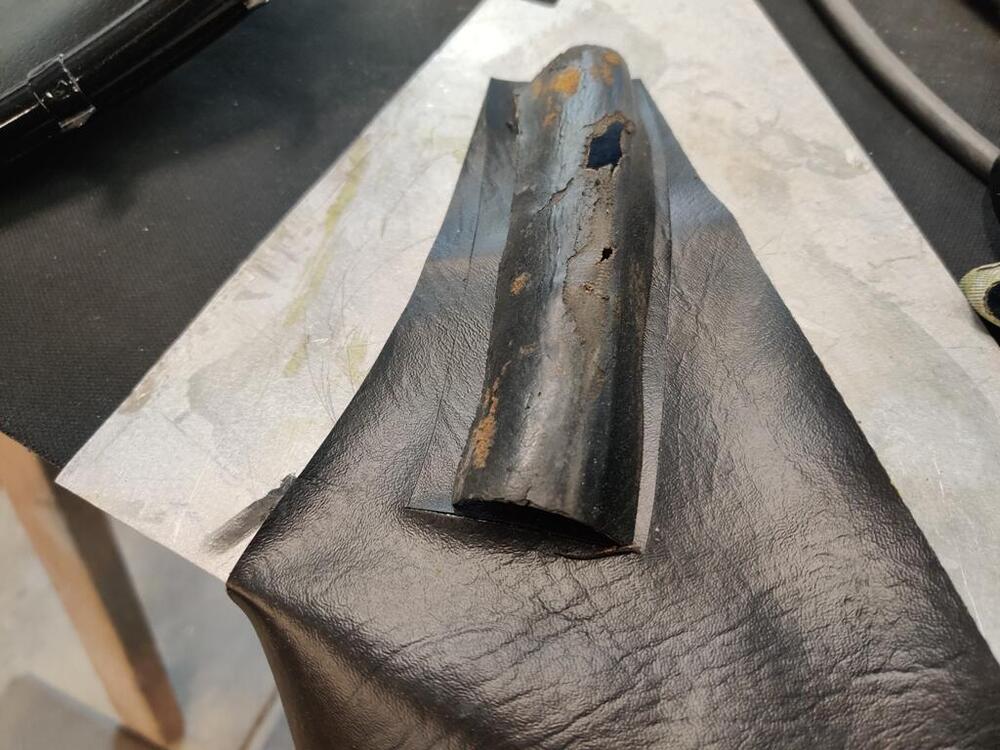
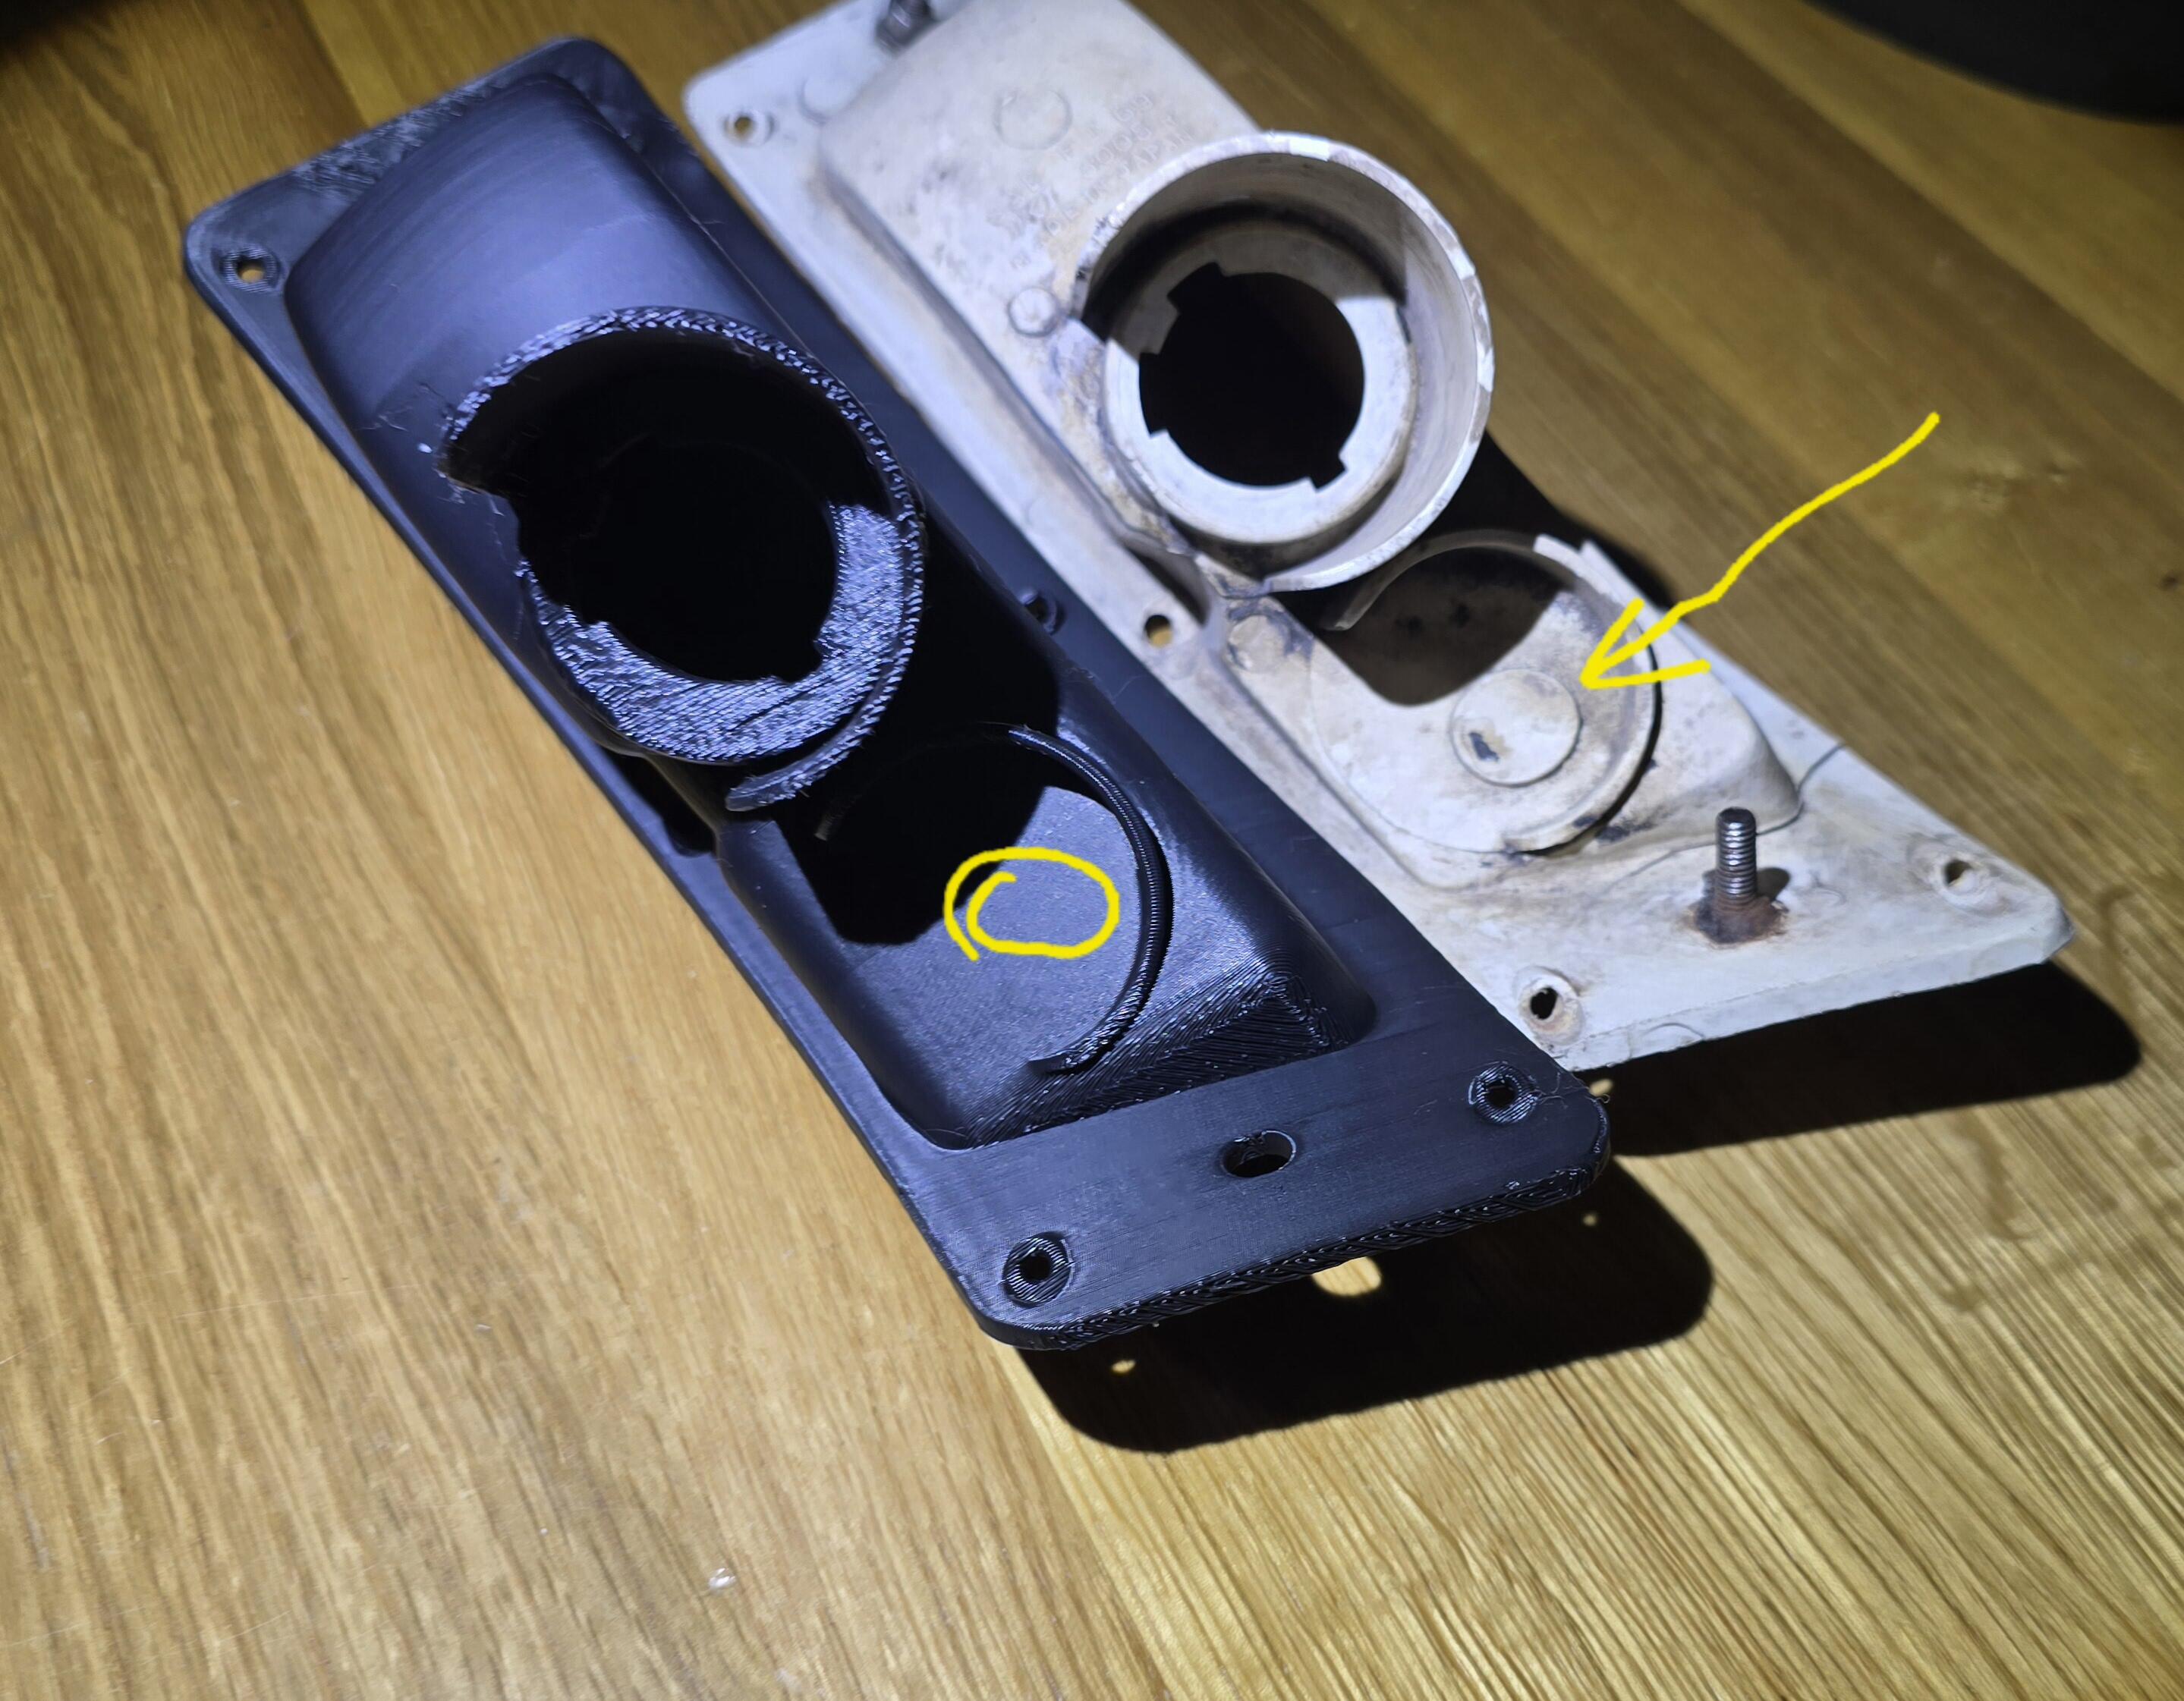
4 hours ago, Chris Holt said:
Hi, I've been asked to recreate the 240z front signal casing and wanted to know where the weak points are from the community and any tweaks that would be desirable to make it better.
Any suggestions?
It would be good if someone has a picture of the 2nd light hole in the back so I can design that in.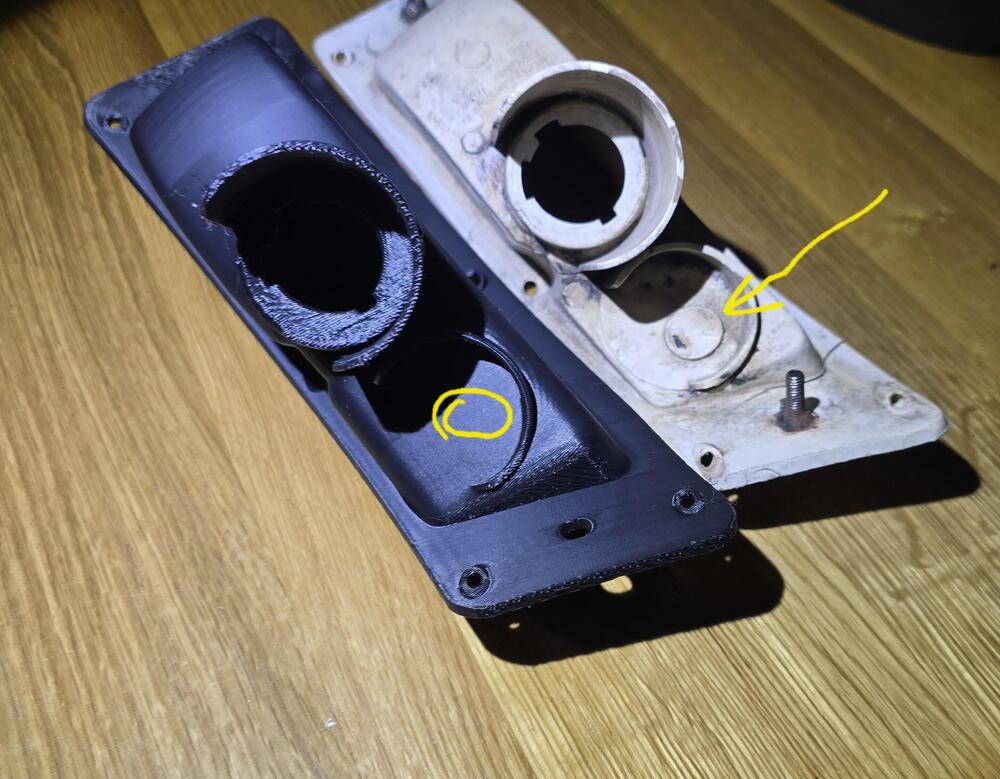
Mounting studs and hardware should be stainless steel. Too bad the same can't be done for the screws that fasten the lens to the housing.
-
12 hours ago, inline6 said:
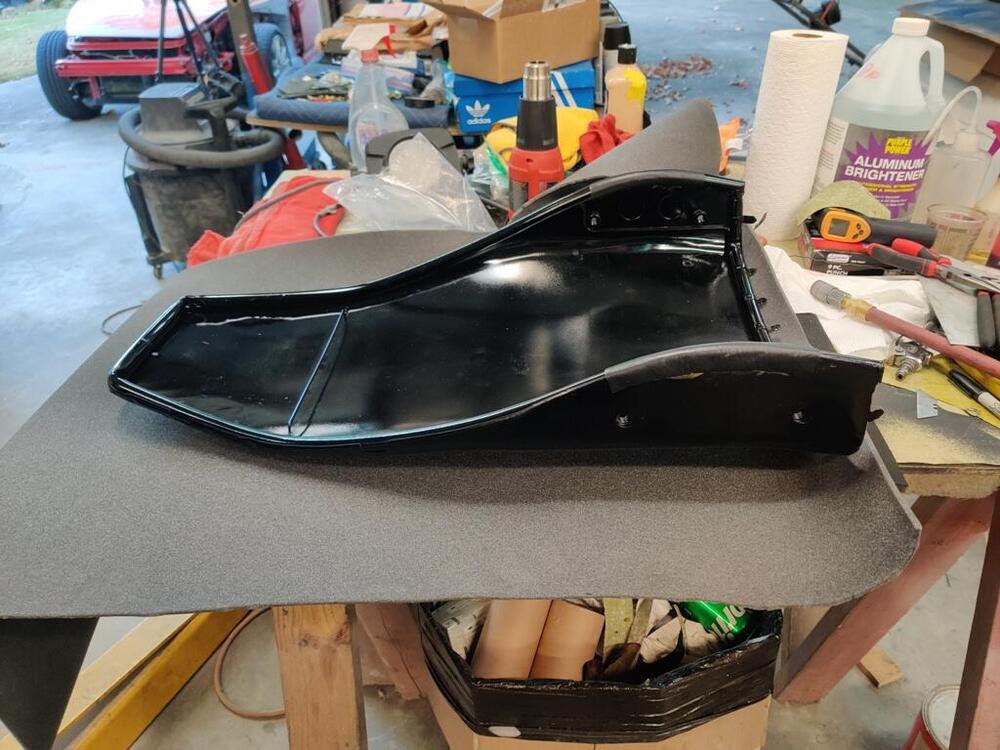
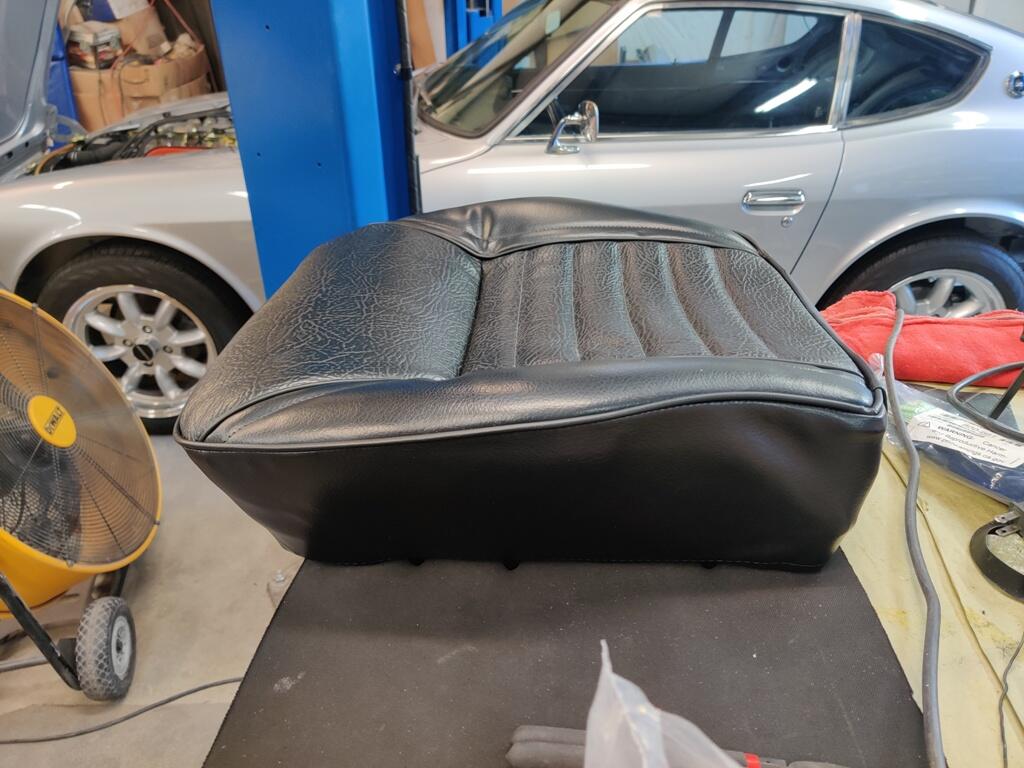
Today I set the car down on blocks under the tires to load its suspension so I could torque all of the suspension fasteners to factory specifications. Then I pulled the rocker cover to have a look at the cam and valve train. I was pleased to see that all looks good.
Then I switched back to attempting to put on the seat upholstery. I worked with one seat bottom for quite a while. First, I made the decision to trim down the funky lip of foam at the front. I used as scroll saw to remove a portion of it from across the front of the seat cushion. Then I used some 36 grit sand paper to smooth out where I had cut it.
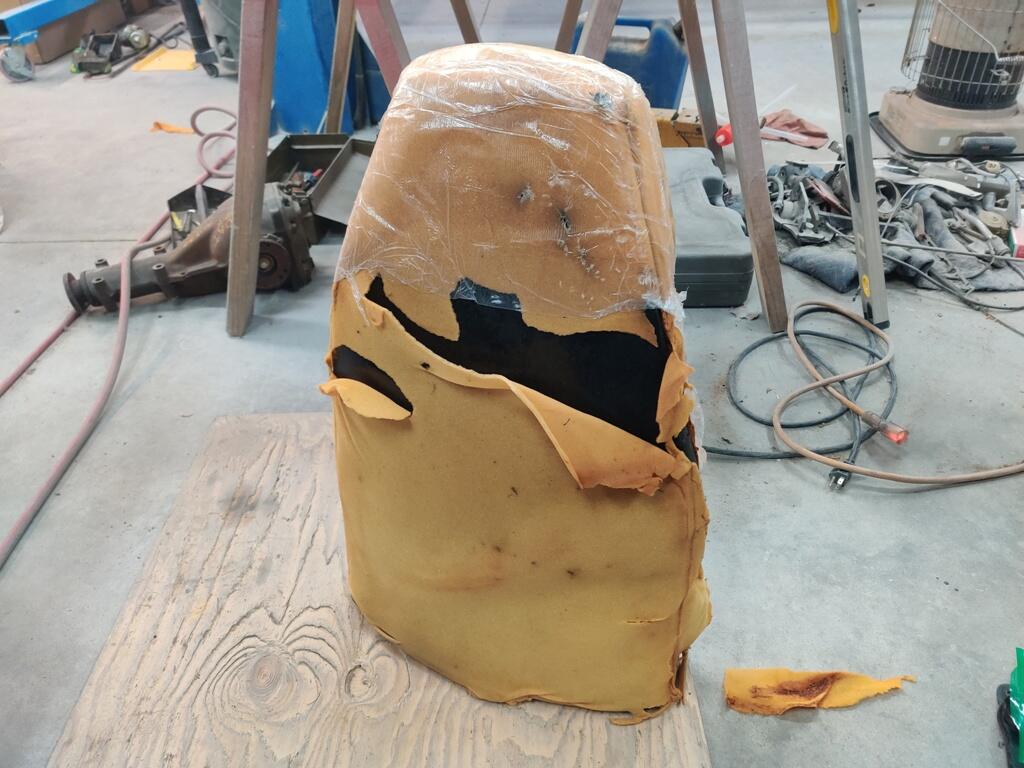
I loosened the zip ties that are holding the upholstery to the seat frame. I still do not have any hog rings installed. Then I very carefully started working the upholstery onto the metal points/blades which are on the seat frame. I started at the front of the frame. I worked point by point from the front, around both sides. When I had the upholstery on all of the front and side points, I pulled on the cord that is inside the piping and this cinched the corners of the upholstery nicely. I tied this cord, (there is one each side) and tied them together. Then I installed a piece of wire in the piping of the back seat flap, and folded that flap onto the points which are on the back of the seat frame. I did not hammer the points down yet. So, I can still take the upholstery off and redo things. Finally, I pulled the zip ties so they are fully tight.
Here is how it currently looks.I think it was the right call to trim the front of the seat cushion. I no longer have that odd bulge at the top front.

But, pulling the zip ties all the way down, which I believe will be equivalent to when I install the hog rings, I still have the wrinkles in the top side panels.

I don't care for them. I may experiment with adding some foam in this top side panel area.
I started on one of the seat backs as well. From the factory, there were some vinyl pieces glued to the seat back on the edges:
I checked location in my reference pics, and then made and glued some new ones in place.
I believe the very thin sheet of foam that was on the backs of my seats was original.
The new seat back upholstery from Distinctive Industries only has a pieced of reinforced vinyl for the back (of the seat back). So, I plan to install a thin layer (about 1/8") of the grey foam you see in the pic above to the metal seat back. And then install the upholstery over top of that. I have heard that it can be difficult to the install the upholstery on the seat back. I see that there was some very thin plastic originally as well. I may wrap the seat back (with 1/8" foam glued in place) in thin plastic also. I think the plastic will allow the upholstery to slide on easier.
A dry cleaner's bag works well for this purpose.
Also: The seatback upholstery is easier to install if you do the job outside in direct, afternoon sunlight (solar heating helps to soften the vinyl).
-
10 hours ago, bartsscooterservice said:
Mart I believe we are coming to a point now, that restoring cars from the 60/70's becomes so expensive, its easier to buy a restored one almost.
Currently we are doing the 67 chevelle ss , 2 worn outs seats 1000 usd, 1 door panel 600, prices are going crazy, to when these cars where just 35-40 years old...
I also start to see a trend where 60\70s classics are not for the " common man " anymore....
I agree... although baby-boom demographics will probably keep the torch burning for at least another 5 years.


Visited Toyota Auto Museum
in Open Discussions
I visited the Toyota Museum a couple of years ago and highly recommend it to anyone visiting Japan. DC871F's photos here only scratch the surface of a really great collection, displayed in an attractive and thoughtfully organized way. Nice restaurant on site. Also, a huge display of model cars. Over the past fifty years, I've been able to visit most of the world's premiere automotive museums and this one ranks in my Top 5.
As a bonus, you can even use the local magnetic levitation ('maglev') train service to connect with the main JR rail station in nearby Nagoya. The museum is an easy day-trip from Kyoto or Osaka. The connections will allow you four or five hours of time at the museum.
BTW, the 240Z on display is so authentic that it even has a suitably-cracked dash pad!