zKars
 Subscriber
-
Joined
-
Last visited
Everything posted by zKars
-
 There are both very affordable reproductions and not that much more expensive OEM ones available from all the usual vendors. https://www.thezstore.com/page/TZS/CTGY/classic02o02e01
 -
Most stock lash pads are 0.160-0.170 inches thick, NOT counting the indent in the bottom, that actually rests on the tip of the valve. Aftermarket shims are available with or without these recessed bottoms. 0.12 or 0.080 inches does not make sense for any reground cam, they would have to be thicker than stock. Assuming stock valve heights of course. If you had really tall valve tips now, maybe thin lash pads make sense? These guys are my fav. AUD $ is way under both USD and CAD. http://www.precisionshims.com.au/products/slotted I’d ask a few more questions of your machinist about installed valve height and what rocker pad to cam clearance he is measuring at. You know the .008 hot and 010 cold lash setting.
-
I like this one: but also get great results with PB Blaster. I suspect that all the "major" brands do about the same job, maybe variance in time to work or something. My one attempt to use the ATF and acetone potion was a dismal failure, but then I don't follow instructions well or have much patience. My only real advice here is 1. Don't bother with WD40, and 2, be patient and use several clean it, soak it and let it work sessions. Again the patience thing usually bites me on that last one...

-
This has been discussed and solutions provided in another thread, do a bit of searching. It is much trickier in the early 5 speeds that don't have the reverse lockout device. That pin is quite tight. I built a little press thingy that slips over the rod, but the easier method is to drill the case where the reverse lockout would be, use a punch to get the pin out, then put an NPT pipe plug back in the new hole to seal it. Once you find the thread and read what others have done, the solution will come to you
-
I will add that in speaking with Bruce at Z-Therapy about this, that a worn jet tube or the nozzle is actually very un-common, at least to the point of being a vacuum leak.
-
As I understand it, he is swamped with apparently upgraded responsibilities at the Nissan and other dealerships and has had to step away from his love of supporting the Datsun community. I last bought parts from him over 2 years ago, then tried to buy lash pads, and basically never heard back. I believe he’s quite distraught at the situation but is unable to do much about it. Seems like it was a pet project and he is not willing or able to assign someone else to take it on. Best we just assume it doesn’t exist for the time being. Since he hasn’t taken the site down, let’s take that as hope for the future. He helped many many people and has an excellent reputation.
-
The reason I haven’t chimed in with my “favorite” is there are just too many to choose from. They are all my children, I don’t dare declare any particular one my favorite without risking the wrath of the others. I should lay them all out on the floor and take a group photo. At least I’ll try to contribute more to the thread I started called “Cool Tool of the Day”. One a week on Sundays perhaps.
-
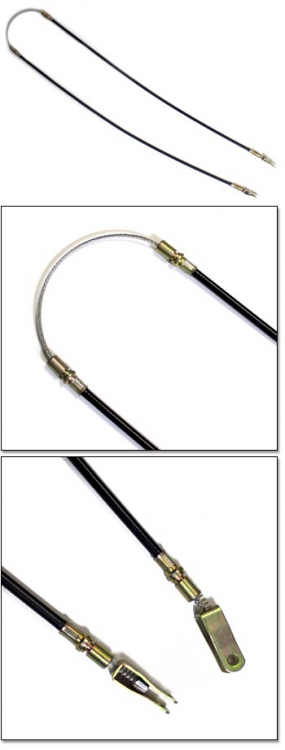
https://www.ebay.co.uk/itm/DATSUN-FAIRLADY-260Z-280Z-PARKING-HAND-BRAKE-CABLE-EMERGENCY-/151459145571 from AK260 above. I ordered this cable from ebay as suggested above to check it for fitment and quality. I am very very impressed. Ordered Jun 23, arrived July 5th. Paid $102.53 CAD shipped and customs fees paid. Design is nearly identical to the OEM cable. Even came with a new pair of pins for the wheel end. @Joseph@TheZStoreI would suggest considering investigating if you can source these cables. Highly recommended them.
-
Yup, it's real. Drive me nuts trying to figure it out. And its not something you can change, the dang stops are inside the rails and built right in. There is a domes punch area (or two) right through the body the forms the stop. Tried to drill one out, discovered there were two, metal shavings were getting everywhere, like inside the rail in the grease, gave that up real quick. Played with enough of these to think it only applies to the early non-flip forward seats. Never encountered it in 72-3 and later seats. It's either to prevent the passenger seat from going back too far to interfere with what's behind, aka the tool bins, or has something to do with limiting leg room so the passenger will have his/her feet on the floor boards or access to the glove box, what with those lovely fixed belts..... Is the foot rest option thing involved in that? Talk about a WAG......
-
One of the cars I worked on this winter have an older set of Z-Therapy rebuilds on it, so when I got to the point of putting the carbs back on, I didn’t look too closely for problems. But as I was syncing and setting up mixture etc, the engine would randomly change idle, always upward and sit there unstable as hell. Blip the throttle, fool with the choke and it would settle down. Then off it would go again with very little provocation. Finally realized I was just grazing the little fuel hose on the bottom with a tool or finger while working on them, it would set the idle off on one of its fits. What I was doing was shifting the nozzle around in its tube, creating clearance and a vacuum leak when it sat just so. I’m waiting for new nozzles from Z-therapy now, should solve the issue. The back carb is much better and doesn’t exhibit this behavior. Other carb sets I have laying around, from which I was going to snitch parts, are all worse. The nozzles literally rattle around in the tube. So expand your mantra when you help yourself or others decide on SU quality and vacuum leaks. It’s not just them shafts that get worn.
-
Some things just become matra’s. With SU’s, people ask you how to know if the ones they have or are about to buy, are worth anything, and the “Standard Response” is “wiggle the shafts and see if there’s play” as they cause a vacuum leak. Then we typically add to that “get Z-Therapy to rebuild with their cool sealed shaft bearings”. End of discussion Well as I’ve come to discover there is another nasty vacuum leak area of concern on SU’s that I think is JUST as prevalent as shaft wear. The nozzle fit in its sleeve is often very worn.
-
I’d like to thank Joseph and the Z store for prompt and professional handling of this matter. My requested refund is bring processed and Joseph has responded to me personally. Thank you.
-
Well, been an issue for while from several vendors then. The picture i see and can barely zoom into enough on ZCD look like different ends than the ones referenced from MSA or the earlier problem ones from ZCD. I wrote MSA a bit of a scathing e-mail yesterday. Will let you know their response, if any.
-
Yes, it’s disturbing that they knew it was a problem and still sell them. I’ll have a chat with the owner. This is baloney
-
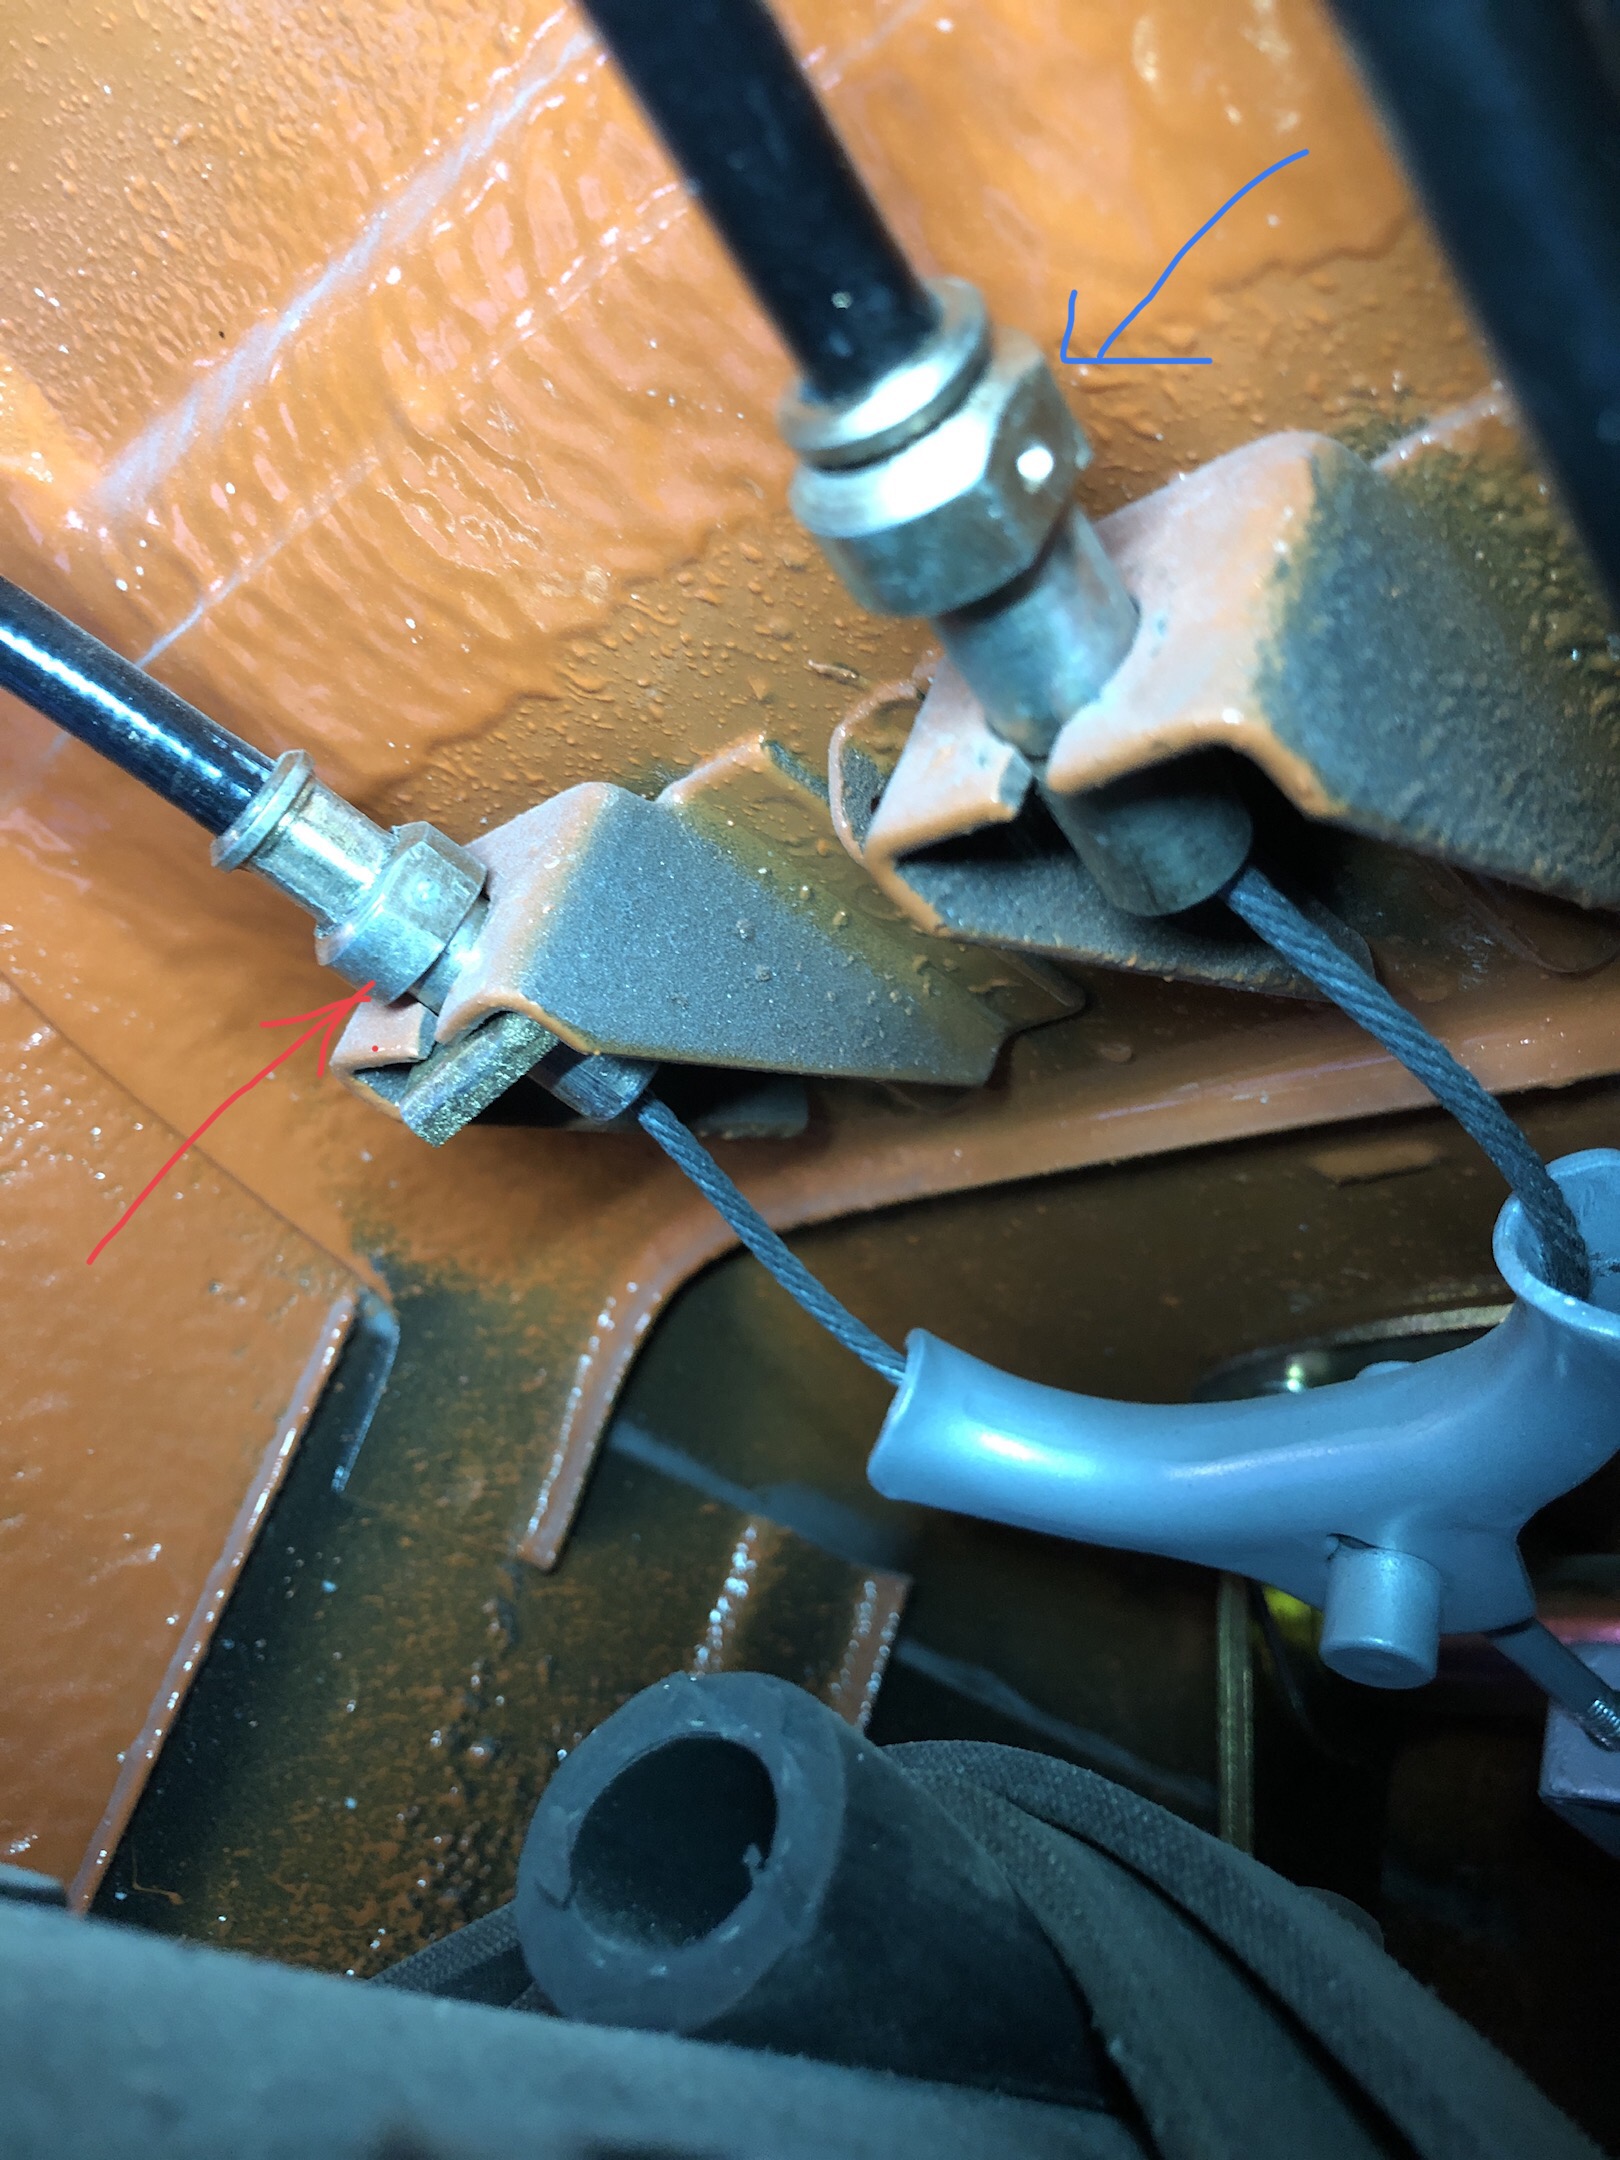
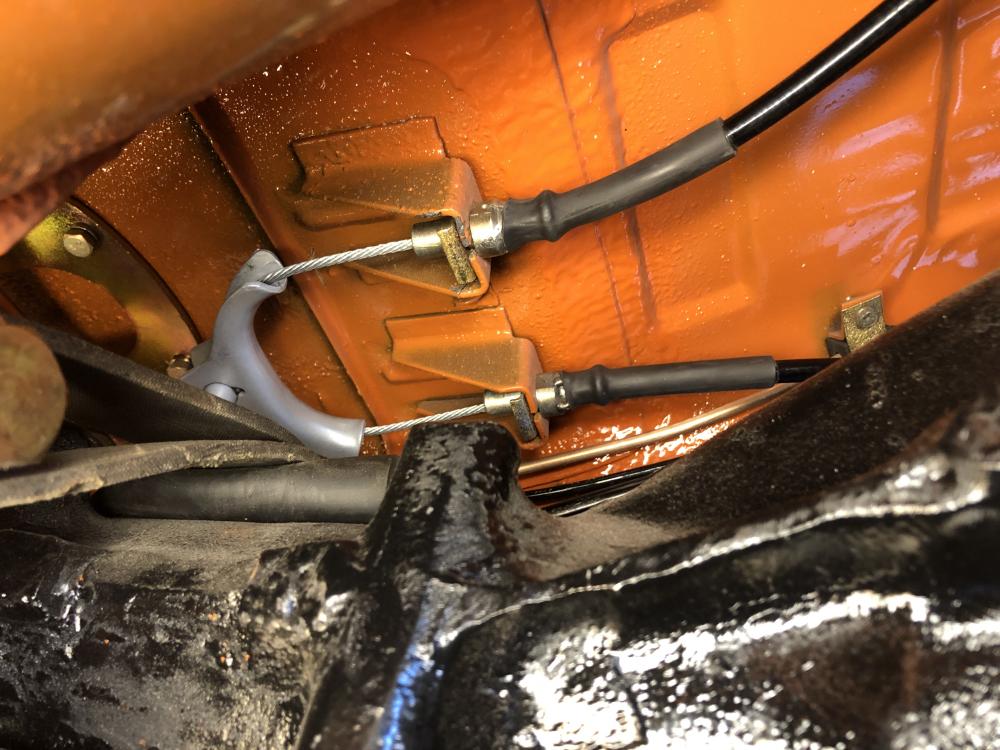
Here she is all back in the car and working just fine.
-
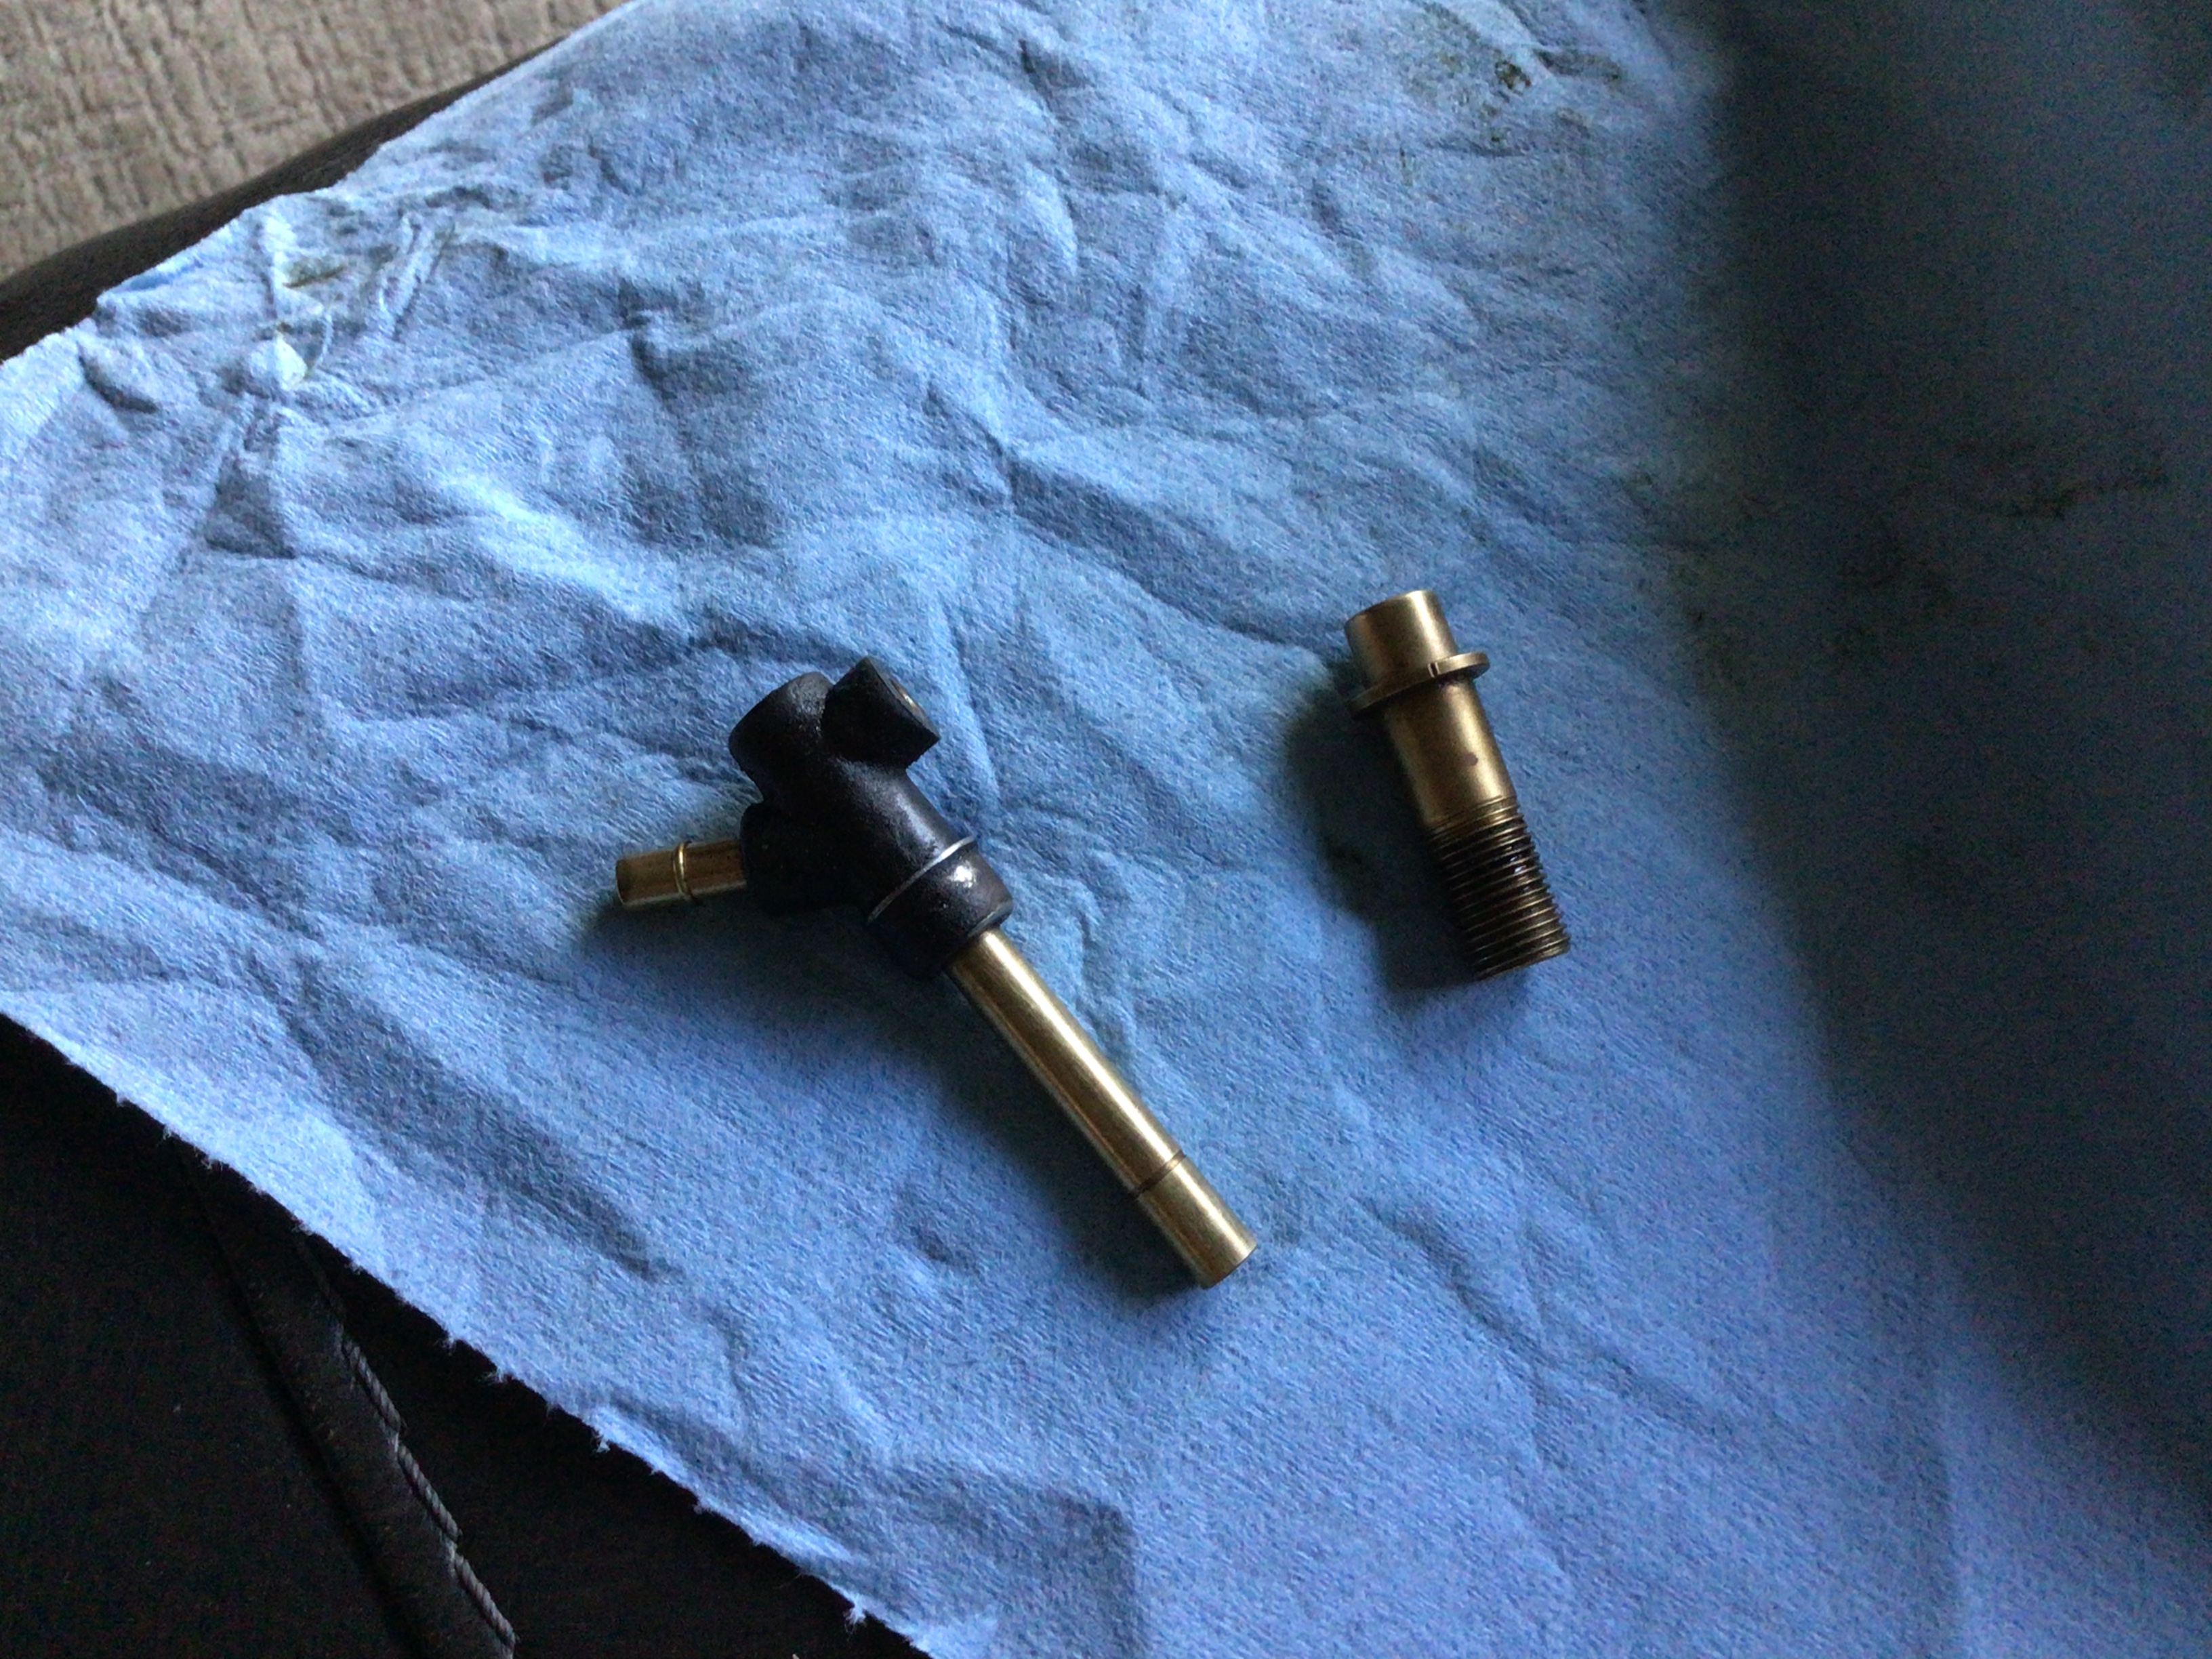
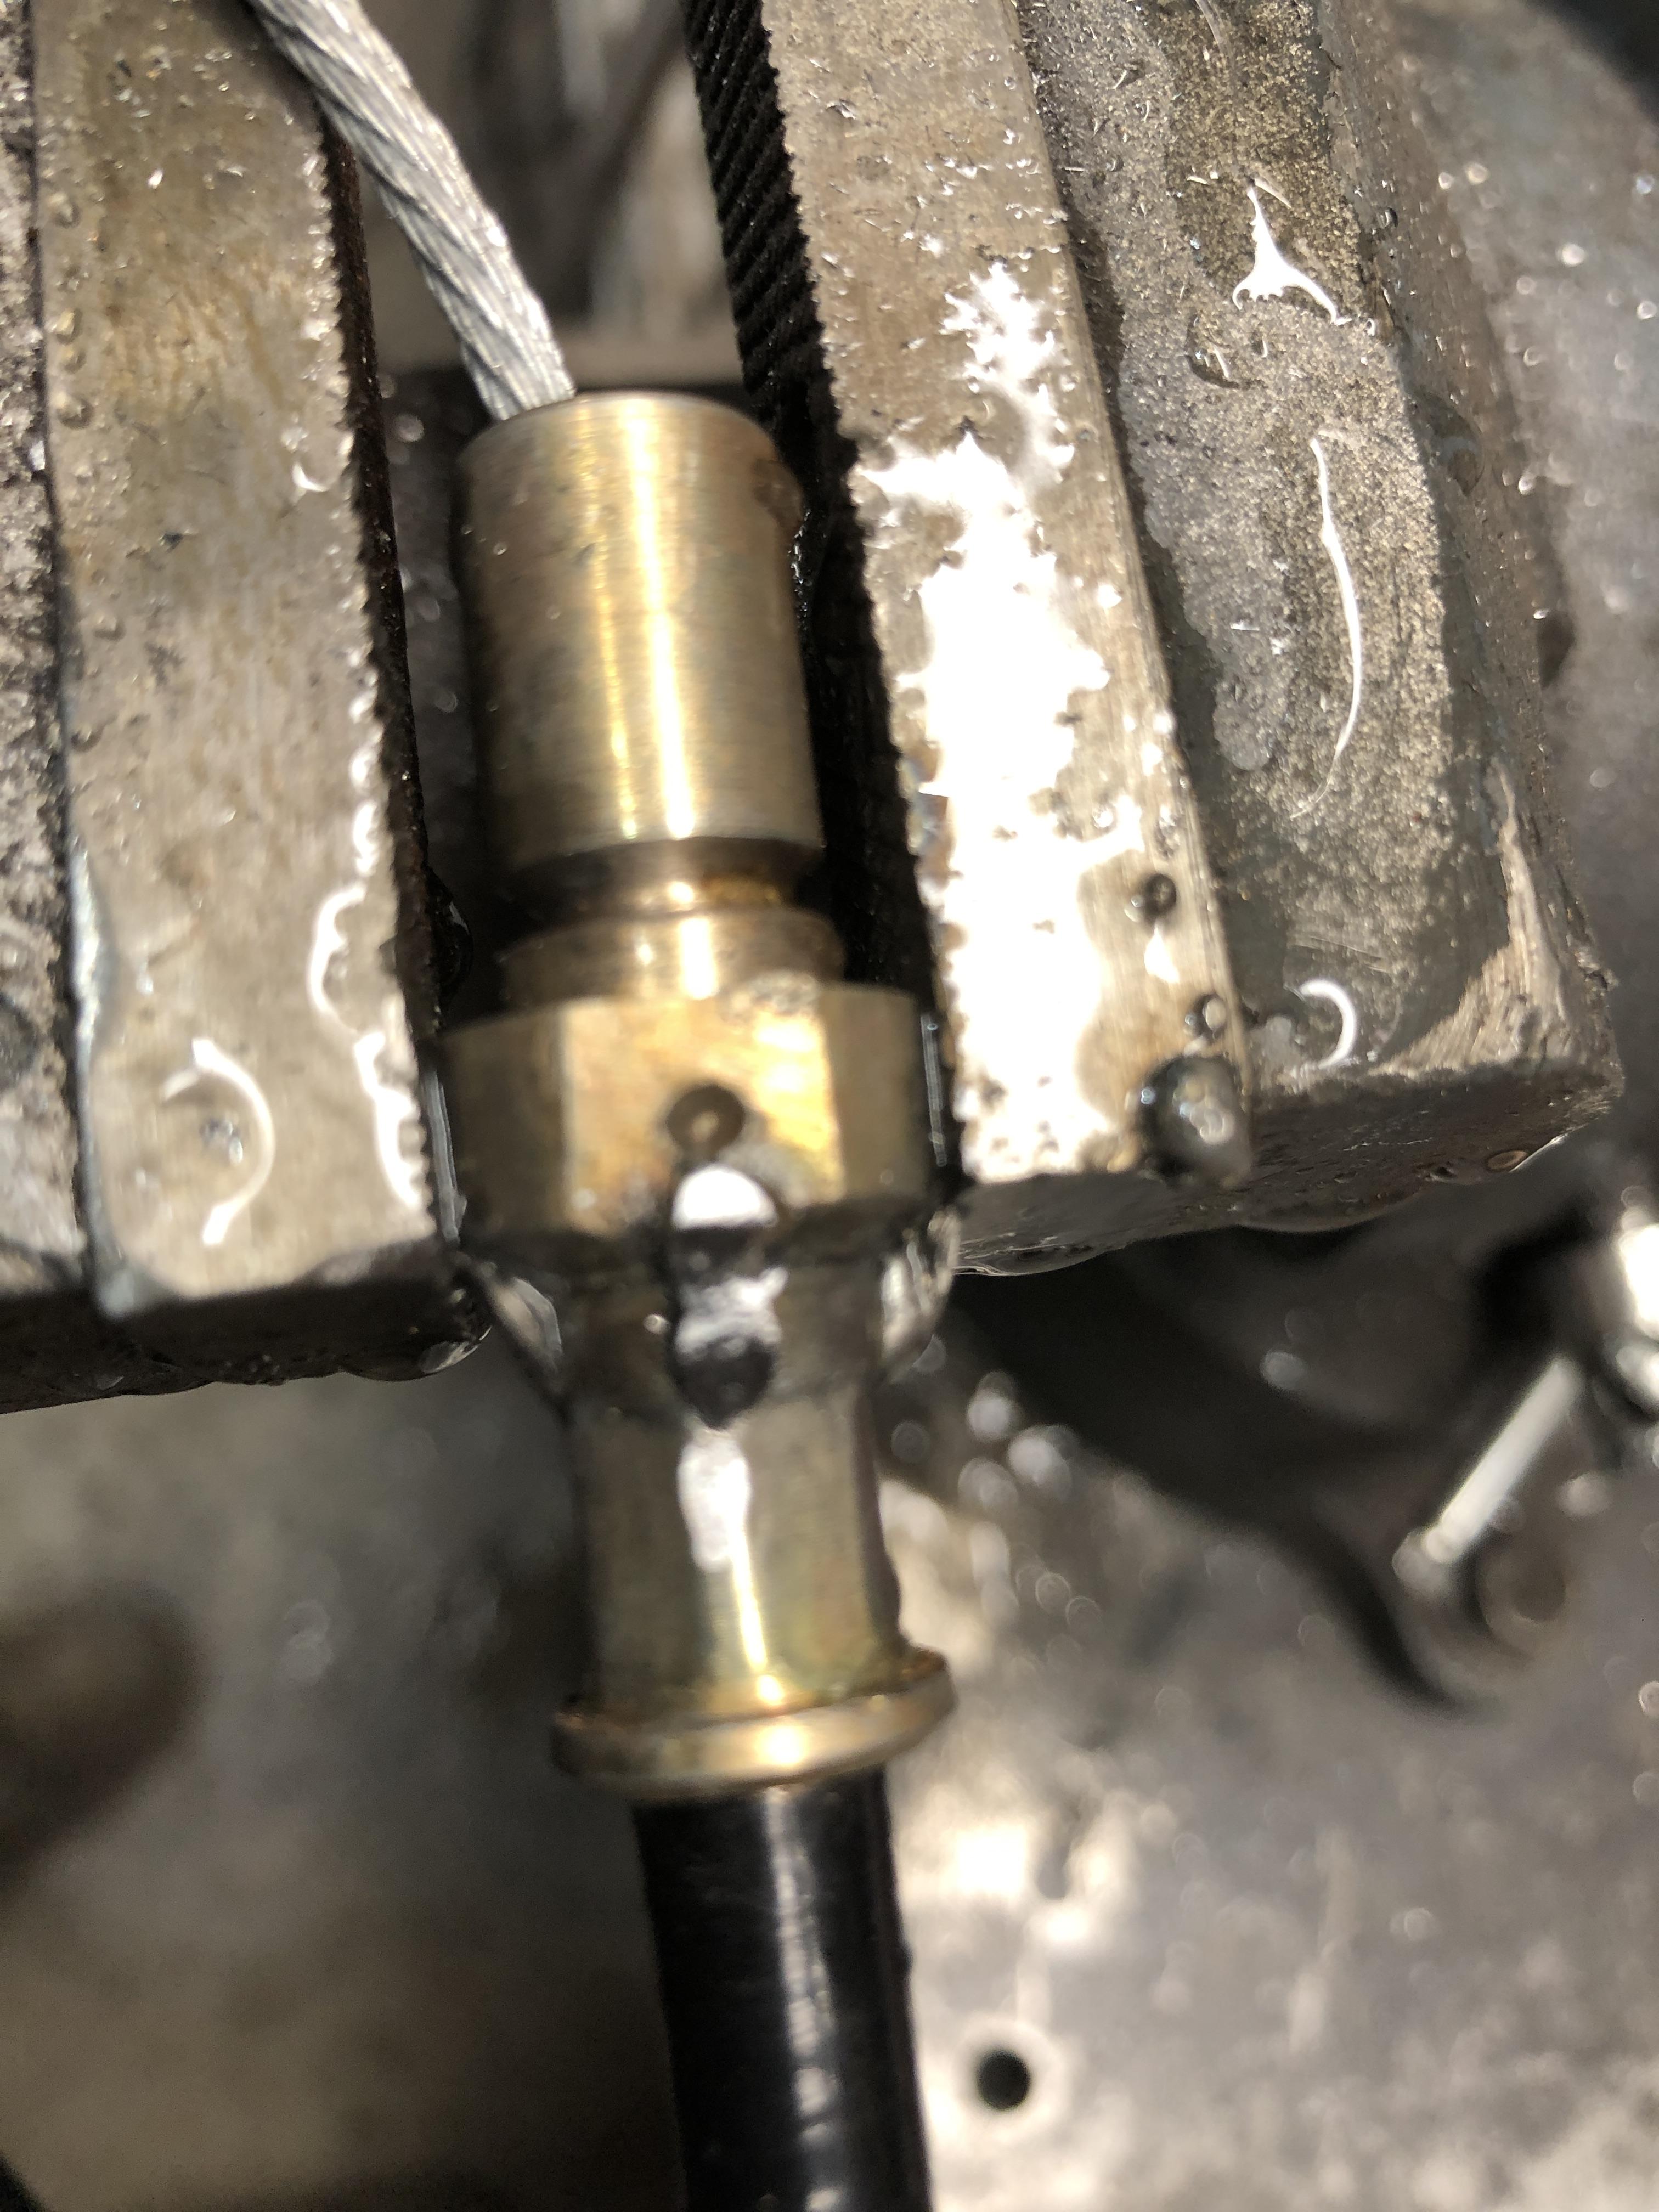
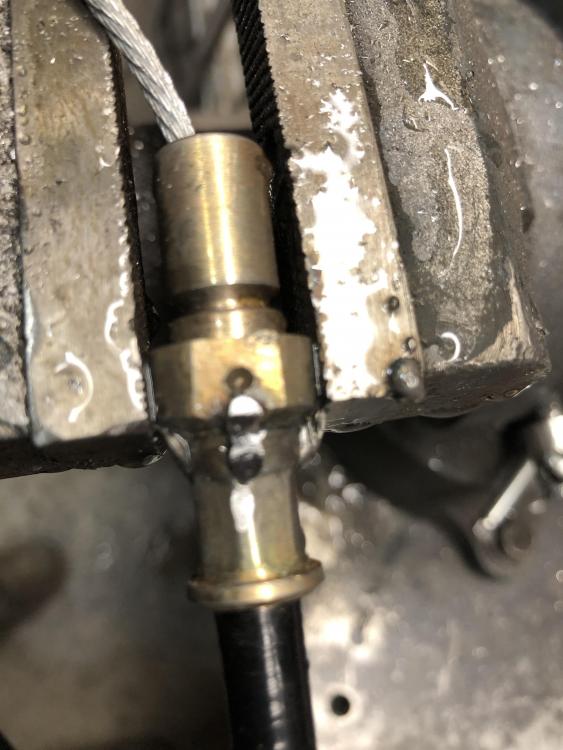
At the wheel end, the one with the missing C clip had a slipped collar too. So what to do? Well I did a permanent fix. I repositioned the collars in the right spot, and welded them down. No more of this horse **** The “right spot” by the way is exactly 0.1 inch back from the groove. Measured a real stock cable to get that value. Quick weld, water to cool, do another etc. There is a plastic sheath on the cable so have to keep my cool. I put some dual wall shrink tube over it as well for a bit of water proofing.
-
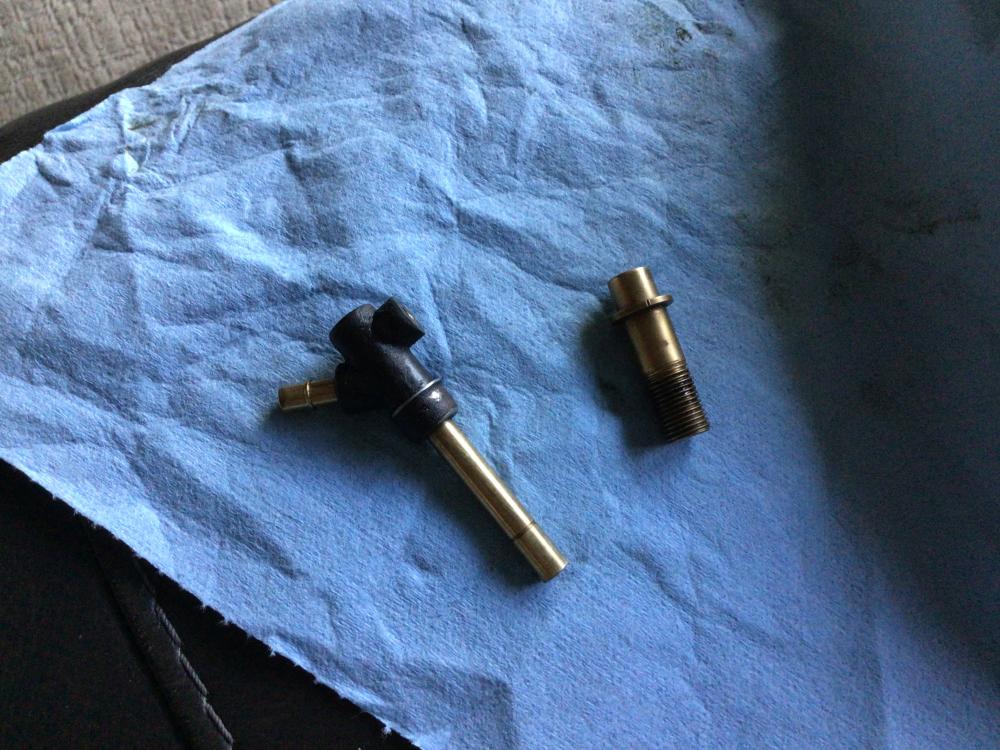
On to the issue. The cable is not a perfect reproduction of the original as far as the design of the ends and swag fittings, but appears well made. Got under the car this morning and found one of the retaining C clips gone of the right side of the body up above the diff nose where the sheath end is mounted to the body. No wonder pulling the handle didn’t result in any wheel e-brake tension. Ok, why did the clip come loose? Also found the C clip and clevis pin GONE on the left side at the wheel end too. Ok, what the **** is going on? Grabbed a new C clip and wiggled up to the top mount and tried to put it back in. No way, there is about 1/2” too much slop in the fitting, no way the clip is going to stay in place. Closer inspection, and AHA!! There is a collar on each swagged end, that sets the stop distance to the C clip groove. That collar is punched on two sides at a flattened thinned area to “lock” it to the inner core. Well not so much in this case. The right one is free as a bird and slid back as far as it can go and the left one has started as well. Lovely quality control. On a couple I can “just” see the mating dimple on the core, simply not enough punch strength or depth. Can’t see that punch lock lasting very long on any of these. Some slightly better ones that are working are likely a couple of pulls away from failure. And we all know how much “fun” it is to work on the cable under the car, there is hardly nothing around it to get in the way is there…. Grumble… Thank god this car is all fresh so I can spin threads and nuts by hand.

-
Anyone else use this cable and experience any problems? Or did it work just fine?
-
An early Z car I did a restoration over the winter came back in this week for “tweeks and tightens” after going back into service since May. Owner said the e-brake didn’t work anymore. I had installed the reproduction cable available from Motor Sport Auto. https://www.thezstore.com/page/TZS/PROD/24-5151-1 Discovered a major problem with at least this one, but I bet it’s more wide spread. I will tag Joseph@zstore or however you do that so they are made aware. @Joseph@TheZStore This is a picture from MSA’s website.
-
Wow! I had totally forgotten about that. What a cool idea, support/trap the ends of the tubes. I'm going to buy one of those aftermarket oil tubes as well and see what happens.
-
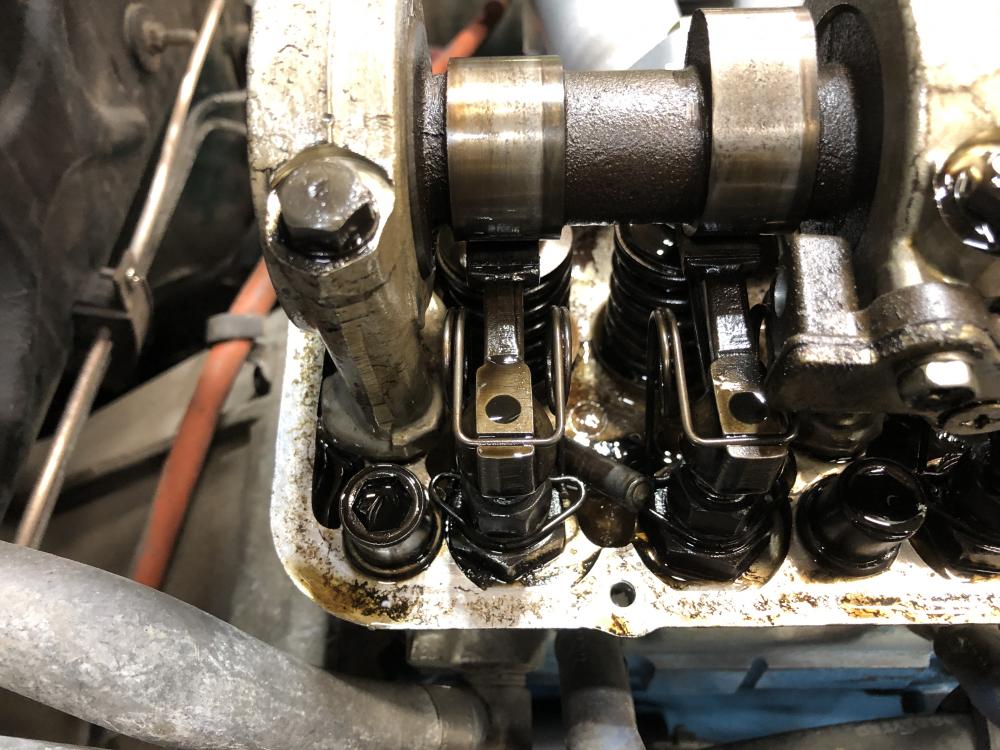
Deja vu all over again. Working on a buddies L26 engine, doing a Weber carb jet and tune, and decide to check valve lash and replace the valve cover gasket. Take off the cover, and starting doing a SOP check up on things and what should I see? Well first, what do I NOT see? The back end of the spray bar is what! Ok, where’s Waldo? Oh thank god, there it is, laying there happy as a clam. Cam lobes don’t look too bad, hopefully this happened not too long ago. Go to the stash for the later version that has better welds. Down to one more of those. Going to have get the TIG welder out and weld that back tube into place on the dozen or so spares that ALL have loose welds ALL Along the rail. The middle ones are trapped, so they can’t fall out. Everybody go check your spray bars. See who’s home or who is packing their bags and has a ticket purchased.
-
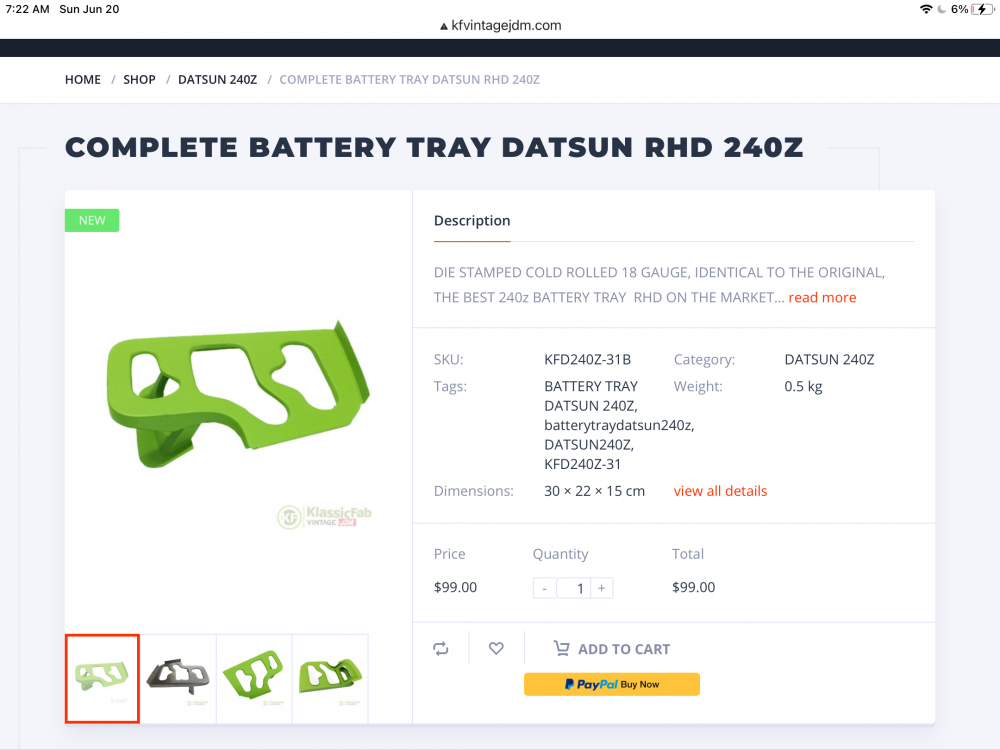
Excellent work all around. There is a particular joy in creating something from essentially nothing but raw materials. I use M5 rivet nuts for my tray removal function. Once you buy a decent rivet tool to set them, they are cheap and easy. I use them all the time for things like replacing all the silly plastic push pins that hold in the plastic interior panels. Just to help everyone down the line, don’t forget our friends at KFVintage now have a new battery tray at a very reasonable price.
-
Guess it’s official. https://gmauthority.com/blog/2021/06/2022-nissan-z-to-be-unveiled-in-august-as-chevy-camaro-and-corvette-rival/amp/ “The 2022 Nissan Z sports car will make its official debut at the New York International Auto Show in August, the Japanese automaker confirmed this week.“
-
Speaking of center finders, here is a new cool tool of that ilk that appeared on the ol’ FB feed today. https://www.centerquic.com/?fbclid=IwAR2qYZtaqWD0fYPMFBh5QQUuivk6HbW9_4nqL0SCk1PHutx-C6B4nT2LYQ8_aem_AZBxVPZMyQBRqlSeY_76rQlEL4s4Lbpu5c3QIw0Efp9DDIcEwJj3dOuf_5xhVlkR5e5Yxr72CvqgWUDoomgqObEK5WAORsFvh2zrzCo13nXQgt05YdcFxIWGmVjZMtXM92Y $168 USD. To click or not to click “Purchase now”…
-
Diff wise, it helps if (for the lower one) you have the "outie " style as far as getting a wrench on it to take it out, as it points at the transverse link bar. What really matters is to put the one with the magnet in the bottom hole. That and having it fit and not leak..... As to what is "correct" factory wise, I leave that to the historians. Transmission wise I usually see an outie on the fill hole and innie on drain hole.