240260280z
Free Member
-
Joined
-
Last visited
Everything posted by 240260280z
-
 Total redesign This change rate is worse than Apple's iPhone versions . Now off to ACE hardware. Stay tuned.
 -
If : 1. your mechanical linkage from pedal to carb is not binding or loose 2. your carbs are functioning 3. choke/jet and throttle valve are not binding 4. blipping the pedal at initial "cold" idle stays at 800rpm 4. the problem rpm rise increases as the car warms up Then the problem may be a thermal expansion of the manifold/components causing intermittent vacuum leak at temperature or maybe you have one of the servo diaphragms connected and it is malfunctioning? Try tightening all of the paraphernalia plugs on the balance tube as well tightening the manifold bolts holding the manifold to the head. Disconnect choke cables and servo diaphragm to also rule them out.
-
I reviewed my design and I am about to make a mk-II version . Horseman, PM me your address and I'll send you one. Bruce, yeah I hear you. There are not a lot of geeks tearing up SU's these days.
-
KYB are fine. I've put a few sets in Z's for club members. You can buy them at most local shops. No need to ship from MSA.
-
-
How many are needed to do a whole 71 240z?
-
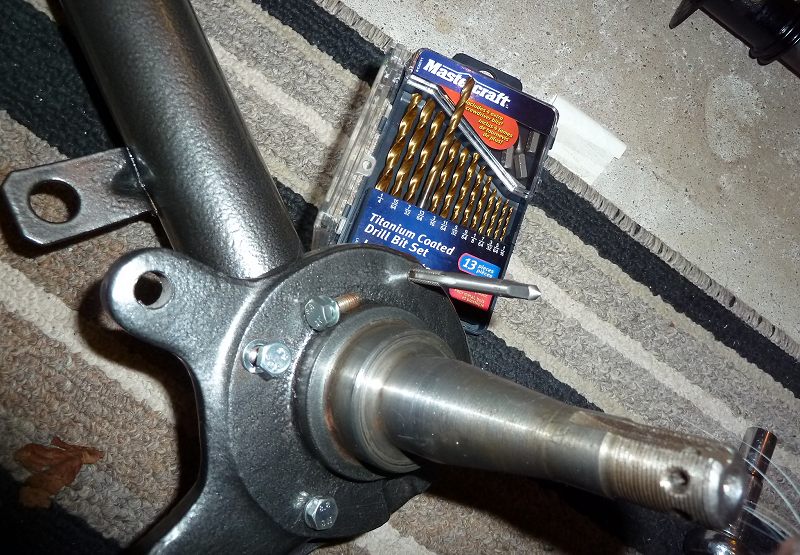
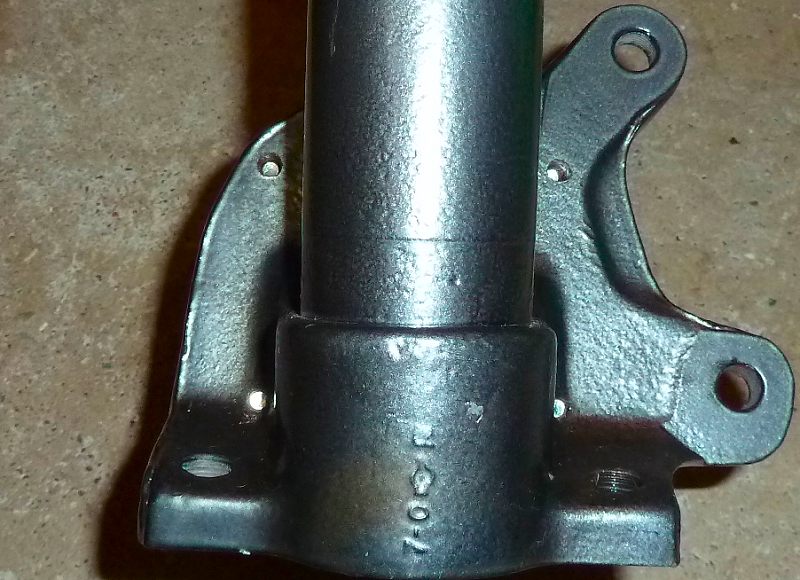
I drilled mine out and re-tapped for M6 X 1mm stainless steel bolts. You can easily drill them out from the back side as the holes guide your bit and also hold the cutting fluid nicely. Philips screws, or any screw for that matter, should not be on the underside of cars where water, dirt and corrosion live!


-
IT should be ok if the metal in your original end links is not worn/twisted/stretched. If it is, then it may fail.
-
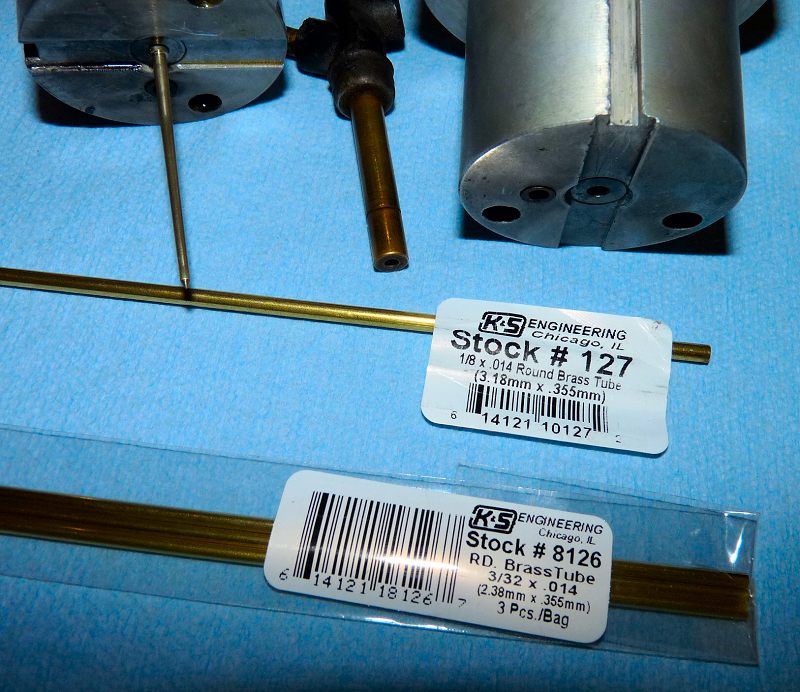
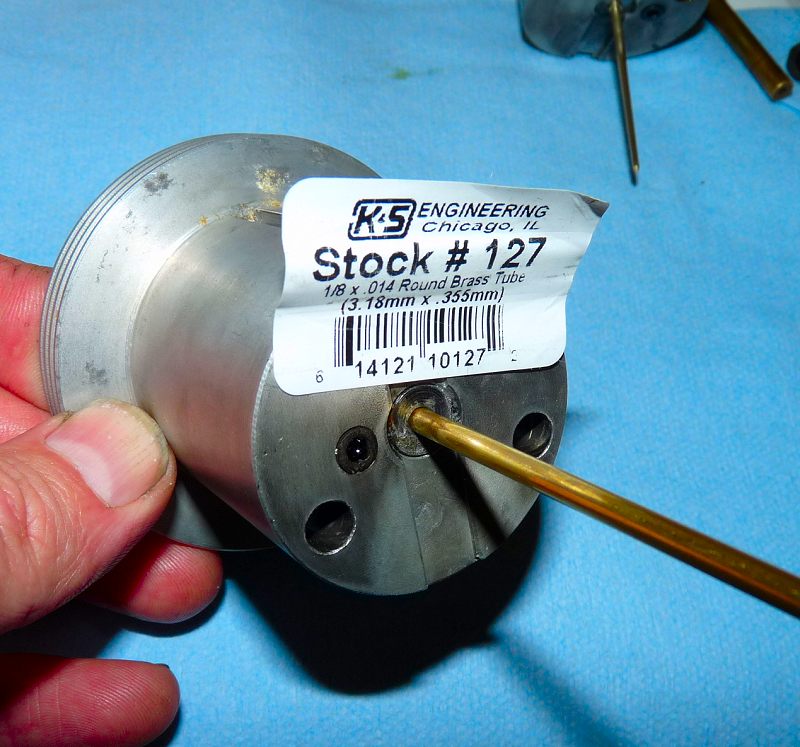
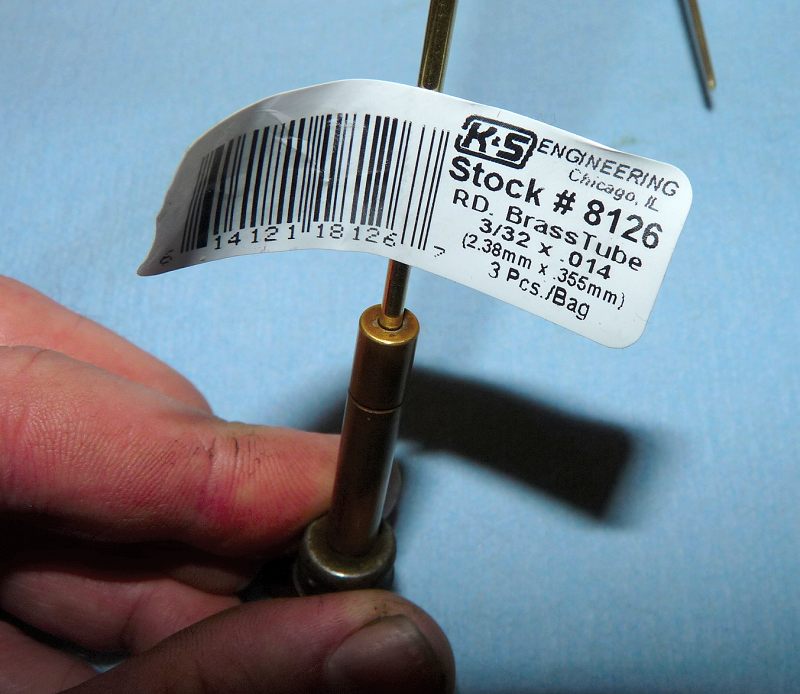
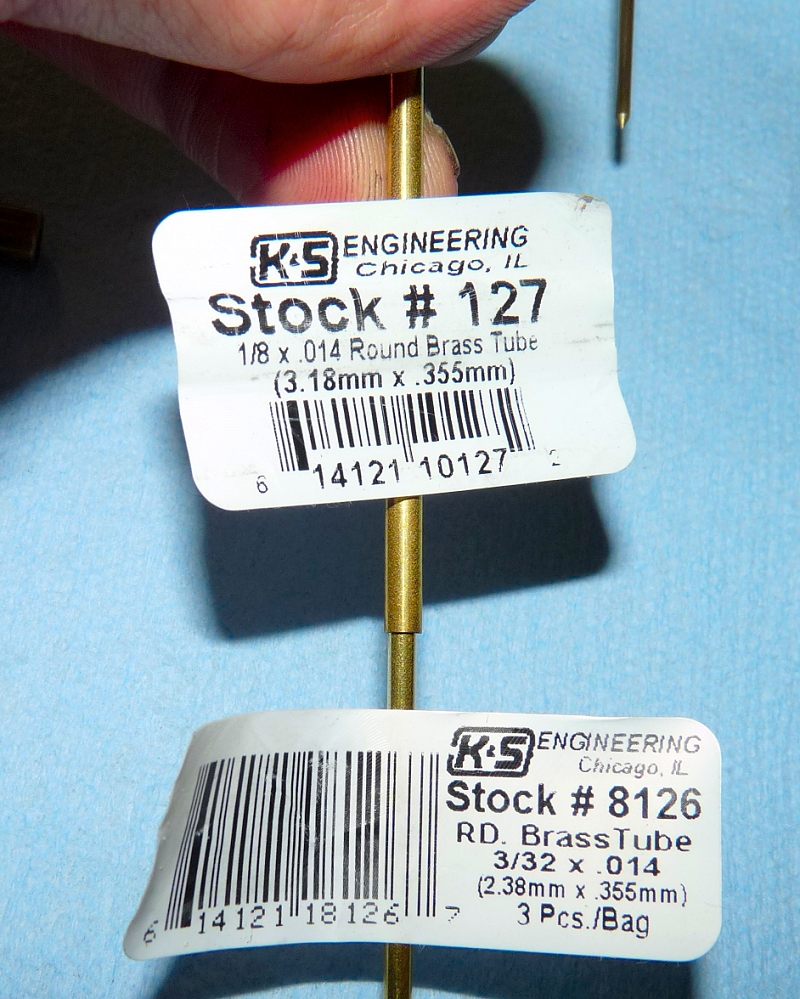
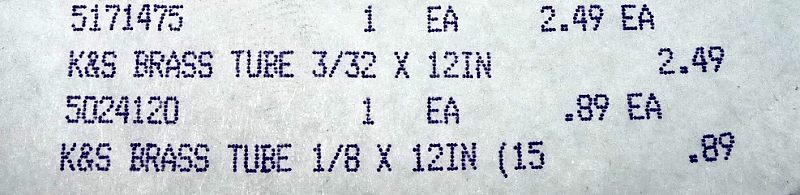
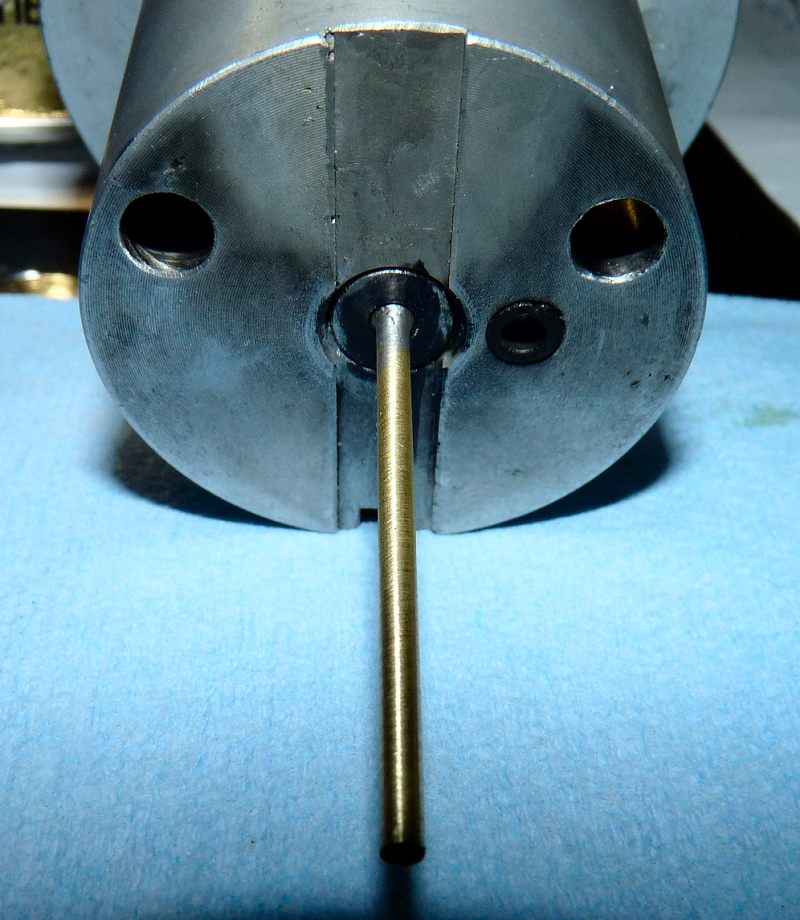
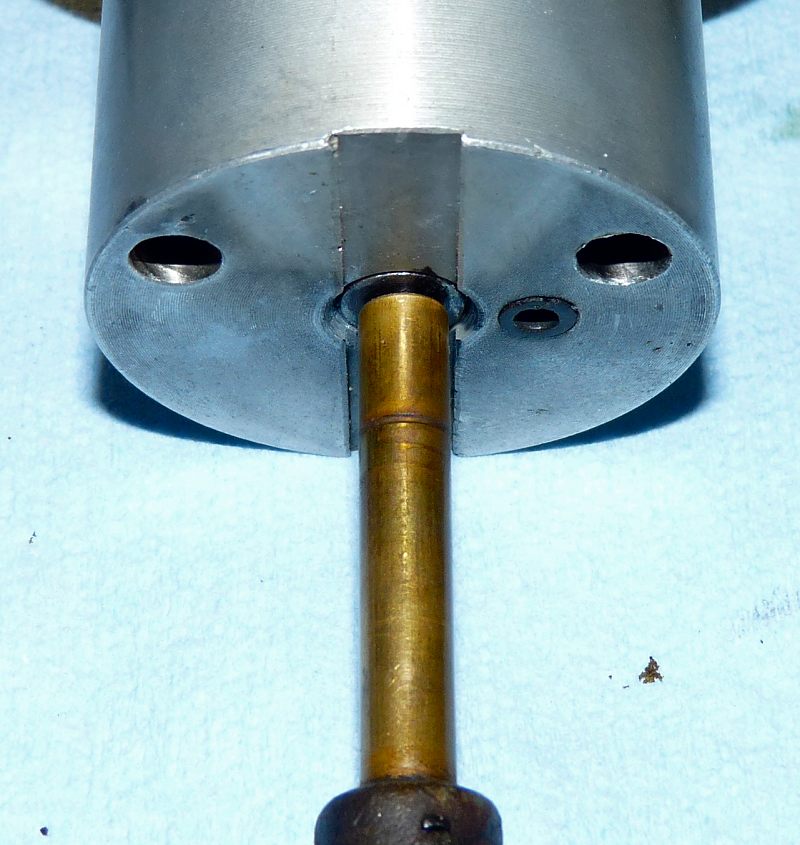
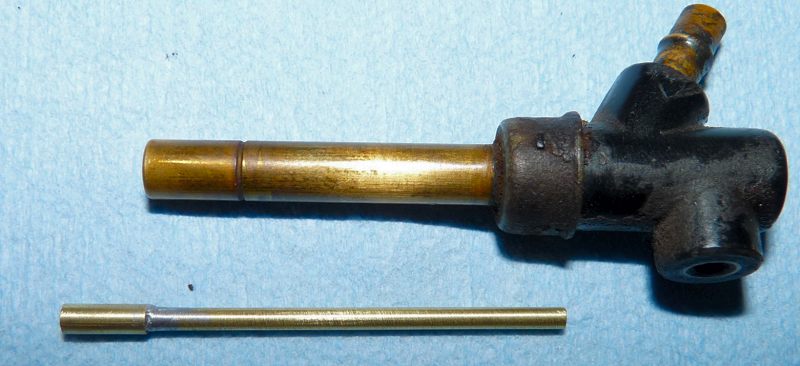
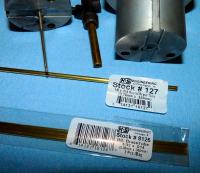
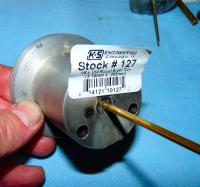
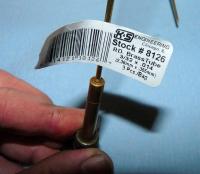
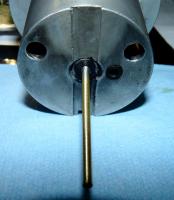
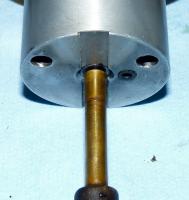
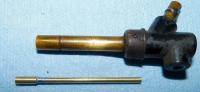
I am rebuilding carbs and did the dreaded "Loosen the 19mm jet lock nut" without realizing it was a bit of trial and error to realign: (Well the secret is to push the jet up into a lowered needle while slowly <s>turning</s> twisting the 19mm along its axis [like screwing on a bottle cap rather than wrenching. If you know about the "T" handled socket for turbo rebuilding then you know what I mean..nudge nudge wink wink say no more say no more... What's it like?]). So tonight, even though I aligned the jet by the above method, I decided I would try to find/make/invent a tool at the ACE hardware store. Plan A My first idea was to find a screw that would fit in the jet then turn the head using a file and electric drill. No luck finding anything smaller than 3mm (which happens to be the diameter of the needle securing hole in the piston). Well Plan A -1 was to turn brass rod on a lathe but I don't have one! Plan B Next I looked at rivets and found one that would do but there was still a little play in the jet as the shaft of the rivet was a little too small. Then I went and looked at the stock rod and a solution was found: Plan C The Parts: As you can see, the stock hollow brass tubing is what I used. The sizes are 1/8" inch and 3/32". The cost was very favourable as well.....well a bit more than a rivet or screw but hey ~$3 is mighty fine for a specialty tool. I might add that this is the only special tool I know of that is needed to easily rebuild SU carbs. How Each Part Works: The bigger 1/8" (3.18mm) tube fits snugly into the piston. The smaller 3/32" (2.38mm) tube fits very well into the jet nozzle. The smaller 3/32" tube also fits nicely into the 1/8" rod So to make the tool, I cut an 8mm length of the 1/8" rod. Slid it on a 50mm length of the 3/32" rod then soldered them together. Some sanding of the solder and a little off the 1/8" rod (3.18mm to 3.00mm) completed the job. The completed tool below a jet nozzle. Here is the tool in the piston. Here is the jet fitted by the tool. If you don'd have a clue what I am talking about then take apart an SU carb's jet assembly Enjoy!


-
Felpro seems OK for most unless you compete and need stockers.
-
Just read a few other tips: The copper spray is permanent and not necessary. Some have used the Nissan Gasket with a sealer that is built in/on it. they report they could remove manifold many times w/o problems (post race inspections for porting) Many recommend changing studs and nuts (I believe Ace hardware has studs in their metric section if you are stuck).
-
I did this when I changed the head a long time ago. If I recall I applied anti-seize to all mating parts of the gasket. I think Norm or someone on Zcar.com suggested this. Maybe use the higher temp copper blend. My memory is poor so I vaguely recall a metal side to the gasket and I think I put it against the head so that water/rain does not cause it to rust. Take your time with the bolts on the studs and note where all of the thick compensating washers go. There are some related photos in this post that can help: http://www.classiczcars.com/forums/showthread.php?42420-77-280z-head-removal-step-by-step-photos Also drain some rad fluid if you have to take off he thermostat housing.
-
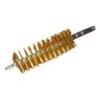
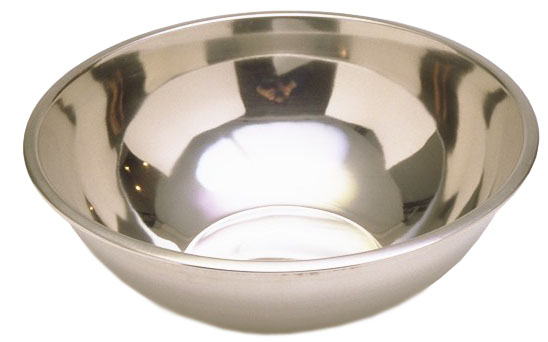
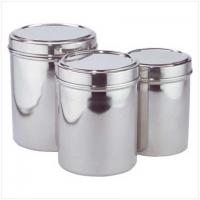
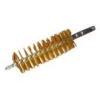
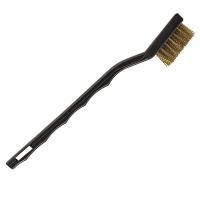
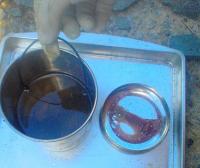
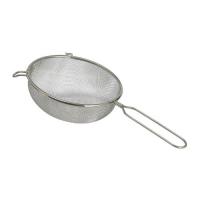
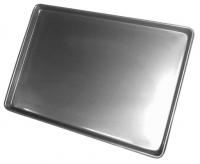
You can get most of these at "dollar stores", hardware stores, kitchen stores, Ikea, and Walmart-like places CANISTERS Use these stainless steel canisters with lids to soak your parts. The lid keeps the fumes contained and allows you to slosh the can around with parts inside. The lid also keeps pets out and minimizes evaporation. Since they are stainless steel you can leave them outside to keep the fumes out of your garage/house and they won't rust (too much ). The typical use is for holding dry stuffs such as sugar, flour, and cookies. Be sure to consume these before robbing your wife's kitchen. Also, it is wise to buy 2 or more and in various sizes. (I'll explain later) BOWLS Get at least one big stainless steel salad bowl. You can throw a lot of parts in it and scrub easily with a brush (and suitable non-dissolving gloves). The bowl allows you to scrub while capturing all of the spatter and it makes it easy to do many parts at once... say a whole disassembled SU. BRUSHES Brass wire brushes are gentle and work better than plastic (which can melt/dissolve). Get an assortment especially ones on long arms, curved heads, big ones and small ones. You can get nice ones for cleaning guns that come with "T" handles and extensions. You can also use one like in the picture above with a small vice grip or in a drill. Here is a typically smallish one that works ok. Generally the bristles will deform so buy several. STRAINER Use a stainless steel strainer for holding parts when you spray them with an aerosol carb or brake cleaner. You can place the strainer in the salad bowl or in the canister so that the over-spray is collected. The other useful application of the strainer is to capture parts! As alluded to above, if you have a canister filled with carb cleaner and carb parts, it is no fun to retrieve them. That is why at least two containers are needed. You simply place the strainer in the bowl or over the empty canister then pour the canister full of carb cleaner and parts into the strainer. It will collect the parts and let the fluid pass through. You can also place blue shop towel or similar in the strainer and run used dirty solvent through it to clean the solution. MAGNET This will pick up most parts that are immersed in solutions except for plastic, aluminum, copper, and brass. You may wish to use tongs or similar to cover all bases. PAN When you want to catch drippings from a brake bleed or just as a back-up to protect a garage floor, a stainless steel pan is great to have under your work area. I have seen some alloy pans that are ~ 4' X 2' in size. Here is a canister filled with lacquer thinner on a pan with a clutch-fan o-ring being dipped quickly.


-
Thanks again Alan, For the archives here are photos of the beastie before the owner/retired racer sold it to me along with a 1 piece Gnose copy.

-
Your main journals are: minimum 2.152" is 54.661mm maximum 2.153" is 54.686mm This is just slightly smaller than the specified 0.25mm journal size range of: 0.25mm = 54.692 to 54.705mm So if you used 0.25mm bearings, because of the smaller journals, your oil gap would be bigger for all bearings by a maximum of 0.022mm and a min of 0.003mm So if your 25mm bearings were manufactured in the middle of their spec of 0.020 to 0.072mm at 0.046mm then your crush results would be from 0.049 to 0.068mm which is fine. However if your 25mm bearings were on the bigger size of 0.072 then your gap would be from 0.075mm to 0.94mm which is out of spec. You can try a new set of 0.25mm bearings and hope for some statistical luck with manufacturing variances that make them all less than 0.050mm or try another crank or go to the machine shop and have them grind to 0.50mm then buy new 0.50mm bearings.
-
Excellent! Thanks Alan! Would you know if the front seal is the same as that in an R180? That is the one, I am told, that has failed. I've just sent an email to Rubber Soul (btw that is my 2nd fav next to Revolver ). I also have a friend in Osaka so it is a perfect link.
-
-
Ollie, Here is the related "technical article" on this site: http://www.classiczcars.com/forums/content.php?151-Brake-caliper-restoration
-
I believe 0.25mm means the crank is ground so that 0.25mm is removed from the journal diameter and the corresponding bearing has to form a circle that is 0.25mm less in diameter. This would in turn remove 0.125mm from your (one side) oil gap.... so instead of 0.152mm, you would get ~0.027mm which is within spec. So it looks like you have the wrong size bearings. You could have std when you need 0.25 or you could have 0.25 when you need 0.50mm. Your next step is to "mic" the journal diameter to see how much was taken off. It should be: STD= 54.942 to 54.955mm 0.25mm = 54.692 to 54.705mm 0.50mm = 54.442 to 54.455mm
-
0.020 to 0.072 is mm. Is your 0.152 measurement in mm? If so then you have ~ twice the maximum clearance which means more oil will leak out than specified and the crank can move more than specified.
-
yes the clutch and brake systems use same fluid (dot3 brake fluid)
-
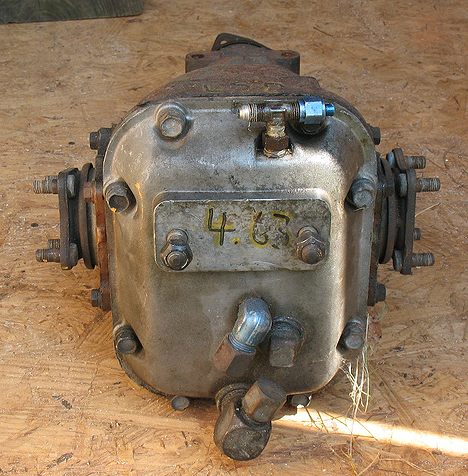
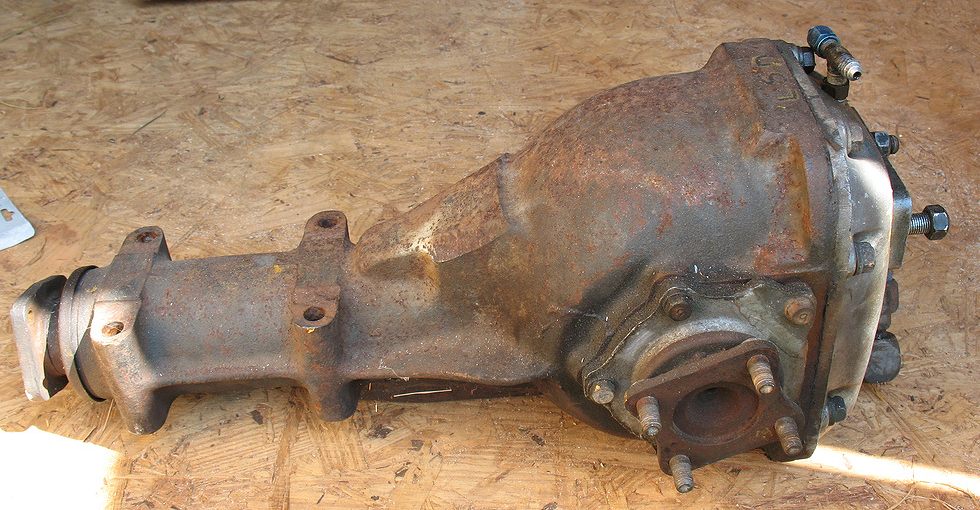
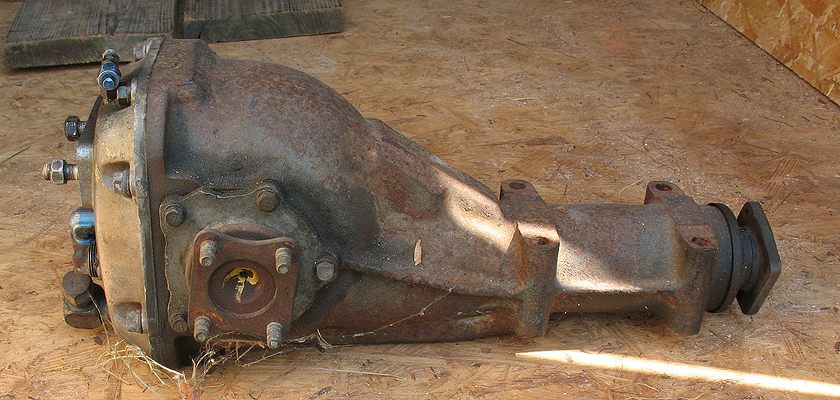
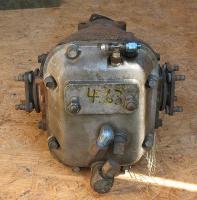
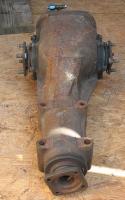
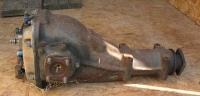
I'm hitting an old thread.. sorry: I loaned my R190 to ZCCNE for their club racer. (I actually have never seen the differential yet) However it needs new seals. Any of you on this thread know where to source them?
-
Wow that is beautiful.. Maybe its just the red and white getting to my Canadian heart.
-
I just saw flexible fans in a Jeg's catalogue. They seem to deform at higher RPMS's as a mechanical compensation. I was thinking that this would be a great solution to do away with the failure prone fan clutches ? Has anyone tried these beasties? http://www.jegs.com/c/Fans_Mechanical-Flex-Fans/10115/10002/-1
-
Why did Nissan fold the sequence of intake and exhaust ports in the centre of the head rather than doing a consistent pattern from cylinder 1 to 6: i.e: E1I1 I2E2 I3E3 | E4I4 E5I5 I6E6 rather than E1I1 E2I2 E3I3 | E4I4 E5I5 E6I6 Having E3&E4 side-by-side in the middle does not seem like a good thermal geometry. As well, consistent port and chamber geometry and intake runner and exhaust runner spacing has been sacrificed... I am curious as to why?