madkaw
Free Member
-
Joined
-
Last visited
Everything posted by madkaw
-

-
Trying to cover my carb and FI in one sweep. Going to install larger 3/8" fuel lines so bypass can flow freely. Think I will go areomotive 13222 with a FI pump . Not going to dwell too much longer with the Triples , but still like to see if I can get a little more out of the L24. i might consider a low pressure pump and just sell off later. 4070 Carter maybe
-
Anyone with a link or pics of tension rod bushing and washer orientation -stock rubber bushings. I believe I have the washers turned the right way and the rubber bushing correct , but since I am having difficulty posting pics I can't show you. Been searching but I guess I'm not using the proper description
-
Makes me wonder about my pump and fuel pressure/supply. The dyno showed a lean condition under heavy load. Pressure barely hangs in at 3psi though it's rated 4 psi and 40 gph. Probably should have gone big with a regulator myself . Getting ready to go the $$ route and do the bypass regulator and bigger pump to eliminate any ?? about fuel supply. This was a carter pump . Sent from my iPhone using Classic Zcar Club
-
Talk about a tuning nightmare :0
-
90 psi on a sealed fuel tank? Might try a bit less at first- IMHO
-
Can't wait to see this high dollar spray bar in person. I post some pics. Datsun Picker's --lol
-
I wasn't after bling, nor was he, but that's your options for a new bar. He negotiated a great price from zccjdm, so we are going that route. As important as this part is for this engine, I can see paying money for the best option. Since there really are no options except using a cleaned up 40 year old used part - the bling seems much more attractive . He also wants to keep his project moving at a brisk rate , so a swipe of the card and it's done . Thanks for the offer though:)
-
Thanks for the thoughts Cliff. I've been wanting a n42 head- so maybe I can find it and the spray bar at the same time. I think the owner sprung for a billet one though
-
Well I've learned something in regards to later an earlier versions. I guess I will just buy a later version and go from there. I'm tired of trying to make the early one work and then worry about it holding together
-
Who sells that? I thought it was NLA. i guess I need to look again
-
Glad you are well enough to be starting this thread ! Sorry for your Z loss
-
Any of these available? I can't believe this idea hasn't been more in demand. Though my cam is internally oiled, there are still many others that still run these . anyhow- I'm looking for a replacement on a customers car. Let me know
-
Sent from my iPhone using Classic Zcar Club
-
Just took a complete smog pump system off of a 72 . All the original hoses are there and a new valve on the intake. This was a west coast car where emissions was needed. No longer needed and removed here in the Midwest. Not sure about nay markings-I'd just send you pics if interested.
-
-
Minimum of 2500. Yes - disconnect vacuum and set dial back to 34 total . As far as figuring the vacuum on top of that - not sure , but I would say just add in the vacuum advance on top of the 34 at 3000 and see where it stands. In the end Cliff, your motor will tell you if the advance is too much. I bet you will have to either limit the vacuum portion of advance , or just reduce your timing- period
-
Great story !
-
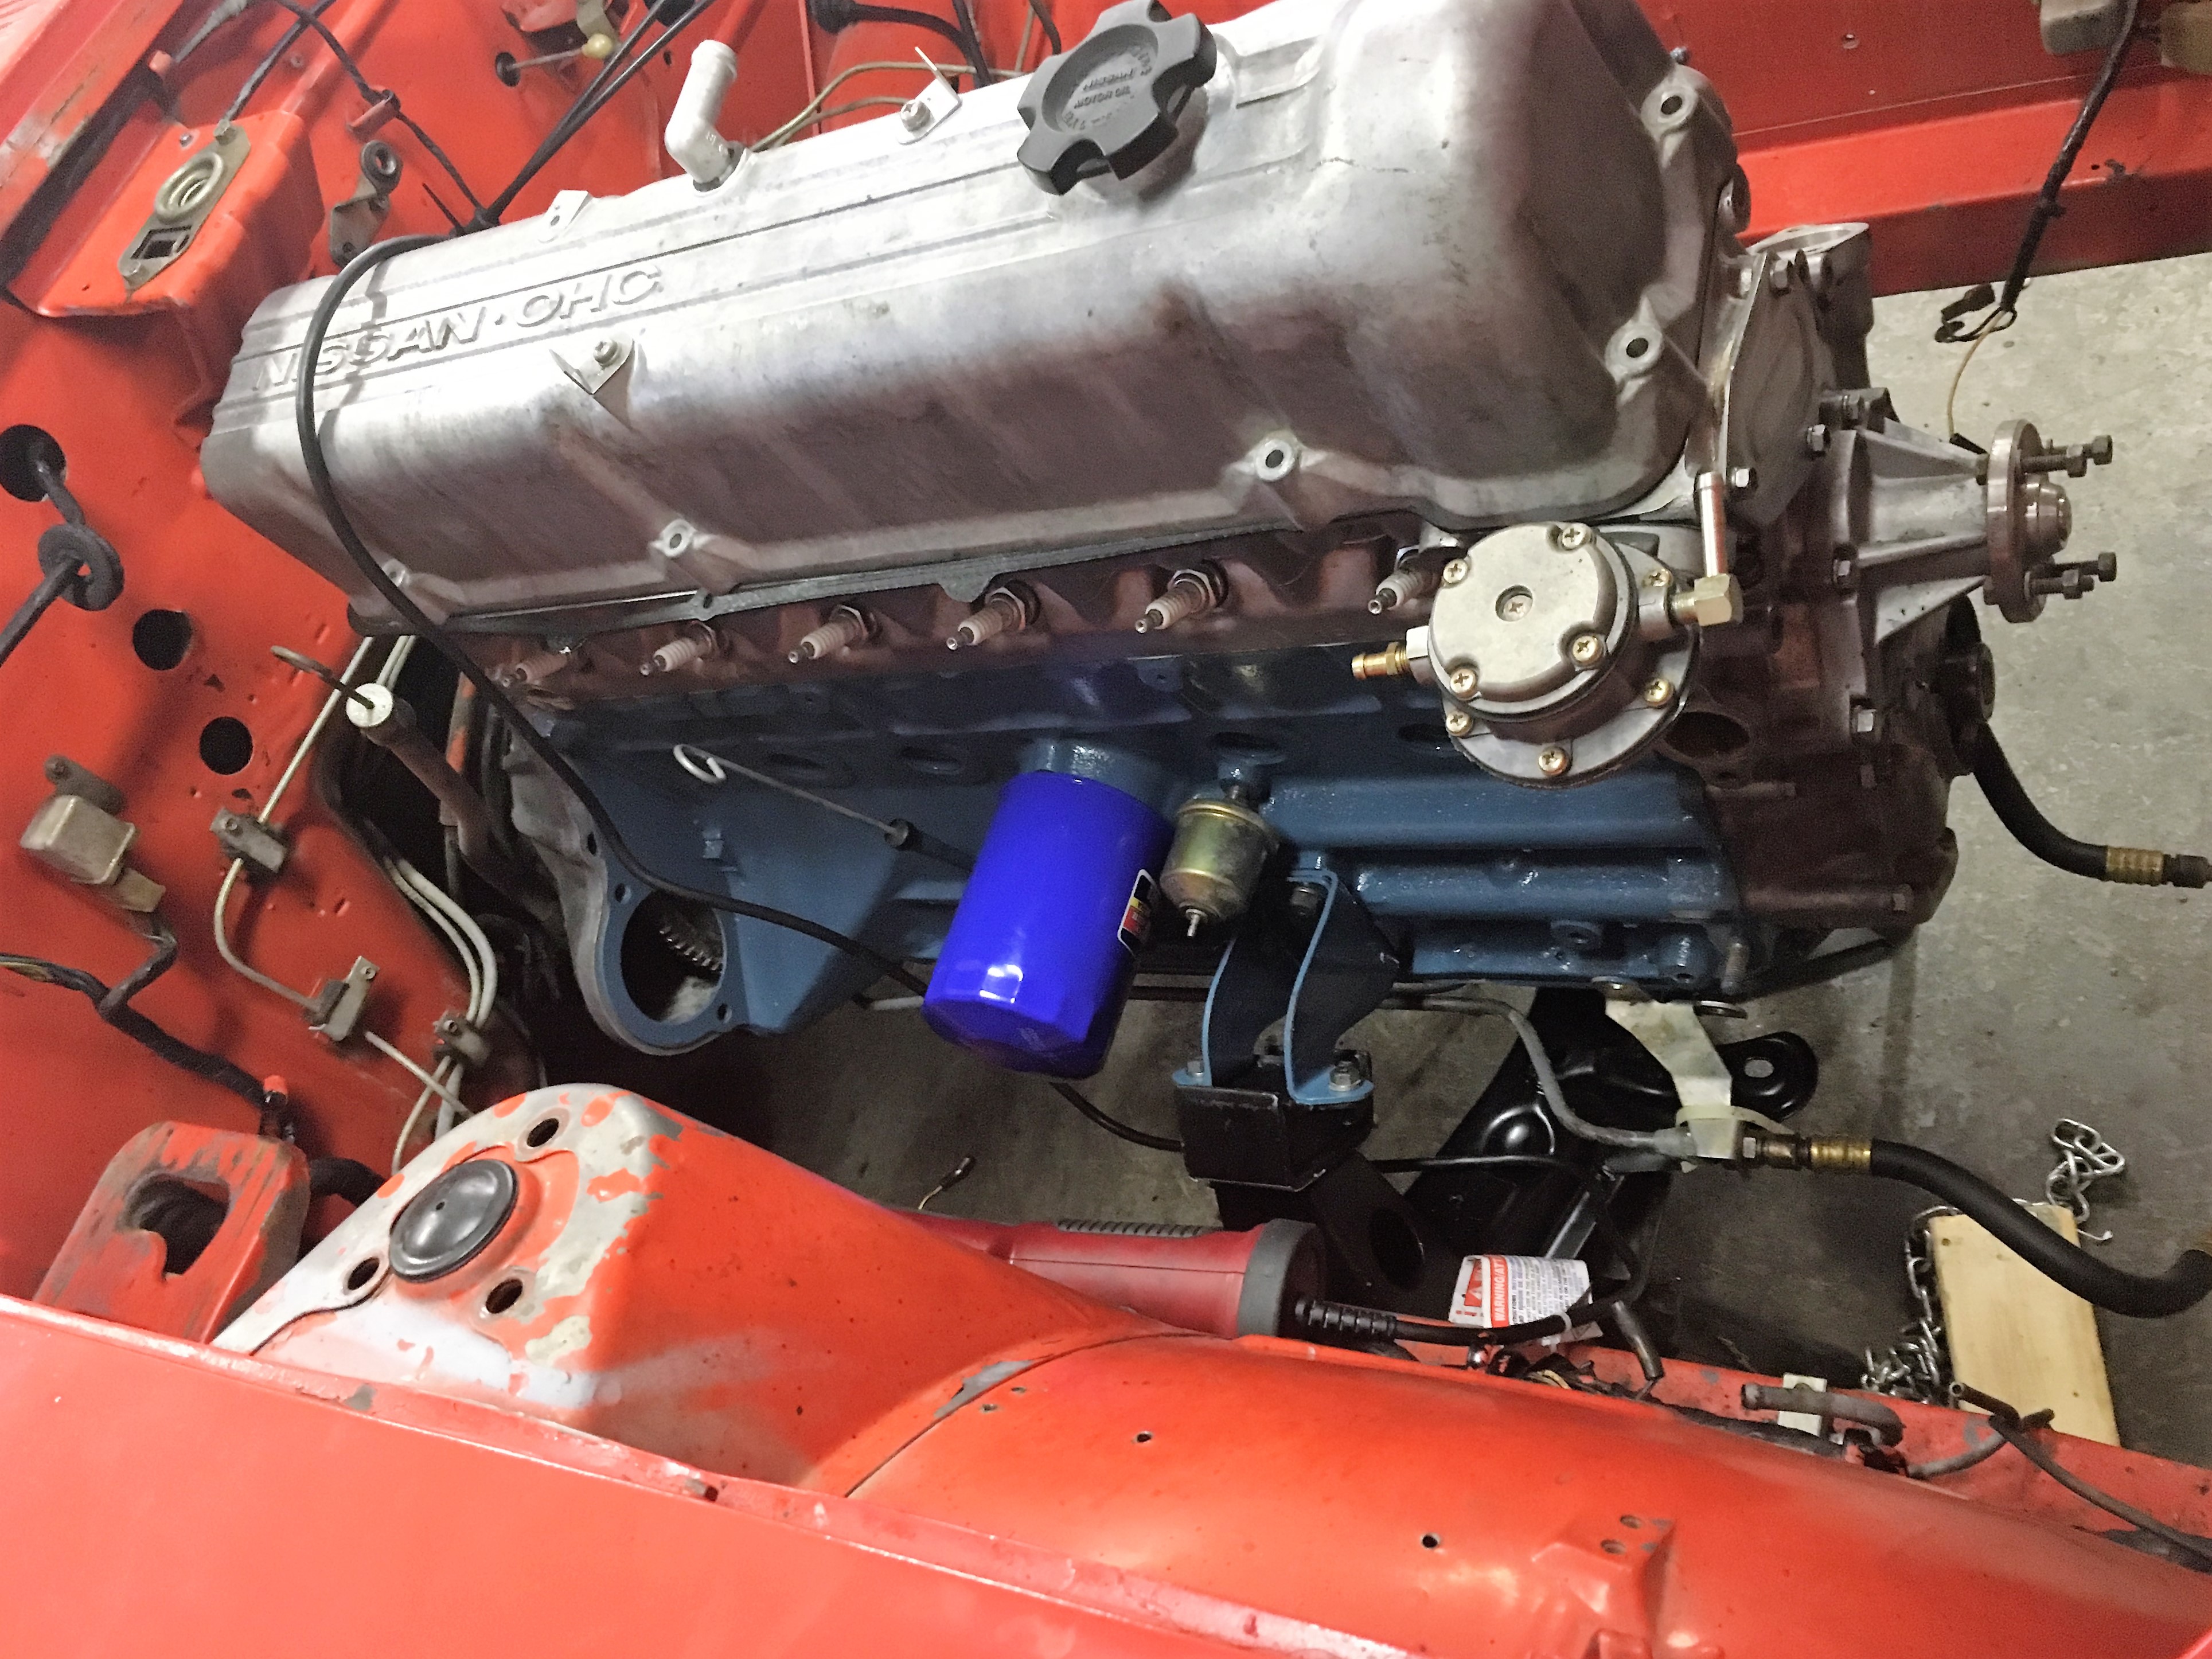
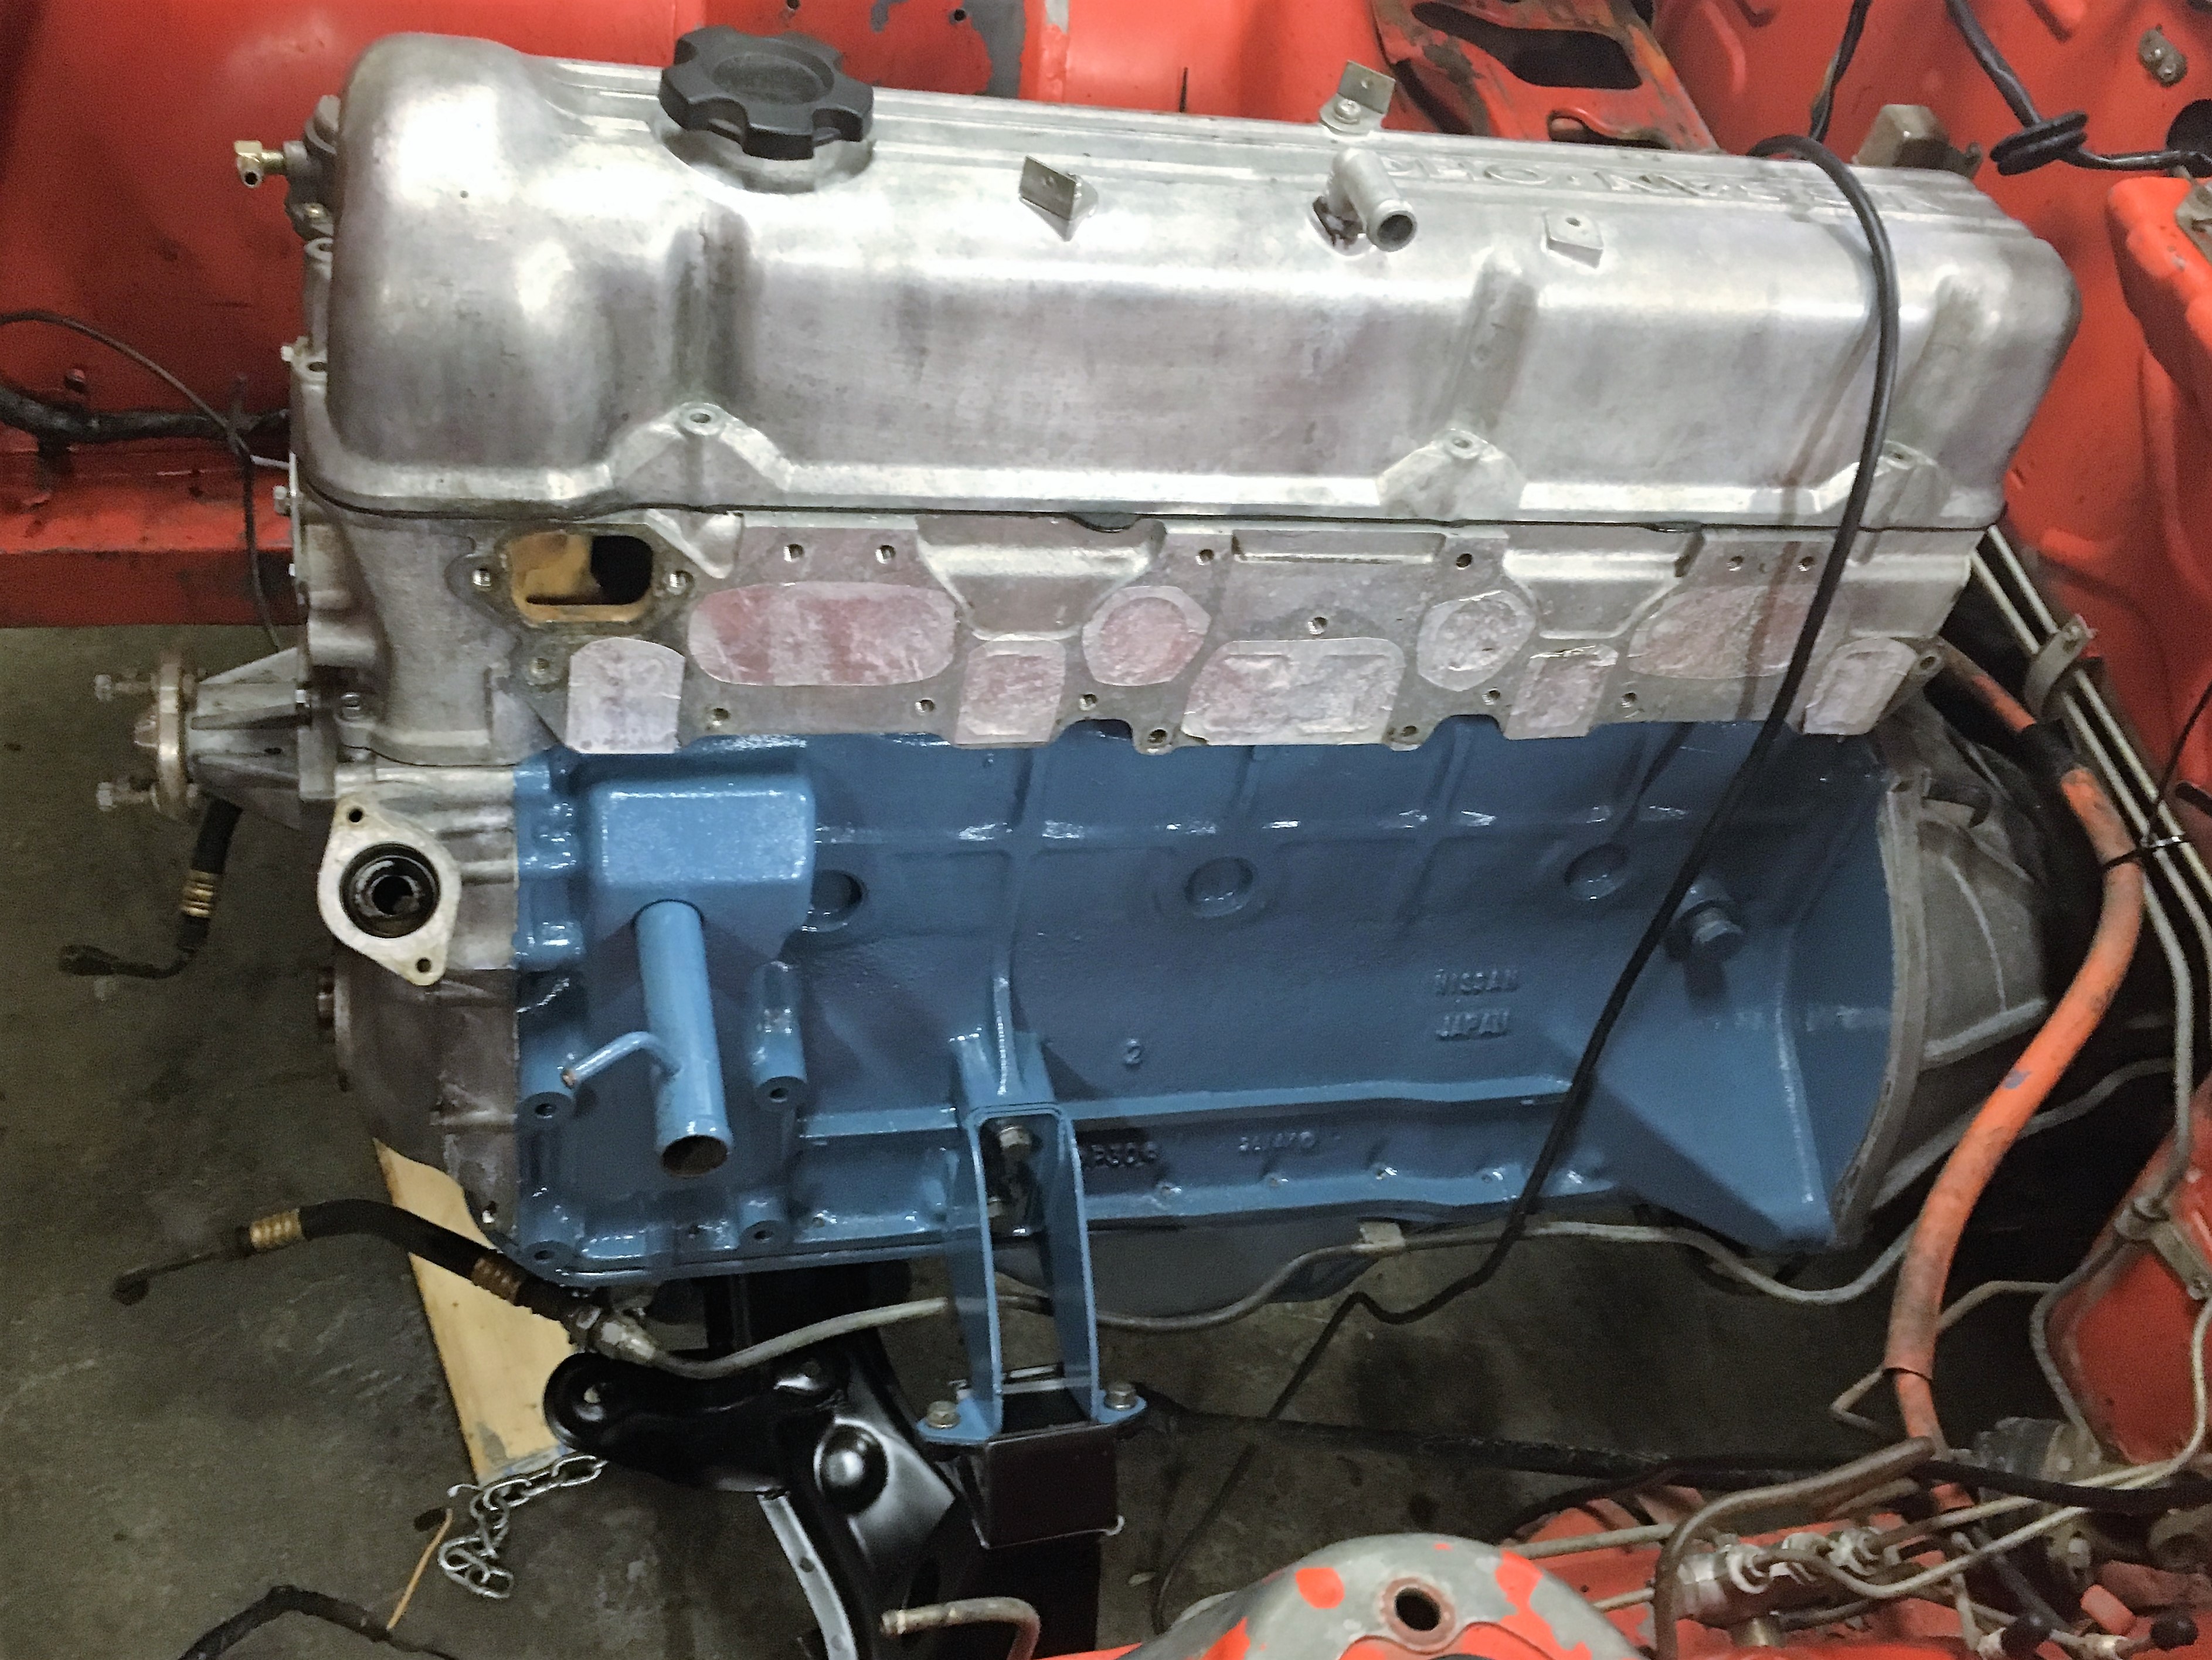
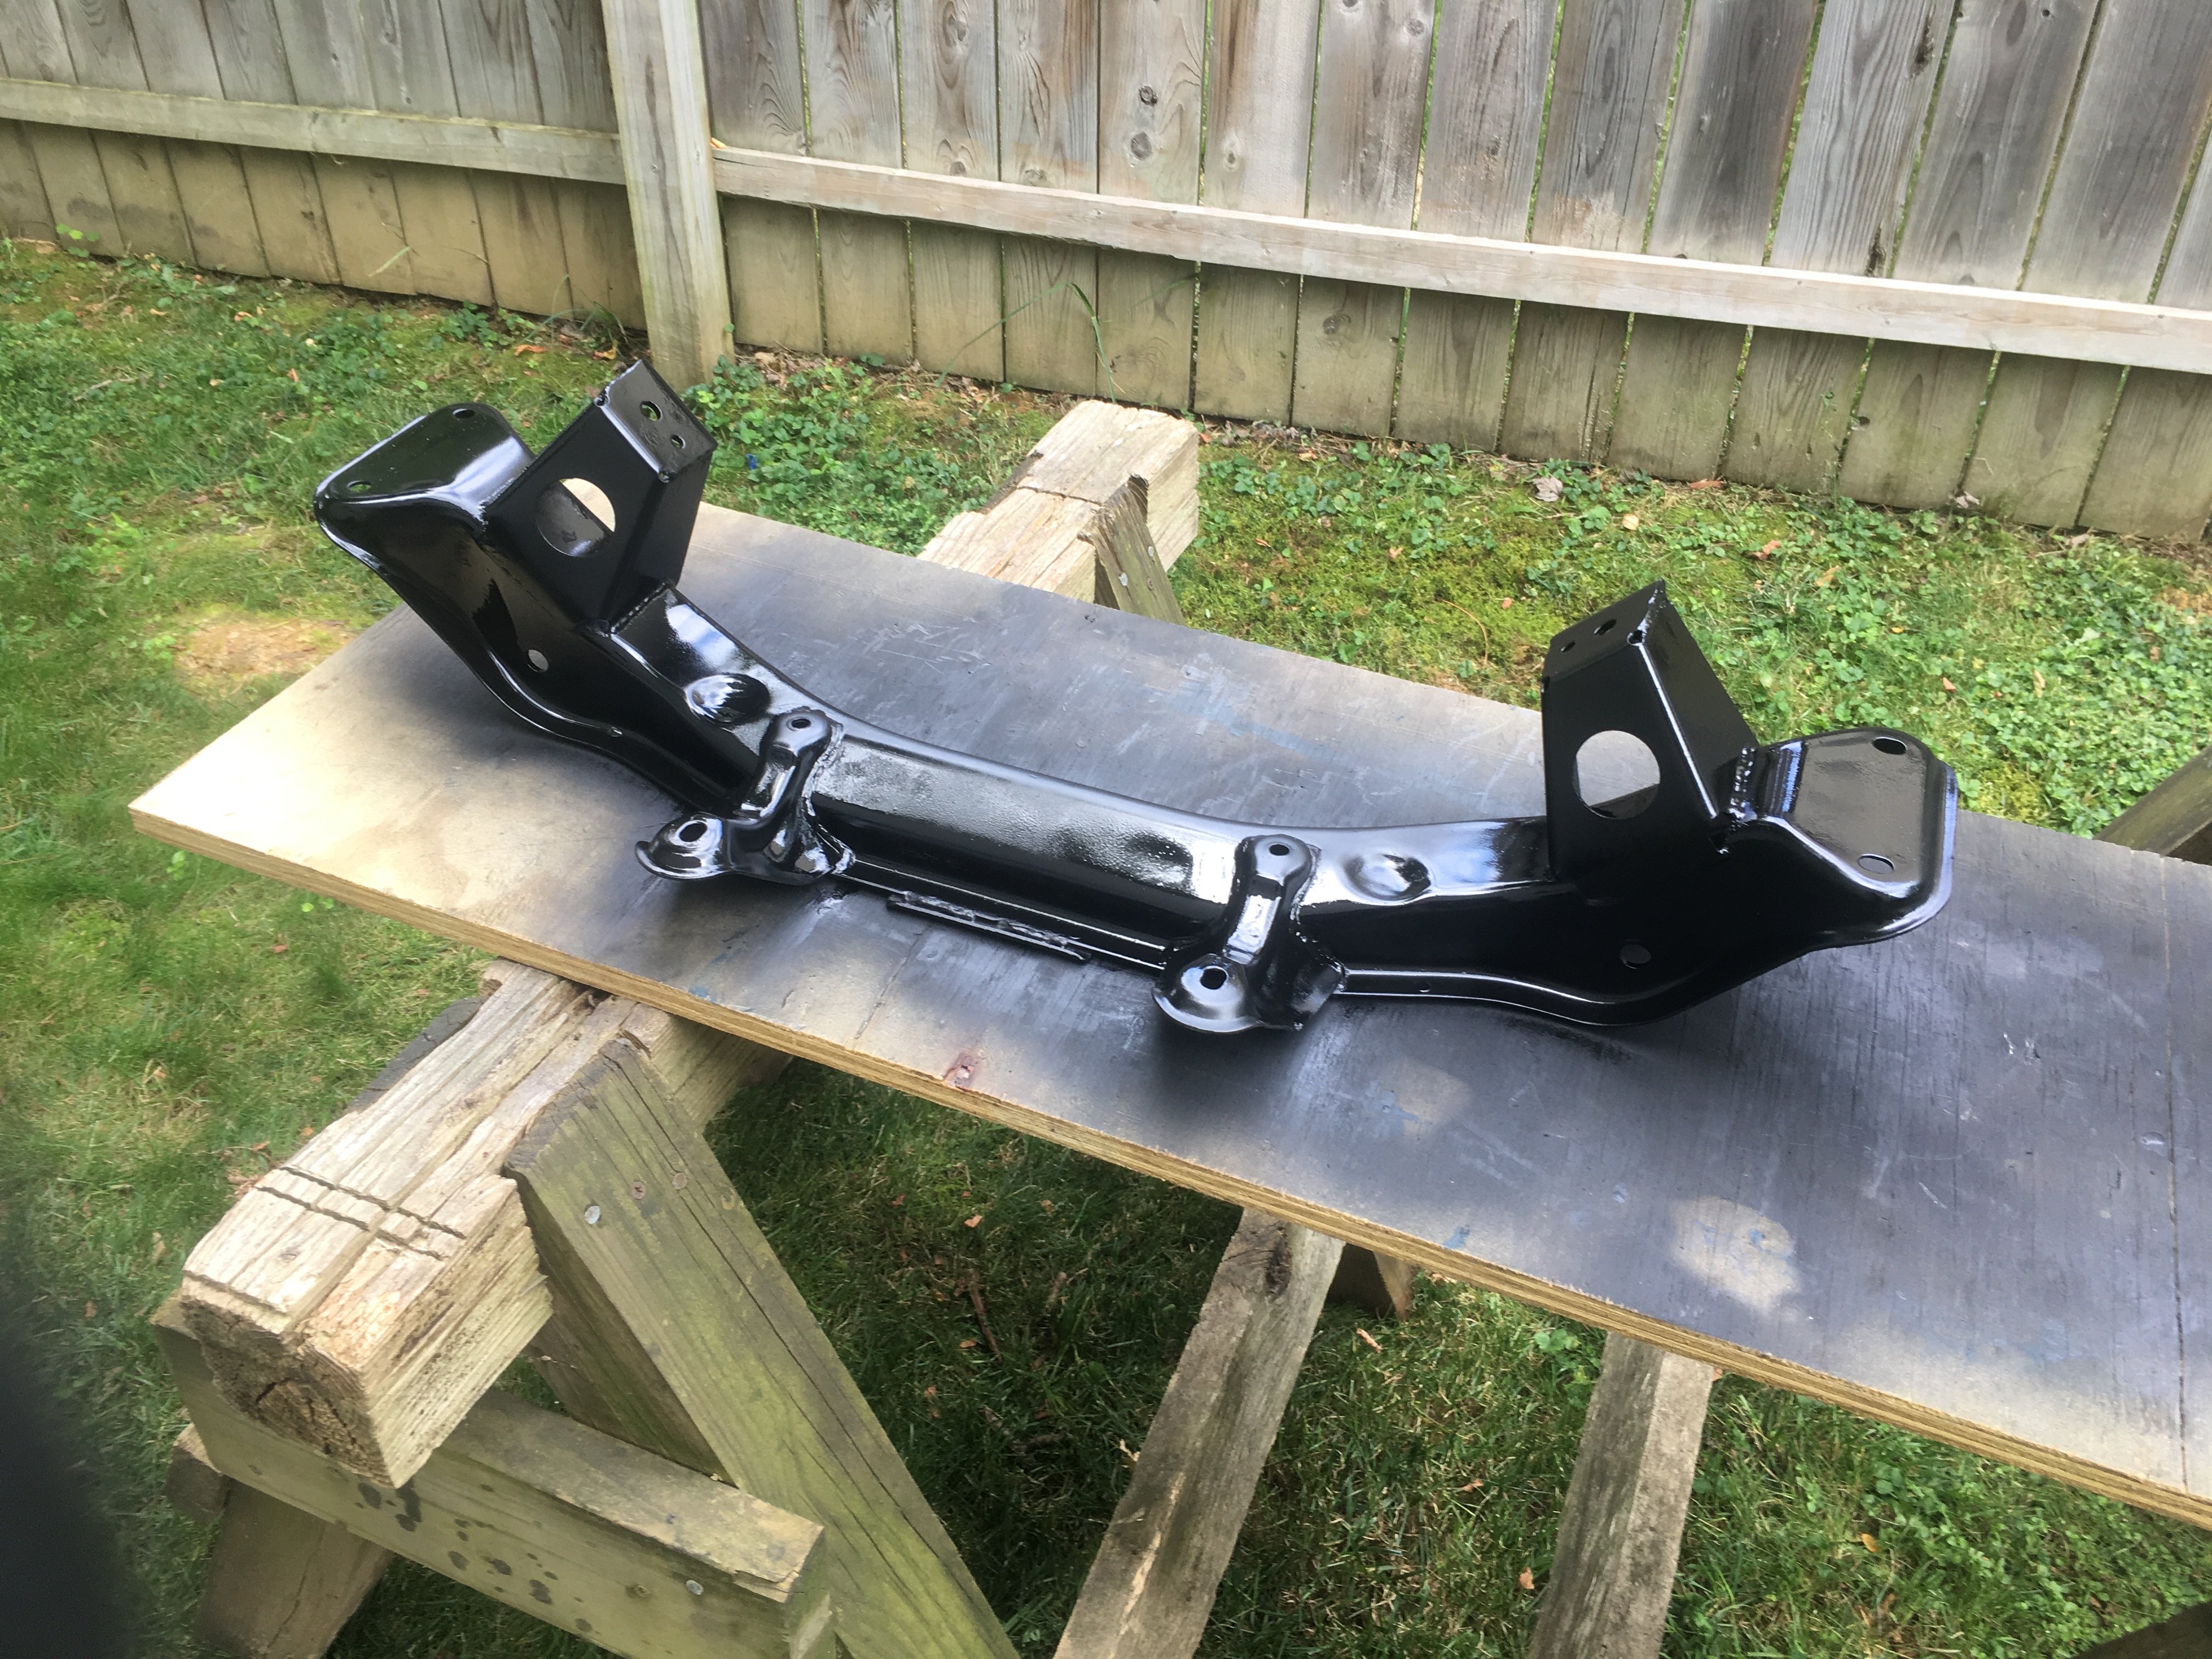
Well I got about half of my pictures to load. Haven't been sharing much because I have been truly frustrated with posting on the site. Maybe I'm just getting old and cranky but I can't seem to get around on the new format as easily as the old CZCC. I am glad Mike makes all his efforts and glad go have the site available. Most of the time I can't get the I-phone to load pics and even off of my laptop I have issues. As you can see I have been full tilt on this project the last week. We considered powder coating all this stuff, but the weather was really good for painting and I had the time to get it done. The other important factor is that stuff was mostly just dirty-very dirty. The rust was negligible , so a good cleaning, sanding, por-15 and paint at it all looks pretty again. Another reason to spend more $$ and buy a car out west and have it shipped if you are considering a project. Even the hardware cleaned up on this car to the point that you would swear I replaced it. I had the oil pan and valve cover tanked at a local machine shop so they are spotless. Now I feel comfortable running some high detergents and it will all drain out. The engine was brushed on Por-15 . I think the engine kit is well worth it when you see how well the paint covers. They give you too much color - a pint is enough for 3 engines. I tried some rattle can Por-15 chassis paint it is also $$, but it covers great and the chassis coat looks superb! I have thousands of dollars worth of new parts to install--- now that the dirty work is done. This will be much more enjoyable. Damper Doc refurbished the balancer and its ready to go on. The crossmember went on with new Nissan motor mounts and soon will have a refurbished rack attached. I need to press in the control arm bushings and assemble the front end. I removed the strut inserts to find some Monroe inserts , so obviously some one updated this. The inserts seem to be in working order and we will run with that for now. New ball joints, tie rod ends, bushings, tension rod rubber bushings, new calipers and rotors should make her stop and go much better.


-
Cliff, I think the best of Both worlds would be to limit the vacuum advance so you can run max total timing WOT. Meanwhile I would run about 17 initial and disconnect the vacuum while you play around for best power. There are threads somewhere where folks have limited the travel on the rod connecting the vacuum .
-
Ride quality is so subjective- but I am always looking for a bit of refinement in my ride. I noticed the OP had solid mounted tension rods(basically). Don't know if that was done at the same time or not, but that transmits a LOT of roughness to the chassis . Add urethane and hard springs and wow. I run urethane with suspension technique springs and KYB Struts. I believe my spring rates are less- though my car is lower than stock considerably. This subject has been on my mind lately with respect of how mixing rubber bushings with a firmer suspension would work out. Could a person go fairly rigid on the suspension for handling and not defeat that with rubber bushings? Would the suspension just wear out the rubber twice as fast- or not fast enough to worry about. This is assuming NEW rubber all the way around. This is where I really miss the wisdom of John Coffey
-
If I had my way I would off the rails(RR) and have a couple of these going at the same time. My wife wants me to retire and do this instead( lot less grumpy), but don't have a place to work- yet. I think I would like to keep it small and personal . It keeps the owner involved . In Bo's case , there just wasn't anyone around he could find to do this work local. I like being able to just shoot a text and pic to the owner and say-" look what I found today". So when the bills come in there is a story behind it.
-
Haven't hit bottom yet. Still removing bad parts . Balancer came off to replace front seal I suspect as bad- and it was, so is the balancer. Rubber all dried out and missing hunks. The seal was 2mm bigger ID than a new one - oil slinger! Also noticed the engine mounts are shot. The heat and petroleum bath has softened the rubber to sponges. Back to the front suspension . Disconnected rack and found one bad inner and one bad outer tie rod. Digging deeper the ball joints are bad also. None of these parts had any rubber boots left on them- so they have been left to the elements for how long? At this point ," while your at it" syndrome is kicking in with a vengeance . Now the struts are coming off to inspect the inserts. It's really hard telling what the prior owner did or not do. He replaced a about all the suspension bushings with urethane , but couldn't find a trace of lube- thus a squeaky ride. The PO also spray bombed the suspension parts with black paint -covering up what? Sprayed right over pretty zinc brake line keepers-jish. So we decided to pull everything including crossmember and powder coat it all. Going back all rubber on the bushings. Post pics later
-
Marvel and trans fluid look amazingly like each other:) Sent from my iPhone using Classic Zcar Club
-
Higher detergent to help clean the inards