.JPG.cfcada9cf1c1b502df3f5f2f2ca3ff36.JPG)

SteveJ
Free Member
-
Joined
-
Last visited
Everything posted by SteveJ
-
 Two off the bat: High fuel pressure Cold start injector always firing Better answer: You can find the factory service manual at http://xenonzcar.com/s130/FSM/1980fsm.php. In the EF section there is a troubleshooting section. Unfortunately it is a little vague. The sensors are definitely good things to test, though.
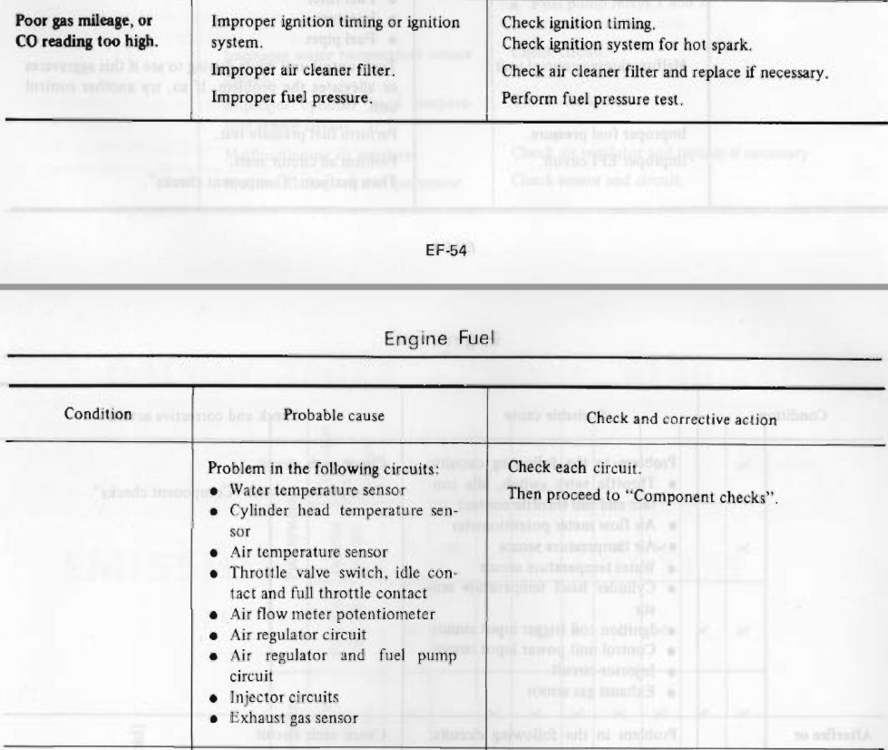
-
It passed the smoke test. Well, there was smoke coming out around the gasket because the exhaust manifold wasn't bolted down where it shares studs with the intake. Anyway, I buttoned it back up, and I'll be testing soon to see if I hear anything that I shouldn't with regards to an exhaust leak.
-
That's "Resurrected Classics". I've helped them out a couple of times with electrical issues on cars. https://resurrectedclassics.com/ Max is a member here, but I don't recall his username.
-
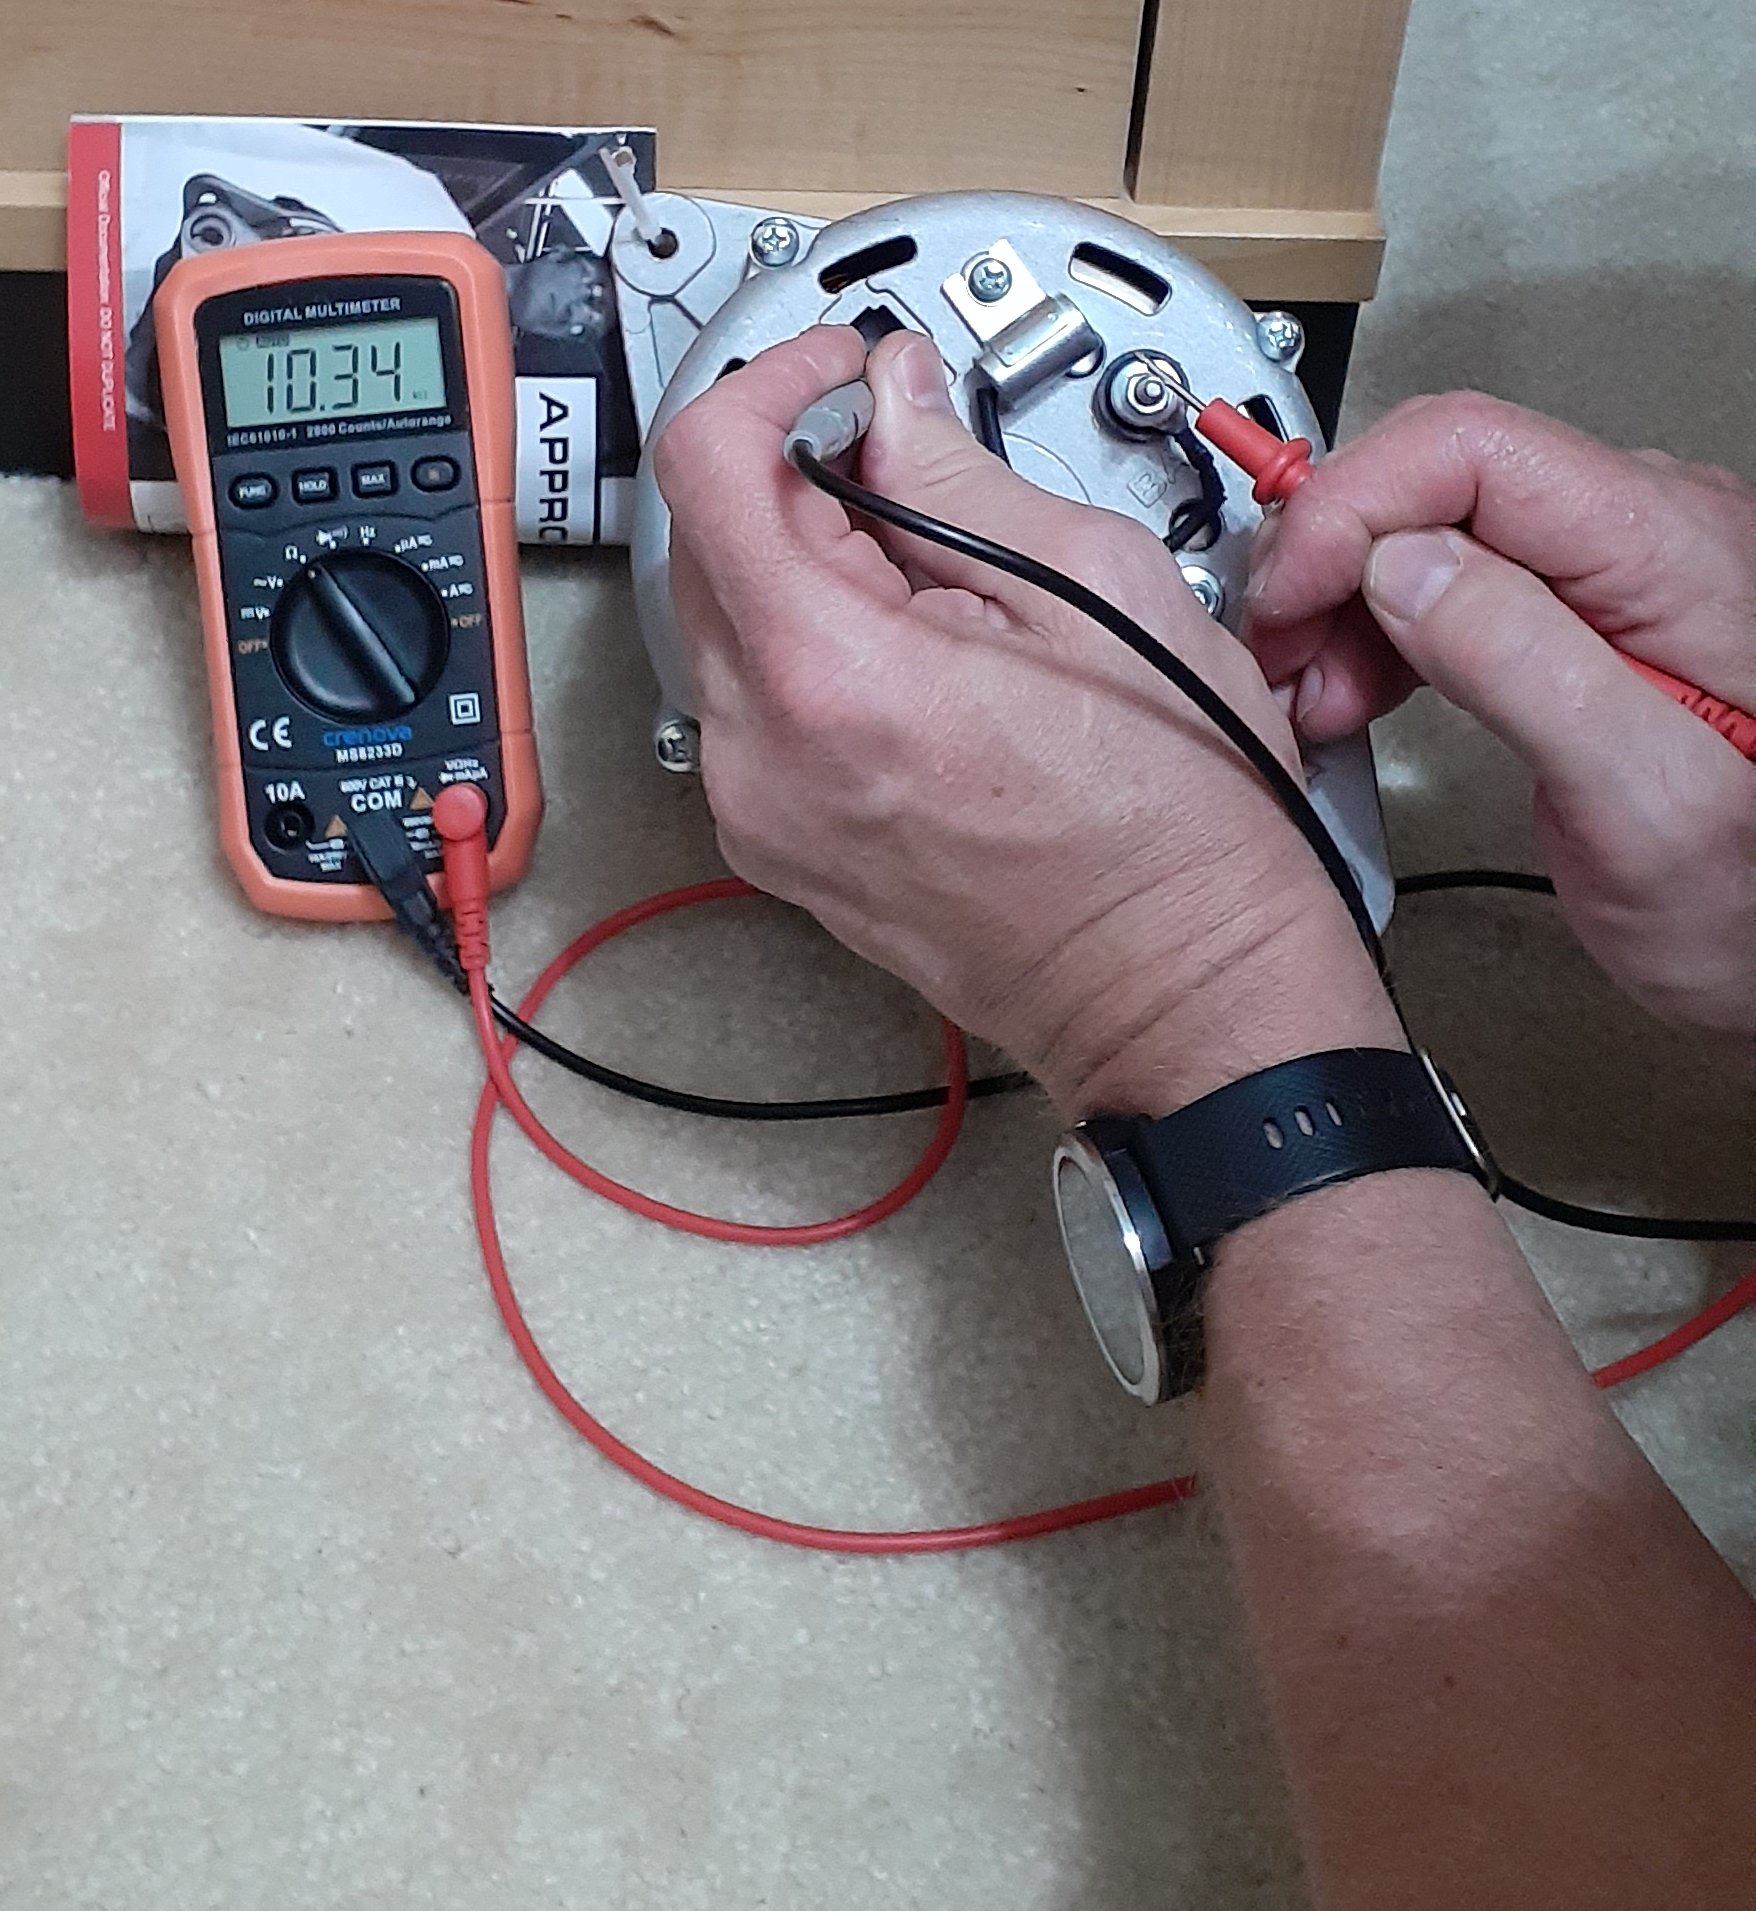
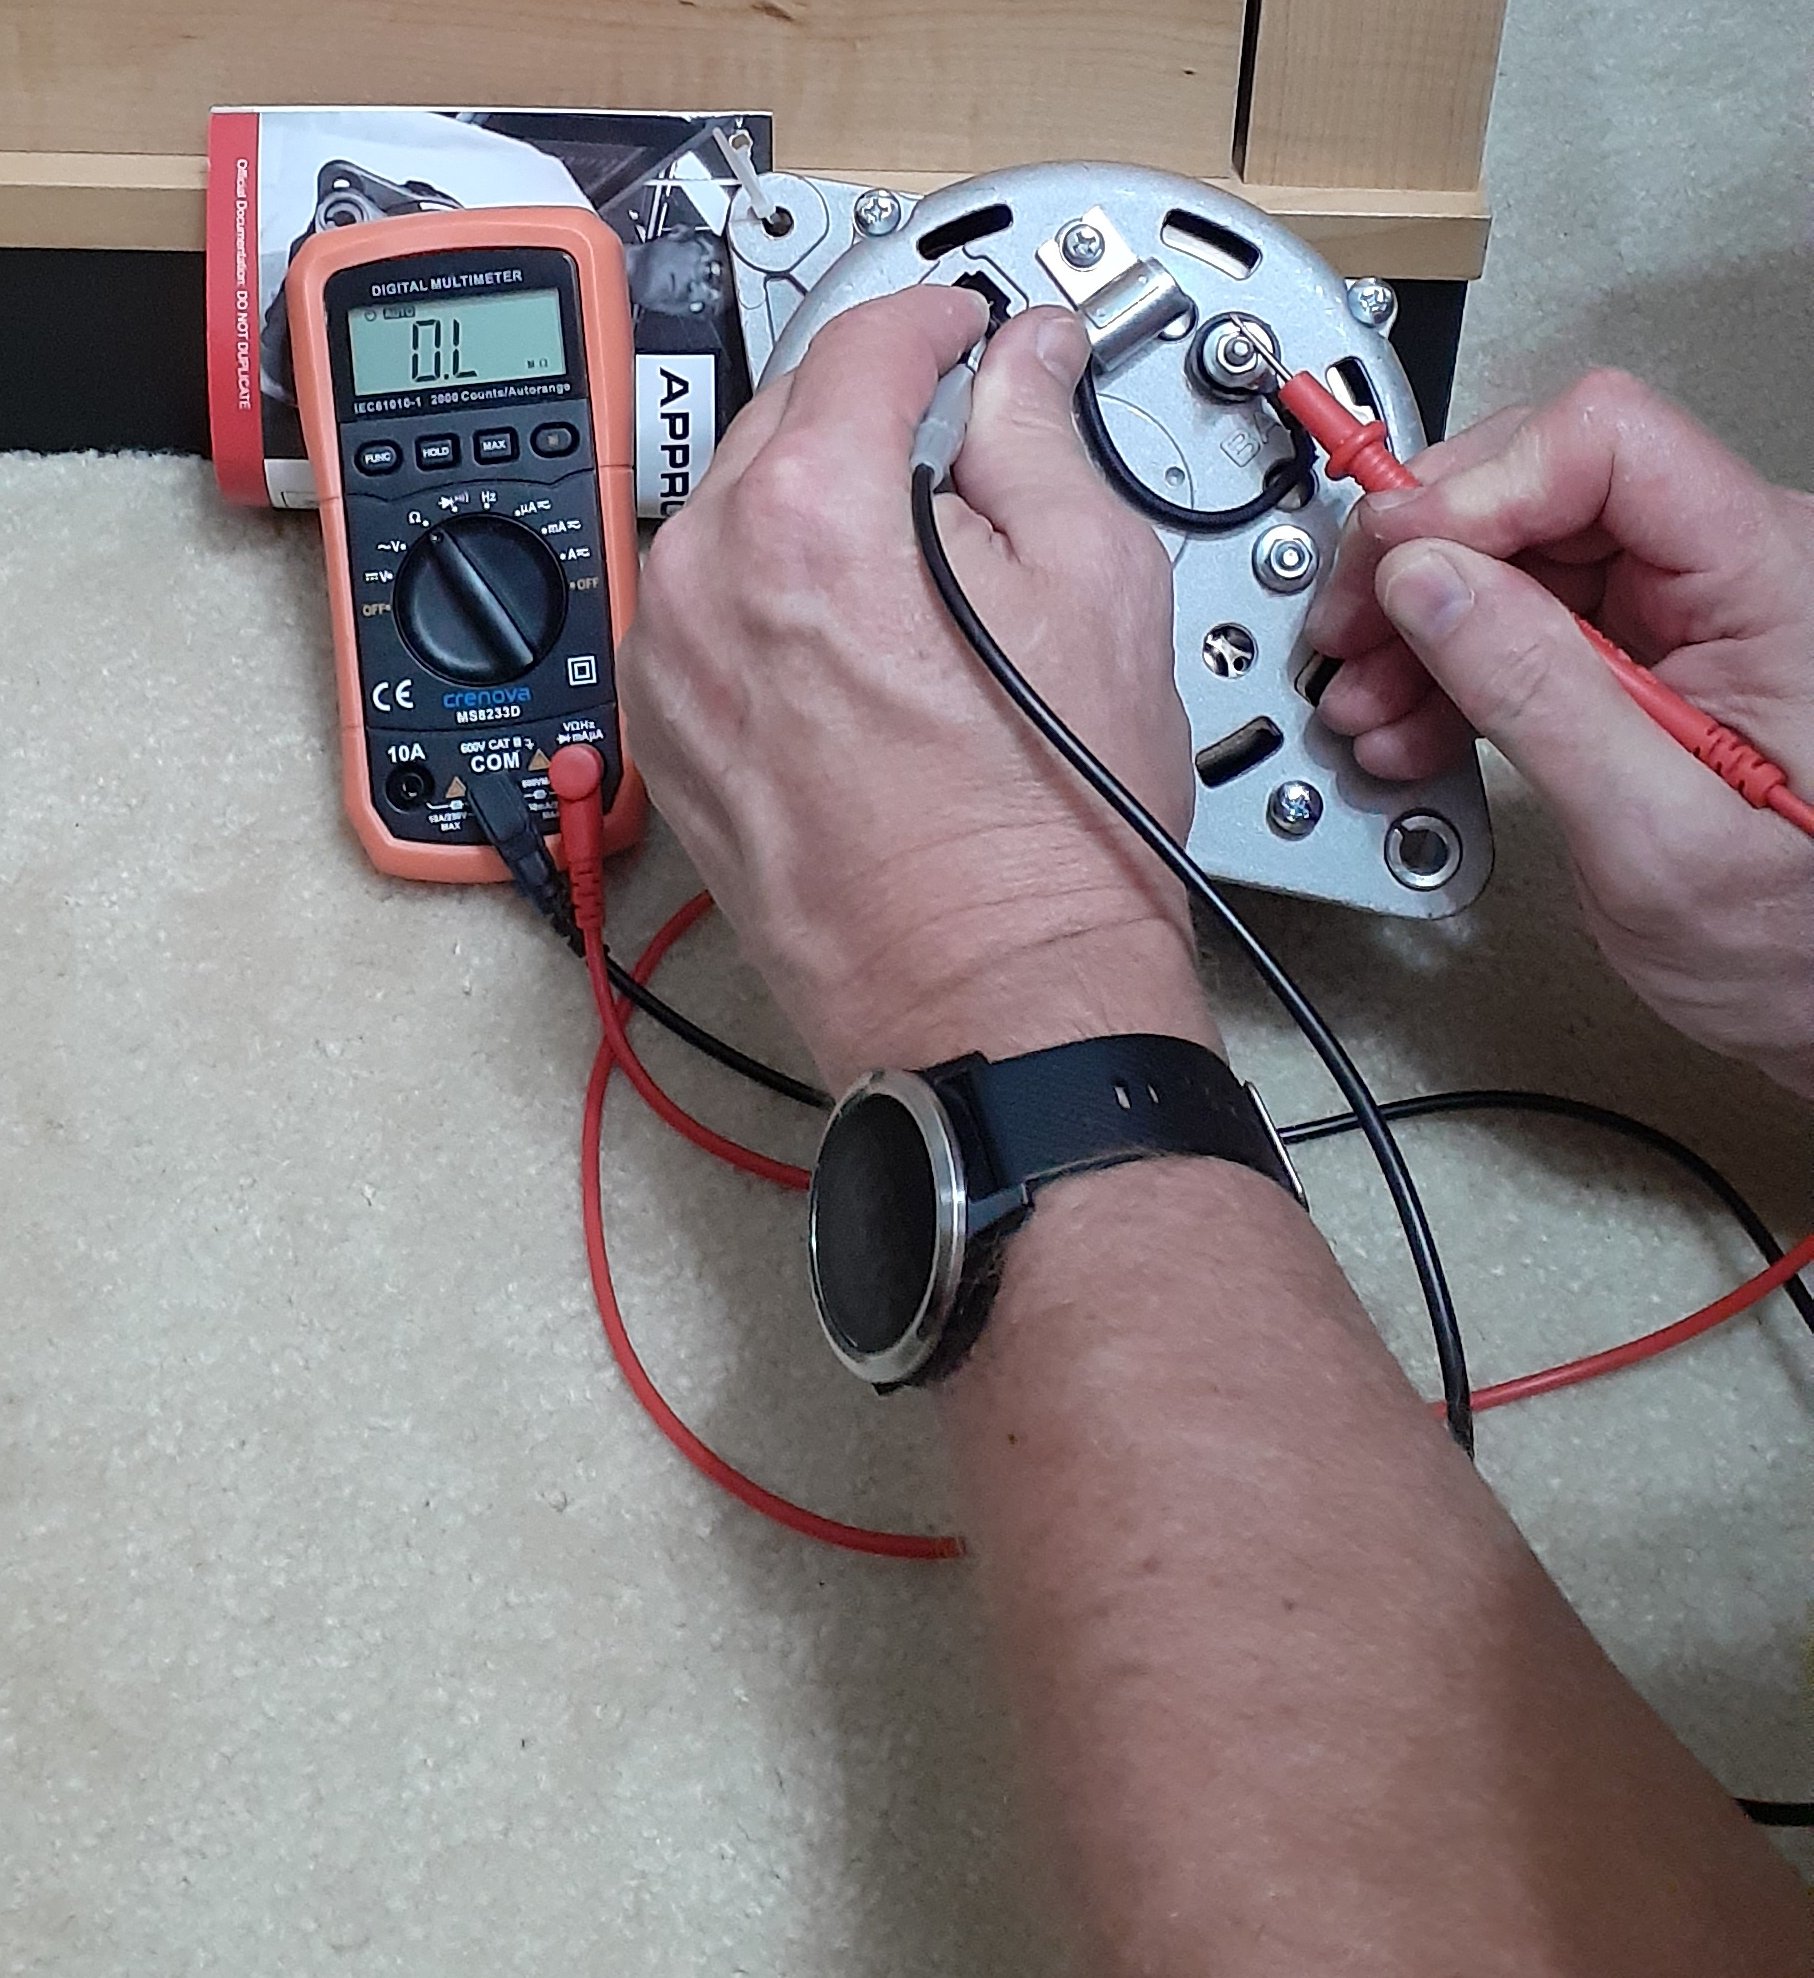
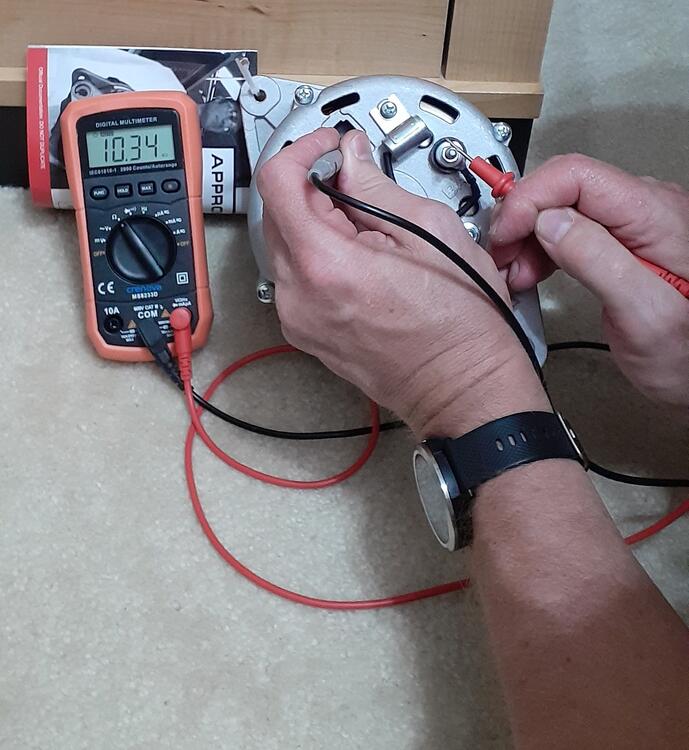
The point of making the measurements was to learn how to use a multimeter to discern between the L (lamp or the switched source) & S (sense or battery voltage) terminals on an internally regulated alternator. With the positive probe on the meter on the S terminal and common on the B terminal, you will see resistance. In this case I'm using a ZX alternator for the demonstration. However, if you swap the probes, the diodes in voltage regulator will block the resistance reading between the S terminal and B terminal. This meter reads "OL" or open line when the circuit is open. There are no diodes between the B terminal and the L terminal. So the reading get with the positive probe on the L terminal will be about the same as when the common probe is on the L terminal. In your second photo, the common (black) probe is on the S terminal. Frankly, I would connect the wire from the S terminal to the cross of the T terminal on the stock wiring. Connect the vertical on the T connector to the L terminal. Again, you can get the connector from Vintage Connections. Get the jumper plug from Motorsport Auto. Hook them up. You are done.


-
Have you thought that maybe our cars have NOT been stolen because we took the steps we suggested to you? 🙄
-
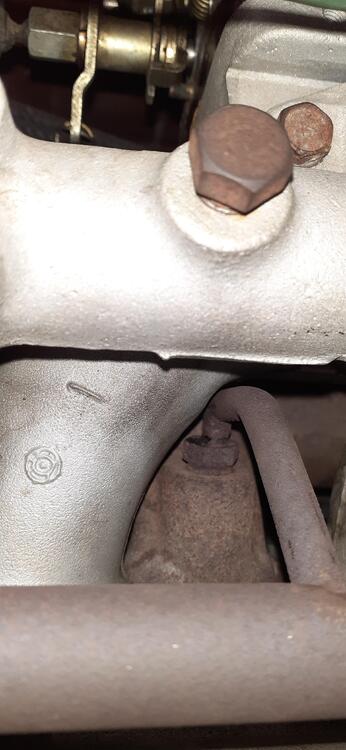
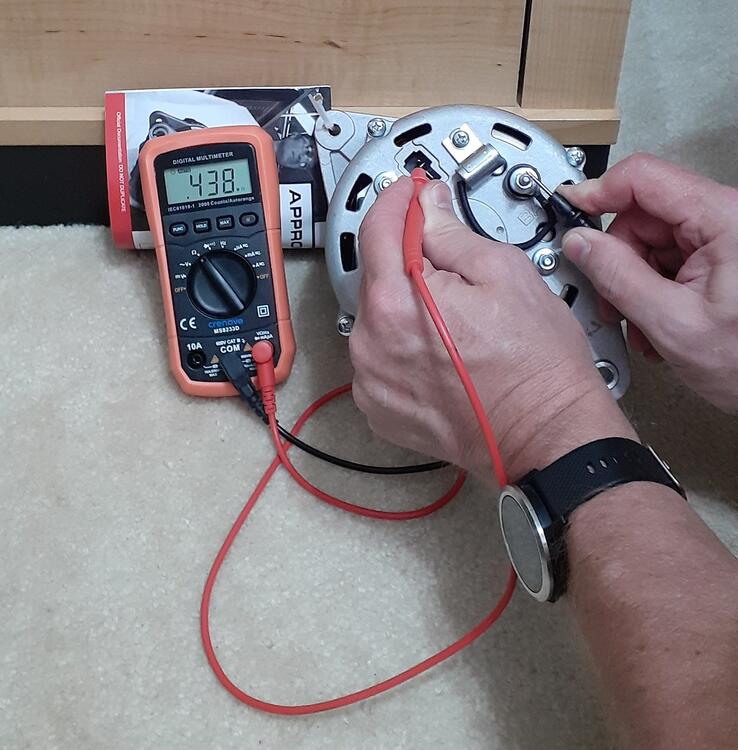
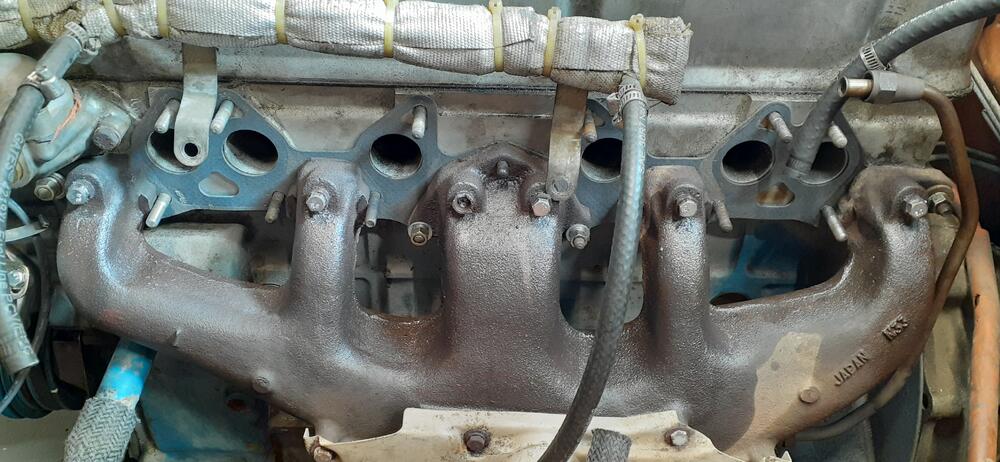
Today I pulled off the intake to address the exhaust leak. I cut off the air injectors and proceeded to tap the fittings with an M7x1 tap. One bolt broke as I tightened it, but I think it's sealed. I'll find out with another smoke test in a little while.
-
In addition to what @grannyknotsaid, you are in an area renown for rusted cars, and you don't have any photos of underneath the car or of other rust-prone areas. Grannyknot hits on the biggest issue. The 2+2 just isn't that popular. You have to be lucky enough to post an ad when one of the few people who wants a 2+2 is looking.
-
Just touch one pin at the connector at a time. If the test does not work, then it means you need to test the switch more thoroughly.
-
If you want to test the turn signal switch with the test light, unplug the 6 pin (5 wire) connector at the turn signal switch. Leave the wire from the flasher plugged in. With the key in the ON position, use your test light to touch the pins for the white/black and green/black wires when the turn signal is in the right turn position and the white/red and green/red wires when the turn signal is in the left turn position. With the current for the test light flowing through the flasher, you should be able to see the test light blink. (This is of course with the other end of the test light grounded.)
-
I would agree with that assessment. The test light is a high resistance, so you won't get much current flowing through the circuit. You don't say what points you are measuring at, so it's difficult to say. Here's a description of the circuit for a 240Z. https://fiddlingwithzcars.wordpress.com/2013/01/20/hazard-switch-brake-light-turn-signal-circuit-analysis/ You didn't say what year car you have. If you have corrosion at the switch or connectors, that could cause a voltage drop due to increased resistance. After the flasher, the switch is the last common point on the circuit.
-
Steelies are too narrow. ZX wheels 6 inches wide, though. If you're going to get new wheels, consider 16x7s.
-
How about the links from Falken? https://www.falkentire.com/tires/passenger-car-tires/azenis-rt615k-tire https://www.falkentire.com/tires/passenger-car-tires/azenis-rt660-tire
-
These are the tires I put on the 240Z: https://www.discounttire.com/buy-tires/falken-azenis-rt615k%2b/p/34264 A friend got these for his track-day Miata: https://www.discounttire.com/buy-tires/falken-azenis-rt660/p/88519
-
What wheels are on the car now? Falken makes 14 inch tires that have good grip, but they require at least 6 inch wide wheels. I bought a set recently to go on the Iron Cross ZX wheels on my 240Z. If you're not sure about the wheels, post photos.
-
Probably this: https://www.amazon.com/ARONOVA-Battery-Aluminum-Bracket-Stainless/dp/B09CJX5KRP
-
Yes, you are bypassing the voltage regulator. This could cause you other voltage/current problems. Replace the voltage regulator. https://www.thezstore.com/page/TZS/PROD/classic10b03/12-4082
-
If the spark plugs were not torqued to spec, that could give you that result. If the same plugs have been taken out and put back many times, the sealing washers could be compromised. However, there could be some contributing factors, like failing oil rings. In addition to what @jonbillsuggested, do a compression test per the directions in the factory service manual.
-
Should we trust ZCD? There are a lot of variables we don't know about that could have contributed to the failure the insulation of the fusible link. For instance, I believe I saw paint around the connector. Paint, corrosion, etc, would adversely affect current flow, building heat. We don't know the condition of the battery. If it wasn't fully charged, the alternator would be pushing more current across the link.
-
I think this one was better...
-
That is NOT a starter wire. That is a fusible link. Don't know what a fusible link is? Click here: https://media.digikey.com/pdf/Data Sheets/Littelfuse PDFs/Fusible_Link_FAQ.pdf Replace it. It is done. You can get a replacement from Banzai Motorworks (http://www.zzxdatsun.com/catWiring.php WH-03 @zspert) or Motorsport Auto (https://www.thezstore.com/page/TZS/PROD/12-4332). Ironically, the wire should have burned up leaving the insulation intact. In the meantime, disconnect the battery so you don't short out the link. As for the alternator, since it does not have any identifying marks for the L and S wires, I will expand upon my previous suggestions (You need to do at least one.): Buy the Haynes manual for the Frontier (98-04). The electrical section may have the information on what you need. You can get a used copy off Amazon for about $14. How much is your car worth to you? Go to forums on the Nissan Frontier and see if someone with electrical knowledge can answer your question about which is L and which is S. Use a multimeter on the resistance setting. If it has multiple resistance settings, you may have to repeat the steps below on 1M ohm and 1K ohm settings. Touch the common probe to the red wire. Touch the other probe to the B terminal. Record the reading. Touch the common probe to the B terminal. Touch the other probe to the red wire. Record the reading. Touch the common probe to the green wire. Touch the other probe to the B terminal. Record the reading. Touch the common probe to the B terminal. Touch the other probe to the green wire. Record the reading. Repeat steps 1-4 replacing the B terminal with the E terminal (grounding point). Report your readings from each step. If it's like the ZX alternator, I should be able to tell which is L and which is S. I'll explain what I'm looking for when I see the results.
-
Are you trying to figure out how to protect your Z? Locked garage Armed security Live in a gated community with security Always park so the drive wheels are inaccessible Pull the rotor out of the distributor cap and put it in your pocket
-
I can't take credit for the video, but I agree that it's great.
-
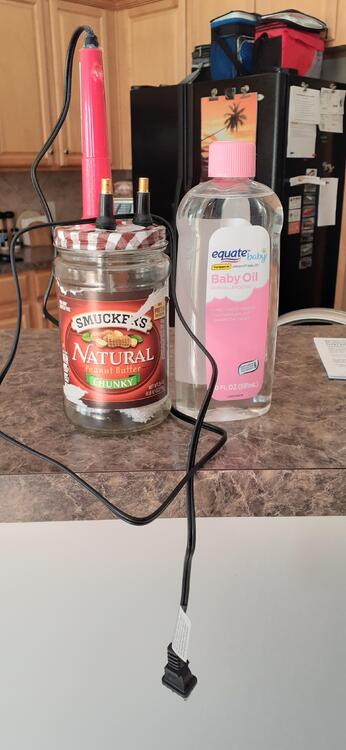
I used this video as the basis for my design. I modified the design to use valve stems for the air inlet and outlet. I removed the valve out of the outlet valve stem. I also used a towel as the wick and soaked the towel with baby oil. I used 1/4 ID vinyl tubing from the outlet stem to the engine with the plan being to use a compression tester hose in the spark plug hole. I forgot that the compression tester hose had a one-way valve pointing the wrong way, though. That meant I needed a small length of 1/2 OD tubing to go over the 1/4 ID tubing. That provided a seal around the spark plug hole that was adequate for the task. With the cam holding open the #2 exhaust valve, I used the soldering iron to heat up the towel. The wife was good enough to operate the tire inflator to supply the air to push the smoke into the cylinder. It didn't take long to see the smoke pouring out of the holes in the air injector.
-
Is there a different way of describing the use of a smoke machine to find exhaust leaks?
-
So, I thought I try some experimenting in the garage today. The wife agreed to join in, too. We generated some heat, and thanks to the baby oil, I found both holes. I felt very satisfied. Now I need to fill the holes. I'm man enough to do it. If I can't remove the old fittings, I'll probably use my cheap wire welder to fill in the air injector.