Dave240z
Community Member
-
Joined
-
Last visited
Everything posted by Dave240z
-
-
-
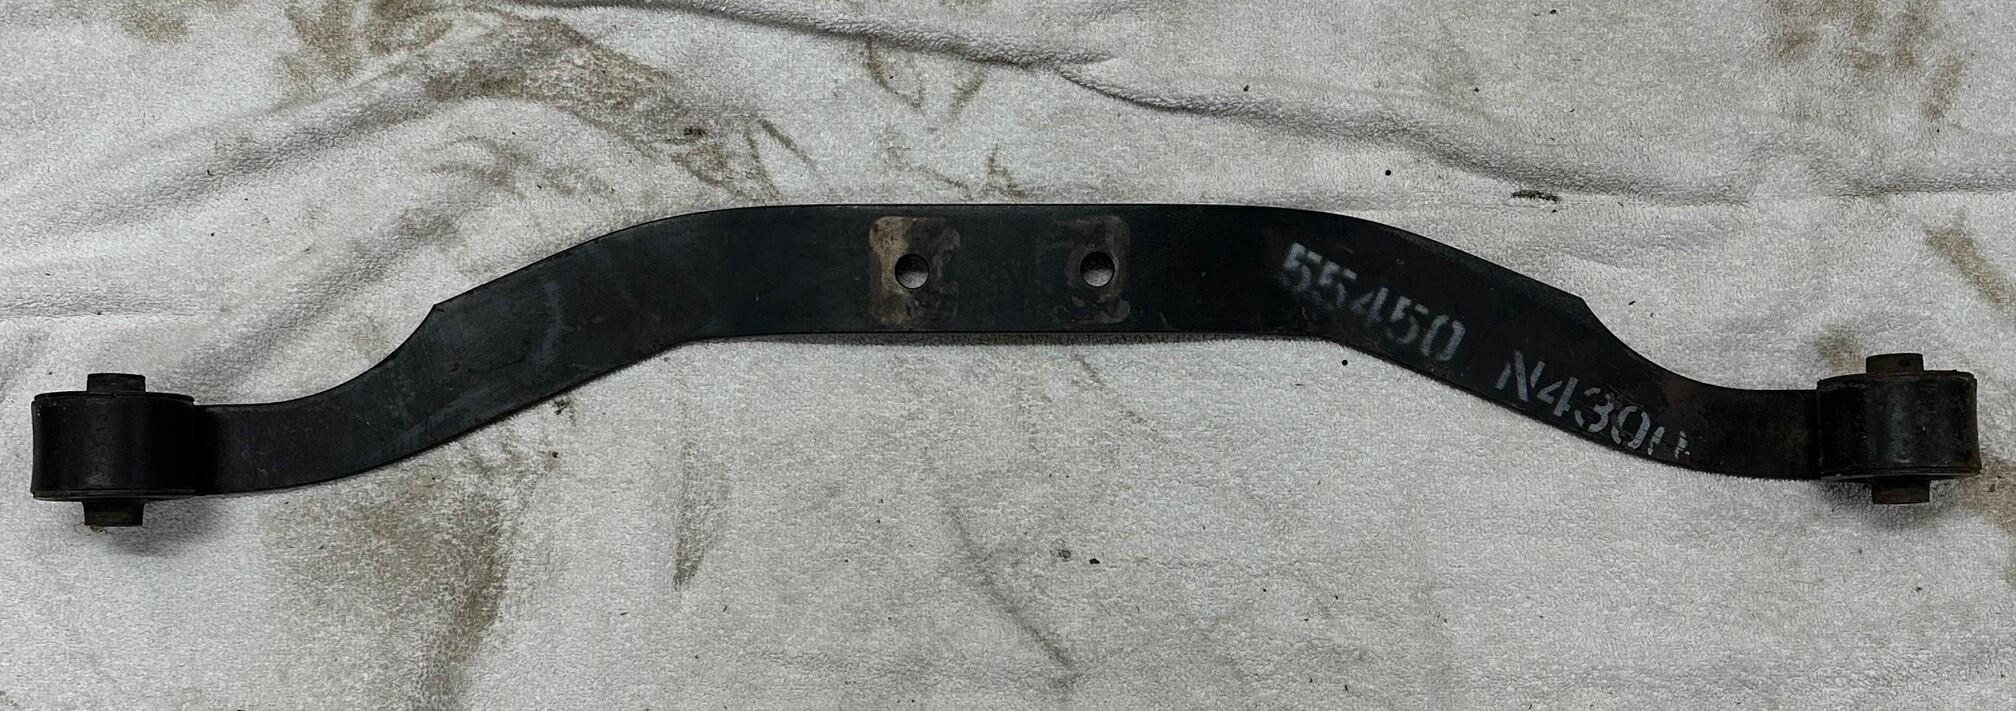
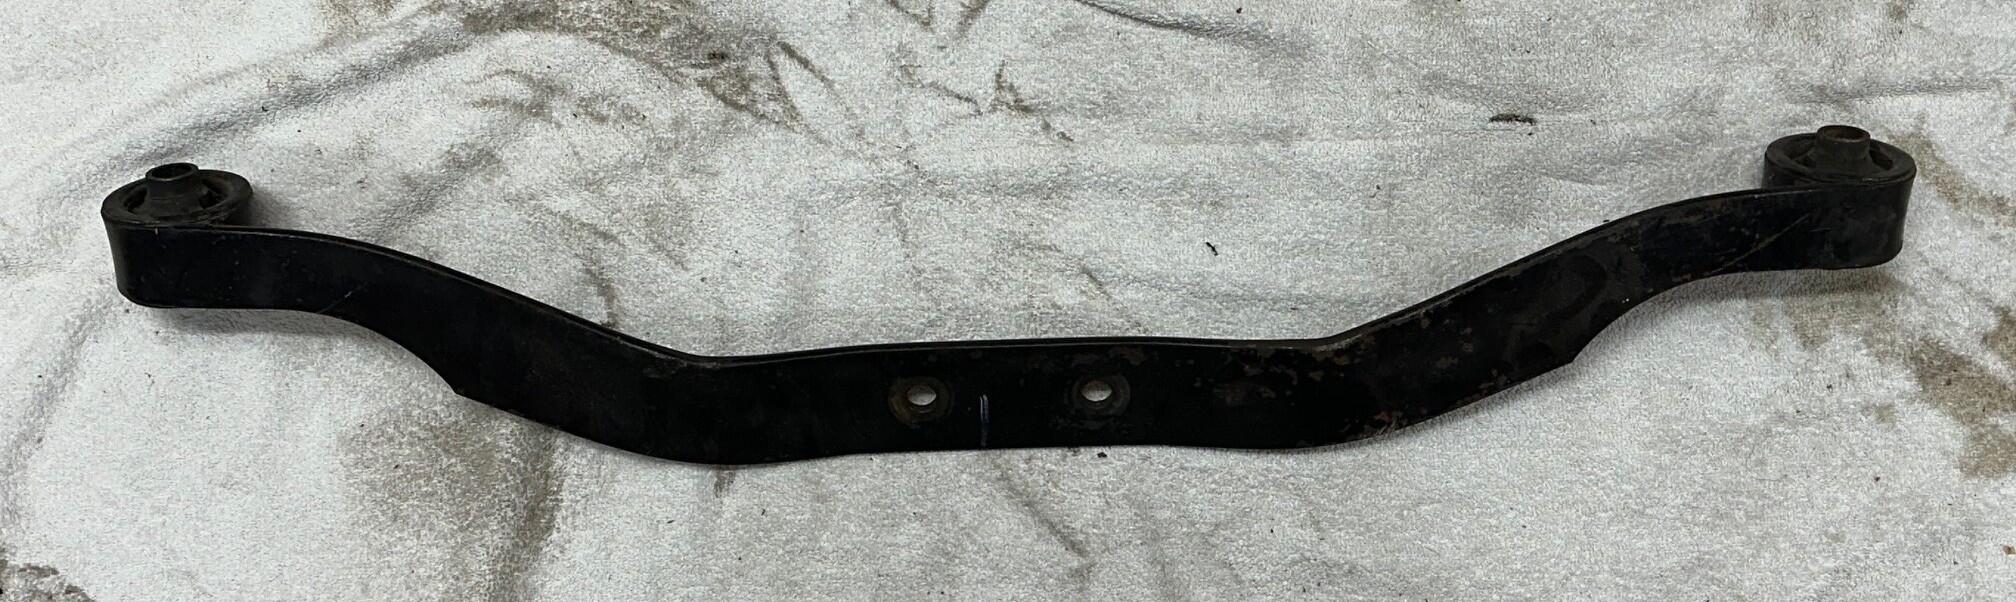
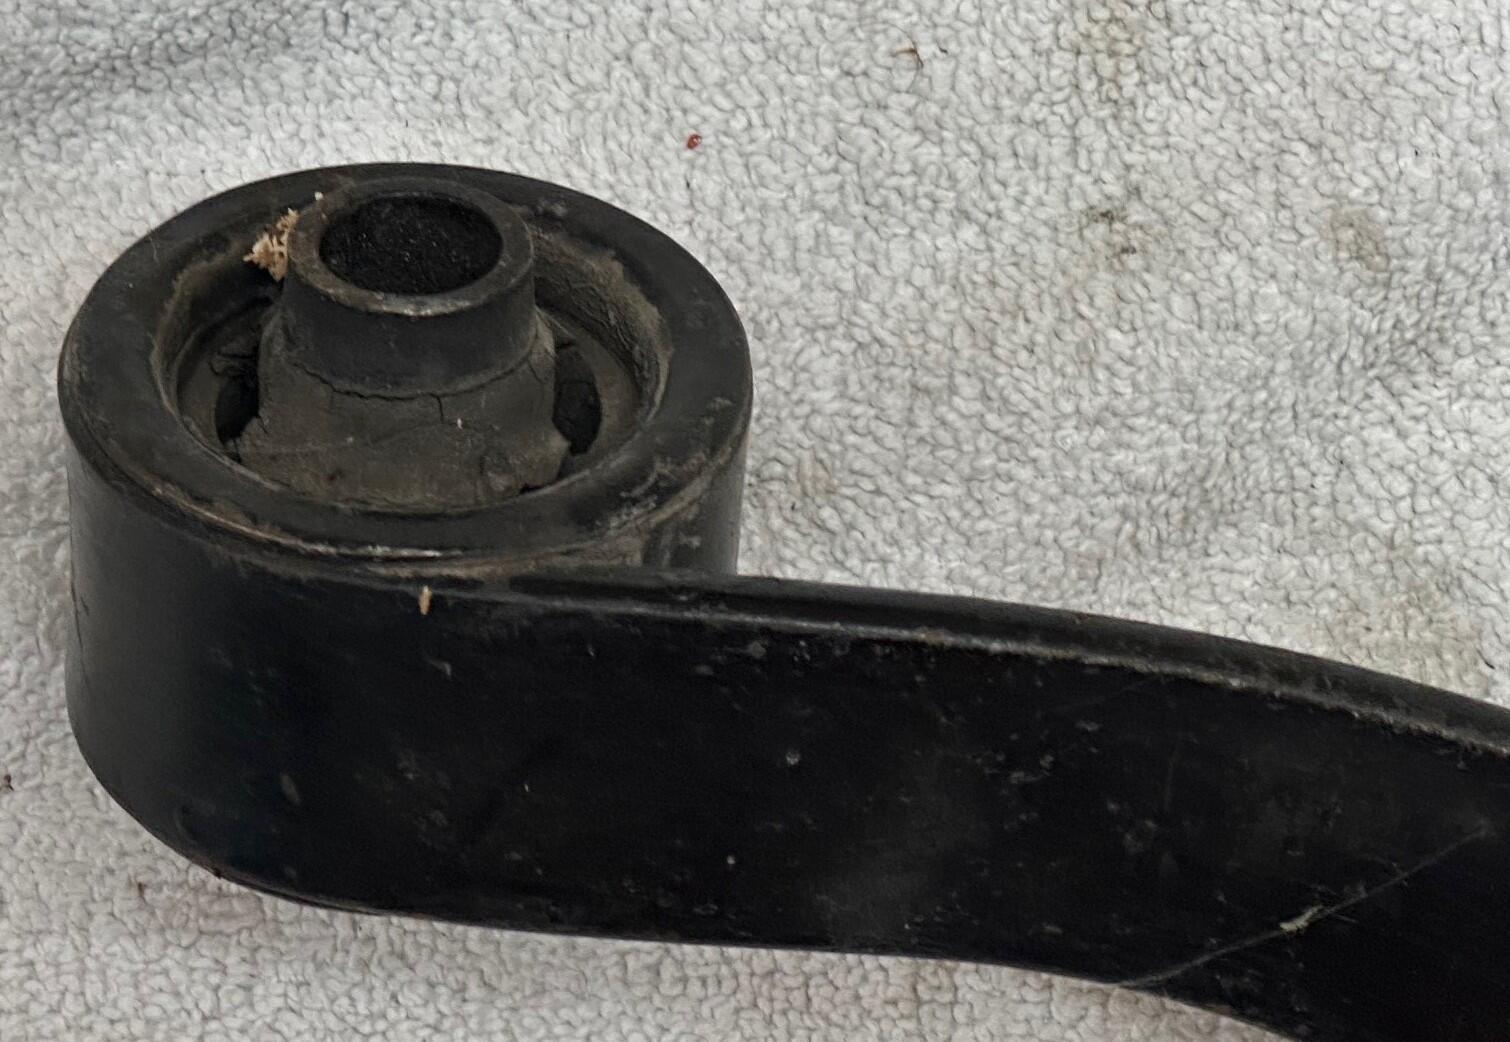
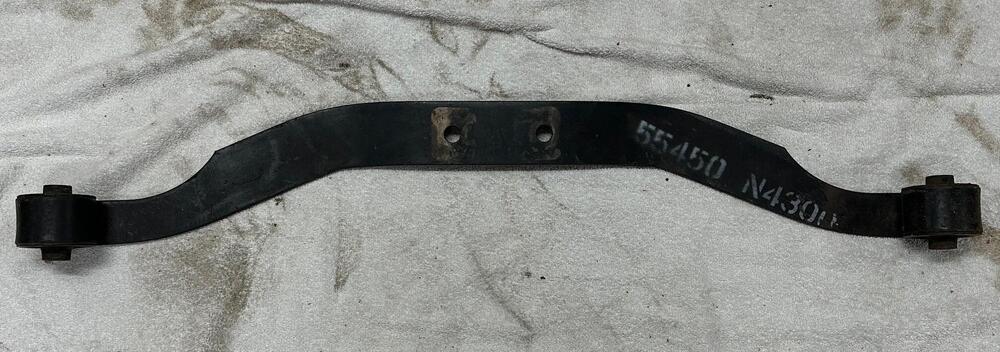
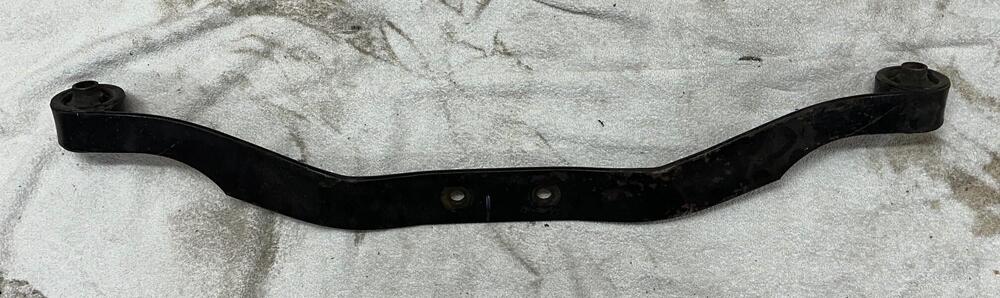
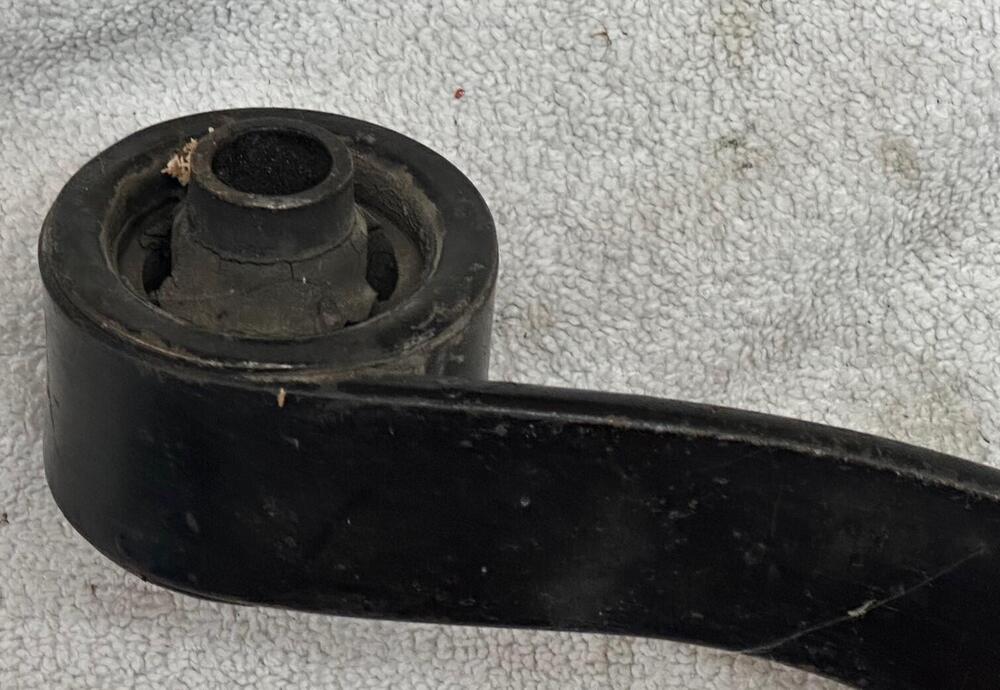
R200 Mustache Bar - 55450 N4300 Original, including OEM bushings. Asking $75 + Shipping Located in Northern CA
-
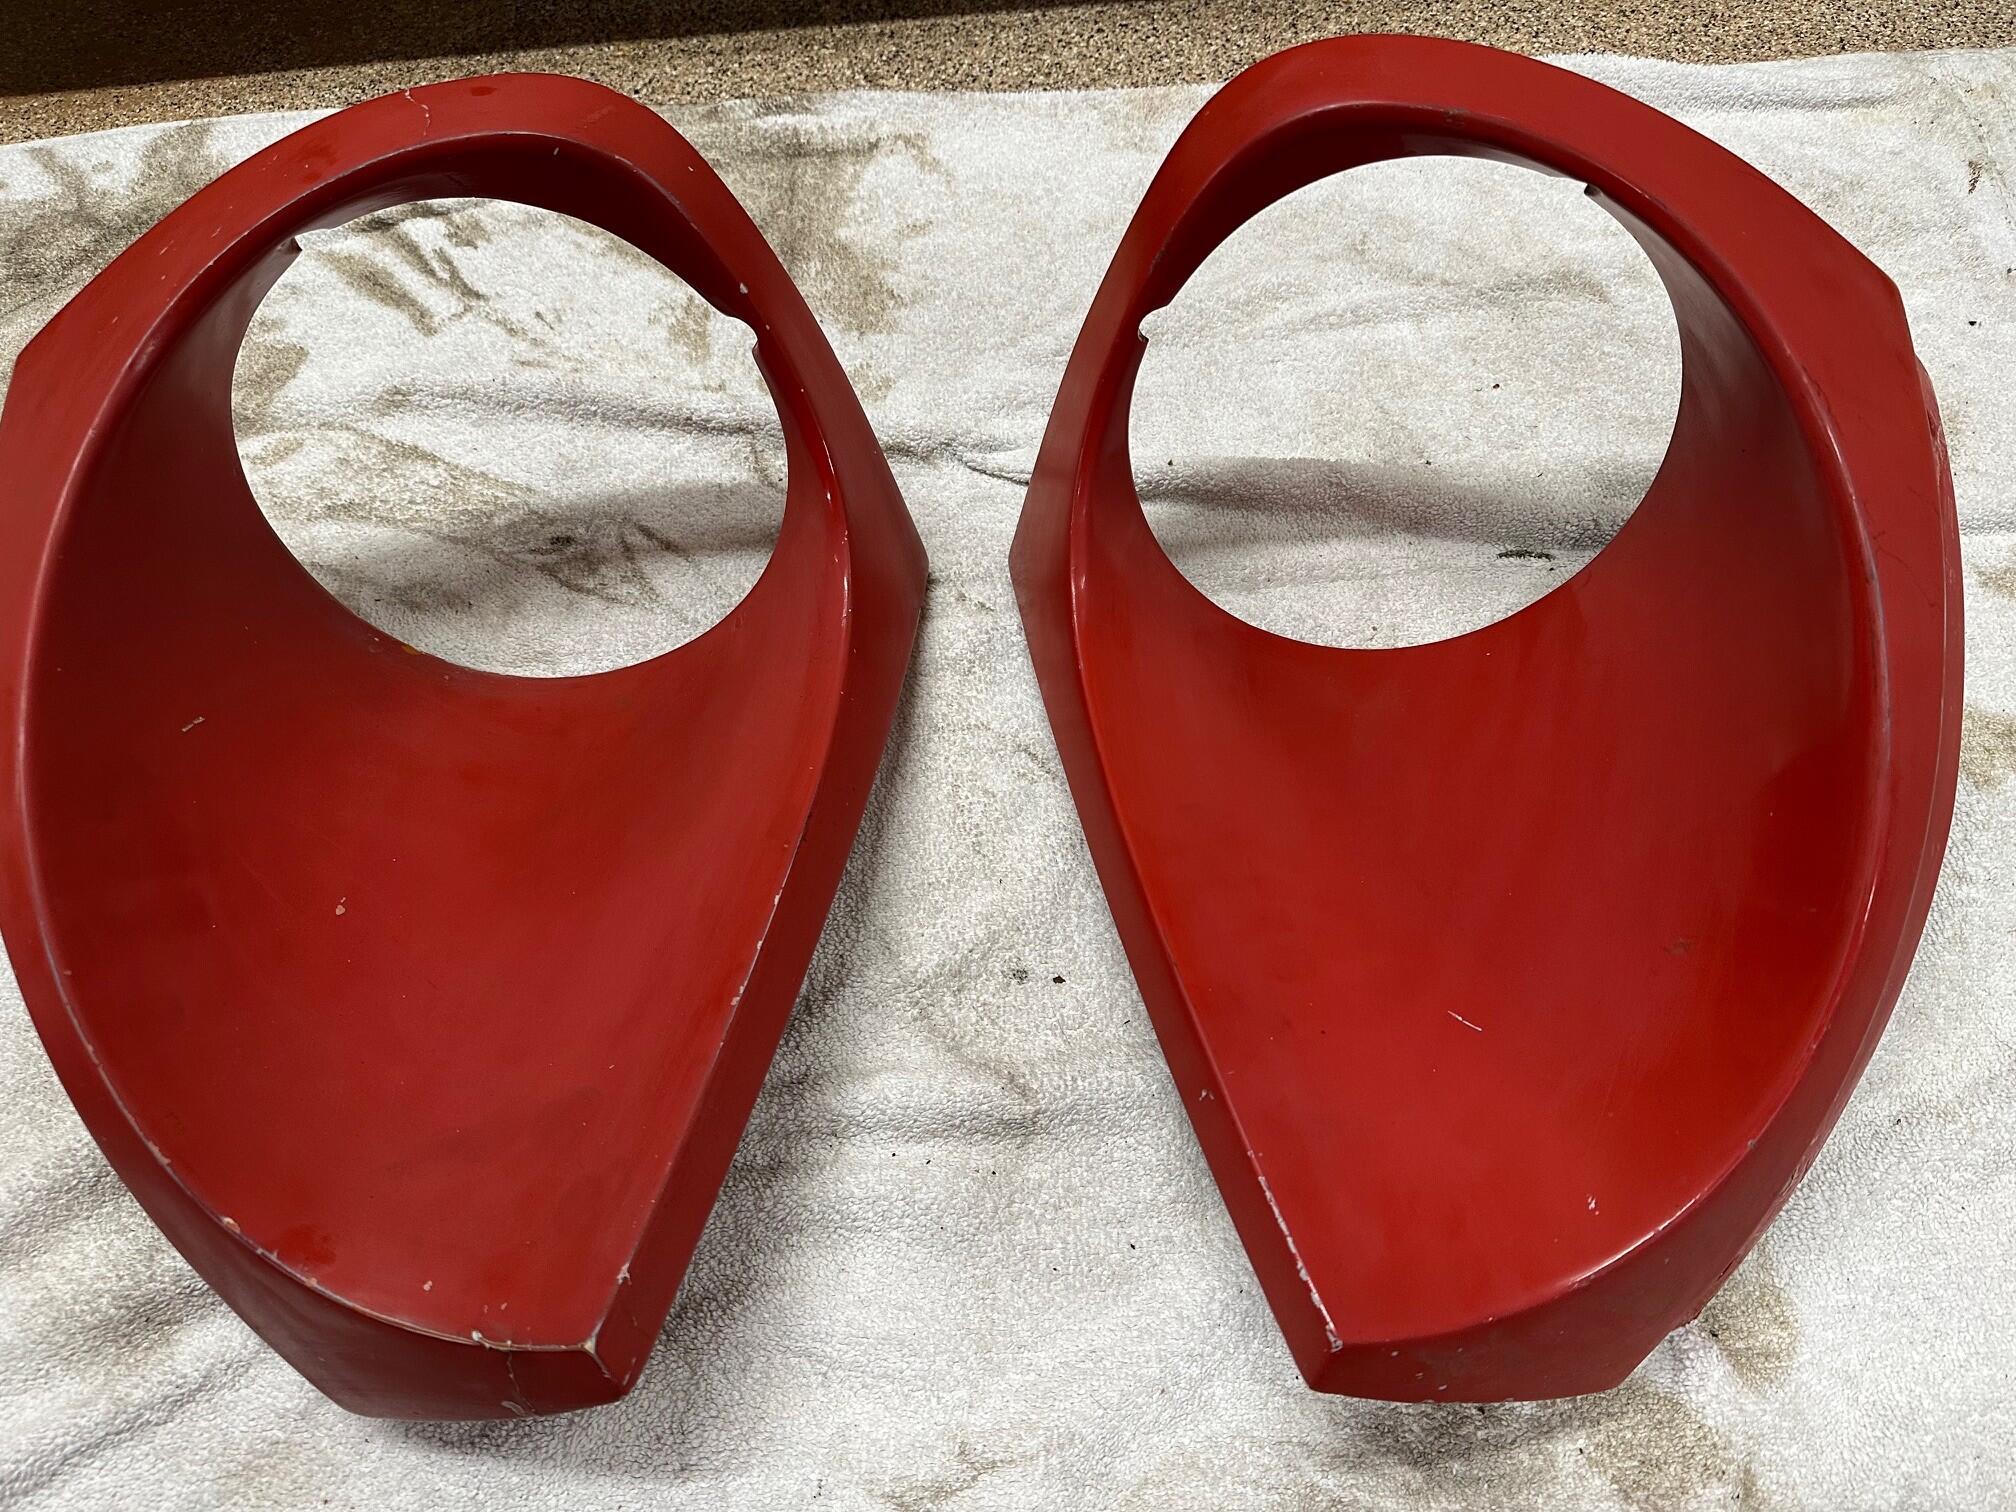
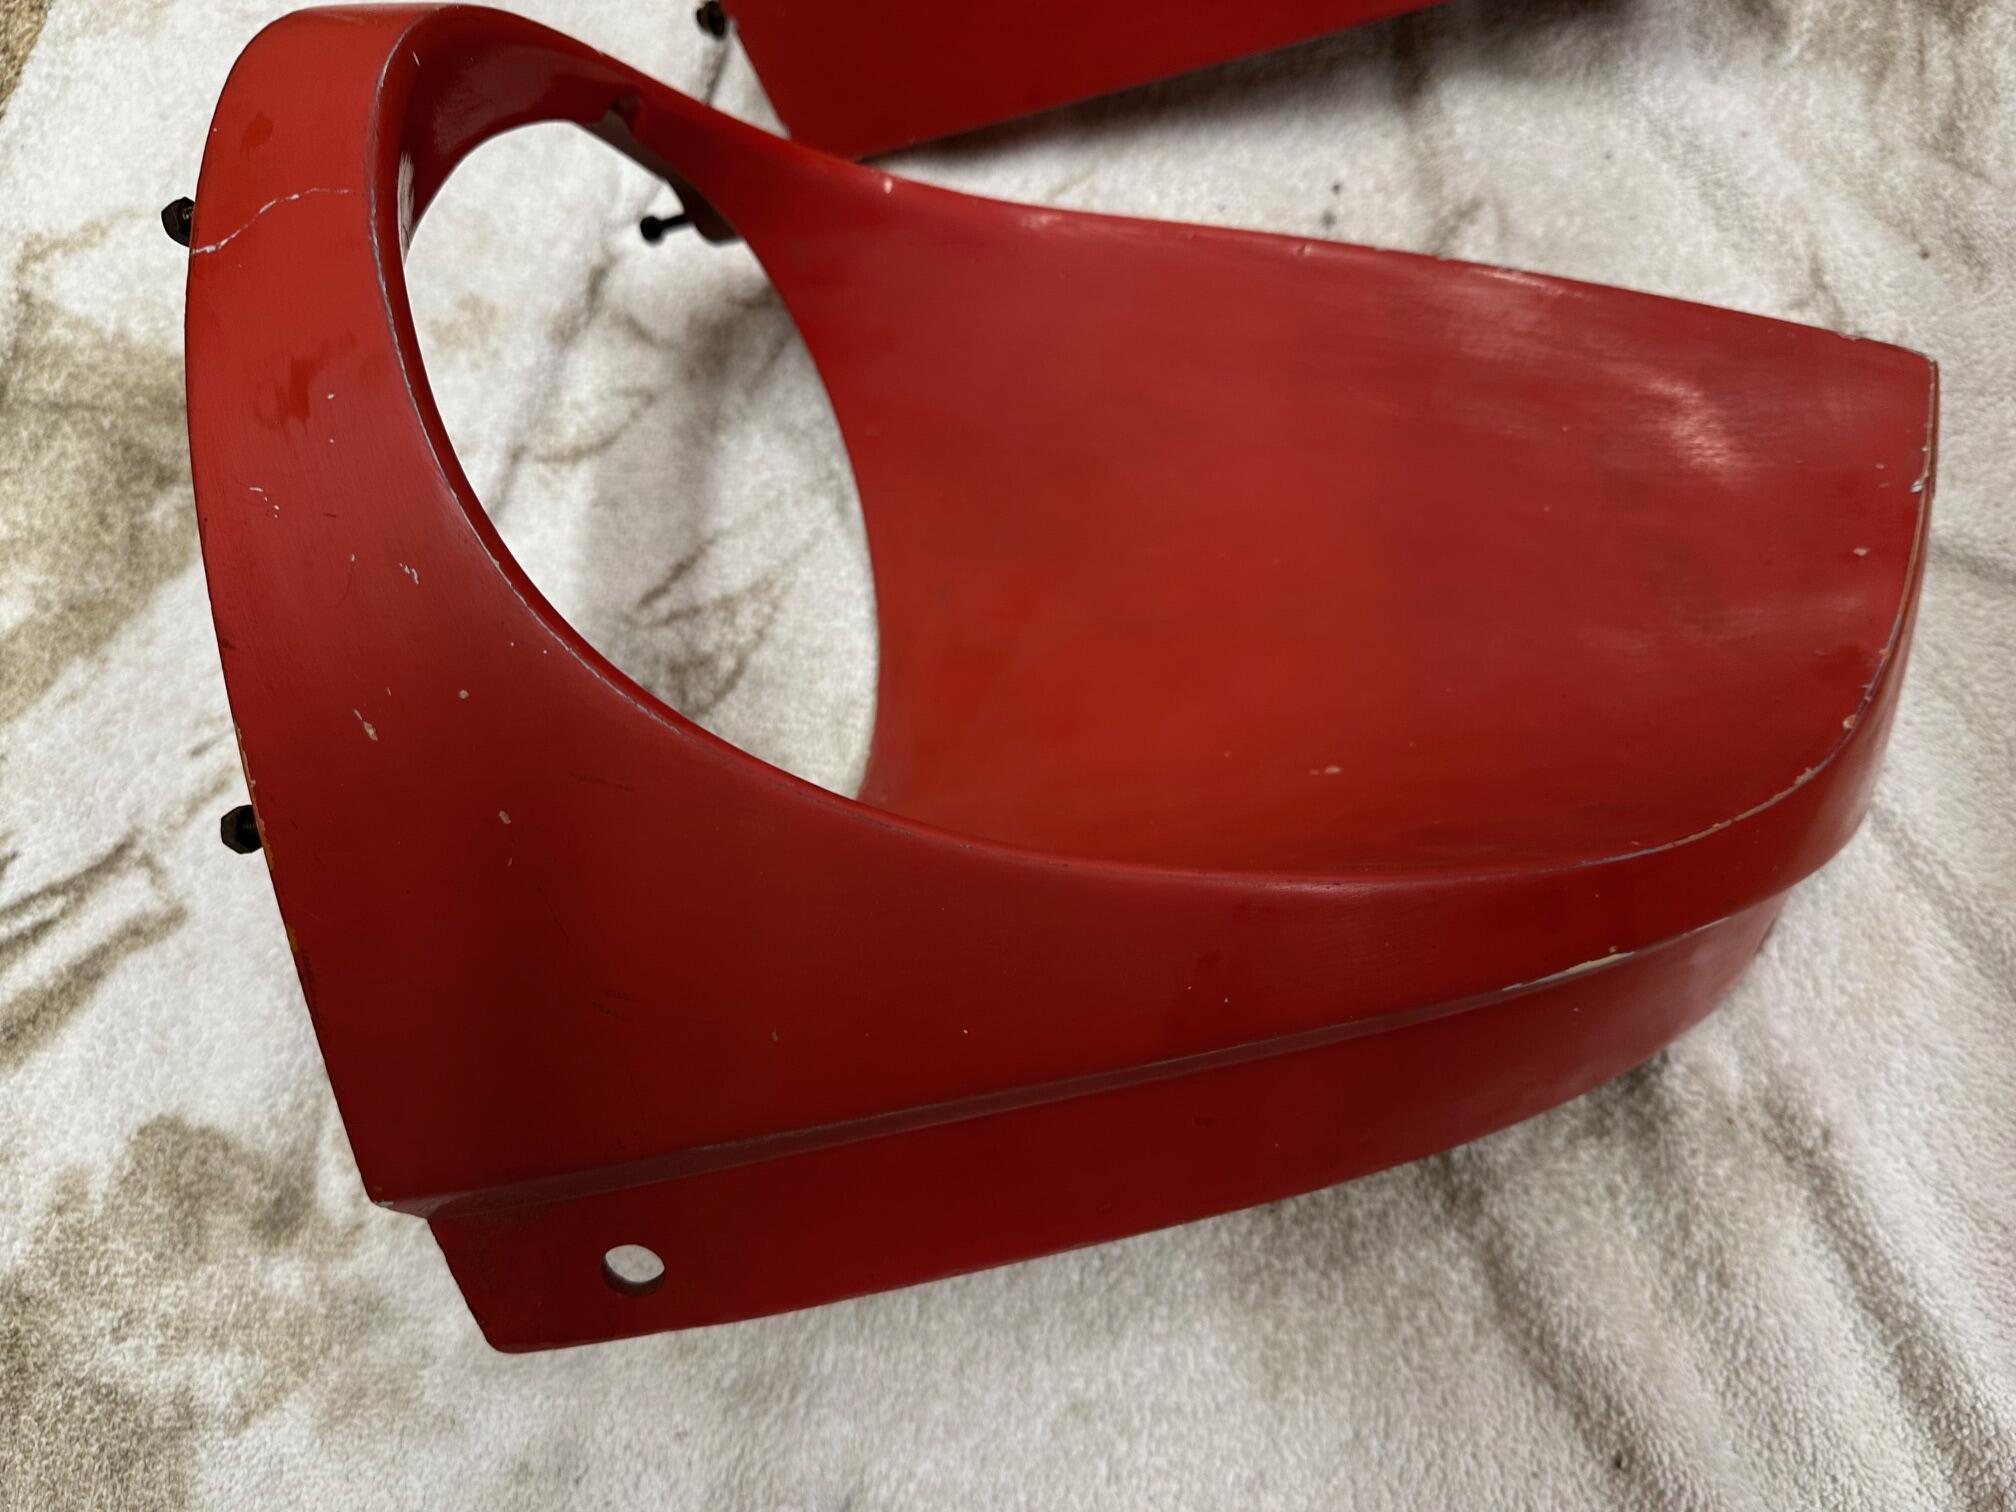
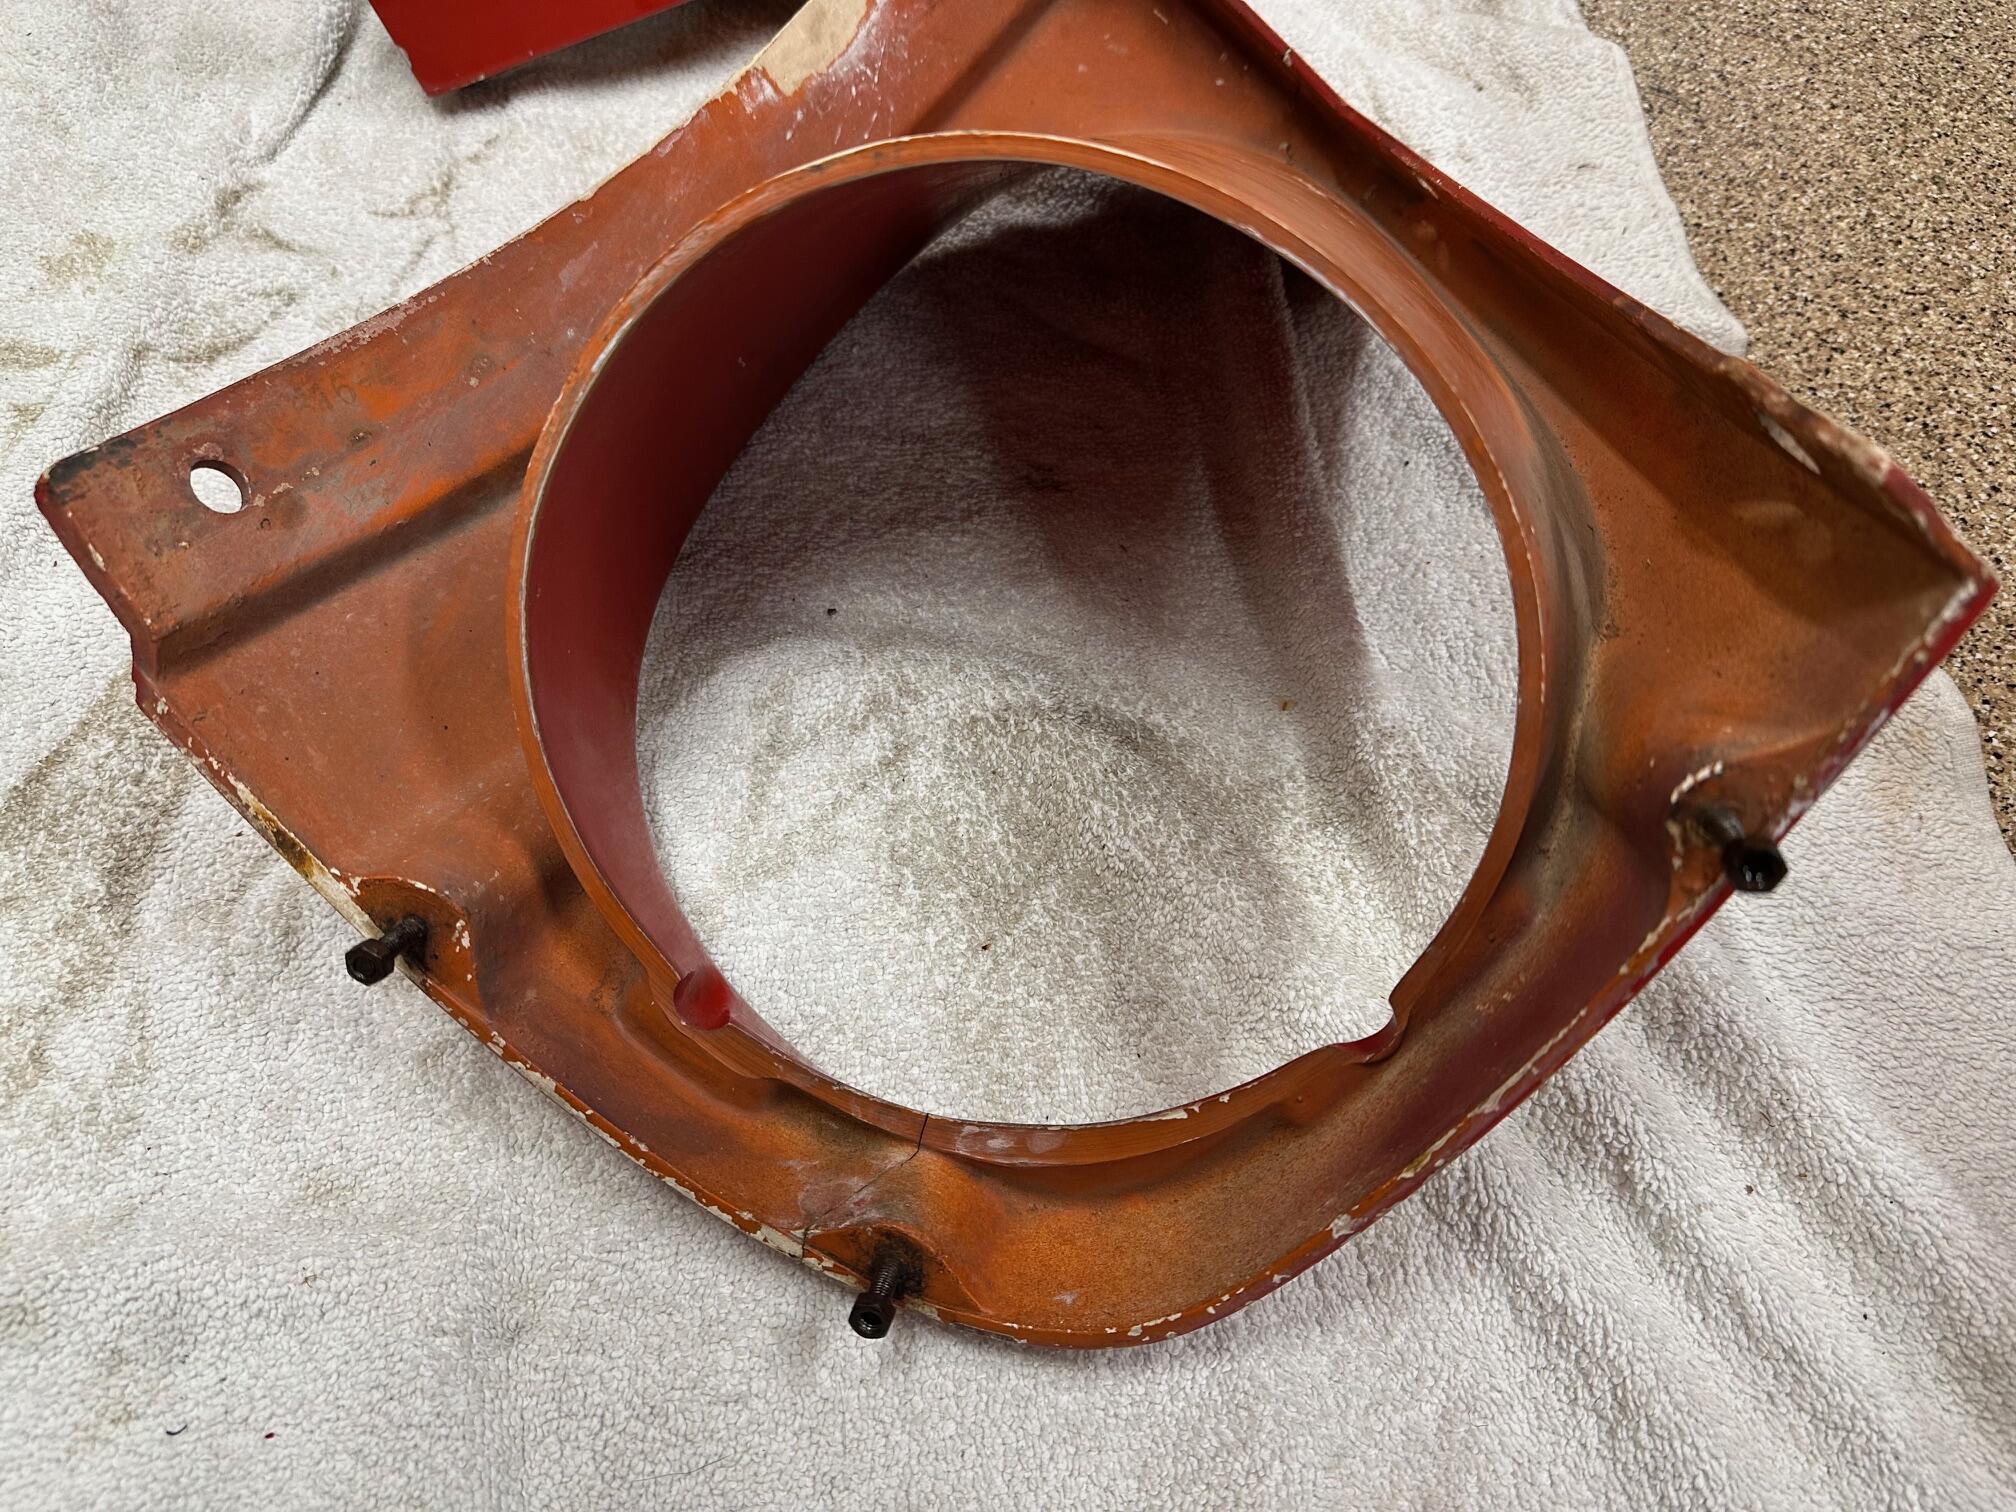
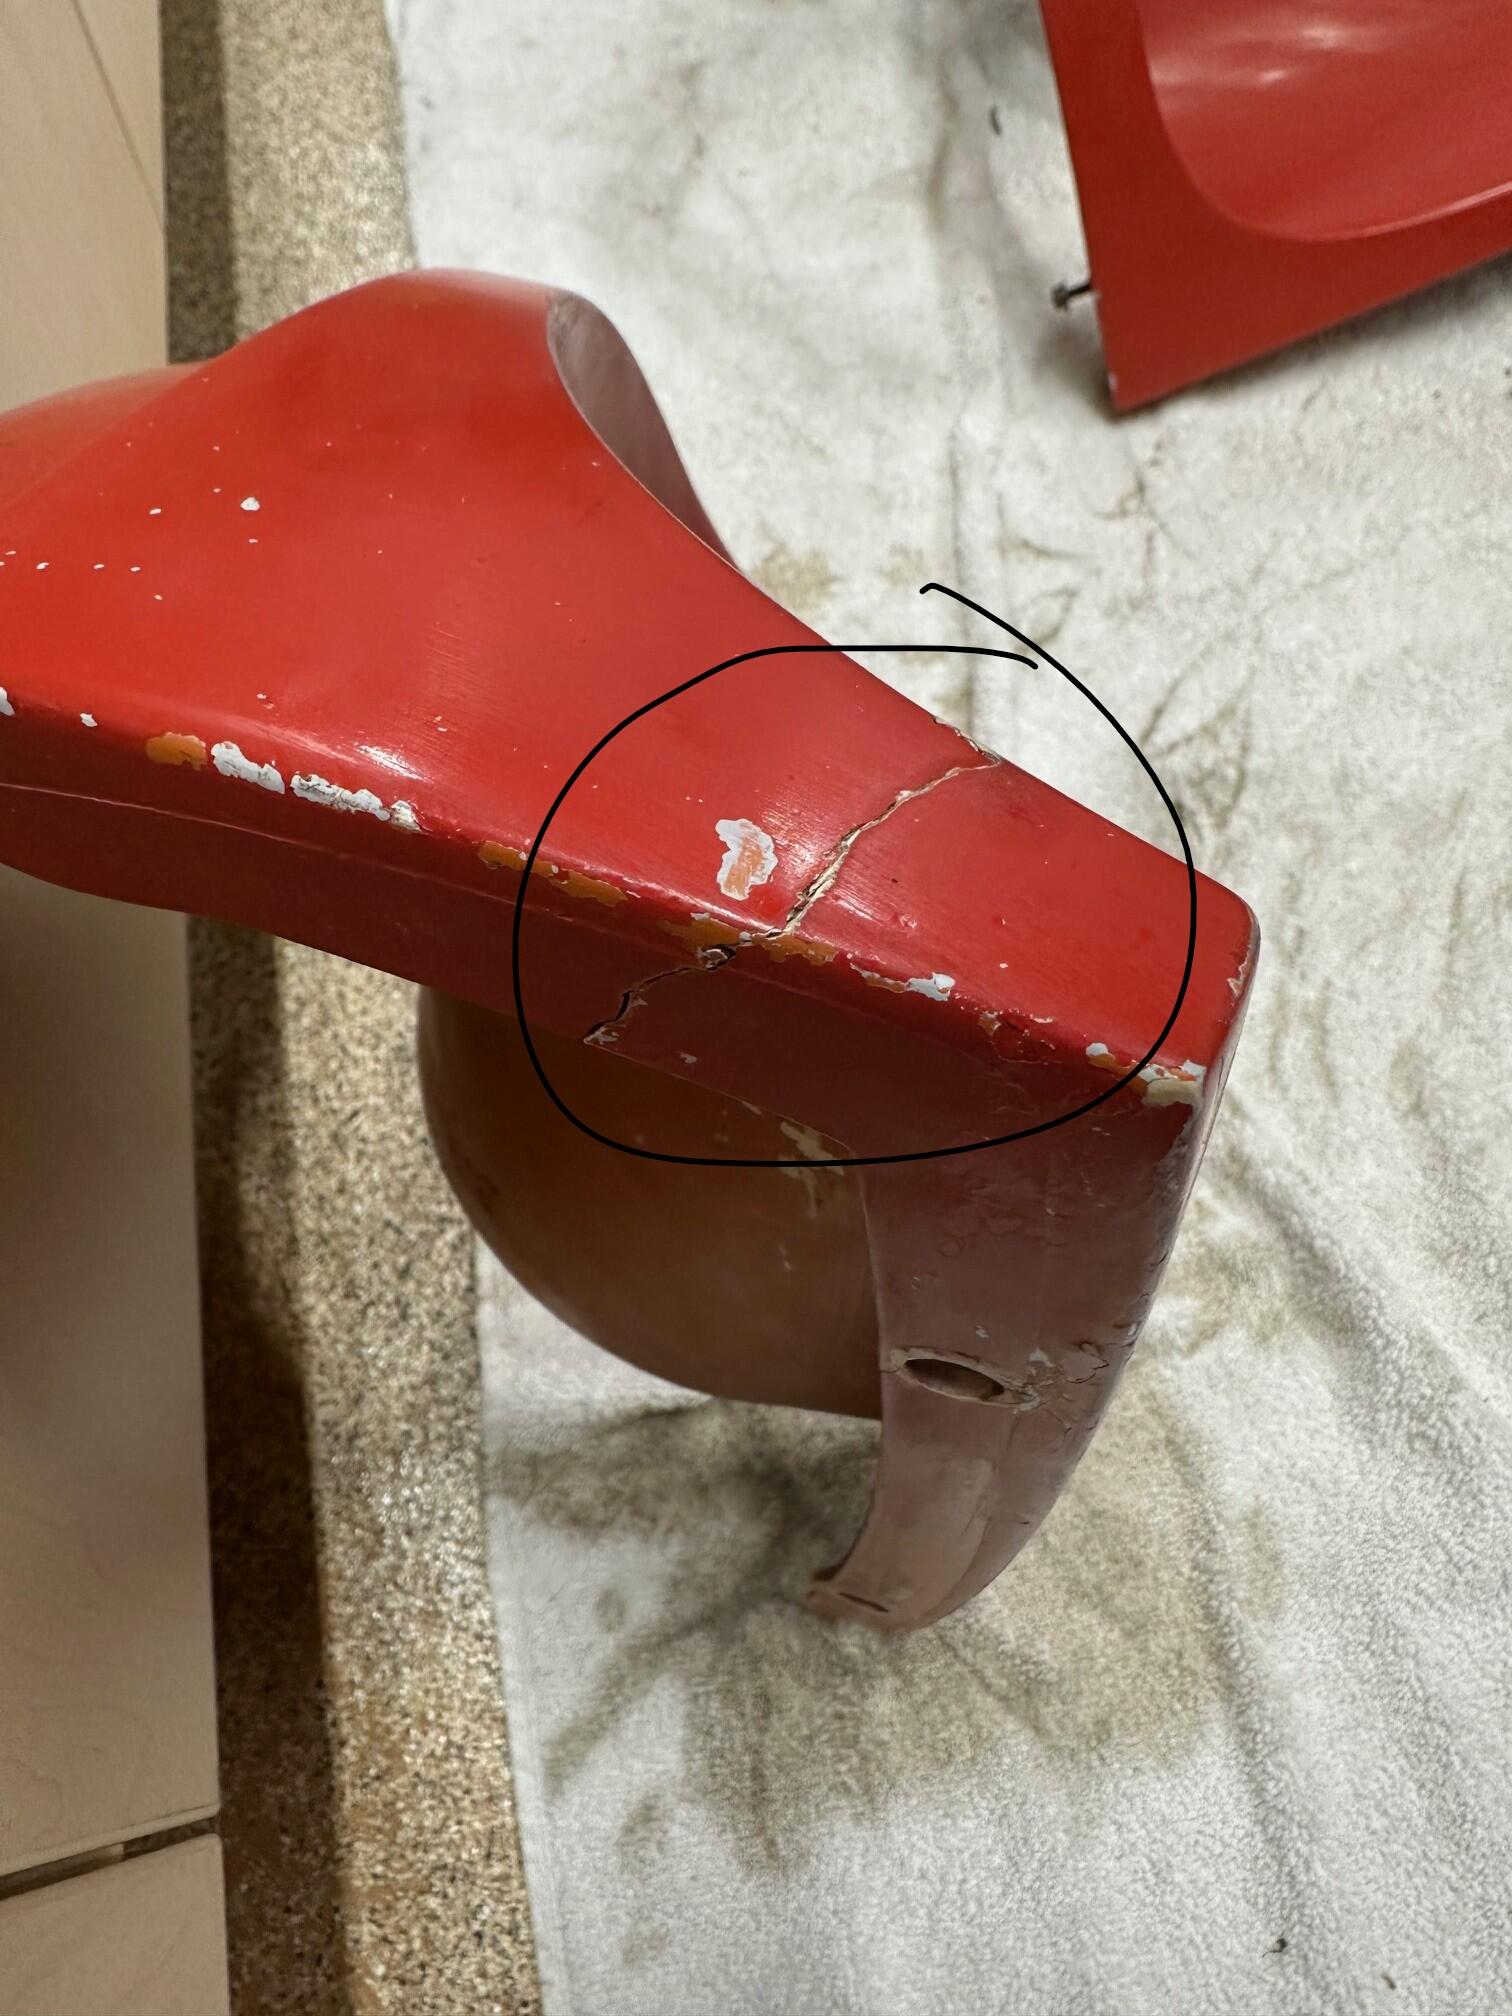
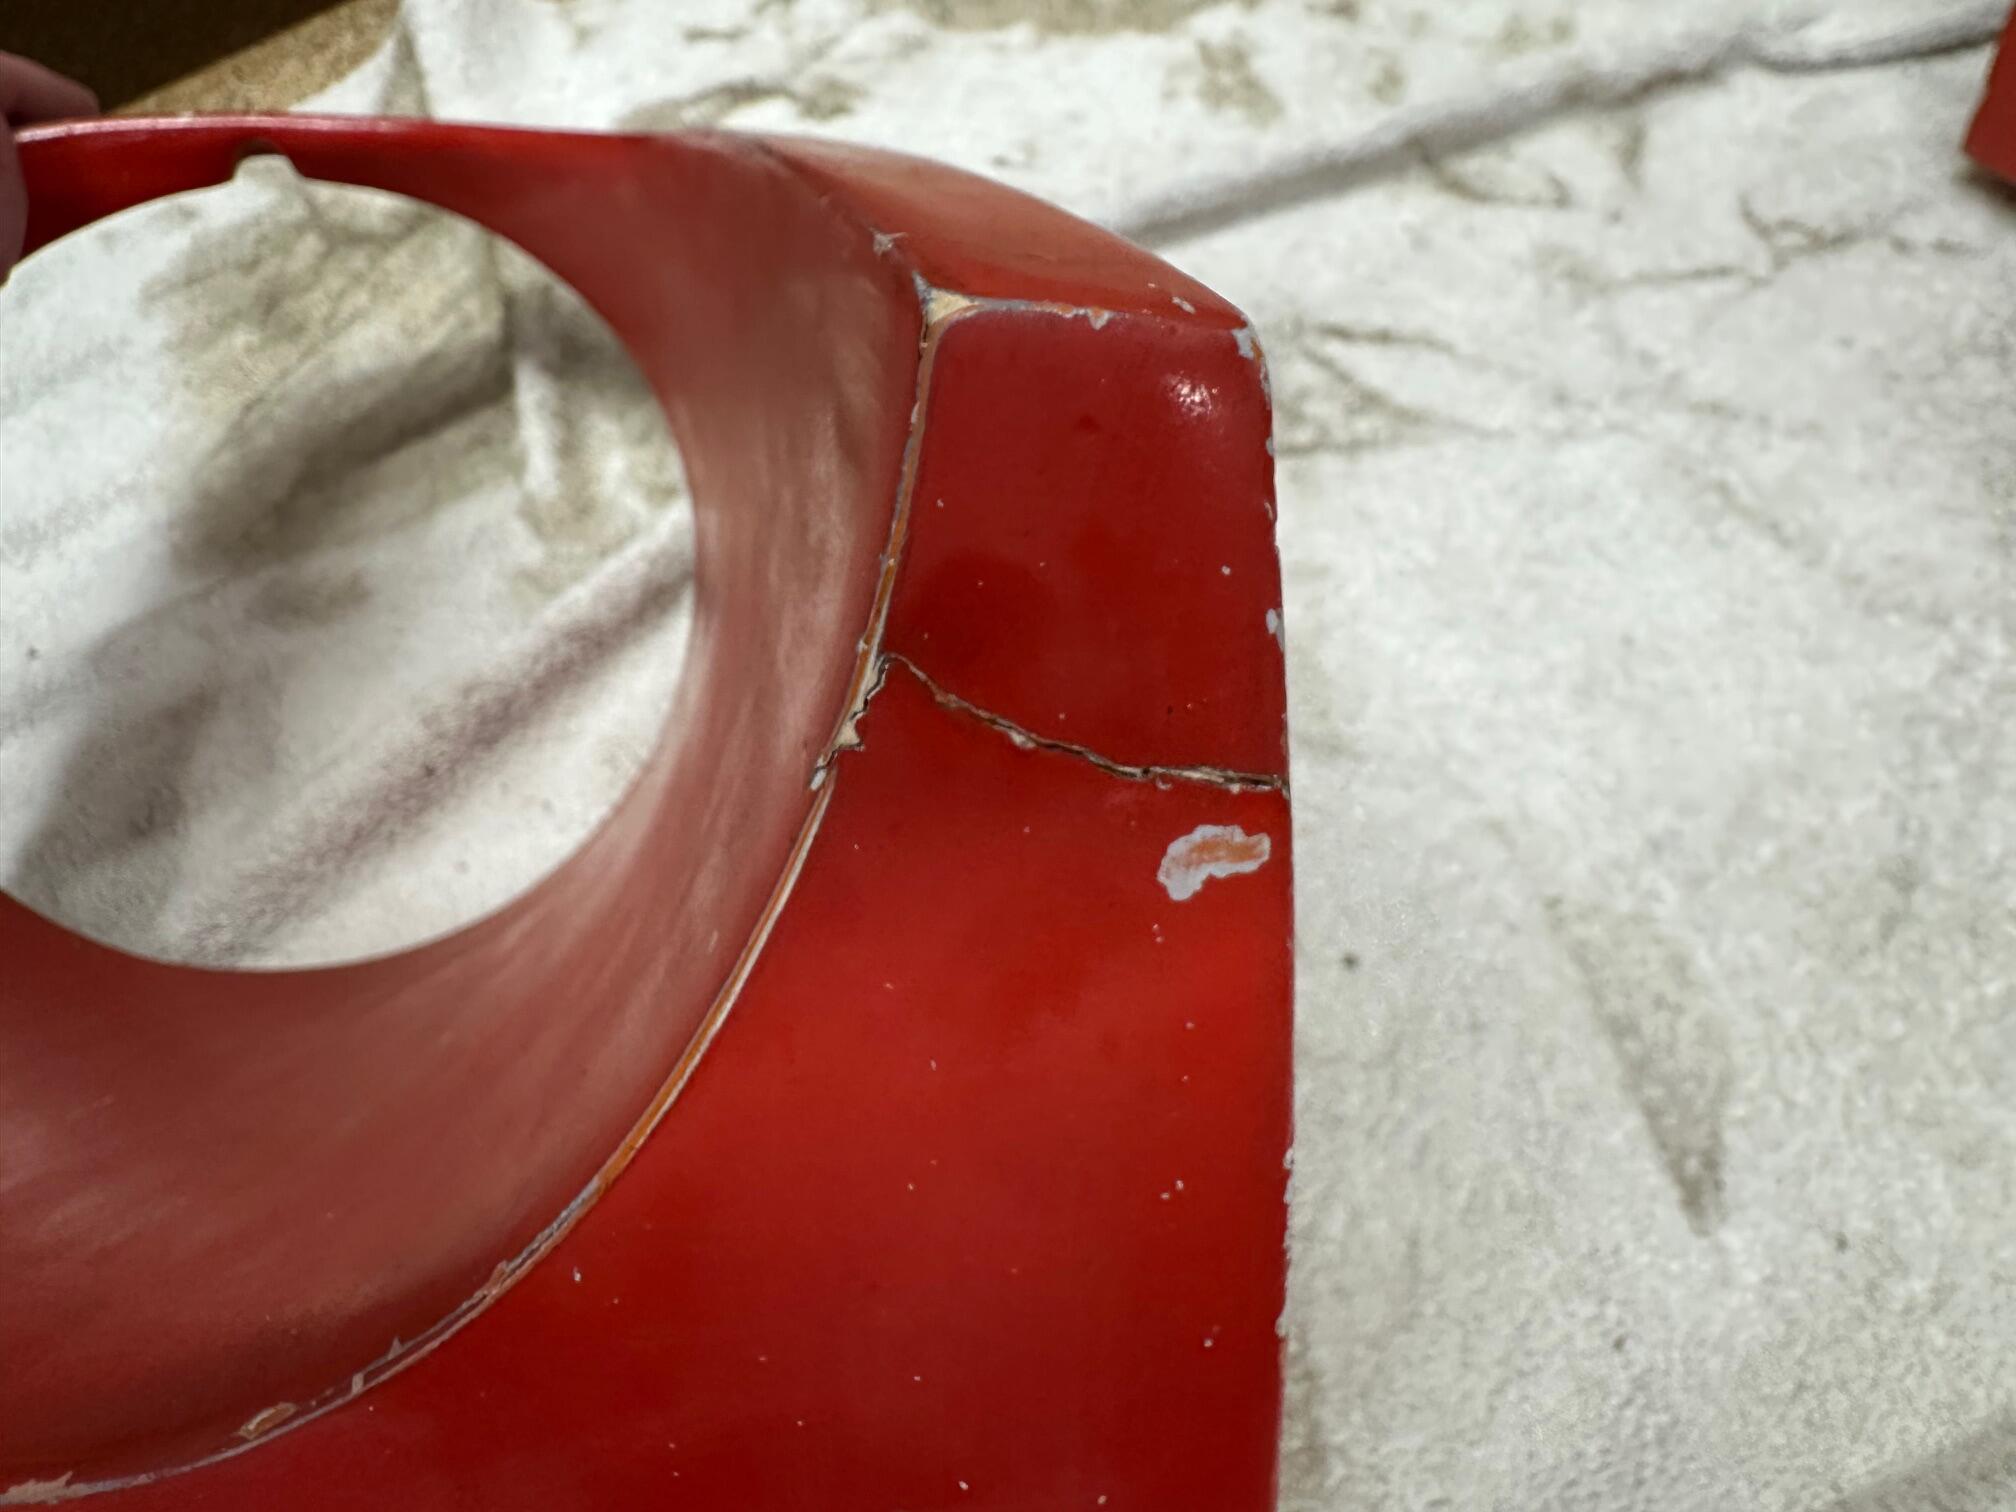
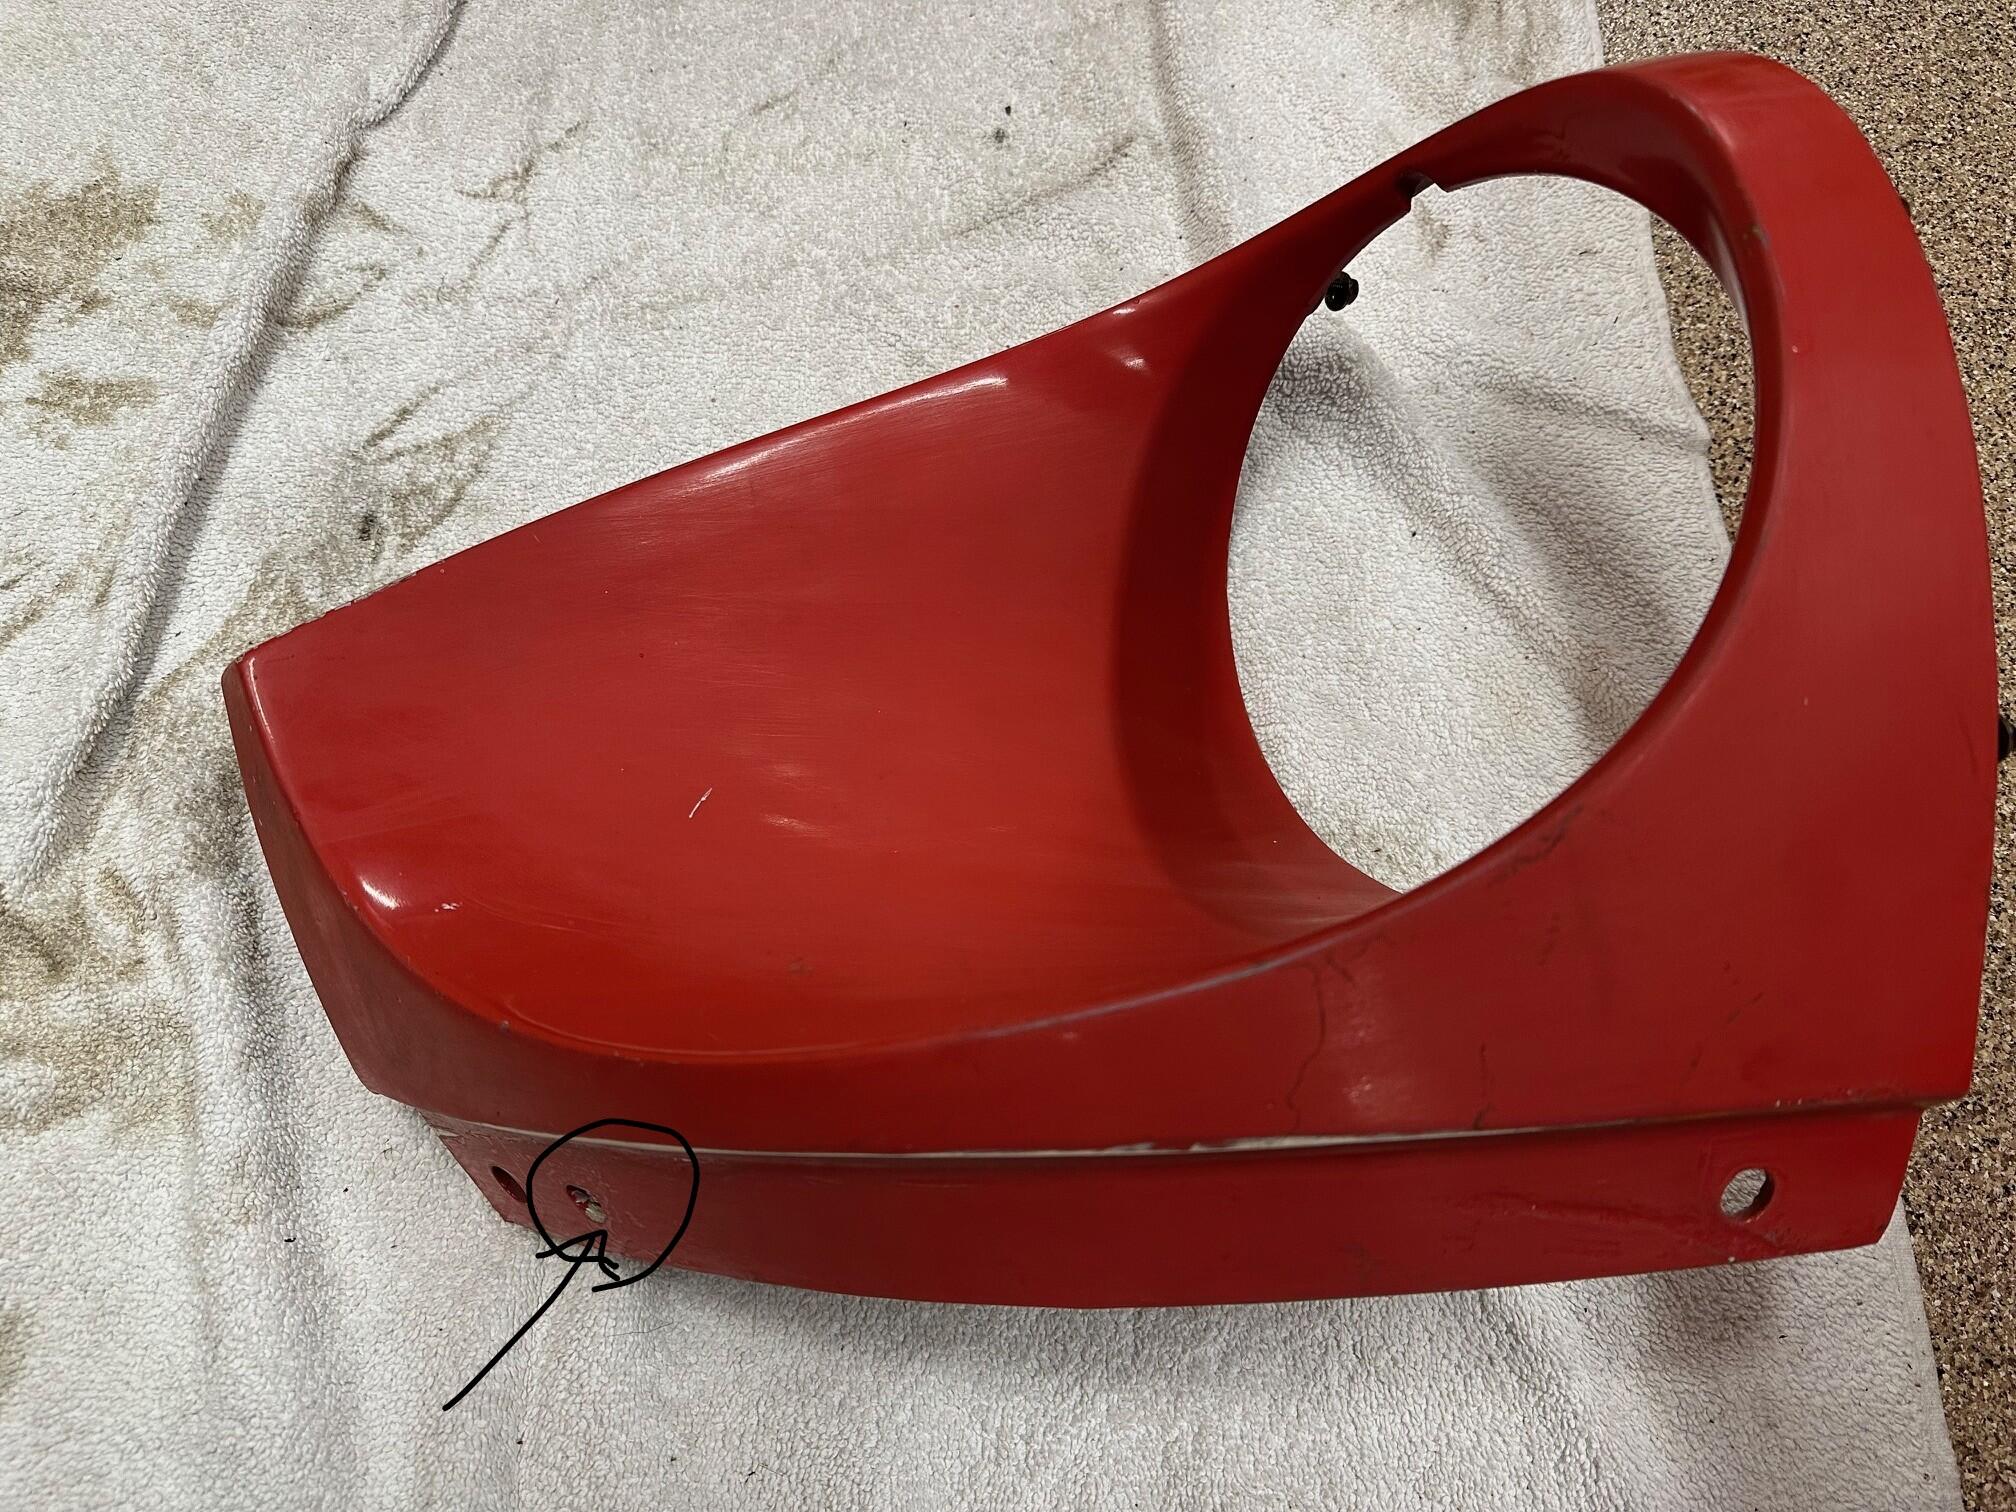
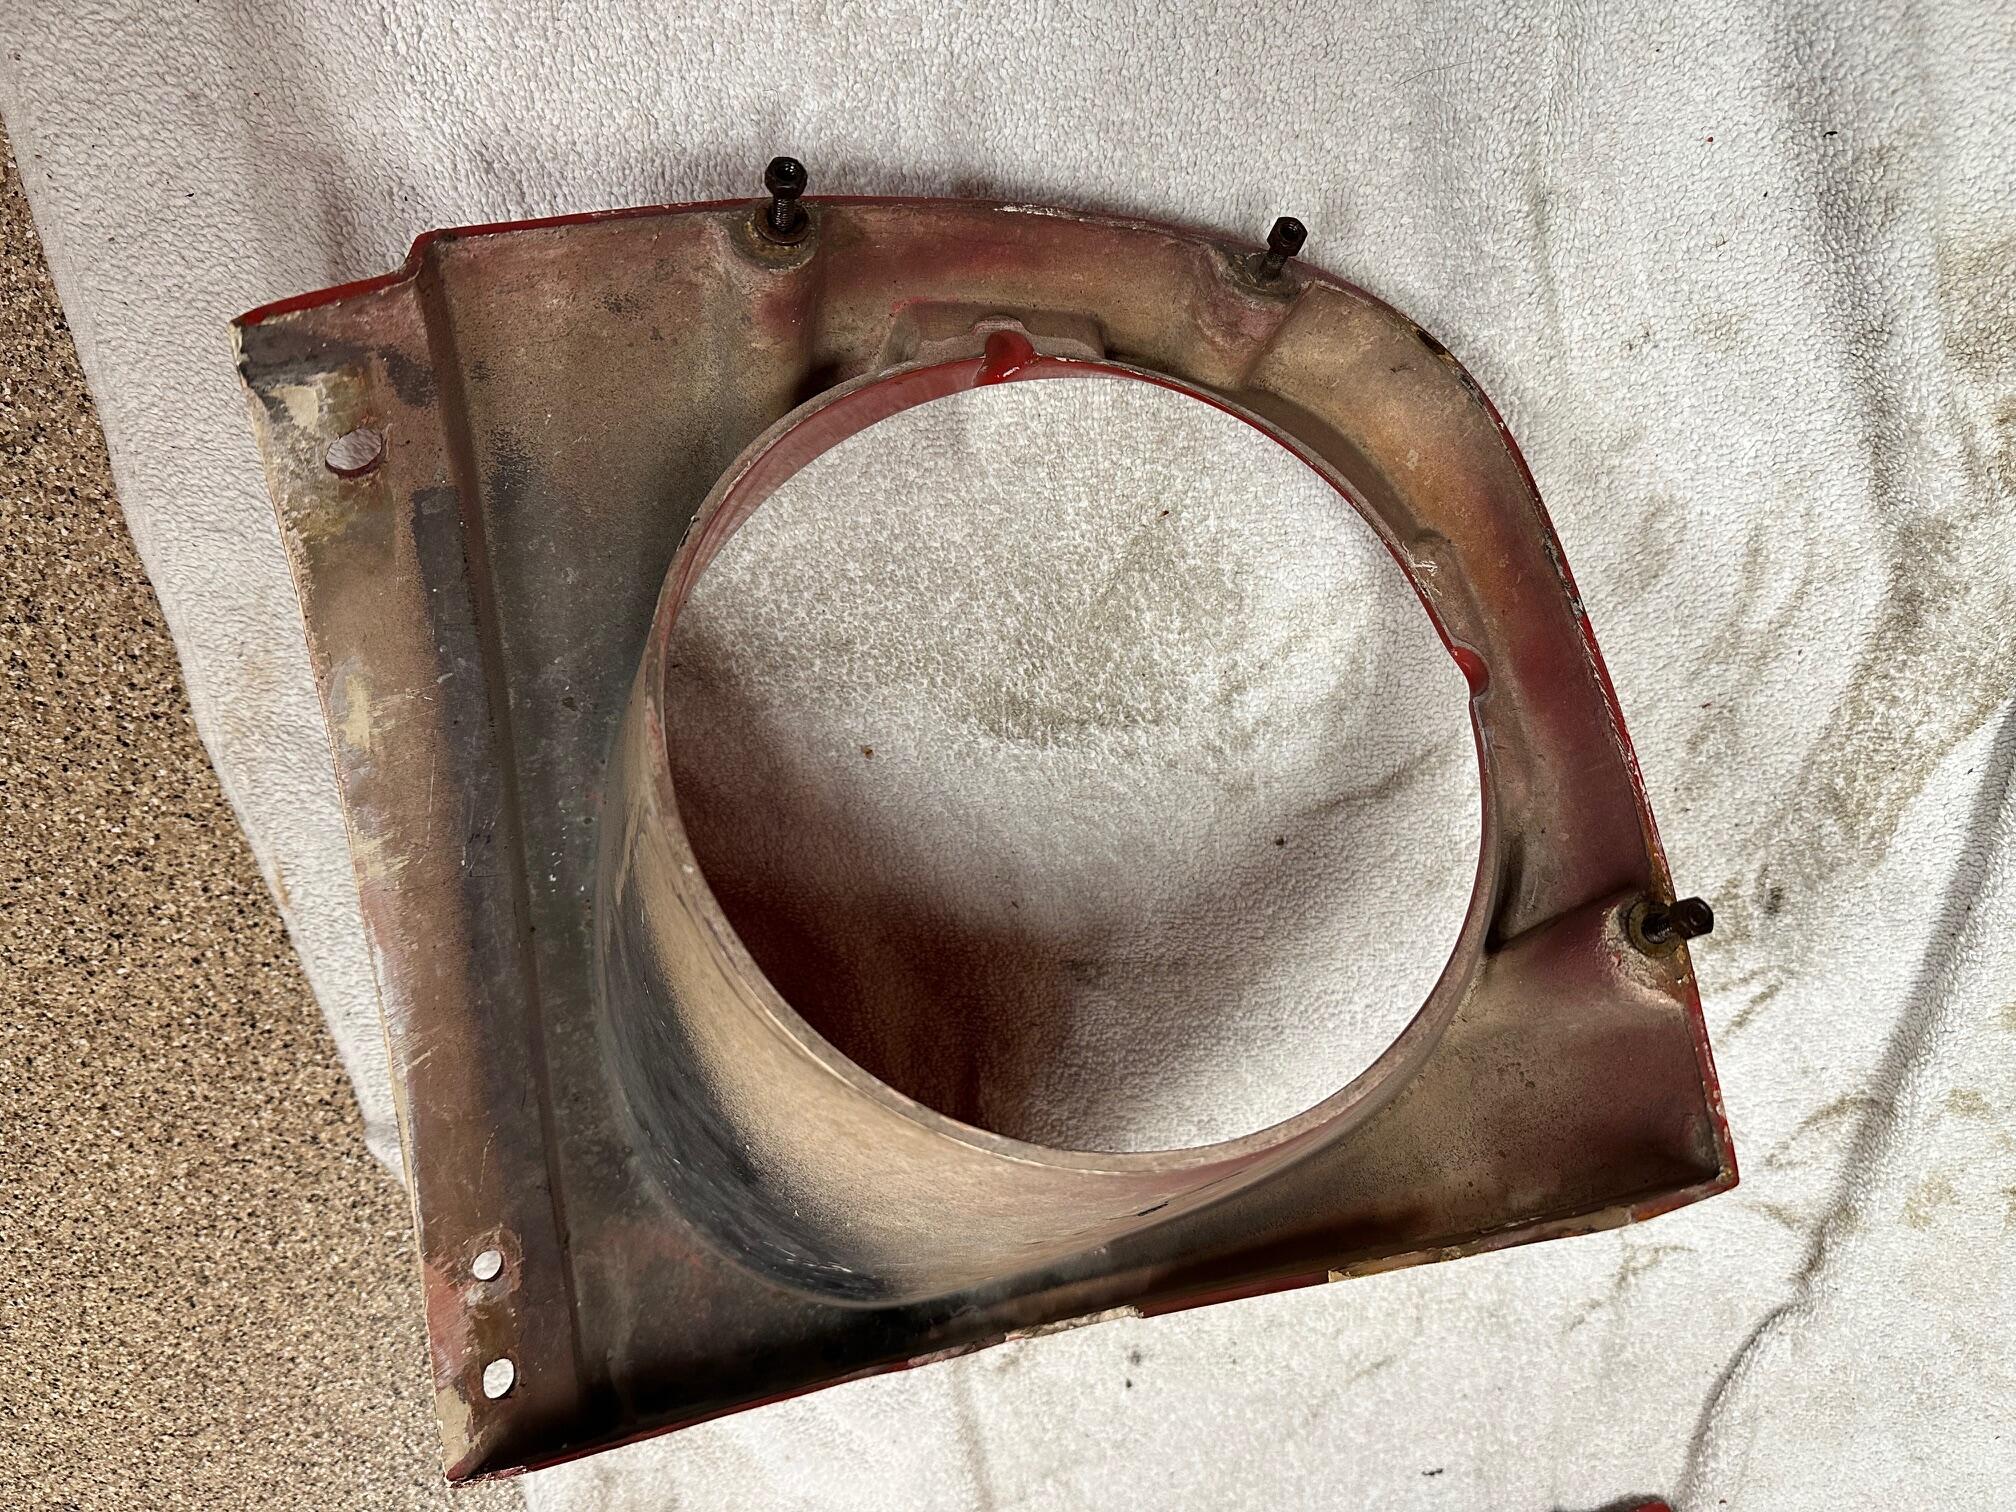
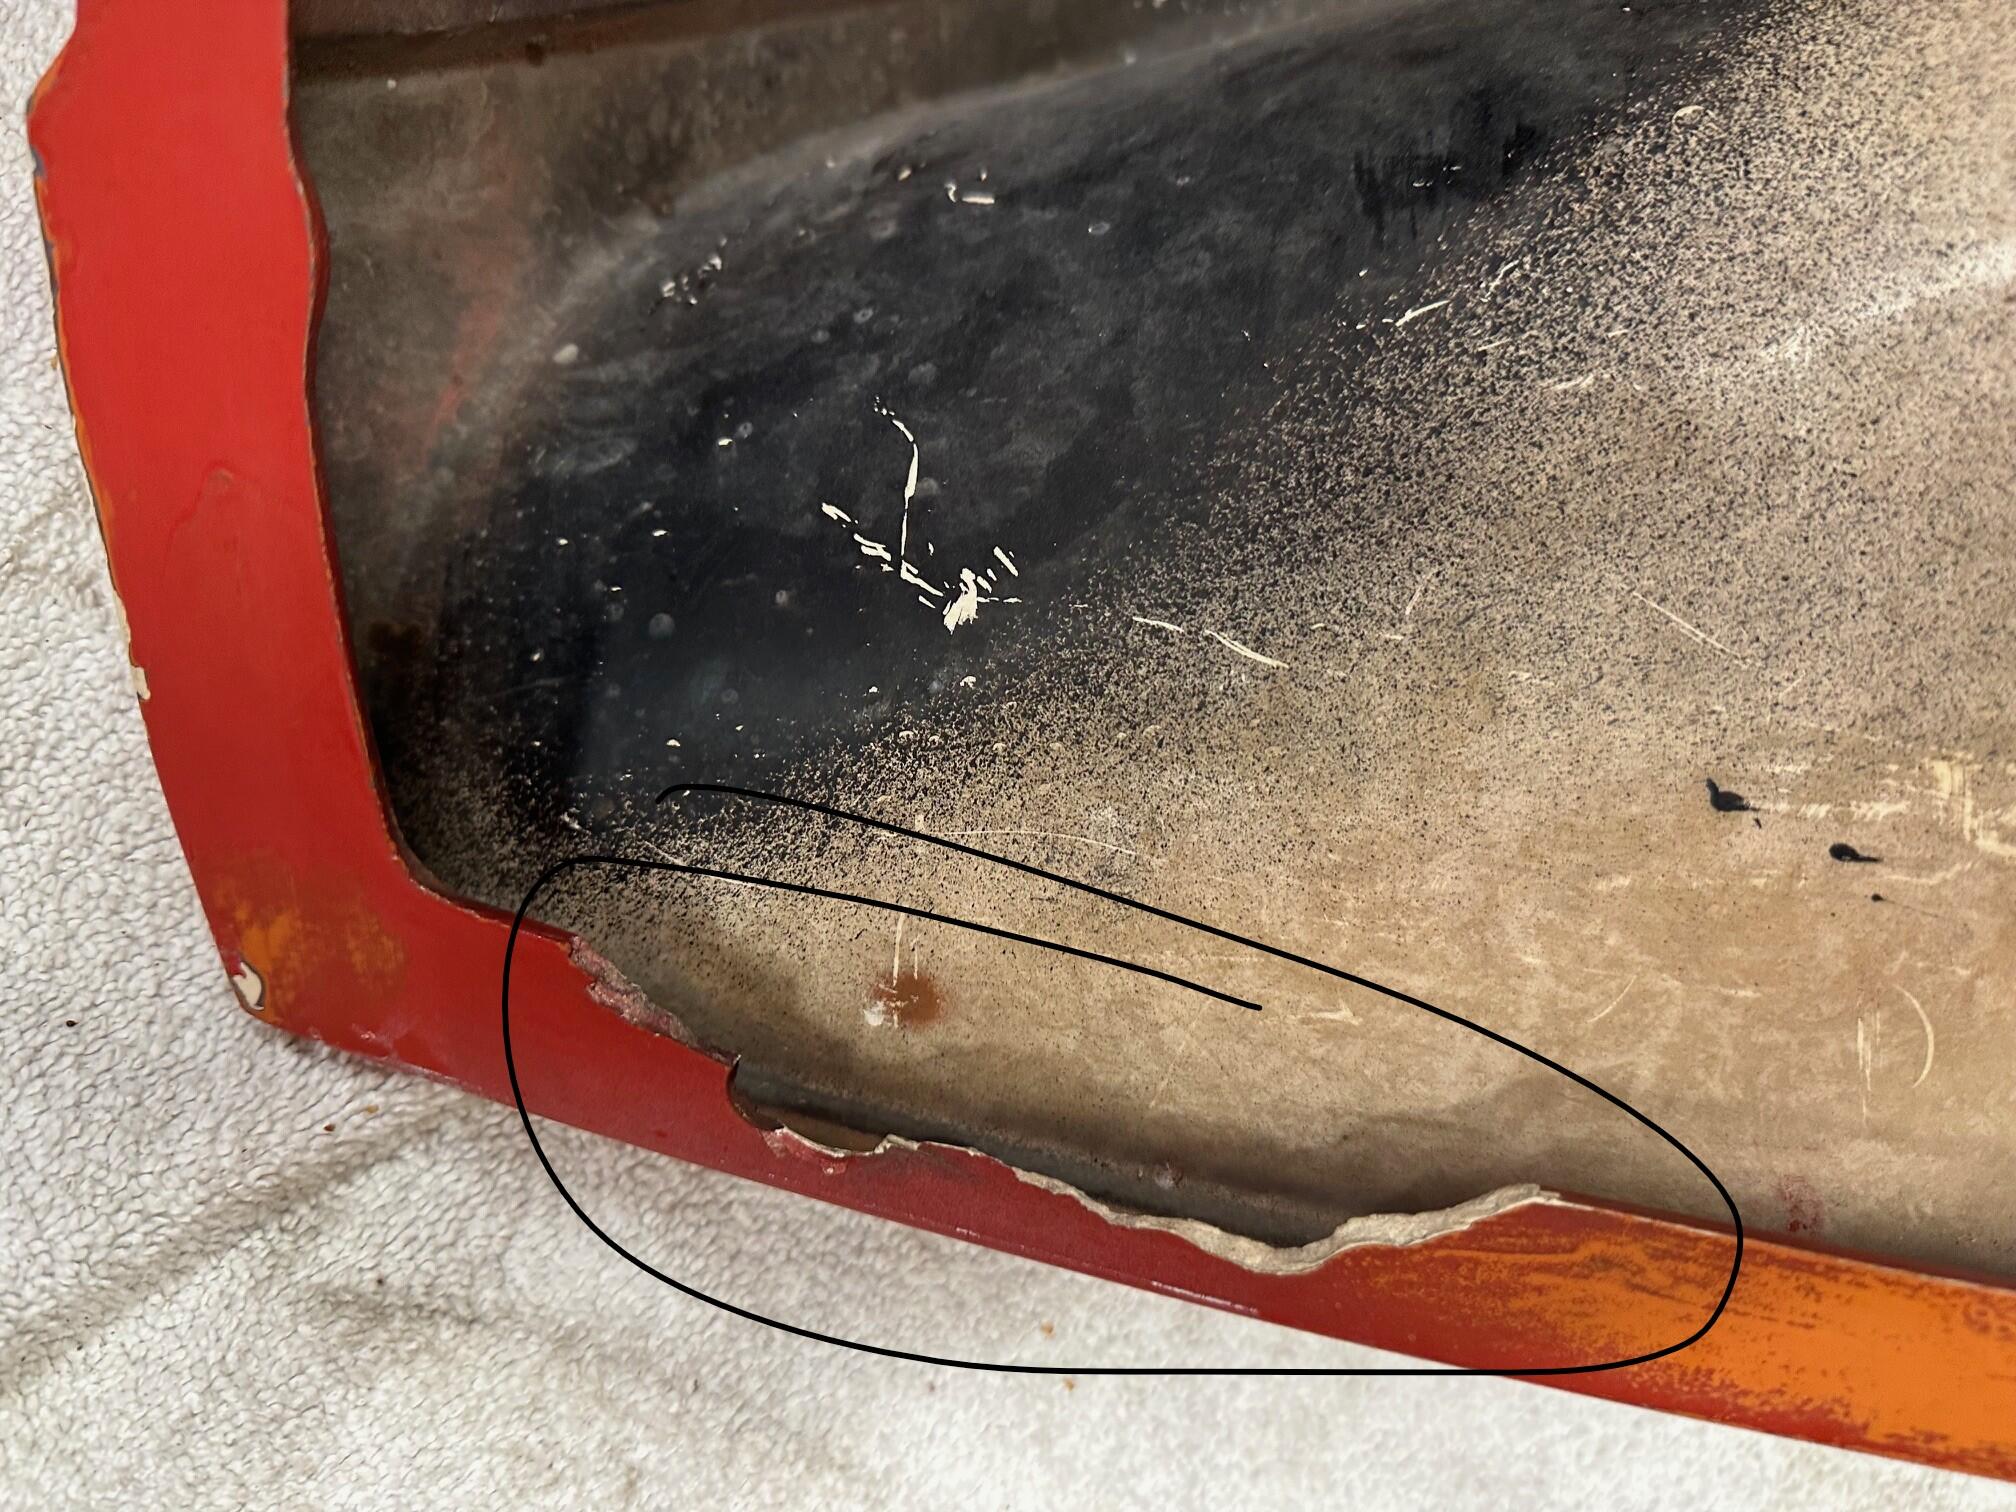
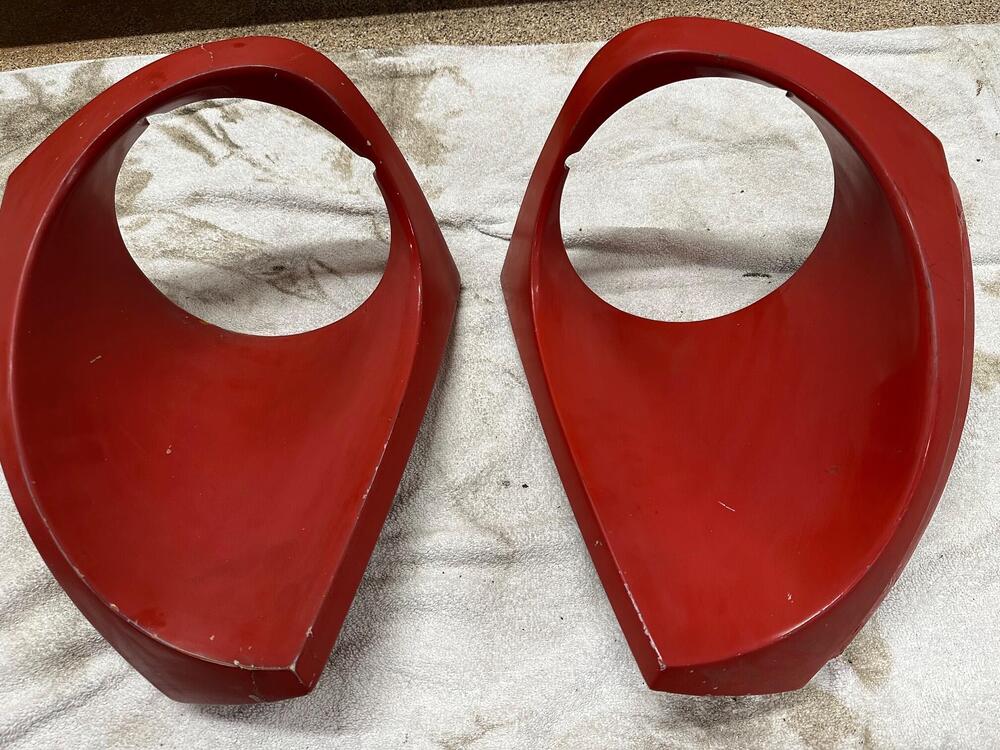
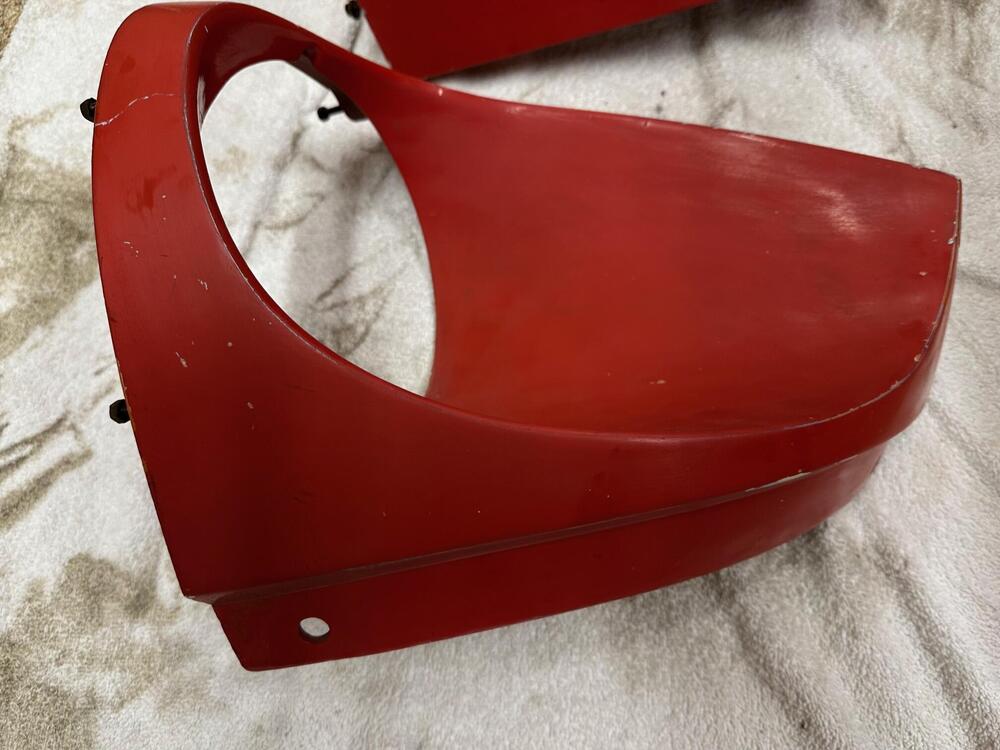
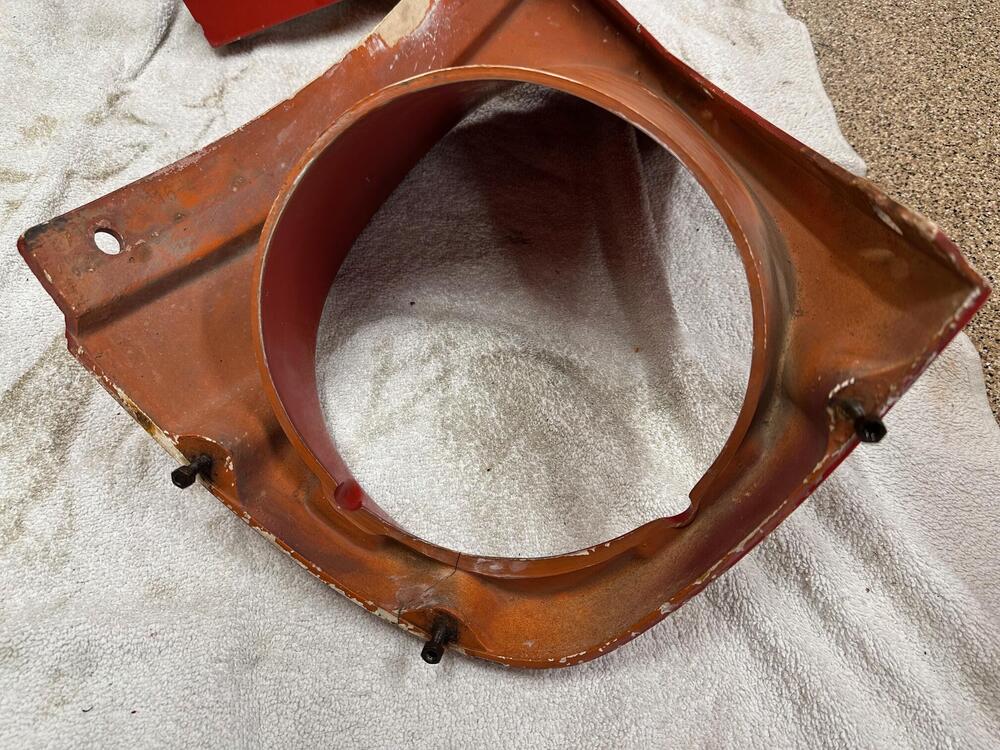
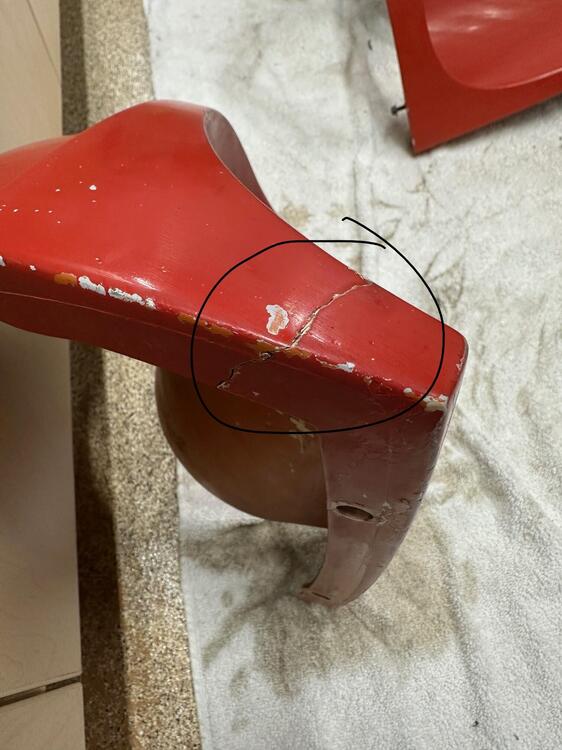
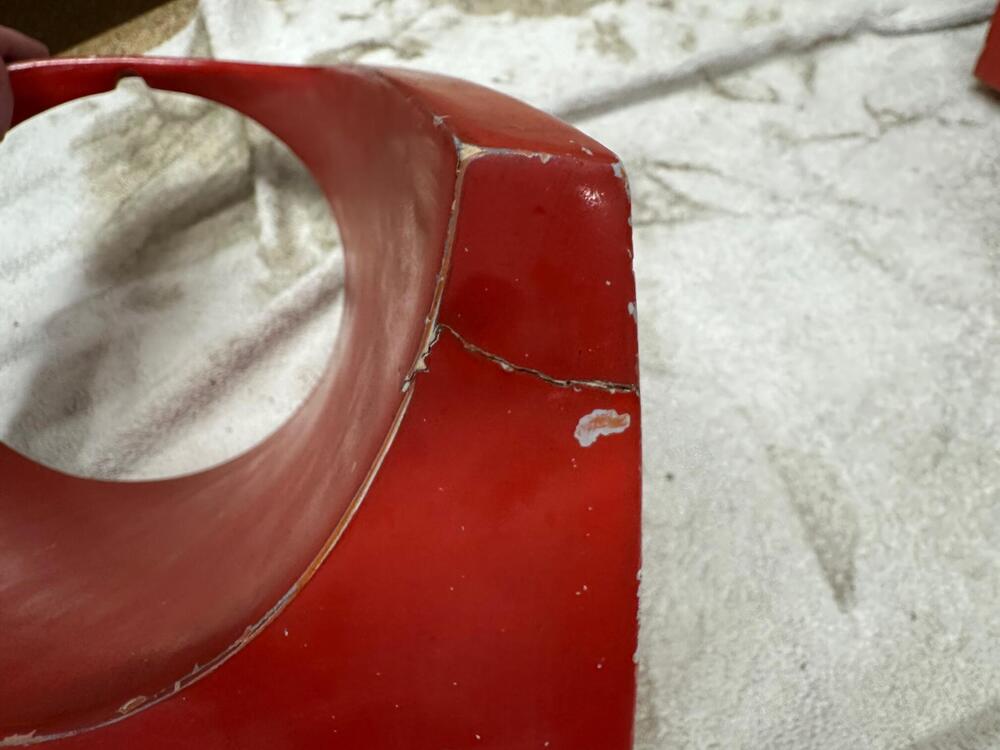
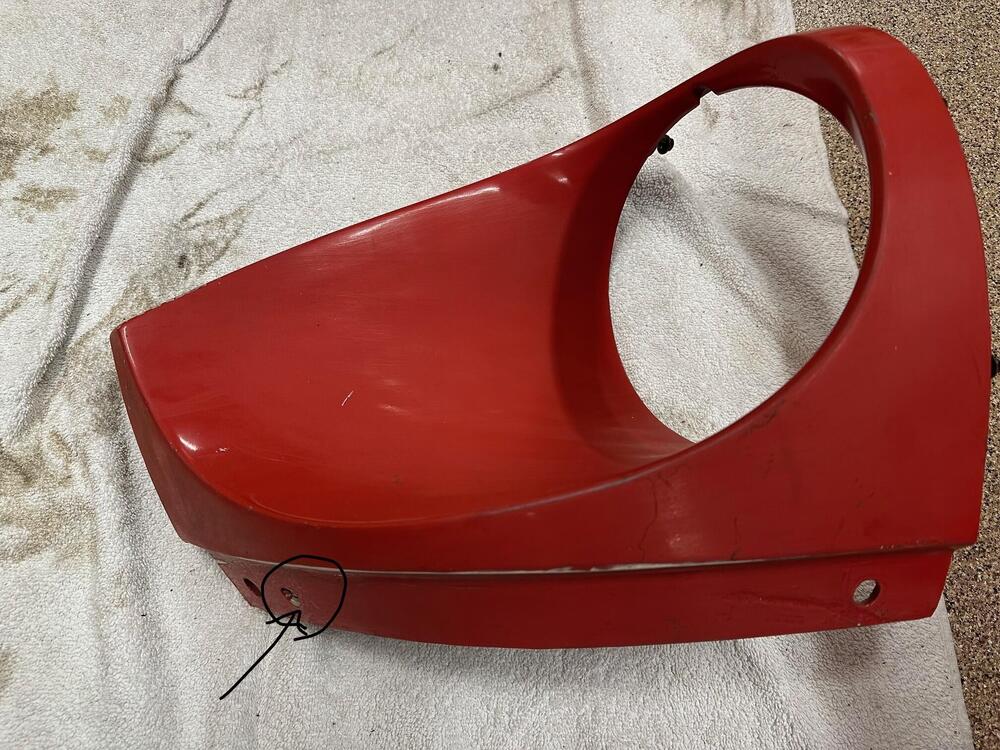
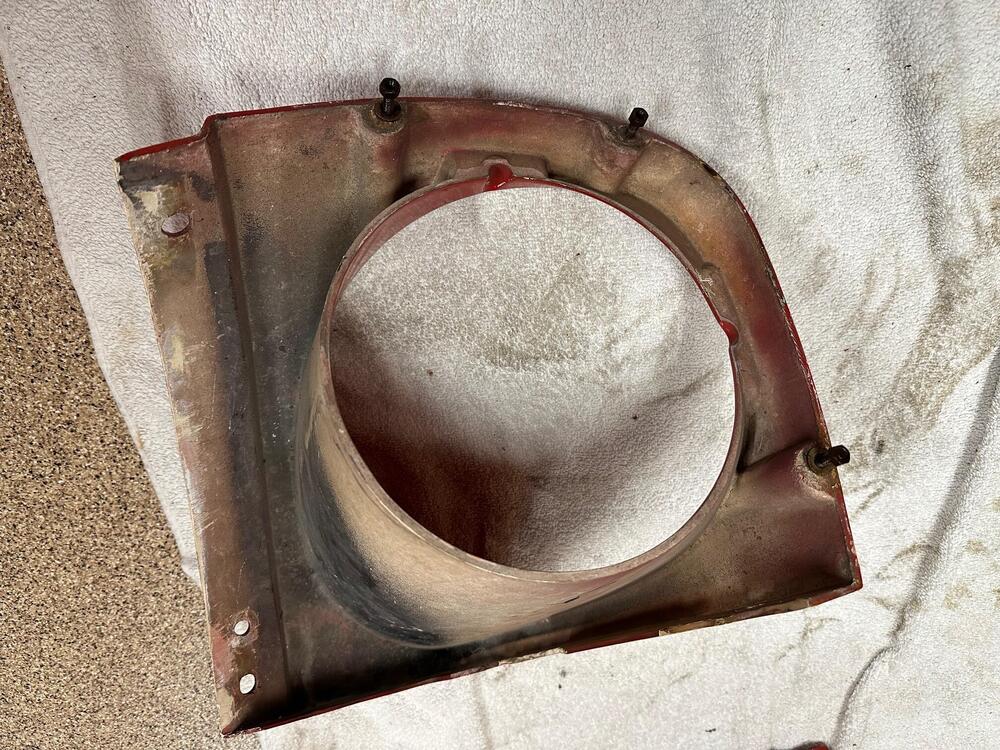
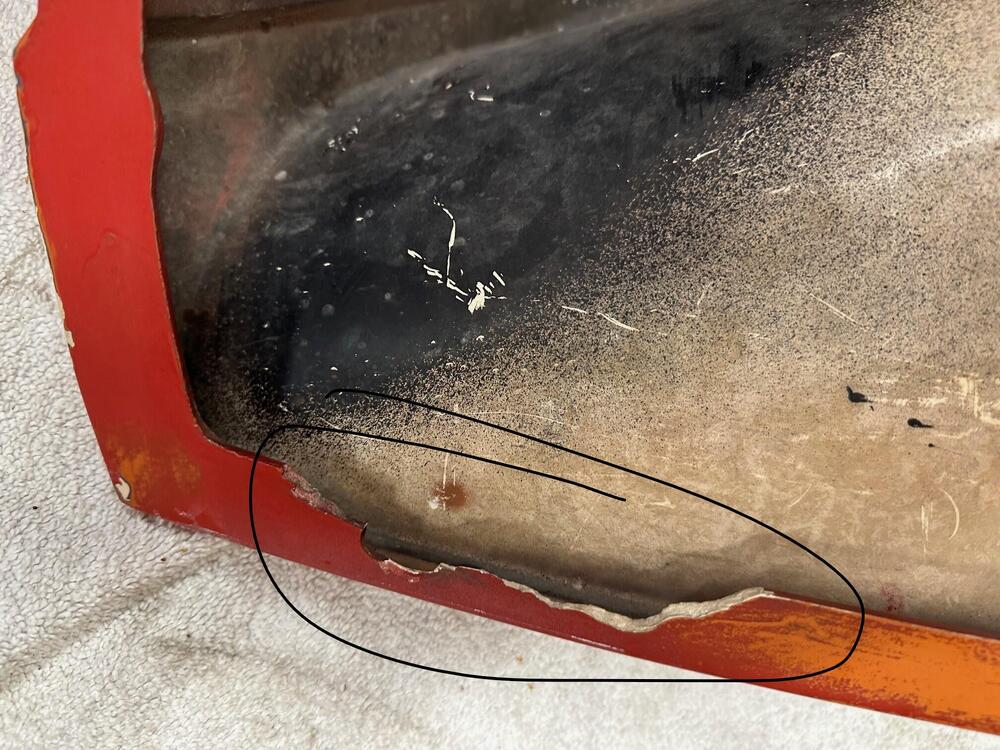
Set of OEM Fiberglass buckets (L/R) Both are in relatively good condition, given they are now 55 years old and can be used with a few fiberglass repairs. See pictures for details All of the studs and nuts are present and functional on both L/R Fiberglass repair along the top edge for the foremost mounting hole (Drivers Side) Fiberglass repair to fill secondary hole near bumer mount (Drivers Side) Fiberglass repair for minor hairline crack (Passenger Side) Asking $100 + Shipping for the set Located in Northern CA
-
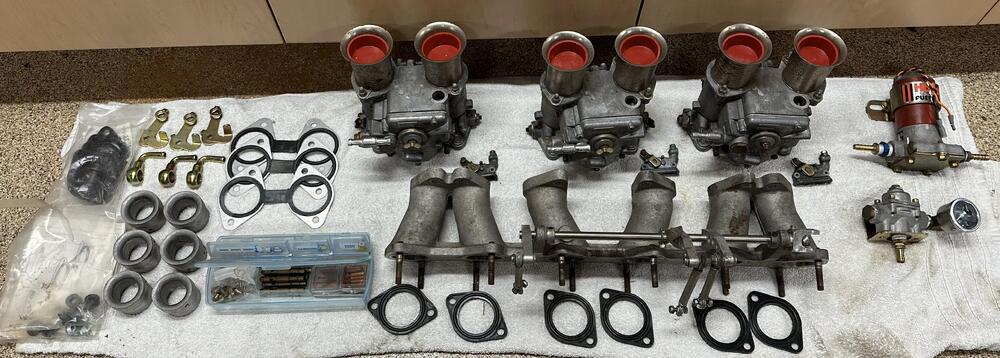
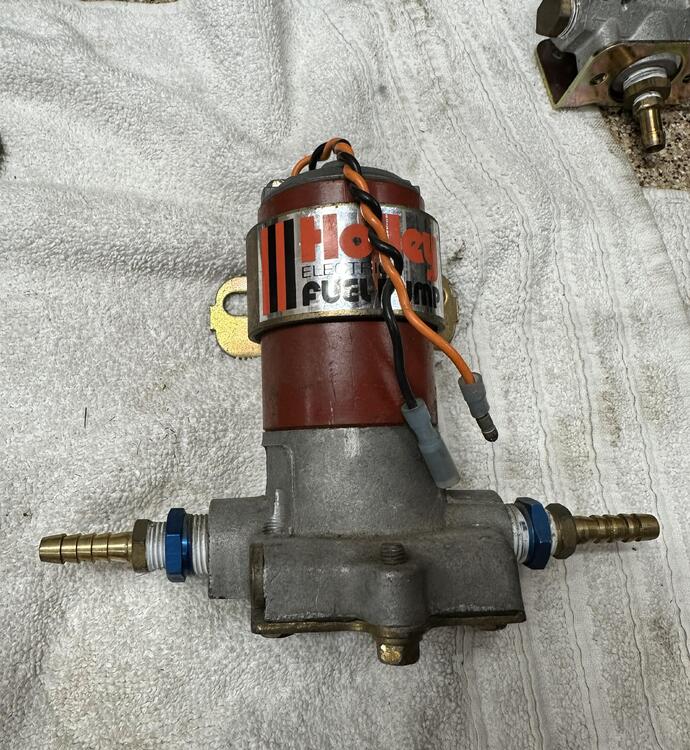
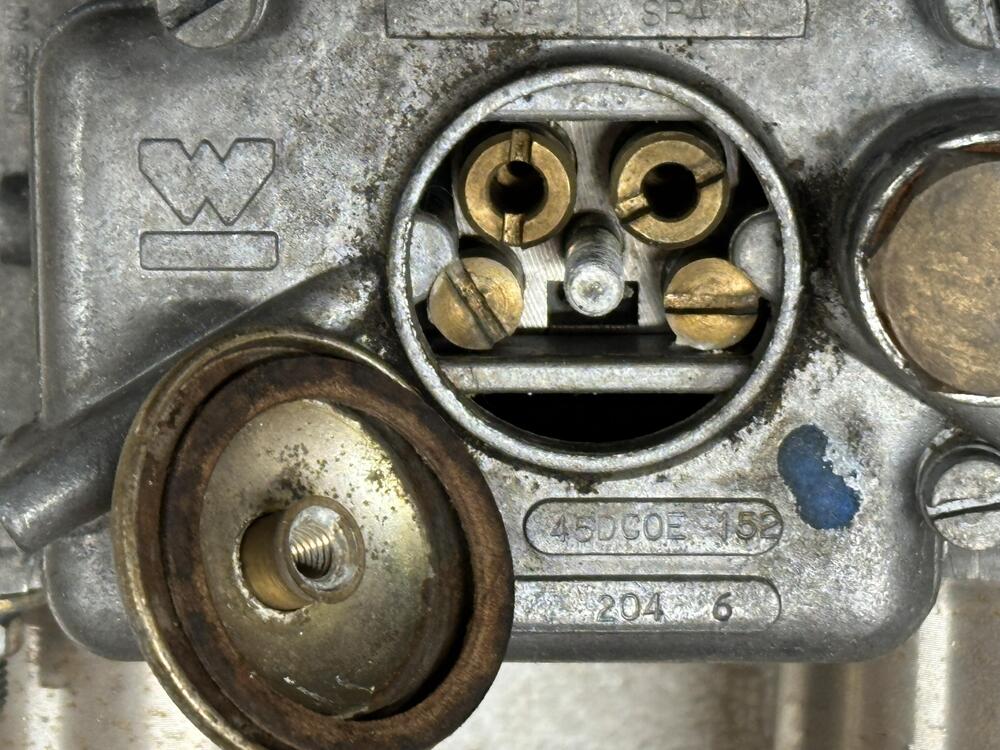
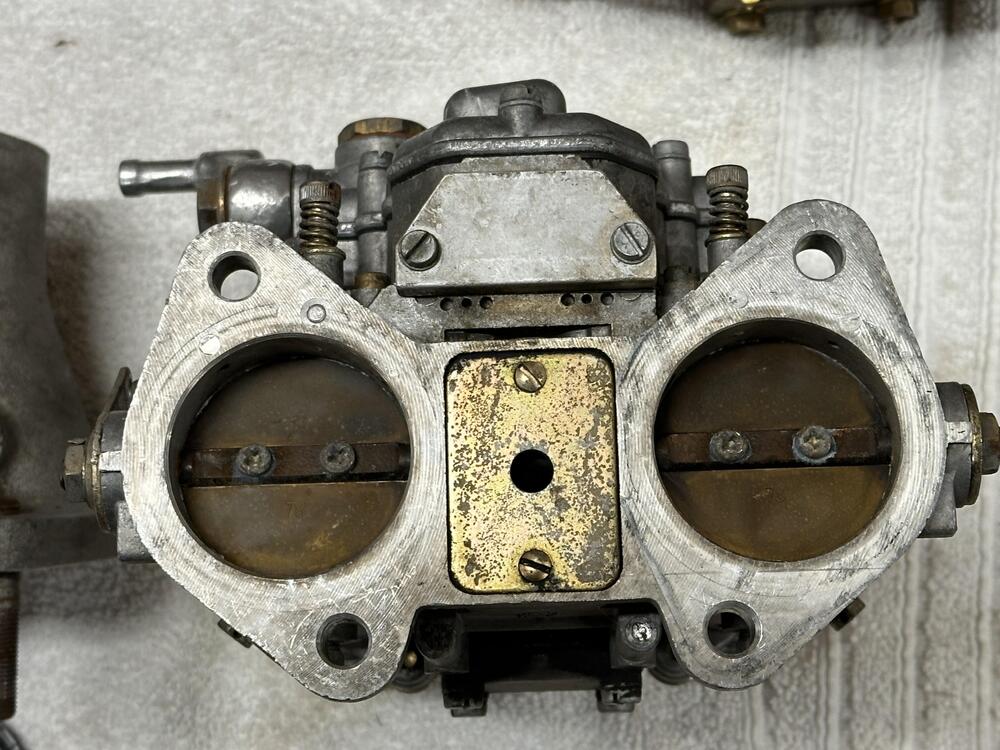
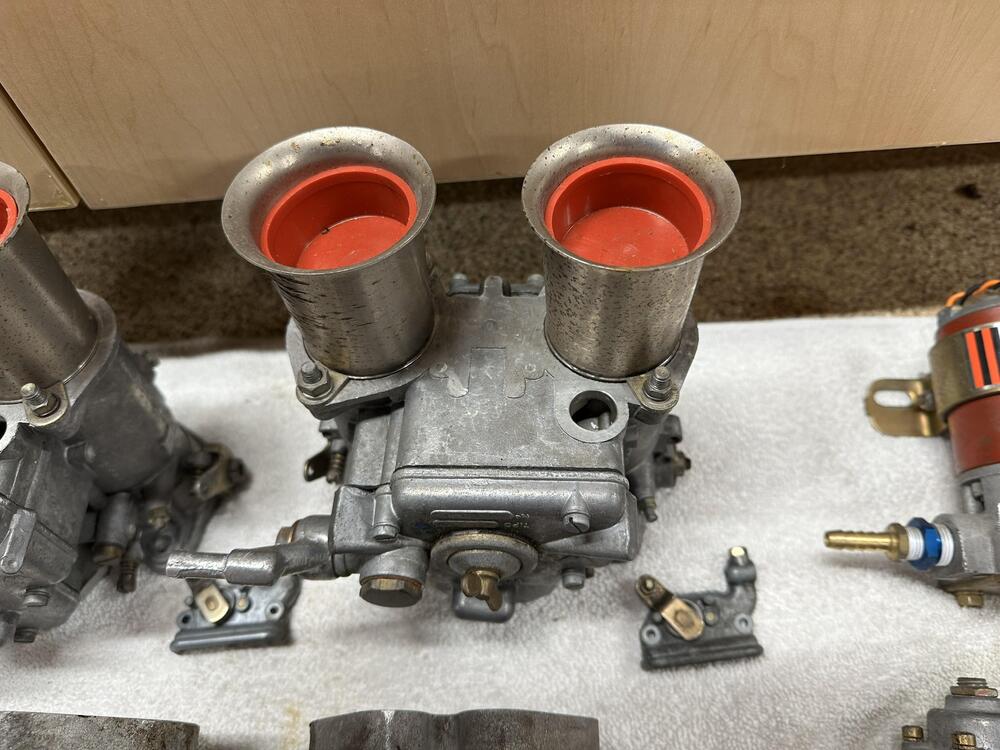
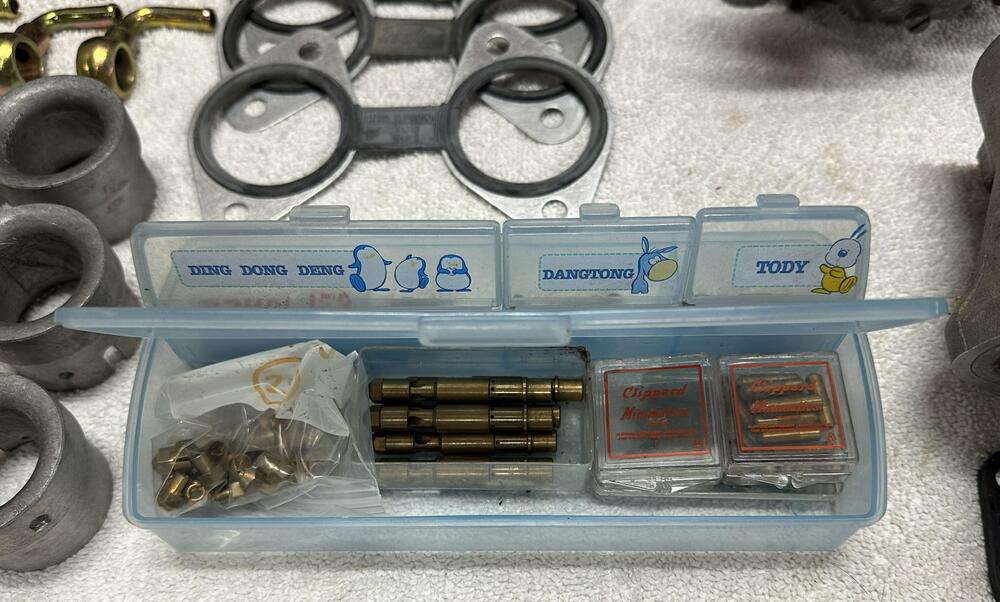
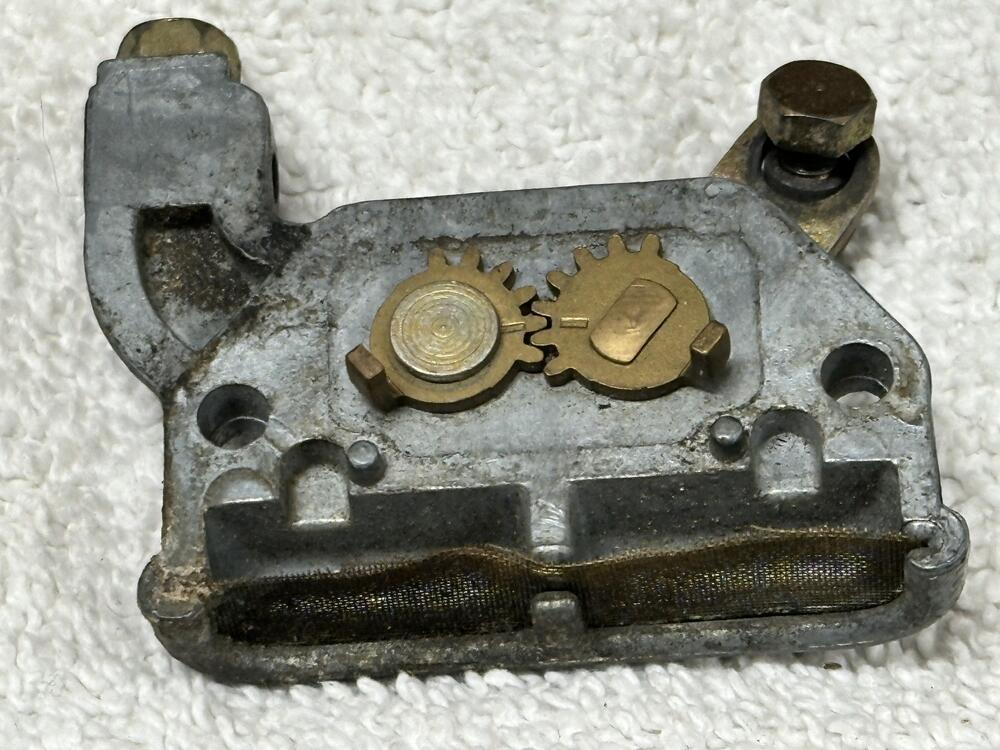
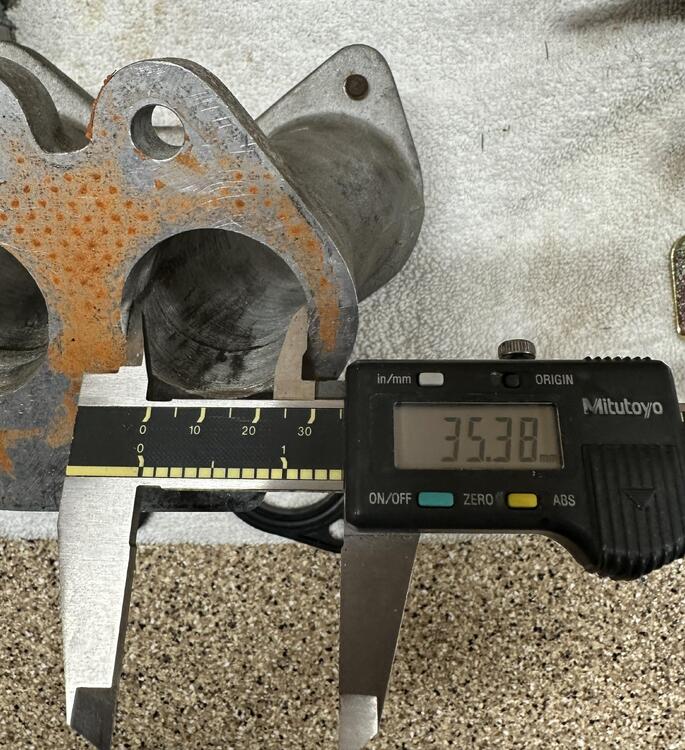
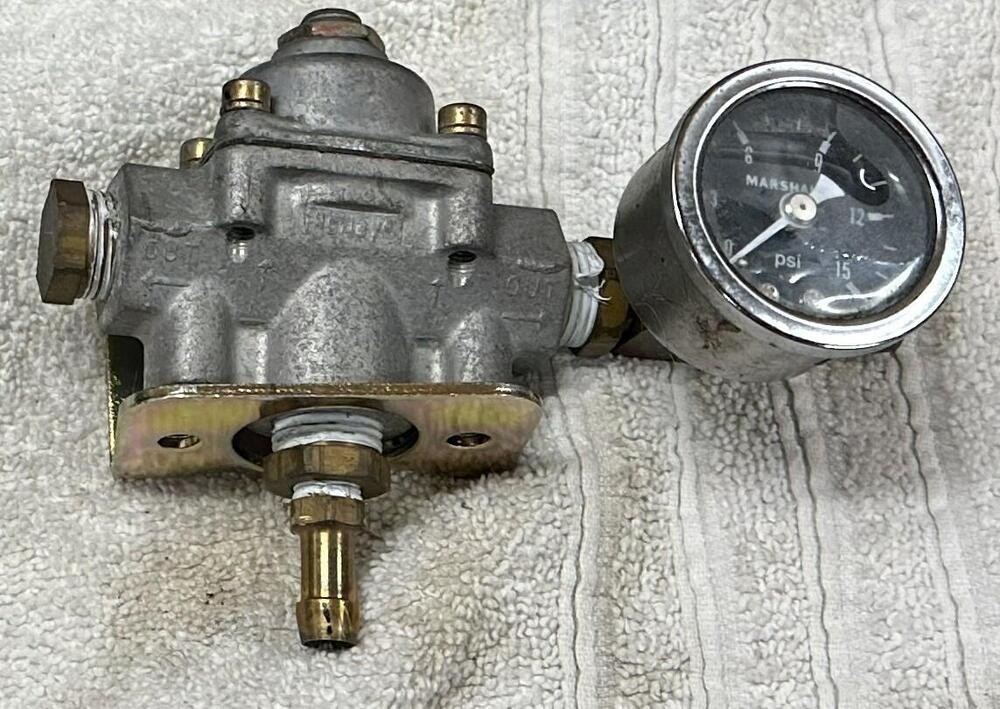
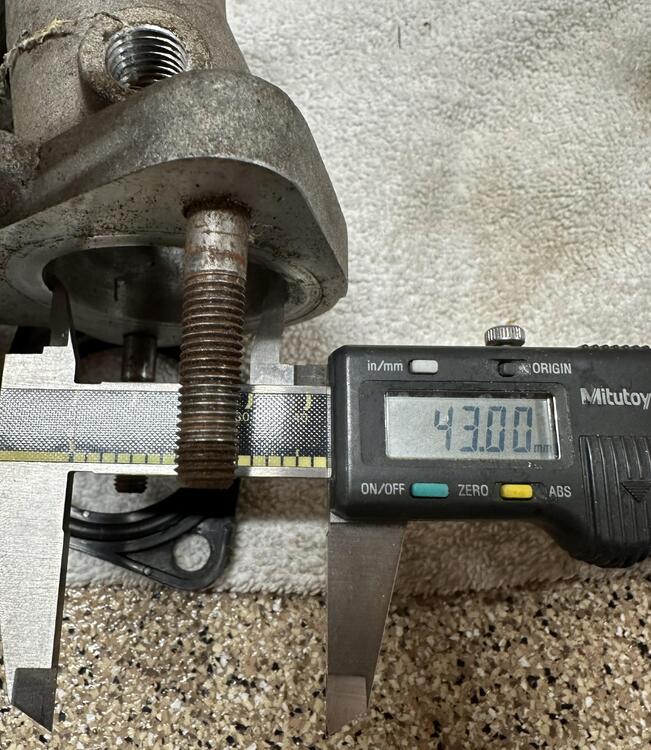
For Sale –45 DCOE Weber Triple Carb with TWM manifold, linkage, insulators, hardware, fuel pump, and fuel pressure regulator with assorted spares including various jets, cold start mechanisms, and set of 30mm Main Venturis. After running this setup for many years on my 3.0L build, I am moving in a new direction for my latest build. This triple carb setup is complete, but due to its age, a carburetor rebuild kit will be necessary to prevent any running issues or fuel leaks. I ran this in an AutoX configuration, but this kit includes additional jets and venturis that can be used to customize it as needed. Asking $1100 + Shipping – includes everything: carbs, manifold, linkage, spares, fuel pump and regulator. ($1200 if including the Cannon Manifold). More pictures available upon request. Located in Northern California. Here are the details for each component included in this kit: Carburetors - 45DCOE-152 Weber – Made in Spain 3 Progression Hole 38mm Main Venturi 4.5mm Auxiliary Venturi 150 Main Jet 180 Air Corrector F2 Emulsion Tube 55F9 Idle Jet 60 Pump Jet Custom Cold Start blockoff plate TWM Intake Manifold & Linkage TWM “Shorty” Intake Manifold, lightly ported to ~43mm Carb Side and 35mm Head side. Has not been fully ported. Approximately 4” long overall. Includes Pierce Manifold CNC-machined arms, adjustable turnbuckle linkage, and precision rod with bushings for precision movement. Shorter length easily clears all related engine components while allowing room for the inclusion of air filters with air horns. Holley “Red” Inline fuel pump – L6145-2A Mounts to the stock electric fuel pump location near the gas tank perfectly and can be wired into the car using the included fuel pump wiring in the rear harness. Holley Fuel Pressure Regulator w/ Gauge – 12-803 Low-pressure (4-9PSI) regulator for a returnless setup. Includes Marshall oil-filled gauge, mounting bracket, and fittings. Spare/Extra Carb Parts Various Jets – (See List below) 30mm Main Venturi (x6) - for smaller engine displacements Redline Carburetor Soft Mounts Set (x3) - 45mm version Weber Soft Mount (x3) NEW Fuel Inlet Banjo Fittings (x3) Cold Start Mechanism (x3) Various Hardware – Mounting nuts/springs, gaskets, throttle arms, etc… Extra Jet Inventory (~$5-7ea = $150 in jets) 200 Air Corrector* (155 drilled to 200) 55F9 Idle Jet 65F9 Idle Jet 130 Main Jet 150 Main Jet (NEW) 155 Main Jet* (150 drilled to 155) 165 Main Jet* (145 drilled to 165) 115 Main Jet (set of 24 so they can be drilled to whatever size) F16 Emulsion Tubes 45 Pump Jet Bonus Part - Cannon triple carb manifold – ported. This manifold is very common and provides a slightly different power band due to it’s longer runner size. Can be included in this for additional cost/shipping.

-
Hi there. I have a R200 mustache bar p/n 55450-N4300 available. It's all original, down to the paint and bushings. I don't have any of the other parts for the conversion though. Located in California

-
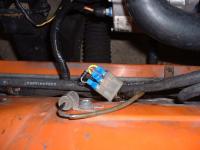
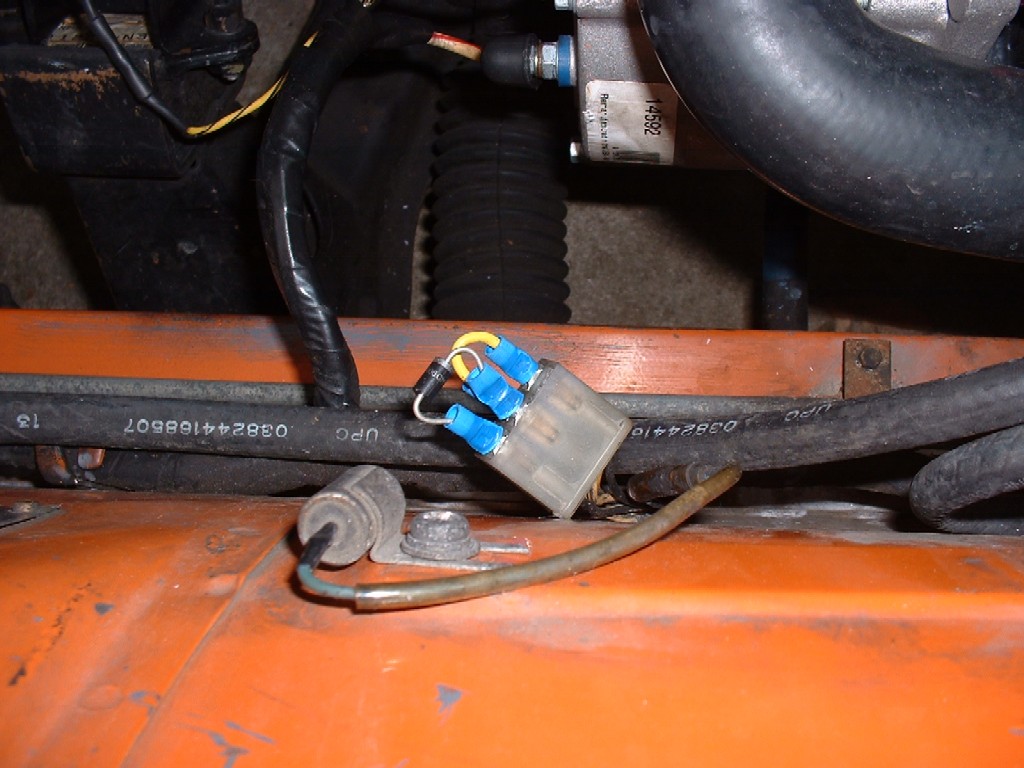
I'm not sure you really have to figure anything out at this point. The alternator, assuming you're using a Maxima or 280ZX IR type uses the same basic plugs as the original. The same "T" connector you pulled off your stock alternator plugs dirctly into the back of the IR alternator. The larger Red/White wire reconnects to the alternator "B+" stud just like the original as well. All you really need to do is jumper the harness connector as shown in the pic. One of the jumpers is just a simple wire with spade terminals and the other is a diode with spade terminals. The harness connector has a total of (5) wires although there are (6) slots available. The connector on my car consisted of the following colors, yours should be nearly identical if not the same. Connect the white wire to the yellow wire with the wire jumper. This connects the battery to the "S" input. Connect the black with a white stripe wire to the white with black stripe wire using the diode. This connects the "L" terminal to a switched 12V. The cathode end (end with white stripe) connects to the white with a black stripe wire and the anode end connects to the black with a white stripe wire. The black wire is simply Ground and can be left disconnected as I did, or if you feel the need to ground the alternator you can run a wire to the alternator case. Also, don't forget to re-install your filter capacitors if they were installed (you can see one in the pic I provided, there's another on the back of the alternator on my car). These help with radiated noise emissions but aren't essential for basic operation. I would advise checking this with a Voltmeter or at least a test light before proceeding and turning on the car though. Basically, the wire that reads positive (+12V) when you turn the key in the ignition to "ON" is the wire you want connected to the anode (non striped) end of the diode. The cathode end connects to the other striped wire. Here's the reason for all this if you care. The alternator needs what they call "excite current" to start generating electricity. This excite current energizes the field windings which allows the alternator to generate power once it is spinning due to electromagnetism. This excite current is provided by the black/white stripe wire when you turn the key to the "ON" position. The problem is that once the alternator is turning, it can sustain the "excite current" on it's own and no longer needs the current provided by the black/white stripe wire. If the black/white stripe wire is directly jumpered to the wire that is connected to the excite current the alternator will "send" current back through the black/white stripe wire, through the ignition and on to the coil which in turn, makes the car impossible to turn off since the alternator has basically bypassed they key. Adding a diode instead of a wire allows the current to flow FROM the black/white stripe wire into the alternator to excite it during startup. Once the car is running, and the alternator is generating it's own excite current, that current is not allowed to flow TO the black/white stripe wire because of the diode which has the unique property of only allowing current to flow one way.
-
You don't need to cut anything, all the jumpering can be done through the harnesss connector. The diode is quite important though to prevent the field charge from feeding back through the ignition thus preventing you from turning the car off.