charliekwin
Community Member
-
Joined
-
Last visited
Everything posted by charliekwin
-
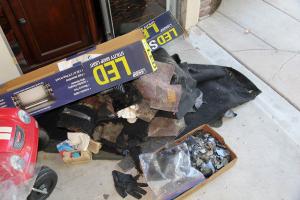
Got a nice delivery today. Many thanks to Captain Obvious for the new cover. Good advice I'll try my best to follow! :-D Capt, I owe you a beer.
-
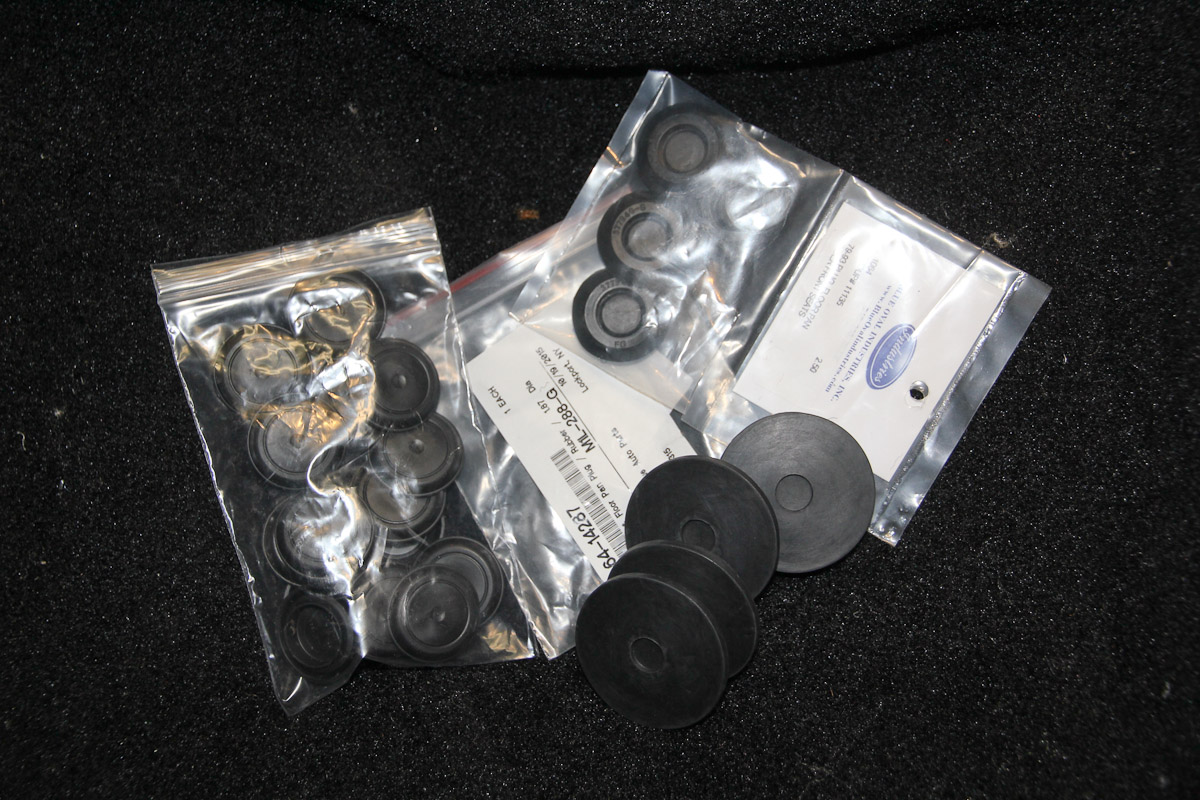
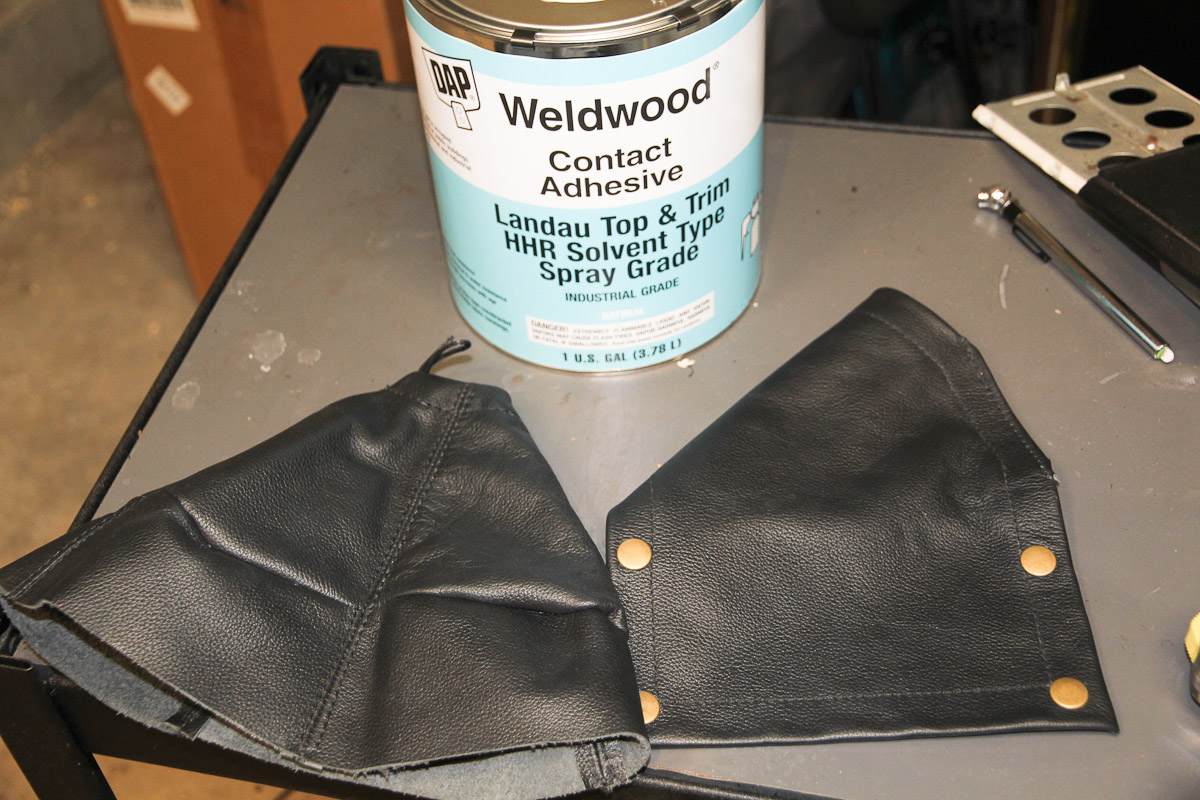
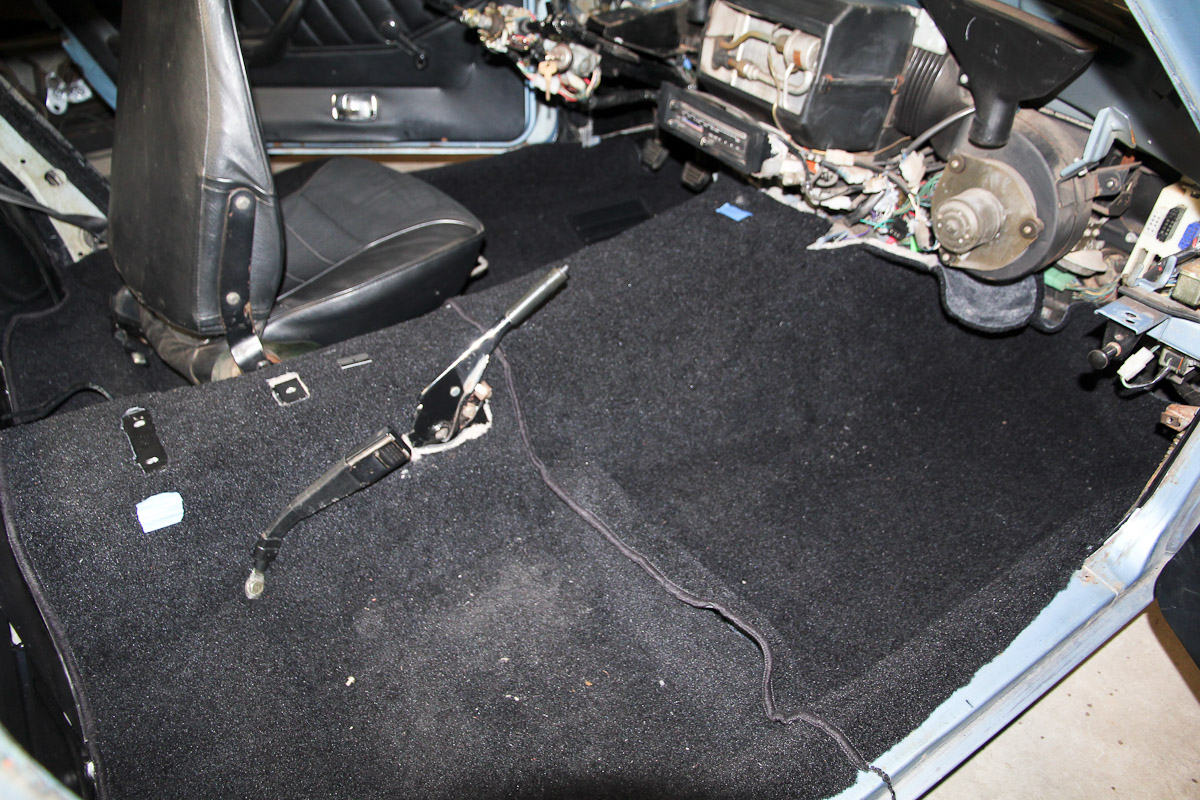
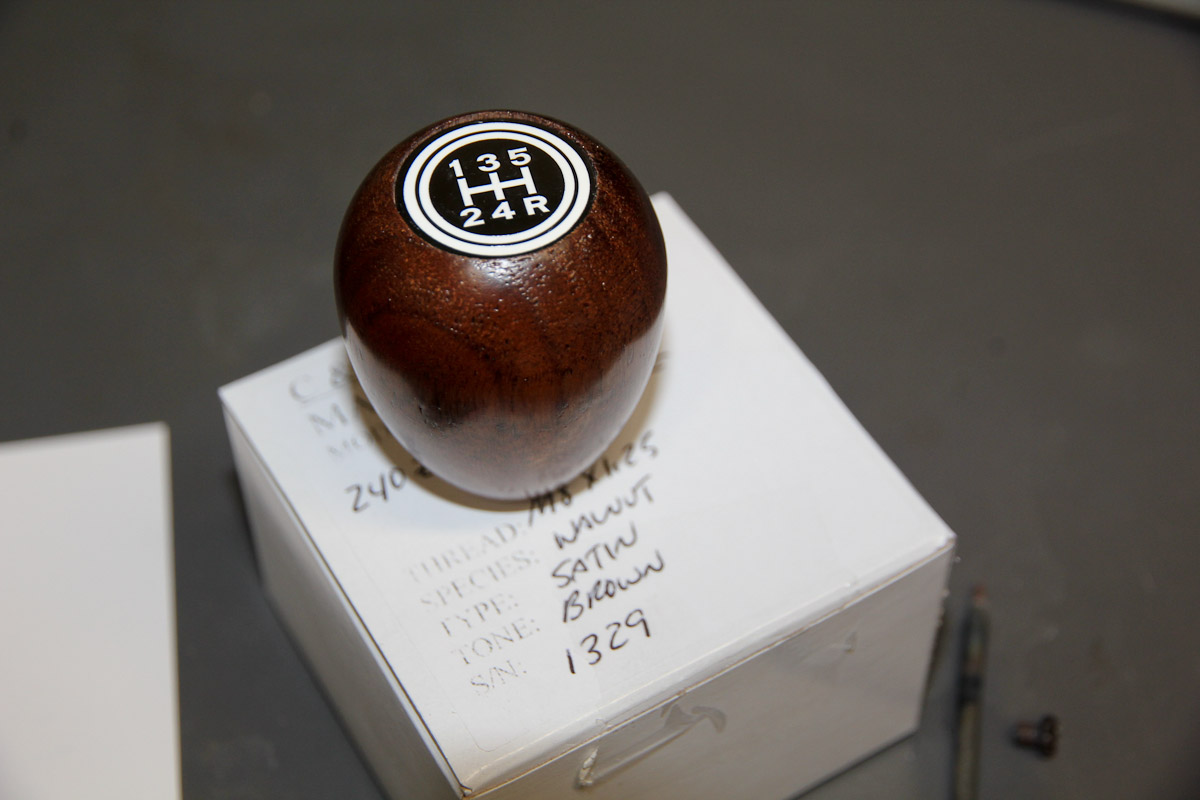
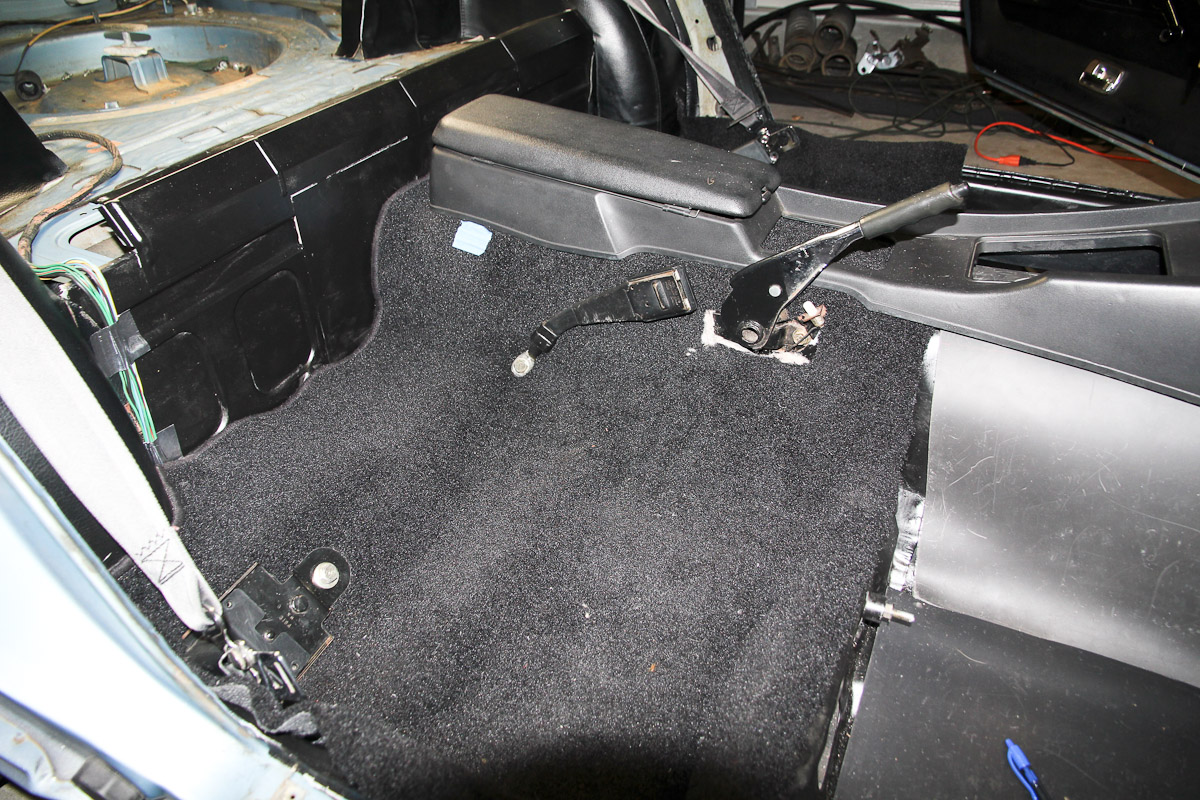
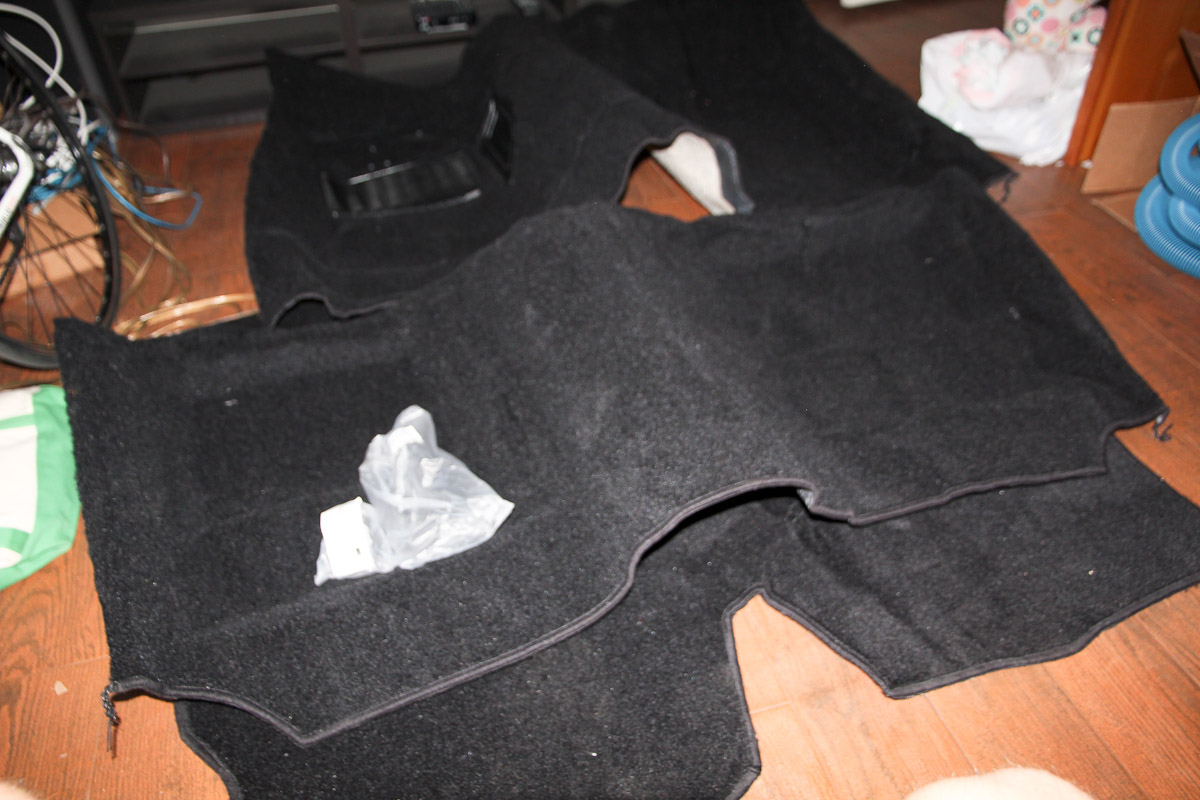
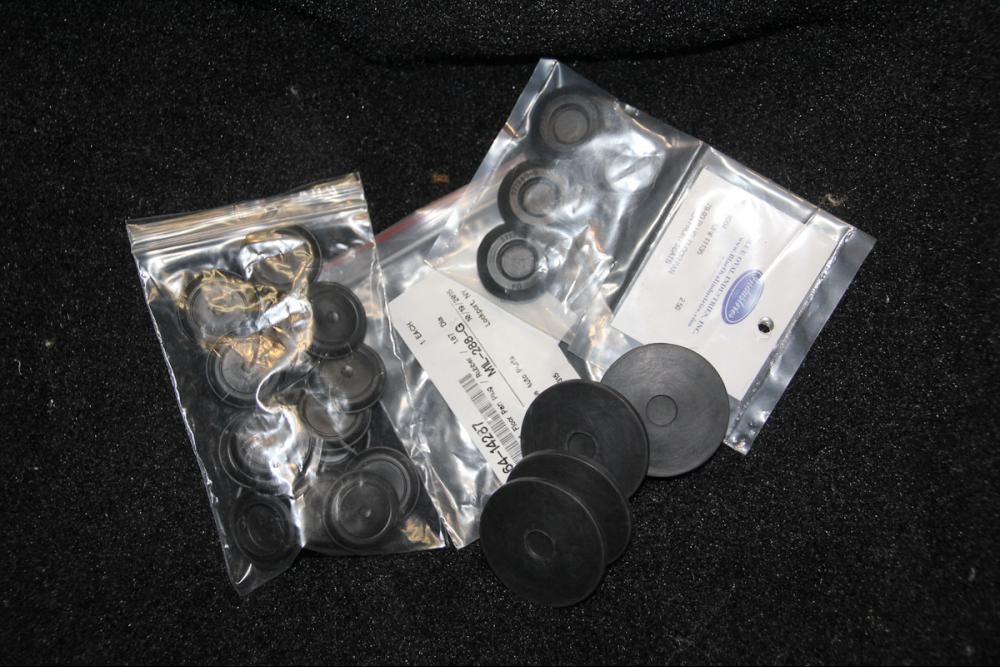
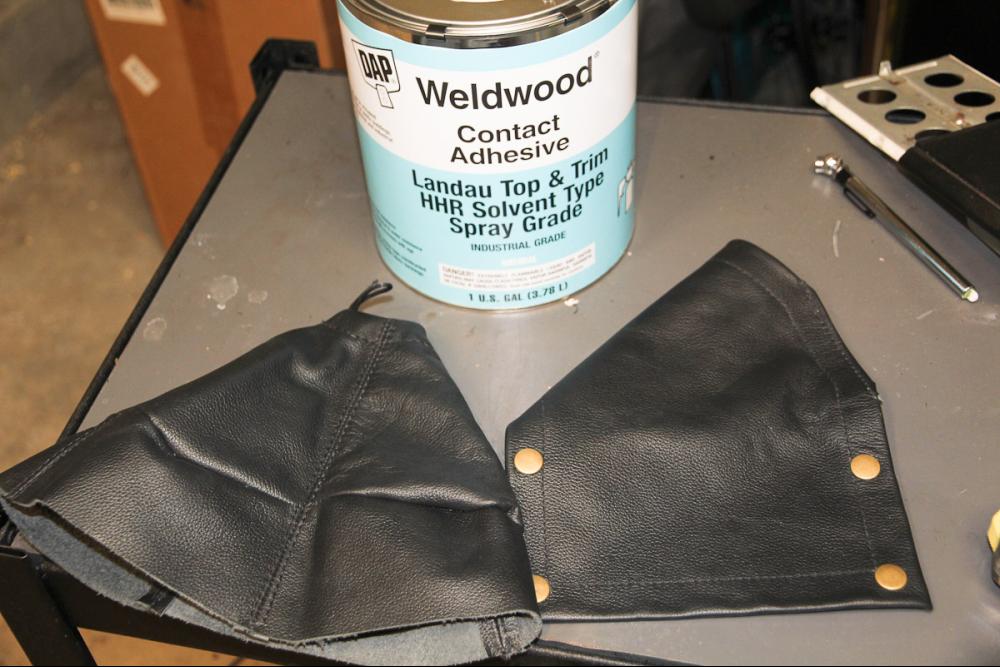
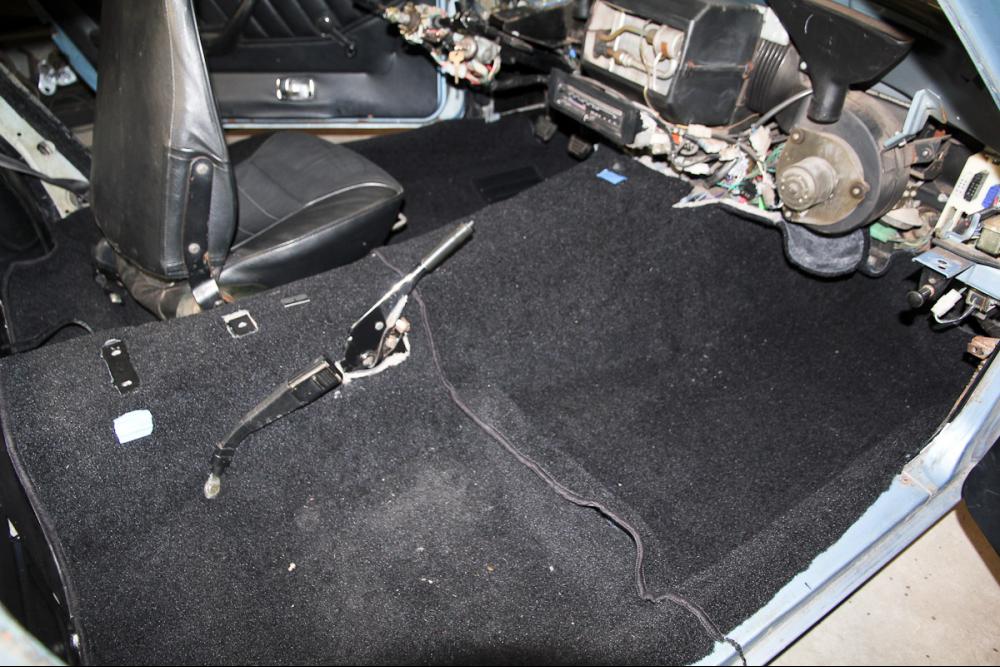
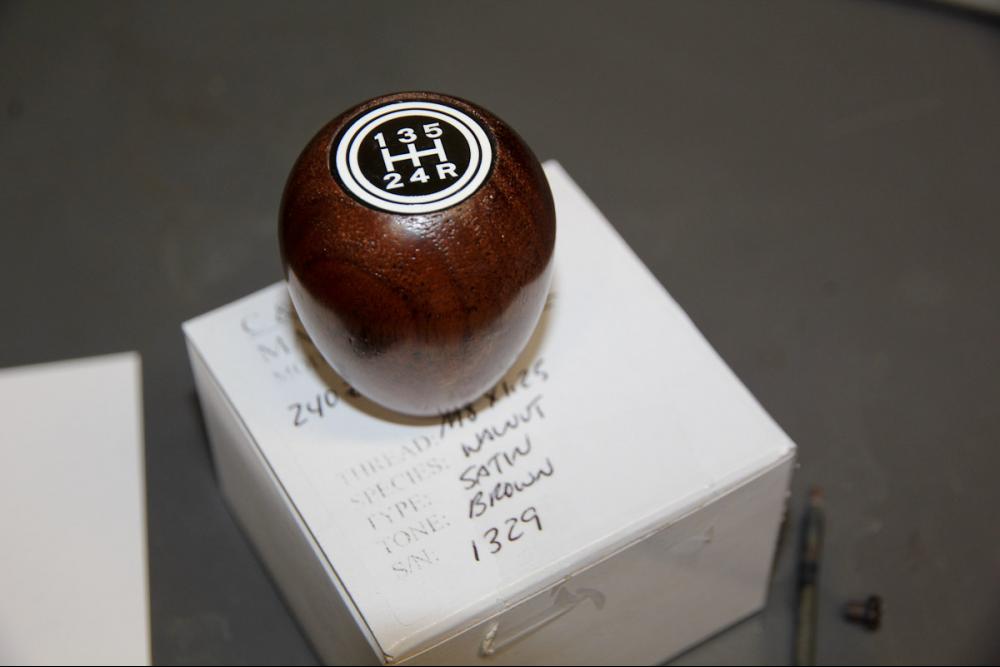
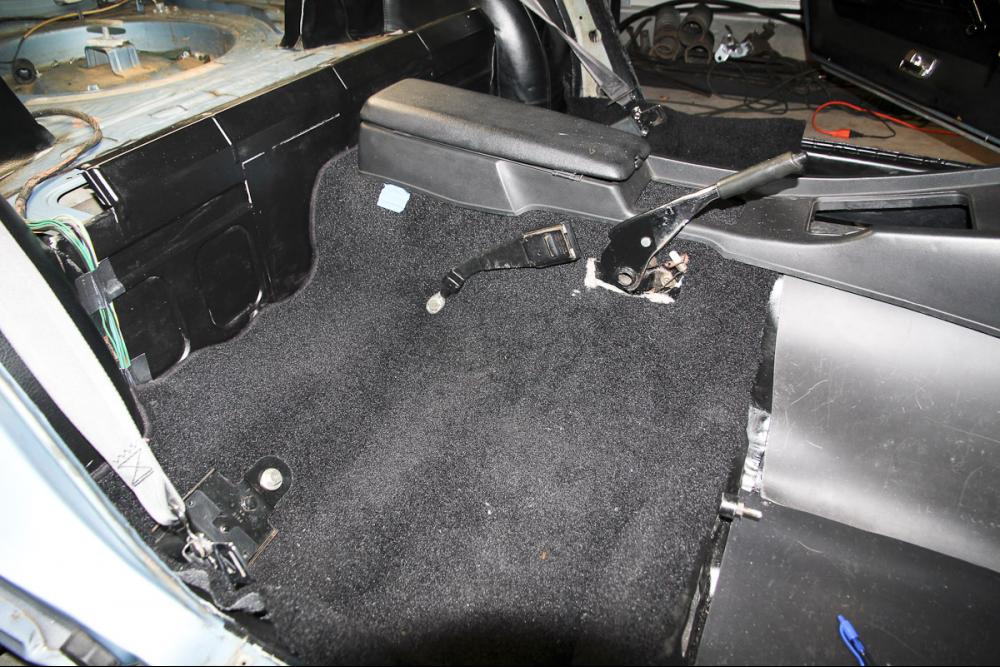
Things have been moving along. Took that first cut and started with the carpet. It's the ACC kit, so it takes some work to get it to fit (I took a number of pictures and some notes with the intent to write up a how-to, since I couldn't find a detailed one), but it came together well, especially considering all the extra sound dampening I put in. Too bad I accidentally tossed the rubber trim pieces for the seat belts. Started working on the front half this evening, which -- after wrestling with the cuts to get it under the dash and into the footwells -- seems like it'll go a bit quicker. The one thing I've flip-flopped on at least 5 times already is whether I should put the carpet over the seat rails, or bolt them on top of it. Right now I'm leaning towards on top. Other things...lots of visits from my UPS and USPS friends! All my floorpan plugs needed replacing, but I blanched after seeing Nissan's prices. I got a full set of replacements on eBay for ~$40 shipped by getting parts for Jeeps and Fords. Interior Innovations finally shipped my shift and e-brake boots, and I got the supposedly-not-legal-in-California contact cement and re-wrapped the scuff plates. And I splurged a bit on a new shift knob.

-
Zed, I thought about the same thing. I saw a handful of threads on various other boards that say the webbing should be replaced, but not much definitive on subjects like when, how likely the belts are to break, or the loads that would cause it to happen. I suppose the relative lack of I-almost-died posts that I've come across makes me think it's a relatively low risk decision to stick with the belts I have for now. Hopefully I don't Dunning-Kruger myself into the steering wheel. Captain, PM sent!
-
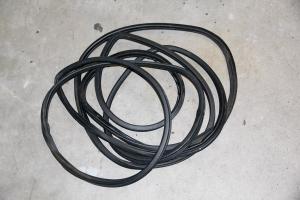
Glad I'm not the only one that struggled with it! I plan on re-wrapping them (or at least trying). I grabbed two different vinyls at Joann and was able to find a retailer that shipped Weldwood HHR contact cement to me here in CA. If that doesn't work, black paint or bedliner it is.
-
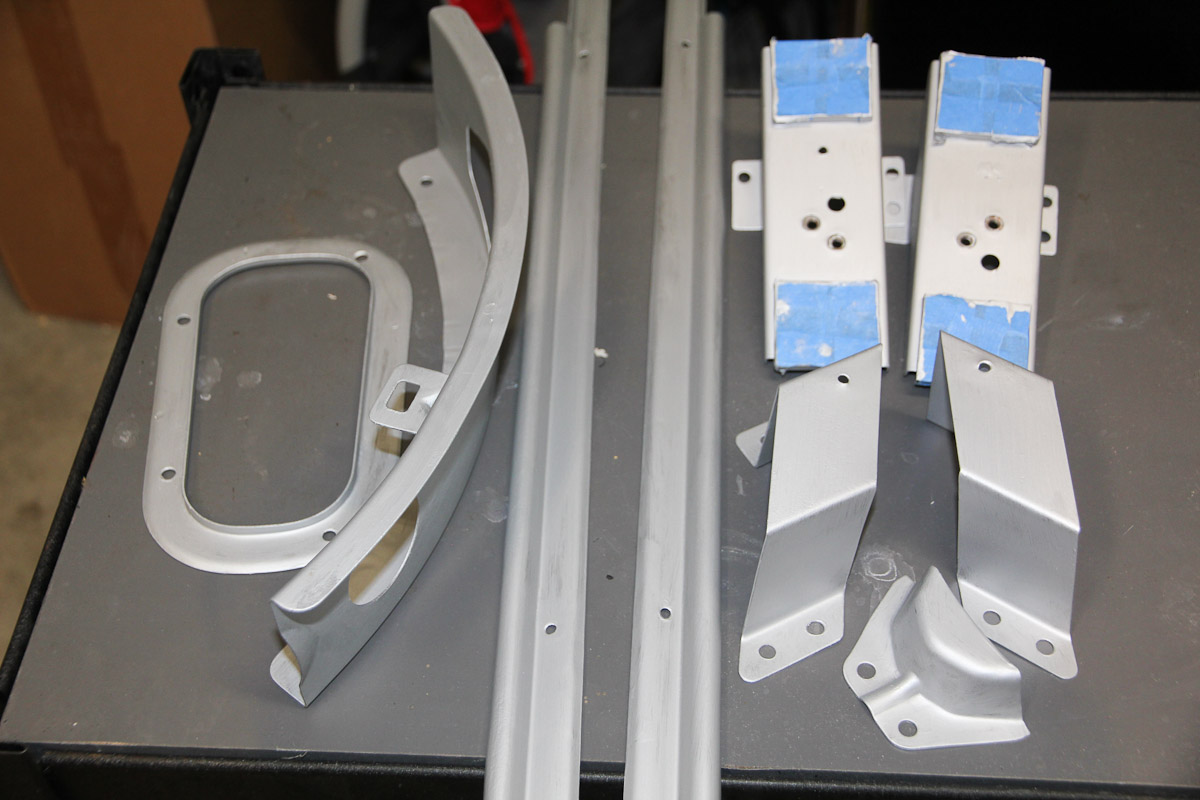
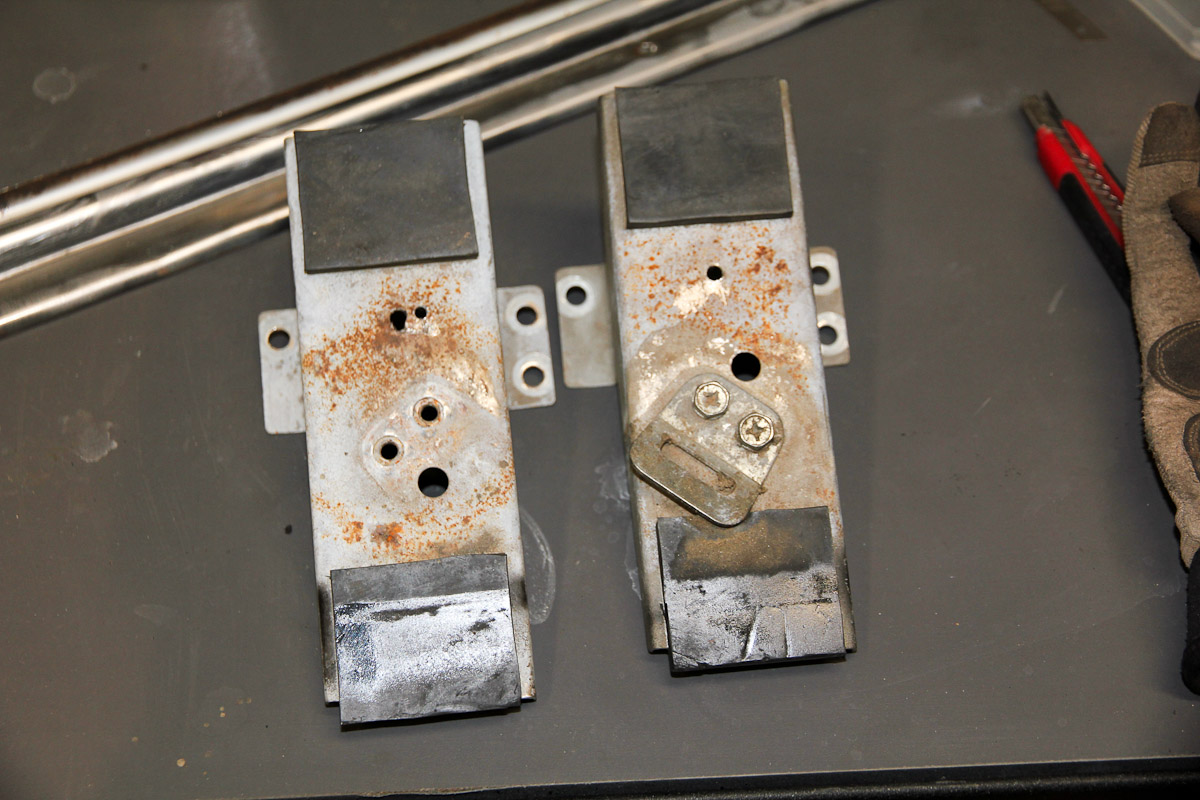
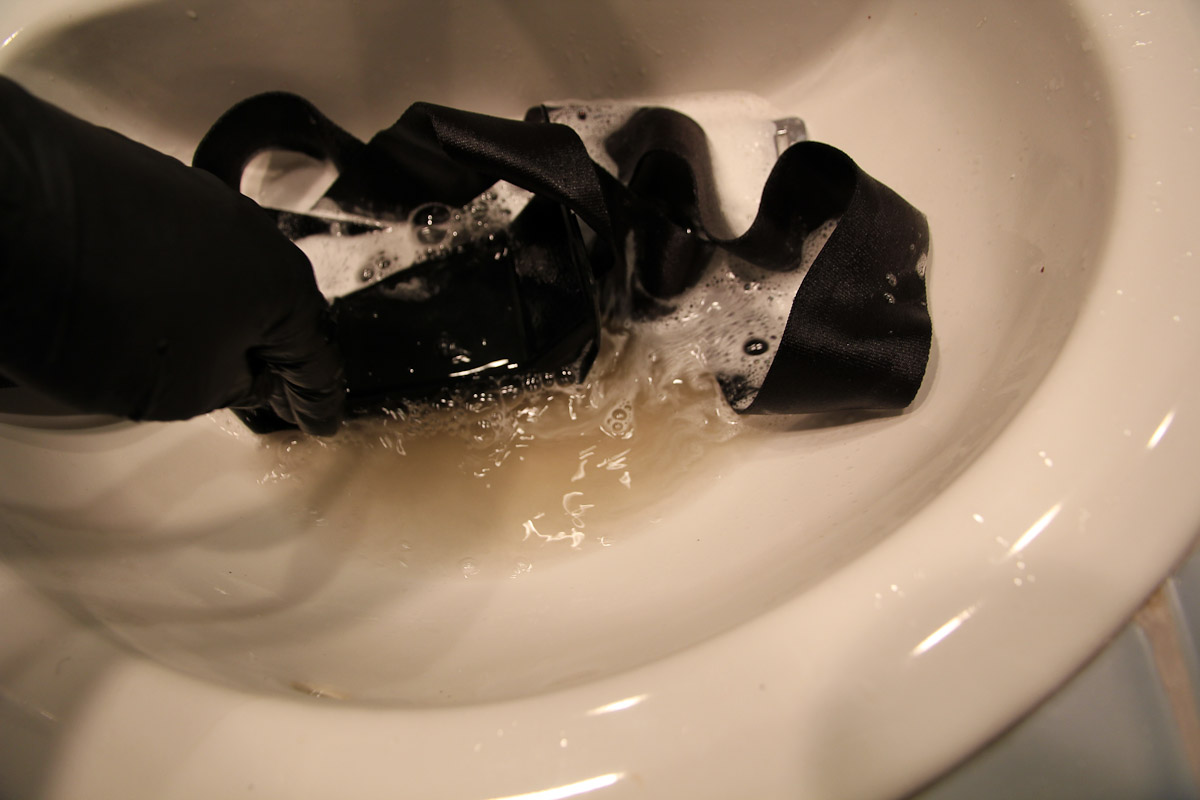
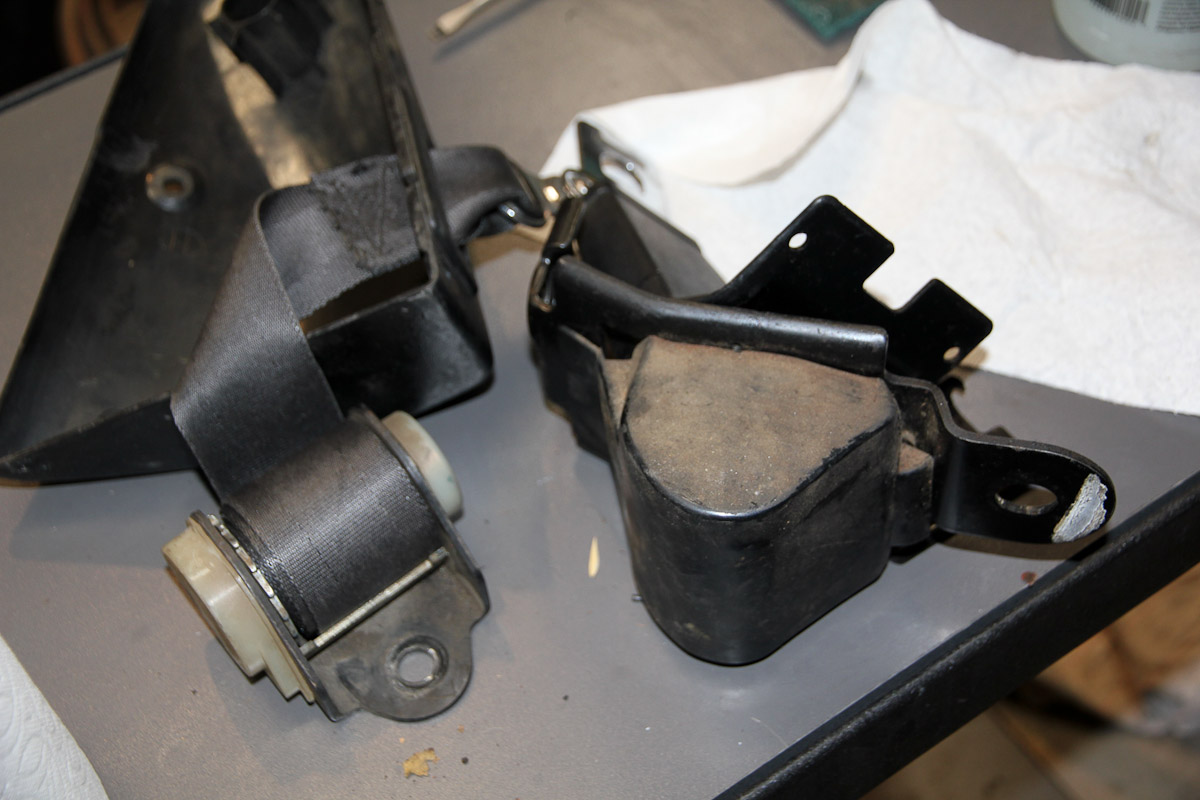
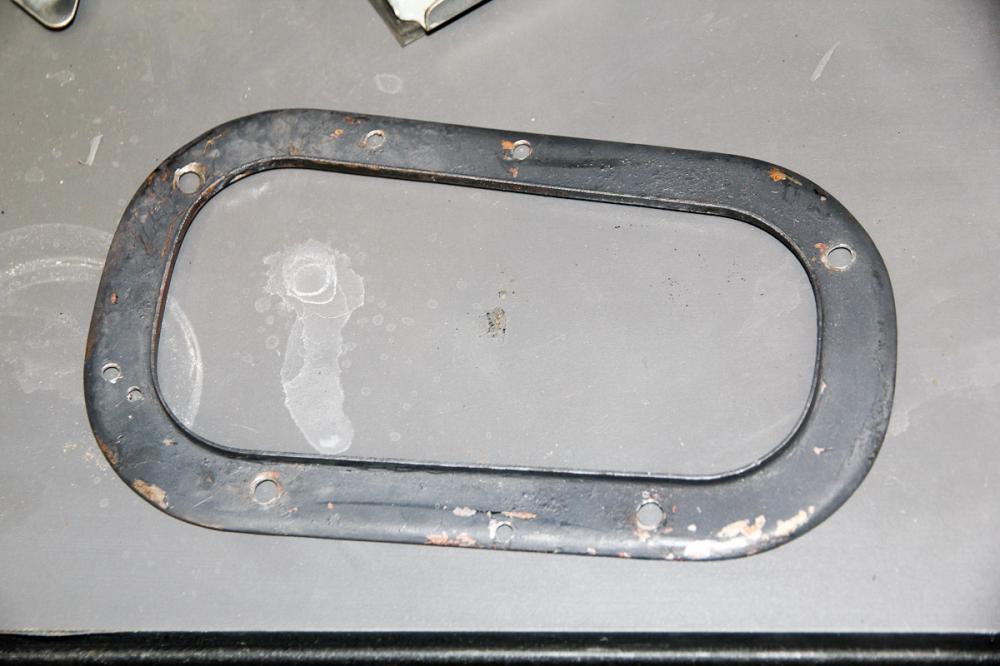
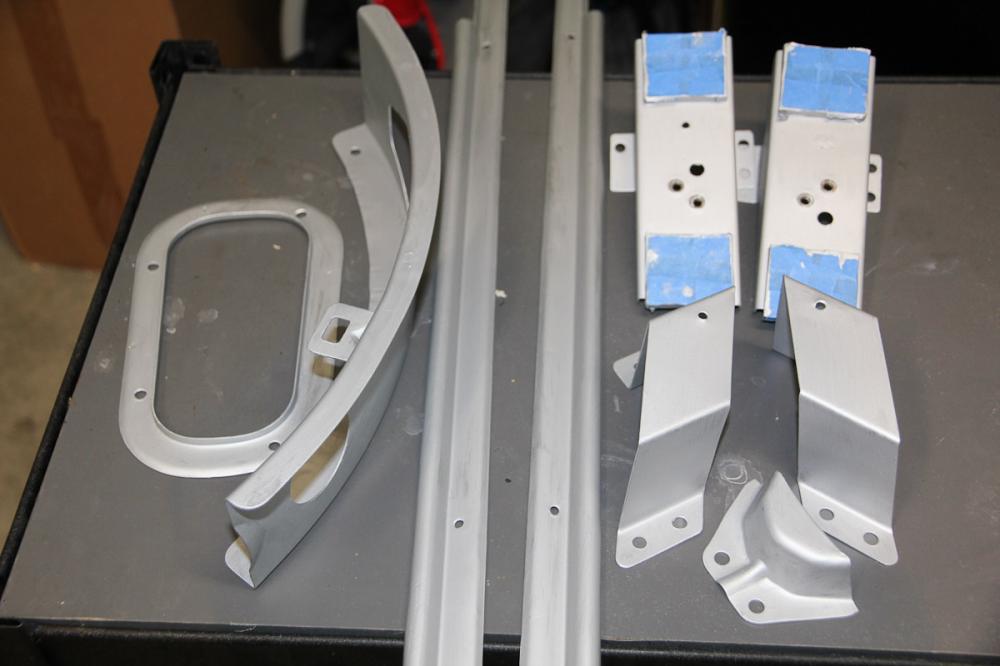
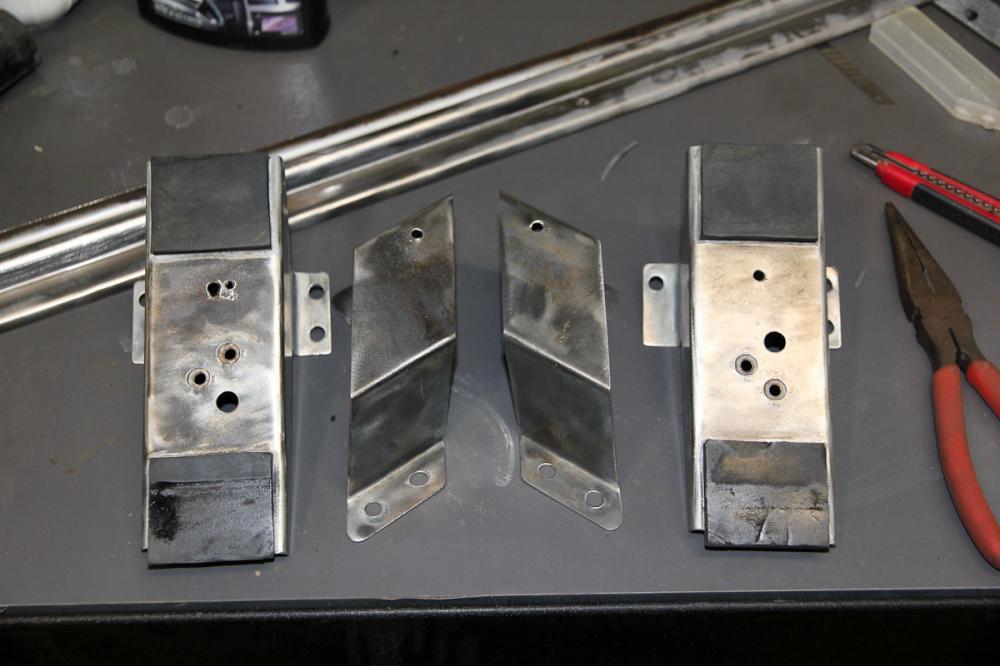
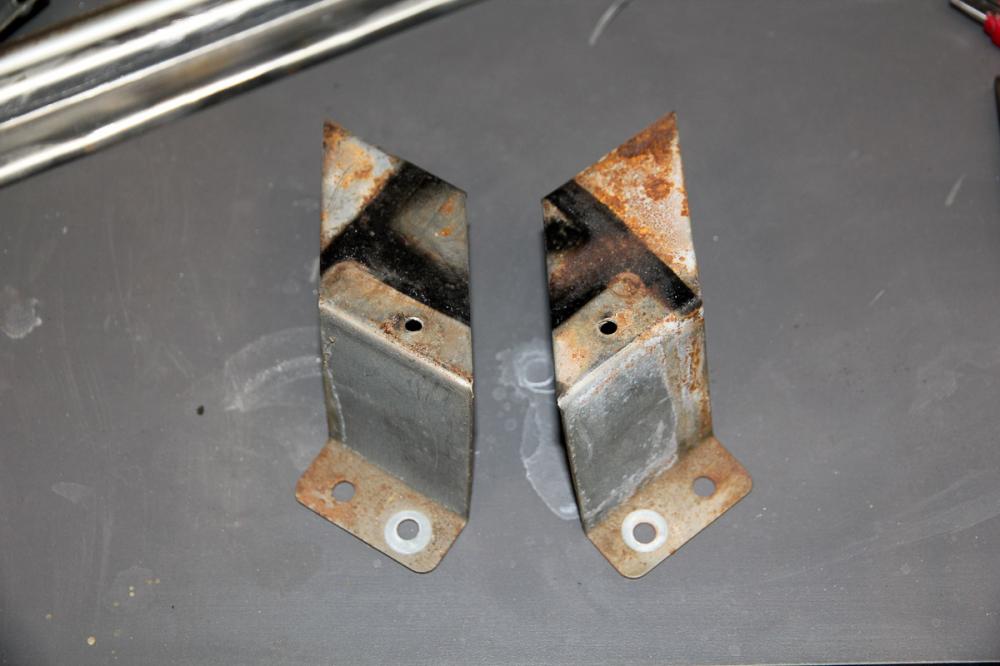
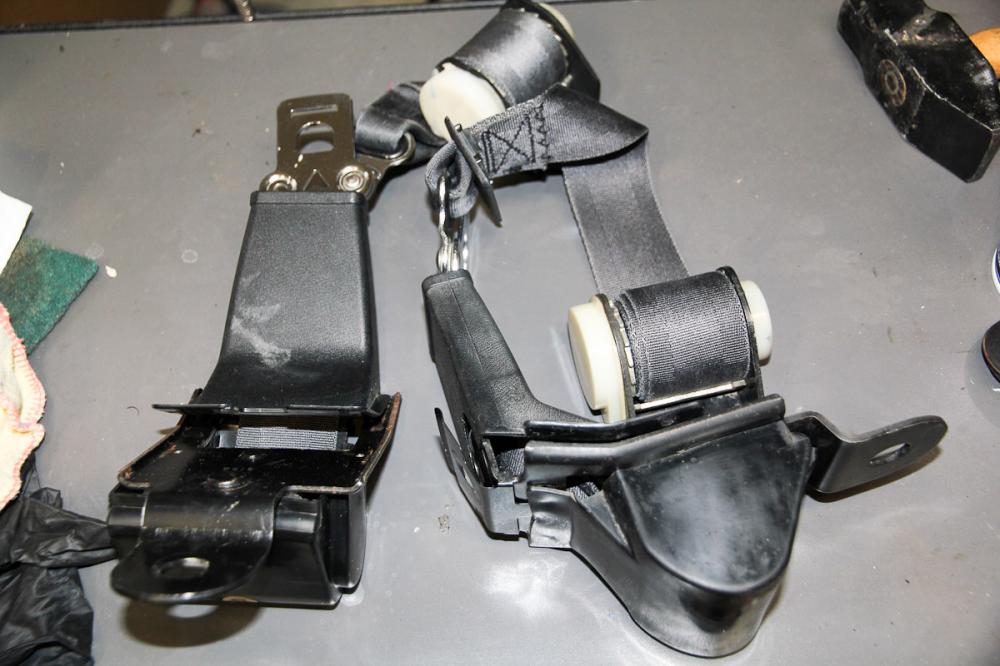
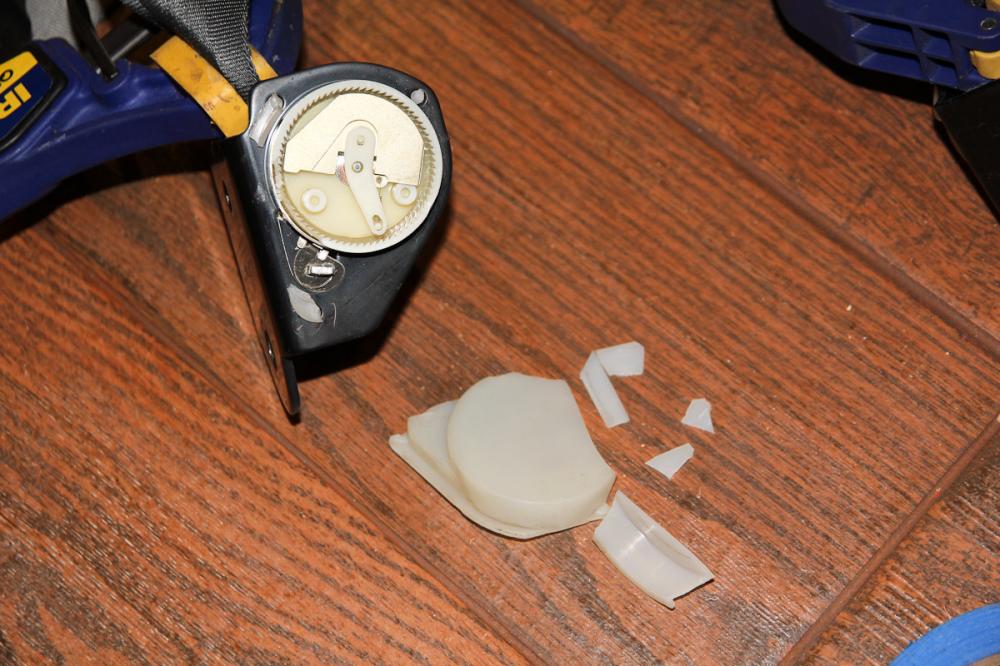
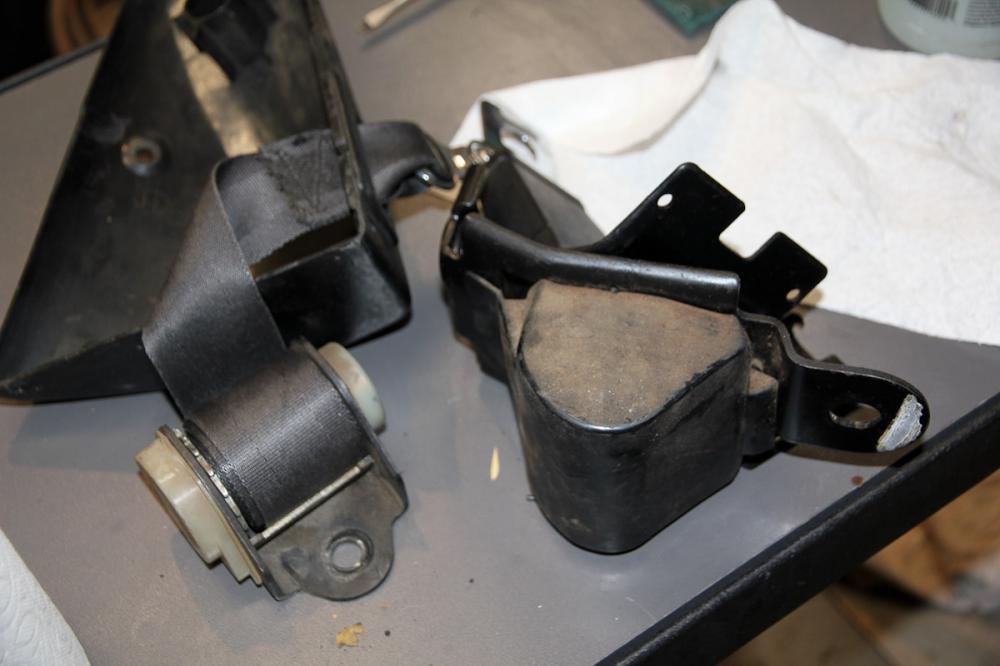
Updates on some of the smaller things I've taken care of here and there. The scuff plates were in bad shape, so those were stripped (which took longer than I'd like to admit), hit with the wheel and knocked back into shape. Since I was planning on going through the trouble of painting them, I figured I may as well do the same with some of the other bits and pieces that could benefit from some attention. All were given a brushed-on coat of the MasterSeries silver paint. Not exactly original, but better looking. Also dealt with the seatbelts, which was a gag-worthy endeavor. Delightful things found in the passenger seat belt included: a quarter, a nut shell, and chewed gum. The belts were soaked in hot water with Oxy Clean, rinsed, hit on both sides with the steam cleaner, soaked again with Oxy Clean, then rinsed twice. That nasty water was from the passenger side; the driver side was significantly worse! It was well worth the effort, though. They don't smell anymore, nor give me that vague "ewww....I need to shower" feeling whenever I have to handle them. Only hiccup: I dropped it on the way out to the garage!


-
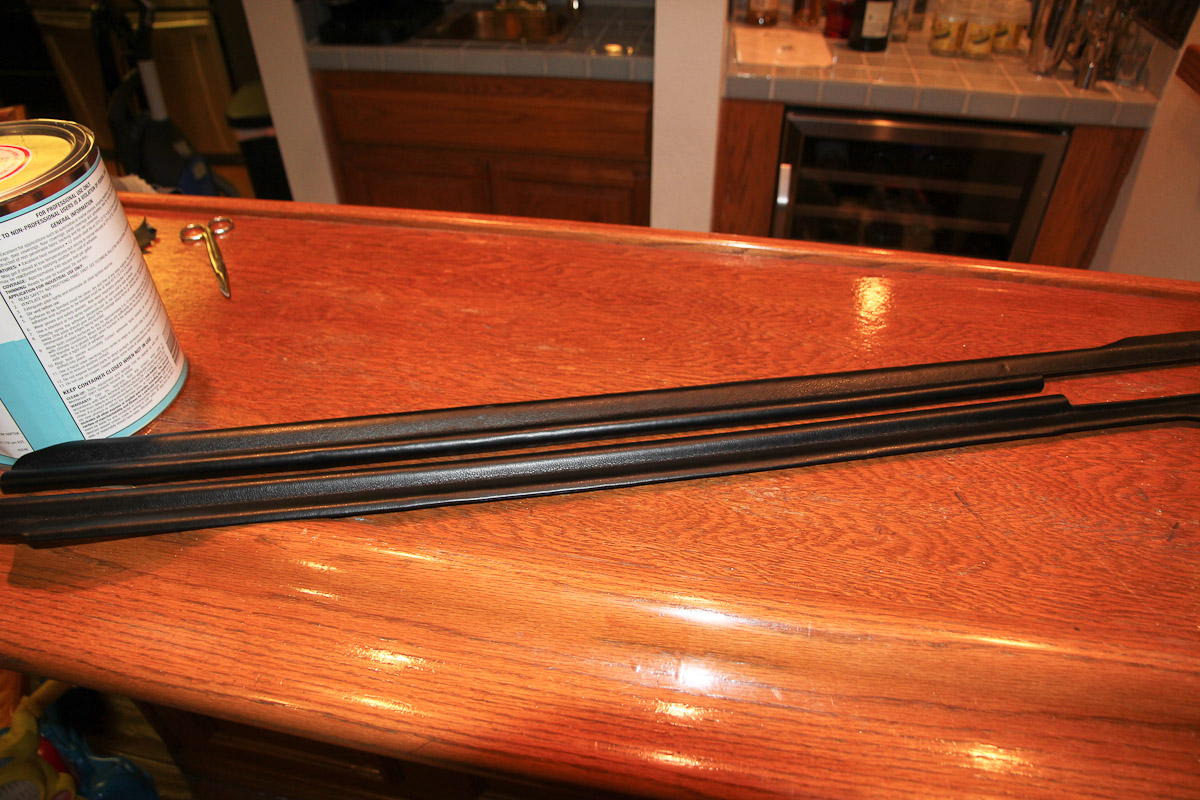
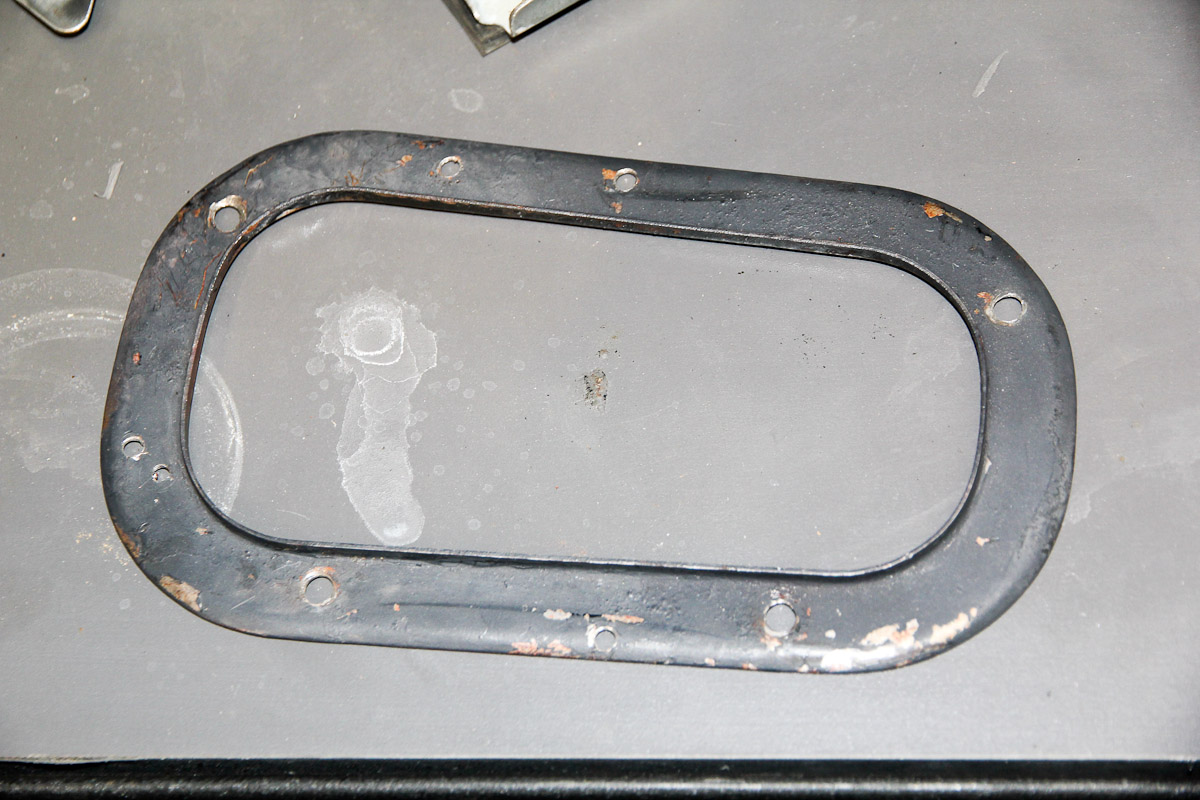
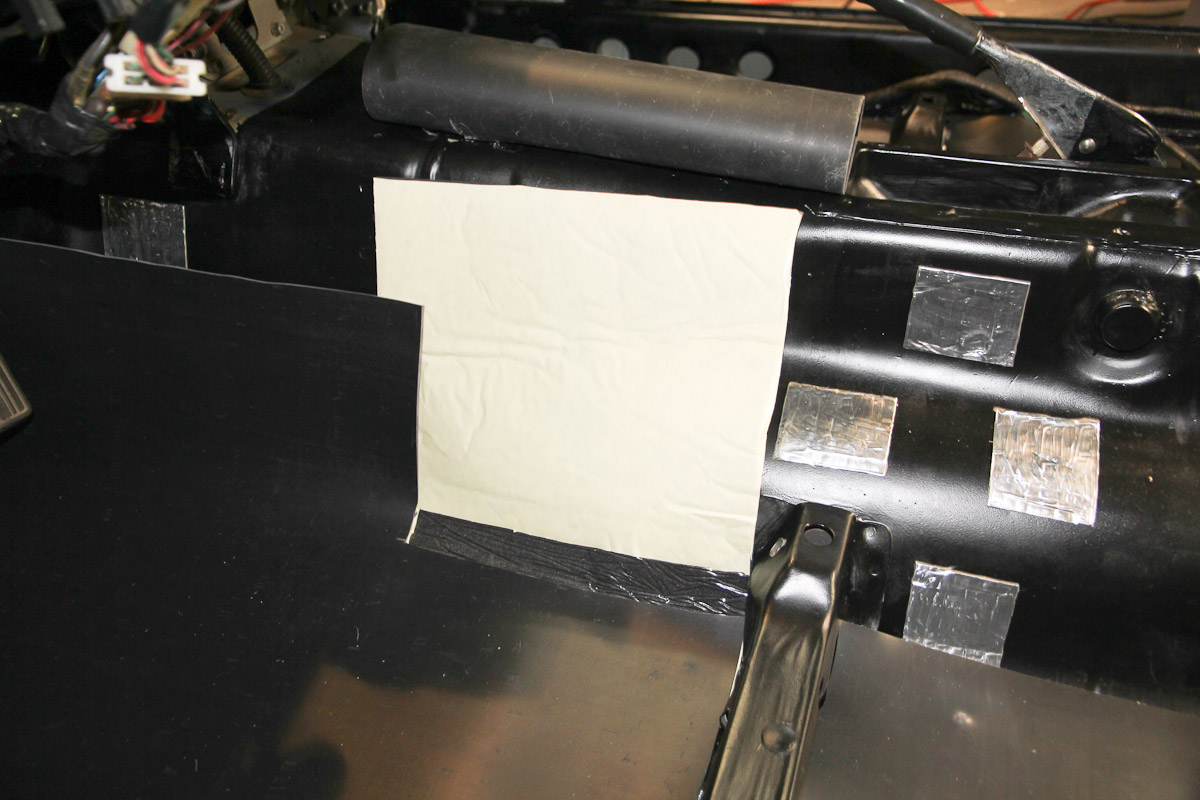
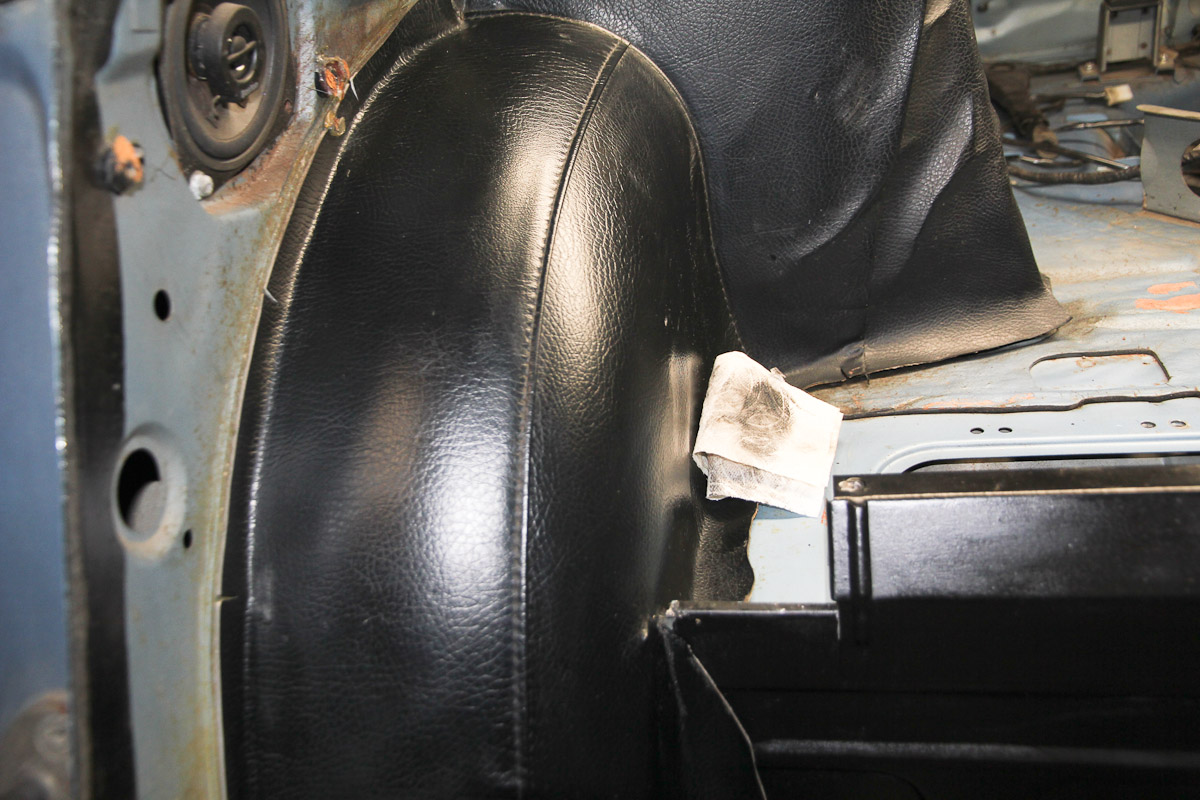
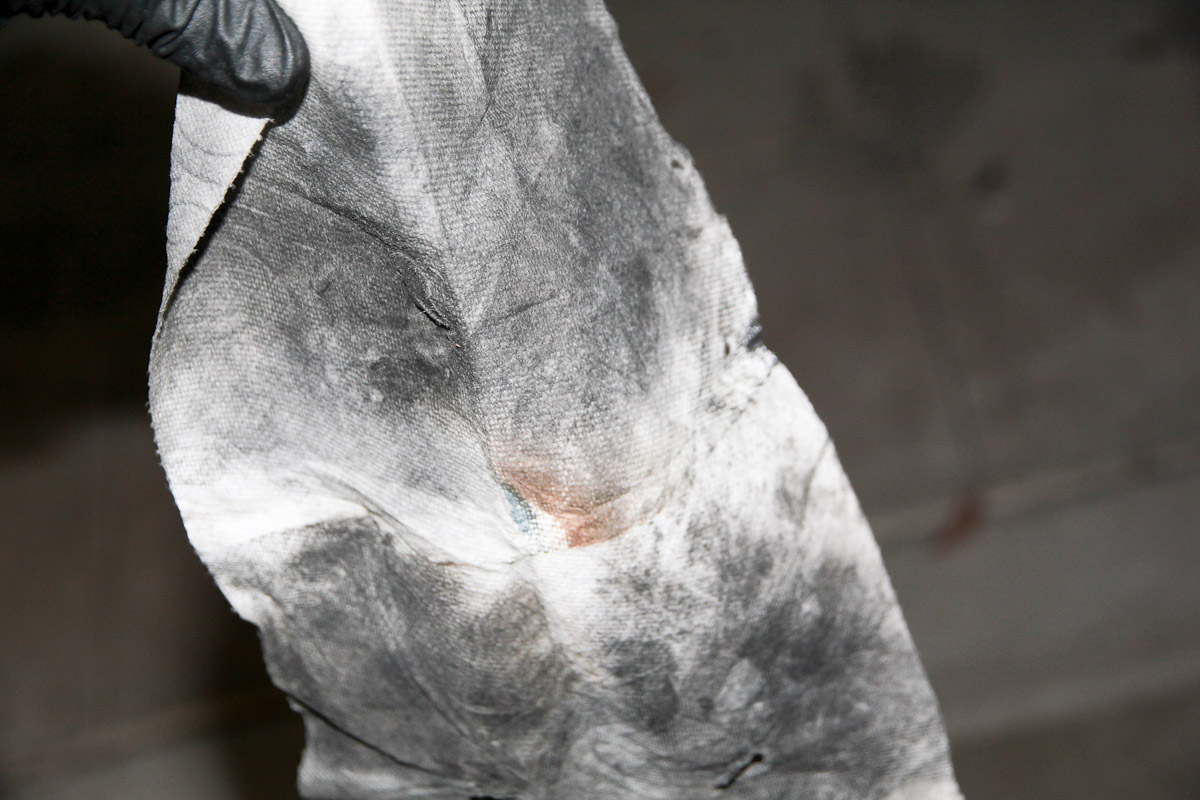
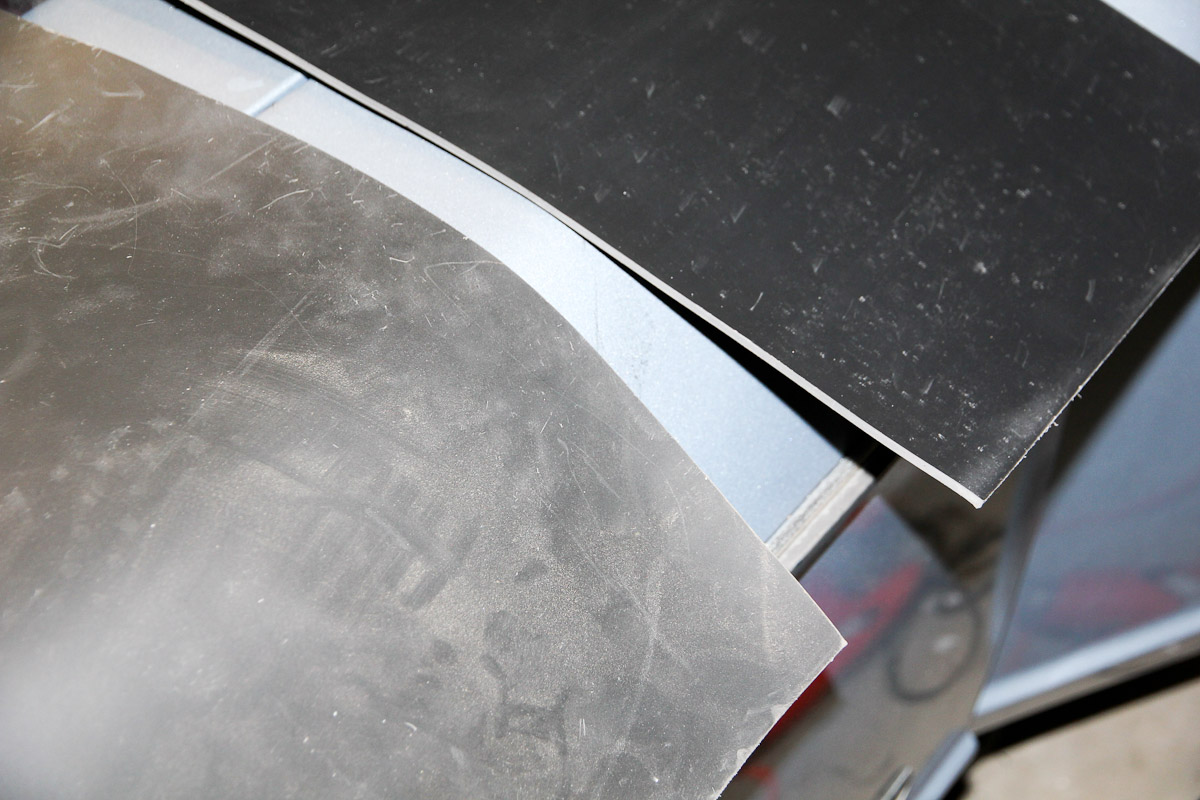
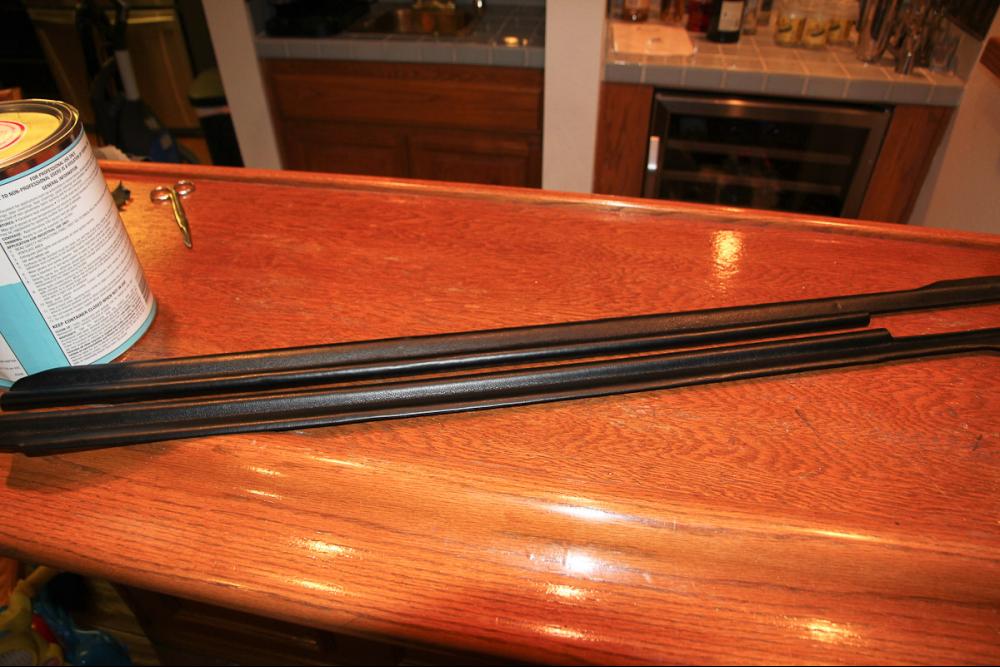
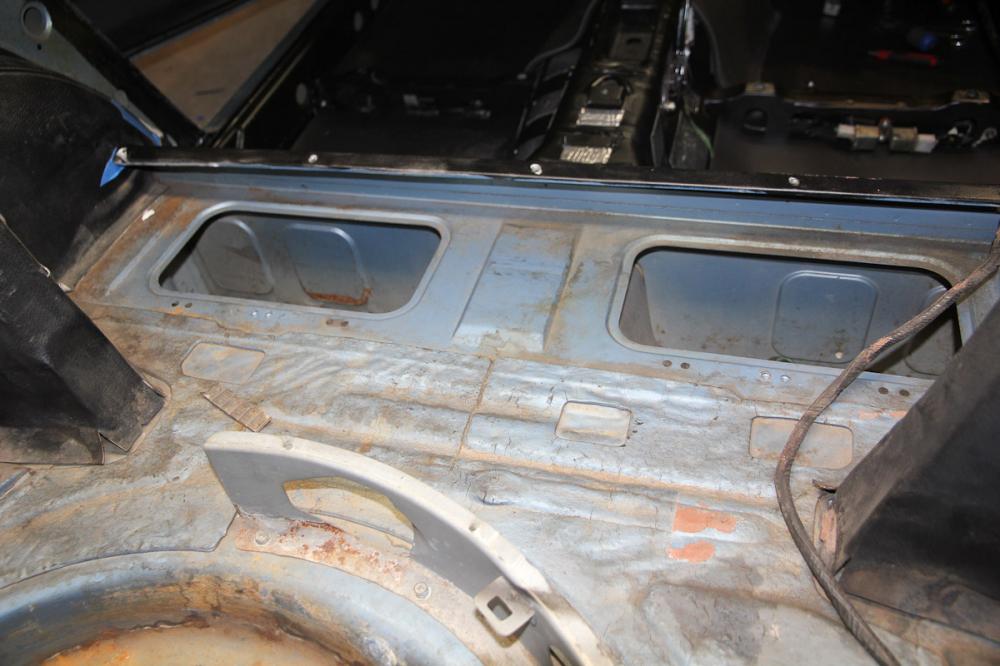
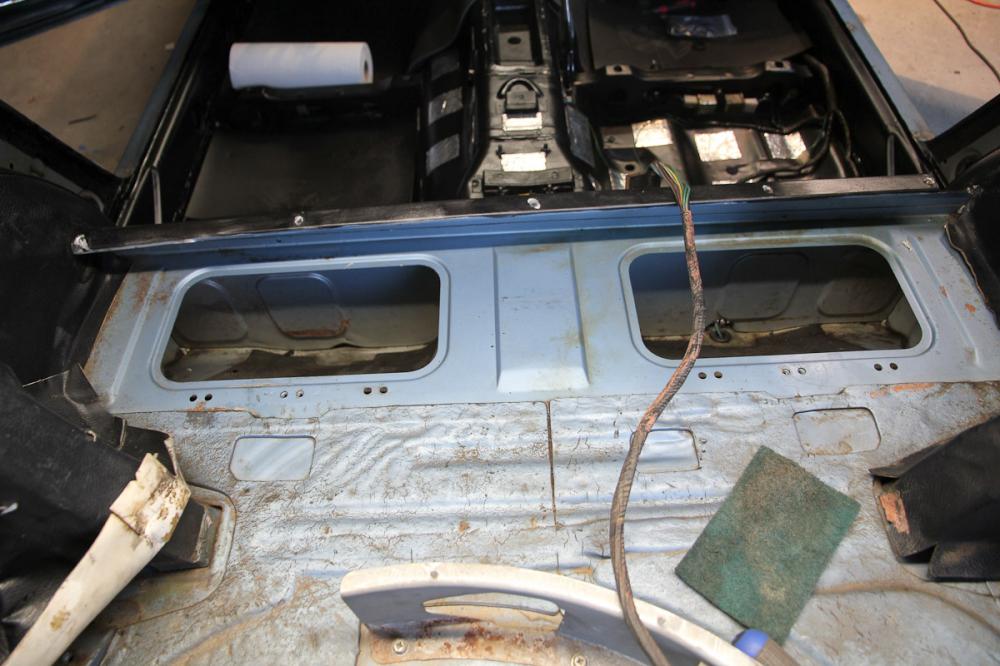
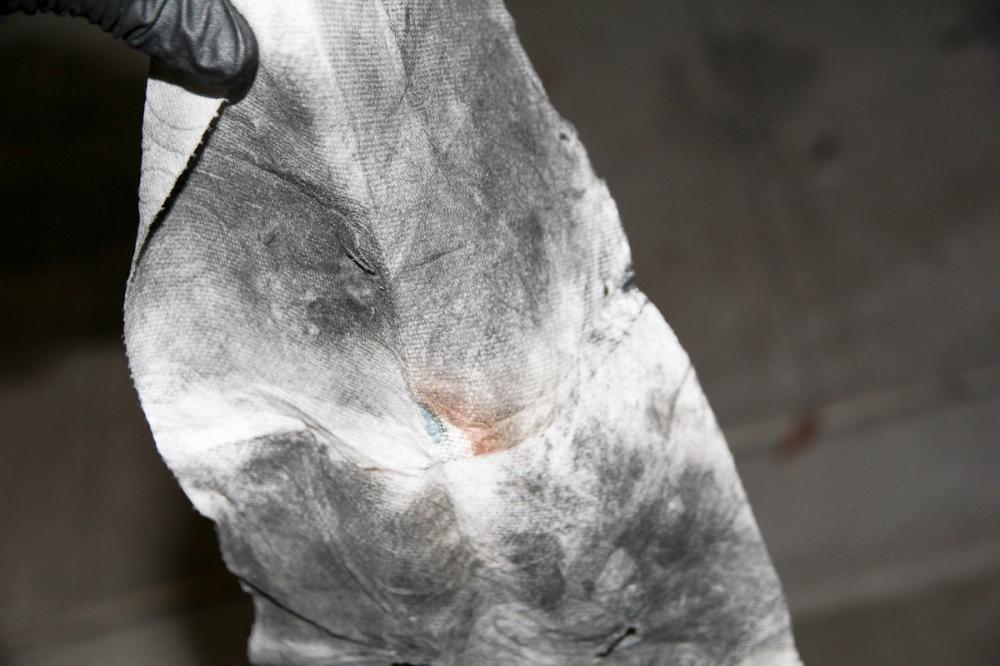
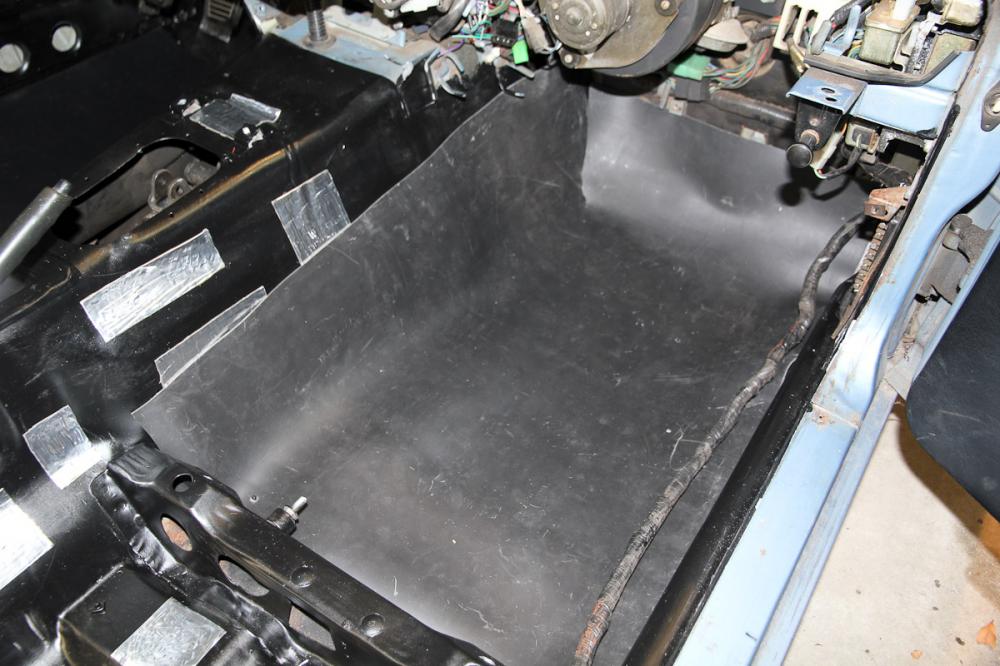
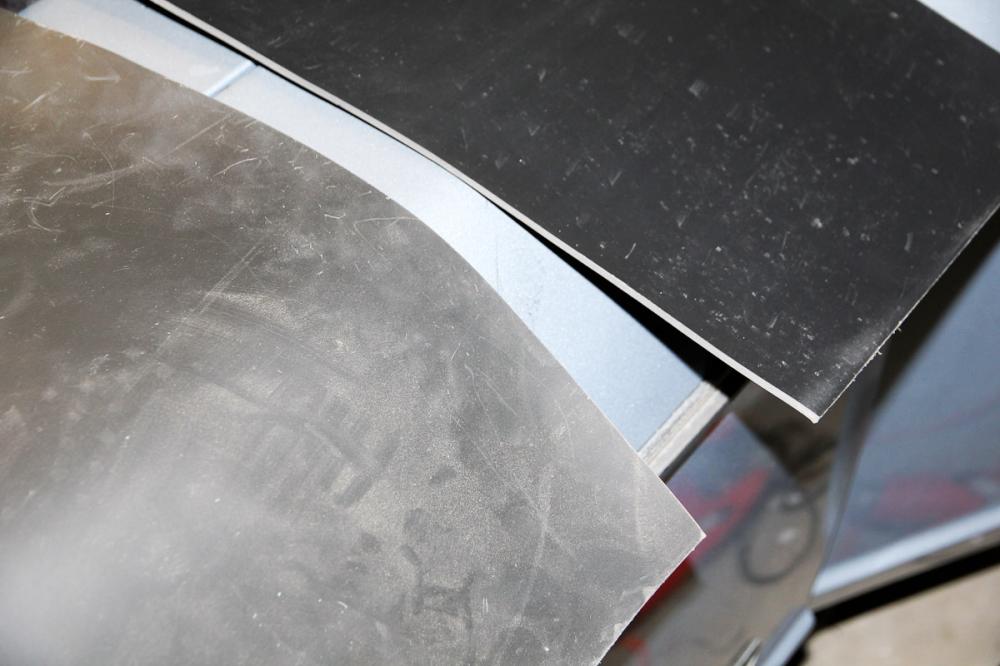
Onward with sound deadening. I screwed up on my order and bought 1/4" closed-cell foam mat instead of the 1/8" I'd used before. That's a comparison between what I had left over and what I bought. It's fairly expensive stuff, though, so I ran with it and hopefully it won't be a problem when laying the carpet. I did a couple test fittings and I think it'll work okay. A few pictures of the whole process, which is basically just a lot of measuring, cutting, sticking. Oh, I was clever and did this with the leftovers. Should've thought of it weeks ago. As for the weight? It's heavy stuff: 1lb per square foot. I didn't measure, but I'd guess there's probably about 20lbs total in the car. Santa brought me the ACC carpet kit, which I'm diligently avoiding installing at the moment, since I don't yet have the nerve to start cutting it up So I decided to start cleaning up the rear deck a bit instead because it -- like everything else -- was disgusting. Shots before, after using detergent, and finally the steam cleaner. Still not entirely happy, but I may call it good enough until I get around to stripping and painting the rear deck. My great victory for the night was on the wheel well and tower vinyl trim. Even after scrubbing and steaming, it was still deeply dirty and stained. On a whim, I tried wiping a stain with acetone, which took the stain and a lot of accompanying grime right off. I went through 6 paper towels that all look like that one before calling it an evening, but already the trim is back to life! Too bad about the rips, but I can put off replacing for a while until the budget allows.


-
I used a similar (possibly the same) gun and media when I did my suspension components. Messy, but worked well enough, especially considering the whole setup was only about $40. One thing that I found helped was cutting some length off the feed hose; it was a bit too long out of the box.
-
I'm doing my best not to think about the bottom side! I'll take that on whenever I can finally get to -- or farm out -- the body work. Fortunately the Z only goes out in fair weather and spends the rest of the time in the garage... (kind of like me...)
-
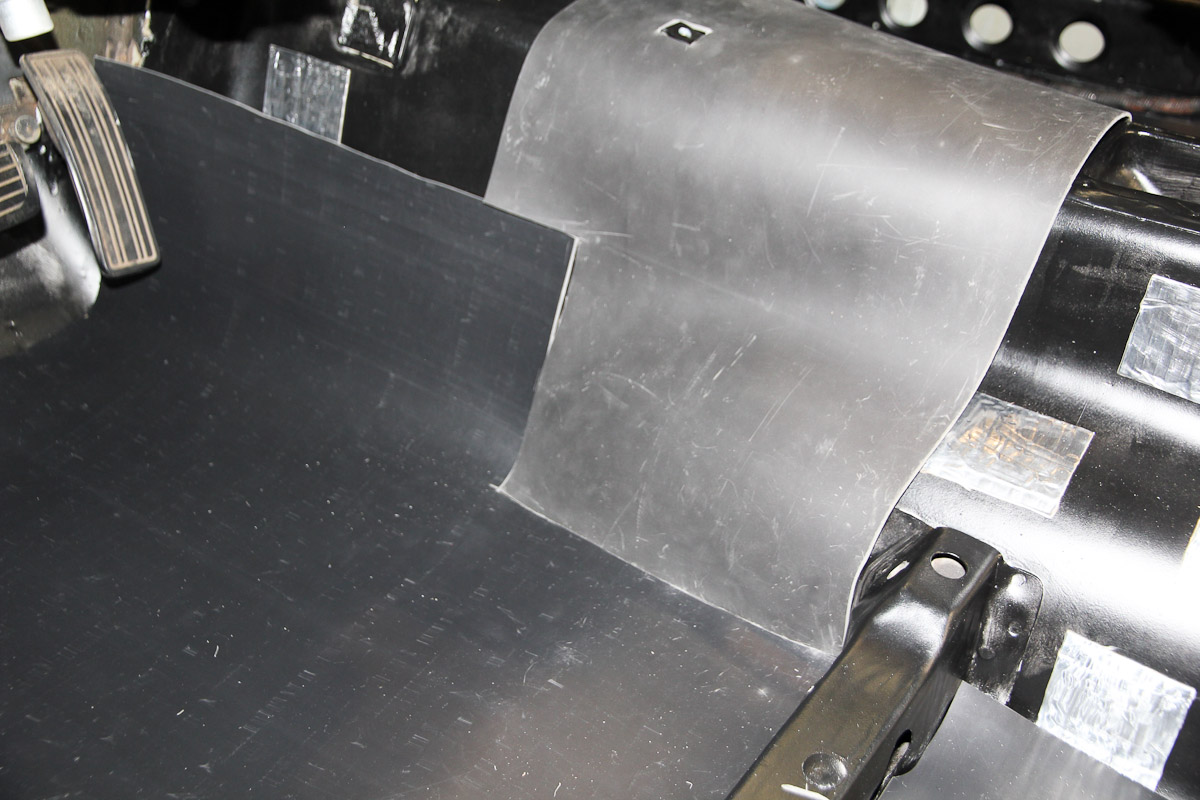
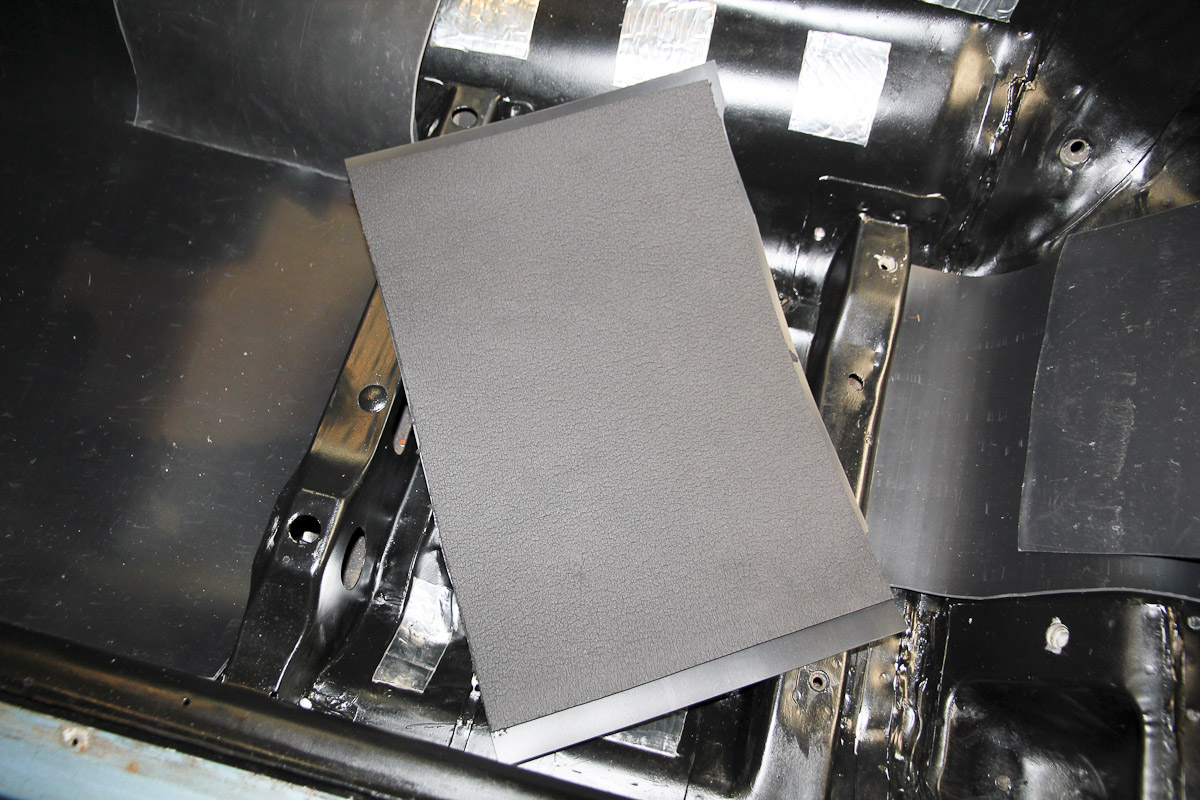
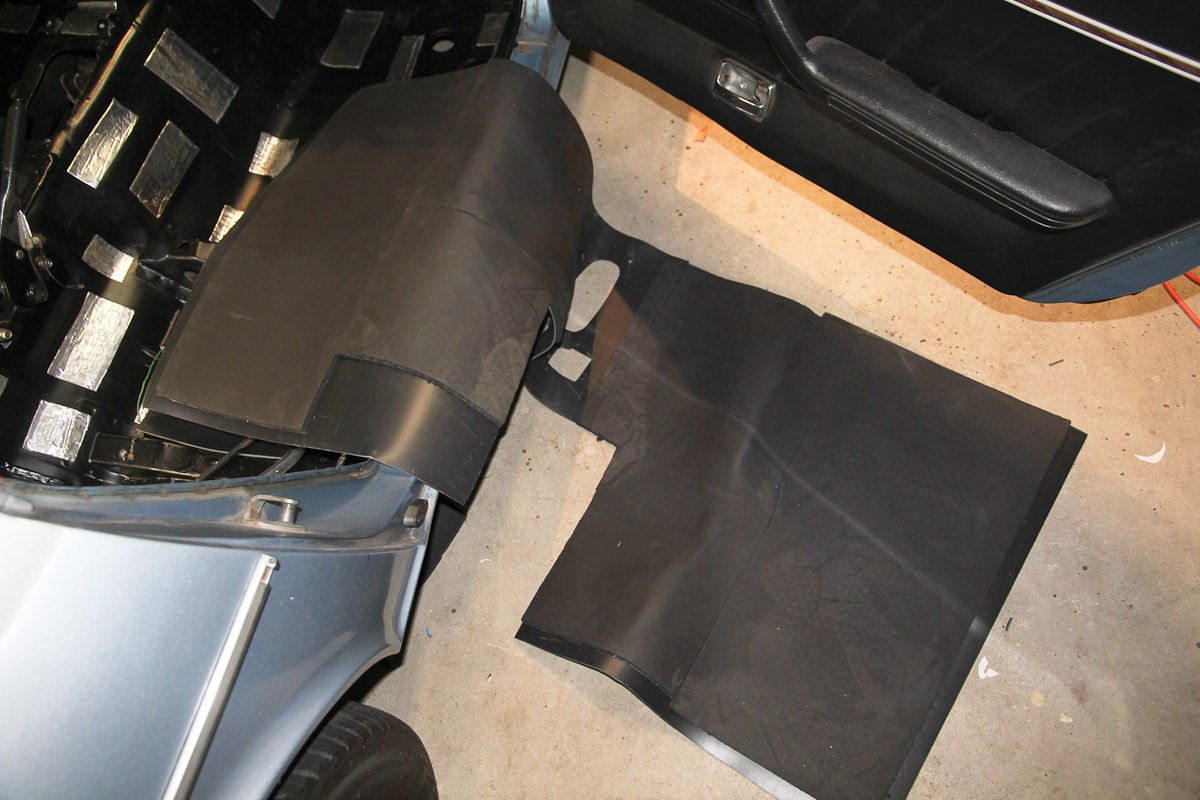
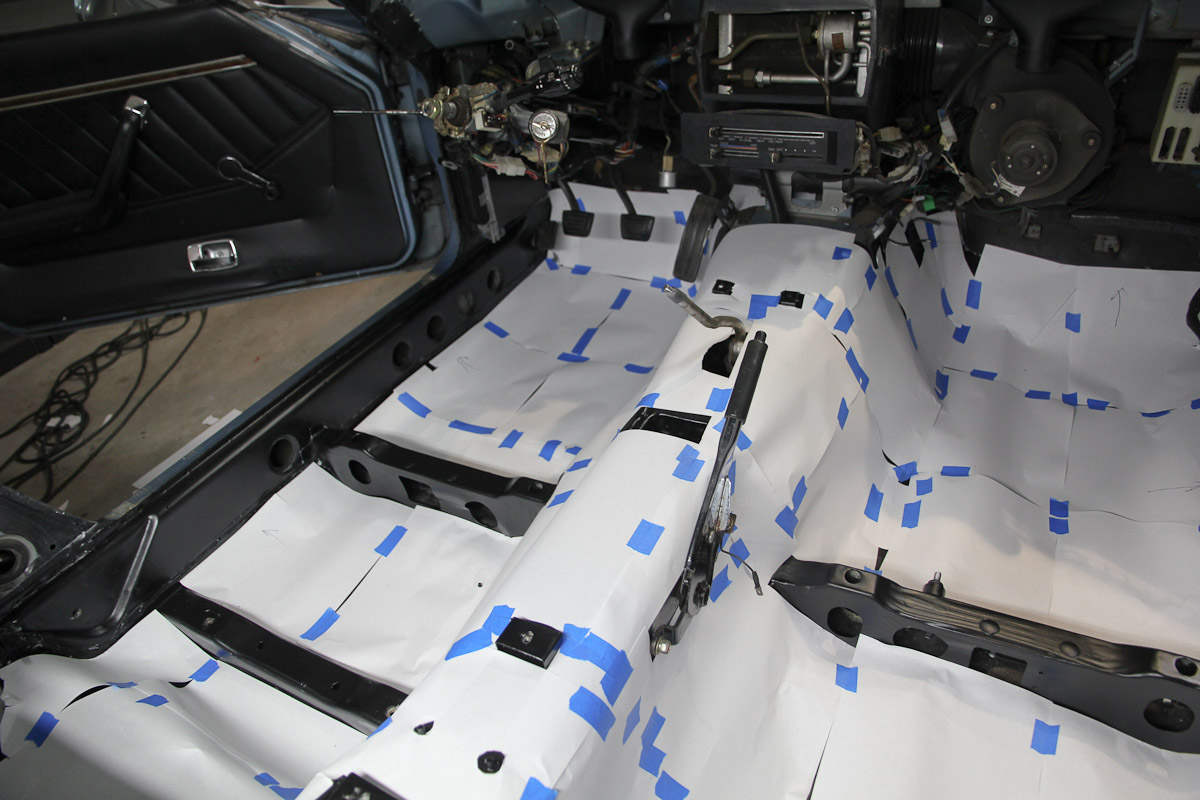
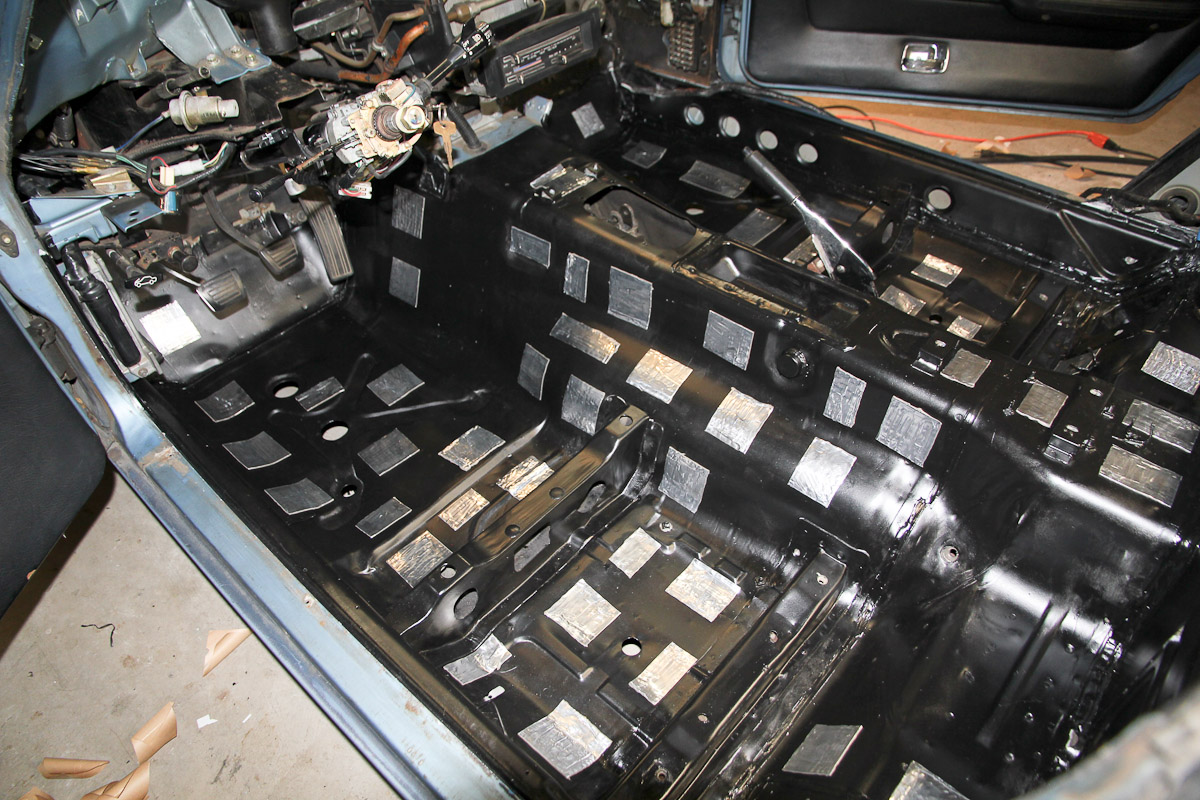
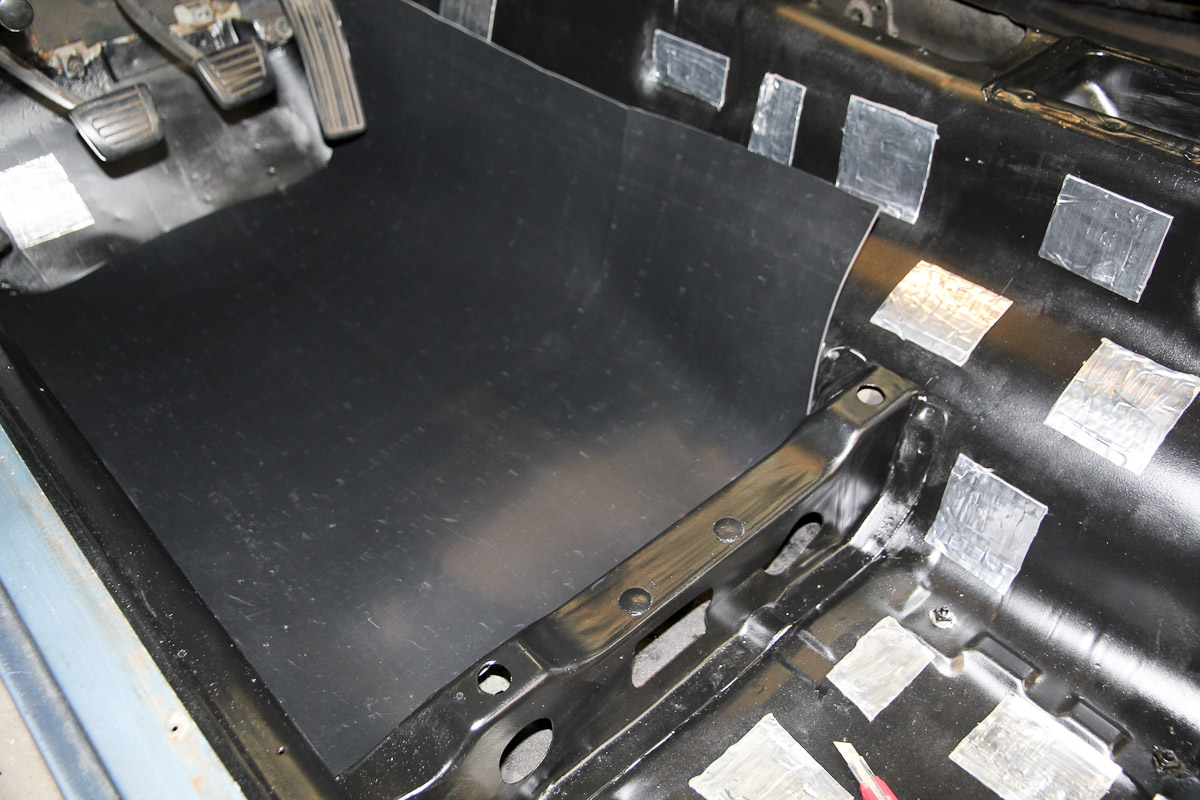
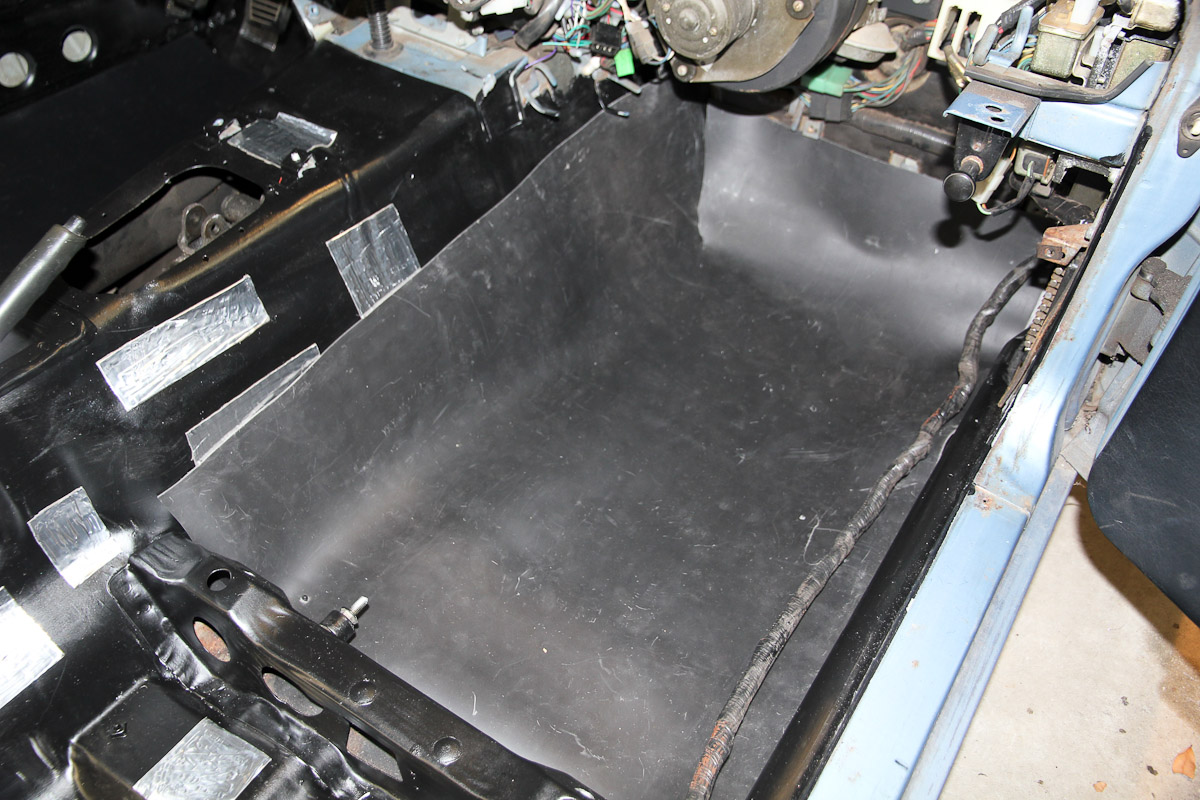
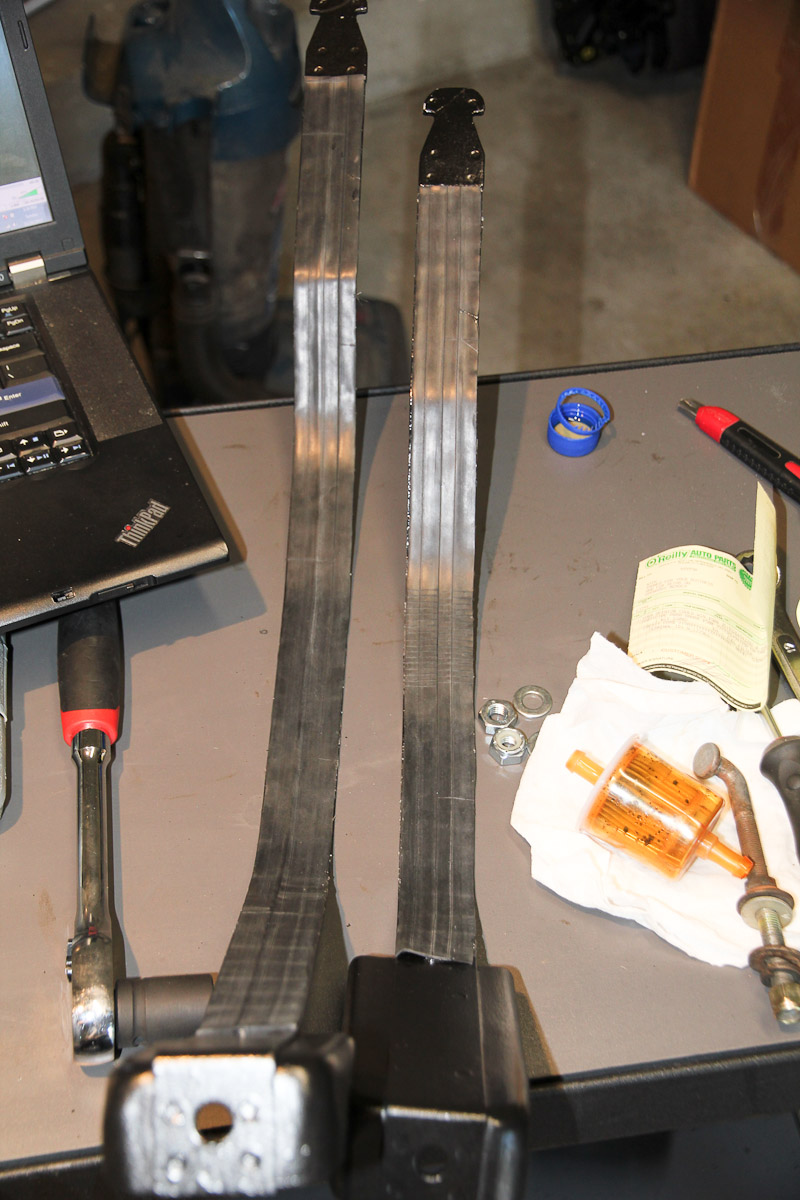
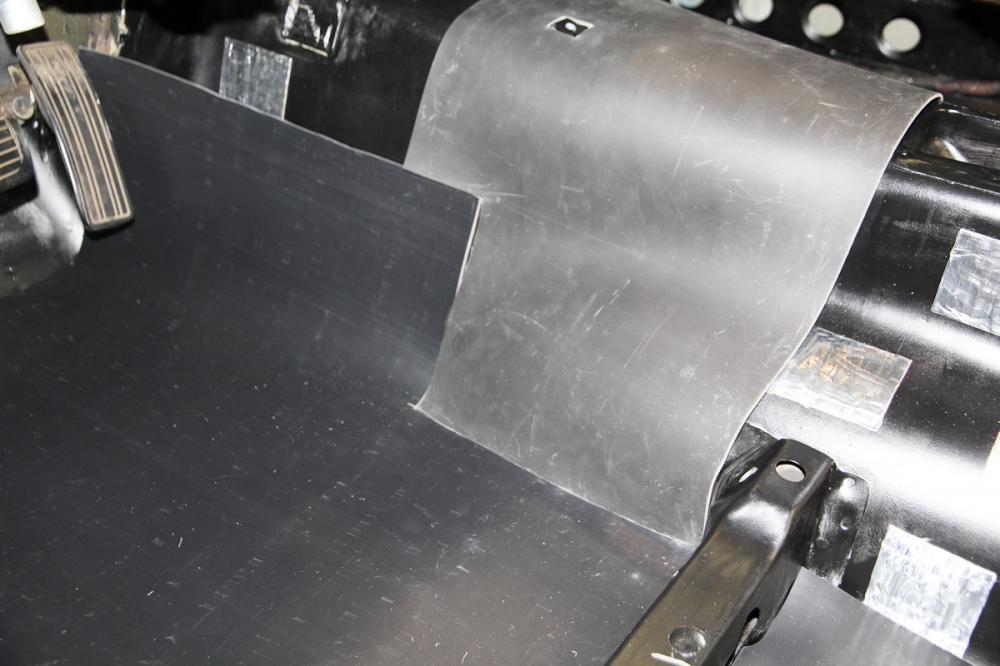
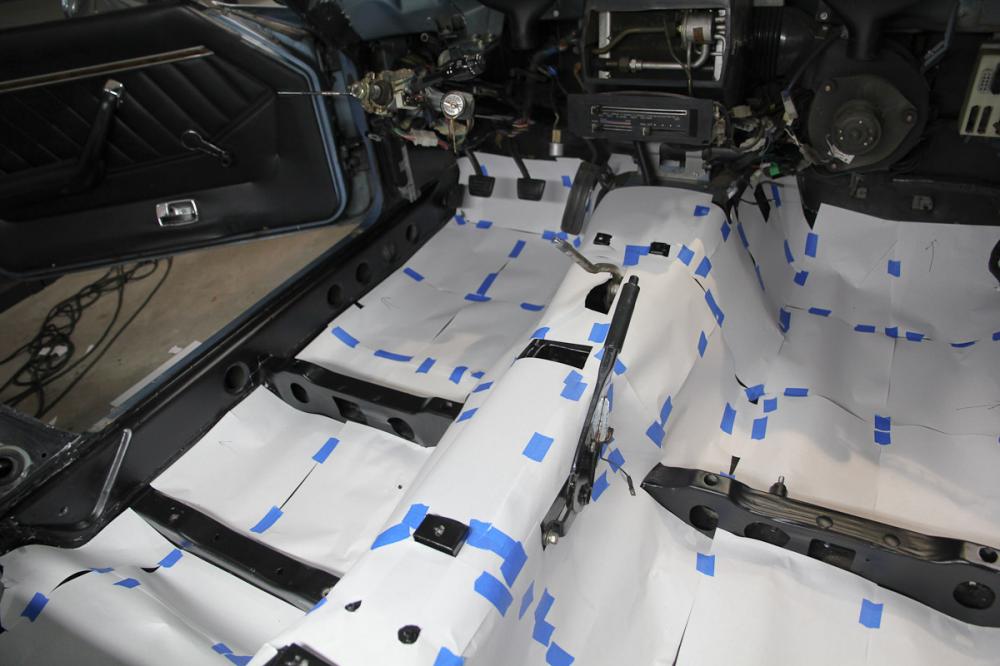
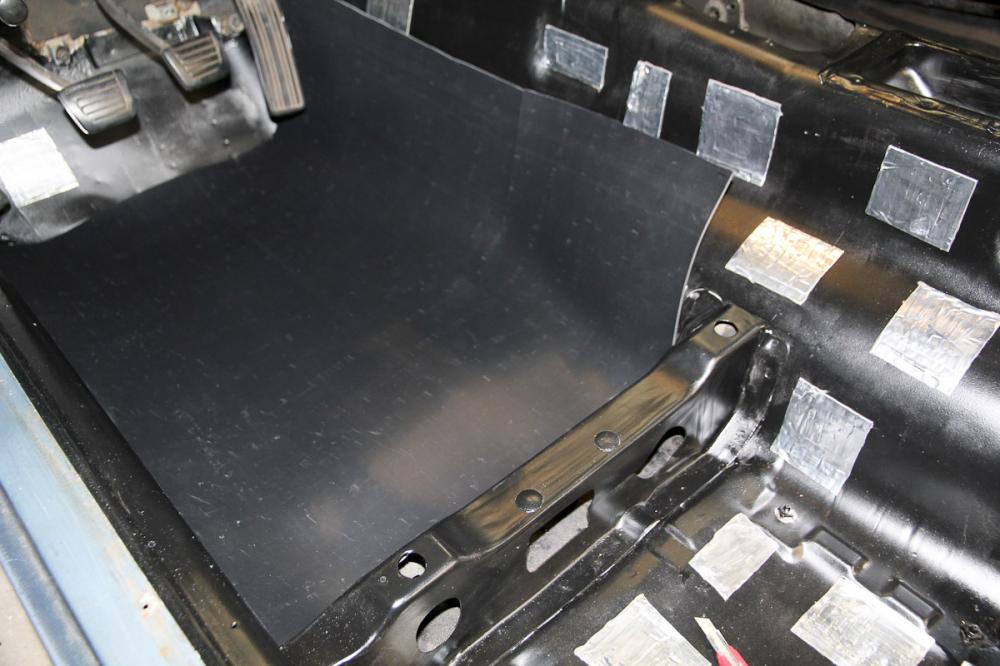
More floors! Got the top coat of paint on and then some Raammat I had left over from the audio install I did a few years ago in the G. A lot of people like to put this stuff on with full (or even overlapping) coverage, but that generally doesn't work well. Those sheets don't block noise, they reduce panel vibrations, so I stuck it in places that sounded the worst with the very-scientific knuckle test. To block the sound, I'm going with mass-loaded vinyl and closed-cell foam. I used this in the G as well, with good results. Here my plans start going sideways. Originally wanted to cover the whole floor with MLV, and even made a very elaborate template that took a lot of time and back pain, which isn't going to be used. The old MLV I had left over probably would have worked with enough finagling, but the new stuff (from the same supplier) is about 25% thicker and a good bit stiffer. Here's a comparison, and you can see how the old stuff lays in better on the passenger side than the new stuff on the driver side. So the current plan is to scale back and use the new stuff on the flat sections of the floors, lay the old stuff over the tunnel, and not be so fussy about getting it to fit, since it's all covered by carpet anyway.

-
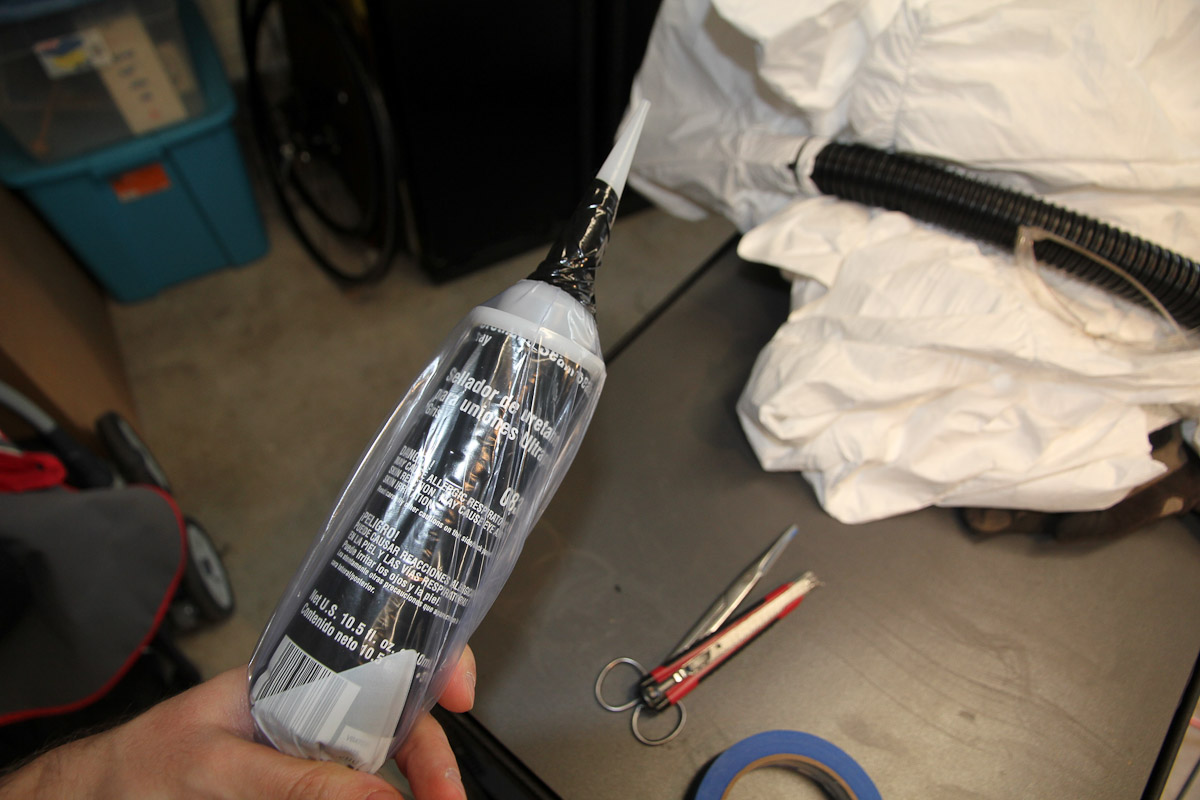
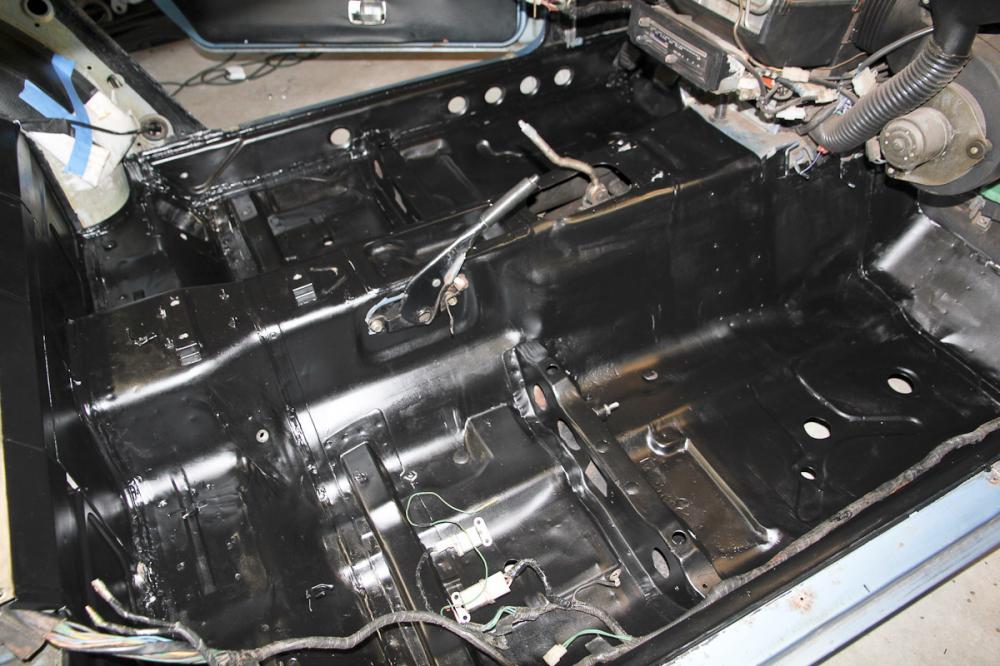
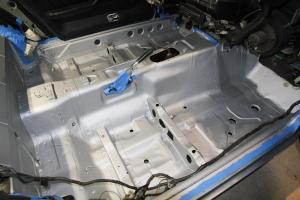
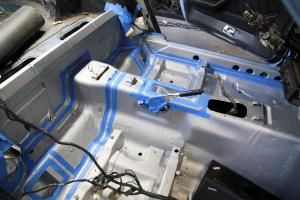
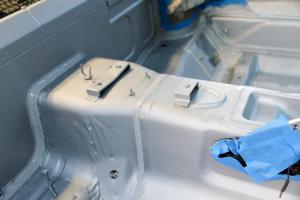
Progress! Two coats of the Masterseries Silver have been applied and it looks a lot prettier now. I spent yesterday evening masking off all the areas that needed seam sealer, which ended up being a ton of work I probably didn't need to do. Since I don't have a gun for the 2k sealers, I chose the 3M Ultrapro. I also don't have a gun for that, but thought I could do the old homemade pastry bag trick. Turns out that seam sealer is way thicker than frosting! Spoiler alert: it didn't work I ended up digging the stuff out and applying it with my fingers, which made a pretty horrible mess and isn't something I really feel like doing again, but it came out nice enough. Hopefully on Wednesday I'll have time to put on the black finish coat.

-
Well, she knew what she was getting into when she married me, so I assume she was probably questioning her own judgement more than mine
-
First coat of silver went on the floor pans this evening. The DIY supplied air contraption worked a treat! Better than the mask (though more awkward). I'll have my wife take a photo of it in use when the second coat goes on tomorrow. Wish I could've read her mind when she got home today when I was in the middle of this project!
-
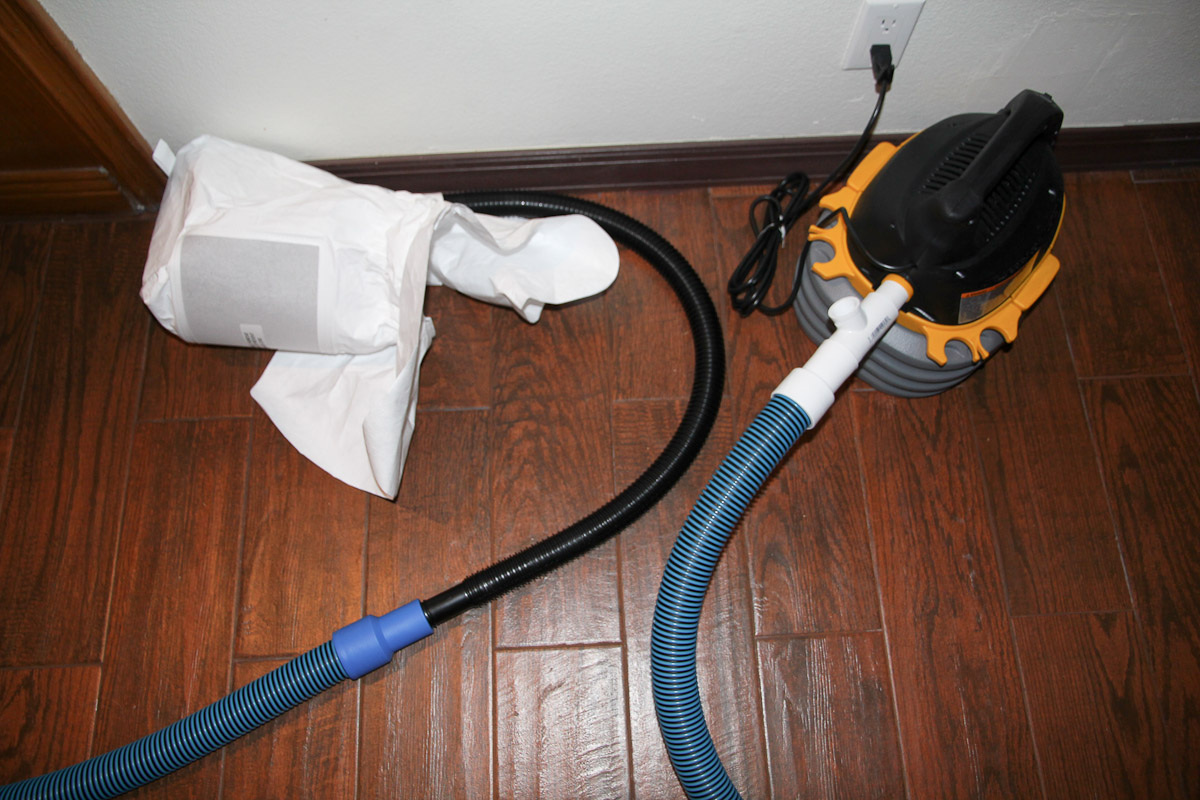
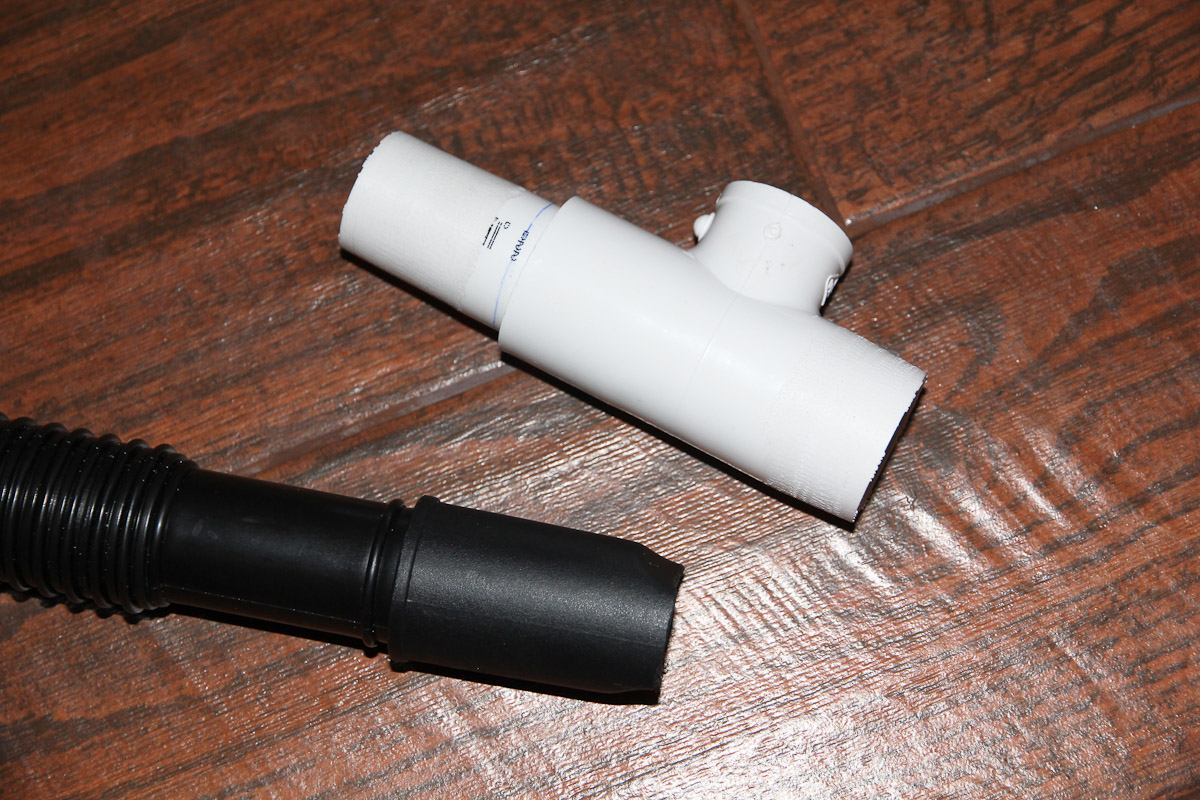
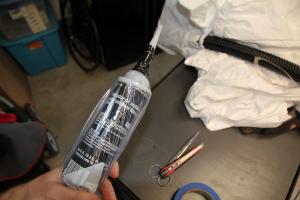
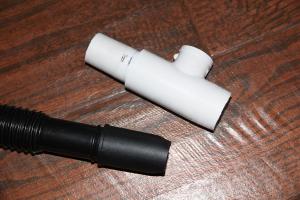
Kind of slow going lately. Things like football, family, holidays are all getting in the way of important stuff like working on the car. The floors are almost ready to be painted, and I'm not feeling particularly comfortable about relying on a mask while doing that, so I cooked up this little system with some inspiration around the internet. - A brand new cheap vacuum/blower, that won't be used for anything else - Tyvek hood - 50ft pool vacuum hose - Some PVC couplings Needed to shave down some of the couplings and sacrificed one of the included vac attachments, but everything fits together. Tested around the house and it all works as expected, it's light and not terribly unwieldy, and provides plenty of air. An OSHA inspector would likely have an aneurysm, but for the hour or two of total use it'll get, I think it should be an improvement over the mask.

-
-
-
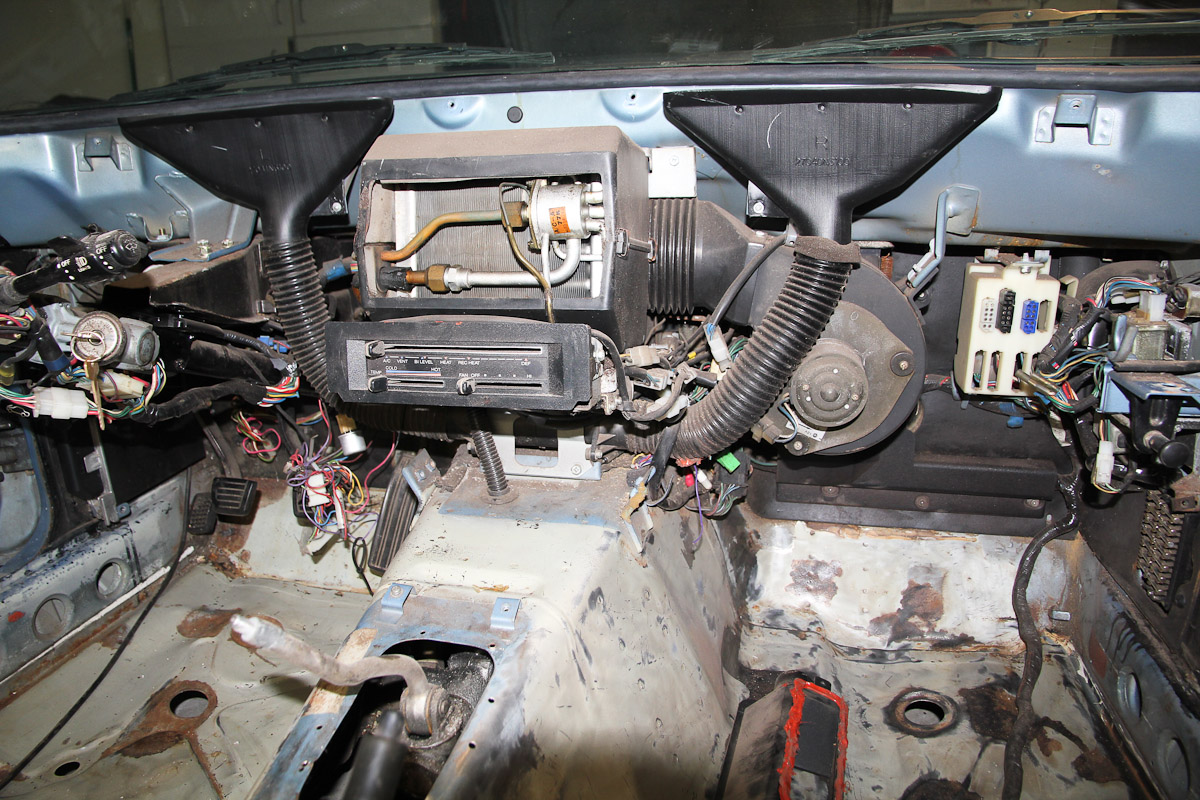
It actually never occurred to me that all the AC components were sitting there under the dash. Kind of makes it difficult to get easy access to the firewall! My dash is already cracked so badly that there's a fair chance I'd somehow improve it during removal. I wouldn't risk removing an uncracked one either.
-
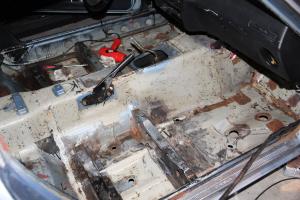
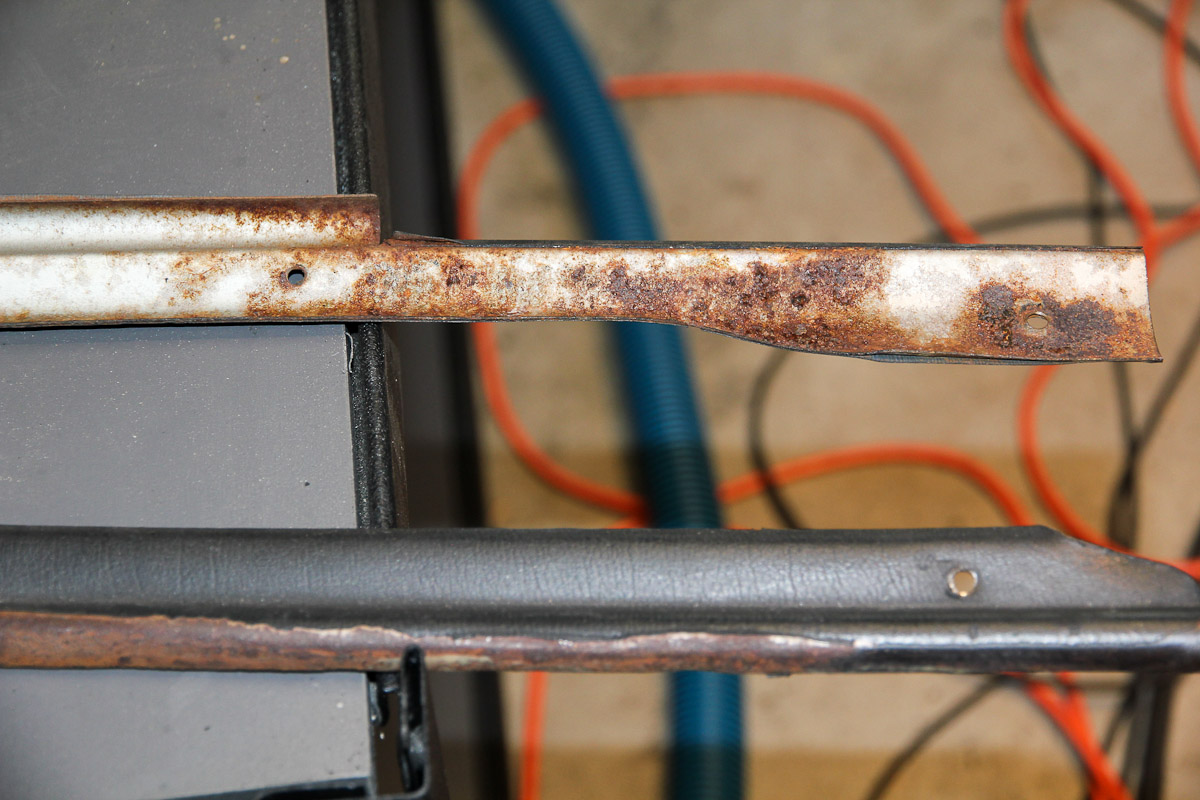
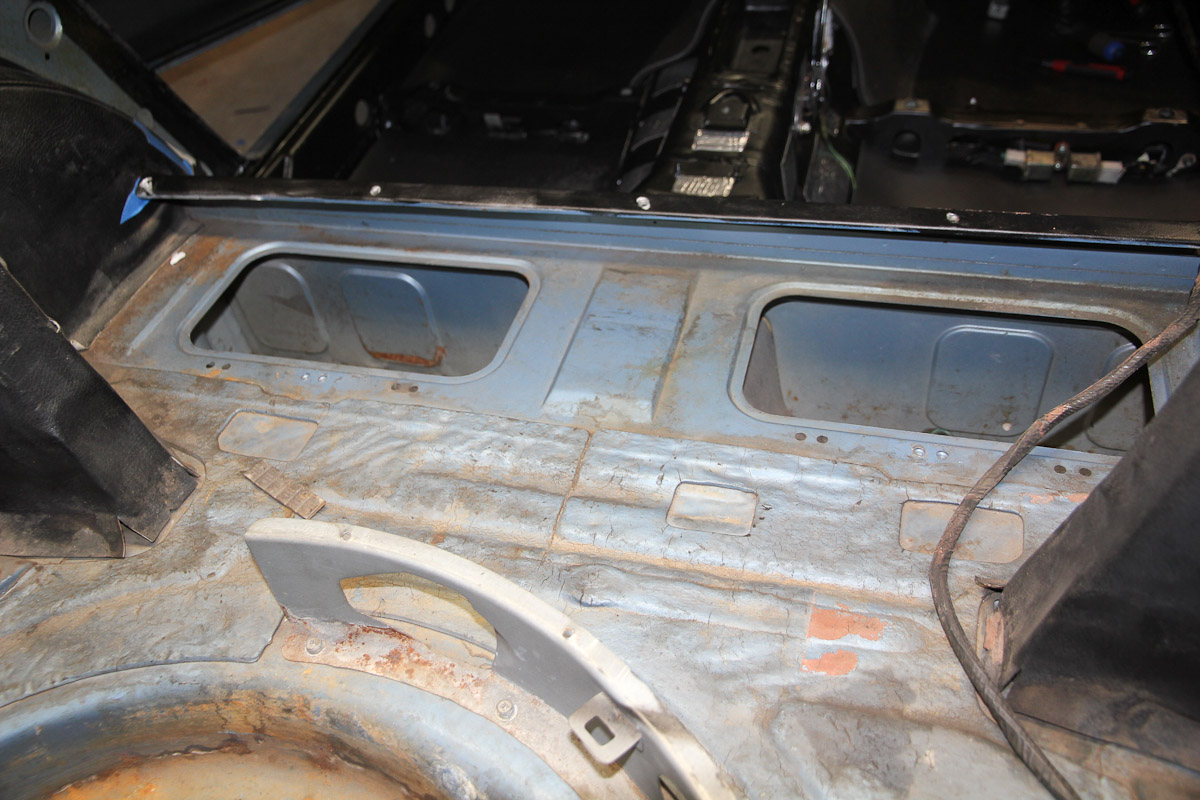
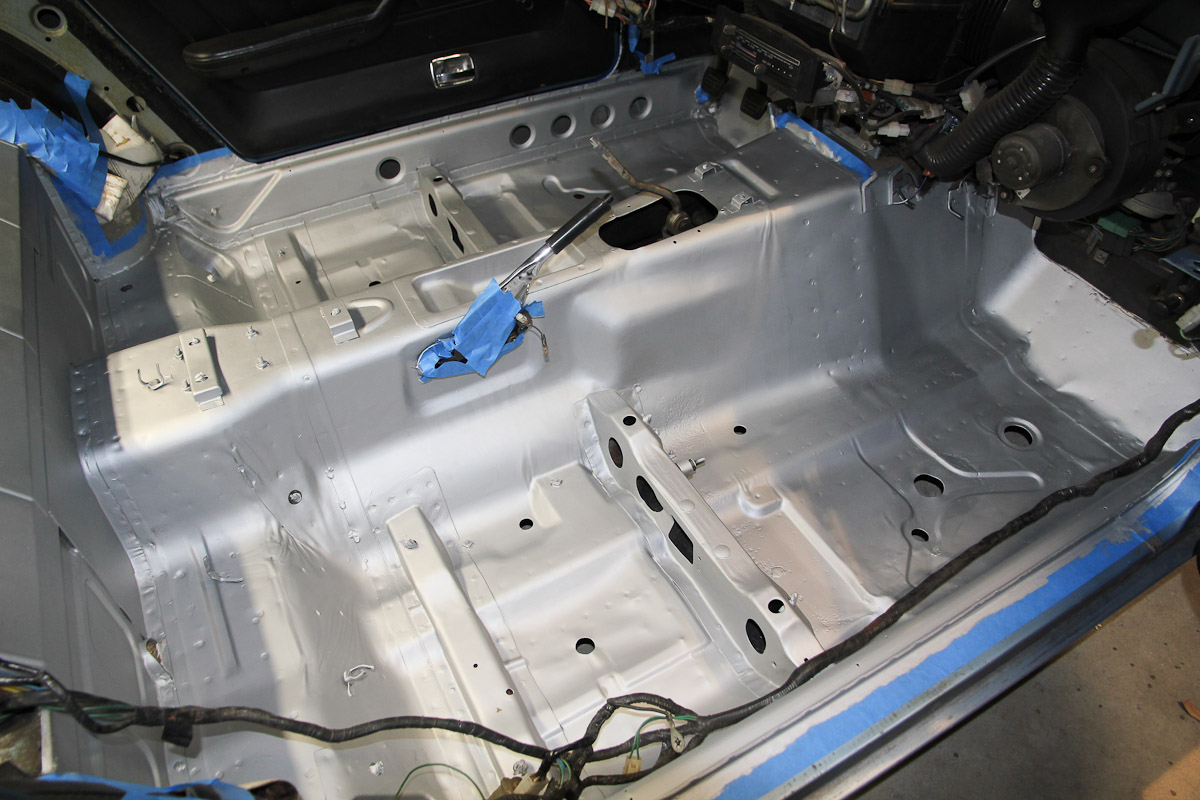
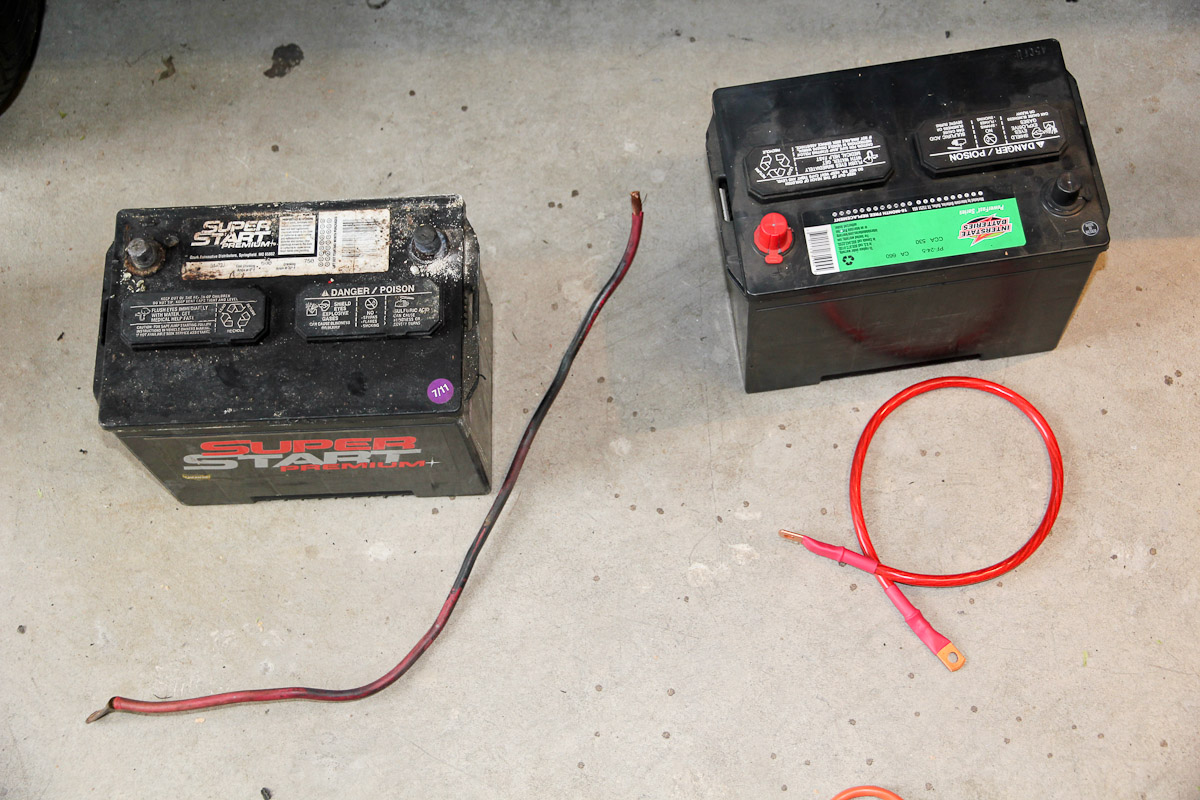
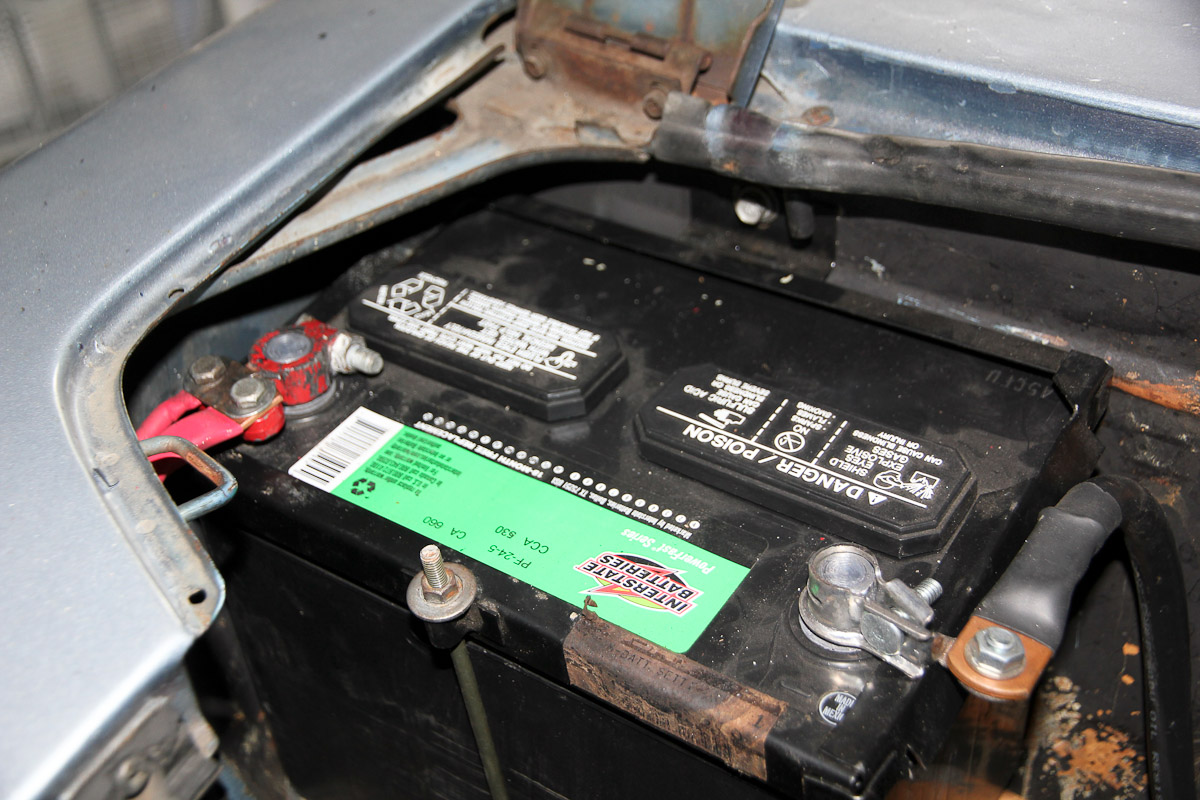
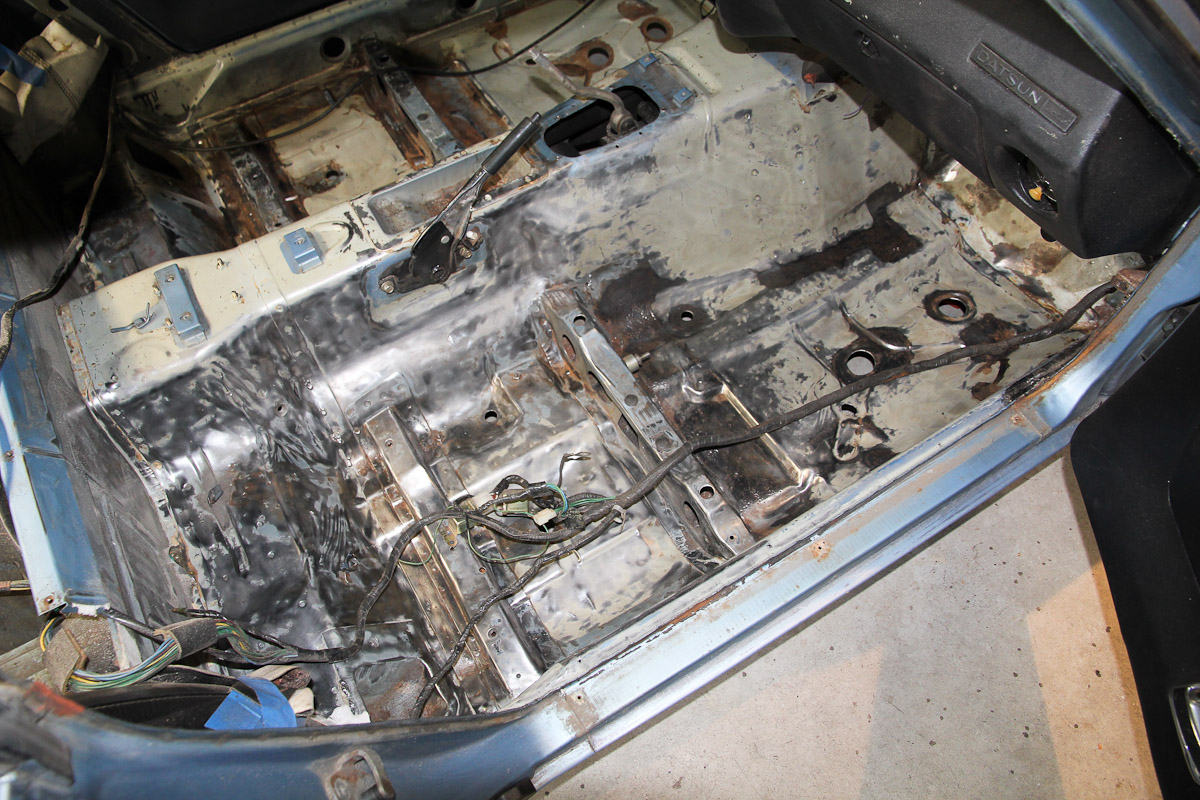
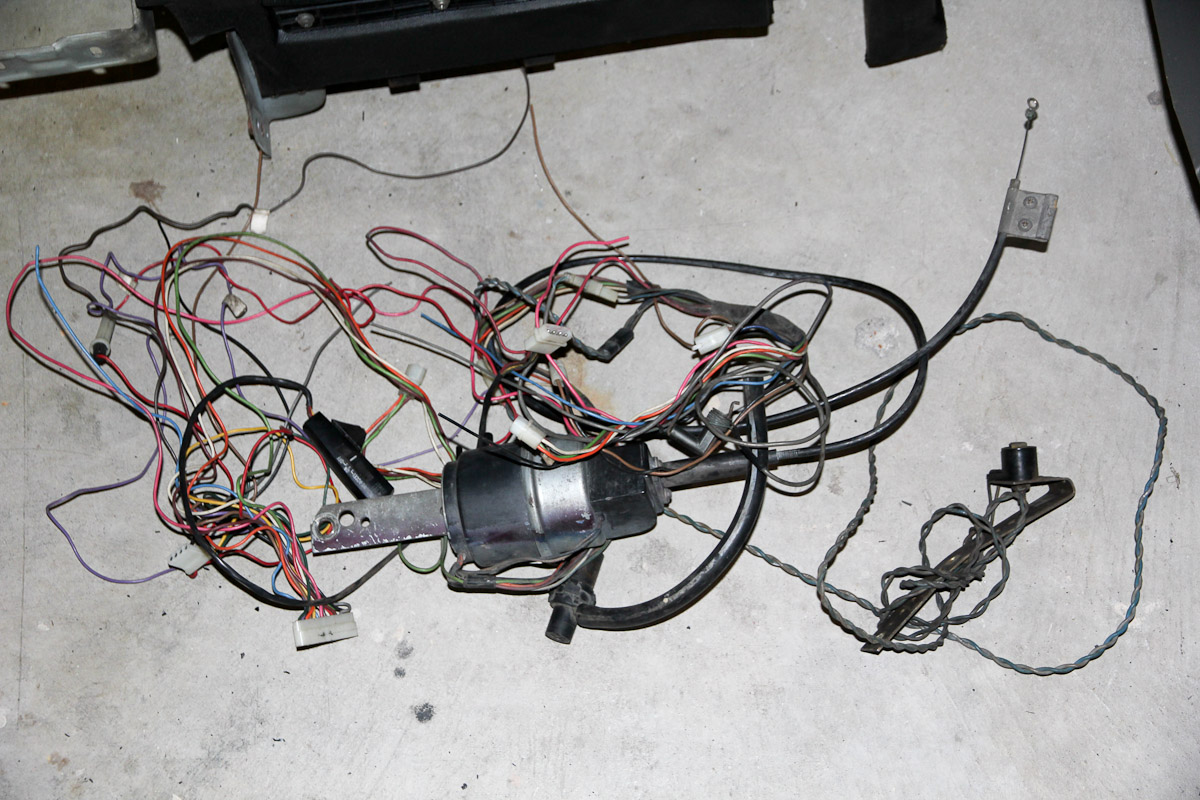
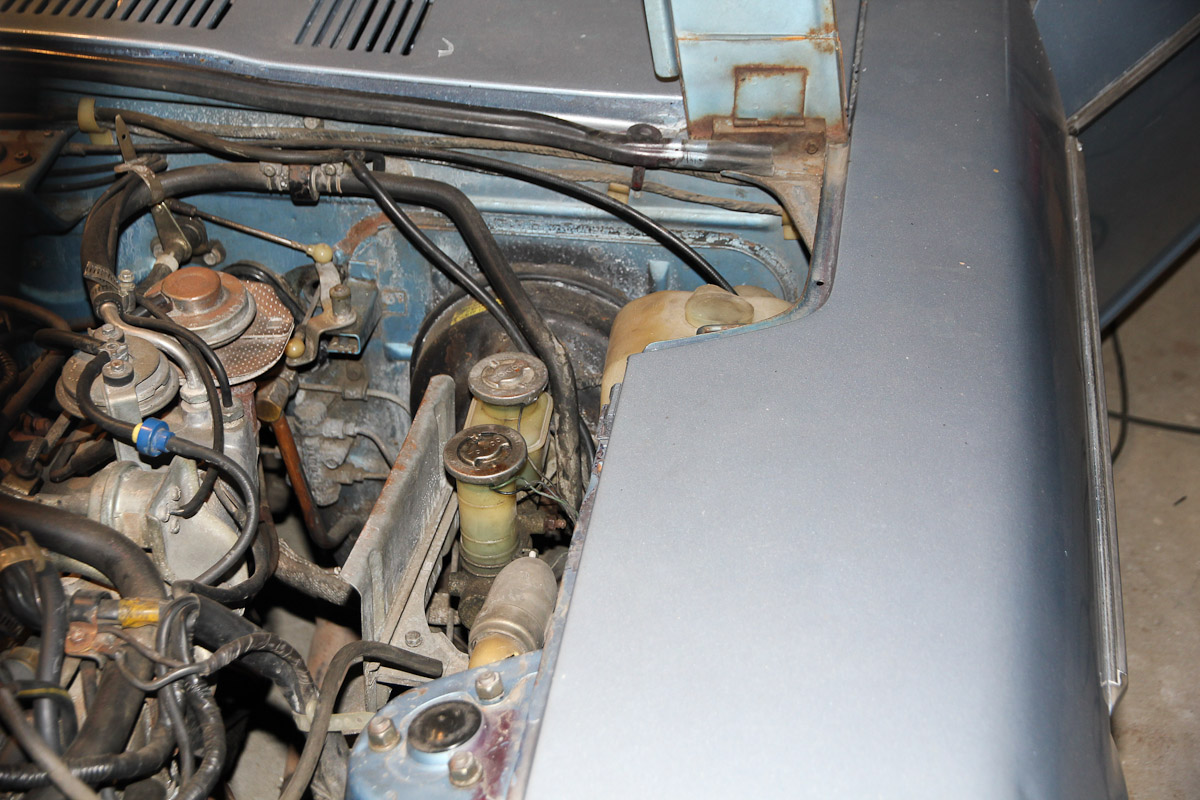
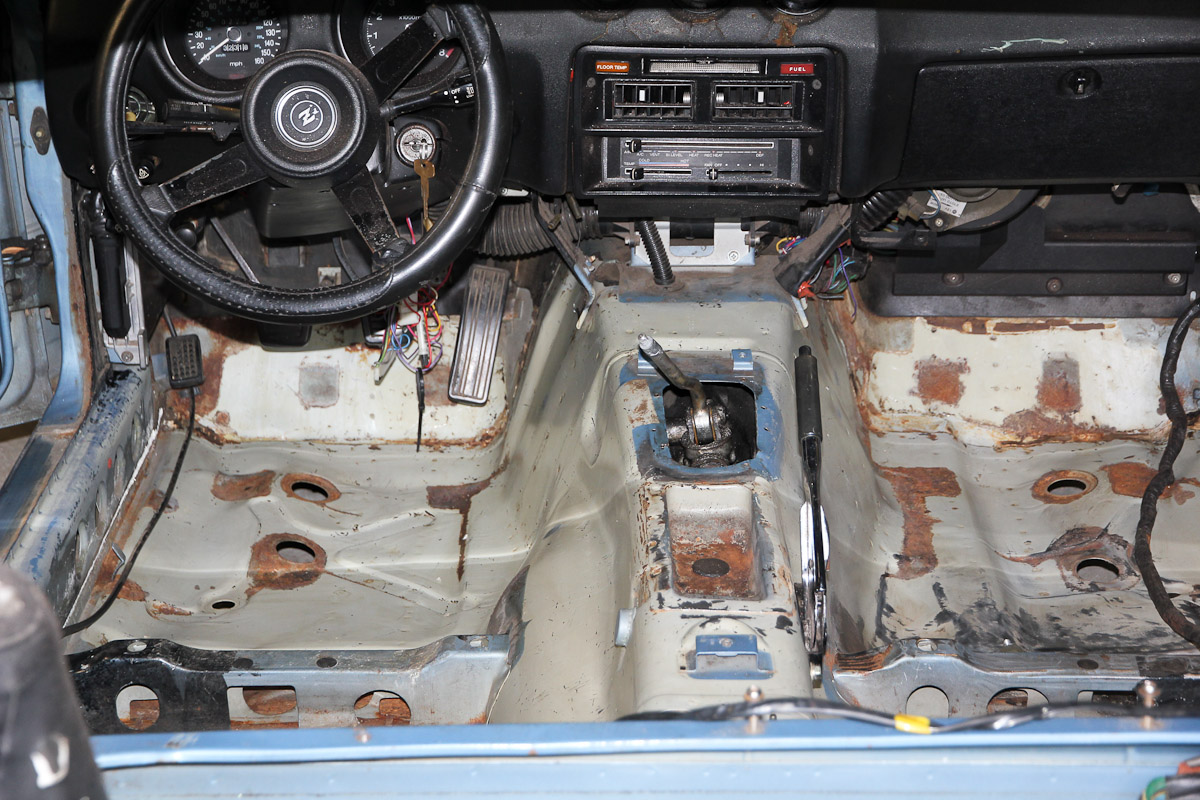
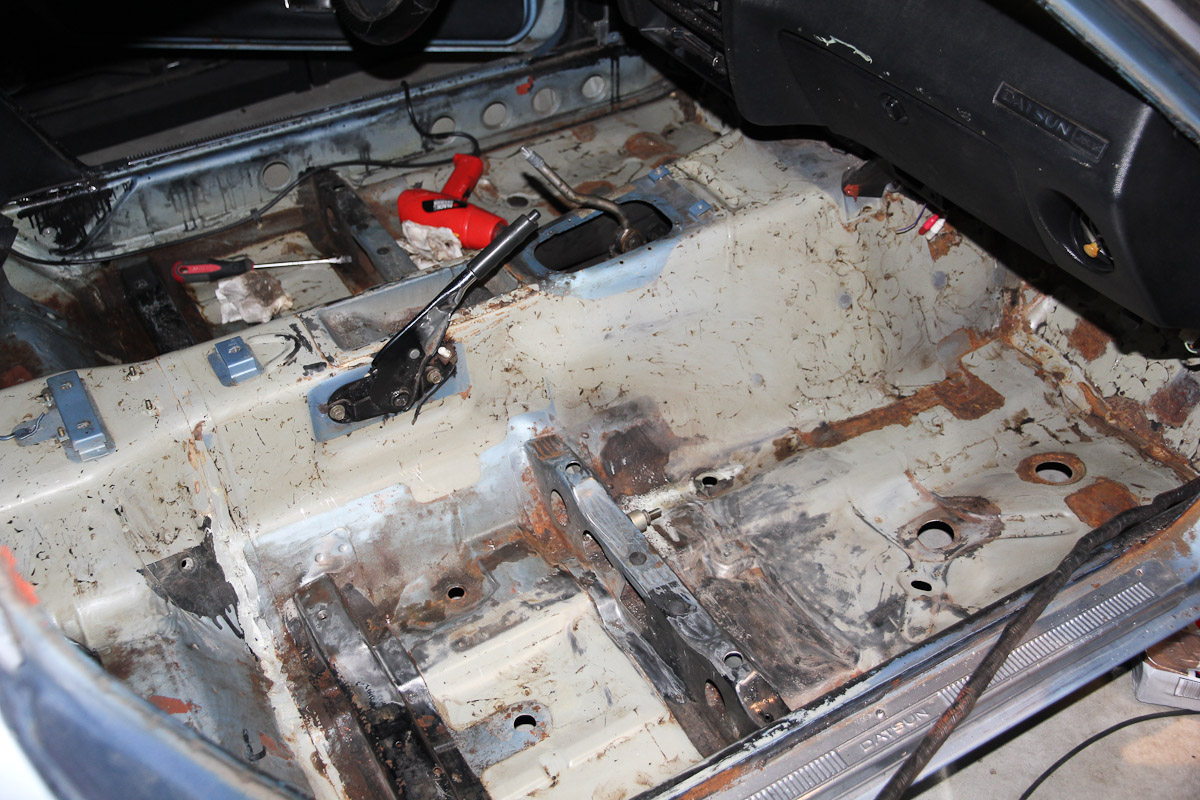
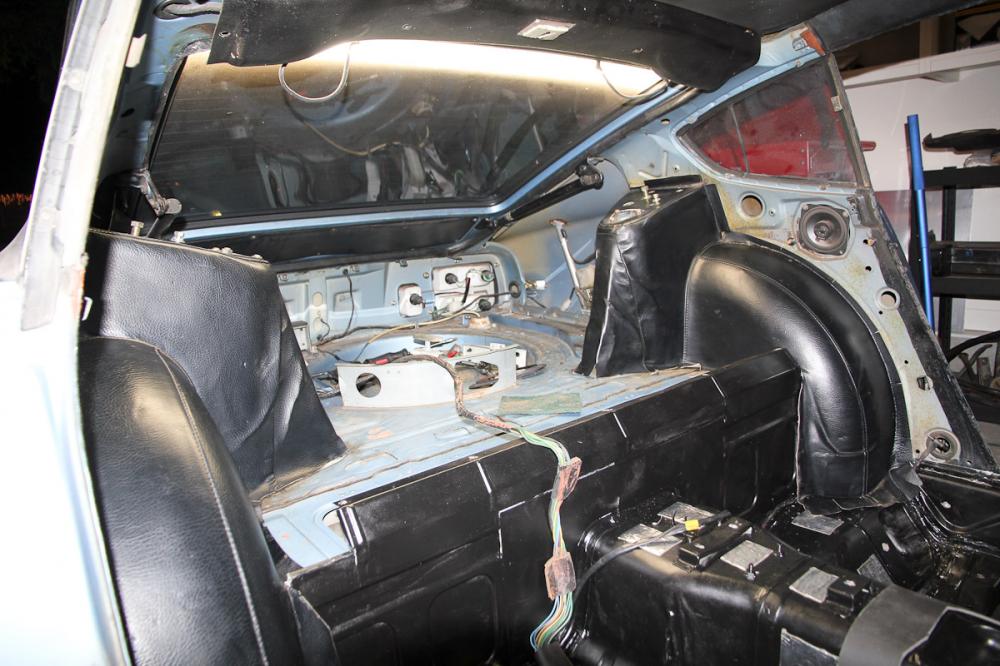
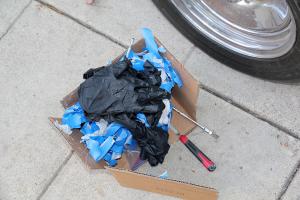
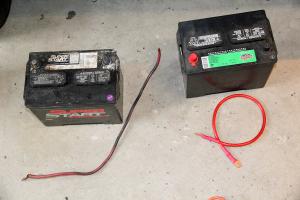
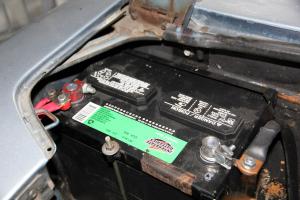
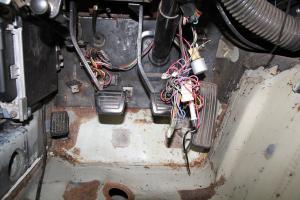
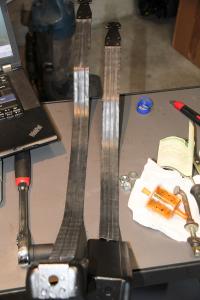
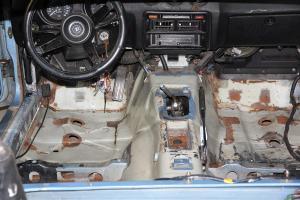
Been trying to make the most of the holiday break. Got my fuel delivery problem solved, after spending an embarrassing amount of time trying to solve the problem, which I eventually diagnosed as -- wait for it -- a disconnected fuel pump. In the middle of all that, my battery, which was on its way out, finally gave up for good, so I had to replace that. The positive terminal and leads were in similarly bad shape, so yet another while-I'm-at-it project popped up. I had leftover stuff from some audio installs; I do enjoy the easy ones that don't require multiple trips to the hardware store. With that done, I went back to prepping the floor pans. Passenger side is almost all cleaned up. Just need to plug the couple holes. Started with the wire wheel on the driver's side. They look like they're a bit bent out of shape, though somewhat evenly. If I had to guess, someone tried to jack or lift it from the pans. I don't think it's worth trying to pound them back into shape. I have a couple small holes to fill, then can prep with phosphoric acid and start painting. Today, another audible. I started thinking what I should do about the footwells and firewall and come to the conclusion that if I find out they're in bad shape after I've put the floors back together and installed the carpet, then I'd curse myself for not taking care of it now when it would be easier and convenient. So out came the dash, What I didn't realize was how much stuff would be left behind. I'm not sure what I'm gonna do here just yet (aside from hoping that it's still in good shape), but at least it's an opportunity to get rid of that cruise control system. Seriously, who thought this is an acceptable way to install something?! It's out! And my engine bay looks a little bit nicer. Now I have this pile; I guess I could throw it on ebay and see if it has any value.


-
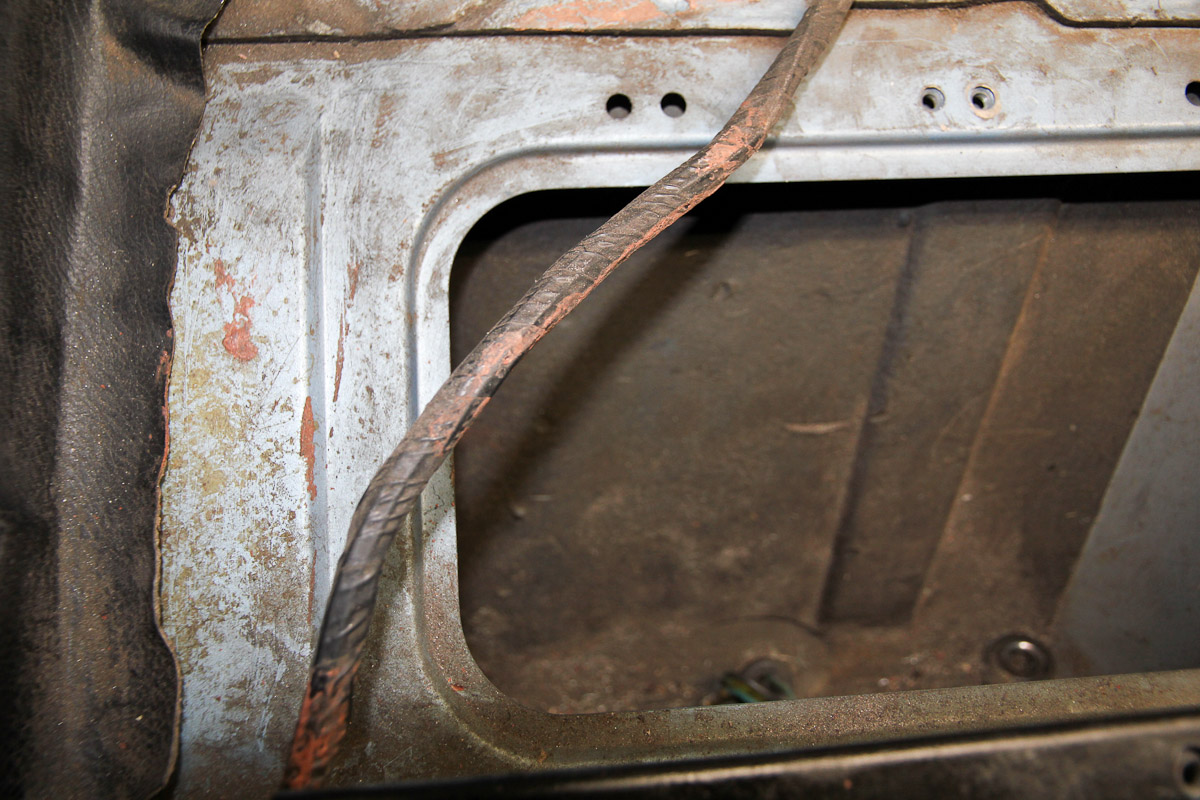
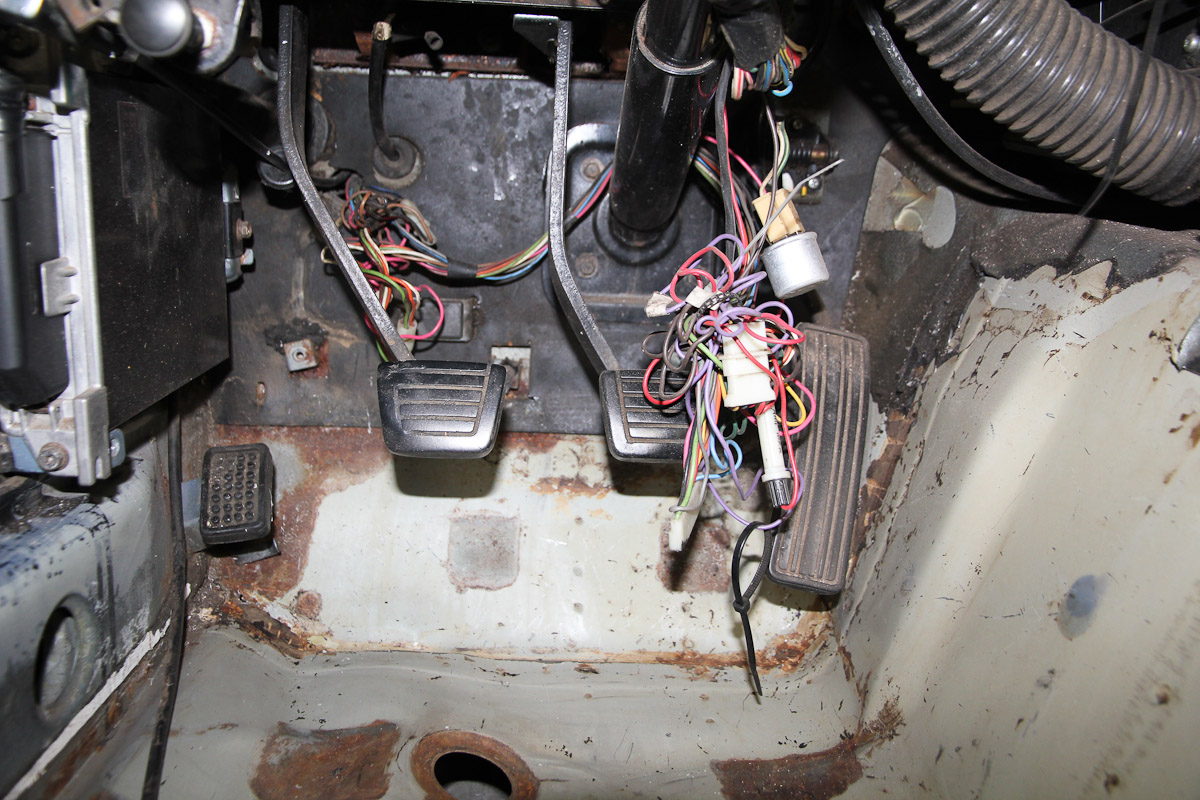
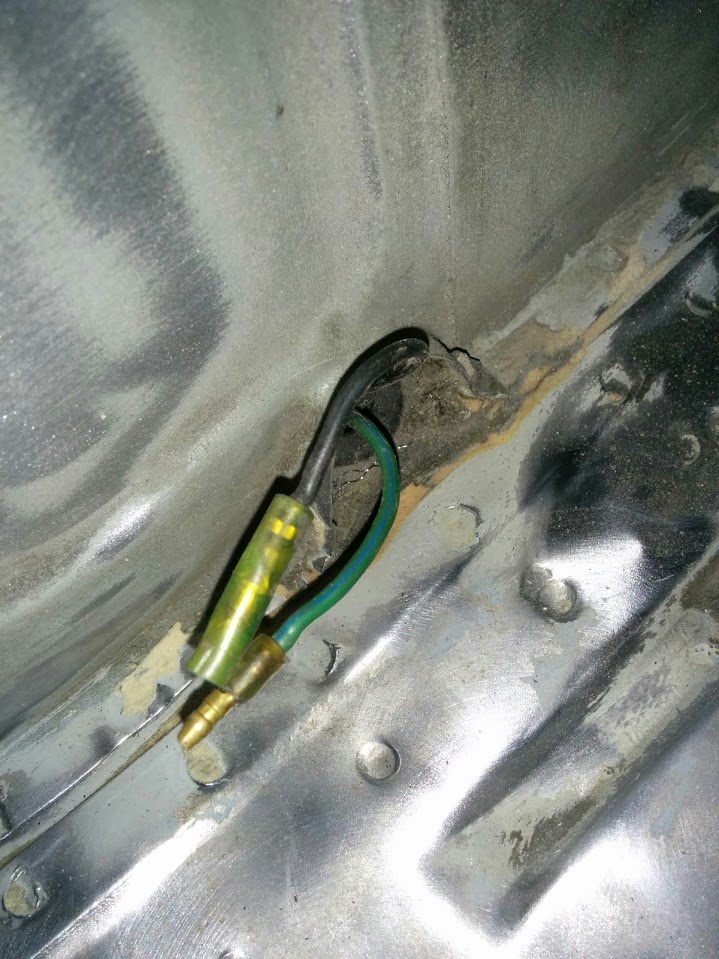
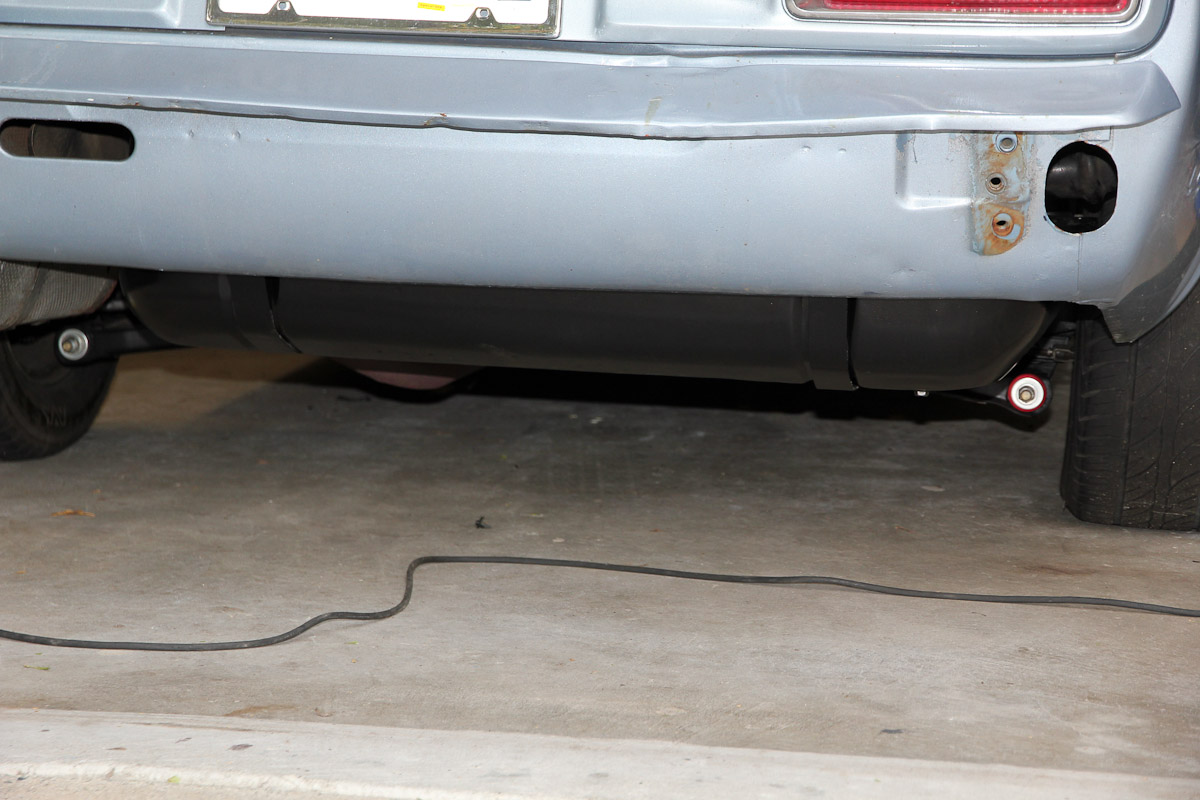
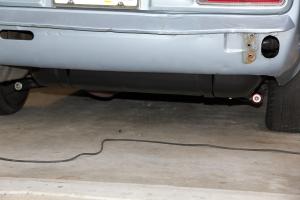
Mystery solved! Keep reading if you need a laugh. Stop if you don't want to see me embarrass myself. I put two more gallons of fuel in it (now up to at least 7, probably closer to 9), still nothing. Then pulled the solenoid wire and couldn't hear the fuel pump. Crawled under the car to see if anything looked out of sorts, and saw green and black wires. Then the lightbulb went off. Here's the other end of the wires, from the inside of the car: I DCed them when I started on the interior. The car fired right up when I reconnected the fuel pump. Imagine that. Somehow, I feel simultaneously better and worse now: it's fixed, but I'm kind of a dummy. Ahh well, it's cocktail time (my choice today, and highly recommended: http://www.seriouseats.com/recipes/2013/11/equinox-eastern-standard-calvados-sour-fall-drink-cocktail.html ). Happy Thanksgiving everyone, and thanks to all for their help.

-
There shouldn't be any debris in the tank (I cleaned and coated it a few months ago); leaks in the pickup are possible but unlikely since they would have had to develop in the last month. I read through the FSM again and it says the pump should be pulling from the tank, so I wonder if that's actually happening. I'll try DCing the starter and to see if I can figure out what the pump is -- or maybe isn't -- doing.
-
In order: yes / blowing into the outlet and fuel comes back out / haven't tried leaving the fuel line connected / and does the same -- no continued fuel flow -- with the cap on or off. Re-reading my post, I didn't make it especially clear. I did exactly what you suggested: blew air into the outlet port, heard it go in to the tank and come out of the filler hose; then had a small rush fuel come back out of outlet when removing the air nozzle before it stopped entirely. I couldn't find any tubing that I could use to pressurize the tank through the filler neck, but that's something I could try. One thing I did differently this time than the first: when I dropped the tank this time I clamped off both the outlet and return lines (I didn't the first time, and had a nice gasoline shower). The first time I also replaced the fuel filter in the engine compartment and put in an inline fuel pressure gauge, which wasn't necessary to repeat. Since there's no pump in the tank, I assume the tank -> fuel pump part is gravity/siphon fed. Do I need to get that feed going manually? It all just worked last time; maybe it was just beginner's luck?
-
Hey guys, I'm officially stumped and could use some suggestions. I repainted the tank a couple weekends ago, put everything back together, and can't get any fuel to flow from the outlet. I put a minimum of 5 gallons in there, so it's not low. There's nothing physically blocking the outlet; I even blew some compressed air into the outlet, which went into the tank and back out. Blowing air into the tank does force some fuel out of the outlet, but it doesn't continue to flow. I restored the tank earlier this year and had no such problems the first time. Nothing was done to the interior when it was repainted, either. I don't want to drain and drop it again, but I'm rapidly running out of ideas. Help?
-
Thanks for confirming both. 4 gallons didn't seem right to me either. I didn't do anything to the inside of the tank, and last time I had no issues, so I was starting to question myself. Pulled the fuel line from the tank and there's nothing there. I wonder if my kidlet did a little work on the tank when I wasn't looking...
-
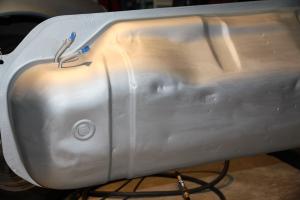
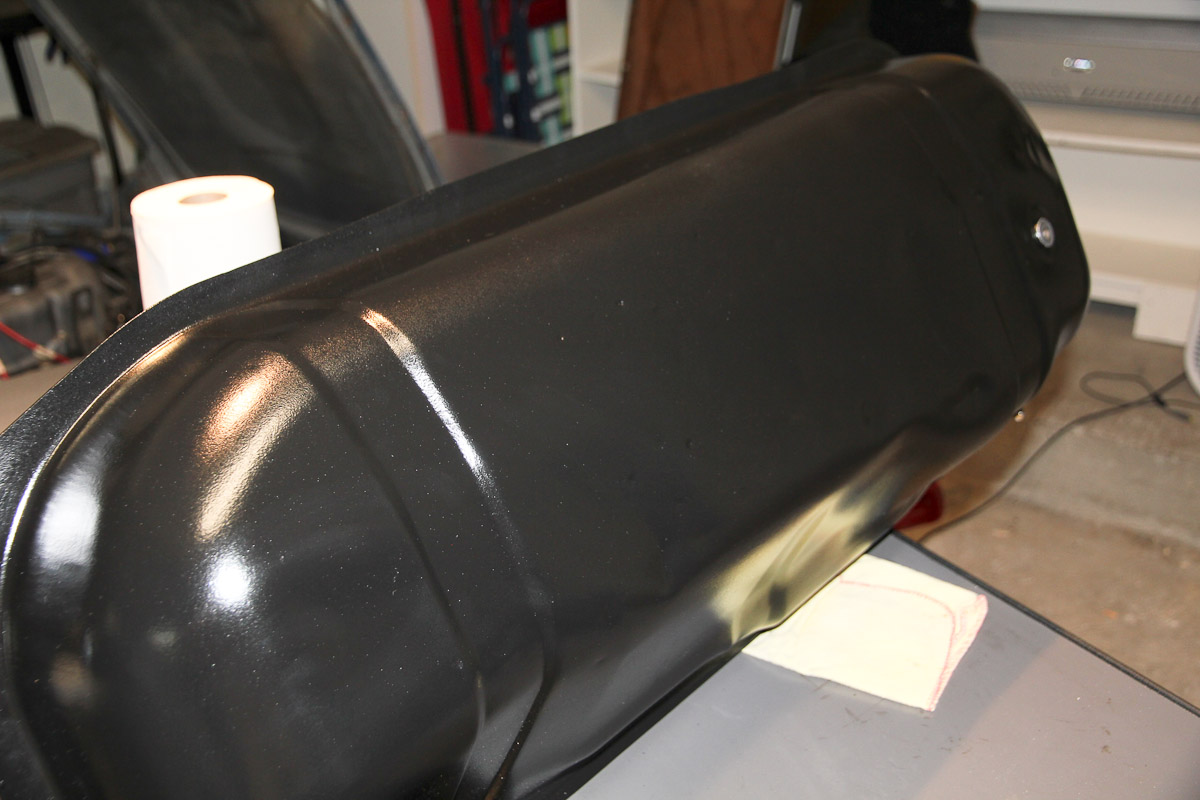
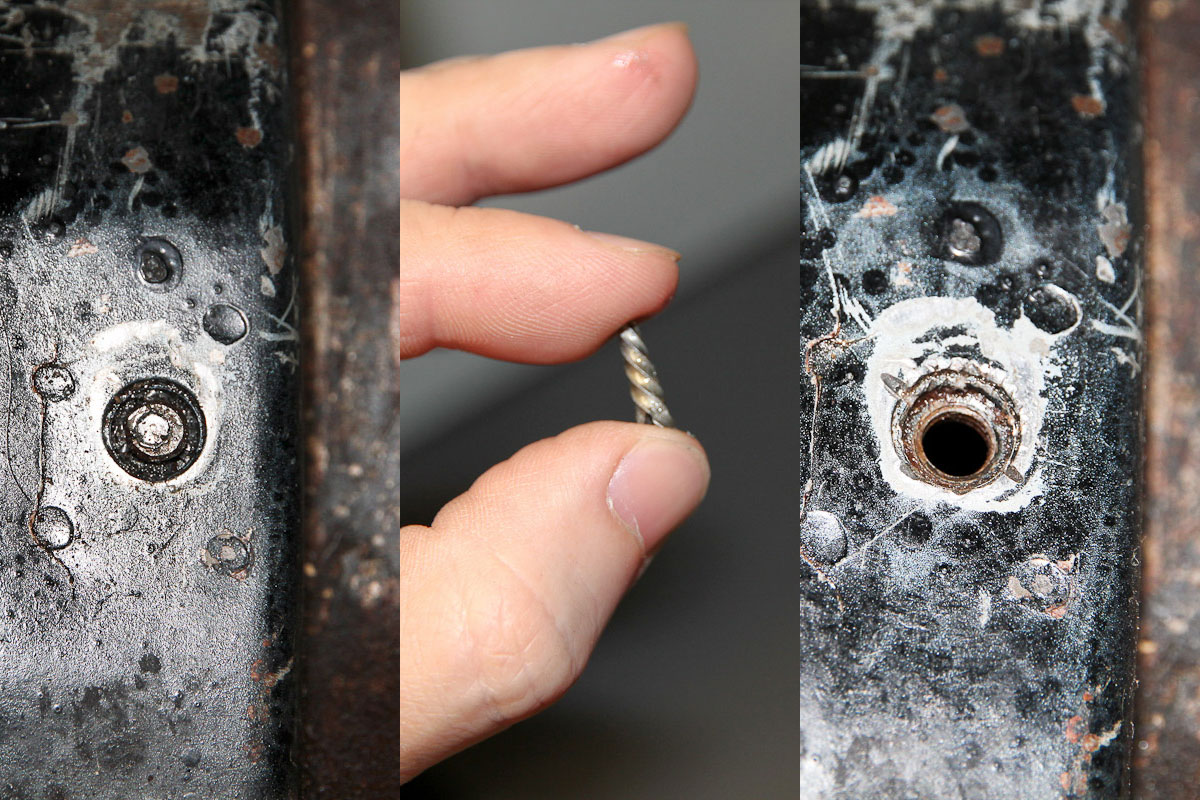
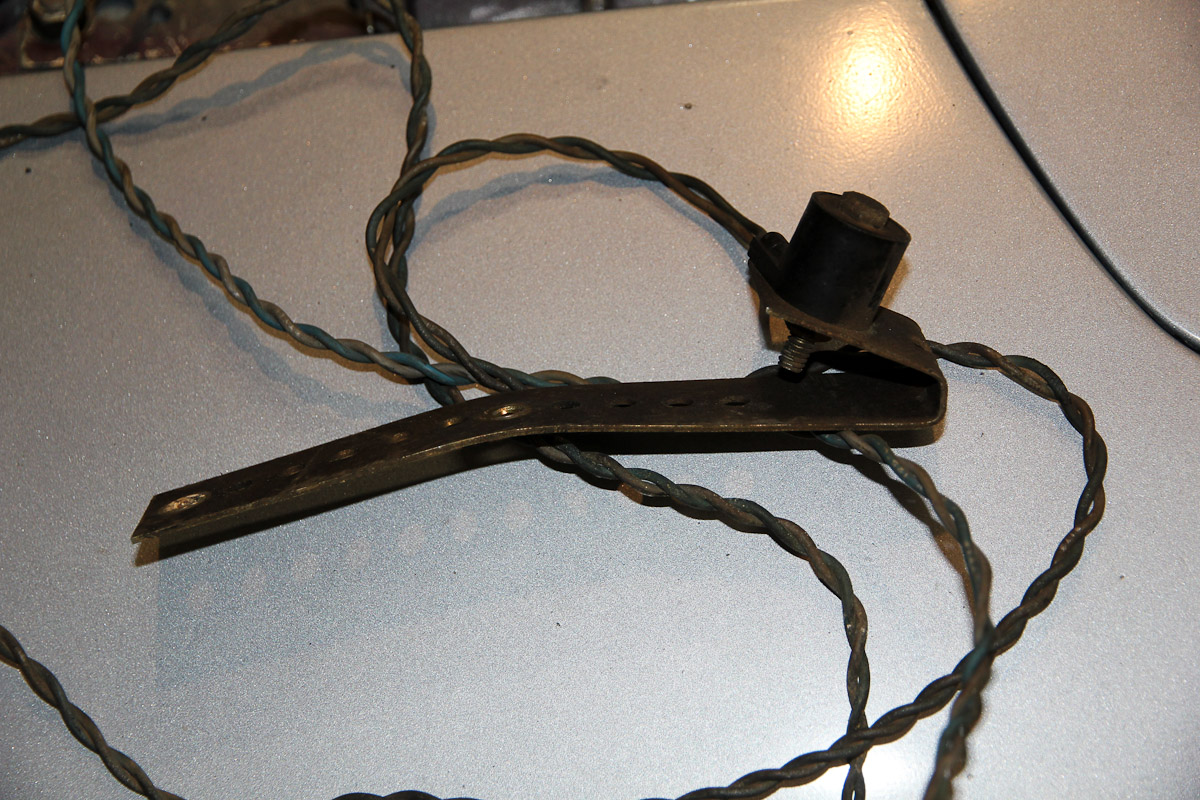
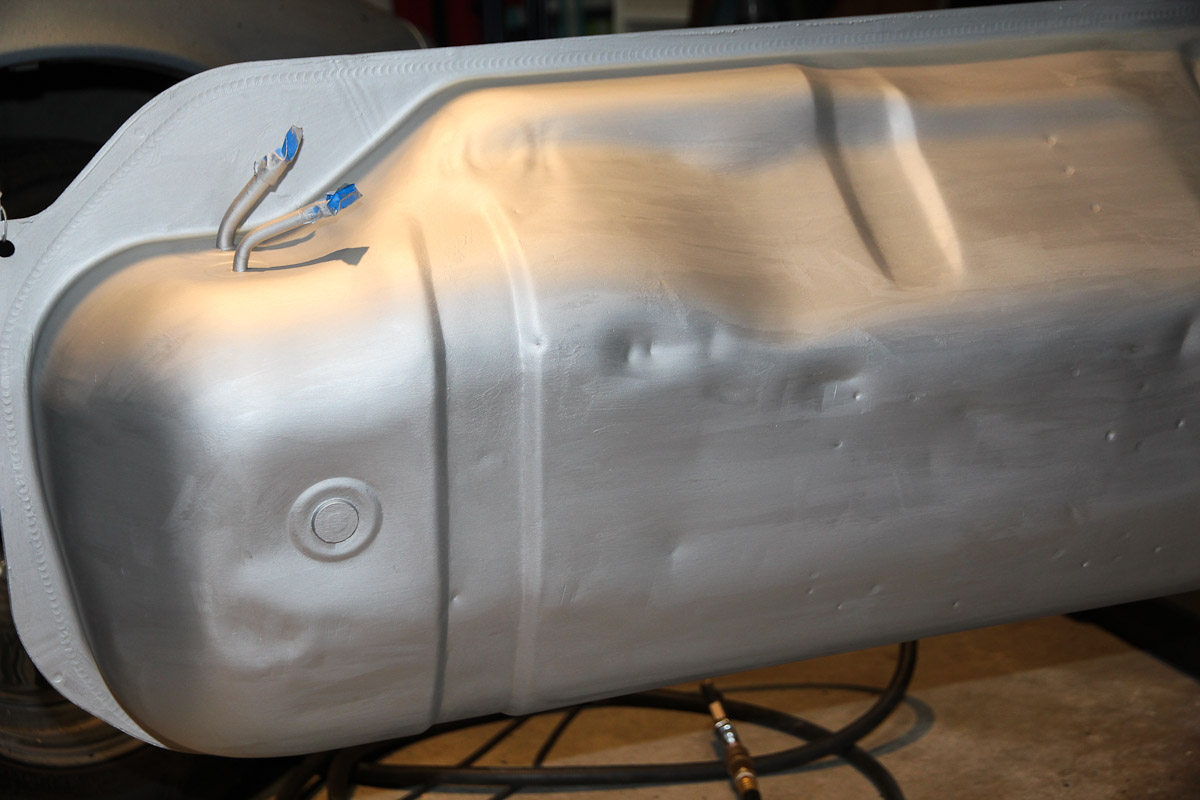
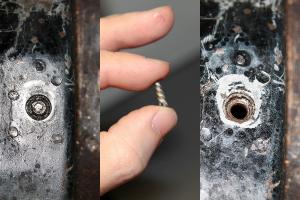
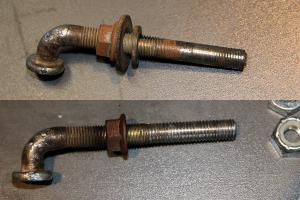
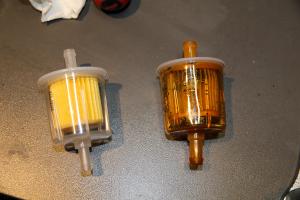
Still plugging away! I sprayed the tank with the black top coat the weekend before last, which went ...not great. The Masterseries stuff is a lot thicker than the Eastwood paint I used before, which caused some issues. The first coat went on terribly, but the second -- which I thinned a lot more and fiddled with the gun settings -- was acceptable enough. It ended up having almost a hammered look, which wasn't really what I was planning on but looks okay for what it is. Since I was at it, this was also a chance to see if I could fix one of the J bolts that a PO had stripped the bejeezus out of. The Harbor Freight tap and die set I bought saved it. The inline filter I put on when I did the tank the last time was also fairly gunked up with stuff that I couldn't flush out, so I replaced that too. And made some new linings for the straps out of an old bicycle inner tube. The tank went back in on Sunday night, and even with ~4 gallons in it, there's still no fuel getting into the lines, so that has to get straightened out. Hopefully it's still just low. Work on the interior also coming along. Finally got everything cleaned enough to be able to hit it with a wire wheel tomorrow and start prepping for paint. One small victory: the broken seat bolt lost. I tried using a screw extractor, which promptly broke off right when it occurred to me that this probably wasn't the best approach. I got the broken part of and drilled out the rest of the bolt without even damaging the threads. A small thing, but it's nice to get a win! Then there's this thing, which used to be mounted to the transmission tunnel. I'm pretty sure it's part of the cruise control system that someone put in. The wires make their way down to a bundle underneath the brake booster, but I haven't traced them further. Looks like it might be a sensor of some kind. Anyone know for sure?


-
If safety is a showstopper for them, you may just be out of luck. Vehicle safety standards for any relatively recent car are miles ahead of where they were in the 70s. Not just airbags, but also SRS, ABS, traction control, crumple zones and body reinforcements, as well as increased vehicle size and weight (both in terms of protection around you, and in terms of what you're likely to hit). There doesn't seem to be much on crash tests for the Z specifically, but go ahead and search YouTube for crash tests from the 70s. Yeah, they're heads and shoulders above what the rolling death traps of the 50s and 60s were like, but still nothing I'd like to take my chances in. Here, for example, is how a 1979 Firebird fared at 35mph: There are a lot of good reasons to like these cars, but safety isn't one of them!
-
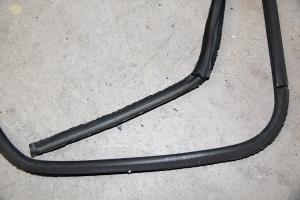
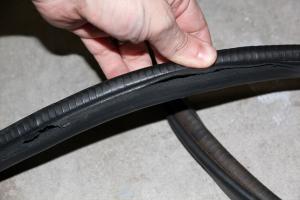
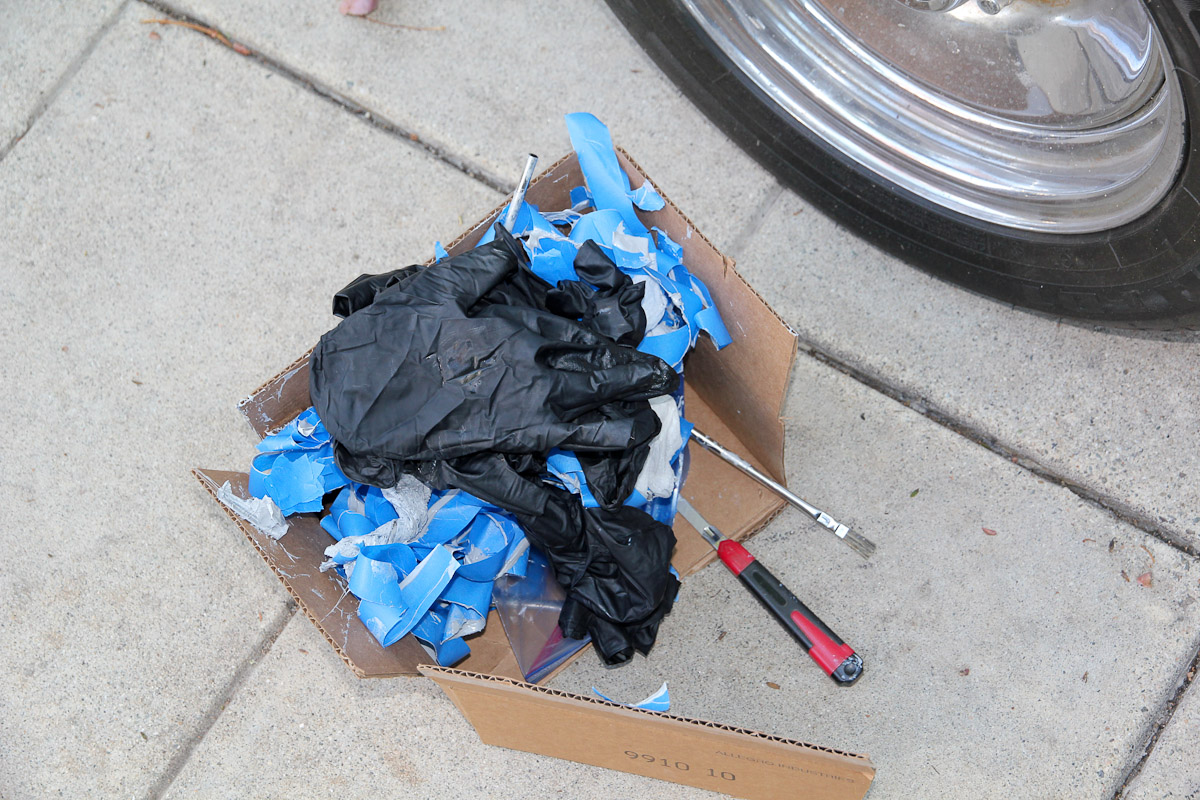
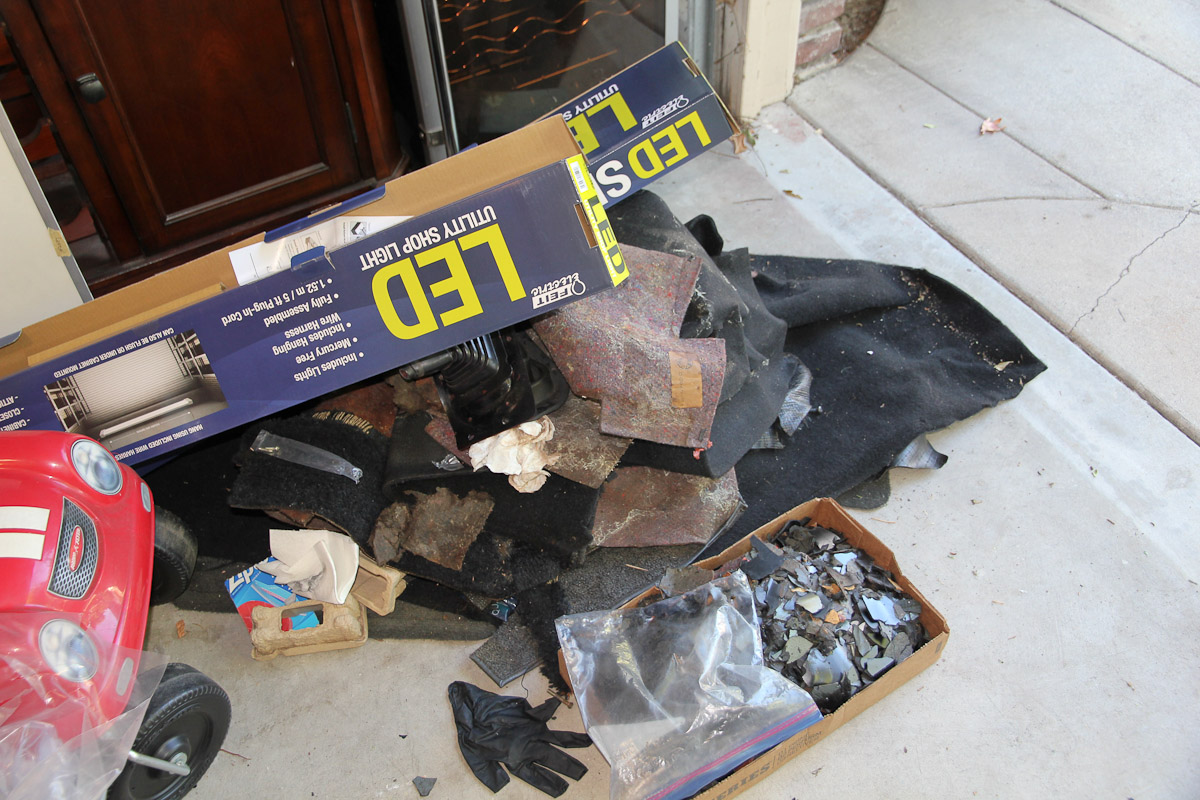
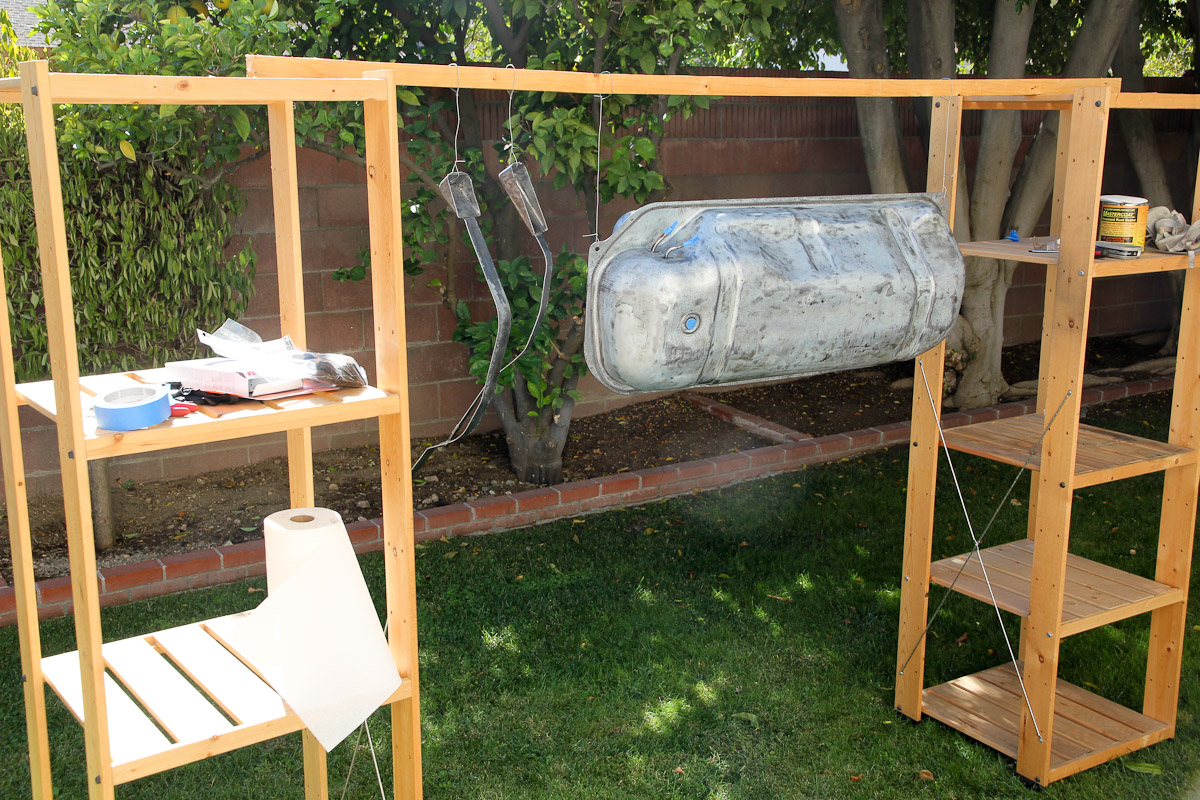
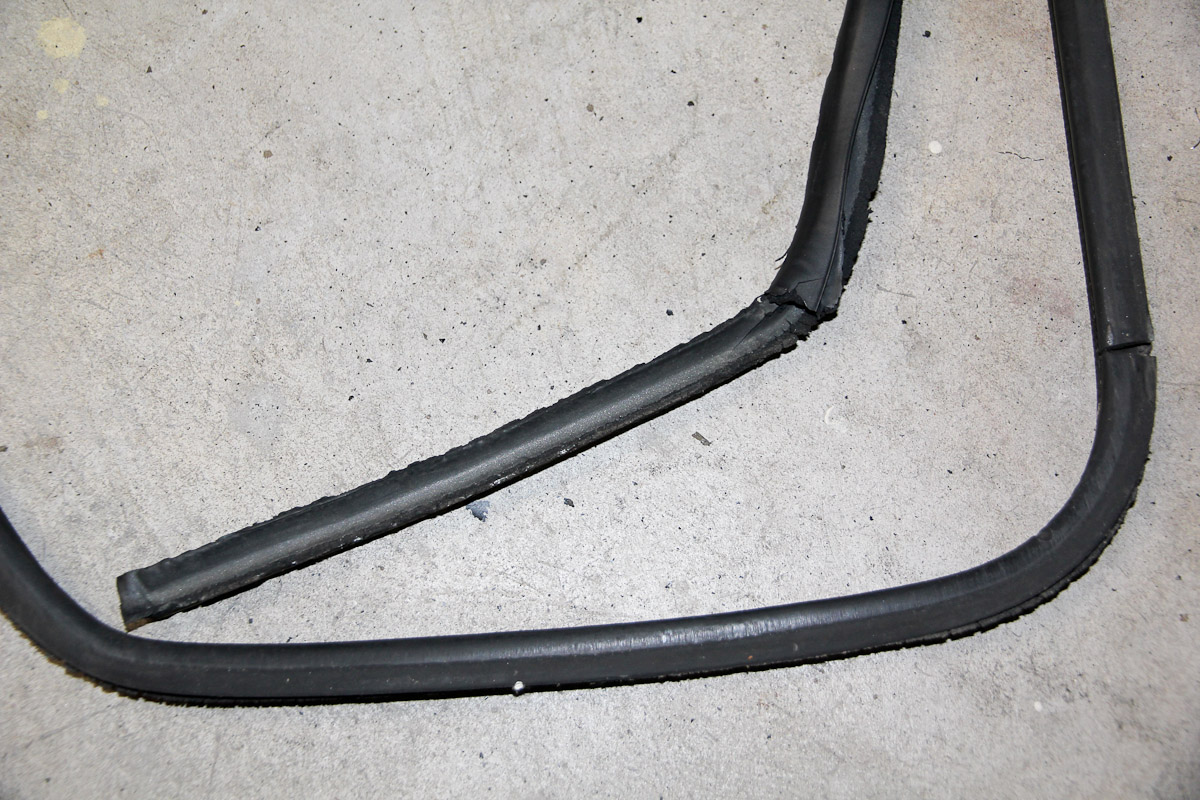
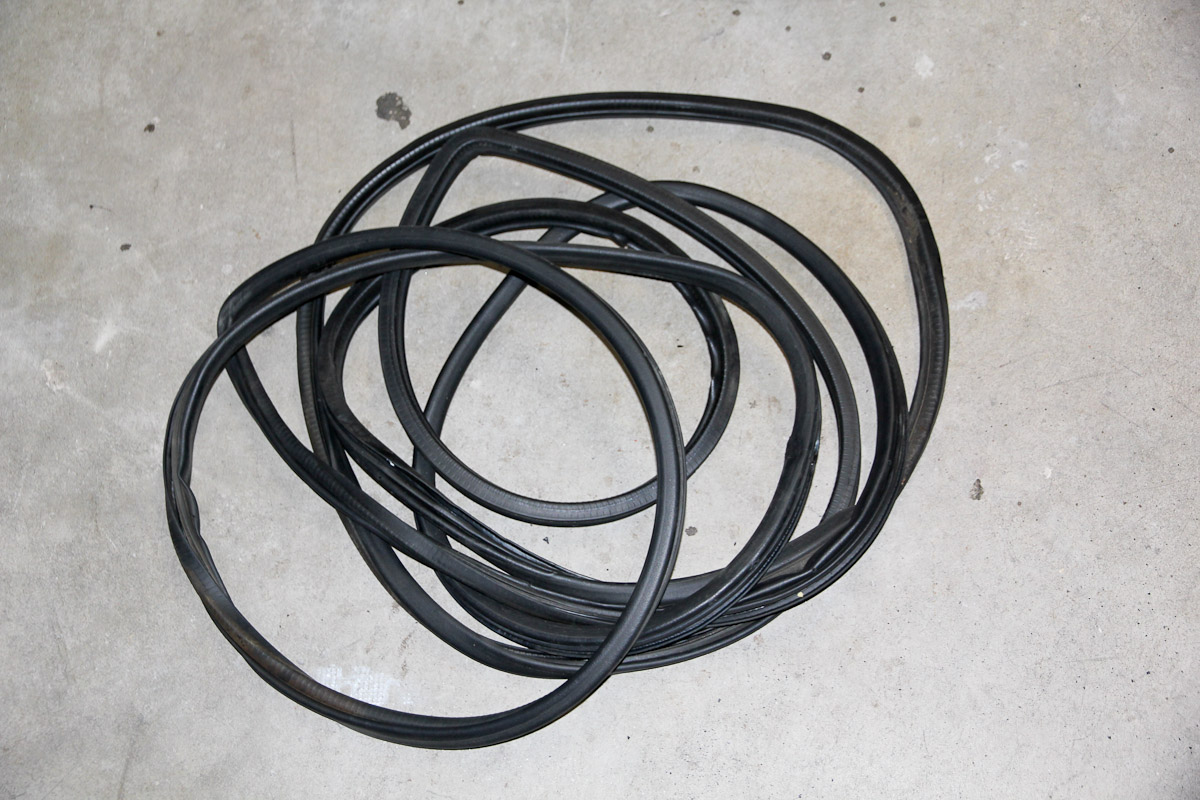
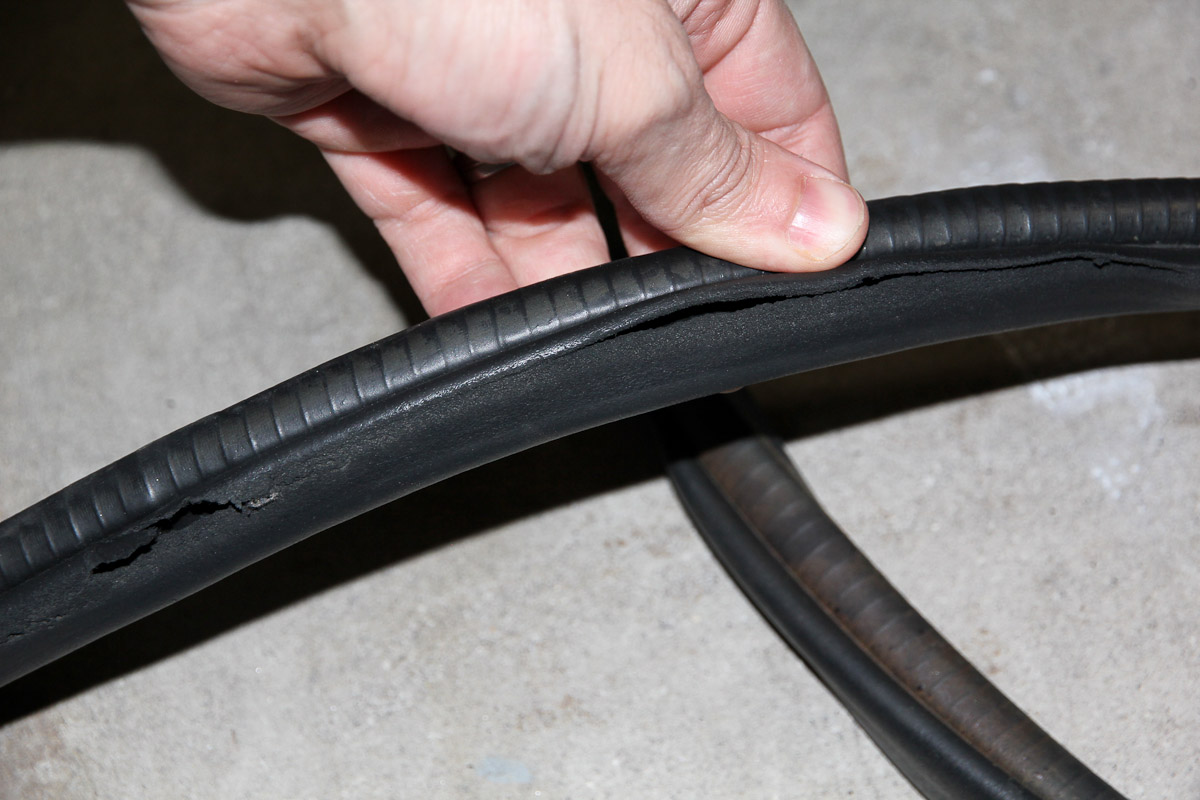
A little hodge-podge of work the last week or so. While waiting on the paint to be delivered, I kept on with the interior. Mostly chipping away at and trying to wipe off the rest of deadener residue. It's getting pretty well cleaned up now. Only one pinhole in the floorpans so far. This was the pile of gross I pulled from the interior. The weatherstripping on the doors was pretty far gone, so I decided to pull it off, and on a whim, checked the inventory at my local Pick-Your-Part for Kia Sportages. The car gods were smiling on me; a 1999 had been there for about a week so I checked it out and other than this one section, they were in great (if dirty) shape. They charge a buck a foot for it and the guy at the window said it looked like about 7 feet. Since he's the professional, I wasn't gonna argue with him Including the entry fee for the yard, not a bad score for $9! The Masterseries paint also showed up this past weekend, so I figured I ought to at least get the tank back together. I re-stripped and cleaned it and today was able to brush on two coats of their rust-proofing product. I got to resurrect my outdoor paint setup again! For a brush job, it came out okay, and my initial impression is that this stuff is a heck of a lot tougher than the Extreme Chassis Black. On Friday or Saturday I should be able to shoot a couple coats of the satin black top coat, clean up a couple things I ignored the first time, and hopefully reinstall by the following weekend.