


inline6
 Subscriber
-
Joined
-
Last visited
Everything posted by inline6
-
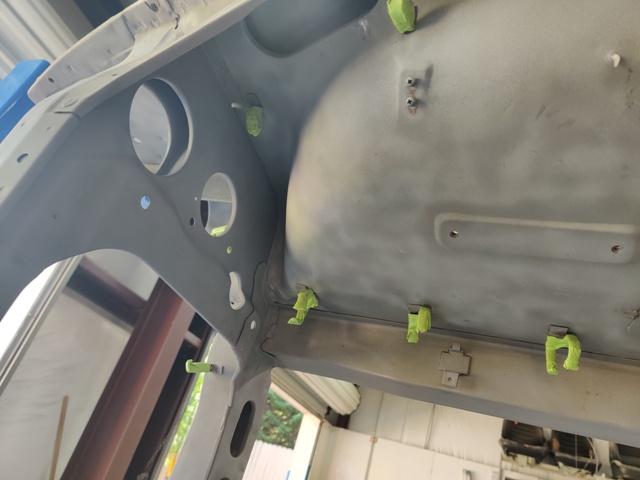
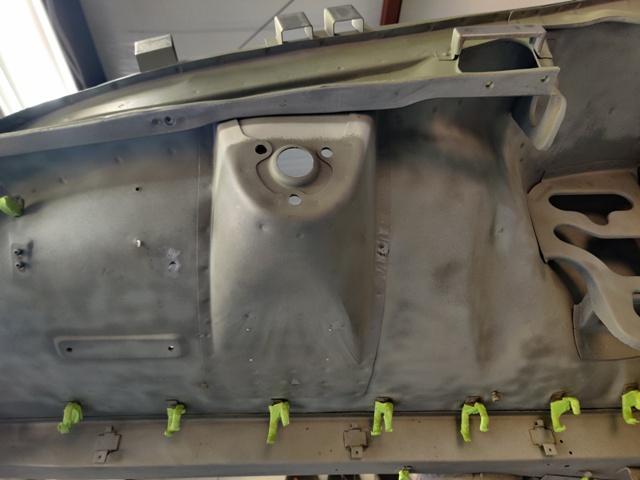
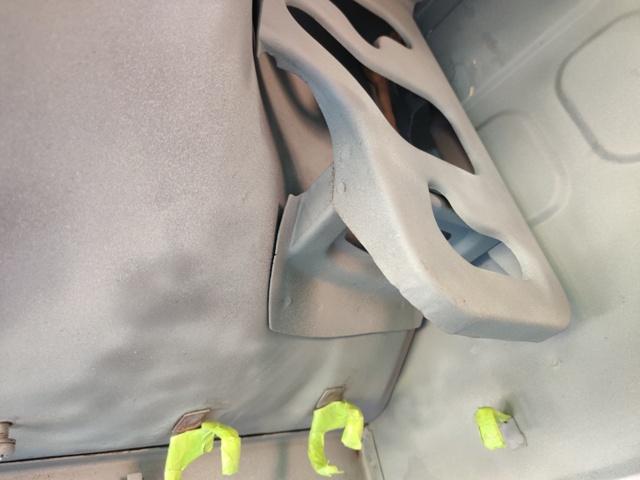
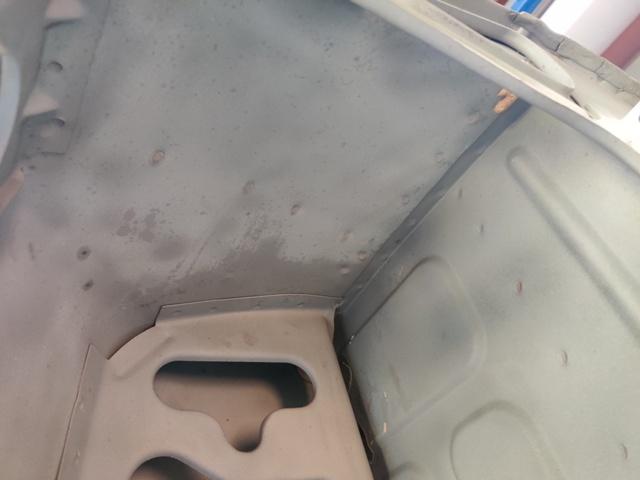
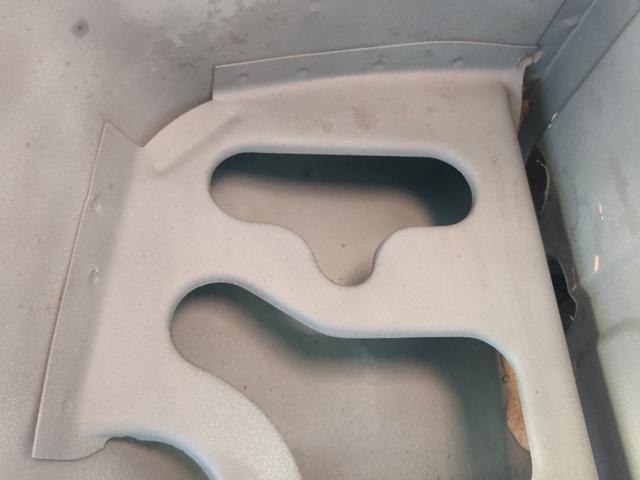
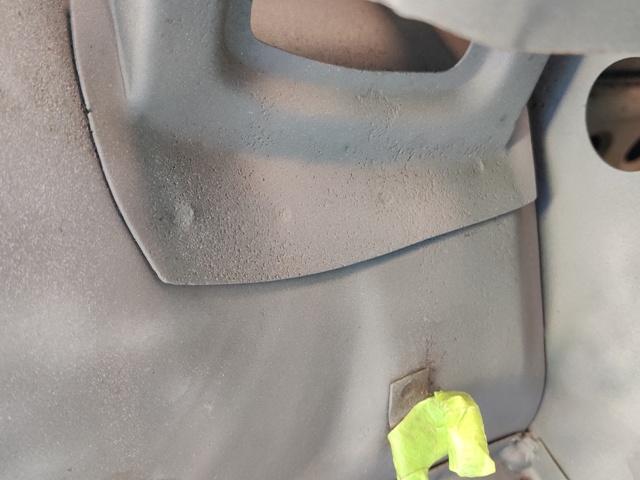
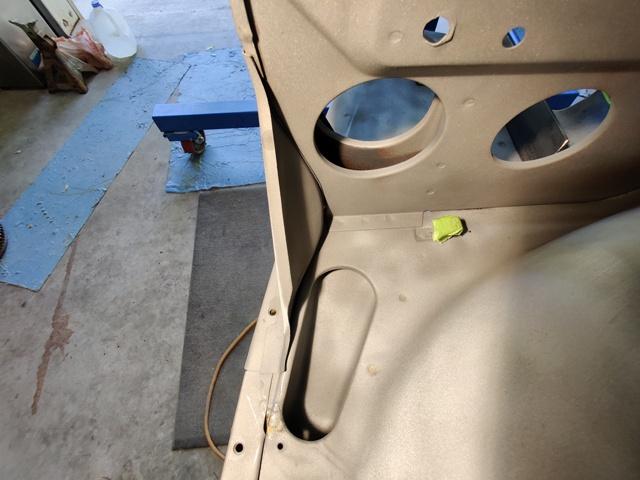
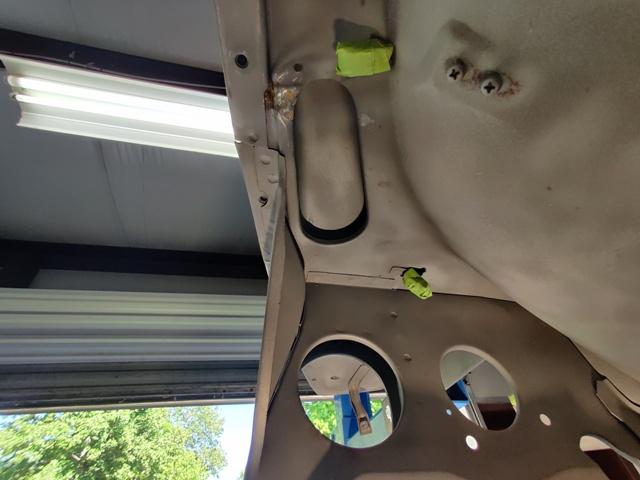
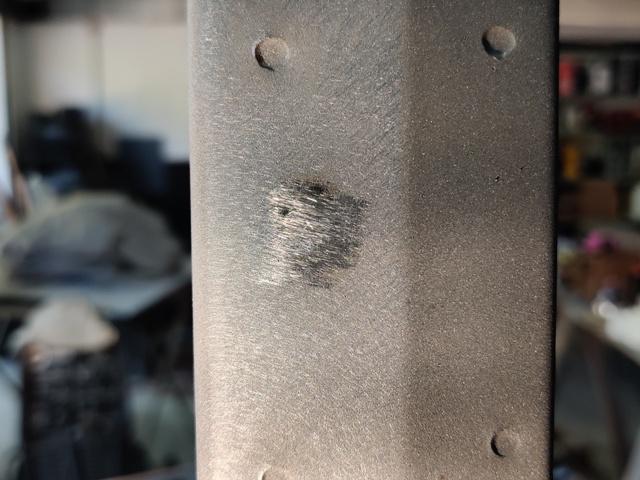
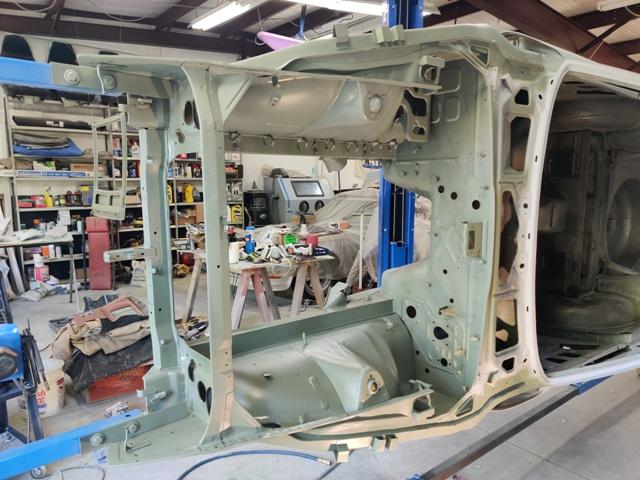
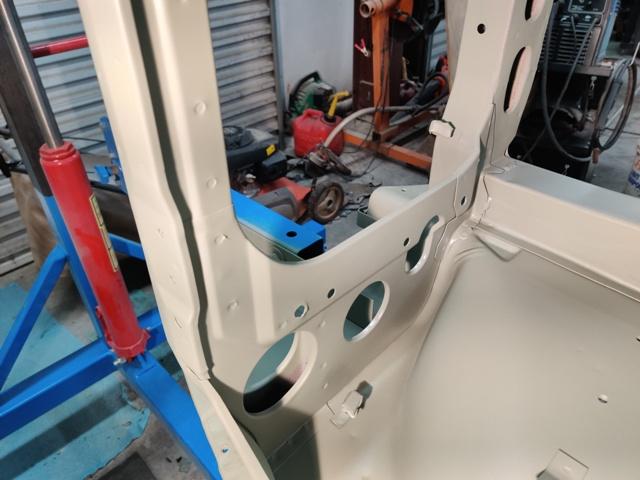
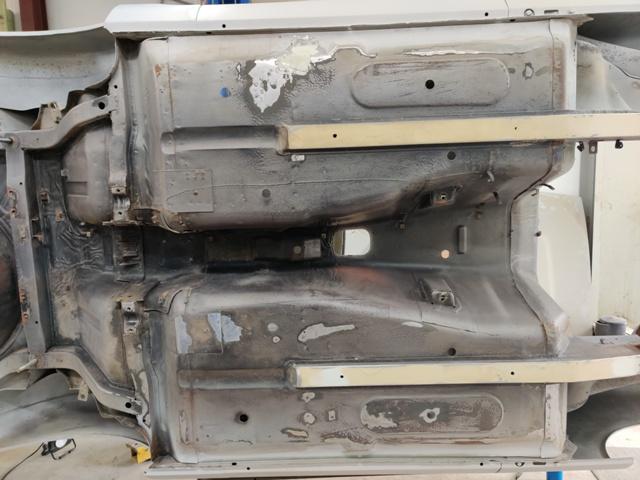
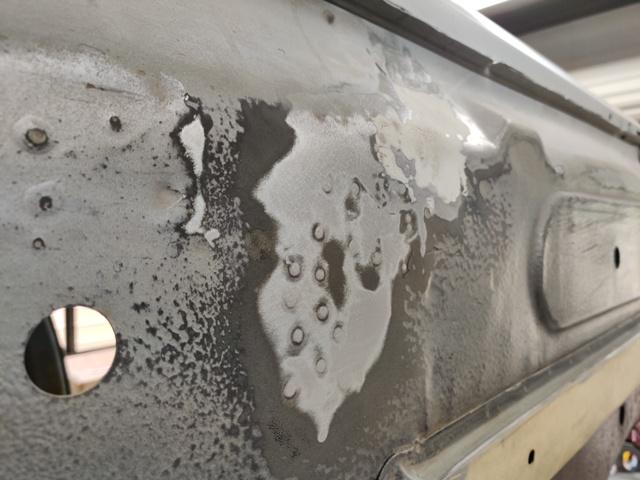
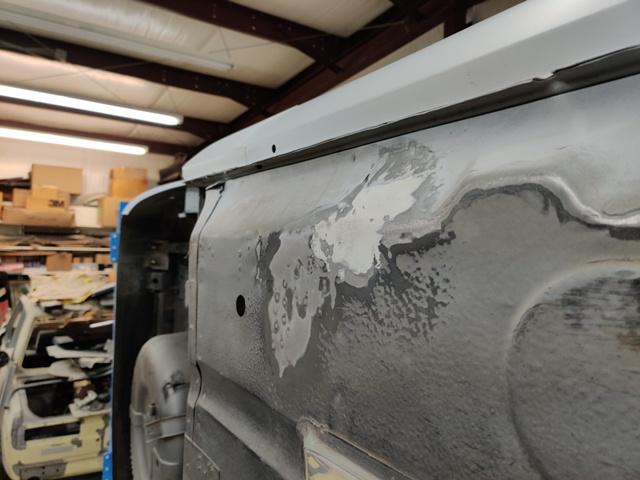
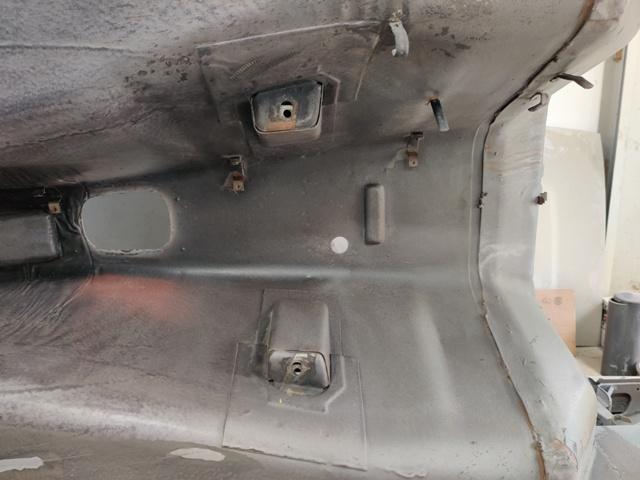
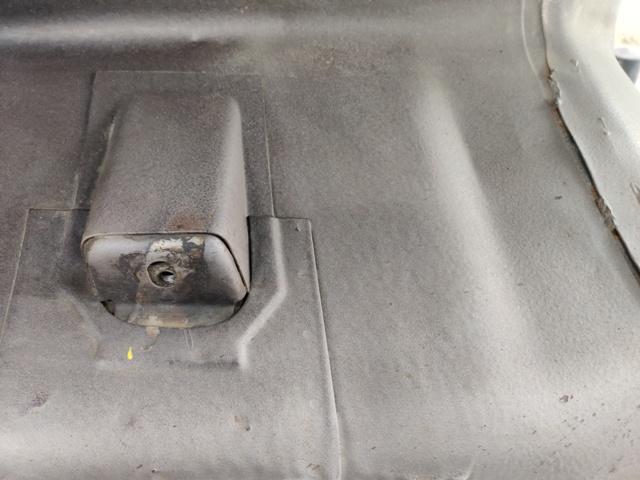
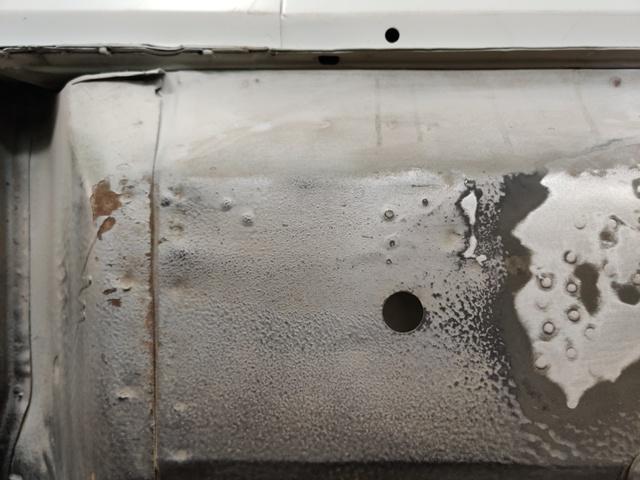
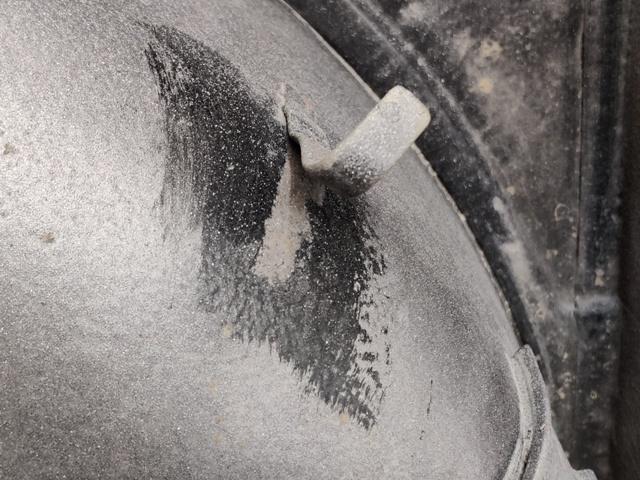
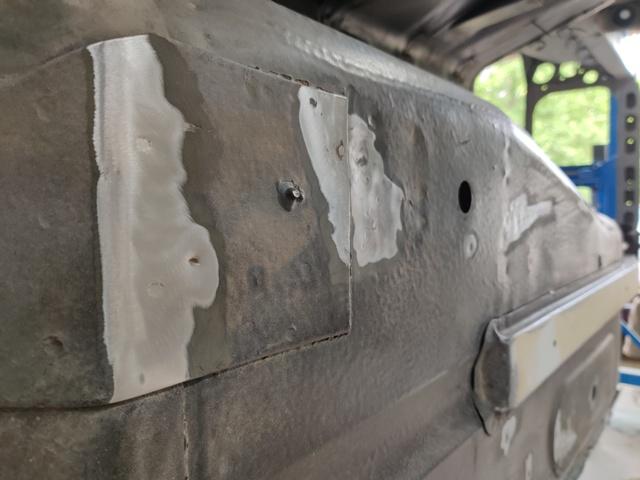
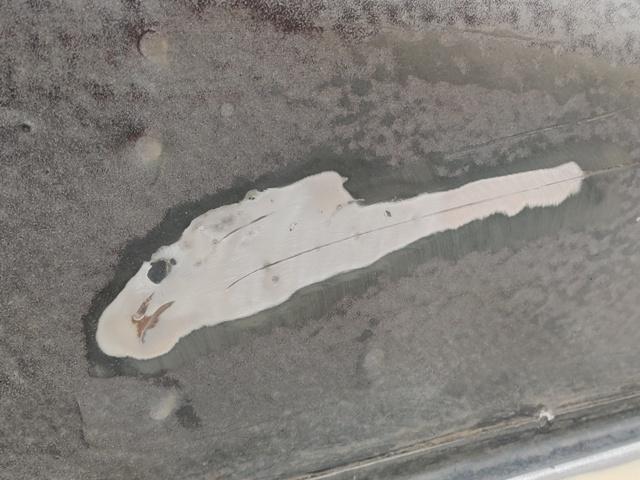
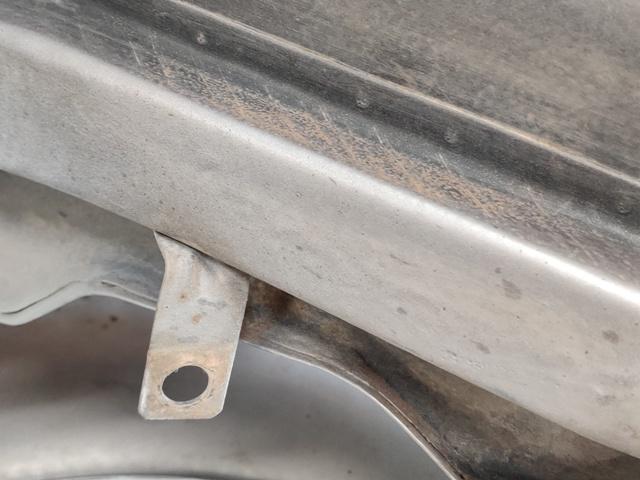
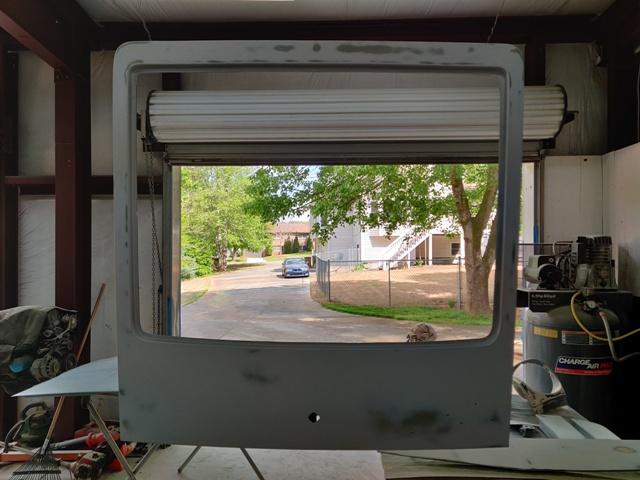
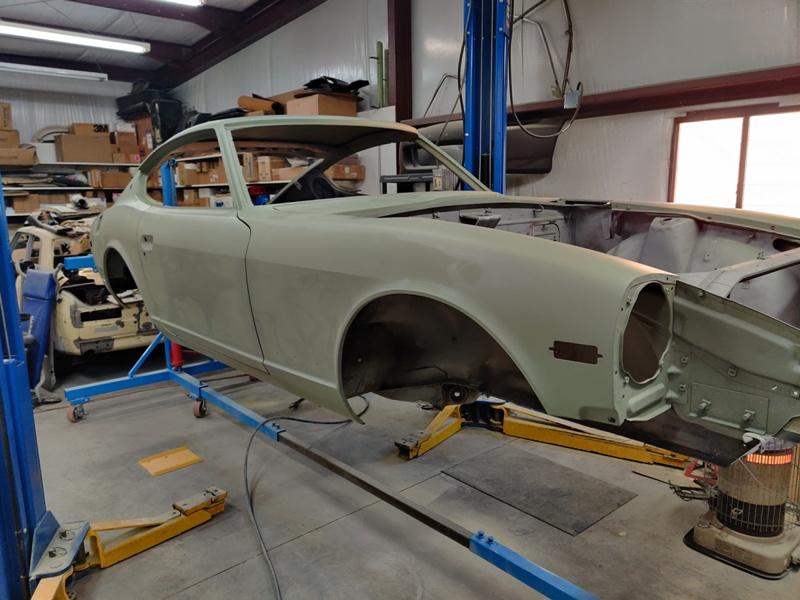
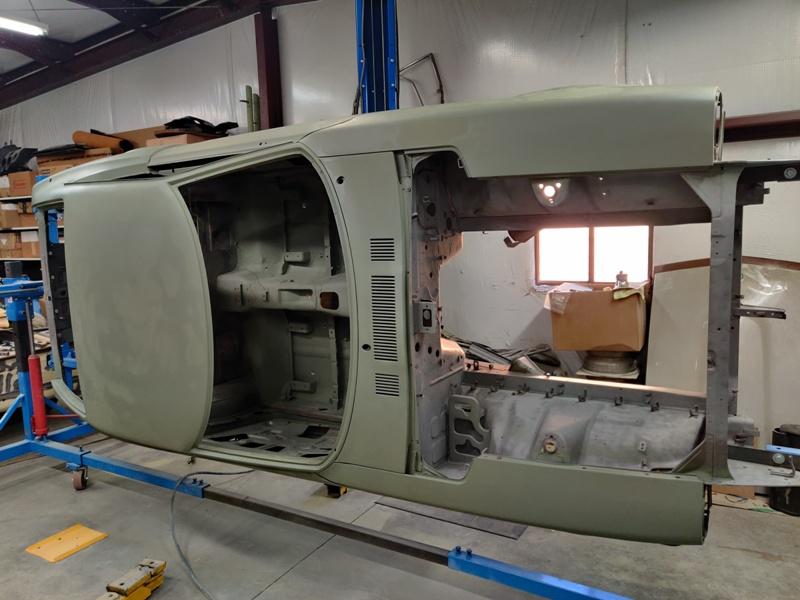
 Finally time to epoxy prime the engine bay. I had a handful of holes that had to be filled. They were extra holes that were drilled in the bay for the A/C that was added to the car in 1971. After filling and grinding, I spot sanded some areas that had a touch of surface rust forming since I sandblasted the bay a long time ago. I taped up all of the plastic coatings on the wire clips. I will be painting them body color as was done by the factory, but no sense building up a layer of epoxy primer on them now. Very minor pitting in the battery tray. I elected not to remove and sand blast between the tray and the inner fender as it think it will last another 50 years after my work here is complete. ? Sand blasting effort was put into reaching all areas, even inside the front lower box section: Glasurit epoxy primer applied: I will be touching up just a couple of areas with bondo and then spraying with high build primer as is on the rest of the car. Before and After Videos:
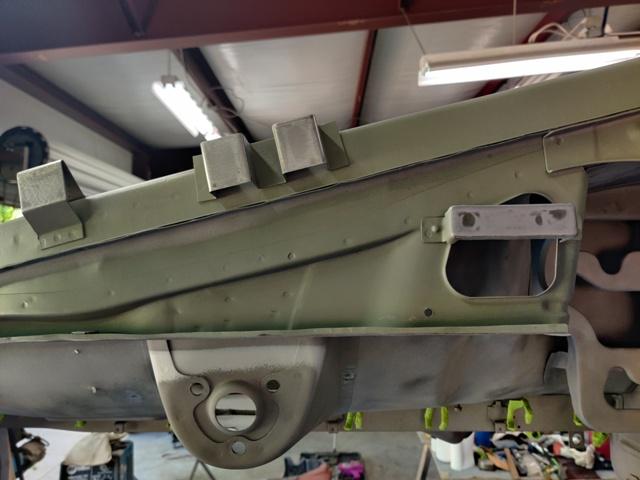


-
Thanks for info and the link! It's not really critical that the belts be reproduction - to look like originals. I mean, I'd be willing to spend about $300 total to get them like new if I could - not $750. I checked out that link. I didn't see anything called "roadster". Are you referring to the standard 3 point type non-retractable in the "passenger car replacement" section?
-
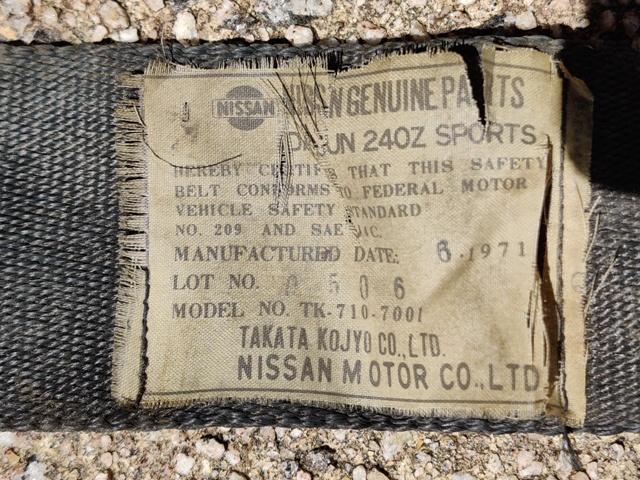
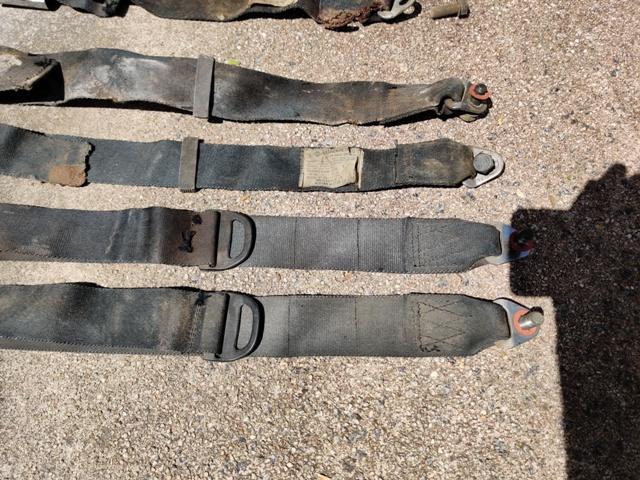
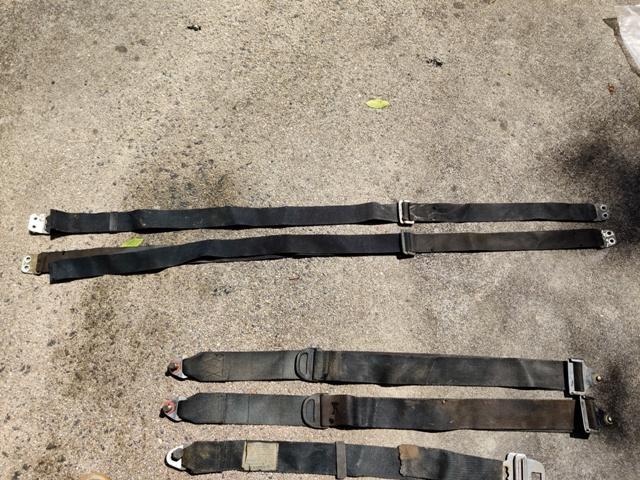
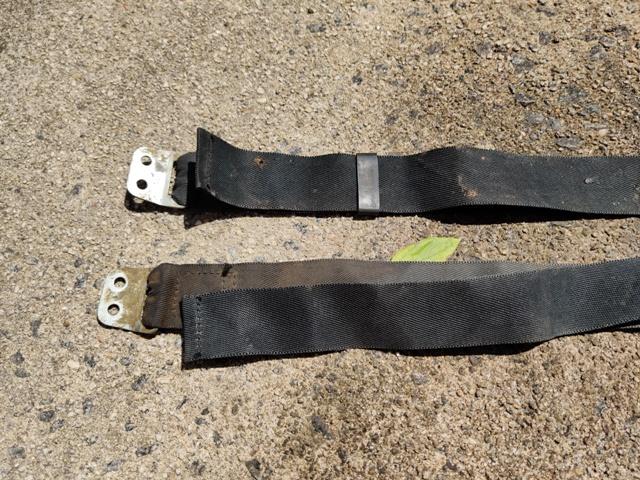
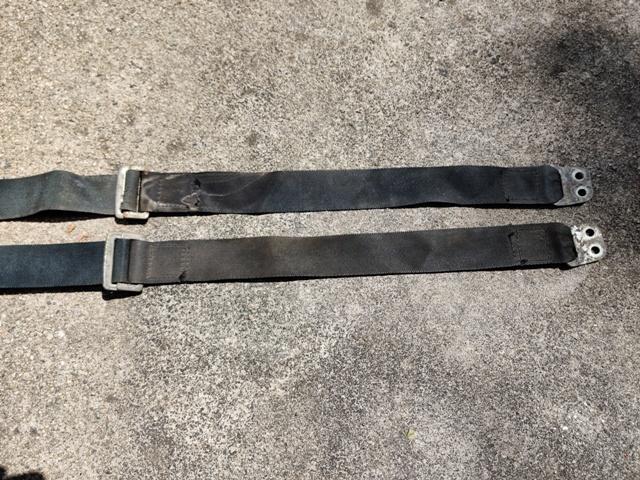
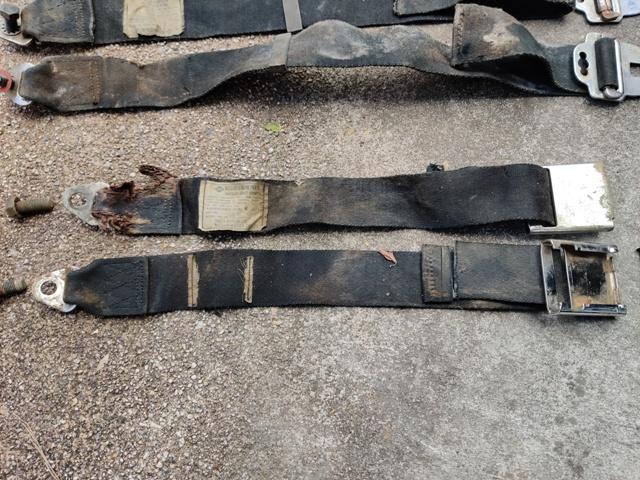
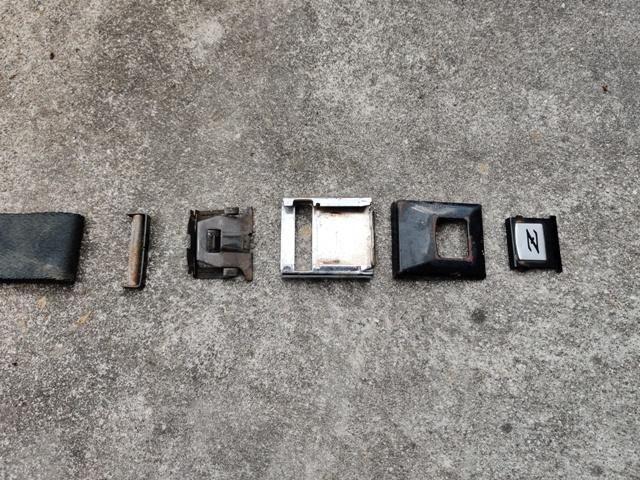
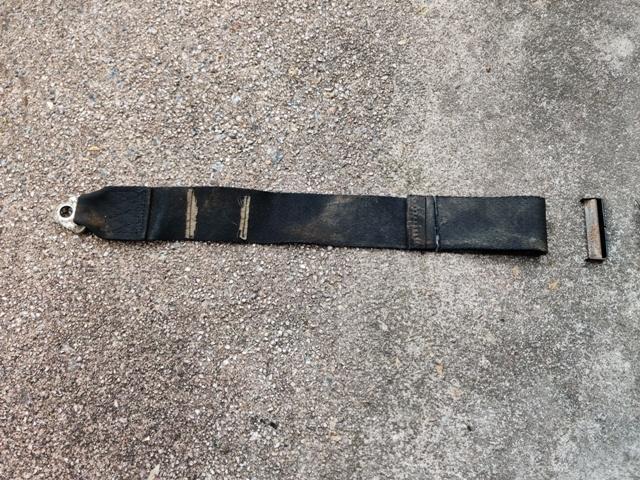
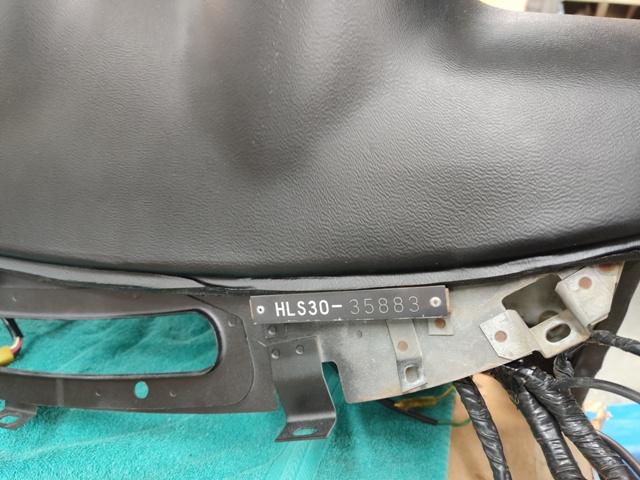
I got the seat belts out and took some pics. These things are in rough shape. I'd like to get them restored. I came across another ClassicZcar forum thread in which a member had his 1972 belts (with retractors) rebuilt by a company called Snake Oyl, but it was like $750. ? I'm wondering about alternatives. For example, I might be able to send off the chrome parts to be replated... buy some seat belt webbing , or buy some late model seat belts from a salvage yard and reuse the webbing, refinish the black painted parts myself, etc. Pretty sure that an industrial type sewing machine would be needed. It took me a while, but I figured out how to get the buckle apart. Shoulder straps are missing plastic end caps (first pic). Lot 0506 - 6/1971: Luggage straps are in need of refreshing also (second and third pics):

-
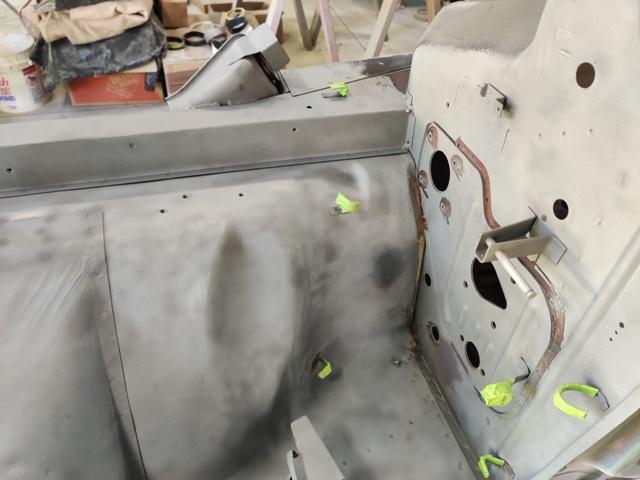
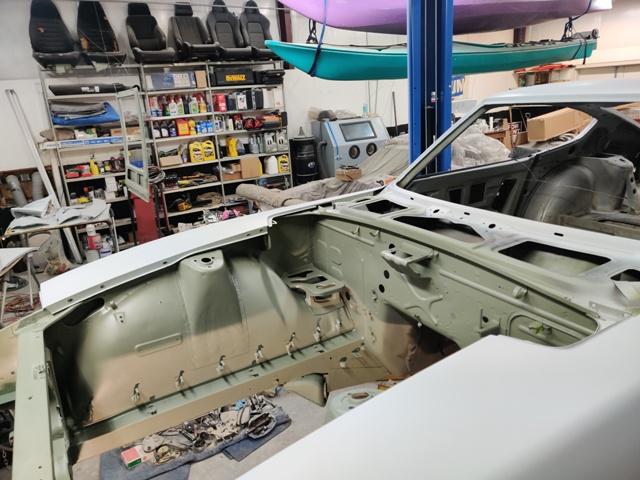
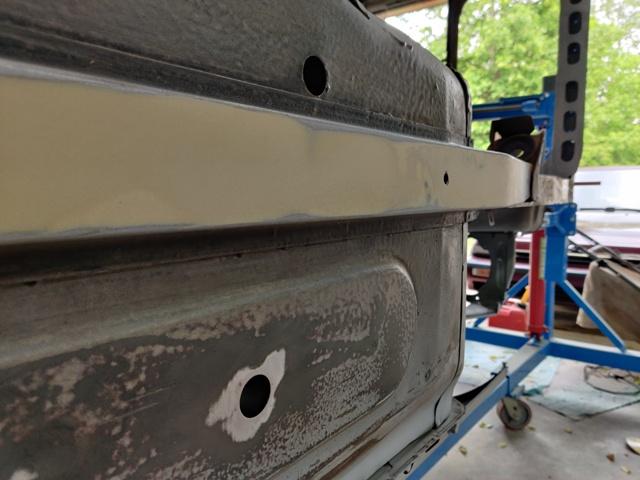
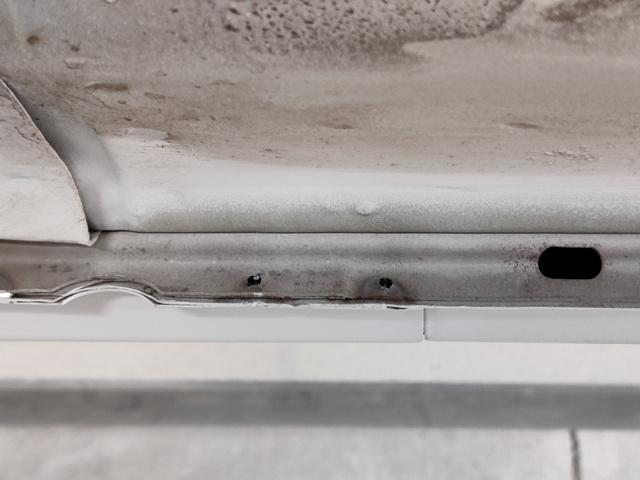
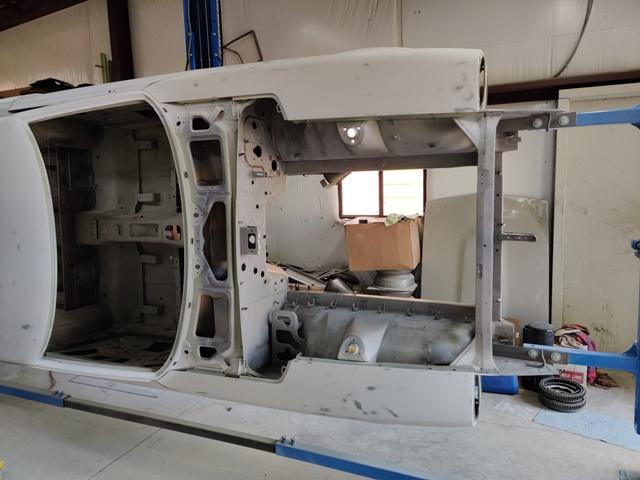
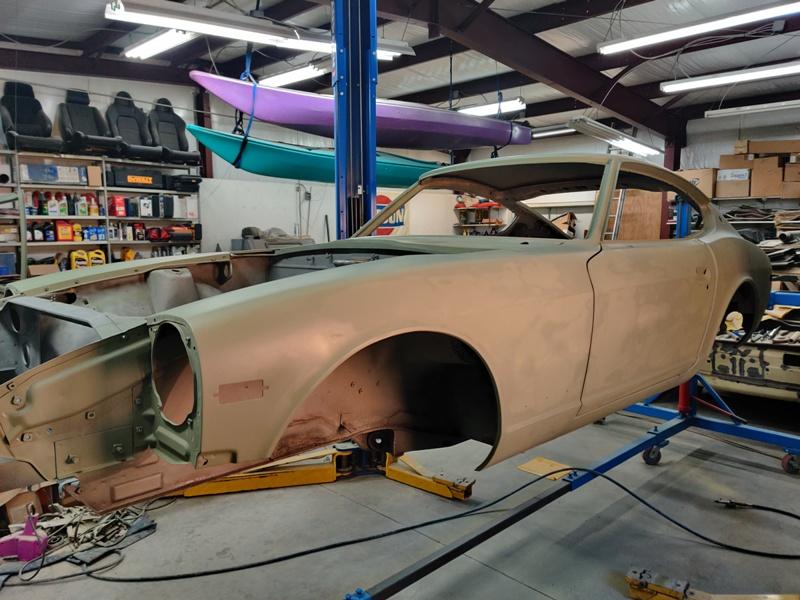
For the work today, I transitioned to the bottom of the car again. I spent a good bit of time cleaning the floor and tunnel with Purple Power. The inside of the tunnel where the back of the transmission sits was coated with grease and dirt which had petrified. Fine steel wool, brass brushes, a scraper and rags were employed. Interestingly, you can see how the car had a very large amount of over spray from the factory on the bottom. Impact areas have required attention. I have been using hammer and dolly, and other tools to straighten the metal. In some places, I have had to use the stud welder (in heat shrinking mode) to shrink the metal. This removes "oil canning" areas that have stretched and been worked. Another observation of note: the factory undercoating, which is hard as a brick by the way, was applied on the bare uni-body. You can see where I sanded through it in the impact areas, and there is no primer underneath. So, the floor was sprayed first, then the car was primed with red primer, then grey primer. Apparently, they somehow protected the coating on the floor from the primer over spray, as there is none of that visible on the floor. But when the car was painted silver, the bottom of the car was fully exposed. The over spray when practically everywhere. Additionally, the inside of the front and rear fender wells were intentionally painted with silver. Cleaning up nicely. Any areas where impacts distorted the sheet metal are being straightened: Third pic above and first below are of a spot that took a pretty sharp impact. Lots of work has been done here to straighten and shrink the metal. Third pic shows well the over spray and texture: Still have a bit of work to do to fix that floor that was welded a bit out of alignment at the factory (first pic - top left corner). Second pic shows an impact that needs to be straighted (right side of pic). Third pic, I wonder why they used a brush and put black paint there? Any chipped areas a being sanded down - feather edged in prep for a touch of primer and the new coat of "bed liner": Note the amount of silver paint (second pic). Starting to feather driver side floor front. A couple of dings need tapping out (third pic). And looking here, it is obvious that the bottom of the rocker has holes from the factory which let water in as you drive. I will be sealing most of these up. with sealer. First pic is the front, driver side, second pic is the rear, driver side. The small round holes in the rear are from me drilling out the spot welds when I did the sheet metal repairs. I have been researching undercoats and truck bed coatings from time to time for months. I would like to find something that looks like the factory coating on the bottom of the car. I have watched a lot of Youtube videos and have a game plan. I plan to use Raptor liner. I will buy a $20 HVLP gun from Harbor Freight, and drill the hole in the cap to 2.0 mm (increase from 1.4 mm) and then experiment with thinner and pressure to try to get a finish which looks like the factory stuff in the pics.


-
Nice. Thanks for sharing.
-
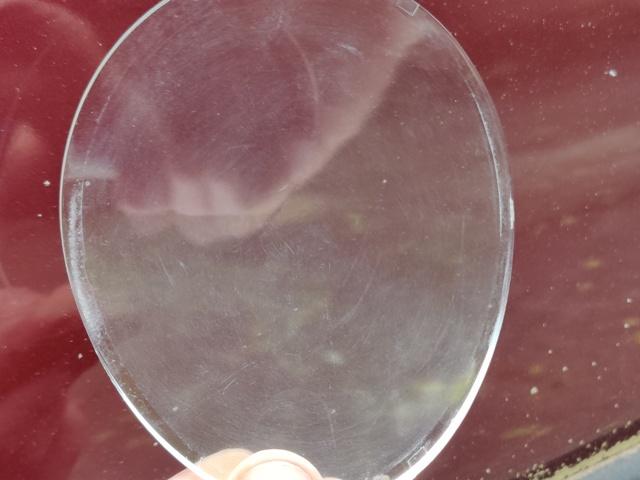
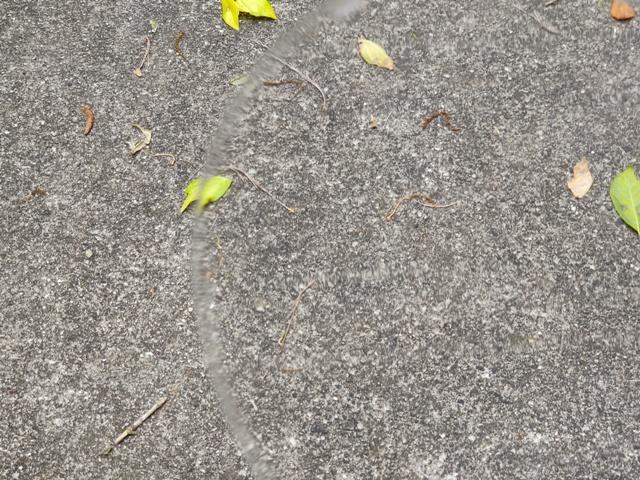
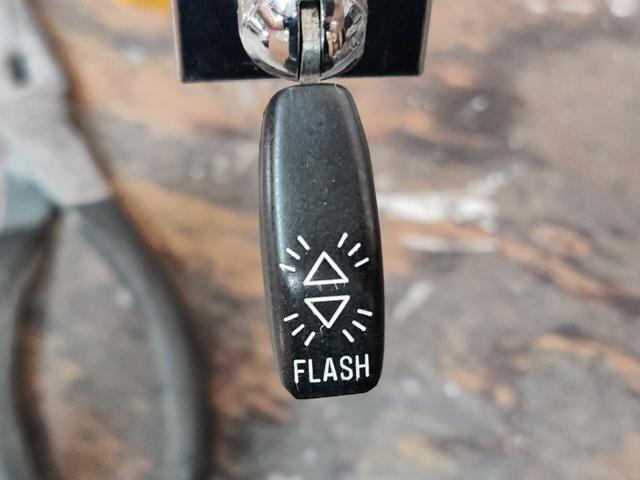
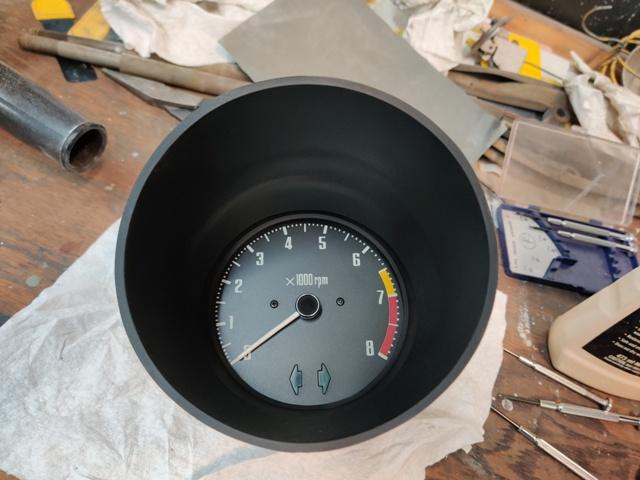
Restored the tachometer today. First pic shows cleans len/cover. Note the haze from tiny scratches over 50 years. Background is my dirty Honda Accord. Middle pic is after buffing. Quite the difference. Third pic is half on and half off the lens. You can see the distortion in one of the leaves (just off center left) on the pavement where the edge of the lens is: The hazard switch was missing almost all of the white paint in the imprint. So, I sprayed a bit of white enamel into the spray paint cap and used my finger to load up the switch (after cleaning thoroughly). I use enamel thinner. Lacquer thinner is too aggressive and will attack the plastic if you use more than a whisper. After the white enamel dried, I used a low lint paper towel with just a couple of drops of enamel thinner and wiped the top surface lightly and repeatedly, until the only paint that remained was that in the recesses. You have to go slow. If the paint in the grooves gets thinner on it, it gets tacky and will start to pull out with the wiping action. Also, the tachometer had some of the white paint (inside the back housing) cracking and coming loose, so I removed all that was loose with 320 and re-sprayed white inside to restore the factory appearance. The tachometer after reassembly. Note clear plastic tape put in original locations (It seals some holes and keeps out dust).


-
Really enjoy seeing you making progress. I was thinking about getting one of these to do the prep work on the hardware before sending it off. Any thoughts on using a tumbler vs. hand prepping with wire wheel? https://www.youtube.com/watch?v=mG4h-TU92-A I need to start prepping everything so I can send everything to be plated, but only have a 4.5 grinder (on which I can put a wire wheel attachment) - not a buffer on a stand with a wire wheel.
-
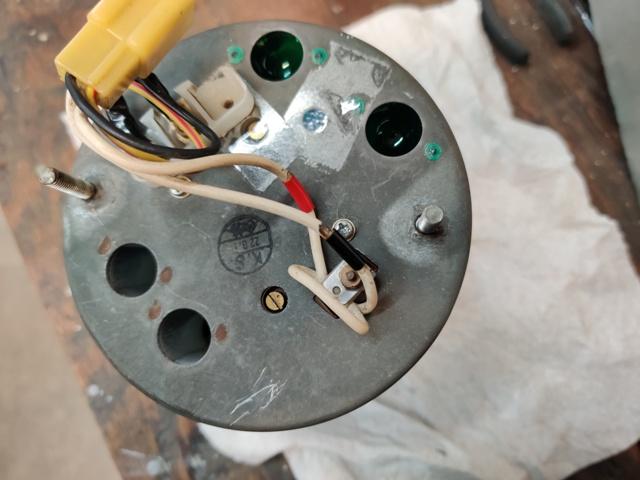
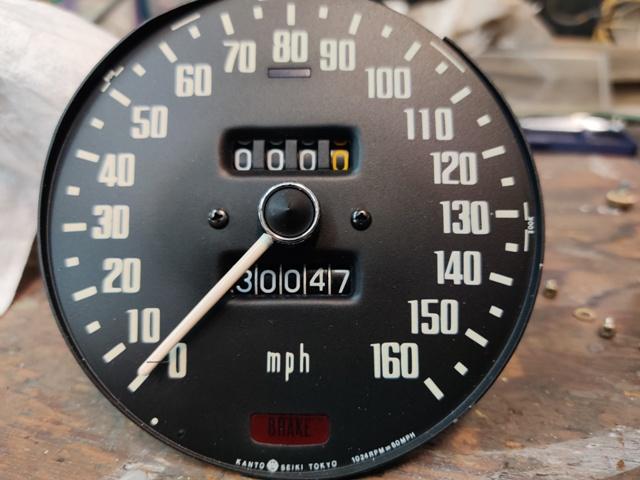
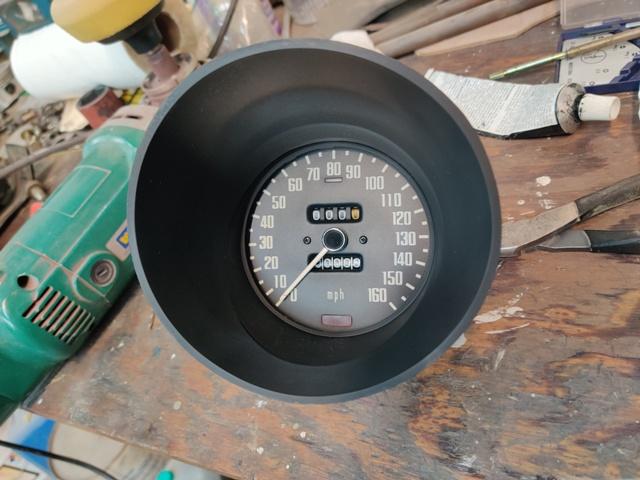
I took apart the the speedometer gauge assembly to freshen it up. While apart, I reset the odometer to all zeros. I took a reference pic showing what was there before setting to zero, though that is likely of no worth. The car as purchased didn't have documentation of mileage. All of the repair bills that came with the car indicate 130,047 miles on it. While apart, I cleaned the gauge face lightly with Windex (had some light oil on it around the needle anchor point), and cleaned the housing with a bit of soap and water. I took the working gauge out of the metal backing, and cleaned inside where the white paint is (for back lighting). The white paint was in good condition so I did not respray. And, I buffed the clear lens/cover with a foam pad and Meguiar's 7 glaze. That stuff is awesome for polishing clear plastic. Use a power buffer and have some patience; you can remove all of the little scratches that were put into the face of the lens/dust cover over time. My buffer has 6 speeds, and I can lock the trigger on. I used setting 1, put the buffer on the work bench, pad side up, and hold it steady with one hand while working the lens across the pad with the other. Reference shot, and after "rolling back the odometer". Since this is a full restoration, and mileage is unknown, I think it makes more sense to set the odometer to zero as the car will begin a new life. Next up is the Tach.

-
Just paint. I am sandblasting most parts, and putting a quality primer on before painting with an enamel. As far as I can tell, there is not primer from the factory on any of the parts being discussed here: suspension, pedal box, steering column, heater box, motor mounts, transmission mounts, etc.
-
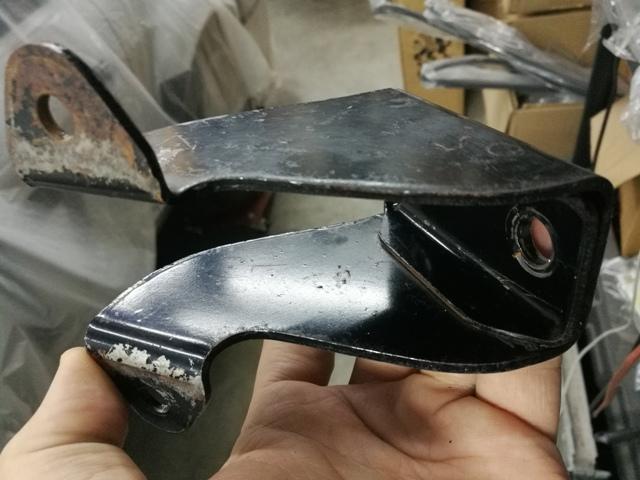
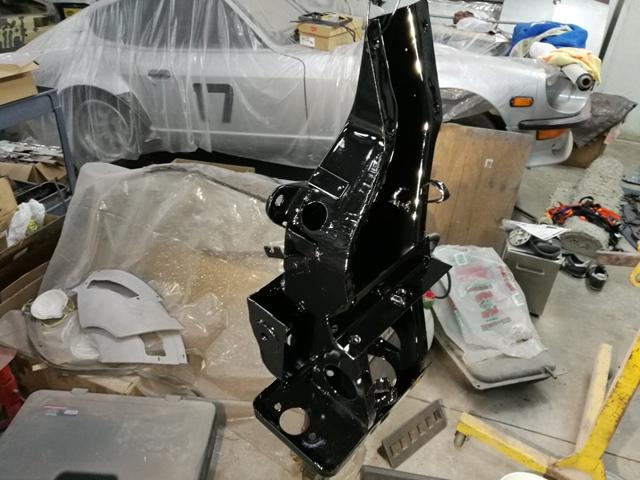
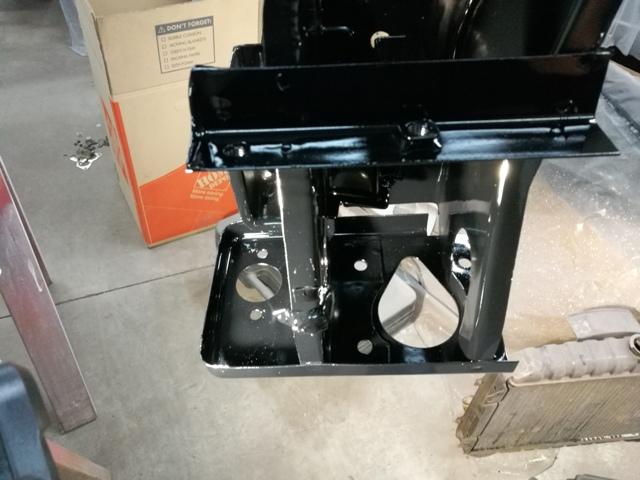
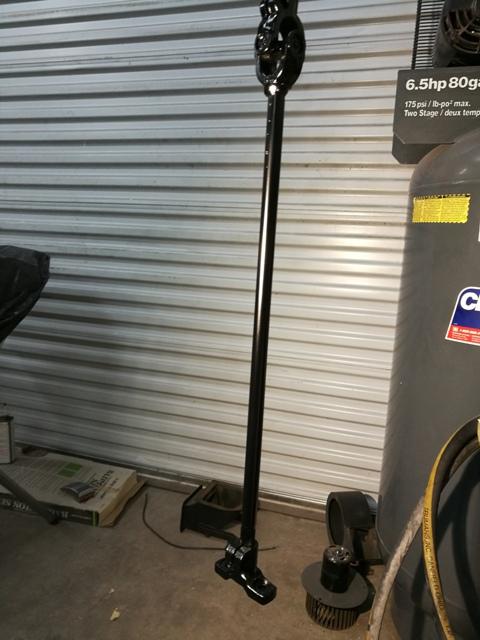
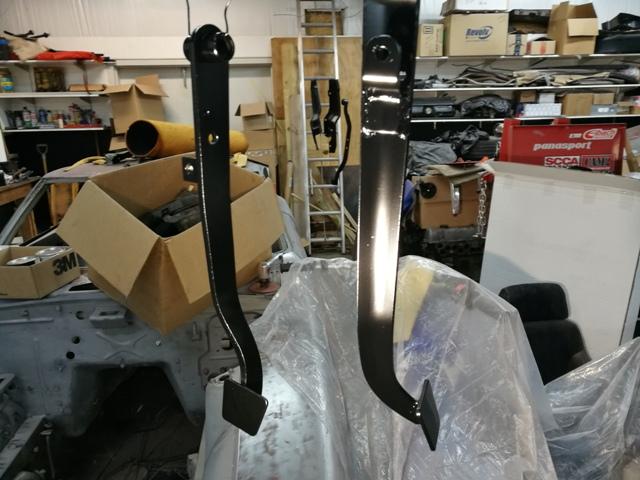
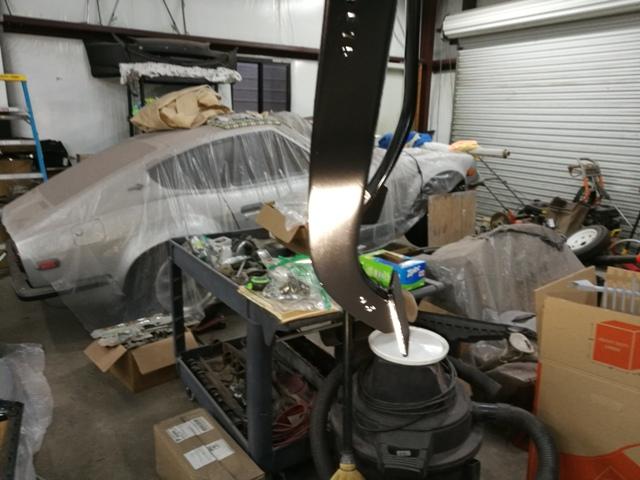
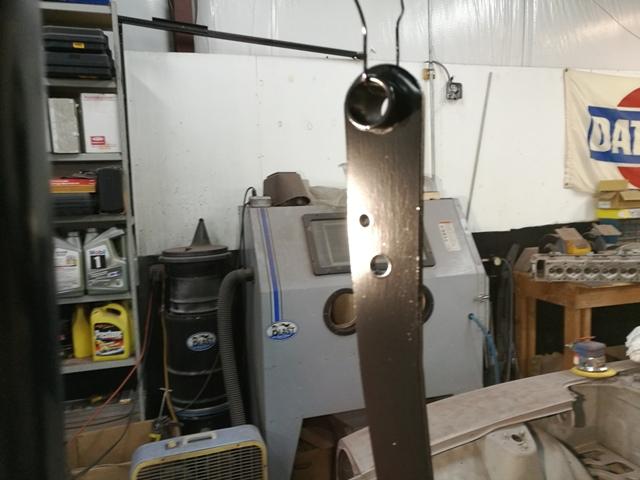
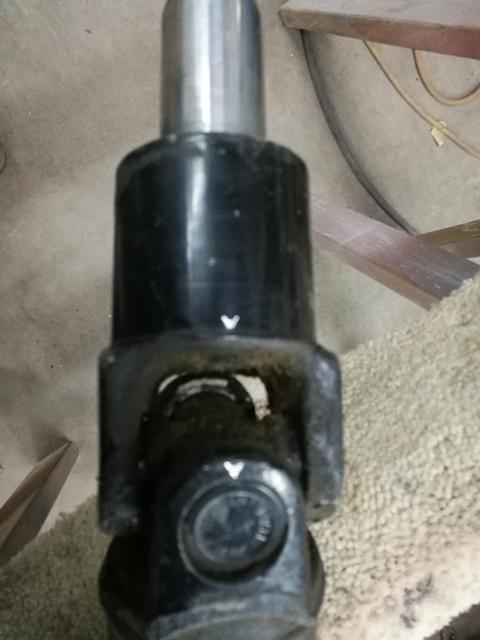
A few more reference pics, this time of a motor mount and driveshaft: The pedal box and steering column are quite glossy. However, the heater box, and fan, are not - they are semi gloss. And then there is the brushed on paint on various parts of the interior like around the kick panels, the rails that the seats bolt to, around the quarter windows, etc. which is very dull. The suspension is quite possibly a unique level of gloss vs. the others. I will be looking for some reference shots online before I paint the suspension of the car I am restoring. The following pics are of actually the same paint. The pedal box is before adding any flattening agent. The steering shaft and pedals are after adding 10% flattening agent and letting the paint sit for bit. I found that adding agent didn't work instantly. It took a certain amount of time (like 30 min) before effect was very noticeable. And then I made the mix 20% flattening agent and again had to wait. But there was quite the transformation: Same percentage - used on these panels inside front fenders also: It is a nice satin. Good for some areas, no doubt, but not for the mustache bar; I do not think. Hopefully, my experimentation here is all of that I needed to do. I plan on doing the suspension with the 10% after I let it sit for 30 min. I might do 5% wait, spray, then 10%, wait and test to confirm, and spray. Luckily, this stuff doesn't require a catalyst, so it can sit and sit. I also have a bunch of reference pictures from the $300,000+ 240Z that was on Bring a Trailer; I suppose putting a few here wouldn't be a bad thing, right?


-
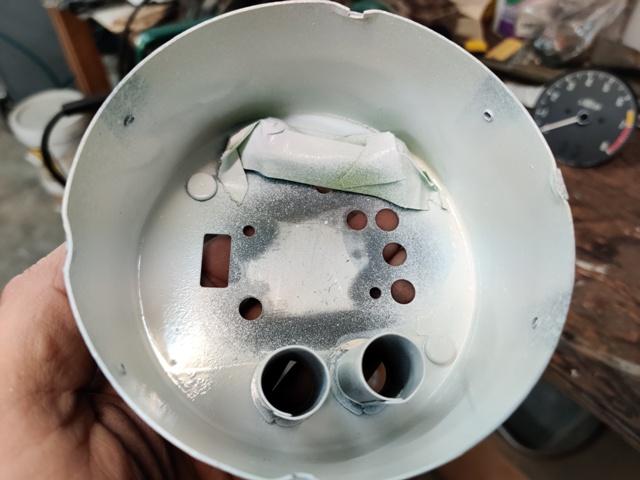
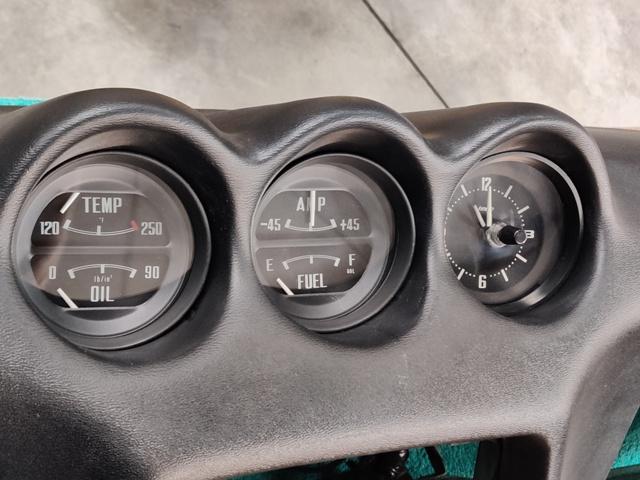
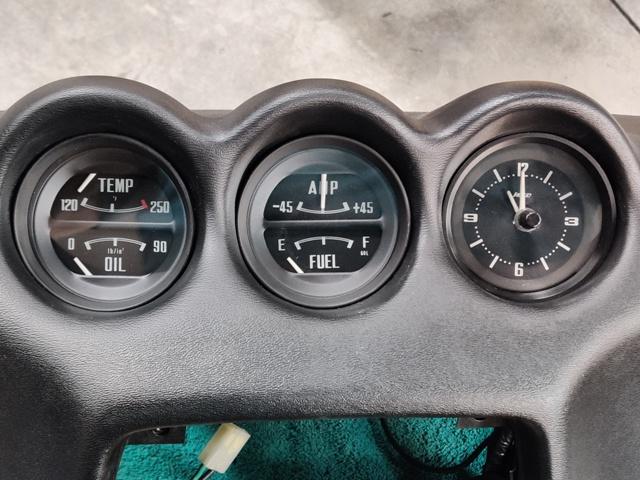
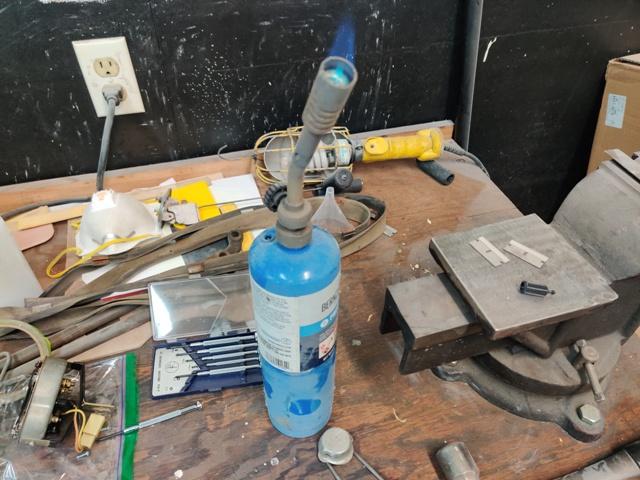
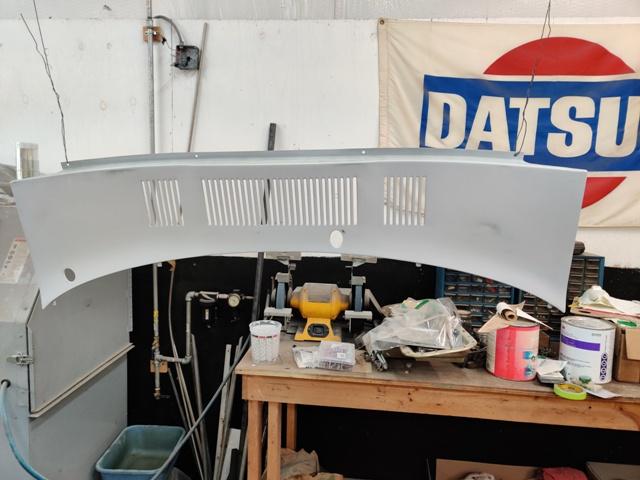
Work continues on the dash. I restored the center gauges a long time ago, but show only in a one pic a bit of what I did. Basically, the black "block out" pieces lose their coating of black paint over time (it cracks and falls into the gauge), and the lenses get dull with micro scratches on the outside surface. So, I take the phillips head screws off to remove the face. The face comes off and has the bezels or "block out" pieces attached. I break the melted plastic from the plastic posts that holds the bezels on (it is often crumbling off anyway). Then I glass bead the bezels and repaint (white on inside and semi flat black on the outside). I polish the lenses with suitable paint polish and a buffer. Then I put the bezels and lenses back in the front piece and re-melt the plastic posts (using a propane torch heated 3/32" drill bit, which displaces melted plastic from the solid post up and over the edge around the circumference of the holes in the bezel - see pics) to secure the bezels and lenses nice and tight. I top off remelted plastic with some suitable glue blobs for extra measure. And then re-assemble the front portion of the gauge to the dusted off gauge assemblies, and they are done. Next up will be the speedo and the tach.

-
My car is going to look very similar to yours when it is done! I am planning on going with the Konig rewind wheels, as I can't find any Panasports any more. I wonder if they closed down the business? My C8's on my track car are lovely.
-
Your car looks super nice! Is that an actual BRE front spoiler, or a different brand? I love the silver on my track car, but it is the silver used for 1987 Toyota's - (Supra). I am trying to go authentic restoration (within reason) with this car, thus the extra effort to at least get the look of the paint right (both color and metallic appearance).
-
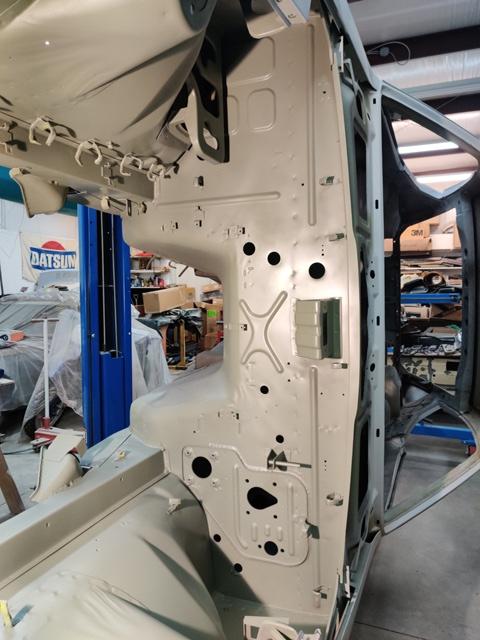
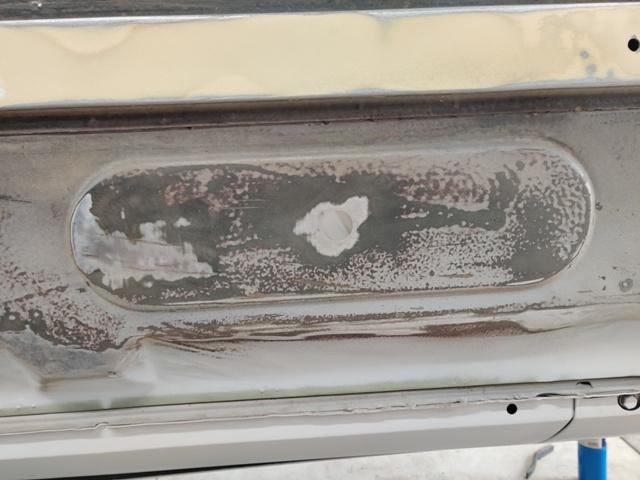
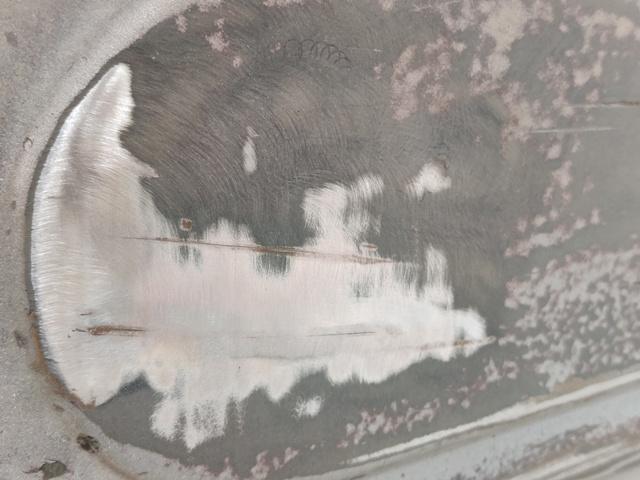
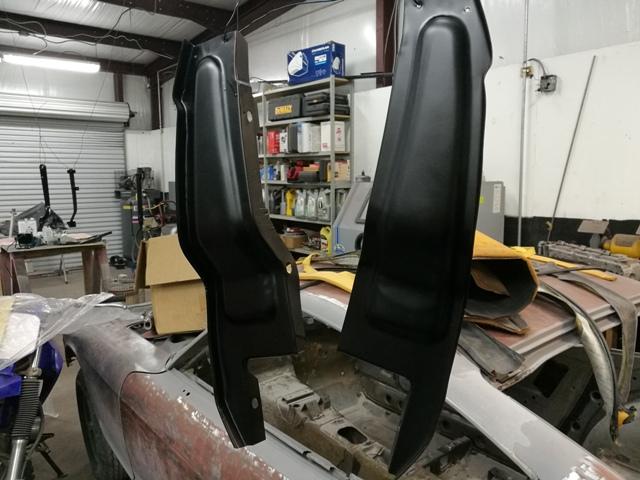
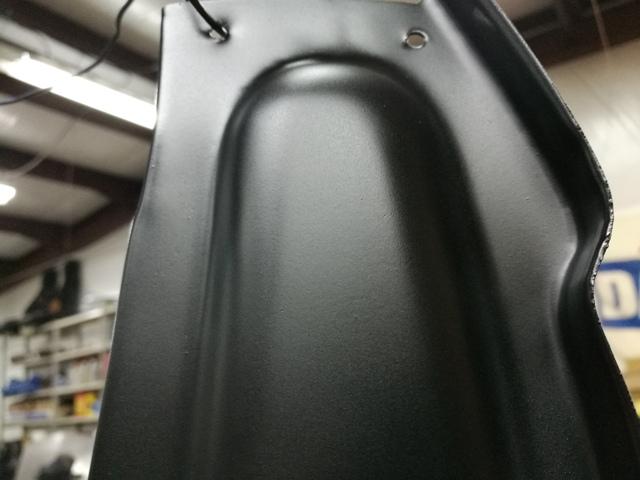
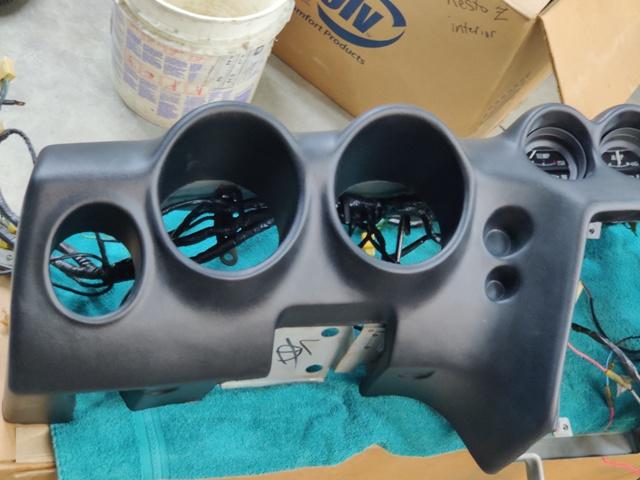
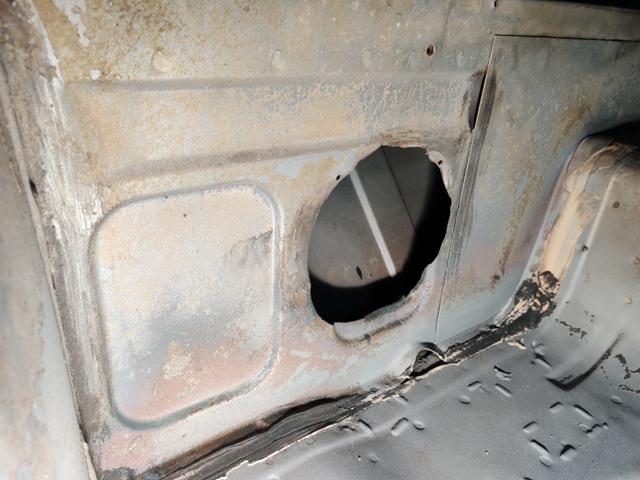
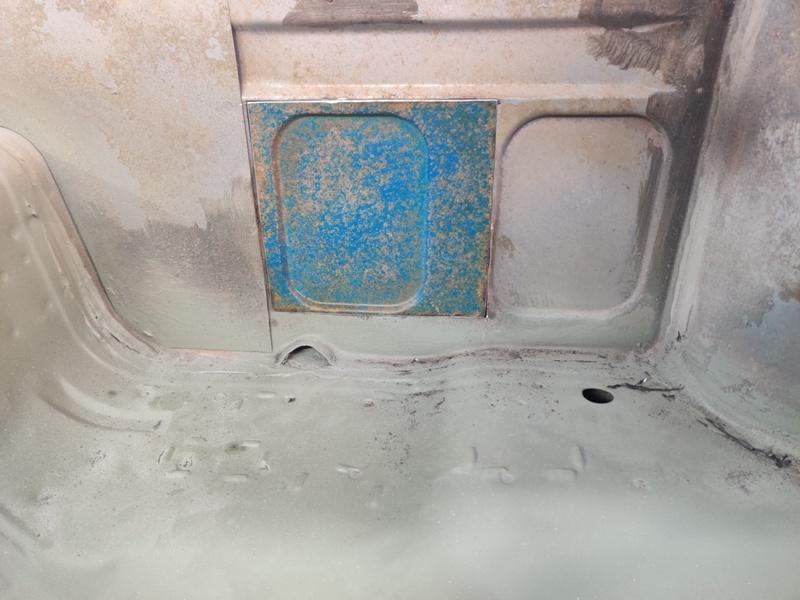
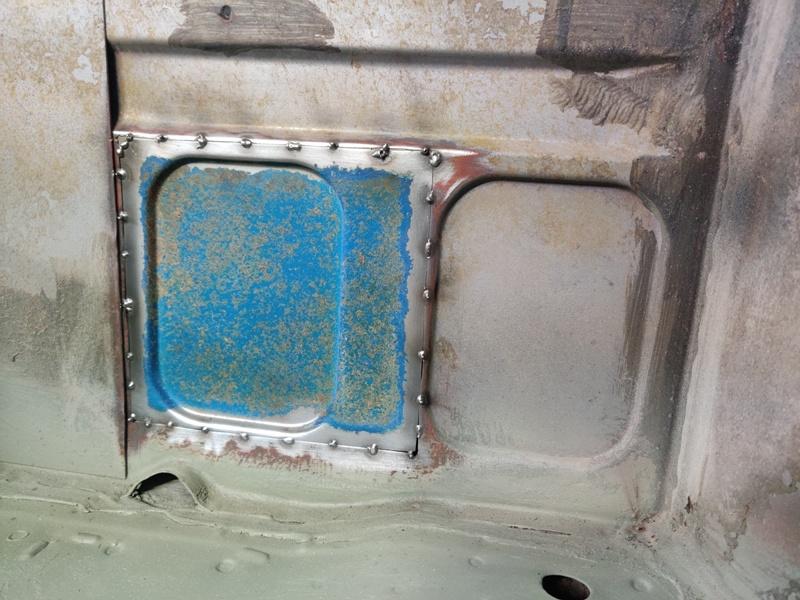
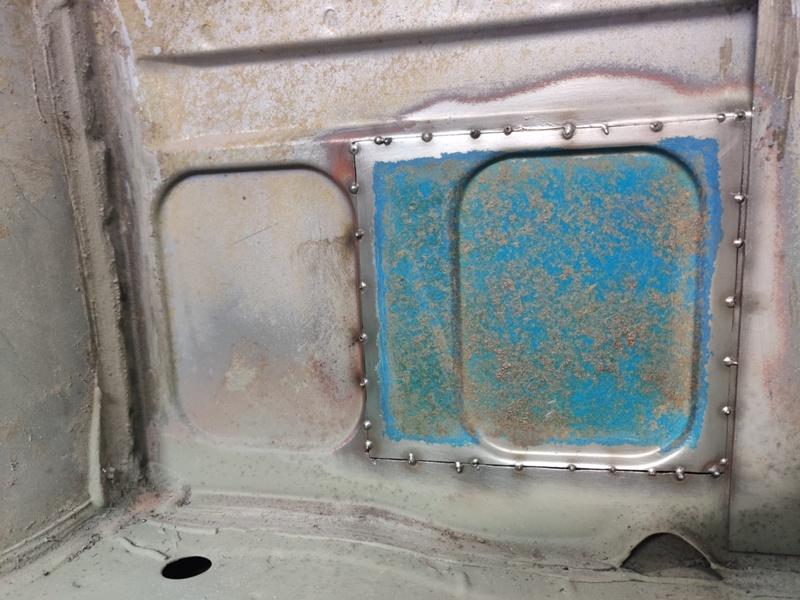
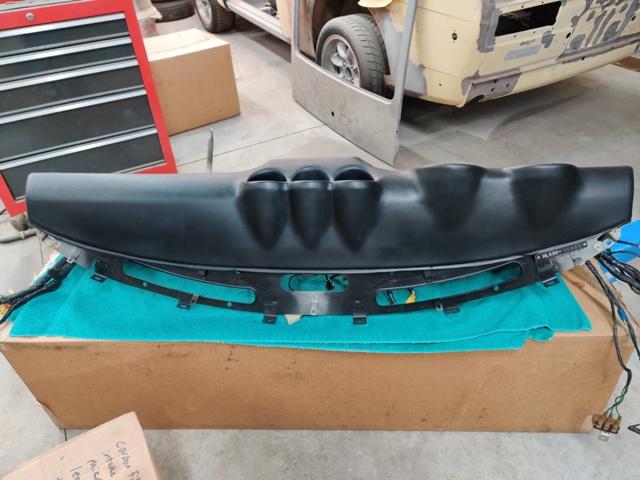
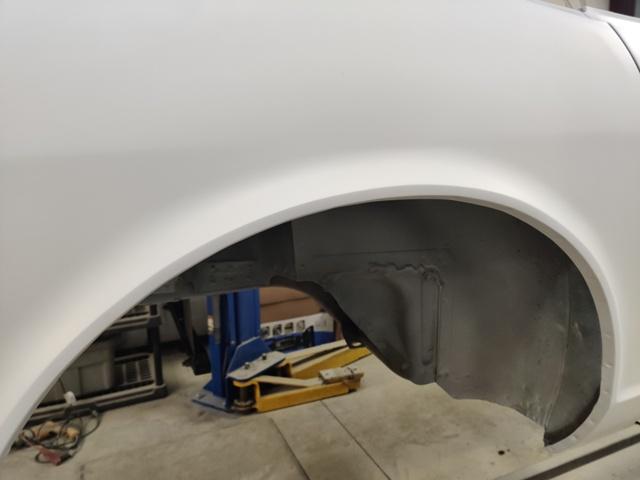
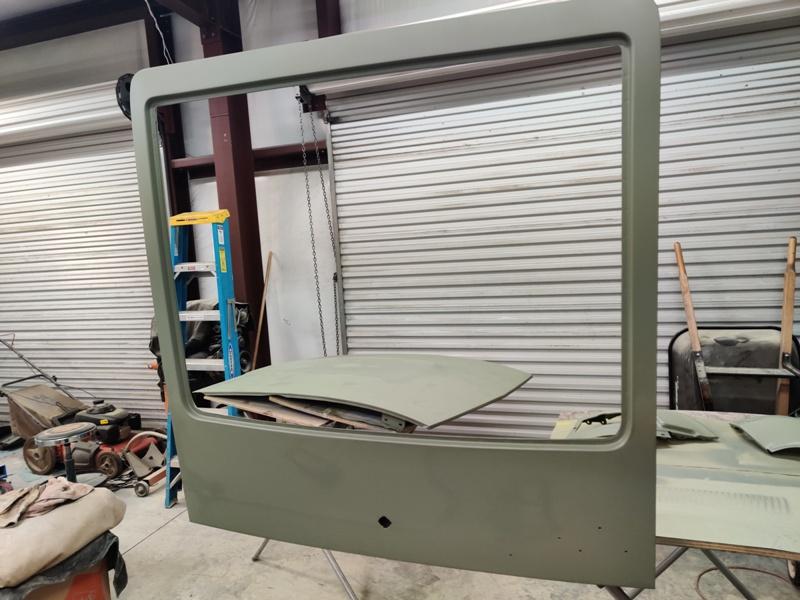
Another metal replacement project tackled yesterday - replacing the metal that had been cut for speakers by a previous owner. This is the luggage riser area: Though pictured is a die grinder with a cutting wheel attachment, most of the cutting was done with a 4.5 inch DeWalt hand grinder with a cutting wheel. That cuts way faster... I picked up that knowledge from watching various Youtube channels. It seems to be the way to go, but it can be harder to control the cuts for sure. For more precision, I switch to the die grinder when needed. Pretty much have been using the die grinder and cut off wheels for decades! But, I am not sure about the extent of harm to the lungs from using these cut off wheels (they slowly turn to dust as you use them). Definitely eliminate the possibility - wear a particle mask! Leaning in through the door and twisting to do all the work related (cutting, filing, fitting and tack welding), made my lower back sore, so I am giving that a rest from continuing with the remaining work on these for a bit. I have started on the dash. I pulled the Vintage Dashes reproduction out of the box and mounted it on the cleaned metal frame. I power washed the frame, dried it, and then touched up areas that were spray painted black from the factory, such as the areas that can be seen when looking at the defrost vents. As body work starts to come to an end, I will have to organize the work to be done elsewhere. There are many different aspects of work to schedule and do, so some dedicated time spent on planning (writing out) seems very prudent at this point. Suspension, transmission, differential, the rest of the engine build, interior, electrical... lots of things to consider.


-
Is your car silver too? What brand of paint did you use? Glasurit (what I have used for undercoats) doesn't seem to have a paint mix code for 1971 Datsun silver.
-
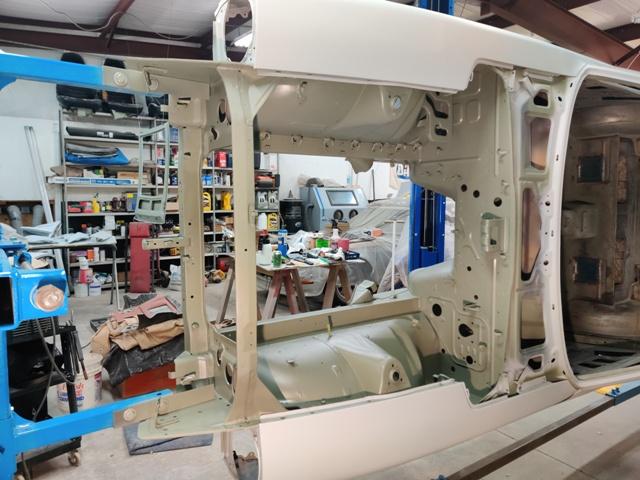
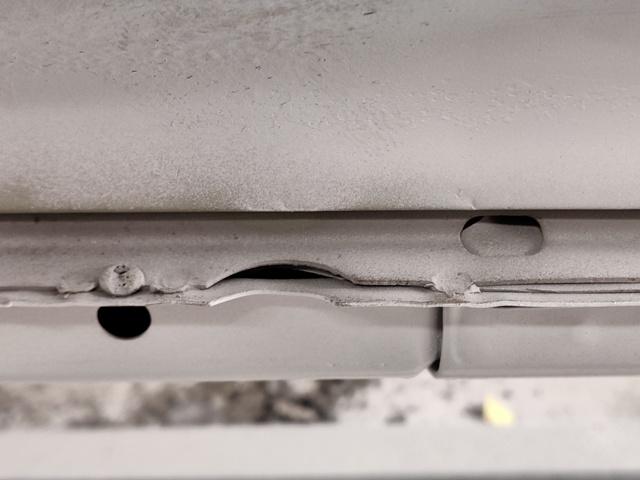
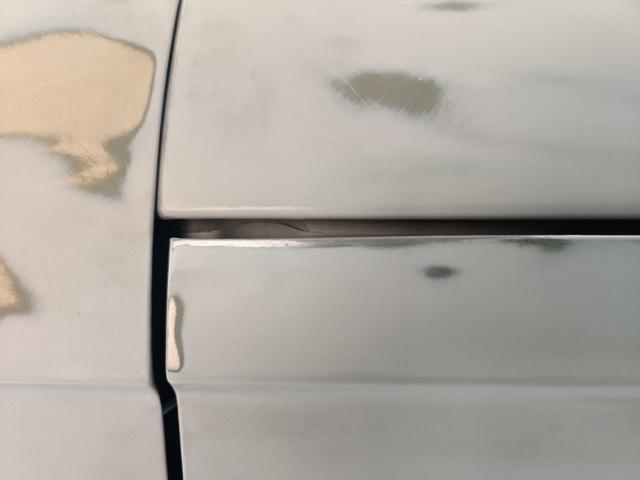
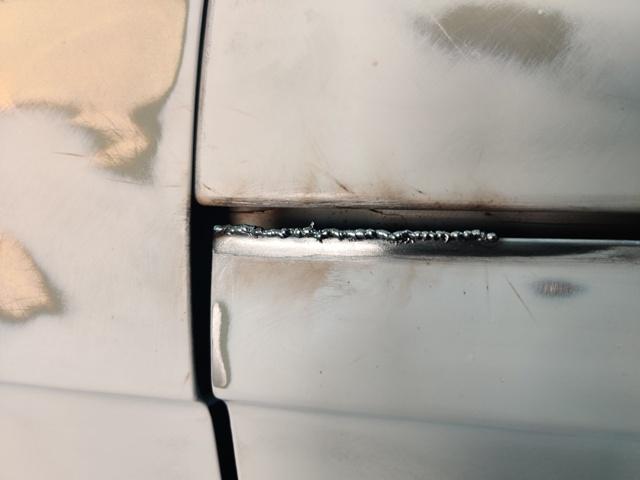
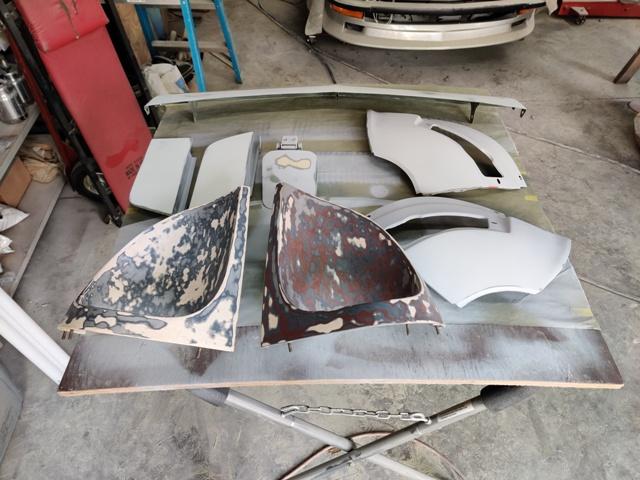
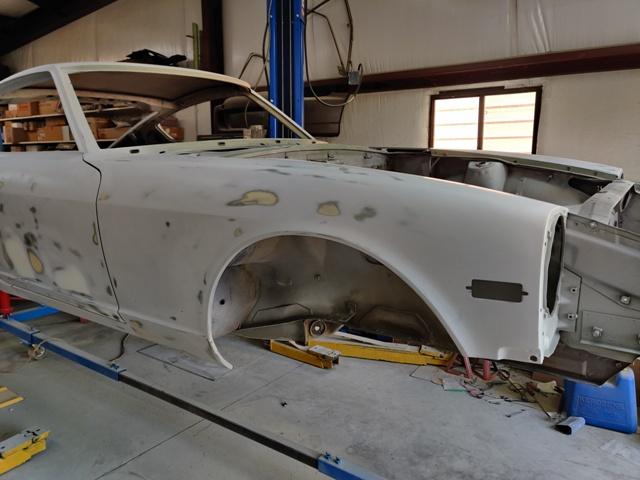
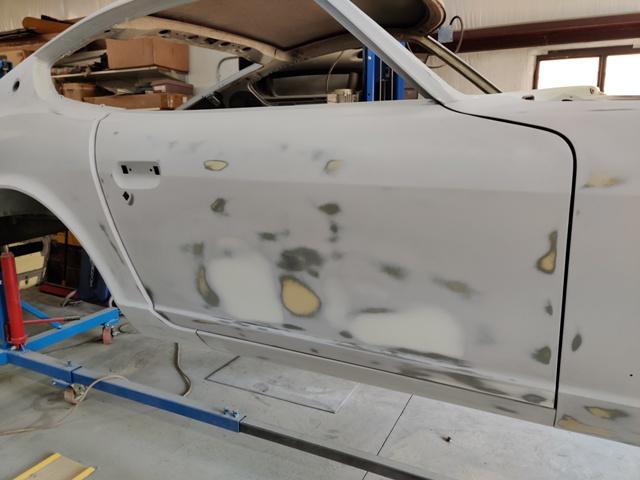
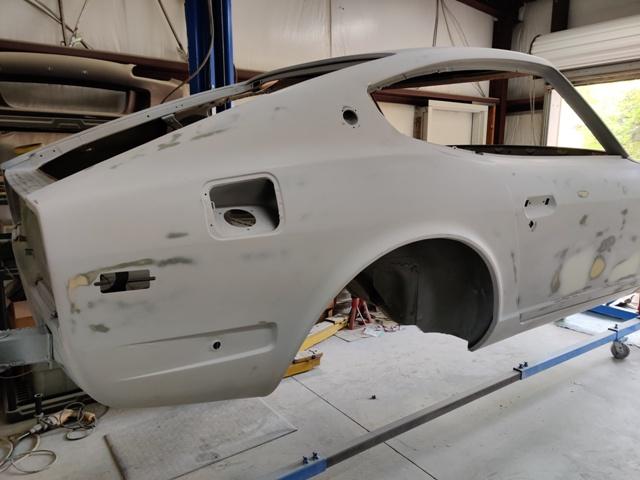
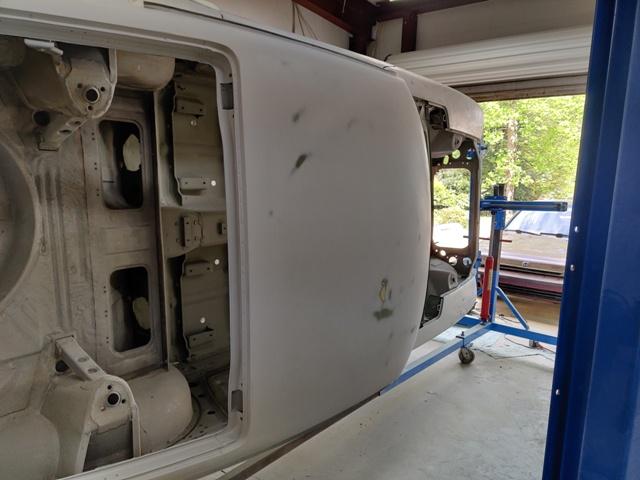
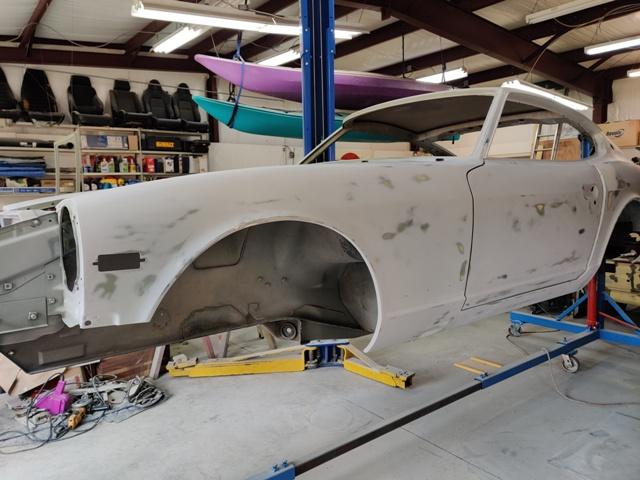
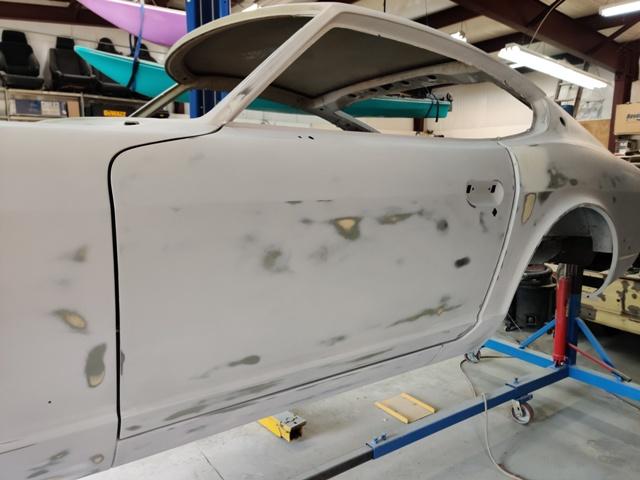
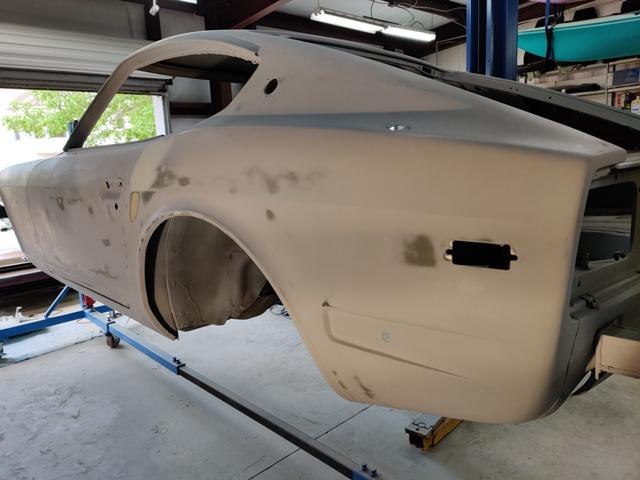
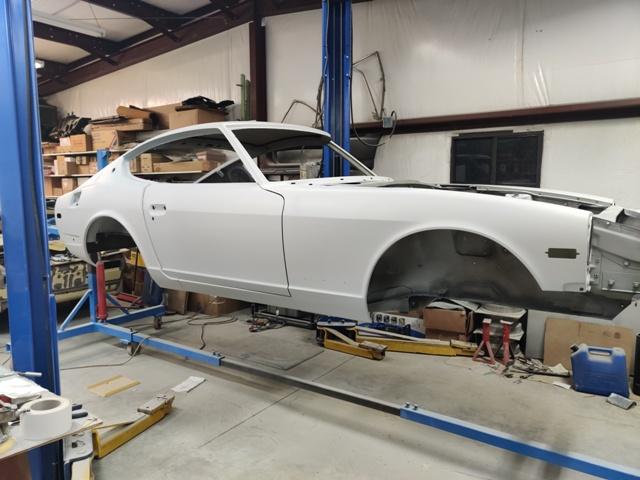
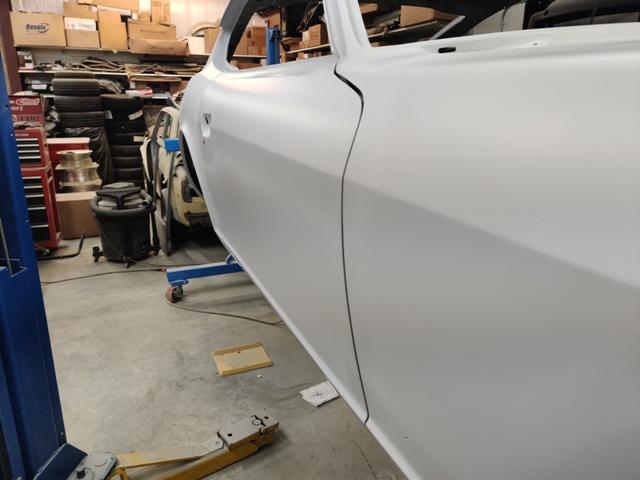
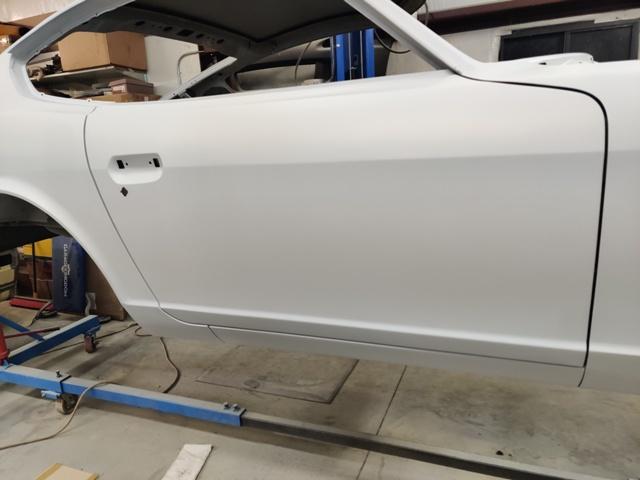
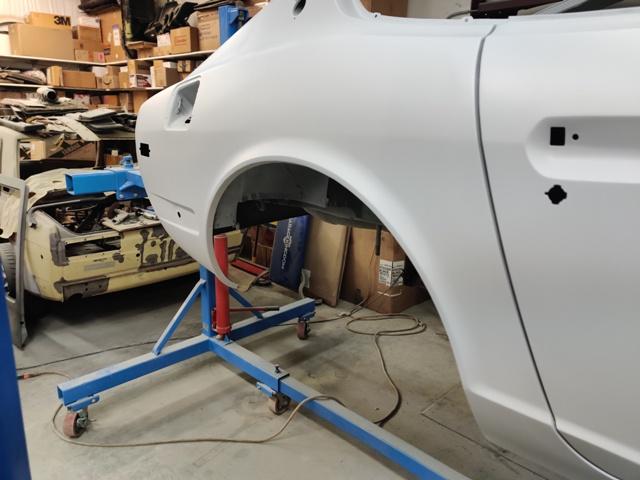
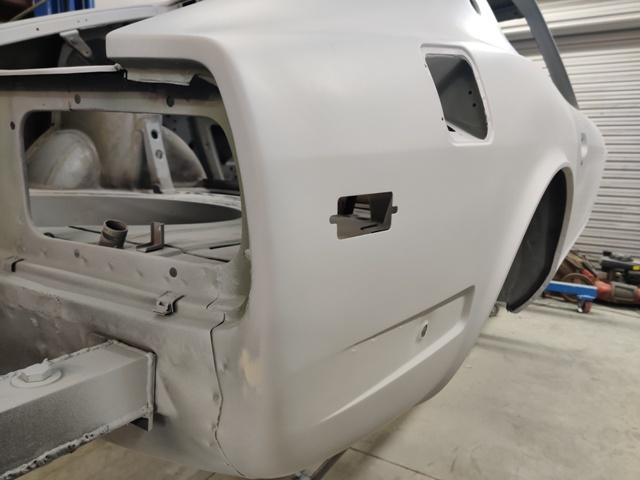
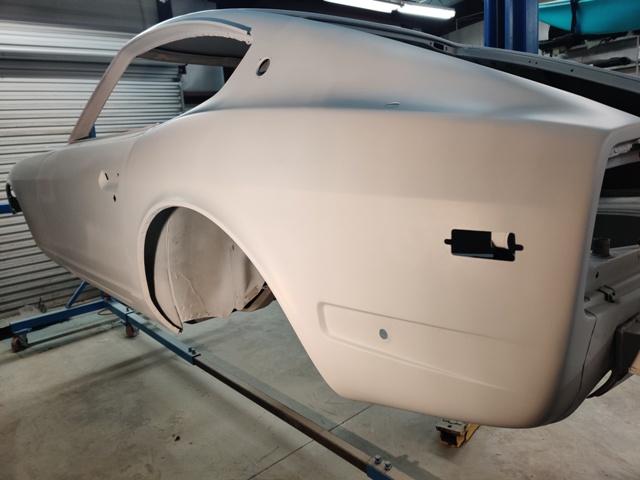
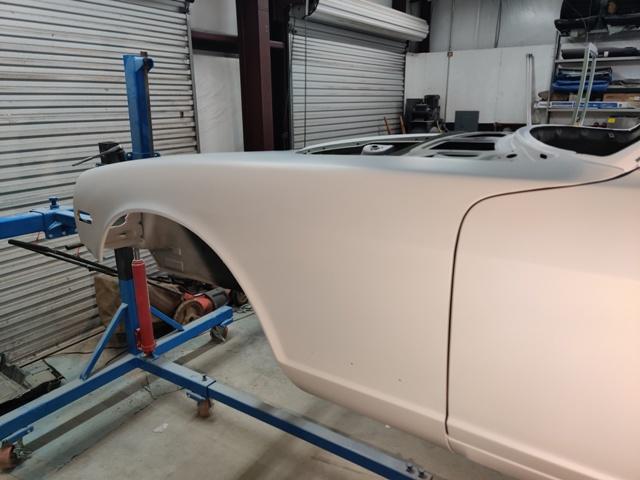
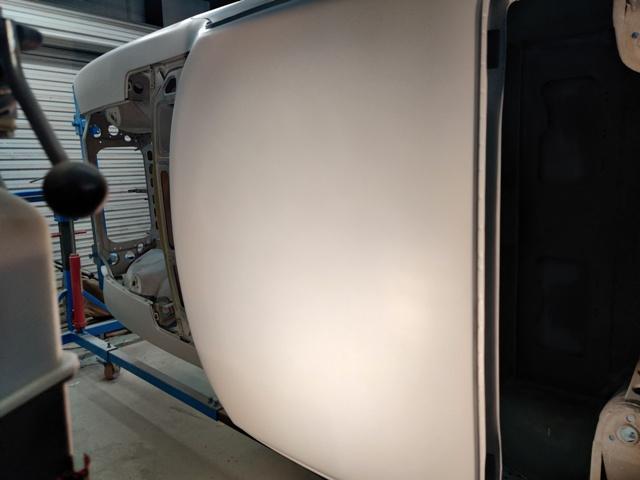
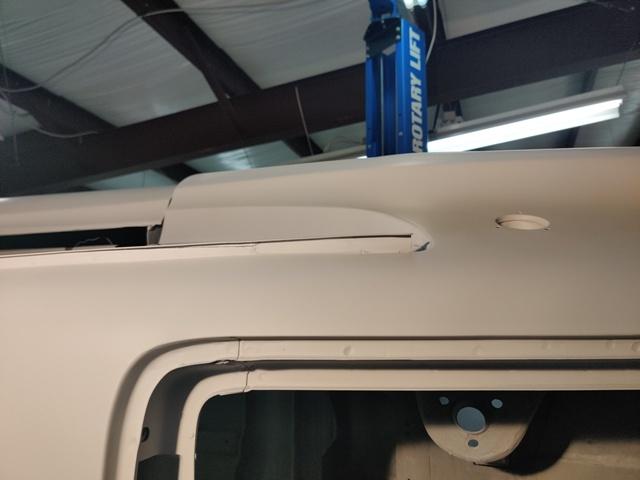
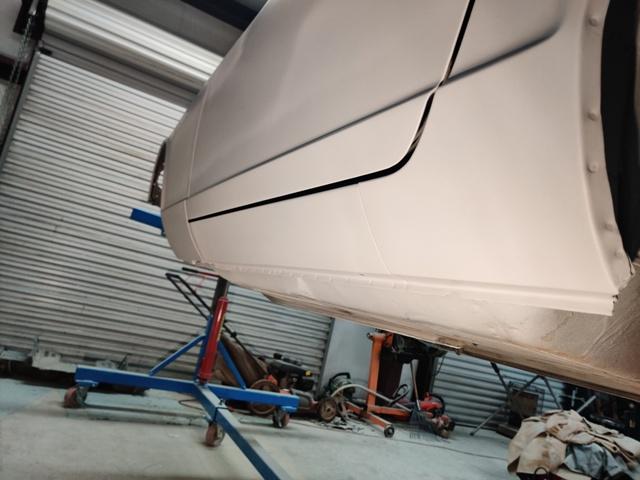
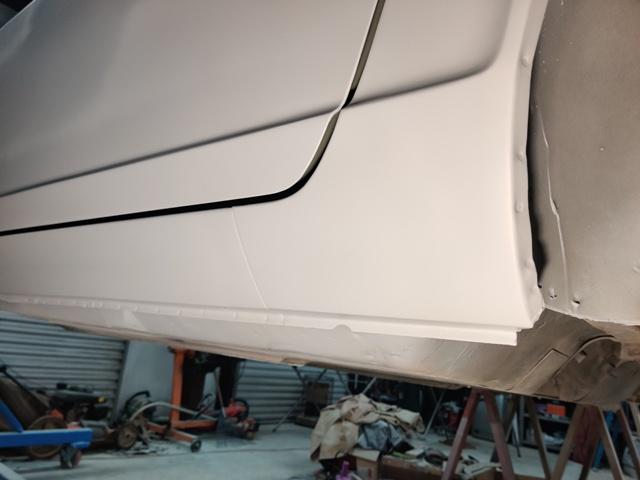
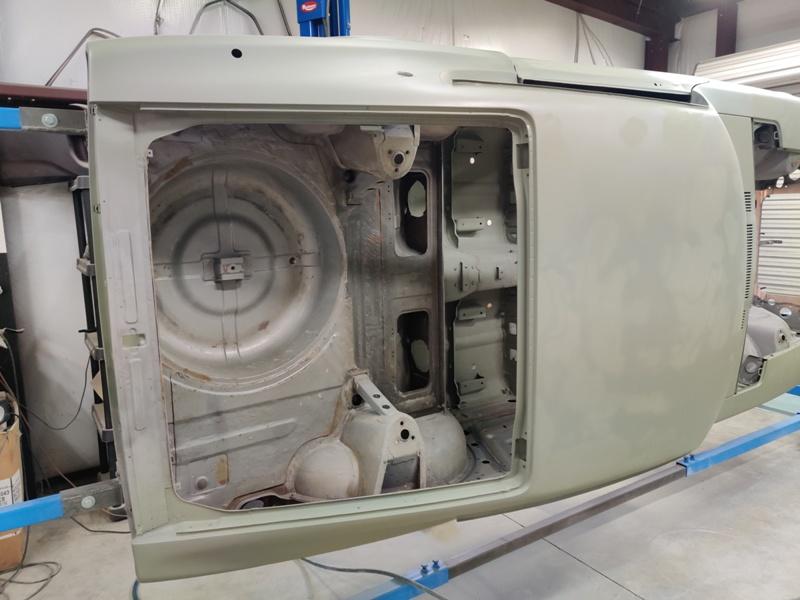
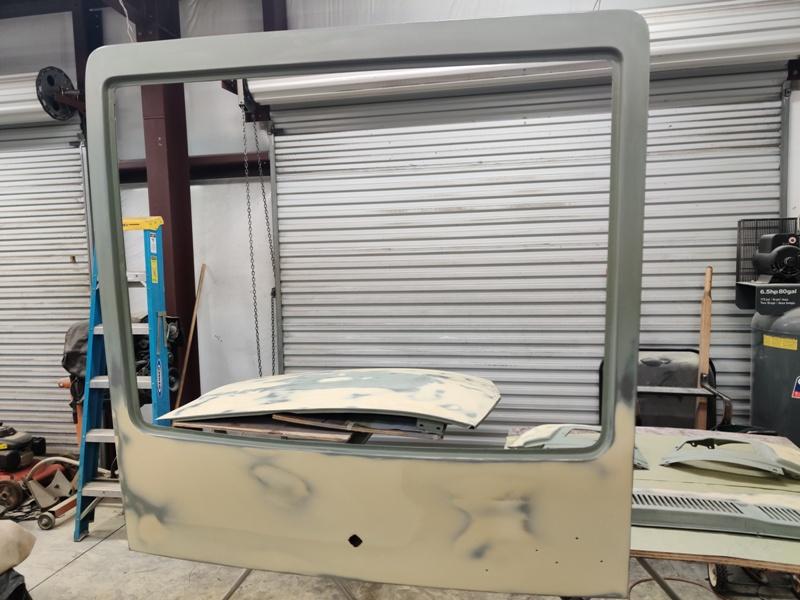
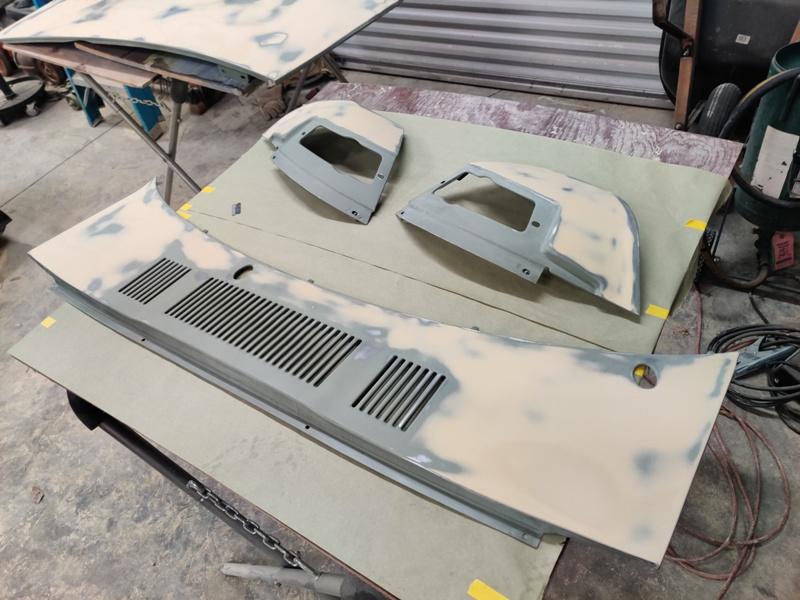
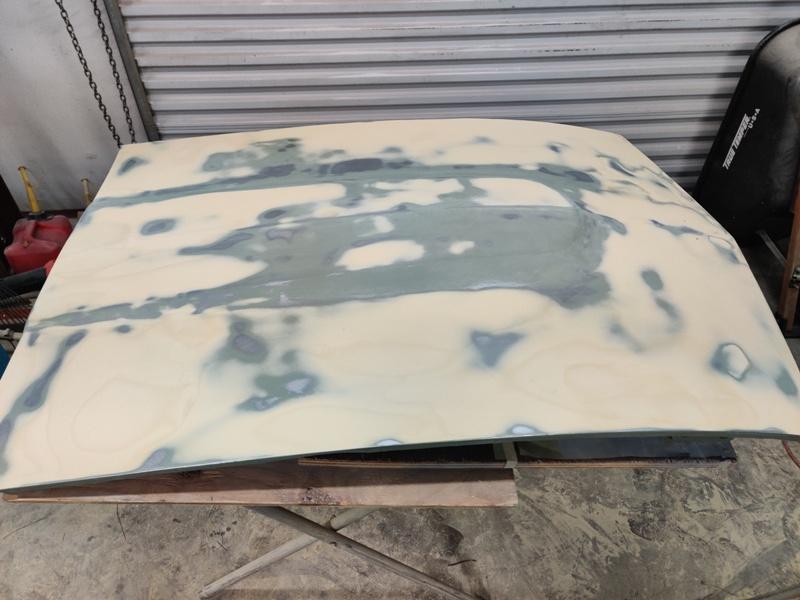
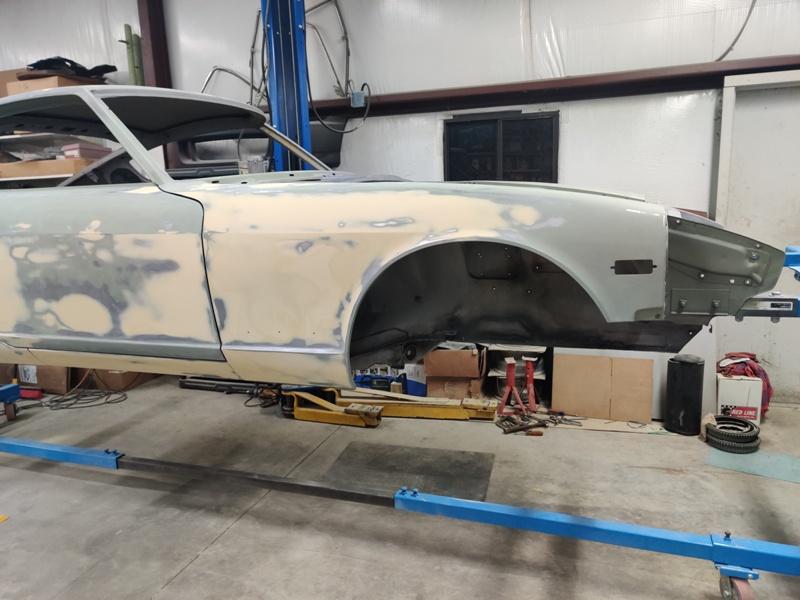
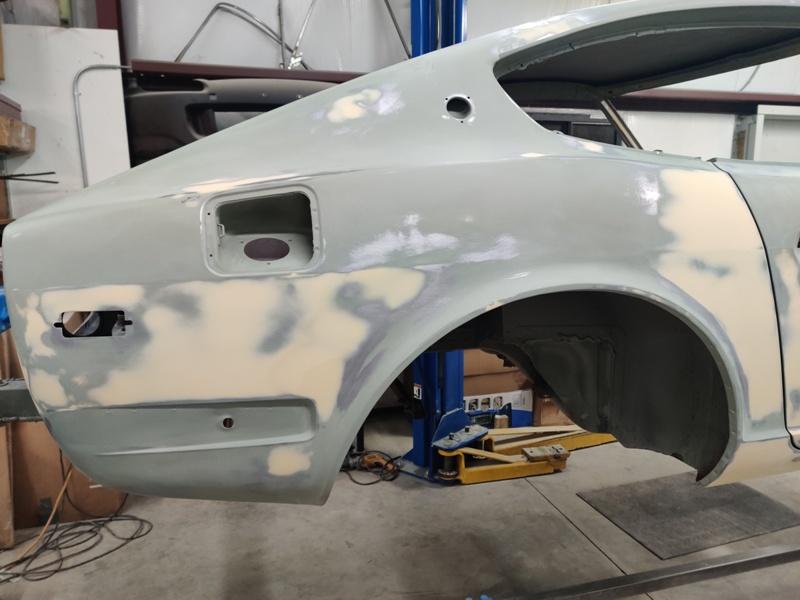
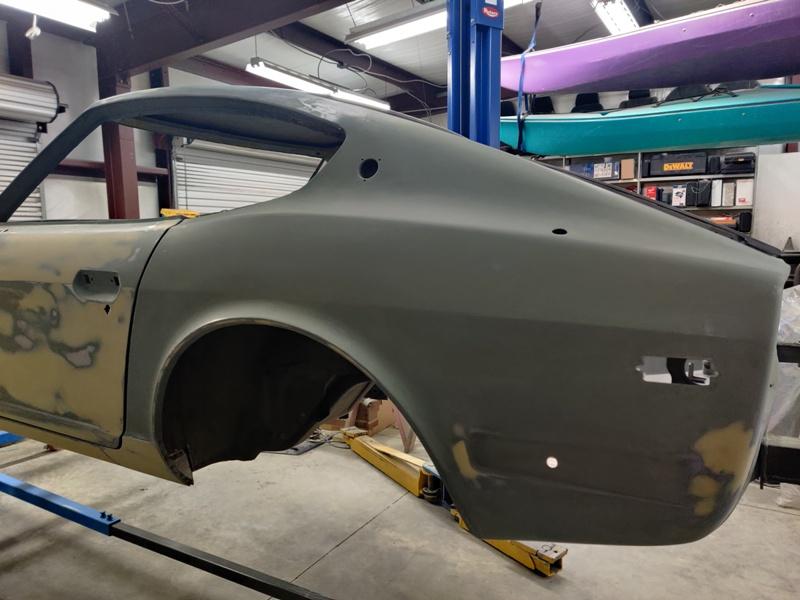
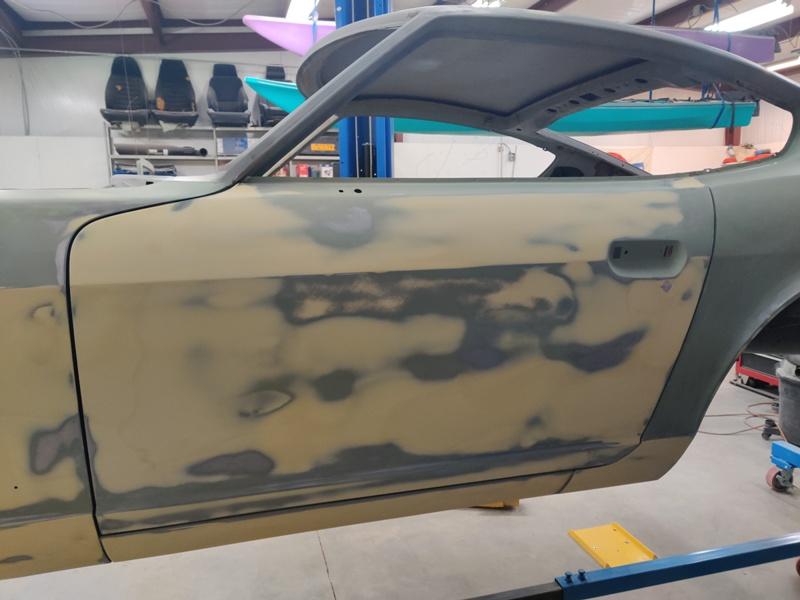
It is really past time for an update... 35 pics of body work follow - a lot of work to resize and upload and format ?. As always, clicking on the images gives you a large version. Passenger side door (upside down - front door gap to fender is the vertical gap) - cleaned of primer, and touch up weld to fill gap (center pic): Fiberglass headlamp housings had not been primed yet - they were just sanded down. You can see the original primers that were used, first red, then dark grey. Following shows after guide coat and sanding of the two coats of high build primer. I broke through in lots of places. The panels were not nearly as straight as they needed to be. I switched to a higher quality, fine body filler for the areas that needed it, like the passenger door: Again, and I can't stress enough, if you want to spend less time and less aggravation on body work, spread your filler across large expanses of the panel (even the whole panel) instead of a little bit here and a little bit there like I always think I can get away with. Left rear quarter panel, one of the straightest panels on the car, needed some filler in places at this "late" stage of the game. Imperfections of literally a thousandth of an inch can be seen when looking at a glossy panel. Using proper sanding technique is also very important to achieving a panel without waves. 3+ more coats of high build primer applied over the weekend. Places that I knew were not 100% right got an extra 1-2 coats, for a max of 5 in certain areas. I am hopeful that guide coat and sanding process will get me where I need to be, but I suspect that the car will still require another round of primer and sanding after this one is worked down. Body lines are kept really sharp at this point in the game. They can be softened and made consistent later. The body line above the rear fender appears to be a bit light to me, indicating the area is a touch low. We'll see how things take shape (or don't) as the next round of guide coat and sanding progresses in this area. Damaged rear edge of rear quarter panel looks much better now: Door gaps (to fender, to quarter, to rocker, etc.) and alignments of all panels have to be done before you get to this high build primer stage. You can't be yanking and tweaking metal now. I am letting the primer dry for a week so shrinkage can occur. I may leave it for two weeks, and then do the guide coat and sanding process. Plenty of other work that can be done in the meantime.


-
I'm all DIY, so, definitely not a pro. By a "nice base sealer", I wonder if he is just saying that he wants to apply a sealer over everything including the seam sealer. That would be my guess. My plan is to continue doing the body work for the next month or so... and then let it sit for another month: 1) because it will take a while for me to get it as good as I want it, and 2) to give the filler and undercoats time to dry and settle. At that point, I will hand it over to a pro to finish however they see fit to. It will be damn close to being ready to spray.
-
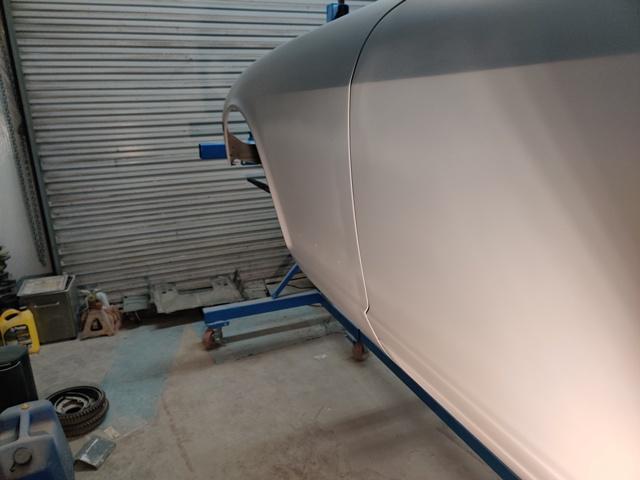
After the two coats of high build primer, this is how things look. The camera doesn't like focusing on this light color - ugh.? I will need some more light filler in some spots (will it ever end?!). Will likely do that and some more high build filler in strategic spots, such as: where the body line meets the front fender arch contour... and along the fender arch on the driver side, as examples.
-
All my stuff is solvent based. For sealants, I've not had good luck reproducing factory in the past. They don't smooth out enough unless I go over them with some lacquer thinner within a few minutes of applying. I will look to 3M products and see what is currently available. Also, unless I spray primer over it, I think I run the chance of the base coat not looking the same wherever it is covering seam sealer. The concern is areas like inside the rain gutters, the quarter panel to rocker cover seams, and the quarter panel to tail light panel seams. I'm going to put a really small amount in these places just to fill the gaps, then cover with the primer/sealer. I am not worried about the seams inside on the floor, or underneath on the floor.
-
I've generally had issues with base coat not appearing consistent if the coat it covers is not uniform. So, yes, a sealer coat to provide the consistent foundation. Primers used so far have been: Epoxy: 801-703 High build: 285-50
-
I've been sanding and sanding, trying to get the body prepped for high build primer coats (ended up doing two plus a third on certain areas). It will be interesting to see how much more filler is required. I'm telling you, getting the filler laid on over big areas is the trick! Very little of this crap touch up with body filler is necessary if you do that. A few videos for you: One coat of Glasurit epoxy primer (basically), and body filler on top: A second coat of Glasurit epoxy primer: Lightly sanded, and some fine body filler applied in a few areas. It is now ready for high build primer coats:
-
Patcon is right. I am using a sillicone remover, not a silicone based product. And actually, it is silicone and wax remover, not tar.
-
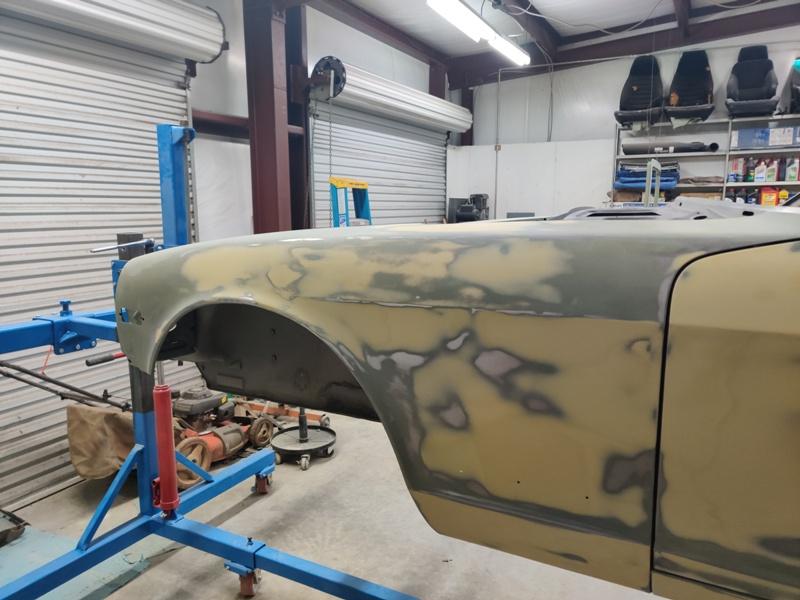
Epoxy primer applied. ? Has to be above 60 degrees for it to dry, so I'm using a kerosene heater to elevate the temperature in the garage.
-
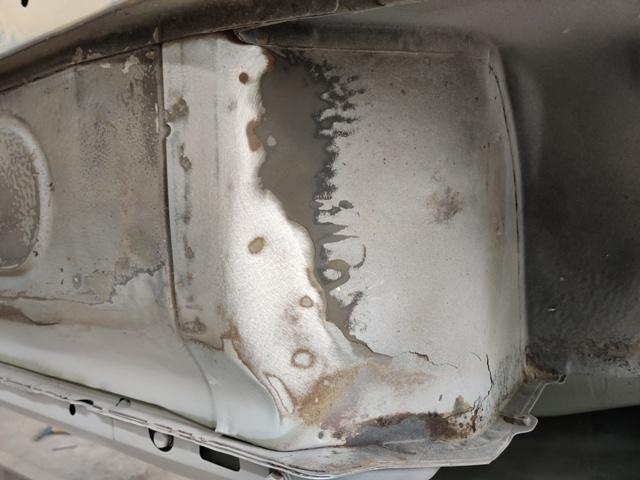
I got the body filler work to a point on the car where another coat of epoxy primer was warranted. I'm still not 100% on how it should be done, but I like putting down a coat on bare metal, then doing body filler, then another coat to seal everything. The plan is to shoot high build primer next, and then to block sand to perfection. We'll see how that goes. ? A lot of time was spent getting the panels "close" with filler. More than I hoped. You can spray silicone and tar remover on and let is sit while you look down the sides of the panel to see where you are with progress. Then wipe off and let stand a few minutes to dry before priming. A really important learning using body filler is to apply it to very large areas at a time. You don't want to apply thin amounts just in the low spots and then sand that down... Inevitably, when you do that, you will end up with more wavy-ness that you hoped for. Lows and highs of only maybe 5 thousands of an inch can be seen in a finished panel. So, instead, apply skim coats to the full panel (unless it is perfect, which can be checked via the silicone and tar remover method above). You'll save a bunch of time and get a better results by doing this. Another option, which I have not used yet, is to apply spray on polyester filler. That looks like a pretty awesome way to go, and I may try that next time around. How things look just before applying 801-703 Glasurit epoxy primer (which was also used on the bare metal): Left rear quarter panel was crazy straight. There is some filler in the area between the door and wheel well opening that has already been covered over with some epoxy primer though.

-
Very nice! I need my lines done also. Is what's shown in you pictures lines for more than one car? I need to look back through your build thread to find what you did for prep on those. Any tips to pass along before I ship all the lines out?
