


cgsheen1
Free Member
-
Joined
-
Last visited
Everything posted by cgsheen1
-
 Thanks for that research and clarification. The same error is in the 1975 280Z FSM. We rarely work with lates ('77-'78) and I've always taken the published spring rate (in ft lbs) in the '75-'76 FSM as gospel (never even looking at the kg/mm figure). Going to edit my post above.
 -
Stock Stance USA XR-1 coilovers use 175mm long springs and minimum rate they show is 4K. They have listed 3K (168 lb.) springs in 200mm length. If you're interested, talk to Stance USA Customer Service about those springs on your struts and ask if your struts would need to be re-valved to use them. That is important to know. The 3K springs would be just over an inch longer than your current springs IIRC. That means your lower perch would need to drop just over an inch. At your current ride-height you should have plenty of thread to lower the perch on the strut tube. (You could move your 4K springs (or strut) to the rear and use the 3K springs on the front. Stock 280Z spring rates were 103 lb. front and 198 (see below) 128 lb. rear (3K=168 lb. vs. 103 lb. - 4K=224 Lb. vs. 198 128 lb.). Your springs would be softer than they are now, still stiffer than stock. edit: the information sited below may change you opinion about the 4K springs... The 15-step damper adjustment is for damping - it doesn't change the spring rate ("stiffness"), it dampens compression and rebound of the spring.
-
We reinstall the windshield and hatch glass without sealant. This is Arizona, not much weather... If you look through the Factory Service Manuals, the early ones never mention using any type of sealant. By the time you get to the later 280's, the install procedure points out a few spots to add sealant - not the entire gasket, but in corners IIRC. I guess by then they saw a few spots where leakage problems may occur with the seal if the installer wasn't as careful as he needed to be. Sealant is not needed to keep the windshield in place. The gasket is engineered to seal the glass and hold the windshield firmly in the frame. The stainless steel trim is not just for "looks"... It actually helps hold the gasket to the proper shape and keeps the corners from pulling in too far. My 260Z is my daily driver. We installed my new windshield 6 years ago without any sealant. I don't have any problems with water leakage. If you're concerned, take a look at the 280Z install procedure and see what you think. (Use a cotton rope or cord, get it wet before you put it in the channel, better to have two guys outside holding the glass - don't let it slip, at the top corners work the cord in a circular motion to get the gasket corner to pull through)
-
https://www.energysuspensionparts.com/7.3104 Don't mind that the listing is for the 280Z. If you search the site for the 240Z rear lower control arm bushings, you'll see that they are the same part number. The rear lower control arm is the same in all S30's.
Then they stiffed you on those bushings... The Energy master kit comes with bushings and metal sleeves to replace both sides of the rear lower control arm bushings (inner and outer (inboard and outboard)). I was going to make a comment on your pictures of the LCA, rear hub, and pristine (if dirty) lock pin nut. It's obvious that no one has pulled your spindle pin. And it's very obvious that a new set of poly bushings has NOT been installed on the outboard side. (In the picture above, the bushings for the rear outboard LCA are just above the steering rack bushings (8 black "tophats" and 4 metal tubes) - just above them is half of the inboard bushings for the rear LCA (4 large "tophats" and 2 large tubes)) edit: Looking at the pics again, those might be poly bushings, and the shop might have had a bad time getting getting that hub and LCA back together again... (Is it really that dirty in Panama?? Only 3 years?) With the Energy poly bushings, there should be bushing showing between the LCA and the hub - it's a VERY tight fit and difficult to get together without damaging the bushing. They may have cut that one putting it back together... Those bushings can be a real challenge if you haven't done it a time or two.
I installed a Felpro permatorque dry on my L28ET a couple of months ago - running 14 pounds of boost...
That's awesome - the head has the original overspray of Datsun Blue from the block!
Yes. And they wired differently. The red lens should be a 2-filament bulb for "park" and "stop" lamps. The amber should be single filament and used only for turn signal and flasher.
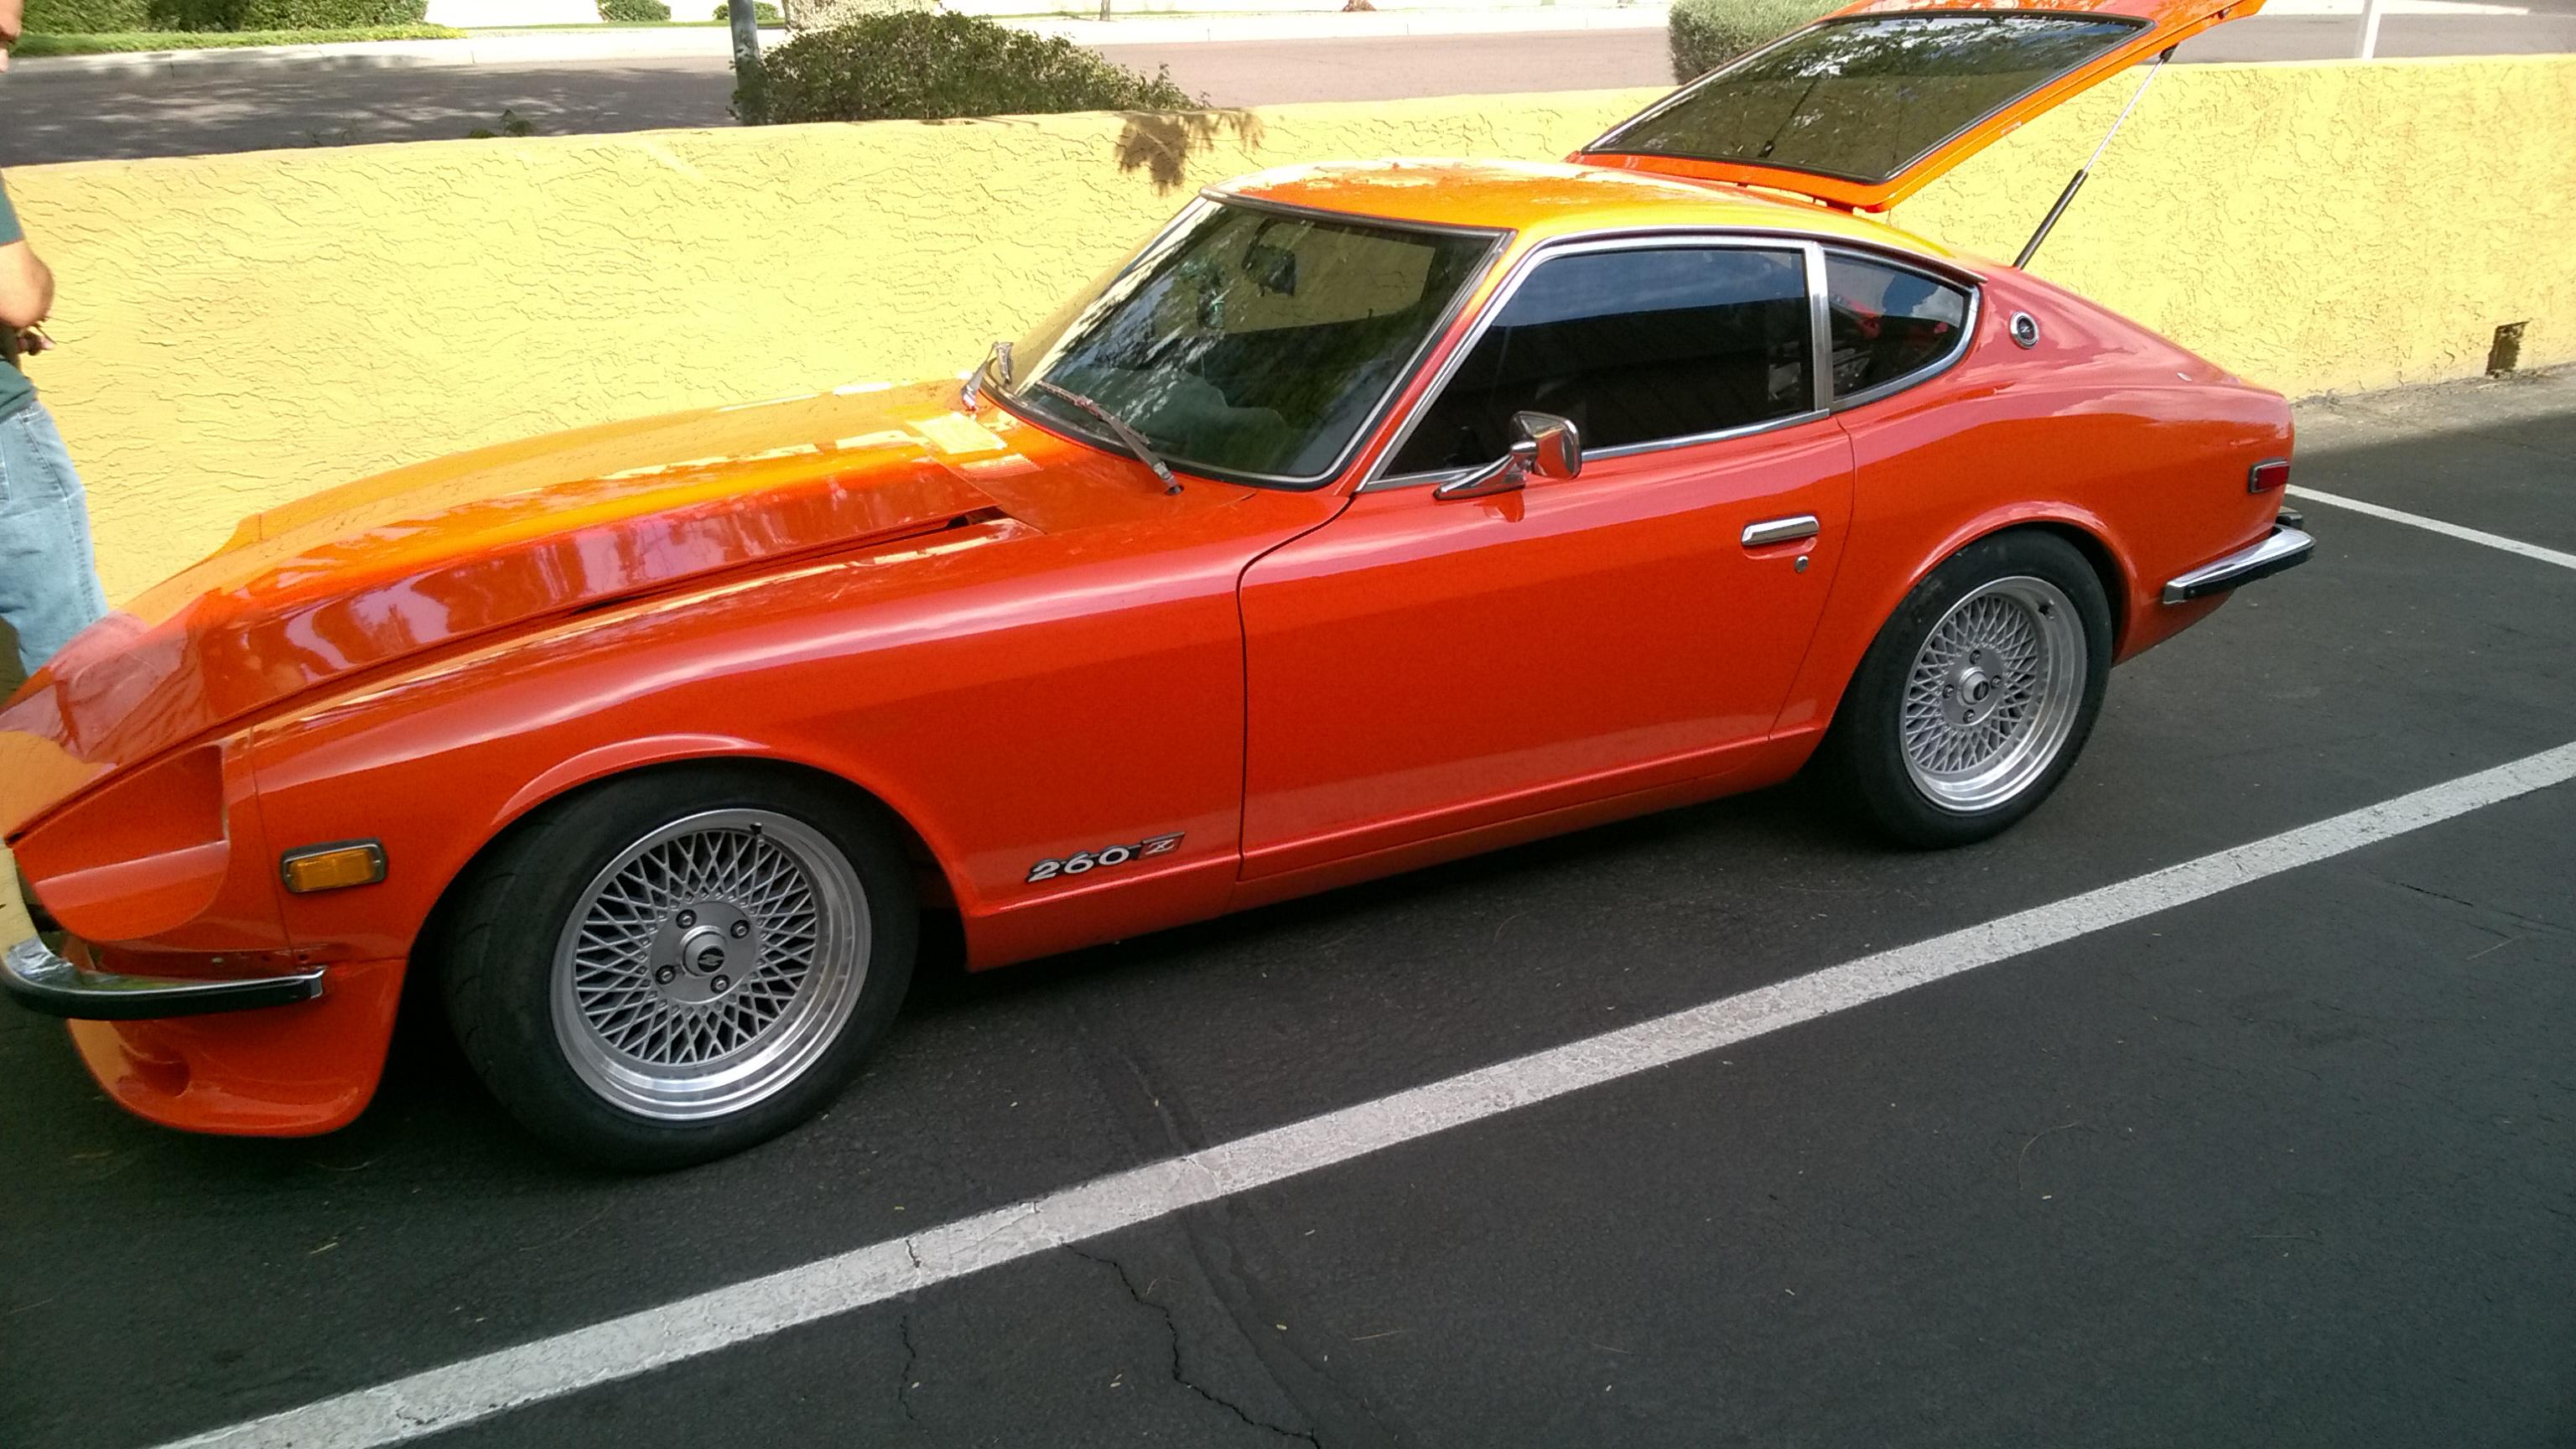
All 240/260/280 Z's have Independent Rear Suspension. So... I don't know what you mean by "straight axle"... Your suspension has been modified - that's not a stock rear strut. The strut has been "sectioned" or an adjustable lower spring perch has been added. You would have to take it apart to see if the stock strut insert (damper) is still there or if the insert has been changed (which is what usually happens when someone modifies the strut that way) The stock rear brakes were not discs - they were drum brakes.
Your Sherwin Shop is not nearly as kind as ours is. My son and I run Sakura Garage in Tempe, AZ - so, ya, we've had a shop account for years. But we've sent several Regular Joe's down there to get help with their painting needs. Here we also have a couple of Retail paint stores selling to the general public that also carry some Sherwin products along with all the other brands they Rep. But, there's nothing wrong with Deltron!
Wow... This is interesting. We've had a BUNCH of S30's come through the shop over the last 10 years and I've never seen that sheet metal piece. I was tempted to say "that can't be from a U.S. Z..." - and I would have been so wrong. Just goes to show - never say never... Oops, how many times did I just say never.
We've gotten Datsun 918 from our Sherwin Williams supplier.
My advice is: remove the foam, deal with the rust underneath, and DON'T replace it... I seriously doubt you'll notice a difference (except the lack of a place for moisture to collect). We've seen numerous cowls from clean - > cancerous rust from the underside up through the top. IMO that was a lame stop-gap idea that served no real purpose other than ruining a lot of perfectly good cowls. If you feel the need to dampen that particular part of the cowl I think you'd be better off using a truck bed "liner" type material that you can brush or roller apply.
Again, go to the POR-15 website and read about the product. It's... different. And it is made to encapsulate rust and stop further oxidation when it's used as directed. Read up and decide if it's a product you need or want to use. We always convert oxidation if it's not just surface rust that can be sanded, wire wheeled, or ground away to clean metal. Then we may POR-15 the area if necessary. You don't want to expose bare metal anywhere you don't have to. Follow the advice above. If you expose a large area of bare metal, you'll probably need direct-to-metal primer over that area. Small exposed areas can be covered with the good 2K primer that you'll use over everything (even the direct-to-metal primer) - after you've sanded, filled (if necessary), blocked (if necessary), and CLEANED... Your paint supplier can answer your questions about these materials. You'll prime over everything you do before you paint. You may want to seal the primer (ya, they sell "sealer" - and some primers can also act as sealer when they're mixed slightly differently). You may think that the "final" paint that you apply is opaque (solidly covering whats underneath), but it's not... The color of your primer or sealer will have some effect on the paint you put over it. That's why most new car replacement panels come sealed in straight black - it's a way to help after market paint look as close as possible to factory.
I measured from the rear of the door since it's a relatively straight (right angle) surface (and the front of the door is all sloped and difficult to find a reference point that we could all be clear on...) From the rear: 28 1/16" (more like 28 3/32") to the center of the aft (rearward) hole. The aft mirror hole is slightly larger than 1/2" (a 1/2" drill bit is slightly loose in this original hole) 29 1/4" (more like 29 9/32") to the center of the forward hole. A 5/16" drill bit fits nicely in this original hole. I'll try to post a picture. * edited to correct "5/26" drill bit - should be: 5/16" drill bit as the proper size for the forward hole
Ouch... The 304 Gold Metallic on my 260Z is from Sherwin. We have a supplier a few blocks from the shop and they've never had a problem with the old Datsun codes. All the paint we've gotten has been very true to original colors. We've shot probably a dozen Z's with Sherwin base or single stage paint (we don't use Sherwin's clearcoat though - PPG DCU-2021 is our preference). So, you have a very lazy Sherwin Dealer - their codes are country-wide. We found the PPG lower end paints to be kinda sub-par. Their Deltron paints are phenomenal, but you'll pay a premium... The engine bay is the worst to clean and sand. Make sure you get everything super clean. Make sure the existing paint is well adhered if you're going to leave it on. I like to get to the original paint. Chips and cracks down to the metal leave small spots where rust can develop and spread under the paint. Paint doesn't stick to rust (oxide) and you don't want underlying paint to come loose under your fresh paint. Do your rust repairs and use POR-15 if necessary. (POR-15 is a weird product, read all the information on their website before you use it and follow all their directions carefully. I goes VERY far - a little covers a LOT - so, start off with a quart. Brush it on - it "self-levels" very well. You're going to throw away everything you use to apply it, so disposable applicators are best (we've tried using foam "brushes" but find inexpensive natural bristle brushes to be best) There's a lot of stuff in the engine bay and I suggest you take out everything you possibly can. It's difficult to shoot around the wiring, hard lines, brake parts, master cylnders, hood pull, speedo cable, choke cables, windshield washer lines, wiper motor wiring - you get the picture... We pull everything except the hard lines that go back to the rear of the car. Those, we loosen up as much as possible to get them away from the frame rail and wrap them with tin foil.
Dude... You don't need to "cut up the passenger side harness for gages" (sic). - You can use the stock coolant temp sender wiring (coolant temperature gauge) - the L28ET has the same temperature sender in the t-stat housing - The Tach signal wire will connect to the turbo coil just like it did to the stock coil. - The oil pressure sender: IF the oil pressure sender is different on the L28ET, unscrew it! Install your old oil pressure sender on the tee of the L28ET and plug it into the stock wiring! You WILL have a bit of other wiring to connect into the stock harness, but it's minimal really and can be made reversible - if you're smart...
That's an aftermarket A/C unit so there isn't going to be any wiring diagram in any Datsun Manuals. If you don't understand how that thing works or how it was wired originally, you're probably going to need to take it to someone who does...
Derek over on HybridZ was correct... That's a micro-switch for the A/C. The capillary tube goes to the evap core - it just "senses" the temperature of the core. It has a connection to switched power (the inline fuse is a giveaway...) and then this is the first in what could be a series of switches on the way to the compressor clutch. So, power in -> micro-switch -> out to (eventually) the compressor clutch. (There may be other switches in the path such as high-pressure switch, low-pressure switch (prob not), fan switch may need to be engaged, etc....)
The L28ET has an oil temperature sensor in the back side of the oil pan. The 280ZX Turbo also had a corresponding gauge. While I'm sure someone has done it, I've never seen a turbo swapped early Z car with an oil temperature gauge... My oil temperature sensor is there, just not connected to anything.
Oh my... You have a few different options when working on the hatch lock/latch mechanism. You don't have to close the hatch to test if it works or not. You don't have to leave the lock cylinder OR the latch OR the "hoop" on the body that the latch grabs when the hatch is closed. (Just saying that you don't have to crawl back into the back again when you don't actually fix the problem.) With the lock cylinder removed and the hatch closed, you can put your finger through the hole and press down the latch mechanism to open the hatch - as long as the latch mechanism works. You can unbolt the latch mechanism from the bottom of the hatch and test it. Get a phillips screwdriver, push it sideways into the "jaws" of the latch. Does it grab the screwdriver? Does it let go when you press down on the latch lever? Clean and lube it while you have it out. Make sure the lock cylinder is complete, has the "arm" and adjustment screw. When it's in place, make sure it contacts the latch lever AND pushes it far enough to open the latch. You can close (activate) the latch and use the button to open it while the hatch is open. Just use something to move the jaws up and closed while the hatch is in the air. Lastly, make sure that the "hoop" below is adjusted properly so the latch doesn't bind. It has adjustment up and down and even a little side-to-side. The latch itself can be adjusted so it (the jaws) can be properly "centered" on the hoop below.
Yup. Then figure out why the button isn't pushing down the latch like it's supposed to. There's an adjustment screw on the arm - if there's an arm... The lock cylinder simply moves that arm into a position where it either CAN or CAN'T contact the latch.
I'm with you. In the second picture, it doesn't look like the coil is properly located in the bottom perch. The coil needs to be rotated so the spring end fits into the perch correctly. The top is correct, bottom doesn't seem to be from that picture.
And it is indeed missing something on the end - the lever that connects to and actuates the rod.

Important Information
By using this site, you agree to our Privacy Policy and Guidelines. We have placed cookies on your device to help make this website better. You can adjust your cookie settings, otherwise we'll assume you're okay to continue.