Patcon
 Subscriber
-
Joined
-
Last visited
Everything posted by Patcon
-
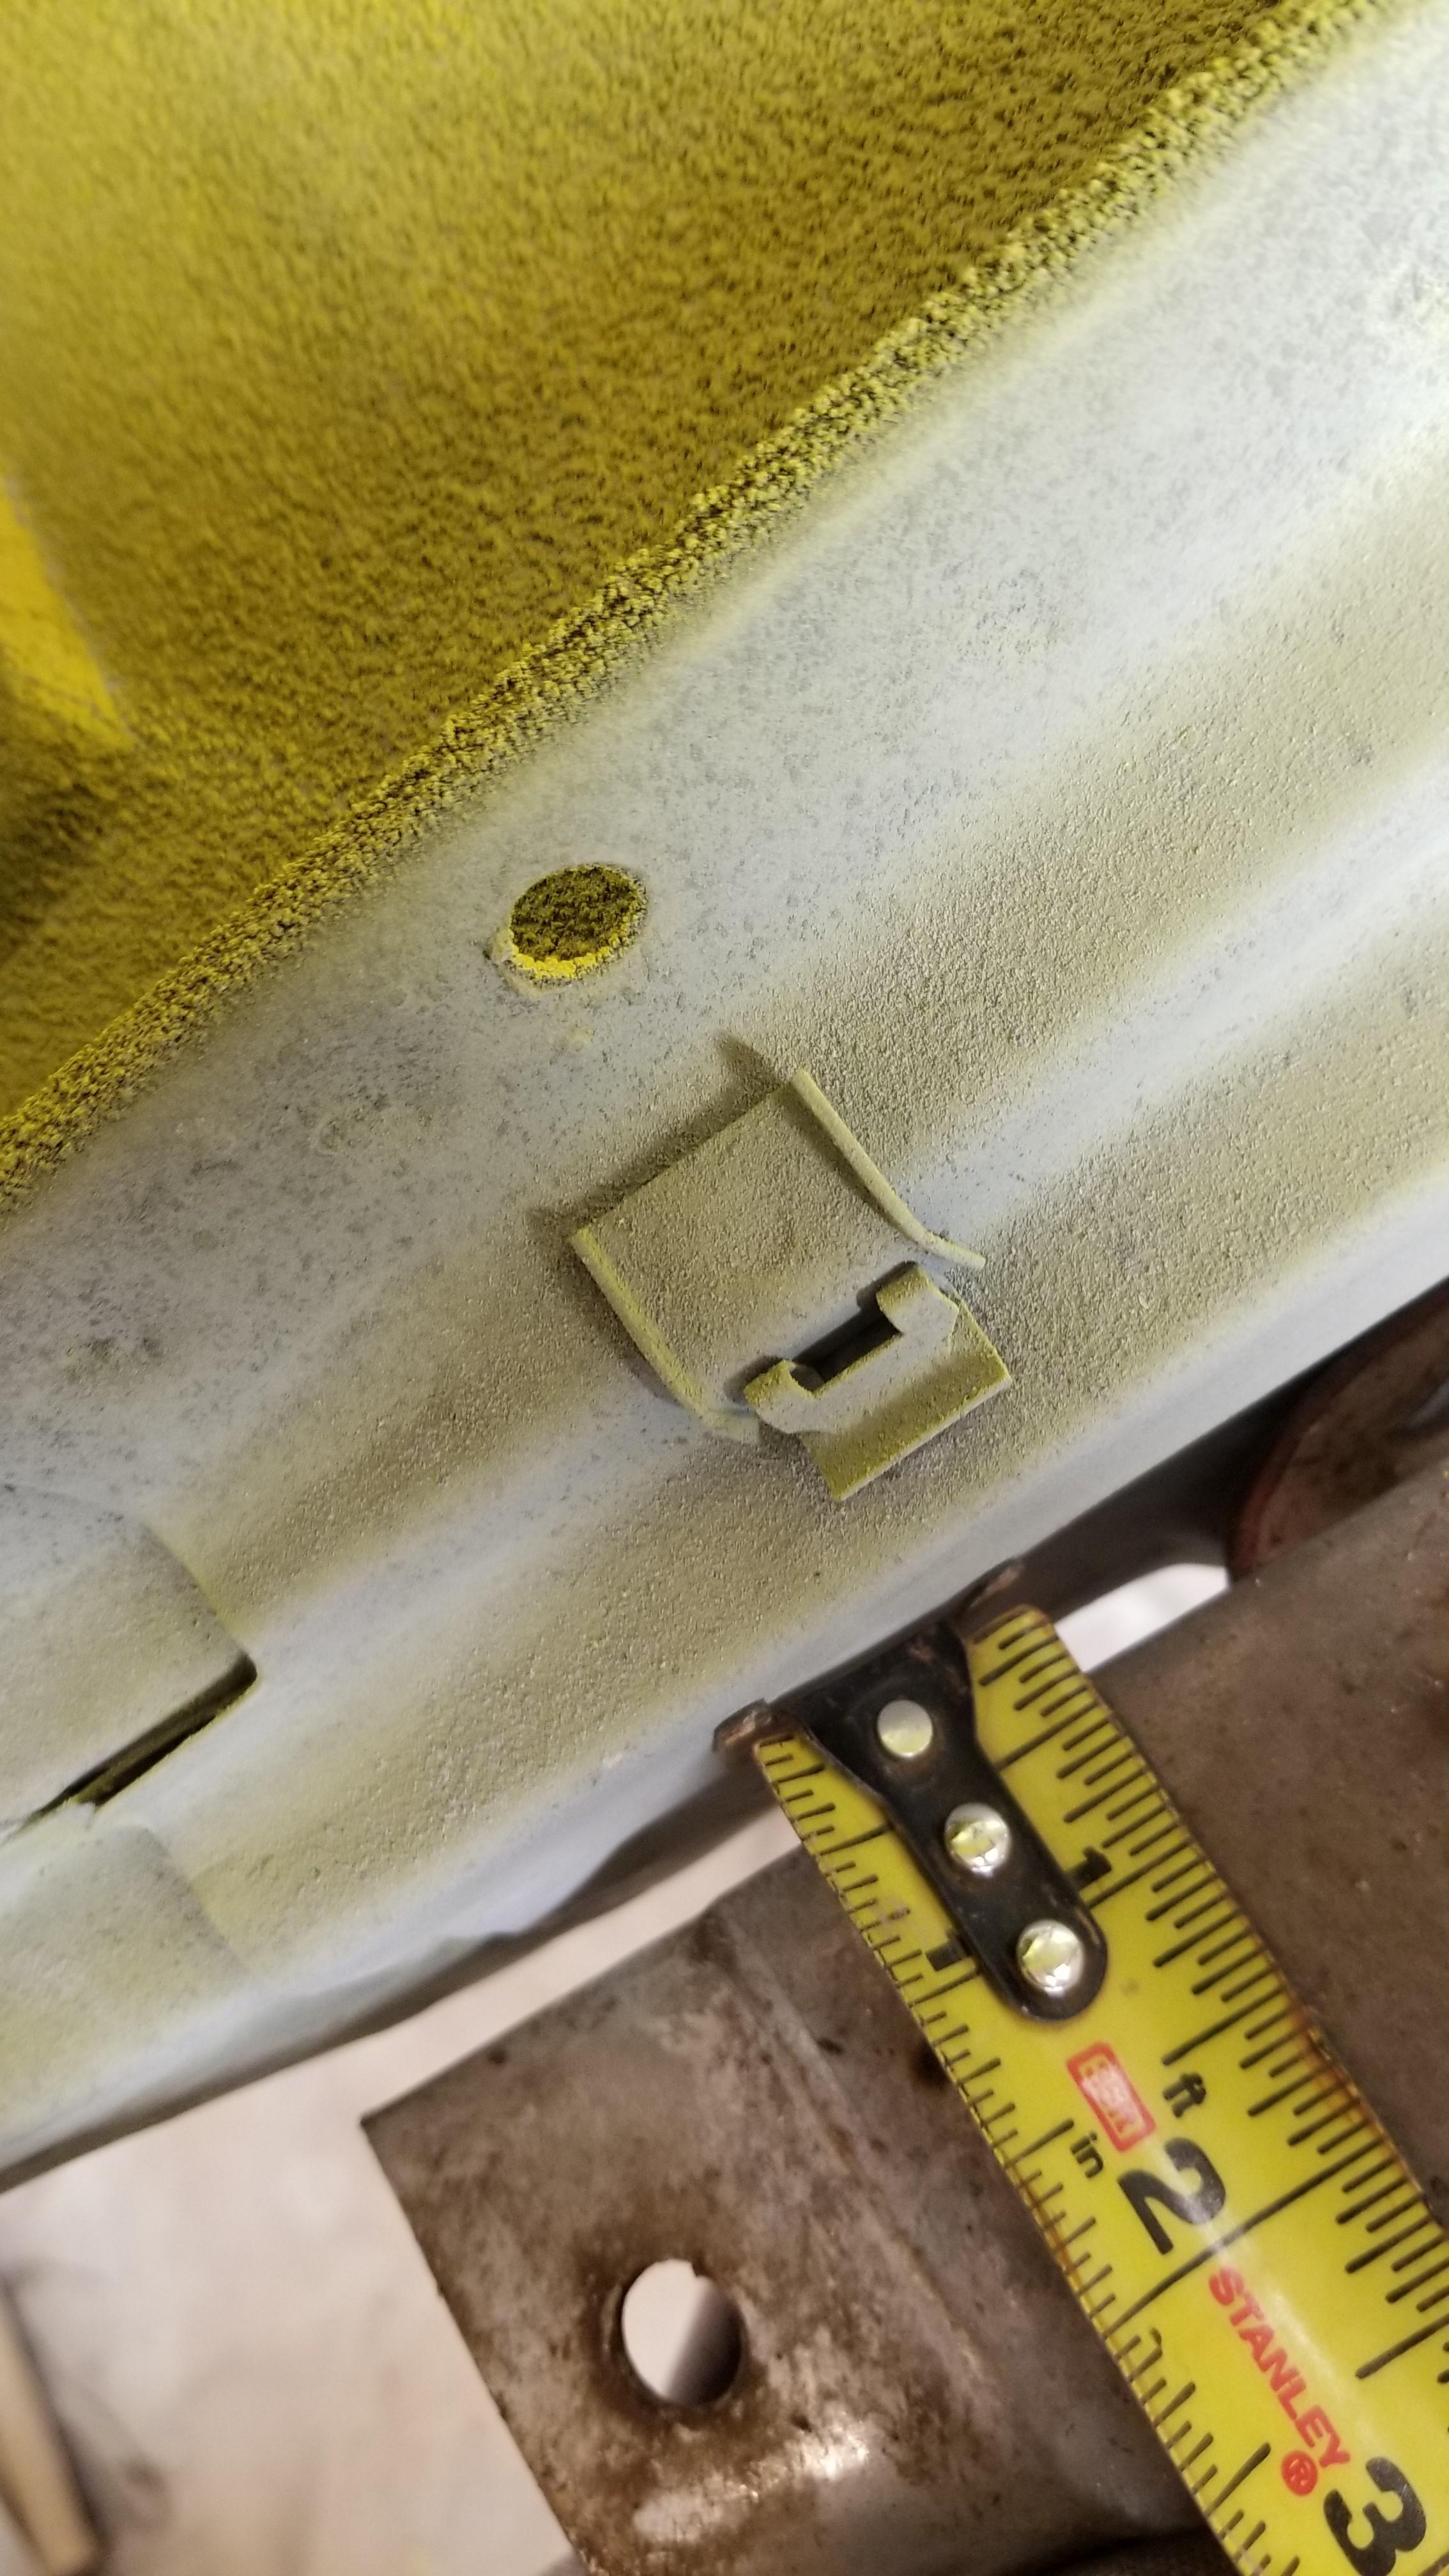
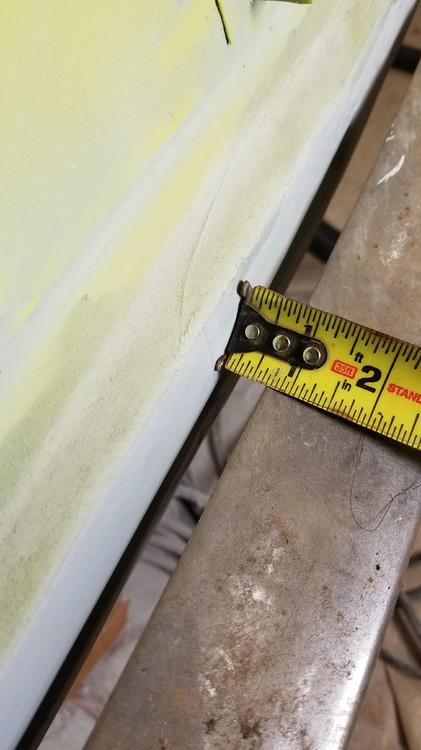
 Thank you for that! It's nice to see it's consistent with the bumper curve. I had roughly 3/8" on the ends and 3/4" in the middle. I suspected it was 3/8" all the way across. Merry Christmas
 -
I found some very good pictures in this thread. Found it through google images
-
Any body got any good pictures of the rear valance behind the tail light finishers?
-
Yes, I have to reuse the valance, since I don't have a replacement and probably can't source a superior candidate. There are several areas of damage that I should be able to pull metal from toward the rear. I am surprised the box section isn't heavier metal, when it's all welded up it is very hard to pull with hand tools. I think there may be some extra metal in the floor too. I order two new frame clamps last night because I am not sure what I have will work. There is a wrinkle in the drivers quarter corner sub-frame that I am going to take a shot at. For a proper repair, the quarter would have to come off and that's not happening! I a made a raggedy mess out of the valance because my previous repairs had large puddle welds so they took big holes to break free. I think I will weld new little patches into the valance after dolly work and then make new smaller holes for puddle welds.
-
The way I bench bled a master was to use short sections of line from the bottom ports looped up and into the reservoirs. Work the master until no more bubbles appear
-
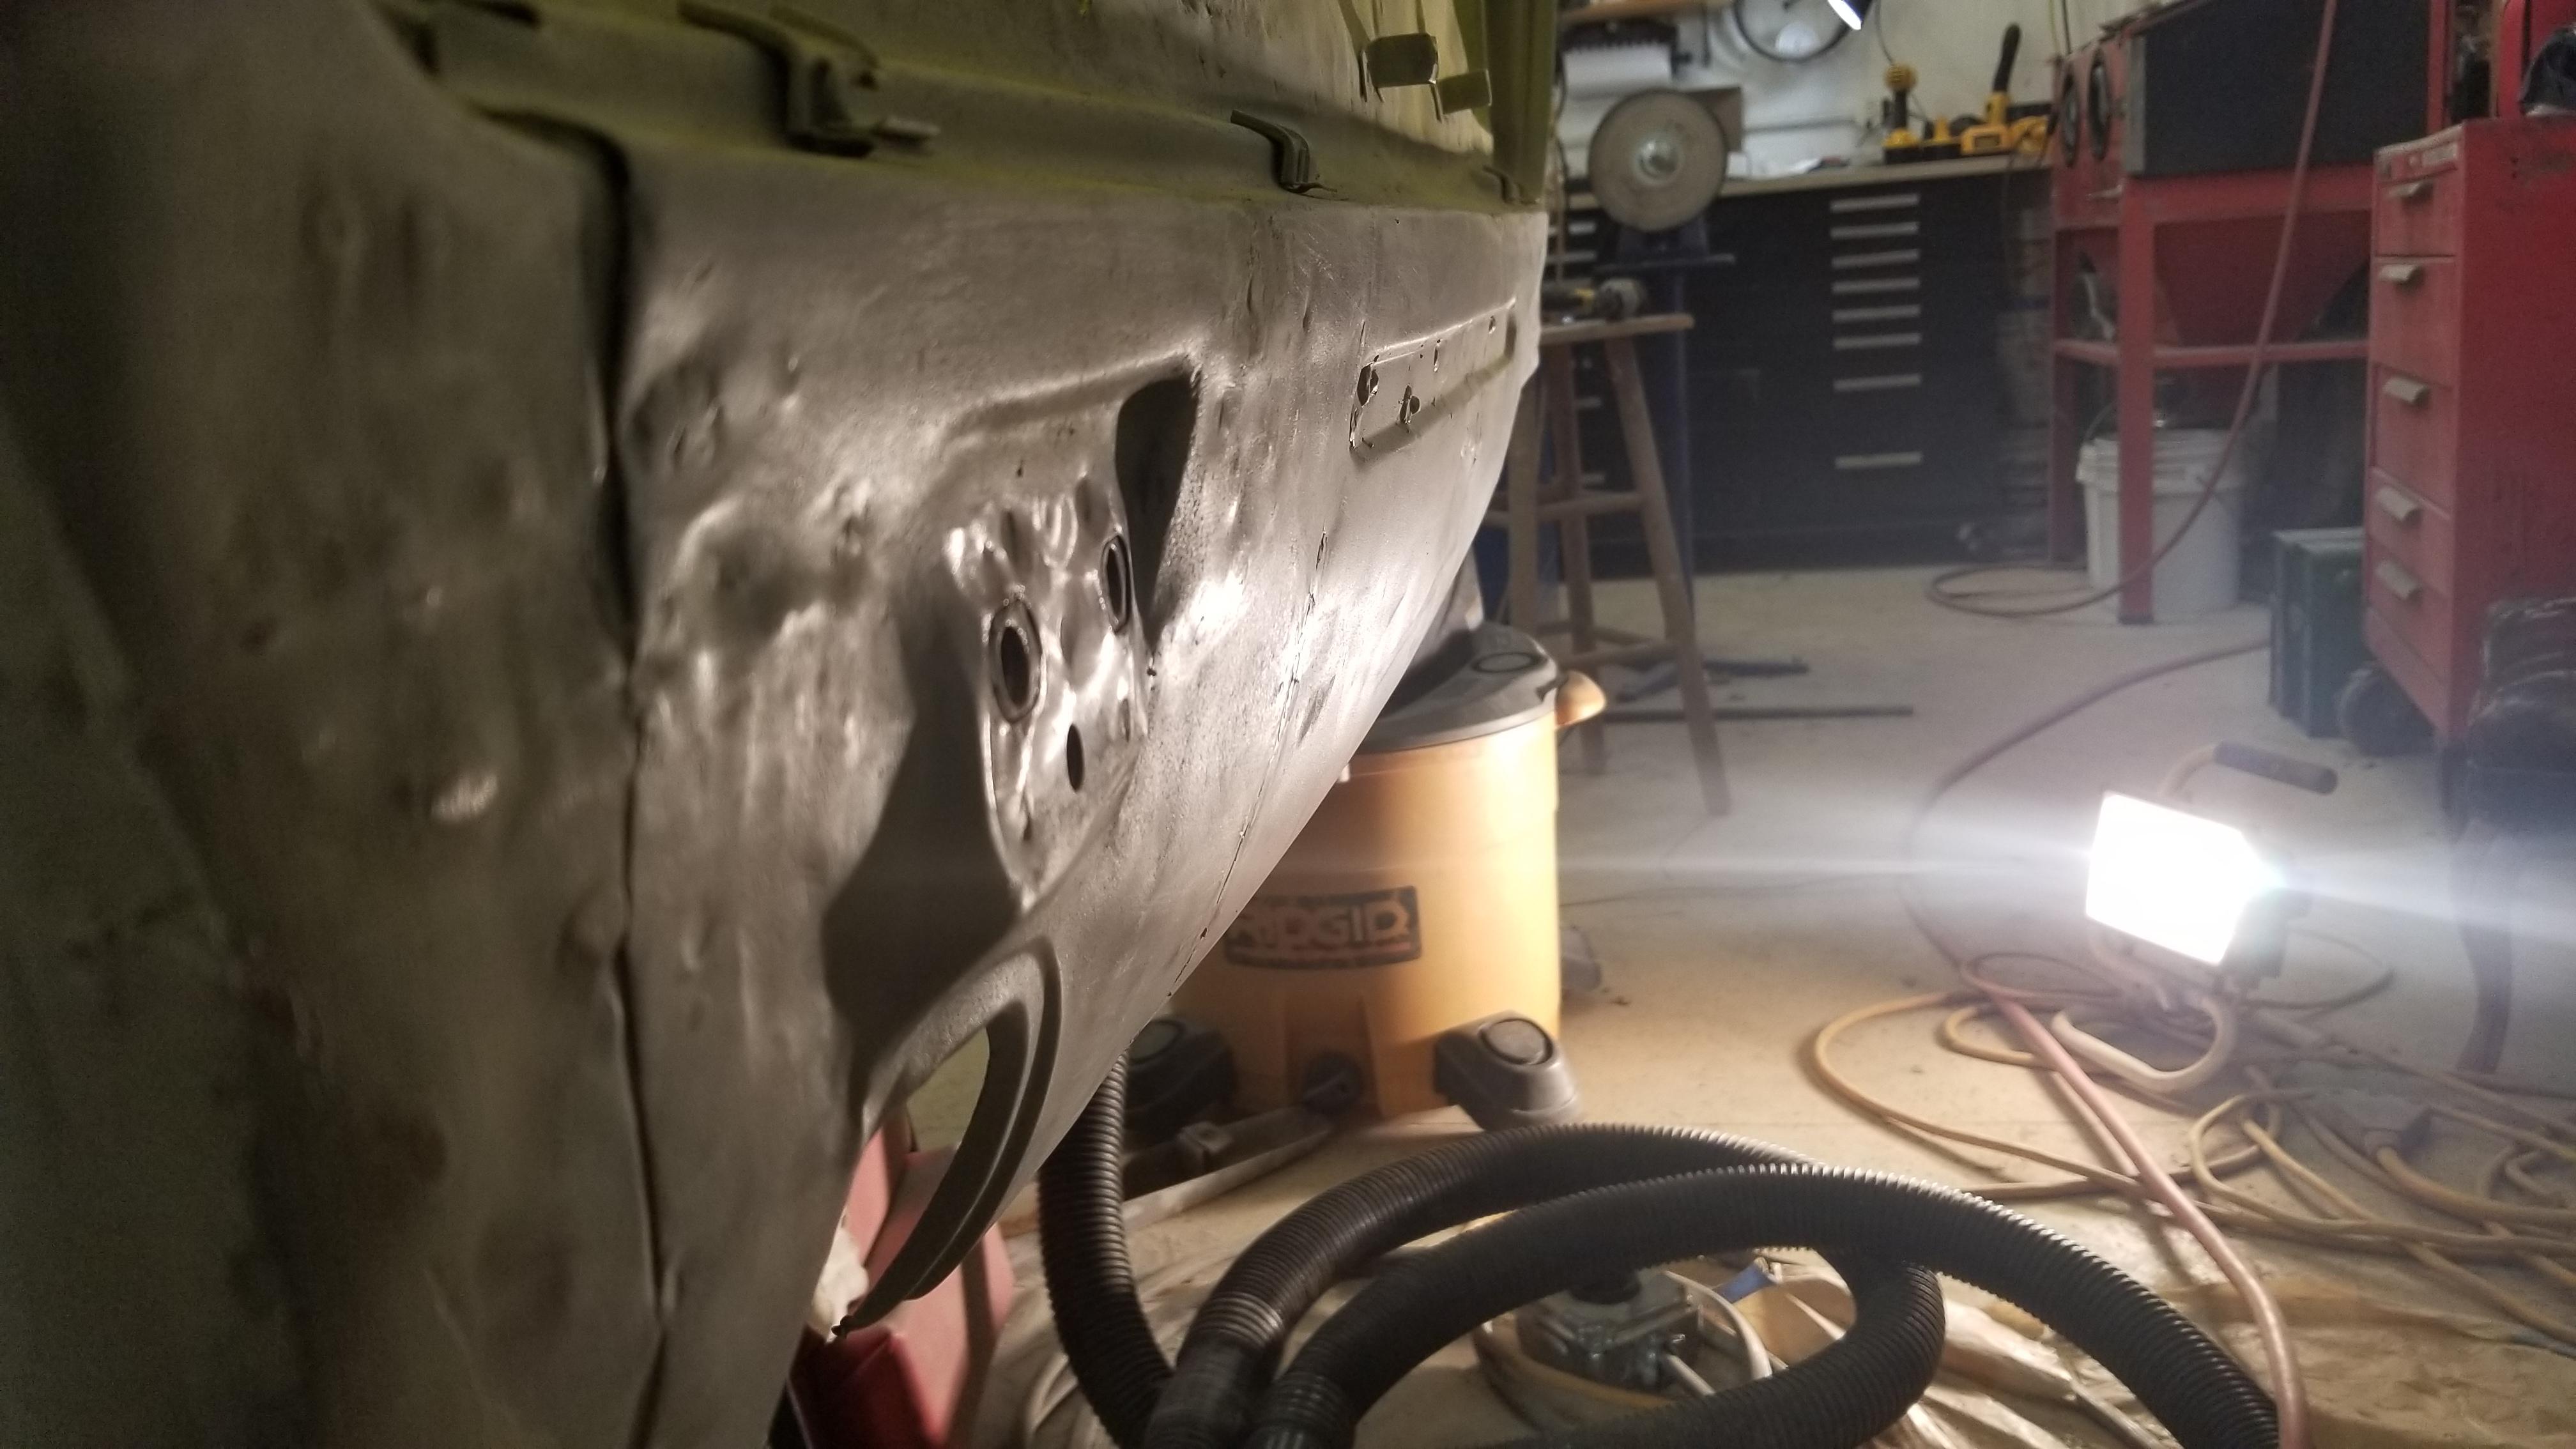
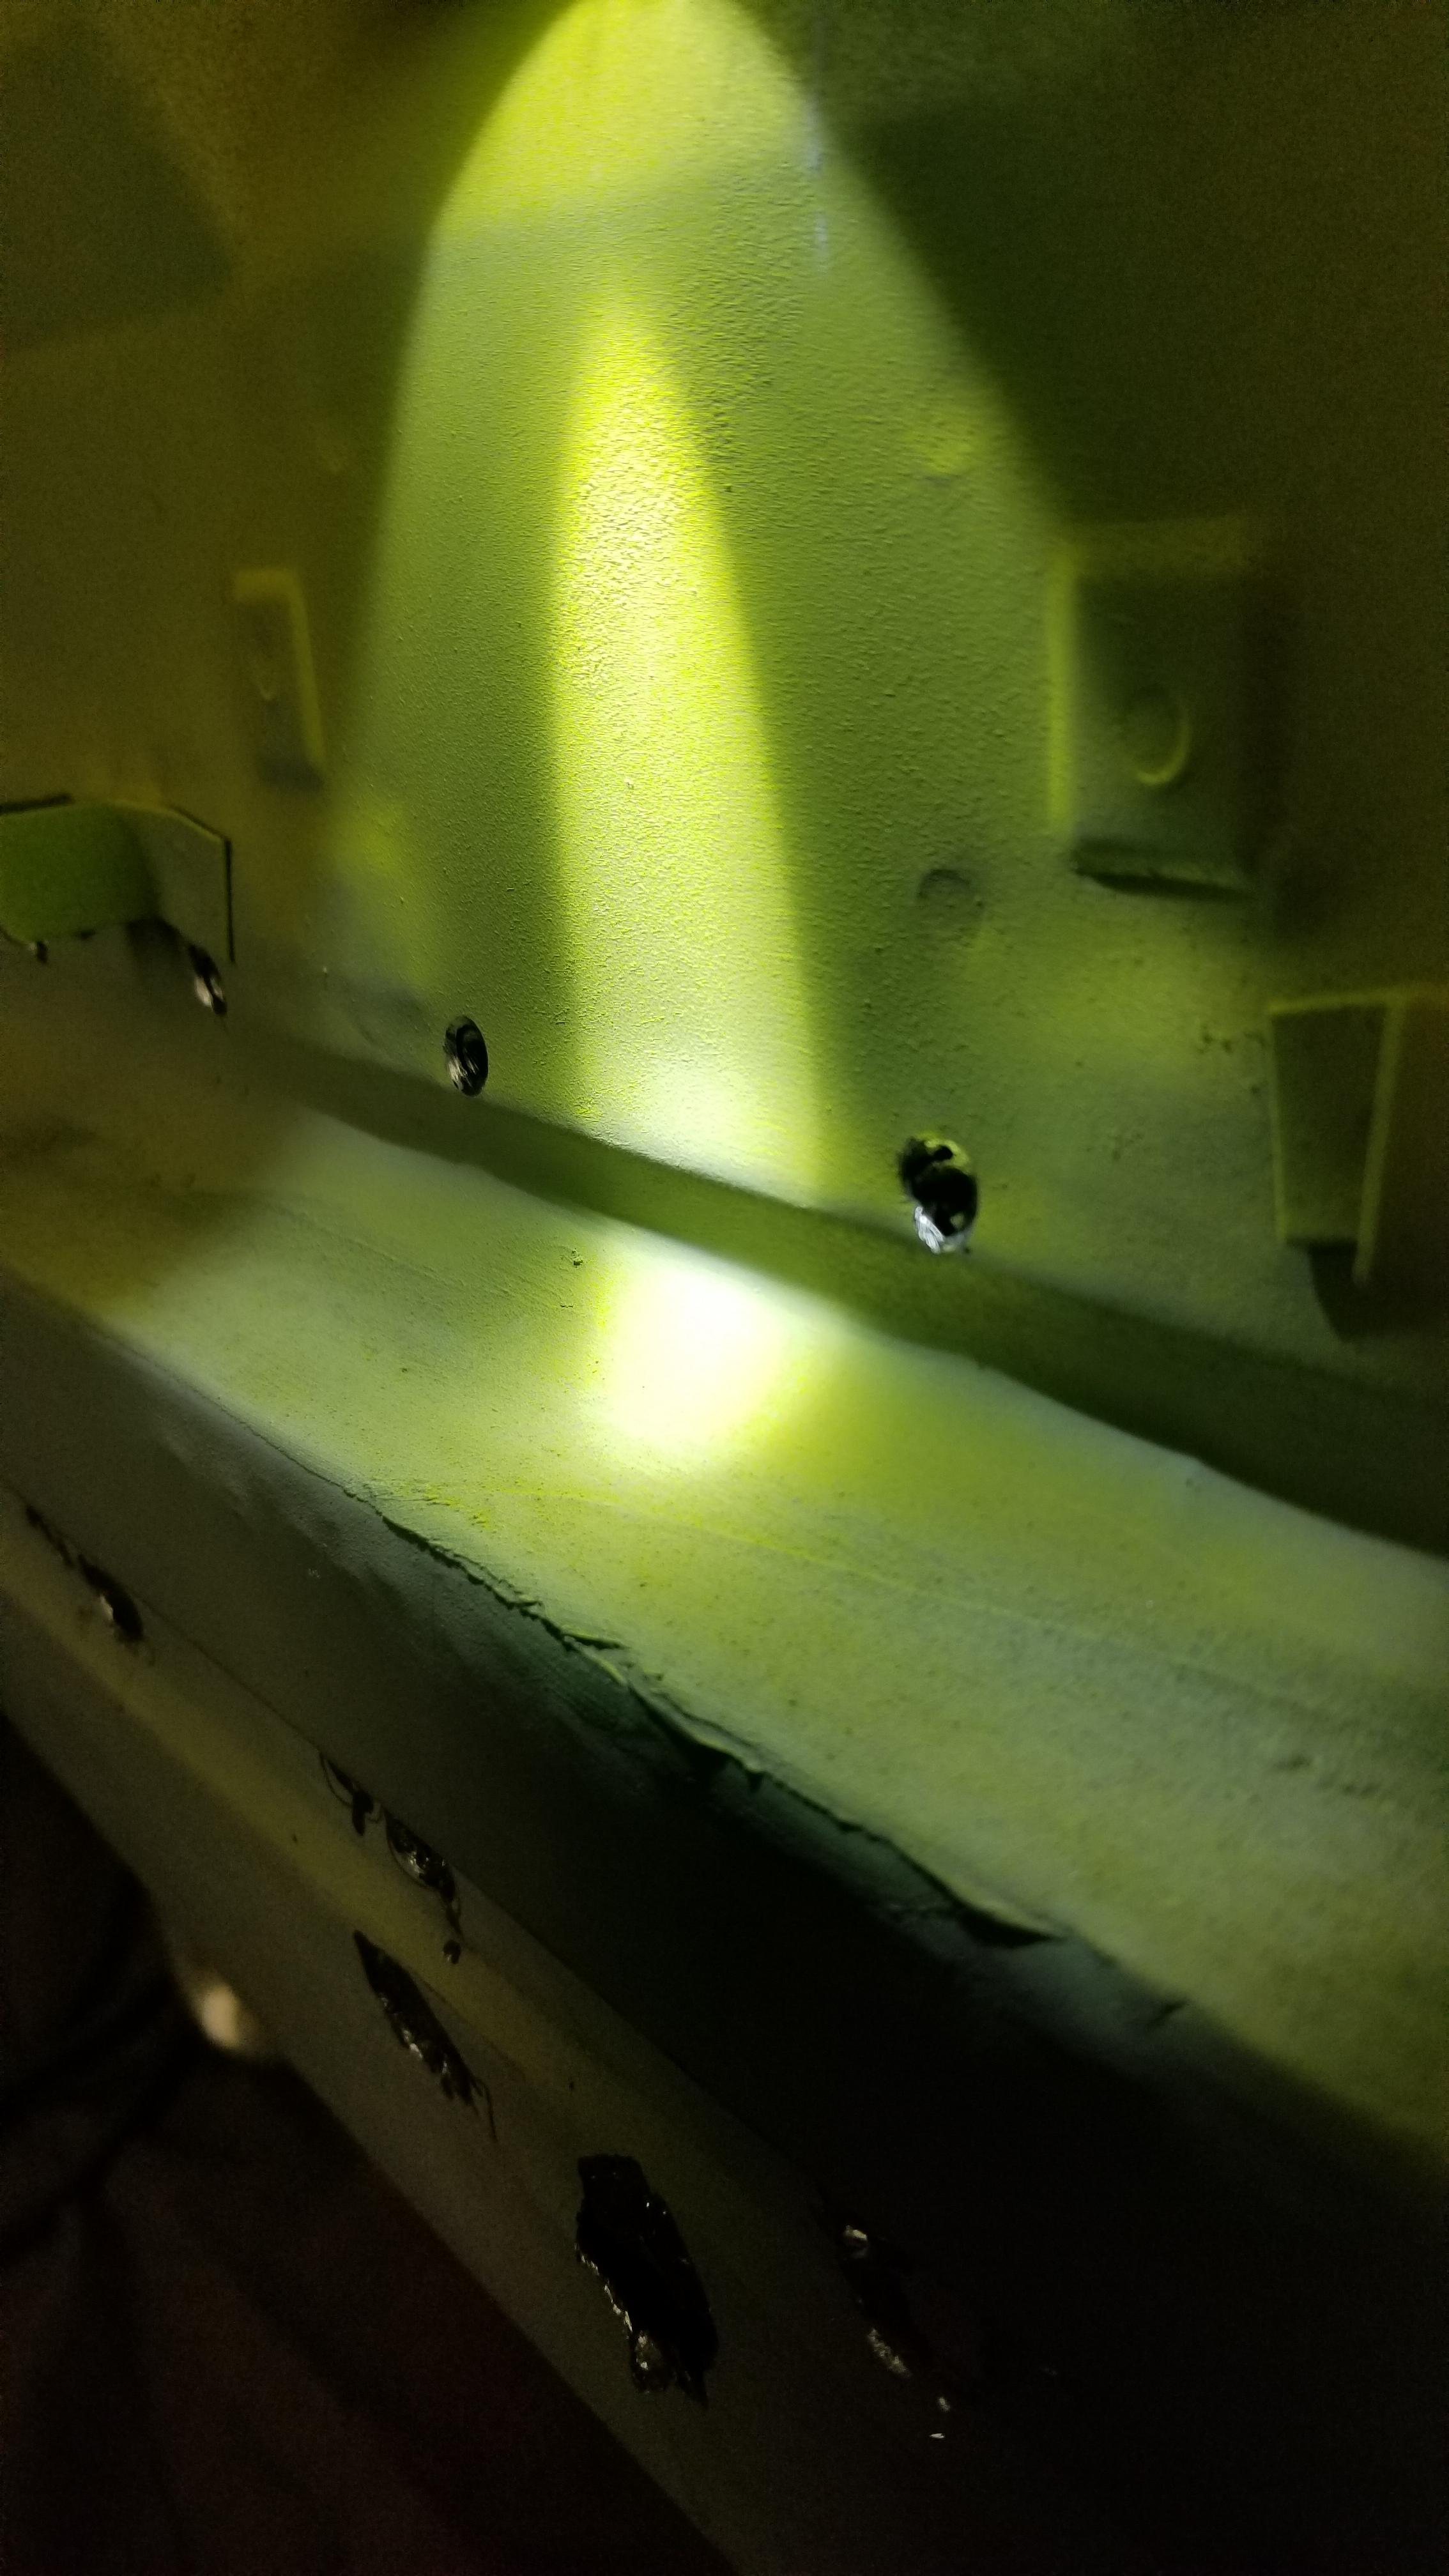
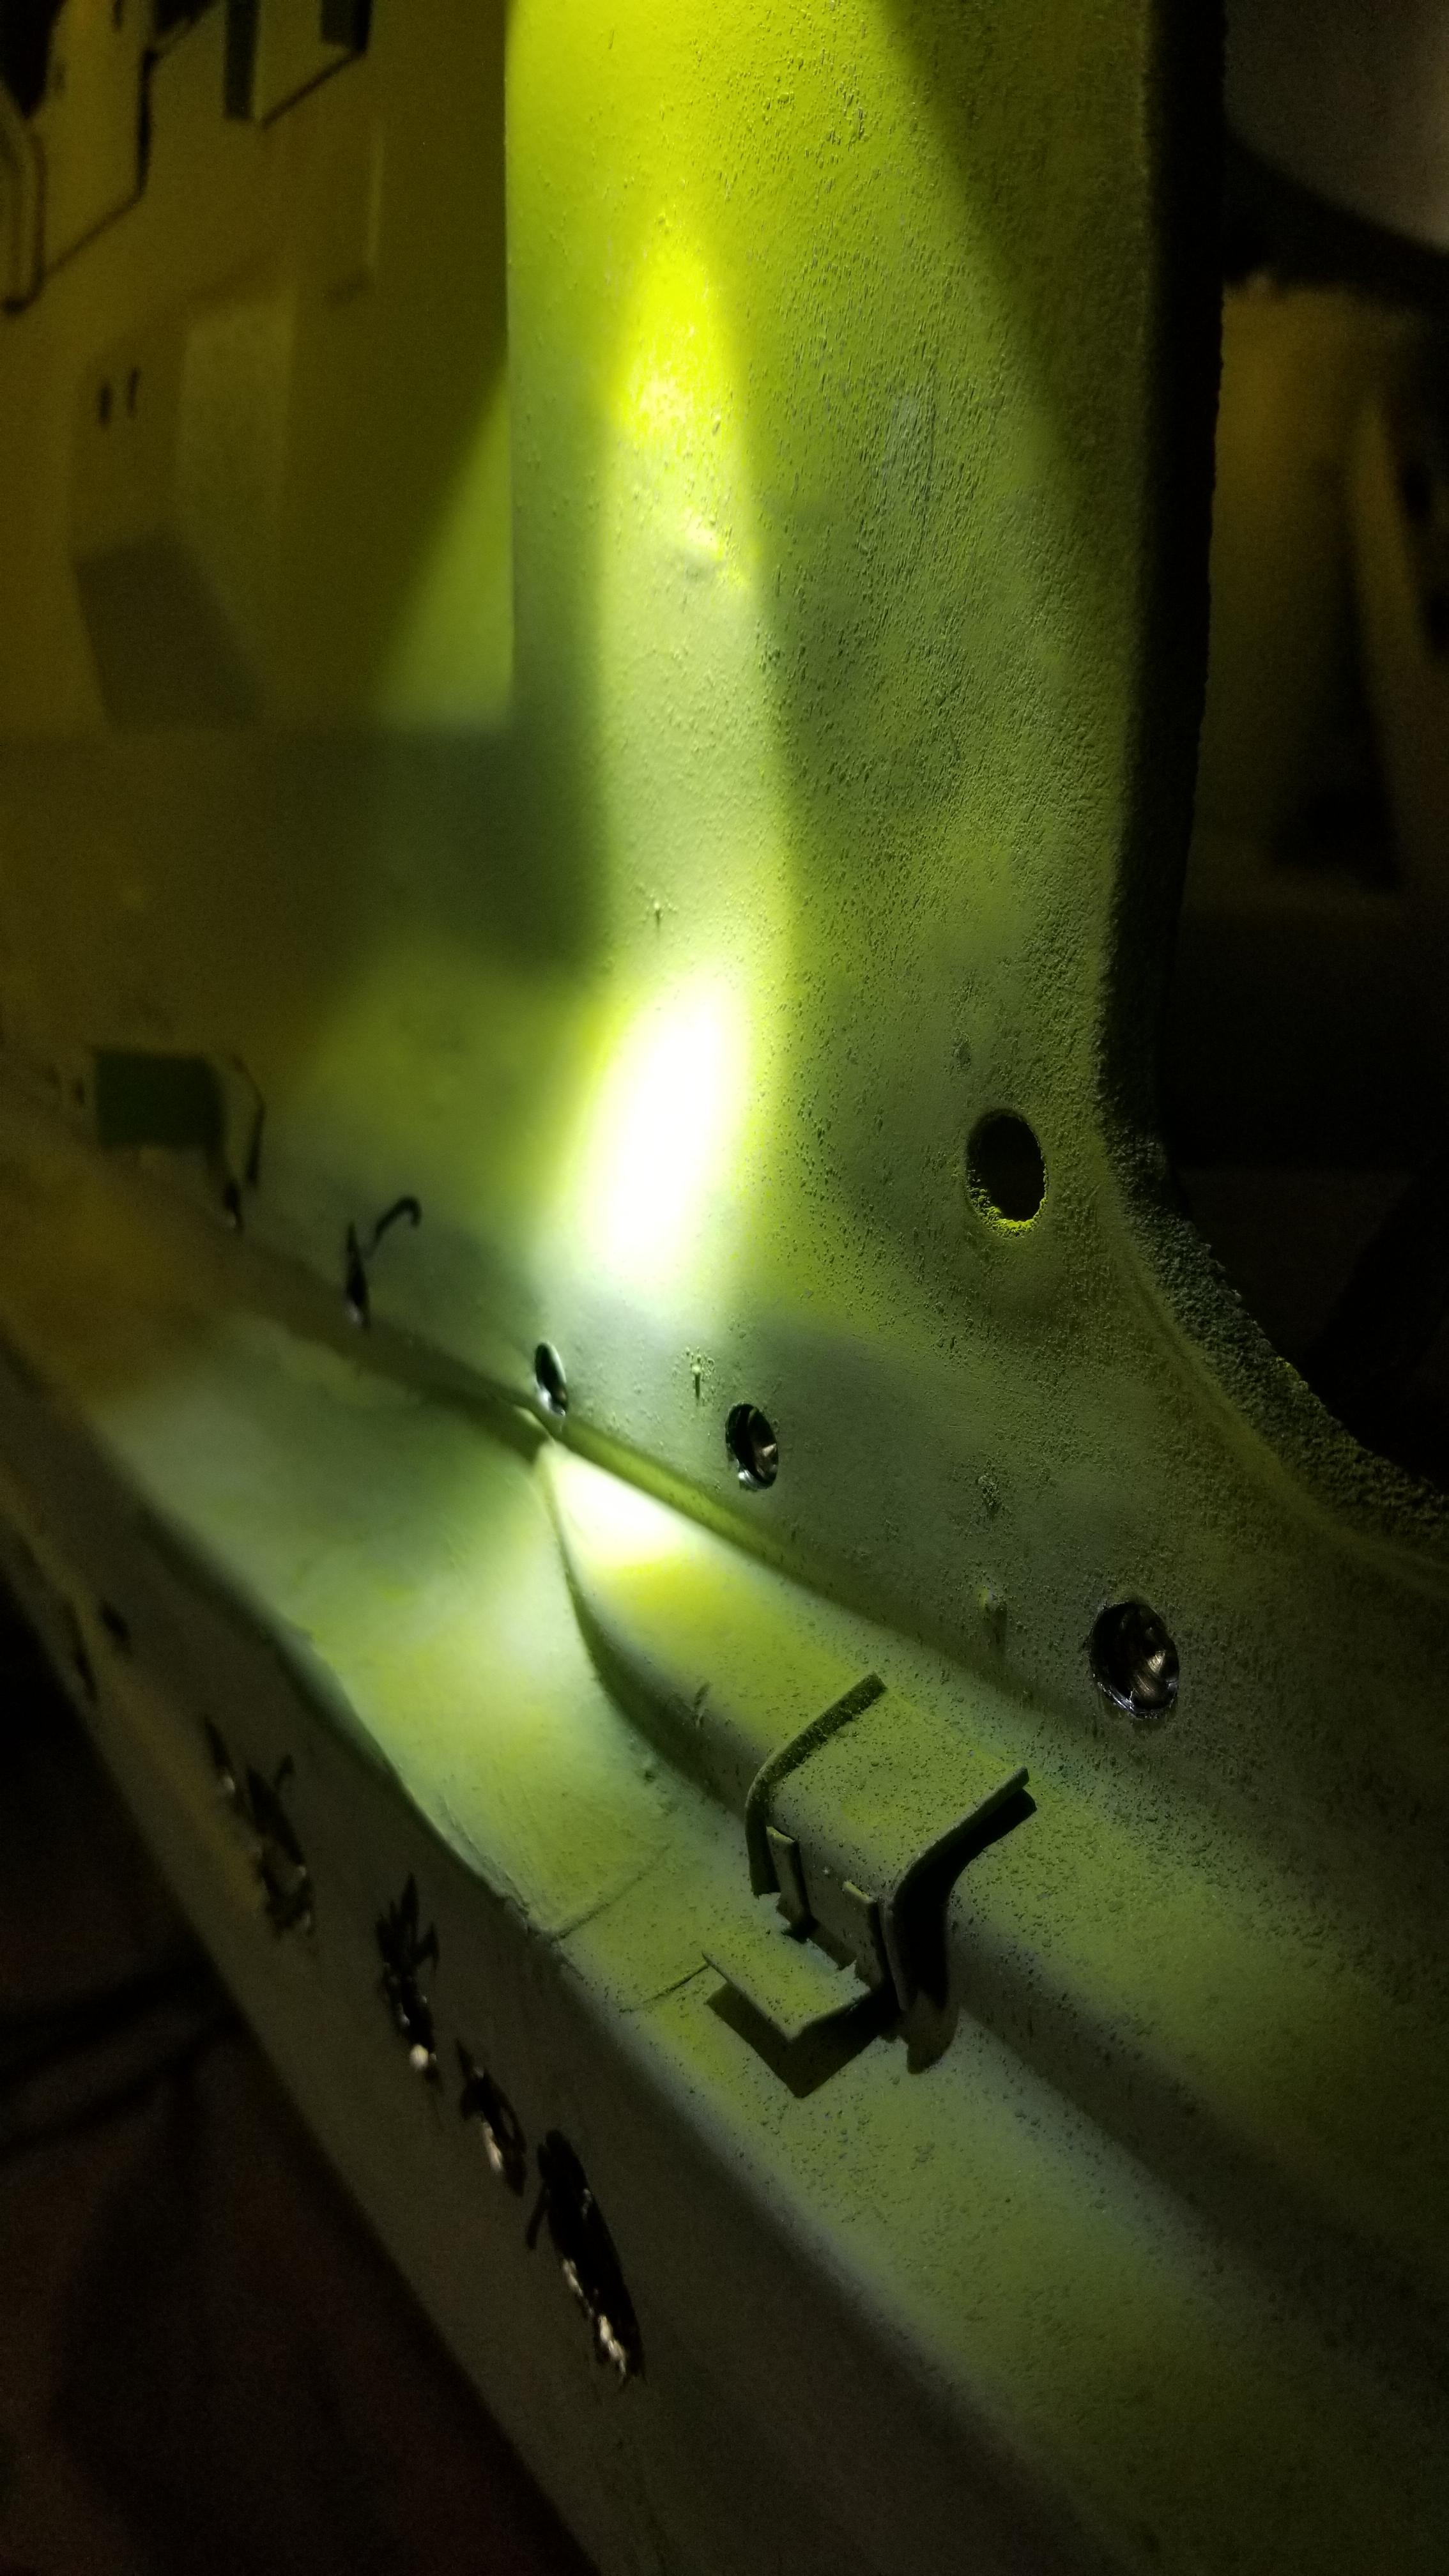
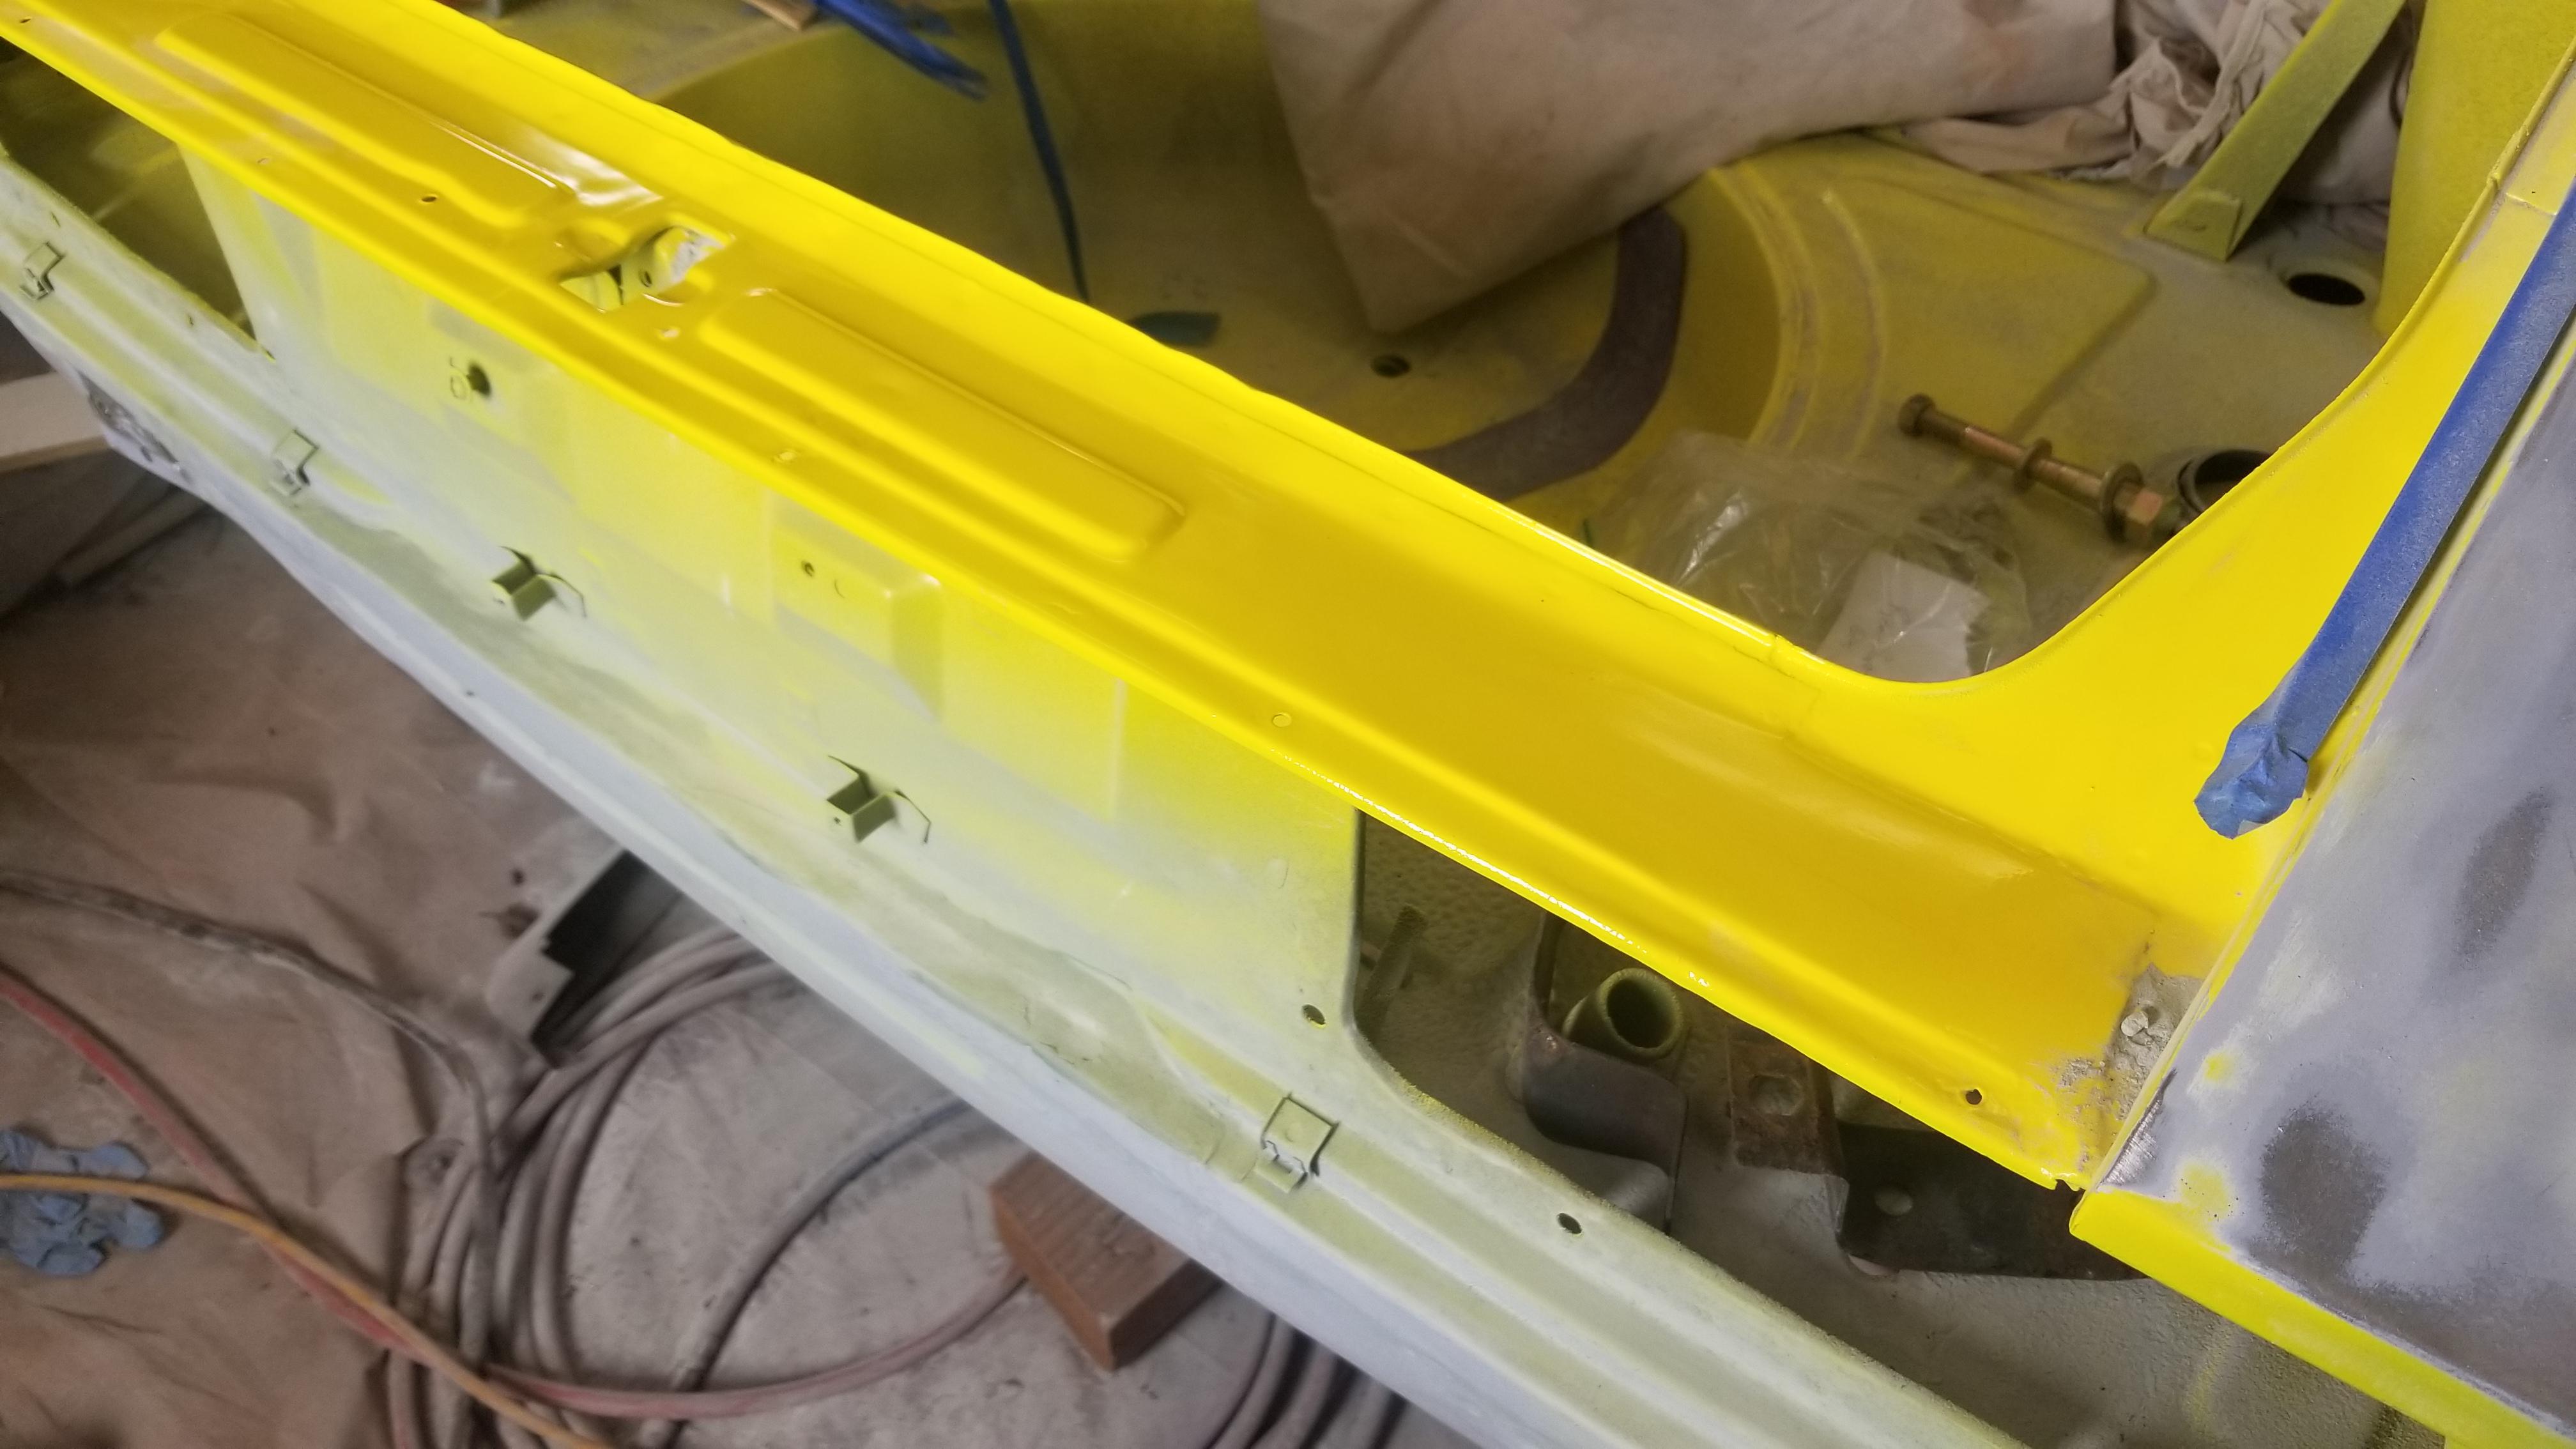
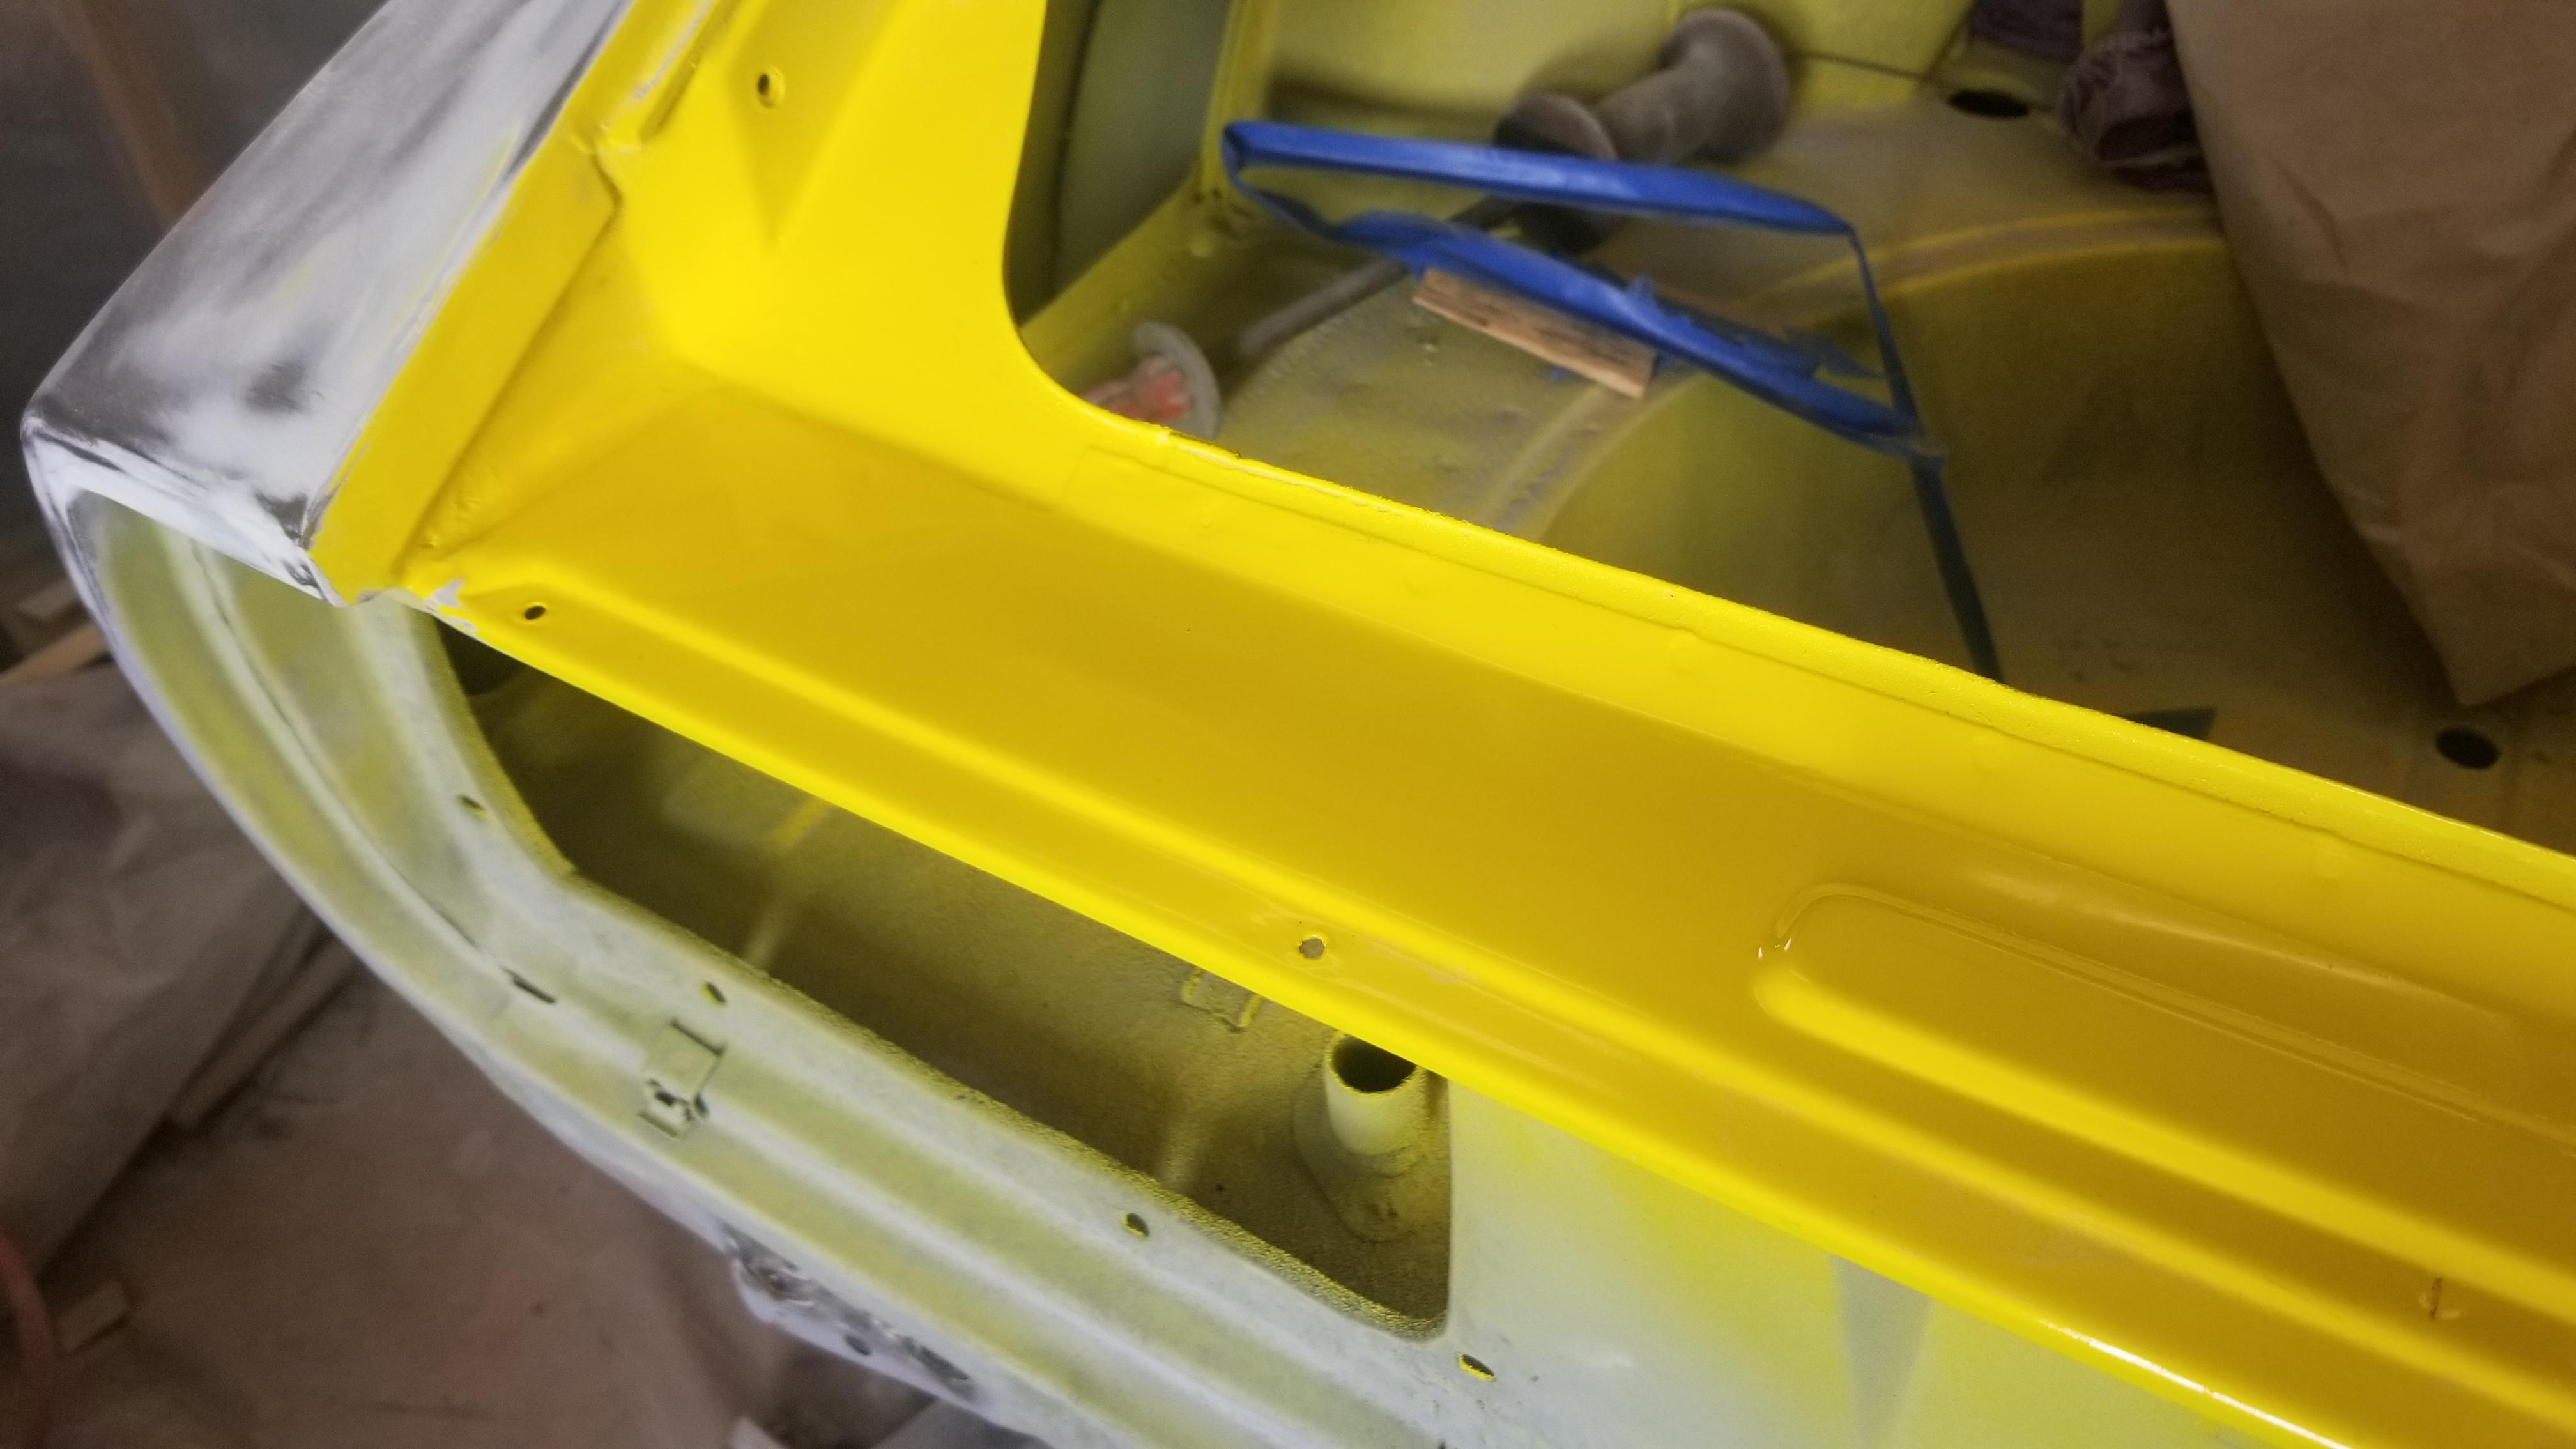
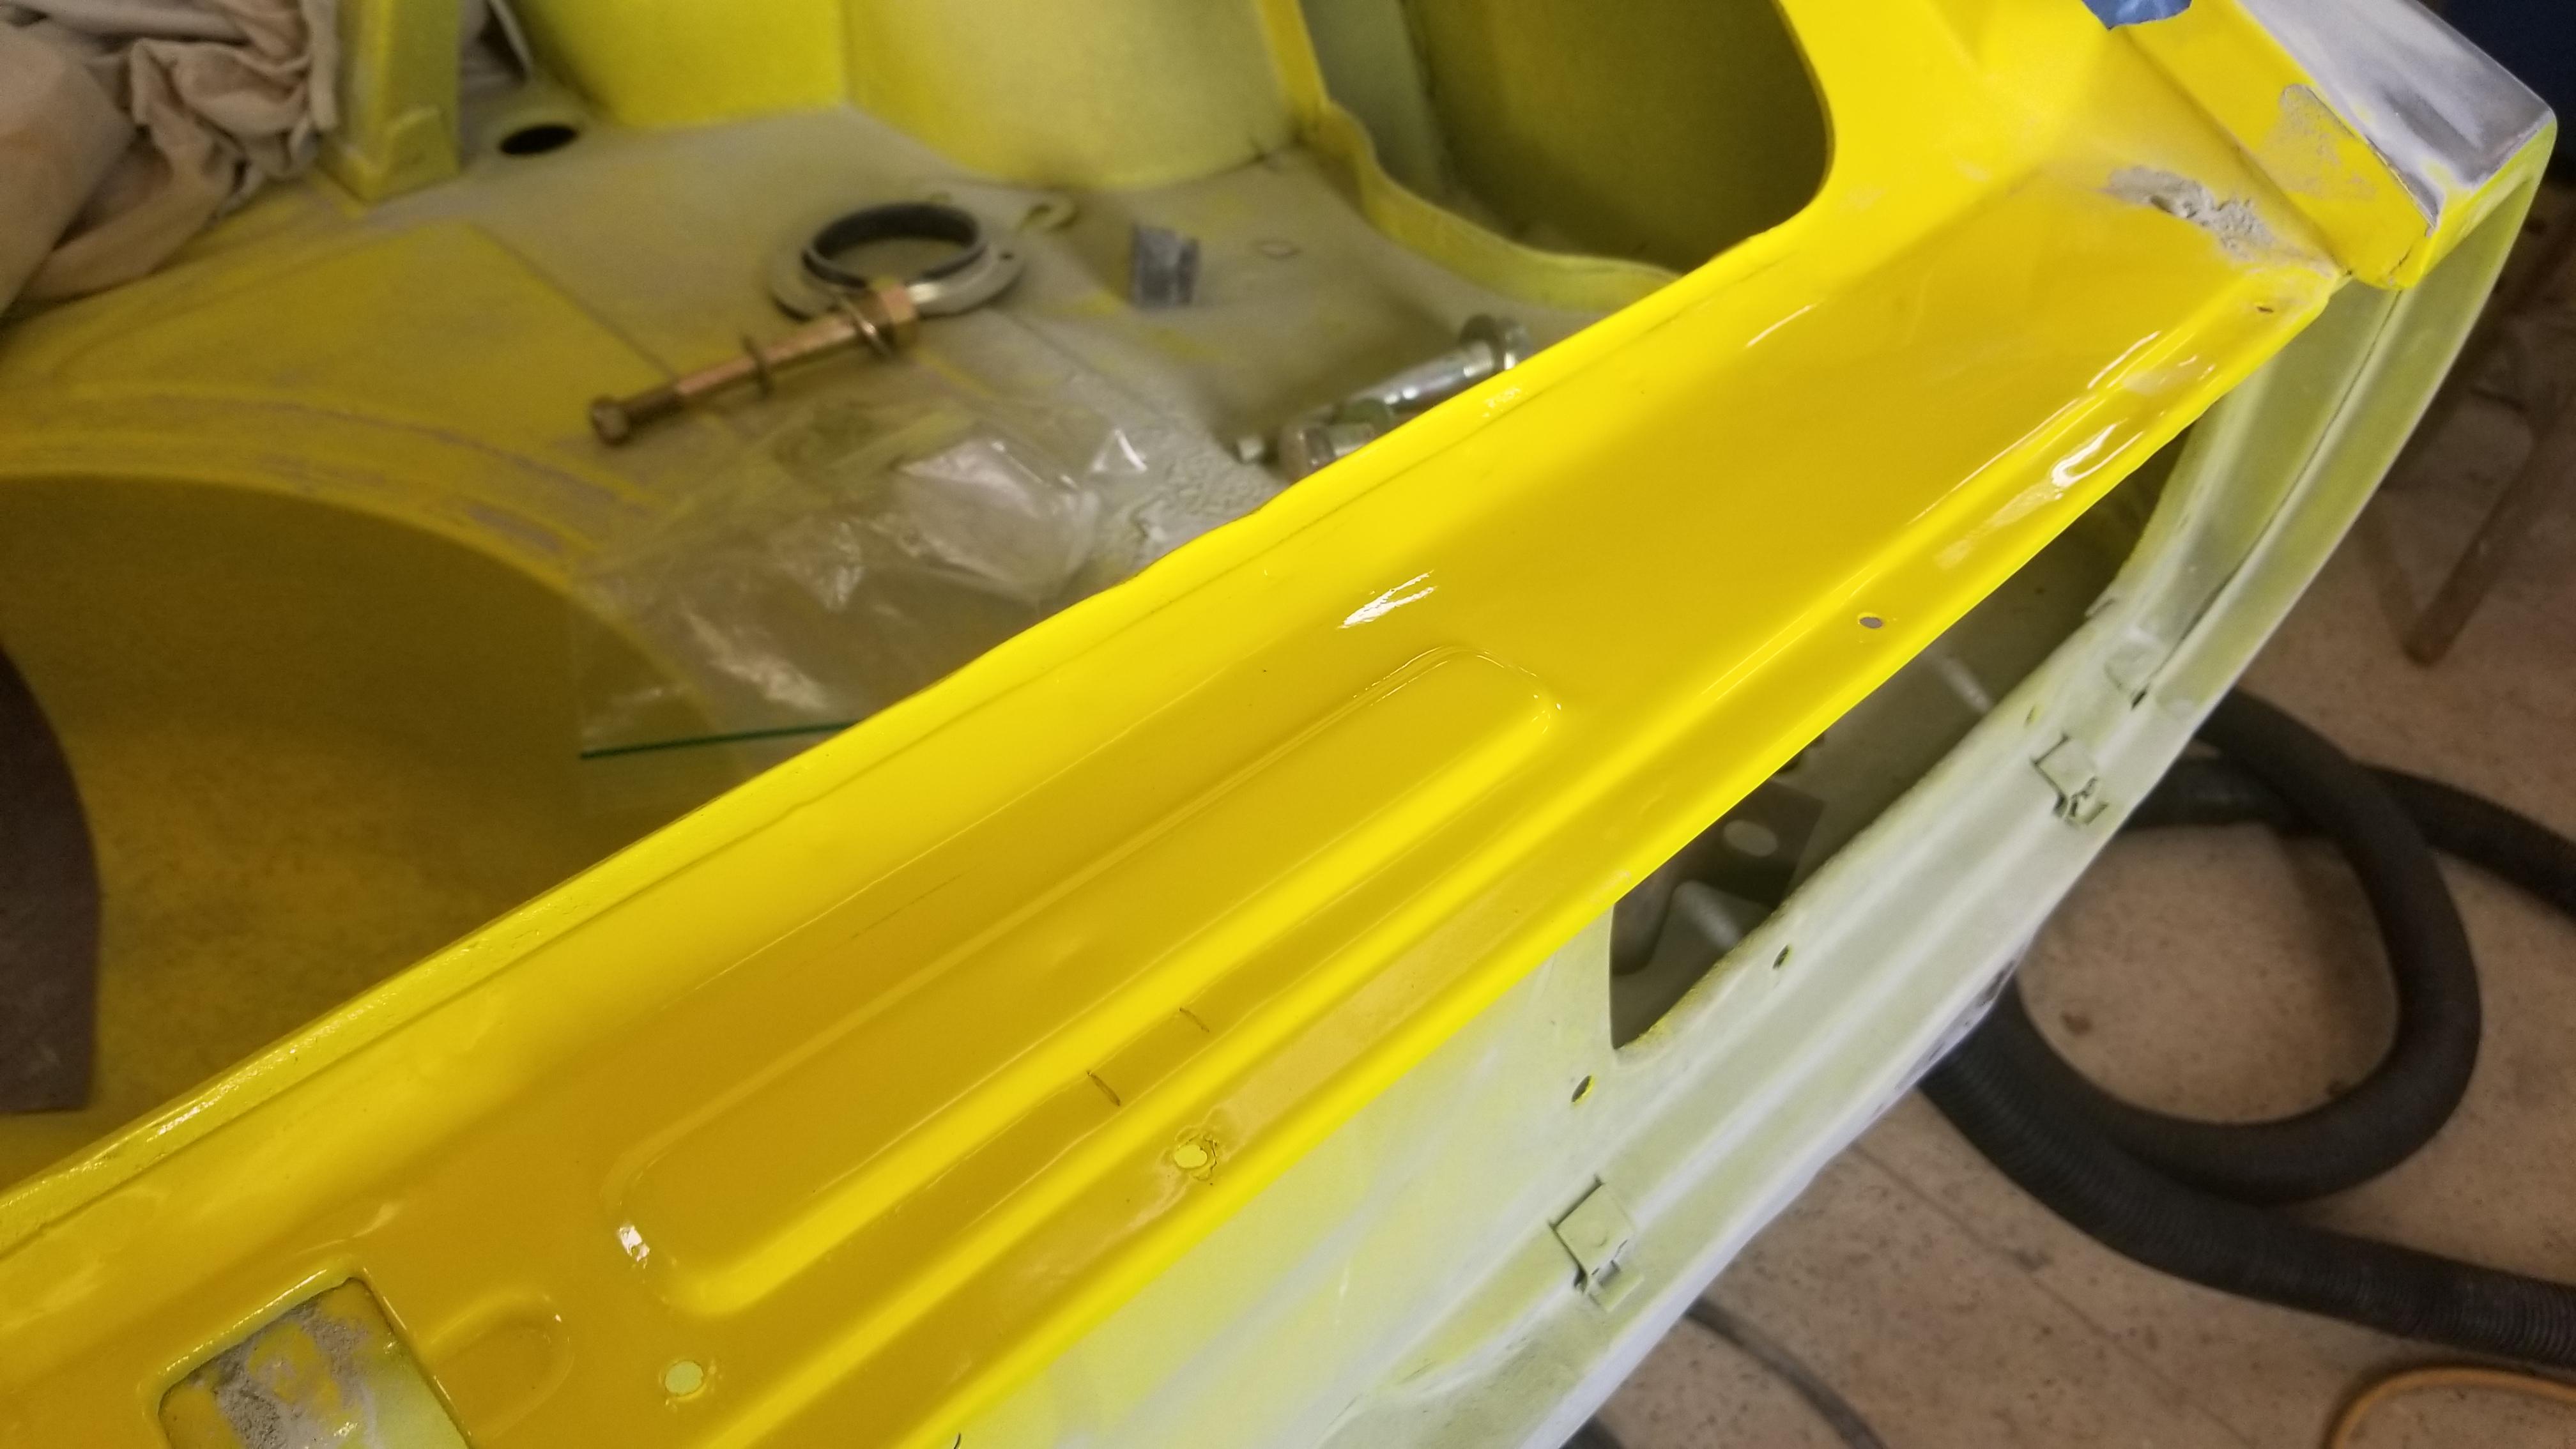
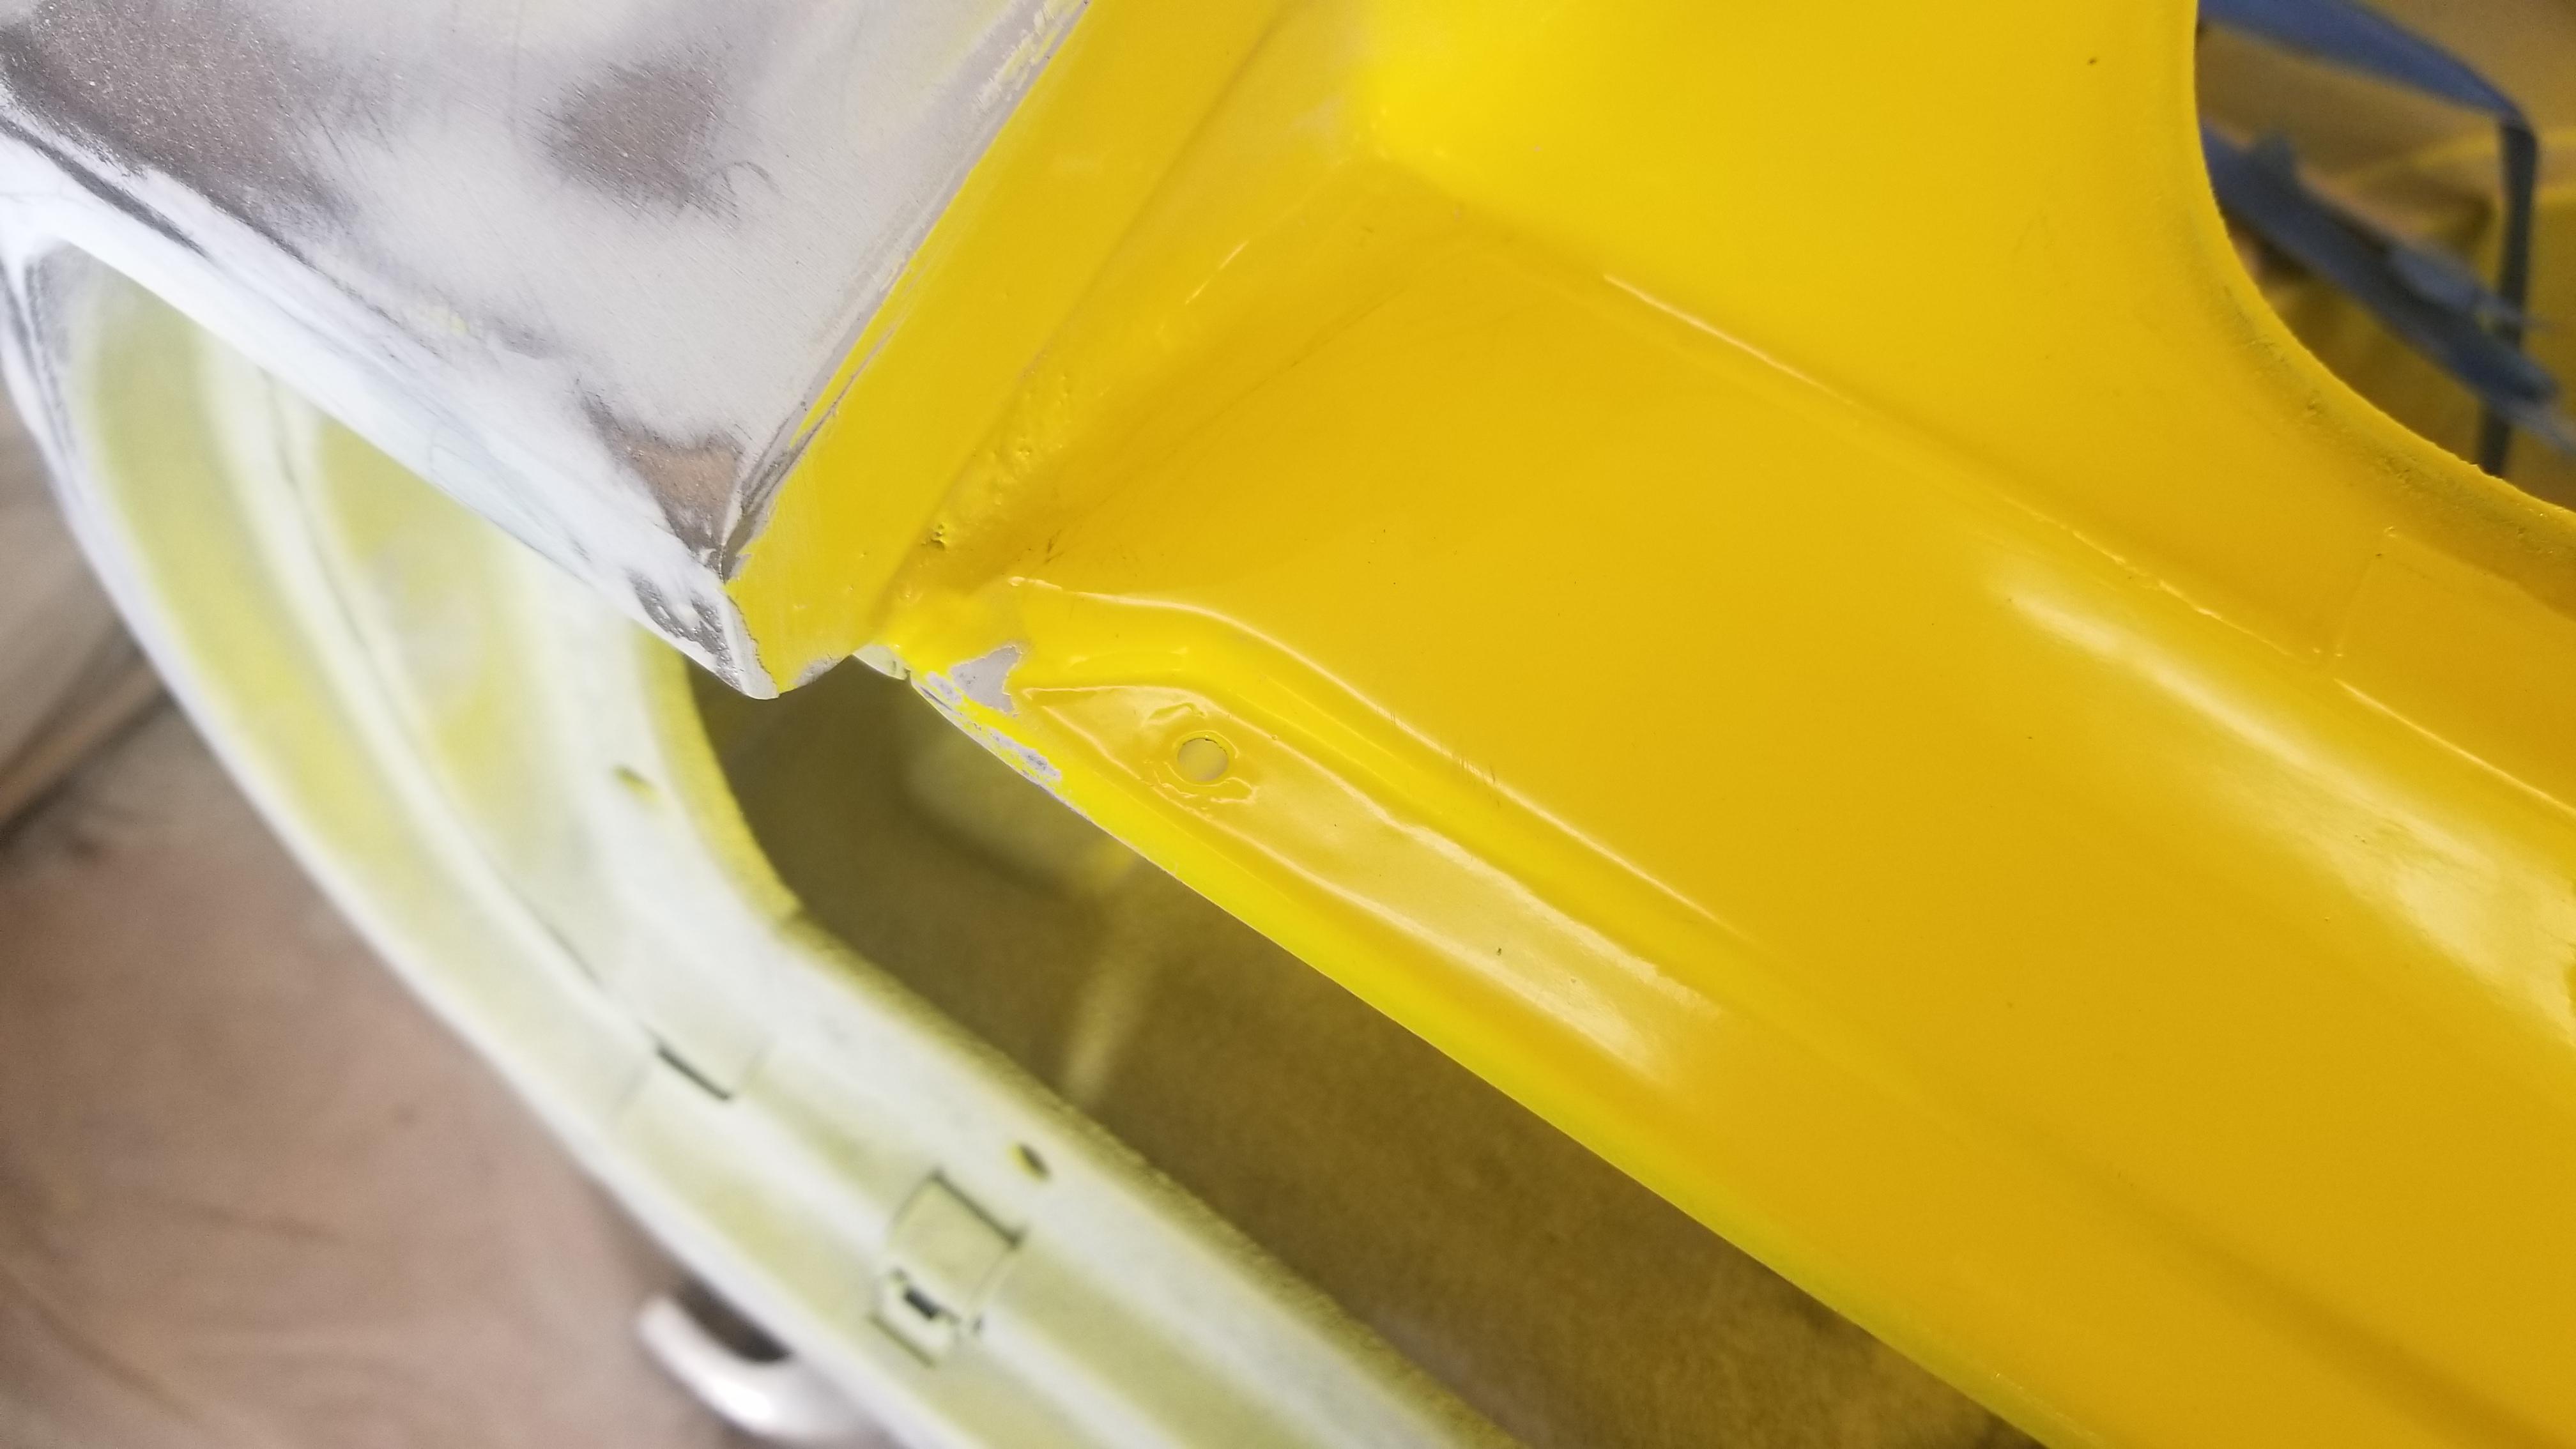
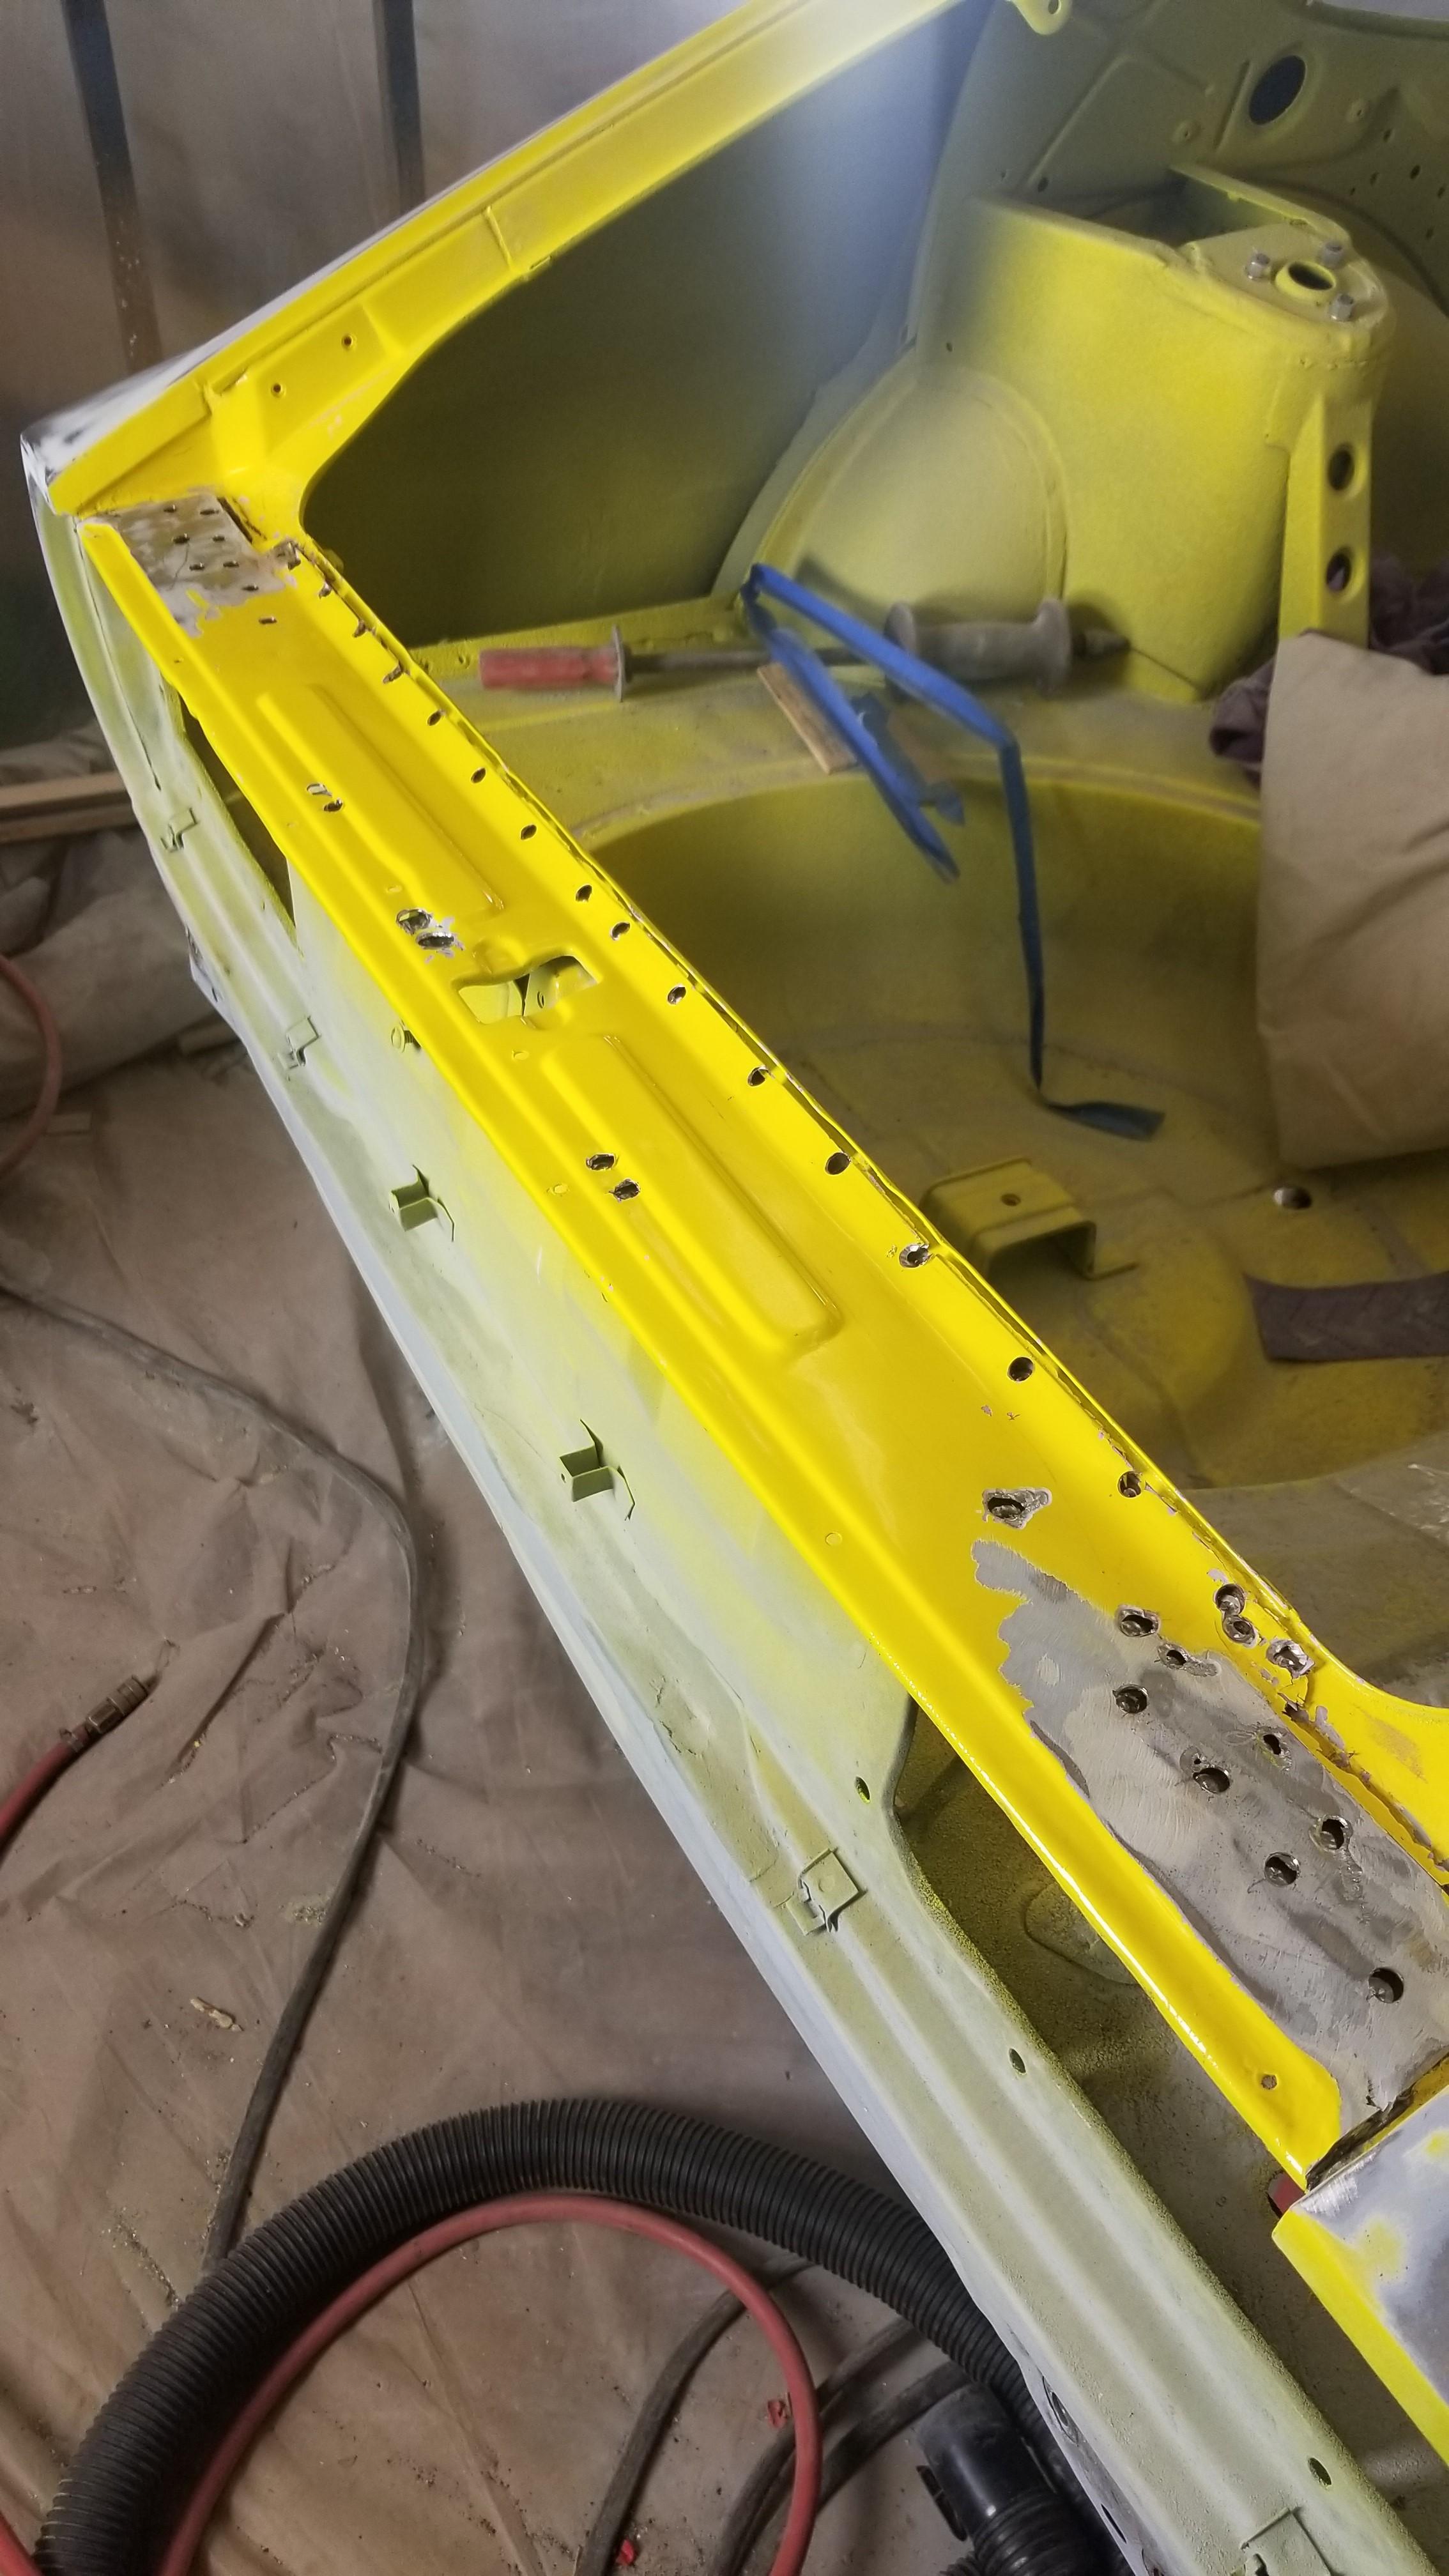
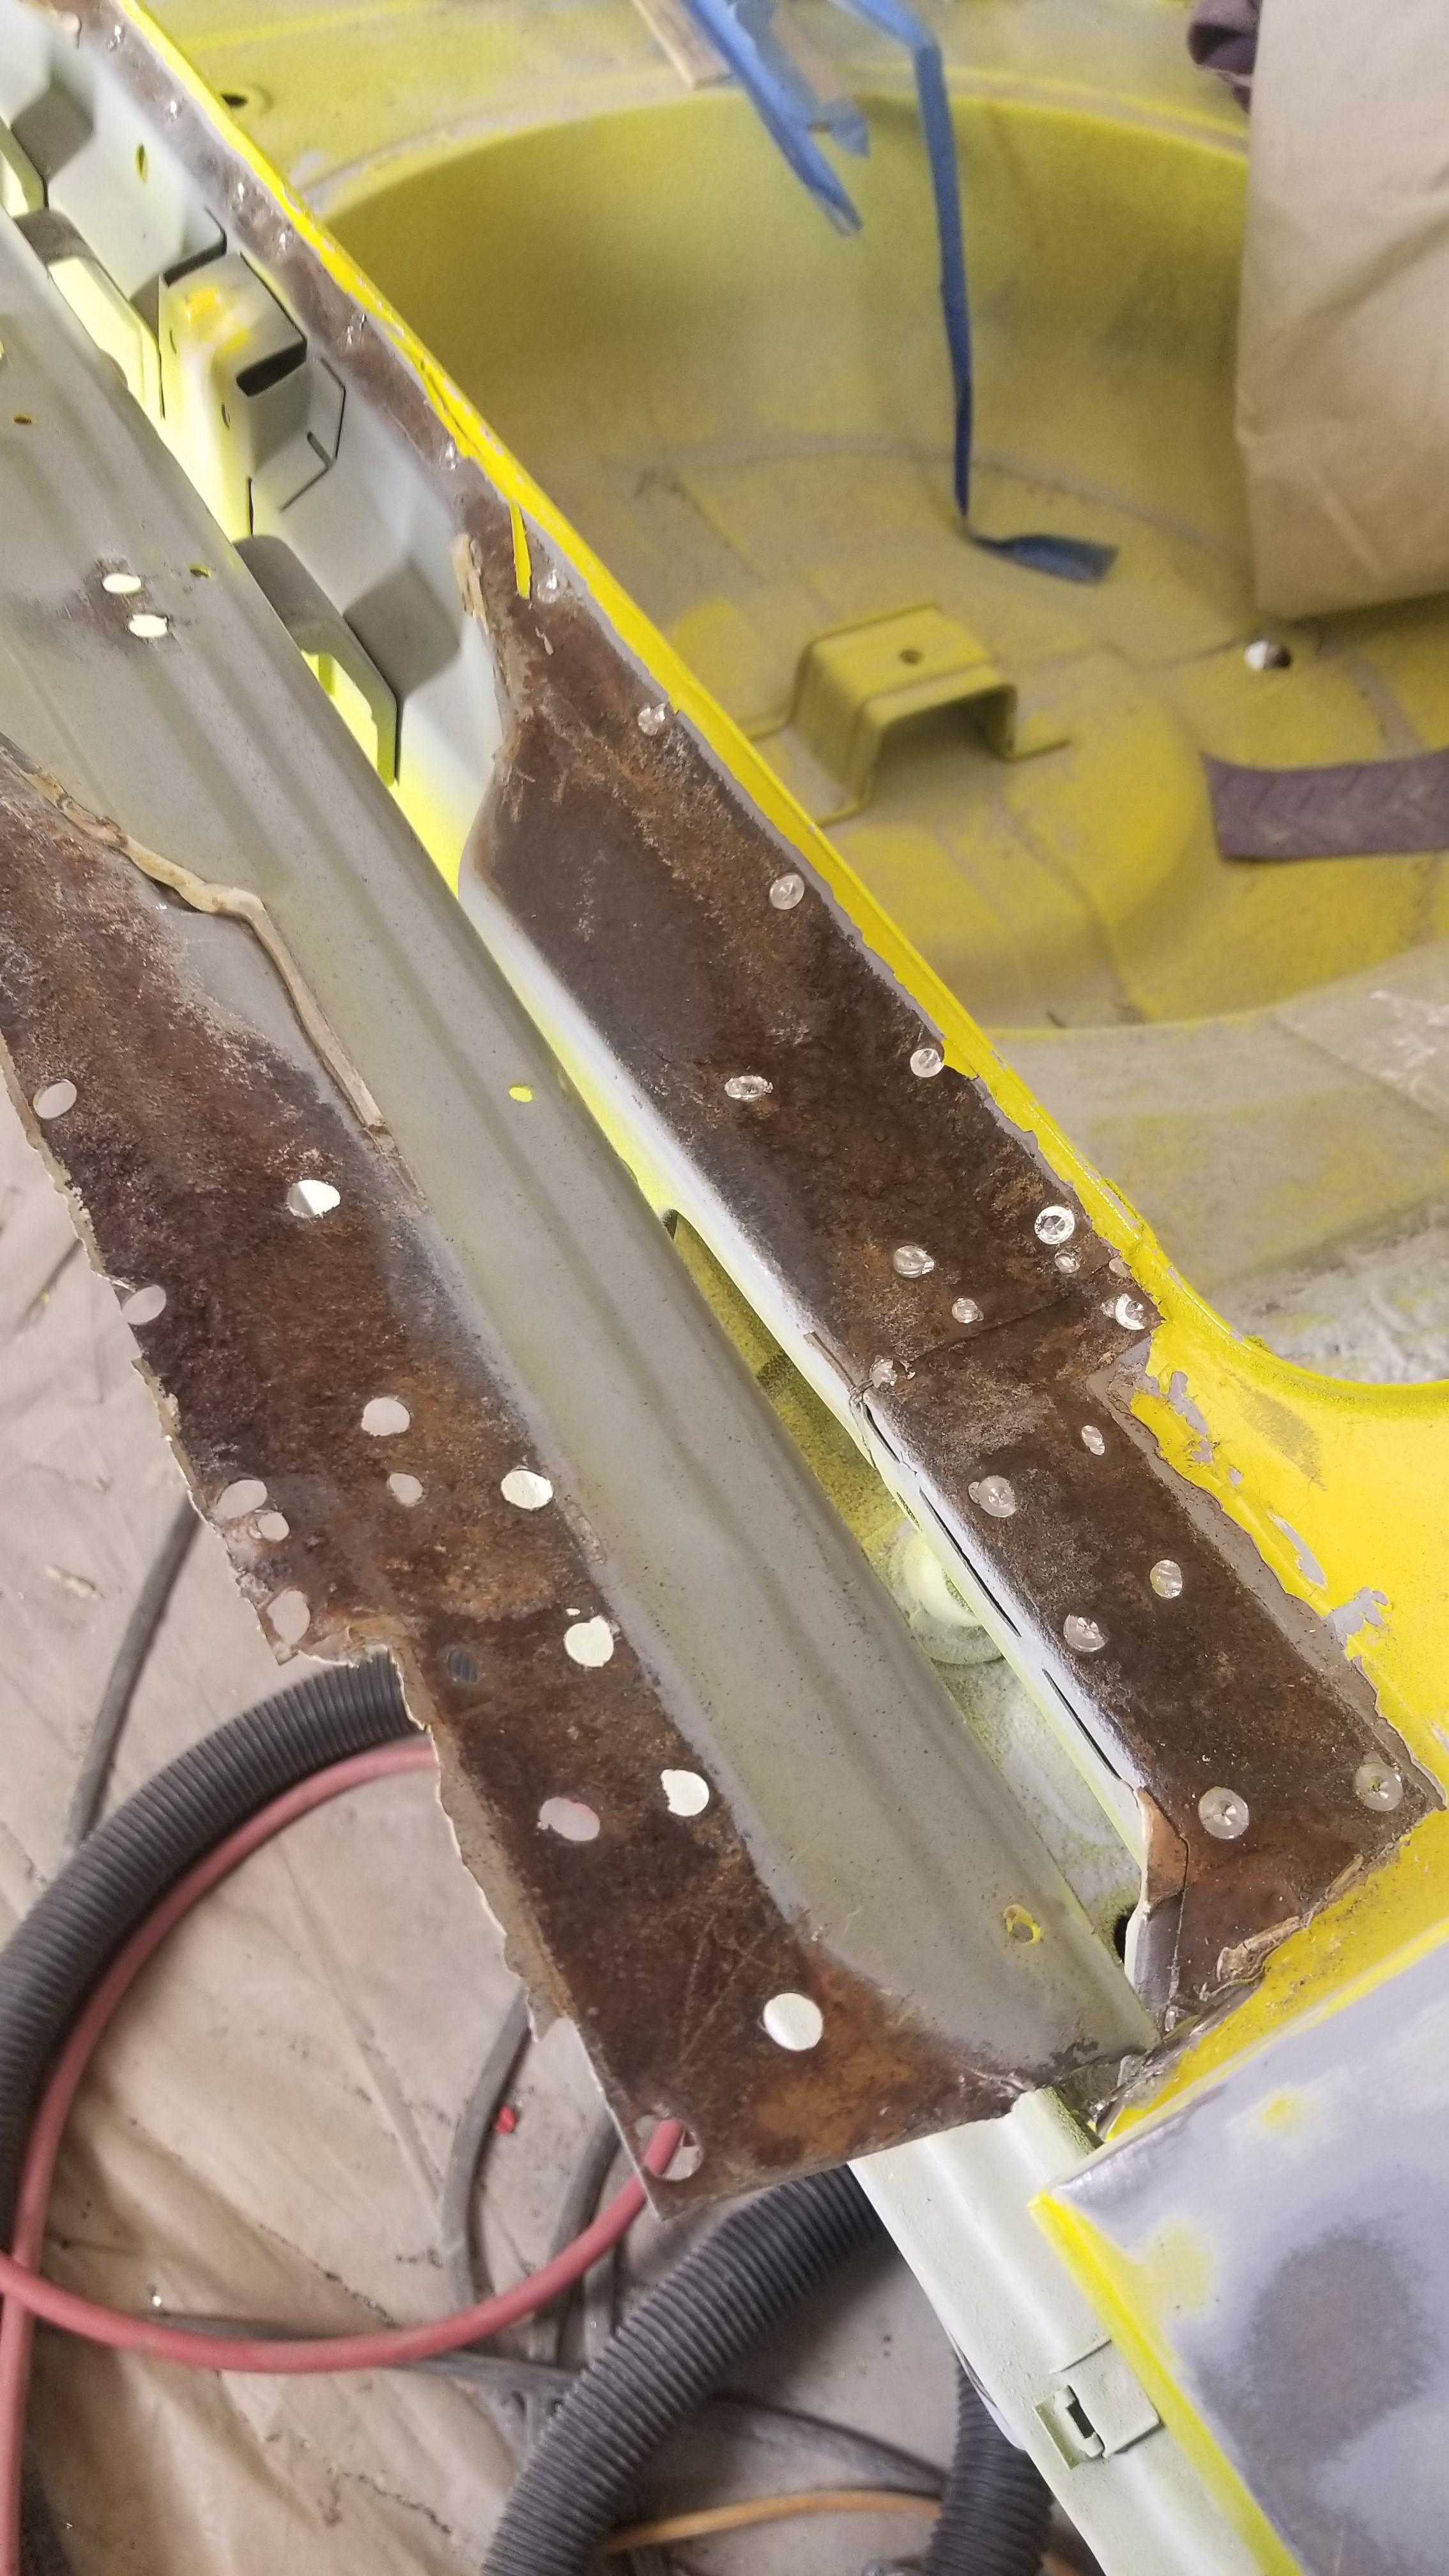
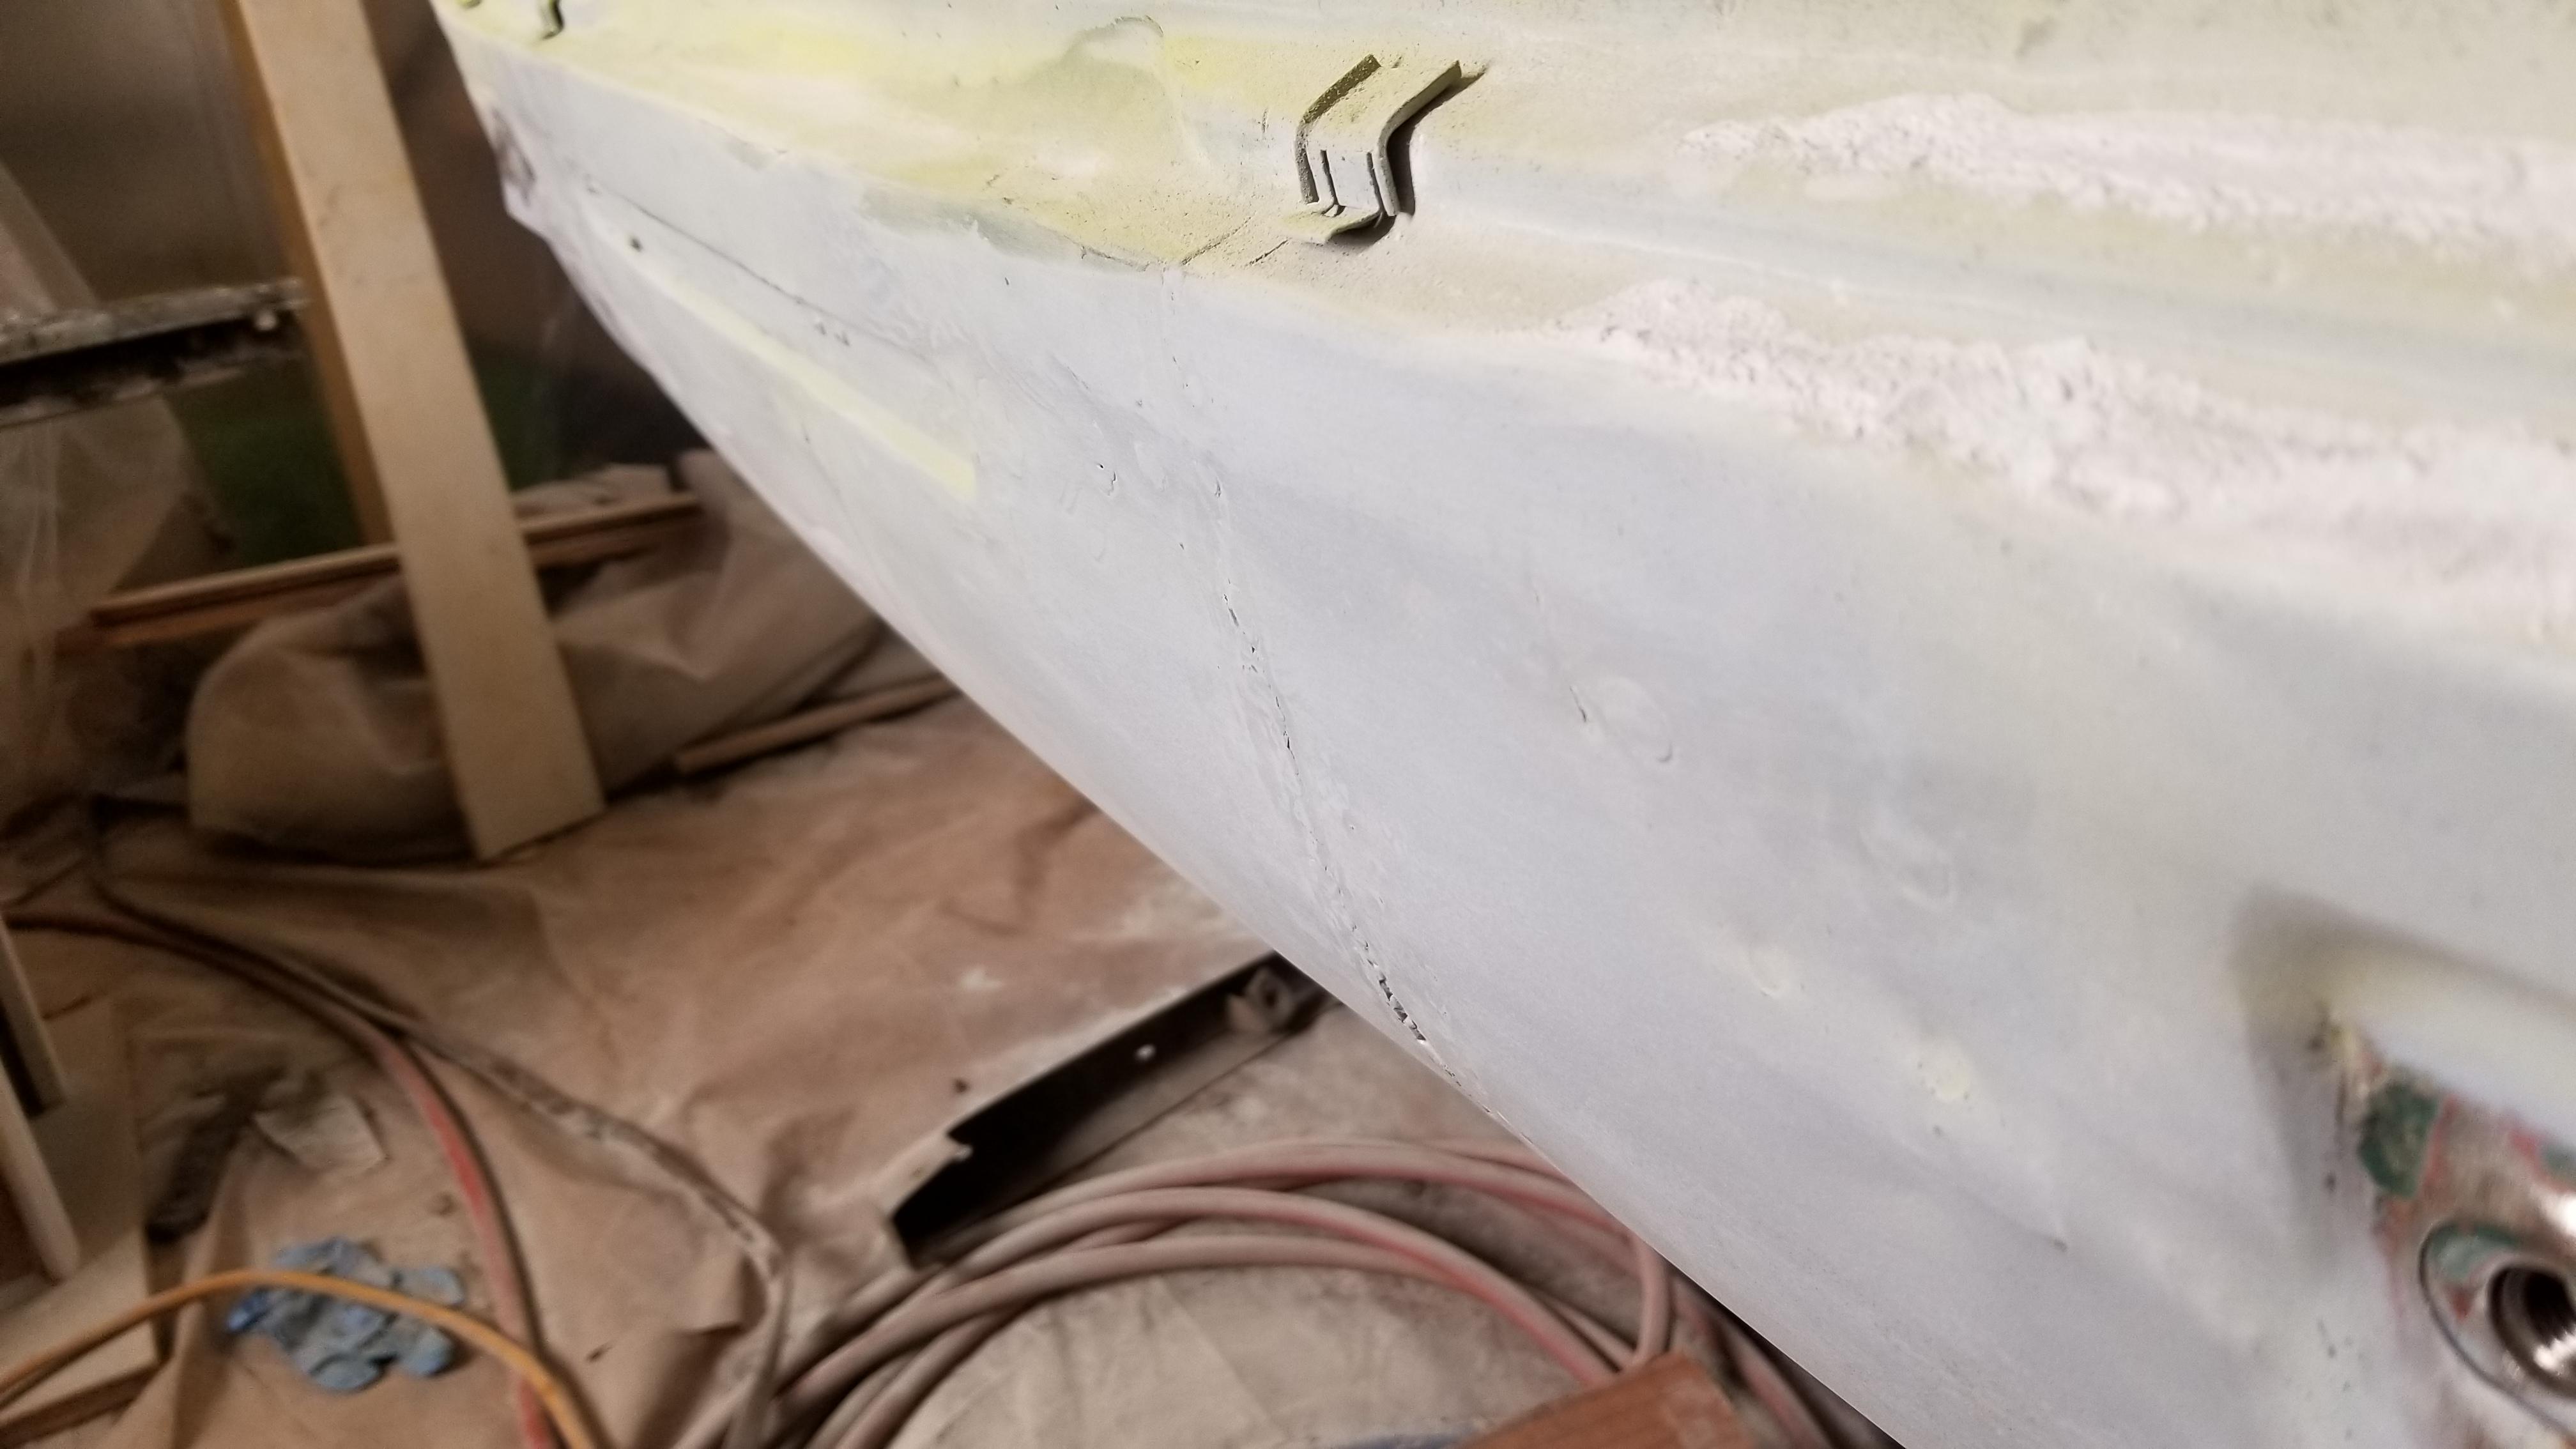
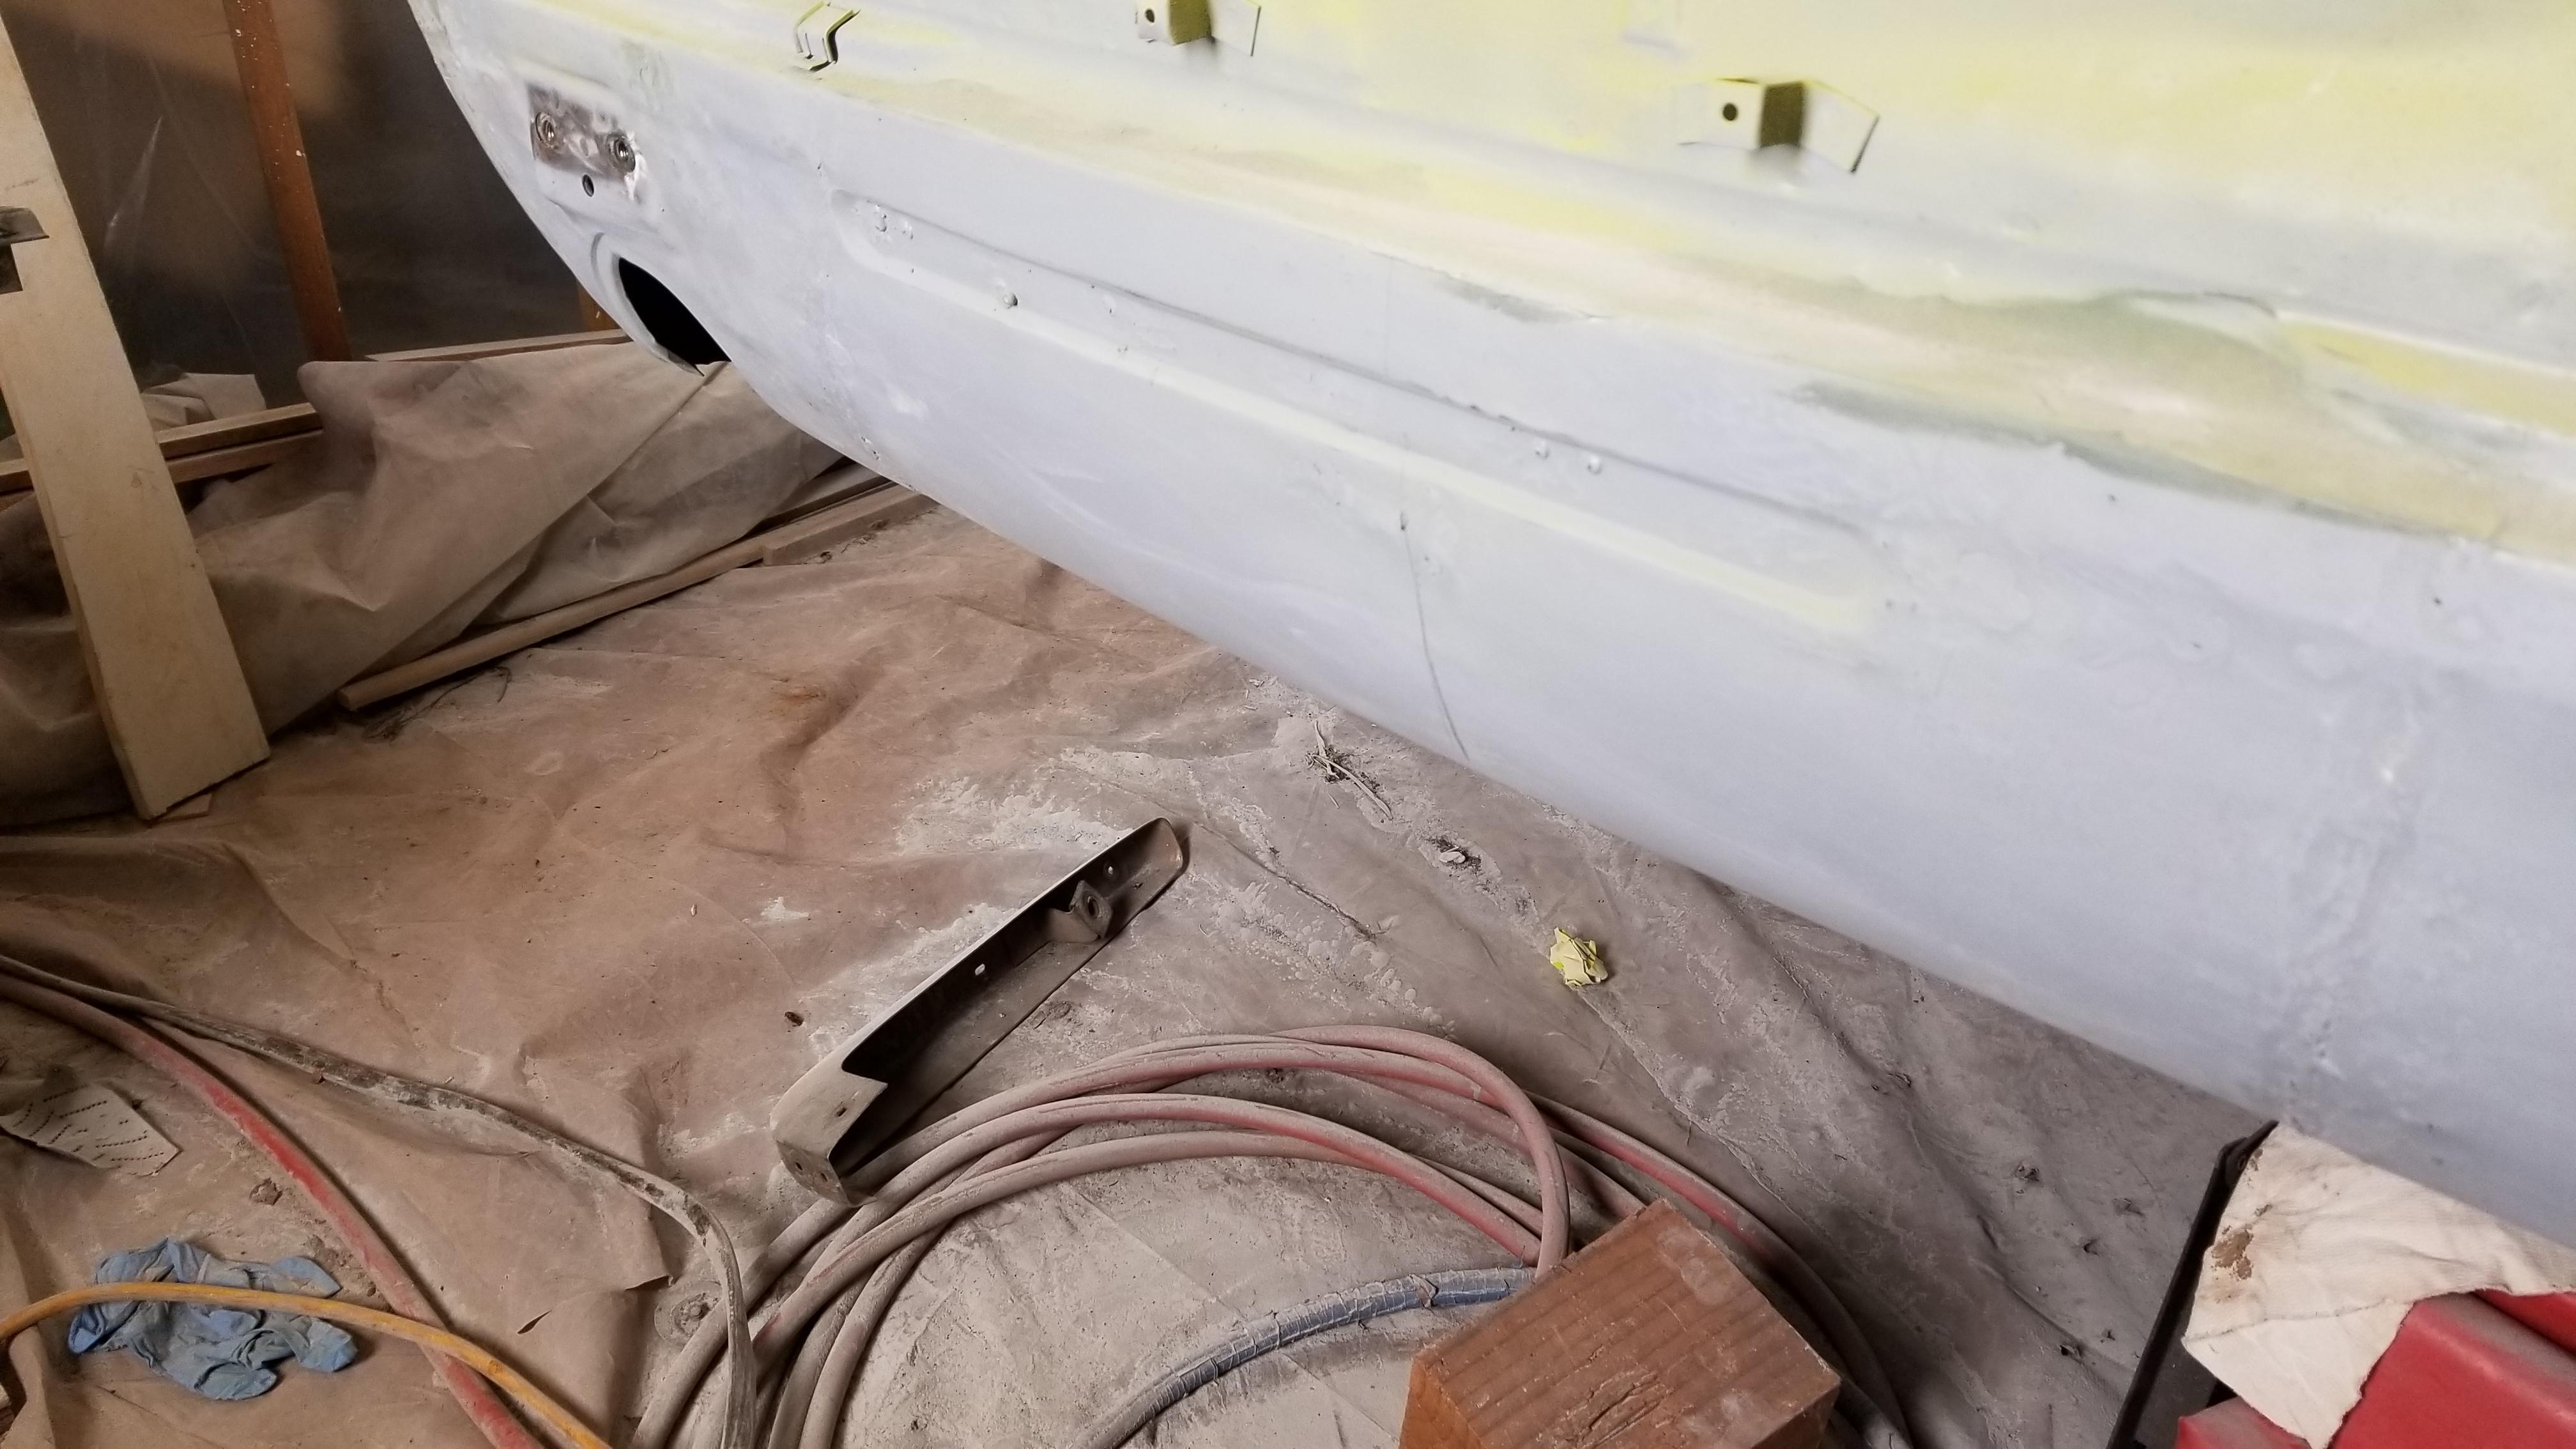
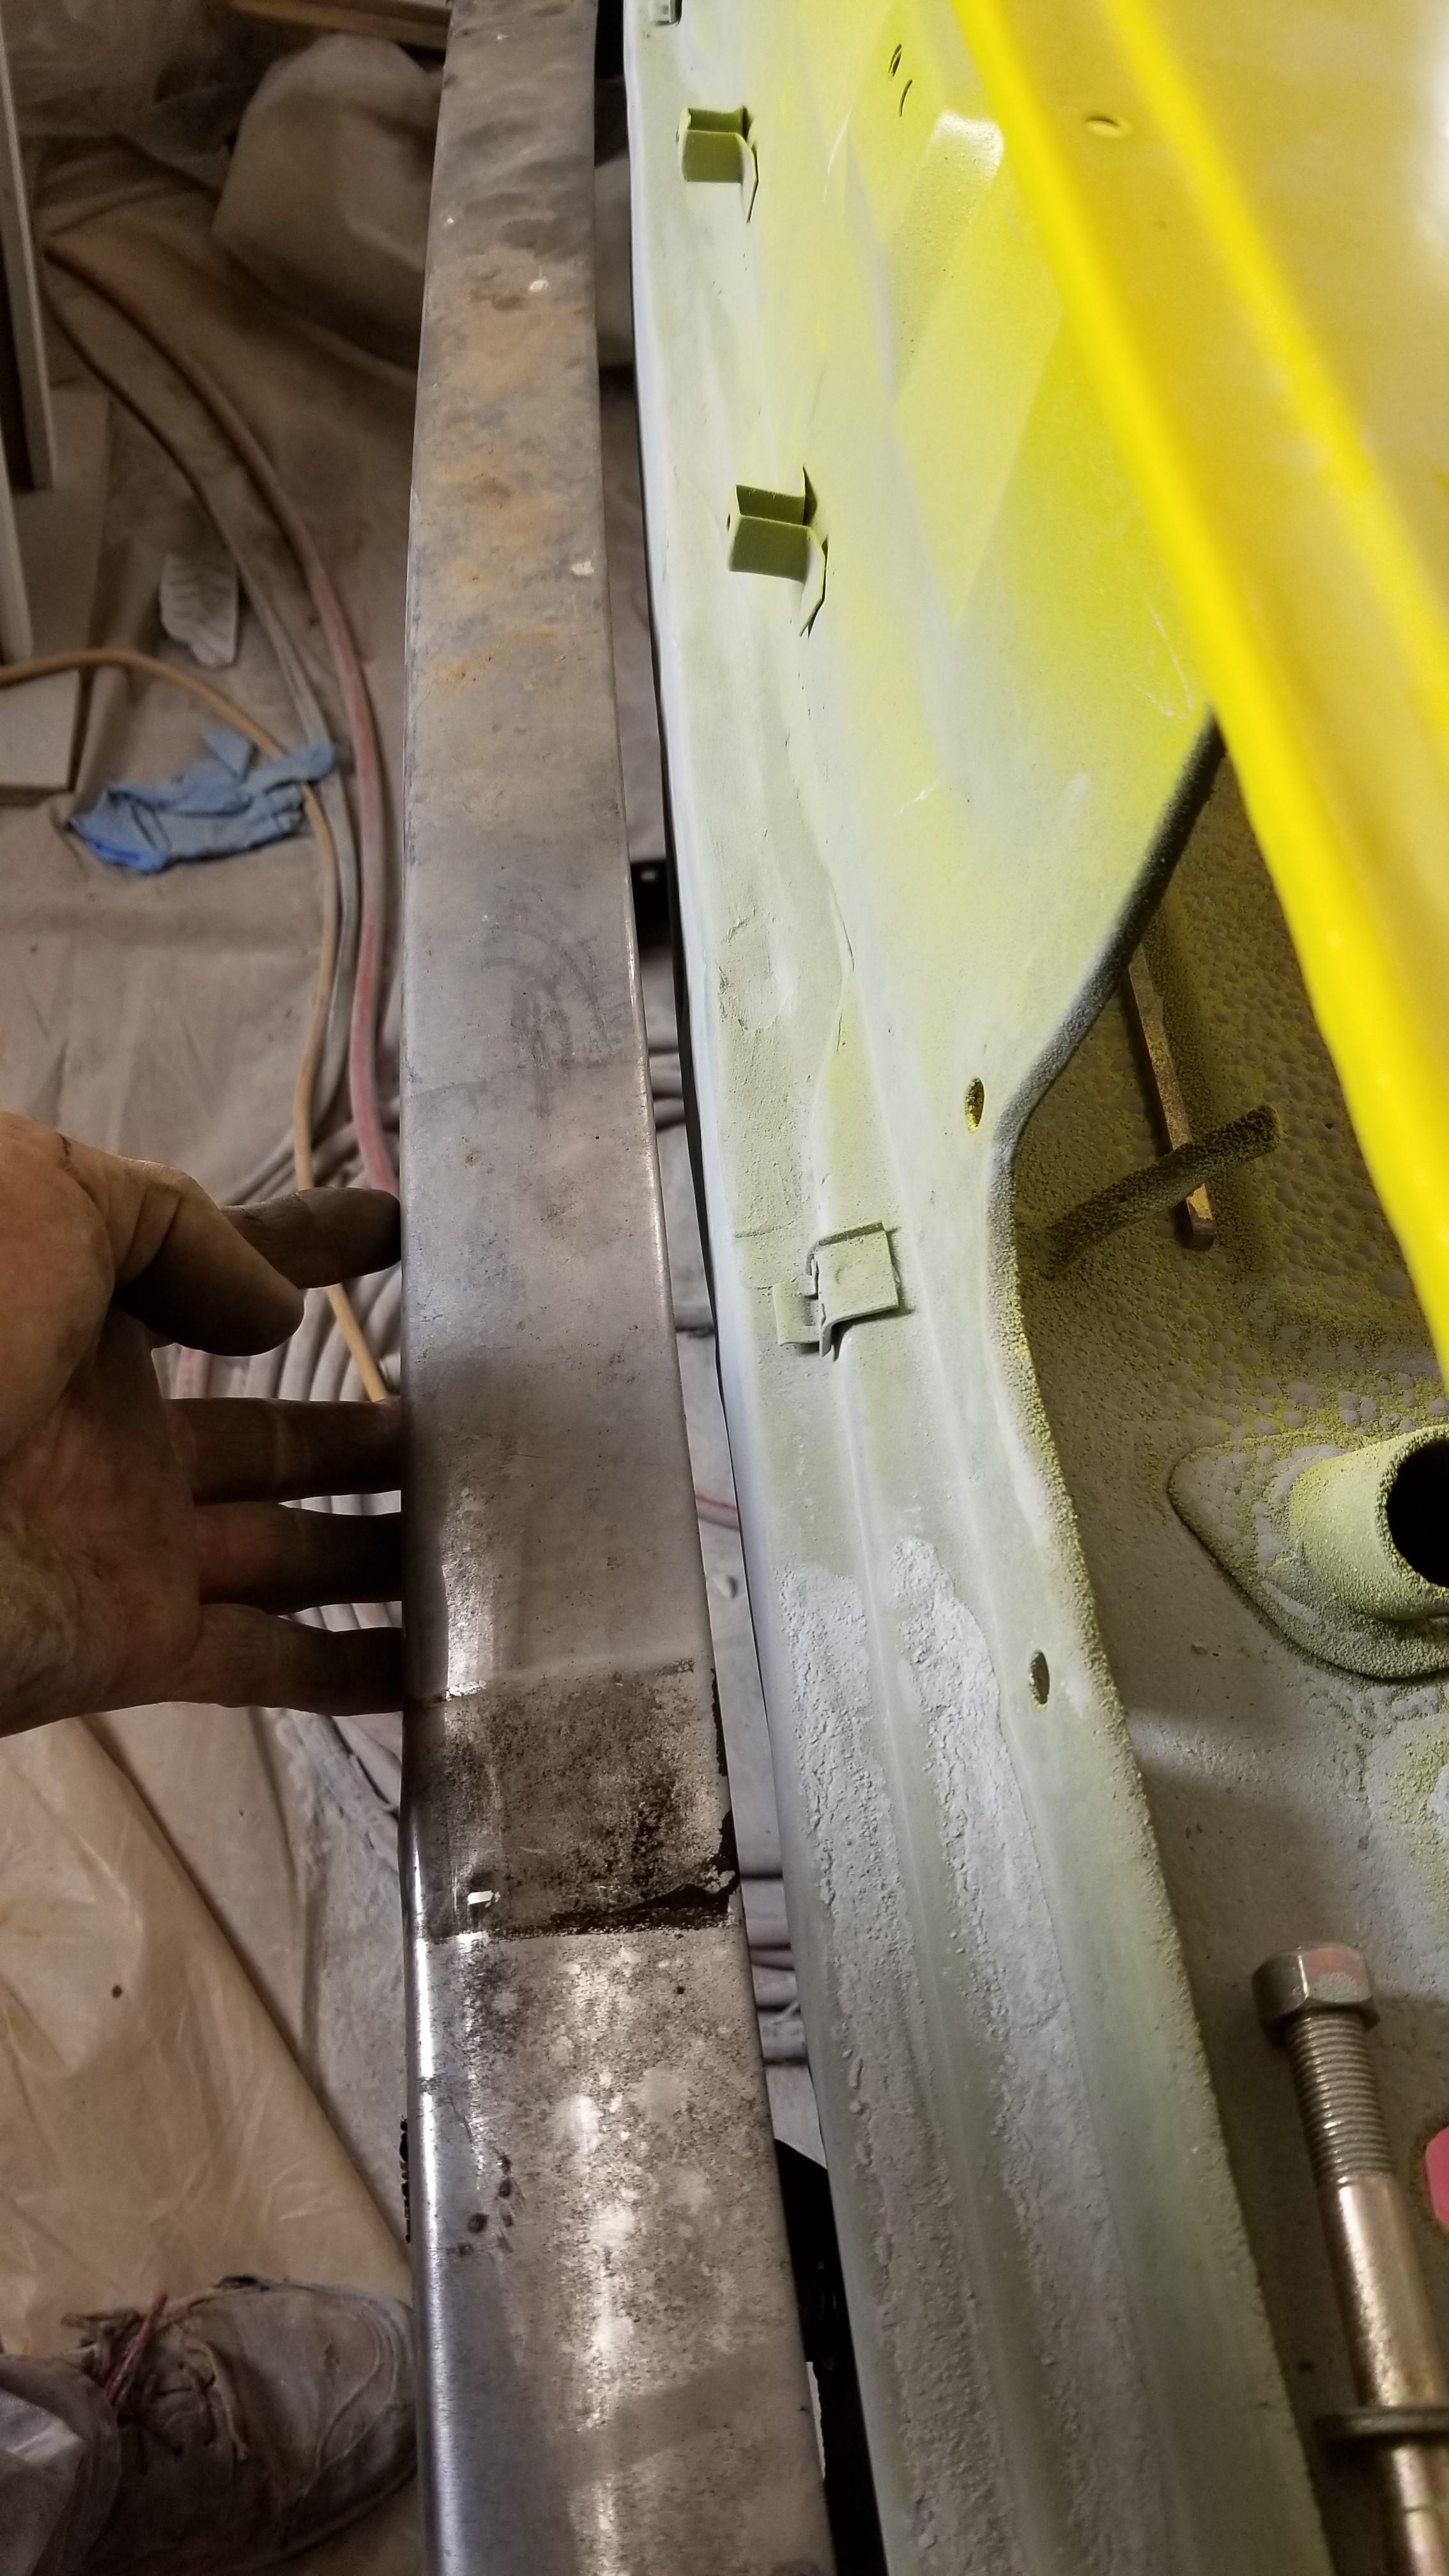
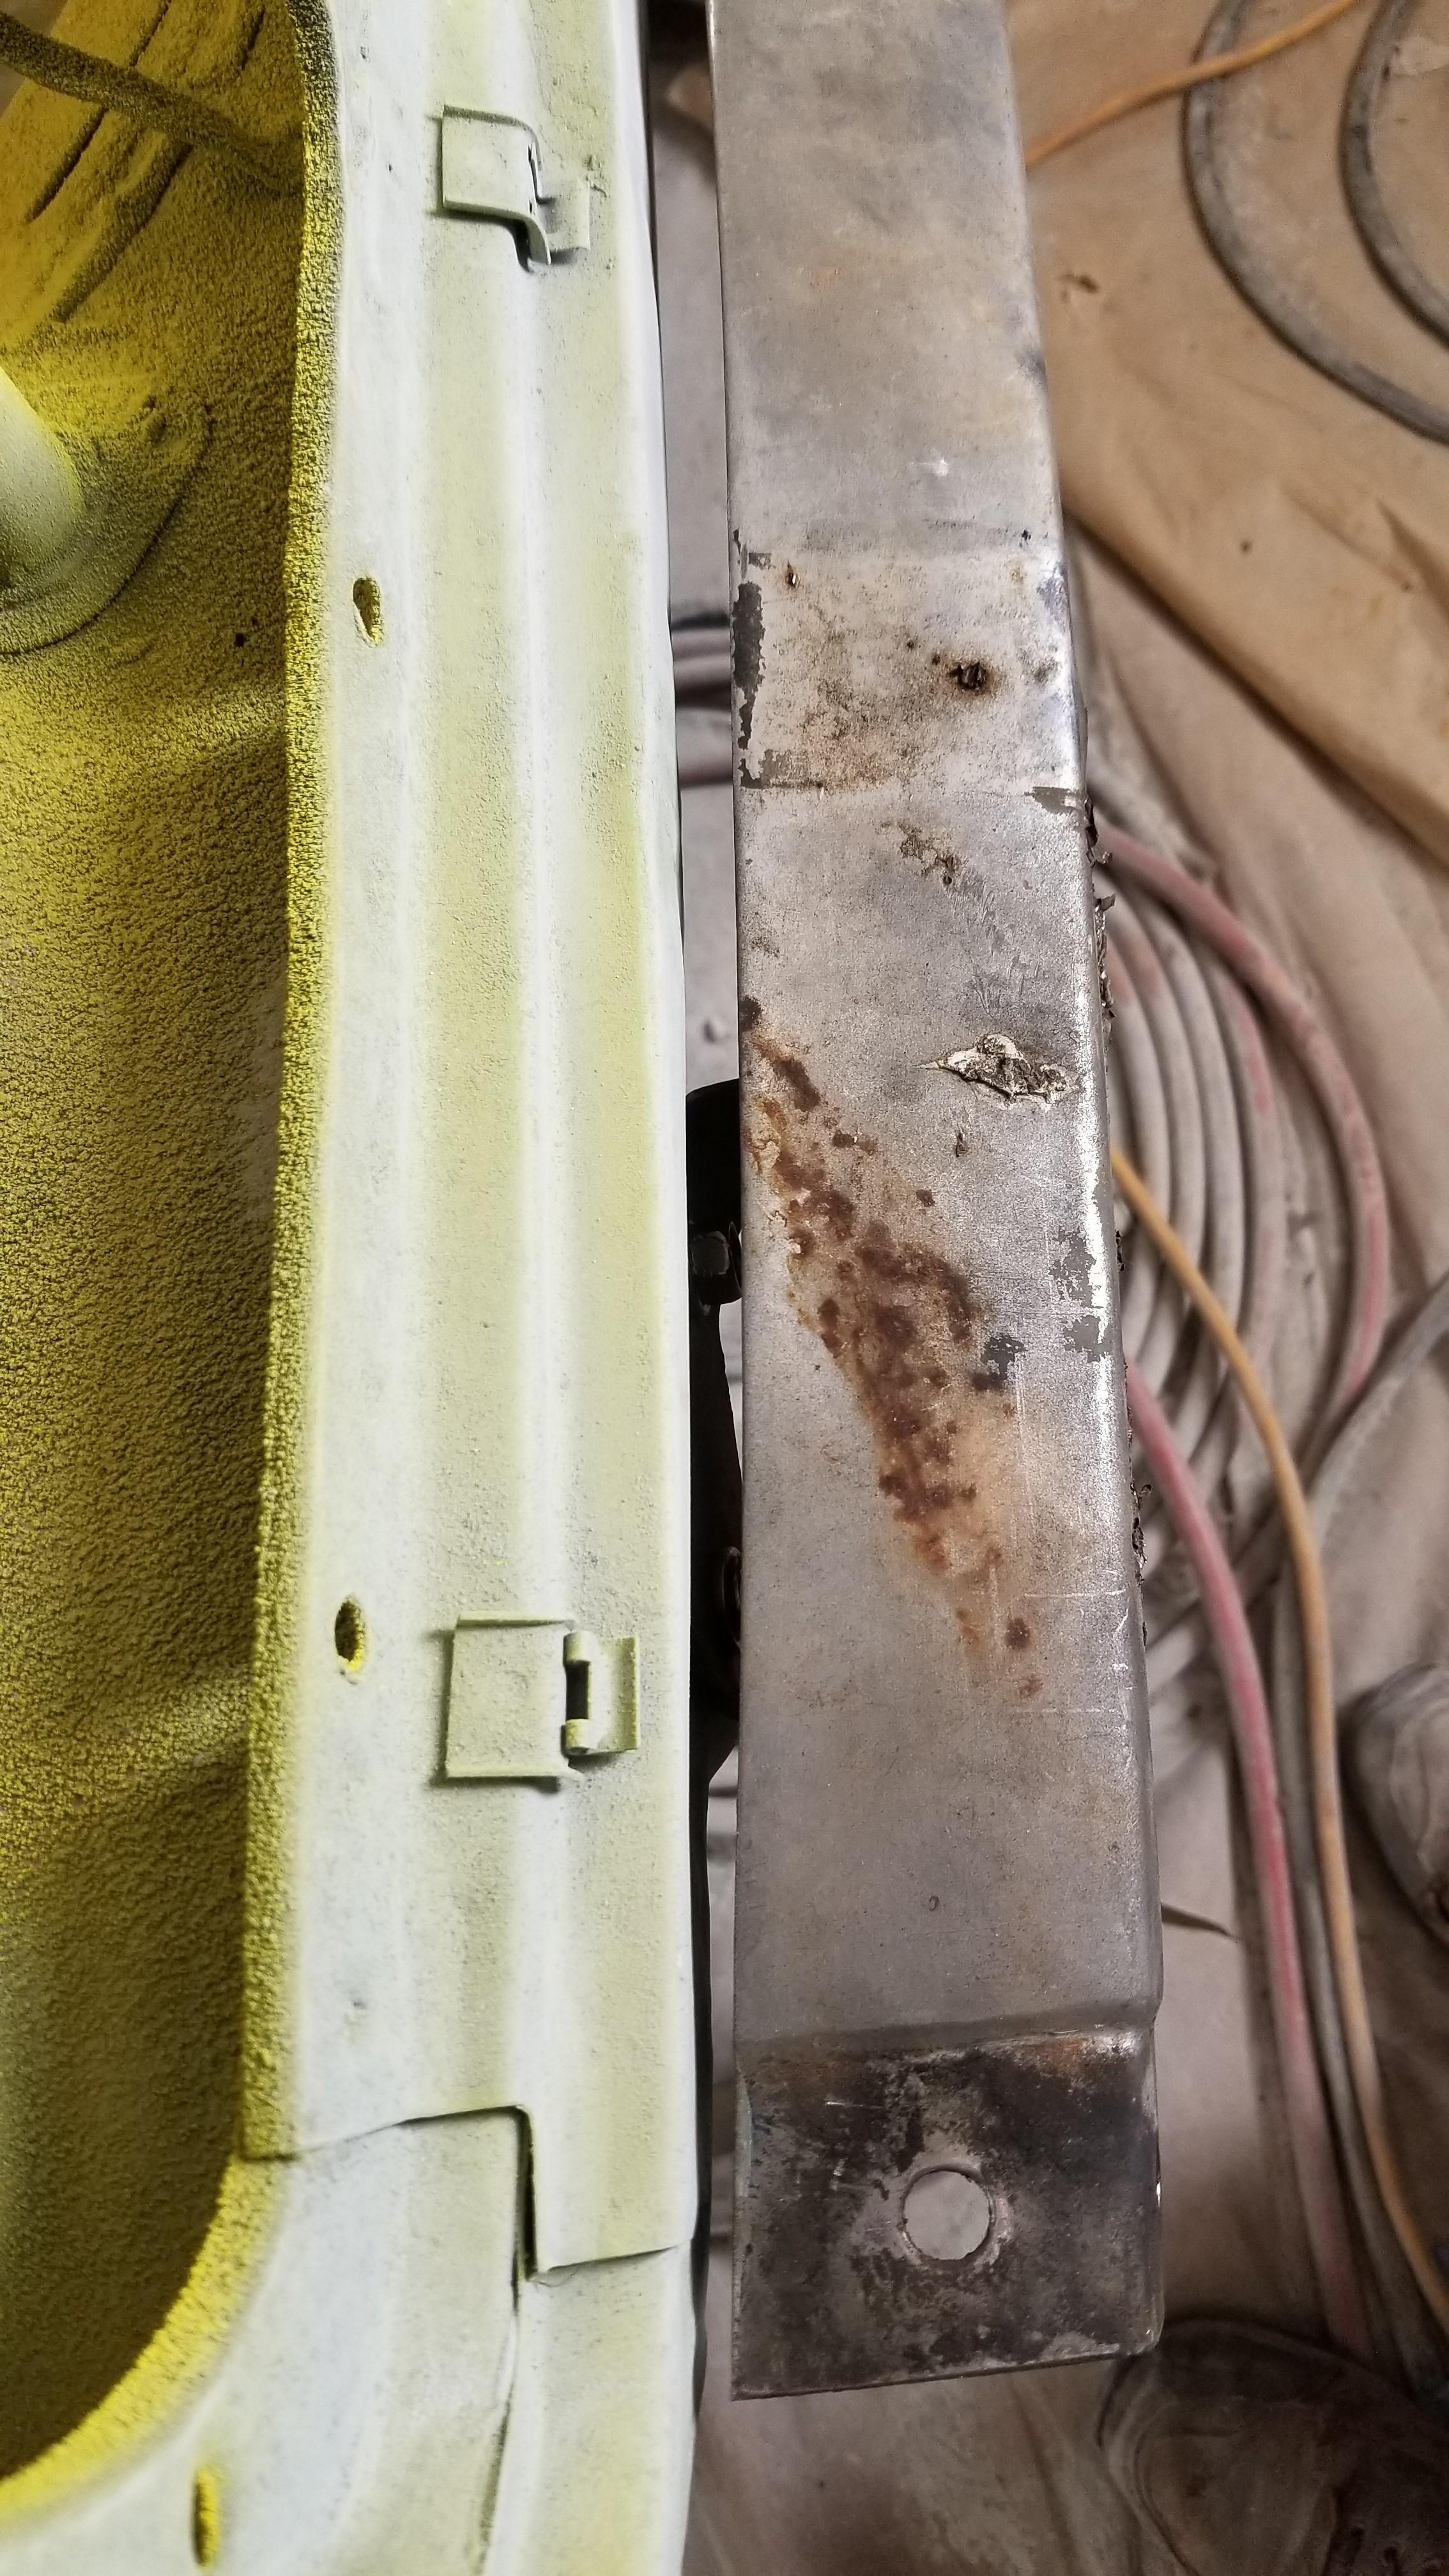
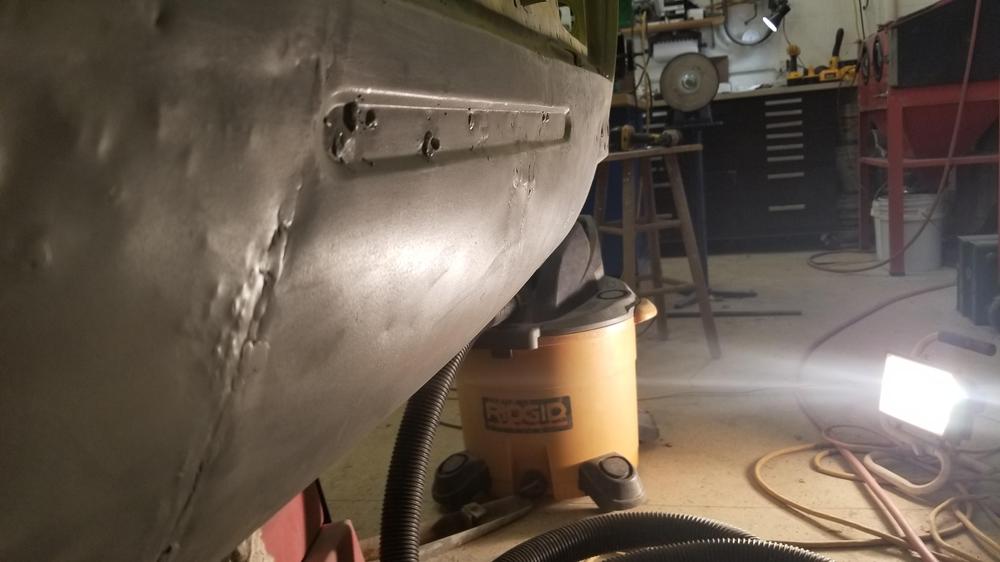
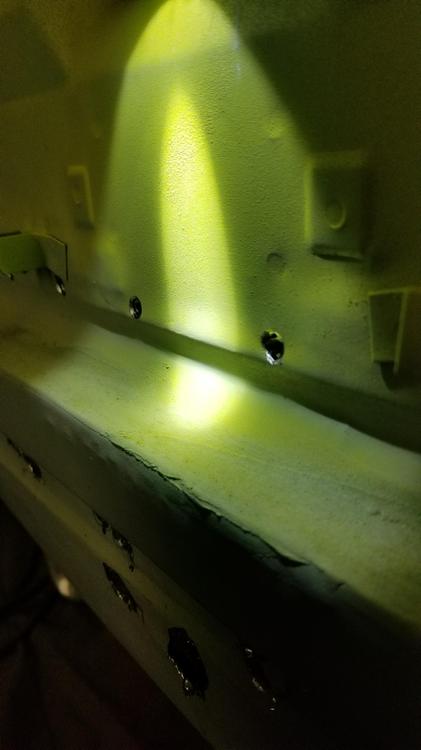
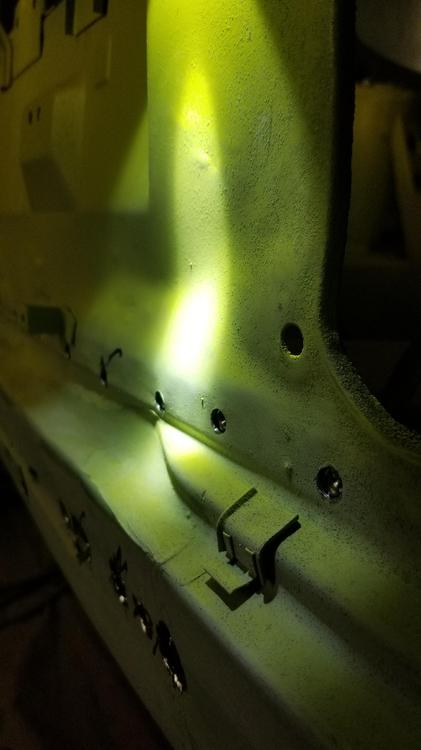
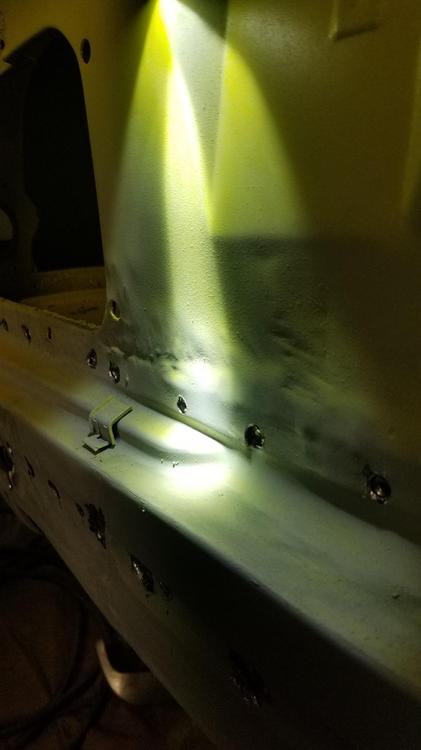
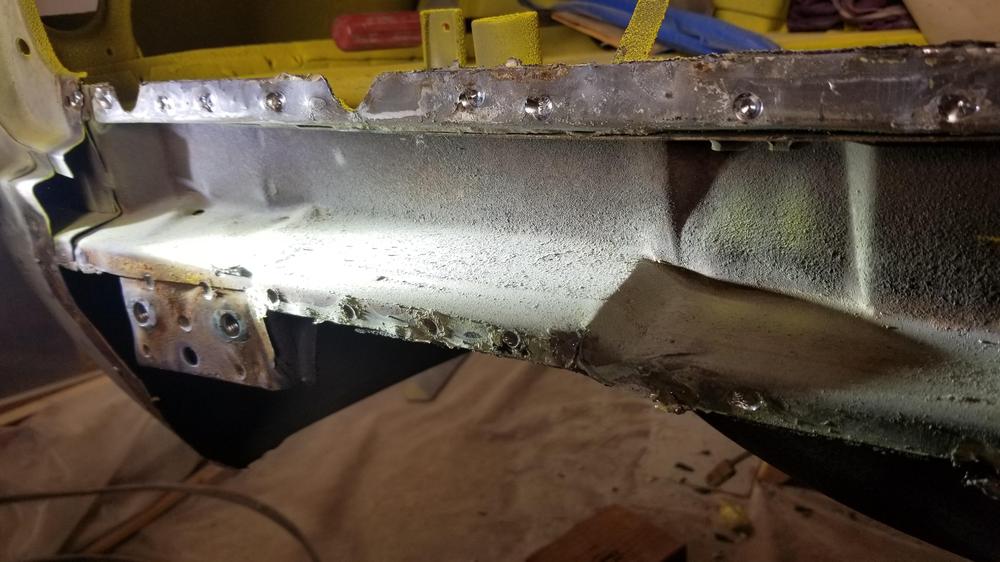
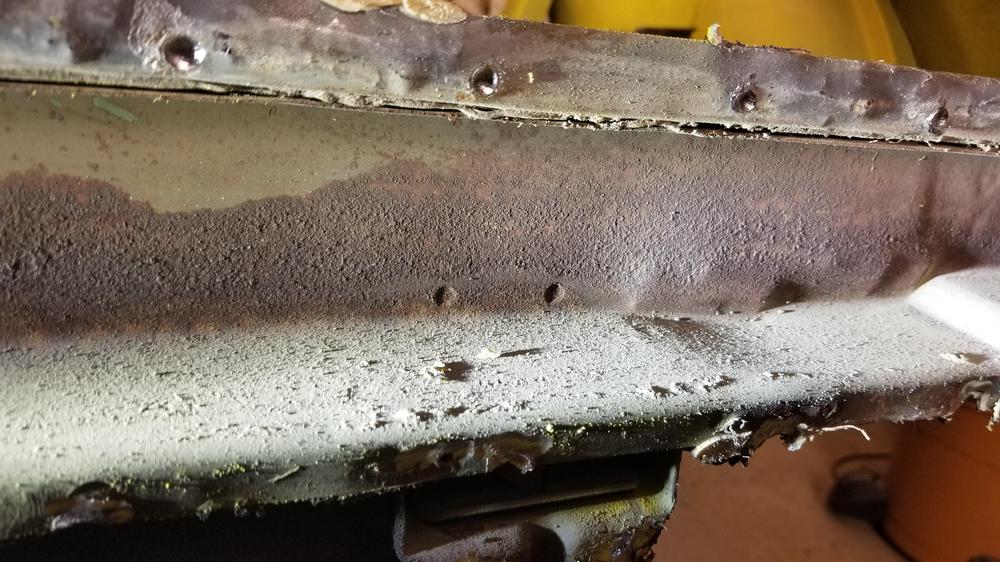
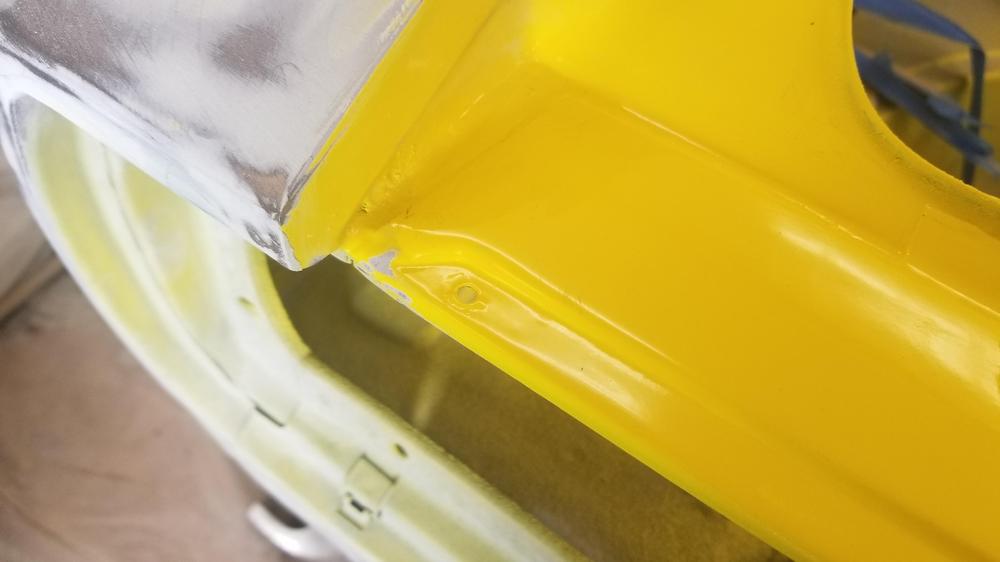
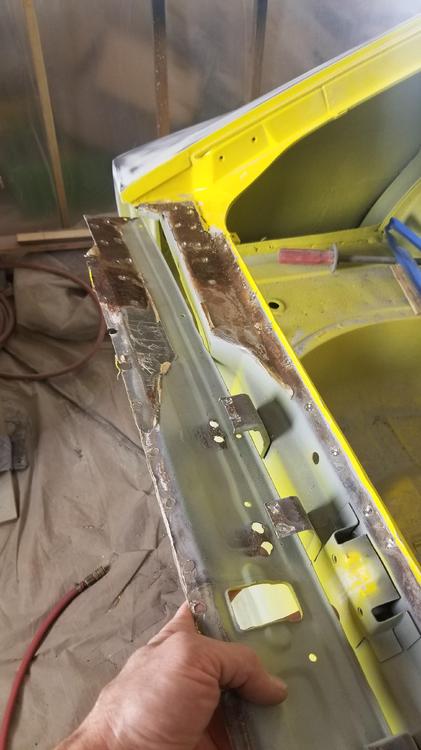
A better view of the current situation 130 spot welds later!! I think you will be able see the damage inside the frame rail Those wrinkles above the bumper mount shouldn't be there The back of this should be flat too There is a dip below the light in the first picture. I don't think that should be there. It is where the panel got forced under the interior floor panel The second picture has a way area. I believe this is supposed to be flat. Can somebody post me a good picture of this panel so I can tell how it's supposed to be? More damage on the left side of the license plate under the finishers


-
To all my CZCars friends. Have a great Christmas. Enjoy family while you can and be safe.
-
So say good bye to the pretty yellow "Biting the bullet" The upside is, I get to get rid of this


-
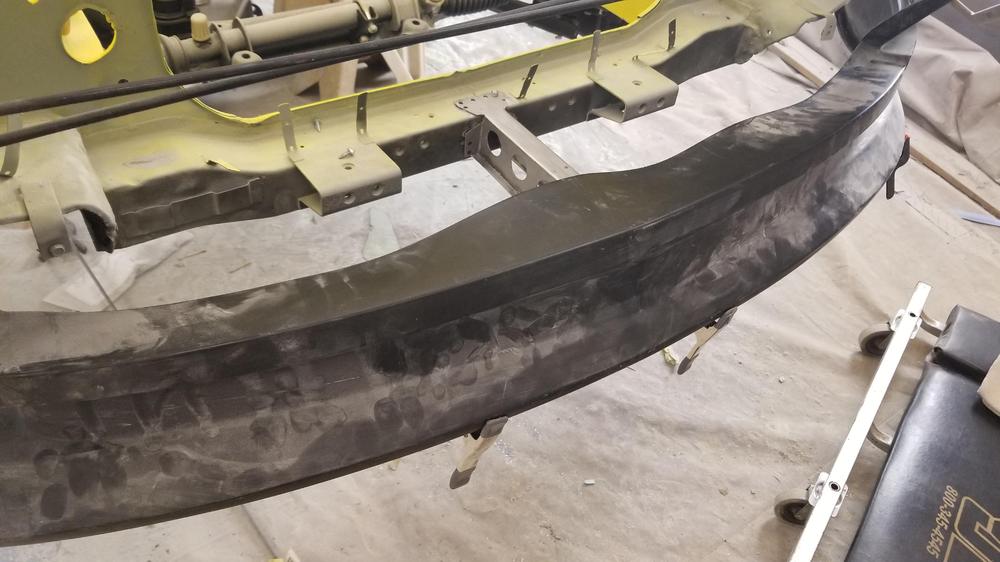
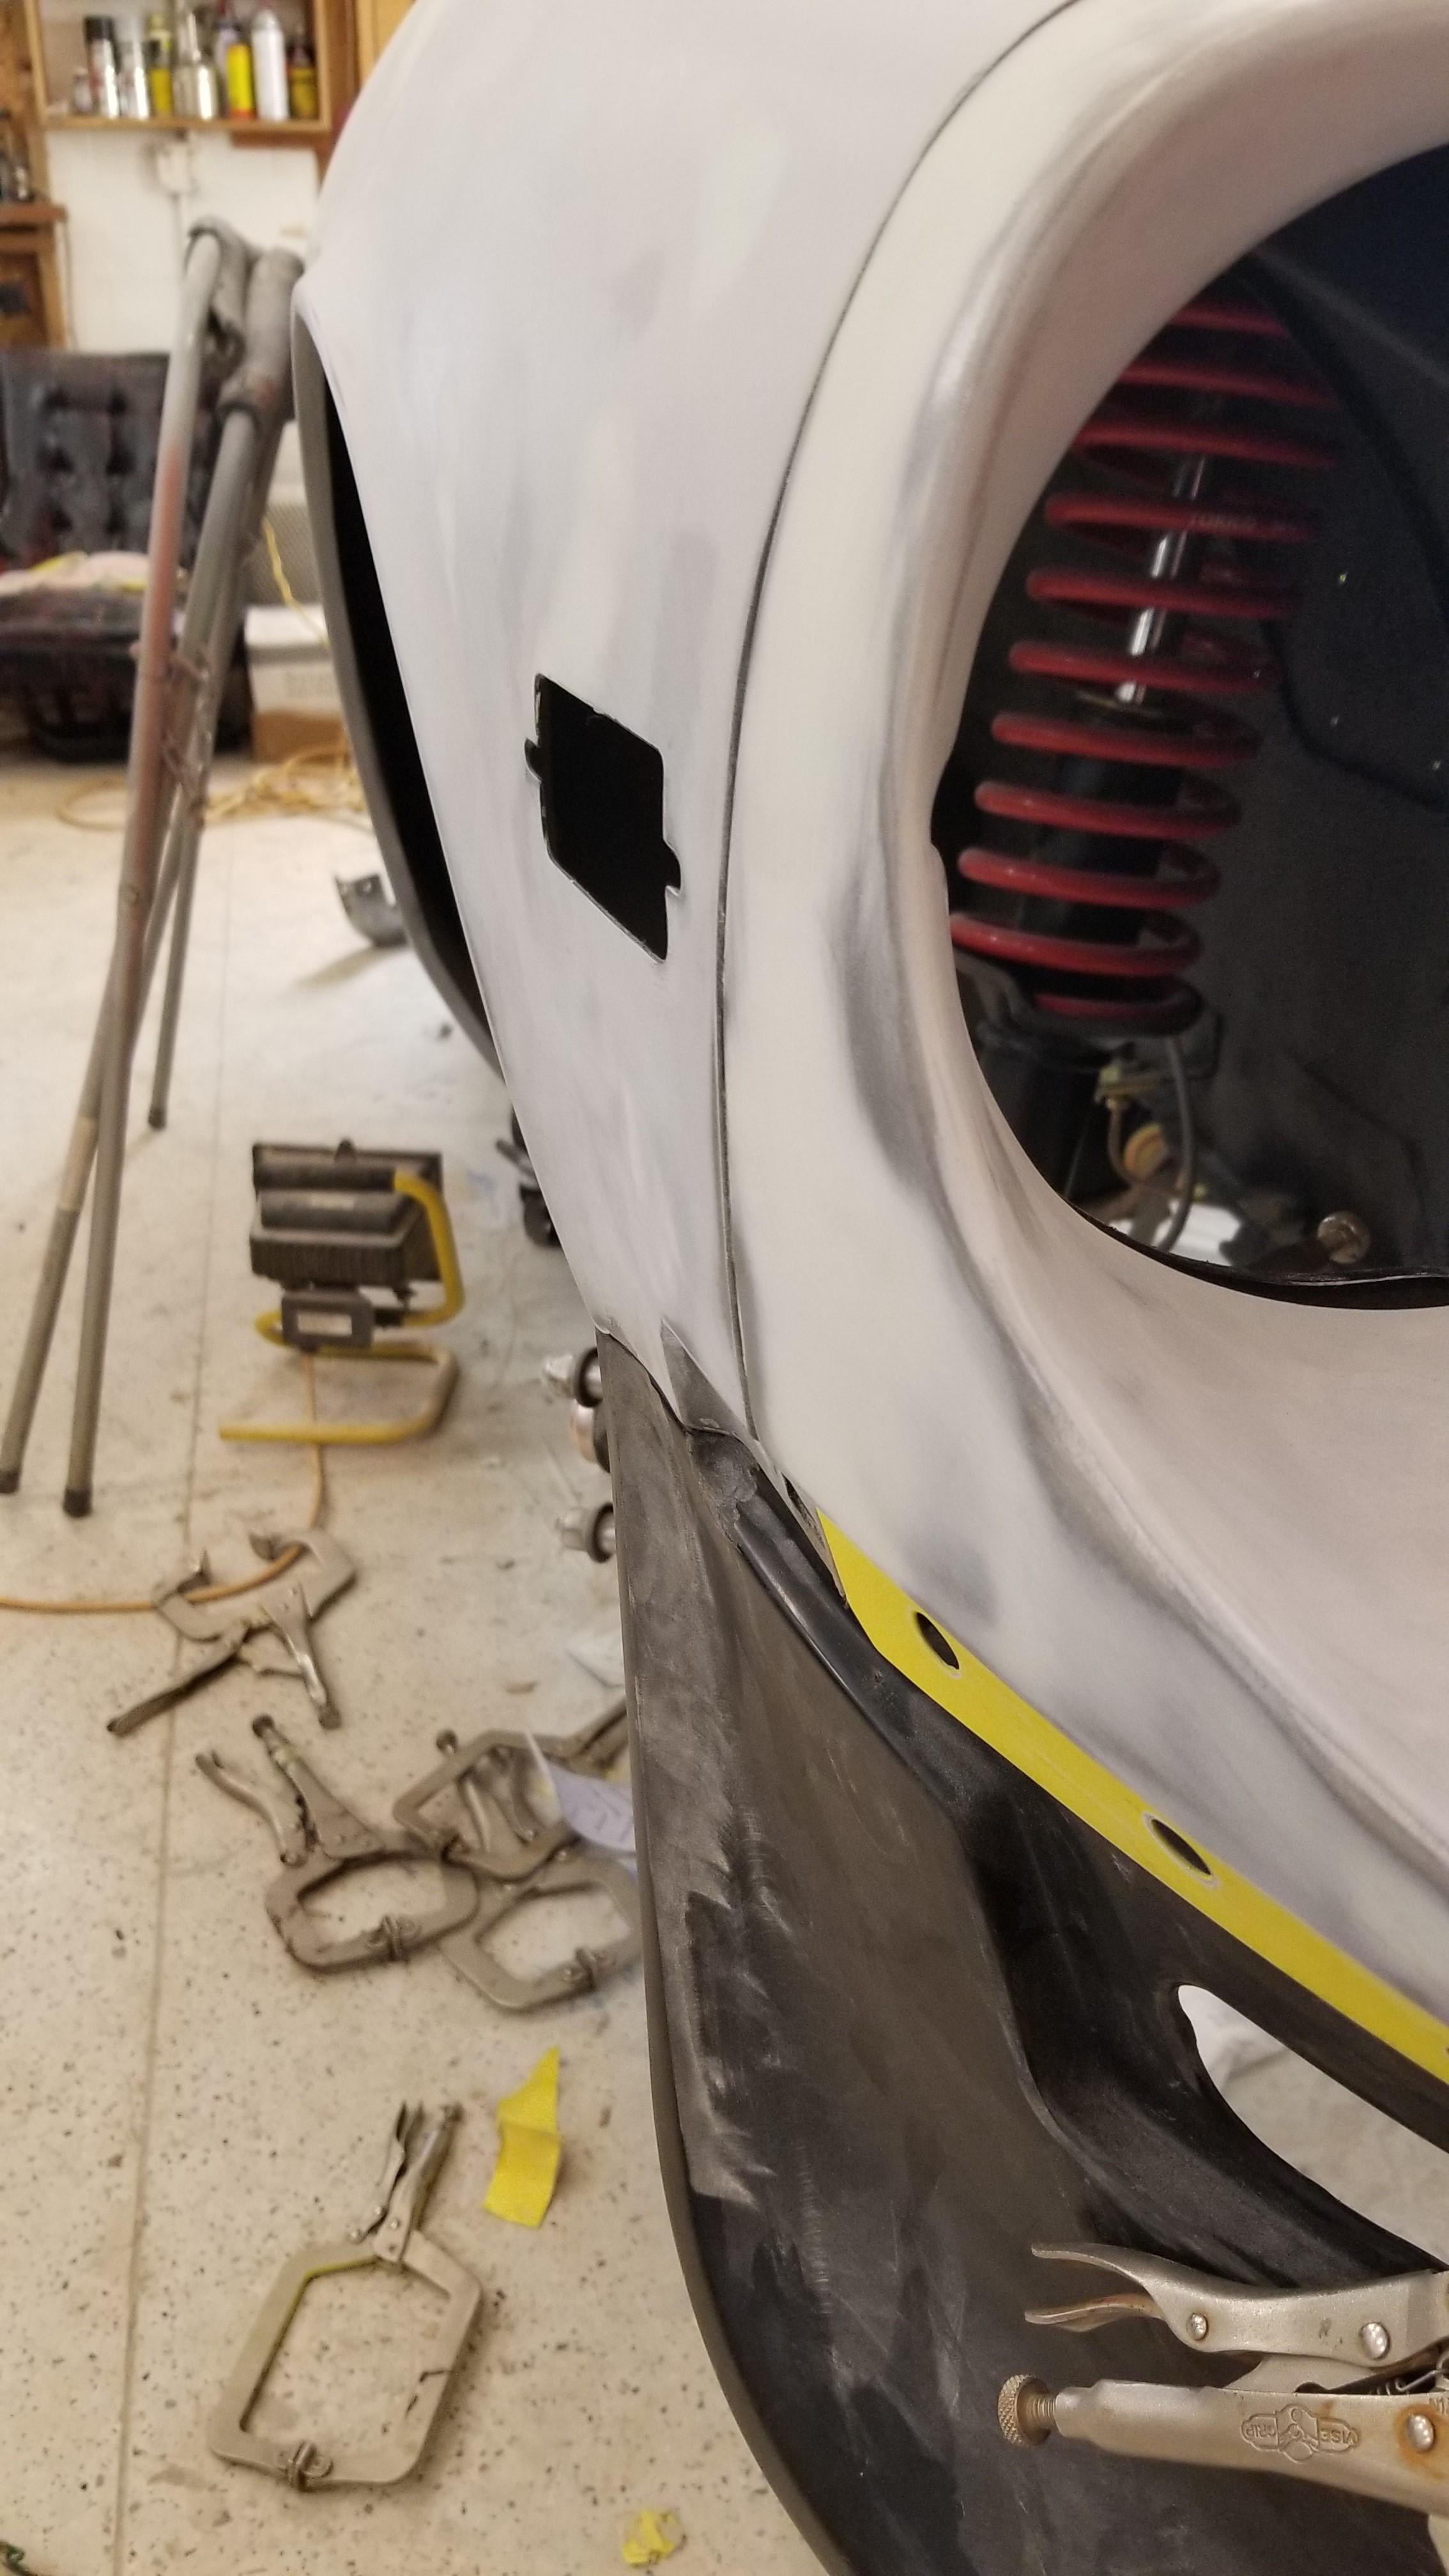
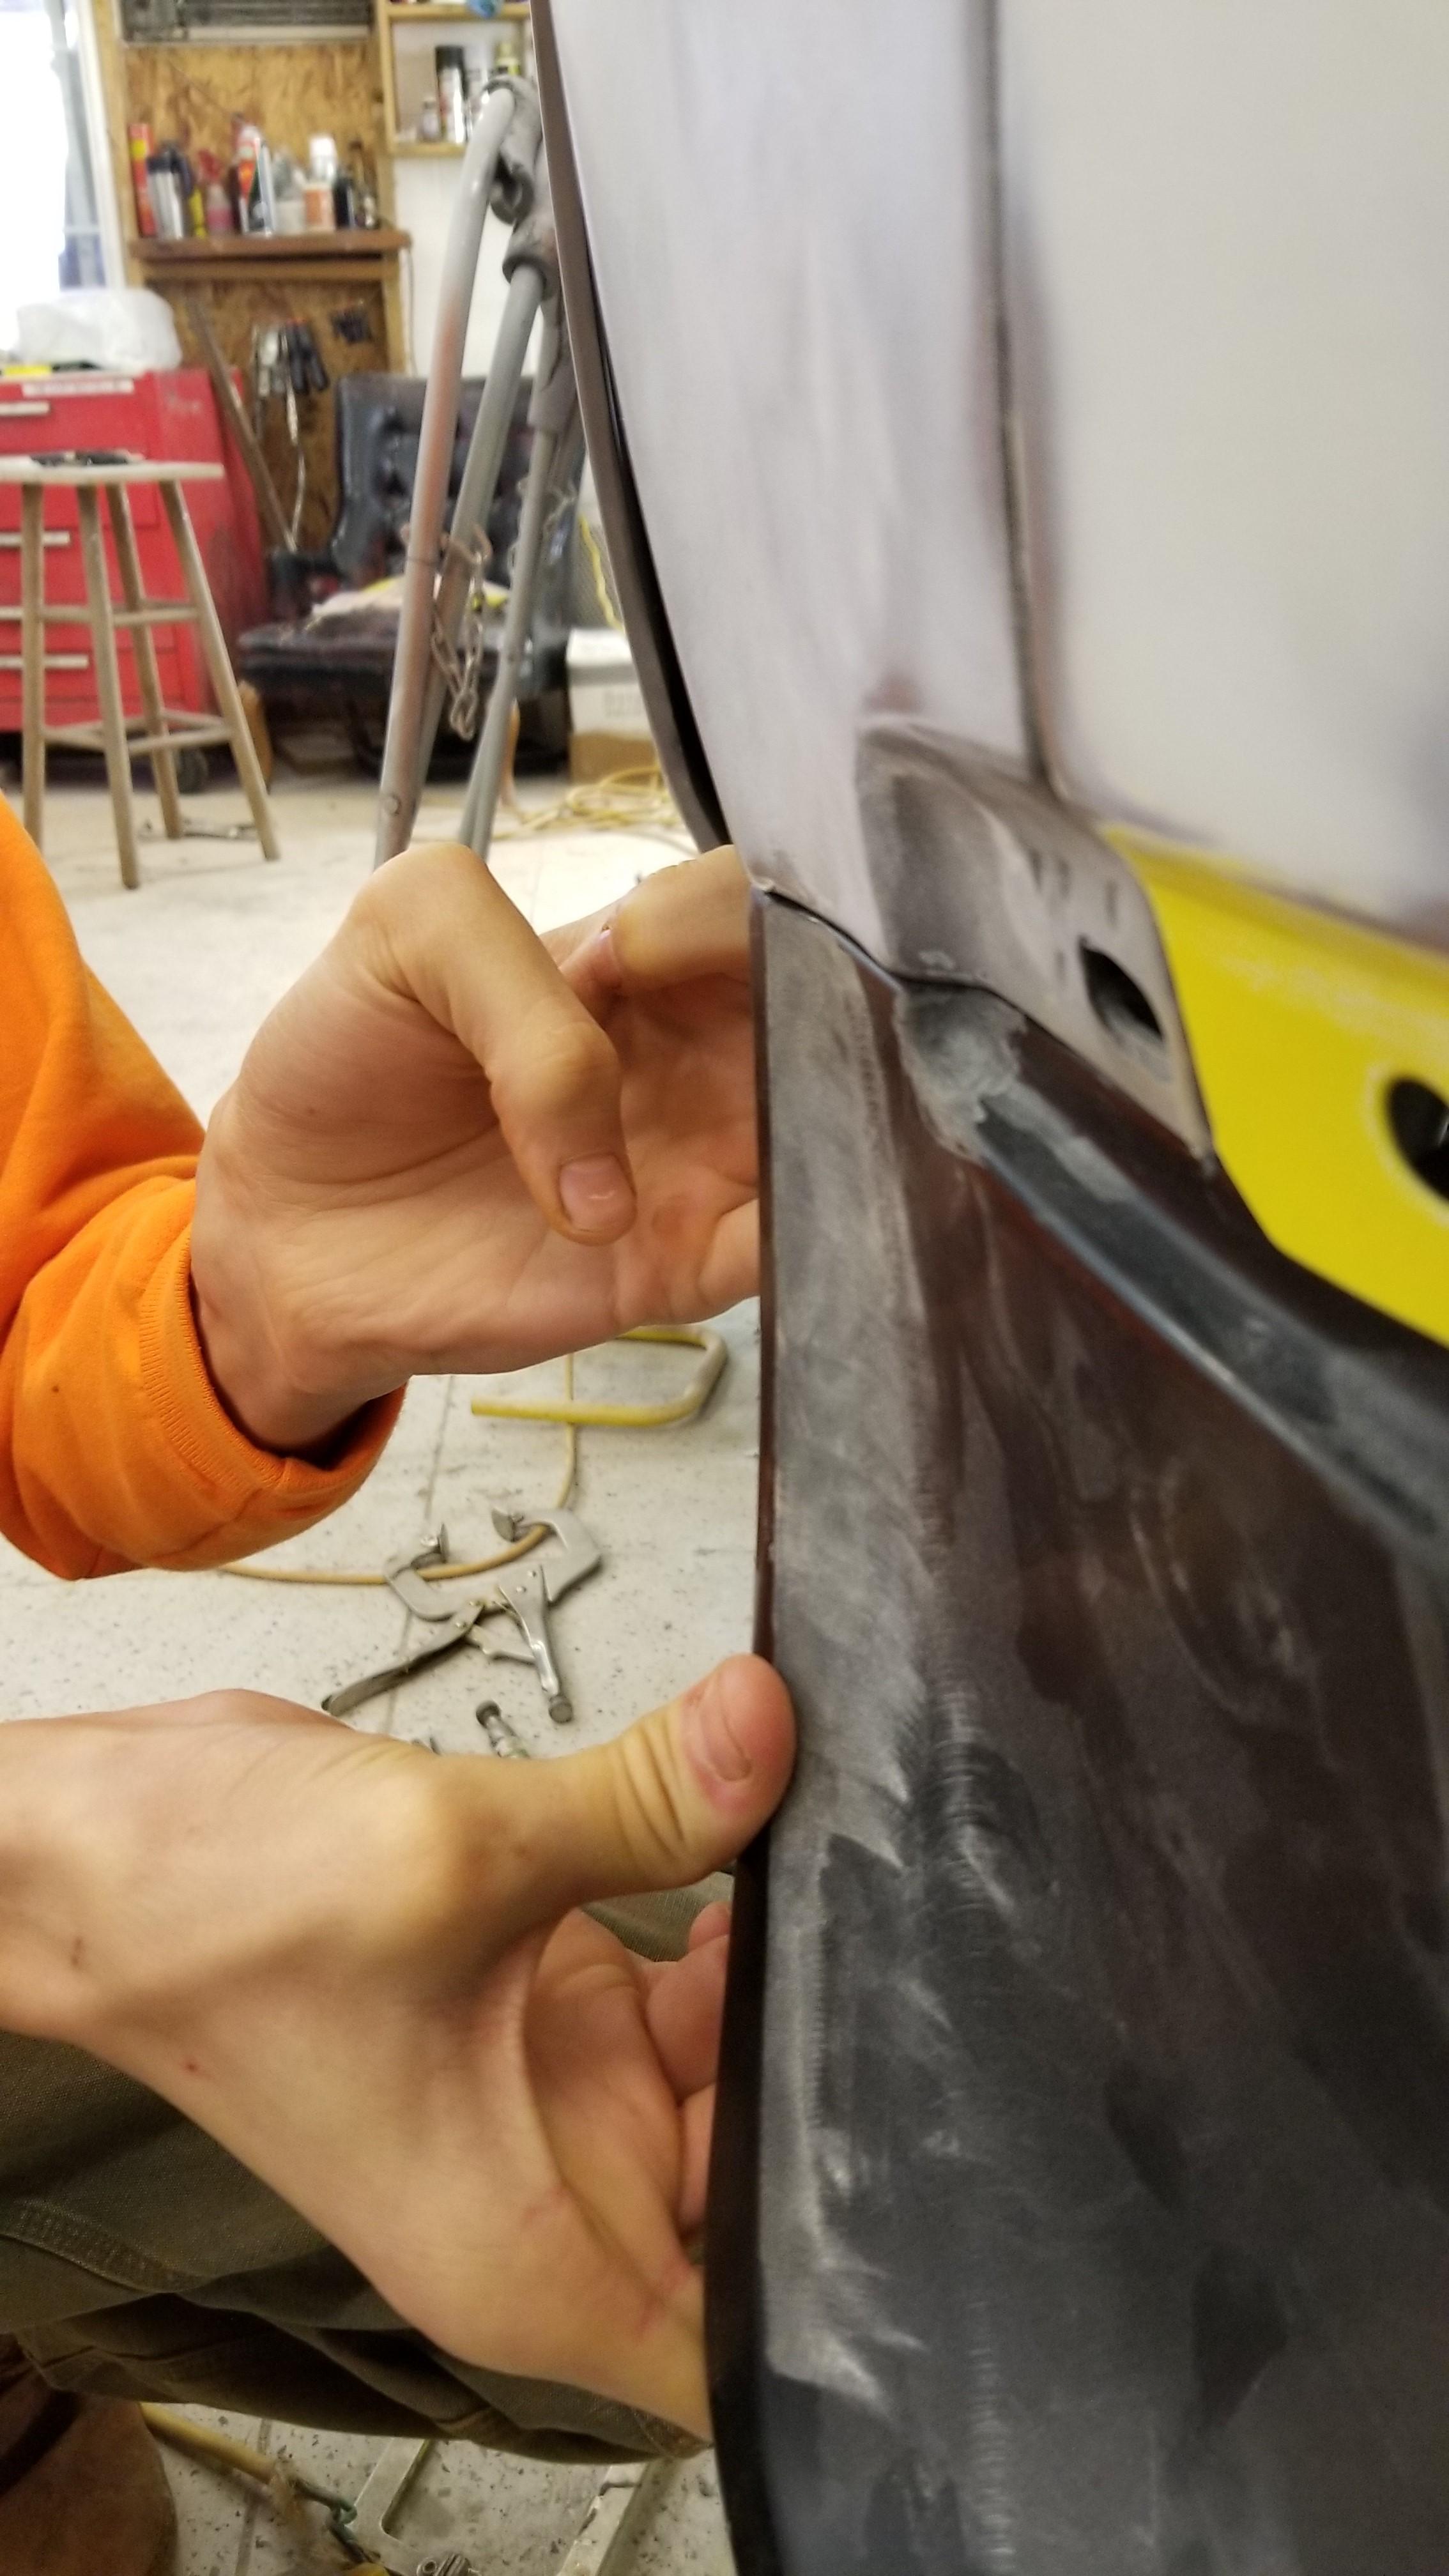
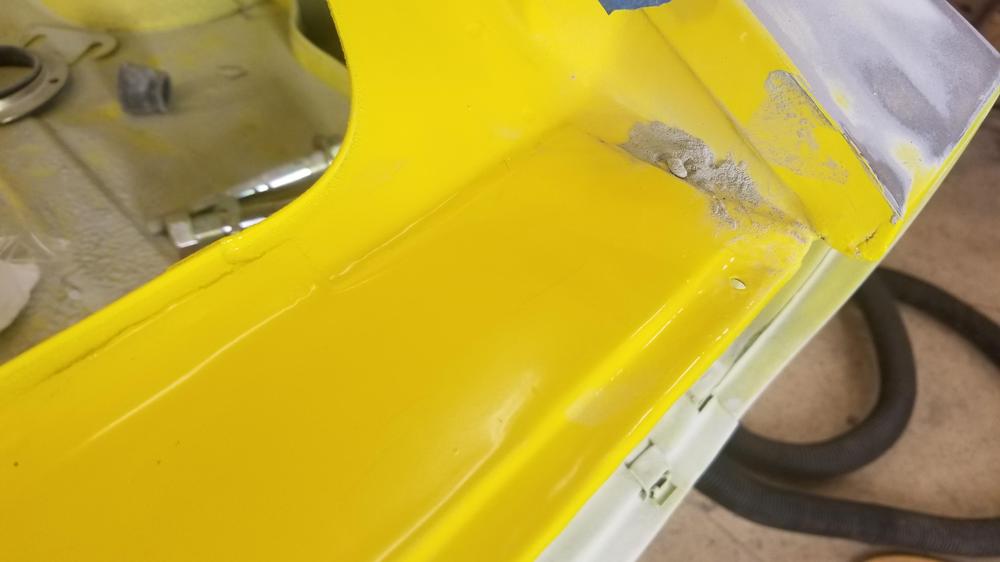
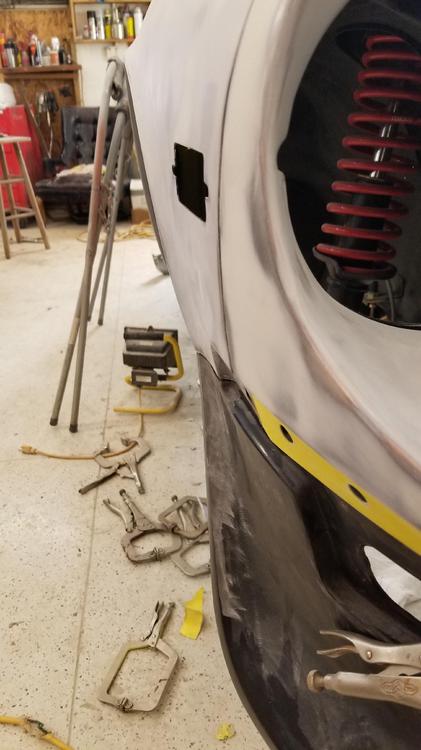
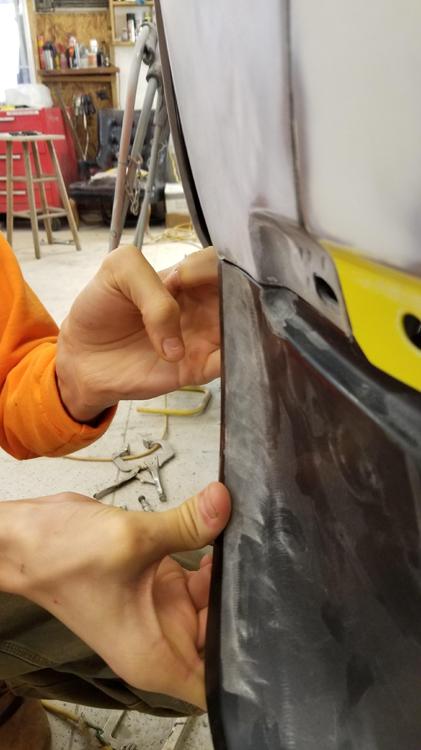
Here are some pictures of the air dam transition I don't like I don't like the abrupt change where they meet I would prefer to figure out a way to make it a little more subtle Even more than he is holding right here

-
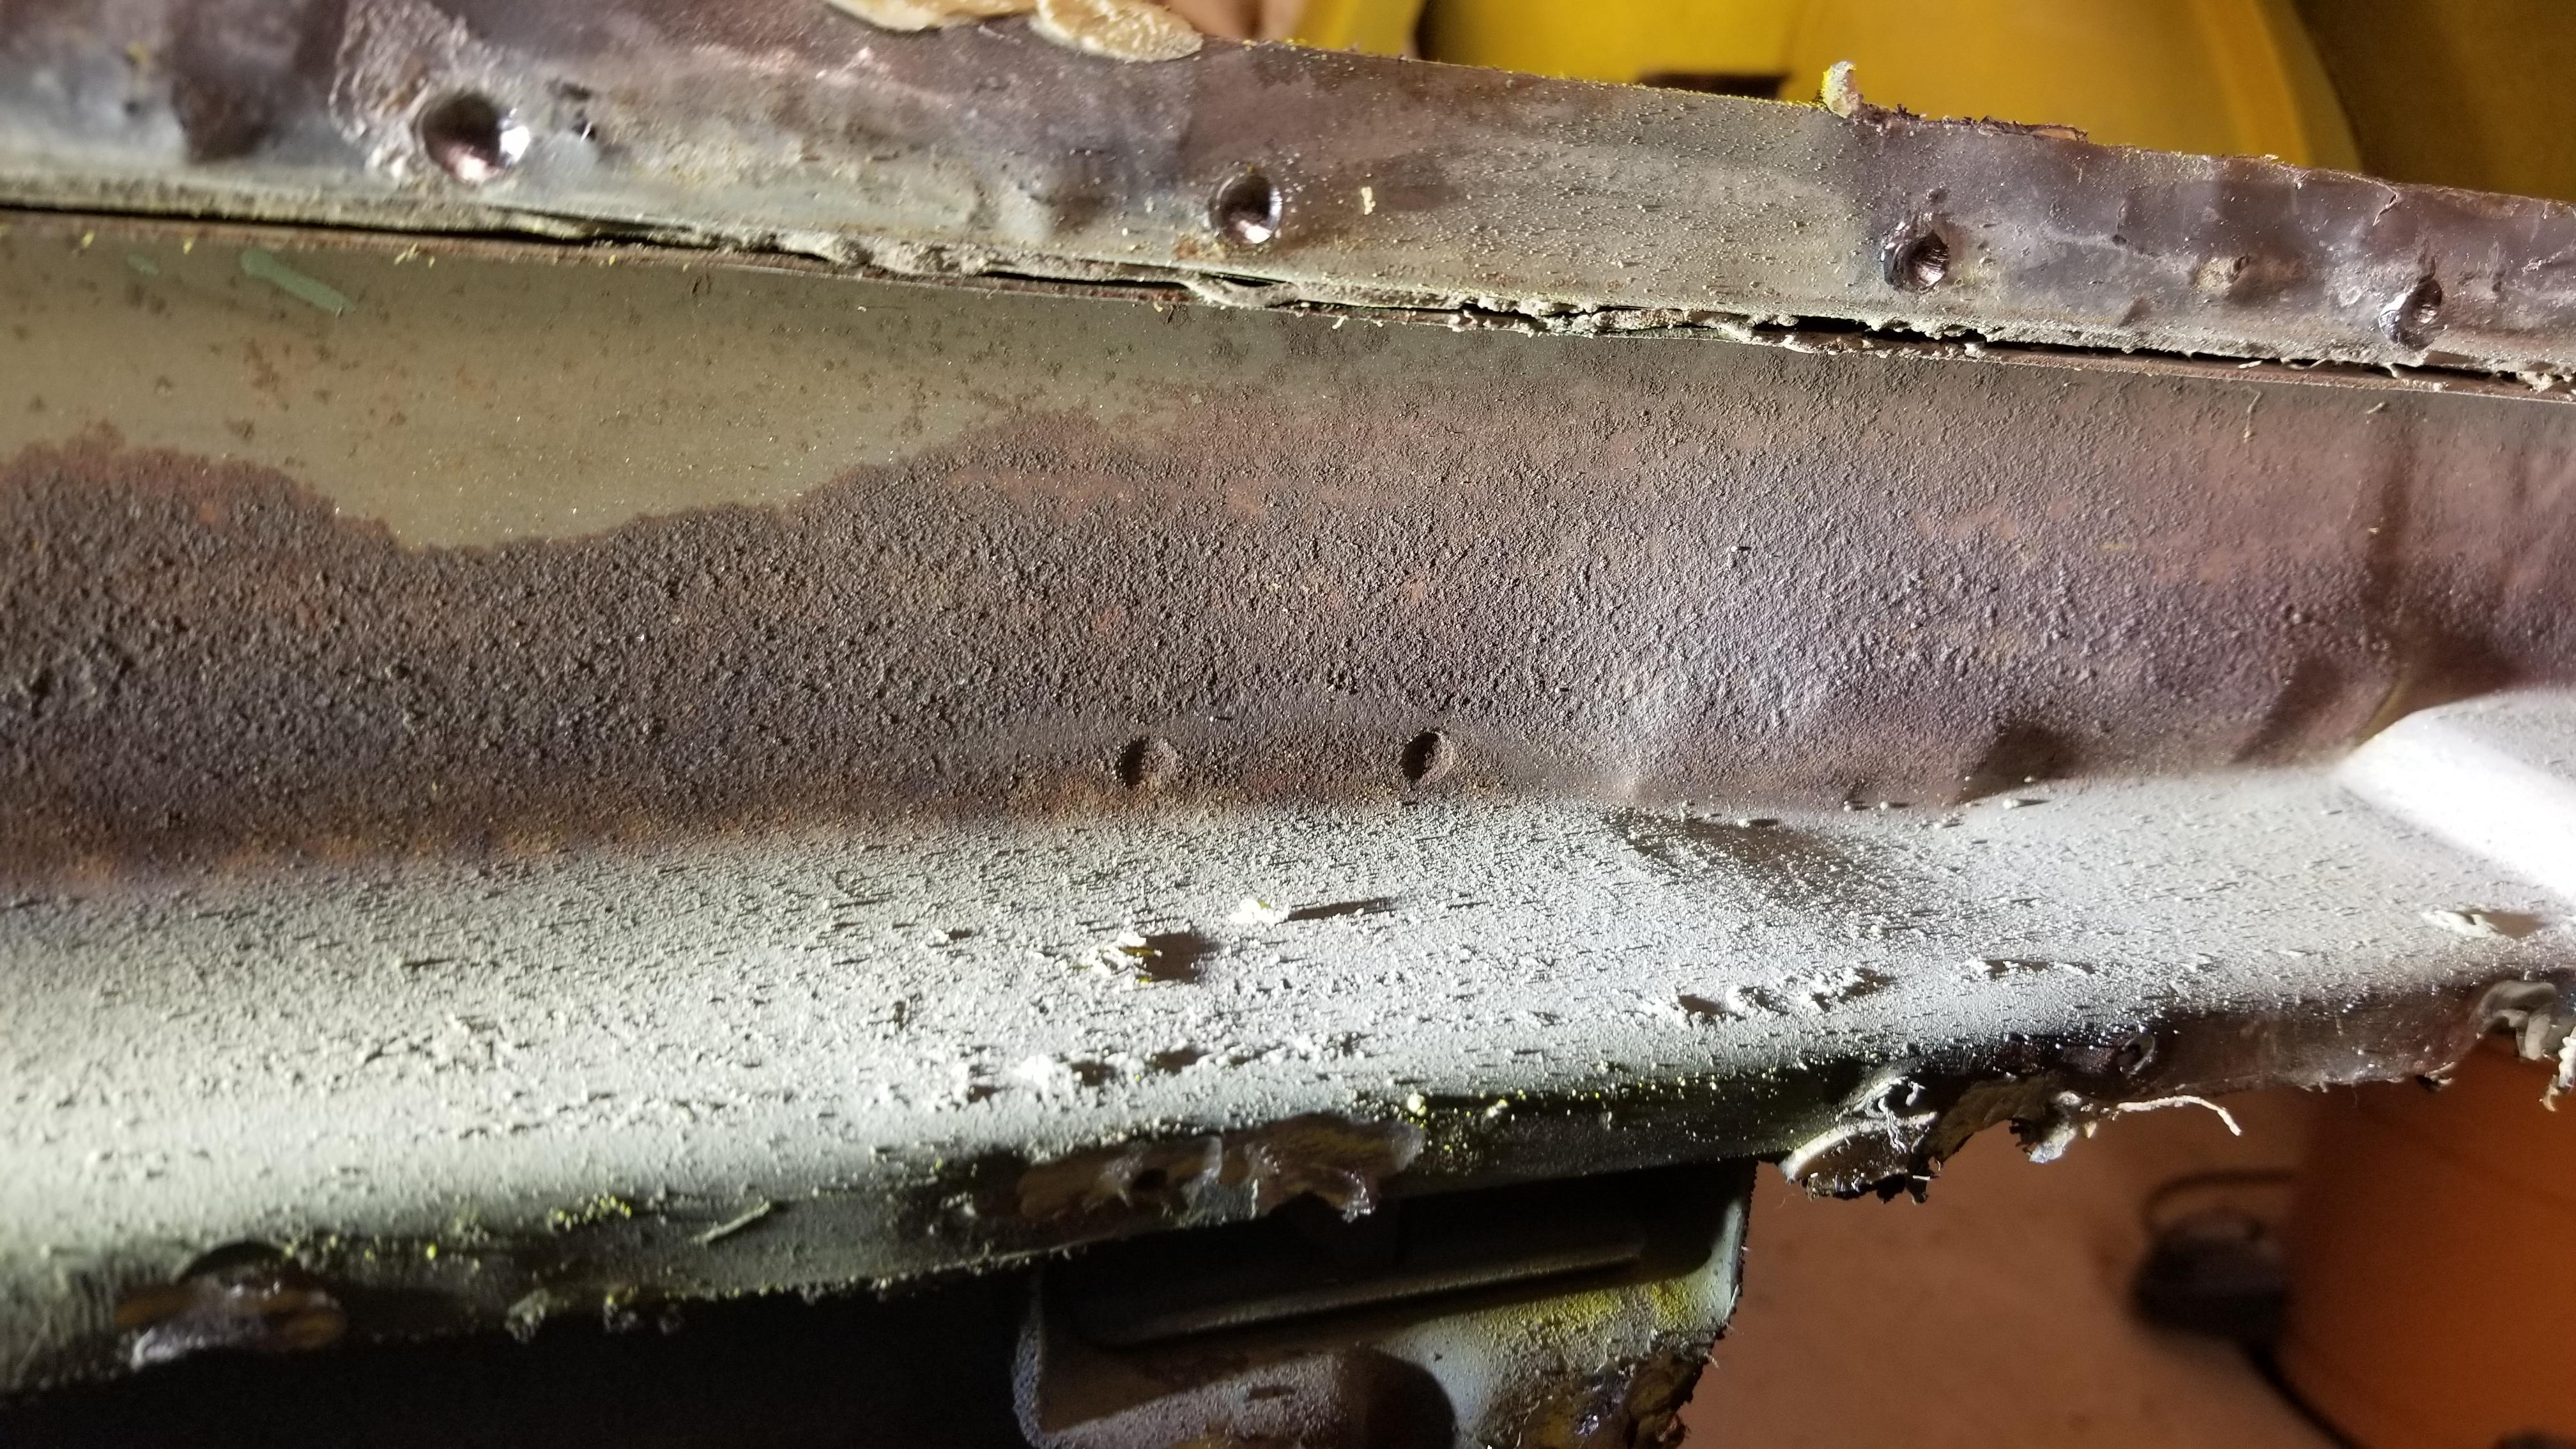
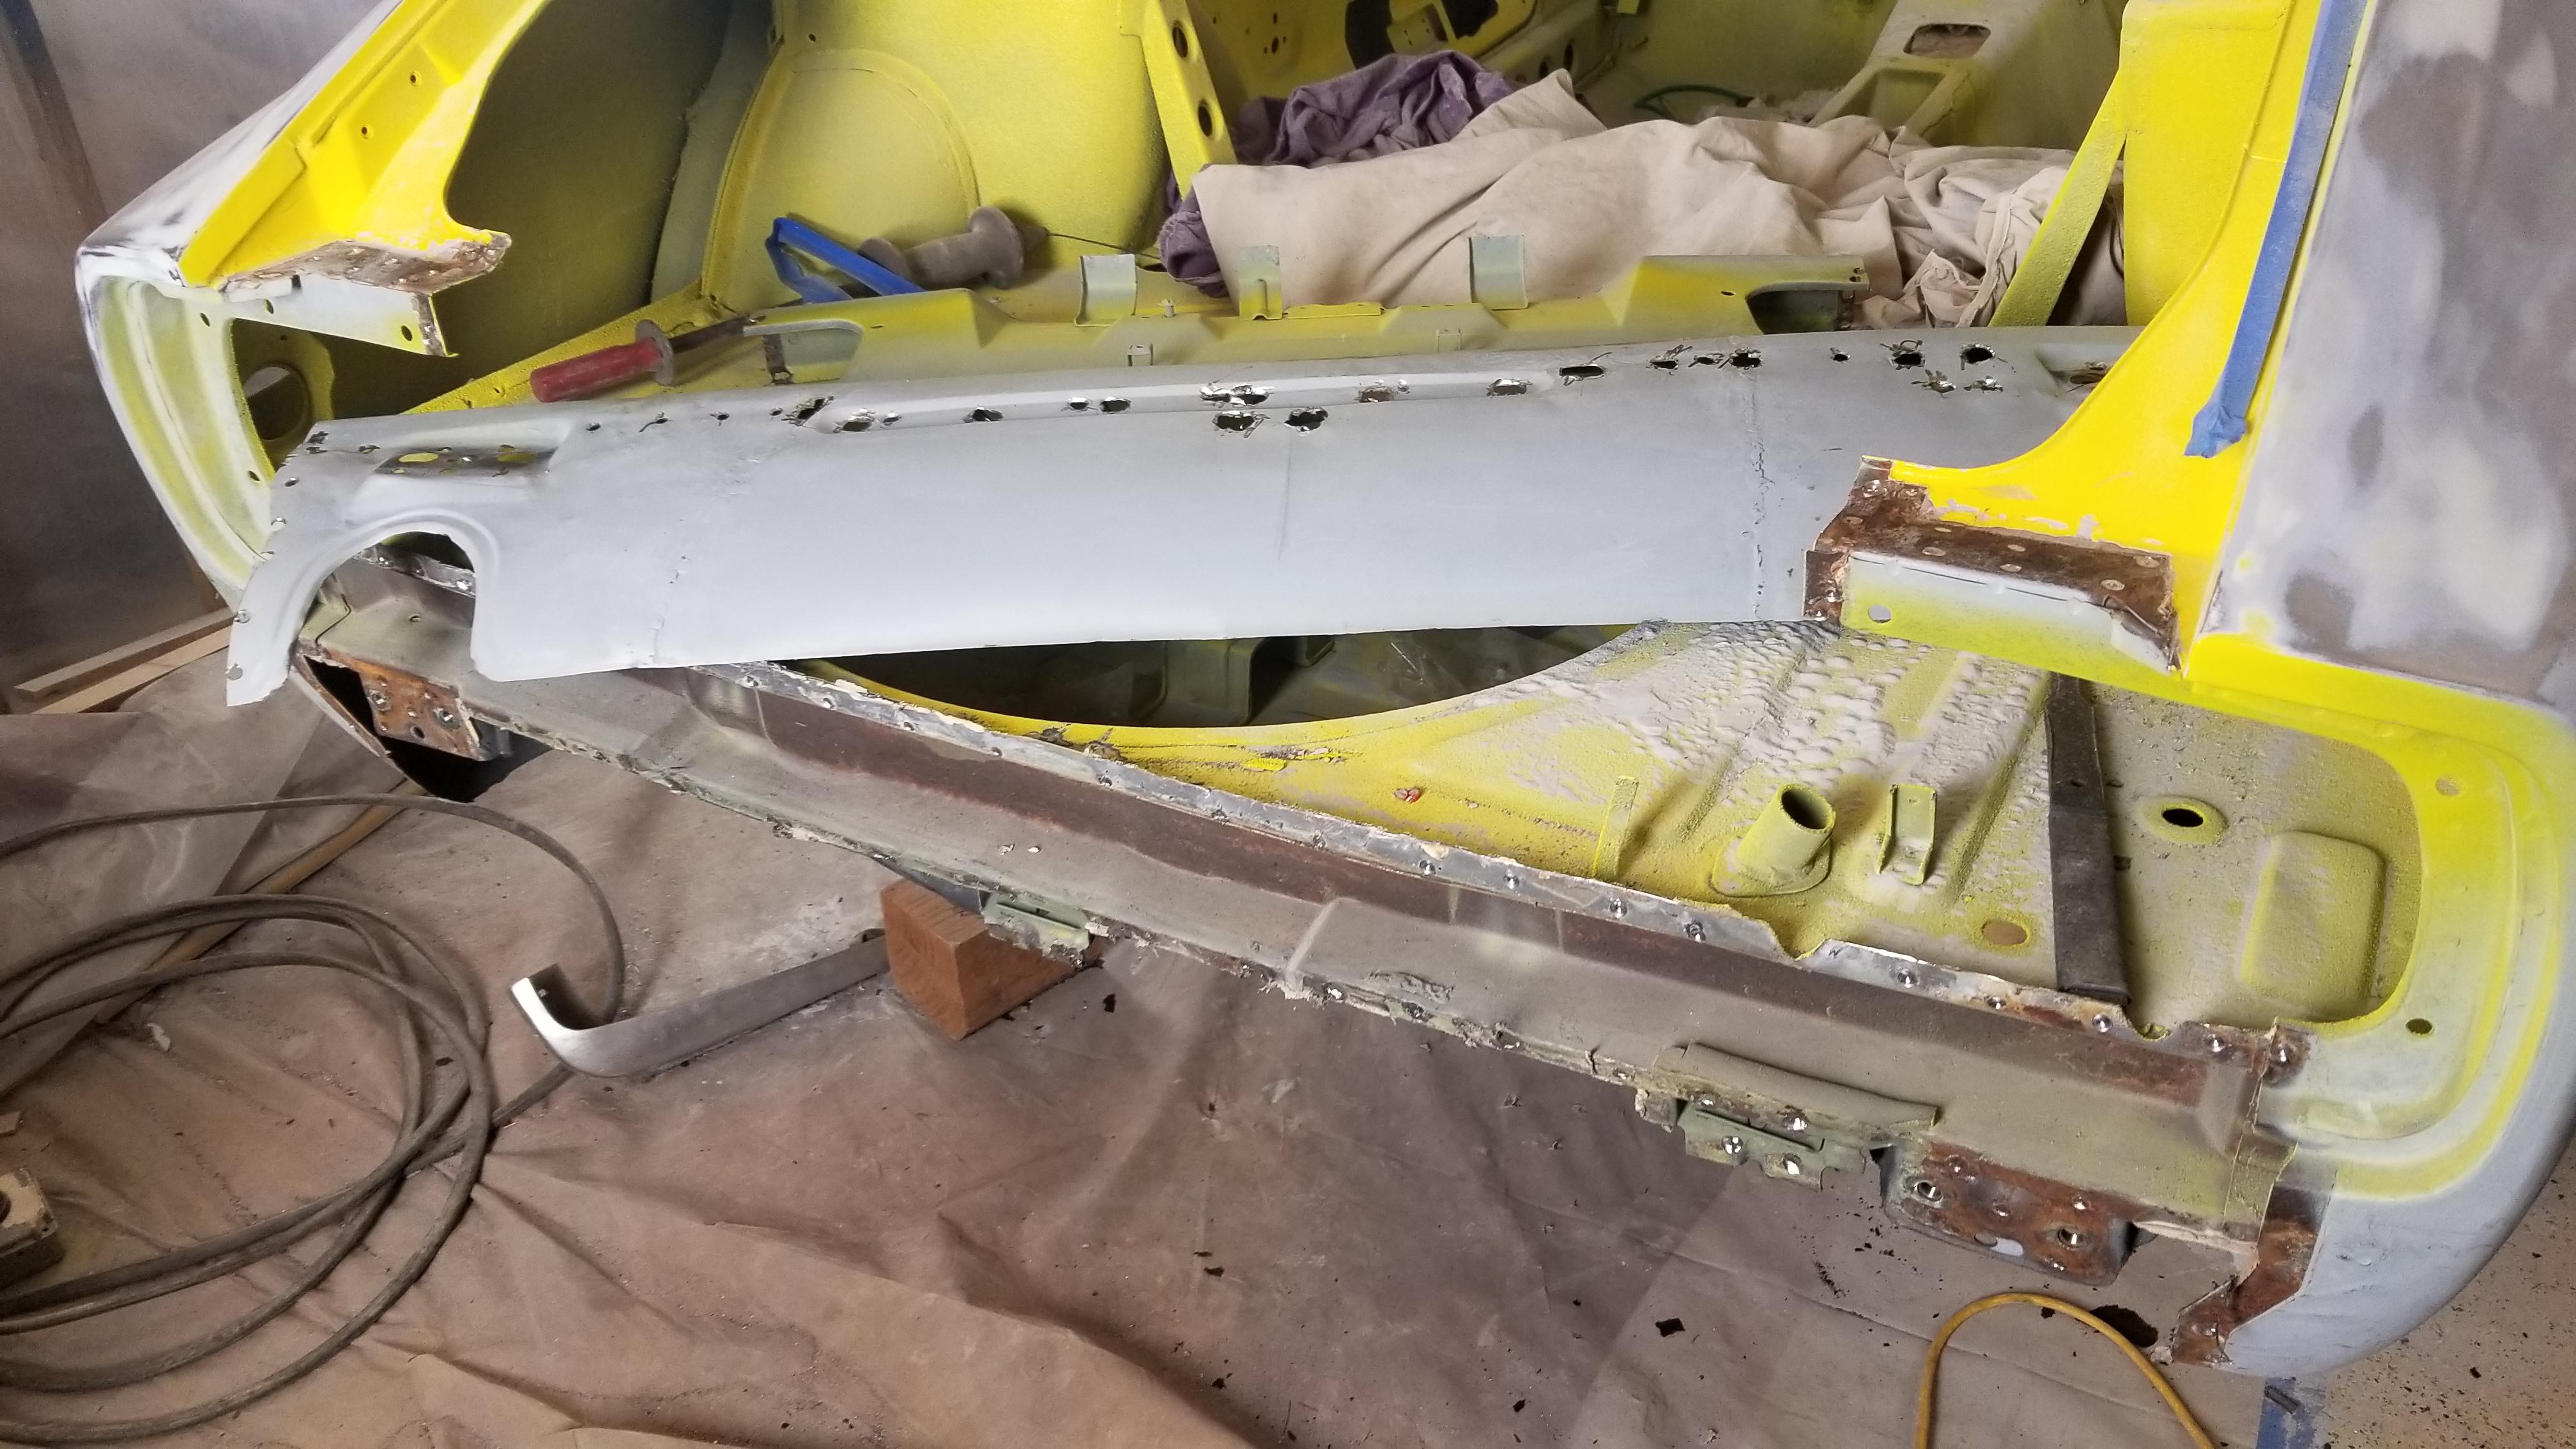
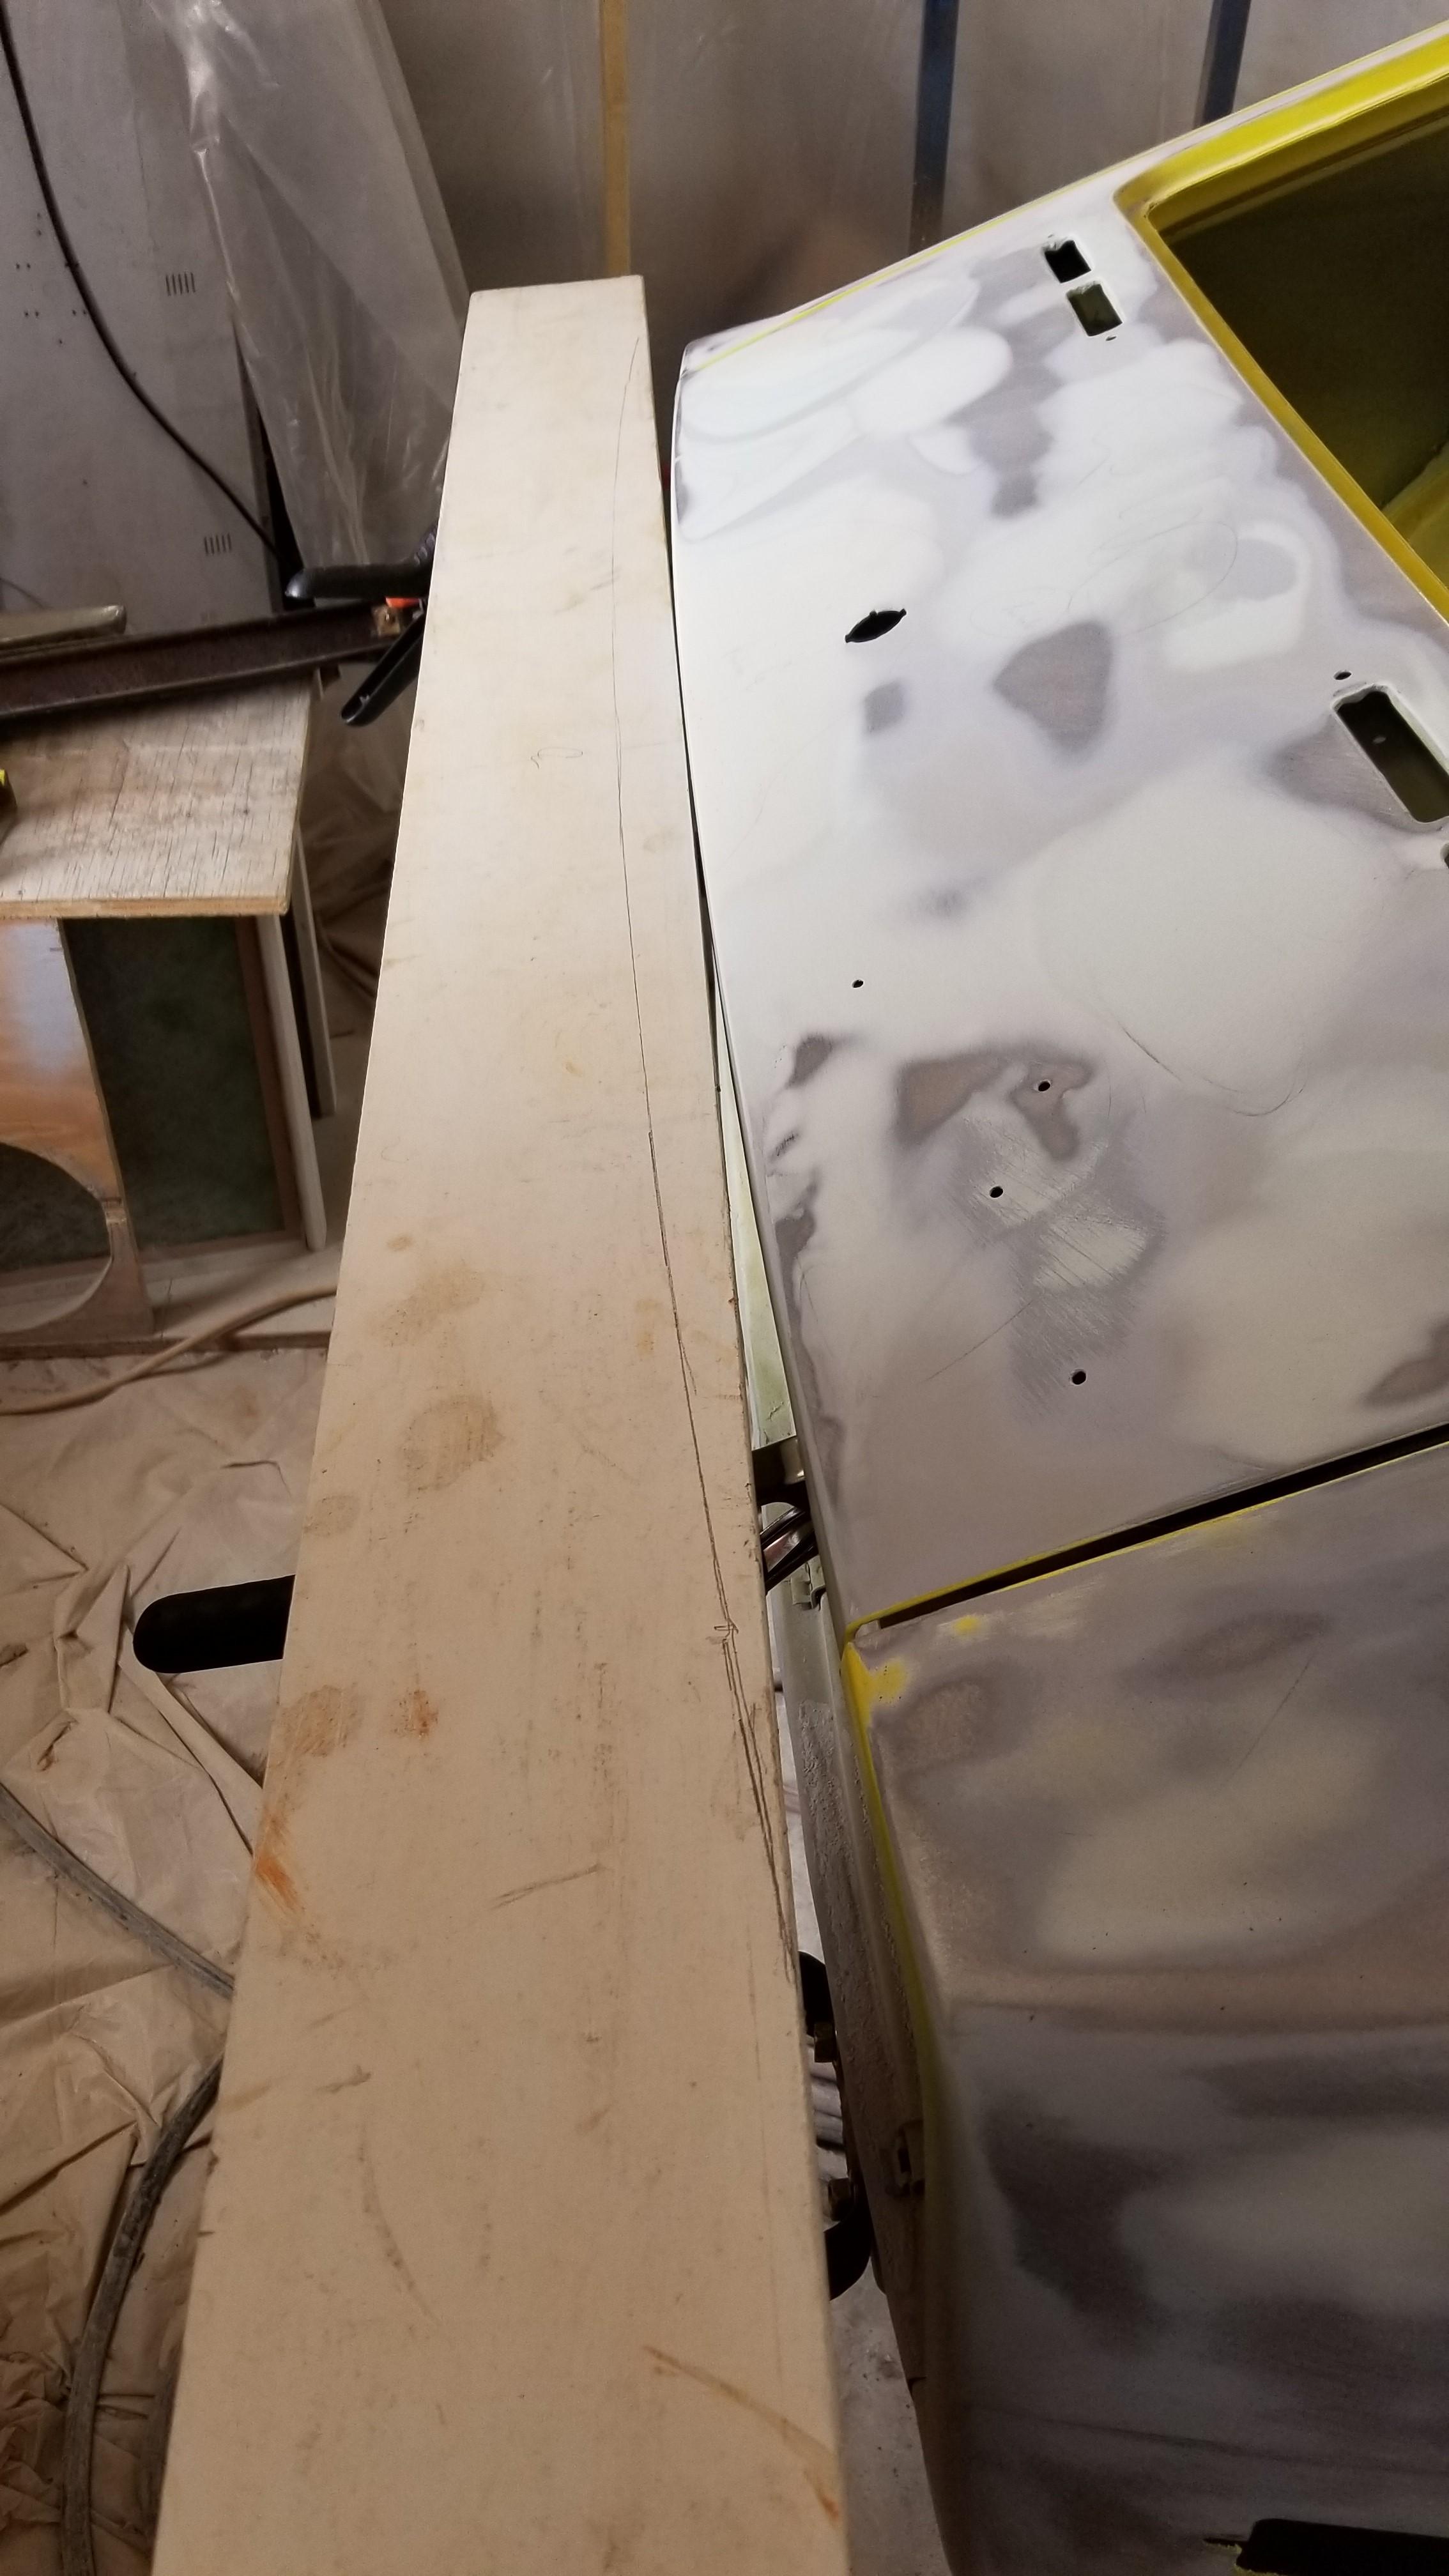
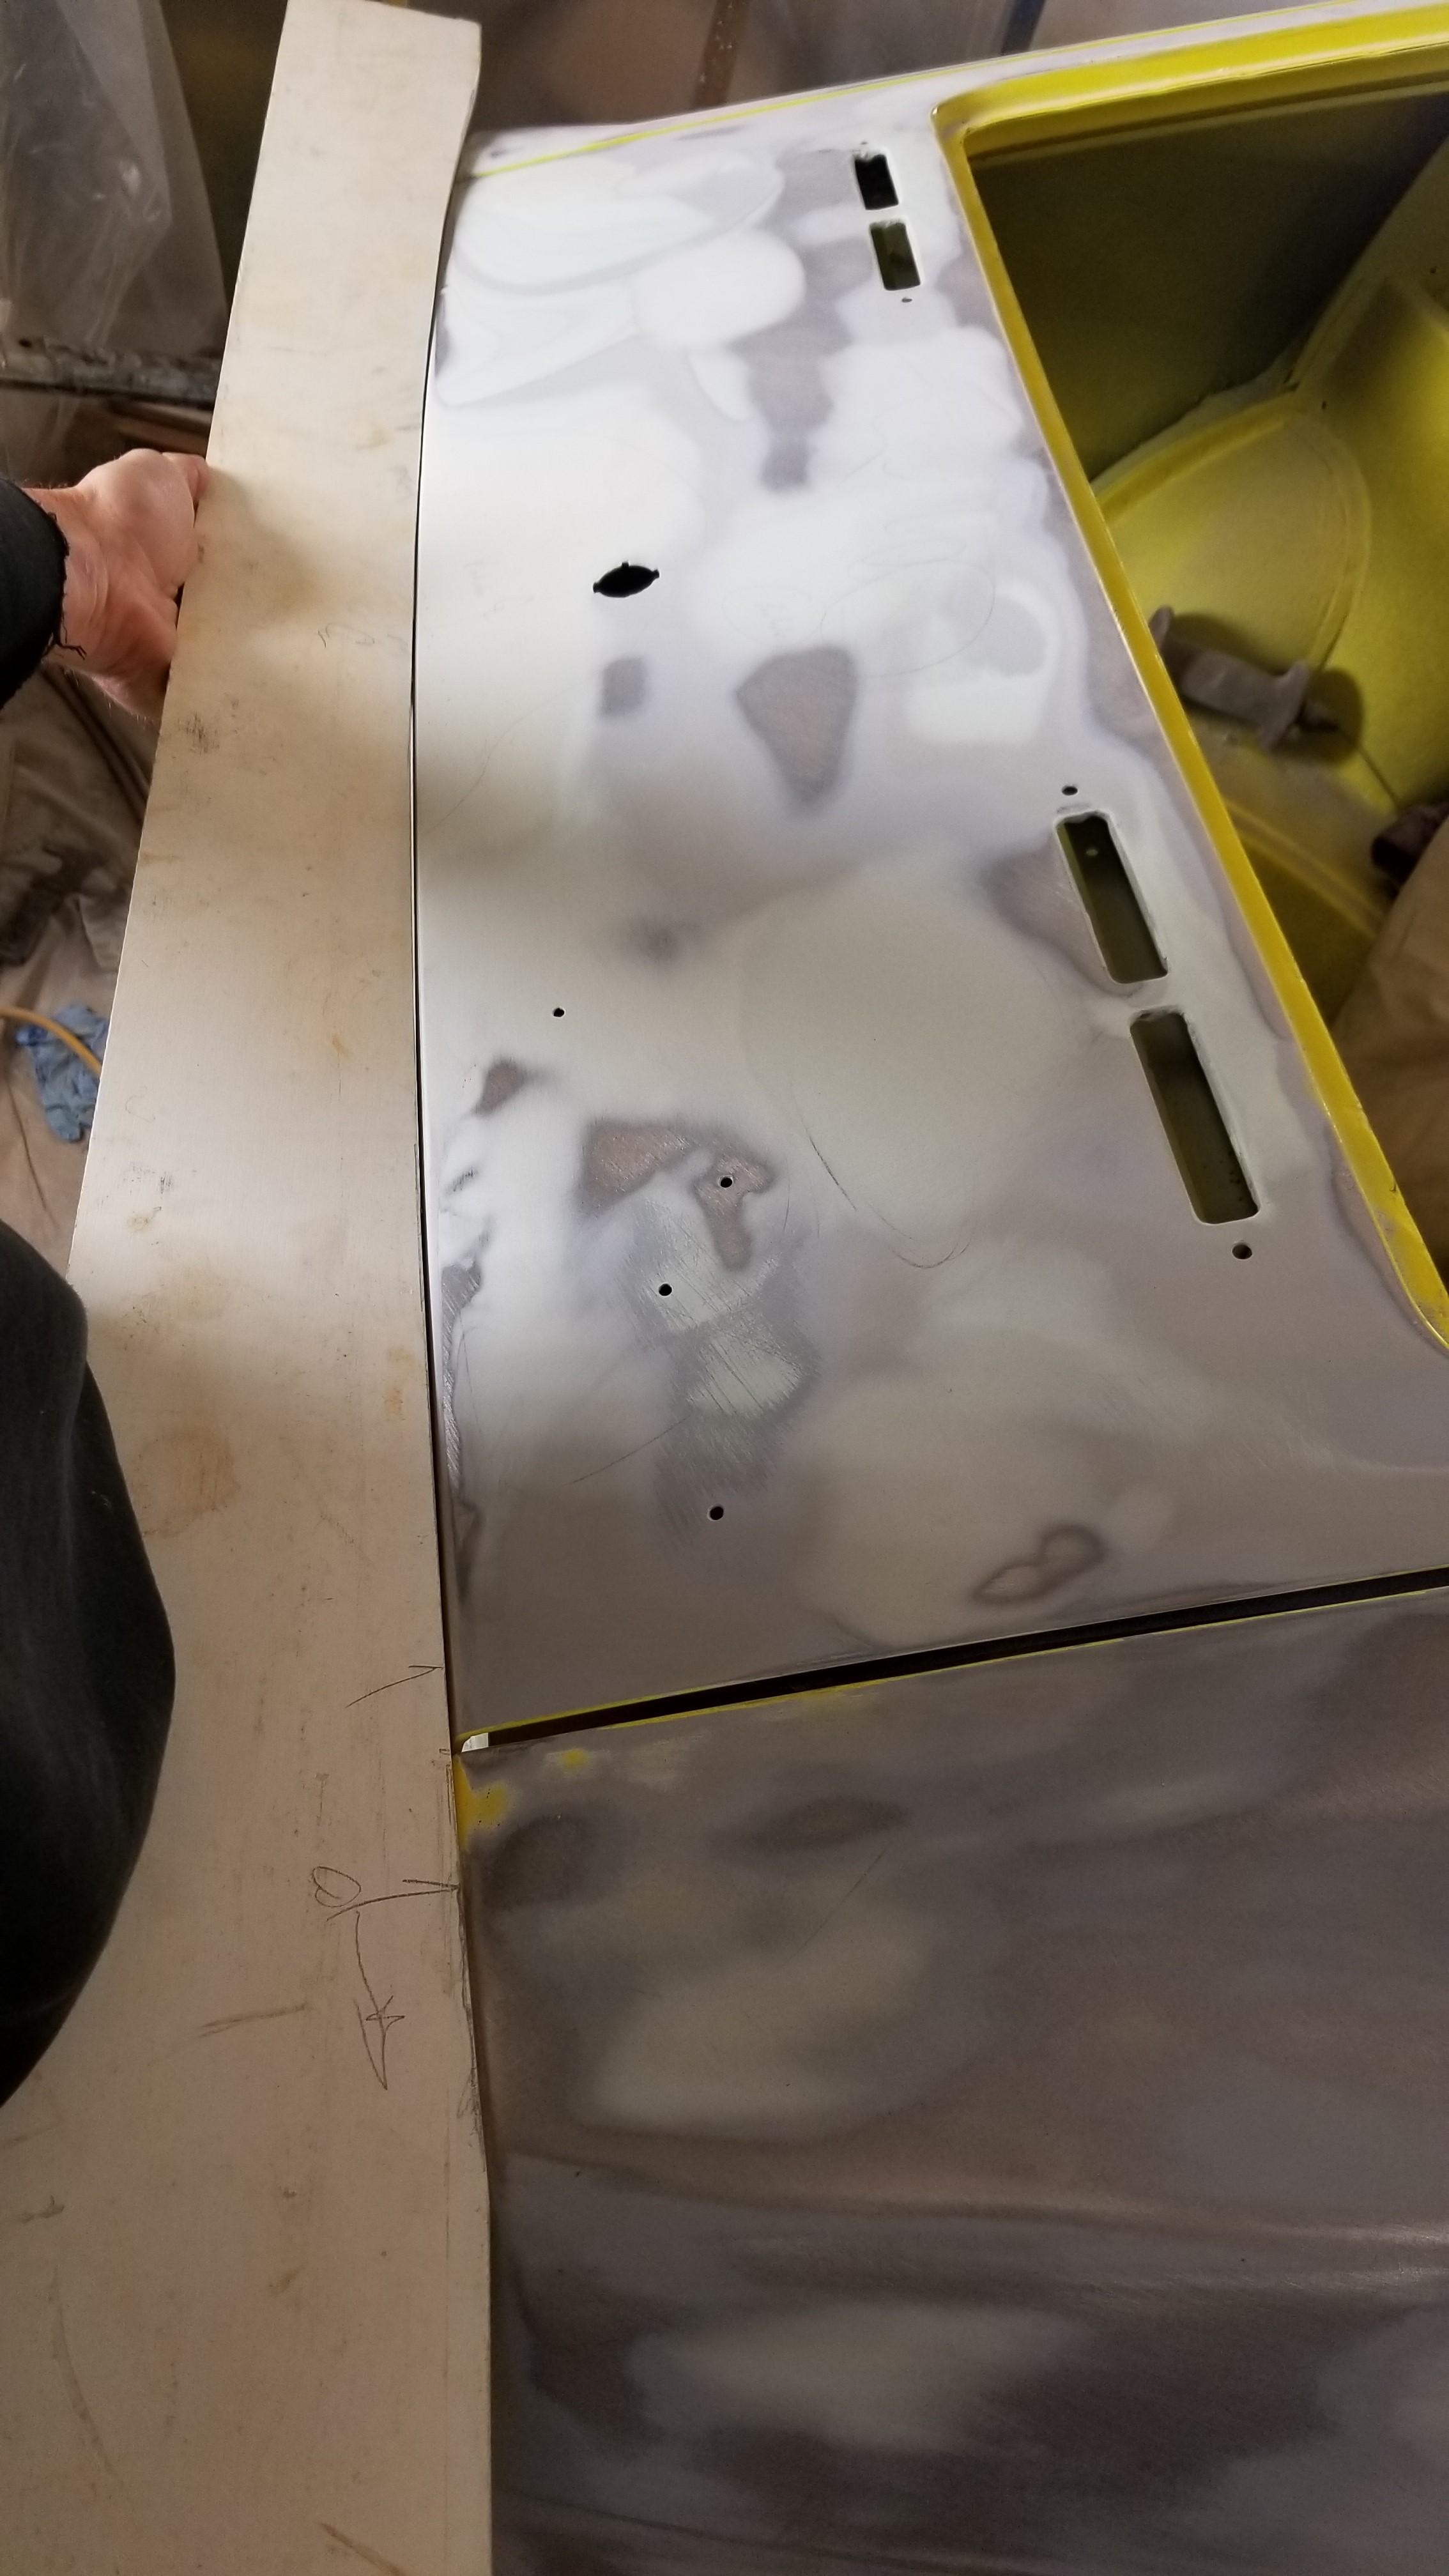
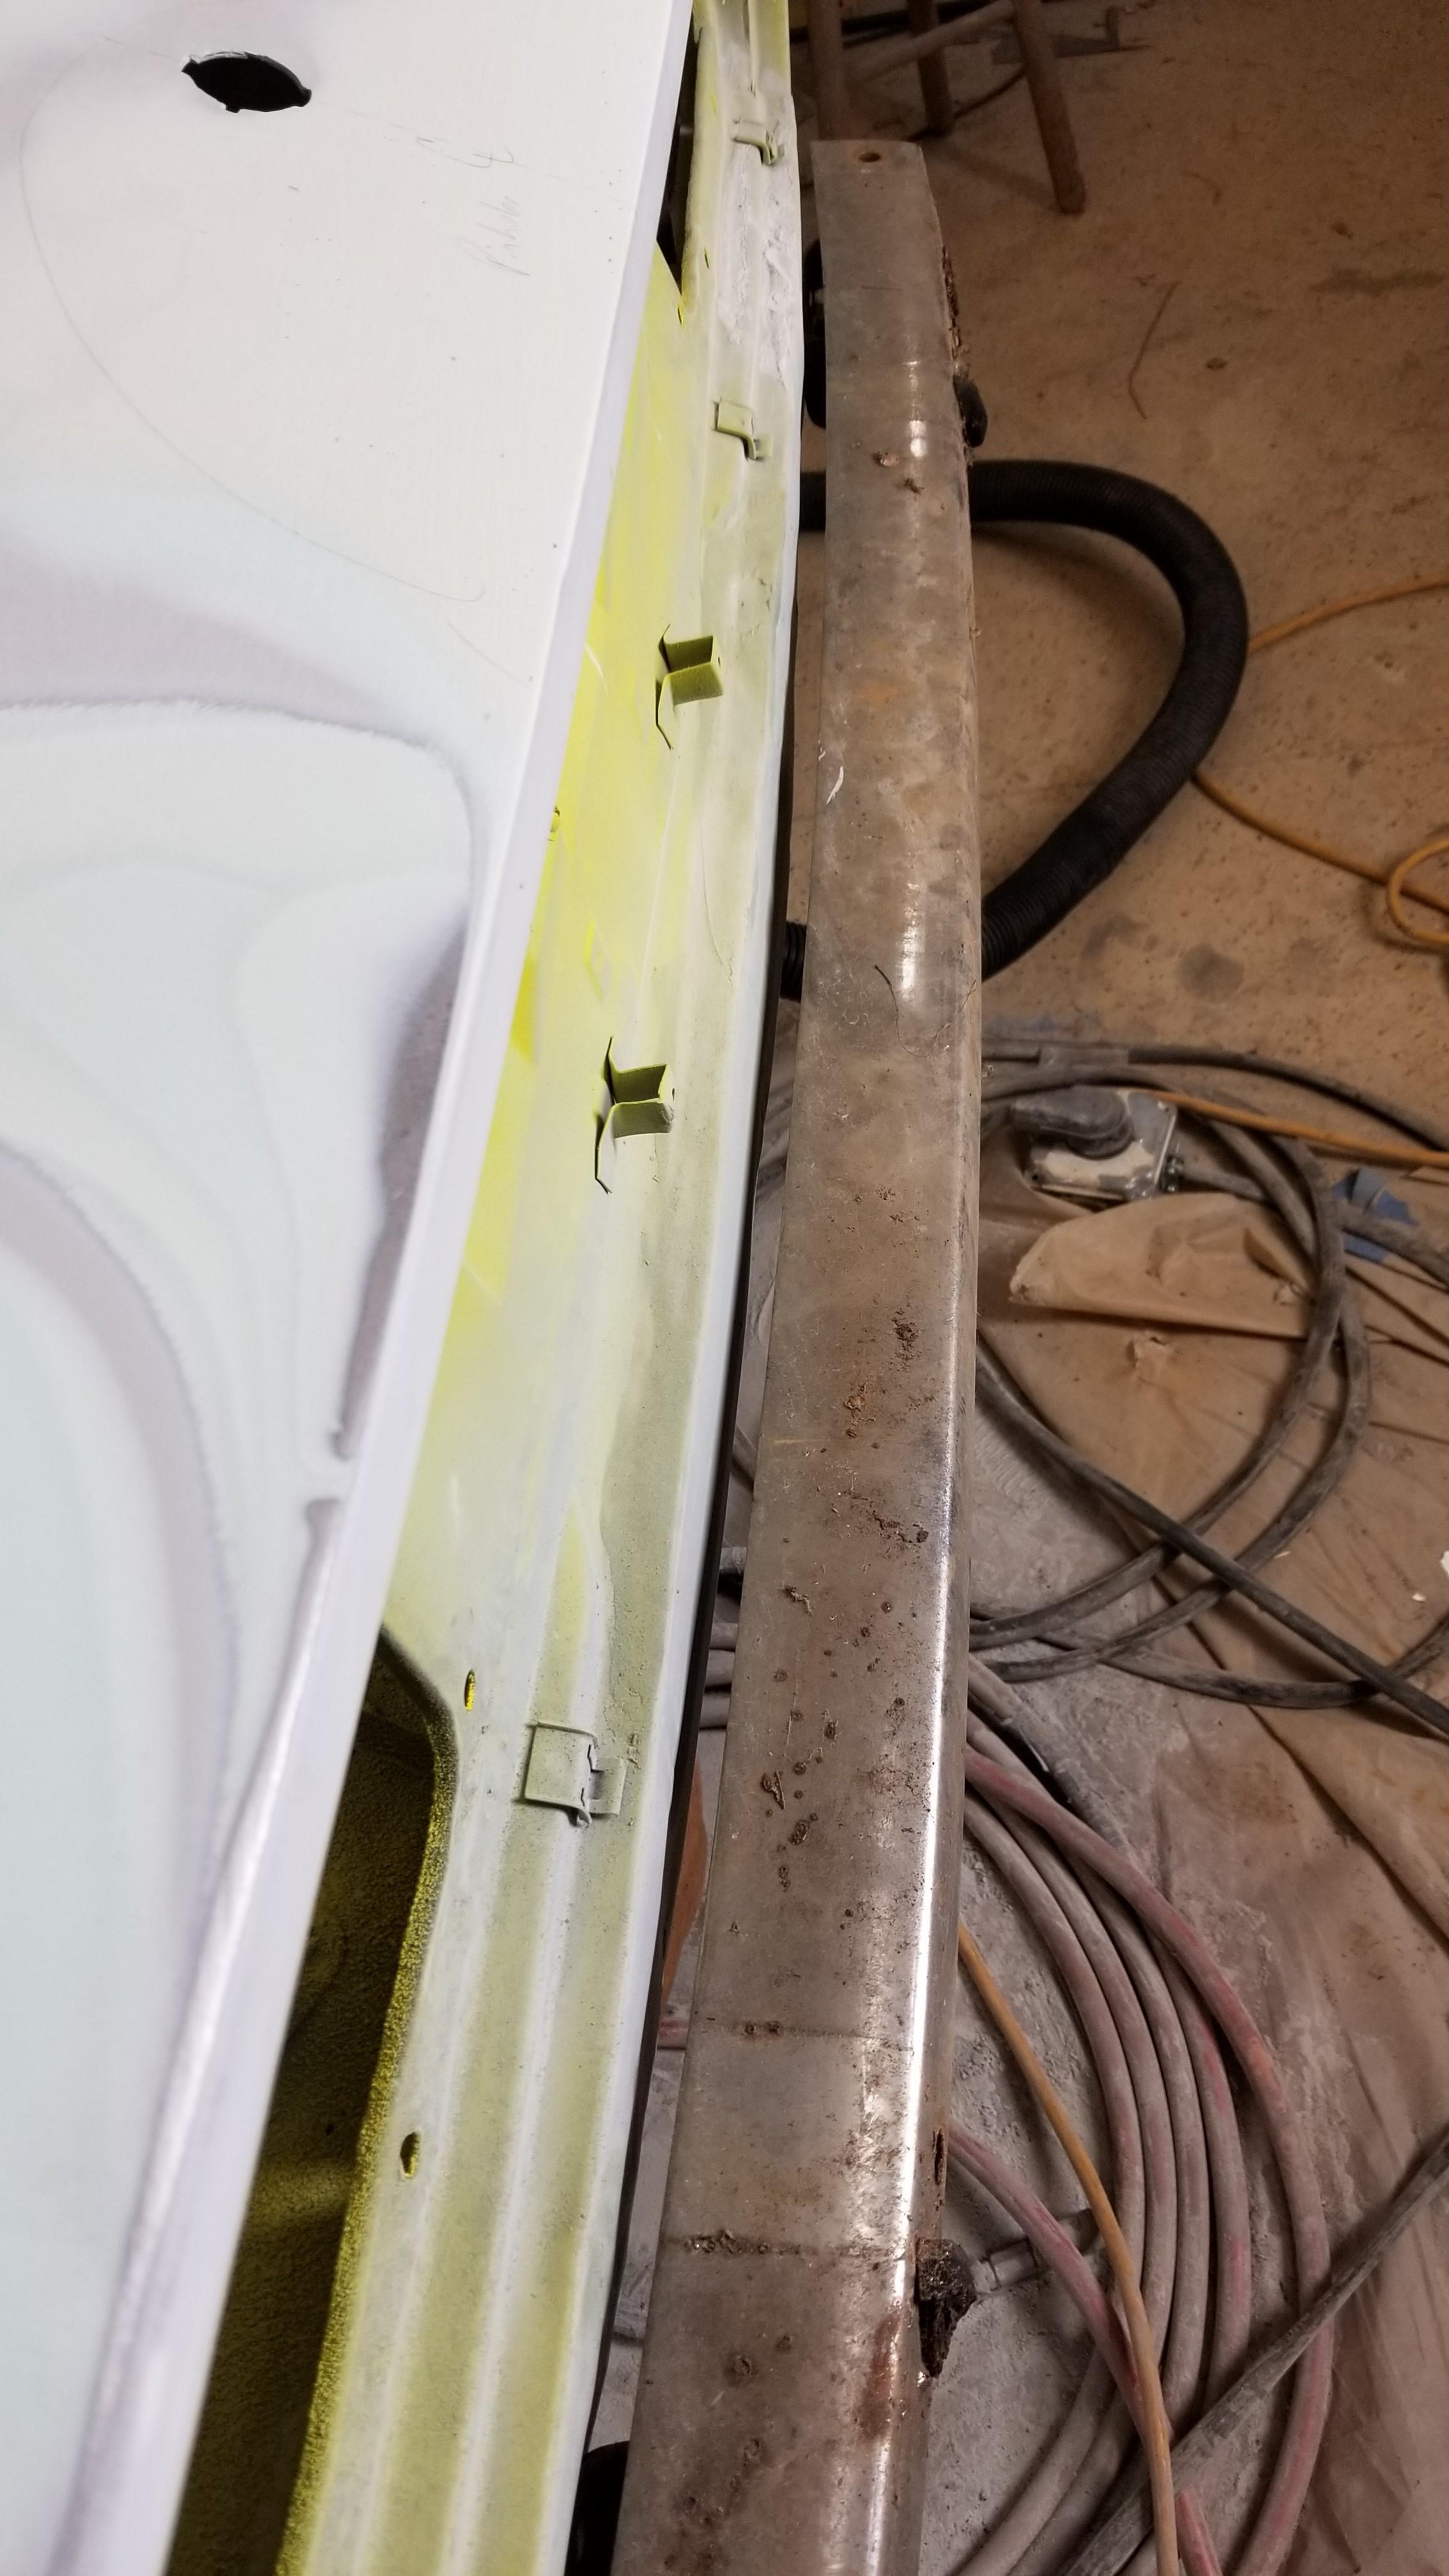
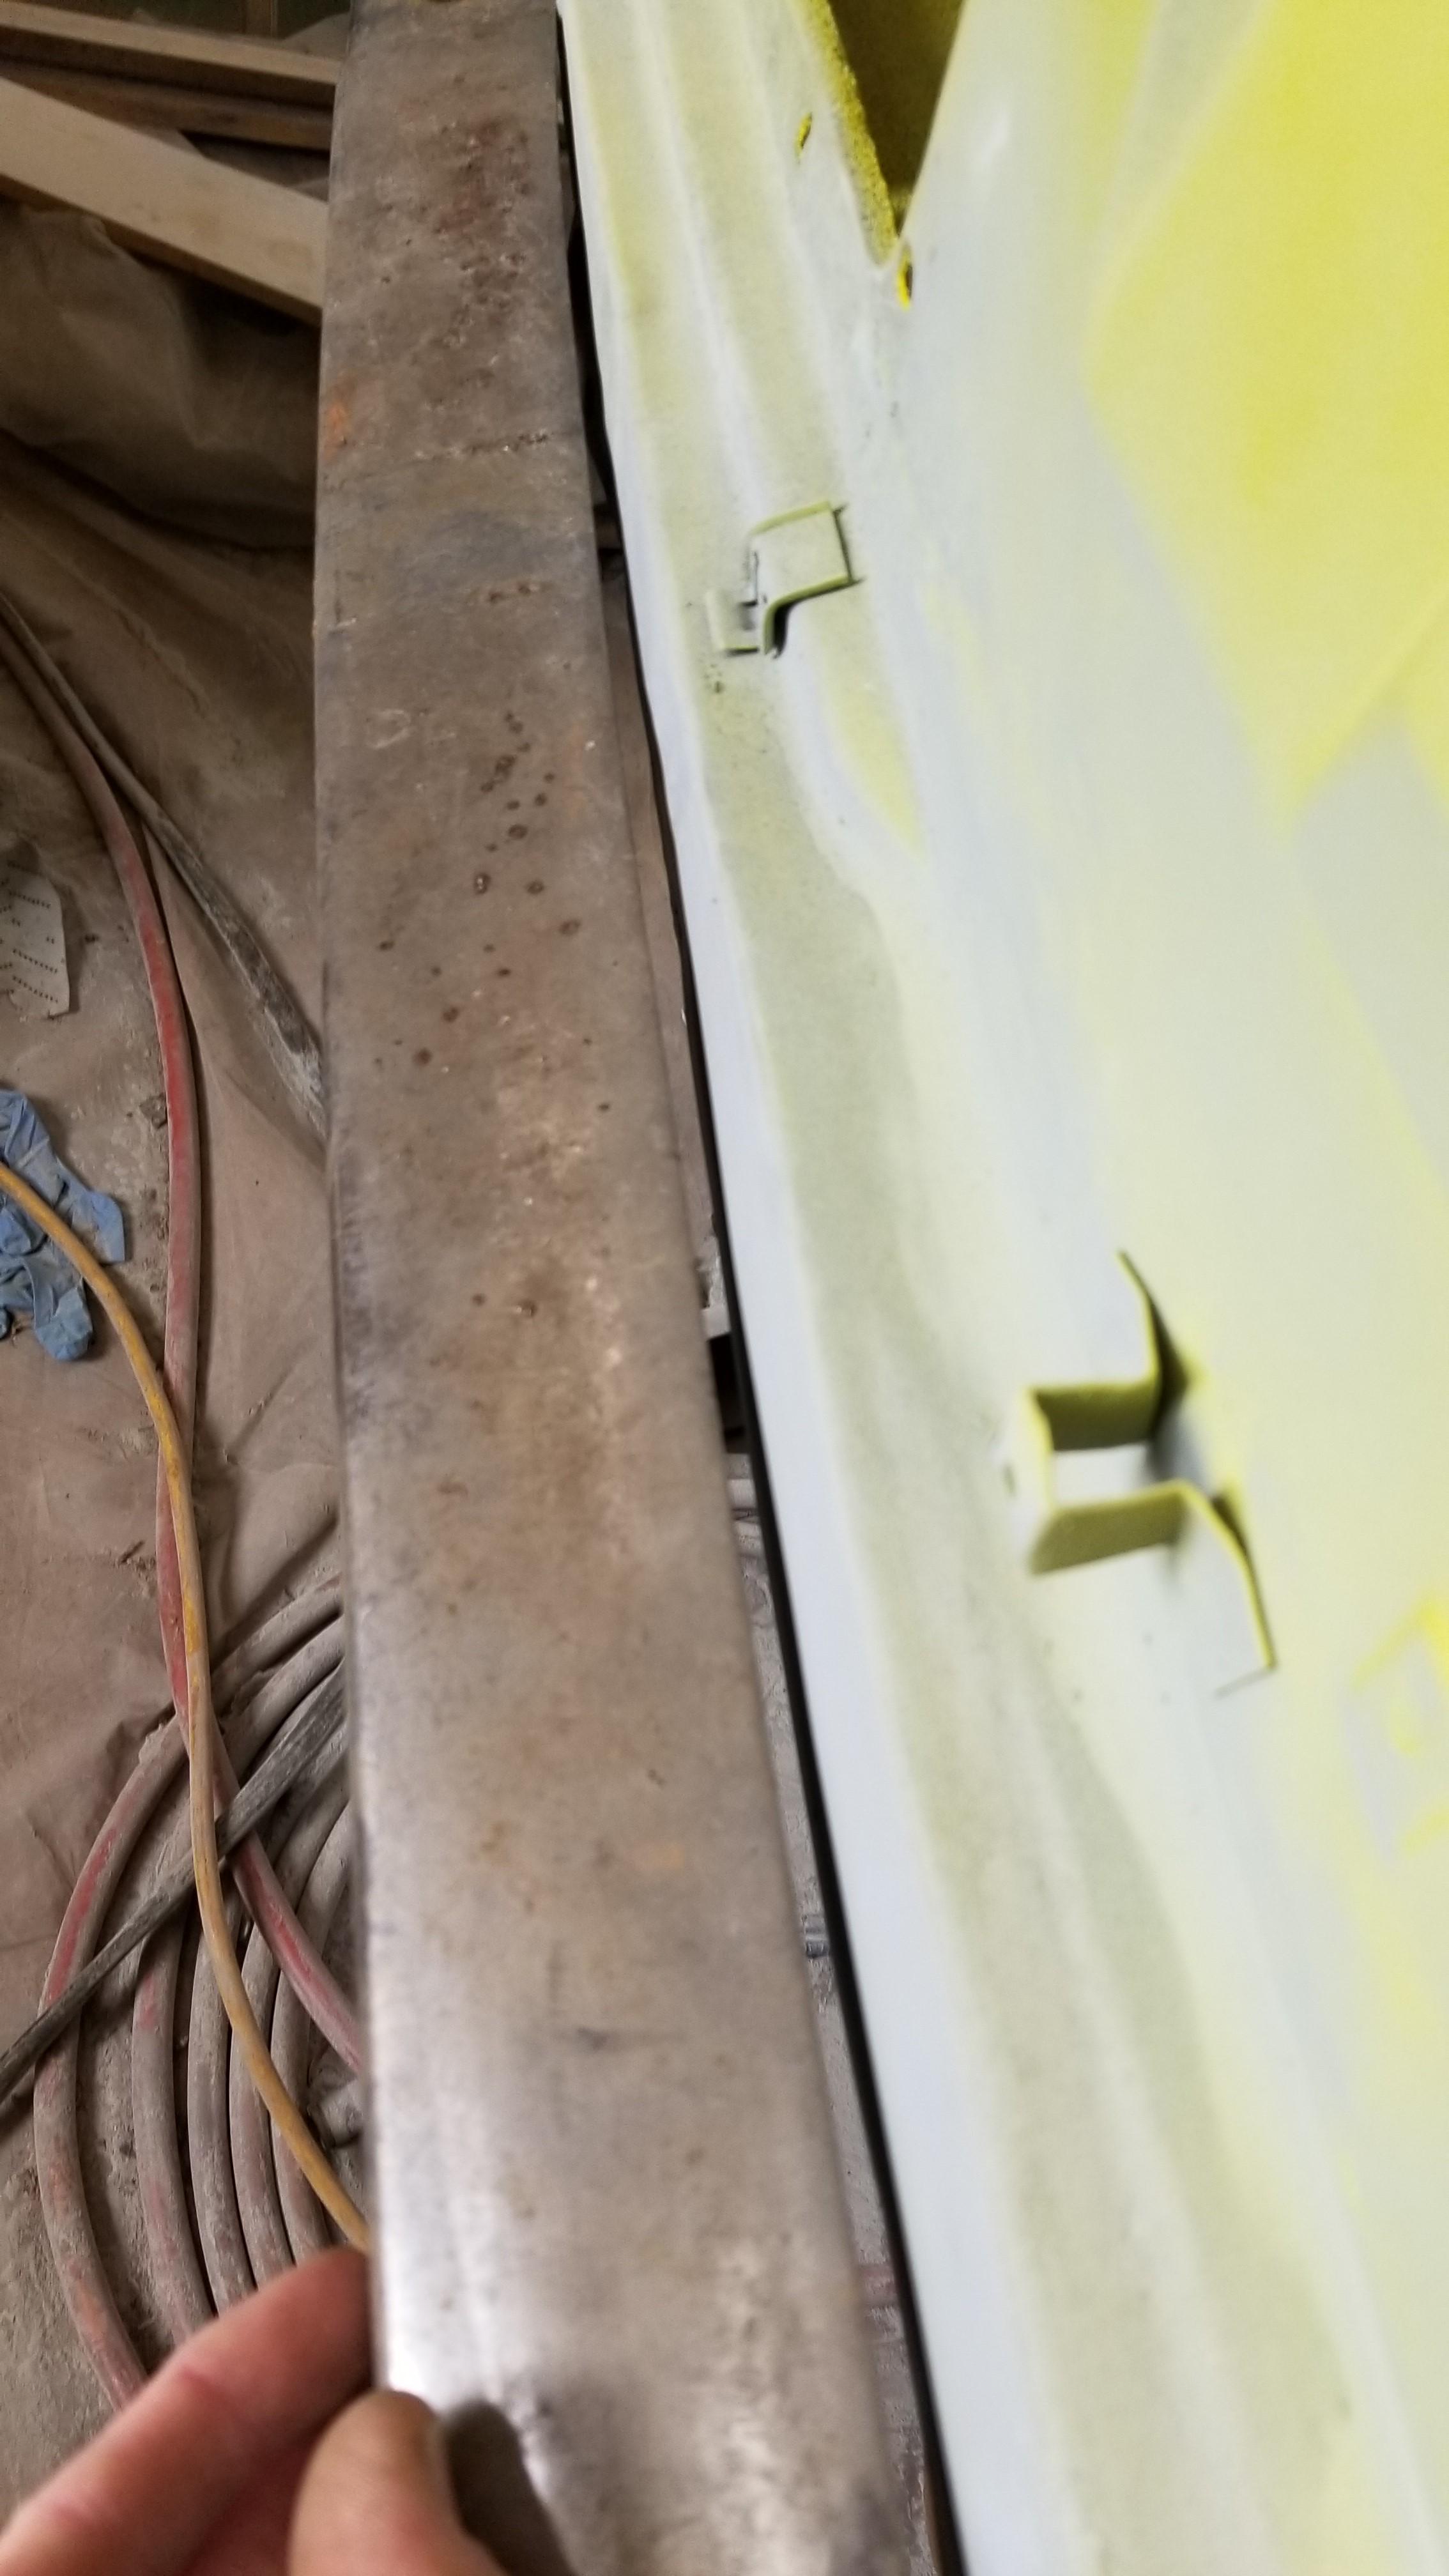
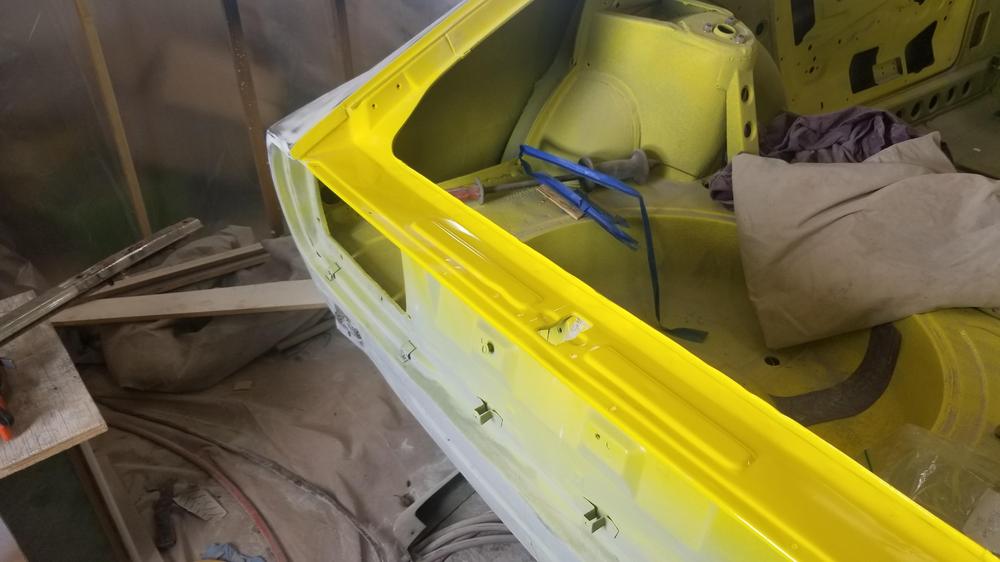
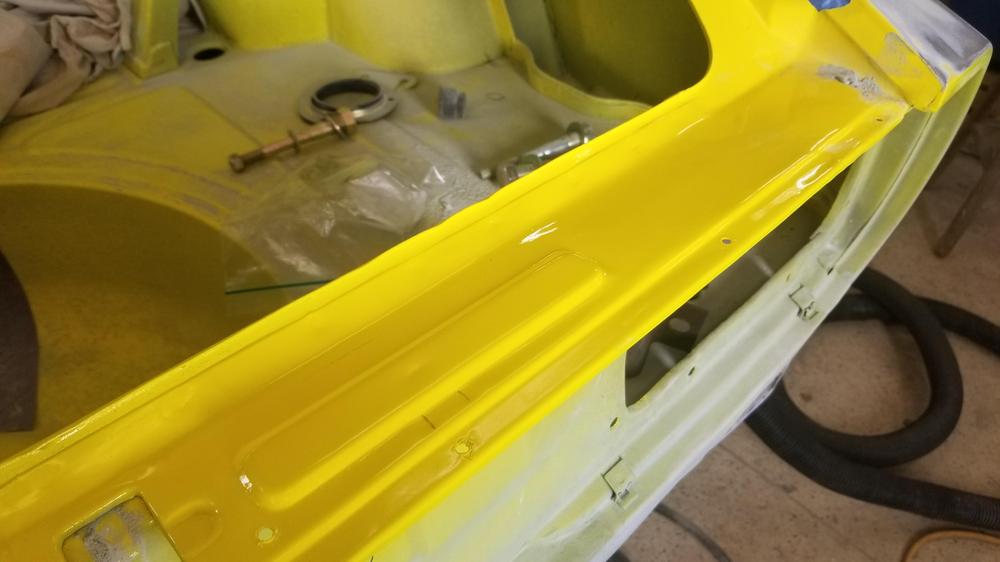
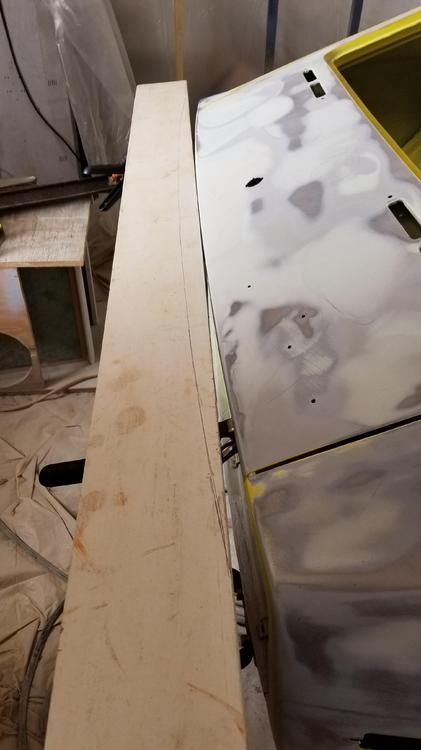
Ok, I need some HELP now. I have most of the car roughed out, but I need to finish the rear valance. The car was rear ended at some point and the bumper damaged the rear valance. I worked on it a number of years ago but I don't like the finished results. So I tried to start on the rear yesterday. I made a template of the rear curve of the hatch When I compared it to the rear valance there is quite the difference. So then I figured I needed to have the correct bumper. I was able to finally order some out of Vietnam but I located a straight center section today, in the mean time. Here is the way it currently sits It is a little hard to tell but it's really wavy and uneven. I cut out the center of the valance and pulled the center section. Then I welded it back in. You can see one of the joints on the right This is how the current bar fits Much closer on the ends than in the middle by about 3/8". I assume this gap is supposed to be consistent. Can someone confirm that for me? Also approximately what is this gap supposed to be? At this point I am contemplating drilling out all the spot welds and removing the rear valance entirely so I can try to get it straight and right. I really need to be painted by February if I am going to have a shot at being ready for Zcon 2019. I hate to add the extra work but right now I don't see a good way around it


-
I love that oil pan!
-
It's the internet. I take it all with a grain of salt unless I know the poster. It can be hard to sort out reality, especially on HybridZ, because the threads can pinball all over the place
-
You look a lot younger than I would have thought! ?
-
The other thing to remember when reading those threads, is some of those guys are racers and know about how to make cars handle and stop.
-
Thats a shop manicure, best kind! Now if I could get my wife to wear a shop manicure...
-
Sorry Jeff @Home Built by Jeff Squirrel!!!
-
-
Getting old ain't for sissies!
-
It would be fun to take the same car and do some actual empirical testing to show this. Stopping distance tests: with properly functioning stocks brakes with stock drums and yota solids with stock drums and yota vented with rear disc (Maximas?) and yota vented / solid See what the actual footage is before and after proportioning valve adjustments I suspect the results would be surprising. I suspect the footage actually gets worse in many of these scenarios at least until the balance gets right. The biggest advantage to the Yota caliper in my opinion is the vented rotor should run cooler overall. The biggest disadvantage besides longer possible stopping distances is higher sprung weight. I wonder if any one at HybridZ has done any testing like this?
-
Man, that's funny!!! I use to know all of those lyrics by heart!
-
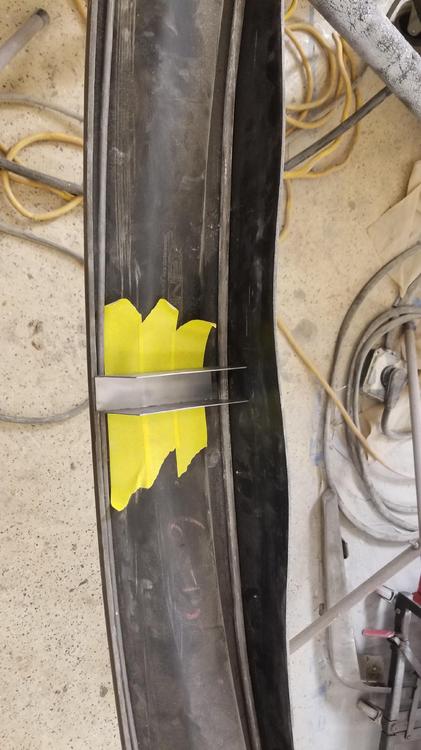
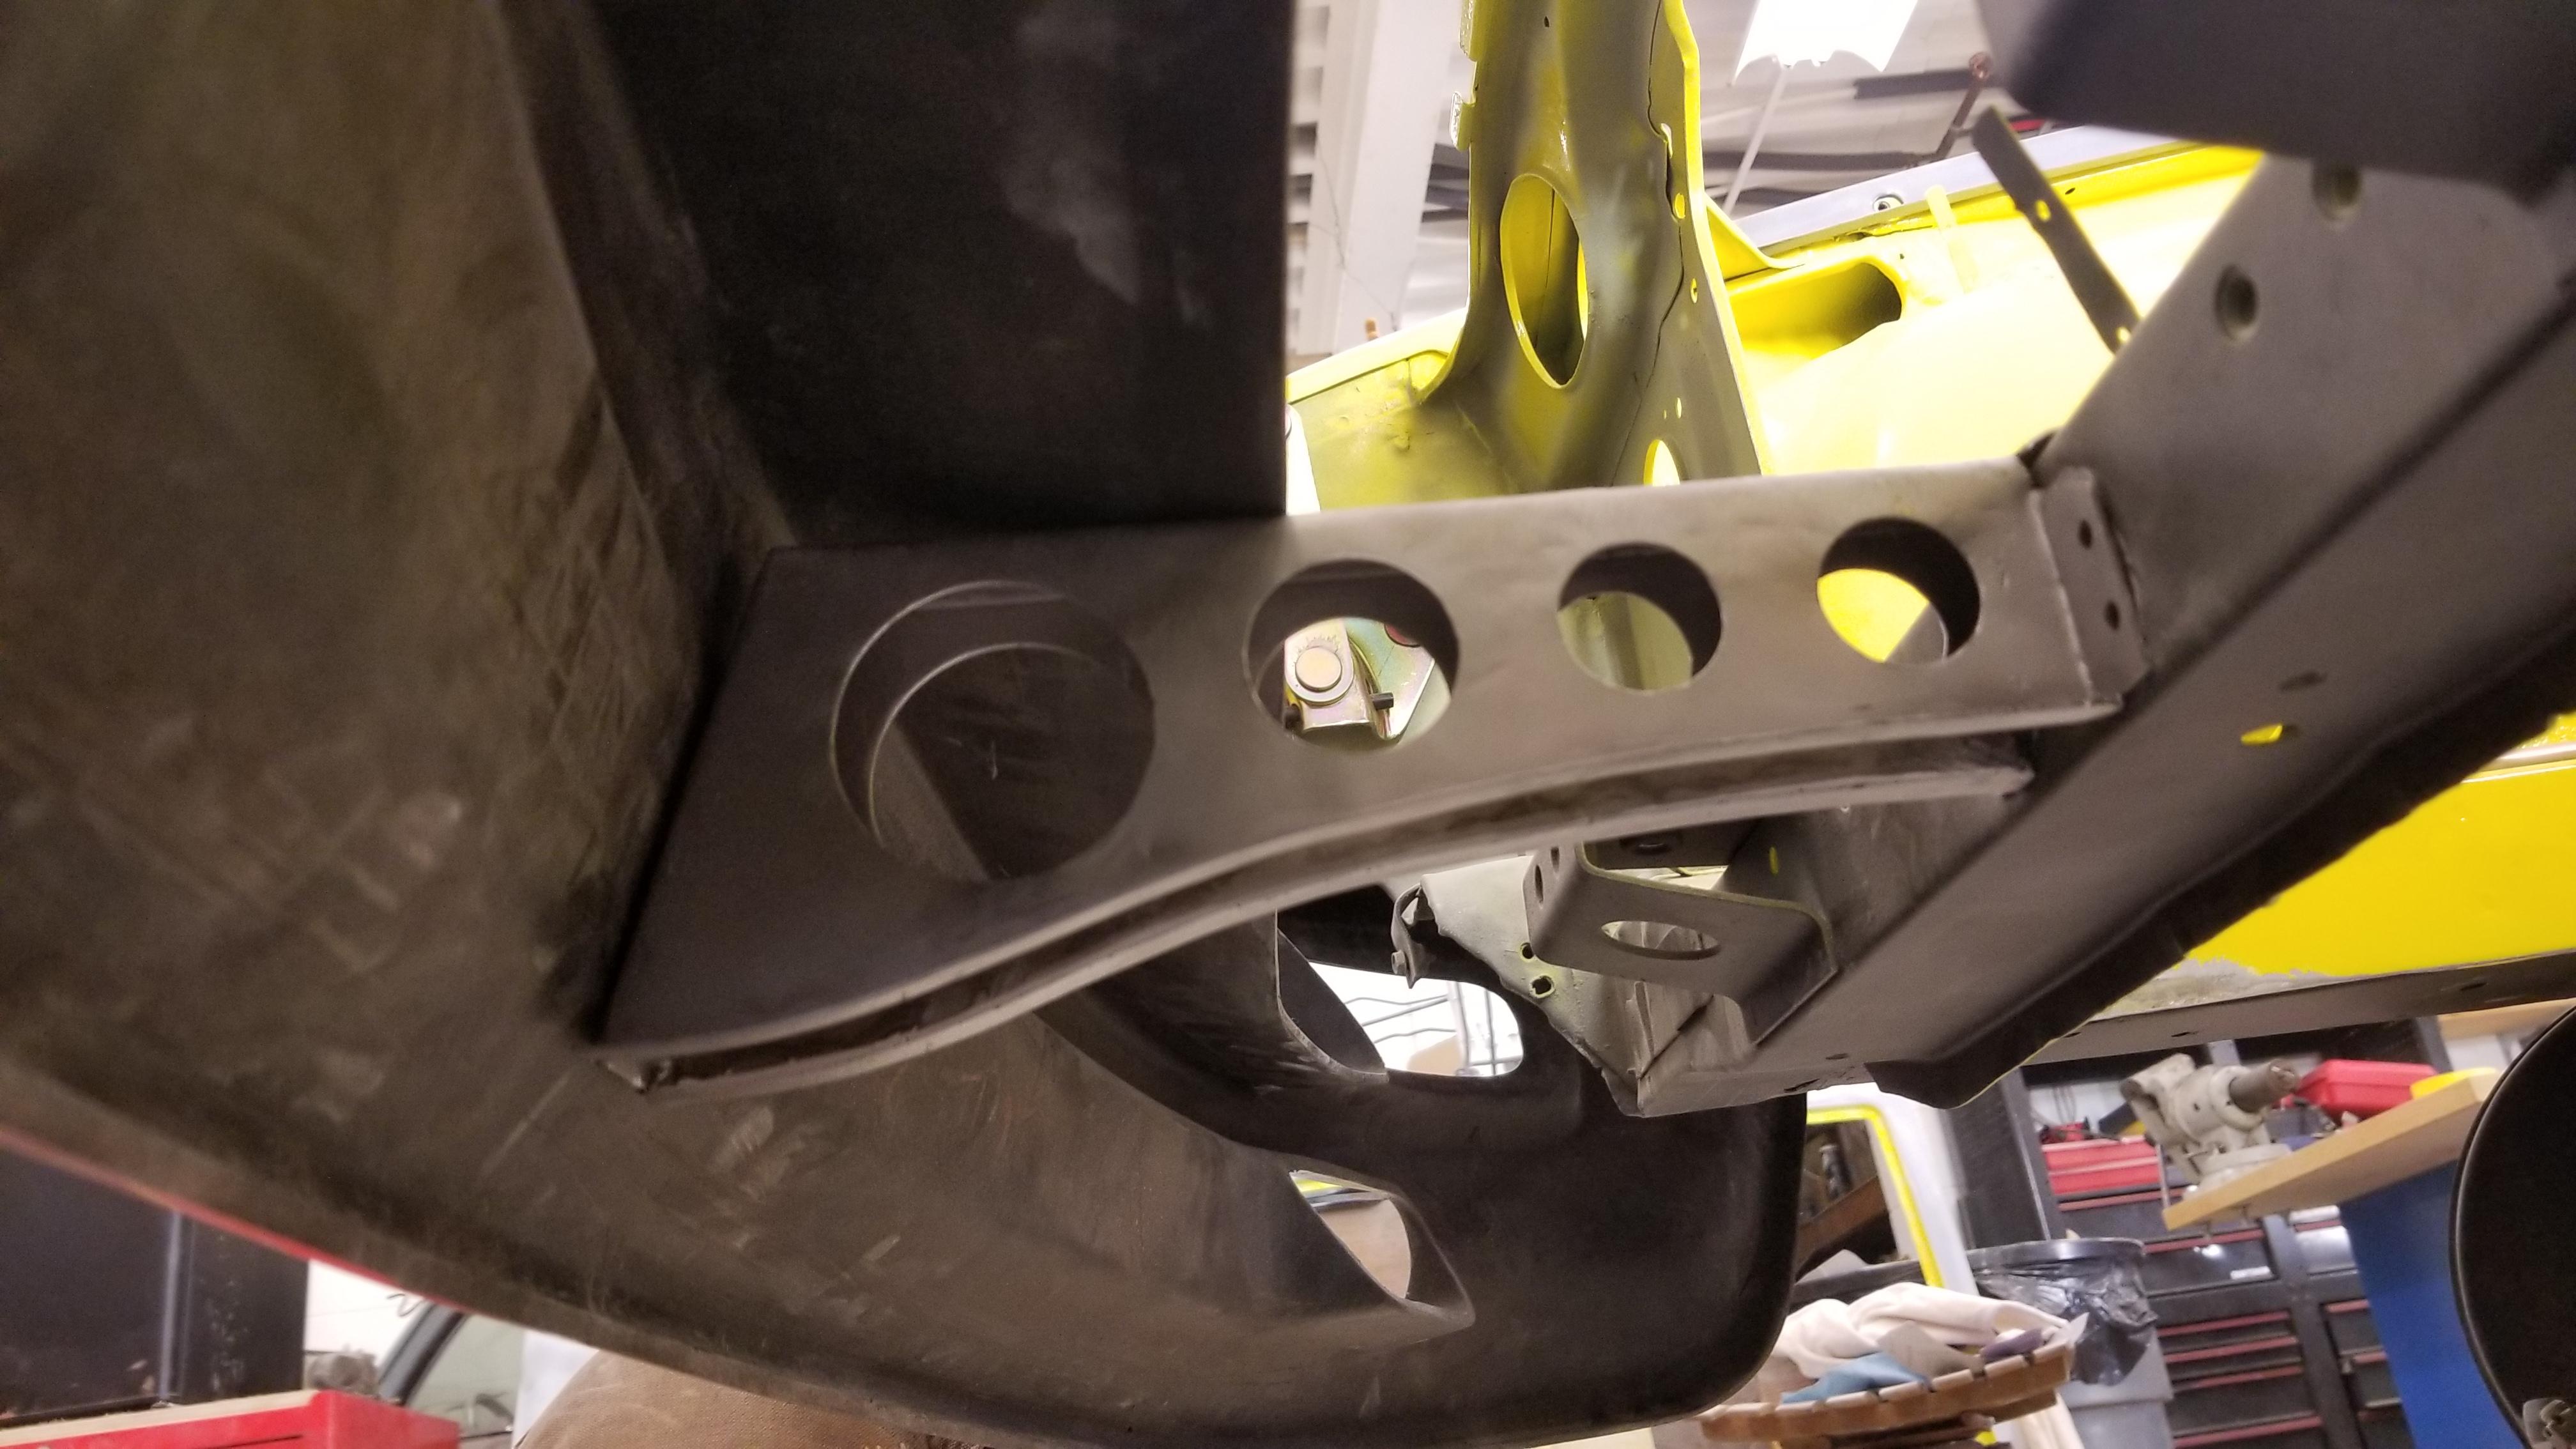
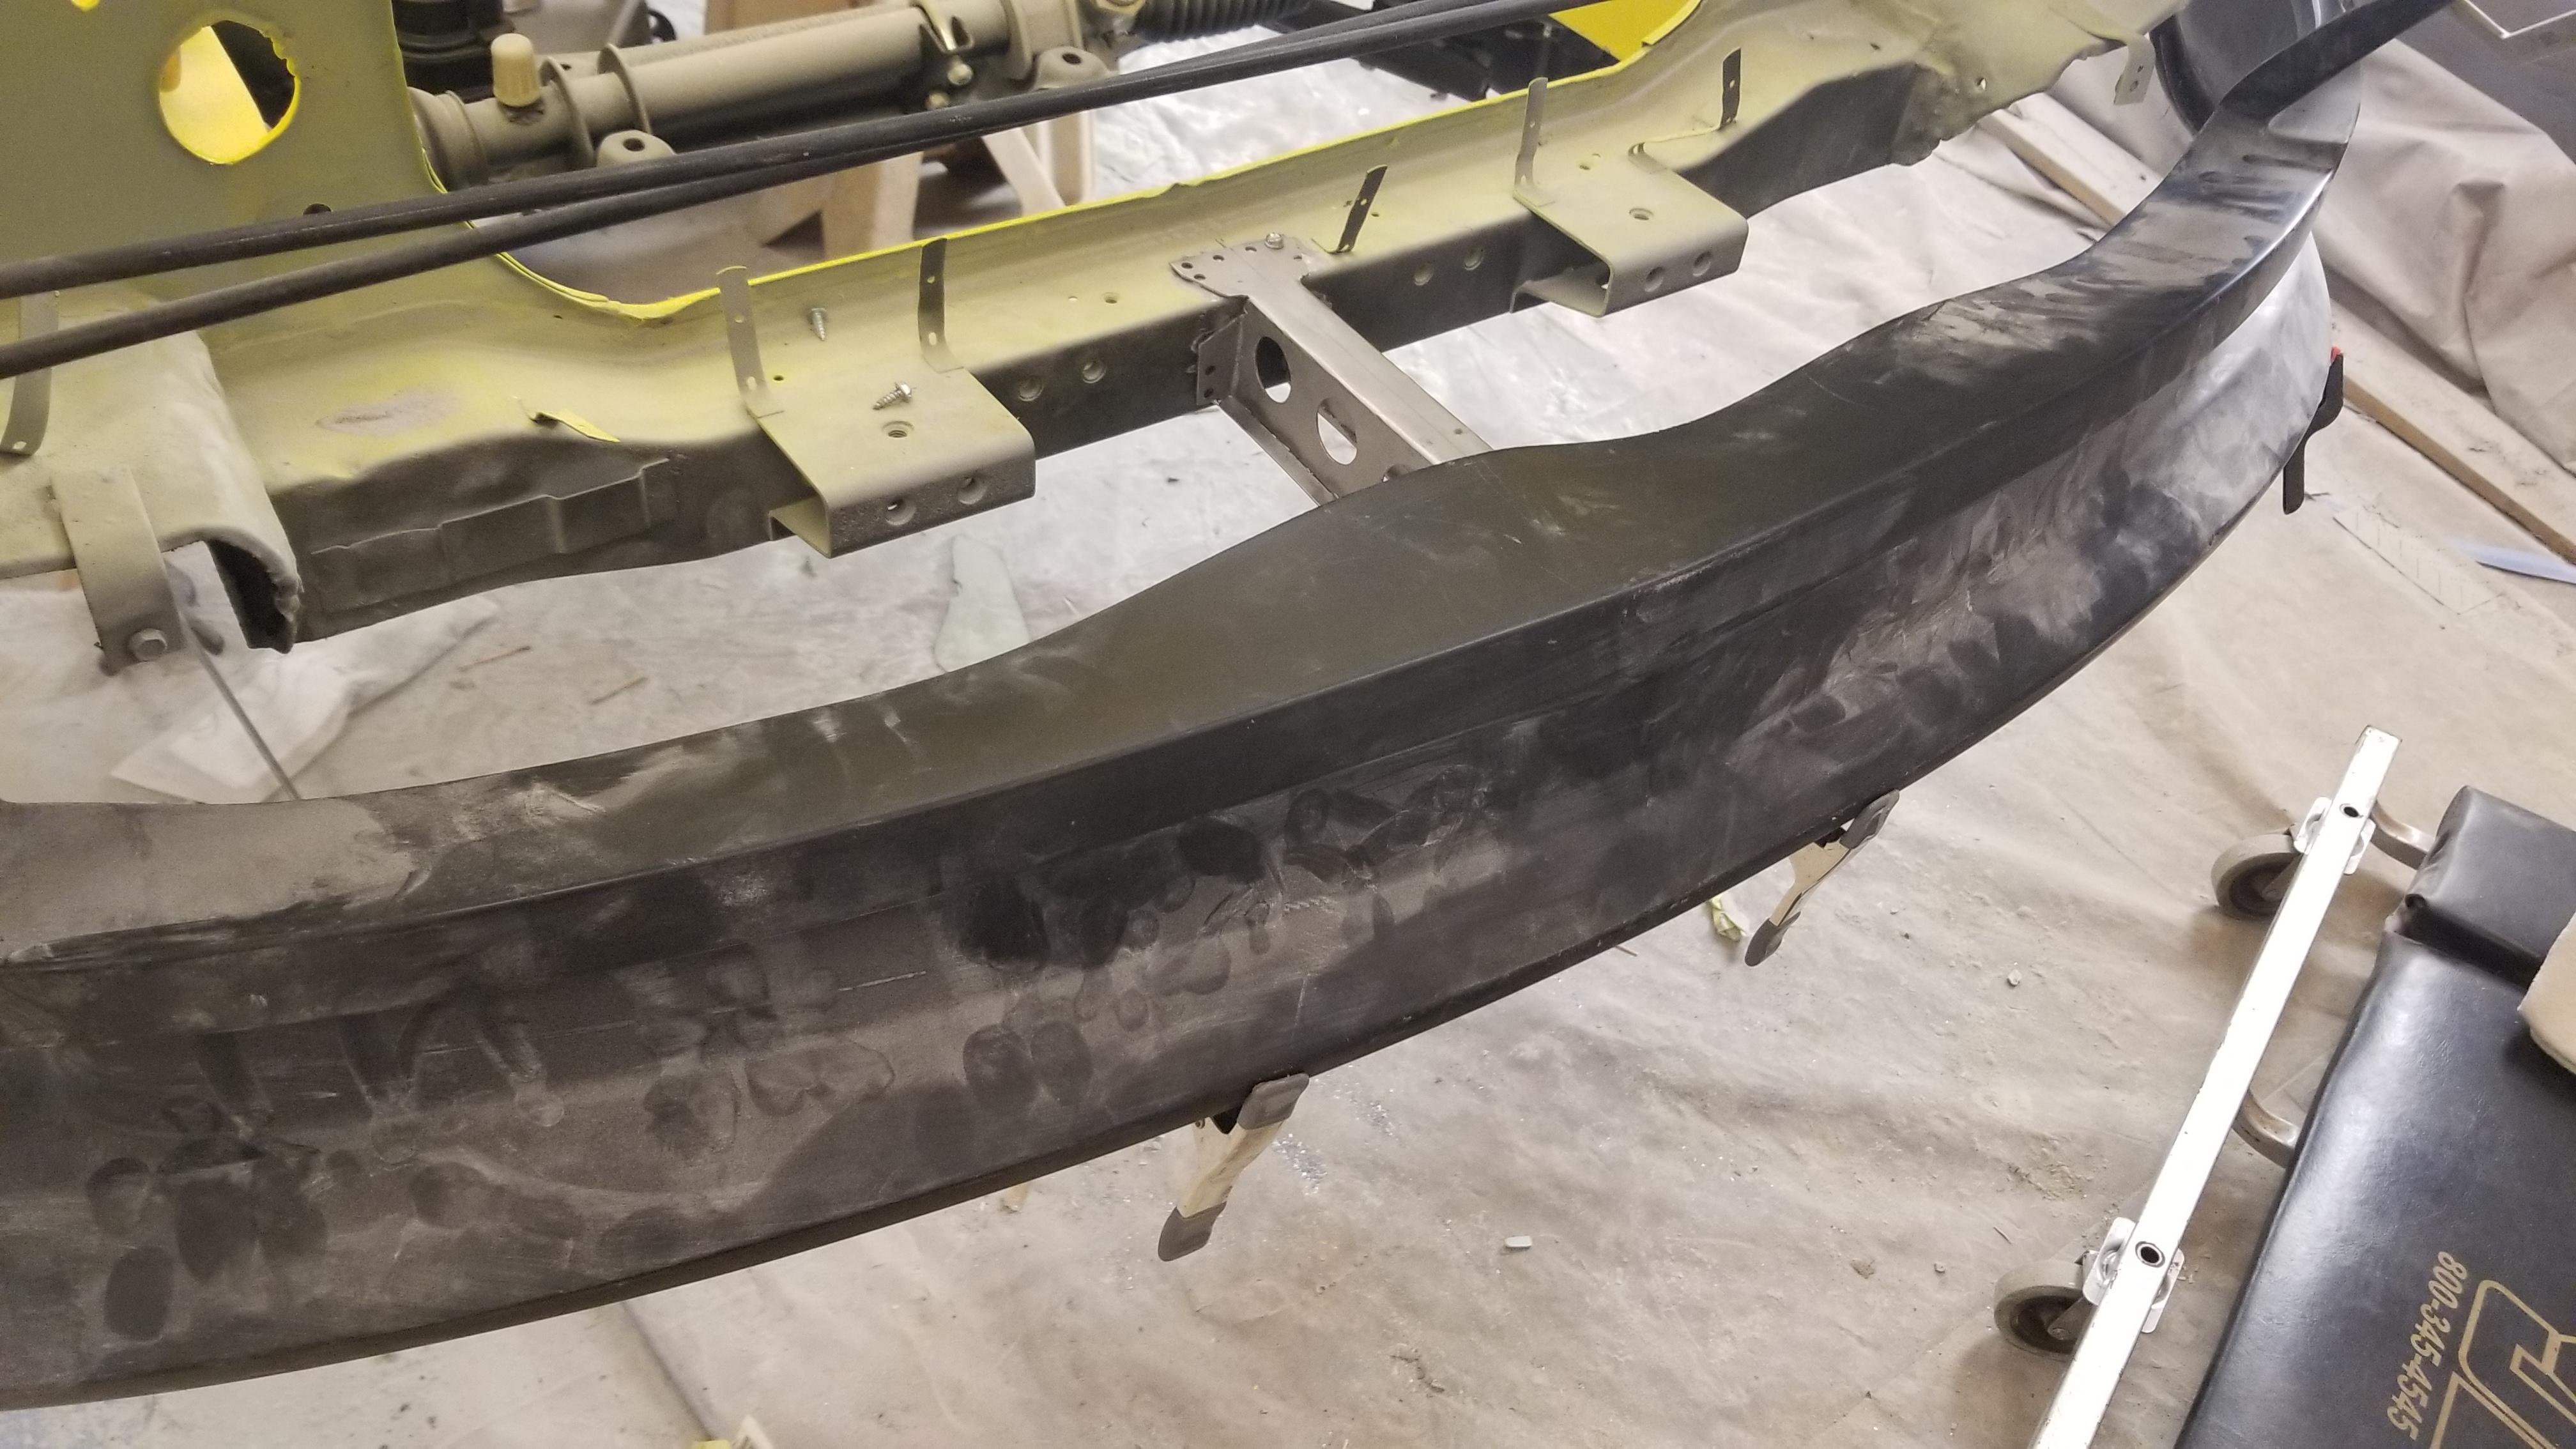
Thanks Yeah, I was a little disappointed that I needed to do this much tweaking. The waviness comes from the sugar scoops being further apart than the xenon mold expects. I don't know if this is always a problem but so far the two of us have had to deal with it. I am hoping the Fusor will bond the frame tight enough to the air dam that if I want to tweak the shape near the wheel wells I can reshape the bars slightly to change the shape. I don't really like the transition from the fender to the air dam. The lower fender edge drops pretty much vertically near the marker light but at the air dam connection it turns outward at a slope almost immediately. I would like the transition to be smoother. I might need to add a picture to make this more understandable...
-
I agree, that car looks really good. Goon parts are especially hard to find. 510 parts can be expensive and you appear to have all the expensive little bits on the outside of the car. What's the interior like? The cars are really thin and even more susceptible to rust than Z's if you can imagine that. A southwest car should be nice and clean. 510's are still nice and affordable and can be made quick and tossable. "Enjoy the ride..."
-
I found these while I was browsing around. Not mine. Seems like a fair price https://modesto.craigslist.org/pts/d/modesto-datsun-240z-insulators/6774470525.html
-
The one I printed off was Fusor 114
-
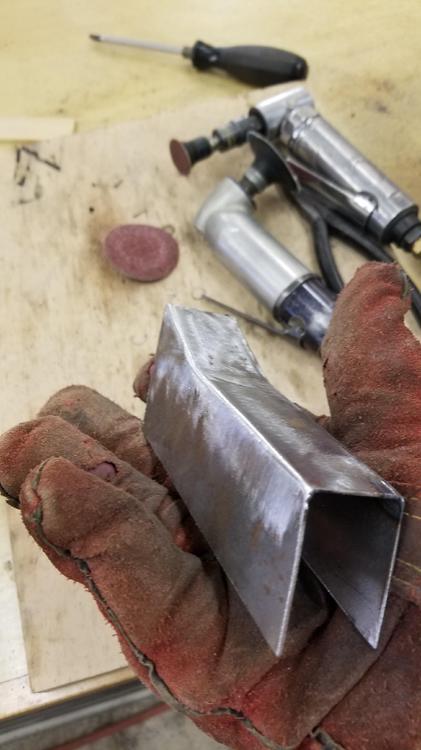
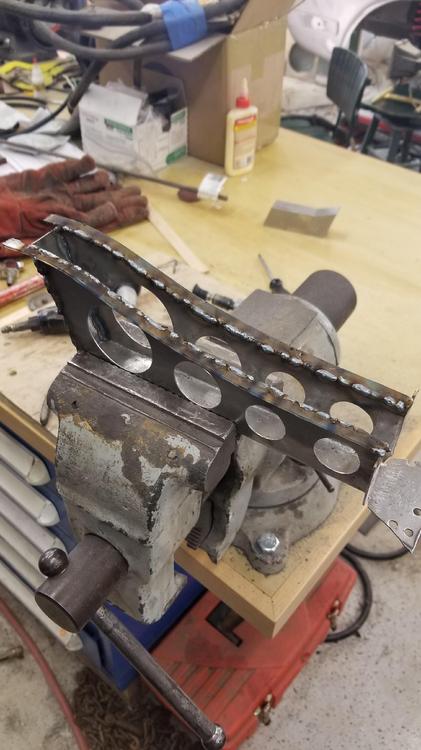
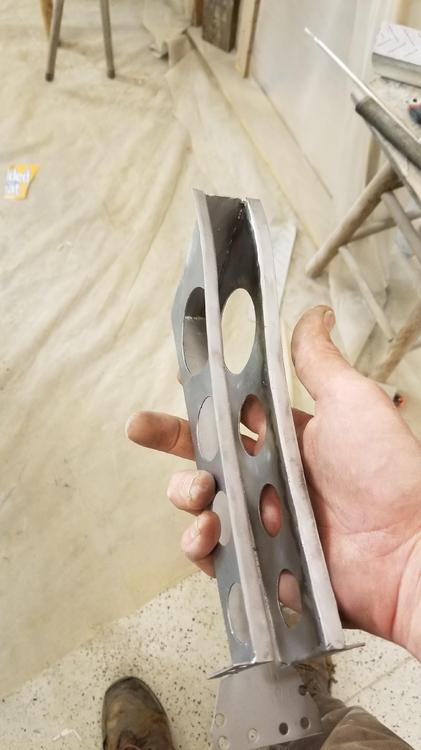
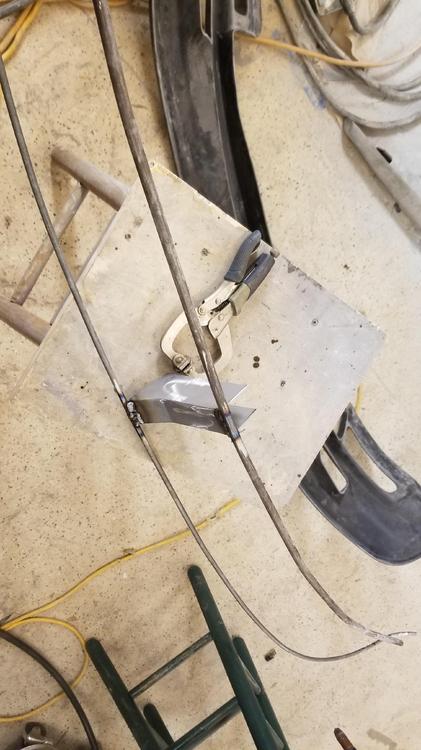
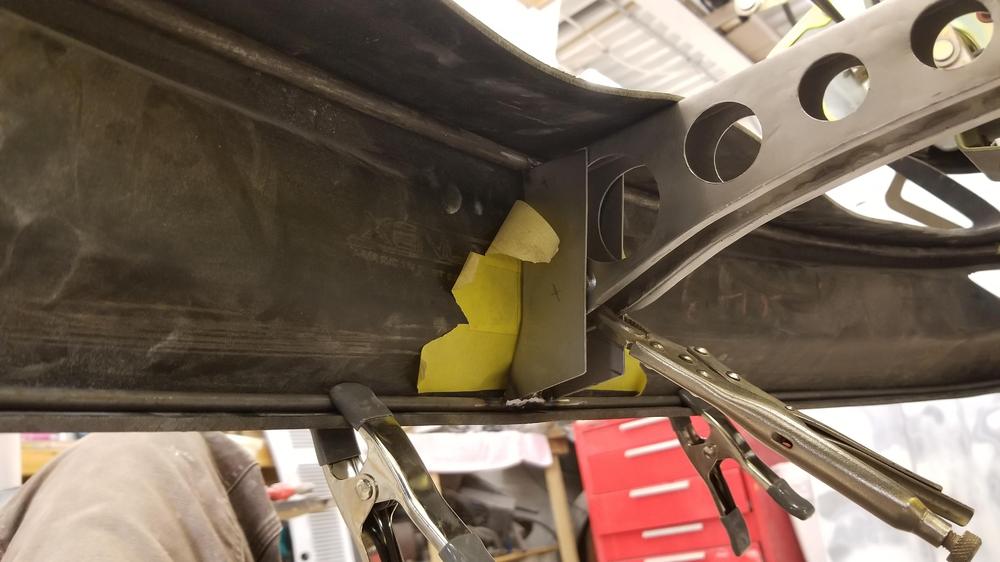
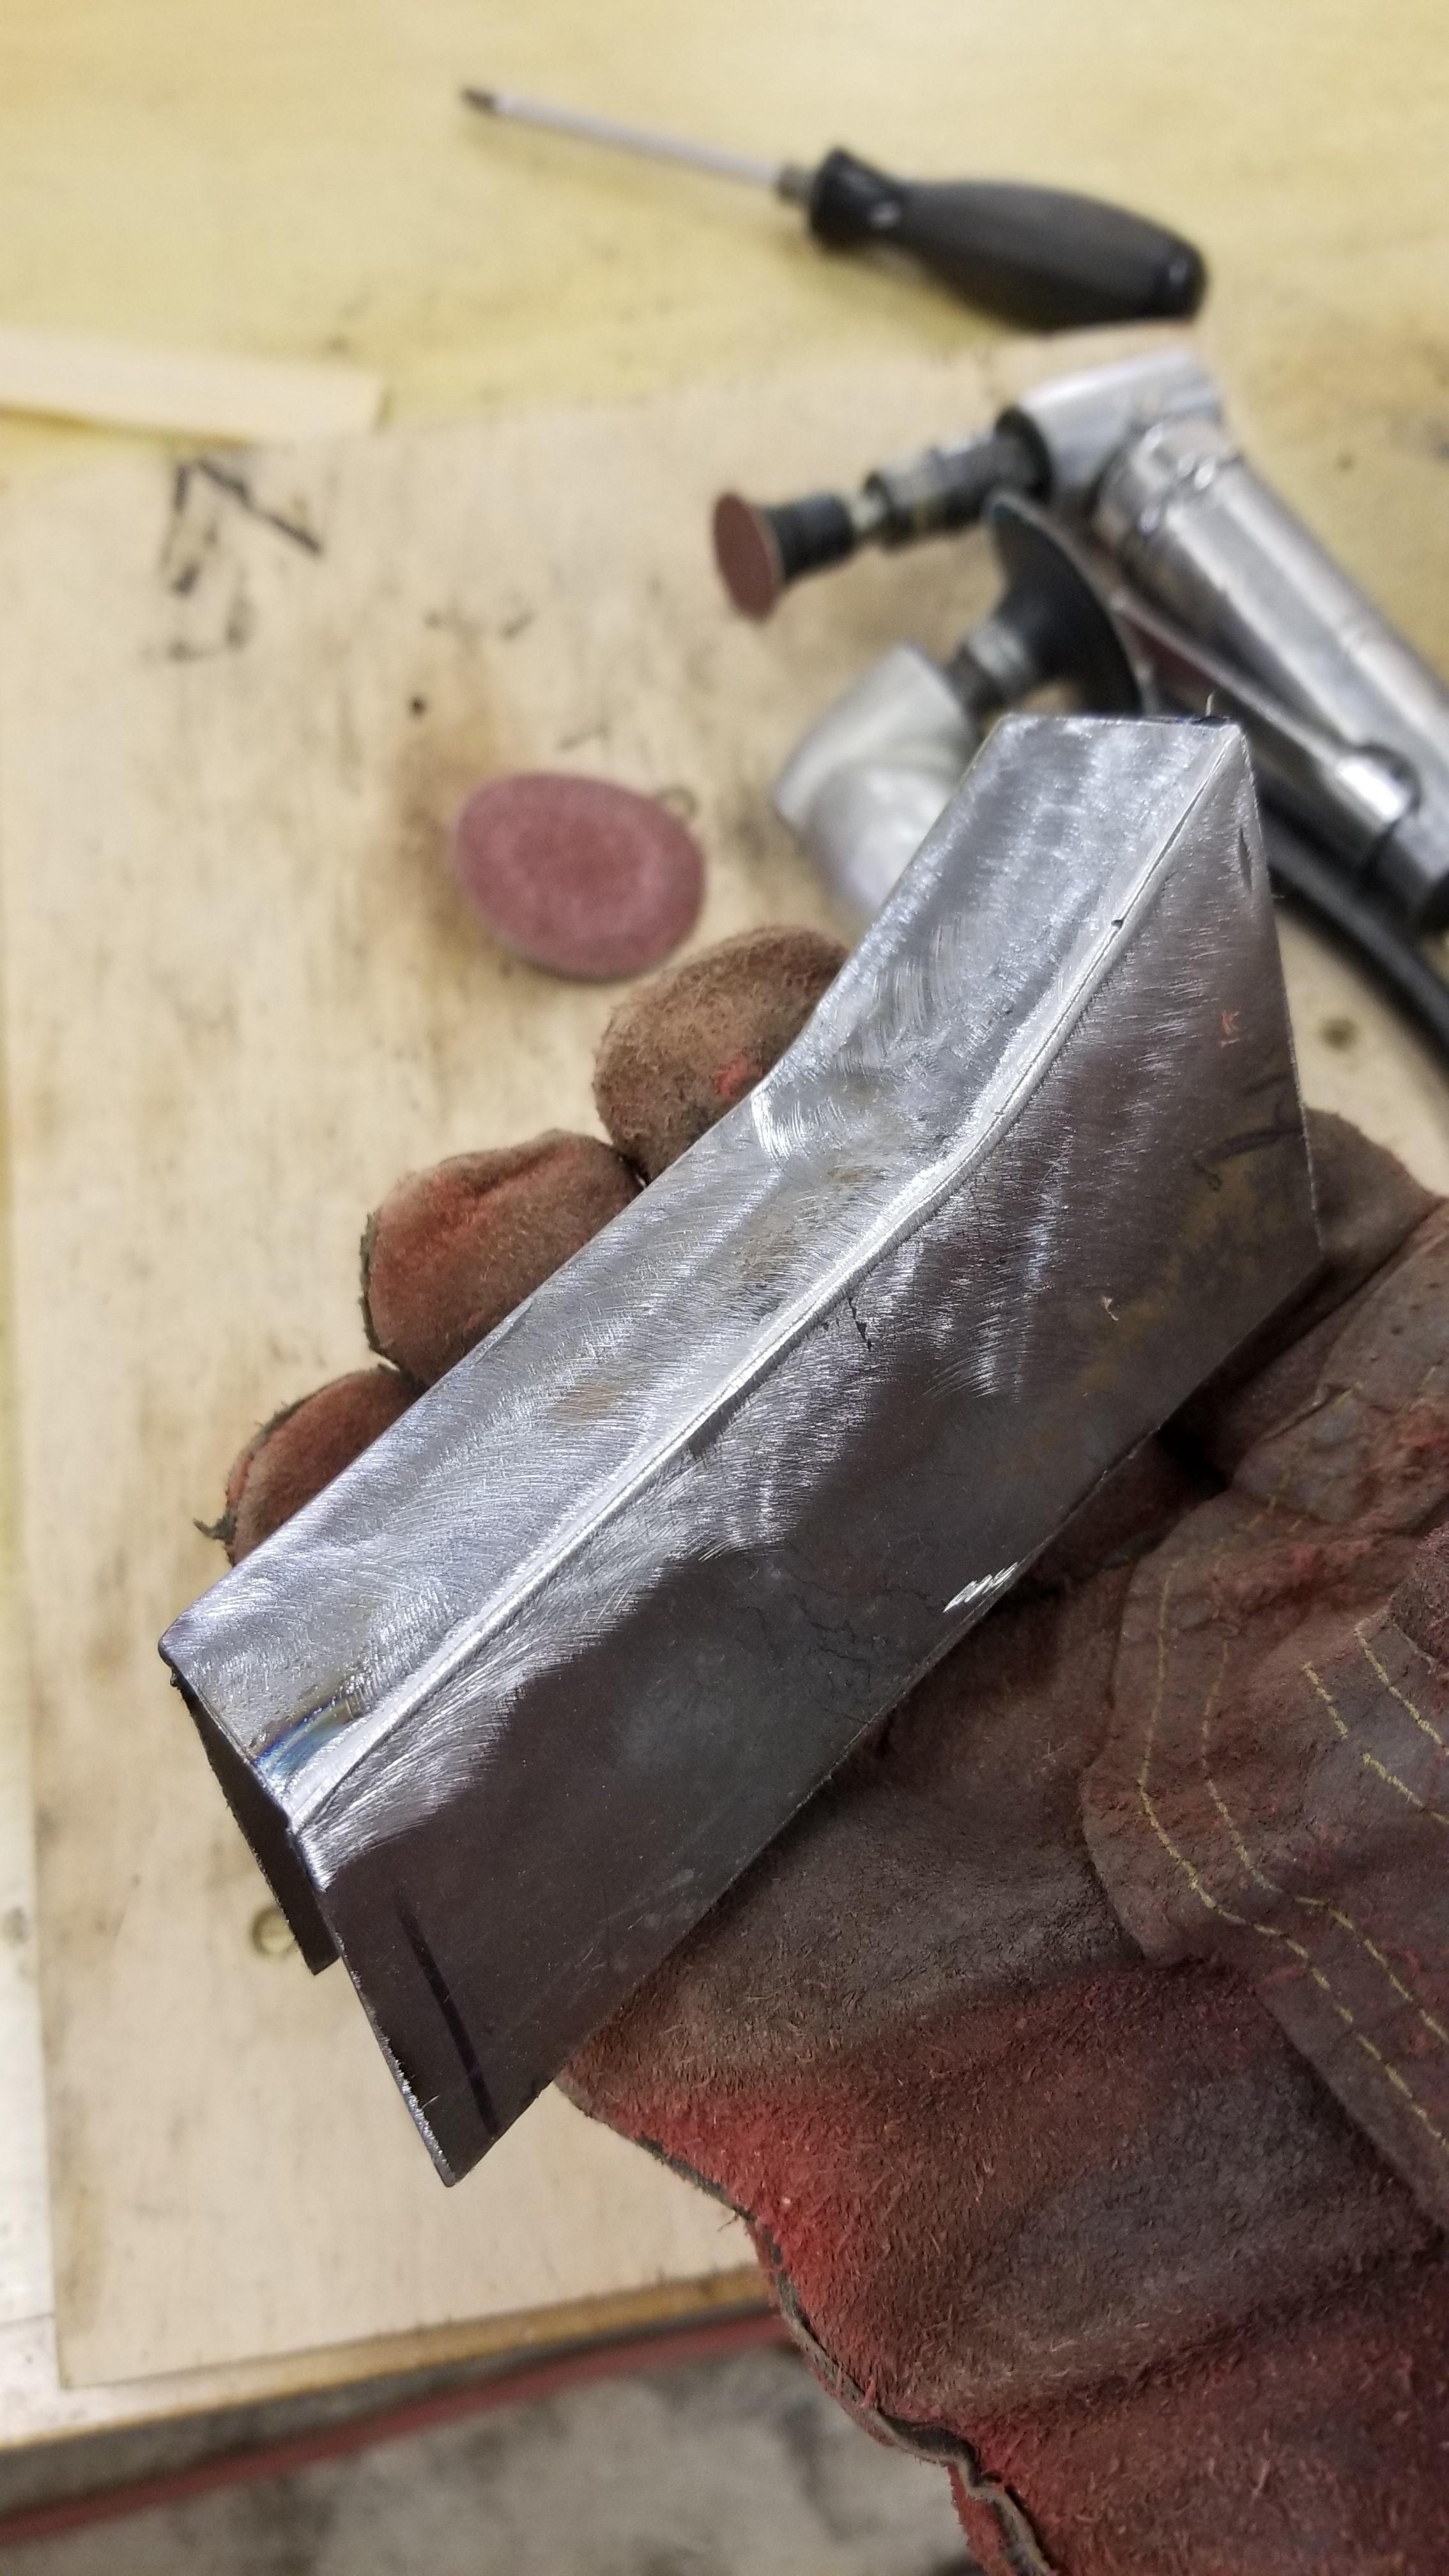
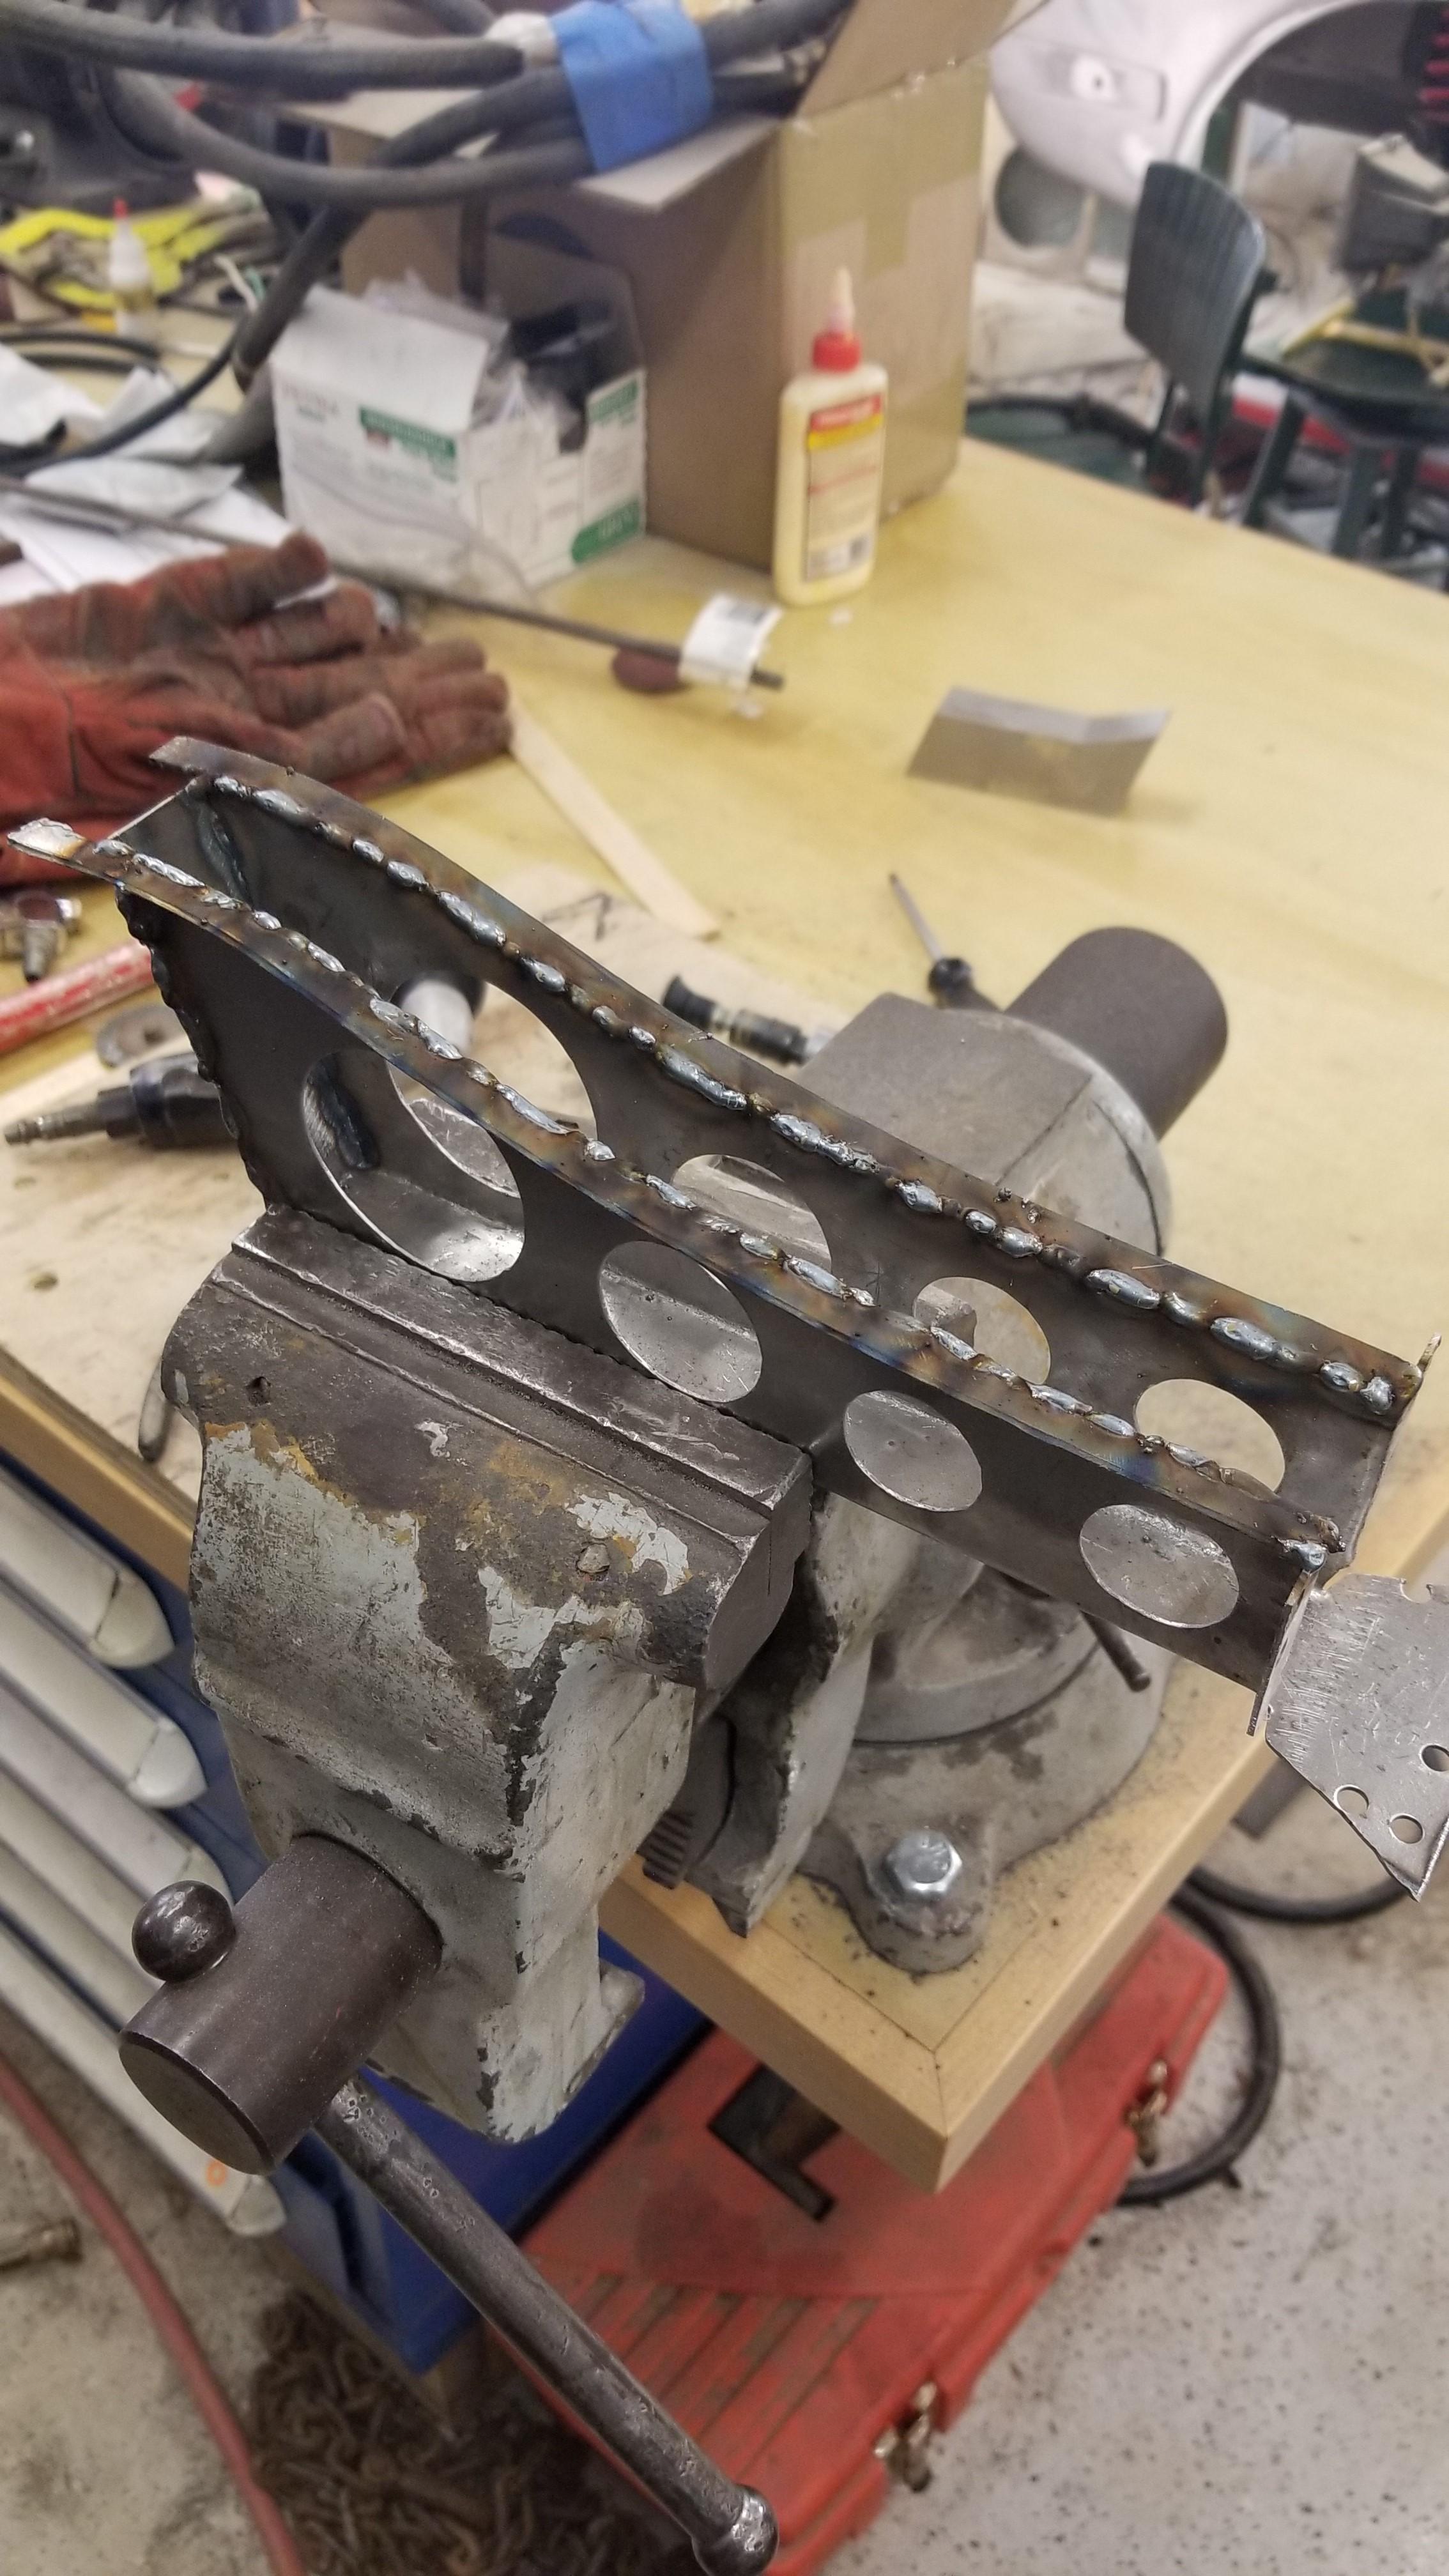
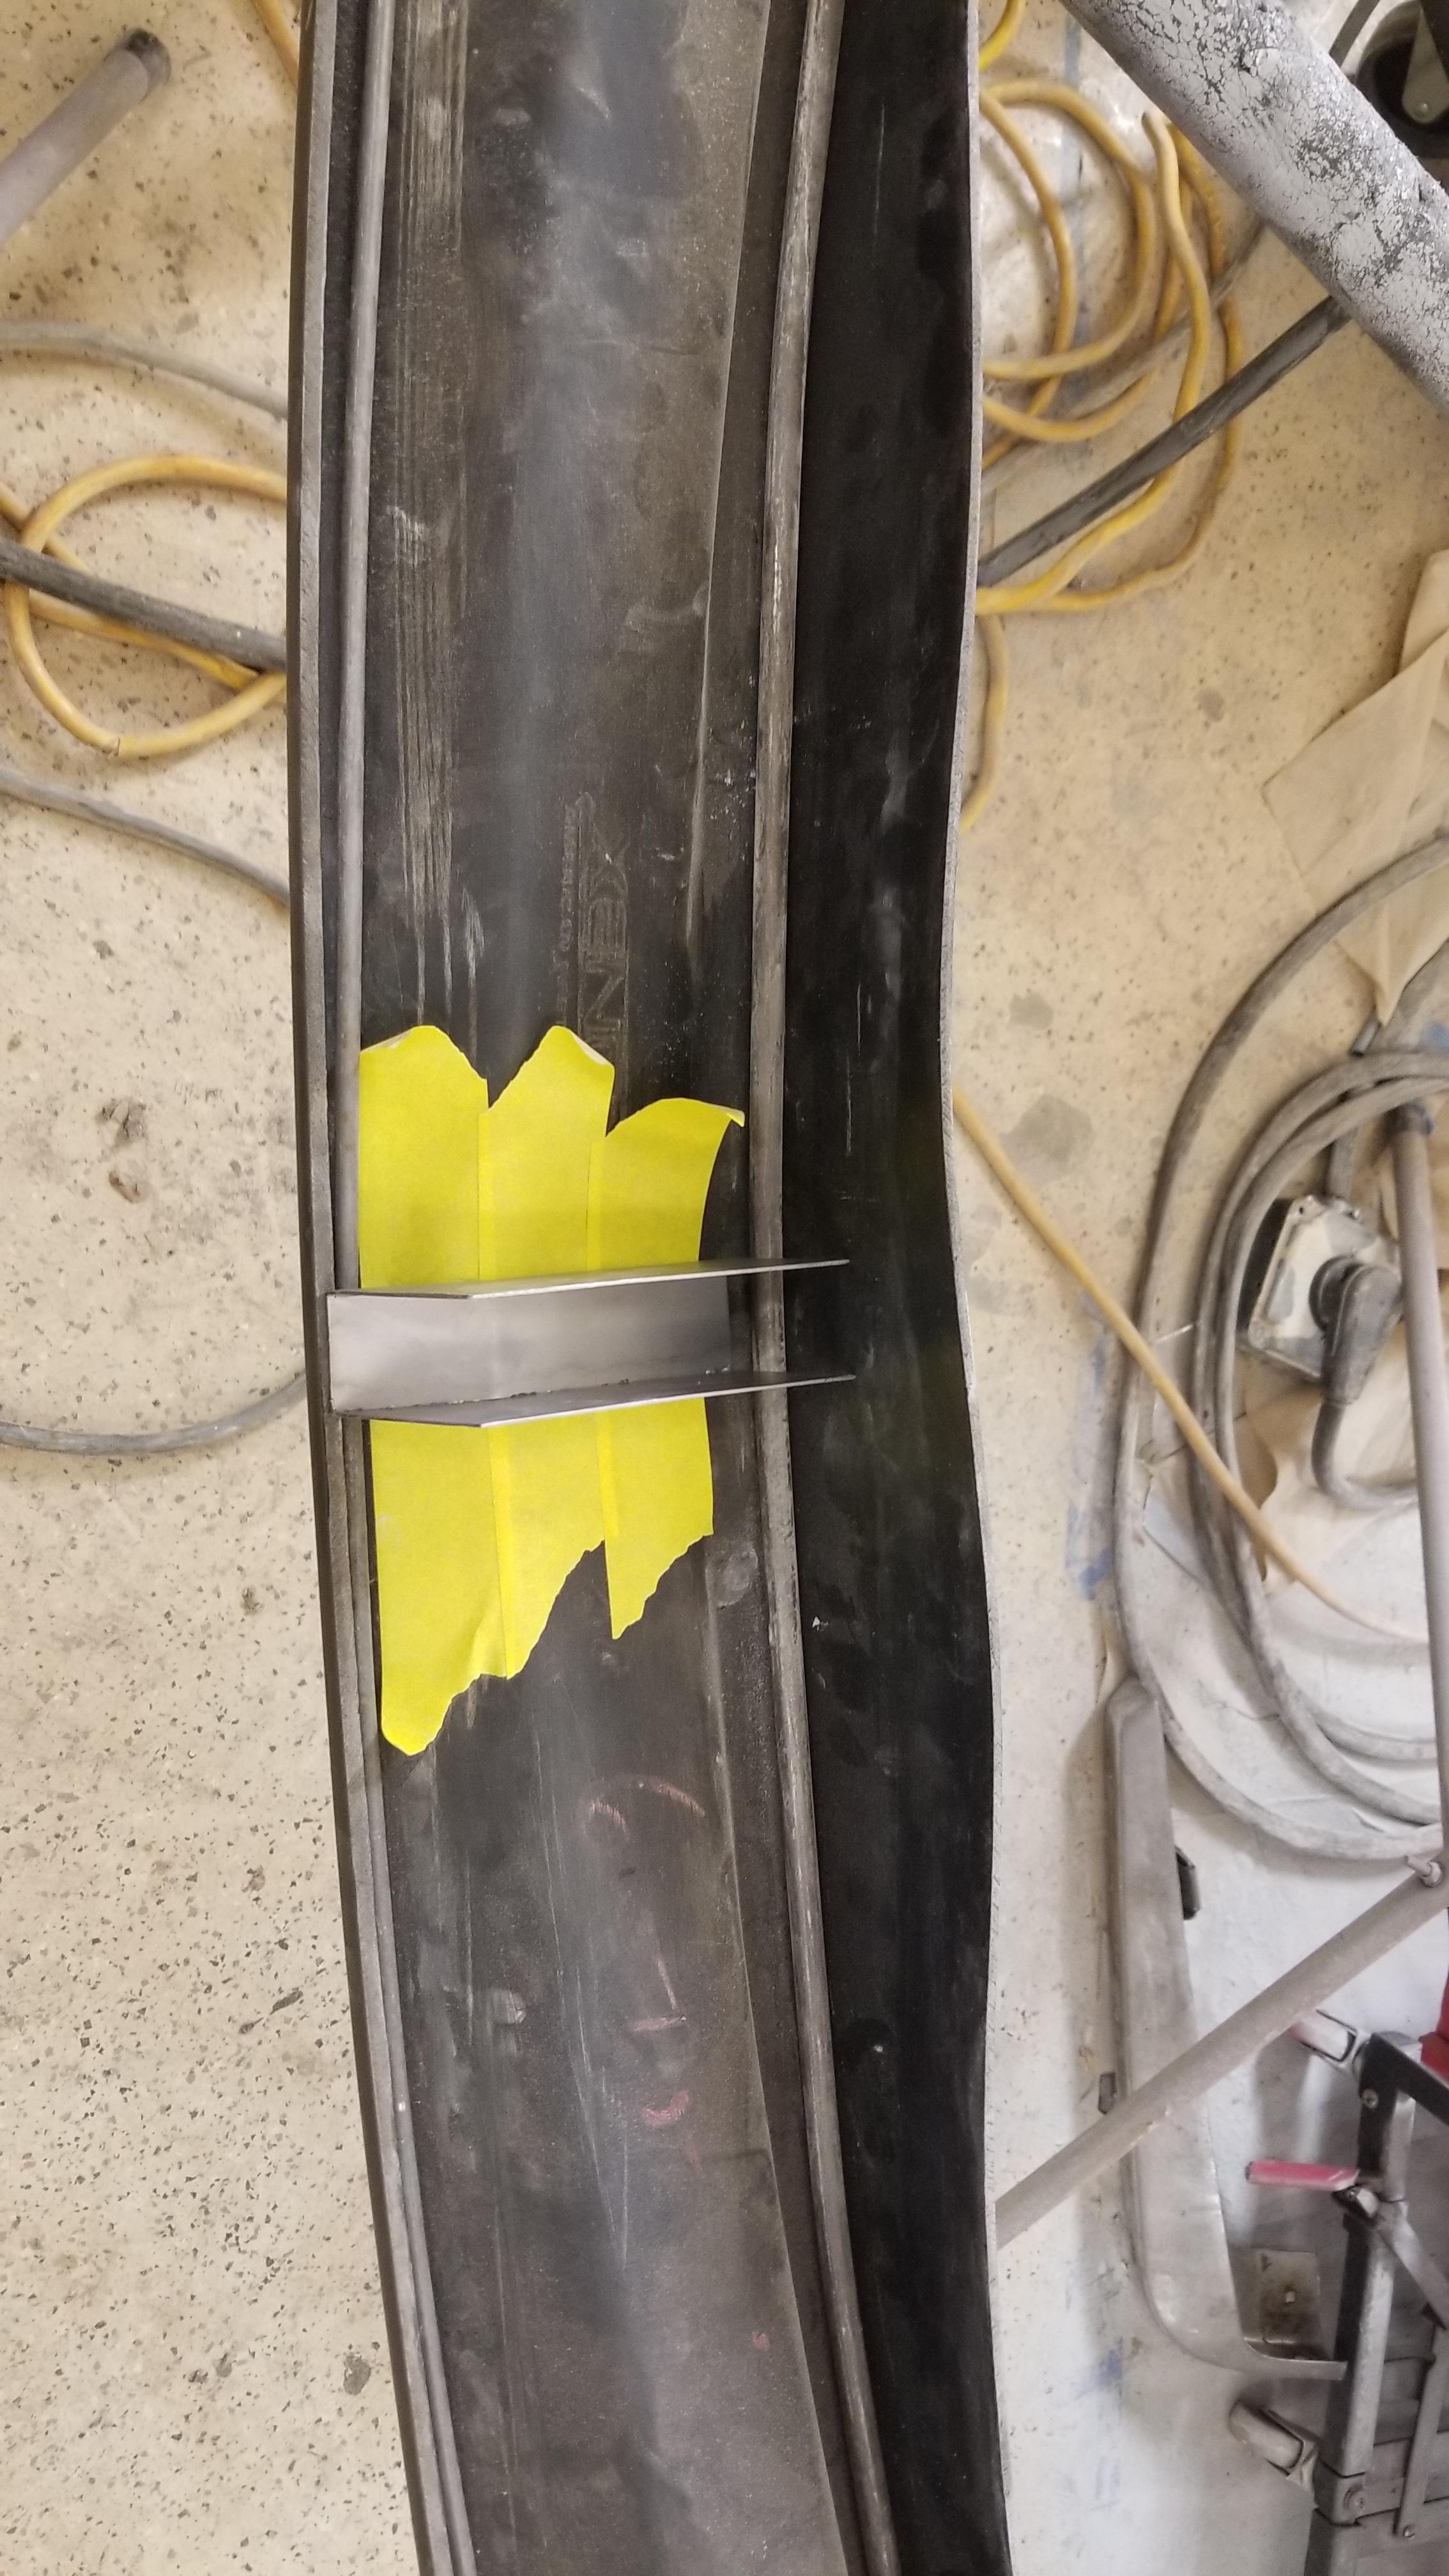
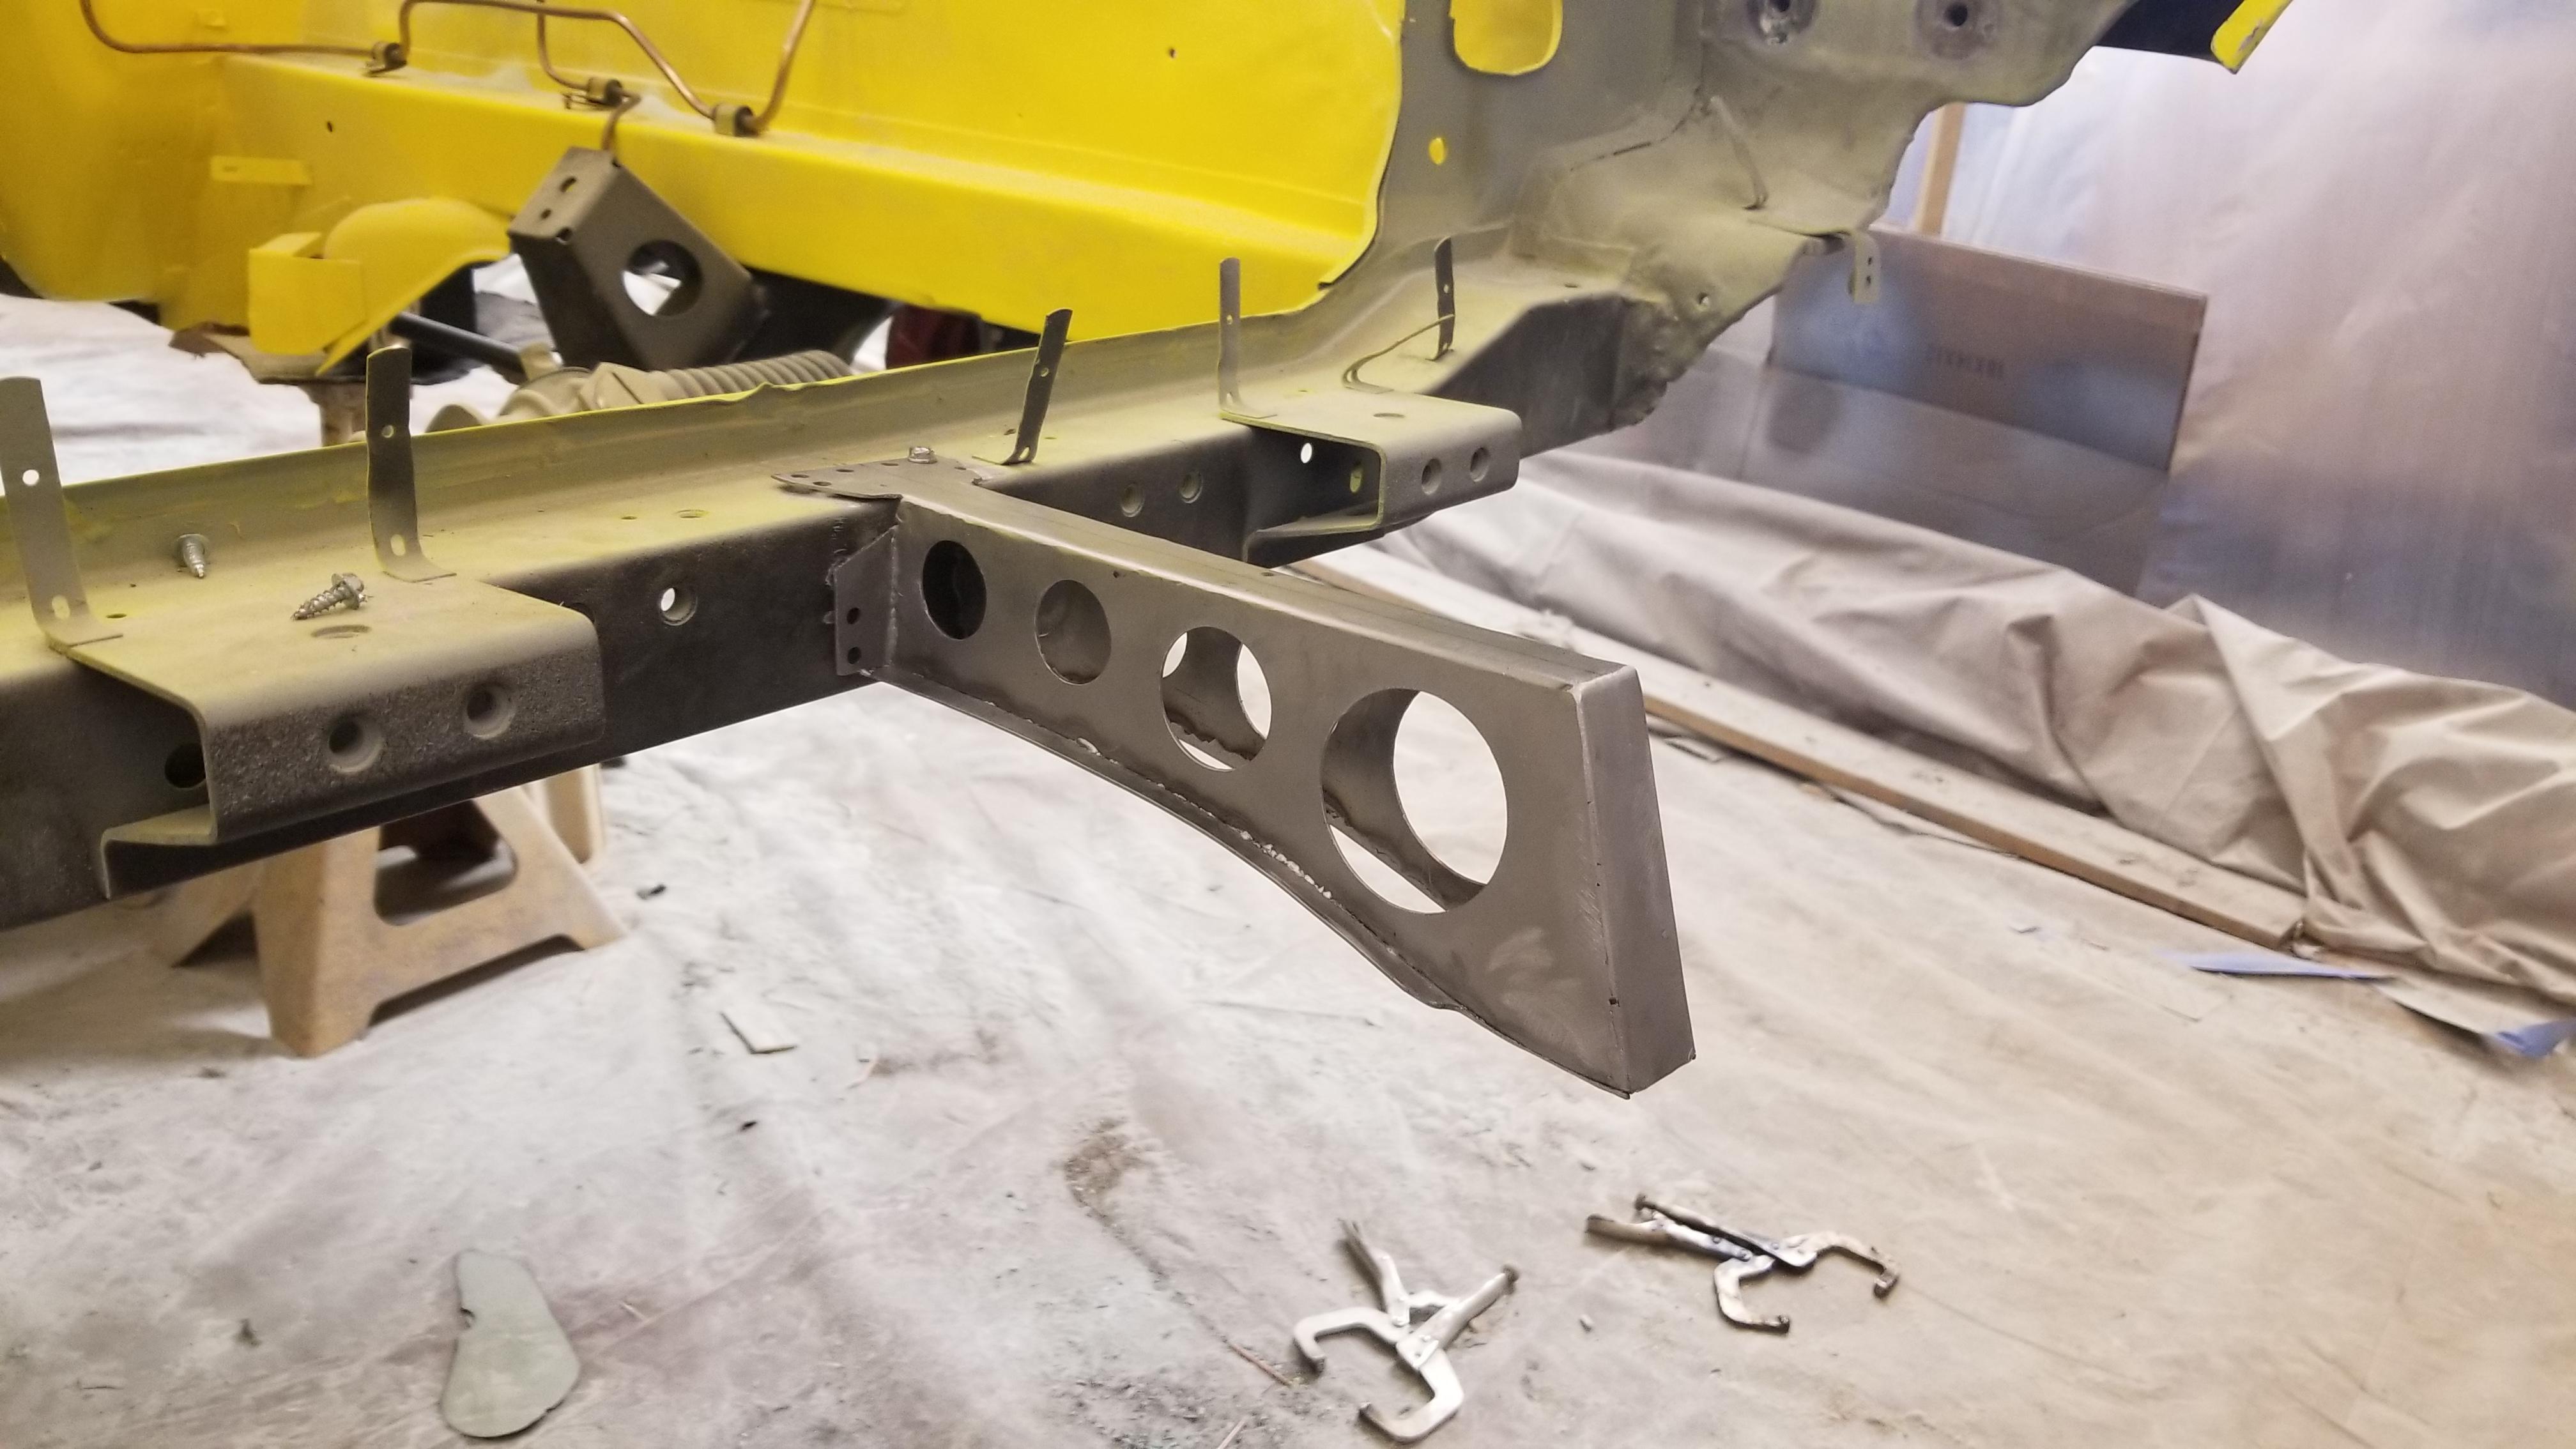
Did some more work on the air dam support Here is the air dam side bracket Added some flanges I will drill some through bolts for final mounting. For those others that have used the Xenon air dam. Do they have this waviness on your install? I used a heat gun on it some today. It got better but I can't get rid of all of it. If I push the upper bar forward it reduces this waviness but it is sort of frustrating. If it was a TPO bumper and not urethane I would cut it and take the waves out. But that won't work on urethane