motorman7
Supporting Member
-
Joined
-
Last visited
Everything posted by motorman7
-
You're welcome Keith 😊
-
It's the DT509

-
Thanks for the reminder, here they are.

-
Hi Kieth, I still have the stickers in my toolbox in the original package, but I am out of town right now, so no access. I can get back to you on Monday when I return. Rich
-
My guess is that the Datsun garage dash is supplied by Vintage Dashes. Perhaps they got a bulk order discount at the time. I know that Jay, owner of jdmcarparts.com, distributes his parts to Motorsports and other Z suppliers. I think Vintage Dashes does the same thing. Not a lot of people out there making Dashes. Datsun Garage dash may be a blem. Also, FWIW, I love the Vintage Dashes. I have assembled and installed 4 of them and they look great. I have done 2 Just Dashes and they are good, but do not maintain the shape of the original dash. I was not happy with how they shaved the foam over the 3 center gauges. The foam was thicker in that location than the original. I posted pics of the difference on one of my blogs here. Both companies use the same black plastic overwrap and have the same grain, which is different from the original but not a big deal. Only nerds like me pay attention to material textures. Also, I can relate to your windshield loss. I accidentally dropped a head onto an original Z windshield when working in tight quarters at my old house. I was crushed.
-
@grannyknot I use the weatherstrip glue in the corners only, in the outside channel of the pinch weld, on all 4 corners. The bead of sealant extends about 6 to 8 inches from each corner. The corners seem to typically have the worst fit, so I think the sealant in those locations helps. Also, regarding installation, the condition of the gasket is probably a big factor. The soft ones make for a pretty easy install. The hard ones can be a bear.
-
Also, not a fan of trimmer filament. It is a small diameter and has a tendency to cling to the rubber lip and potentially tear the gasket lip (ask me how I know). I prefer to use a quarter inch diameter nylon cord/rope for the process. It's a bit more gentle on the rubber and comes out of the groove easier during the install process.
-
I have always installed the stainless steel trim AFTER getting the windshield installed on the car. When I tried to put the trim in before installing the windshield onto the car, the trim came out during the installation process. The key to installing the trim after is using lots of Windex. I will typically install one trim edge in the rubber gasket groove, I then lube the other rubber groove generously with Windex and use a small screwdriver to lift the other rubber groove over the stainless steel trim edge. With a nice soft gasket, the second groove will lift over and secure the trim almost like a zipper. Hard gaskets are a bit more difficult, but not bad. For what it's worth, I have installed at least 10 sets of windshields and hatch glass and their respective trim so I am pretty comfortable with it. Also, I blogged the process somewhere on the site here.
-
Thanks everyone. I will probably take a short break here and then work on another. I really enjoy the entire restoration process. It's nice to have a hobby that you truly enjoy. Have a Happy New Year everyone 😊
-
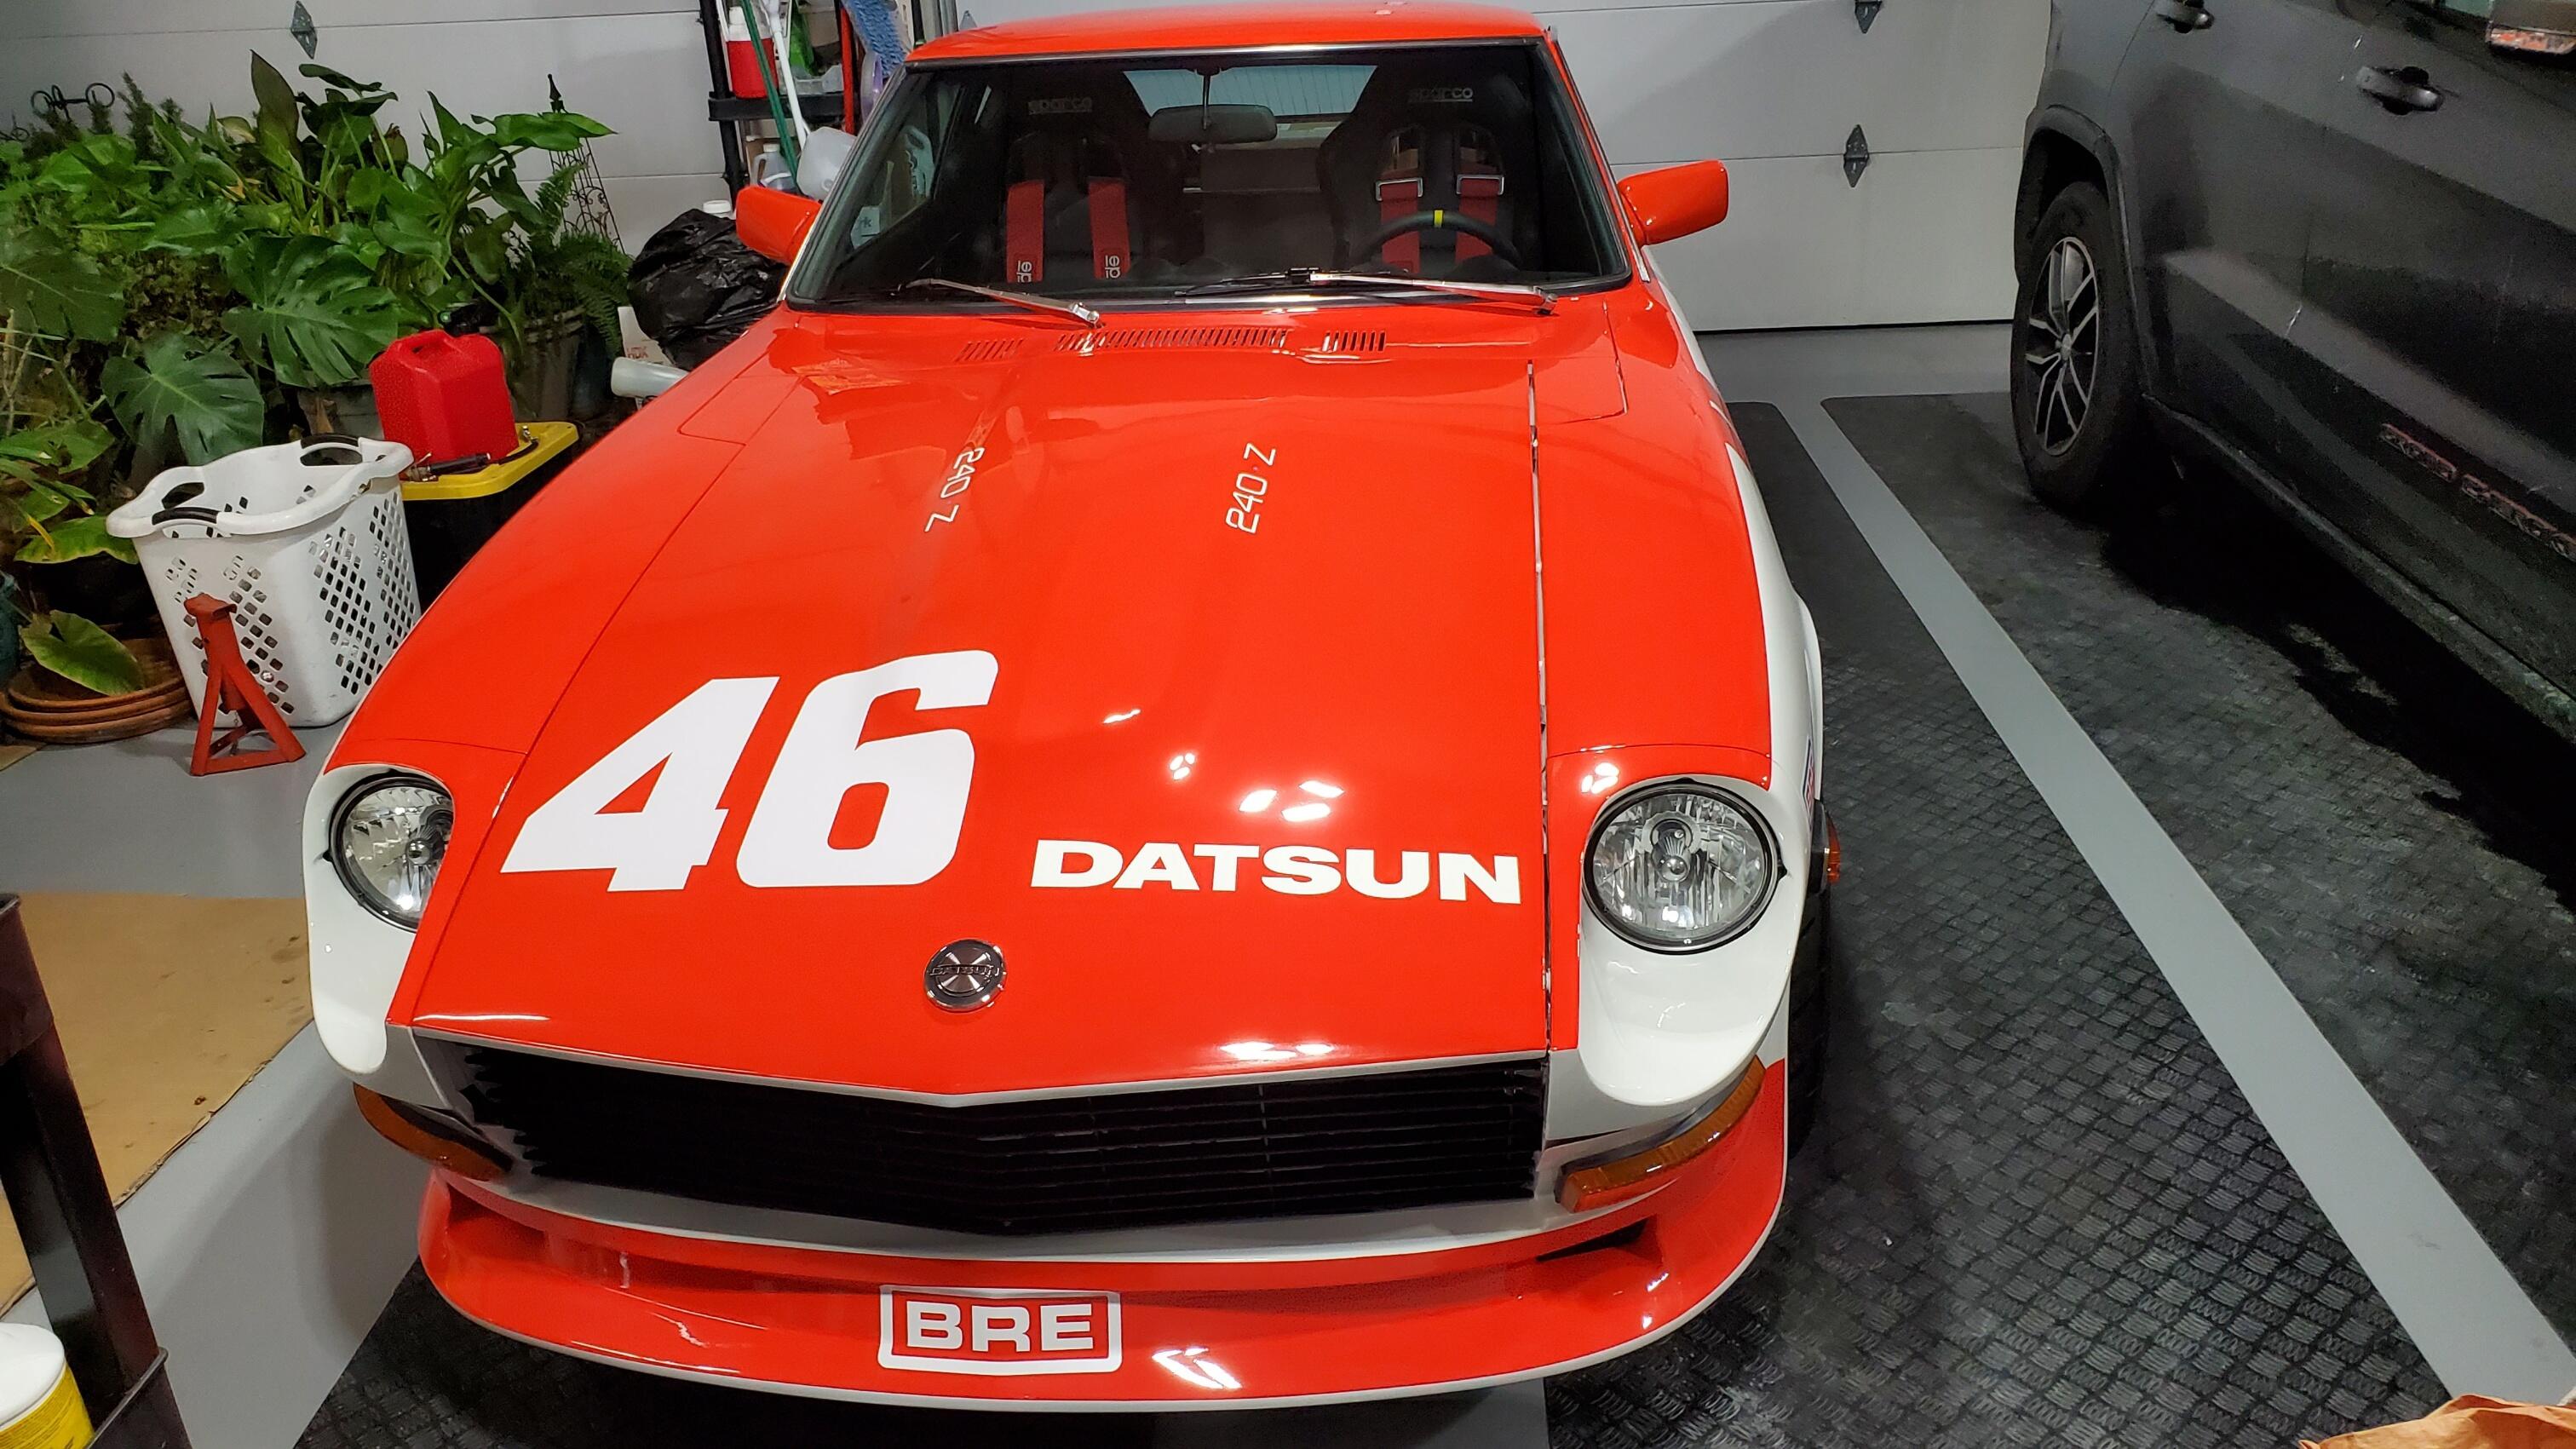
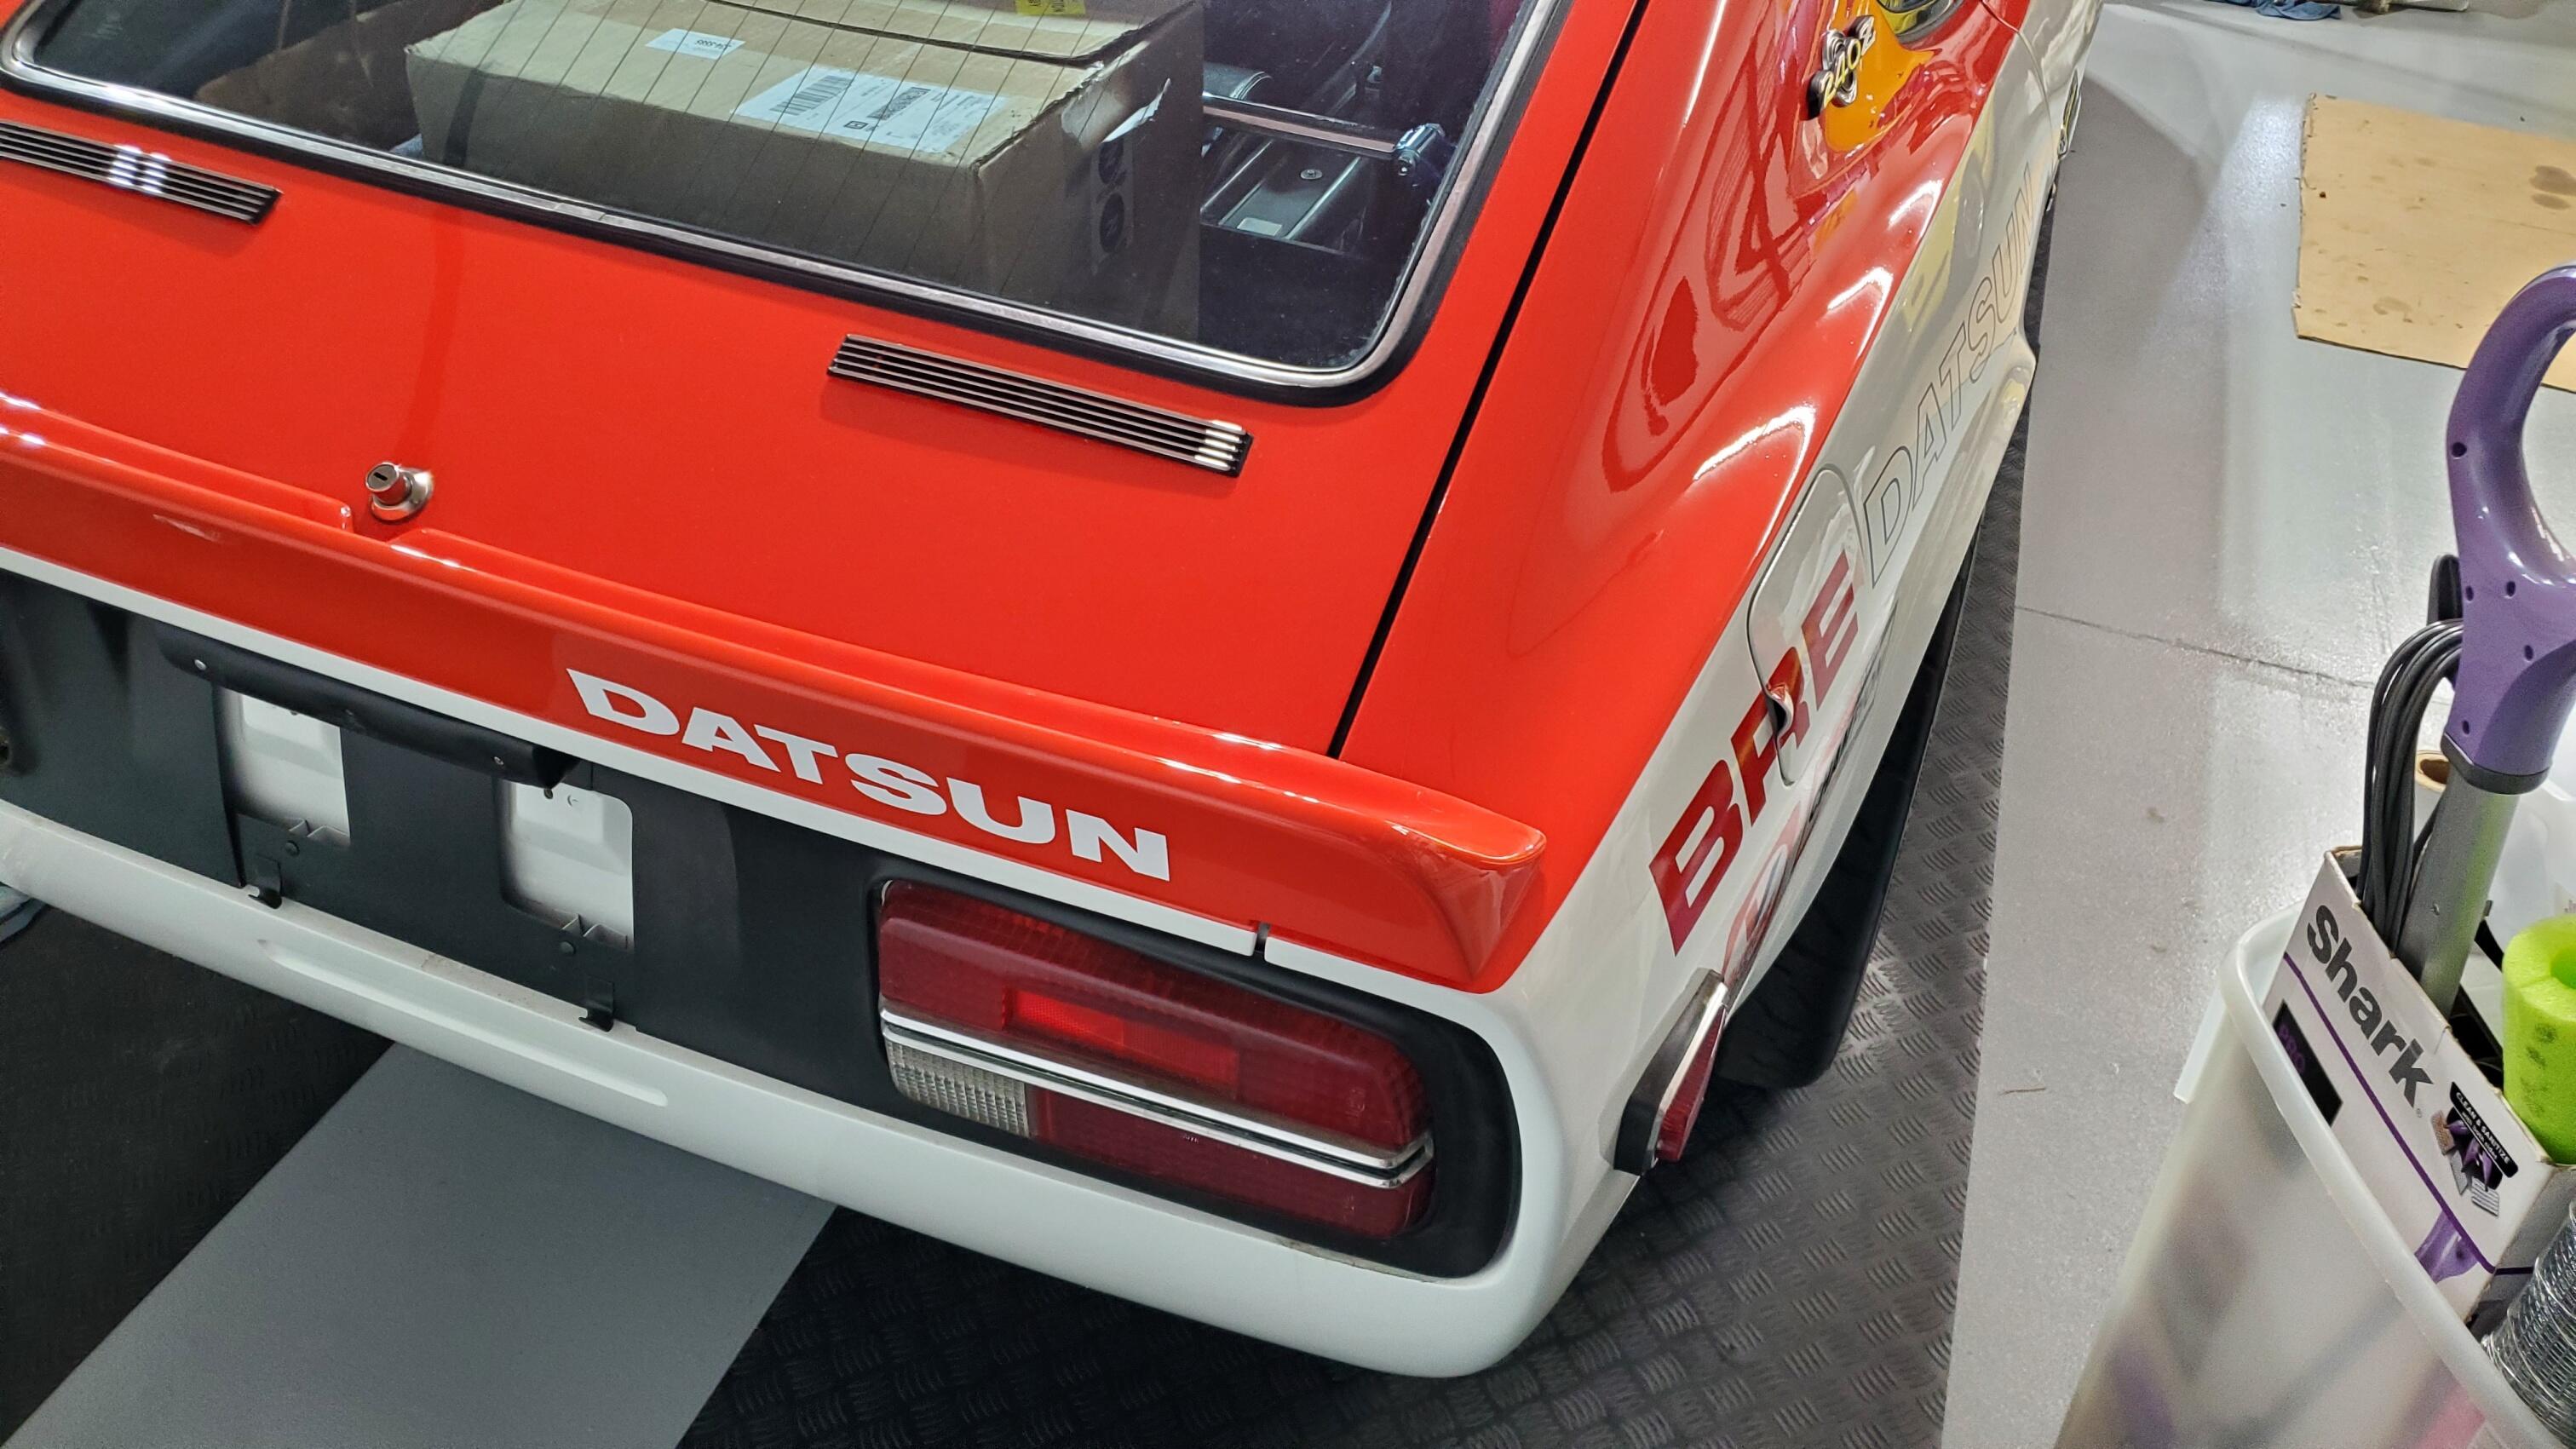
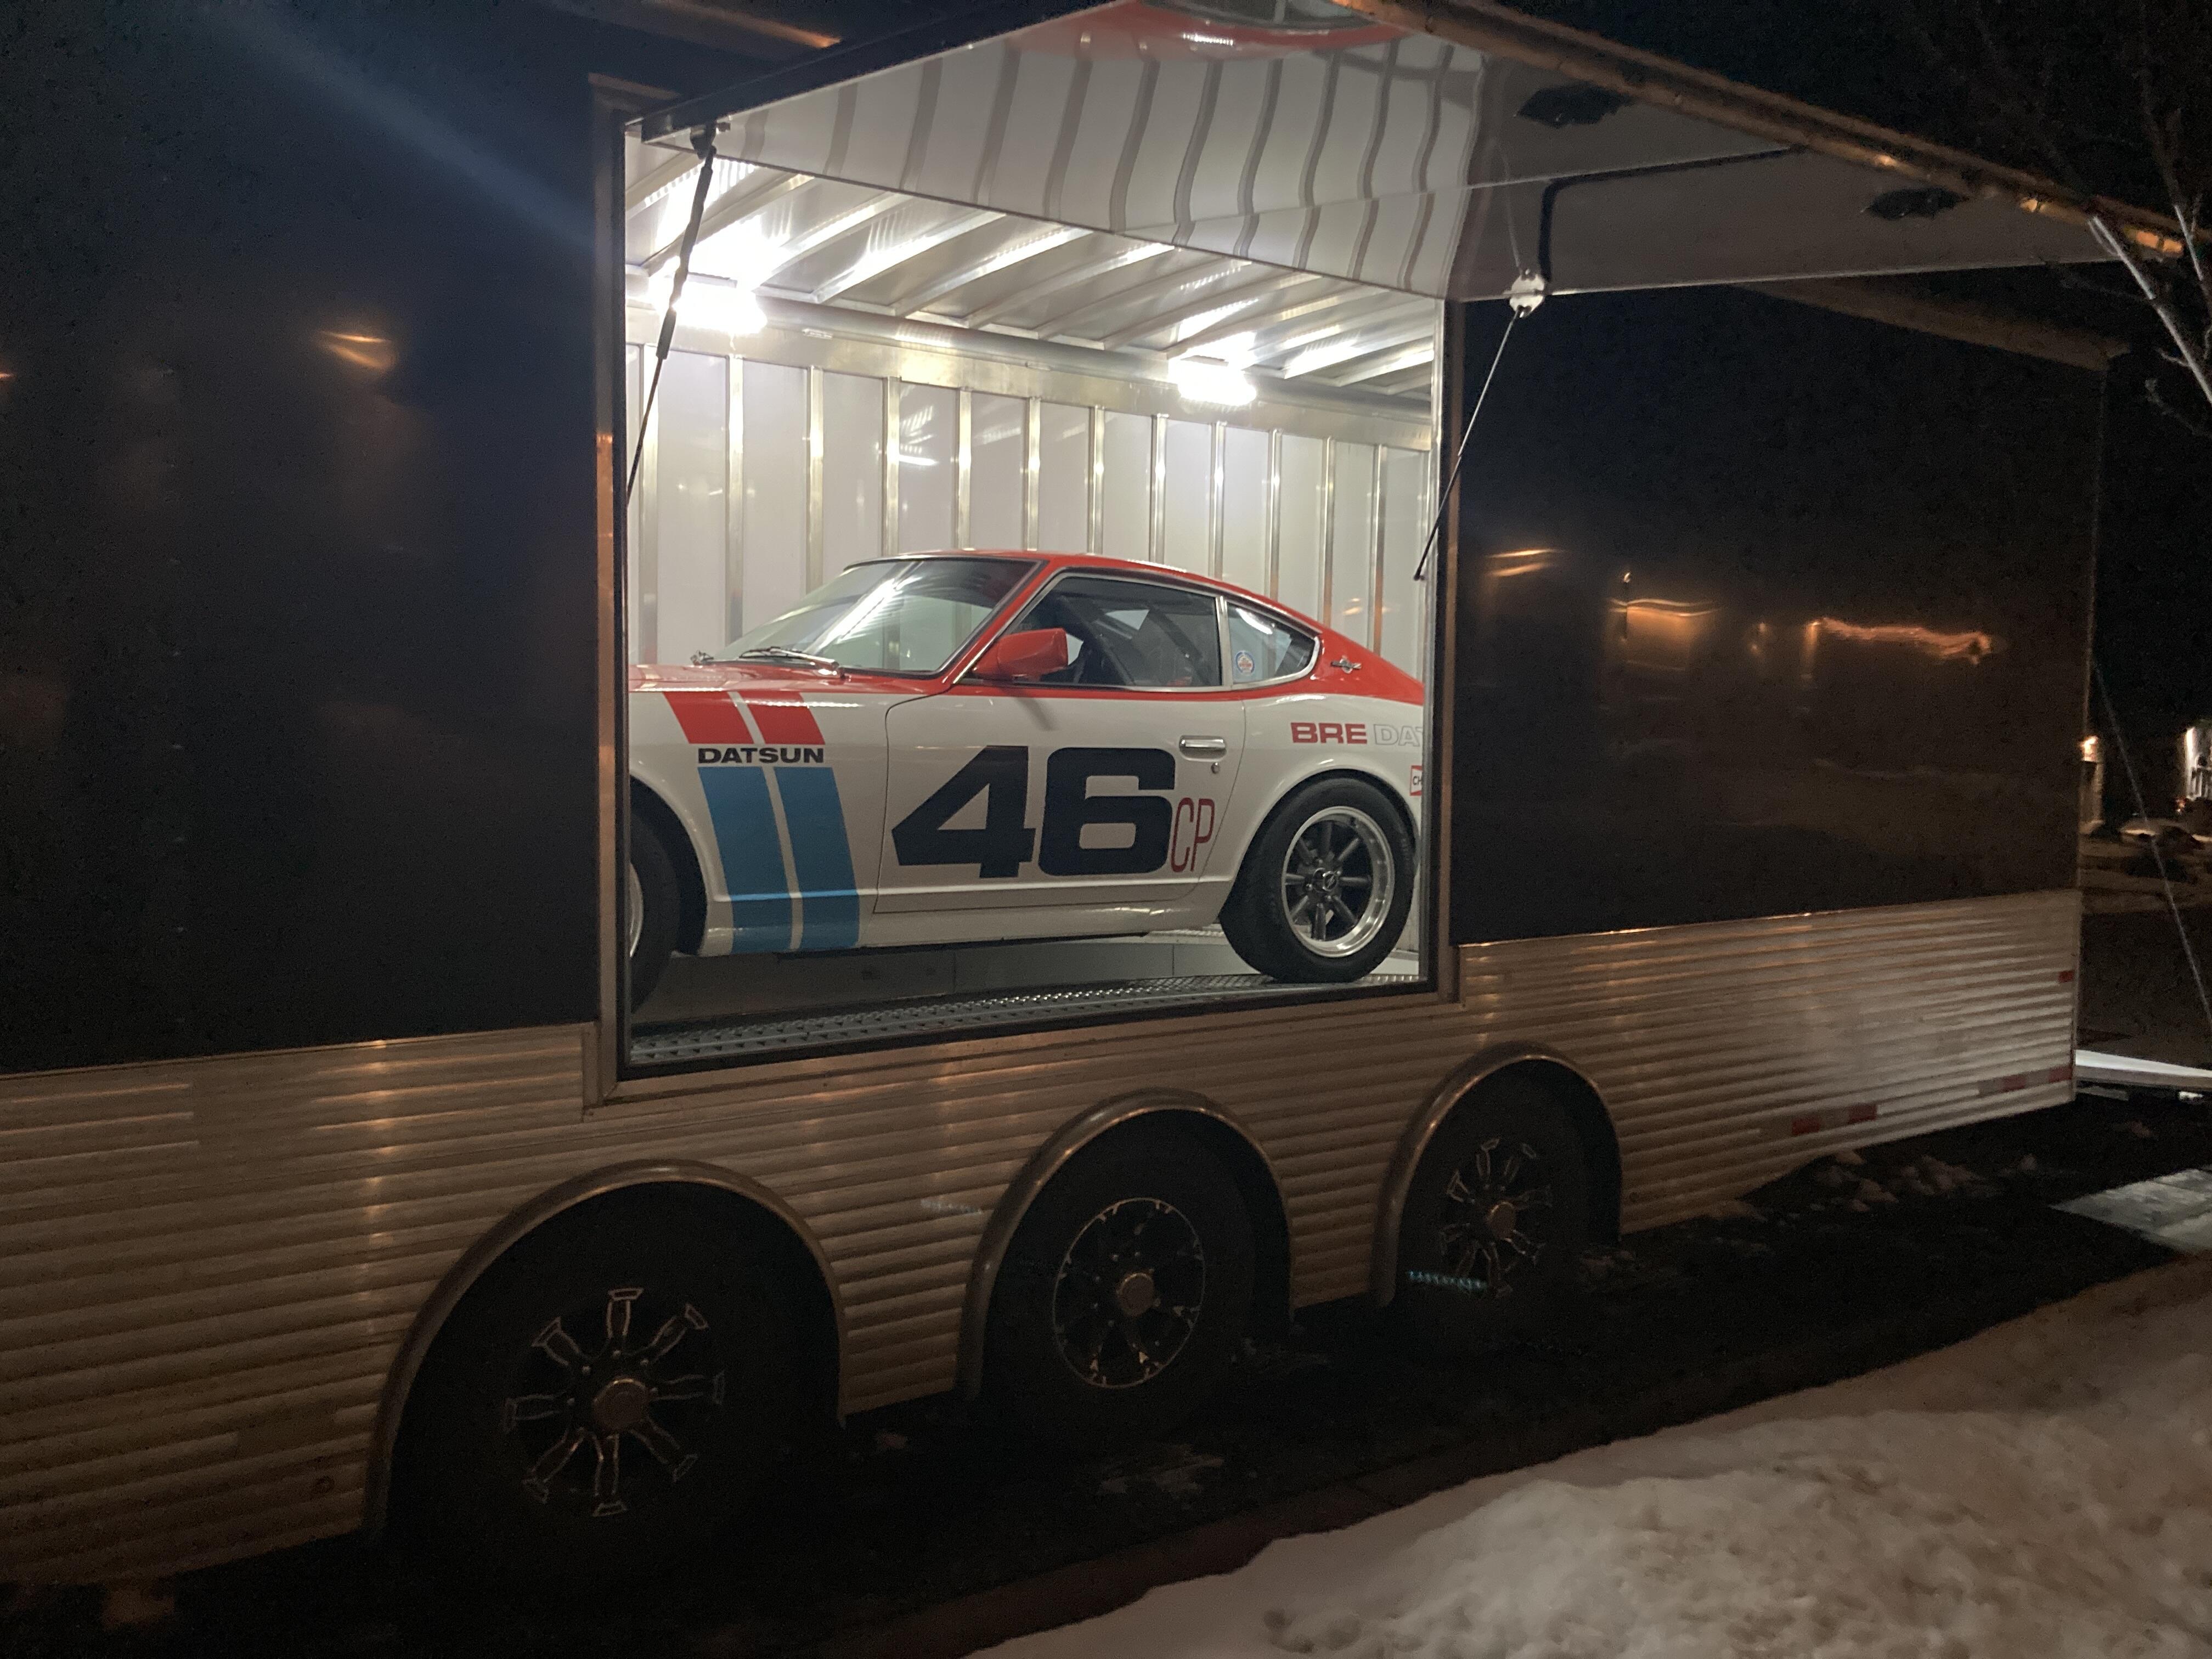
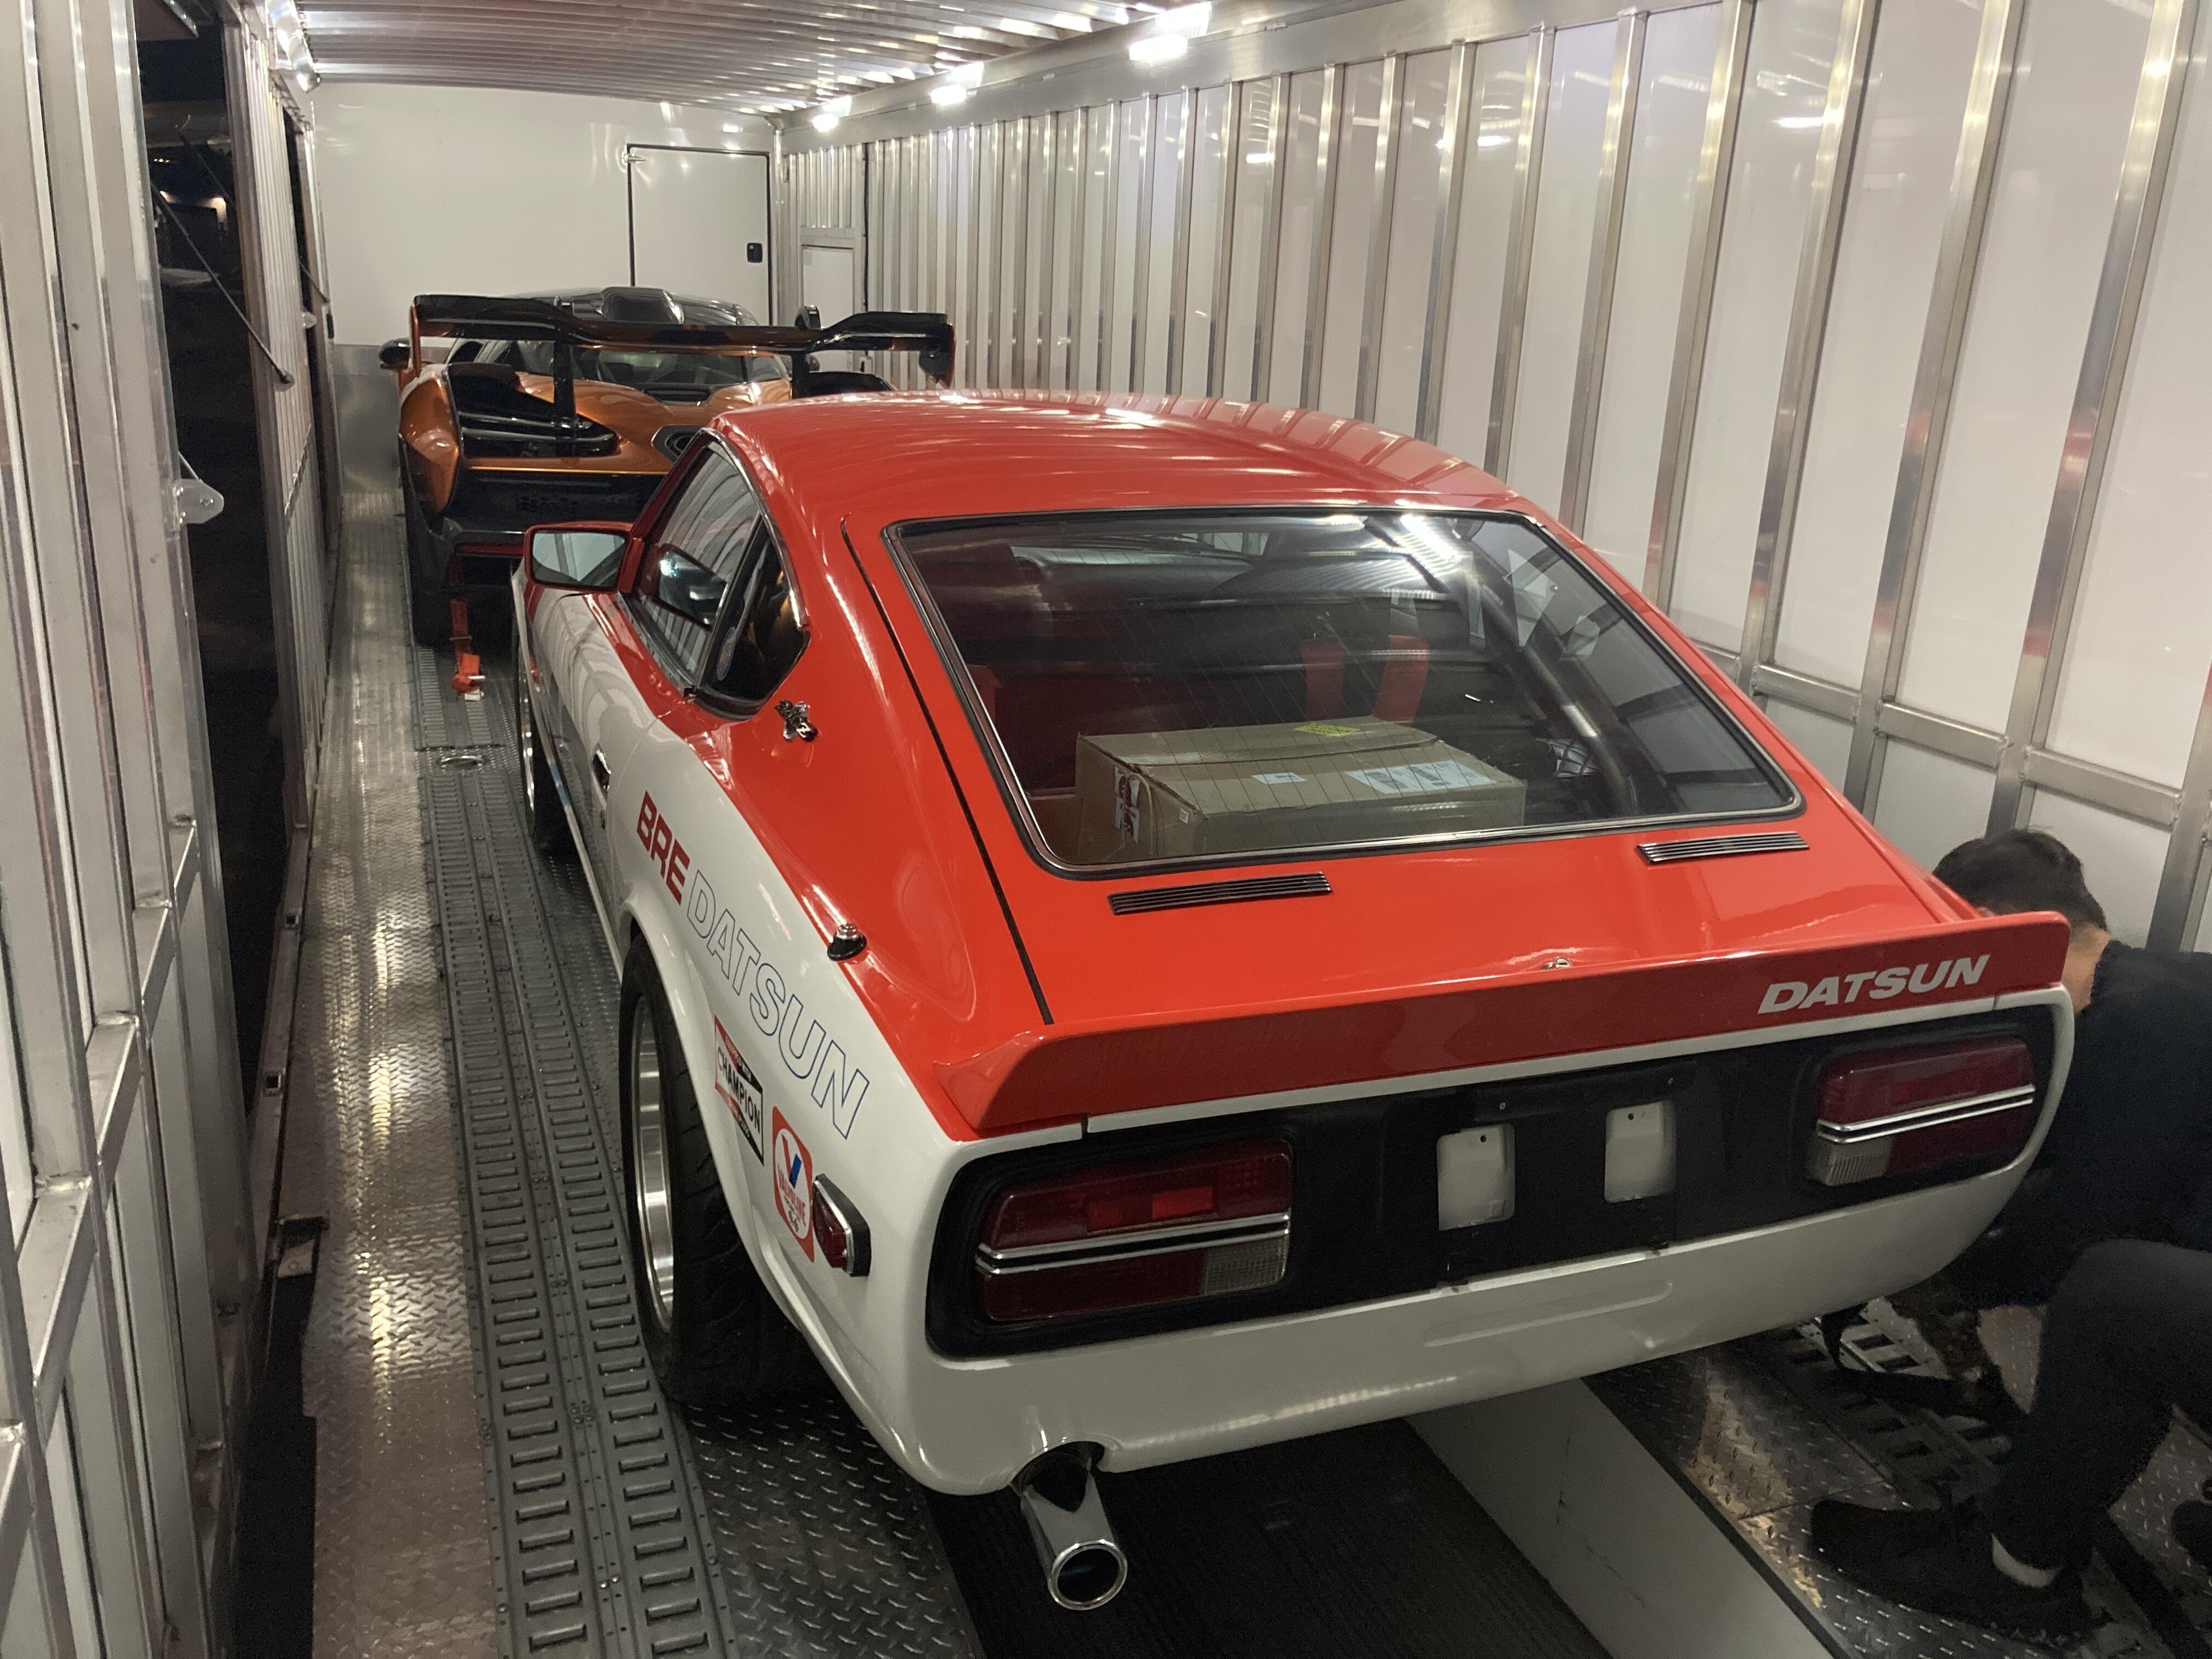
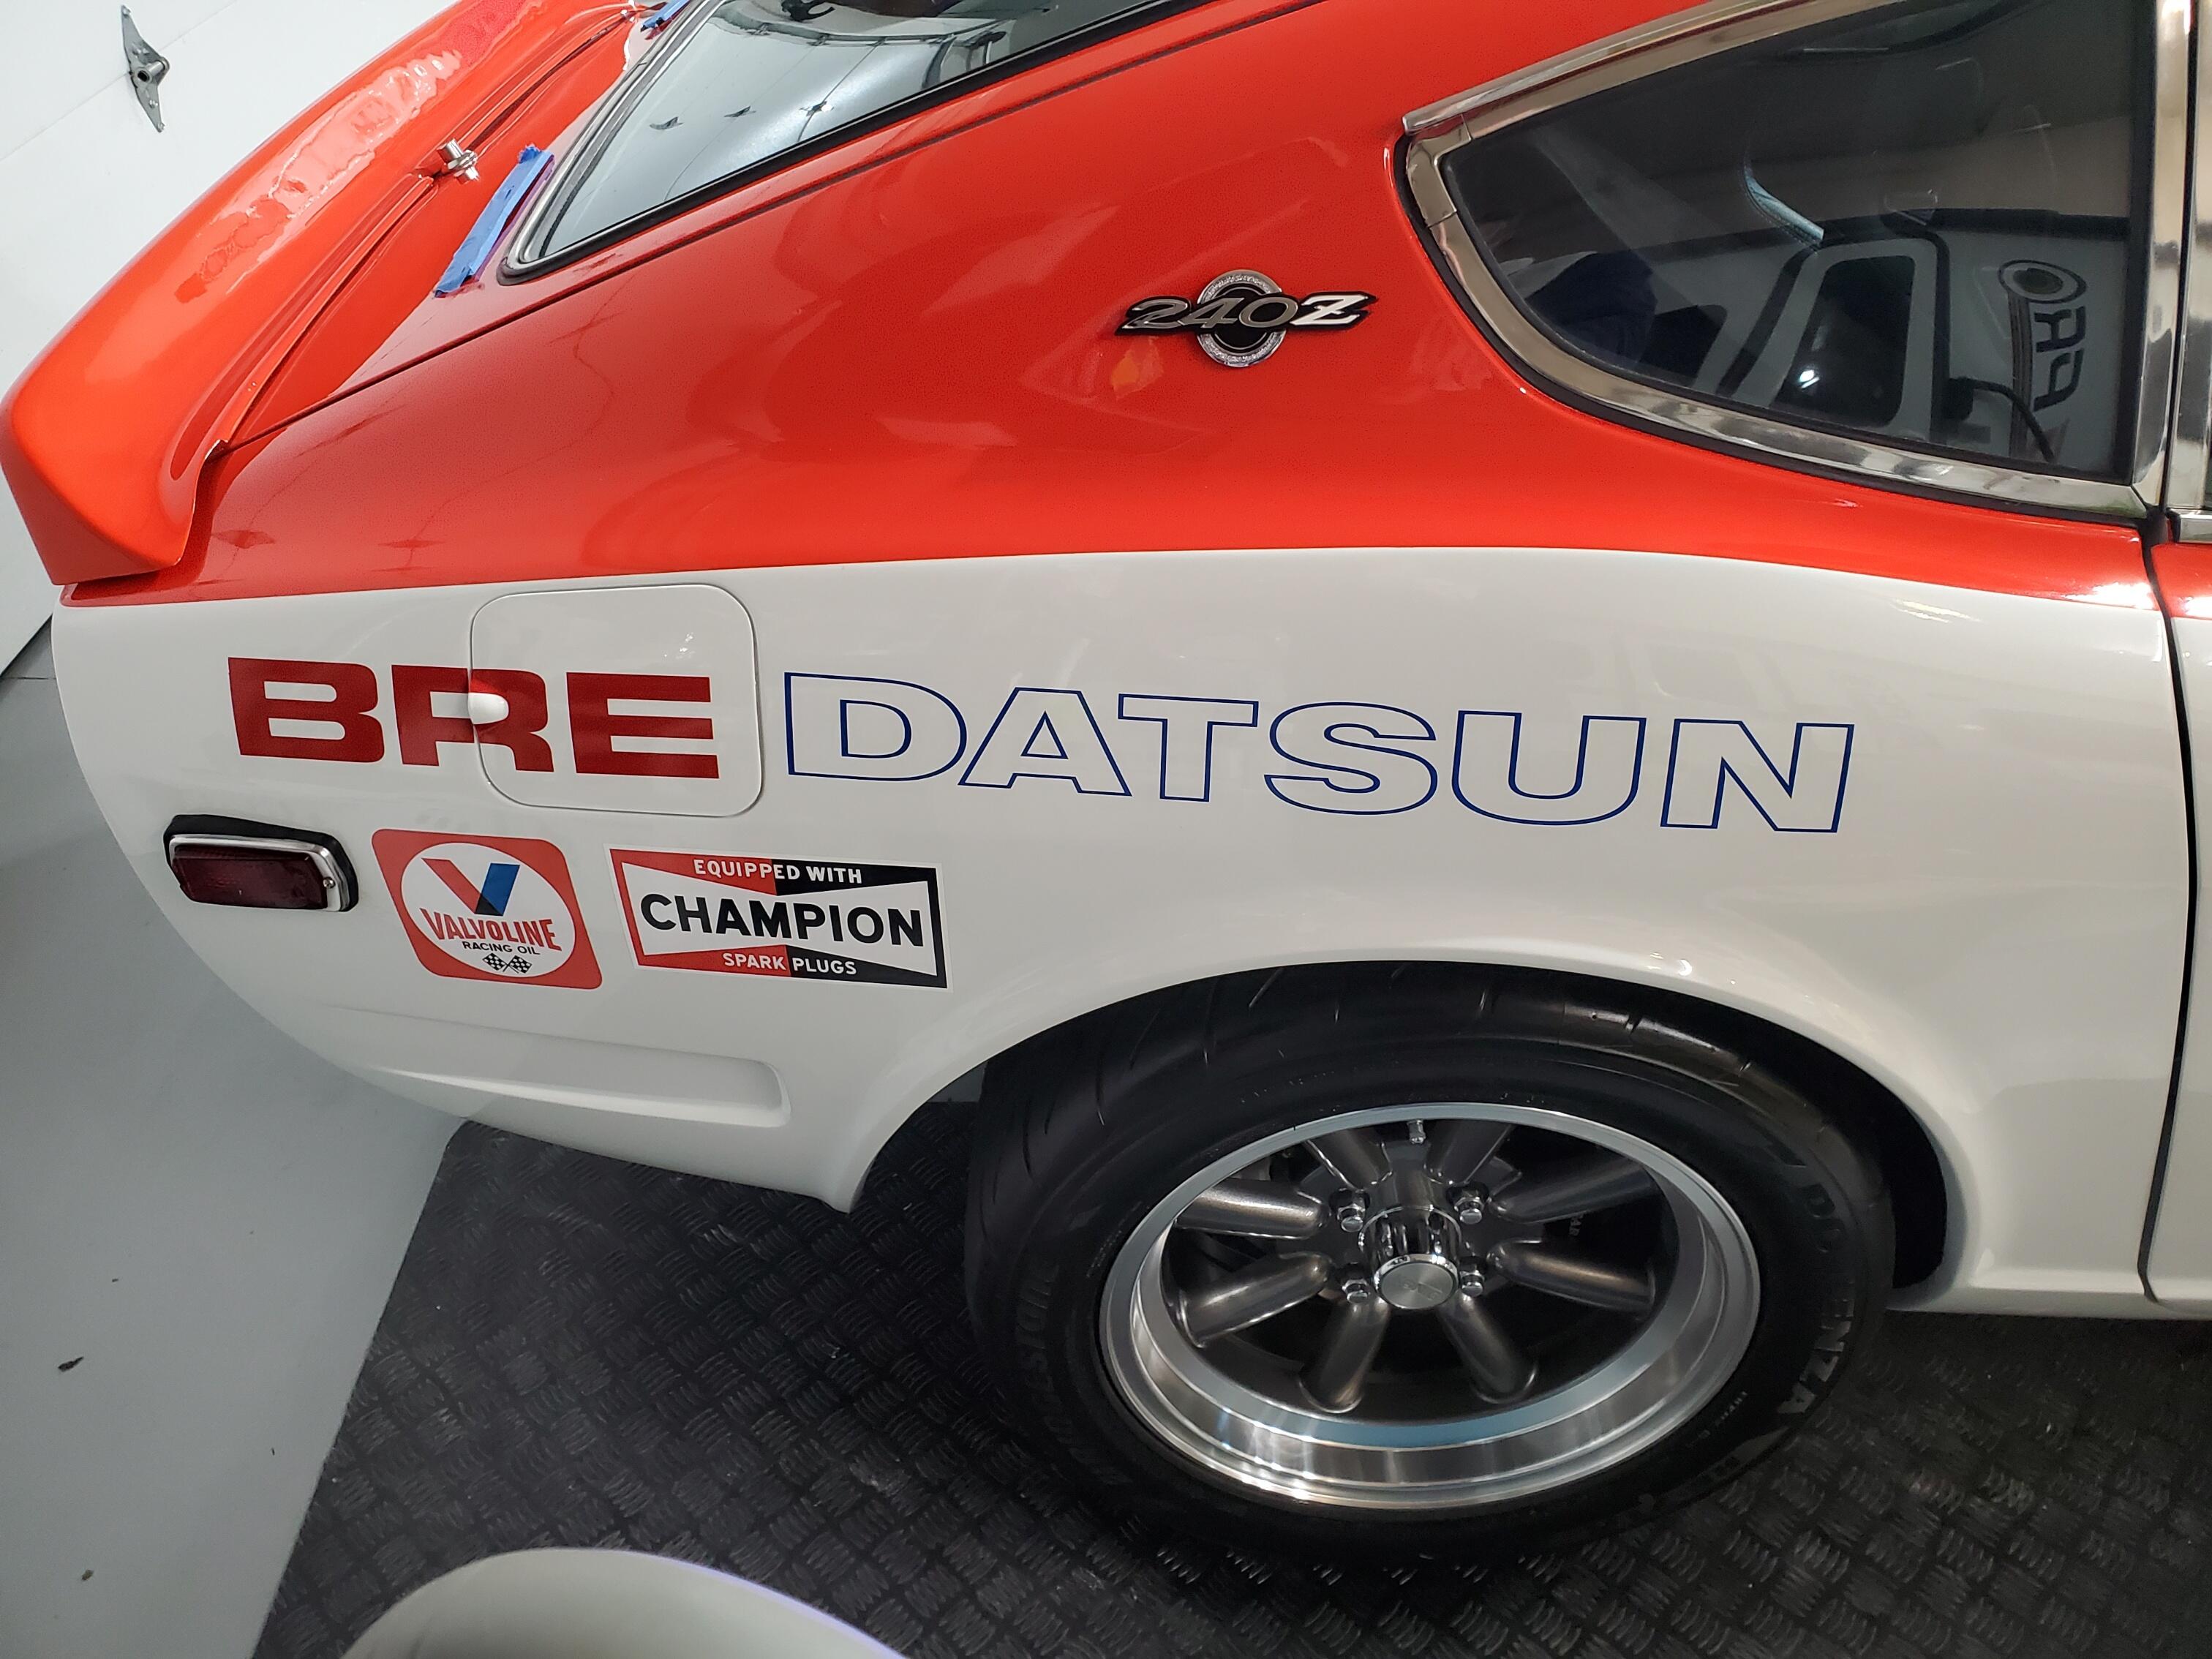
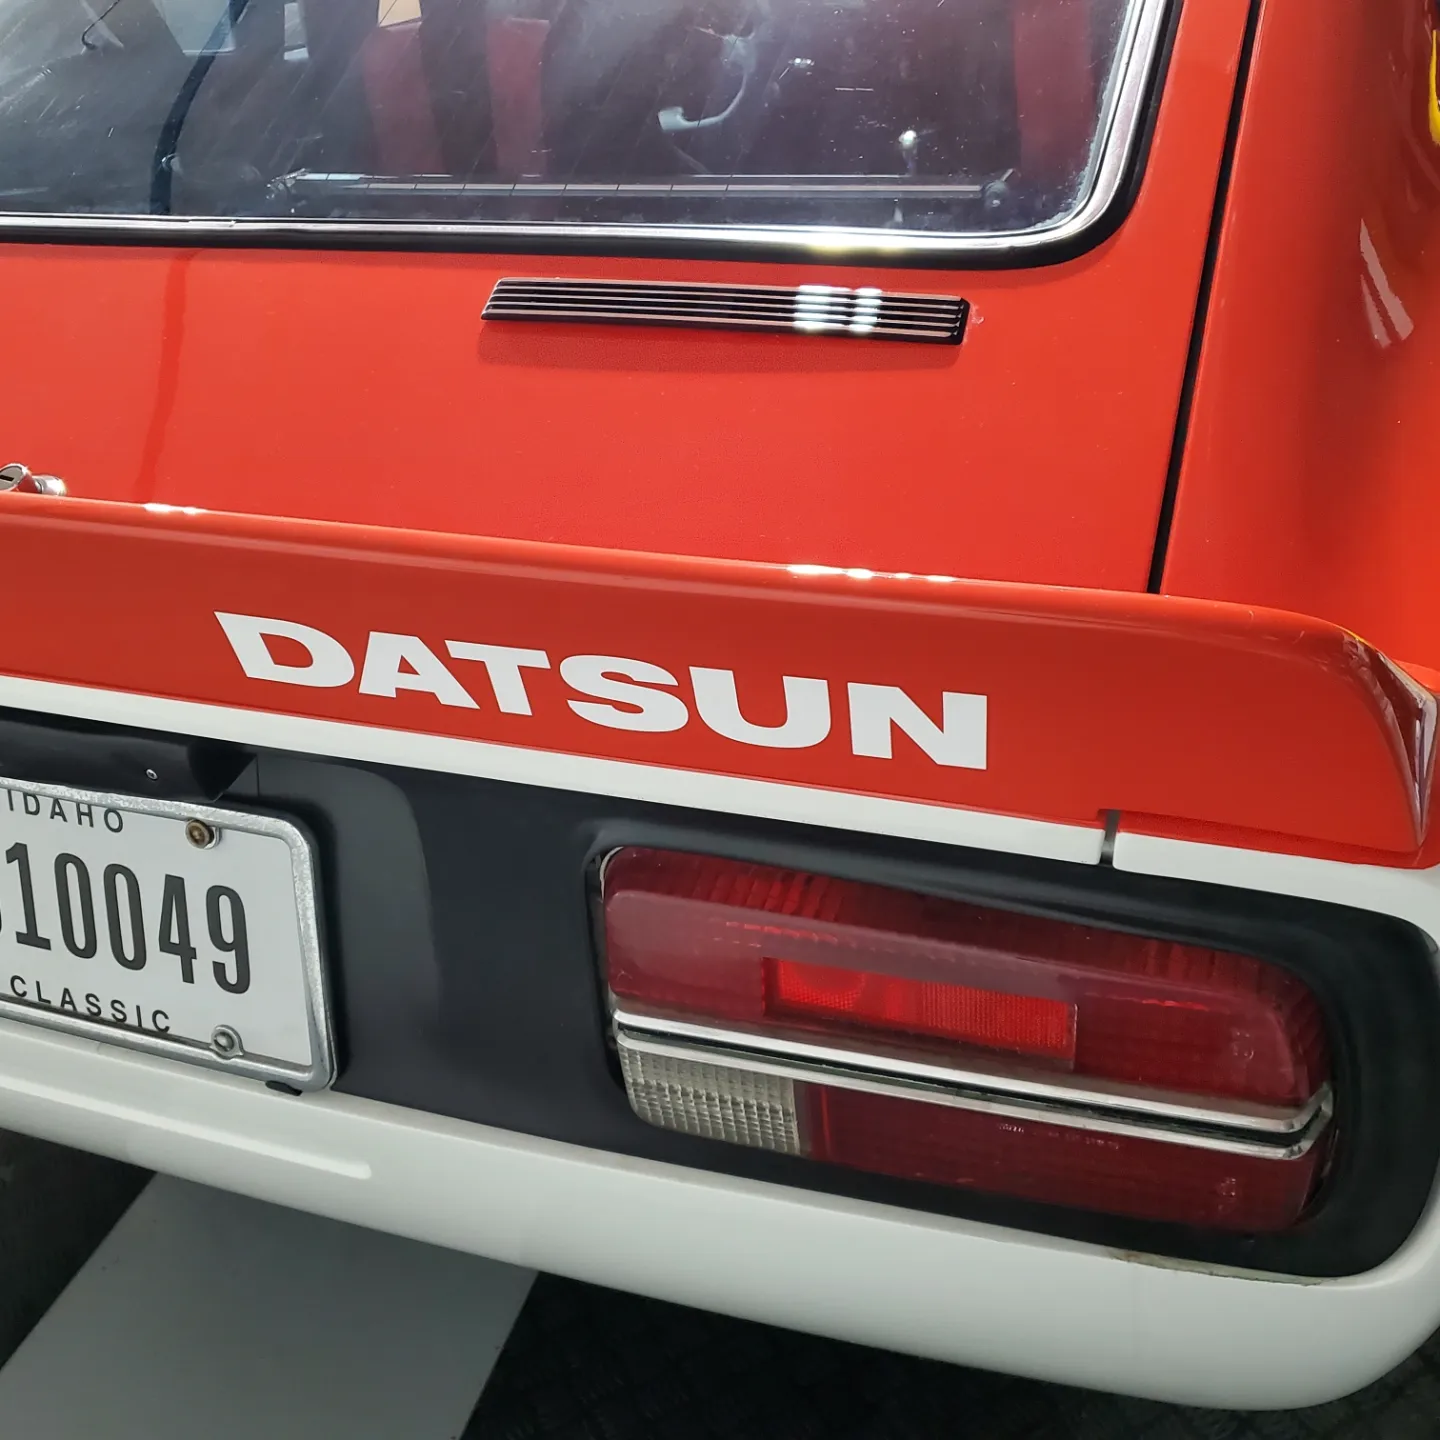
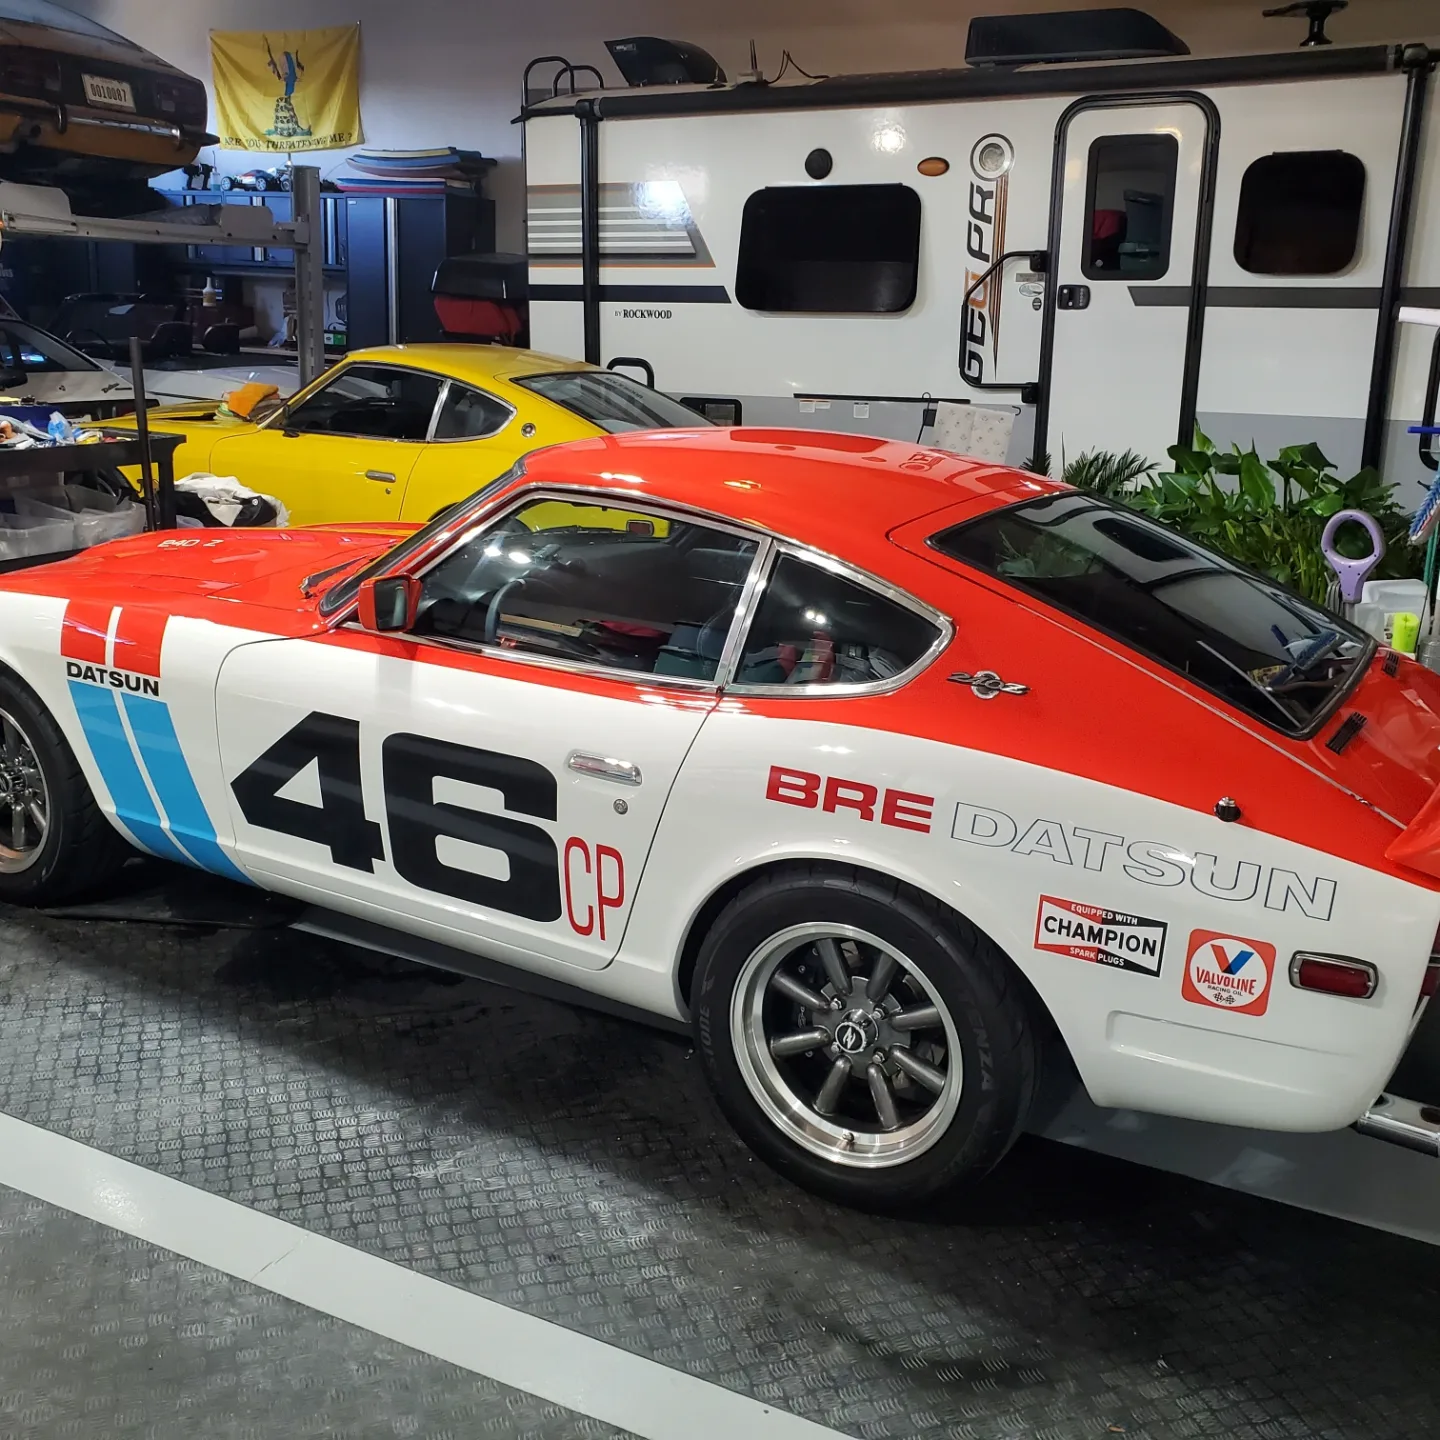
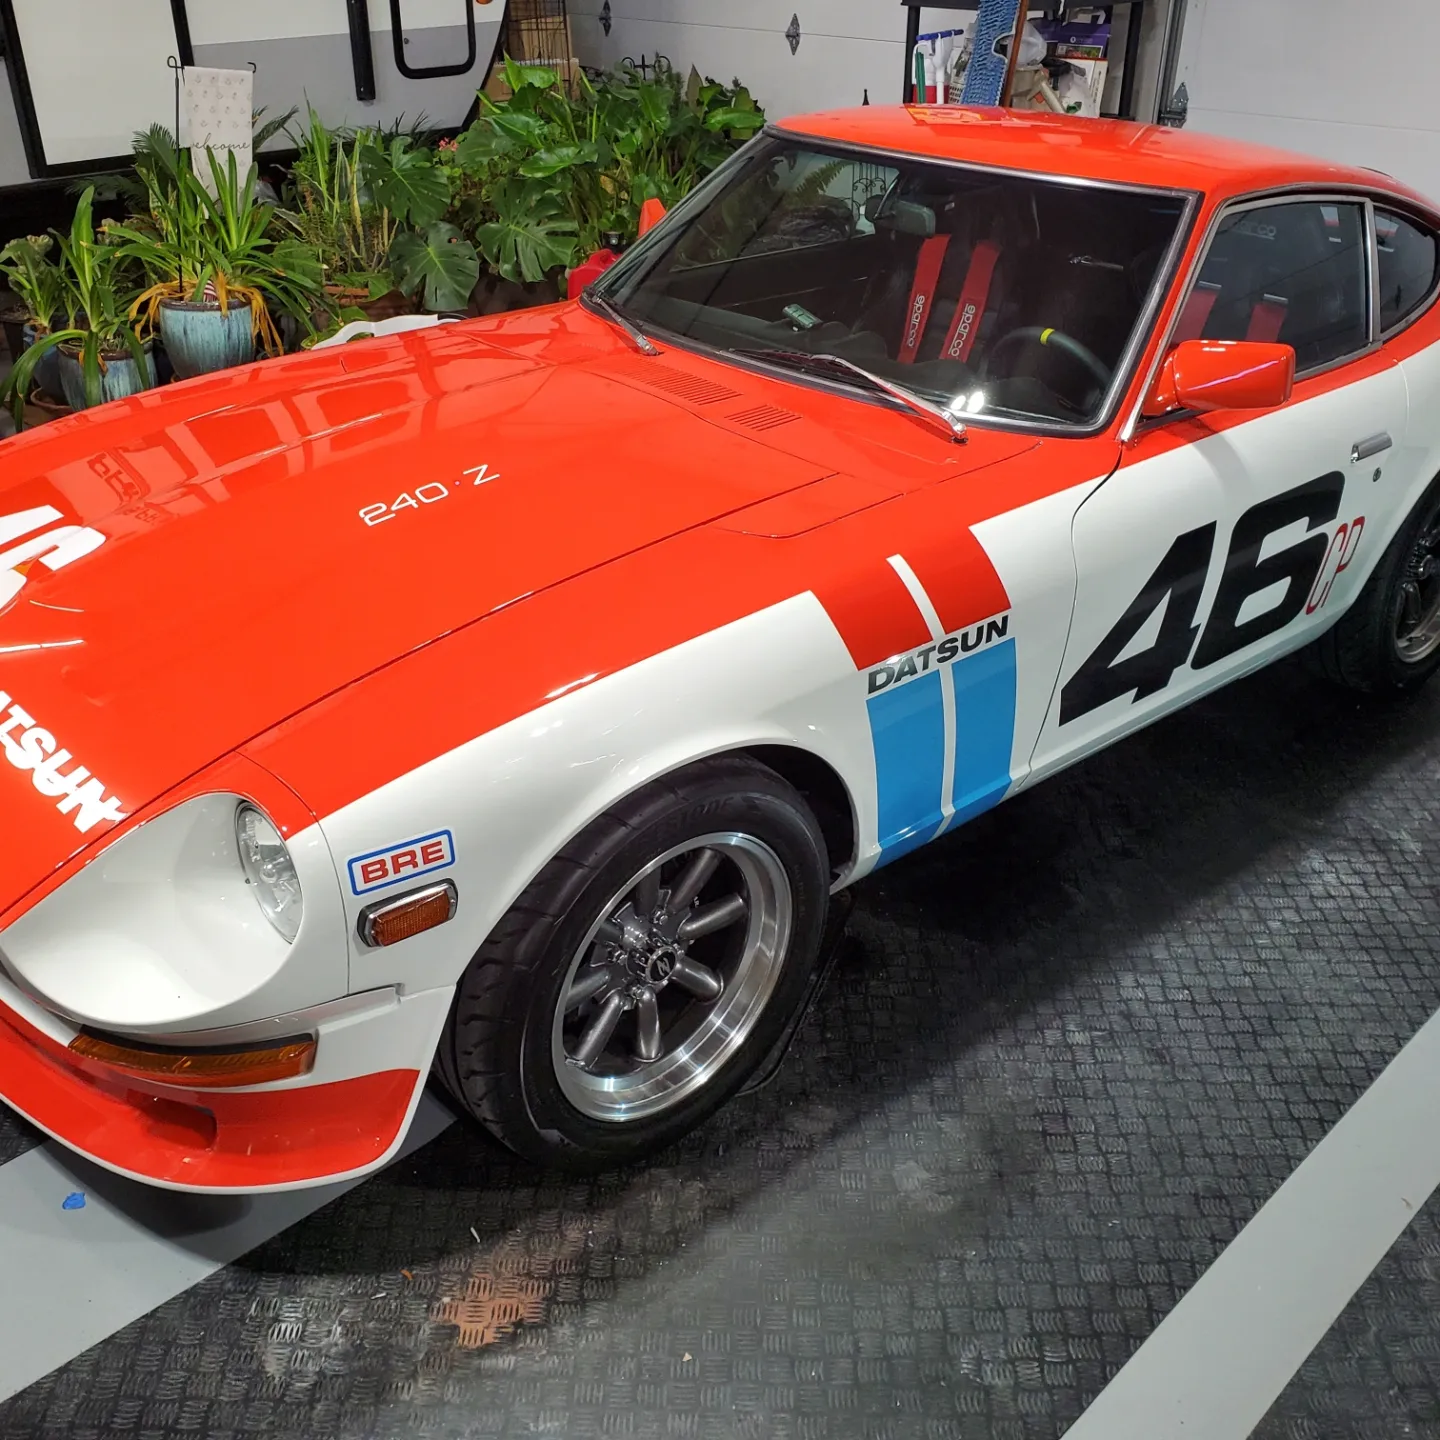
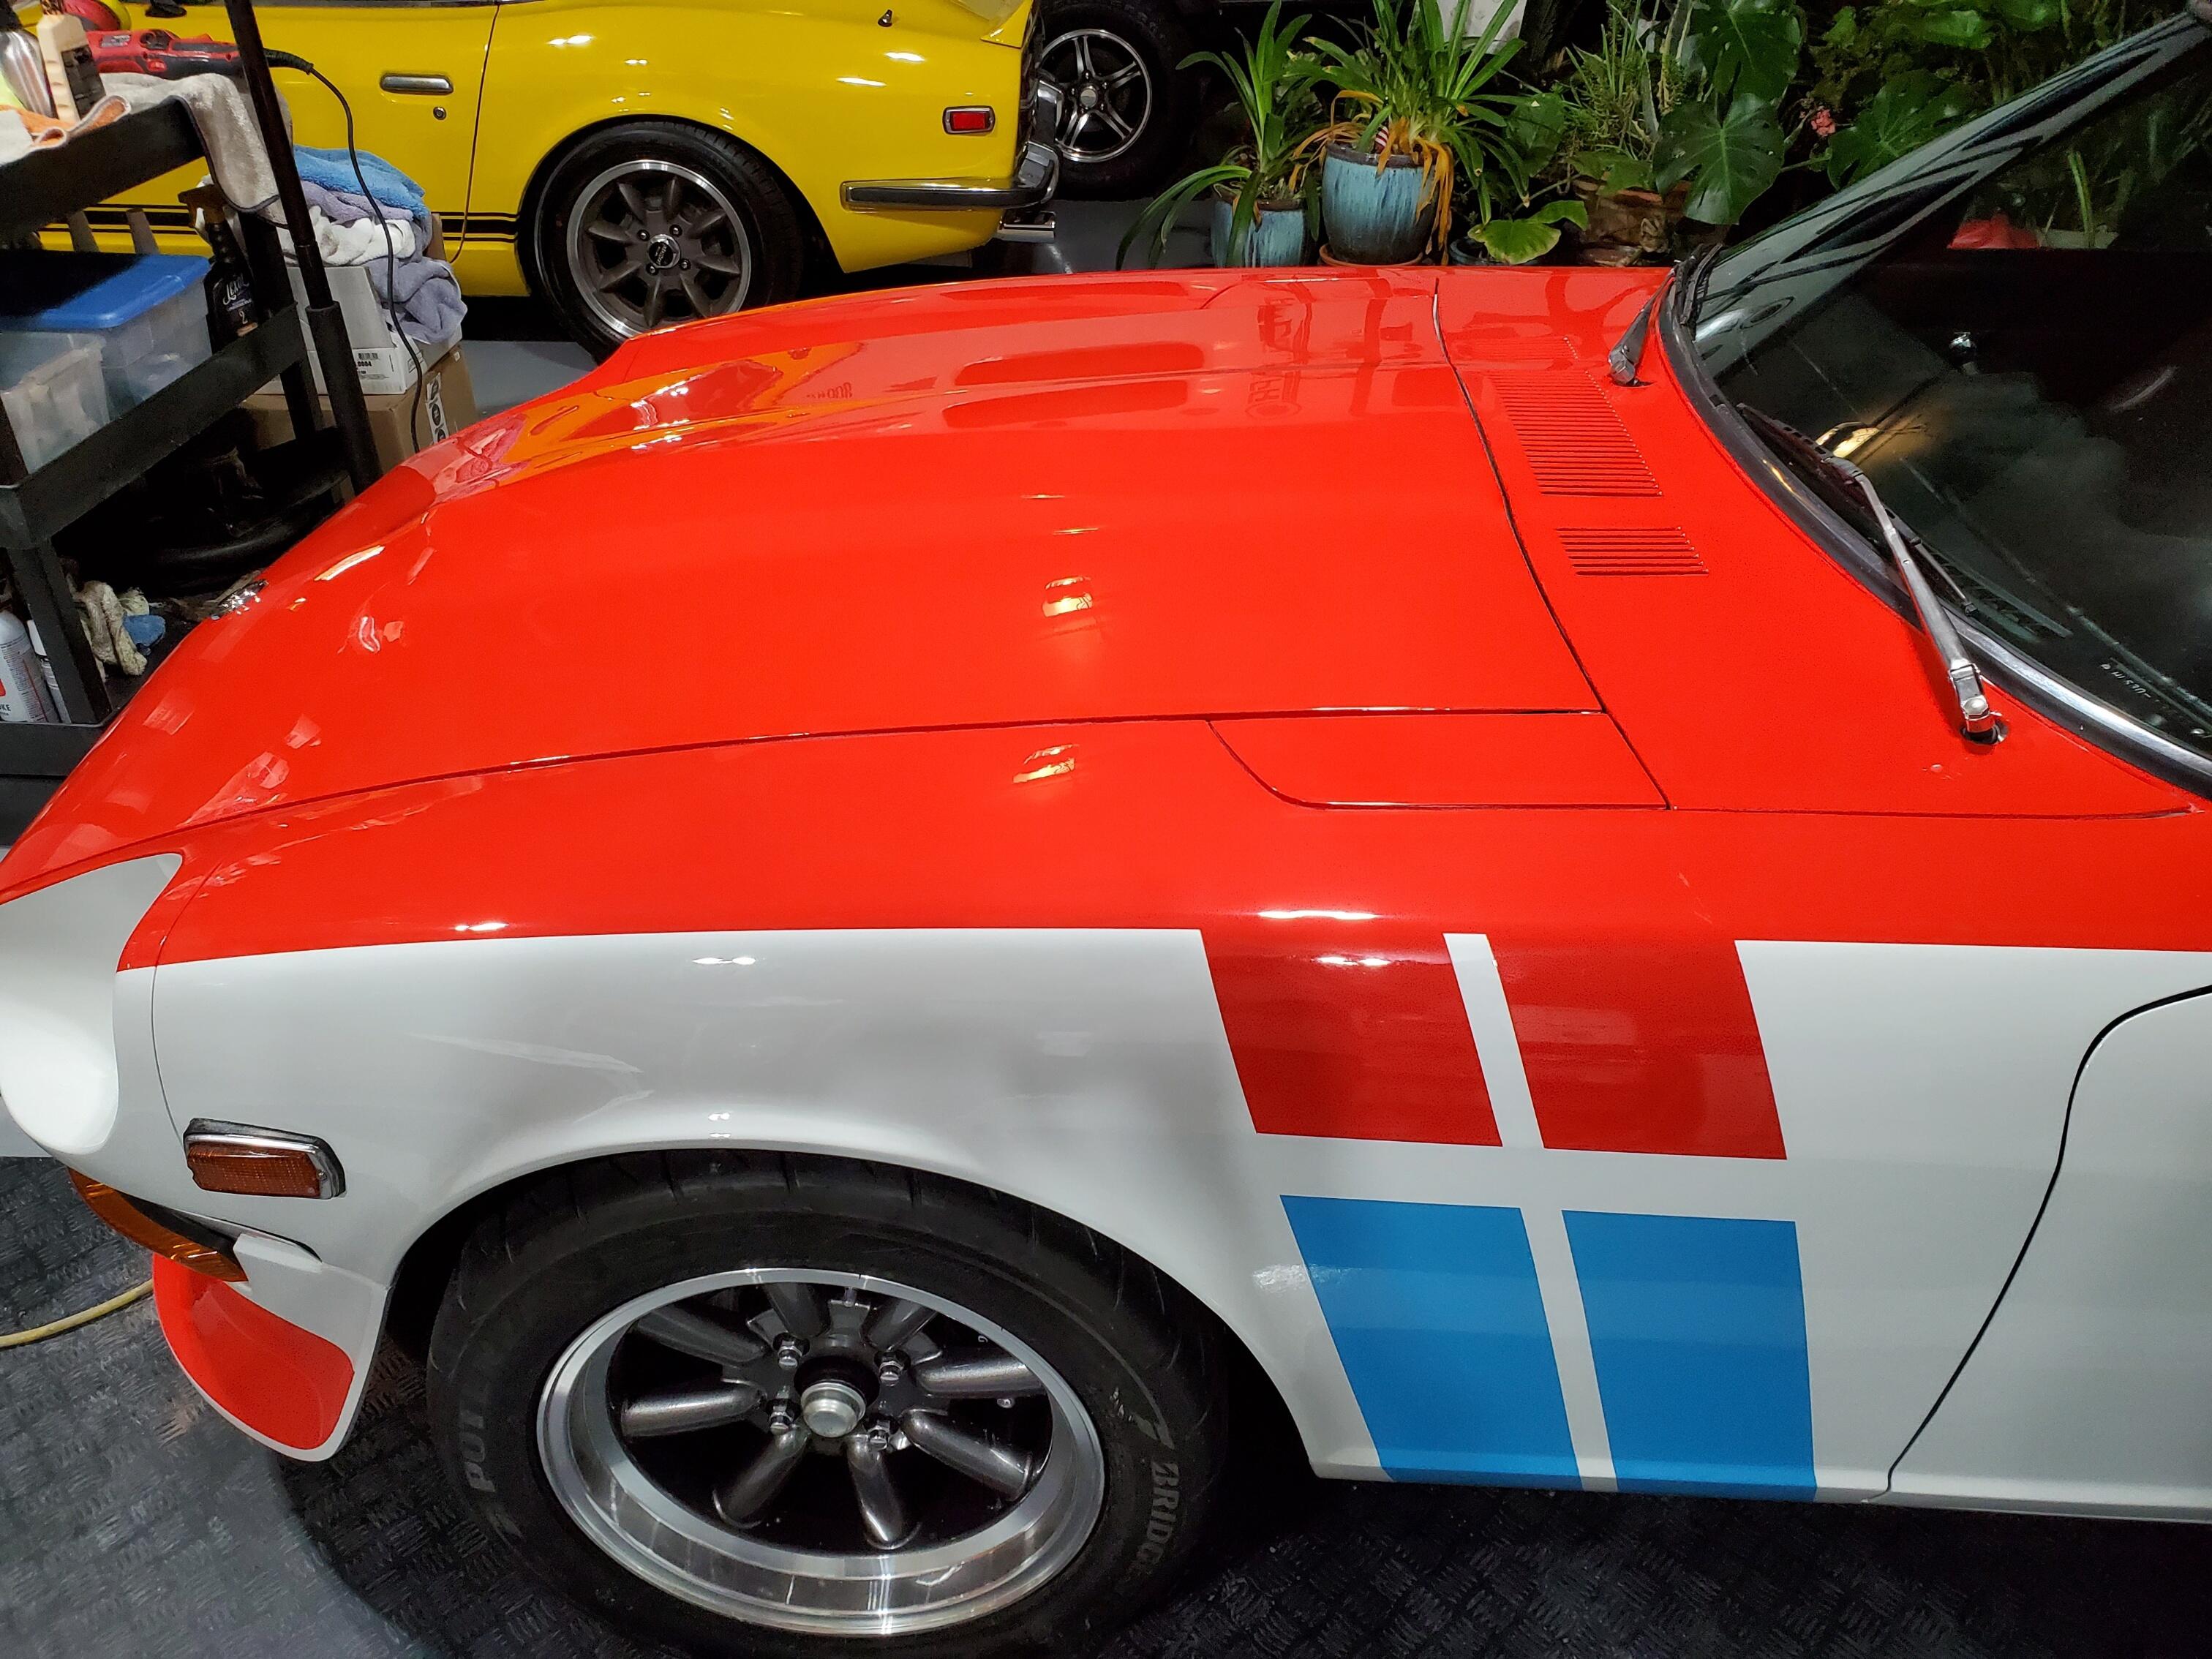
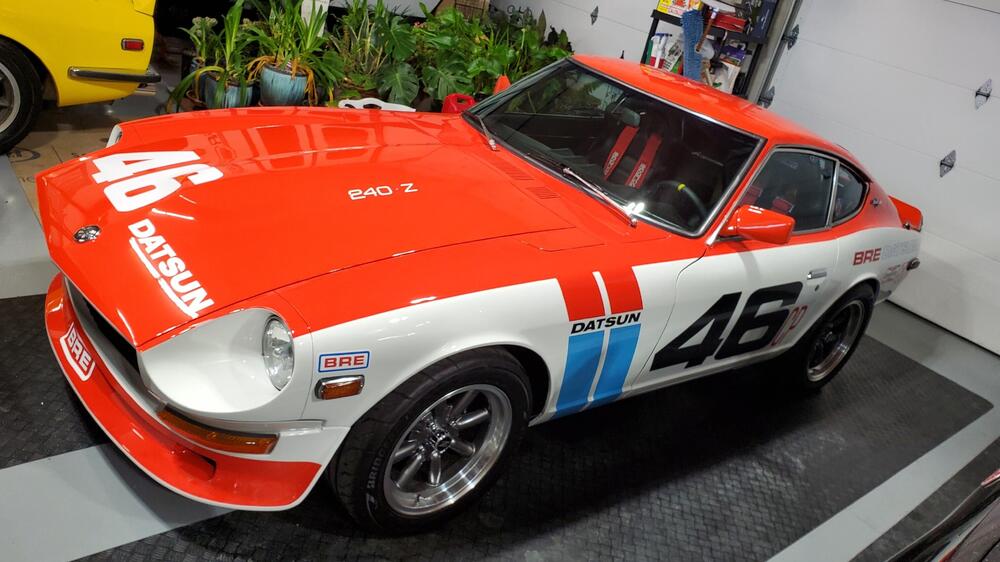
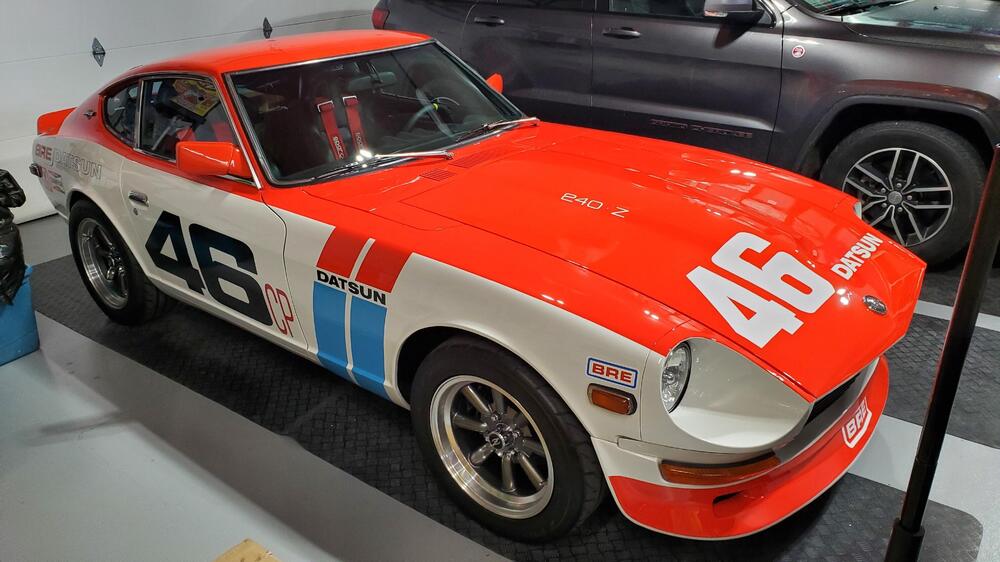
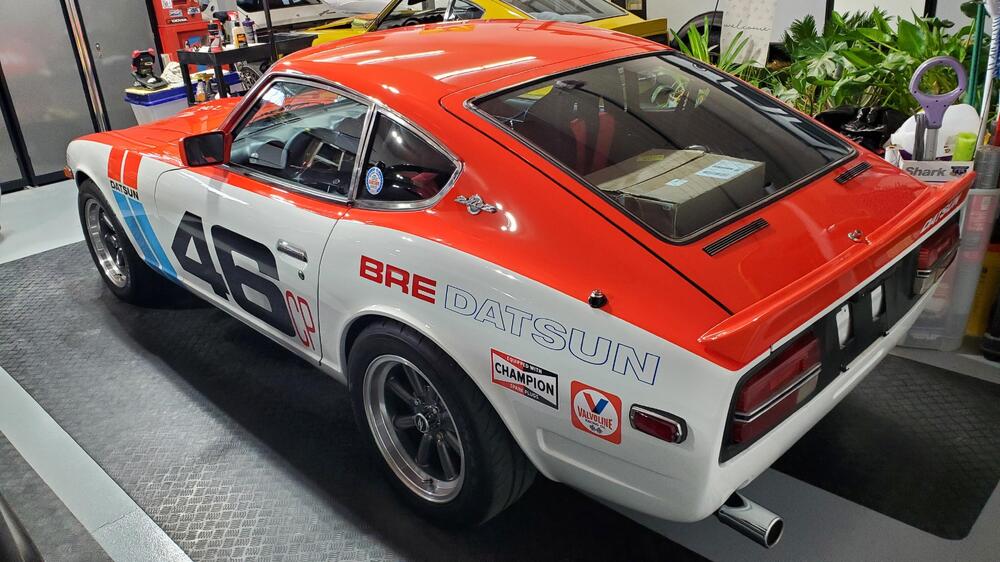
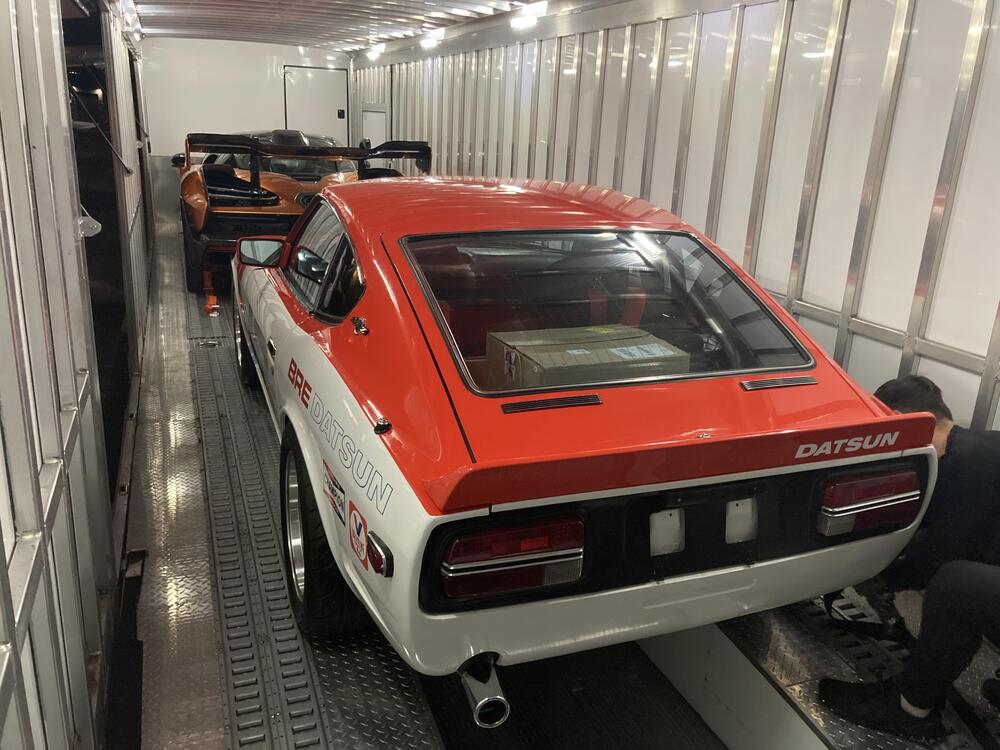
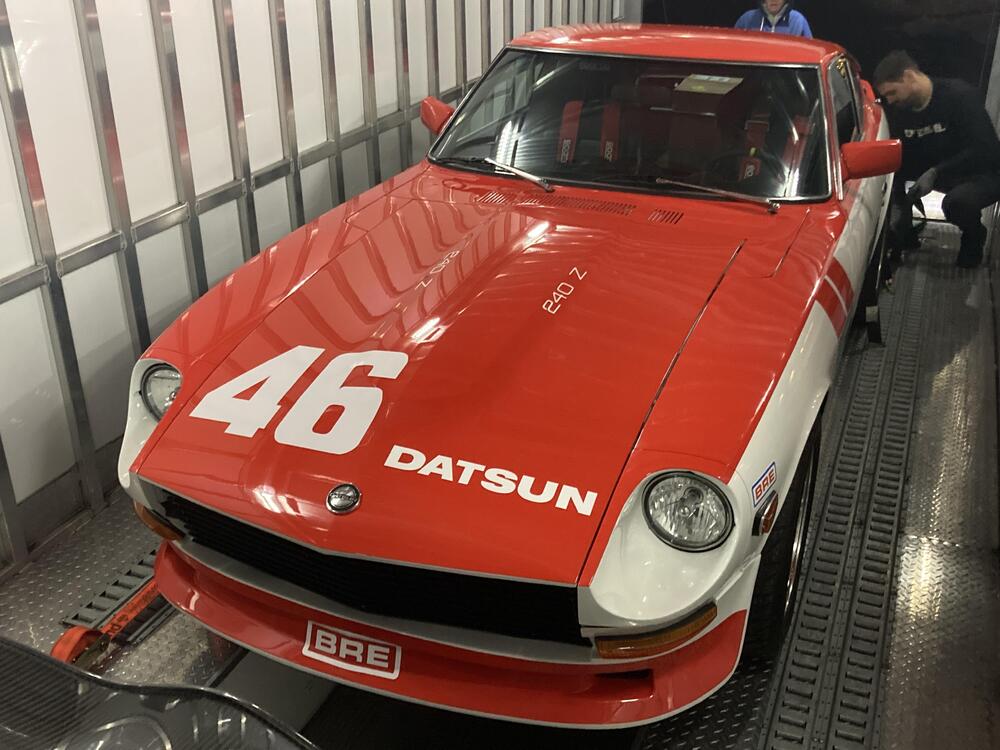
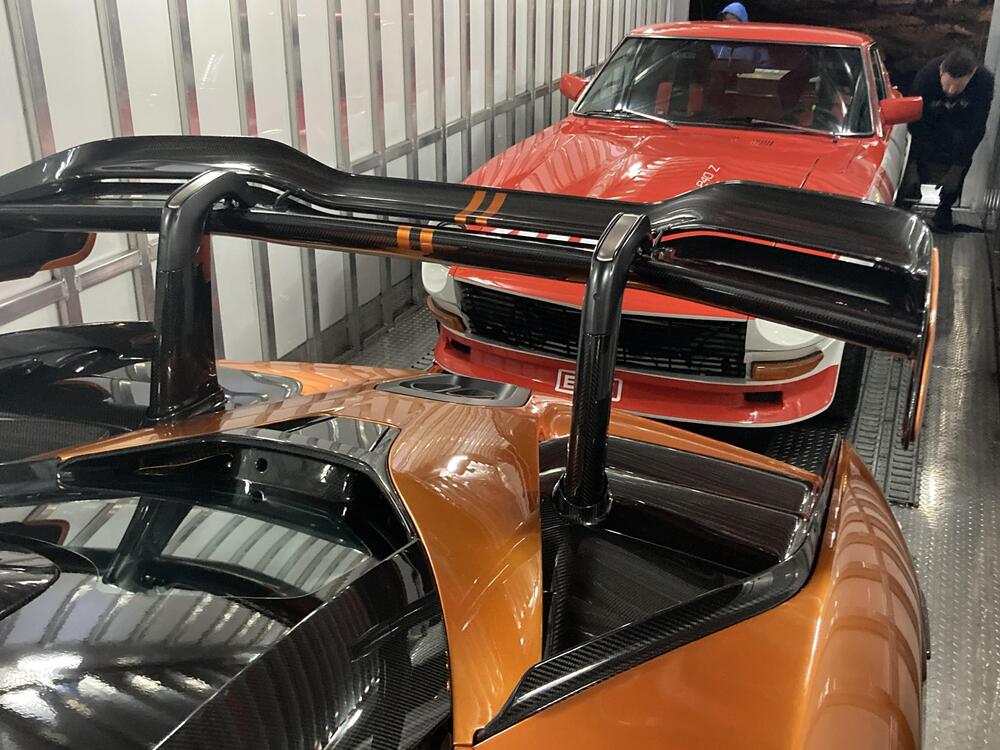
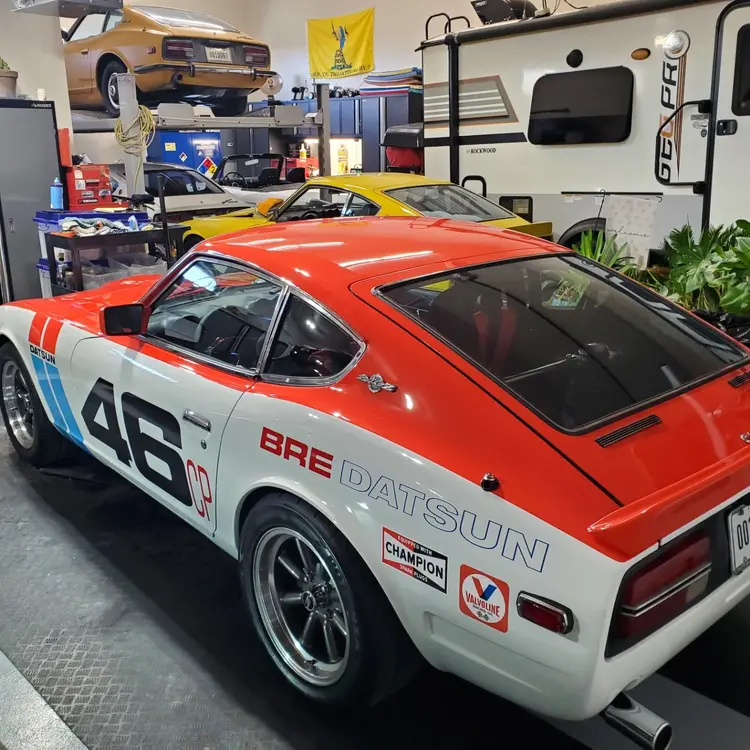
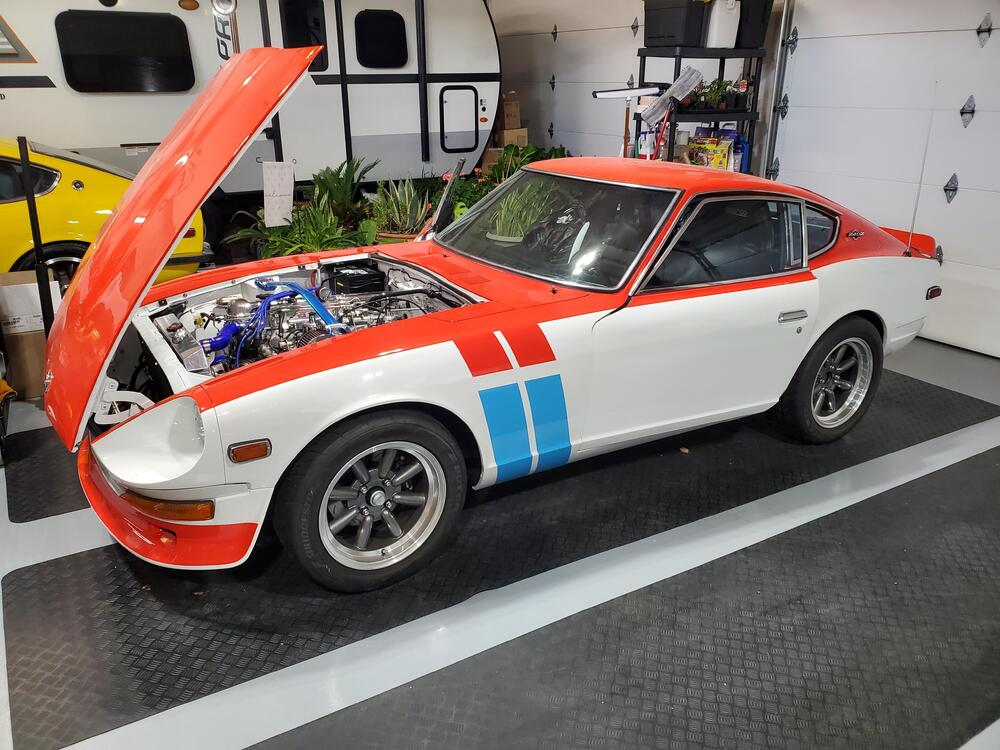
So I finally got the BRE replica Z finished up and sent off to the owner. Below are some of the final pictures of the car and photos of the car in the trailer. The Z and its' traveling companion, a SEMA McLaren, are headed on their way down to Texas.


-
Thanks! Wishing you and your family a great Christmas and New Year.
-
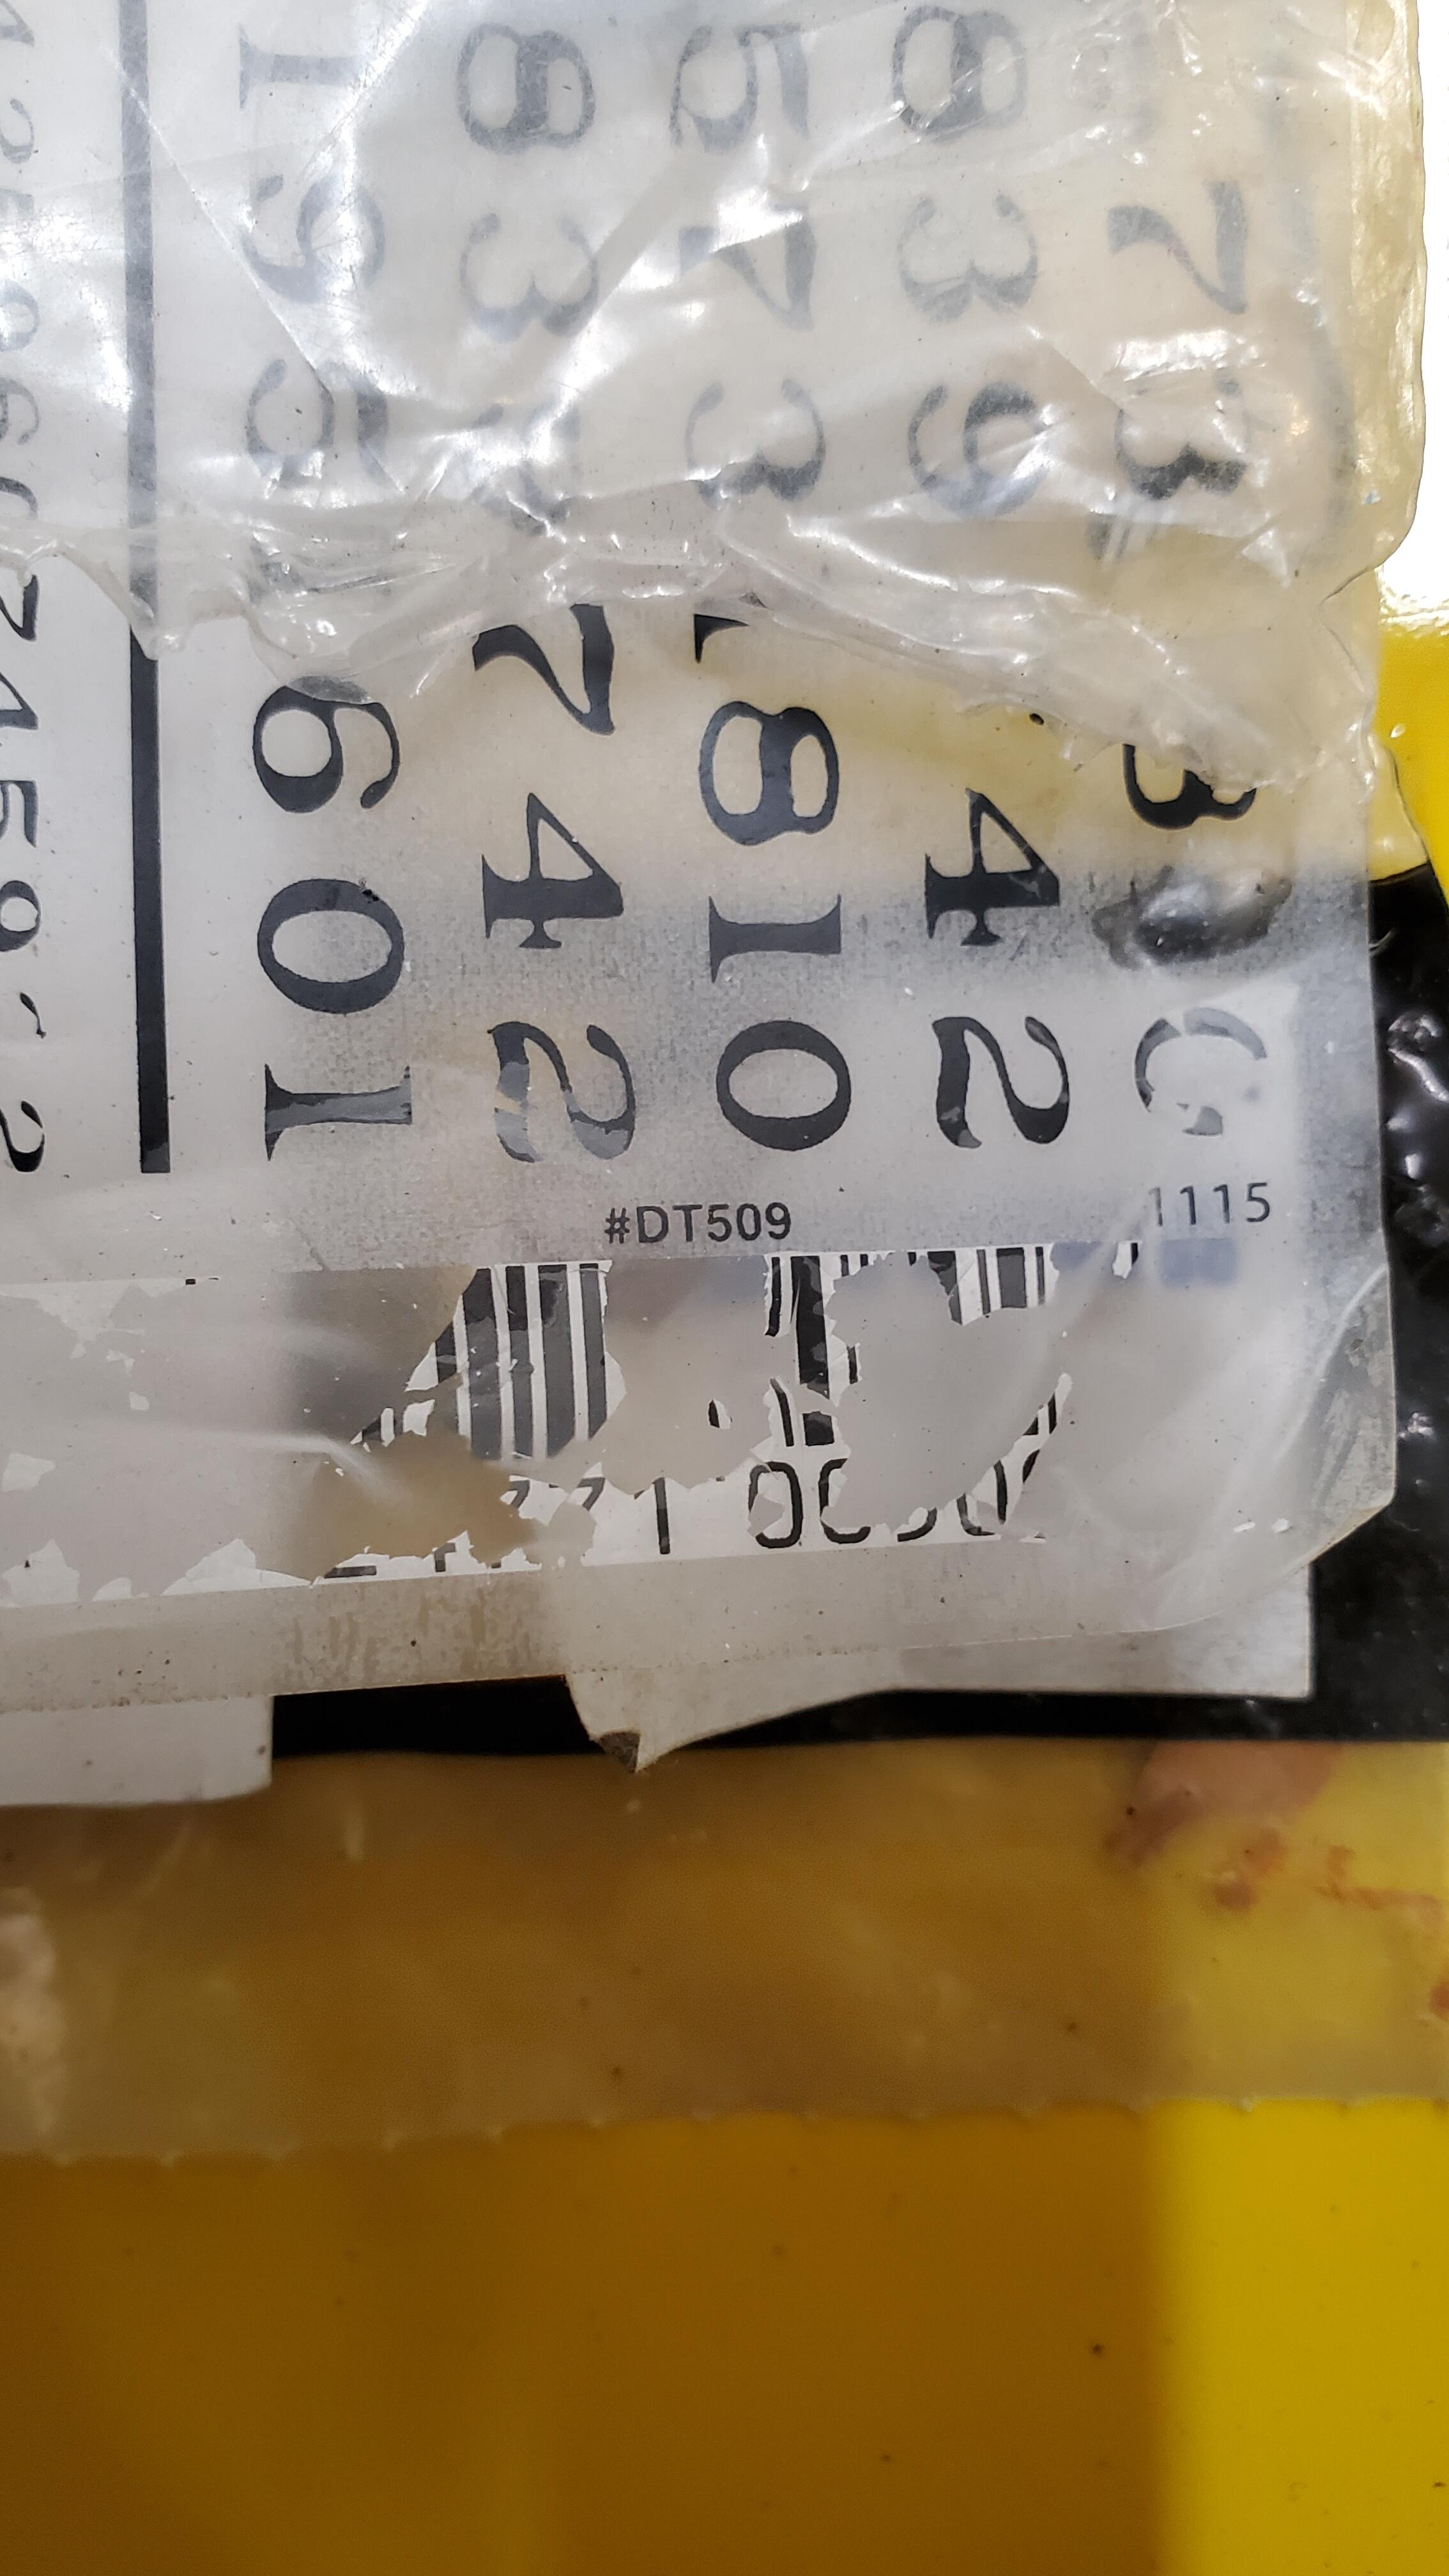
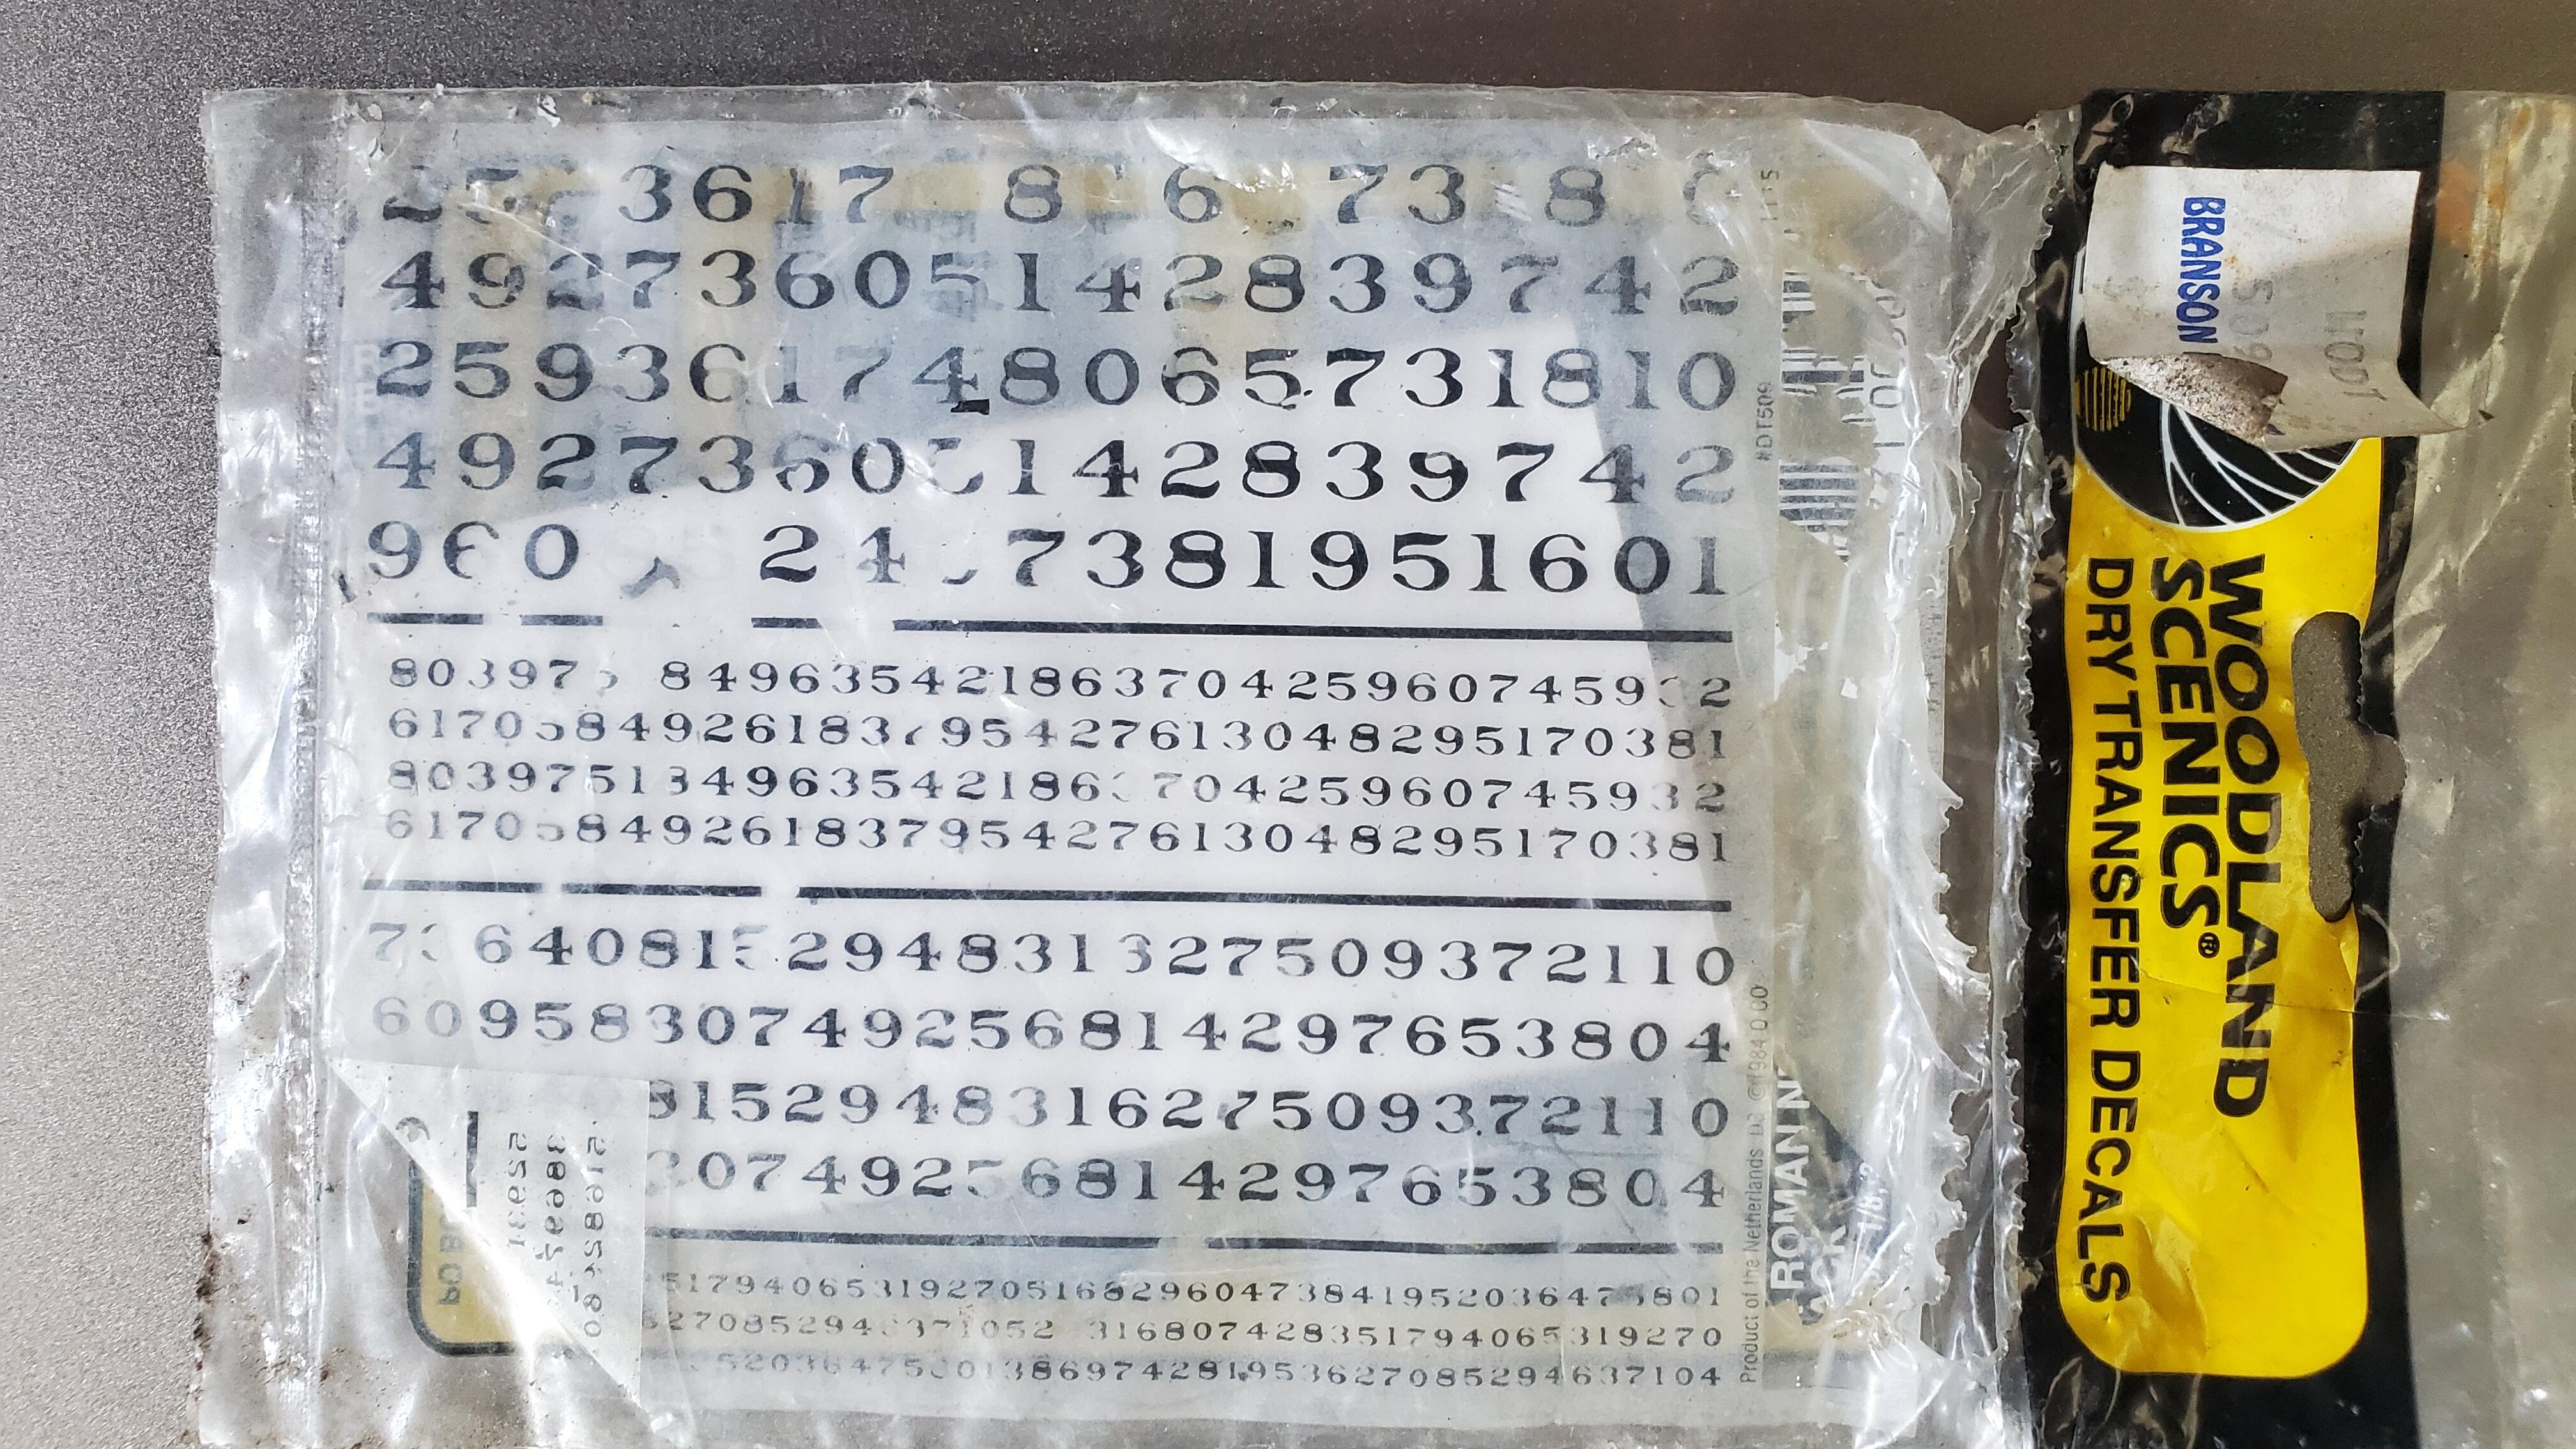
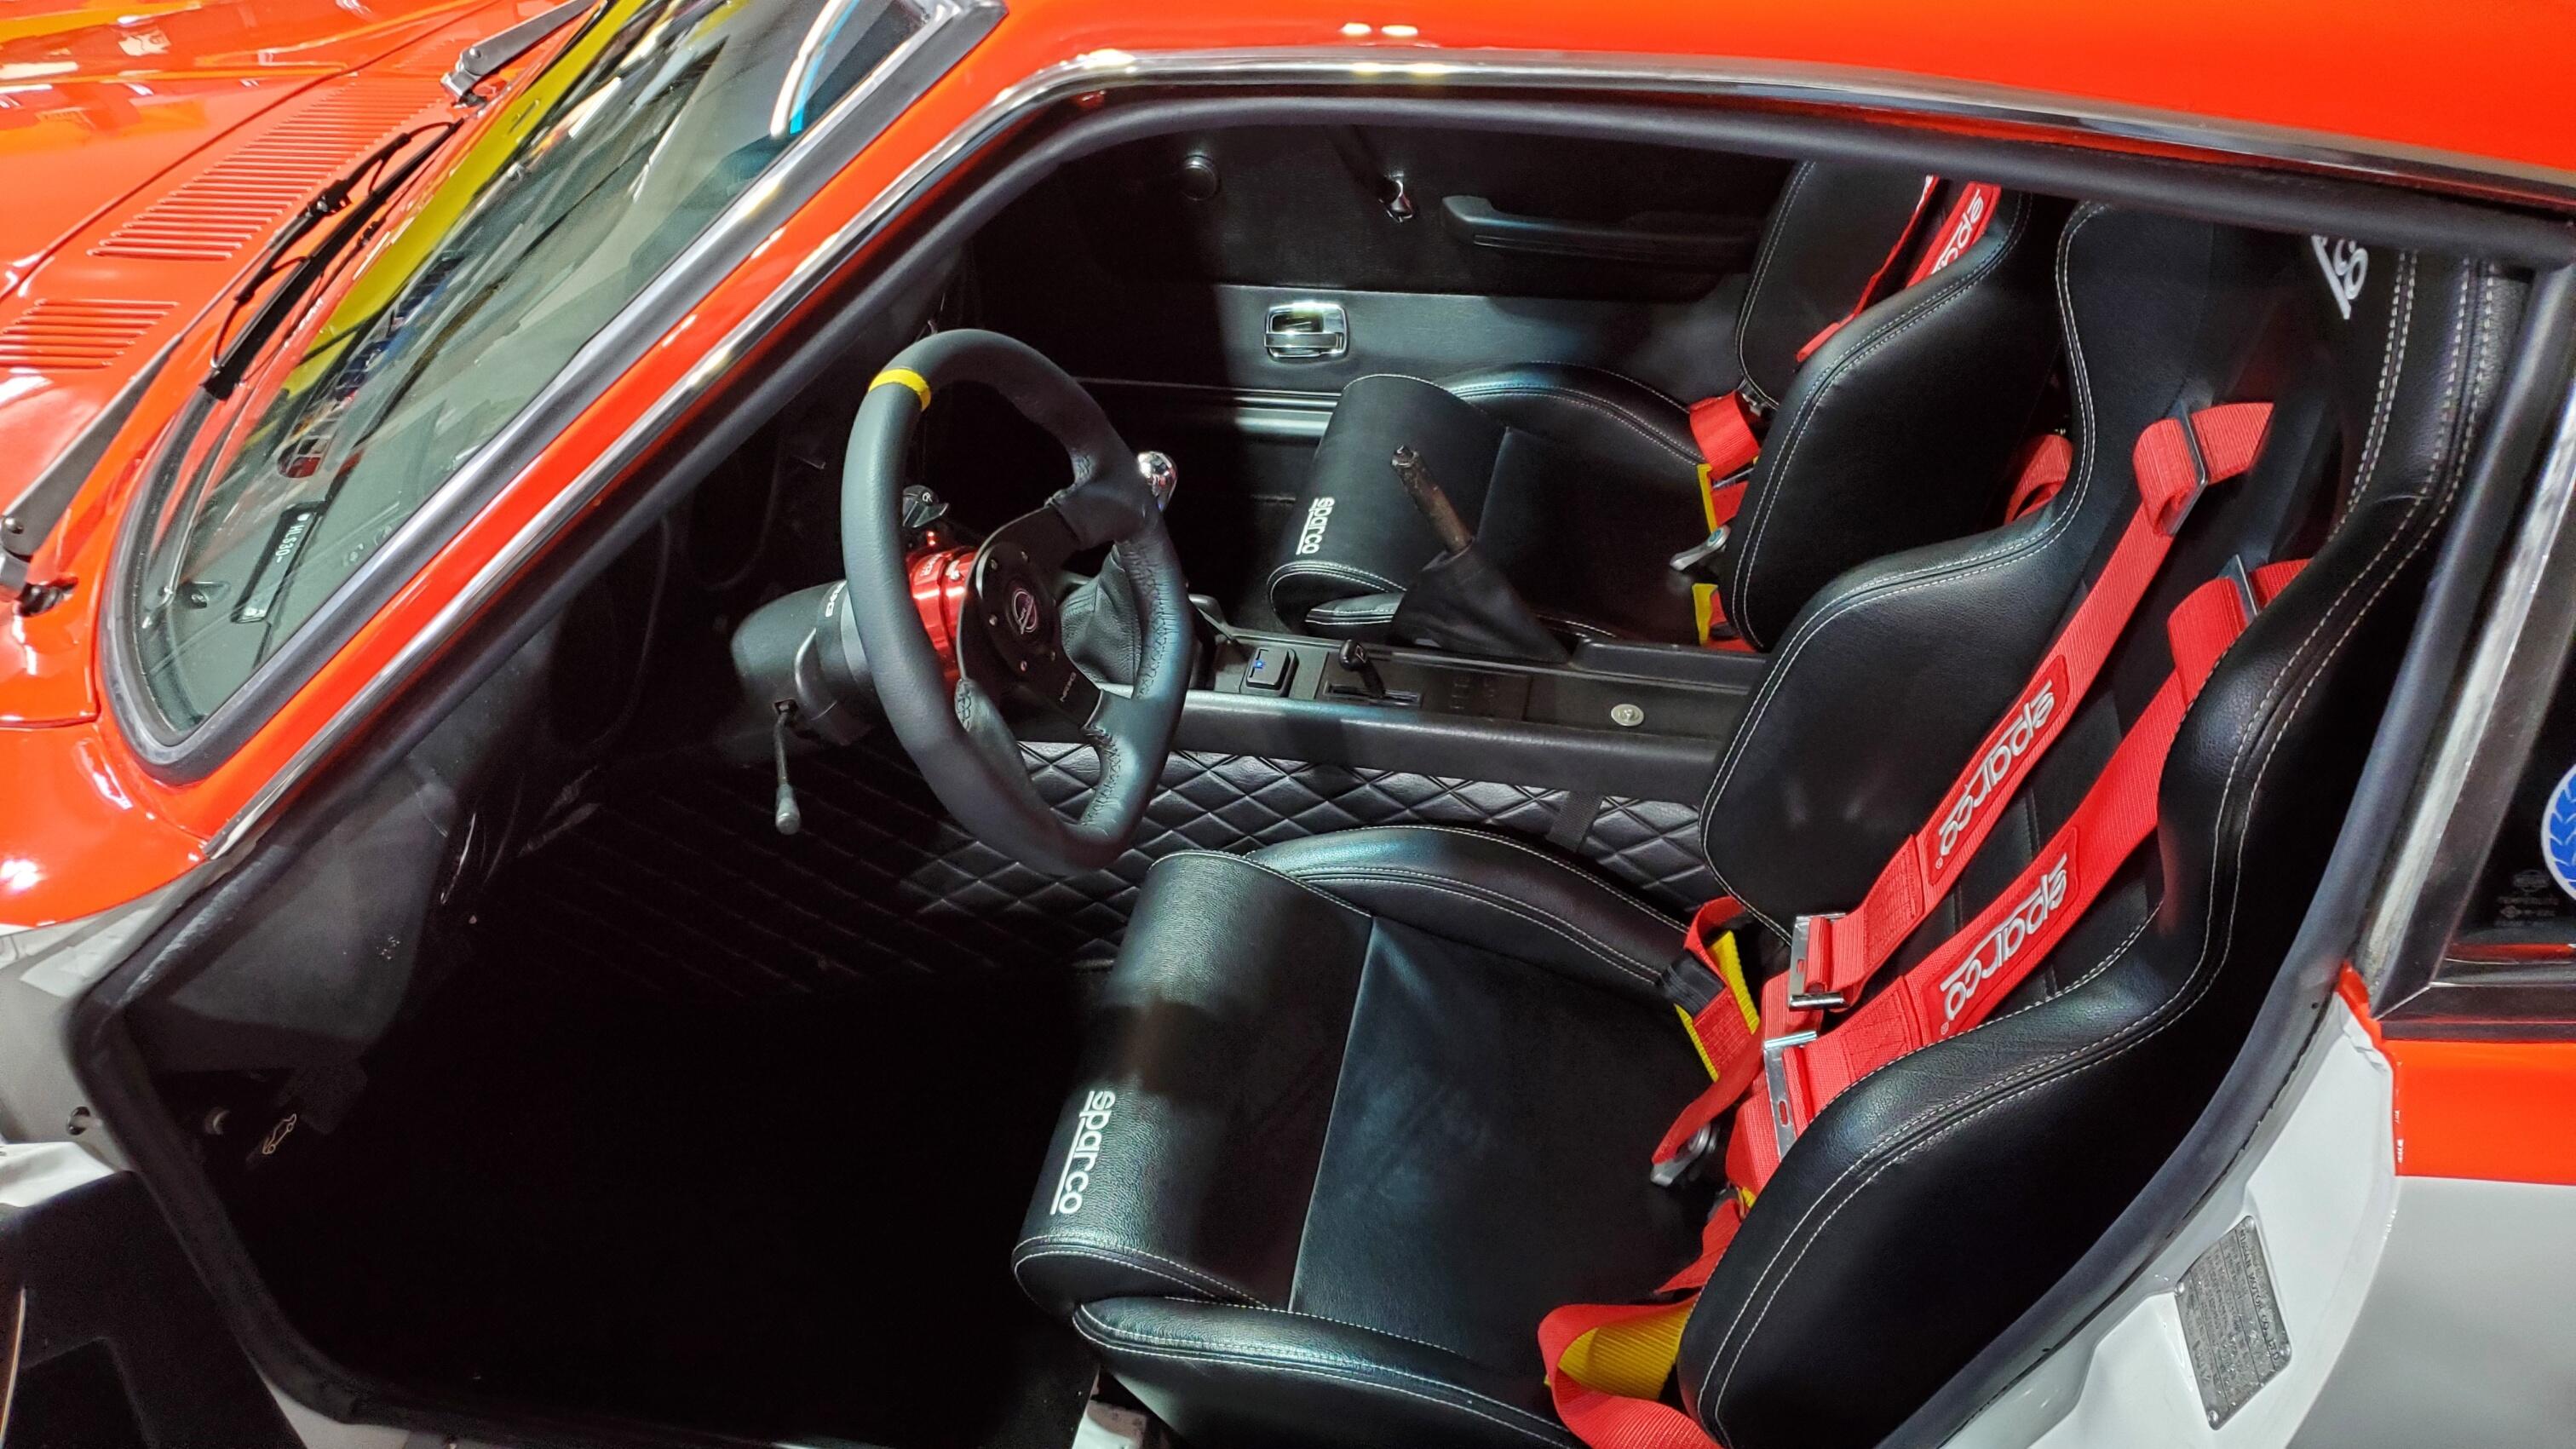
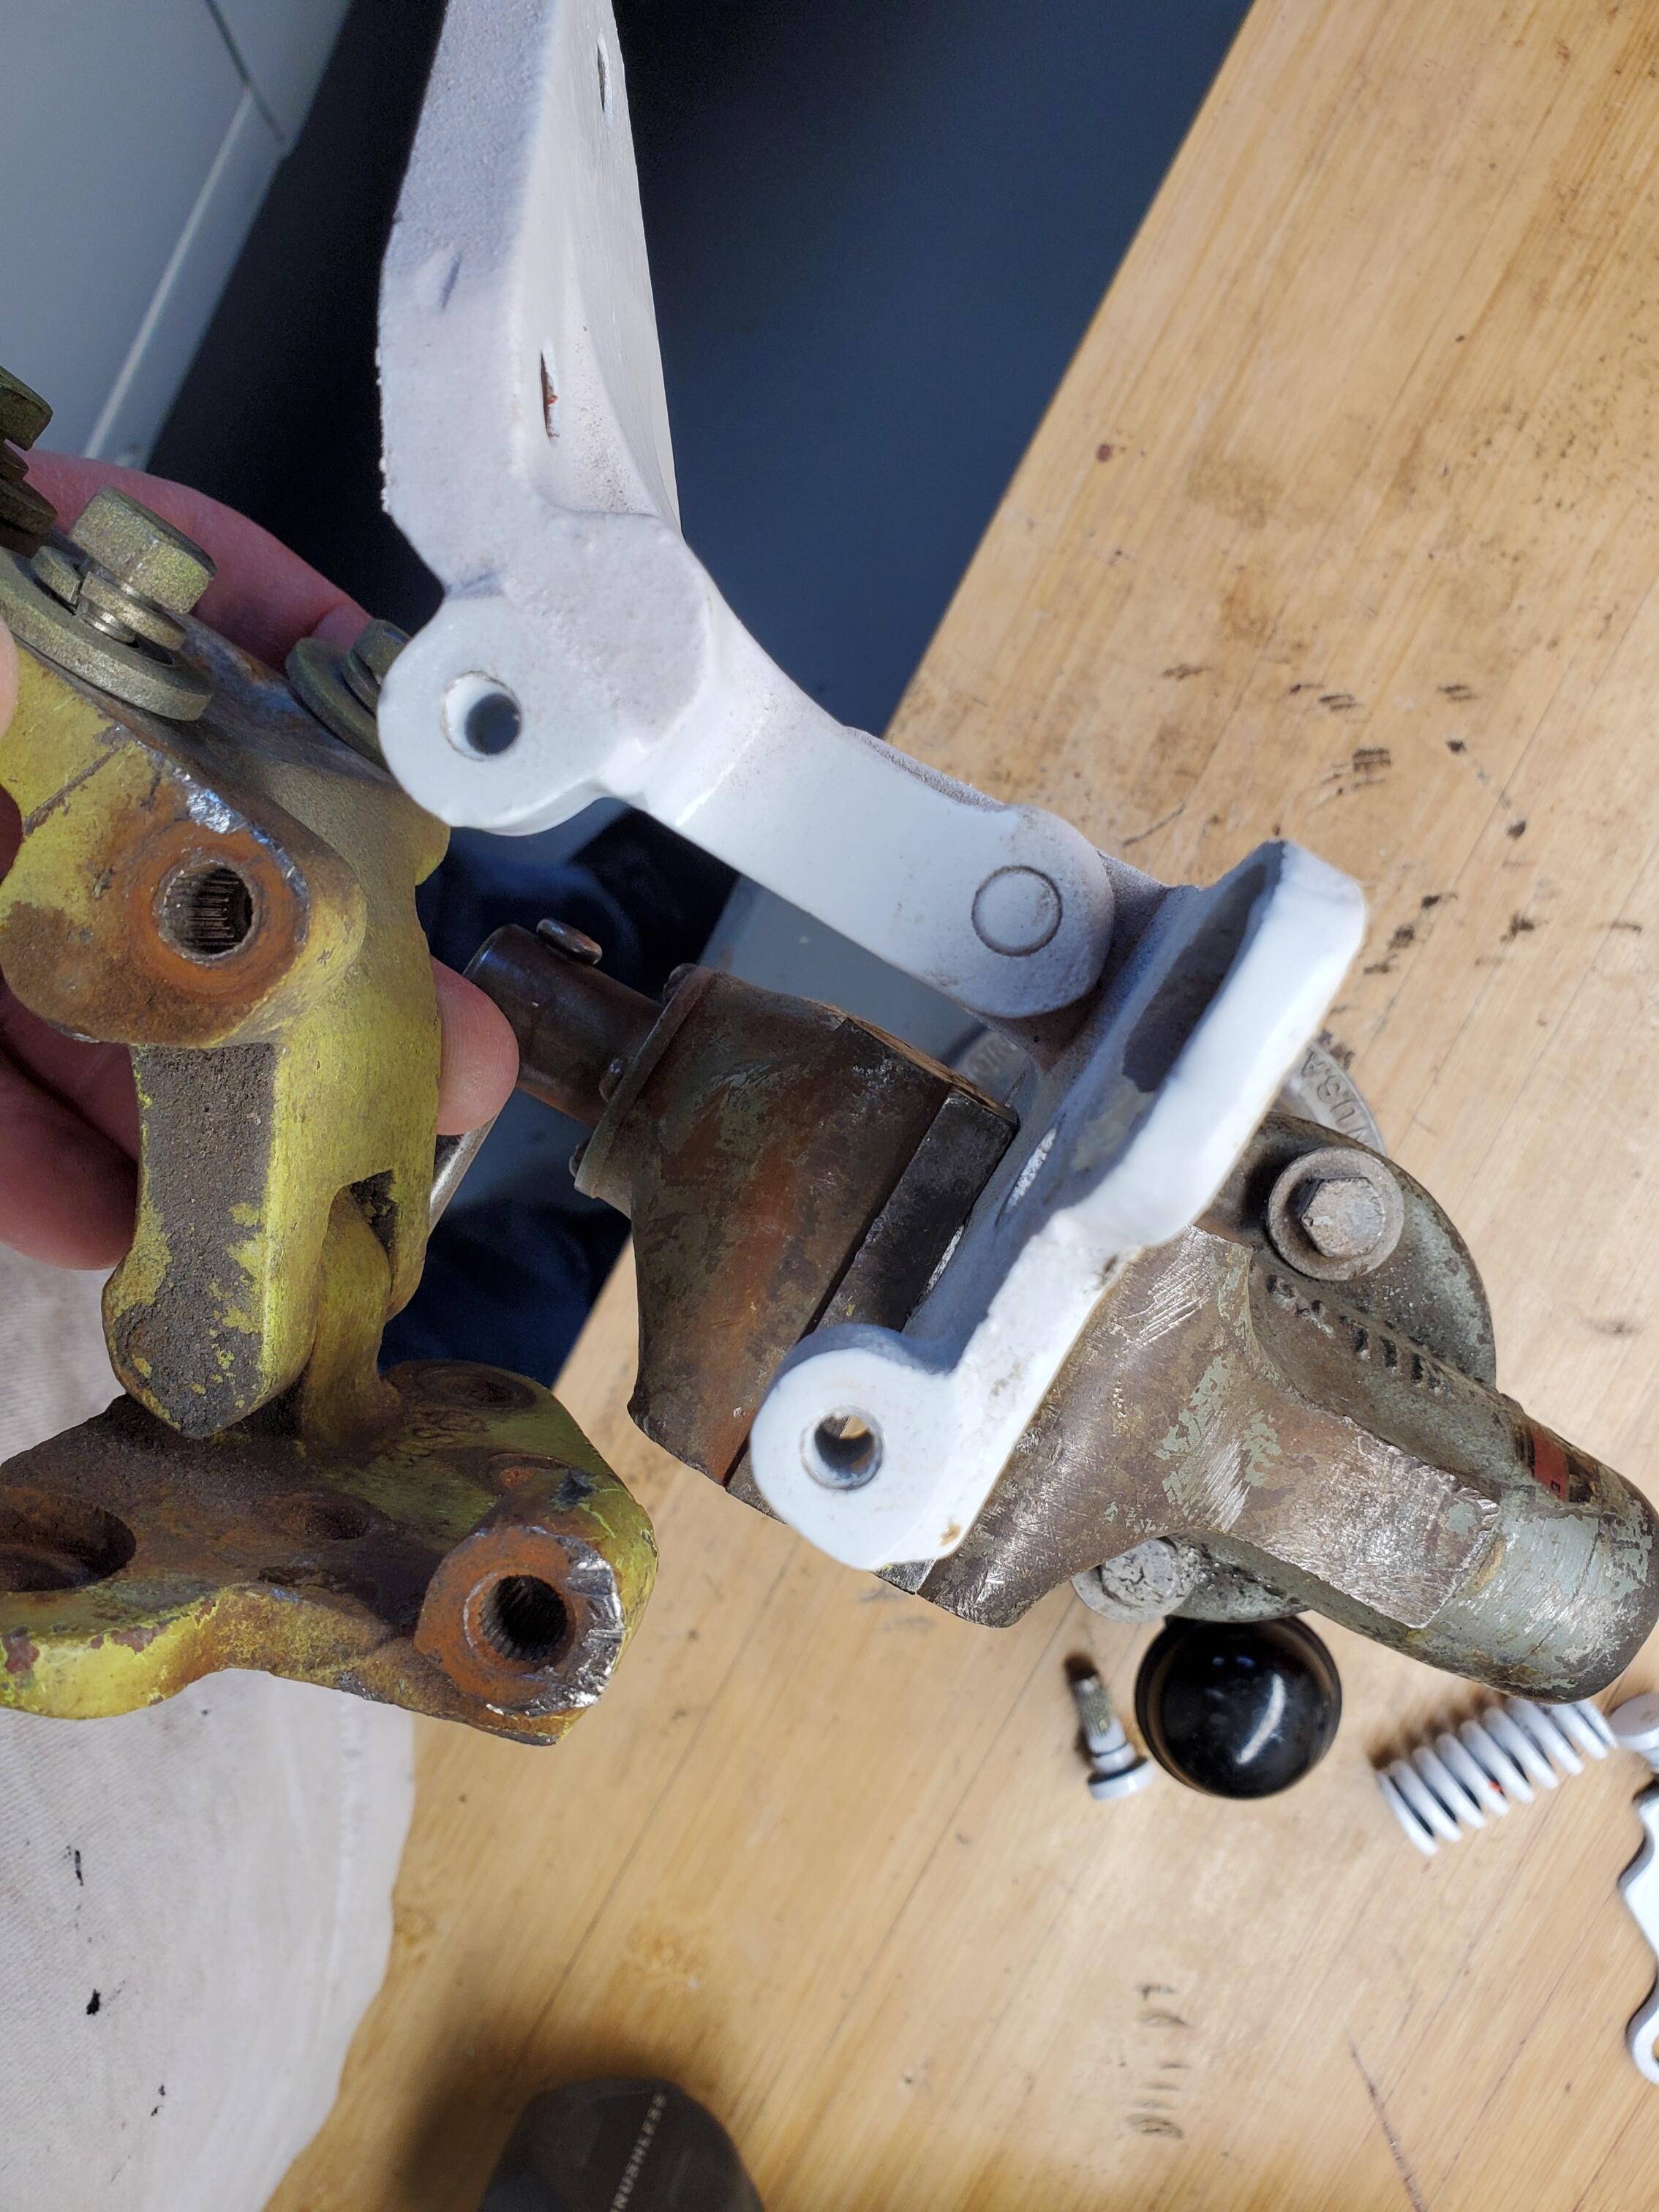
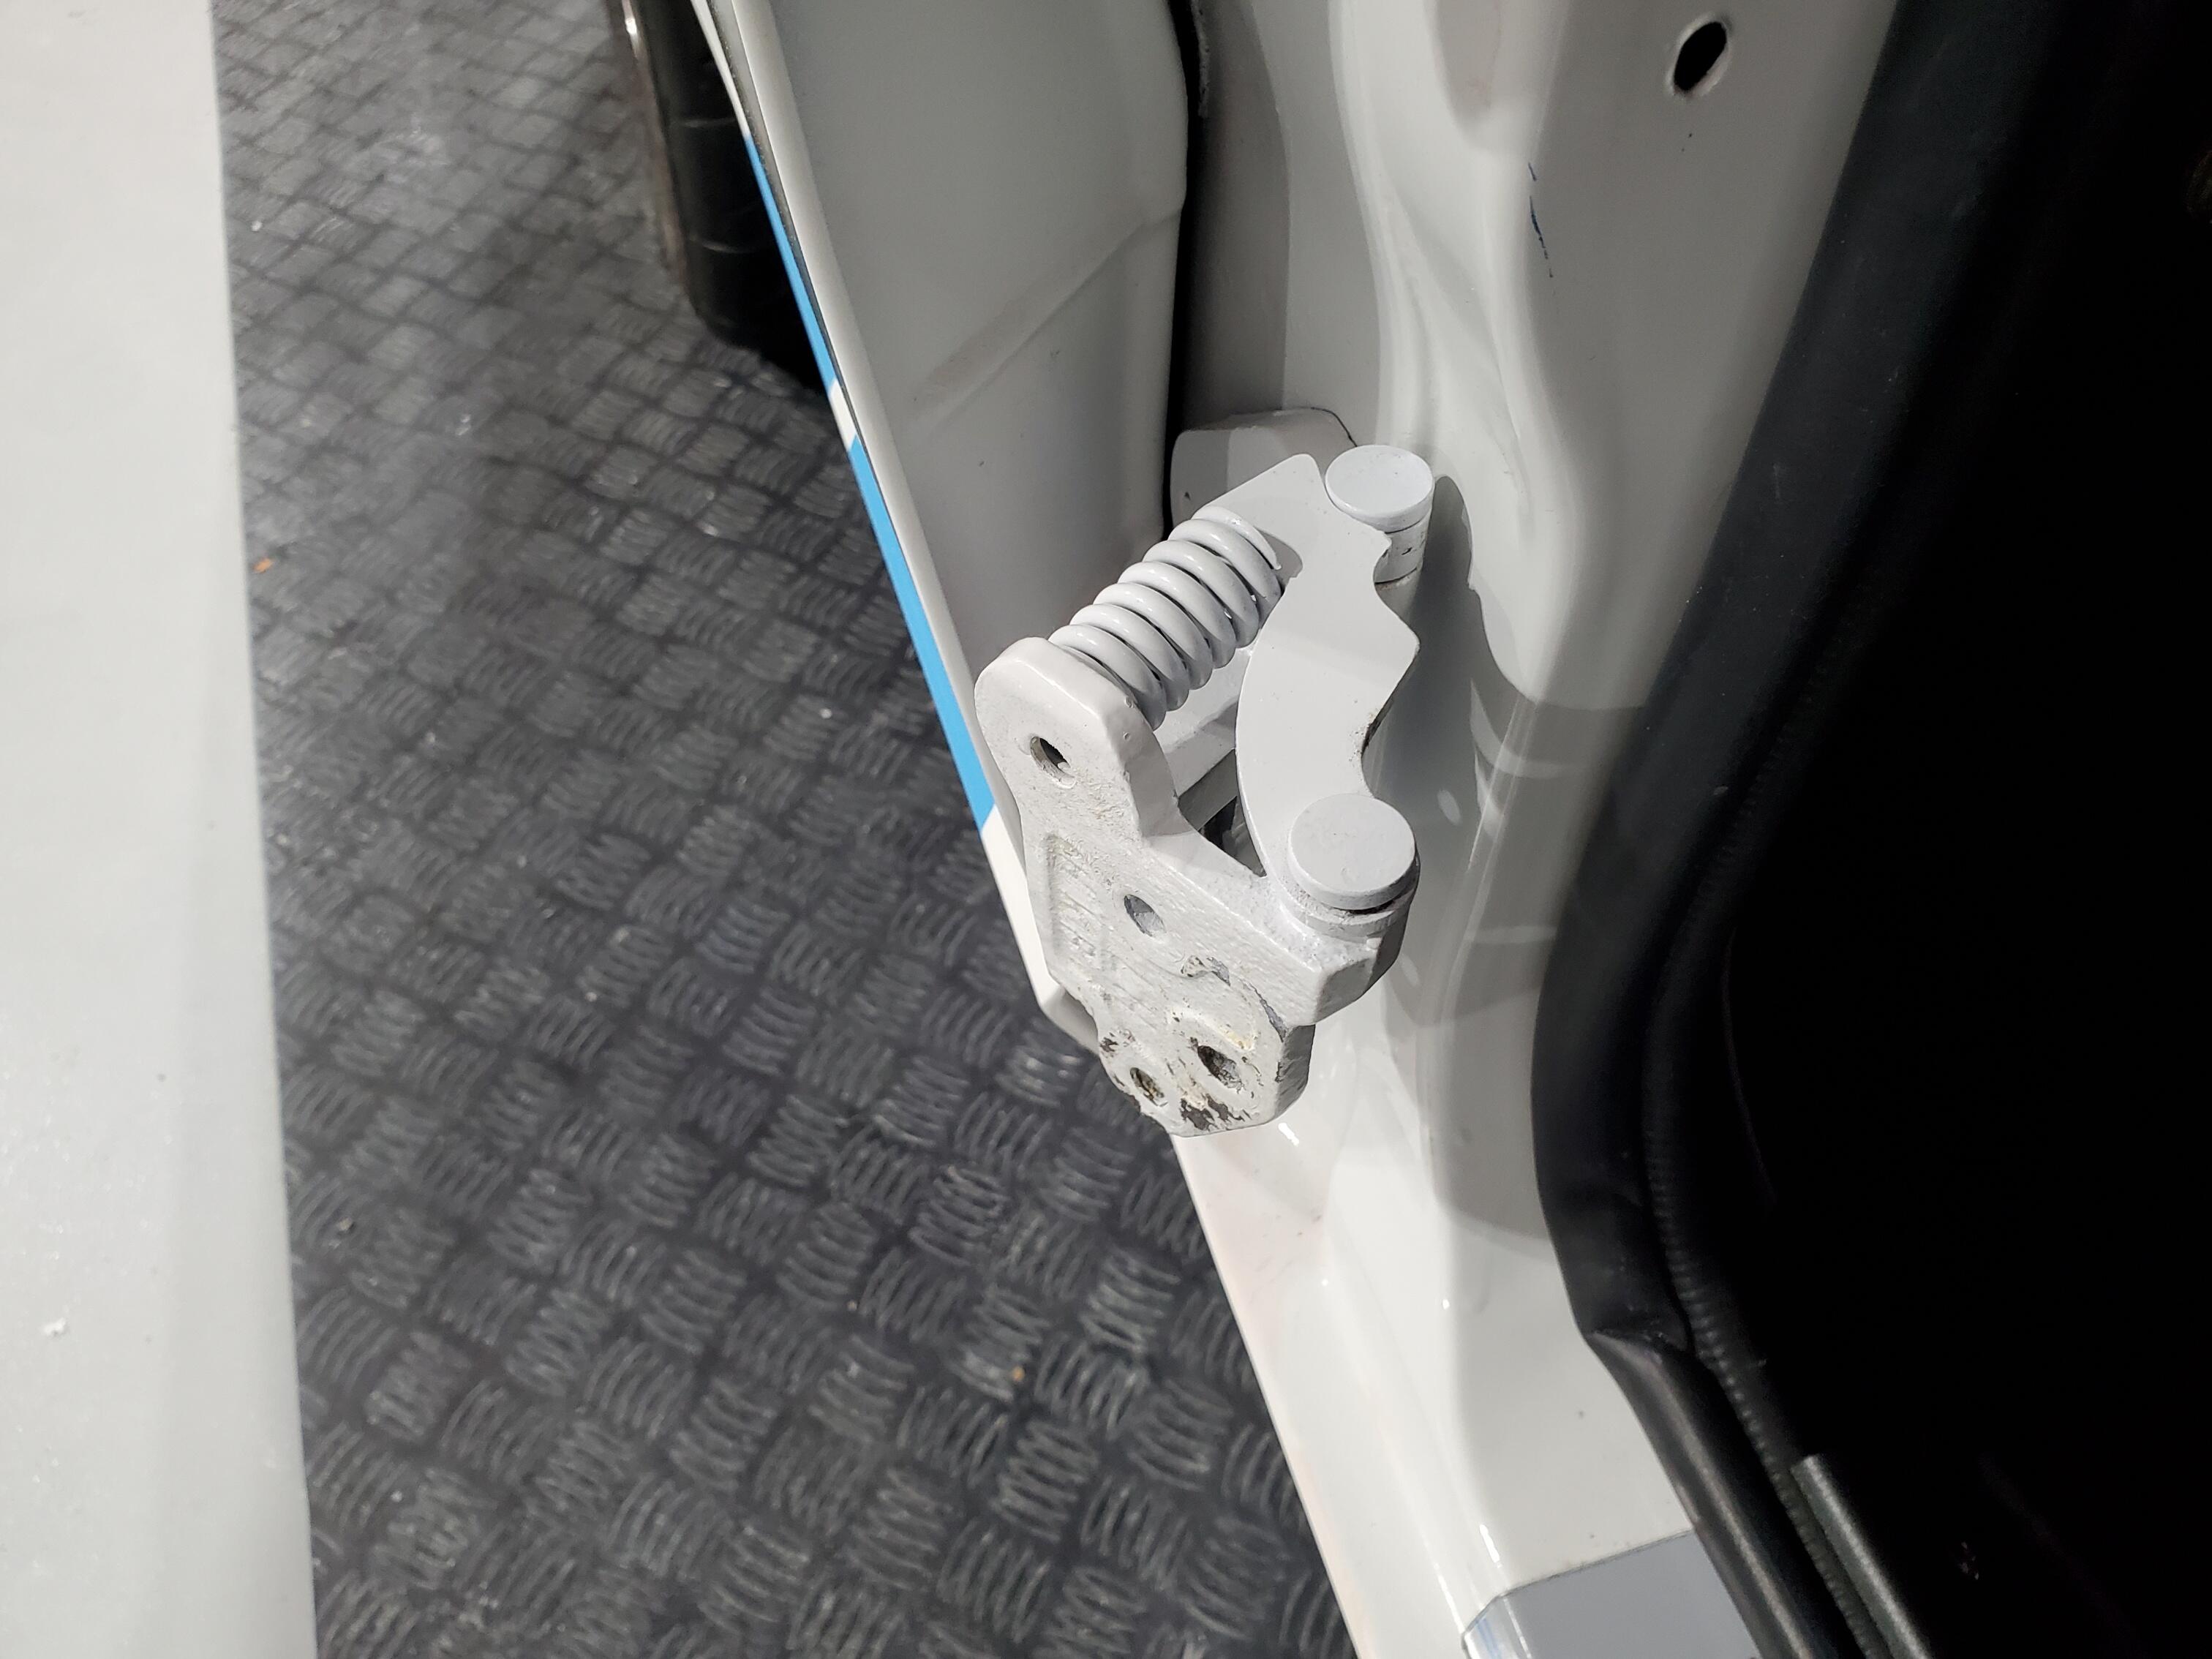
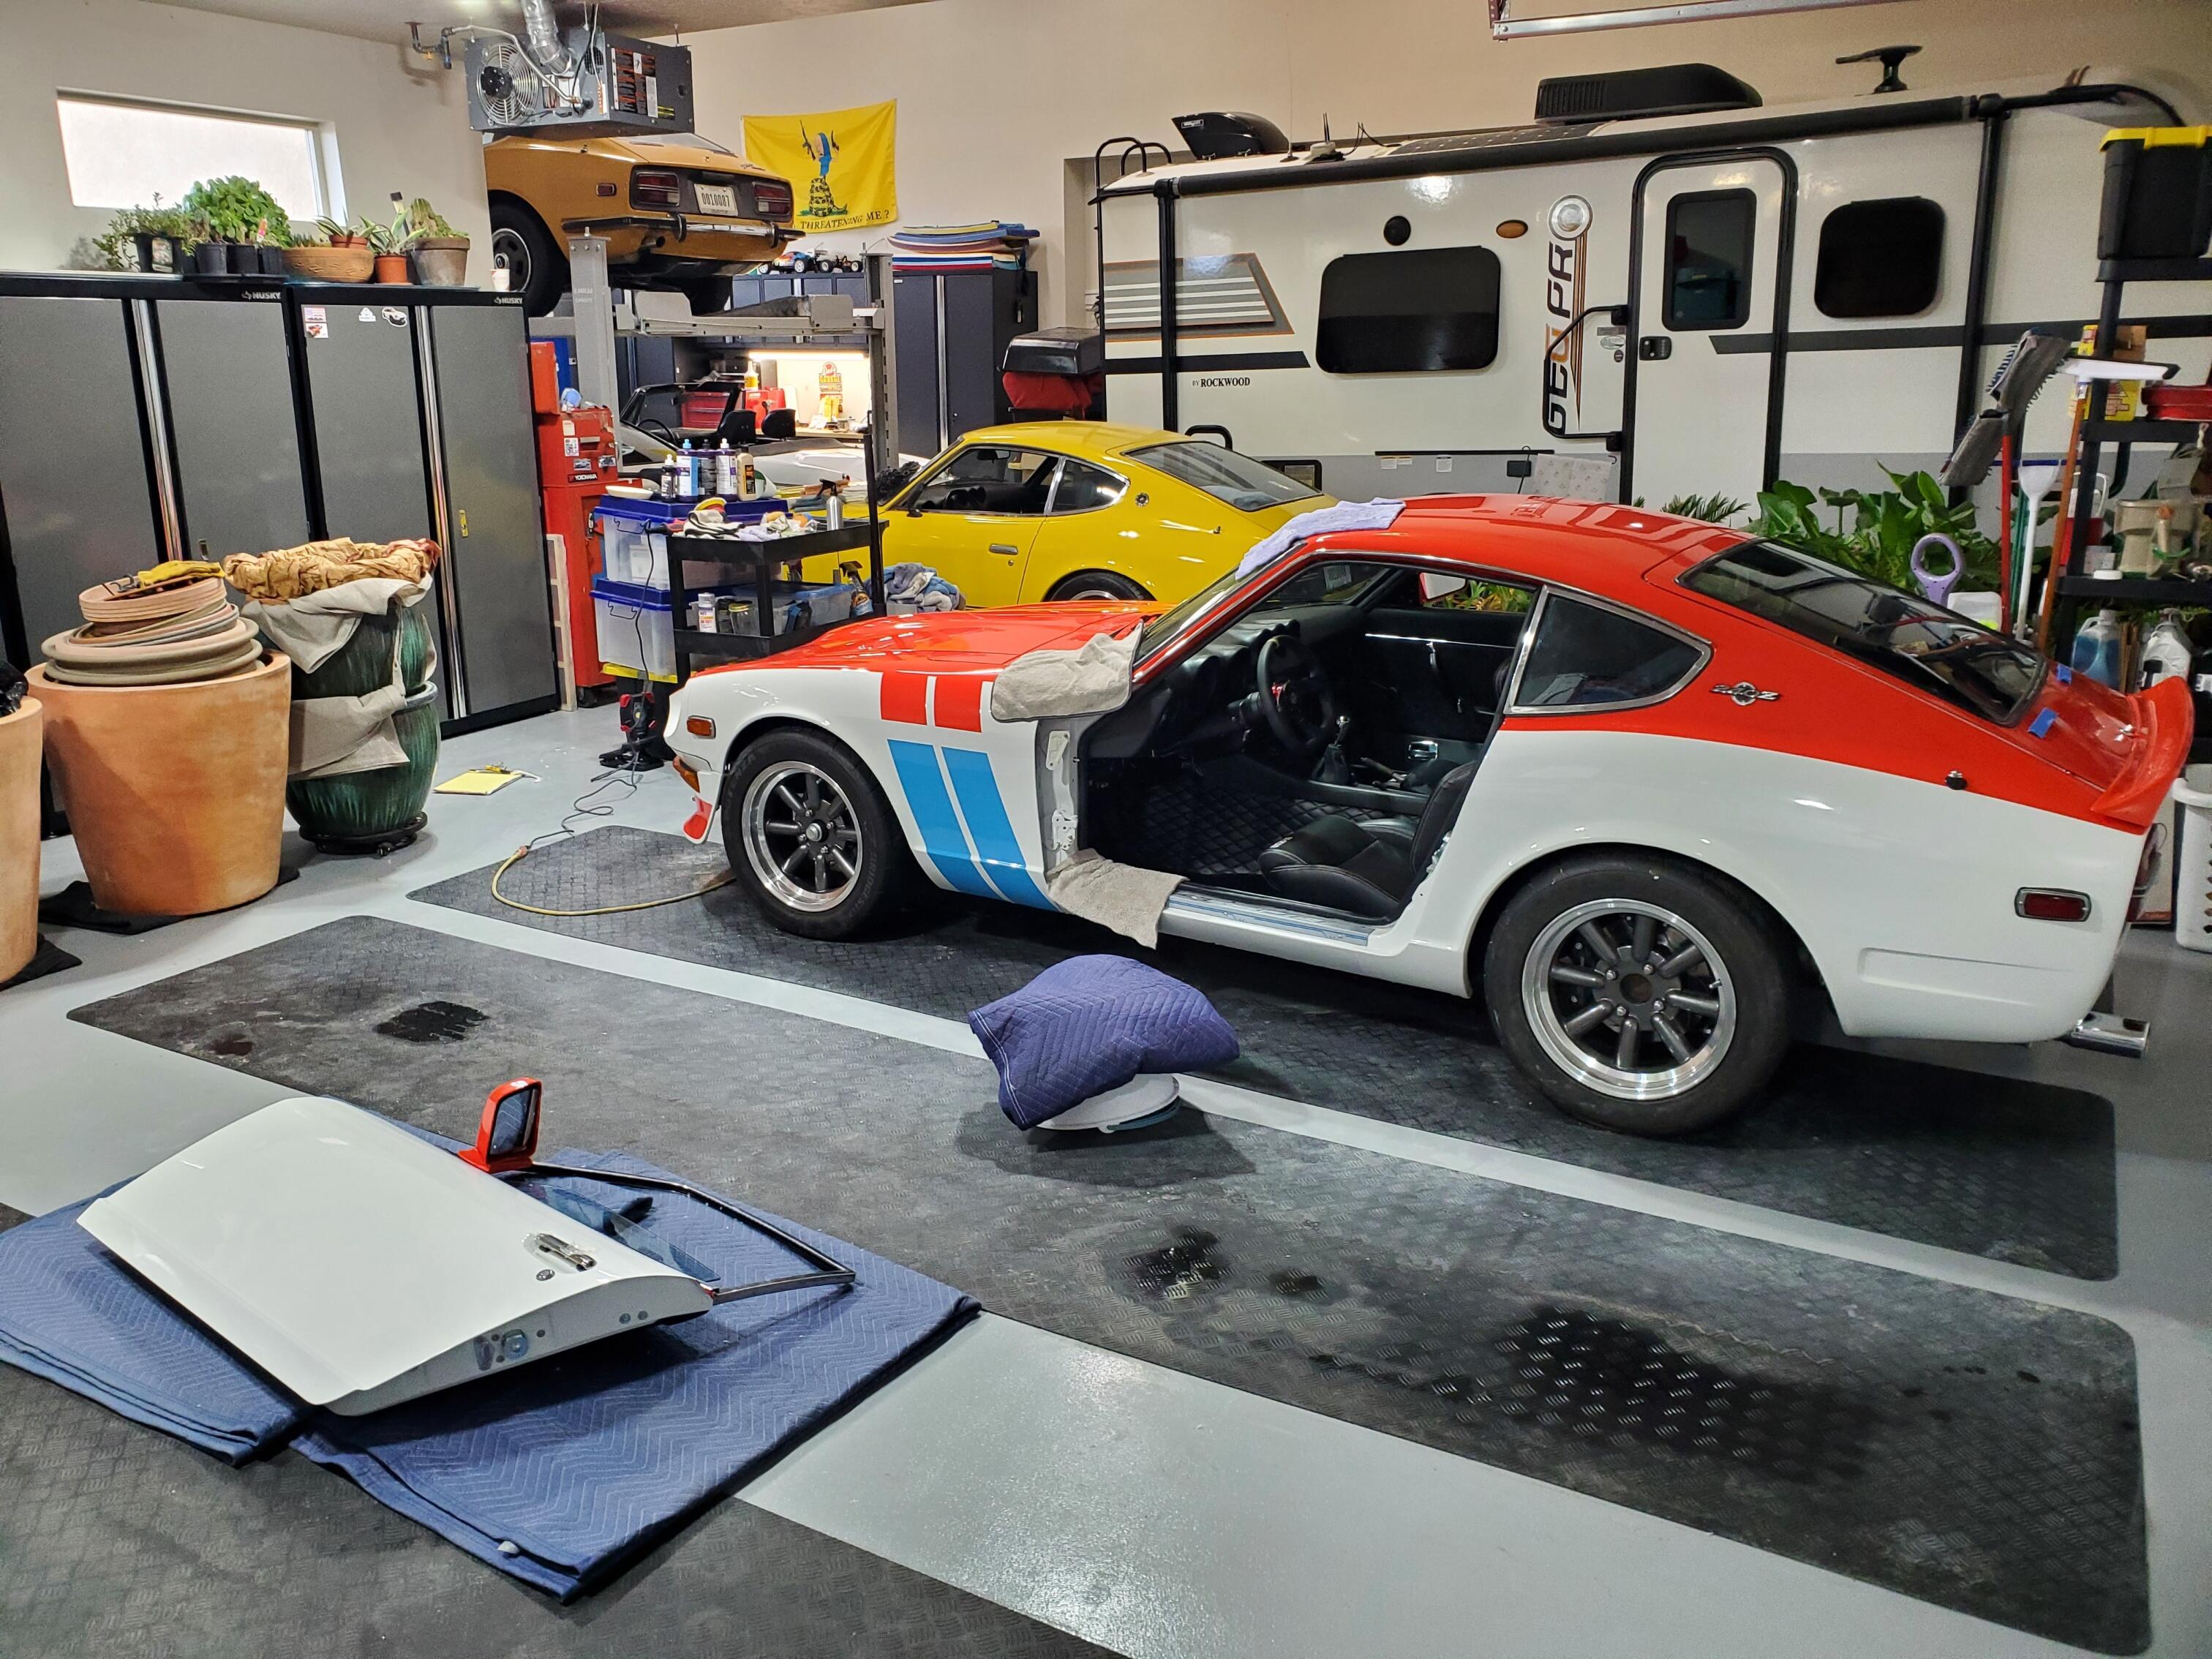
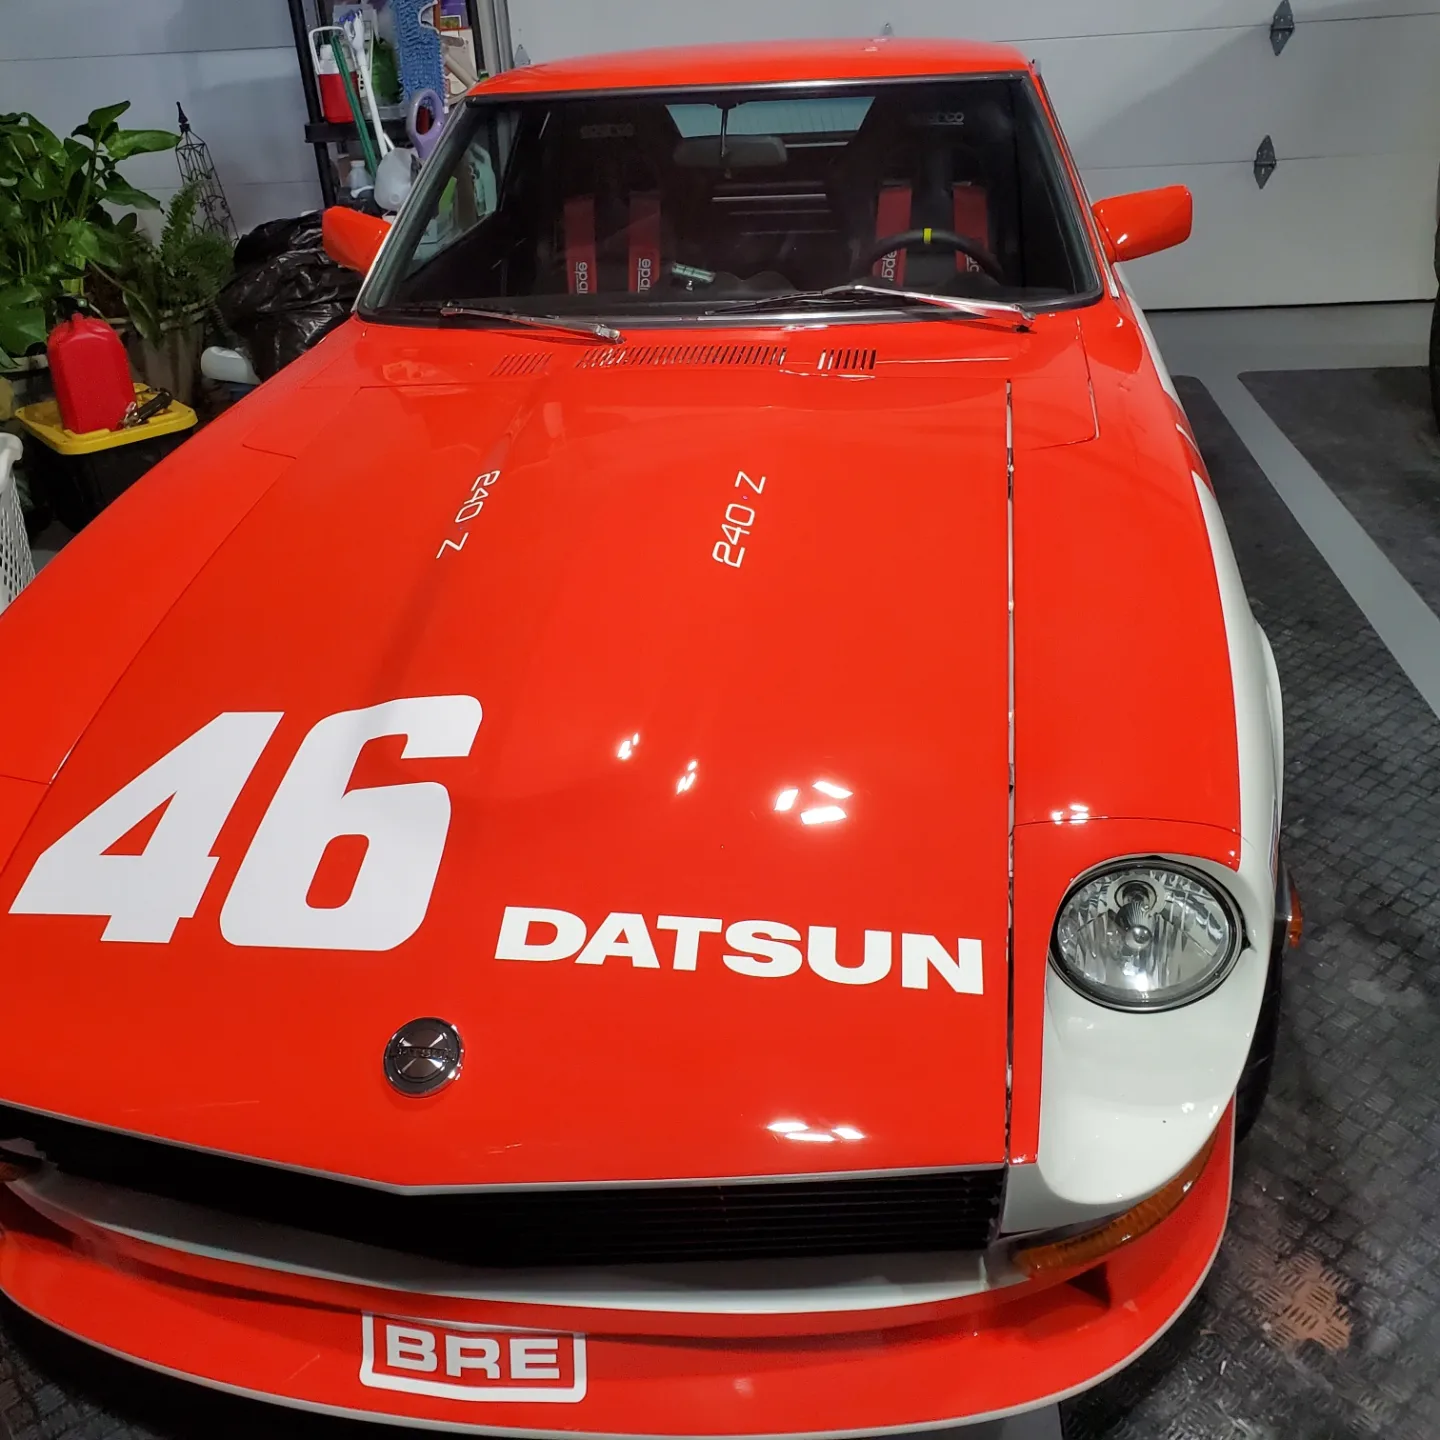
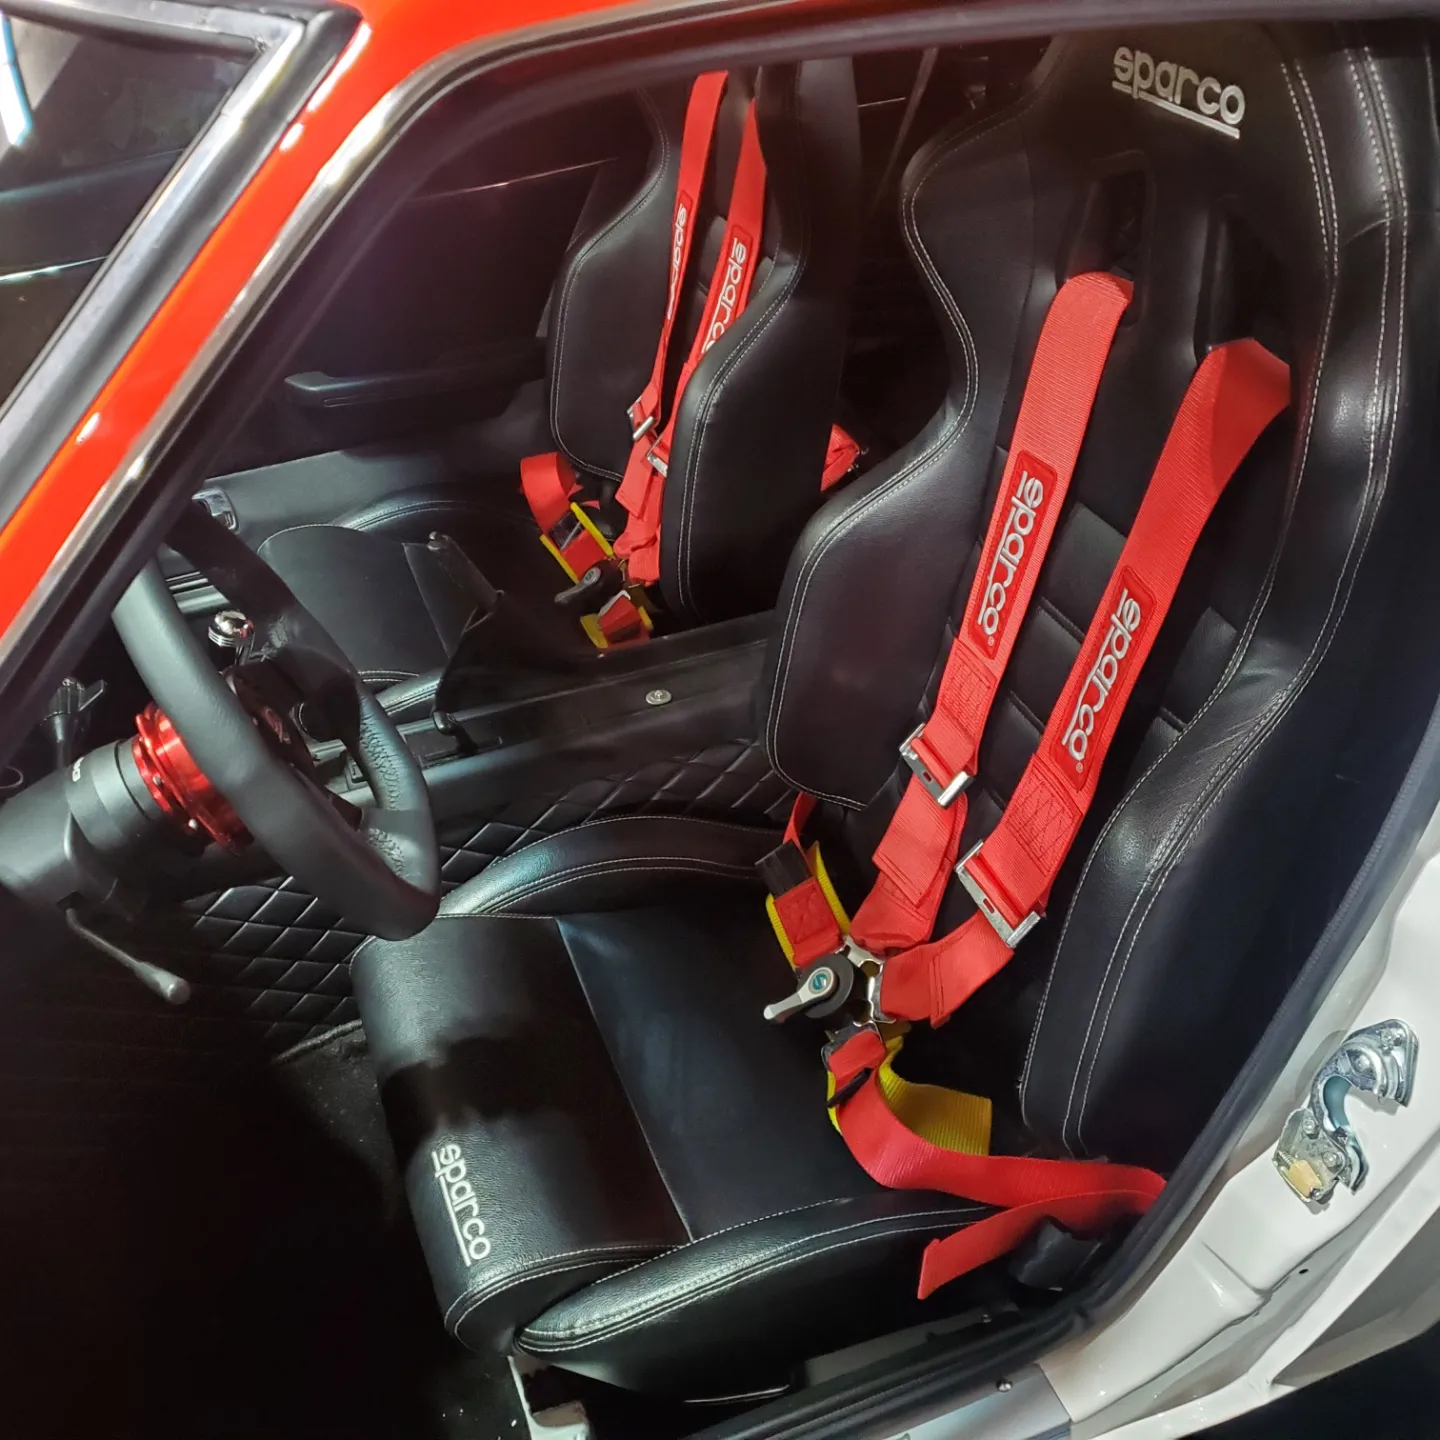
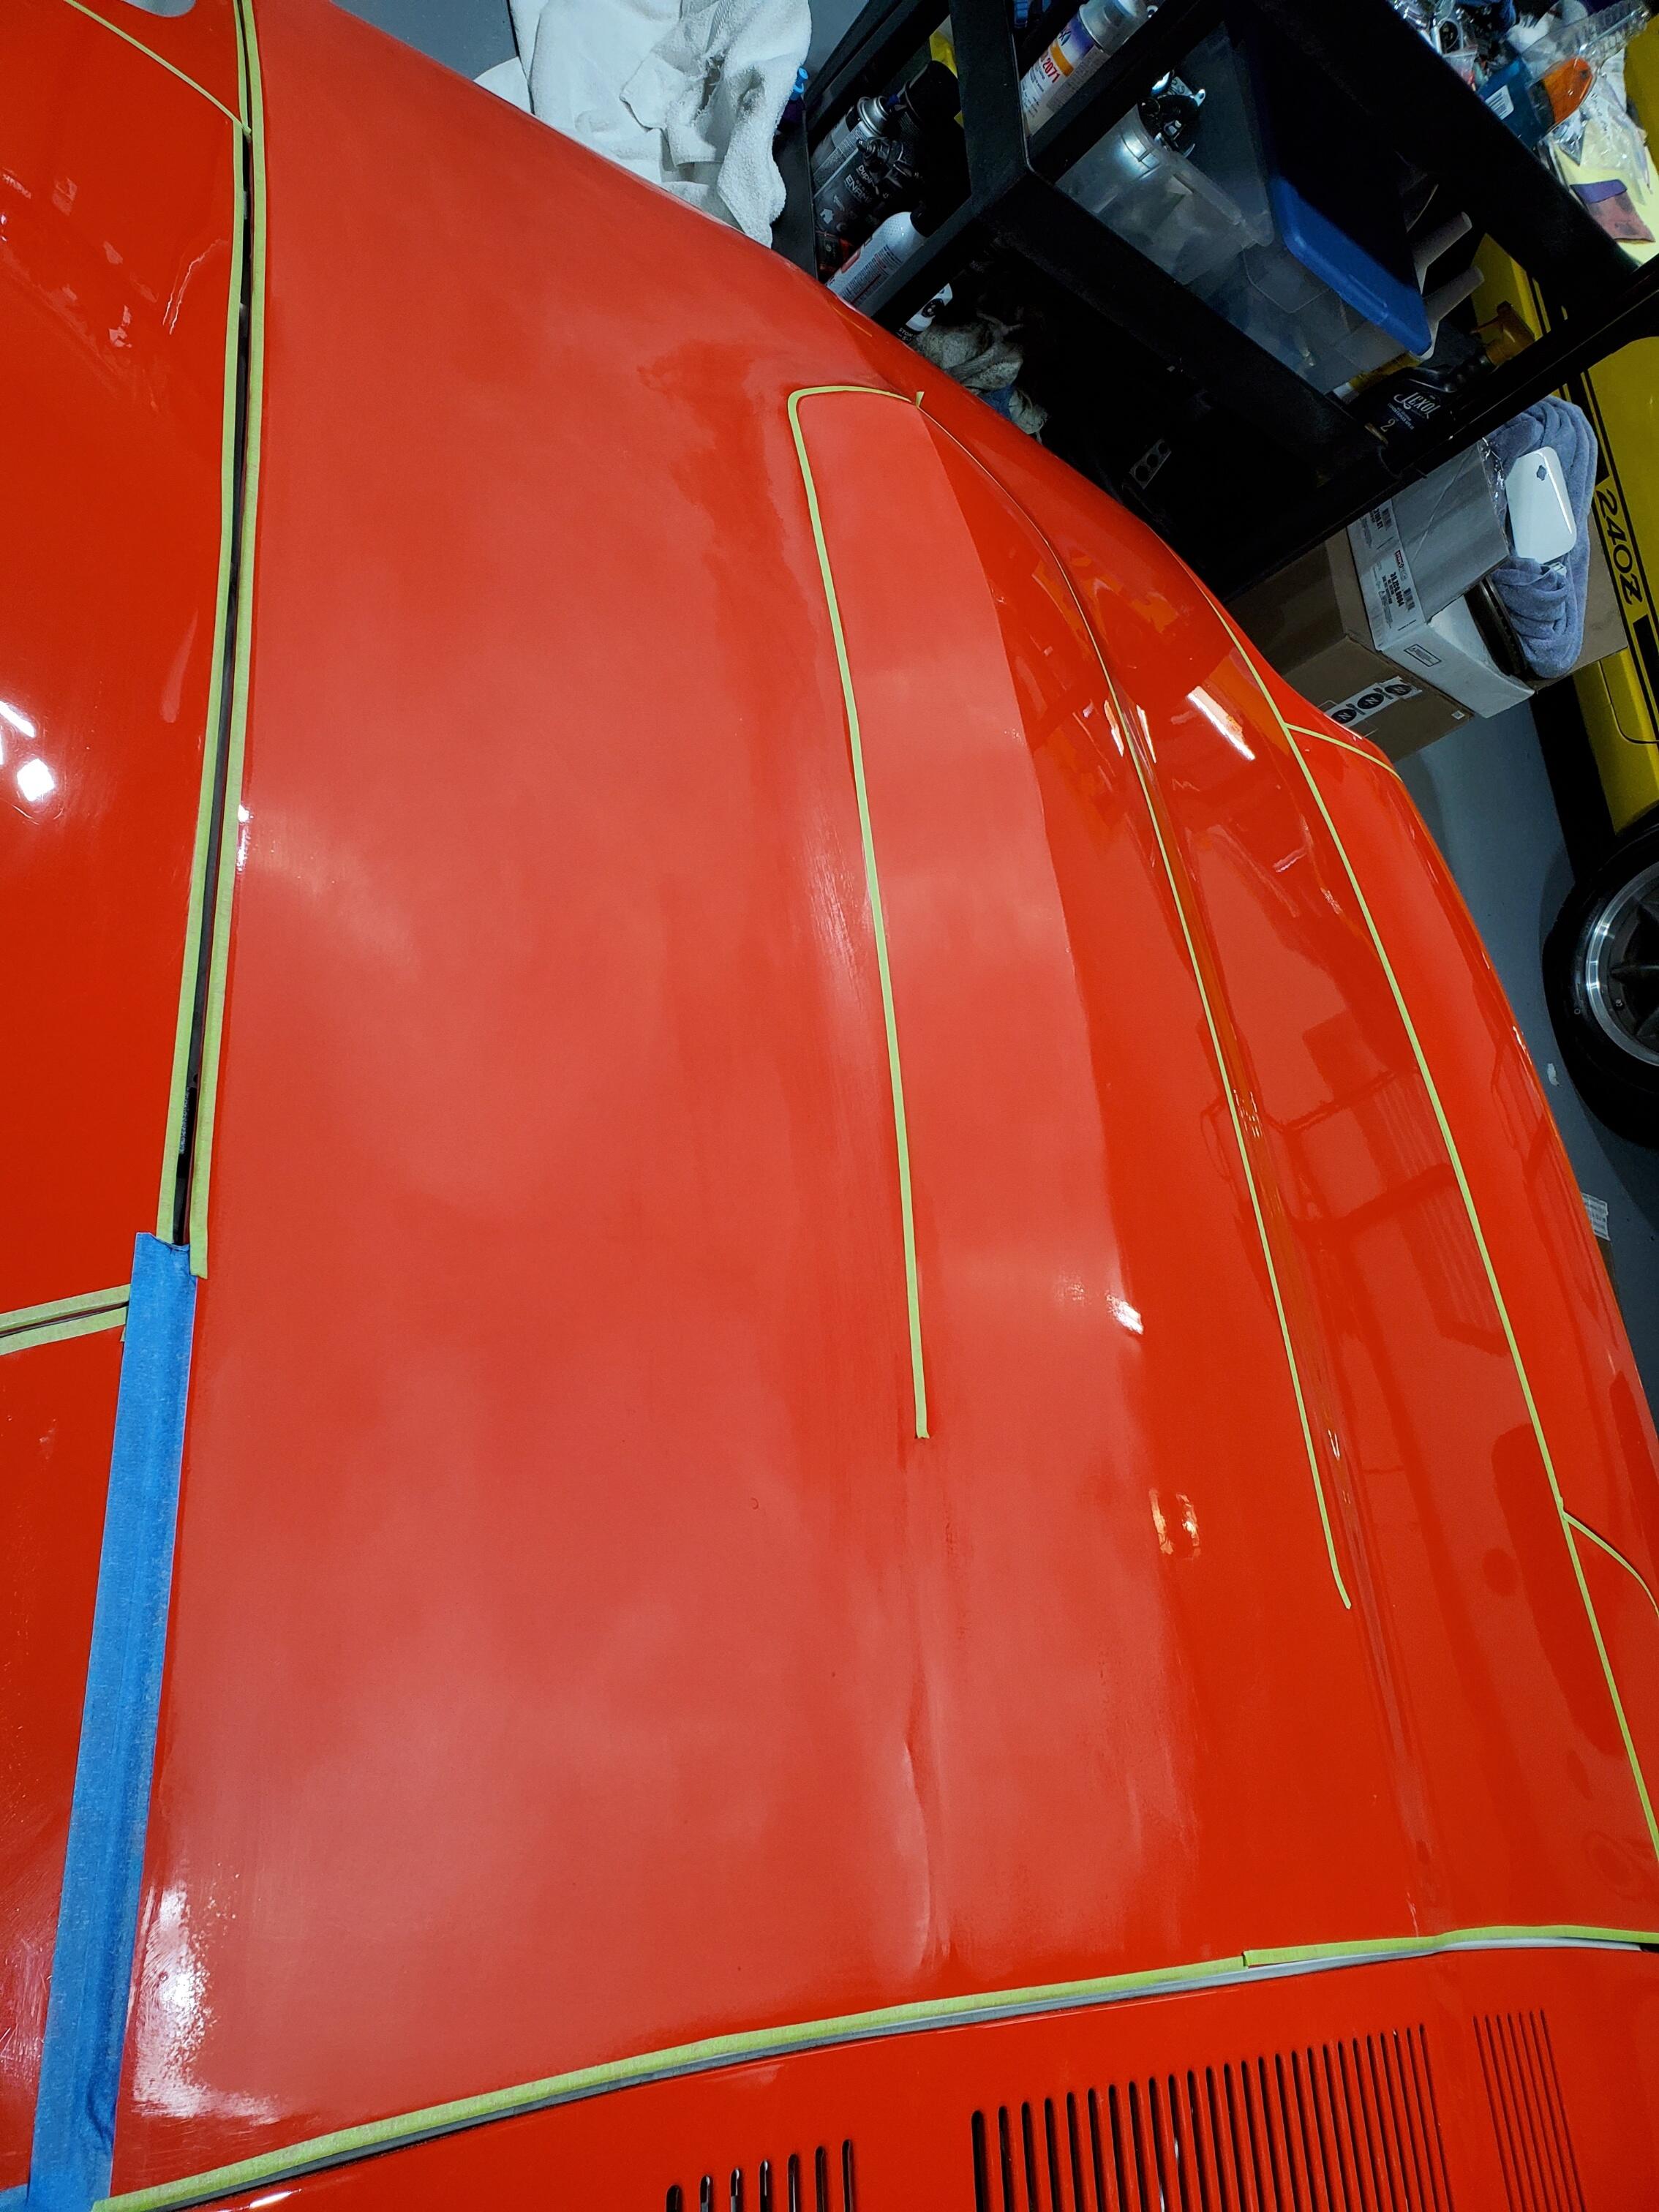
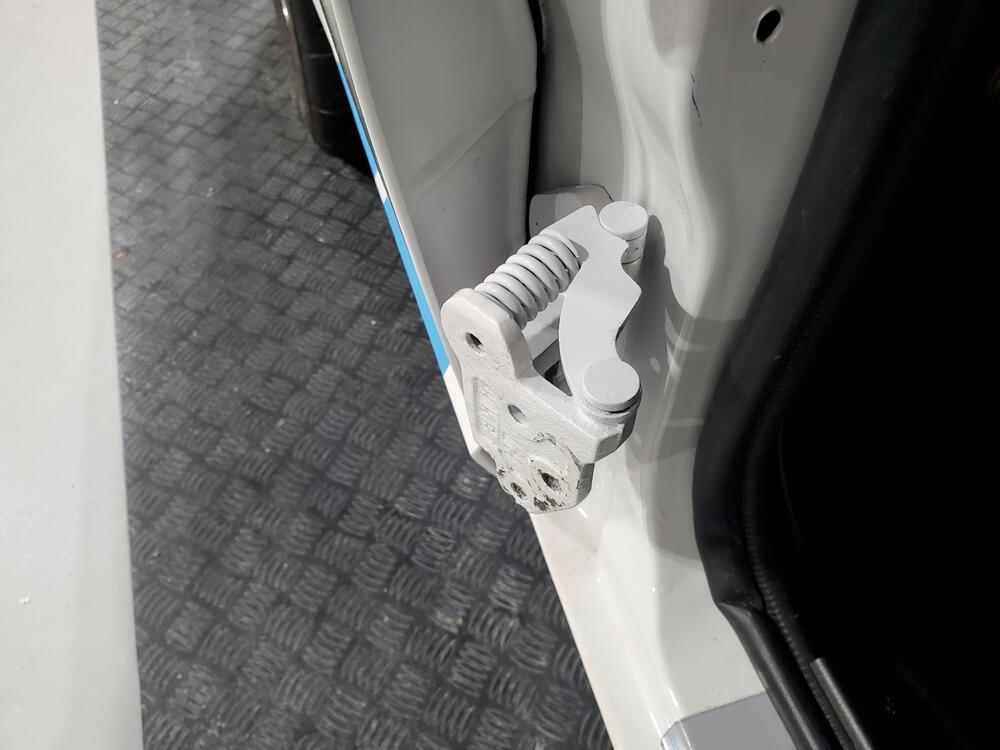
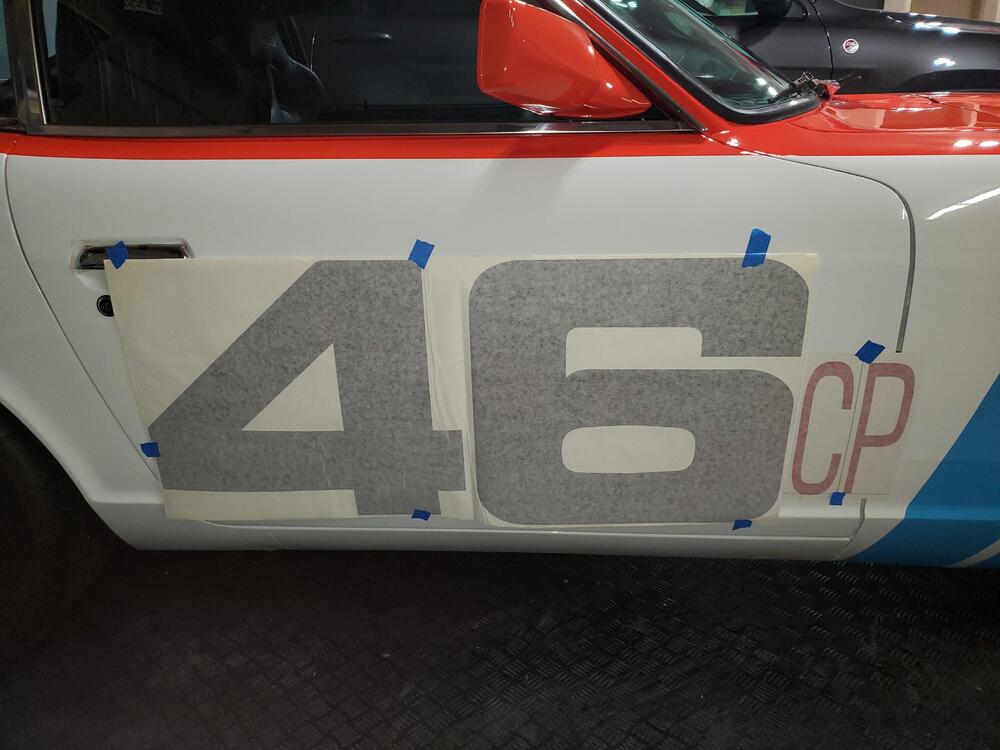
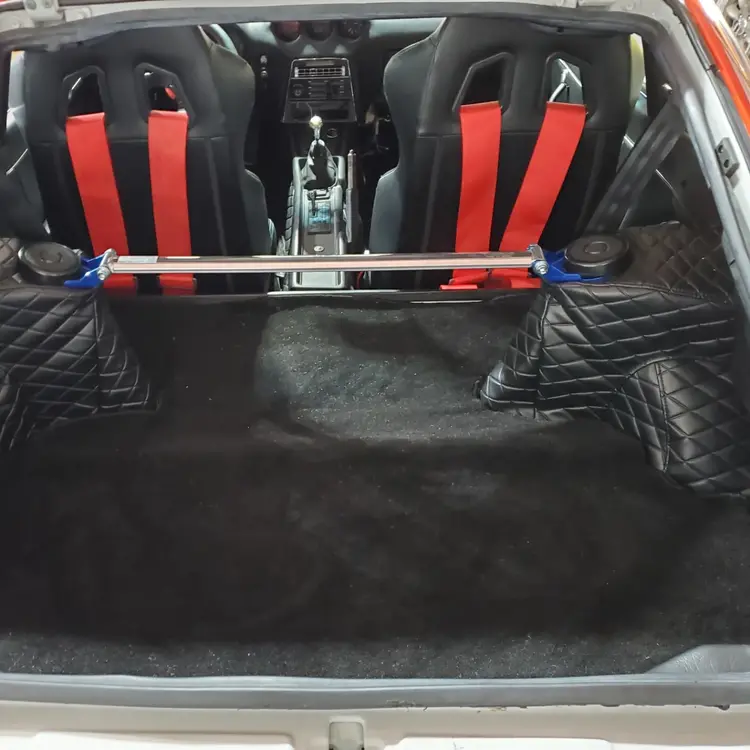
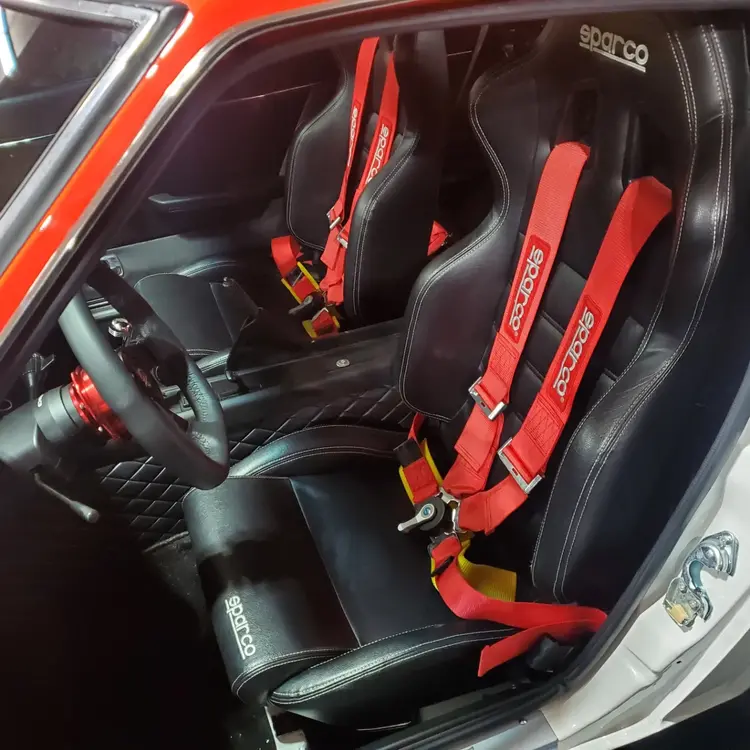
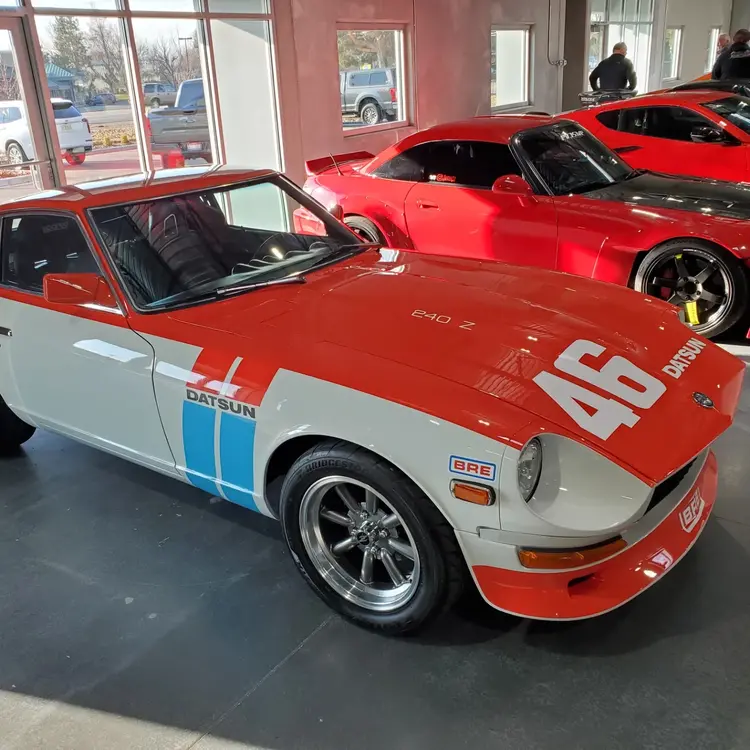
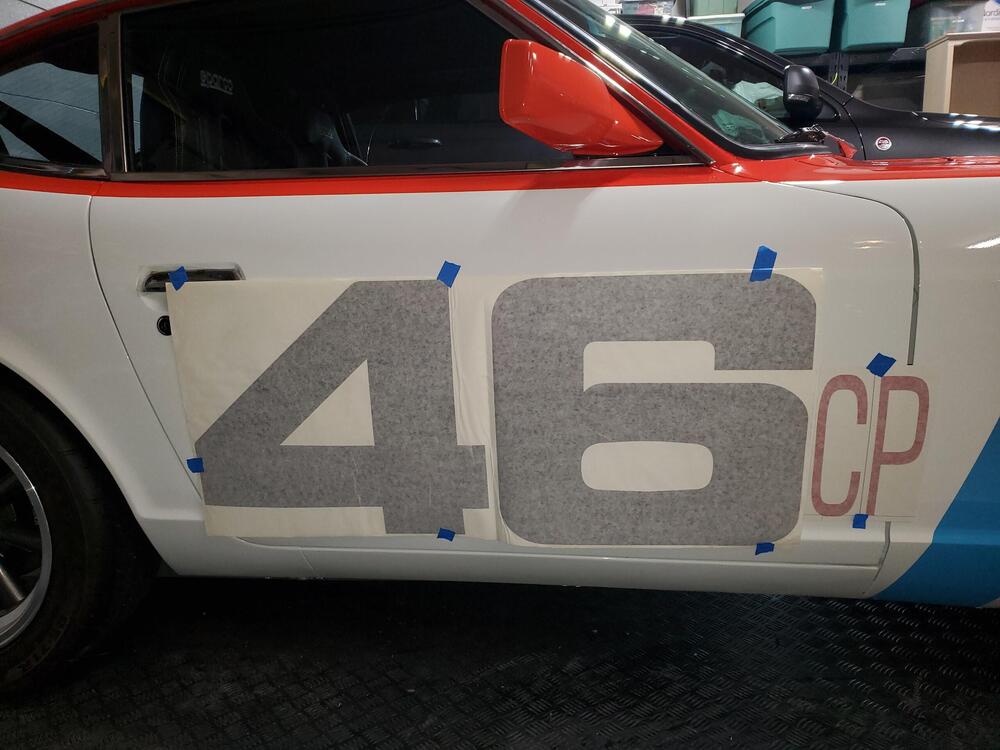
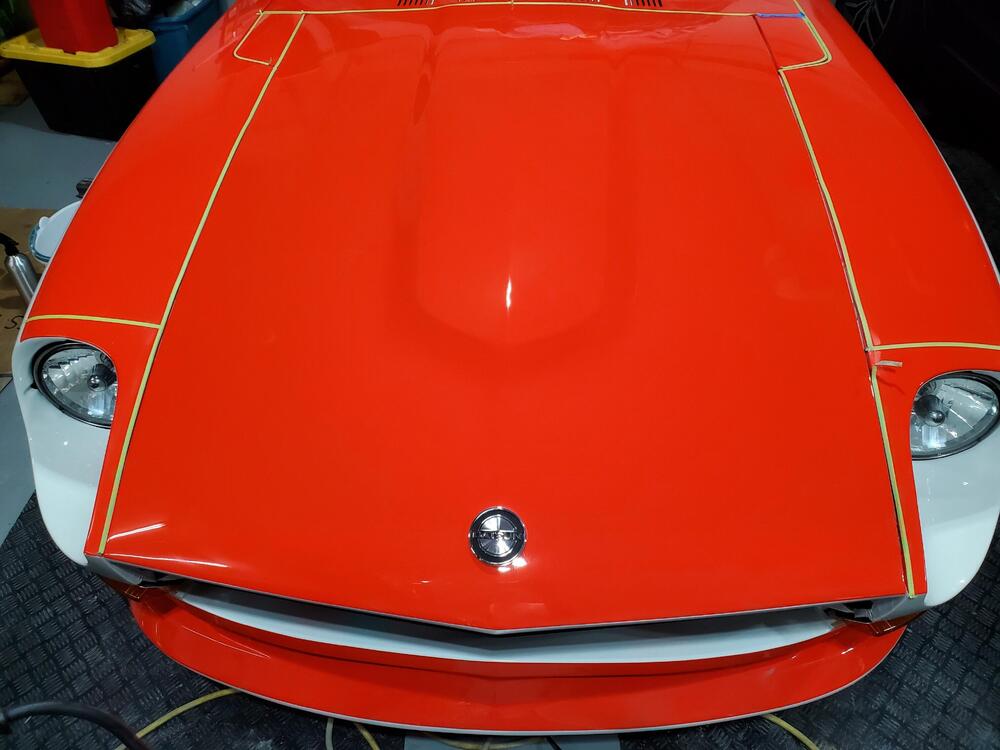
I am getting close to the finish on this. One of the items I had to do was install the door hinge detent springs. Not sure why, but the hinges that were installed on the car did not have springs and detents once I received the car. So, I removed the springs and detent from a later model car (different pin size) and drilled out the early model hinge to accomodate the larger pins. Also painted parts white to match car color. The only way to install the assembly was to remove the door as the the spring and detent assembly can most easily be installed when the hinge is in the closed position. Door was removed very carefully with the help of my wife and bucket appropriatley sized for the door to rest on. I installed the spring and detent on the bench after I drilled the holes for the larger pin. Once the hinges were complete I re-assembled everything and re-aligned the doors. Once the car was color sanded and polished, I started applying the decals. The larger ones were attached using a light soapy spray on the car before aligning and squeegying (learned this from youtube videos). The smaller ones are easy enough to do without the spray. location of the decals was done mostly by eyeballing on line pictures of the original car. The number on the right front of the hood was the most difficult to install due to the curvature of the hood. The rest were pretty straight forward. The BRE on the fuel door worked out better than expected. We did run into one issue as BRE accidently sent us the numbers for the 510 race car and not the 240Z. The 510 numbers are about 20% larger than the 240Z numbers and obviously were oversized (see pics). I contacted BRE and was advised to "cut the numbers with scissors" to make them fit. Not the best customer service (my wife was a little more opinionated about their response so I will leave that out). Anyway, I had the owner contact BRE to work out the numbers issue, and the correct ones were sent a week later. I am very happy with how everything turned out. My first time installing vinyl decals. I took the car to a local car show just to show it off. Needless to say, the car went over very well with the spectators. Boise likes flashy race cars....not so much original stock cars. I installed two sets of seat belts. Racing Sparco belts that can be unclipped, and an aftermarket roller tensioned belt system that is a bit closer to stock. The heater works great which is a good sign as it is part of the VintageAir system. I still need to charge the AC system and also get the front end aligned. I will use outside services for those. All the electrical is in good shape. The car has a number of aftermarket electrical items including the Headlight relay upgrade, parking light upgrade, and front blinker/running light upgrade. All fairly easy to install, 2 independently fused for their respective relays. The only item that took a little work was the front blinker/running light upgrade. The housing of the running lights need to be electrically 'floating' and not grounded to the car body. To make the housings electrically floating, I just oversized the holes in the running light housing so the 2 attach screws did not contact the body and ground it to the fender. I will continue to finish up some of the little details here. Pics are below.


-
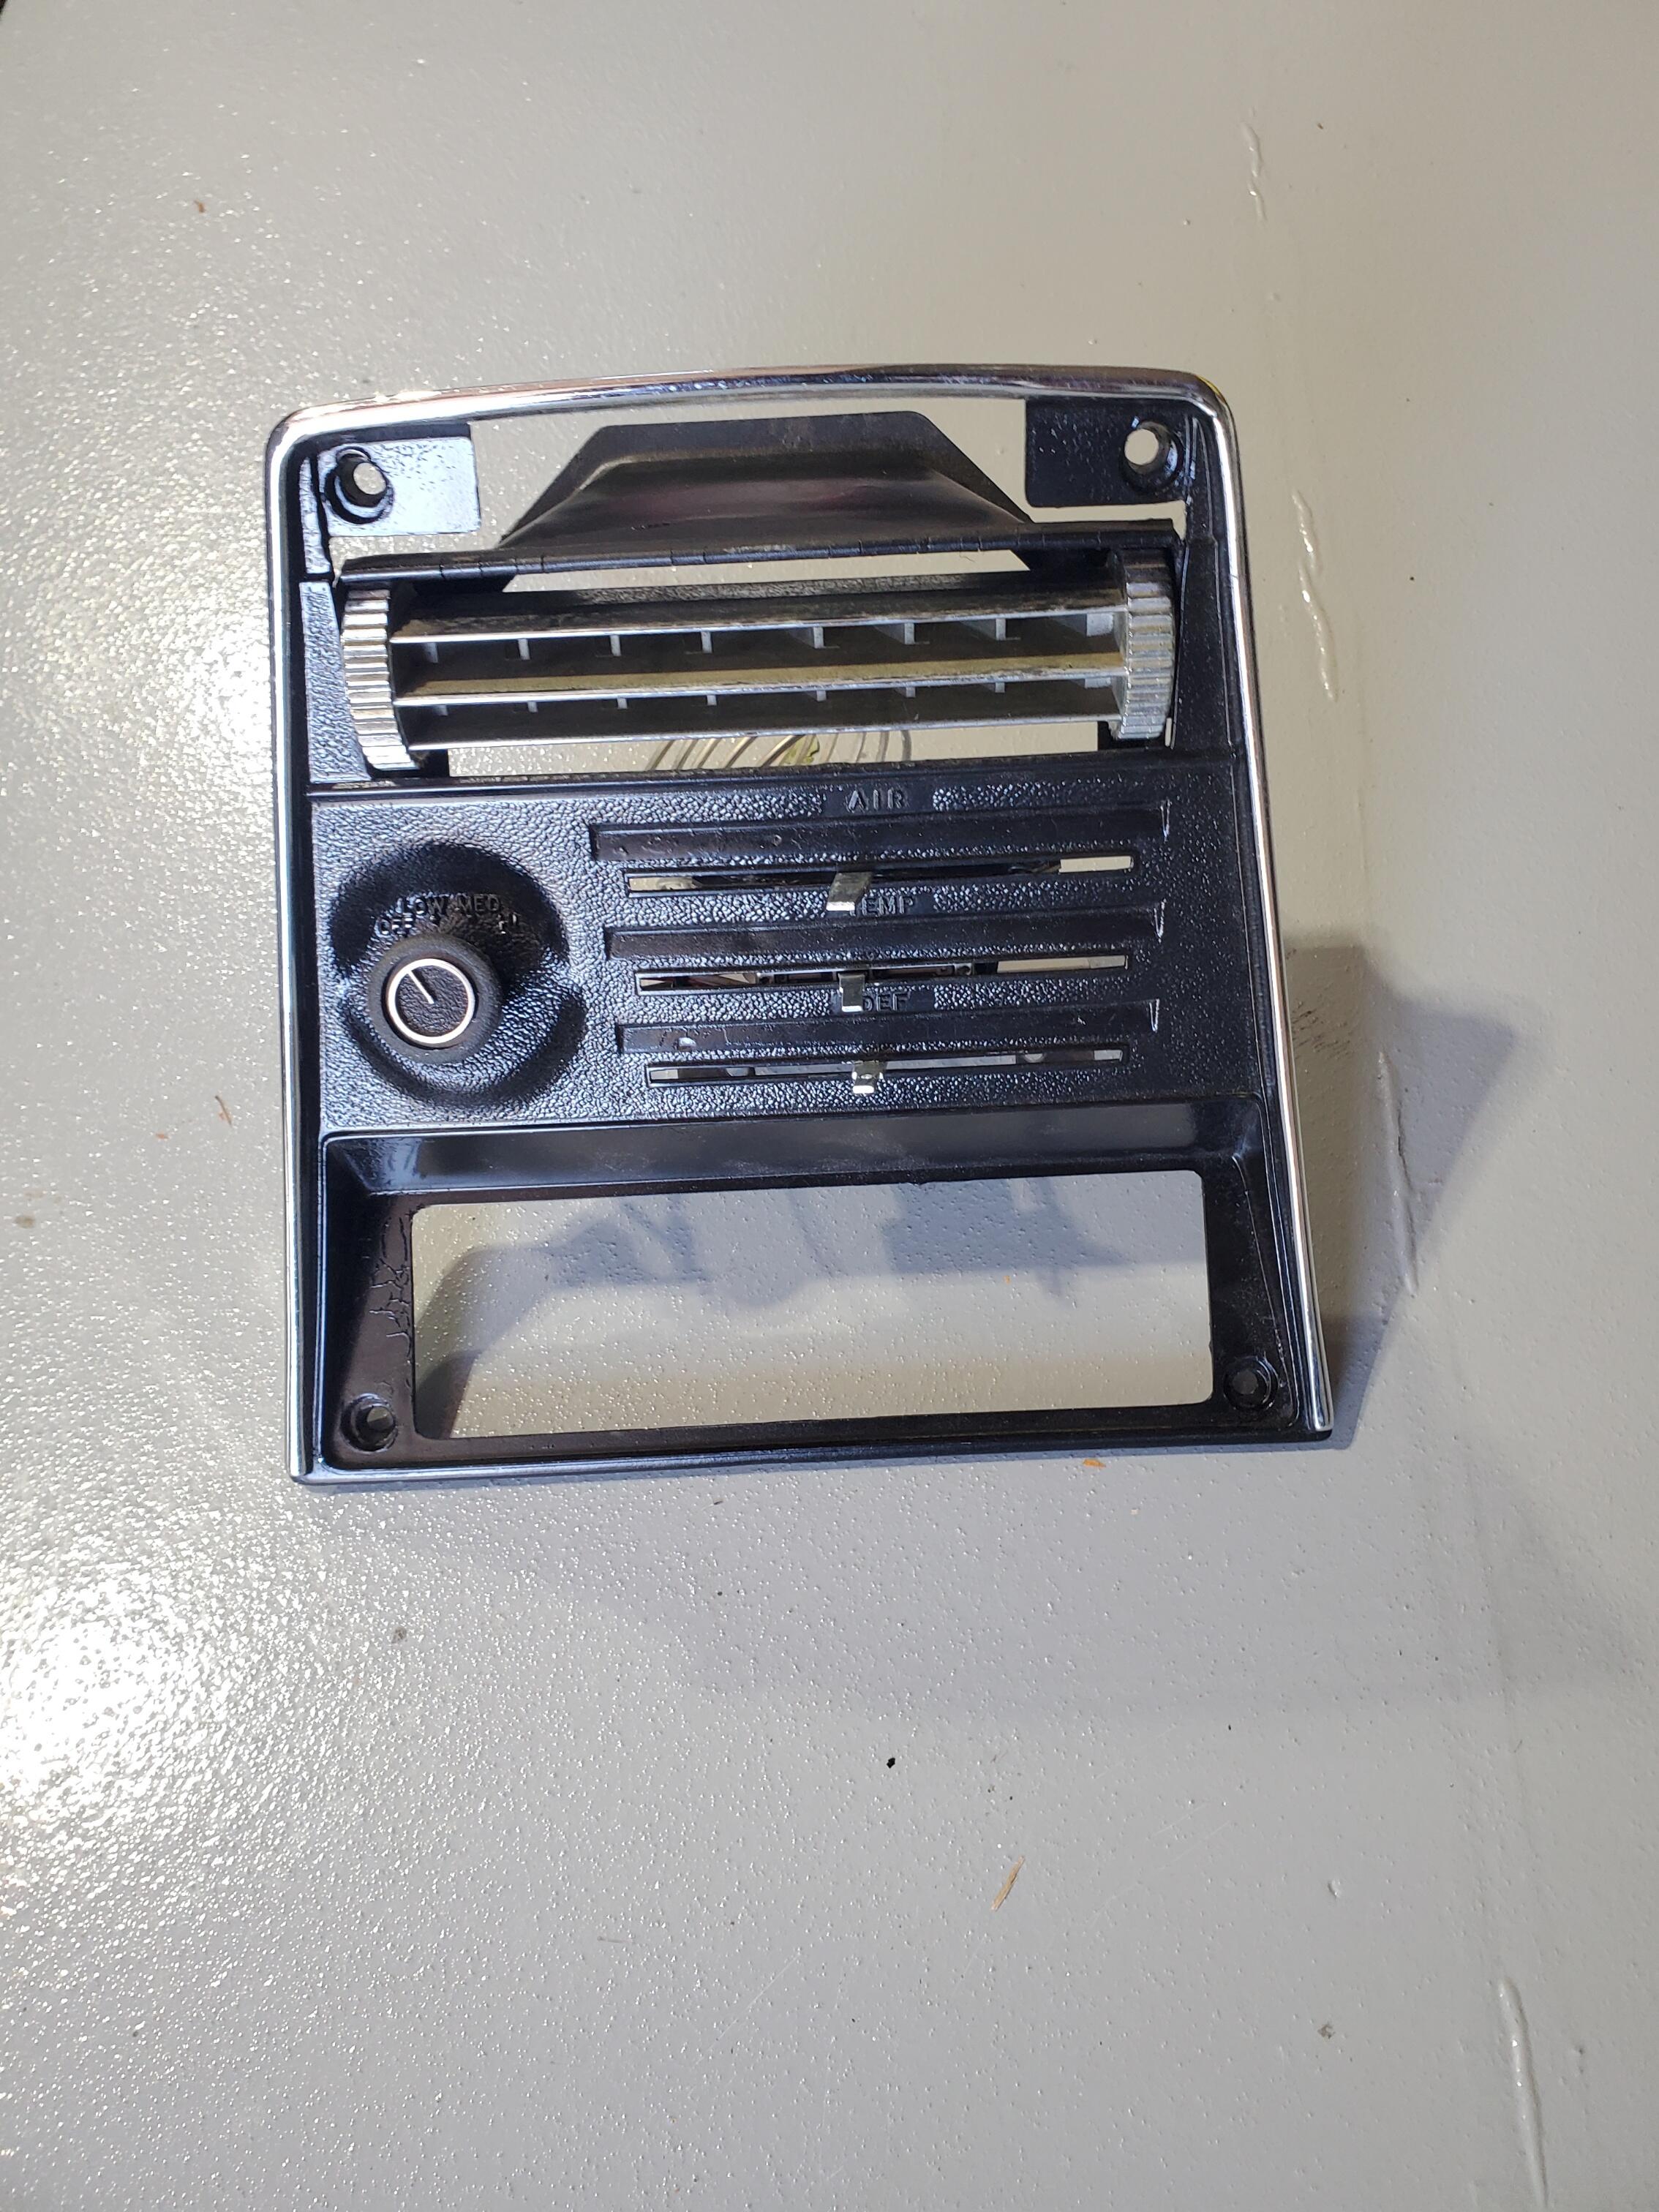
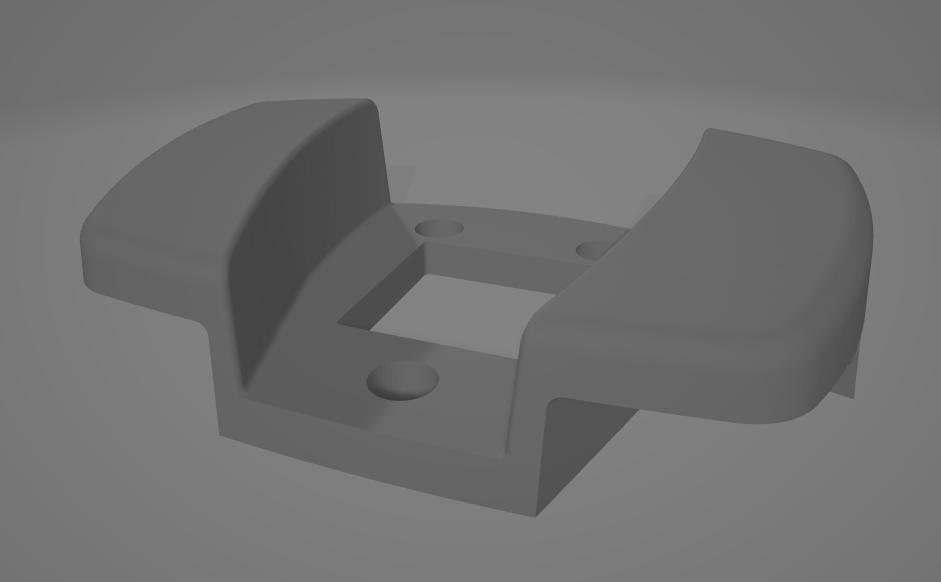
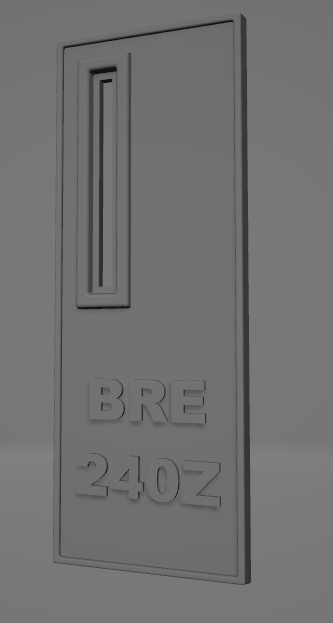
Thanks, I will talk with the print guy about this. Here is what the files look like. I went custom on the choke panel for now as it was easier. May modify that one later if i dont like this one.
-
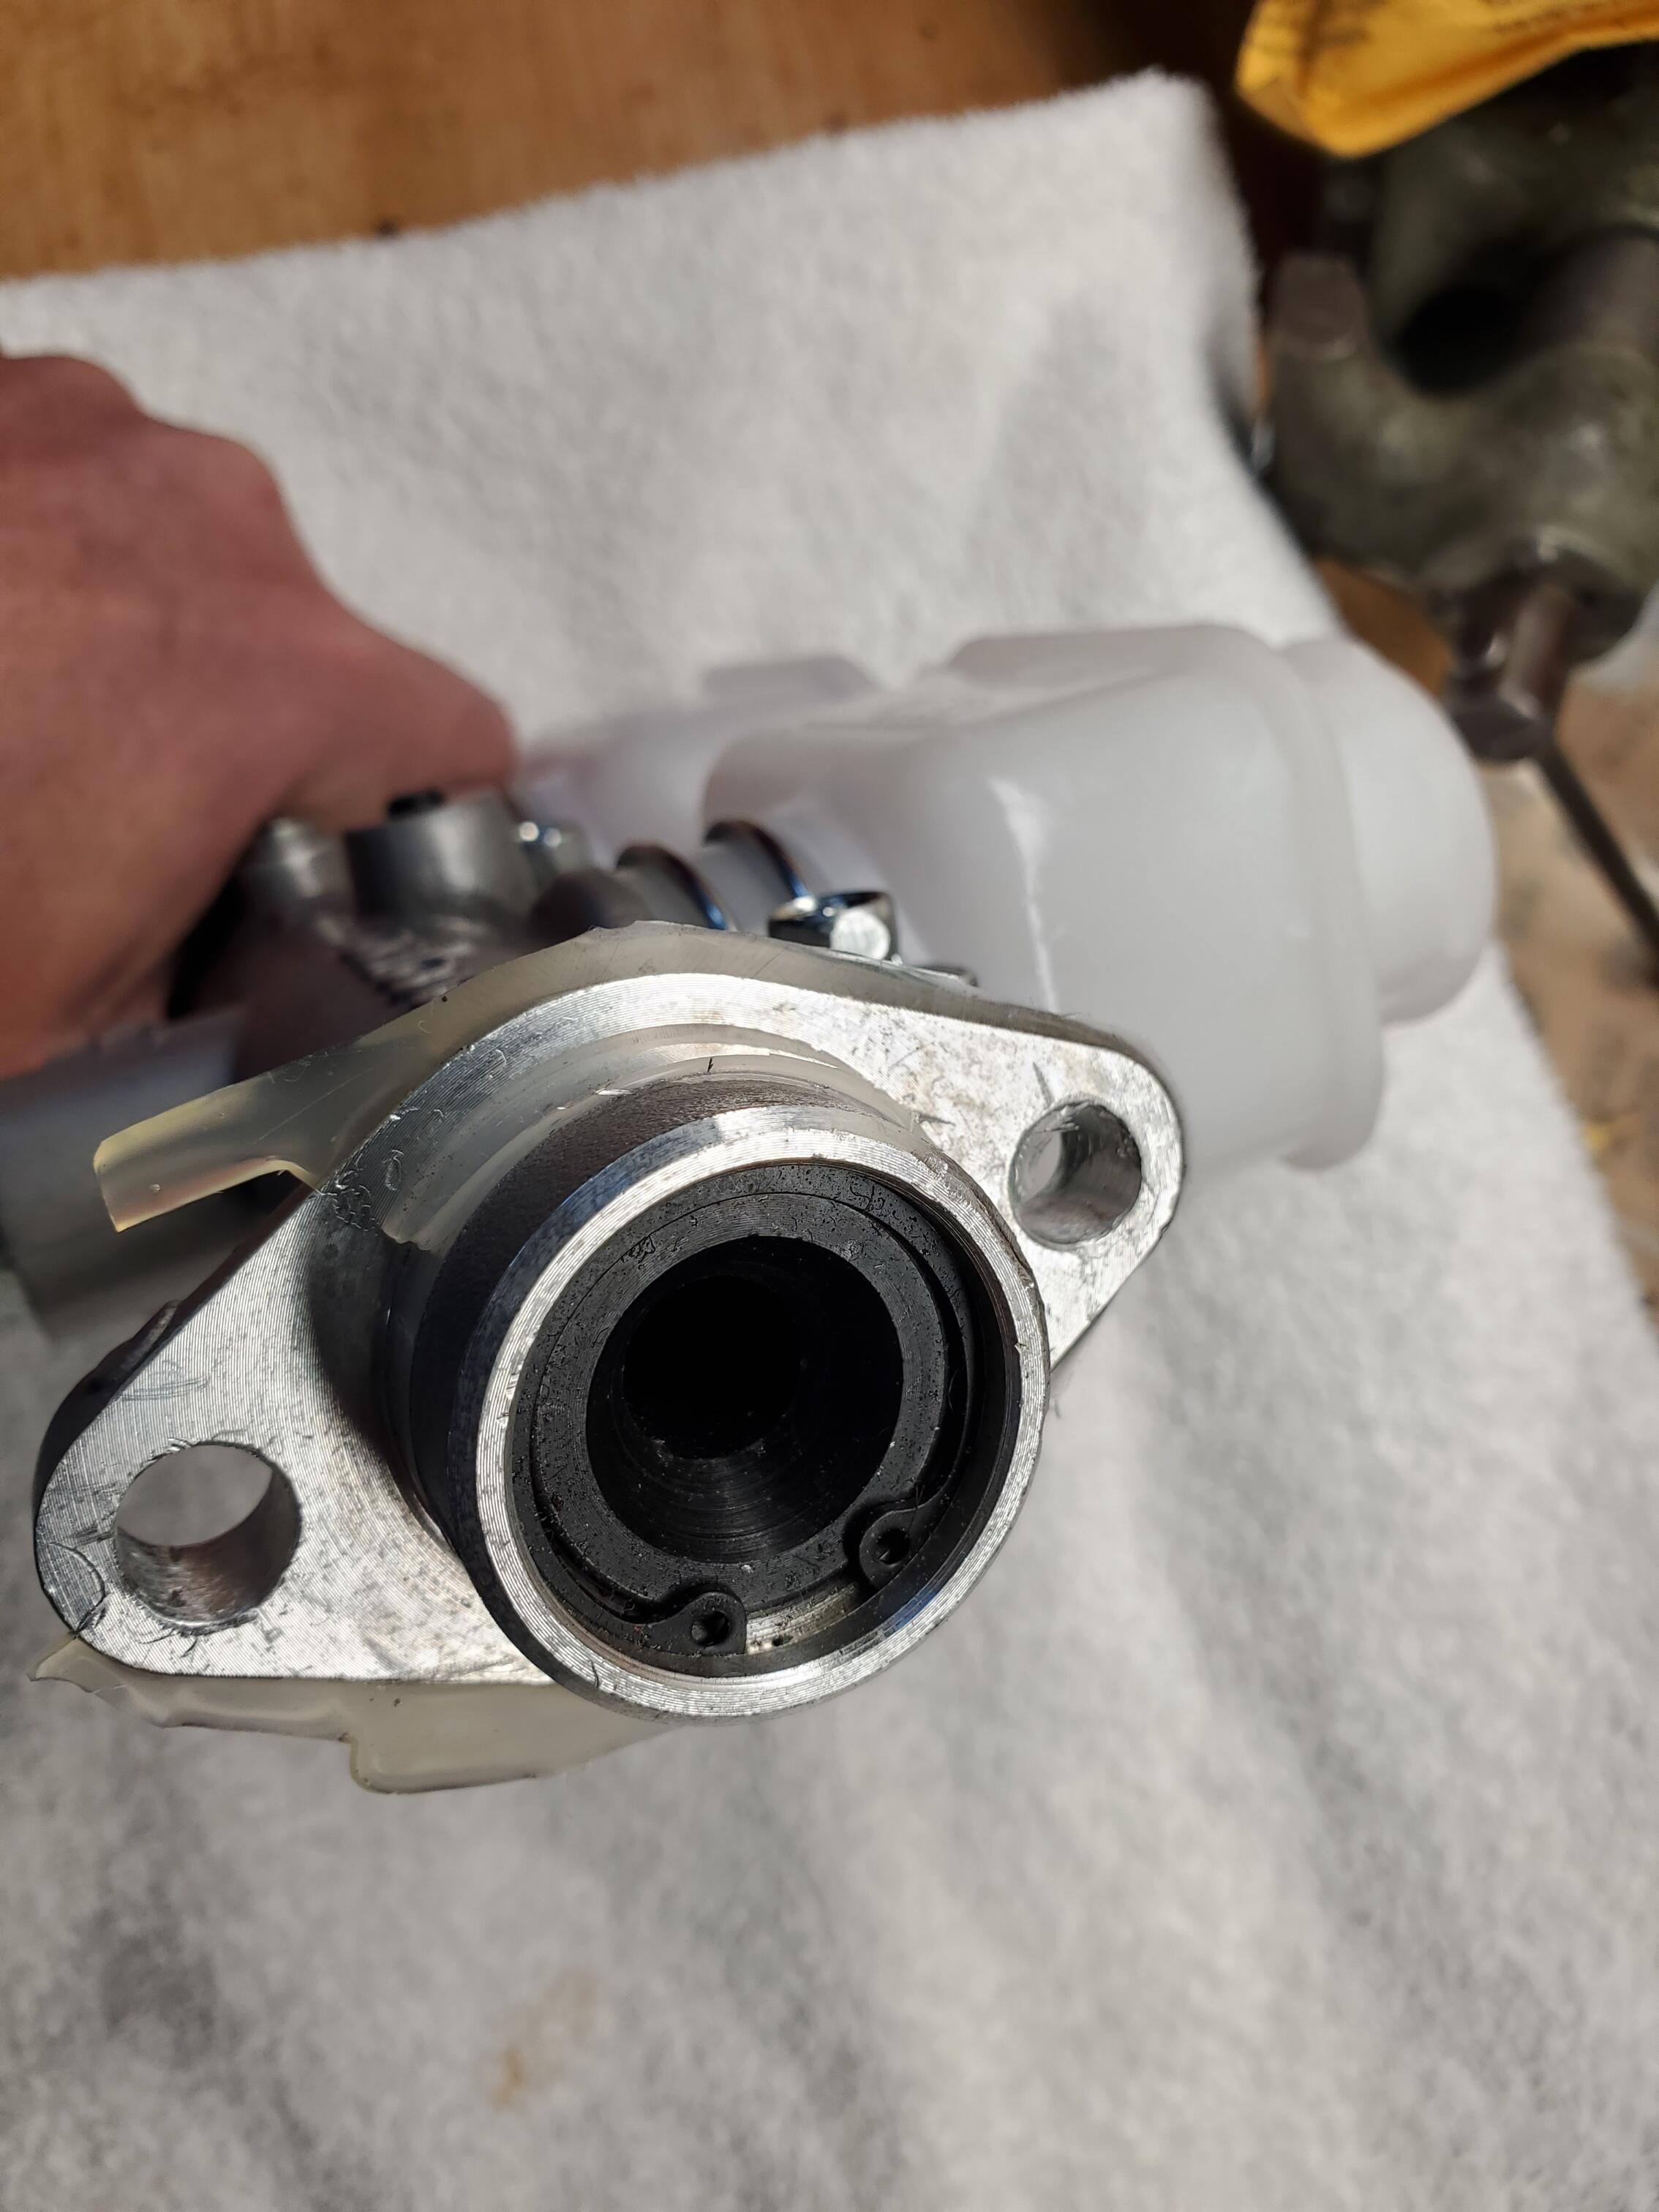
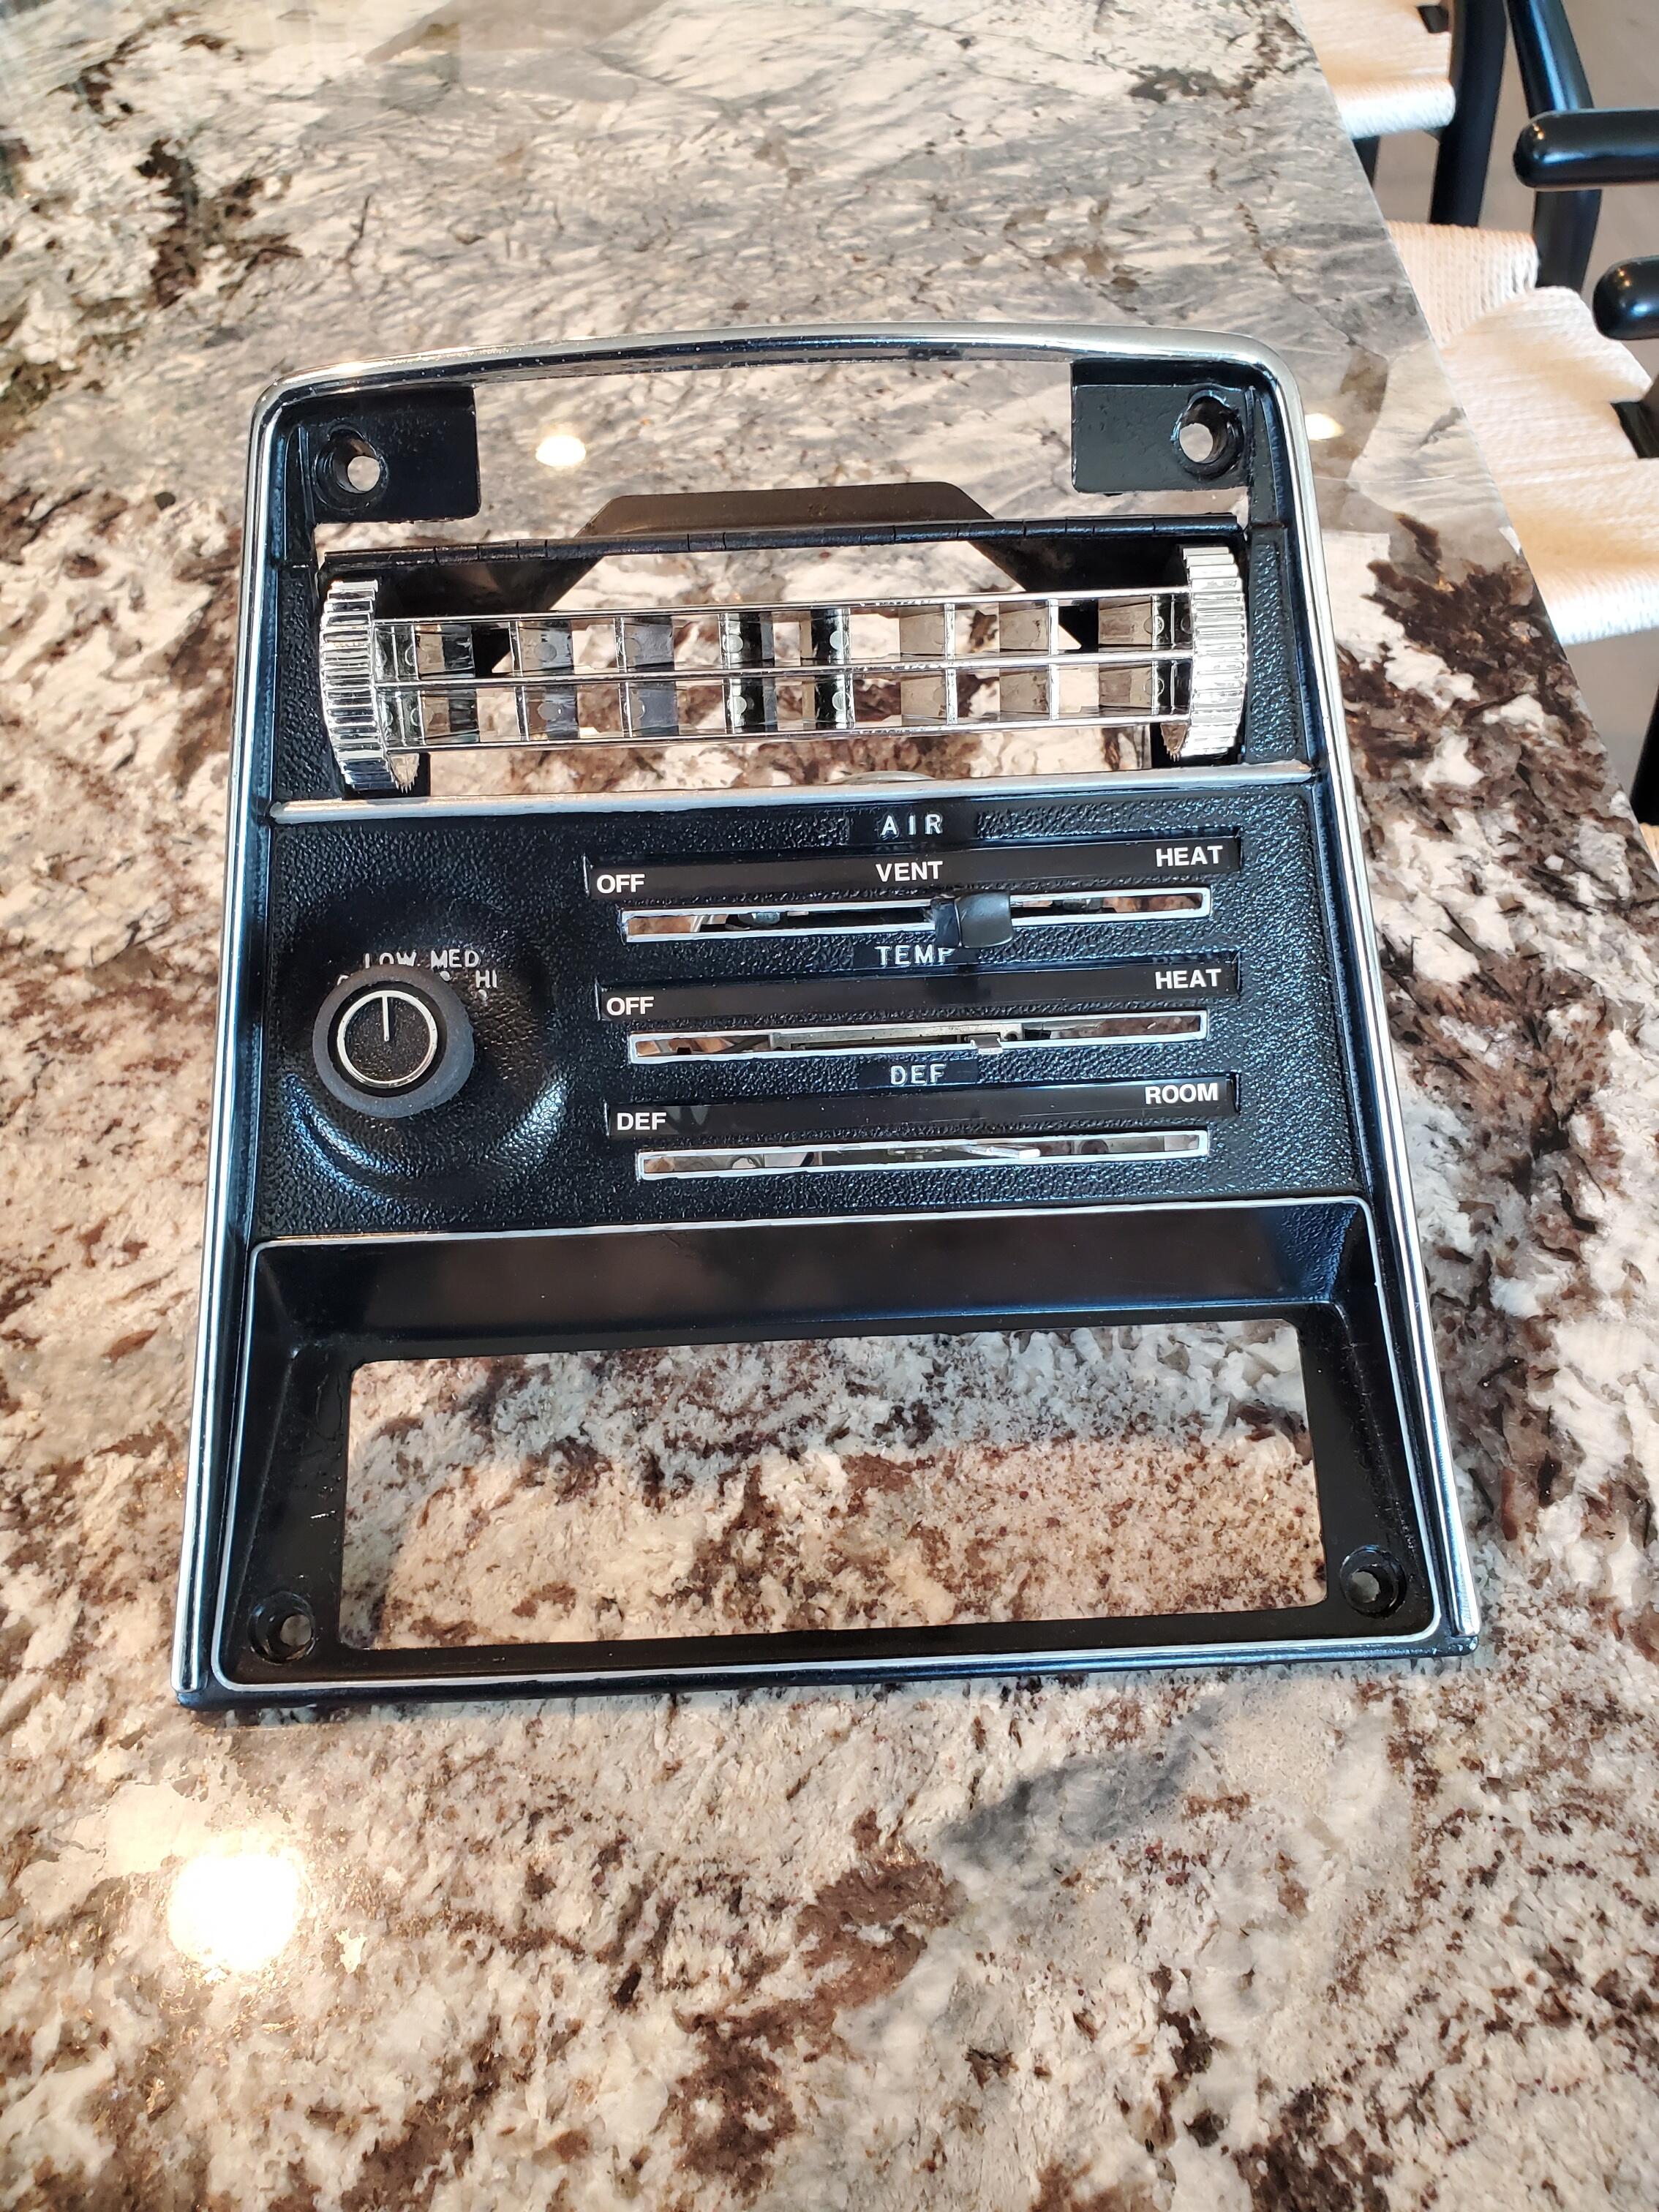
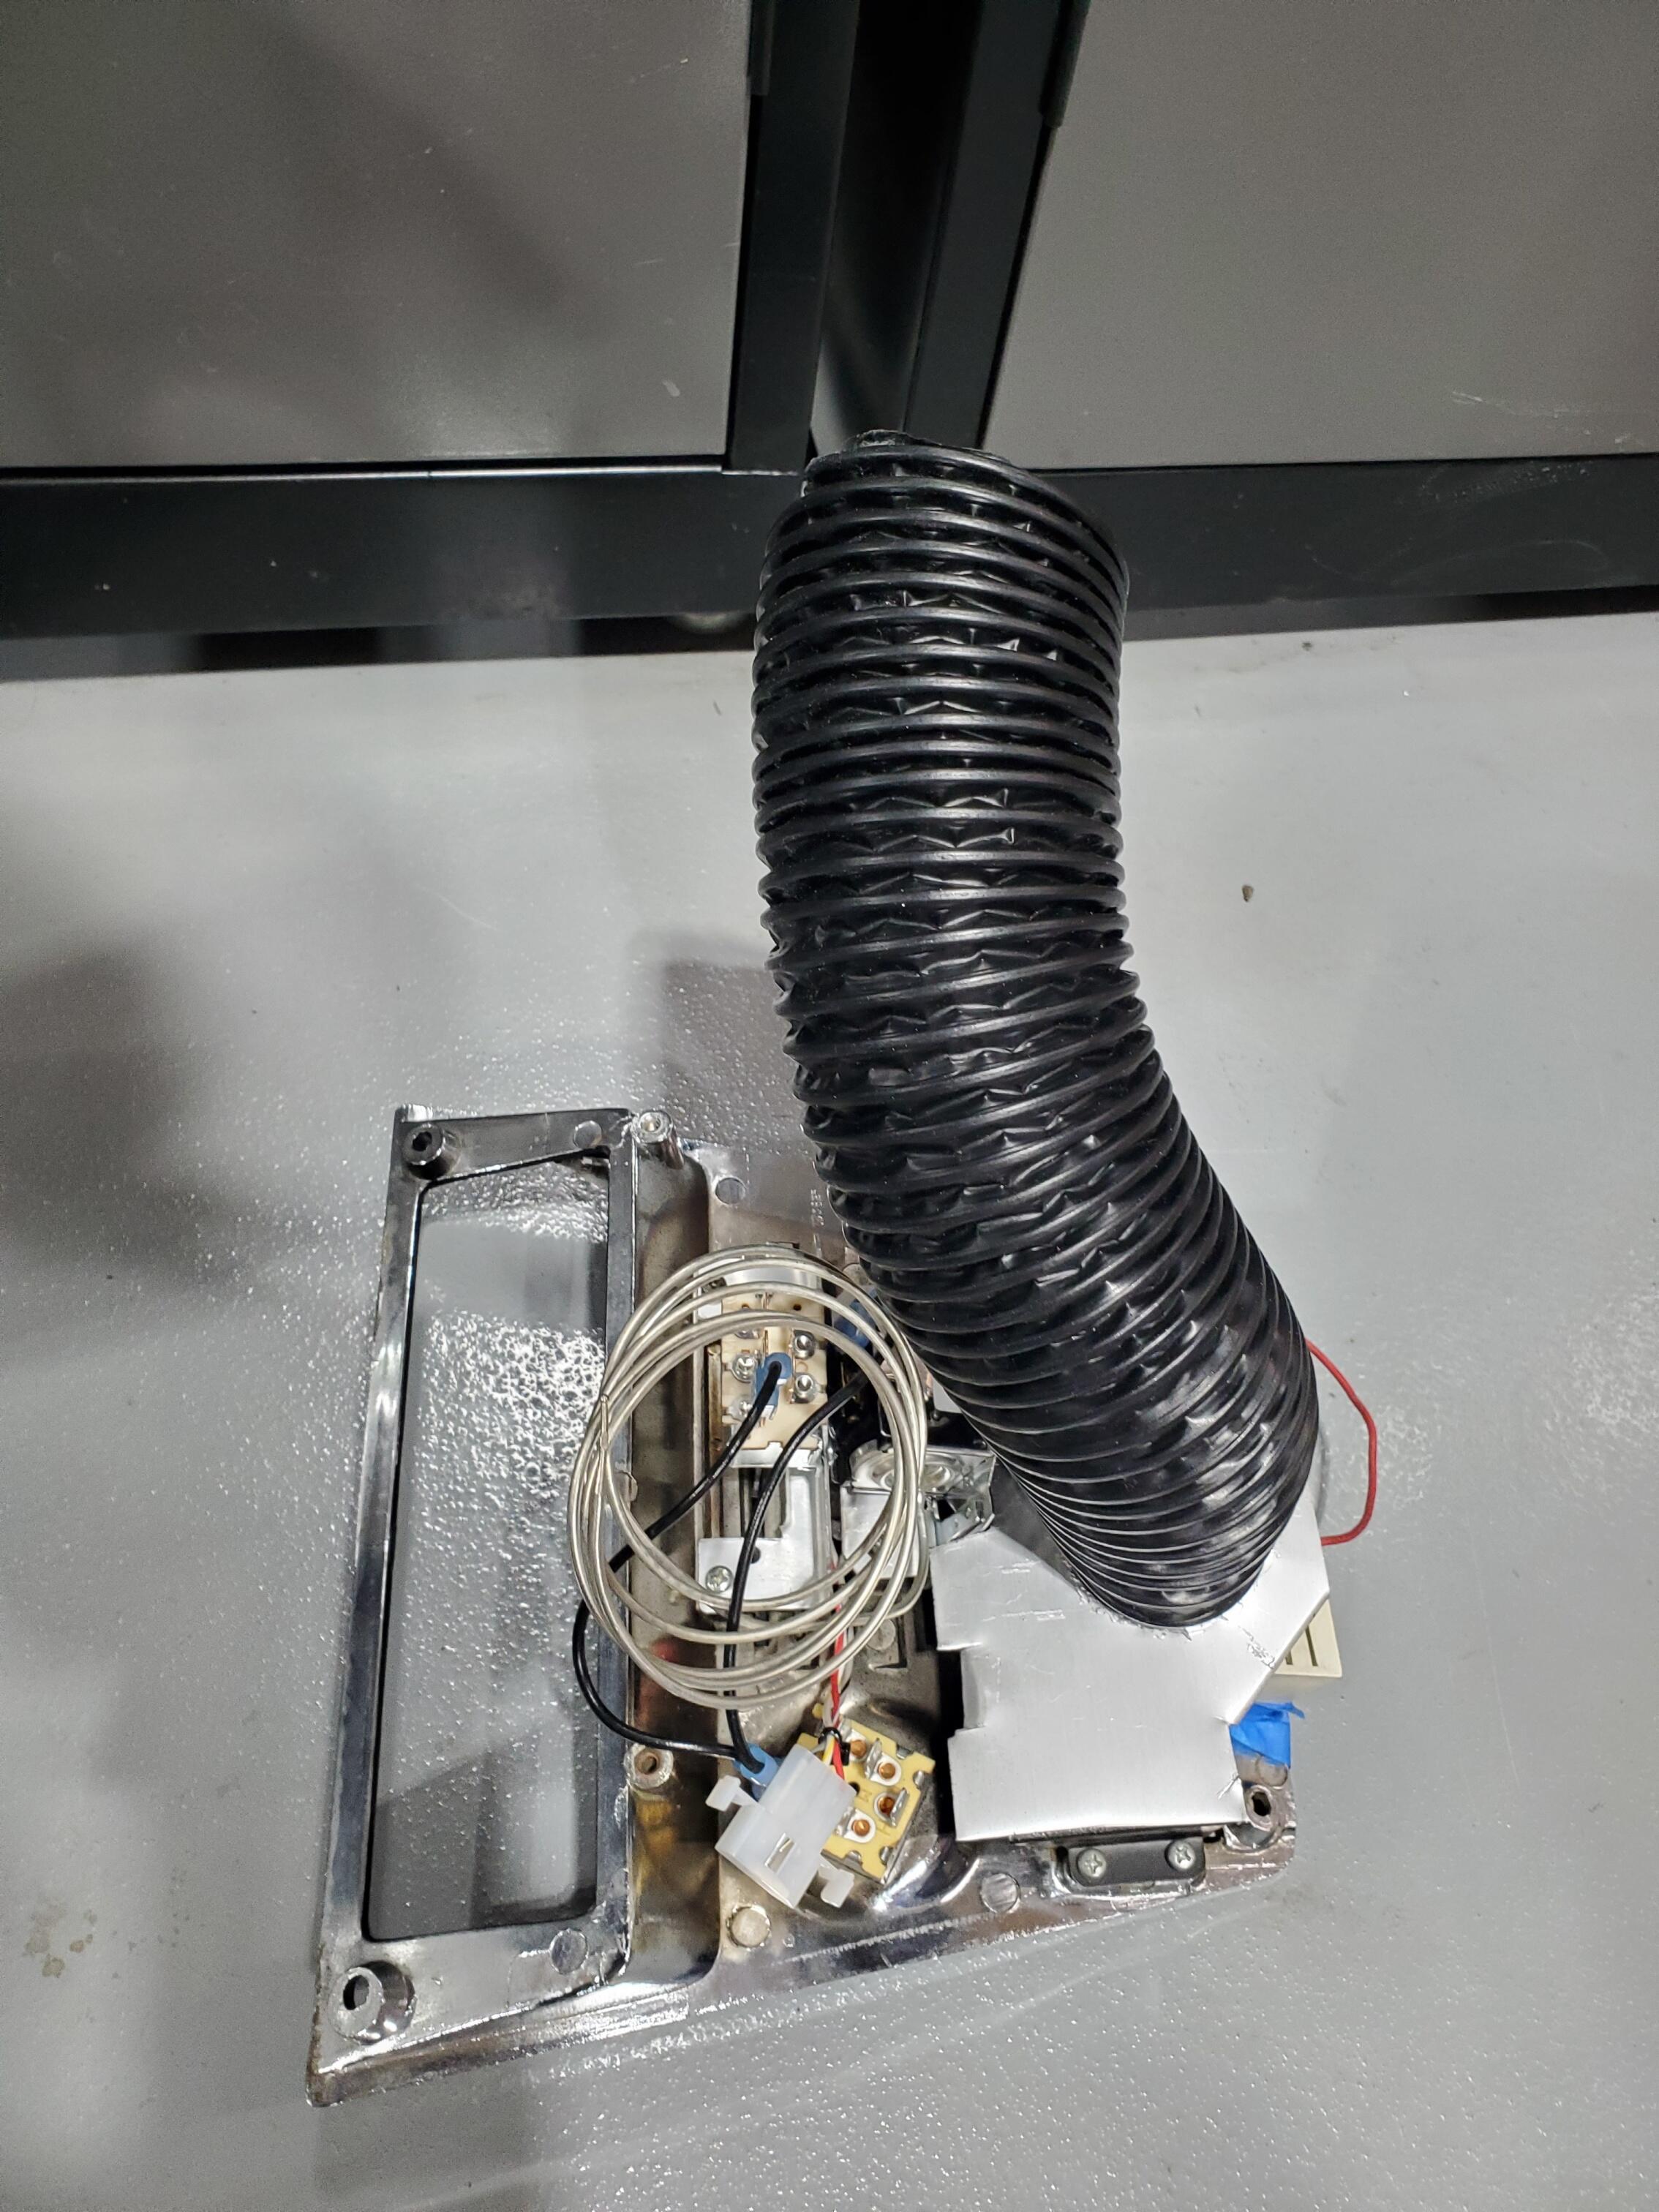
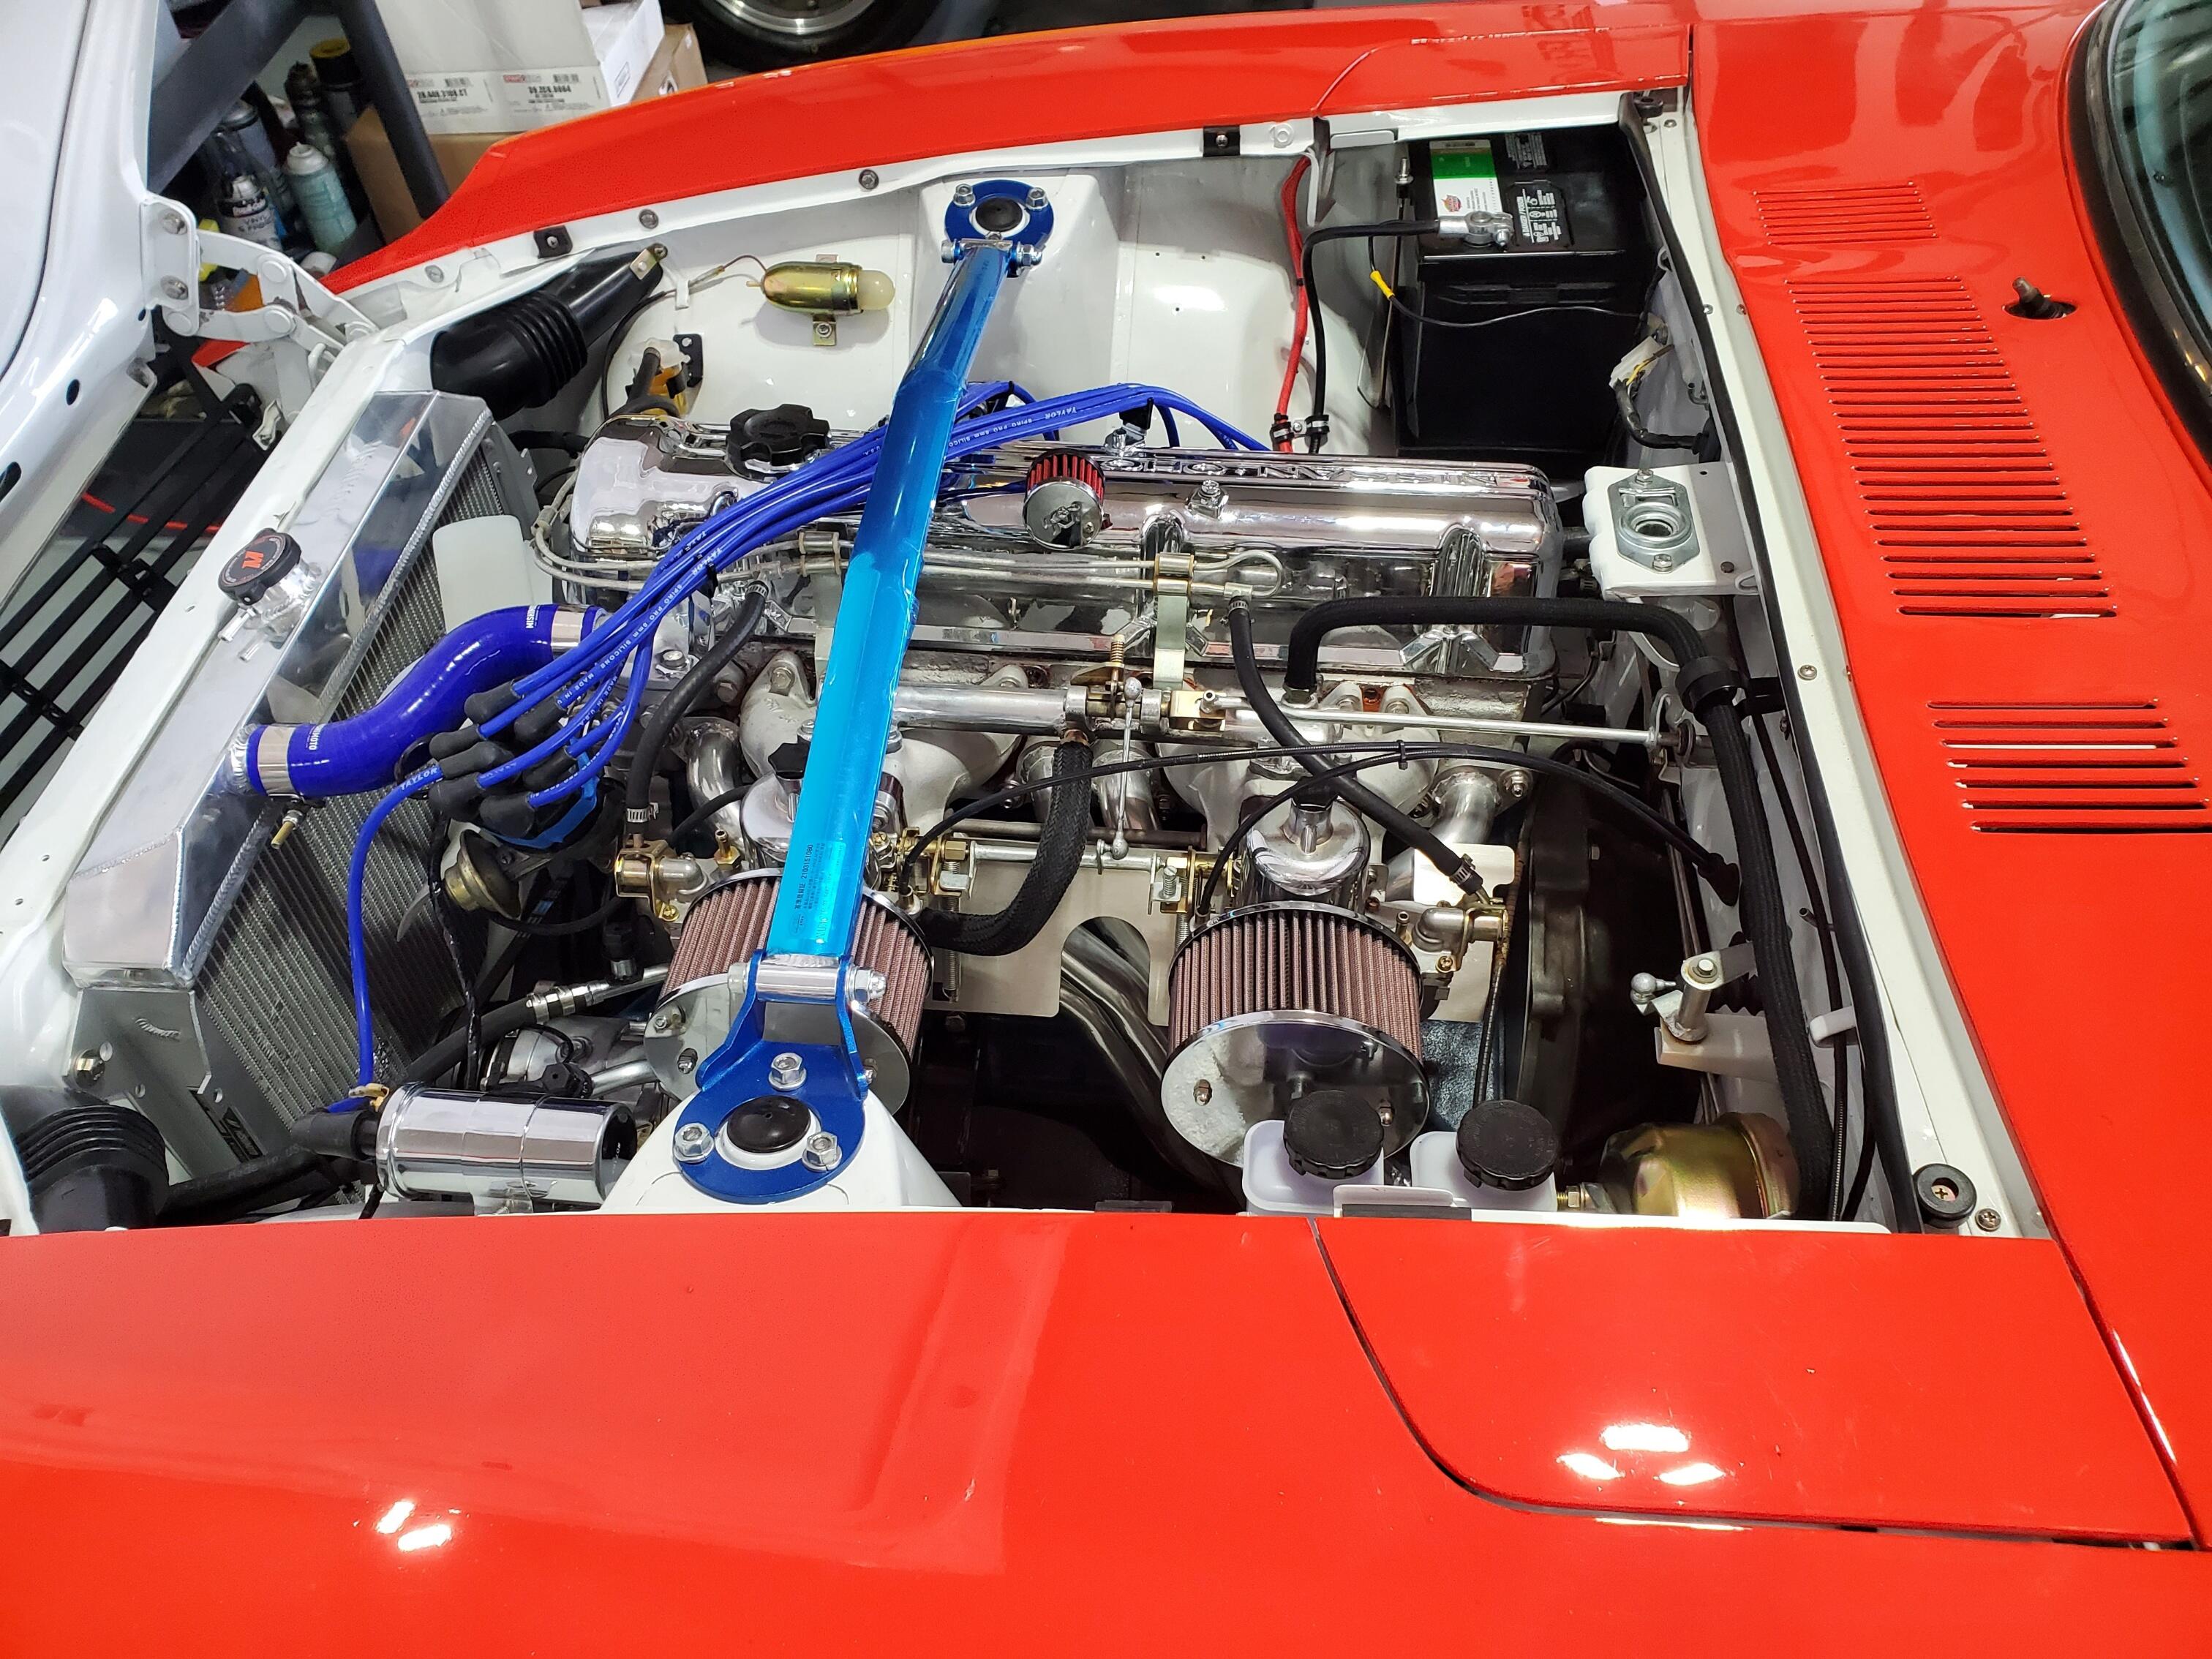
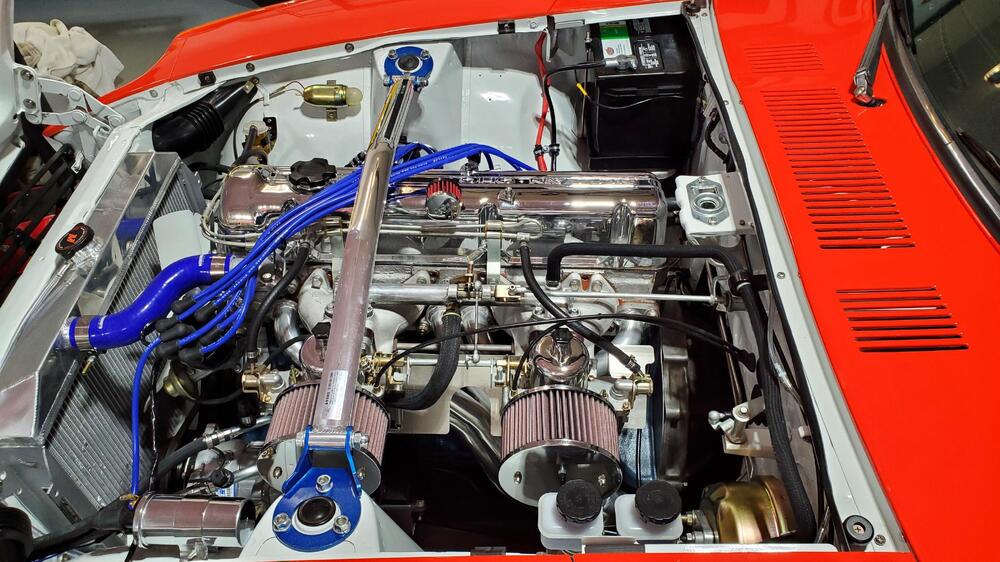
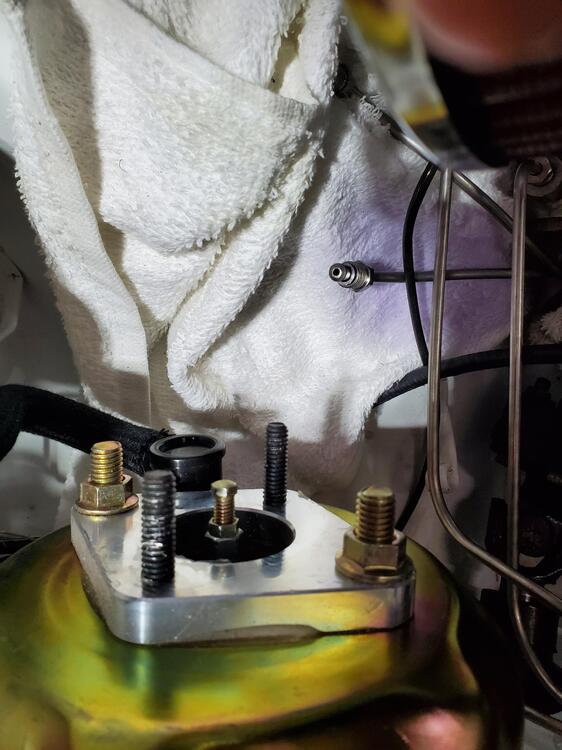
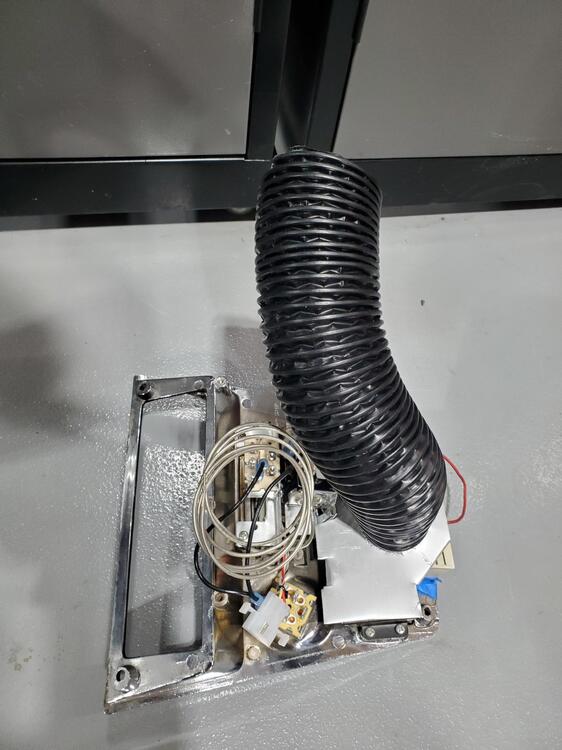
I figured out the issue with the brakes. The post that sticks out of the Brake Booster was pushing into the master cylinder about half an inch on installation. Once I shortened the post so that it was not pushing into the master cylinder on installation, everything worked fine. Both reservoirs bled well as did all four disc brake bleed valves. I used my trusty Harbor Freight vacuum bleeder on all of the bleed valves. Brakes are nice and firm and work well. With the brakes complete, I took the car for a spirited drive around the neighborhood running it through alll 5 gears. It runs very strong as it has the 280Z motor, a milled cam, high compression and a 3.94:1(?) rear end among other things. The motor was built by the same shop that does Adam Corolla's motors. I finished the heater panel installation (mostly- no radio or light bezel). I fabbed a small bracket that clips to the center vent and has an oval opening for the vent duct. See pictures below. The vent duct connects to the center opening on the evaporator and was connected on installation. The final electrical connections were finished and the panel put in place. I switched the ignition to ACC and checked out the operation of the fan and vents. The fan appears to put out more air than the stock unit, especially in the defrost mode. The only thing that takes getting used to is when switching from defrost, to vent, to room/center air there is a couple second delay as the actuators or the system open and close the valves. Unlike the stock manual cable system that operates immediately. Overall, I am very happy with the system and found it fairly simple to retro-fit into the Z. I finished up the panel install and cleaned up the wiring a bit. Also added the parking brake light upgrade kit, that was a prettty easy install. Also installed the window mounted mirrors which I think look pretty sporty. The install of the mirrors is prettty easy with the correct rivets. I am now color sanding and buffing out the paint which really makes the car look awesome. I am hoping to install the decals by the middle to end of next week in time for a car club grand opening car show here in Boise on December 16th. I know the manager and he said that he would set me up with a nice spot for the car. https://www.toyboxcarclub.com/ Pics of progress are below. Also, I will be 3D modeling the mirror mount and the choke center plate as the mirror mount is broken and the choke plate is missing. My neighbor has several types of 3D printers and said that he would print these for me. Assuming they turn out well, I may make several copies just in case they are needed.


-
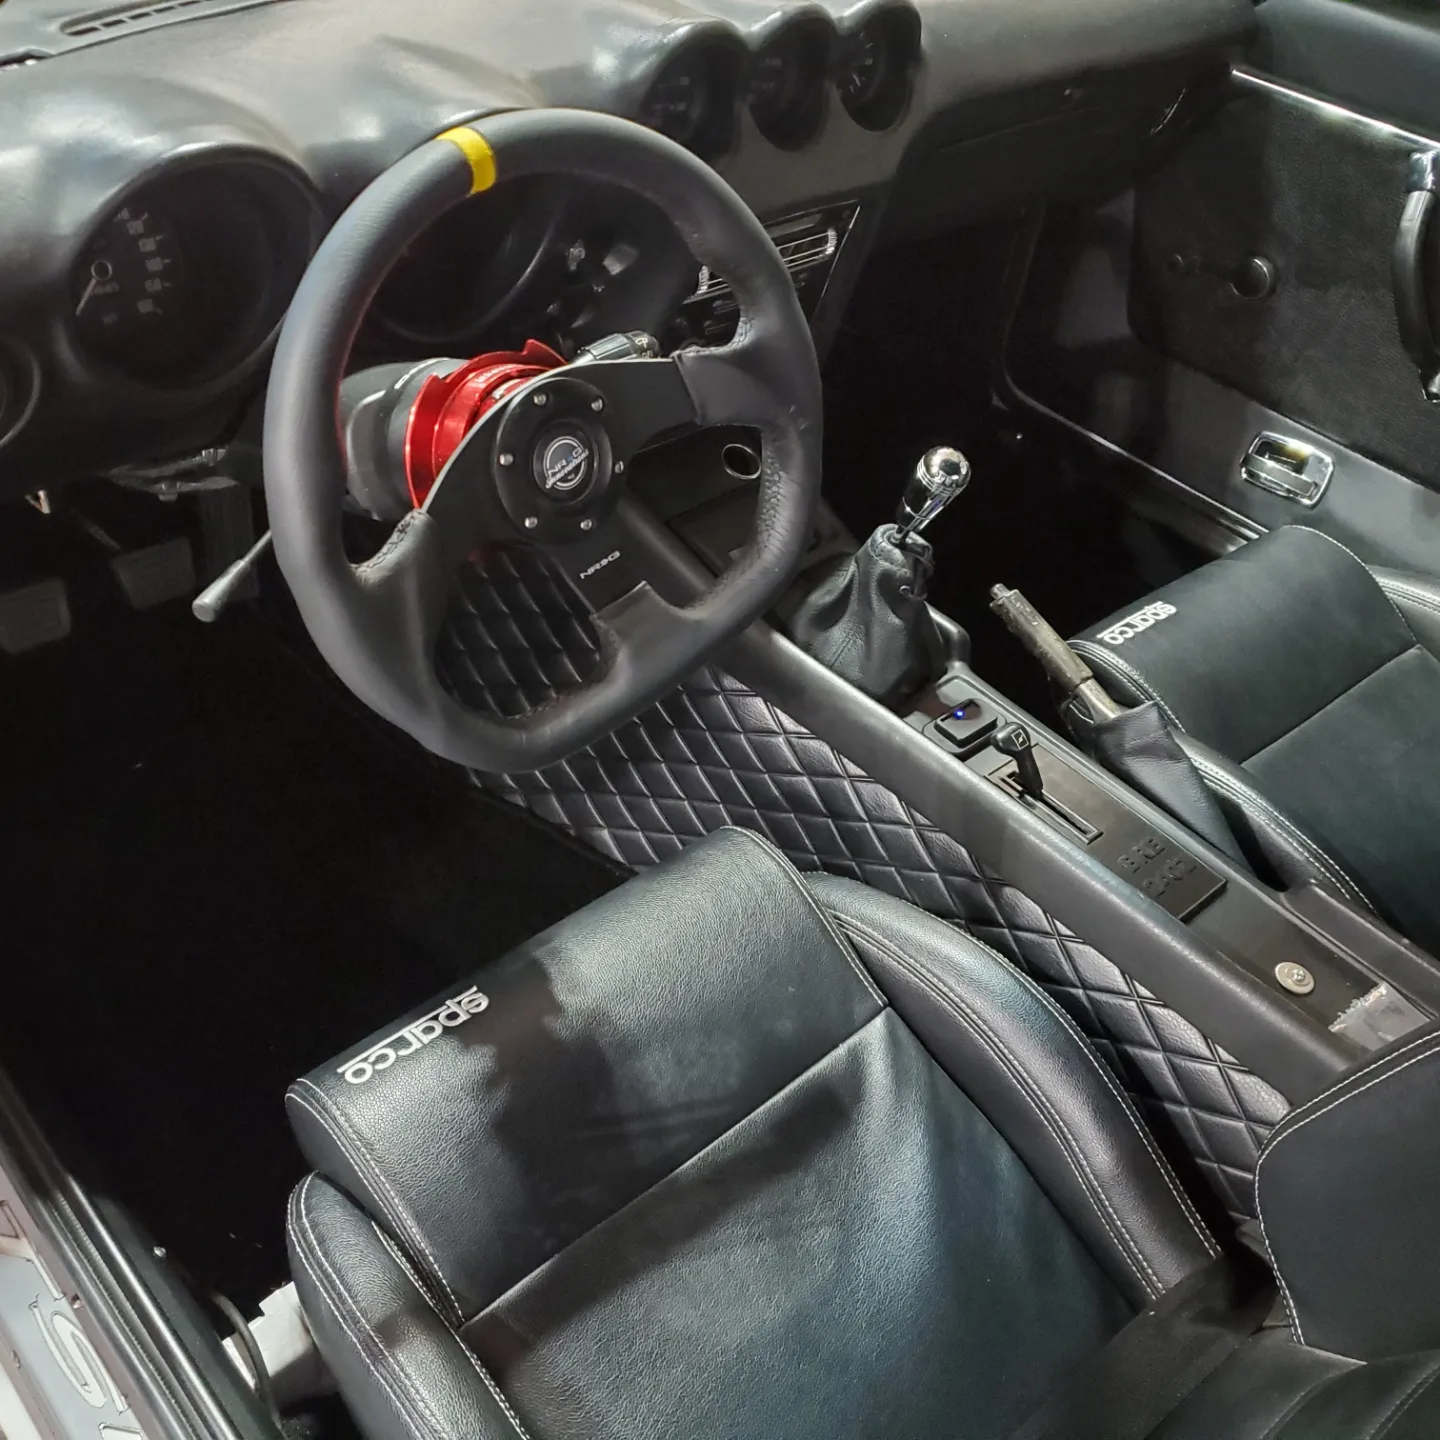
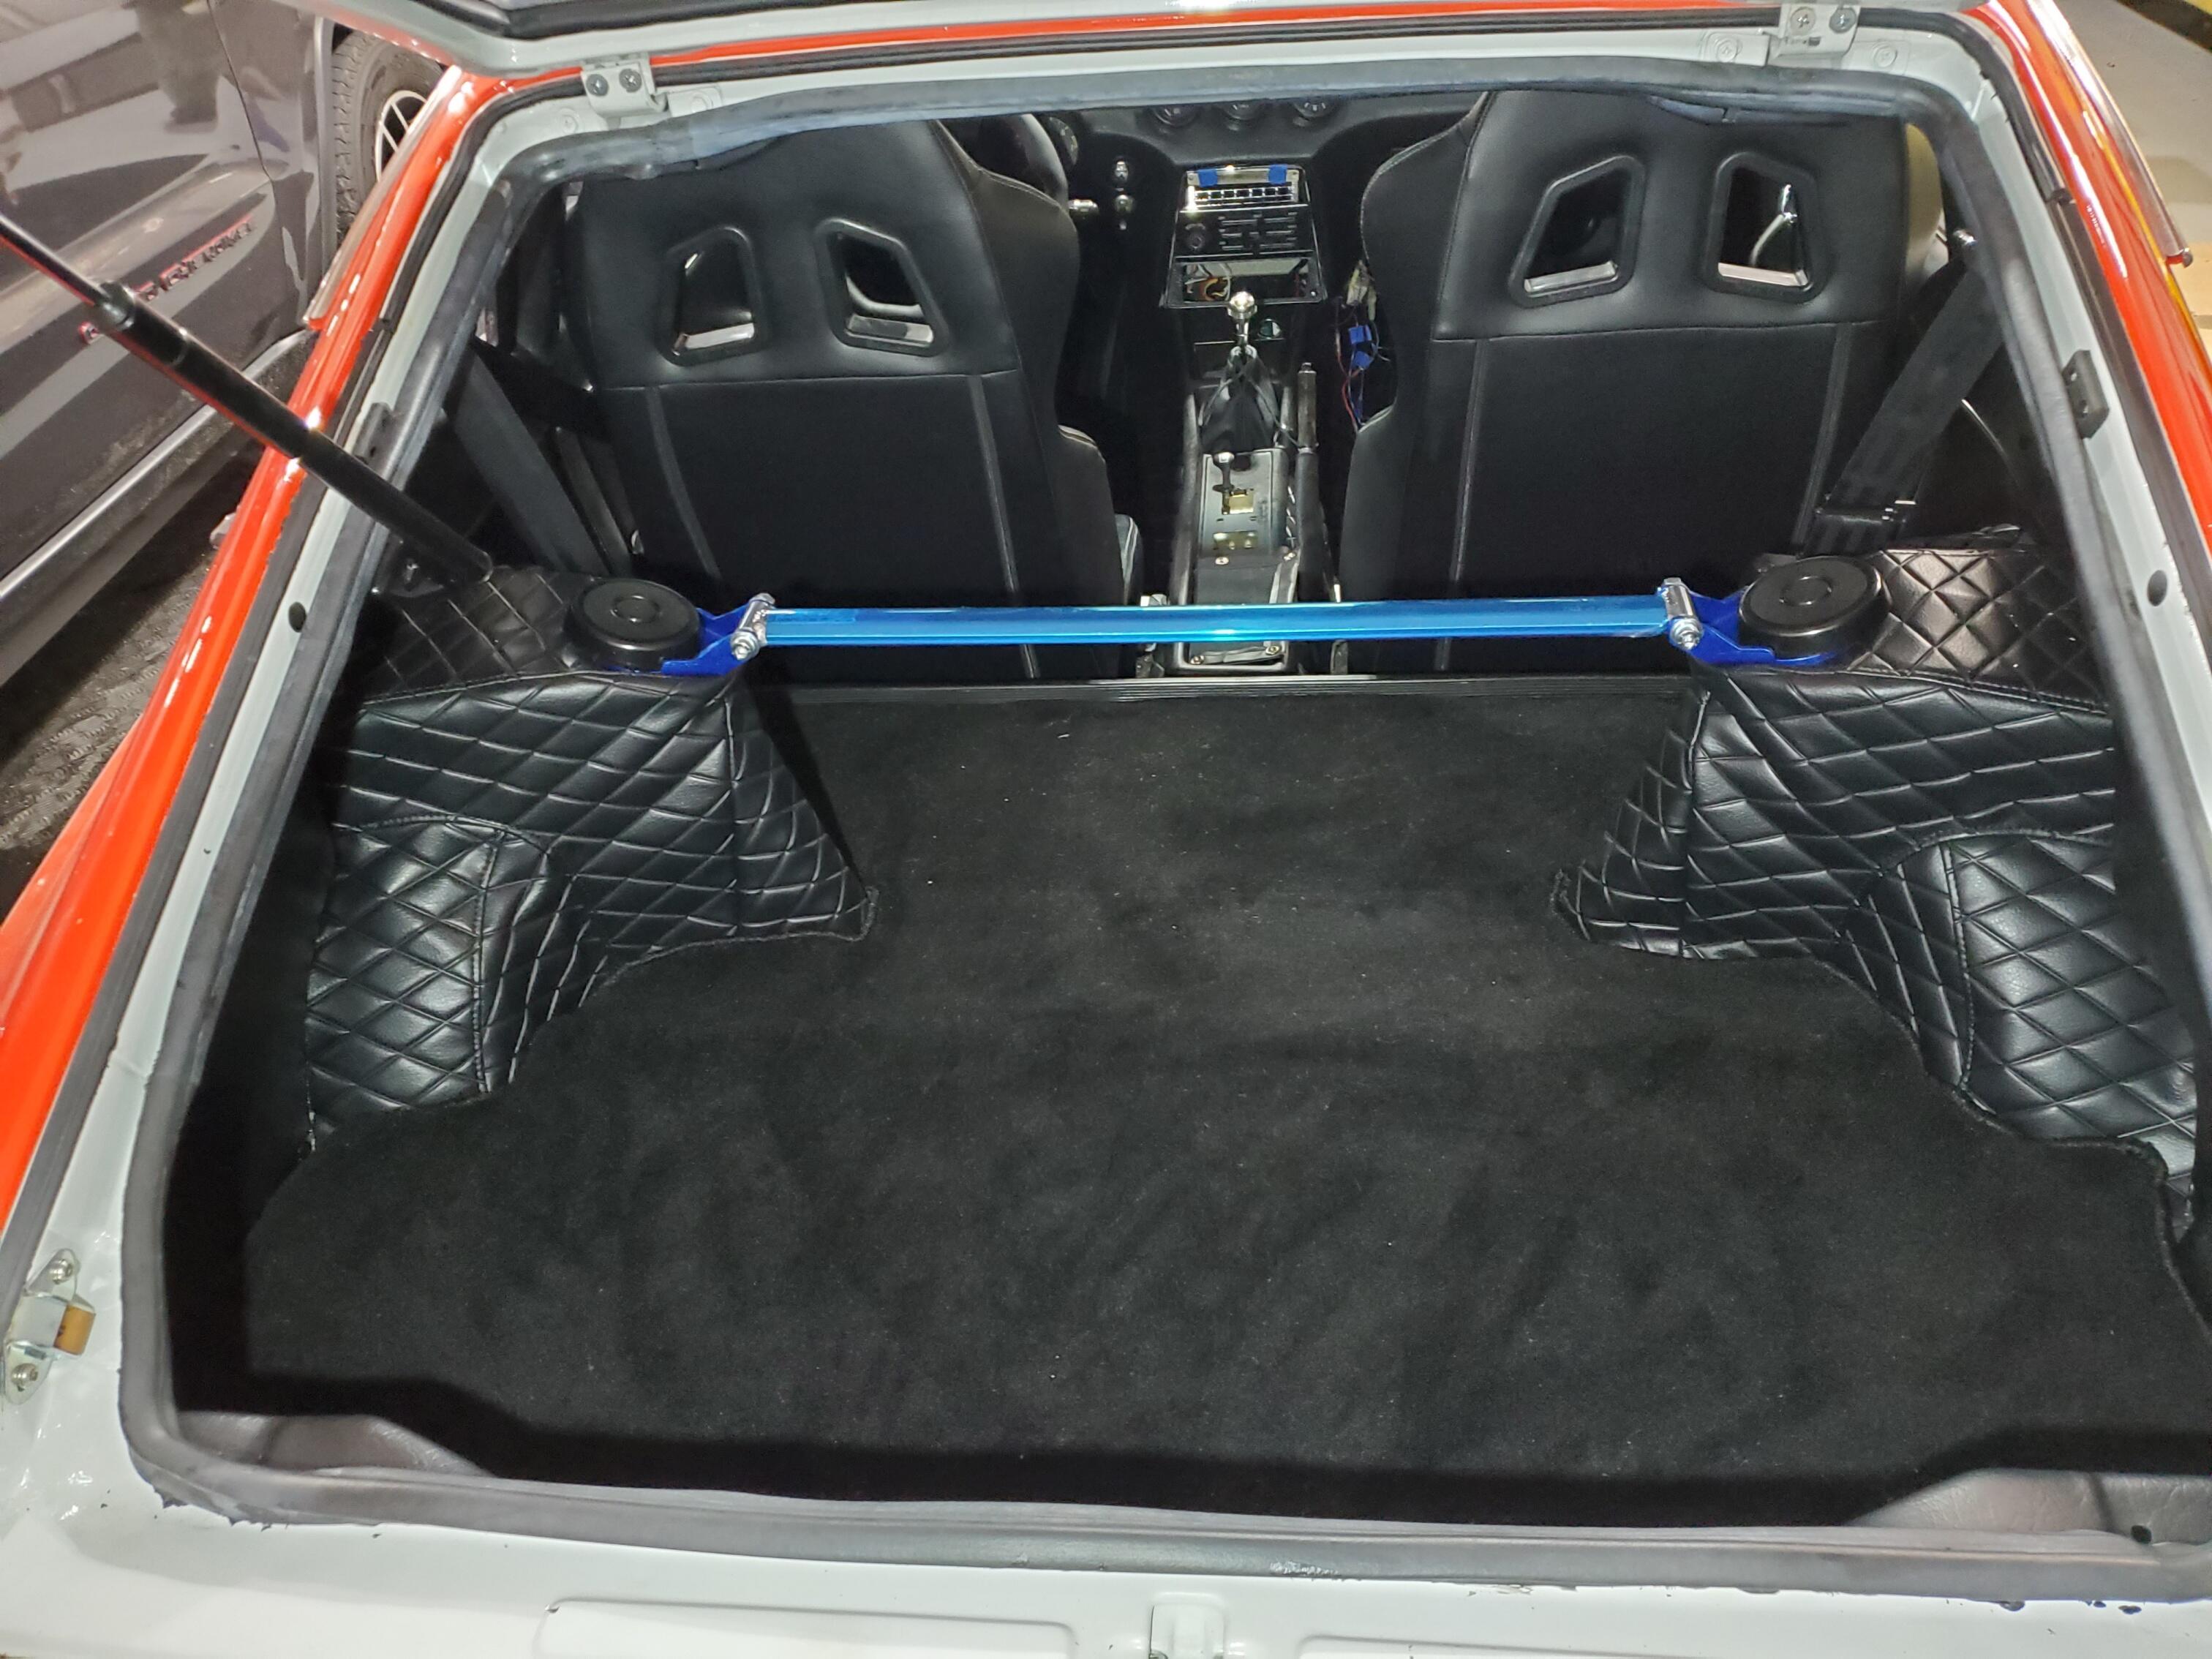
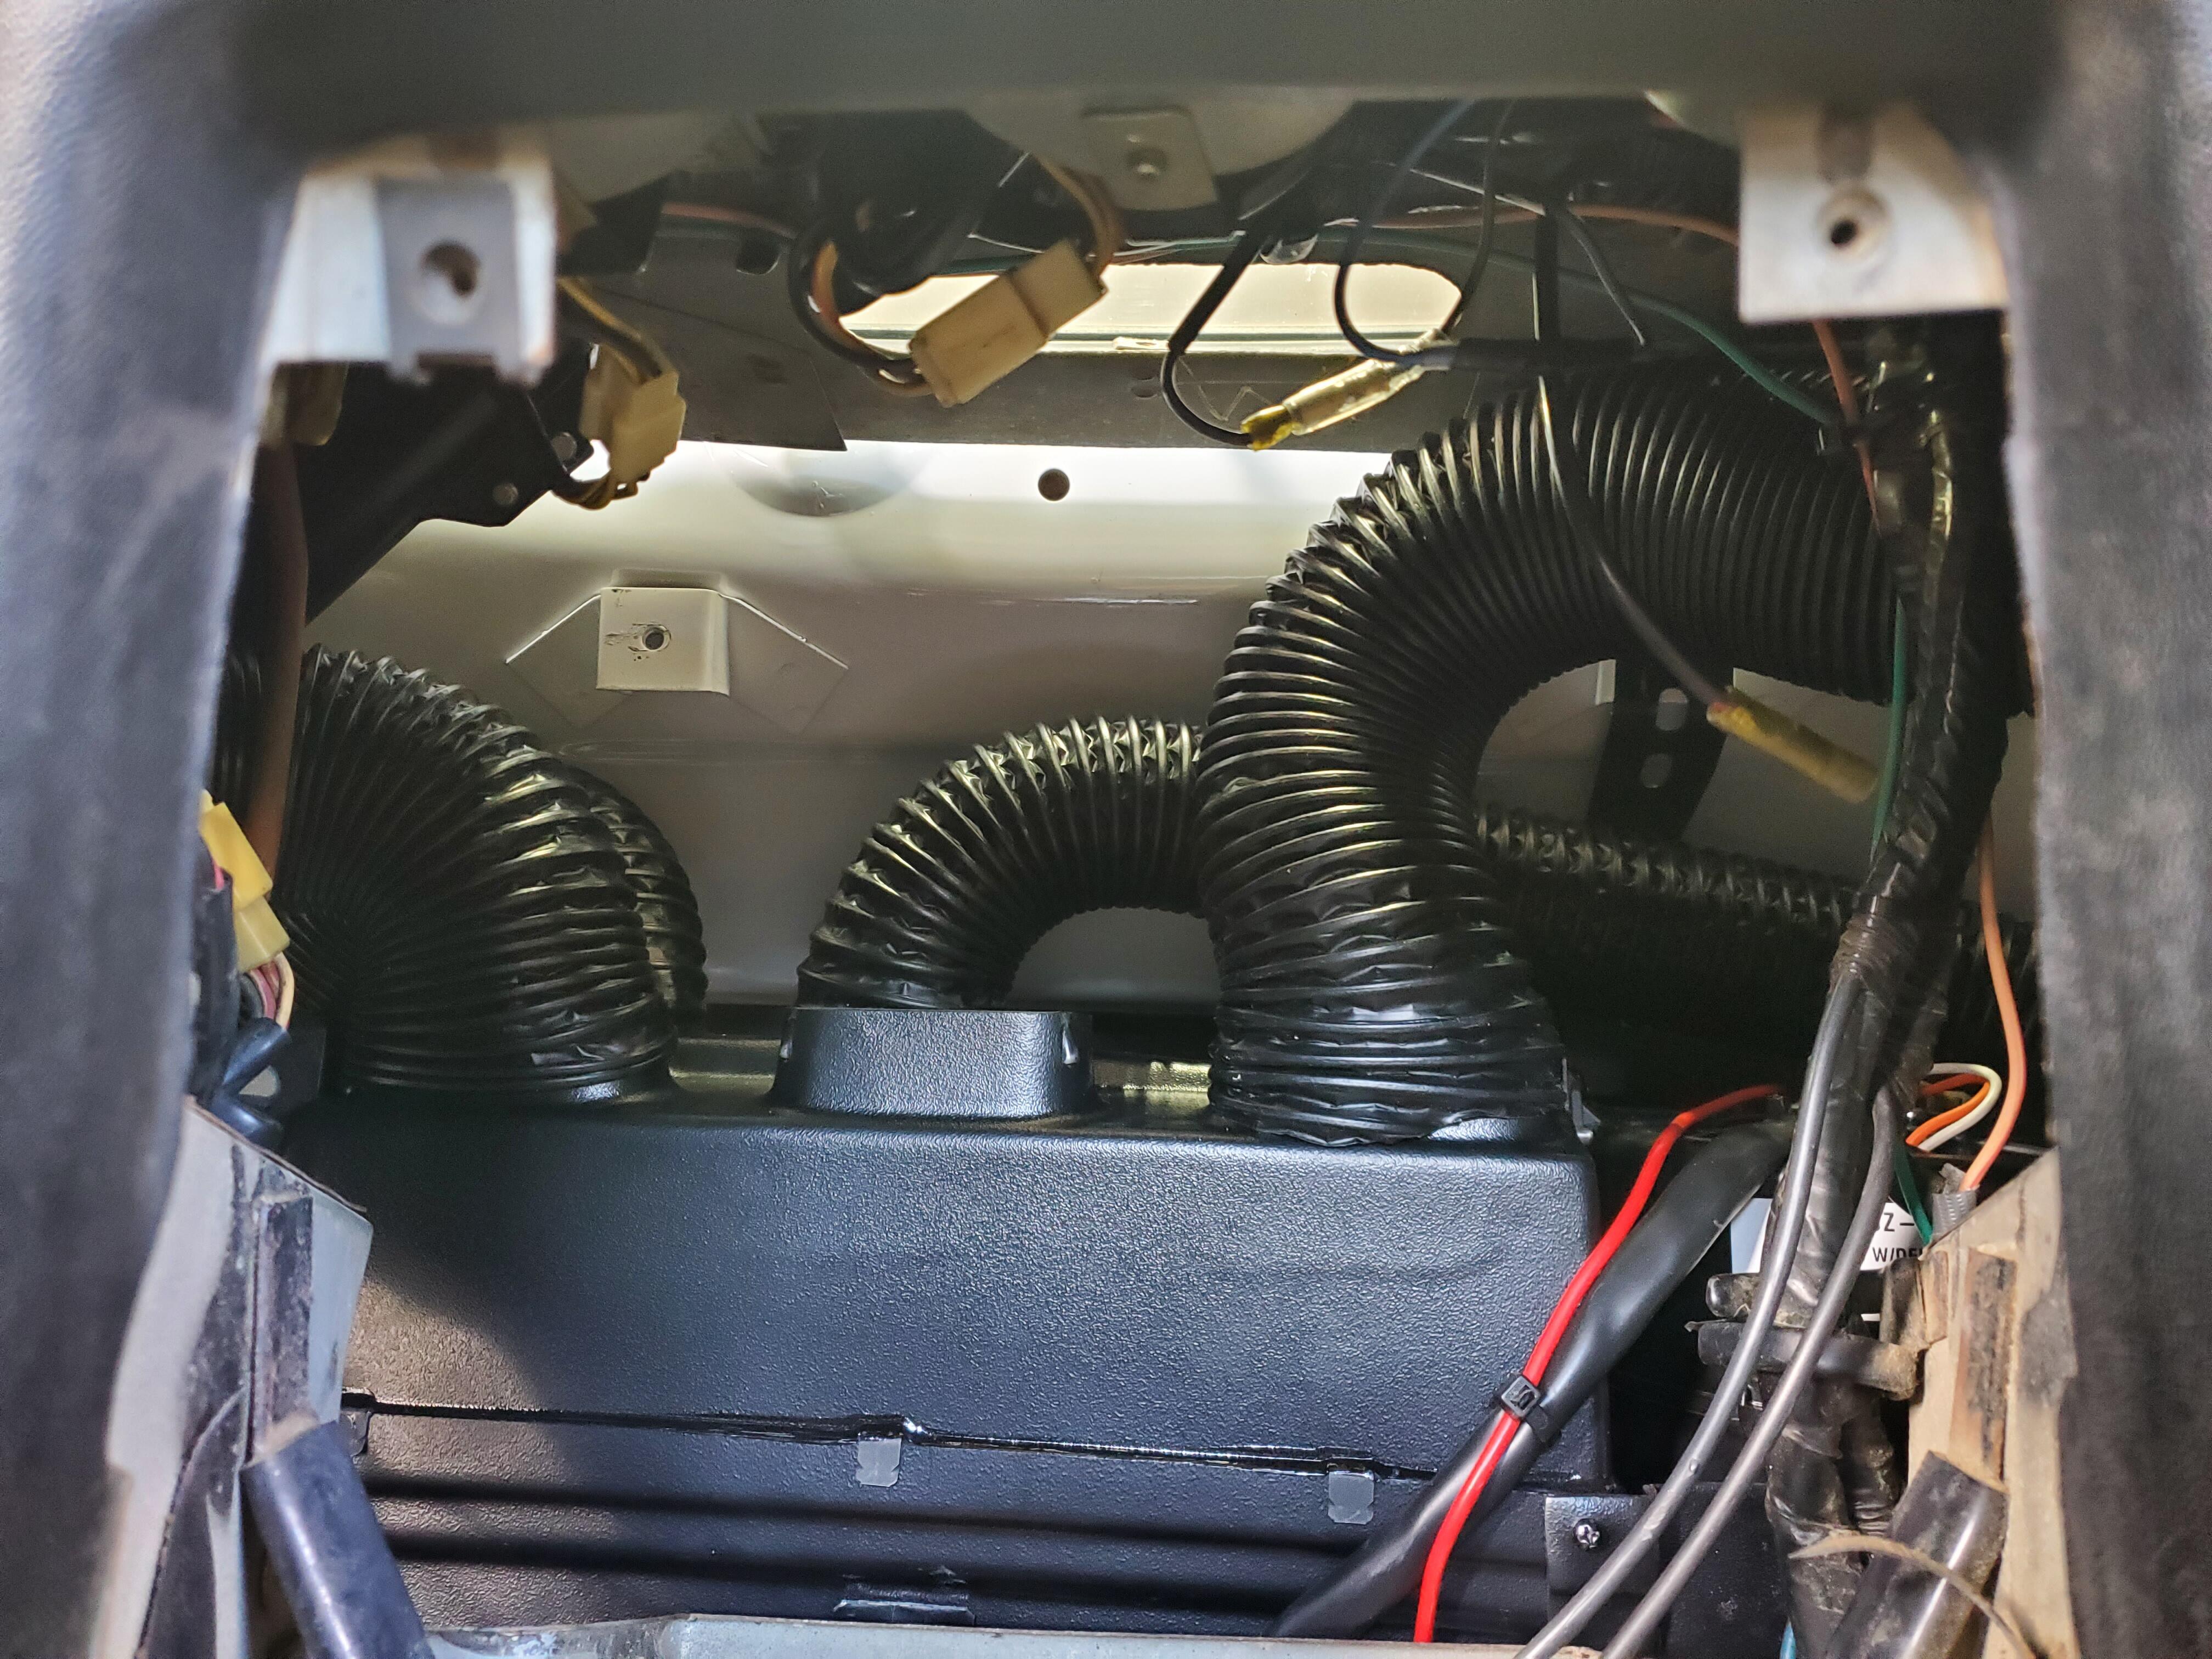
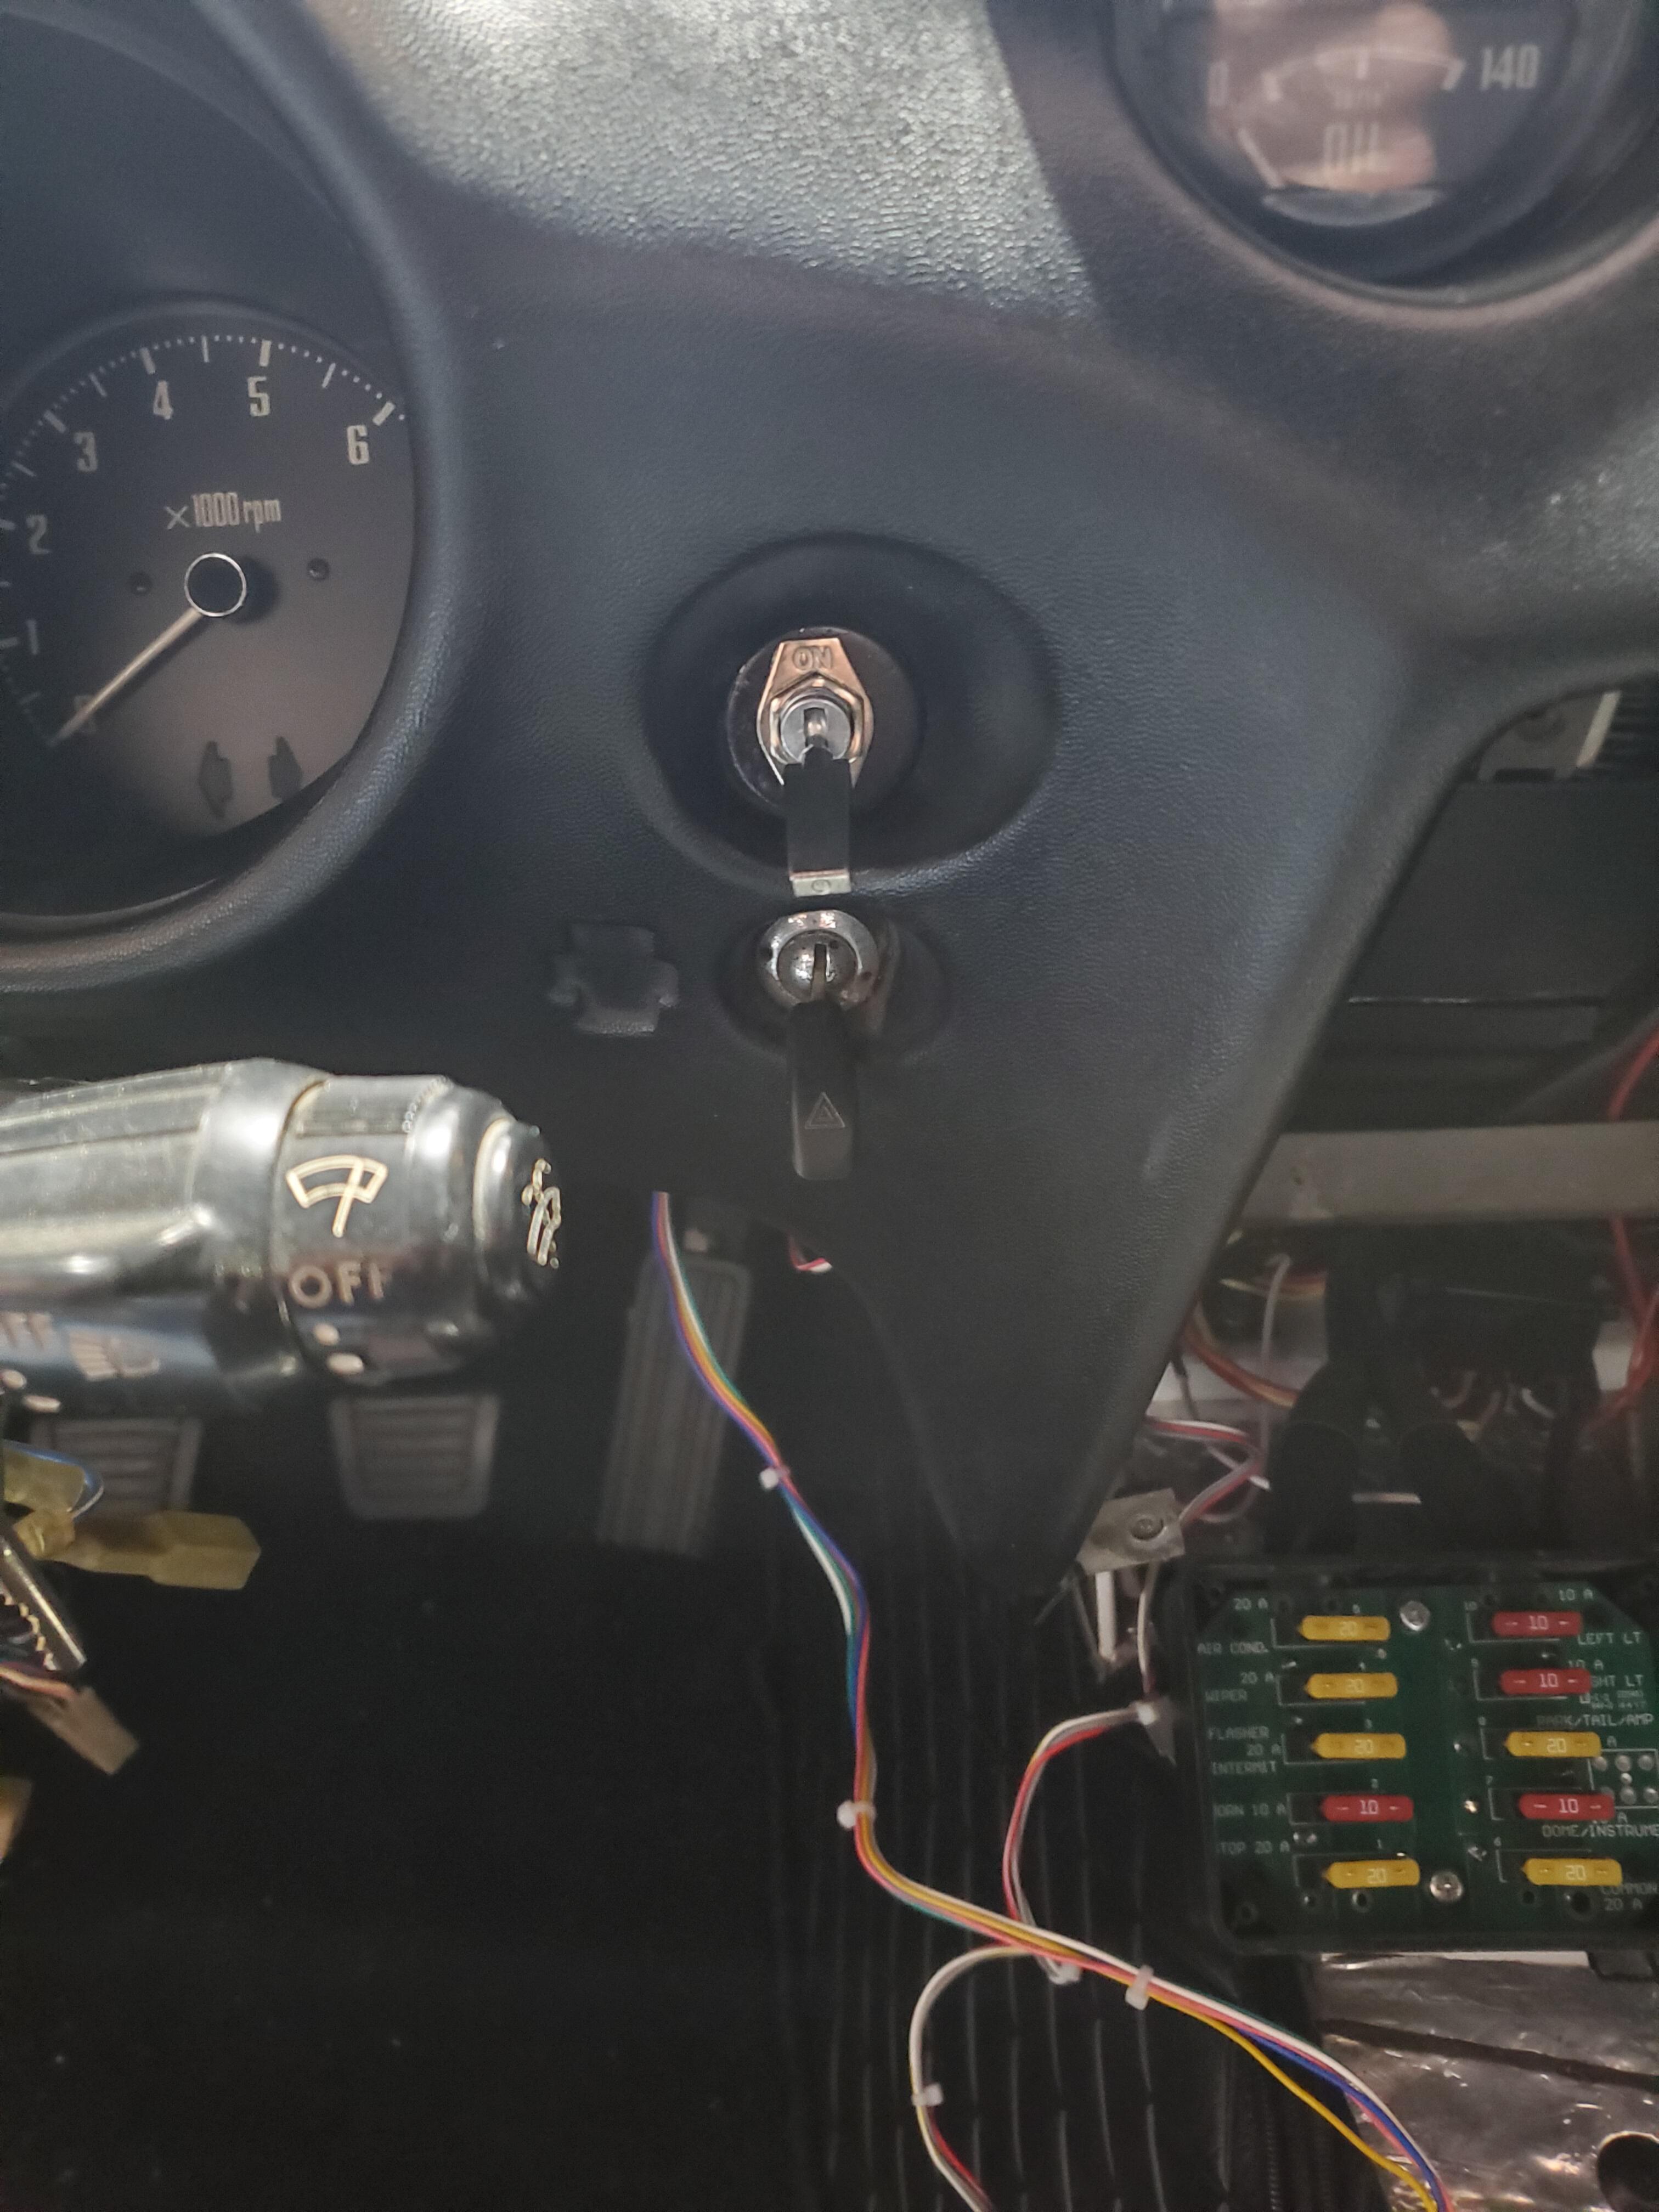
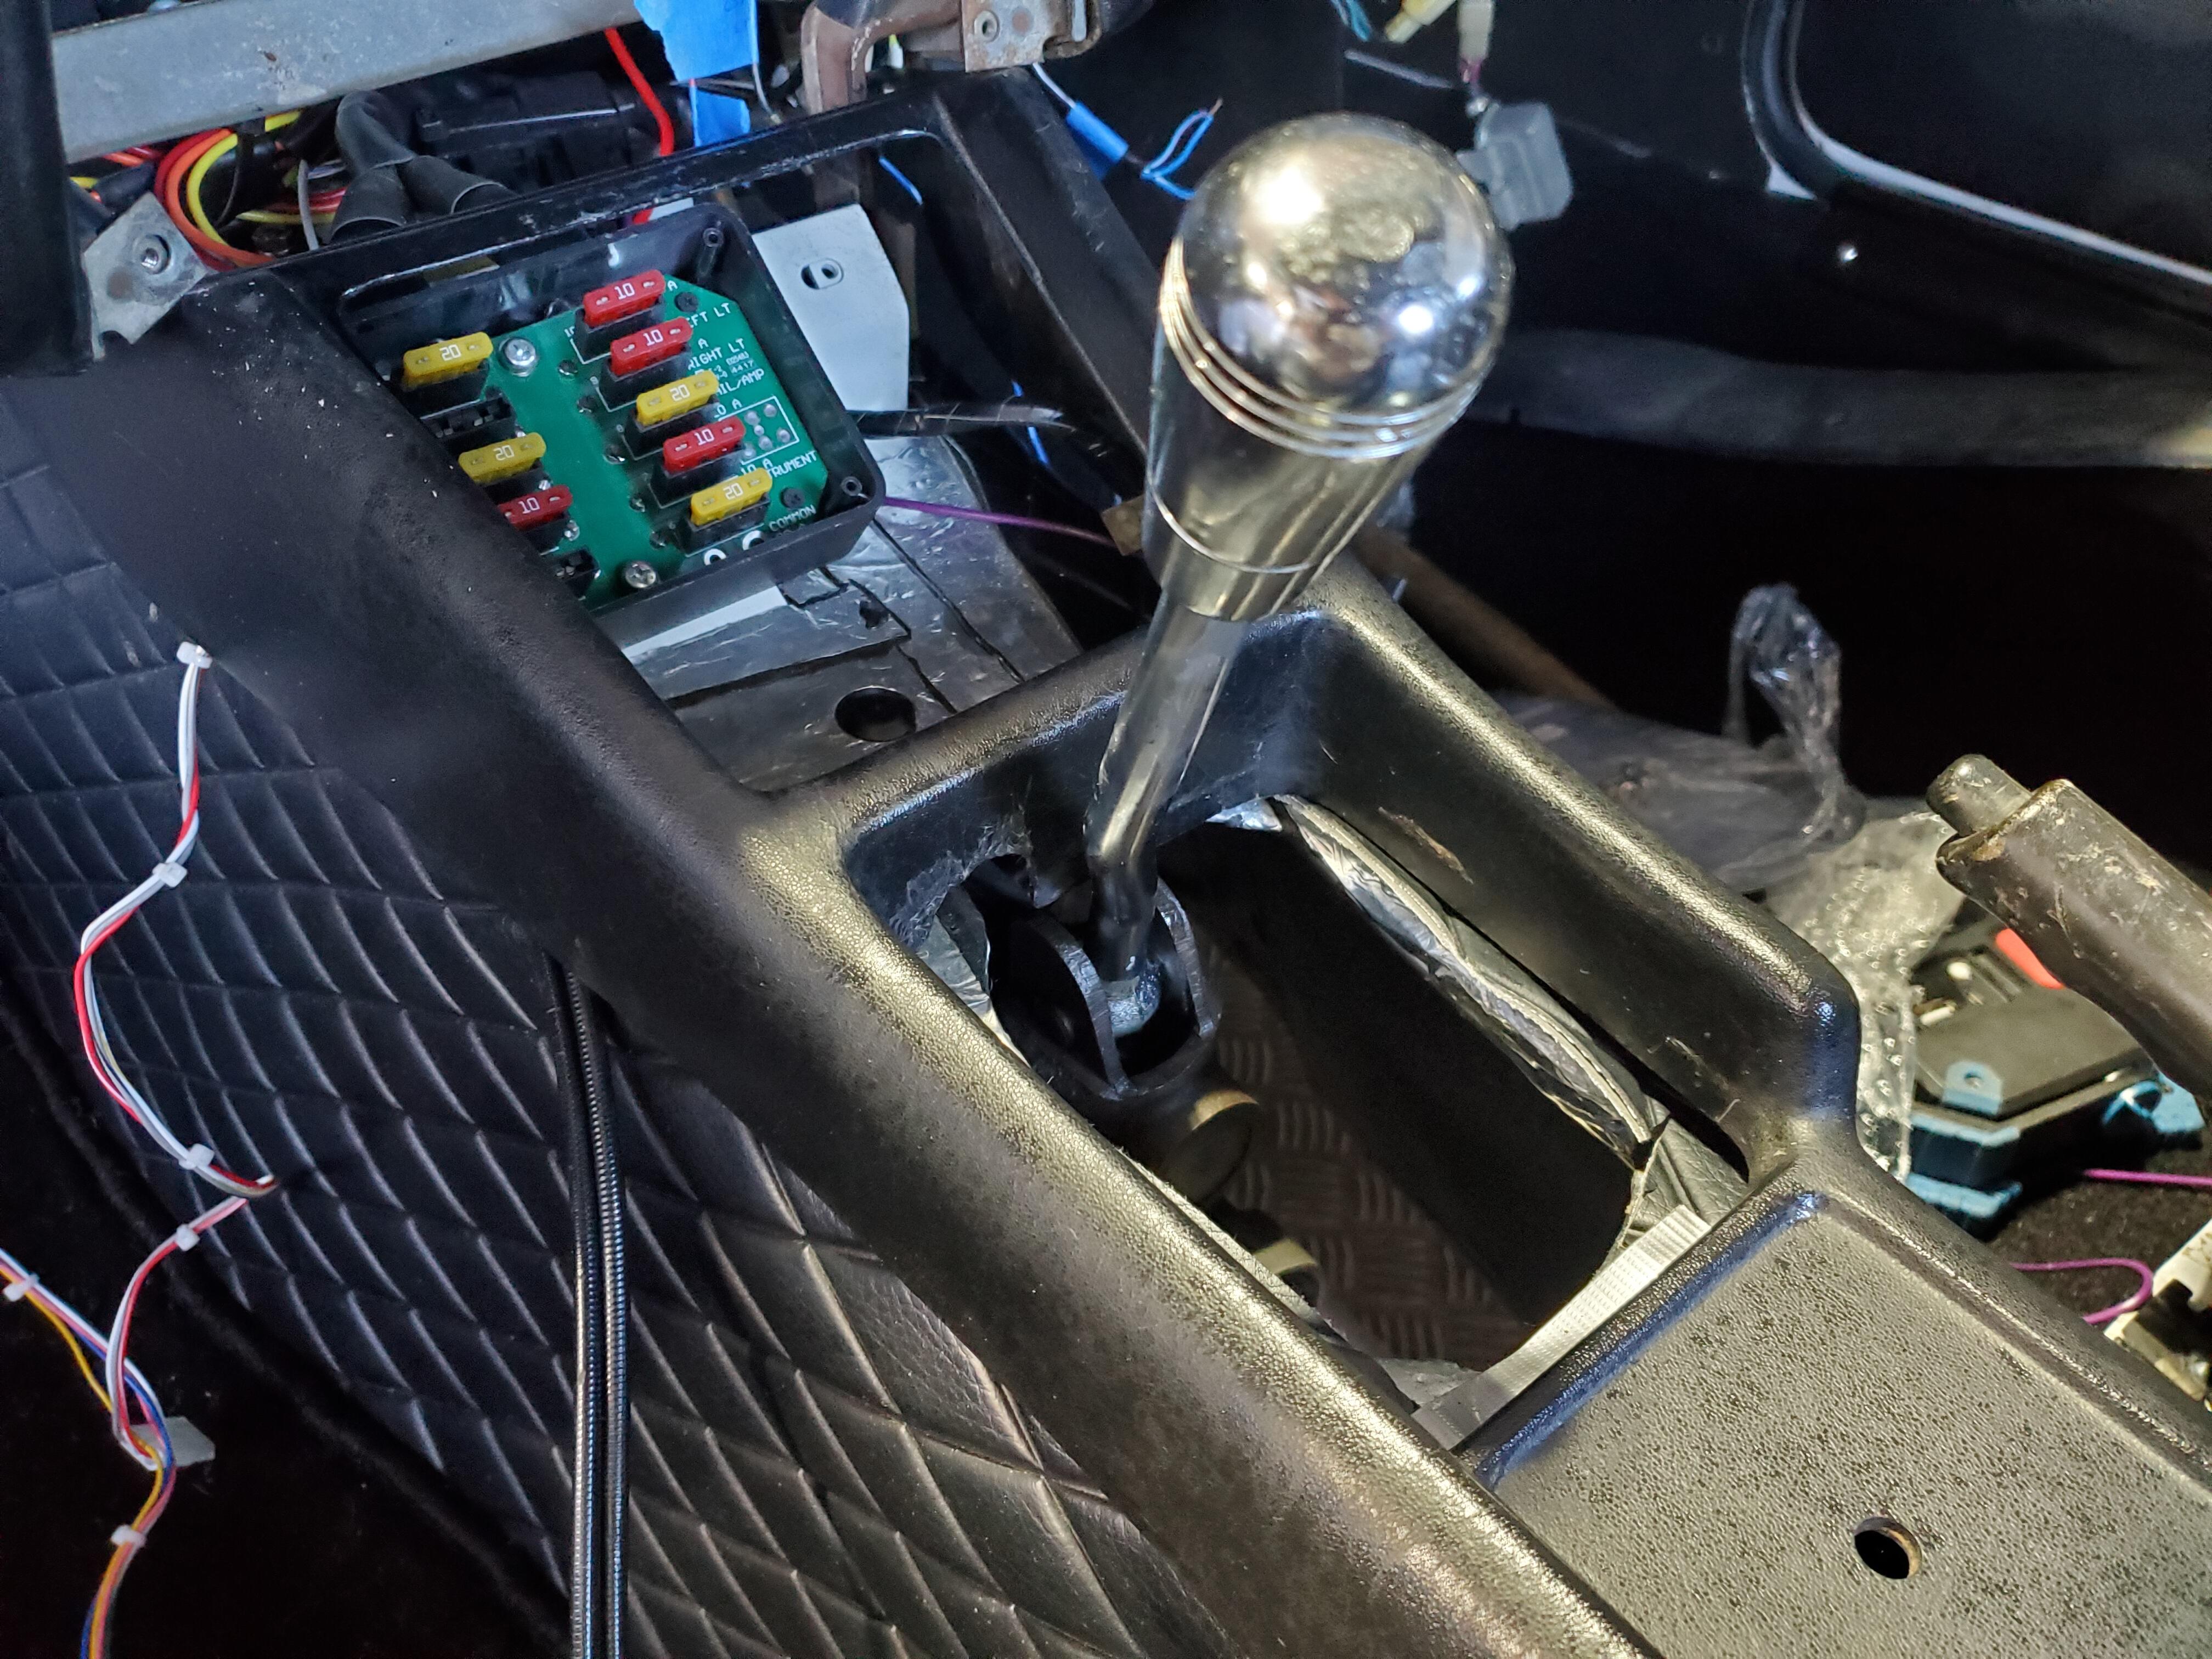
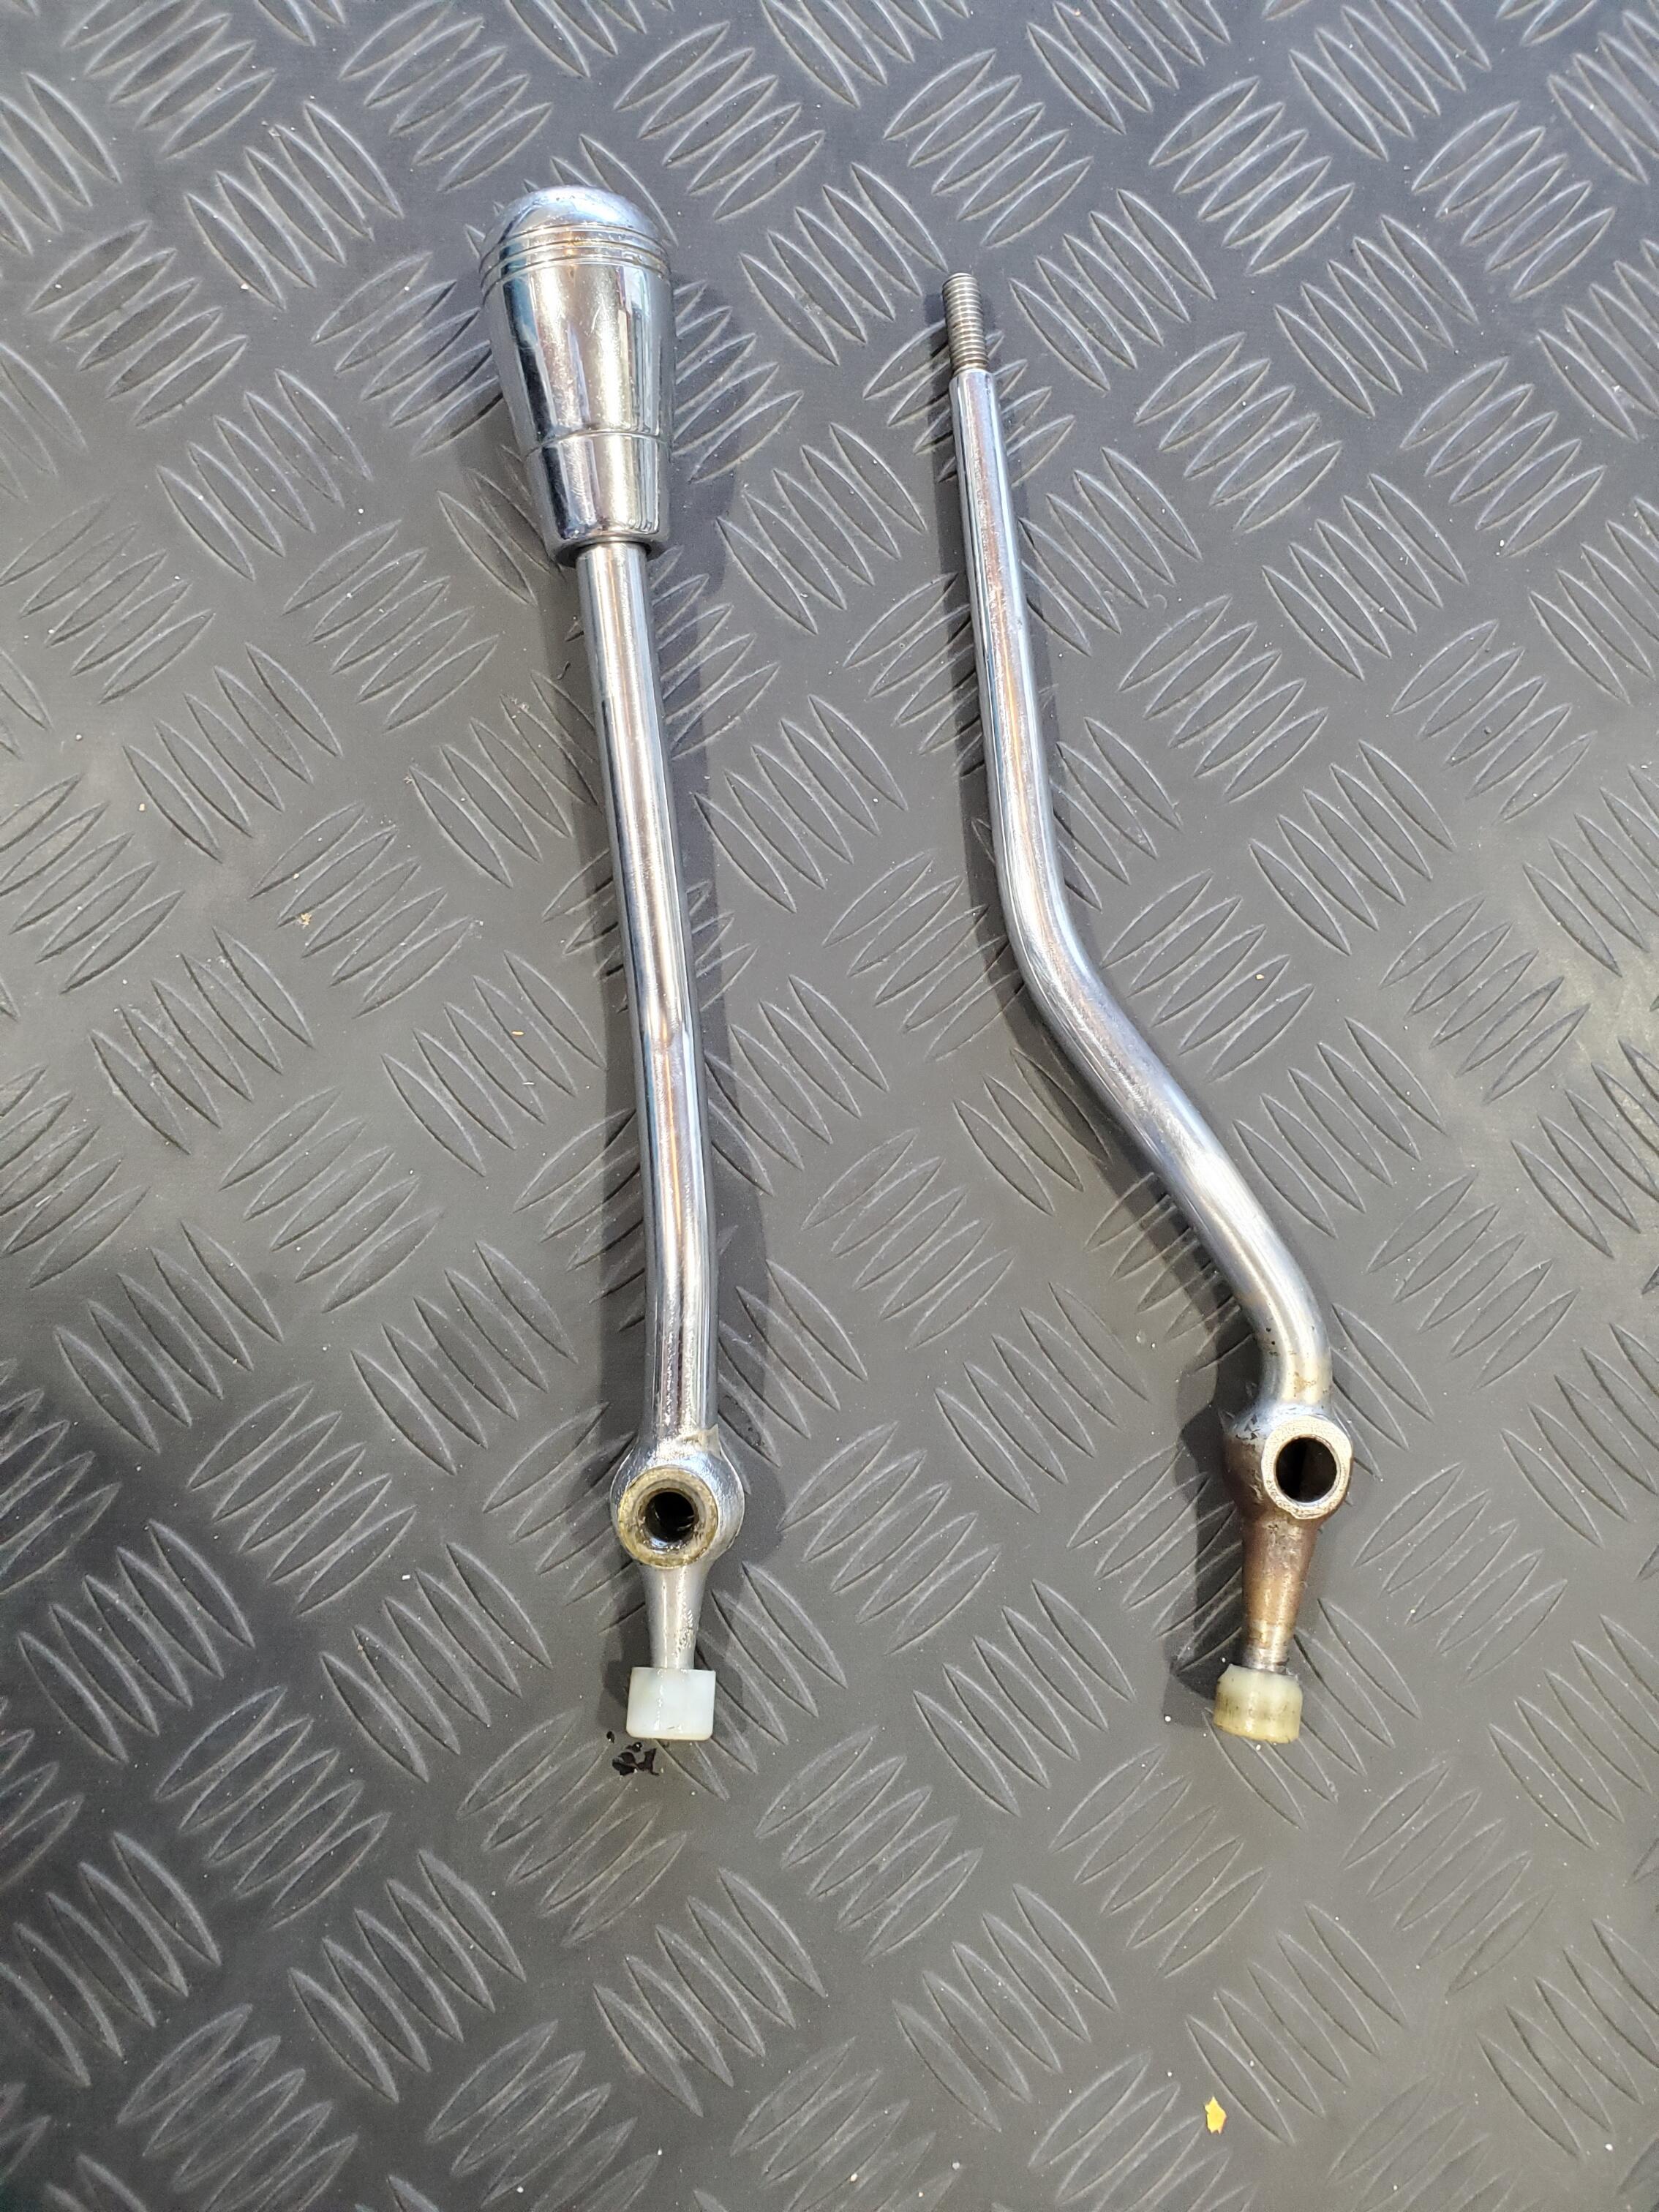
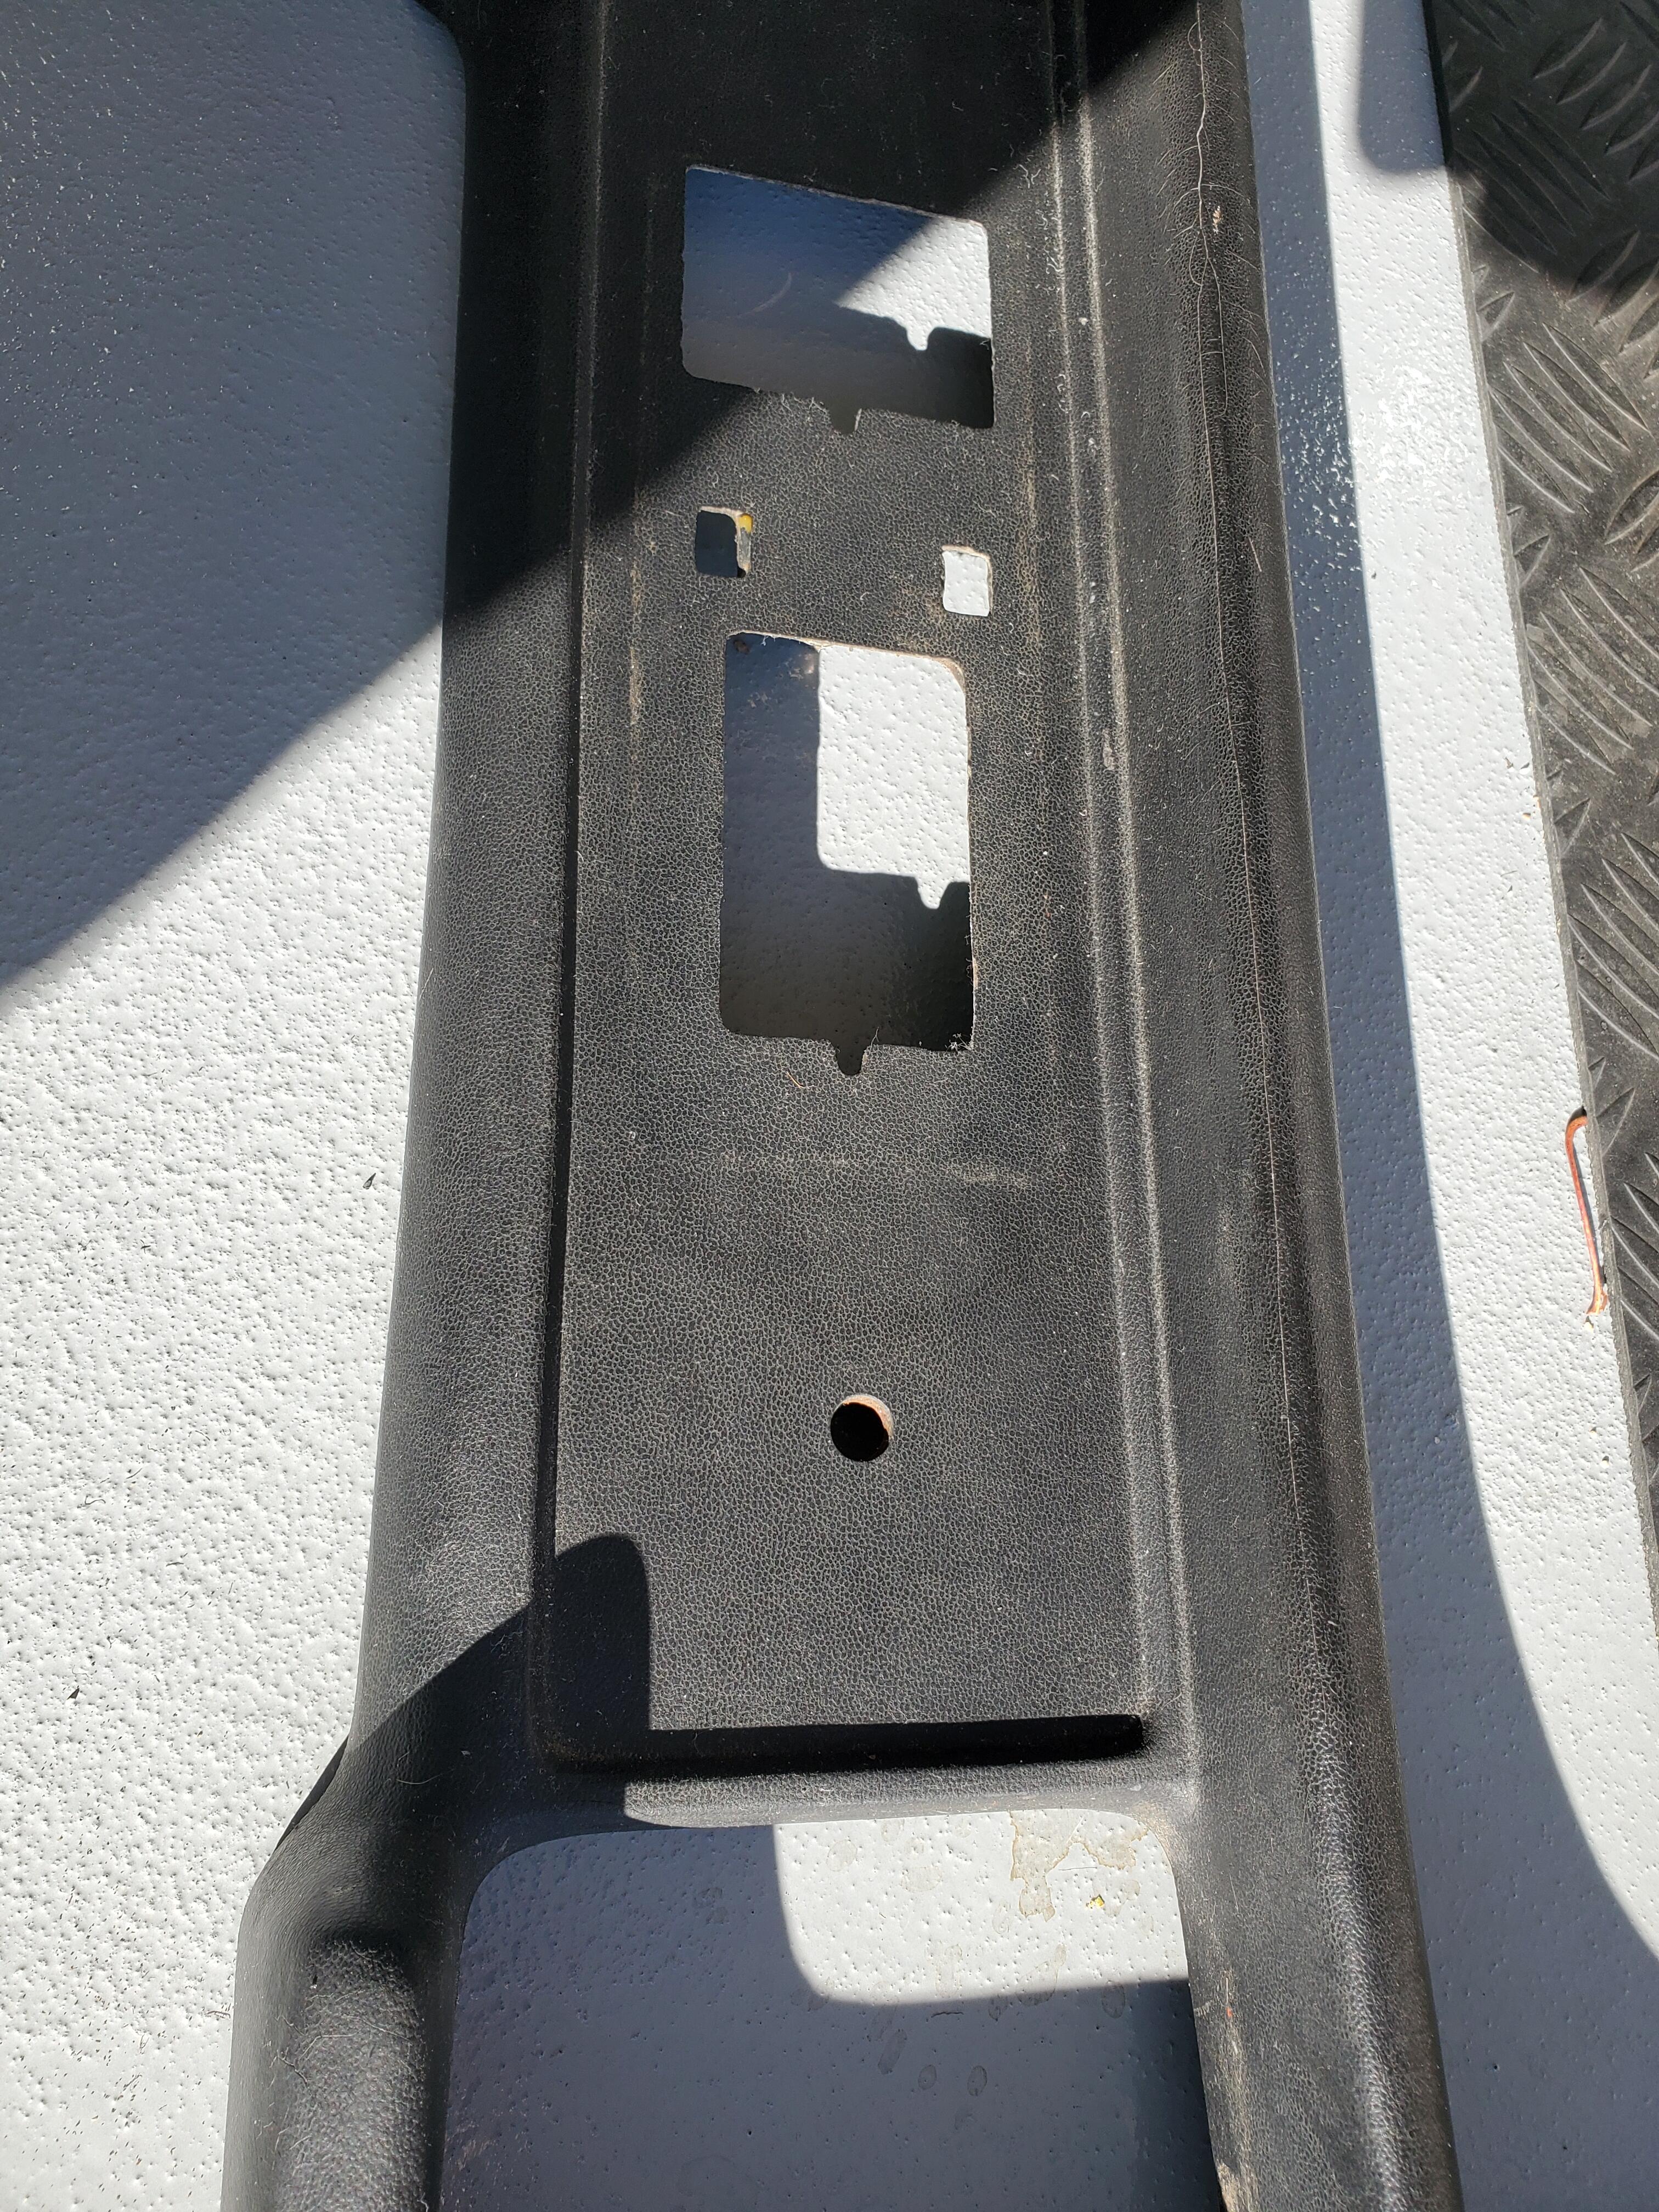
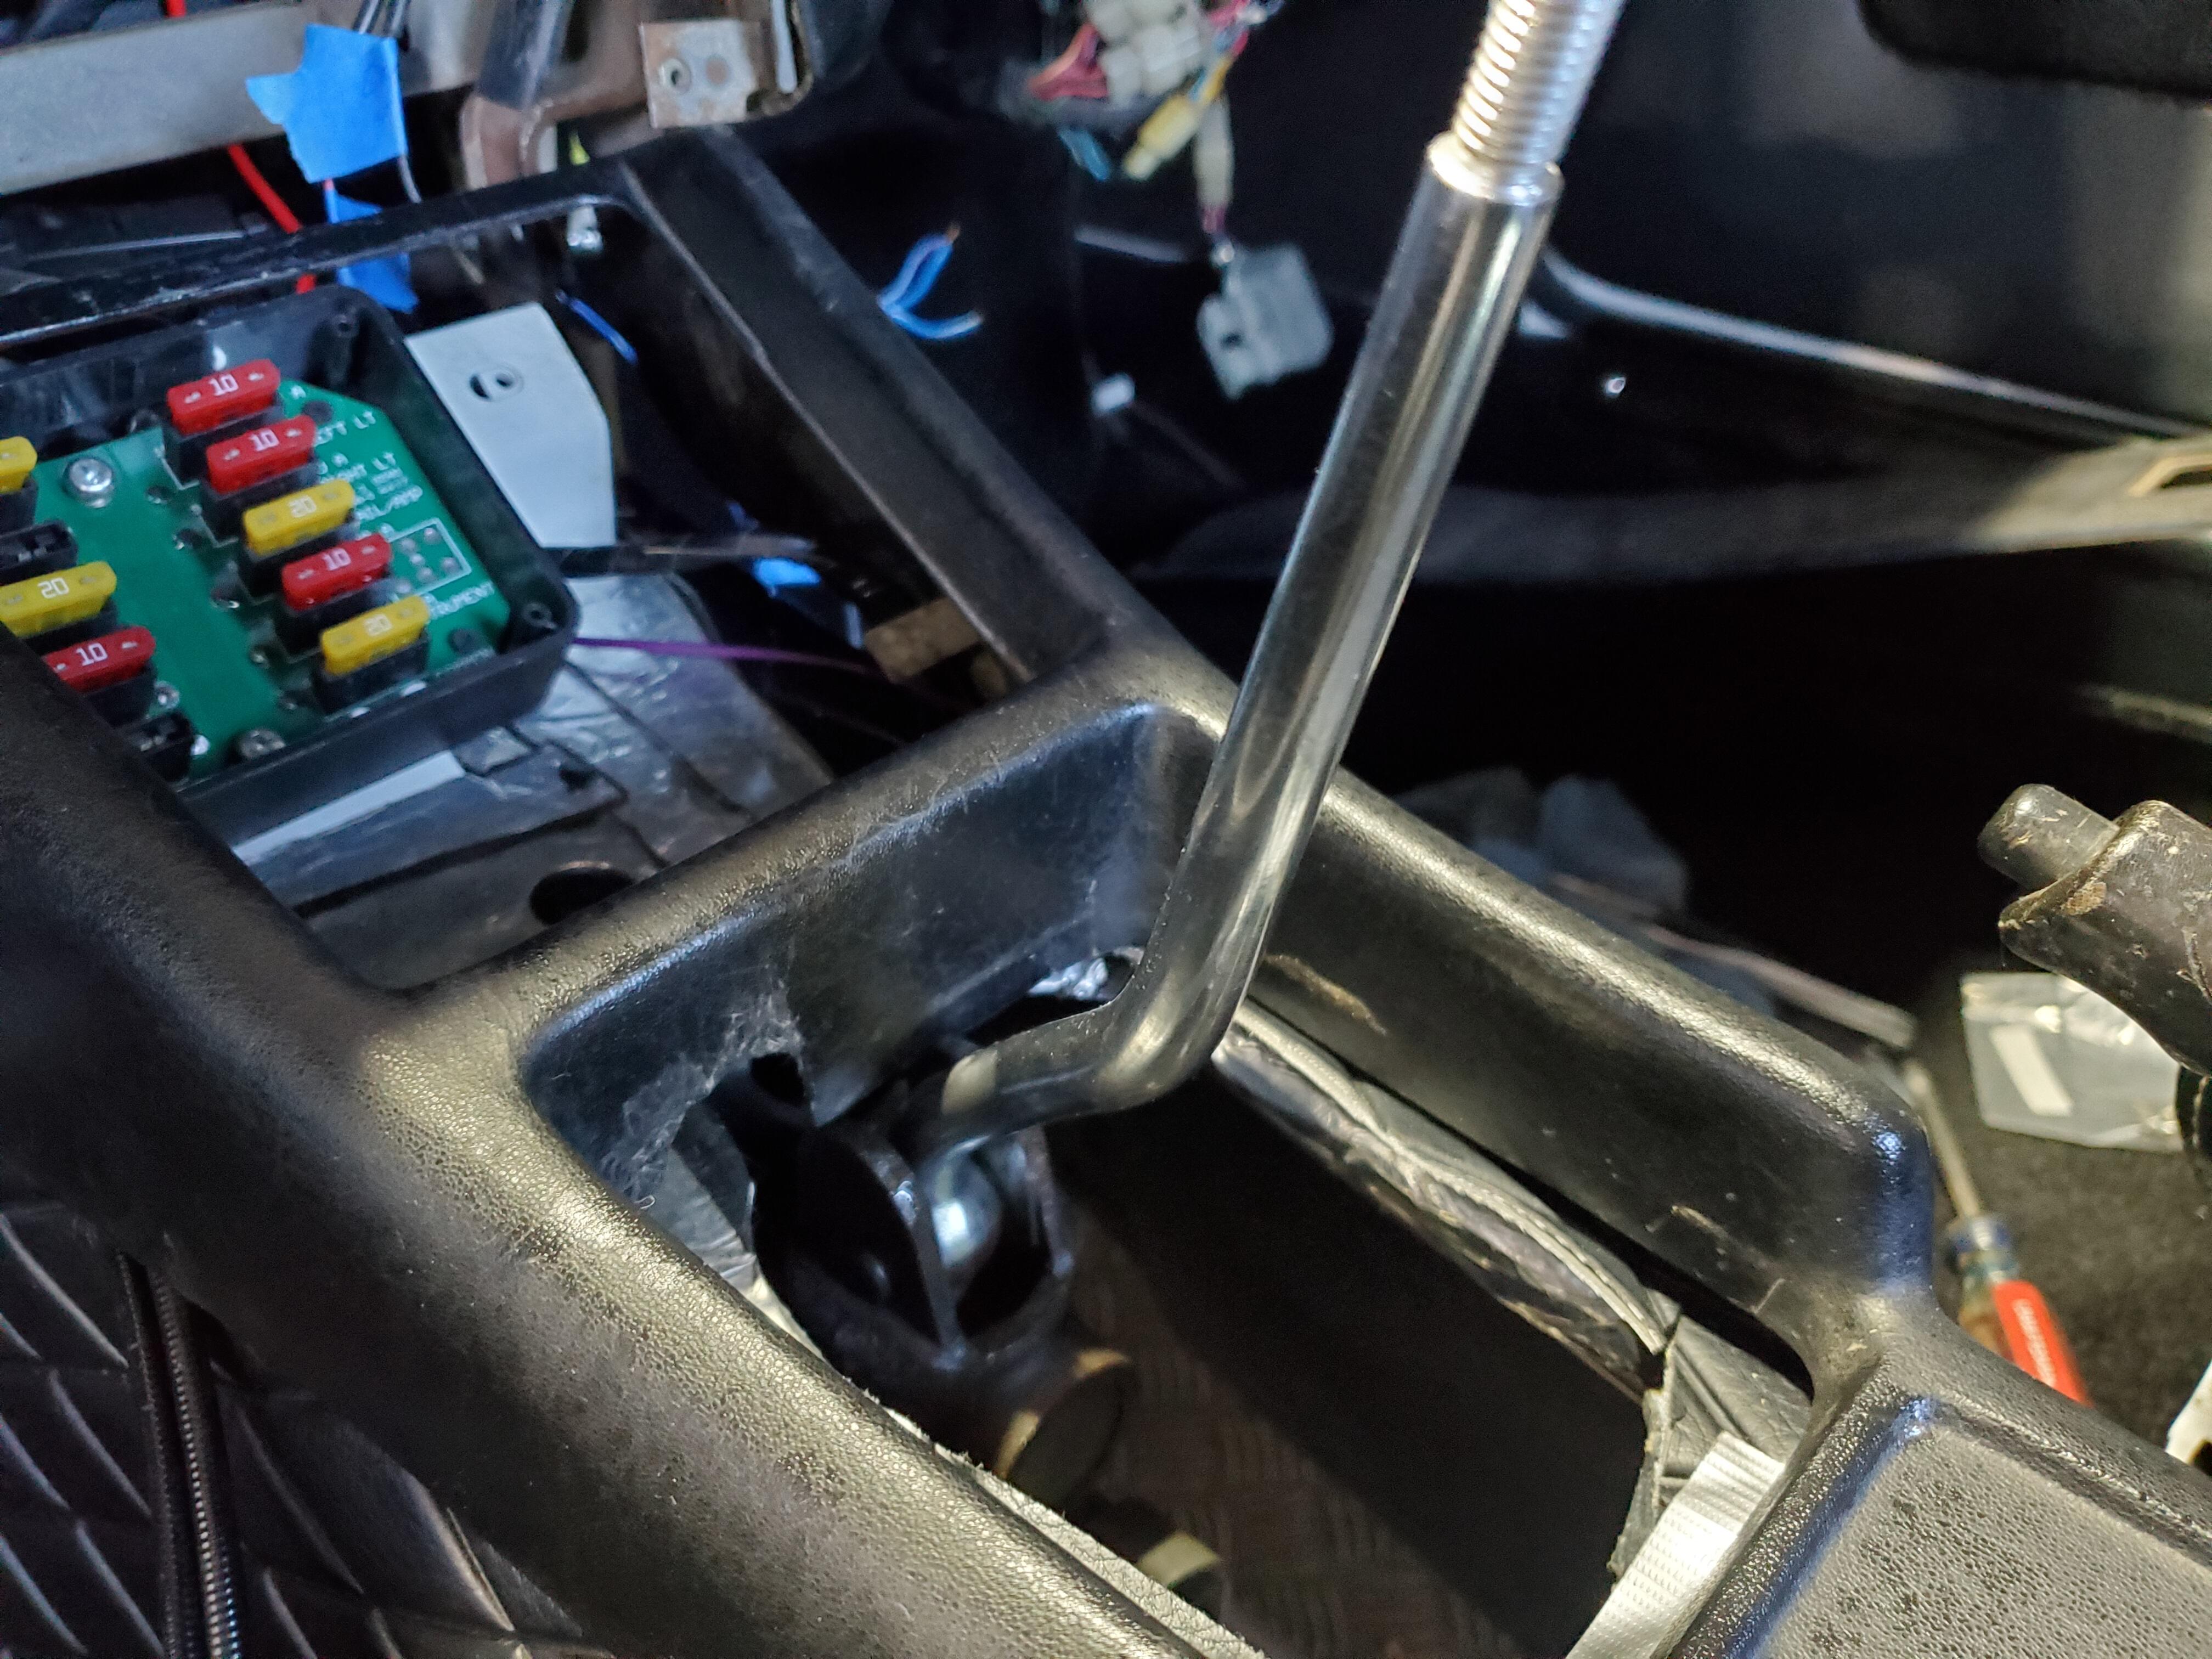
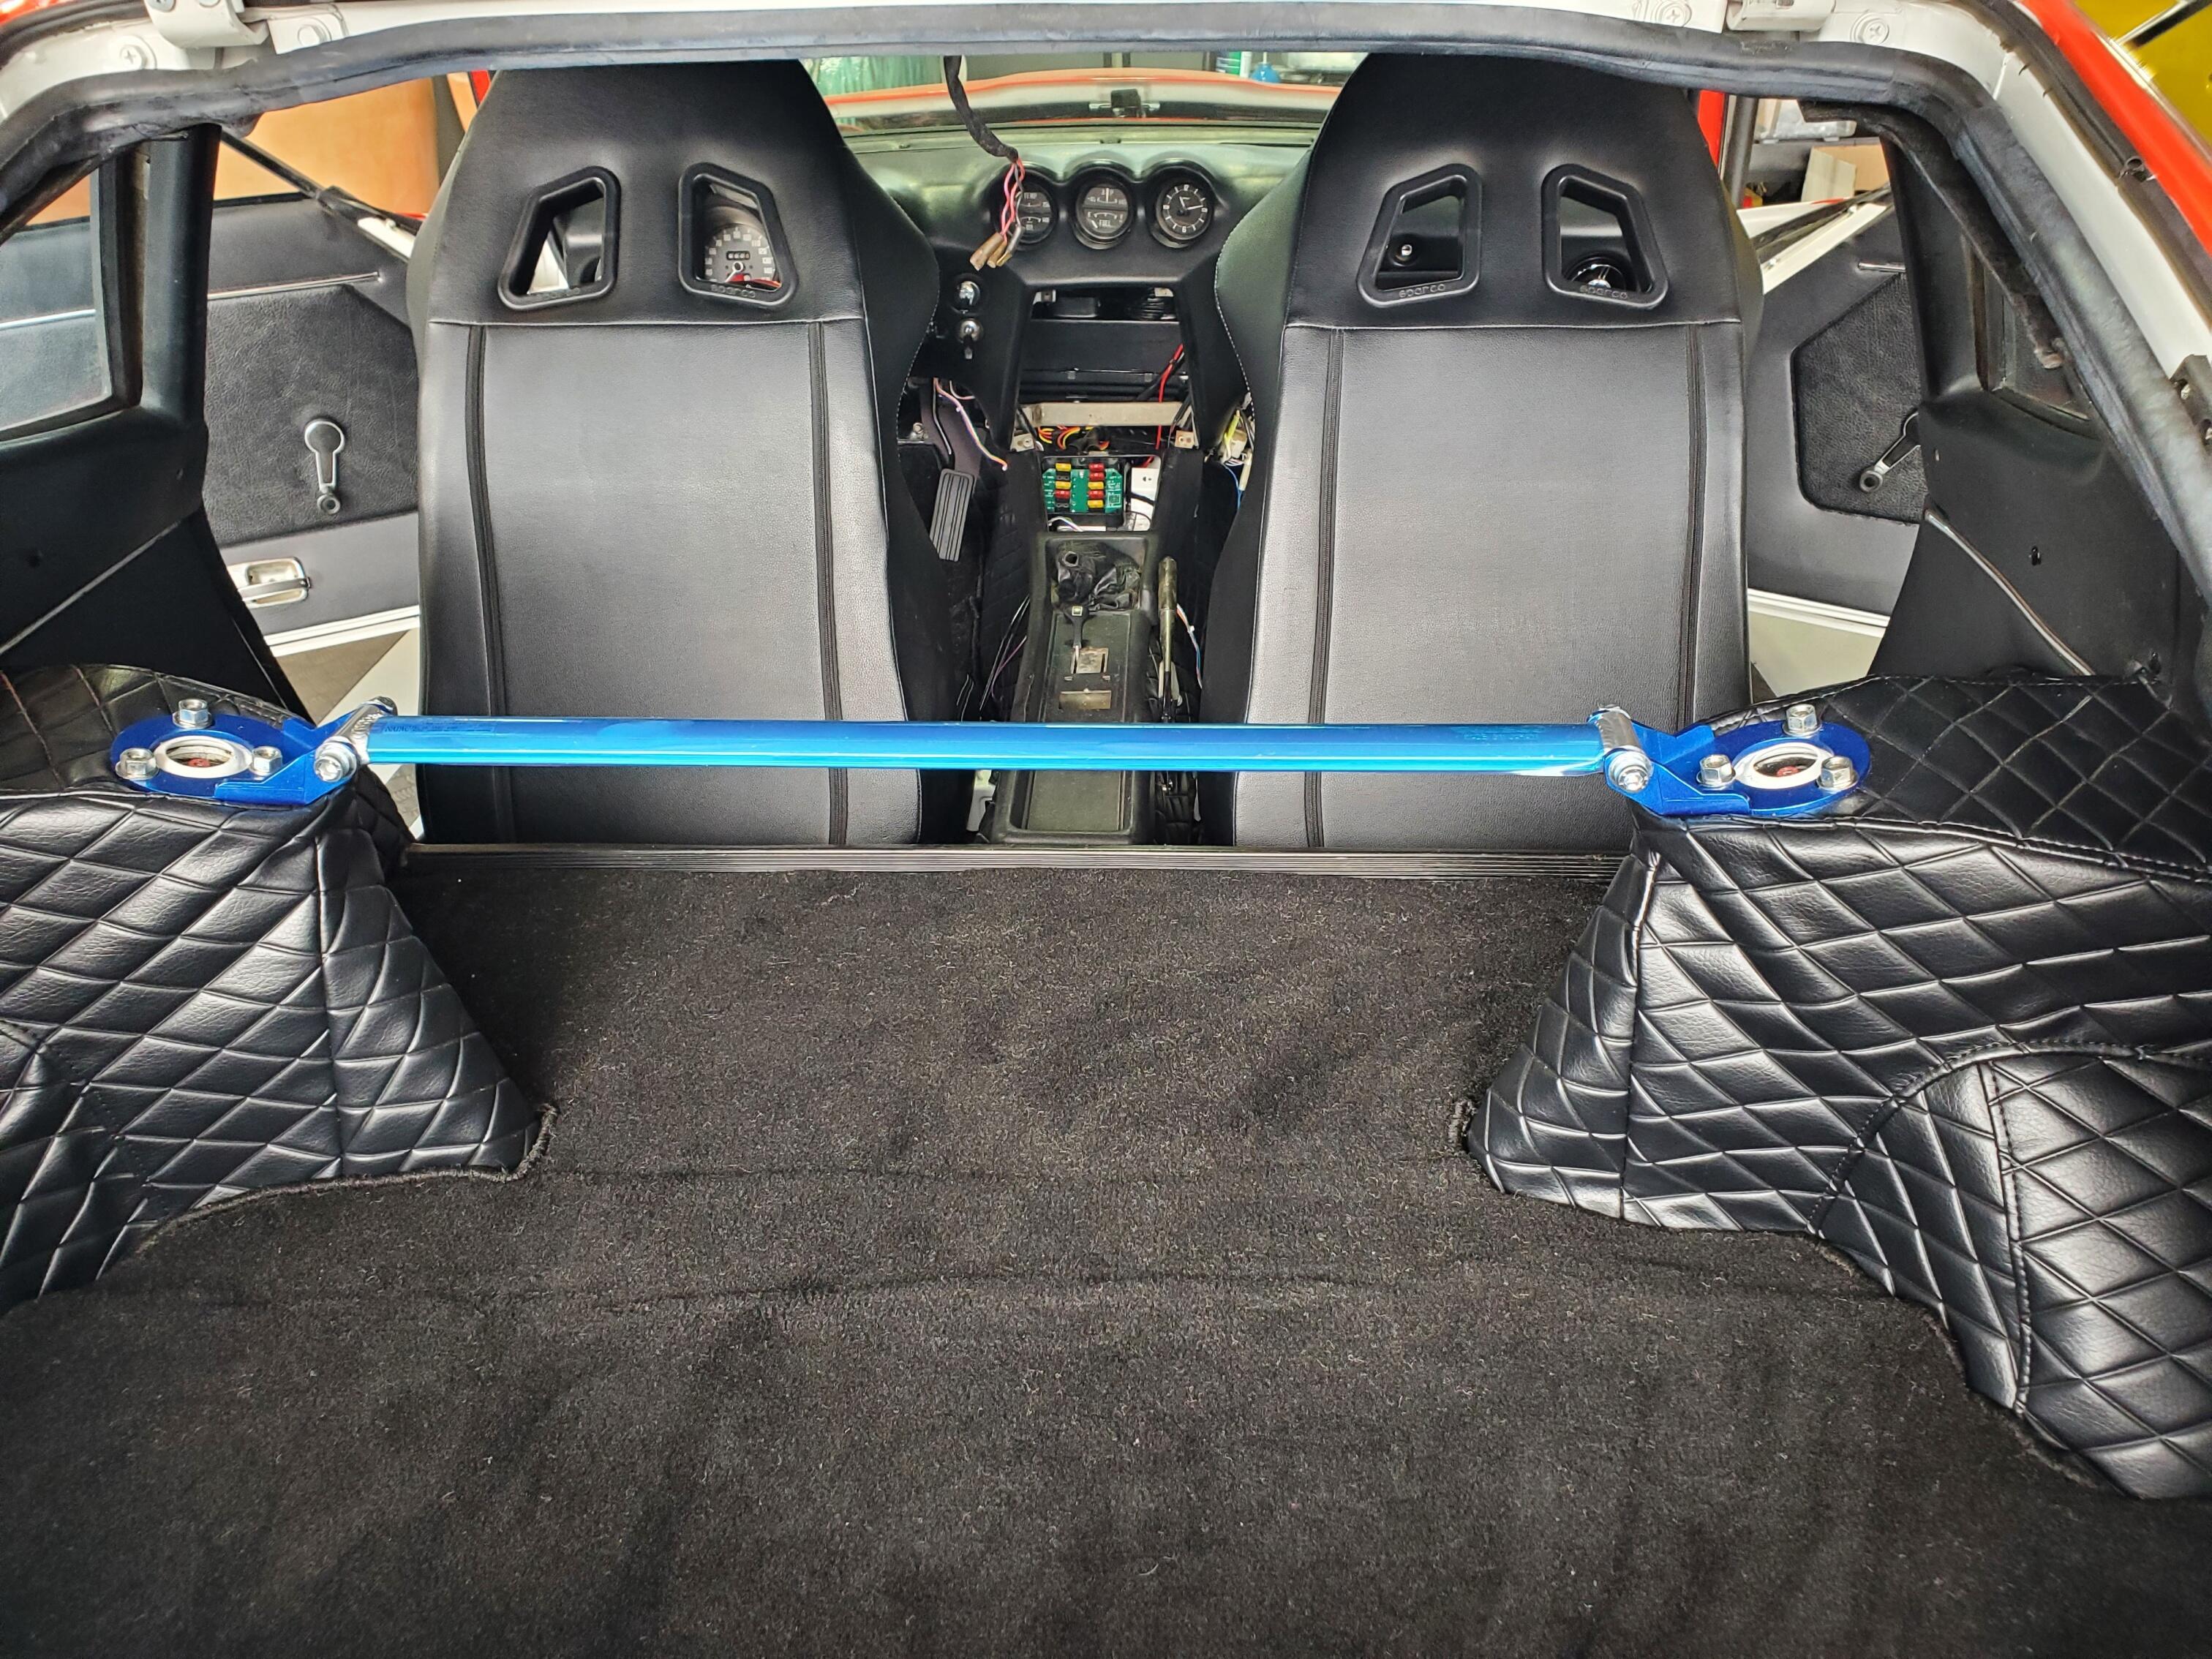
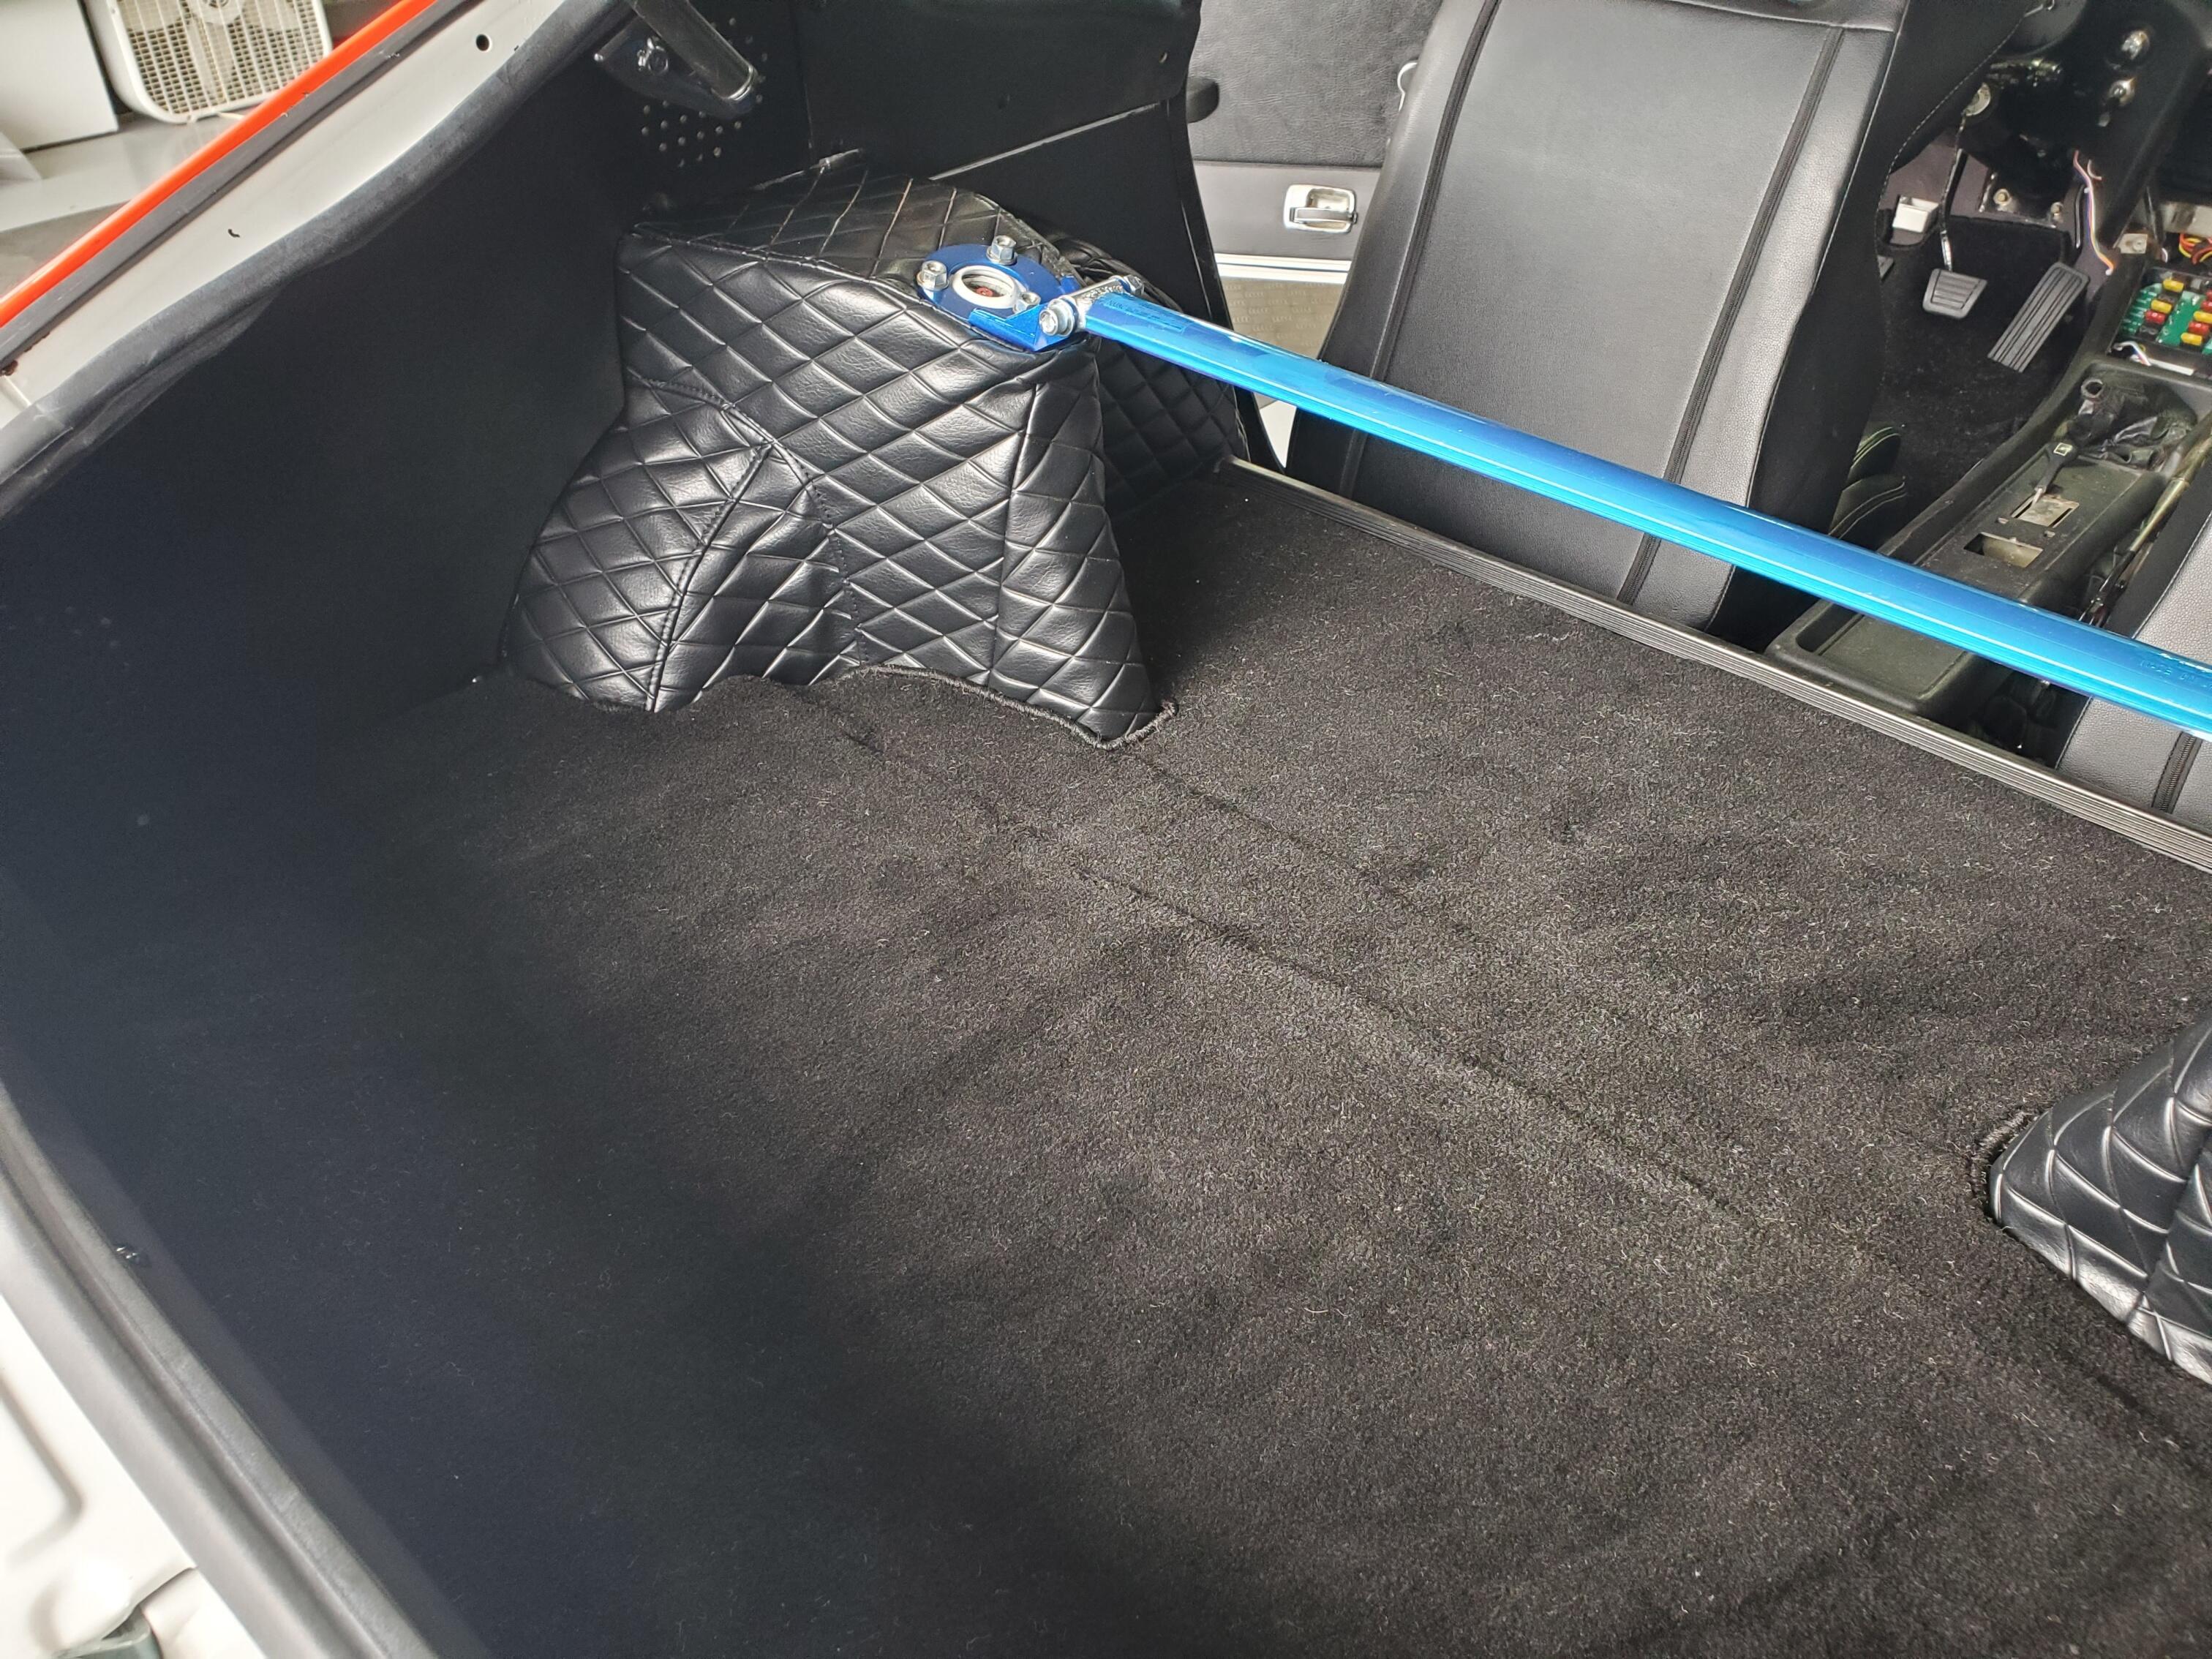
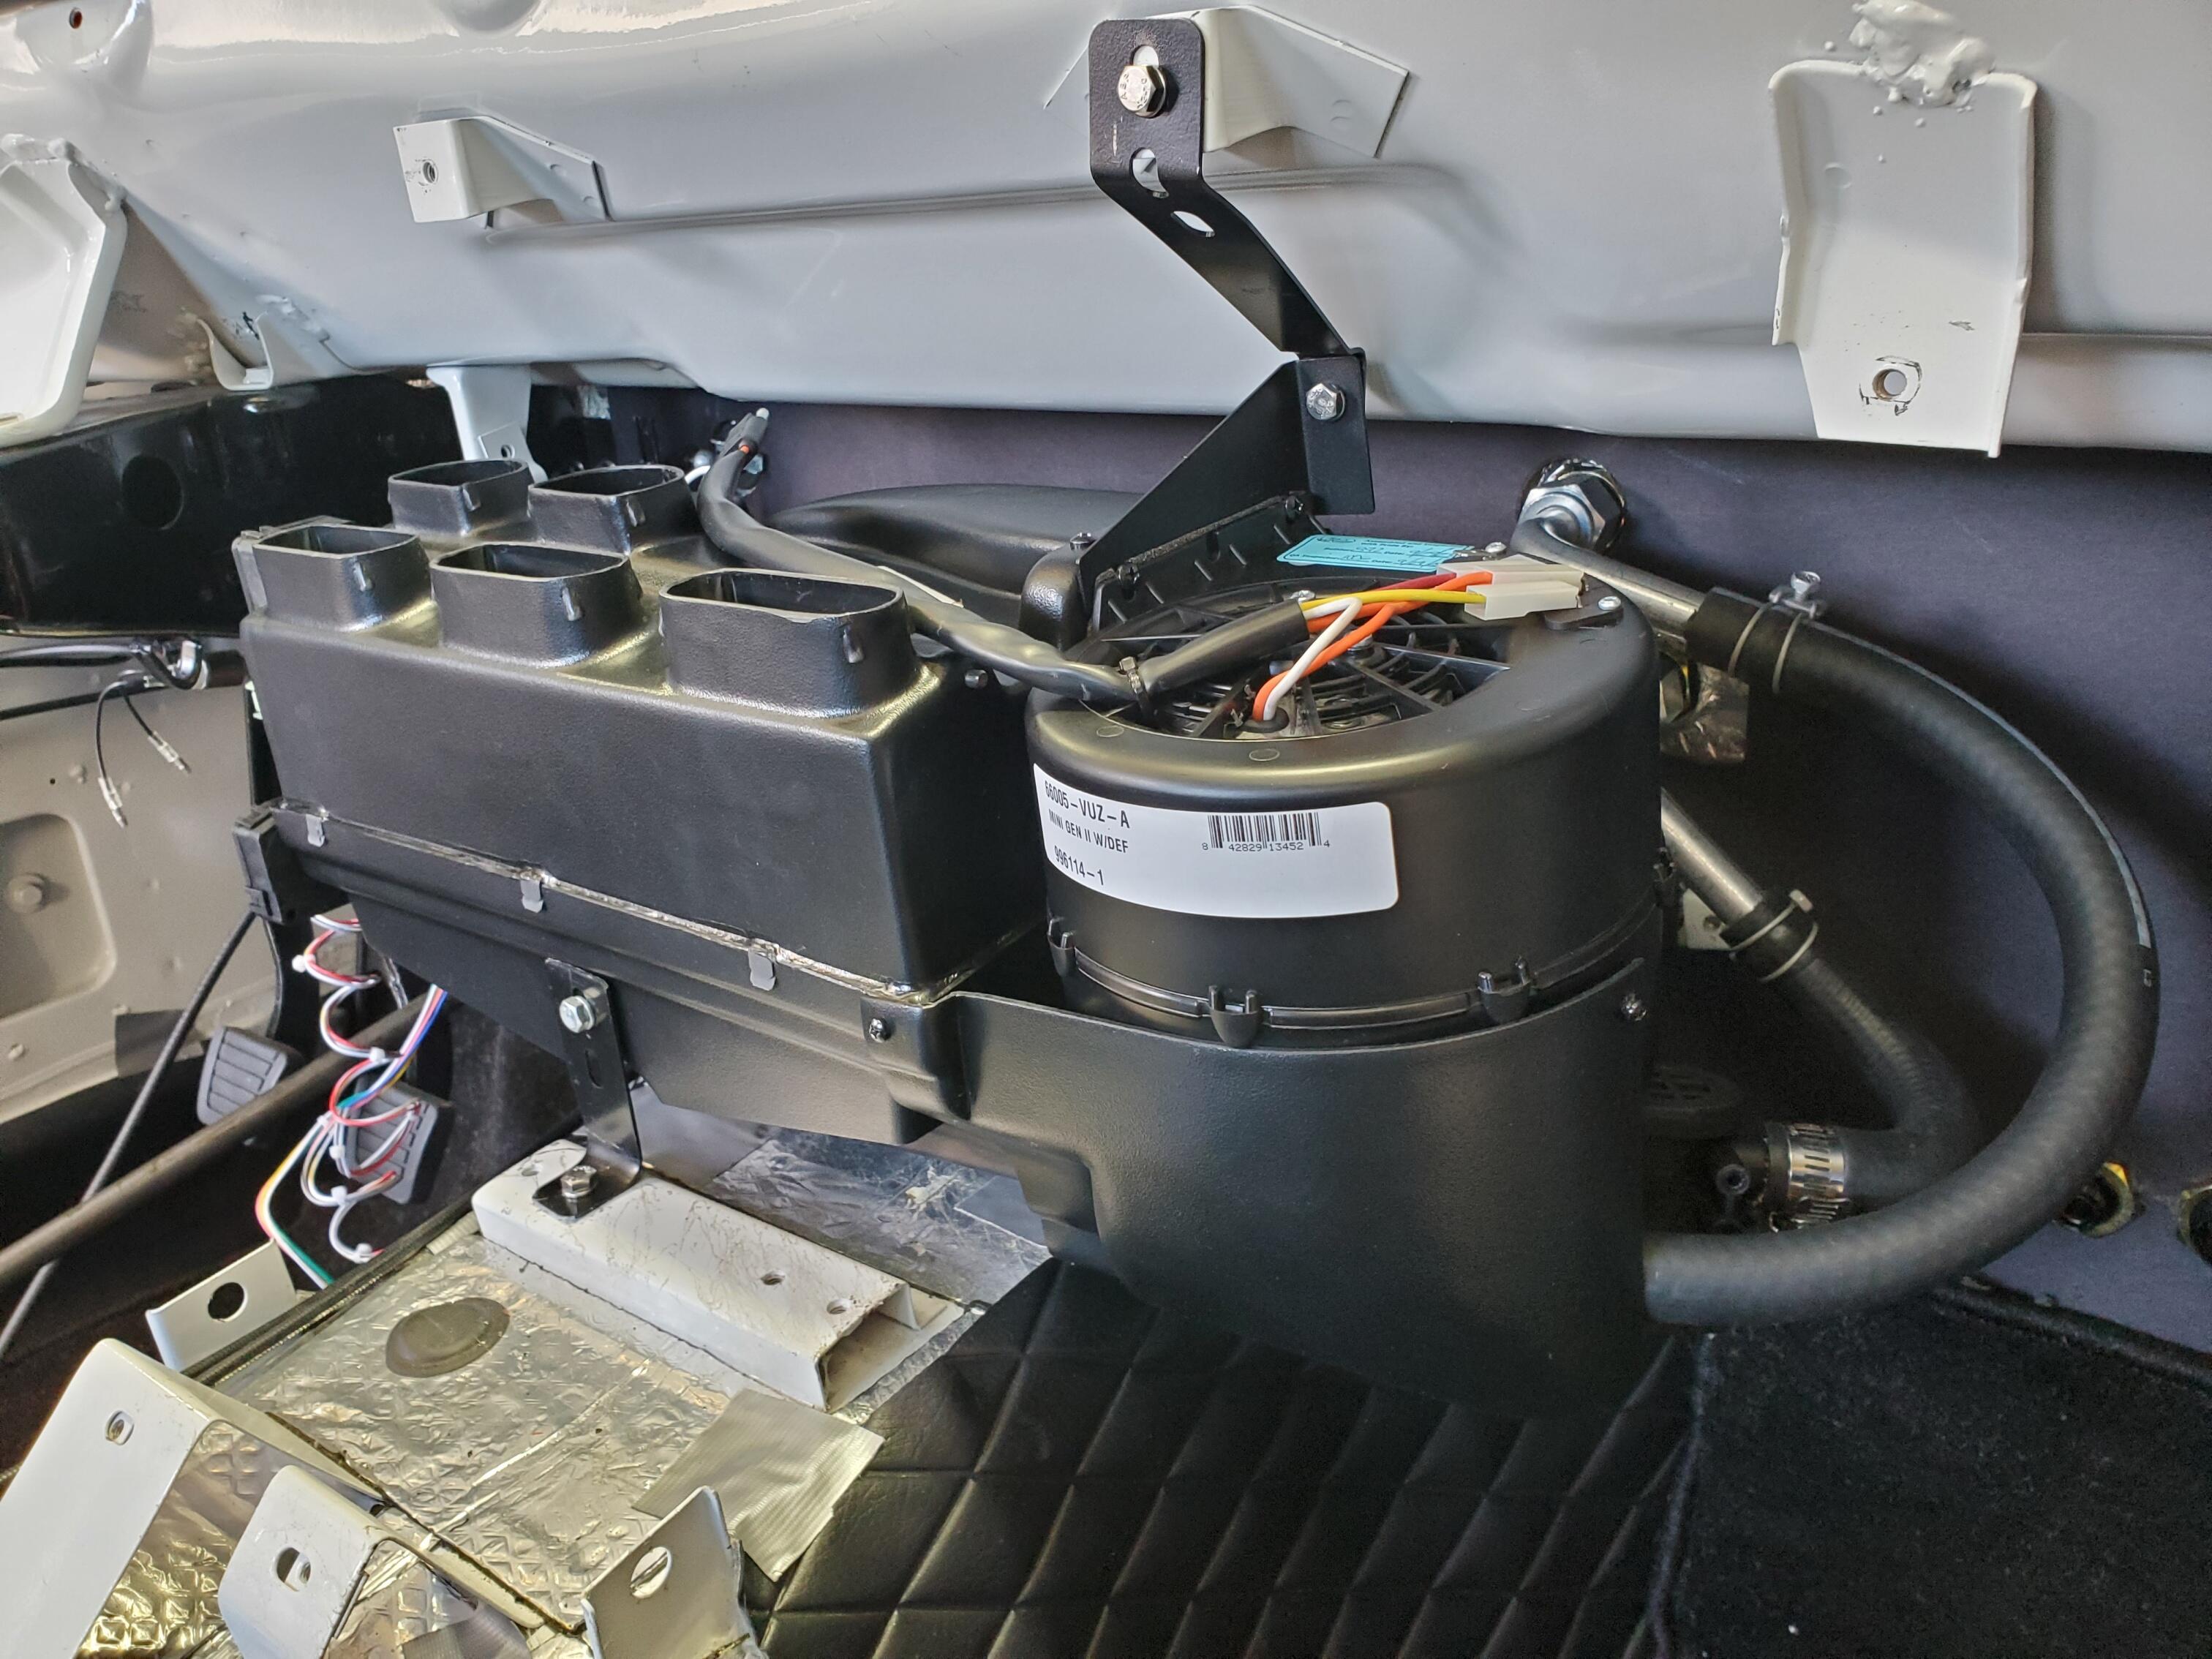
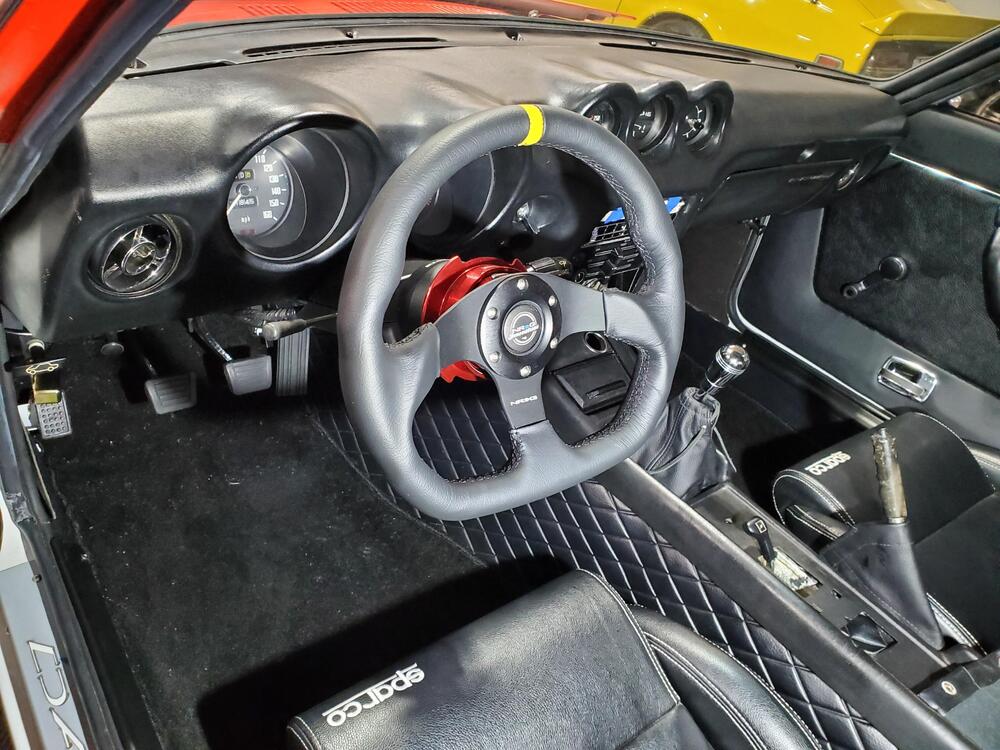
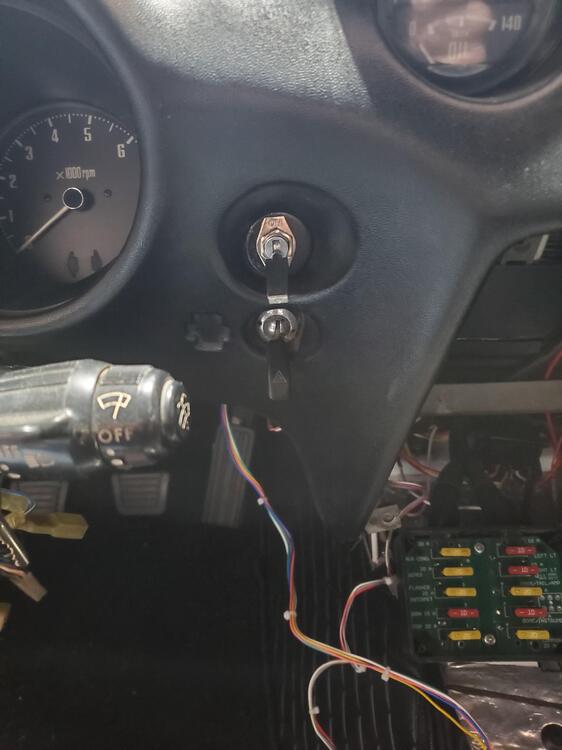
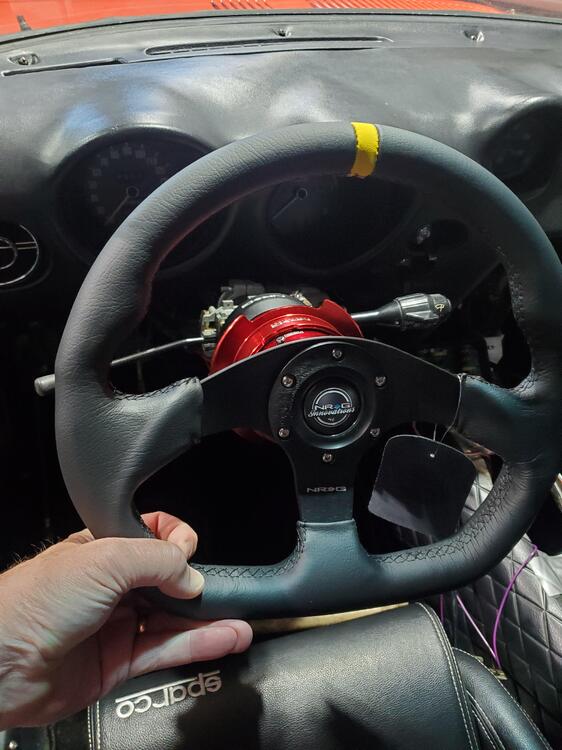
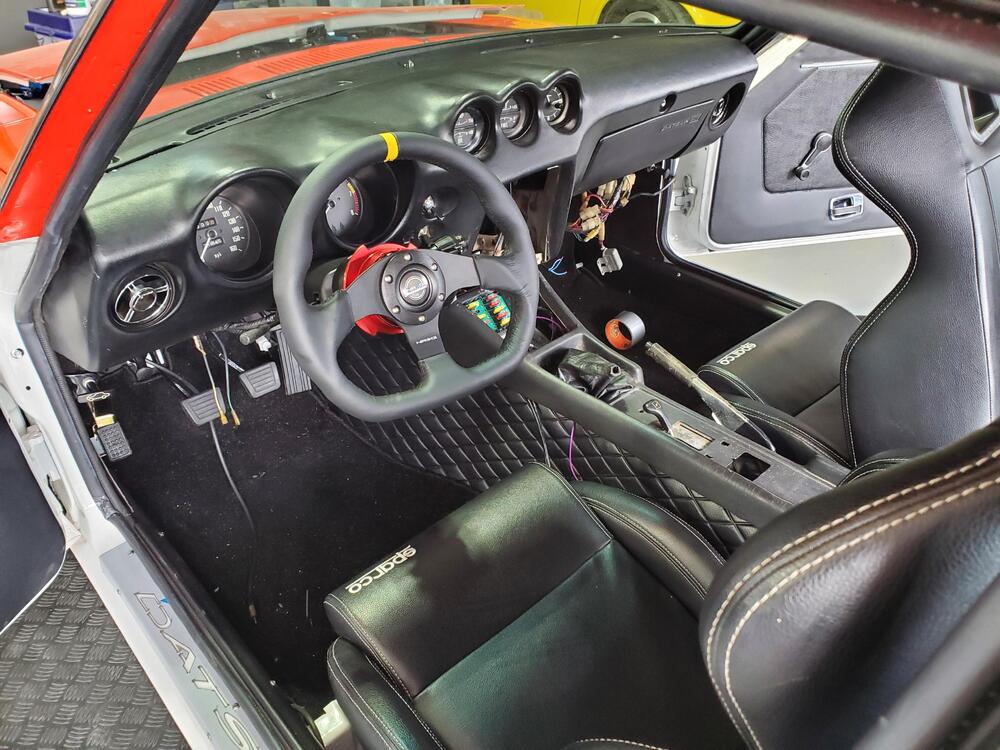
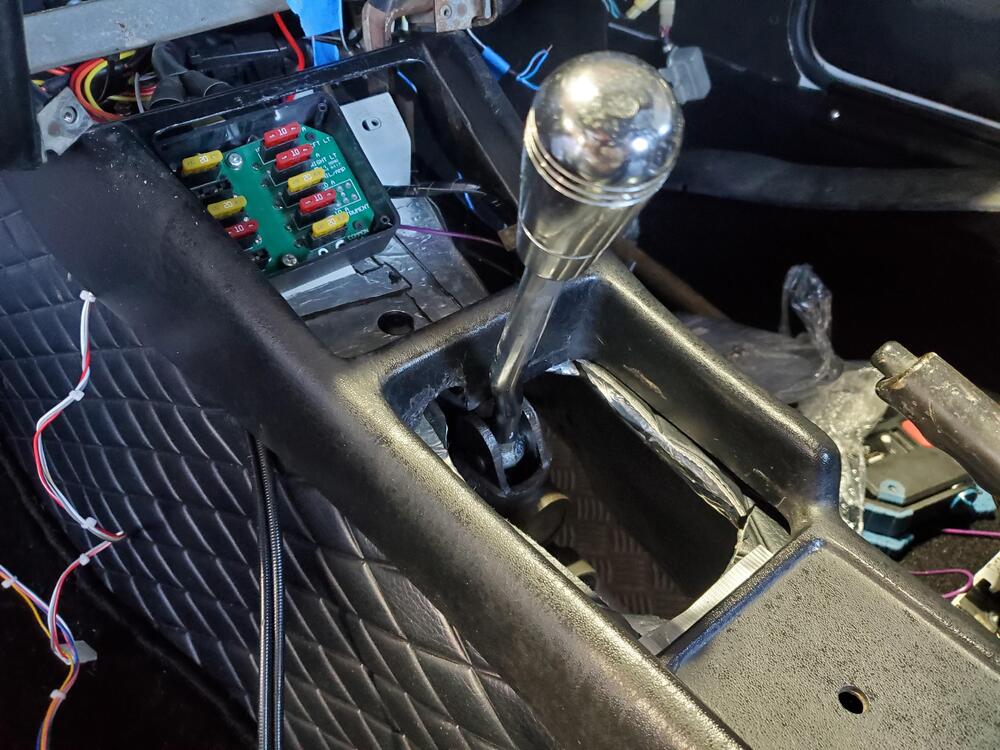
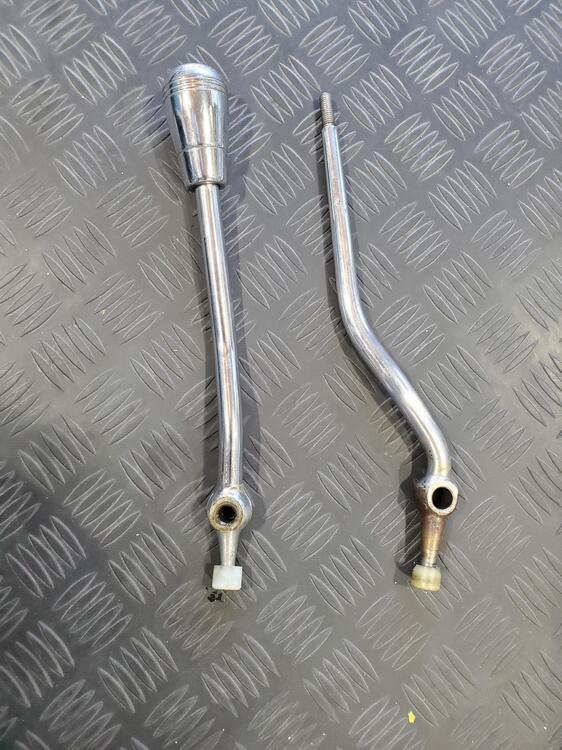
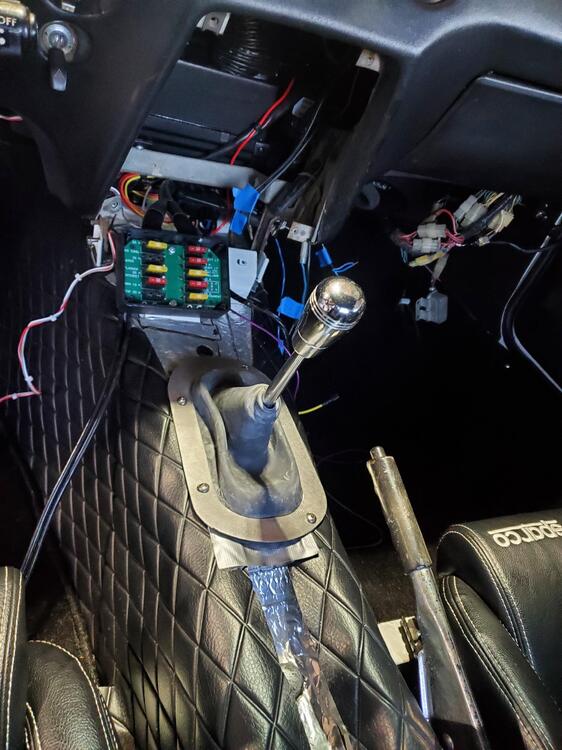
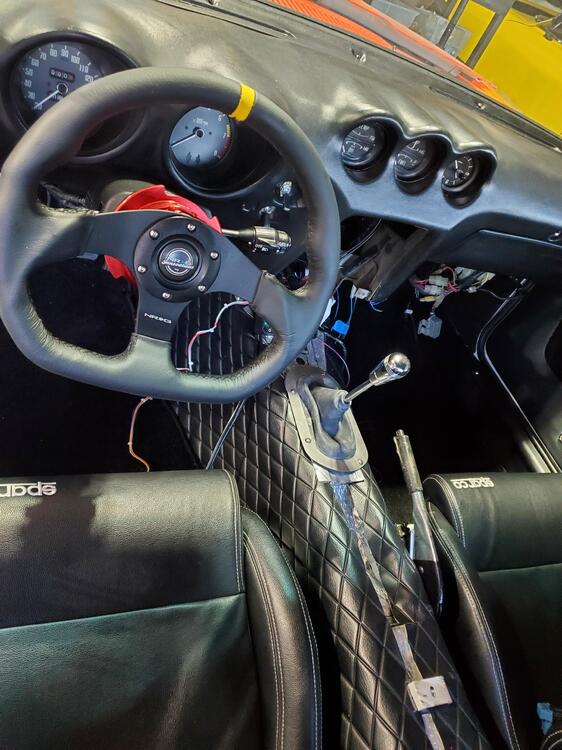
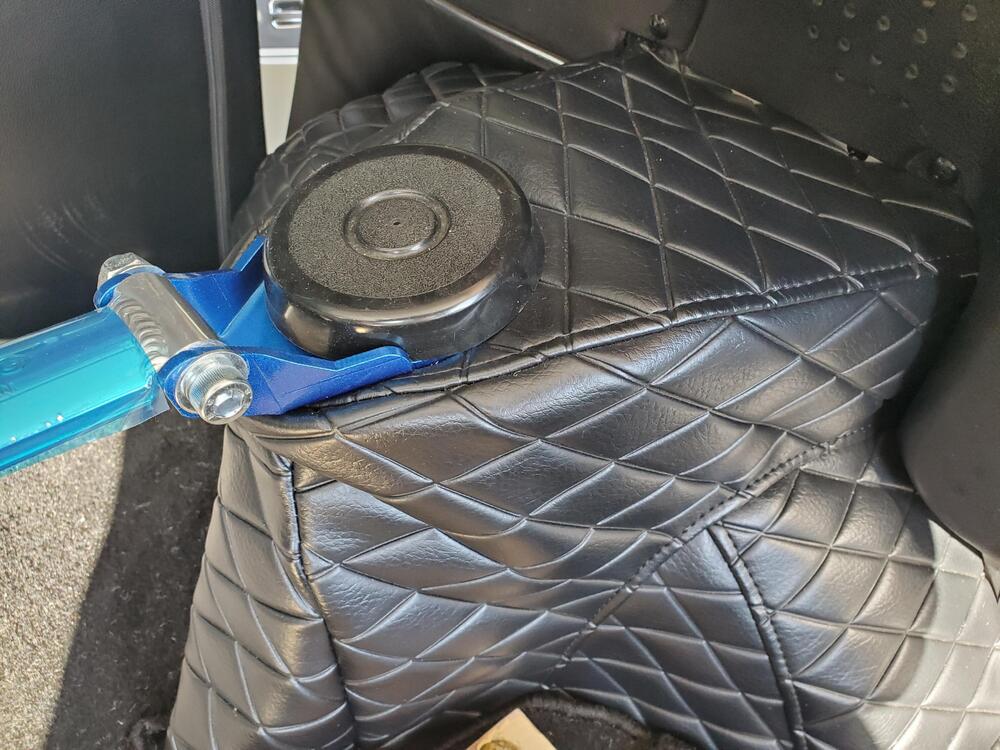
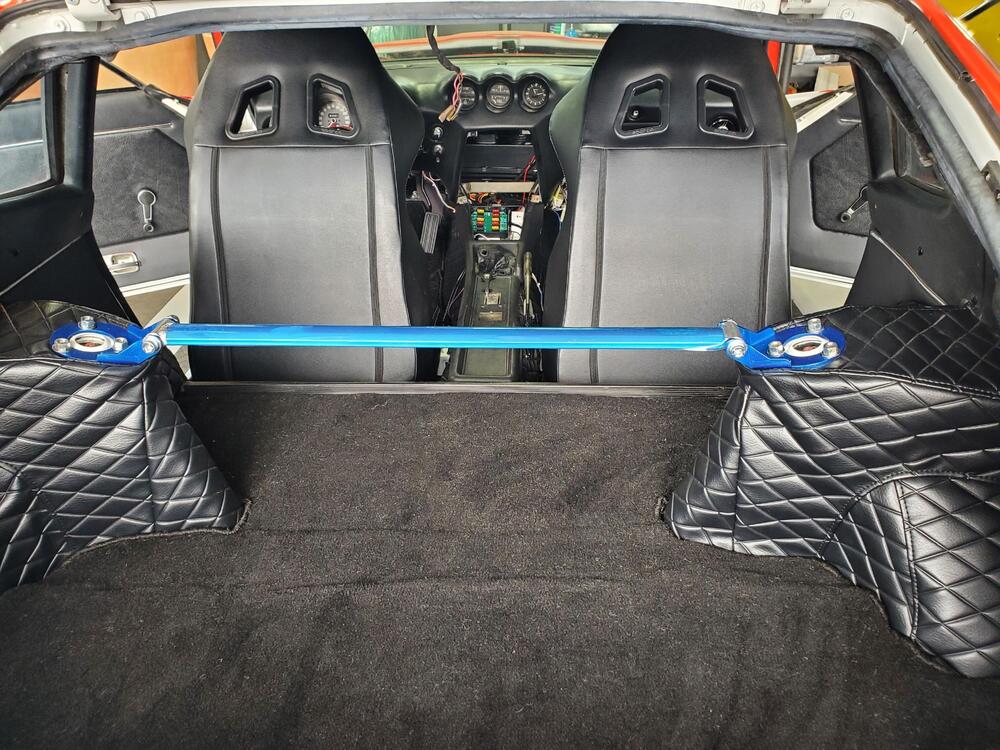
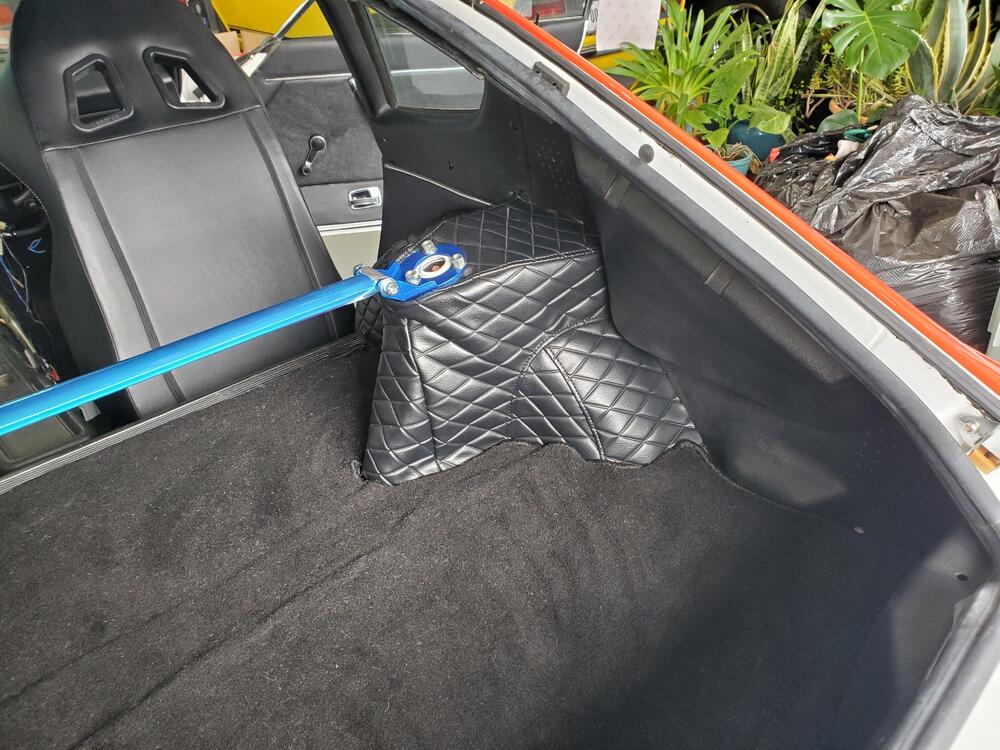
Haven't posted in while but got a lot done. I installed the dash and hooked up the ducts from the VintageAir system. This was pretty easy. Vintage air sends two diameters of tubing with their kit. The smaller diameter hose is for the defrost ducts. Amazingly, the small diameter hose fits perfectly on to the stock defroster vents. A small S shaped section does the trick for the defrost attachment. The Outside vents are also pretty straight forward. I installed the larger ducting in the dash and left the hose long in the middle. After installing the dash, I trimmed the hose and connected it to the Evaporator unit two outside ports. The center port on the vintage air system is for the 'floor', however, I will fab something so that it can come out of the center panel. The lower switch in the front control panel gives you 4 options: Off, Vents, Floor and Vents+Floor. All electronically controlled. Very nice. So, AC mechanical system is now completely installed including a belt for the AC compressor. I will connect the final electrical when i install the panel. We will charge the system at a shop on a later date. Installed a fused switch for the fuel pump. This is right in front on the dash for easy access and operates nicely. Got the rear interior panels mostly installed. Panels were from a different car, so most of the holes lined up (versus purchased panels where half the holes do not line up). Installed a new removable steering wheel. This is actually pretty sweet and makes getting in and out of the car a bit easier with the flat bottom. Installed an offset stick for the 5 speed transmission. The straight stick will not work when connecting to the 5 speed. Both sticks shown in Neutral position. Final install pics are with offset shifter ,shown below. We started the engine up and she sounds great and very smooth. The clutch system bled nicely and operates well. Fluid was put in the transmission as well. Once I get the brakes ironed out she will be ready for a cruise around the block. My initial bleed did not go too well. I could not bleed the forward bowl on the Willwood master cylinder from the forward bleed port, so will have to investigate that. Center console has a hole forward of the choke lever. I will be installing a USB port in this position. Latest pics are below


-
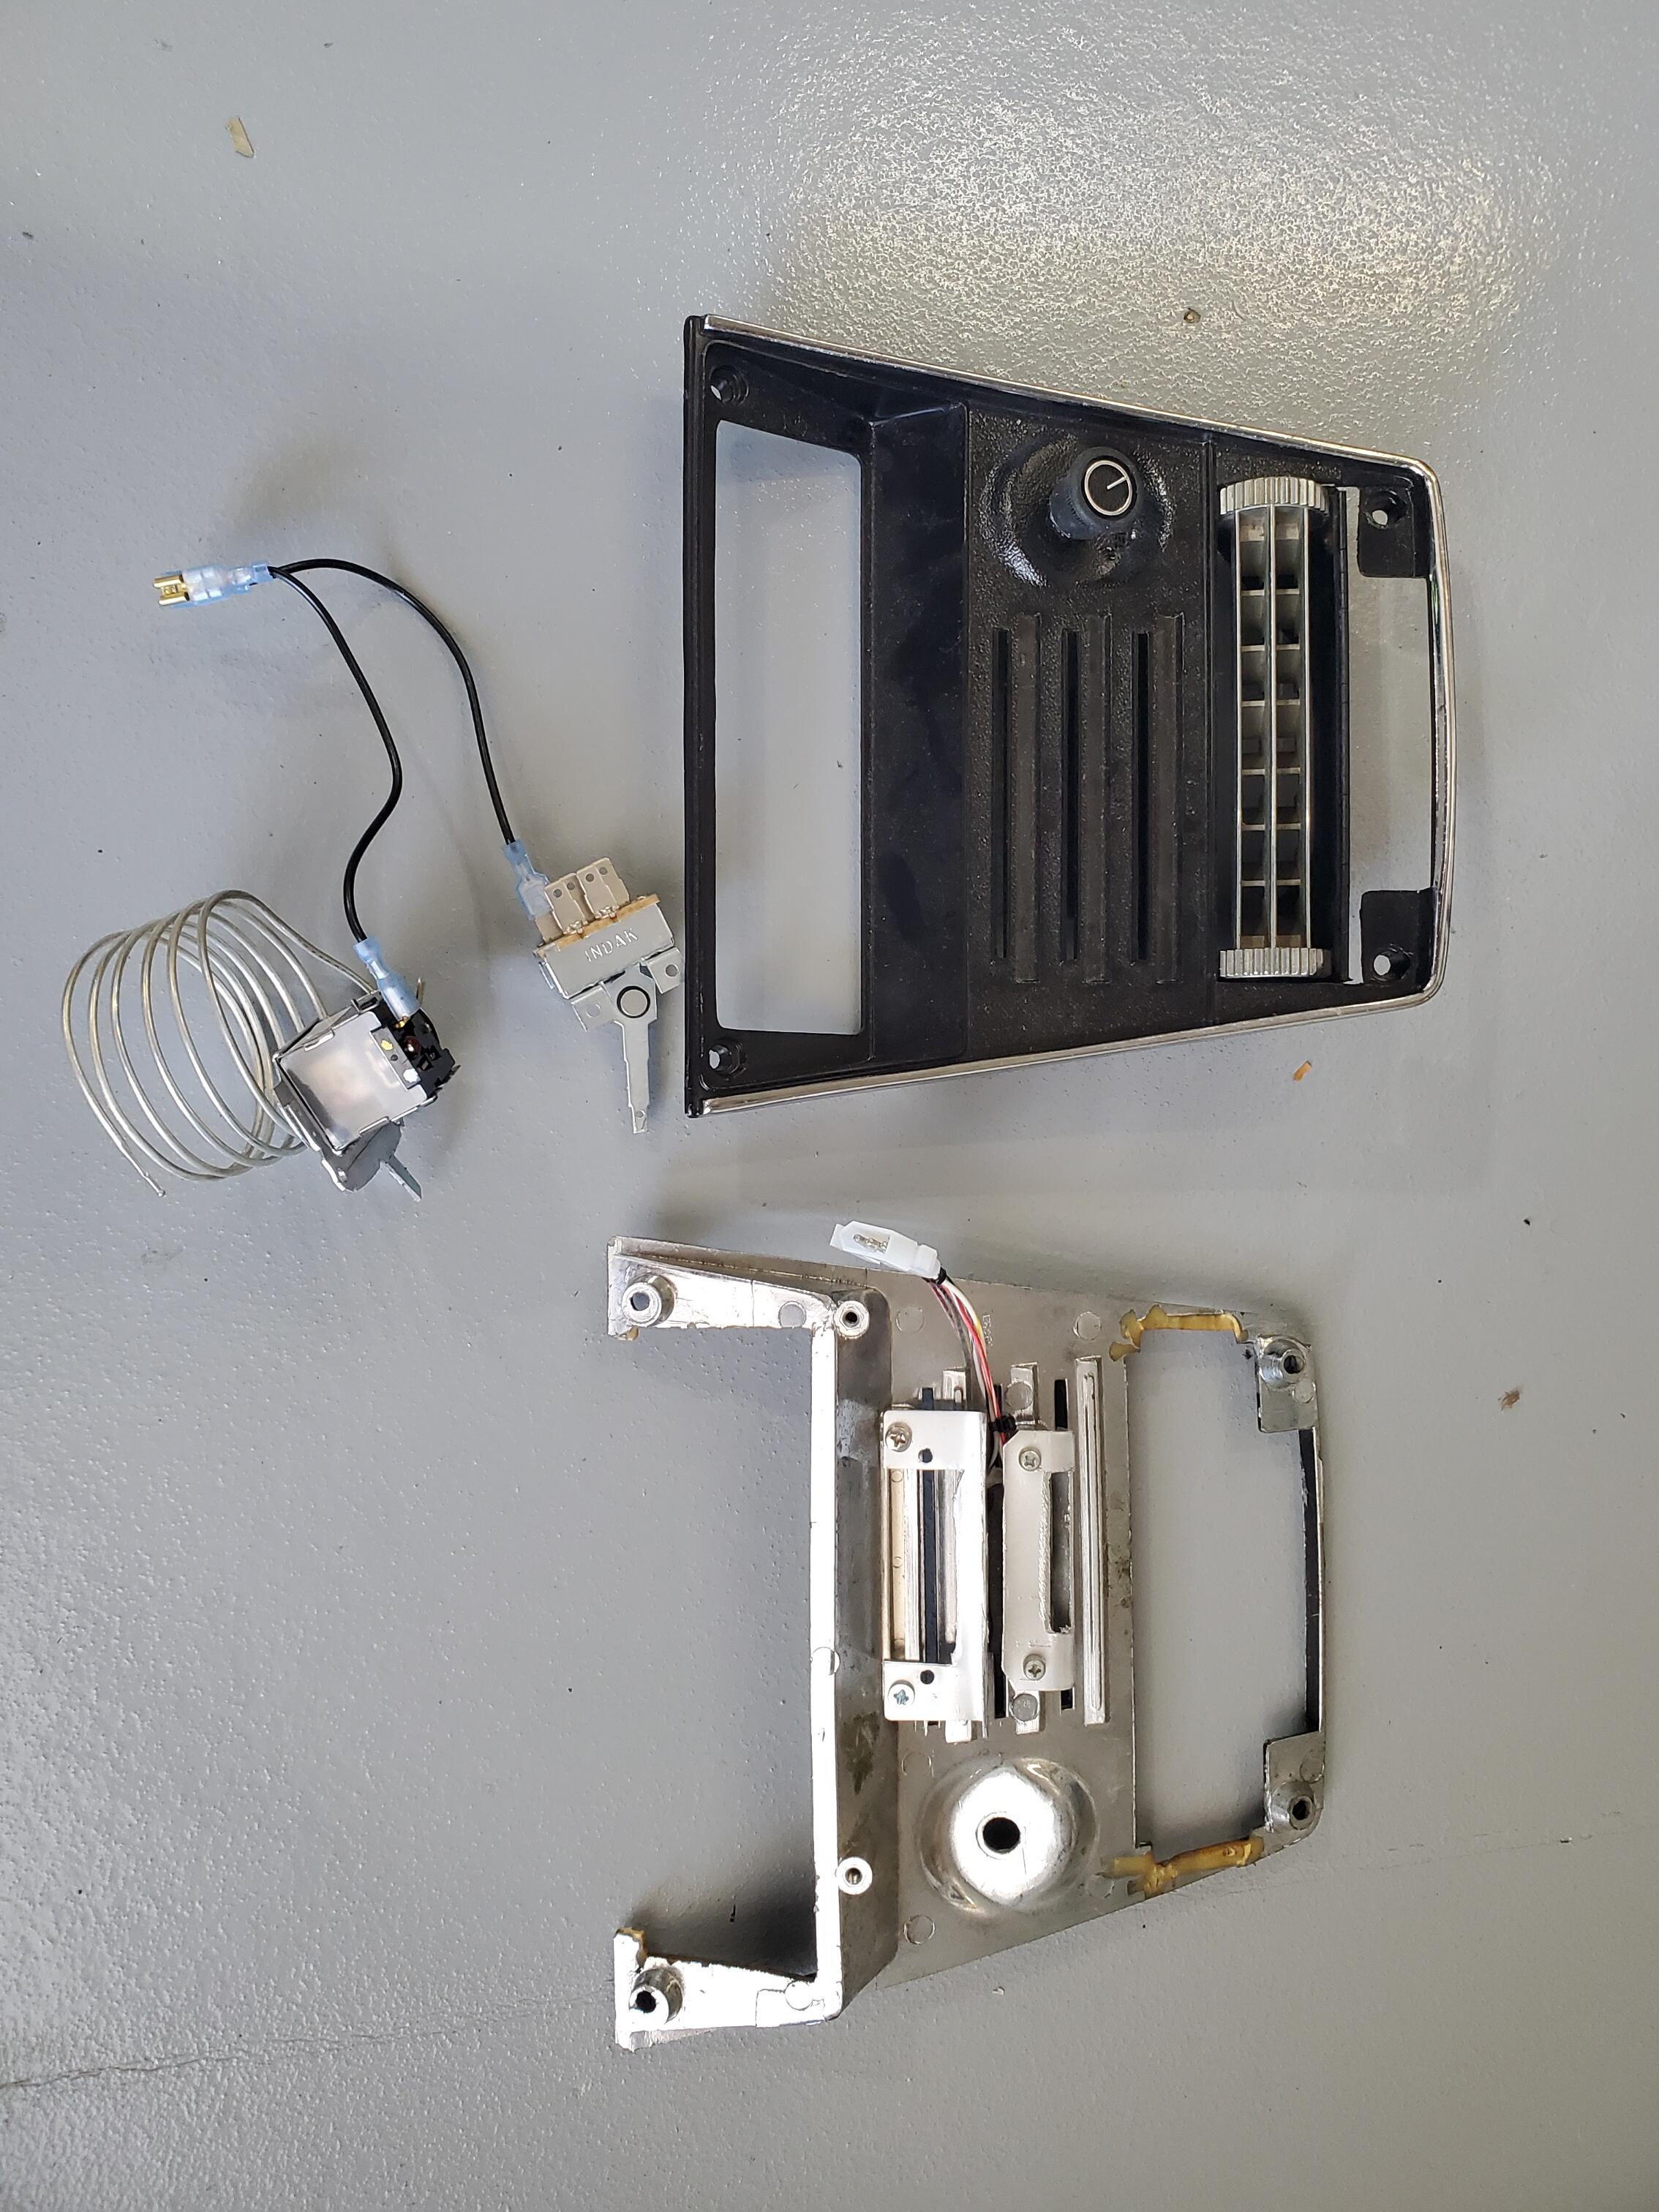
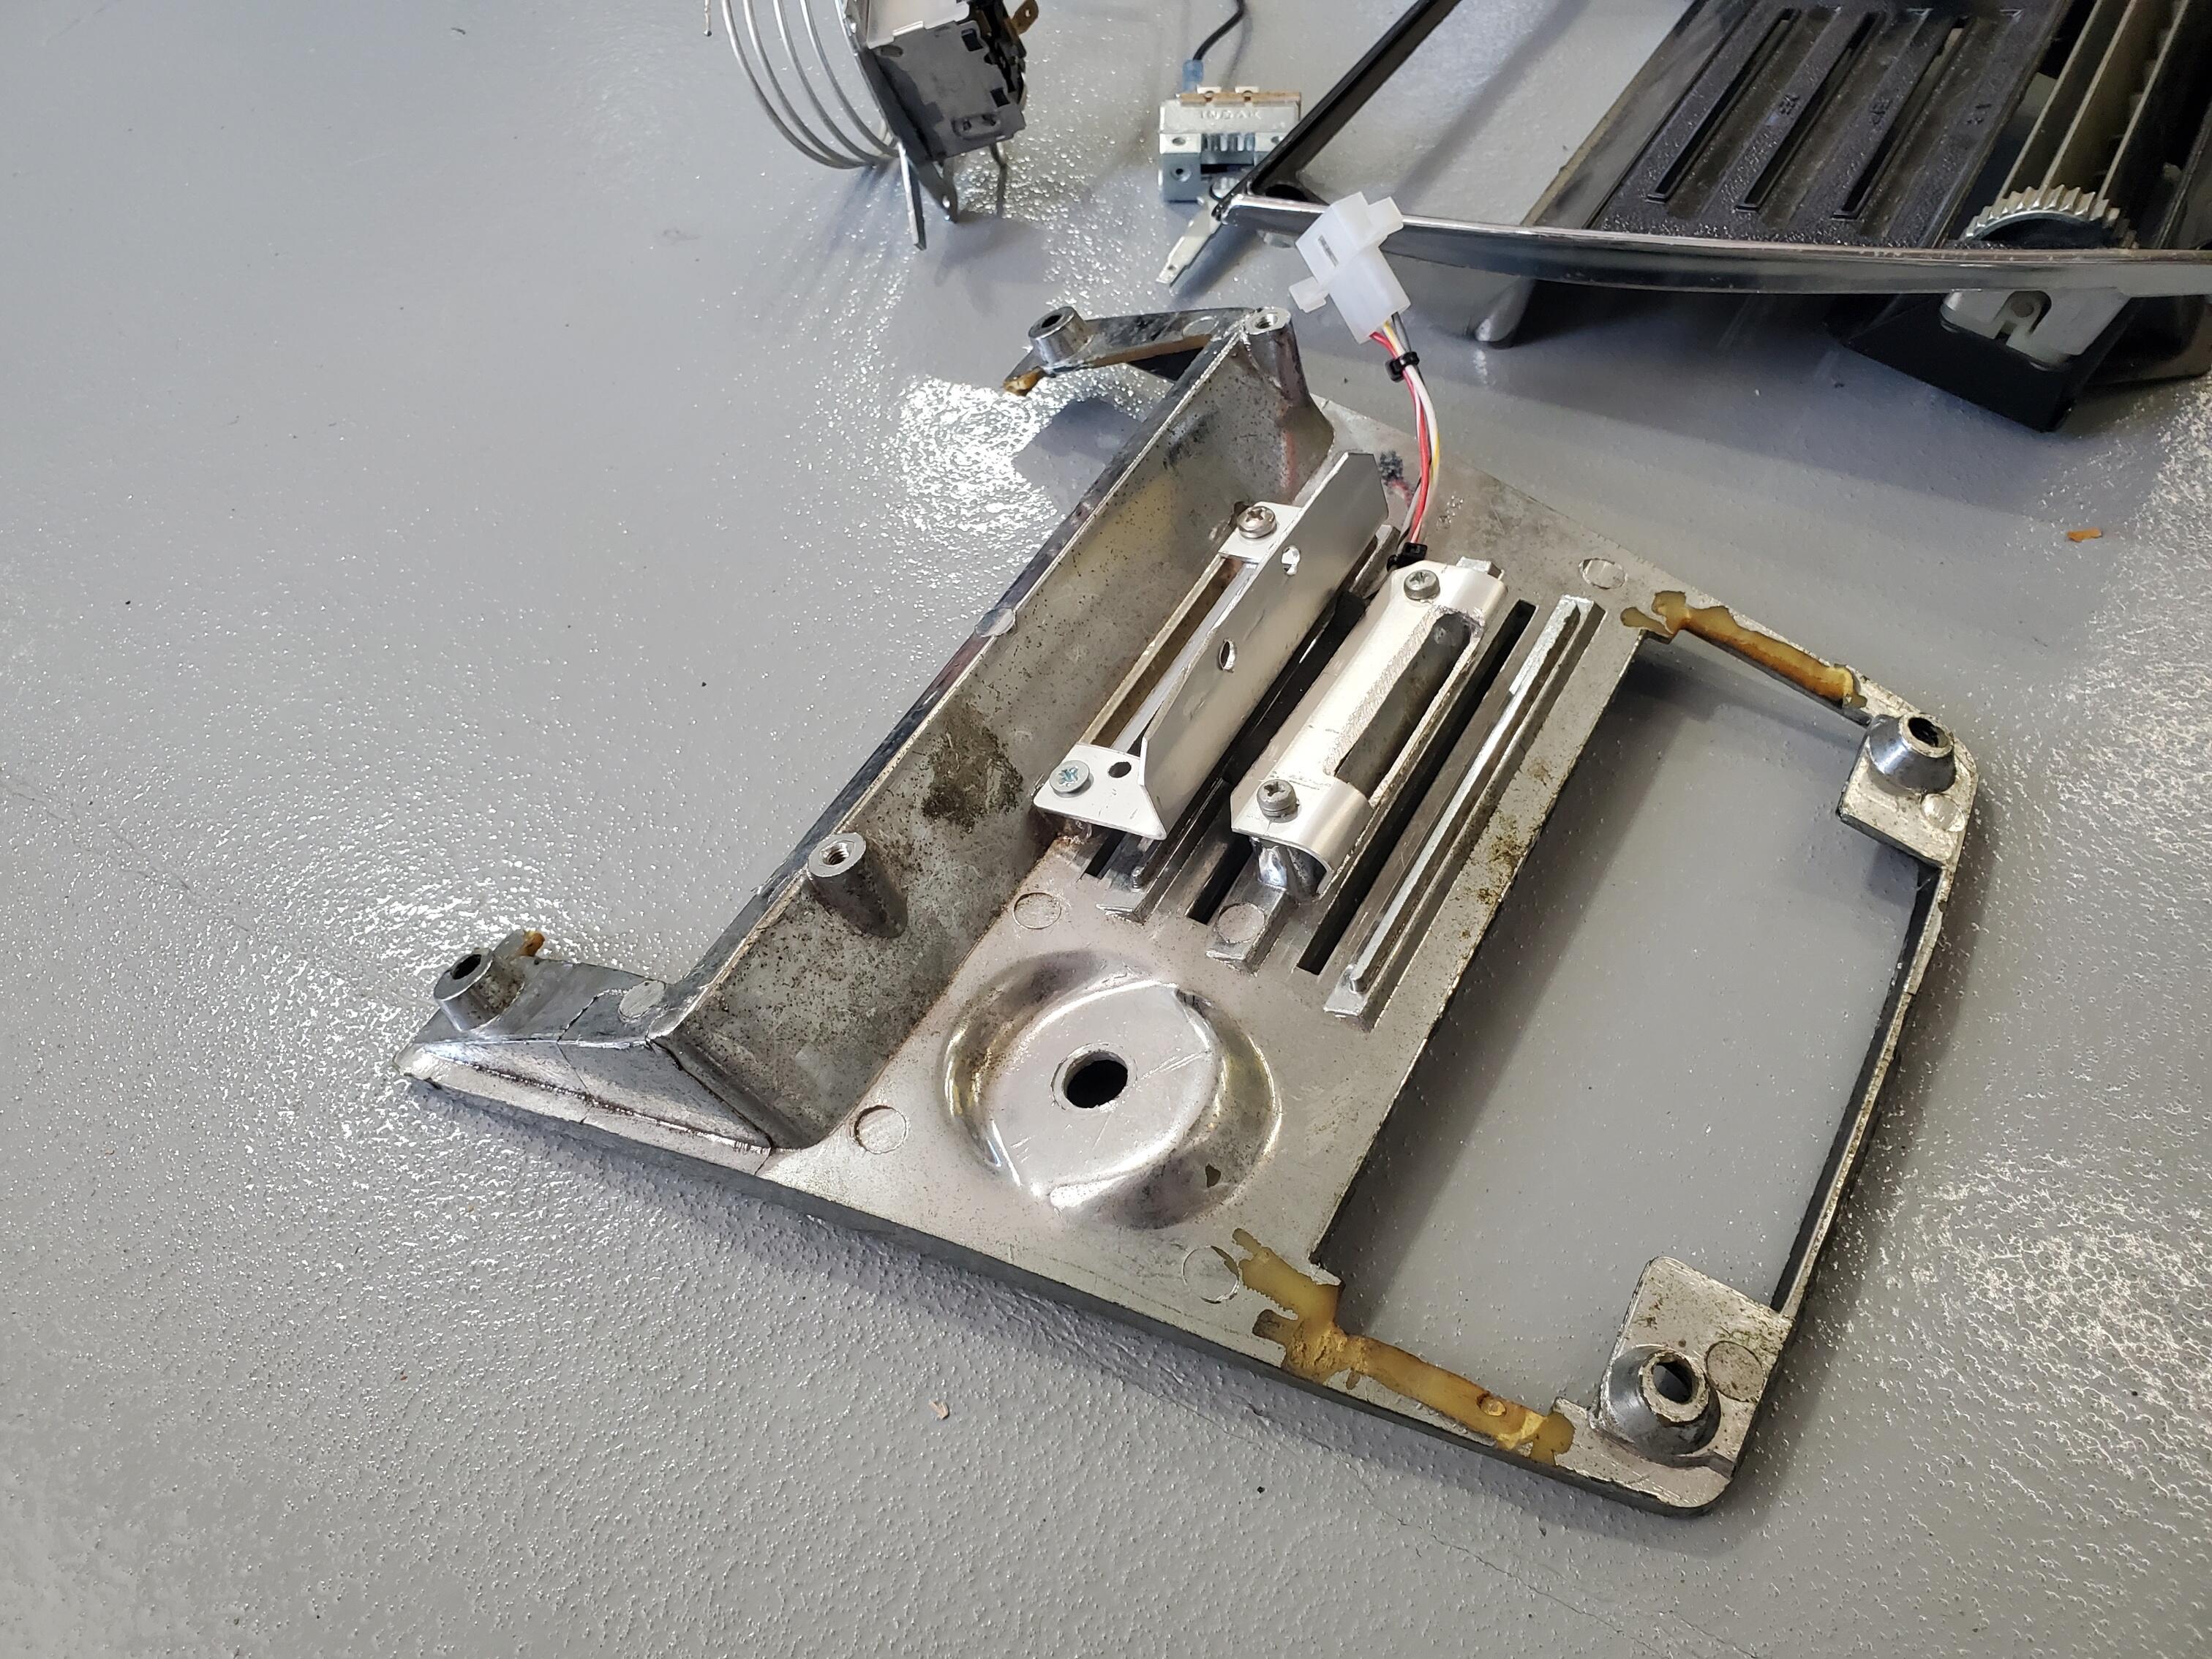
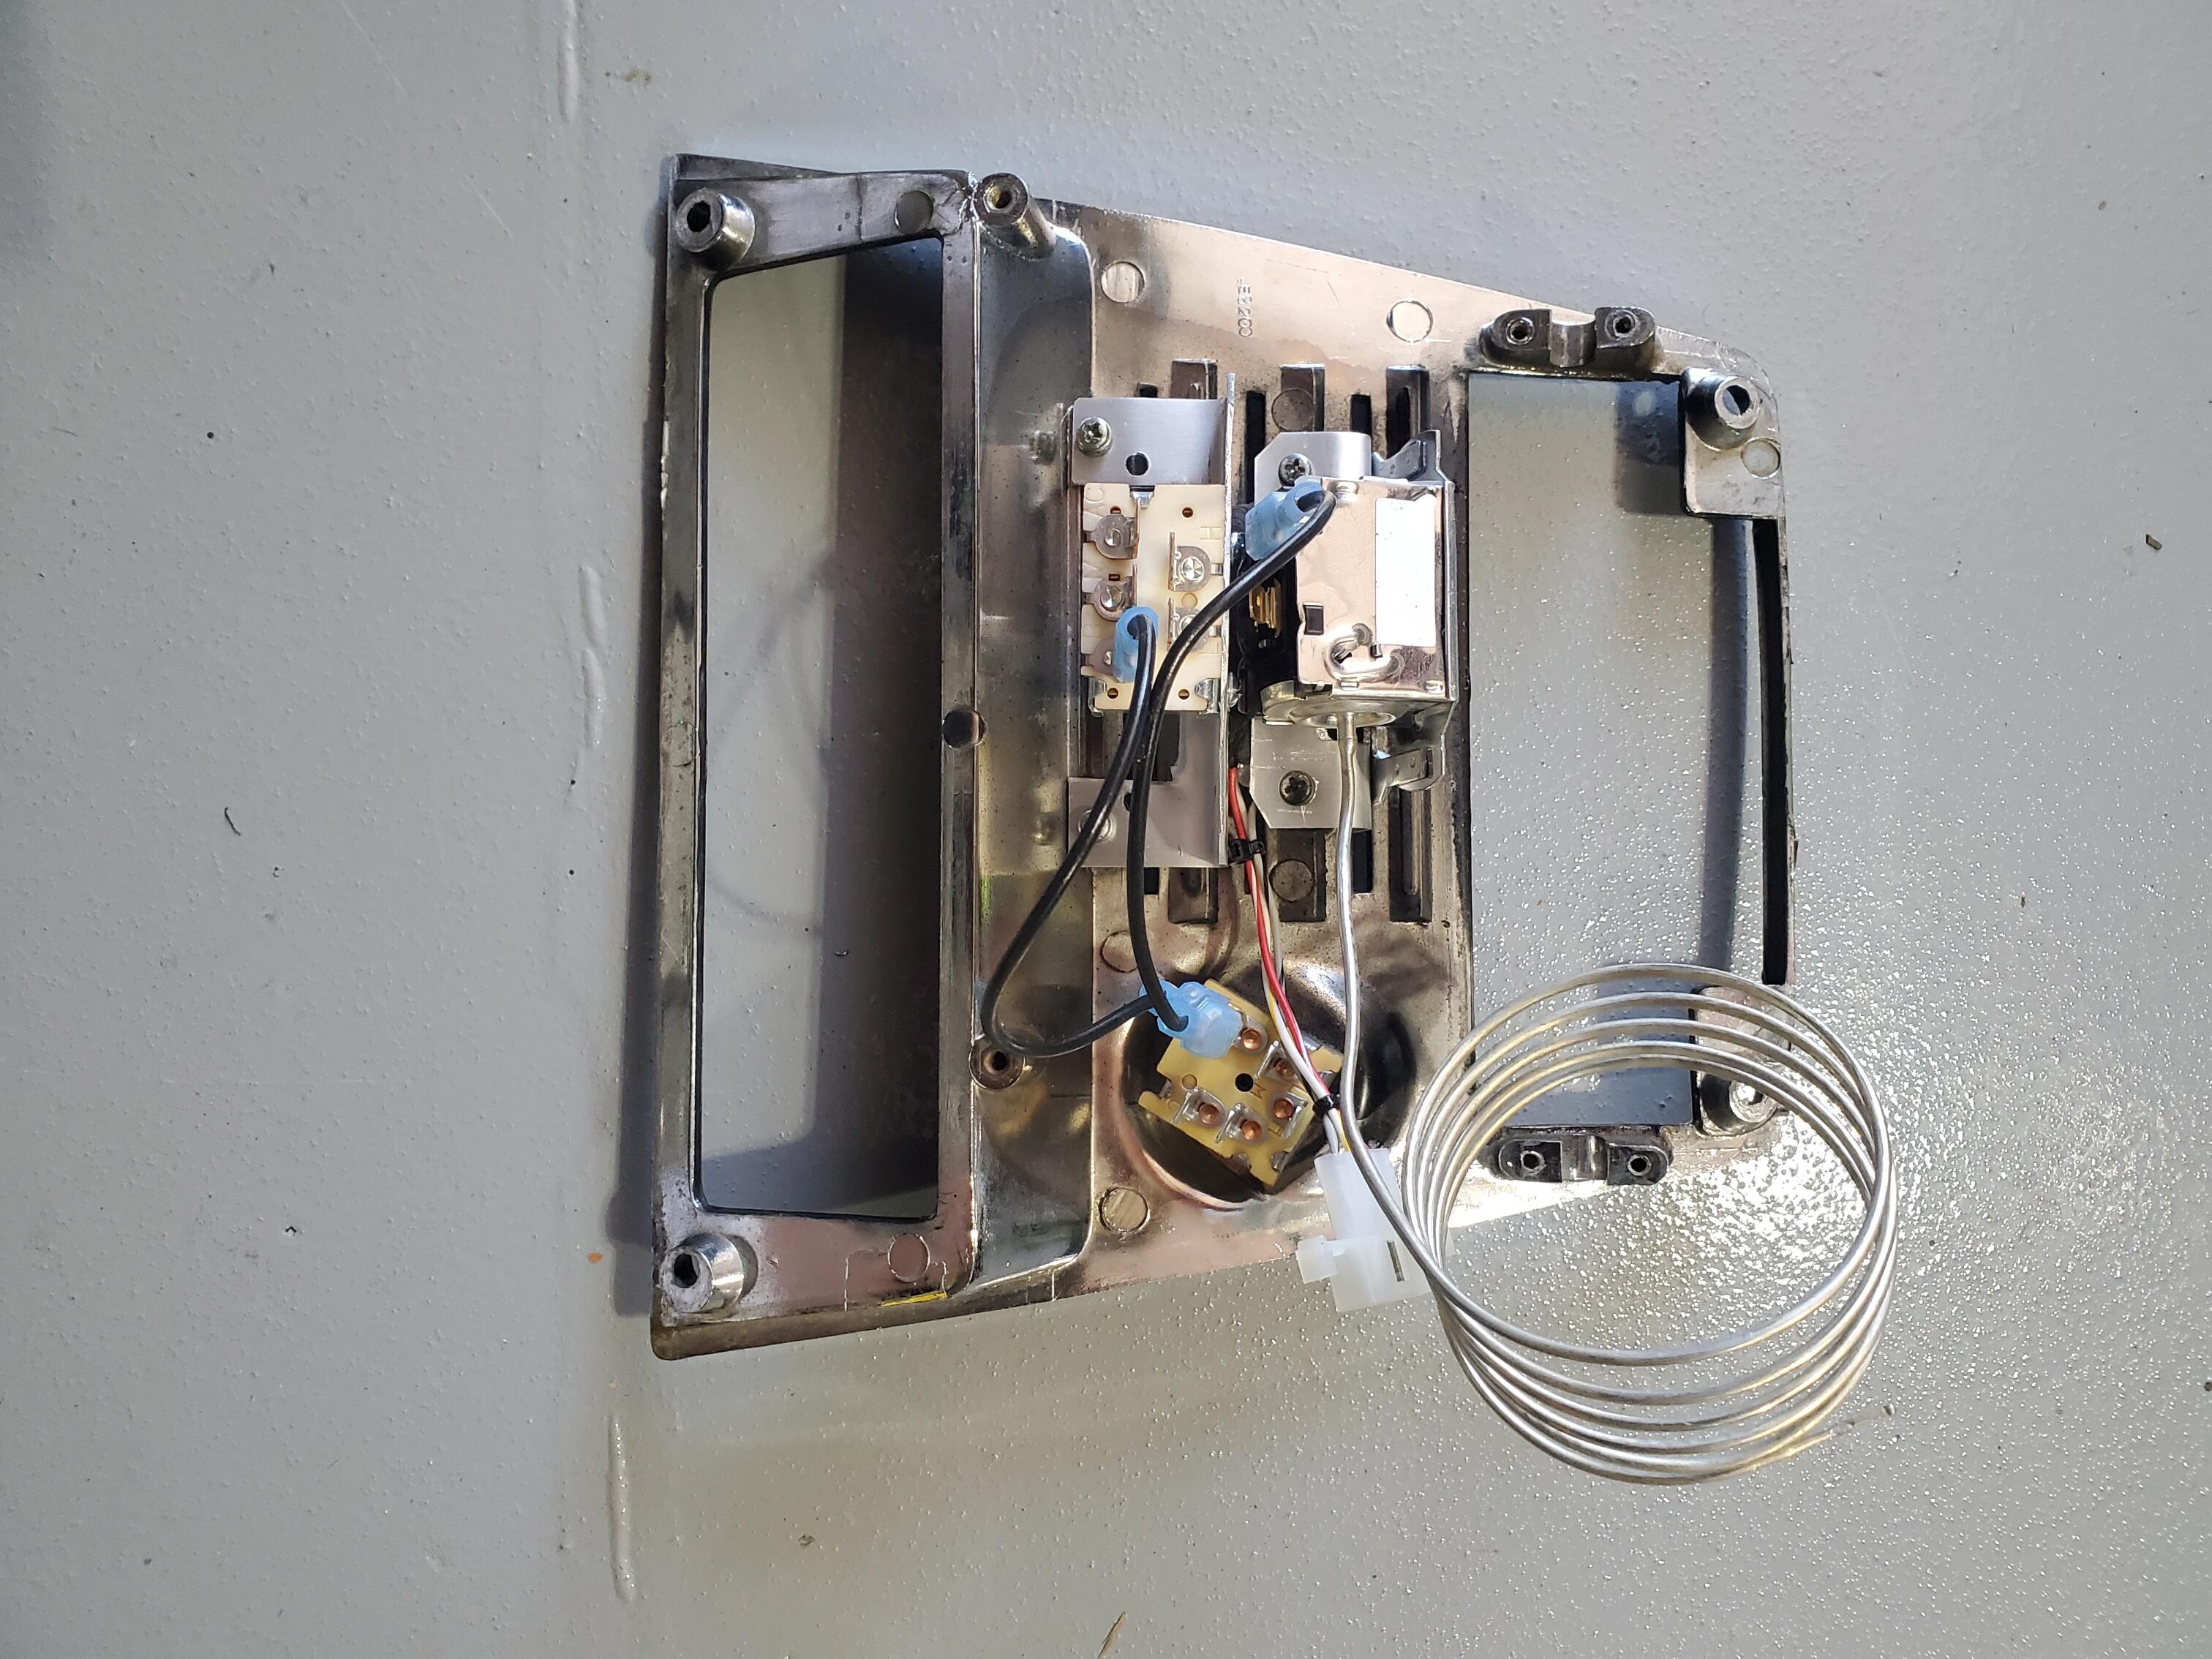
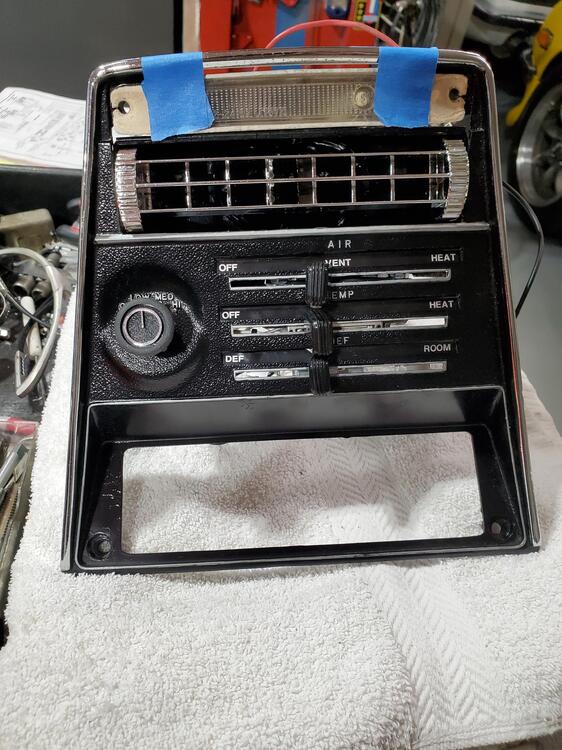
One more item. I wanted to see if I could use the stock rotary fan speed switch instead of the VintageAir rotary switch, so I rung each switch out with a meter and found that the Vintage air has a tab that gets power whenever the fan is switched to Low, Medium or High. The stock Z switch does not have this function. The Vintage air tab that powers up when turned on routes to cooling control switch and area selector switch. Also, the resitance through each switch is different. The VintageAir resistance to each Low, Medium and High is about 20 Ohms while the Z fan speed switch is around 100 Ohms. So, I had to go with the VintageAir switch.
-
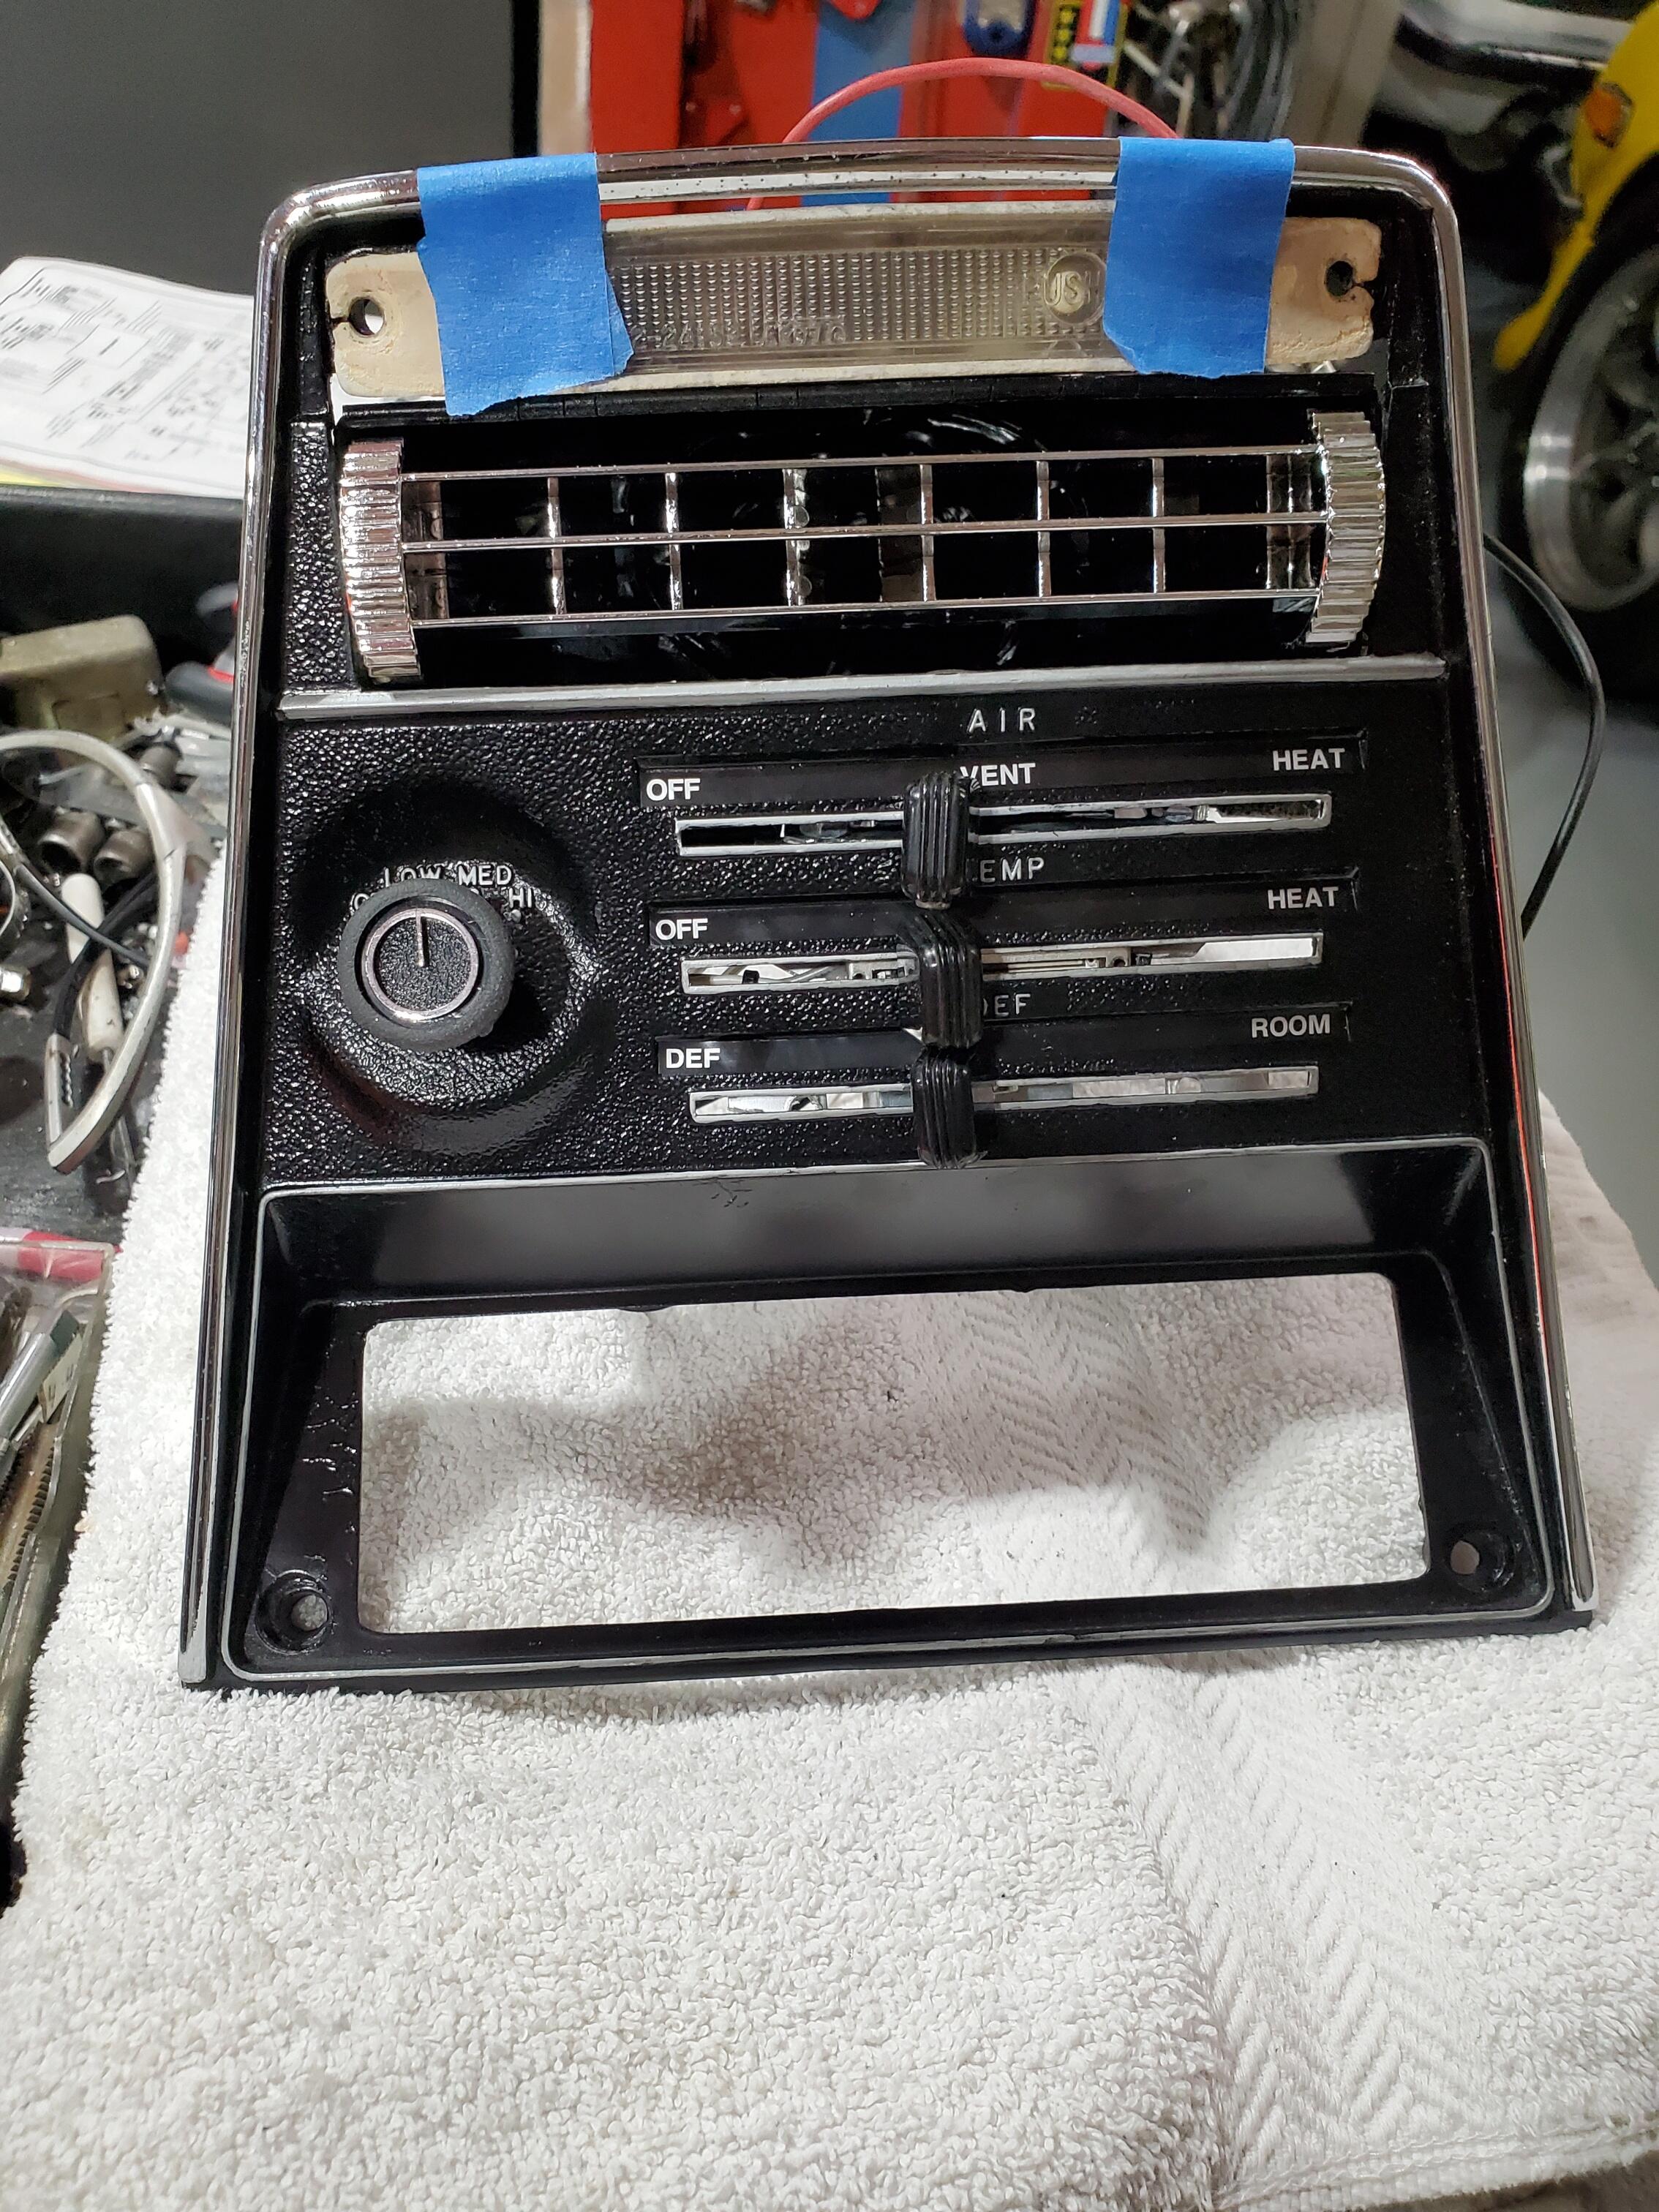
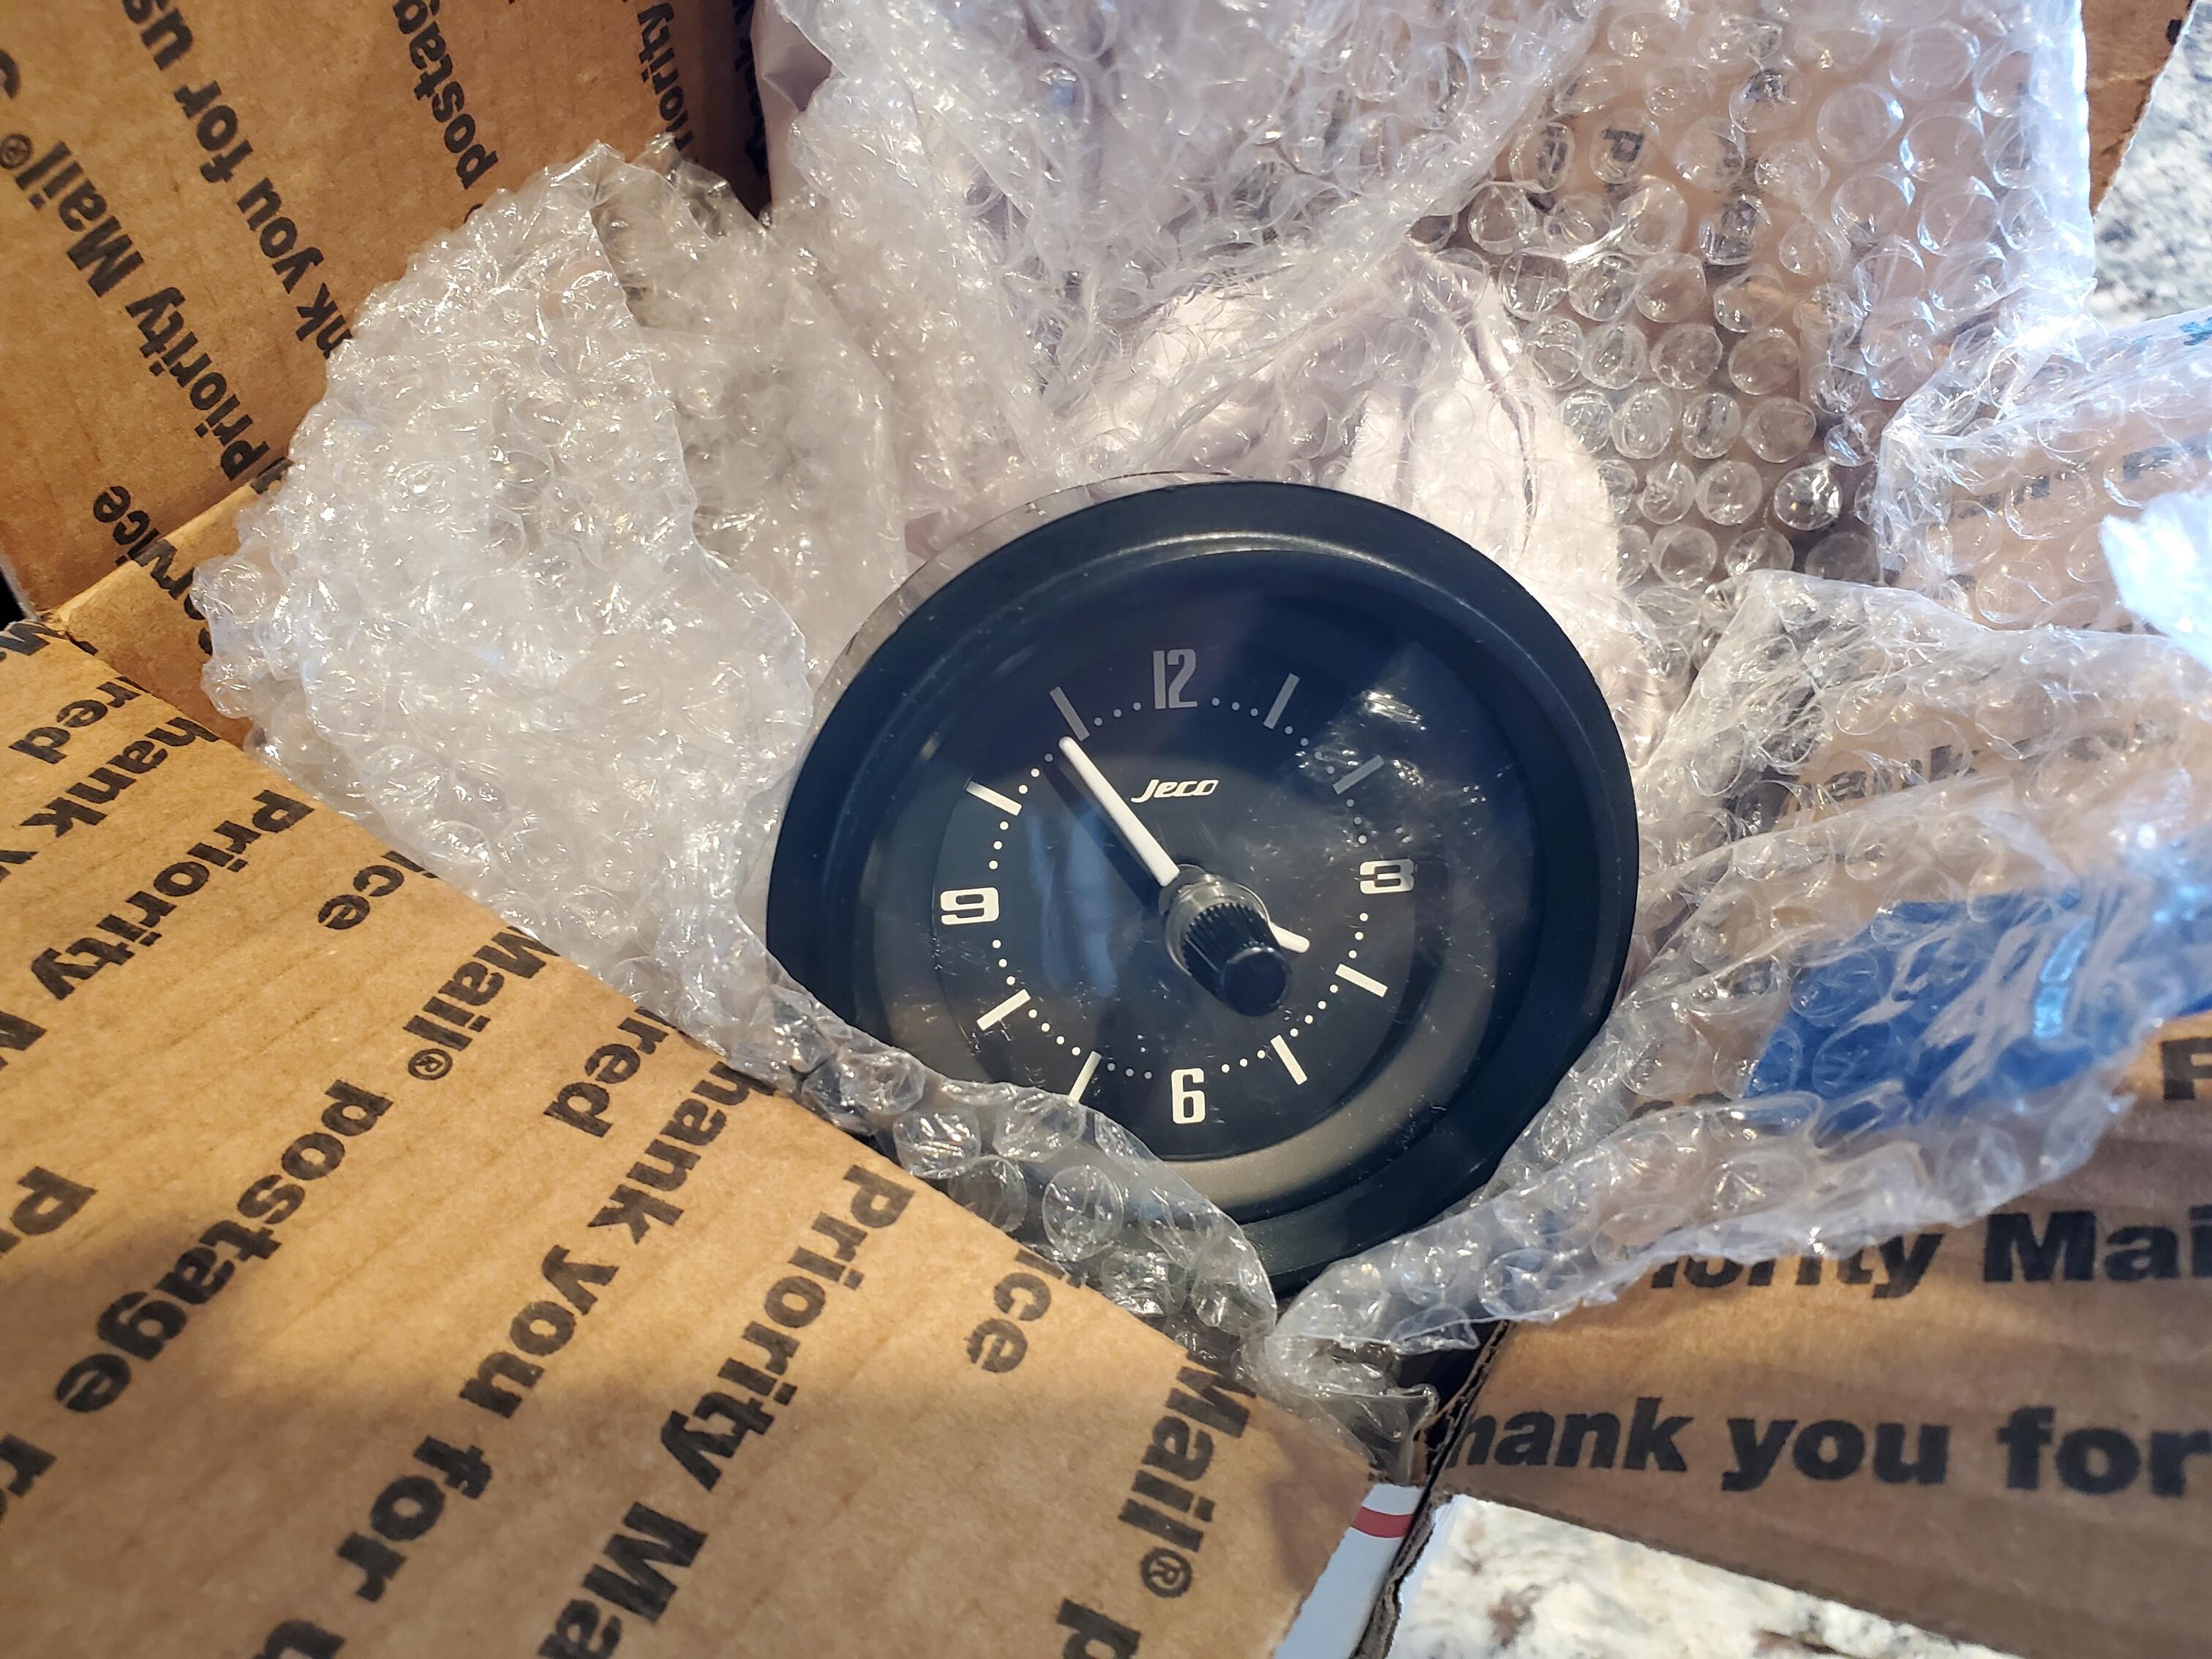
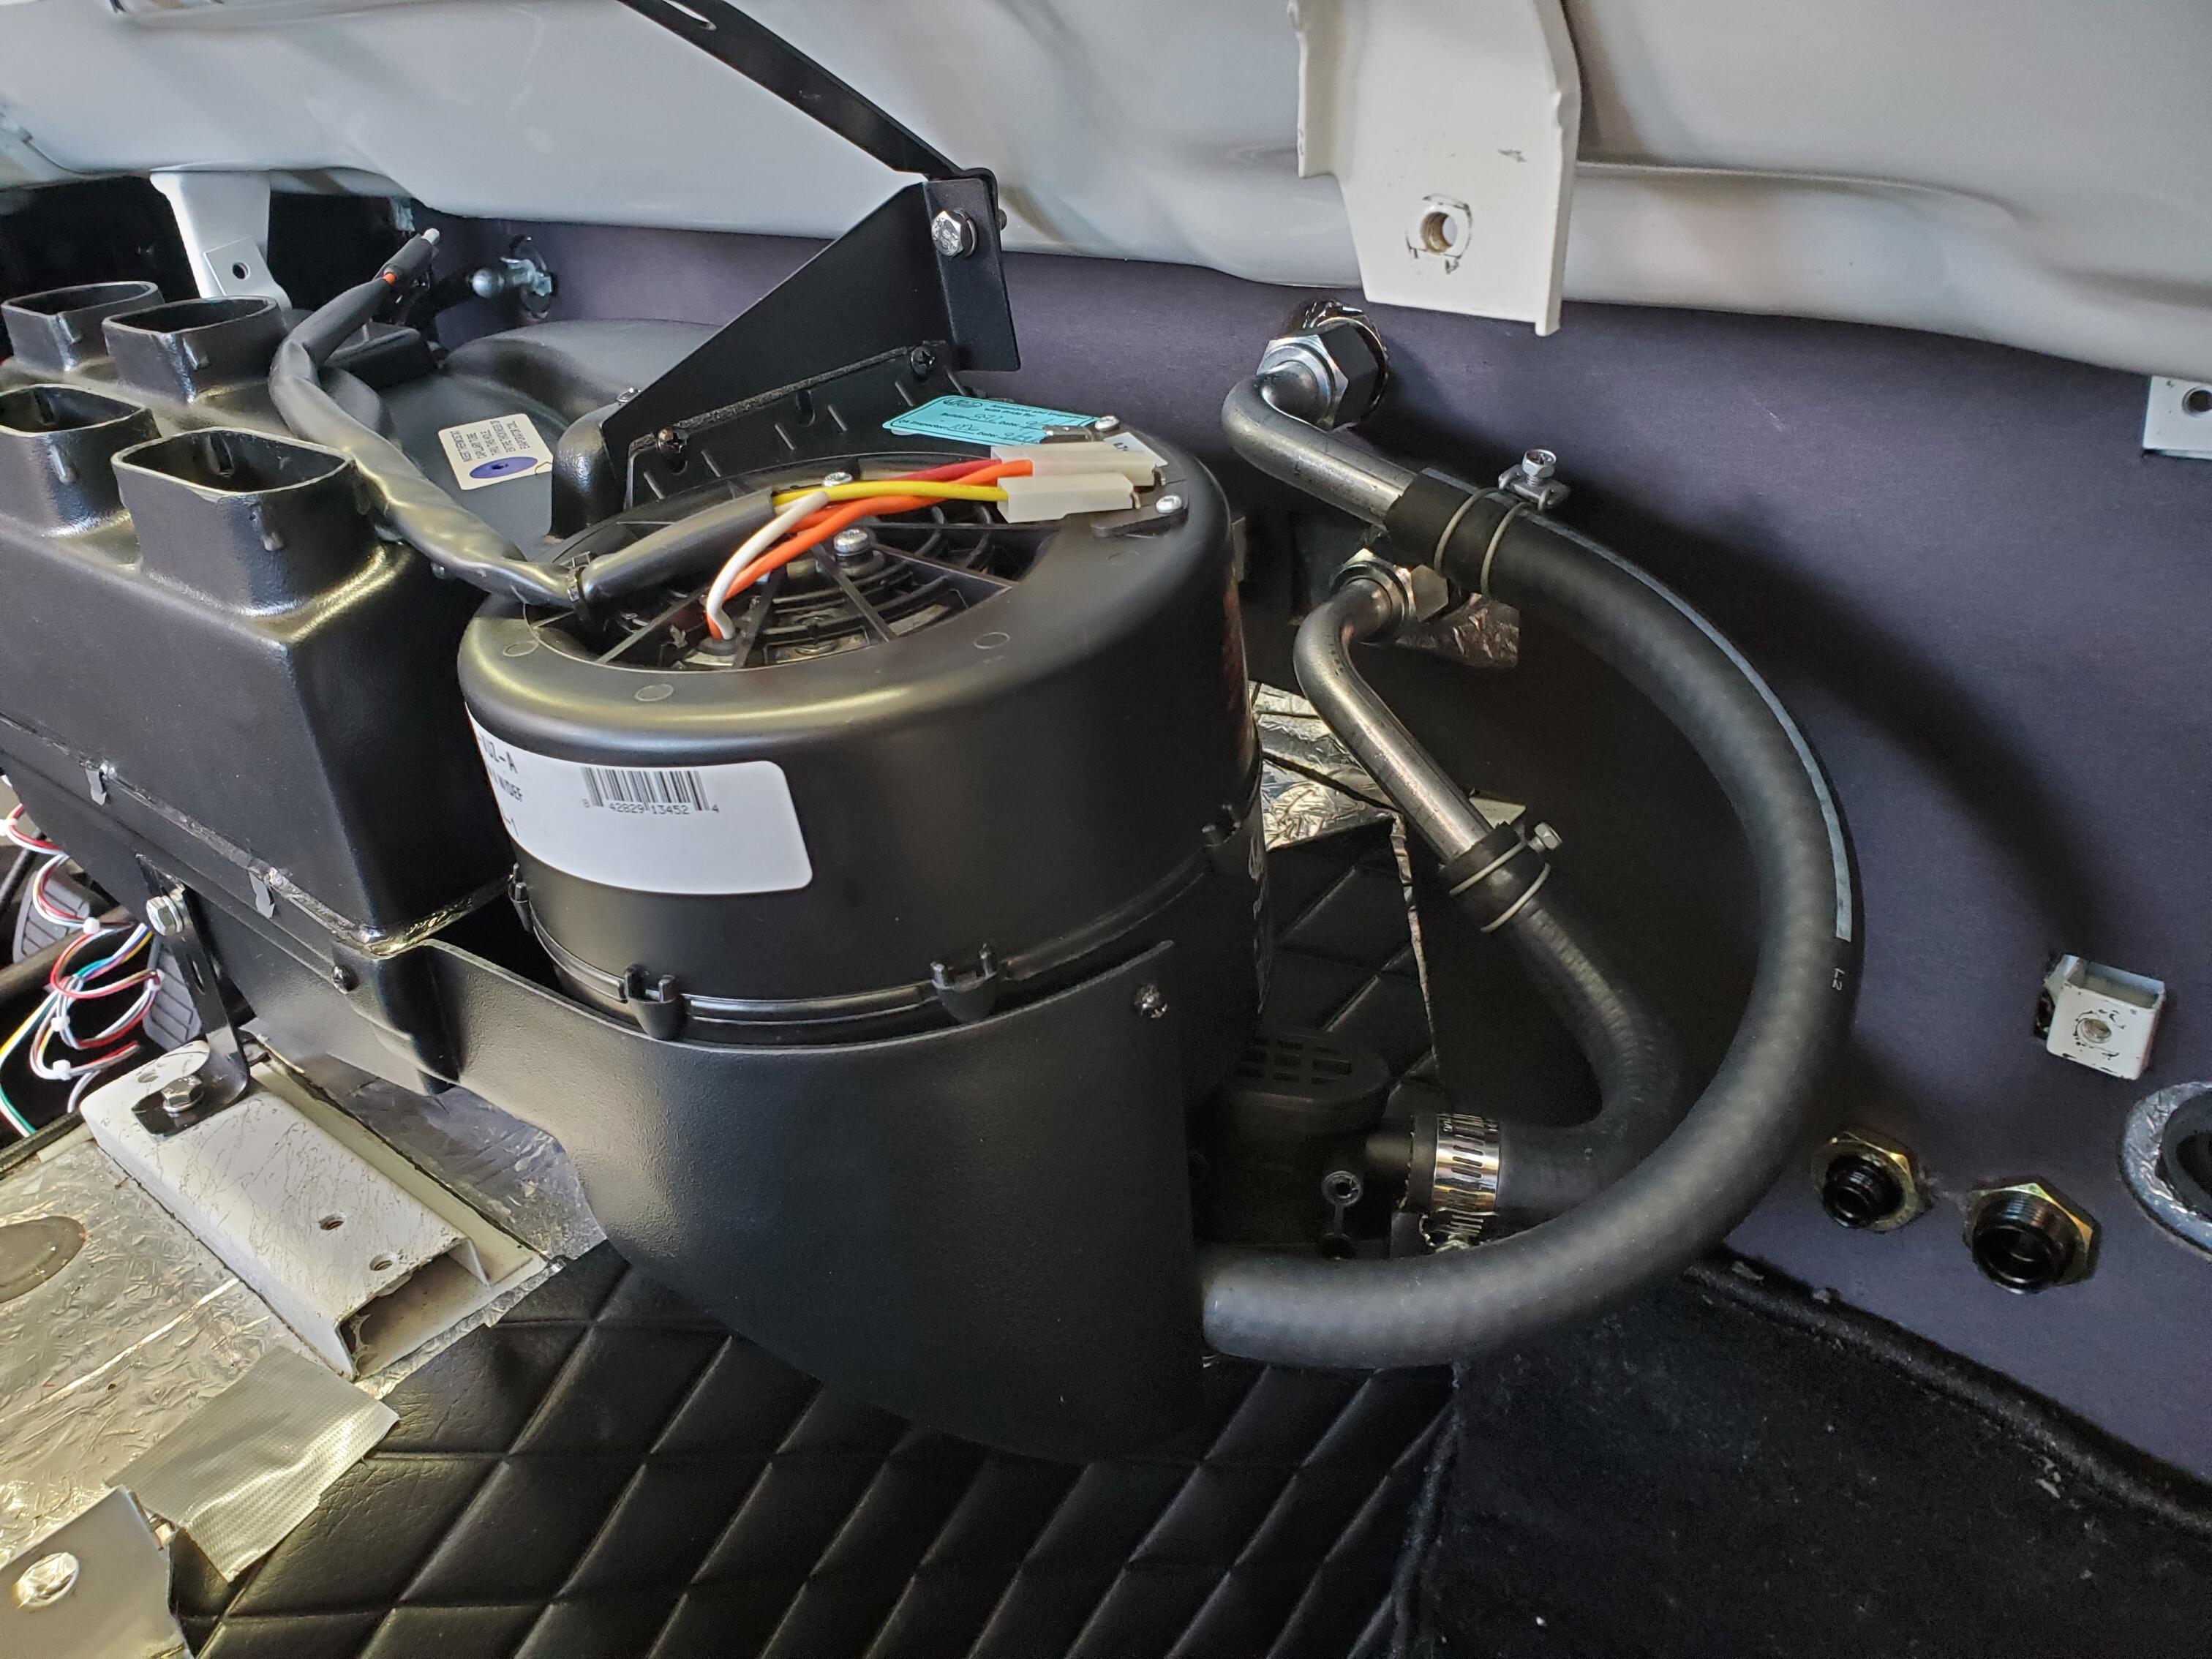
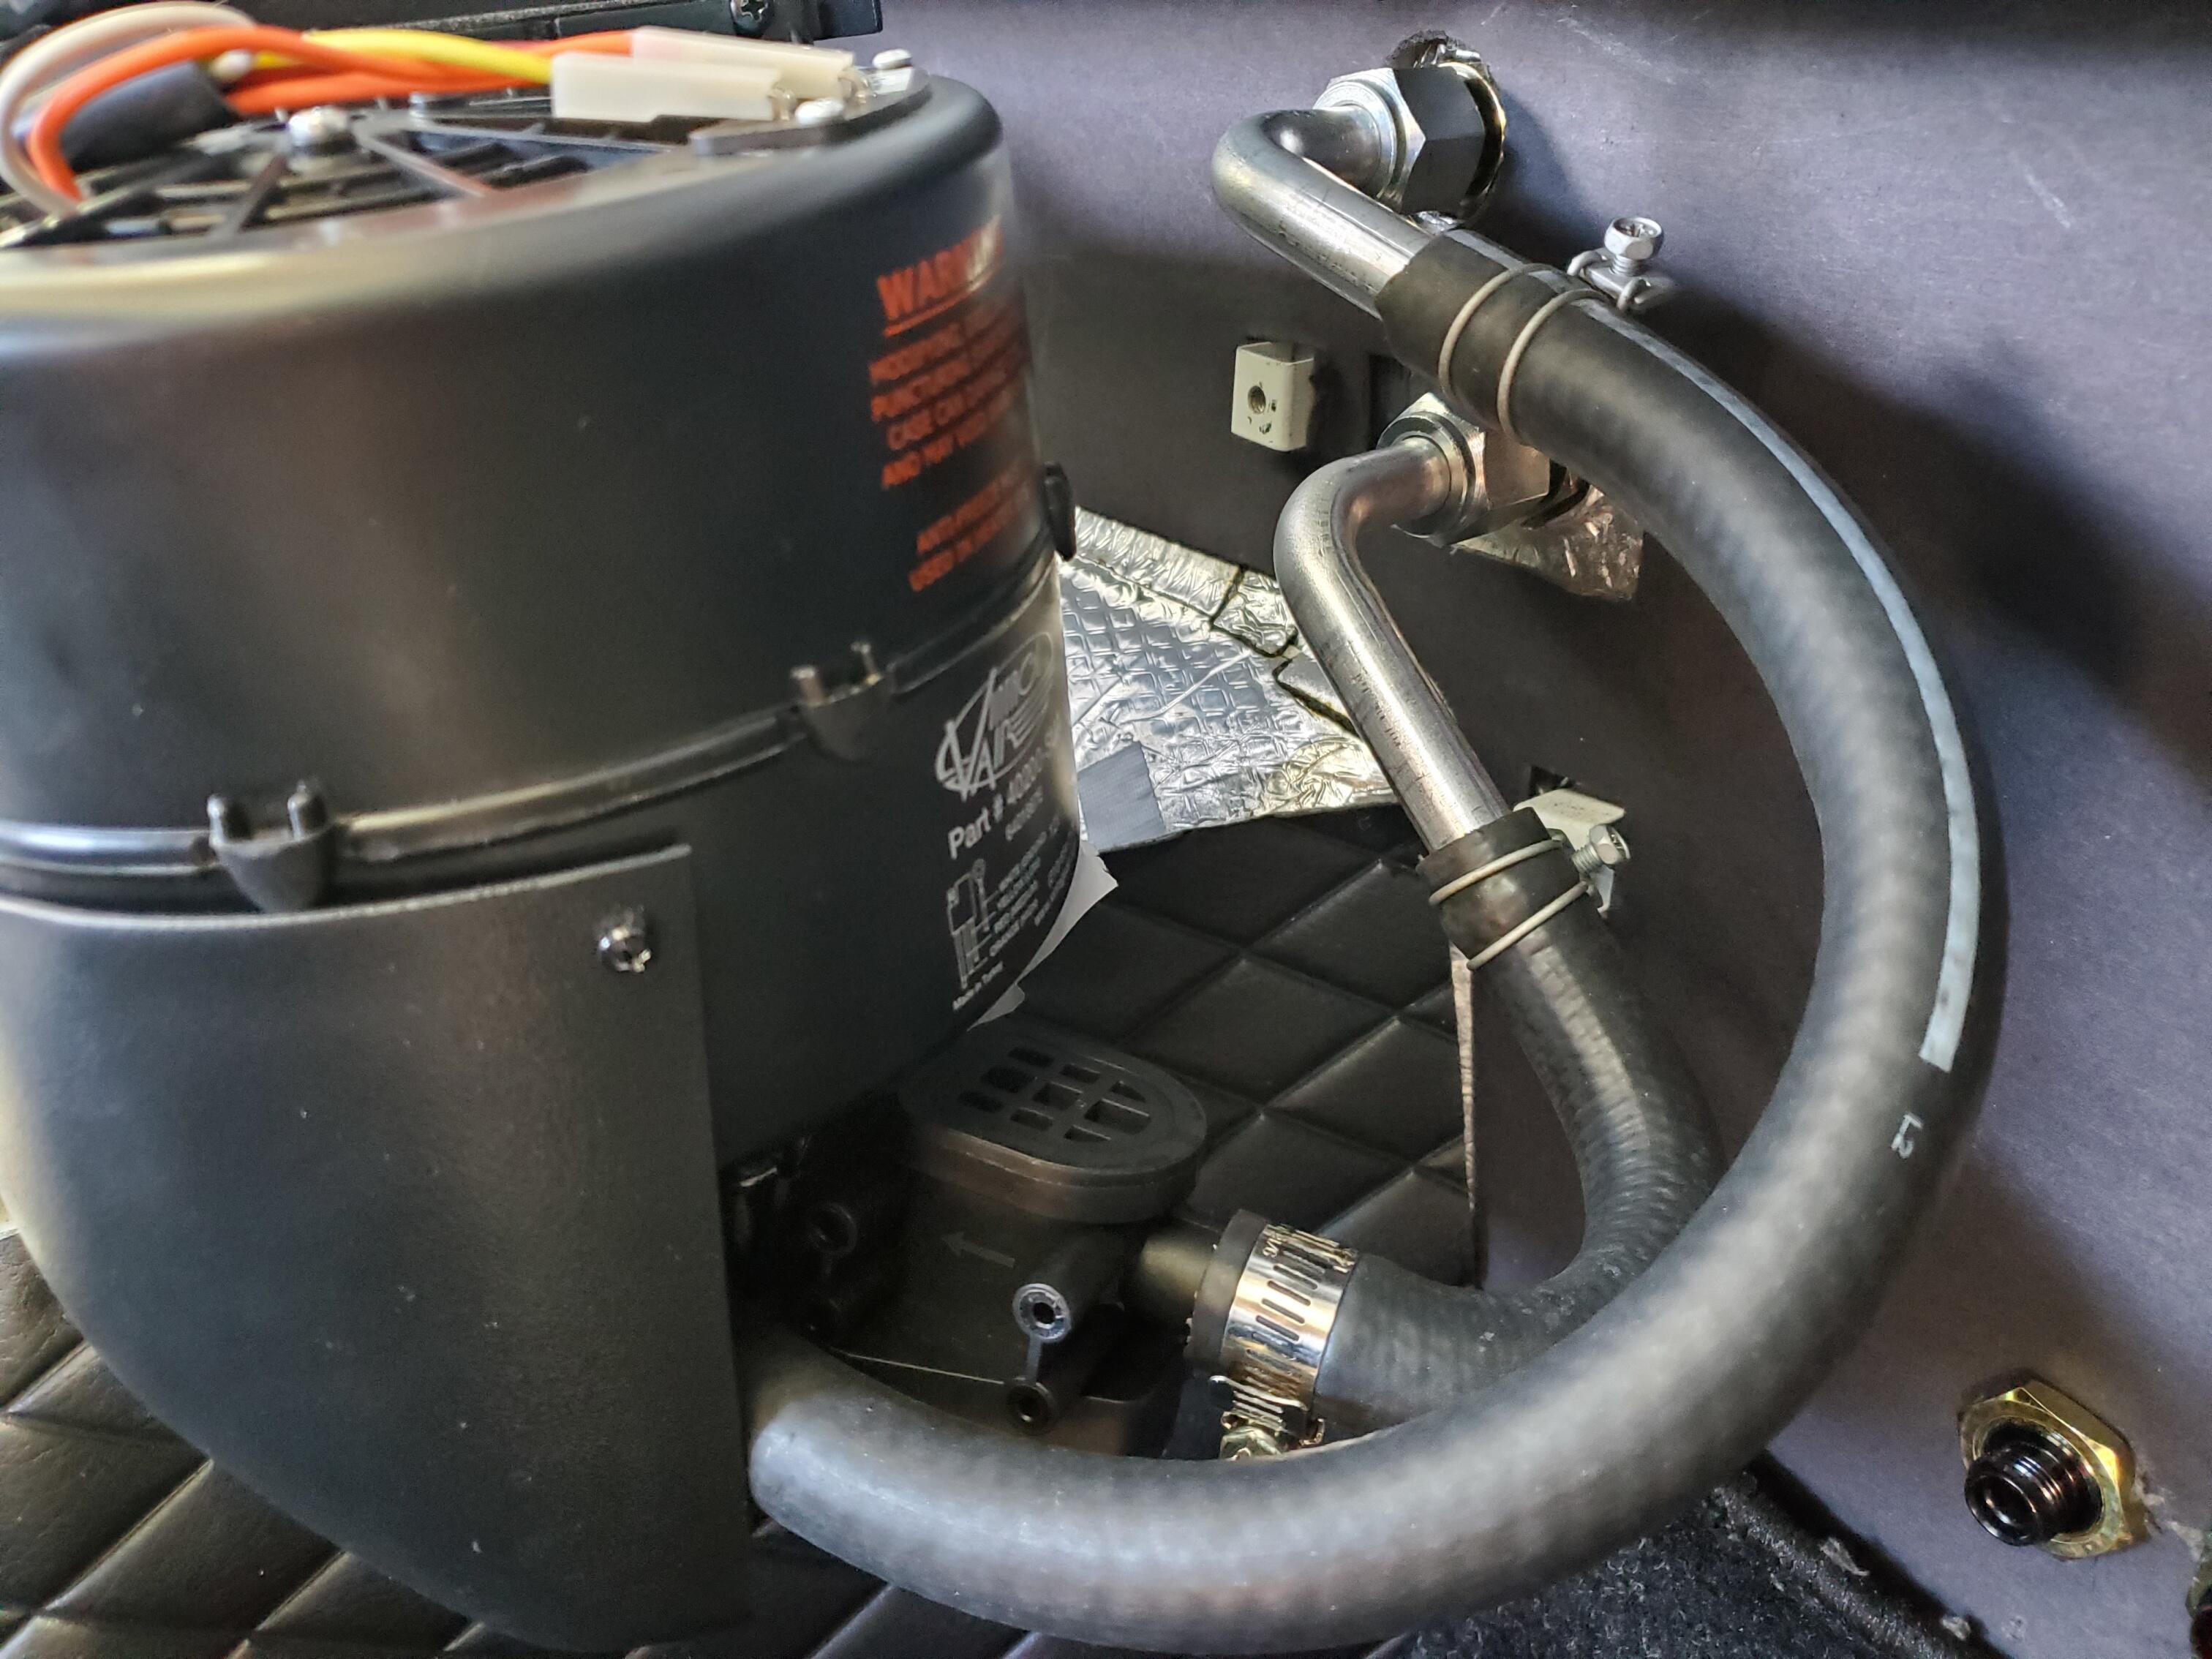
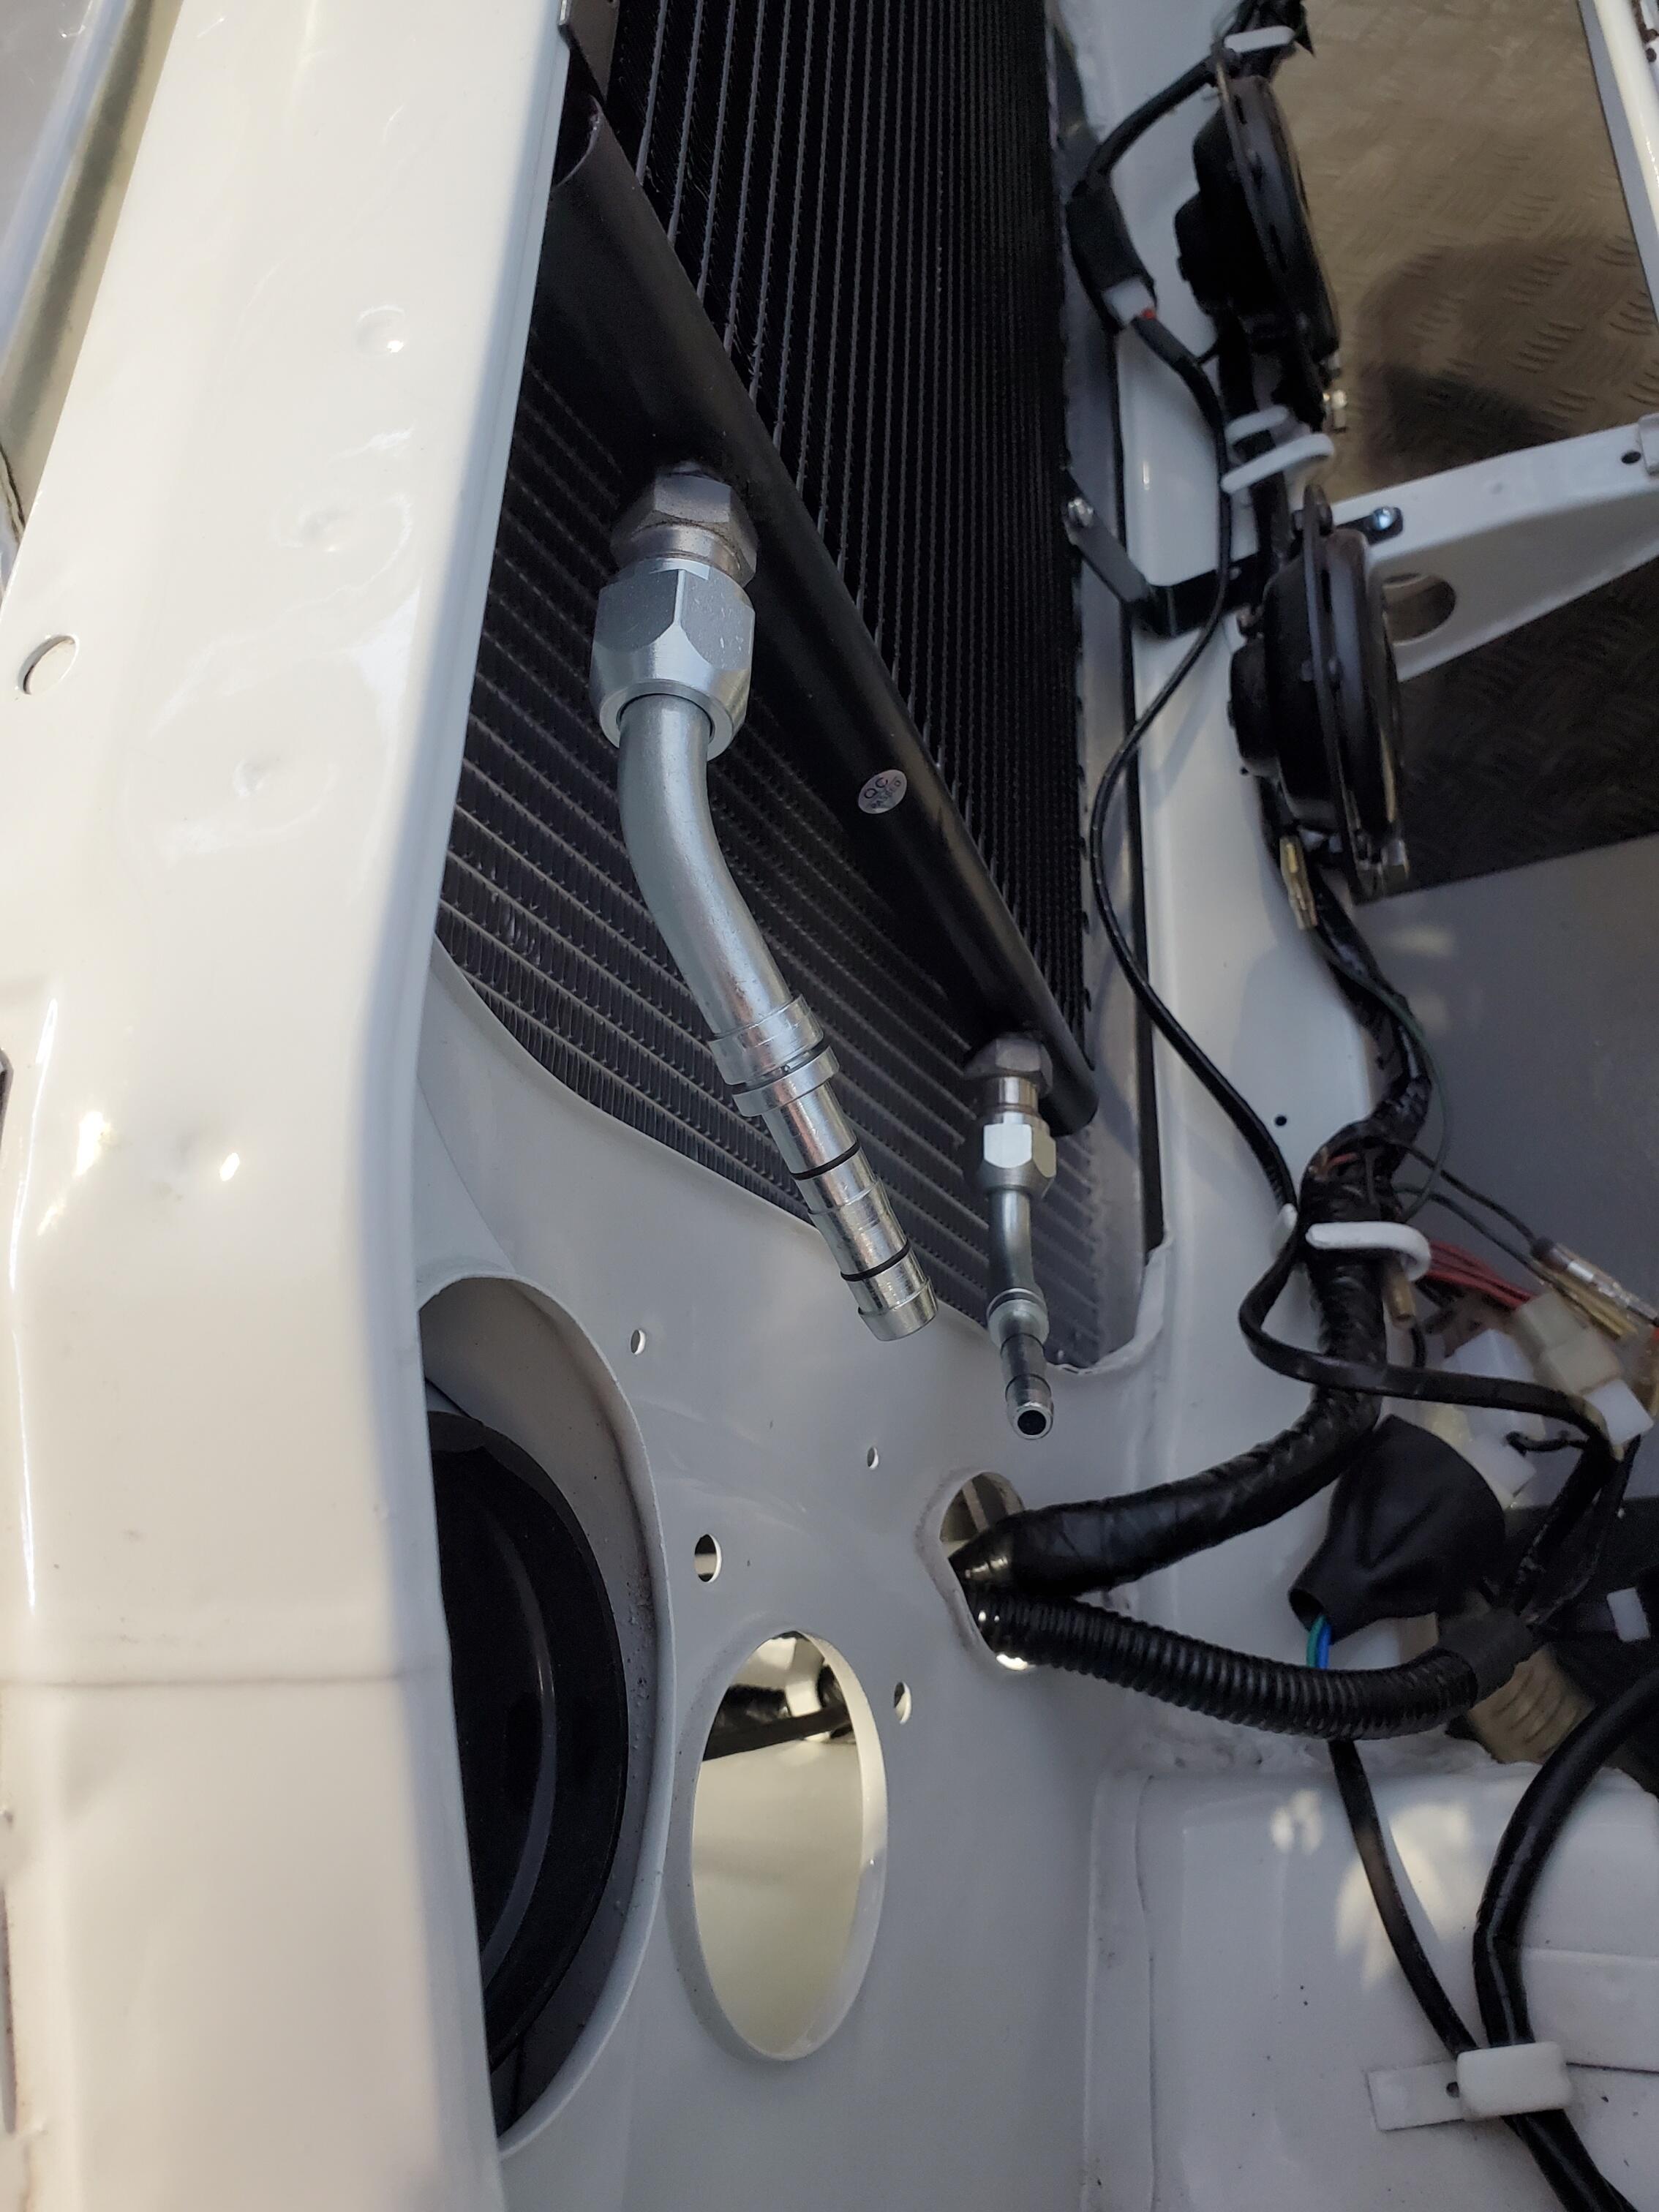
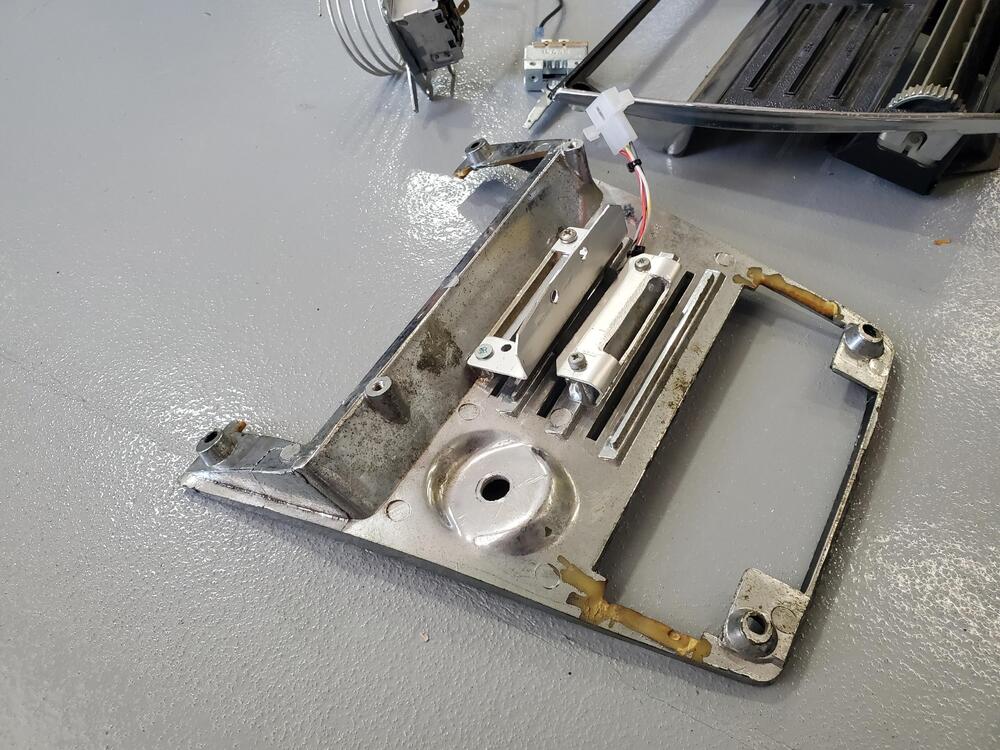
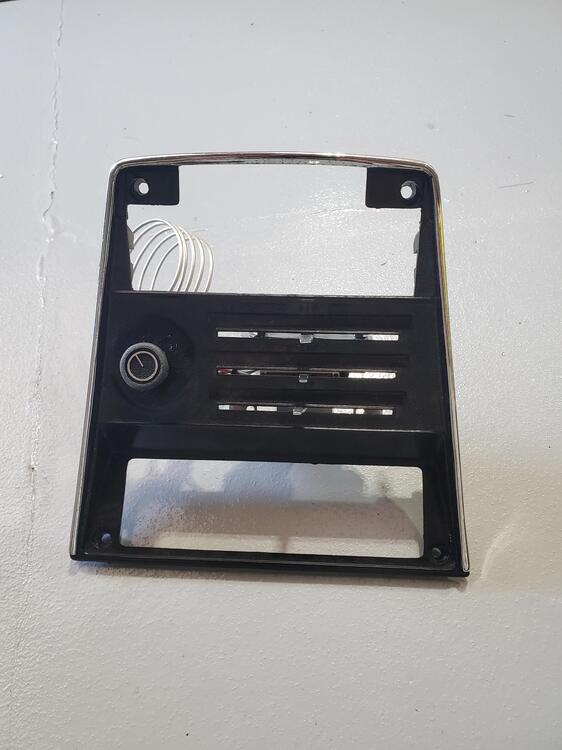
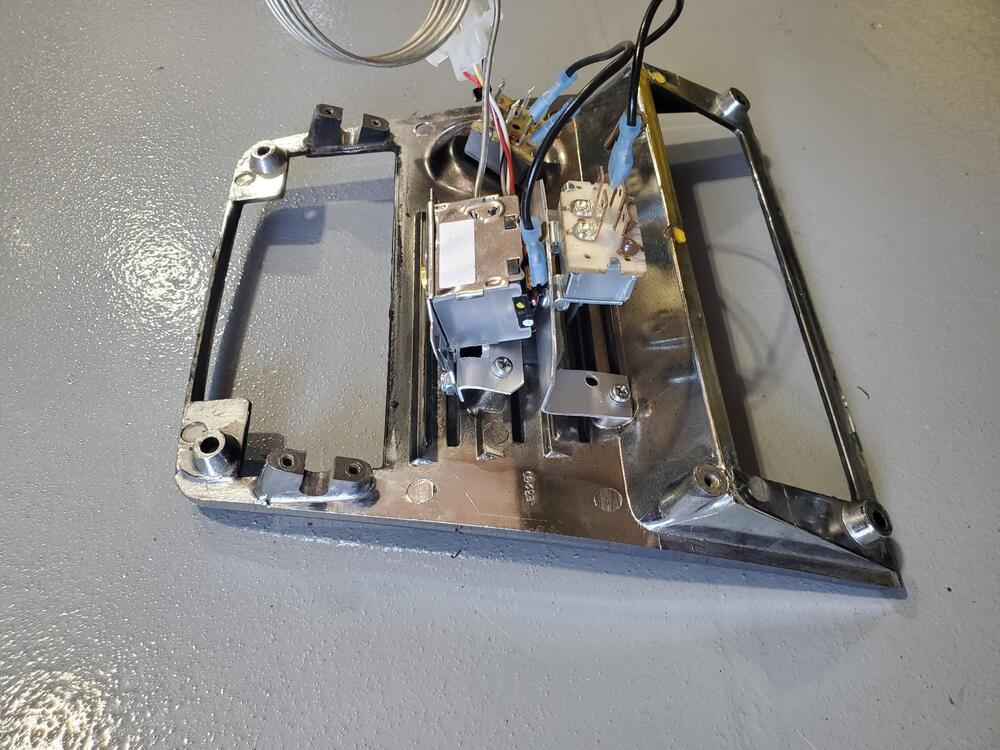
More progress this weekend. I got the final parts for the AC from VintageAir on Thursday and completed the mechanical installation of the AC system. All hoses were fitted with thier respective o-rings, lubed, and then given the final torque. Installation of the complete system was much simpler than I had expected. I like the final routing to the Evaporator box. It's a little different than the other AC thread installation, but looks very clean. I adapted the AC switches and slides to the stock Z Temp control panel. I first tried making a single bracket to support two of the switches and ended up making a single bracket for each switch. It was a bit easier this way as the mounting features on the panel are not in the same plane (there is about a .10" offset). The heater slide is secured with the cooling switch bracket as it does not have any mounting features. The Cooling switch and control switch are both secured to their respective brackets with #6 screw and nuts. Pics are below. I test mounted everything to a spare panel before finally transfereing over to the final panel. I will finish up the panel with the knobs, decals and silver touch up pen a little later. While the dash was out, we got the clock re-furbed with a quartz mechanism at Zclocks.com. I have used these on several of my restorations and have one in my White Z. These keep incredibly accurate time. Much better than the stock units, also more reliable. Pics are below Next steps will be to finish the AC electrical connections (looks fairly straight forward as most connections are poke-a-yoke) and then put the dash back in.


-
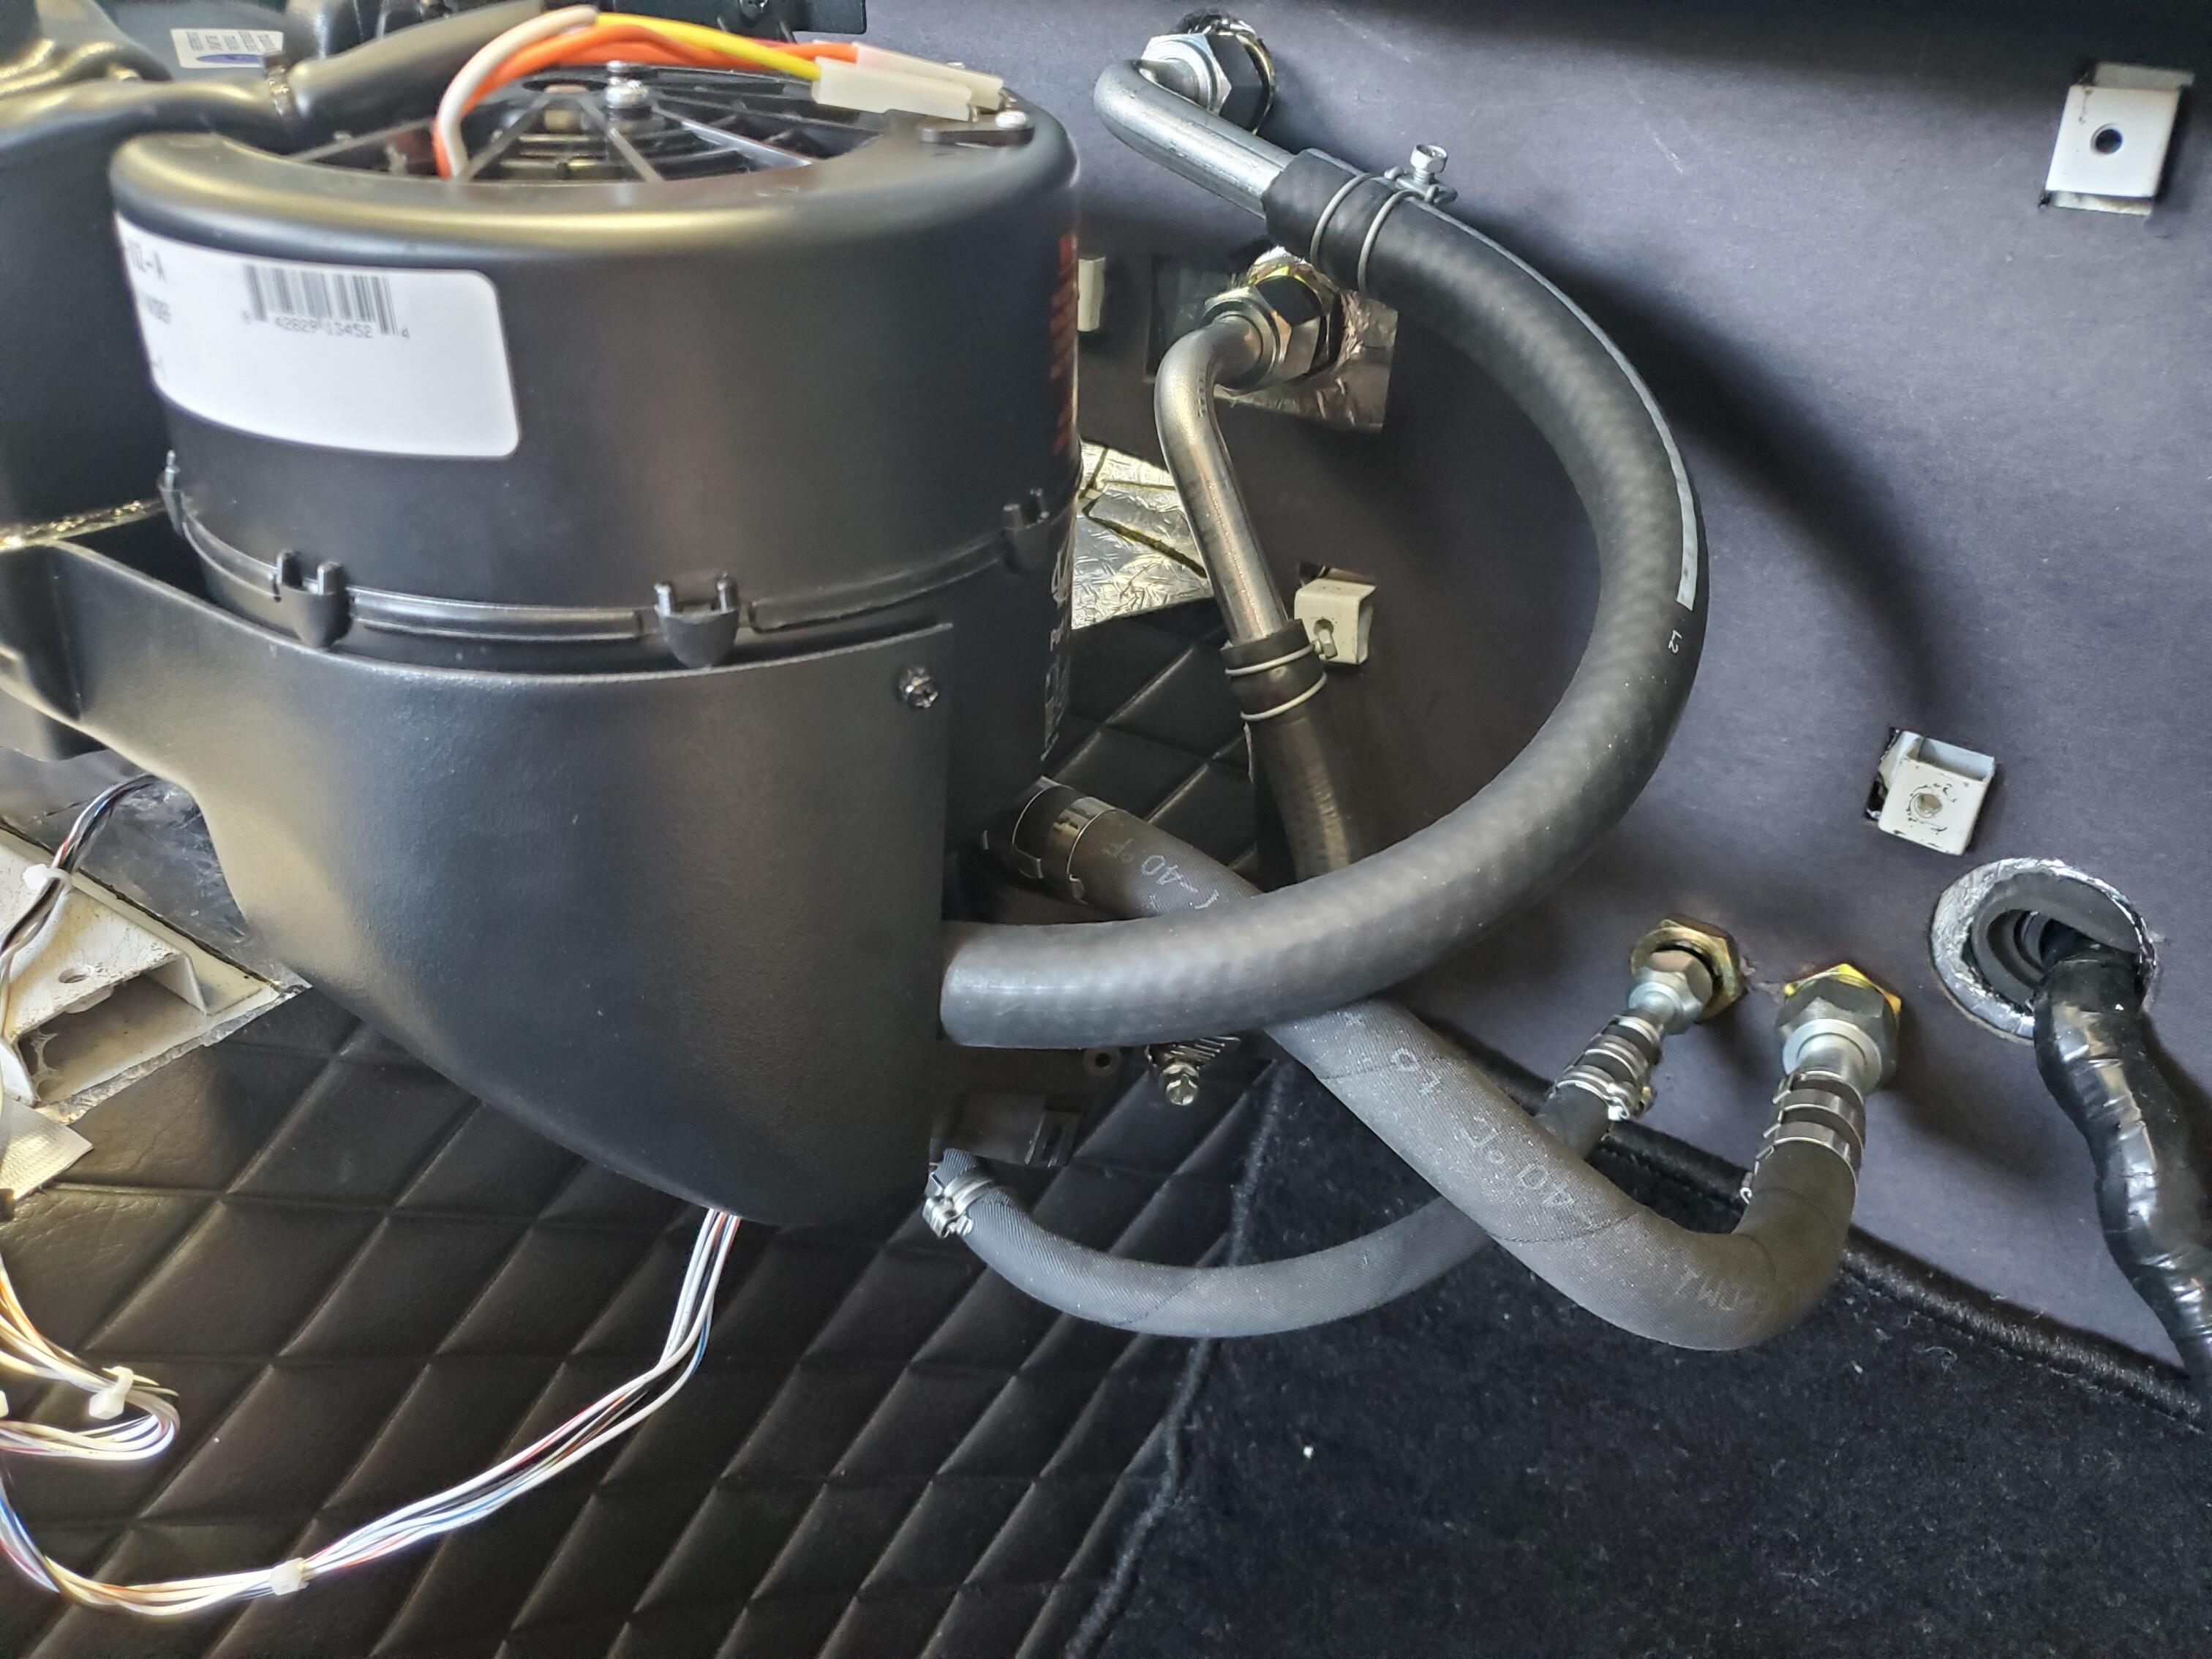
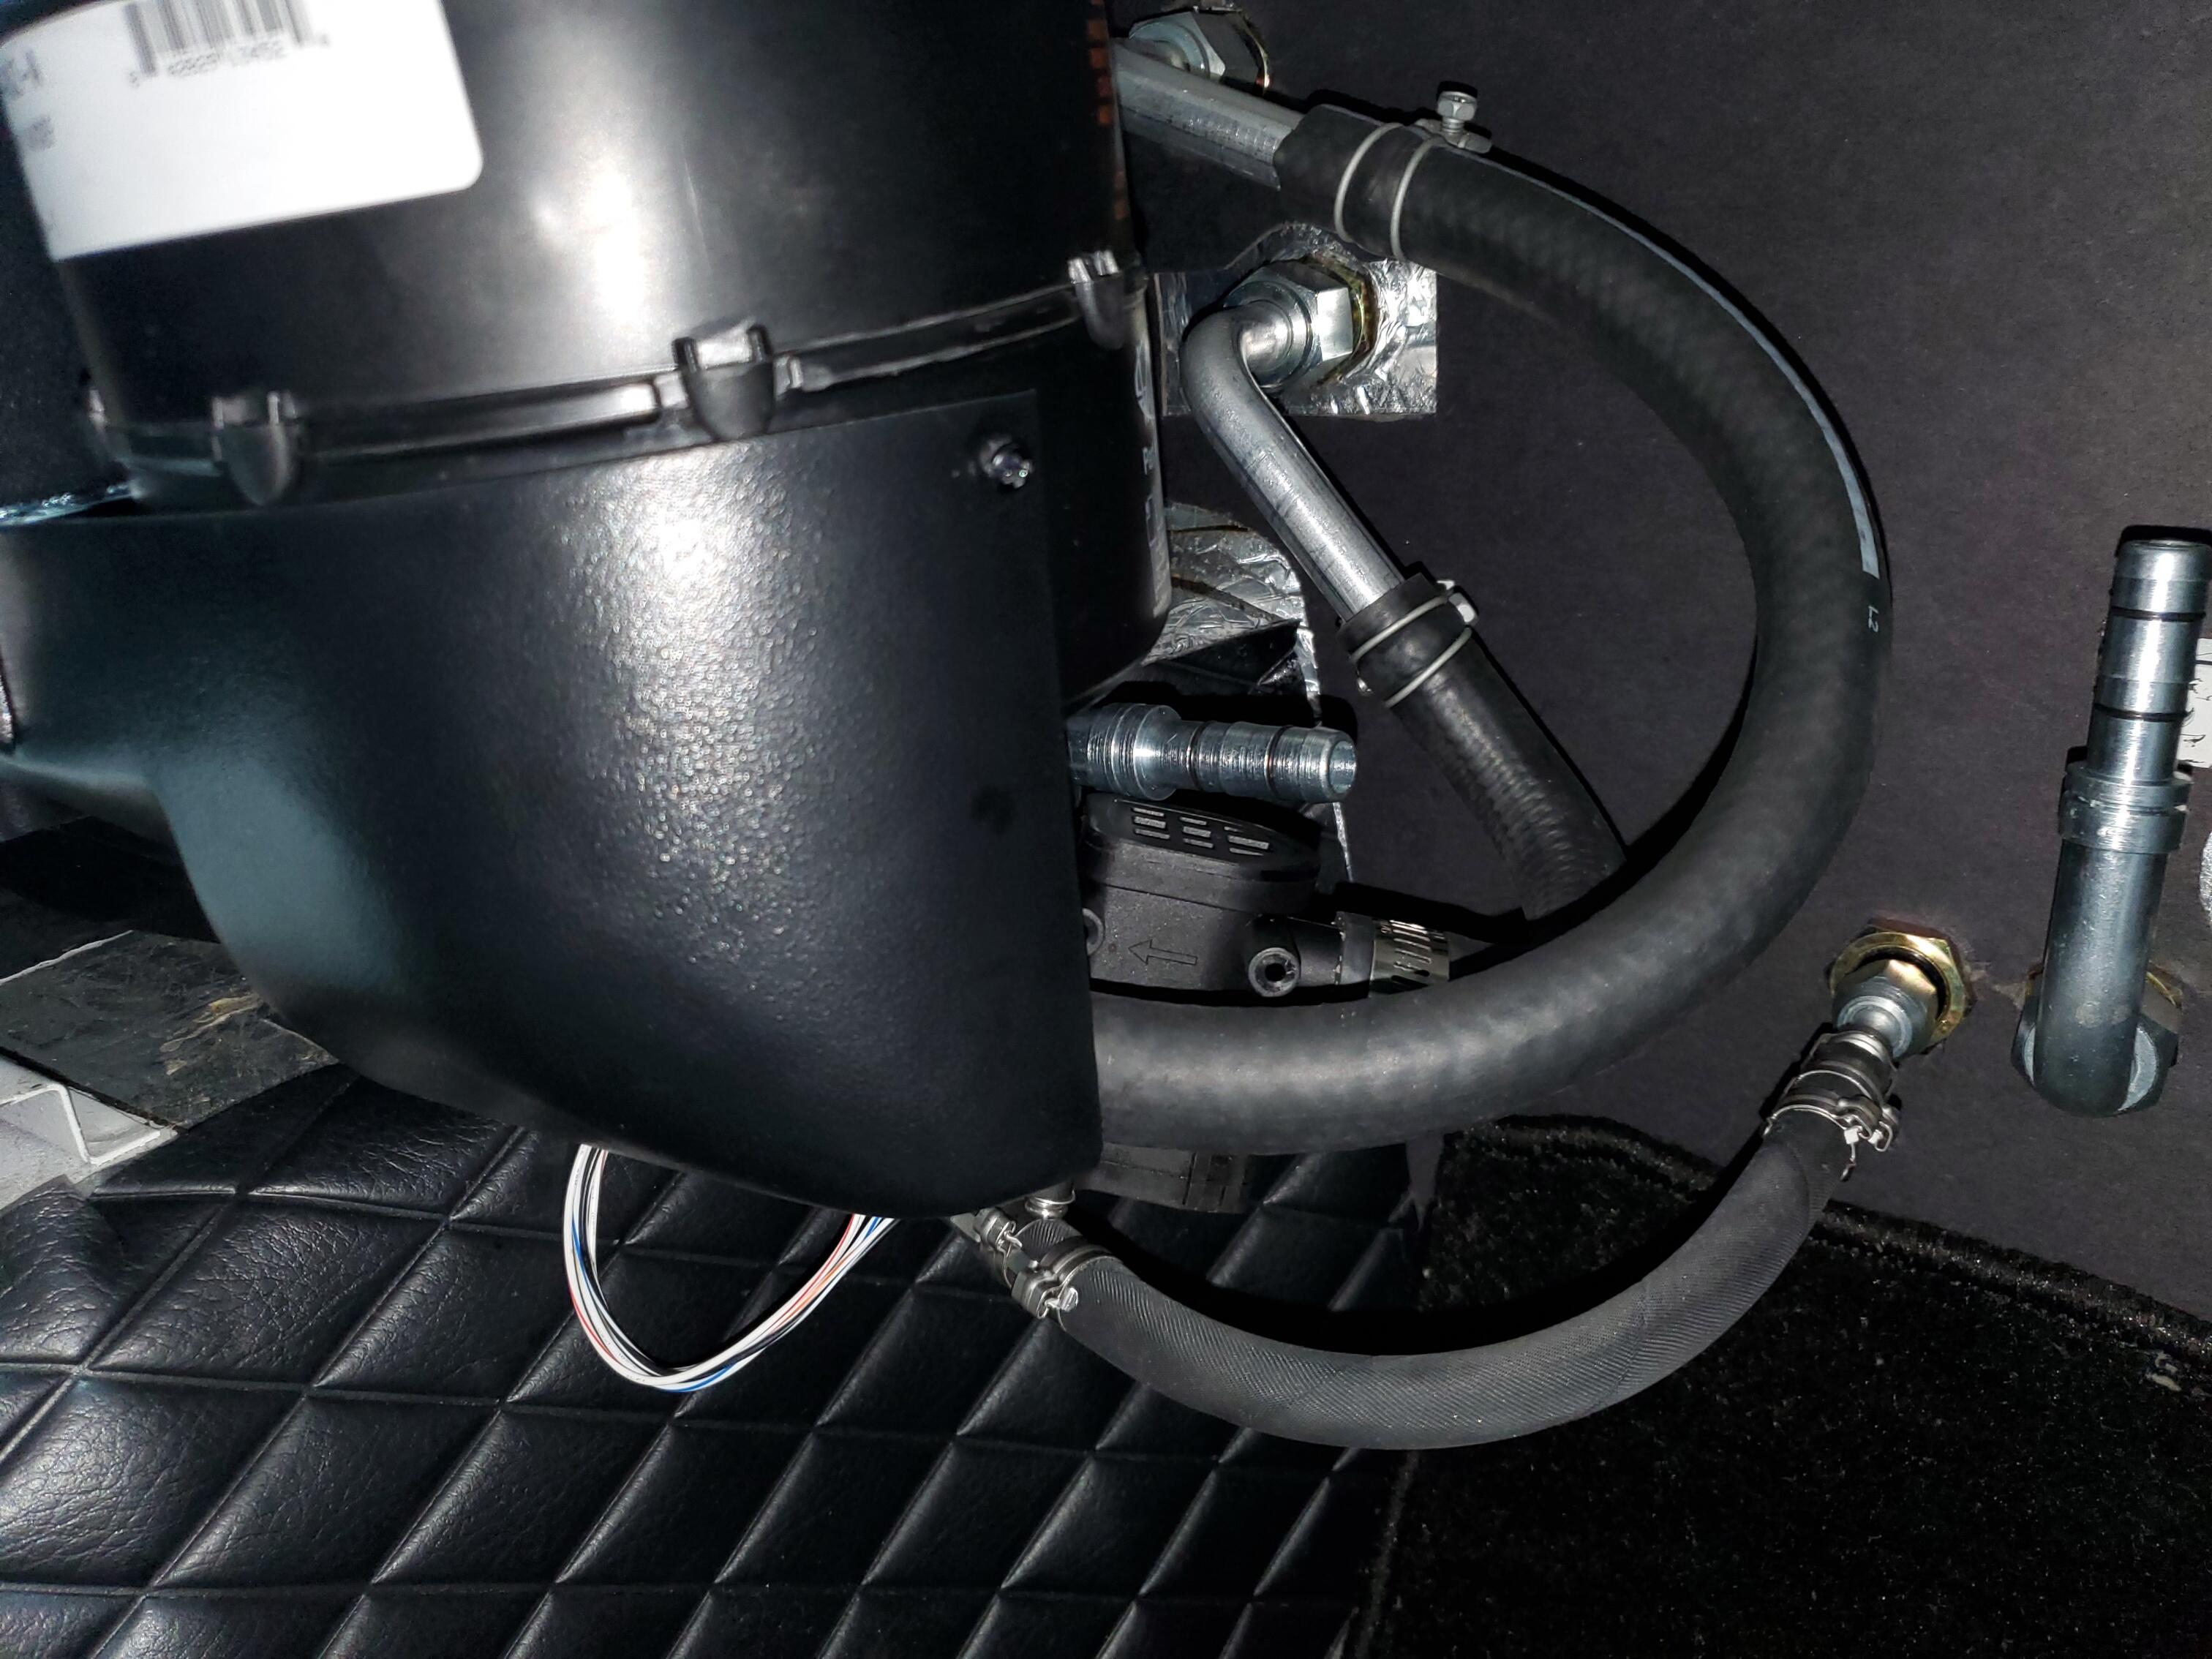
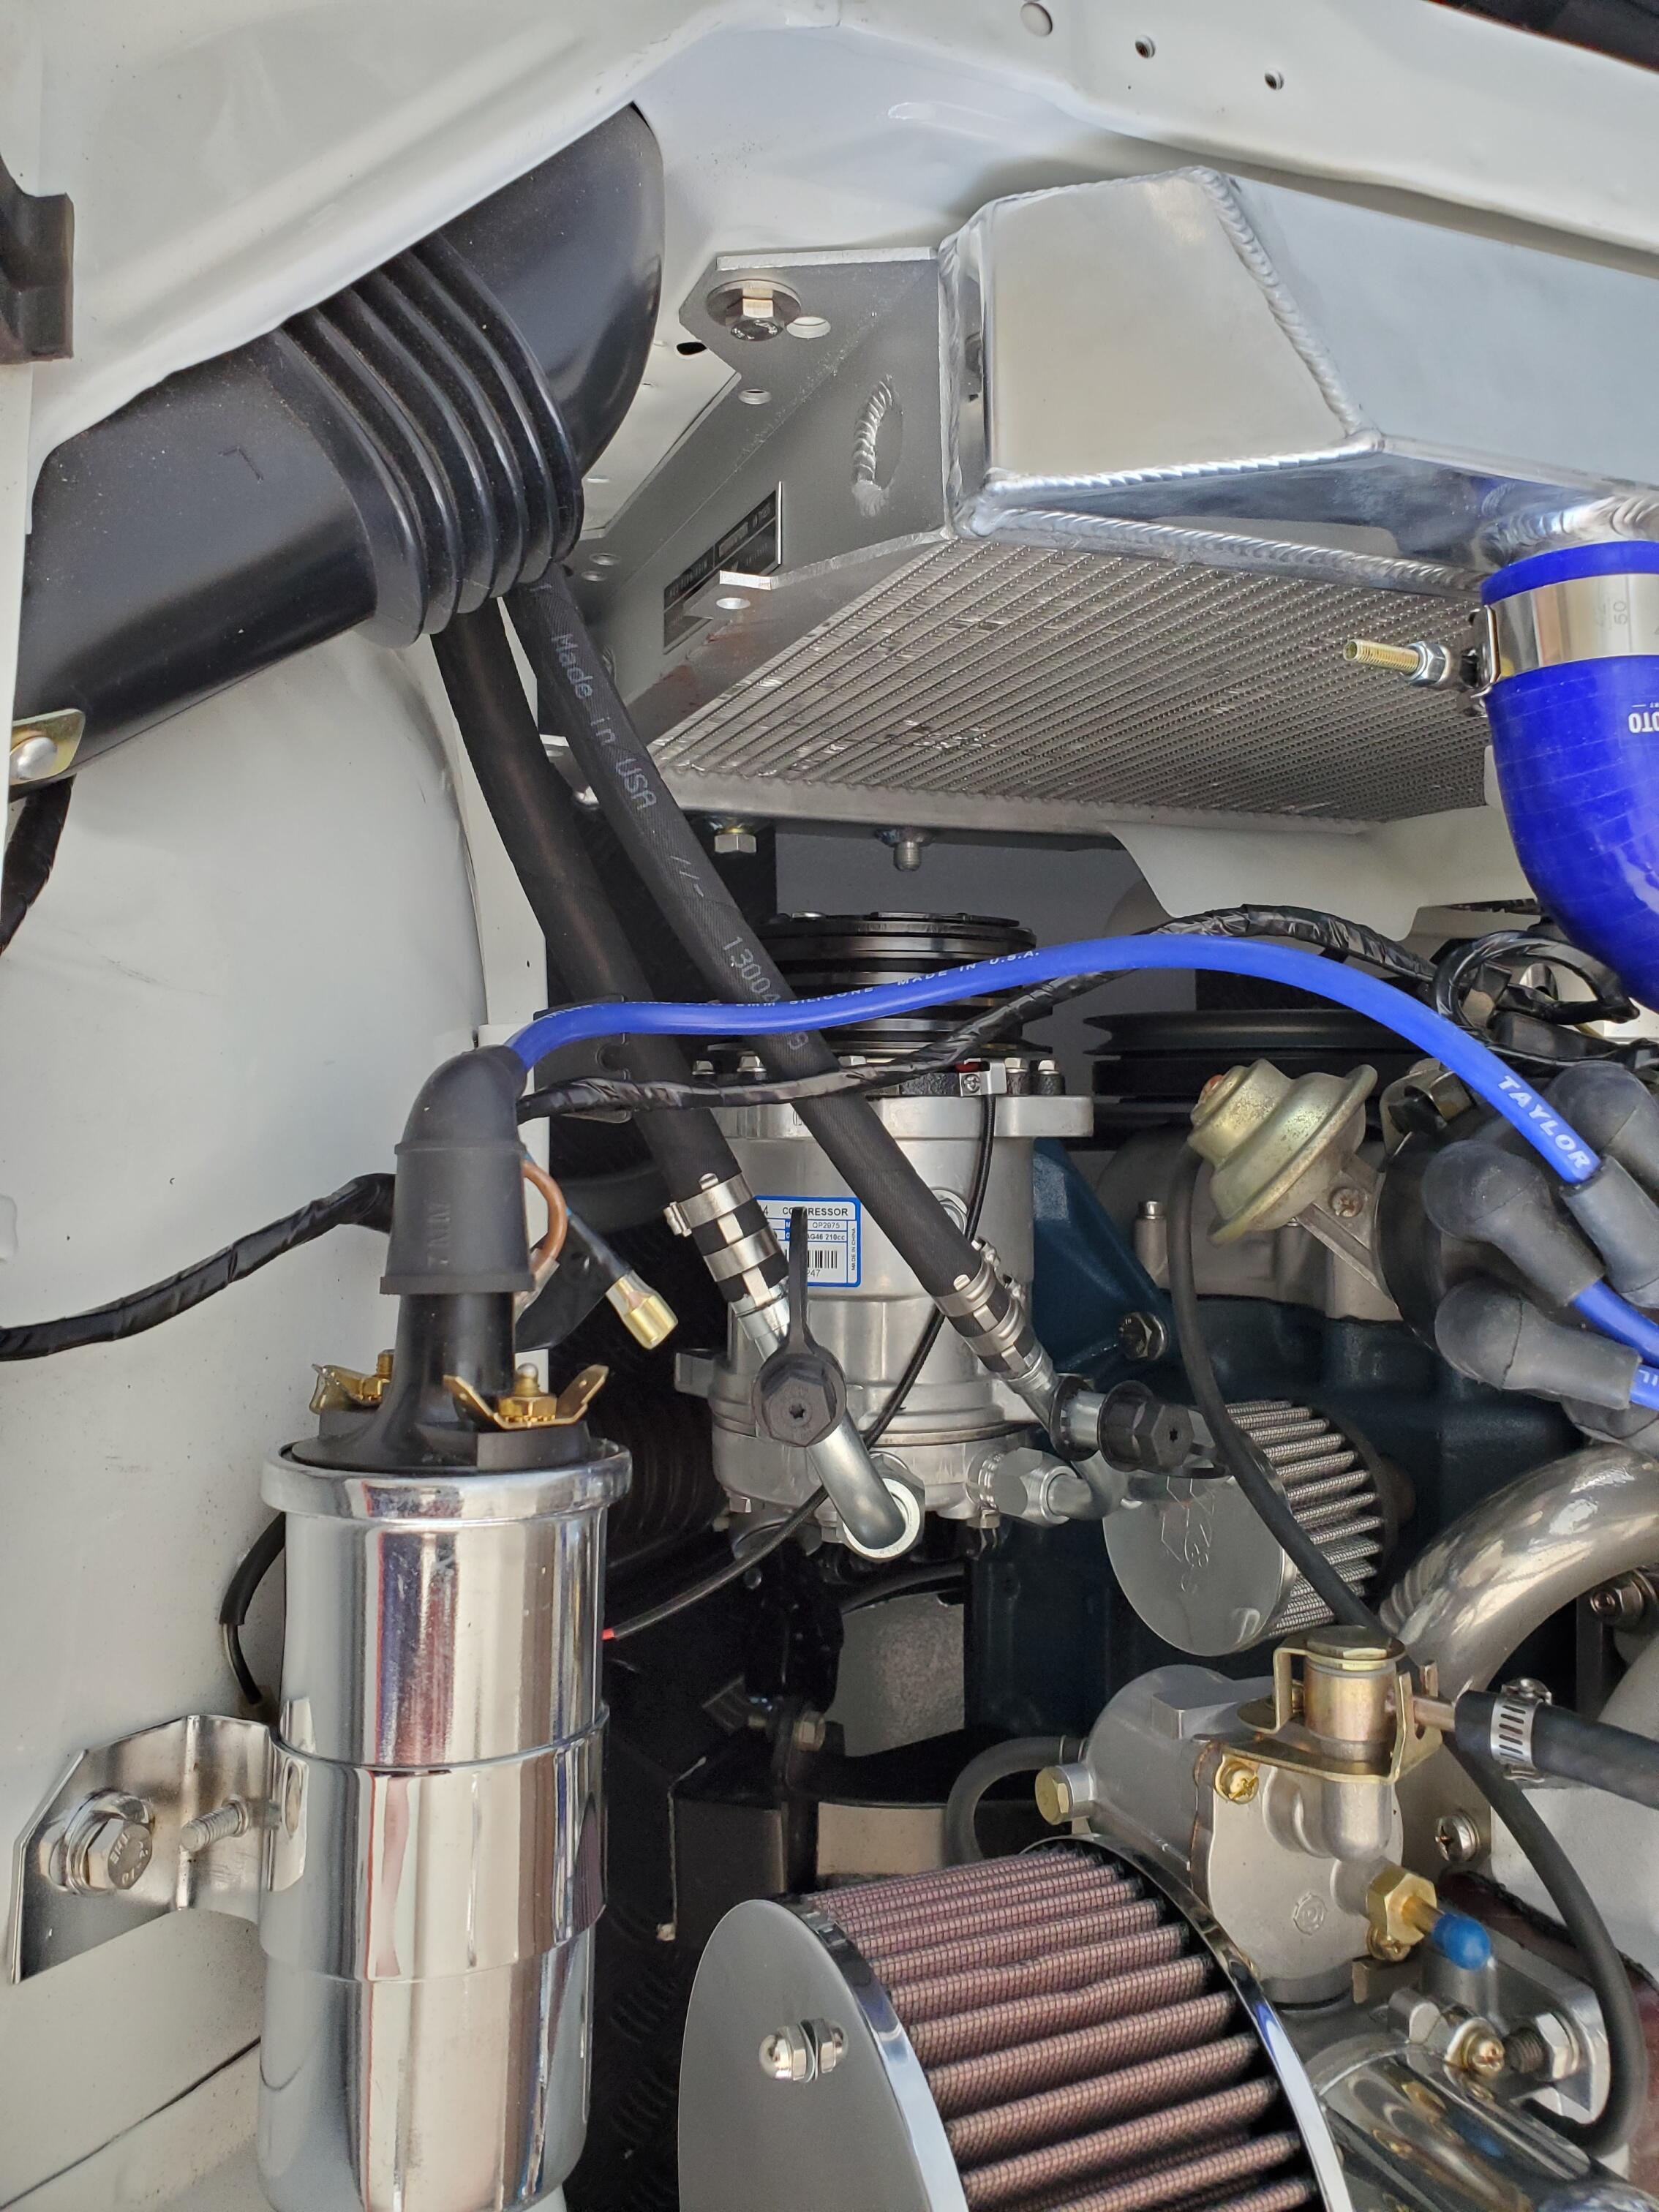
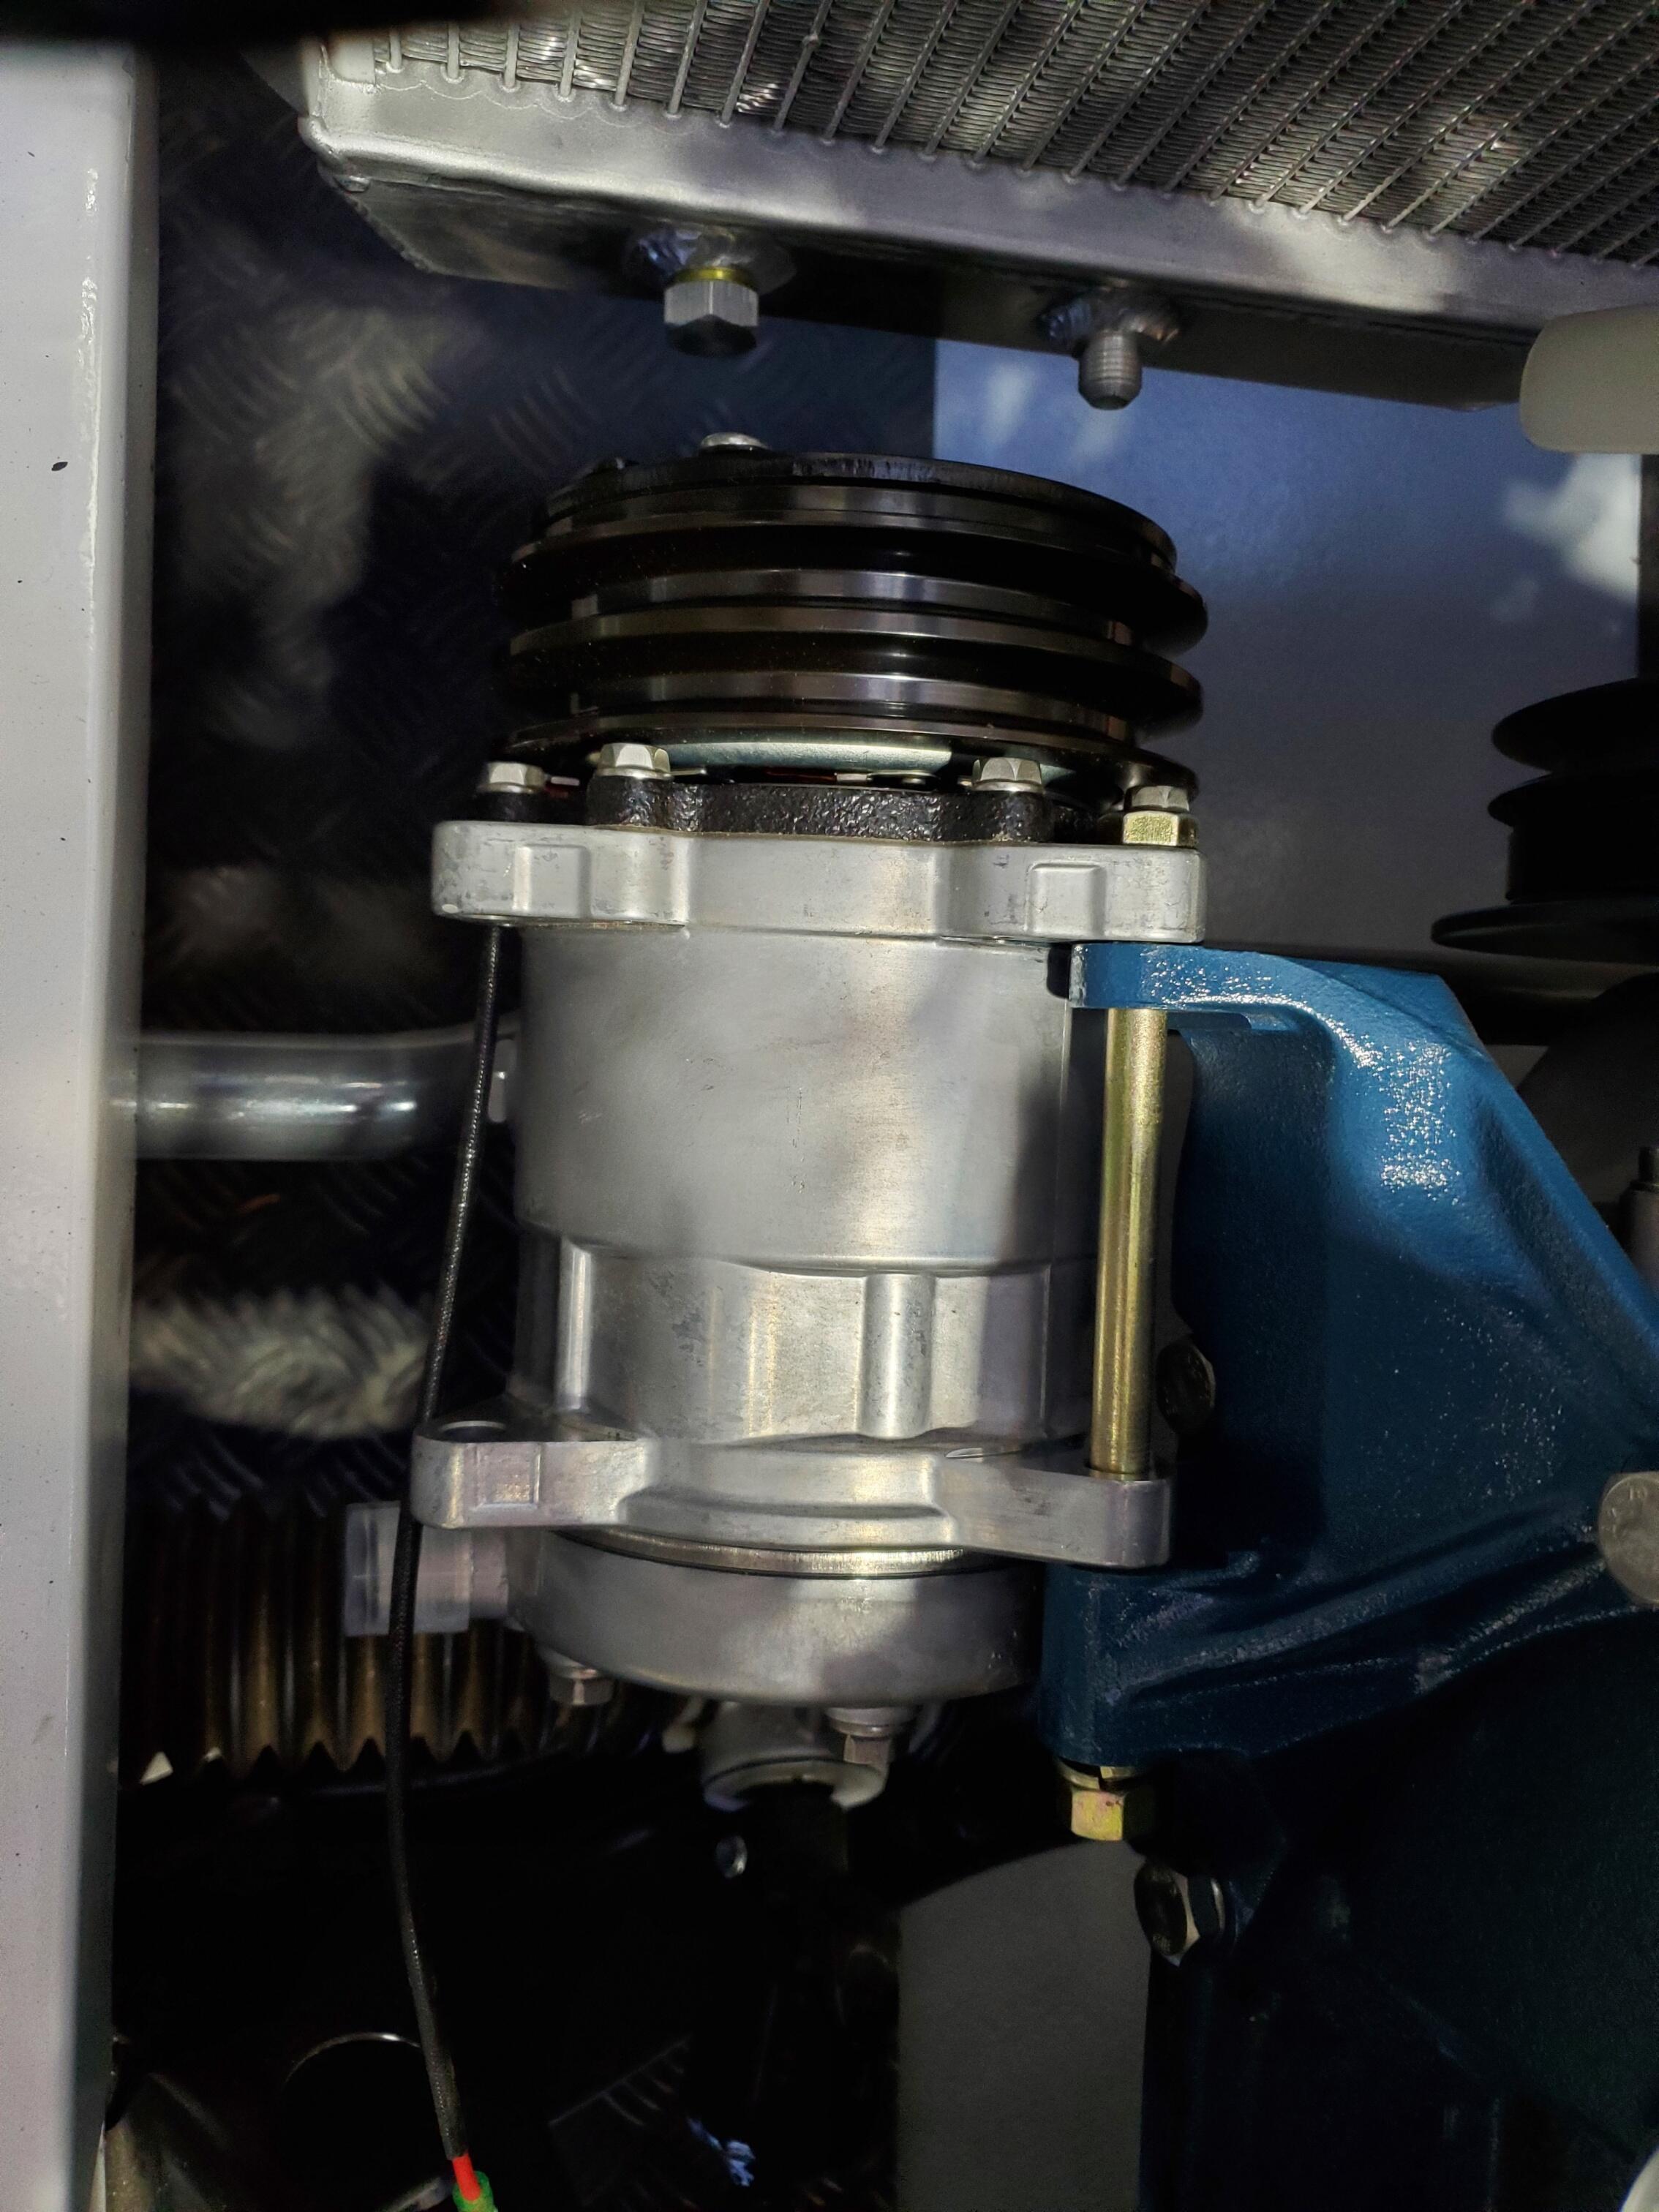
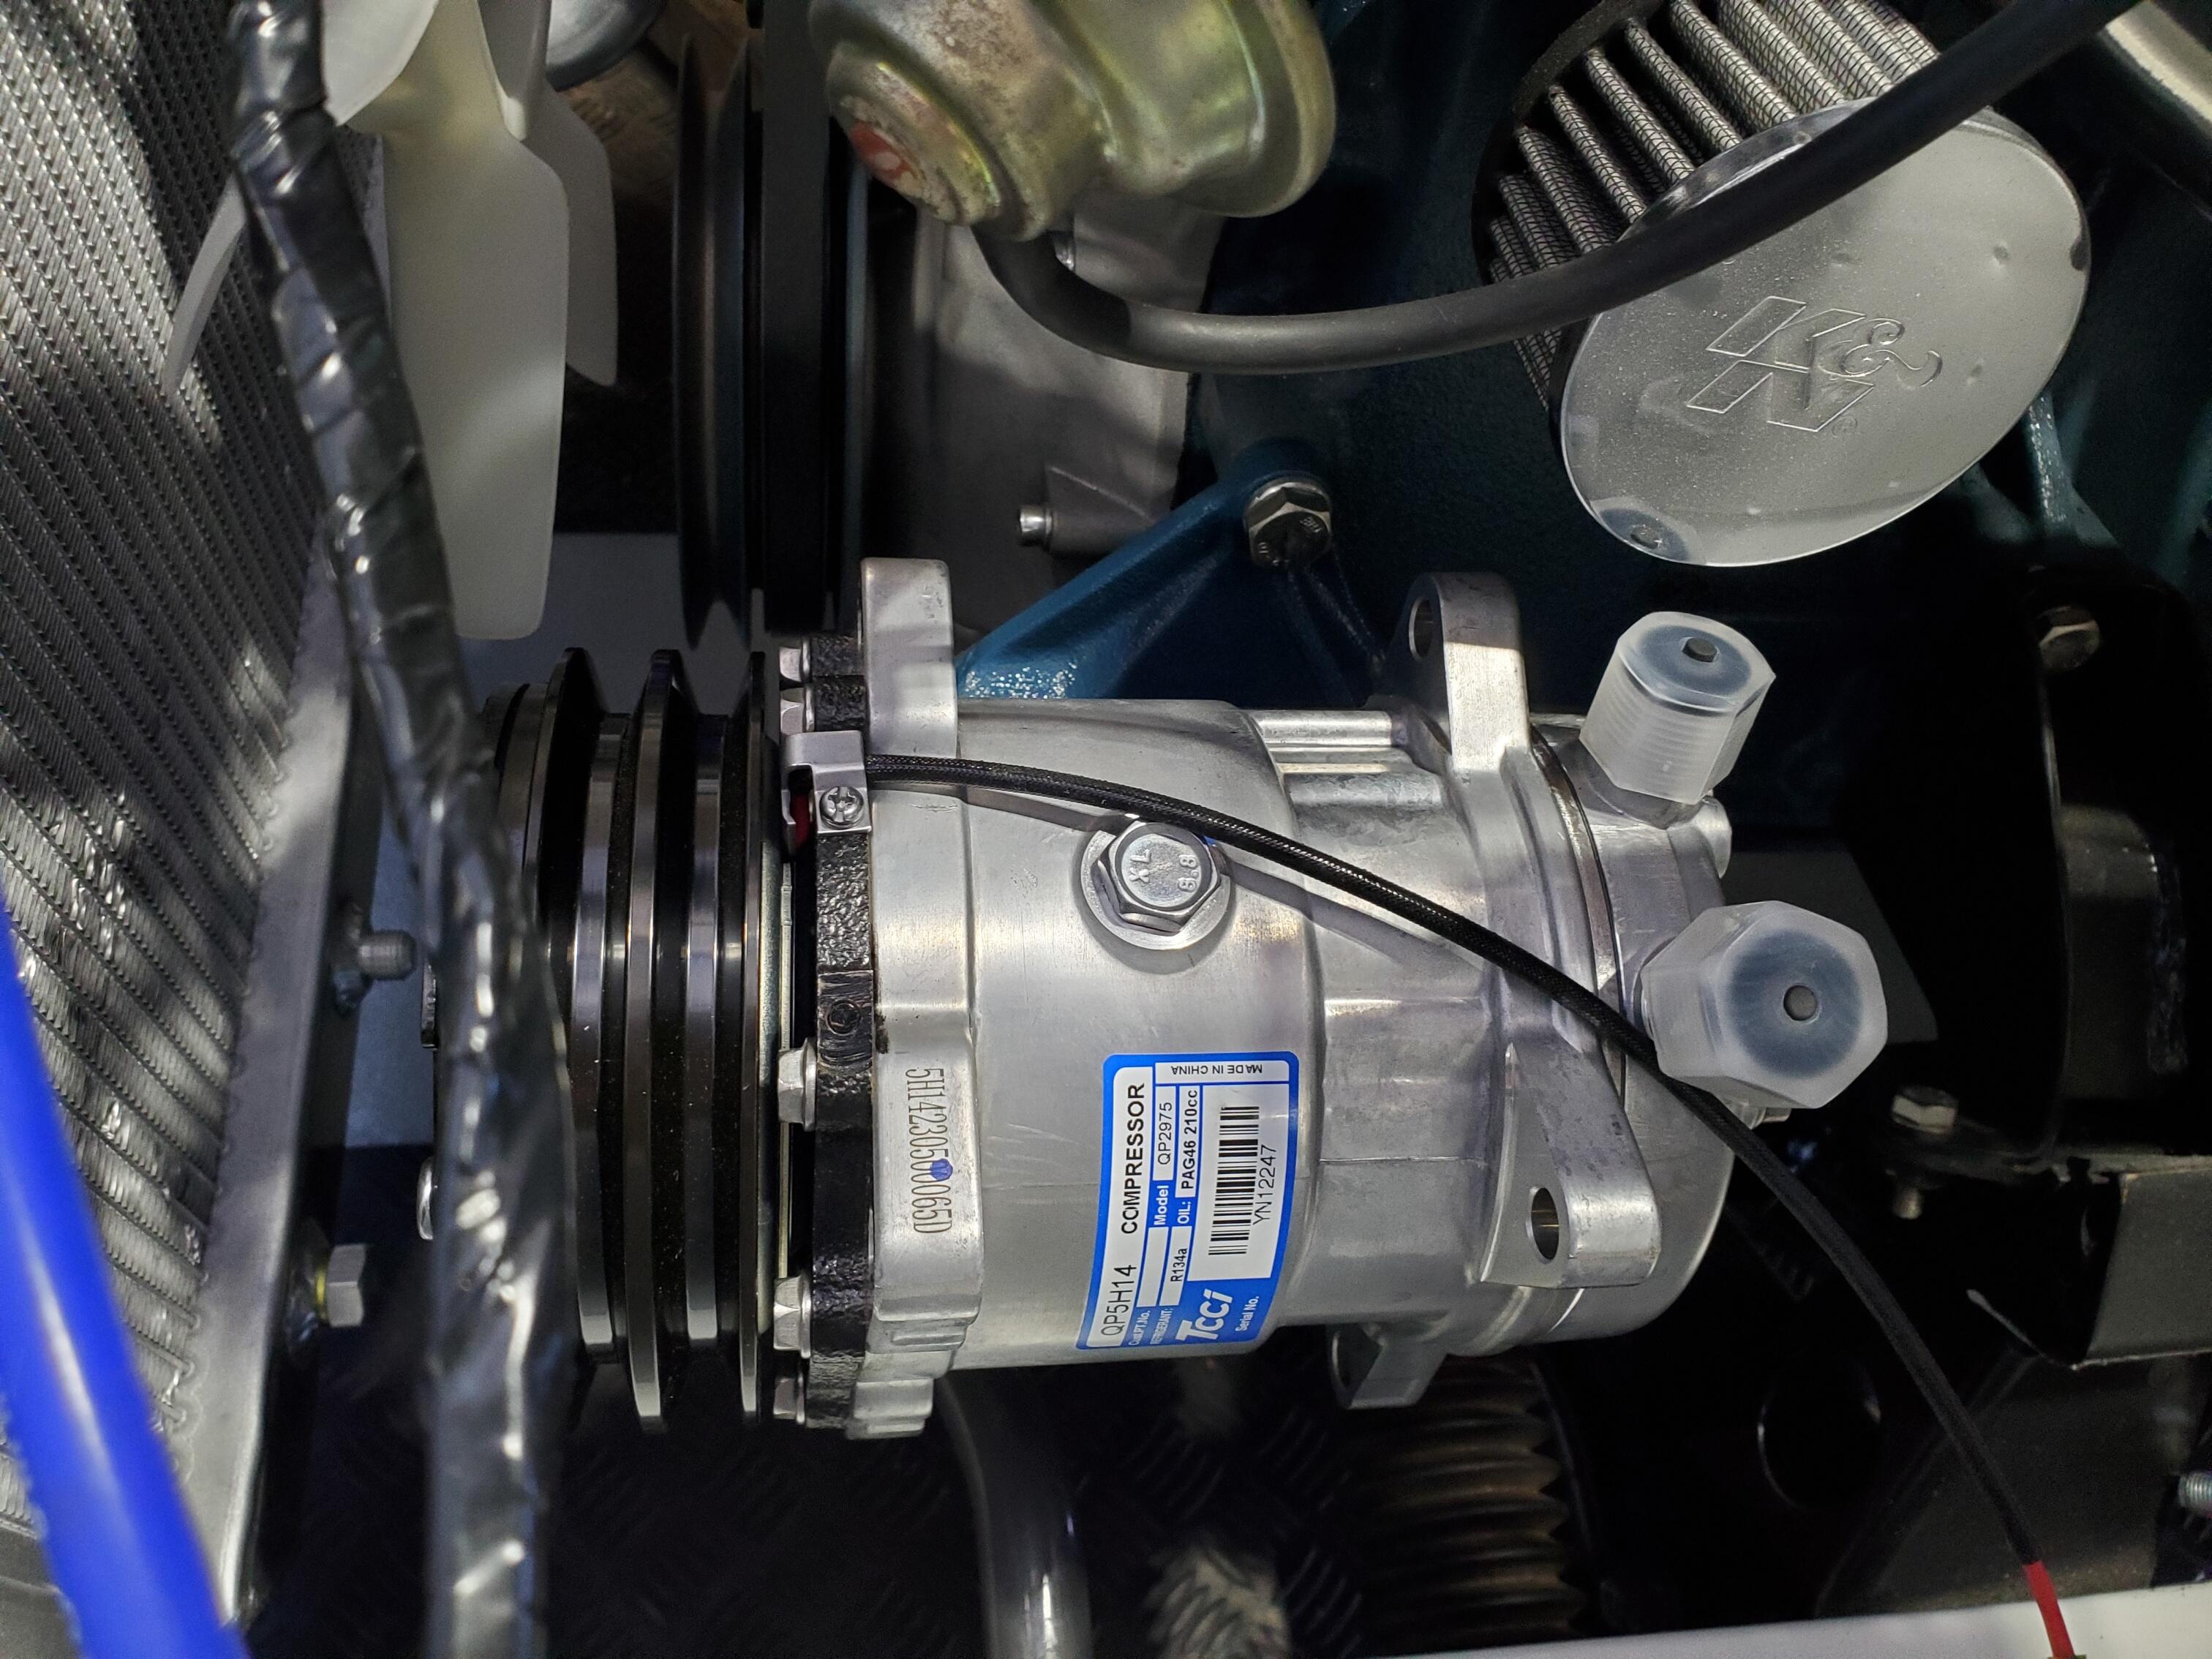
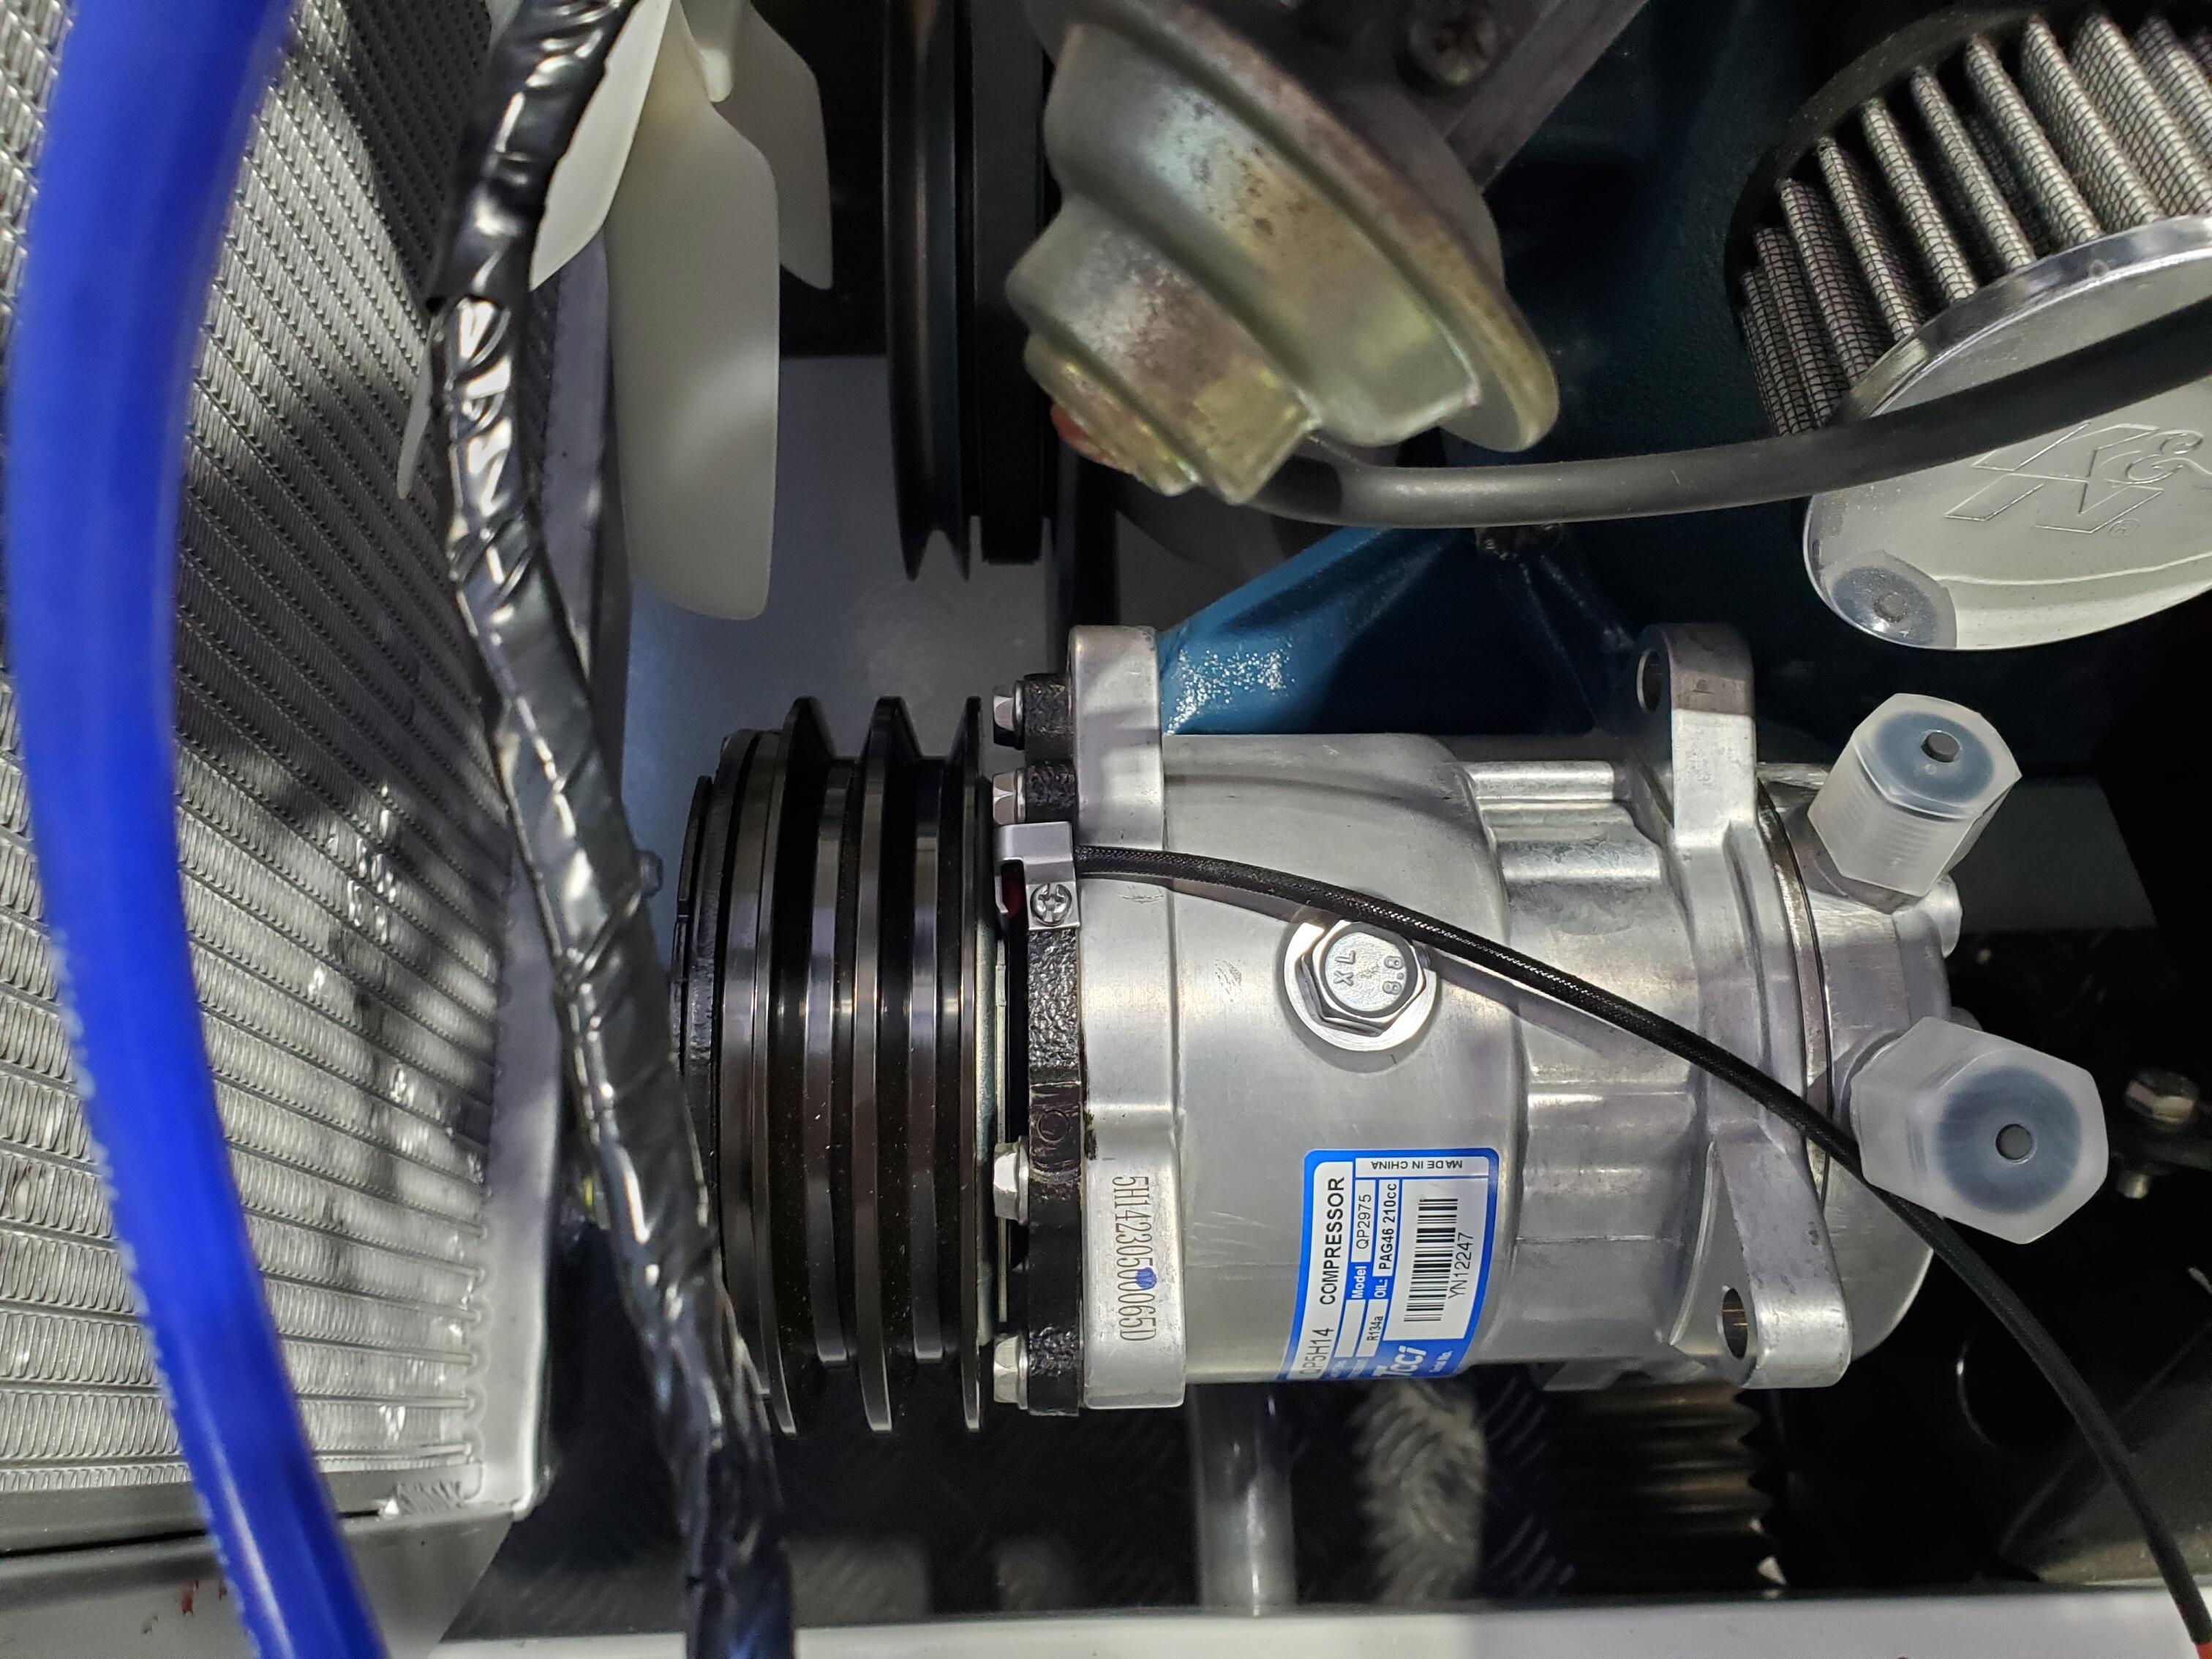
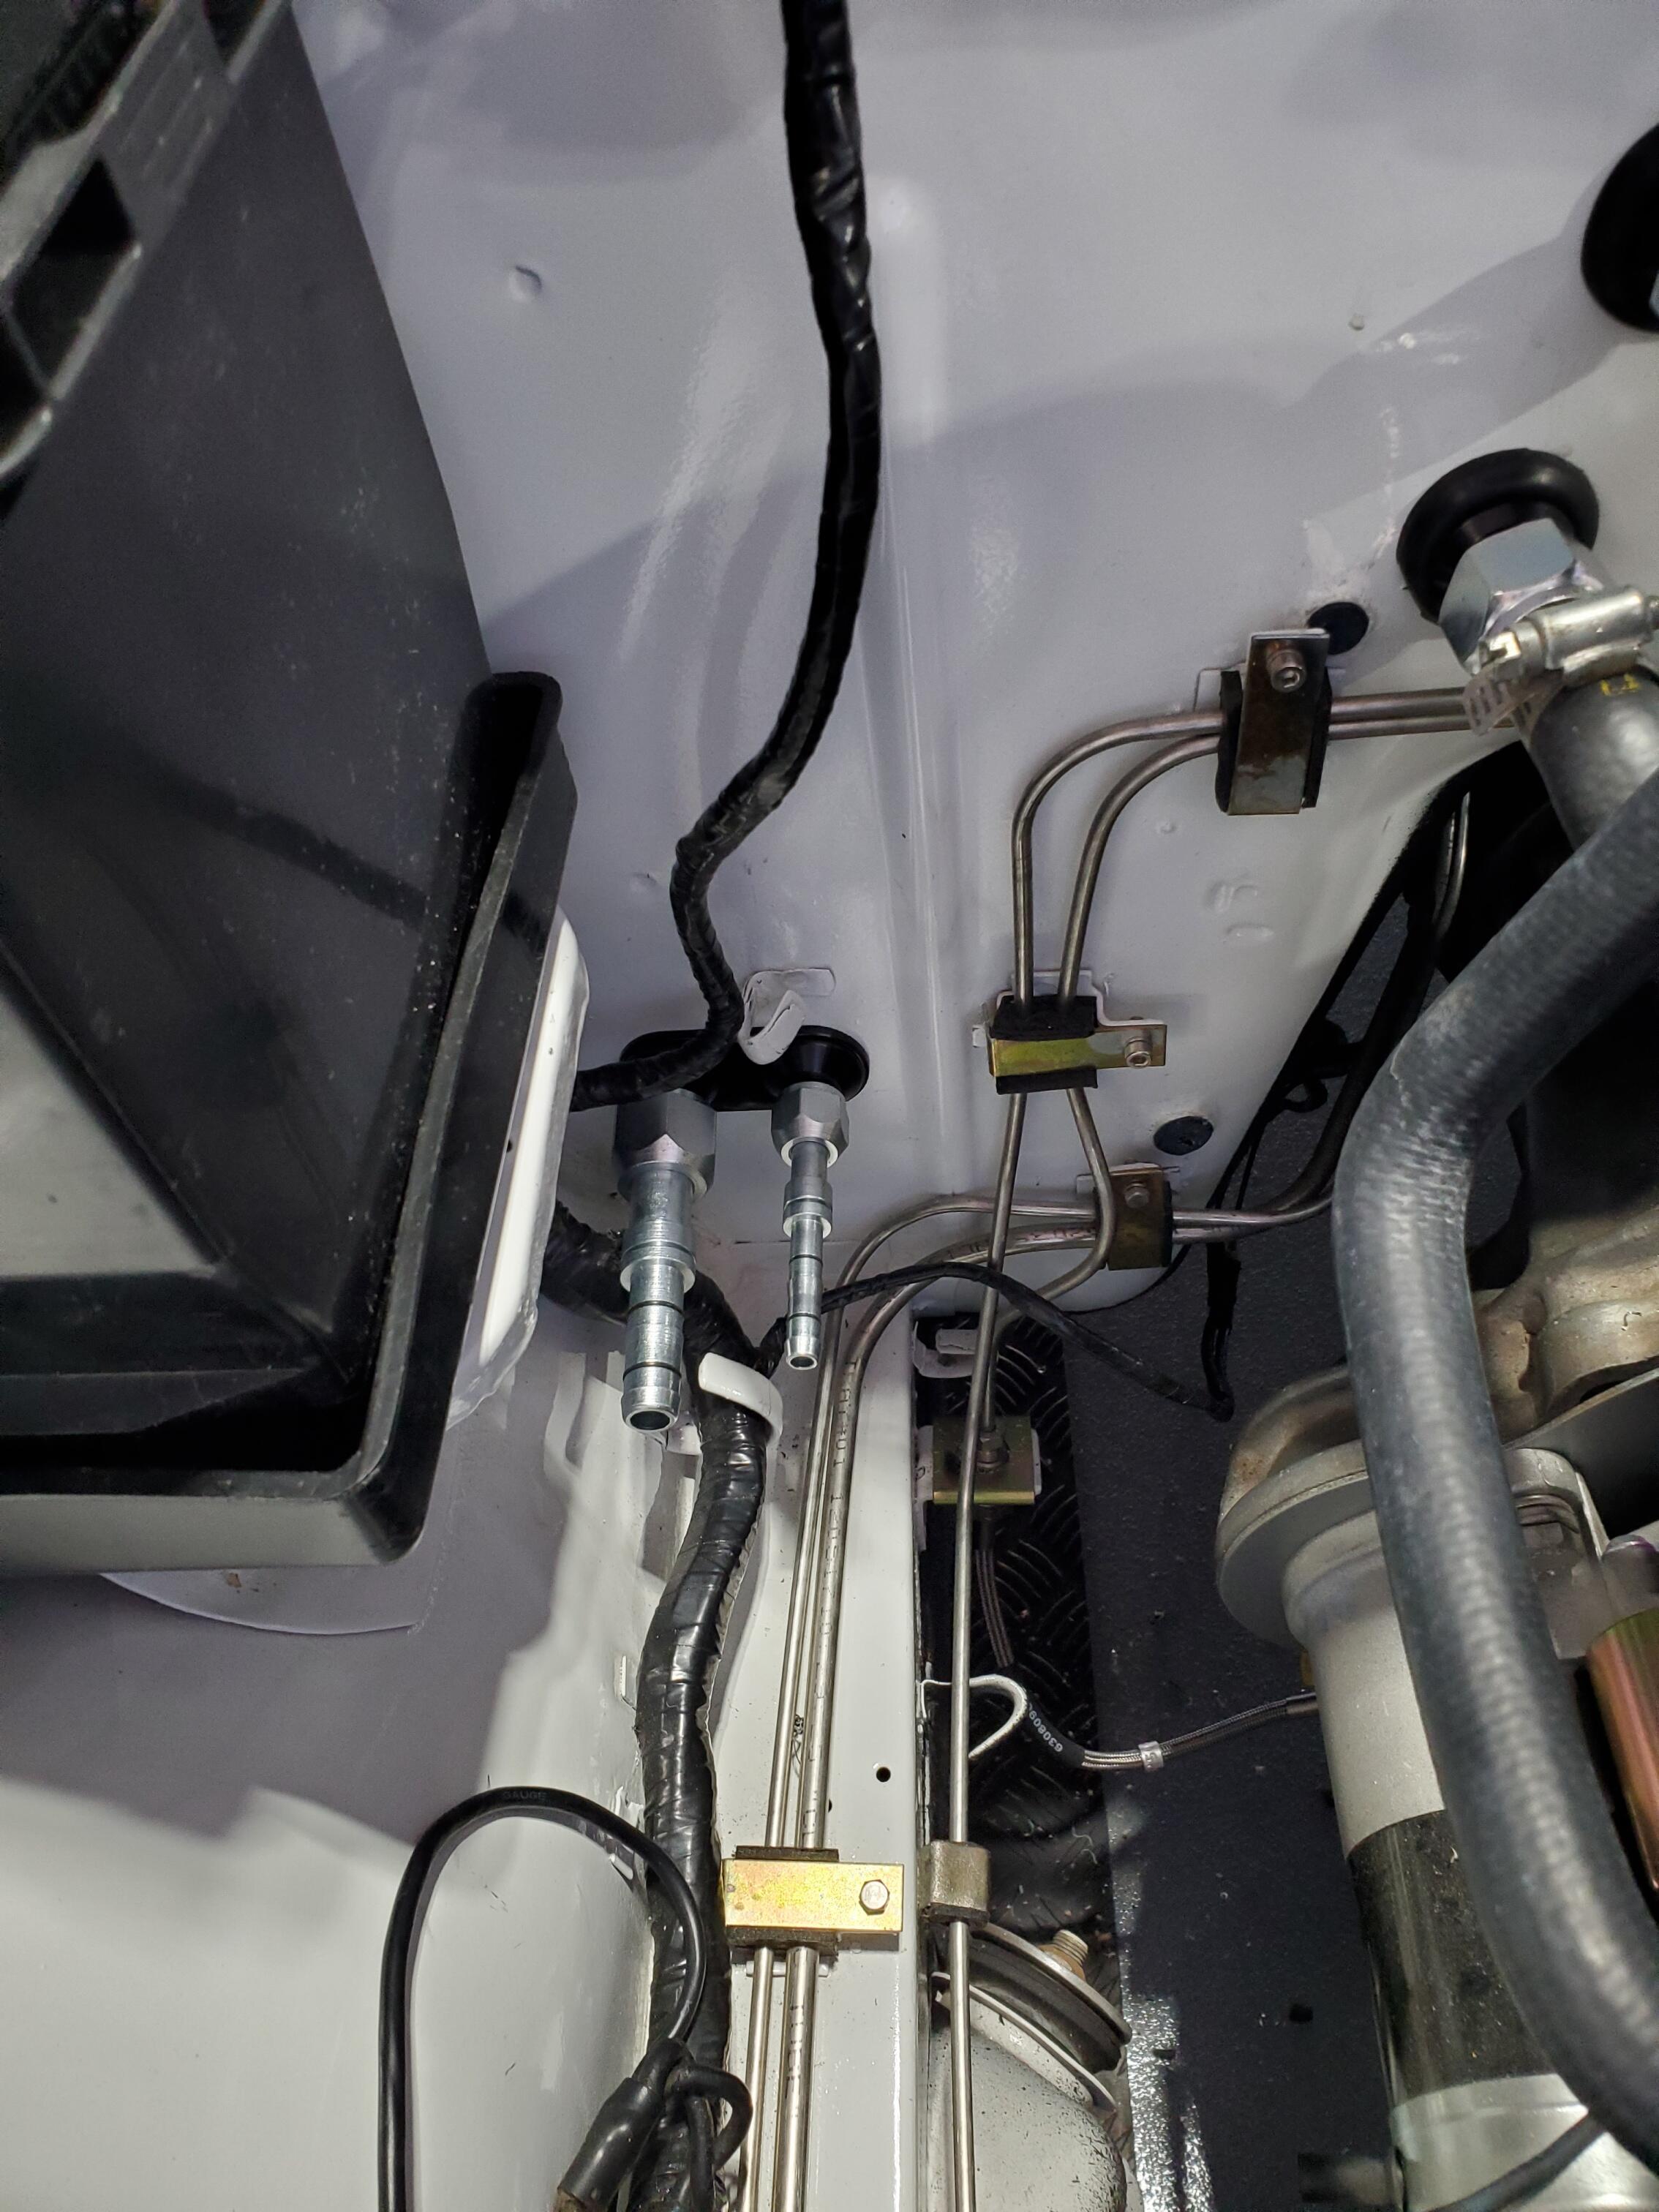
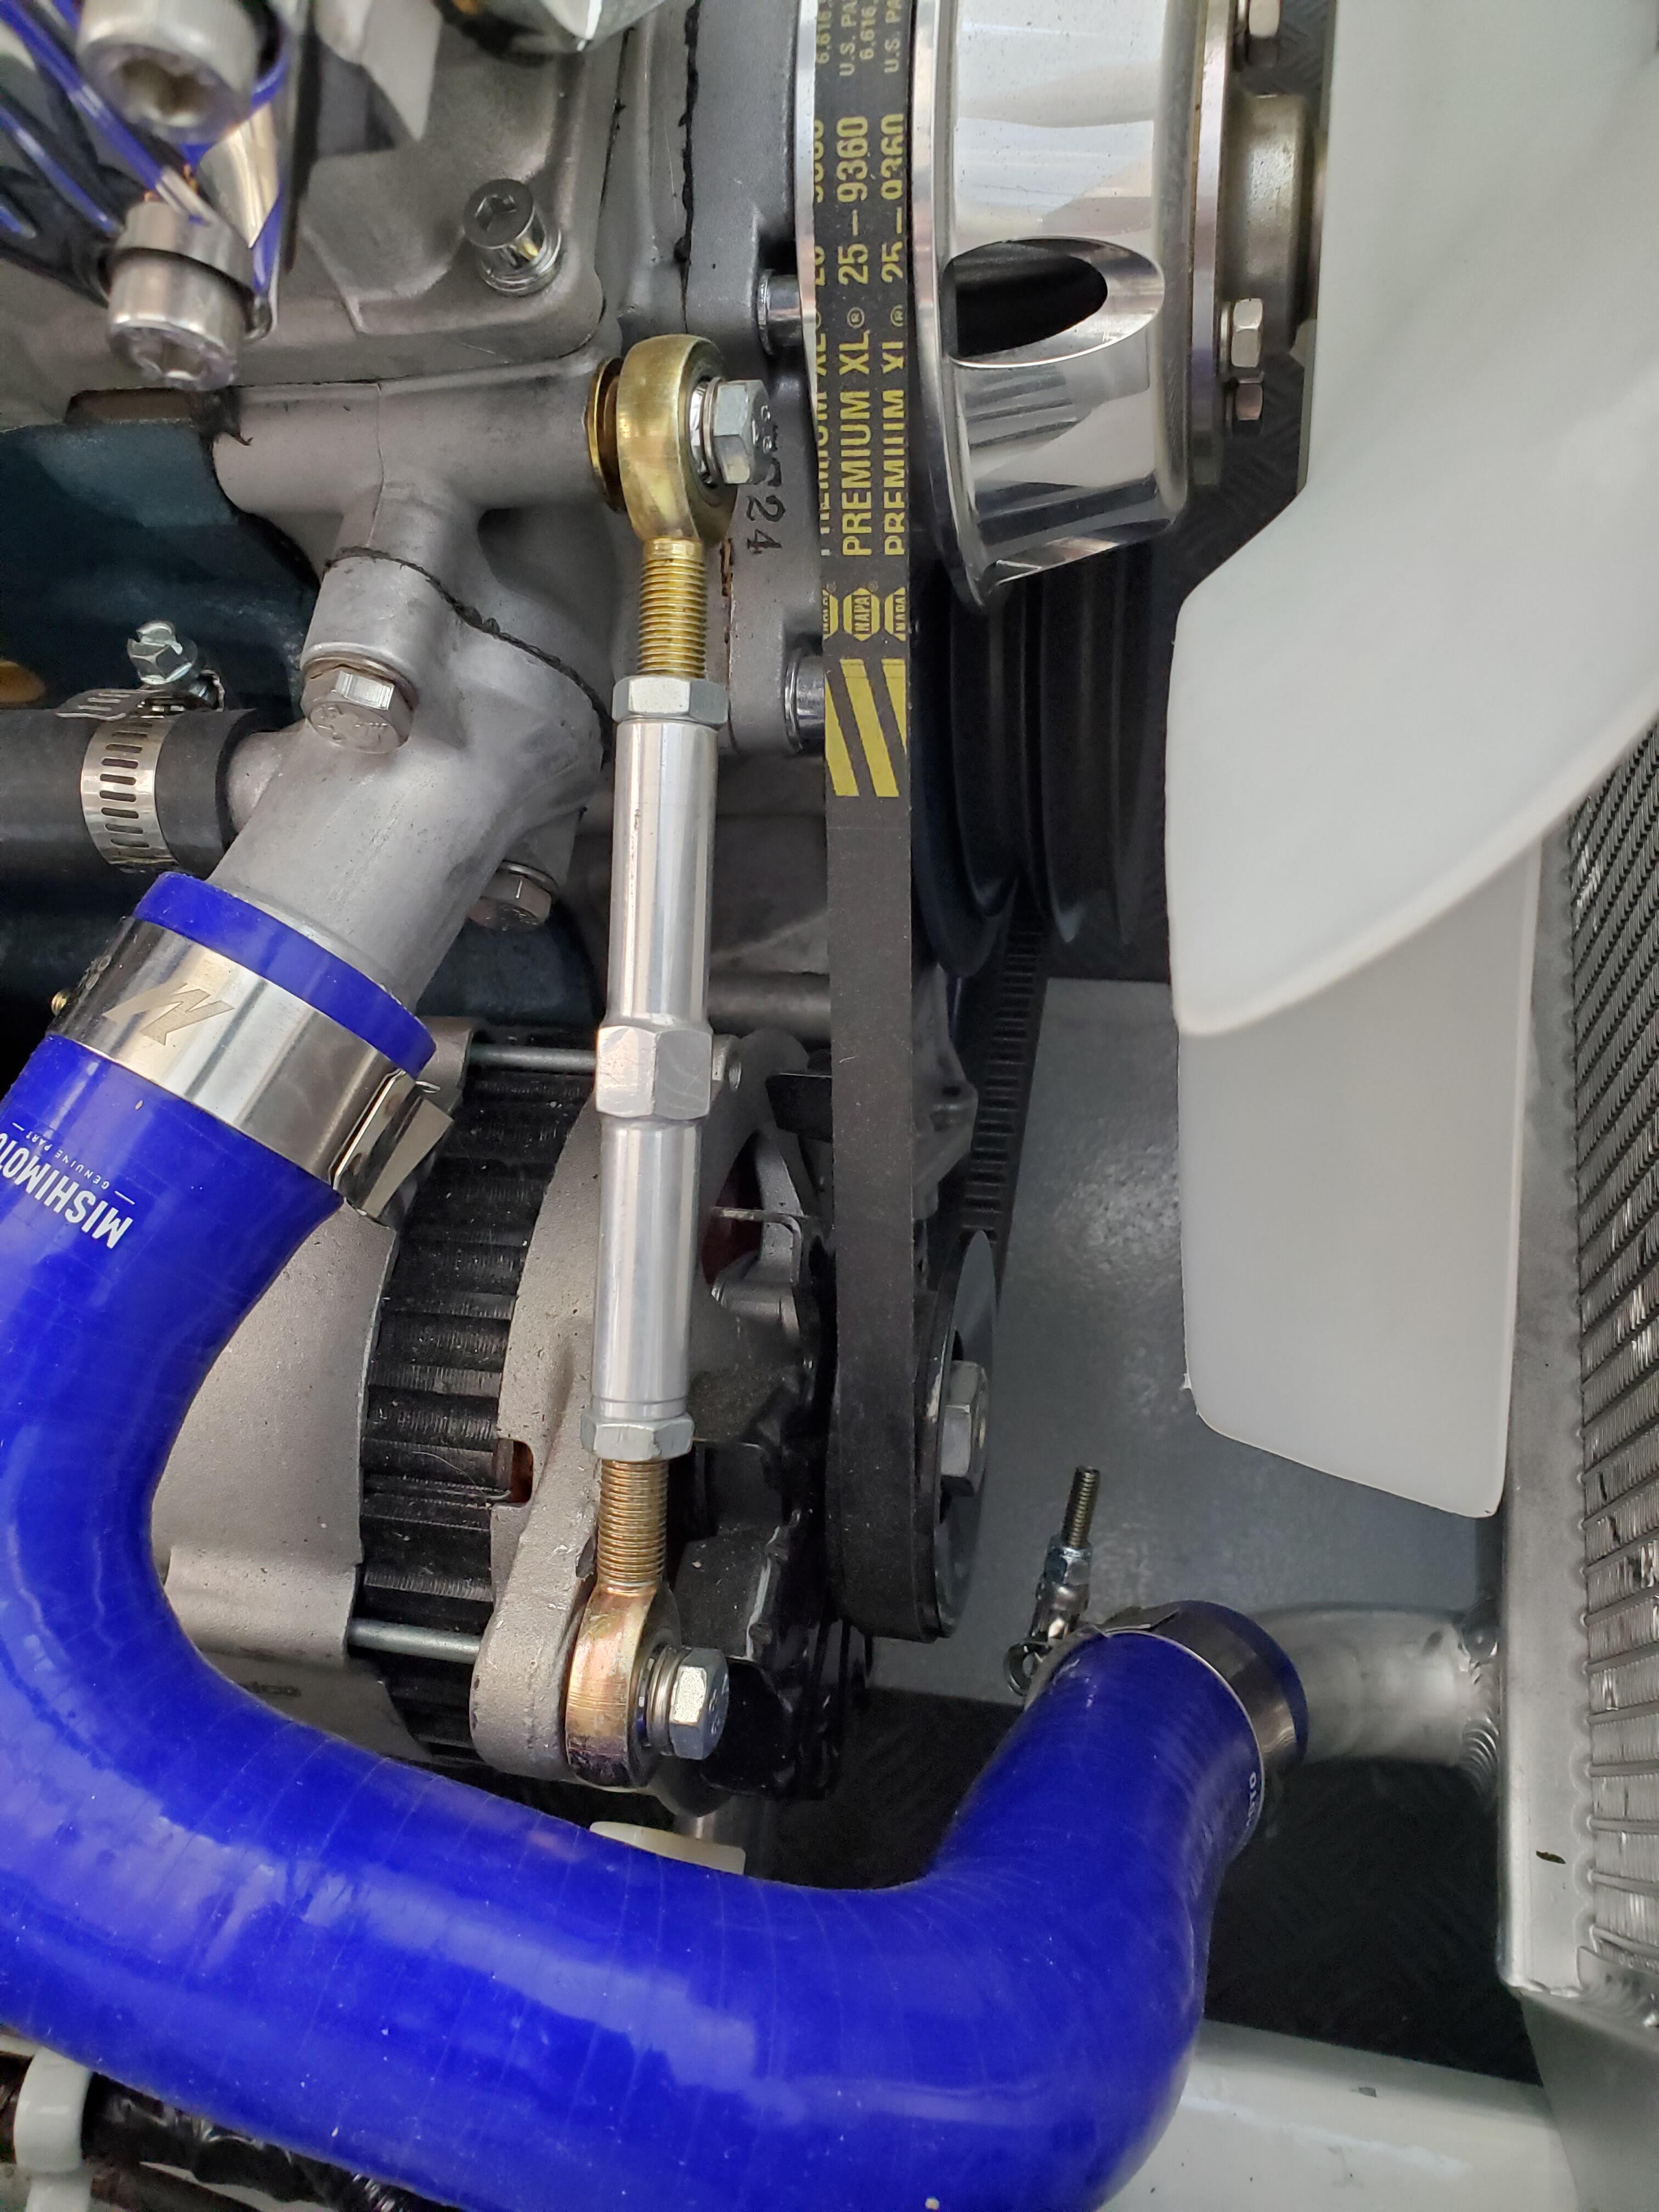
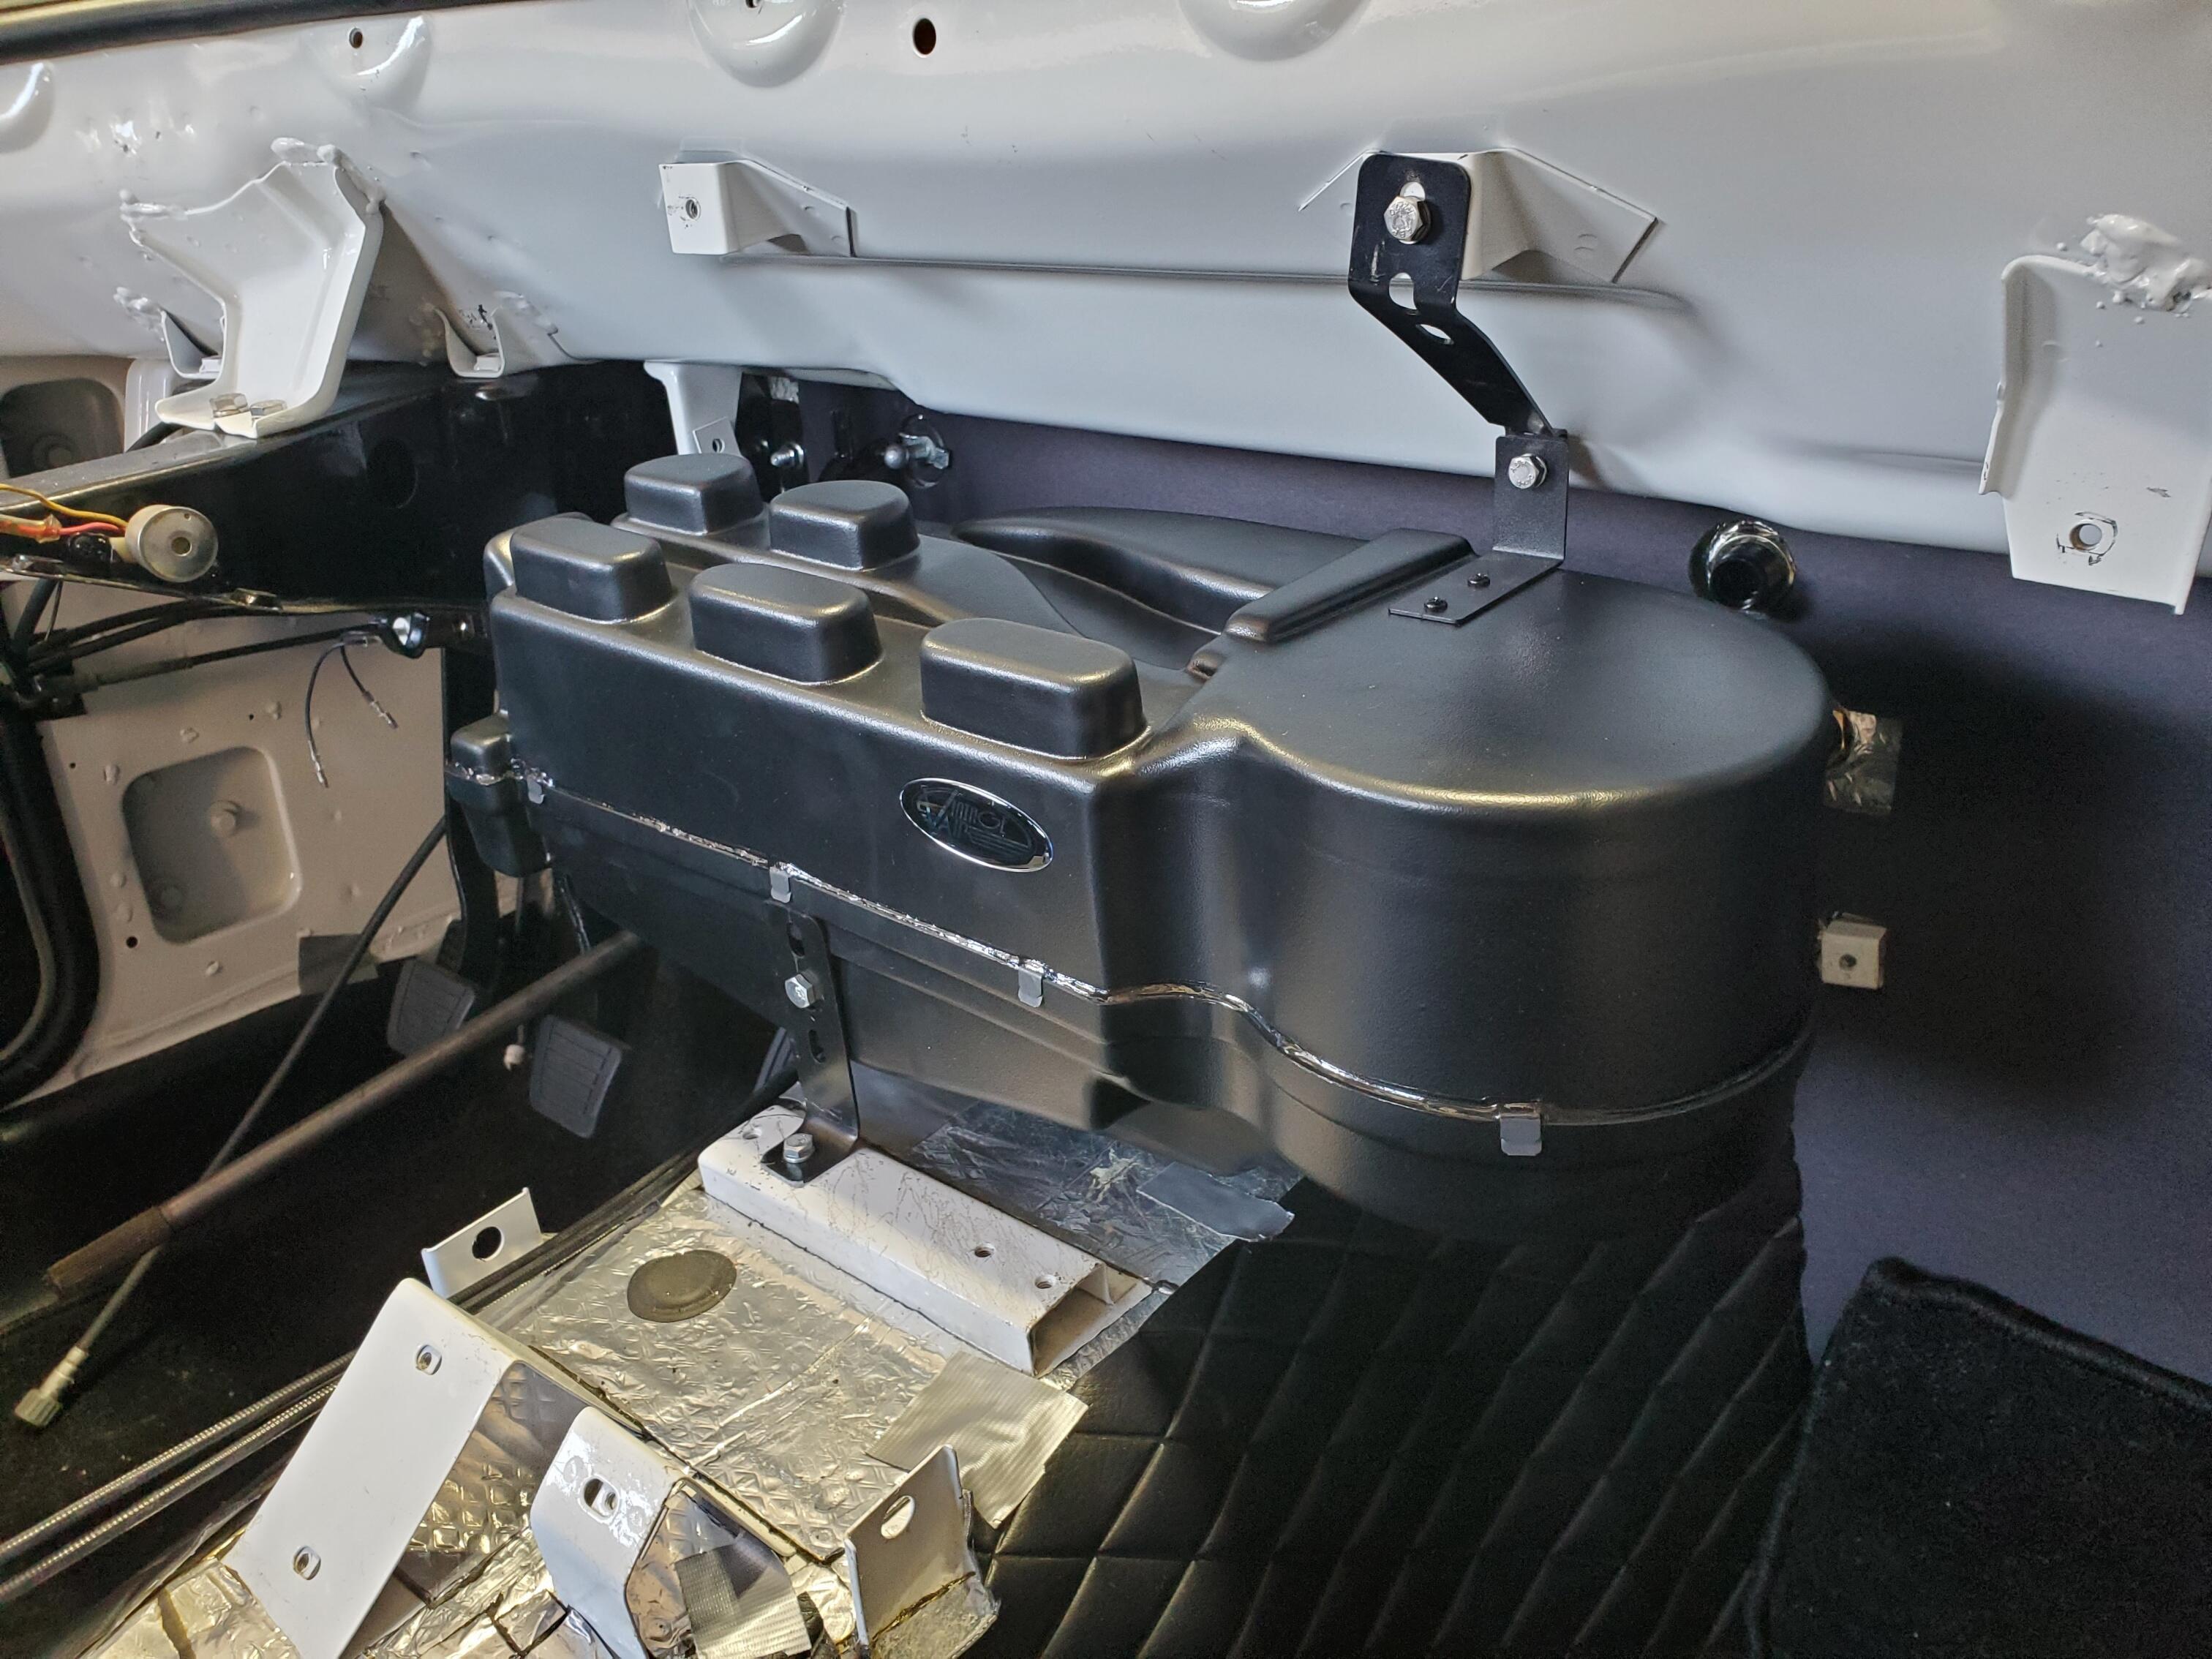
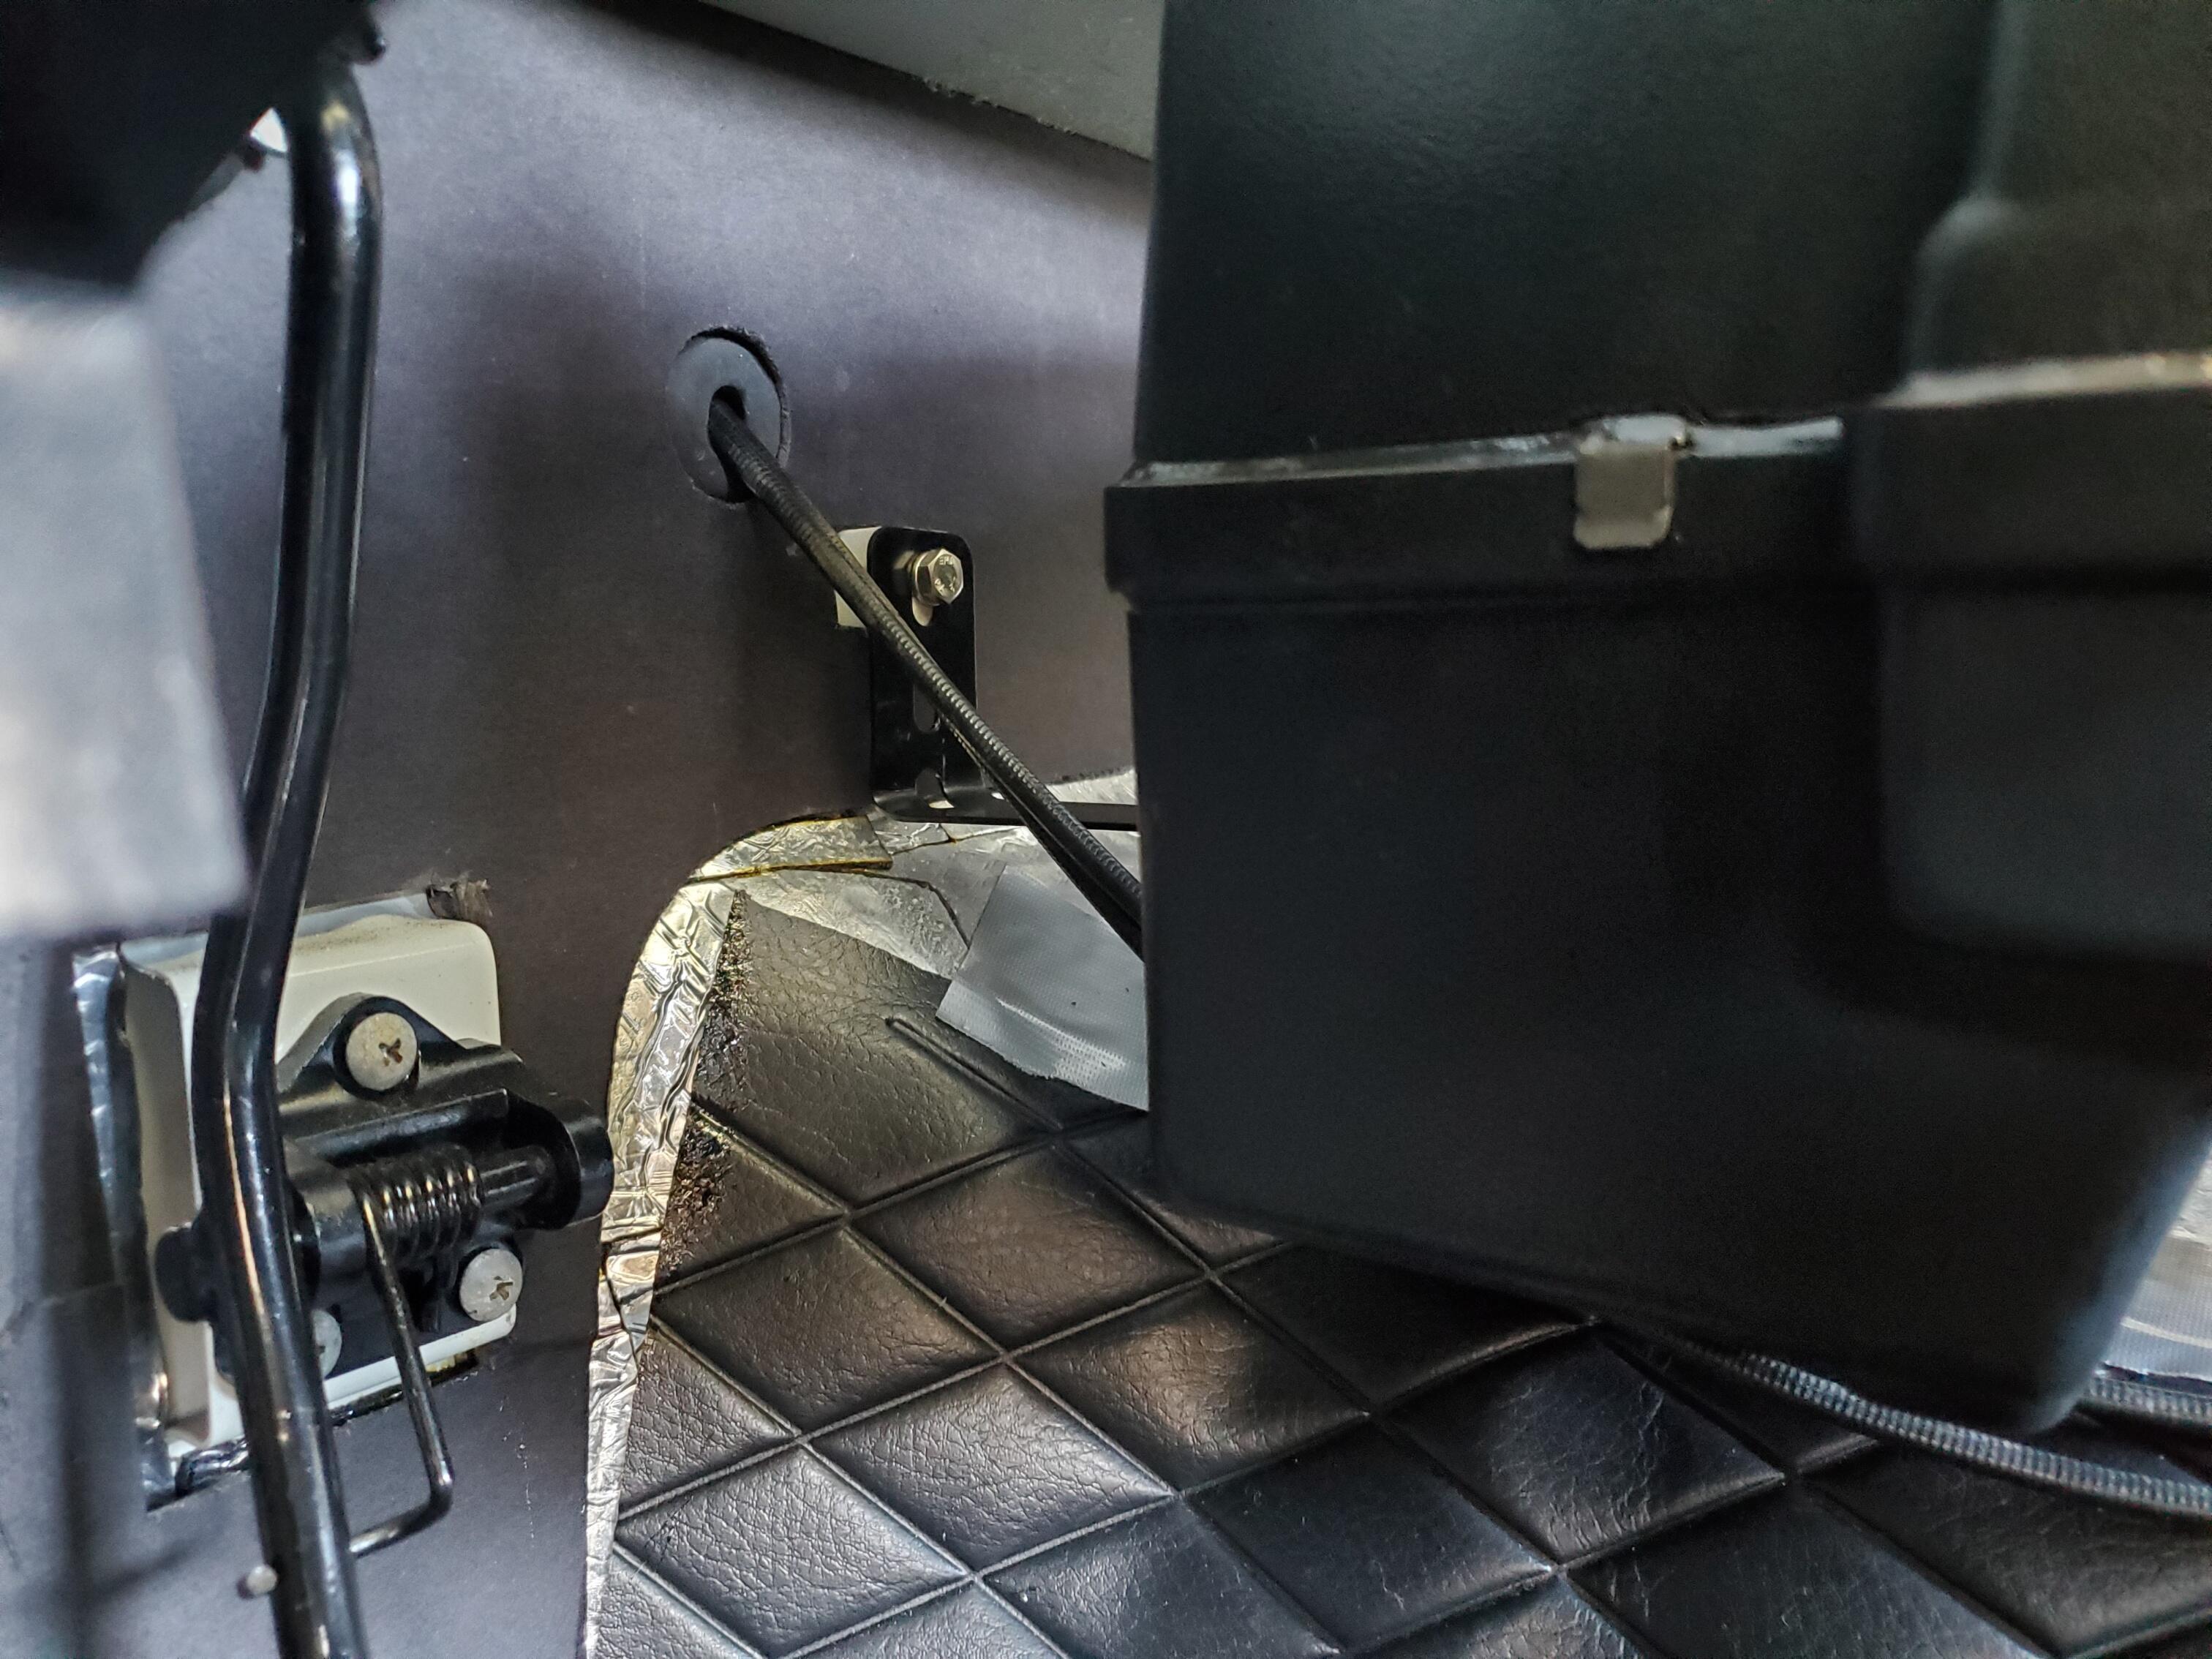
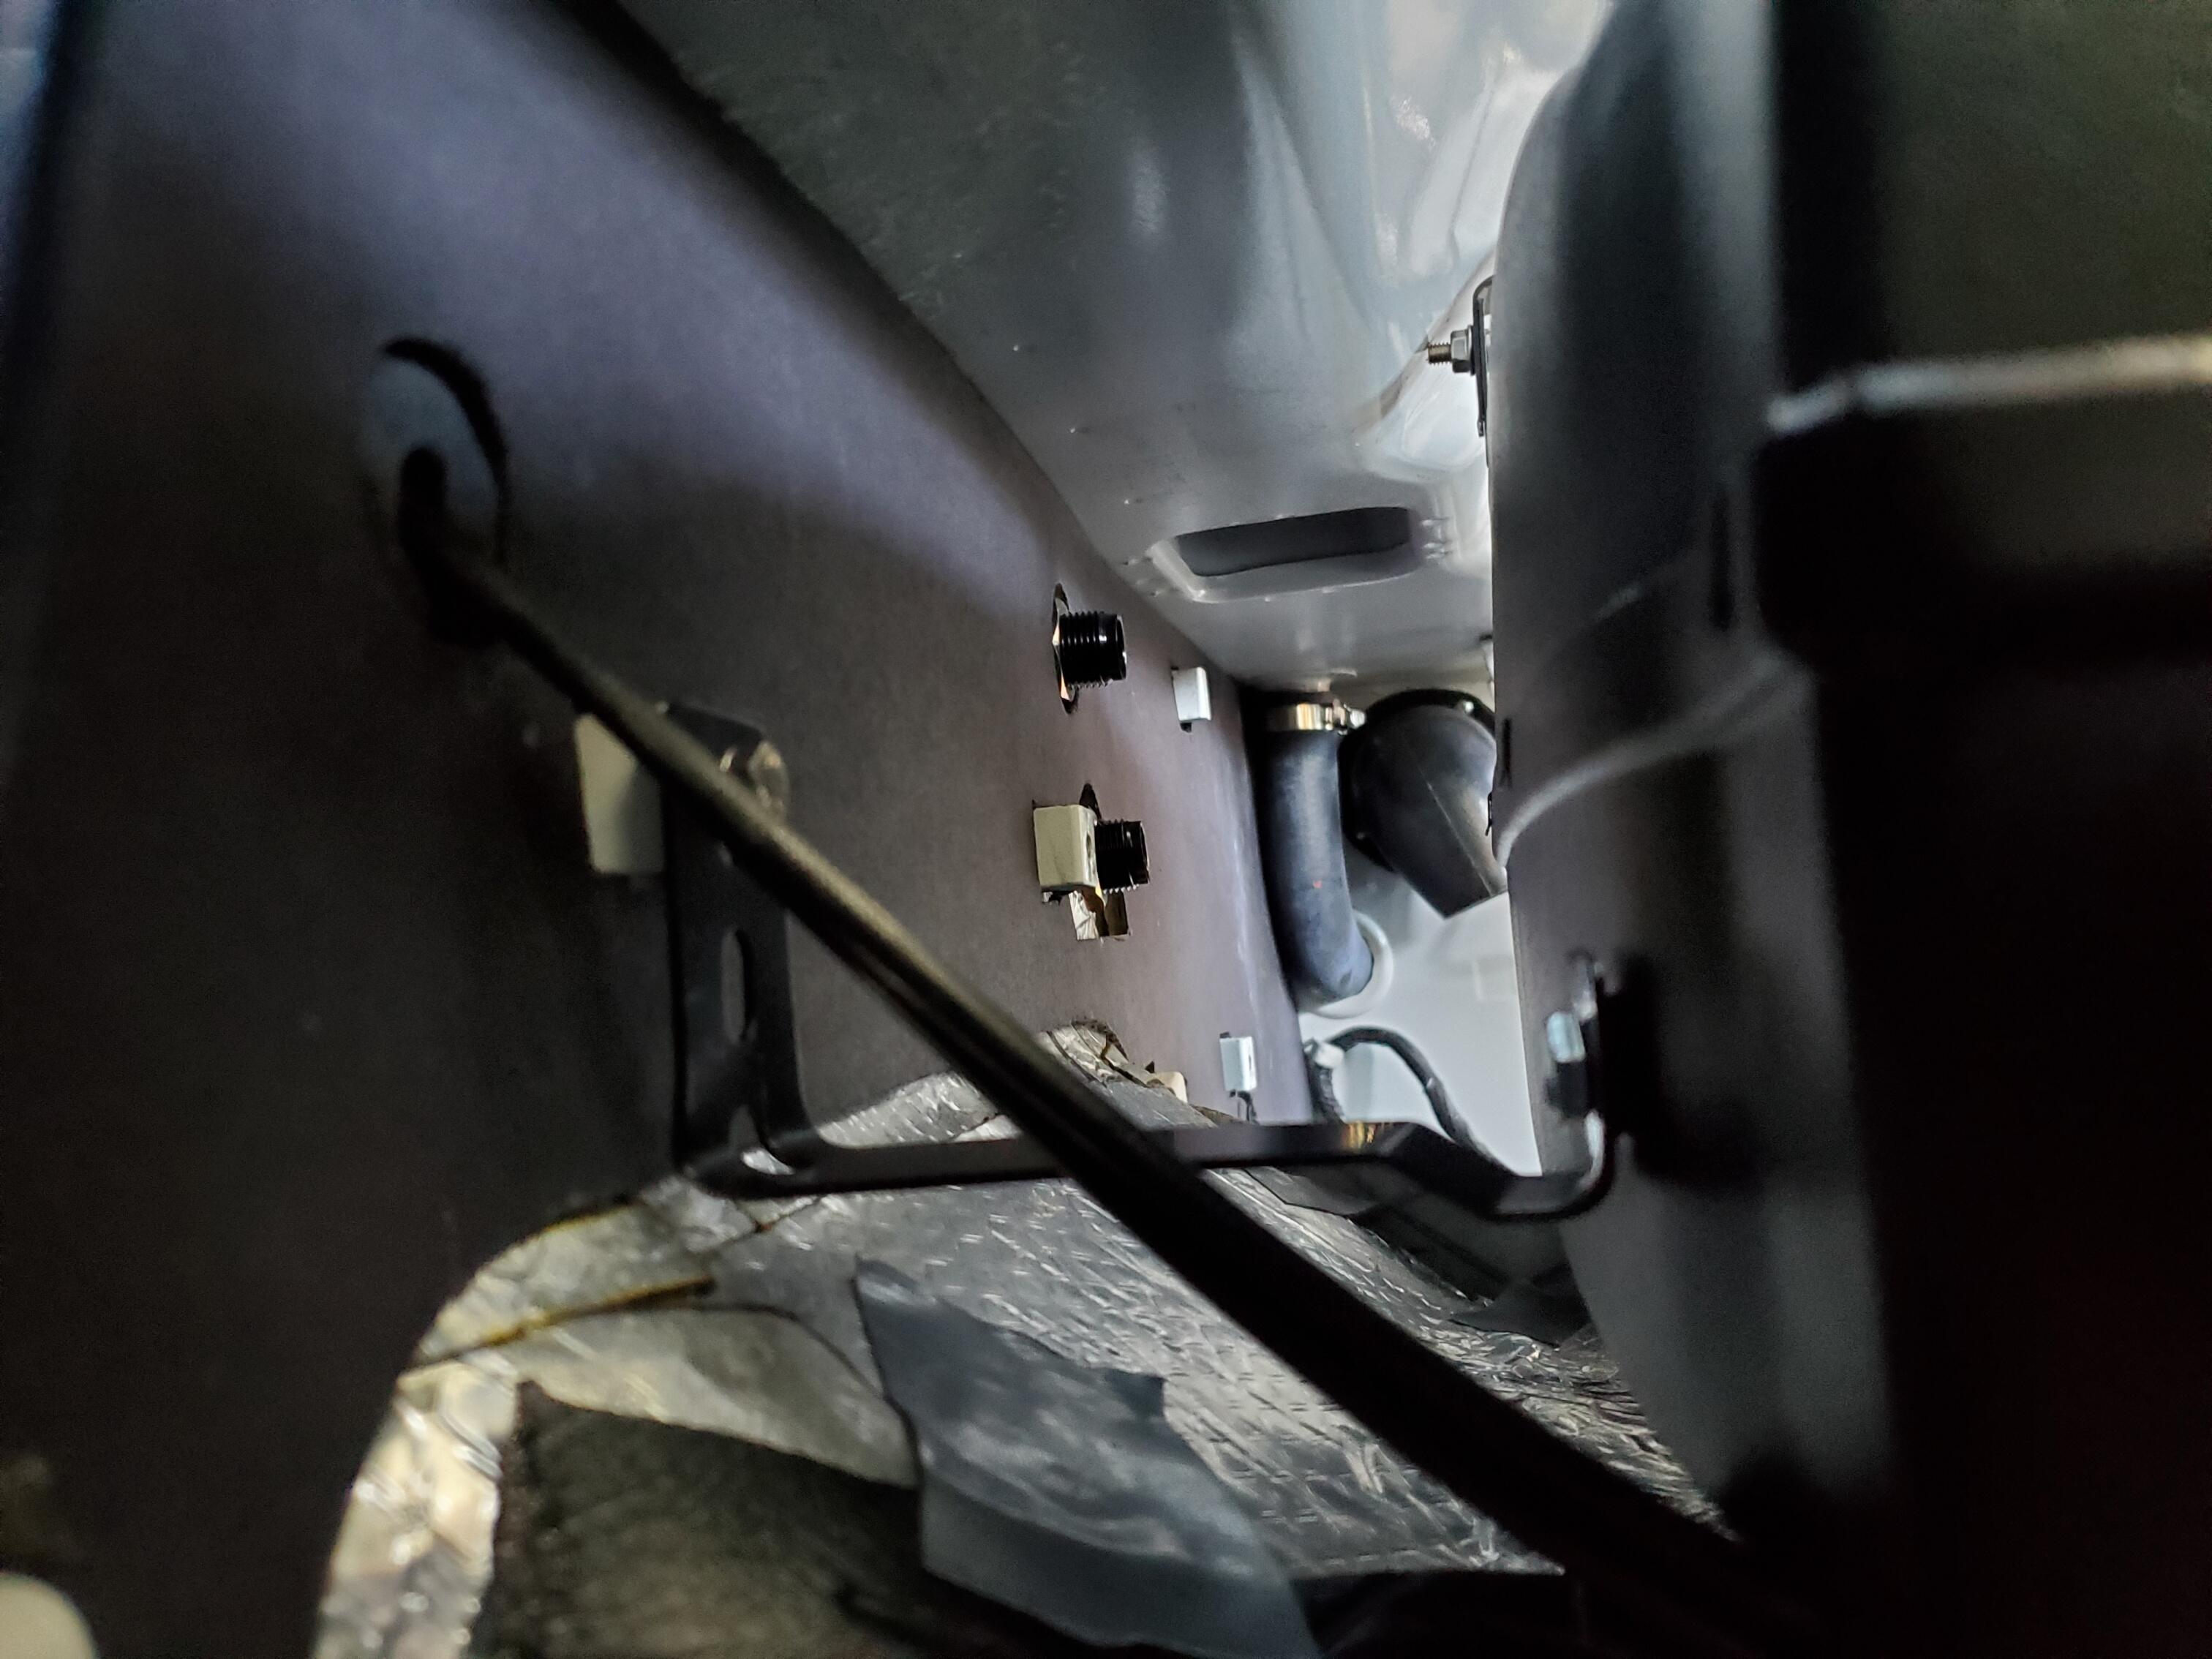
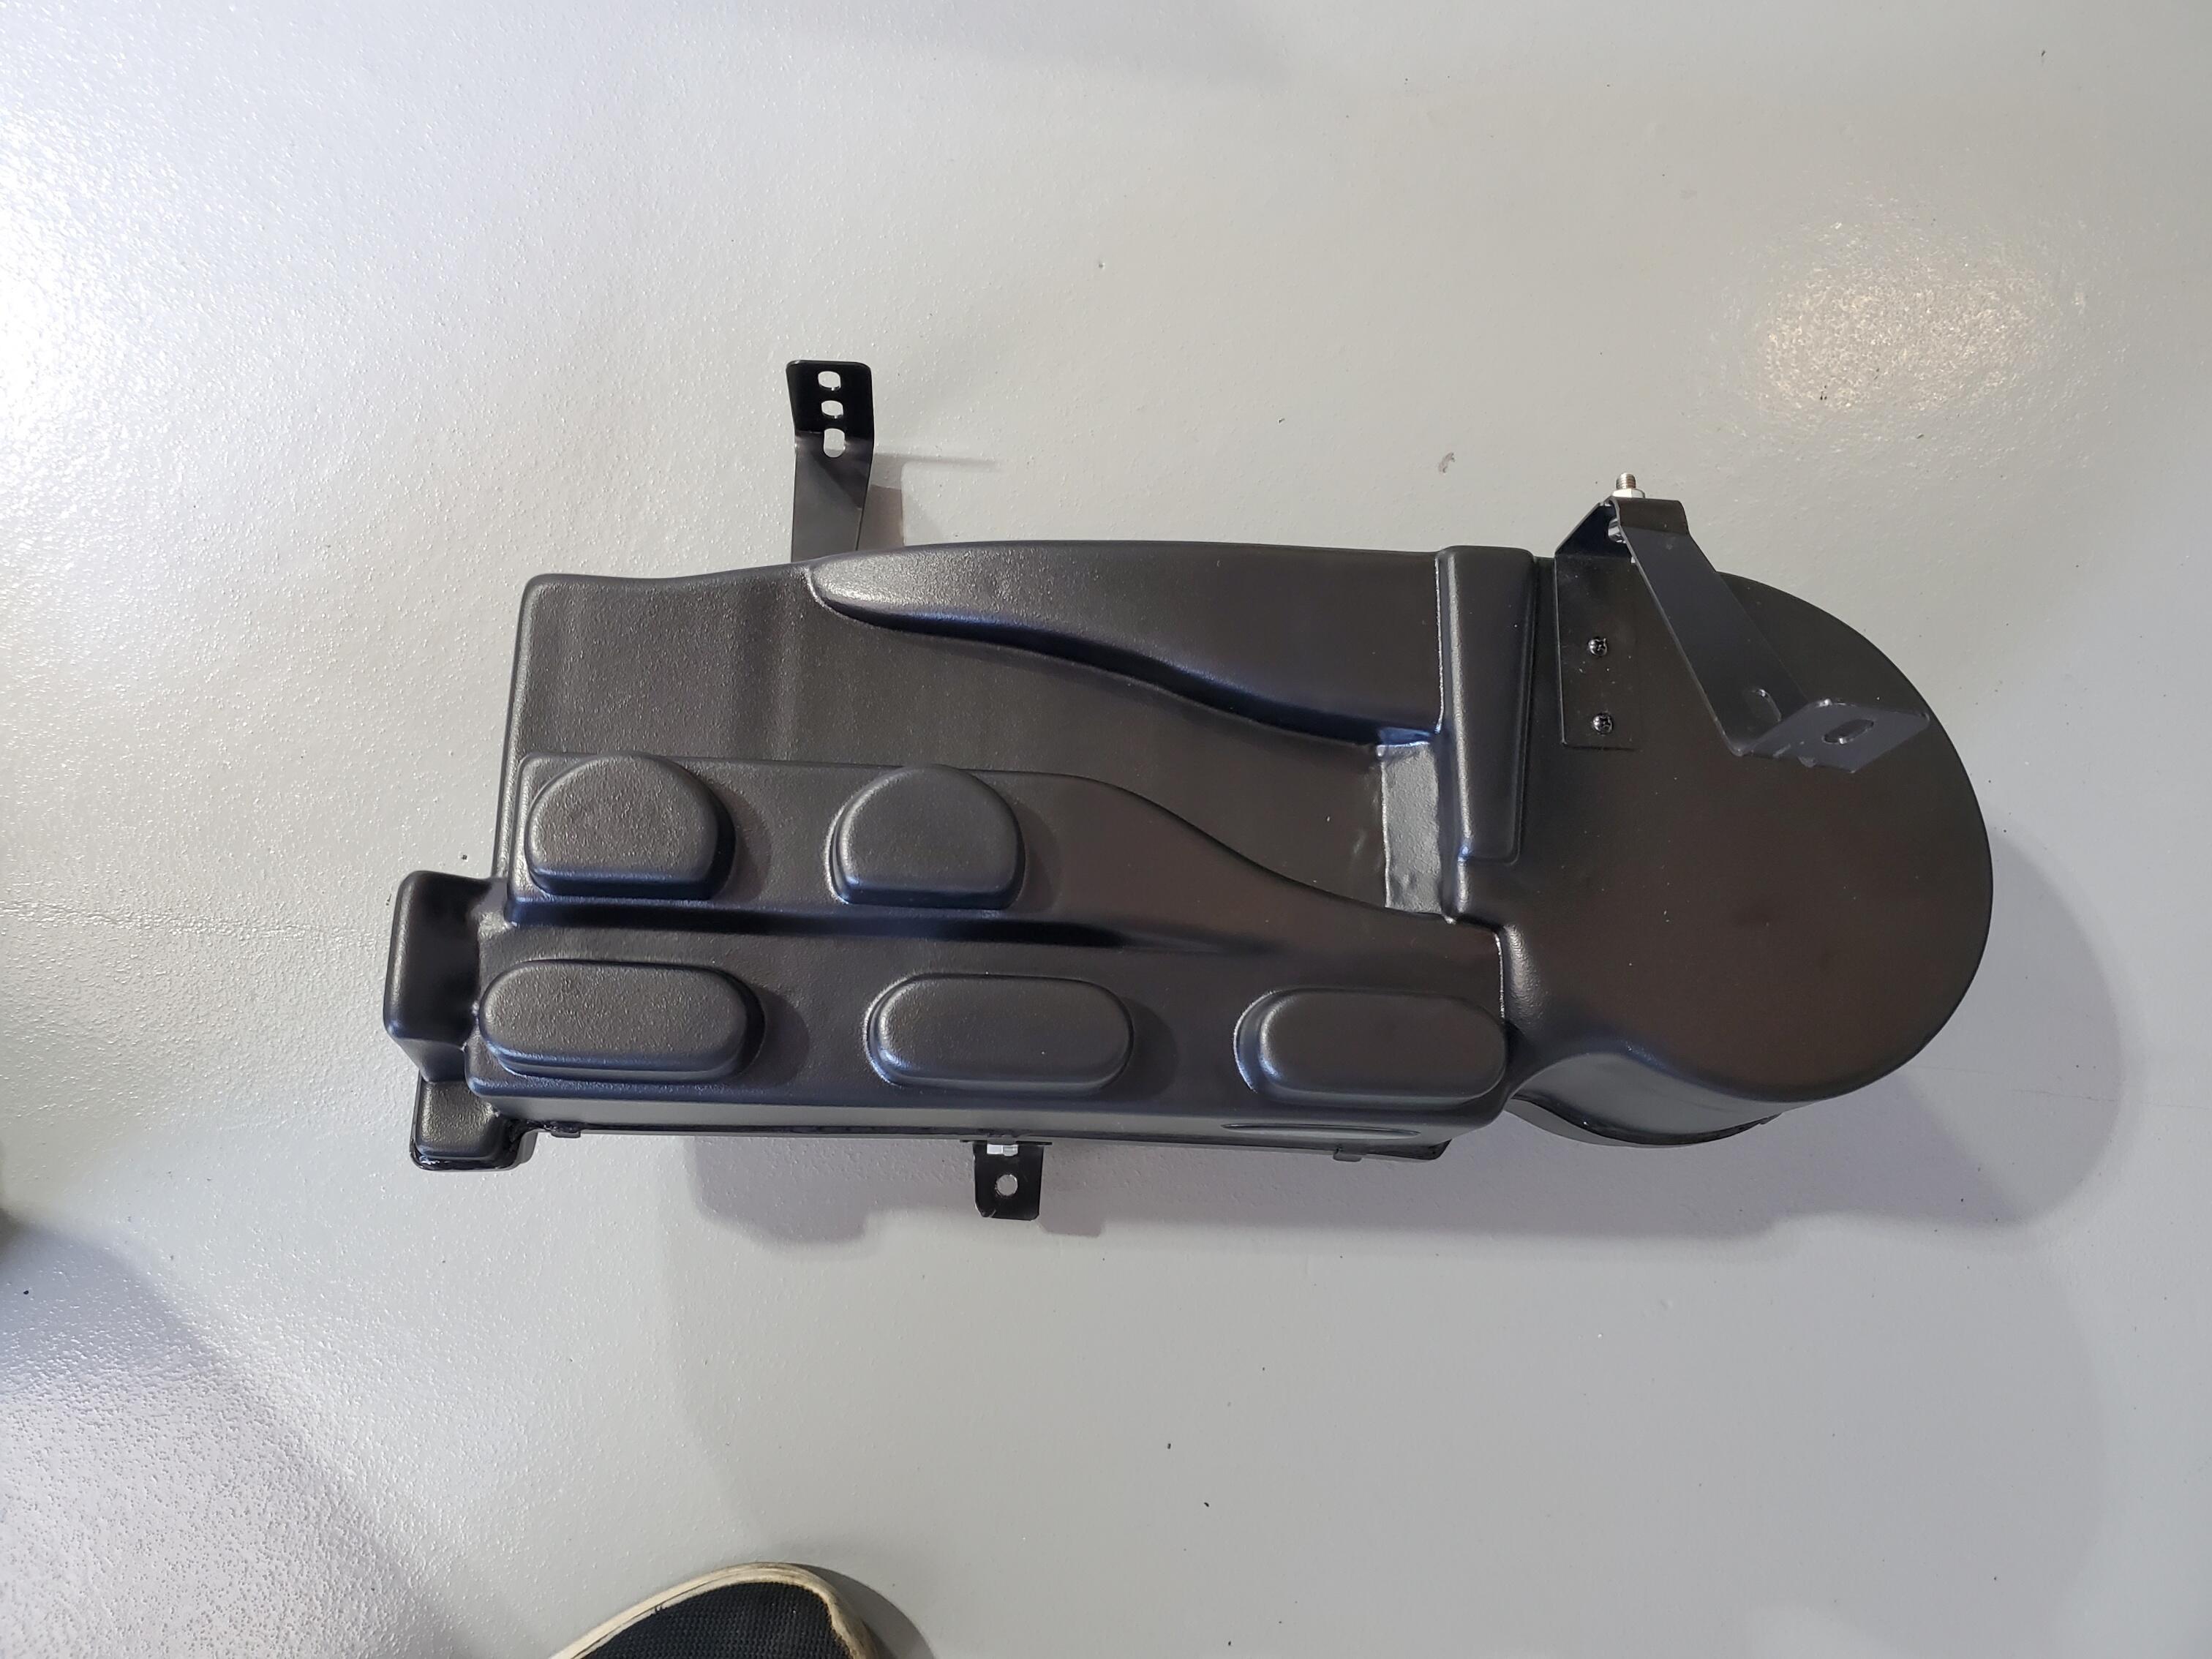
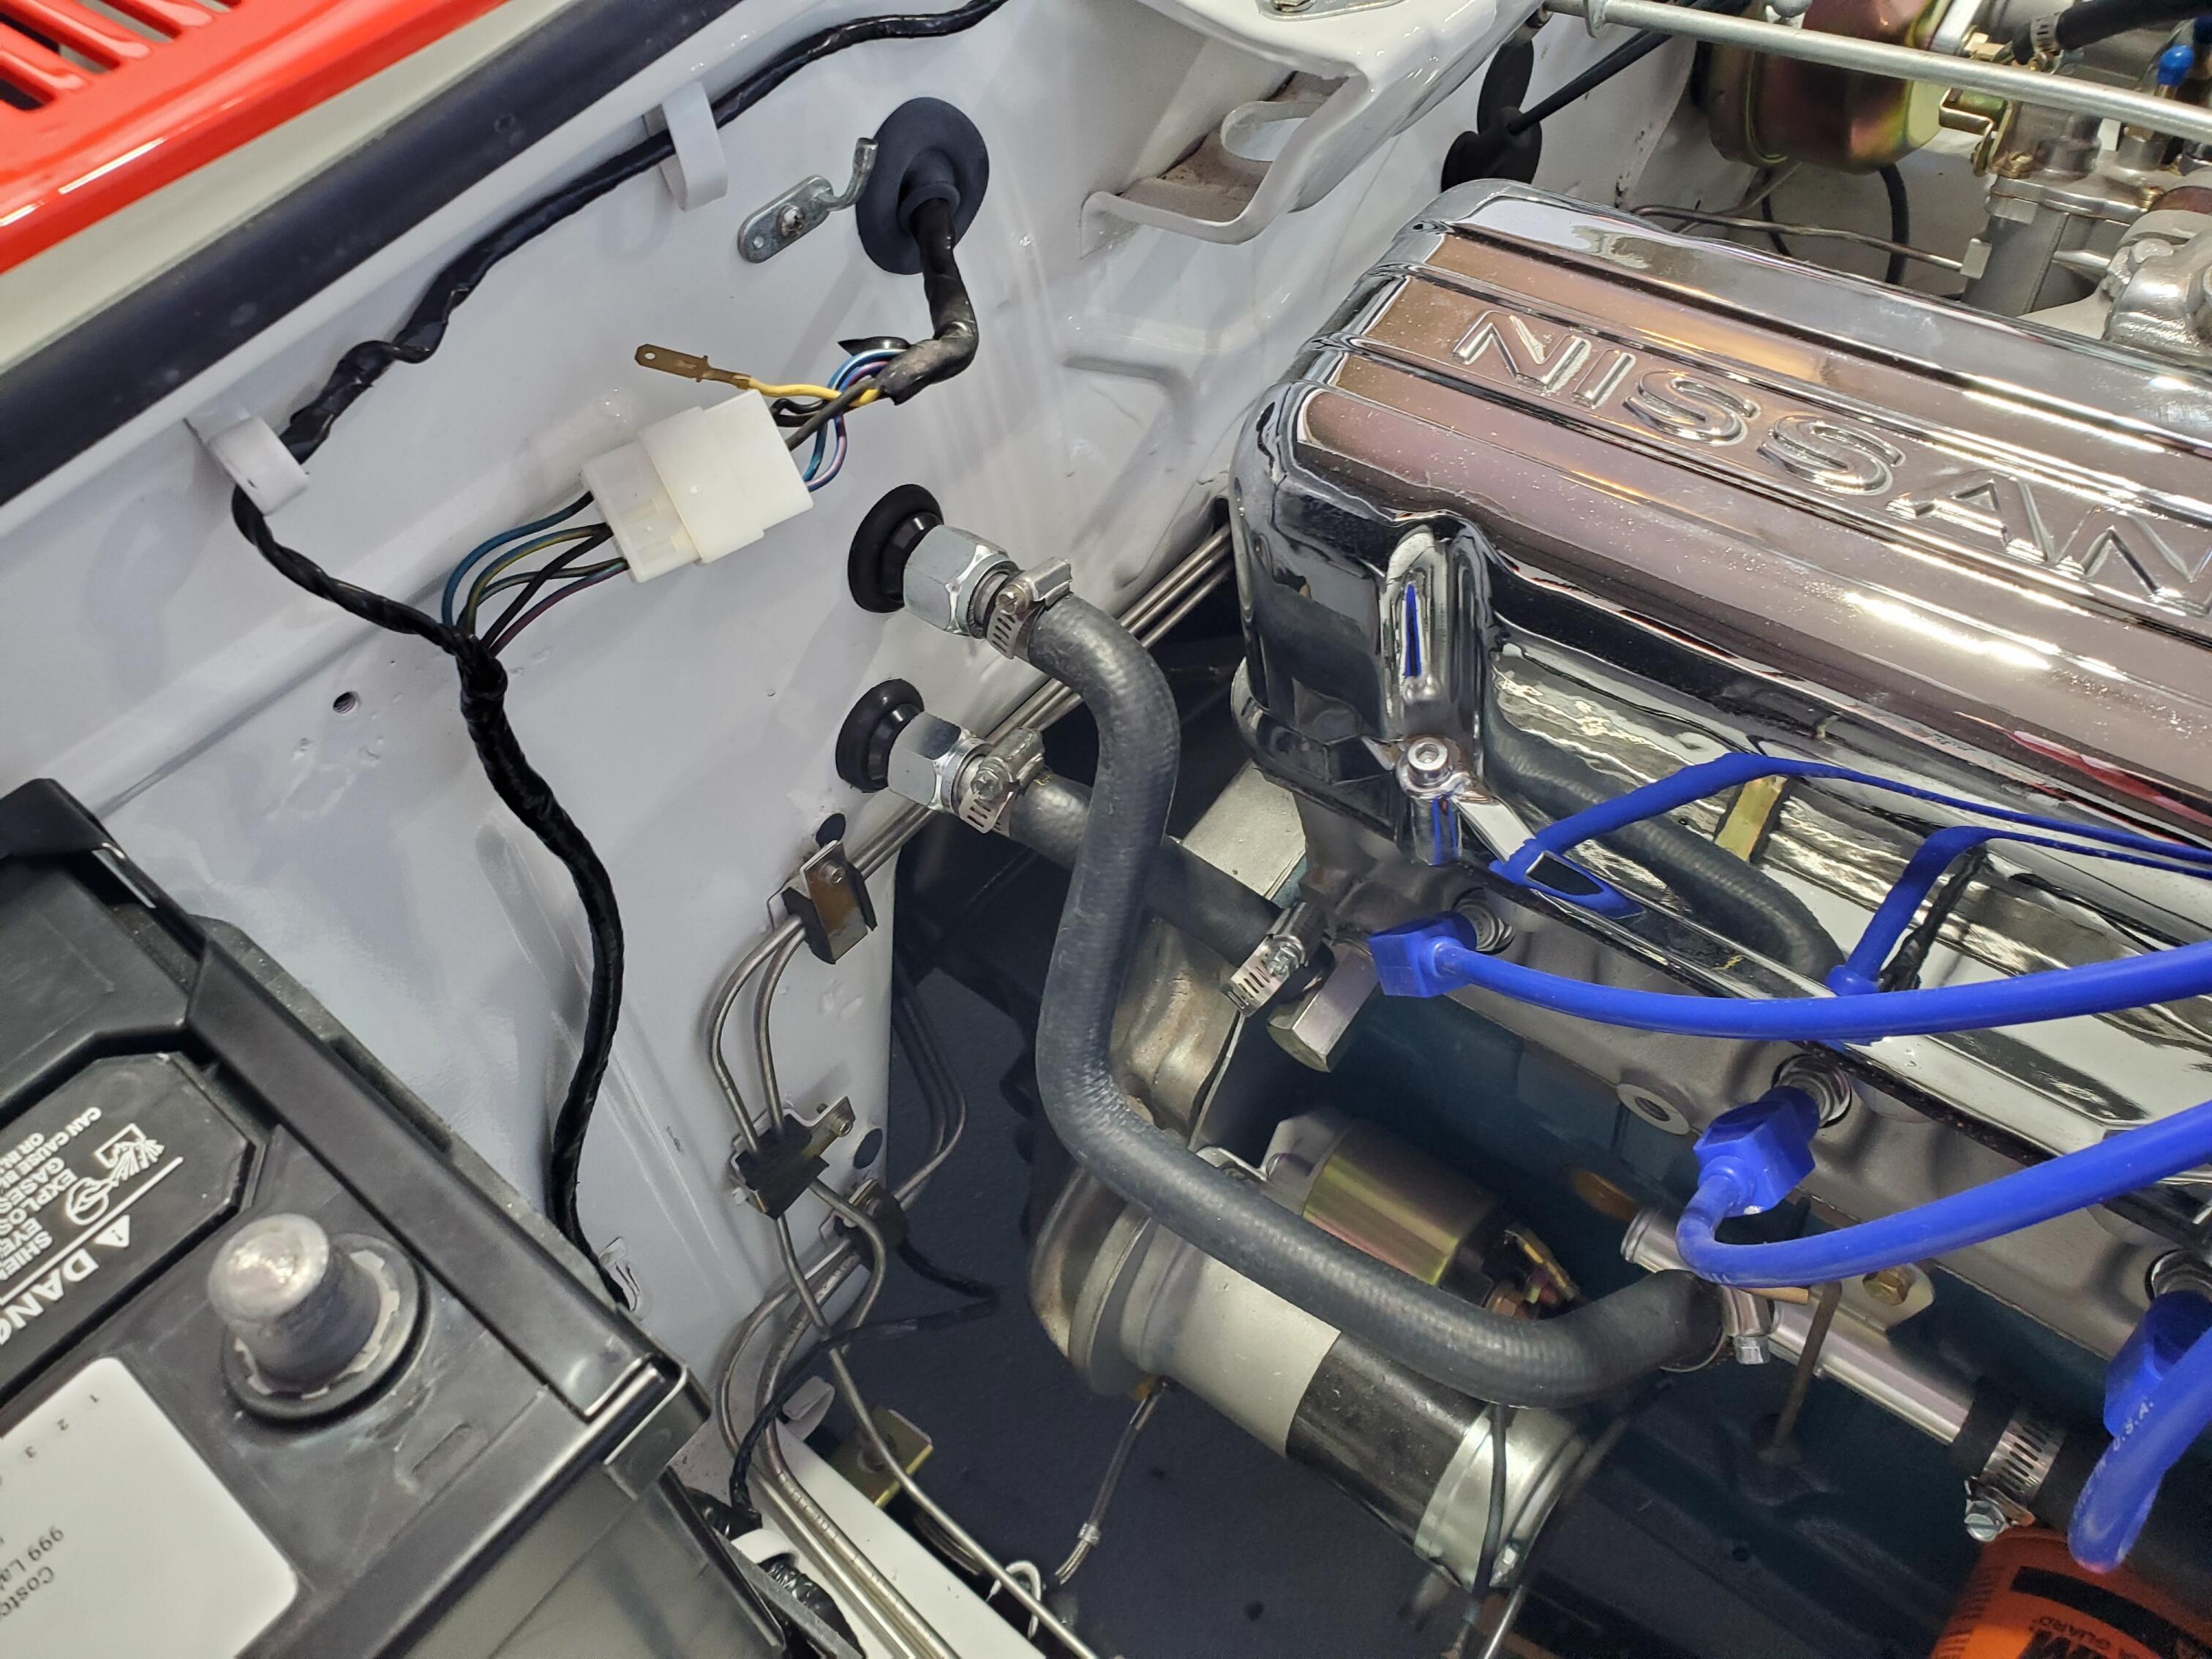
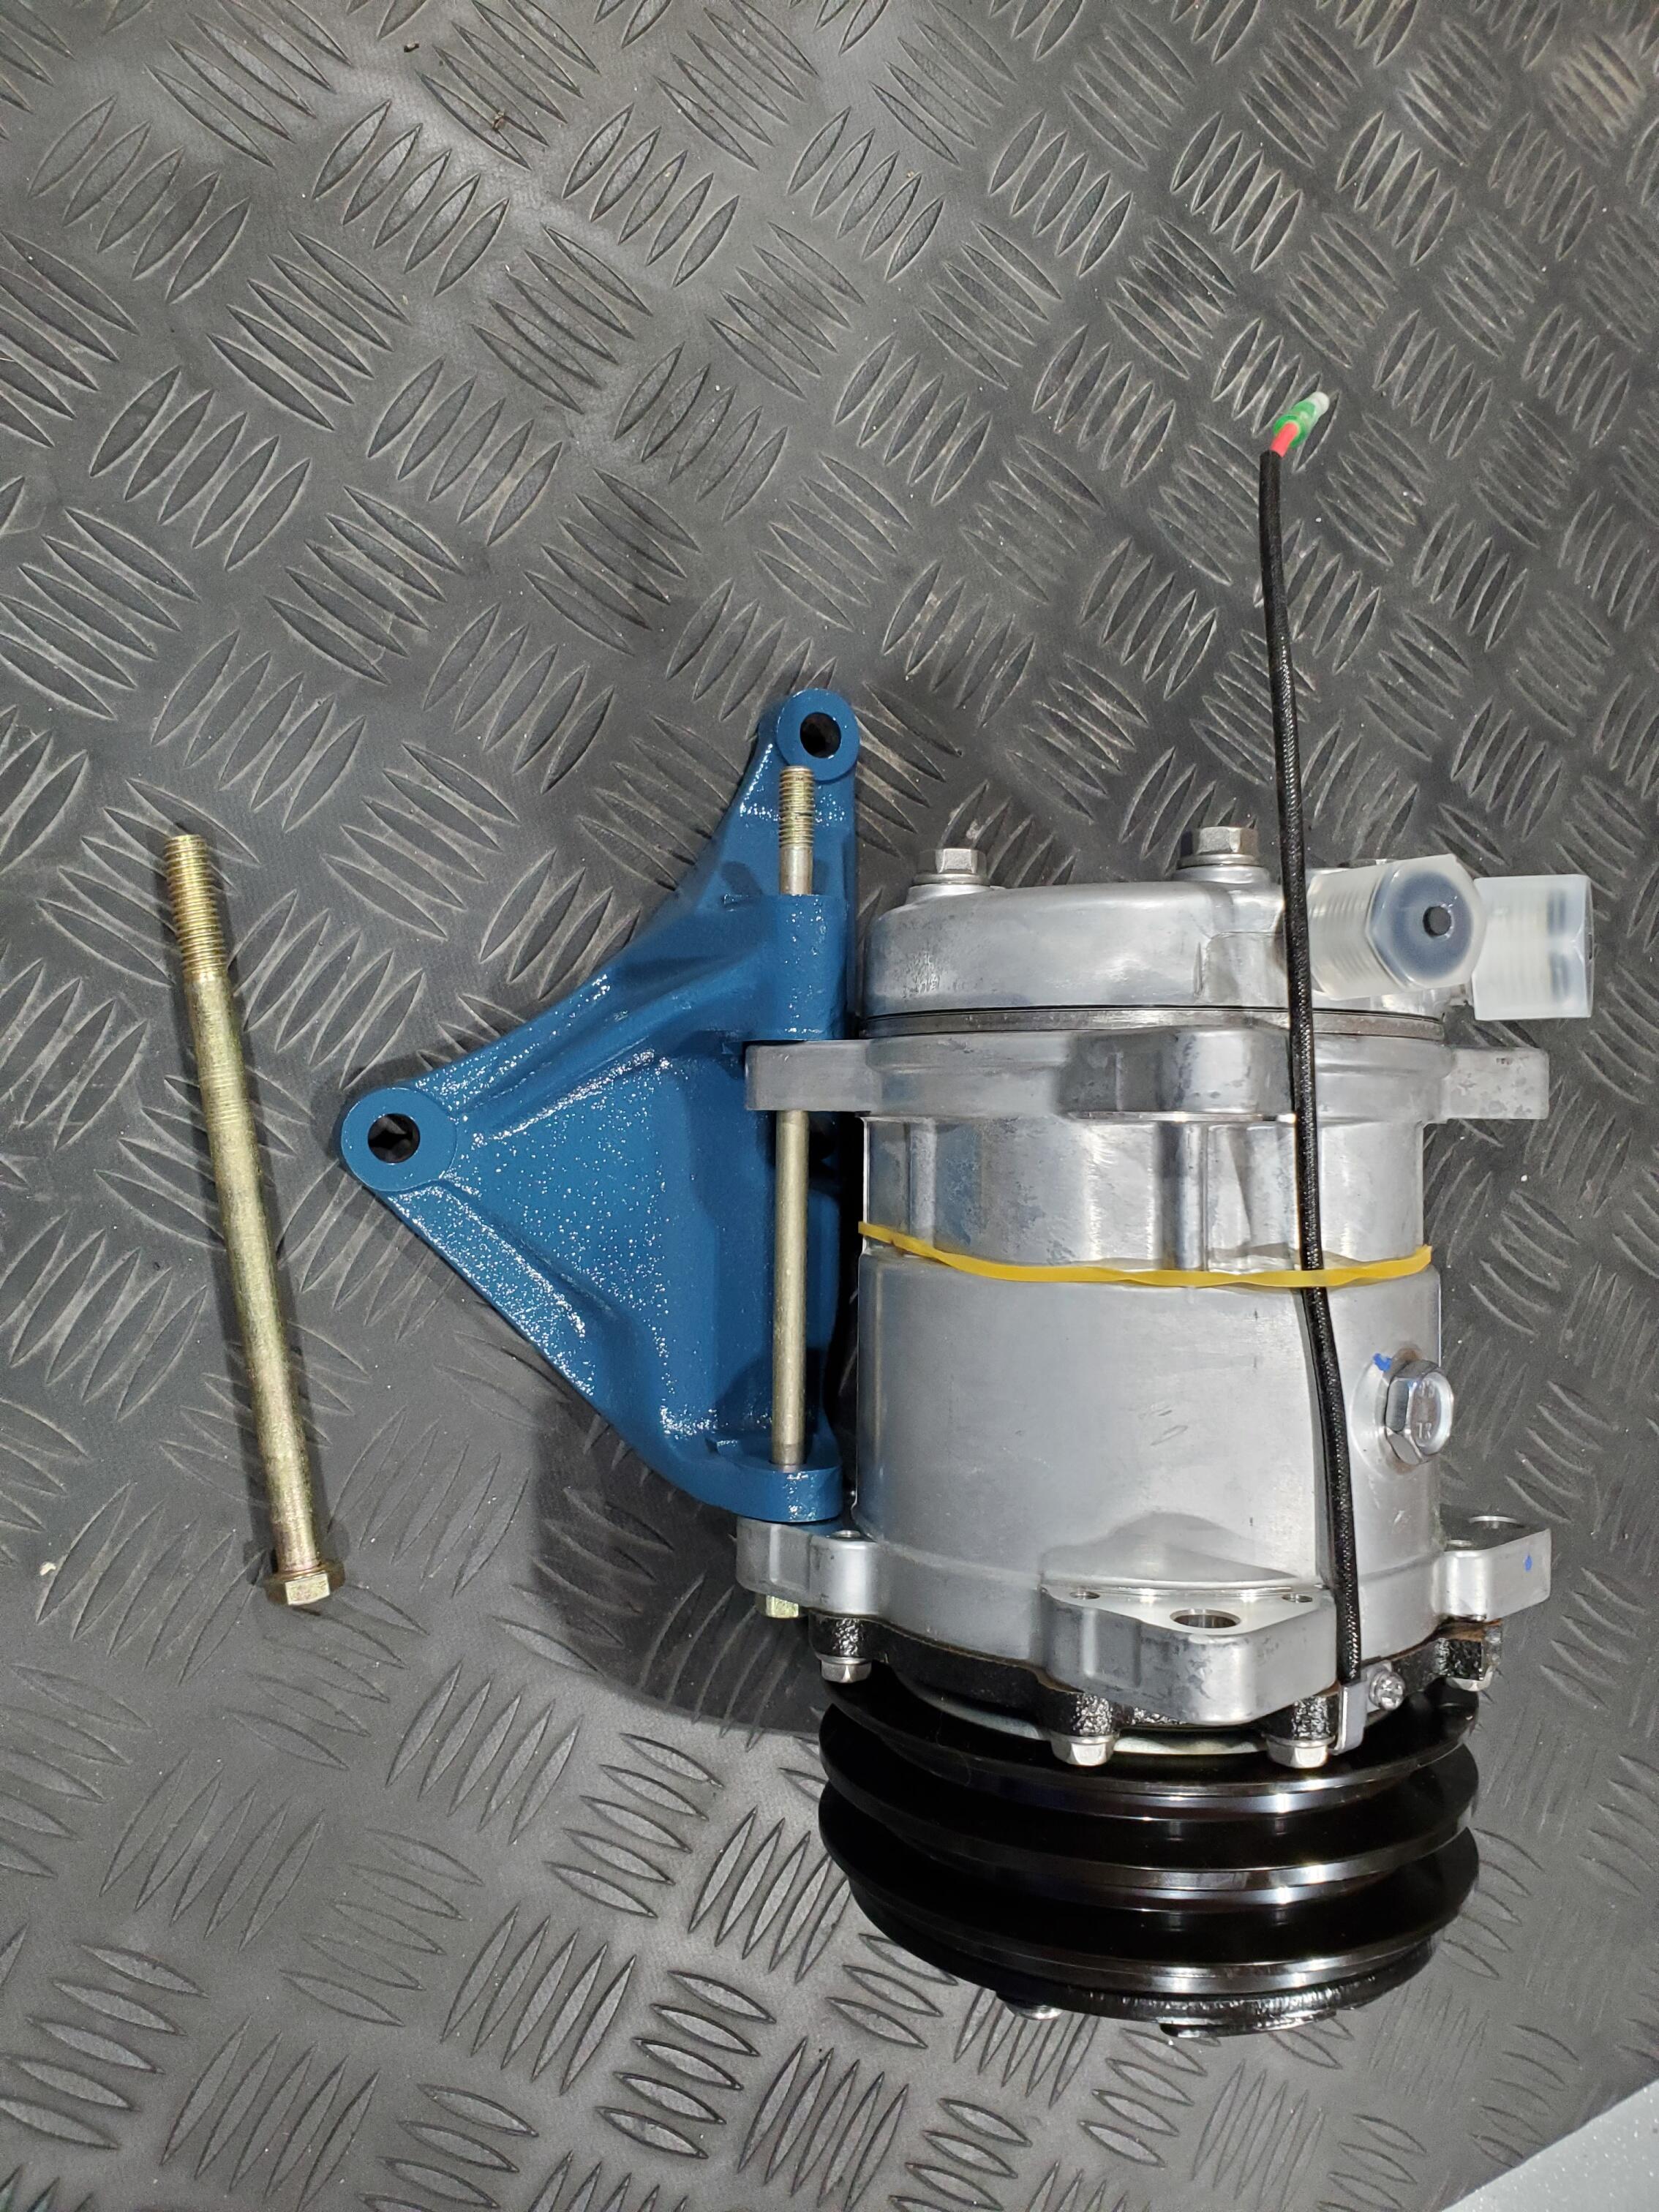
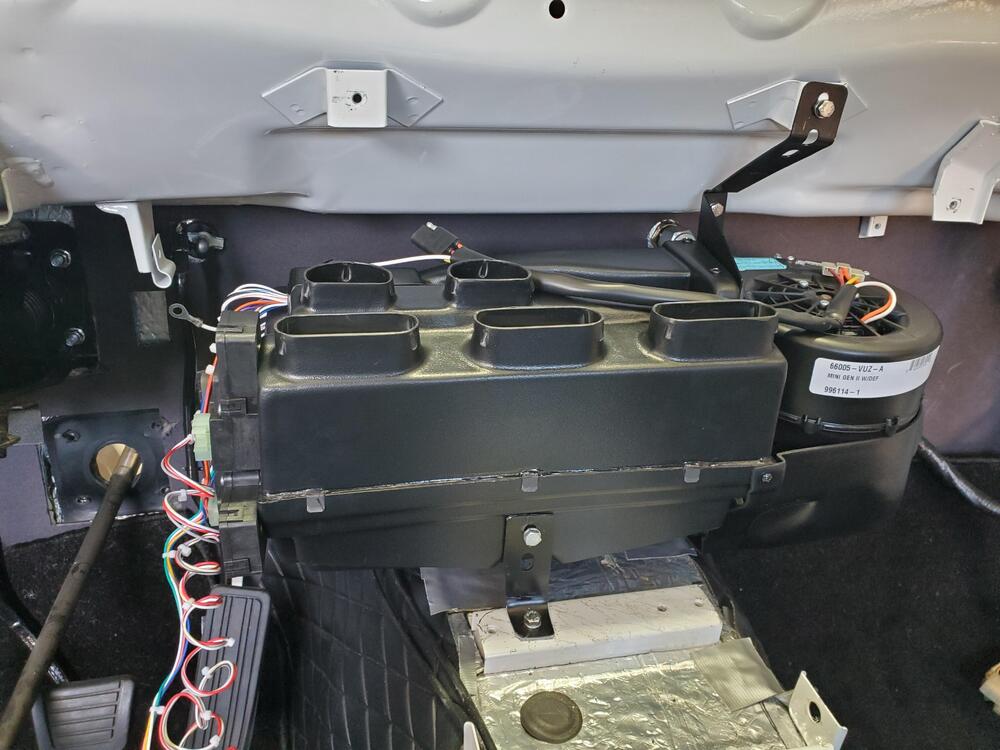
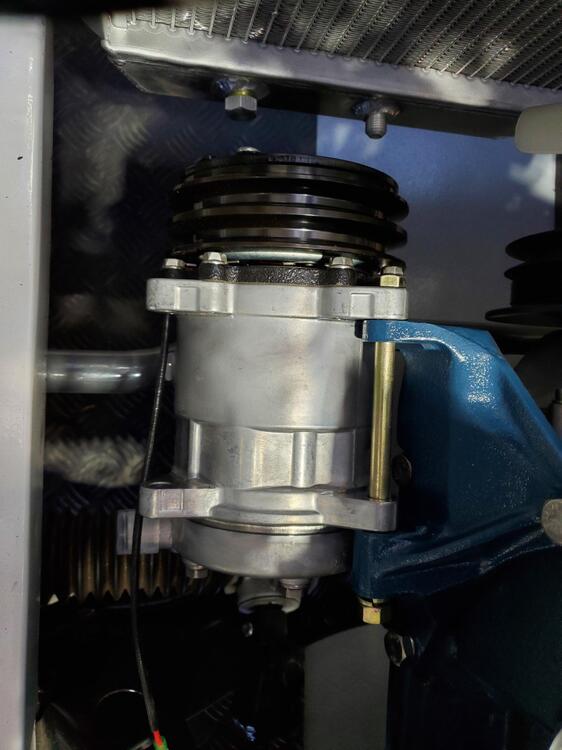
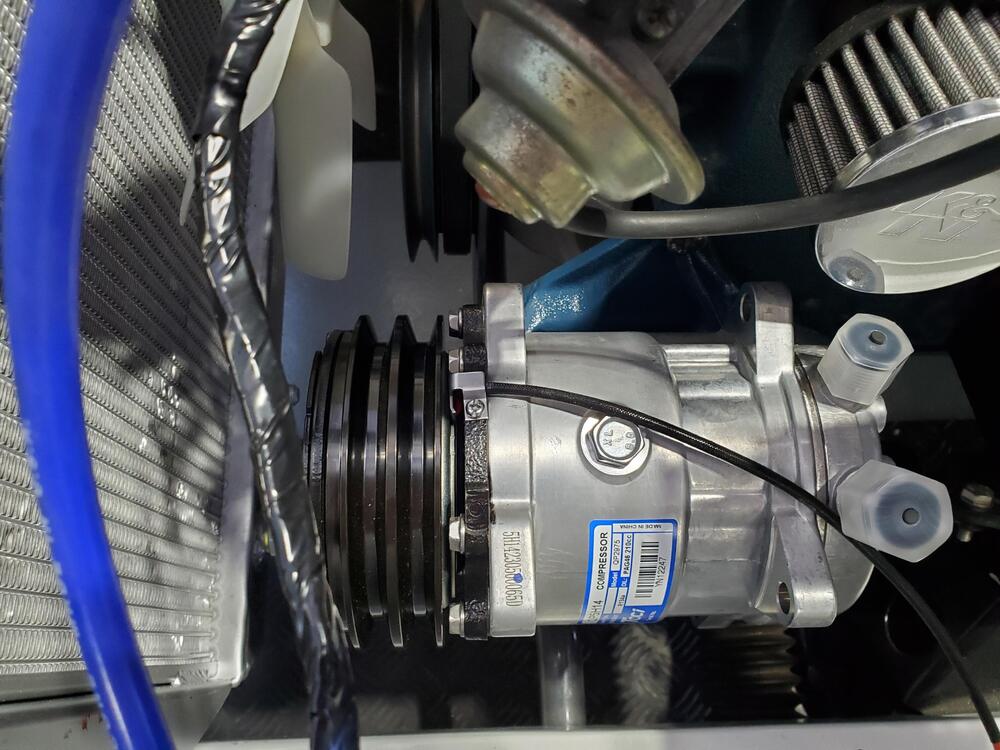
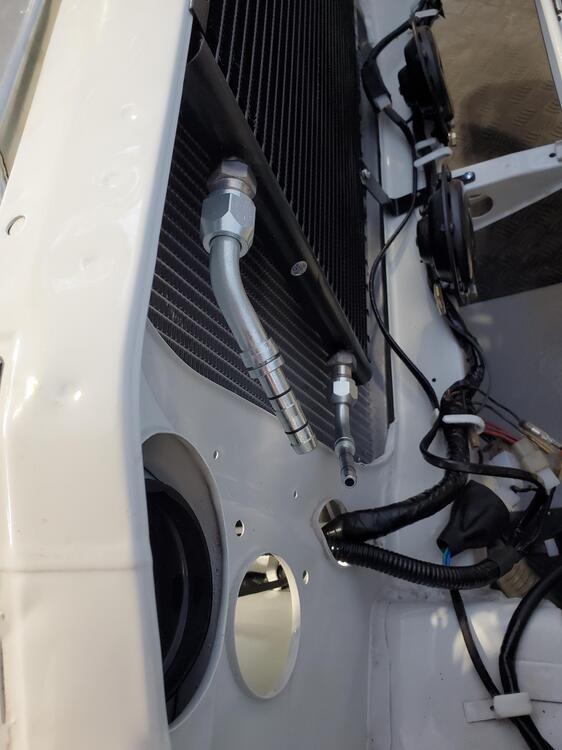
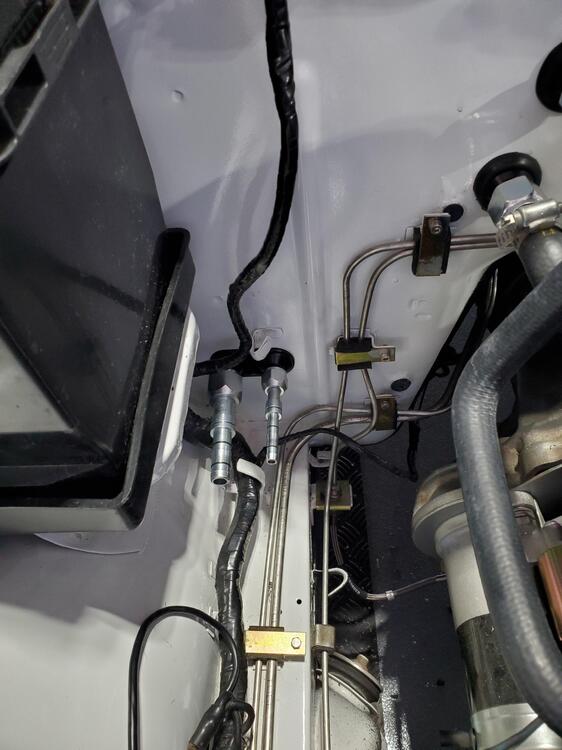
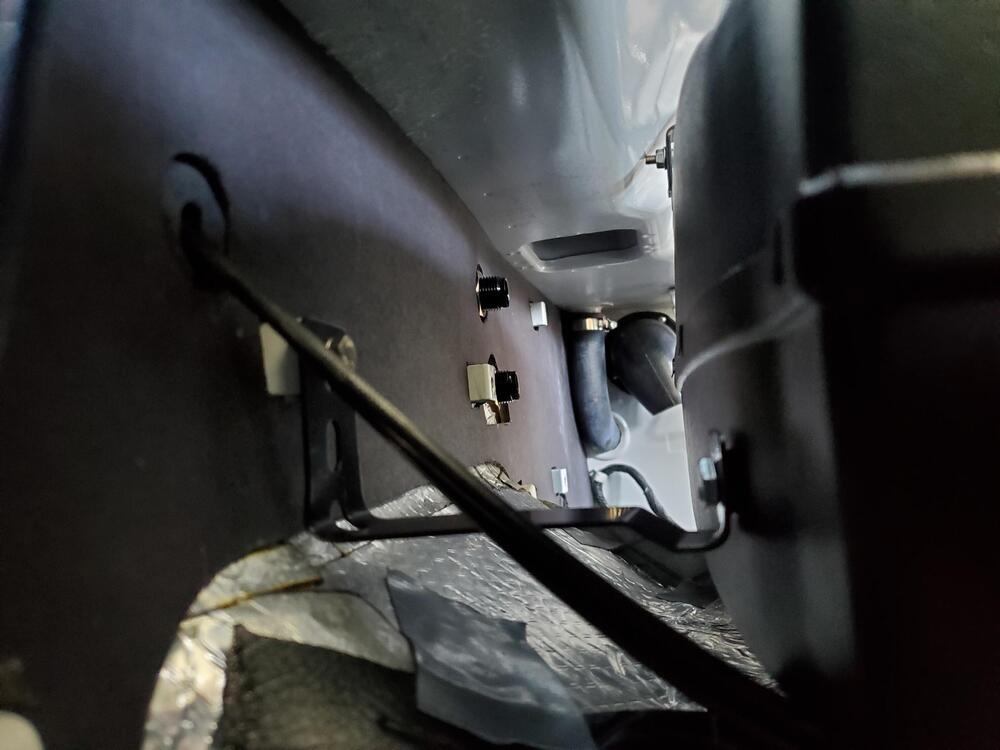
Lots of progress this week. I installed the Evaporator unit using the brackets I fabbed with the mock-up. I fabbed and installed the heater hoses, installed the heater hose control module (electronic, yeah!) and almost all of the AC hoses. AC hoses were pretty easy to make using the hose pliers, very straight forward. I am very happy with the AC compressor mount on the Smog Pump bracket. I drilled out the bracket slightly to accomodate the larger bolt. It mounts firmly in place using the larger bolt. I will add an alternator tensioner to the top of the unit to complete the support and provide adjustment. I was short a few parts (AC hose clamps), probably because of the bulkhead addition so I ordered the few parts that were needed. Also, I did not like the right angle set-up for the AC lines at the bulkhead so ordered one more straight fitting. Will complete the installation when those parts arrive. Here are pics.


-
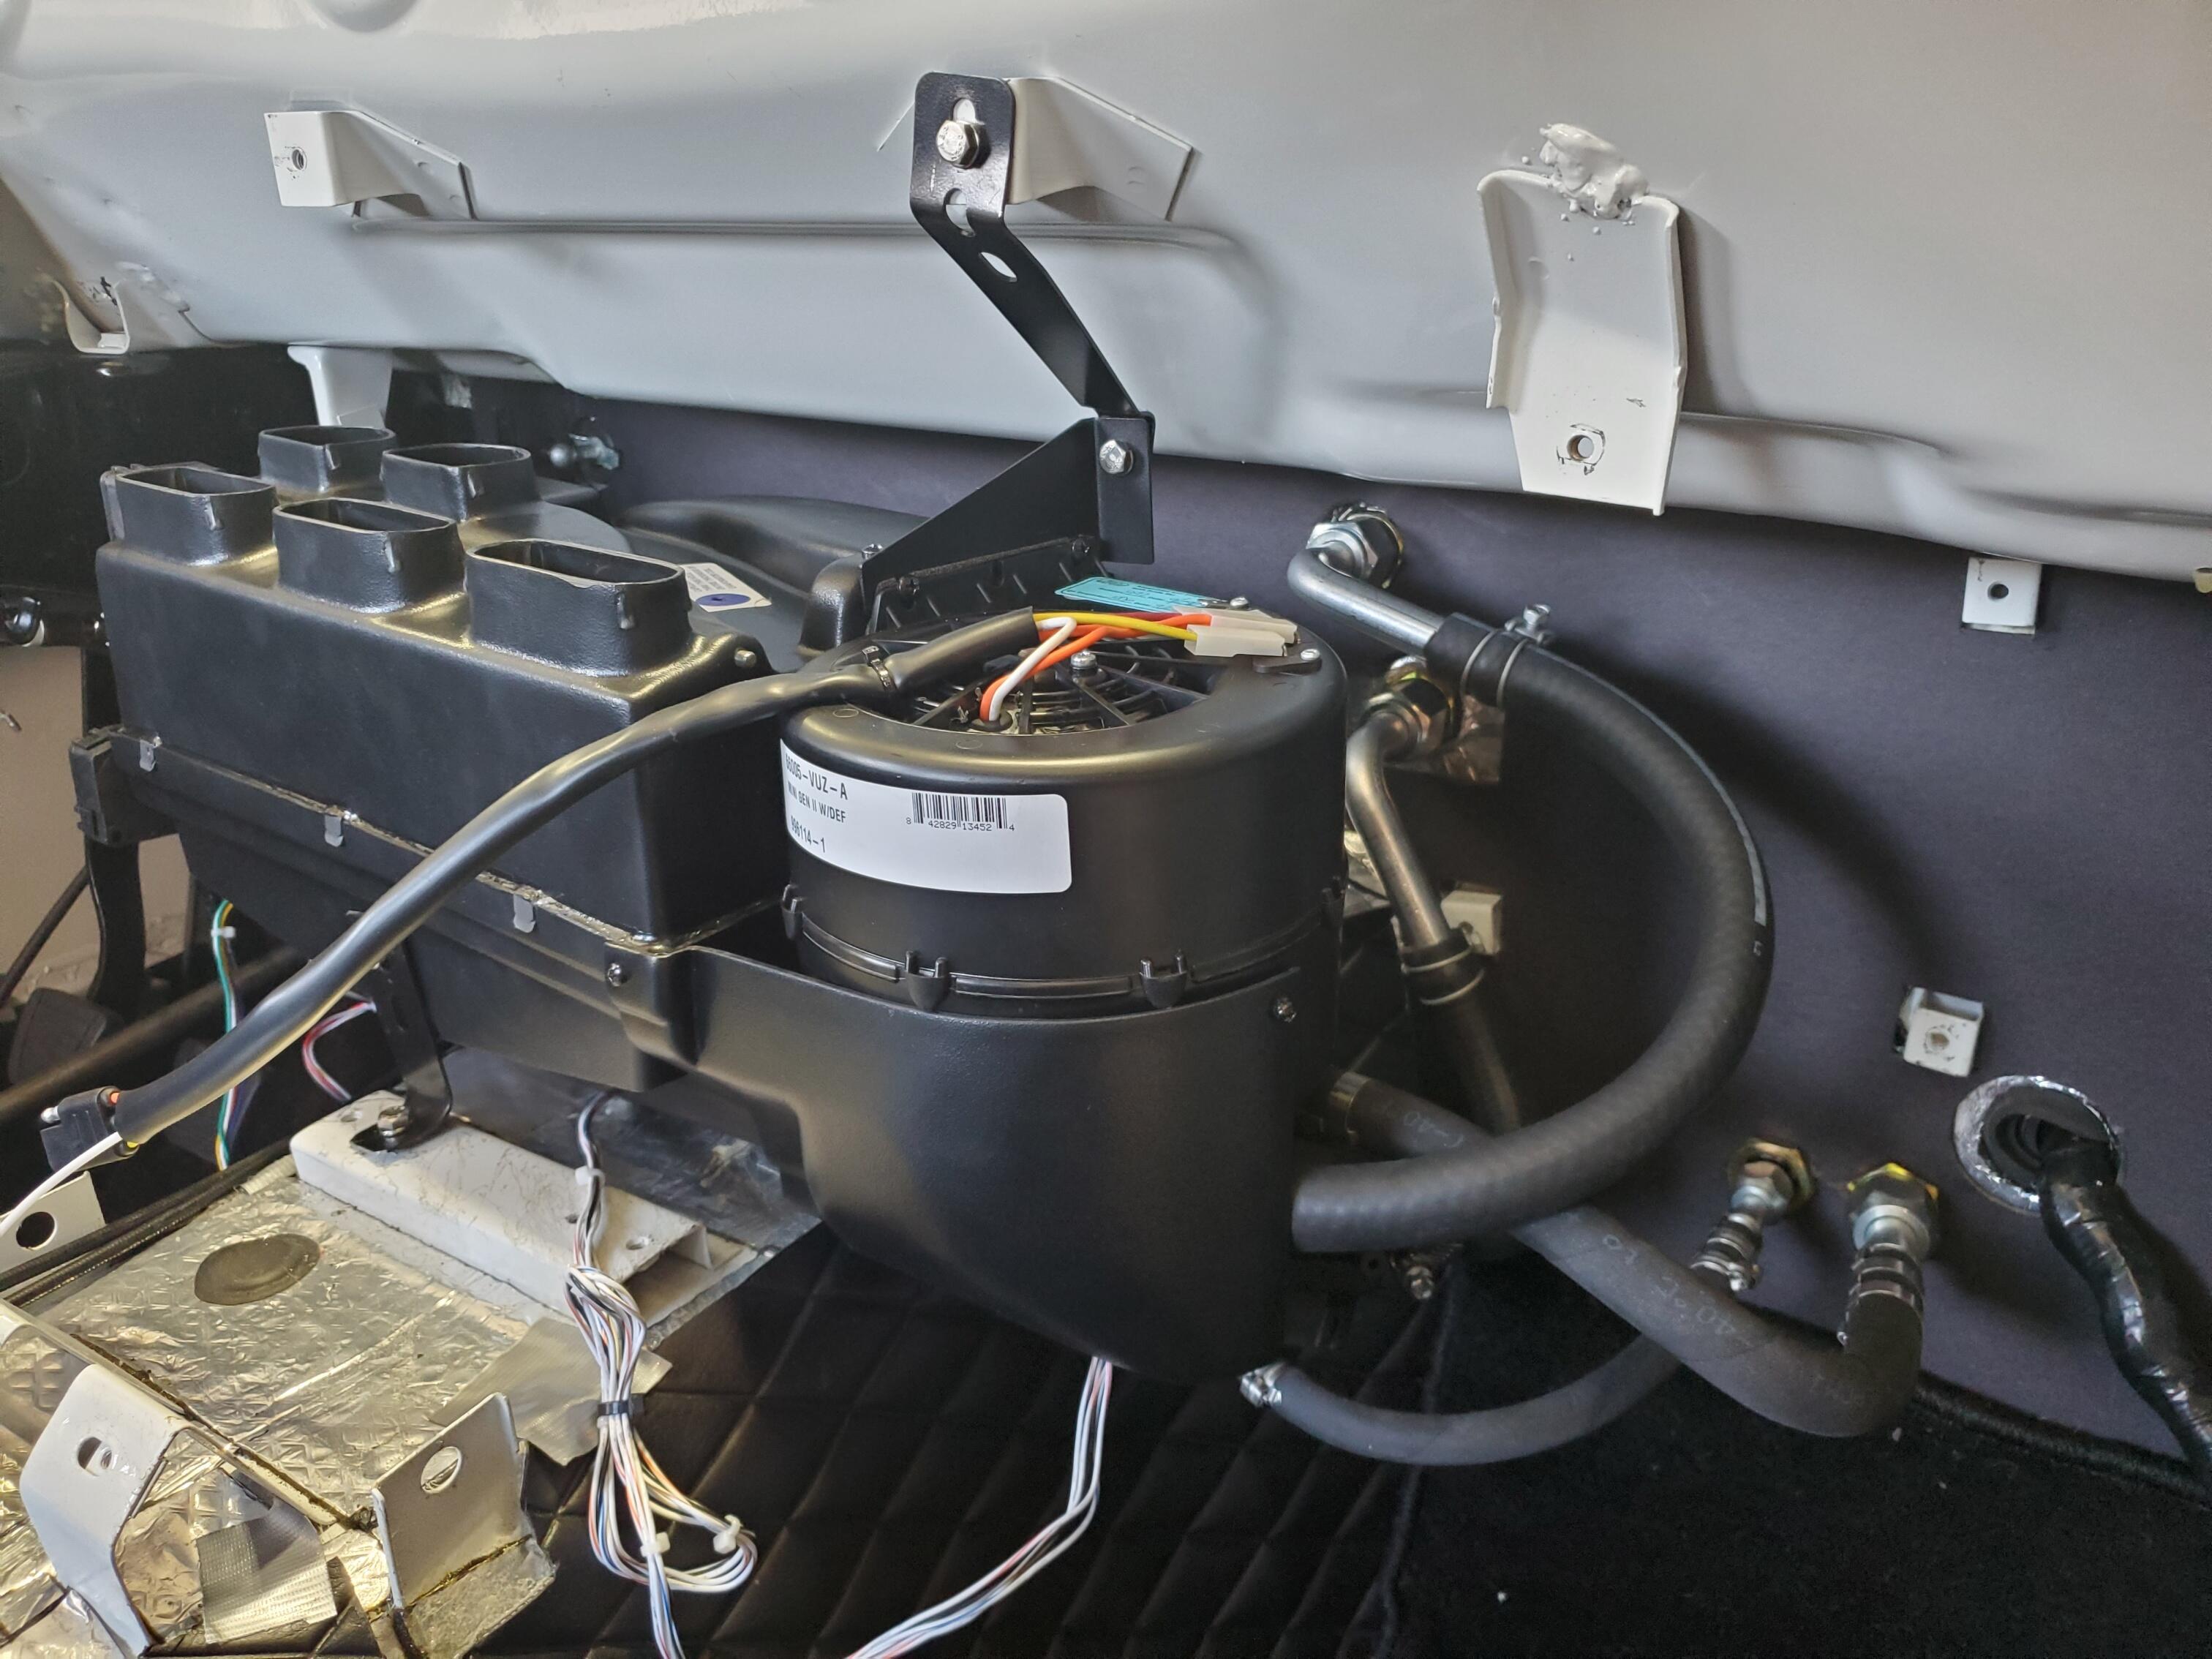
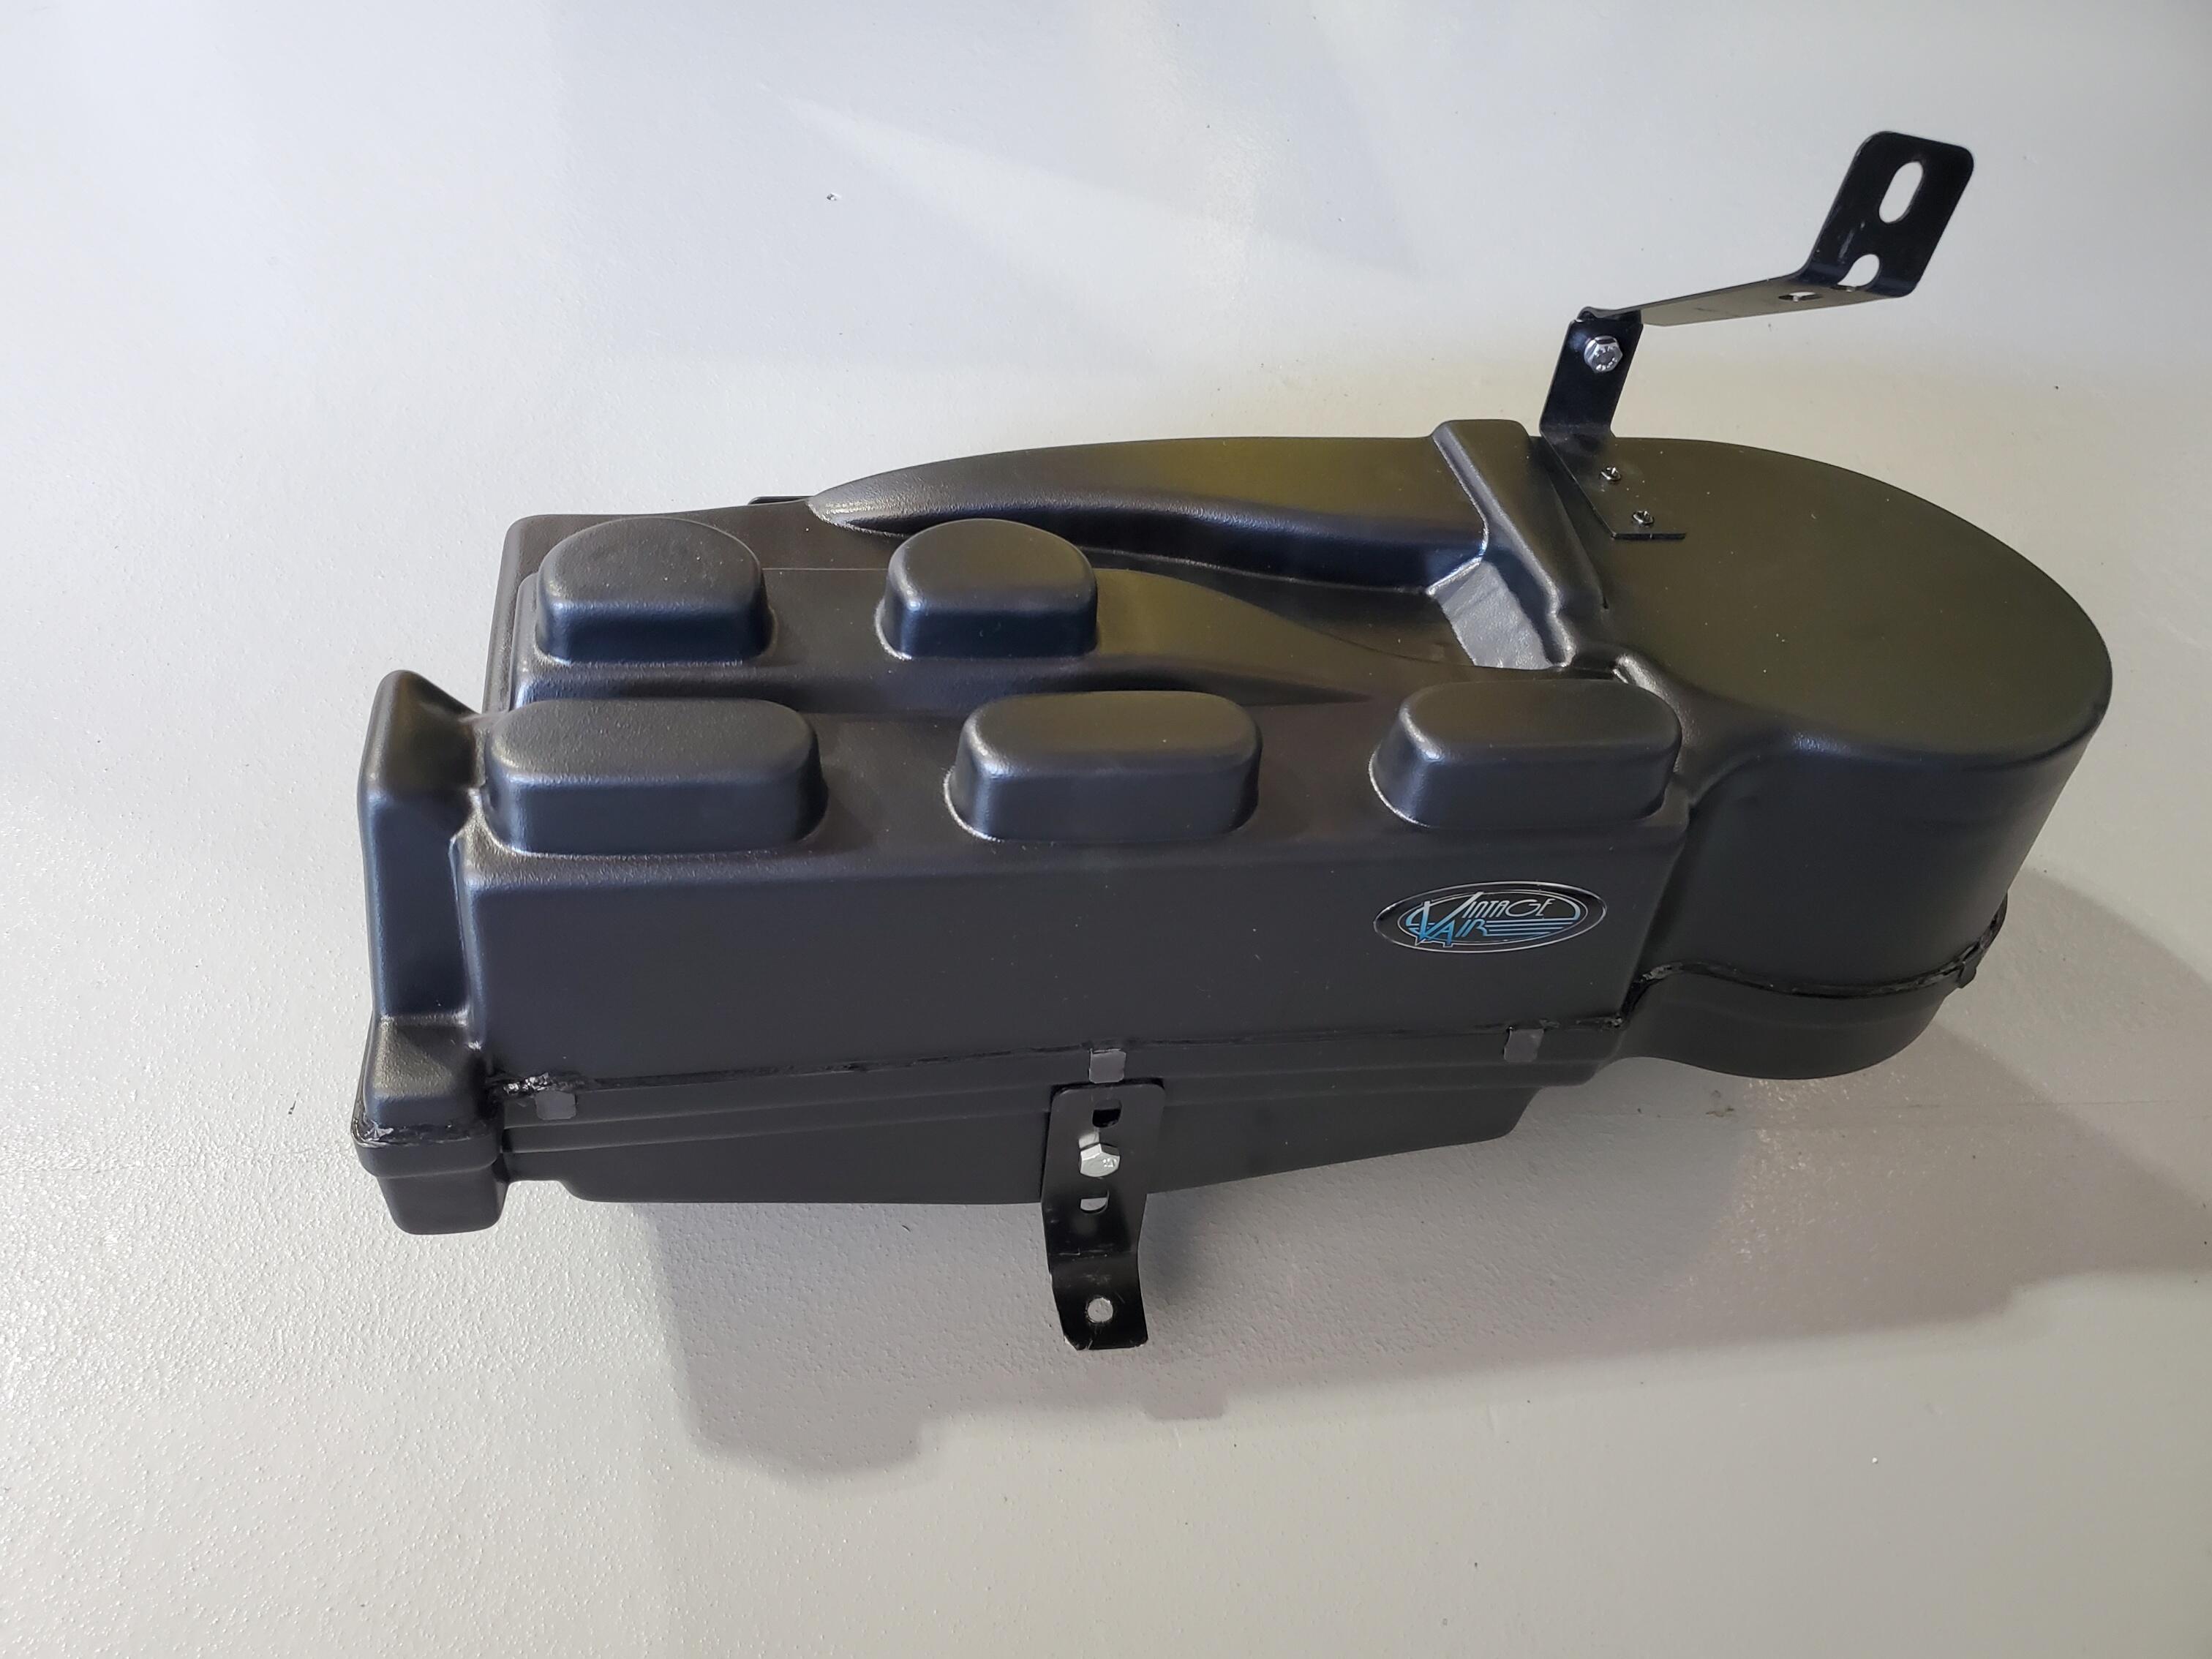
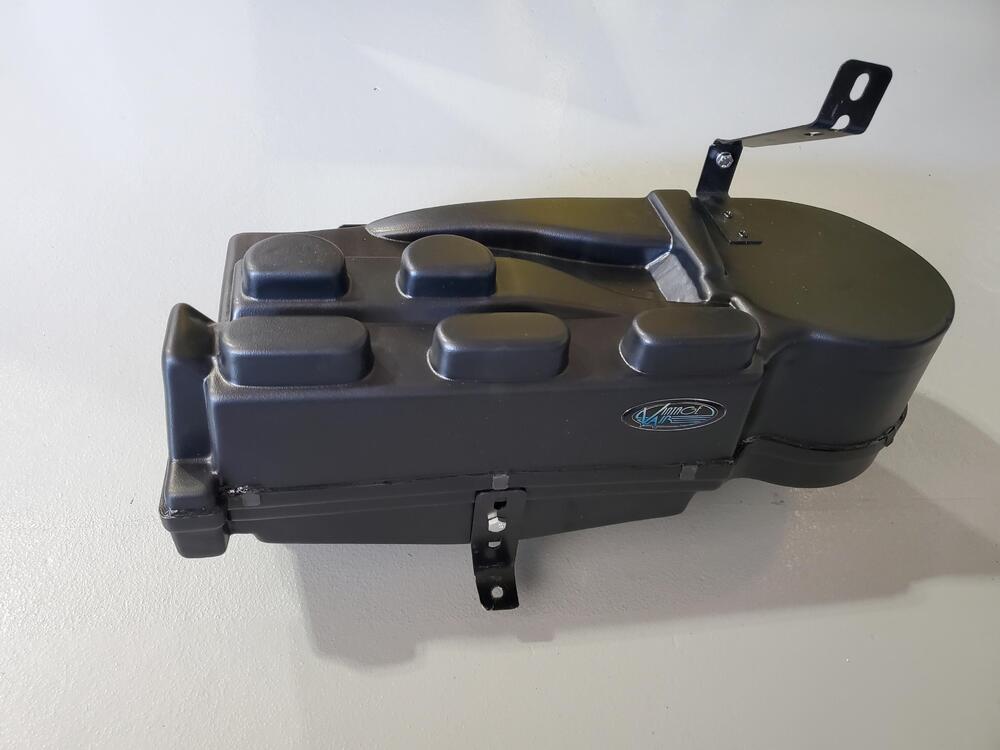
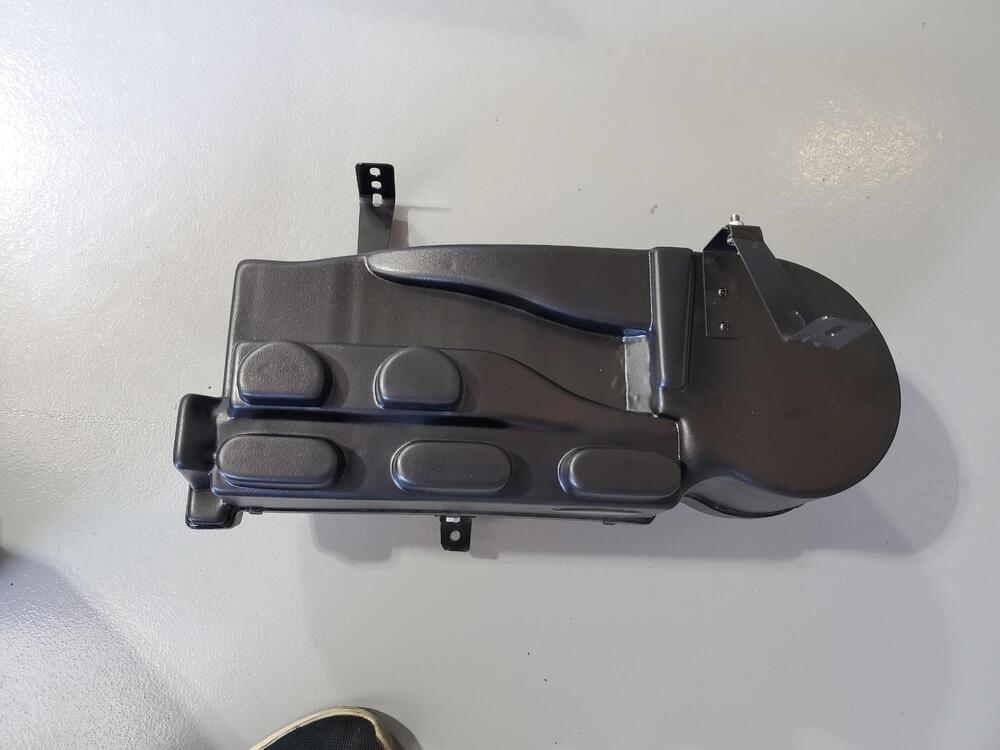
It's the same one that is installed in the other thread. It's the VintageAir Gen II mini. The thing that I am really liking about it is the compact size and the electronic vent operation. No more rickety sliding levers and cables to install and adjust. I have not addressed the control panel yet, but will do my best to have it look like the original when I get to that point.
-
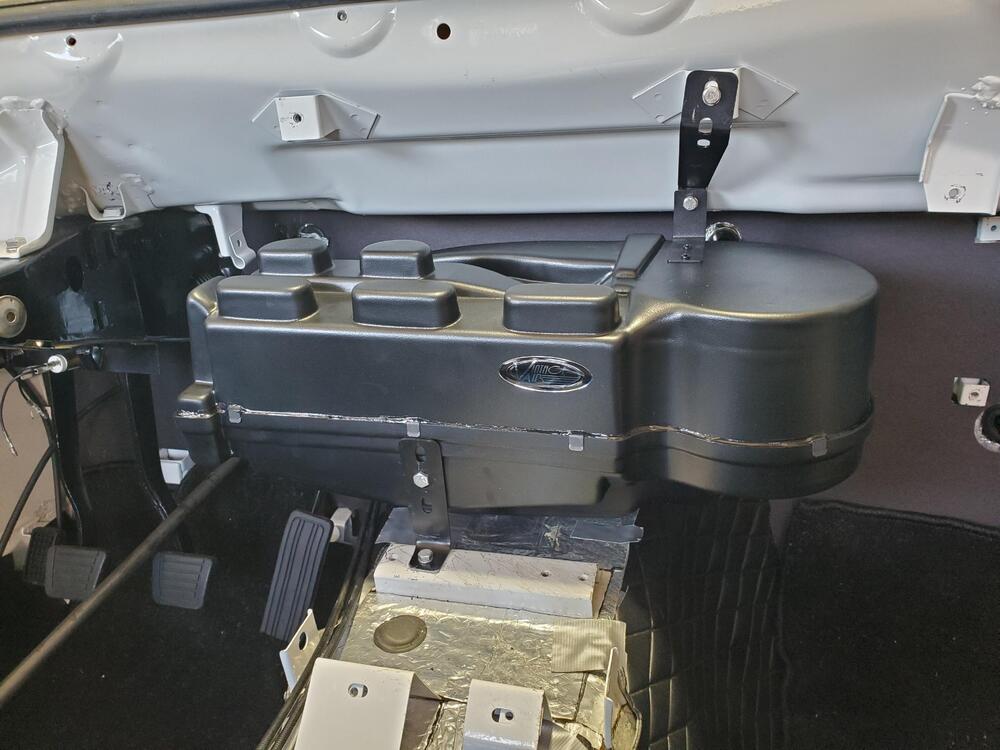
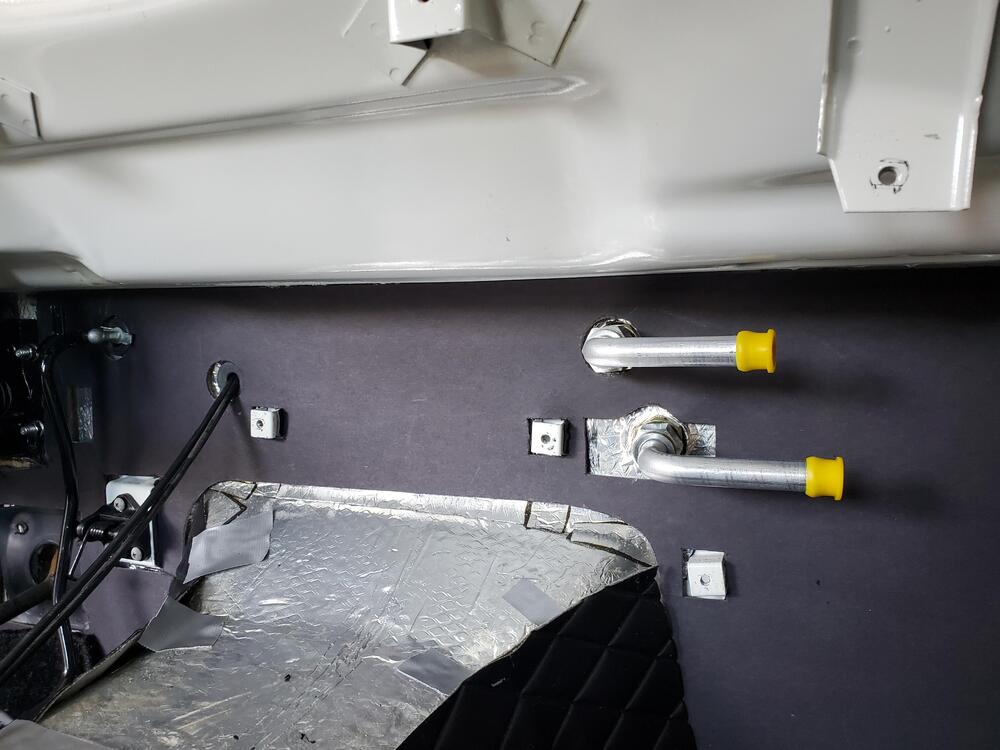
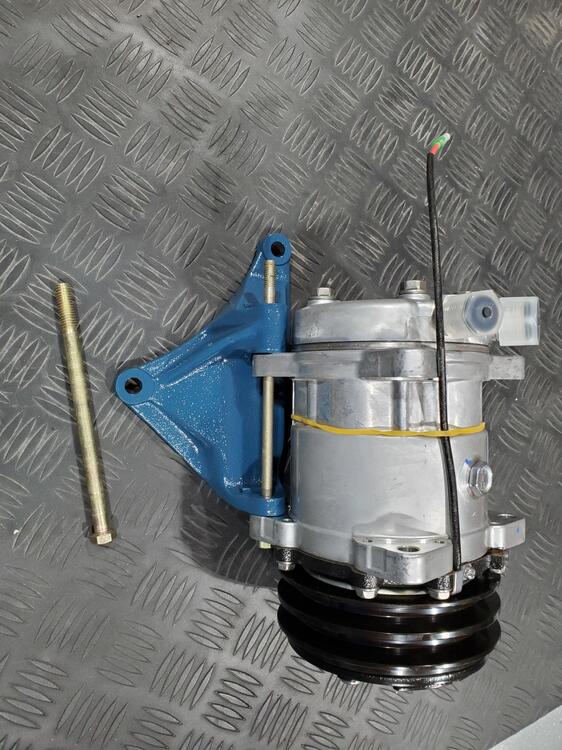
I was provided a light weight (about 1 pound) mock-up of the AC Evaporator with the kit to use for fabricating the support brackets. This is much easier to manage than the actual 15-20 pound REAL Evaporator unit. I fabricated the 3 brackets to support the unit as shown below. I installed the bulkhead connectors for the heater lines in the engine bay and adapter the hoses. I will do the interior heater lines next. I temporarily attached the right angle heater fittings on the interior just to see how they would look. Also did a quick verification putting the mock-up back in to make sure there was no interference with the heater lines . I marked a preliminary position for the AC lines with a cut-out from the bulkhead connector kit, but decided to go horizontal instead of the vertical shown here. Horizontal gives a little more foot room for the passenger and also keeps things fairly clean inside the engine bay. I grabbed an old smog pump bracket and found that it works very well in supporting the compressor. The bracket also lines the compressor pulley up perfectly with the crank pulley. I cleaned and painted it. You can see how things line up in the picture below, very nice. I will drill out the bracket to accomodate the larger bolt shown below, which is a bit beefier and happens to be the correct length. I will use an expandable arm similar to what is supporting the alternator for an upper support that will also provide a little adjustability. As I get farther along with this, I must say that I am actually starting to like this set-up. It is very clean under the dash and so far has not been difficult to install. (Hopefully I am not speaking too soon here). The AC Evaporator vent openings are all controlled electronically and seem fairly simple in their operation. If things continue to go smoothly, I may put this on more cars in the future. Pics below.


-
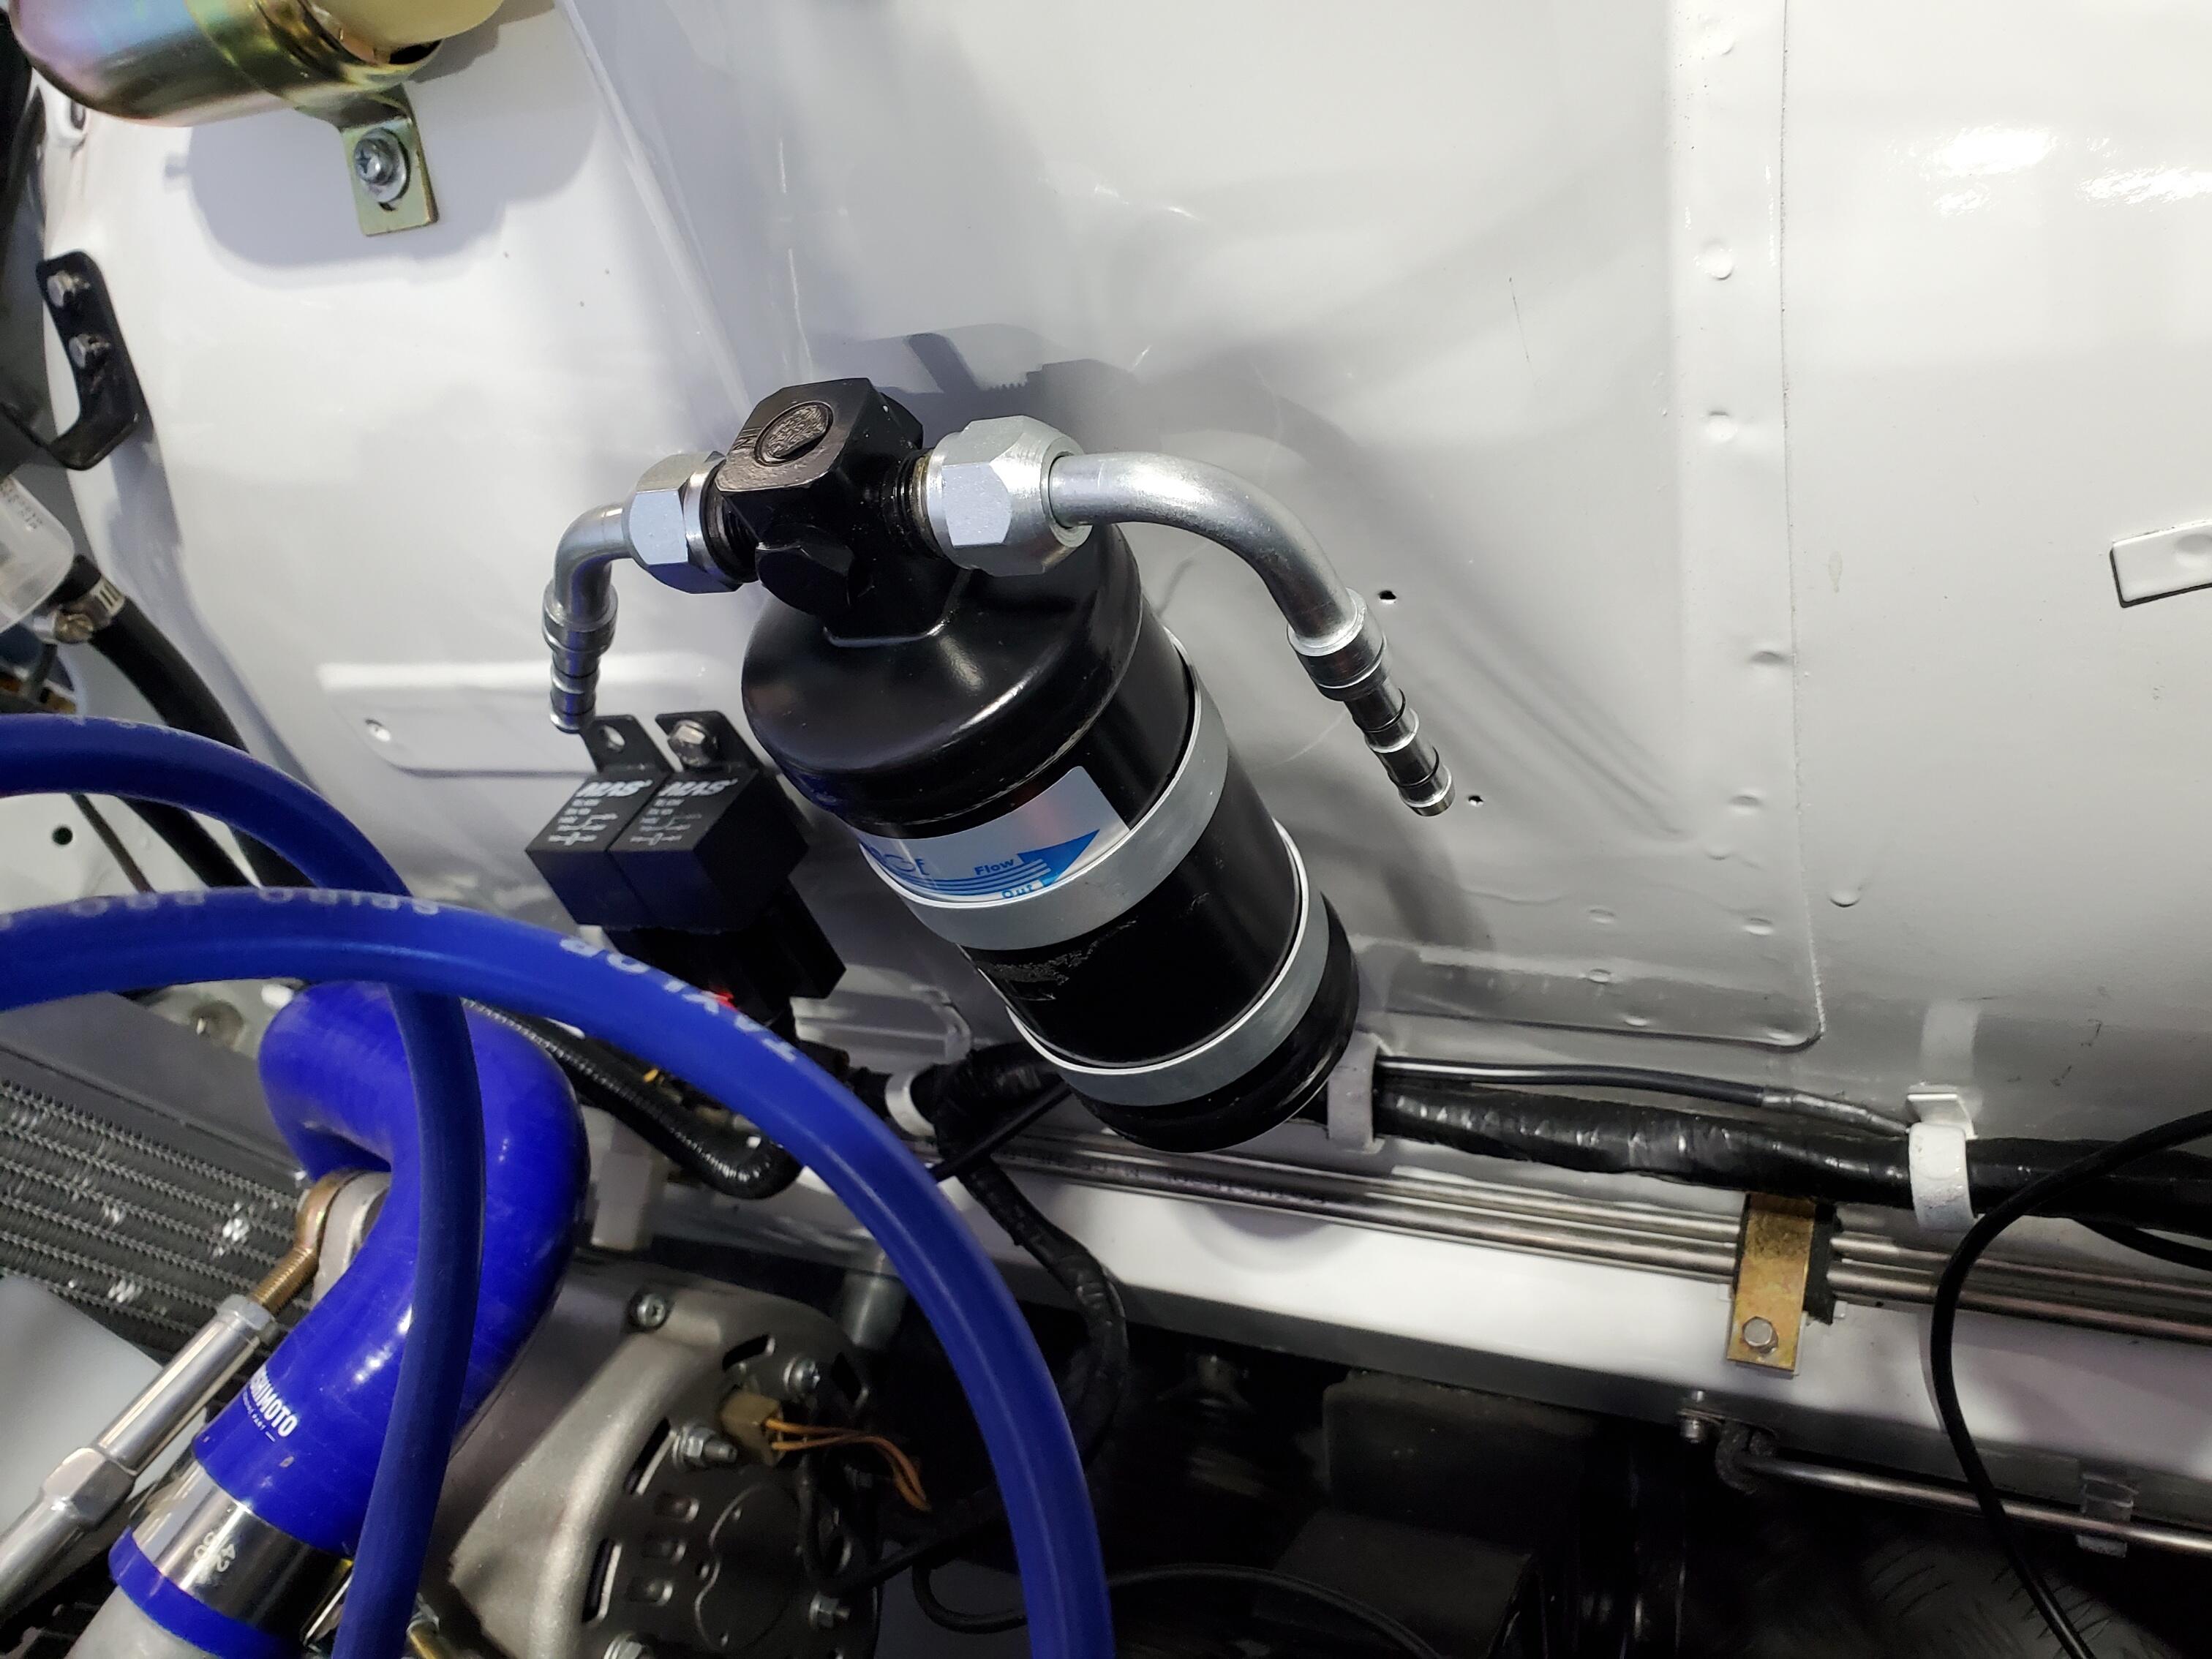
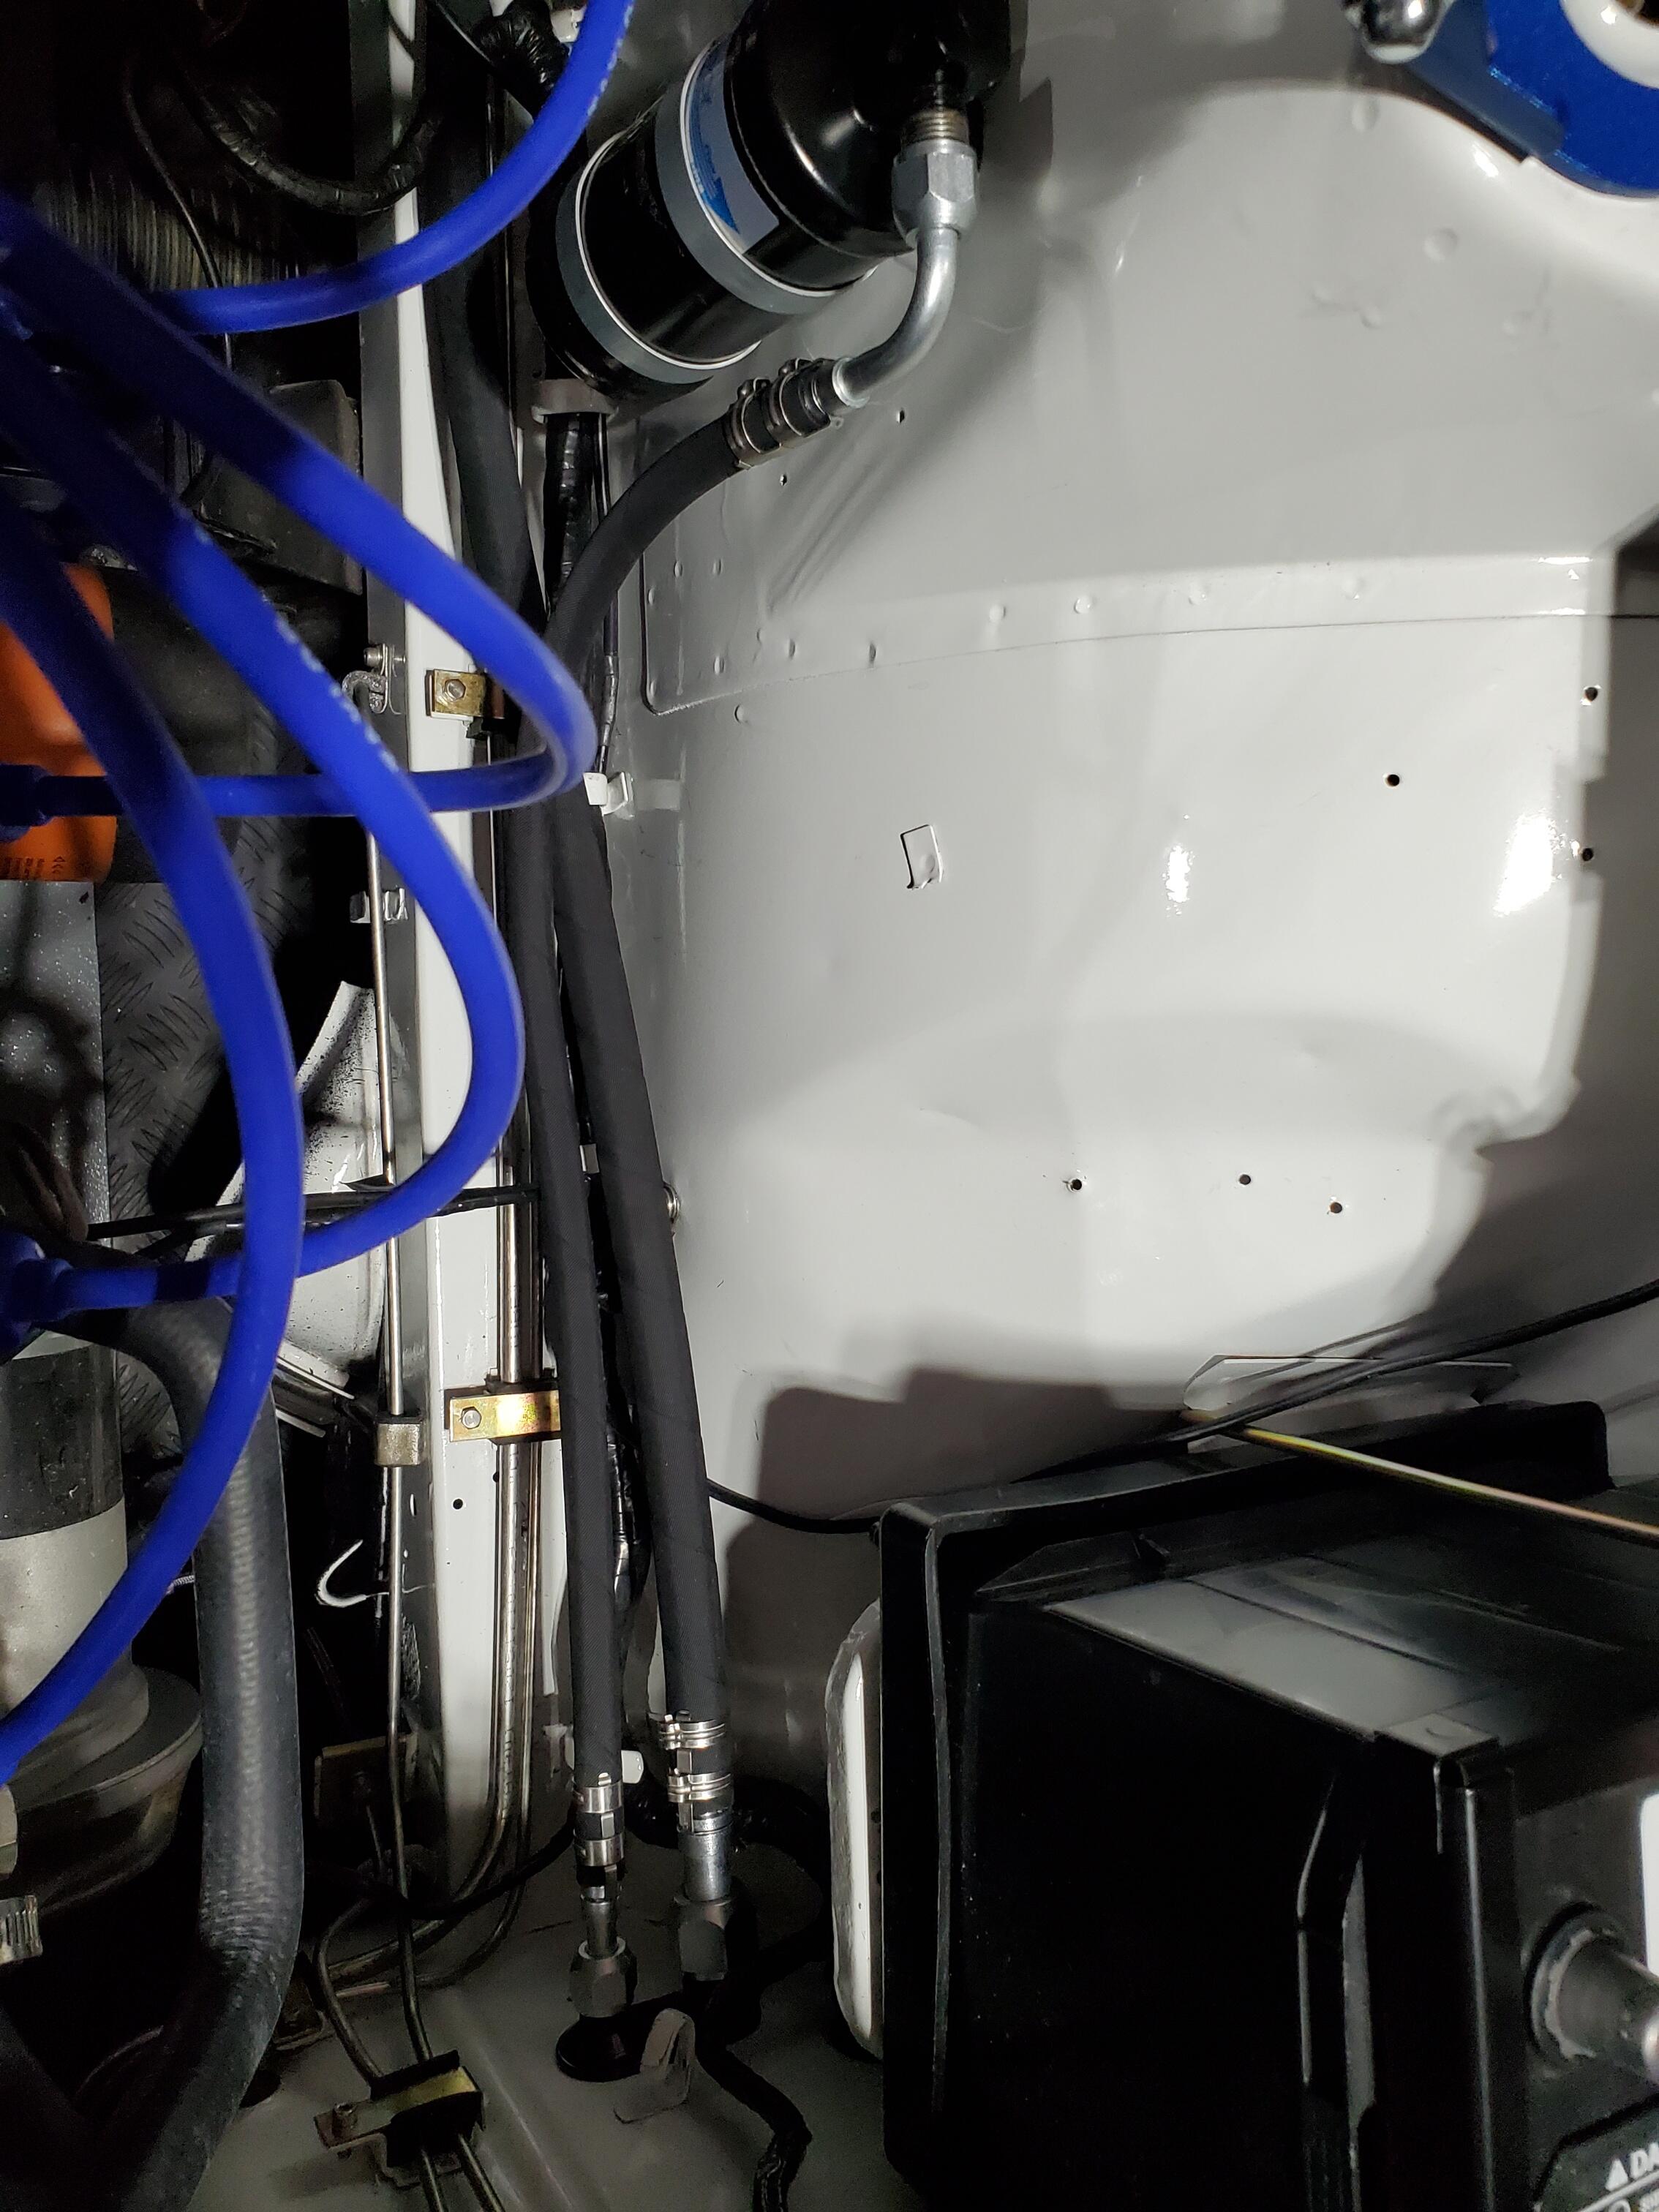
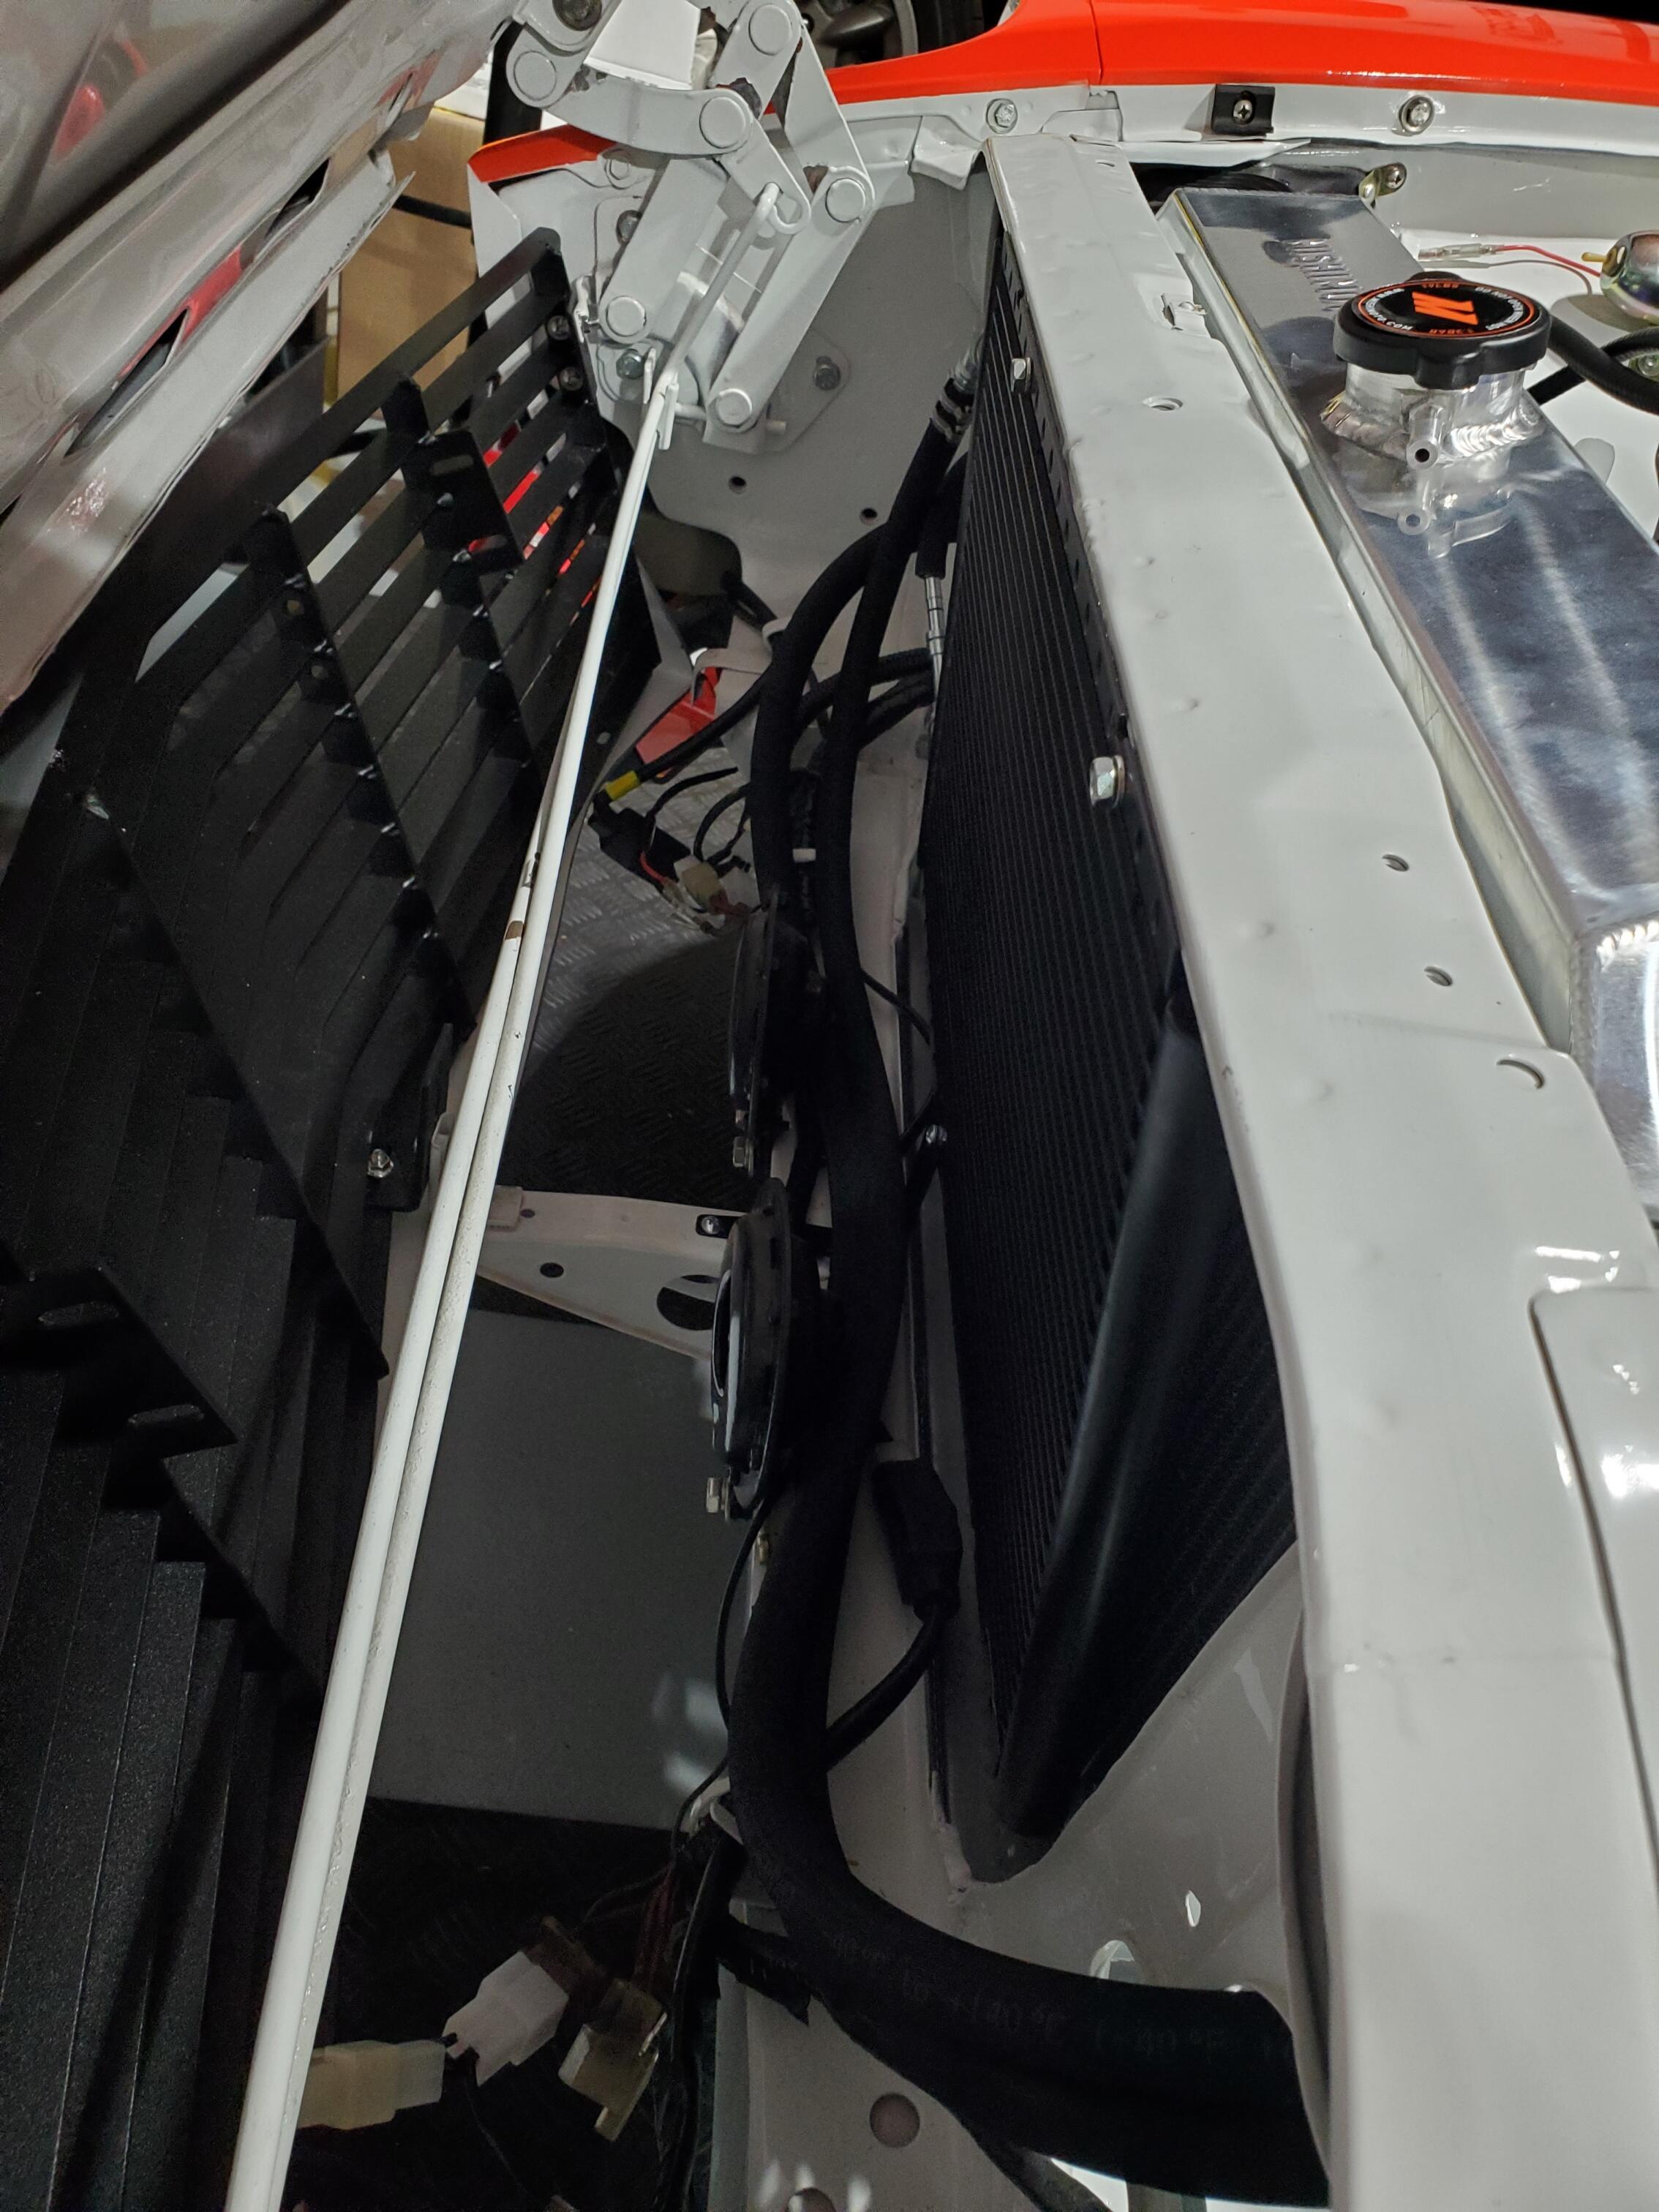
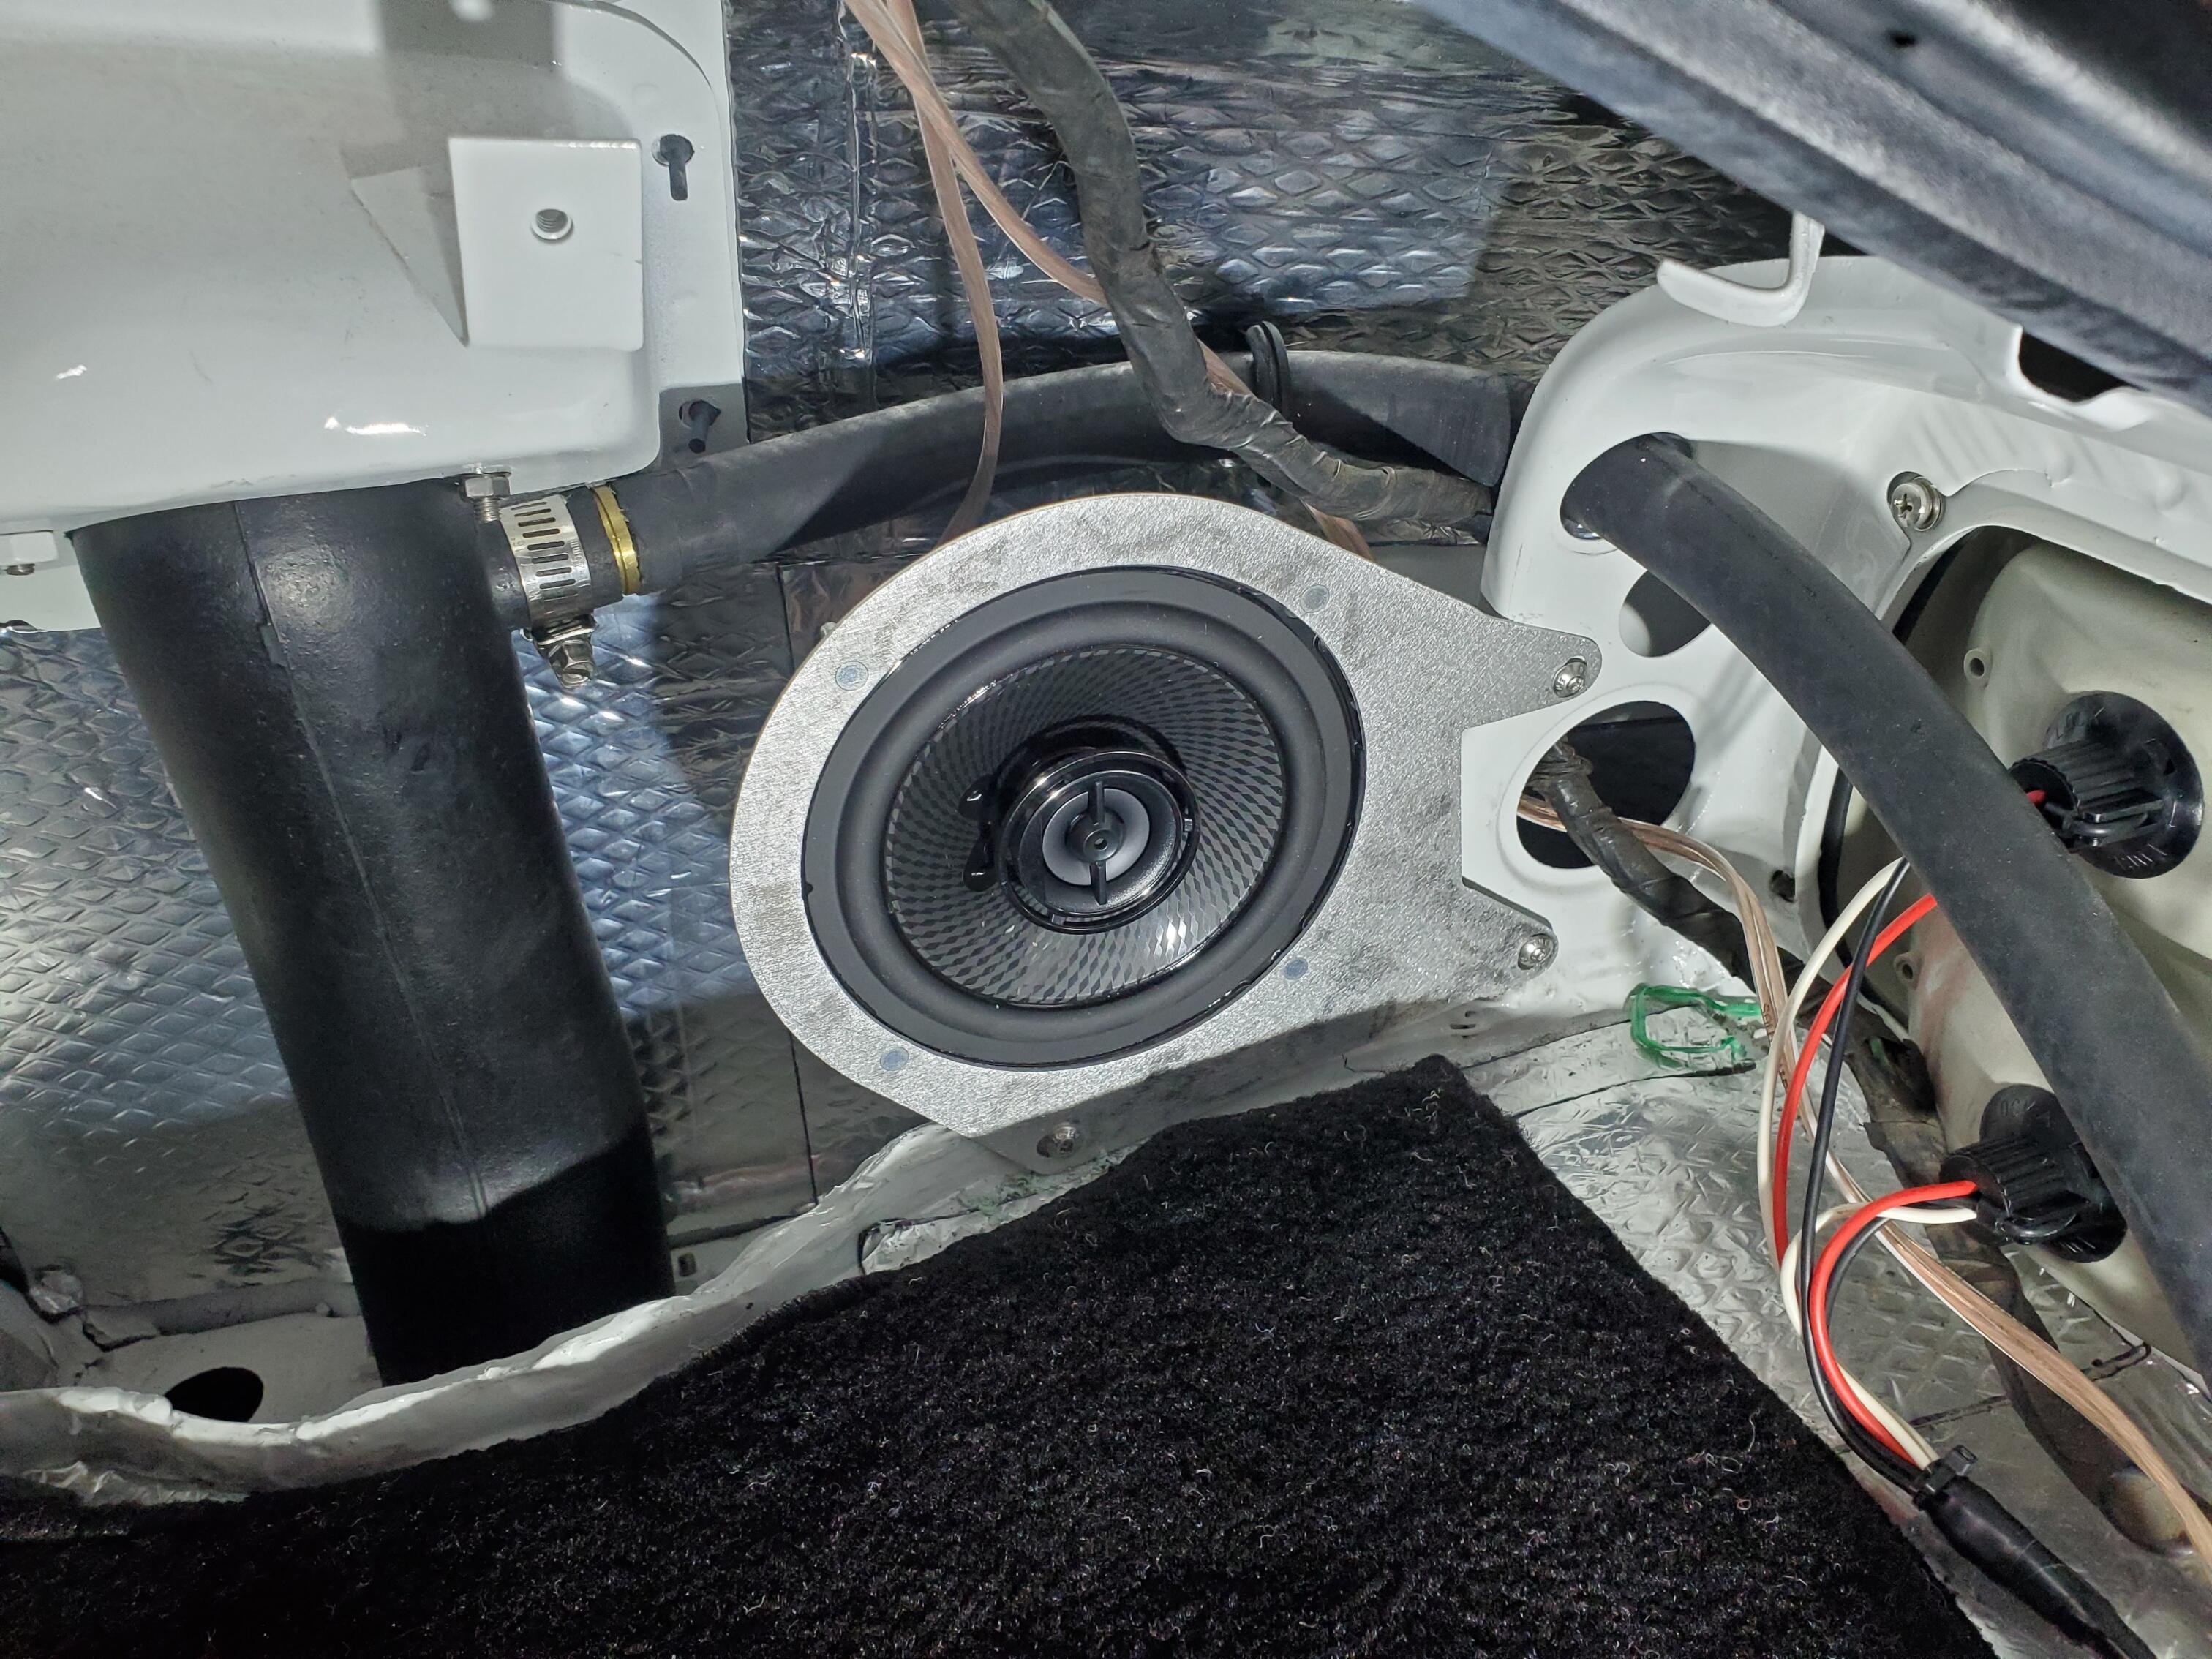
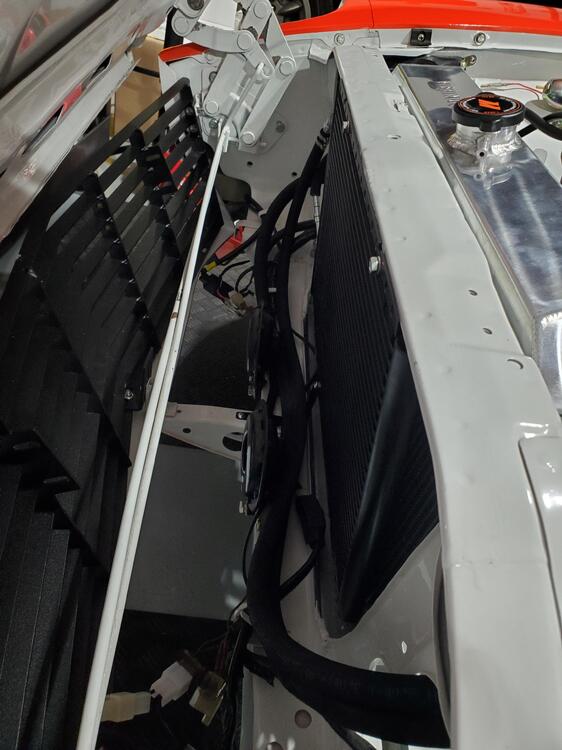
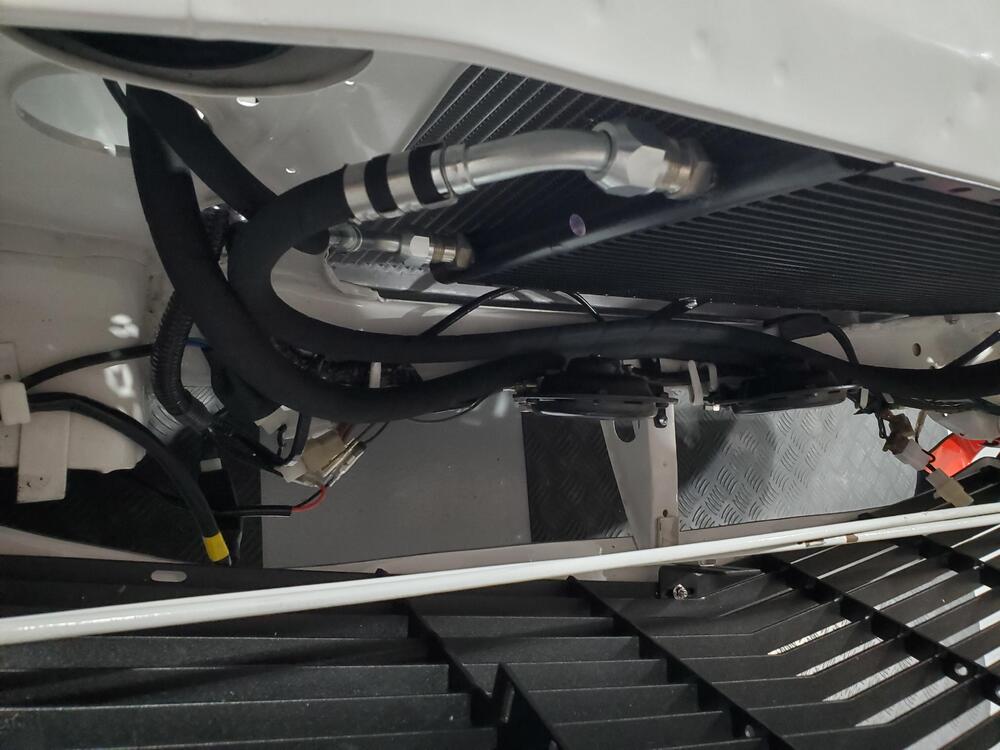
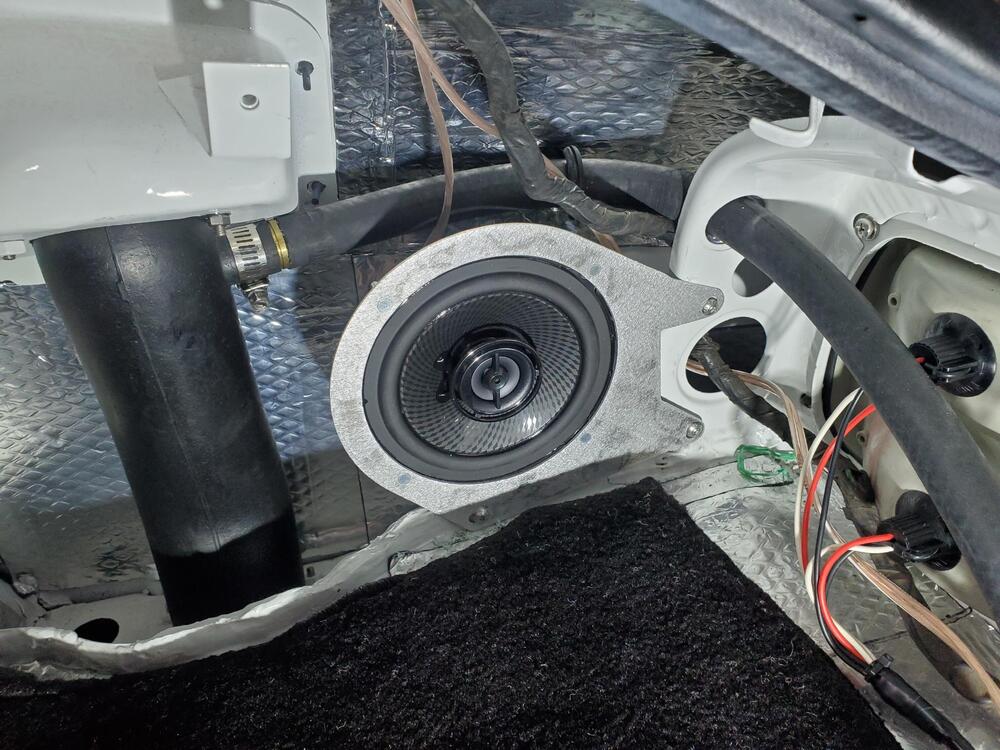
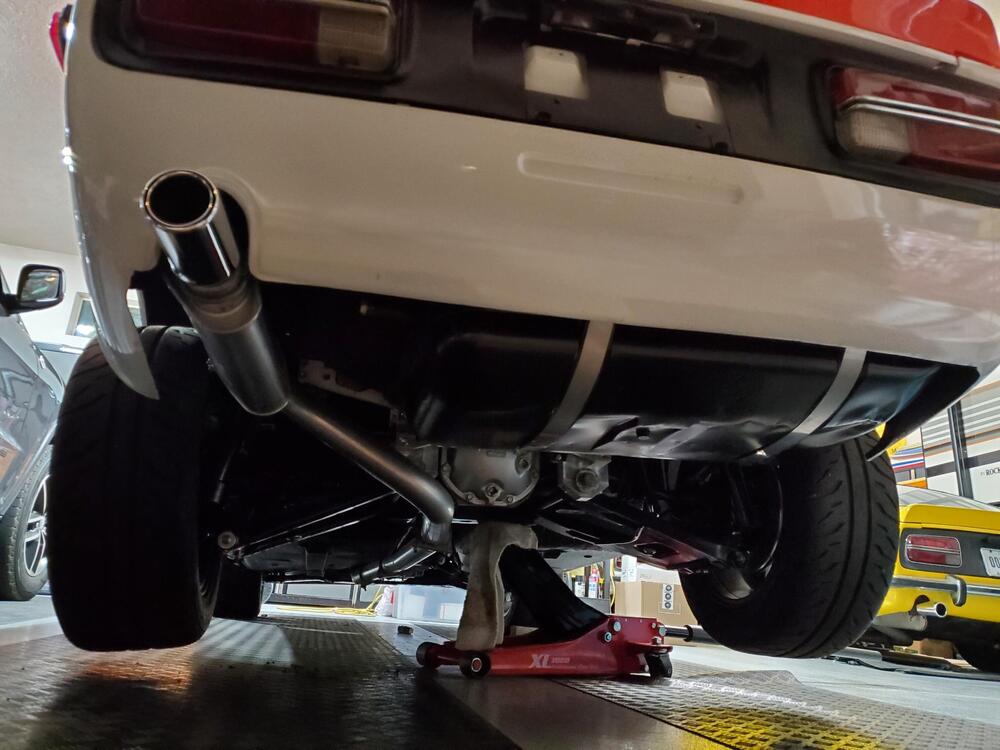
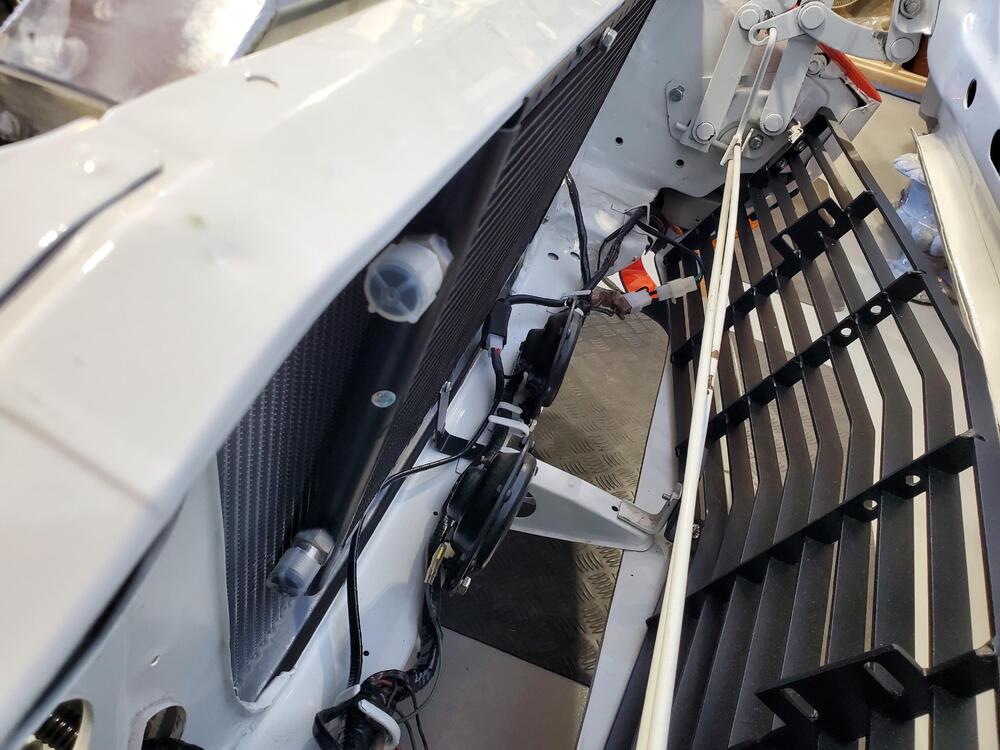
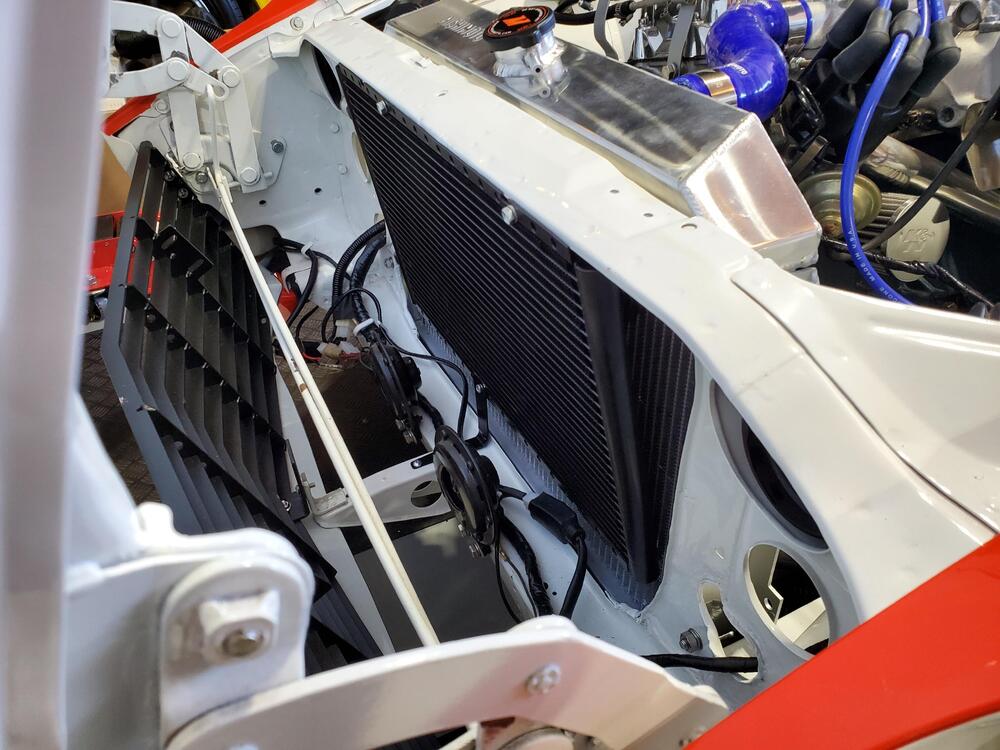
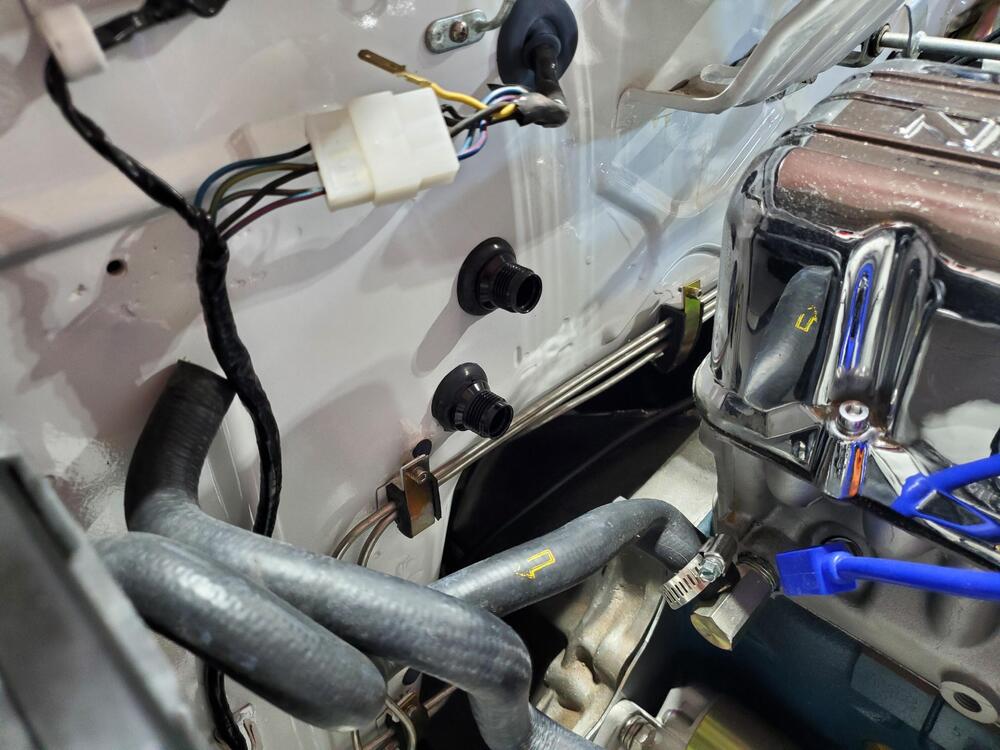
I ordered the Skillard speaker supports and installed the Kenwood 5 1/4" speakers on each side in the rear hatch of the the car. I attached 16GA wire (overkill) to the speakers and routed them to the front for future attachment. Also installed the battery, picked that up from Costco, Model #34. The posts are in the correct orientation with this model although the battery is a bit on the short side. Finished the exhaust and muffler installation. That was fairly straight forward with the off the shelf Motorsport assembly which I also have on my yellow Z. Received the AC kit from Vintage Air, so started the install on that. Installed the Condenser and Dryer using existing holes. Trying to be minimally invasive here and not drill any new holes when possible. Not sure what they were for, but there were two nice 5mm holes with nut plates at the top forward part of the radiator support frame that I used for the top support of the Condenser. Amazingly hole spacing on the radiator support frame matched the holes on the Condenser so I used those for a nice solid top mount. I custom fabbed a bracket on the lower end for base support . The angle looks steep in the pics because of the perspective, but I am guessing it is about 7 degrees from being parallel with the radiator, so should be fine for air flow. I installed the Dryer using the holes that are typically for the ID plate. I haven't come accross the plate in the stash of parts yet, so I will leave it here for now as it makes for a clean hose routing. The bulkhead fittings for the water lines fit nicely in the original rubber for the heater hoses, so for now I will keep it this way. The next project will be to install the evaporator in the interior. Will show pics of that once I get that going. Special thanks to this thread for doing the pioneering work on the AC install. I am using this as reverence.


-
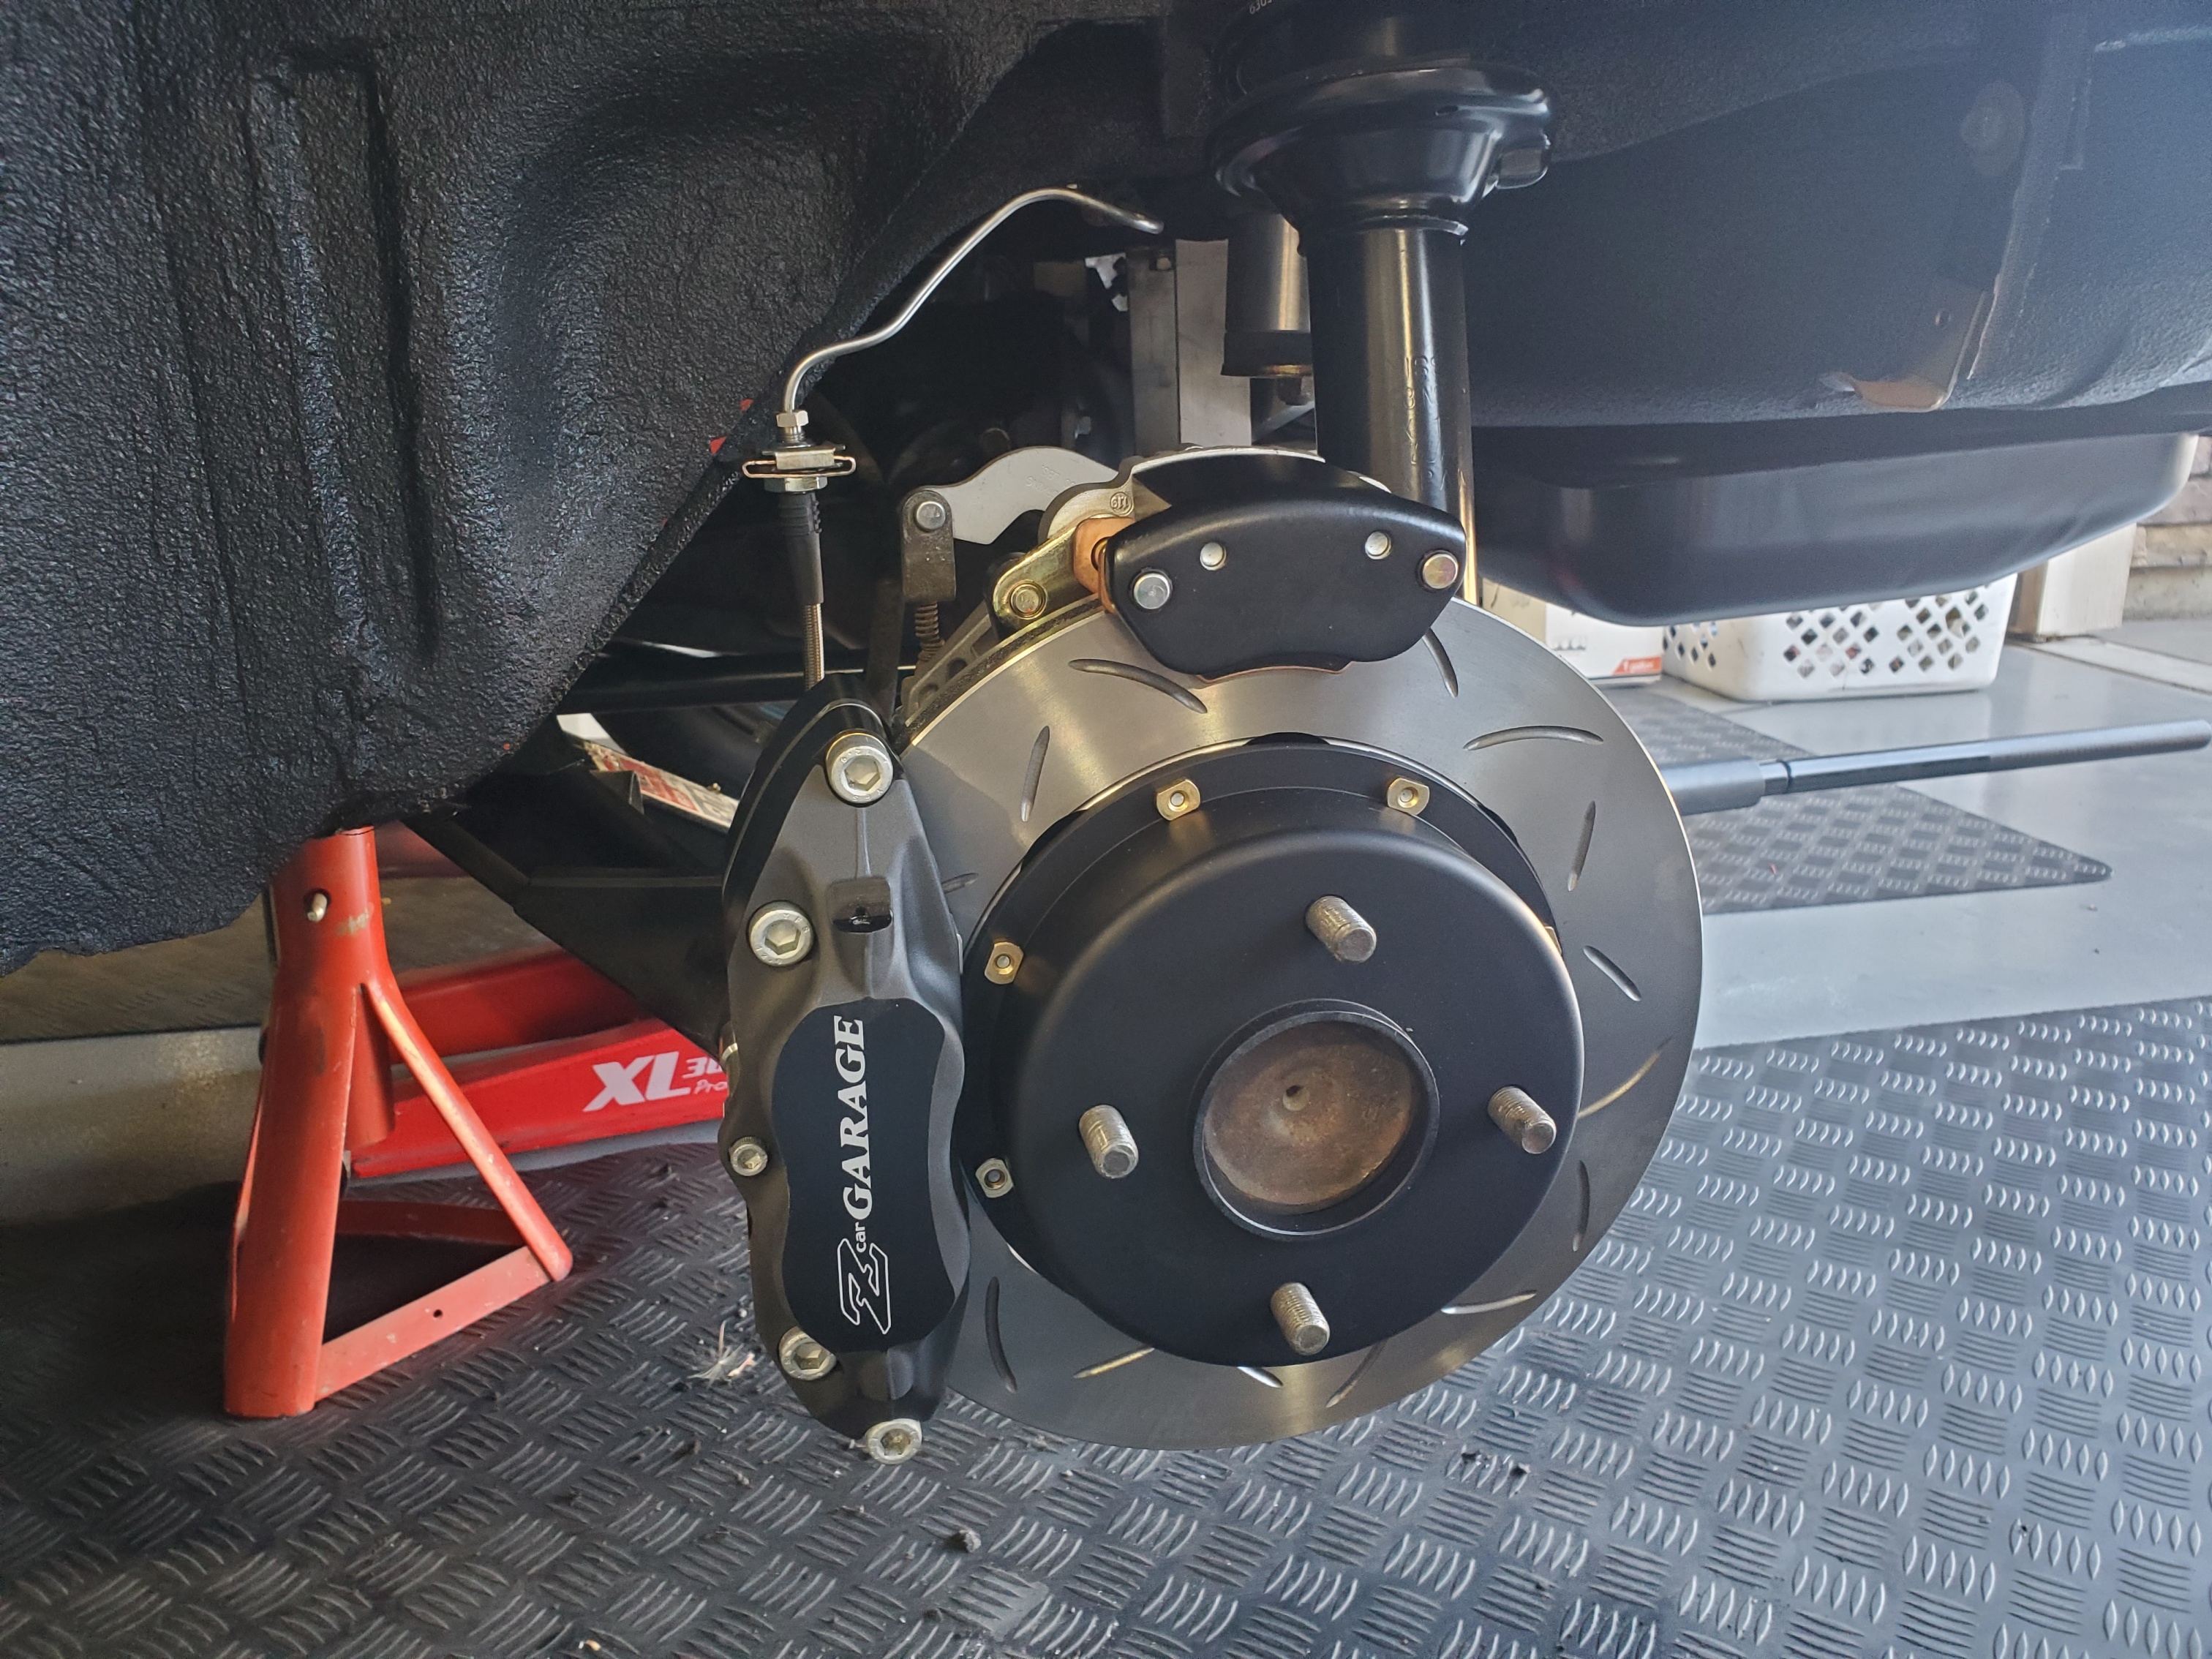
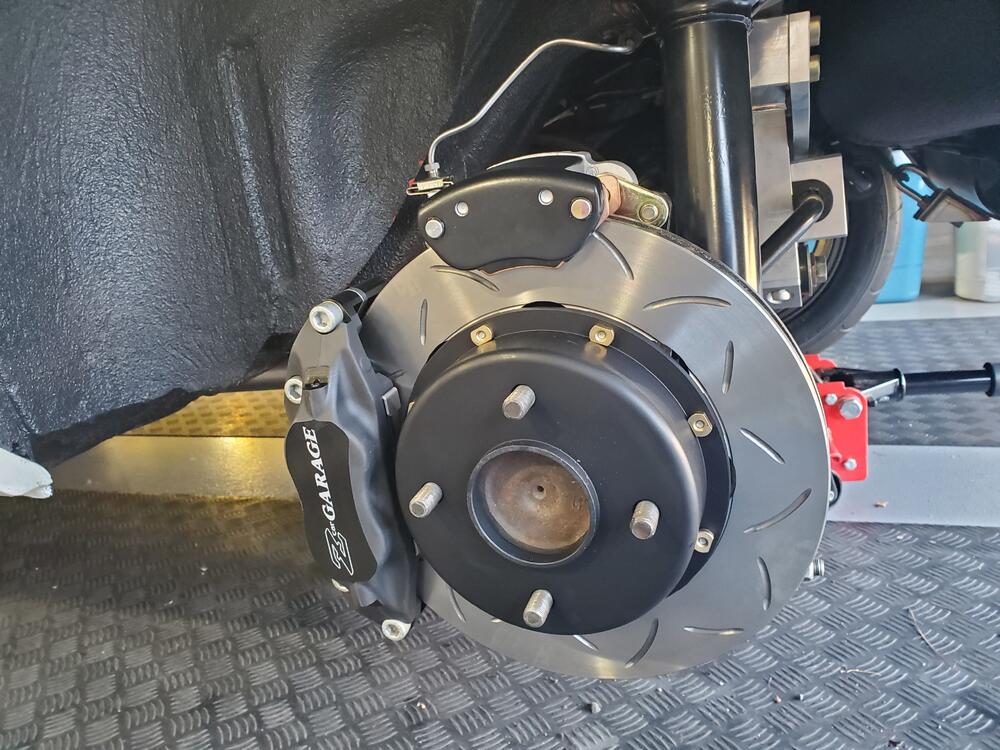
Yes, They even include directions on how to 'bed in' the brakes. Very thorough.
-
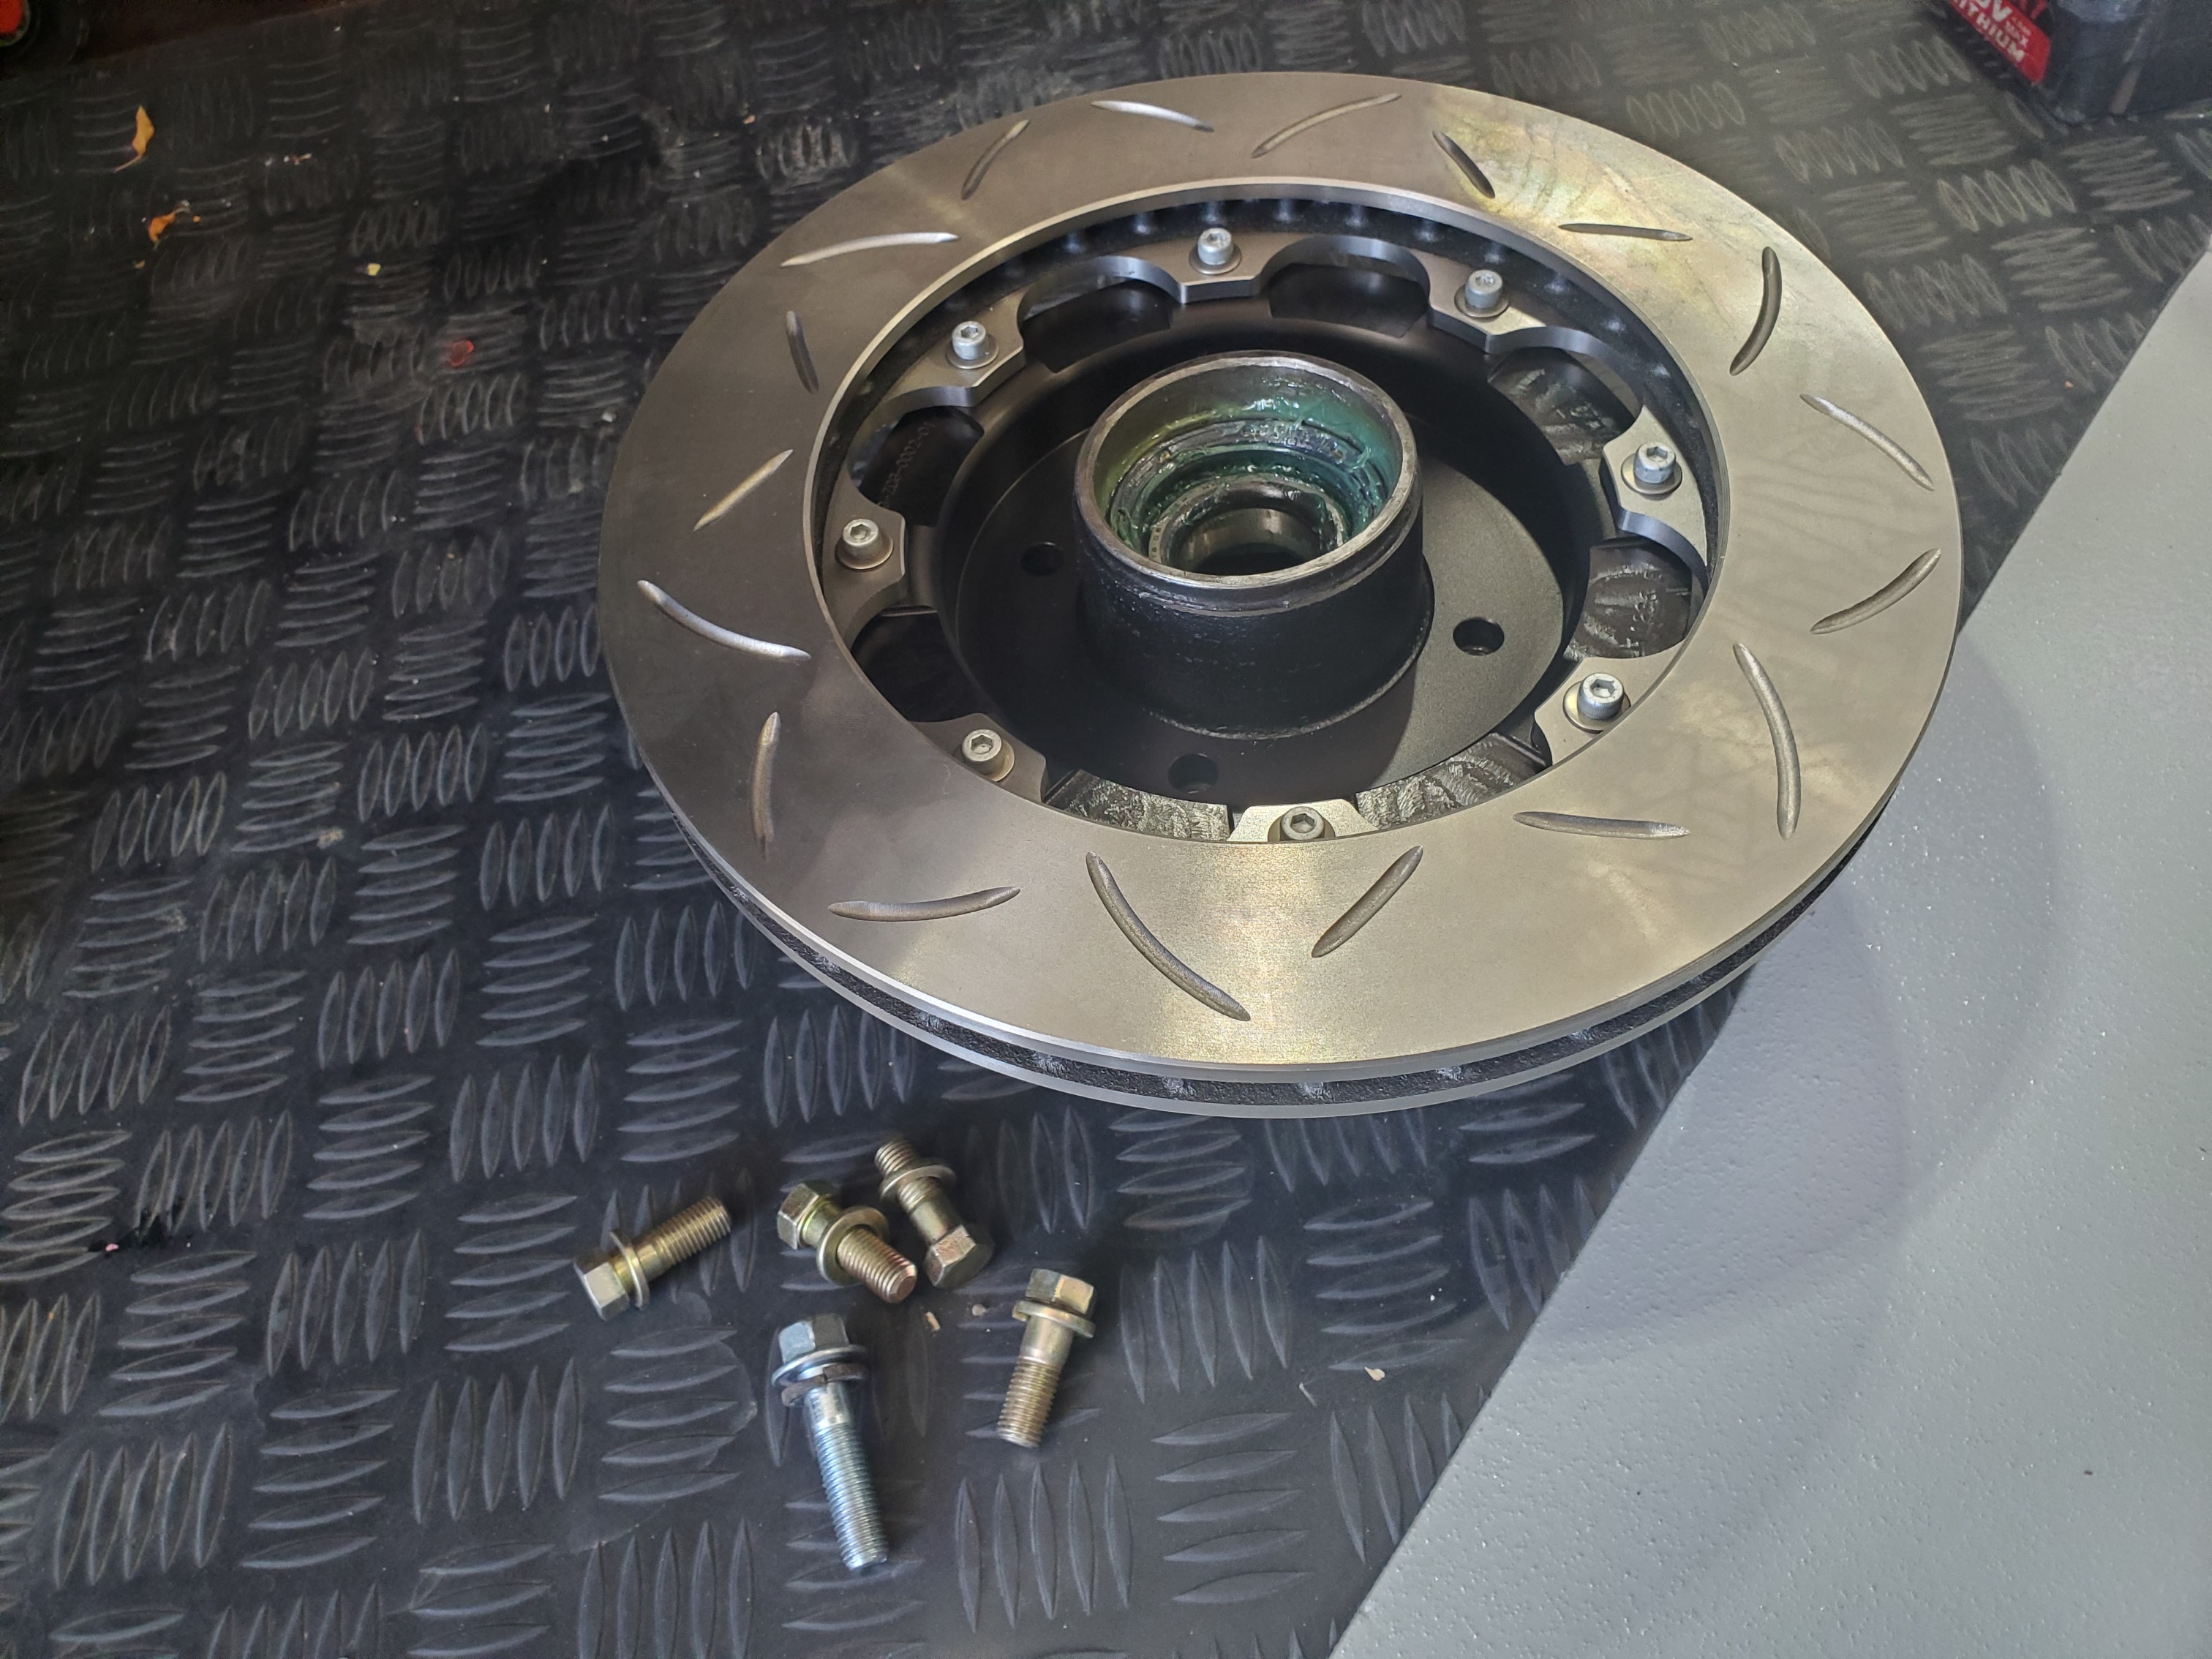
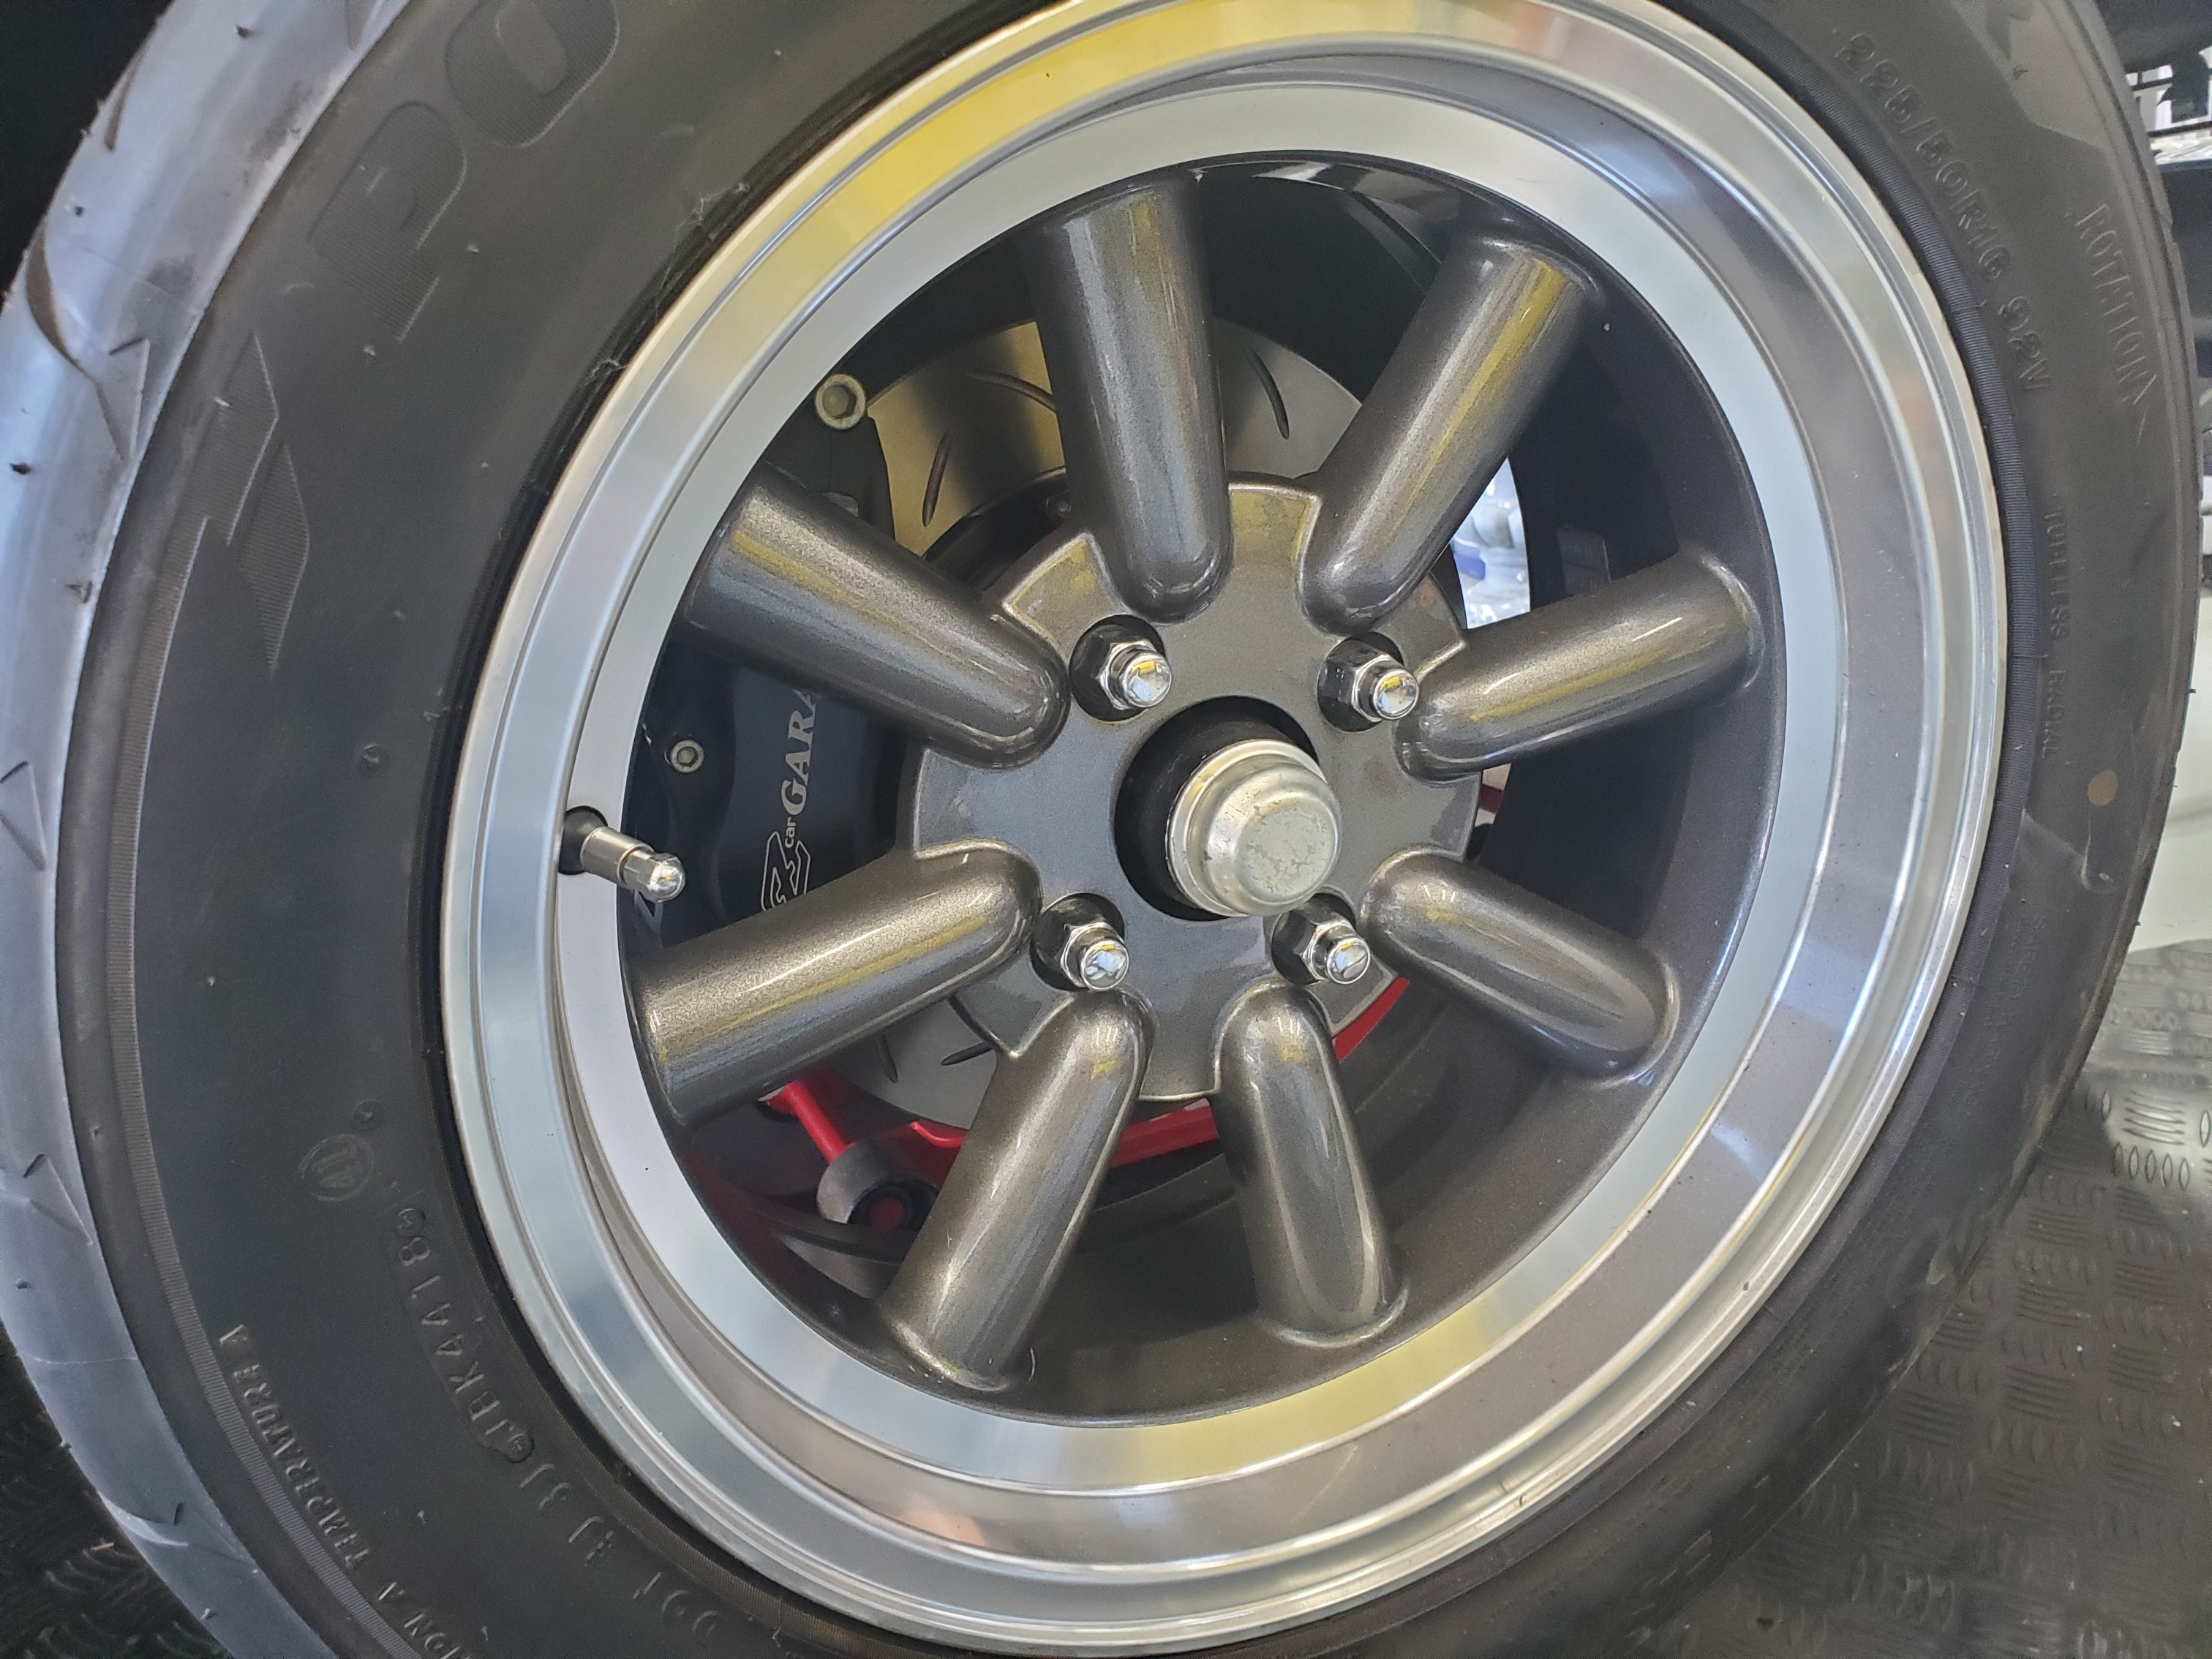
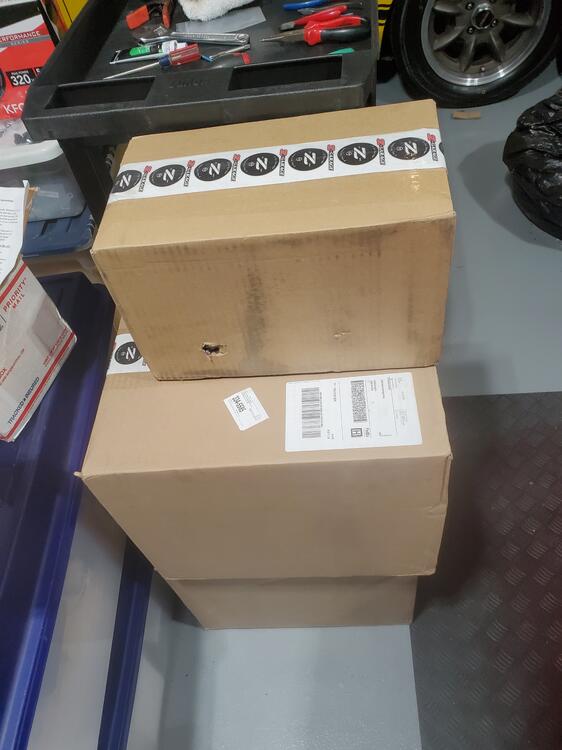
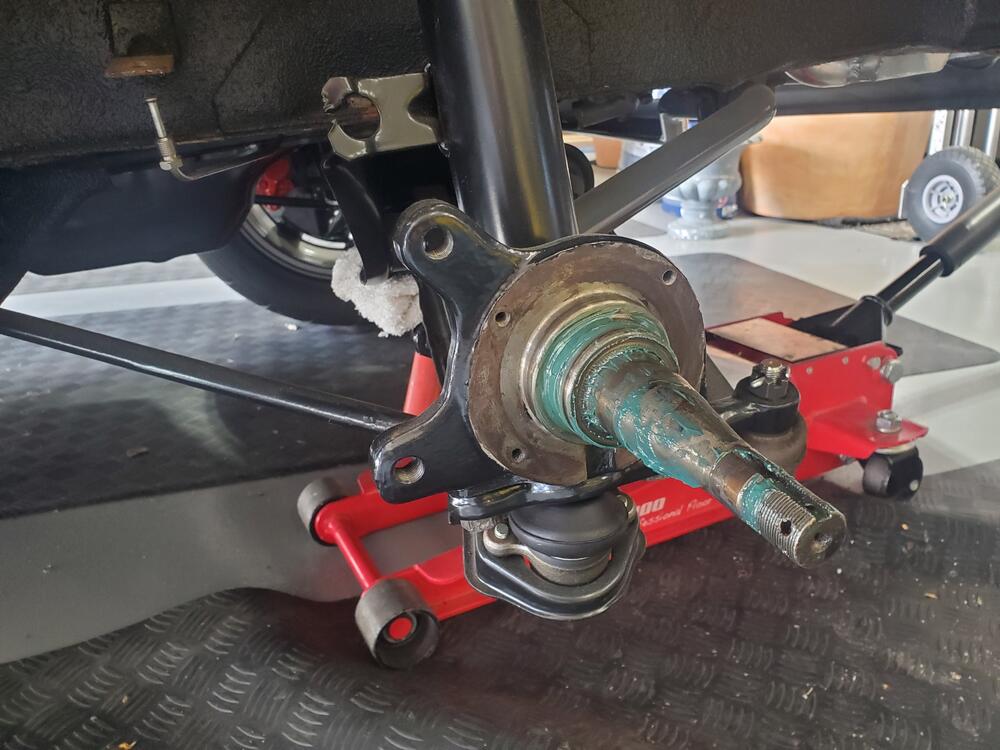
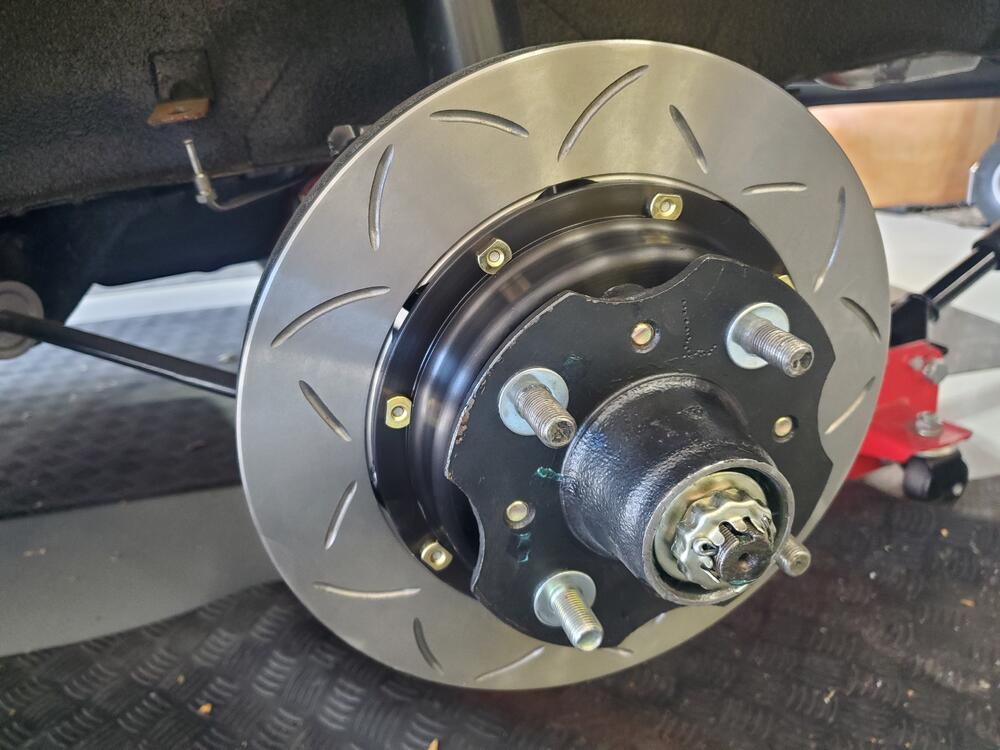
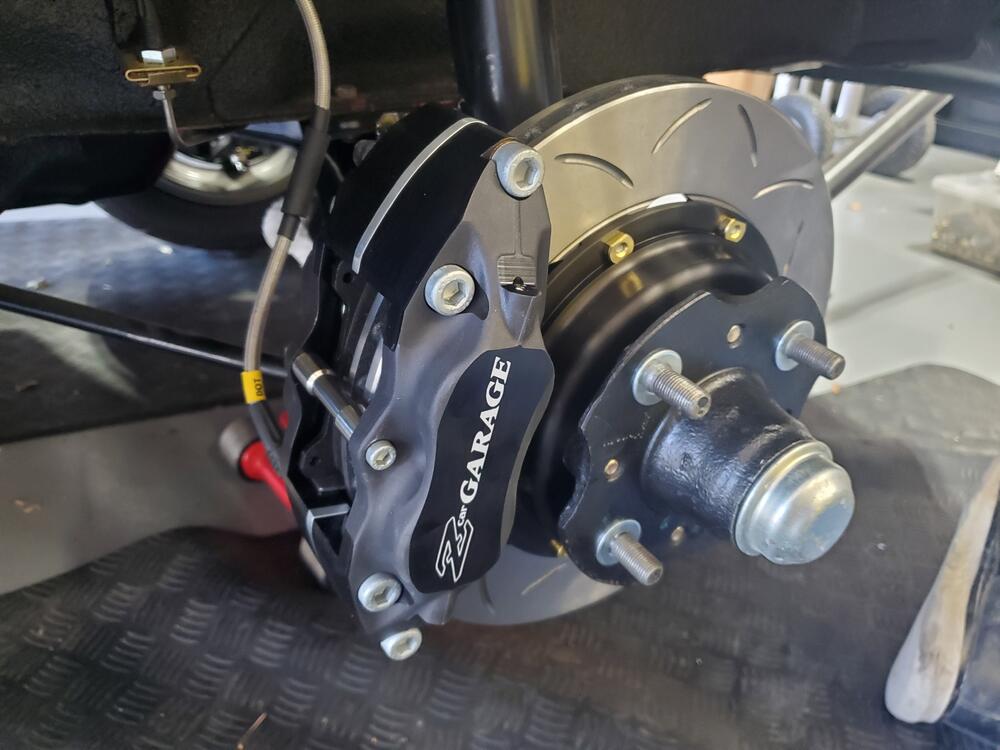
I installed the Z Car Garage brake kit on the Z Replica yesterday. Boy, everything should install this smoothly. The kit comes with a 60 page PDF file with complete step by step instructions for the installation. I was able to pull the PDF up on my phone and follow the instructions conveniently. Instructions not only had very clear pictures, but also included torque values and thread lock instructions at each step. Also, the machining is BEAUTIFUL and the quality is excellent. The parts arrived in three nicely packed boxes. The parking brake set-up is also pretty cool. The only issue I ran into during the assembly was that the previous front brakes on this car had the Toyota caliper set-up, and the 4 bolts that secure the disc to the hub were longer than the stock bolts. As a result, I had find the correct bolts in my stash. Fortunately, I had them on hand. You can see the bolt length difference in the third picture below. Other than that, a very straight forward install. Was able to complete the install in a day.


-
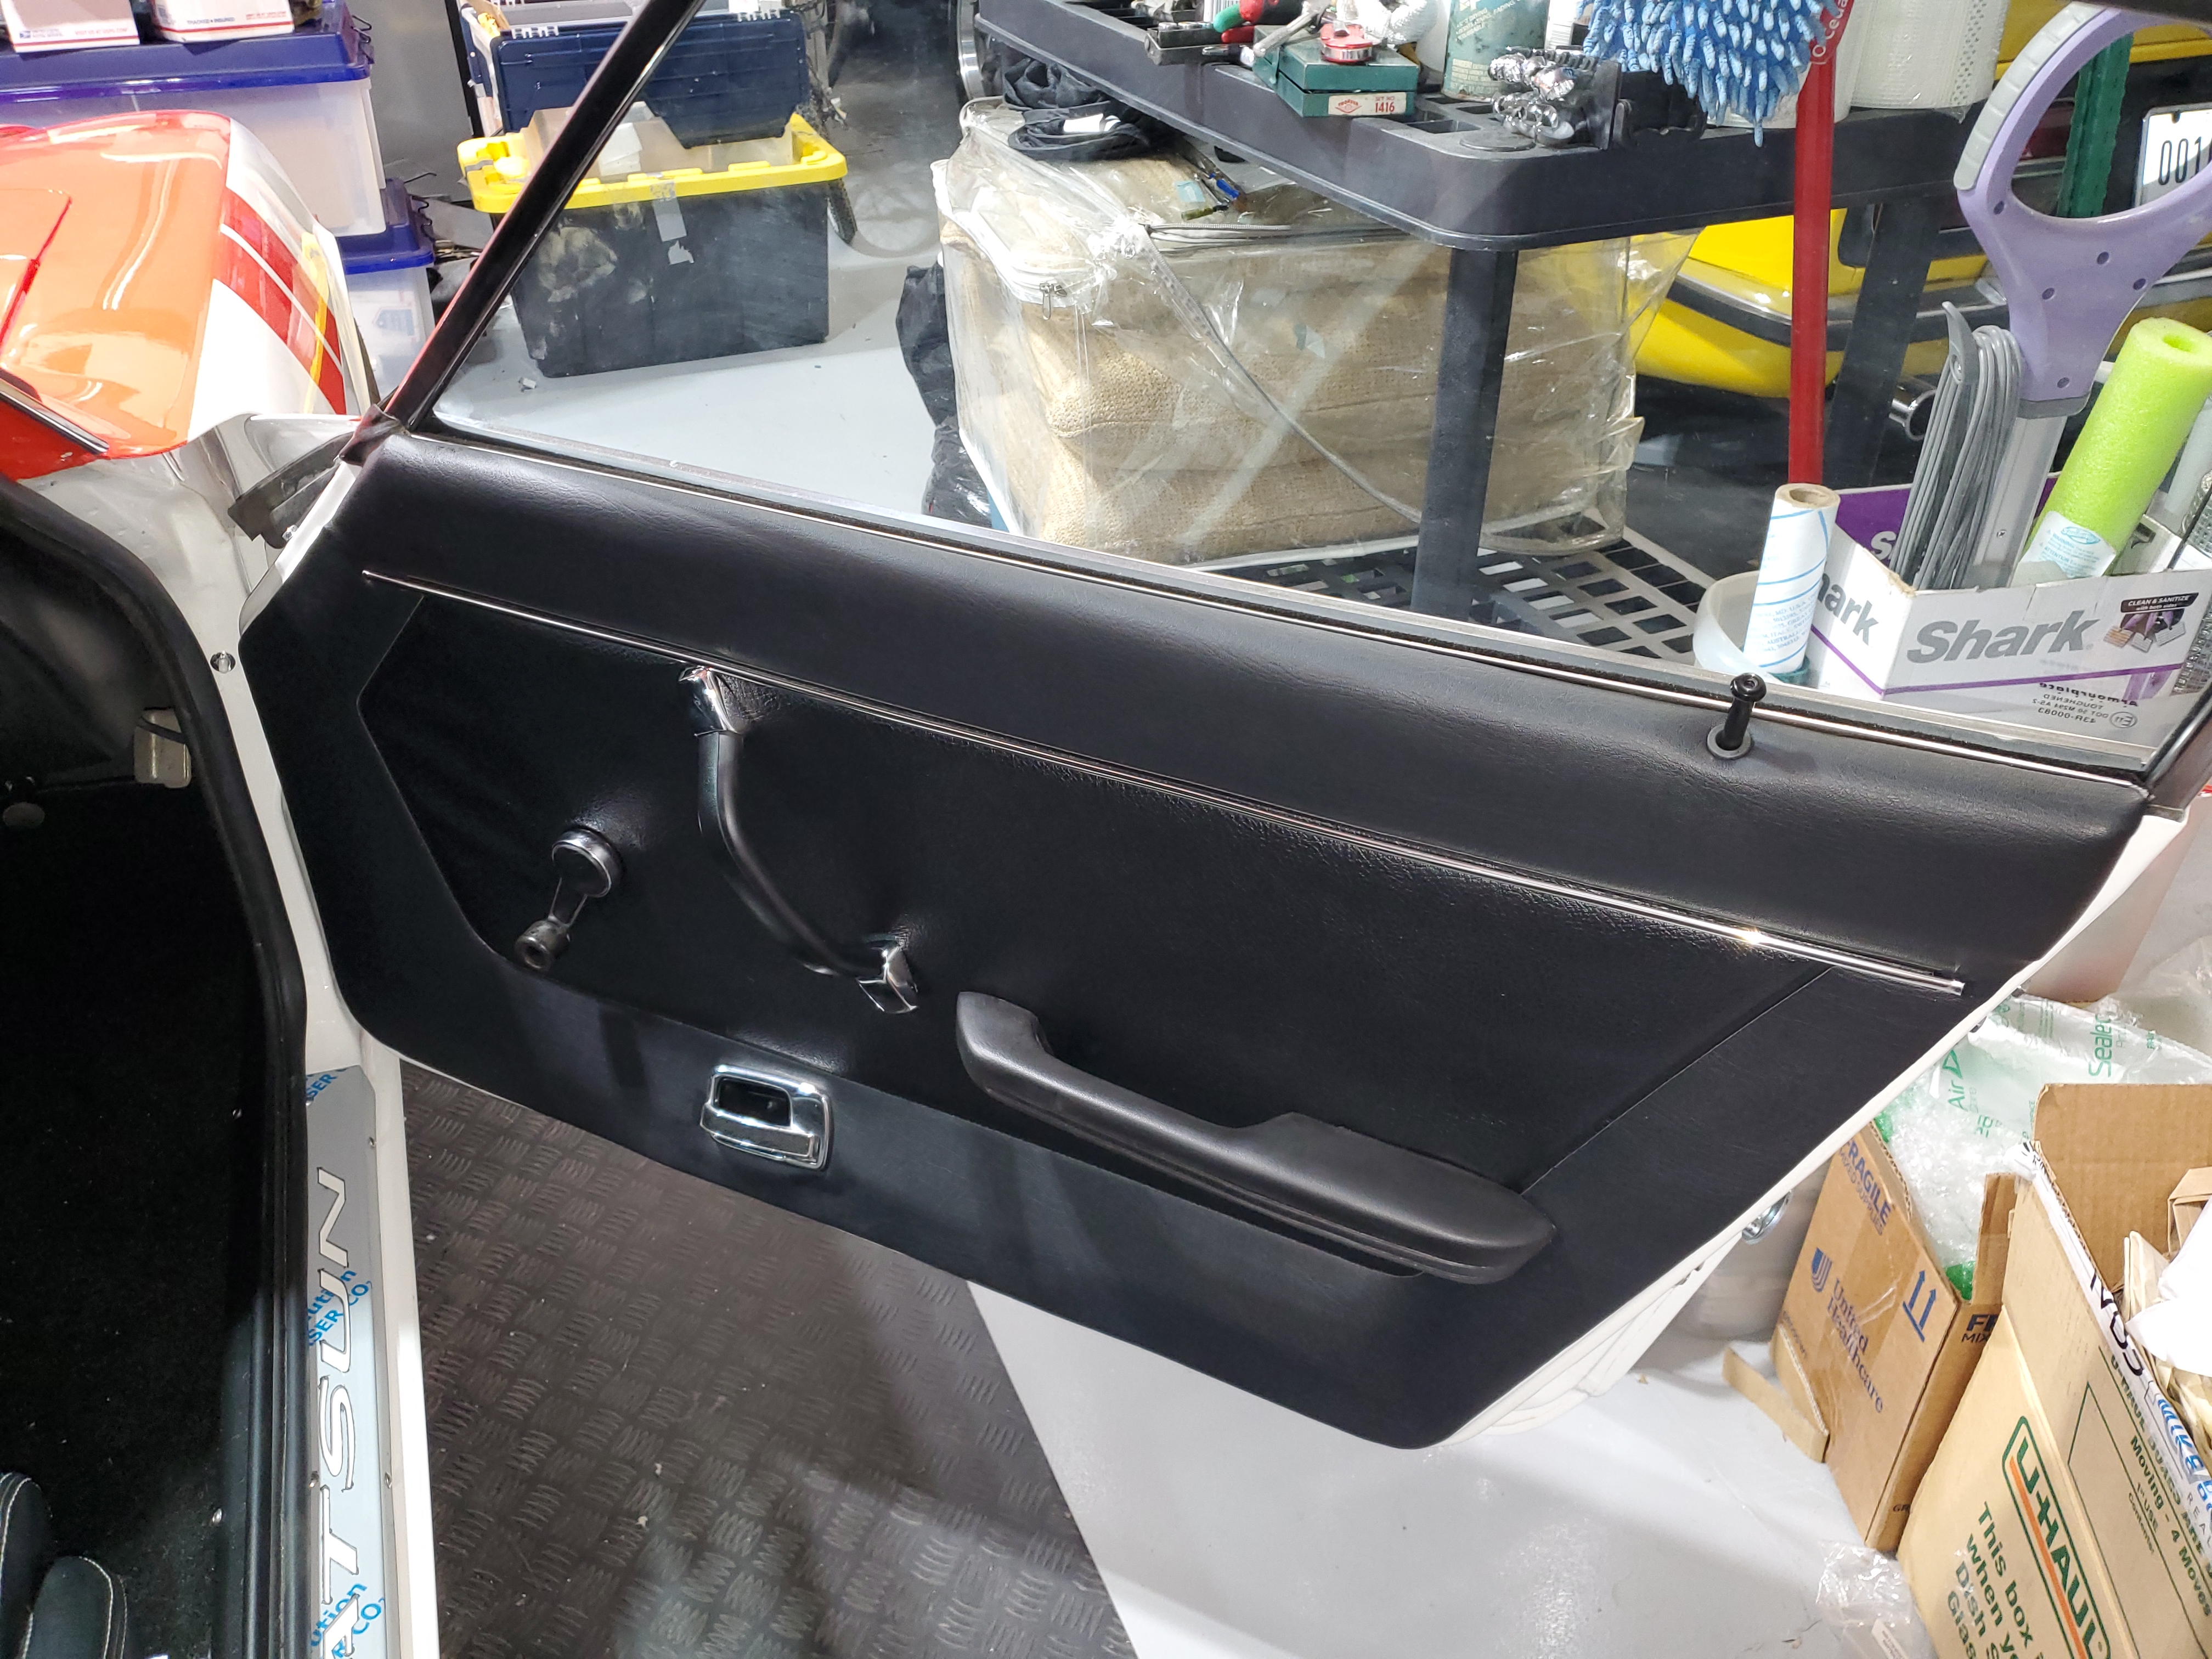
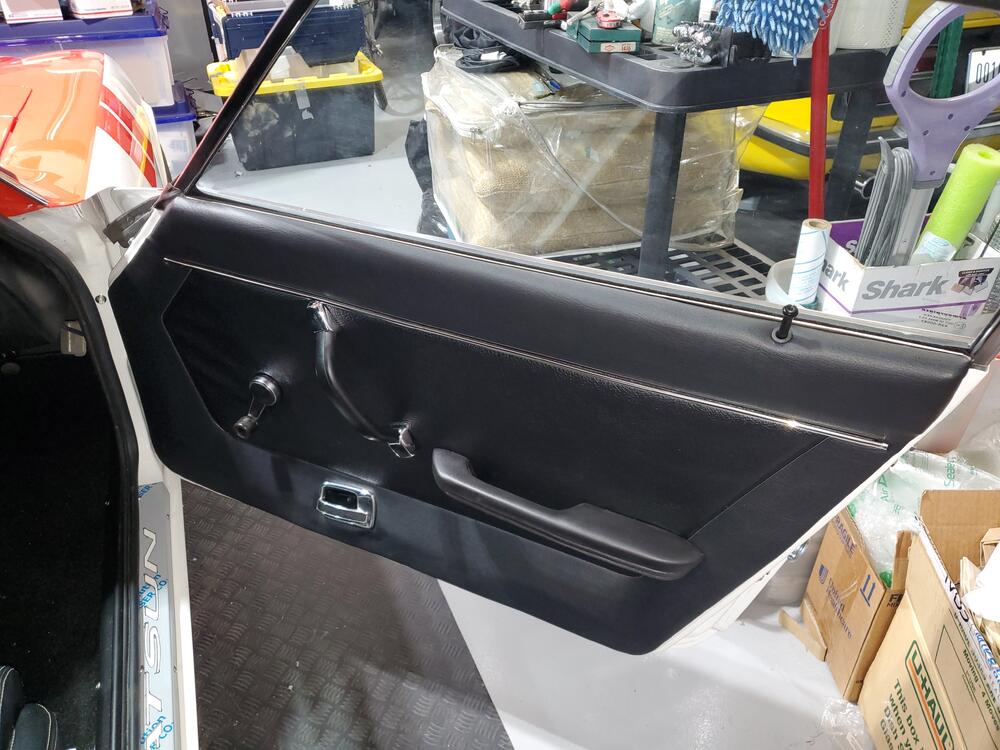
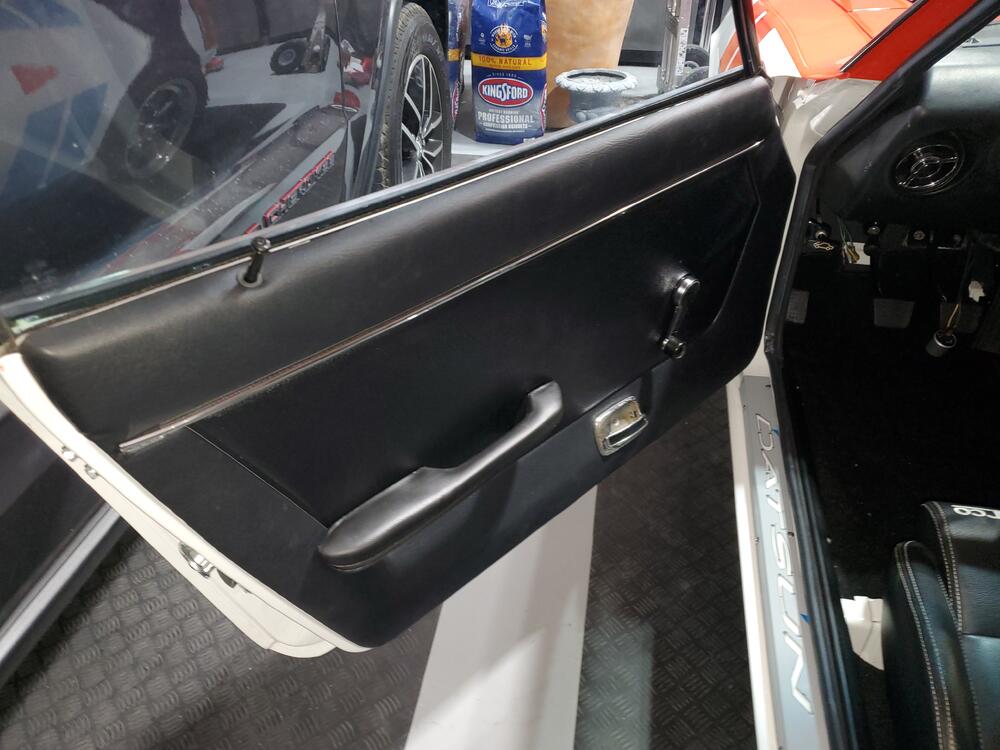
Got the Door cards and handles installed. They went in very nicely with no issues and look great. Need to find a chrome pull handle finisher for the drivers side. The one I have has pitted chrome. May be somewhere in the stash of parts here.
-
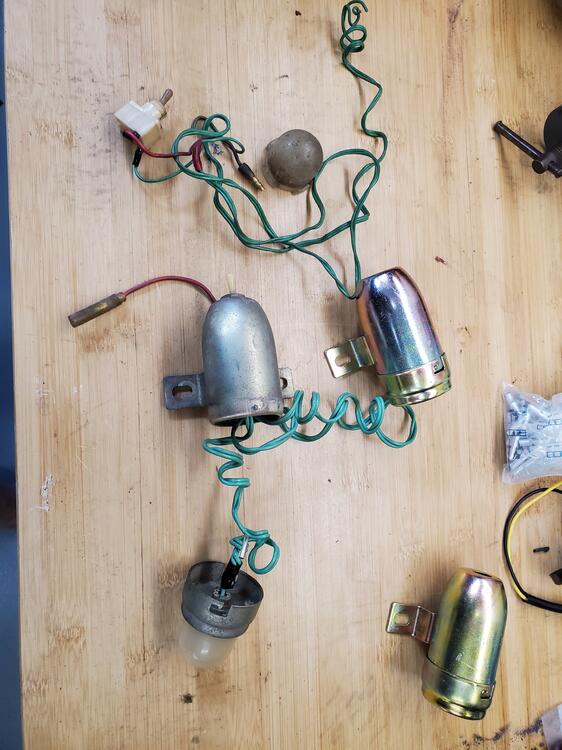
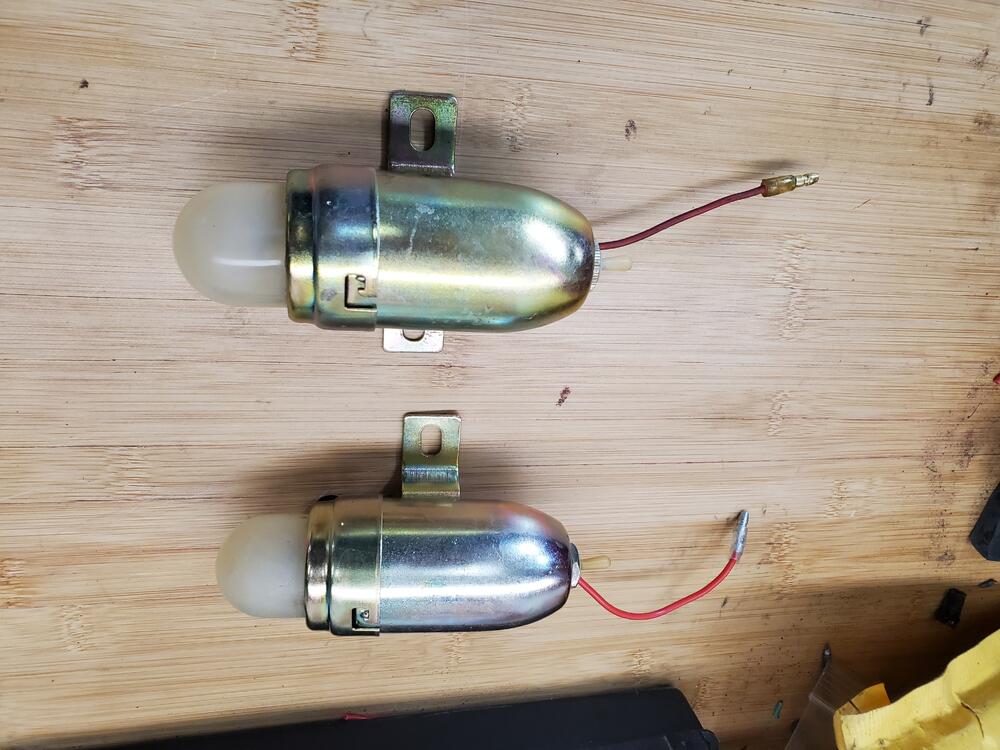
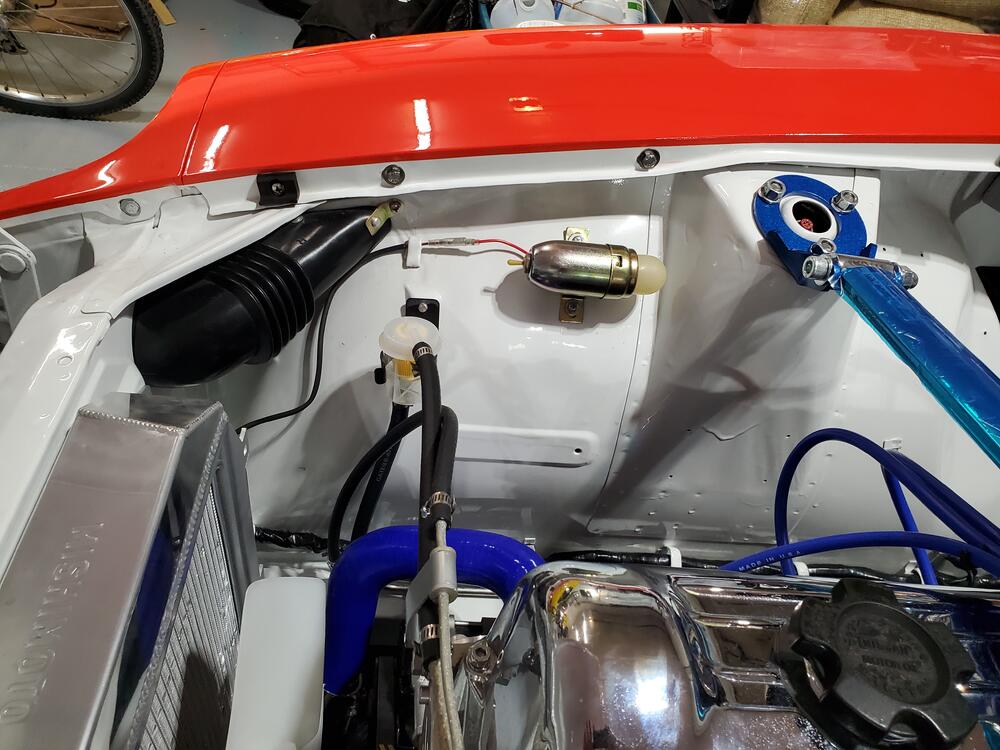
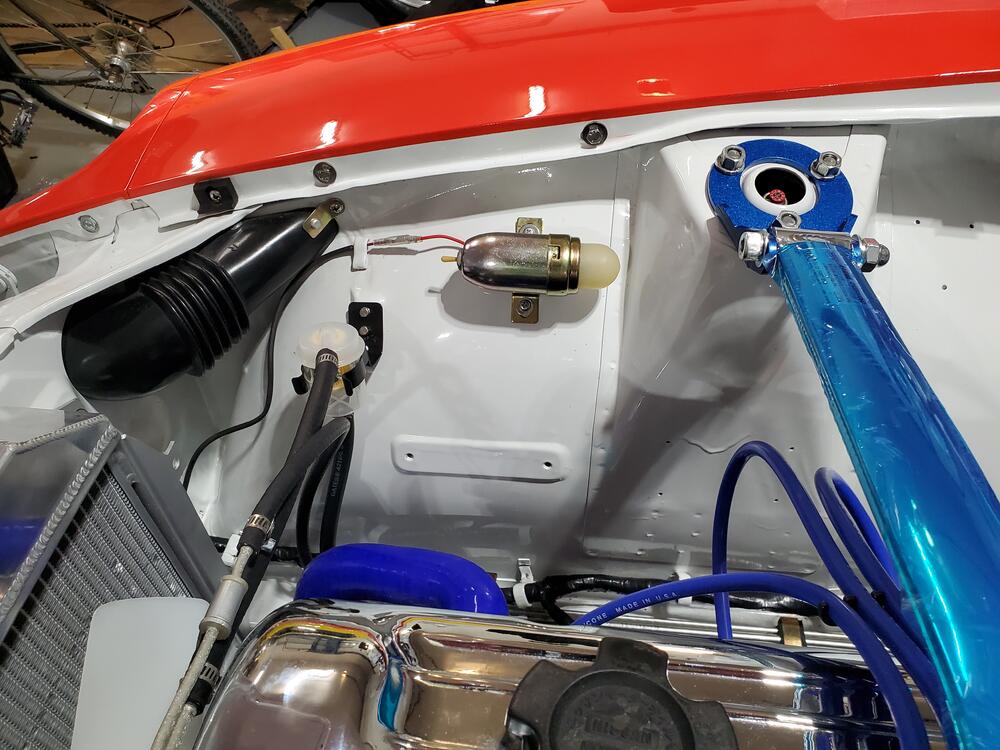
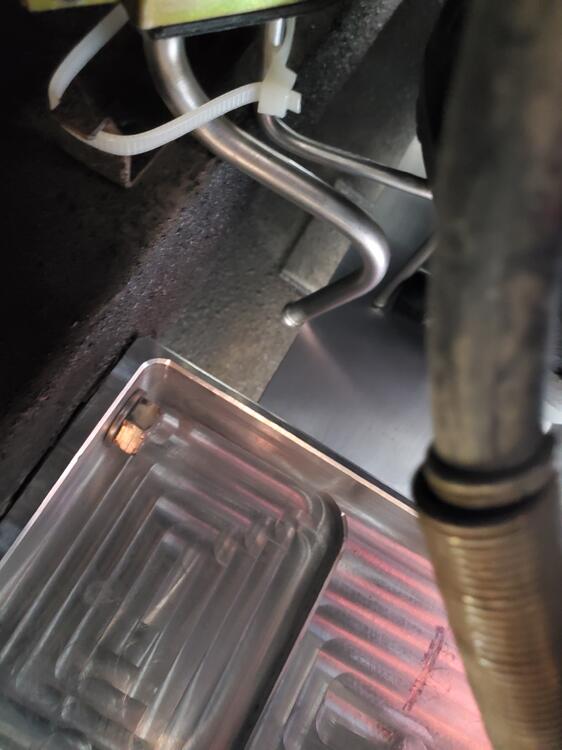
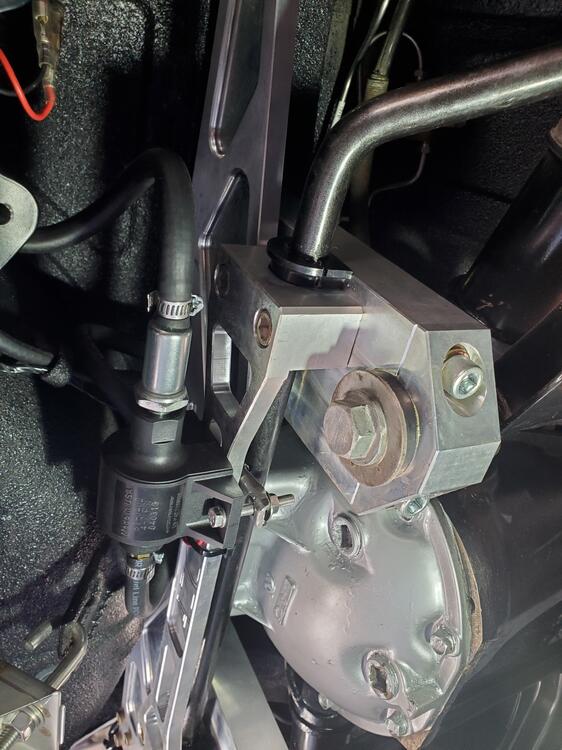
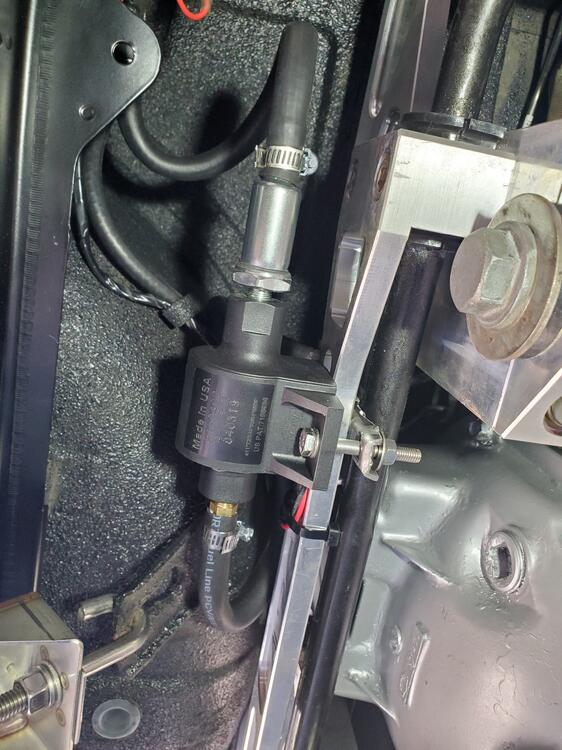
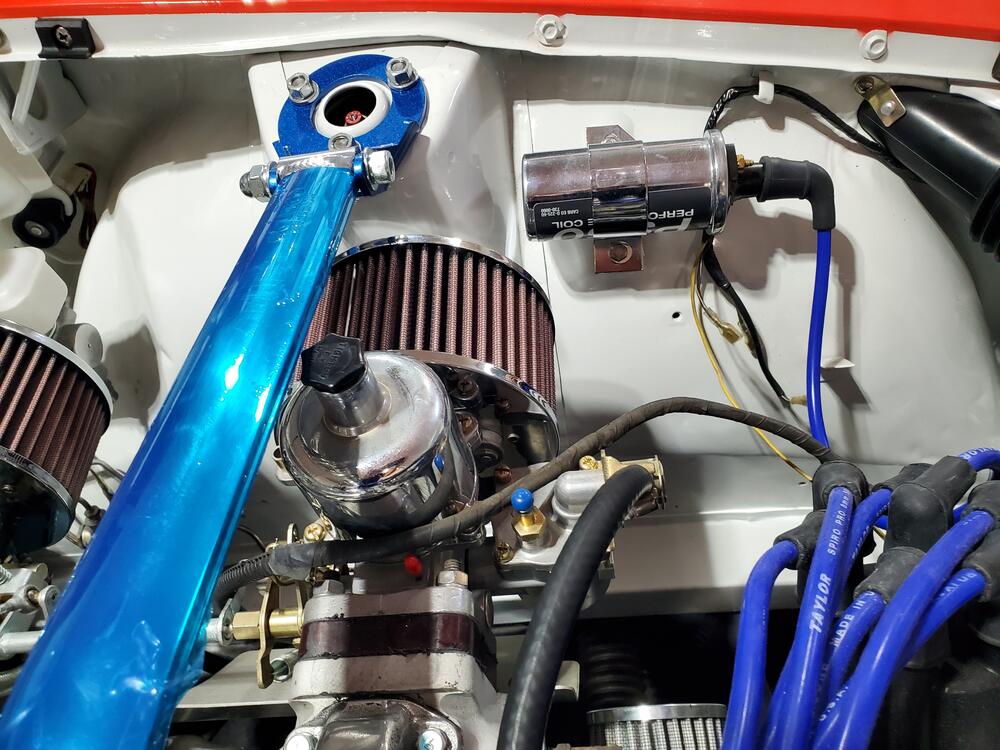
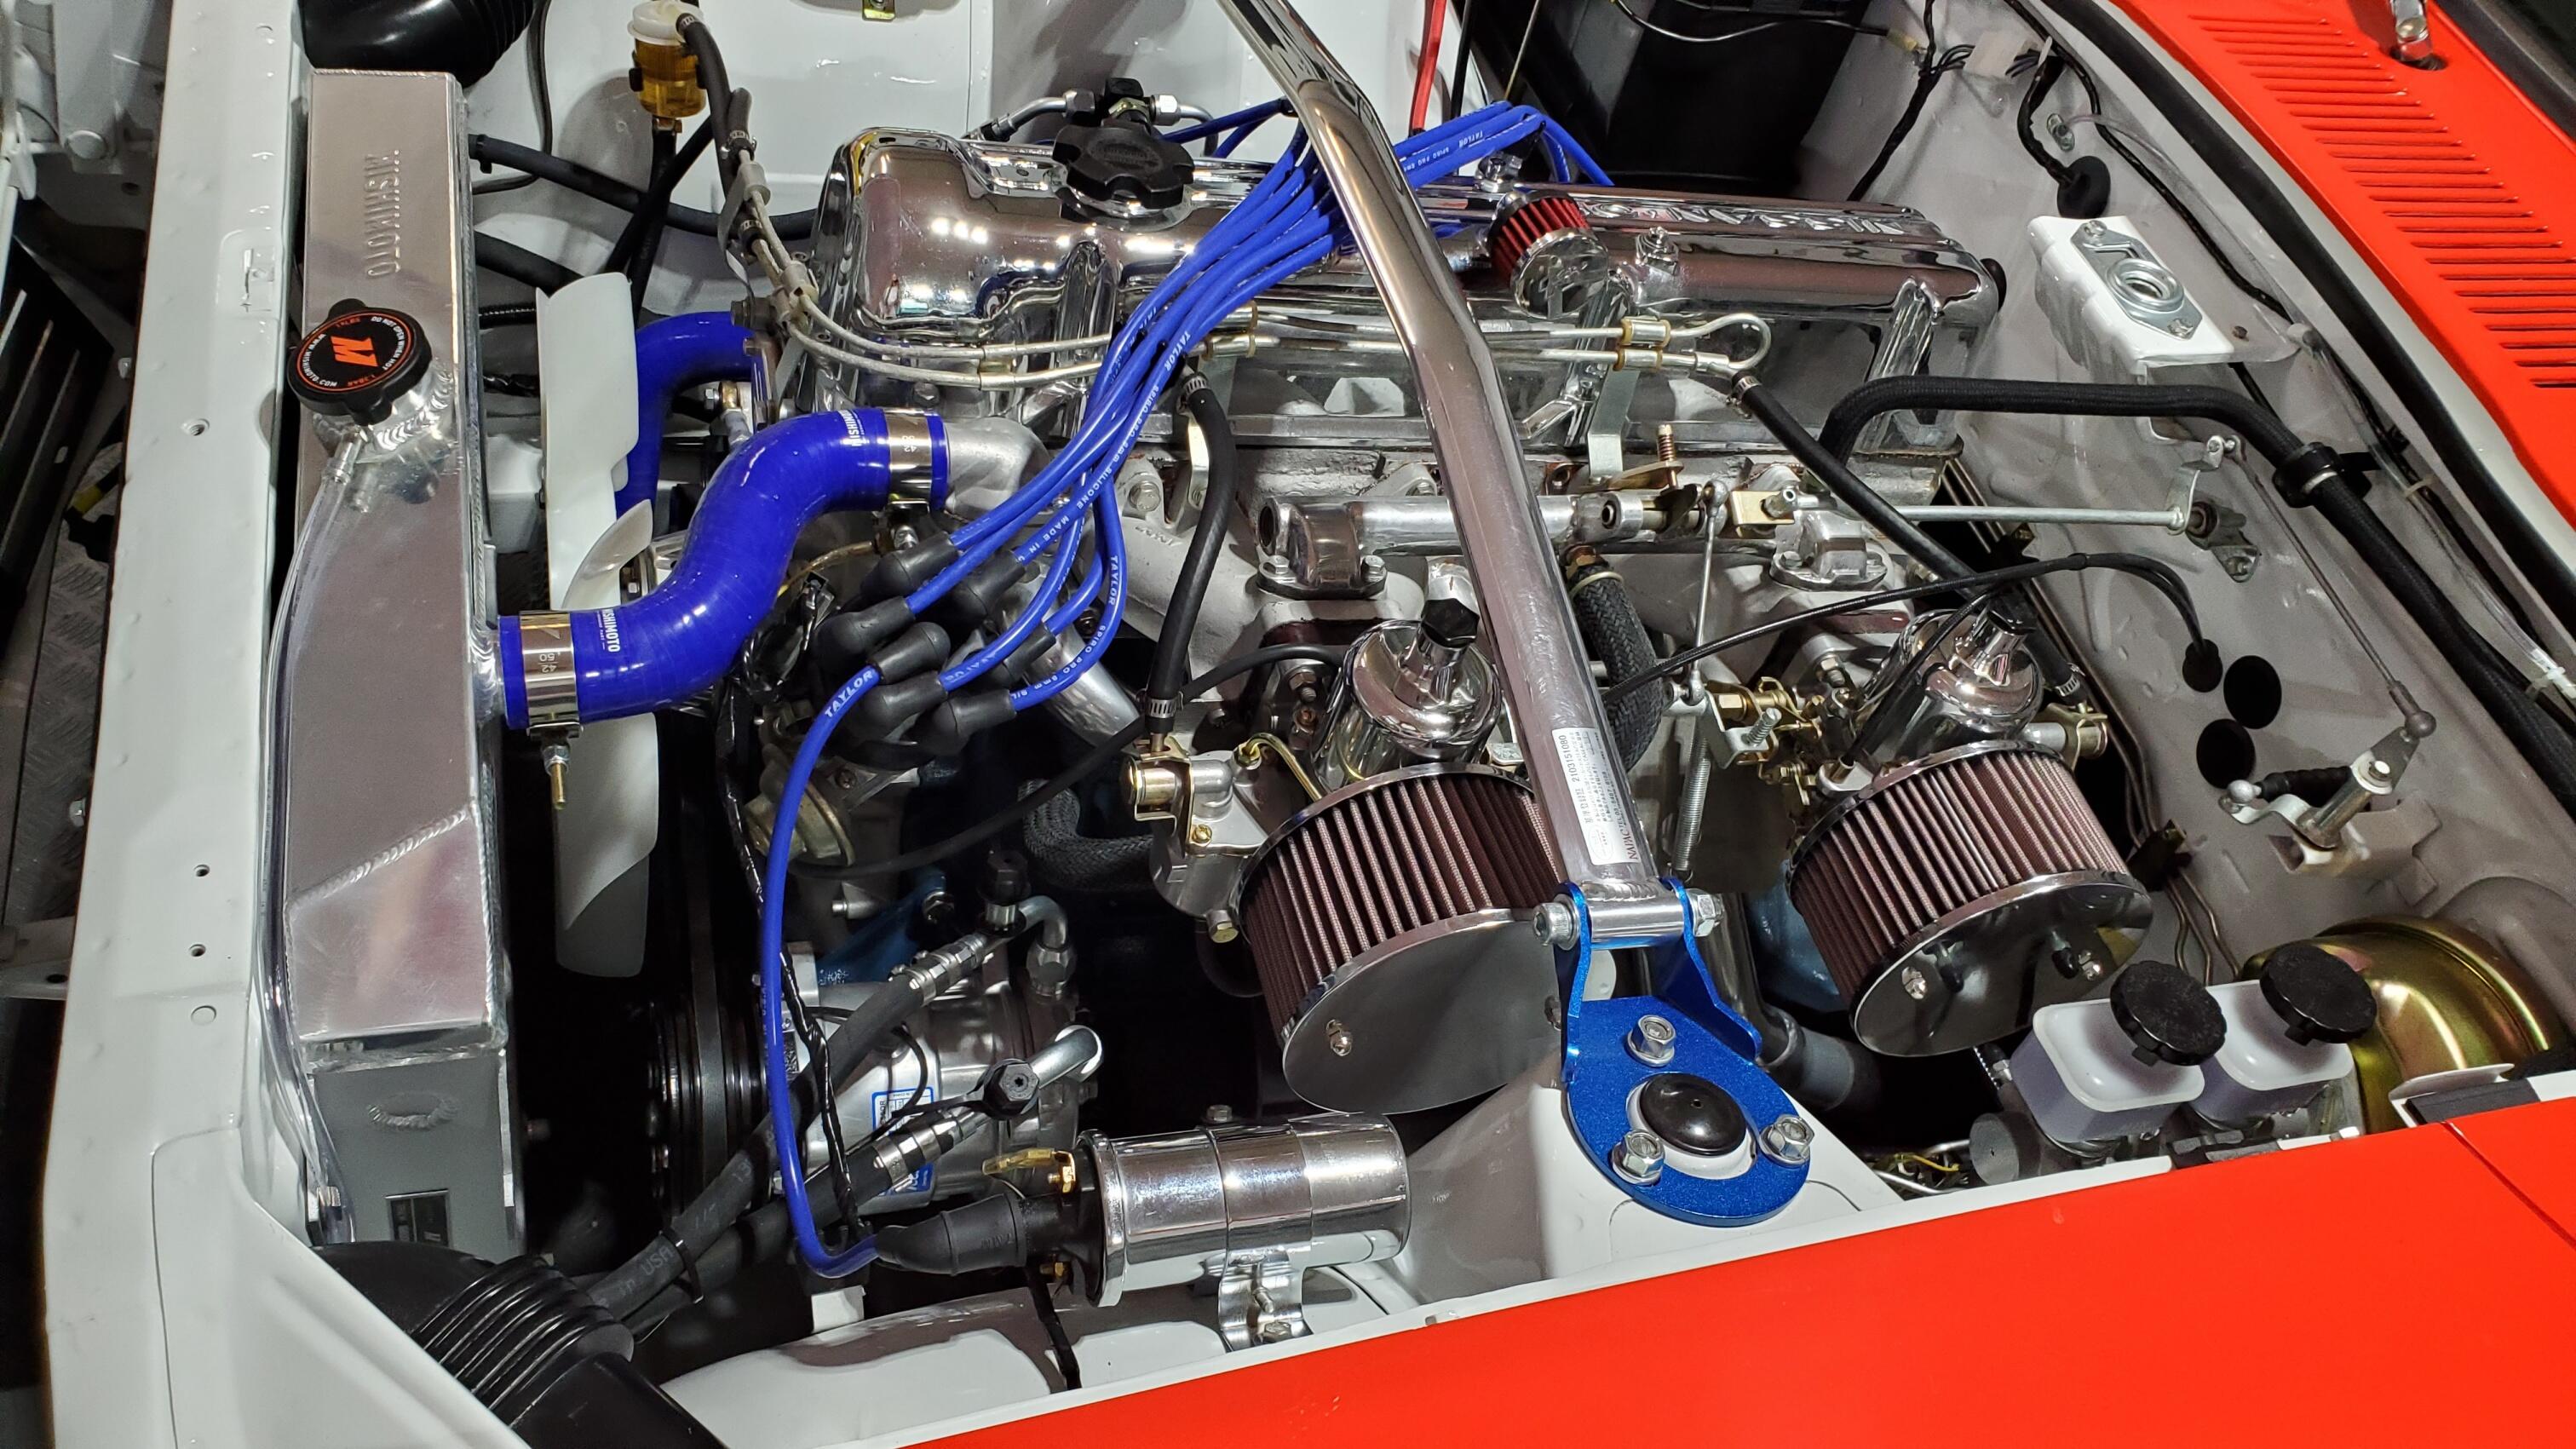
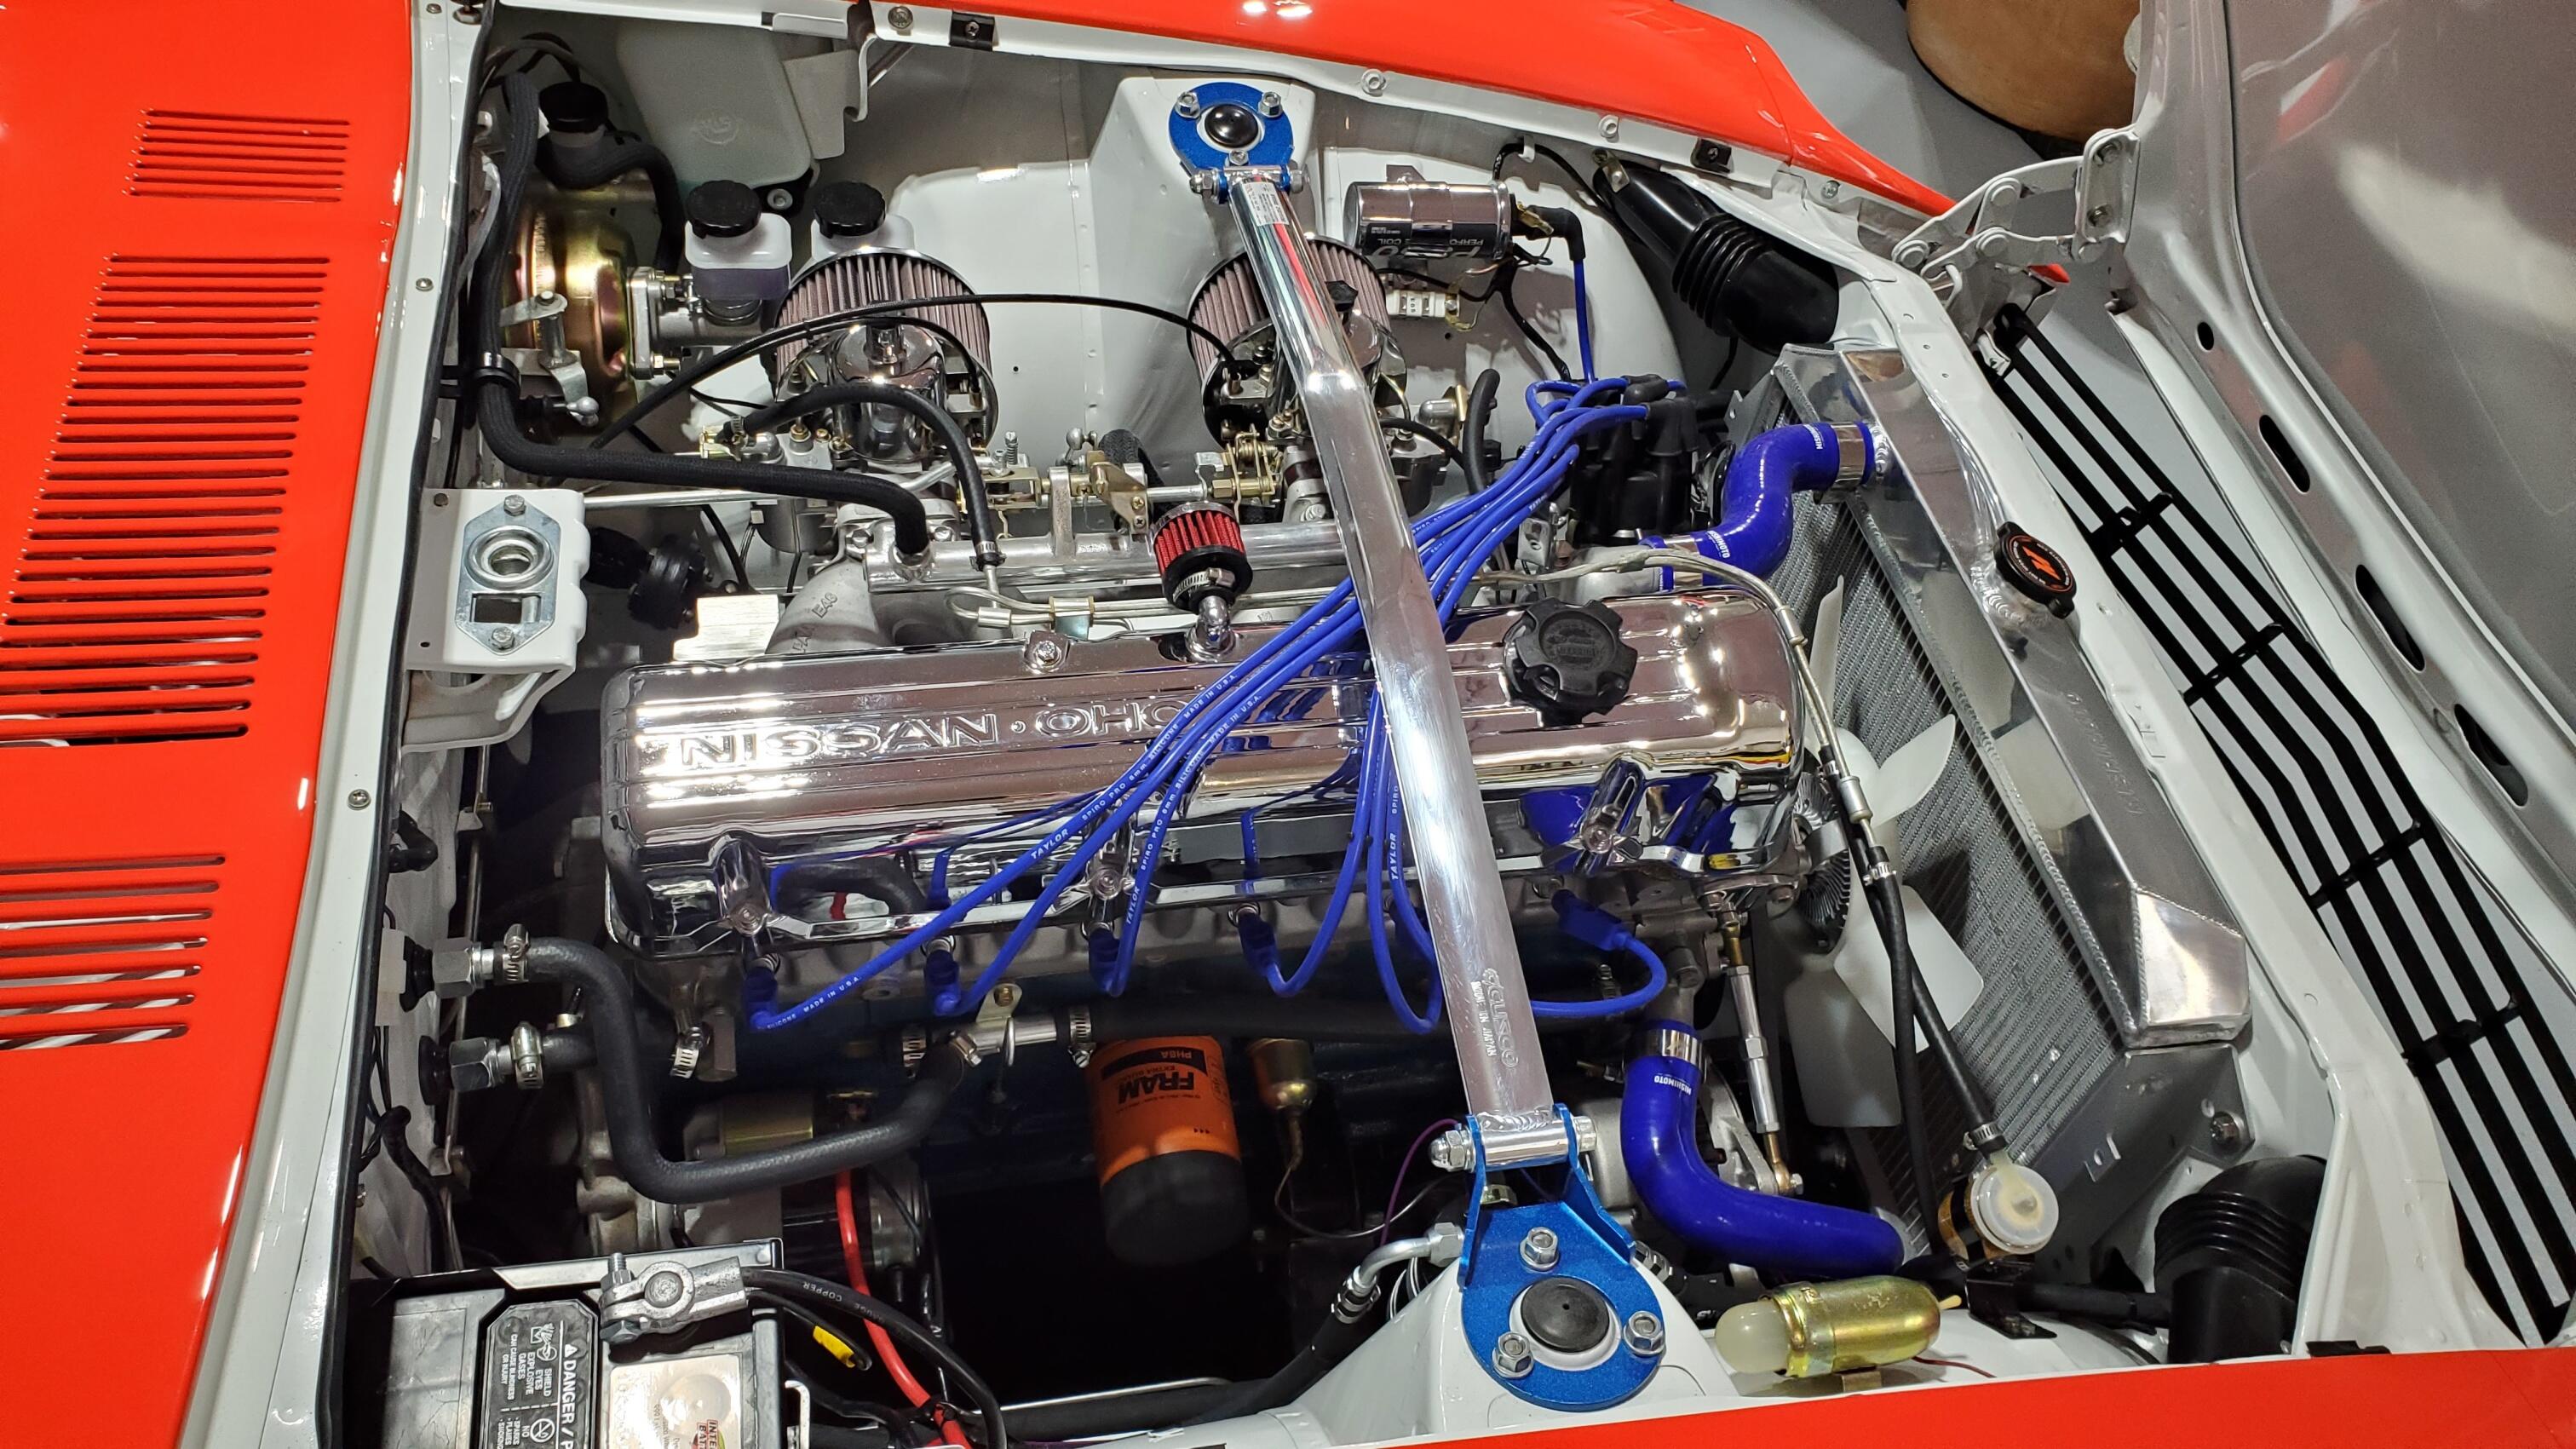
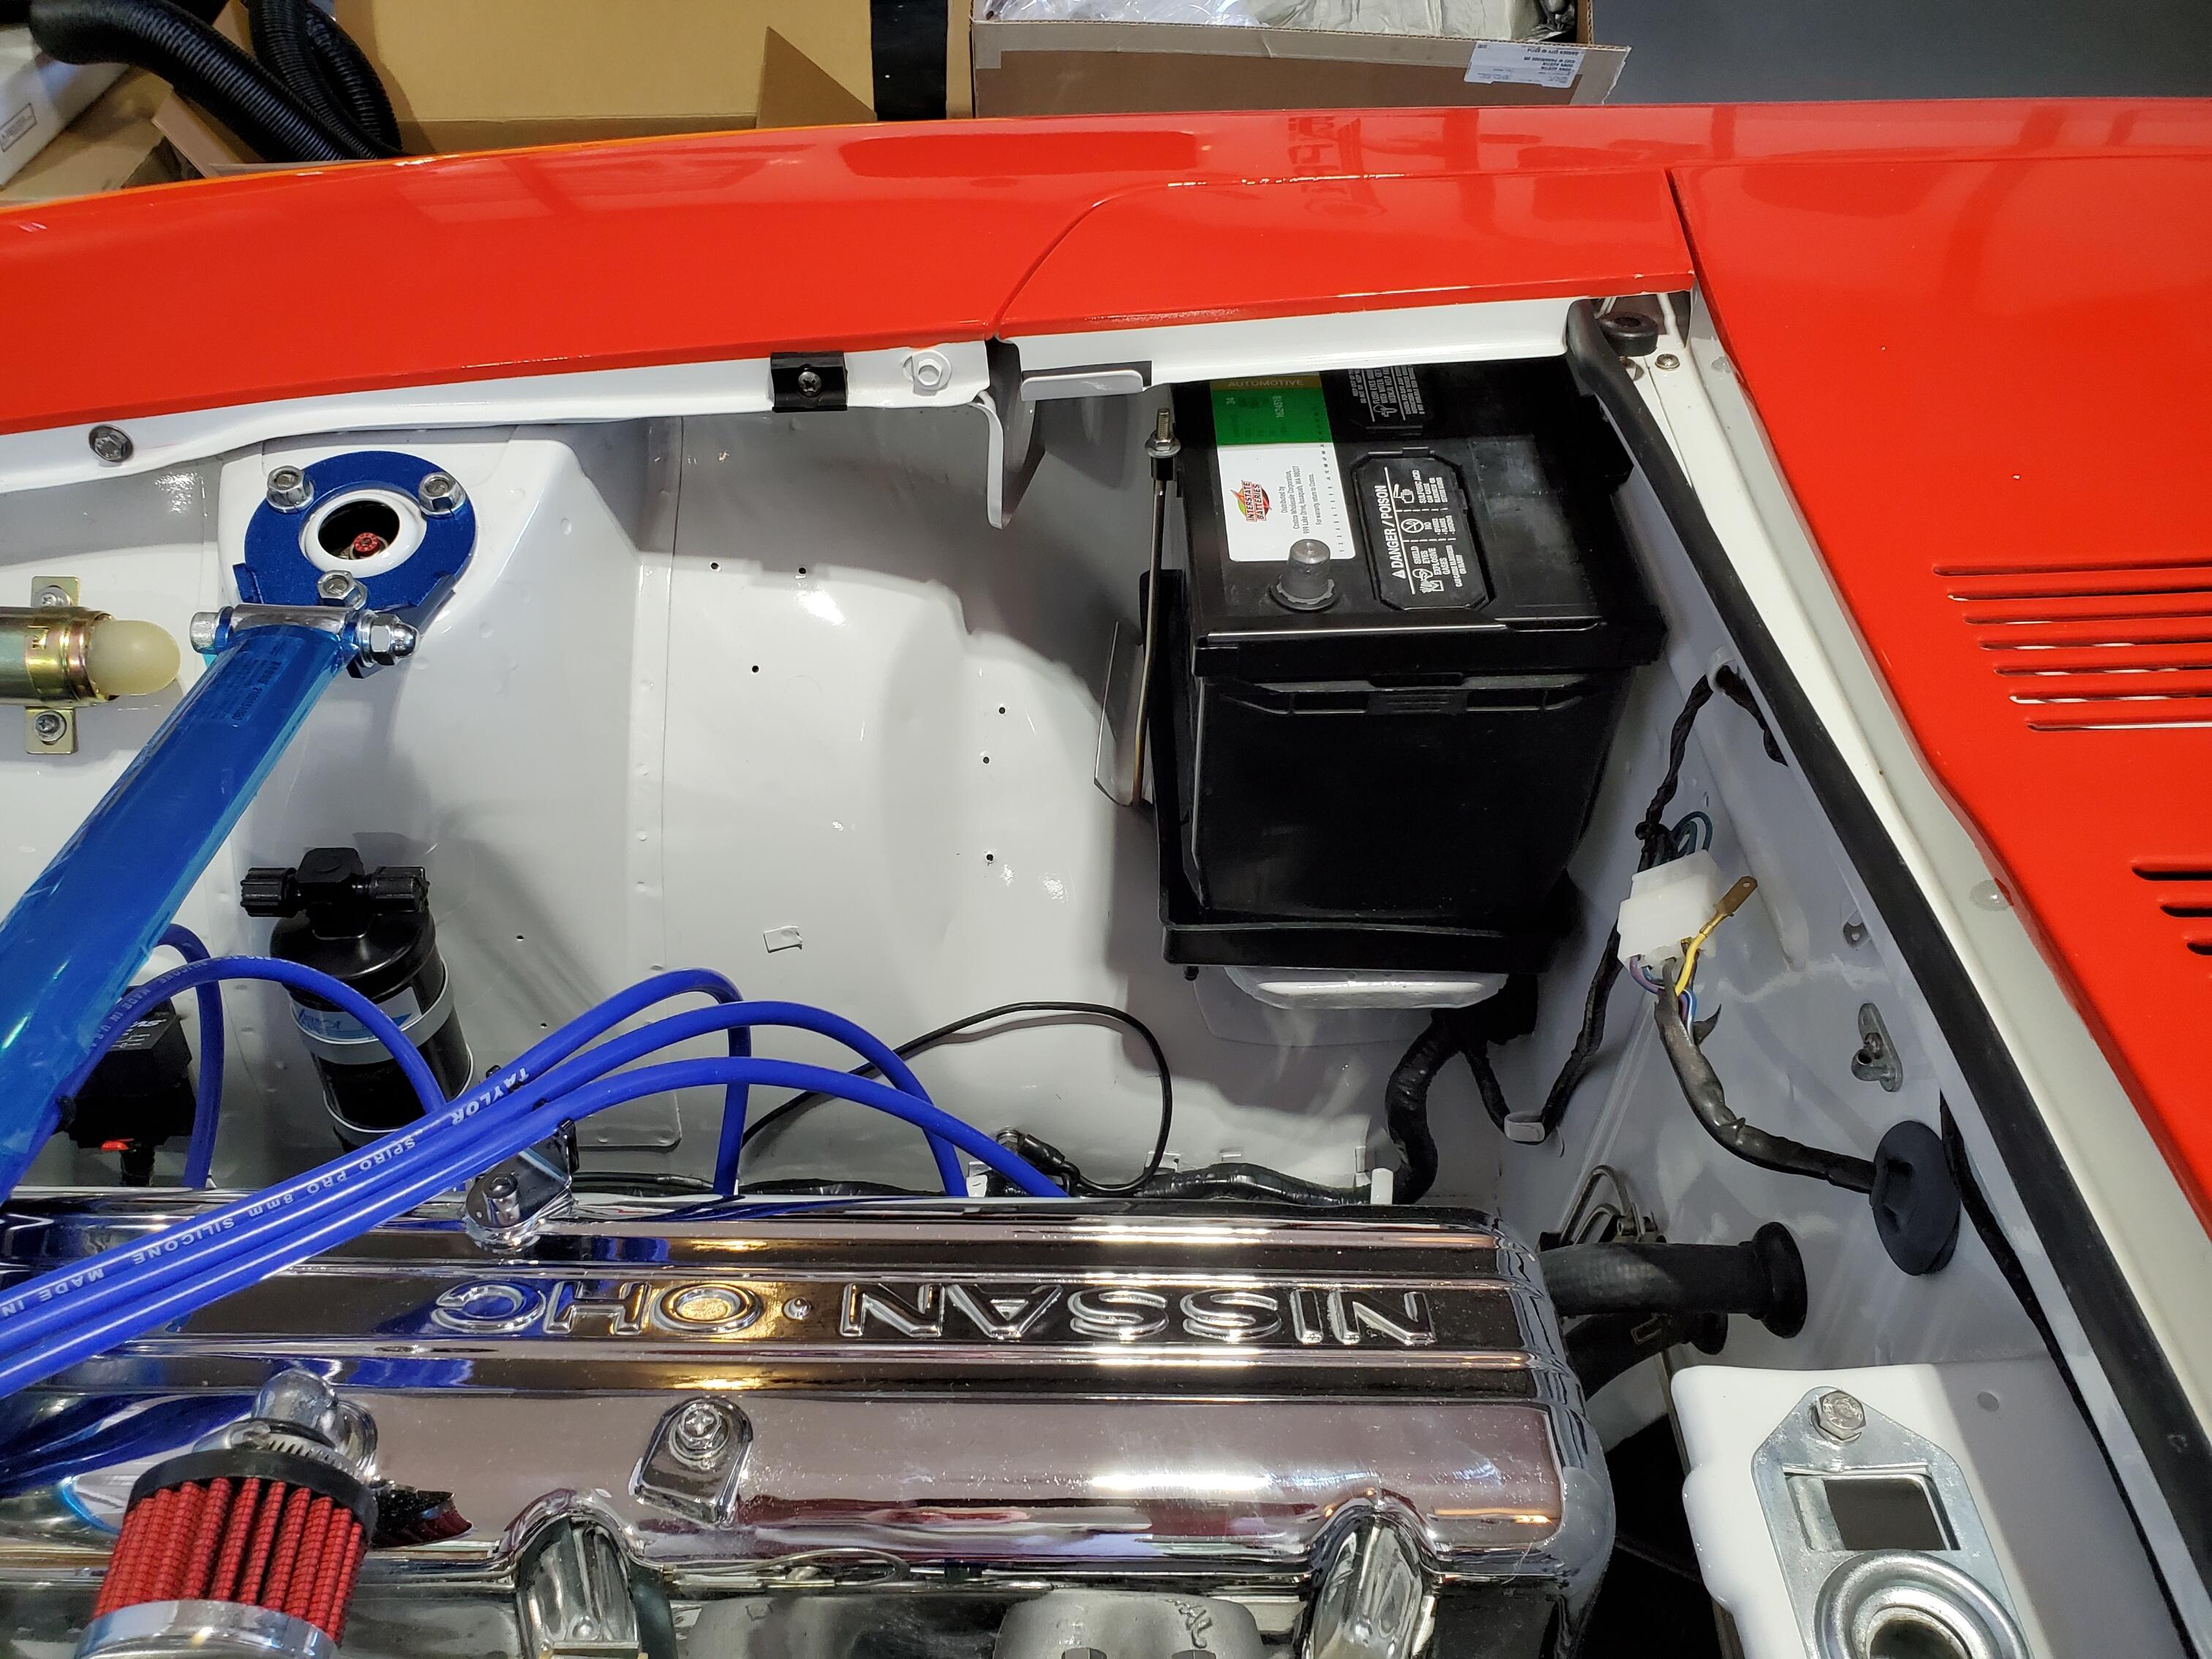
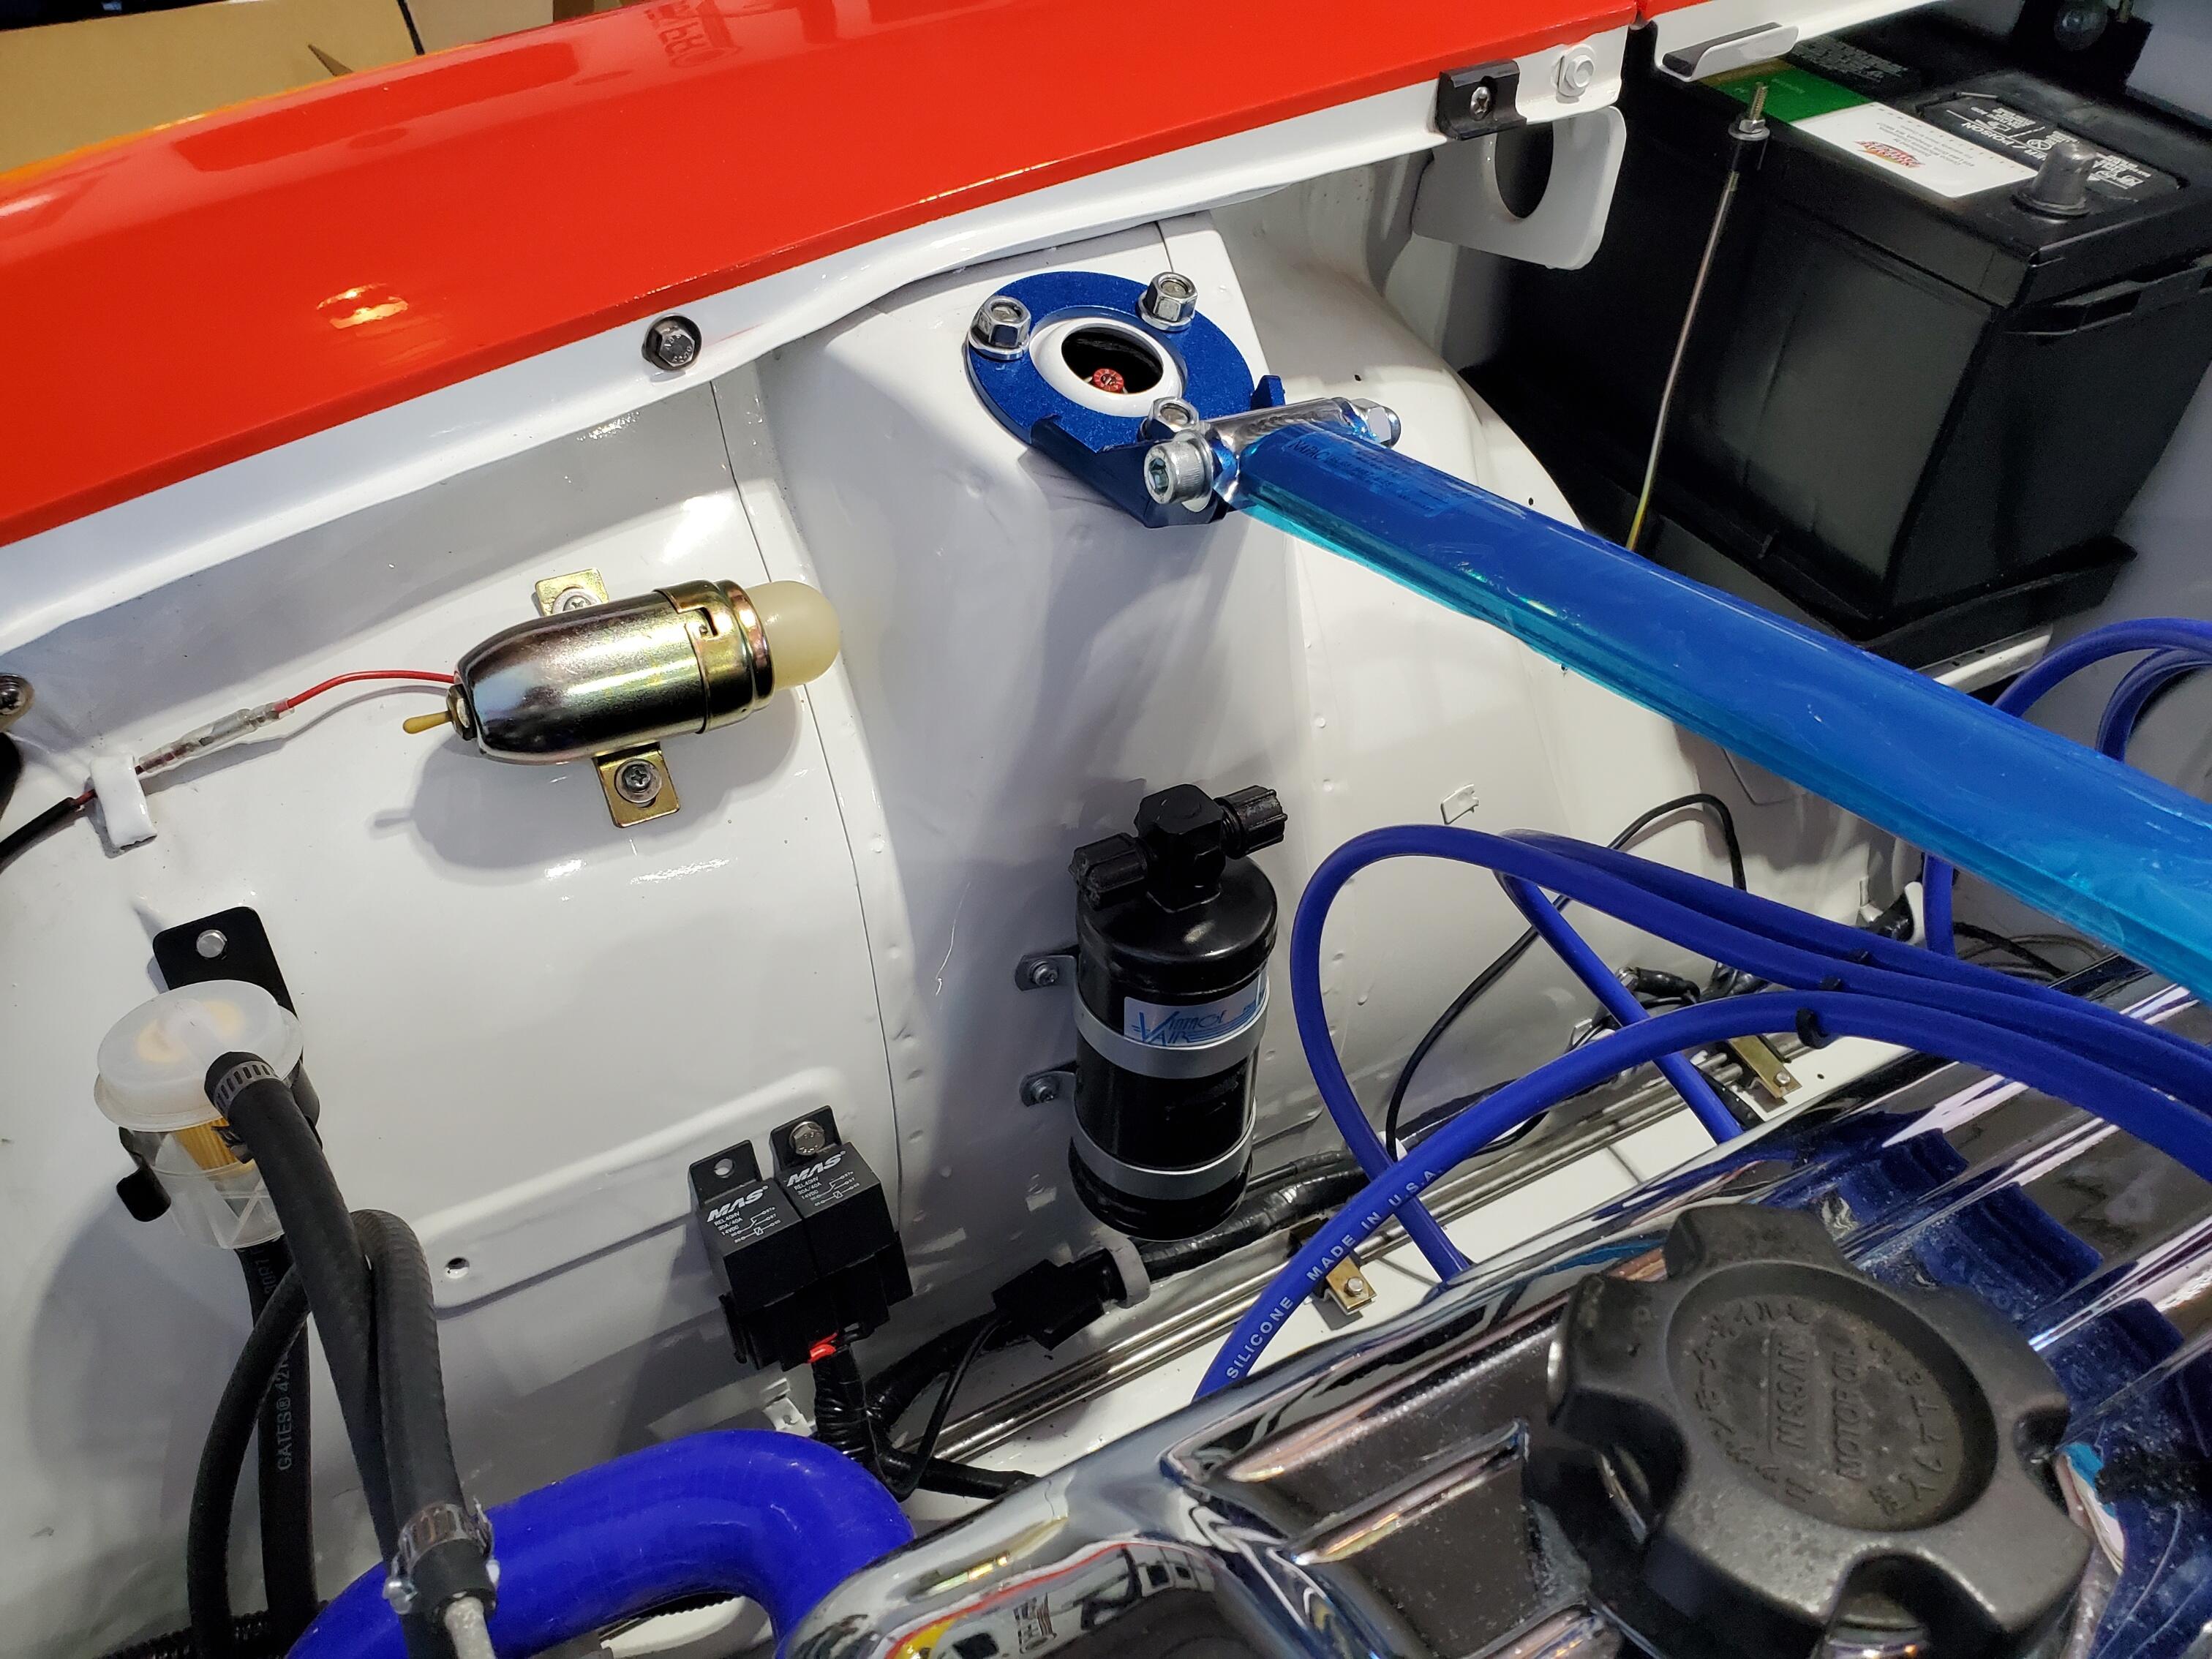
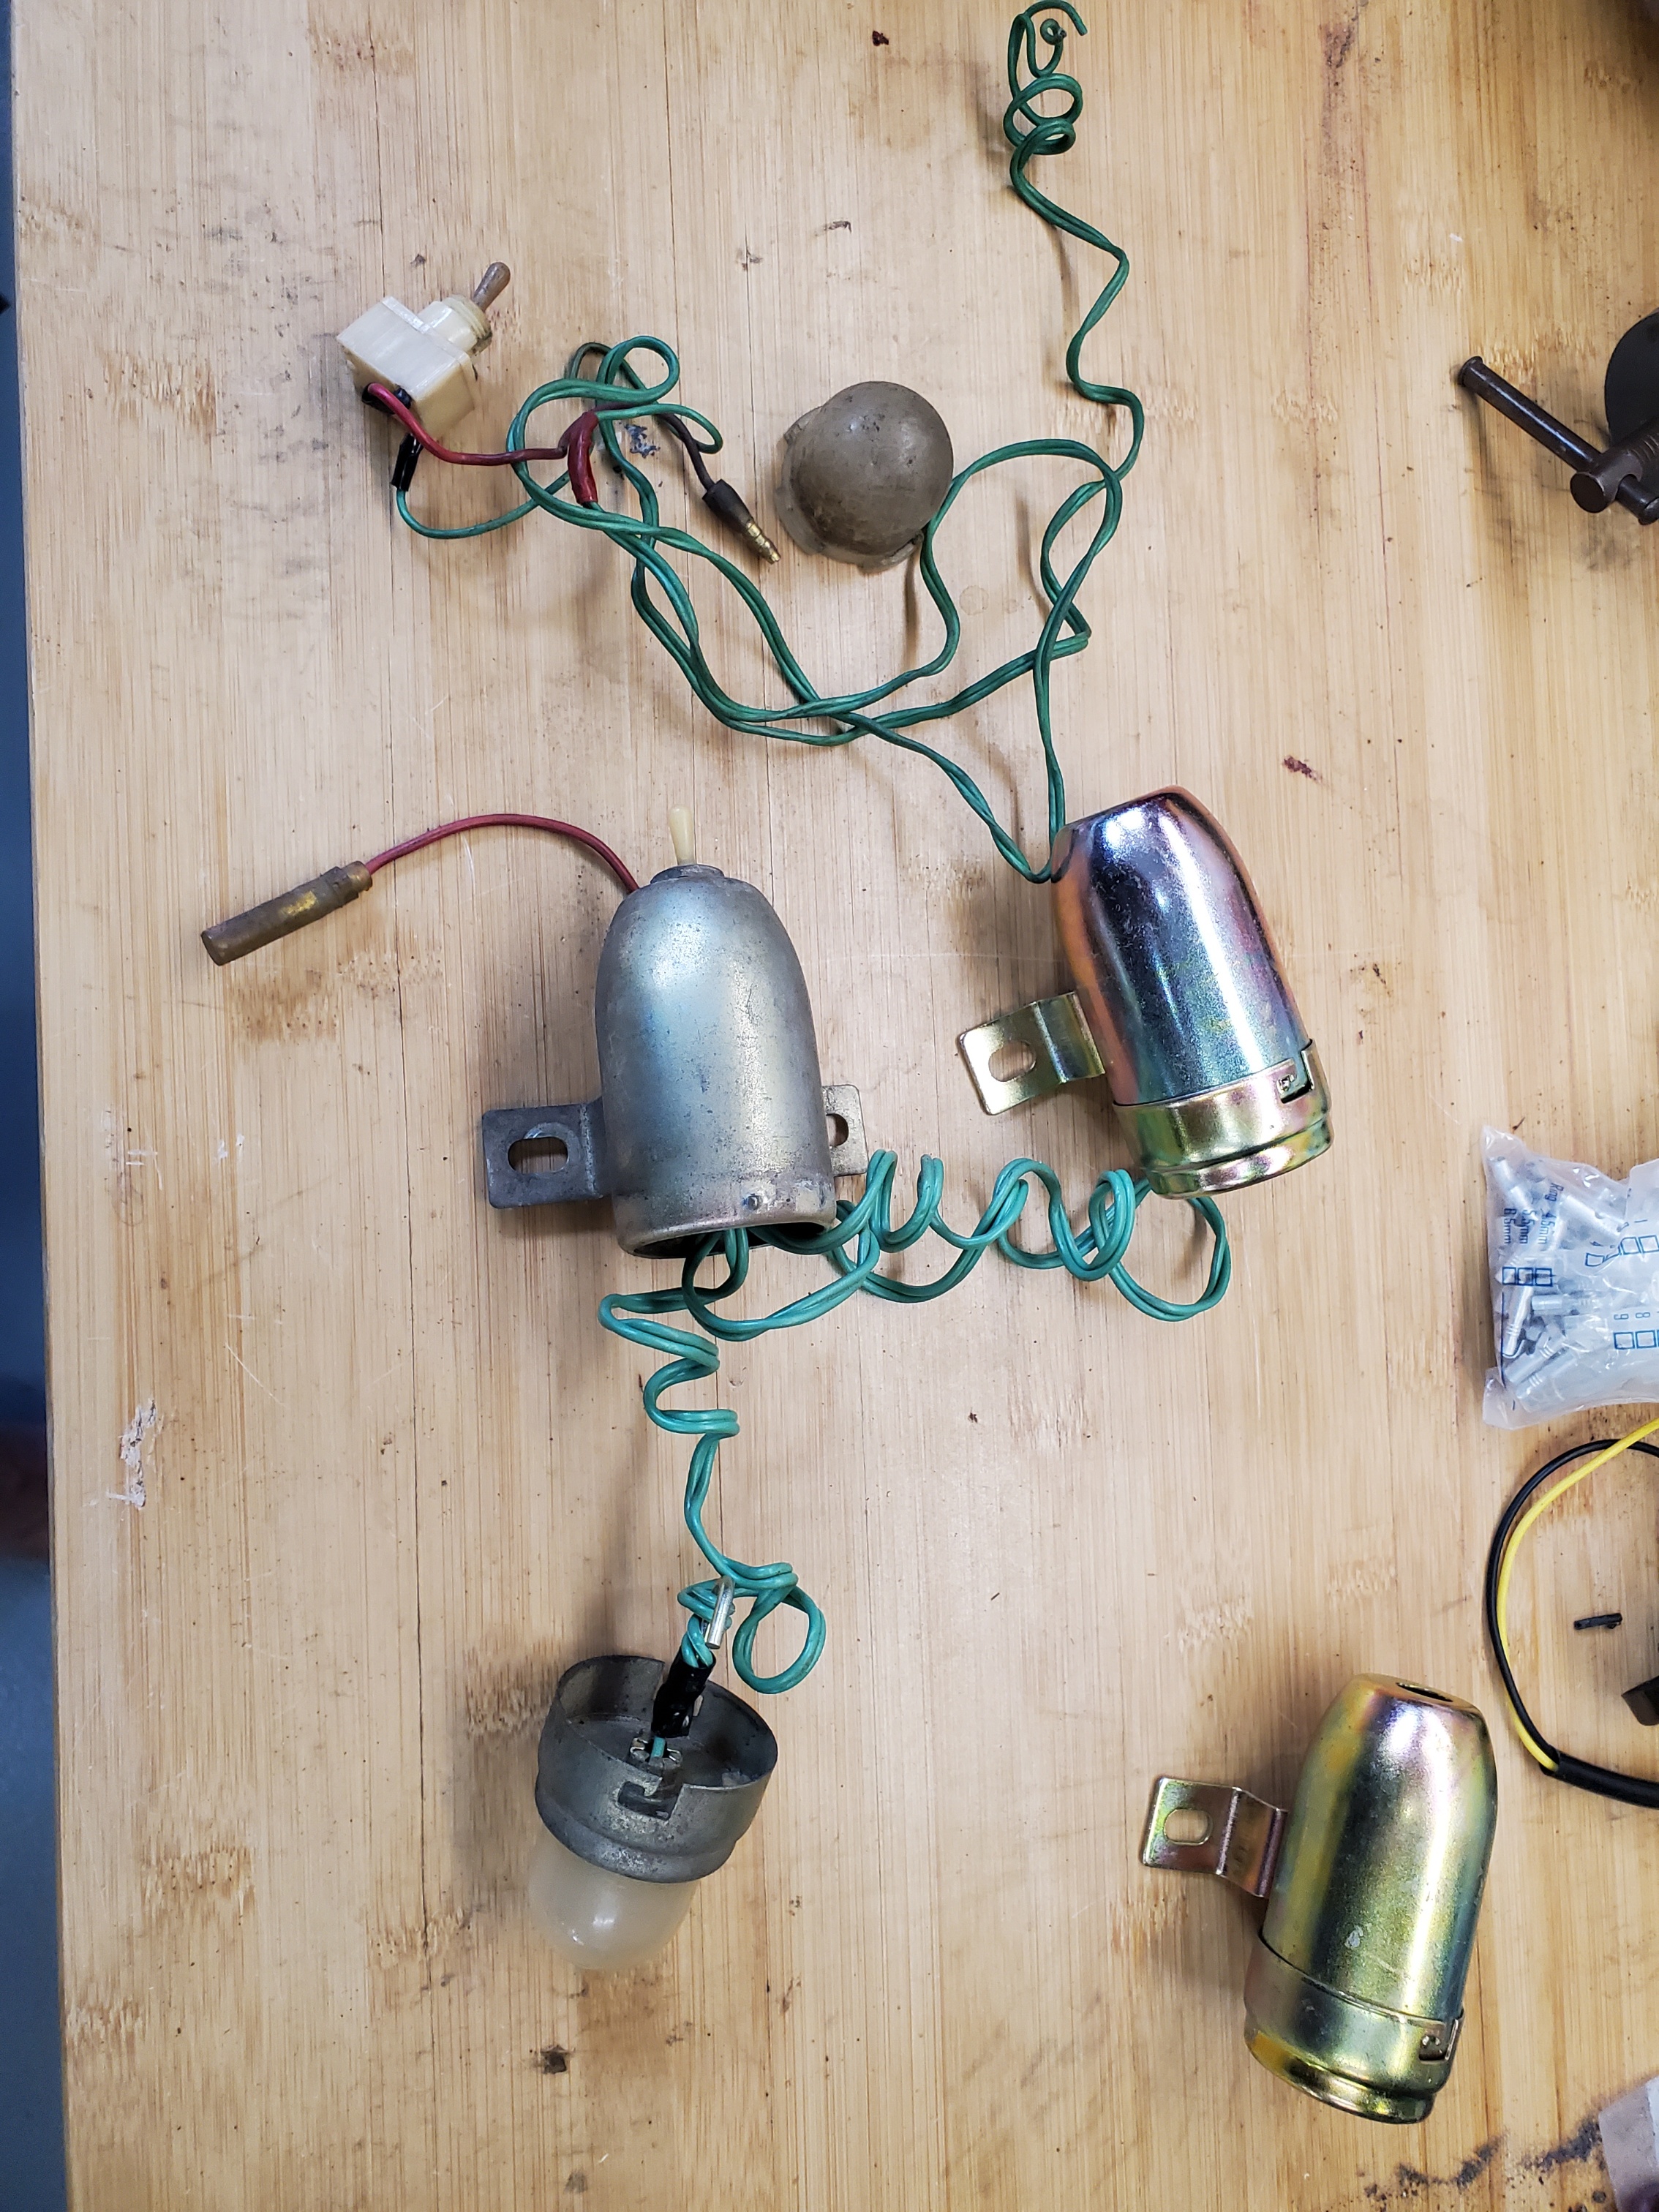
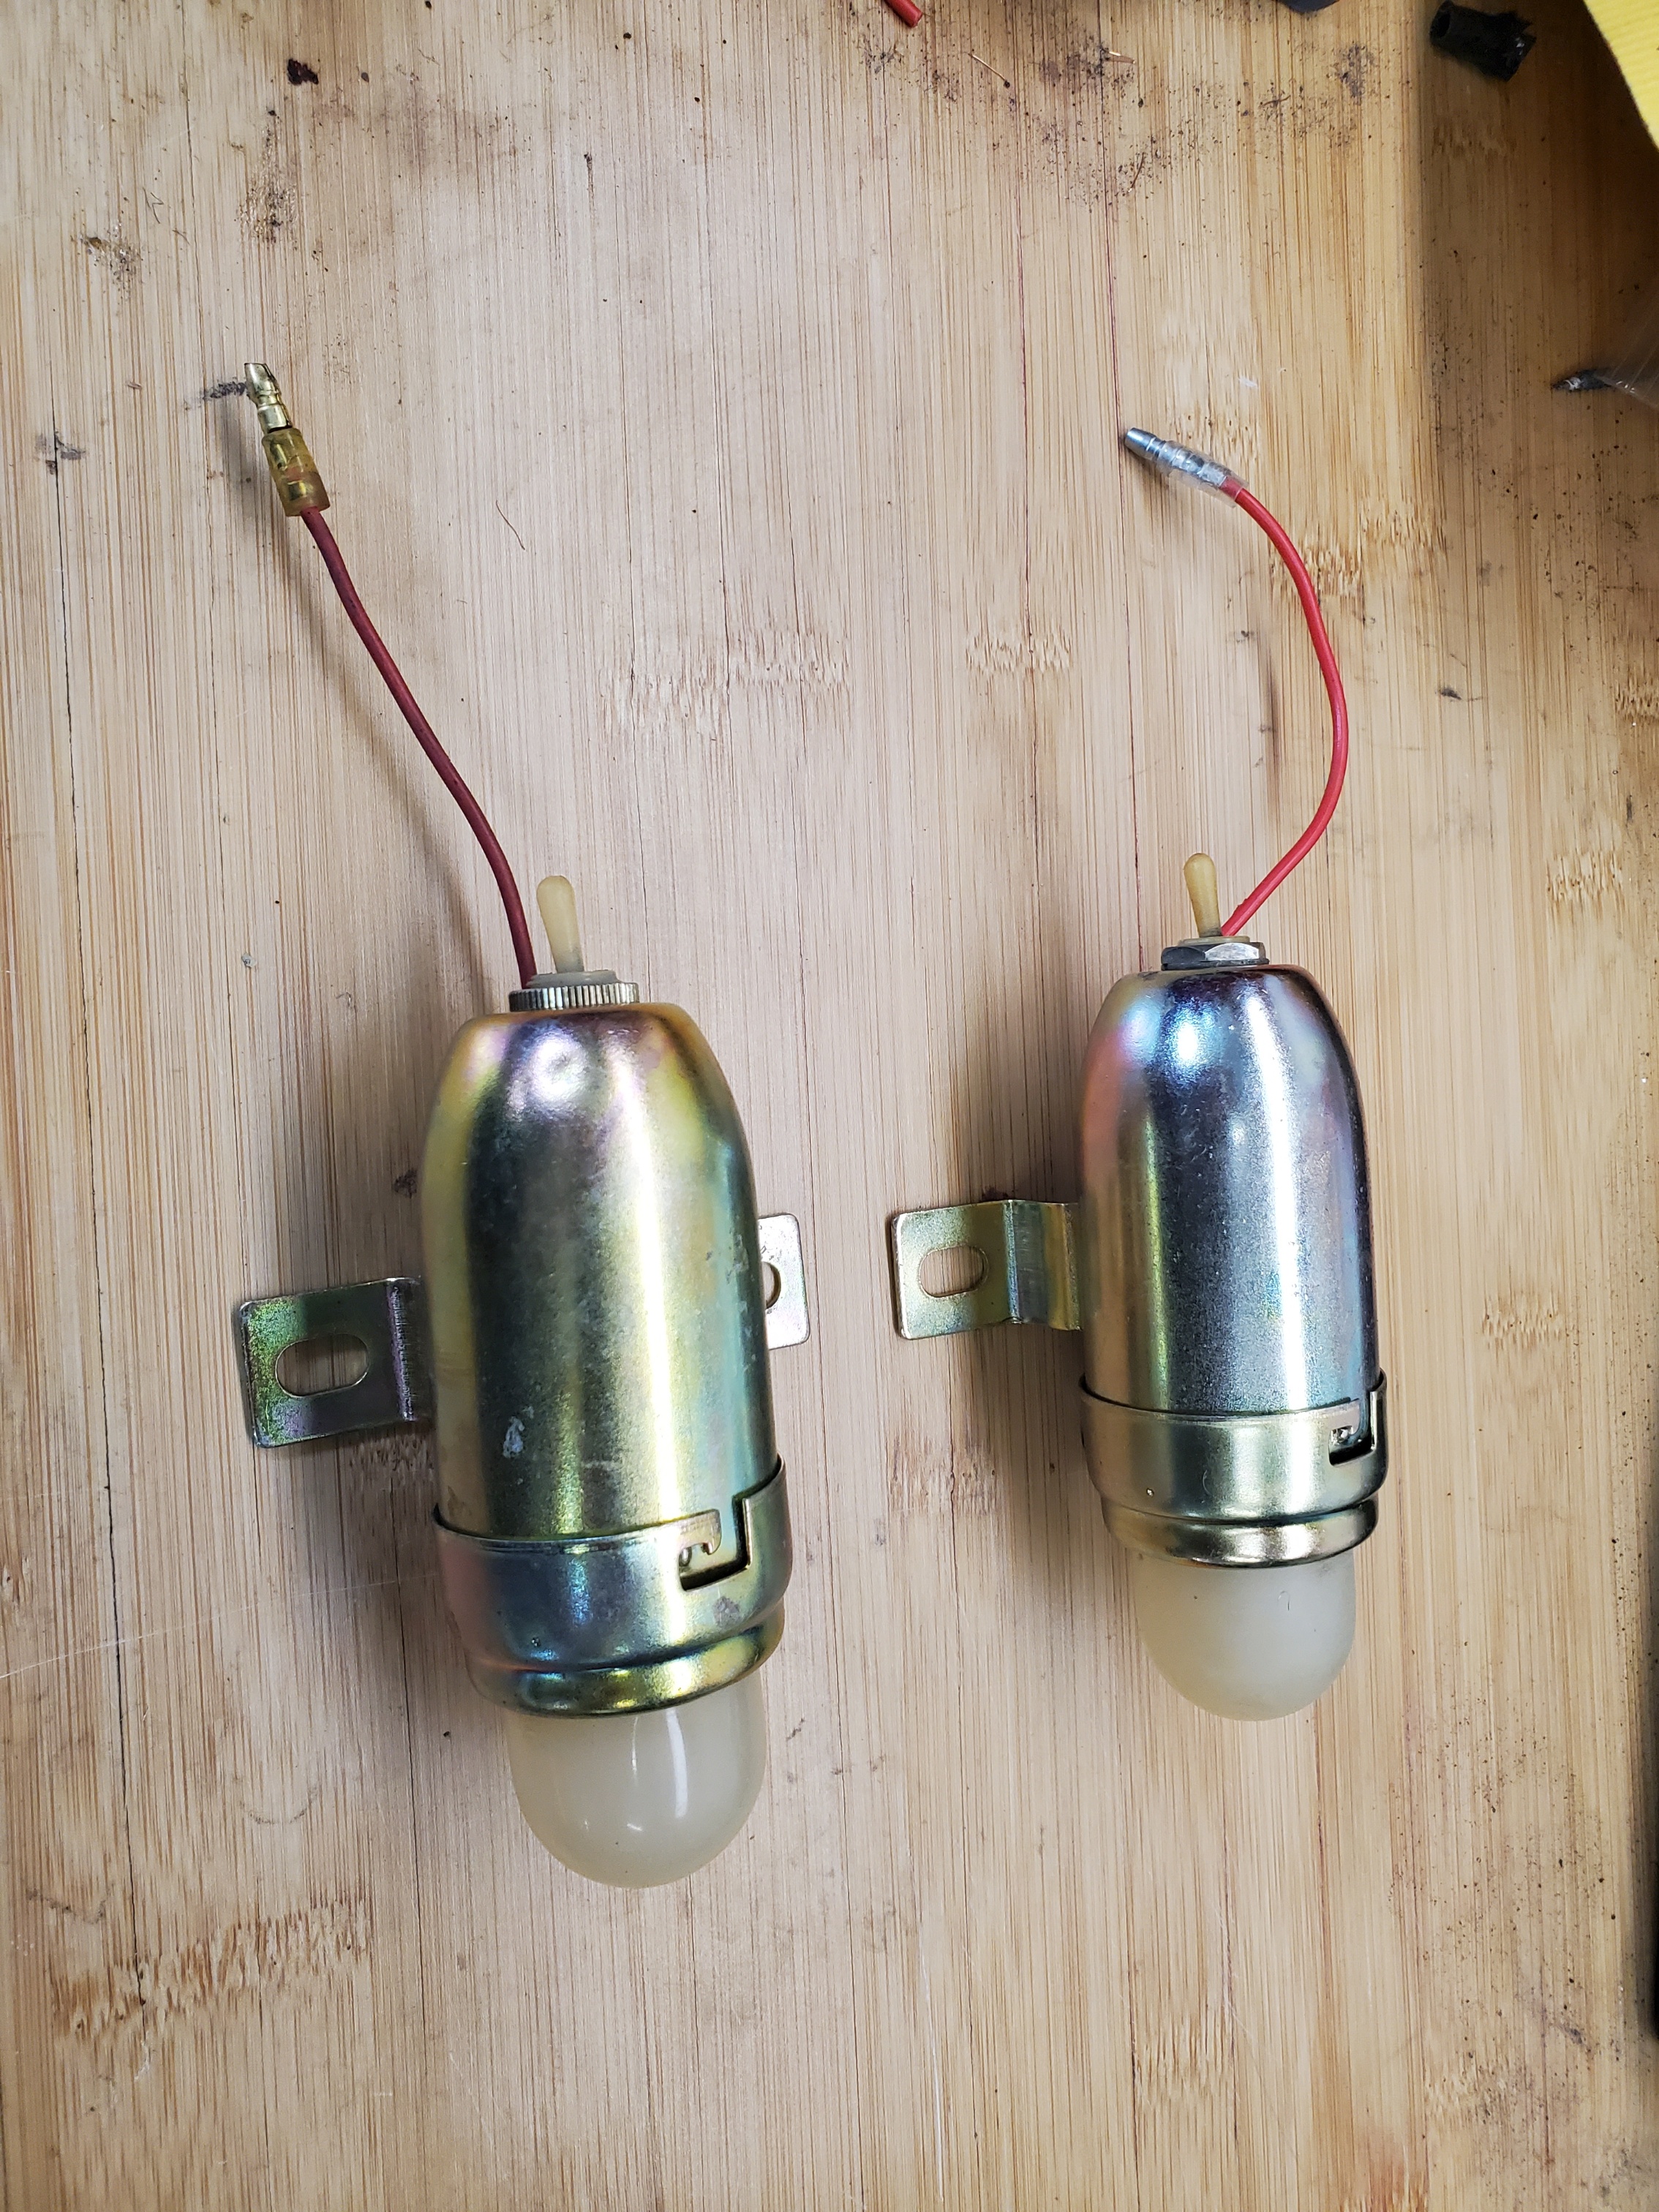
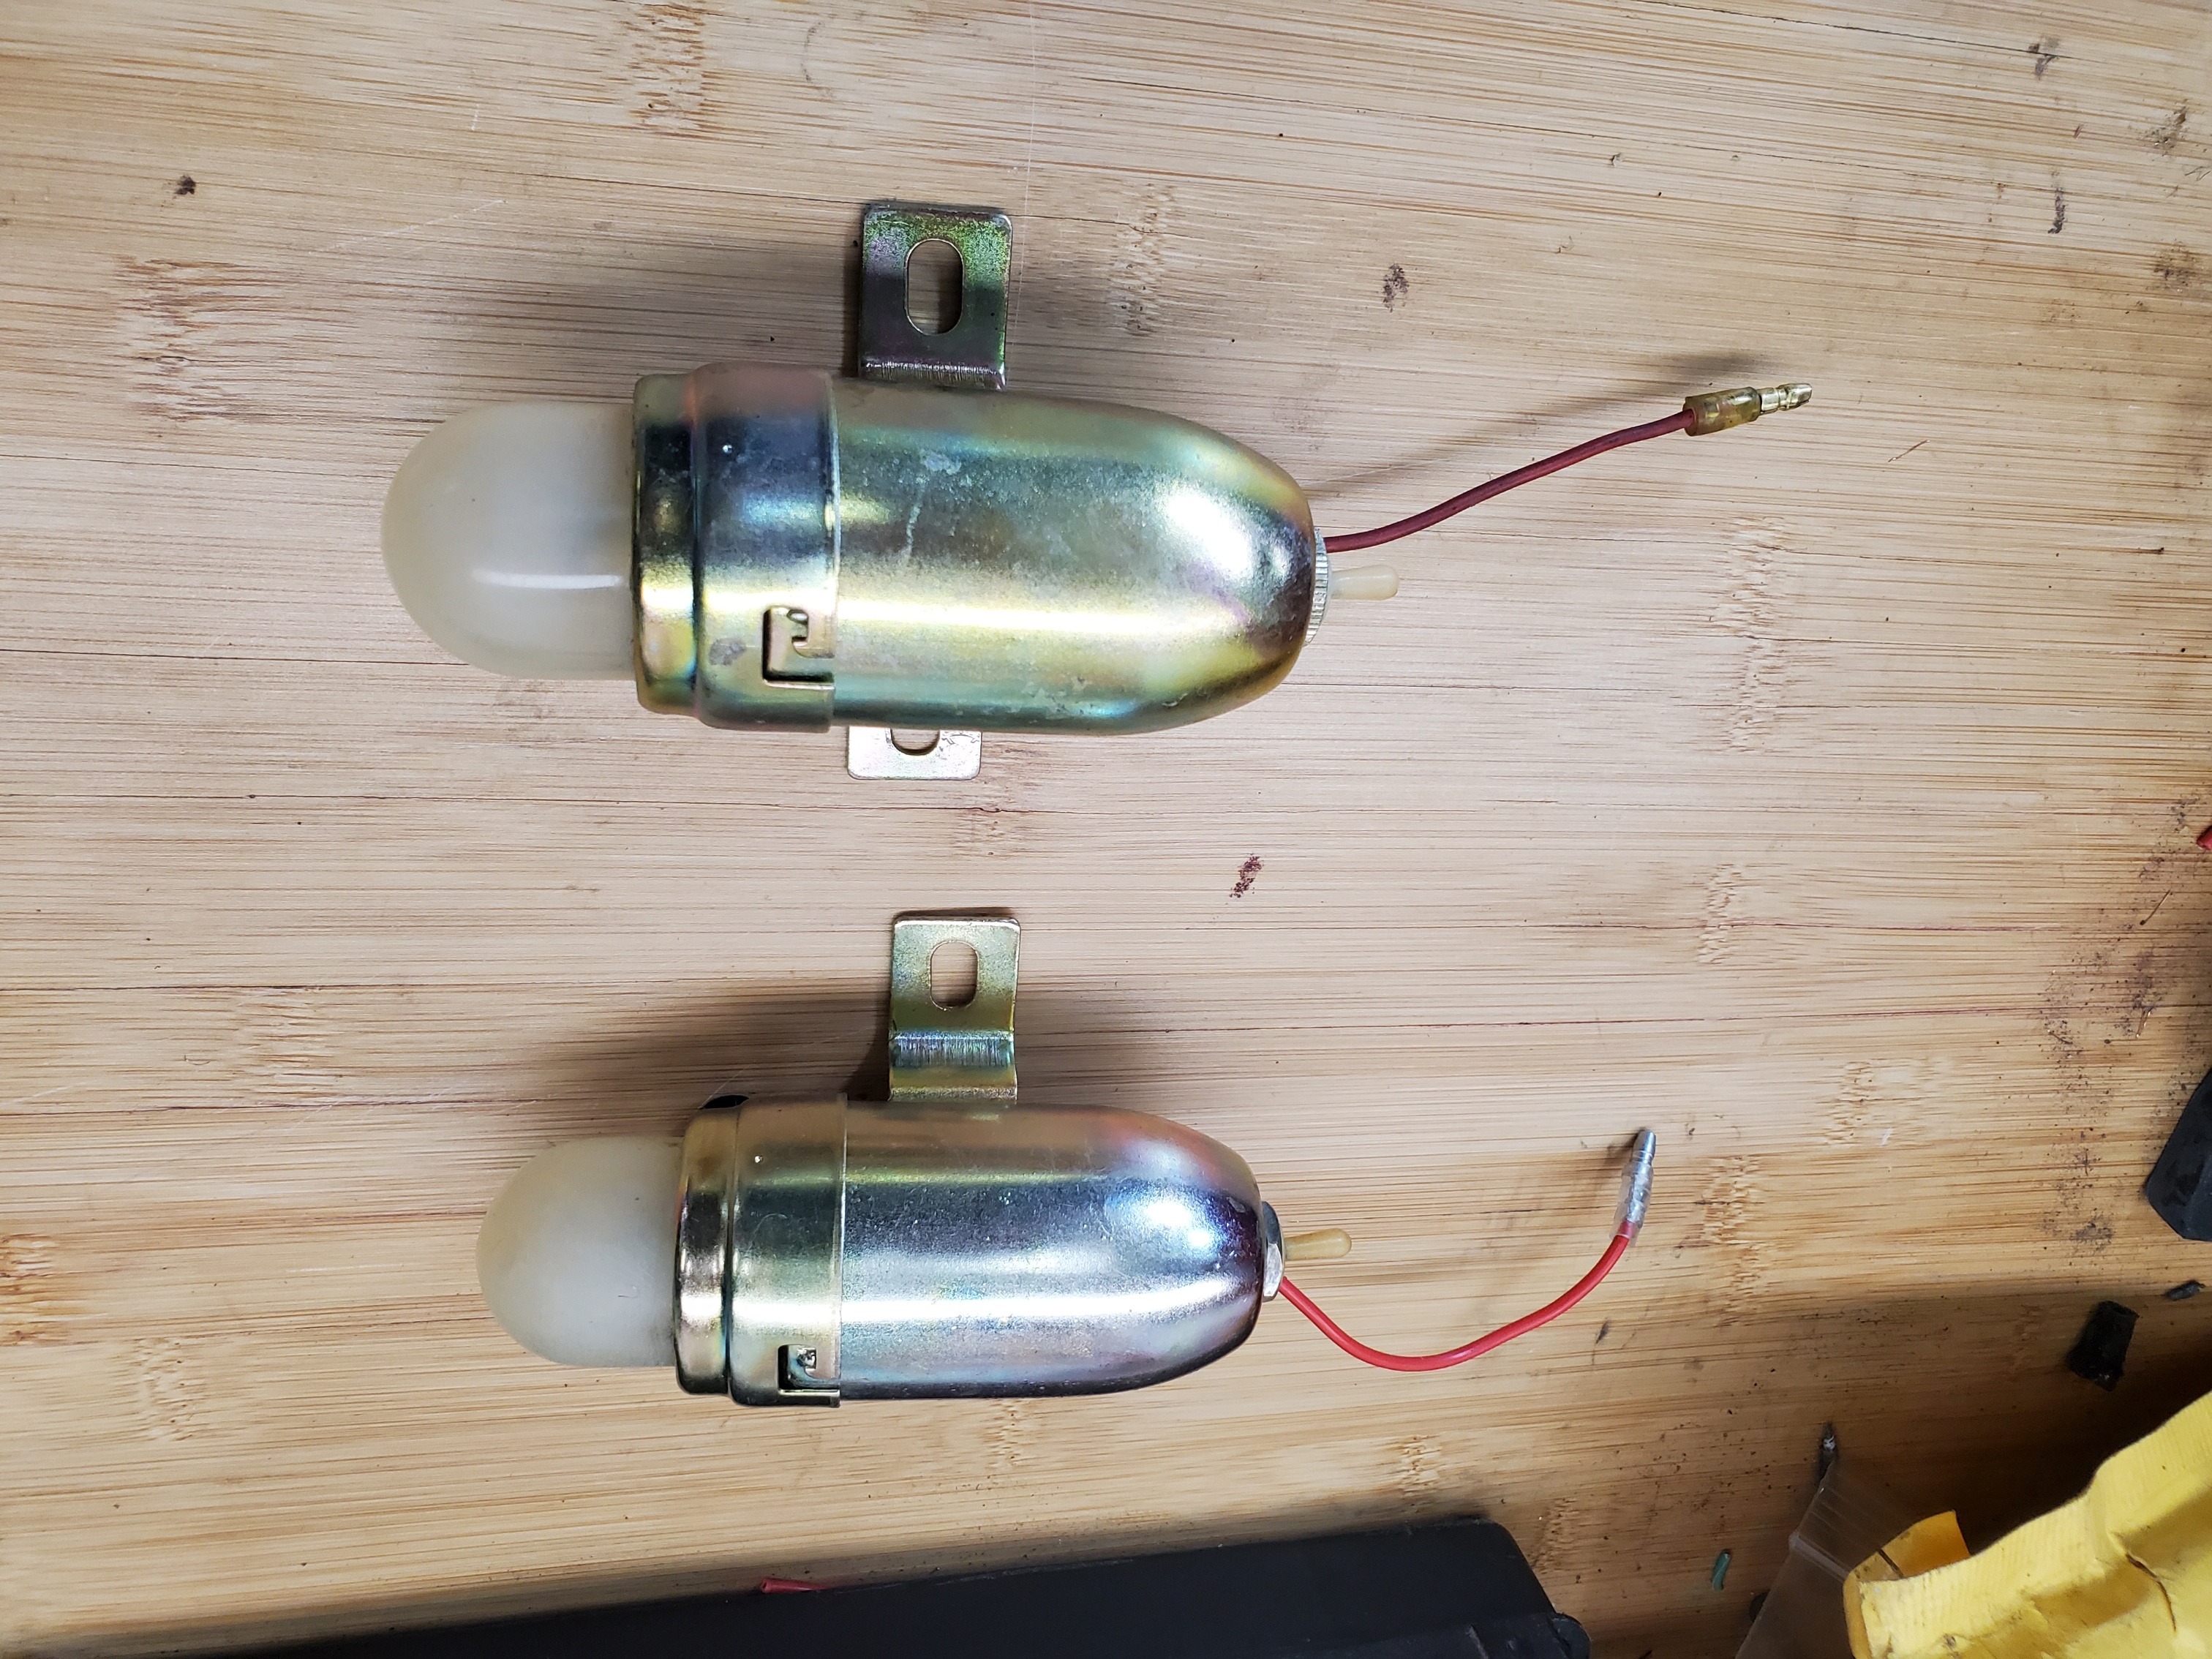
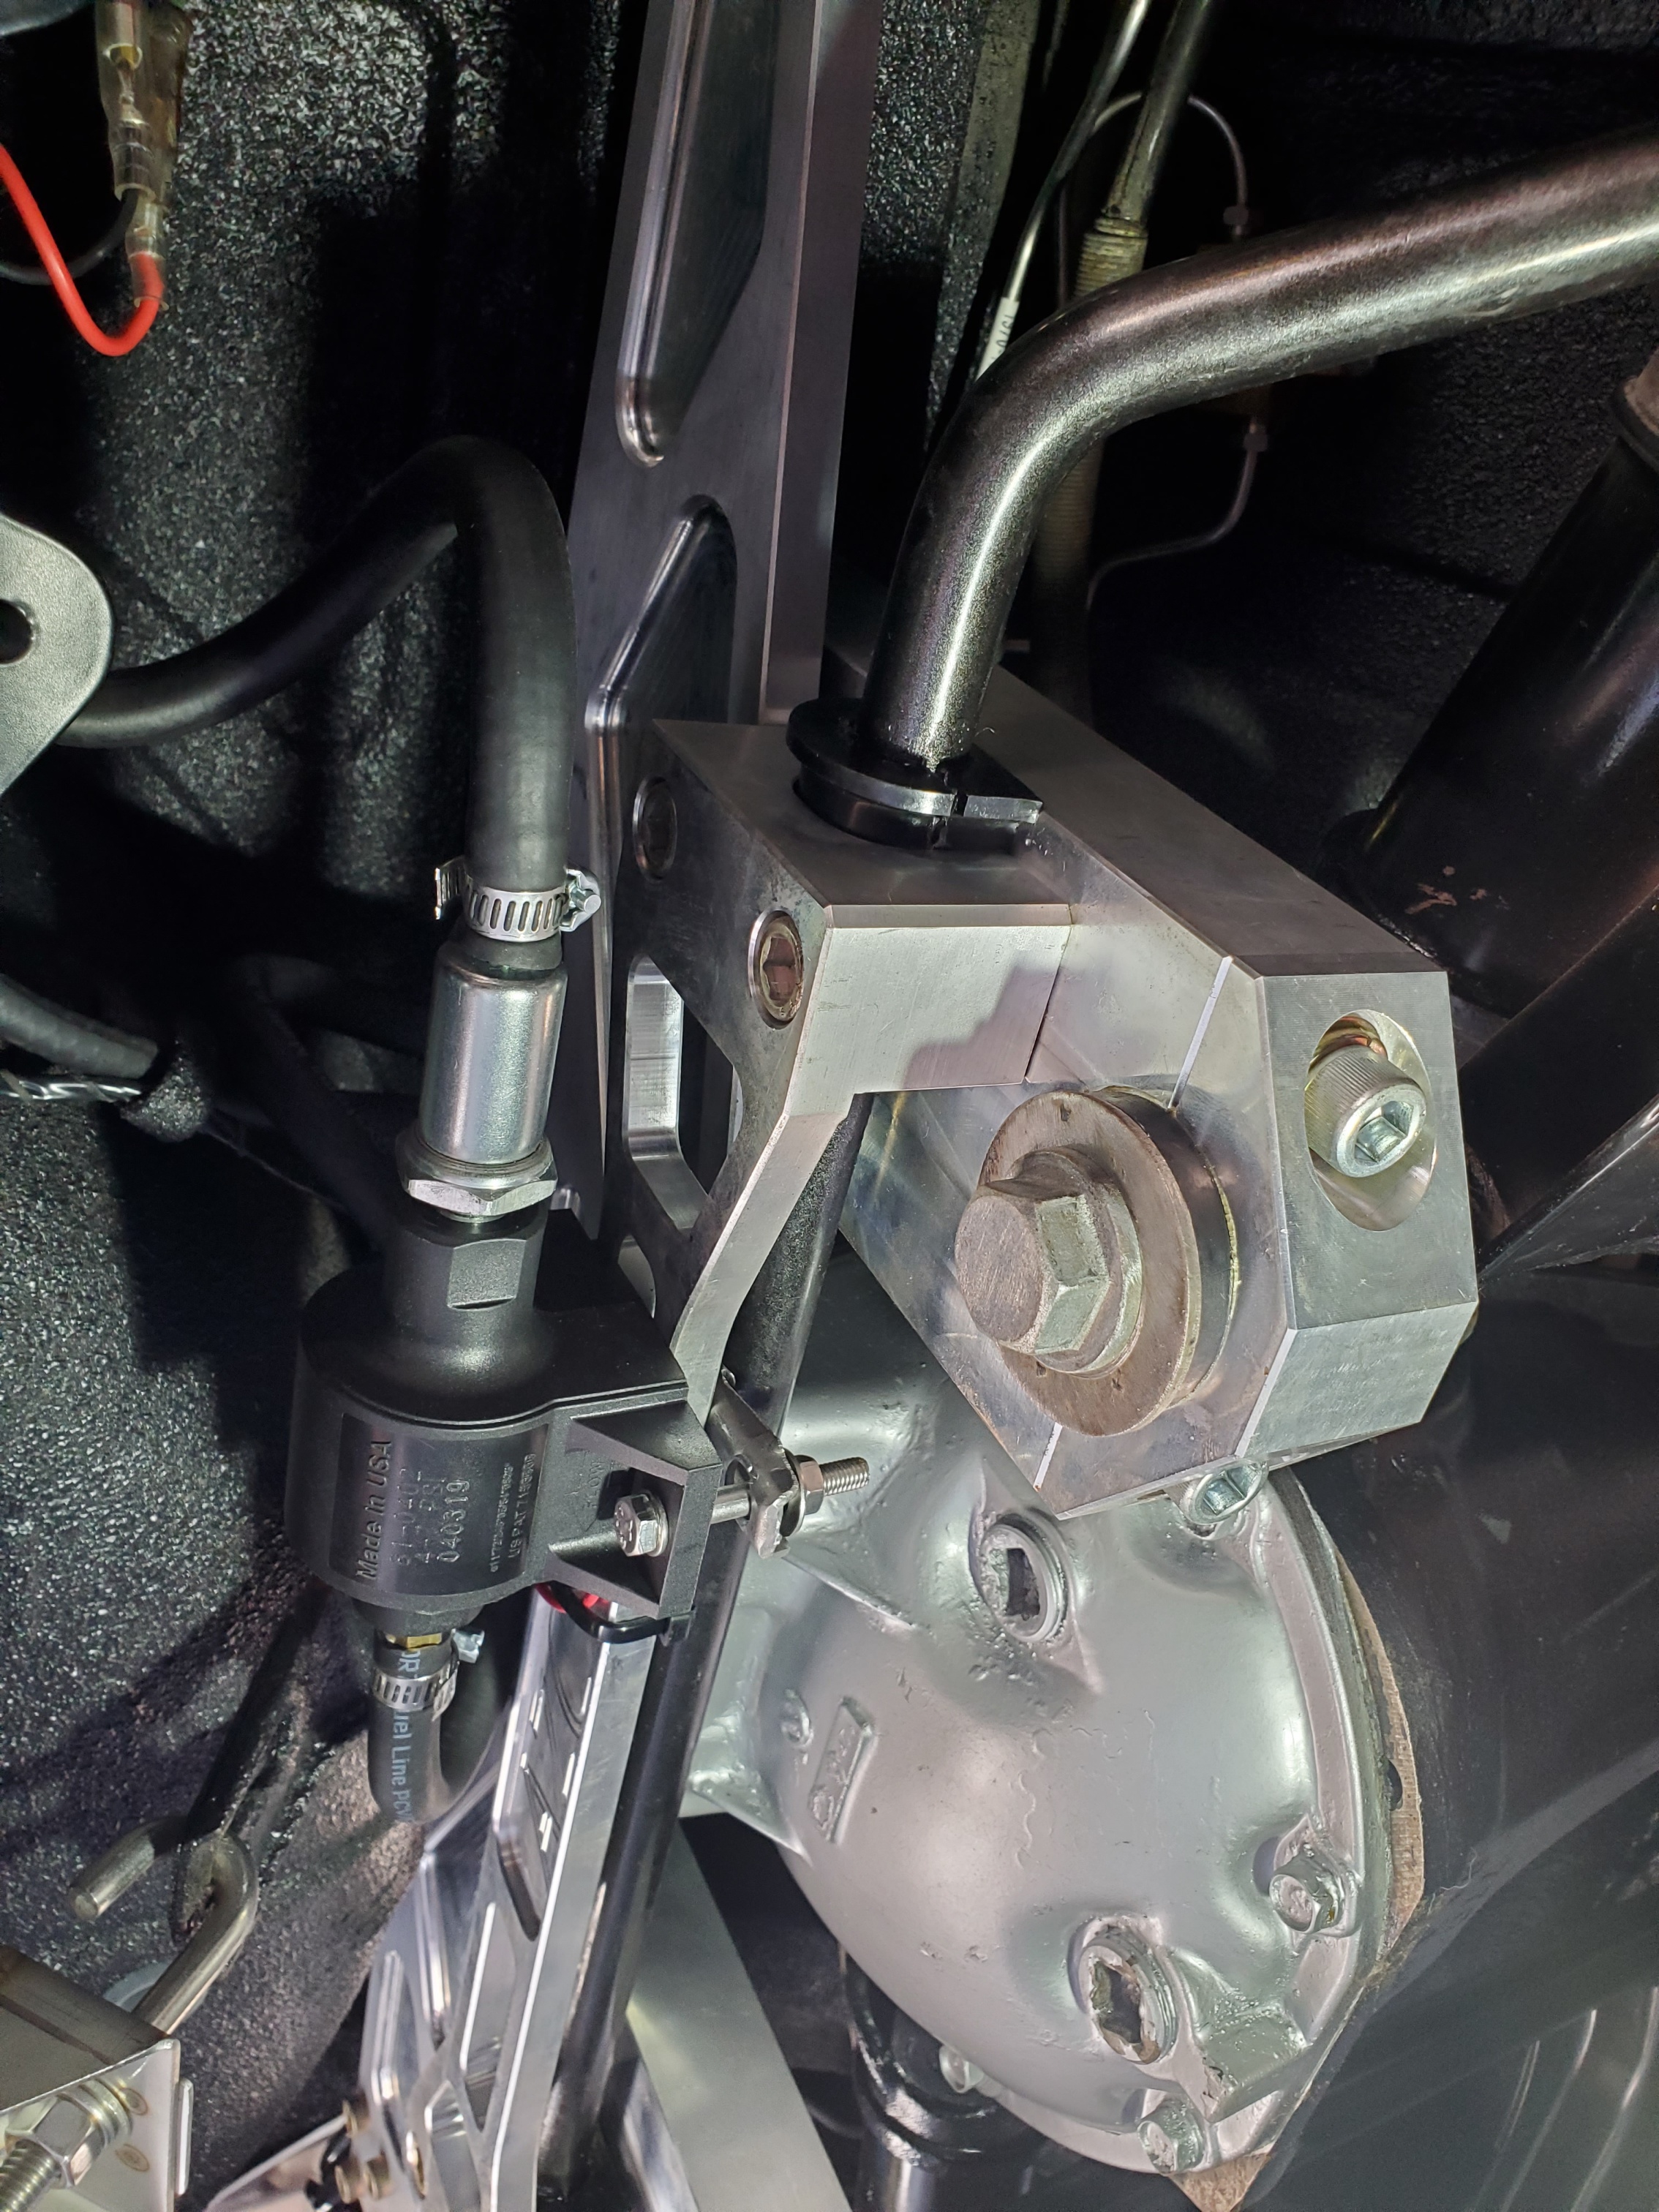
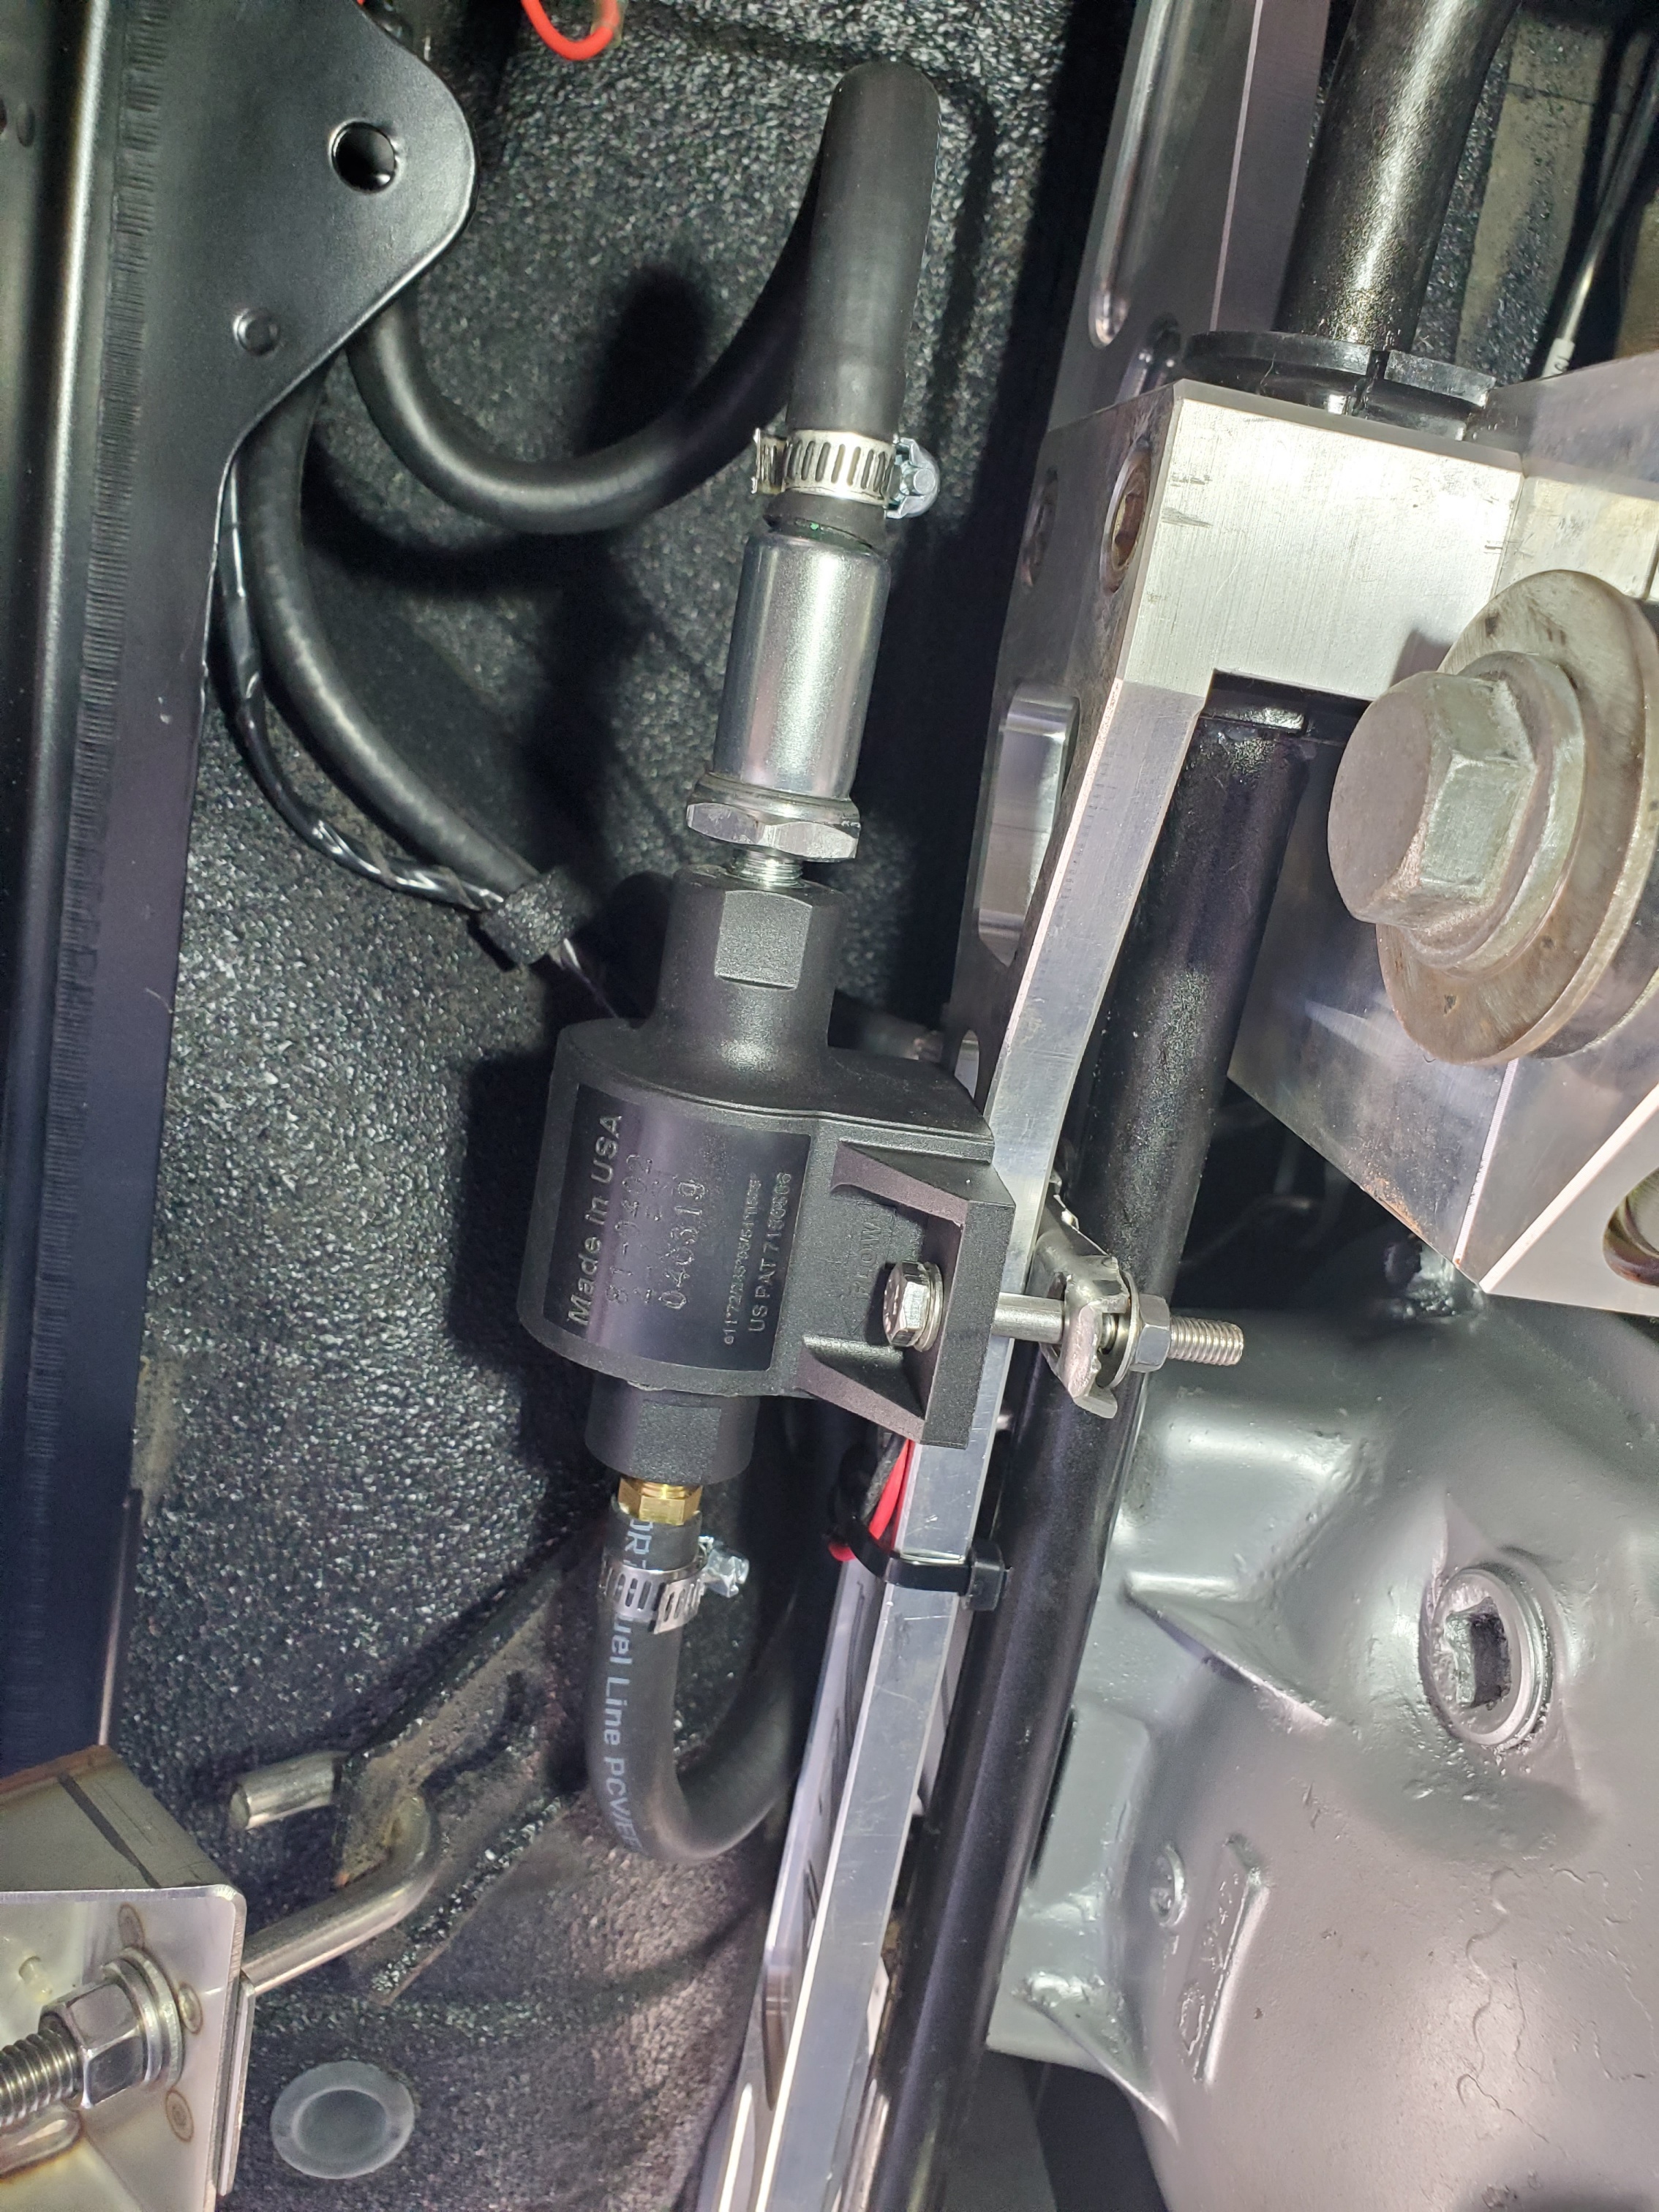
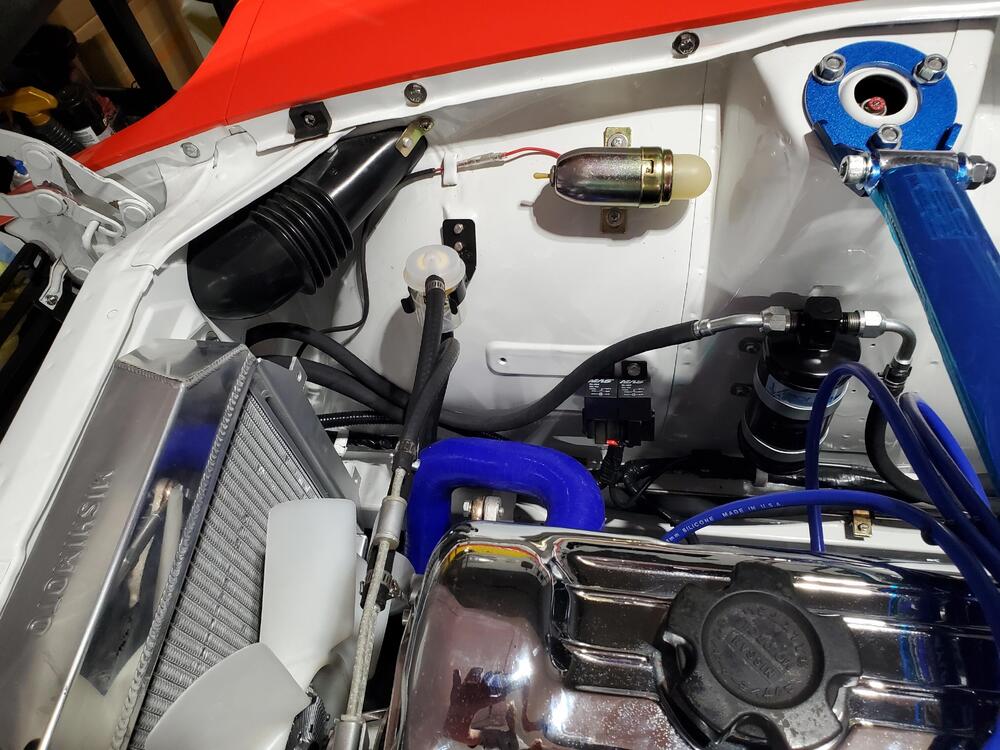
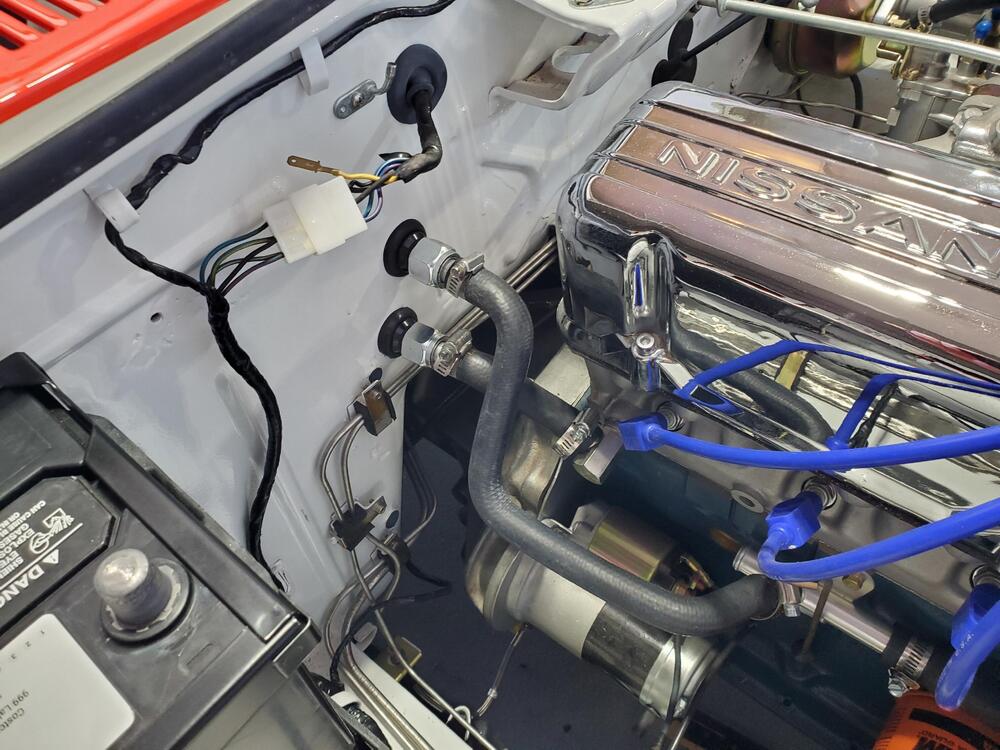
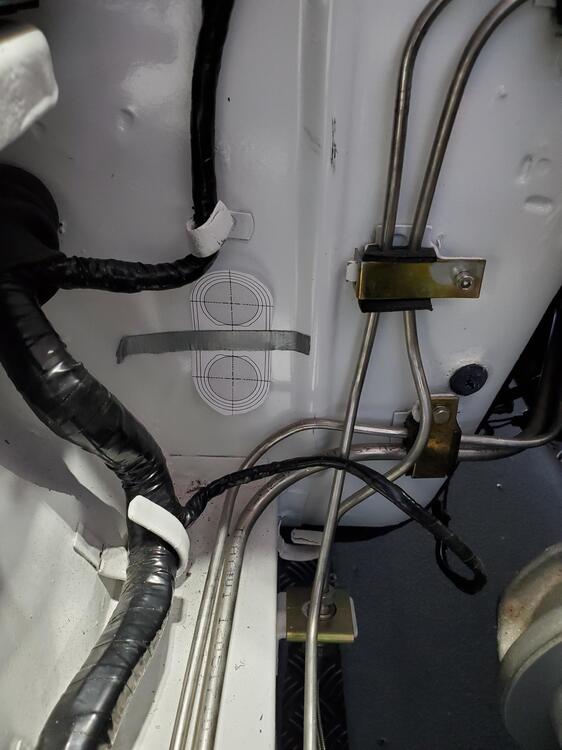
I had some spare housings for the engine light, so I put a couple together. The original was pretty corroded. The white dome on top is definitely very hazy and opaque, so I cleaned it as best as I could. It would be nice if someone would contract a mold for these and have some nice translucent ones made. I installed the most silver looking light as it better matches the engine bay colors. I installed the fuel hoses to the electronic fuel pump, tank and forward metal lines under the car. The metal lines had to be reformed slightly as they were crashing into the rear suspension parts as shown in the pic below. Such is the curse of aftermarket parts. Anyway, everything worked out nicely with a little tweaking (not to be confused with twerking). Hoses routed smoothly and installation is pretty clean. I am trying to figure out a clean way to route the carb float bowl vent into the small K&N air cleaners. I would like to drill a hole in the base of the air filter and route the hose into the air cleaner, but that leads to a pretty sharp bend in the hose, and it collapses. A right angle fitting would work better. I will have to look around a bit and see what is available. Not sure what other options there are without things looking too messy. Pics below.