motorman7
 Subscriber
-
Joined
-
Last visited
Everything posted by motorman7
-
 Wow John, that is an impressive amount of work for a weekend. I'm jealous
 -
It must be coming up the cable because I had it hanging in an upside down 'U' shape in the garage. Didn't lube it when I installed it. I'm guessing it must have been leaking when I didn't have the cable installed, I just didn't notice it. I will replace the o-rings Espirit mentioned and hopefully that fixes it. Looks like I will have to add trans fluid to
-
I guess I will check there first. Will have to order the kit from MSA. Thanks!
-
OK, still having a hard time beleiving this one. My speedo cable is leaking at the speedo...no lie. I thought I had a bad clutch master cylinder because every day for the last week I would get a small puddle of oil on the plastic part of the drivers floor mat. I checked the clutch master cylinder and brake master cylinder and did not see any loss in fluid during the week. I put the bottle of brake fluid in my car just in case. Anyway, finally put on my grubbies to check out the problem only to find the rods for the brake and clutch totally clean and dry and my speedo cable leaking. So, transmission fluid must be traveling up the cable from the trans up to the speedo where it drips. Am I missing an o-ring somewhere or something? The odd thing is I was running without the cable for a couple weeks as I was still assemling the car and never saw any drips out the trans when I ran this way. Tempted here just to take the cable out and run that way. Any thoughts?
-
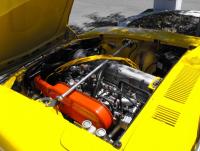
That looks like a pretty sweet ride. Is the paint original? I like the side stripes. That engine bay looks like it will clean up pretty easy, as well. Congrats!
-
Of course, the problem you get with that is the wife asking, "Is that a rotor in your pocket, or are you just happy to see me?"
-
How funny, I thought I was the only one who did that.
-
Hard to tell without pics, but from the description you give I would say it is worth less that $2000.
-
I just did this procedure yesterday to replace my oil pan gasket. I took out the two bolts for the motor mount by the oil filter. Put a jack under the mount and raised it about 1 inch. Slid a 3/4 inch board in the 1 inch gap then lowered the mount back down and removed the jack so it wasn't in my way. Undid the bolts and the pan dropped right off, no problem. This was actually pretty easy. You may need to remove the air filter cover so it doesnt contact the hose junction on the drivers side fender.
-
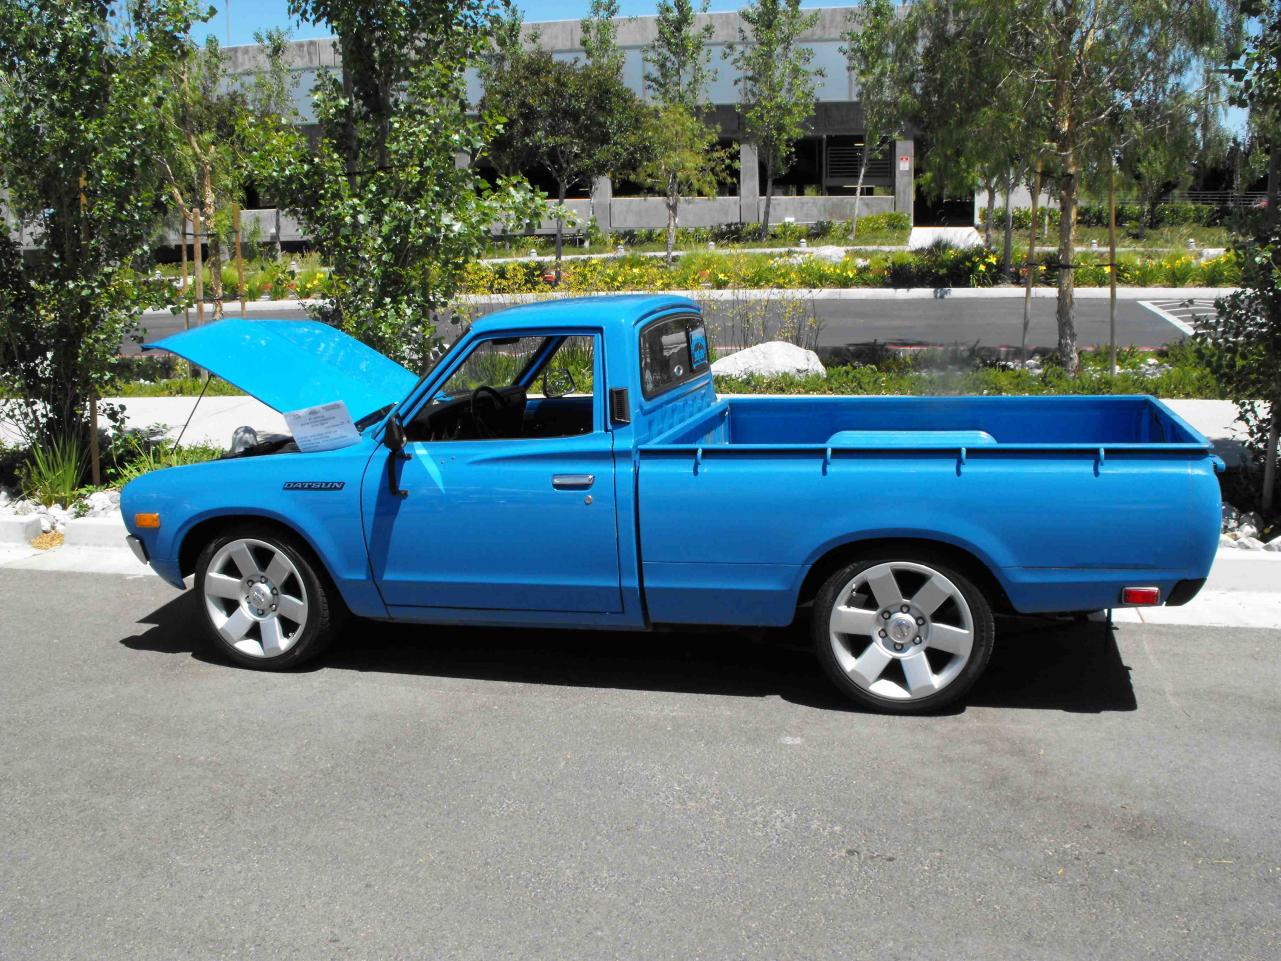
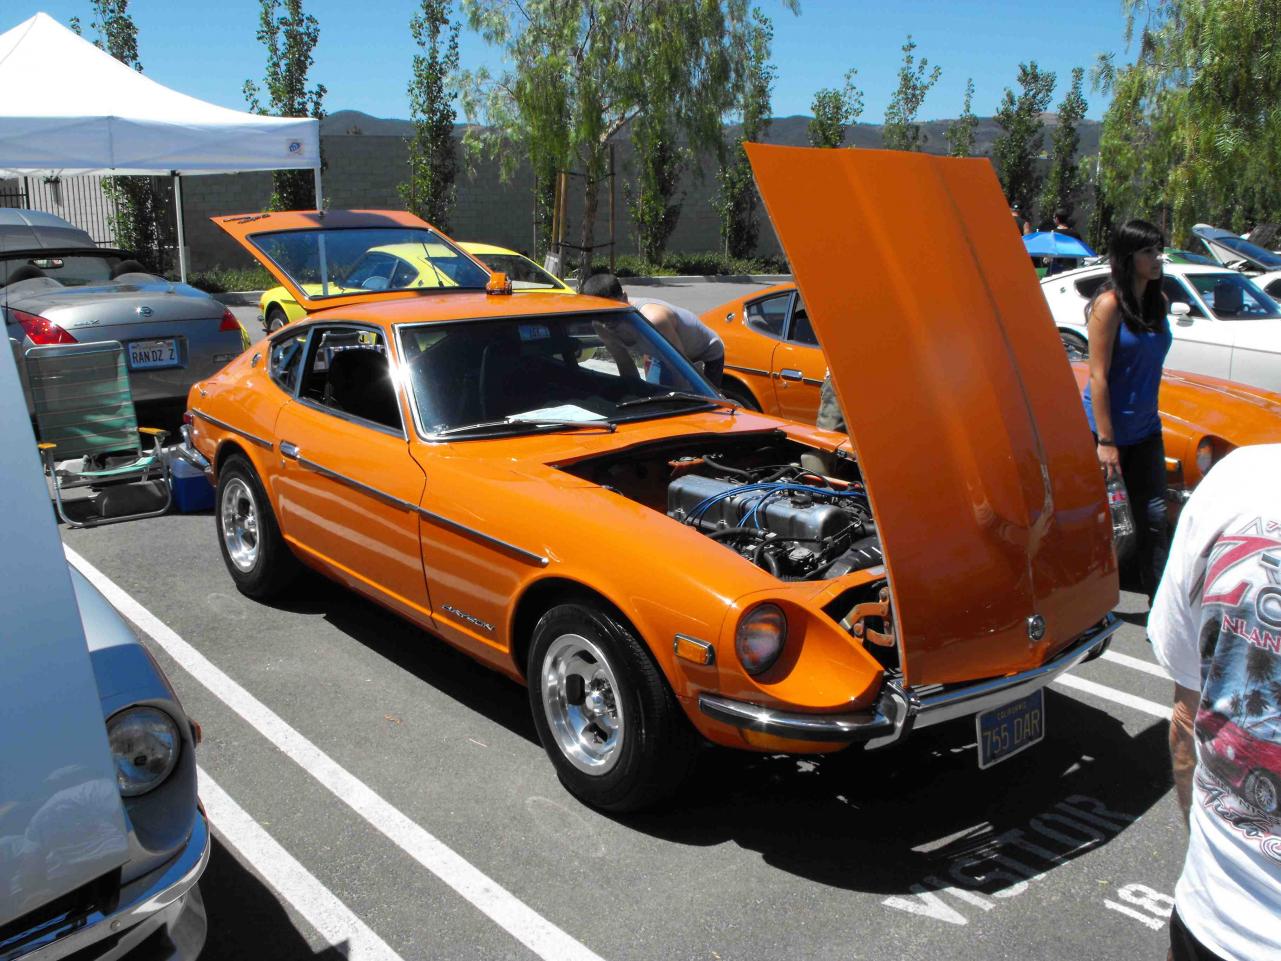
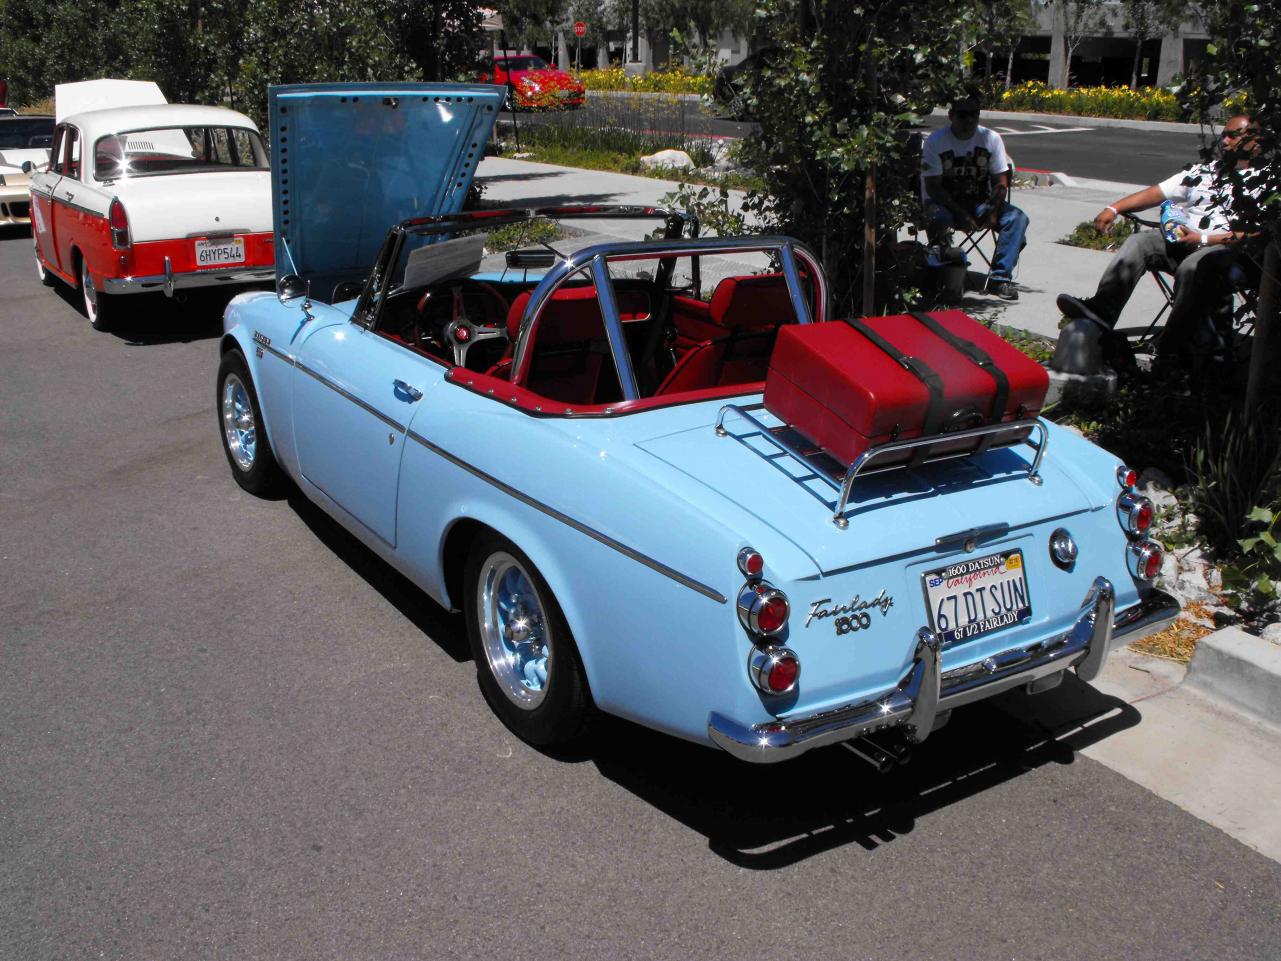
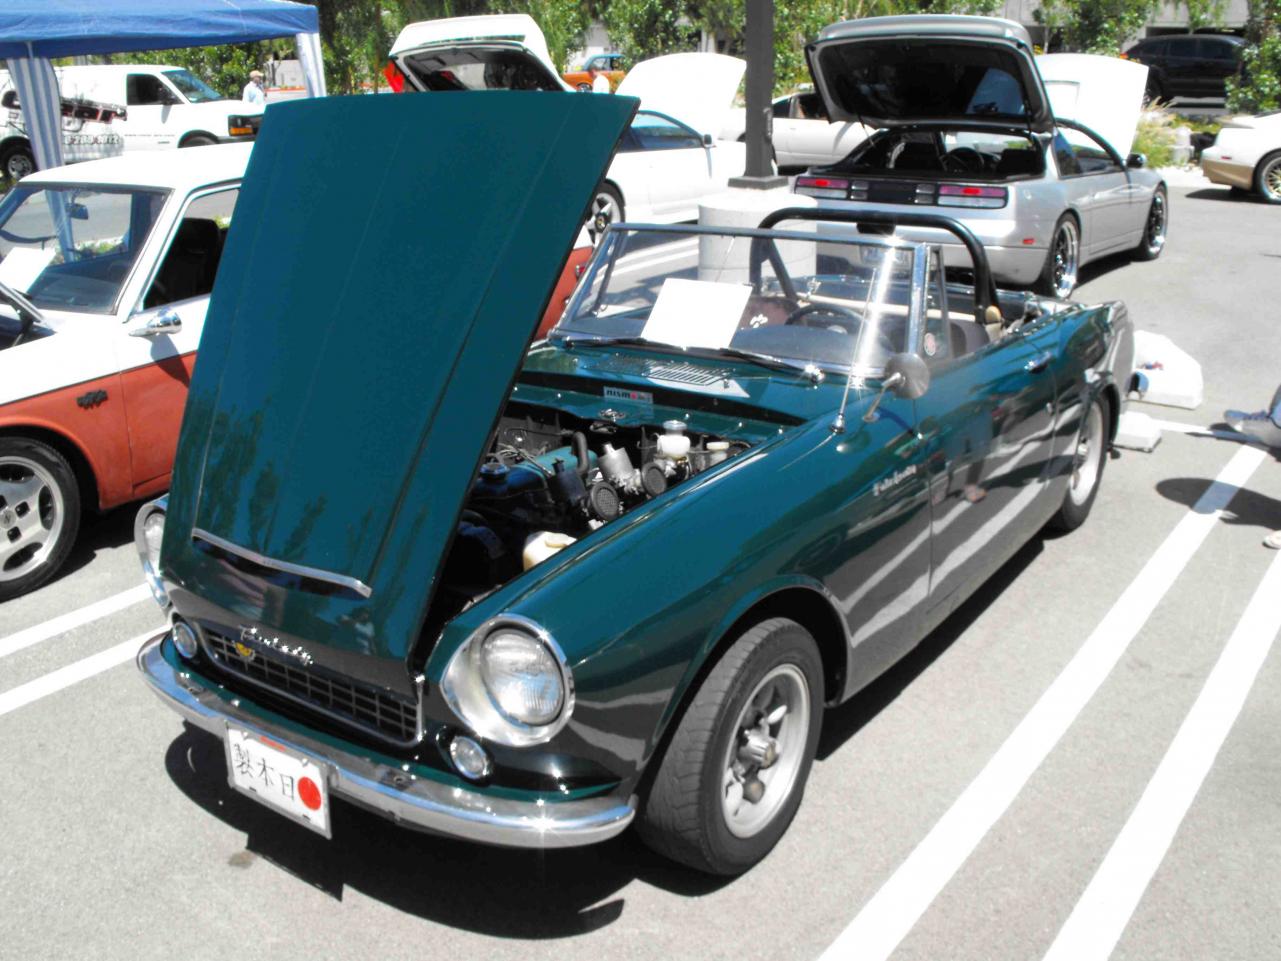
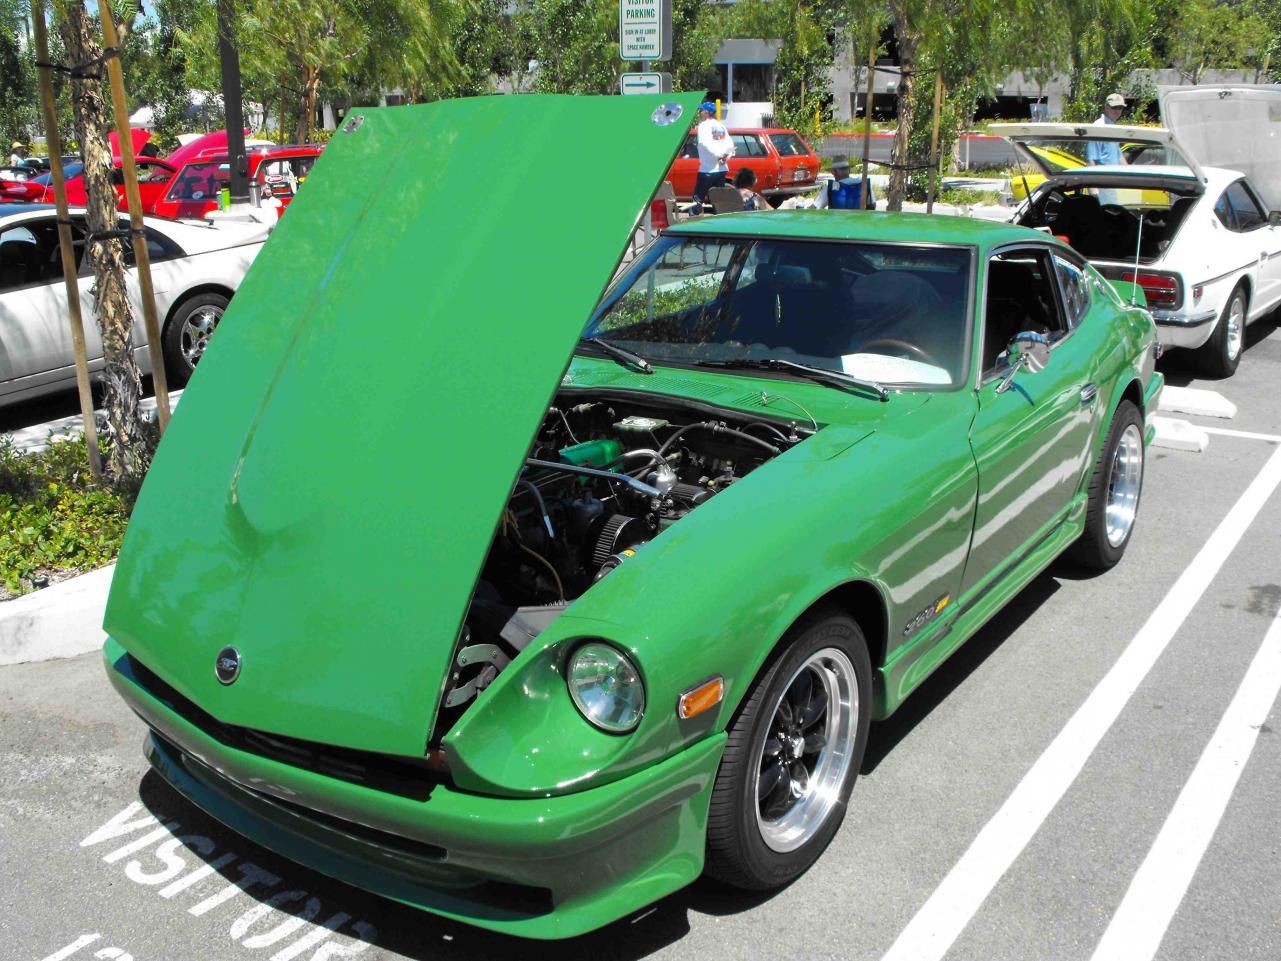
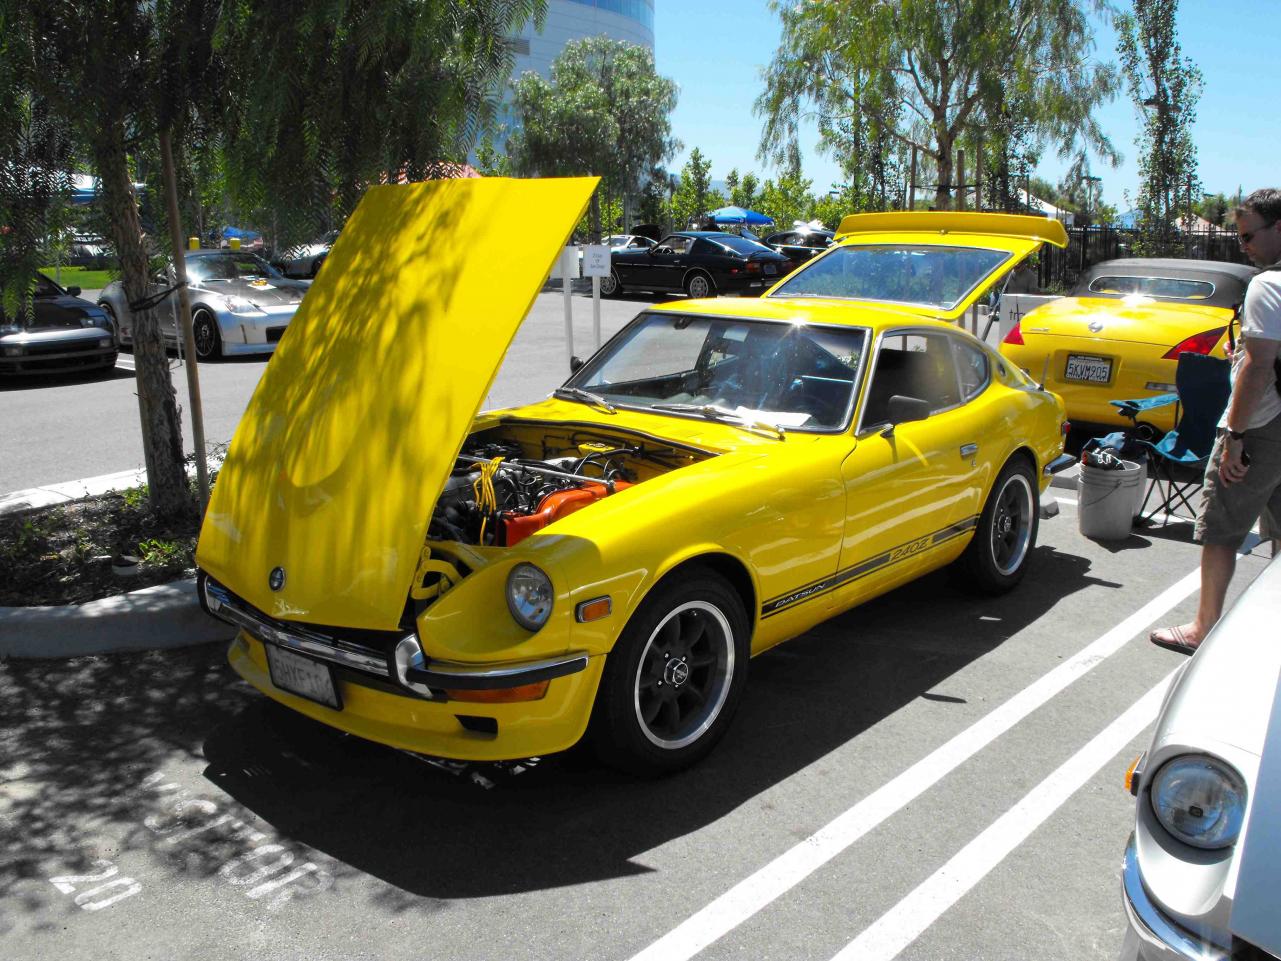
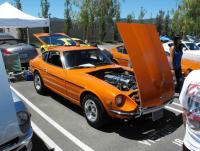
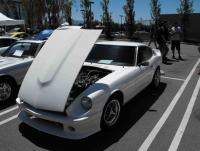
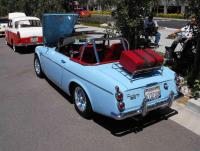
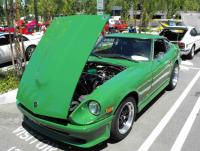
Some of my favorites from the show


-
The Palomar class is $78 plus $50 material fee, so $128 total. The morning class is Mon And Wed 9-12. Evening 6-9 Classes start Aug 23 thru Dec 16.
-
I will double check but I think it's $150 for the class and $50 for materials, so roughly 200 total. They also have a morning class but don't remember the time. I can give you all the information by tomorrow. Just got the Palomar CC catalogue yesterday.
-
I am planning on taking the welding class at Palomar CC this fall. Registration is July 6. 1 hour lecture, 2 hour lab, Monday and Wednesday evenings, 6-9PM. That's probably a 45 minute drive for you to get there.
-
8th Annual ZCCIV Datsun/Nissan Auto Show Sunday, May 30th, 2010 from 10:00AM to 2:00PM Gates open at 9:00AM at Quality Nissan 41895 Motor Car Parkway Temecula CA 92591 Public Welcome to View Cars on Display Music by "DJ" Ray A Raffle with multiple prizes will be conducted Vendors, Products, suppliers and Technicians on site All Years of Datsun/Nissan/Infiniti models are eligible for registration Each Pre-registered entrant will receive a "Goodie Bag", one (1) T-shirt one (1) raffle ticket, one (1) lunch ticket and one (1) votoing form Awards are by "People's Choice" $35.00 after May 15 http://www.zcciv.com/carshow/
-
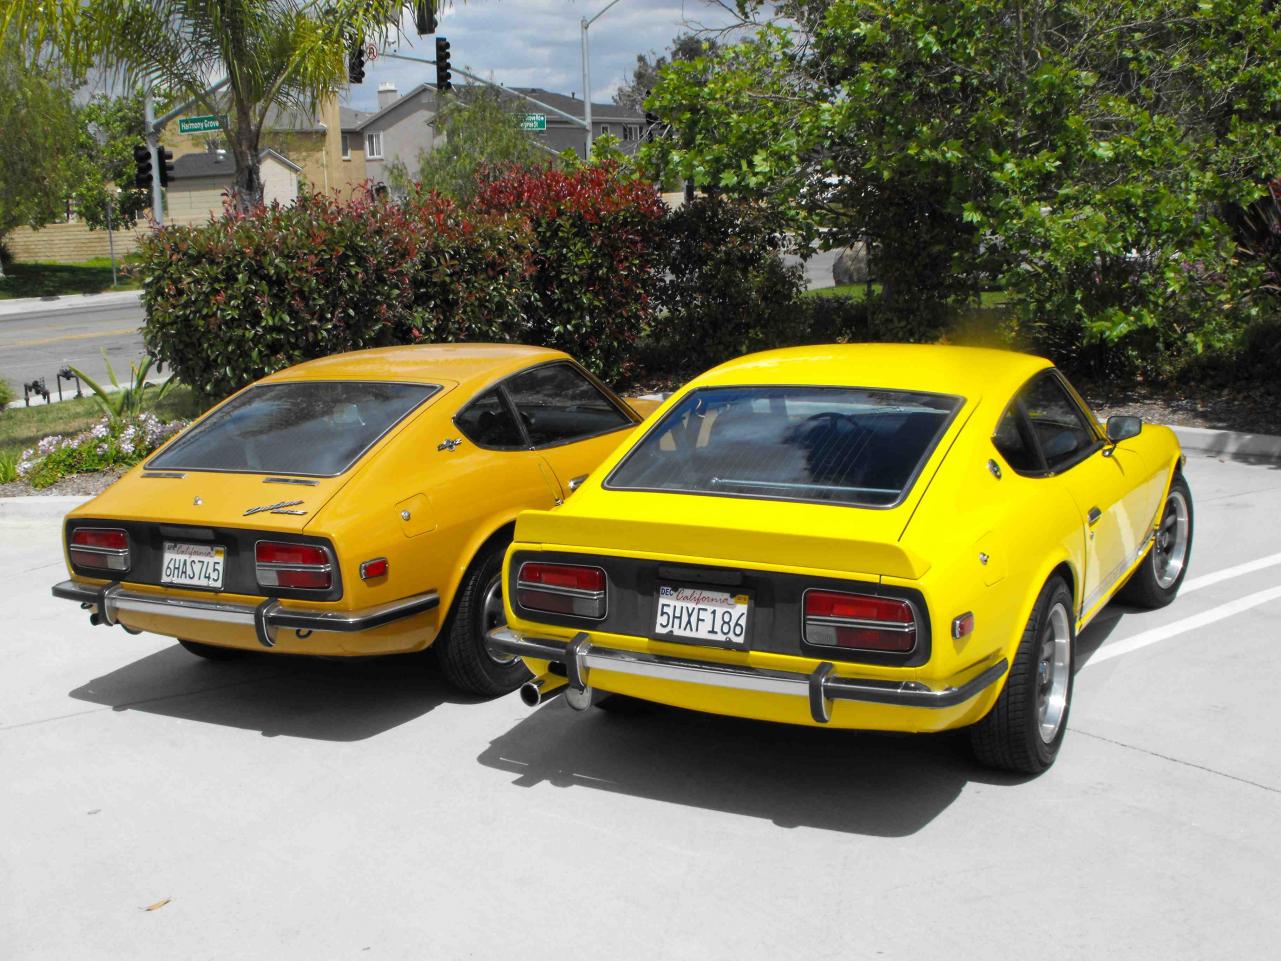
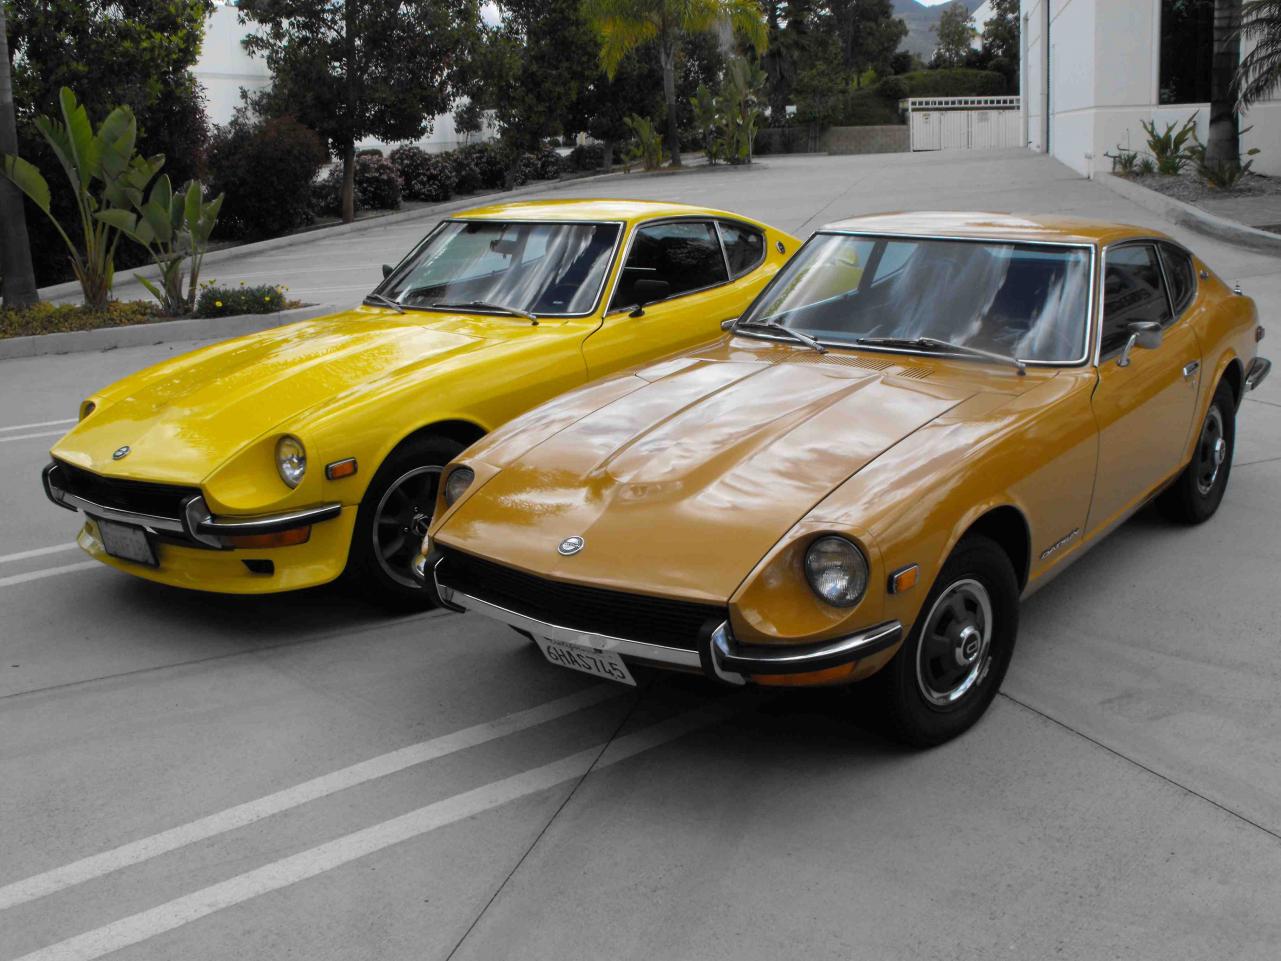
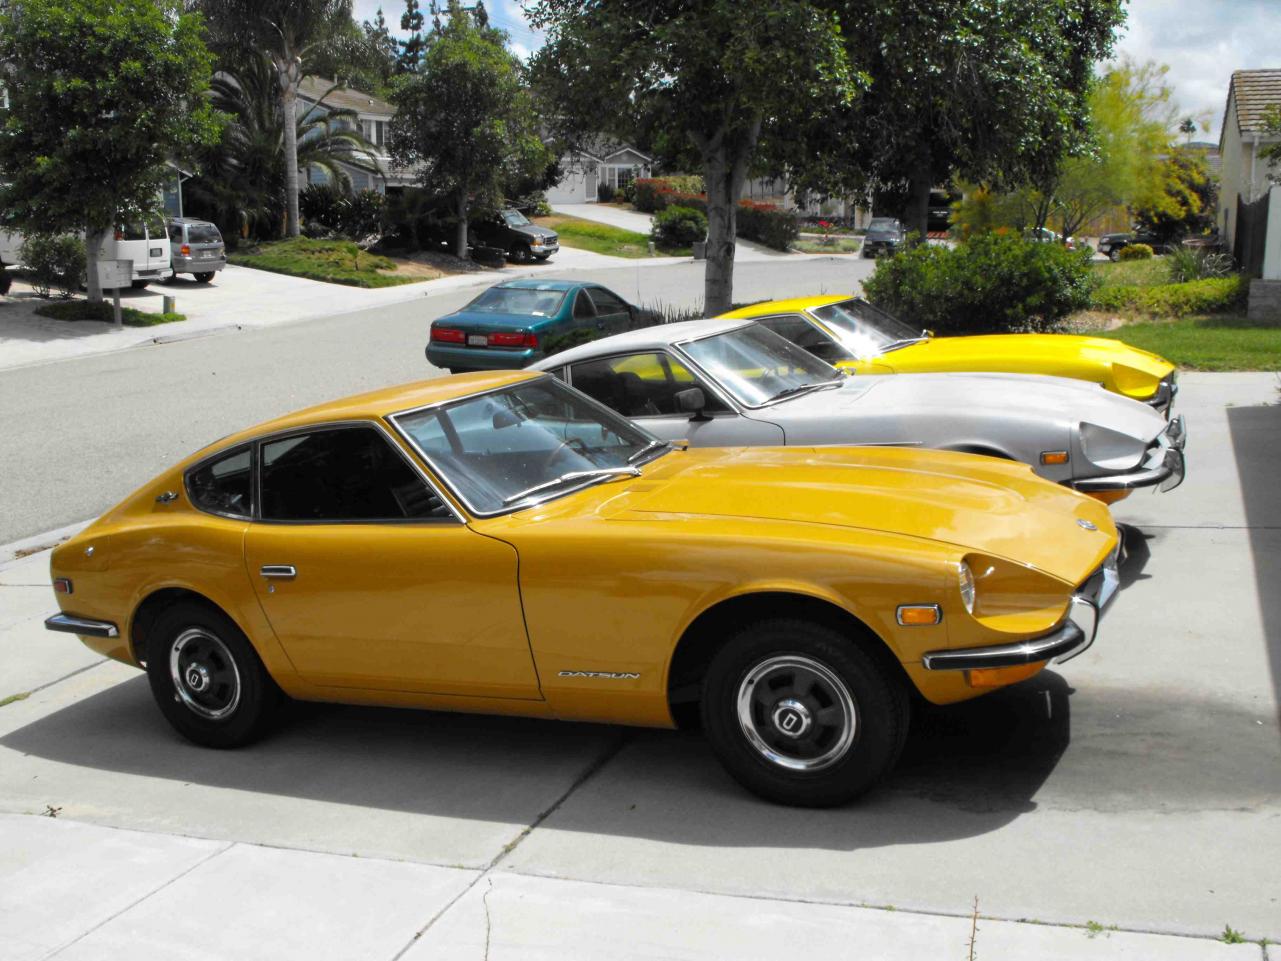
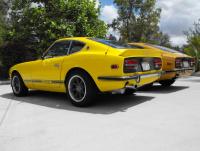
Thanks for the feedback everyone. Actually, the '71 is the yellow one and the '73 is the silver. Give me a year and the silver '73 will look every bit as nice as the '71. We'll start that project in a couple months here and keep that one original.
-
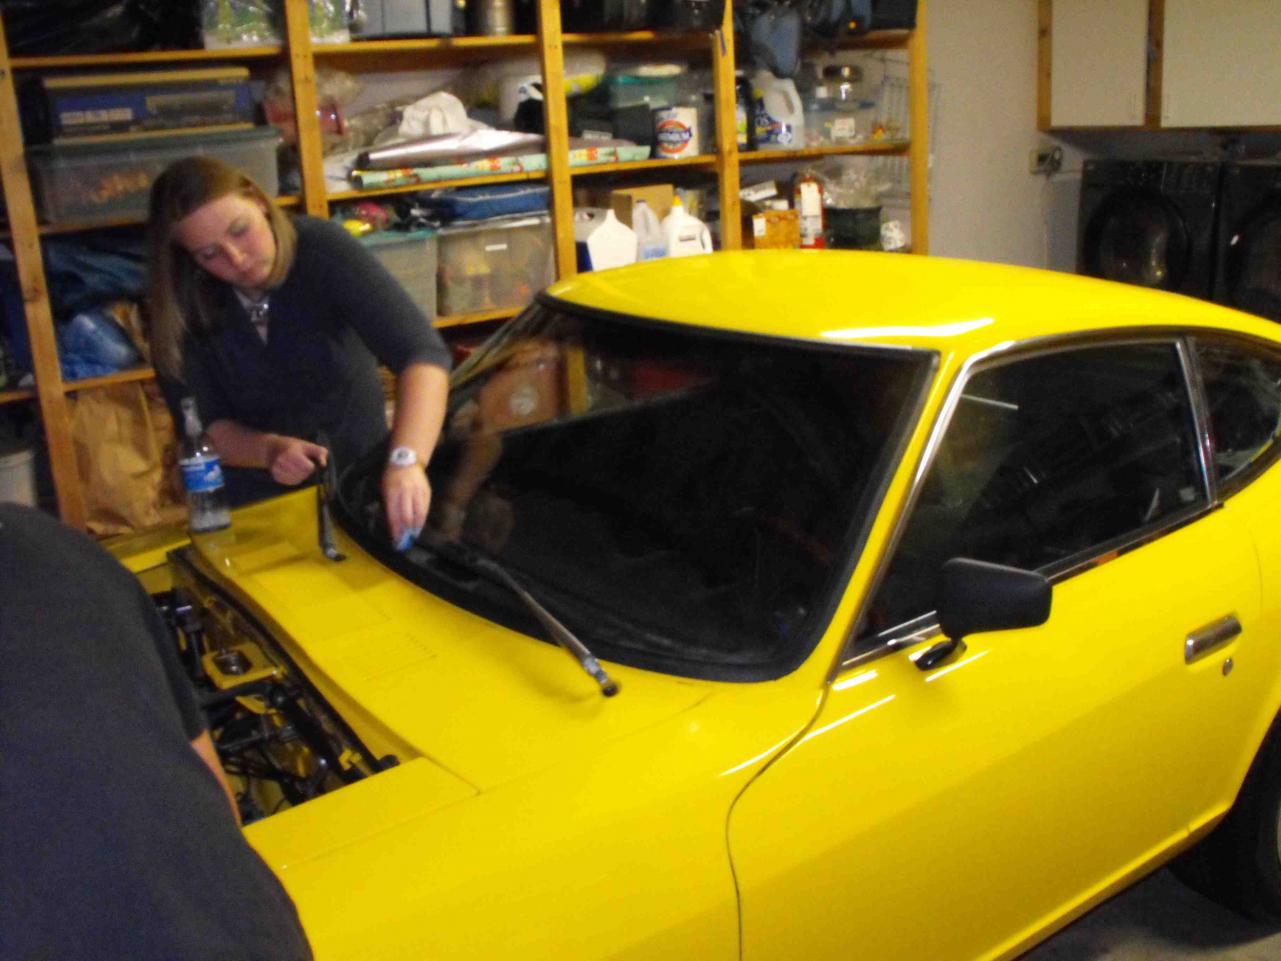
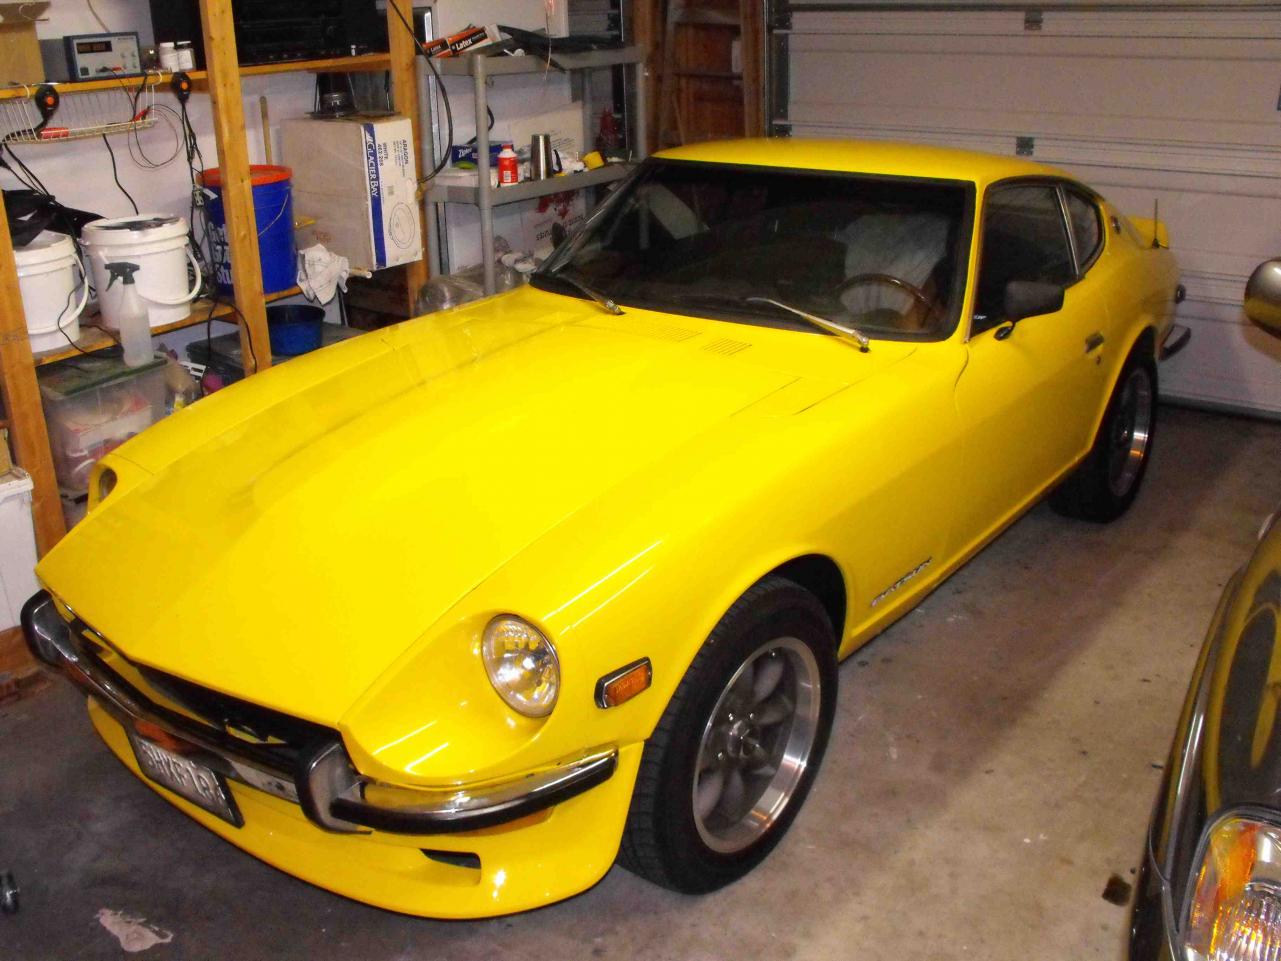
Time for the photo shoot


-
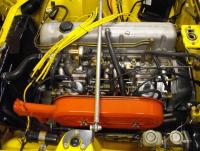
Float height is critical, especially at idle. With the height correct, the idle is smooth as silk, when they are off, the idle is rough. That is usually a good indicator. Got this from Arne's Blog. This is what I do to check float level. Thanks Arne! "So rather than trying (once again) the traditional methods of checking the float level, I tried something I'd read about a while back. I pulled the fuel hose from the bottom of the float bowl and connected a piece of clear tubing instead. Left the other end of the clear tube open, but ran it up and alongside the float bowl. Then I cranked the engine over (coil wire disconnected) to operate the fuel pump and fill the float bowls. The fuel fills the tube also, and you can physically see how full the bowls get. No guesswork. I've got several manuals that say the actual fuel level should be 23 mm from the top of the bowl, but don't give any clue as to how you might measure this. But with the tube I can see it. I did the rear carb first, it was close, about 2 mm low. Adjusted and rechecked, got it right first time. Moved on the the front carb, and found that the level there was at least 10-12 mm low! Took two rechecks to get it correct. Once that was done, the rest of the carb settings were easy. The results were very good. The car runs great under most all conditions now. No signs of being lean, runs clean and smooth now."
-
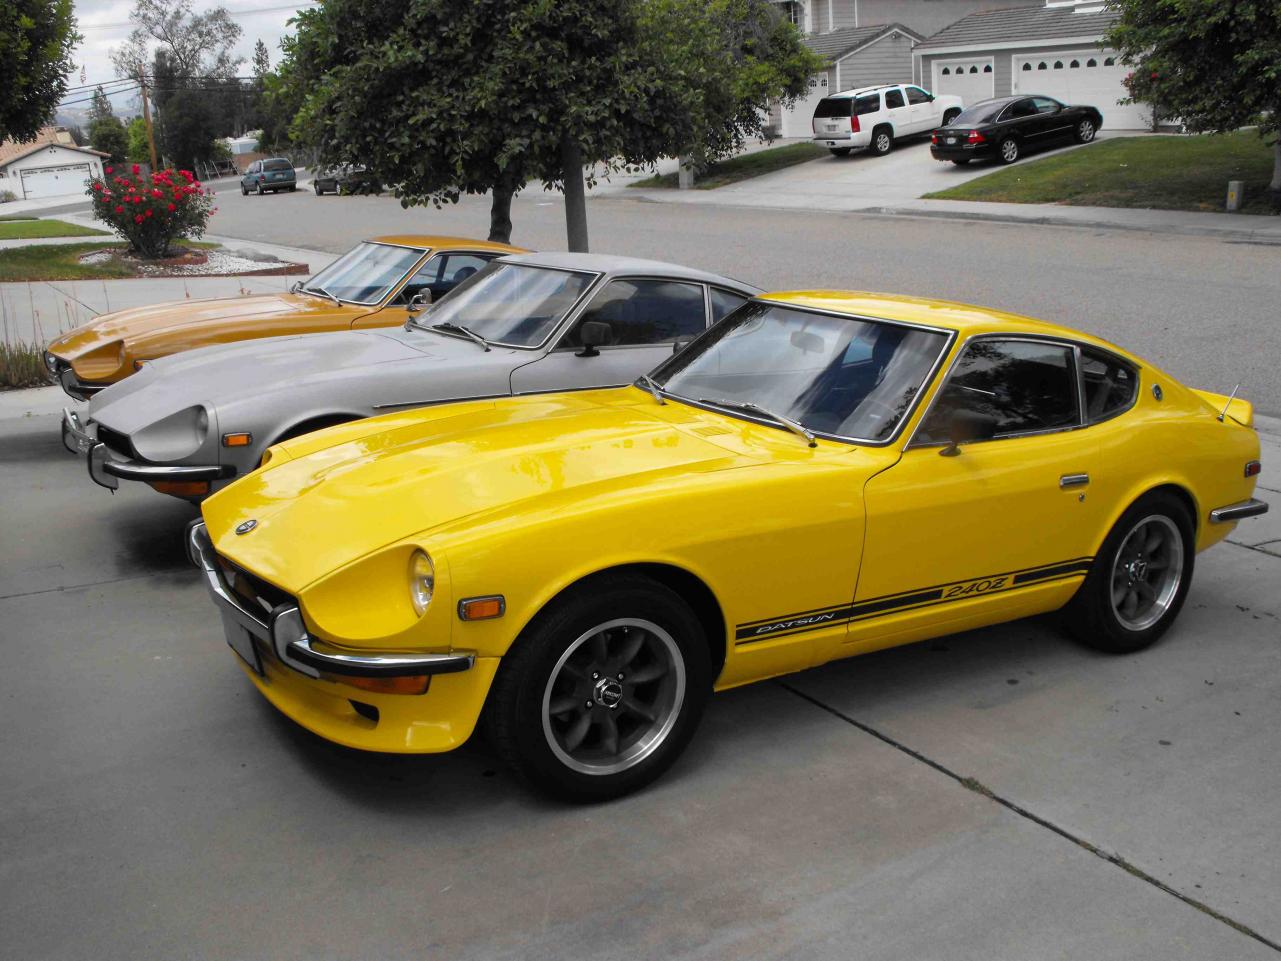
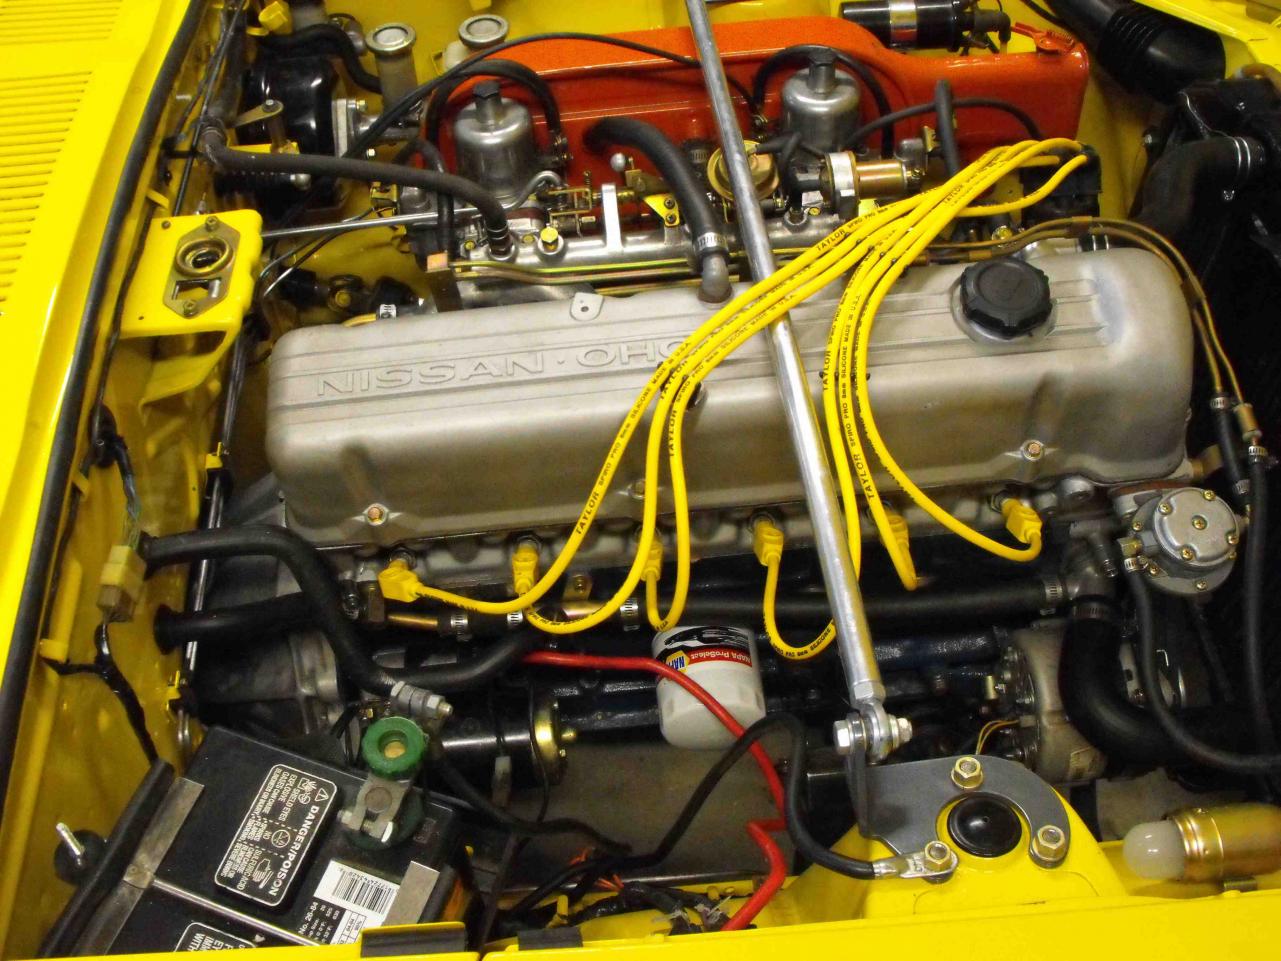
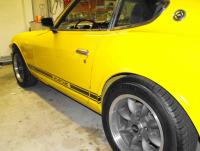
I know, I love them. They were sitting in Les Canaday's shop (CDM) and I thought "I need to have those". I asked him if they were for sale, and he said he really wasn't sure. They were originally for his car. After a couple months, he decided to go a different route on his car so he called me and asked if I wanted them. I said "YES" and was there the next day to buy them before he could change his mind. I originally got the rims for my '70, but after having them on there for a while decided it wasn't the right thing to do. The '70 had hubcaps for 39 years, it should stay that way. So, now they reside on the yellow car. I like the combo. I like the look of the side stripe, it ties in the wheels better. I am not too happy with my installation of them though. There are a couple bubbles that I didn't get out. Putting on the stripes is definitely a two person job, One person to keep it straight and the other to smooth the imperfections. Also wish I would have read Bob's post earlier about the correct stripes. I ordered the ones I have from MSA before I read his post :disappoin I may re-do these at a later date. Will leave them as is for now. I really dig the spark plug wires. Very nice complement to the engine
-
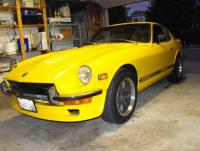
Got some way cool Taylor yellow spark plug wires from a guy named.... Taylor, go figure. Thanks Randy! They look great. Put the side stripes on today, not bad. I am happy with the look. I think I am almost done with this. I would like to take some nice photos in the sunlight this weekend and then I'll probably end this thread. Thanks for all the help everyone.

-
 Wow!..that looks like my car. Is that original paint? It looks like it. Very nice:classic:
 -
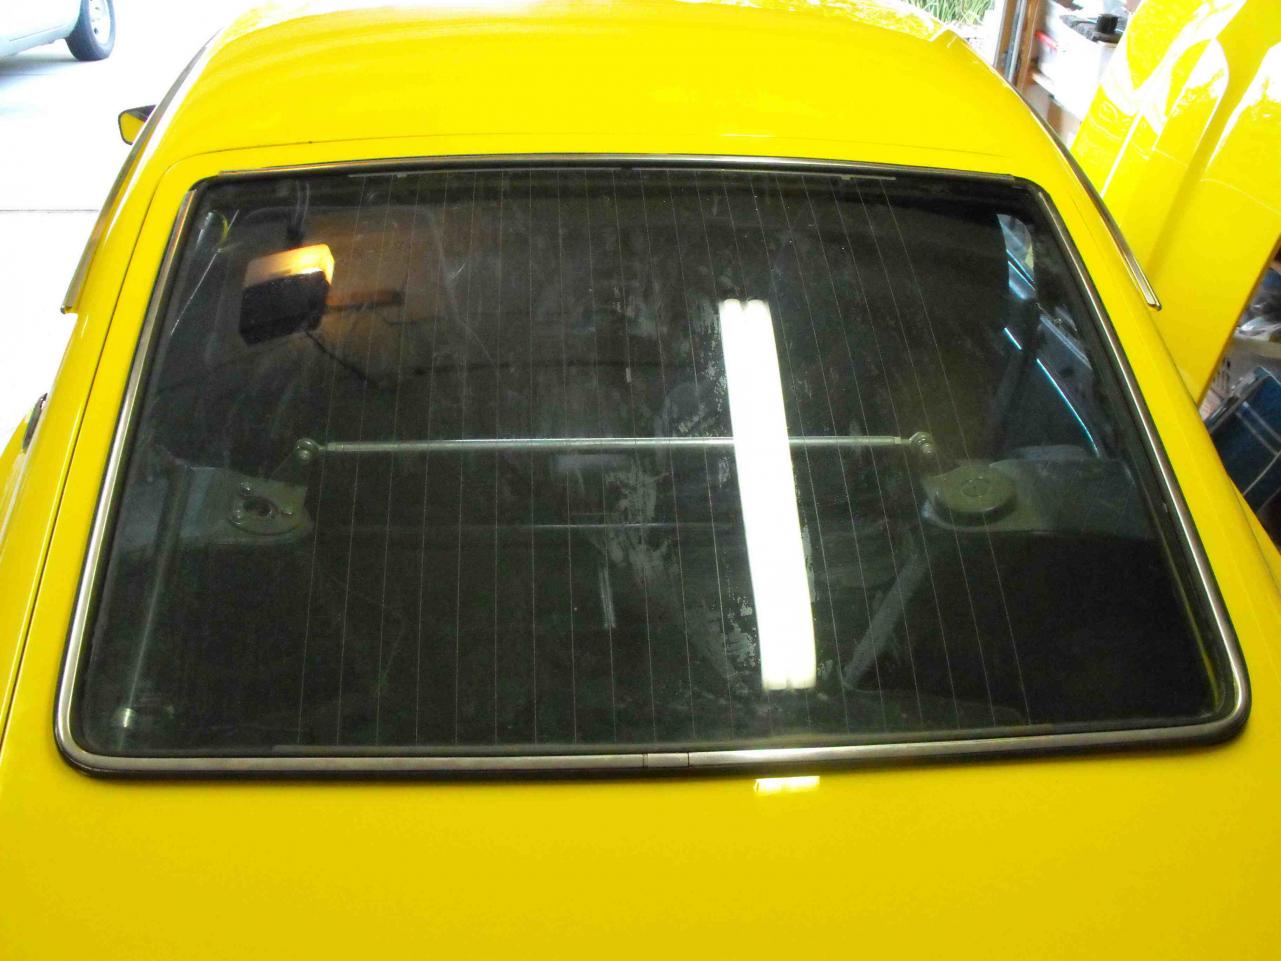
The frustrating thing is that my rear hatch weather stripping looked great for about 3 days...then I don't know what happened. Seems most of the edges rolled over toward the inside and now need to be glued down again. How does that happen?
-
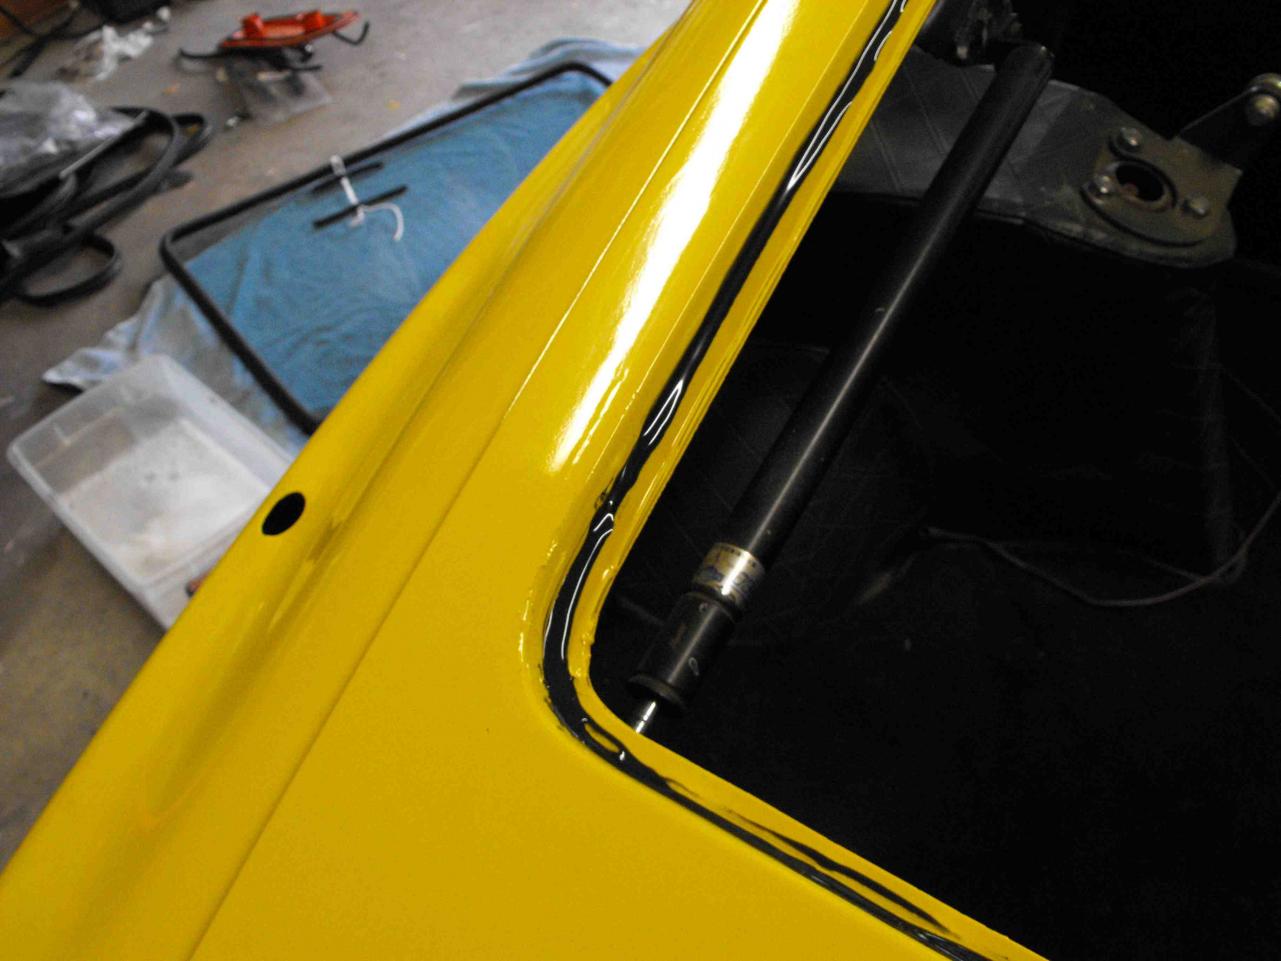
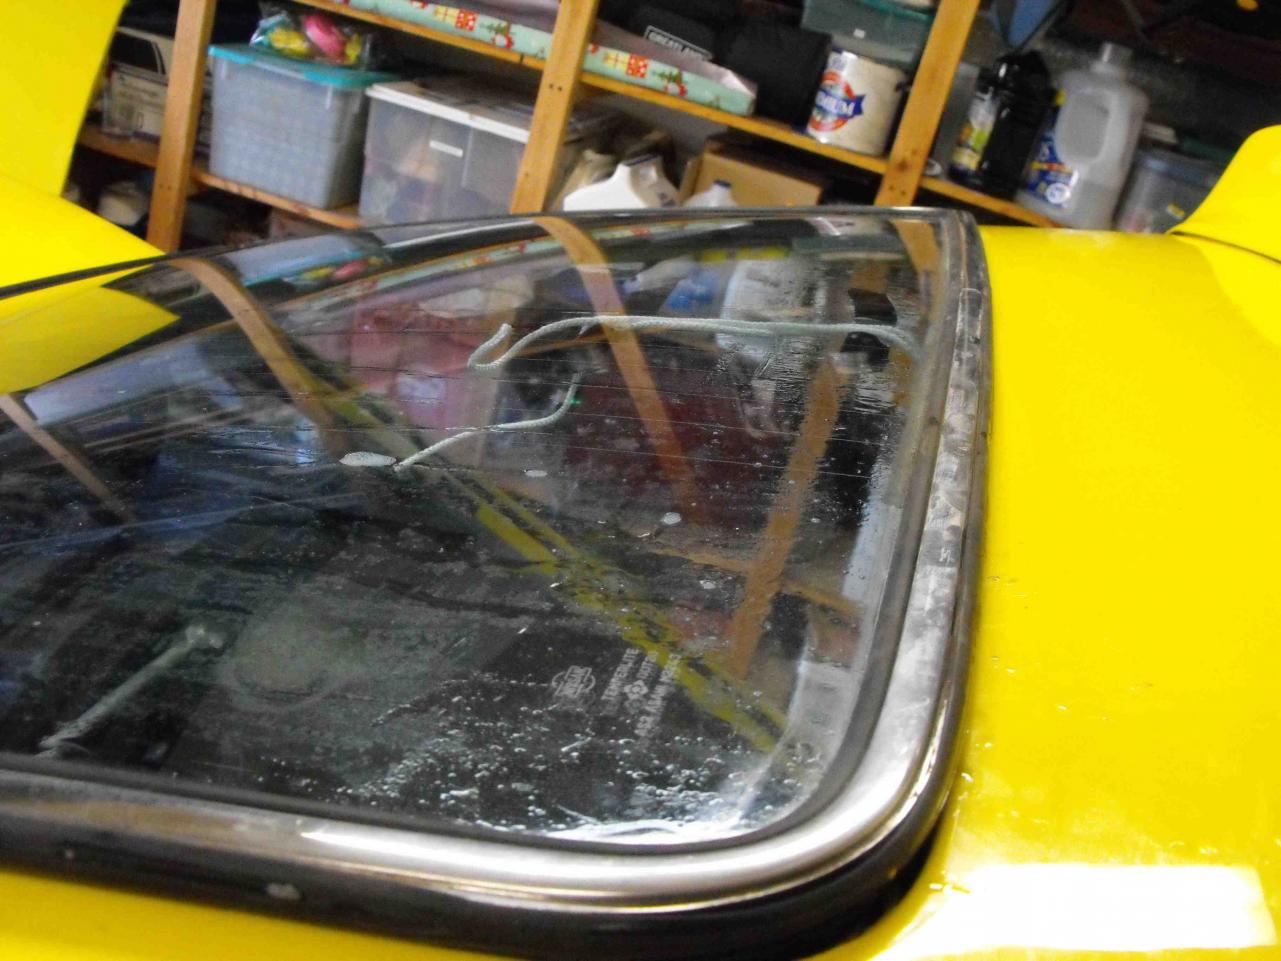
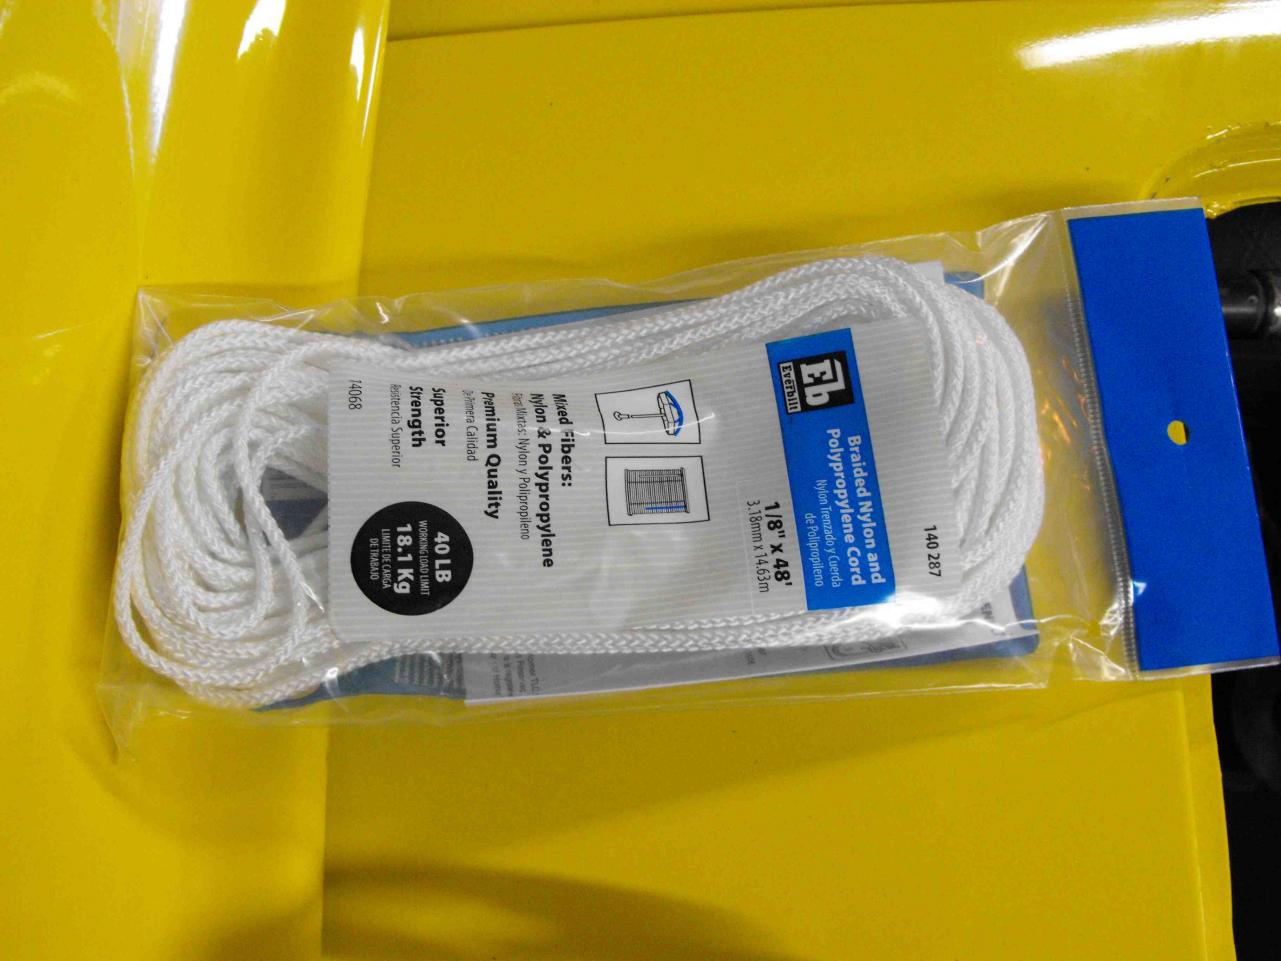
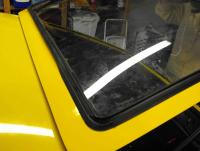
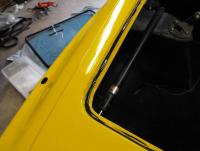
The front windshield was the exact same process, no trim. The only difference was that I started at the bottom middle, moving towards the drivers side, and once I was half way around (at the top middle), it got a difficult to do my zipper technique. So I went back to the bottom middle and pulled the cord and zippered along the passenger side and then up. This went very smooth. Once I moved past the lower passenger corner, the windshield settled into place. The rest zipped easy. Once I was finished, my daughter cleaned the glass. I put the trim in several days later. It was not that difficult, but again took a process. I slide the trim edge that was on the paint side into the groove. I used a small round shaft screwdriver to roll the glass side edge of the rubber over the trim. My guess is that this process works well wih new rubber. The process may be different if an older gasket were used


-
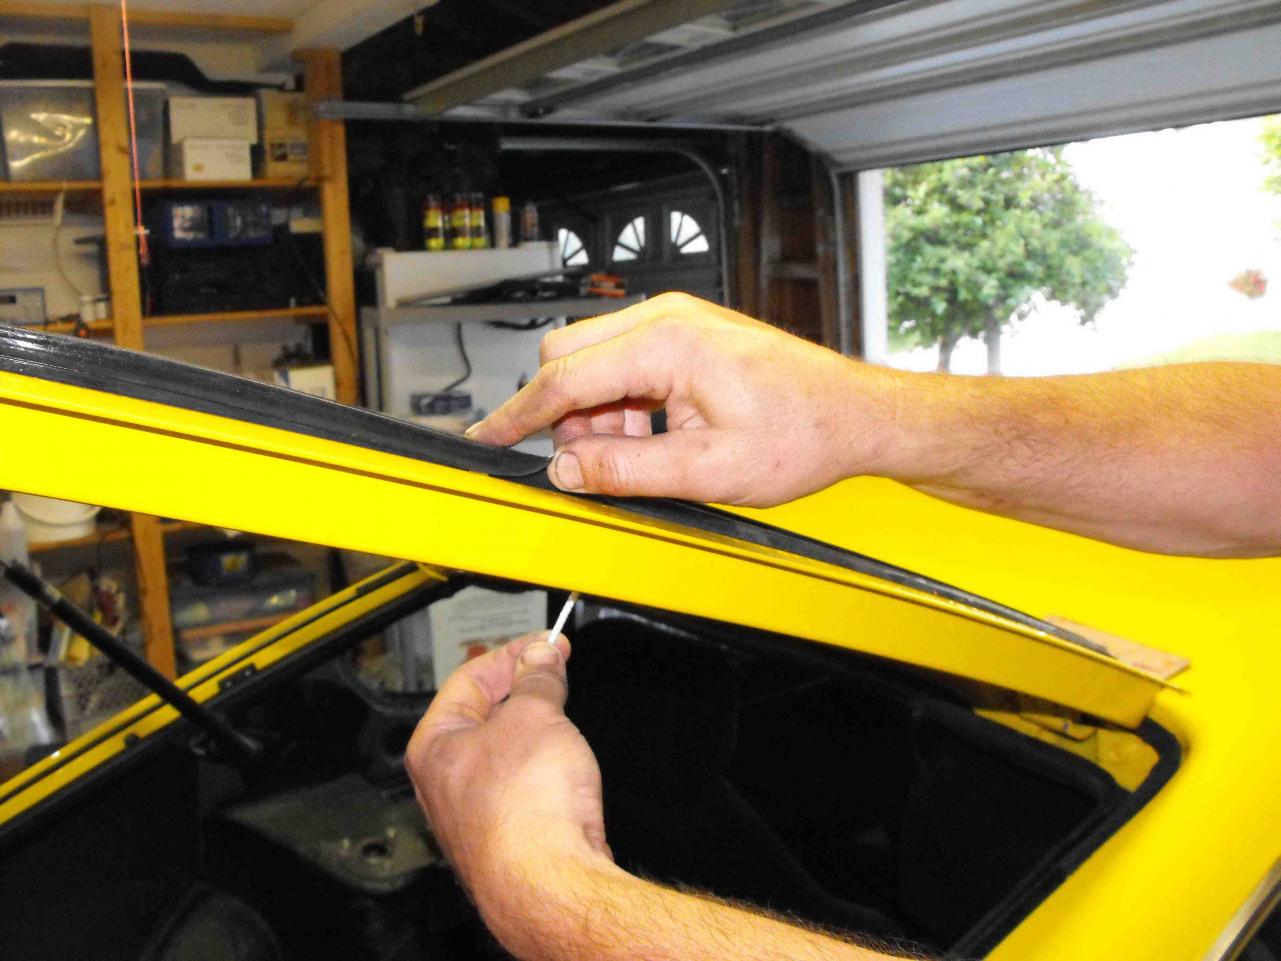
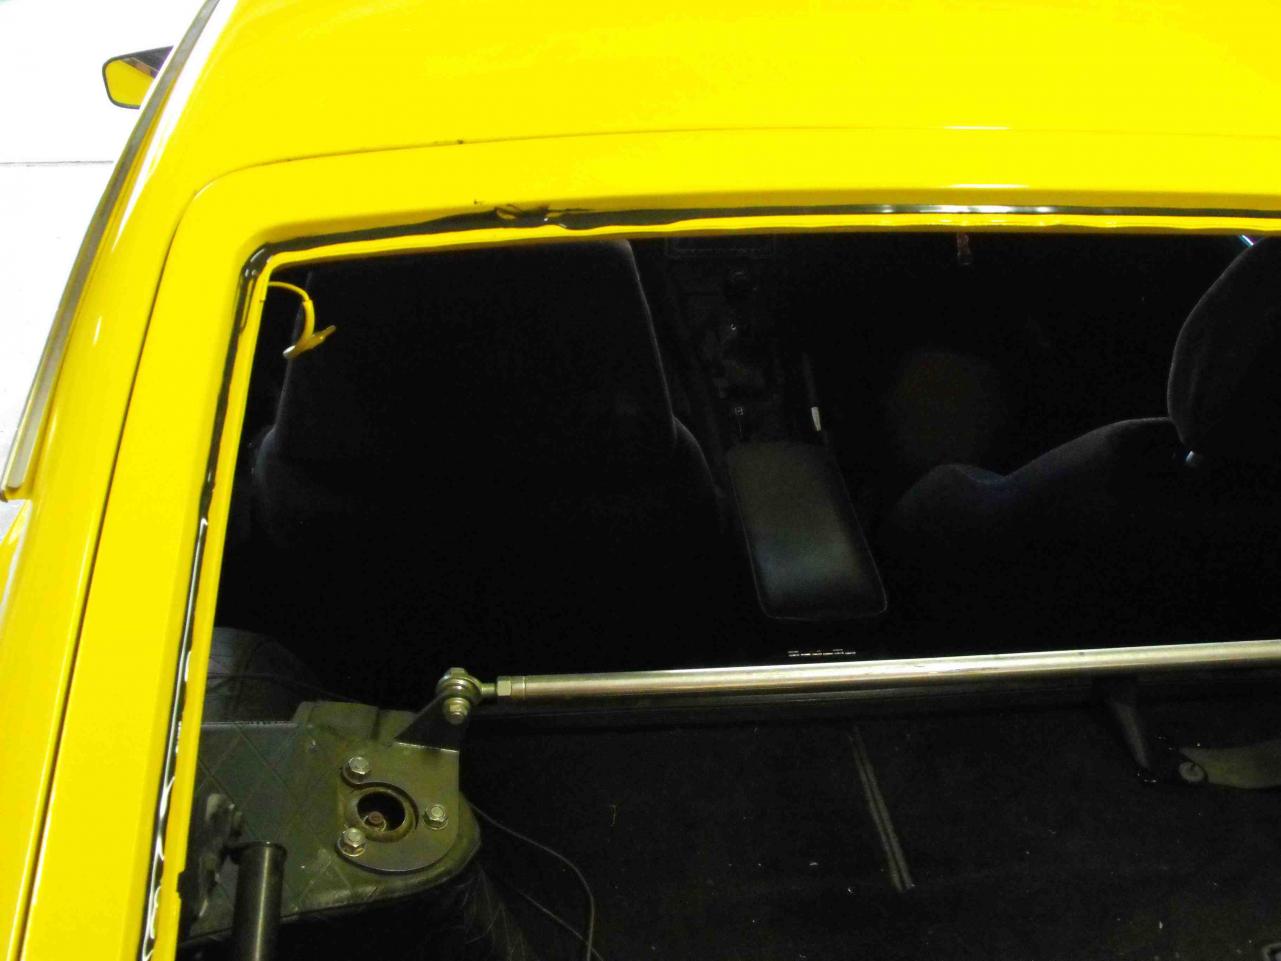
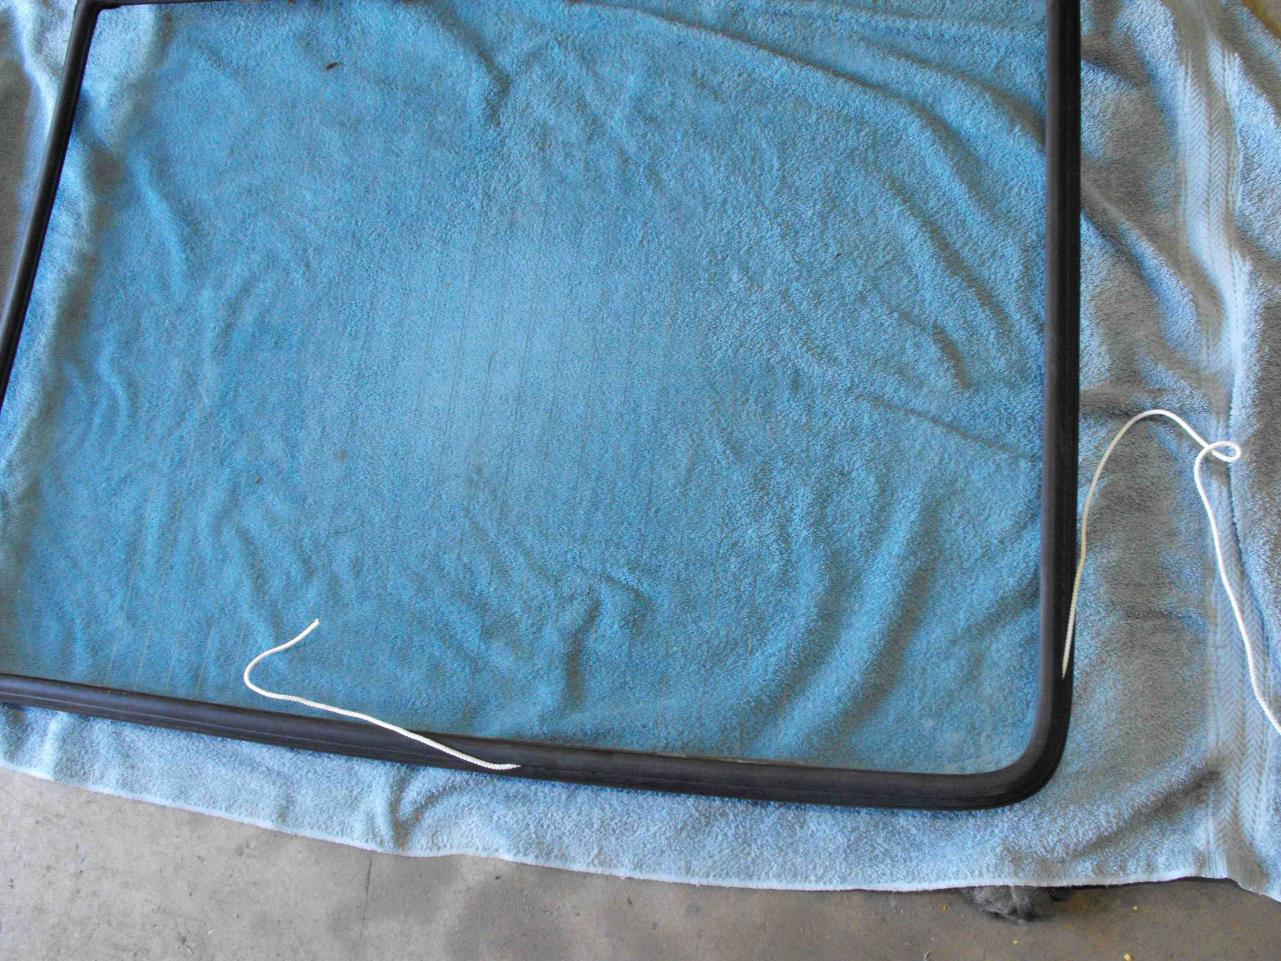
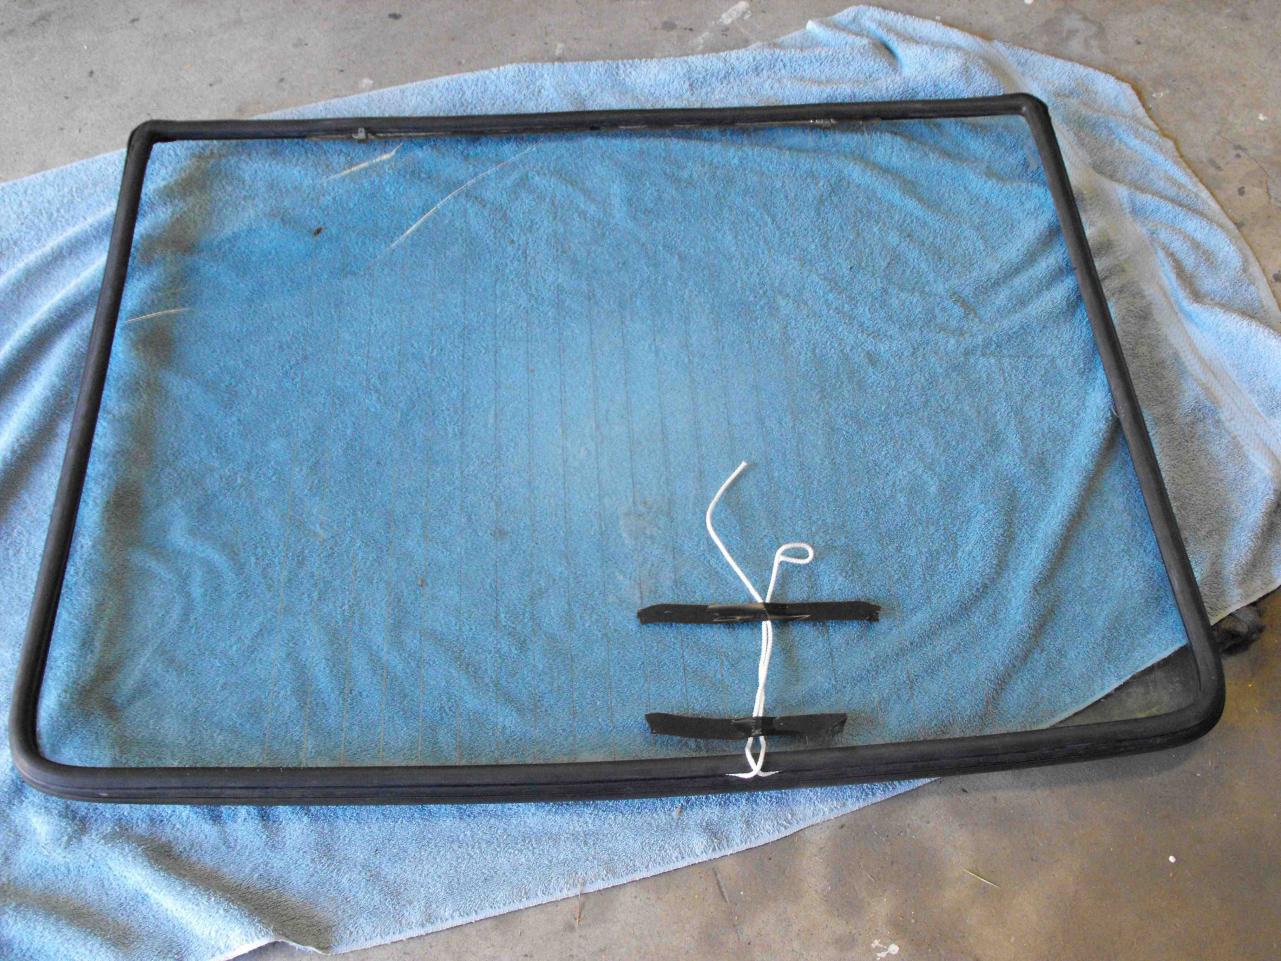
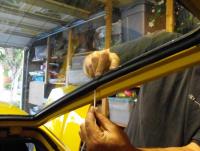
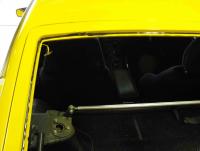
This is where things got tricky. I undid the rope on the inside and started pulling it along so that the inner lip would move over the pinchweld. This part on the inside was easy. The problem was getting the outside flap out of the groove and onto the flat portion of the hatch. The rubber flap wanted to fold over and stay in the groove where the sealant was. I had to try and lift it out of there and get it to lay flat on the flat portion of the hatch (hopefully that makes sense). Anyway, This did not work well. I would get 6" done, then lose 2"; 2" done then lose 5". After a frustrating 15 minutes of getting nowhere, I took out the metal trim. With the trim out, things were way easier. I slid my thumb along the top edge to get the flap onto the body while pulling the string underneath. ( I could not do this with the trim in because it made the rubber too stiff) This worked just like a zipper and went pretty fast. After I was about half way around, the glass settled into place. The rest of the install was easy, I just zipped it in.


-
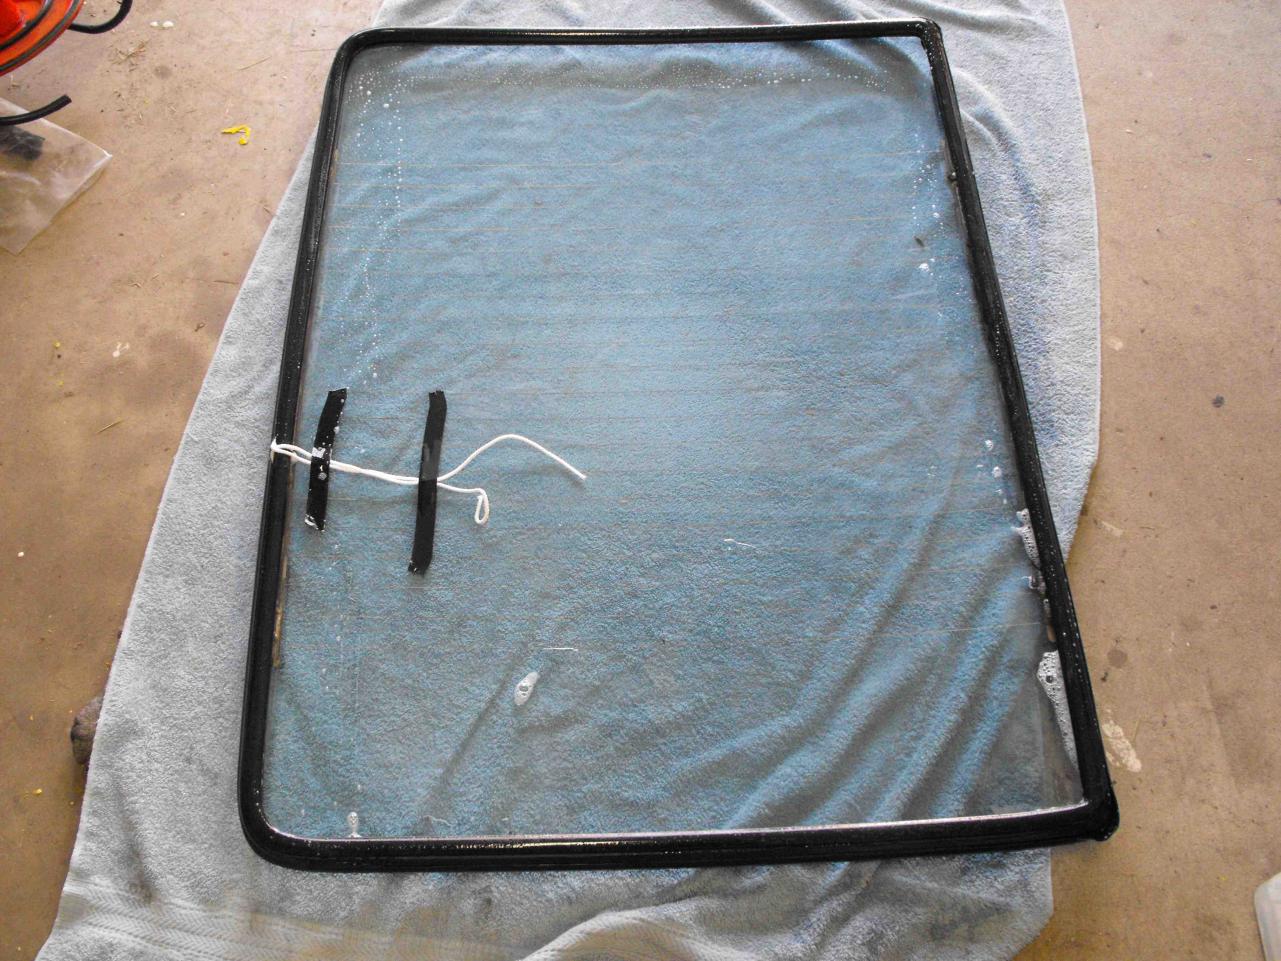
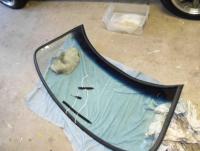
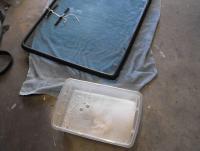
Next, I put the sealant in the hatch groove as shown in the pics.I then made a tub of warm soapy water (dish soap) and soaked the rubber and glass edge with a rag. I then placed the soaped window and rubber onto the hatch.


-
Part 1 (I will do this post in several parts because of pics) I would like to preface this install by saying this is what worked for me. I used the summary by 'rubrbulits' as my step by step guide, but ended up making alterations. I installed a PPG windshield using new Black Dragon Rubber that was made in Thailand . The rubber was very pliable and fit to the glass well. I started off with the rear hatch glass, because I felt that would be good to practice on. I put the rubber around the glass and put in the metal trim except for the corners. I figured I would put those on after the install. Everything fit well at this point. I then inserted the cord into the groove, all the way around. I overlapped the ends by about six inches. I taped the ends to the inside of the glass.