


zKars
 Subscriber
-
Joined
-
Last visited
Everything posted by zKars
-
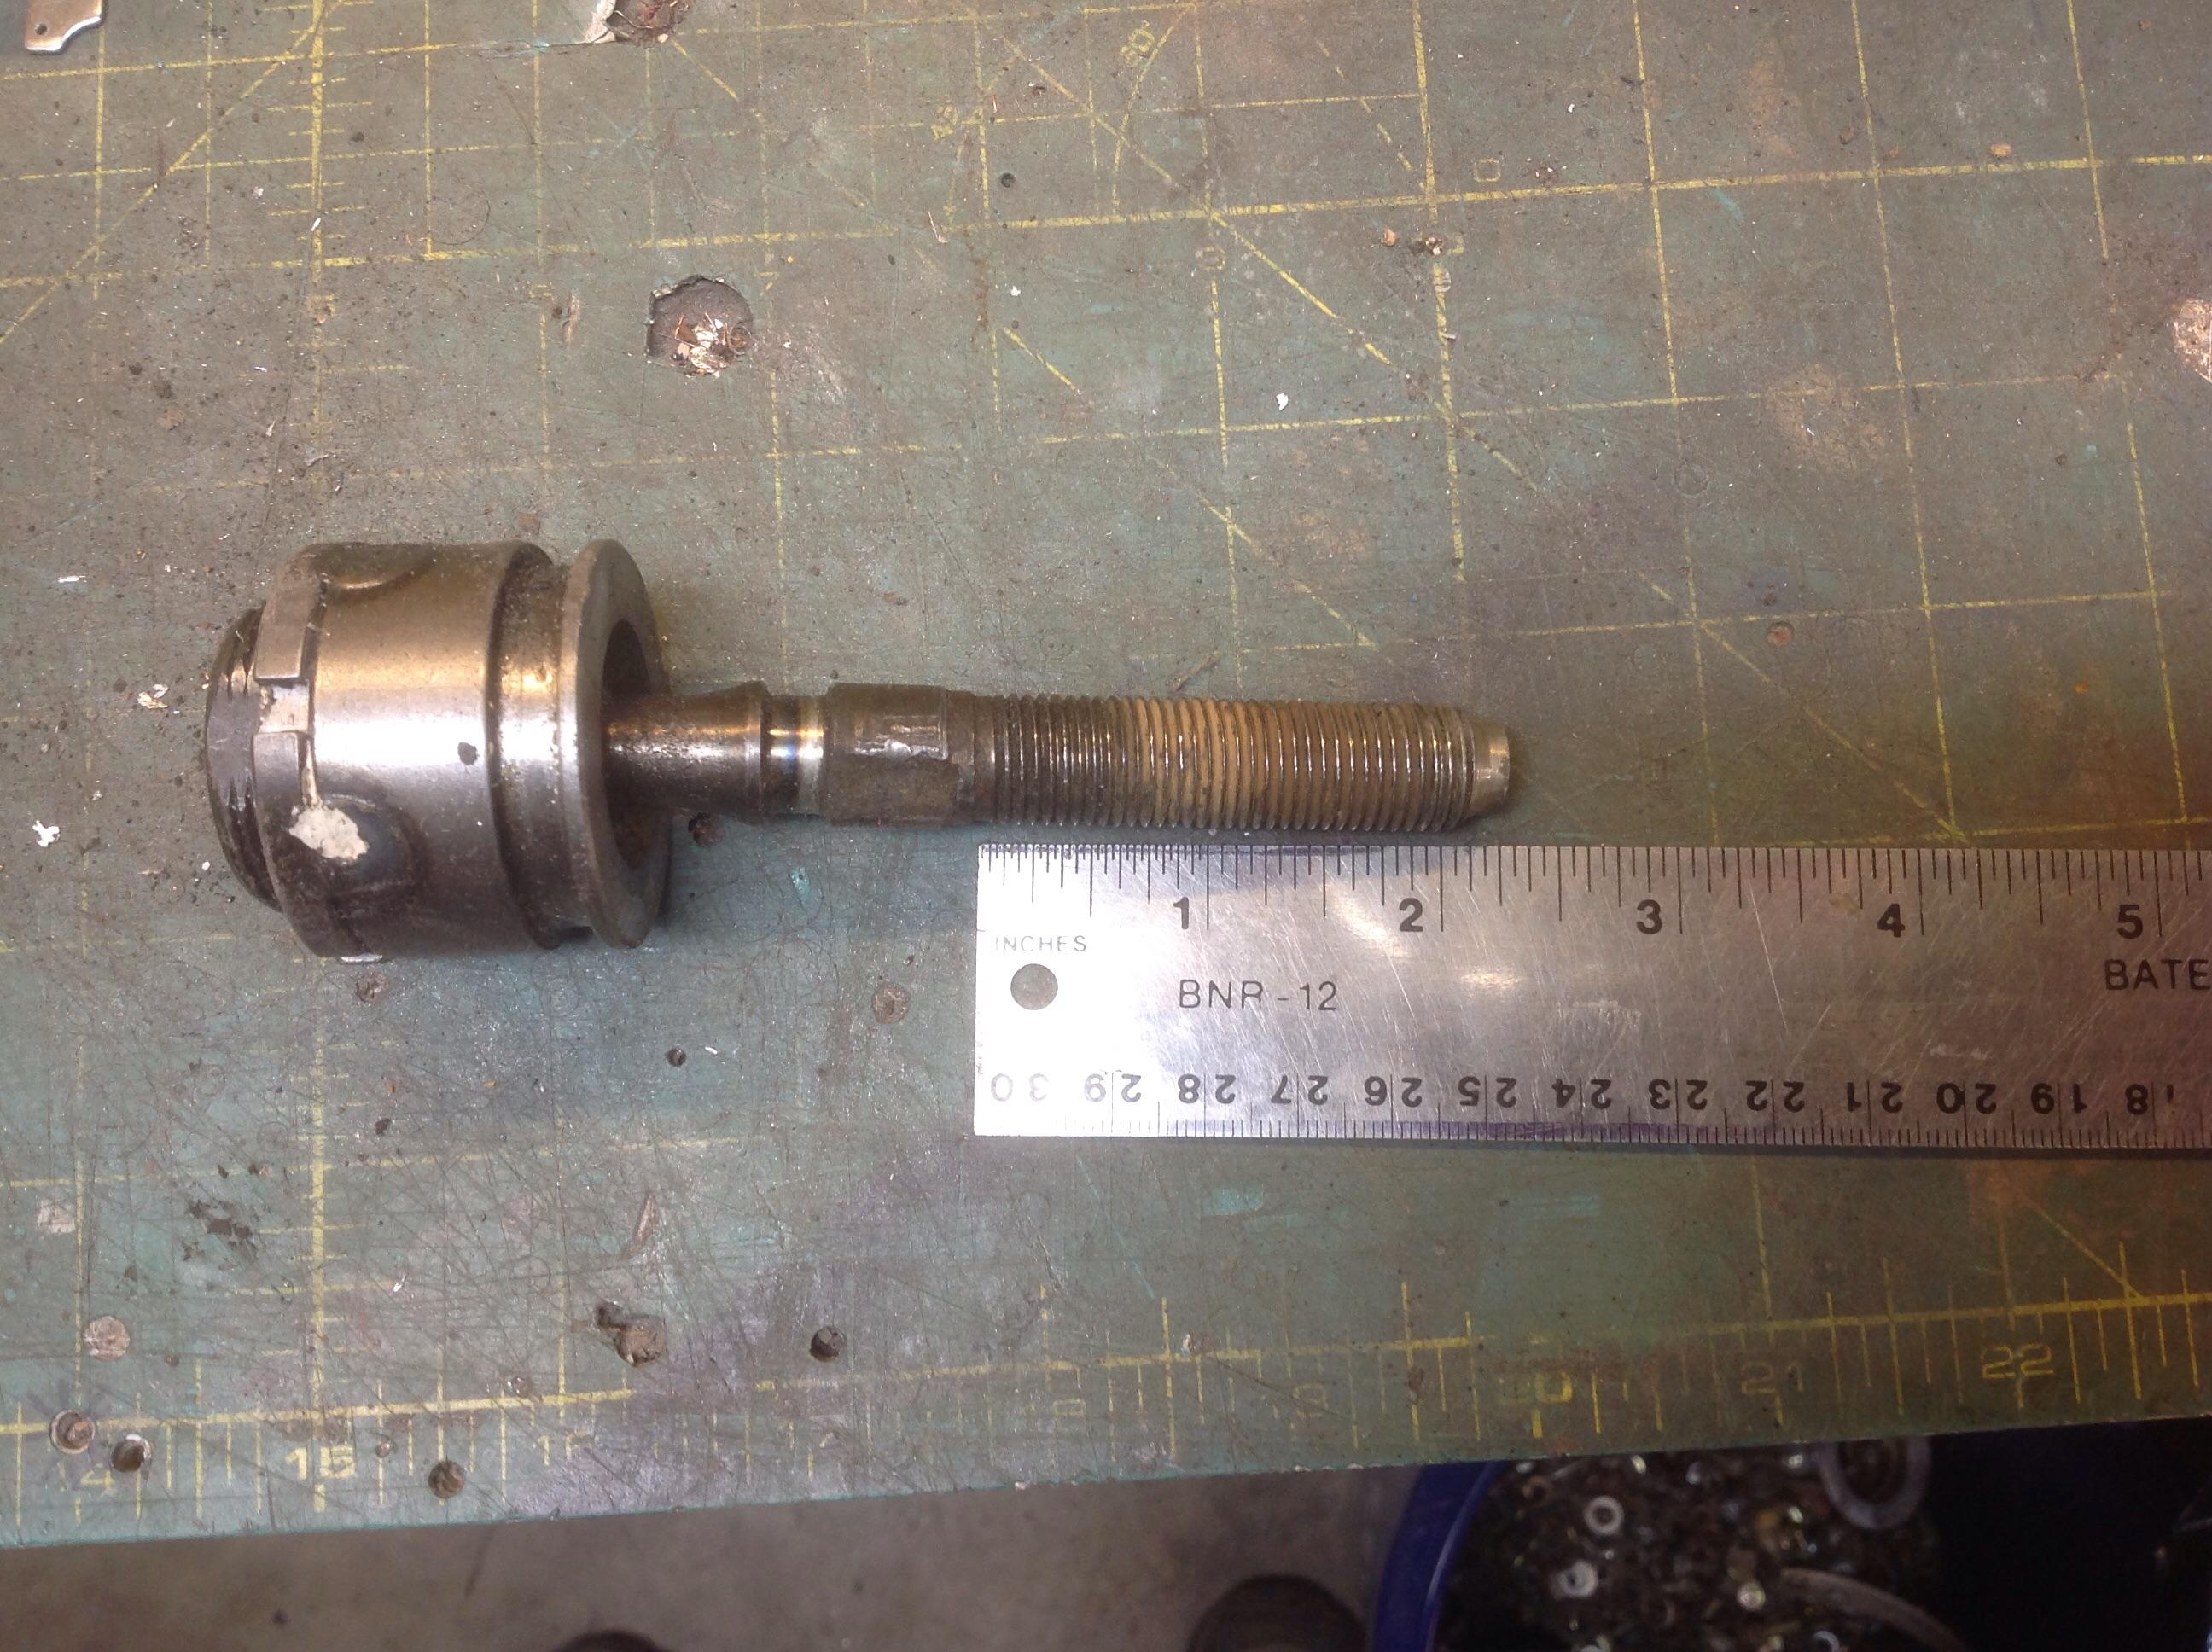
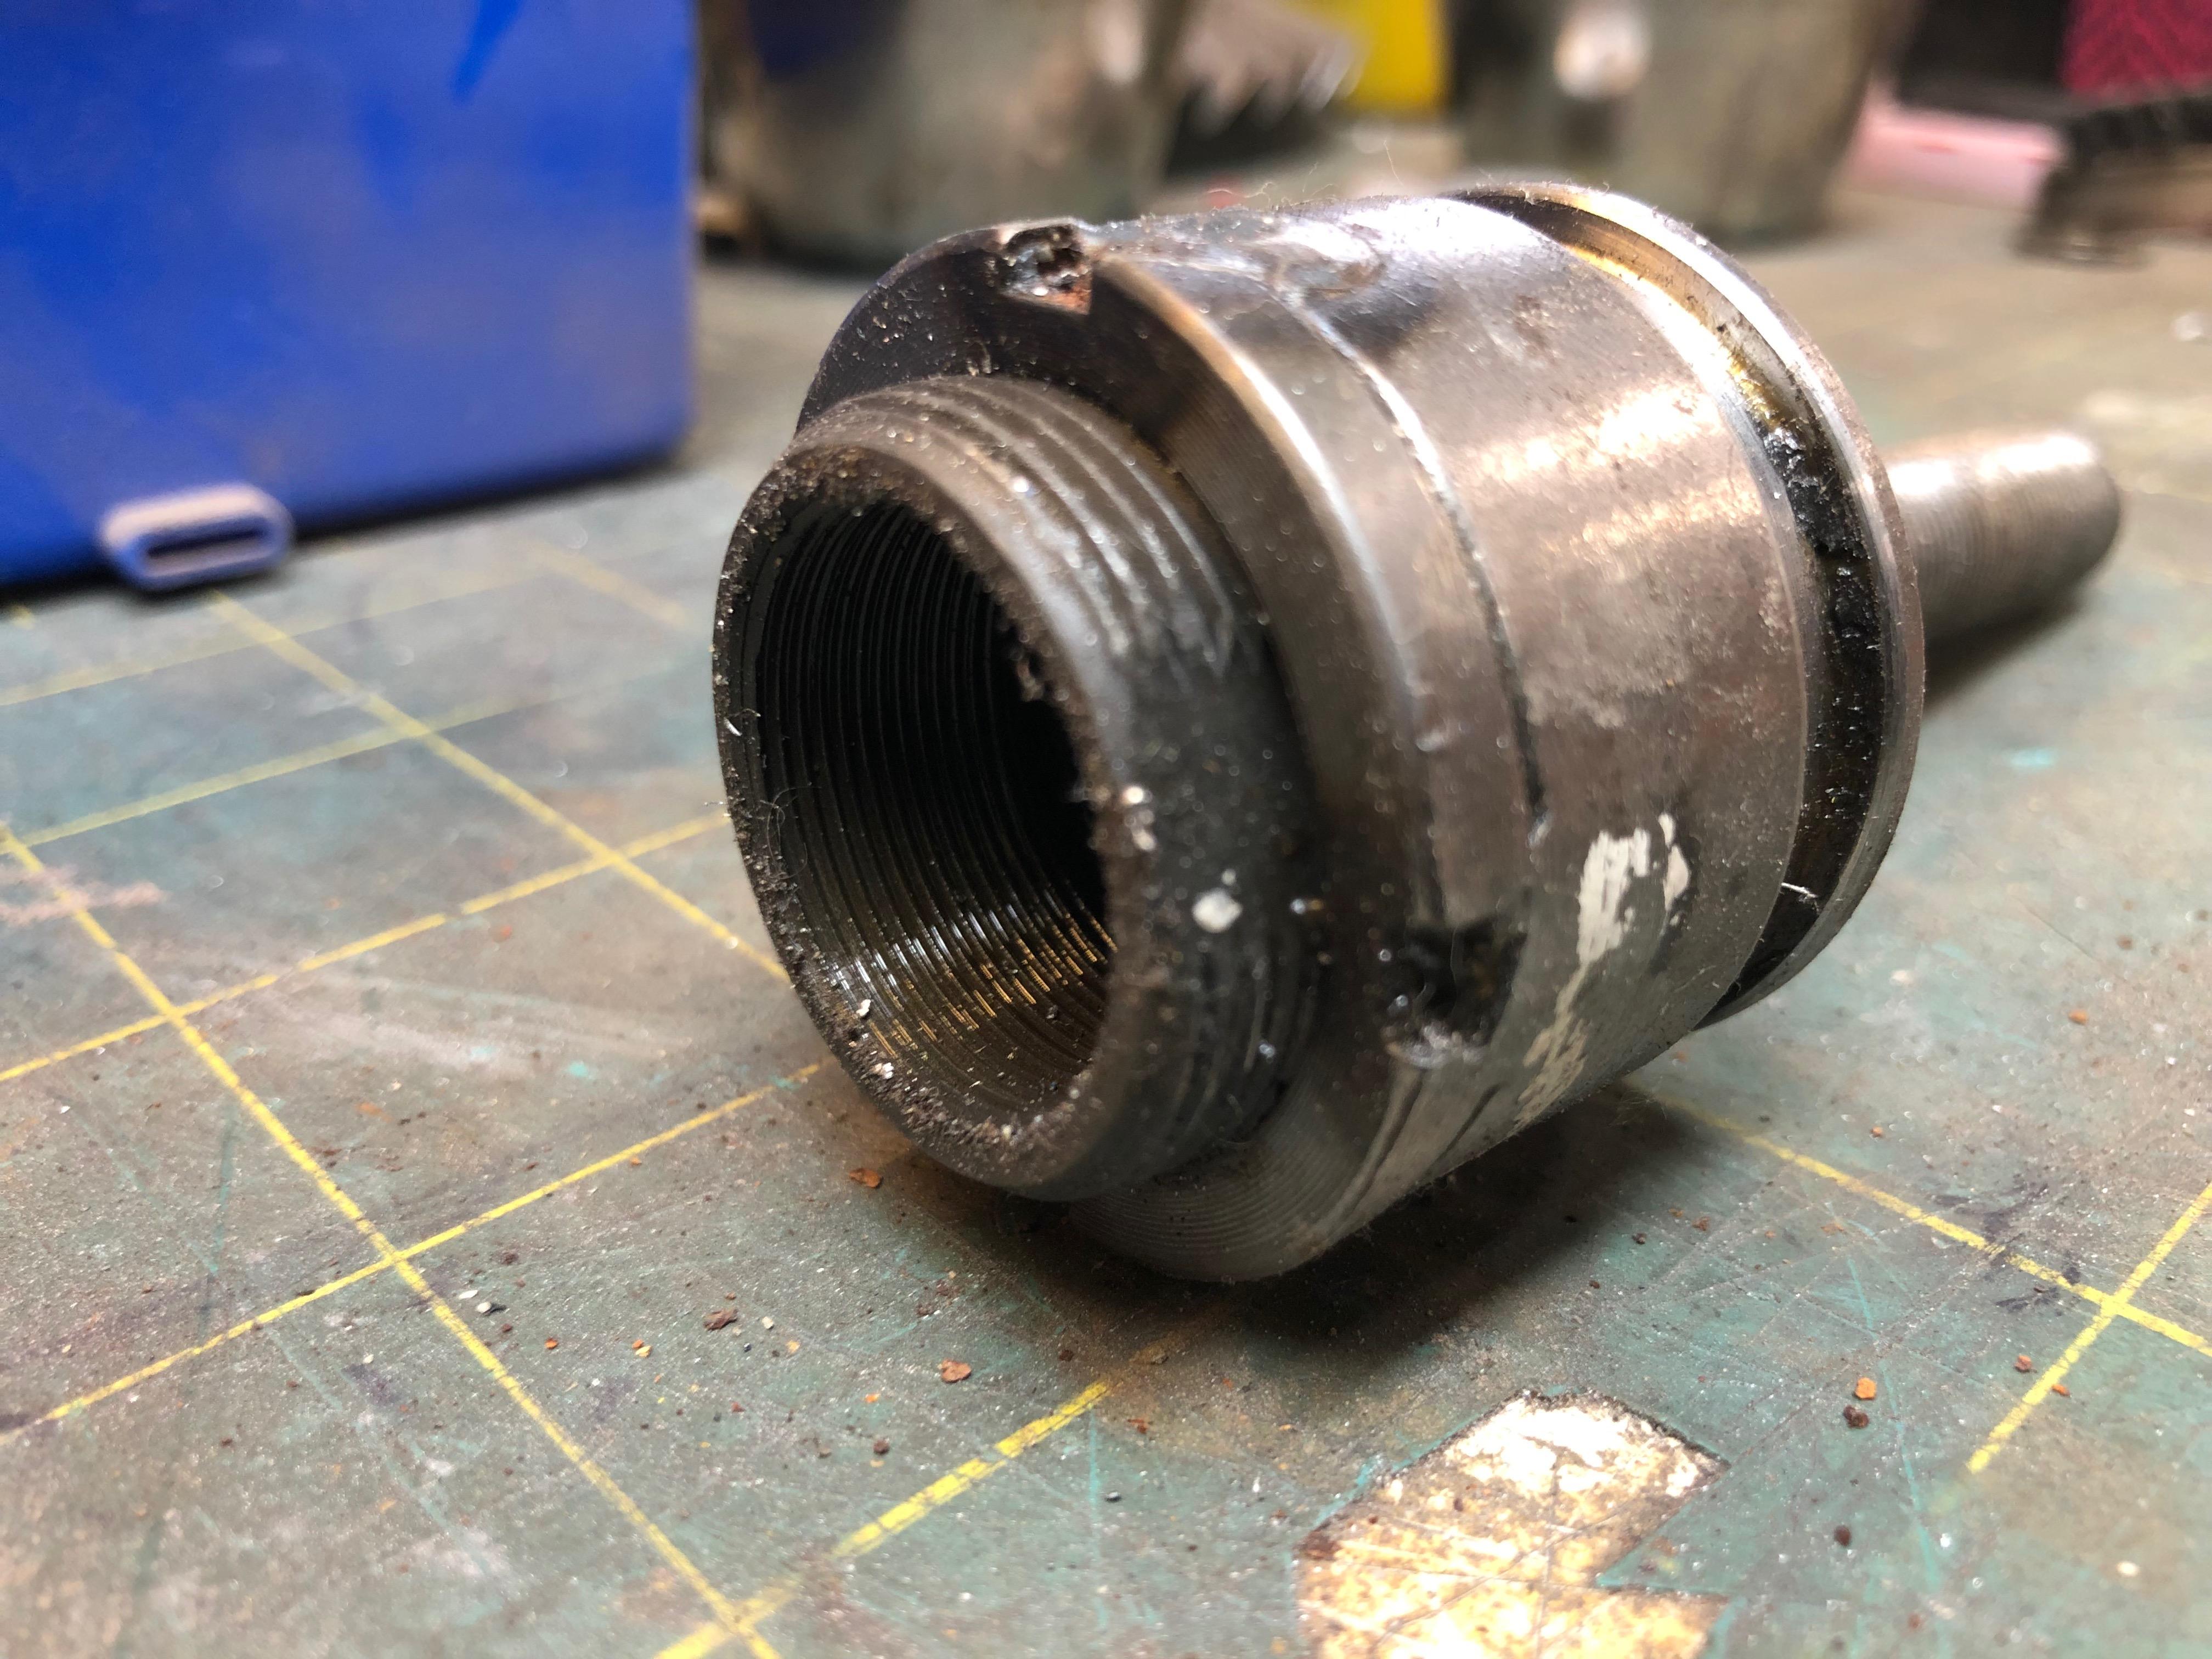
 Glad I had one handy. I'd want 1.5 times the diameter of the threads (M14) engaged for strength as a minimum. 21-22 mm, almost an inch. The threads are M14x1.5 LH and RH. There are vendors that have rod end solutions that might get you some more length. Techno toy tuning comes to mind.
 -
When you're nearly 50, wrinkles are part of the package. Actually they are stock from the faxtory. You will find more if you look.
-
Not darn much to work with.... .
 Side note, is it not interesting, how, given the number of speedo cog tooth counts there are out there for all the various diff ratio's, (yellow, blue, white, etc), that they all mesh properly with a single toothed gear on the transmission output shaft? Crazy how they made that work.... Or are all the different tooth count colored cogs different diameters as well, so the tooth spacing stays the same? The mysteries of the universe never end.
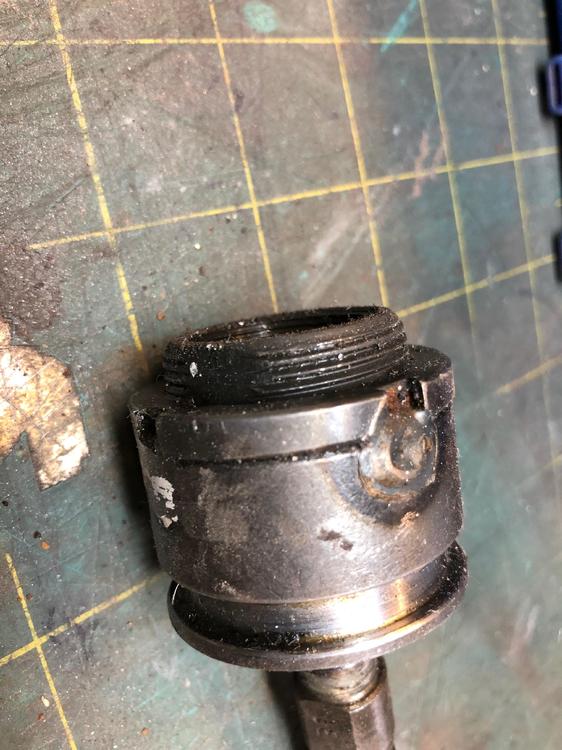
Crazy question. In a 4 or 5 speed trans, there is a plastic gear on the output shaft that drives the speedo cog. I need to know the number of teeth on that shaft gear. I've had several trannies apart in the past and recycled more of these shafts that I can remember, but never kept one! Why you ask? I have a electronic vehicle speed sensor on my 5 speed now, attached to the speedo cog output housing, and need to compute it's output frequency vs wheel speed. To get a ballpark number, I need the tooth count on the shaft gear to get the speed vs RPM data to enter into my Haltech tuning software. (I get my MPH from a GPS speedometer) If someone just happens to have a tranny apart and can count, it will save me some time at the dyno. Just to record this, I'm using a very special little dohicky made by a Toyota 4x4 offroad support company that came up with a lovely little low cost custom VSS that plugs directly onto the speedo cog housing of many Toyota's and quite conveniently many early Nissans's as well. Outputs the most perfect little 5v square wave. In case there are any others of you that are crazy enough to go DIY EFI in the future. Picture below.
Side note, is it not interesting, how, given the number of speedo cog tooth counts there are out there for all the various diff ratio's, (yellow, blue, white, etc), that they all mesh properly with a single toothed gear on the transmission output shaft? Crazy how they made that work.... Or are all the different tooth count colored cogs different diameters as well, so the tooth spacing stays the same? The mysteries of the universe never end.
Crazy question. In a 4 or 5 speed trans, there is a plastic gear on the output shaft that drives the speedo cog. I need to know the number of teeth on that shaft gear. I've had several trannies apart in the past and recycled more of these shafts that I can remember, but never kept one! Why you ask? I have a electronic vehicle speed sensor on my 5 speed now, attached to the speedo cog output housing, and need to compute it's output frequency vs wheel speed. To get a ballpark number, I need the tooth count on the shaft gear to get the speed vs RPM data to enter into my Haltech tuning software. (I get my MPH from a GPS speedometer) If someone just happens to have a tranny apart and can count, it will save me some time at the dyno. Just to record this, I'm using a very special little dohicky made by a Toyota 4x4 offroad support company that came up with a lovely little low cost custom VSS that plugs directly onto the speedo cog housing of many Toyota's and quite conveniently many early Nissans's as well. Outputs the most perfect little 5v square wave. In case there are any others of you that are crazy enough to go DIY EFI in the future. Picture below.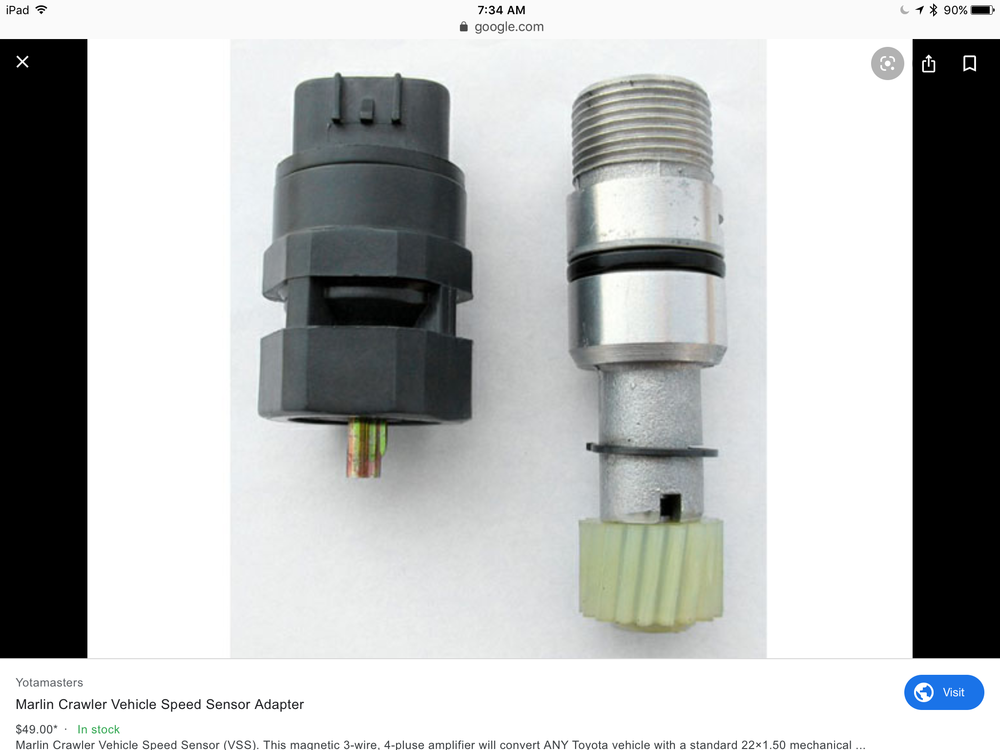 A nylok style nut could also work just fine. As long as the taper of the joint is properly seated, the chances of it coming apart is pretty much 0. Remember how much work it was to get that joint apart. I have about 20 of those stock castle nuts I've saved for some darn reason, but hardly practical to mail you one...
Regarding how tight or close to "all the way in" the nut has to go, what matters is if the nut contacts the strut body top and locks it in place BEFORE the nut bottoms out. Nothing worse than a loose shock cartridge rattling around and driving you crazy. So as long as most of the threads are engaged, and the cartridge is locked in place, you're good.
I think toilet sealing rings are beeswax. Cheap and plentiful. Sorry I had to stoop to a potty reference...
Careful folks. Consider carefully before changing major EFI components without having any control over the stock ECU to adjust fuel and AFM response curves to match. Larger throttle bodies without other corresponding changes will do little but reduce air velocity into the AFM. That flap that gets pushed around responds to air velocity....
I have some spray bars available. PM me or send me a note to z240@shaw.ca
Should you? No. Have I? of course. thread the nut on all the way. use a piece of hard wood to beat on, use a heavy hammer (2lb min), solid support for the strut. If you can't hit straight and hard, don't do it.
I think I have one. Can't check for a few days though. We are gallivanting around the great Canadian plains at the moment.
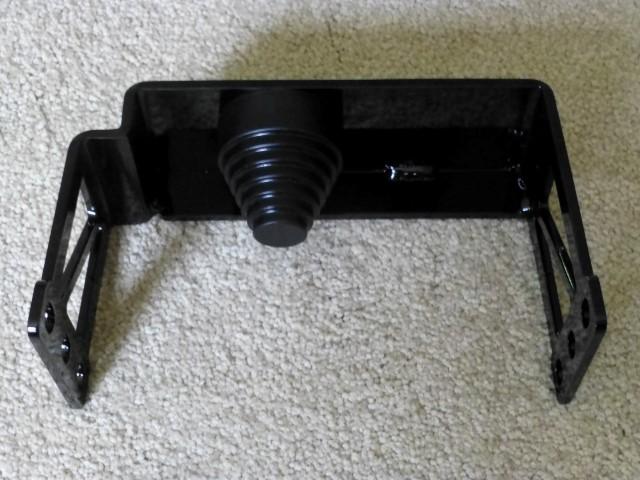
Just a note, the RT mount has a notch in one top corner so the bracket goes around the brake/fuel lines that come close in trans tunnel. T3's mount shows the notch. Also, as long as you don't use a GM poly mount (shown in the pic above) to hang your diff from the RT mount, rather just use a snubber above the diff to "squeeze" the diff nose against the snubber/top of RT mount, and continue to use the stock cross member to mount the diff, drive shaft angles are not altered much over stock. You use one of the Energy suspension generic stepped round snubber thingy's and cut off some of it. The snubber shown above gets cut until about 3 steps are left? The ES one I've used only have 4 steps I think and you leave 2. Which reminds me. I may have a few of these brackets (local made) laying around that I had made a while ago.... Let me know if you need one.
A nylok style nut could also work just fine. As long as the taper of the joint is properly seated, the chances of it coming apart is pretty much 0. Remember how much work it was to get that joint apart. I have about 20 of those stock castle nuts I've saved for some darn reason, but hardly practical to mail you one...
Regarding how tight or close to "all the way in" the nut has to go, what matters is if the nut contacts the strut body top and locks it in place BEFORE the nut bottoms out. Nothing worse than a loose shock cartridge rattling around and driving you crazy. So as long as most of the threads are engaged, and the cartridge is locked in place, you're good.
I think toilet sealing rings are beeswax. Cheap and plentiful. Sorry I had to stoop to a potty reference...
Careful folks. Consider carefully before changing major EFI components without having any control over the stock ECU to adjust fuel and AFM response curves to match. Larger throttle bodies without other corresponding changes will do little but reduce air velocity into the AFM. That flap that gets pushed around responds to air velocity....
I have some spray bars available. PM me or send me a note to z240@shaw.ca
Should you? No. Have I? of course. thread the nut on all the way. use a piece of hard wood to beat on, use a heavy hammer (2lb min), solid support for the strut. If you can't hit straight and hard, don't do it.
I think I have one. Can't check for a few days though. We are gallivanting around the great Canadian plains at the moment.
Just a note, the RT mount has a notch in one top corner so the bracket goes around the brake/fuel lines that come close in trans tunnel. T3's mount shows the notch. Also, as long as you don't use a GM poly mount (shown in the pic above) to hang your diff from the RT mount, rather just use a snubber above the diff to "squeeze" the diff nose against the snubber/top of RT mount, and continue to use the stock cross member to mount the diff, drive shaft angles are not altered much over stock. You use one of the Energy suspension generic stepped round snubber thingy's and cut off some of it. The snubber shown above gets cut until about 3 steps are left? The ES one I've used only have 4 steps I think and you leave 2. Which reminds me. I may have a few of these brackets (local made) laying around that I had made a while ago.... Let me know if you need one.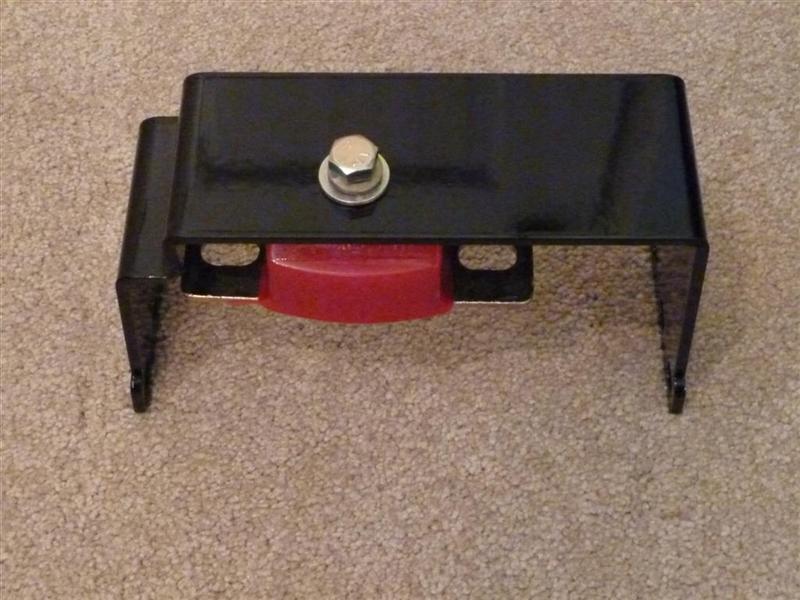
 A mear 3400 km from here. 5 days 4 hours 7 minutes travel time. Easy Peasy.
Other than to facilitate cleaner removal, if that's something you do a lot, dry is the correct process. The last thing you want is that goop in the oil holes around those copper sealing rings around the two oil passages, The center one seems to have a large blob really near it. Heavy Danger is the term that comes to mind. Flat head, flat block, and cleanliness are all you need. The gasket does all the work. If you have corroded water passage holes that extend beyond any gasket hole, take care of those the right way, not with goop.
Since the problem goes away after a bleed and returns after a certain amount of use, I'm thinking it's bad seals in either the slave or master. Time to remove and inspect the bores and seals in both. If they are rebuilds of old castings, expect to find pitted bores.
If I had a choice of quality parts I'd buy them. I have no idea where to find such things. There are no such stores here or anywhere I know of. There is a Dollar Store on every corner however. They have great cheap paint brushes I can use once to clean parts and toss. My parents still have the same paint brushes they used and cleaned since 1956. I still have their working toaster as well. Me think we are doomed.
I was just surfing trying to find a replacement pertronix module to see if the cost is crazy or not, and discovered I DO NOT have a Pertronix conversion, it's some other brand. Looks different, no actual markings. My apologies for besmurching Pertronix's fine name here. Pertronix V1 had an issue with them if you left the key on for too long without the car running, it would fry the module. V2 (been out for a long time) has that issue solved. Anyway, I'm running again on a old school E12-80 style dizzy with a GM HEI module and spares....
Heat is indeed the enemy, perhaps time to invent a heat shield for the back of the dizzy that blocks direct radiant energy from the exhaust manifold. One issue that Pertronix is very vocal about is using a coil with at least 3 ohm resistance. I do have that. With lower ohm coils the trigger current is too high which heats up the module to rapid destruction. Same warnings and issues with the 123 dizzy's. On a whim, I stuck the dead thing back in to test if there is any spark today, in case heat WAS the culprit that may have reversed after cooling down. Nope, it's dead.
So the older I get the more of a crumudgeon I become. I need to rant about first world problems. So today I experience yet ANOTHER failure of a relatively new car part. Back in 2014 I bought a variety of distributors, including the 123 Dizzy for both the Z and the 510. We now know the issue with the crappy caps on those dizzy's that came up, that left me and others stranded. This is another dizzy failure story, for the 510. A friend with a roadster put me on to a guy in the US that was building EI distributors for various inline 4 Datsun engines including the Roadsters and as it turns out the L4 as well. It is a rebuilt body with in this case a Pertronix ignitor in it. Best thing since sliced bread for points plaqued Datsun owners. I bought one, actually before the 123 craze hit me. It sat around with other Nissan E12-80 style dizzy's that the 80's trucks came with. Being running that style mostly, after my Z 123 dizzy cap issue, I never did use the 123 for the 510. I sold it. Well I recently have been converting my 510 to EFI (a WHOLE 'nother story) and again for reasons not to be discussed here, I had to go back to a regular dizzy for a while, so found and grabbed that nice new Pertronix based dizzy from the "pile" and plopped it in. Ran great. That was 6 weeks ago, put on about 2000 km since. Not a hiccup. Today while coming back from Invermere BC with it, guess what. One minute I'm blasting along at warp 9, the next, WHAMMM... Spark goes bye bye in a heart beat. Coast to the side of the road. No spark. DOSOR. (Dead on side of road). Not wiring, power to the coil and dizzy, cap is fine, dead module. I had a spare in the trunk, (E12-80 style) with GM HEI module, put it in, spark came back. Magic. Ok, just what is a guy supposed to do? I am SO FREAKING TIRED of NEW parts crapping out WAY TOO EARLY in their life. Dizzy's alternators, starters, fuel pumps, the list goes on and on and on. It's starting to take the fun out of driving these old pieces of crap. I drive in fear now instead of joy. What's next? Do I swap to a modern engine and stop trying to keep an old one running? Get into counselling and calm down? Just carry more spares and tools? Anybody else losing their edge?
Then they shall be yours.
The 3012 and 3038's are both 1.70 OD and have 14-13/16" long bodies. All I got
A pair of HZ3012 and four HZ3038's. From a 76 280 apparently. I wonder if they fit in 2" tubes....
A mear 3400 km from here. 5 days 4 hours 7 minutes travel time. Easy Peasy.
Other than to facilitate cleaner removal, if that's something you do a lot, dry is the correct process. The last thing you want is that goop in the oil holes around those copper sealing rings around the two oil passages, The center one seems to have a large blob really near it. Heavy Danger is the term that comes to mind. Flat head, flat block, and cleanliness are all you need. The gasket does all the work. If you have corroded water passage holes that extend beyond any gasket hole, take care of those the right way, not with goop.
Since the problem goes away after a bleed and returns after a certain amount of use, I'm thinking it's bad seals in either the slave or master. Time to remove and inspect the bores and seals in both. If they are rebuilds of old castings, expect to find pitted bores.
If I had a choice of quality parts I'd buy them. I have no idea where to find such things. There are no such stores here or anywhere I know of. There is a Dollar Store on every corner however. They have great cheap paint brushes I can use once to clean parts and toss. My parents still have the same paint brushes they used and cleaned since 1956. I still have their working toaster as well. Me think we are doomed.
I was just surfing trying to find a replacement pertronix module to see if the cost is crazy or not, and discovered I DO NOT have a Pertronix conversion, it's some other brand. Looks different, no actual markings. My apologies for besmurching Pertronix's fine name here. Pertronix V1 had an issue with them if you left the key on for too long without the car running, it would fry the module. V2 (been out for a long time) has that issue solved. Anyway, I'm running again on a old school E12-80 style dizzy with a GM HEI module and spares....
Heat is indeed the enemy, perhaps time to invent a heat shield for the back of the dizzy that blocks direct radiant energy from the exhaust manifold. One issue that Pertronix is very vocal about is using a coil with at least 3 ohm resistance. I do have that. With lower ohm coils the trigger current is too high which heats up the module to rapid destruction. Same warnings and issues with the 123 dizzy's. On a whim, I stuck the dead thing back in to test if there is any spark today, in case heat WAS the culprit that may have reversed after cooling down. Nope, it's dead.
So the older I get the more of a crumudgeon I become. I need to rant about first world problems. So today I experience yet ANOTHER failure of a relatively new car part. Back in 2014 I bought a variety of distributors, including the 123 Dizzy for both the Z and the 510. We now know the issue with the crappy caps on those dizzy's that came up, that left me and others stranded. This is another dizzy failure story, for the 510. A friend with a roadster put me on to a guy in the US that was building EI distributors for various inline 4 Datsun engines including the Roadsters and as it turns out the L4 as well. It is a rebuilt body with in this case a Pertronix ignitor in it. Best thing since sliced bread for points plaqued Datsun owners. I bought one, actually before the 123 craze hit me. It sat around with other Nissan E12-80 style dizzy's that the 80's trucks came with. Being running that style mostly, after my Z 123 dizzy cap issue, I never did use the 123 for the 510. I sold it. Well I recently have been converting my 510 to EFI (a WHOLE 'nother story) and again for reasons not to be discussed here, I had to go back to a regular dizzy for a while, so found and grabbed that nice new Pertronix based dizzy from the "pile" and plopped it in. Ran great. That was 6 weeks ago, put on about 2000 km since. Not a hiccup. Today while coming back from Invermere BC with it, guess what. One minute I'm blasting along at warp 9, the next, WHAMMM... Spark goes bye bye in a heart beat. Coast to the side of the road. No spark. DOSOR. (Dead on side of road). Not wiring, power to the coil and dizzy, cap is fine, dead module. I had a spare in the trunk, (E12-80 style) with GM HEI module, put it in, spark came back. Magic. Ok, just what is a guy supposed to do? I am SO FREAKING TIRED of NEW parts crapping out WAY TOO EARLY in their life. Dizzy's alternators, starters, fuel pumps, the list goes on and on and on. It's starting to take the fun out of driving these old pieces of crap. I drive in fear now instead of joy. What's next? Do I swap to a modern engine and stop trying to keep an old one running? Get into counselling and calm down? Just carry more spares and tools? Anybody else losing their edge?
Then they shall be yours.
The 3012 and 3038's are both 1.70 OD and have 14-13/16" long bodies. All I got
A pair of HZ3012 and four HZ3038's. From a 76 280 apparently. I wonder if they fit in 2" tubes....


Important Information
By using this site, you agree to our Privacy Policy and Guidelines. We have placed cookies on your device to help make this website better. You can adjust your cookie settings, otherwise we'll assume you're okay to continue.