.JPG.cfcada9cf1c1b502df3f5f2f2ca3ff36.JPG)

SteveJ
Free Member
-
Joined
-
Last visited
Everything posted by SteveJ
-
 I can't give you a good visual because my steering column cover is on, and I'm working on other parts of my Z right now.
 -
Well, the VIN looks to be from a 71, but that wiring is definitely from a 73. I wonder if the person who did this also swapped over the wiper amplifier. I suggest you download the 73 FSM for the wiring diagram. That should help you some.
-
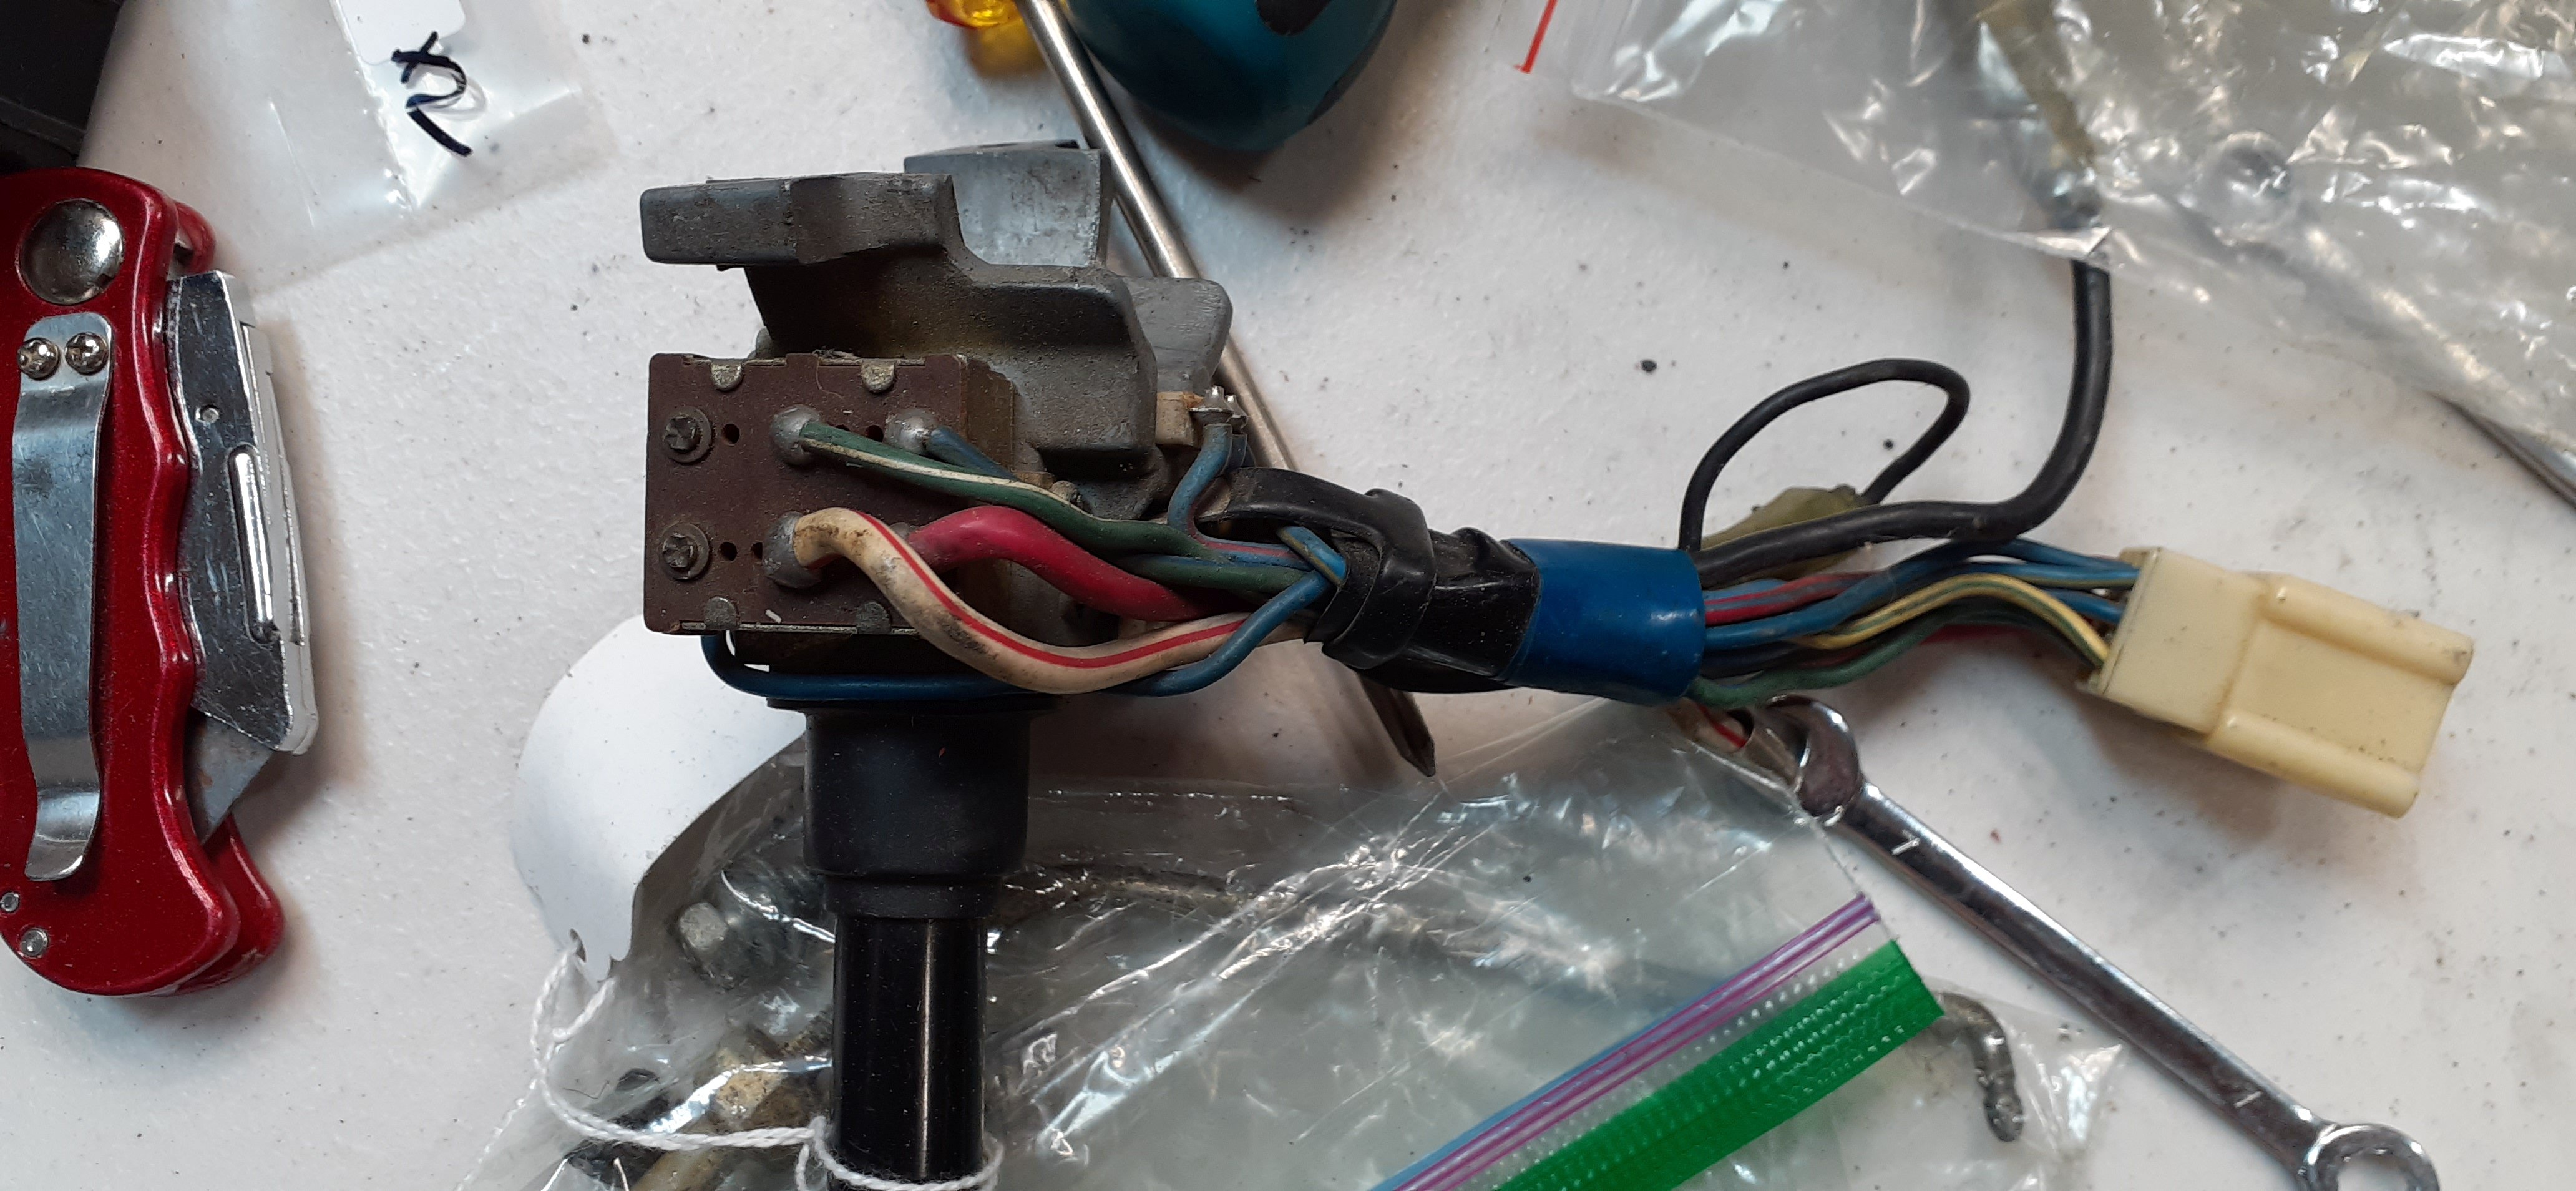
So that's the 73 Hazard switch. While you're taking photos, take some in the passenger footwell where the dash harness and engine harness come together. I want to see the connectors between the two harnesses. If they have different colors, that's all from 73. I was SO hoping that someone didn't really bastardize this.
-
Here's the problem. The wiring harness you show in your picture and the headlight switch are from a 73 or later. Post a photo of the hazard light and post the VIN on the firewall. Something is not lining up here. It could be that someone really bastardized the car.
-
I could give you a better clue on the wire if you could tell us what year your car is. That is why I made the previous request for you to add it to your signature.
-
Oh, it's available. You just have to know how to look for it. I just put this phrase into Google: mikew rubber door bumper site:classiczcars.com It was the second hit.
-
And @beermanpetewas spot on. The tach is working again. What I did wrong was put the black/white from the ignition ON position on the coil positive. I removed it from the coil and made a jumper to go between the black/white wire and the green/white wire, and the 240Z tachometer works just fine with the Pertronix. (I put in extra words to help anybody searching for this solution in the future.)
-
Keep in mind that I'm over 2 hours away, and @Patconconsiders me close by. 😉
-
I added some gas to the tank and some oil to the dampers and ran the car again. She starts up and idles, but she needs plenty of tuning. At least she is pulling gas from the tank. The tachometer isn't registering, but that is because of how I wired the Pertronix. I just need to re-wire it a little to stop bypassing the tach. (I figured that out by reading a Hybridz response from @beermanpete. I miss that guy posting here.) The rear carburetor is leaking fuel at the banjo fitting. I'll take that apart and put in some new sealing washers.
-
You don't know the half of it. When I took the car off the road 11 years ago, I had a lot to learn. I have gained a TON of knowledge reading posts from all of my friends on this site and around where I live. It also took a lot of effort to change my priorities to put the car up high enough to get it done.
-
So I got bored today. I got the new battery and decided that I didn't like how the new cables fit on it with the Nissan battery frame, so I got different cables. With the new cables installed, I pulled the plugs and removed the valve cover. I put a squirt of oil in each cylinder and bathed the cam lobes with oil. I then used the starter to turn the engine. It did not hesitate. Next I put some gas in each carburetor via the float vent using a 1 ounce syringe. I put a short spray of starting fluid into each carb and climbed behind the driver's seat.
-
I bought both sets of seat foam from Banzai Motorworks and both sets of seat covers from Black Dragon. I don't know if the covers and foam came from different manufacturers, but I didn't have any real problems.
-
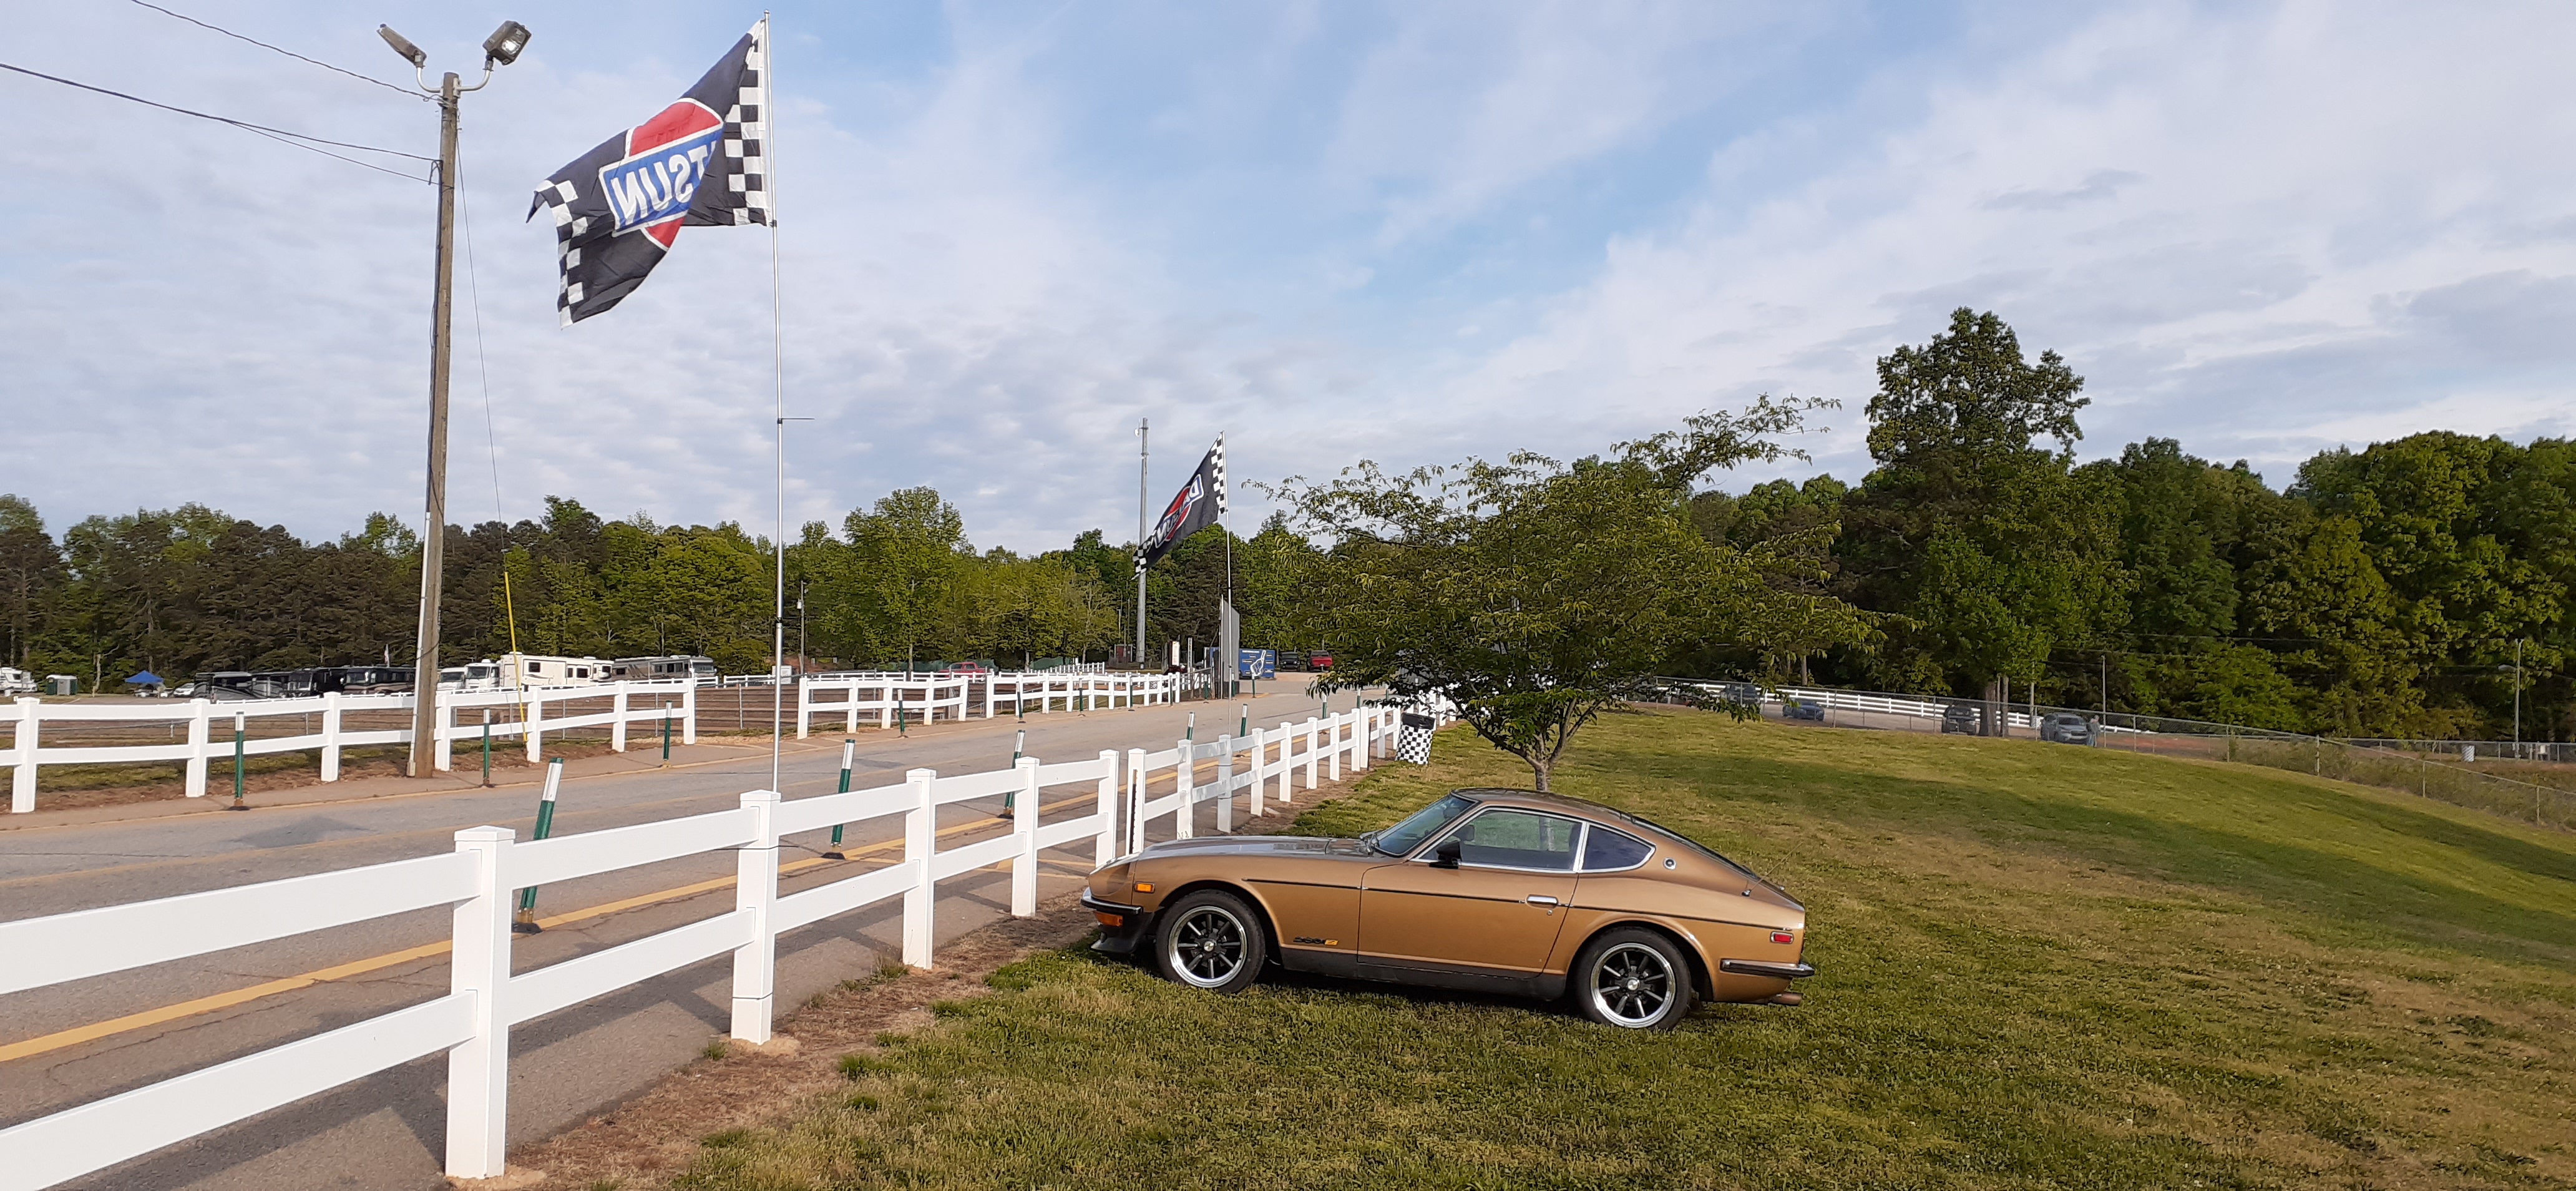
The headlight swap and battery cable change actually went as expected. Sometimes the breaks go your way.
-
I forgot to mention that you should consider getting LED bulbs for your running lights and turn signals. Also inspect the bulb sockets for corrosion. That will reduce the chances that you will melt down the 9 pin connector in the future. If you replace all of those bulbs with LEDs, you can also change the middle fuse on the right side of the fusebox with a 10 amp fuse. That will further reduce the chances of melting down the connector.
-
Okay, here's a photo of an intact switch. You can see that in addition to the missing wires for the headlight, the green/white wire on your switch is in the wrong location. The green/blue wire should be on the terminal closest to the wire bundle. The 9-pin wire connector needs to be replaced. You can get a replacement connector from Vintage Connections: http://vintageconnections.com/Products/Connectors. I would suggest getting some spare 2.8mm terminals if you don't have experience with crimping wires: http://vintageconnections.com/Products/Terminals. Get the 2.8mm male spade and 2.8 female non-latching. For a crimping tool, I like to use one like this: https://www.amazon.com/Pc-Accessories-Terminals-Crimping-D-Sub/dp/B007R2JLJK The biggest hurdle is to find what else the IPO chopped up. If the high low beam switch is on the floor, that means those wires have been diverted from the turn signal switch. Be sure to download the FSM for your car so you have a good wiring diagram. Also, go to Account Settings. It's in the drop-down at the top of the page by your username. After you get to account settings, choose Signature and put in the year of your car. It helps us tailor answers to your specific model.

-
The plan for today was to start early with bleeding the clutch...yeah, here's how that went. No fluid moving through the hydraulic circuit. Lots of time spent removing the hose between the slave and hard line. Got lots of gunk out of the hard line and clutch hose. I used air on the hard line and 14 gauge solid wire on the hose. Wrestled to get the hard line and hose reconnected. Bleed the system only to find a leak between the hose and slave cylinder. Researched the problem and found this thread: https://www.classiczcars.com/forums/topic/46057-slave-cylinder-hose-gasket/ Found my sealing washers and got everything reassembled. Got the clutch bled with no leaks. Don't you love it when a simple task takes several hours? I also replaced the old battery cables and installed the H4 housings with LED bulbs for the headlights. It doesn't seem like much, but it ended up being a long day. I decided to put off the startup until next weekend.
-
I regret that I didn't join ZONC after I bought my Z in 93. I was stationed at Travis AFB from 93 to 96, and I graduated from high school in the East Bay.
-
I'll respond later. You've also had a meltdown in the parking light circuit. I can tell from the photos. Let me give you a detailed response.
-
And you can find double crimp rings here: http://vintageconnections.com/Products/Terminals
-
Use a double-crimp ring terminal with heat shrink. Slide the heat shrink over the wire, crimp the ring terminal onto the wire, and shrink the heat shrink over the crimped area. If you still want spacers, you could get a kit like this and determine how small of a spacer you can get away with. https://www.amazon.com/Wokape-150Pcs-Standoff-Assortment-Prototyping/dp/B0936WHCLK
-
So the Fast I91 coil has 4 screws. The positive and negative terminals are below the post for the coil wire. I would look to mount the coil with the terminals toward the front of the car. You might want to post some photos of the coil with you holding it in the engine bay in the orientation you like vs the orientation as I suggested.
-
Okay, but I'm not sure it will help with solving the original question.

-
For those of you who will be at ZCON 2021, after the NY reveal of the new Z on August 17, Nissan will be taking the car on the road...to arrive in Colorado Springs to be shown on August 20.

-
Yeah, about the only time I've seen them on a Z is for a concours level restoration.
-
Download the 72 FSM and look in the EC section. You want to start looking at page EC-11.