.JPG.cfcada9cf1c1b502df3f5f2f2ca3ff36.JPG)

SteveJ
Free Member
-
Joined
-
Last visited
Everything posted by SteveJ
-
 You missed a great time, Charles. I was hanging out in the paddock a fair amount with the people I've gotten to know through attending the races. By the way @Diseazd, a couple of my friends are starting to make plans to drive in the Chump Car race at VIR in August. They will be driving a RHD ZMW.
 -
-
-
-
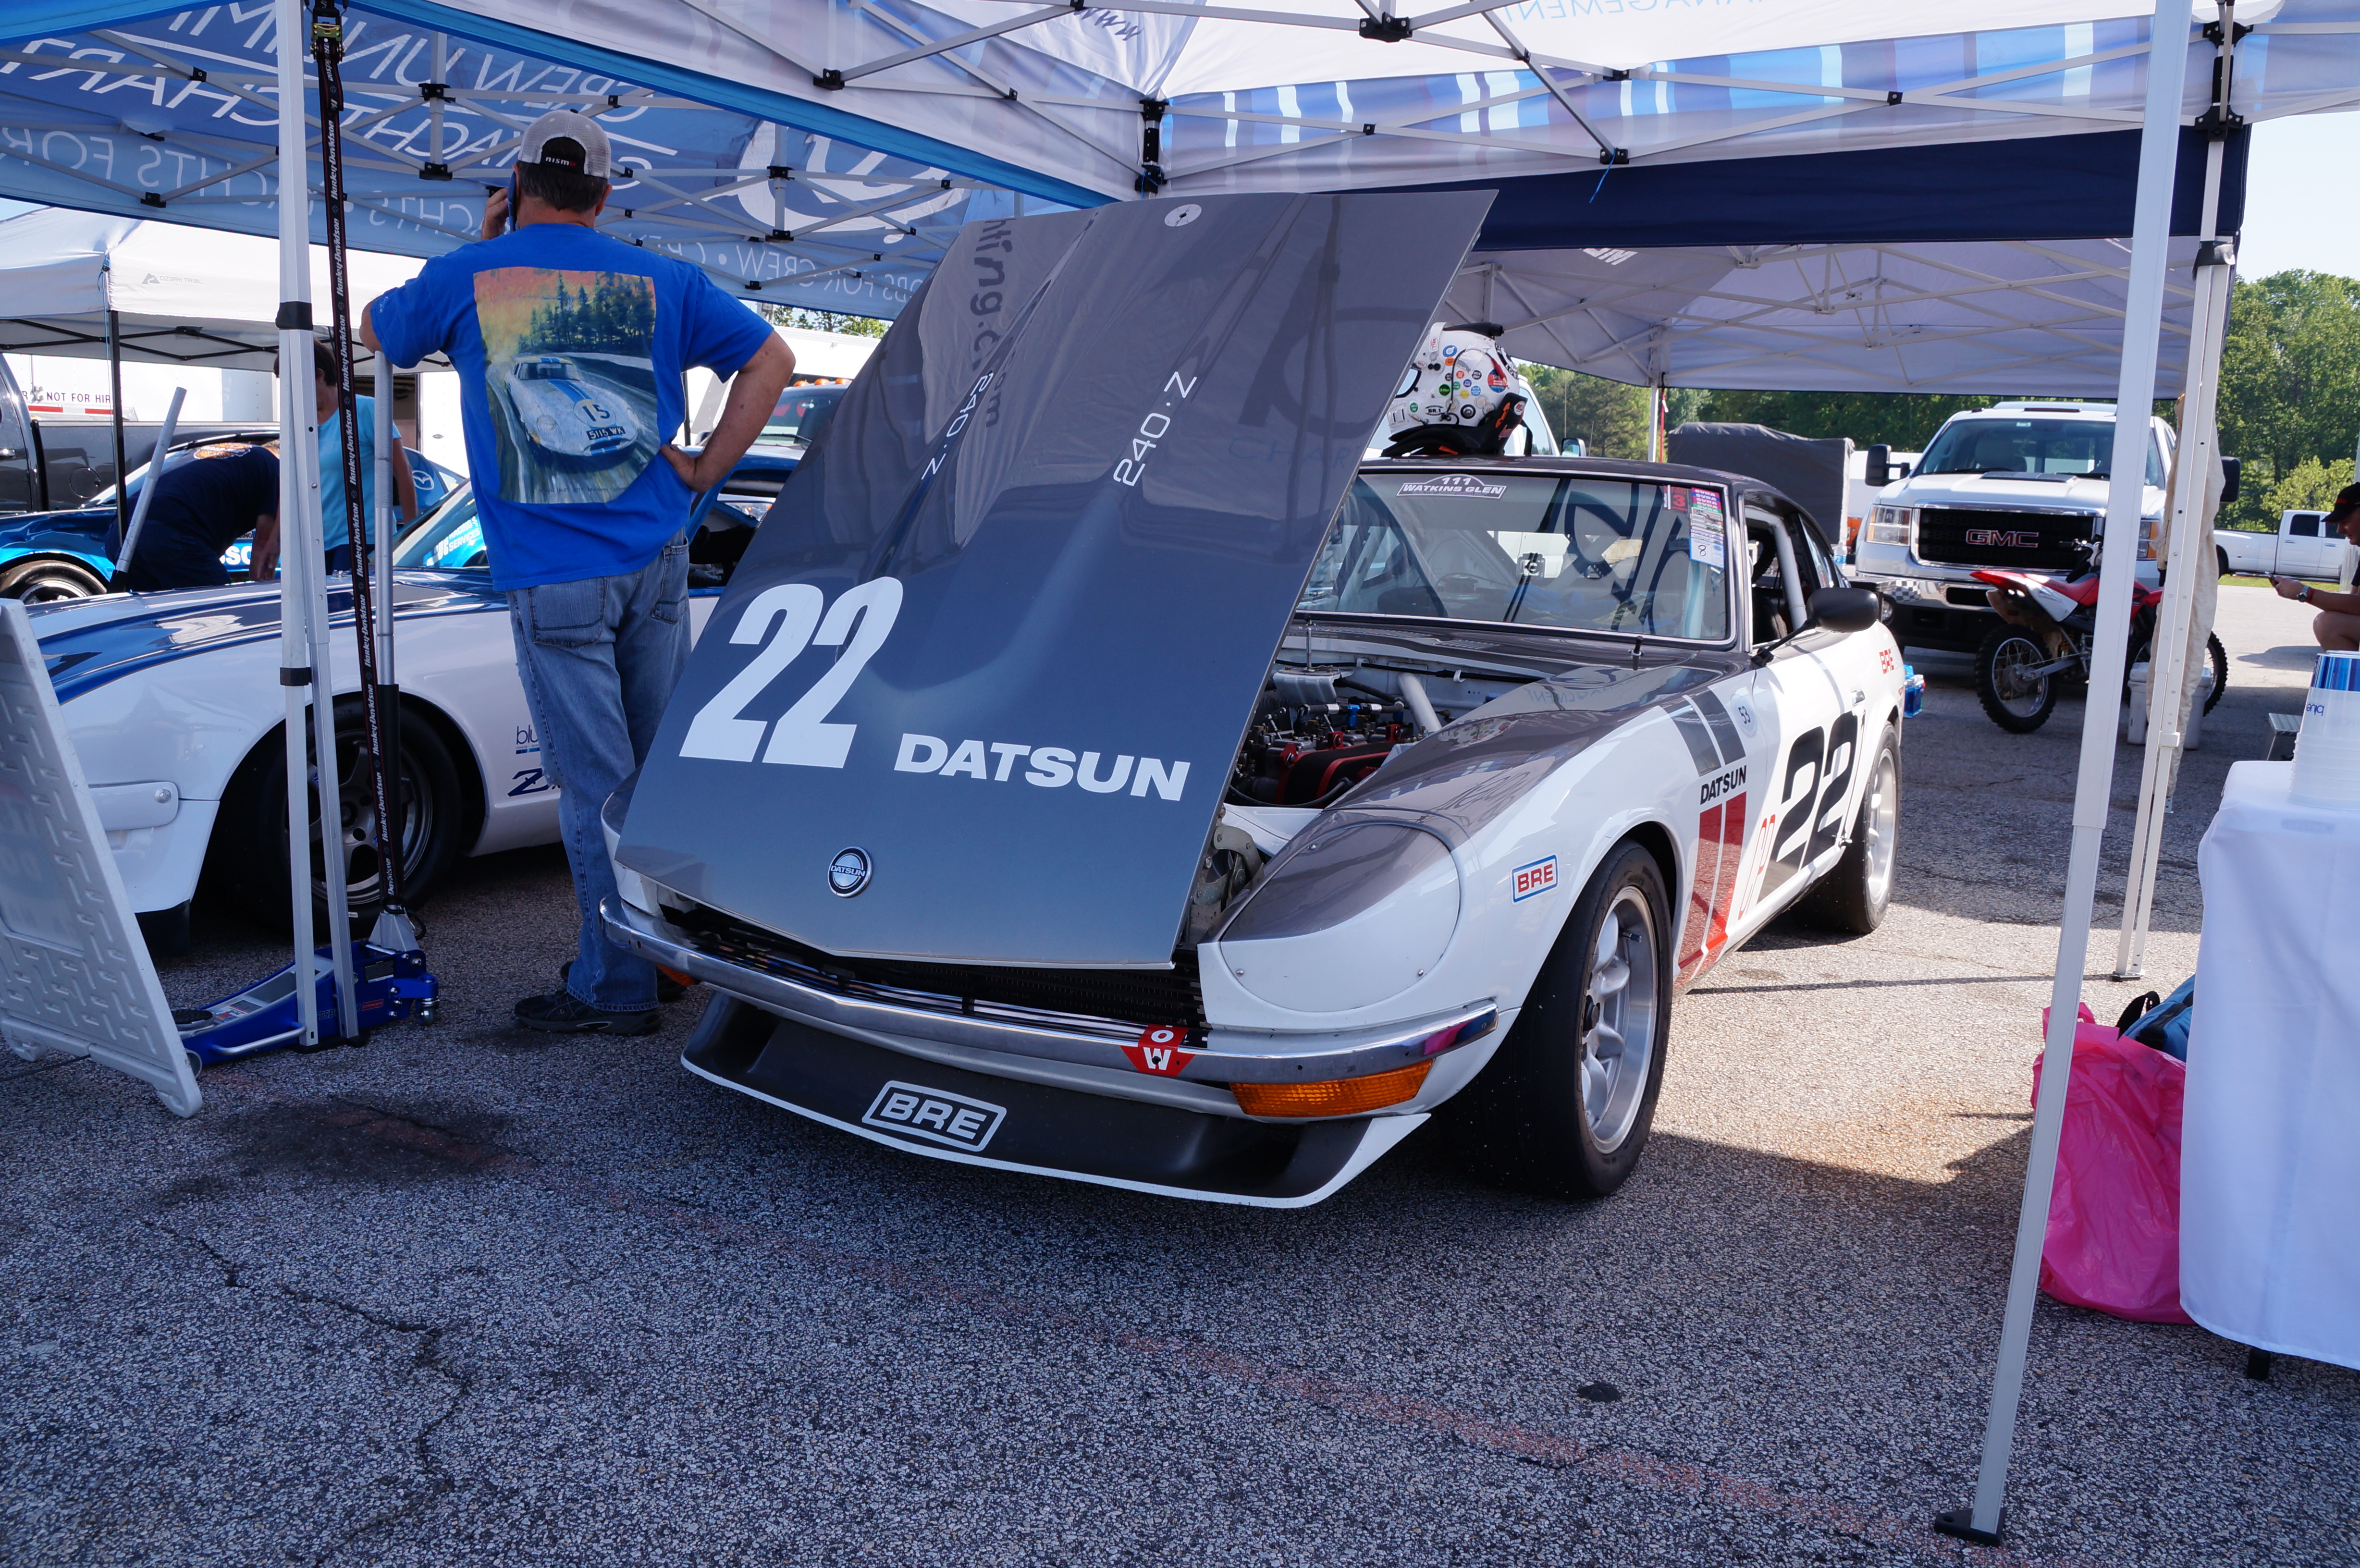
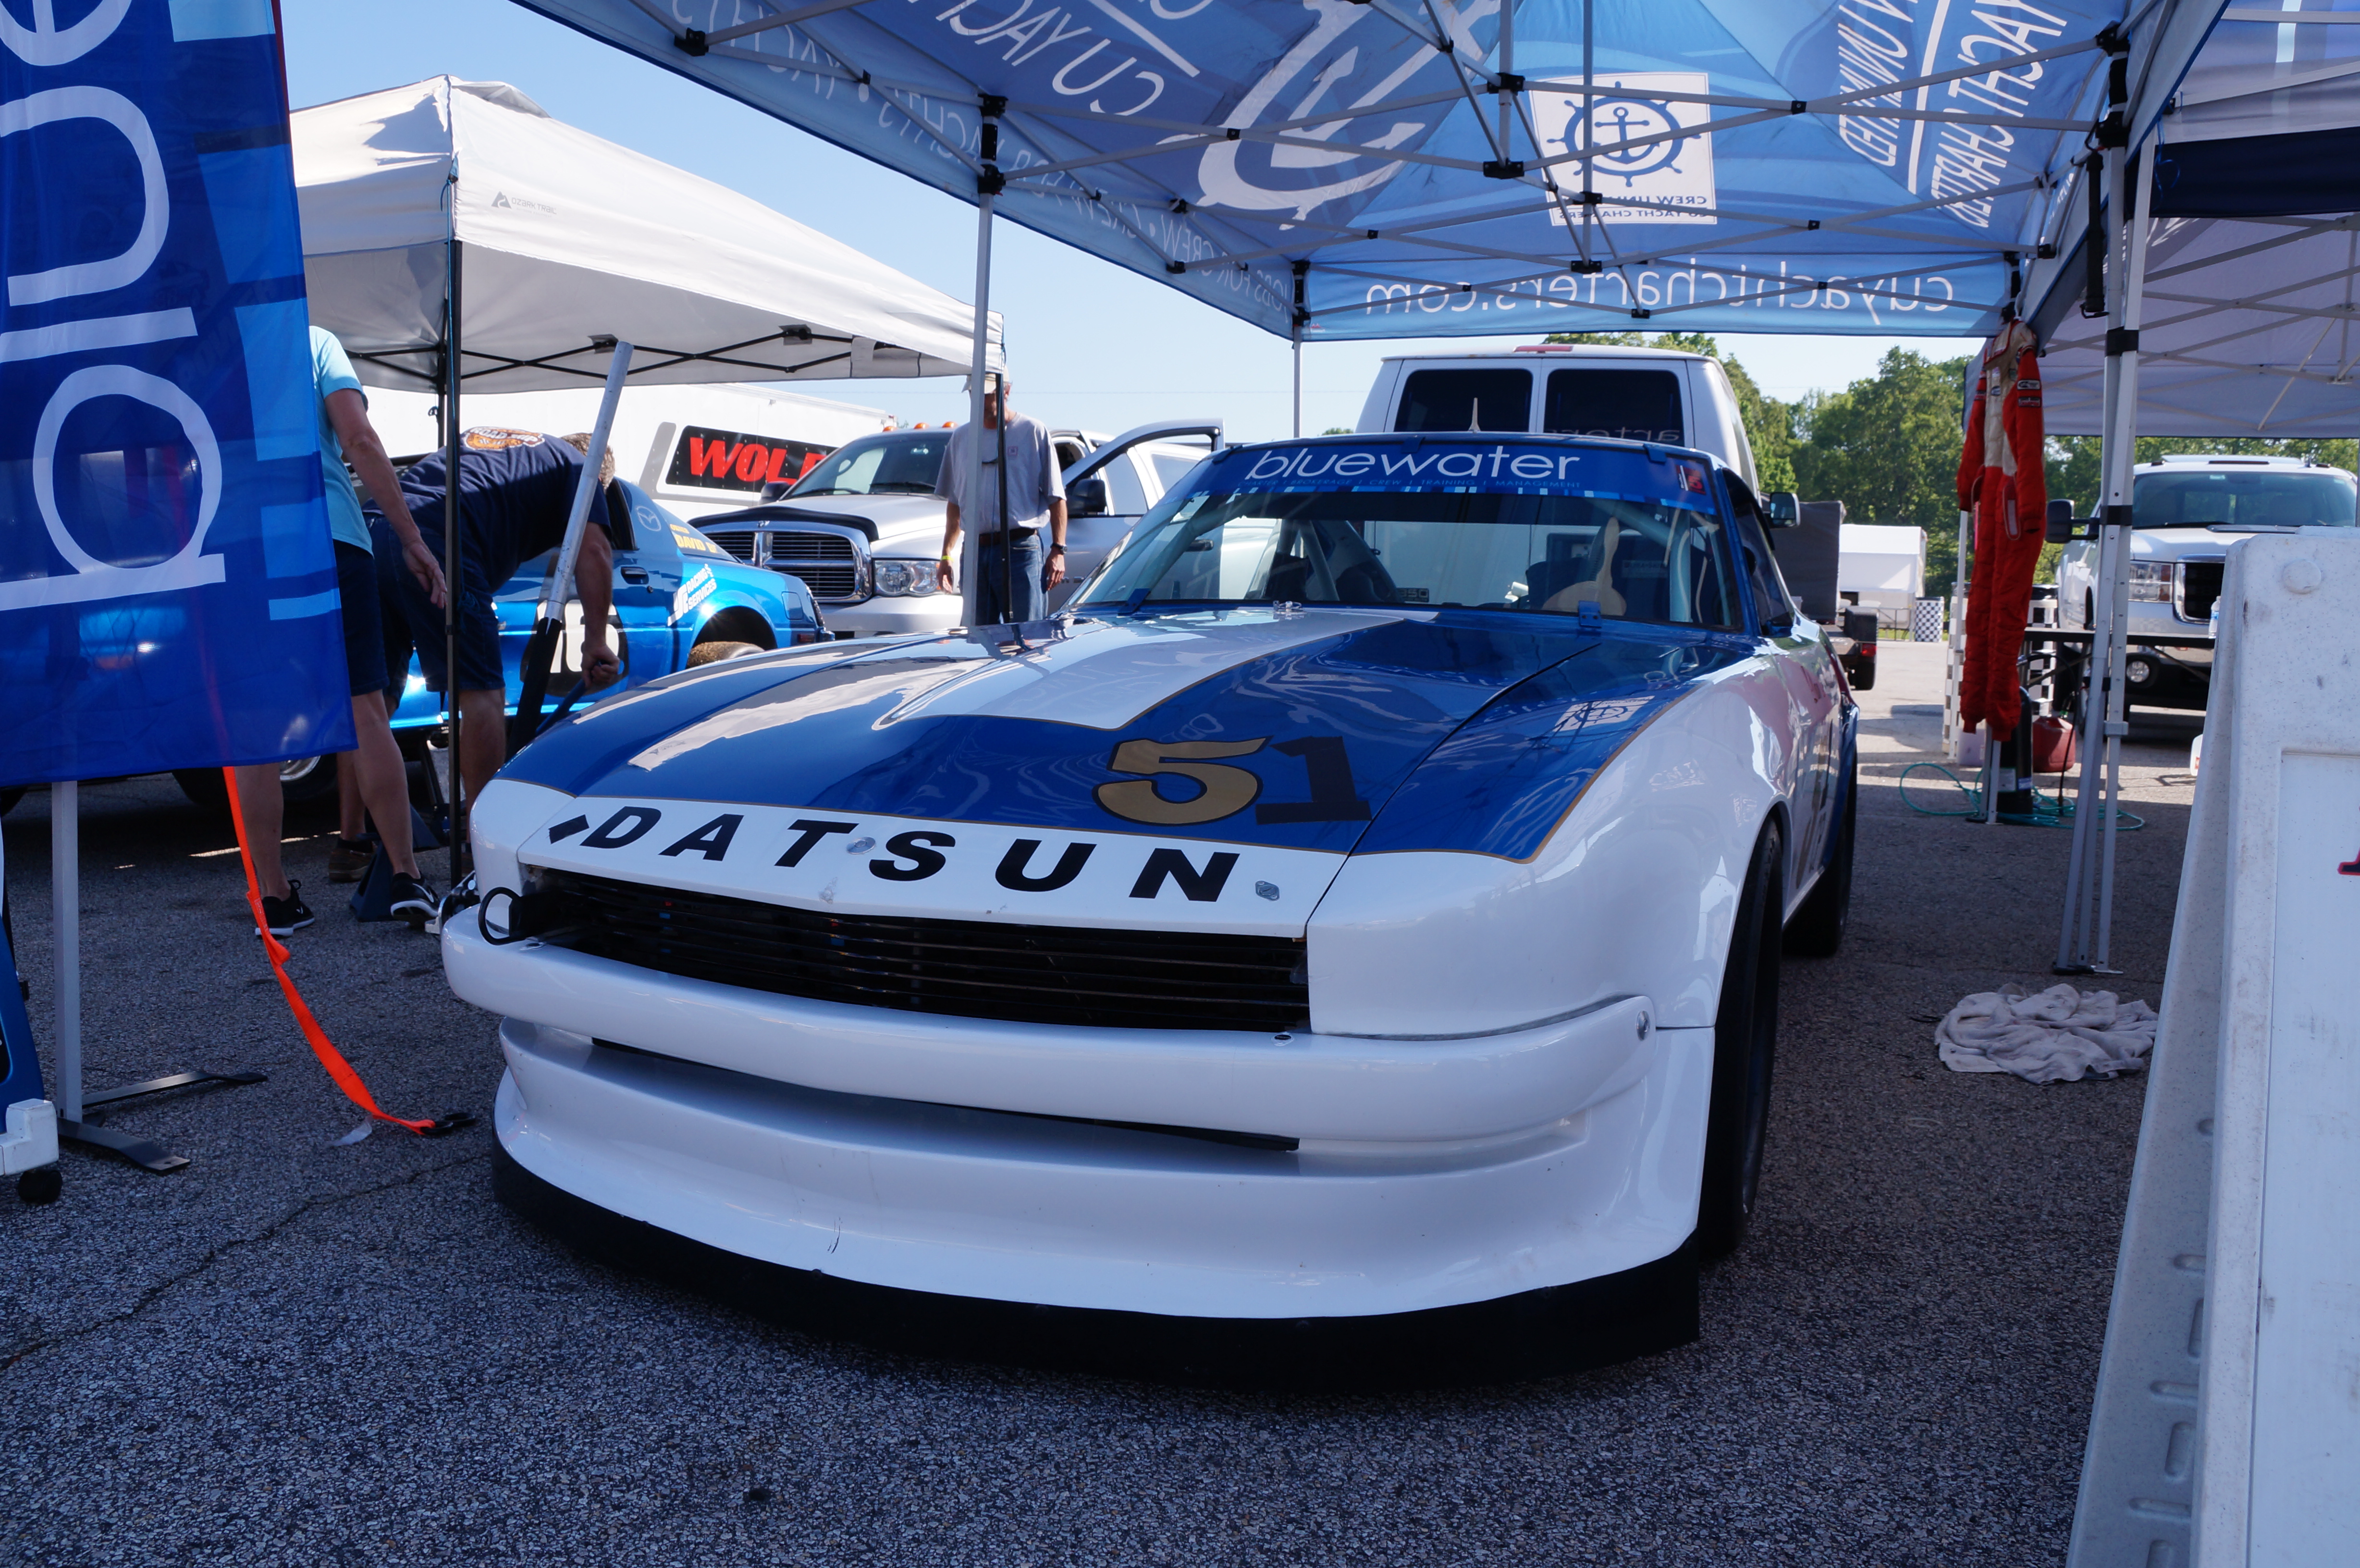
He just finished a run. I snapped a few photos around turn 12. I saw his car in the paddock earlier.
-
-
-
-
-
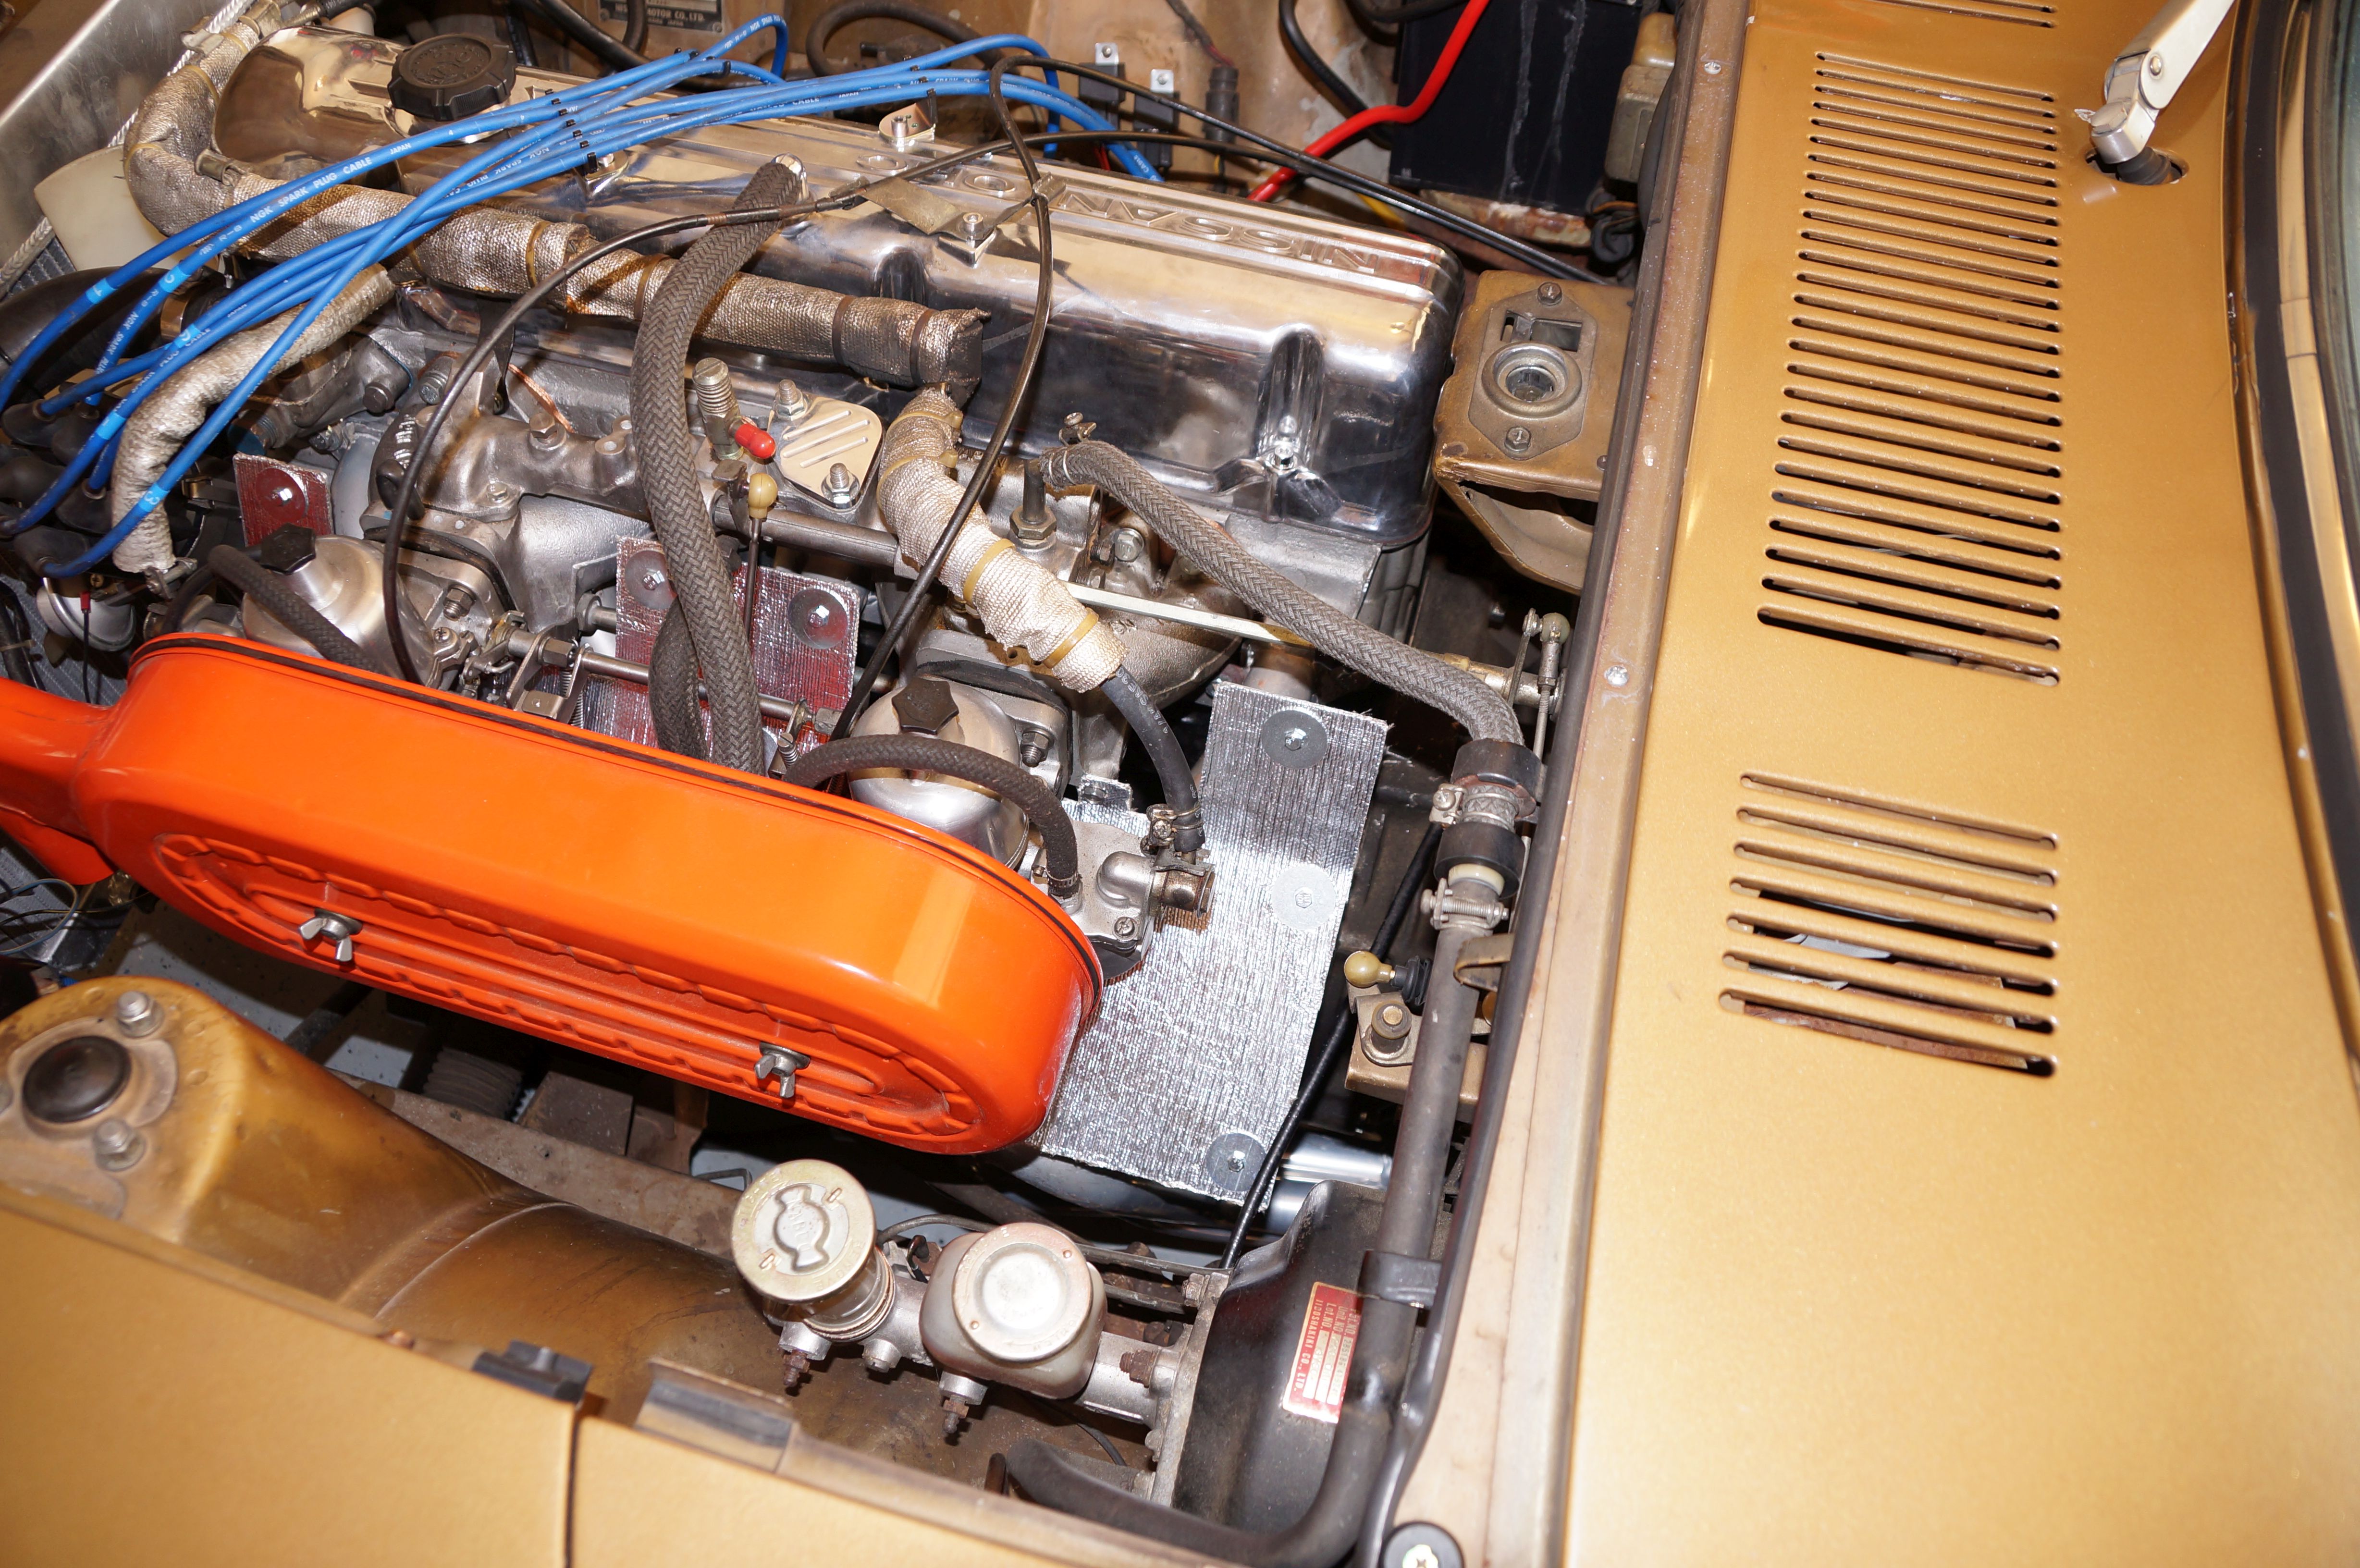
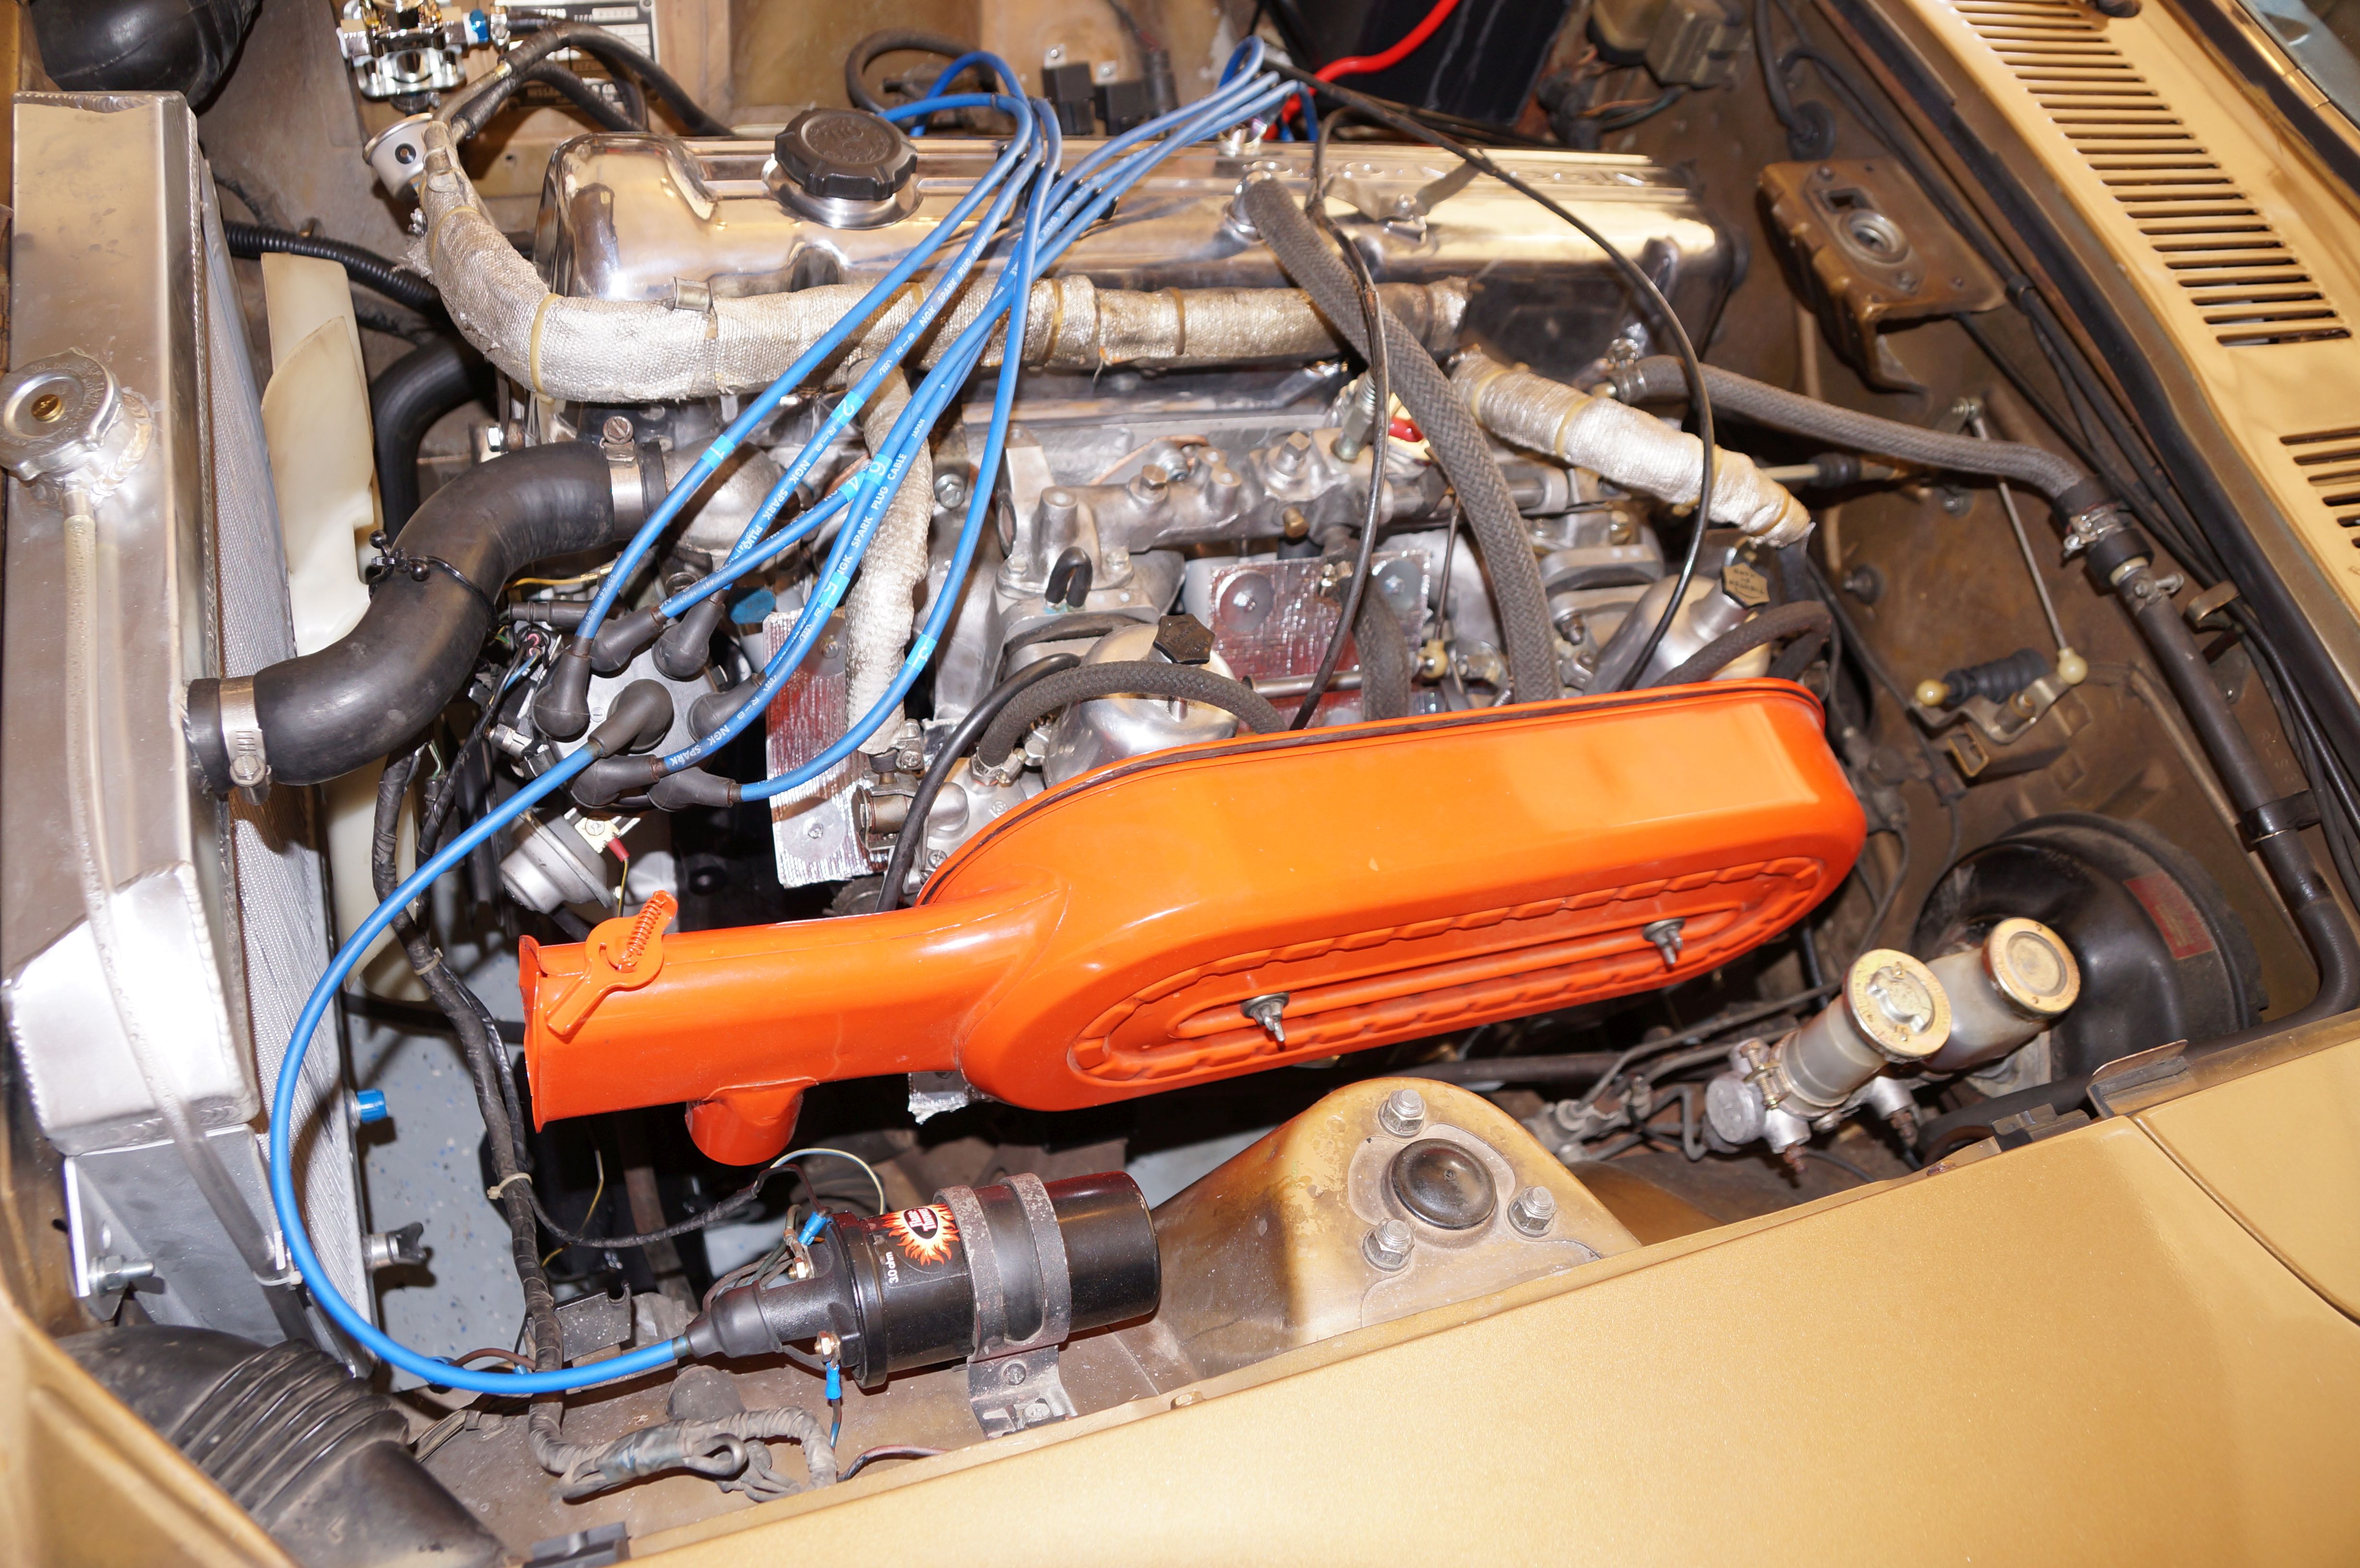
Okay, so I think I am at a good point with this issue. I fabricated a new heat shield and tested it today. Temperatures between the carburetors was around 260 with the old heat shield. Today, after I tried to induce some heat soak, temperatures were about 120. I started with a 24x12 1/16 thick sheet of aluminum from McMaster Carr. I used a brake to give the sheet a slight bend where I wanted it and marked off where I thought the PCV would pass by and the holes for the mounting points to the carbs. I used various cutting tools, grinding tools, and a drill to get my preliminary design. On the first dry fit, I saw I needed to remove about 1.5 inches from the bottom. After that, I had to clear more space for the PCV tube, widen the mounting holes and grind down a couple of corners where the mounting tabs were hitting the carburetor insulators. When I was happy with shape, I applied a sheet of insulation (adhesive backed), trimmed it to fit, and secured it with bolts and fender washers. I mounted a couple of bolts for the throttle return springs to mount, and then I bolted the heat shield to the carbs, bending the shield a little to keep it off the header.
-
@Jason240z - Jump on it.
-
In my case, further experimenting showed heat soak issues with some pretty good temperatures between the carburetors that I believe is due to the cutout on the heat shield for the exhaust manifold. I'm going to construct my own heat shield this week to try to combat the issue.
-
It's a whole process. You need to detail all of your results.
-
Examine your wiring harness in the dash. Look for "modifications" made by yourself or previous owners.
-
No worries. I was hoping that's what you meant. I think it would be accurate to say that Spirit Garage has a long pedigree.
-
And where have you heard that Datsun Spirit does not have a great reputation? I've never heard anything but good things about Eiji's work, and I've never had any issues with what I bought from him.
-
Why throw parts at the problem before diagnosing it?
-
Wire colors of the wires on the harness side? Have you looked through the BE section of the FSM?
-
To answer your question to Siteunseen, go back to my post and read it a little more slowly. I say where to get a manual and a wiring diagram.
-
I could have sworn I posted how to bypass the relay TEMPORARILY. Maybe that was over at ZCar.com. Download the FSM (see my signature), and download a copy of the wiring diagram from Blue's tech tips. Since you're on a phone, you may have to go to a computer to see my signature. I don't know if the mobile apps show signatures. In going back to look at that thread, it has enough to cover you for now.
-
Windows Movie Maker - With the caveat that I used the Windows 8 version in Windows 10, and it works fine. My old Win7 machine choked and puked on editing videos.
-
Would you want to come pick that up with your tire? If Jason doesn't want it. It is yours. I have to start getting stuff out of the garage. It's getting dangerous out there.
-
If you are not able to track down one in good shape, I have one with a crack in it that I would let go for shipping. I will try to remember to post pictures. You'd need to find someone who is good with welding aluminum to fix it.
-
-
This is how I see your situation. It can be difficult to impossible to figure out why someone ran extra wires around the car. Sometimes it was because the IPO wanted an extra circuit. Sometimes it was because the IPO was unwilling or unable to diagnose something properly, so he came up with a "fix". On my 260Z, I found a wire that ran from the positive of my coil, through the speedometer grommet, into the passenger compartment and all the way to the back. I'm still not sure what the intent was. I removed the wire and lived happily ever after. You may now find yourself on an accelerated learning curve on automotive electrical wiring. It is best to return the wiring to as close to stock as possible. It could be the difference between having a safe car or having an electrical fire.