


.JPG.cfcada9cf1c1b502df3f5f2f2ca3ff36.JPG)

SteveJ
Free Member
-
Joined
-
Last visited
Everything posted by SteveJ
-
 Of course, not, but we WILL always picture you with a long scraggily beard from here on out.
 -
And to be clear, it's pronounce as "Yoob".
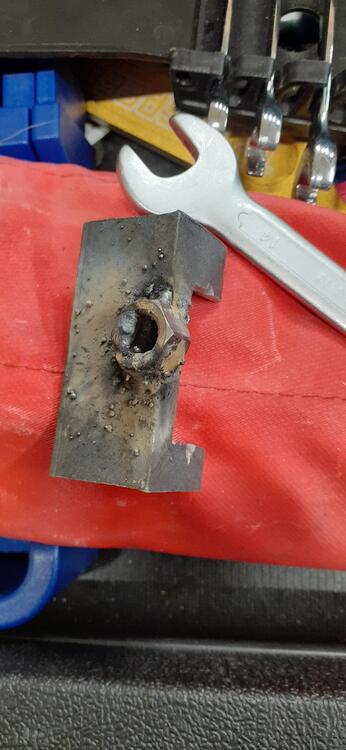
When I played rugby in college, anytime a kick barely made it through the uprights (or doinked through), we would say, "UBE (Ugly, but effective)." That nut is securely fastened to the angle. It's definitely UBE.
So, what do you do when you have some free time in the evening, have access to a cheap Harbor Freight welder, and possess a homemade tool? You attach a nut to the tool.
 Oil change - Annual Tires - If you store the car off the ground, you could go several years. If you store the car on the ground, you're probably flat-spotting them. That would push more frequent replacement. I have some friends in my local club that have gone 15+years on a set of tires. I won't trust fate like that. The max for me is 10 years from the manufacture date on the tire and sooner if I detect dry-rot. Remember to pull the tire to inspect the backside of it.
So, if you don't mind answering, what drove your inquiry?
The best I can do right now is the full part number: 14004-N3300.
The exhaust manifold for the 73 was a 1-year only deal. The heat shield is covering up the number on mine.
The diaphragm or one of the check valves may be going bad. What brand pump do you have on the car now?
Intake? Mine has an N33, and I'm pretty sure that it is original to the car.
My time wasn't wasted. @zKarstold me something about my doors that I didn't know before. I got to do something to address my curiosity, and you got the confirmation you needed. I feel good.
I think those capture nuts are to hold the brace in place if I understand @zKarscorrectly. I didn't take them out to see if that piece would wiggle inside the door. I'm lazy that way. It's not like there is going to be a thick support in the door since that would intrude on the space for the window & regulator as far as I can tell.
Hey @gogriz91, do you feel like taking off a door card and seeing if you see the same thing in your door?
Since my older siblings pulled enough pranks on me growing up, I didn't get fooled by a snipe hunt because I could smell a rat. 😉
I'm hoping he watches the video because I show how it should be wired. If it's wired correctly, then we can proceed with diagnostics.
Are you sure your rubber hoses are in good condition? Cracks in the hoses, either in the engine bay or near the tank, could allow air into the hoses. This could prevent the fuel pump from pumping. Don't forget to prime the fuel pump, too, if it's been dry for a while.
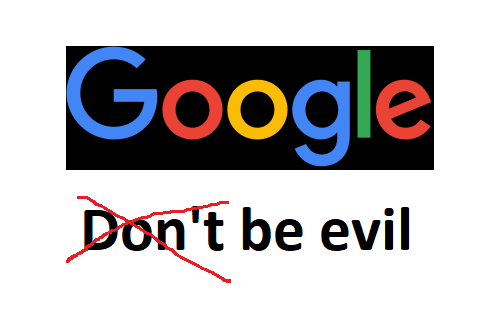
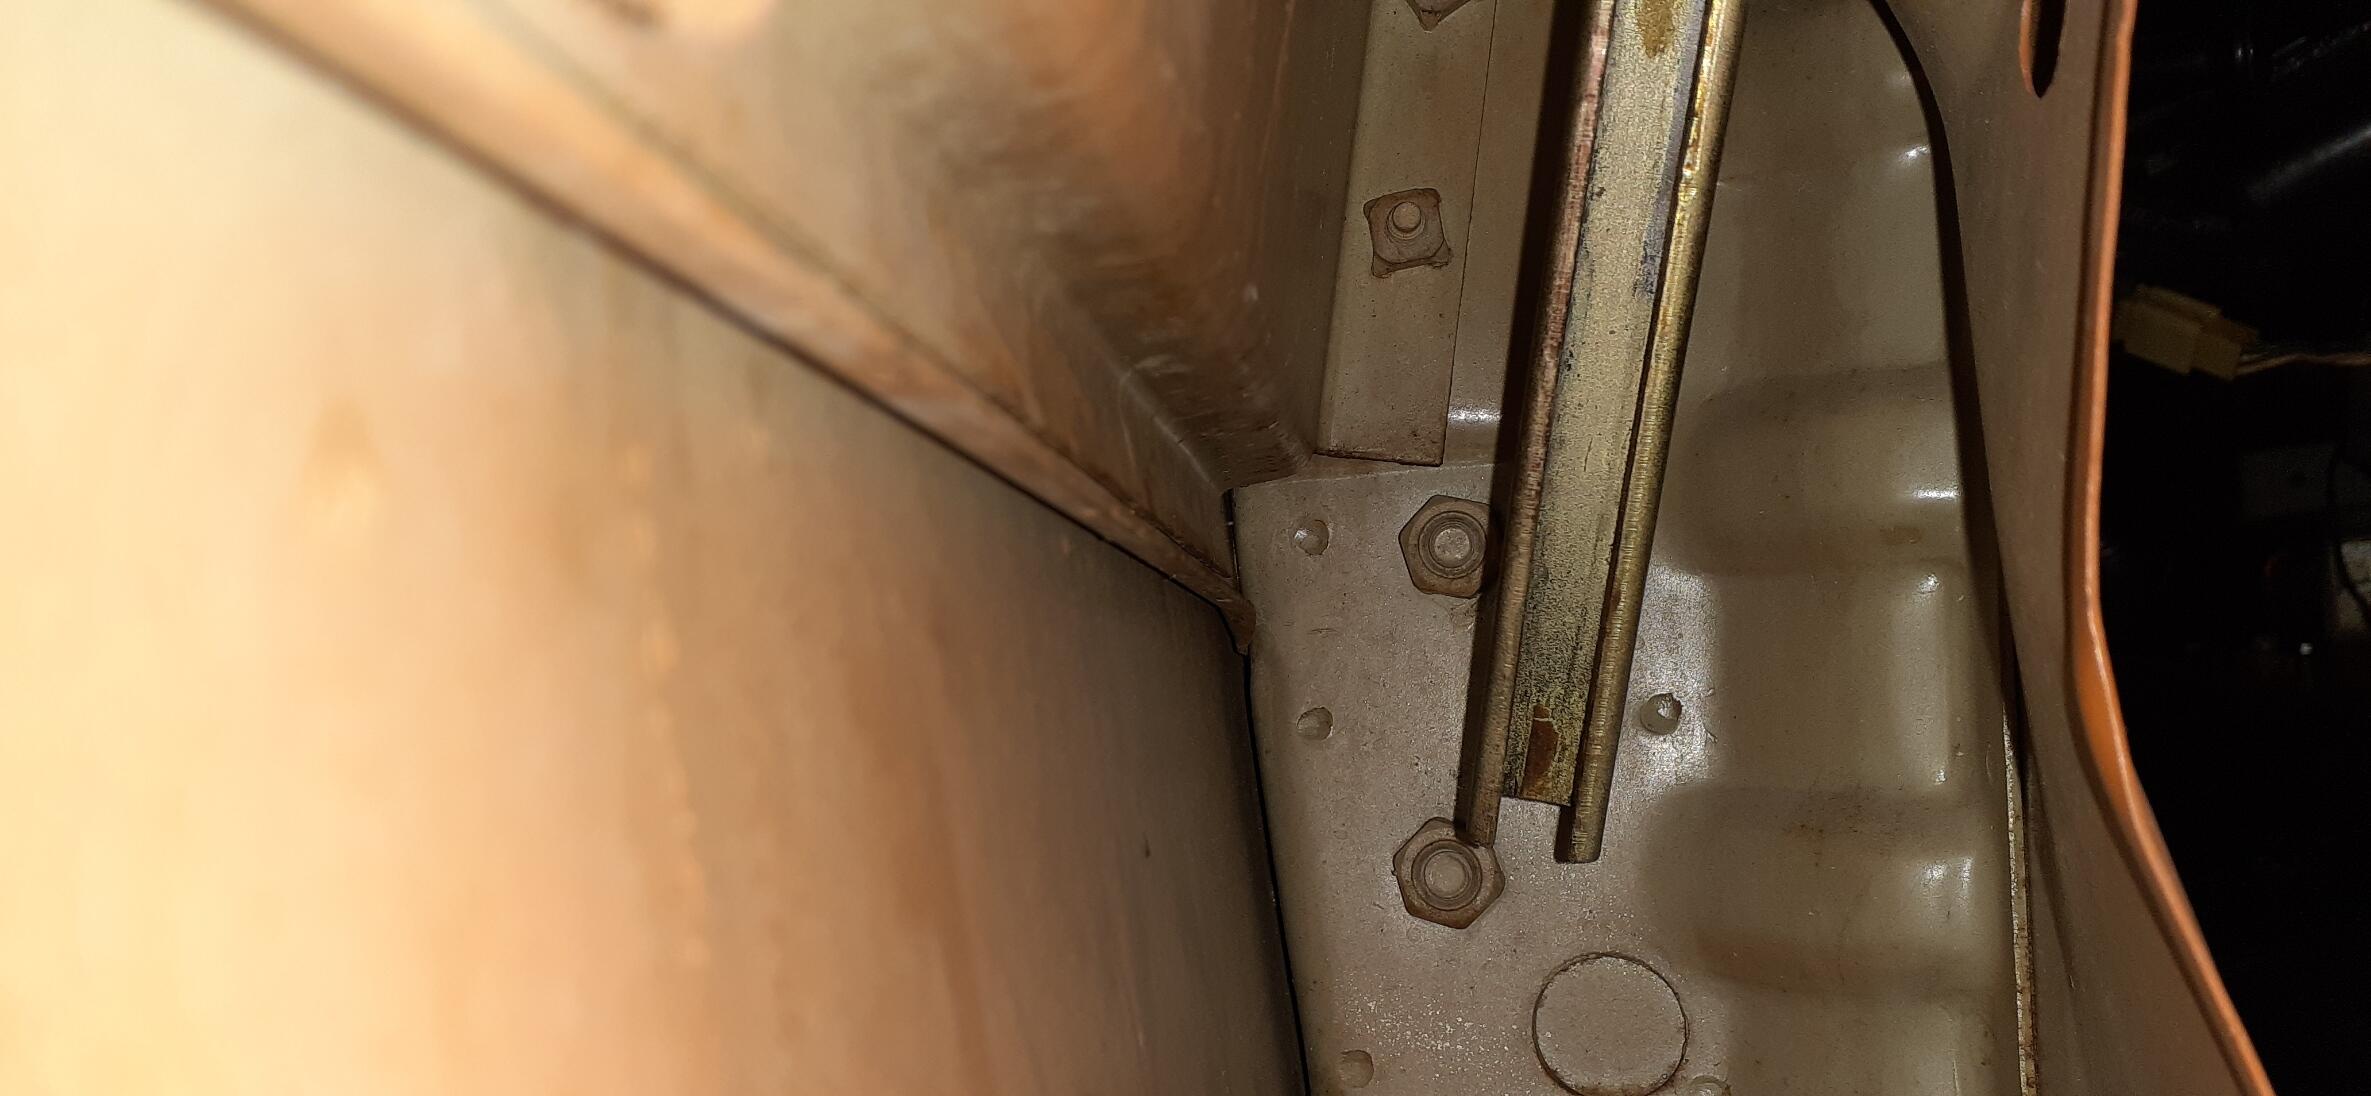
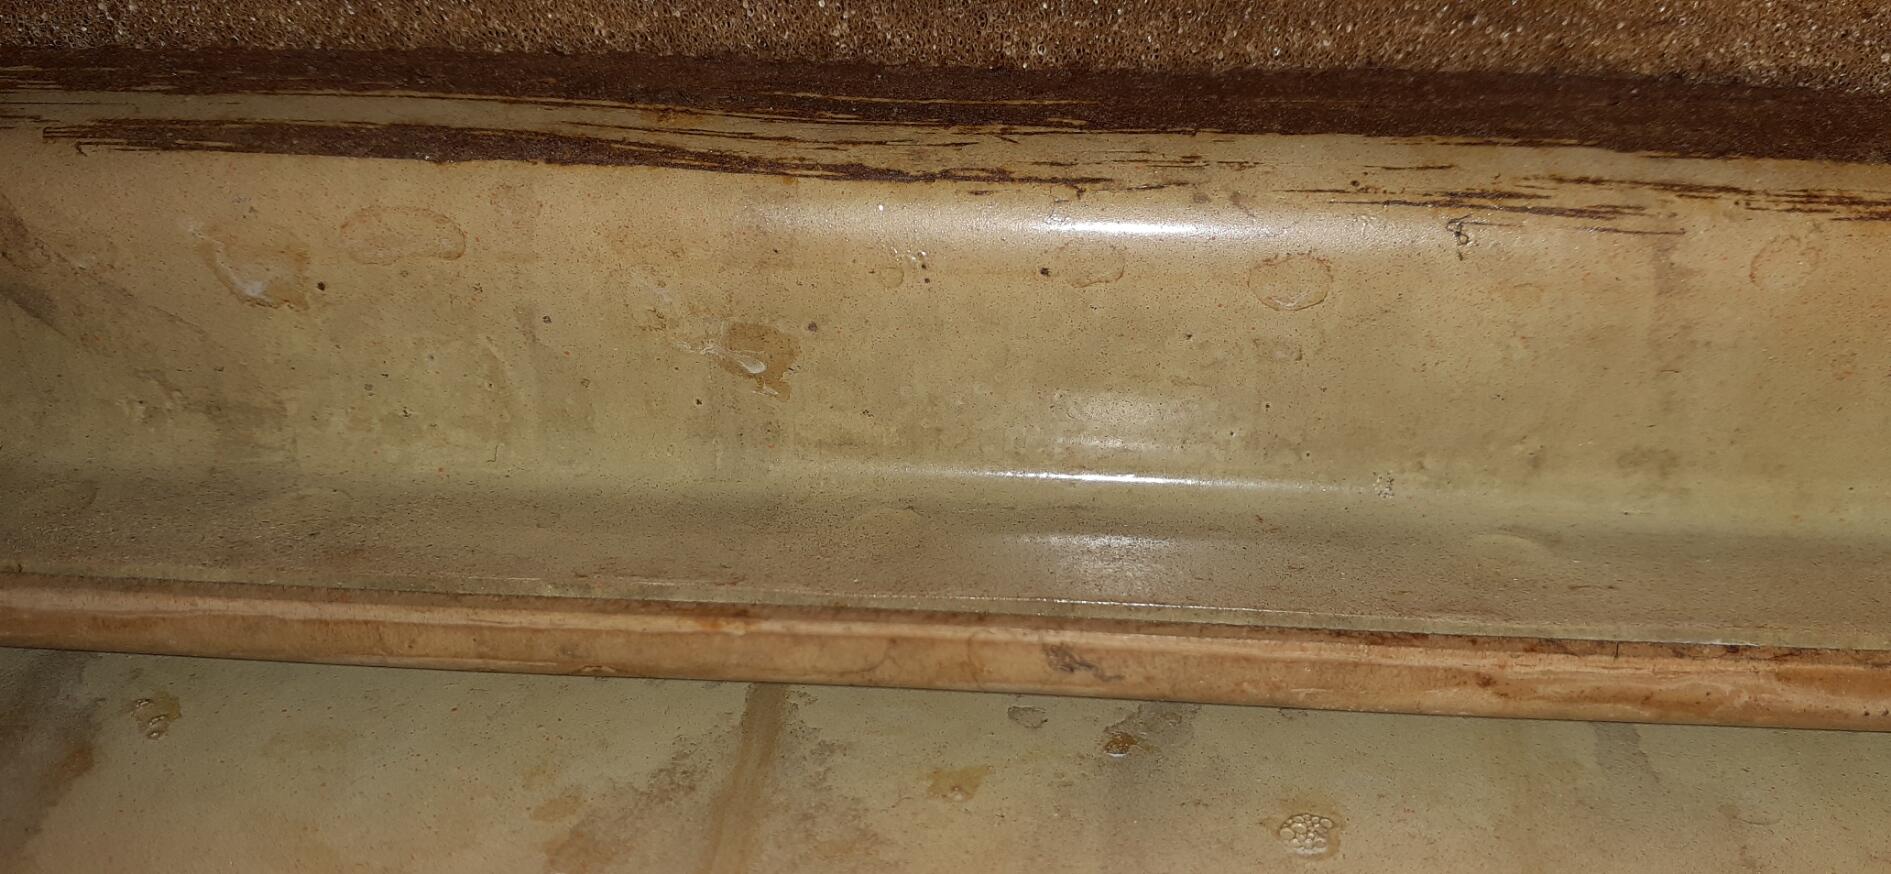
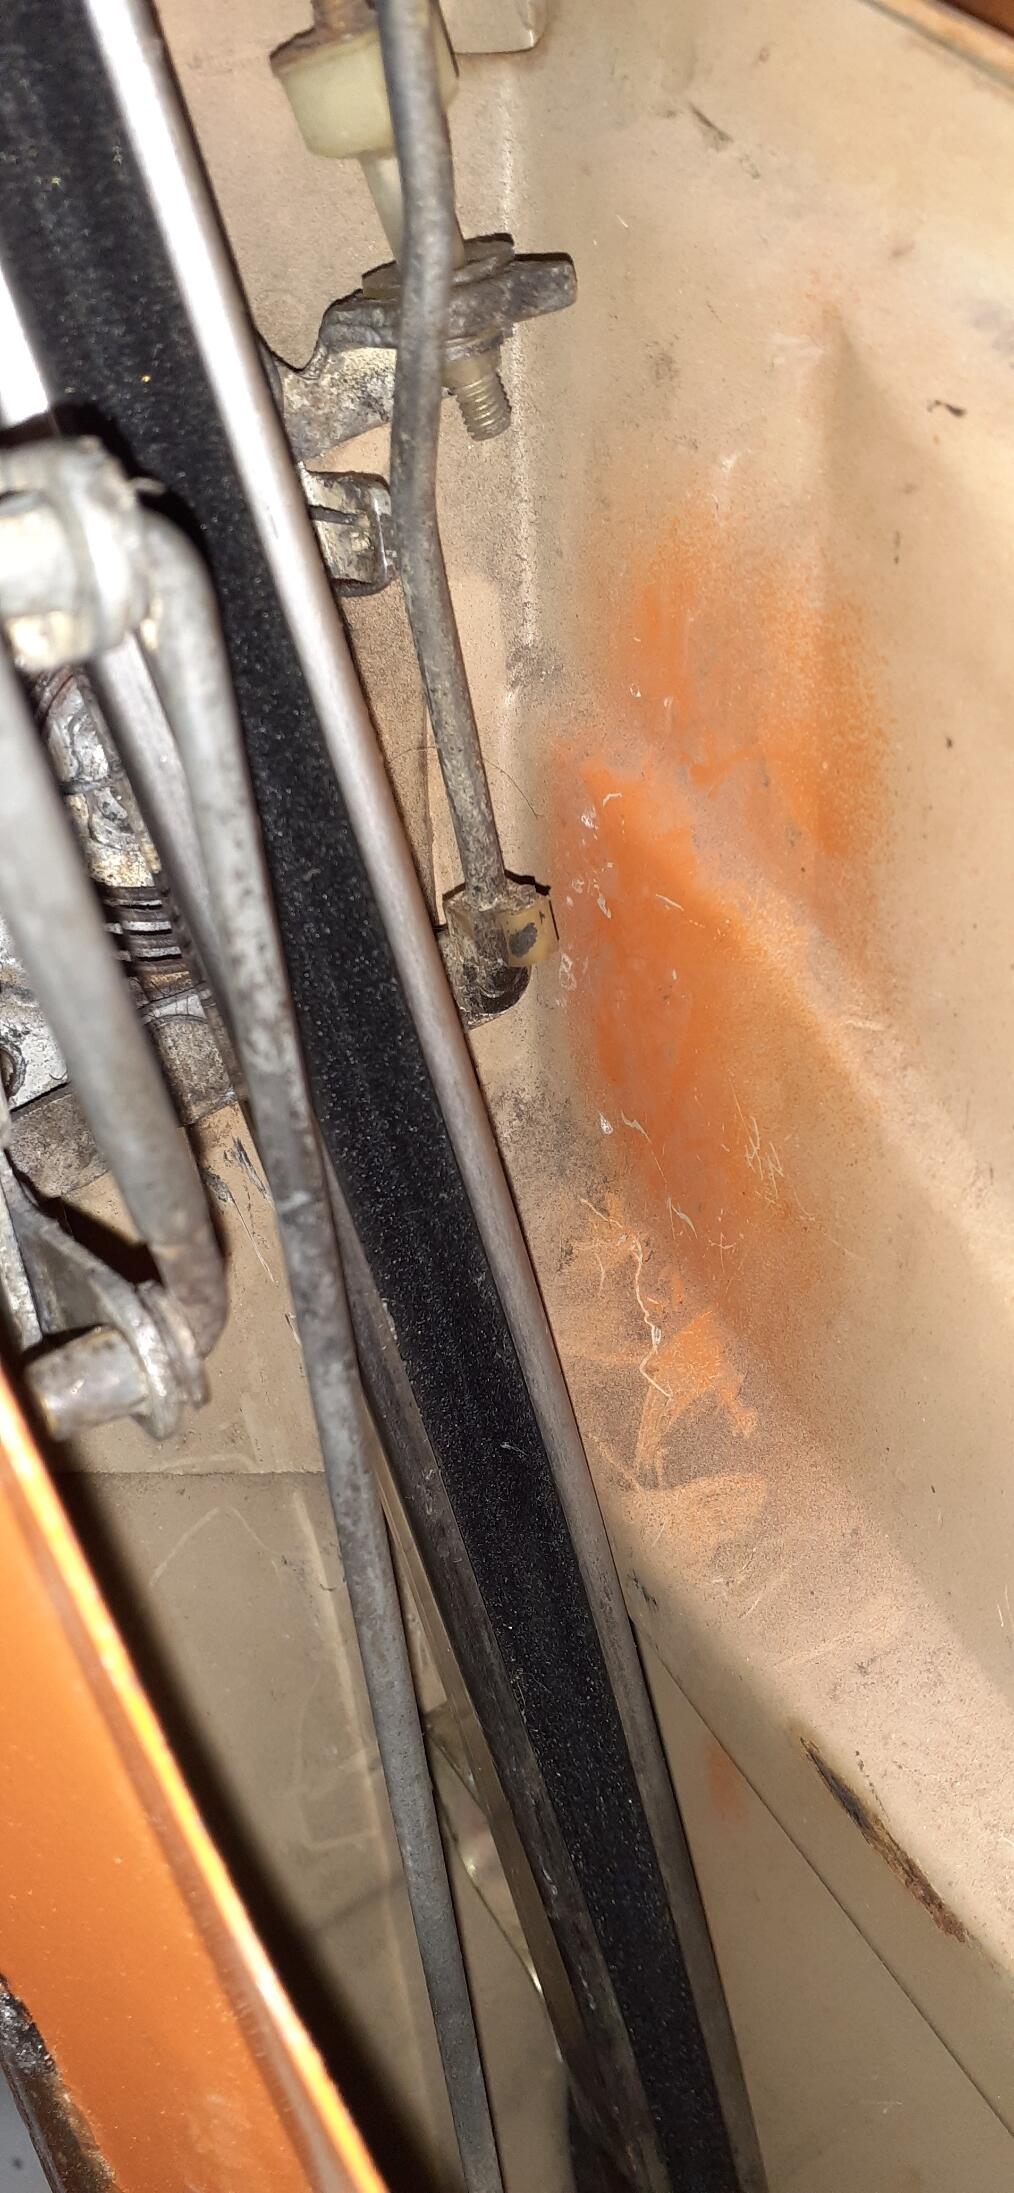
I needed a break from work today, so I went down to the garage. (I do enjoy work-from-home.) I don't know if these photos will help much. It was a challenge getting the camera inside the door. Inside leading edge of the door - you can see the lower two bolts. Lower edge of what I assume is the reinforcement panel Near the door latch It only took a couple of minutes to remove the door card, and no door cards were harmed in the process of getting these photos.
Oil change - Annual Tires - If you store the car off the ground, you could go several years. If you store the car on the ground, you're probably flat-spotting them. That would push more frequent replacement. I have some friends in my local club that have gone 15+years on a set of tires. I won't trust fate like that. The max for me is 10 years from the manufacture date on the tire and sooner if I detect dry-rot. Remember to pull the tire to inspect the backside of it.
So, if you don't mind answering, what drove your inquiry?
The best I can do right now is the full part number: 14004-N3300.
The exhaust manifold for the 73 was a 1-year only deal. The heat shield is covering up the number on mine.
The diaphragm or one of the check valves may be going bad. What brand pump do you have on the car now?
Intake? Mine has an N33, and I'm pretty sure that it is original to the car.
My time wasn't wasted. @zKarstold me something about my doors that I didn't know before. I got to do something to address my curiosity, and you got the confirmation you needed. I feel good.
I think those capture nuts are to hold the brace in place if I understand @zKarscorrectly. I didn't take them out to see if that piece would wiggle inside the door. I'm lazy that way. It's not like there is going to be a thick support in the door since that would intrude on the space for the window & regulator as far as I can tell.
Hey @gogriz91, do you feel like taking off a door card and seeing if you see the same thing in your door?
Since my older siblings pulled enough pranks on me growing up, I didn't get fooled by a snipe hunt because I could smell a rat. 😉
I'm hoping he watches the video because I show how it should be wired. If it's wired correctly, then we can proceed with diagnostics.
Are you sure your rubber hoses are in good condition? Cracks in the hoses, either in the engine bay or near the tank, could allow air into the hoses. This could prevent the fuel pump from pumping. Don't forget to prime the fuel pump, too, if it's been dry for a while.
I needed a break from work today, so I went down to the garage. (I do enjoy work-from-home.) I don't know if these photos will help much. It was a challenge getting the camera inside the door. Inside leading edge of the door - you can see the lower two bolts. Lower edge of what I assume is the reinforcement panel Near the door latch It only took a couple of minutes to remove the door card, and no door cards were harmed in the process of getting these photos.

 I doubt it. The gas would replace the carb cleaner shortly after starting.
I used carburetor cleaner recently to spray down the vent lines. That works, too.
And this is what I was hinting at with my first post. An emissions station cannot ask you to add equipment to your car that does not conform to how the car was equipped when it left the factory. As an aside, California took that to the extreme. I remember seeing newspaper automotive help columns that pointed out that you couldn't put fuel injection on a car that left the factory with a carburetor, even if it lowered emissions. It wouldn't pass the visual inspection. (I hope that has changed.) And aftermarket parts would need a C.A.R.B sticker, otherwise you would fail.
You are obviously under the mistaken impression that my door cards are in great shape.
If I can remember, I can probably take the door panel off this weekend to peek inside.
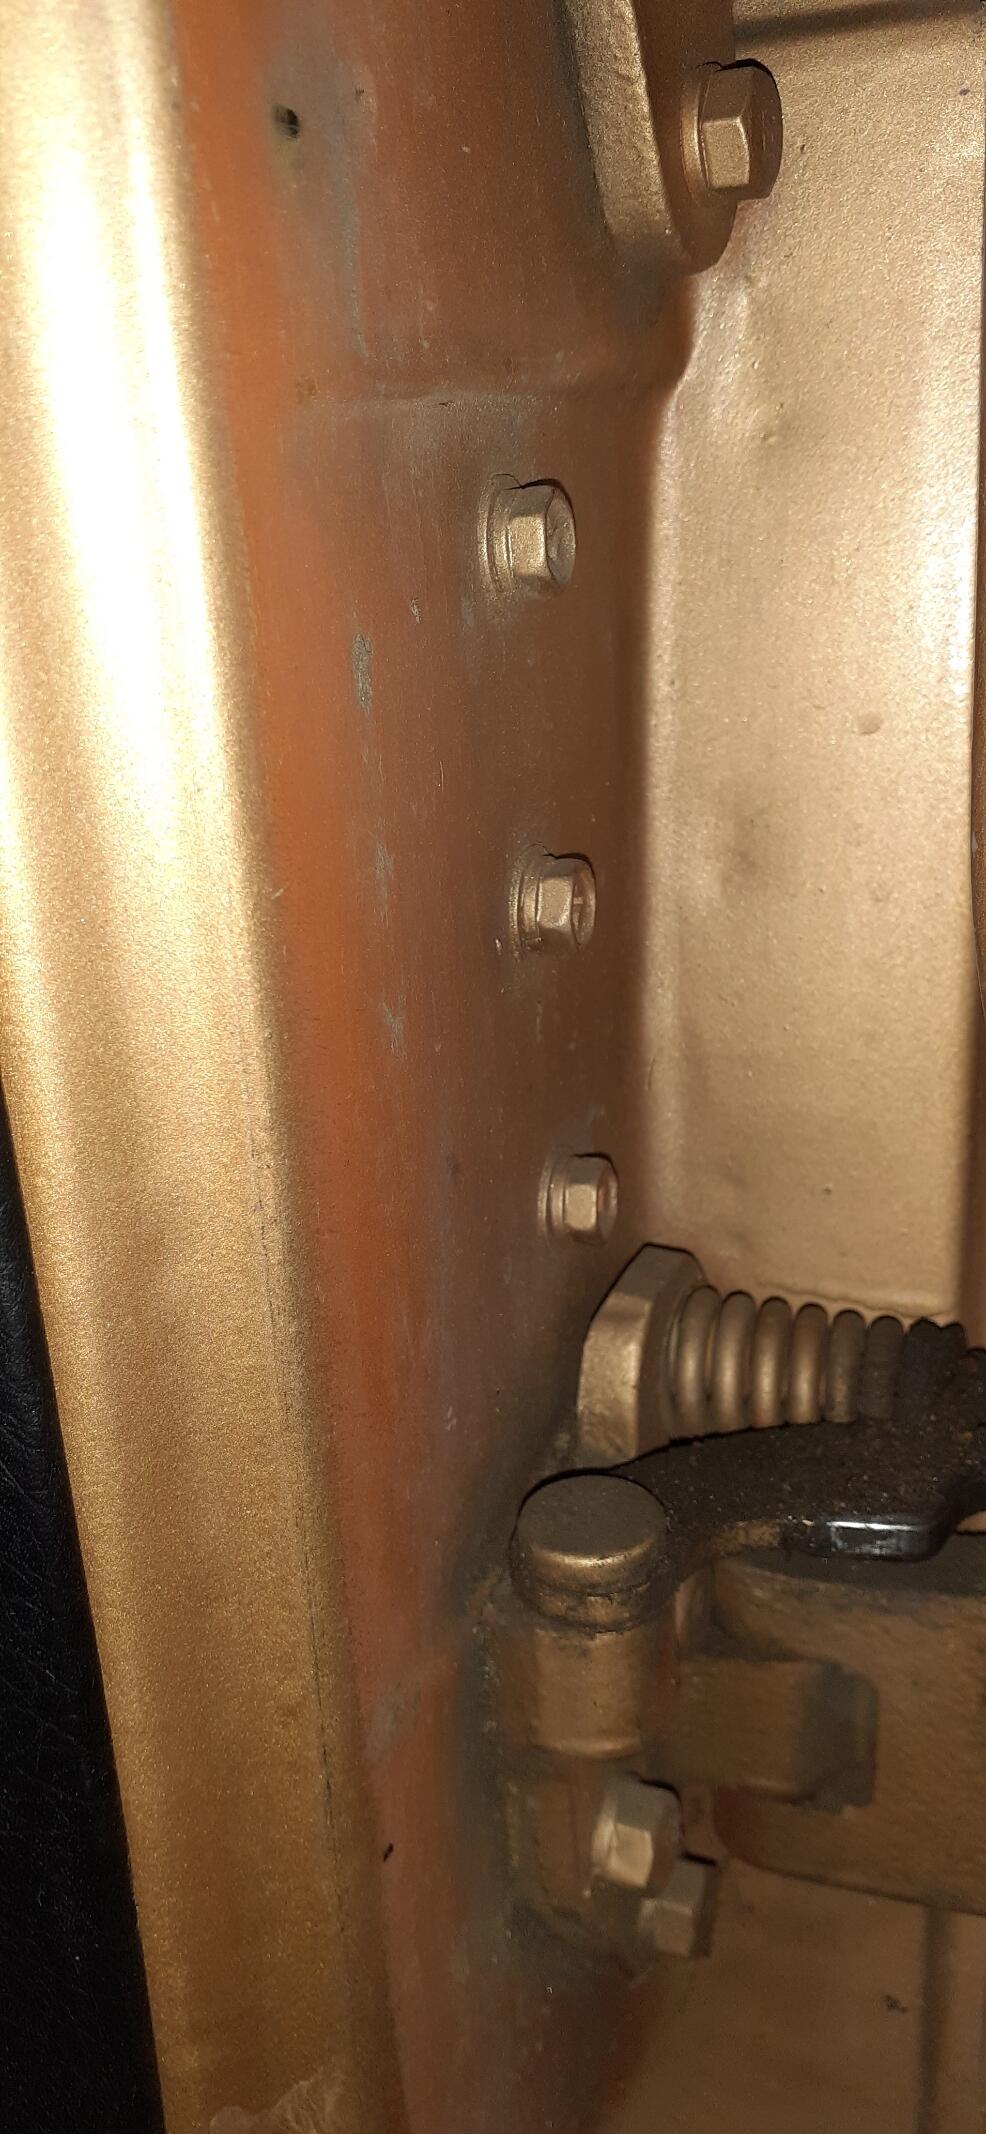
Here's what it looks like with the bolts in place. I wasn't looking for what it might be connected to, but I'm guessing that @zKars is on the mark.
I doubt it. The gas would replace the carb cleaner shortly after starting.
I used carburetor cleaner recently to spray down the vent lines. That works, too.
And this is what I was hinting at with my first post. An emissions station cannot ask you to add equipment to your car that does not conform to how the car was equipped when it left the factory. As an aside, California took that to the extreme. I remember seeing newspaper automotive help columns that pointed out that you couldn't put fuel injection on a car that left the factory with a carburetor, even if it lowered emissions. It wouldn't pass the visual inspection. (I hope that has changed.) And aftermarket parts would need a C.A.R.B sticker, otherwise you would fail.
You are obviously under the mistaken impression that my door cards are in great shape.
If I can remember, I can probably take the door panel off this weekend to peek inside.
Here's what it looks like with the bolts in place. I wasn't looking for what it might be connected to, but I'm guessing that @zKars is on the mark.


Important Information
By using this site, you agree to our Privacy Policy and Guidelines. We have placed cookies on your device to help make this website better. You can adjust your cookie settings, otherwise we'll assume you're okay to continue.