.JPG.cfcada9cf1c1b502df3f5f2f2ca3ff36.JPG)

SteveJ
Free Member
-
Joined
-
Last visited
Everything posted by SteveJ
-
 It didn't occur to me either when I did it in the 260Z. Then the positive wire came out of the gauge light for the hazard switch and touched ground. Not only did I lose the running lights, but it melted the connector at the headlight switch some. If I had a lower rating fuse, it would have popped before the damage. Be sure to check out the thread on my 73. I just went through changing out the gauge lights on it. I even put a link to an LED bulb that will fit under the stock lenses in the gauges.
 -
I put an ammeter on the 240Z after I finished with my gauge bulbs last night. It was 2.5A with just the running lights and 6A with the headlights. Now I need to put lower amperage fuses in the fuse box to better protect the wiring.
-
@kats I have a 260Z evaporator on a shelf in my garage. I'll take some photos for your for comparison.
-
I was noticing the corner at a 45 is how the old door seal was done. I was thinking of doing it there, too.
-
Thank you for the photos, @kats. Matsuosan talked about the AC in the 240Z when he was at ZCON in 2018. I can't remember if it was during his presentation or when I was helping him with making the slides for it. He said he received push-back from the engineers because he wanted the evaporator to fit behind the center stack. I don't think I ever saw the eventual solution. If you have a chance, could you post more photos of the AC components?
-
Good news! So far I'm upright and functional. My upper back is a little sore but none the worse for wear. I'll put the dash back together today and experiment with door weather stripping today. I have two similar types arriving today that bear a strong resemblance to the Kia Sportage door seals. That should be a lot easier than the gauges.
-
Trust me, I've made in a concerted effort in the last 2 hours to do a red-neck spinal adjustment on myself by twisting my back frequently at various angles. I was definitely spent after all was said and done, though.
-
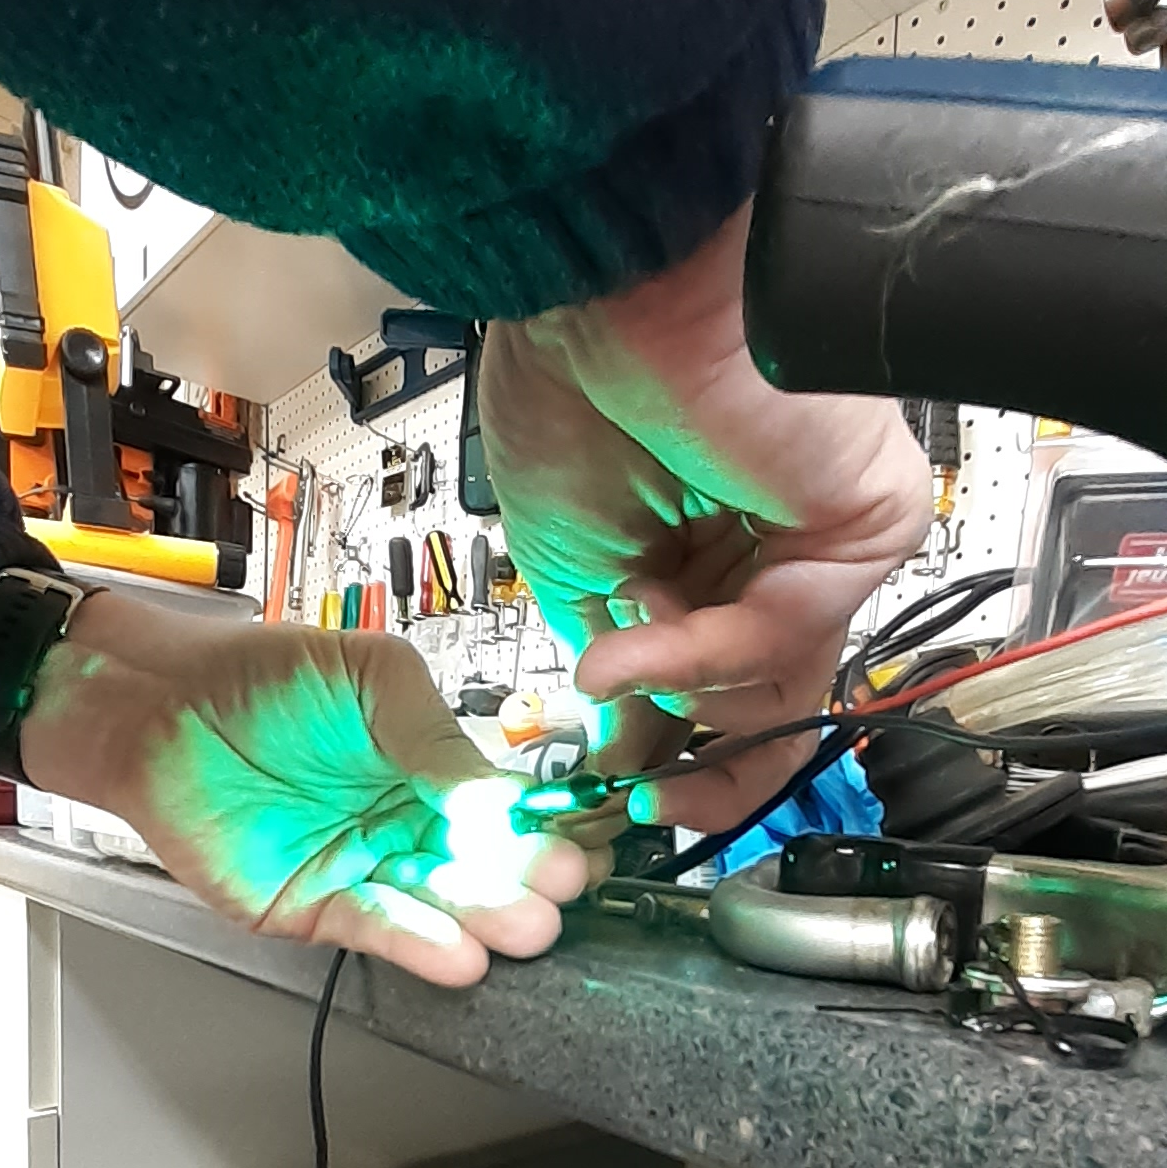
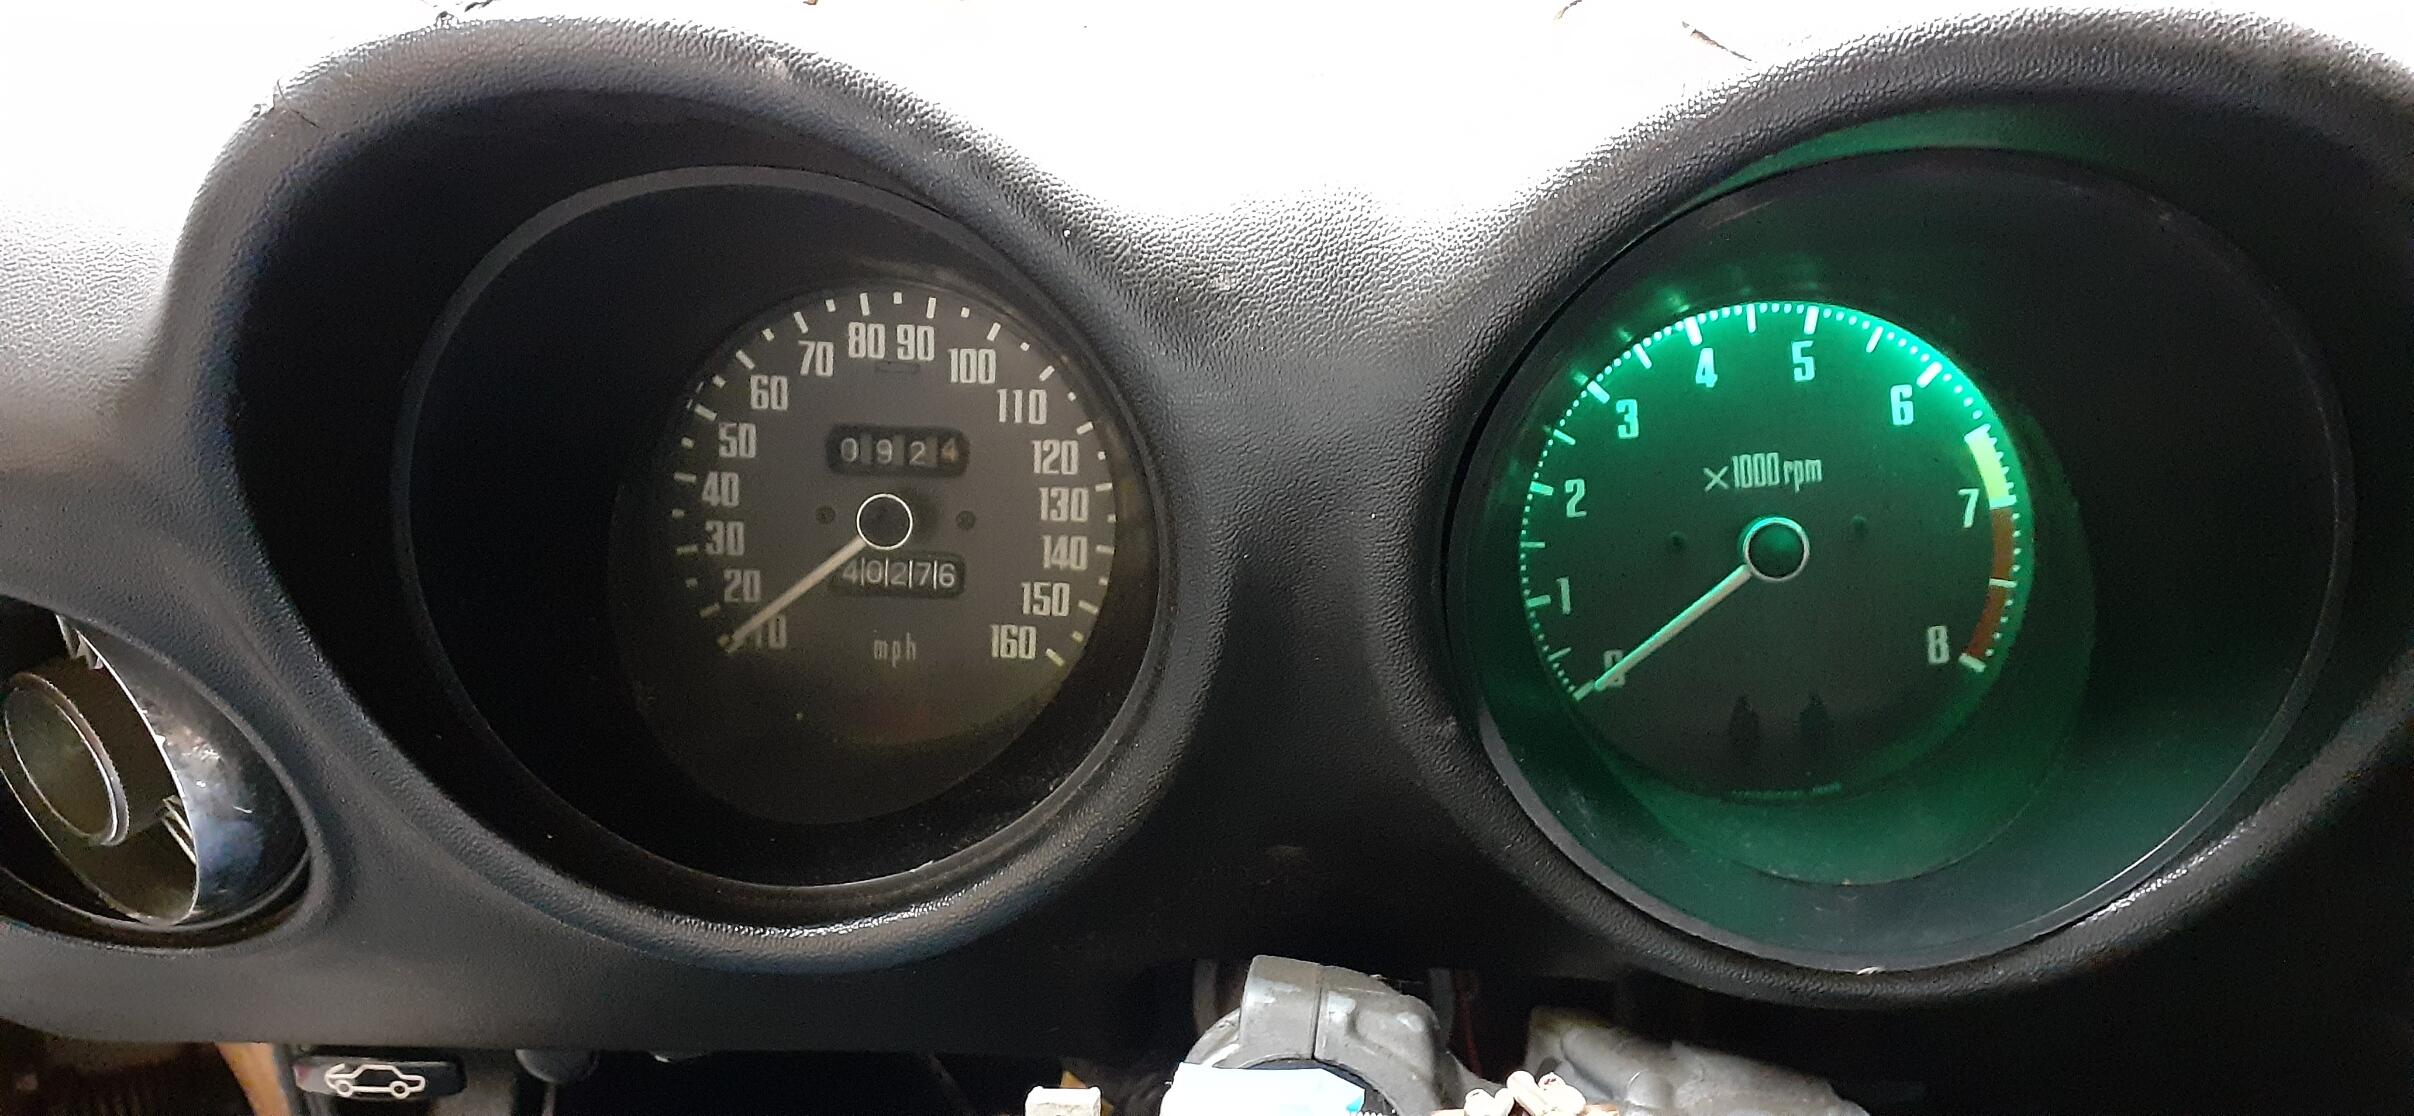
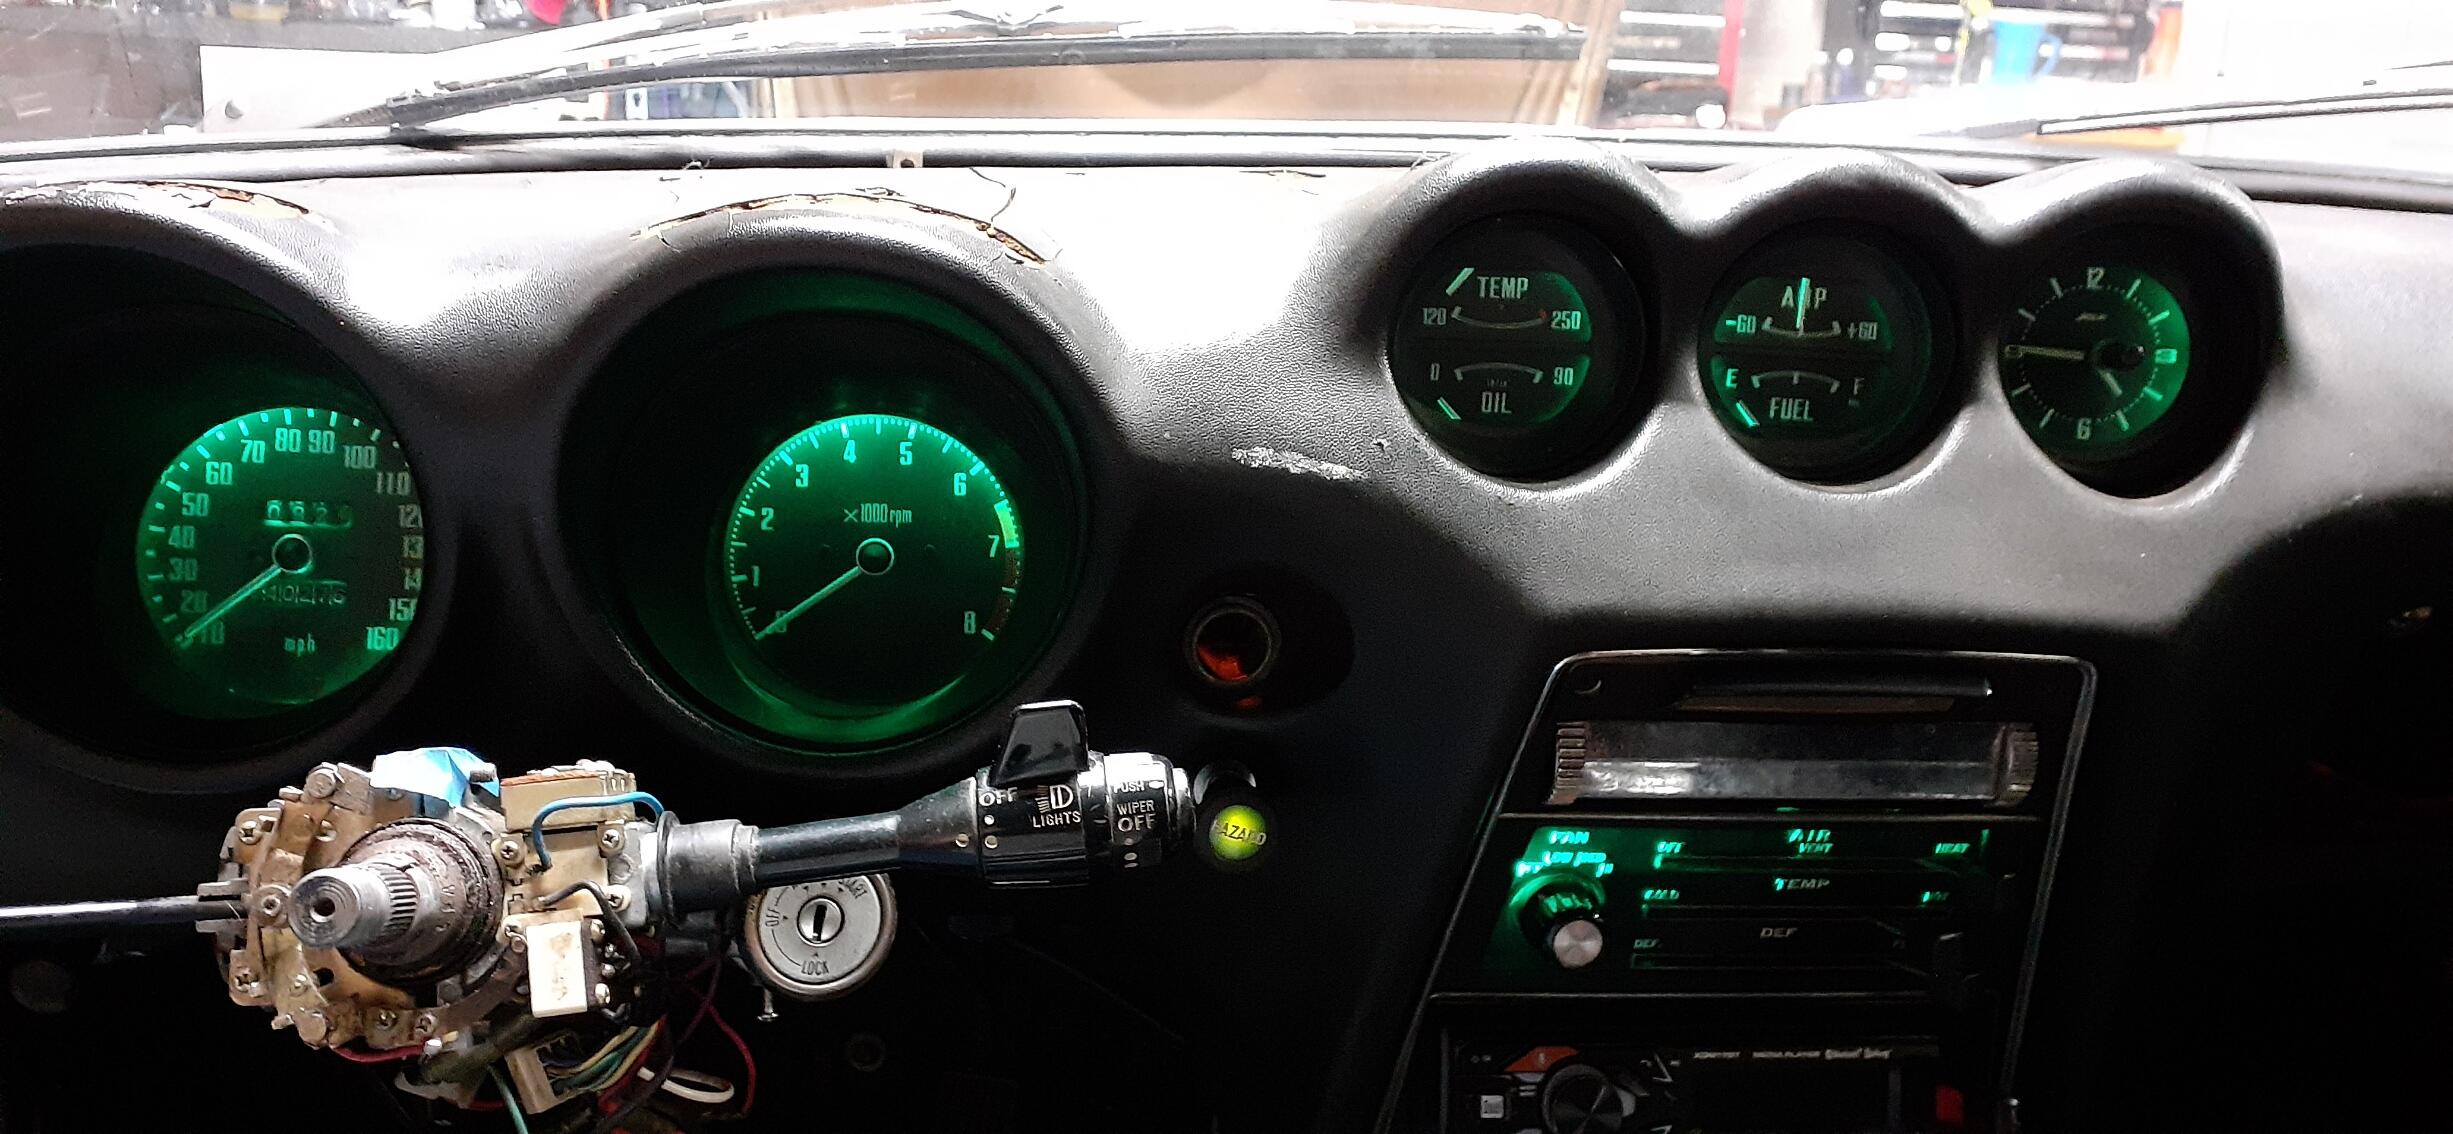
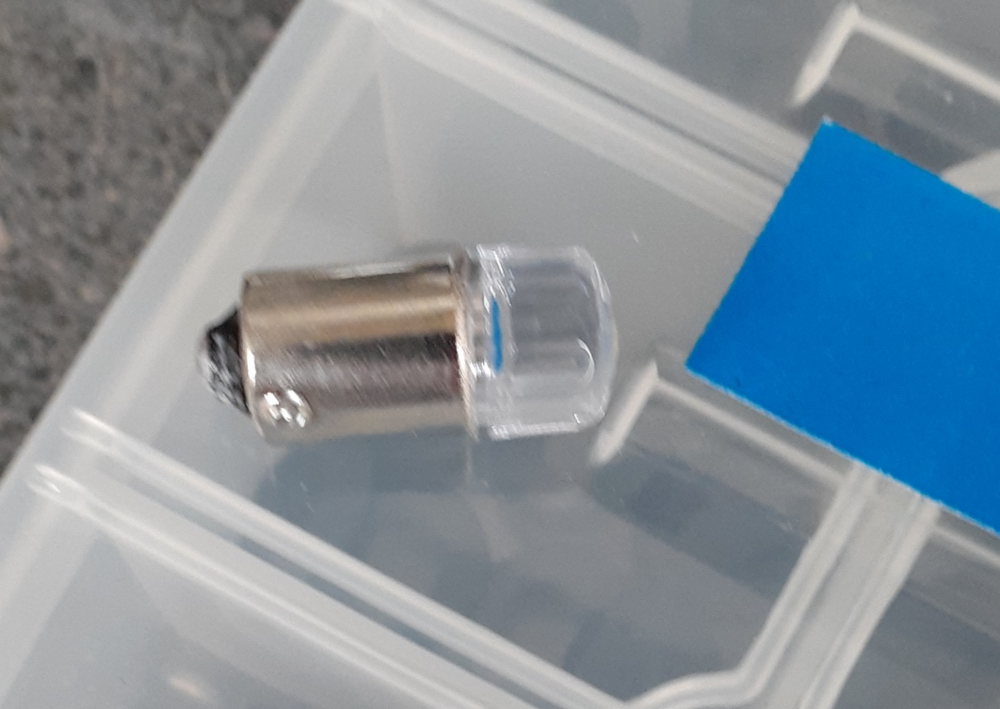
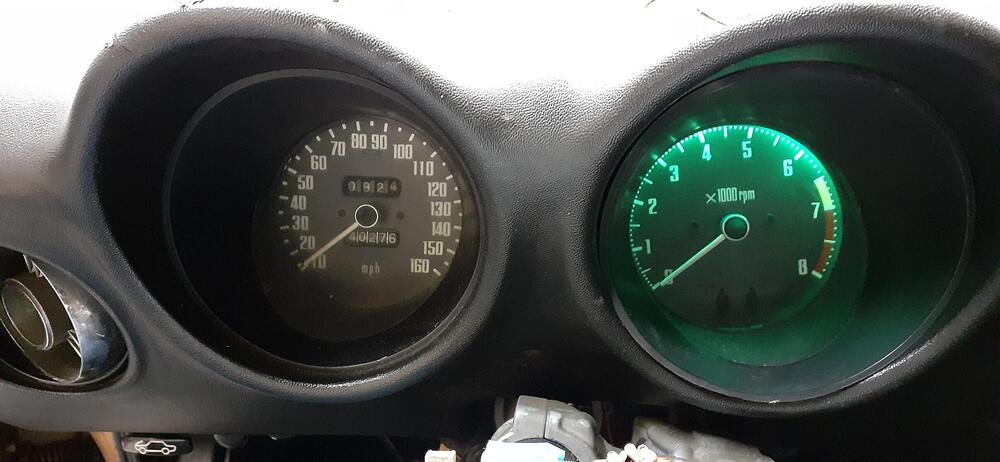
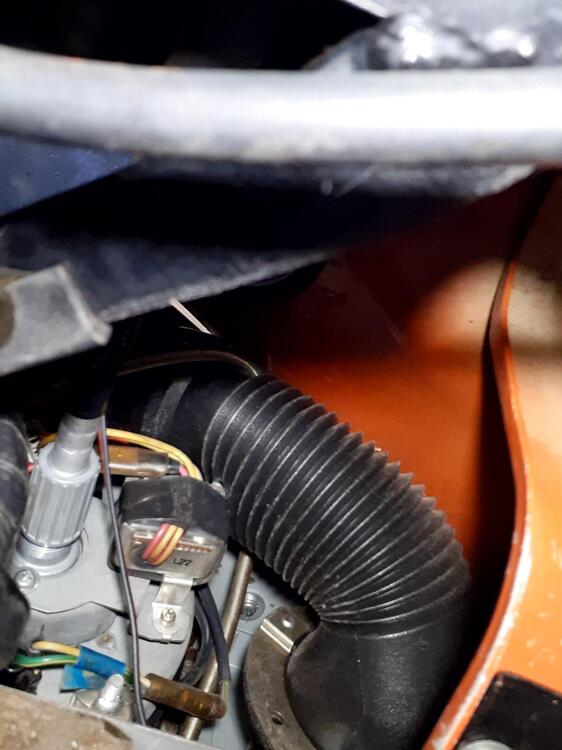
Okay, the gauge bulbs have been converted to LED. The bulbs I got today worked well. https://www.amazon.com/dp/B092VNXS6H These are green LEDs, and they are small enough that they work with the green lenses in the gauges. Prior to installing them, I ran a test with my power supply. And since the tach was handy, I did the bulbs for it and did a test lighting. So for the center gauges, I didn't want to take out the vent control panel. I manipulated the lights from the hole for the tach, from the glovebox side, and from the top. By the way a small light and a cell phone camera can go a long way to orient you to get to areas you can't see. The last photo was taken through the top of the dash with the camera in selfie mode. Far and away, the biggest challenge was the speedometer. The top bulb is a bear and a half to reach without pulling the speedometer, but I managed to get to it just with removing one wingnut and loosening the other. The bulb in question is above the module on the back of the speedometer and is partially blocked by the vent hose. Here's the wing nut that I loosened...mostly because I wasn't sure I'd be able to get it back on. And I think the results justify the effort. Pro tip on removing the old bulbs. Have a small screwdriver handy. The blade should be about 1/8 inches (3mm) wide. Press down on the bulb with one hand while leveraging the screwdriver blade against the tab on the bulb and the bulb housing. Once you get it moved away from the left, you can use the screwdriver blade to push the tab to finish rotated fully to be removed. I was pretty worn out when I was done, so re-assembly will be tomorrow, and I hope to have a new door seal arrive so it can go in, too.


-
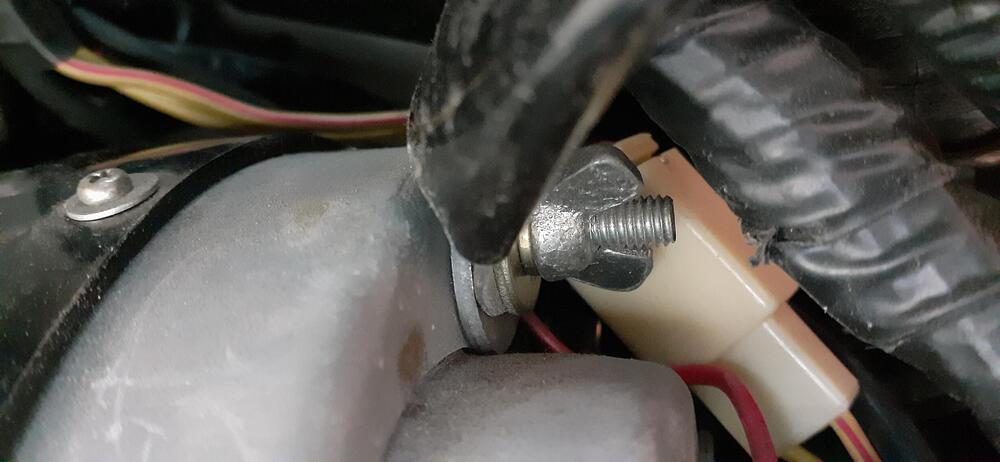
No you should have the externally regulated 60A alternator, 23100-N3303, in your car. The round plug in your last photo is the VR. Your ground wire at the alternator is looking a little green. You might want to find some Caig Deoxit and spray it down good. Heck it wouldn't hurt to do that on the connector for the VR and the T connector at the alternator, too.
-
By the way, if you do happen to have a stock VR, they are adjustable. The cover should be screwed on. A solid state VR probably won't have screws on the cover. You can download a copy of the factory service manual from this website. The VR section starts on EE-18 (195 of the 681 page PDF). If you or a friend know how to use a multimeter, there are some good diagnostics there. It's usually cheaper to diagnose than to fire the parts cannon randomly.
-
@Zed Head is steering you in the right direction. The voltage regulator is likely ignoring (or can't detect) the battery sense voltage. Do you have an external VR or has the car been converted to use an internal VR? If it still has an external VR, is it a stock VR, or a solid state one? (Hint, look for a manufacturer/part number on the VR).
-
Here is my 2¢. YMMV If you are concerned about corrosion in the brake lines, run denatured alcohol through the hard lines after draining (and removal), blow out with compressed air, and spray fogging oil into them. Prior to re-installing, used the denatured alcohol and compressed air prior to re-installation. Use rubber plugs/stoppers on the master cylinder, front calipers, and wheel cylinders to prevent contamination while in storage. As far as draining, have a quart jar or oil catch can handy. Remove the caps at the master cylinder. At the left rear, remove the hose from the hard line. Use a rubber cap when you're done if you want to prevent a mess during removal. Repeat for the right rear, right front, and left front.
-
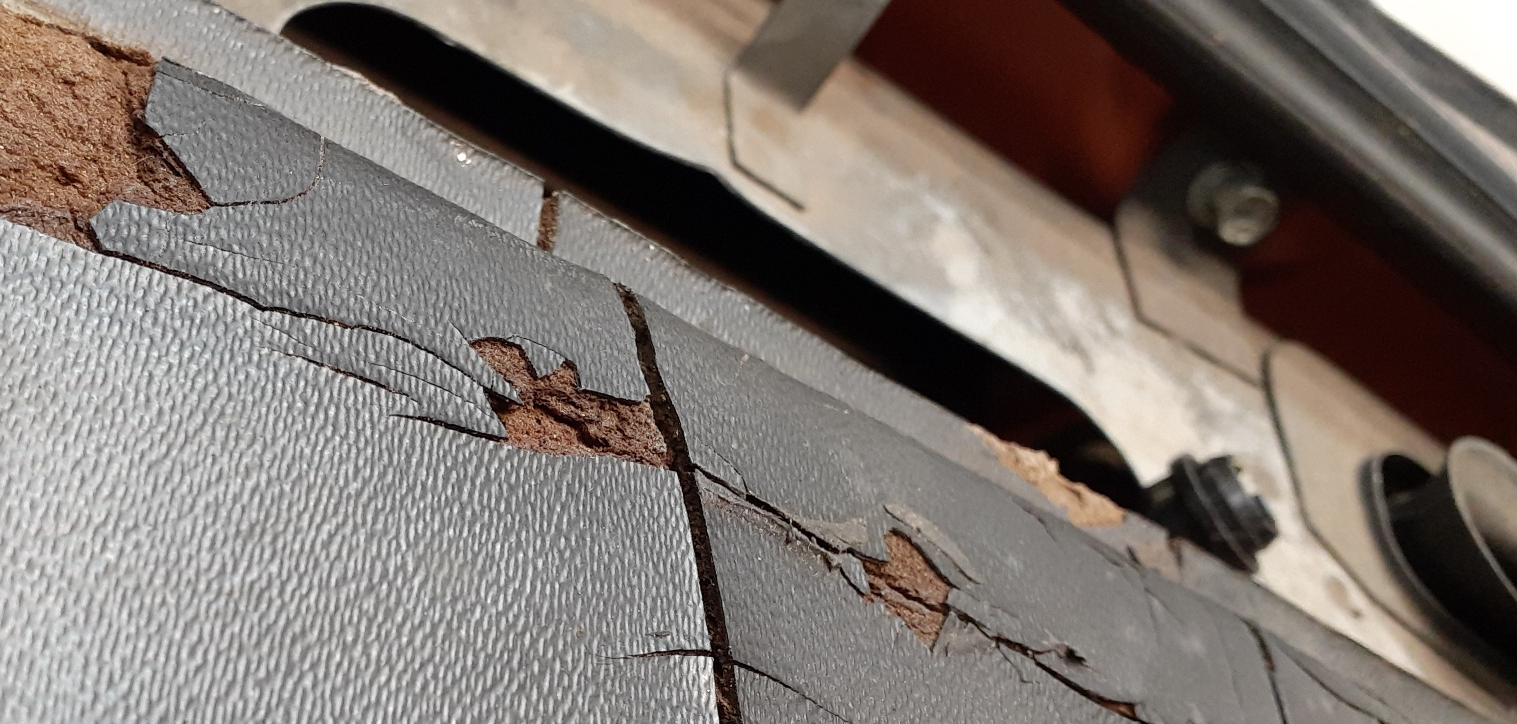
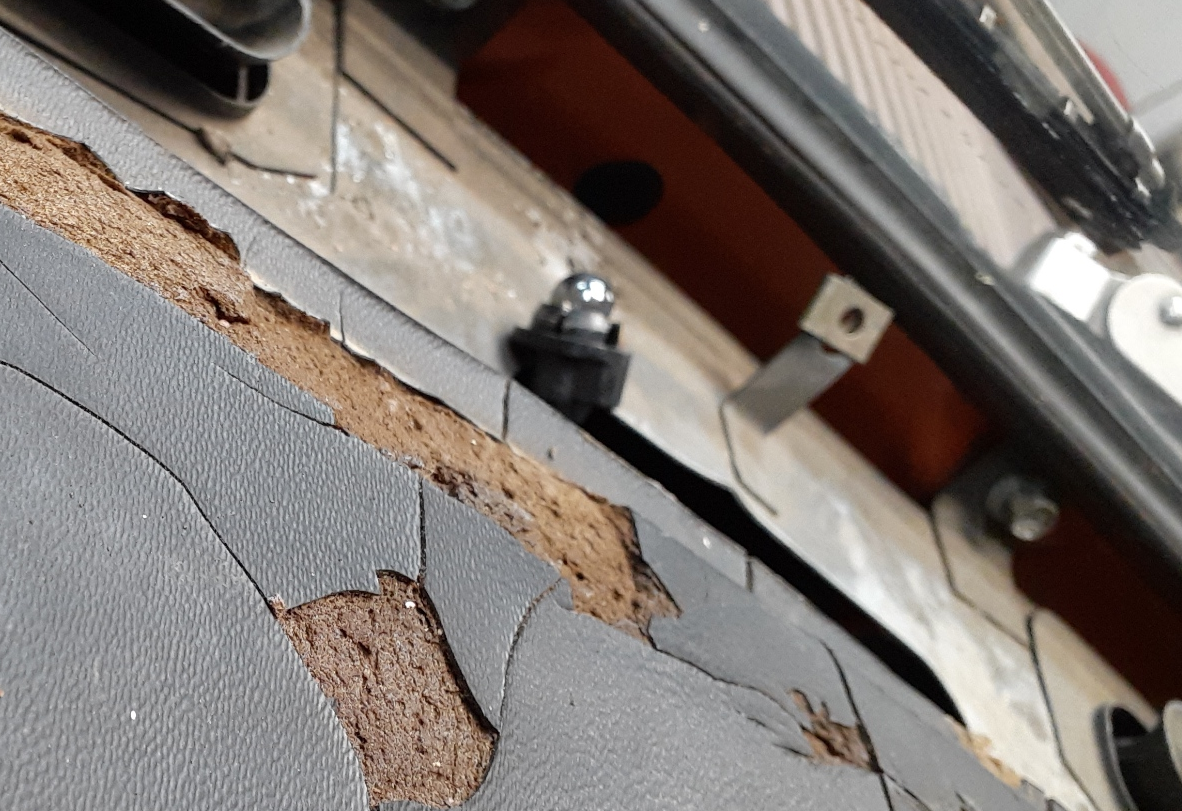
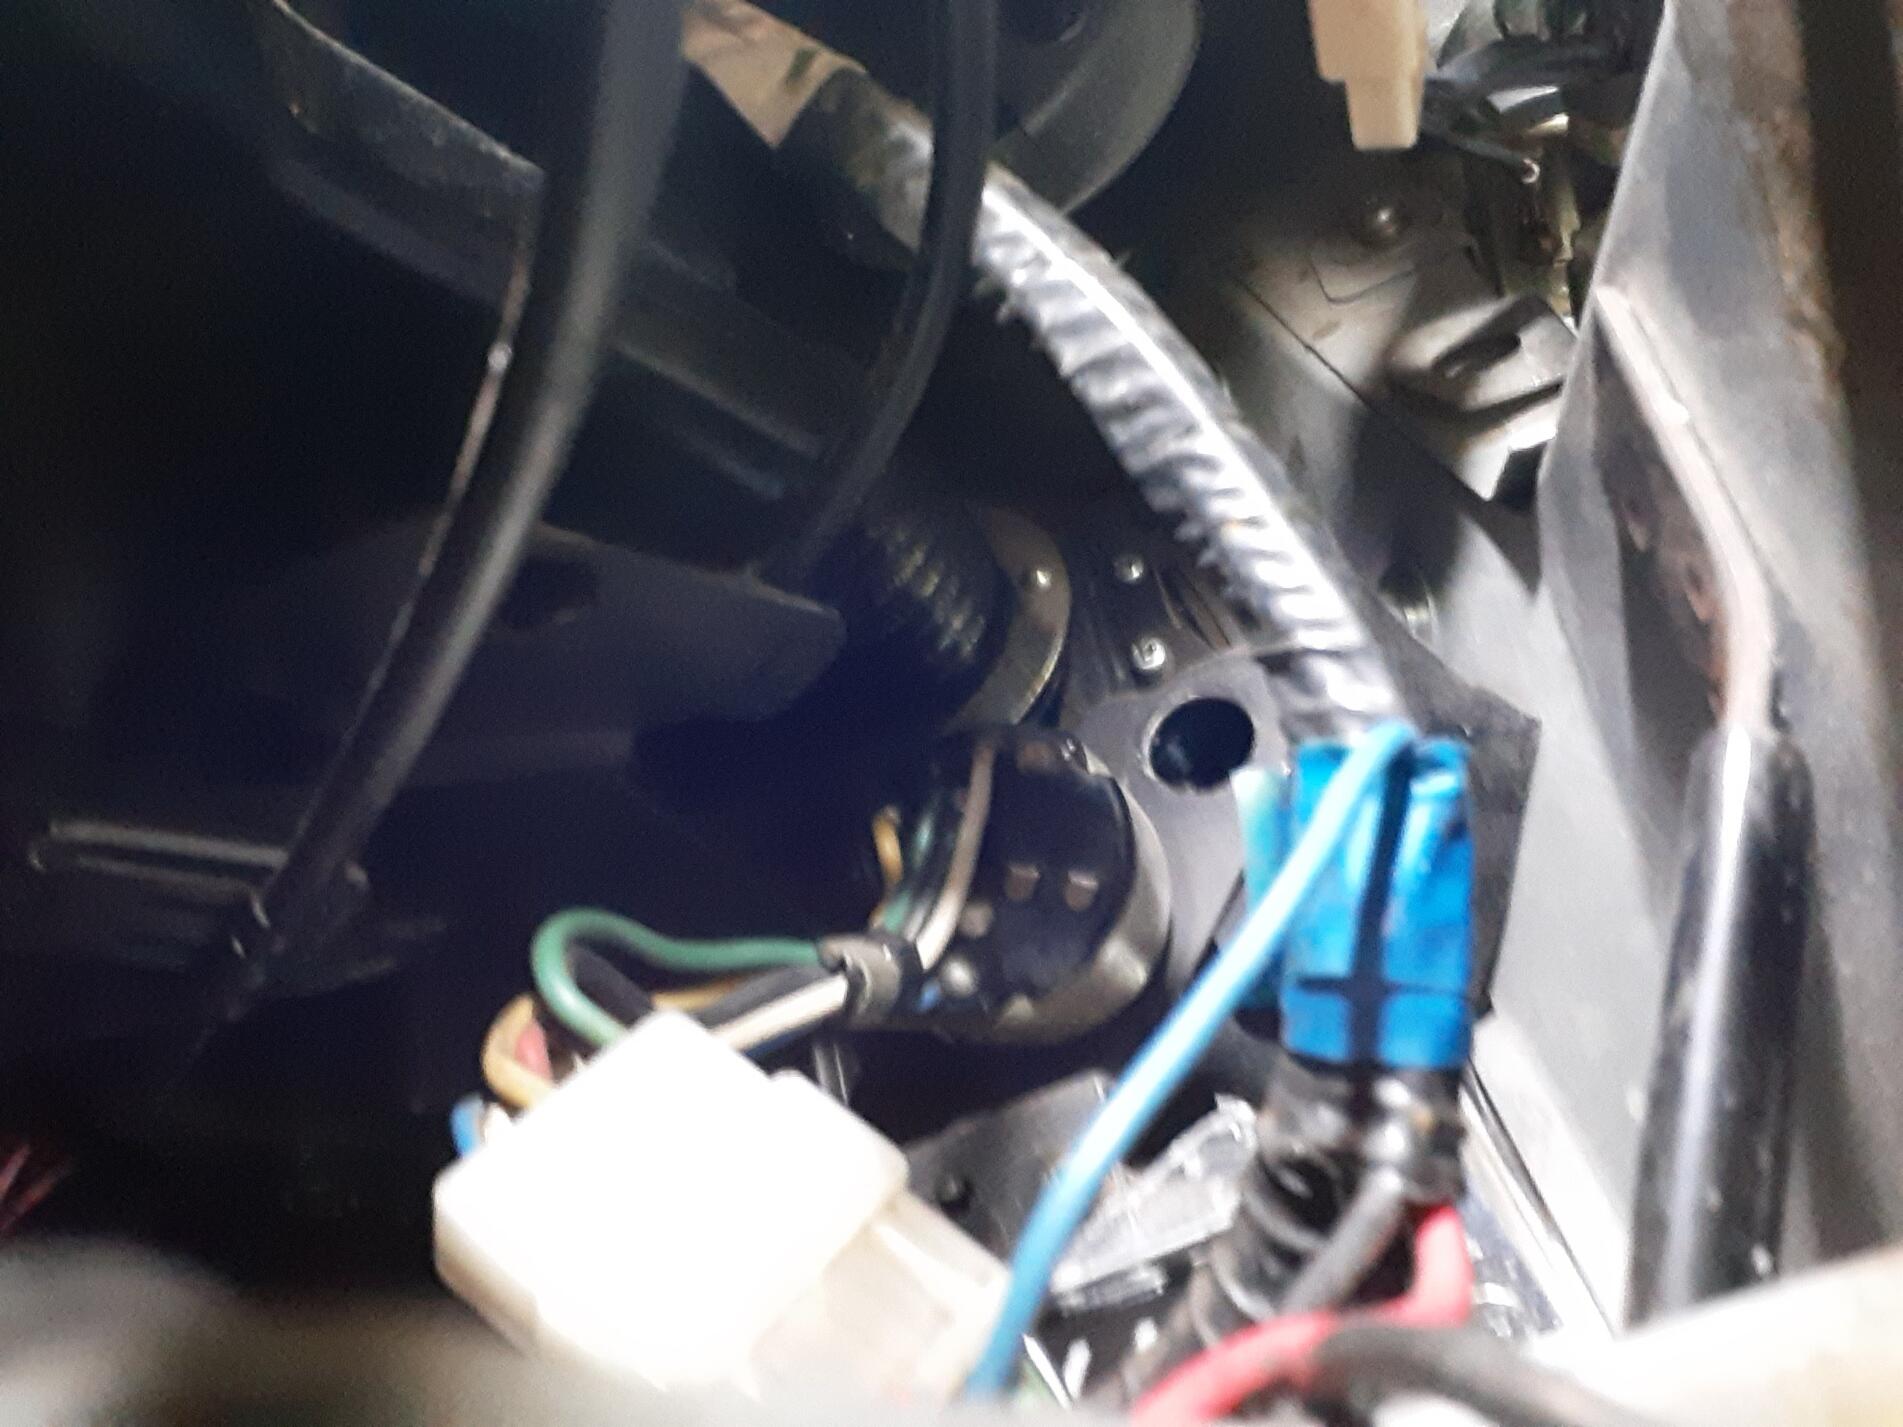
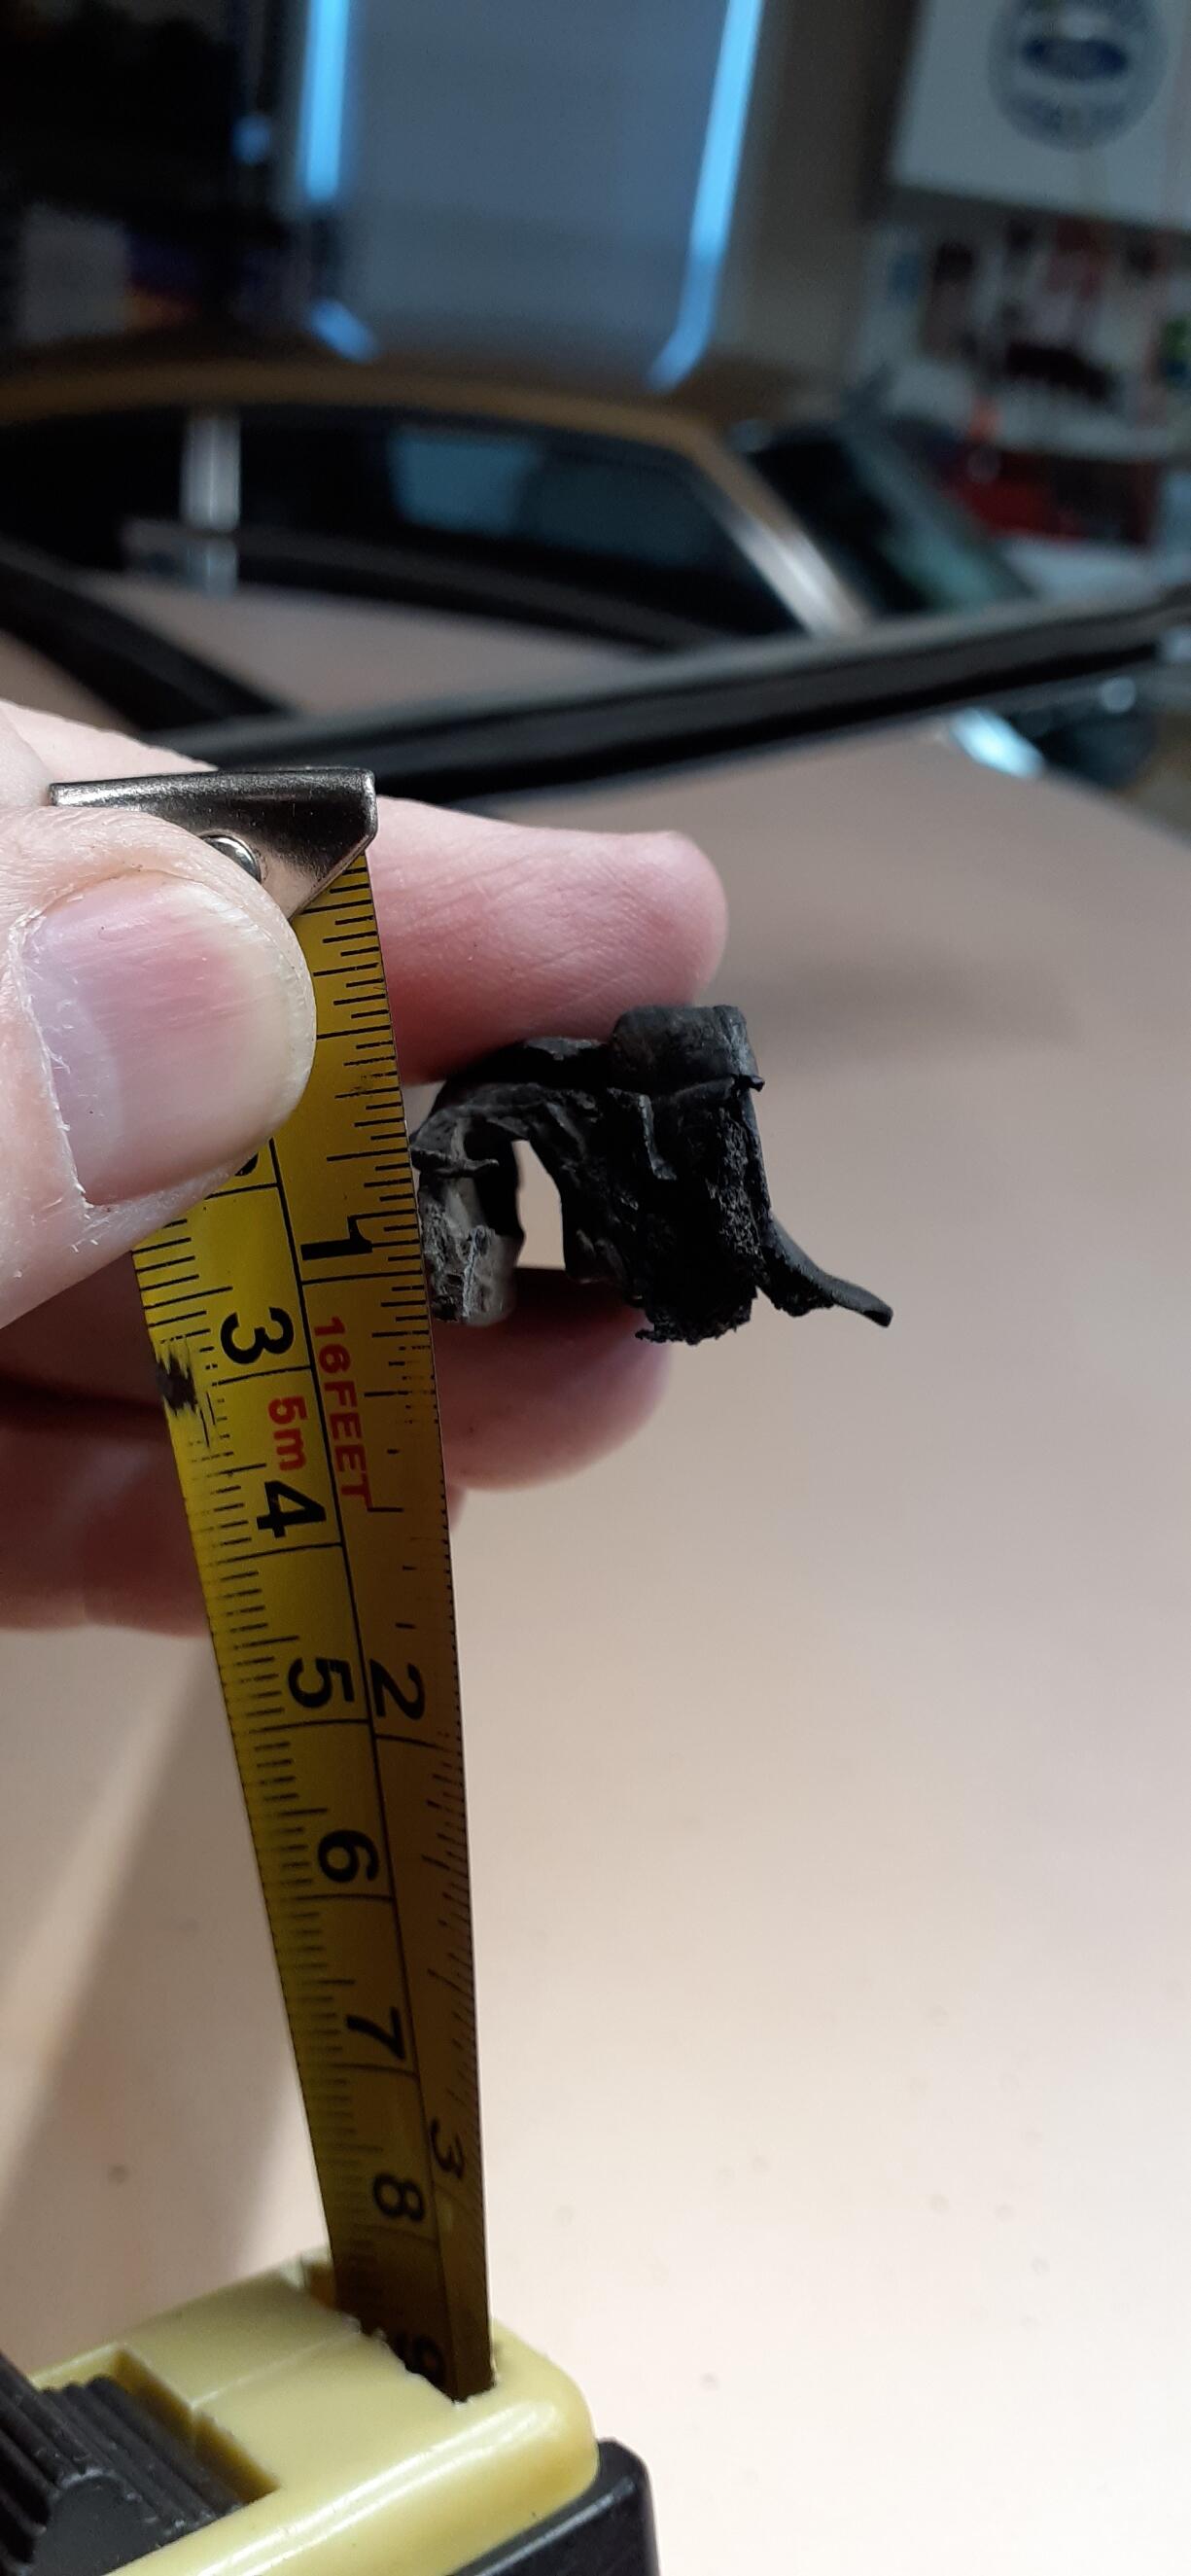
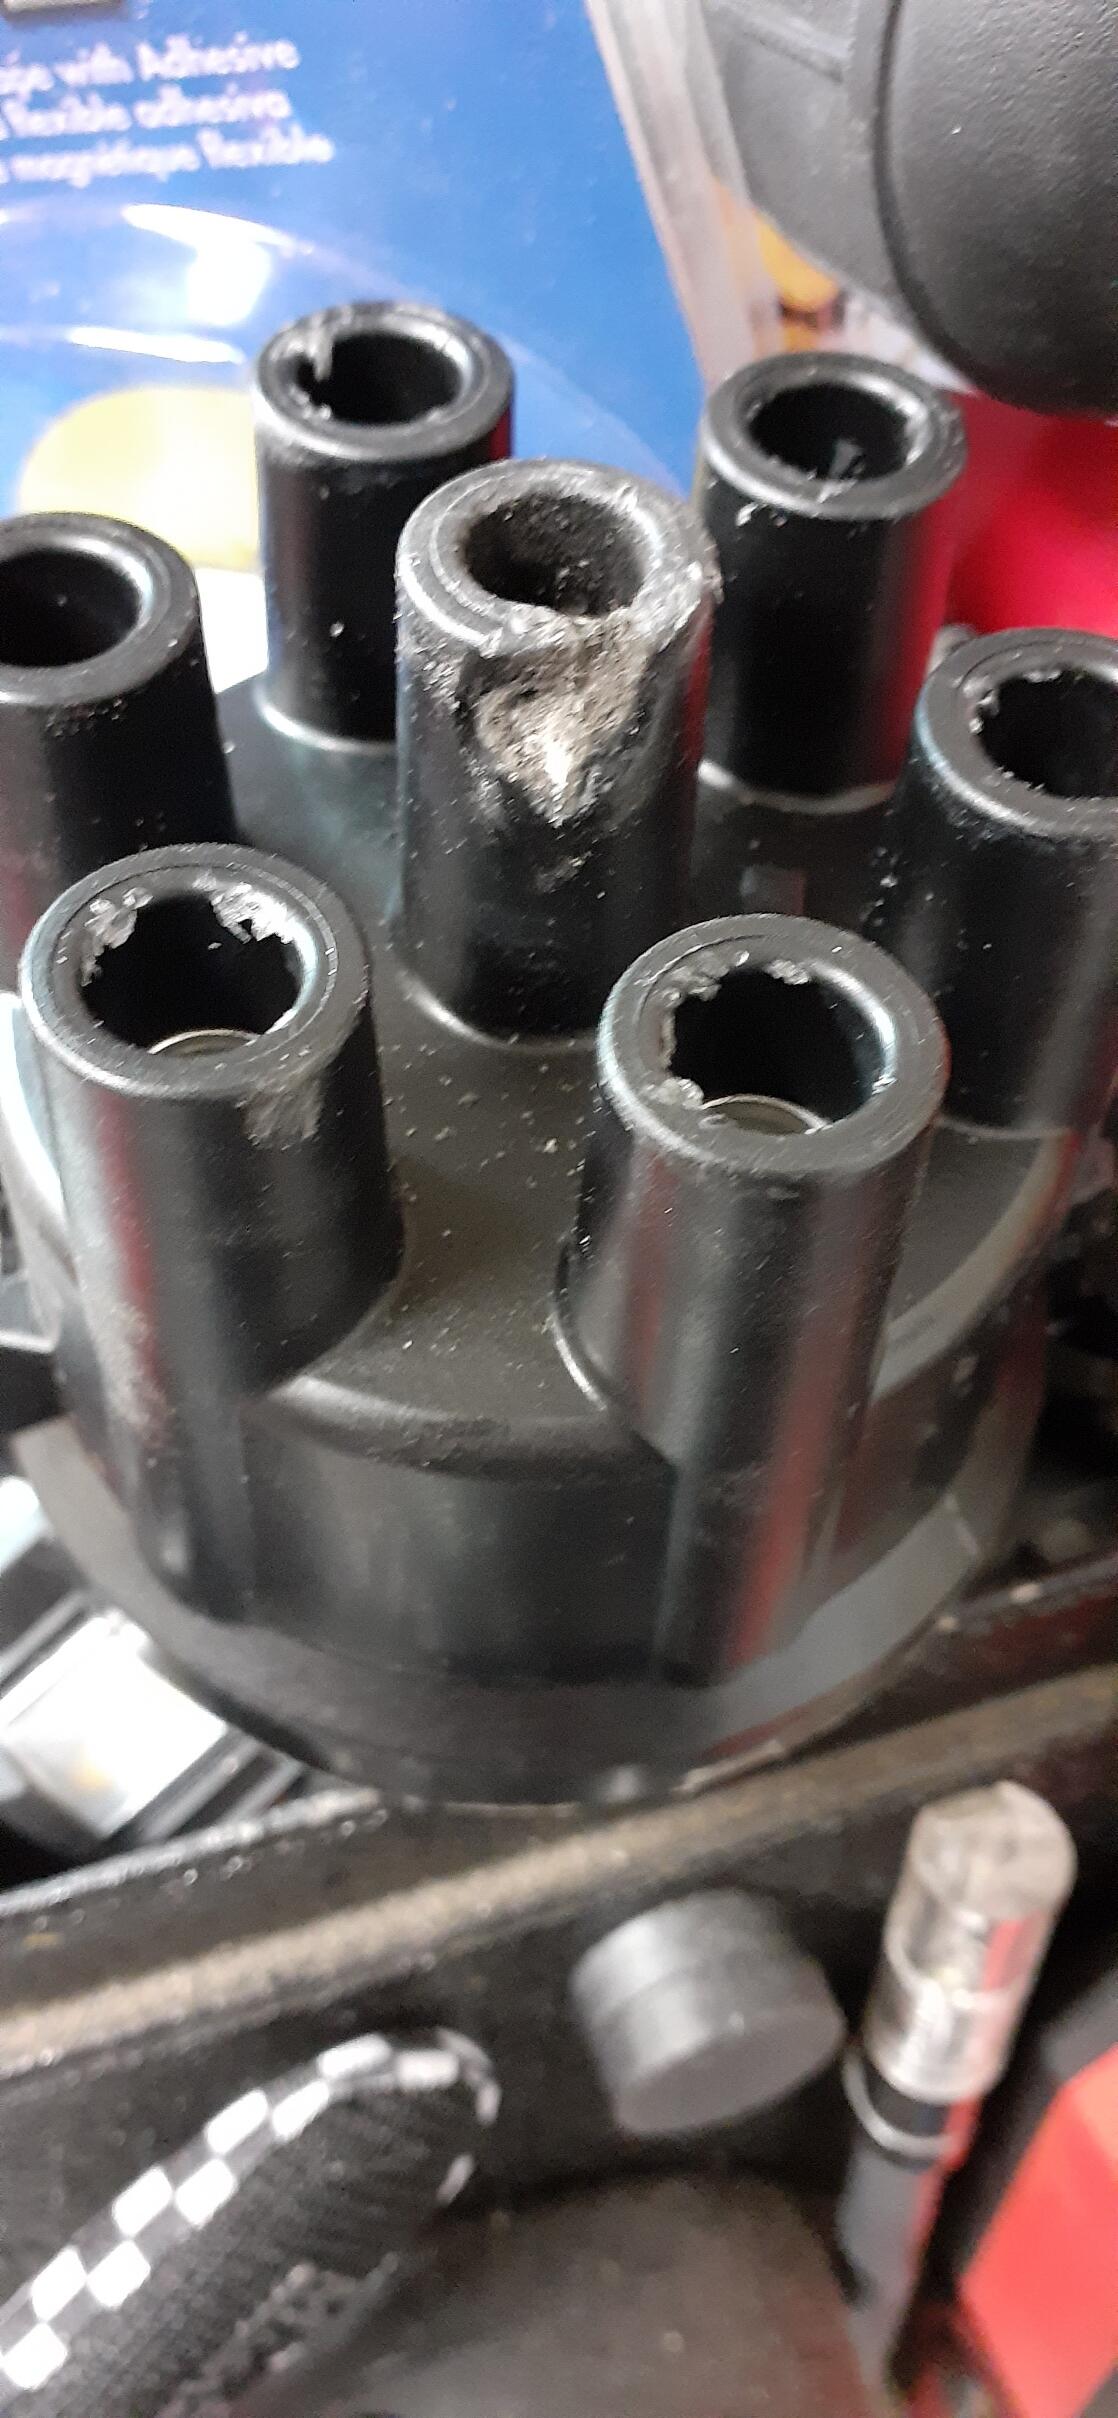
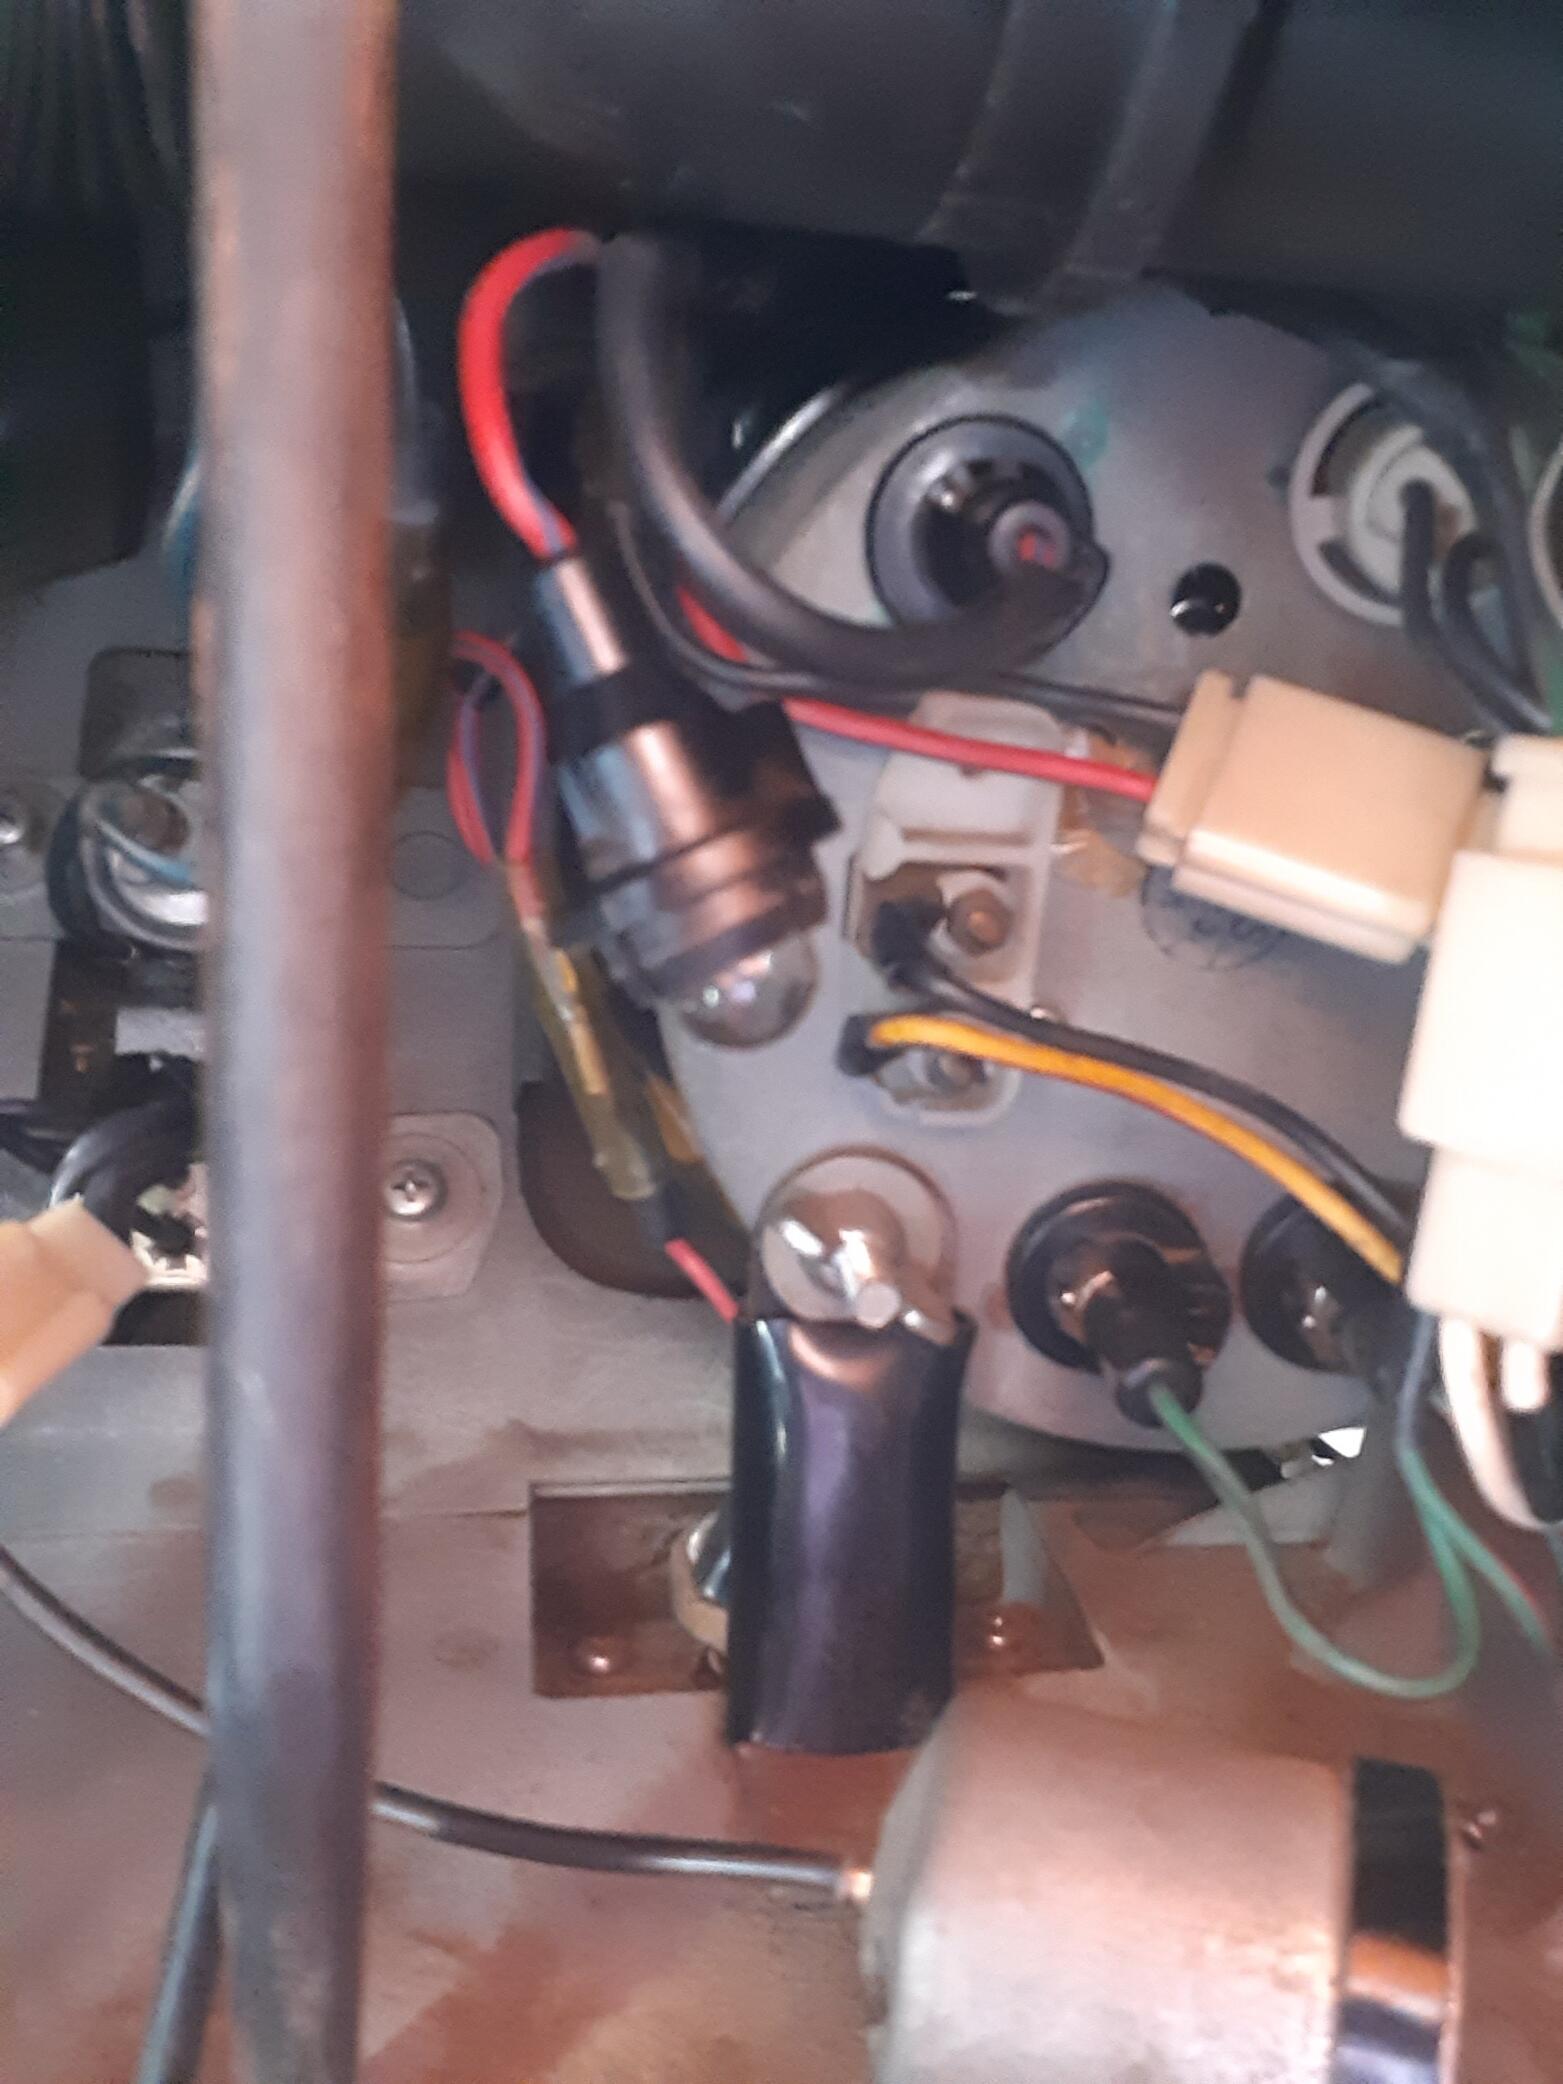
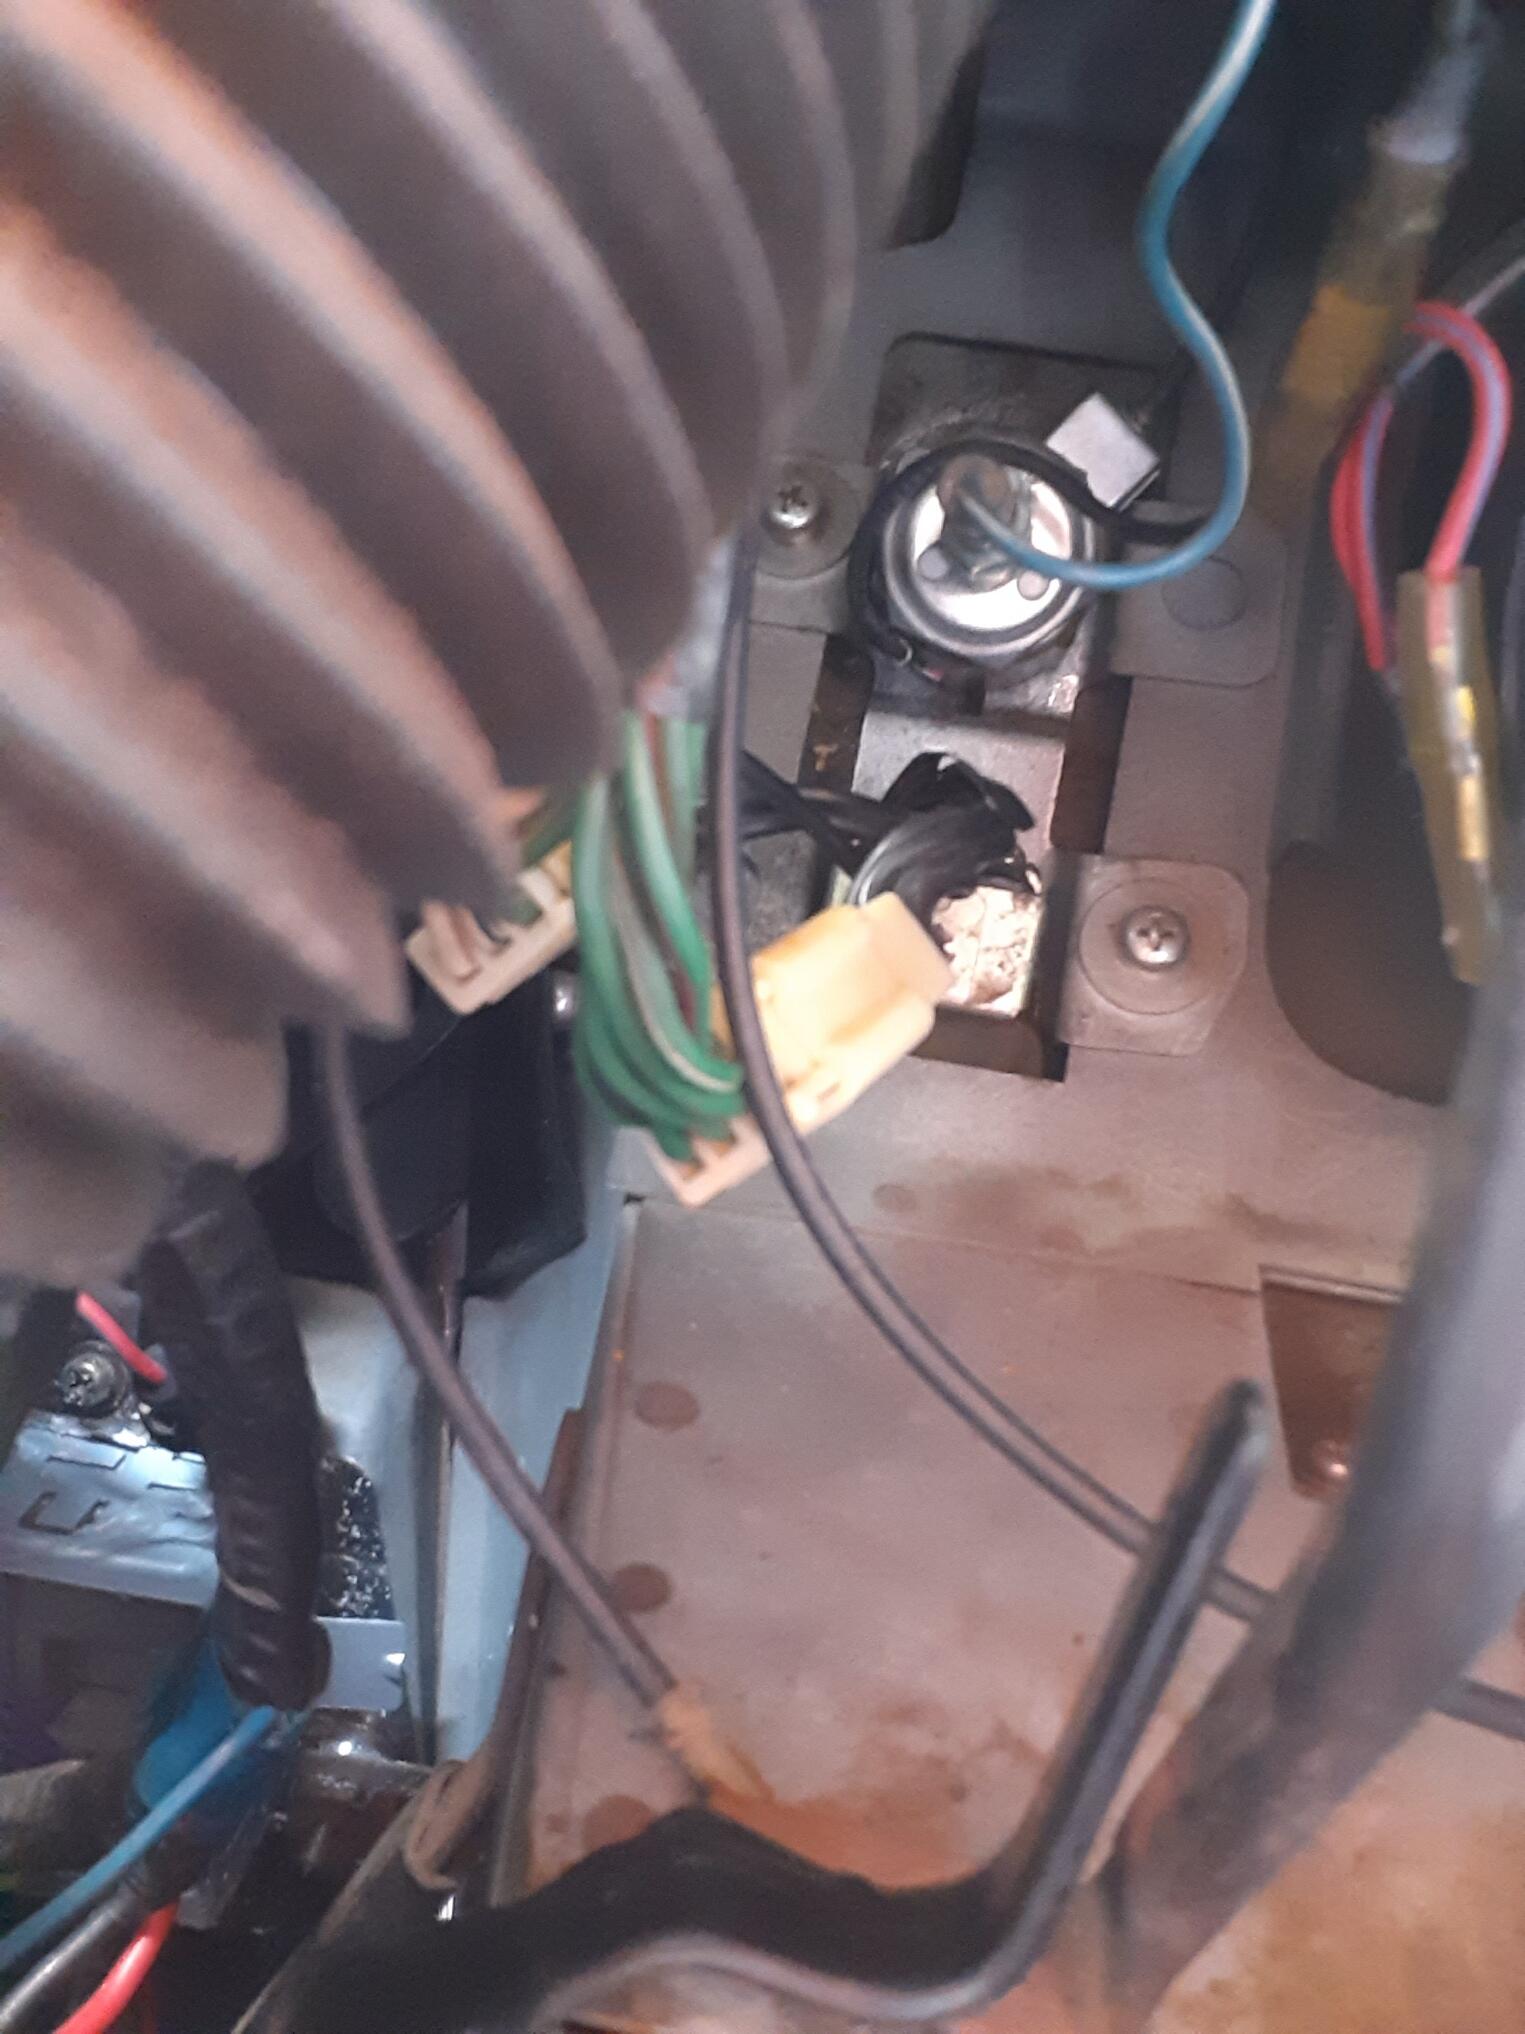
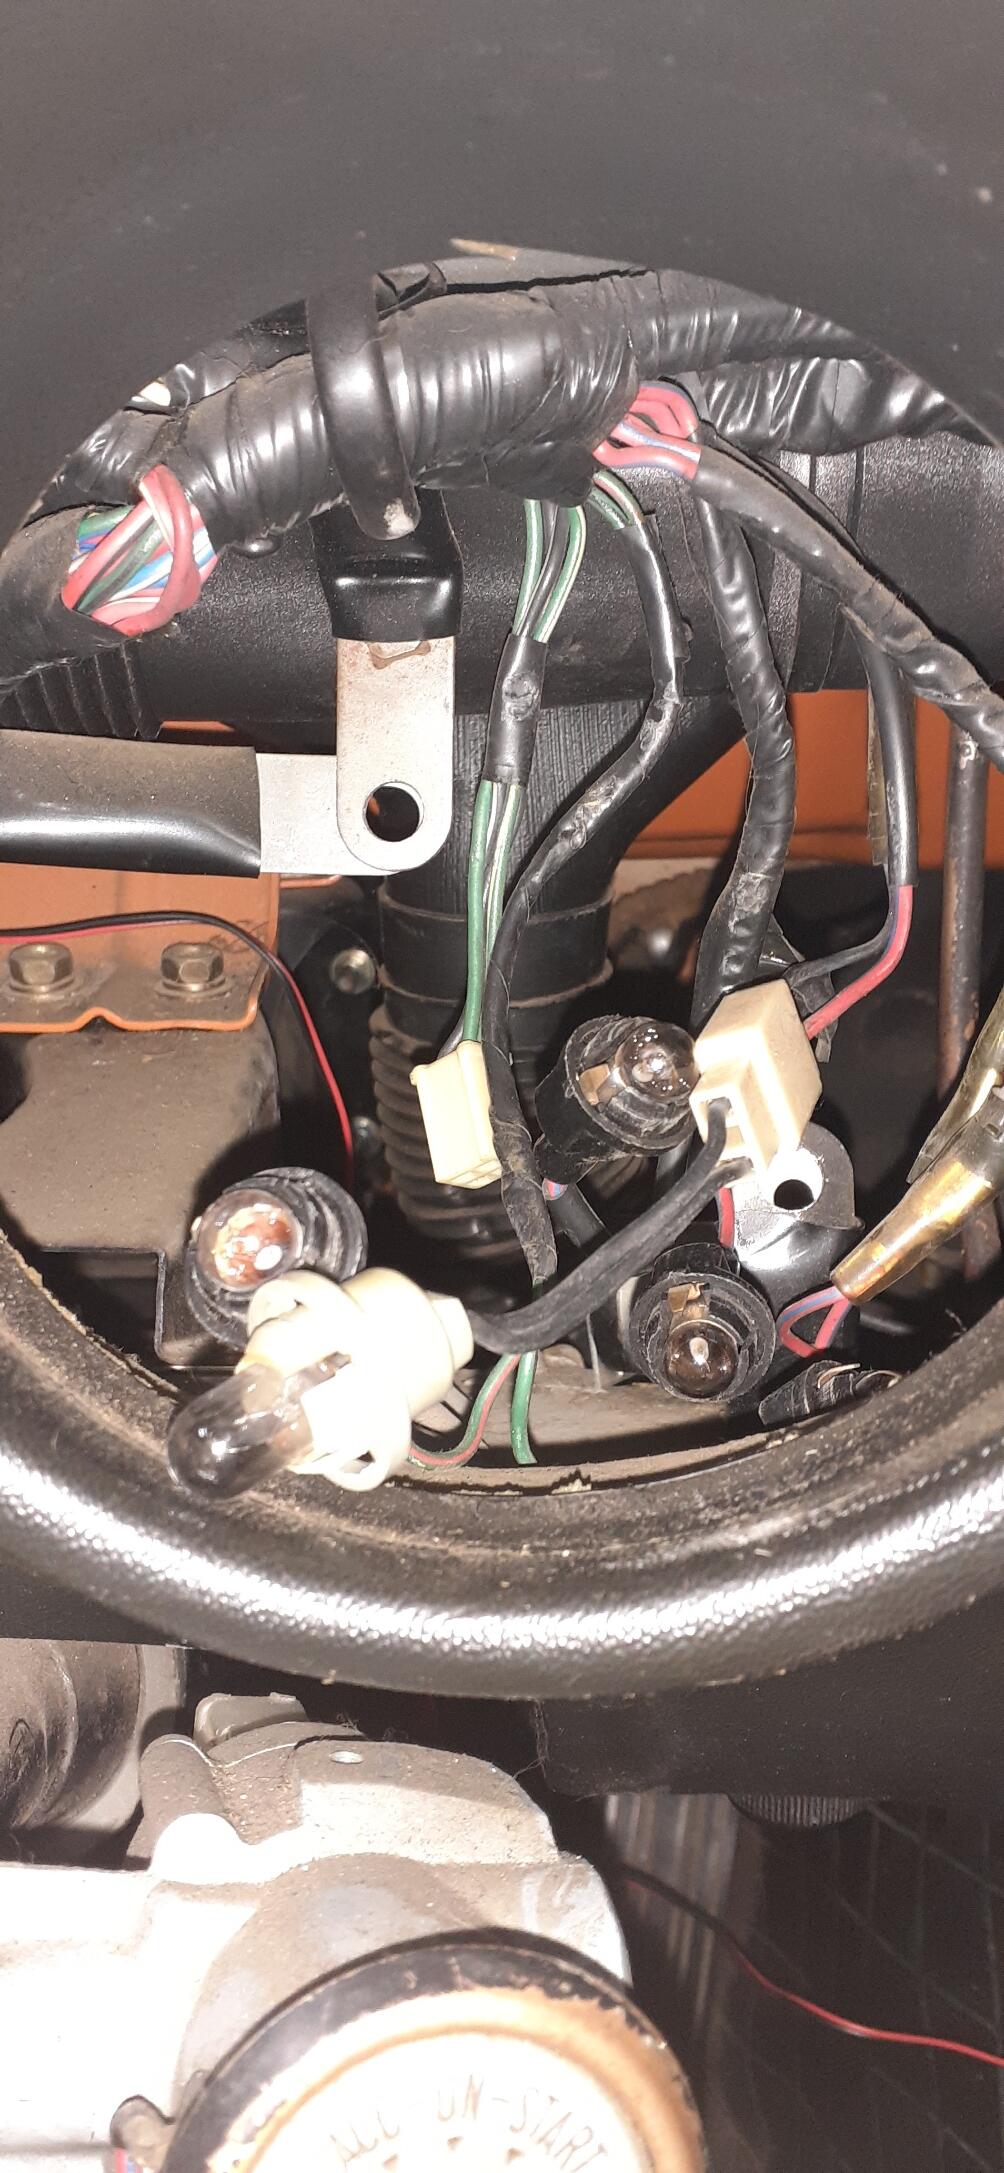
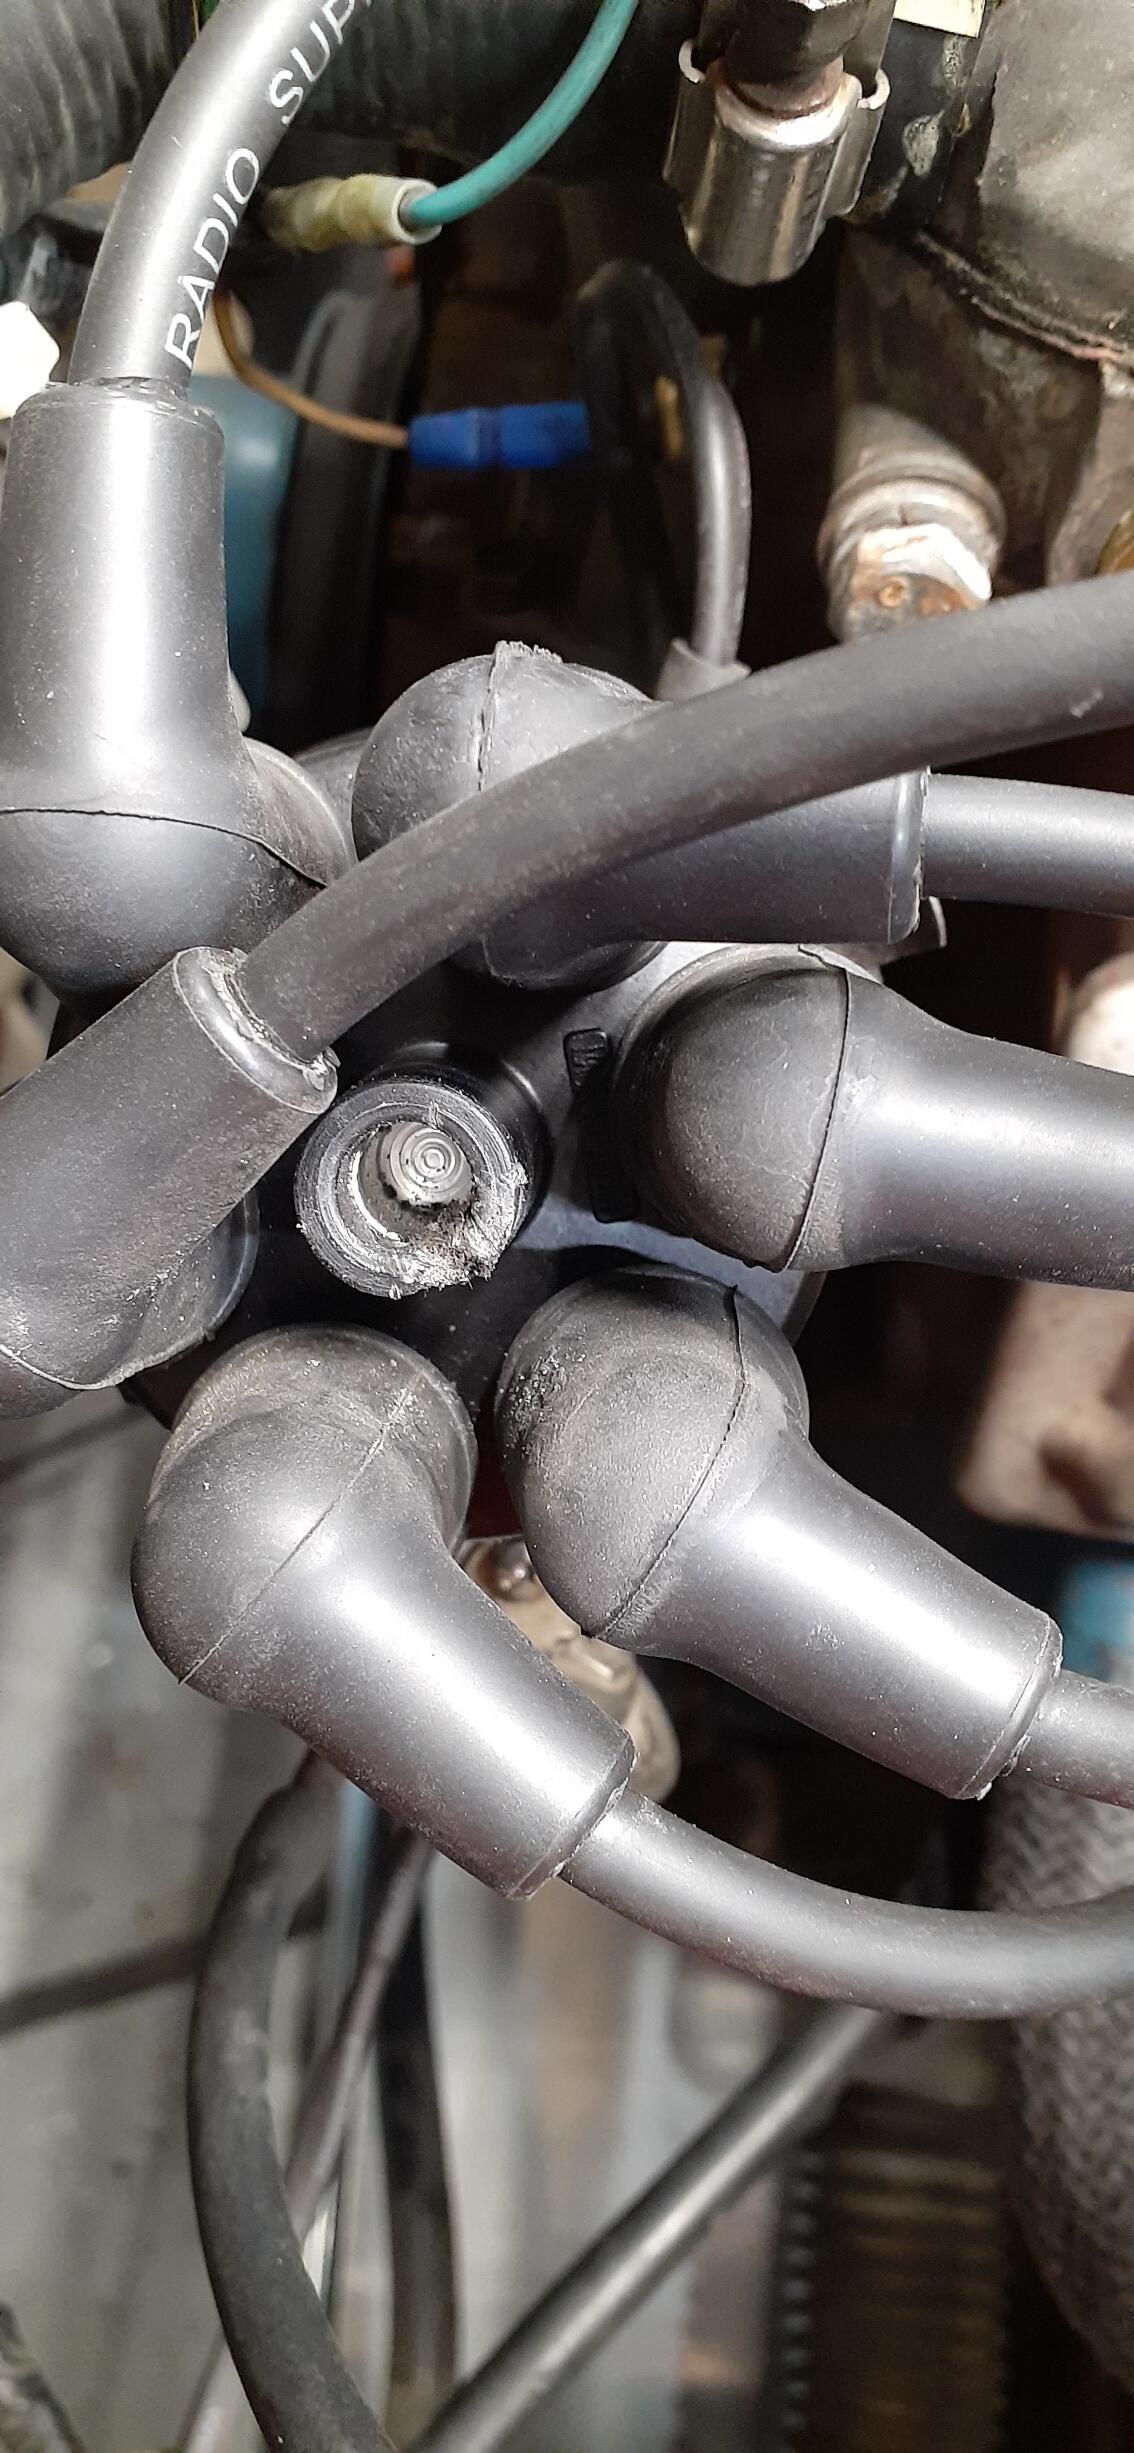
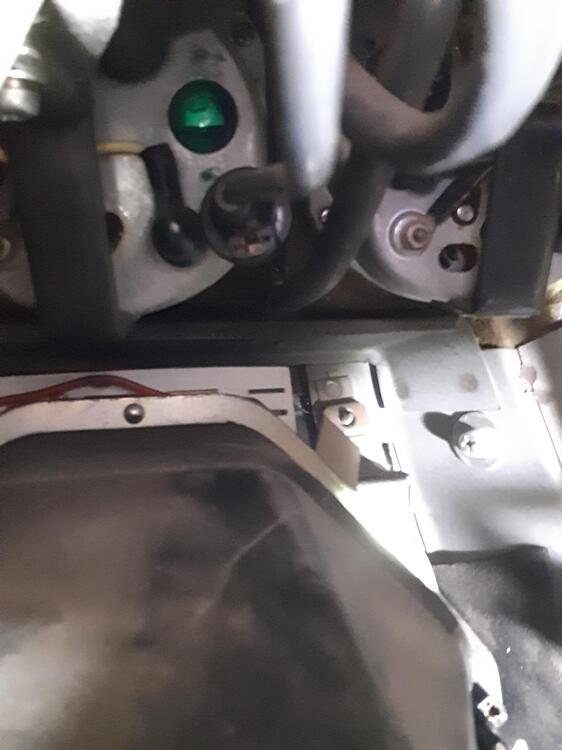
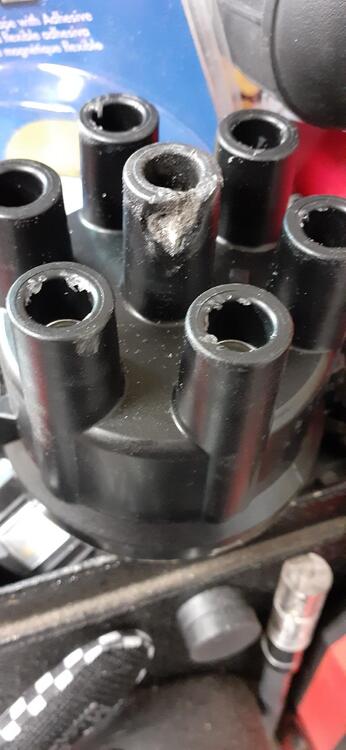
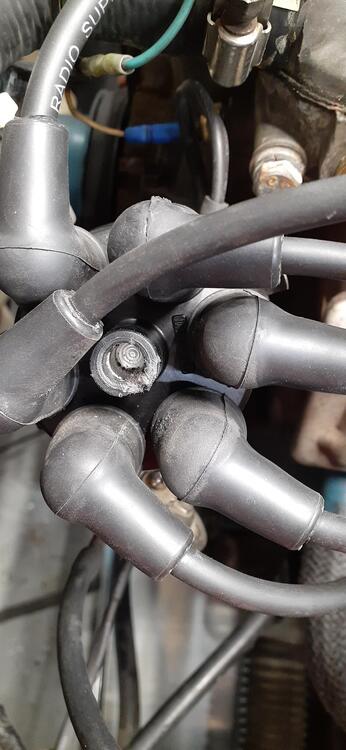
Two aborted projects today. First, I got some new door seal. It was just too big to work right. I re-boxed it, and I'll send it back. However, that did spark me to take some measurements of the dead seal. I'm pretty sure I found a winner, and I'll post pricing and other info if it works. It arrives Thursday. One thing that did go right was getting the replacement distributor cap. As I transferred the wires to the new cap (one at a time to prevent getting them out of order), I also made sure the tips of the wires made good contact with the cap. I also removed the dash cap and steering wheel to install some LEDs. I almost got frustrated trying to figure out how to get the tach out. I found one of the wingnuts easily by taking some photos behind the dash, but it took some time to find the top wingnut by feel. I wasn't happy with the height of the LEDs when I compared them to the midget BA9S bulbs in the car. I just feel too lazy to remove all of the gauges to remove the illumination lenses. Again, measurements were taken, and I ordered bulbs that I believe will be better suited to the task as they are within a millimeter or so of the midget BA9S incandescent bulbs. Stay tuned. It wasn't a completely wasted effort. I replaced the gauge turn signal bulbs with the longer LEDs. I'm hoping for a conspicuous brightness to reduce the frequency of me keeping the turn signal on like an old man in Florida. (You guys know who you are. 😉) With the tachometer out, I also found the loose bulb for the hazard switch and cigarette lighter. The wedge bulb was dead, so I wrangled up a replacement LED wedge. I also needed to plug in the optical fiber from the hazard switch to the housing for the wedge bulb. Meanwhile, entertain yourselves with some of the photos I took while trying to learn what I needed to know before buying parts. Here's the old door seal. The carnage on the old distributor cap: Backside of the tachometer (done with a magnetic light stuck behind the dash and phone in selfie mode): Ha! I just noticed the wedge bulb is plugged into the tach and one of the tach bulbs is just hanging out behind the dash. Here's the backside of the cigarette lighter and hazard switch. Here's looking into the tachometer home while I'm waiting on the bulbs.


-
I knew there was someone stateside selling them.
-
Testing before running: With the battery connected and key OFF, measure voltage to ground at the S terminal (crossbar). It should read battery voltage. Measure voltage to ground at the L terminal (vertical). It should be 0. With the battery connected and key ON (not running), measure voltage to ground at the L terminal. It should be battery voltage. It could be a little less due to corrosion/poor connections.
-
Not stock, but I think the size is right if you need new boots for the sender: https://www.amazon.com/Fastronix-Small-Terminal-Covers-Black/dp/B01LM2BW6A
-
The caps only hold on the wires to a limited extent. If the connectors are bent, they won't hold well, either. I think Eastern Beaver had the caps. Maybe someone can recall them being sold by a business in the USA. If the vent hoses are rotting and you try to fill the tank, it will start spewing like a frat boy on his 25th beer. Do your research. Most of the vent hoses are NLA. You'll need to find fuel compatible hoses of the correct size. Do NOT use heater hose for the vent lines. You can get an idea of the routing of the vent lines from the FSM.
-
Yes, if you put it in the right location. Make sure you have the proper open barrel locking terminal. The ones from Vintage Connections would work.
-
The MSA cap has a diode that runs between the black/white and white/black, otherwise the lamp circuit will backfeed your ignition. It does not have any wires, so I don't understand your question. You need to hook up the yellow to the white, otherwise you will not get the battery sensing voltage. This will result in overcharging.
-
Yellow with the cap - Fuel sending unit signal. Black with the cap - Fuel sending unit ground. It's easy to tell which is which. The other two wires are for an electric fuel pump (unused.

-
It looks like someone snipped the white wire for some reason. The white wire will need to be connected to the yellow wire. You could pull the yellow wire out of the connector and use male/female bullet connectors to connect the yellow wire to the white wire. Here's the guide I started with 22 years ago. http://www.zhome.com/ZCMnL/tech/280Alt.html
-
Back in the old days it was not unusual to carry a spare cap/rotor/points. Caps were not made of the nice thermoplastics that you see today and were susceptible to cracking if hit with cold water when they were hot. Points? Well, there's a good reason why you haven't seen points on a new car in a long time. I suspect that I did not have the coil wire pushed all of the way down into the cap, or there was a defect in the cap that I could not see. Those are the two likeliest scenarios. I should have a replacement cap this afternoon with a couple of spares arriving in a few days. I try to stock some caps anyway for when I am working on other people's Z cars.
-
Well, I think I figured out why she was a little grumpy at times on the freeway. Back in 2008, when I went to look at the 260Z that now sits in my garage, the owner said it wasn't running. After digging through the engine bay for a couple of hours, I found a distributor cap damaged in a similar fashion but worse.
-
I would think it would be at one of the two screws near the seat spring. That's why I suggested you use an ohmmeter to verify with pressure on the seat/contact.
-
Sorry, I discarded mine when I put new foam and upholstery on the seats in my 73. It's just for the seat belt buzzer. Unless you also have the sensor for the seat belt (and want to use 50 year old seat belts), it will just cause the buzzer to go off if you have a passenger. The sensor itself should be positioned near the middle of the seat to ensure it is pressed down when someone is sitting on it. If you use an ohmmeter, you can find the contact that is closed when the seat has an occupant.