kcpope
Community Member
-
Joined
-
Last visited
-
Zed, if you used 5/16” and didn’t have any leaks, that’s good enough for me! 😆
-
Thanks Zed, I'll carry on sans additional clamps. The connection feels very secure anyway👍
-
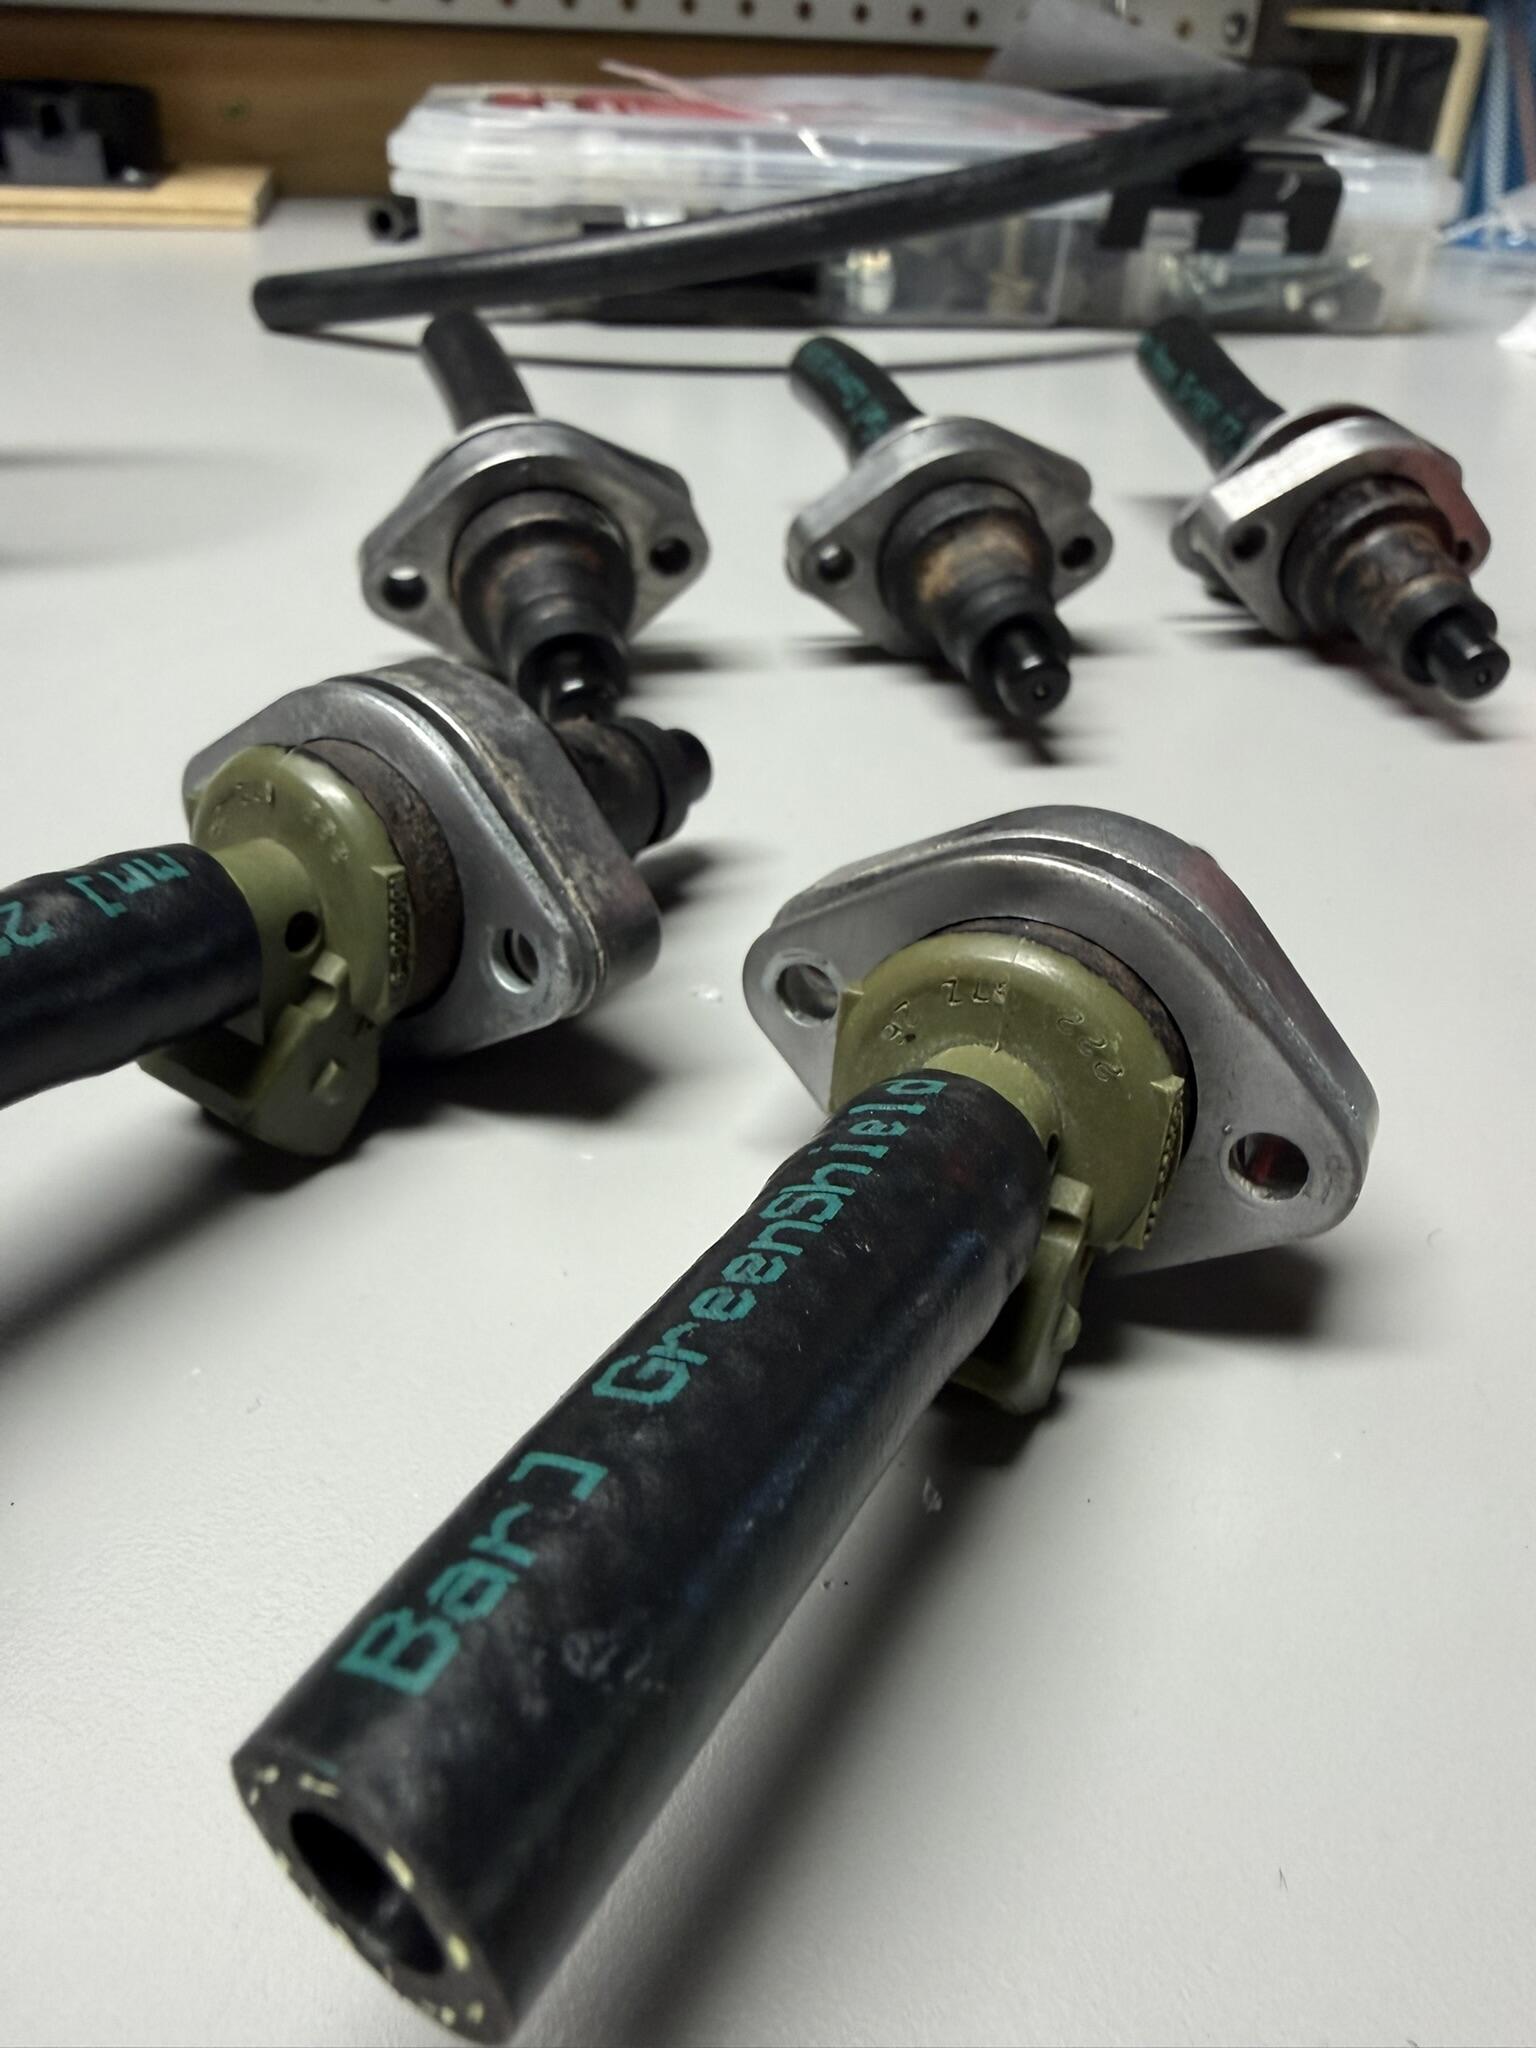
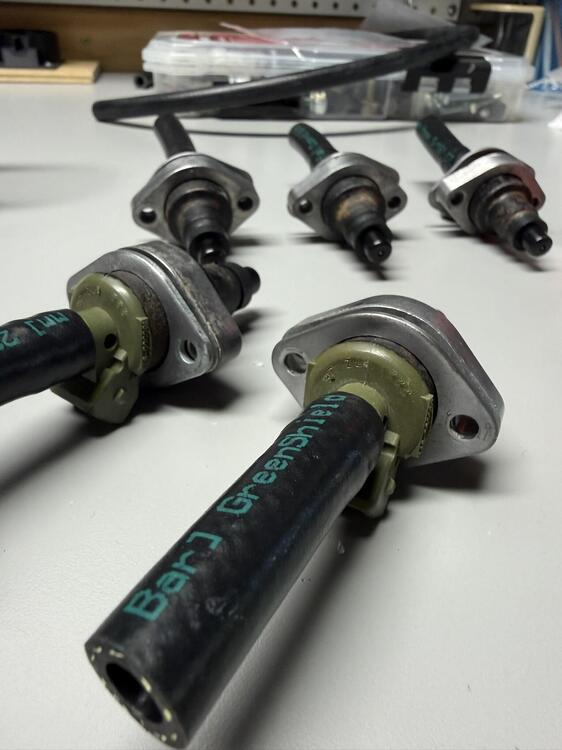
Question on my injectors… I’m not sure what OEM hose size they used (some say 7.5mm), but the only hose I could find is 5/16” fuel injection rated hose. This seems to be what everyone uses. I saw one forum post saying you should ADD another FI clamp to the barb fitting side of the injector. This would mean you end up with 2 clamps per injector, one at the injector barb/hose connection and one at the hose/fuel rail connection. OEM setup only had a clamp at the hose/fuel rail connection. For those who have replaced their injector hoses, what did you do?
-
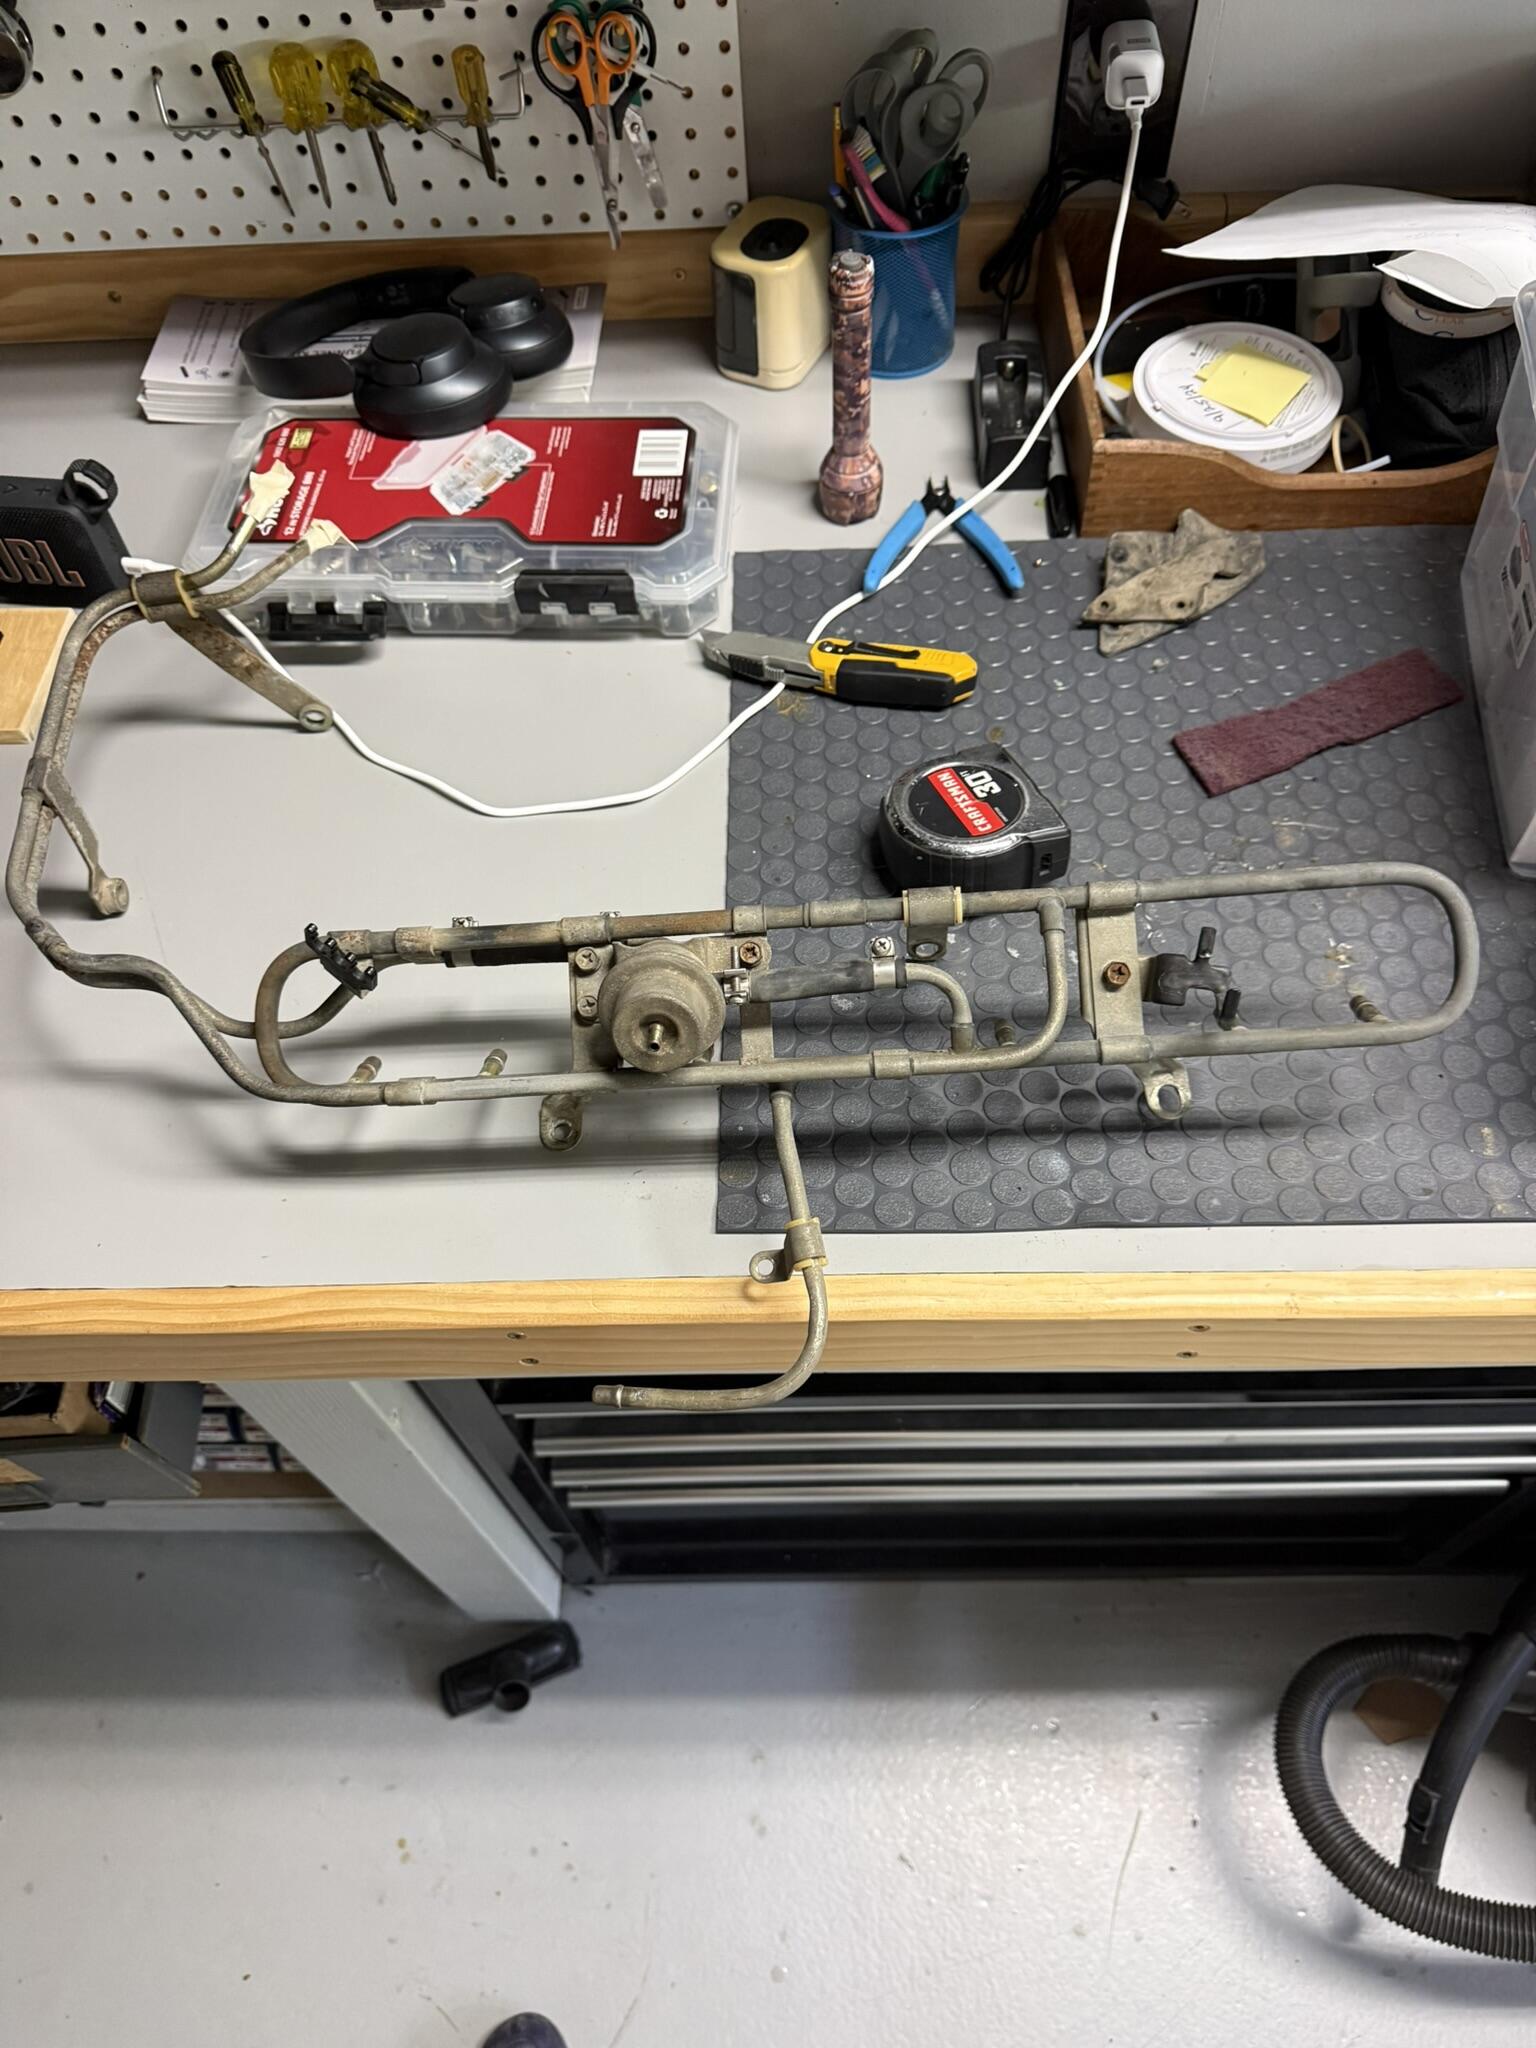
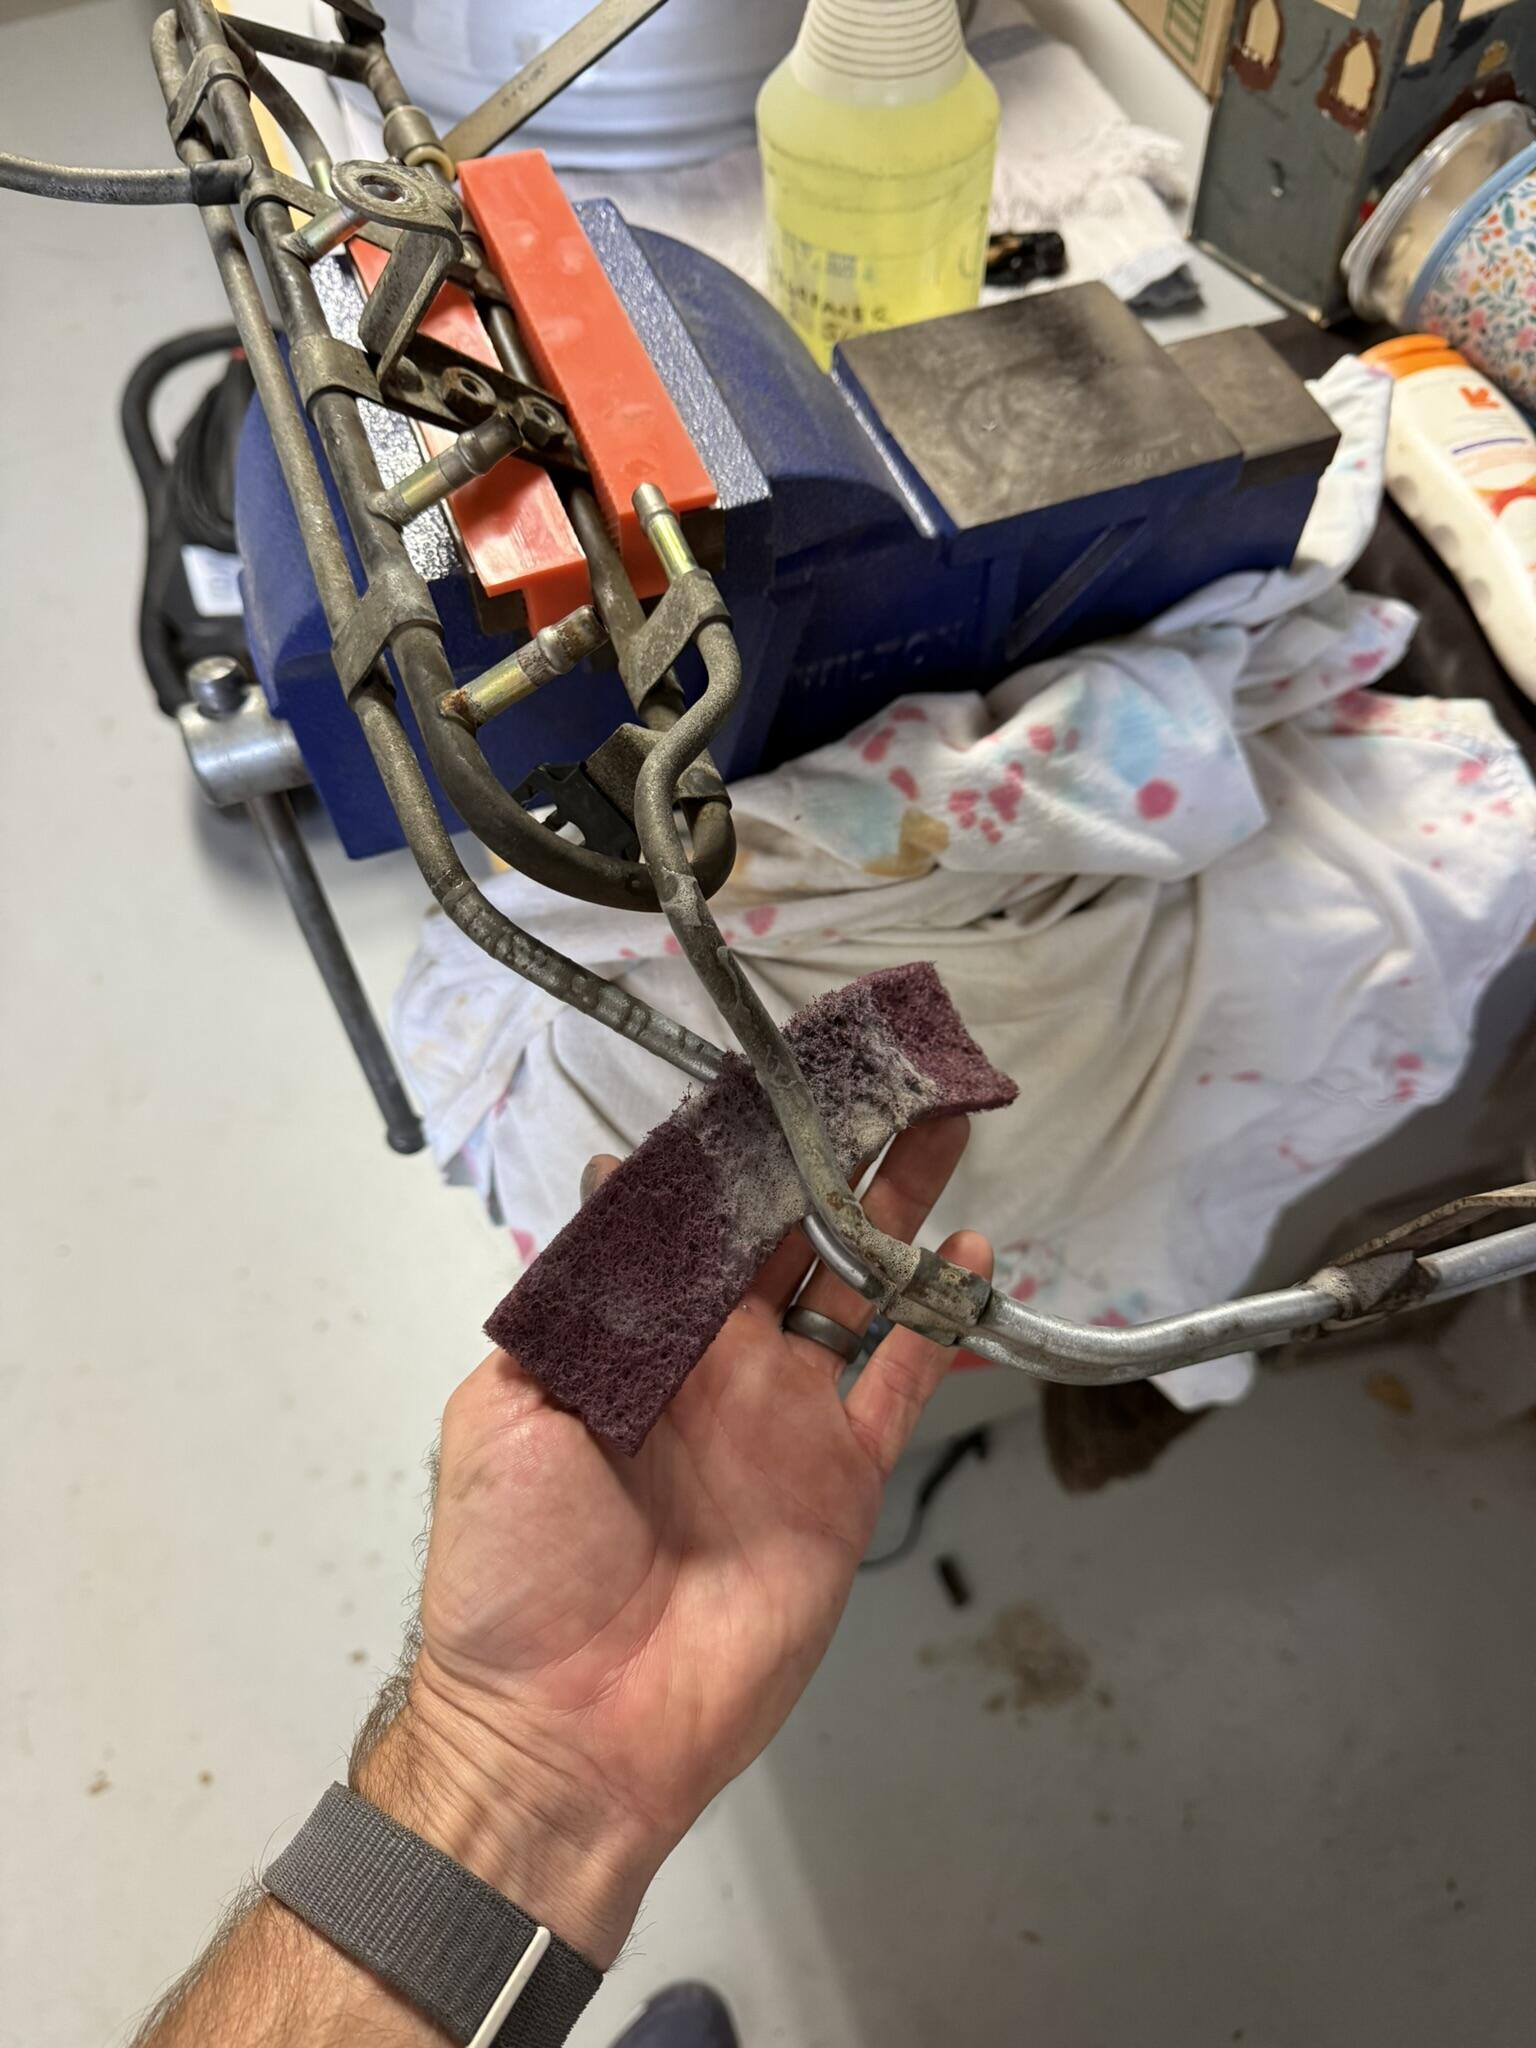
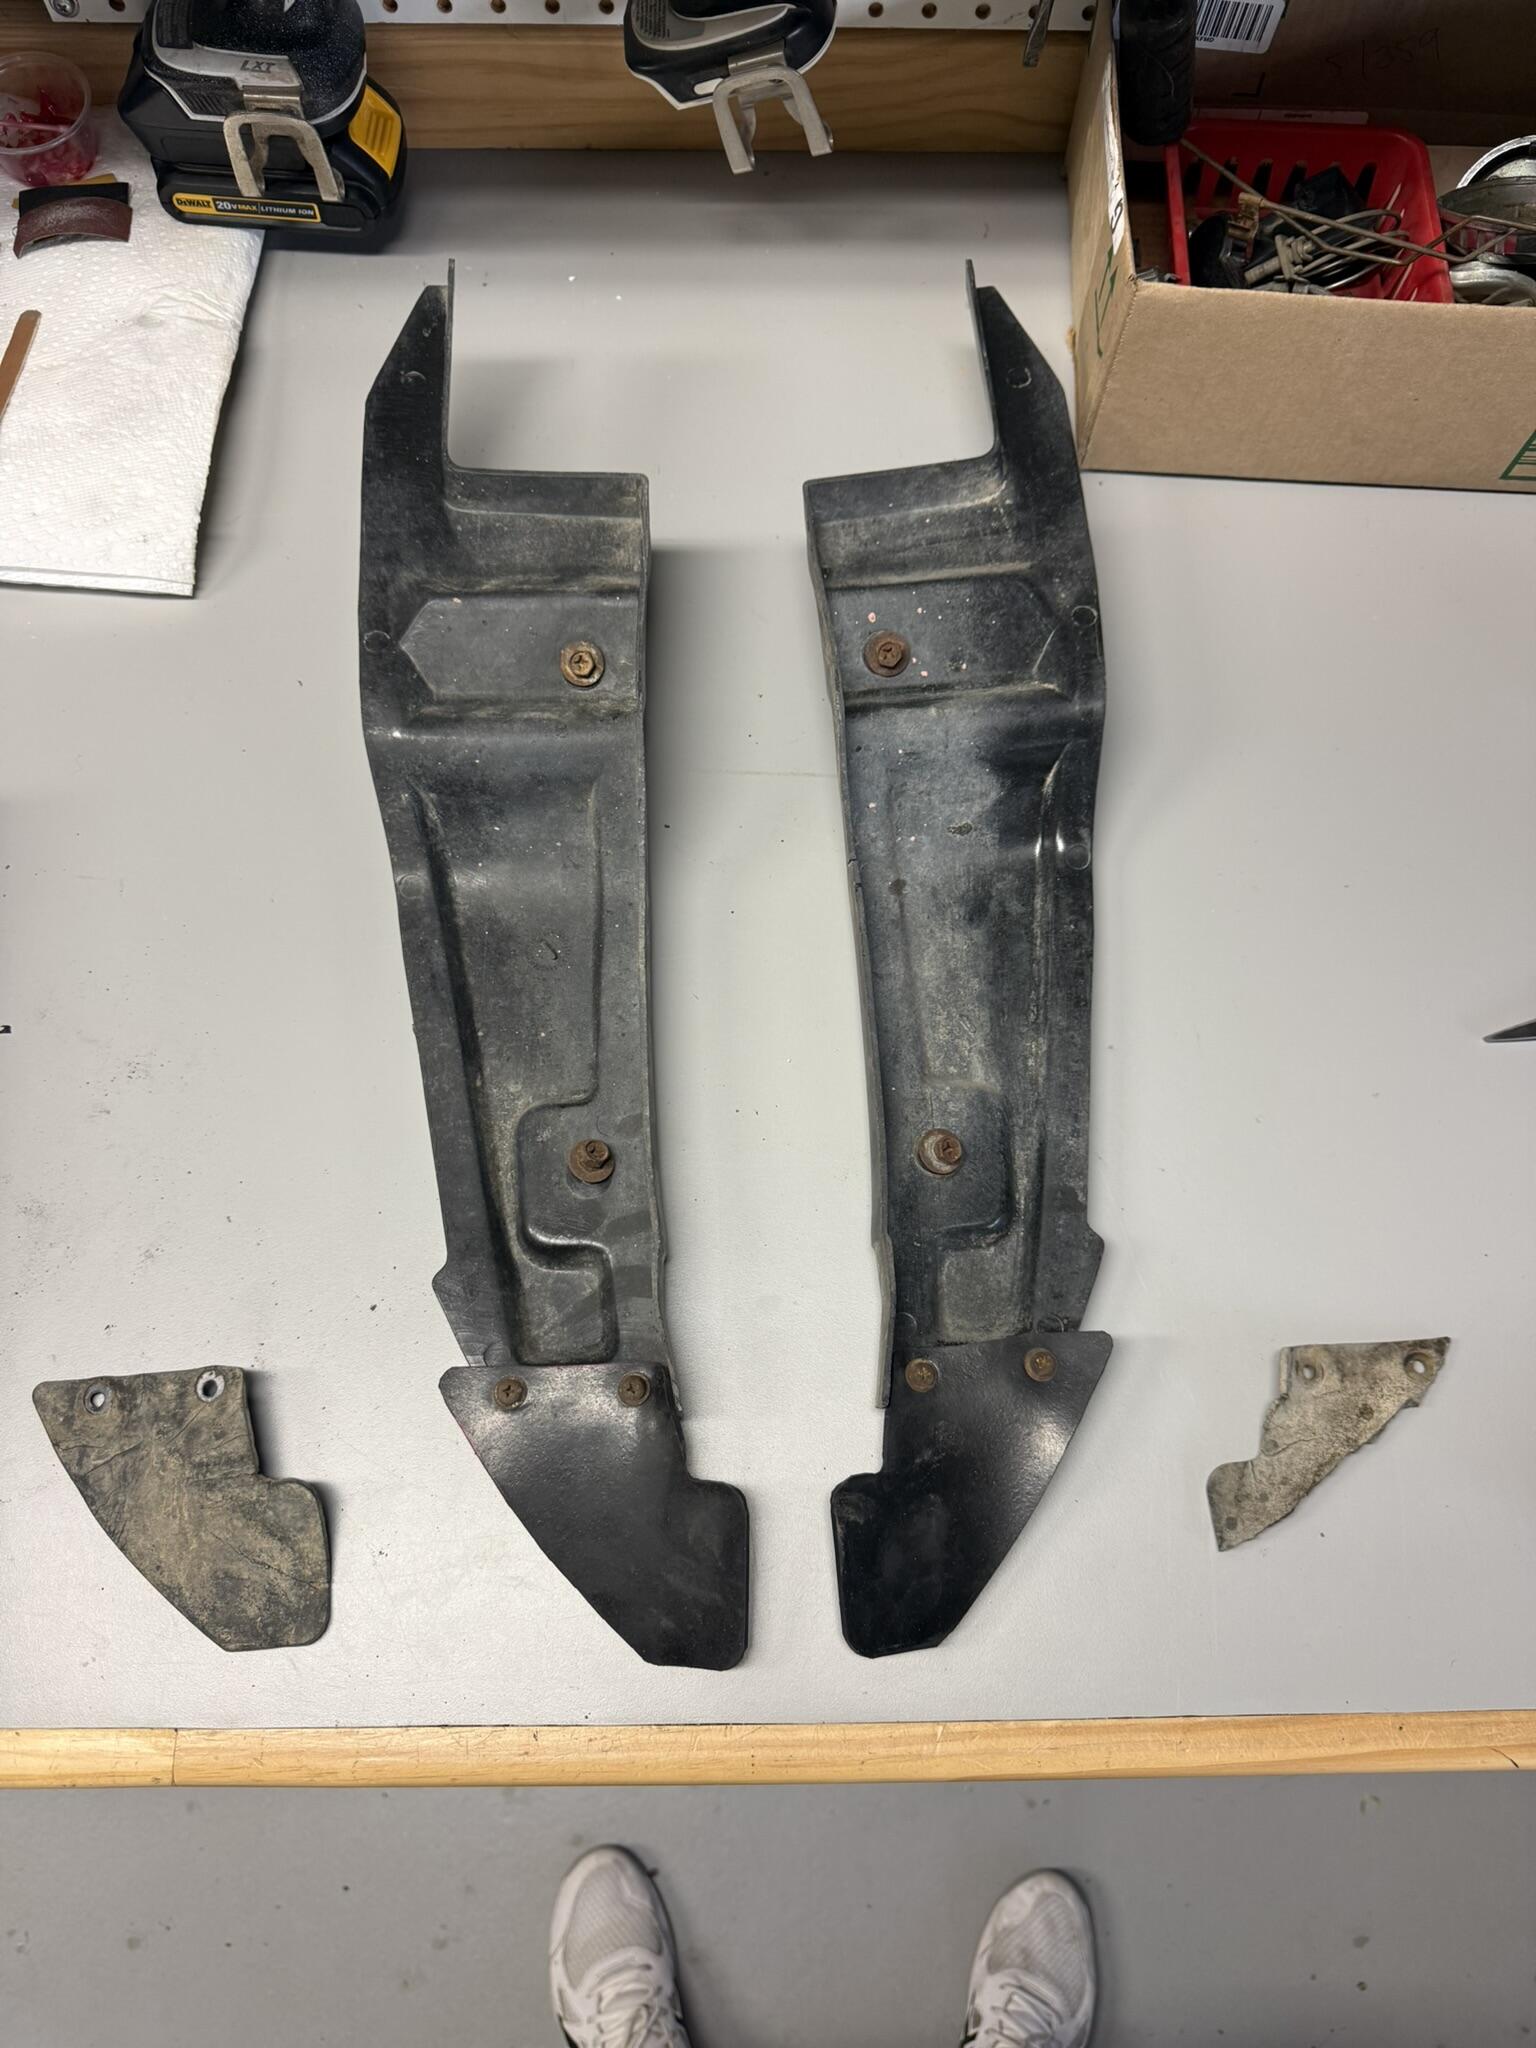
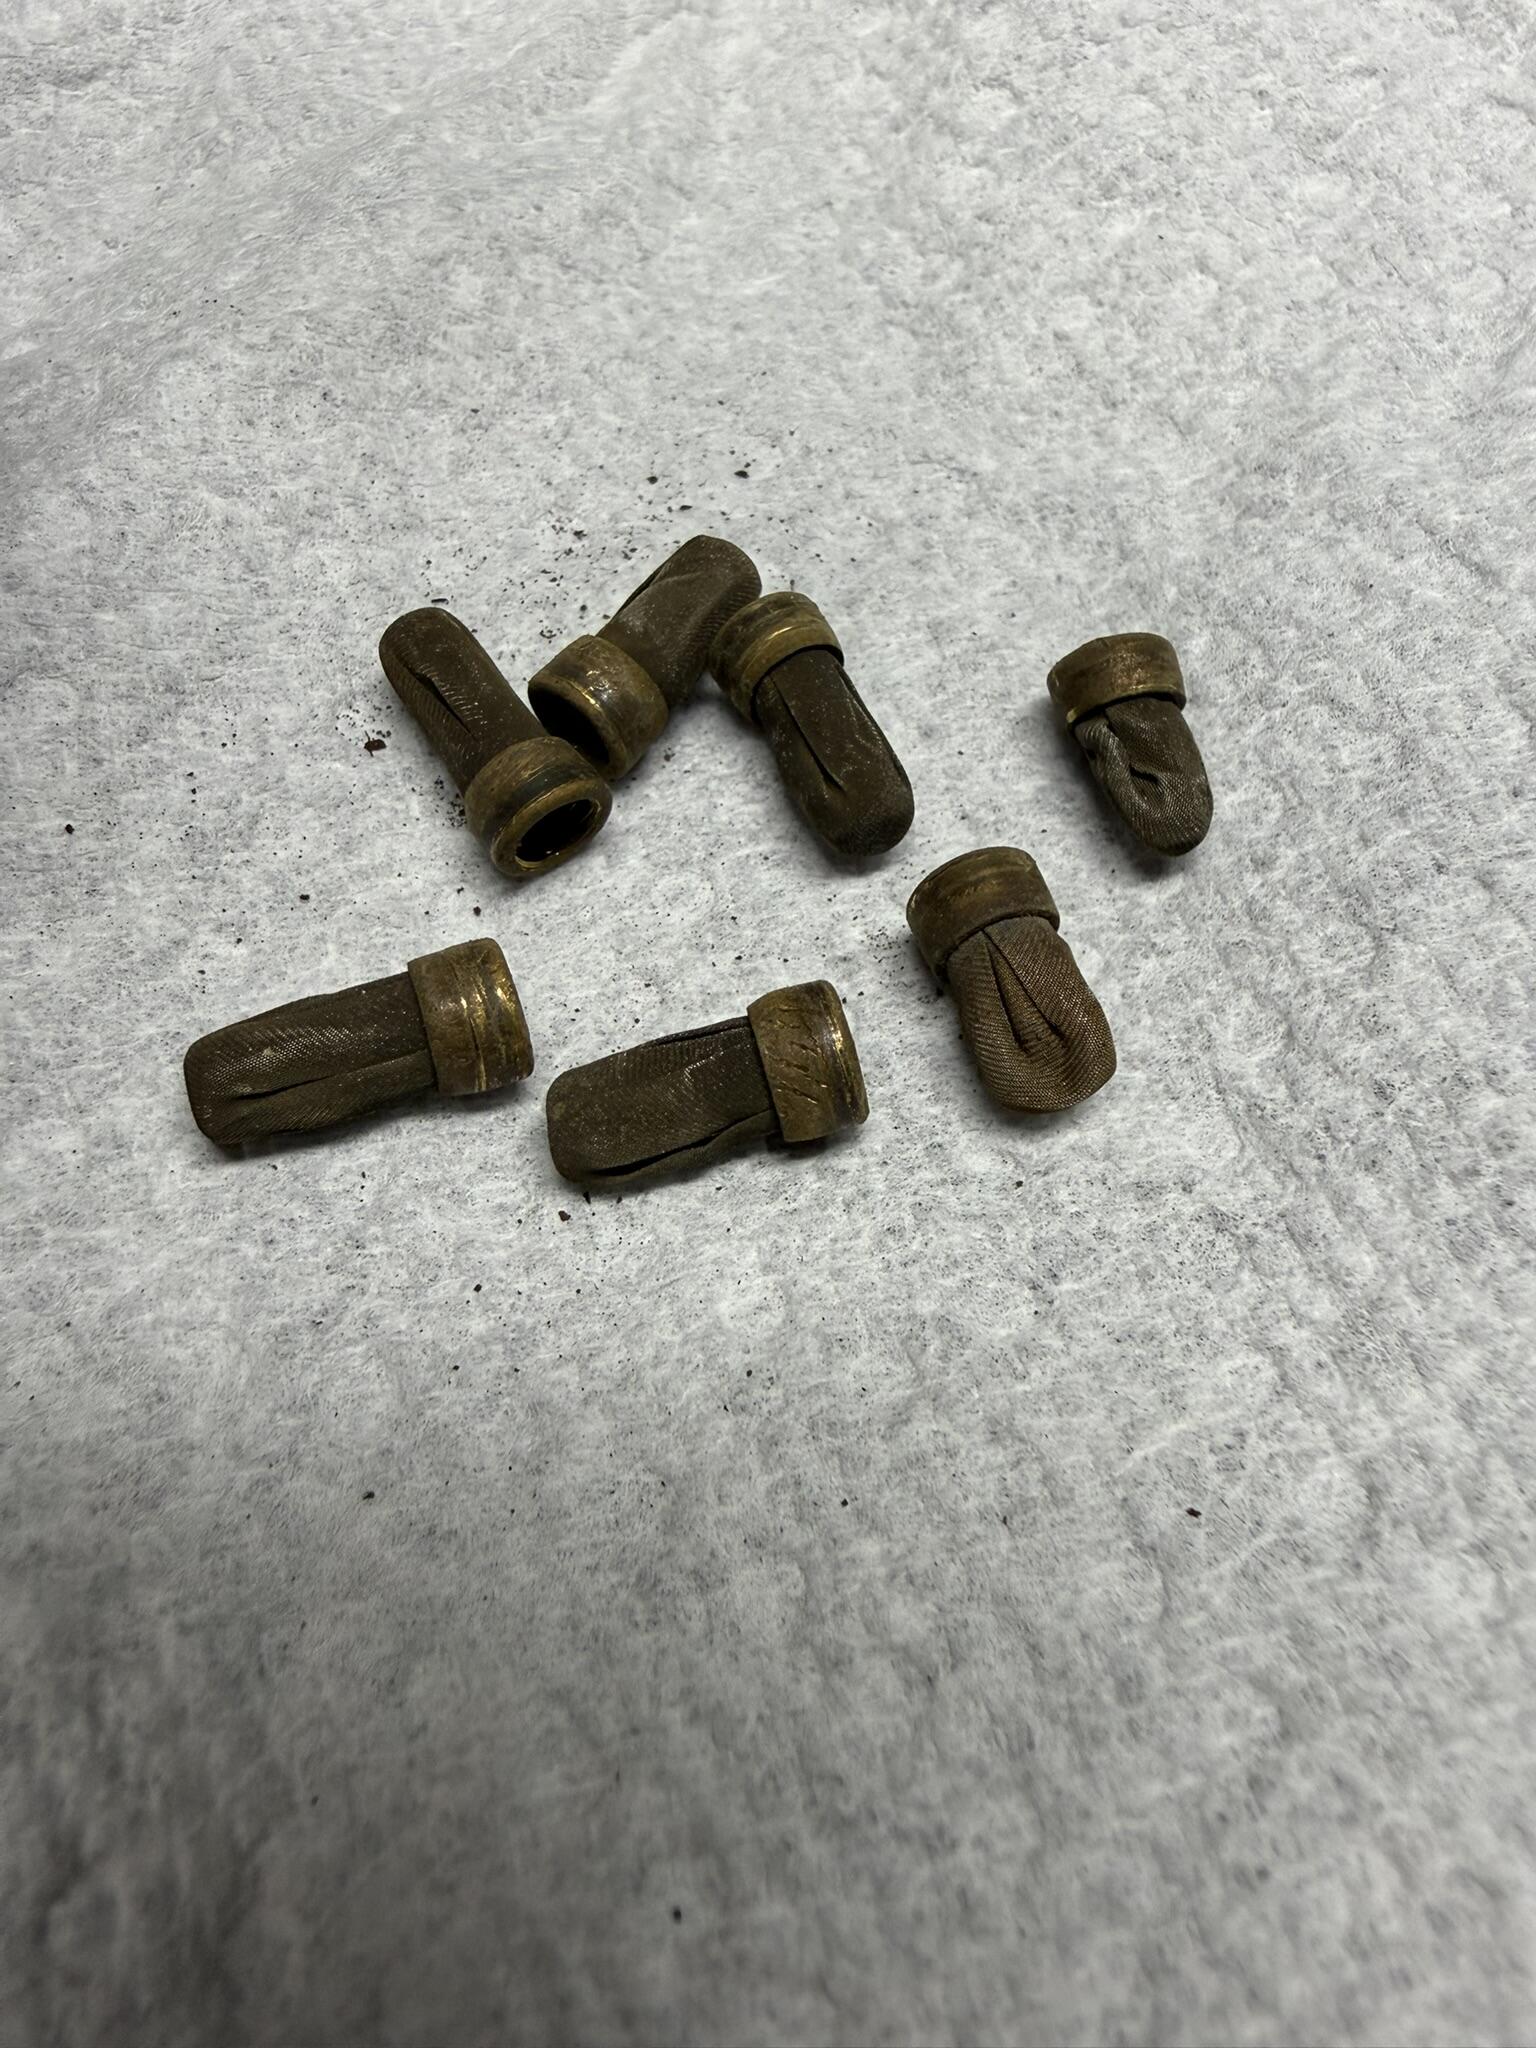
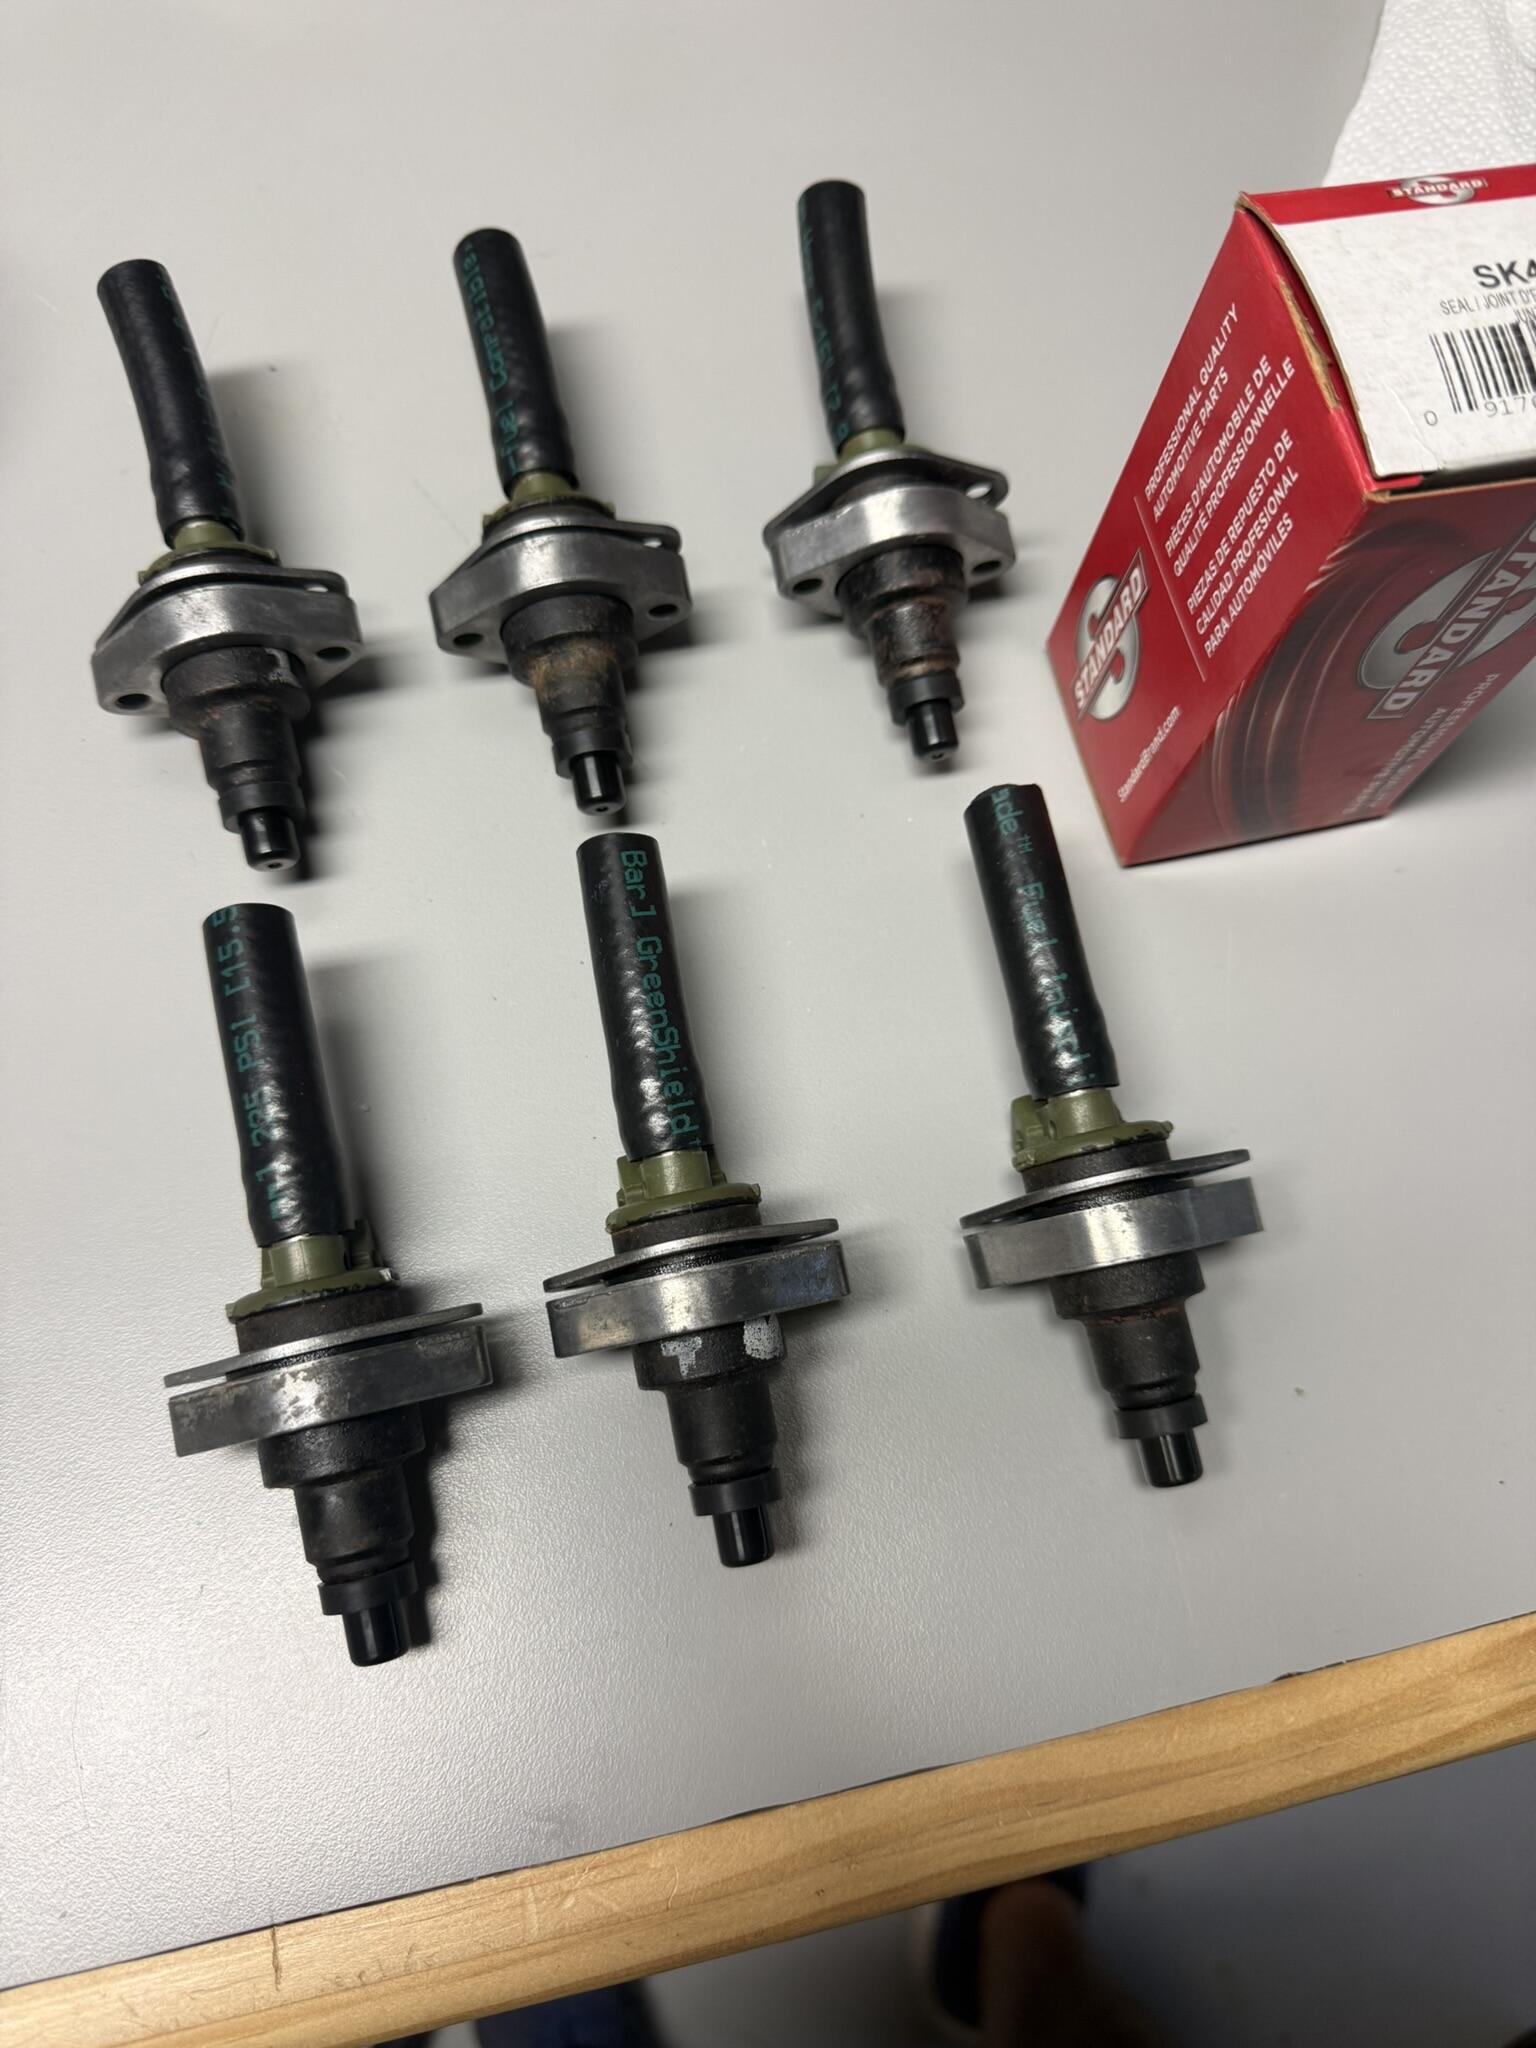
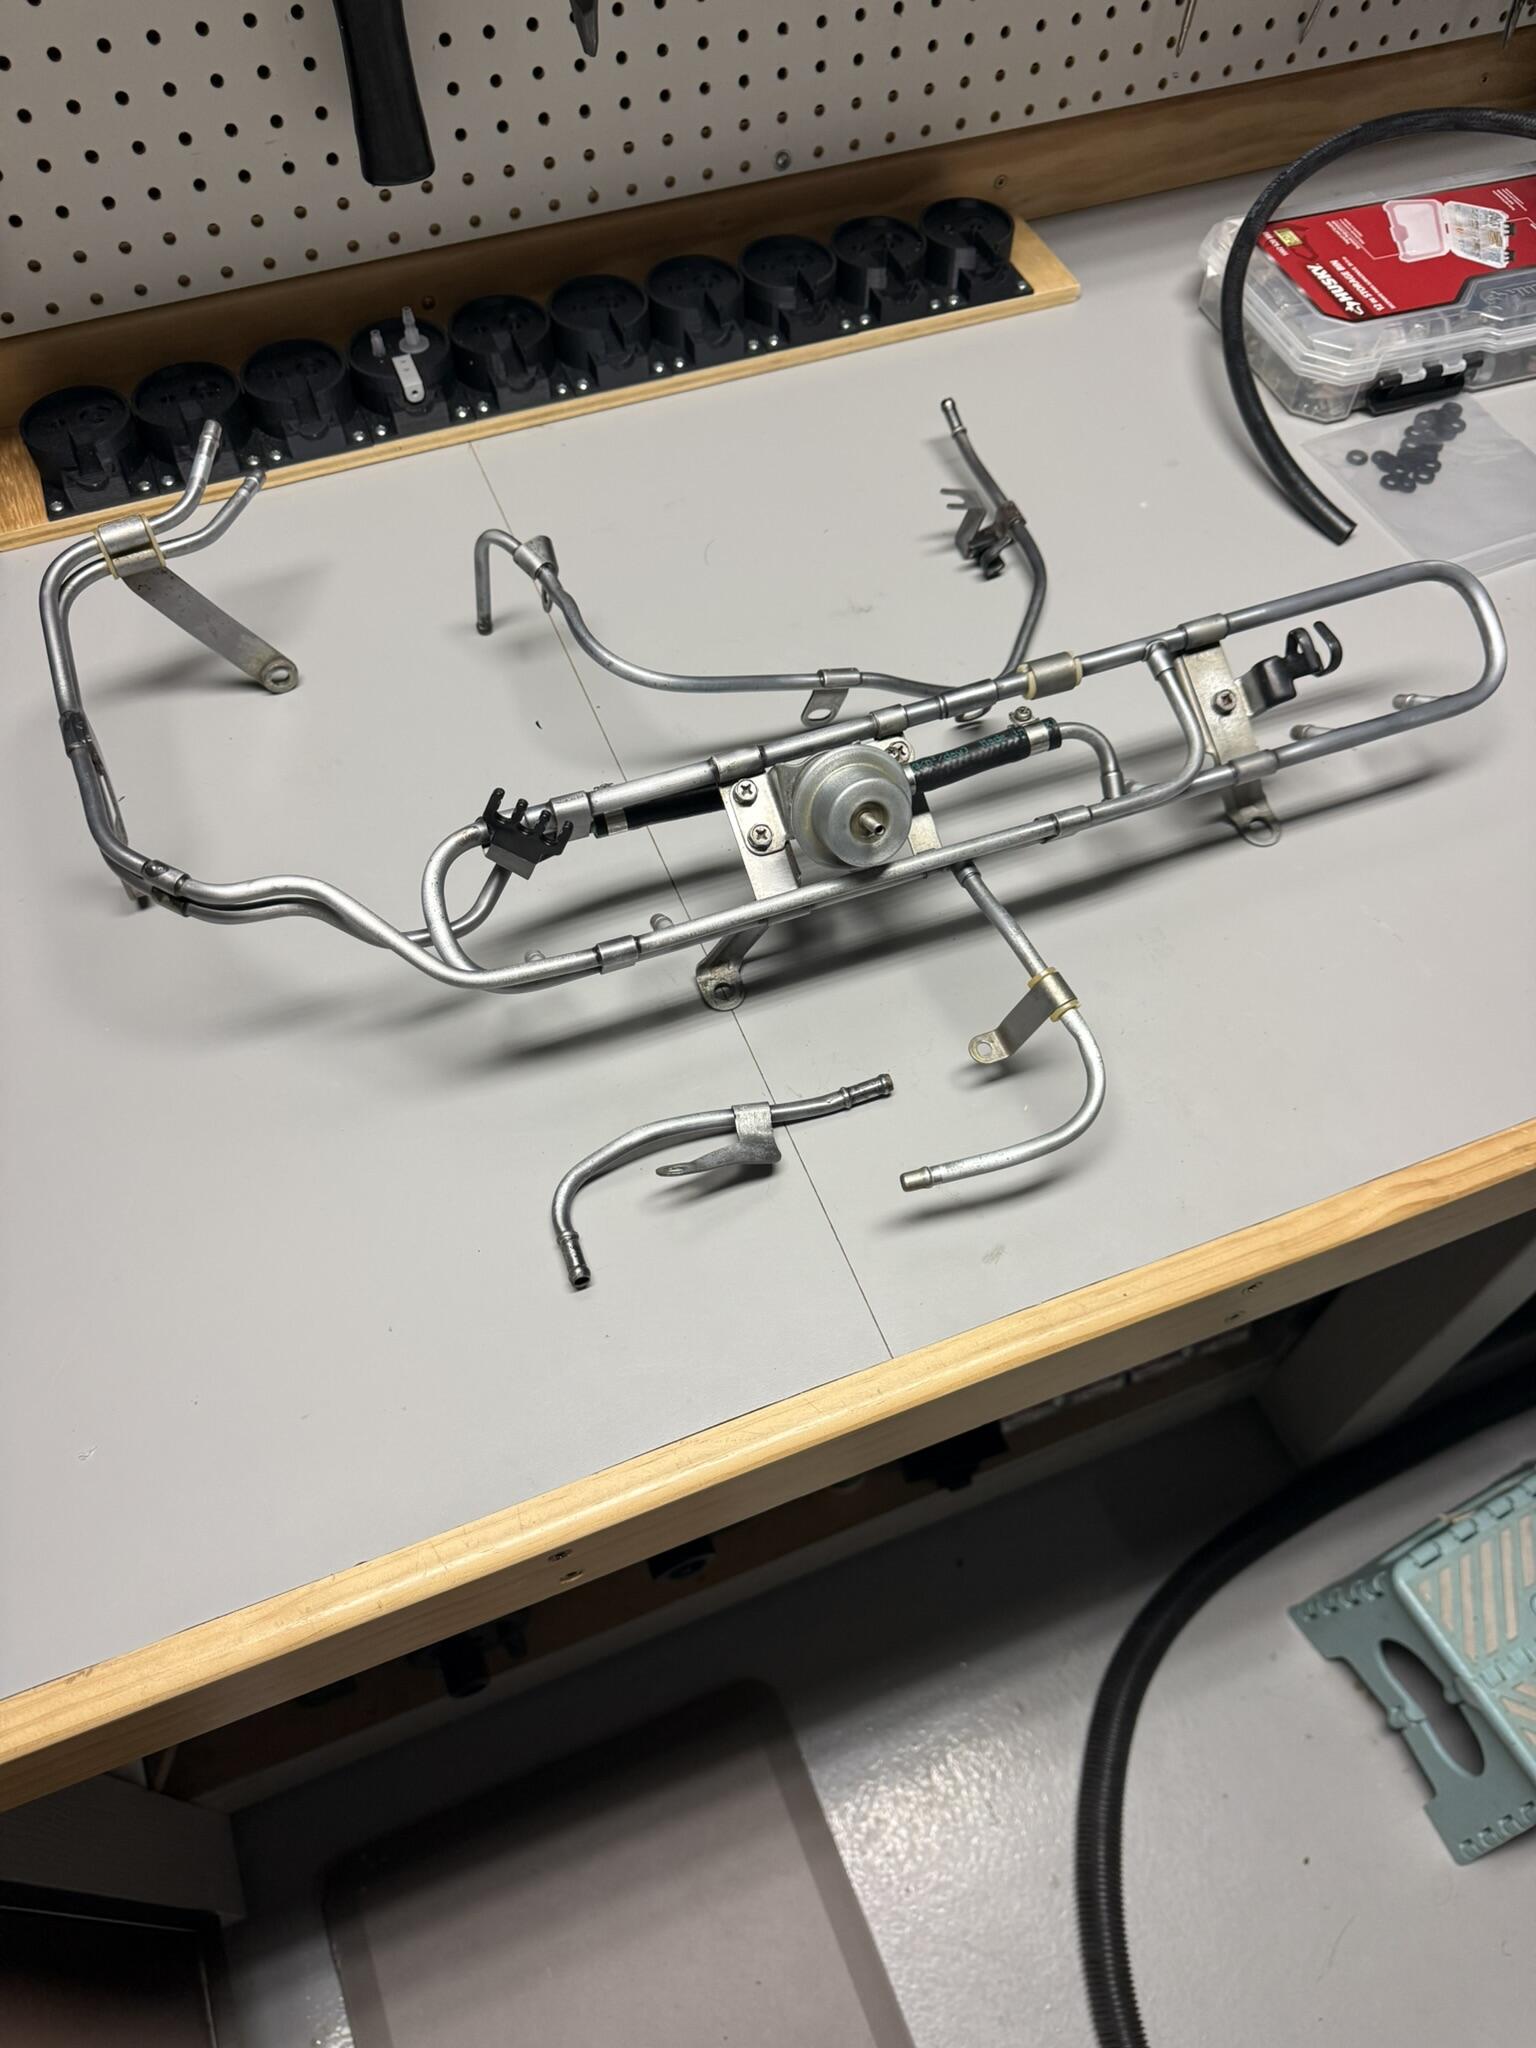
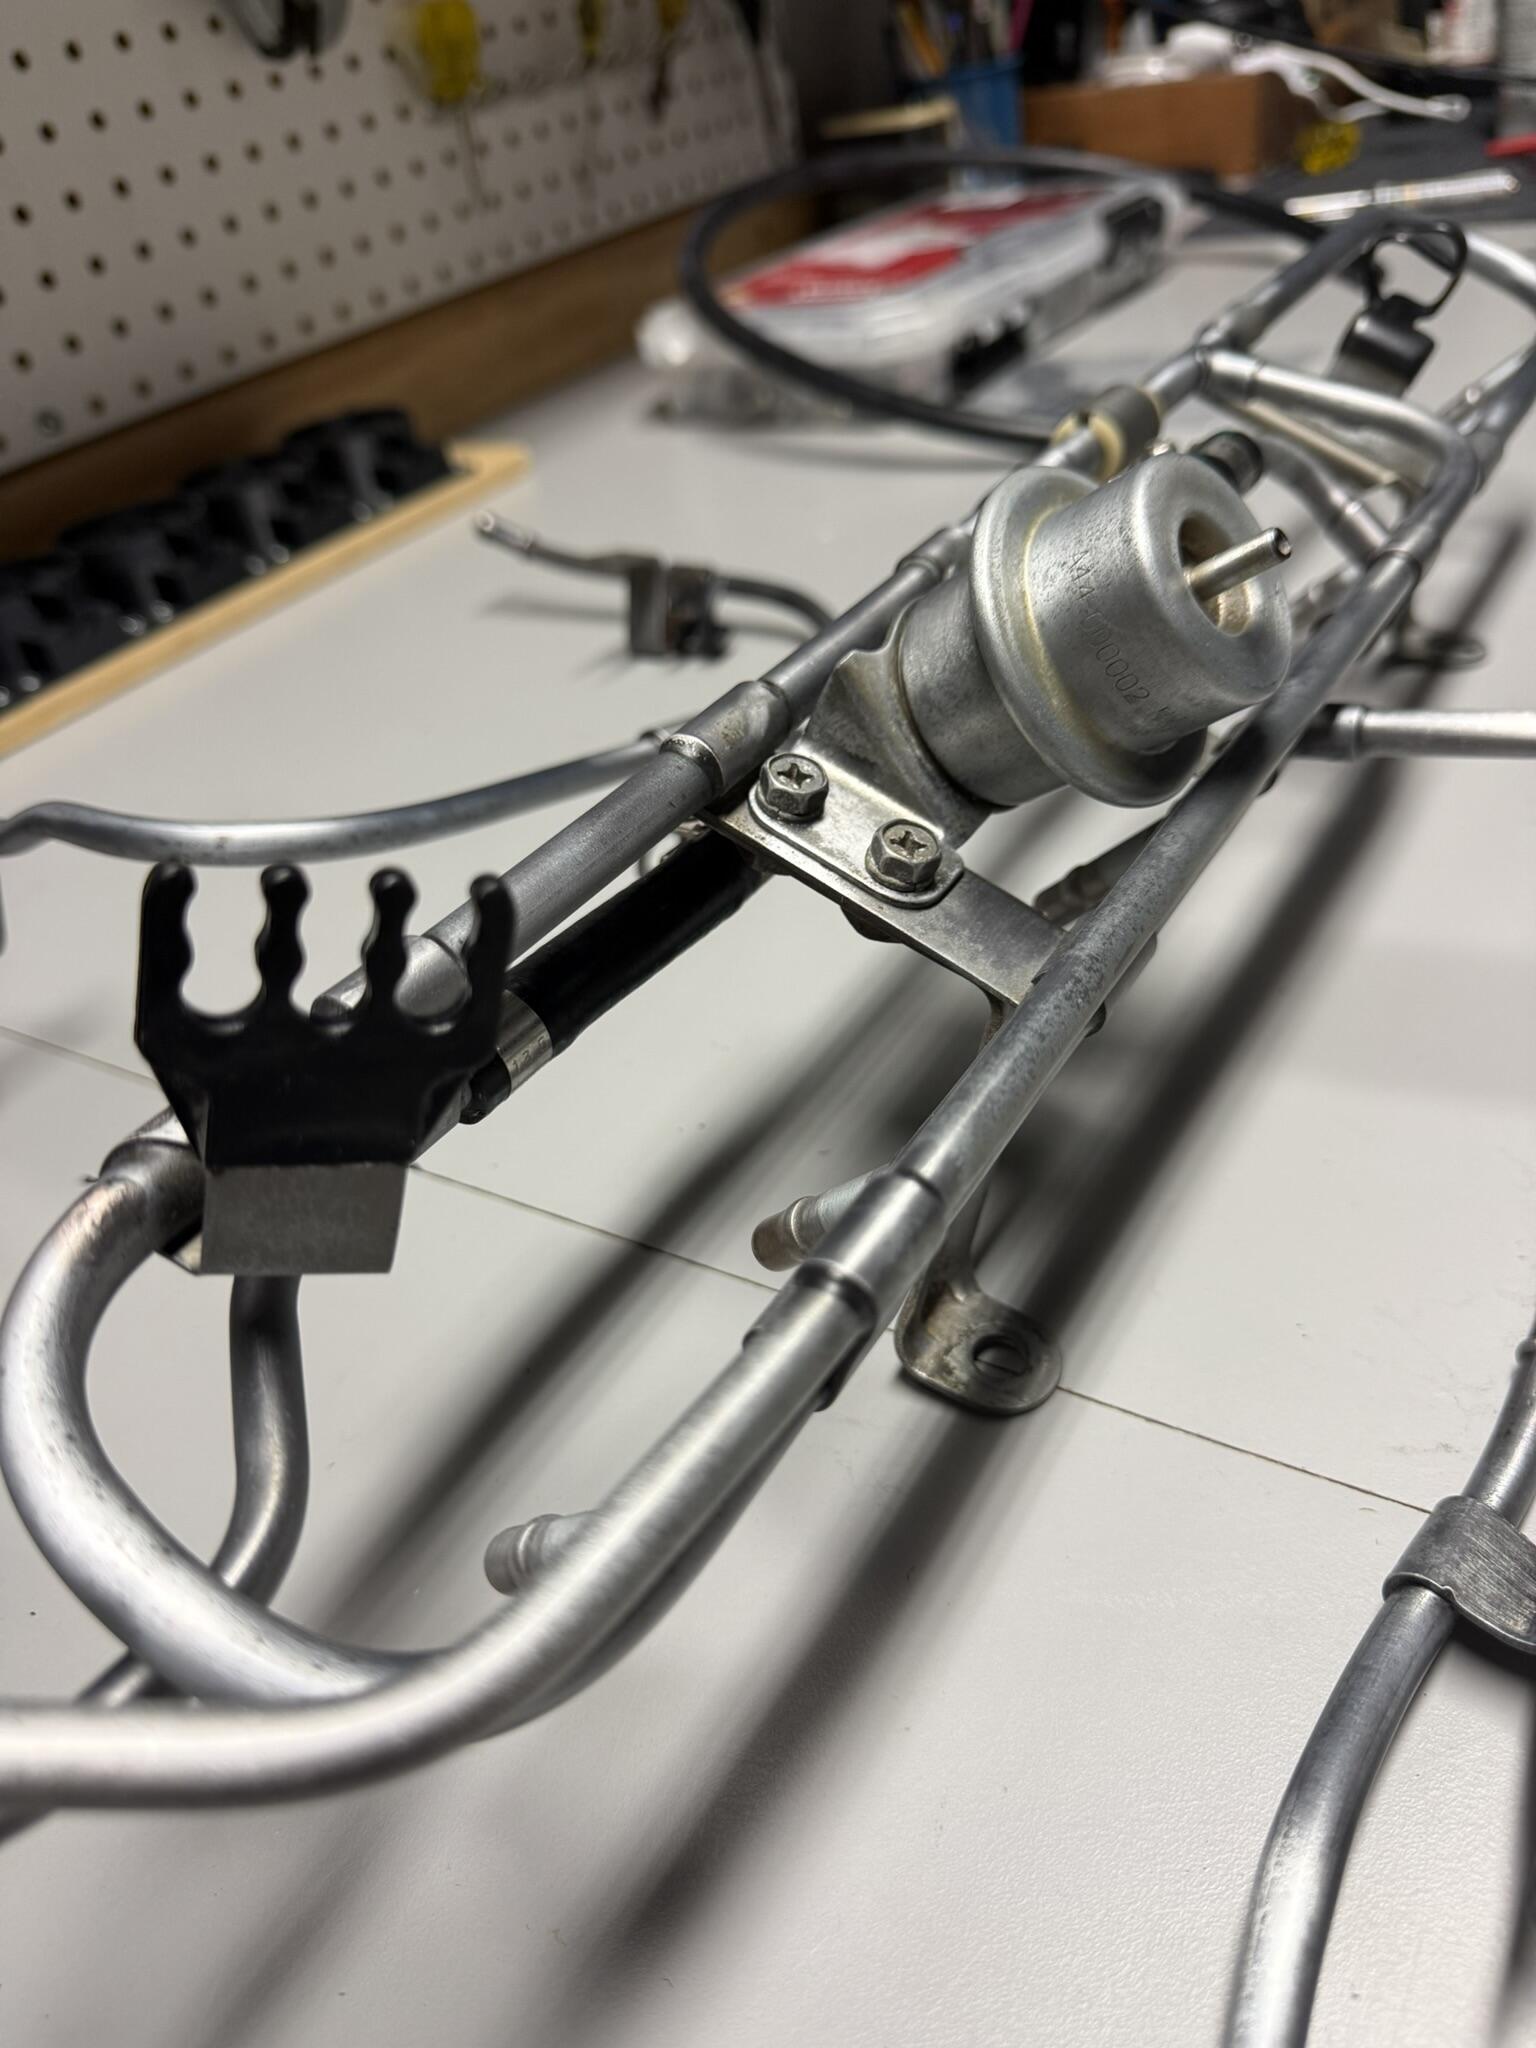
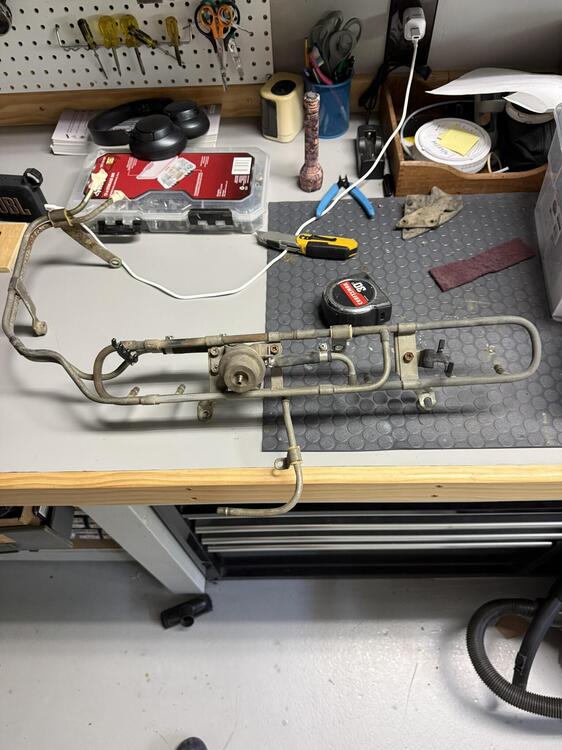
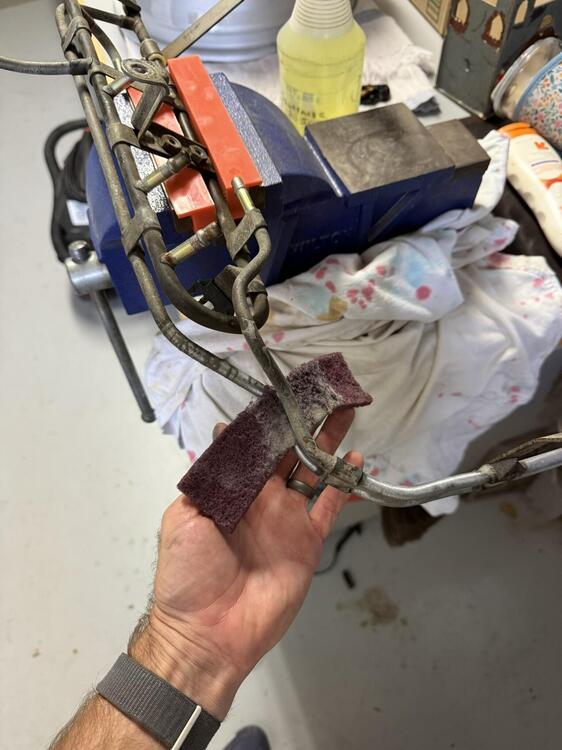
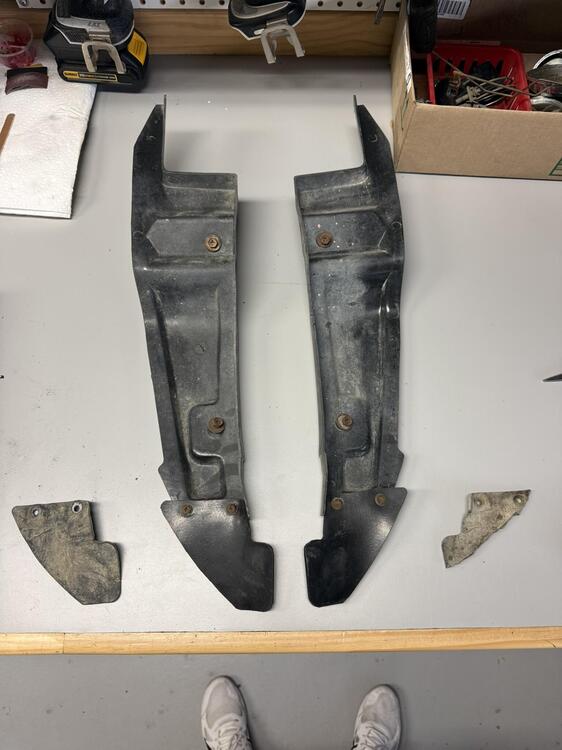
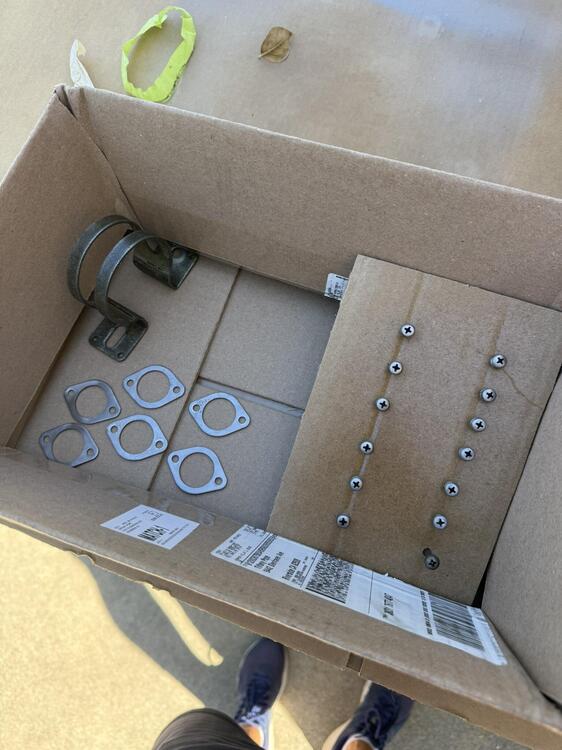
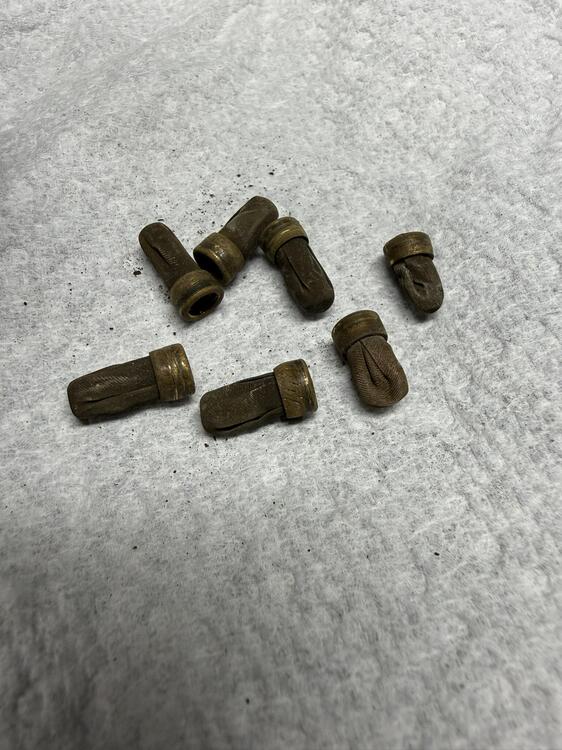
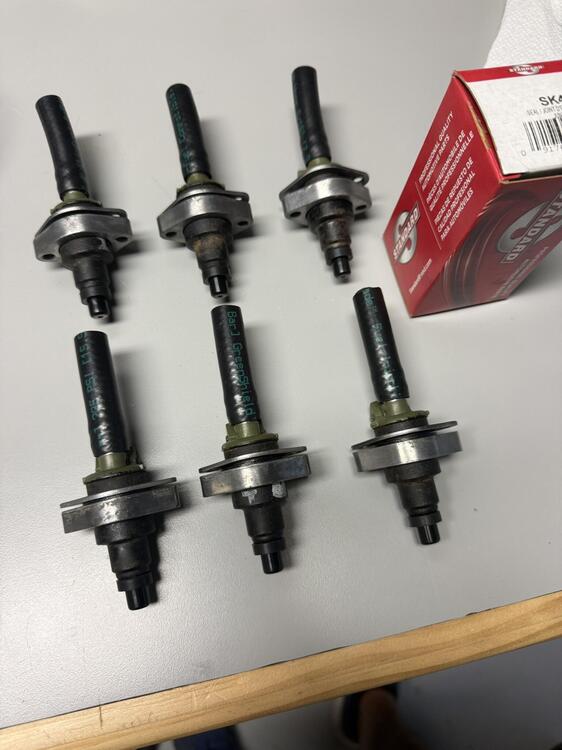
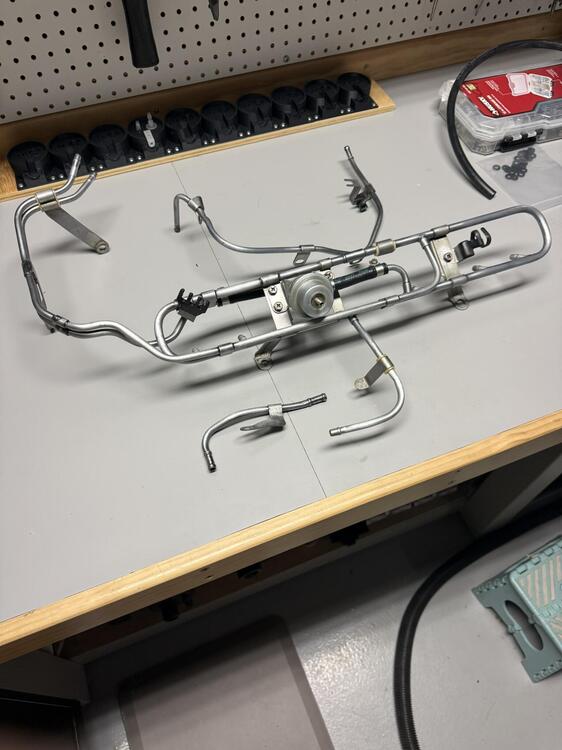
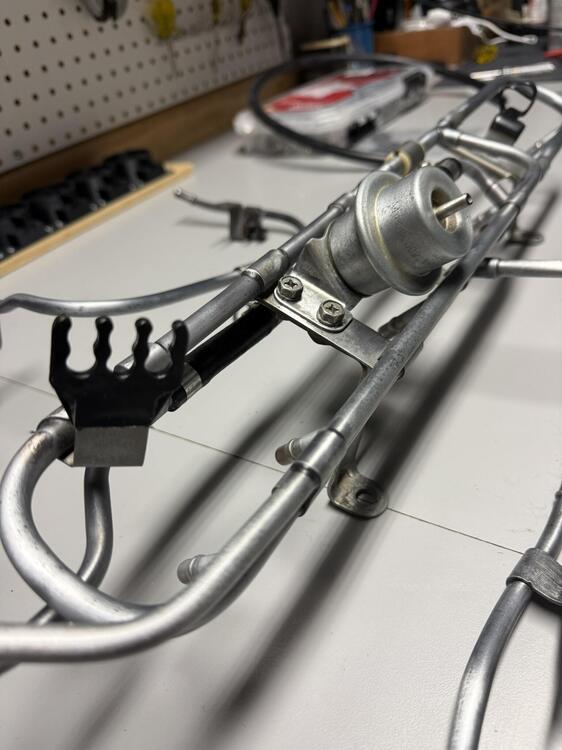
Another little update by way of pictures. I believe I have everything in place to begin re-assembly. Everything removed has been degreased at a minimum, and in some cases more than that. One of those "while I have it off the car it sure makes sense to refurbish it" situations. Anyways, I'm happy I did it. Again, balancing time with results. She'll never be a show car, but with minimal time and effort, I can make it look 80% better at basically zero cost🙂 Here we go... Here's the fuel rail before, exactly as I removed it from the car. Crusty and oxidized... Mounted it in a vice, cranked up some tunes, and scrubbed away with some degreaser and a scotch brite pad. A perfect afternoon task... I had 1 can of 2K matte clear left over from refinishing the wheels and opted to use it on the fuel rail and coolant lines. They came out great, and the 2K should keep them that way. Again, while I have em off the car, why not spruce them up a bit. I know it's a slippery slope, but trust me, there's a limit to how far I'll go...😉 Shiny😎 I did the same thing to the injector hardware because I had more paint than i knew what to do with😅... Speaking of injectors, here they are. Assembled and ready to be installed. New seals, hoses, and pintle caps. All serviced and confirmed good by Jim at injectorrepair.com. I also polished up the aluminum injector holders because why not... Here are the injector filter screens that were replaced, plenty of debris and varnish it looks like... I also replaced the bottom rubber pieces on the inner fender splash shields. Ready for install... More to come. Stay tuned. Also an interesting fun fact, I've been following Leno's law 2.0 here in CA. It's looking promising (which is shocking), and if it does pass, this 78 would be smog exempt. I won't hold my breath, but who knows. I'll prolly end up getting it smogged anyways before the law takes effect next year, which will at least allow me to know it's running right. Thanks for following along this far👍
-
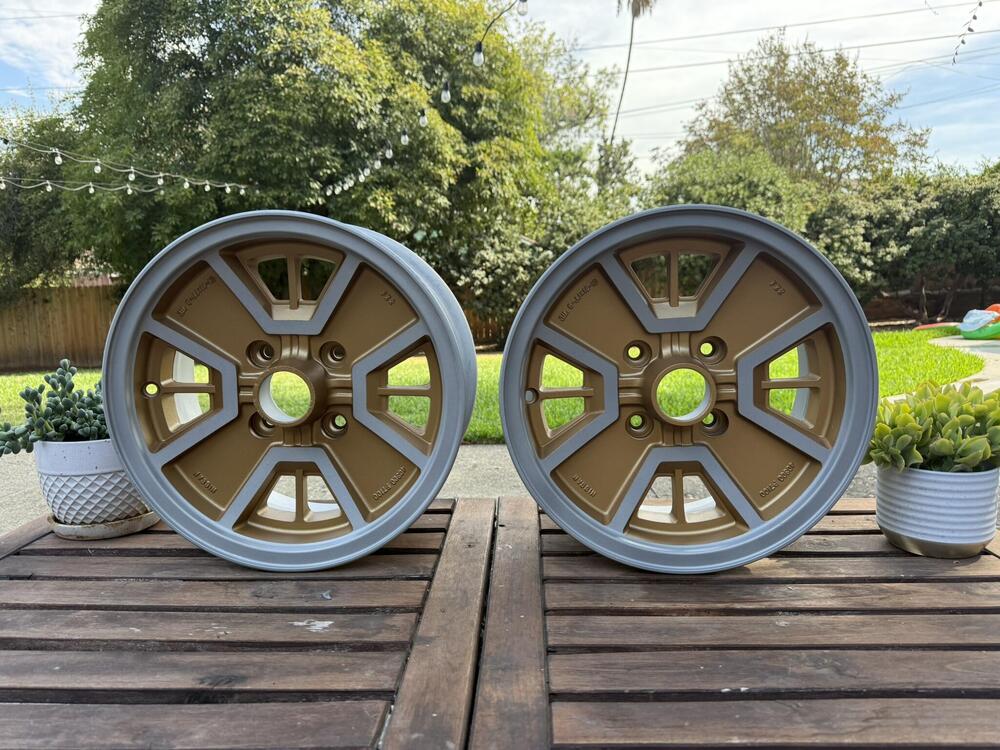
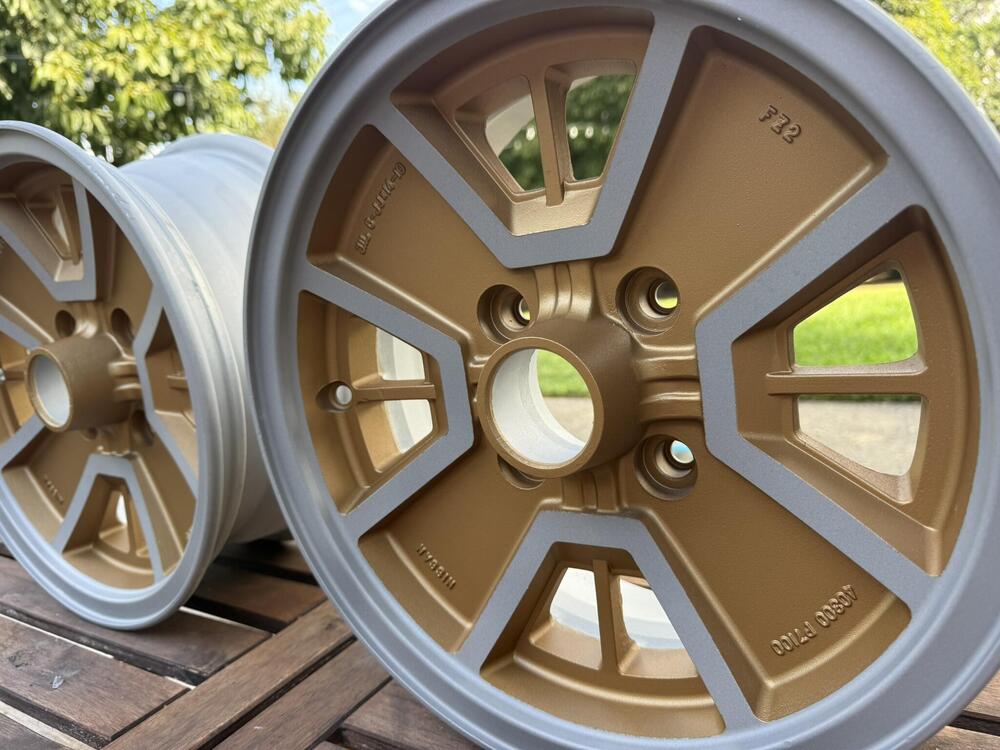
@dutchzcarguy You are correct, but aesthetically I felt that the OEM paint scheme makes the 4 gold spokes too prominent, and I've never been a fan of the "4 spoke" look, so I added some extra gold in there to add more interest and lessen the 4 spoke look. It was a stab in the dark, but I'm happy with the look.
-
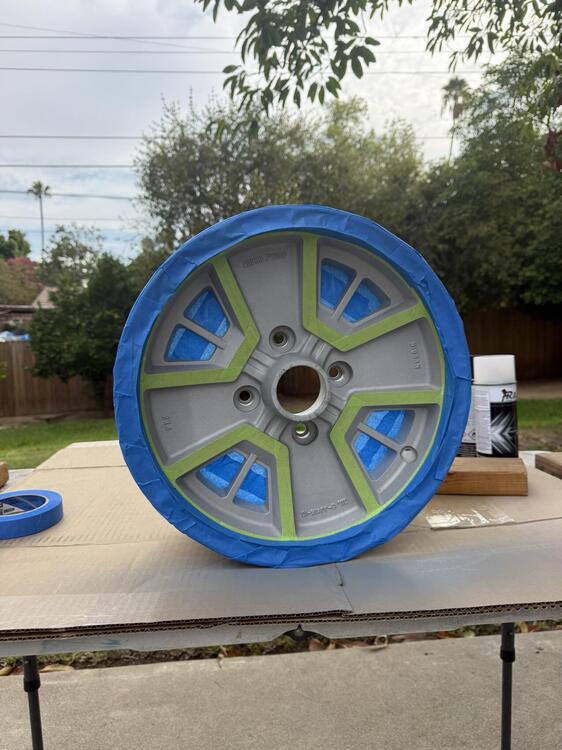
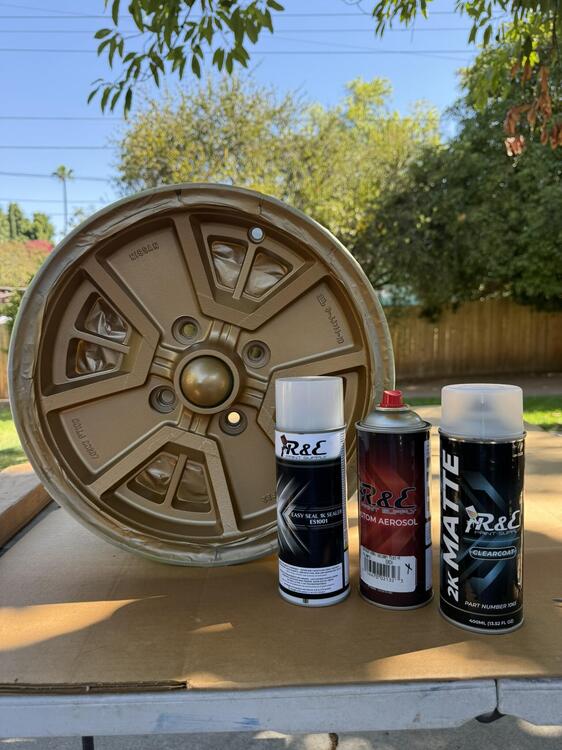
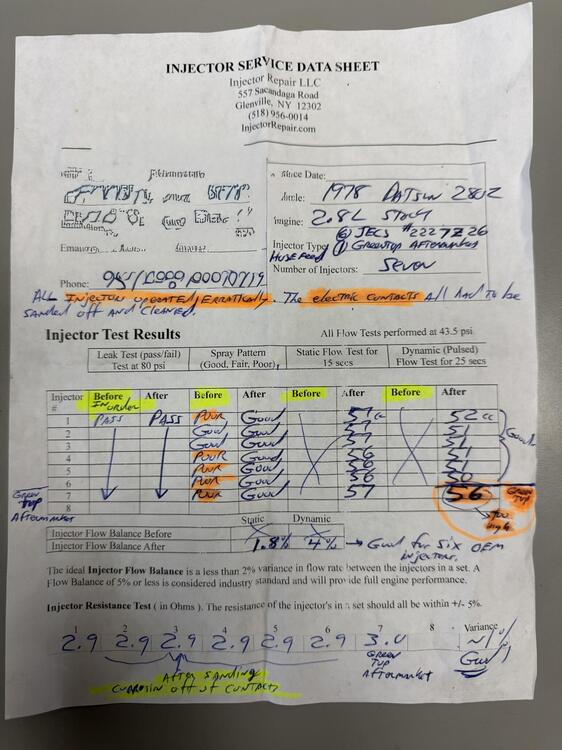
Welp, another little progress update. It's been wicked hot here for the past couple weeks so progress has been slow. 🥵 But I got a few things knocked out! I think very soon I'll be turning the corner and putting everything back together. While I've got everything apart, I can't help but freshen things up. Currently I'm cleaning up the fuel rail and steel coolant lines of surface rust and giving them a coat of 2K matte clearcoat. The same clearcoat I'm using on the wheels, so I'm spraying it all together. Anyways, I'll post some before and after pics of that down the road. For now, wheels and injectors! Wheels: Wheels came out great, I'm super happy with them!😃 I called R&E paint supply, told them I'm looking for Datsun 690 golden mist metallic. They said they could get within 95% of the original, and I'd say they nailed it. I also got primer and 2K matte clear coat from them. The 2K clearcoat is the boss move here because it'll protect these wheels from typical automotive solvents that will eat up a 1K finish. I didn't bother trying to polish up the bare aluminum parts of the wheels because I would've been at it for weeks, and the dull aluminum finish fits with the rest of the patina finish anyways. This is one of those low cost, high visual impact projects that I quite enjoy. Injectors: Got em back this week, woohoo! Maybe another clue as to why it wasn't passing smog. I sent in 6 OEMs (thanks to @siteunseen for providing me with some spares) and 1 aftermarket. Looks like the single aftermarket injector I sent in was flowing more volume than the other OEM injectors. I obviously won't be using it. Looks like the spray pattern wasn't great for several of them as well. Money well spent in my opinion to know that they're cleaned up and ready to go. These were not fun to tape up. Had to use a razor blade to get everything crisp. The green 3M automotive tape was the right choice for the critical areas... Here's what I used, all from R&E paint. Can on the left says sealer but it's actually primer. Guess it was mislabeled they said... The end result. Really like that 70s gold look. Very Trans-AM like... A bit closer up... Oh yeaaaaaaah, the vibe is right🔥These with some white letter tires should be just right... Injector report, I'll be using the OEMs... Anyways, that's all for now. Slowly but surely...
-
@Zed Head Woah, that's interesting! Crazy that it's even possible given a cast aluminum intake that I would think to be immune to that kind of corrosion. I'll take a look in there for the heck of it...
-
Removed the EGR valve just to do a cursory check. Regular carbon build up, but was probably still functional. Applied vacuum and the valve opened properly. There’s really no good method to clean the internal EGR passageways without major disassembly so I opted to just focus on the EGR valve itself, specifically the valve area that does the actual opening and closing. Shown in the second pic. Hit it with some brake cleaner and a toothbrush and reinstalled… Intake manifold, typical carbon buildup, hopefully inconsequential. EGR valve, bottom part is the actual valve After…
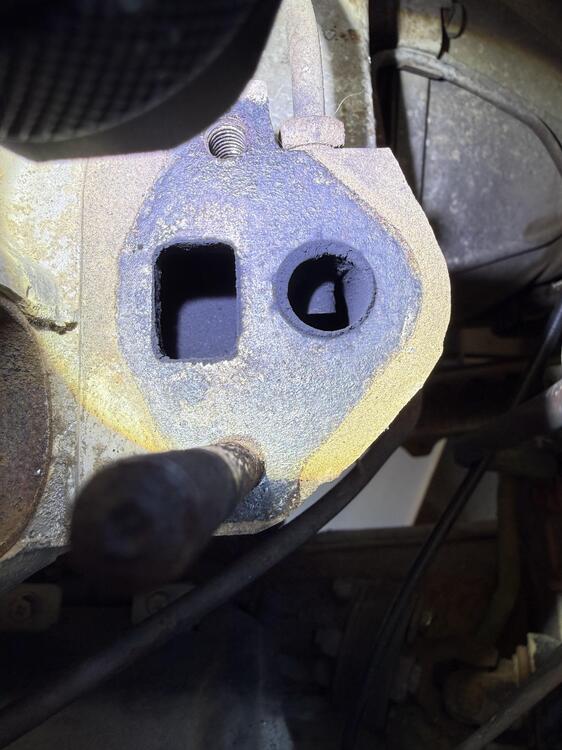
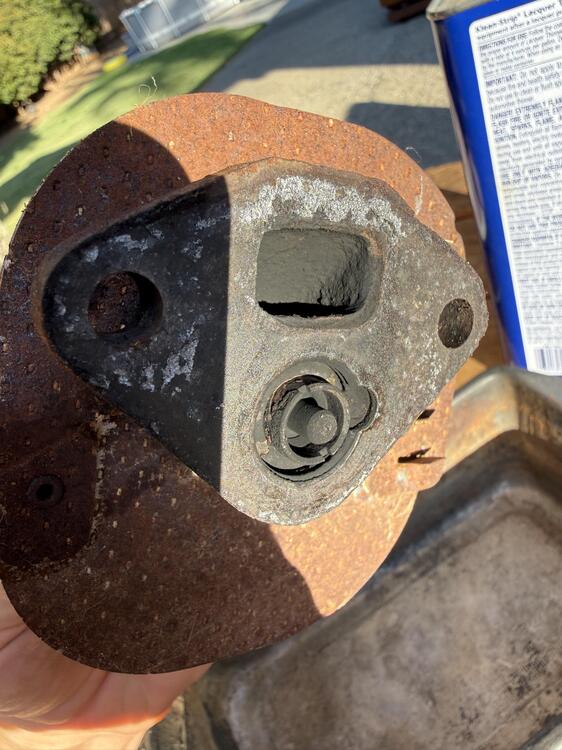
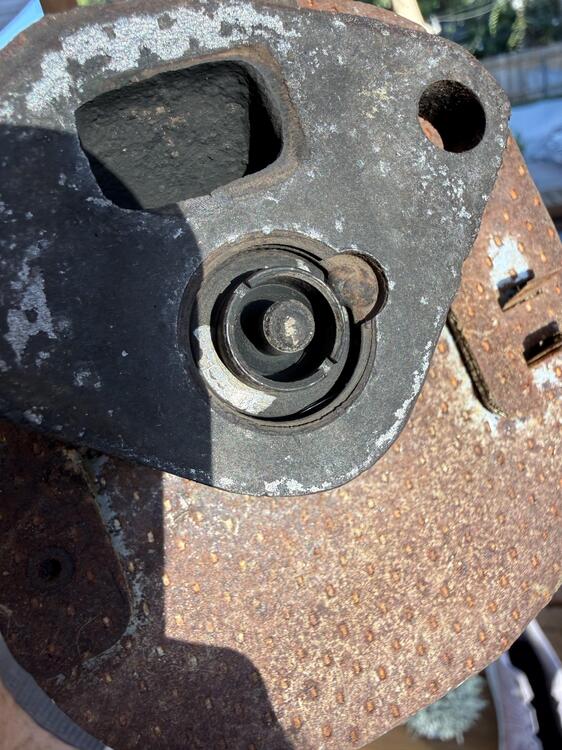
-
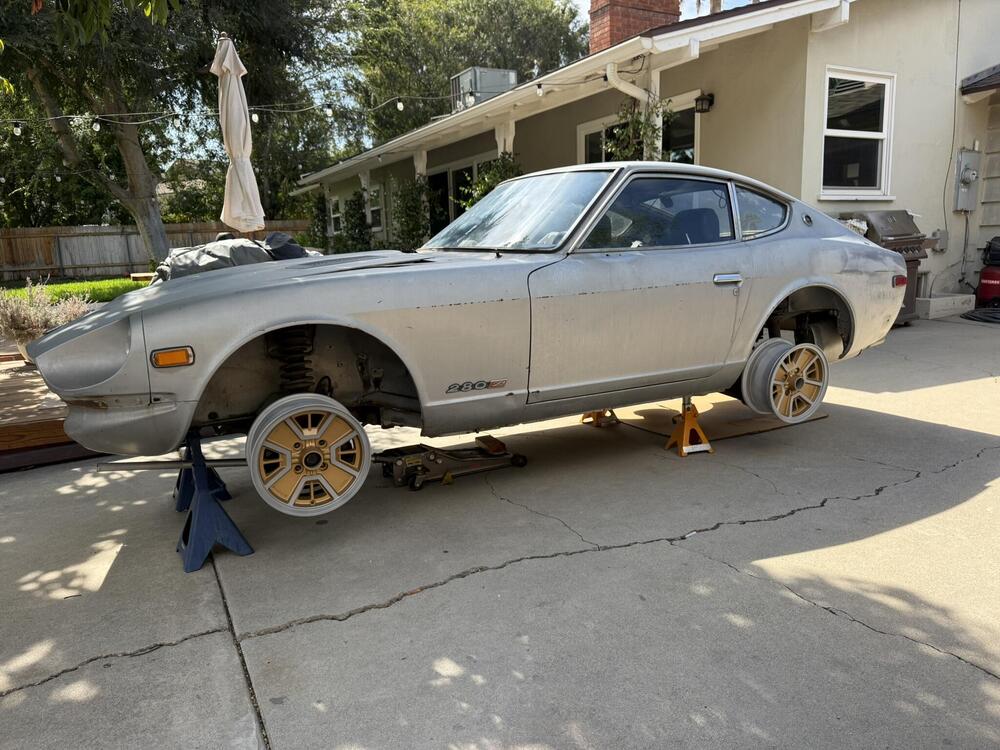
hah, right!? I'm still waiting on my injectors to come back from the service shop. They've been very backed-up, but supposedly they're shipping out this week. He said they were a mess (leaking, spray pattern all over the place), and he was surprised the car even ran. Once those arrive, I should be pretty much ready to reinstall everything. That said, I would've wanted to do all these little tasks before smog anyways (clean electrical connections, new injector pigtails, fix fusible links, repair chaffed wires, fix vacuum leaks, clean AFM, refurb gas tank) And then there's the side quests that sometimes I just cant help myself from getting distracted with: removing bumpers, cleaning out the engine bay and undercarriage. I can justify these because they cost me nothing other than a little elbow grease.😅 Oh yah, and the car doesn't have wheels or tires yet, so I might need to address that🤪 But we're getting closer, and I'm taking my time and enjoying the process, spending minimal amounts of money because I realize this all hinges on appeasing the smog overlords...
-
Yessir, that was next on the list. And it didn’t disappoint. It’s amazing how much debris gets in there over 50 years. My lower back is screaming after leaning over that cowl for a couple hours😅 before… After…
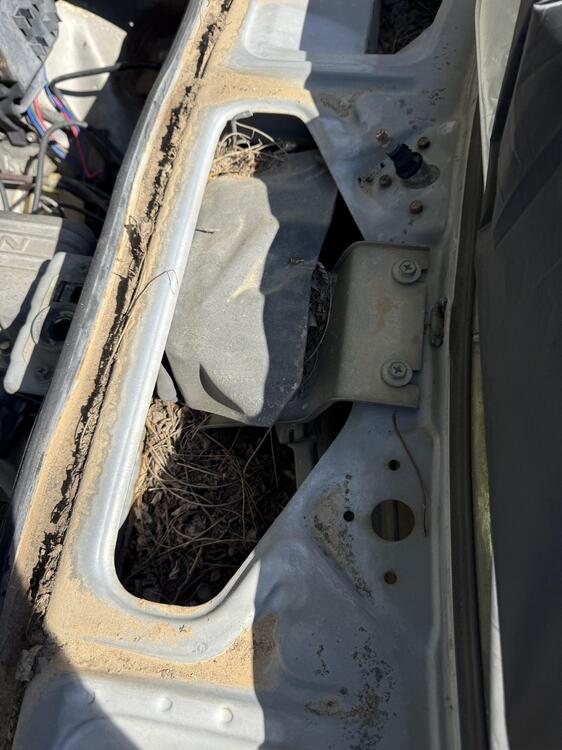
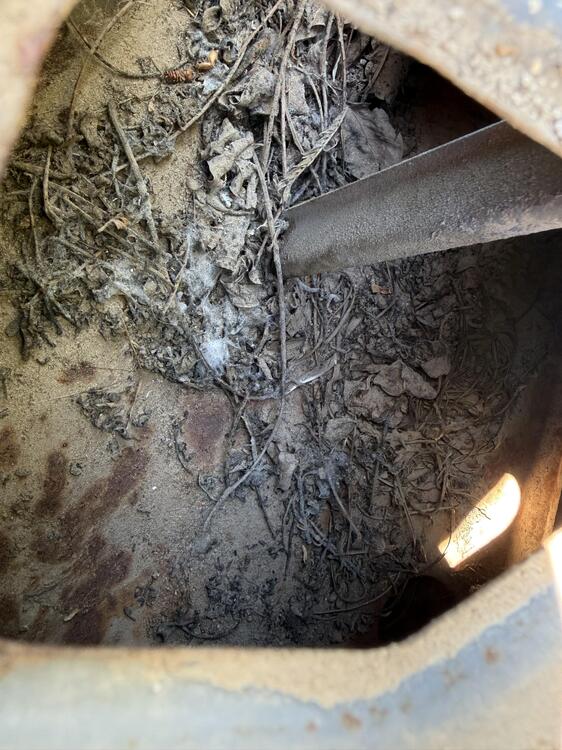
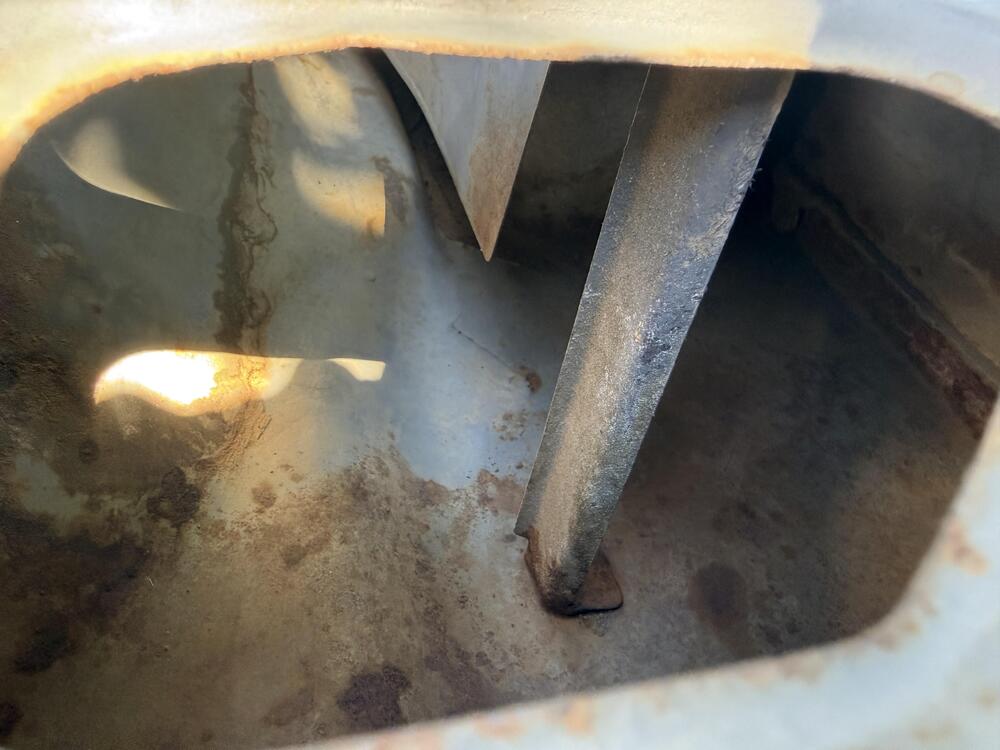
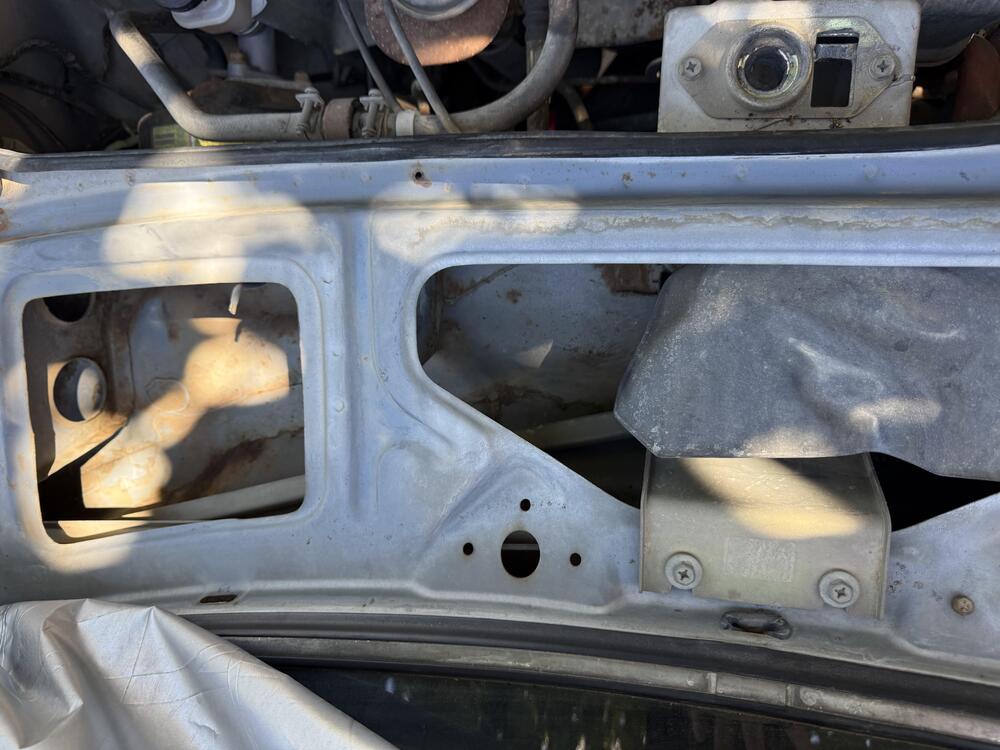
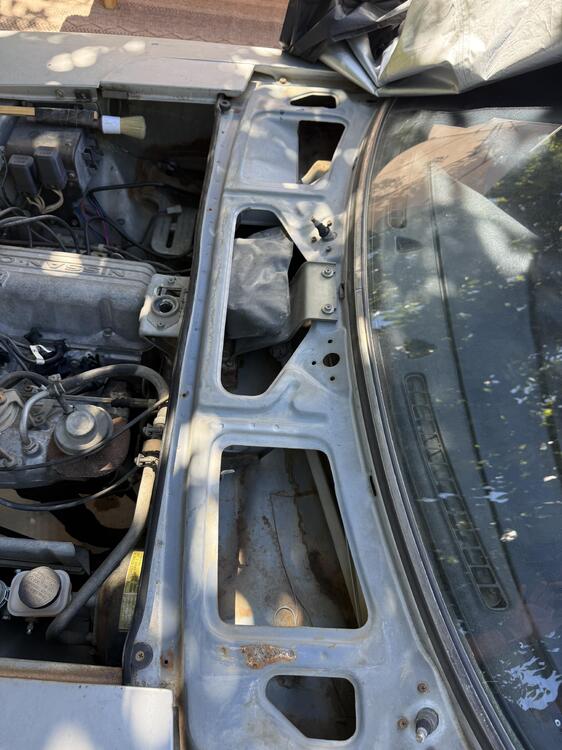
-
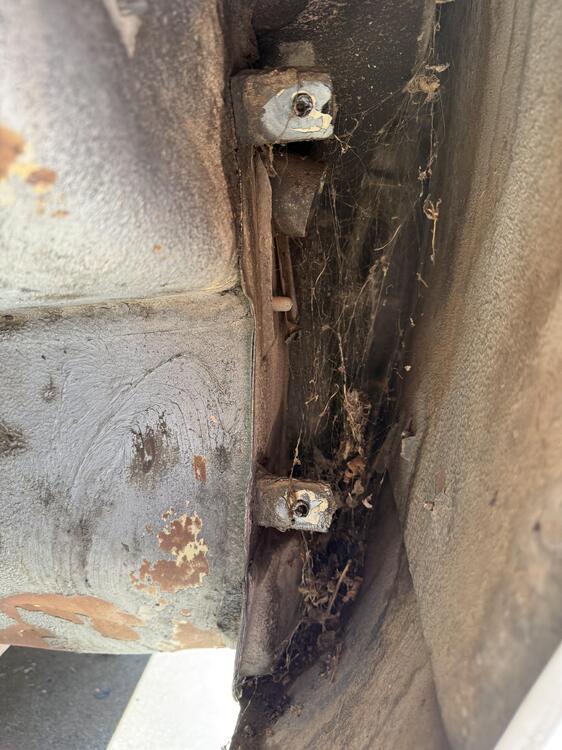
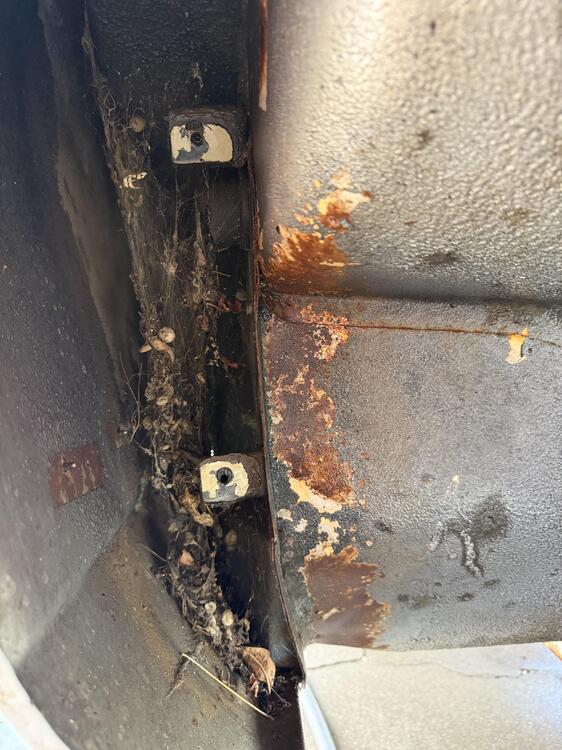
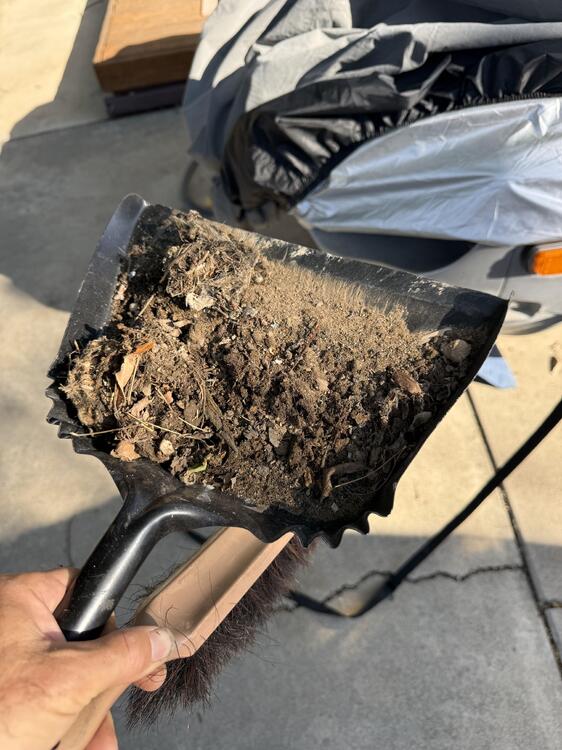
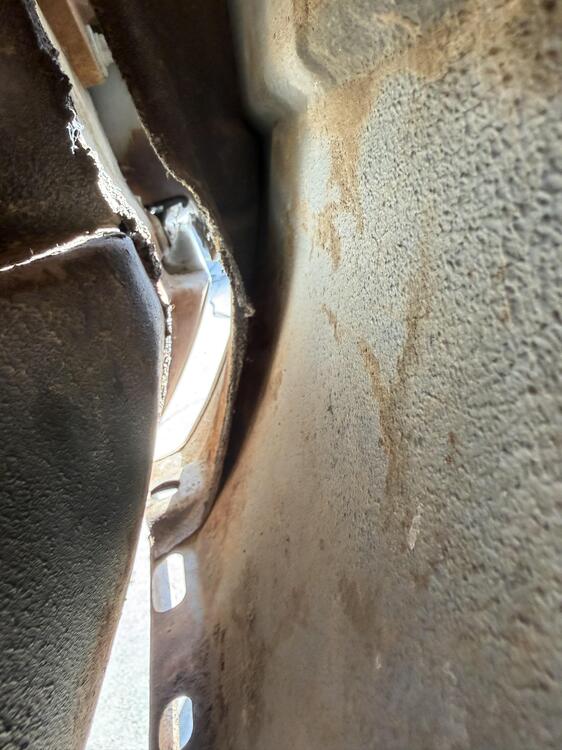
Another little side quest complete… I wanted to do a quick scrub down of the undercarriage and wheel wells to remove decades of accumulated desert dirt and sand. Simple green ftw. I oddly enjoy these tasks 😆 All cleaned up. Peep the OEM springs with the red dot. Rubber shock bellows have seen better days… Also on my list was to clean out the lower front fenders. We all know this is where they like to rot away. Again, I was super pleased with what I found. First of all, all lower fender bolts came out relatively easy, whew! Plenty of dirt and accumulation in there. I think I’m the first person to open them up. Spider webs and eggs as far as the eye can see… Here’s everything that came out of there. Prolly 2lbs of dirt. Makes sense why these things rust out in the fenders… Great news, as close to “no rust” as you can ask for in a Z! The inner fender reinforcement is fully intact and in great shape. Cleaned it out real good with compressed air. Having had a 240z with plenty of rust in the past, I’m thrilled with how dry this 280 is, both sides look great. Next side quest will be getting those wheels painted up…
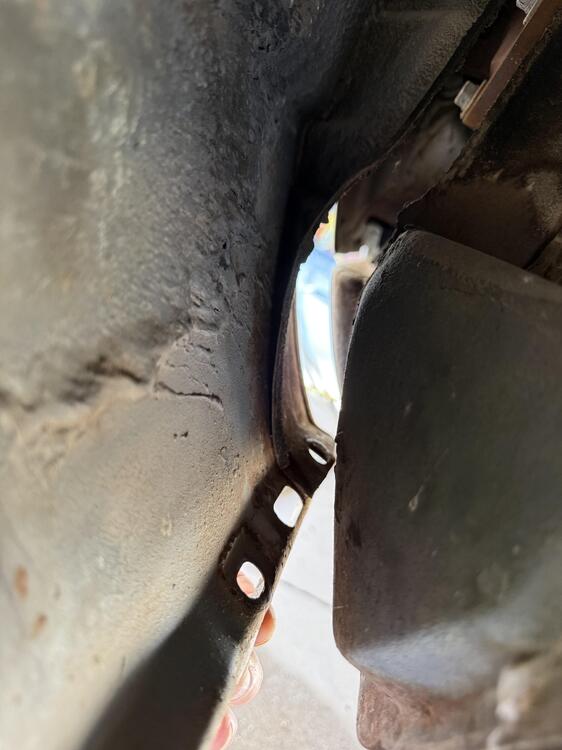
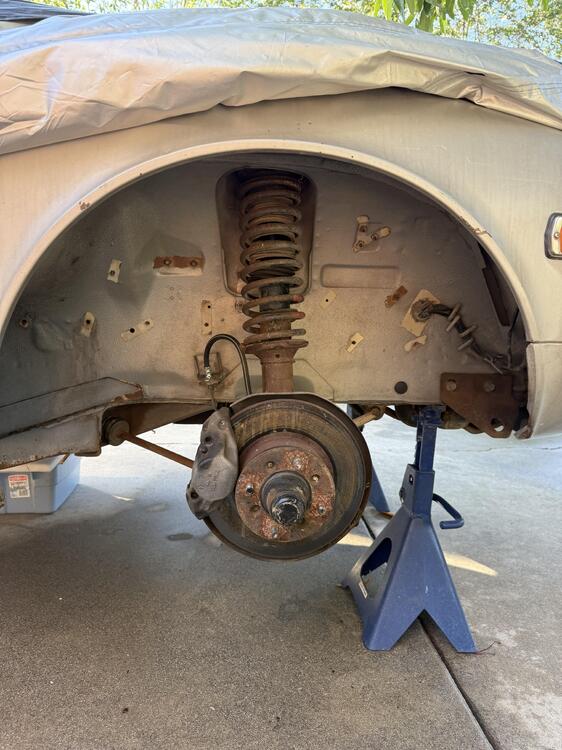
-
@Zed Head Yep, the 2 green wires (fusible links) are present in my setup. I'll clean up the connections and call it done.
-
Yes, the 78 is a bit different setup than the 355 mile BAT car. Everything I find just shows the two white wires "disappearing" inside the sheath that's wrapped around the positive battery cable. I can only assume they tap into the positive cable somehow. There's really nowhere else they could go. I suppose I'll just tie them back in with a proper connection and be done. Here's a couple reference pictures of 1978 cars from BAT... to show what I mean...
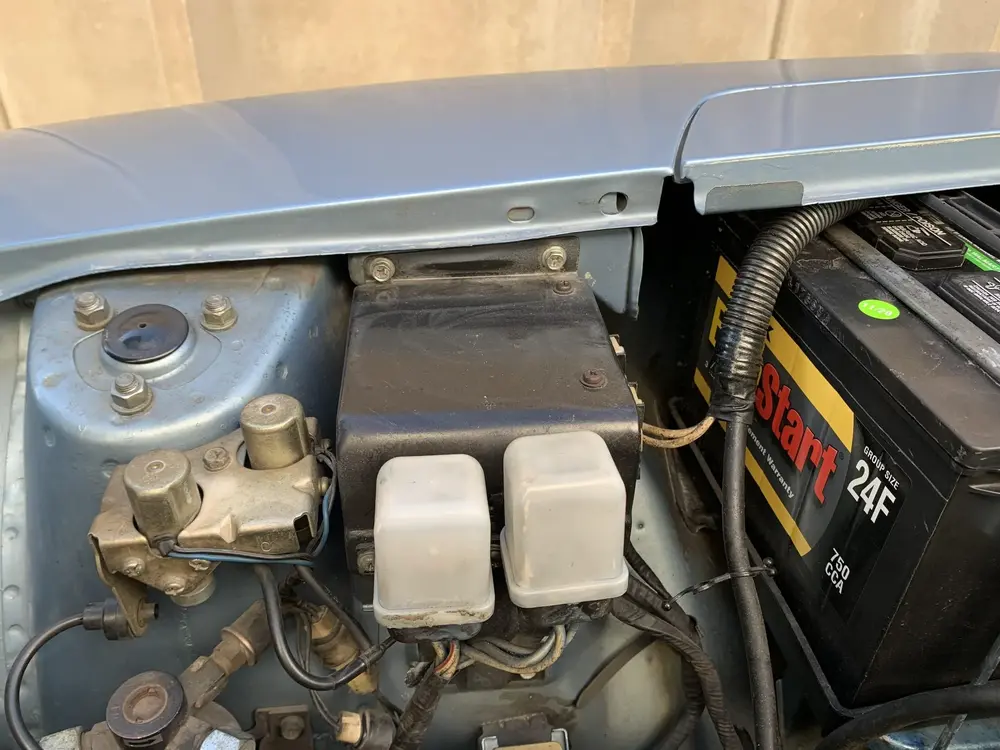
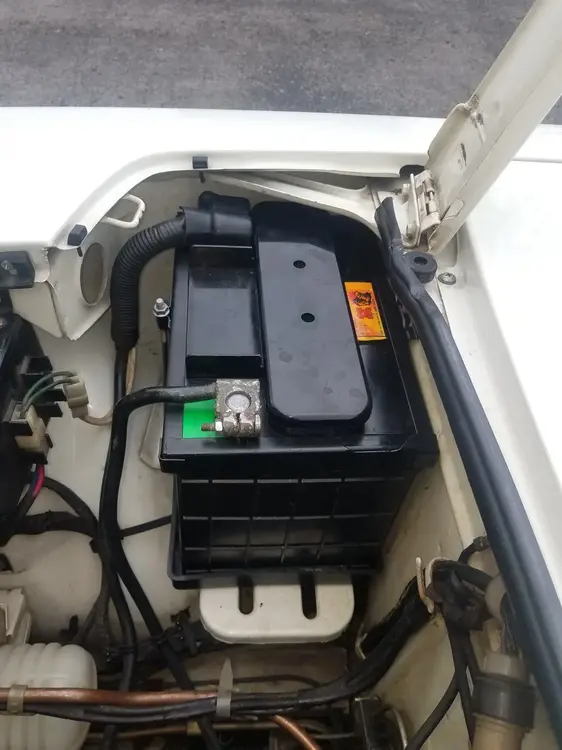
-
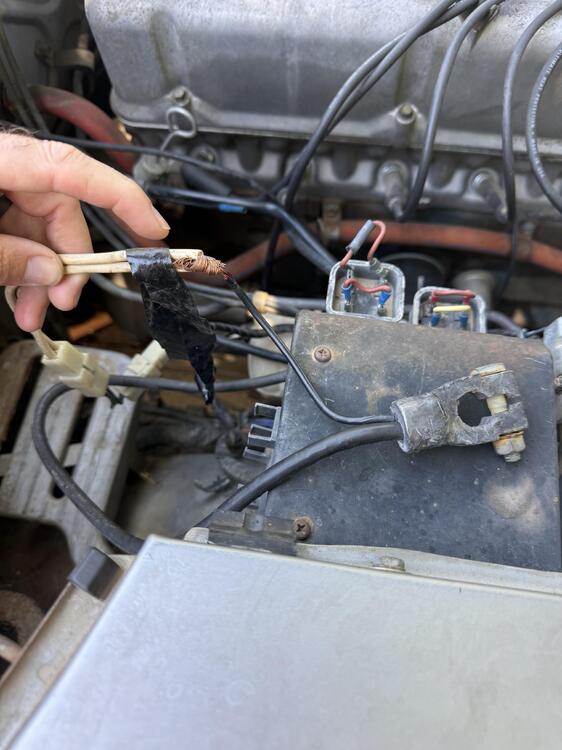
Picture request! For those with 280Zs, can you show me what this connection should look like? Positive battery cable pigtail to fusible link. Mine was just twisted together and wrapped in electrical tape. I’d like to see what it should look like before I attempt a repair 👀 Thanks!
-
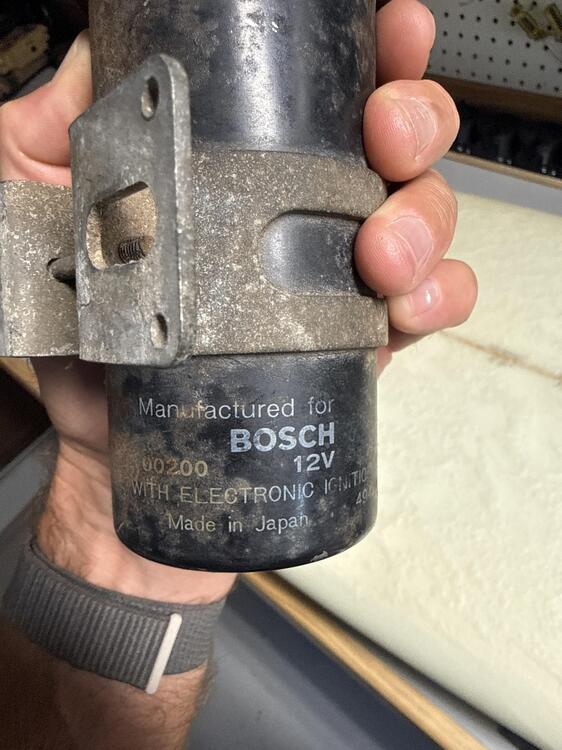
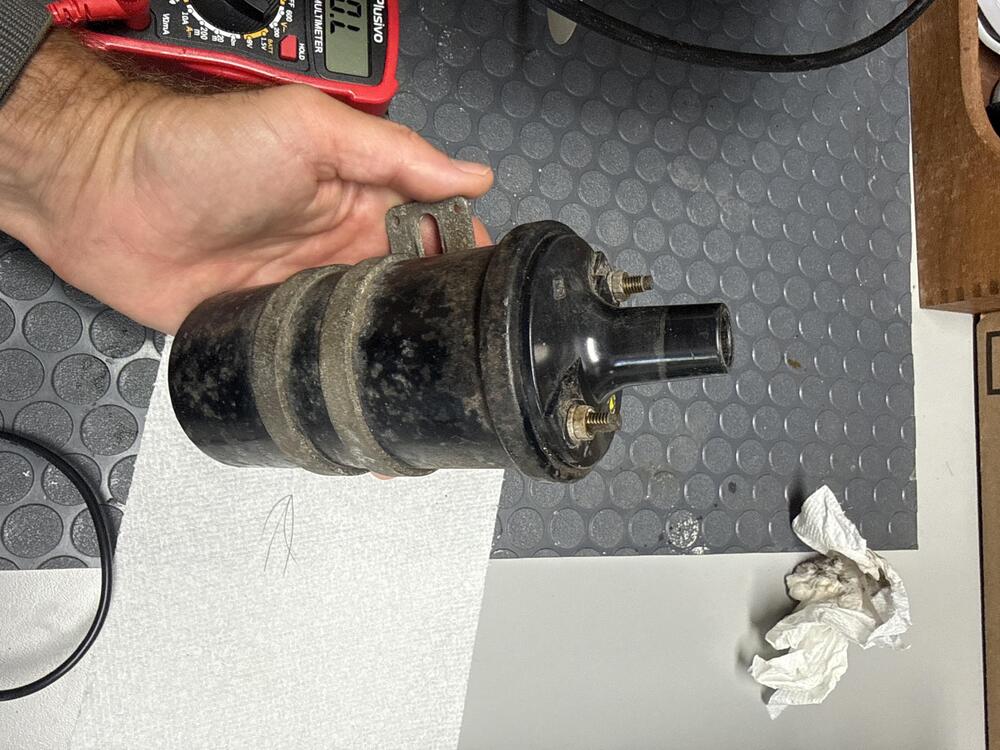
Cool, used 280zx coil arrived today. Primary measures 1.0, secondary 10700, both nicely within the FSM spec. And cheaper than anything new at $25. Appears OEM, made in Japan, Bosch 00200, “use with electronic ignition” markings. Not the prettiest on the outside, but correct on the inside👍🏼 One more thing off the list.