Ed
Free Member
-
Joined
-
Last visited
Everything posted by Ed
-
Something else that might help you identify the differences betwee the 240's. Is a parts catalog either from Victoria British or MSA. Most of the other information can be found here on this web site. There is TONS of info here. Welcome and have fun with your restoration. P.S. one thing I recommend before you start your restoration is start buying parts now. :classic:
-
Are you going to do any of the work yourself? Or are you going to take the car to a shop and say "rebuild the engine please"? The first will get you some good parts for some extra ponies. Pistons, porting, cam, ignition, headers etc.. The second will get you a stock rebuild.
-
I believe the 5 slot only came as wide as 6.5" or 7" X 14 which would allow you to use a 215/60 R14 (you could use something else but it wouldn't look right IMO). You could try some bone yards or keep searching E-bay. I've seen them there every now and again.
-
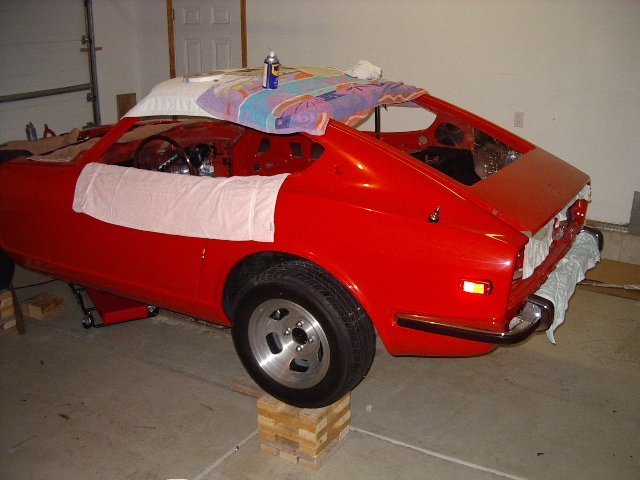
That roll bar with the thick padding looks like it would hit you in the back of the head.
-
I think all this is really going to depend on the condition of your head. How much has it been shaved? Or has the combustion chamber been modified? You will really need to measure the combustion chamber cc's, provided along with your bore/stroke and the head gasket cc's and the 0.08 positive deck height. You can then find out exactly what your compression will be.
-
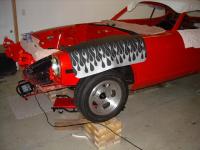
Here's a picture:
-
Is the headlight cover for the "G" nose different? It looks longer (judging by Alans avatar). If so are those rarer?
-
Just a suggestion, before you start welding make sure that BOTH surfaces are clean, you must remove all rust, grease and dirt. Any impurities on the welding surface can cause "popping", excessive slag and welds that are not as strong as they could be. $.02
-
$650.00 or more, easy.
-
The front bumper cost me about $200 + the bumper protectors @ $25 each total $250 The rear bumper 5 pieces + close to $300.
-
Sorry, back in the day I lived about 30 miles east of San Diego.
-
I'll second that. These guys drove over 100 miles one way to deliver a bumper to me. Those guys were awesome!
-
Thanks for the interest guys. Just to double check this is for the 73 and will be too big for earlier models. As soon as I meet with the rubber company guy and get some figures I'll let you know when and about how much. Thanks
-
I'm having the rubber grommet that goes around the engine bay wireing harness at the firewall reproduced. It will fit the 73 and early 74. Not sure about the later years. The outer diameter is about 2 1/2 inches and the inner diameter of the rubber boot is 3/4". If anyone is interested in one let me know and we can reduce the price with eachone made.
-
What makes you think they do the underside in "Overhaulin"? I've seen them weld new panels over rusted ones without treating the rusted one. Also I've seen where the underside wasn't touched, except for the suspension components and brakes.
-
Are you going to get a full paint job or will the door jambs, engine bay, and the hatch area be the original color?
-
Even the replacement bolt you receive here in the states from either VB or MSA are not genuine Nissan.
-
First off the most important thing to consider, is the nut/bolt worth re-plating or is it rusted beyond repair? If your replacing a handfull of nuts/bolts going to the hardware store and replacing those bolts would be cheaper. Re-plating all the nuts & bolt in a restoration can be quite expensive. Most platers have a minimum that they charge no matter what you drop off. Other platers will charge you by the pound. Personally (and having been through this) I replated ALL of the nut's, bolts, washers, links, clamps, headlight assy, etc.. pretty much everything that was originally plated. I've been to the plater seven times at about $50.00 each trip. Were talking $350.00 so far. Would it have been cheaper to replace all those nuts & bolts. I think it would have been about the same, give or take a few dollars. BUT I do have the knowledge that my car has the original hardware. Not the grade 8.8 oversized head replacement. To each his own I say. It is YOUR car.
-
That's your negative ground wire. It connects to the negative battery terminal along with the big thick cable.
-
Looking at your picture again I can see several wires have been added to the car. None of those wires going through the firewall are stock unless they go through with the wireing harness. Either those wires were put there for a sterio, amp, fog lights or who knows. Trace the wire to see where it goes.
-
Take each bag of nuts and bolts and in your notebook write down where nuts & bolts go write down the size, length, pitch and a description of the bolt/screw. Measure the washers ID, OD, thickness. Same for the nuts. Then throw it in the bucket. I've been to the platers seven times, when I get the nuts & bolts back I inspect each one and then put it back in their corresponding bag.
-
I don't think that running the you know what out of your car is the proper way to fix anything. But that is just my opinion. It's hard to tell what your wires go too with all those pretty colorfull wire looms all over the place. There is a thick wire that runs from the battery negative connection to the firewall. That may be the wire in your first picture. The second picture I can't tell.
-
I agree, start with the fuel/brake lines. Then the E-brake, suspension, then take it off the rotisserie. I put my rear bumper on before the gas tank to have easy access to the side bolts. Once you get your Z back on the ground you can finish the brakes and the driveline components. I have my Z on stands to make it easier to work on. I'm now working on the interior and the door window and lock mechanisms.

-
The 72 and 73 grommet are definately different. The 73 is almost 2 1/2" in diameter where the 72 is about 1 1/2". If I knew how to make the mold and pour rubber I'd definately try and make some.
-
Hey guy's, I can't believe this but a simple rubber grommet is holding up my restoration. I did have a few sources but they have all fallen through. I need the rubber firewall grommet that goes around the engine bay wireing harness. It goes in the firewall and has a boot on the engine bay side. I posted in the classifieds a picture of what I need. Can anyone help? It is for a 73 which is larger than the earlier models. Thanks.