Matthew Abate
Community Member
-
Joined
-
Last visited
Everything posted by Matthew Abate
-
No totally. That’s why I posted. I can’t think of anything I missed and that’s the kind of stuff people forget. The arrow is pointed away from the booster and toward the manifold.
-
When I bled them, I did it with the caps off, so I don’t think I have a problem with vacuum. I just wiped around the calipers with a blue paper towel and I’m not seeing any residue. It’s pretty pristine. This is why I’m so stumped. Other than maybe having a huge bubble that just won’t come out no matter how often I bleed it, I can’t think of how air is getting in without the reservoir levels going down or evidence of a leak somewhere. It has to be air, though, right? Why else would the pedal get stiff and then soften after a minute?
-
Bleeders are up on both sets.
-
No. I am interested in them but I’m trying to get it done without buying anything else.
-
Need some help with my brakes. I have the Toyota brakes in the front and the maxima disc conversion in the back that Z Car Depot used to offer. I have a 15/16 Nabco ZX master cylinder, new stainless brake lines, the Wilwood manual proportioning valve, and stainless braided hoses. The master cylinder was freshly rebuilt before I installed it. The pads are brand new “performance” pads (can’t remember the brand). The booster is a aftermarket one and was new when I bought it. I can’t remember the size but it’s the biggest one that bolts in without changing the firewall. The hose has a working check valve and is on the #6 intake runner. I’ve bled the system five times, which I expected because it was completely empty and I filled it from the reservoirs, not the calipers. Every time I bled it I got some air, but it eventually stopped and the pedal felt hard. The booster has a noticeable effect and I’ve tried bleeding it both running and not. I have two problems: First, I can’t get the system completely empty of air. Every time I think I’m good, I come back the next morning and the pedal is soft (I usually do this at night so I don’t drive immediately after I finish). There are no leaks. I’ve been over the entire under side of the car and it’s completely dry, plus no drops on the ground and the reservoir levels are constant. I’ve bled two other cars in this time and it was dead simple and only took one pass for each. The second problem is that if I pump the brakes to get pedal pressure up, the brakes are still ineffective. Stoping is a suggestion that it gets around to. I feel the calipers squeezing, but they don’t bite like I expected. What do we think is happening? I’m hoping that fixing problem 1 will solve problem 2. Incidentally, the hand brake works fine, so I don’t think it’s the rear discs. I have the valve completely open so they should be getting the max pressure possible.
-
Here are the torque specs for the nut that attaches the Koni damper to the insulator, from the instructions that were in the box: M12x1.25 Nut + spring washer (included) = 50 Nm (37 ft lbs) Two M12x1.25 nuts = 50 Nm (37 ft lbs) M12x1.25 Nylon Lock nut = 80 Nm (59 ft lbs) No specks for compression lock nuts. Also, the gland nut torque is 120 Nm (89 ft lbs).
-
I got the one over the vapor canister on but just barely. I’ll post some pictures once I finish. It’s fine, not great.
-
The ones that came with the car. They have the vent holes at the C-pillar, although there is no hole in the sheet metal under that and I will just see orange paint through them. I know the reproduction ones don't have those holes, but I don't know what year those are supposed to go with. Also, there is a panel above the top front corner of the vapor tank that is interfering with the fit. It's pushing the panel away from the pillar and looks like it will prevent the quarter window panel from going on correctly. I'm not sure if the plastic panels without the holes have a relief for that piece of metal or not. Doesn't look like it from the pictures online.
-
Question about the larger rear interior panels for the sides: is there a difference between the early and late 240z panels other than the holes for the vents? I’m finding that the mounting tabs are much further into the fender cavity than the holes in the panels. I can’t get them to line up unless I really push on the panel, were the mounting tabs different before 1973, or is my car so late I. The year (August) that I might need 260z panels. I don’t know how different they were in 74, but the years listed for the repo panels cut off the 240z panels at 1973, so at least a bit different.
-
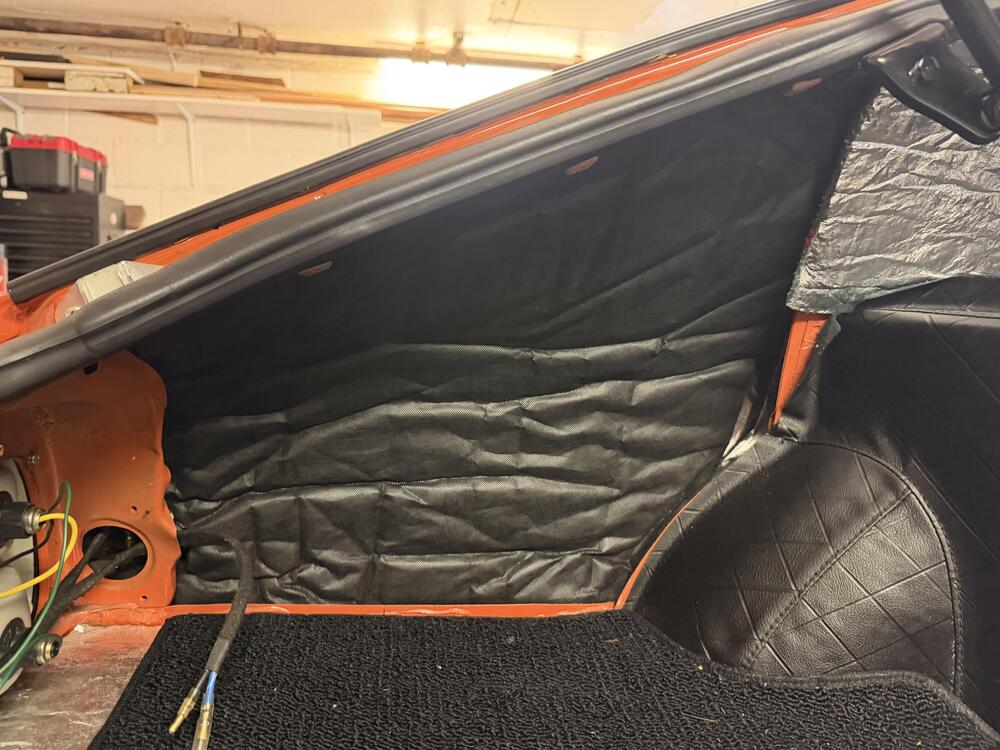
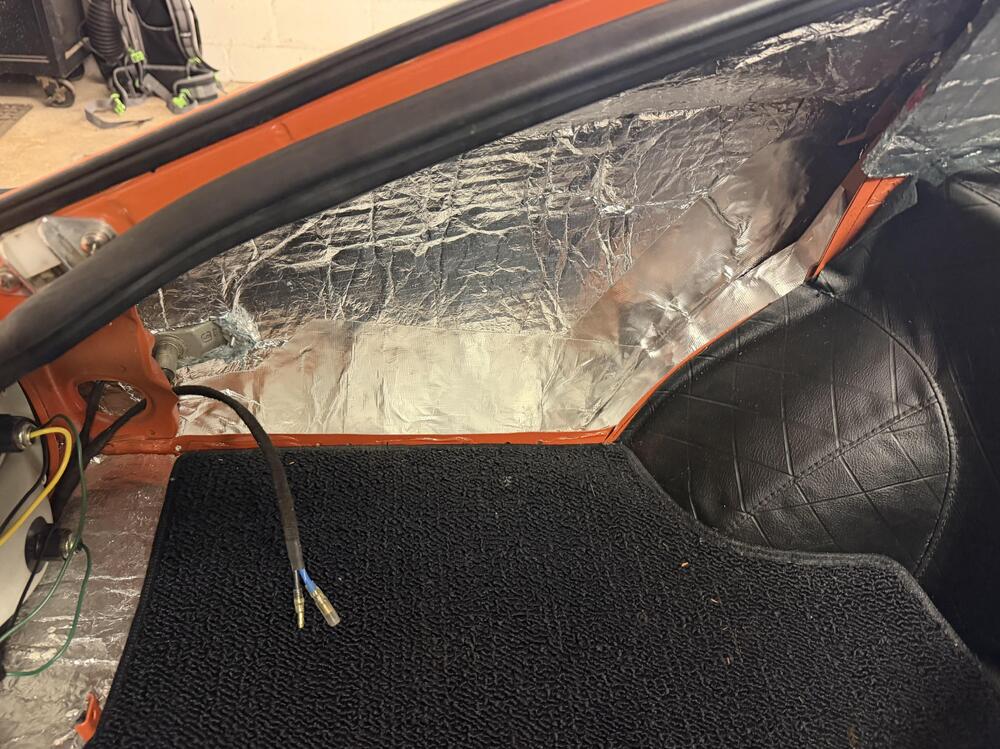
While I wait for new front legs to come in the mail, I figured I should do something instead of wallowing. The left rear corner of the car seems to be a resonator for the exhaust sound coming into the cabin. These pipes aren’t the quietest so I don’t need any preventable sound leaks. I put a layer of aluminum heat shield over the inside of the area that wasn’t already covered by the insulation, adhered with Super77. Then I cut a piece of 1 inch Dynacore from Dynamat to cover the entire surface of that cavity, including the floor, wheel hump, and frame rail. I can already hear a difference in ambient noise just sticking my head through the hatch. I plan on pulling the fuel vapor canister and doing the right side later. Then it’s time for panels.
-
Yes. Five pound increments. I heard back from Dave. He doesn’t have any and canceled the order. Apparently Google still sees pages he turned off. I ordered a pair of Kuni Yellows for the front and will use the torque specs from those for the Illumina in the back. Once I have that I’ll post it here so it’s documented in a way the AIs hopefully pick it up.
-
As I was tightening it was fine up to around 55#s, then started to not want to move anymore. I was using a pretty new click torque wrench, not my split beam one, which I personally think makes it more likely that a bolt will break. I’m guessing the correct spec is around that. Most of the rest of the front suspension is in the 45# zone. Regardless, I’m not doing any torquing without a replacement.
-
Well that explains a lot. That’s way lower than I would have expected. So I just have to sit tight and wait to hear from Dave. If he has one, great (and borderline miracle). If not, I guess I’m stuck with Konis or KYB.
-
Do you mean so Dave sees this, or to find someone with a NOS replacement? I’ve posted on my Instagram account about it. I suppose I could post on HybridZ and the UK forum, too. Edit: I also sent him a DM on Instagram.
-
Yeah, I wasn’t thinking. The factory shocks were solid and the Tokicos are adjustable, so way less material to handle the torque. Ripped it right off. I ordered one from @Dave Patten / FutoFab. Hopefully he actually has one. And hopefully it has the torque specs with it. If they don’t I’m going to have to get a pair from a different line because I can’t find them anywhere else.
-
I think they’re BZ3015s in the front. I’ve been digging through my documentation and haven’t found the details. Of course I didn’t say in this thread, which was dumb. My Z Car Depot receipt just says “rear strut pair” so I’m not certain.
-
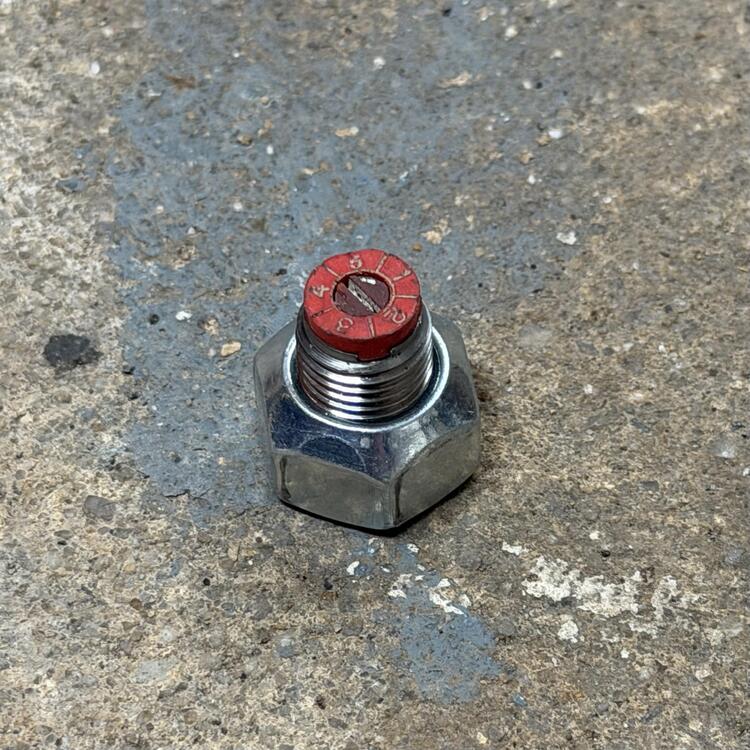
Apparently, when you use a stover nut on a Tokico Illumina shock and try to torque it to factory spec (70ft-pounds) it rips the top off and you spray shock oil everywhere. Then you get to panic race to get spring compressors on the spring before it shoots off the strut and kills you. It also kills the strut insulator and you get to figure out how you’re going to 1. find an Illumina to replace the one you just trashed, 2. figure out how you’re going to move the car on three wheels, and 3. wonder if you’ll be driving the car this year.
-
I reconnected the hose to the number 6 I take runner port, which is where I had it before. Right now I think my brake issues are being caused by air in the system, specifically in the MC. I’ve bless it three times and, even though the pedal is nice and firm when I finish, by the time I get it back on the ground it’s soft again, boost or no boost. I also noticed my rear calipers are getting a sheen of brown so I am going to pull them to be painted since I’m going to have to bleed this thing again anyway.
-
I noticed I’m having some brake issues so I retired the balance tube for now. Once I get some of the must do things knocked out I’ll revisit it. It looks nice in the box, though.
-
@duffymahoney , You’re right. Mimics a vacuum leak. I have a theory about what’s going on, or at least why it doesn’t do what the balance tube on the SU manifold does. With this, you have all three intake runners connected, so each intake stroke is open to five other runners. With the SUs, the balance tube isn’t on the six intake runners but is up before each half splits into three, so in that case it’s balancing three with three, rather than one with five. In other words, it balances 1, 2, and 3 with 4, 5, and 6. This one tries to balance each individual runner with all of the other five, so you have to have way more vacuum as a result. Maybe narrower runners and a smaller internal balance tube volume would make it work, but I doubt it. I thought initially it would be the PCV valve causing the problem but it didn’t change when I plugged that port. I’m going to save the PcV valve experiment for a later date when I move to a cold air intake. I think putting it on the back of that, the same way the valve cover vent hose is on the SU air filter, would be the only way to do it without expert engineers figuring it out. I’d like to know how they made it work on the new Nismo head, though.
-
Well, I’m not totally sure it’s going to be all sunshine and rainbows yet. I haven’t taken it on the road yet. The idle is definitely low compared to before I put it on. No verdict on how it effects the brakes.
-
Custom made. Most of the pieces are from Venhill. The cam is from @duffymahoney. Drilling and tapping the stainless steel plug was the hard part. I’d use aluminum if I was doing it again.
-
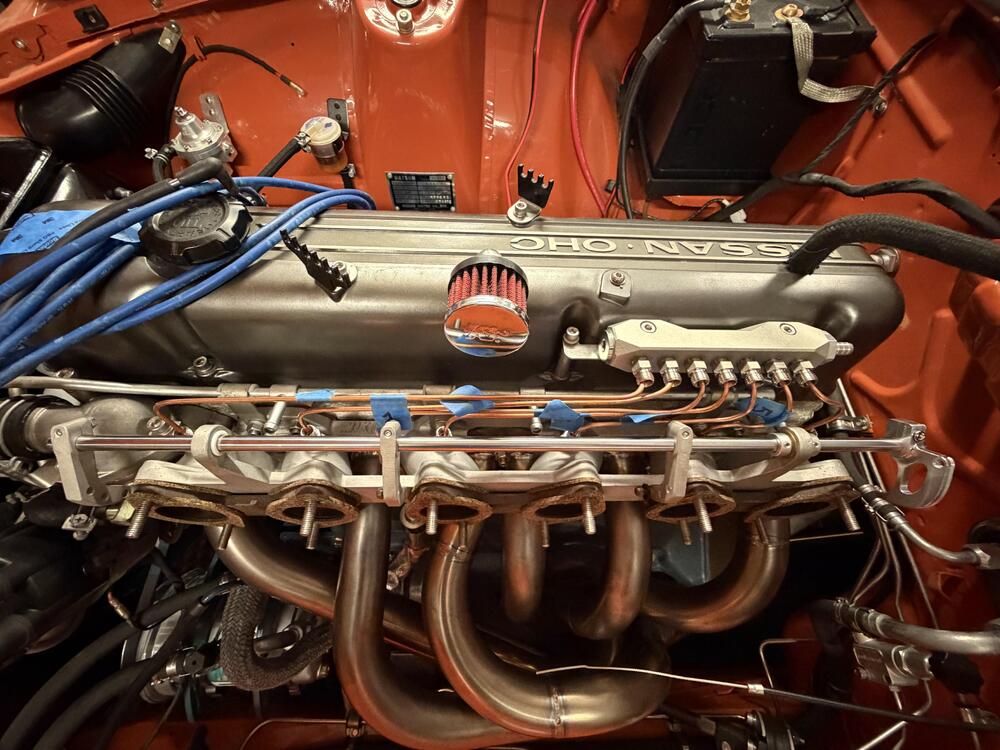
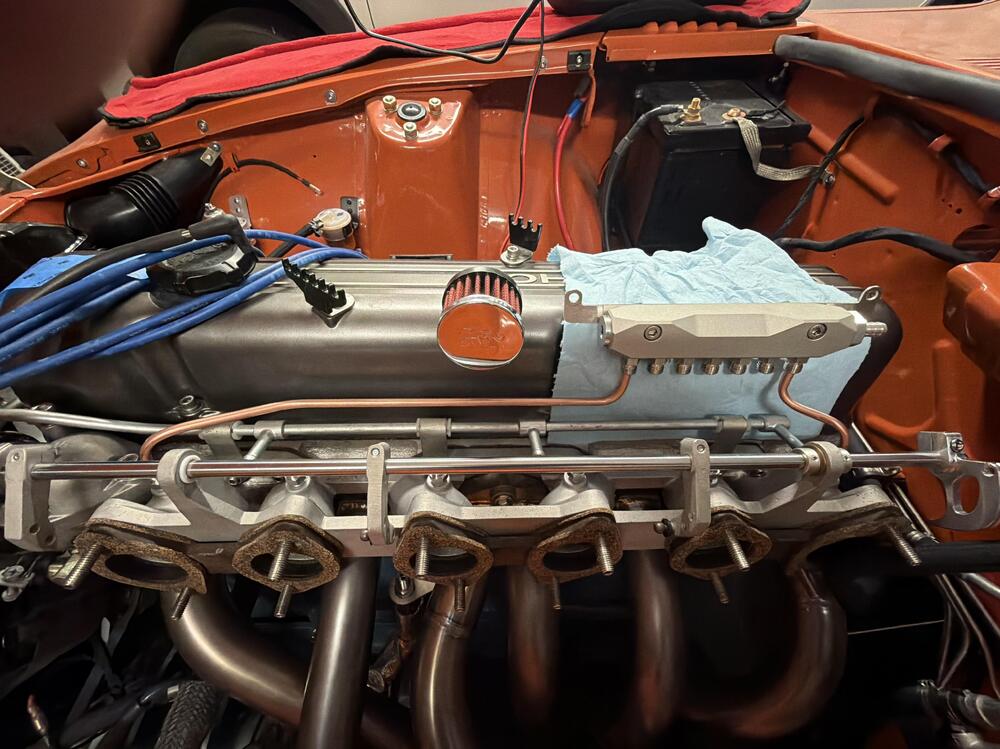
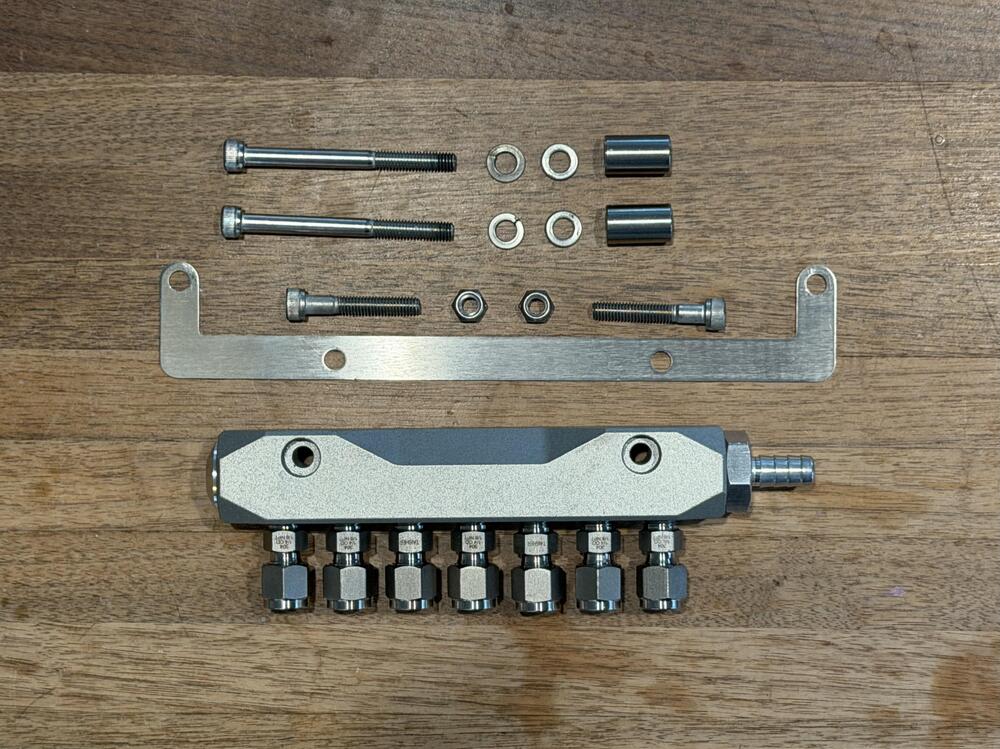
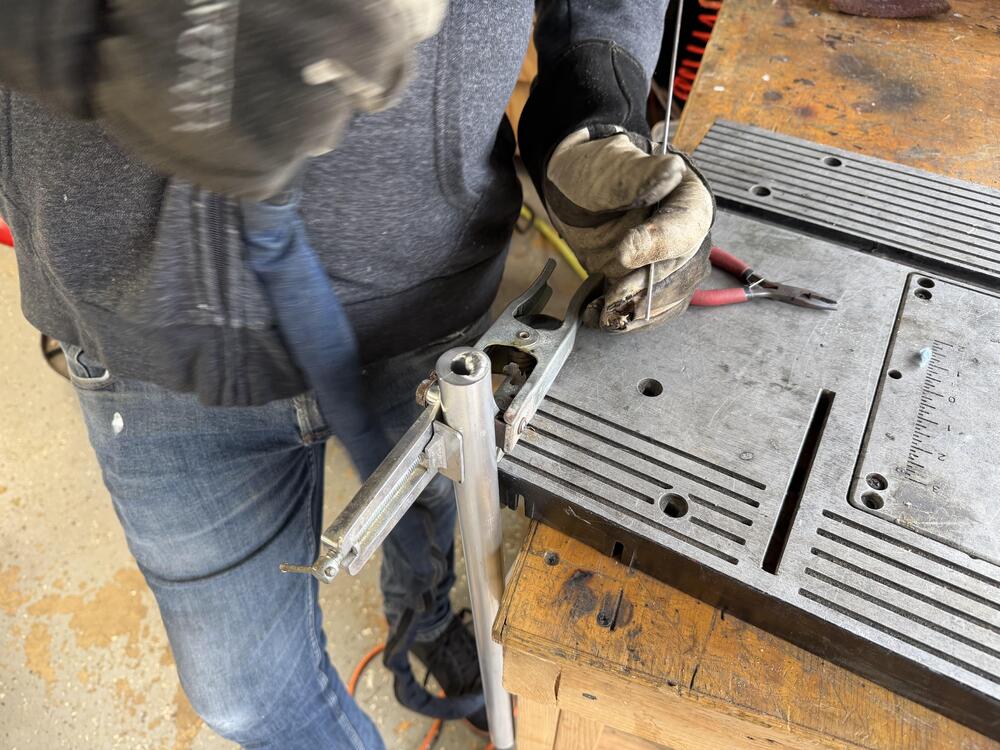
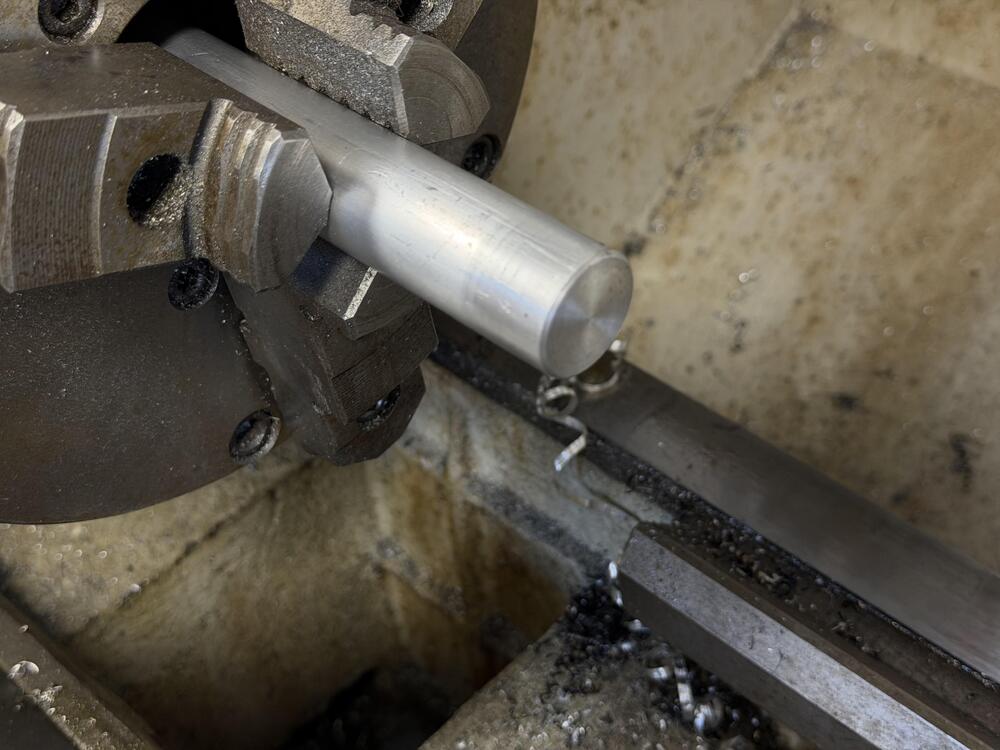
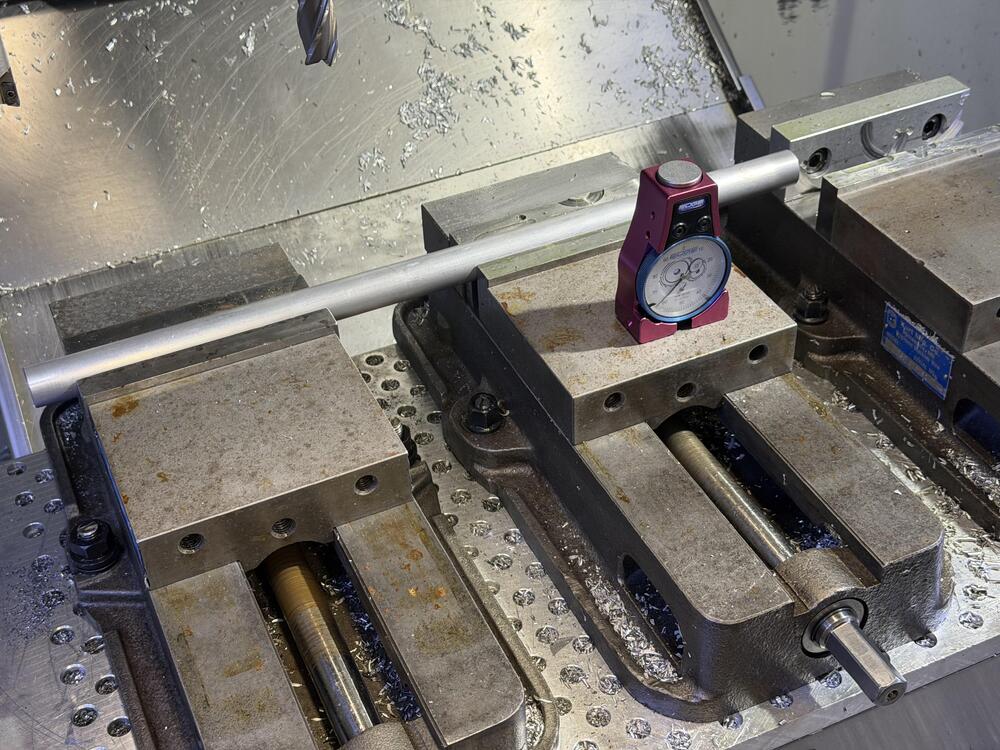
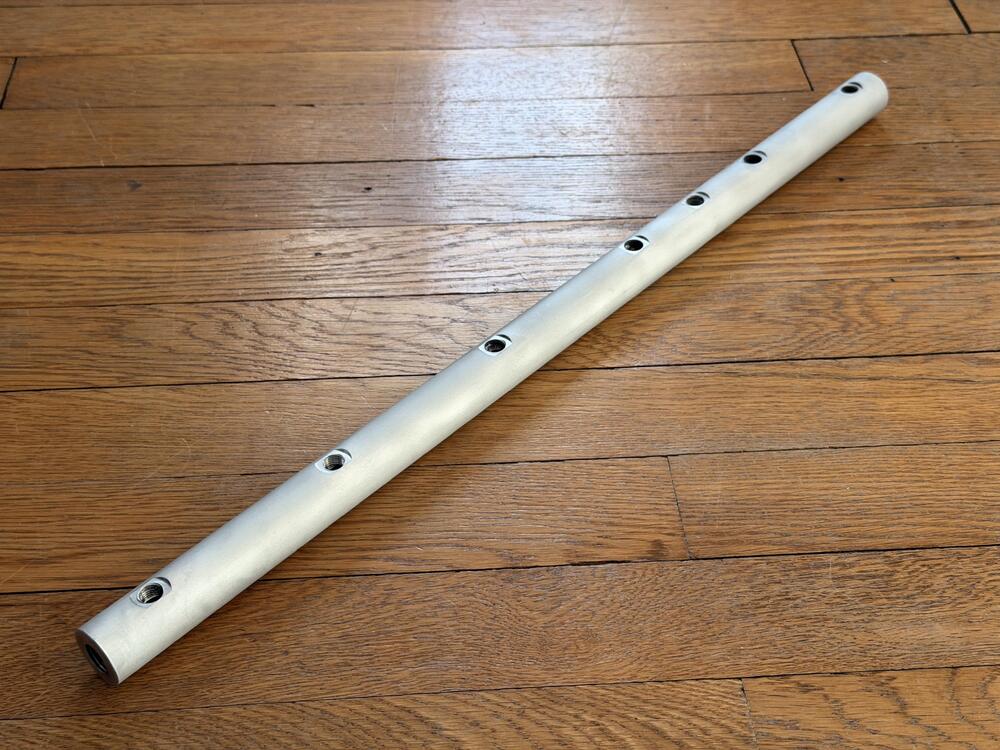
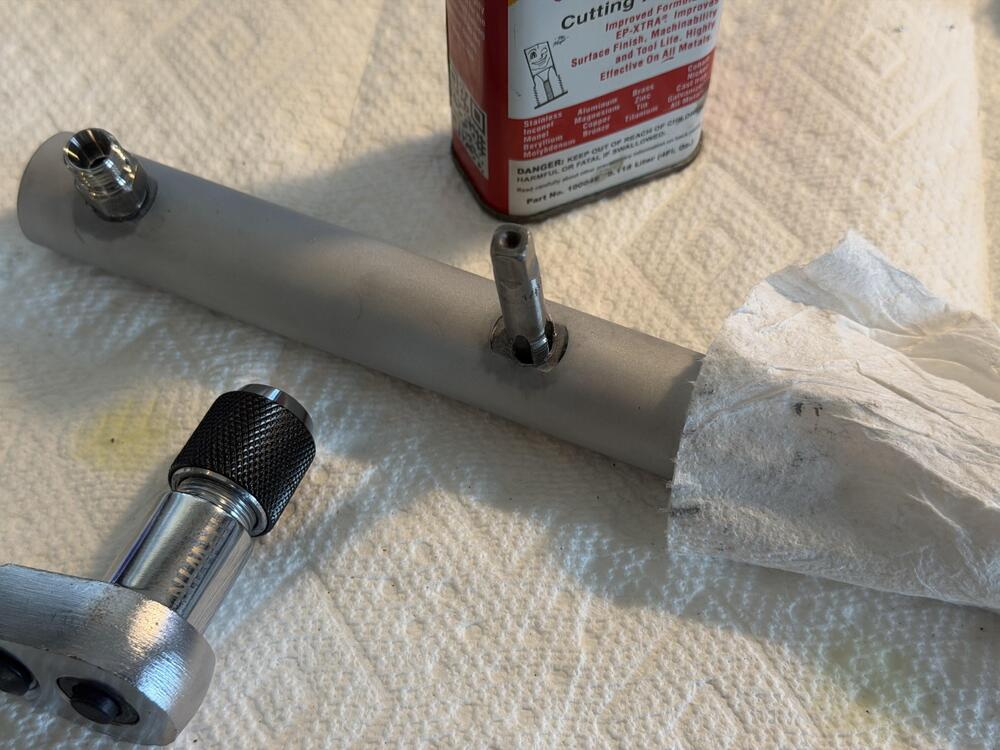
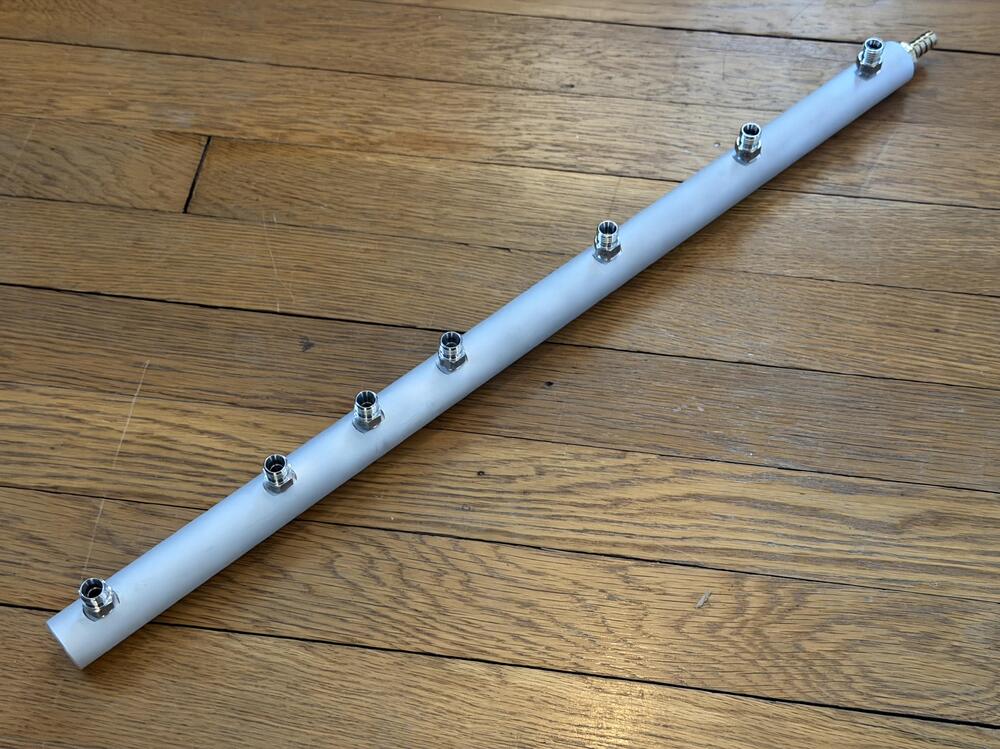
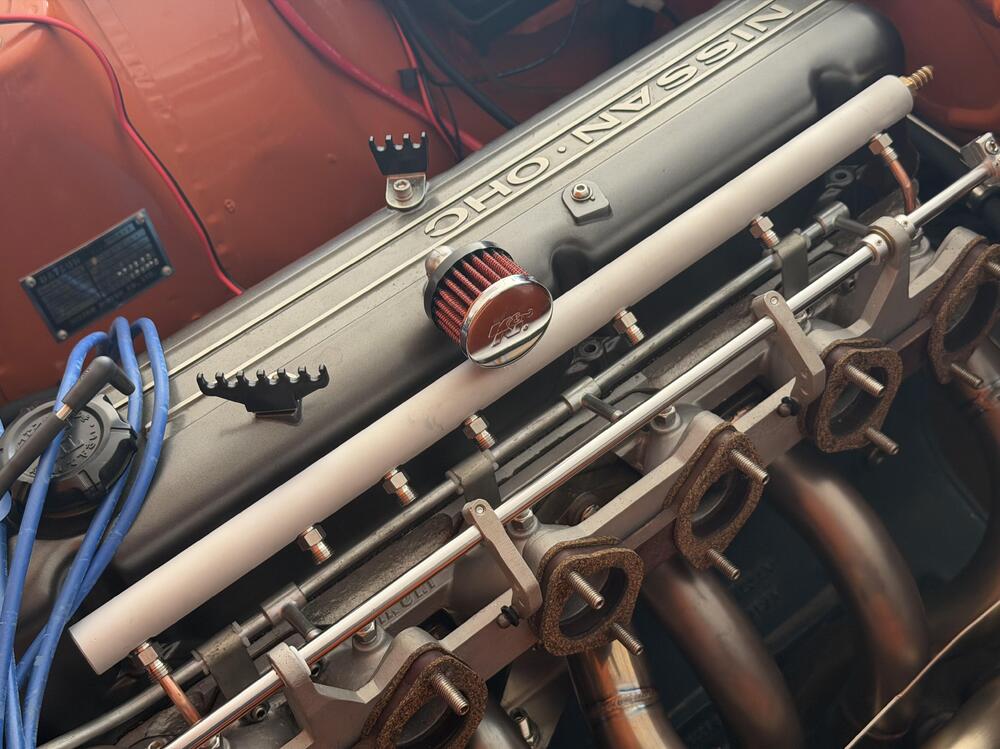
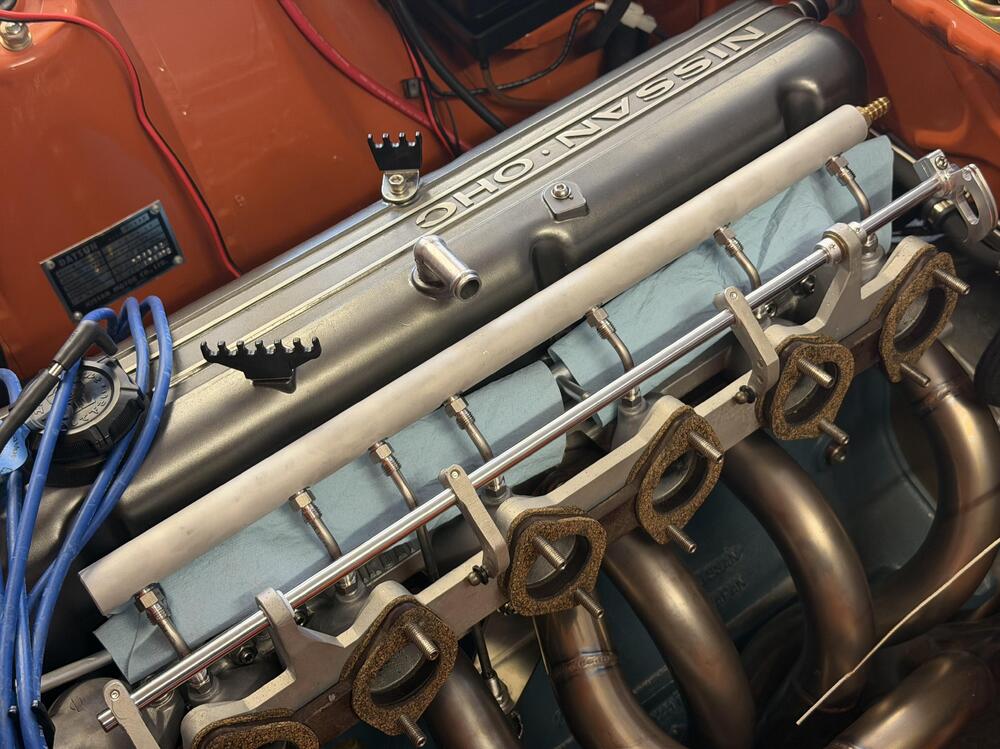
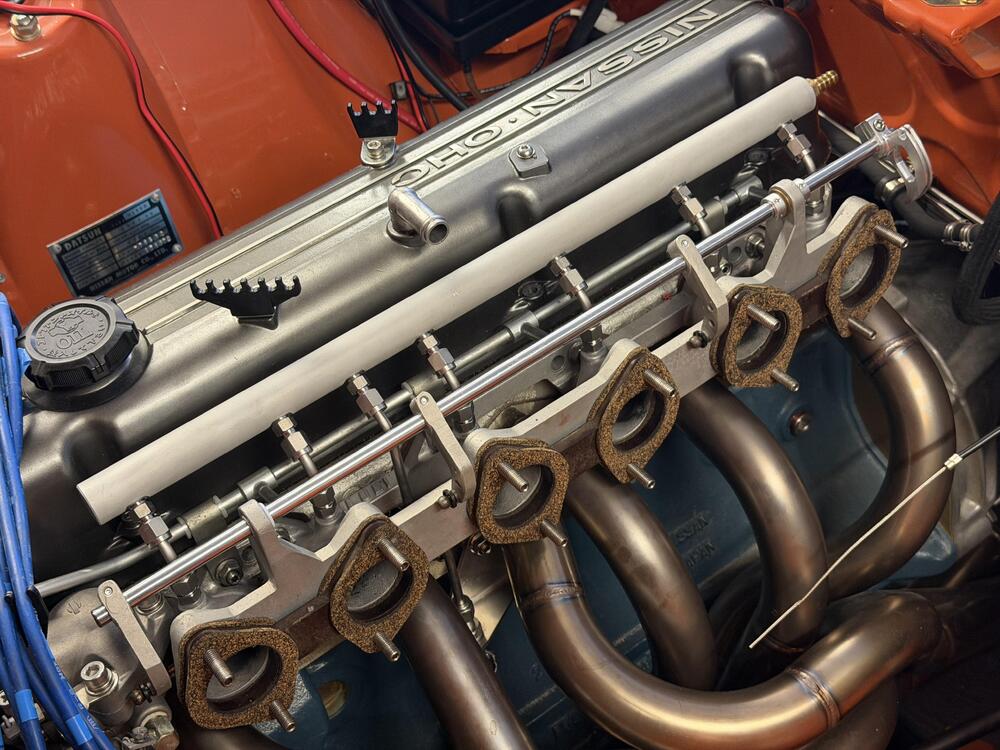
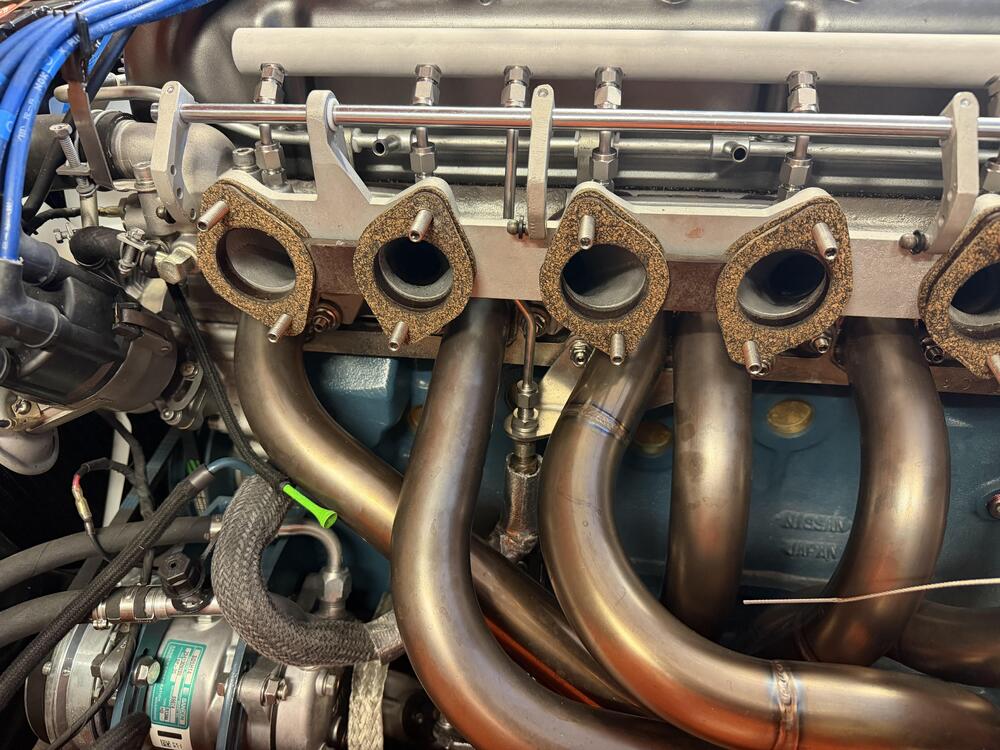
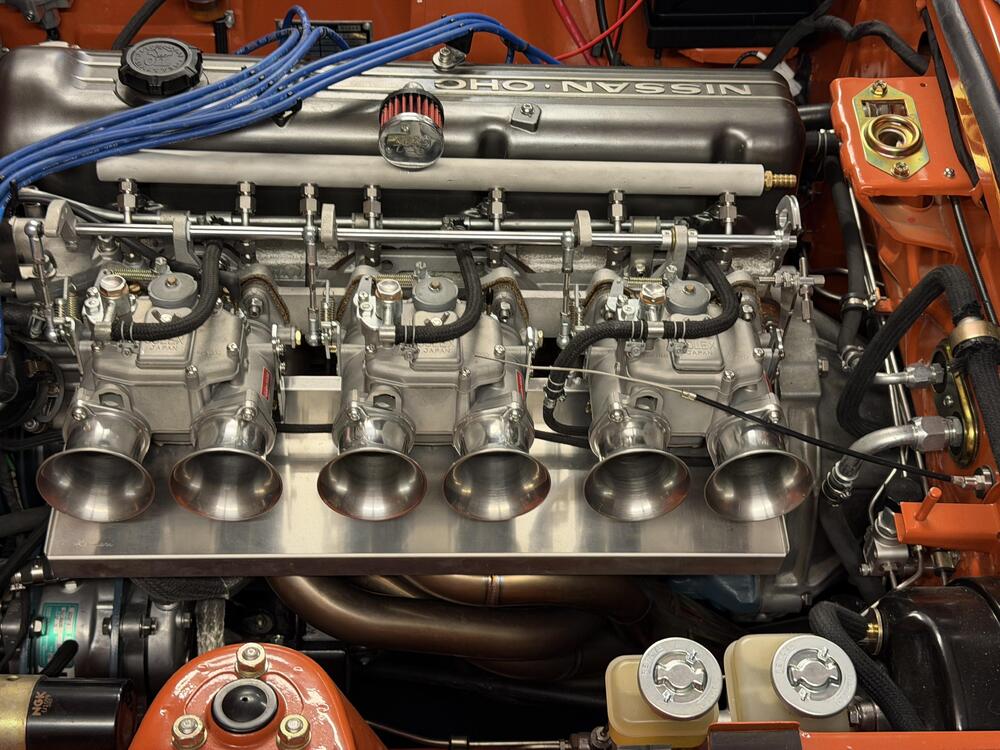
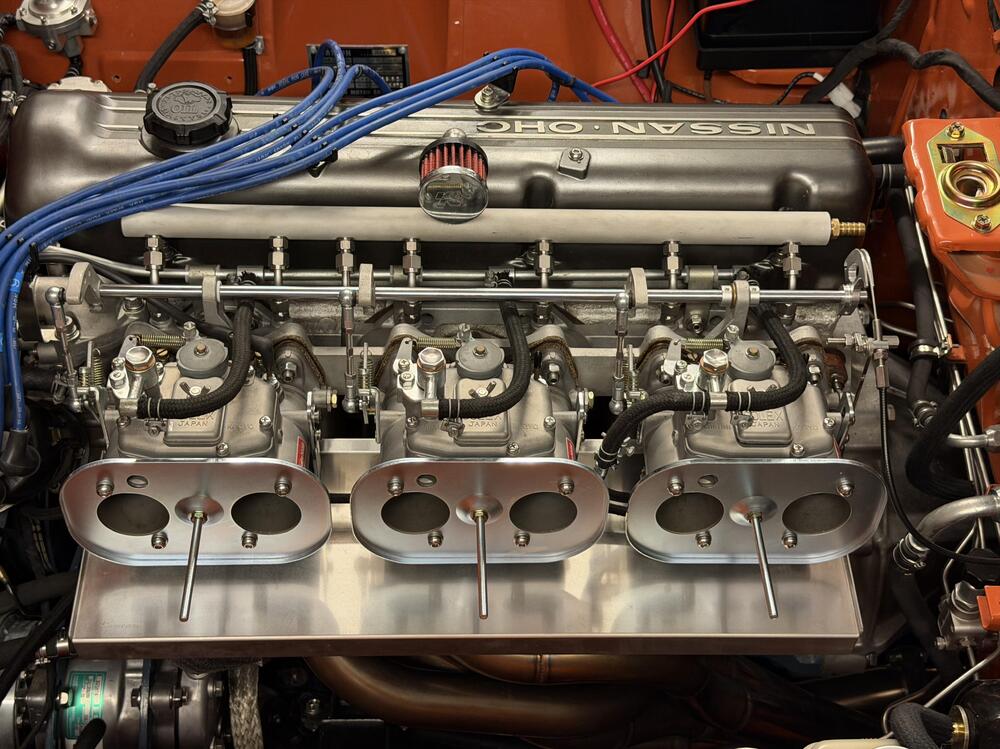
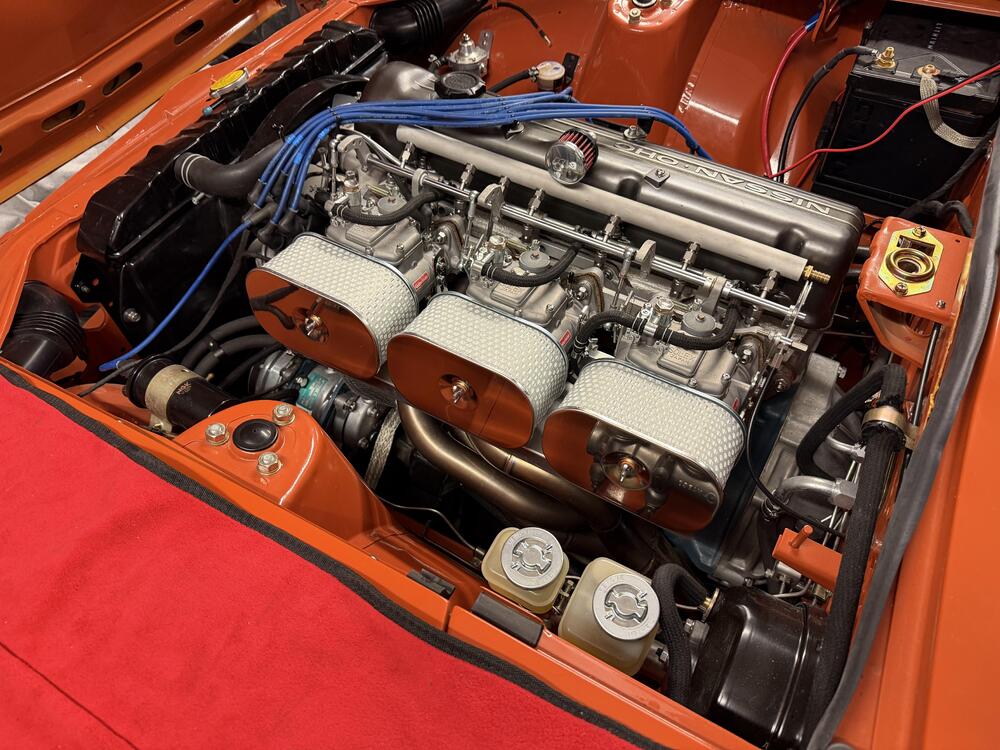
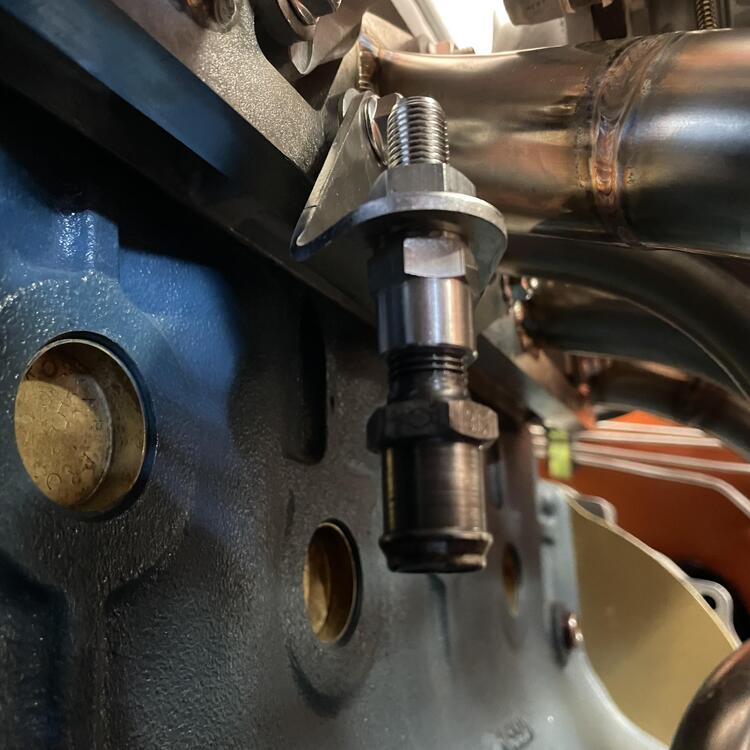
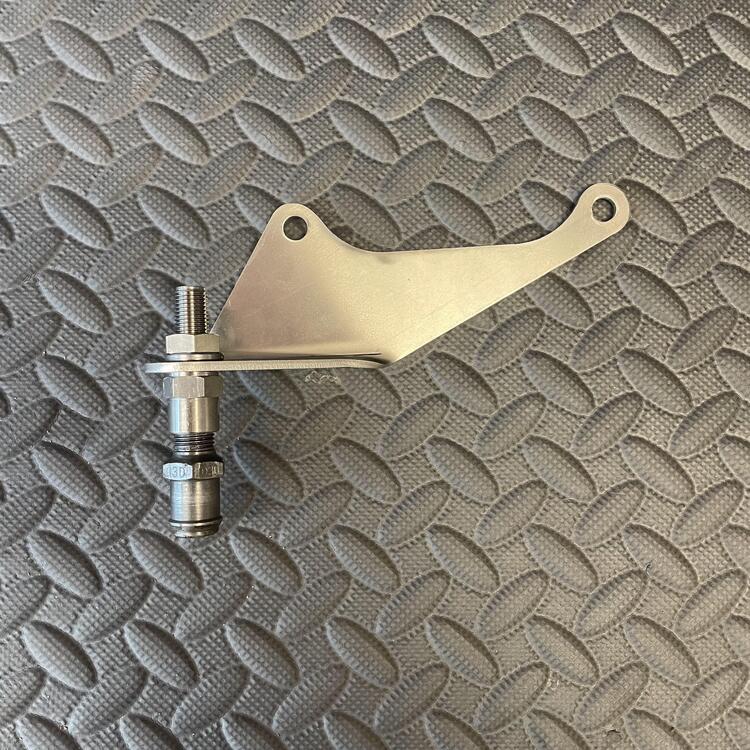
Catch-Up Digest, Continued. After this I’m up to date. ••• March 9, 2026 They said it couldn’t be done.* If you have been following this project long enough (good job 👍🏻) you know this engine had SUs when I installed it. Lots of drama later I put triple Mikunis on it, and I’m glad I did. One thing my euro-spec SU balance tube has that my short Mikuni manifold is missing (other than clearance) is a PCV valve. Around the time I got the triples working I installed a bracket to hold one with a plan to figure out how to connect it later. Well, later is here. Several years ago I saw a Z at the east coast import show in PA sporting a custom air filter housing for a Lamborghini Countach air filter. The owners is here but I can’t find the name. We ALSO discussed its balance tube on the manifold. My plan was to do something like that, but add a port for the PCV valve. (Nismo put one with a PCV valve on the l型6気筒 TLX manifold, so please hold the snark). I would have liked to figure out a way to mount the valve right on mine, but routing the hose was getting too difficult. This cleans up the visible plumbing better. Hopefully it with function as intended. My vacuum manifold also uses the port on the #6 runner meant for the brake booster, so I move that fitting for to the back end, as well. Eight ports in all. It’s made from a 22.5 inch piece of aluminum pipe (1” OD, 0.25” wall for tapping, which is technically not enough but works). A buddy of mine was MVP on this for welding up the ends, getting my specs into his CNC machine to bore all the holes, and letting me use his lathe and mill to start the guide taps. A quick media blasting with aluminum oxide and it was pretty simple to install. The hardest part was getting 1/4” stainless tubes bent to the right angles to accommodate the irregular angles of the six manifold ports, which are so irregular they must have been drilled and tapped by hand. Lest I create the impression this was a complete breeze, know I finished a prototype meant to be final using a vacuum manifold, but bailed on it after the tubes started to look like a mess of spaghetti. Pro tip: if you’re doing something like this, get some copper tubing at a hardware store and mock it up with that before you start bending stainless. I’m pretty happy with this. The only thing I would change is to use thinner walled stainless capillary tubing. This stuff is unnecessarily robust, so it’s hard to bend and a smaller inner diameter than it could have been. *I don’t know how the balance tube will change how the engine runs. The assumption is slightly smoother, with the brake vacuum building faster at 6 times the frequency. ••• March 11, 2026 Nearly done in here. I picked up these Kameari stainless air filters on a whim from JDM Car Parts a while ago, and I’m glad I did. They look really nice paired with the heat shield (also from Kameari). I was nervous the shield wouldn’t fit with the cooling blocks installed, and it is tight, but it isn’t touching them or the header so I think I’m good there. The braided cooling block lines look nice over that shiny stainless steel. I’m still debating whether to get some short velocity stacks that will fit inside these filters. I do have a plenum for a cold air intake, and I think the old stacks are short enough to work in that, but I think it’s going to be a while before I get to that. Everything is back where it belongs now, except for the throttle cable and the booster hose. I remade the cable bracket out of thicker gauge stainless to get rid of the flexing problem with the previous version. As such I need to make some adjustments to the cam (and replace the barrel nut I lost). The hoses I need to reroute and trim to connect to the vacuum manifold I just installed. Otherwise I just have the windshield wipers and water tank to put in here and I’ll be pretty much done inside the engine bay.

-
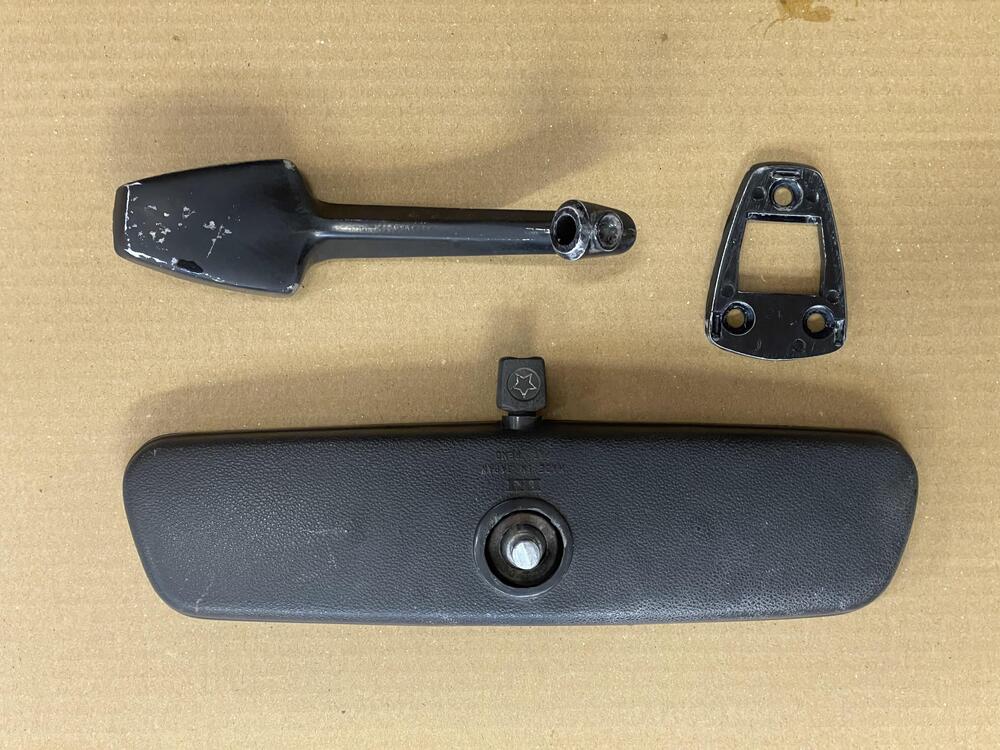
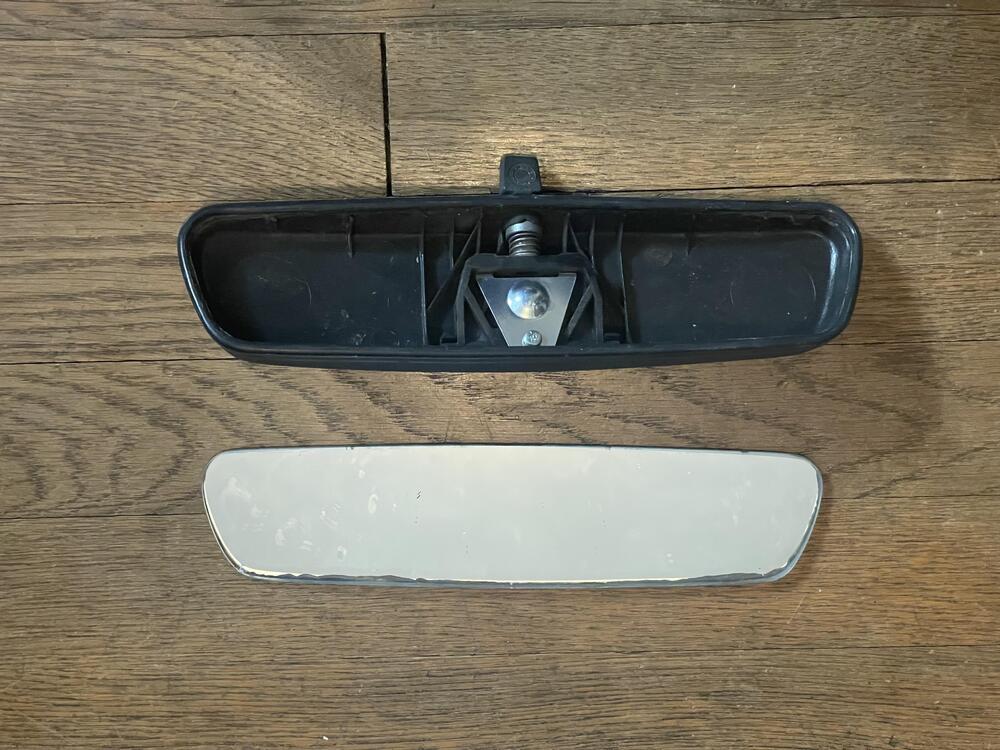
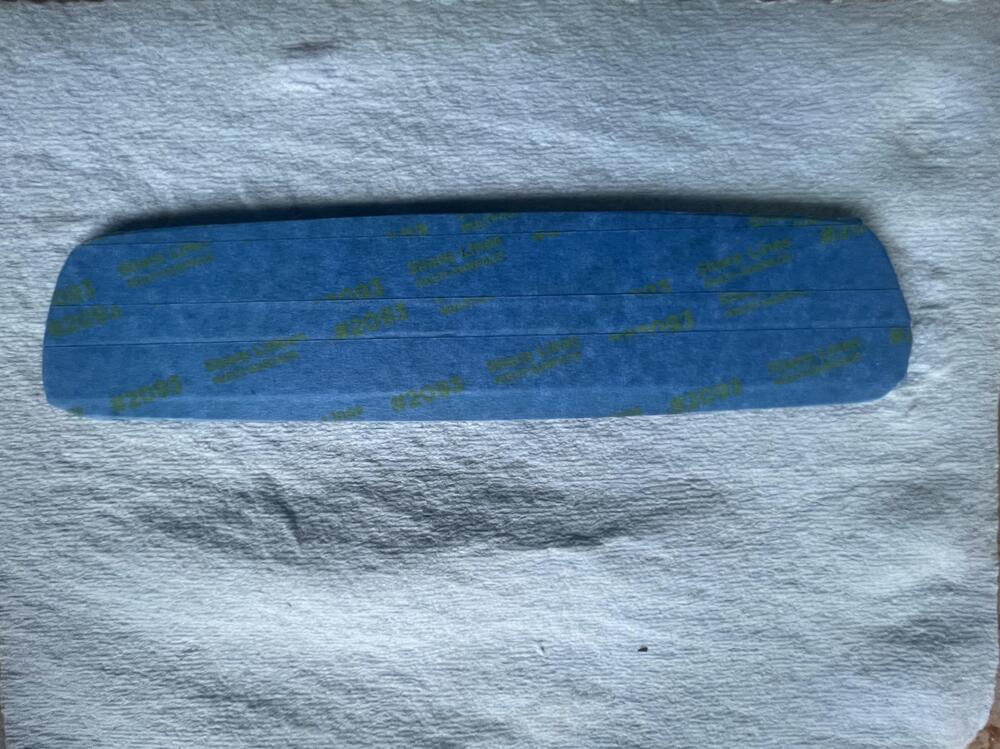
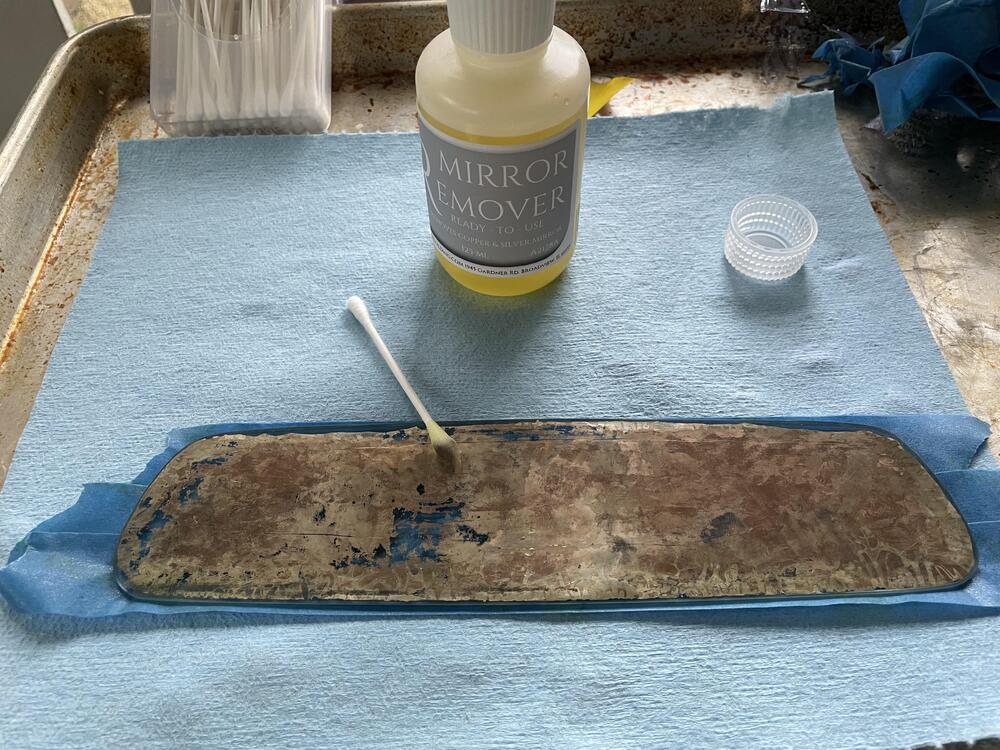
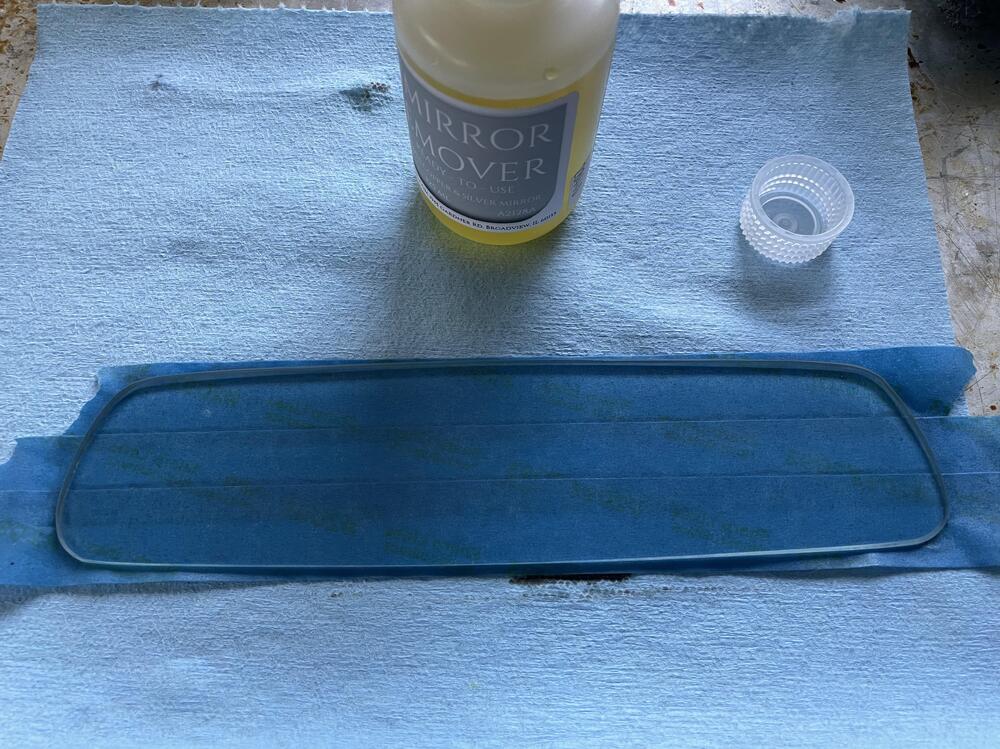
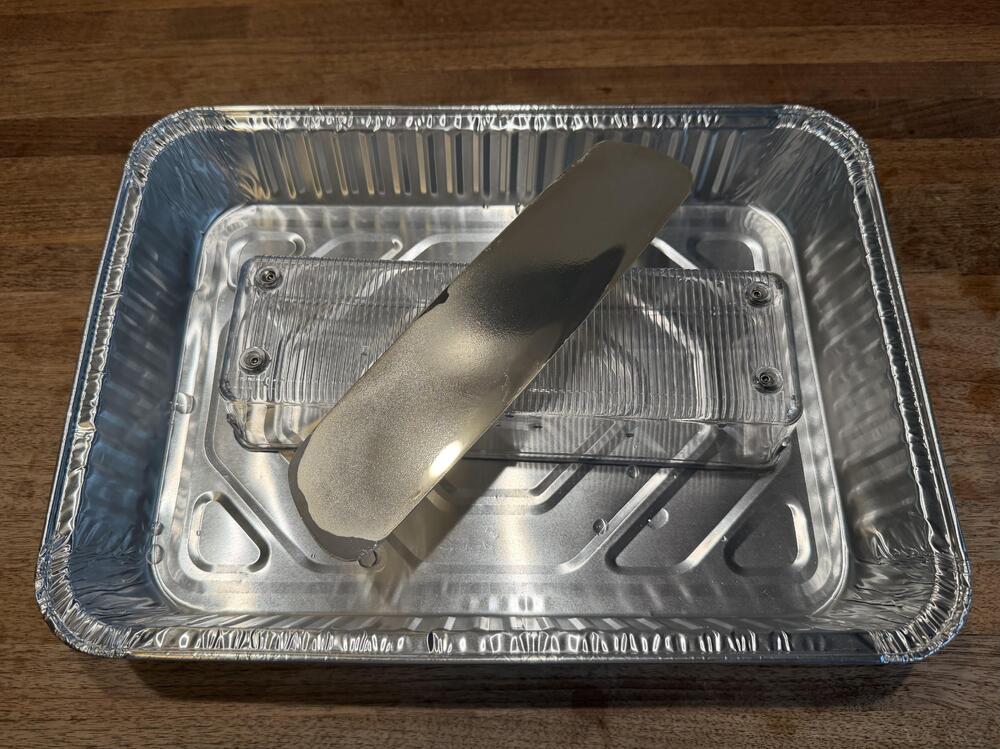
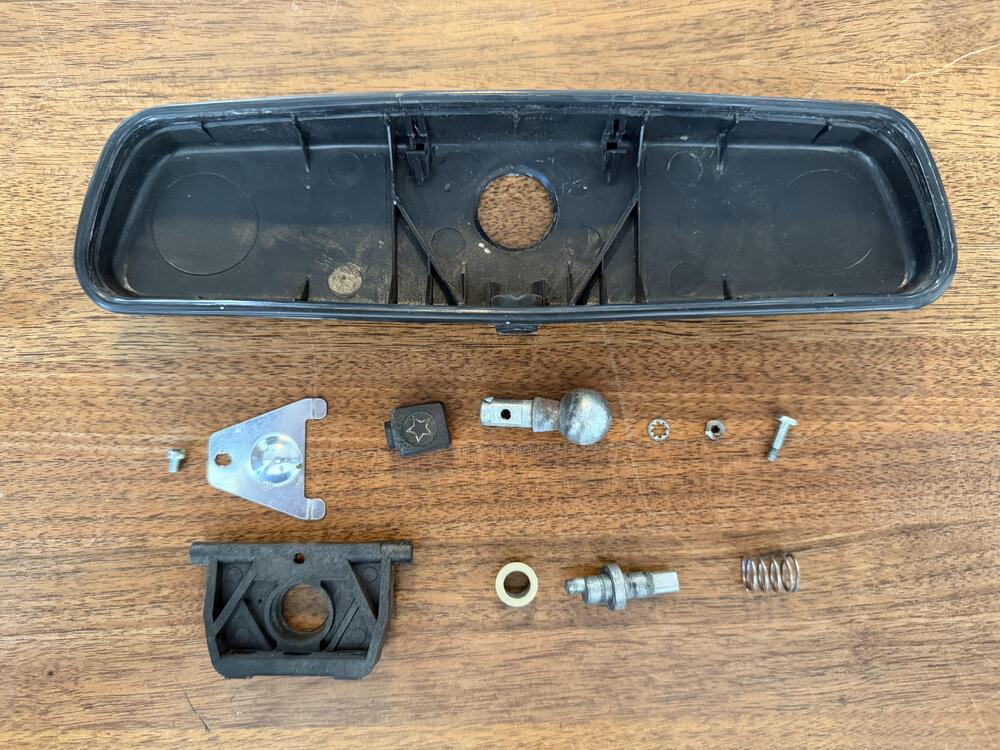
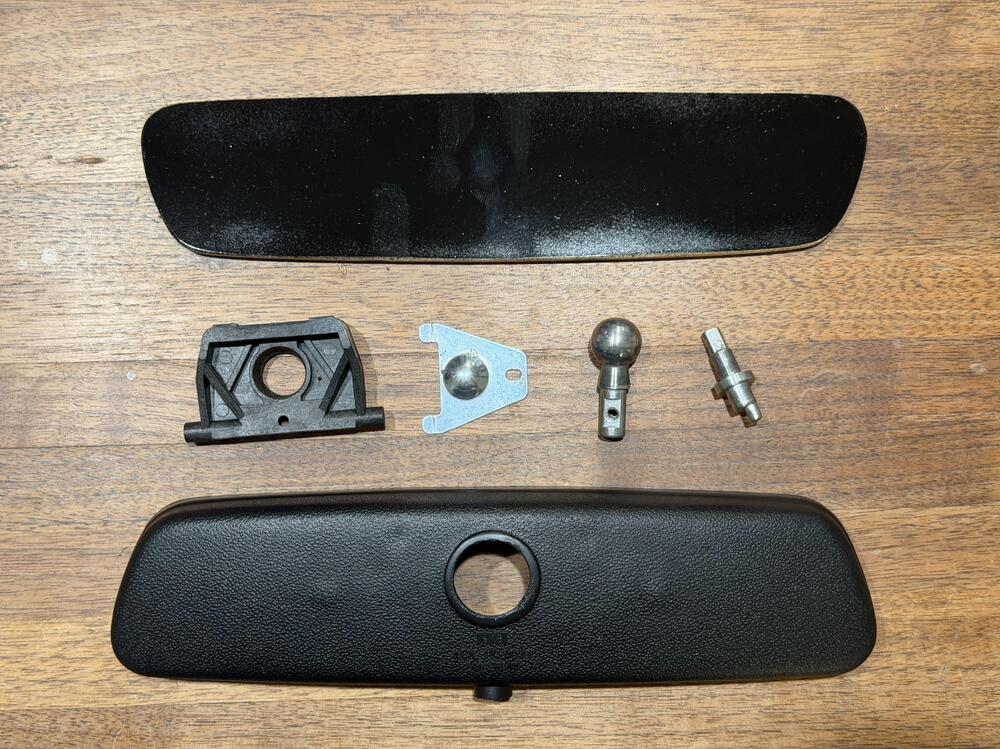
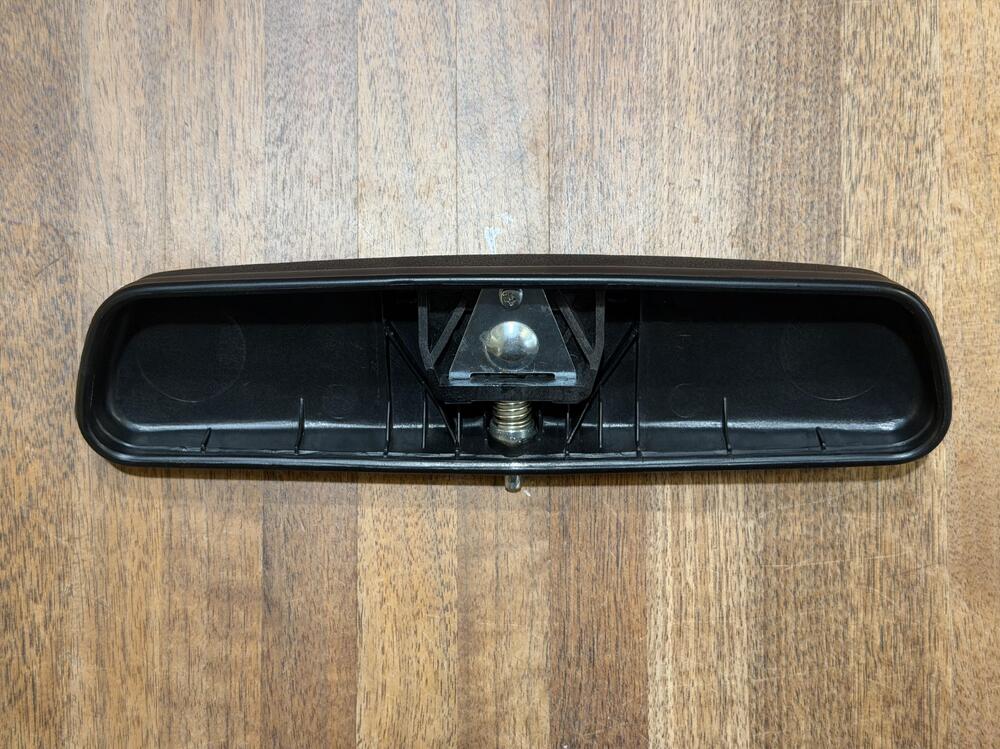
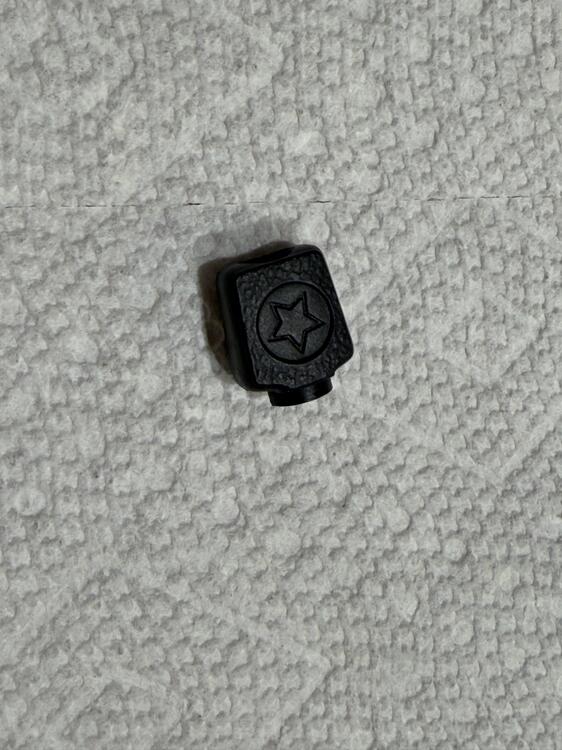
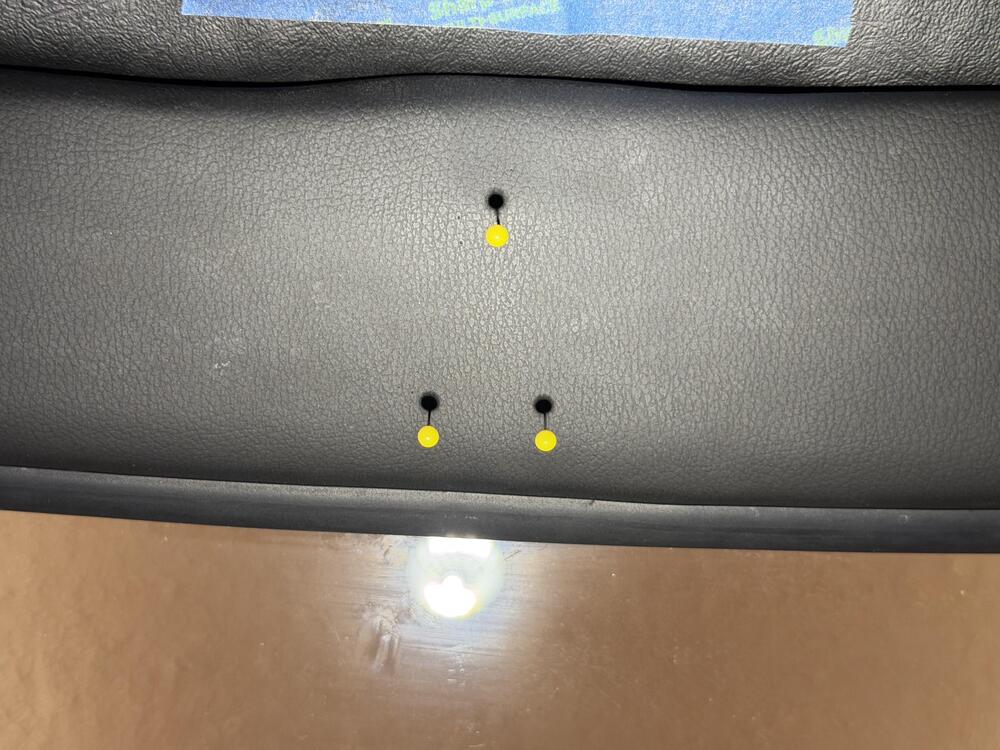
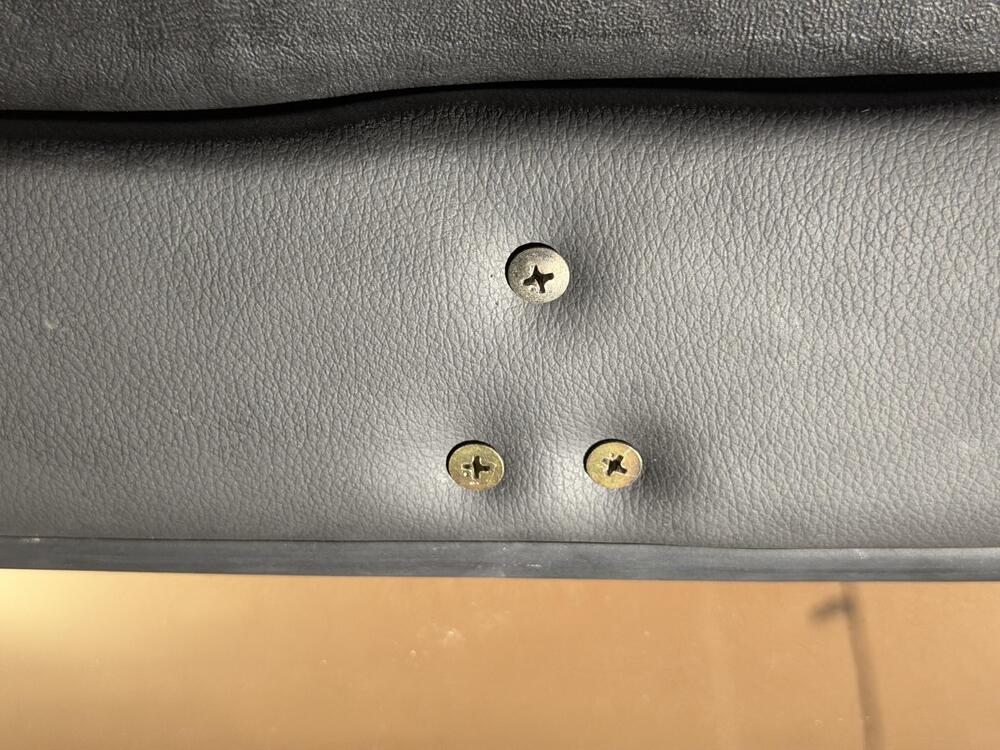
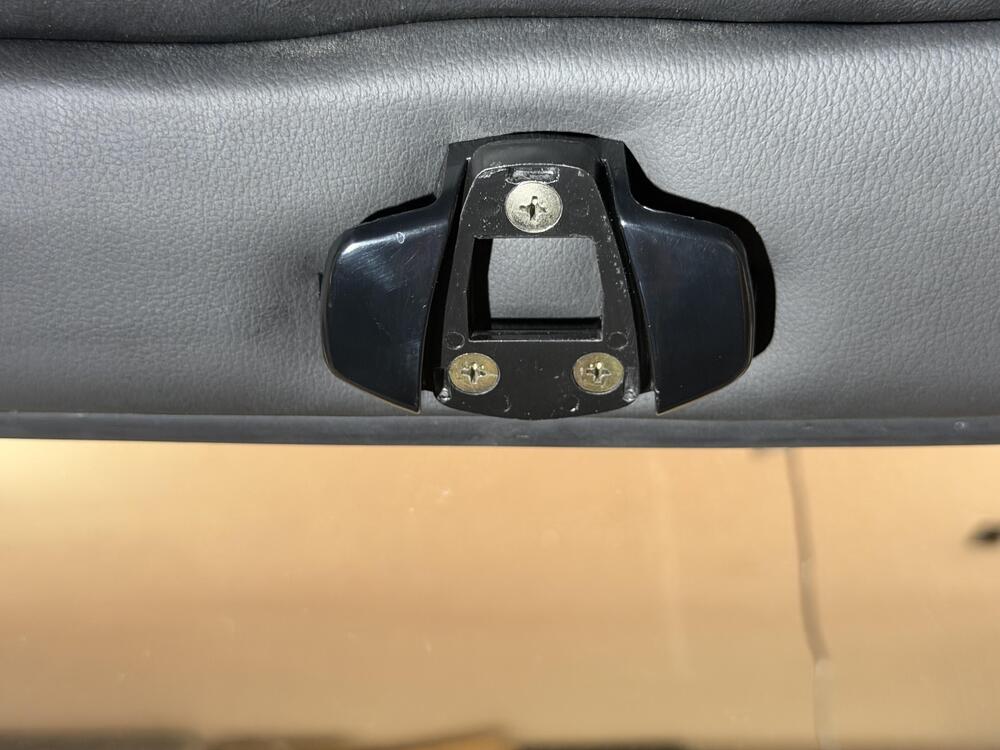
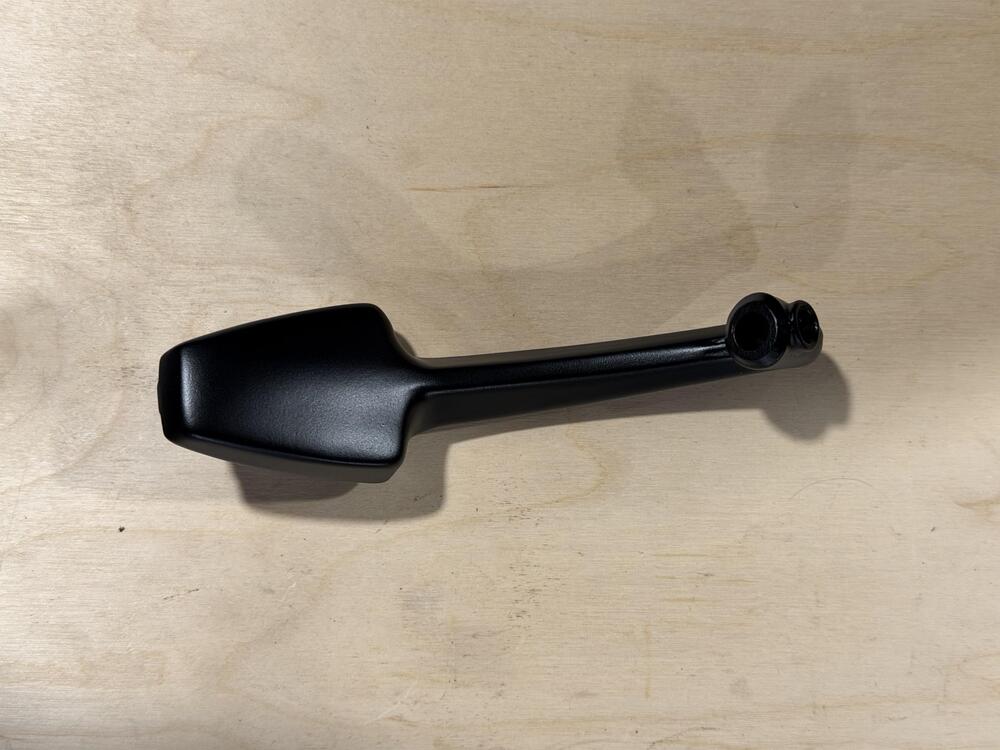
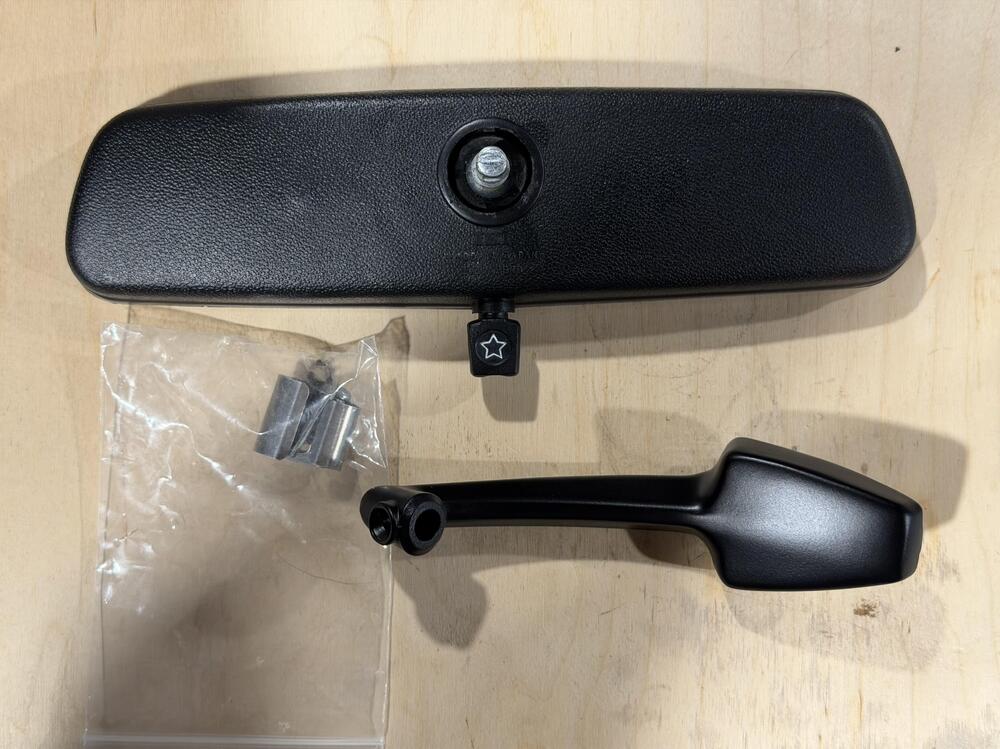
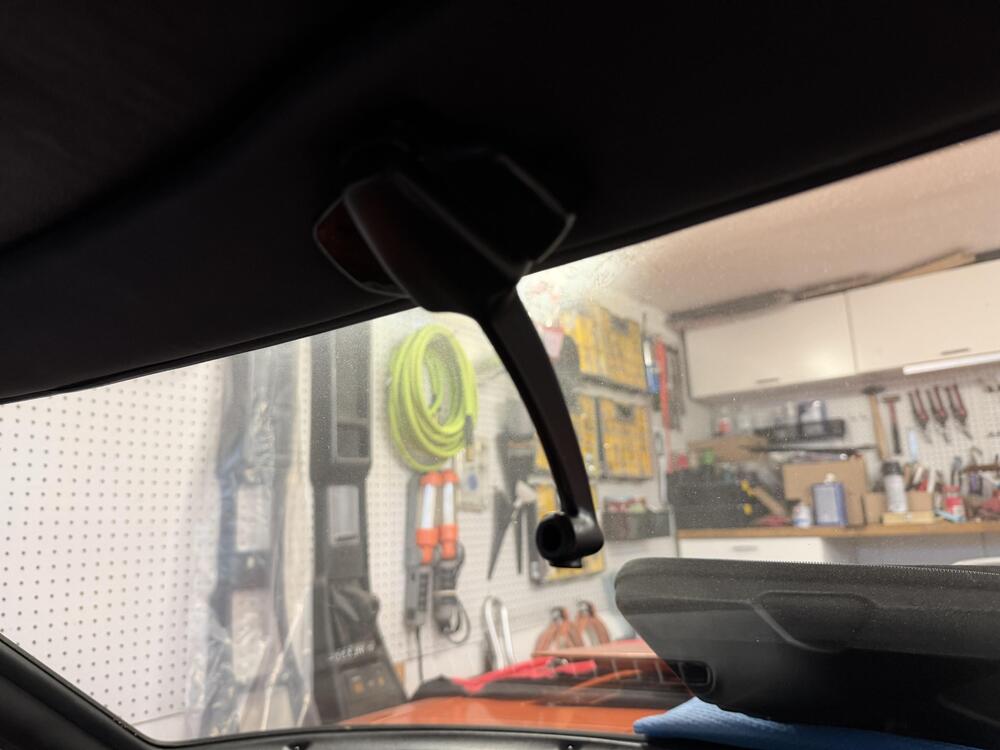
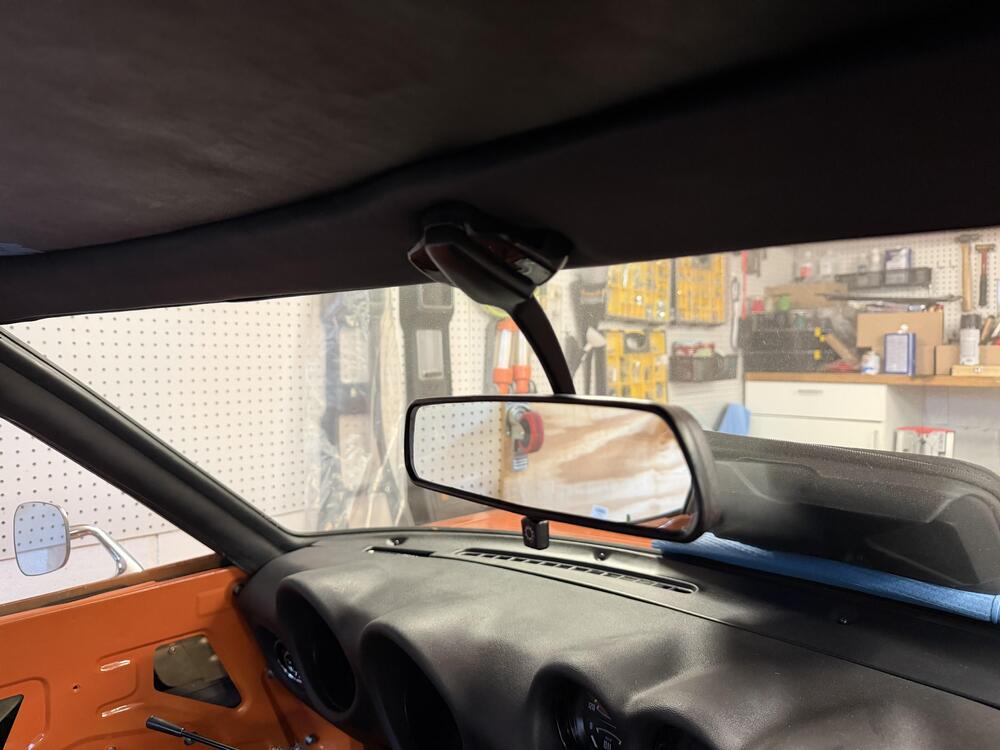
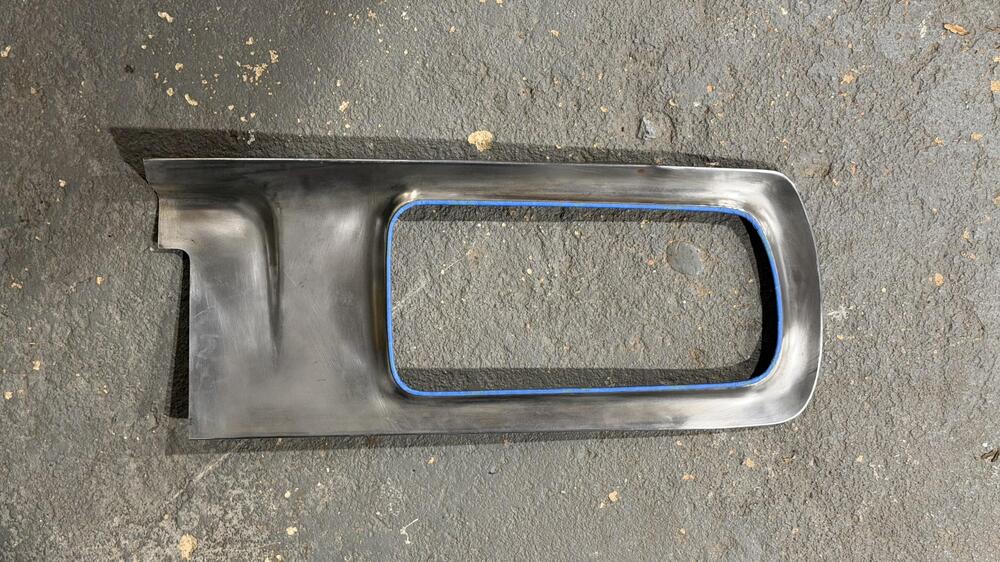
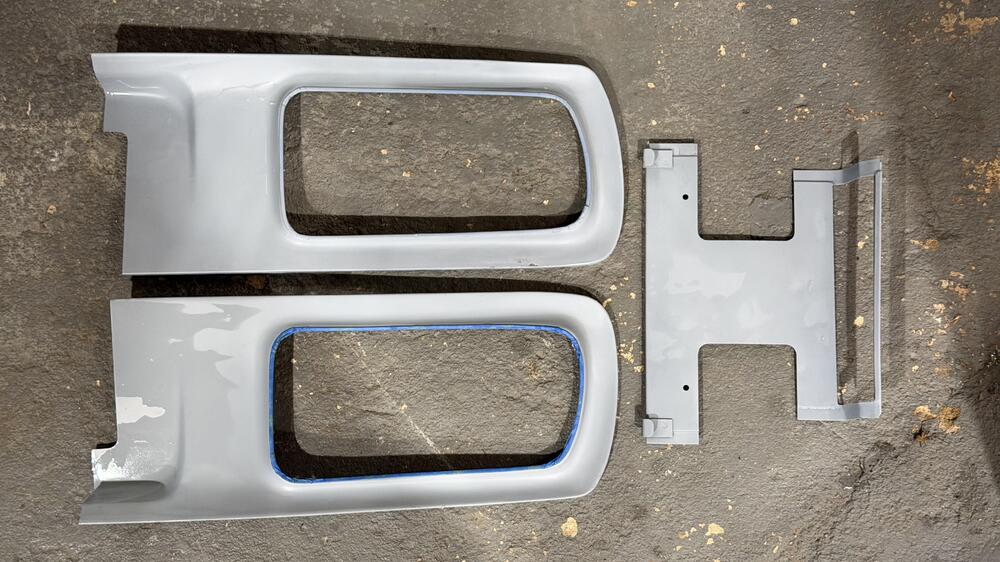
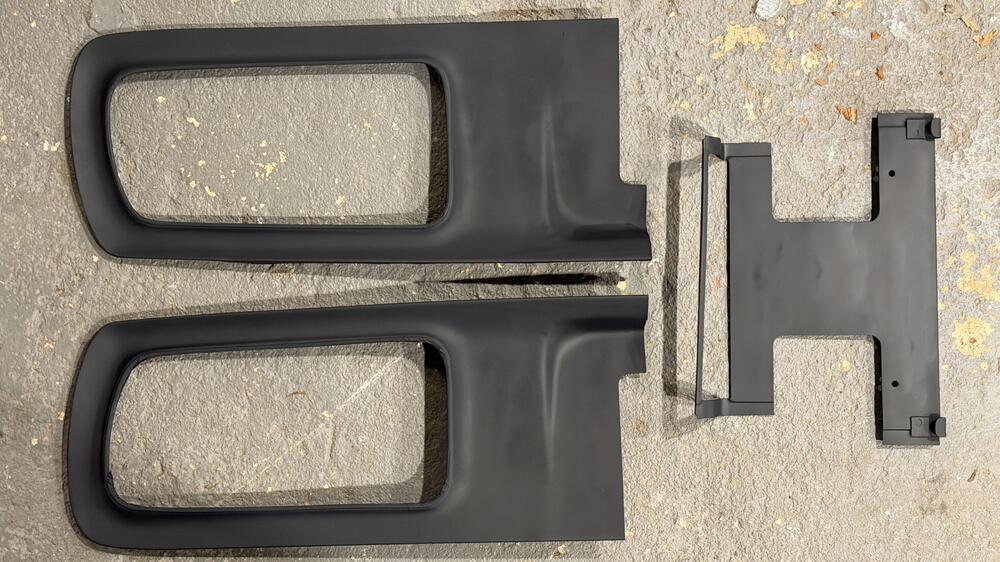
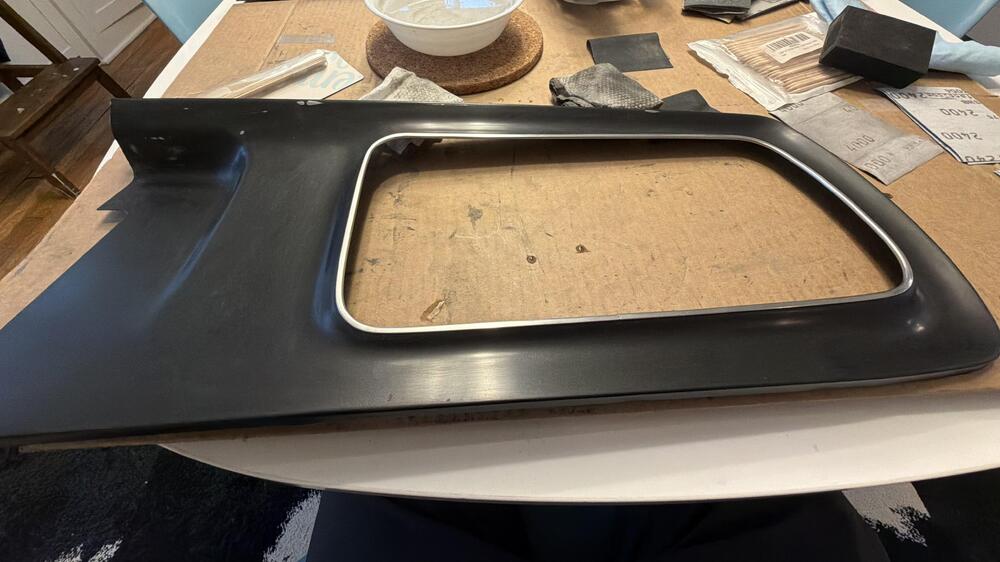
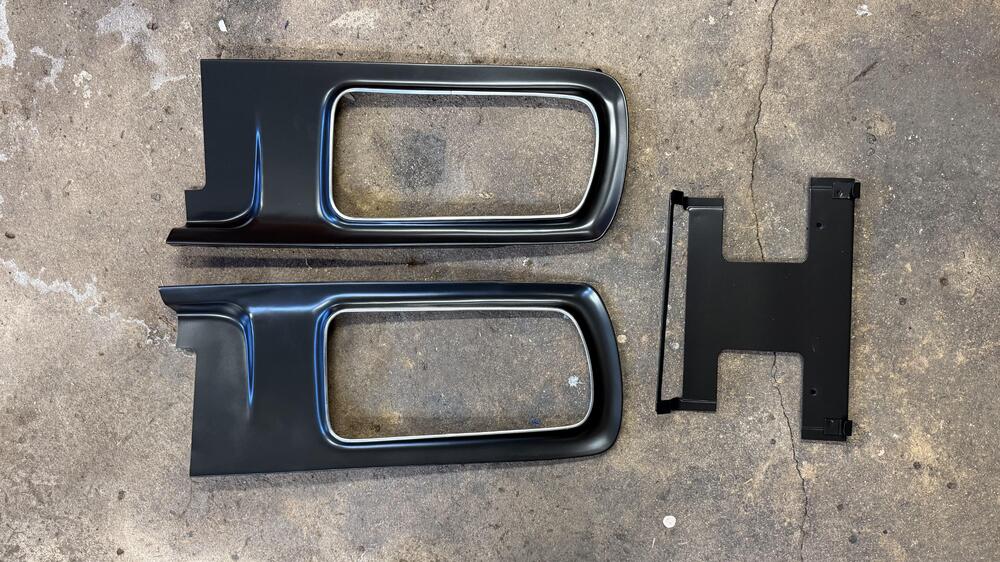
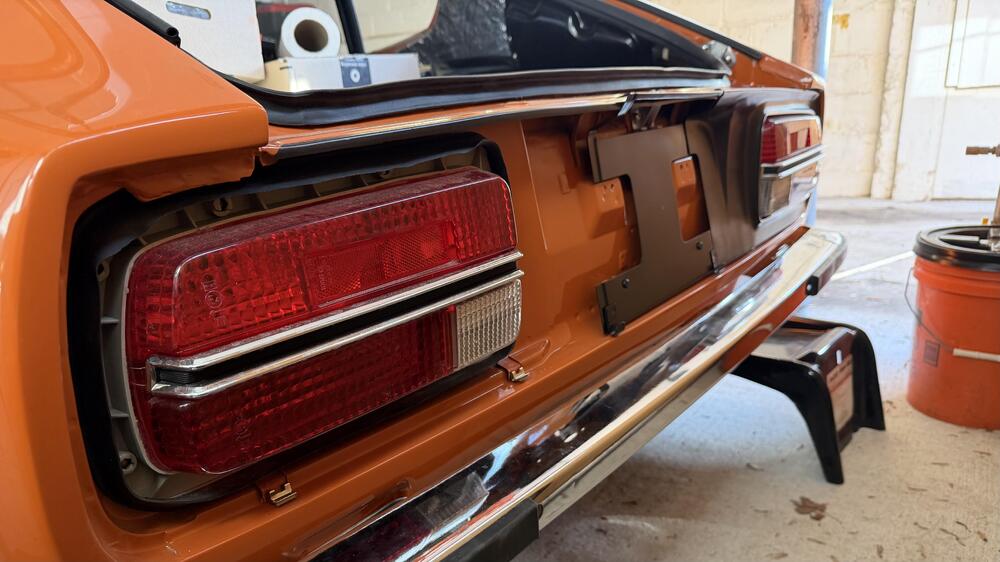
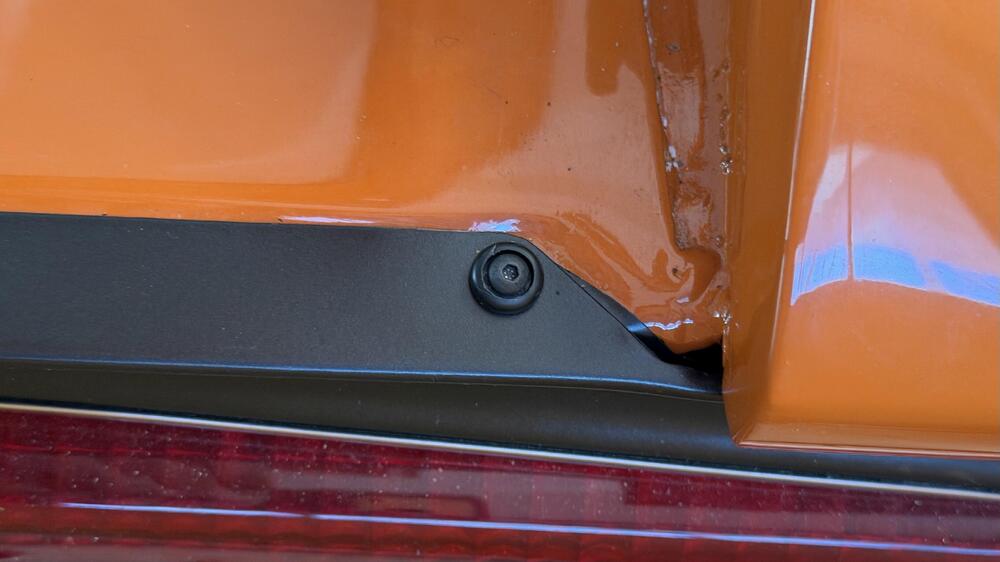
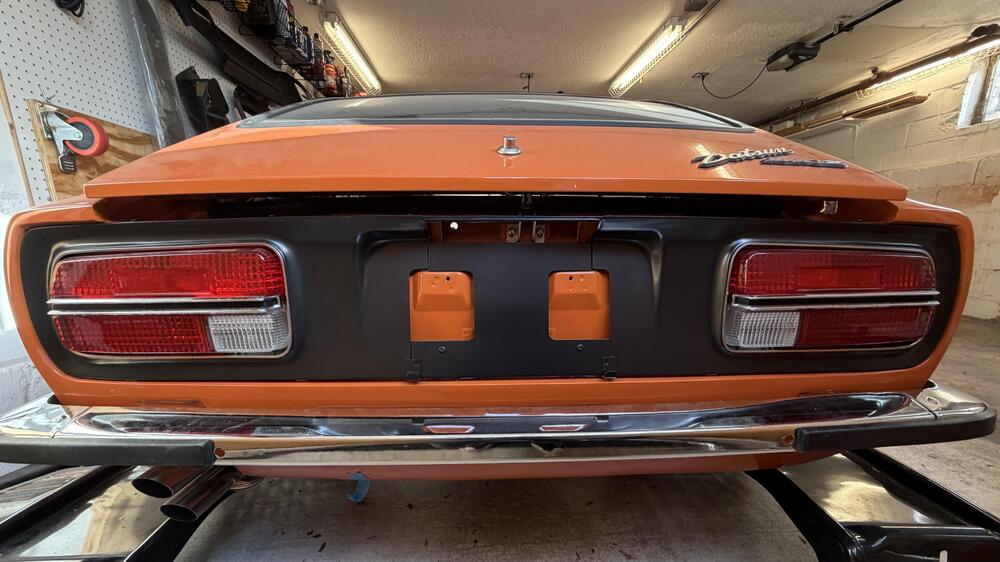
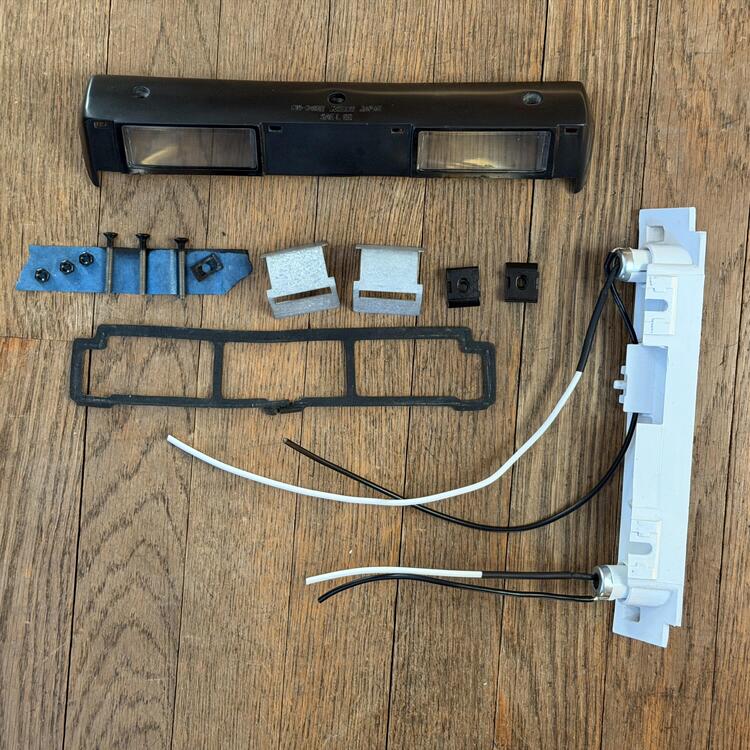
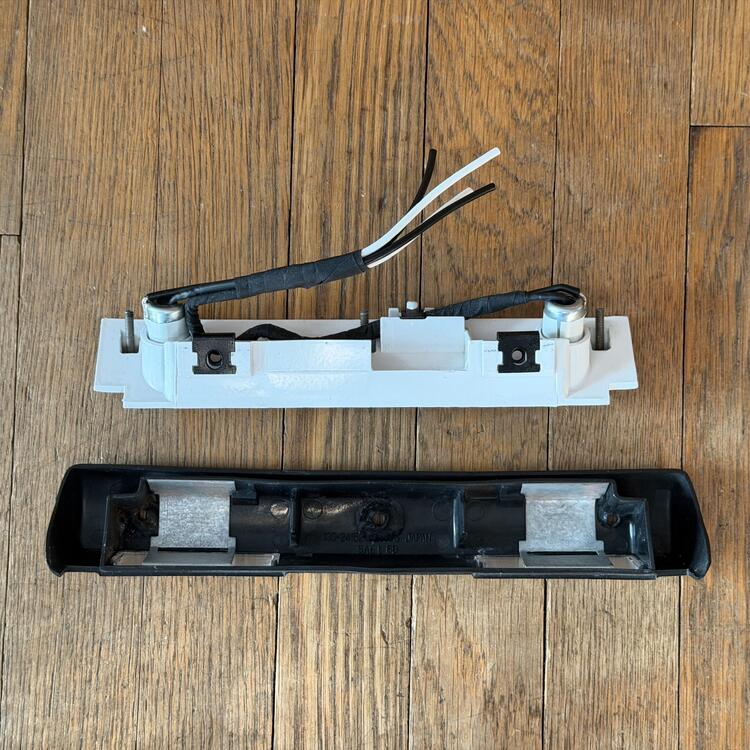
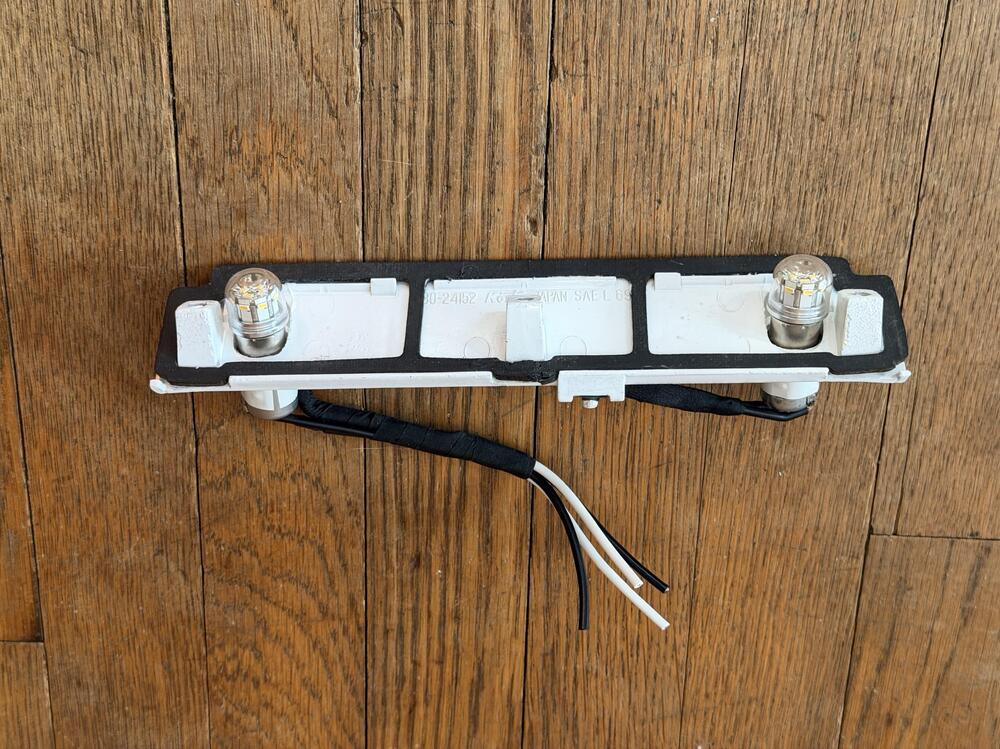
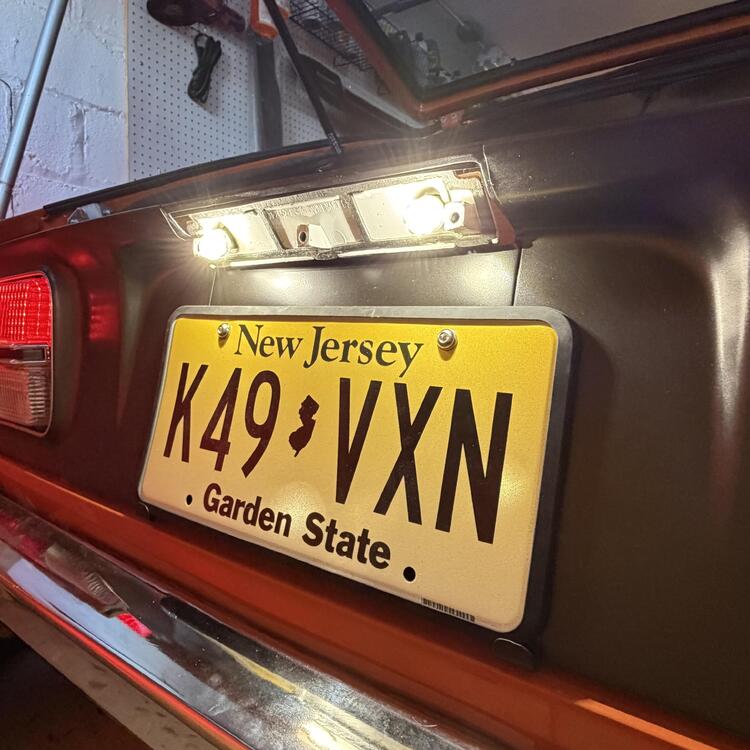
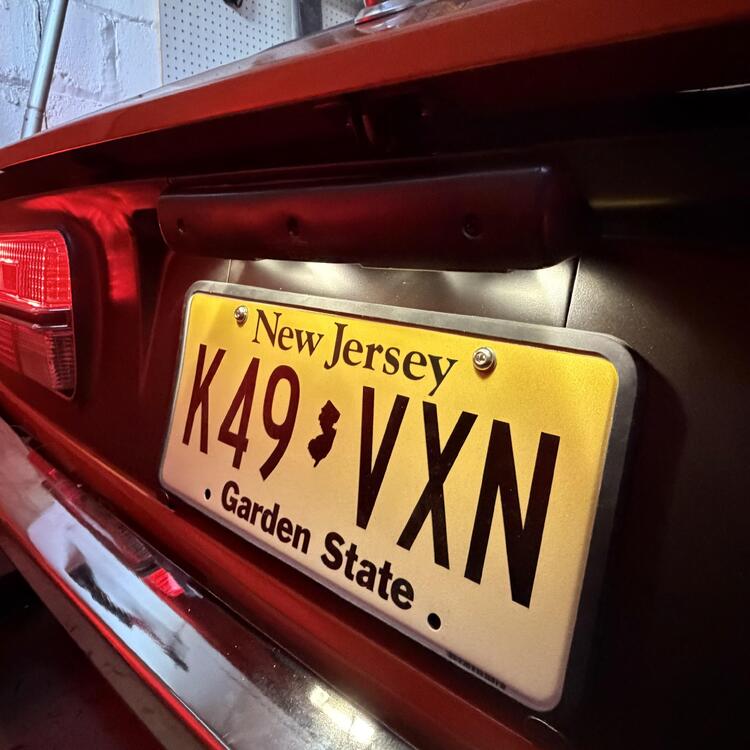
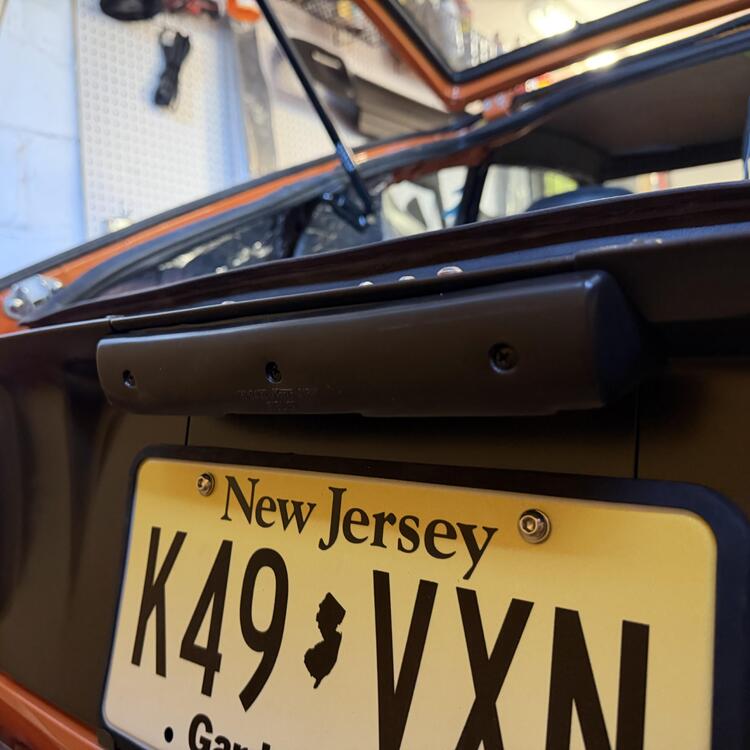
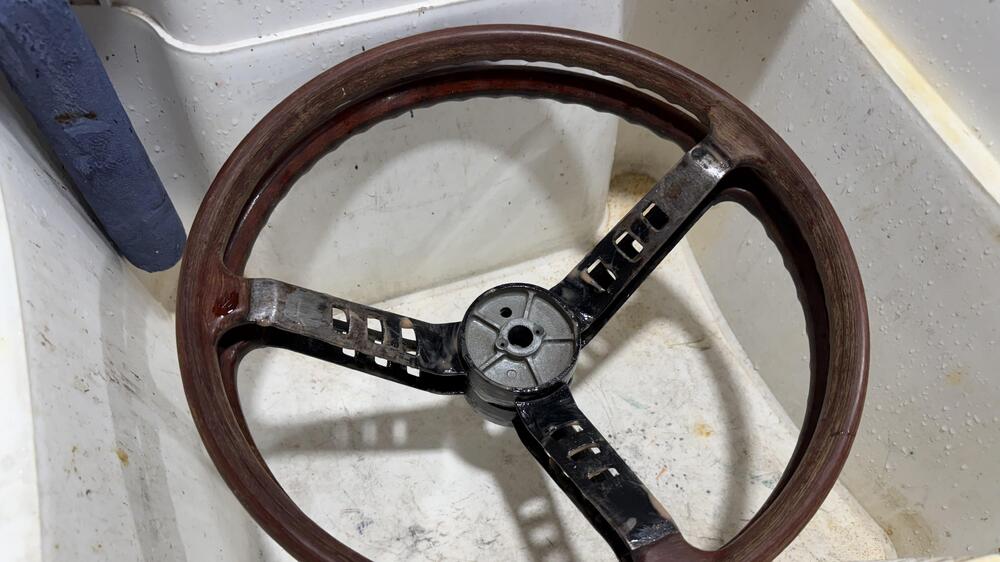
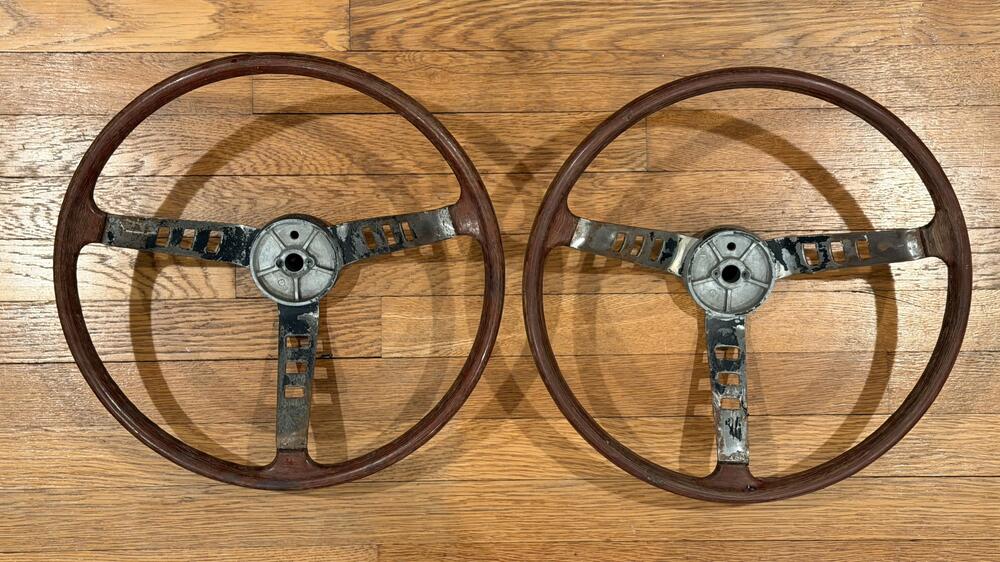
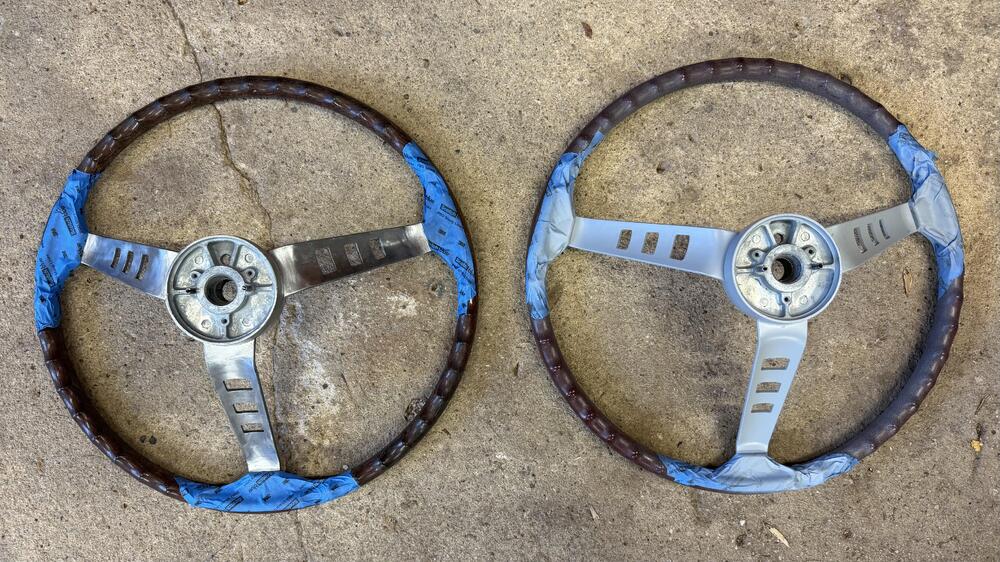
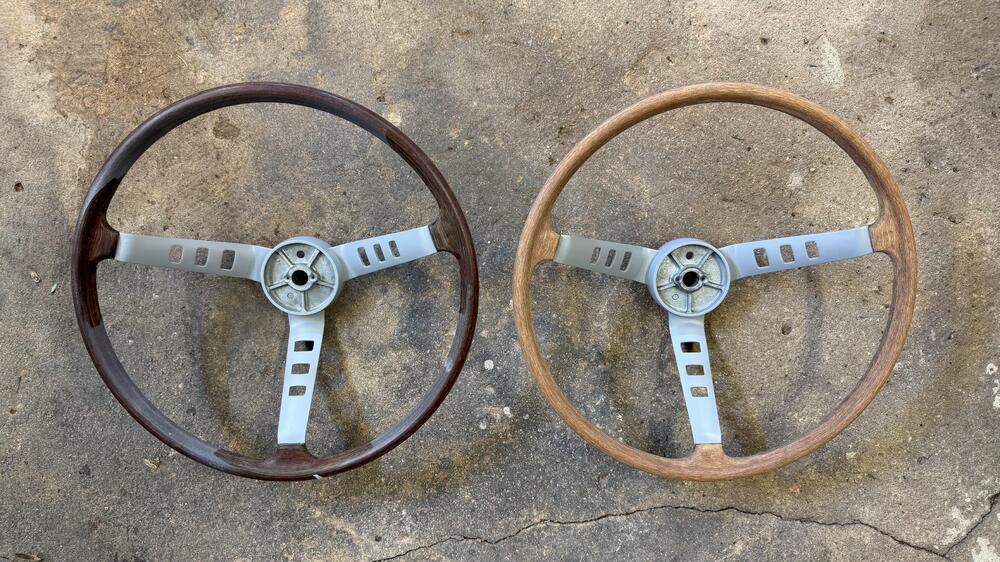
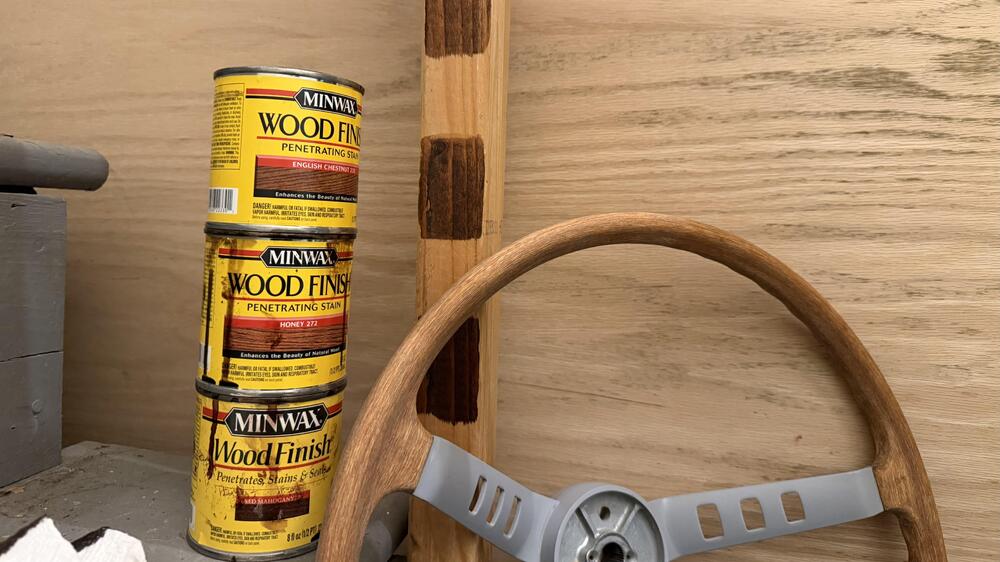
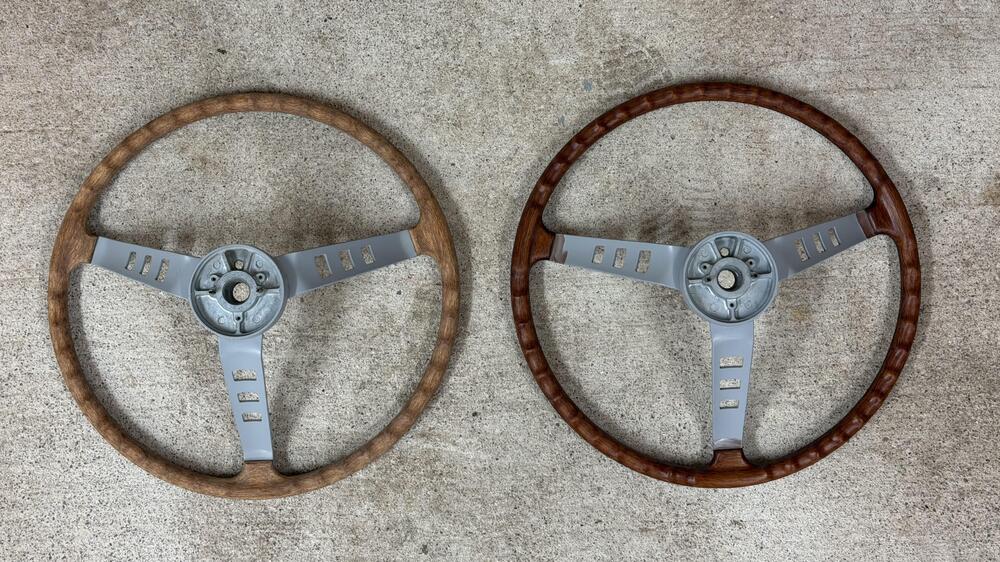
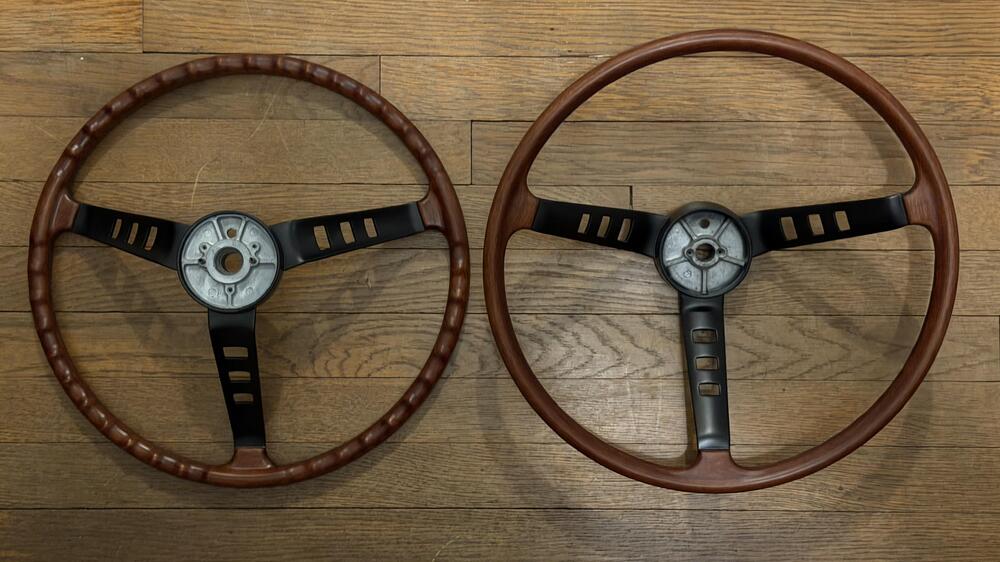
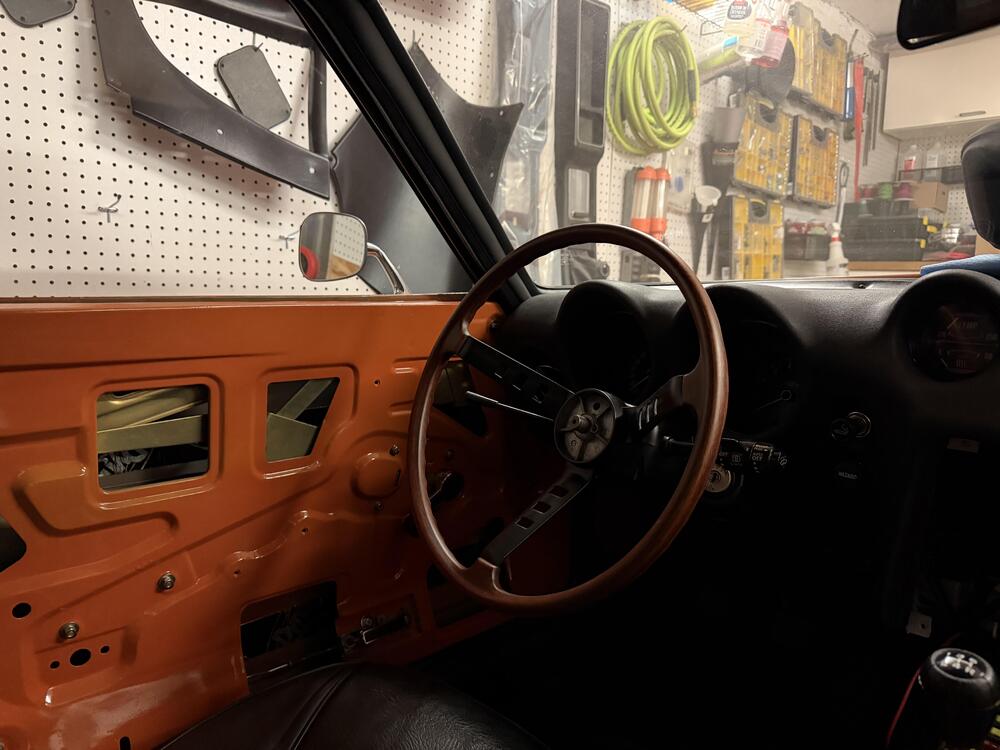
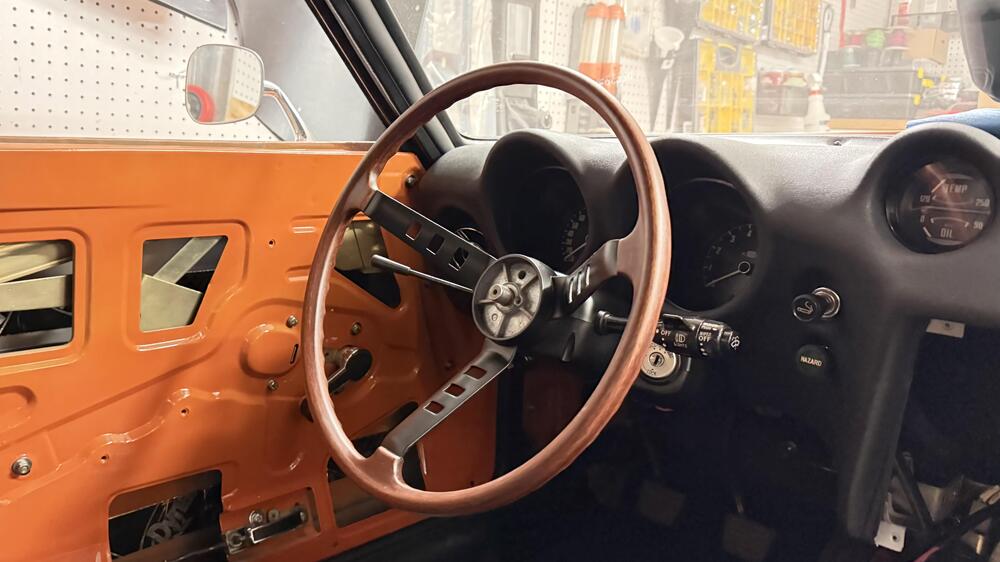
Catch-Up Digest, Continued ••• December 19, 2025 This took me forever but I finally got the finish the way I wanted it after a million coats of paint. I kept getting a chemical reaction between the metal and the paint, despite using metal prep, self etching primer, and the same brand and formulation of paints. Resilvering the glass took a few times but I got it on the third try. I still have a couple of small flaws, but I’m fine with it. It keeps it looking vintage. Kintsugi, right? The kit was from Angel Gilding of you want to give it a shot. Watch their YouTube instructions a few times first. The plastic is refinished in SEM’s Laundau Black, like the rest of my interior, and the stem is just the satin black I’m using on all the metal inside. The housing has some lumps and distortion from heat and age but you can’t really see them through the windshield. The day/night knob emblems were filled with thinned down white nail polish applied with a 0000 brush in five or six layers. The visor clip is NOS and the rest of the bits were in good enough shape to clean and reuse. ••• December 31, 2025 Nearly finished with the exterior. I just need to do the license plate light, gas cover, grille, and front bumper. I know this photo is not the best, but you can see the tail light panels are in. Painting this was a little tricky due to the cold weather, but after sanding out the orange peel and giving it one super light coat to know back the shine it’s done. They were sanded bare, masked, etch primed, and primed again in black lacquer to prevent bad chemistry. The color is SEM Trim Black Charcoal Metallic (39033), which is an acrylic lacquer and the closest thing to OEM that our resident nerds who want to look at this stuff under microscopes could find, but it has been discontinued since I bought these cans. I’m not sure how I’m going to get the grille done now because I used almost all of what I had. I just placed an order for some on a long shot the place actually has them. 🤞🏻 Update: California Datsun has something for this. I don’t know how close it is to what I used here, but I’ll report back once I use it. One thing that I changed was the fasteners. Z Car Depot has the correct ones from Nissan, but I opted for some that are easy to remove just in case. The holes on my car aren’t in great shape so I needed something I could test and tweak. I used metal screws instead of the plastic ones they came with to make them a bit more robust and reusable. I also put black electrical tape on the sill under the panels to keep things from rubbing through the paint while I worked and eventually rusting. Overkill, but whatever. It was a bit of a pain to get together because the body shop didn’t check the figment of these panels when they were cleaning up the left rear fender, which had been hit and pushed in at some point. Plus I replaced the clips that hold the bottom edges of the panels, which took hours and should have been done before paint. There was much finagling involved here. ••• February 4, 2026 Here’s the third project that was held up by the weather. Again, it’s been way too cold to spray the paint, so I’ve been having to put down more layers and sand them out way more than normal. Luckily the previous owner of this car left me two license plate light fixtures. Both of them were broken, but between the two I had enough repairable pieces to make one that works. I’m going to use the other one to experiment with. To rehabilitate this I had to rebuild the areas on the cover where the three black screws hold it onto the housing. I used ABS cement in stages to fuse the cracks and fill in the gaps that had chipped away. Once I had that done I filed and sanded it back down as close to the original shape as I could manage. After that I sanded it in stages from 600 to 8000 grit wet/dry sand paper. Then hit it with the same SEM Trim Black Charcoal Metallic paint I used on the rear light surround panels. The inner housing was less straight forward. The rings that hold the bulb sockets in place were cracked and the plastic was very brittle. I started by submerging it in very hot water for fifteen minutes to get it a little soft. Then I applied super thin CA glue in the cracks and squeezed the rings together with hose clamps. The sockets were still a little loose, so I ended up wrapping them in one layer of electrical tape to snug them up. The housing got a layer of gloss white paint, more to brighten it up and help the reflecting light than to make it look nice. The electrical was straight forward. I just bought new sockets and wired them up as stock, the same way I did the tail lights and blinkers. From there it was just a matter of refinishing the hardware, reassembling it, and putting it on. One thing I learned is while you can remove the face place with the light installed, you’ll want to loosen or remove the screws holding it to the car to put the faceplate back on so it seats correctly. Otherwise it will crack. ••• February 7, 2026 And, finally, 4 of 4. I went through so much paint on these. Between lifting, dust, poor mixes and spatter from the cold, accidentally sanding through clear, accidentally sanding through the base coat, and the masking tape pulling off the clear, I’ve been working on these since Thanksgiving weekend. I don’t know why I have two ‘73 USDM steering wheels, but fine. They were both pretty trashed, and one had some issues with the rim material that I had to put some research into. Once I had them stripped and sanded they looked a lot better. The process was straight forward: strip, remove rust, sand metal with 250, mask, etching primer, black primer, gloss black, satin black, satin clear, mask again, fix and fill rim issues, sand with 600, stain, clear gloss spar urethane clear, clear satin spar urethane. Stripped on the left, etch primed on the right: I did some tests on some aged pine that was a close match to the raw rim to my make sure I had the right stain color (English Chestnut, Honey, Mahogany). I’m not convinced mahogany is correct, but it looks good and that’s what most people use. I still think some of them had blond rims like this: We all know the rim is not wood, but it is also not injection-molded plastic. I’ve read it’s a resin-like material with wood fibers, sort of like fiberglass but wood instead of glass mesh. I used a very small amount of clear epoxy mixed with a small amount of wood filler to fix and fill some crack that formed around the centerline of the rim, then sanded everything down to the base material. The metal was just like anything else. Each coat of paint dried for three days, followed by a knock down with 400 up to the gloss layer. Then wet/dry sanding from 800 to 4000 to fix any weird imperfections (see above). The satin black was sprayed very lightly, with satin clear over it while it was still wet. Three days to dry, then two more light coats of satin clear. The finish looks pretty close to my OEM 10th Anniversary Datsun Competition wheel. The photos don’t capture it. I still need to get all the overspray out of the center before I choose one to install. Given how heavy steering is with my 195mm front tires I’m going to need the leverage. The Competition wheel will go on my office wall and the spare ‘73 USDM wheel will go on eBay some day. It looks awesome but the steering is just too heavy with these 195mm tires. And my legs are too long.

-
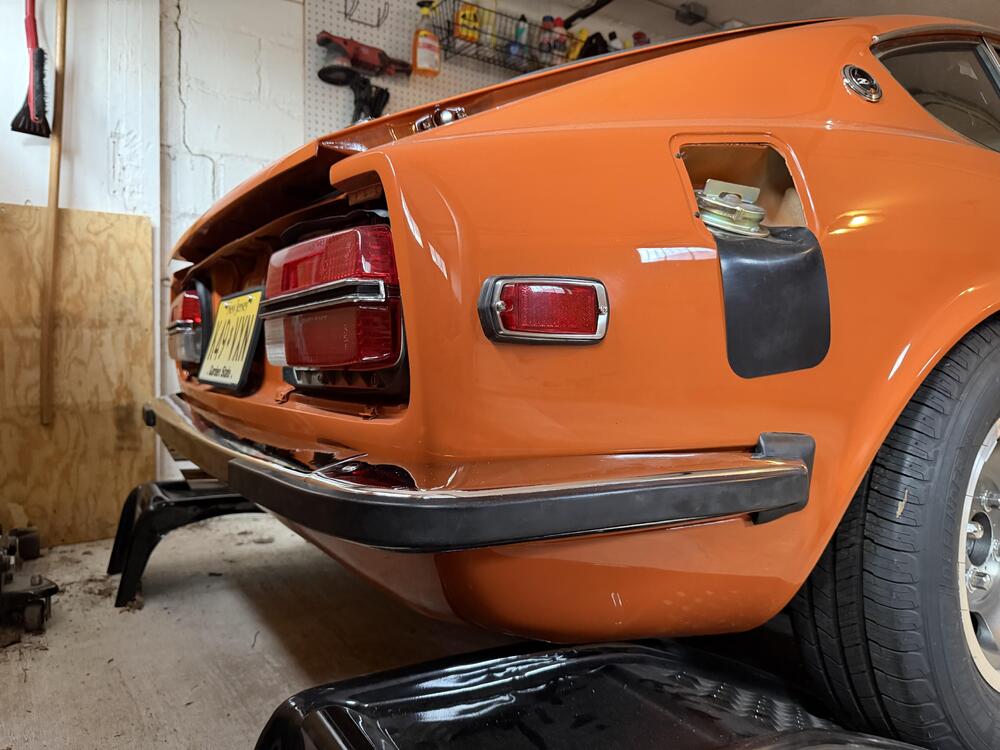
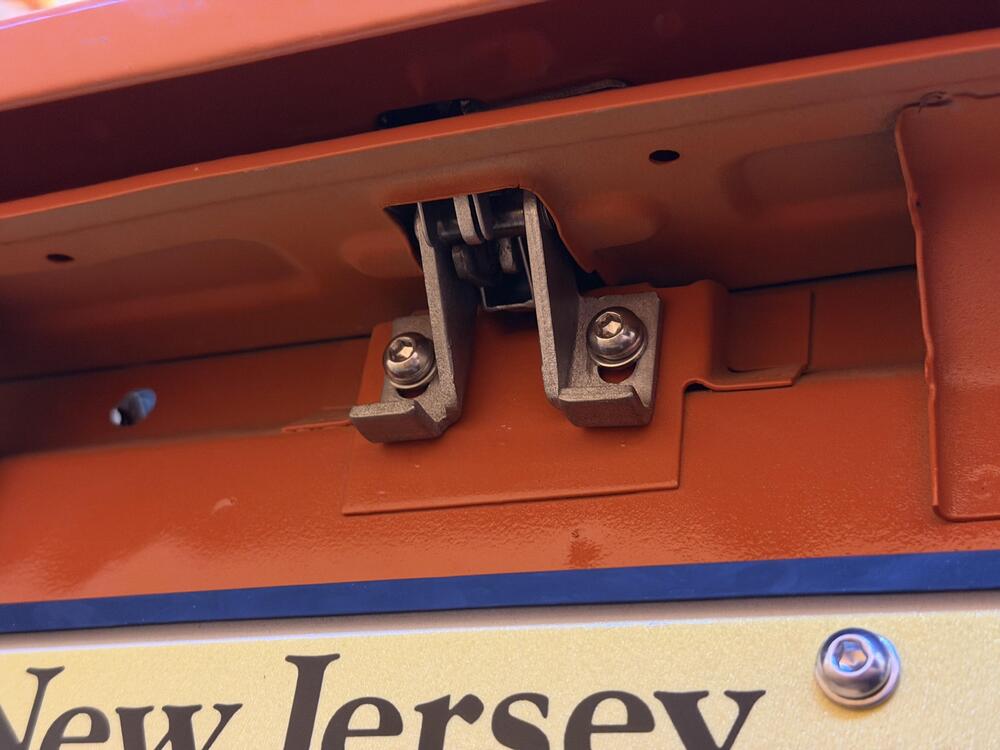
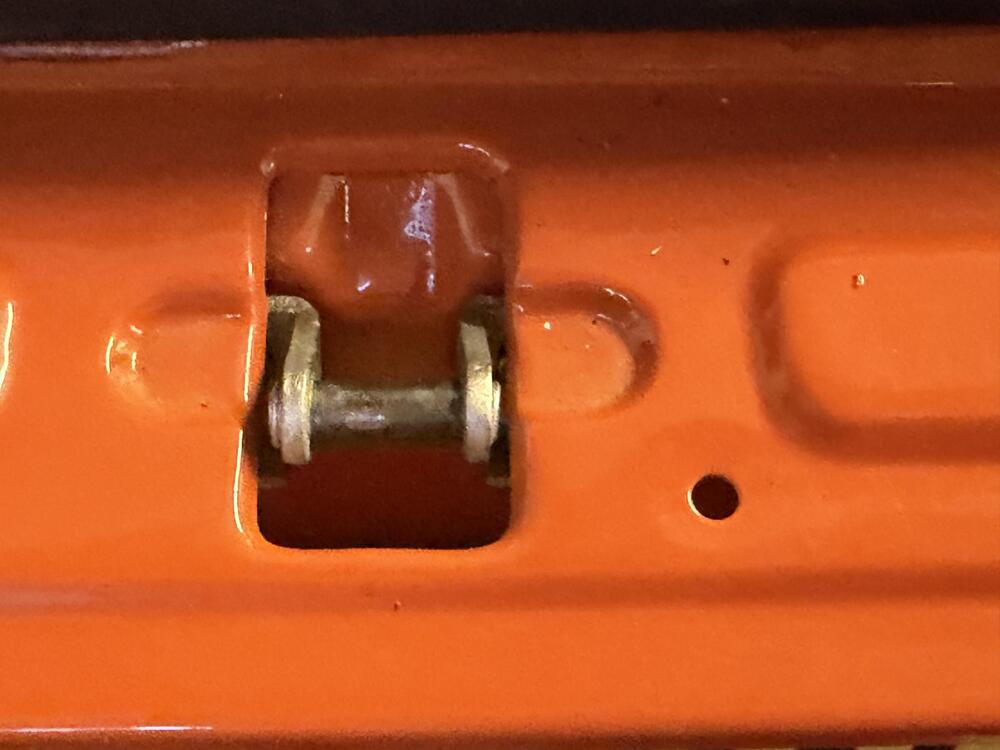
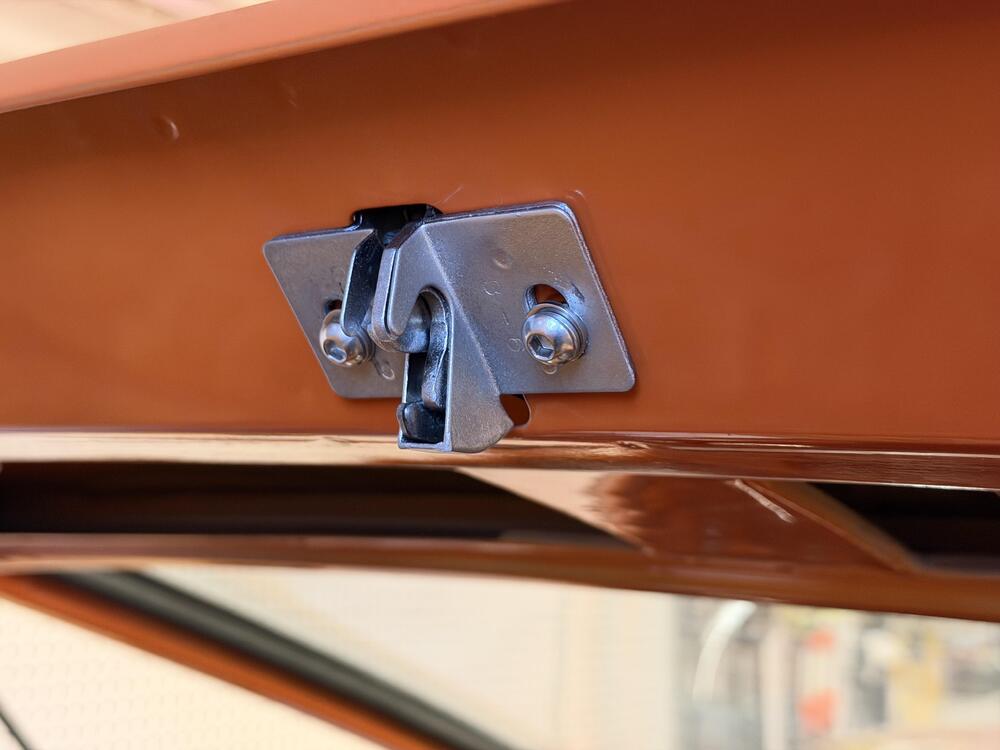
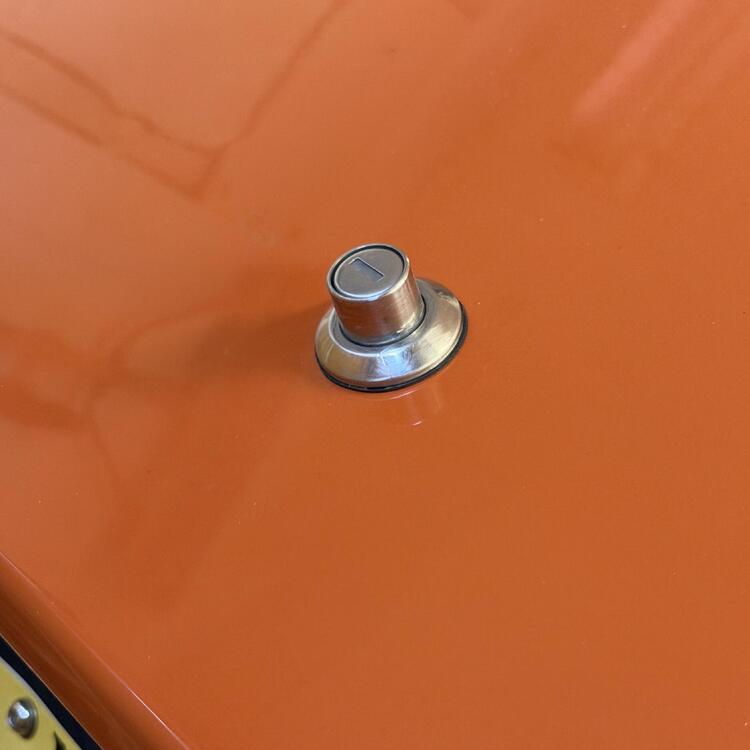
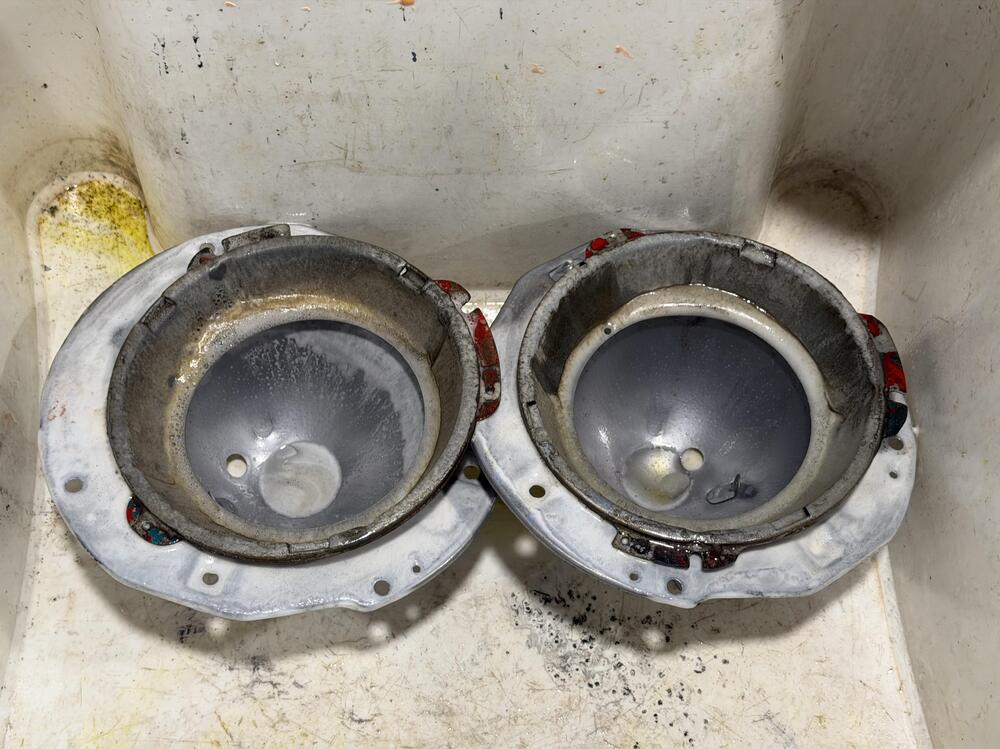
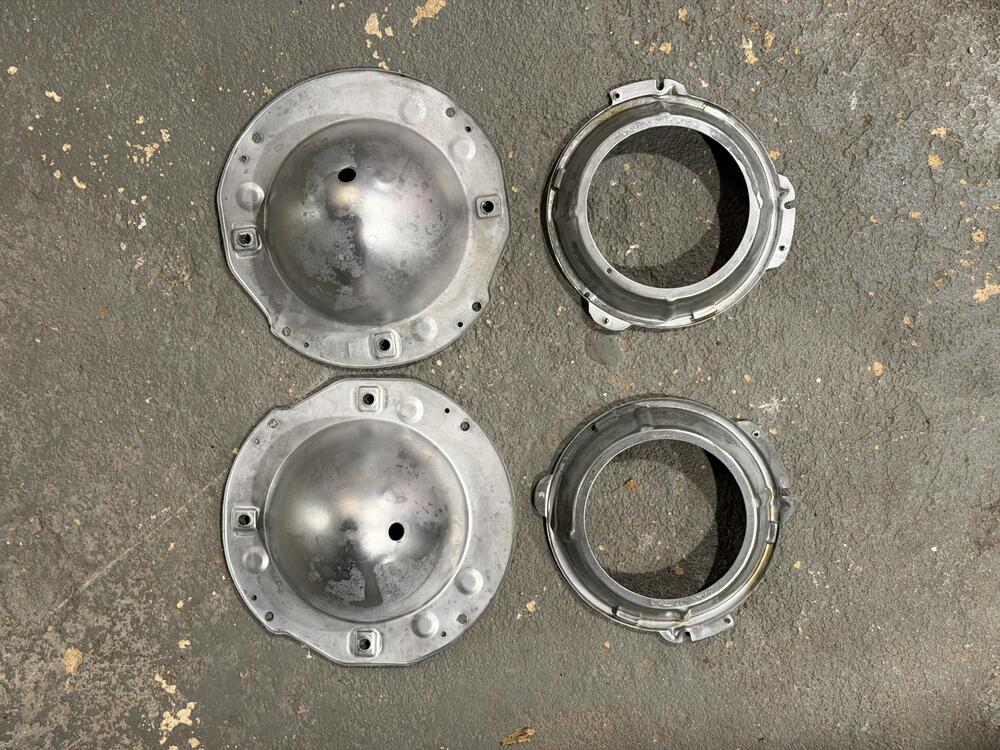
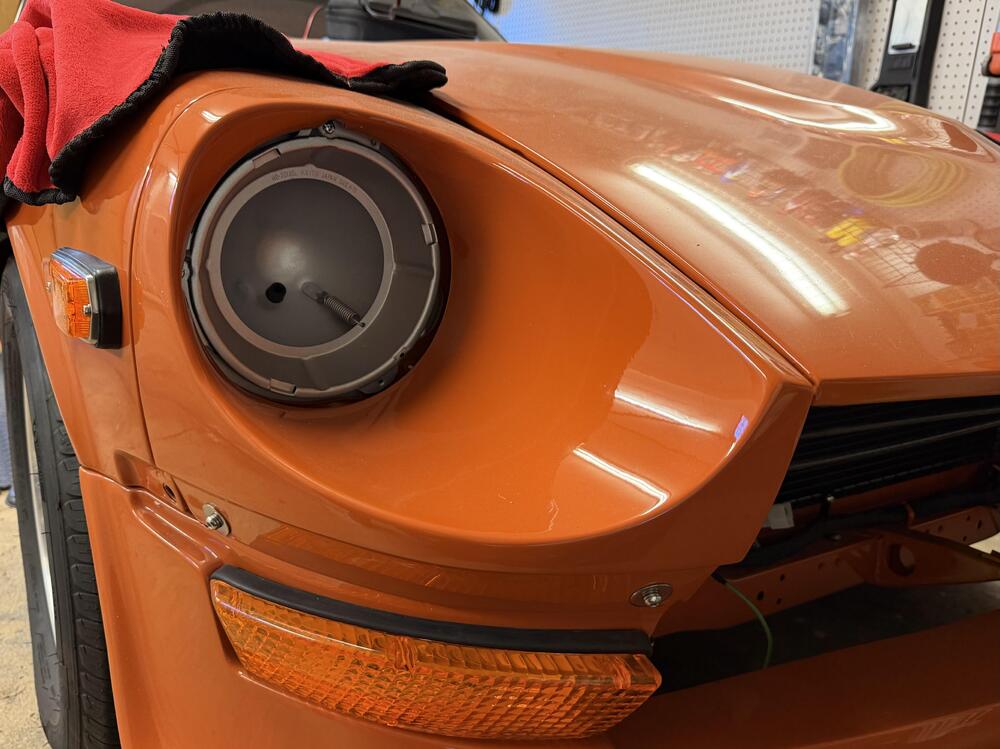
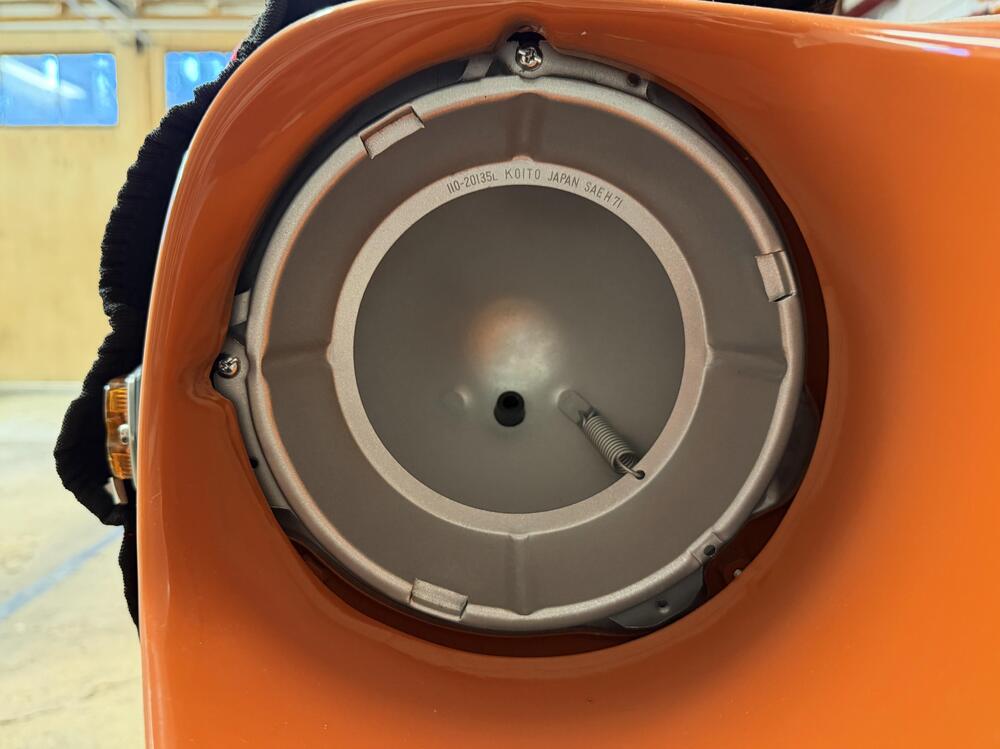
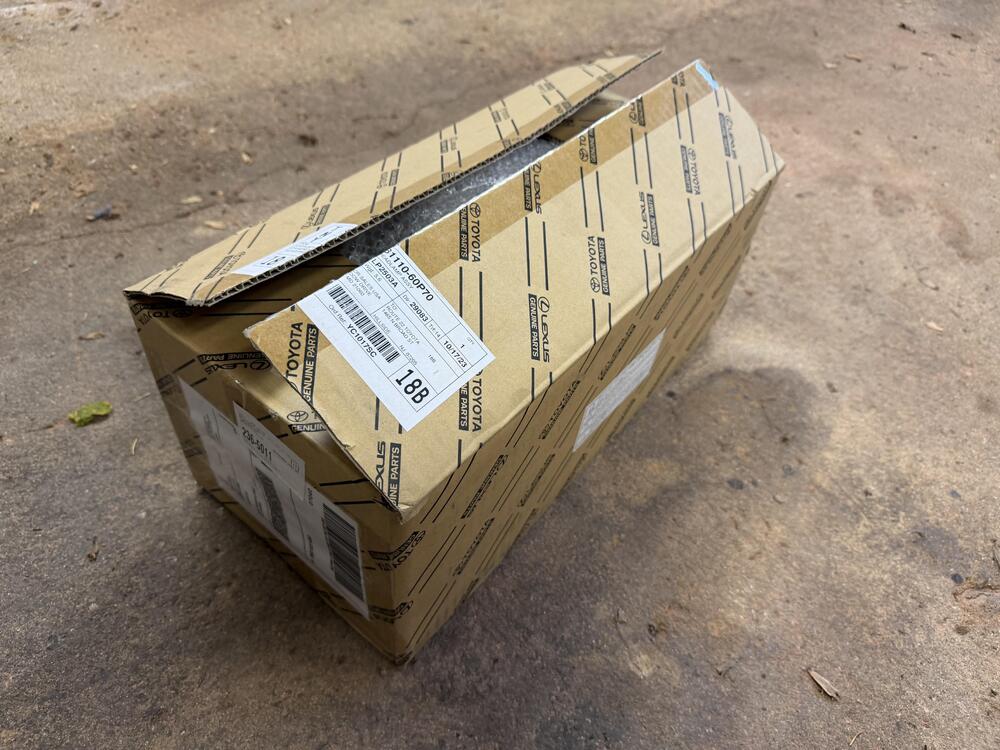
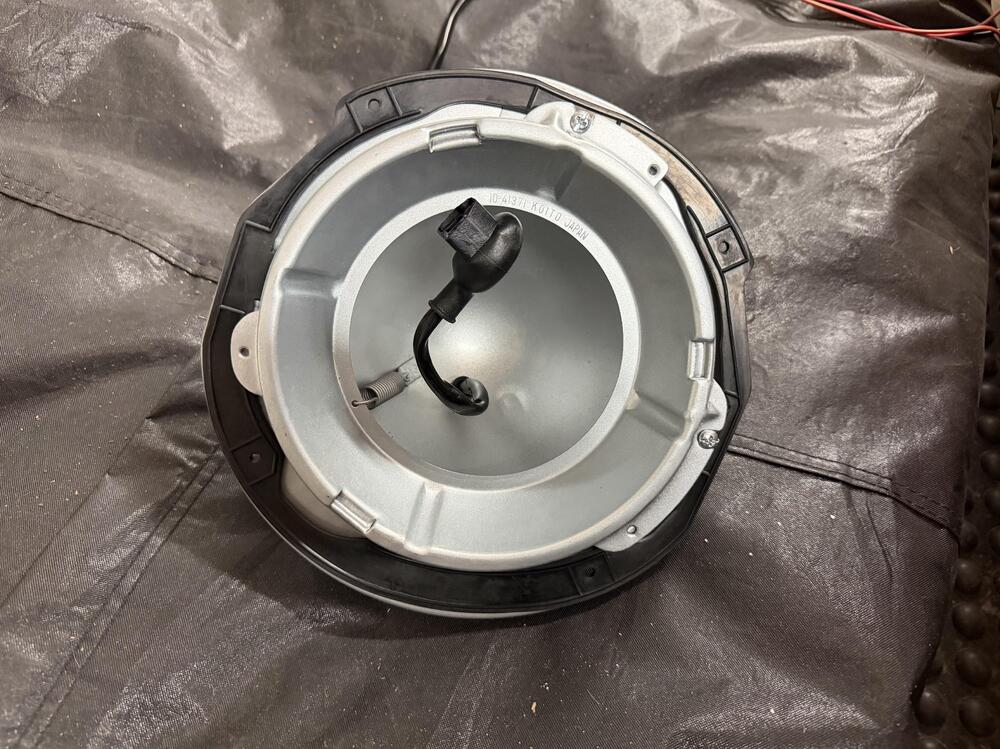
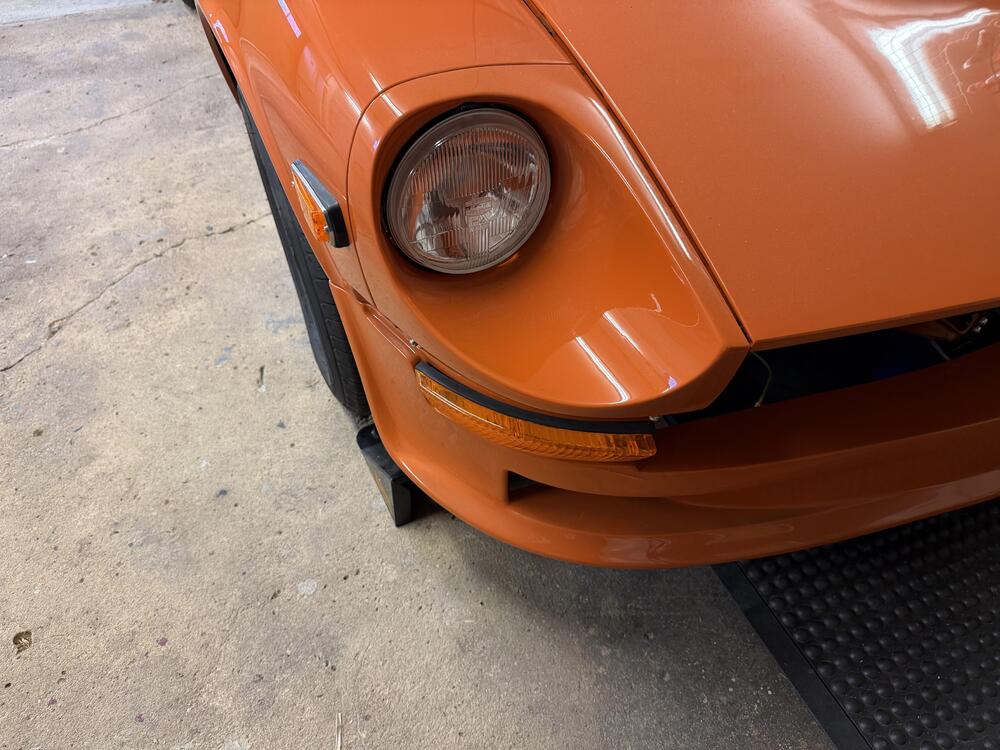
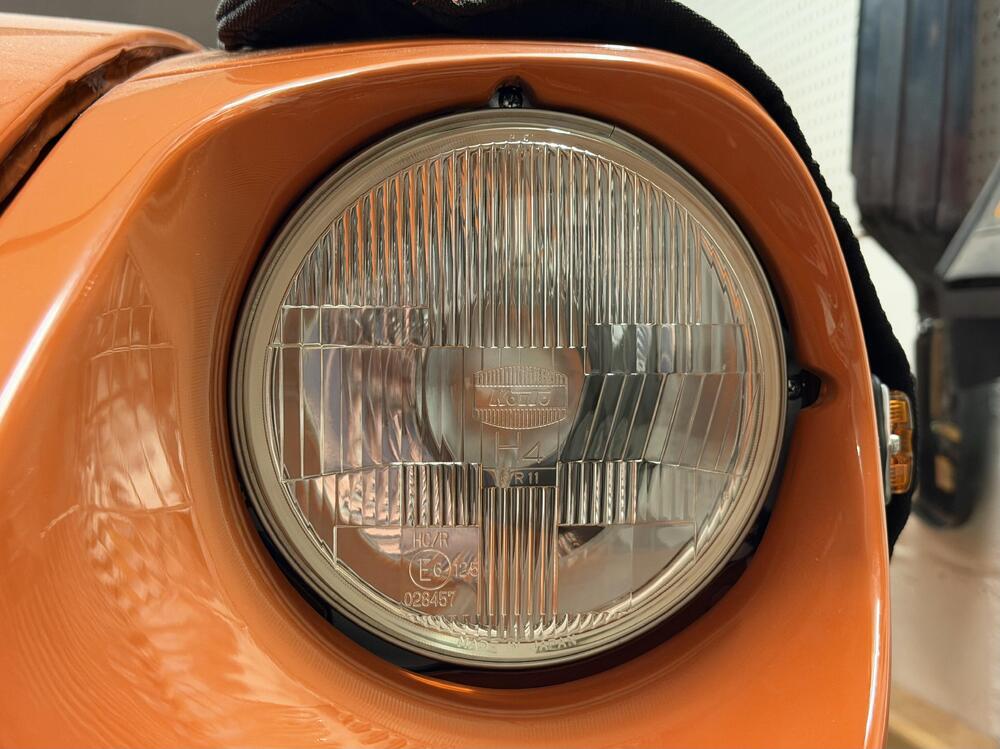
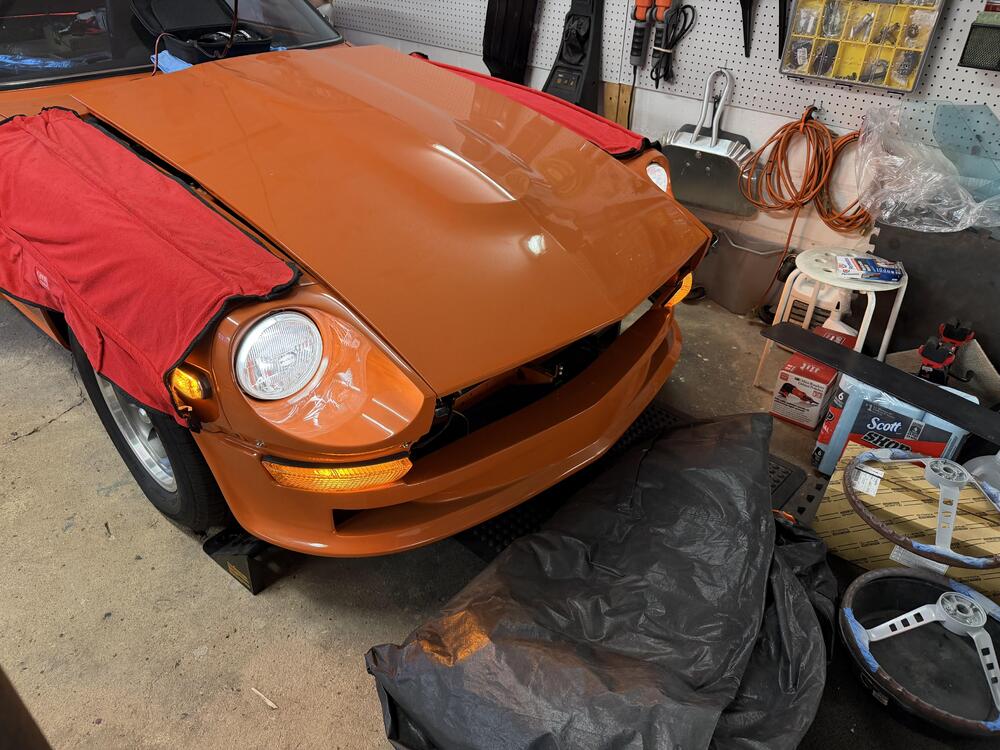
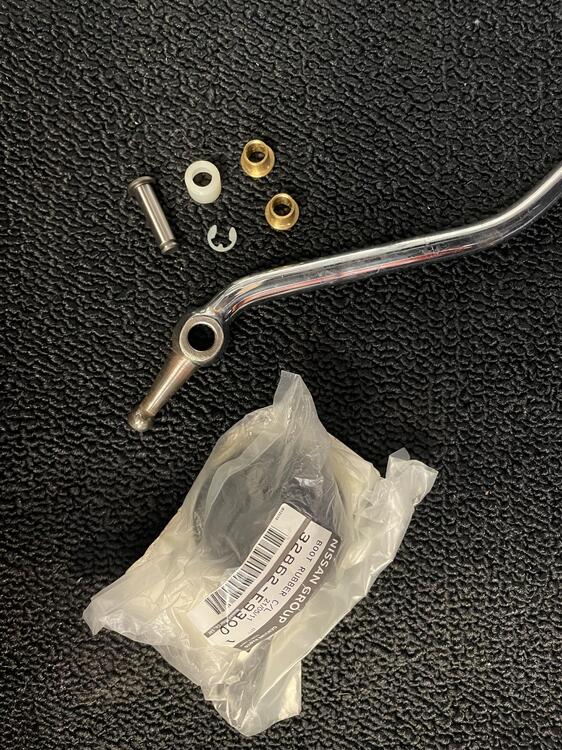
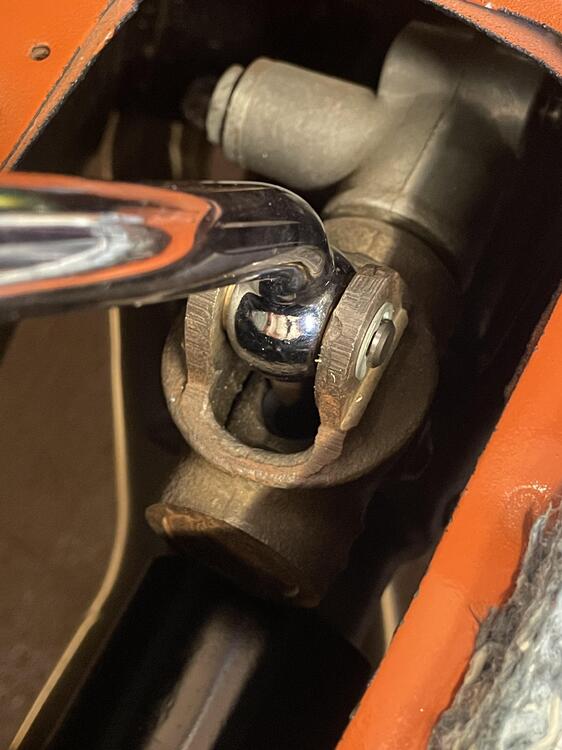
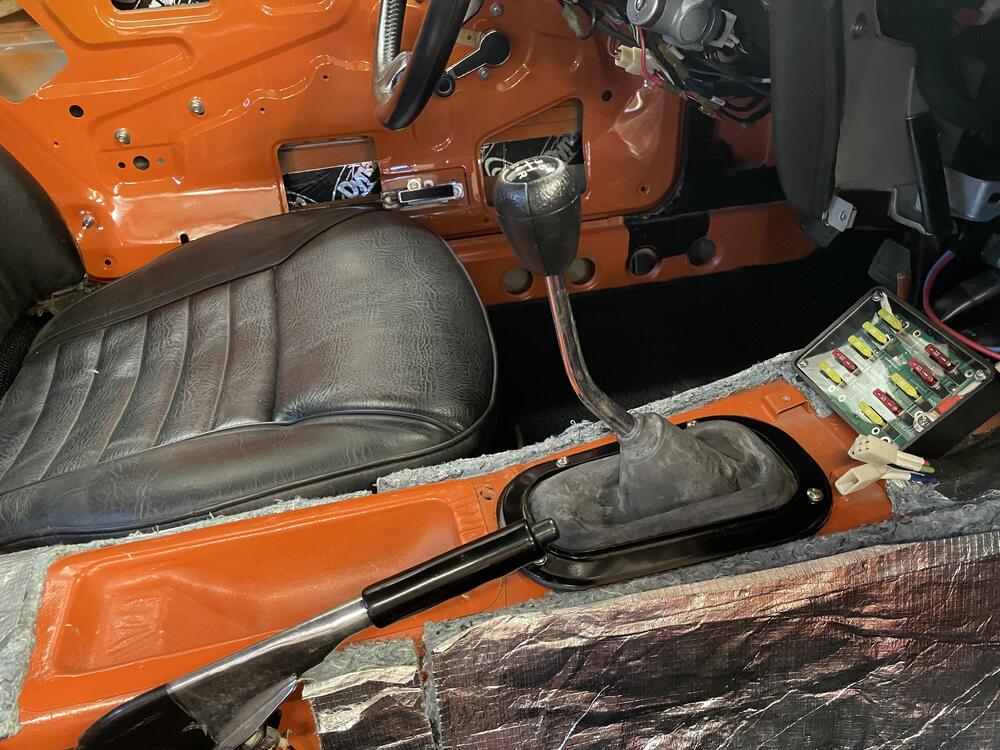
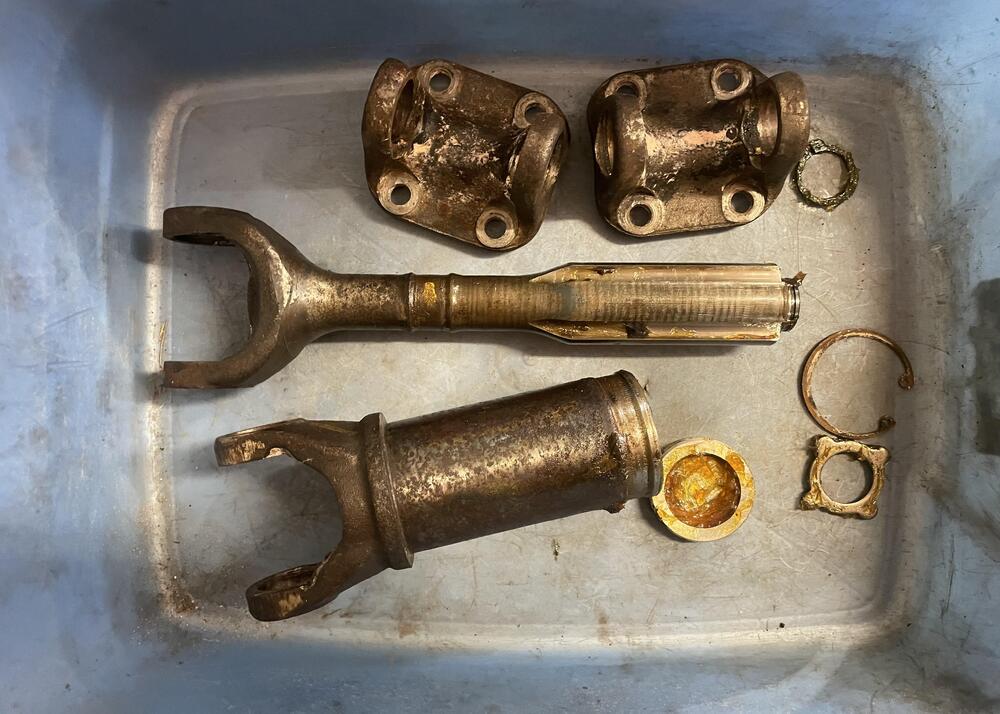
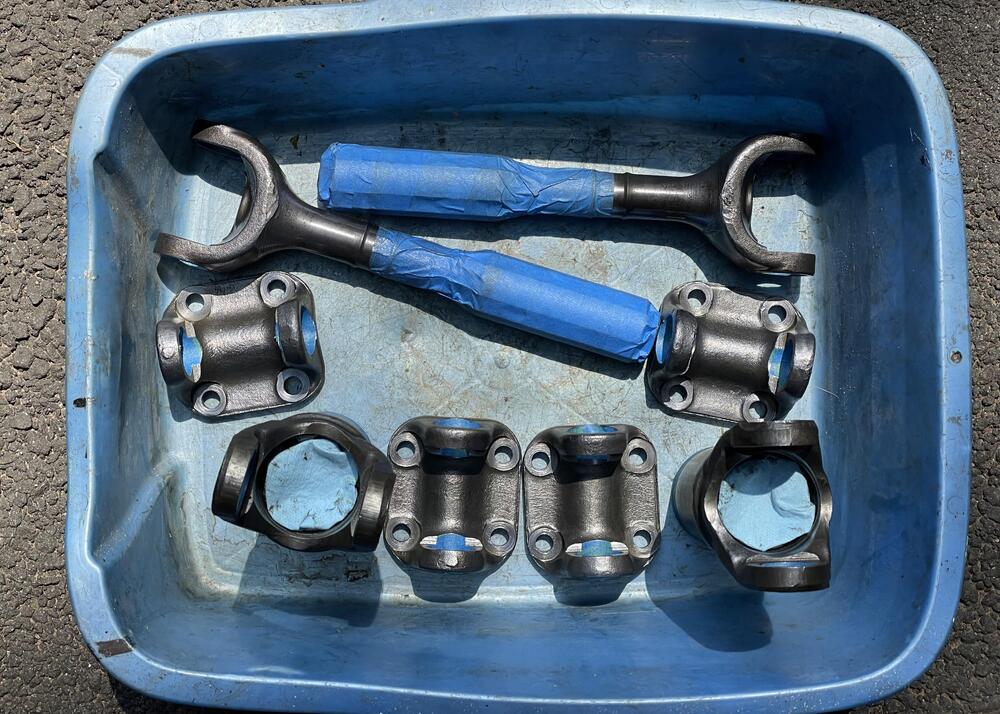
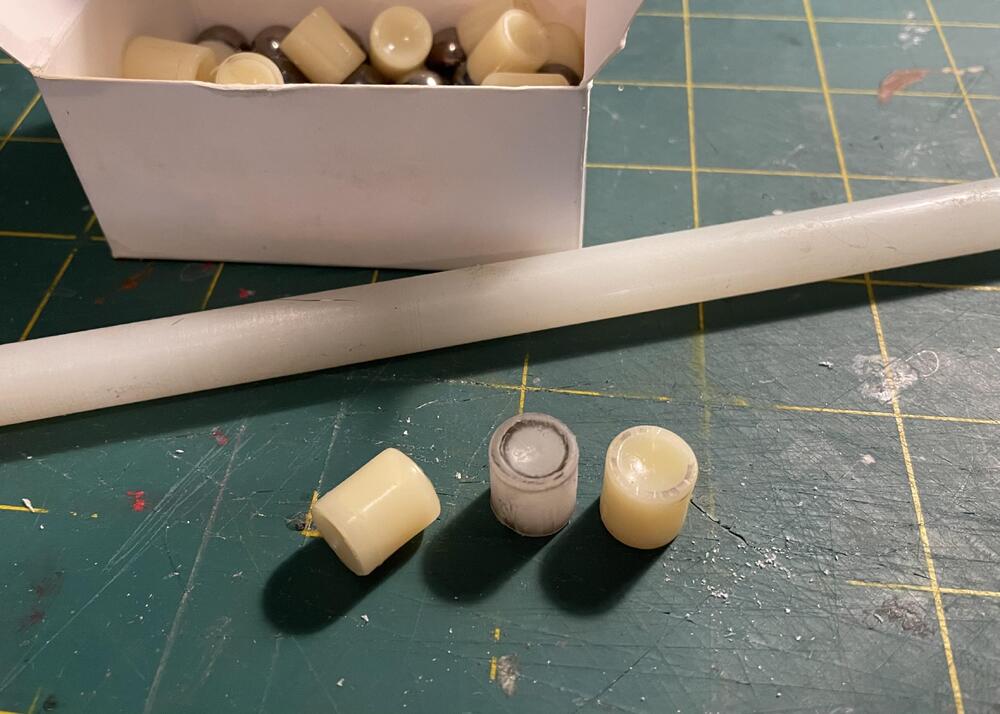
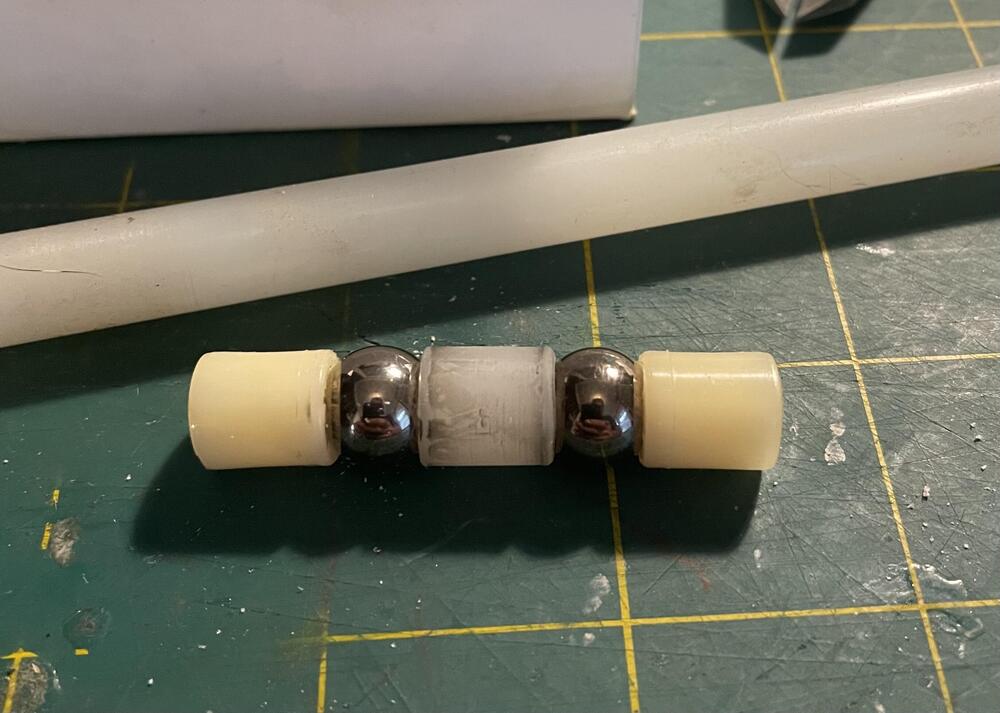
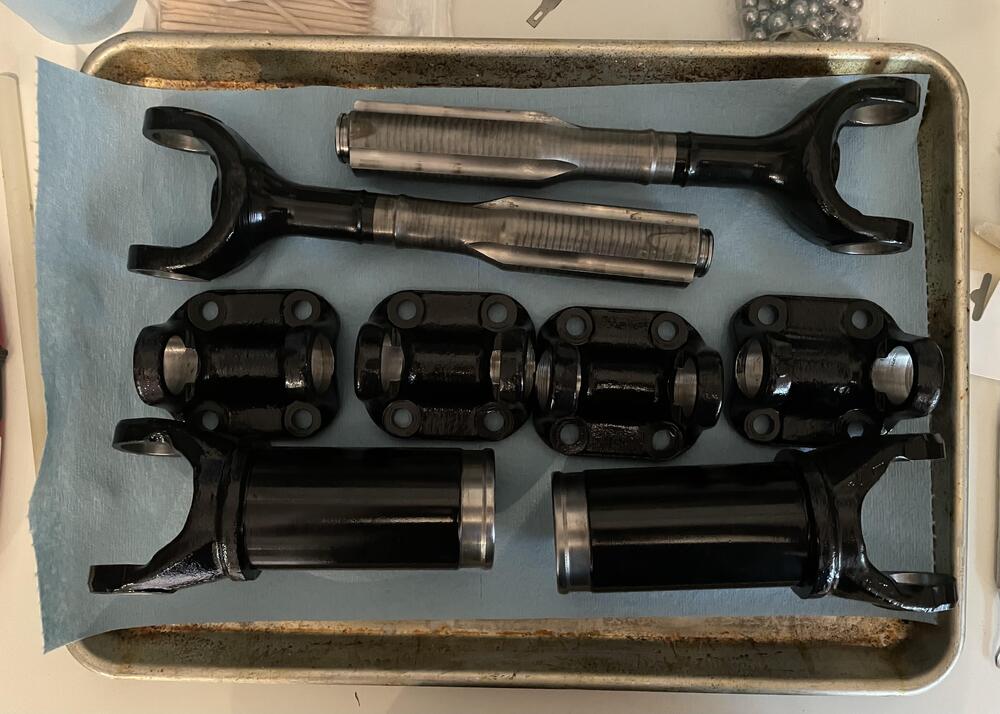
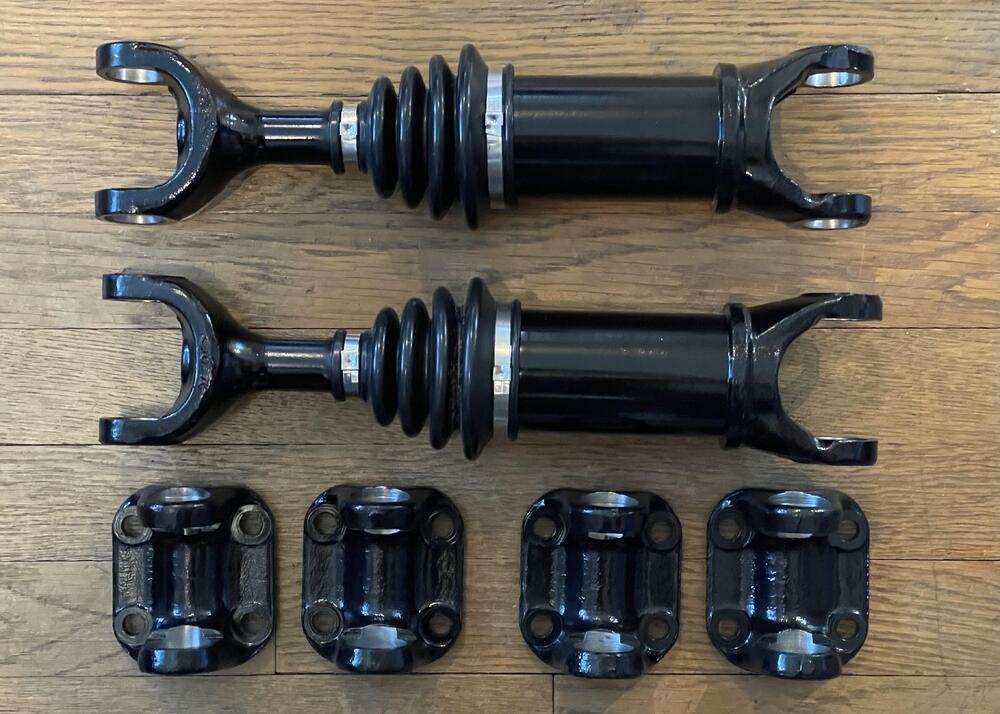
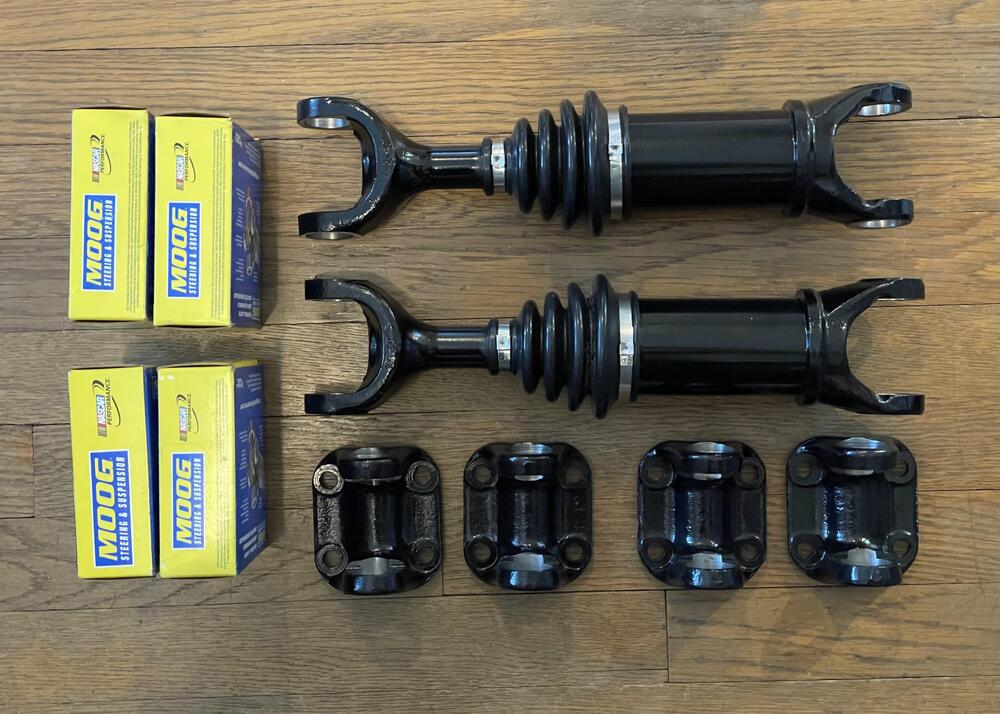
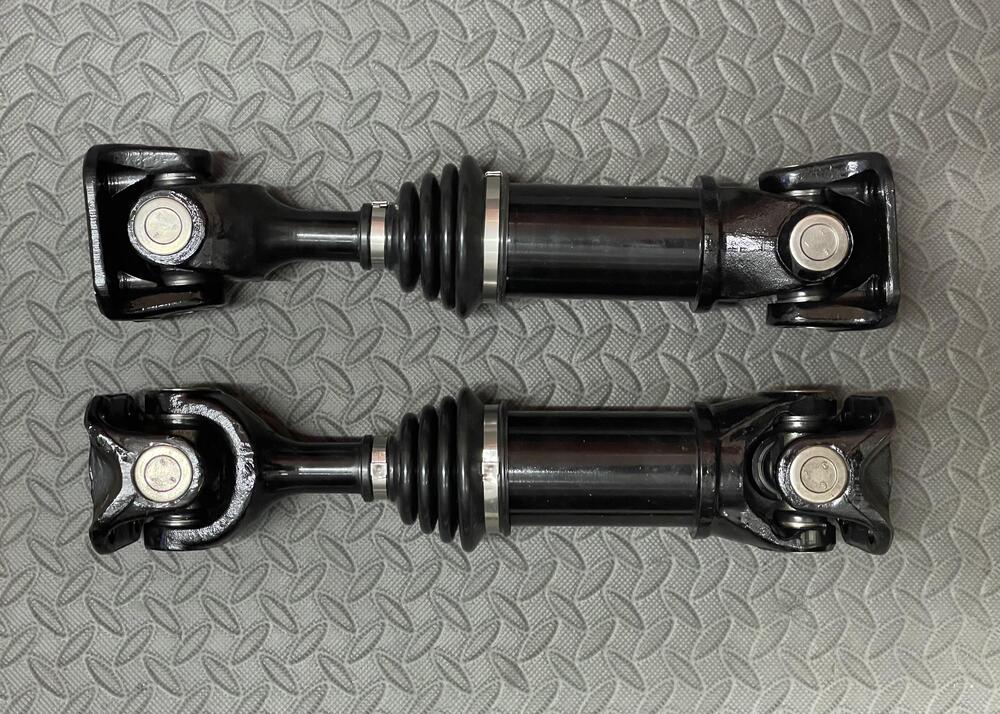
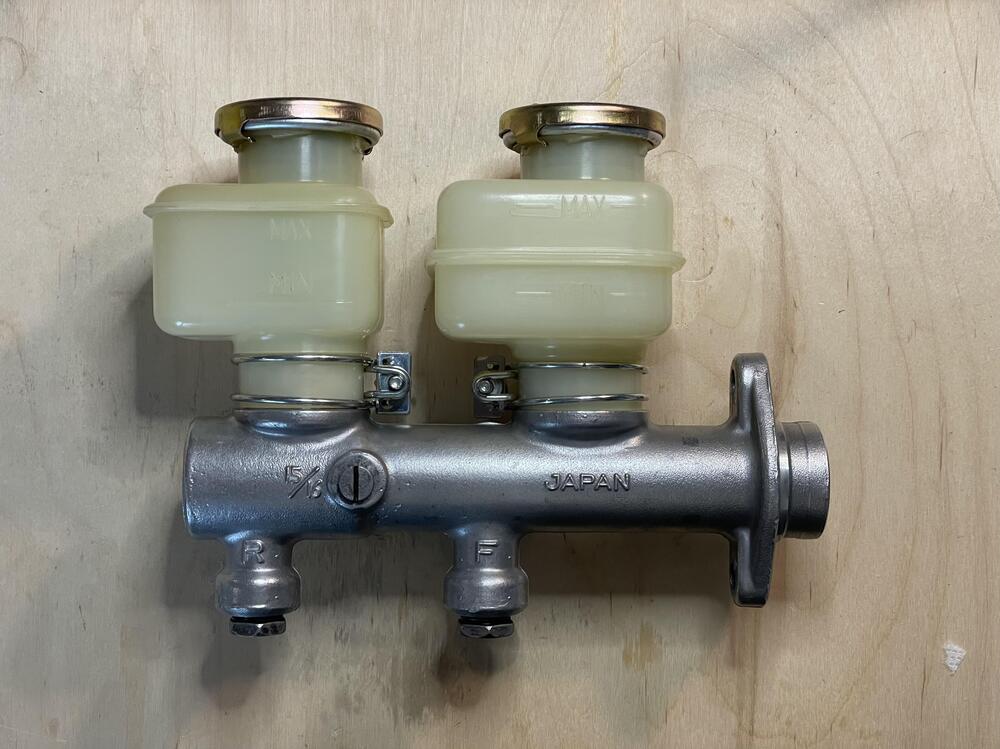
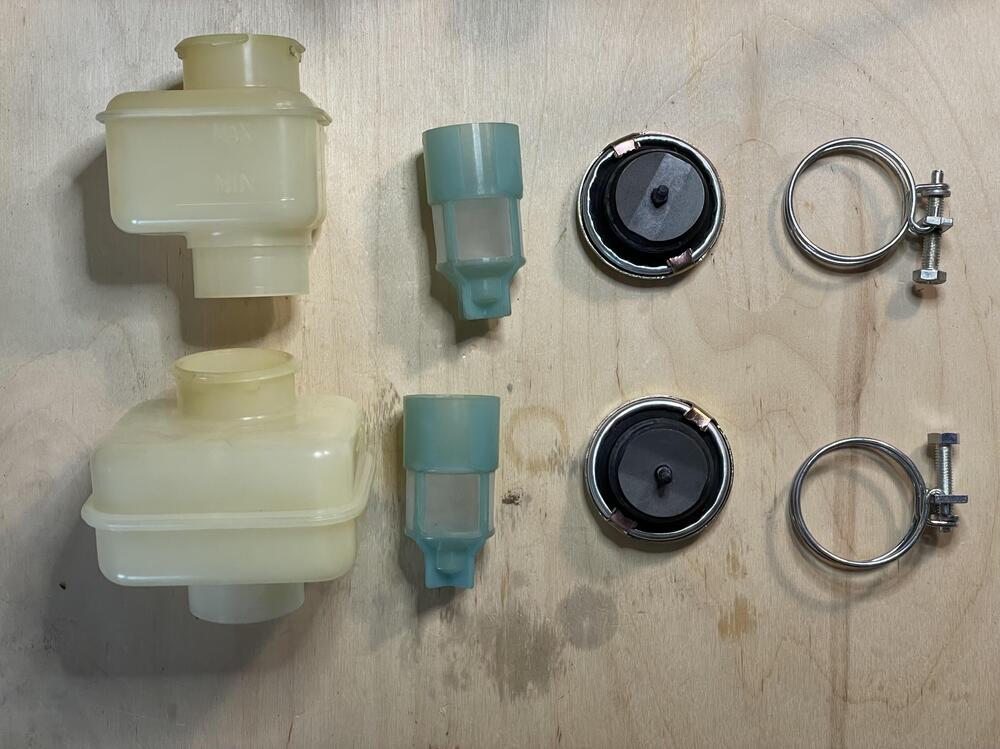
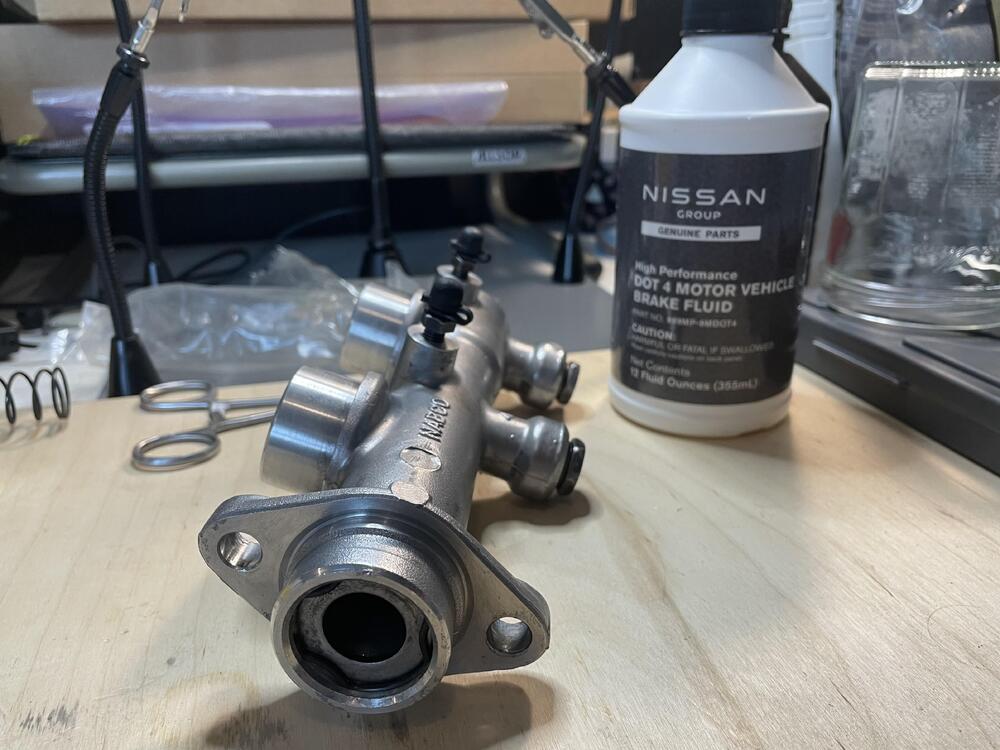
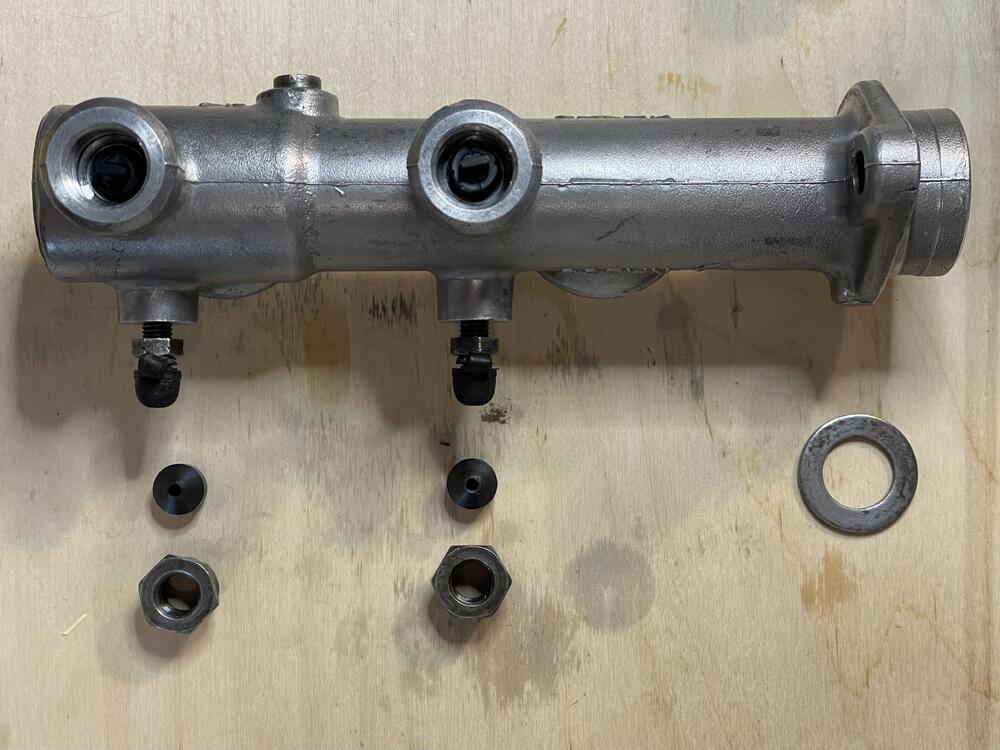
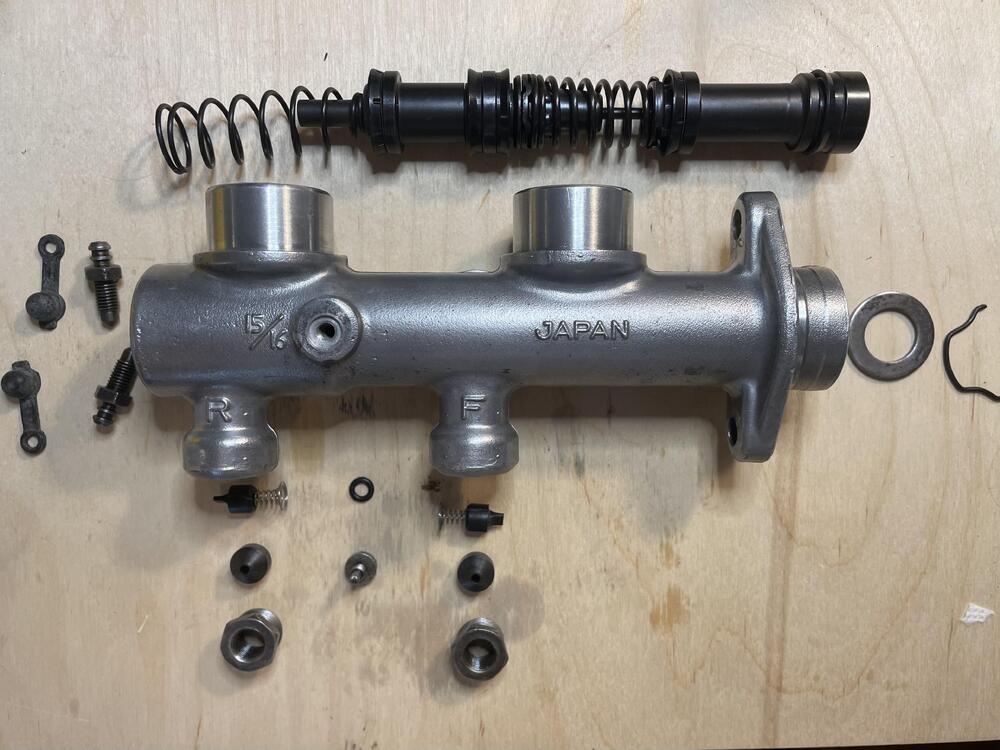
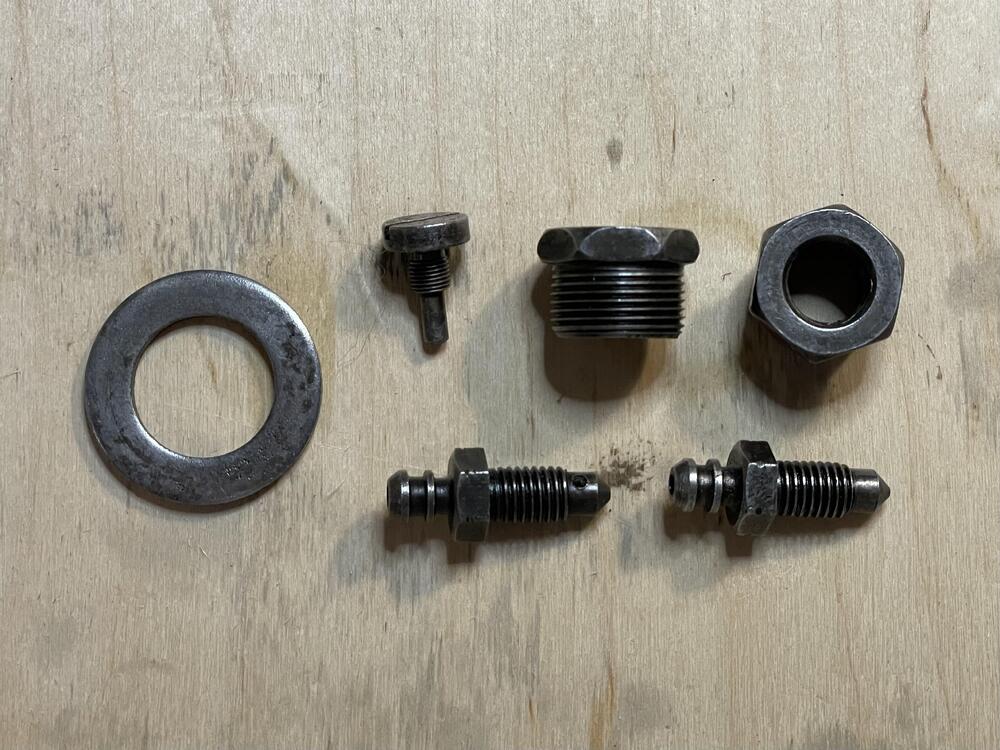
I’ve been negligent in keeping this up to date, but I have been posting regularly on Instagram, so I’ll spend the next few days copying those updates over to here to catch you all up on my progress. ••• June 26, 2025 280ZX Brake MC is ready to go! I tore this apart several years ago thinking it would be a short project, but the rebuild kit I had turned out to be for the one made by Tokico (large perforated disc residual valves) and this one is made by Nabco (small rubber duckbill residual valves). I messed around with rejuvenating the reservoirs. I read using a mix of oxy clean and hydrogen peroxide gel under UV light for 24 hours would take the yellow out. It lightened them, but they’re still clearly yellow. Super clean, though. I also did some chemistry on the hardware. The bleeders and reducers for this thing are not common sizes (the reducers are m16x1.0 to m10x1.0) and after two weeks of searching for replacements I gave up and decided to try chemically treating them. I didn’t want to do the hardcore hot bluing or zinc methods because, so I used the rust bluing method. Basically, you soak them in white vinegar to strip off the rust and zinc. Then you paint them with a paracetic acid / salt solution (8 parts hydrogen peroxide:1 part white vinegar + as much salt as it will dissolve). Dry it with a heat gun and throw it into a double boiler. You’ll see the rust turn black as it changes into iron oxide. Buff it with steel wool and repeat until satisfied, then soak for 24 hours in motor oil. They came out okay. I was hoping they would look more like the pistons, but this is after four rounds, so it’s good enough. Fingers crossed that they don’t immediately corrode. You could also do the phosphoric acid version (cold bluing), but this makes a harder coating. Then I just had to hone the cylinder, flush it with 91% alcohol, wipe it out, and reassemble. I kept the Tokico 240Z reservoir caps since I didn’t wire the car for the ZX caps with the fluid level sensors , plus I don’t have the metal or plastic Nabco caps. Maybe later if I can find a set for less than €53.40. It looks pretty good after test fitting it. I’m waiting for a dust cover and O-ring in the mail, then I can install it and bleed the brakes. ••• August 7, 2025 This is not hard… … if all the parts are there. I took these axles apart and found one of them had been rebuilt previously, and whoever did that lost one of the bearings and spacers. So what should have been three days of work, including paint drying time, turned into three weeks of figuring out how to replace them. I ended up buying a bag of 11mm chrome steel bearings that were close enough to the same (0.09mm difference) and some 10mm wear-resistant nylon rod to fabricate a replacement spacer. Even though I have tons of new bearings now, I only replaced the missing one just in case that difference matters. All in all the spacer came out well; not perfect, but close enough. The rebuild process is pretty straight forward. Search the Classic Z Cars forums for instructions if you need them. Getting the boot on the inner shaft is the hardest part. I recommend finding some plastic tube that fits over the shaft, pushing it into the boot, and sliding it on that way. Make sure you use the prescribed amount of grease, which is 10g (about 3/4 Tbsp) at the top of each bearing channel. Once I had everything nice and clean (citristrip, a wire wheel on the bench grinder, rust inhibitor) I sprayed them and got them back together. Another jam I got into was two of my u-joints had the wrong part in the right boxes, so I had to order new ones and wait for shipping on those. But an evening on my home made press and they were done. Next step is installation. ••• August 20, 2025 Well that changes things. I realized about six months ago that this car started life as an automatic. With this last step that crime has been rectified. Brass bushings. Artificial leather 5-speed knob. New seals and trim. ••• September 1, 2025 Initial systems tests (clutch, brakes, transmission) and… IMG_8948.mov It moves! I had some friends over to help me test the systems that makes this an actual car rather than a very expensive 1:1 scale model. Everything seems to be working correctly. We didn’t get too far, though, because my fuel return and carburetor cooling system is leaking directly onto the header. So, test cut short, but massive fire averted. My wife was thoughtful and made a quick video of the car’s first roll under its own power, complete with my dog barking at everyone. ••• November 7, 2025 Well, I had planned to be wrapping up something else, but I’m having some issues with the paint, so here’s something else I did on the side instead: hatch latch & lock plus the rear bumper with OEM rubber trim. I forgot to take any before photos of the latch parts, but suffice to say they were rough. Lots of rust and primer. Very little zinc. So I stripped and buffed them and hit them with some stainless-blast from Seymour paint. Looks decent. Better than the CAD yellow experiment I did on the window regulators. The button is the one that came with the car after some vigorous attention from some steel wool. It was rekeyed to match all of the other locks and installed with a gasket from JDM Car Parts (not OEM but fine) and a brand spanking new clip from Zedd Saver because I lost the old one. The bumper is the chrome version from @resurrectedclassics. I’d say it’s 4/5 stars. Great fit but the gauge of the steel is a little thin so the mounting tabs flex more than I would like when installing, and the chrome finish is not as smooth/nice as I expected. There are occasionally streaks (kind of like brush strokes) where the chrome built up or the steel wasn’t smooth before it was applied. If I had it to do over I would go with the stainless version. ••• November 16, 2025 Steps 1 through 5 of getting my Koito H4 headlight kit installed. These frames were covered in paint (three different primers, metallic blue, orange, and red) and one of them is from a different year. I’m 99% sure the right front fender was hit as some point and they just replaced the entire corner. Acid bath for the rust. Steel wool. Eastwood Clear Zinc as a base coat, then dusted with Silver Cad to knock back the blue and give it a more metallic look. Then satin clear coat to keep it from rusting. Almost indistinguishable from the zinc coating on the springs. All new hardware from Z Car Depot except the covers for the adjustment screws, which I cleaned up and reused. Tip: to get the various plastic parts on, drop them in a bowl of almost boiling water for one minute, then press in. ••• November 27, 2025 Parts 6 through… whatever, 27?, of putting the headlights in. I was able to wire up my Koito H4 kit this week. It took a while to get to because I had to find the right size flag terminals for the bulb connectors. I could have gone with straight connectors, but the kit comes with a wiring harness that has nice 90° connectors with really snug boots. Unfortunately I couldn’t just use the harness as is because I wired the car to have the headlight relay in the cabin. So I scavenged what I could. The right side went together in a snap. I had some vinyl tubing left over from making the harness that just barely fits through the grommet on the back of the headlight can. It took a while to squeeze the wires though, but once done I had a fully waterproof setup (at least from the back/outside. The cans can still get water in them from the gap around the light, but hopefully that will be minimal and drain out. I’ll try to remember to blow it out with canned air when it does happen. One small problem I’m having is the light switch doesn’t want to work 100% of the time. There’s a contact that isn’t working consistently so I’m going to have to pull it out and re-rebuild it. I haven’t tried them at night, but I assume these are comparable to my Crosstrek H4s, which are adequate. All these people with LED headlights in cars not meant to have them are pissing me off on a daily basis, so I’m not going to be one of them. If I have to go with LeDs it will be complete lights, not just replacing the H4 bulbs.