Matthew Abate
Free Member
-
Joined
-
Last visited
Everything posted by Matthew Abate
-
 Update to the sway bar bolt question: I got an email back from the manufacturer and they said, “Ok I cross referenced and go ahead and torque down to factory specs on those pivot bushings.”
 -
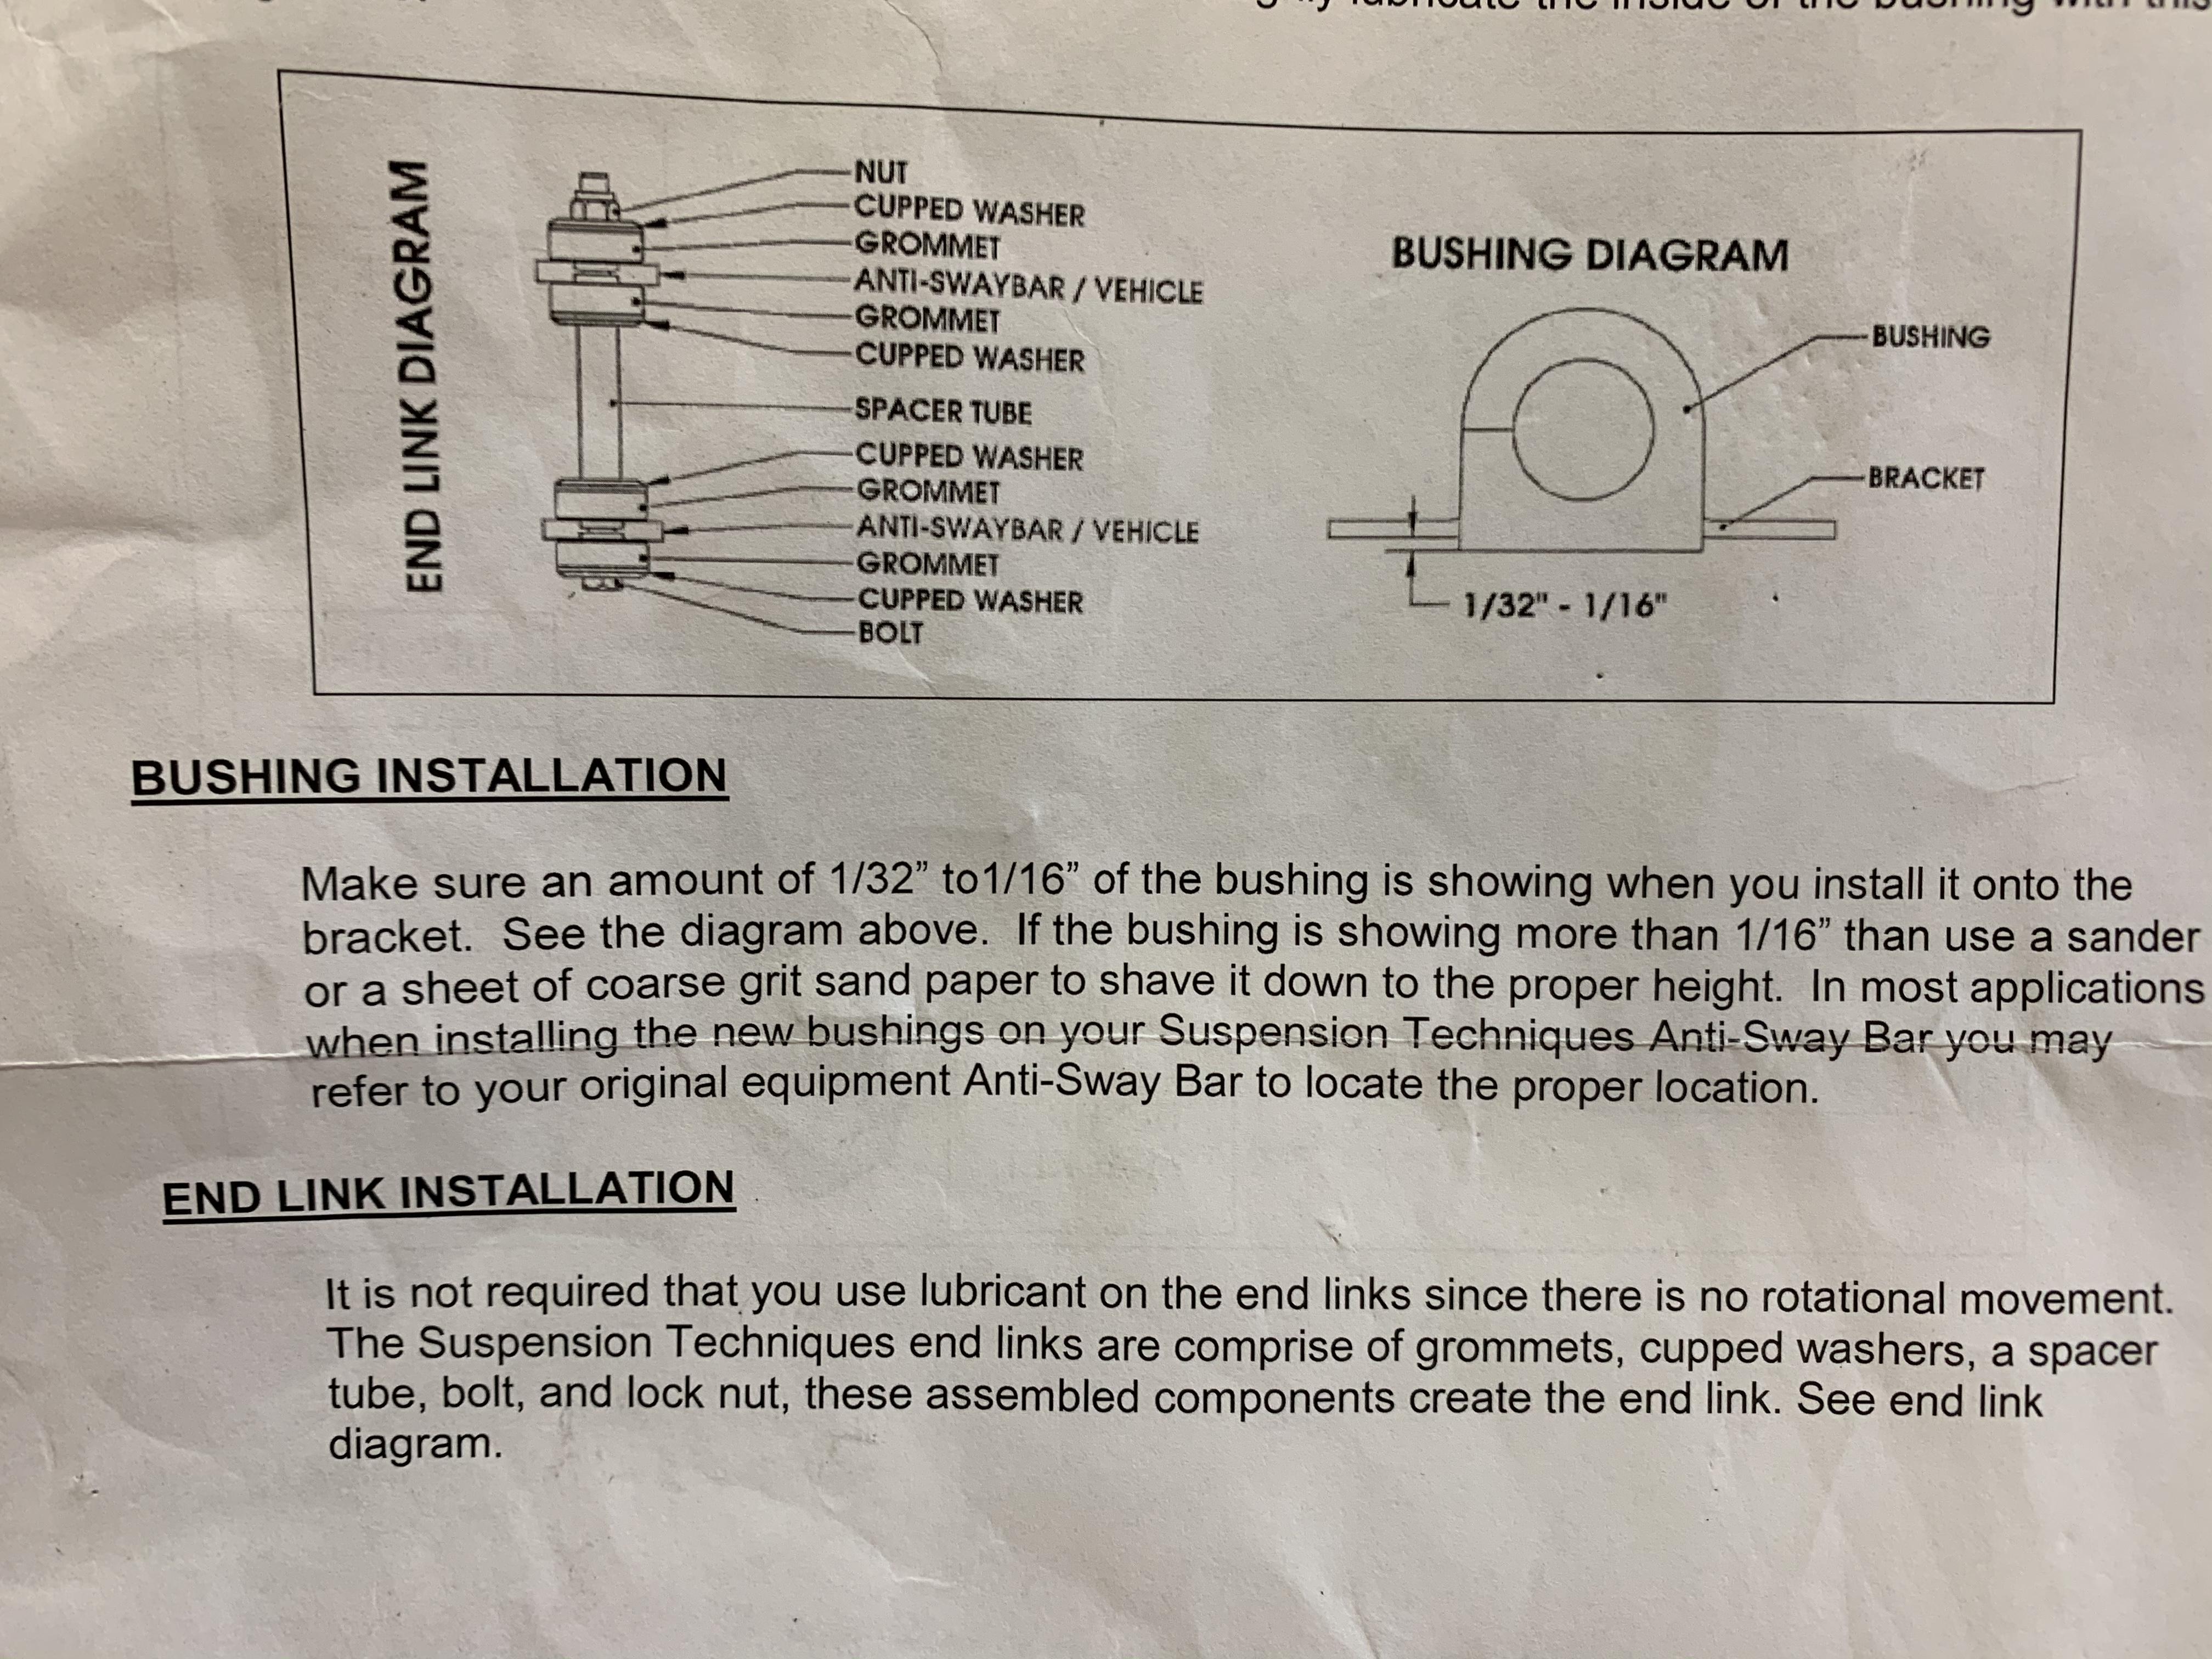
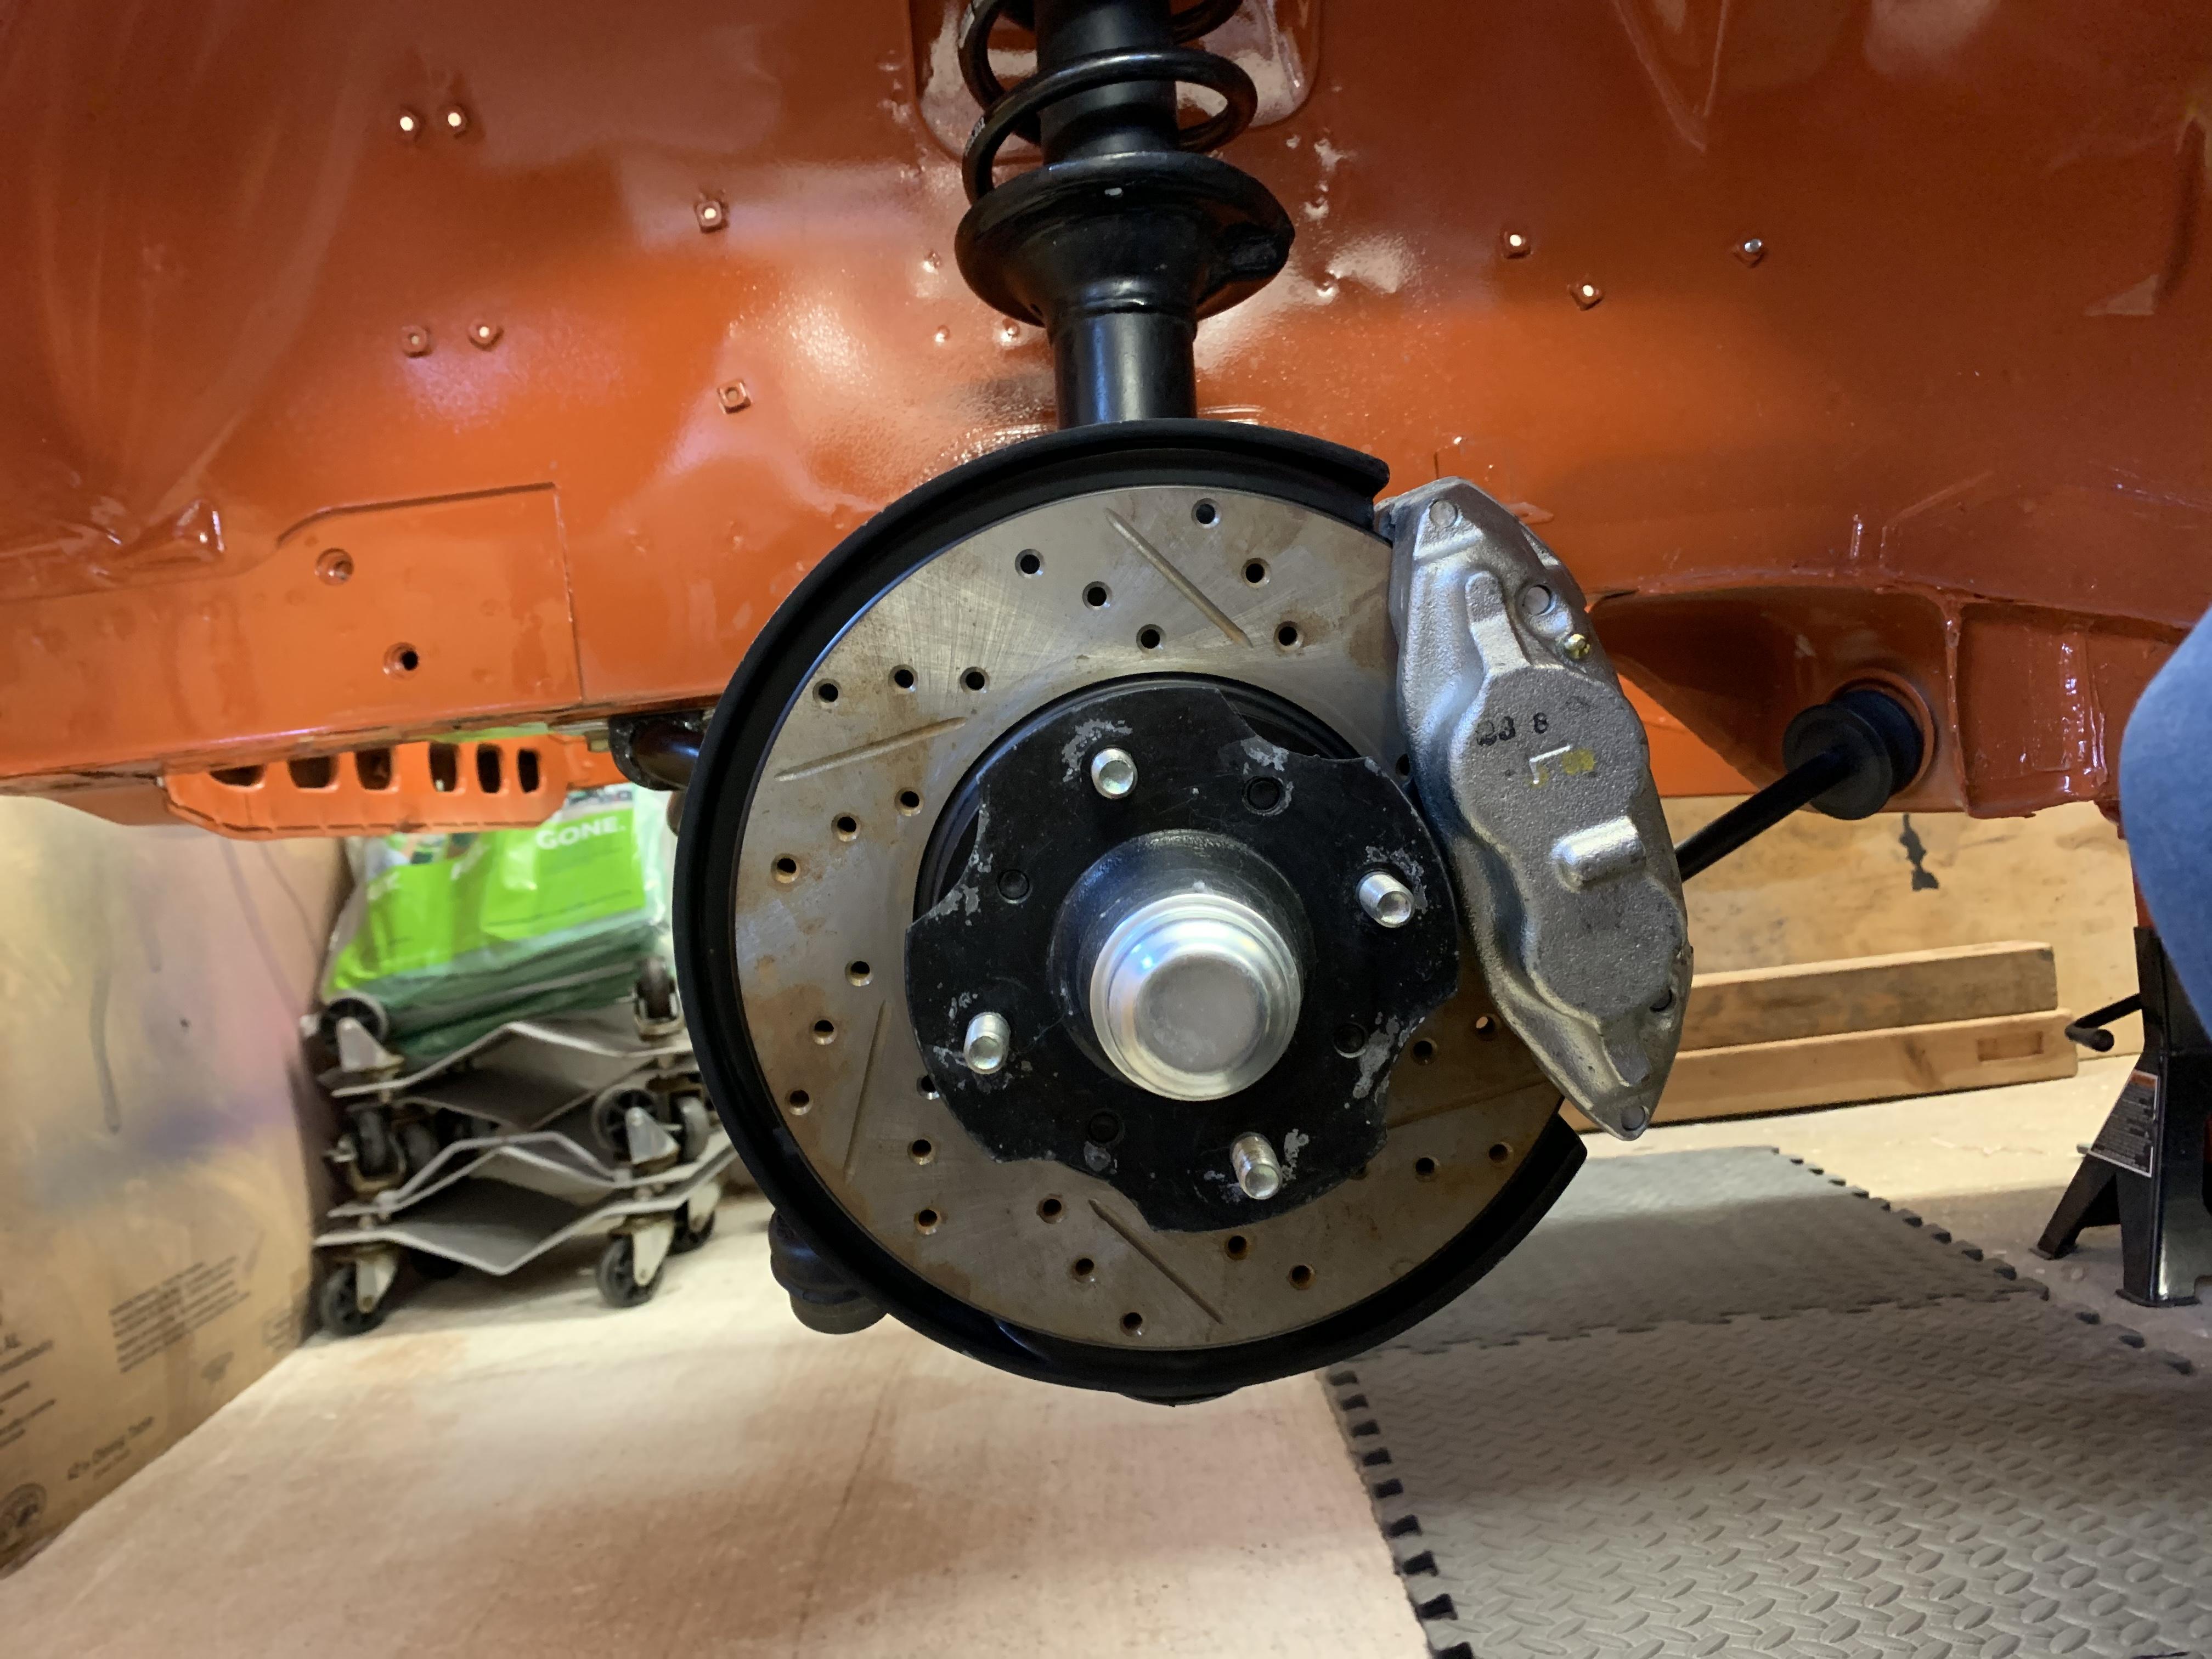
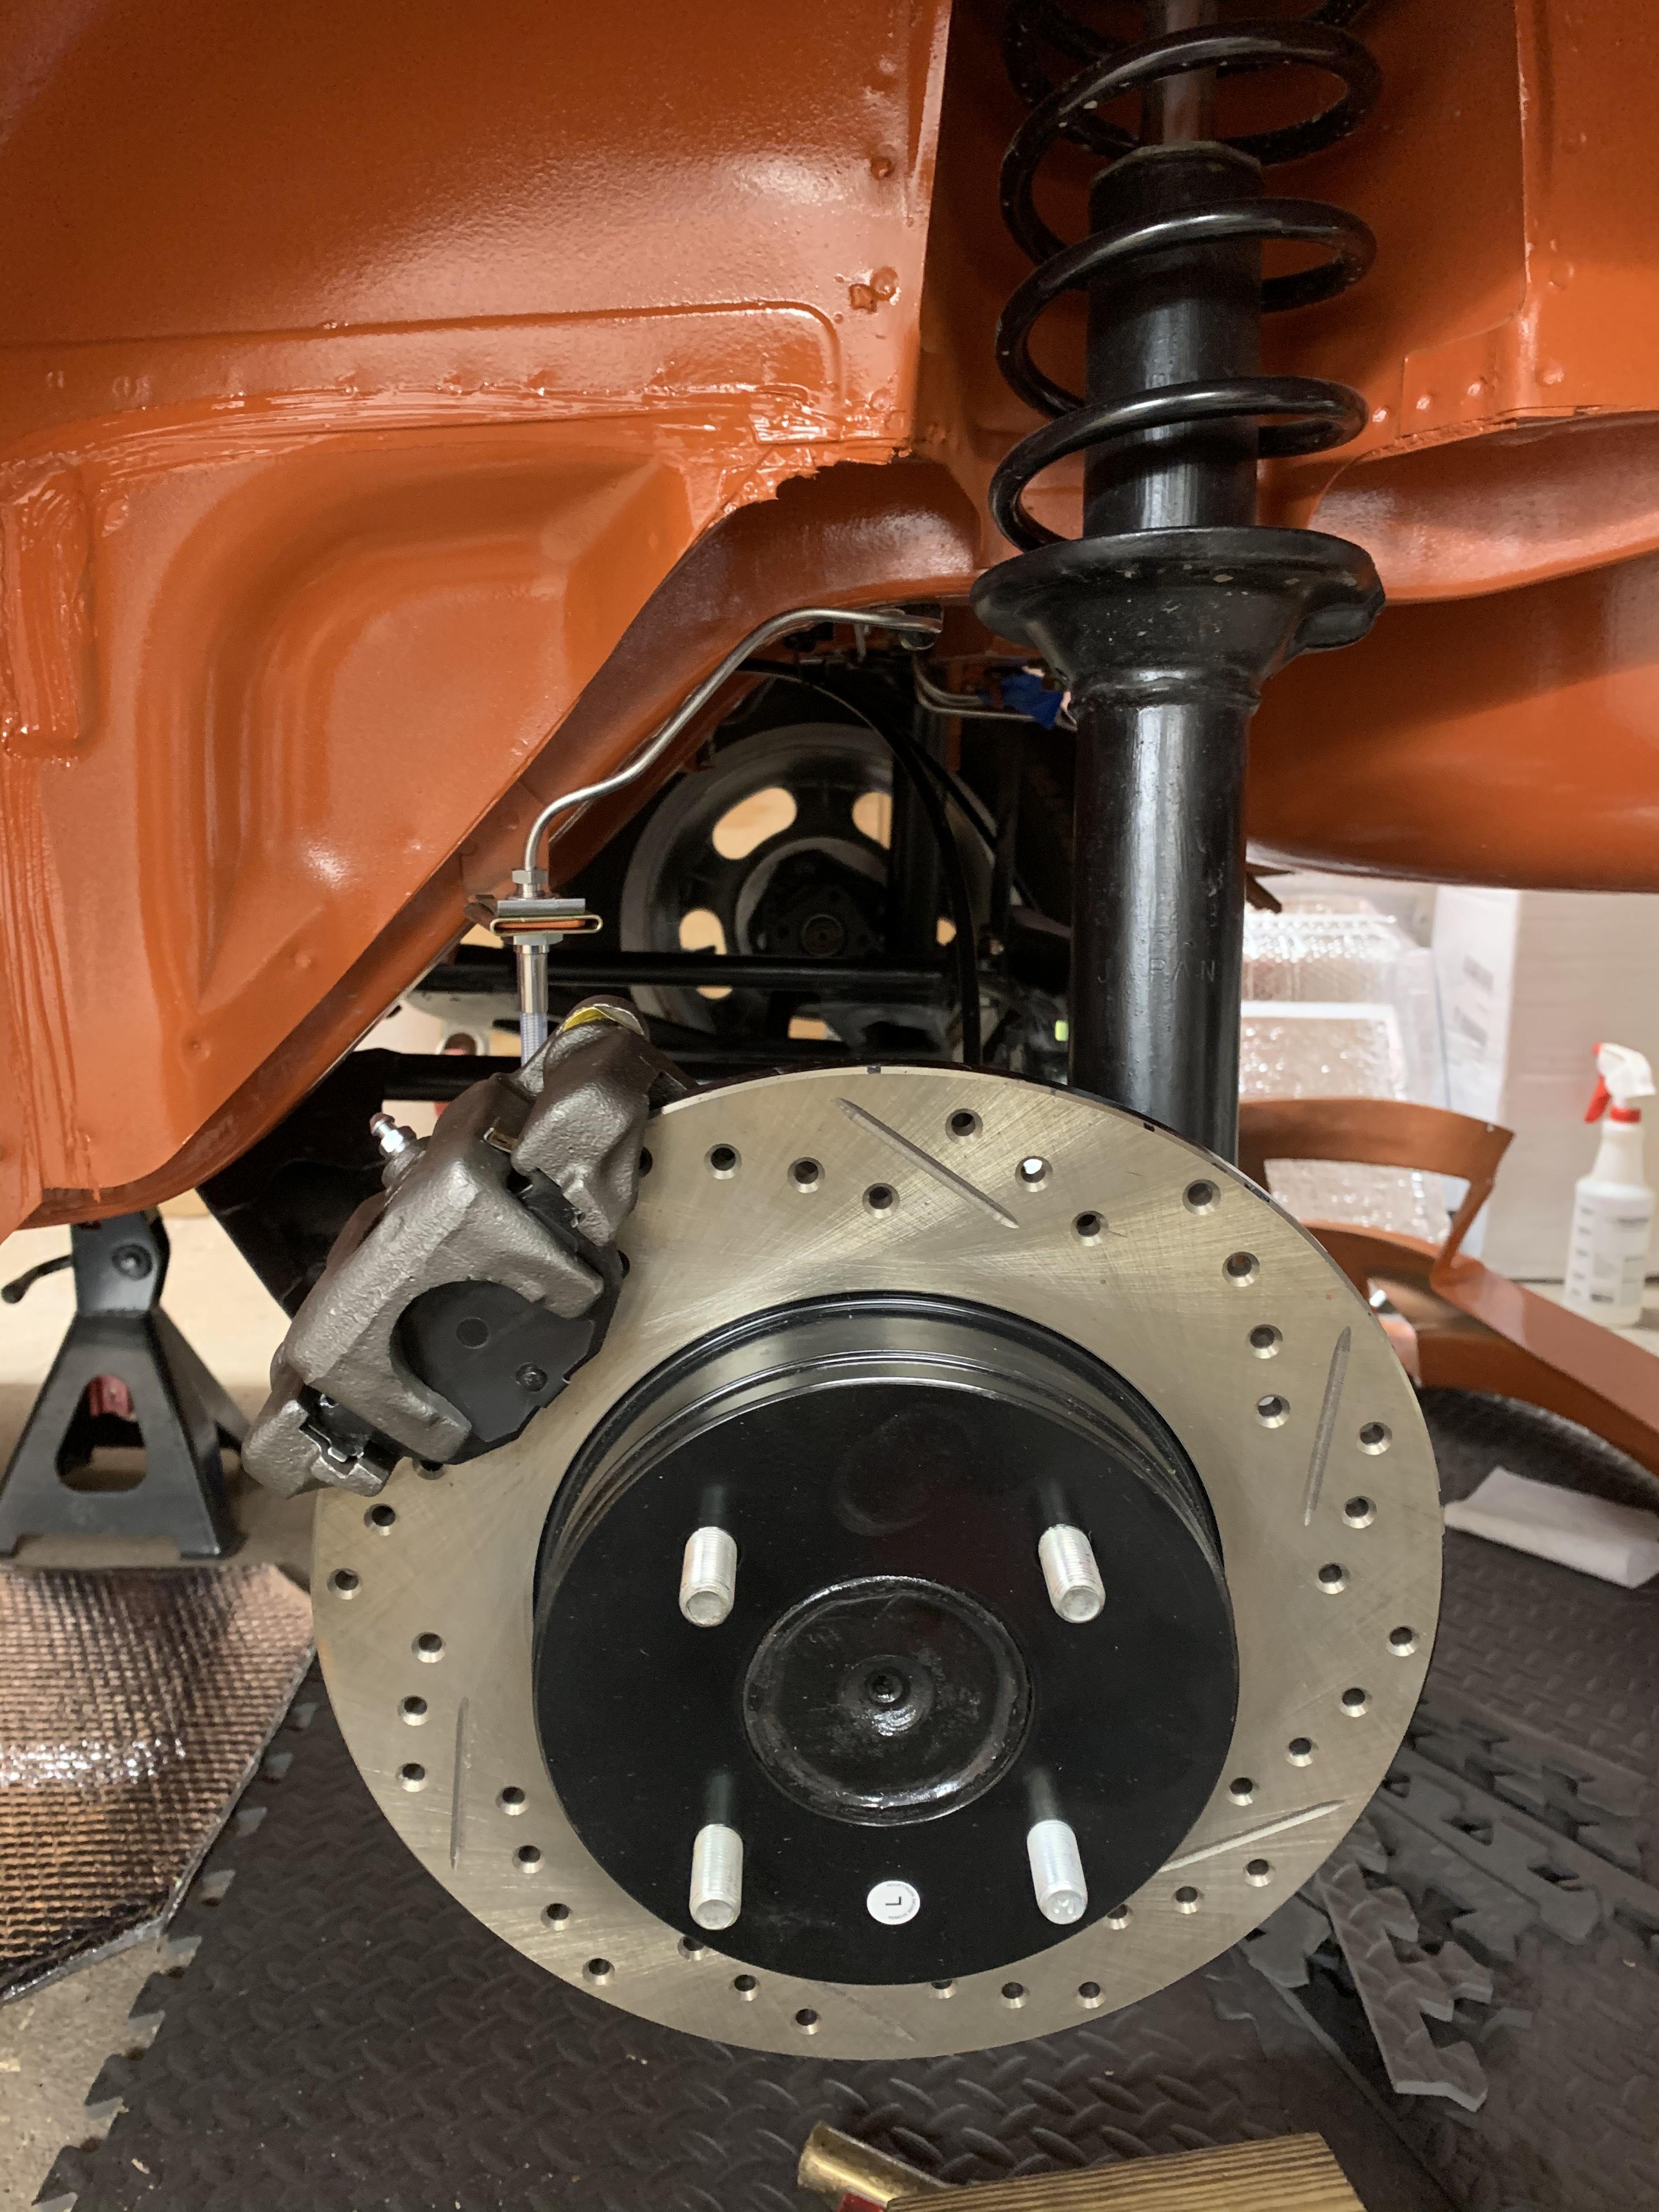
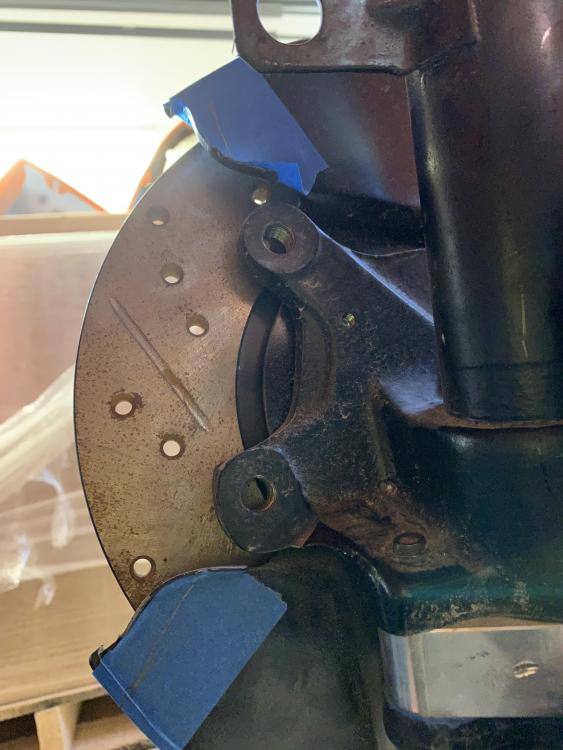
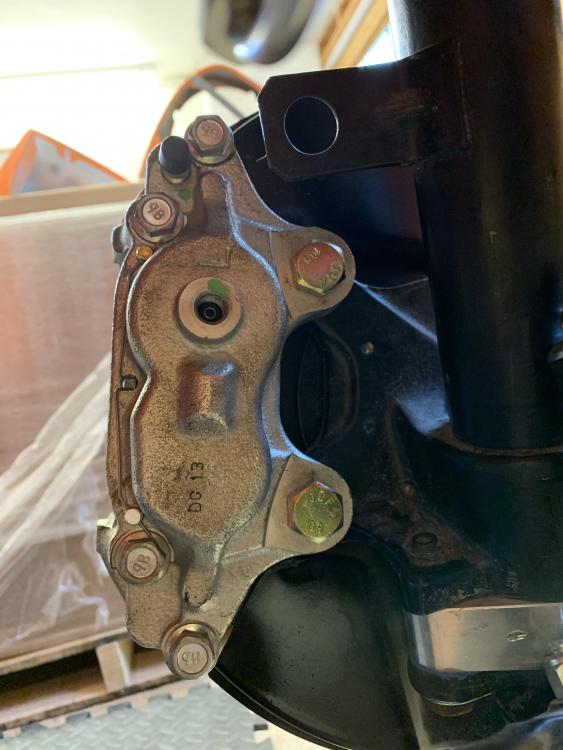
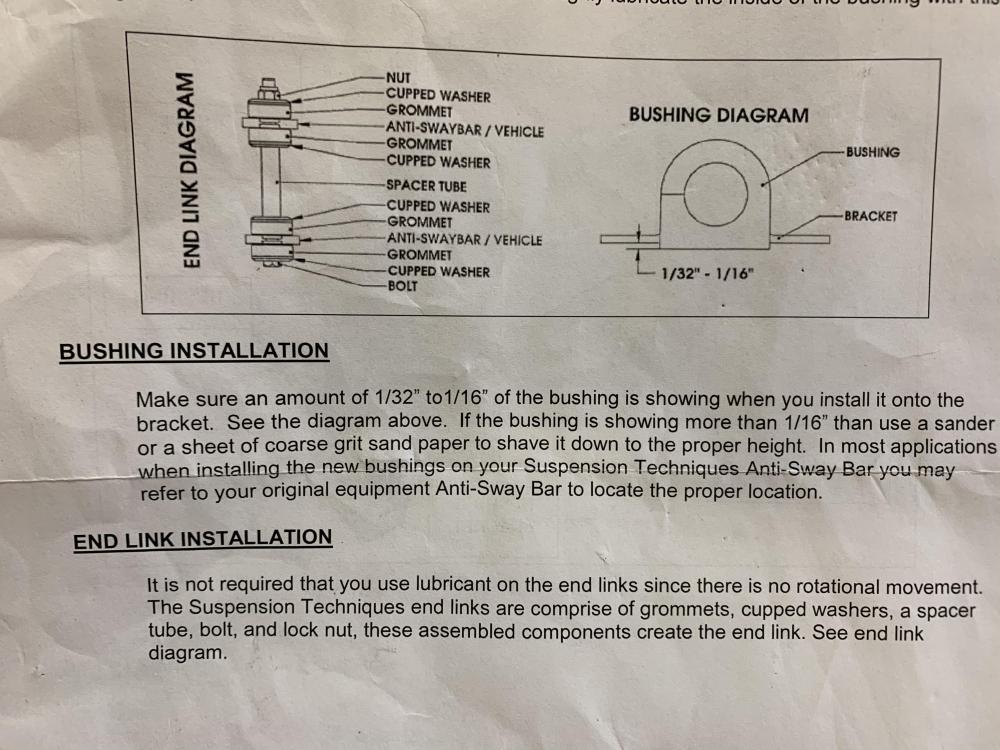
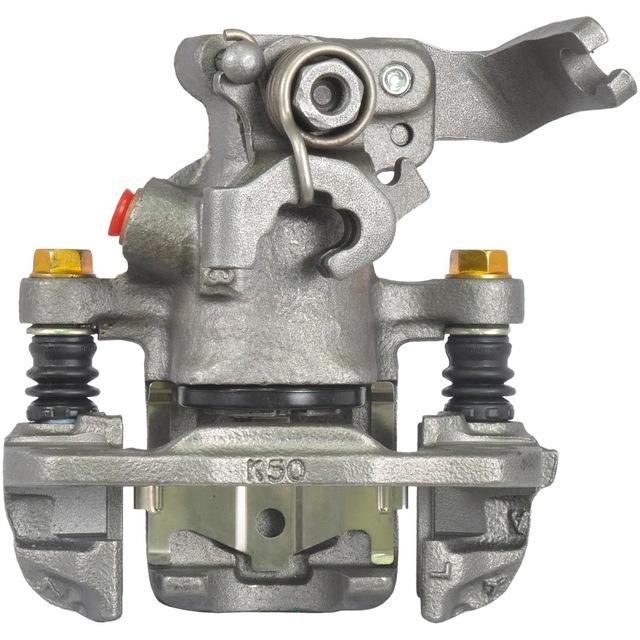
@Zed Head Here is a picture of the instructions for the sway bar brackets. I am thinking of putting a 1/16th inch thick washer between the bracket and the point where it mounts in order to create the gap but also be able to torque all of the bolts to factory specifications. —- In other news, I installed the Toyota front calipers. They’re only finger right right now. I have some 5mm longer JIS bolts coming in the mail tomorrow. Im just bummed that the calipers aren’t the same color. Looks like I have a caliper painting project in my future. 1. Marked the material to remove from the dust shields 2. Removed as little as possible with tin snips 3. Test fit 4. Filed smooth, masked, and sprayed with POR-15 Top Coat 5. Caliper in place (Finger tight) 6. Left front after a quick wipe down


-
I’ll post the instructions when I get home this afternoon. Do you think I should flip the calipers to the opposite sides? Right now I have them on the sides they would be on in a Maxima.
-
I was speaking generally because I was too lazy to type it out on my phone. 🤣 I’m not referring to the oval shaped washer that goes between the front sway bar and the frame. The instructions say to leave a 1/16th “ gap on both the front and the back brackets. Literally, an air gap. This seems like a bad idea. I can see maybe putting washer in there, but then why not just make the bracket the right size?
-
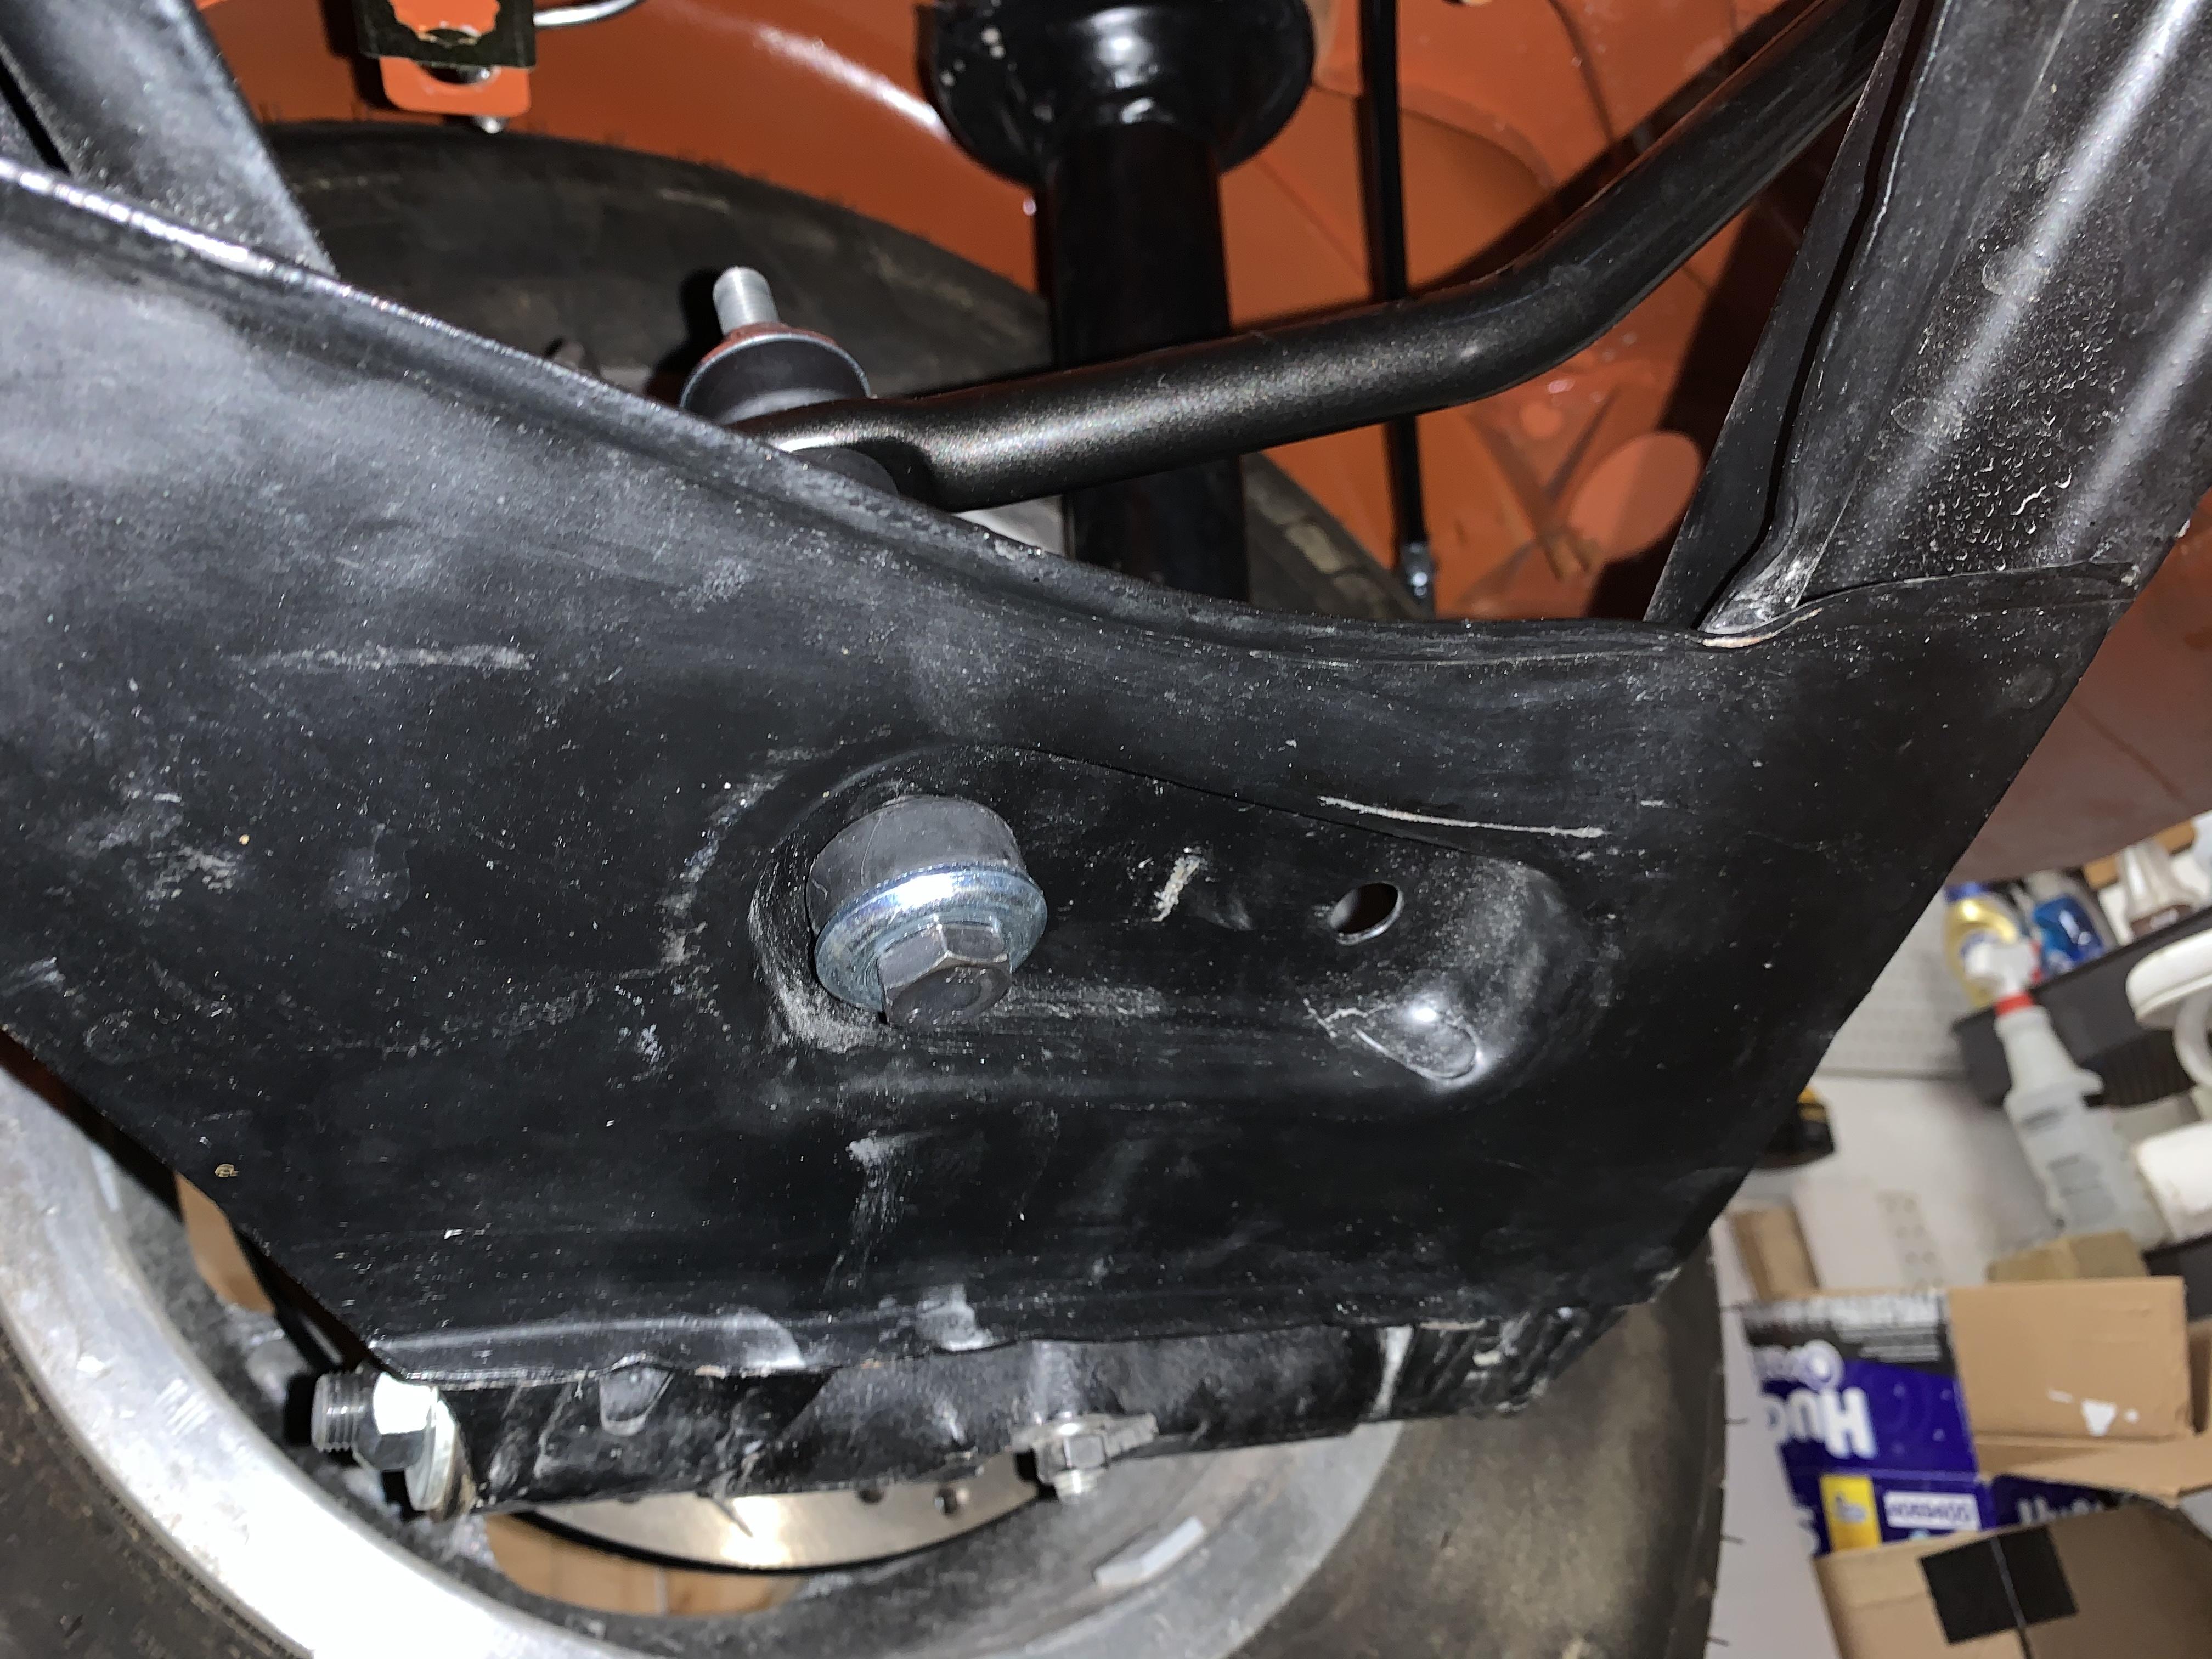
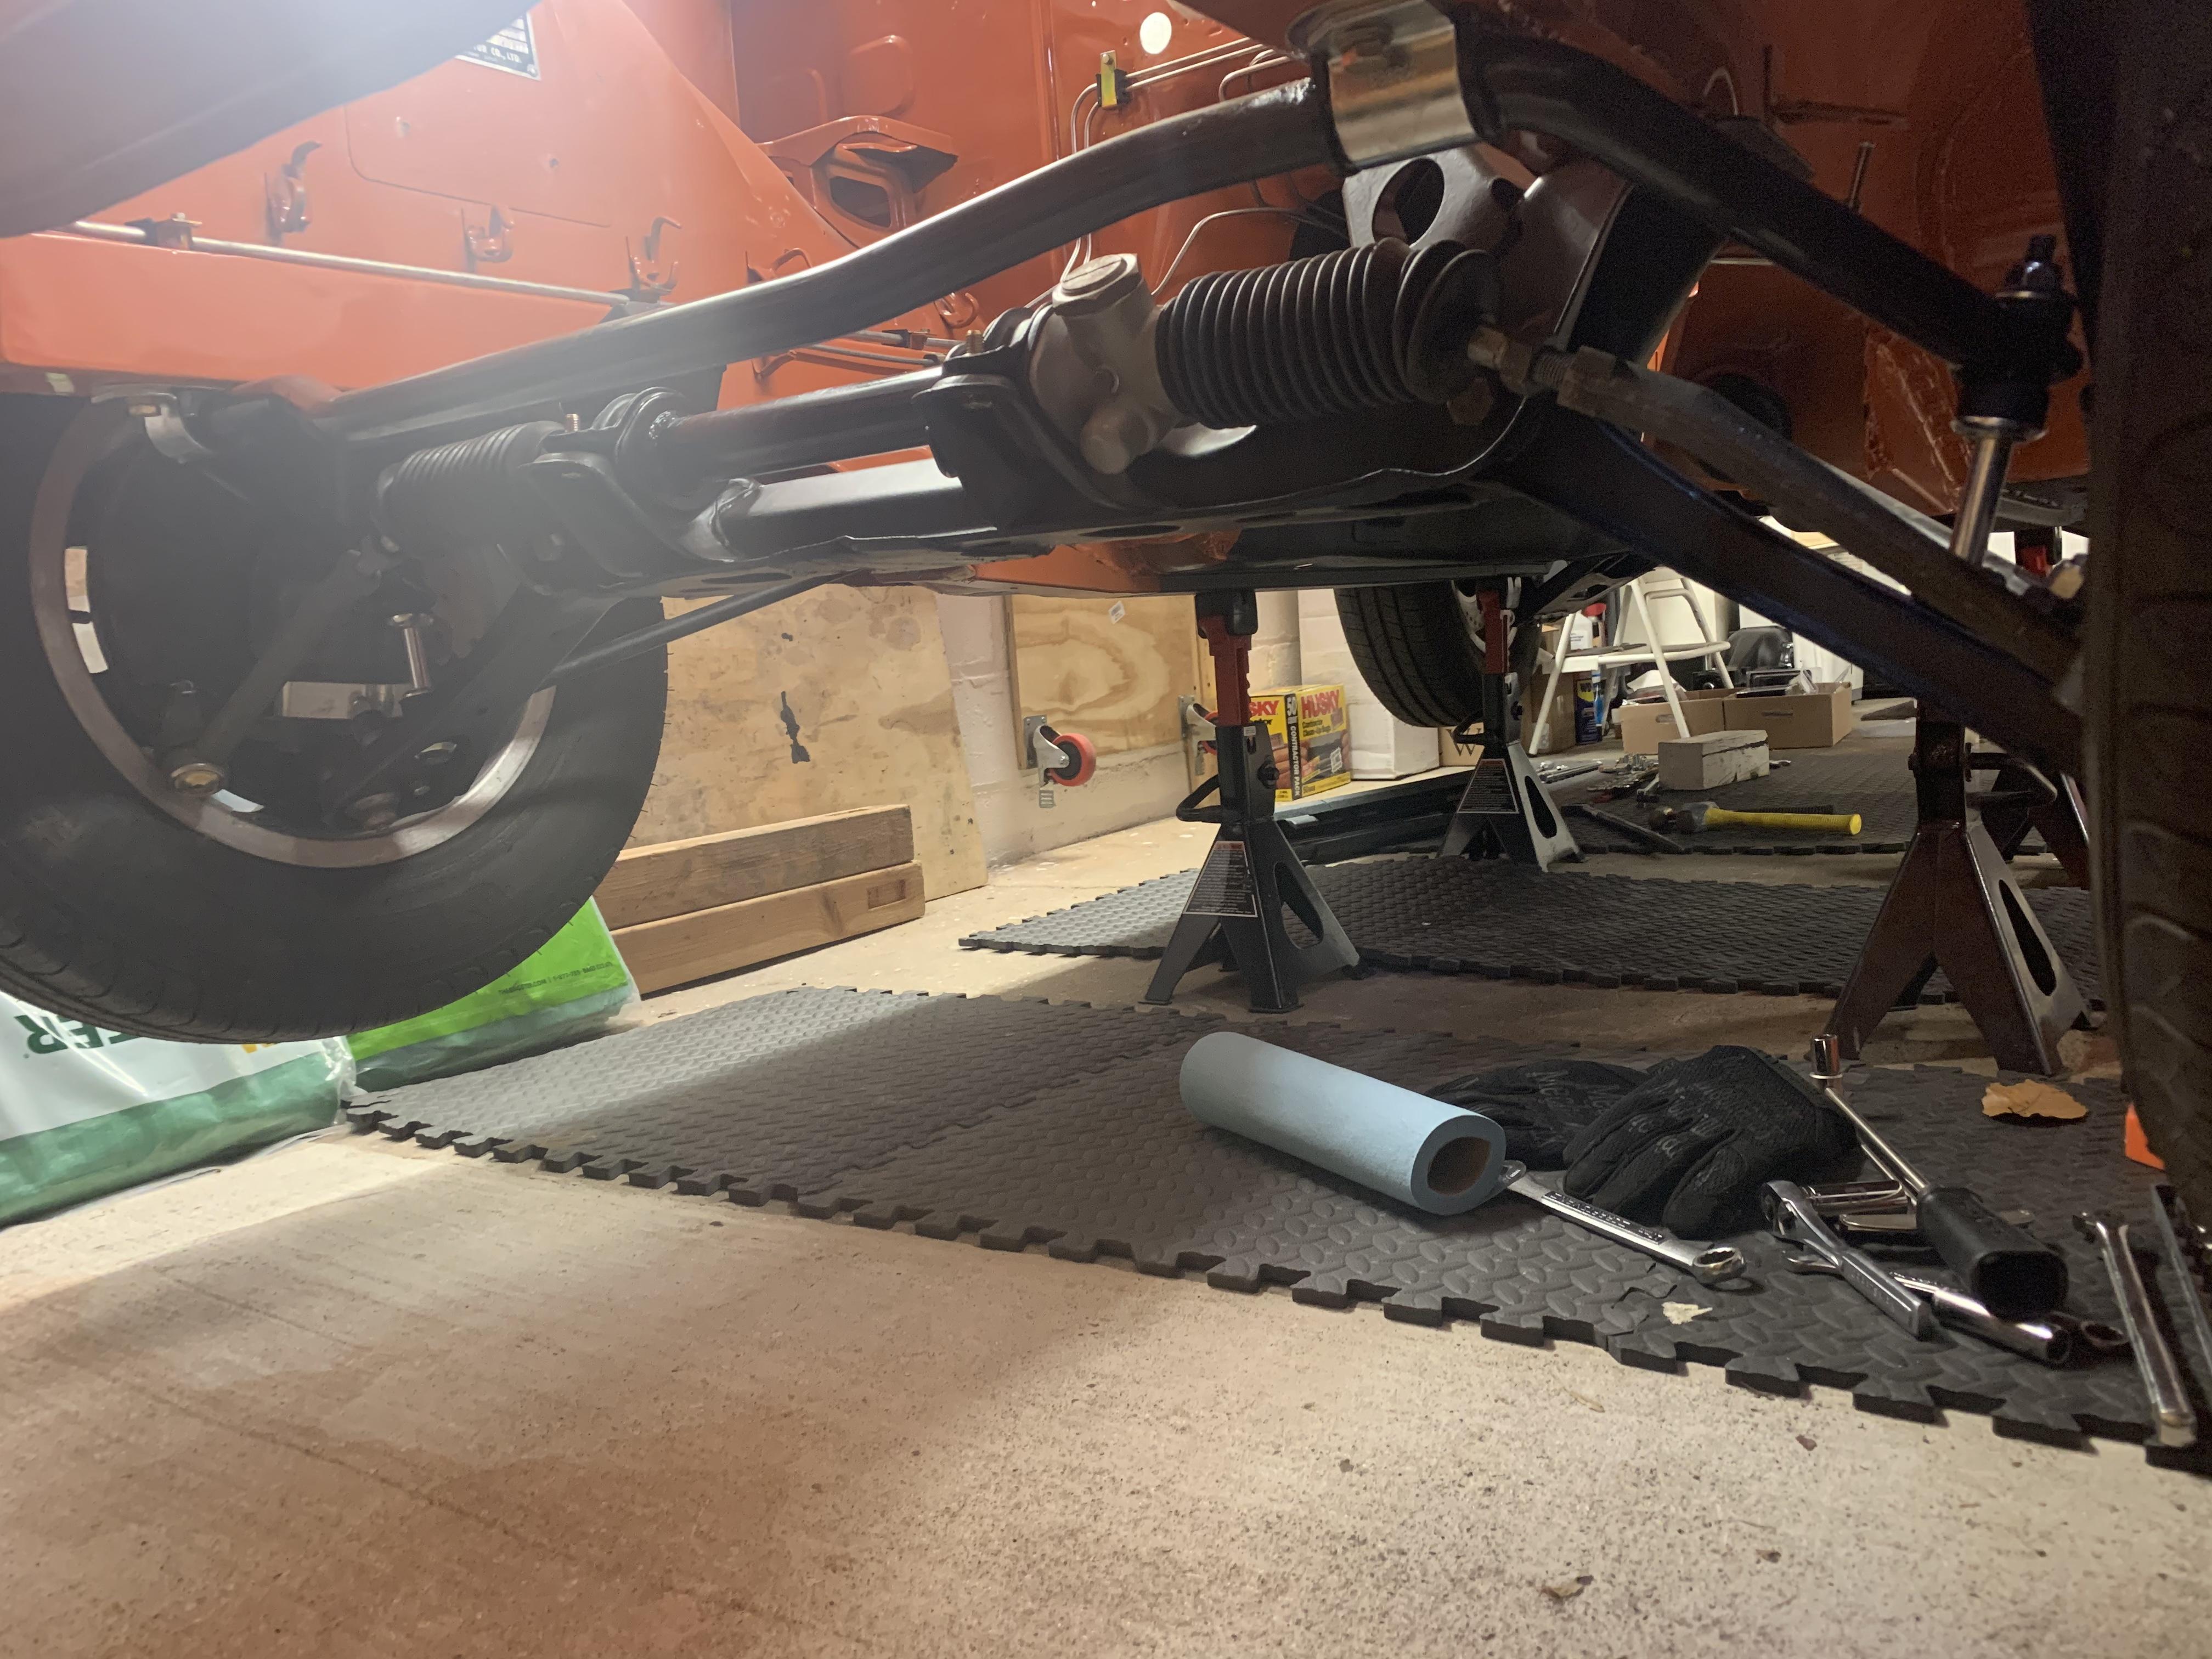
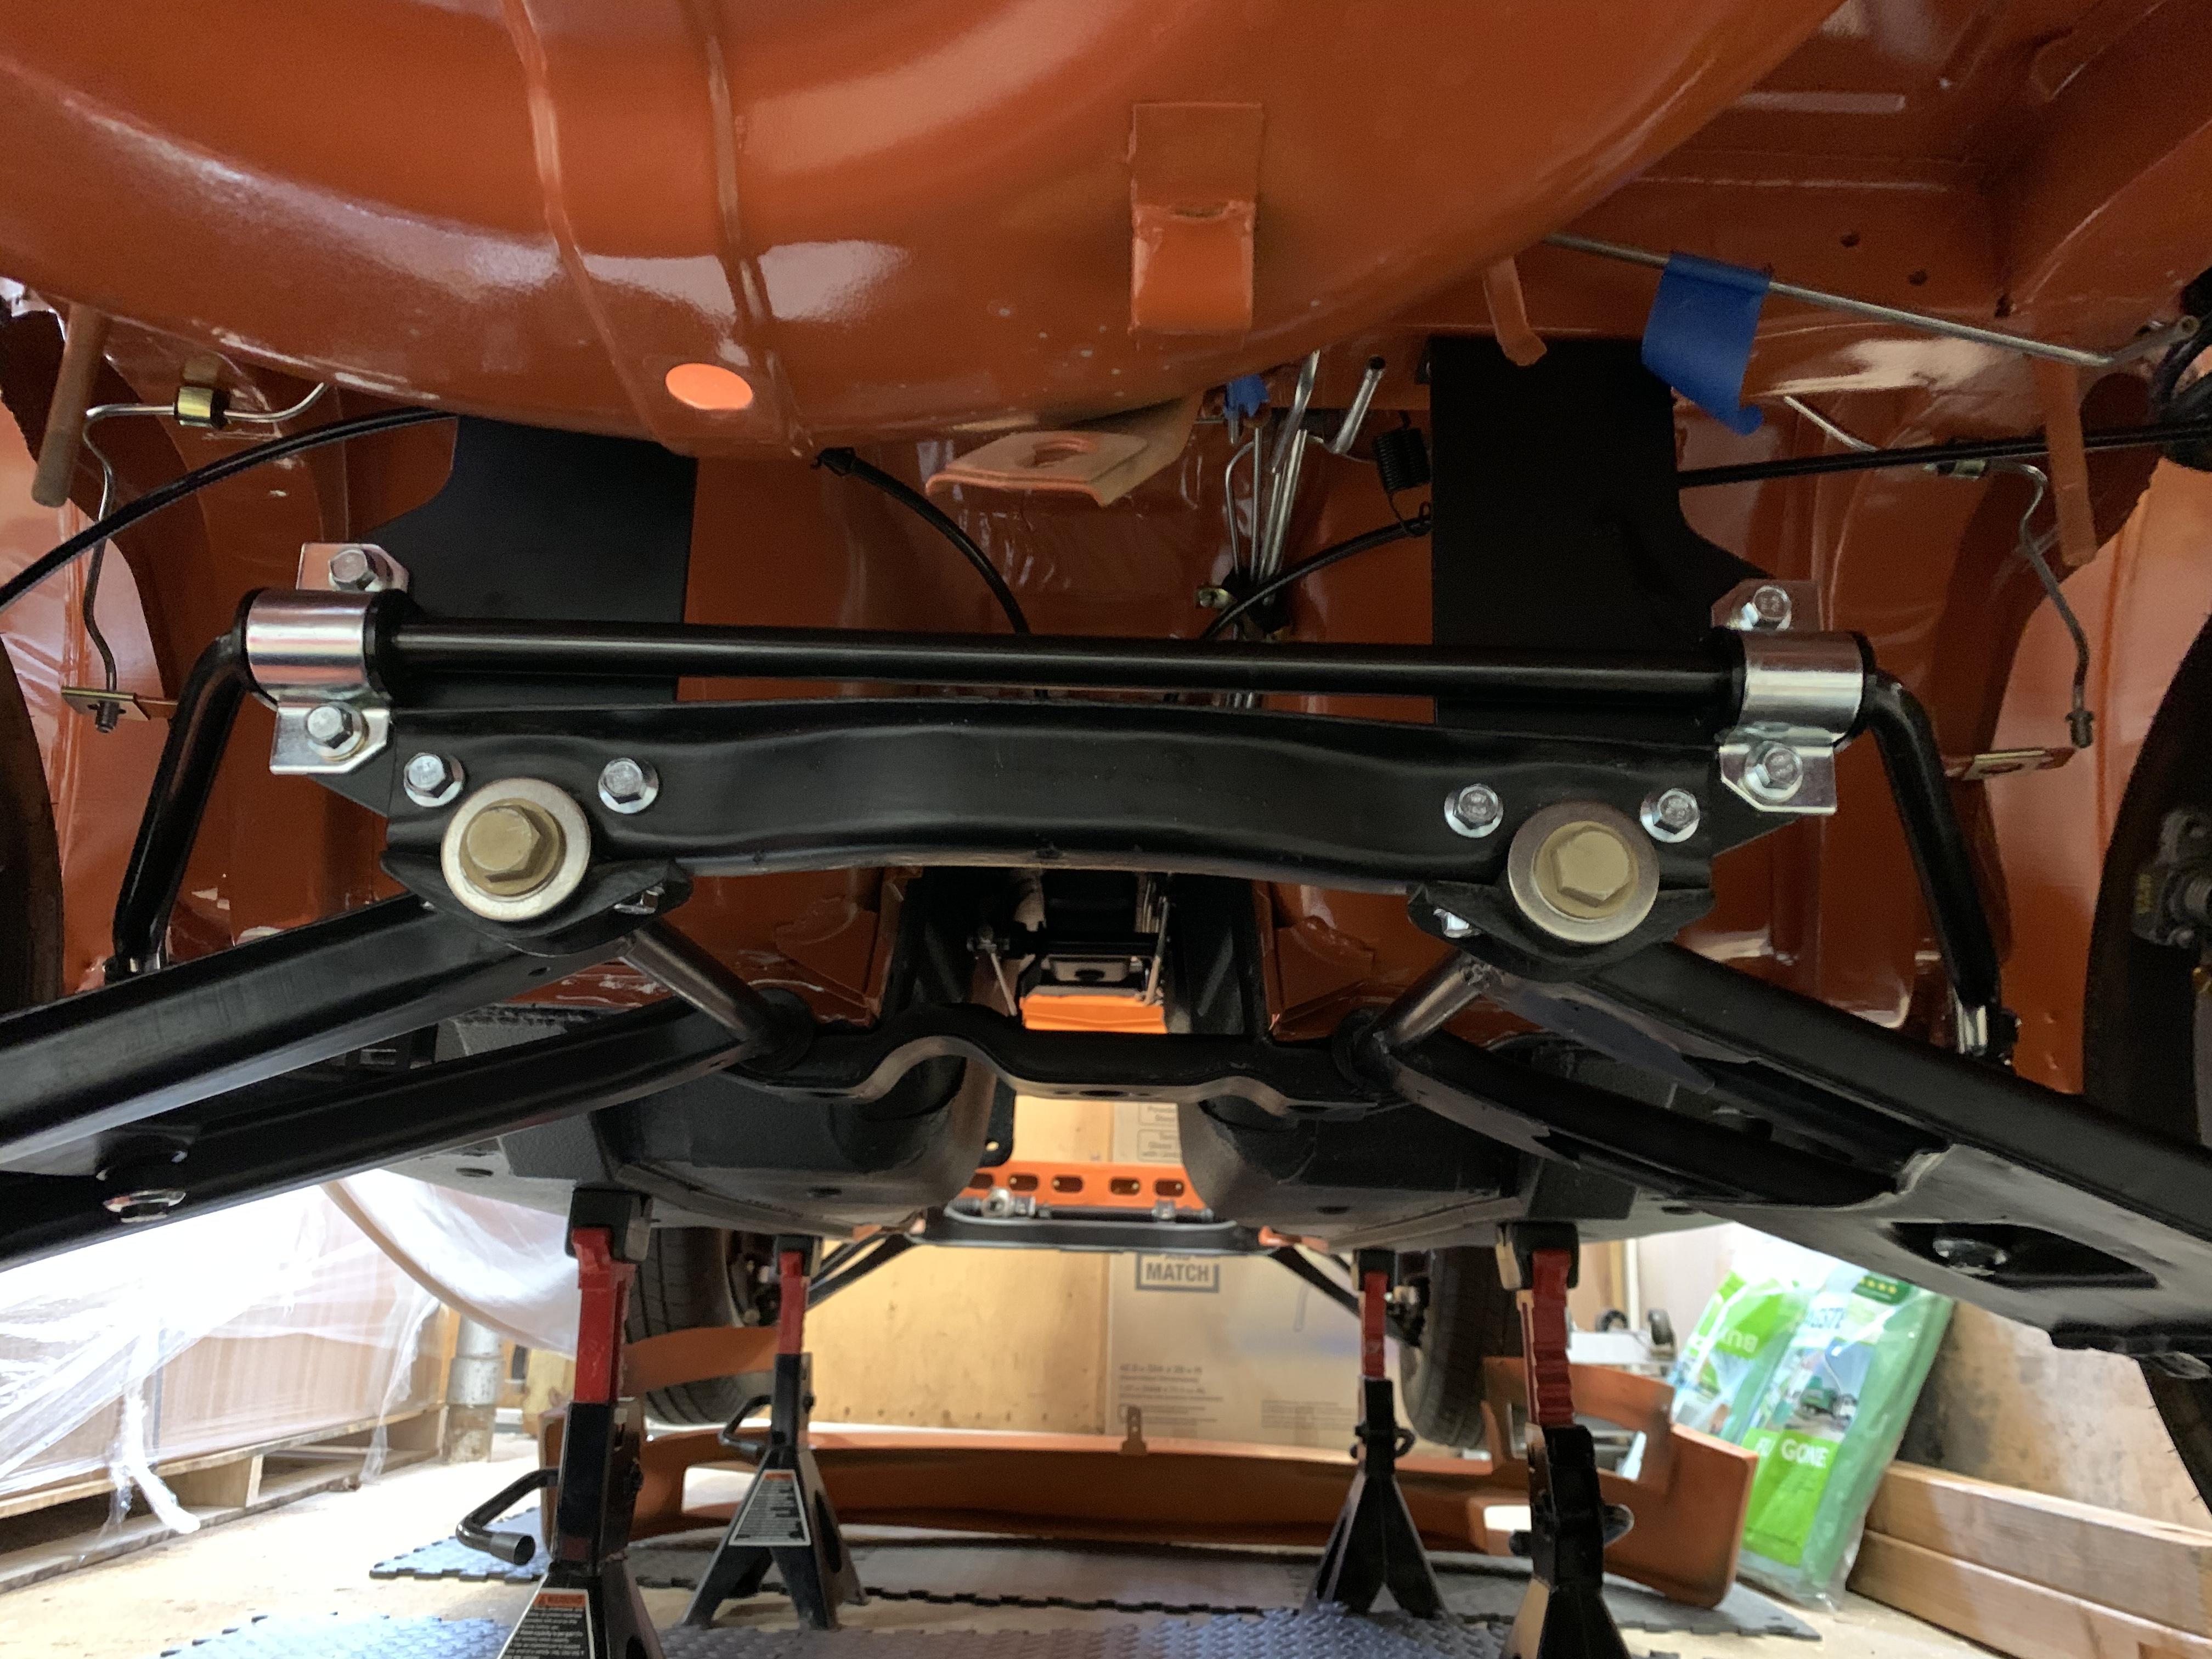
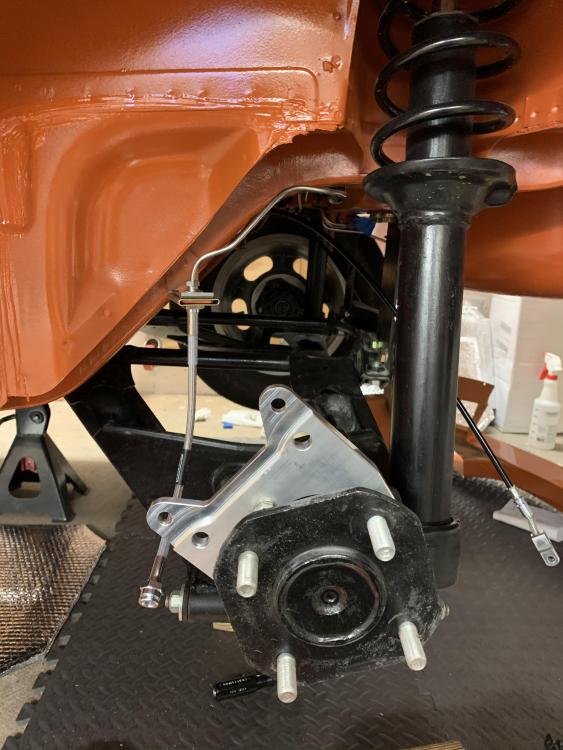
ST Suspension front and rear sway bars are in: One thing I thought was odd... the instructions said to leave a 1/16th gap on one of the bracket bolts where they mount to the body. I wrote the manufacturer and asked for clarification. Right now they are torqued to the specs in the FSM, but they do look a tad over compressed.


-
The 7” is at ZCar Depot and several of the other places listed above. I’m thinking I either don’t need one or should use a liquid gasket.
-
There are a couple of places you listed that I haven’t looked yet, but I have no idea if it is something that I Chili’s be able to find. I can’t find it in the FSM or the exploded diagrams of the booster. I can’t imagine it doesn’t have one. The boosters aren’t that different. I am guessing I’ll need to make one if I can’t find it on one of these sites. Anyone with a 260 or 280 that knows about these boosters?
-
8.5” It’s a July car so it has a few 260z things happening here and there.
-
My ‘73 has the 8.5” booster rather than the 7” one. I have a rebuilt one on its way but I can’t find a gasket to go between it and the firewall. I’m wondering if they ditched this gasket on the bigger boosters, or if it’s just NLA. The gasket for the 7” is readily available. What are people using if I can't find one to buy?
-
Yeah, I have a feeling that’s gonna happen. However, I think the 84-86 300zx also used this caliper, so I am going to call some yards before I go down that route. Also, MSA has a kit with these. I am going to try to get them to sell me just the brackets. Long shot, but worth it.
-
Yes, the curved piece with the forked end that the cable goes in and is held down by a spring clip. I have a torch, a vice with an anvil top, and various hammers. I could probably make the if I have to, but am trying to find factory parts before I go there.
-
You can see one curving up and holding a cable on the bottom right corner of the image above. Here’s another one: Note that it puts the cable in line with the hook. Original Nissan PNs are 44196-08E12 and 44195-08E12. One more:


-
Looks like all that is available is the 240sx version or the ones from Silvermine. Anyone got any tips on how to get the e-brake cable guides for the maxima calipers?
-
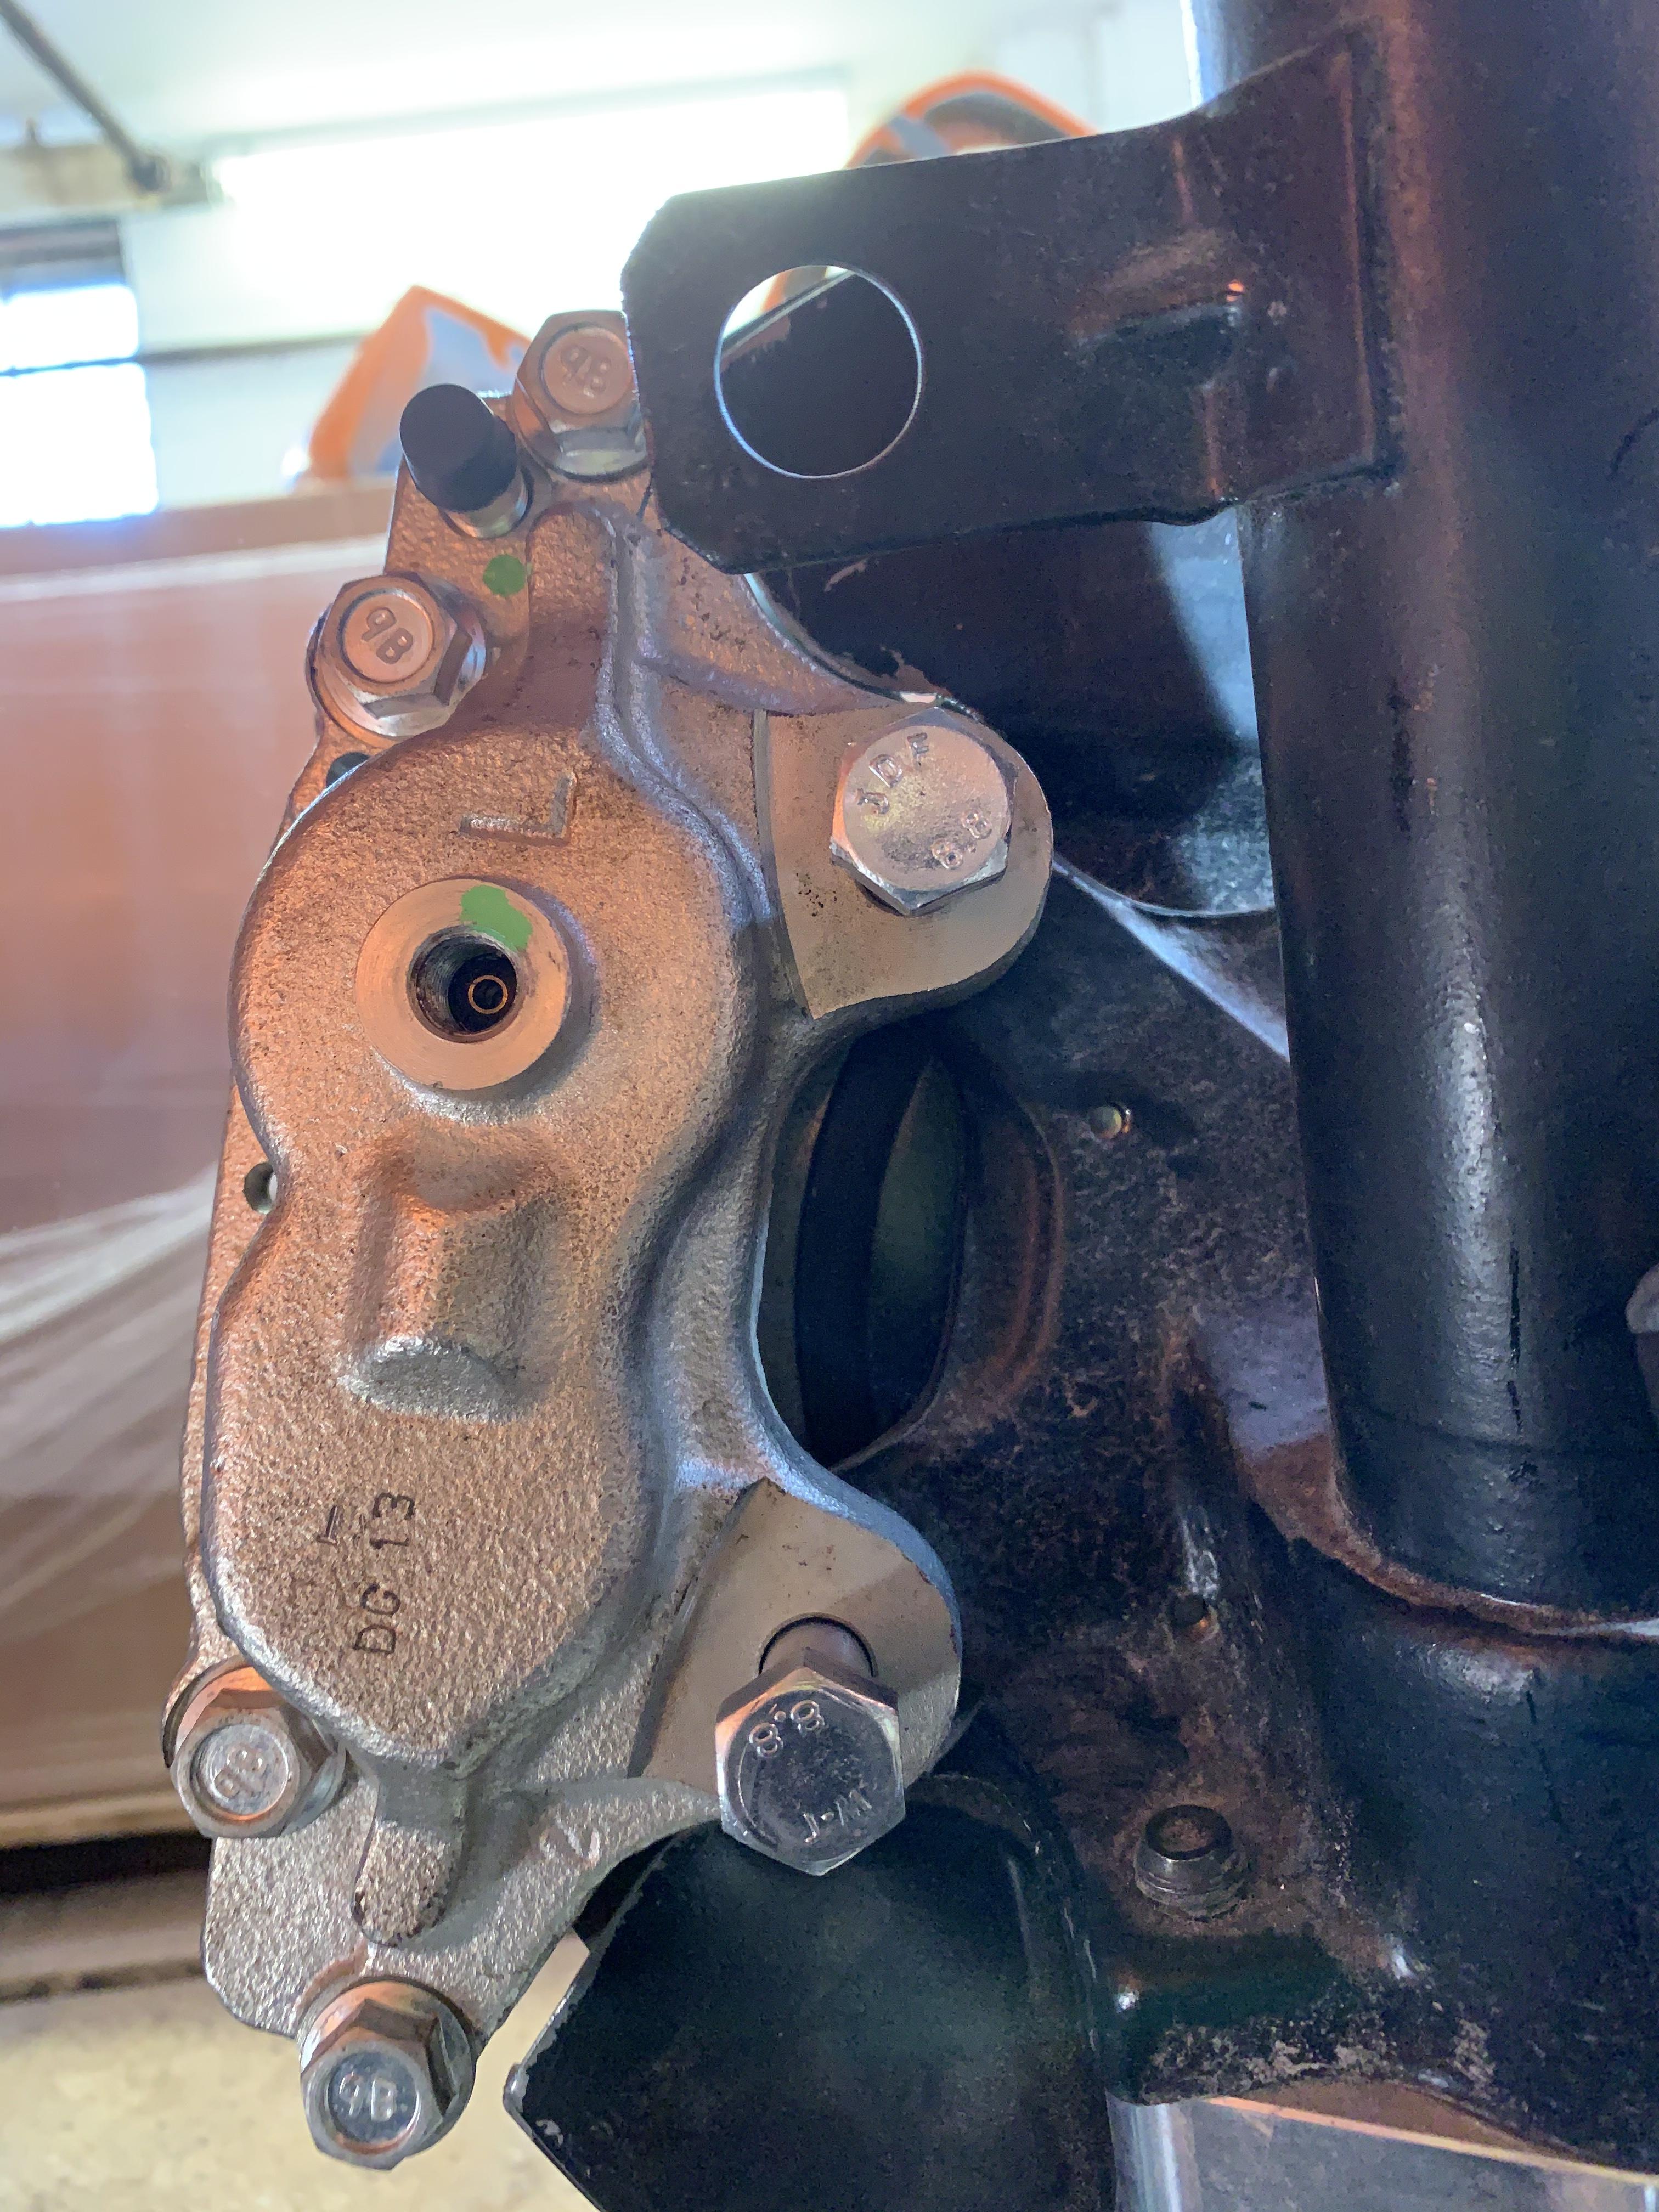
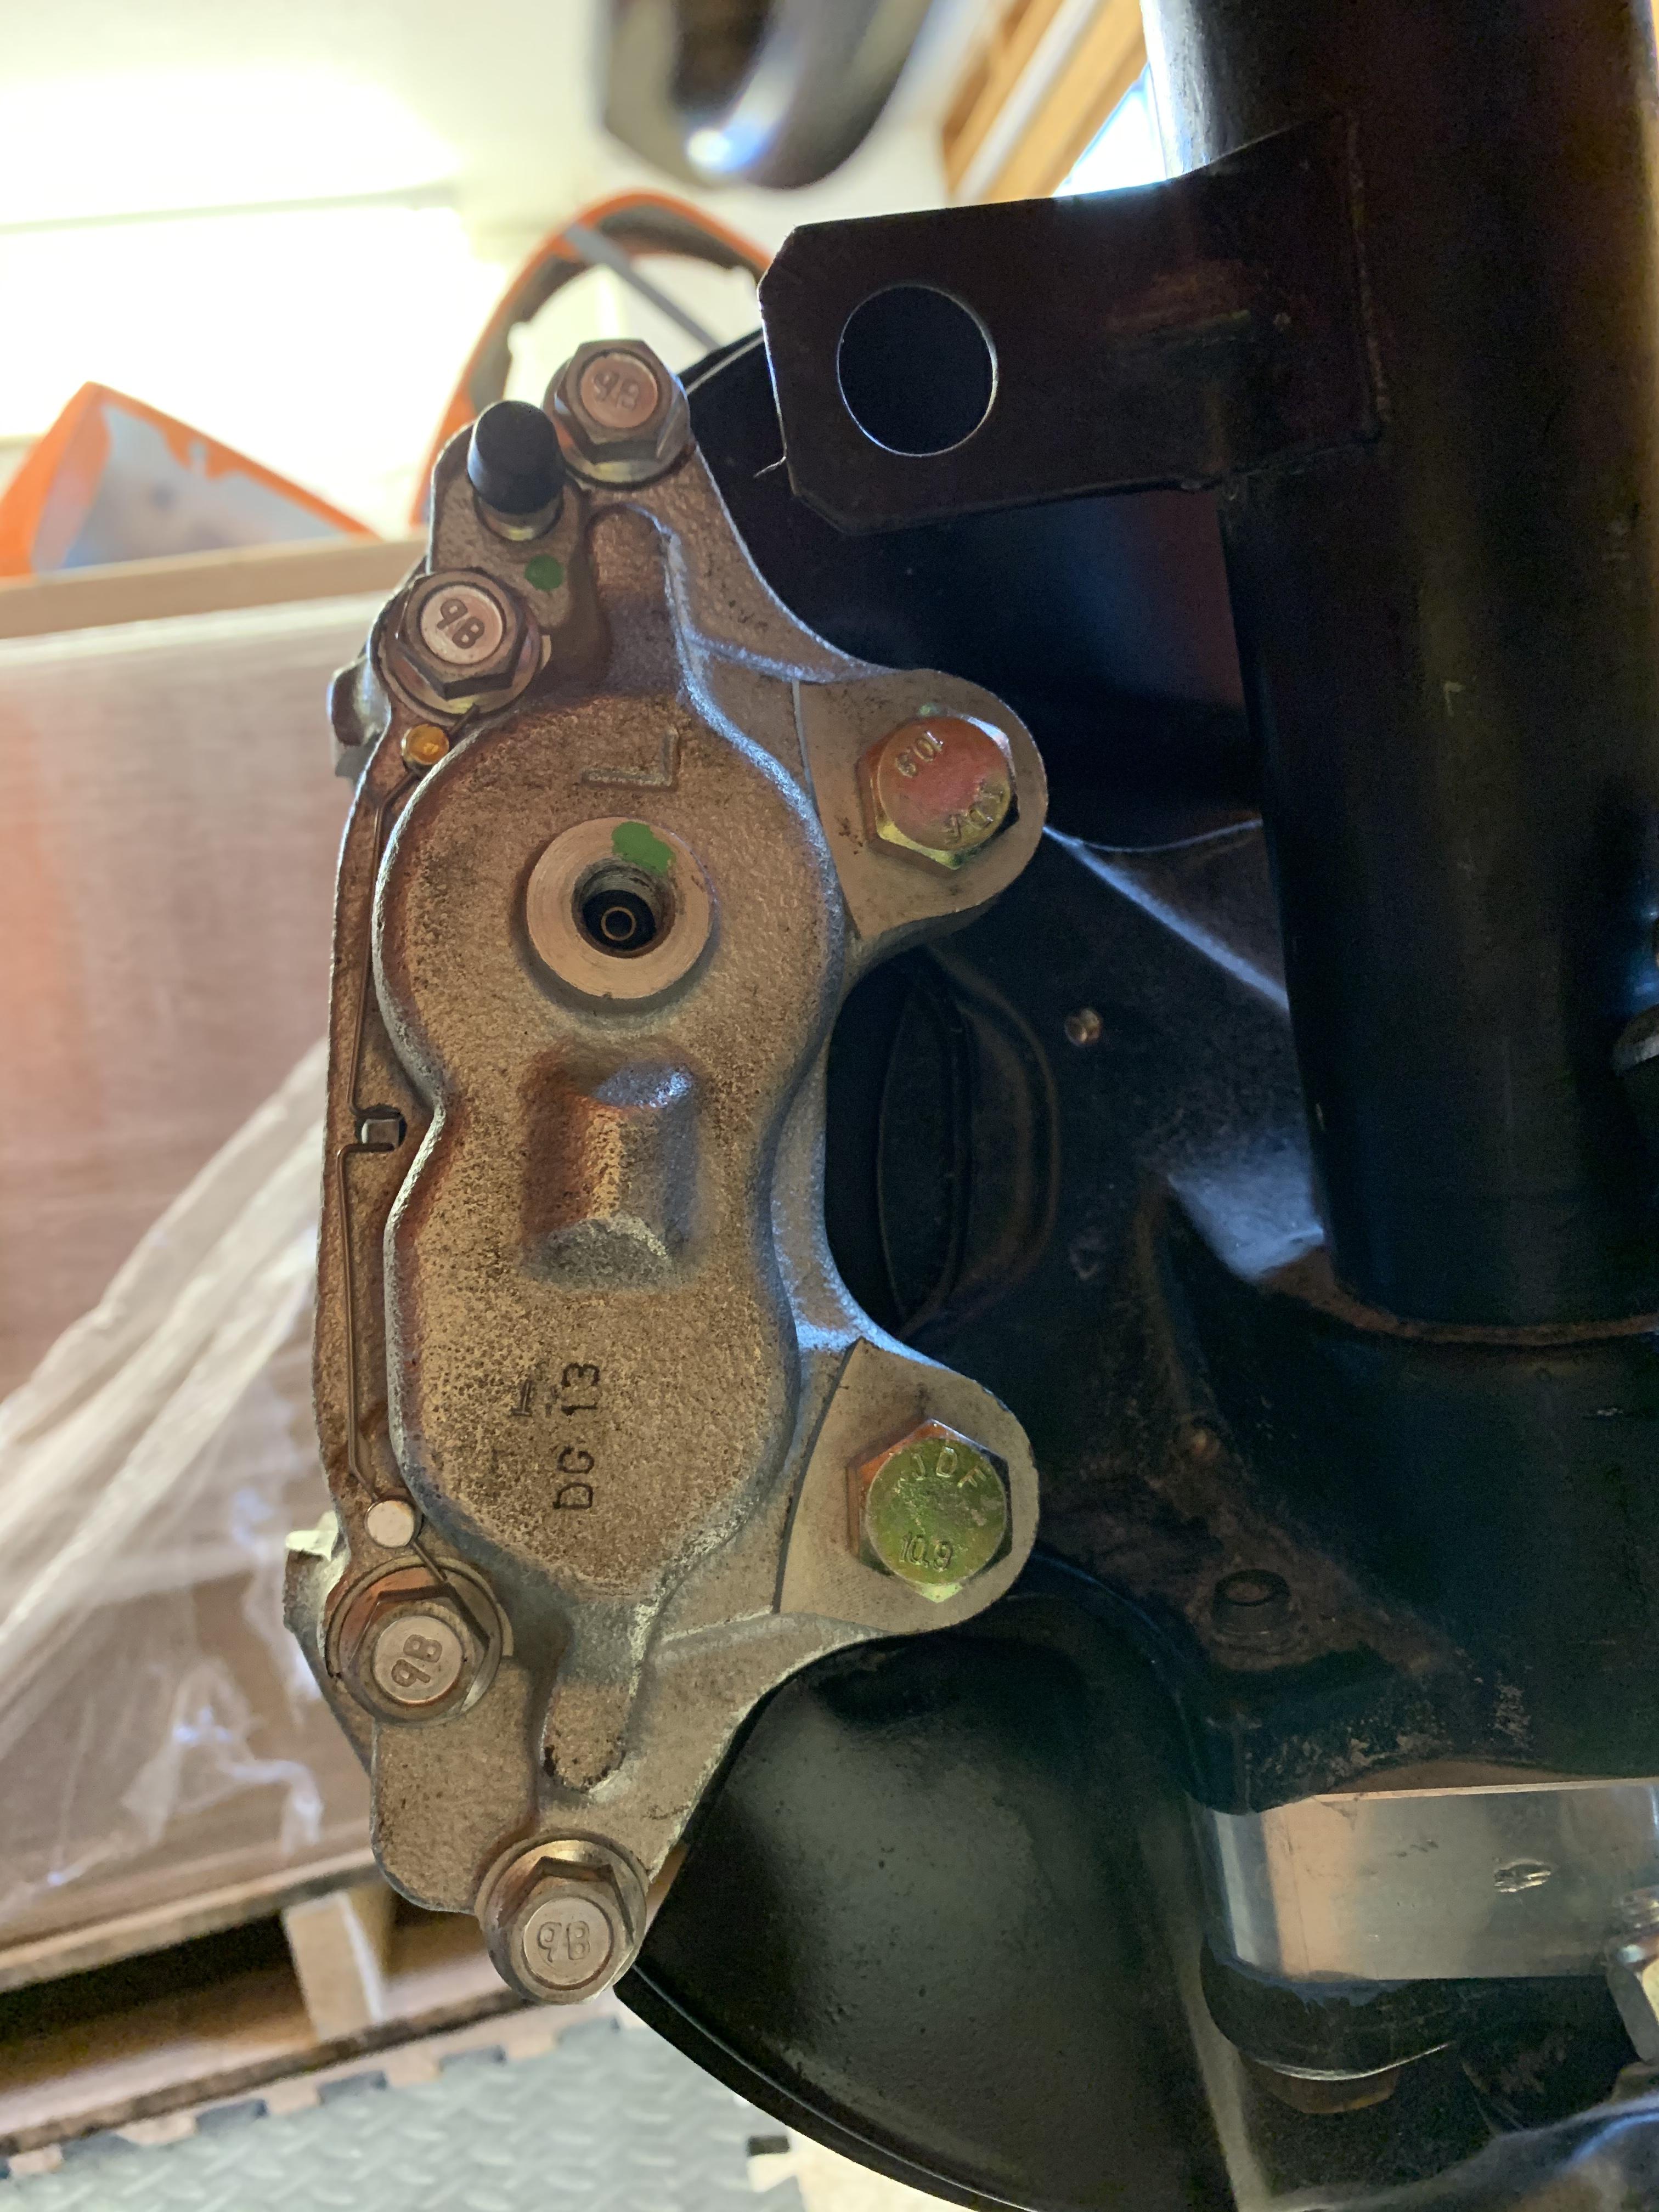
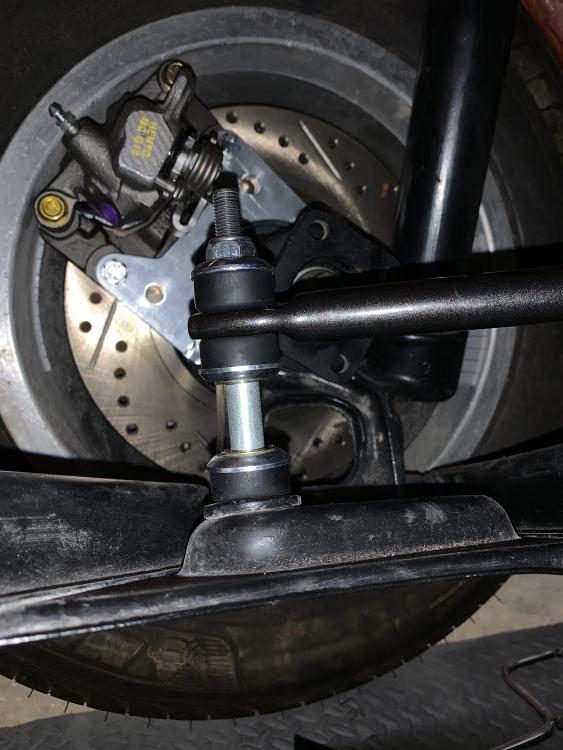
Well, I got the caliper on and then realized I don’t have the e-brake brackets. Cant find them anywhere, and I ordered the kit so long ago there’s no way I’m getting them to send free ones, so I had to order another set. And of course the balancing weights on the inside of the rim are hitting the caliper.
-
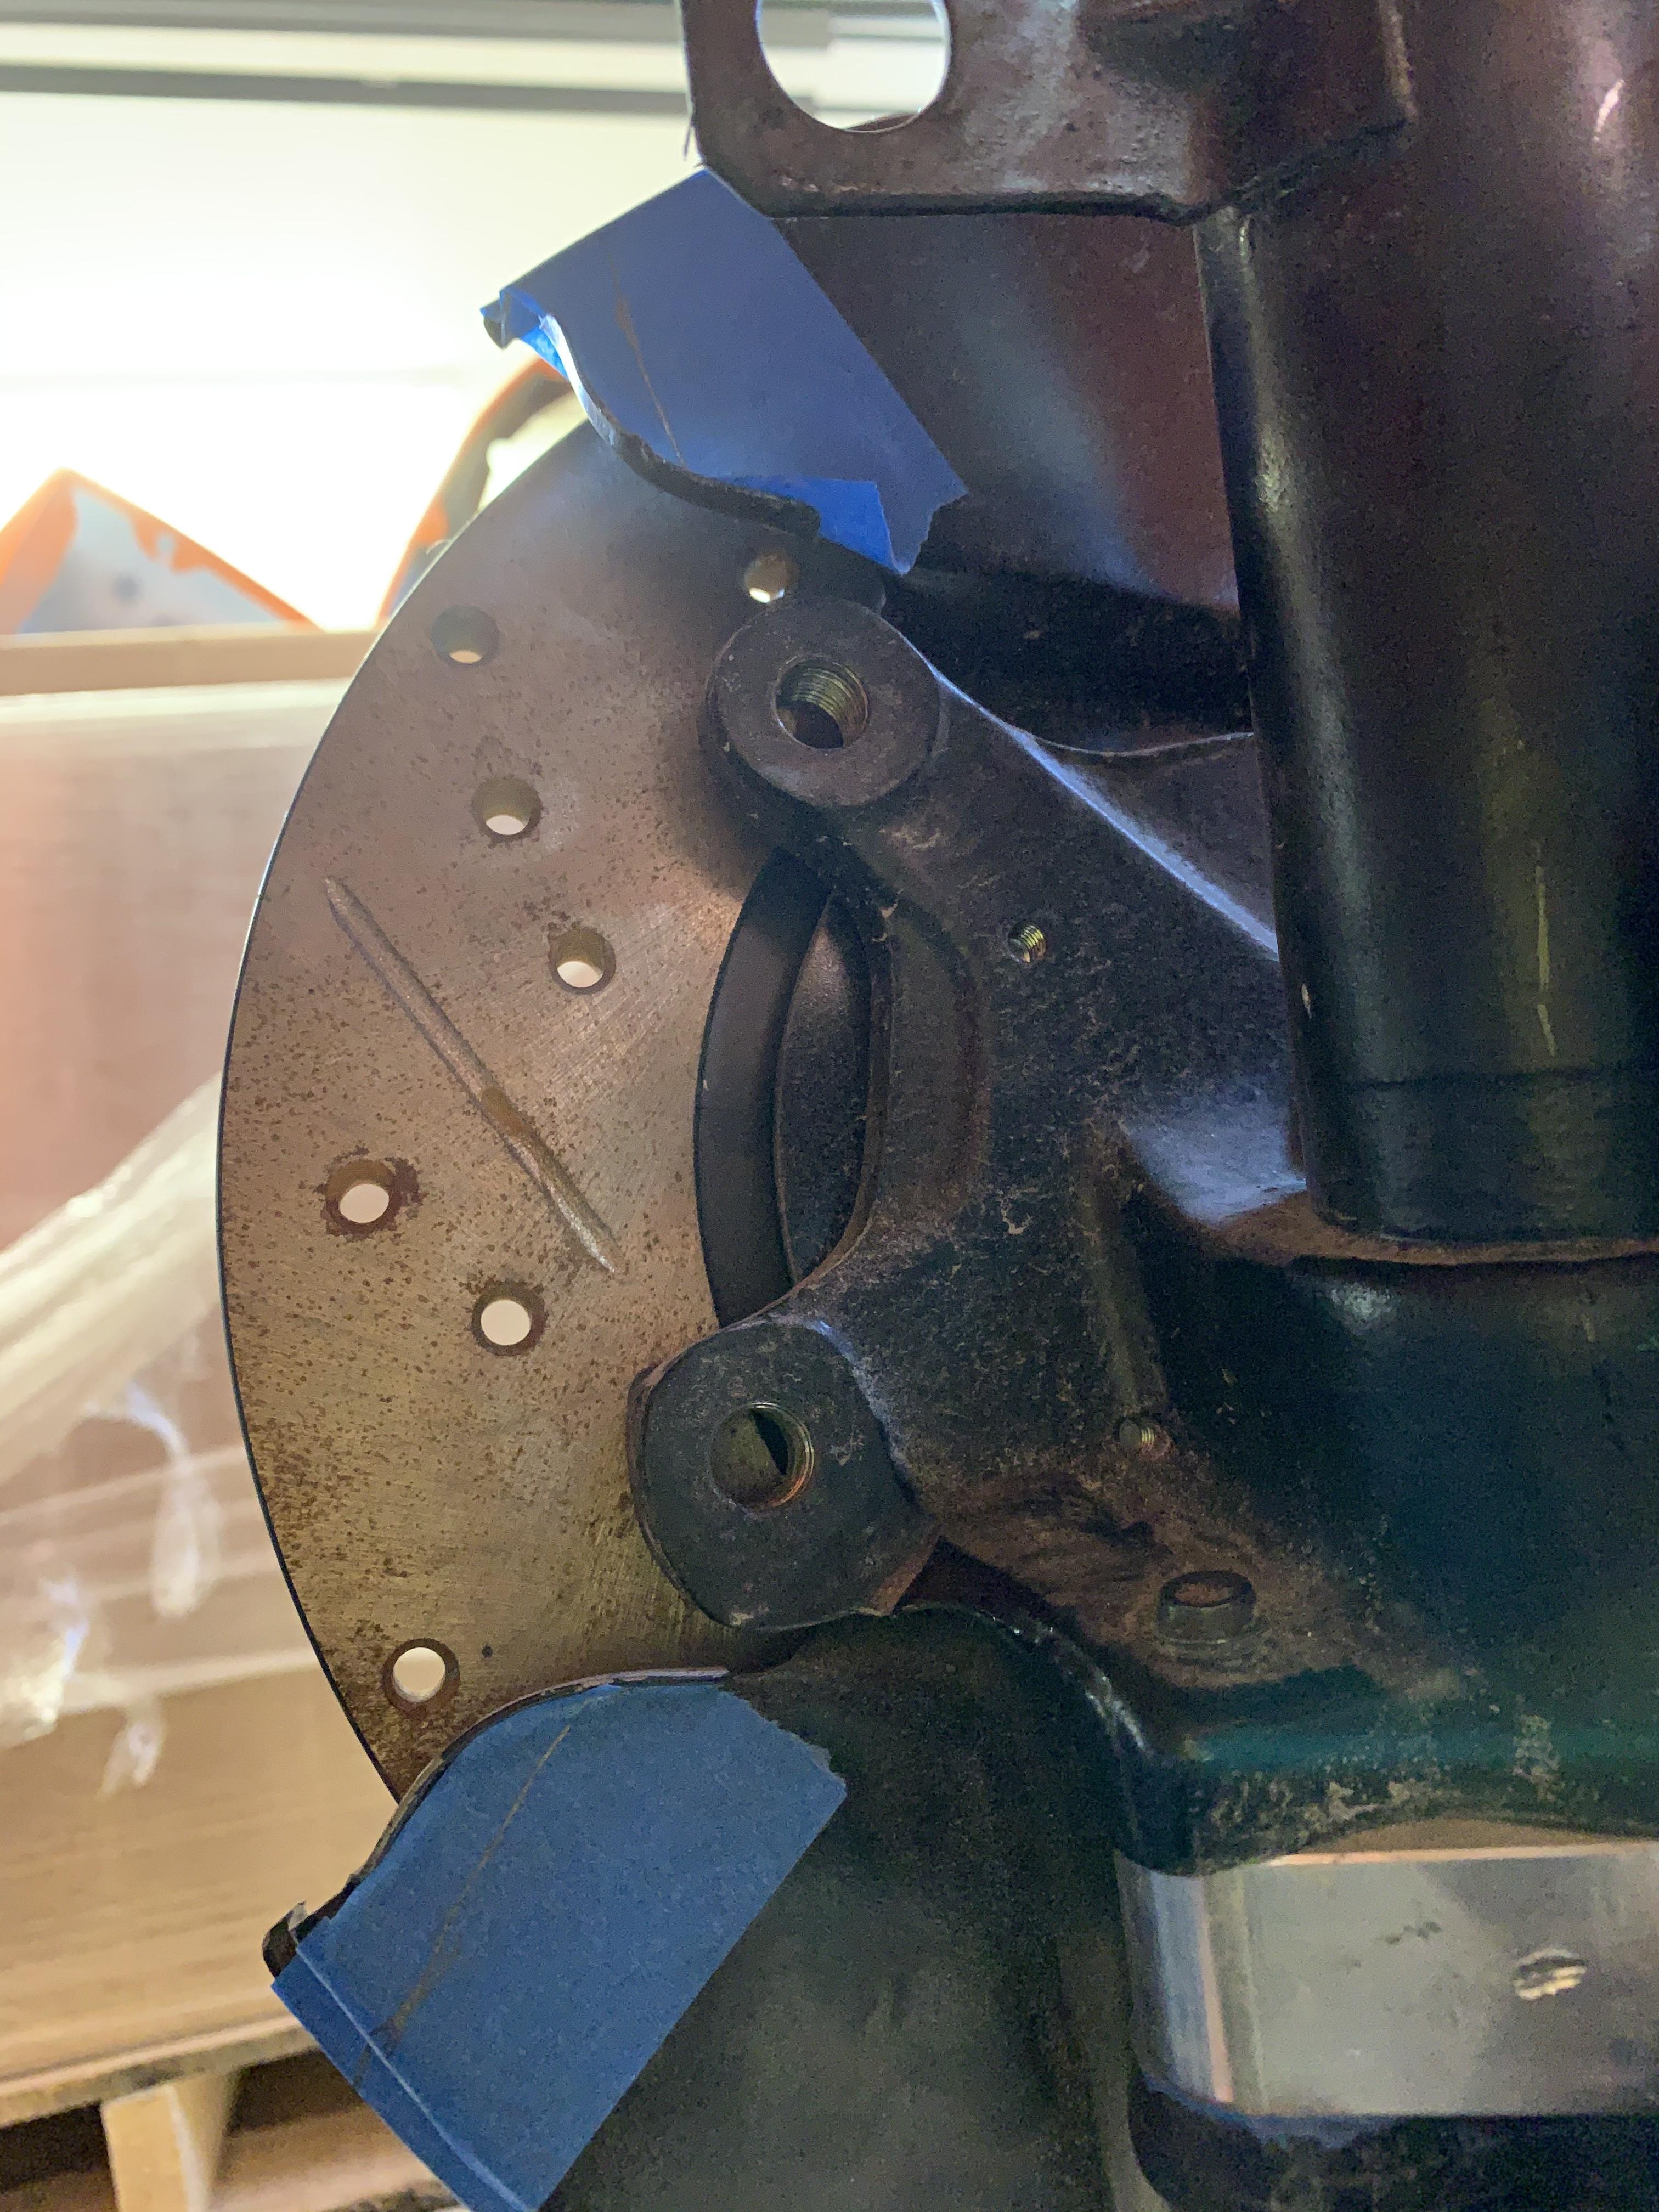
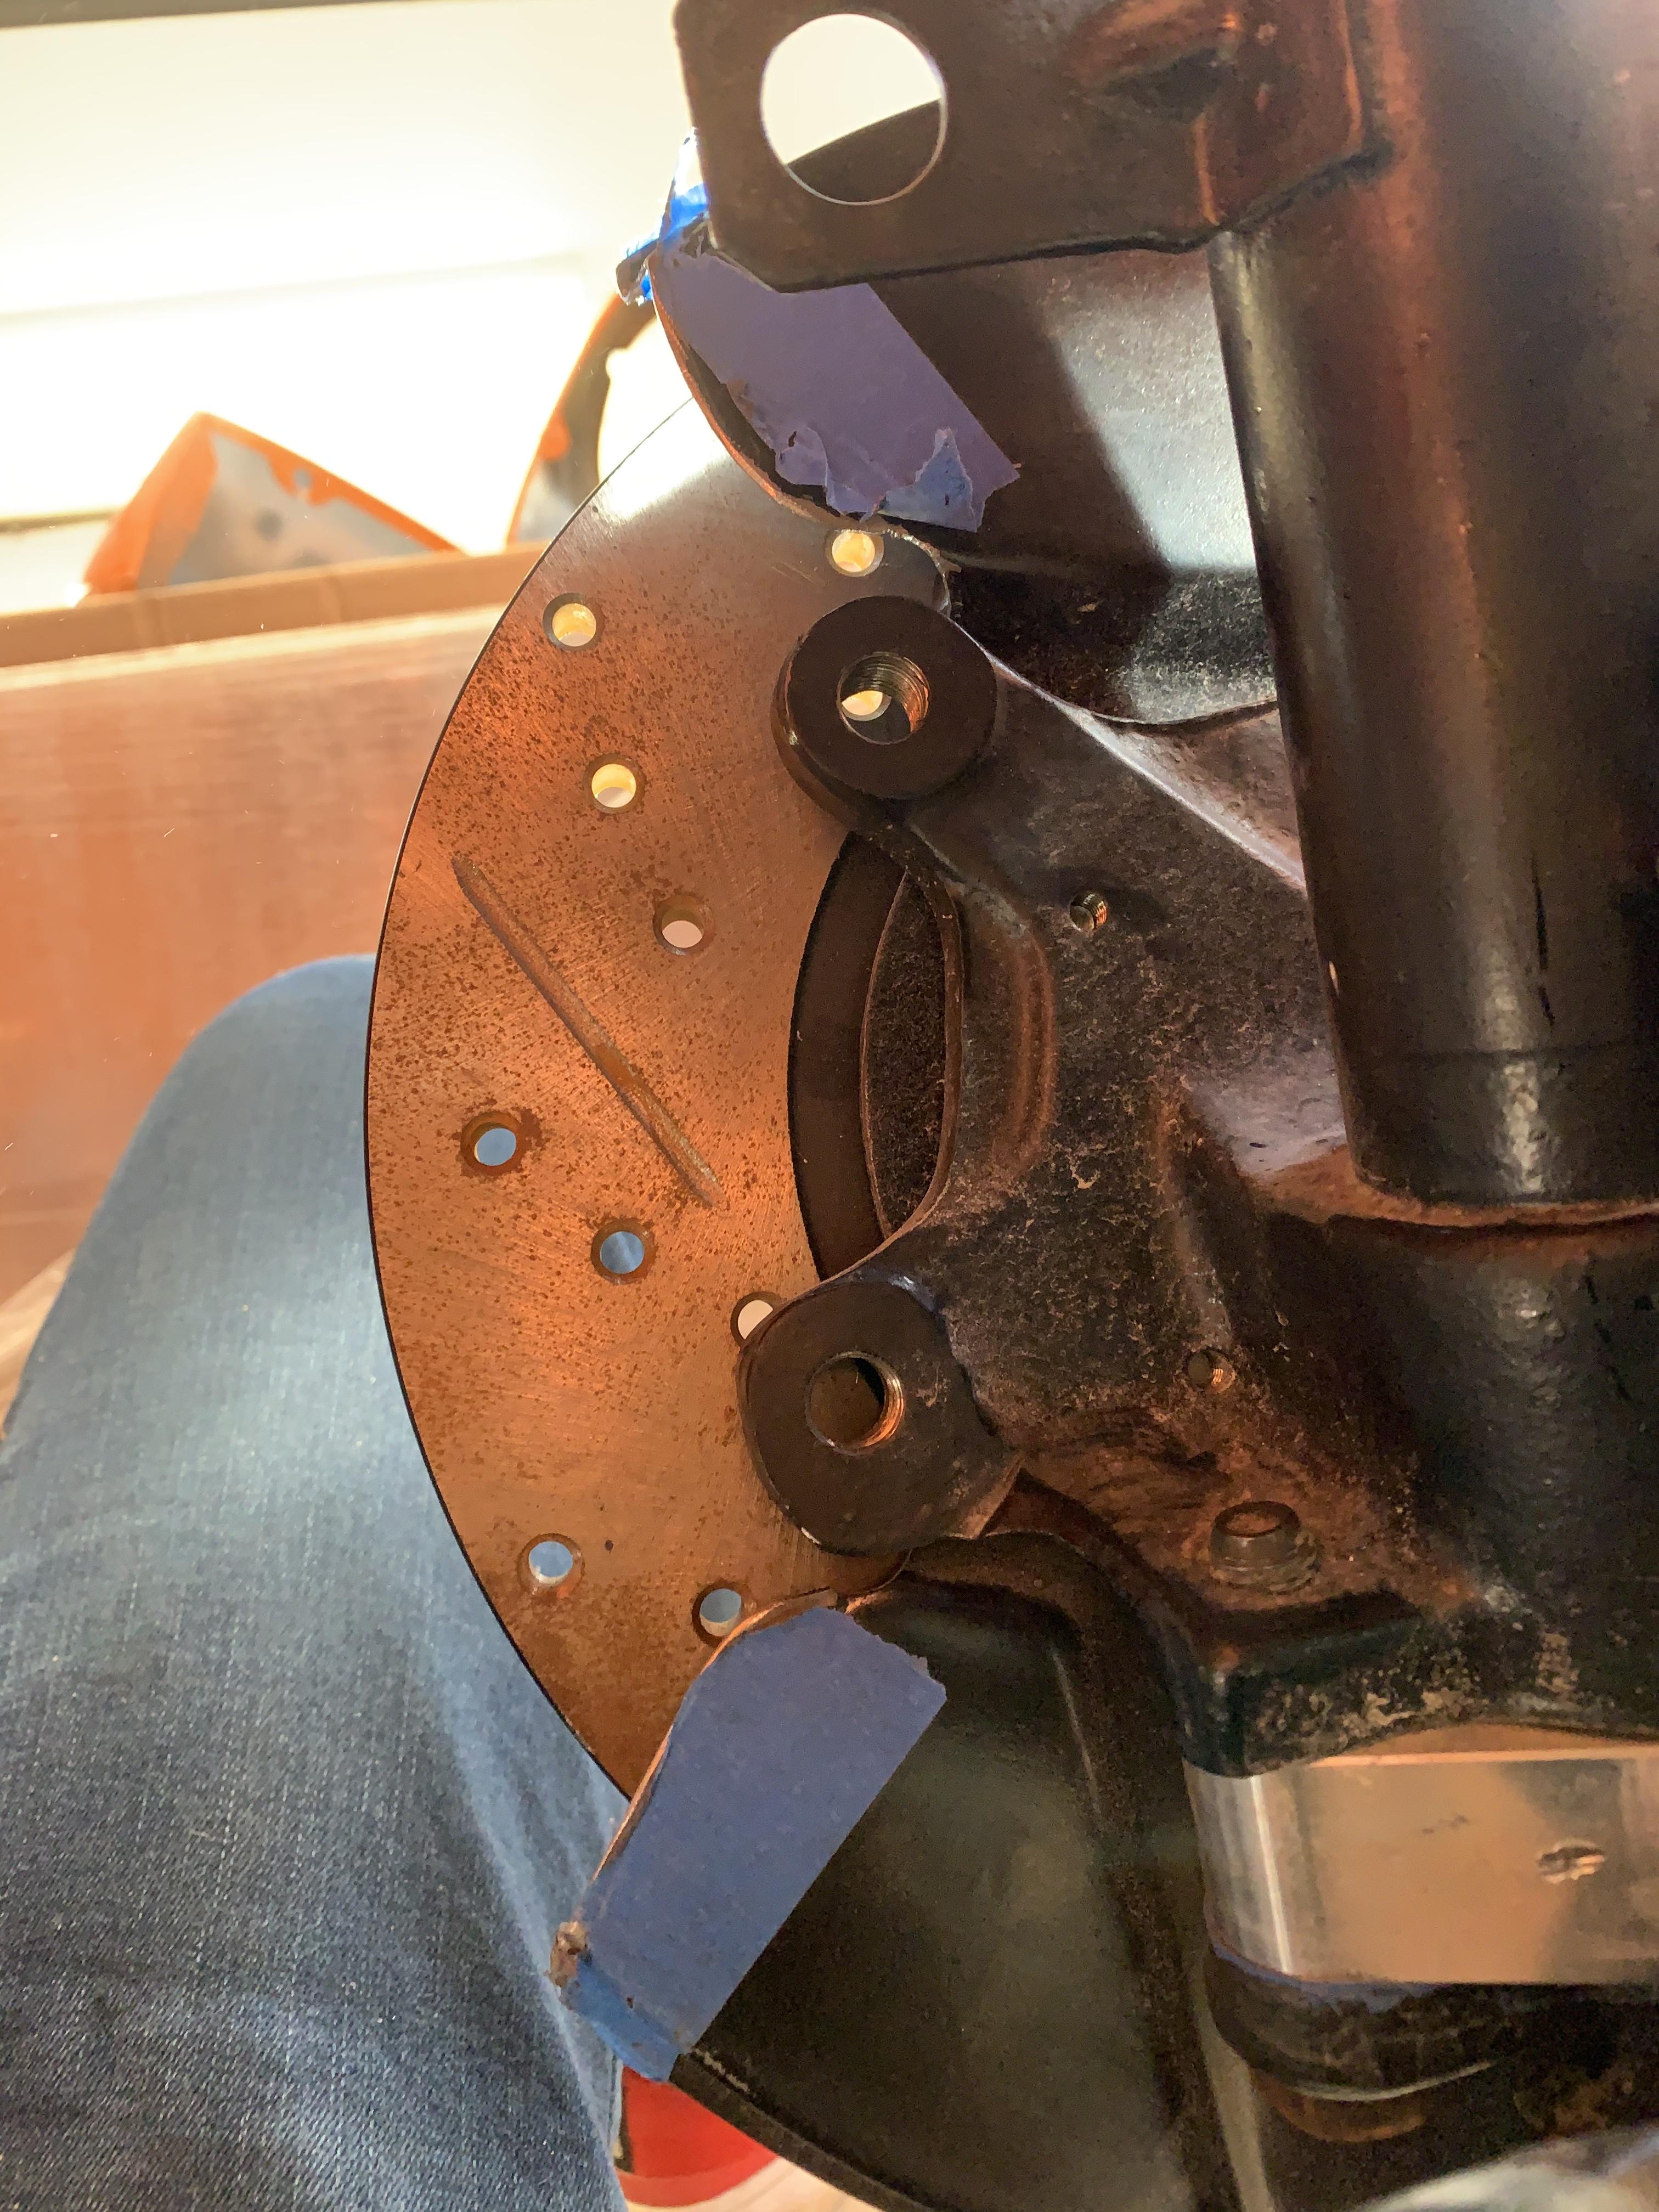
Rear left disc progress:


-
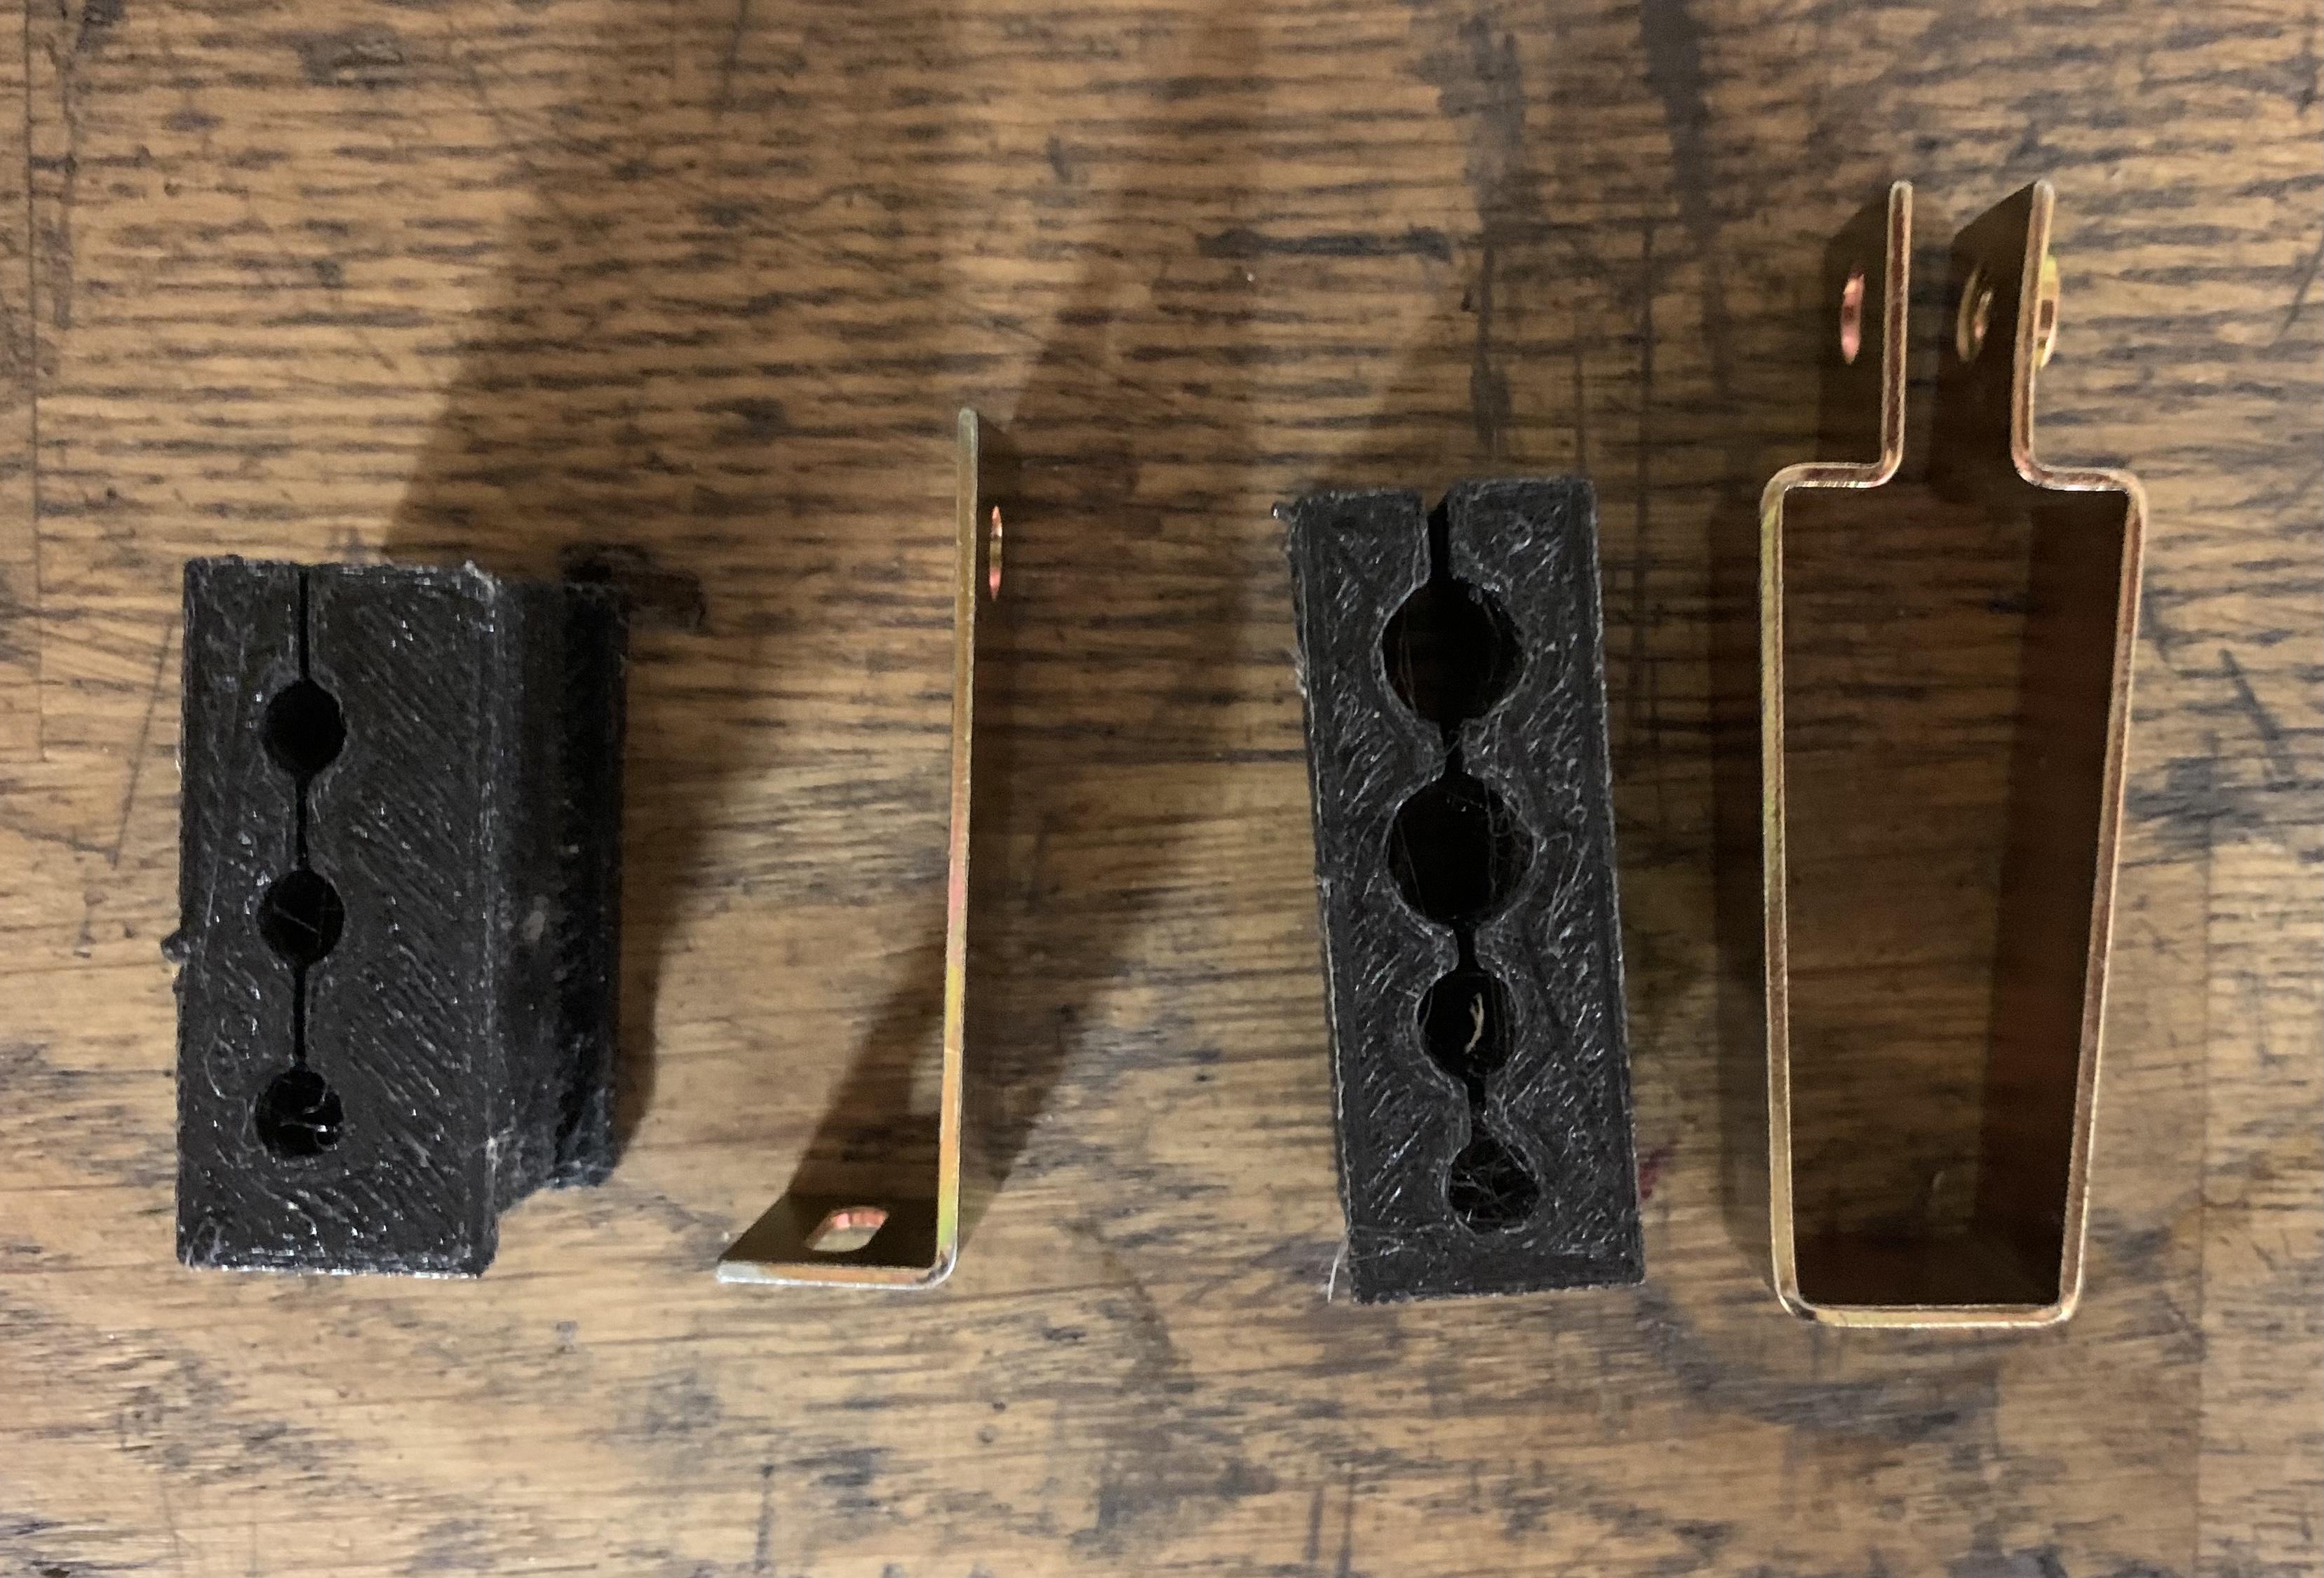
Okay. I maybe didn’t put it exactly where it goes, but the bigger one with 4 holes is now near the emergency brake mechanism. Once I put it on, everything sort of settled into place better, and it’s keeping one of the lines away from a spot it was rubbing, so I think it’s doing it’s job. the one with 3 holes is still a mystery. I chased all the lines and couldn’t find a place where there was an empty bracket, particularly where I have 3 lines. Wondering if this is a 280 part.
-
Thanks, but I’ve got all of those in place. I know the one on the right goes somewhere because I have one that came on the car, but I’m not sure about the one on the left. I cannot find the spot the left one clips to at all. I think the one on the right just clamps to the tubes and not the car itself, but could be wrong.
-
Need a little help. I cannot for the life of me figure out where these two insulation clamps go on the fuel and brake lines.

-
Yeah, I’m going that direction as well. The wife won’t ride in a “sports car”, hence the air con and insulation. Im also starting to think maybe I don’t need the precut kits. $600+ seems like a lot.
-
Right. I had planned to do other forms of insulation and soundproofing beyond the Dynamat. Haven’t quite figure out what yet. so you’re saying that more Dynamat might not be a bad thing?
-
Okay, next thing on my plan is to put down some Dynamat sound dampener. I’m planning to place it strategically and NOT cover the entire interior of the car. Someone stop me now if you have a compelling reason this is a mistake. Everything I’ve seen says not to cover the entire surface because it doesn’t add anything but weight. Here is an example: https://www.quietride.com/web/viewer.html?file=https://www.quietride.com/catalogpdfs/datsun_z_catalog.pdf
-
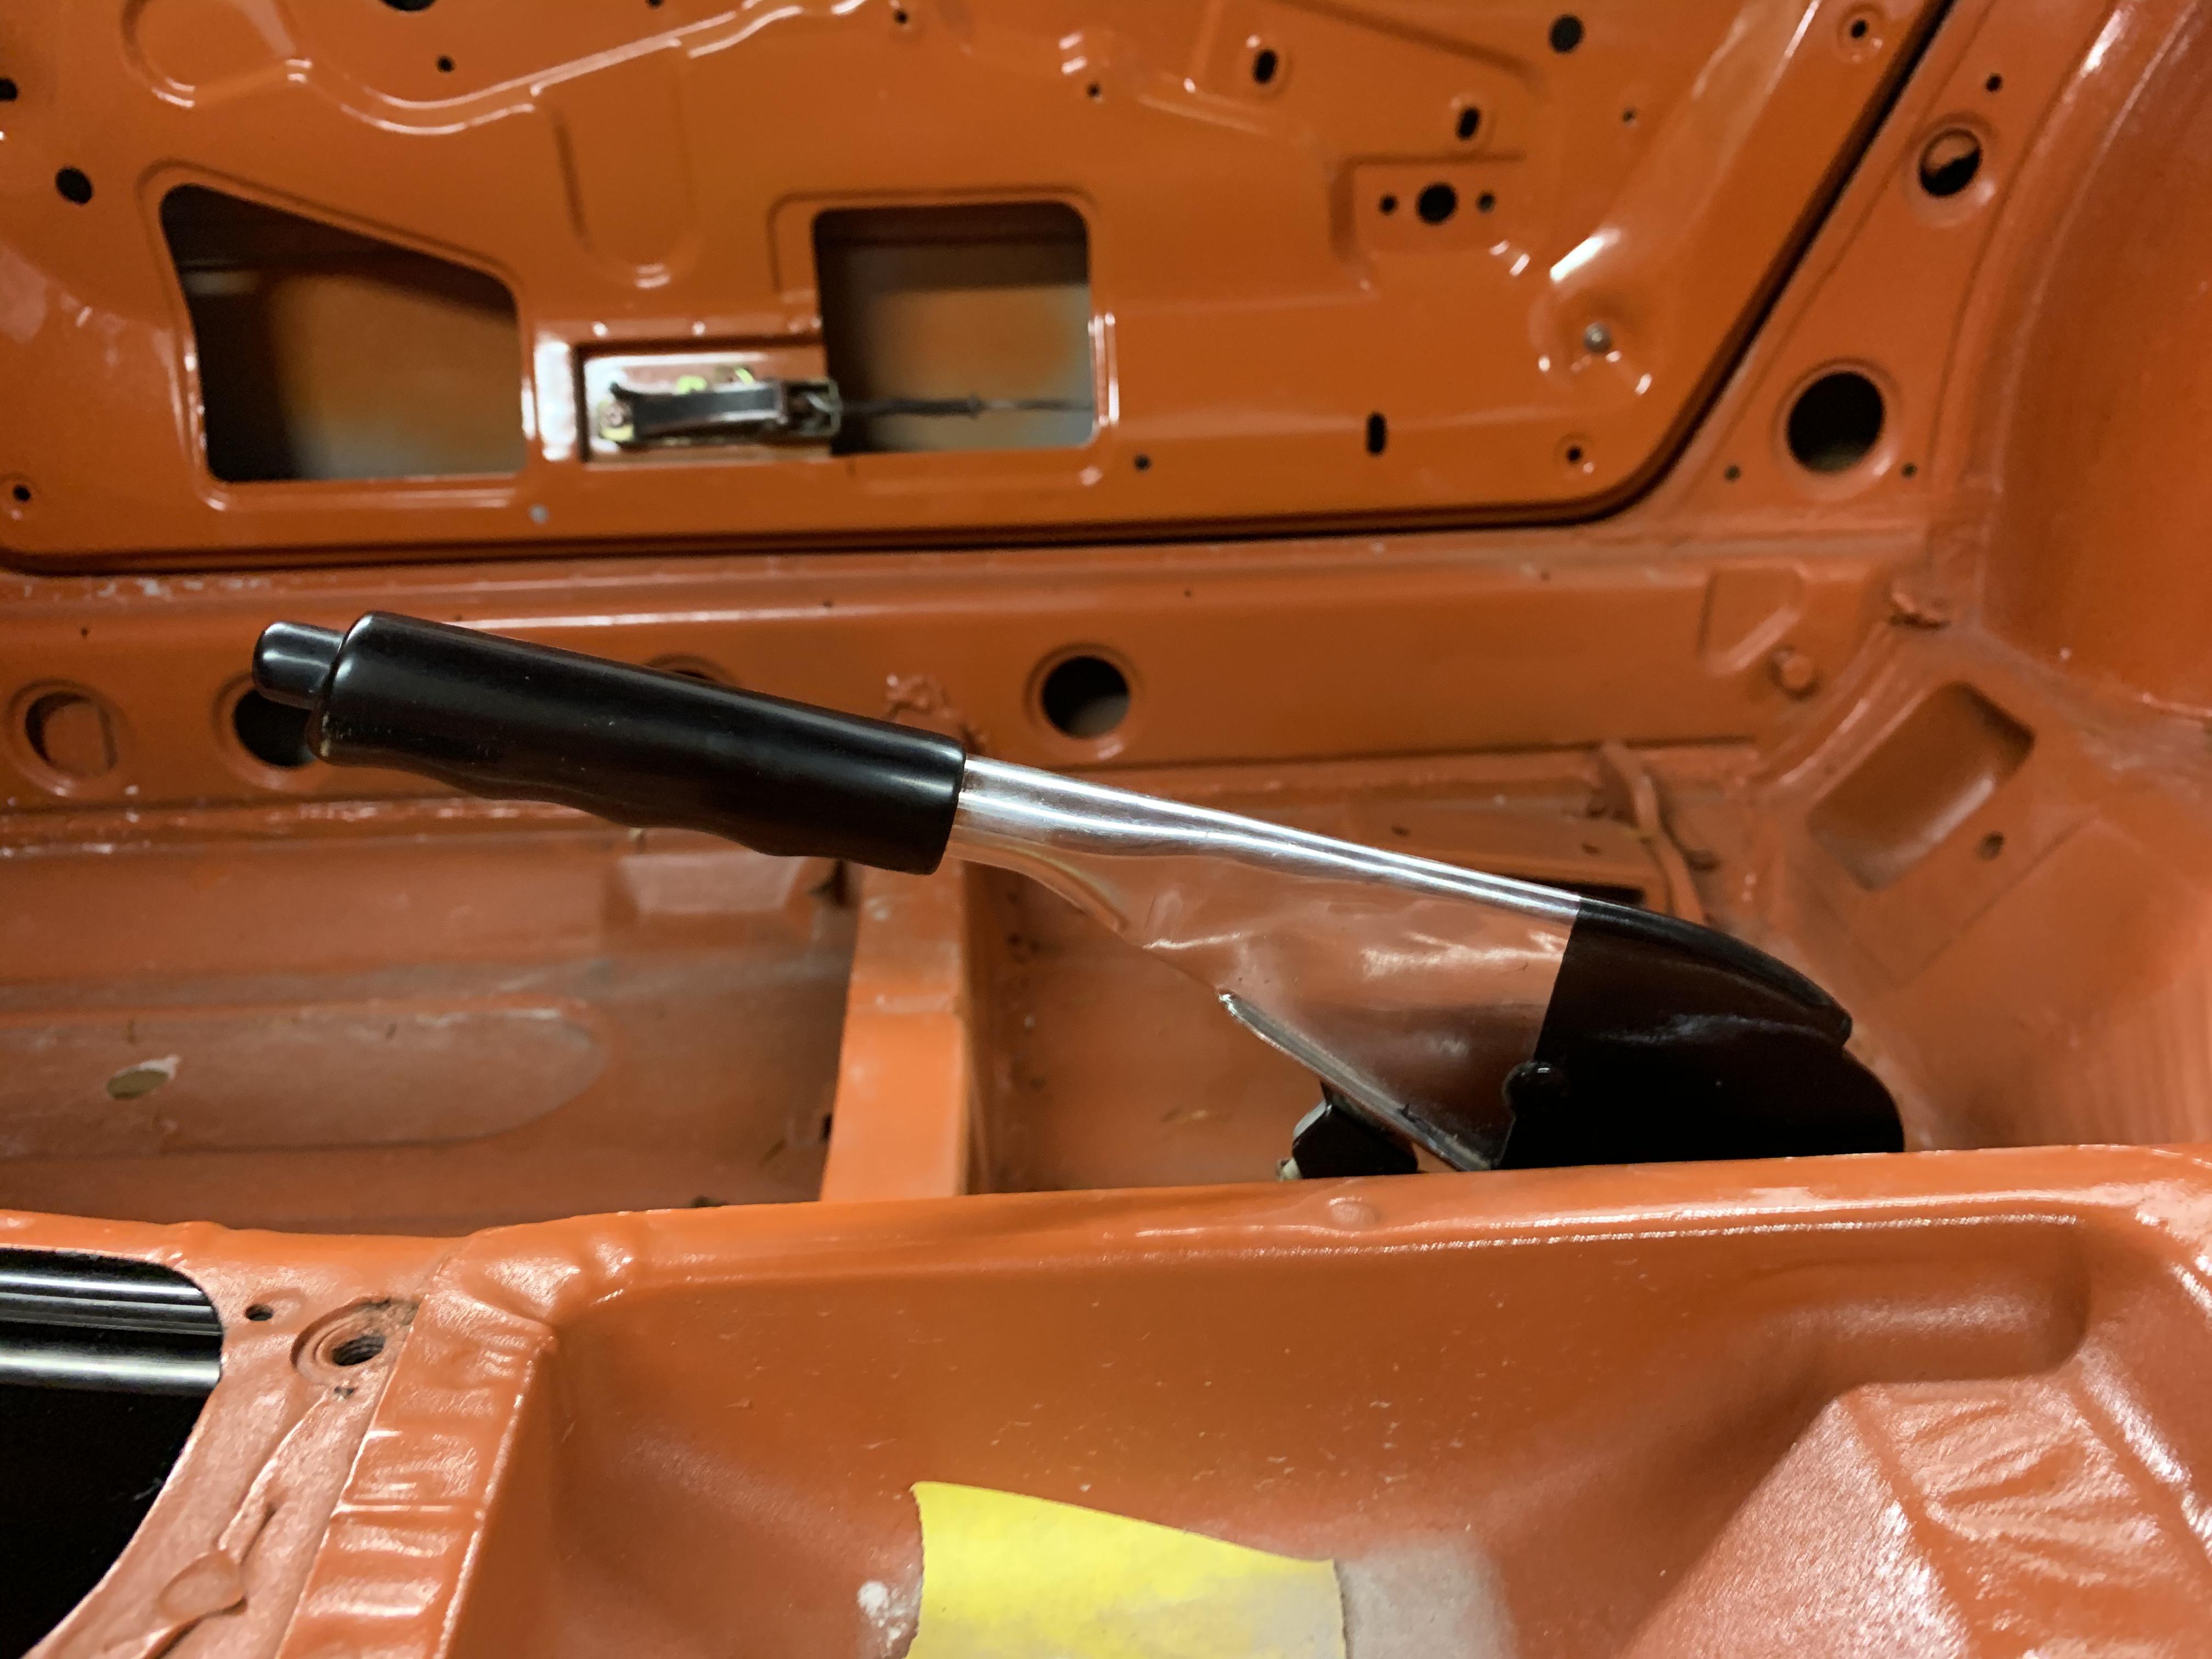
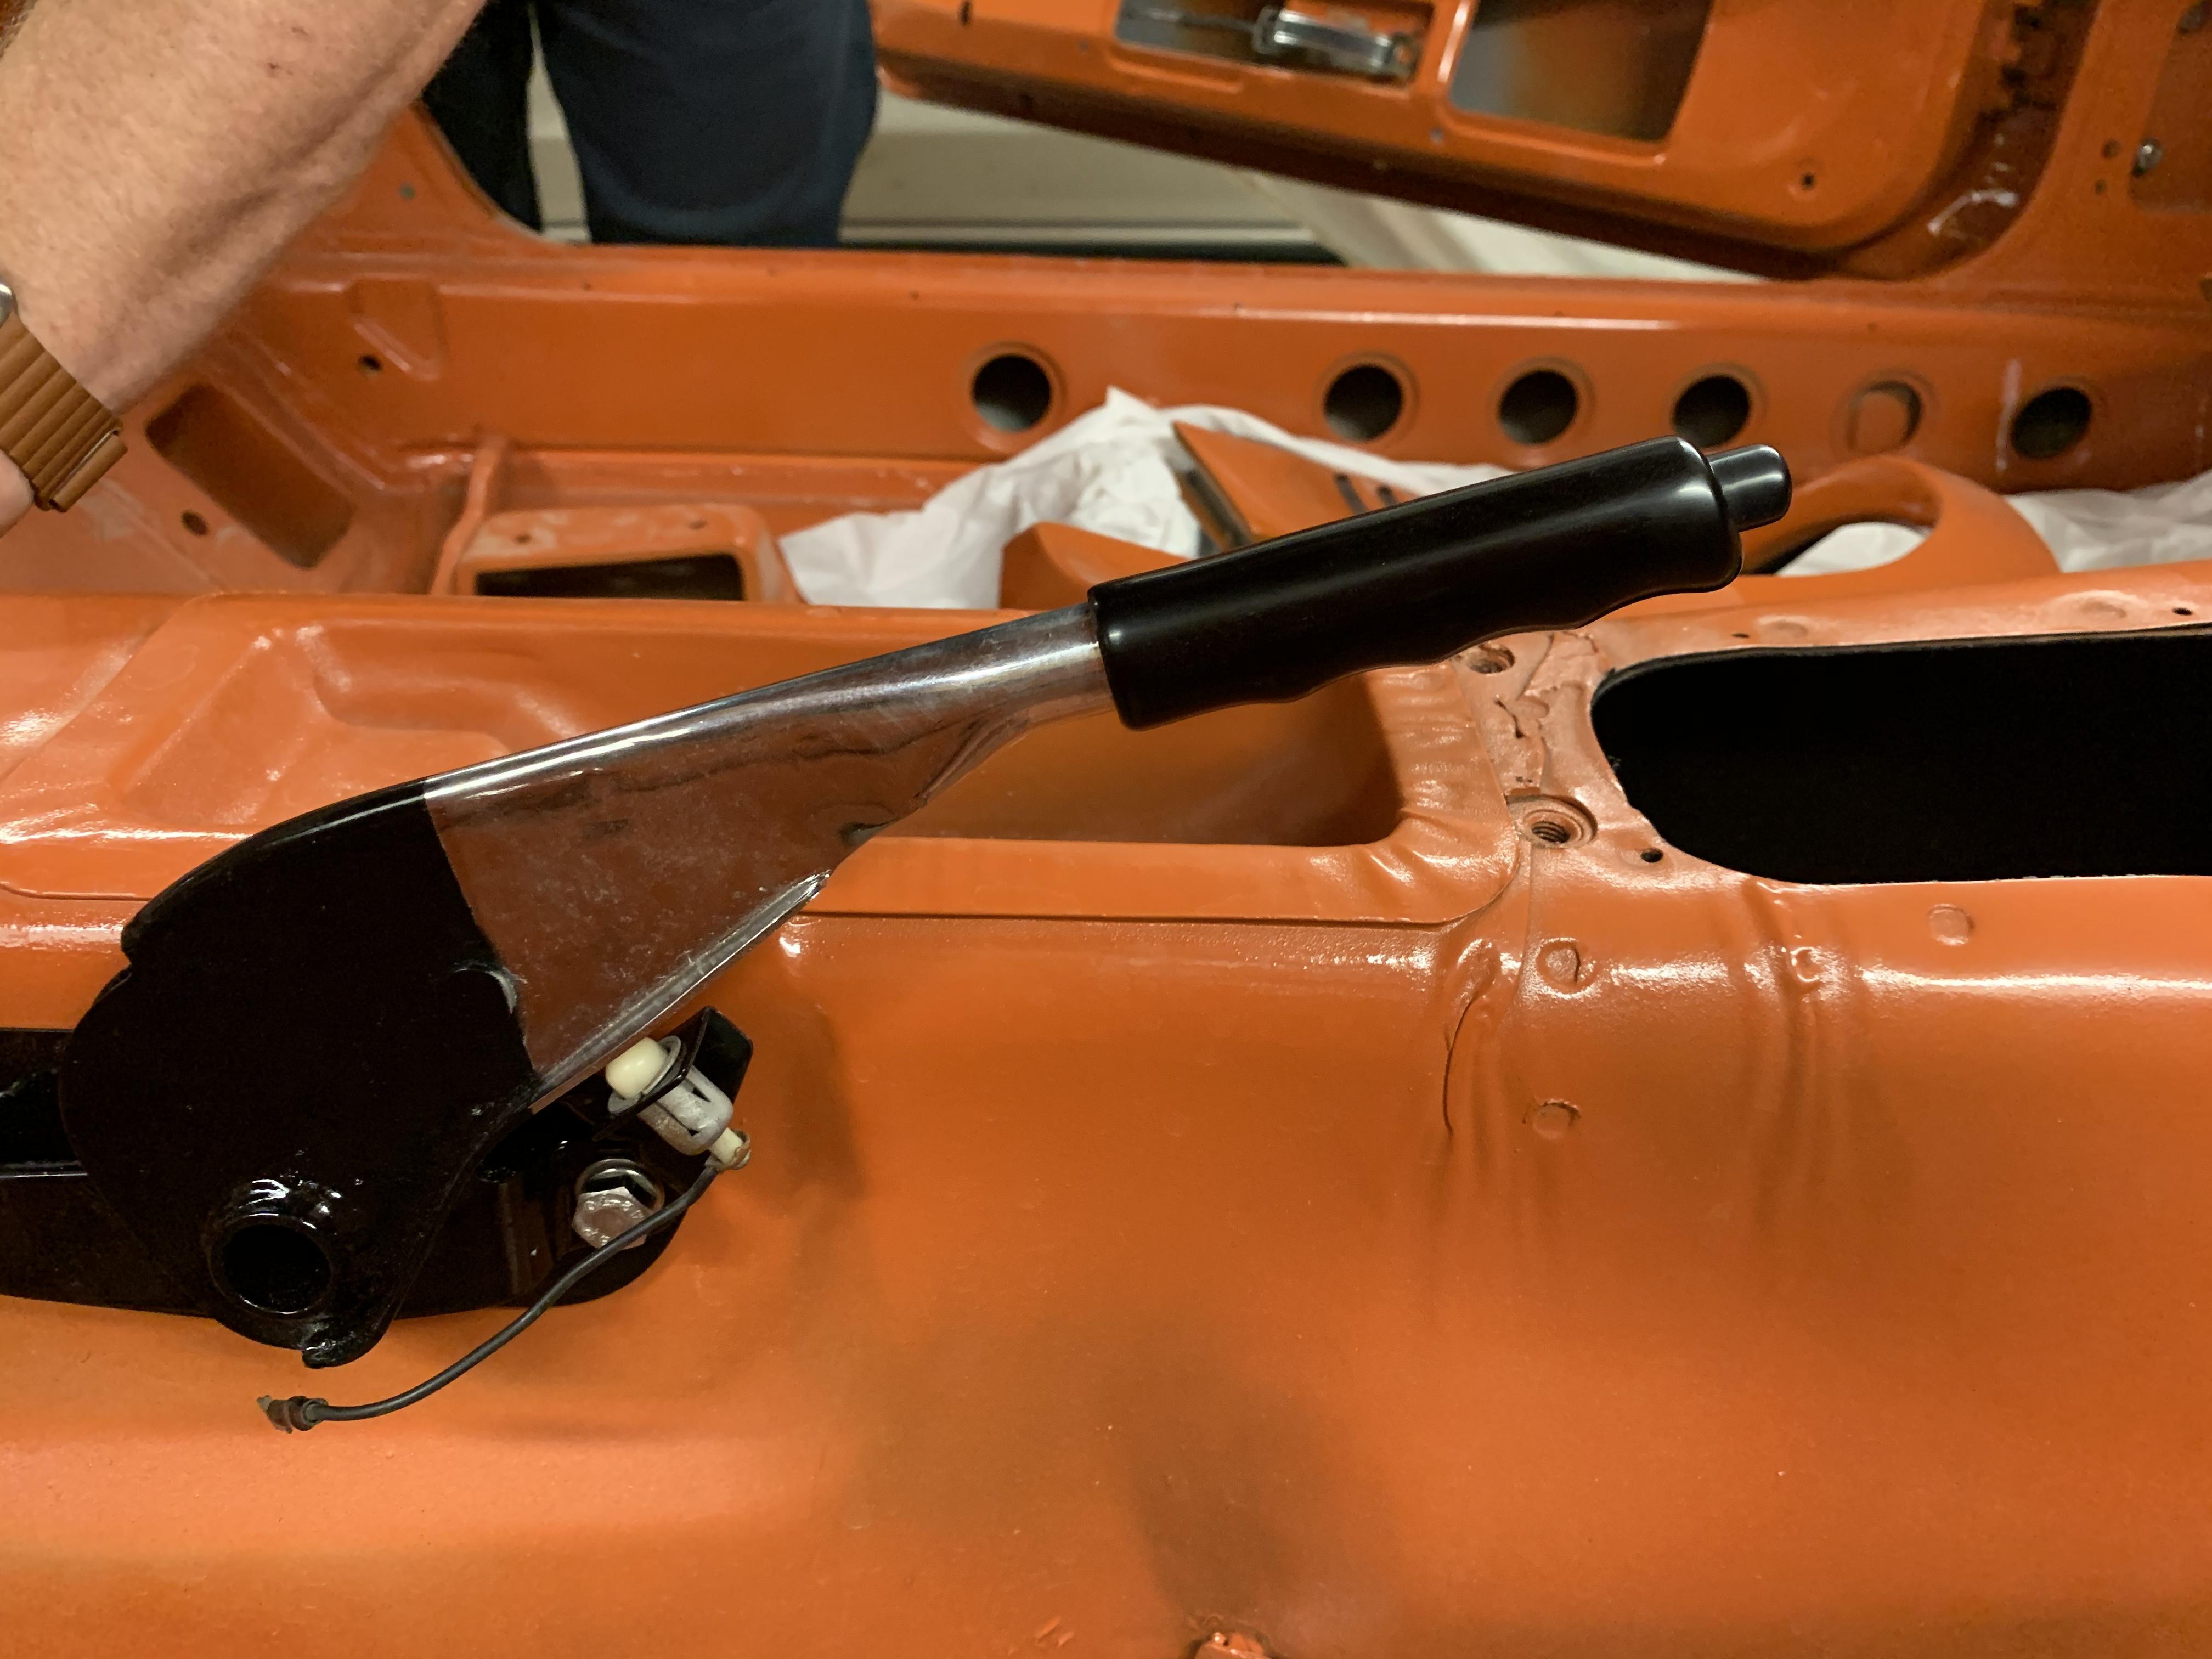
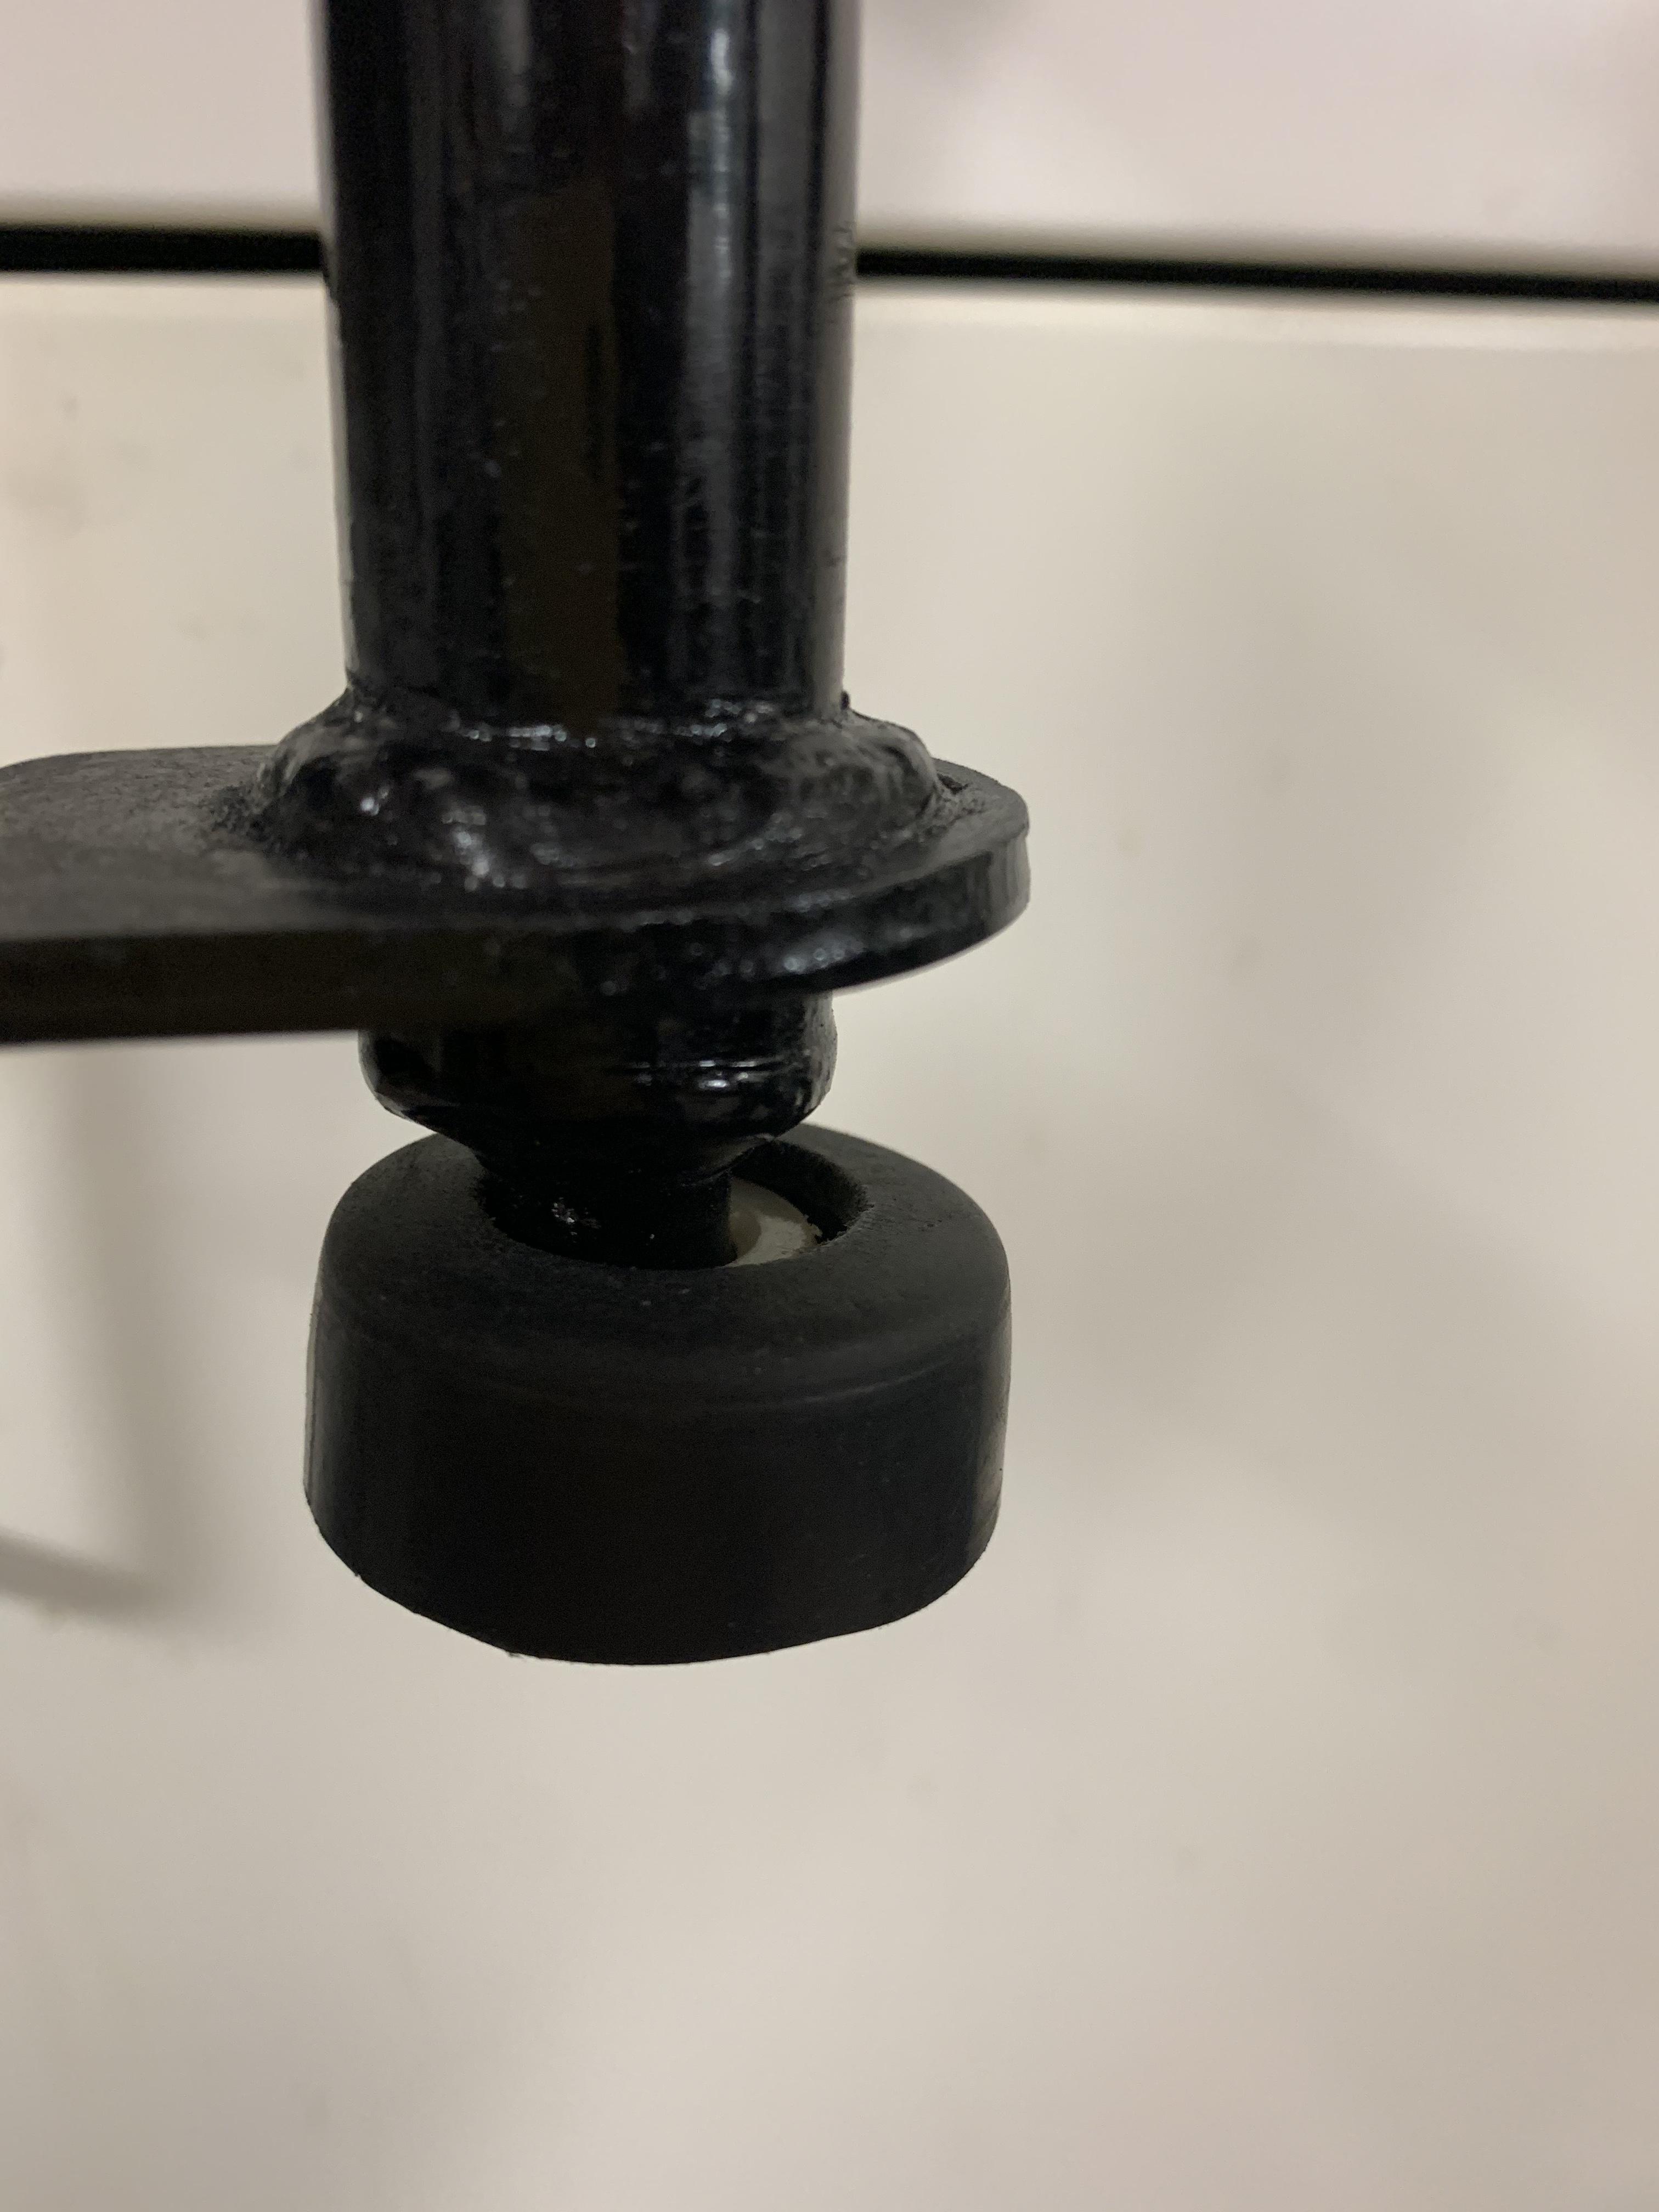
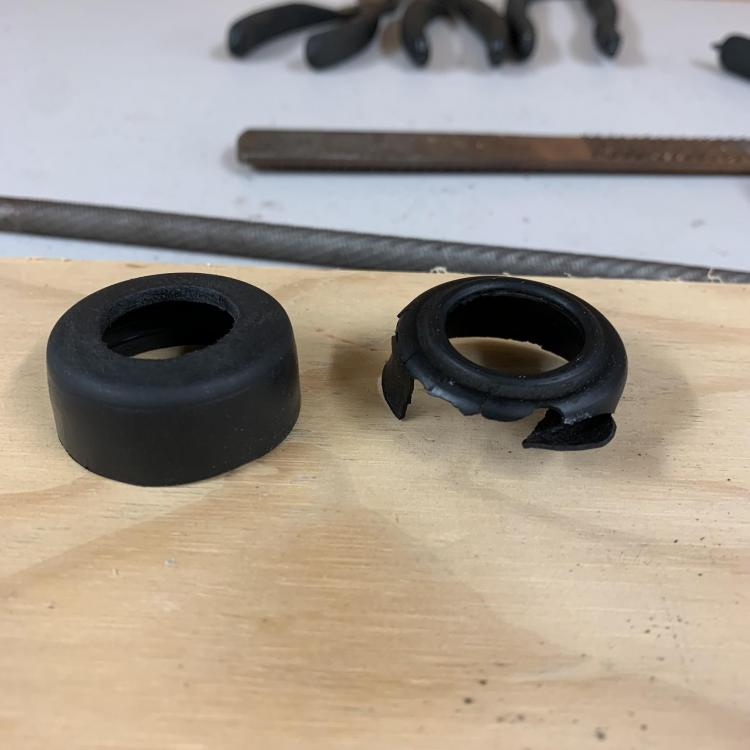
Here’s what I took before I put it in: On the left is my creation, on the right is OEM after 47 years. by the way, you don’t have to pull it. You can remove the bolts holding it down and get to it. The drive shaft will be in the way, but you could theoretically get it on without pulling the handle.
-
The white nylon brushing I used was the factory one that came on the car. You can see it peaking through the hole. The bushing cover I made was the pipe cap, but yes, it’s the protective black plastic on the threaded end, not an actual fitting. The ID of that fits perfectly on the bushing housing inside the tunnel. If I were to do it over again I might make the hole smaller and the overall length longer by maybe an eighth of an inch. The one I made is the same dimensions as the factory one, but the hole is bigger than it needs to be.
-
Okay. It’s in and all the linkage is together. I had forgot to mention how I solved not being able to get the rubber bushing cover. it’s one of those caps from the end of a piece of black pipe from Home Depot. I just over there and grabbed one of the floor that was close to the same size, then cut it down until it was about the same length and drilled a hole in it. Problem solved.


-
Thanks, dad. I thinks it’s good enough. Any more and it would look... wrong.