Jump to content

wheee!

Free Member
  • Joined

  • Last visited

Everything posted by wheee!

  1. 2K epoxy primer should keep it nice and pretty a while longer!
  2. Bought myself a Christmas present today! Ordered one of Datsun Dave's Push Button Ignition systems! Not that I need it now, but I missed out on the last run of these and I don't want to be without it when I'm ready.
  3. I think I like it! So before the questions start, the grey filler I used is high temp JB Weld. Applied it like bondo and sanded it down prior to powder coating.
  4. Squirrel!.... Finished the gas tank so went into the shop to play with the custom valve cover. Here’s the lineage and finished product....
  5. .... and finally sealed. Will let the sealant cure for a few days and then start work on the outside of the tank!
  6. And the prerequisite safety gear shot...
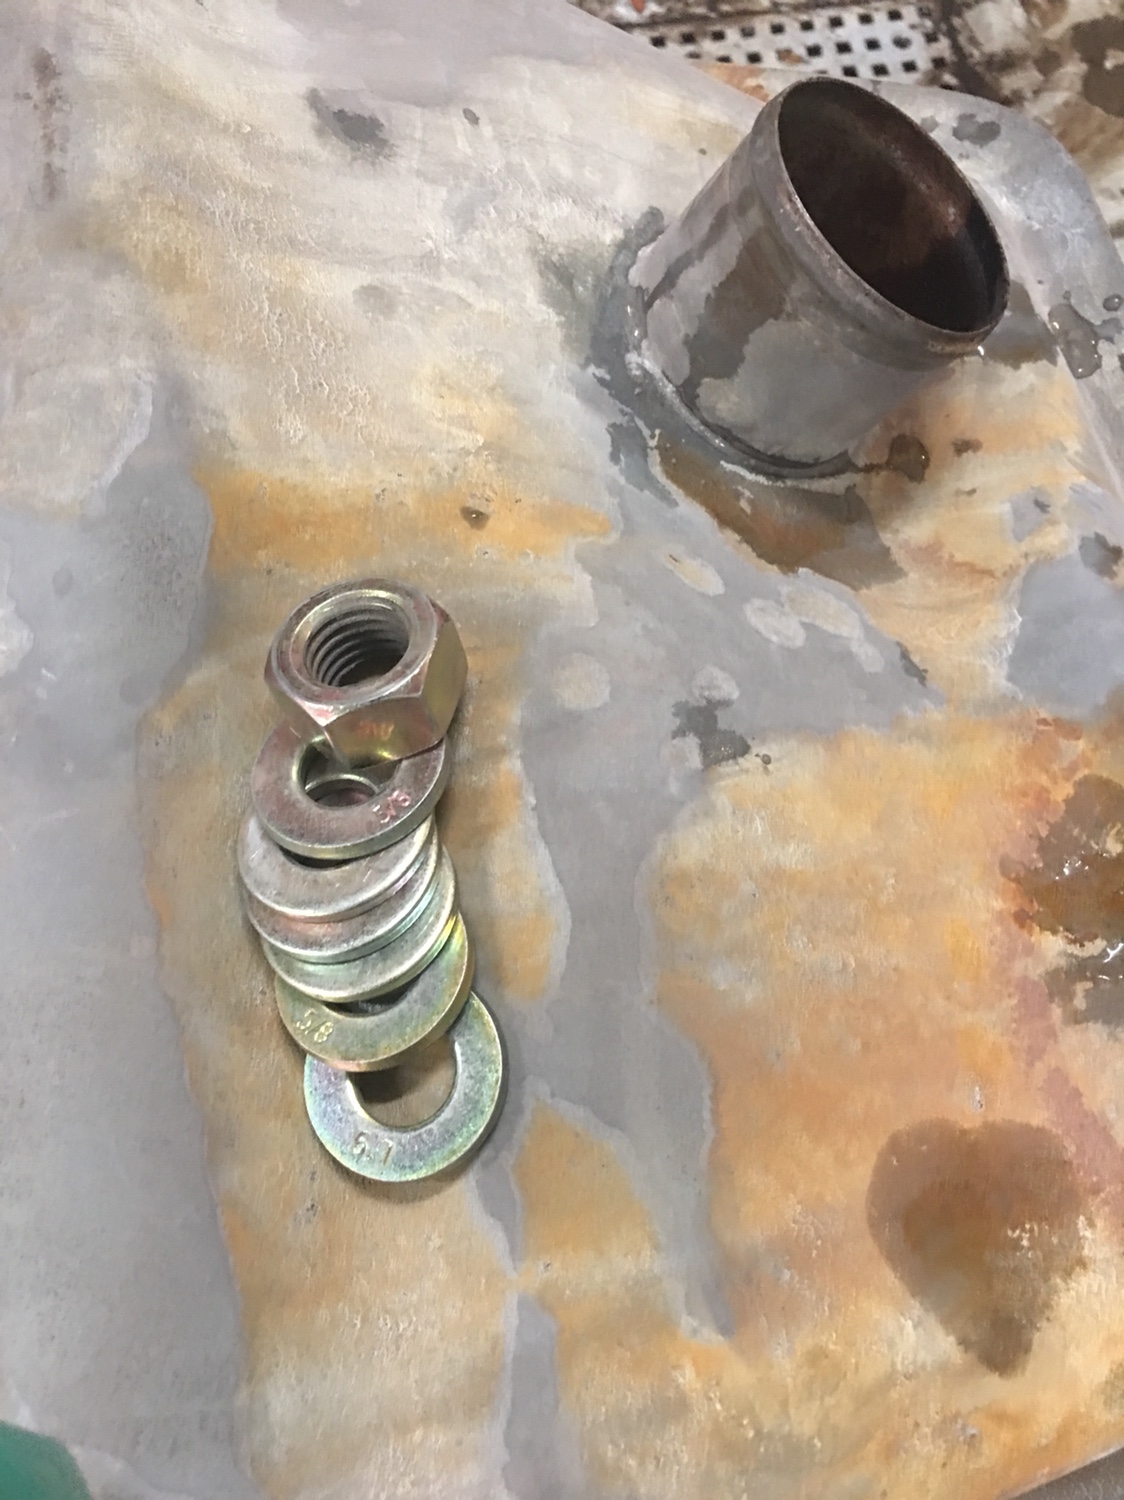
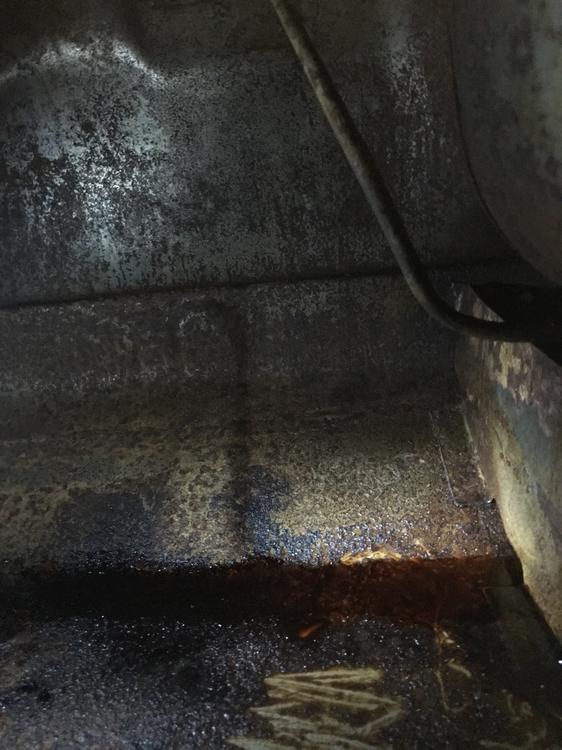
  7. First, I added some washers and a large nut. Then acid wash, baking Soda rinse, rinse again, then acetone. Then another rinse cycle. Then five rinses with a hot water pressure washer. Then acetone again. Rinse, then Metal Prep and Ready and rinse again. Washed the outside with Prep and Ready to kill the flash rust too. Now it’s a waiting/drying game before the POR tank coating.
  8. Because I am the king of multitasking and my HEI module hasn’t arrived yet, I started work on the gas tank today.
  9. That is exactly what I did! [emoji4]
  10. I have two complete distributors with all new components inside as well. Lots of spare parts!
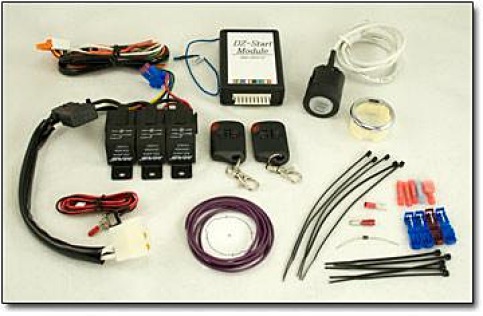
  11. I’m going to leave the two pickups in the distributor and run the wiring as is to the ignition unit. I have removed the white wire from the ignition unit and the brown wire. If I have a problem with the wiring, all I have to do is swap the wire from the red to the brown on the ignition connection block and it will swap pickups on the distributor. I have wired it to the red for now from what I can tell.
  12. Western union solder connections with heat shrink.
  13. Question is: which colour wire is the retarder pickup? That’s the one I want to remove. I’m gonna guess that the red is primary because it’s on both diagrams.
  14. The harness end is colour coded and the ringlets are sized so the common green is the largest. The distributor side is all blue wire.
  15. It looks like your new PDF has the green and brown wires at the distributor swapped. The brown looks like the centre tap in your PDF.
  16. Wow, thanks Chas and Zed Head for all the great info. This will make it simple to go ahead from here.
  17. Maybe for the built motor. The stockish engine is going back in first so this is merely a reliability improvement and a way to eliminate possible future faults.
  18. This makes sense. I have removed all of the extra components on my intake so I will be losing some of these features like the cold start injector anyways. The car will only be summer driven.... So you're saying I should solder the brown to the green or red wire and join them both to the connection on the HEI unit? (In my case, green with white stripe or green with red stripe to yellow)
  19. Hmmm. Seems I missed a basic point here... this mod is for a 5 wire E12-21A TIU Mine is an E12-13 model with seven wires. I need to find more info about the extra wiring I guess! Instructions
  20. Cheaper than paying a powder coater...
  21. I’ll give it a go. I can always paint it after if it doesn’t look right. But yes, importing their products is like doubling the prices plus the exchange rates. [emoji21]
  22. The house sized furnace already does a good job of that! Yes indeed. I need to pick up the remainder of the supplies before I go further. I have a good soldering iron and skills in that department as well. Need to find some heat transfer paste locally though.
  23. Also started work on the HEI ignition upgrade for the GM 4 pin module Opened the case, drilled out the new aluminum heat sink, and stripped and painted the case to get rid of the little bit of rust on the mounting tabs.
  24. Wired up my carbon fibre heat lamp today. Now I can powder coat large items. The lamp head moves up and down the pole. I will hang large objects in front of the lamp and then move the lamp around the object to cure the powder. Close up of the carbon fibre elements.
  25. Martha and the Vandellas...
Remove Ads

Important Information

By using this site, you agree to our Privacy Policy and Guidelines. We have placed cookies on your device to help make this website better. You can adjust your cookie settings, otherwise we'll assume you're okay to continue.

Configure browser push notifications

Chrome (Android)
  1. Tap the lock icon next to the address bar.
  2. Tap Permissions → Notifications.
  3. Adjust your preference.
Chrome (Desktop)
  1. Click the padlock icon in the address bar.
  2. Select Site settings.
  3. Find Notifications and adjust your preference.