
KenFirch
 Subscriber
-
Joined
-
Last visited
Everything posted by KenFirch
-
 https://www.dmv.ca.gov/portal/handbook/vehicle-industry-registration-procedures-manual-2/special-plates/year-of-manufacture-yom-license-plates/ You’ll need to hunt around or buy a pair of blue plates, and an old 1970 year sticker. Got my sticker off eBay, plates can be found other places, and may be priced at $200-300 depending on condition. For a 70 I’d try to get a pair that start with a lower number since that was to first year for blue plates. Sent from my iPhone using Tapatalk
 -
Dang Tapatalk, admin can delete dups if you want. [emoji35] Sent from my iPhone using Tapatalk
-
Took a short drive out to 8789’s house today to check out his new acquisition since we live in the same town. Awesome looking car! He forgot a pic of the original antenna. [emoji106]
-
Took a short drive out to 8789’s house today to check out his new acquisition since we live in the same town. Awesome looking car! He forgot a pic of the original antenna. [emoji106]
-
Took a short drive out to 8789’s house today to check out his new acquisition since we live in the same town. Awesome looking car! He forgot a pic of the original antenna. [emoji106]
-
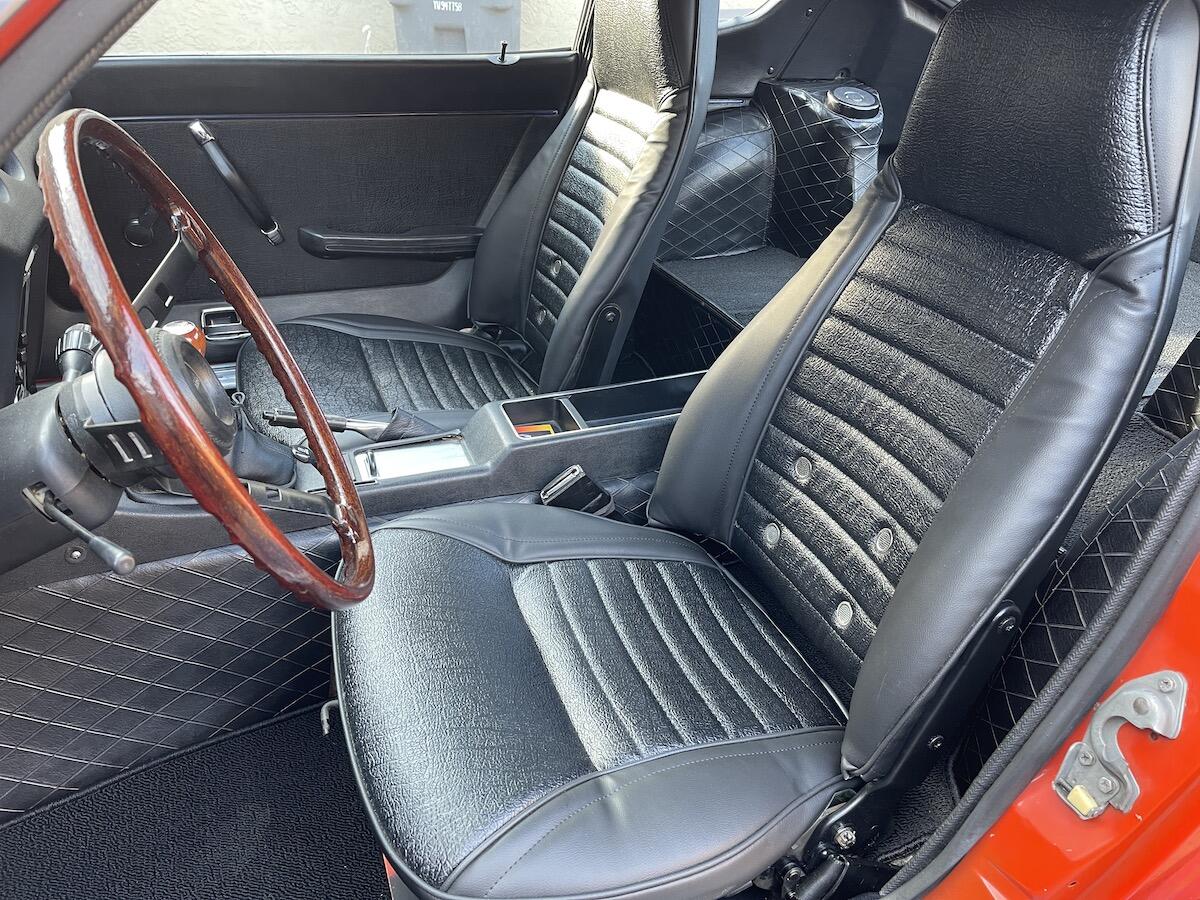
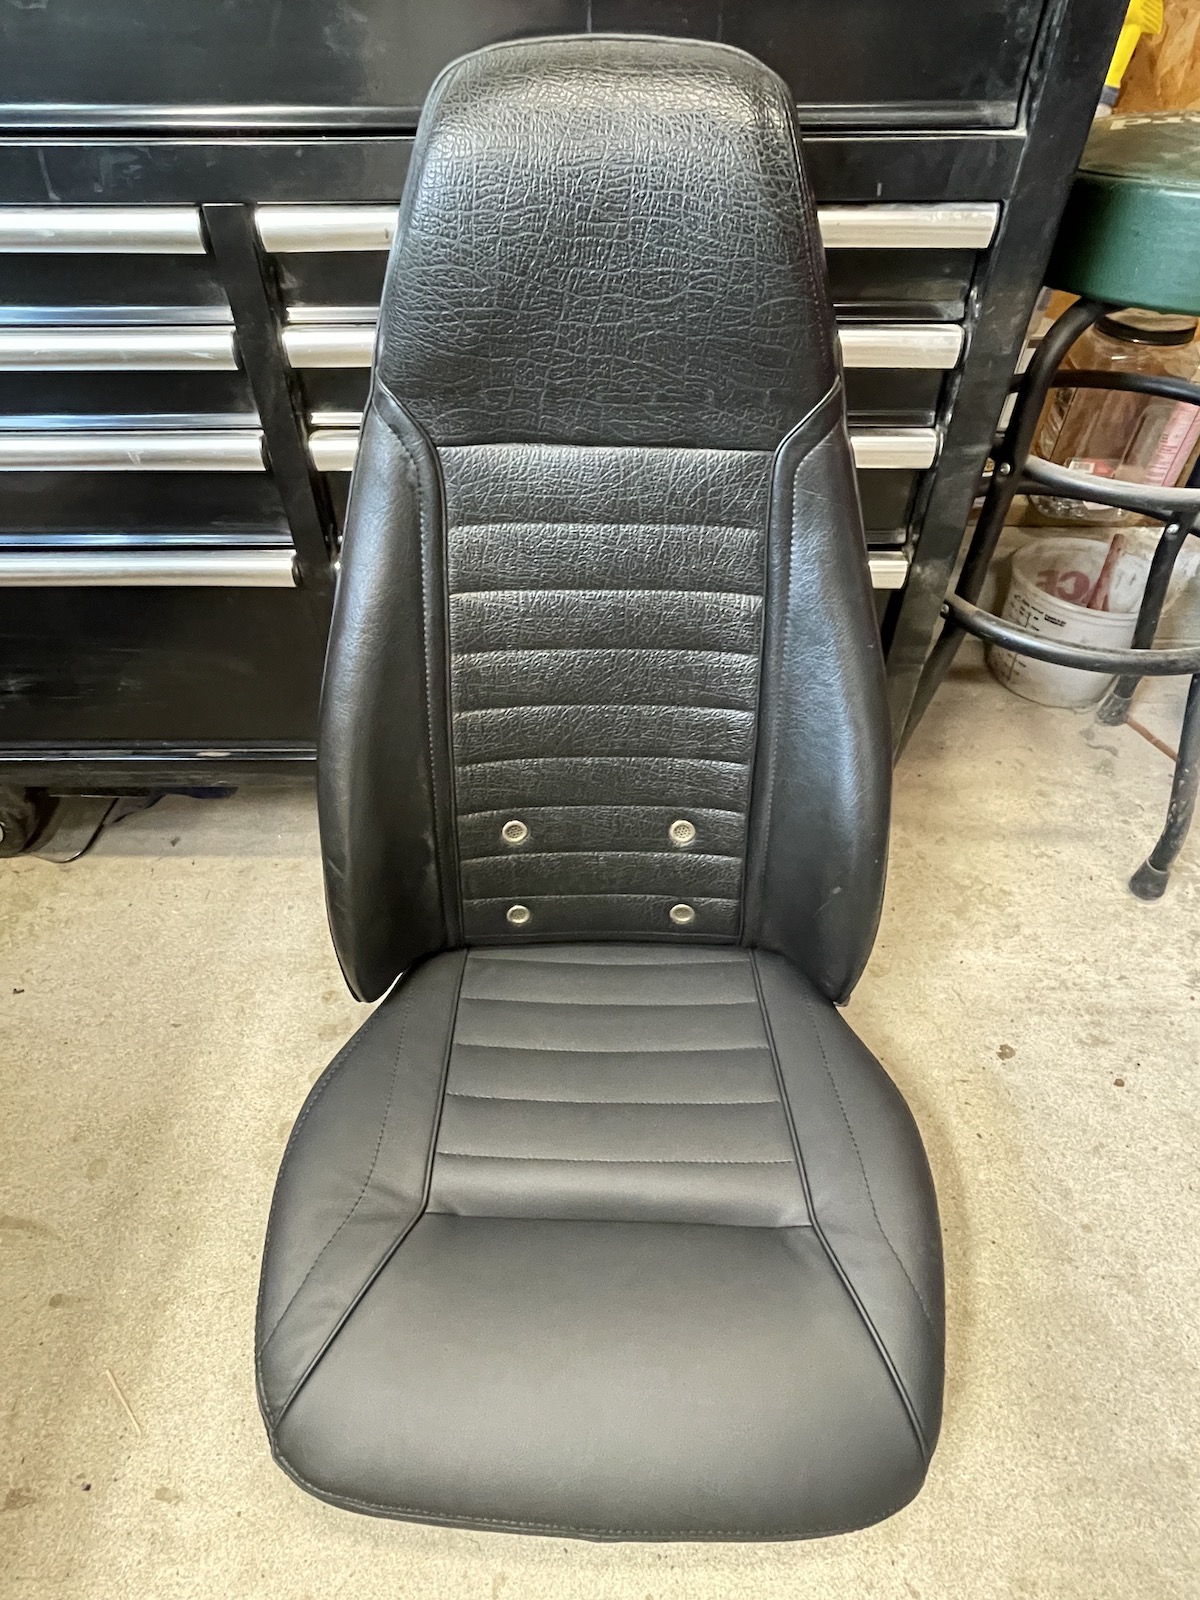
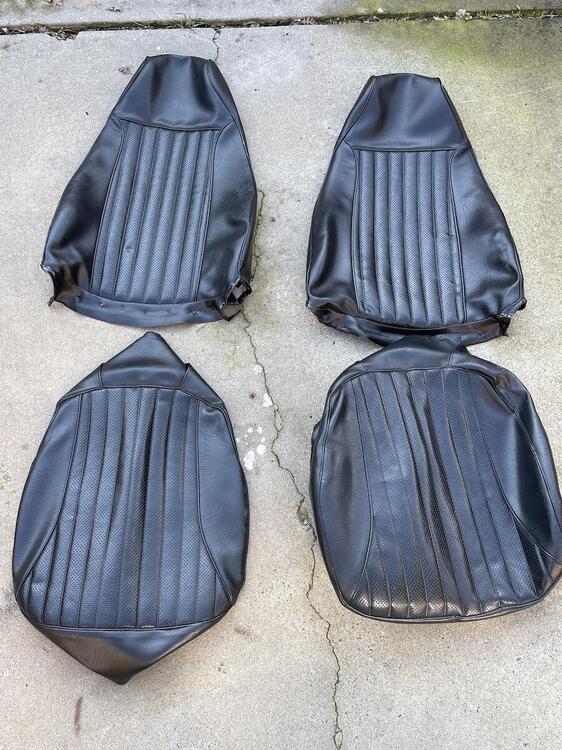
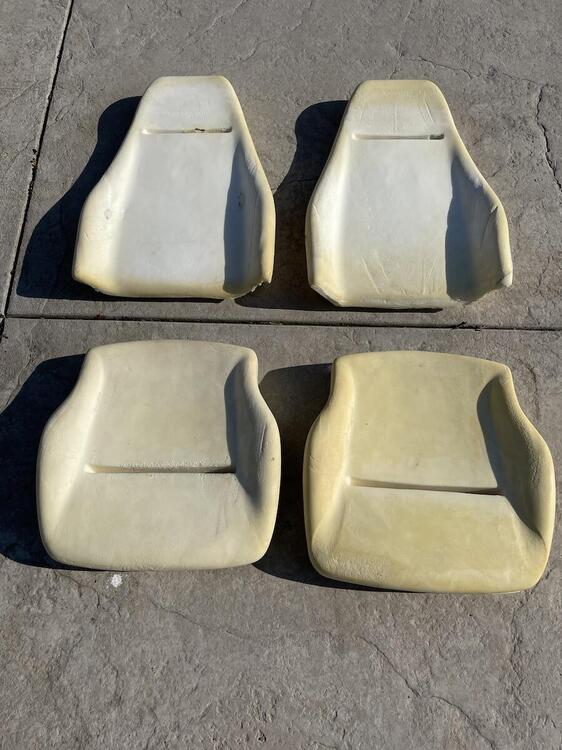
Finally got the seats done and reinstalled. I did the passenger side seat, but had a pro do the driver seat since it was more worn and needed some foam work. Waiting for the side mechanism covers to come in. Going to try to sell the old seat covers that go over the top of your worn out seats. They actually don't look too bad if wanting a quick temporary fix until you can do it right. Not sure where they came from, but definitely different than what I see available now. If anyone here wants them, just pay shipping and they're yours. Also going to sell the seat covers and foam I purchased from Innovative Interiors (paid $680) that I didn't use. I'll probably try Craigslist first due to shipping costs, then eBay if needed. Going to loose my shirt on these.


-
Does anyone know where I can find the plastic knob on the seat back release lever? Or a whole drivers side lever? Thanks, Ken

-
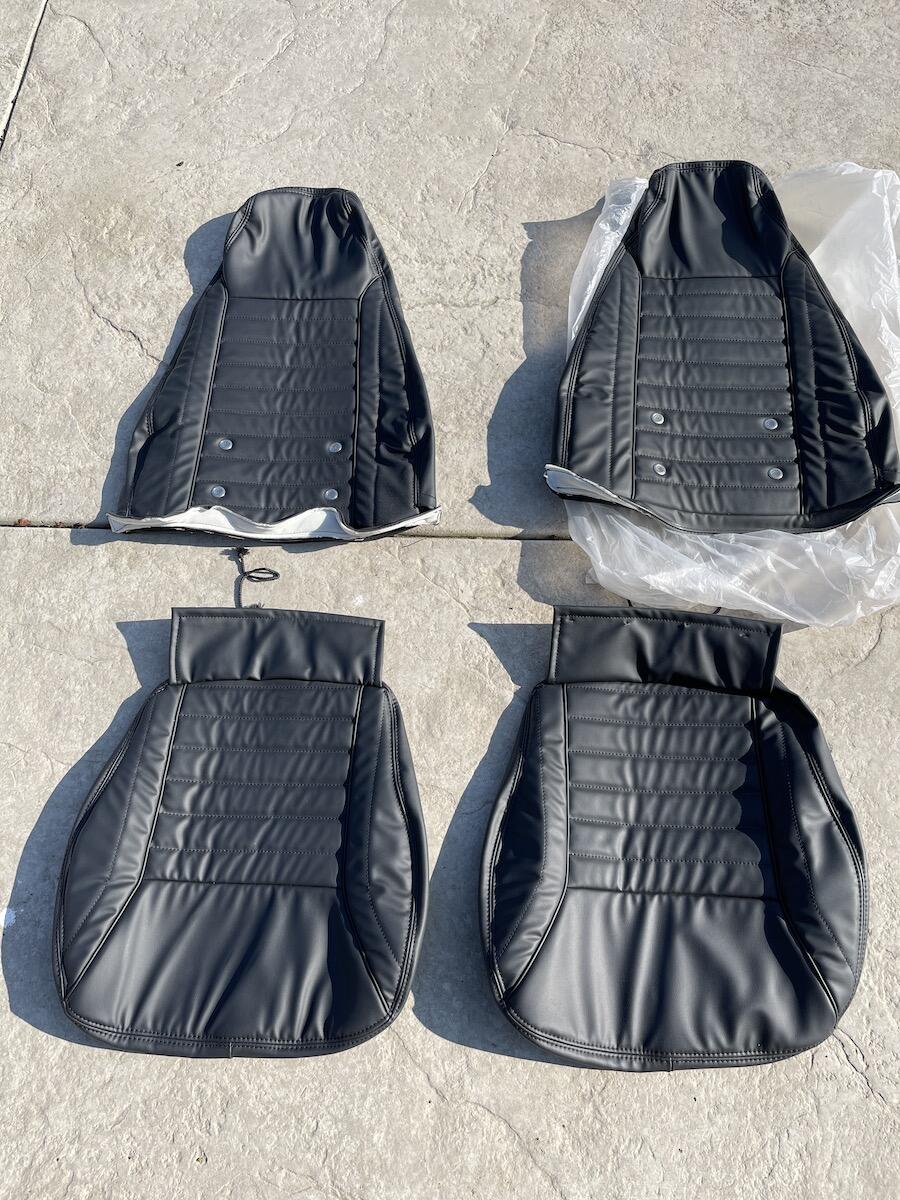
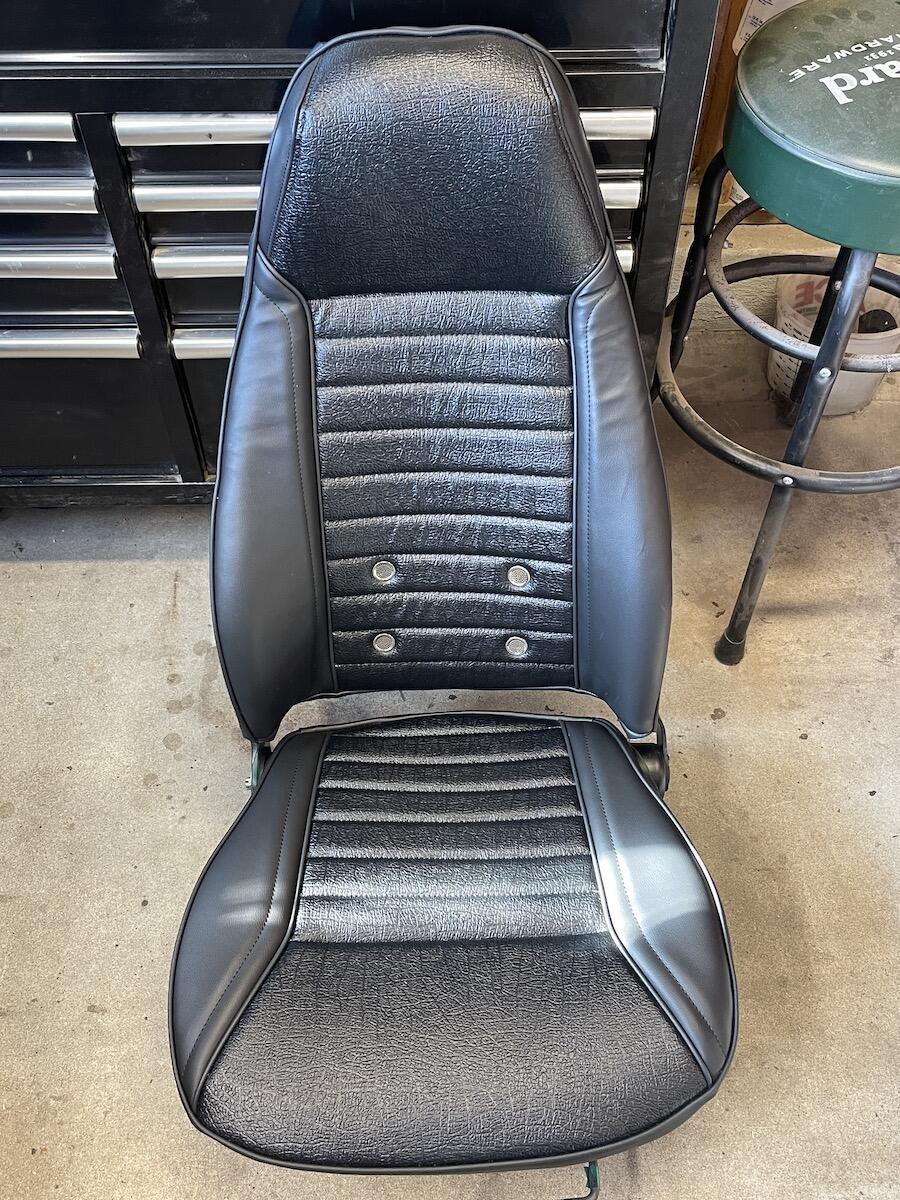
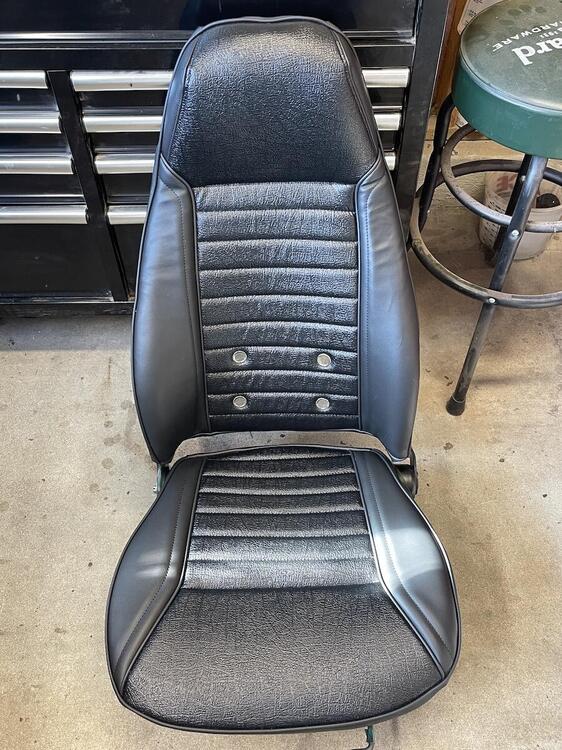
Finally received the seat cover kit from Z Car Source, turned out much better. 👍
-
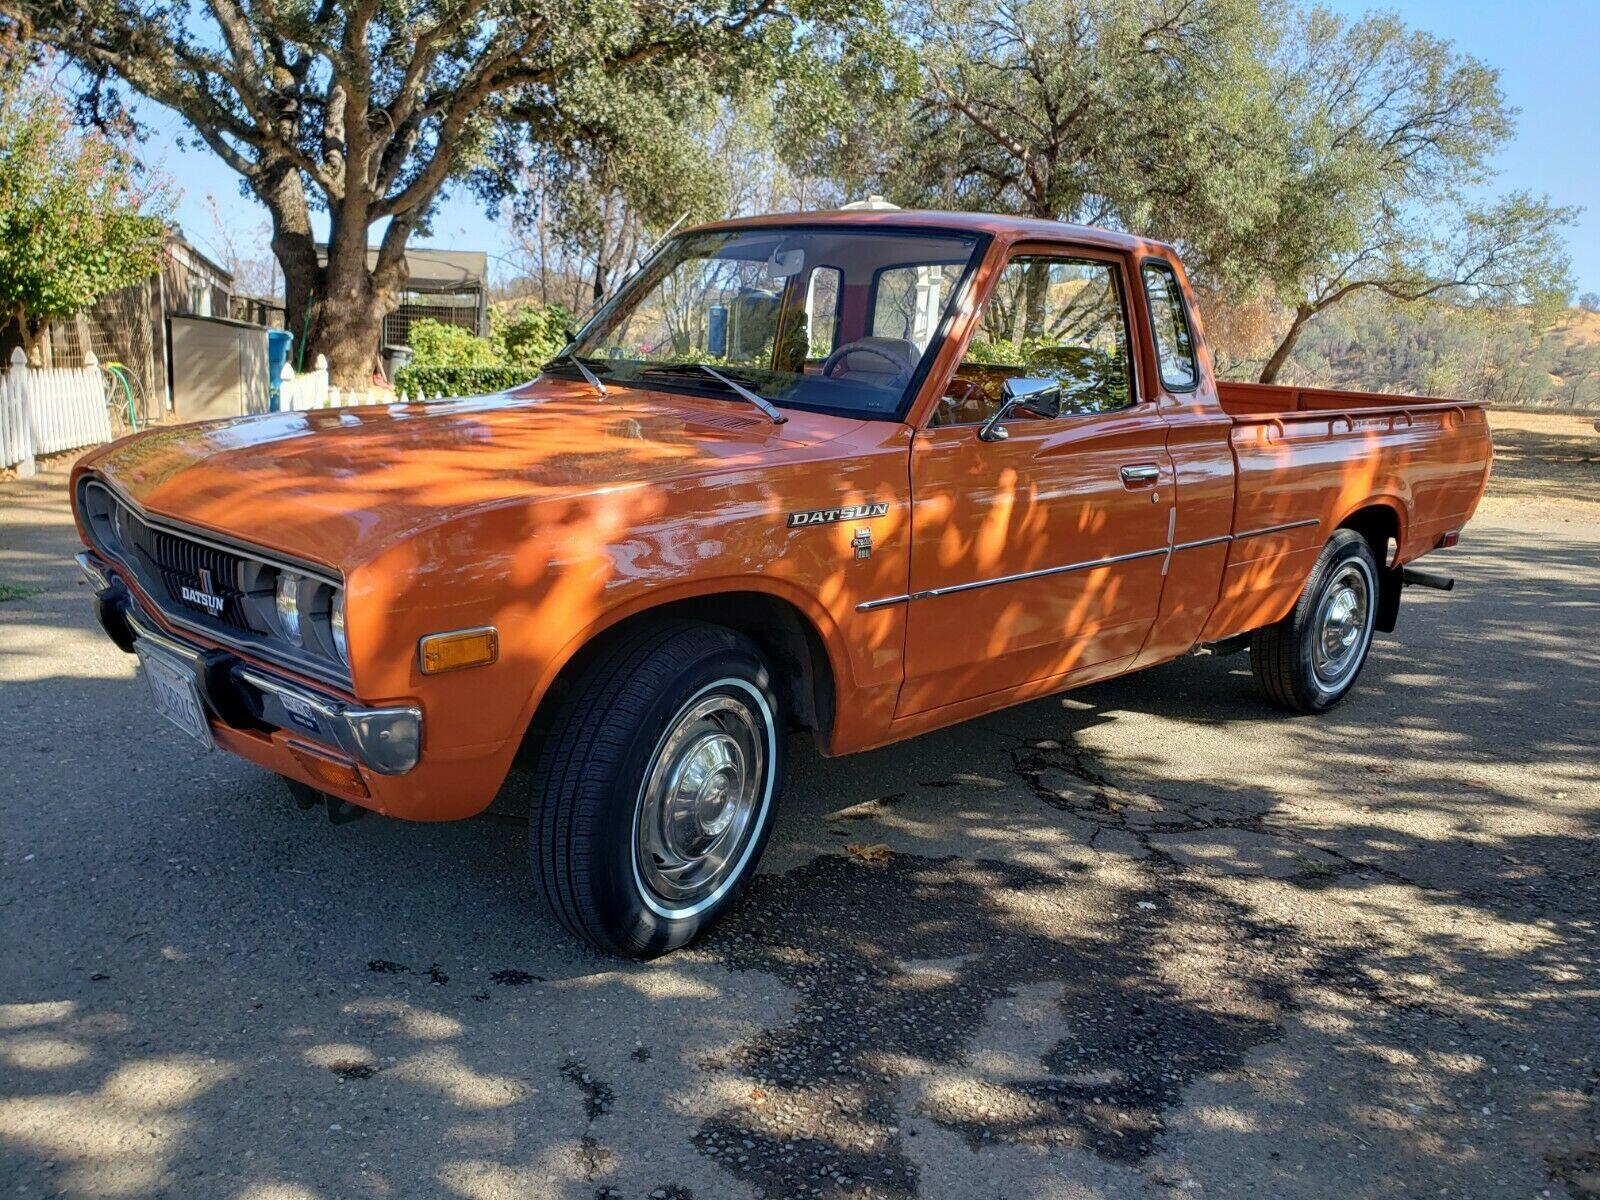
Not a Z, but if you're looking for a nice 620 pickup to compliment your Z, here you go. I'm not affiliated with it, even though it's nearby. https://www.ebay.com/itm/185205713353?hash=item2b1f1ee9c9:g:xqQAAOSwe2dhsVU6

-
Backstory…Had a few oil drips from the speedo cable area, not a lot, just annoying. Ordered a new o-ring and seal, disassembled and installed. No more leaks for a few hundred miles, great! A few weeks ago I was getting on the freeway, rather briskly I admit, you know, get up to 80ish or so to merge with all the other crazy drivers. I notice the speedometer jumping around a bit, and finally stopped working altogether. Weird, pull the speedo gear out and teeth are really worn on just one side of the gear. Speedo cable spins fine from below, no kinks in cable, pinion gear turns fine in the carrier. Can’t figure out why it failed. Maybe tail shaft bearing is worn, allowing the worm gear to flex down onto pinion? Anyway, so began my search for a replacement 16 tooth yellow speedo gear. Found one, but it’s not in the greatest shape. Pic shows original (right) and replacement.
-
Okay, who's hoarding all the yellow 240Z 16 tooth speedometer pinion gears? No problem getting the 17 through 20's, but not the original yellow one. 🤔 Found one from another guy in town, but it's teeth didn't look so good. Using it anyway. Ken
-
Thanks, yep, I read that one, good thread. 👍 I agree! Thanks for the Banzai lead, wish I knew that a month ago. 🤷♂️ Hopefully my new foam will work with Banzai's kit. There might be some slightly used seat covers in the classified section in a few weeks.
-
In the process of redoing the seats, and ordered the foam and seat covers from Interior Innovations (I think they come out of Pakistan). Pictured is my passenger bottom with the new vinyl cover from Interior Innovations, along with my original back. Color is a dull matte color, but the original is more glossy, has two different textured materials. Kind of a shame to redo the top since it looks pretty decent, but have no choice. Kind of bummed how this is turning out. I asked a couple months ago here about which kit others are using, but not much response. I like the material used on this threads seat, except they're missing the vents. Did I buy the wrong kit? Thanks!

-
Vinyl, but leather does sound nice.
-
My 73 is missing the vents, which I assume were there originally, and seats were redone. I'd like to recover and put them back, maybe the foam too. Yeah, Miata or Integra seats would be better, but going for original look. Seen some older threads, but any recent experience, good or bad, with seat cover kits out there? Thanks
-
Thanks!
-
Getting ready to order a much needed headlight relay harness, parking light harness, and side marker conversion plugs. I want to confirm I have the 9 pin harness plug before ordering. I probably could build my own like others have, but looking for plug-and-play. Where do I look for connector? Near headlight switch on steering column? In front of radiator? My late 73 Z has a 7/73 built date, and does have intermittent wipers. Probably 9 pin, just want to make sure. Thanks, Ken
-
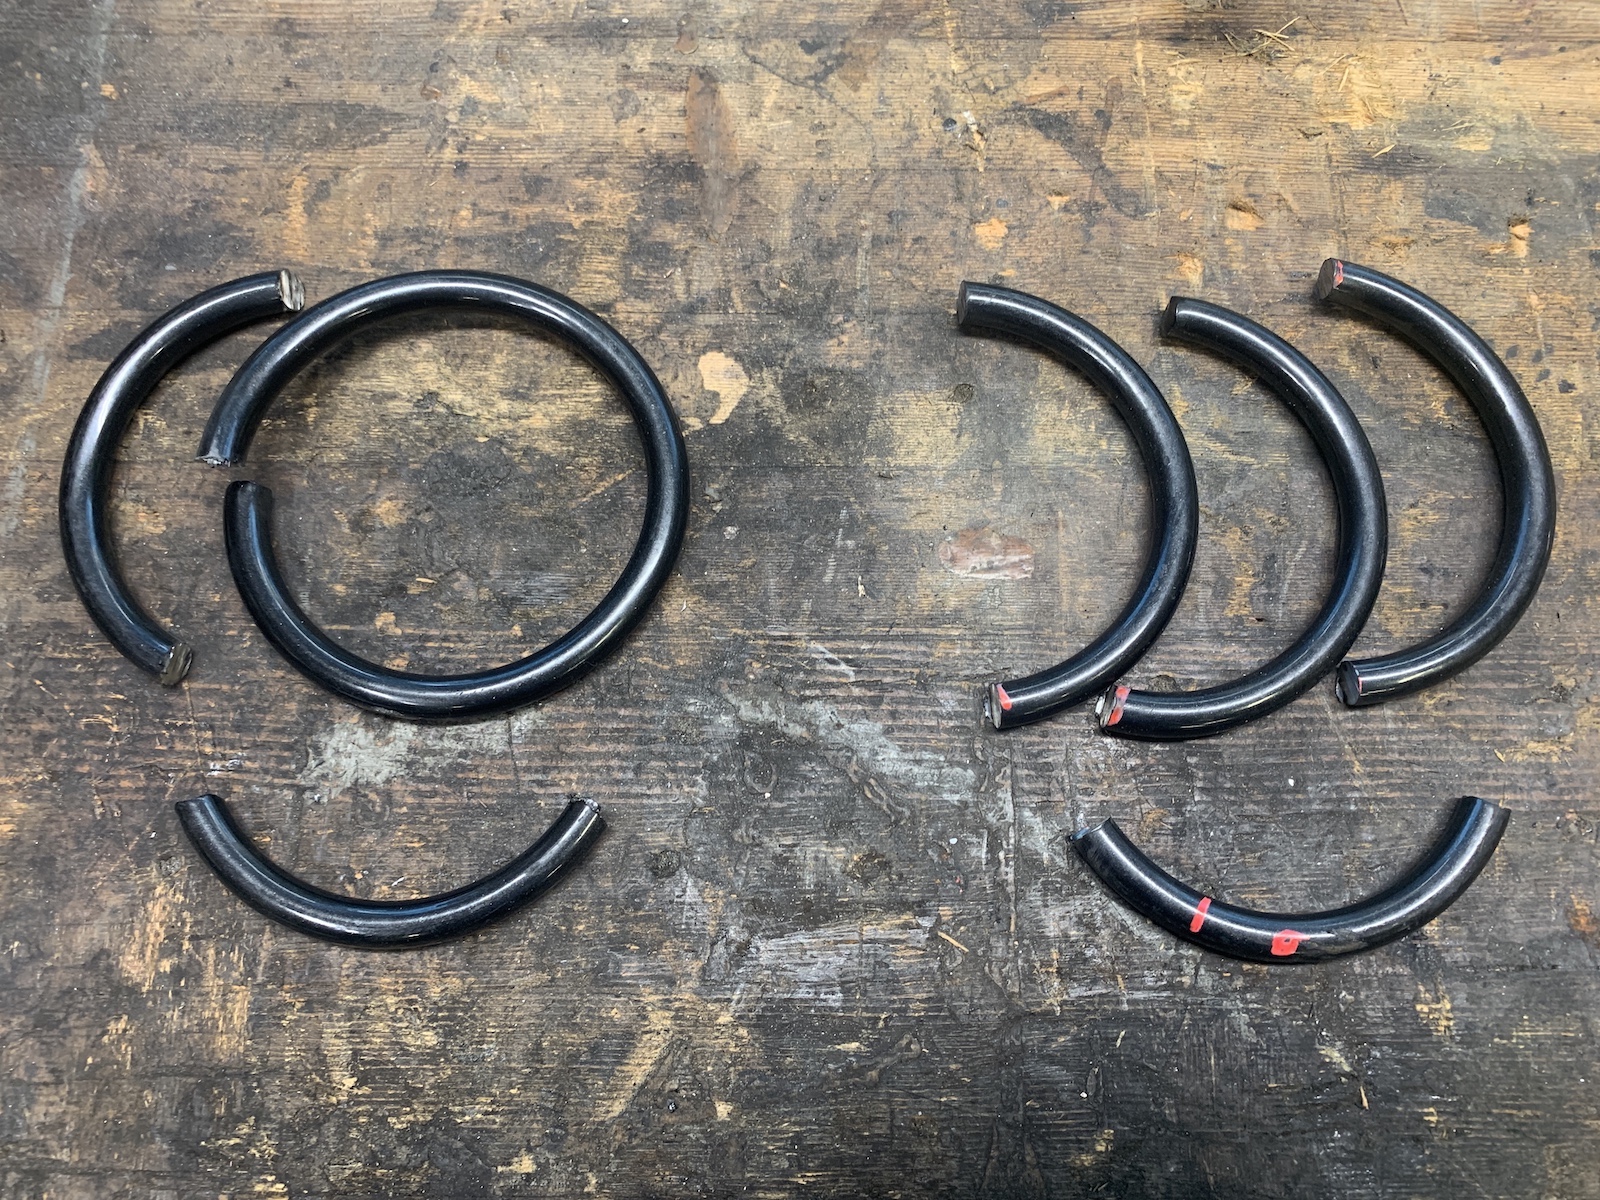
Not yet, I might later. So, decided to cut the front coils today, 1/2 coil at a time. Did the right side first until I kinda got it where I wanted it, then the left. Cutting 1/2 coil off the top (soft end) dropped it 1/16", a full coil 3/16", 1 1/2 coils for 1/4" drop. Not much impact for amount of material removed. So then I figured I cut on the bottom firm end, and took 3/8 coil off there, which resulted in a total 7/16" drop. Decided to leave it there and not get crazy, and repeated for the left side. Here's what was removed (your results may vary🙂): After a quick spin took this pic: I think I'll leave it as is for awhile, maybe more settling will happen. Ride smoothness doesn't seem to have changed, and no camber change. Final measurements from ground to outside top wheel well: RF: 25 5/8" RR: 24 7/8" LF: 25 9/16" LR: 25 3/16" I guess when MSA says these Eibachs "Will lower most Z's approximately 1 - 11/2" from stock ride height, depending on other factors, such as choice of struts & shocks," I guess my Z isn't in the "most" category. I should probably figure out what springs it had before, maybe they were non OEM. Oh well, good enough for now, until I get the itch to cut more....

-
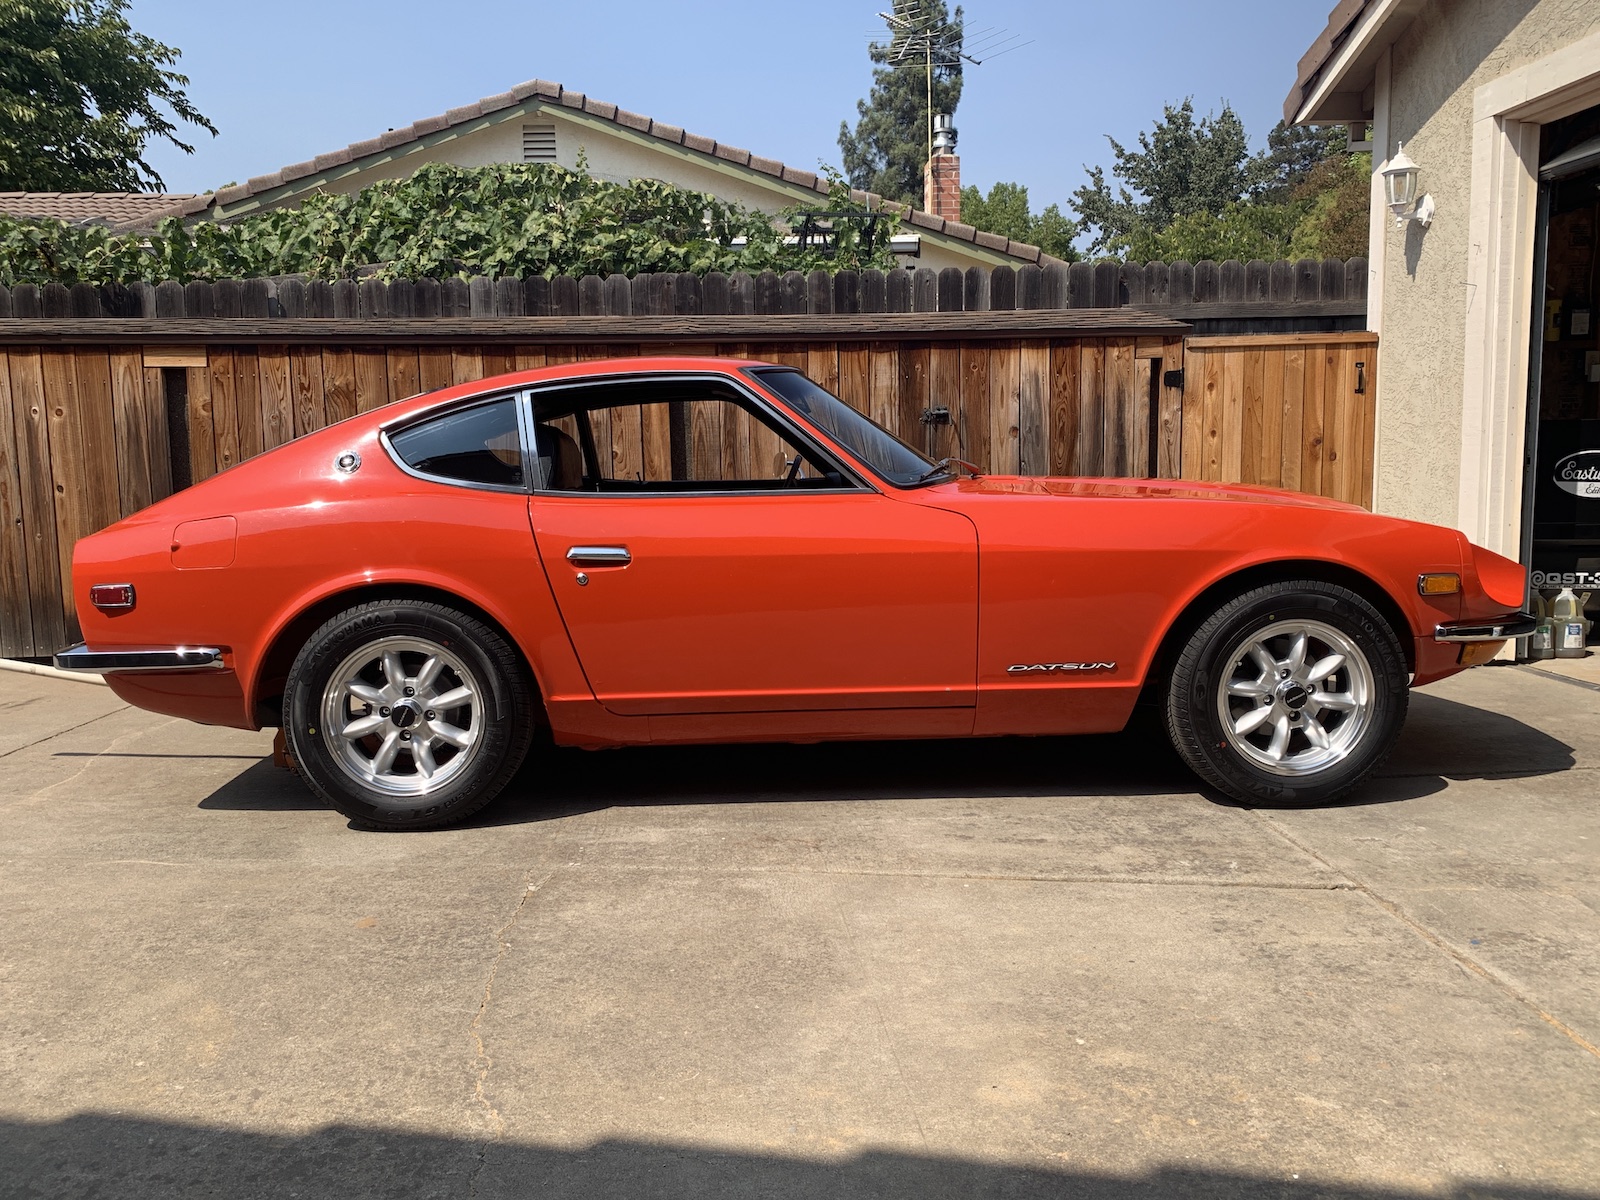
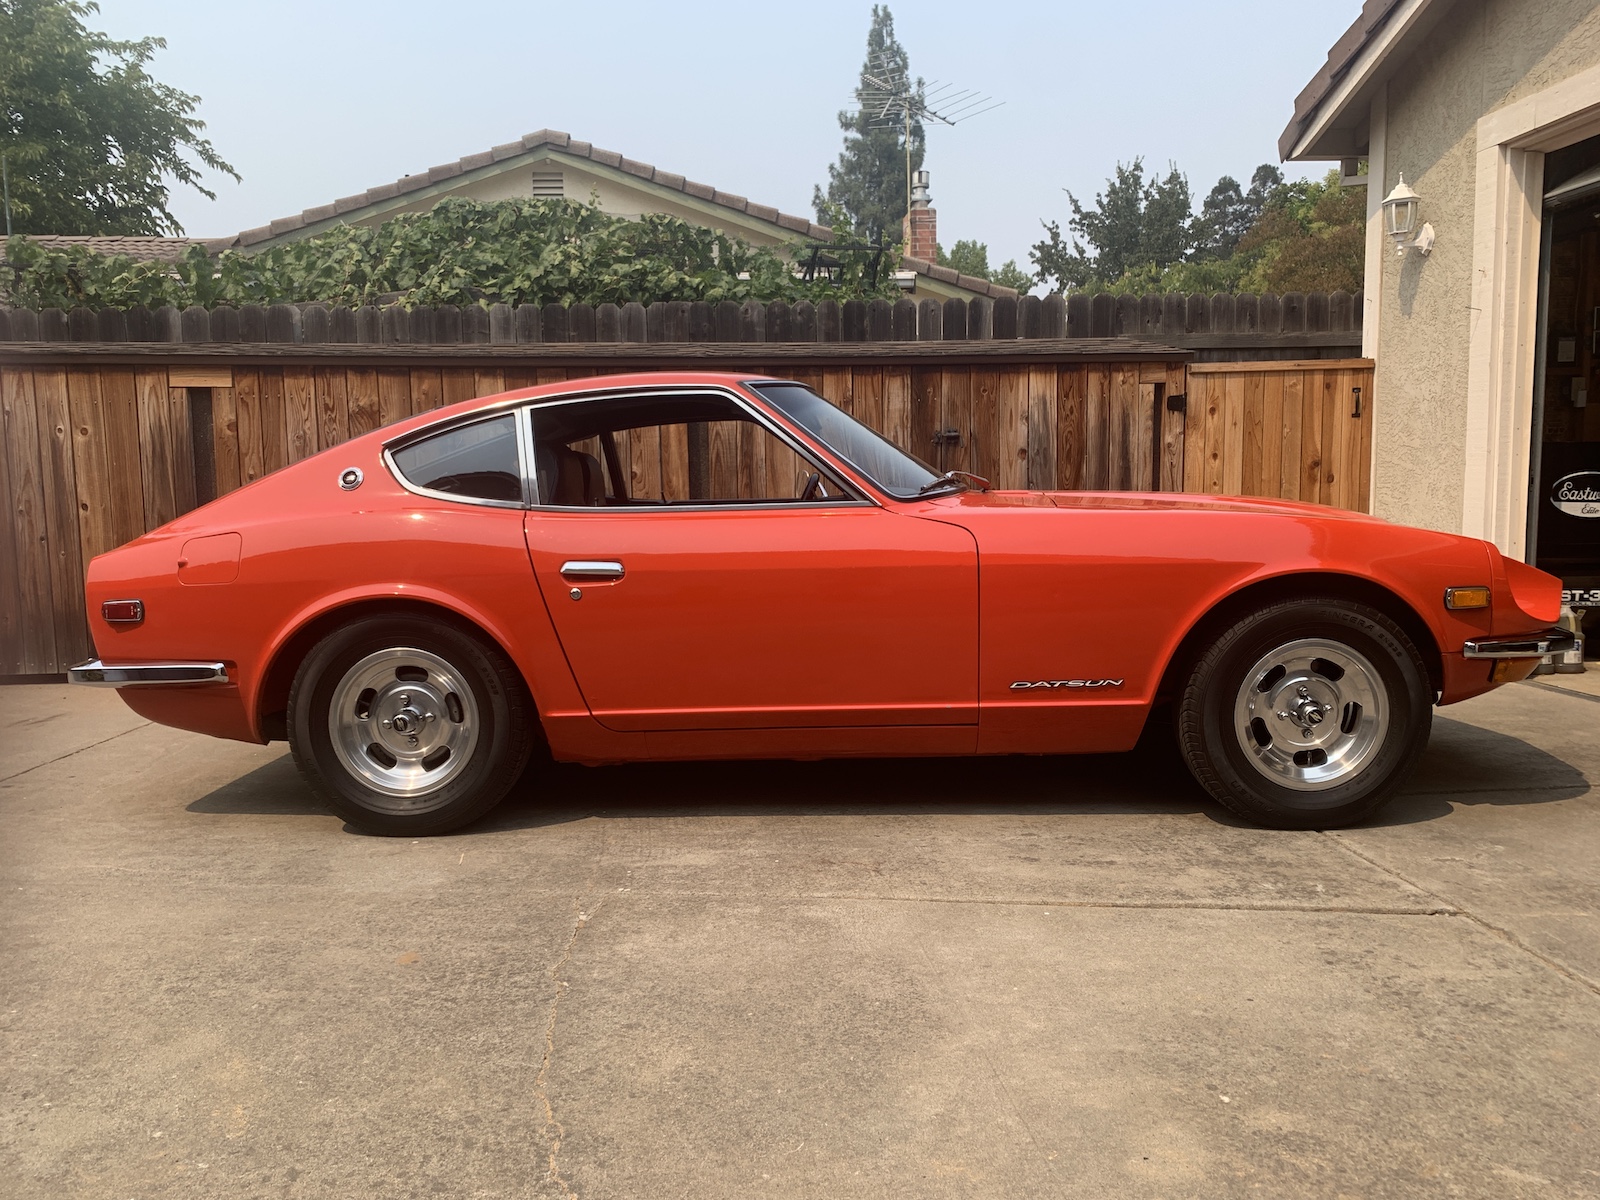
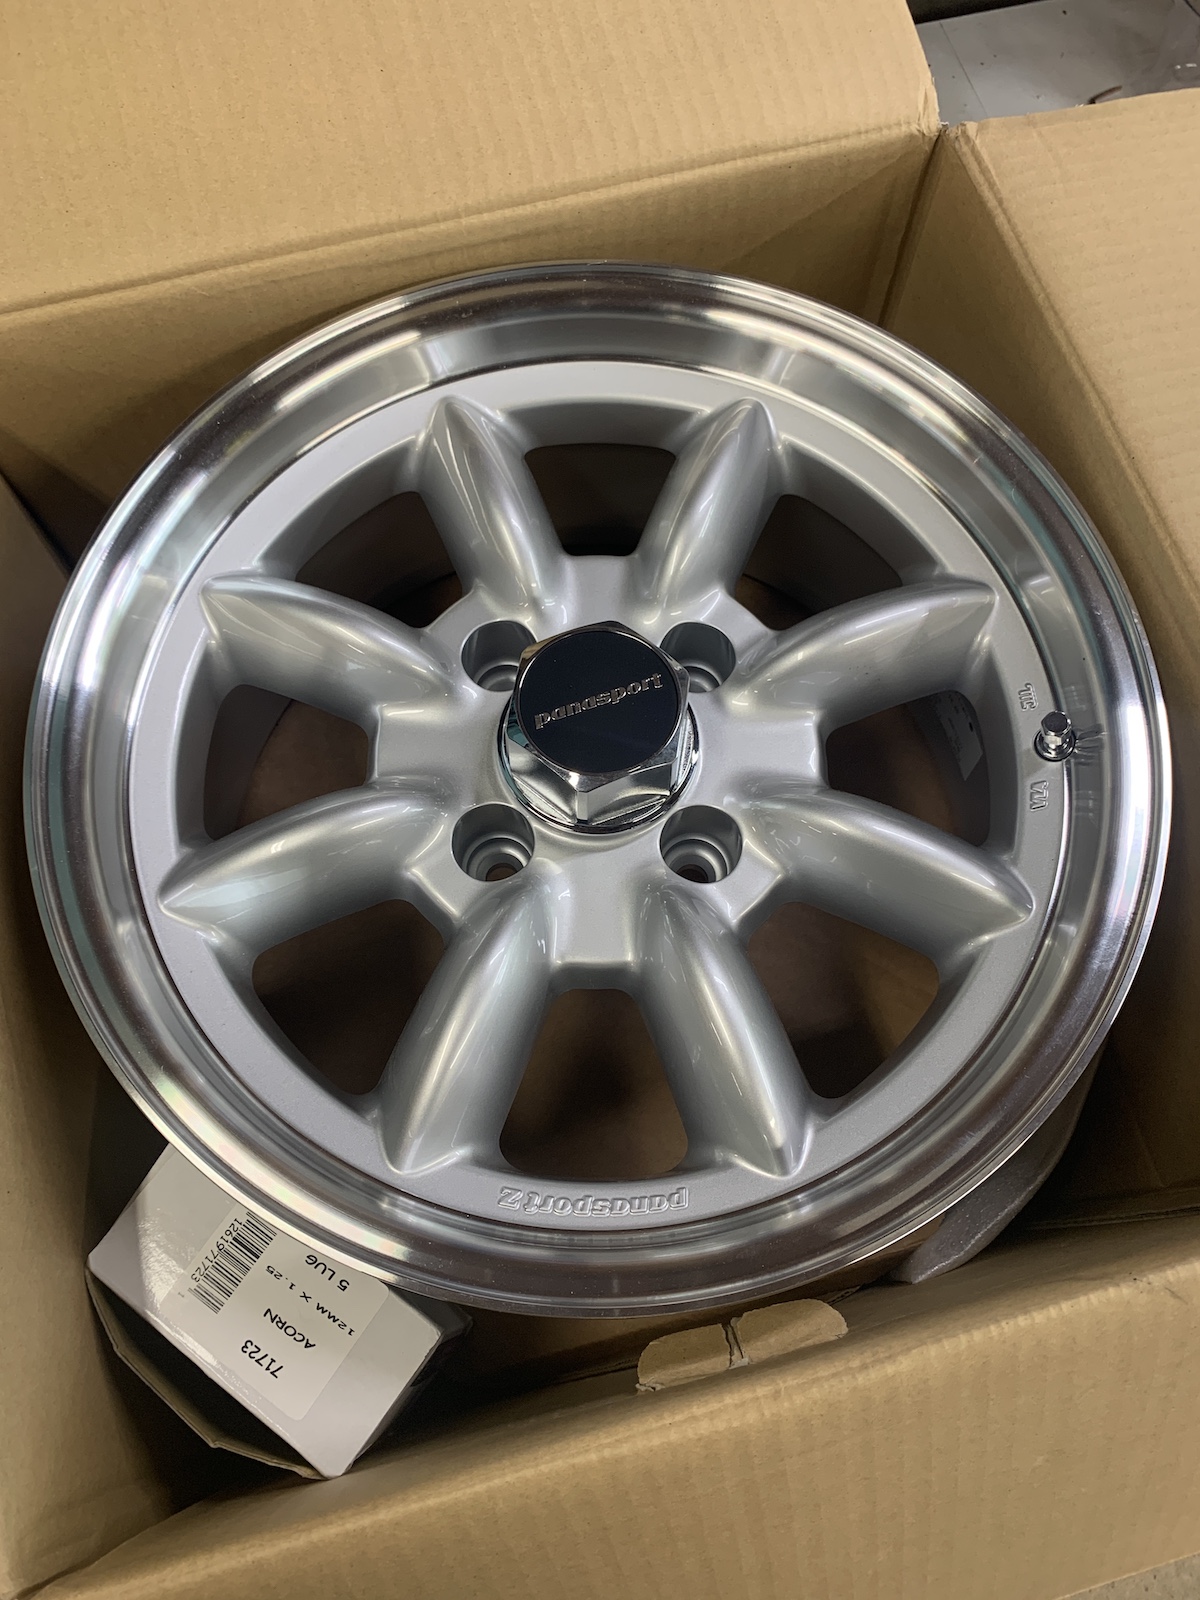
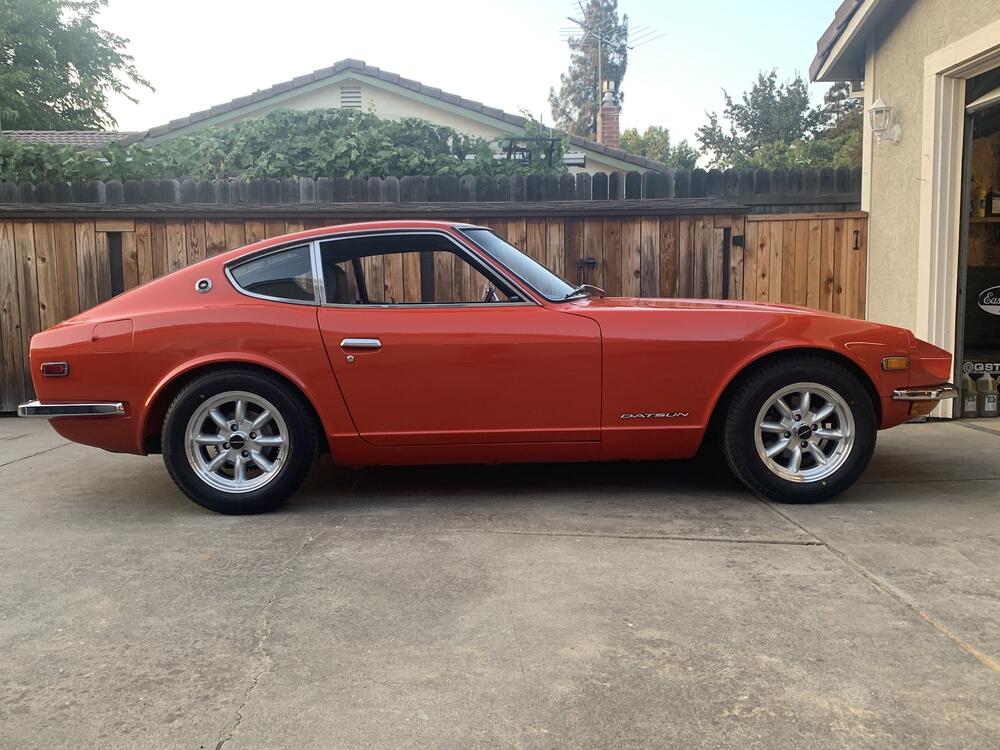
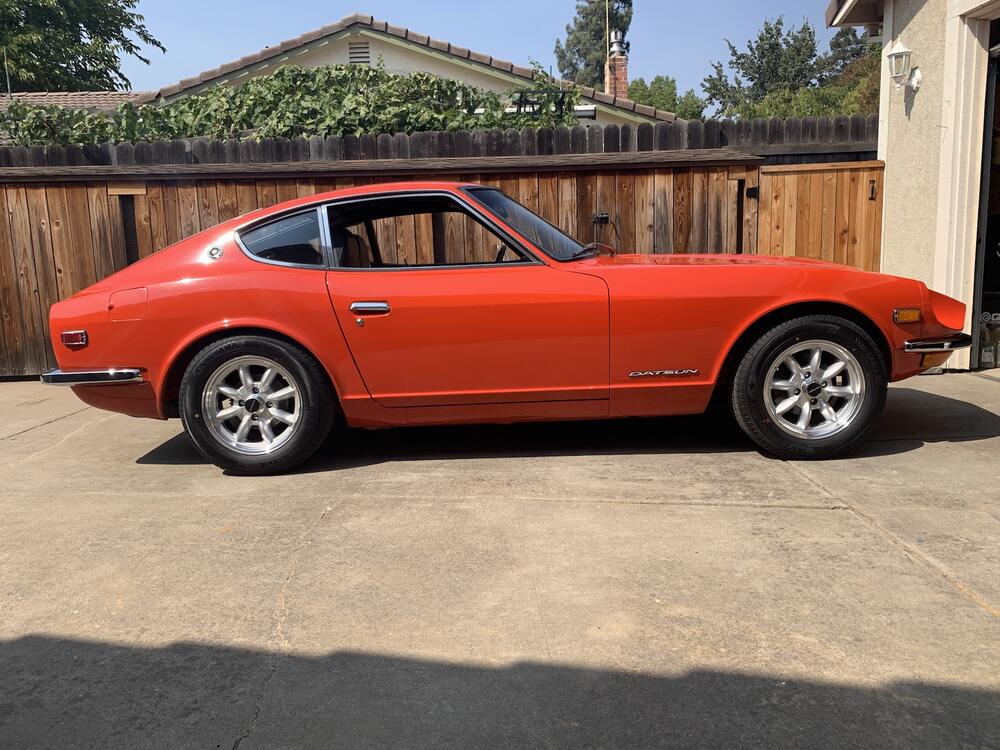
Got the new wheels and tires mounted today. 😊 Yeah, went with 15 x 7's, 0 offset. I just like the old school look, old like me. Sure, tire selection sucks, but I drive my cars less aggressive nowadays. Ended up with Yokahama Avid Accend GT's, 205/60-15, 24.7" diameter. Here's a pic with 180 lbs on the drivers seat: Here's a pic with the differential jacked up about 3/4". Doesn't look too bad. I think I'll get spacers for the rear. Well, maybe... I'd sure like to see what it would look like with 1 coil cut from the front springs. 🤔. Opinions welcome!

-
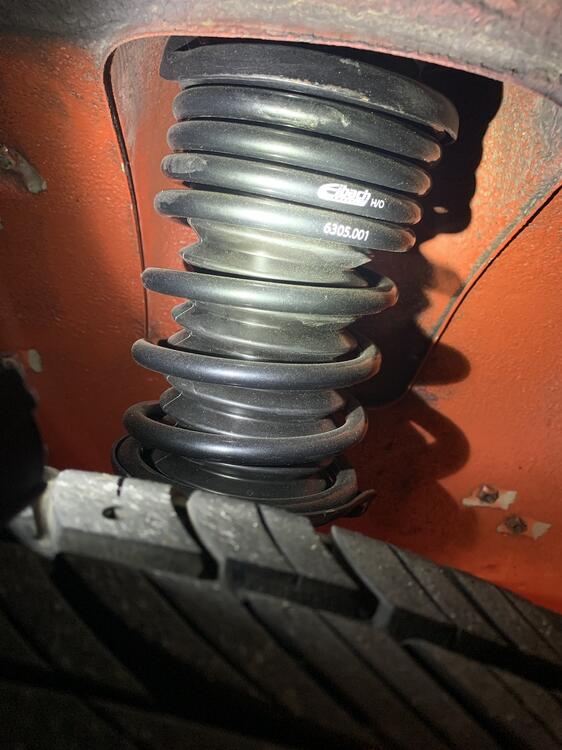
Yeah, that's what I'm after. 👍 Not sure about cutting those Eibach springs though. I've done Mustang springs before, but I've never had progressives. I assume the top of the spring is the soft side, where the windings are about 1/2" apart. Could try cutting 1 coil and see where it ends up at. Geometry-wise, I wonder what a 1/2" shorter spring translates to change in wheel height. I might be a the guinea pig on this. Picture of spring loaded: Or, Z Car Depot has this .7" spacers to raise the rear: https://zcardepot.com/products/upper-strut-mount-spacer-240z-260z-280z?variant=19280977494129 Yeah, not sure if I had the stock springs to begin with, I'll have to do some homework there. That does sit pretty high, hope the new stuff works too.
-
I think I’d rather lower the front an inch or so. I’m not a fan of ignorantly cutting coil springs, but has anyone done that? I was wondering how much a half coil would lower the front. And increased camber wouldn’t hurt either. Don’t want to do the coil over route.
-
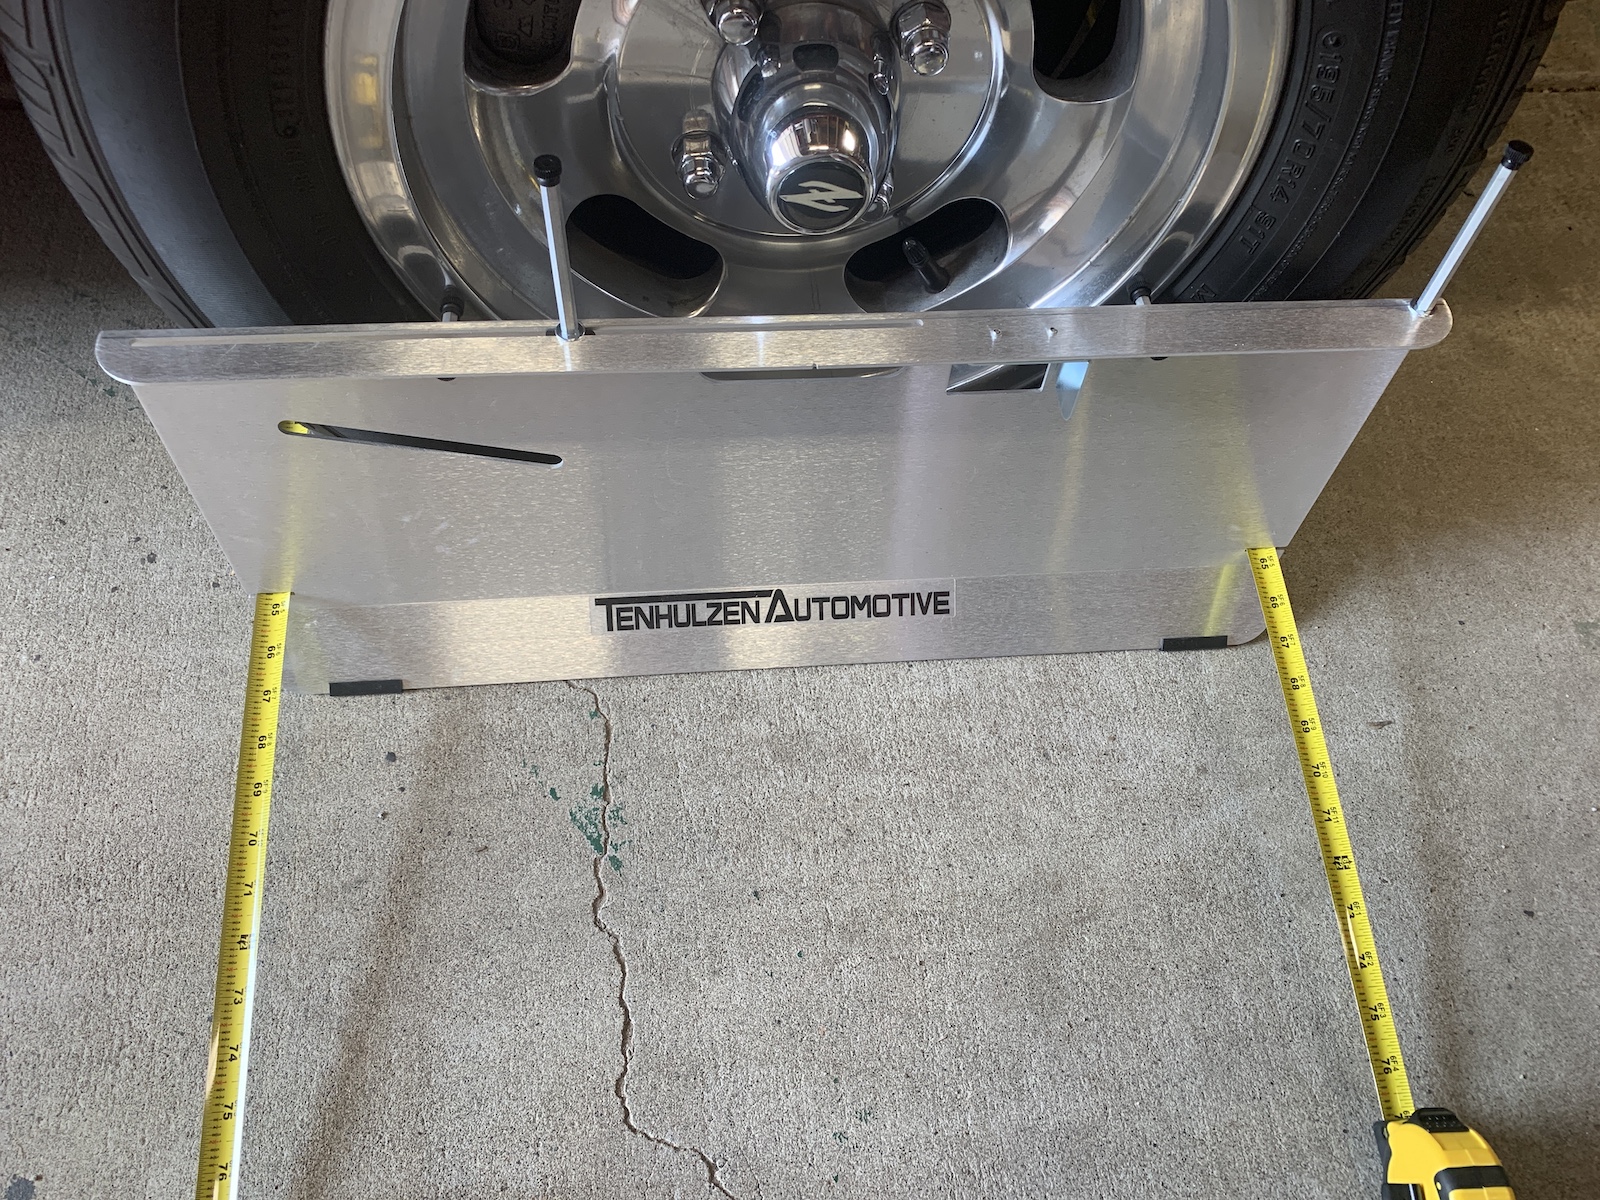
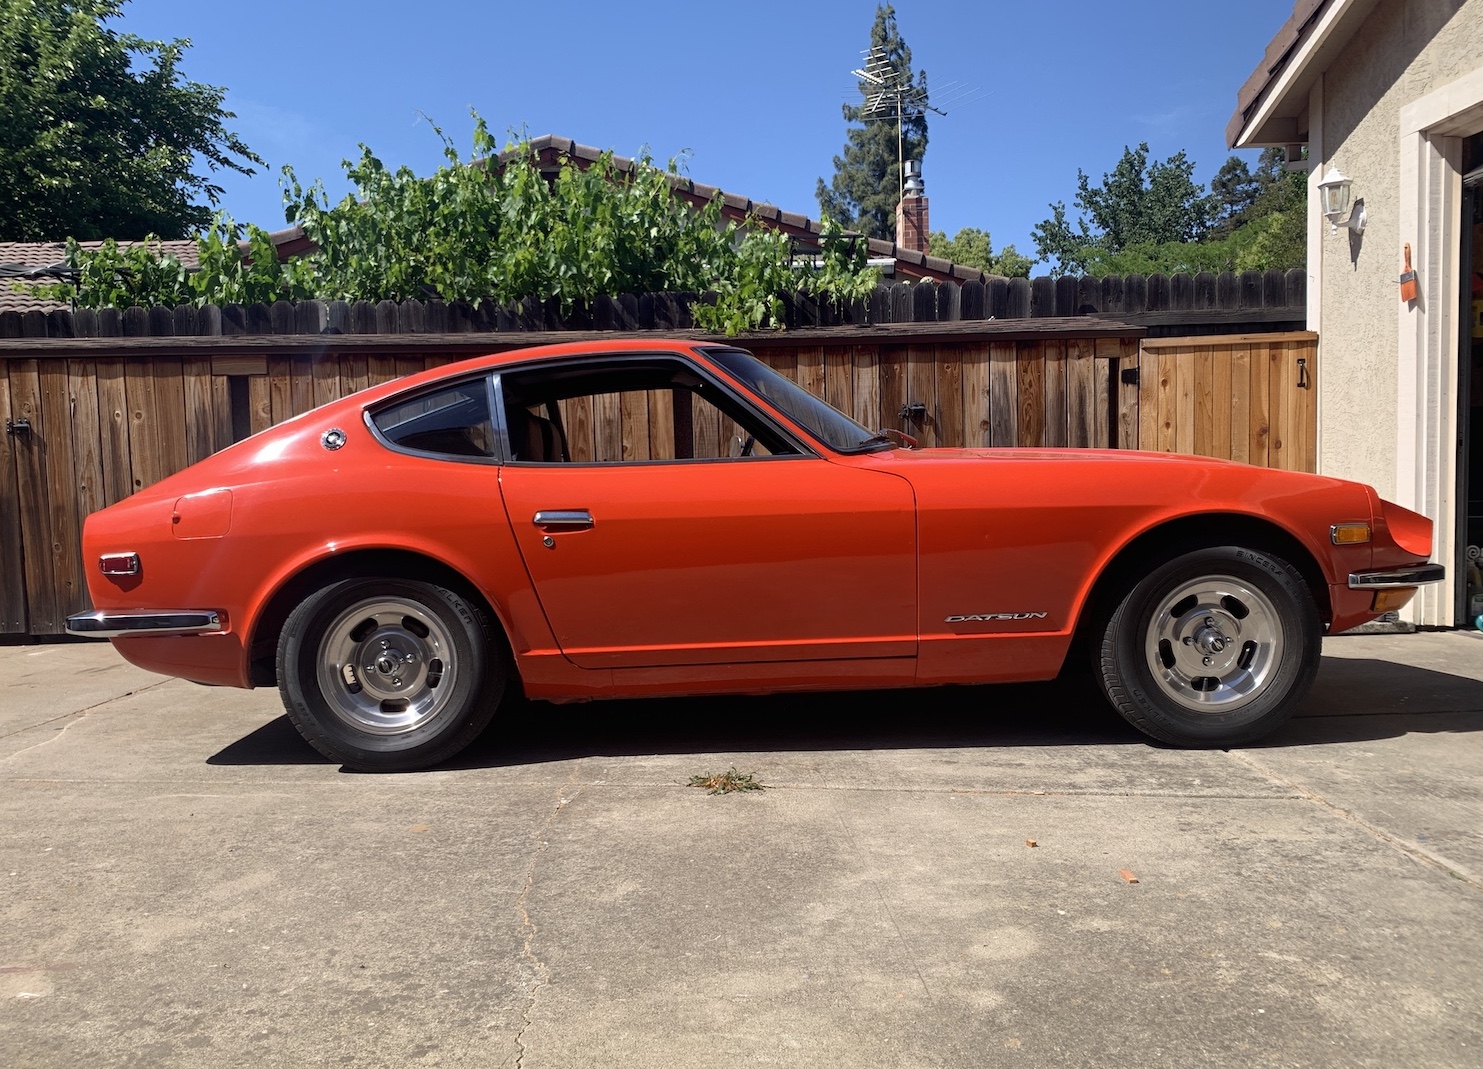
I'm liking that TenHulzen alignment tool! Measured toe-in I had set with a couple straight edges clamped to the wheels. Came out at 64 5/8" in the rear, 64 9/16" in the front, net of 1/16" in. Going to leave it there. Steering wheel is a spline or two off center, think I'll remove wheel and recenter instead of adjusting tie rods. So, here's the before picture from May, stock springs (I think), worn struts, etc: Here's the after picture, Eibach progressive springs, Koni Yellows, new bushings, mostly rubber. After about 80 miles of driving. Not much of a drop as I was expecting, looks the same to me. 😕 I measured from the ground to the top of the outside wheel well lip before and after, tires are 195/70R14's: Before: After: Camber: RF: 26" 26" -.40 RR: 24 7/8" 24 5/8" -2.05 LF: 26 1/4" 25 7/8" -.50 LR: 25 1/4" 25 1/8" -2.15 BUT, I've gotta say the Eibachs and the Koni Yellows are a great pairing together. It's like driving another car. I'm running them about 1/4 turn from the softest setting for now.


-
Ordered! I'd rather put $ toward this than give $ to someone for an easy no-brainer job! Thanks!
-
After adjusting the toe-in, it actual tracks pretty good. I'll be curious to see how close I got it when I take it to be aligned. I forgot to tighten the rear strut top nuts, which made quite a racket during its first ride. And the engine developed a miss while sitting for 3 months, probably pull the plugs tomorrow and take a look. Or it could be the crappy California gas. Did I mention I picked up some new wheels from Z Car Garage? 😉

-
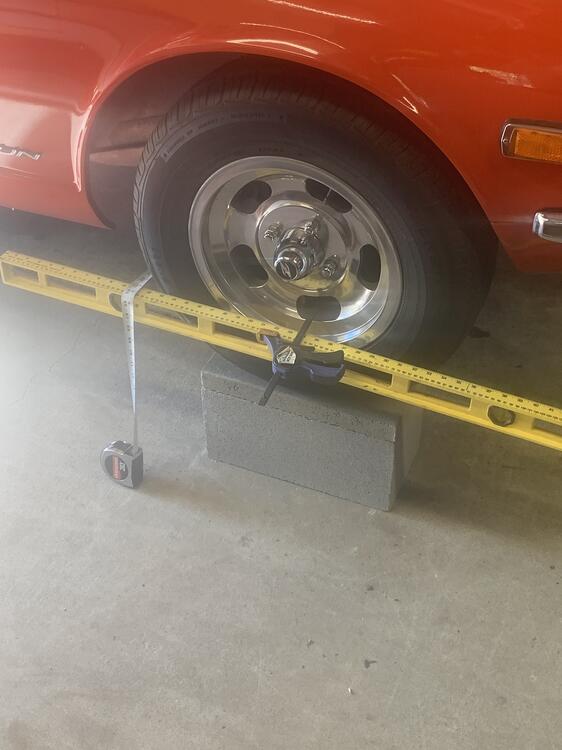
Oh, those? I’ve got hydraulic rams under my shop floor, so I just hit a button to raise and lower the Z. You should see it when it goes 6 feet high for those oil changes! Kidding! [emoji16]. It was on jack stands, so I just had to jack up each corner a few inches to slide a concrete block under each tire. [emoji106] Sent from my iPhone using Tapatalk