Patcon
 Subscriber
-
Joined
-
Last visited
Everything posted by Patcon
-
 I think you did excellent!!!! It is very challenging to paint in your garage where you are also sanding. You are making dust in the one space you don't want dust, the spray booth. I have shot plenty of panels and they look perfect. I come back in 15 minutes and there is all kinds of trash in them. Really frustrating!! I agree with Grannyknot, there are plenty of professional paint jobs out there that don't look half this good! You did really well and the next attempt at paint will turn out twice as good. In some of this, there is no replacement for hands on experience. You get a feel for what a smooth panel looks like and feels like and you get a feel for how much paint you are really laying on. Also a respray is far less work, just don't use any waxes in the mean time with silicone in them! Scuff the panels with guide coat. Fix the misc, tape and shoot. Man, I make that sound easy! ?
 -
I blacked out my wheel wells because the car is yellow. The factory had them body color, but I figured they would show wear less if they were black. I ran rubberized undercoater. It worked ok, but I had some areas that didn't adhere. I think that was due to a cheap product. I would do it again. I shot lizard skin sound and heat on the inside of the roof panel. No problem adhering the headliner. BTW it is much easier to install the headline with the car on the rotisserie and upside down. The shop maybe be right about the panel gaps. It wouldn't surprise me at all if the chassis flexes significantly on the rotisserie
-
Pretty car!
-
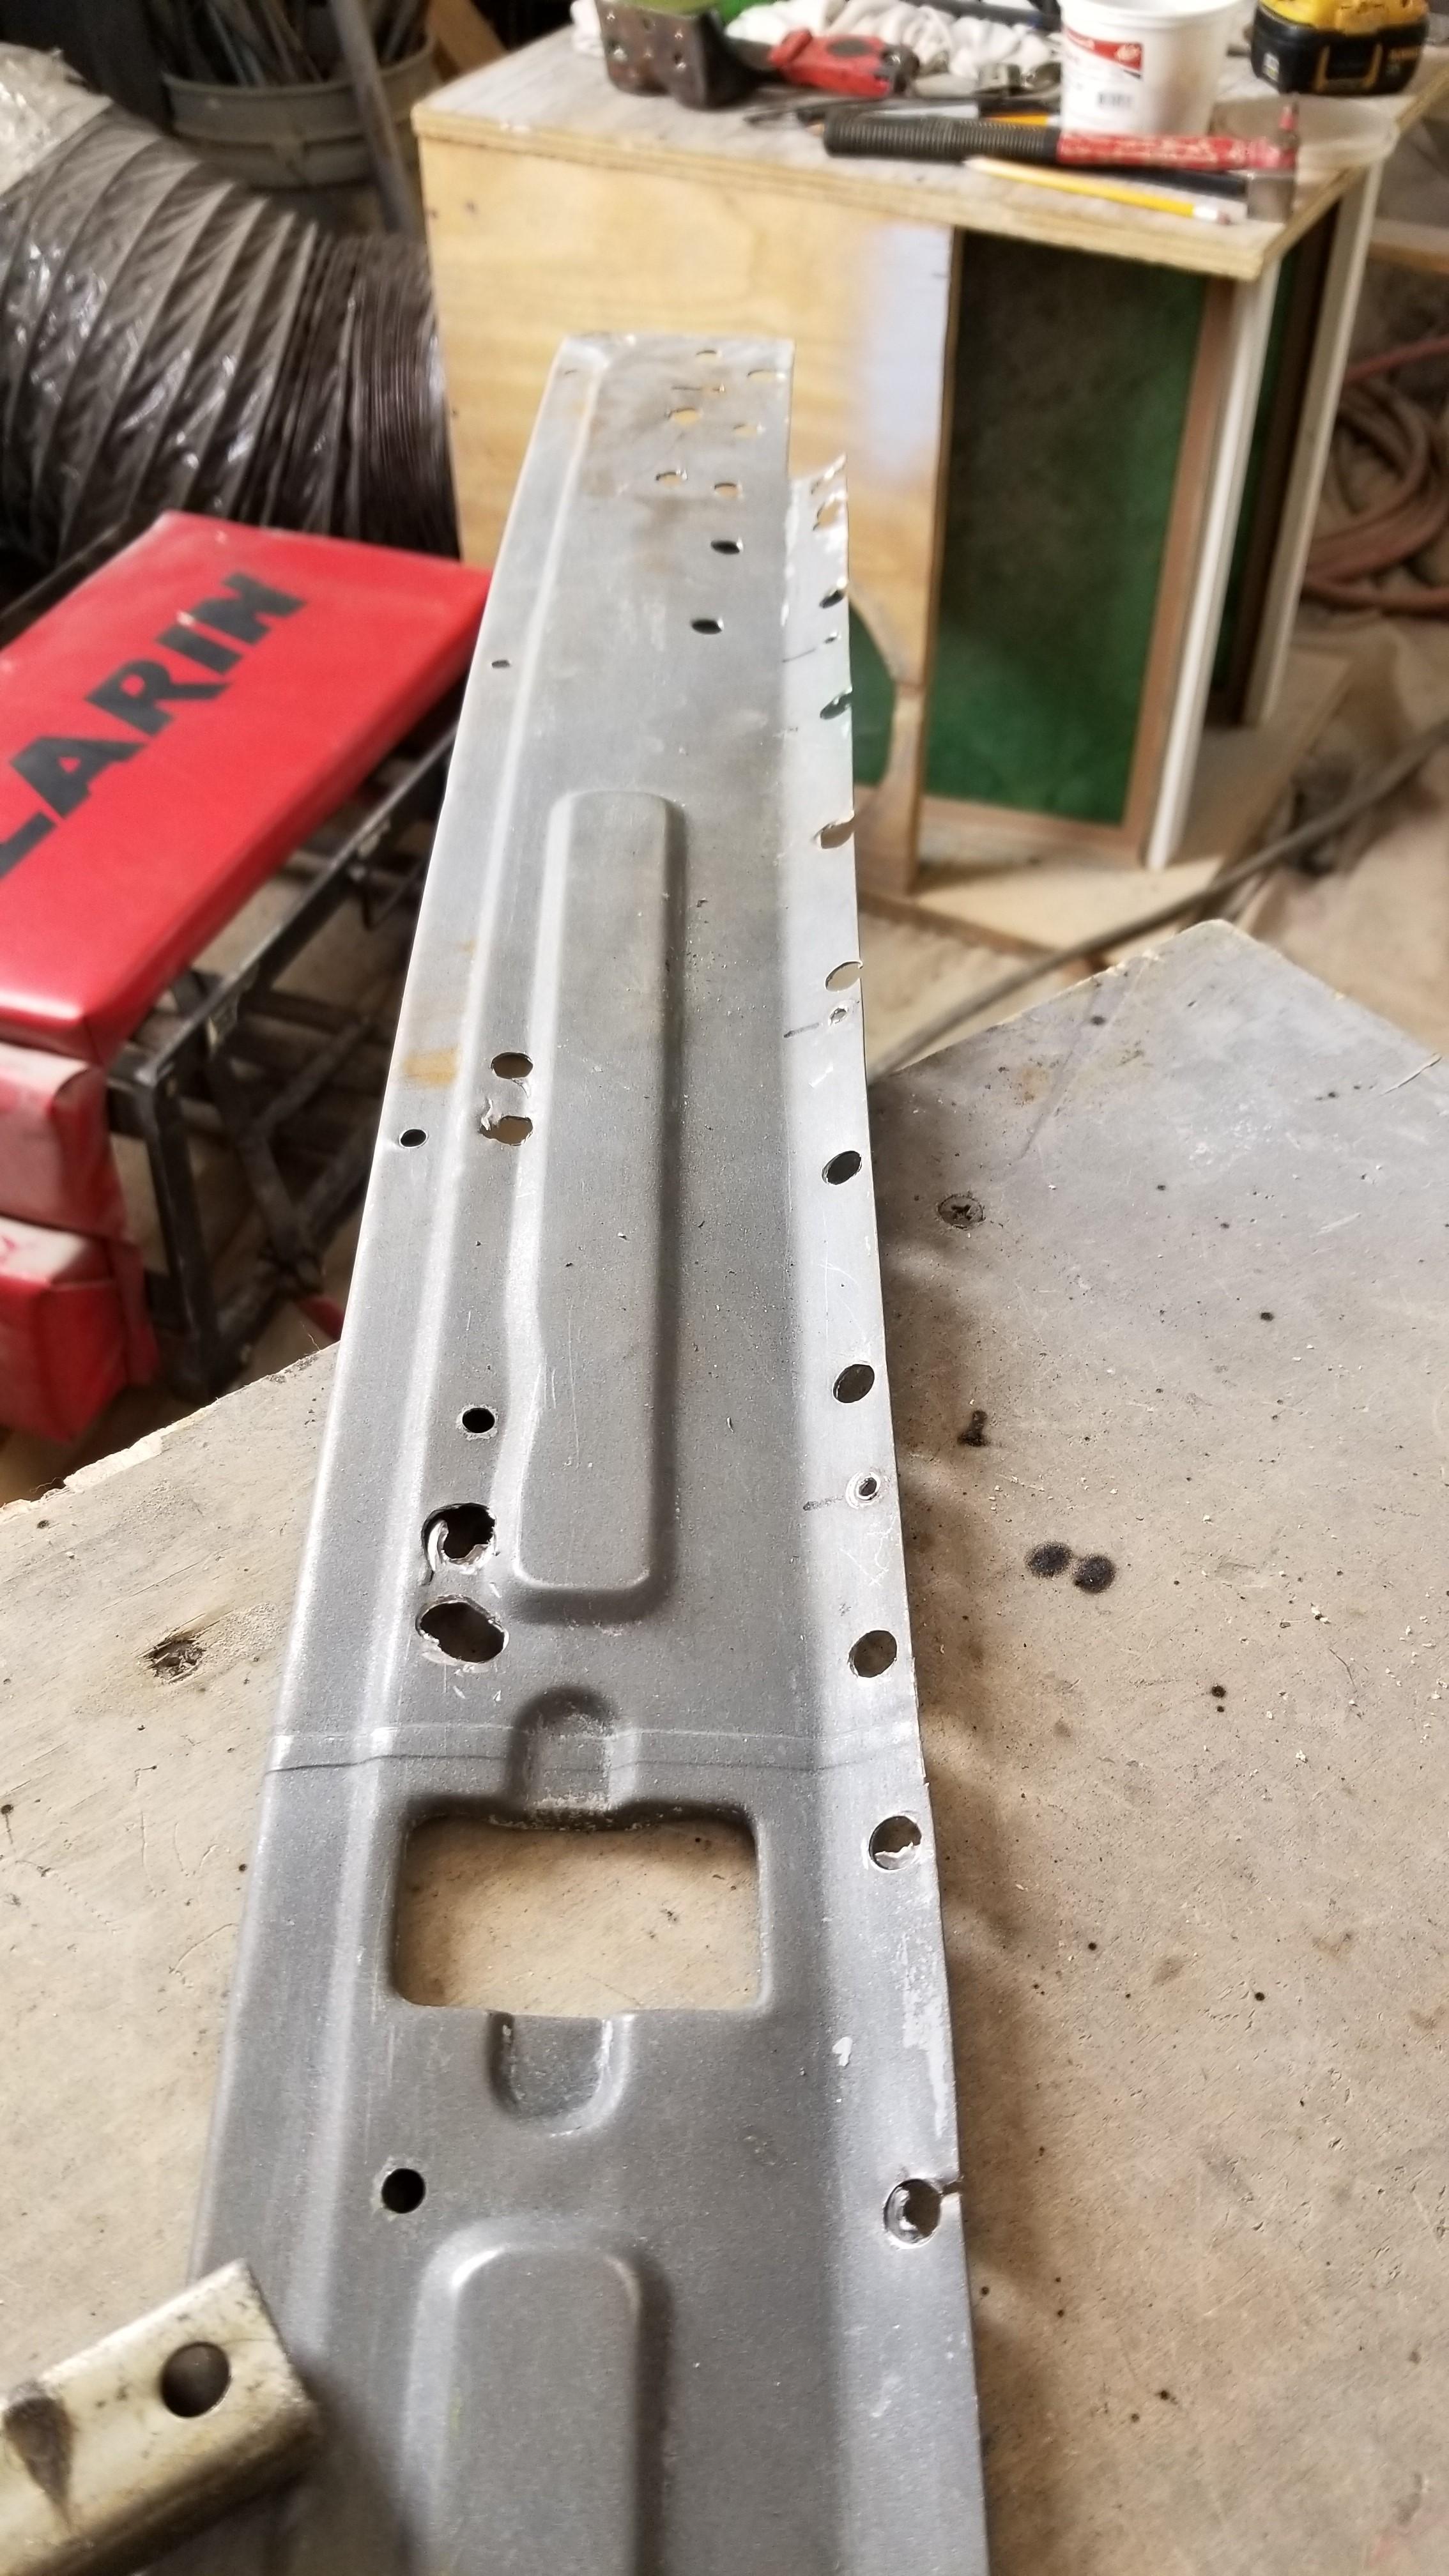
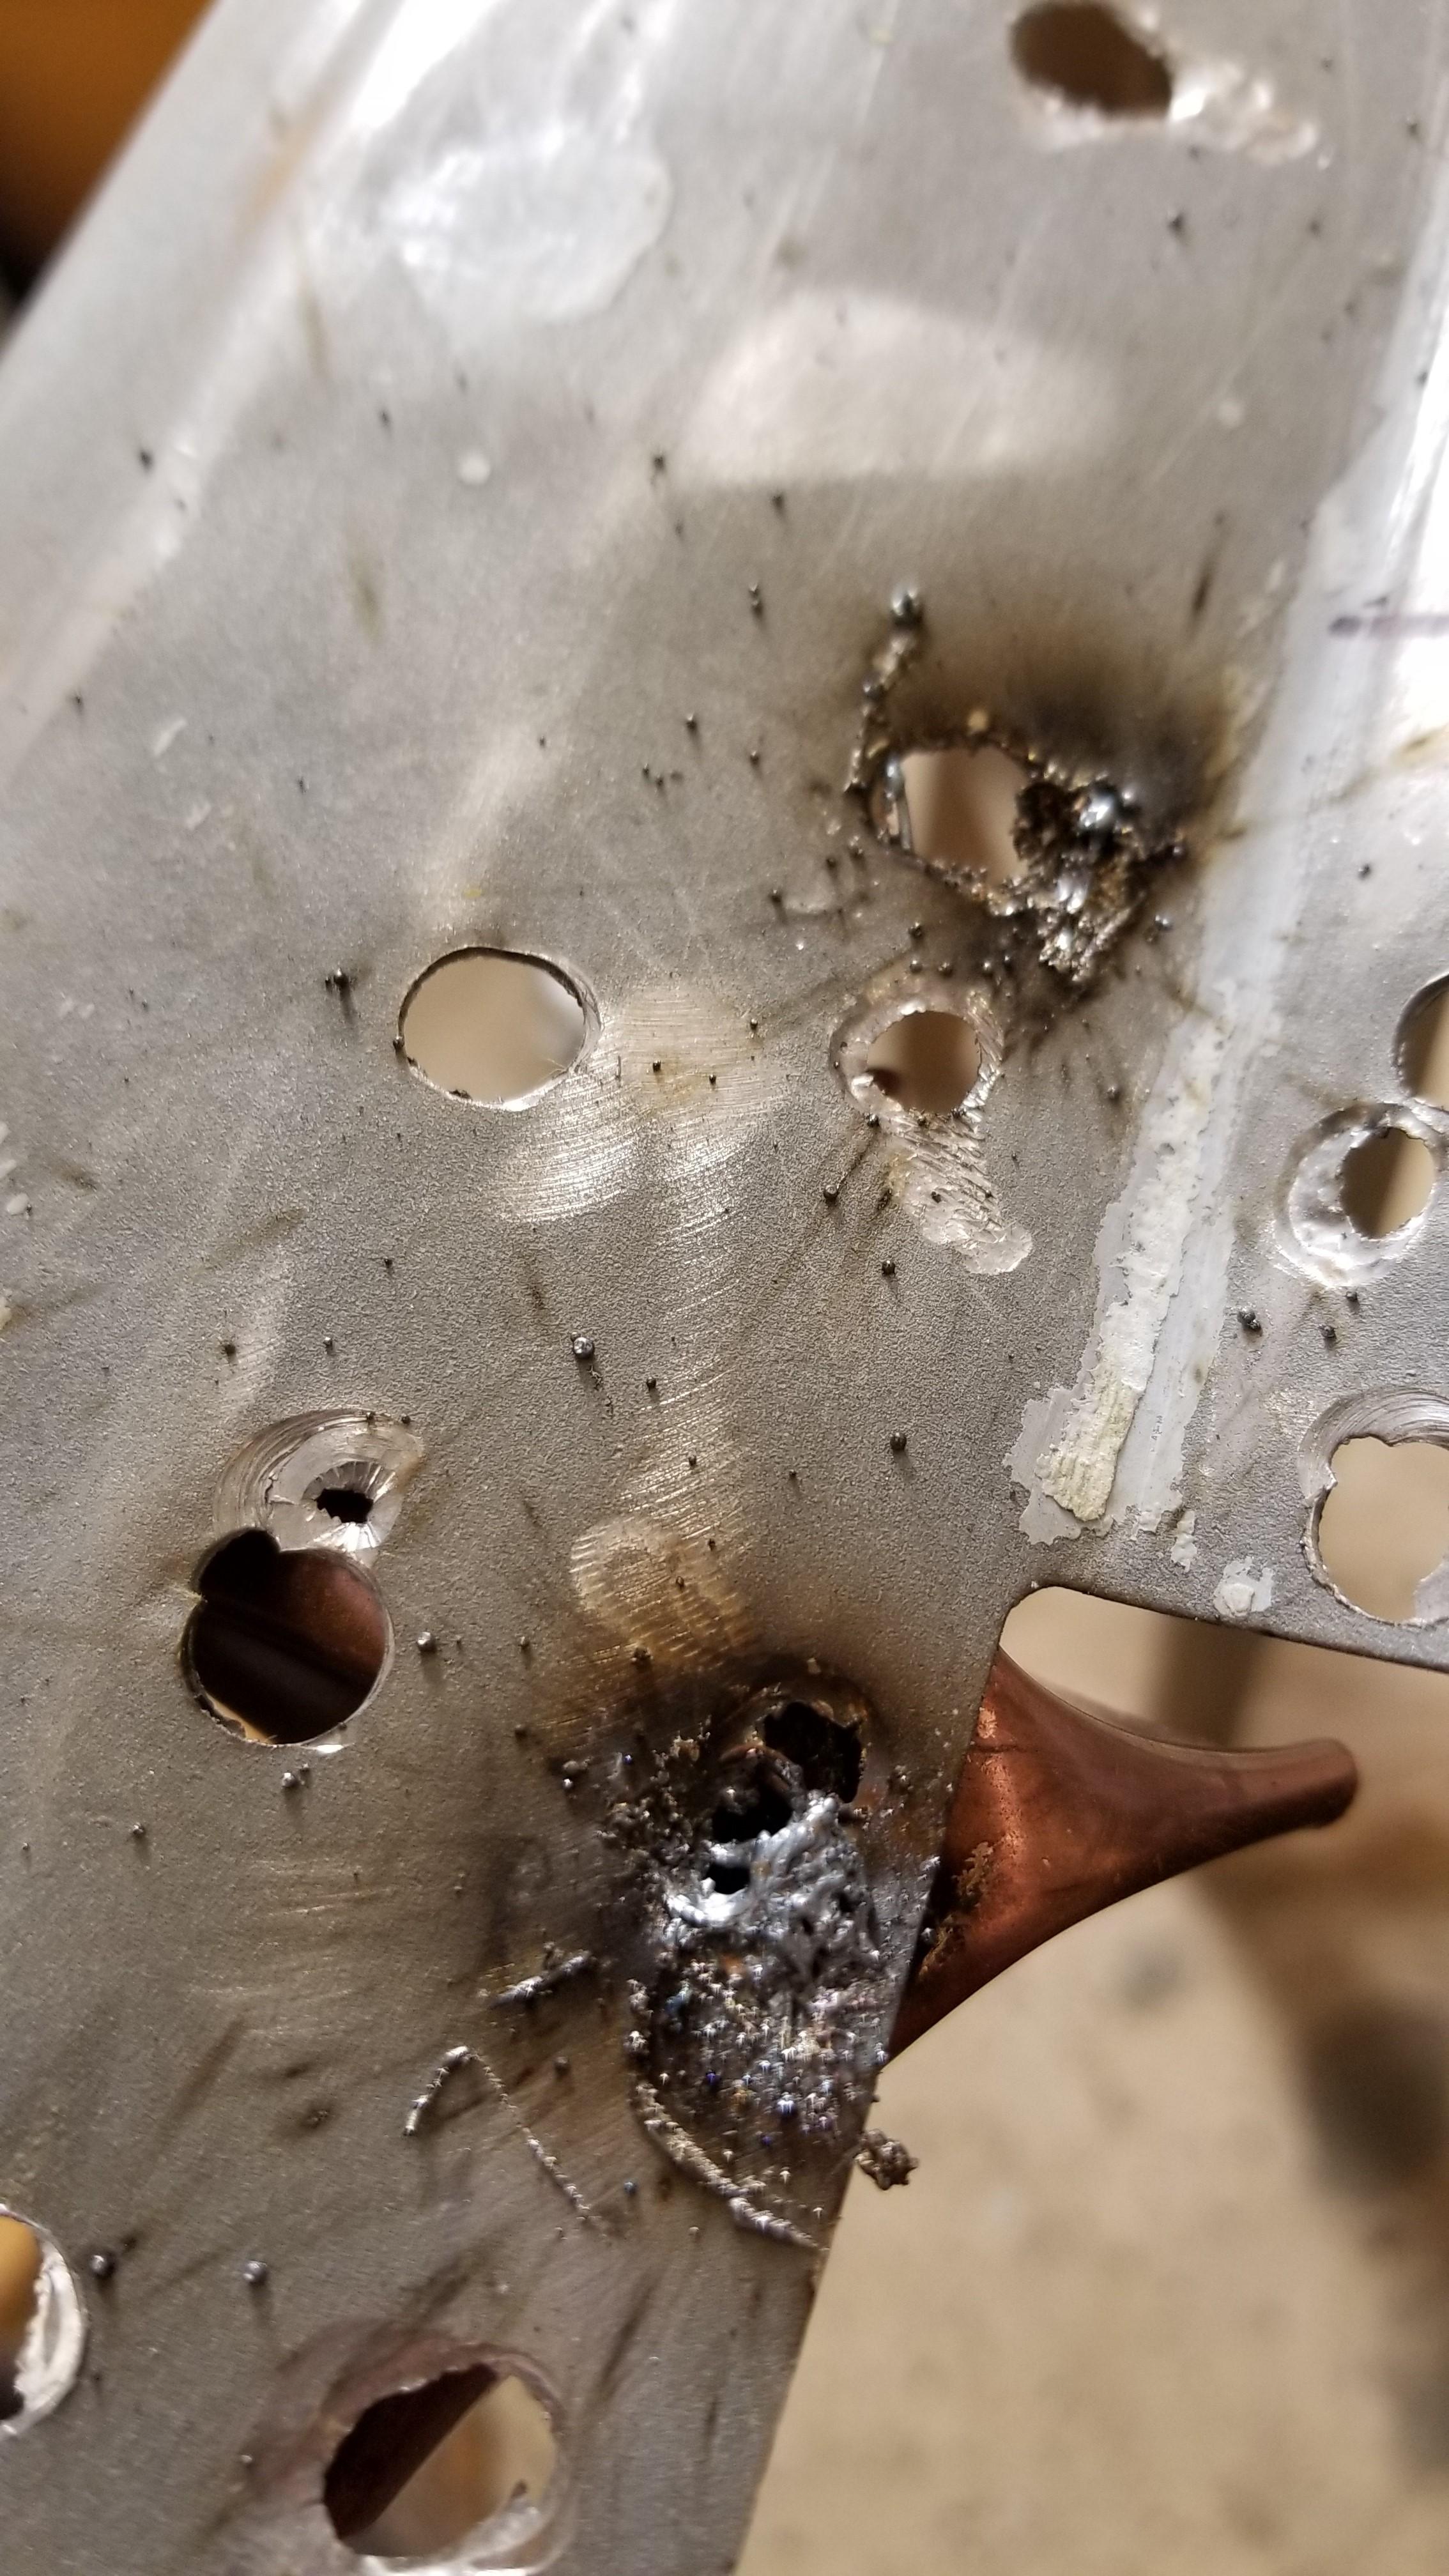
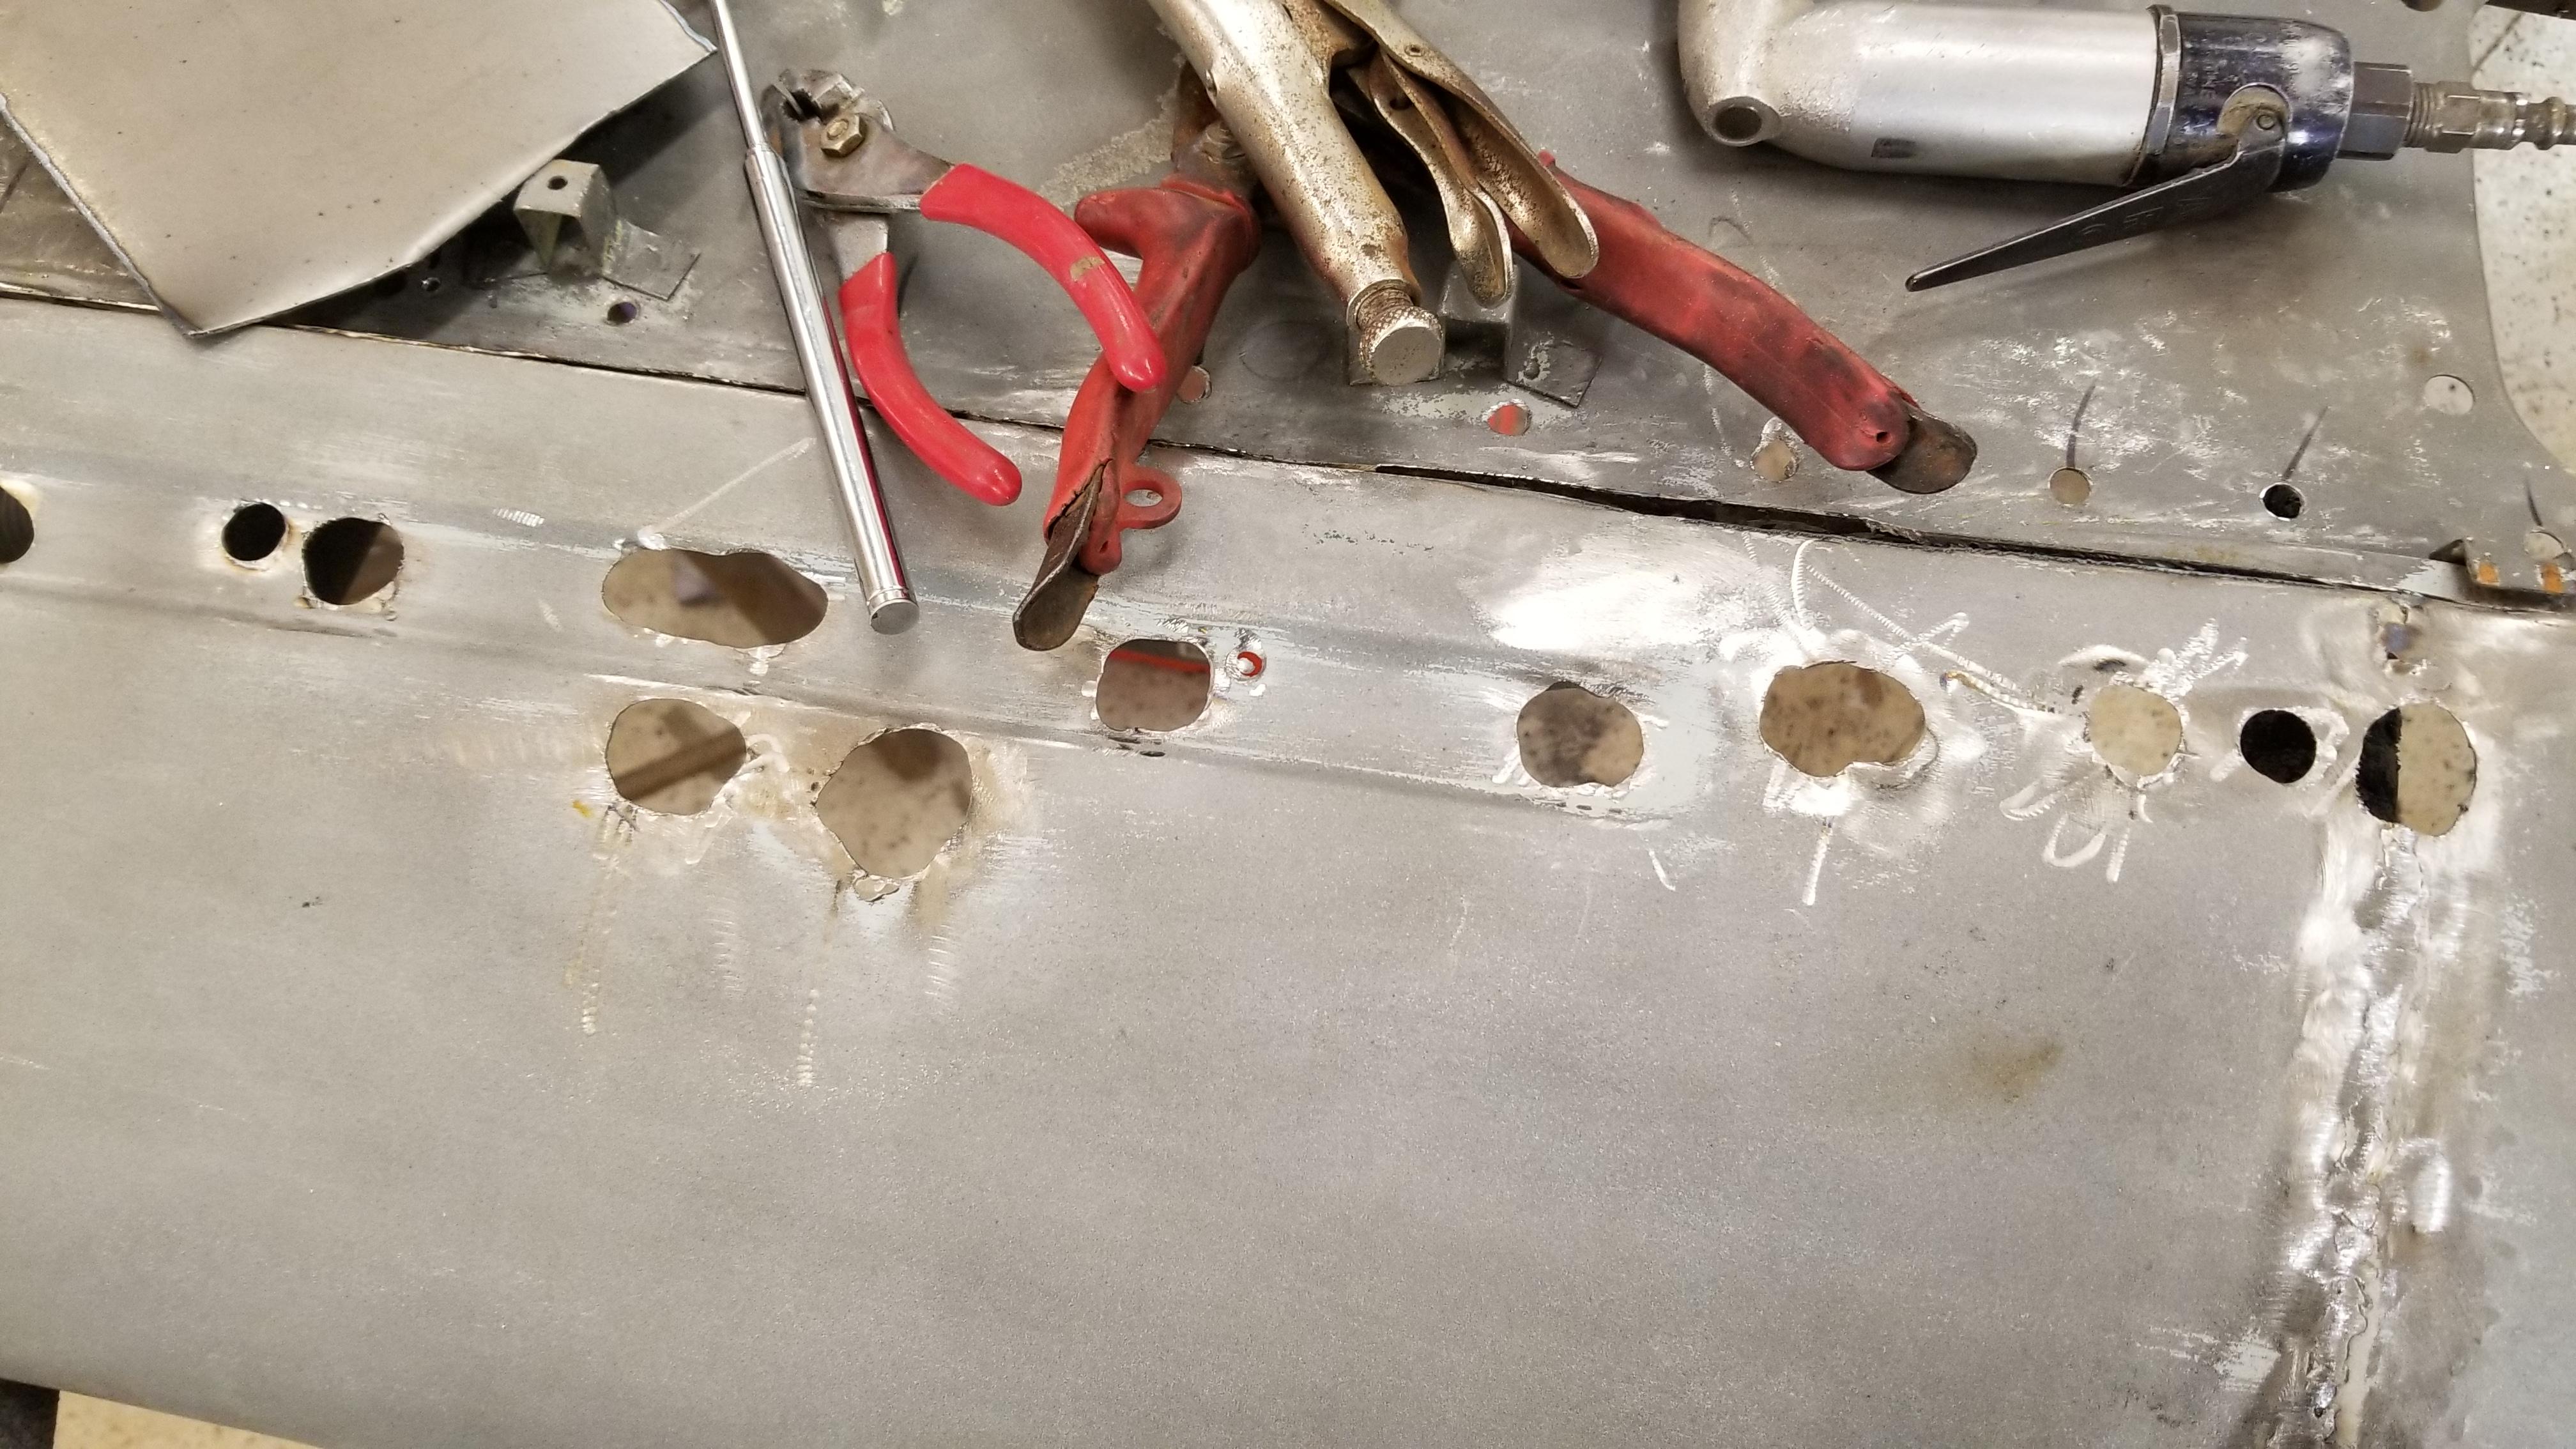
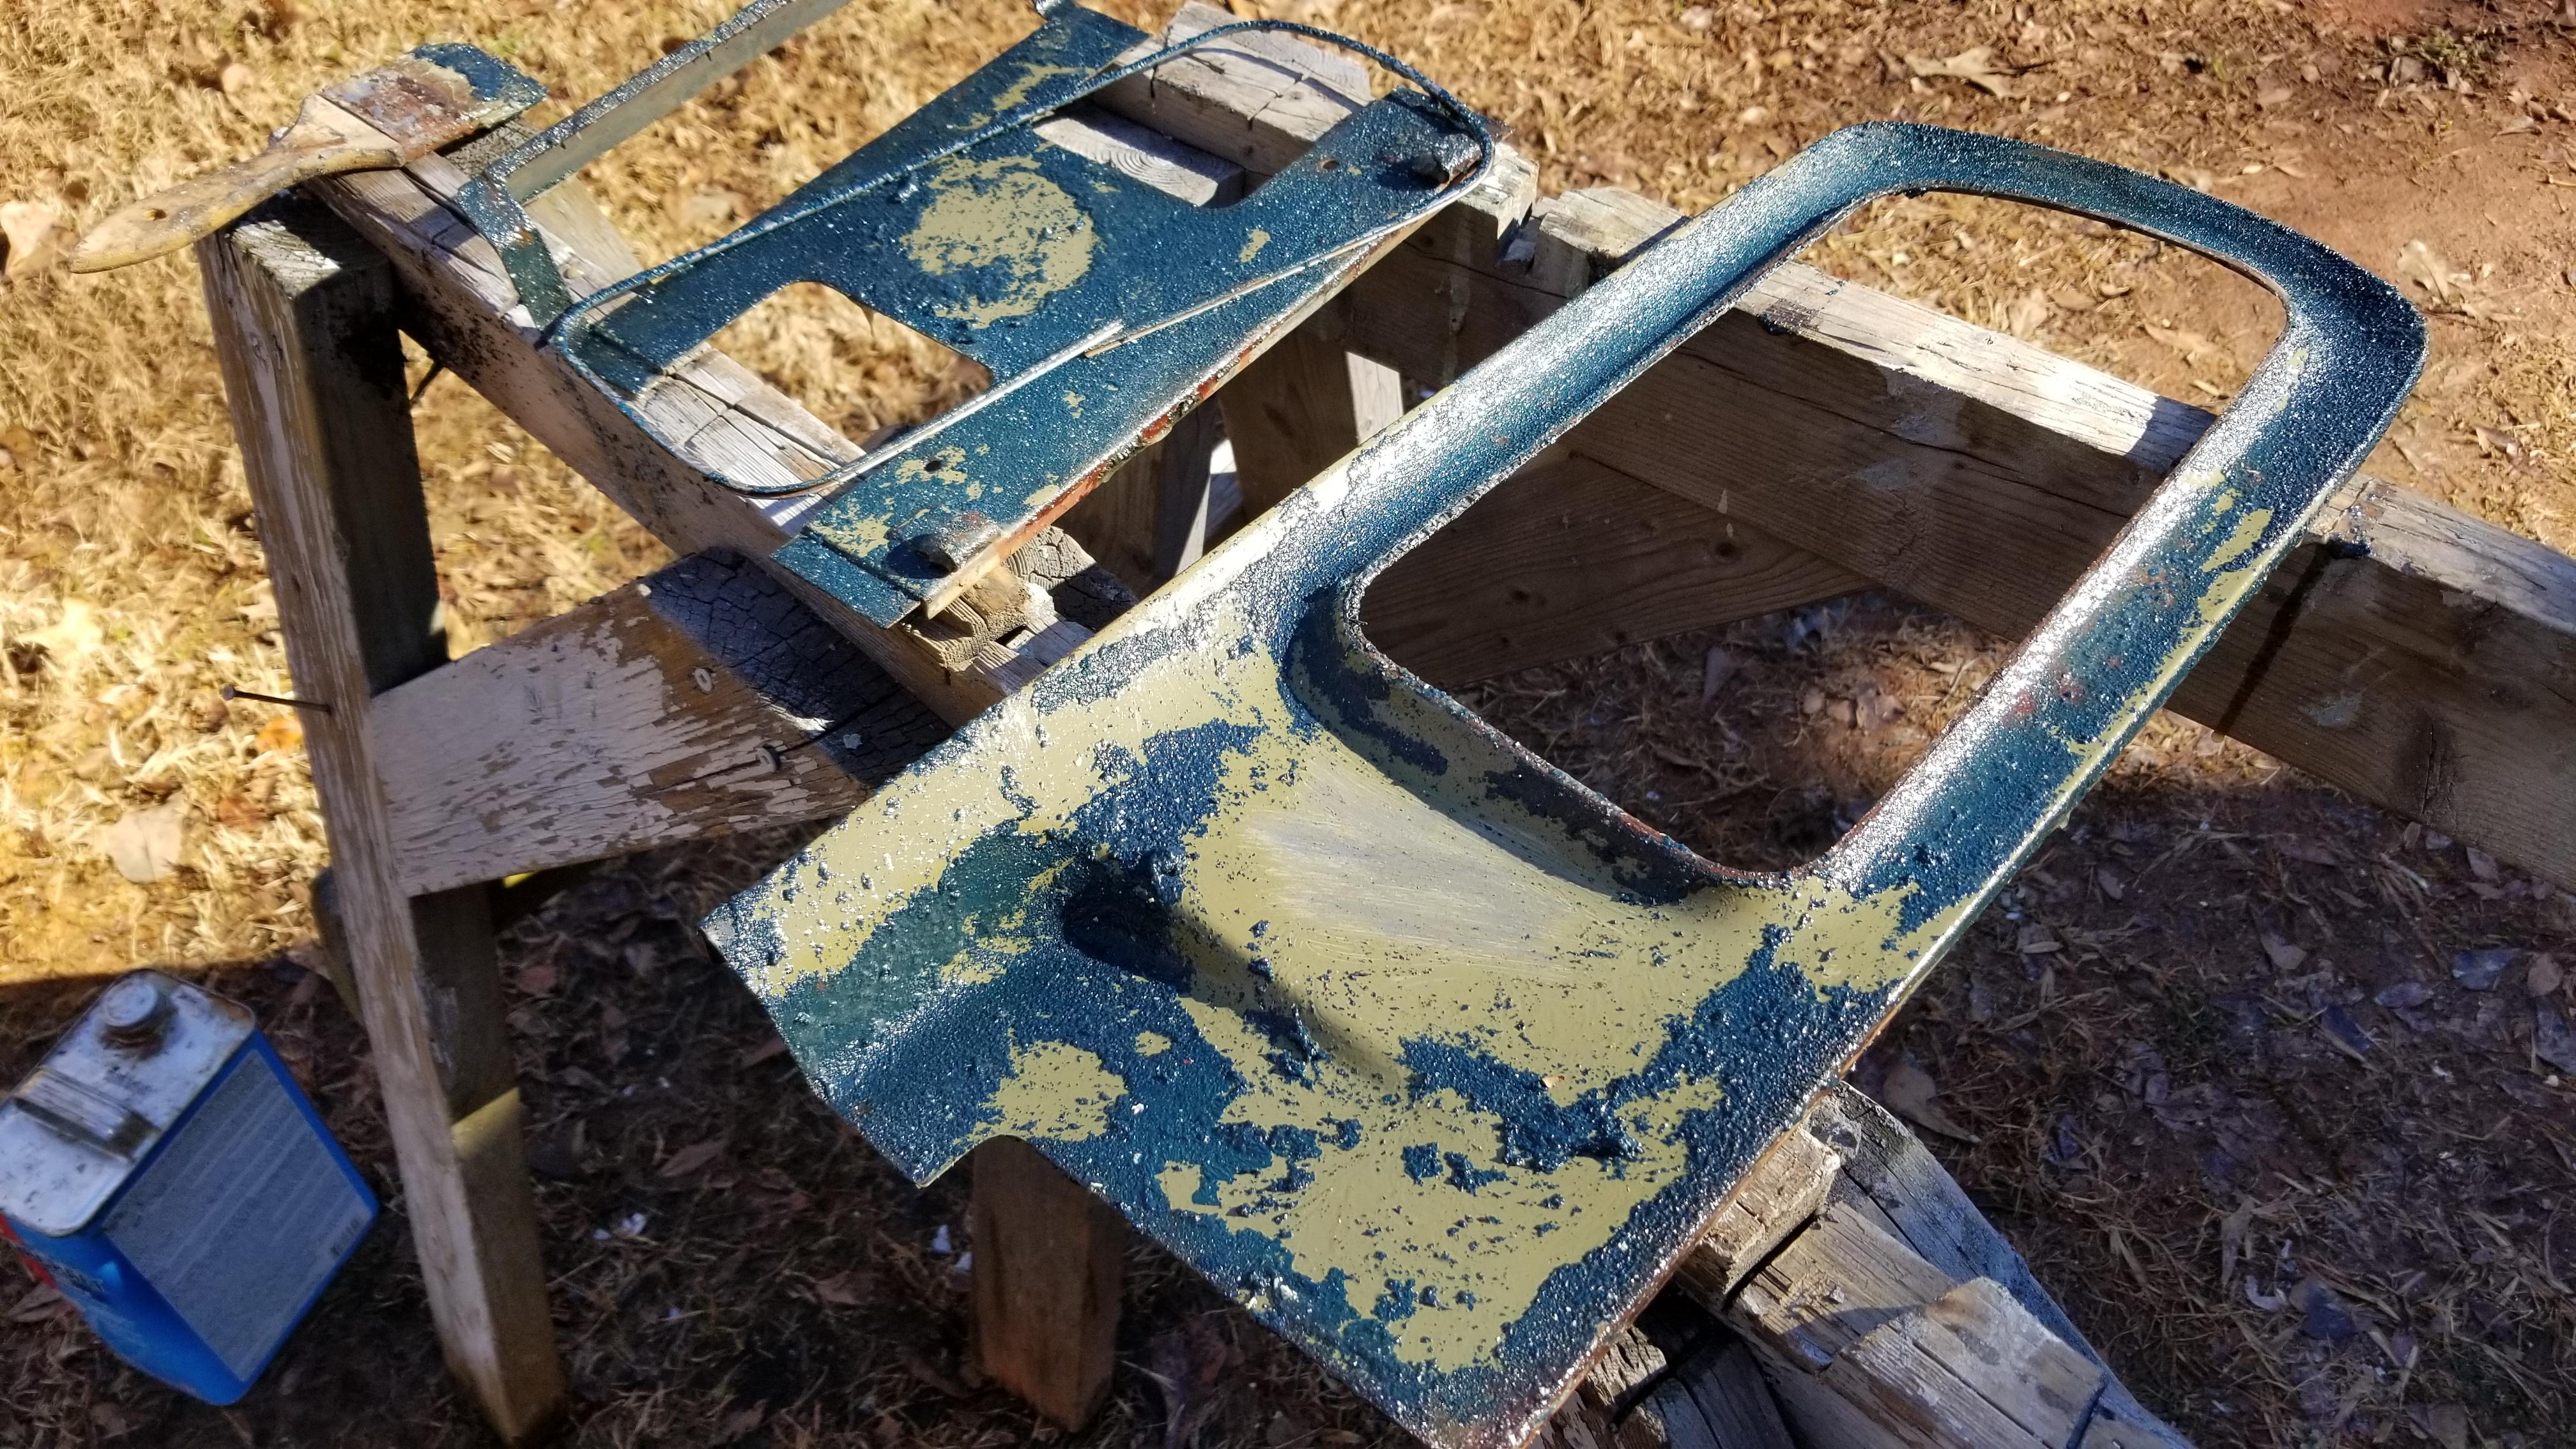
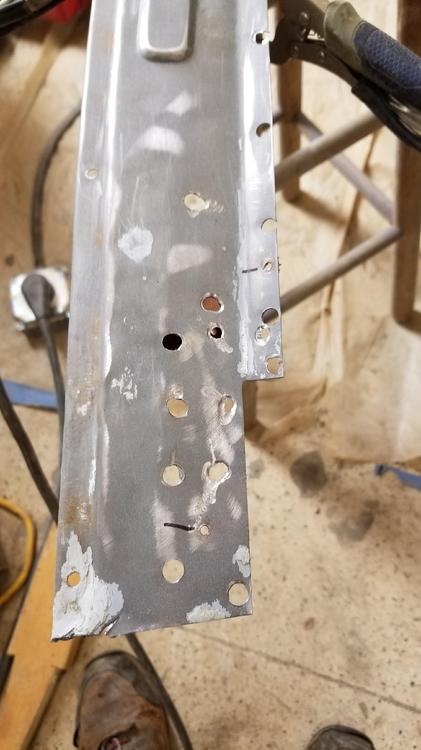
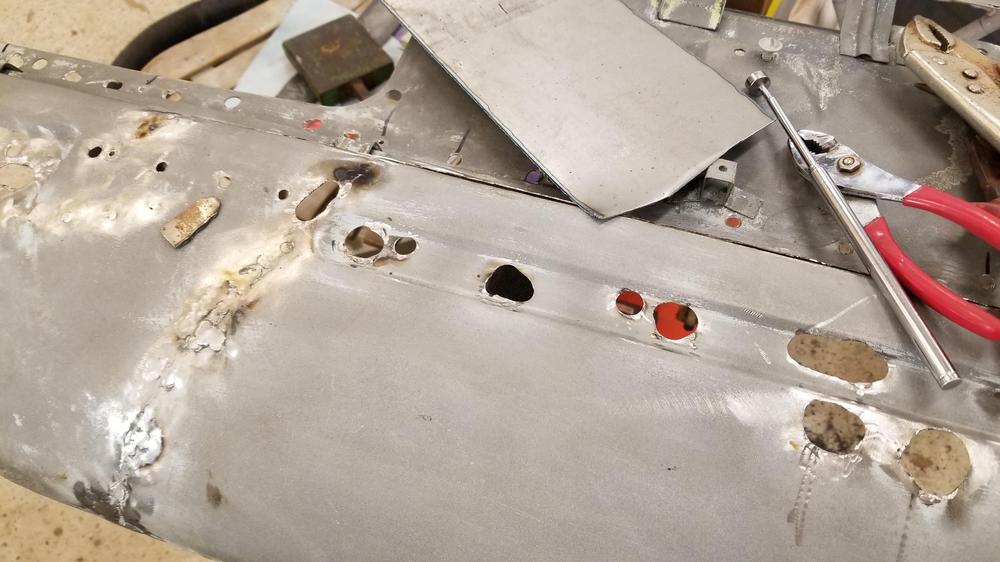
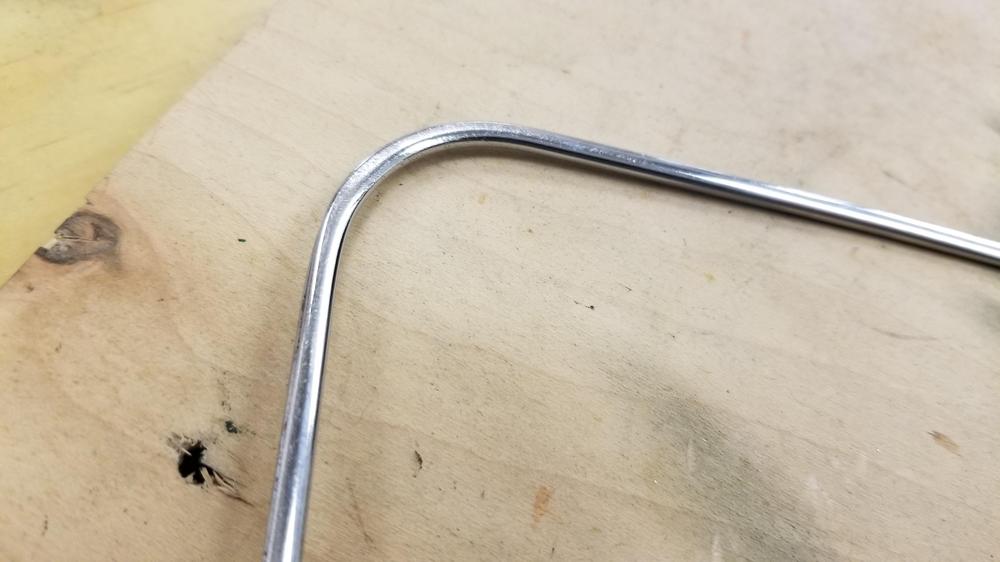
Did some work on the rear end panels I want to close up the holes so I don't have the big puddle welds again. So I ma going to weld some of them smaller and some I am going to patch entirely then drill a new hole Here is the latest episode on ugly welds? It's not a gas issue and not a contamination issue. I figured it out, but anyone have any guesses? I took a grinding die and rounded out the holes and started making small metal patches. I would have finished today but I didn't do anything productive today. Cody had a great idea on how to make the patches. I took some light card stock and traced the hole onto. I cut that out then I cut a scrap of metal that is a little larger. Then I take a set of small nose welding clamps and clamp them together with the pattern on top. A 2" grinder with a 36 grit roloc and I trim them to shape. I made like nine of them late on Saturday. I have like 25 total to make!


-
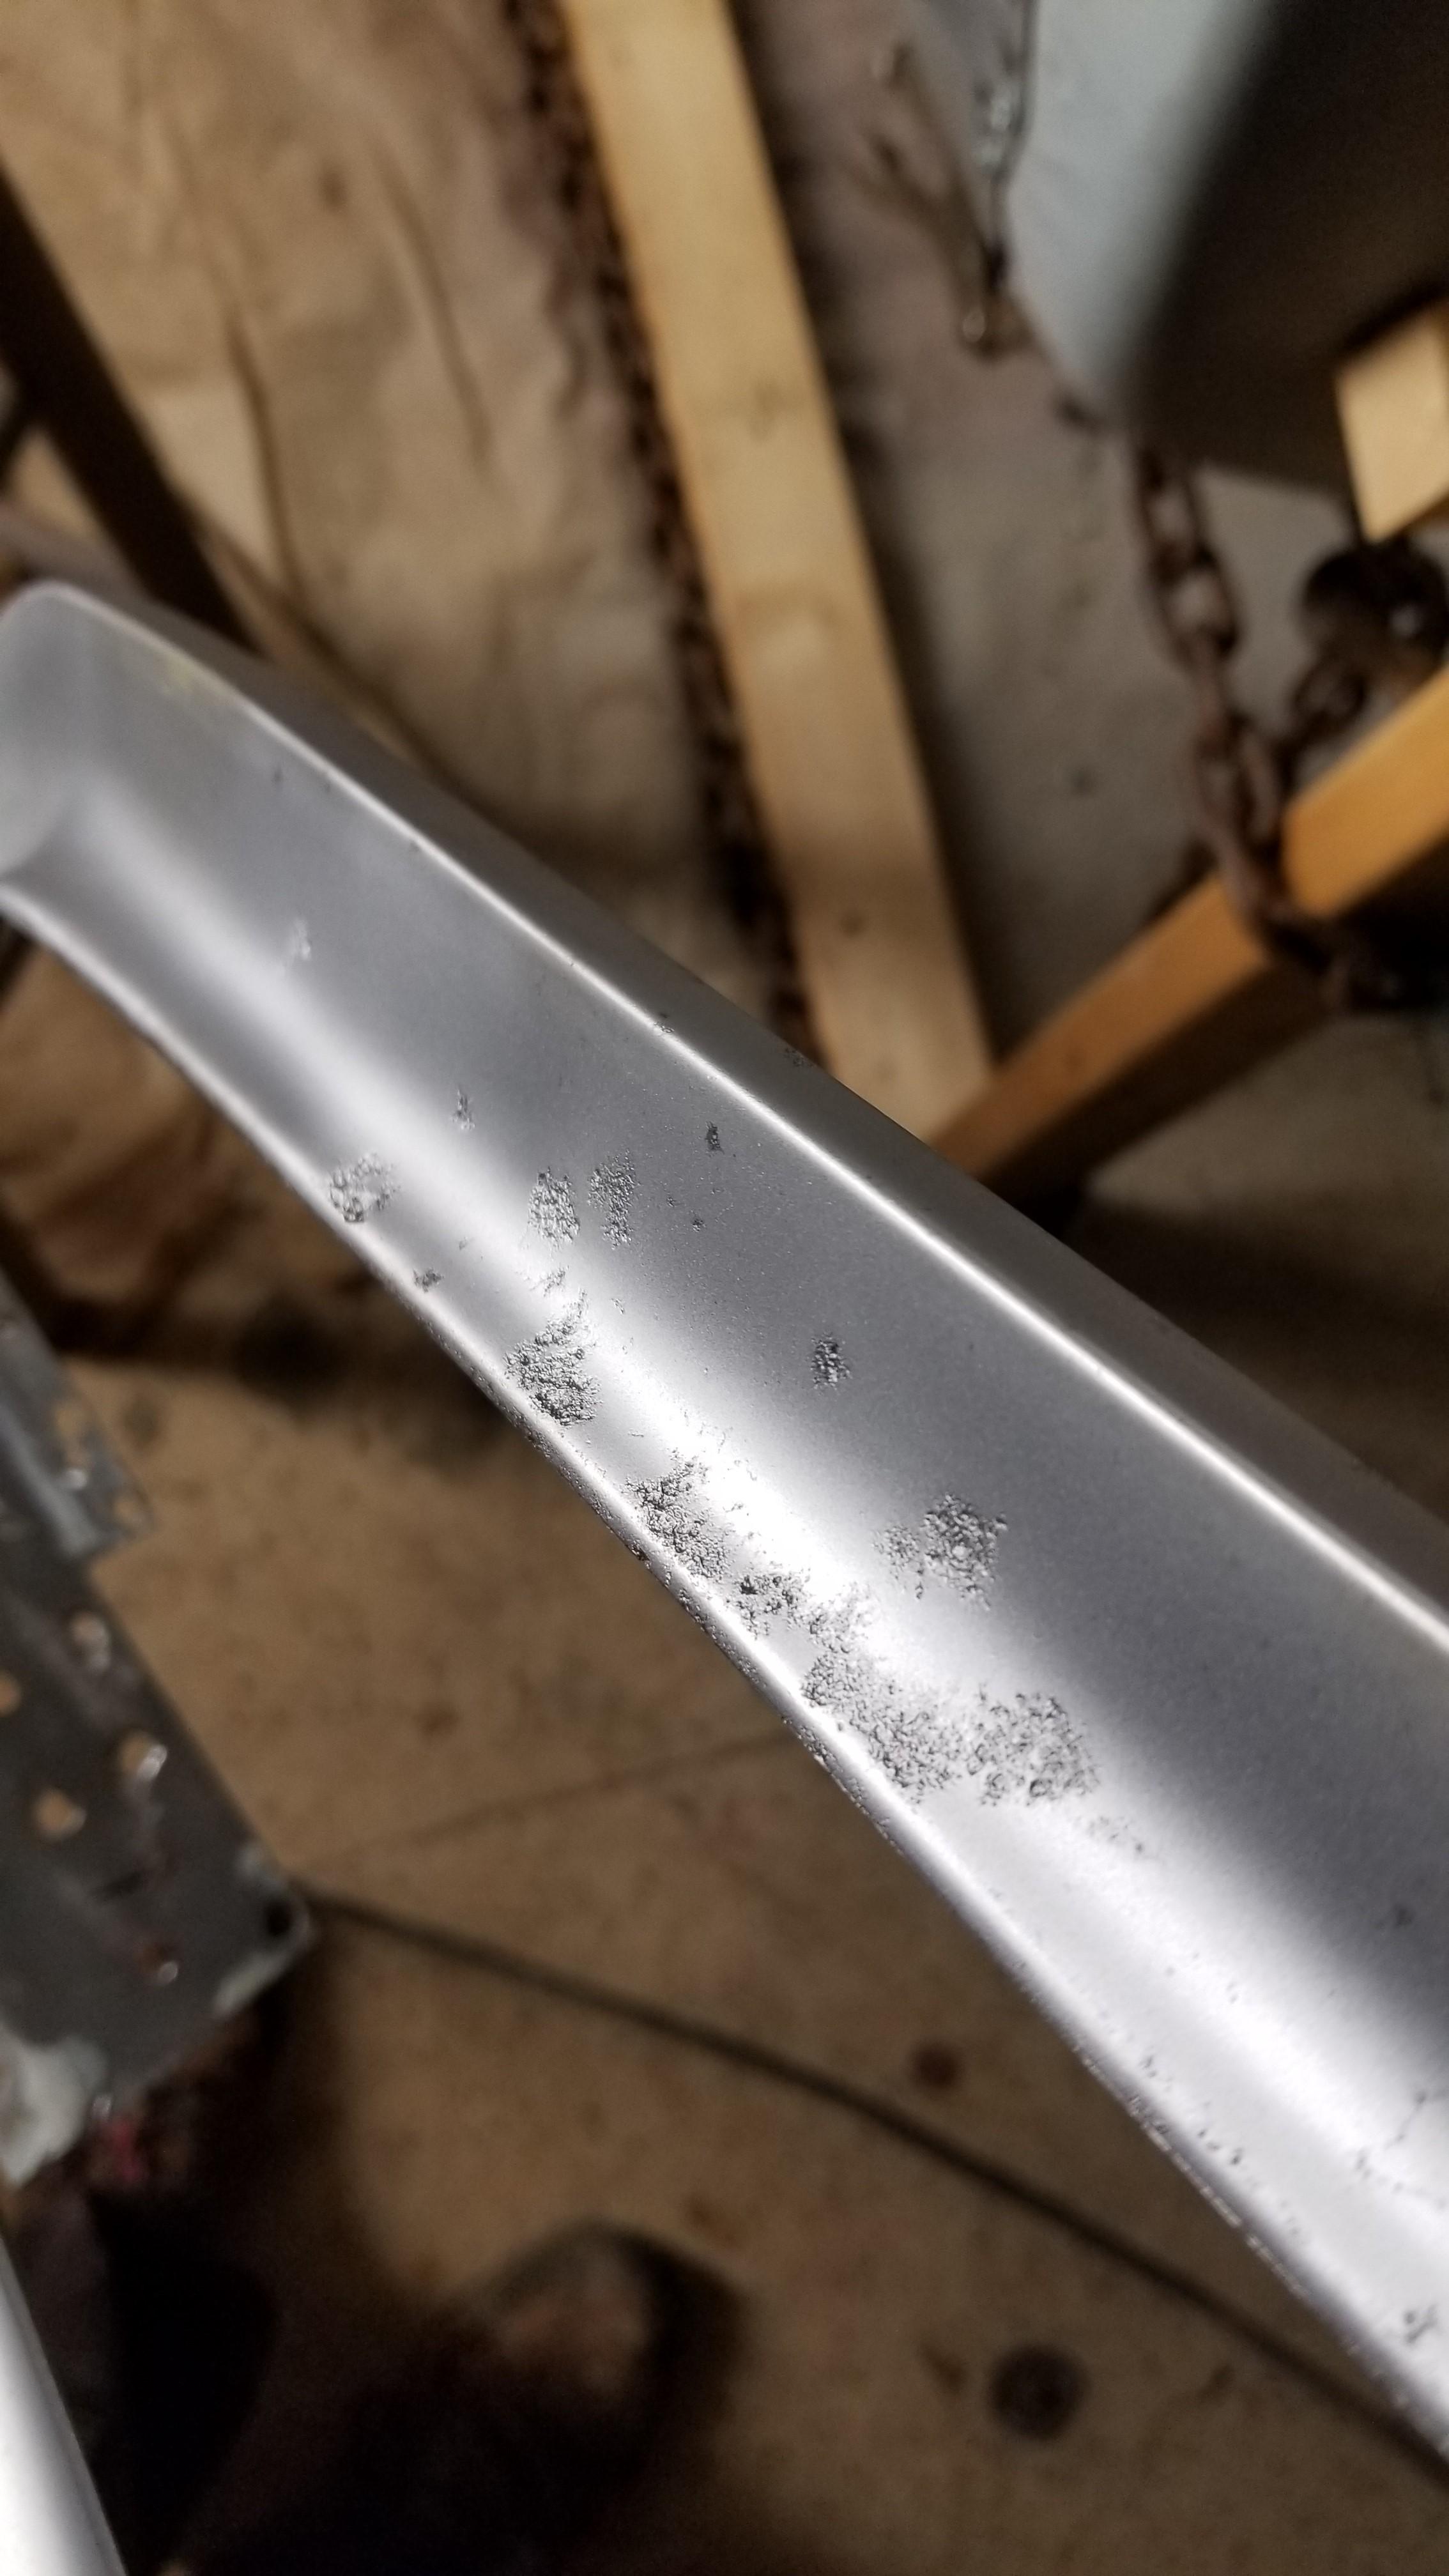
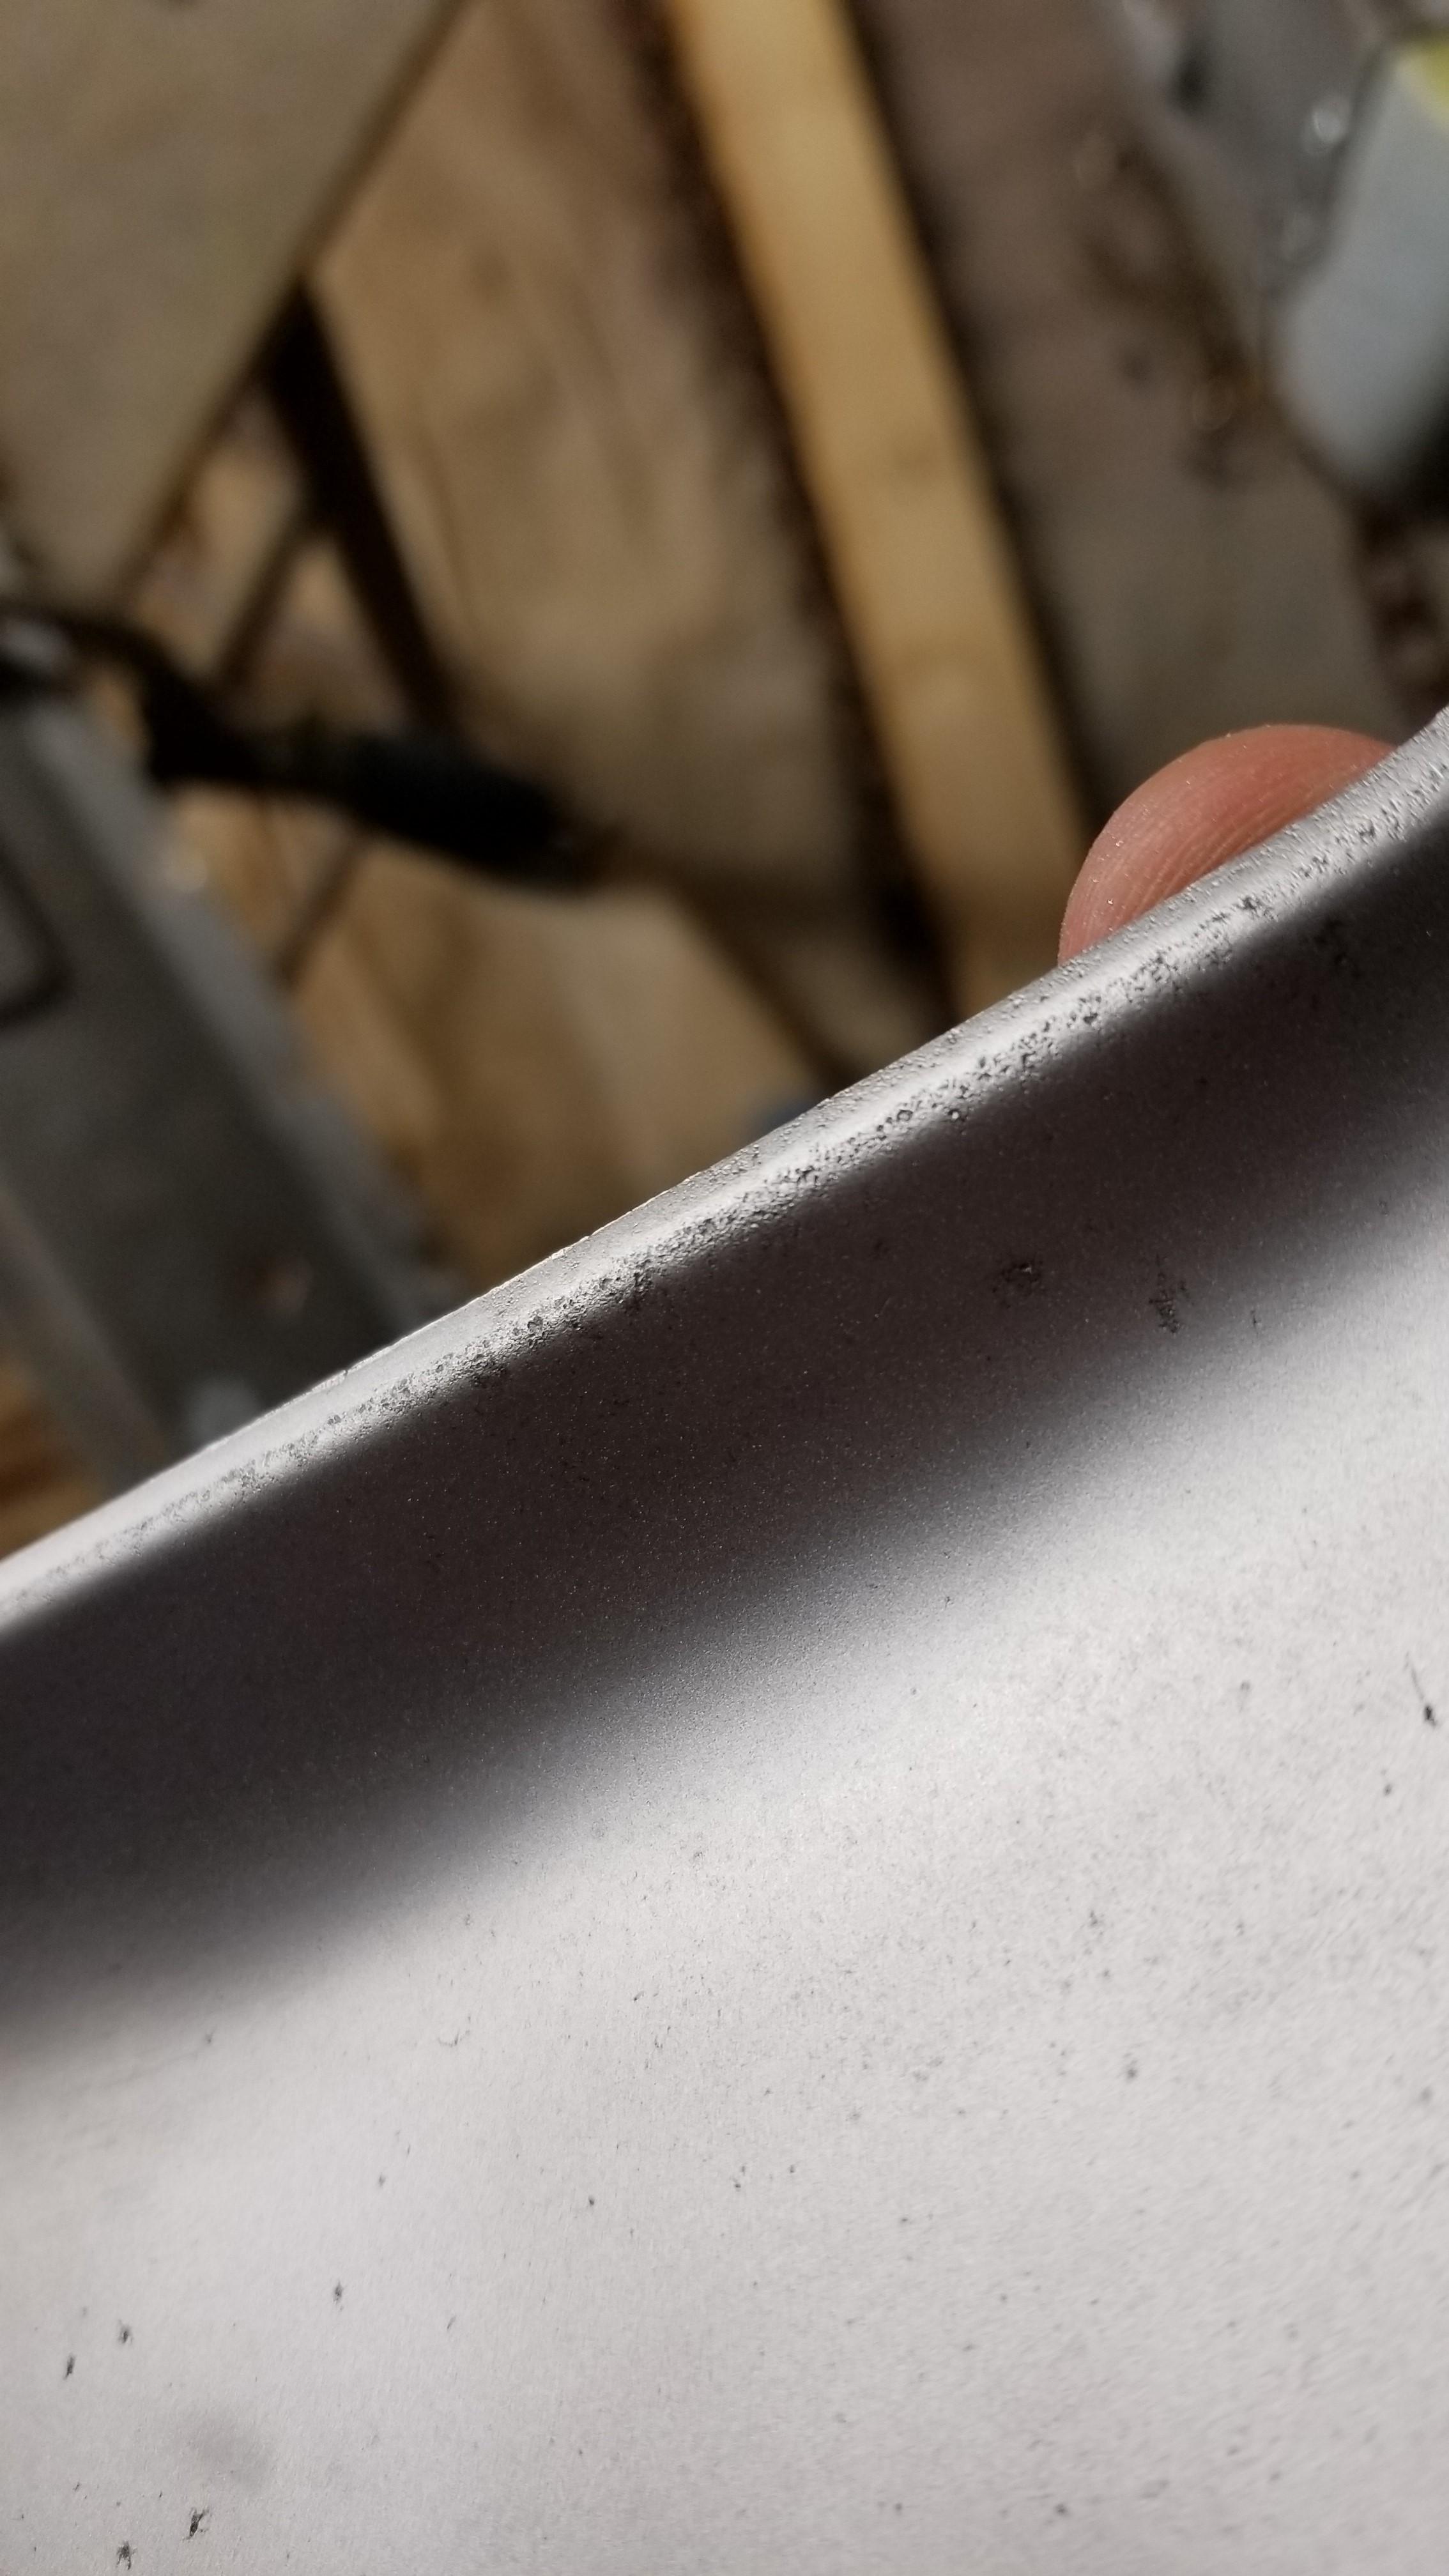
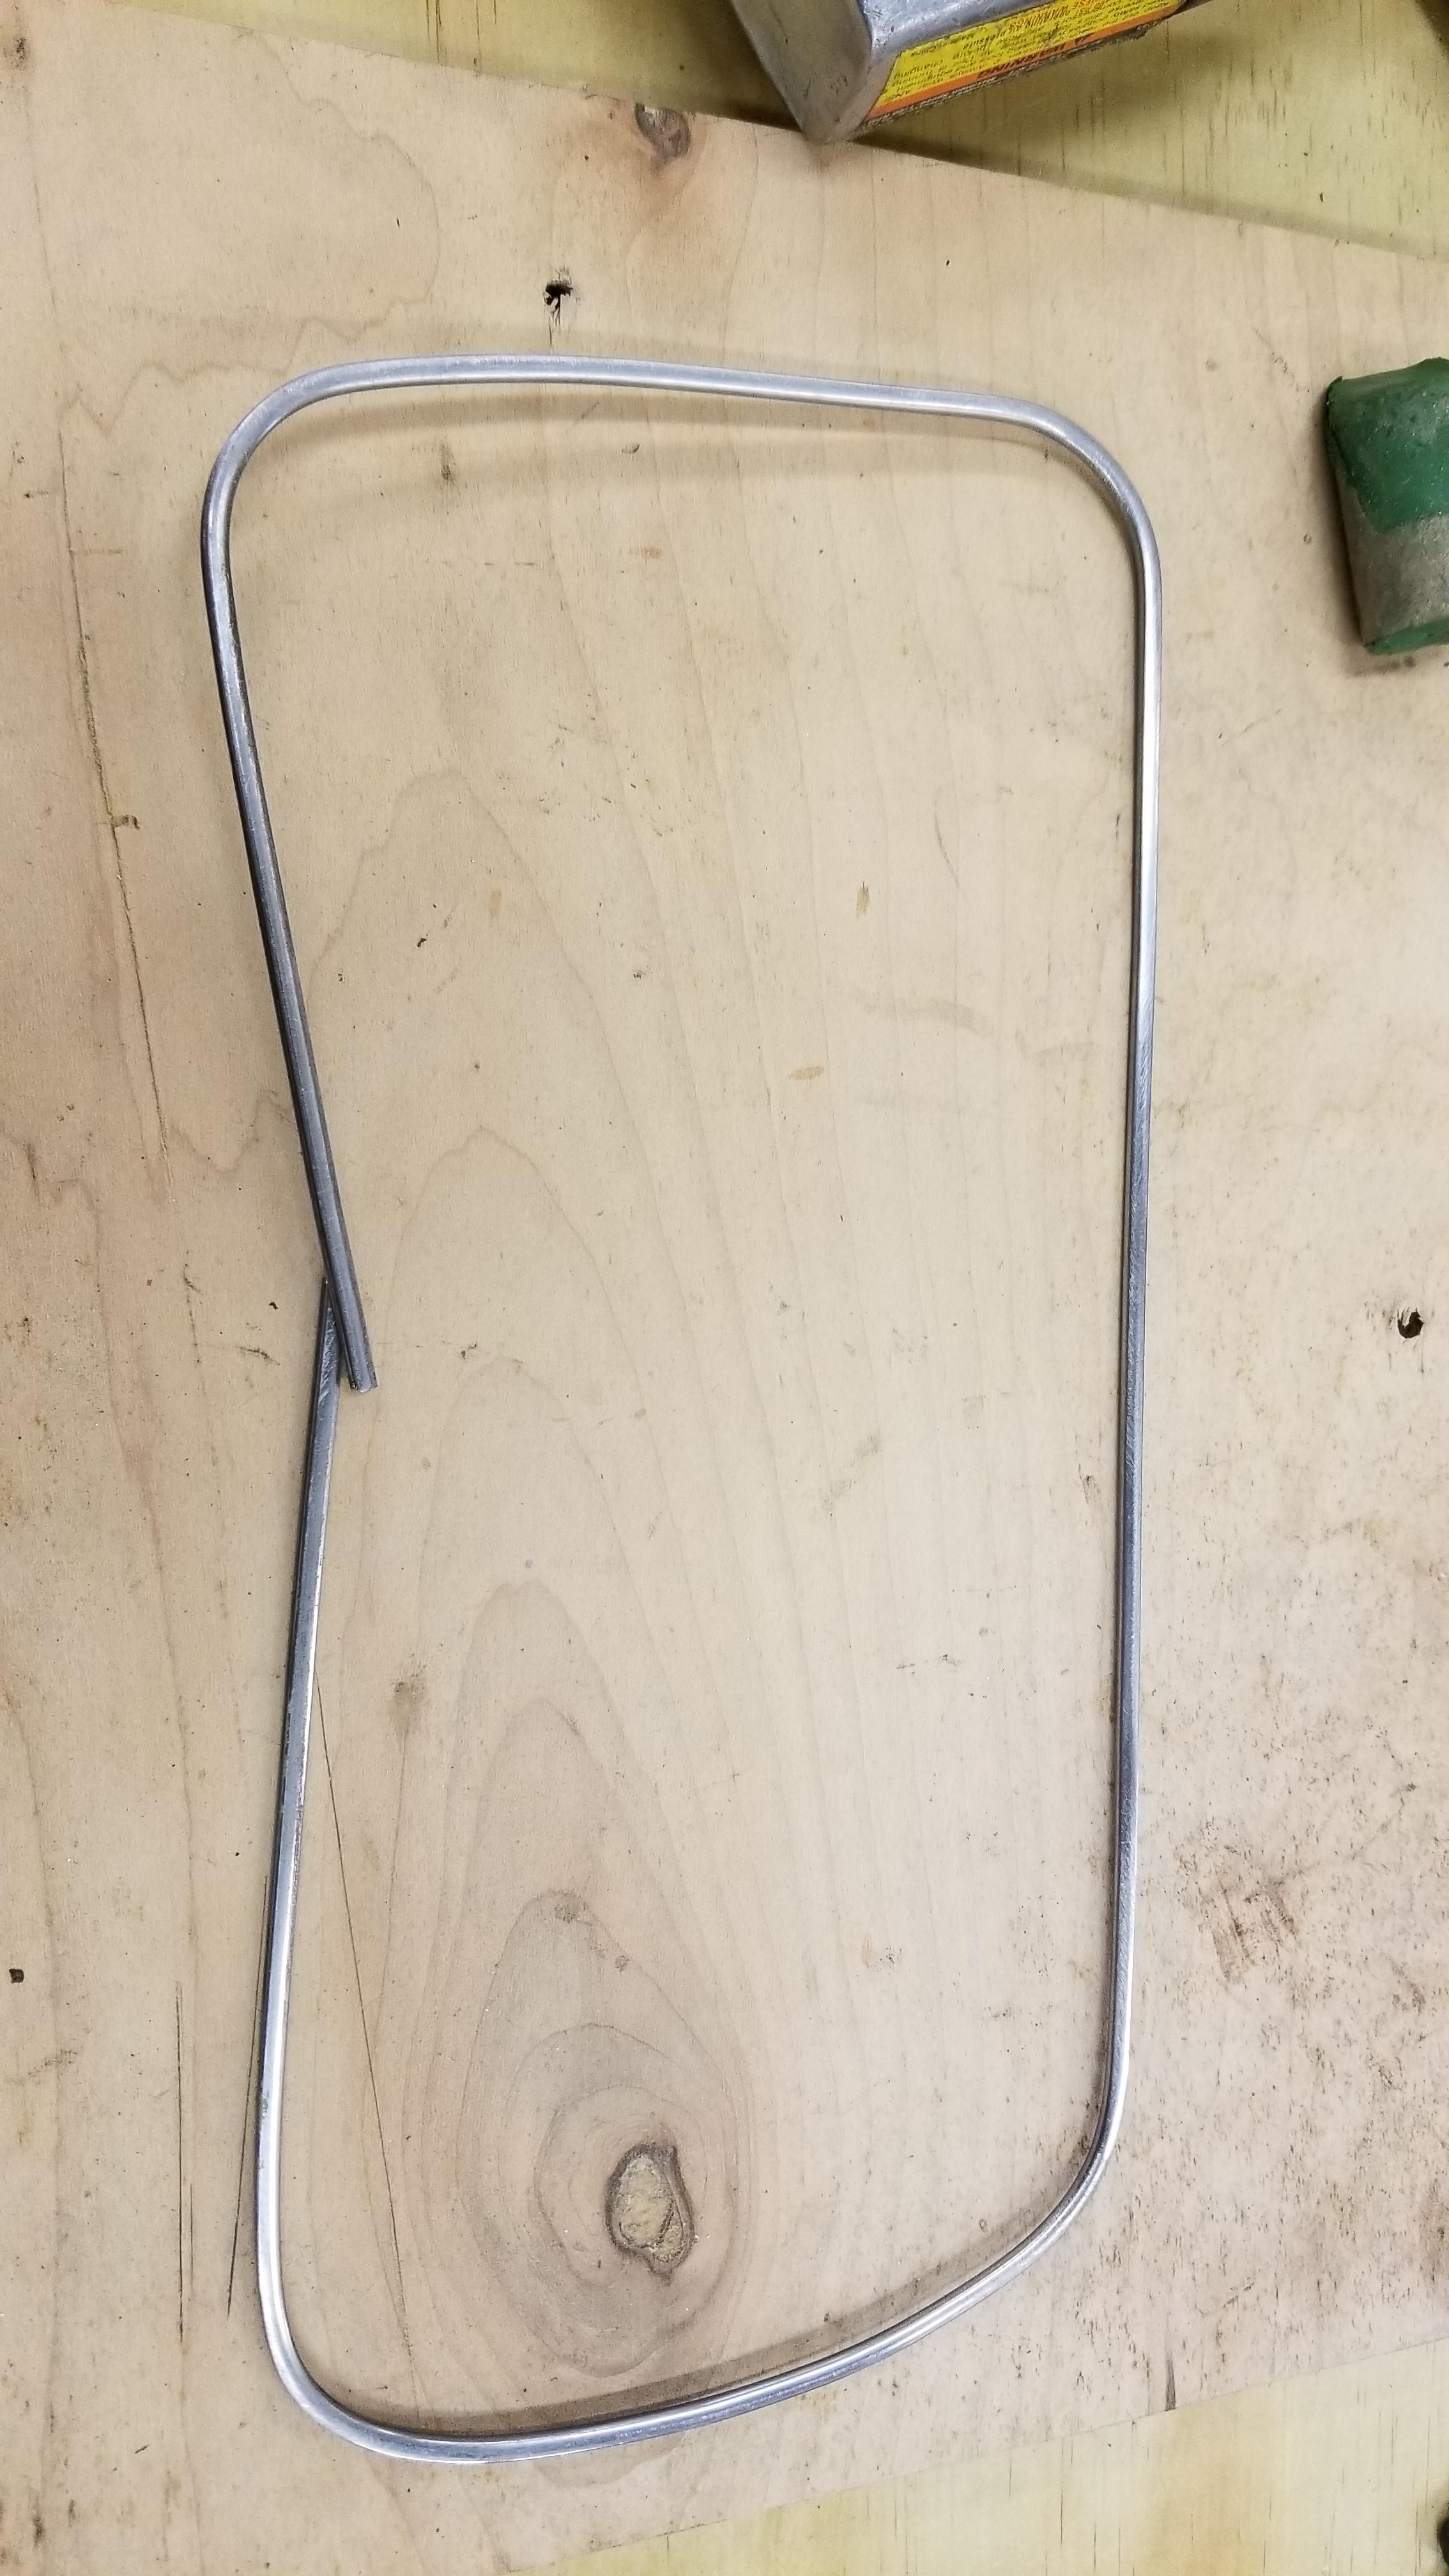
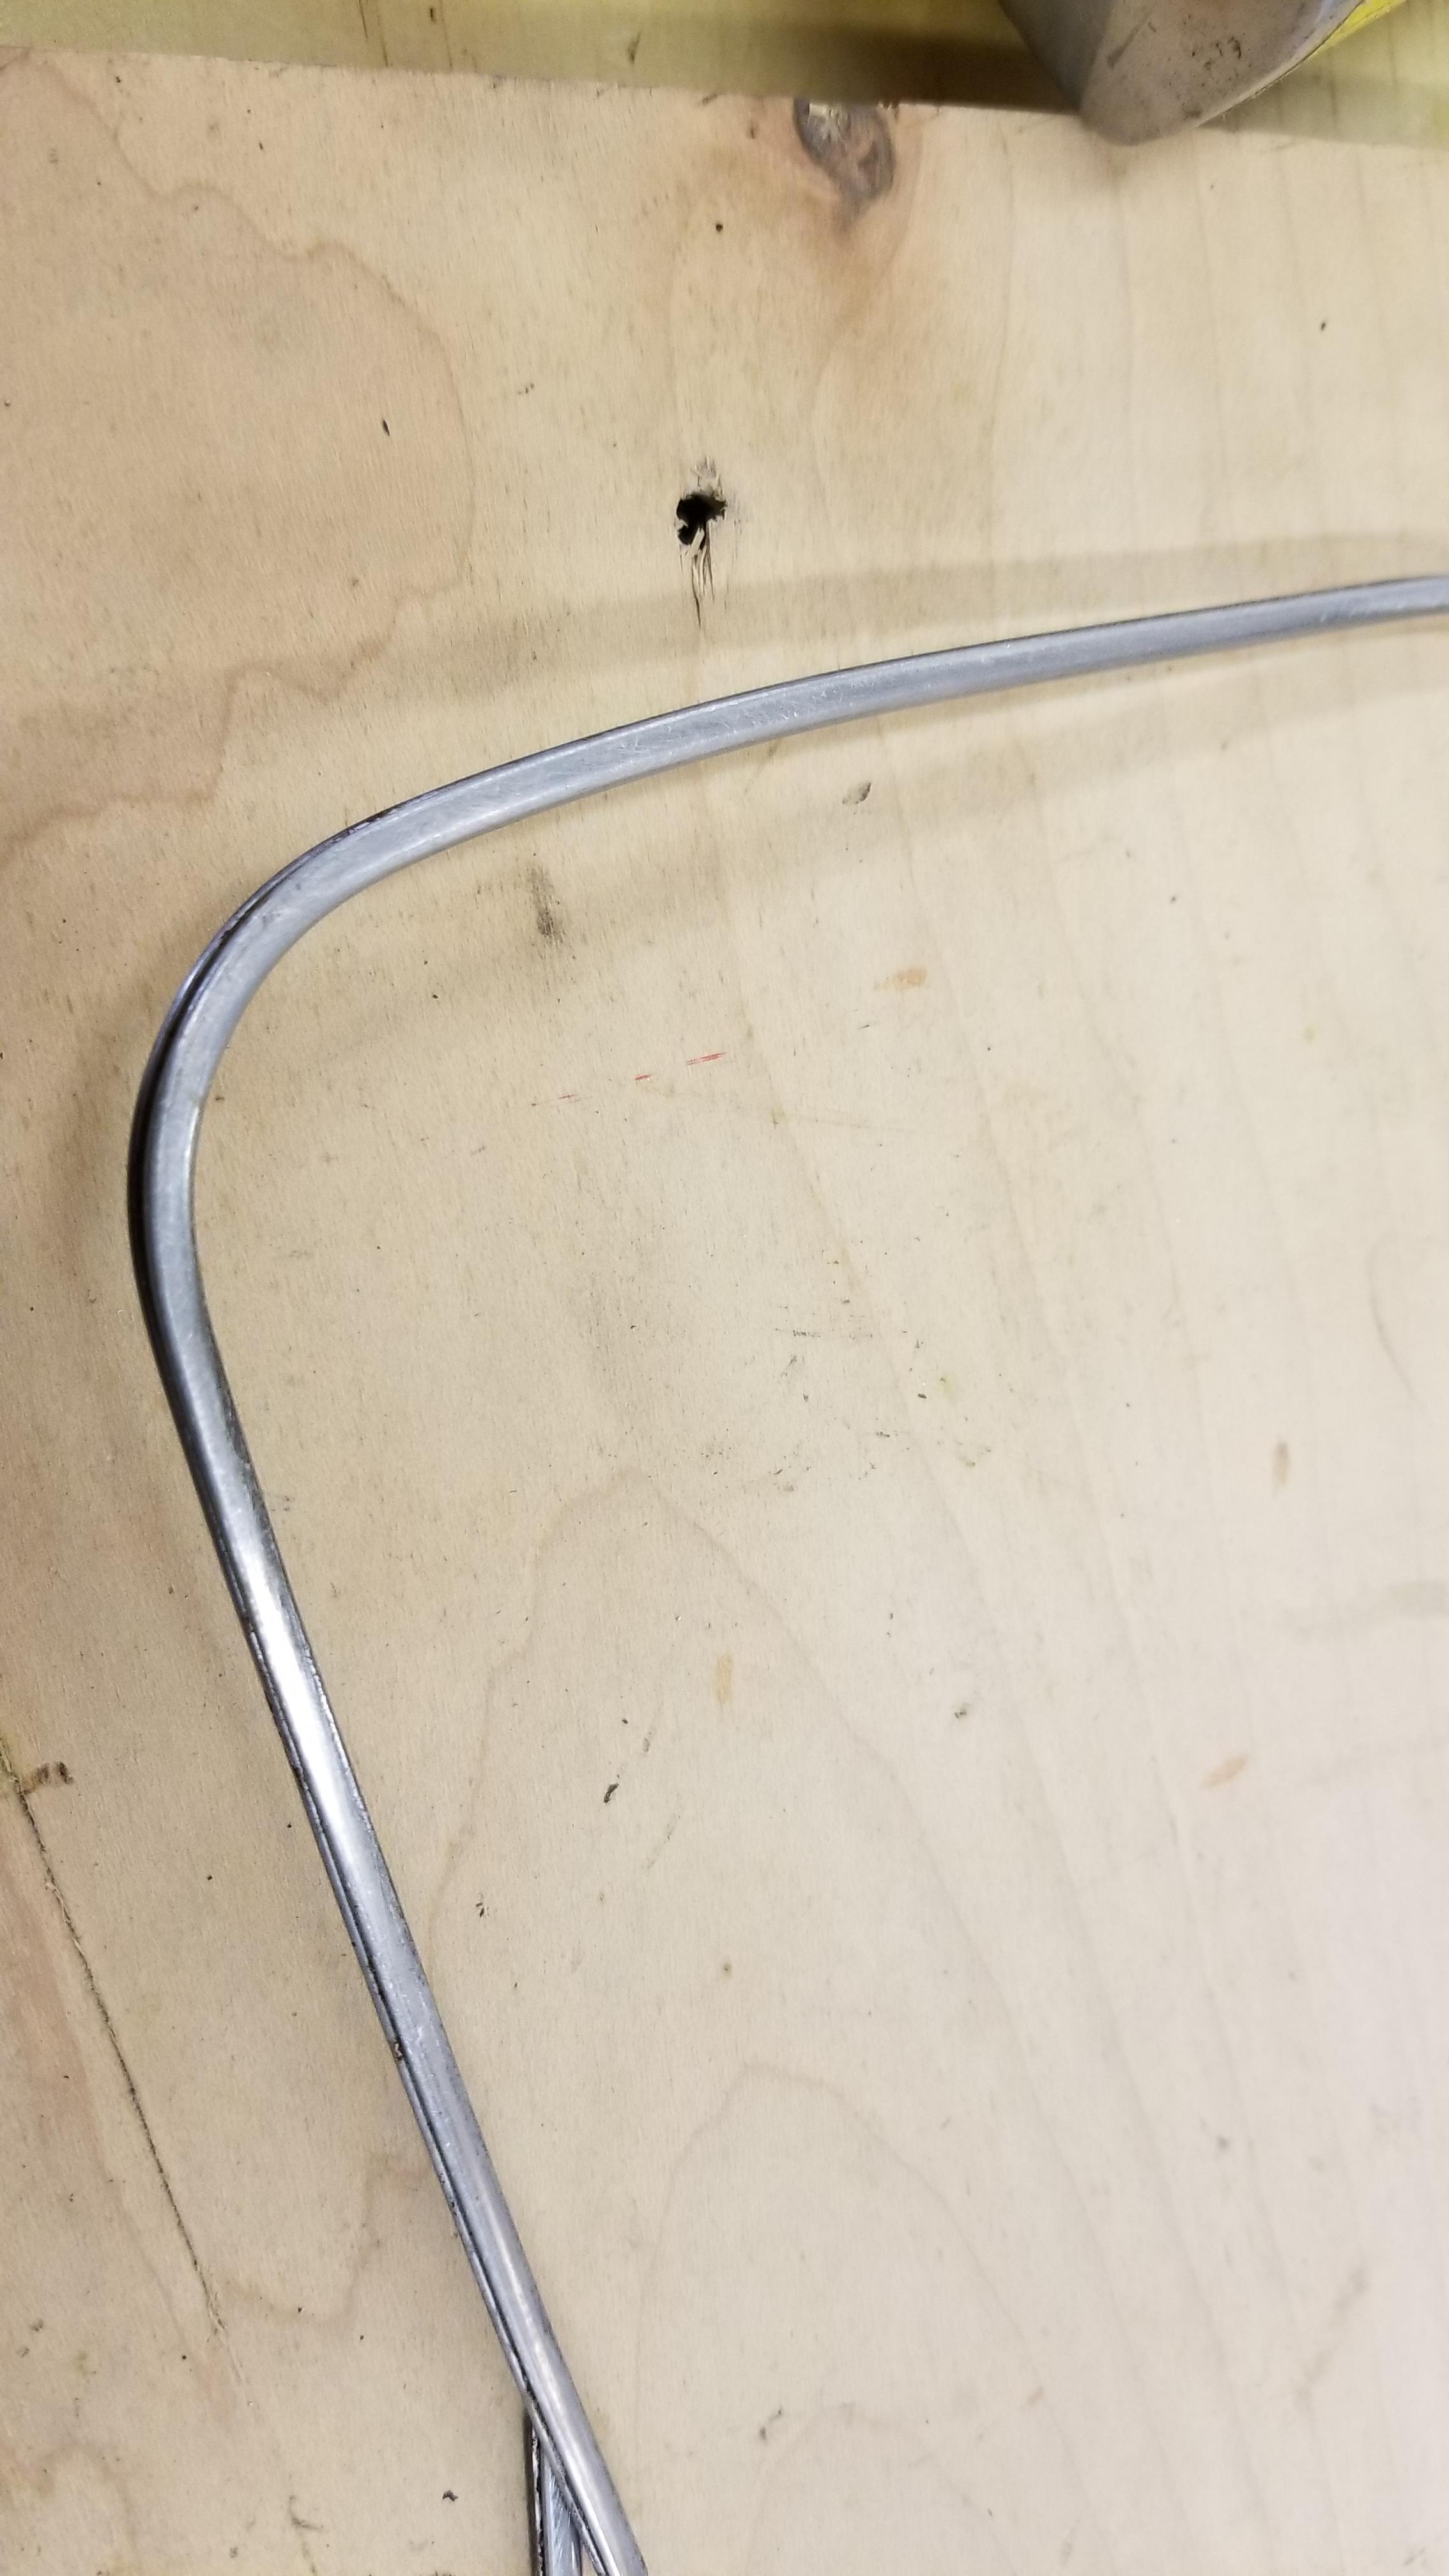
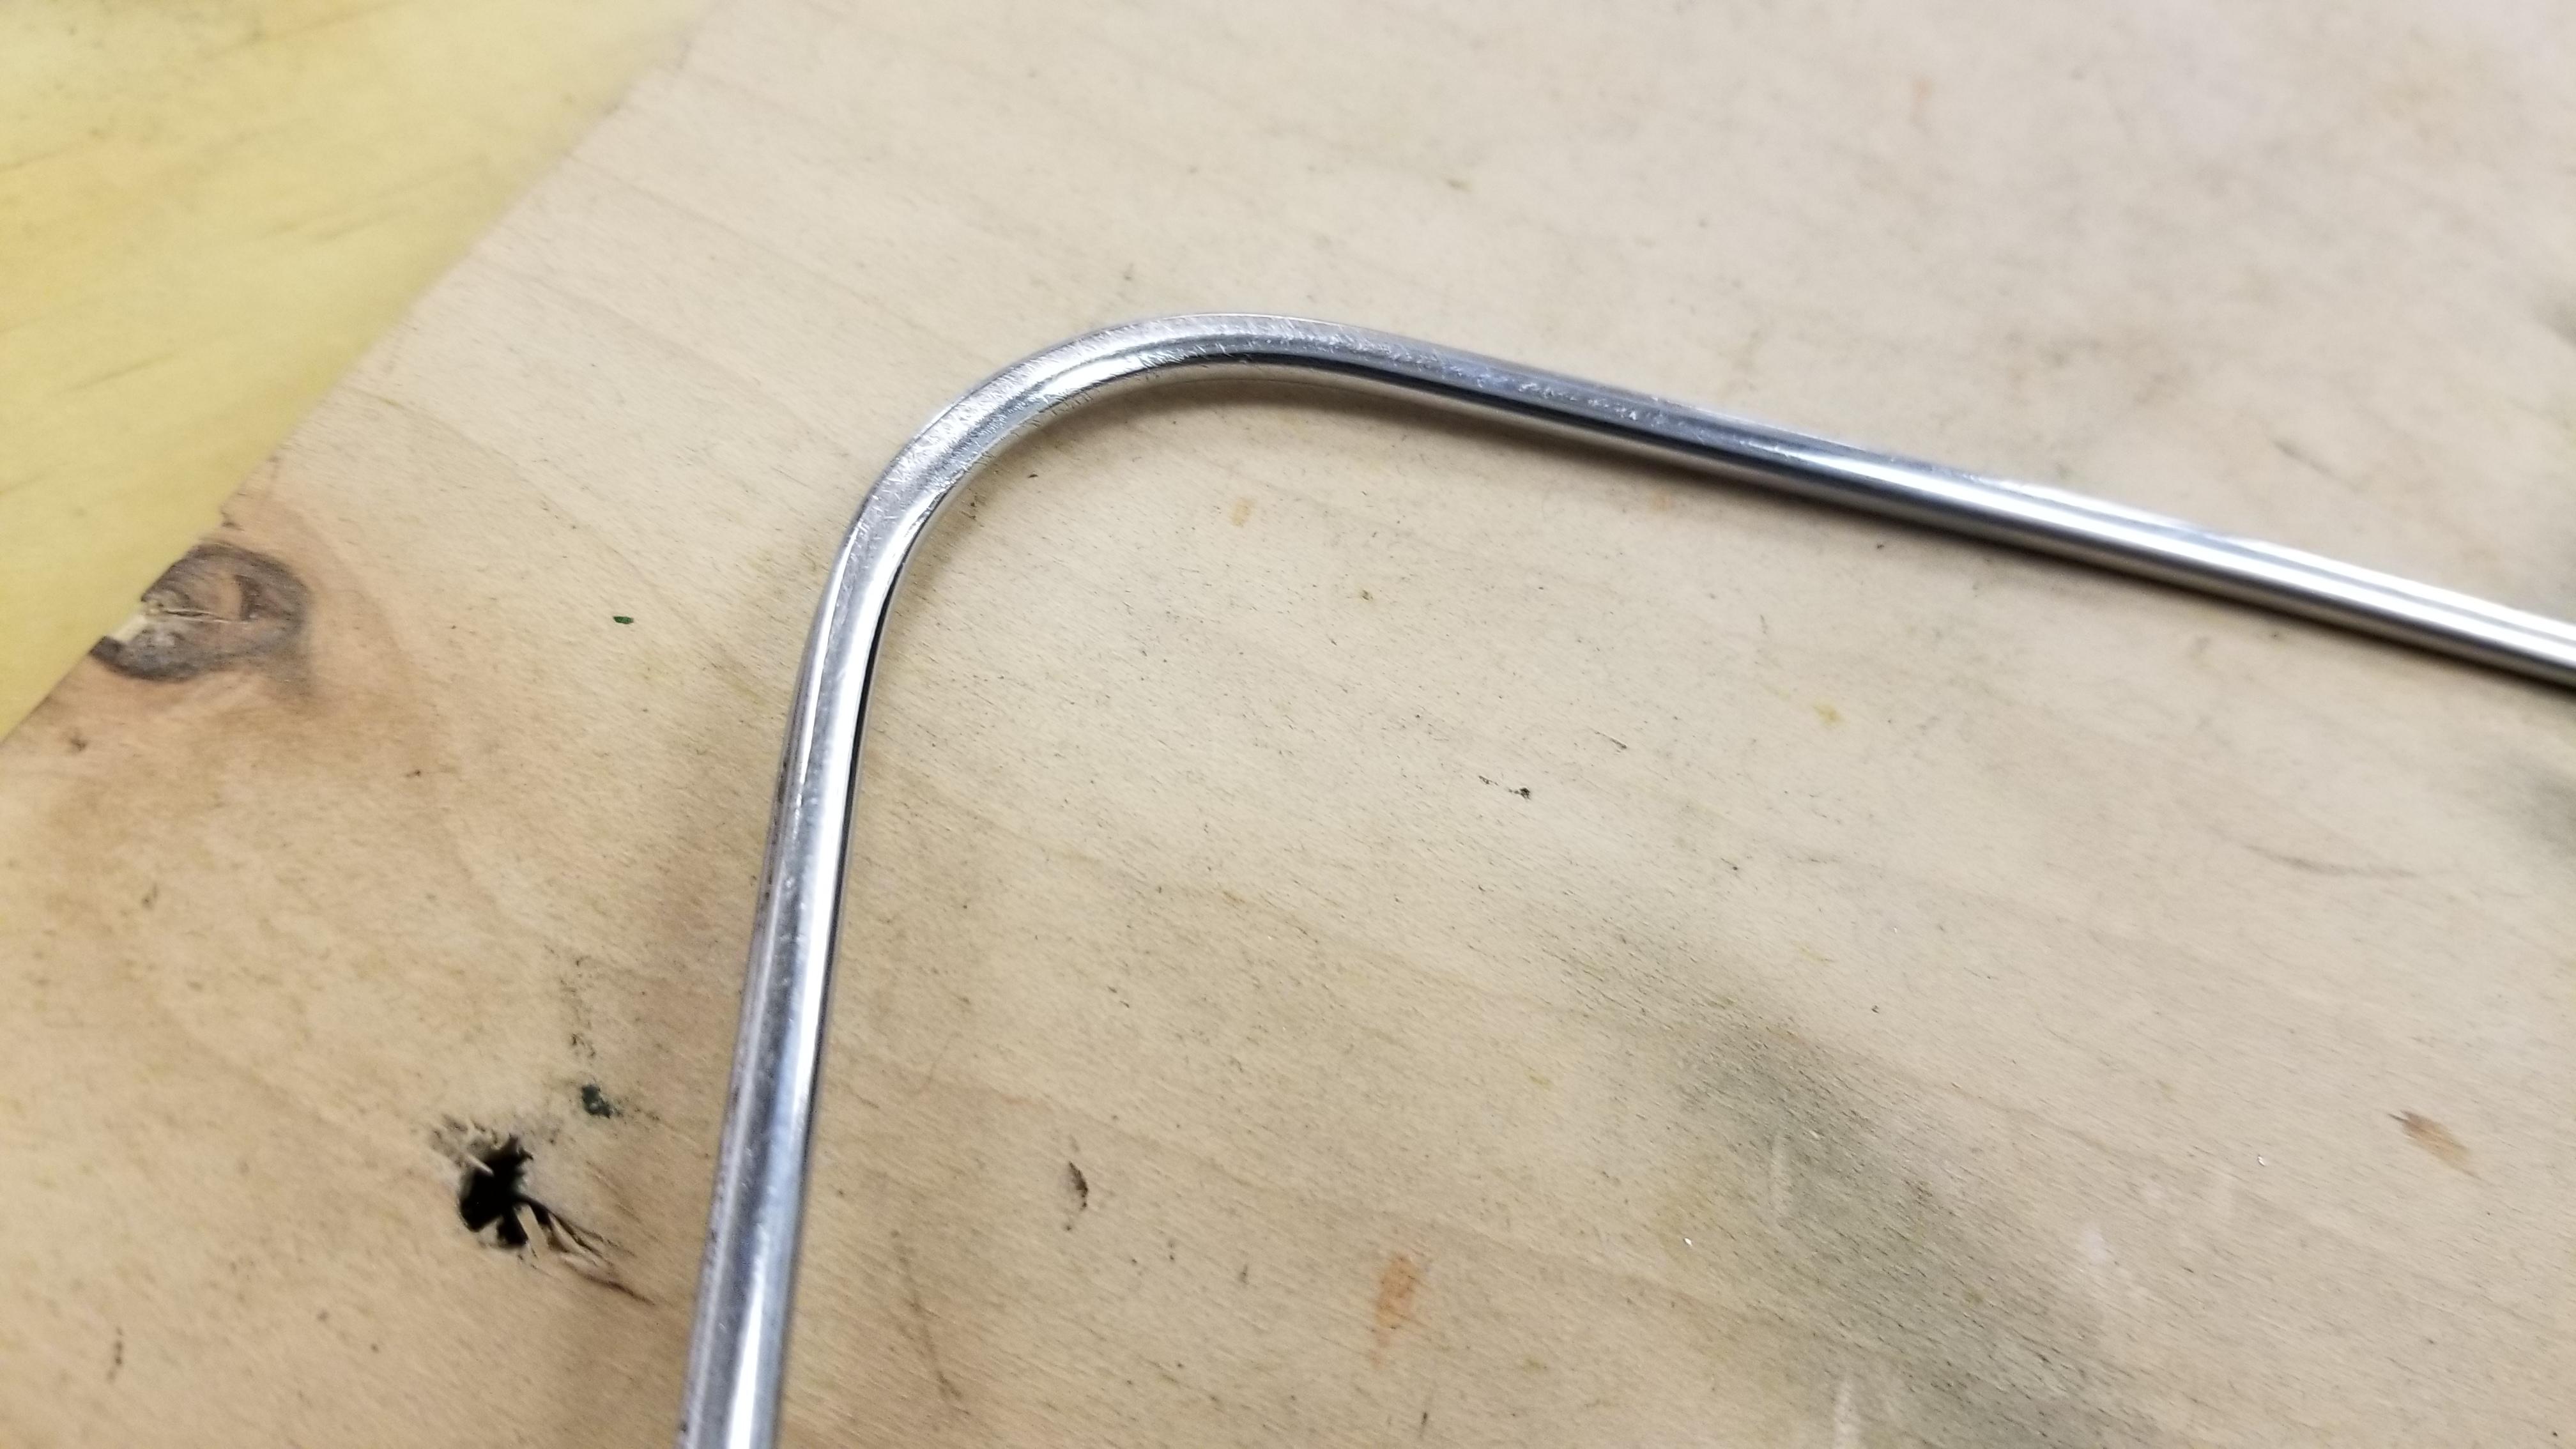
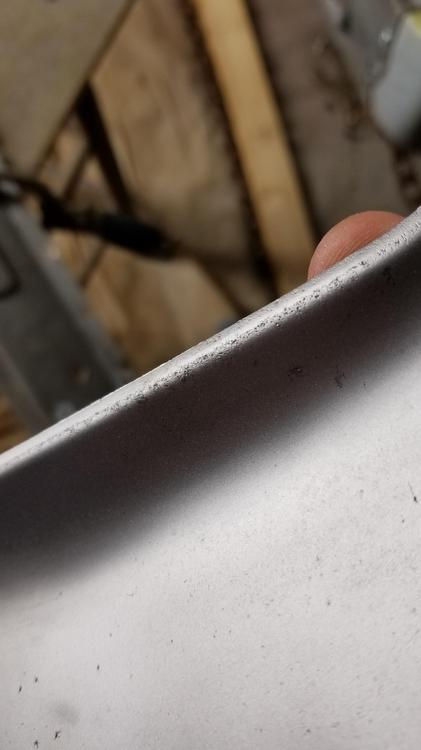
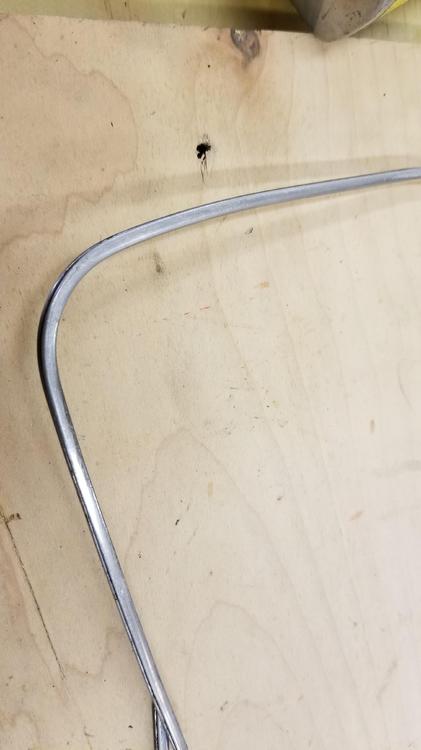
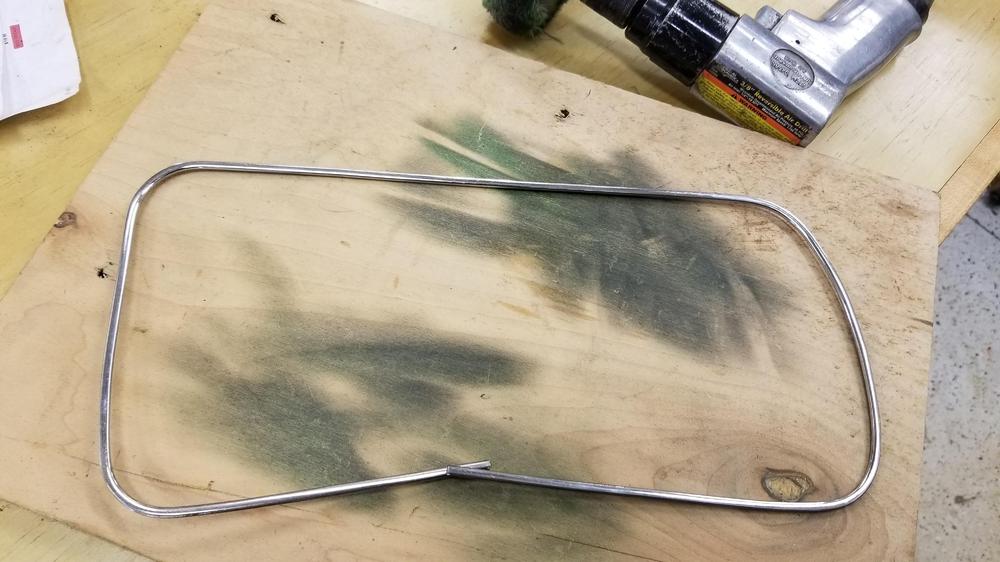
Stripped two of the three finishers on Saturday This is the rust I am trying to deal with Especially under the trim Worked on the finisher trim Stripped the paint off of them first Then did some polishing with a hand held wheel and the buffing stand. It turned out really nice so far I was going to double check that the trim is stainless but my adult kids brought me some illness over Xmas, so I didn't spend any time in the shop today. ?


-
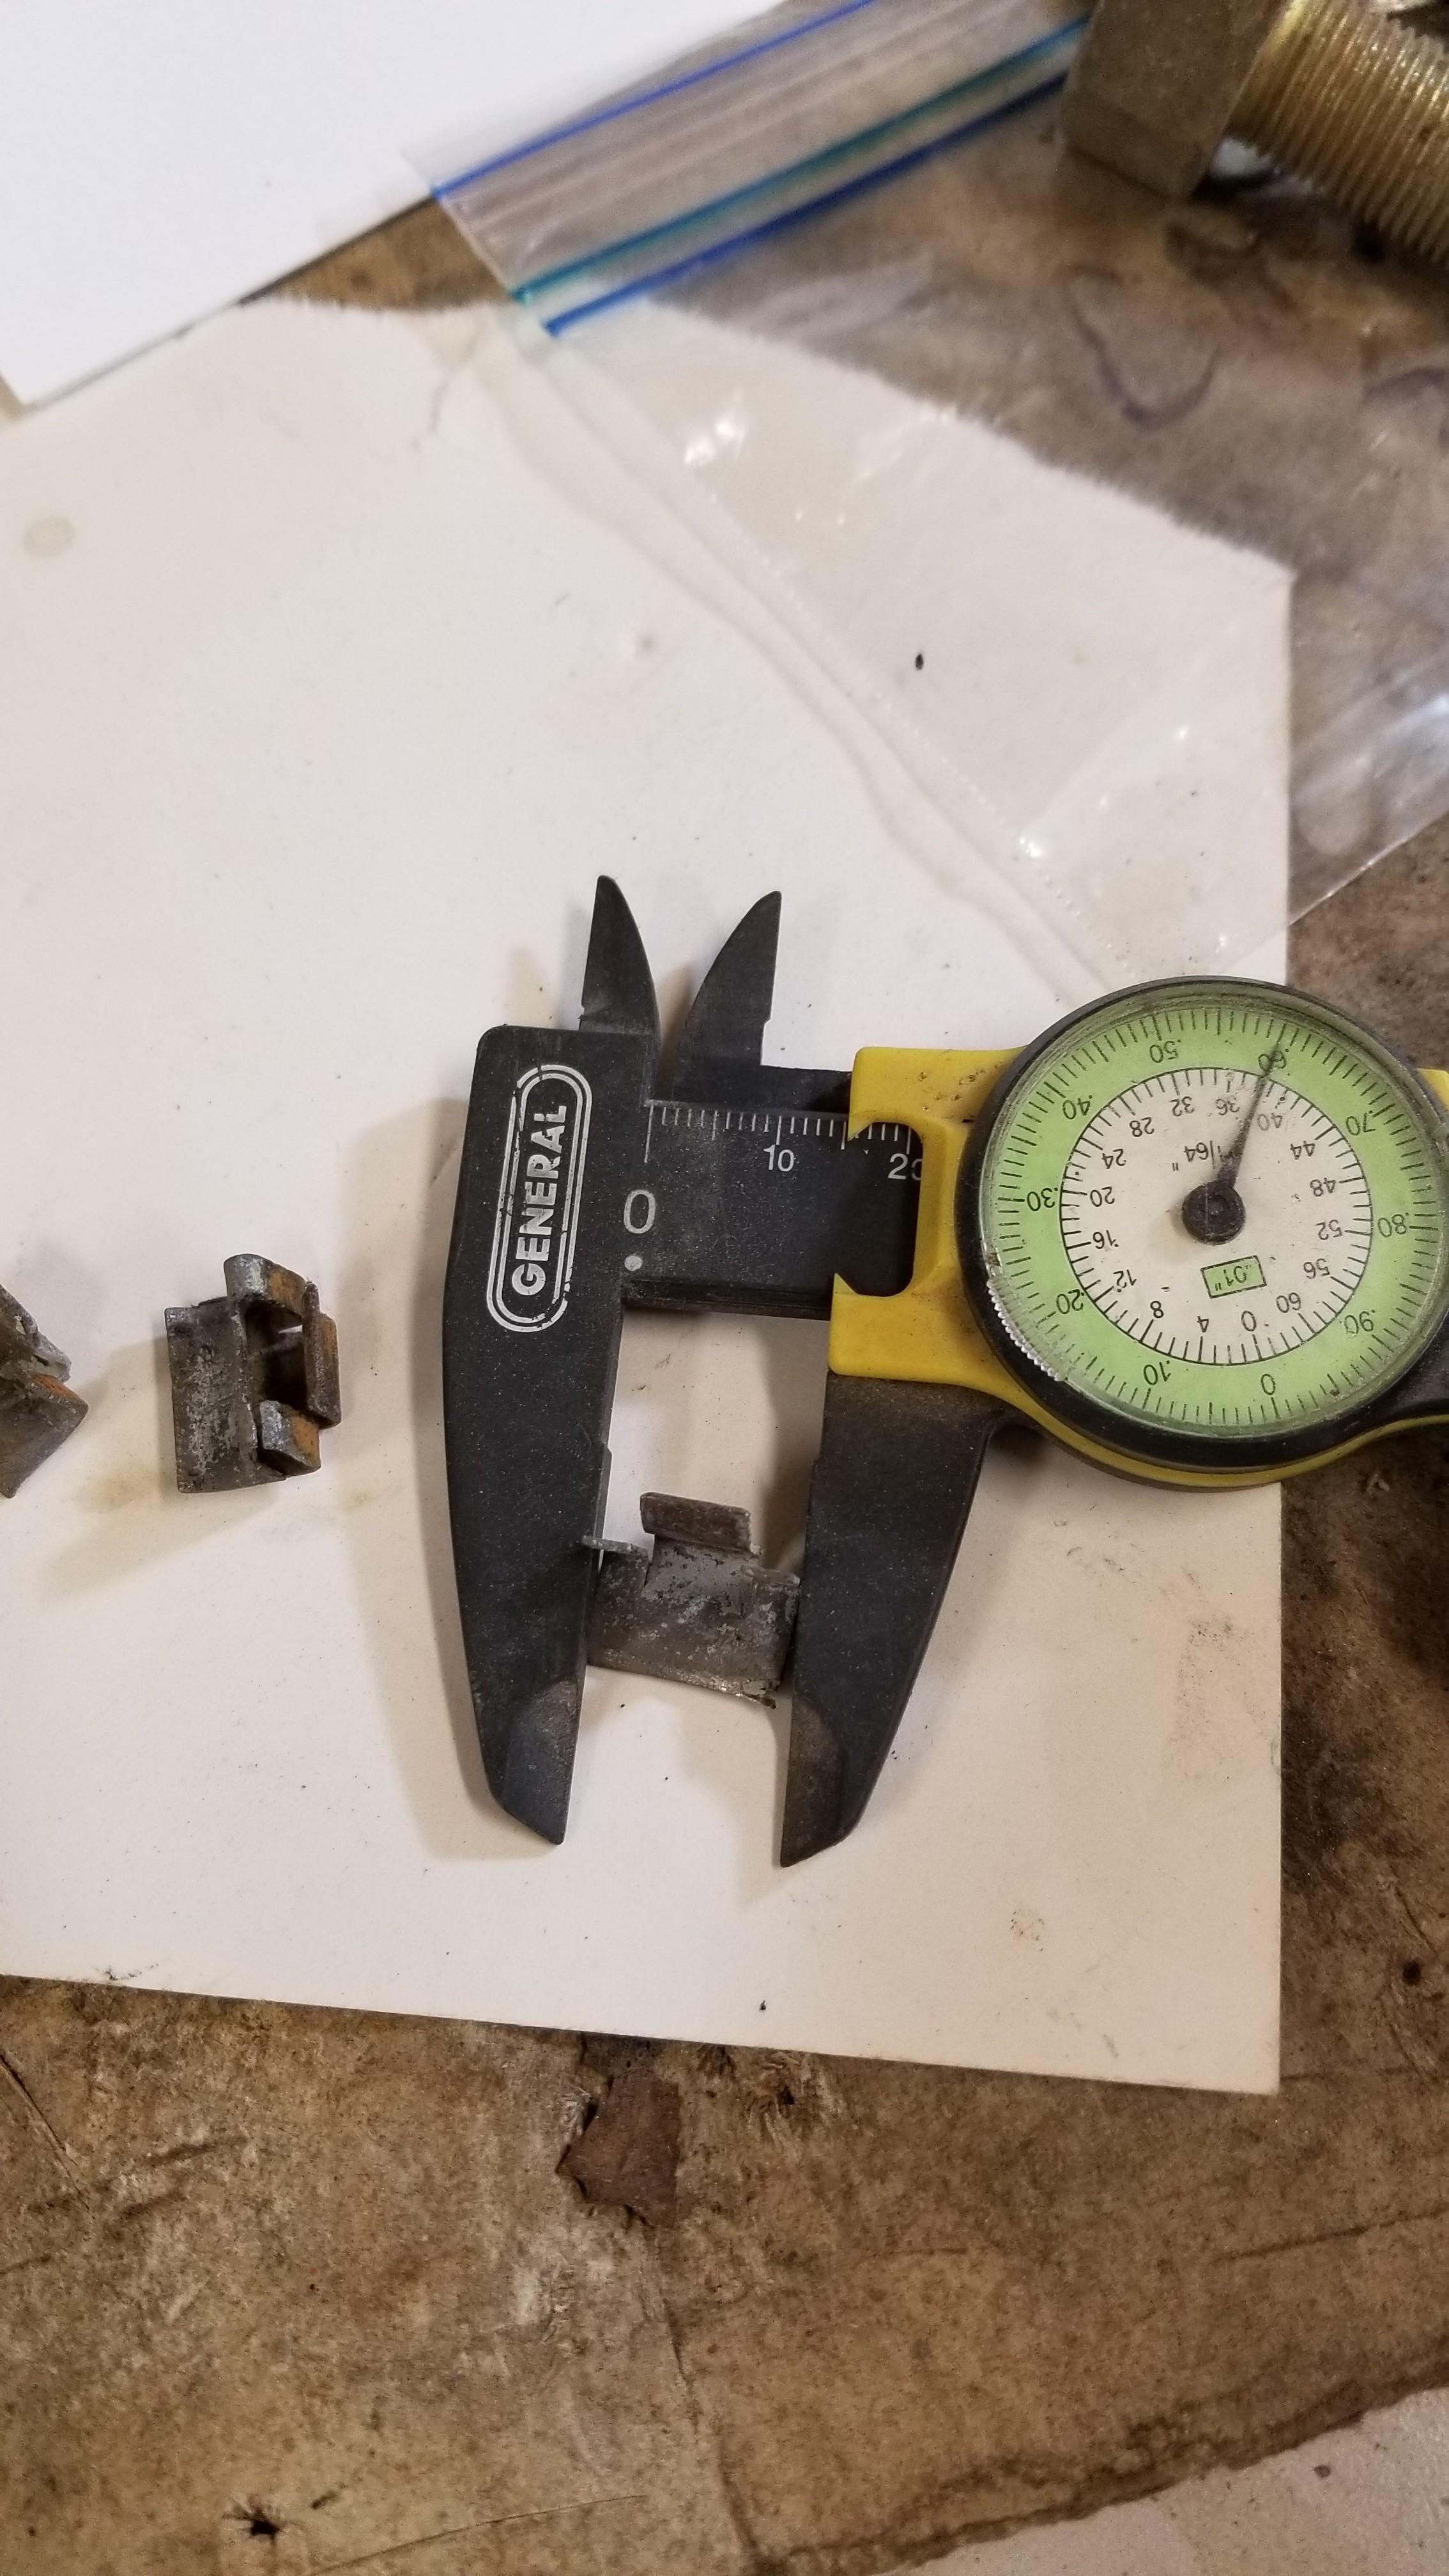
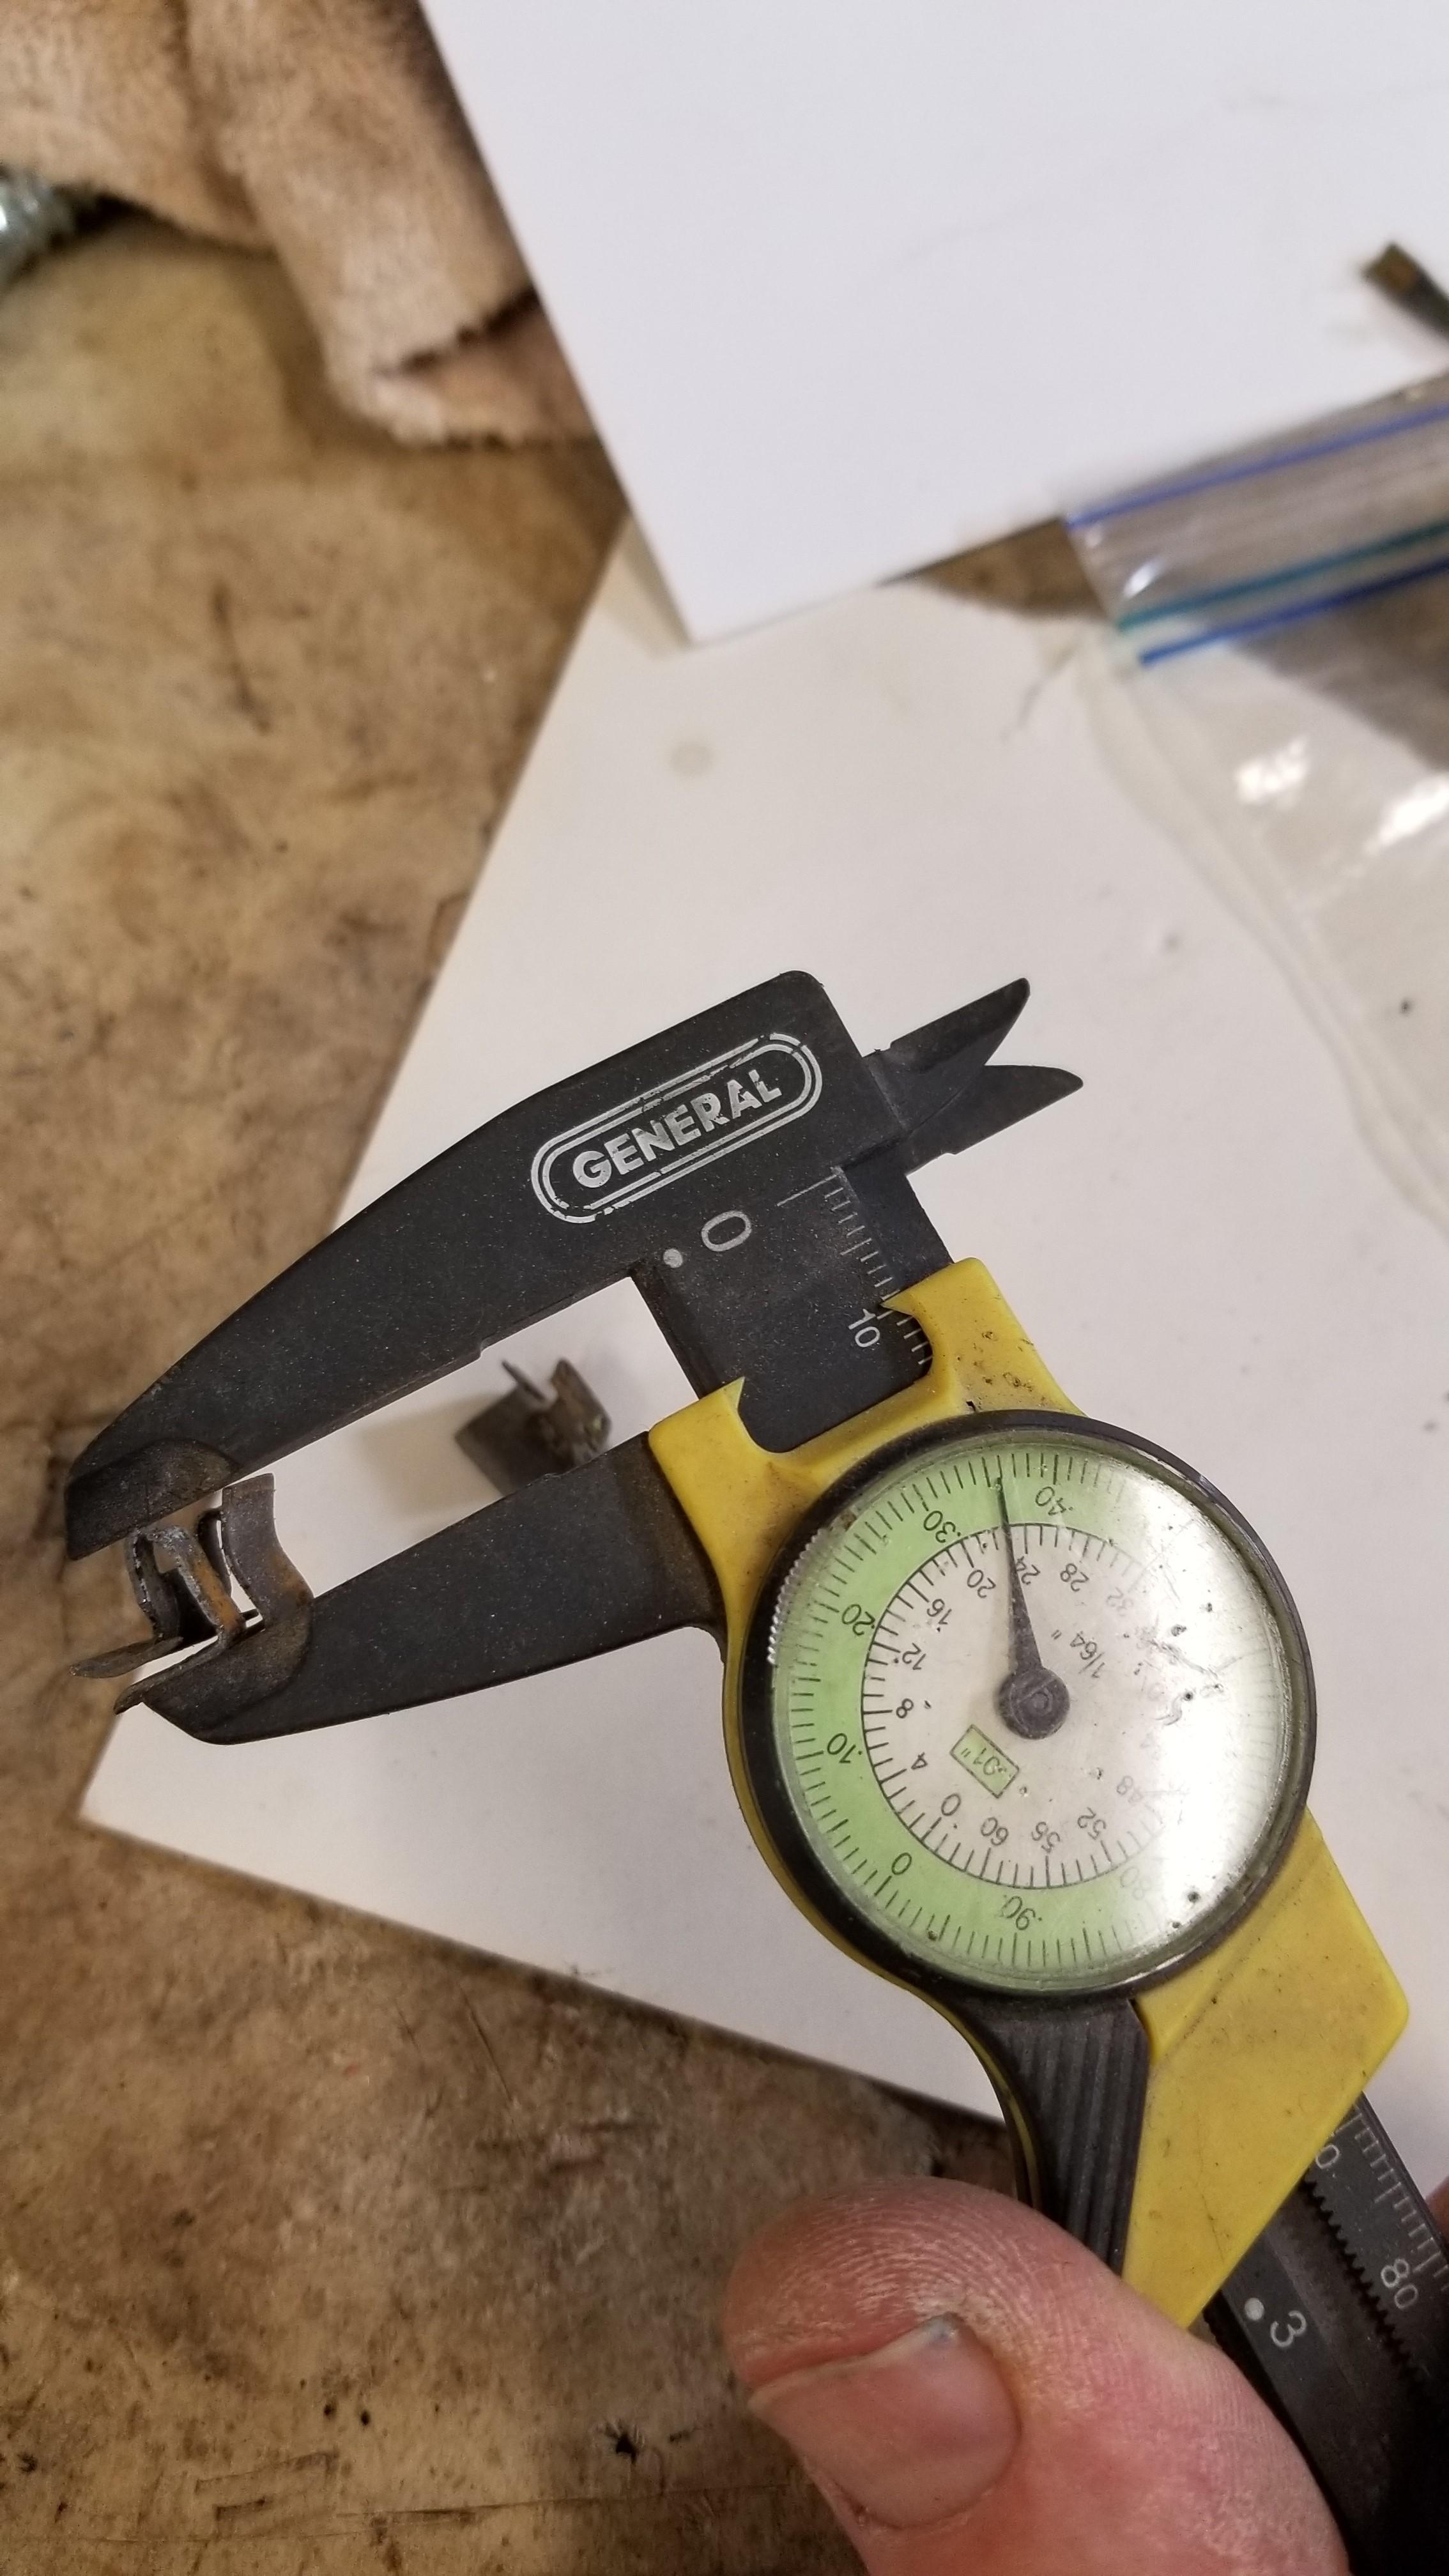
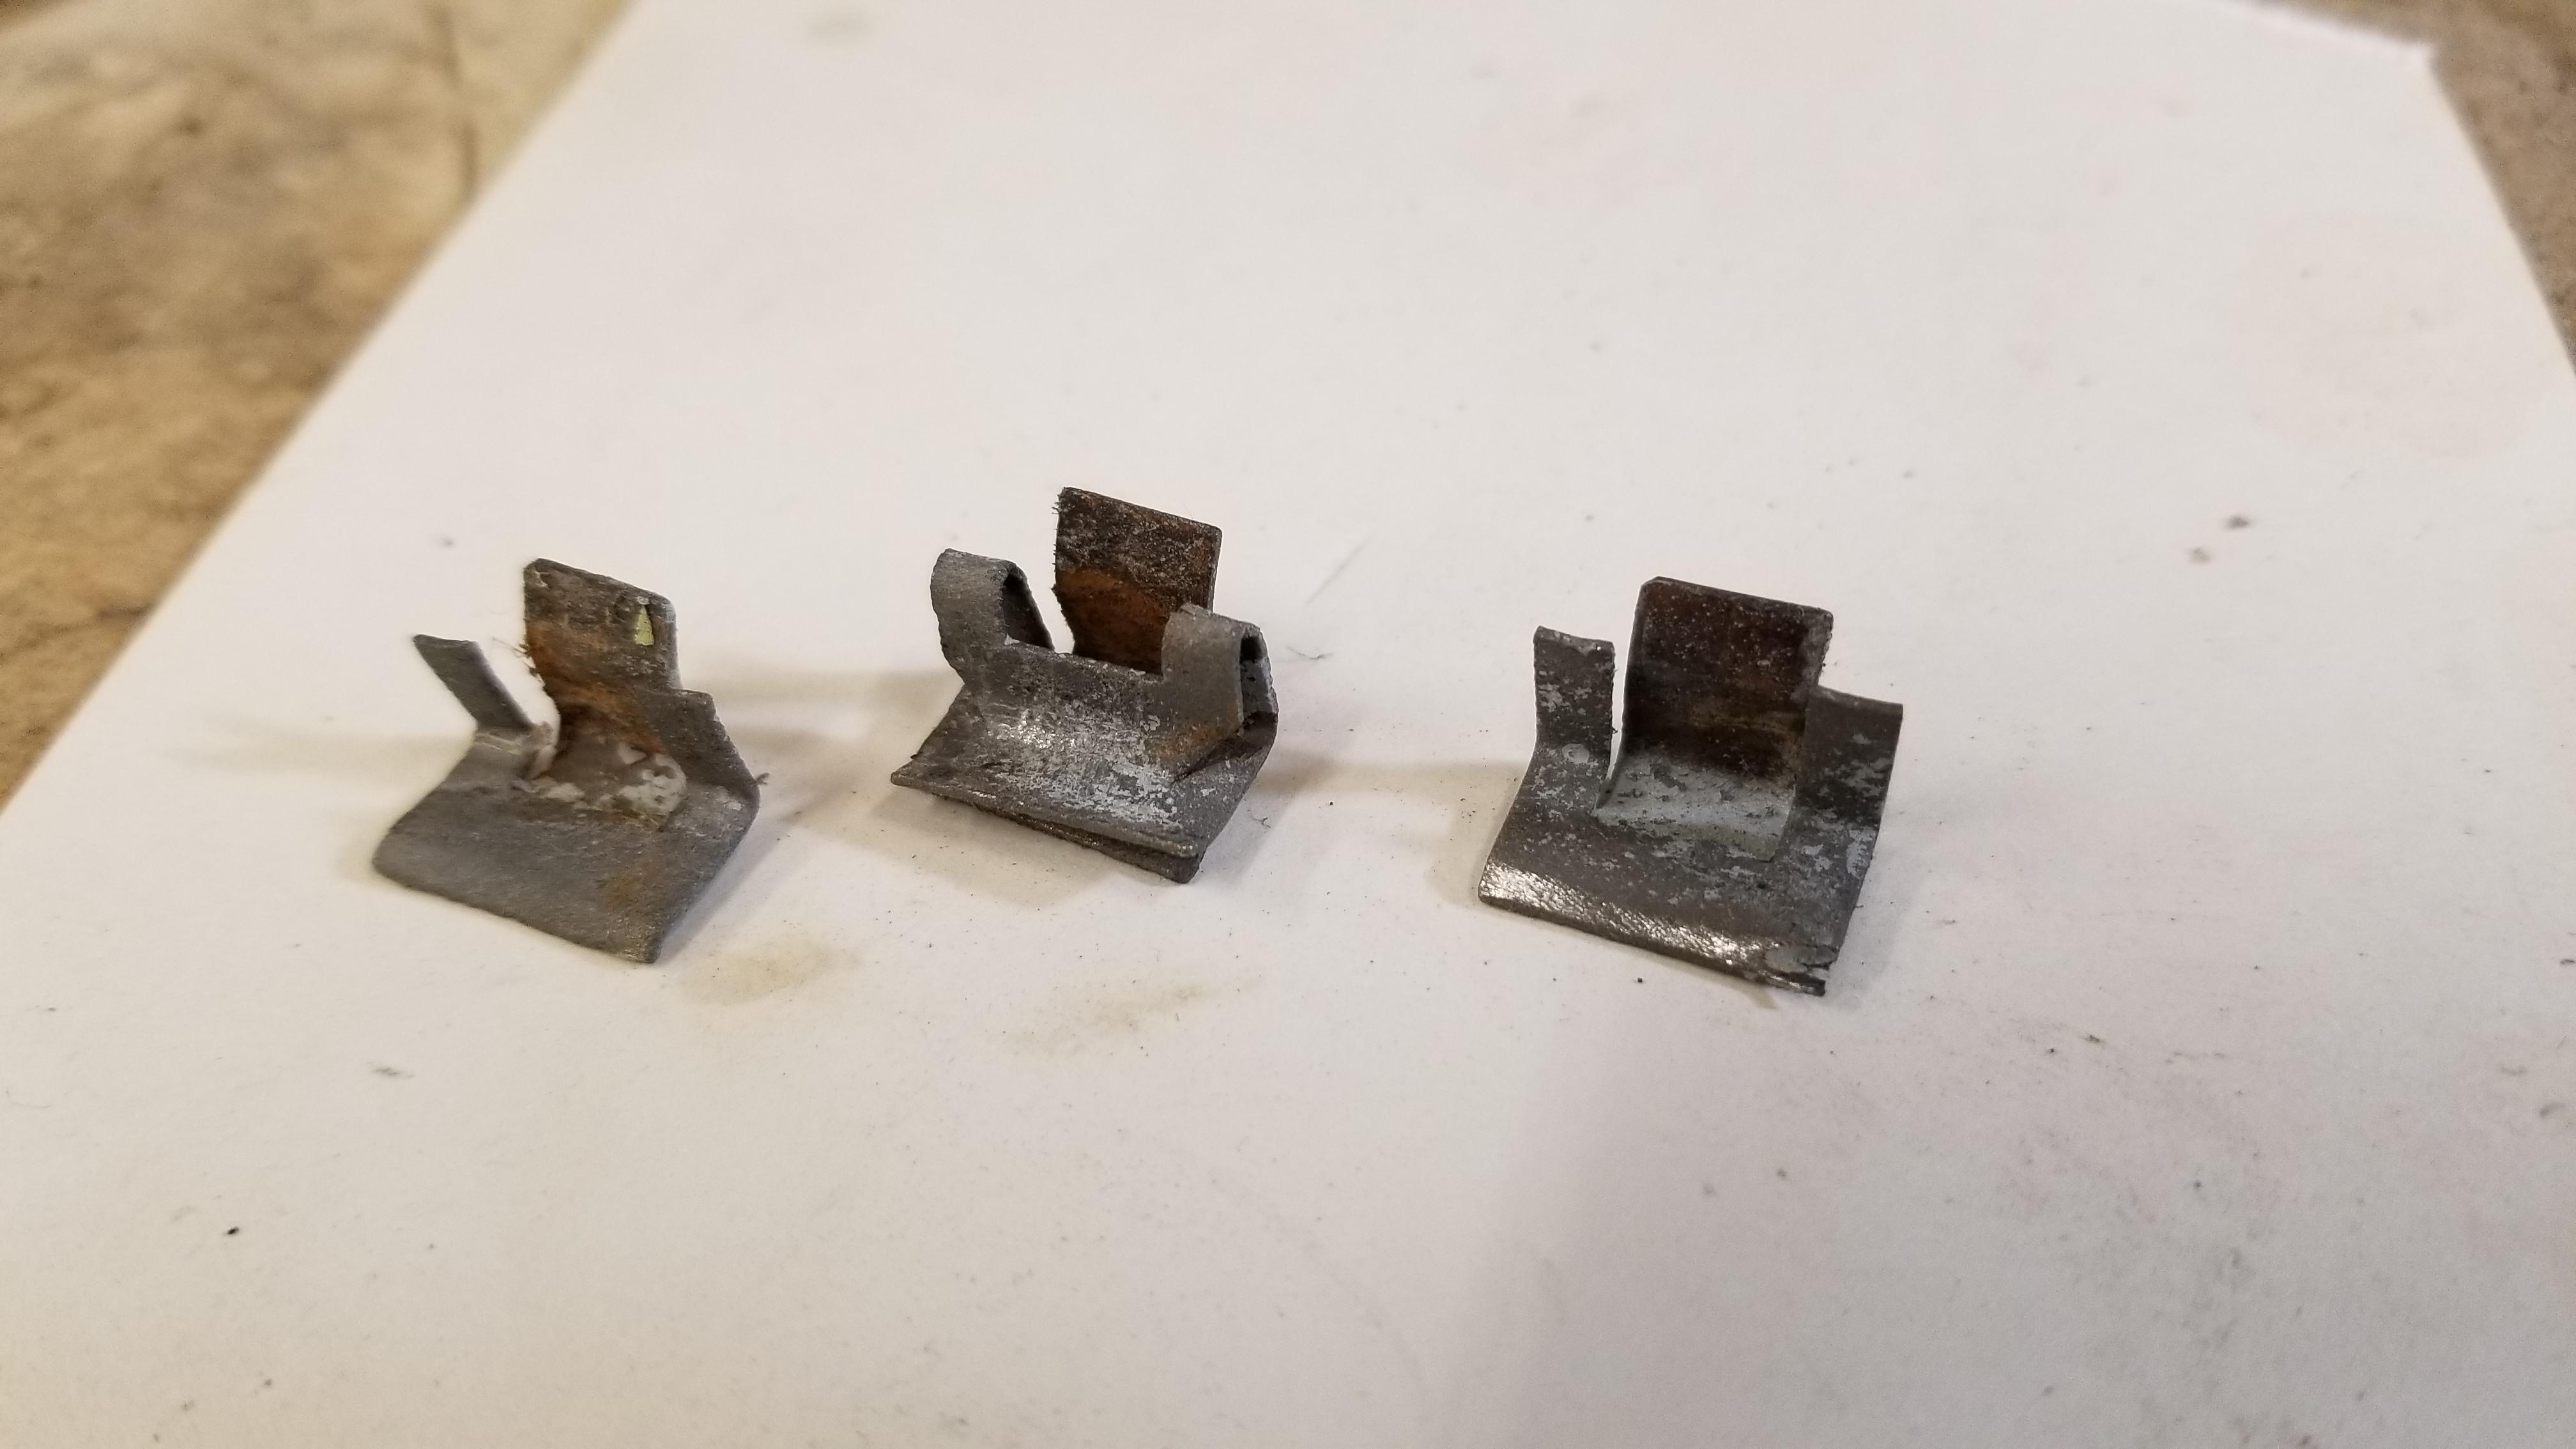
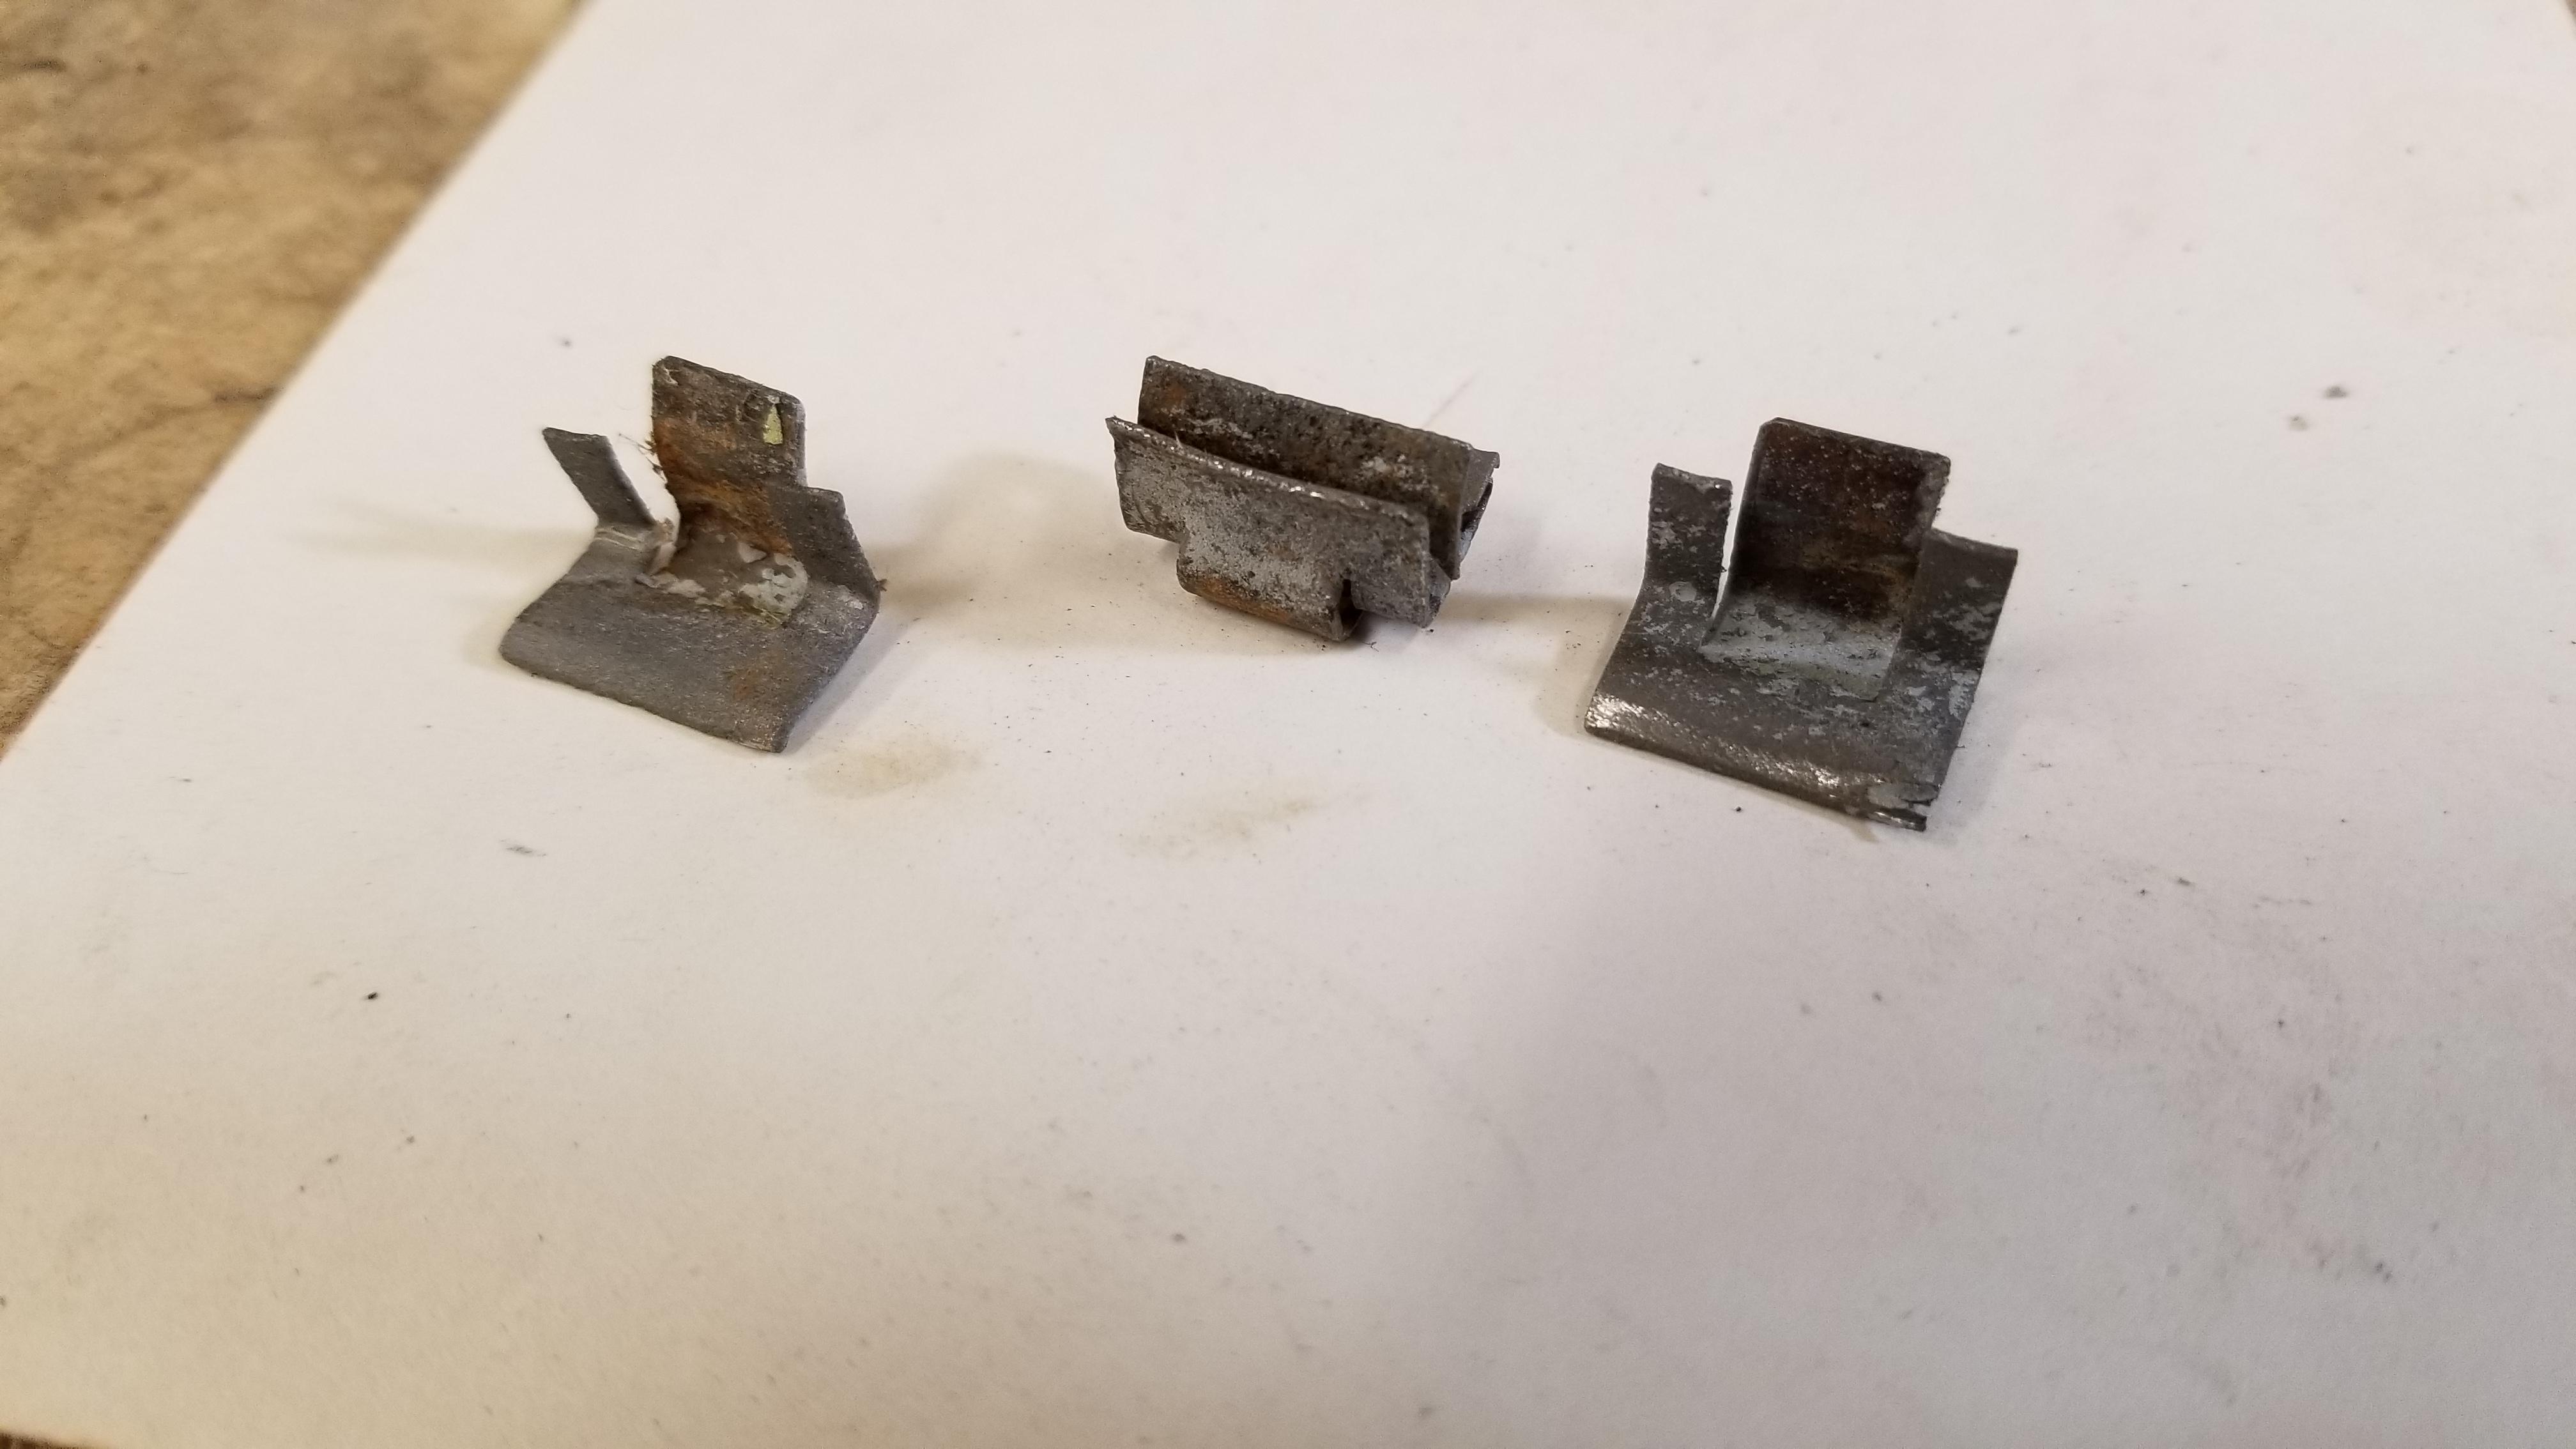
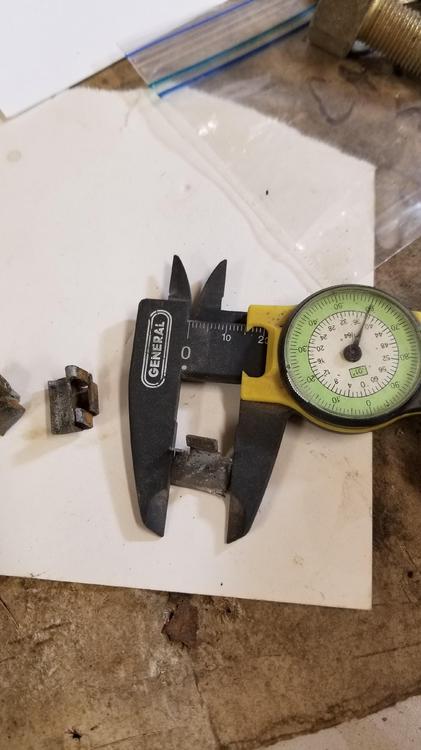
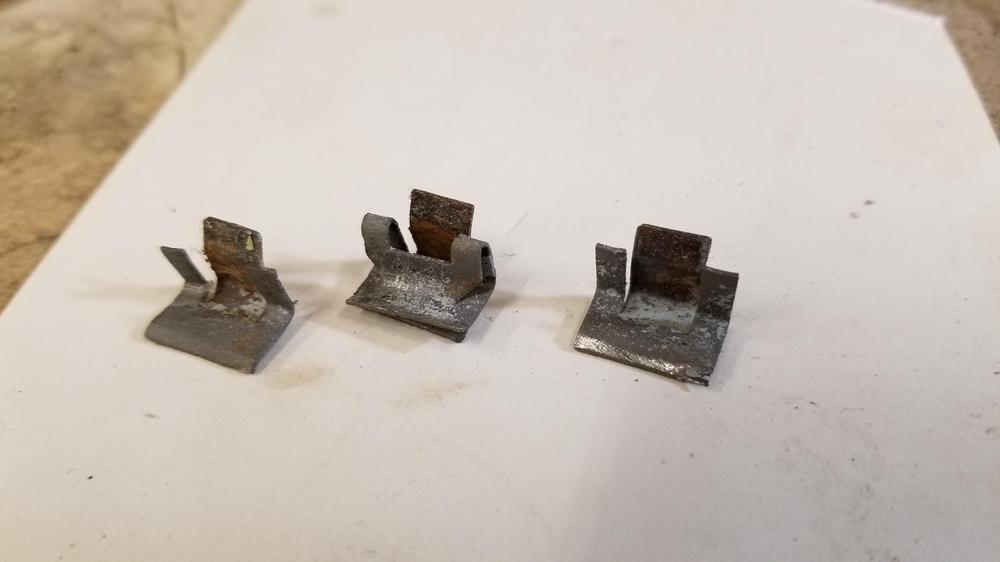
Here are some of the clips. Two halves and a whole. the whole one is cracked on top. They are difficult to get off. You have to bend the tab up some to get them off. I will prime them good before they go back on the car. Then readjust the welded tabs


-
Evidently this is difficult to source in the US. We would have to get it directly out of Japan. I did some looking and even some of the sources available from other countries are being drop shipped out of Japan.
-
I agree! I think they are a really nice variation on that wheel.
-
Nahh, just need to find a new project.
-
@Home Built by Jeff Jeff, Did you see any of the threads on the forum about dash repair? A number of people have had good results with filling the dash and using SEM products to recolor and texture the repairs
-
Could be a beautiful car, but will need lots of work. I think it would be harder to restore in a left hand drive market than a right hand drive market. I suspect there will be lots of little 432 specific parts that will be needed. Probably easier to restore it in japan than anywhere.
-
Actually I cut them off! I think I have it figured out. The rotors are on the car with the calipers rebuilt and set. Thanks for the offer though!
-
I agree they are not very noticeable below the finisher. I thought I might plate them to prevent them from rusting. I don't see being able to get them well painted if they are on the car. We'll see
-
I will work on them this weekend
-
That would be fabulous Jim!!! What is the original finish? Were they painted with the car? It seems like black chromate would be the right color for them...
-
-
It's an amber, did Jim have a thing for red heads?? I mean it's sort of difficult to know. He sort of liked all the women with a pulse. Blonde, brunette, green...
-
-
Excellent!!! Thanks Steve. I still need to come see you, if only to visit and see your progress
-
yes @JLPurcell
-
I found a part number for the clips 79907-E4101 Evidently NLA
-
I thought about that, but they was some rust near by and I was concerned it was underneath the trim. Hoping if I go this route and remove all the rust. What did you use for refinishing the panels? Also, as an aside, these panels are EASILY bent. They can also be straightened by hand if needed.
-
Intake manifold leaks...maybe. Although I would suspect lean not rich on manifold leaks
-
I wondered about width as an issue. I am waiting on the bumpers to come in to verify everything is correct.
-
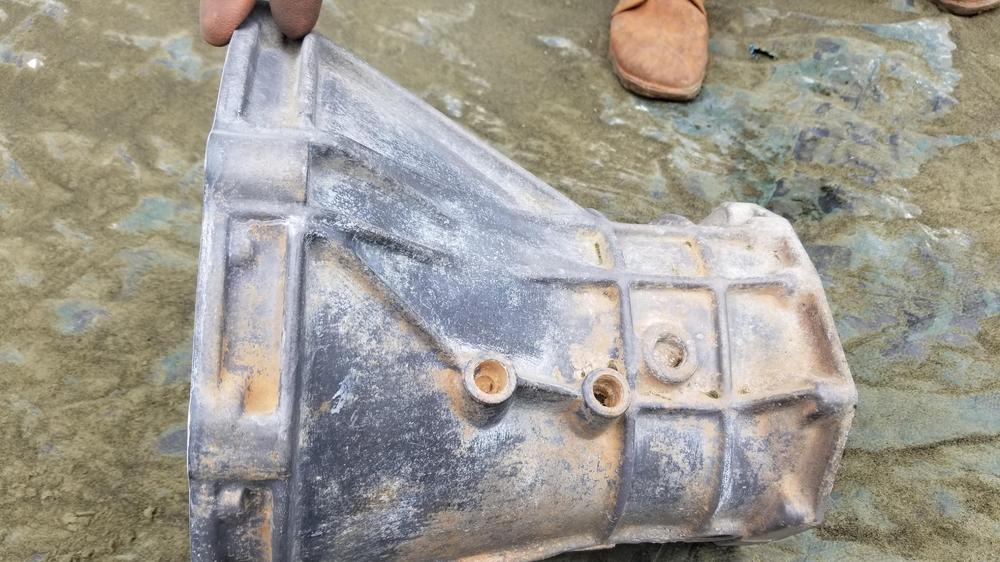
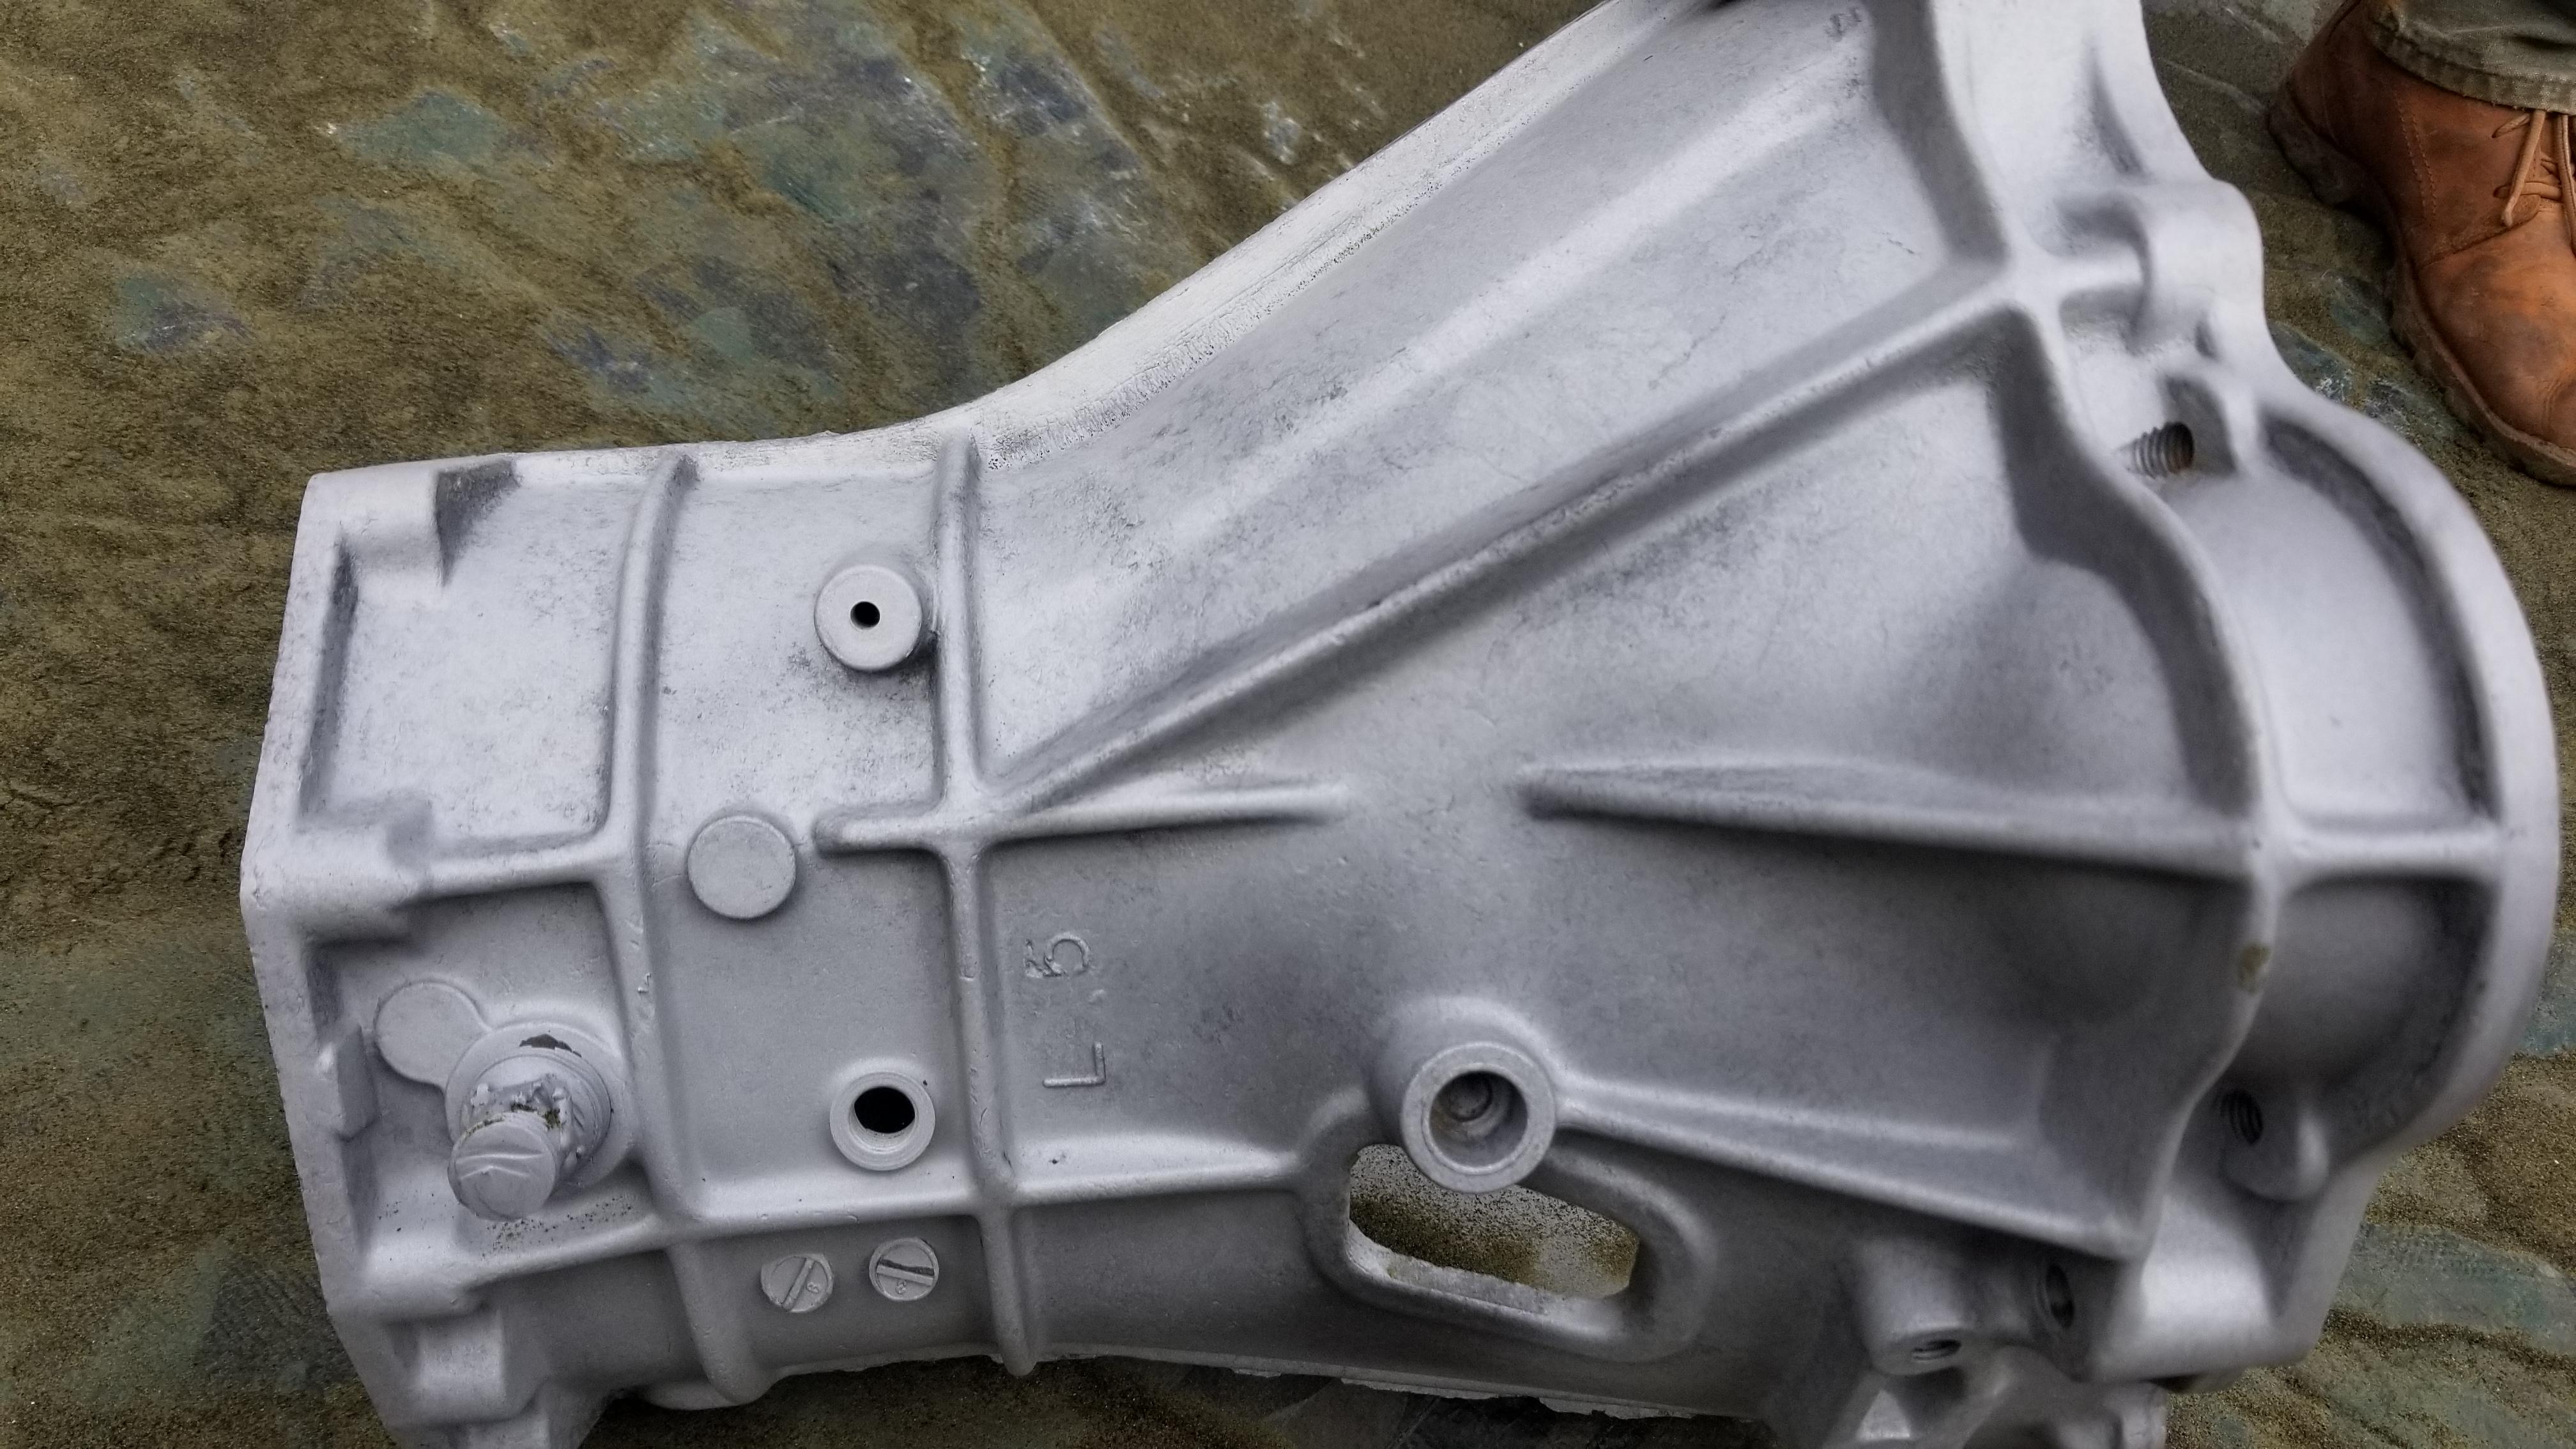
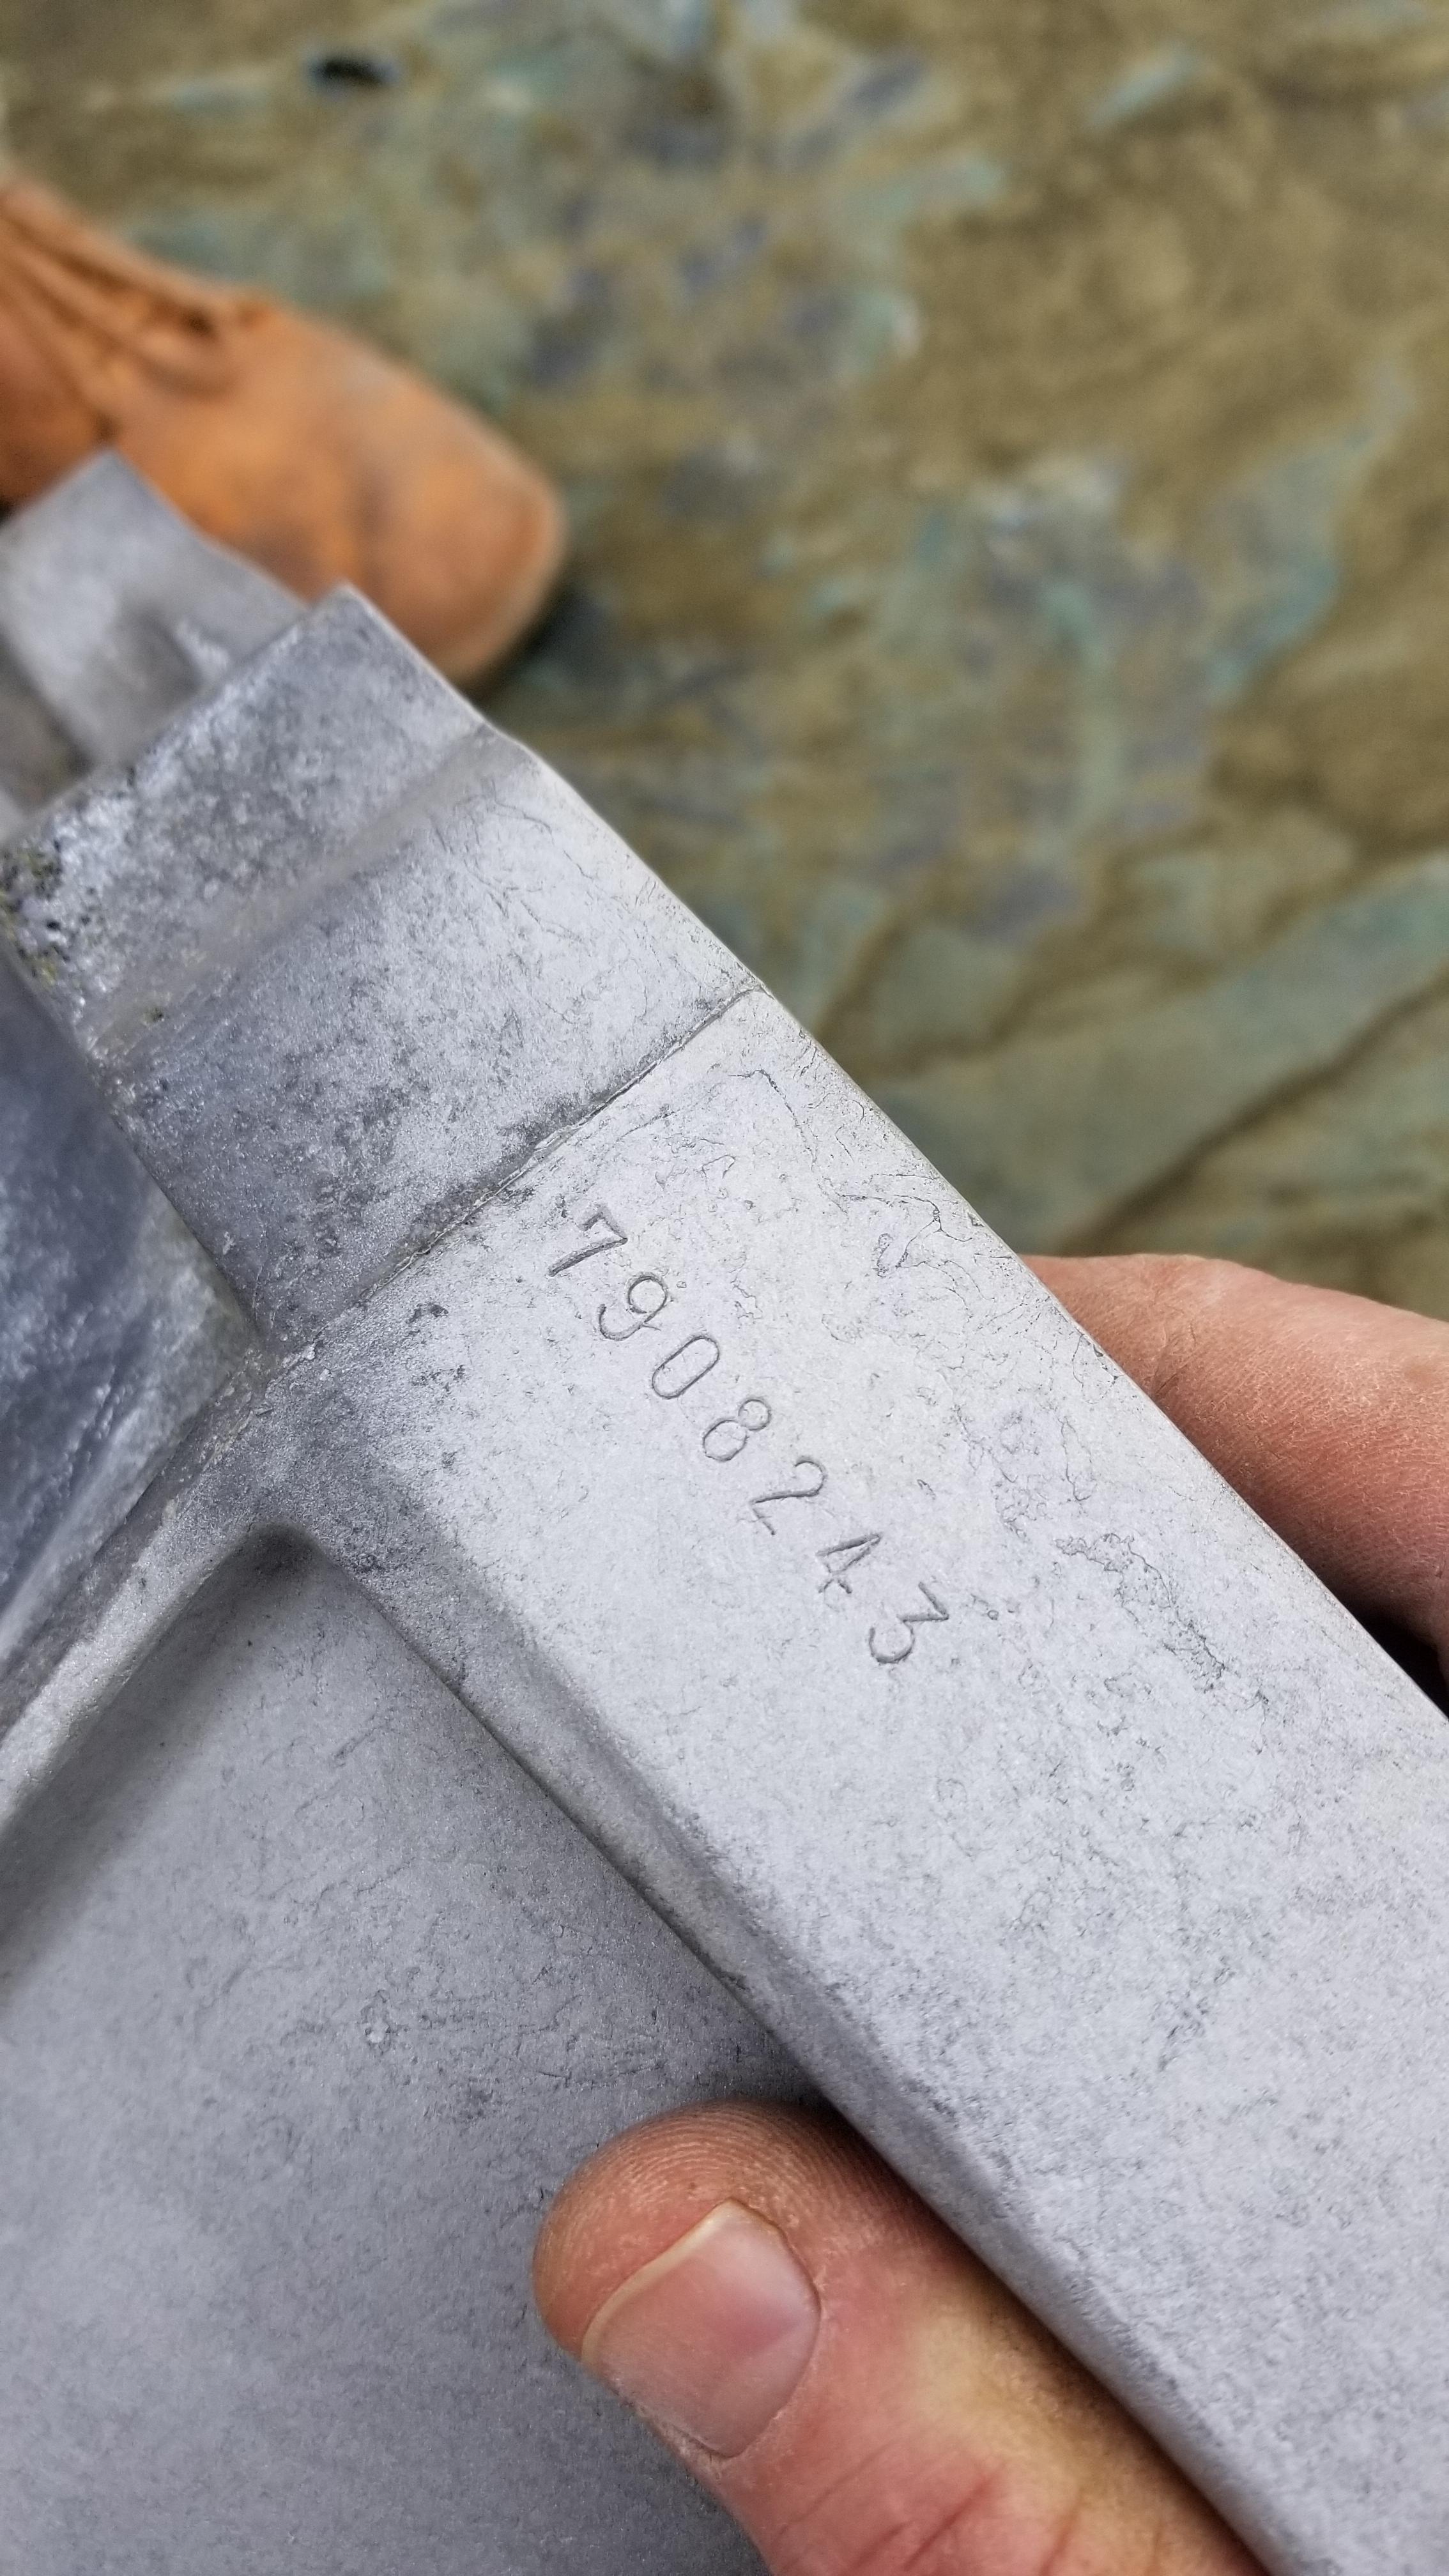
I finally got Cody to do something today. I am waiting on just a few pieces for the tranny but in the meantime he needs to get the cases clean. This was after oven cleaner Thanks Cliff @siteunseen This was after blasting. We used the pressure pot because it's too big for the blasting cabinet. I need a bigger one... There was an interesting number on the top of the belllhousing He then shot a couple of coats of Diamond clear on it. Hopefully he will do the back half this weekend. In relation to that, does the shifter arm have a slot for the locking bolt to position it? We need to strip the rear case and I wouldn't think the shifter would have to be set in a certain position. I am assuming the rod is notched to allow the bolt to pass beside it and set the arm in a specific position.