motorman7
 Subscriber
-
Joined
-
Last visited
Everything posted by motorman7
-
 That's funny, I don't think I could get away with that. Anyway, wife comes home tonight. I will see if she would like to check it out tomorrow if the owner will let me stop on by. I think this would help as the owner lives in Ranch Santa Fe, one of the nicest areas in So Cal. I took the Hyundai when I checked it out originally and was completely embarrassed driving it in that area. I think if I take her there in the roadster, that would go a long way. The area is absolutely gorgeous. Just part of the 'winning her over' process. I mentioned it on the phone when we talked and did not get a negative response, so we will see how it goes. As @Hardway mentioned above....there will be concessions. I'm good with that.
 -
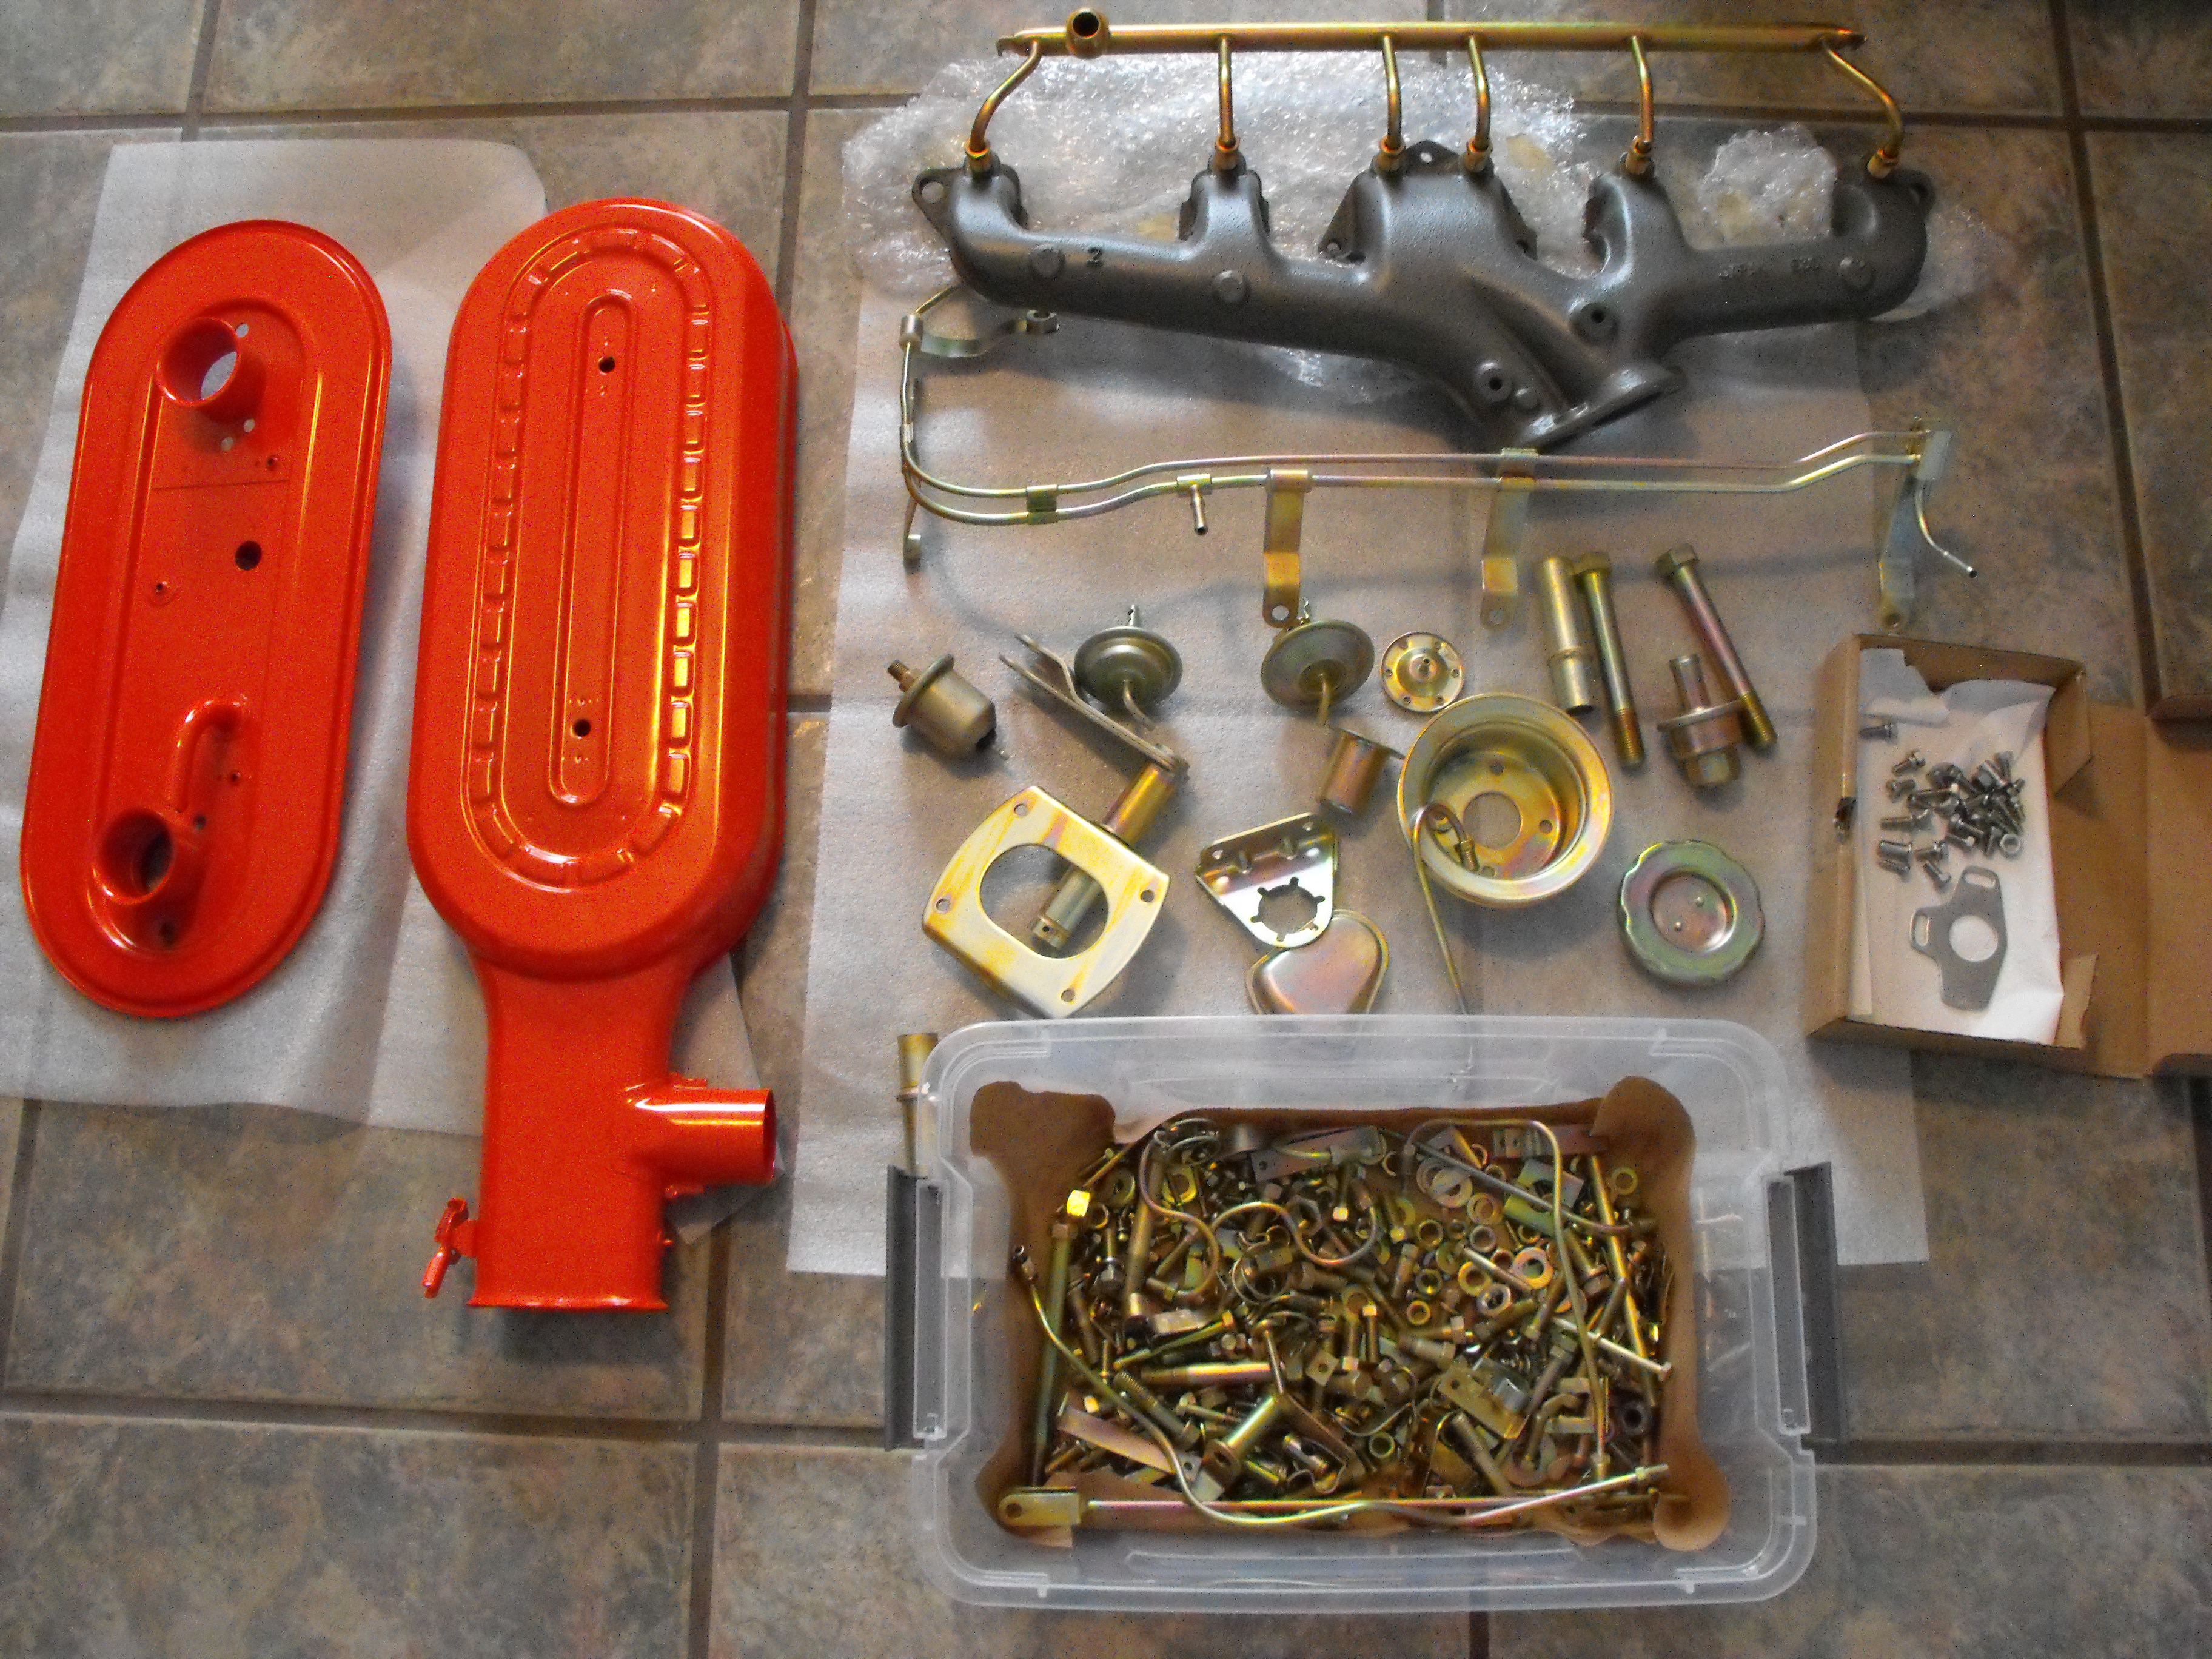
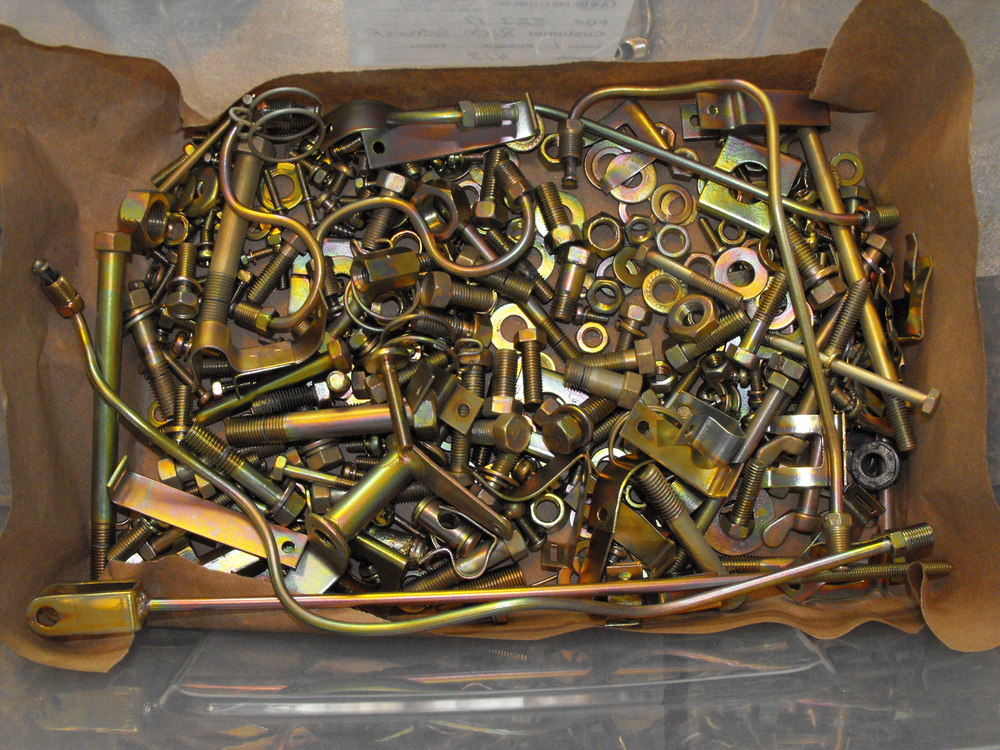
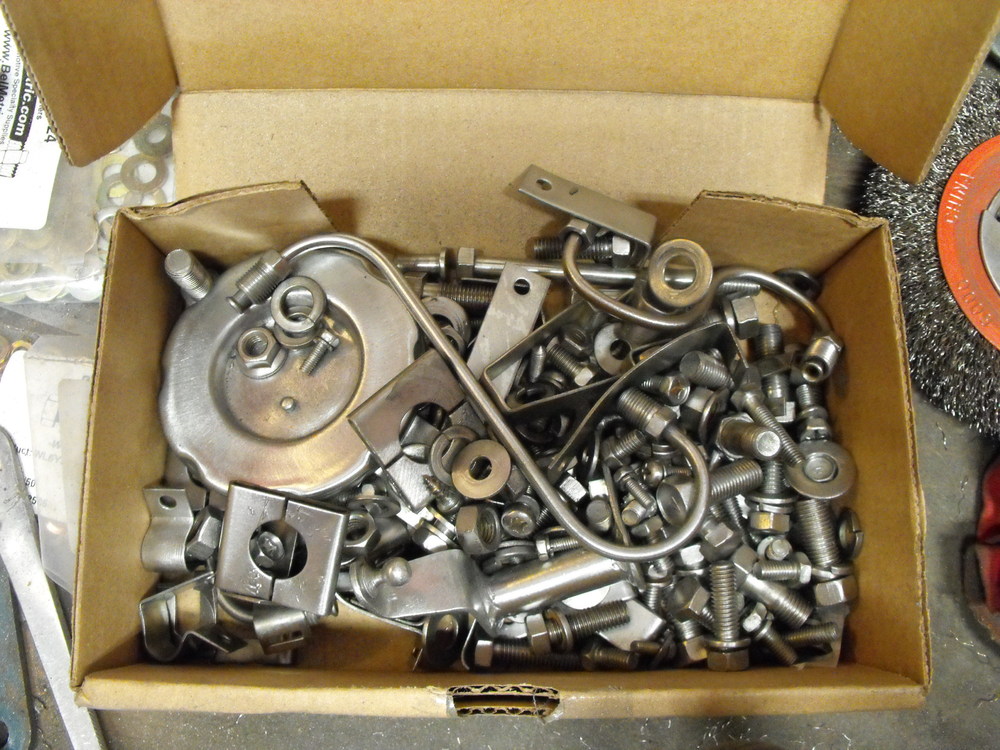
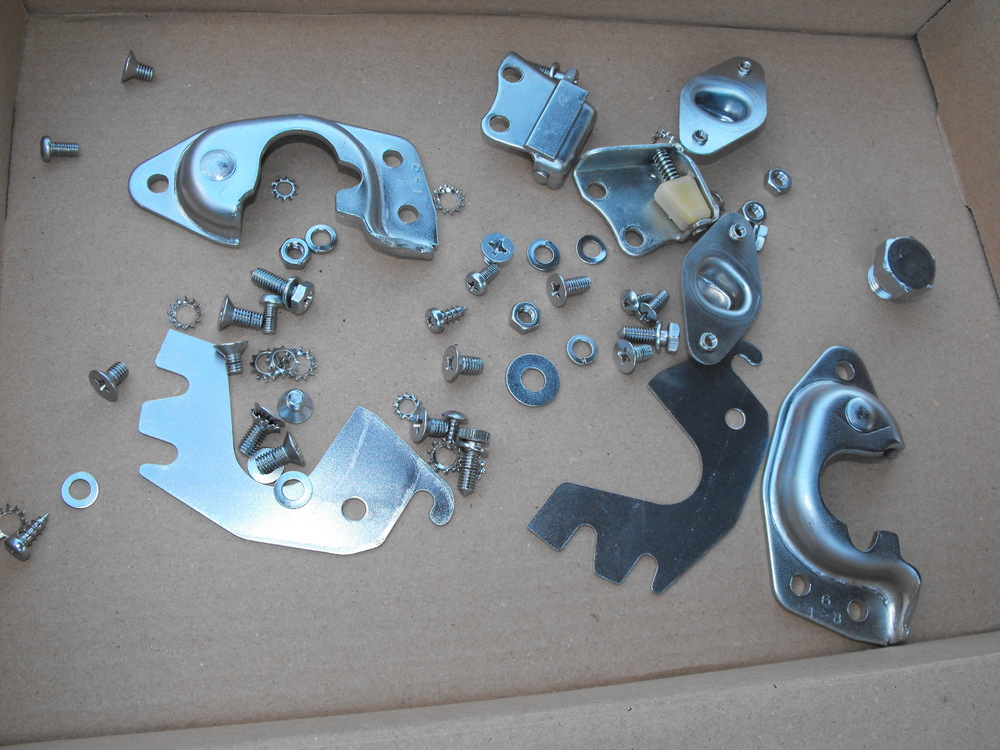
From what the lady tells me, these were not done in the basket which actually is supposed to be at a better price. She said the quantity was not large enough to utilize the basket. So, apparently they string these up. I can see where the string is attached on some of the parts so it seems that these were done 'manually'. I am sure that I had over 20 pounds of parts on this last batch and still, not enough for the 'basket'. It looks like all the parts are there, but I haven't done a thorough check yet. I am thrilled with the color though. The pictures don't do it justice. Honestly, I need to get a new camera. The one I am using now is pretty old. Also, the cost was less than expected. I am sure this was easily double the weight and quantity of my last batch and the cost was almost the same. Very reasonable. A lot of what I do is what Les Cannady has done in the past, and he is just 10 miles down the highway. He has given me all his suppliers and I think I pretty much get his cost, which is less than standard pricing. This actually makes a restoration fairly cost effective.
-
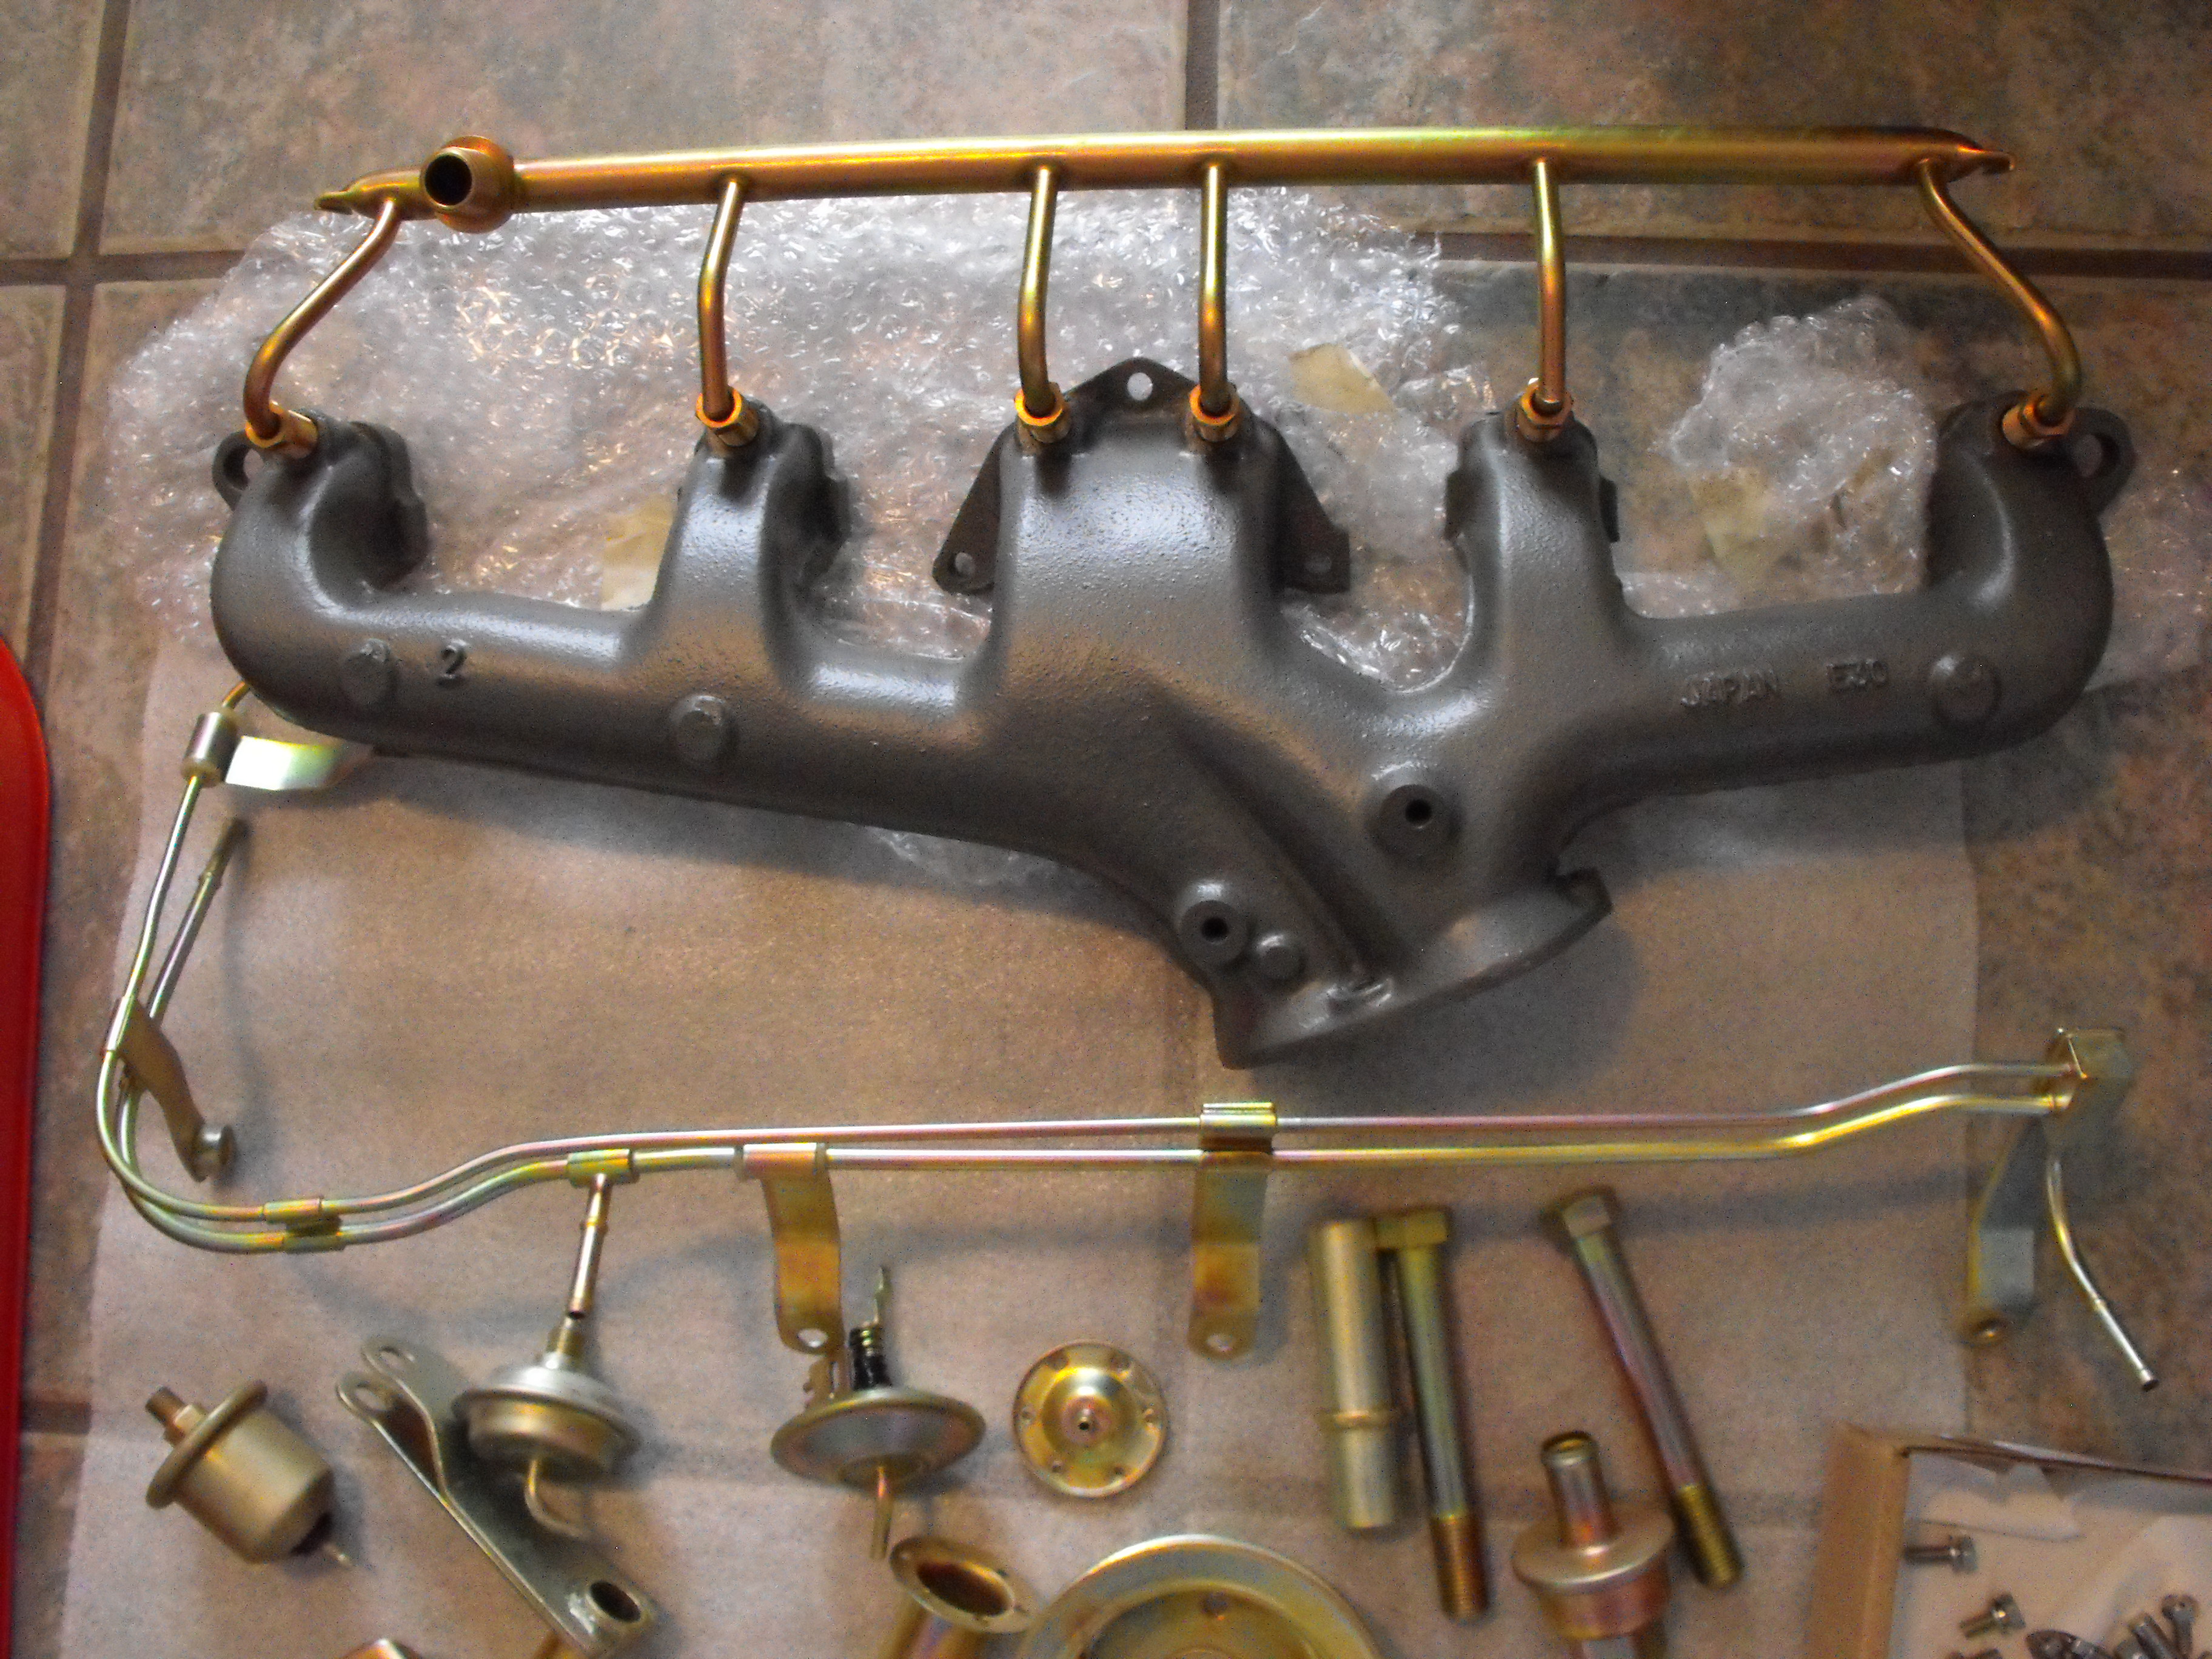
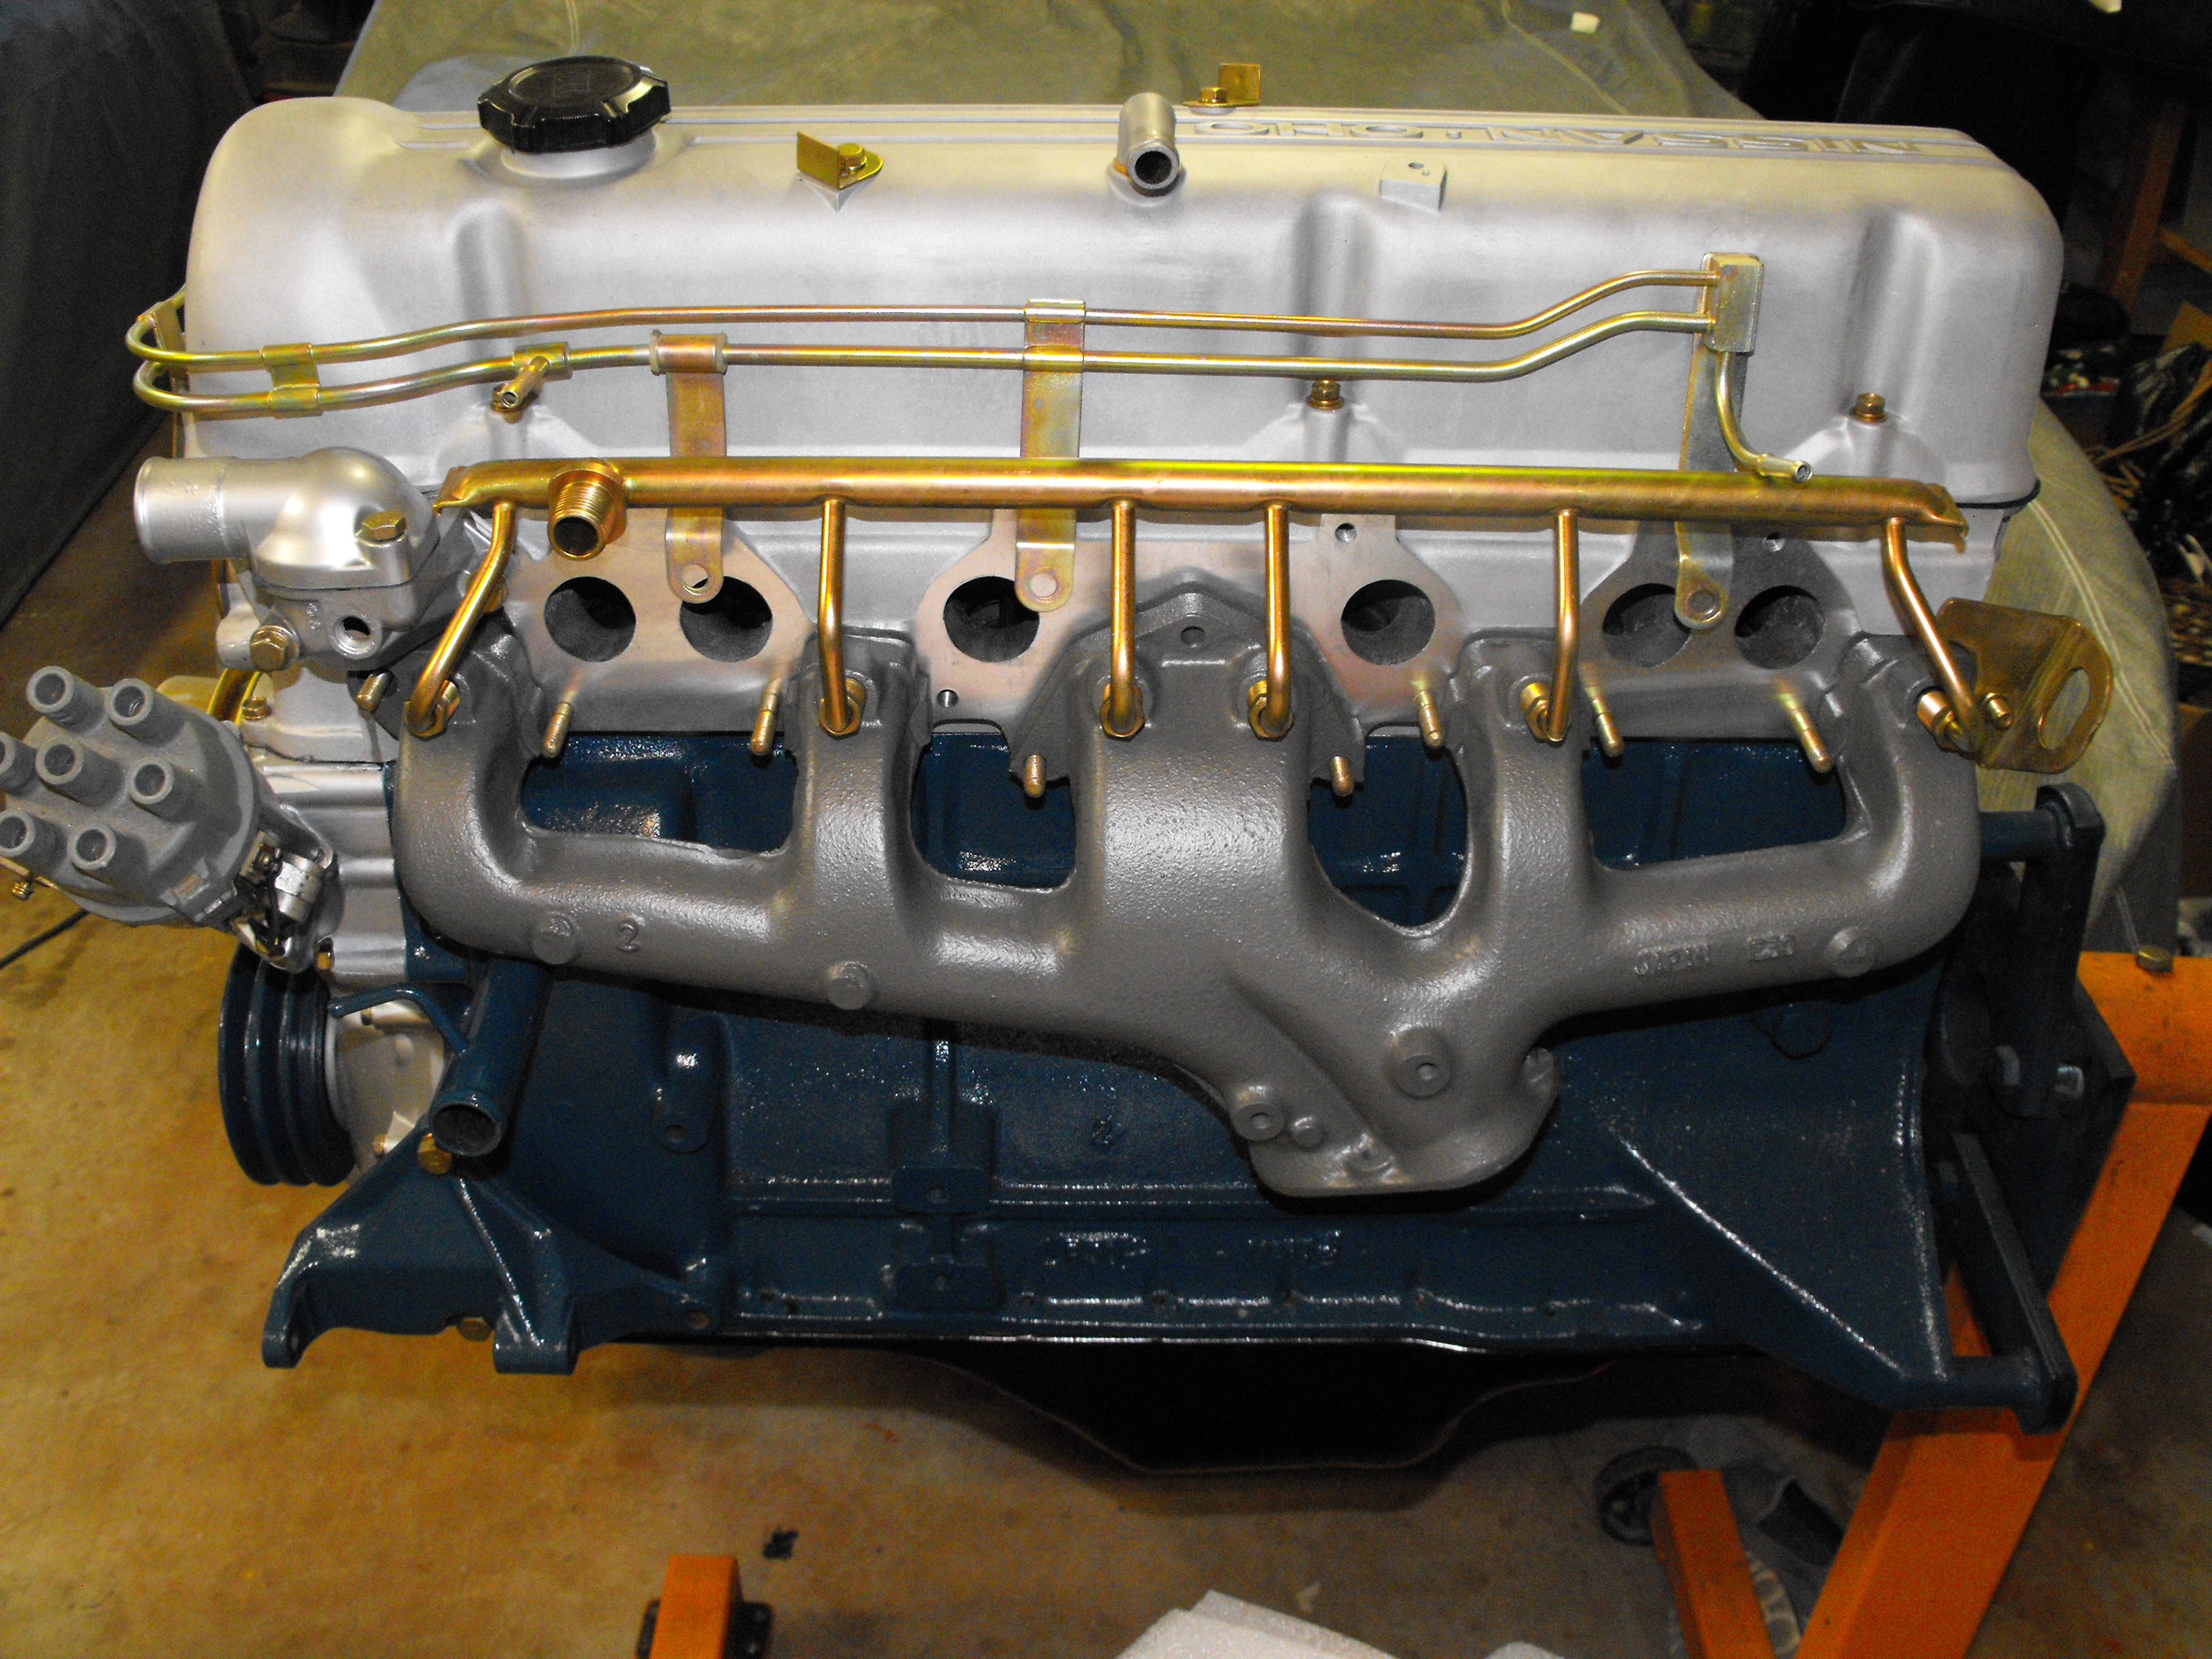
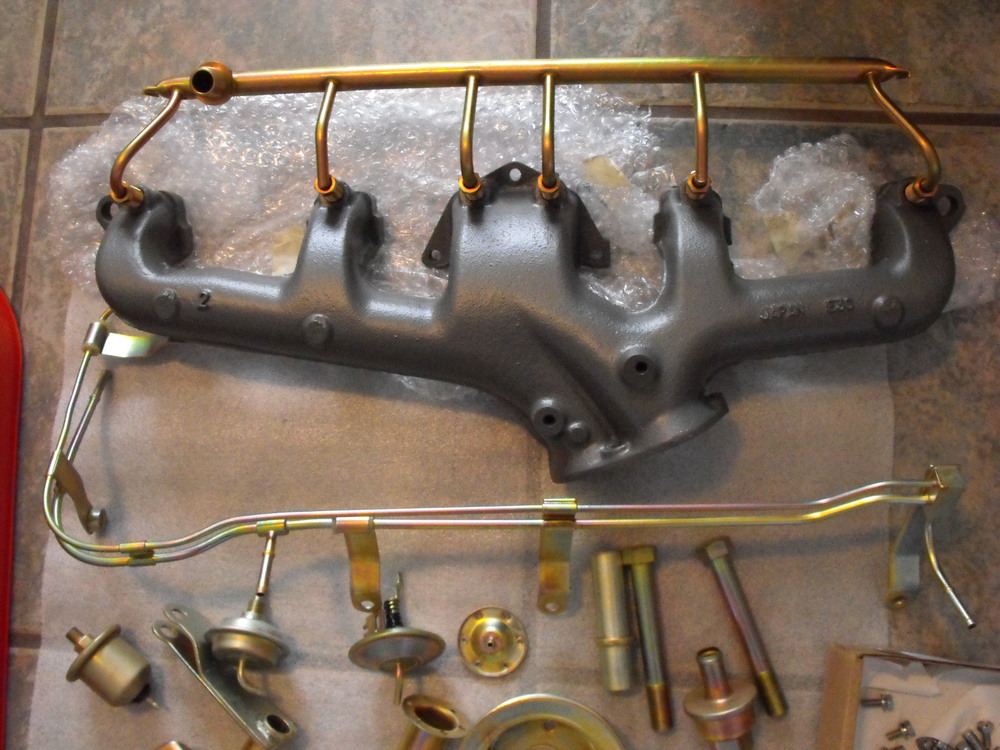
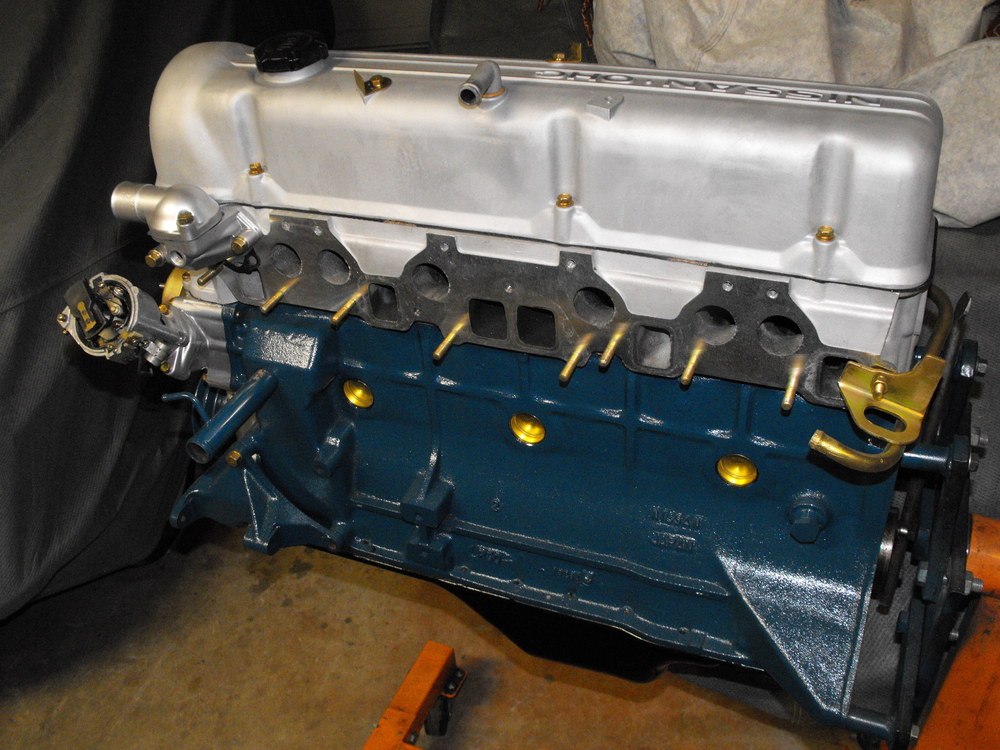
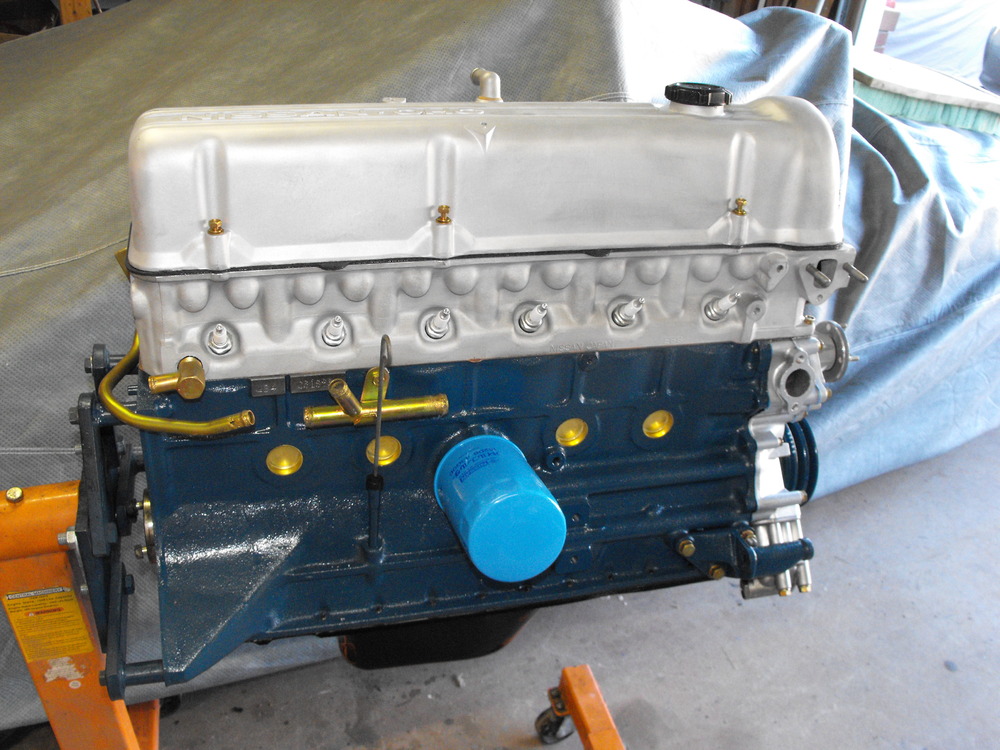
Got a large batch of freshly zinced parts in today. The pictures look lousy but the parts look great. Not sure why the 'gold' color does not work well on the camera. Also picked up the powder coated air cleaner and ceramic coated exhaust manifold. They really look great. Loosely placed a couple of parts on the motor just to see how they look. It's almost like Christmas


-
Uuuuumm. I have one at my Mother-in-Law's home.
-
Congrats! That is a lot of Z's in the picture. Now I don't feel so bad about my garage and driveway.
-
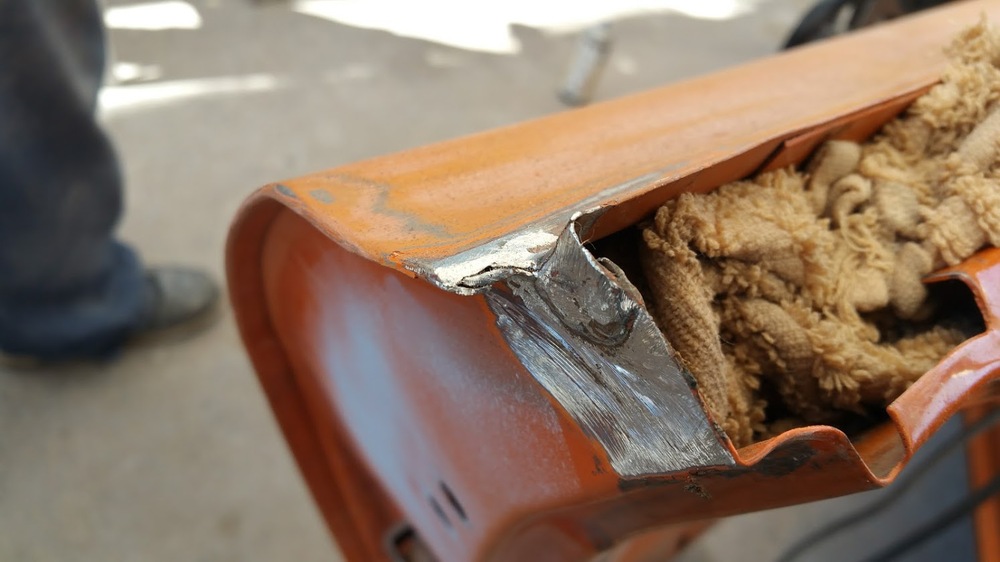
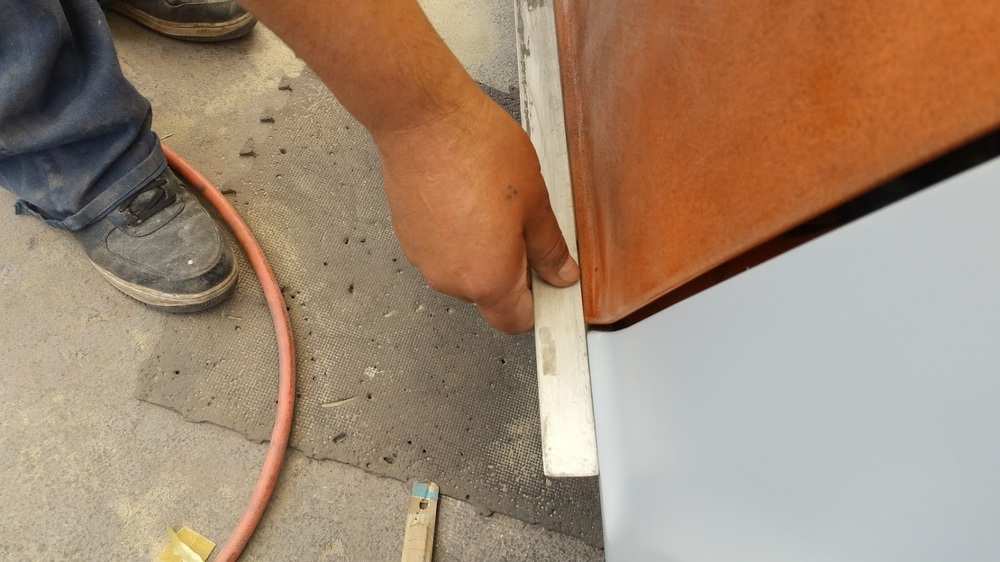
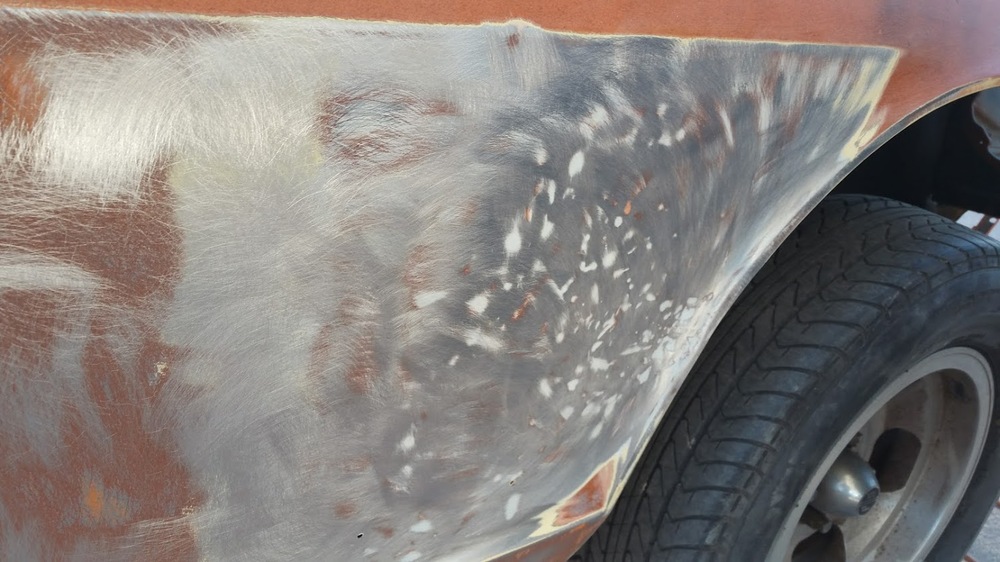
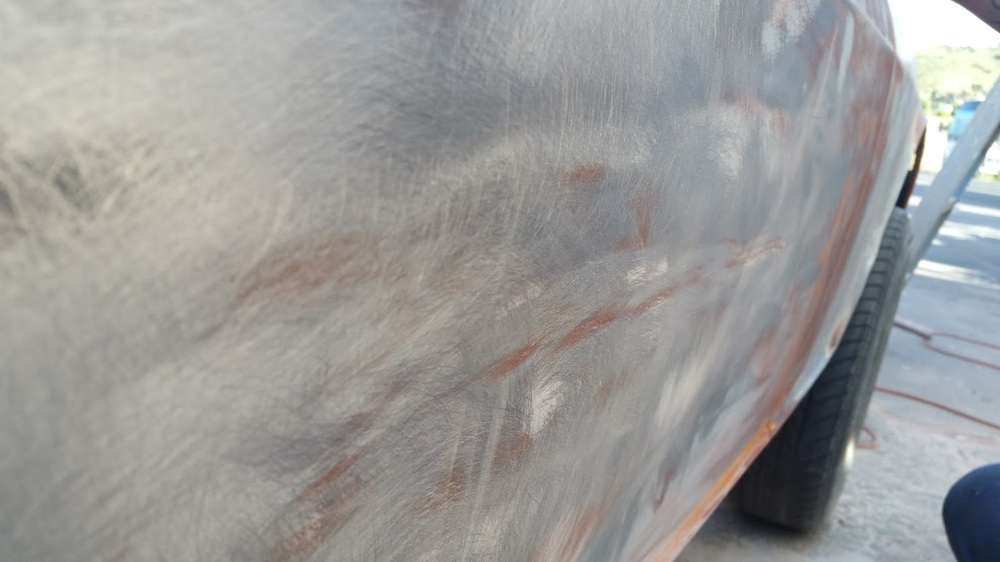
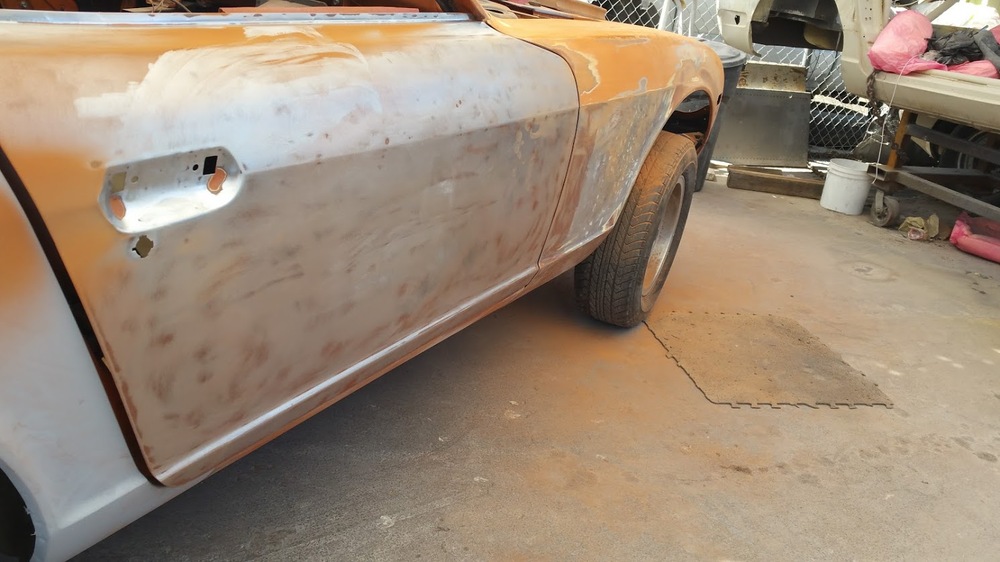
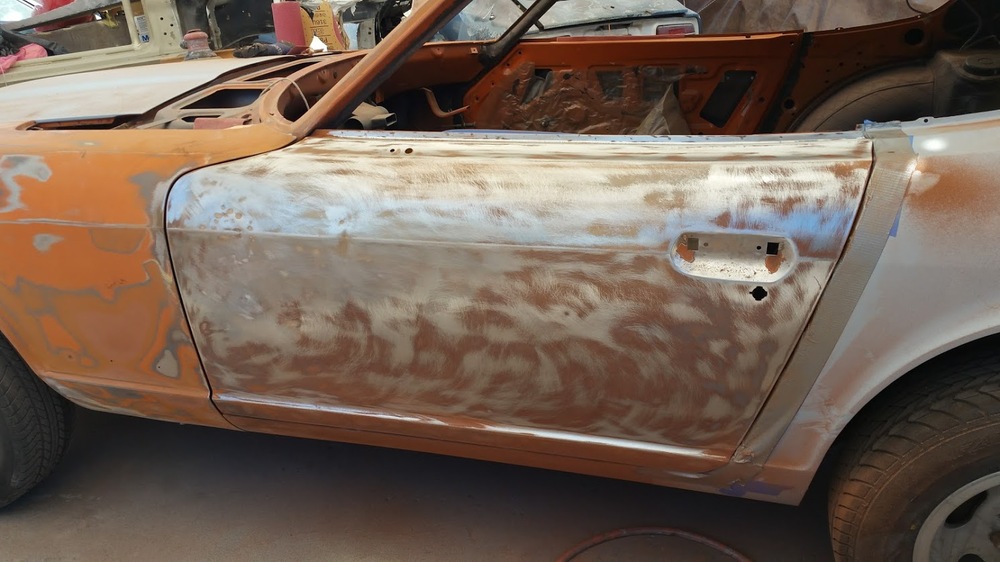
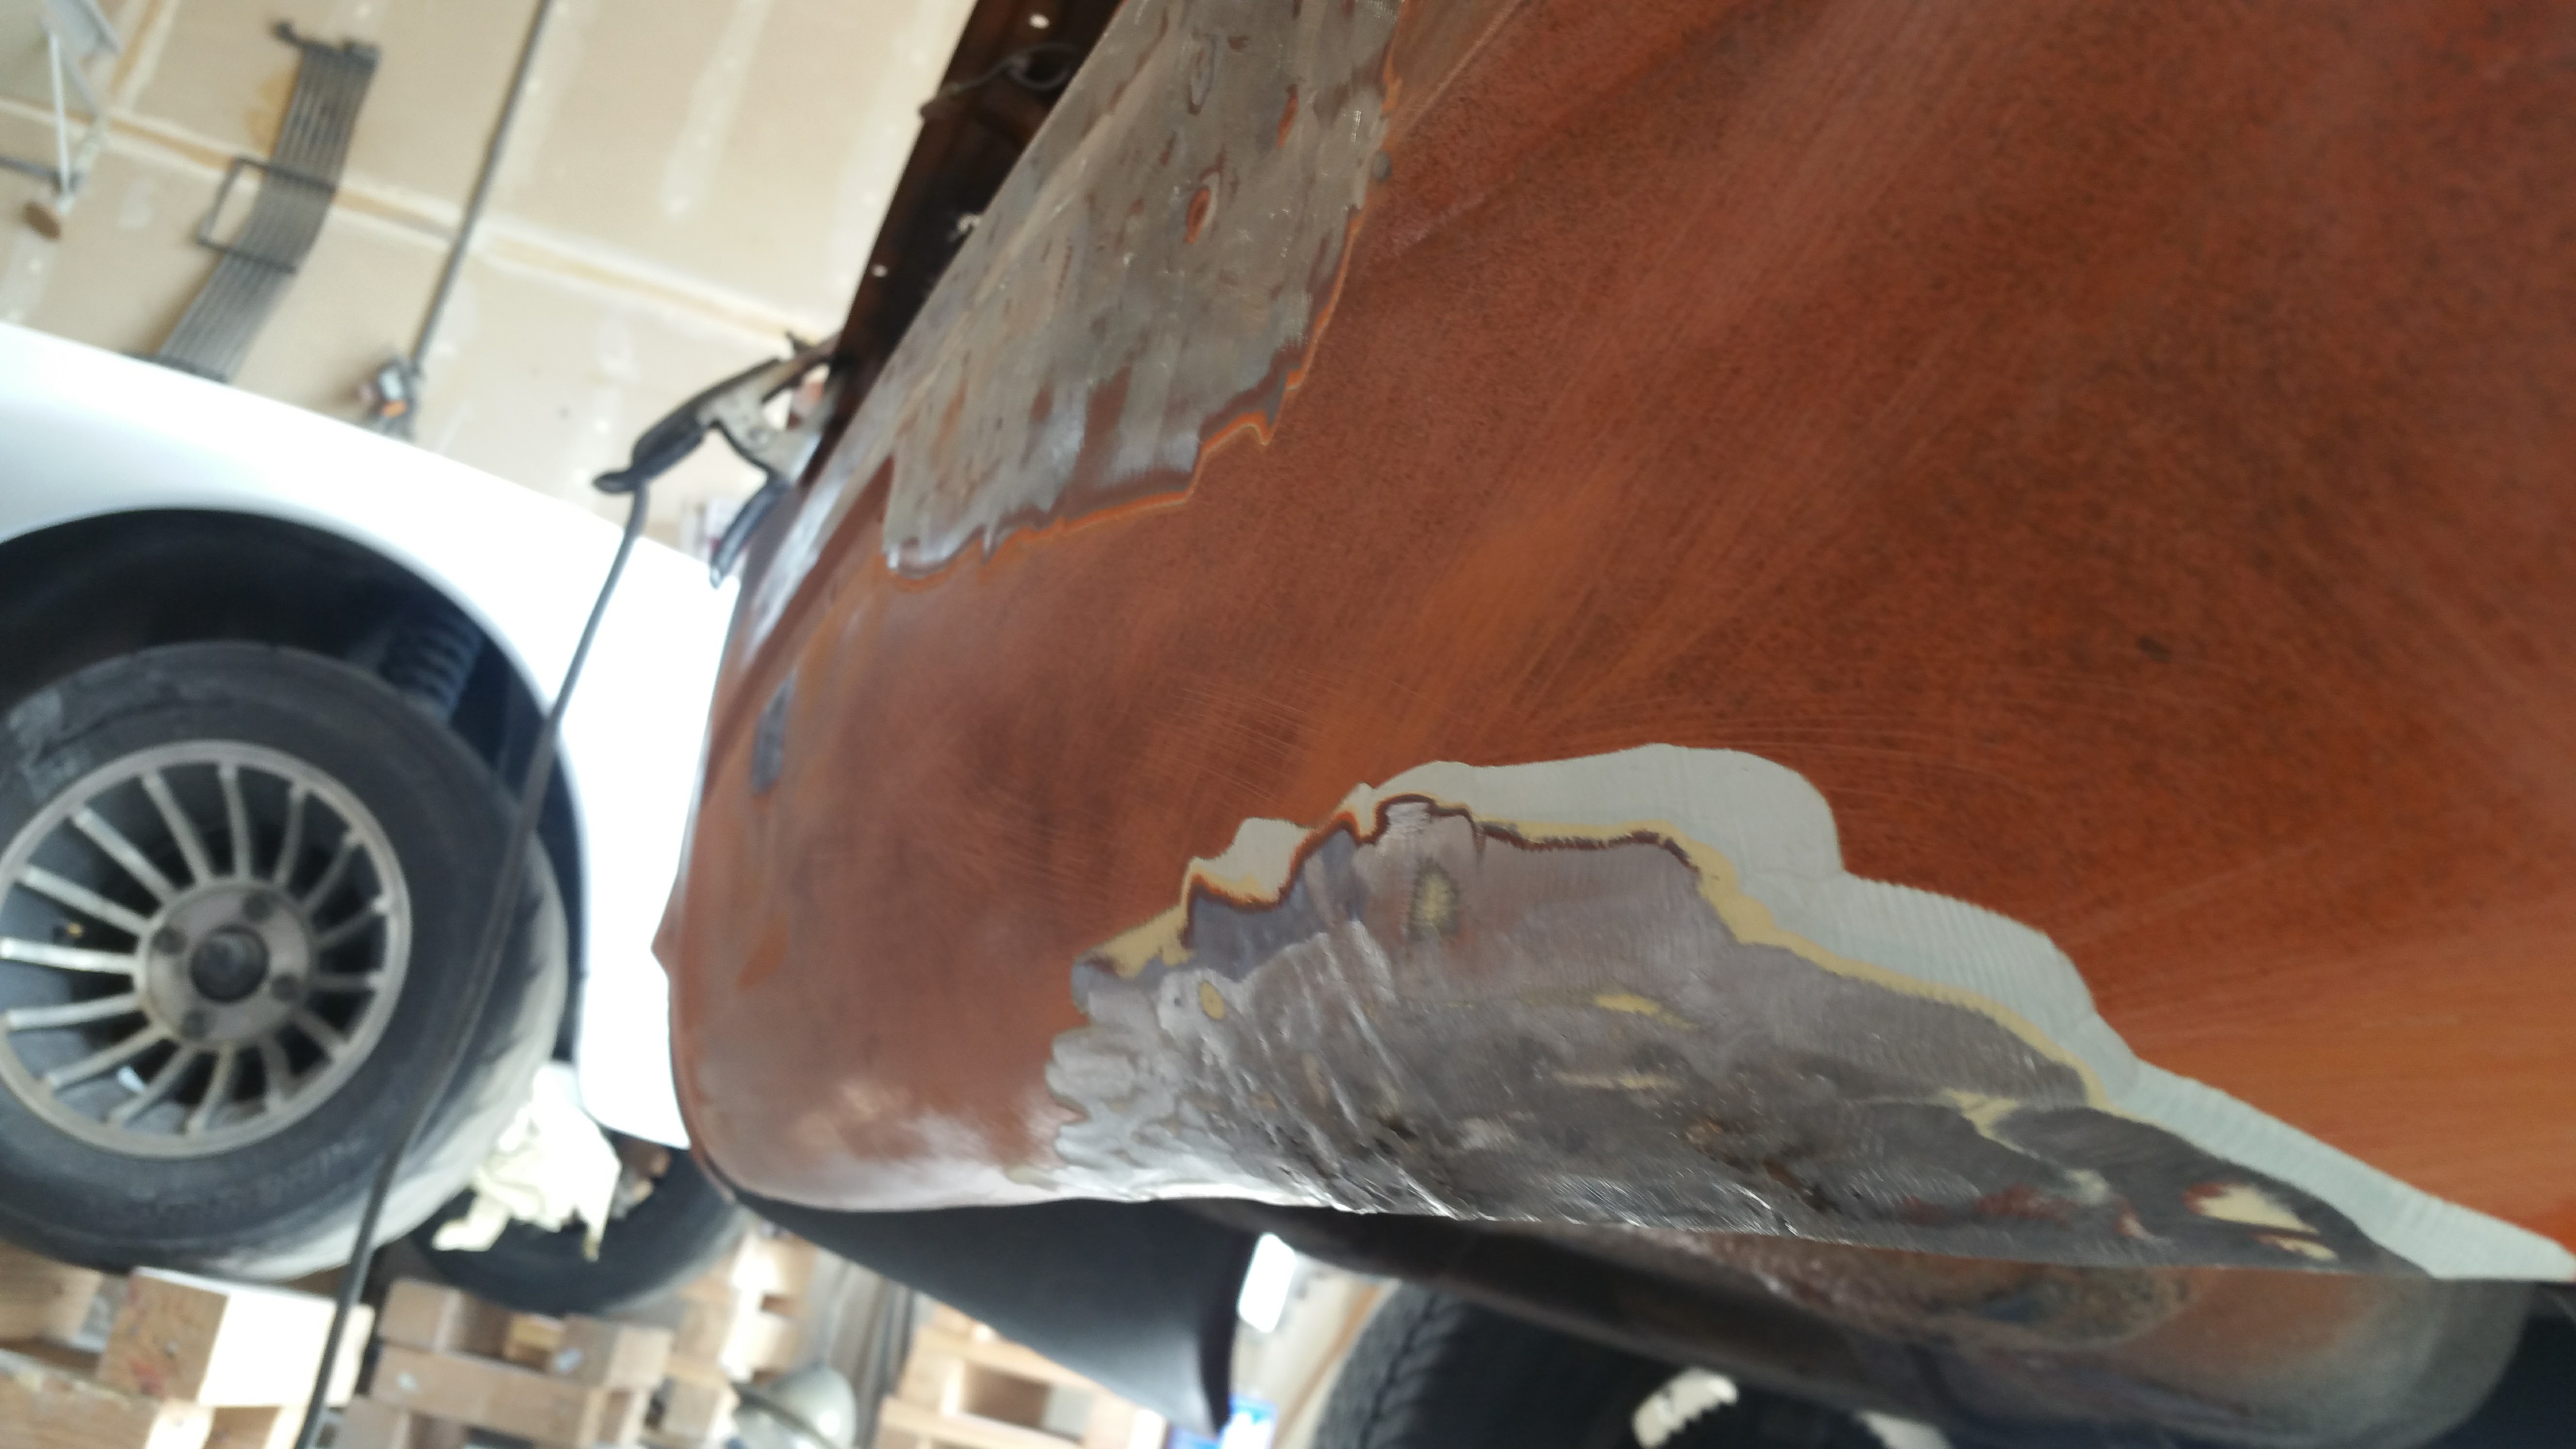
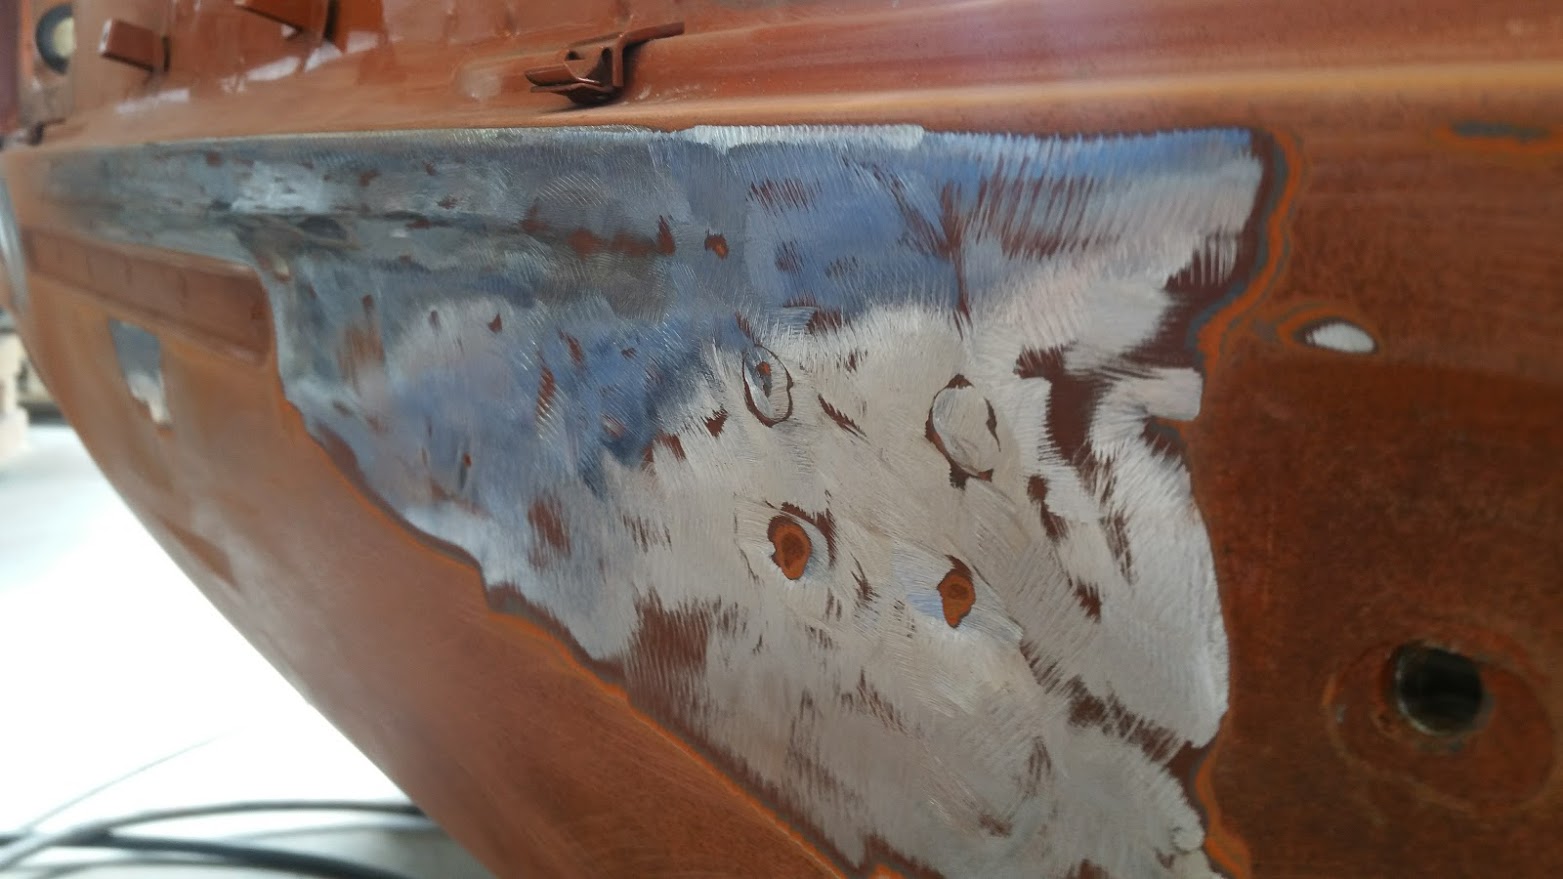
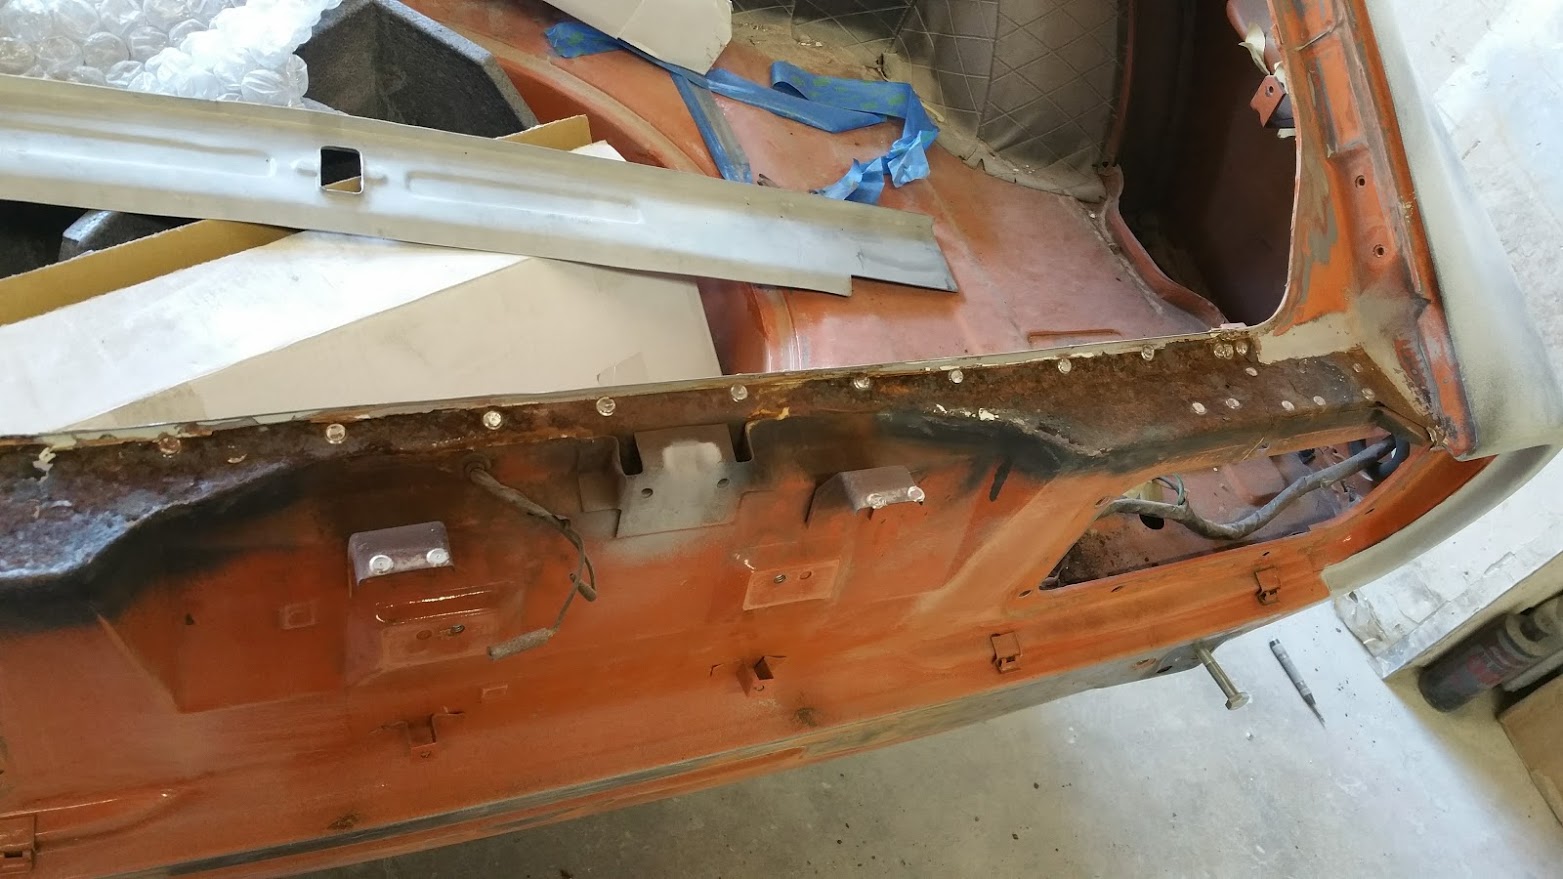
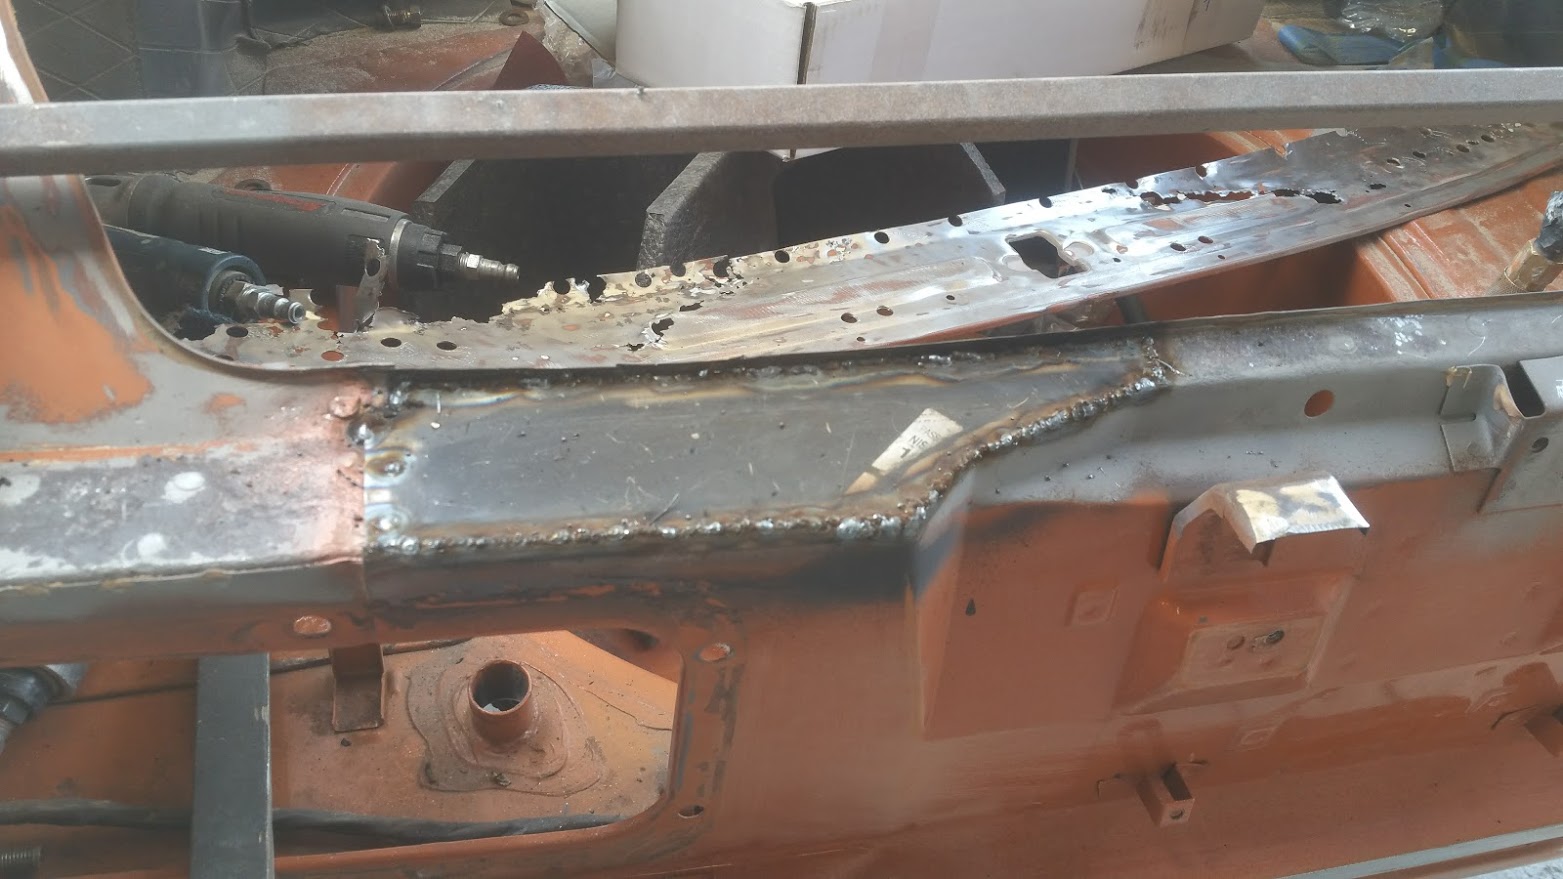
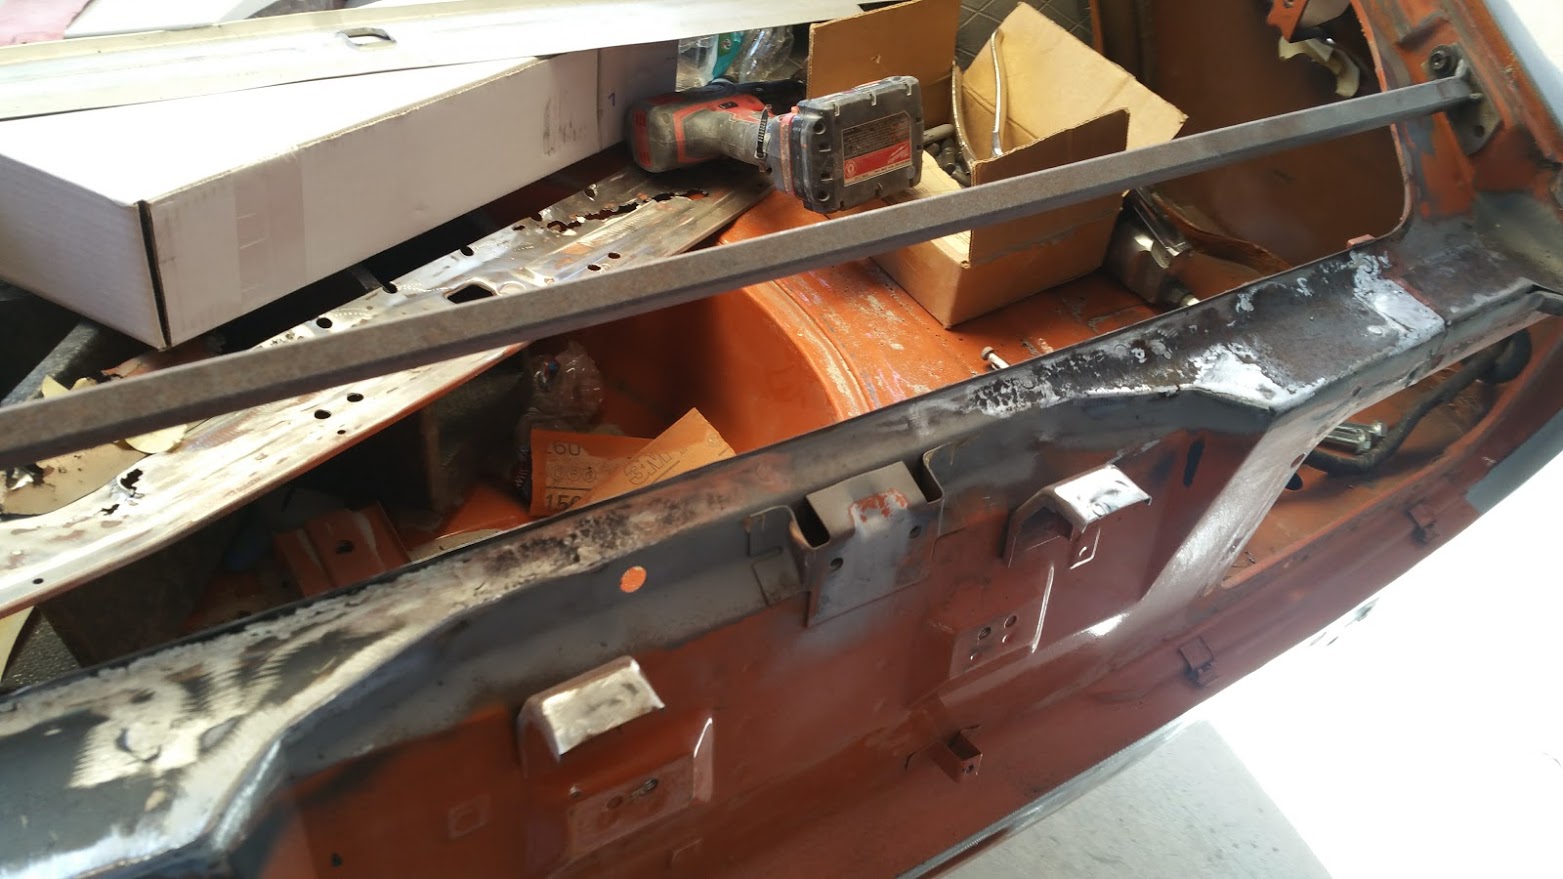
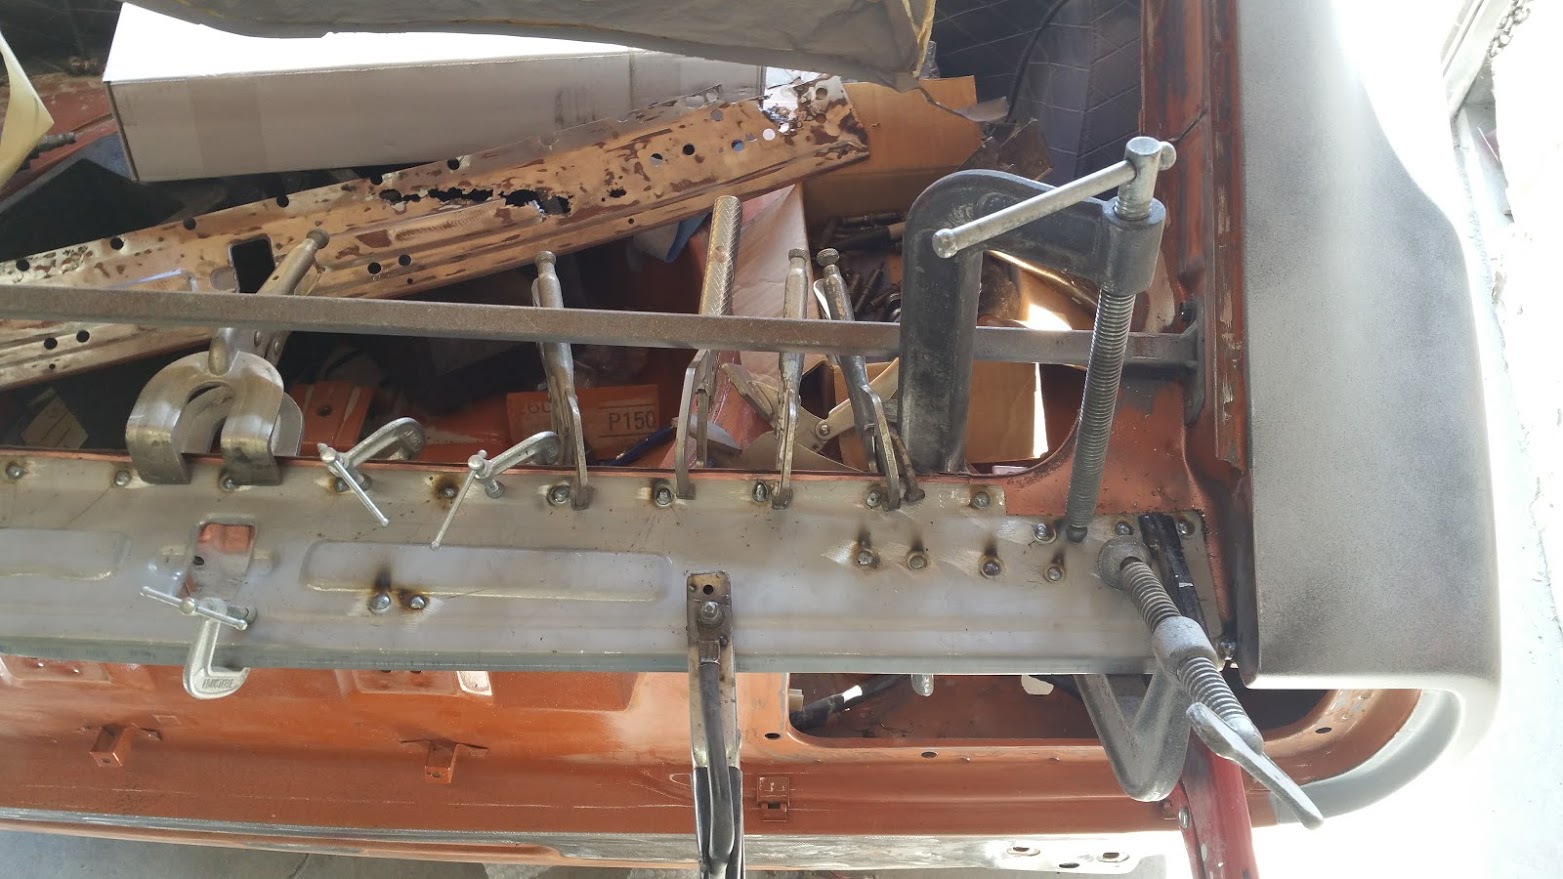
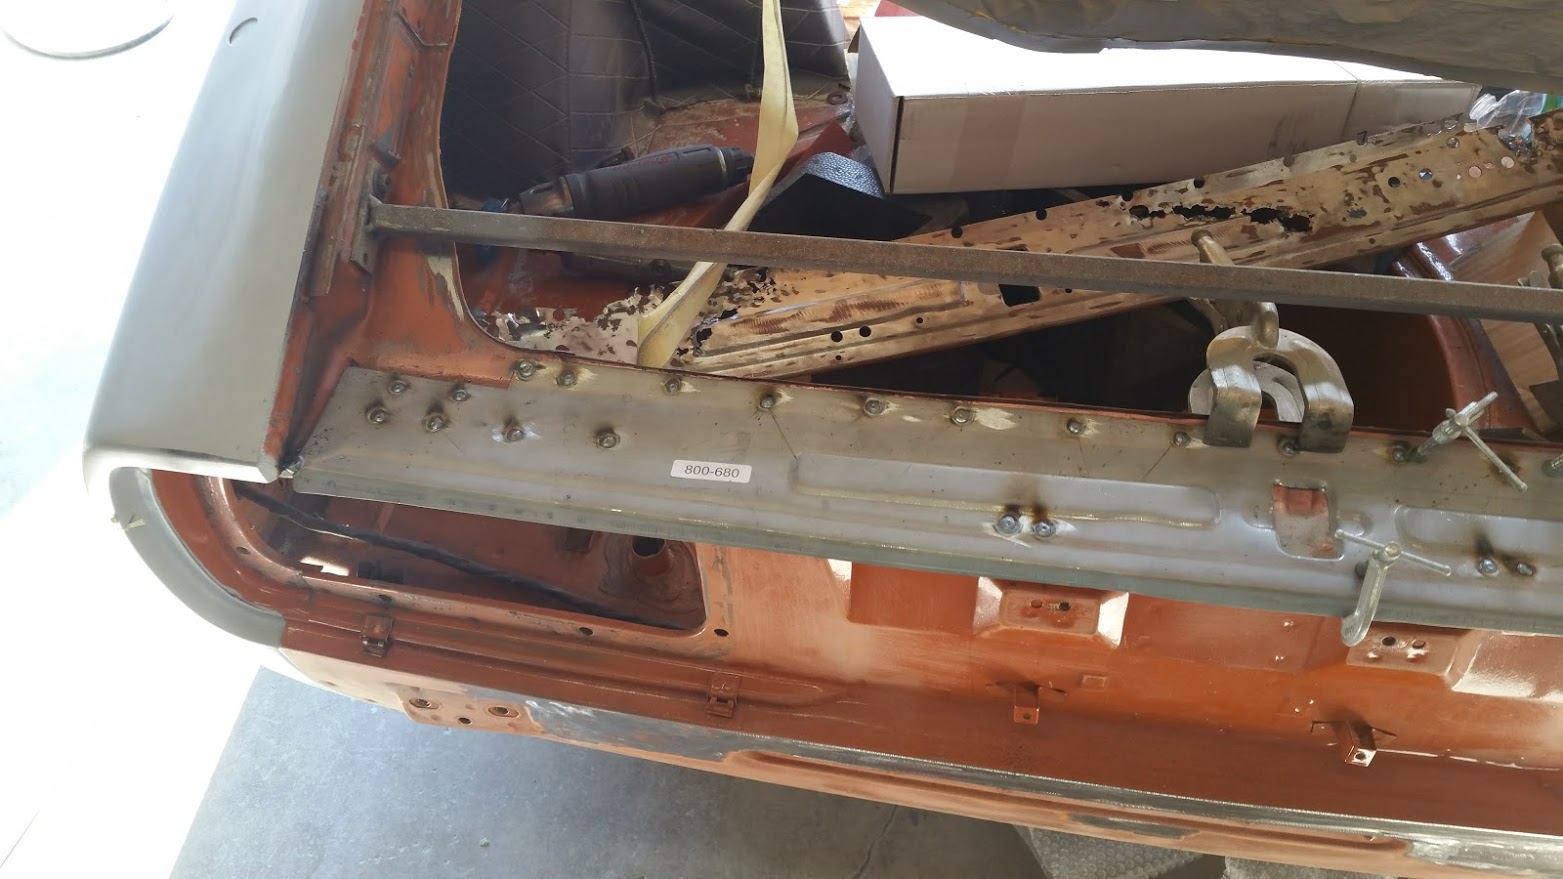
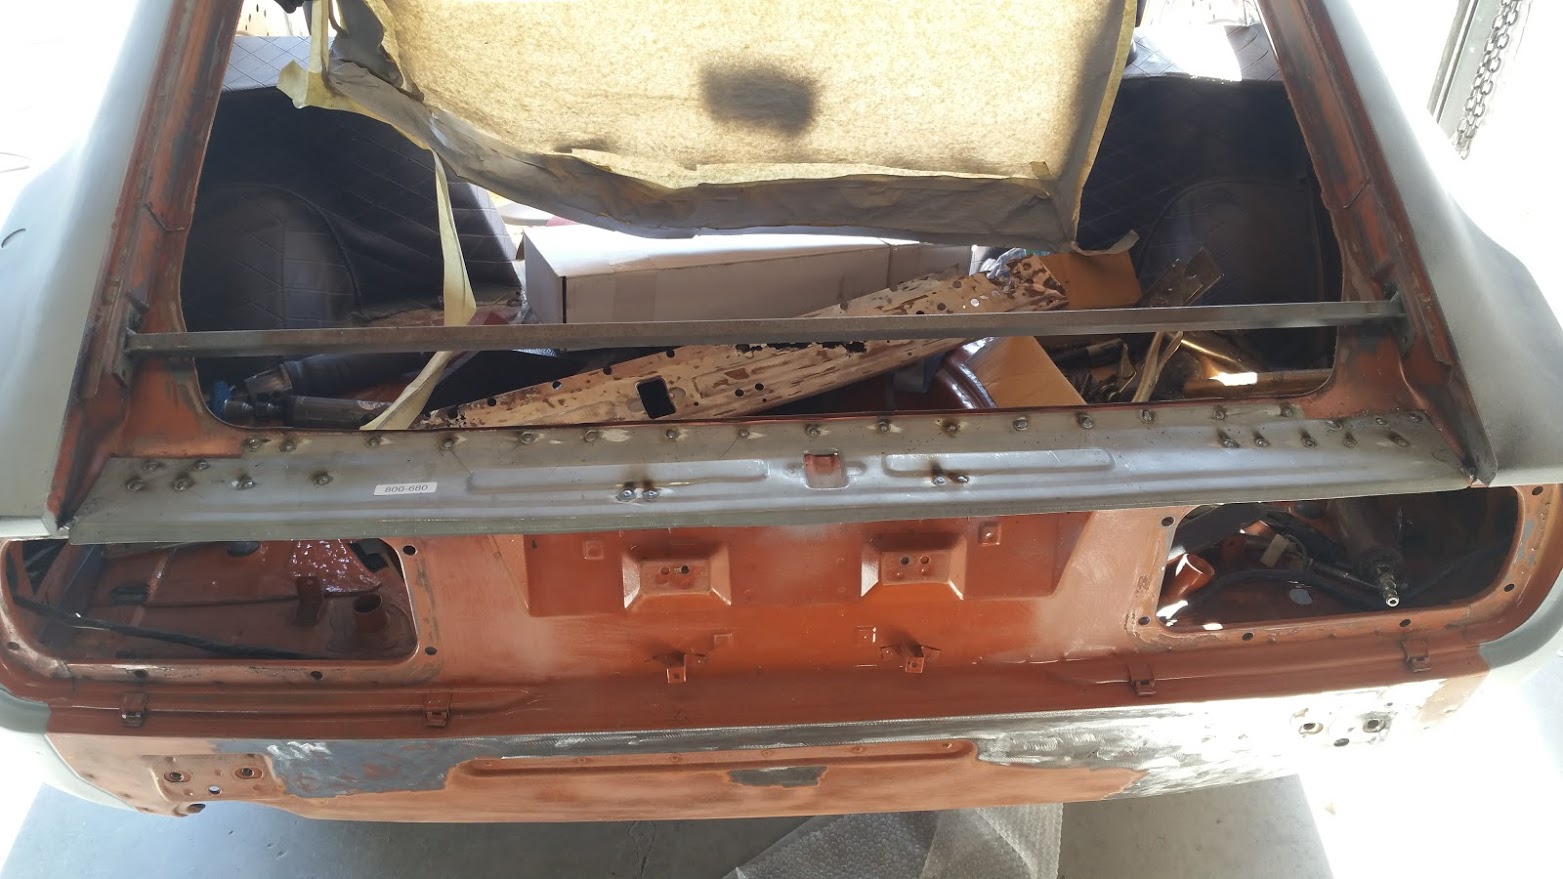
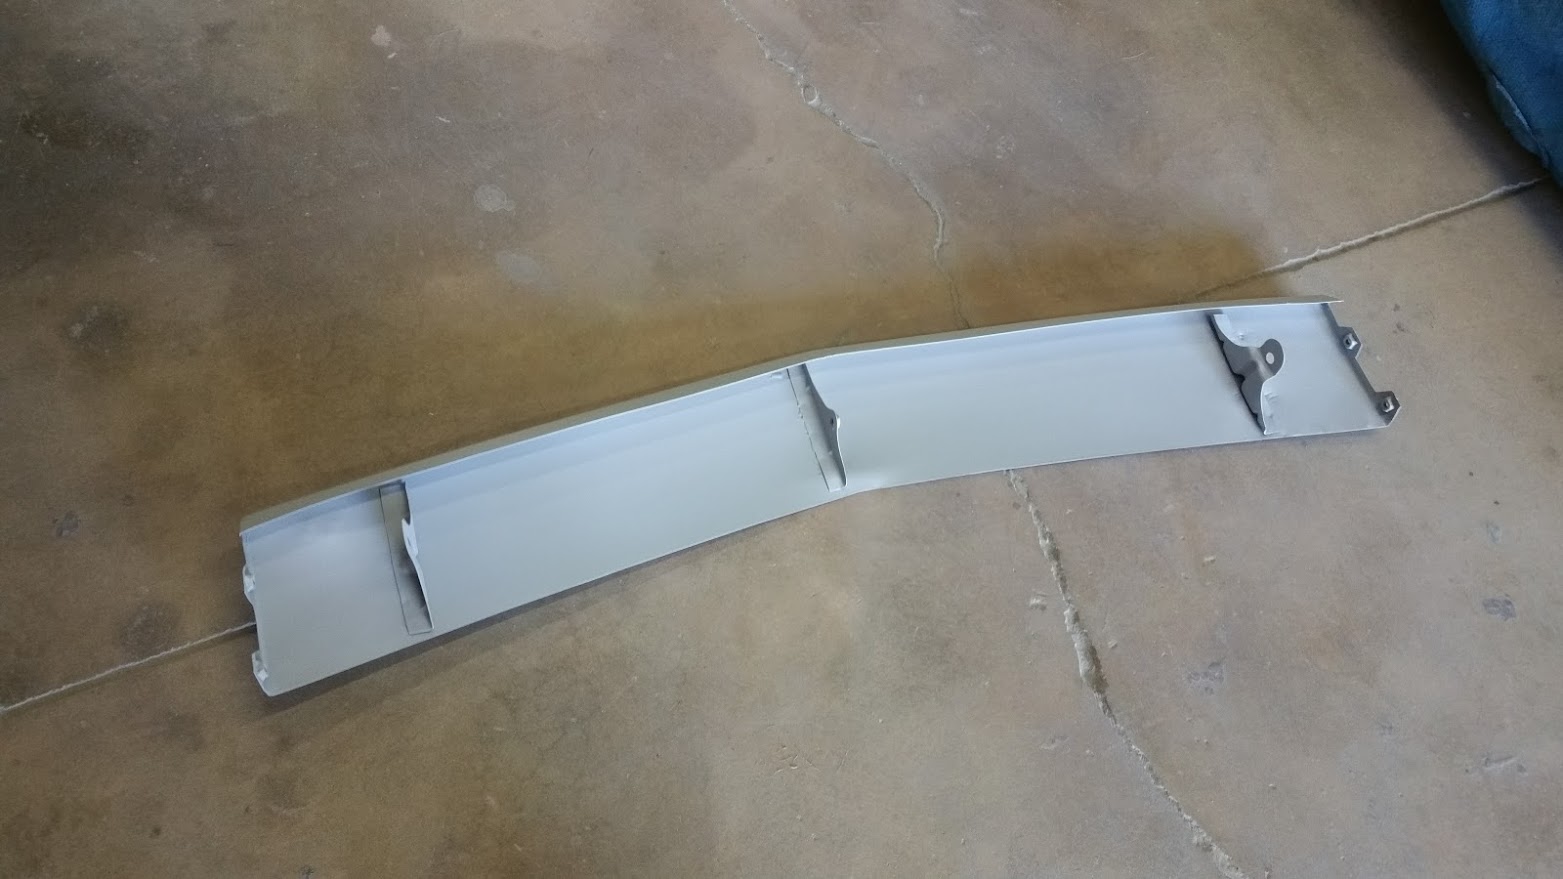
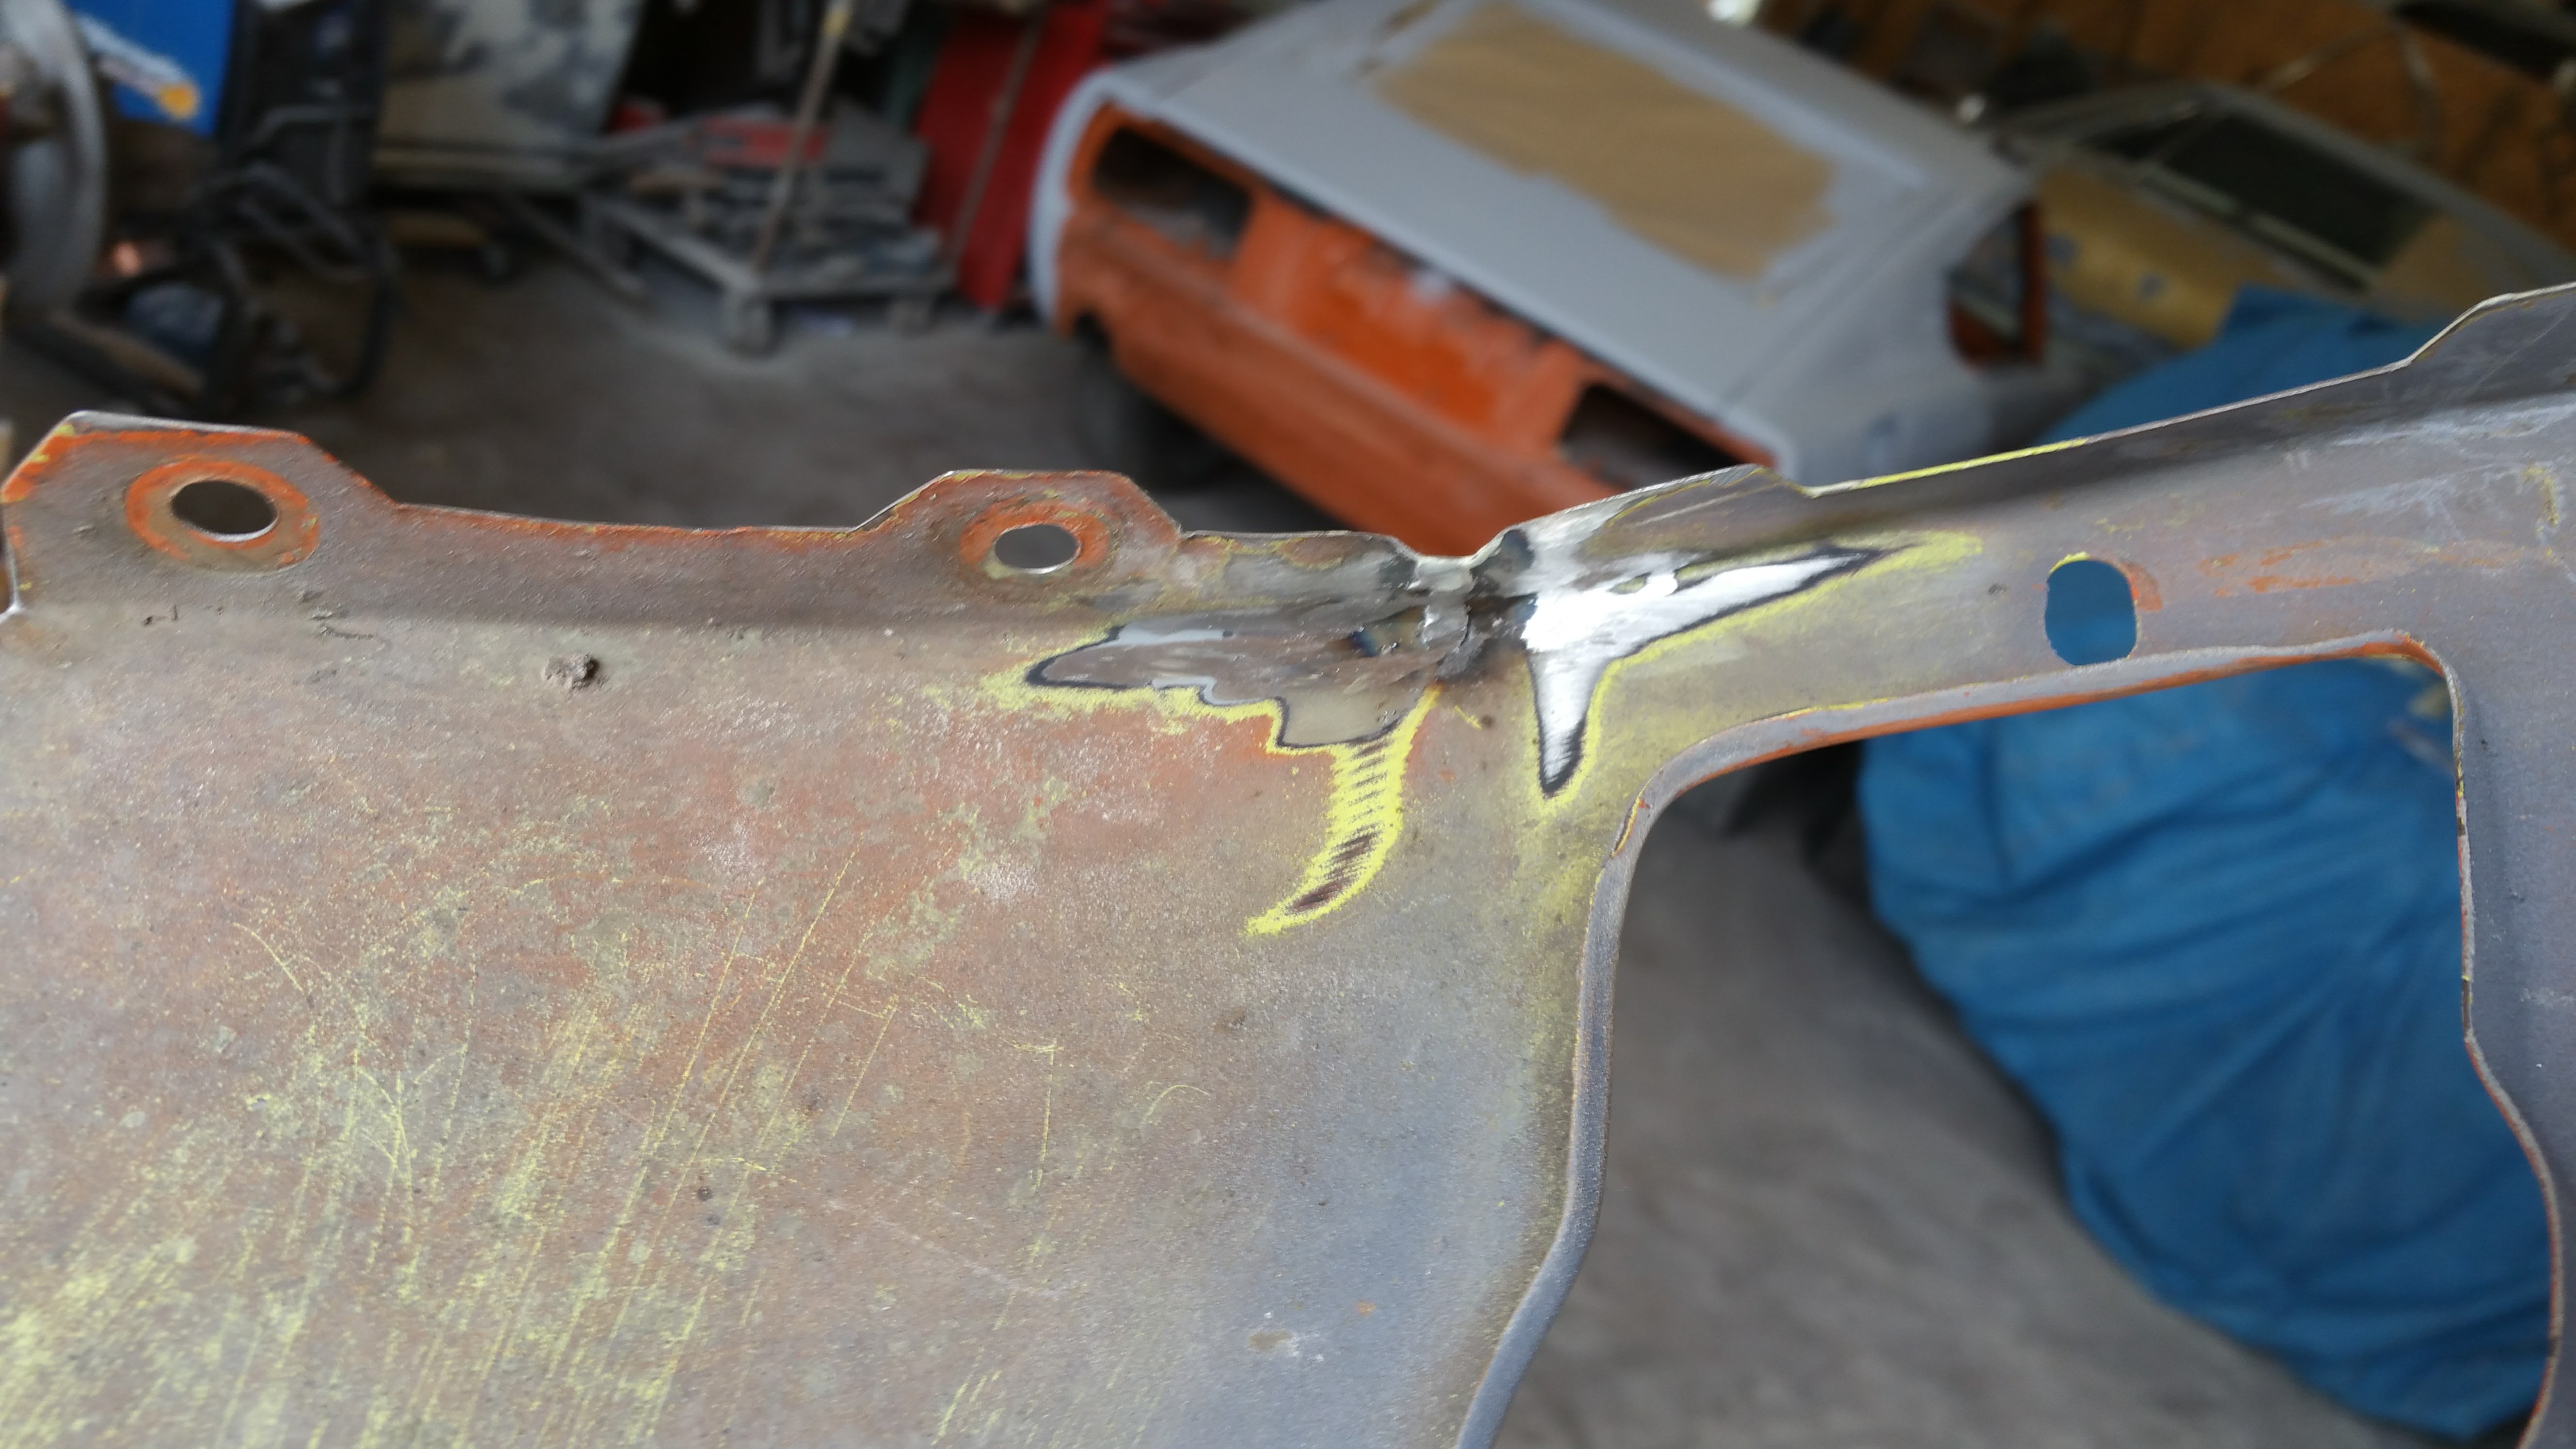
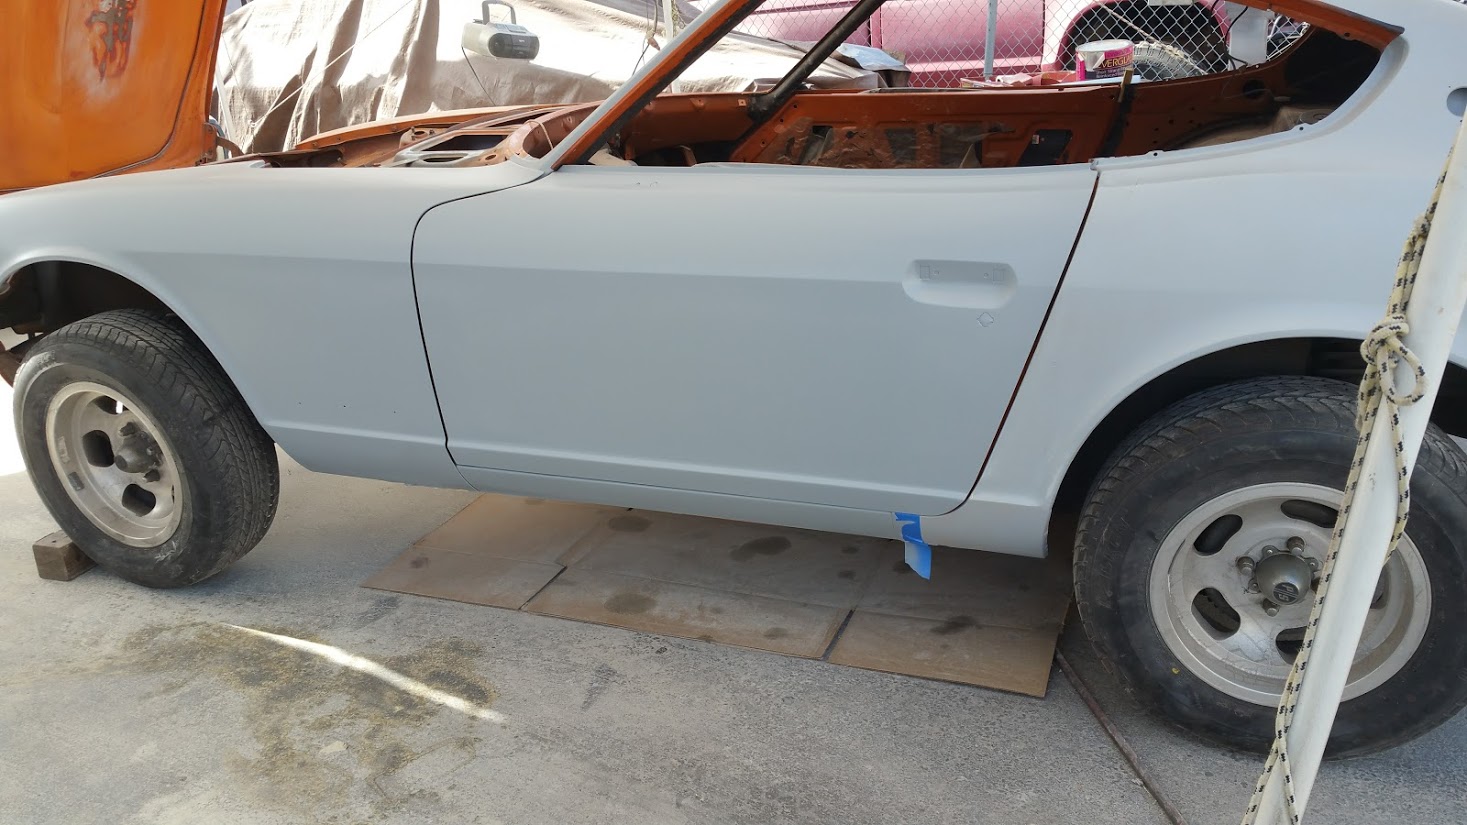
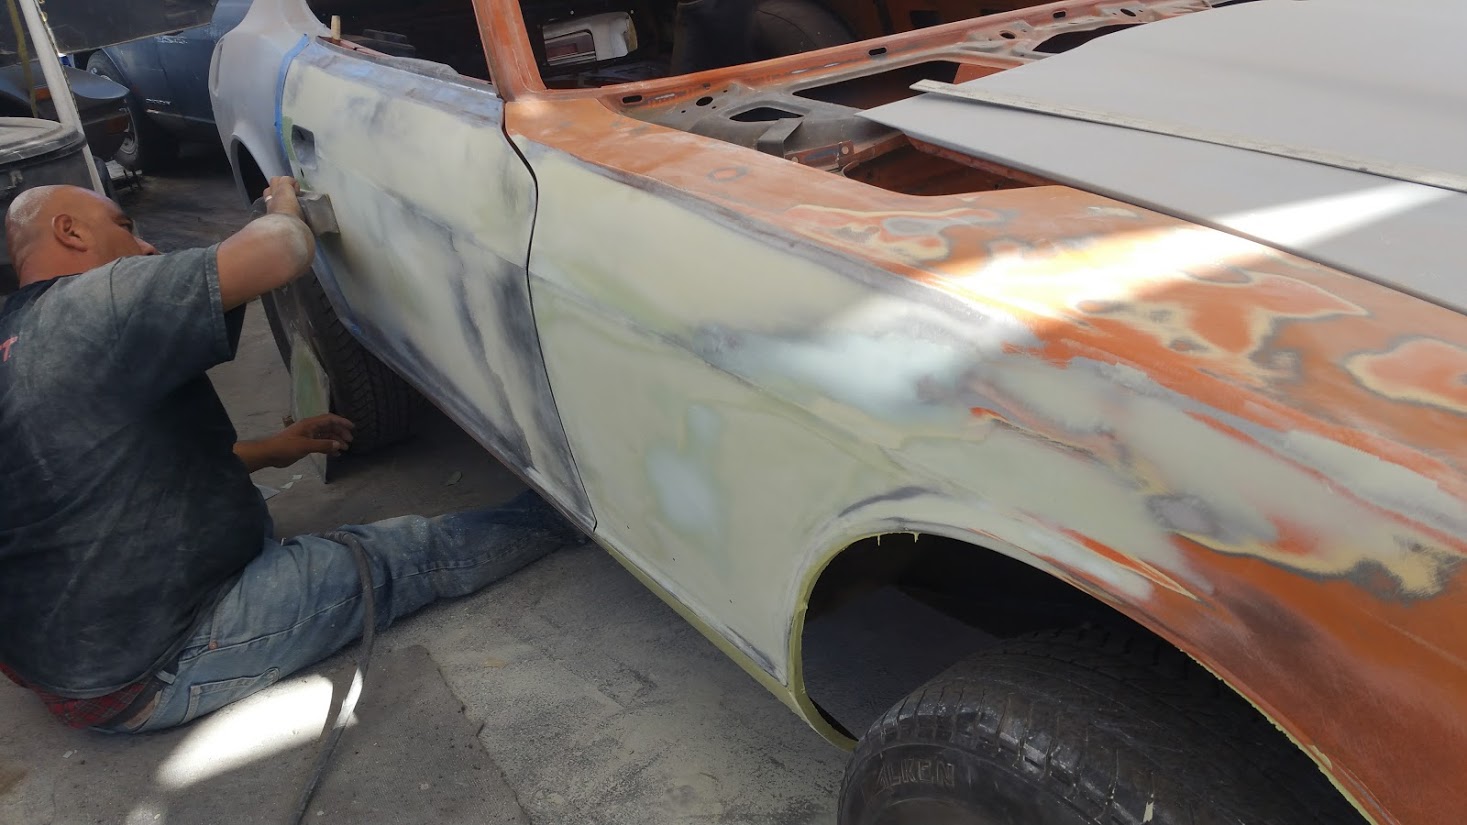
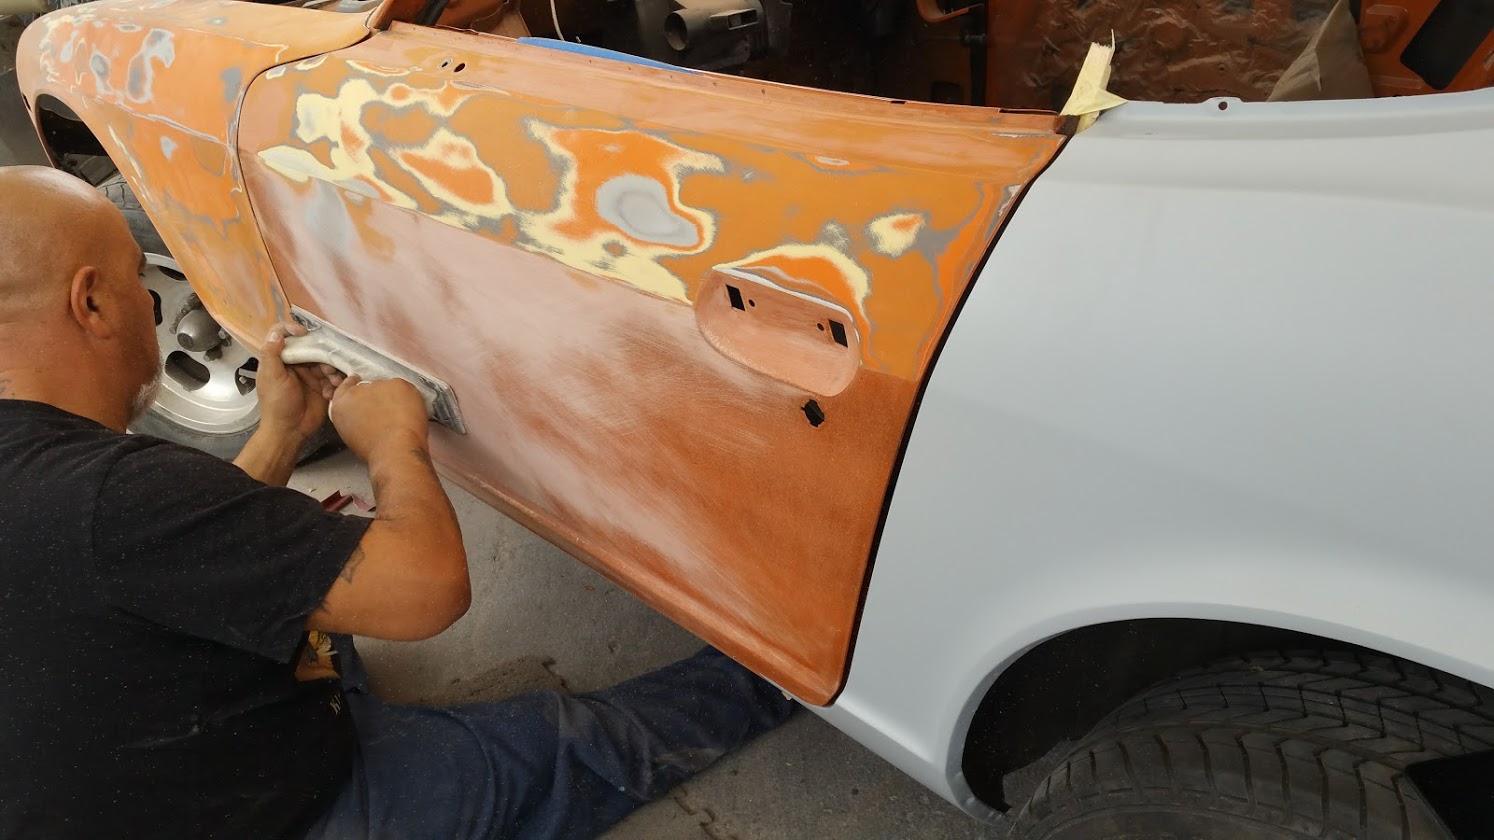
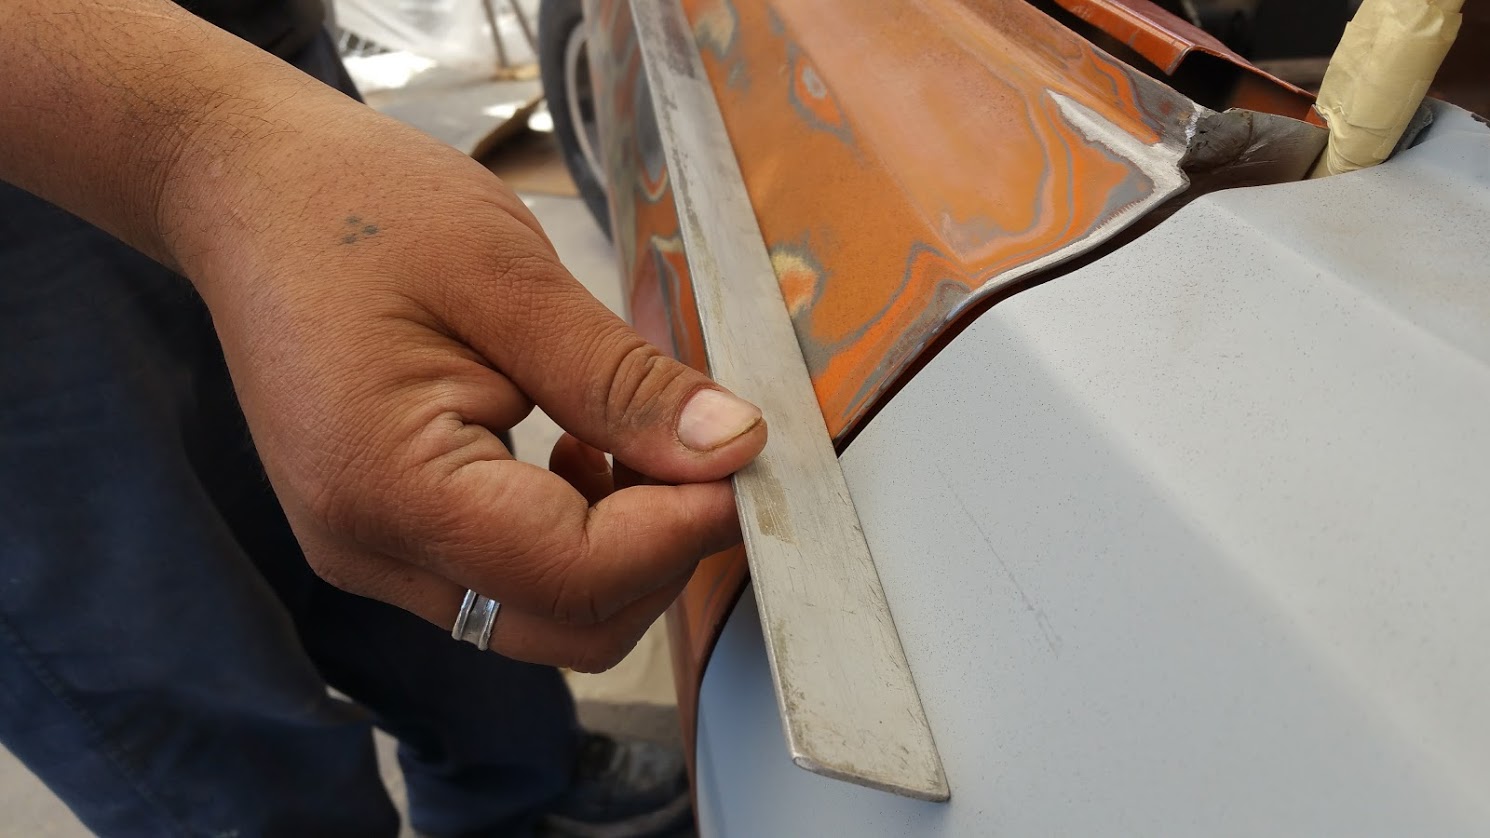
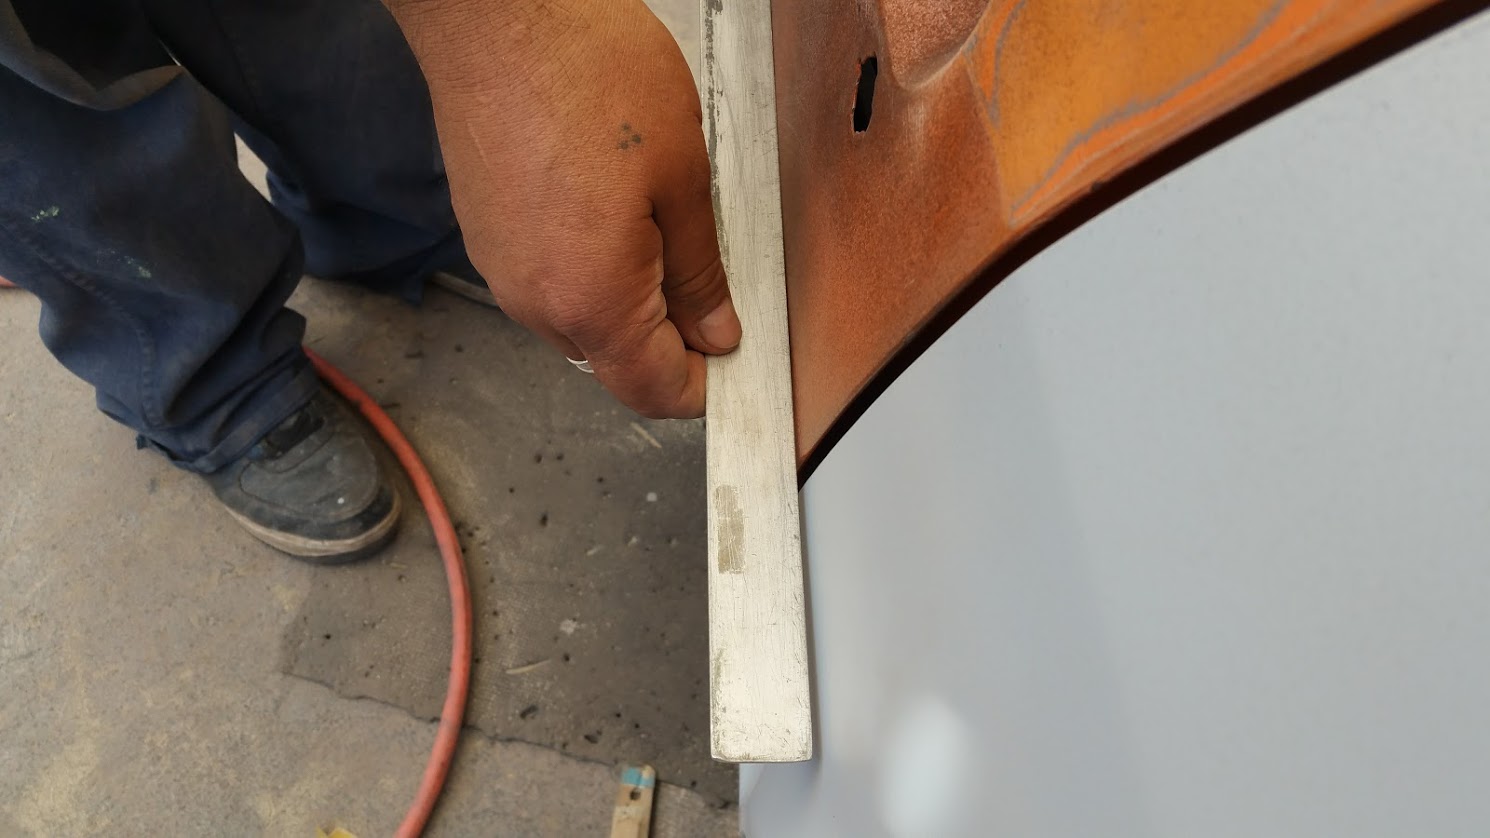
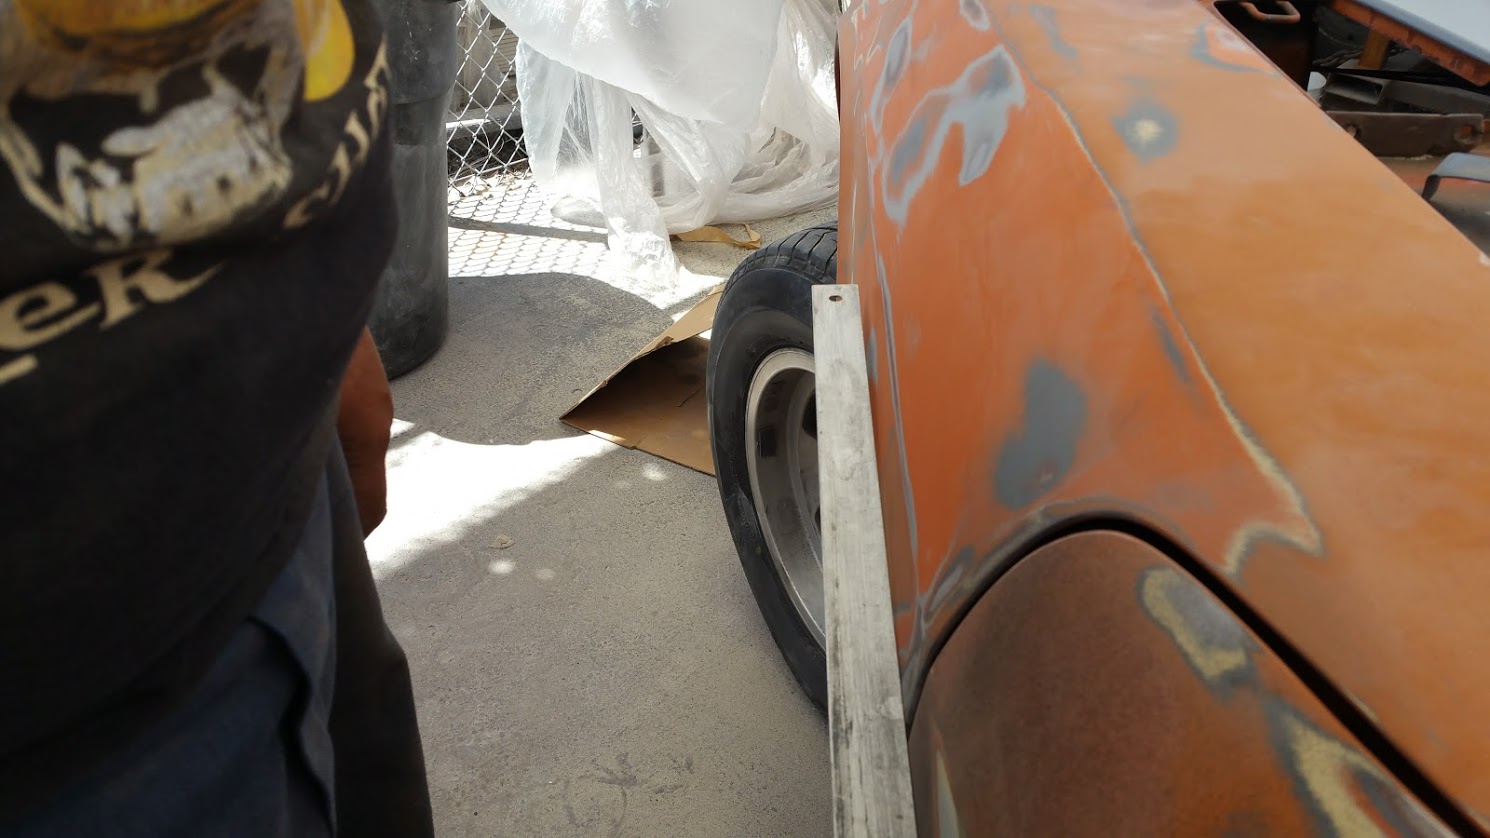
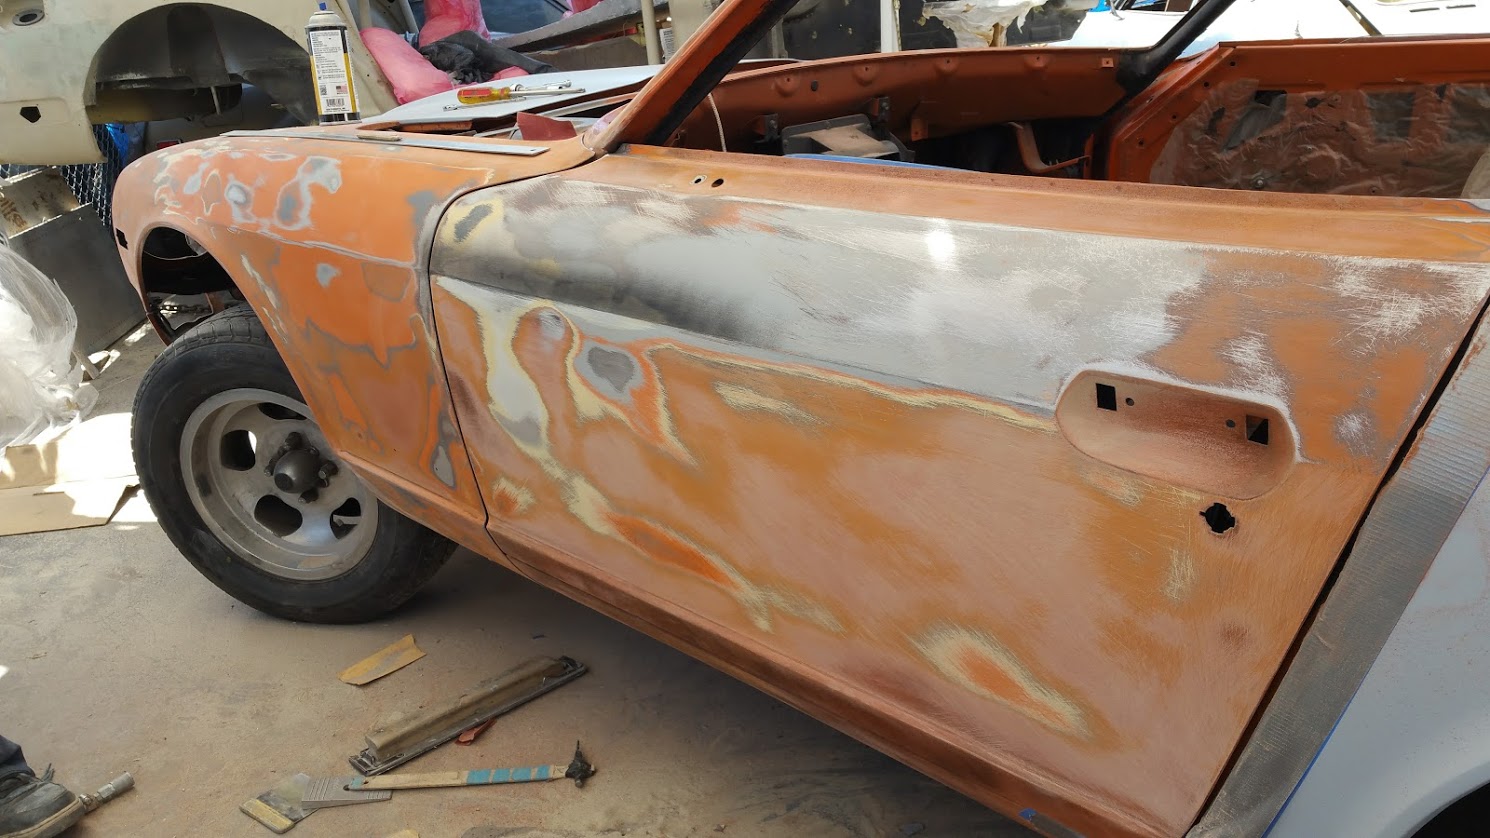
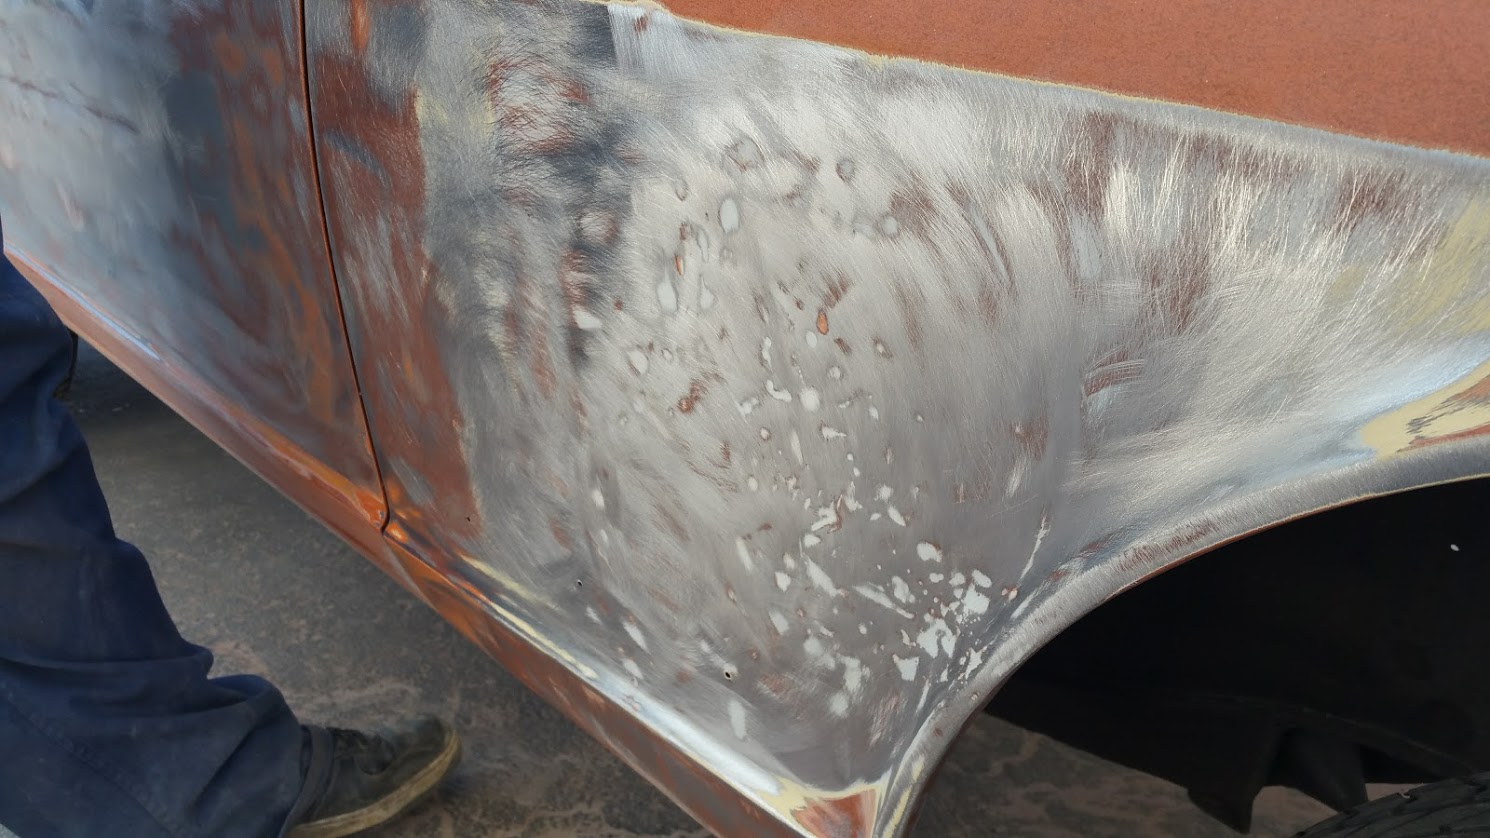
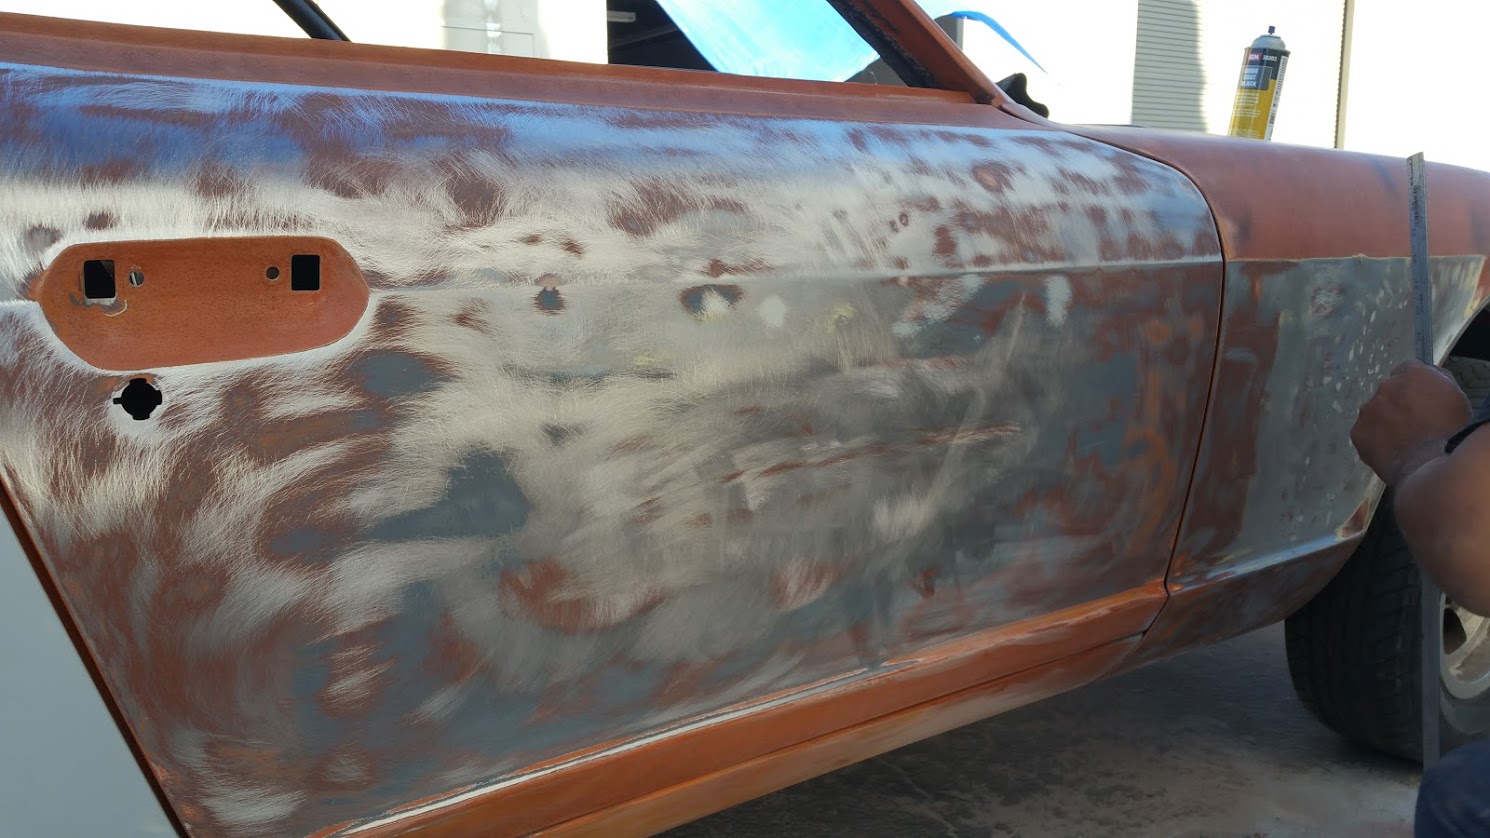
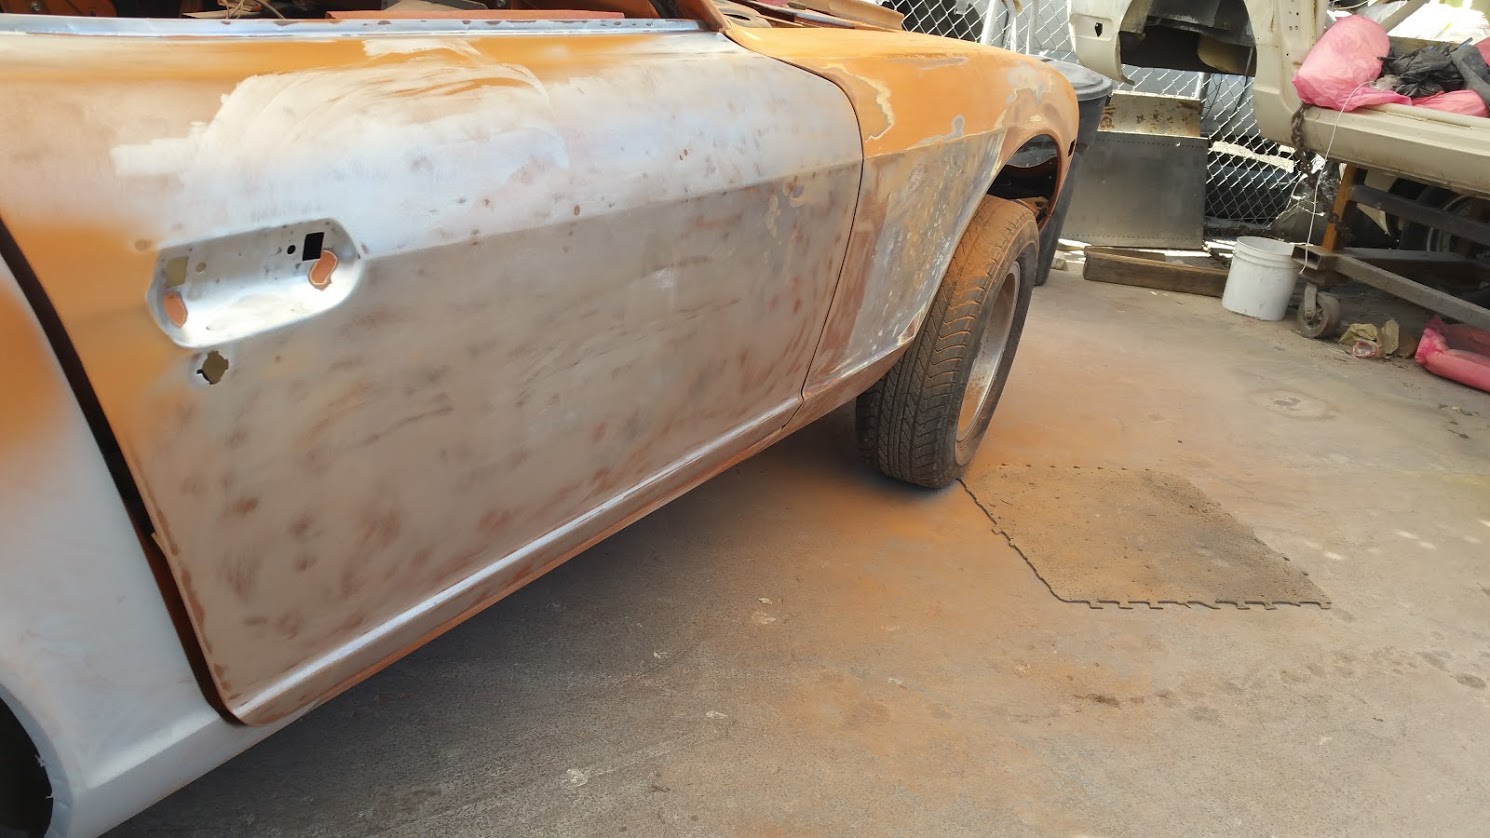
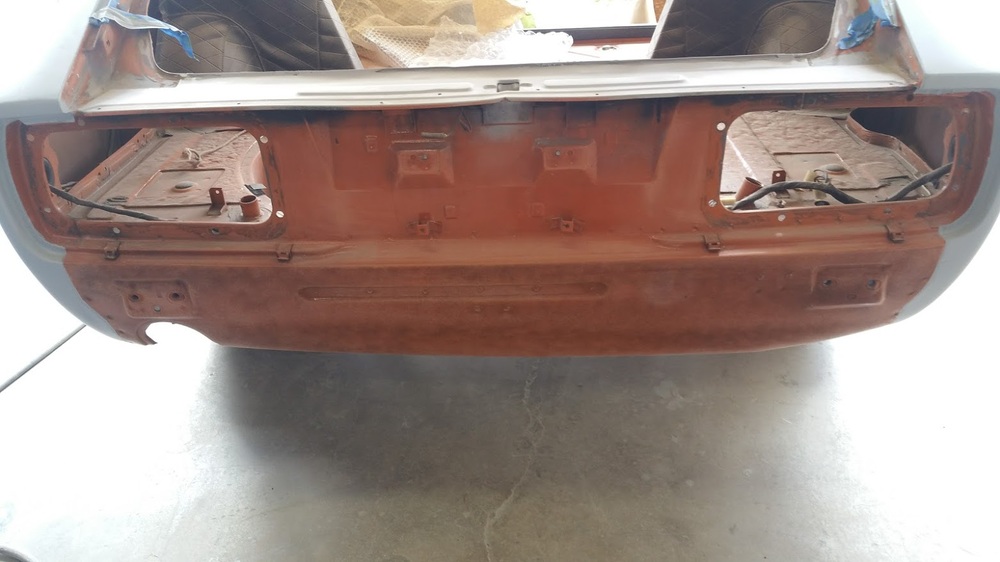
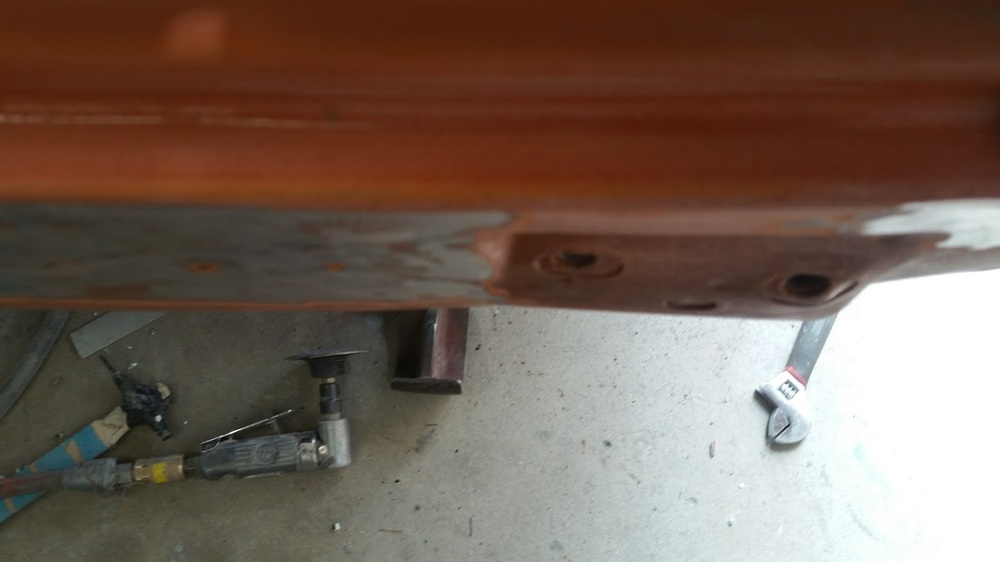
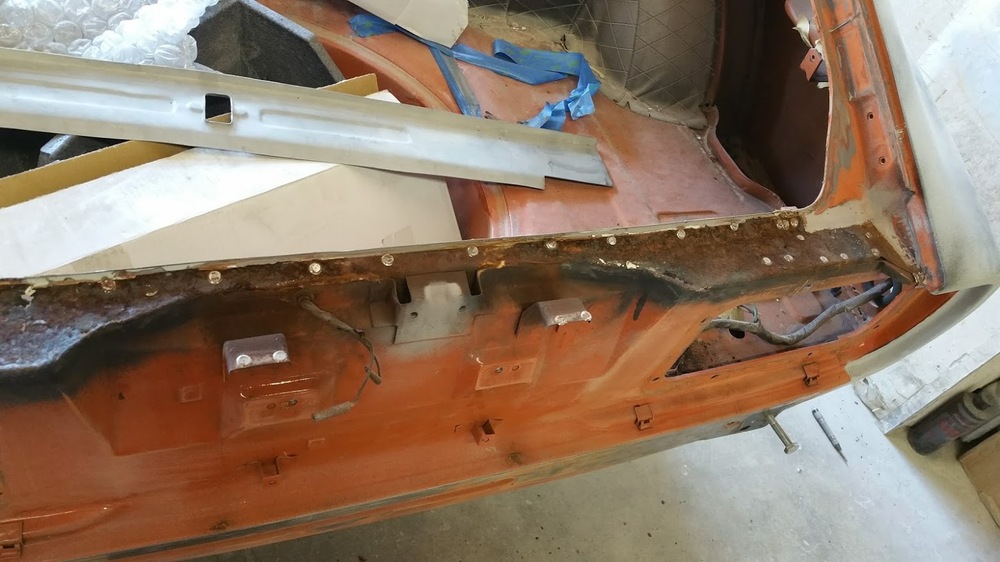
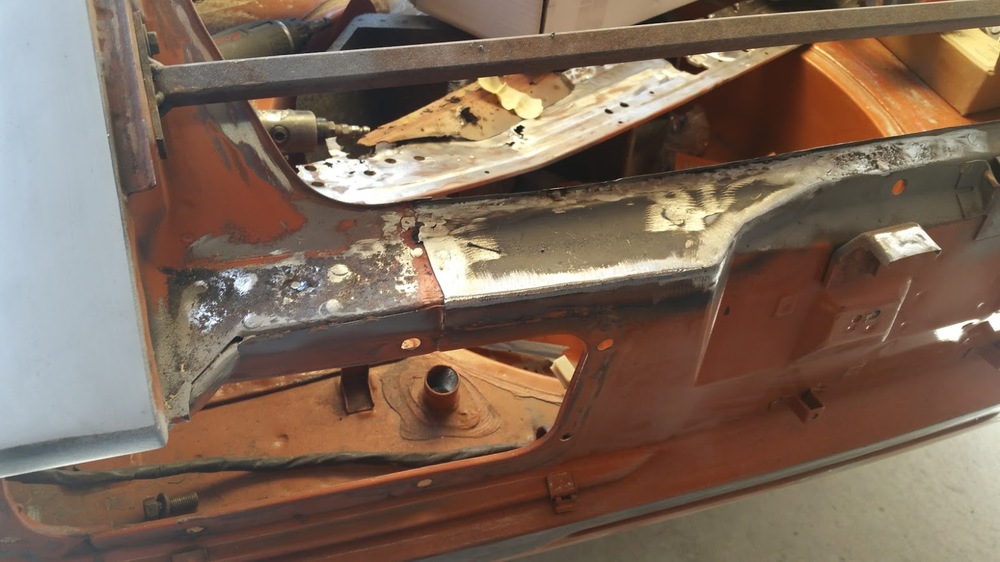
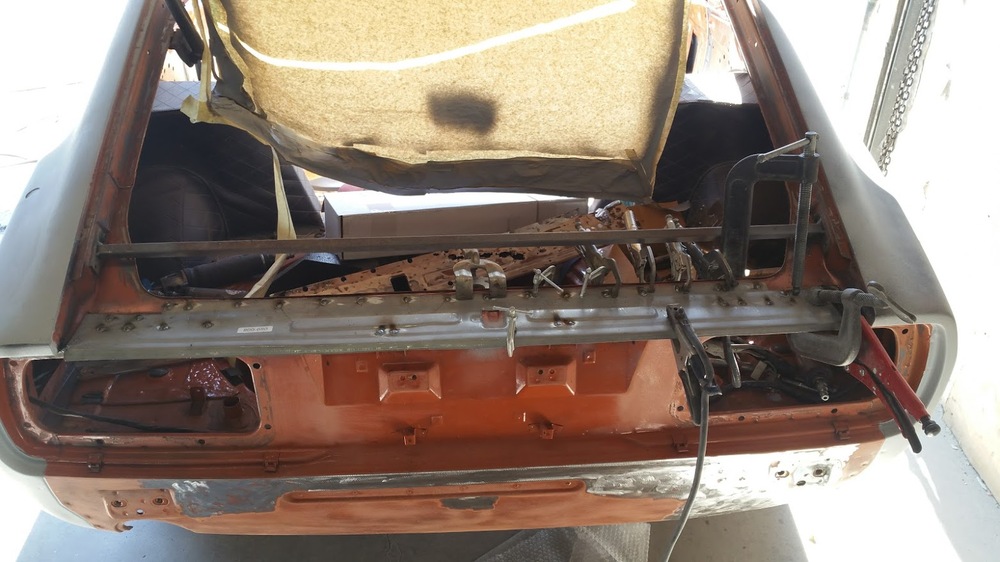
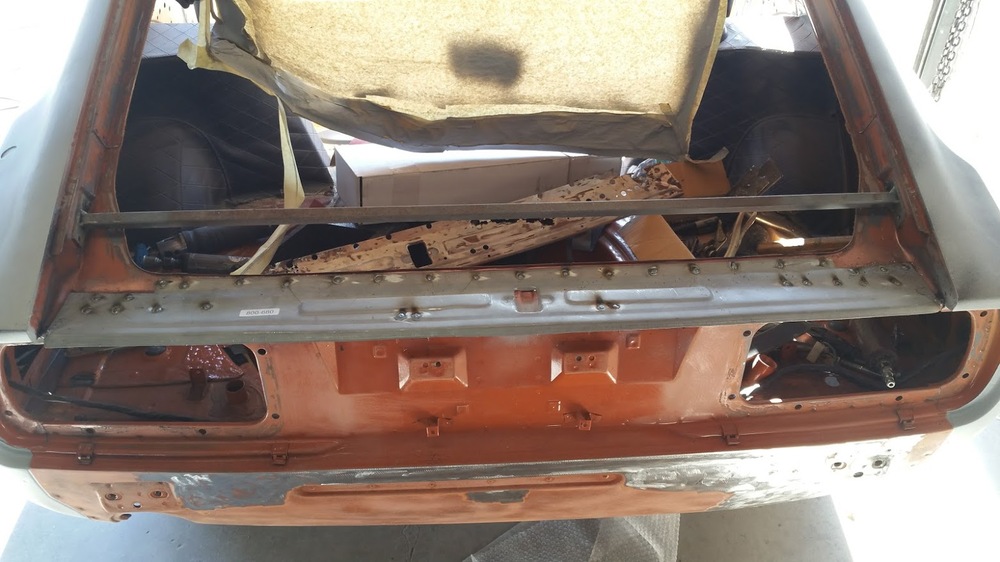
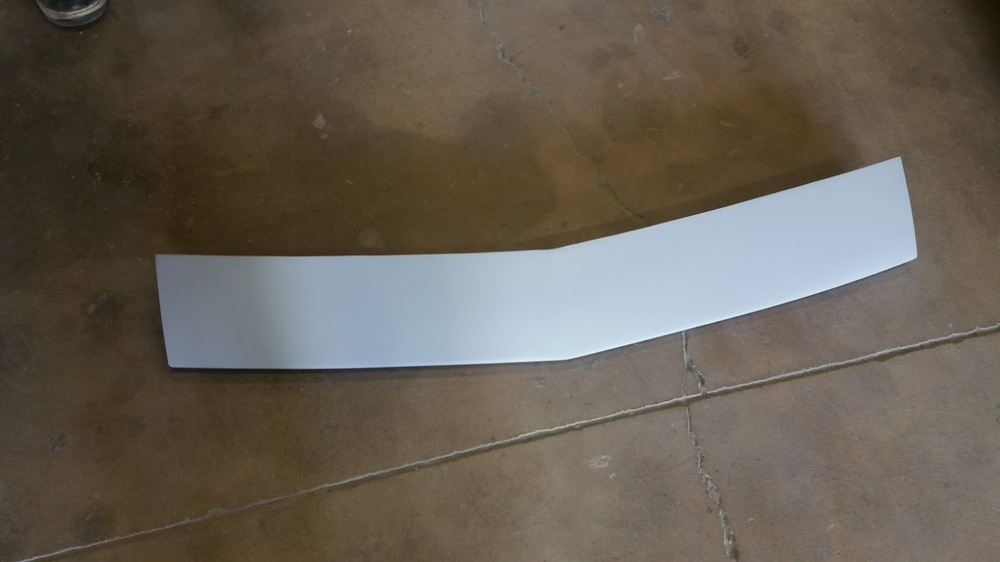
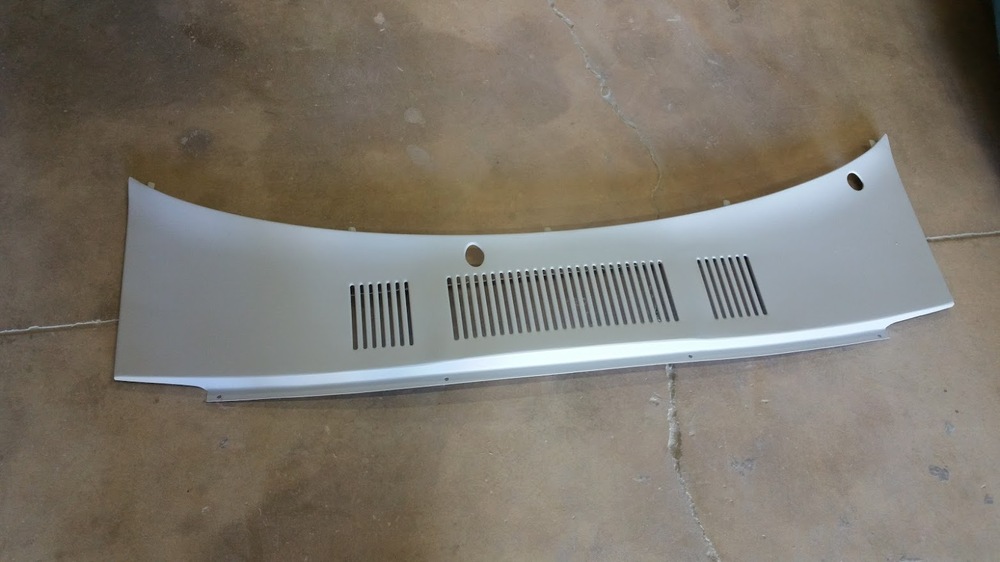
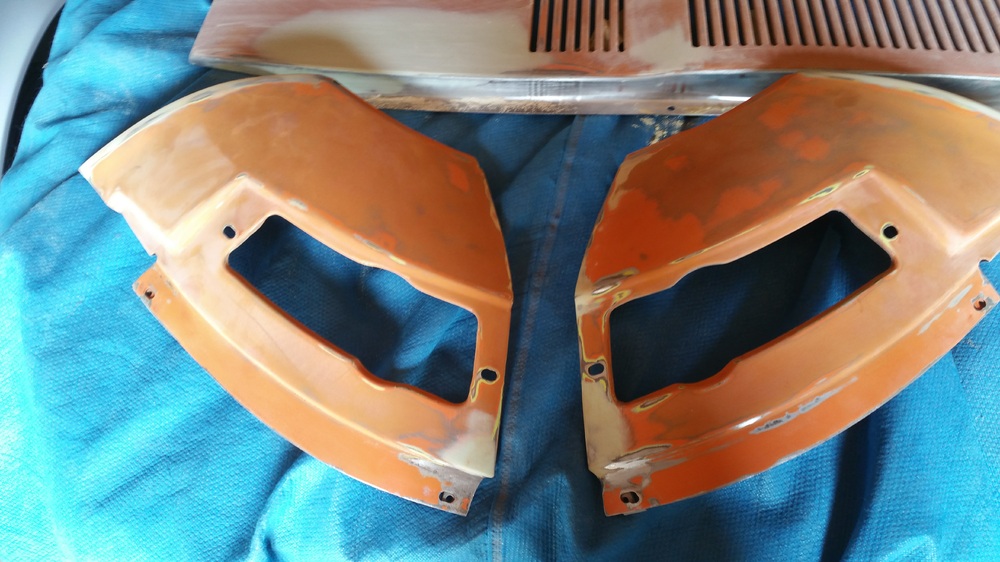
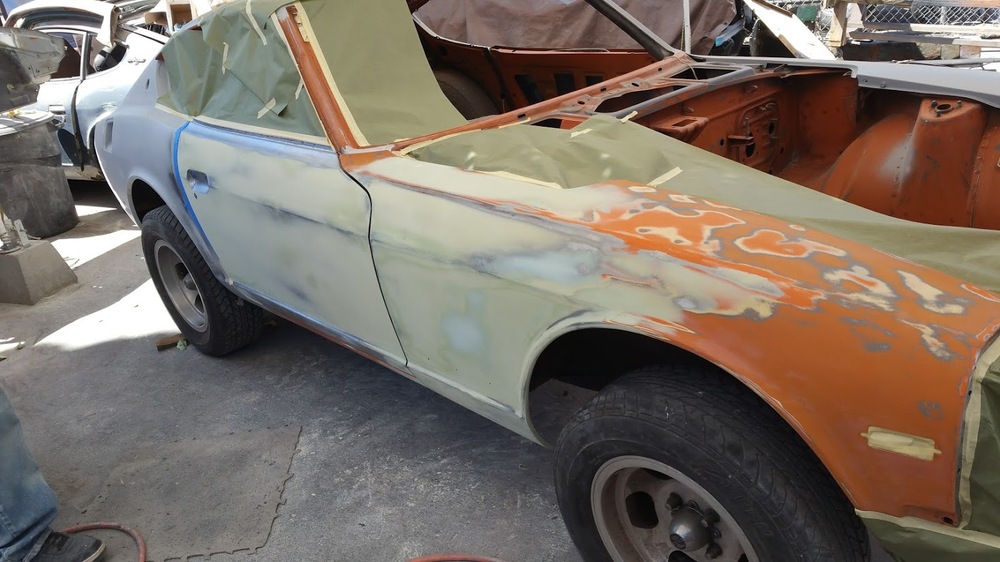
A lot of work going on at the body/paint shop. Miguel is pretty much taking everything down to the bare metal and fixing it up correctly. This is really the right way to do the job. In the first pic, everything kind of looks OK, but underneath it's a different story. Bumper attachment has been aligned. New sheet metal installed on the back end, beautiful work.


-
This is definitely sage advice! I completely agree and will take this approach. Looks like @Montezuma can set me up with a place to store it. This is starting to look possible.
-
Yes, It is easy to accumulate projects. If I decide to buy it, it will probably sit as is until September or October. No time to work on it until then. Financially it is not a big issue, space is the bigger problem. I already have one of my Z's at my mother-in-laws place, 3-car garage is full. I need a car barn. Surprisingly she was cool with the roadster which I keep in the garage. So you never know. Probably not best to 'surprise' her though. :-)
-
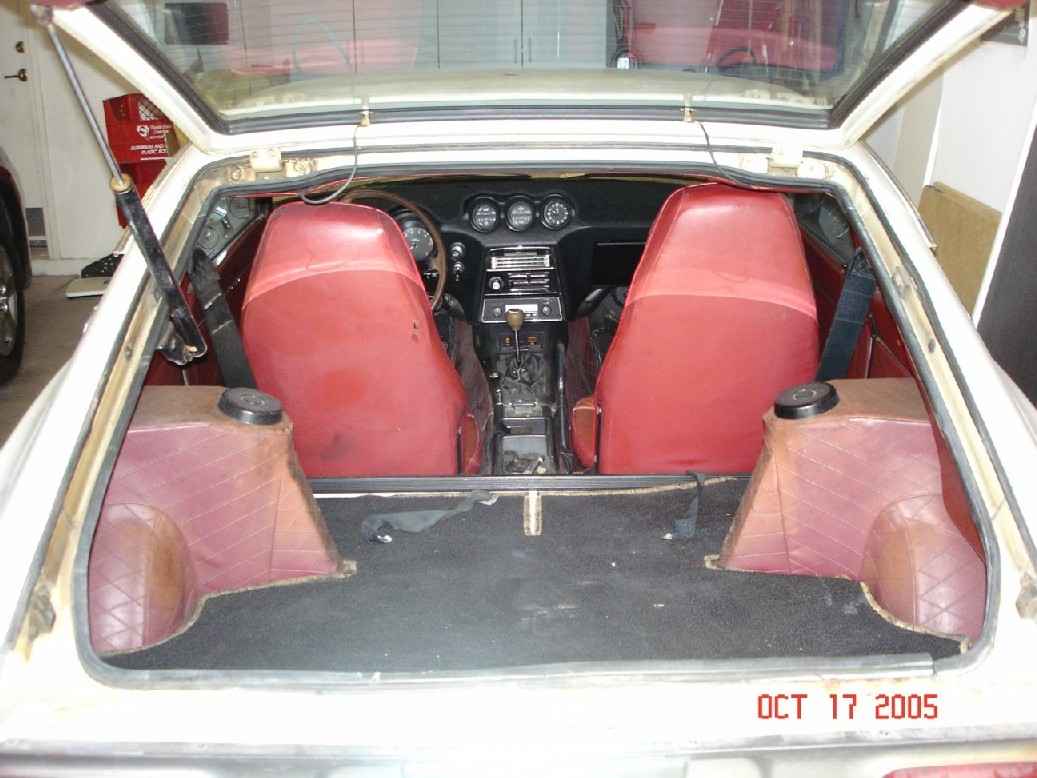
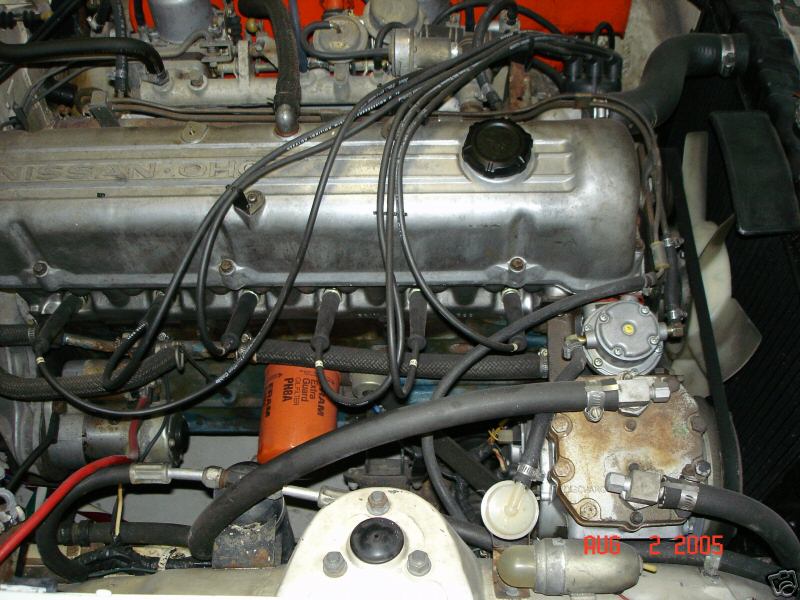
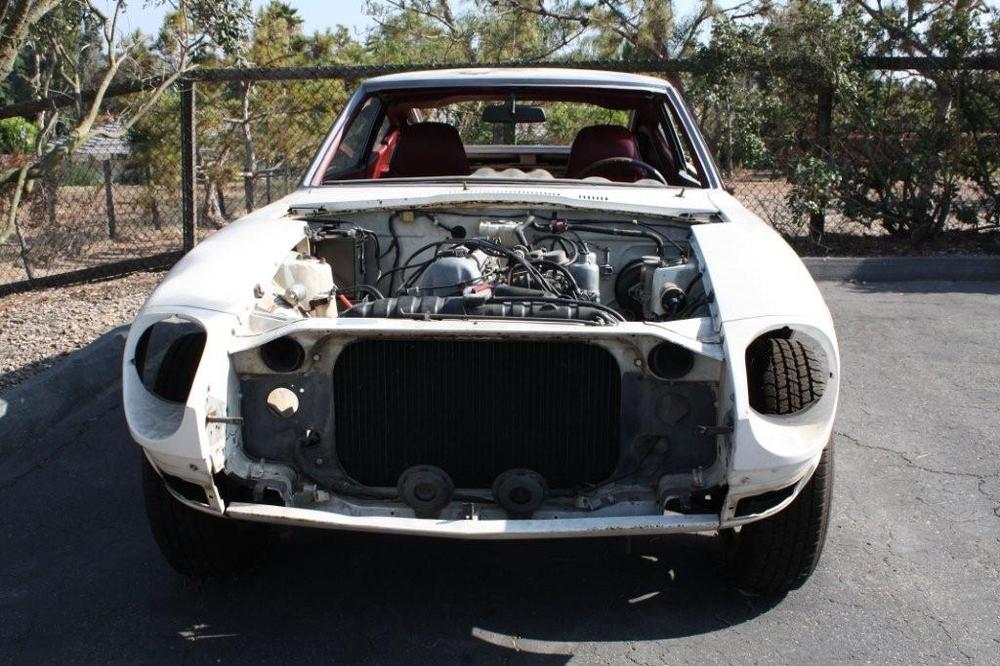
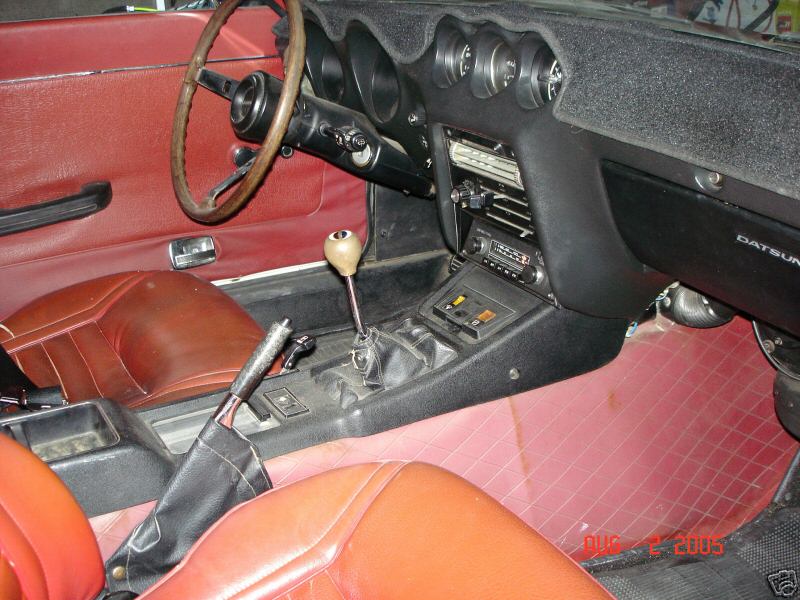
Whether tis nobler in the mind to suffer the slings and arrows of my wife's complaining that we don't have room for another Z (or another project), or take arms against that sea of troubles and let this car pass to someone else. Yes, I am faced with the conundrum of deciding on whether to pick up another Z. Tough call on this one. The car is in many pieces right now, but would not take much to get running. Of course I would tear it all apart anyway and re-build from the ground up. The good: The car is very original with minimum rust (just the right rear dogleg is rusted through). The frame rails and underside are dented but in decent condition. I love the color combo. interior vinyl and seats are in very good condition, original radio, original motor The bad: paint is crazed and in bad condition, dogleg rust, cracked dash, minor dings. Wife is out of town now, but will be back in a couple days. I will see what she says when she comes back. The price is right. Maybe I sell one of my other Z's and pick this one up (I hate to do that) I need a Ouija board or something to figure this out. tough call. Pics below
.jpg.44944f5cf4835a9b5d223e959629eb88.jpg)


-
You could clean it up so it would be ready to drop in at a moments notice. Plus, they are beautiful works of art and would nicely compliment any garage.

-
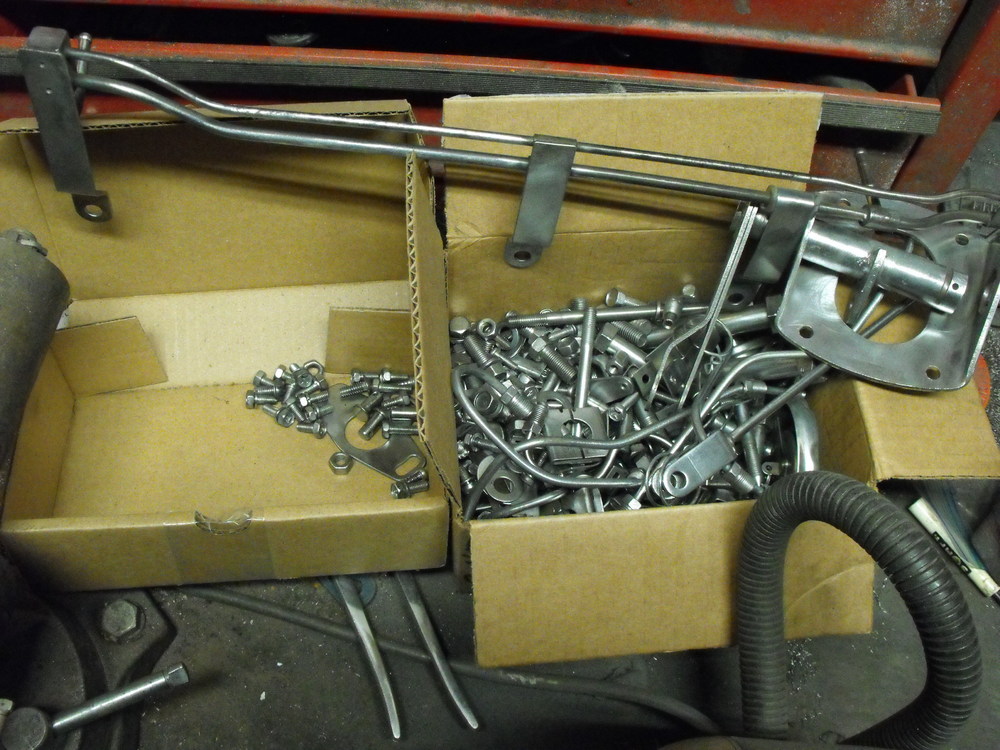
The dog days of restoration. Hours at the wheel prepping parts for plating. It will be all worth while when we start putting this all back together. Separating yellow zinc from clear zinc. A few motor additions. Attention to the small details are what makes it all come together nicely.
-
Just a few small updates from the paint shop. Got the Exhaust manifold off to be ceramic coated, Air cleaner is being powder coated at the same place. Been adding a few pars to the motor. Will try and get the rest of the plated items wire wheeled this weekend.

-
I love that quote! One of my favorites. Just a quick note on 'Just Dashes': Current cost is $1750 plus tax and shipping. Shipping is way expensive, so since you are fairly local, just better to drop it off there. Also, the lead time is 3 months, so you will not get your dash back right away. Good luck!
-
Fixing the existing cracks in a dash is pretty much just a temporary fix. Age and condition of the plastic on the dash can not be reversed, and eventually new cracks will form. In some cases your new fix will exacerbate the problem as the patch may shrink, producing more cracks. I followed one of the dash repair threads on this forum using the 'bumper rubber' material as the patch material on my 1970 roadster. The dash looked awesome for about 6 months, then the cracks started to appear. The cracks were in the old plastic that was not replaced and eventually they became overwhelming. I ended up just putting a dash cap over it.
-
I would say it is a bit more than 30 minutes, closer to an hour or two based on your skill level. For me, the most difficult part of the dash removal is removing the heater panel and it's associated cables, the radio, and the wires that go to the fuse box. It is probably easiest to remove the fuse box along with the dash harness instead of unscrewing the two wires that attach to the bottom of the box. The rest of the removal is easy by comparison in my opinion. Also, you will want to take a lot of pics of the smaller individual wire connections. There are several that change color and this can be a bit tricky when re-installing. The larger connections are basic. Also, I would recommend 'Just Dashes' over purchasing an uncracked or NOS dash. There is no telling the condition of an old dash and how old the plastic is and what it has been exposed to. Just my thoughts.
-
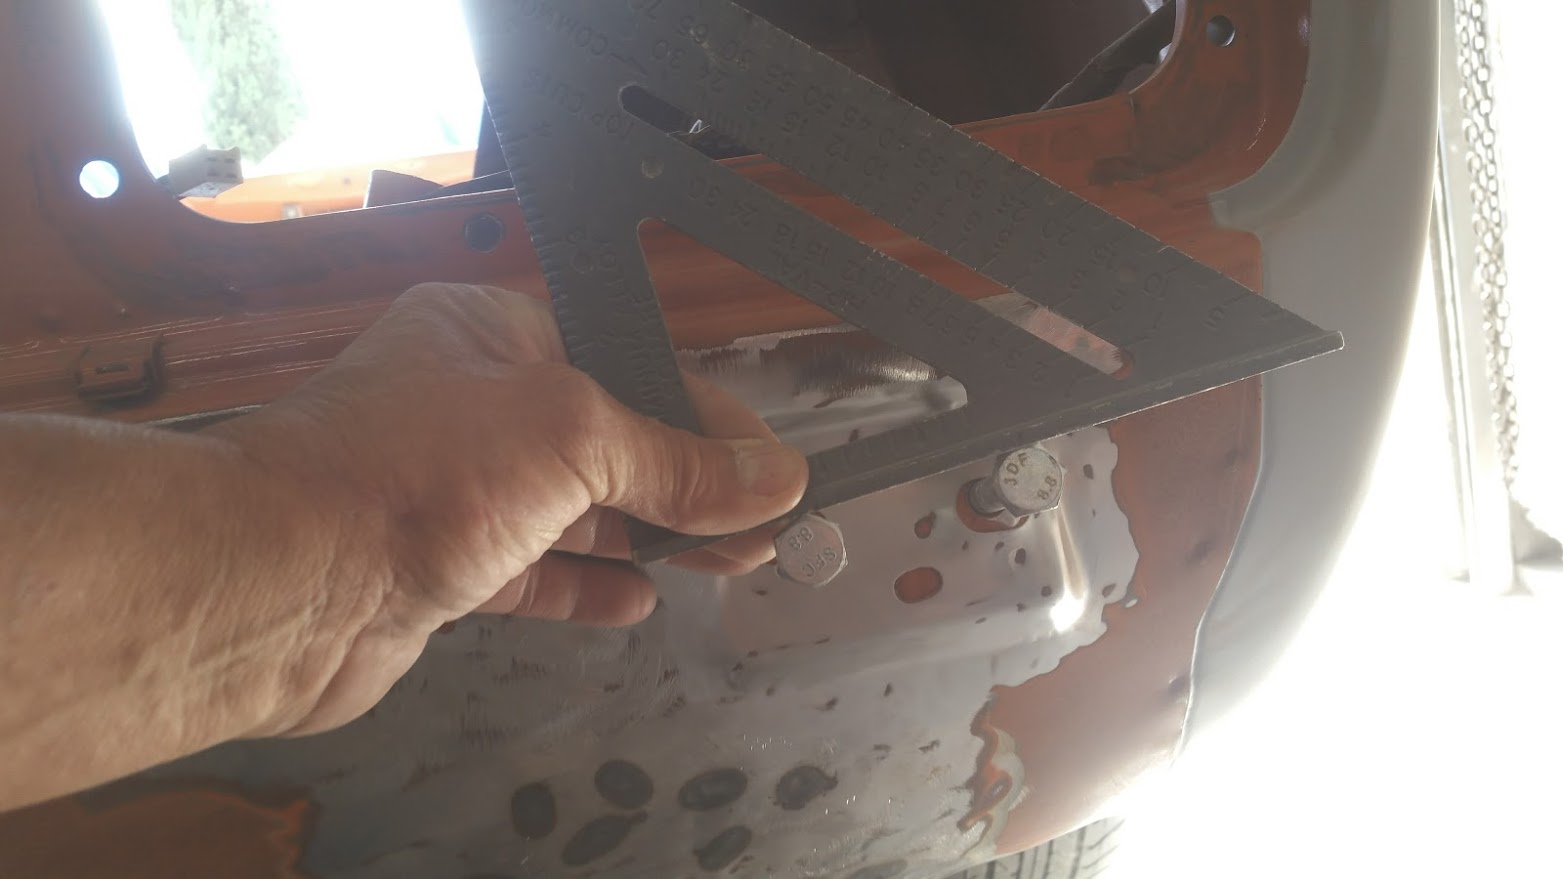
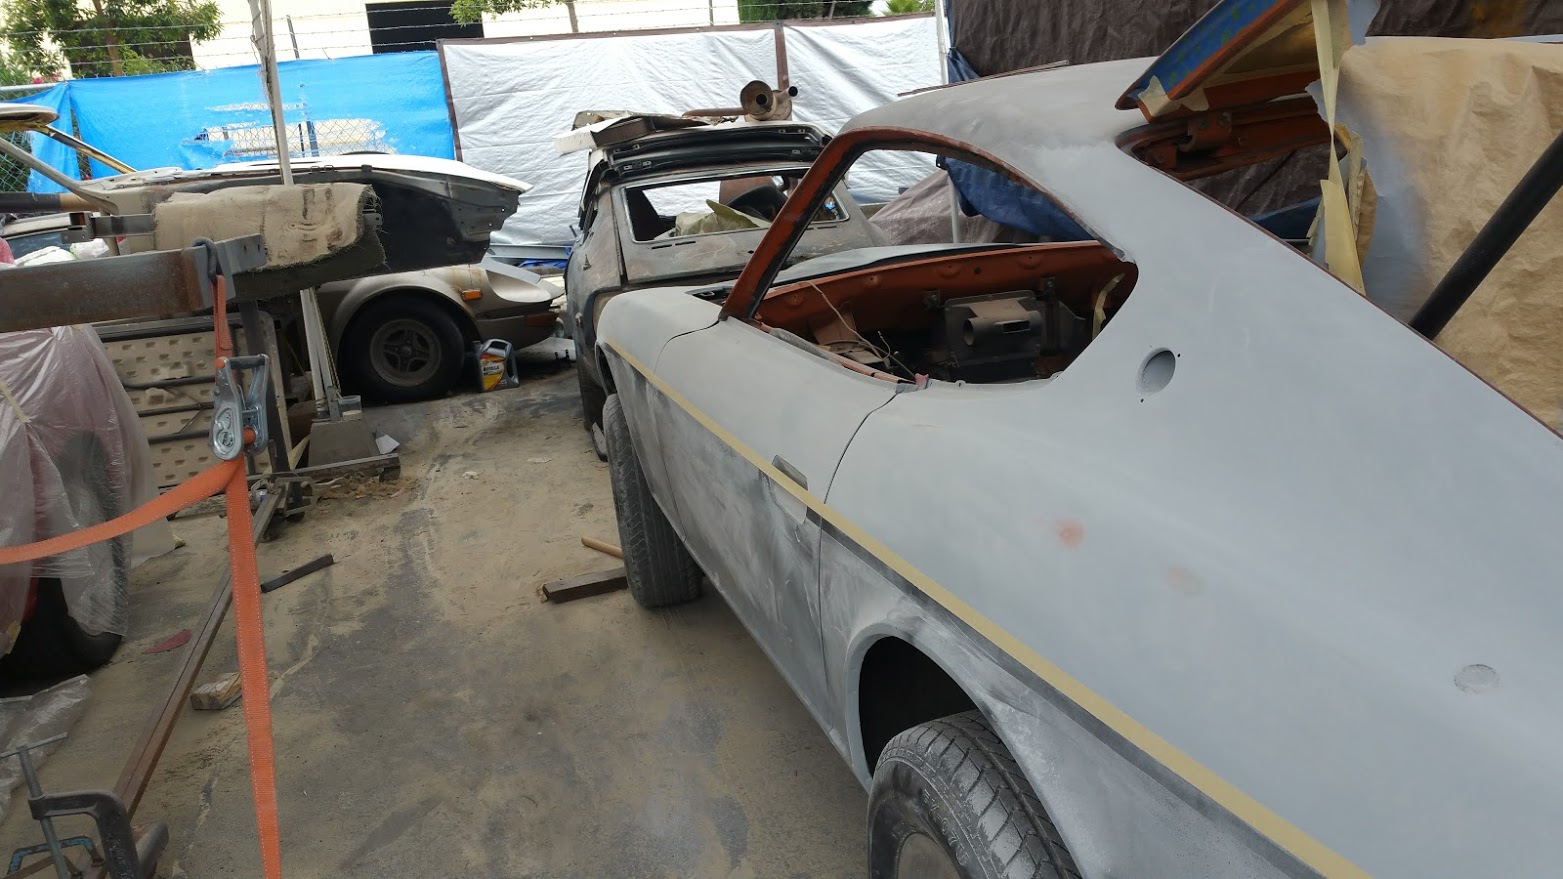
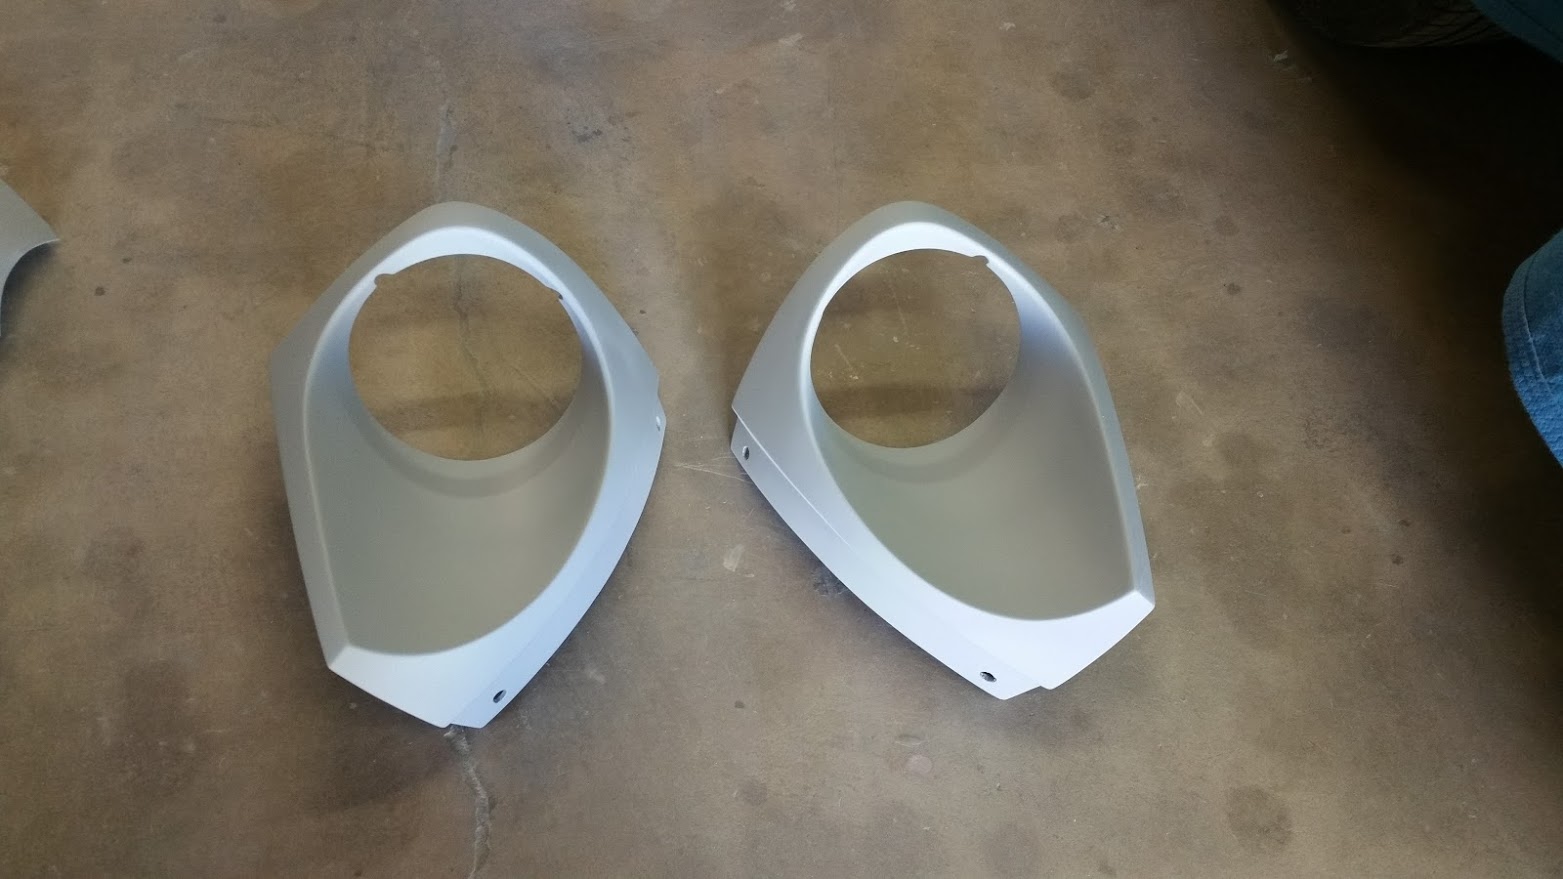
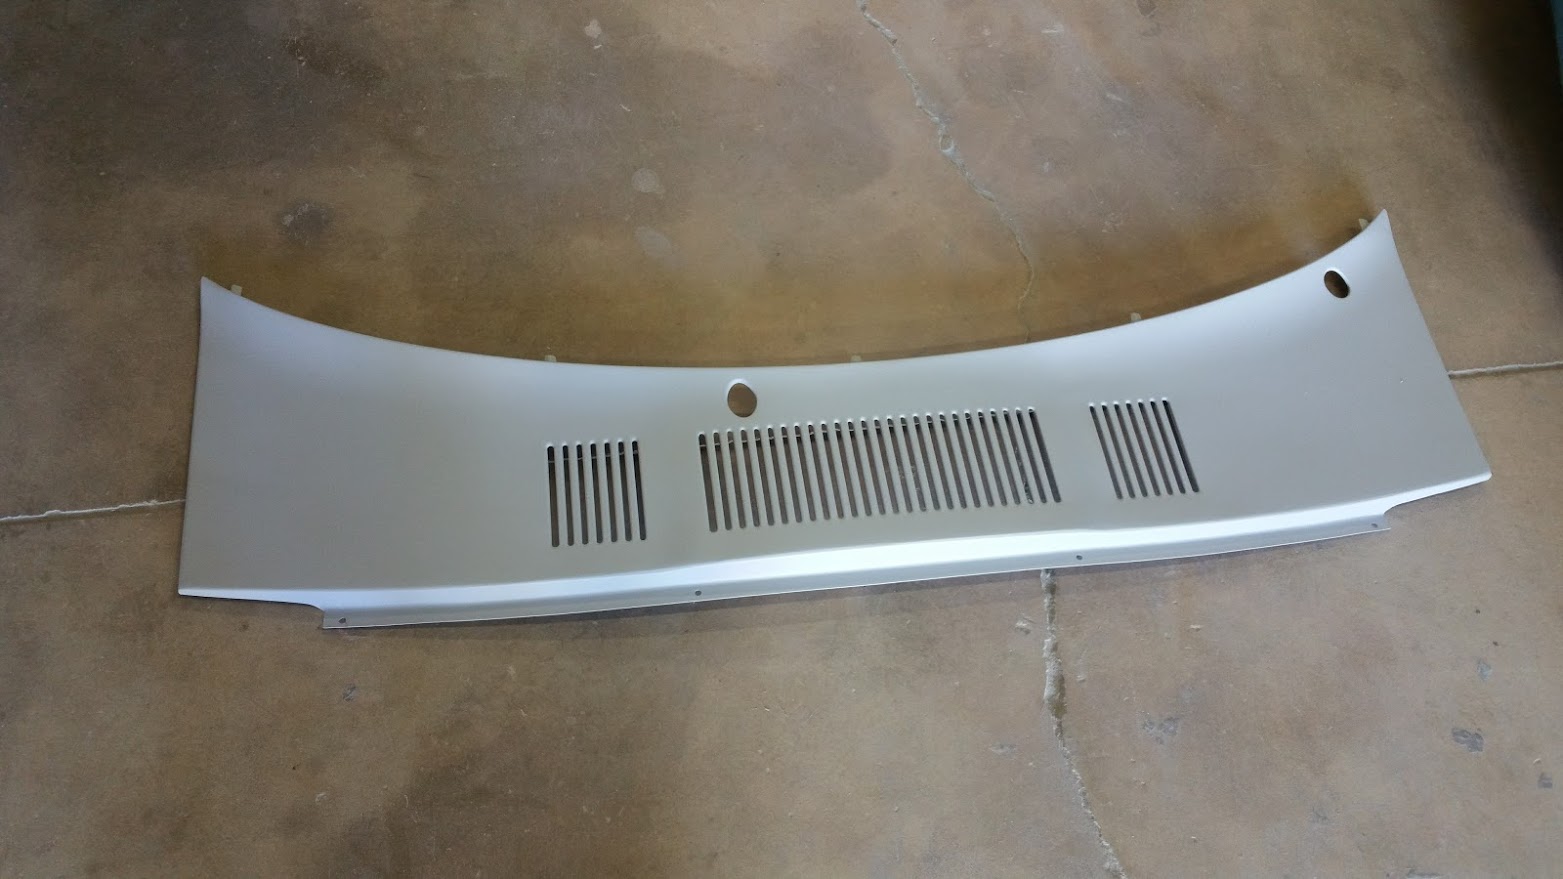
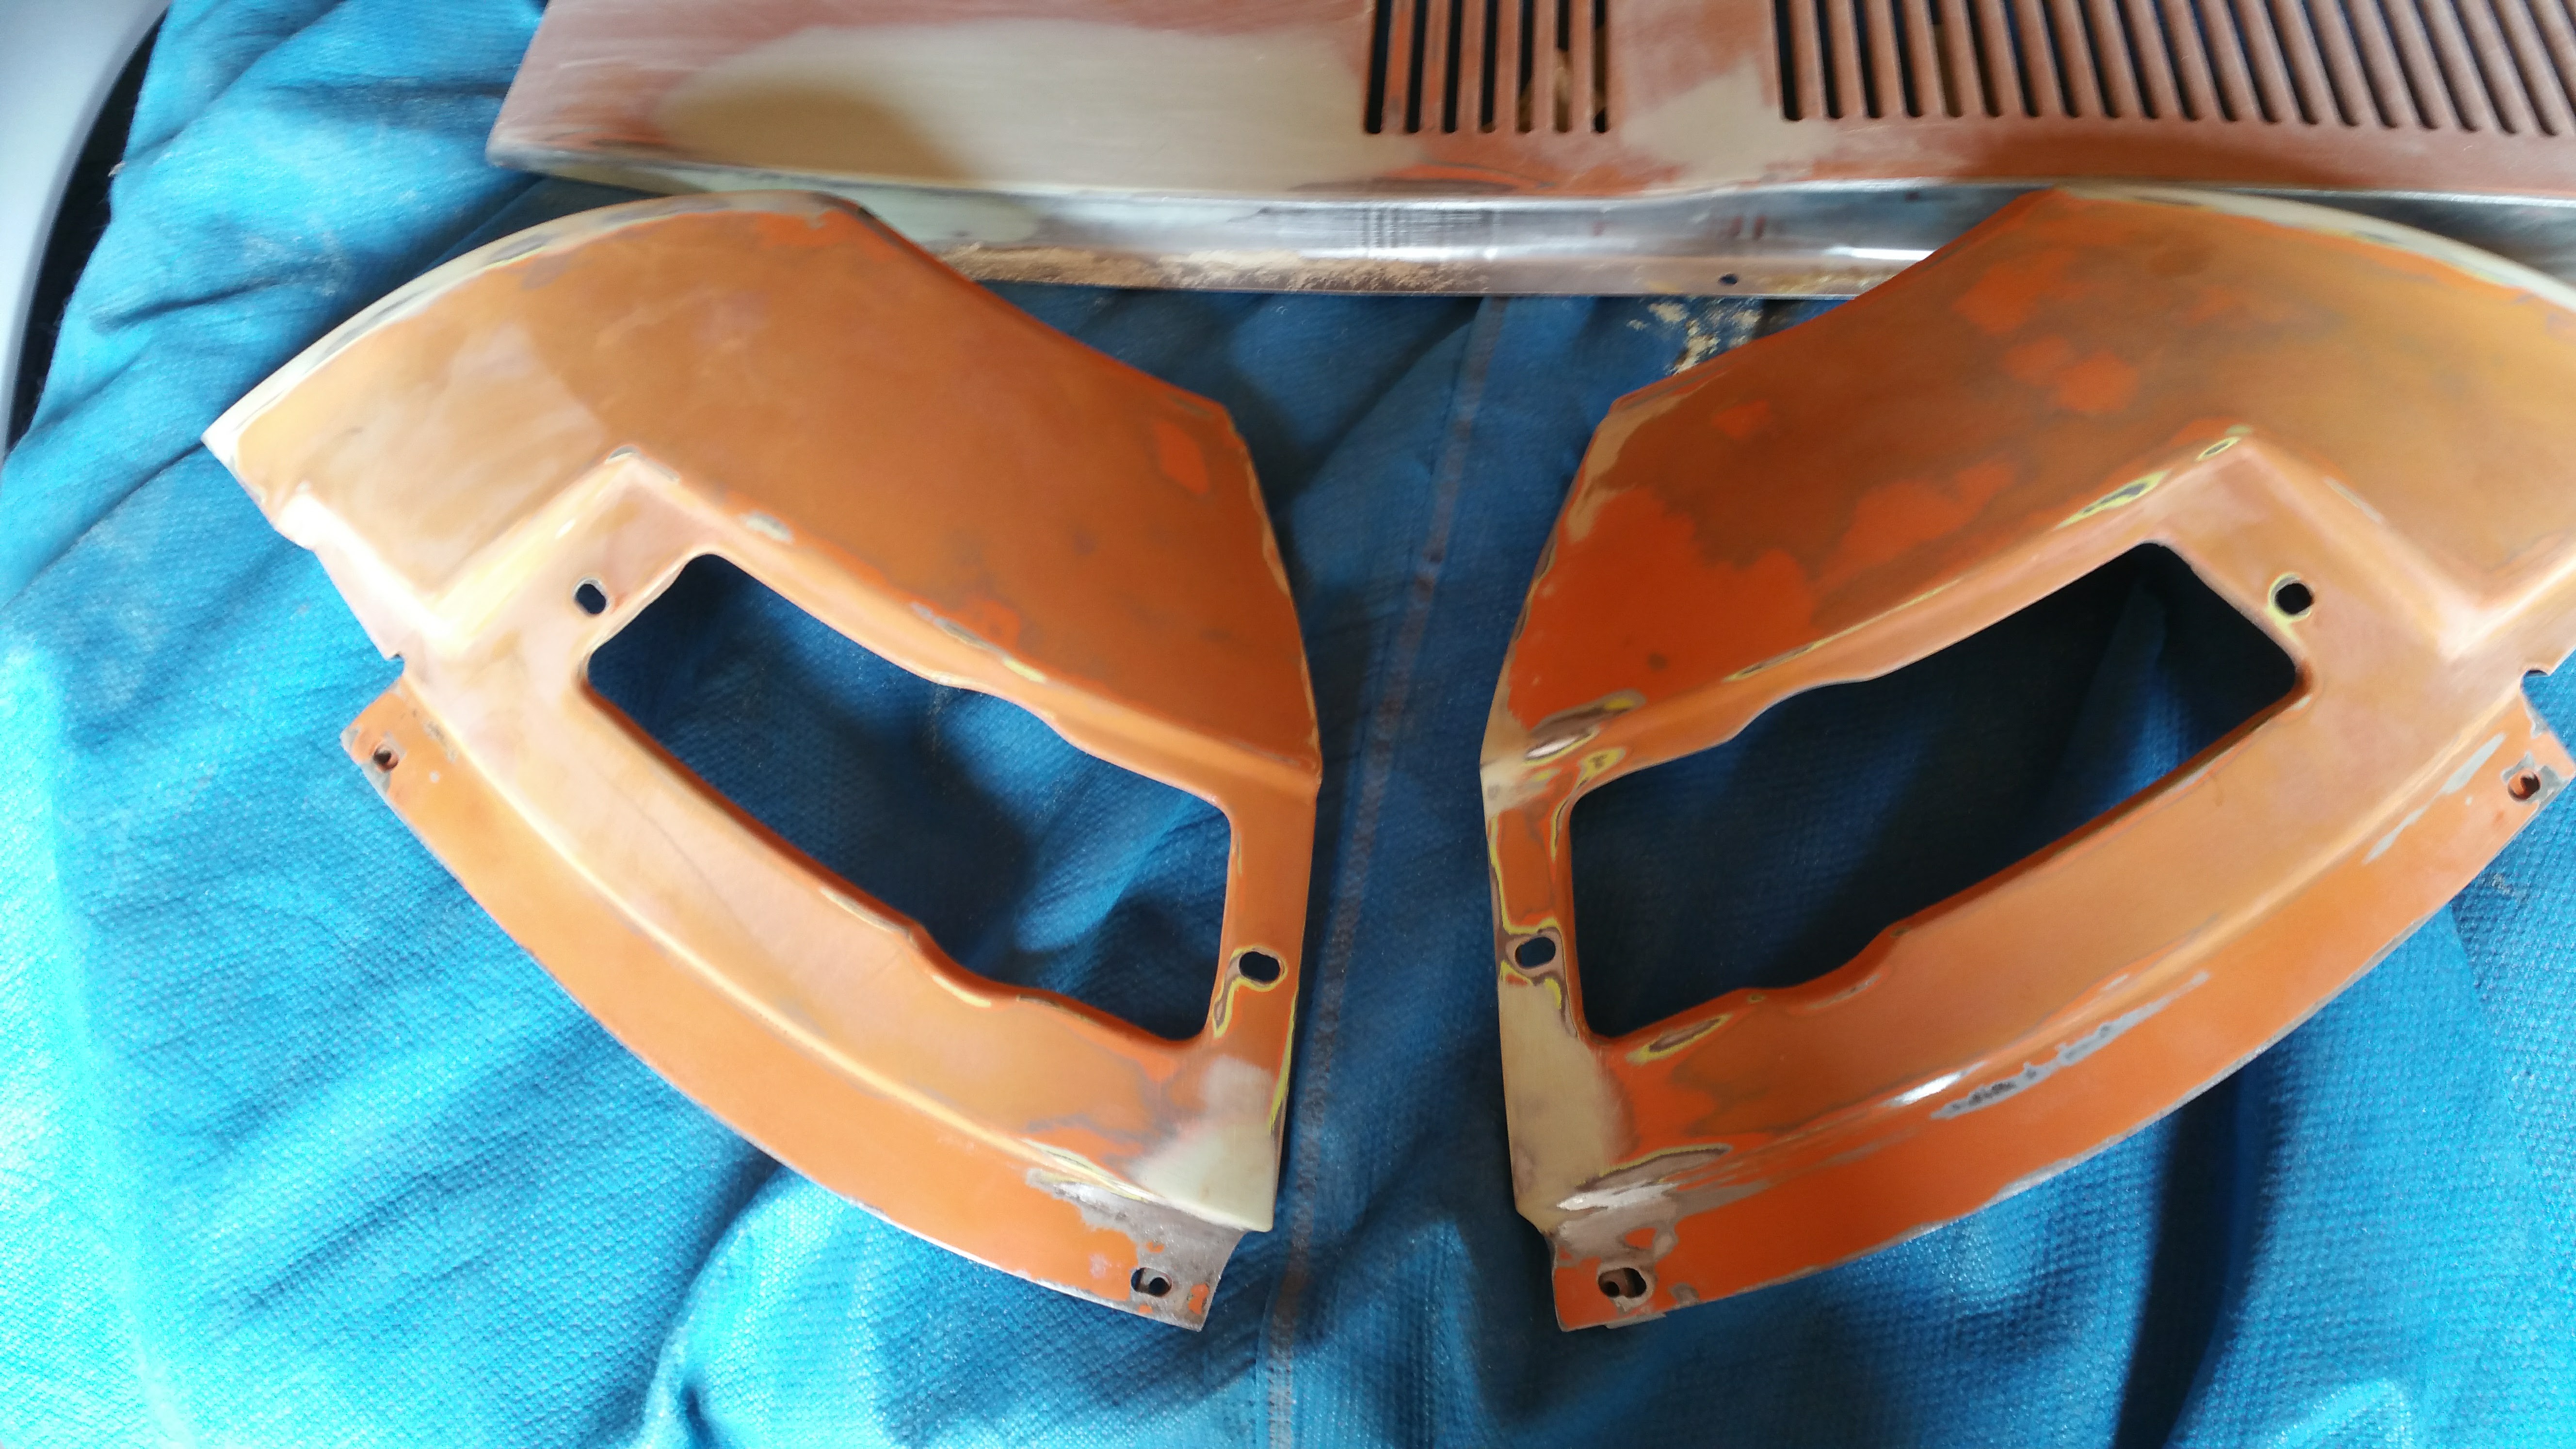
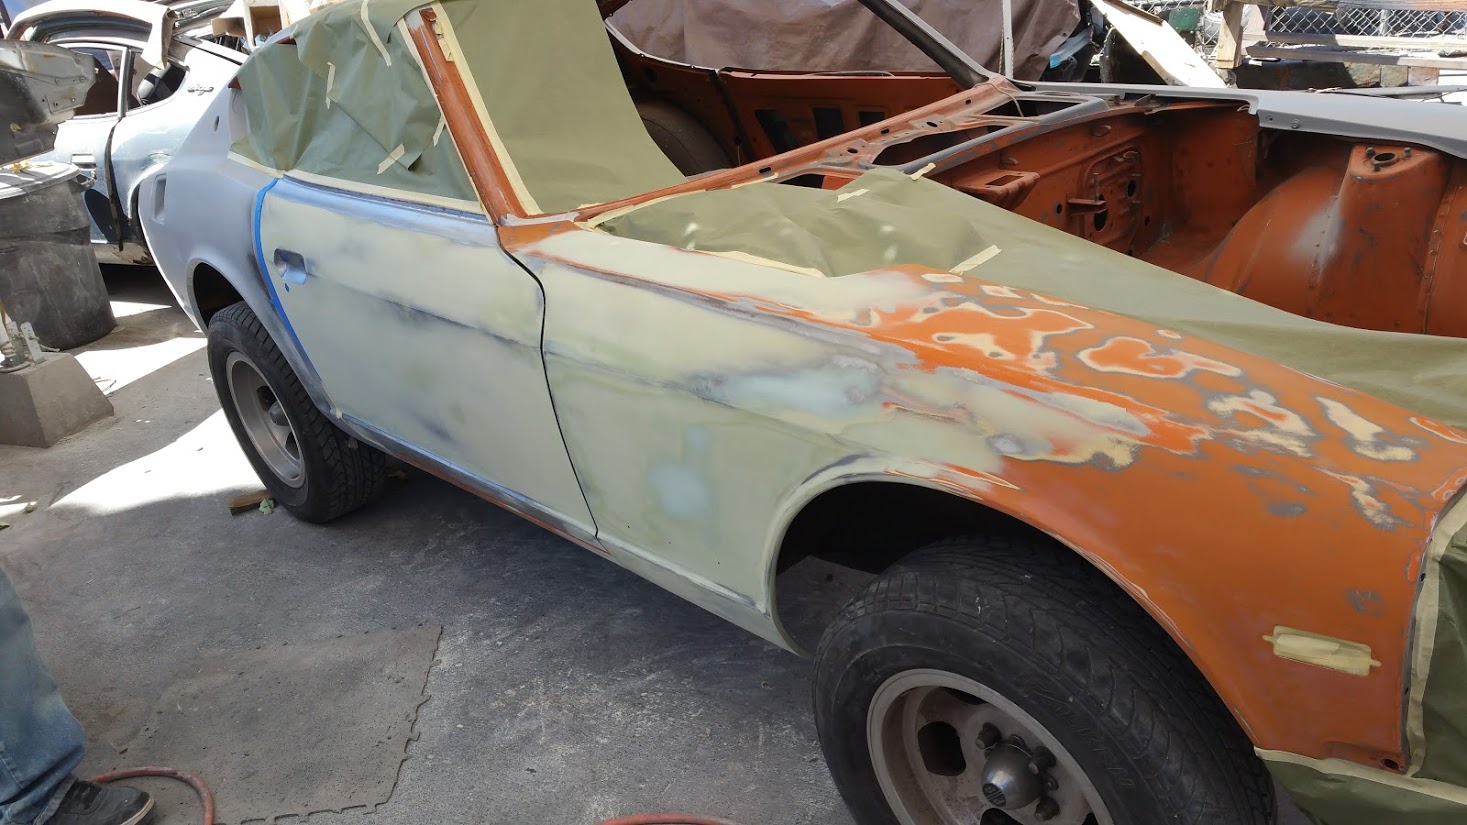
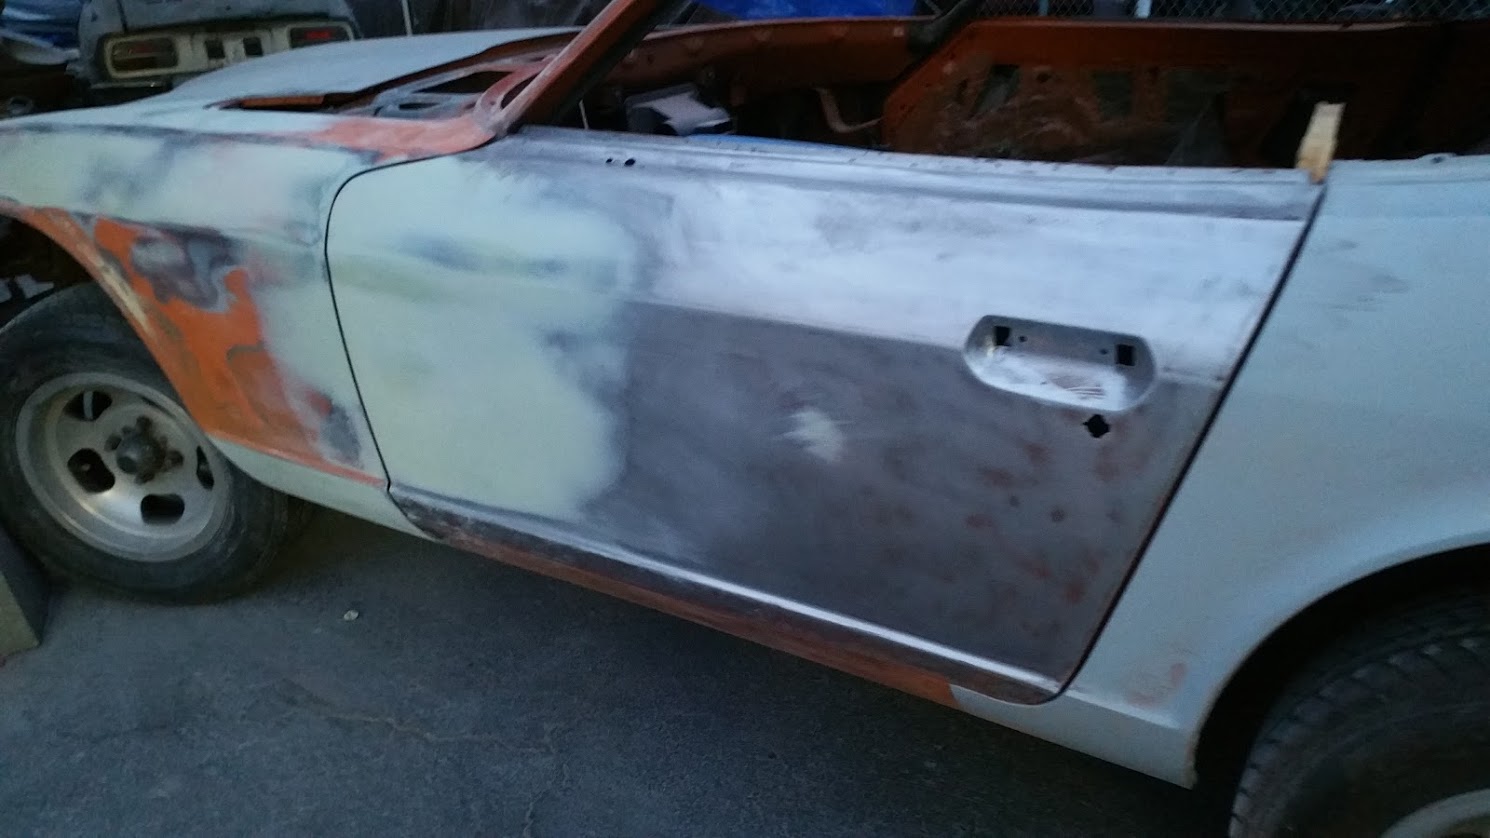
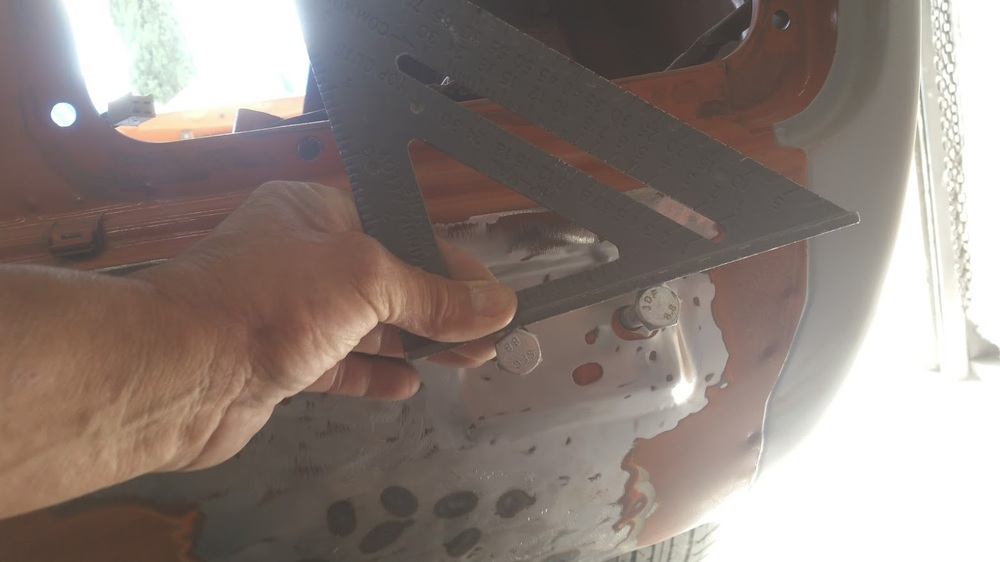
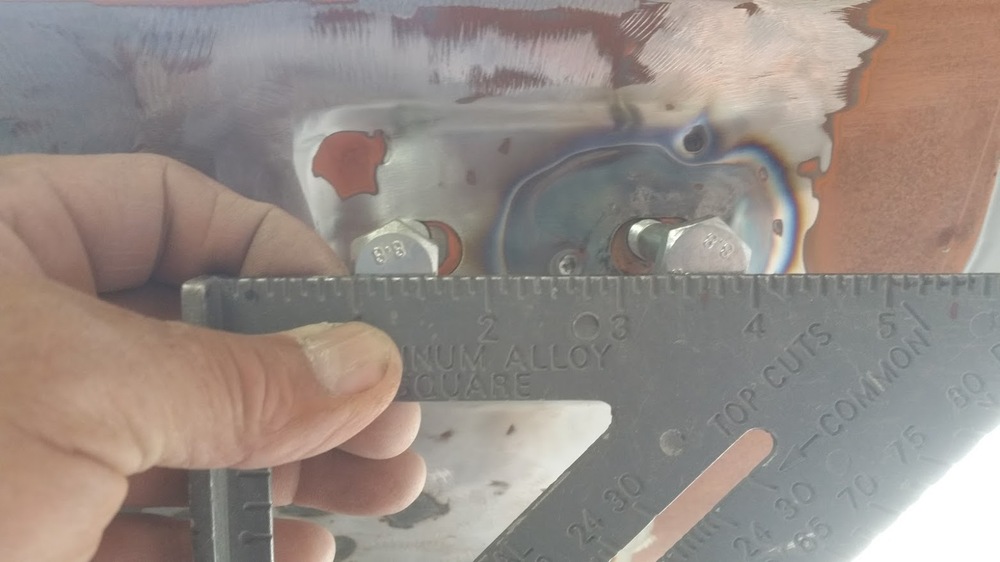
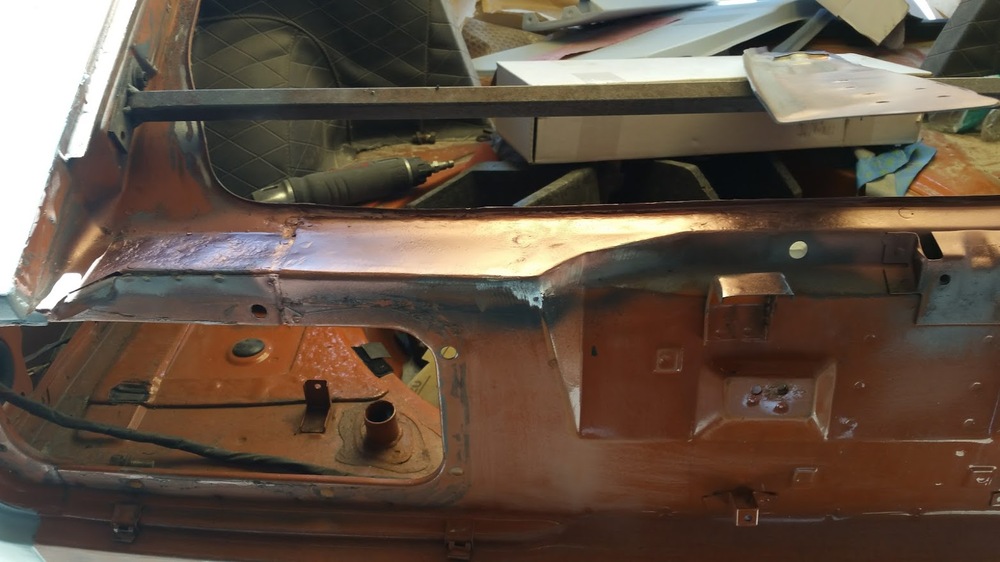
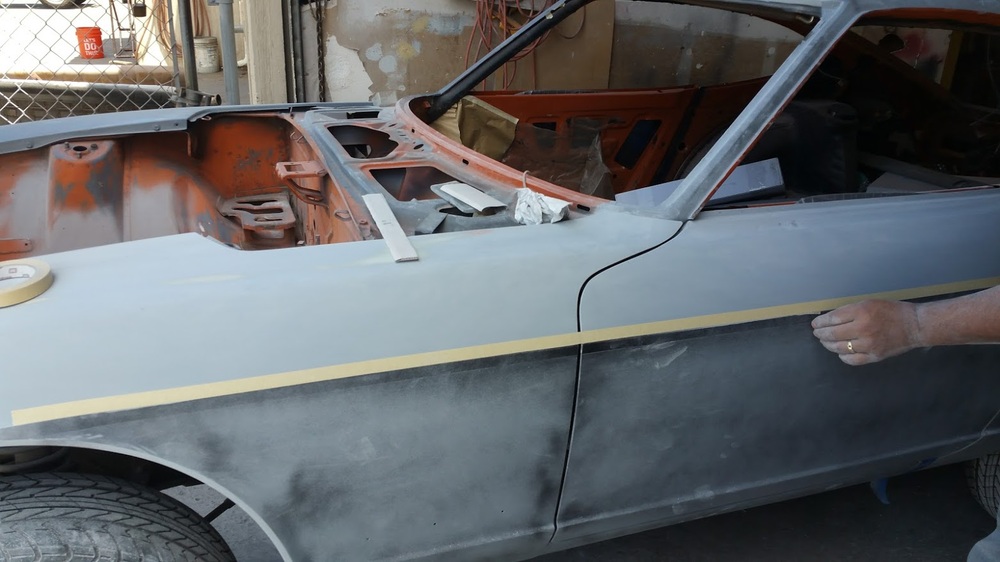
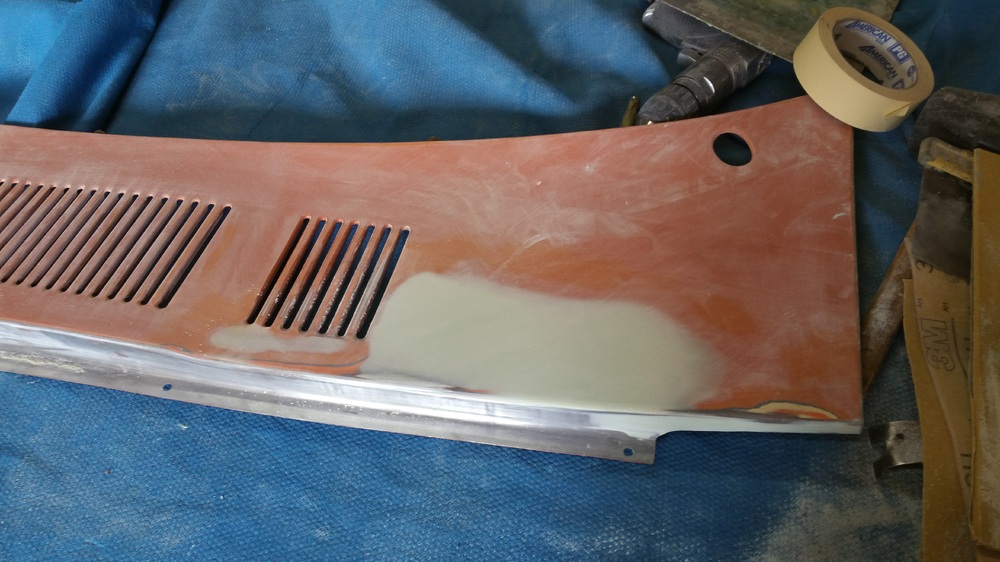
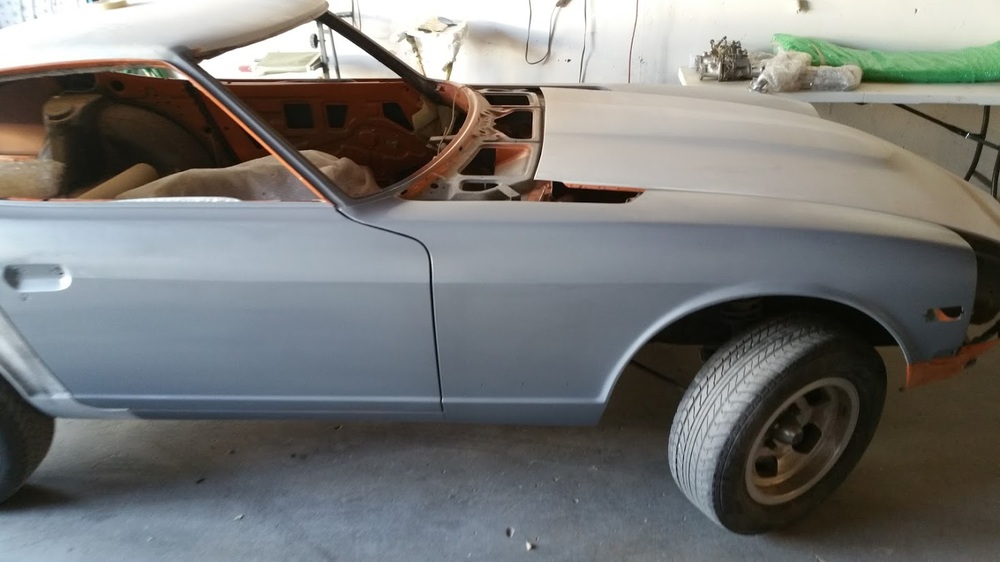
Updates from the paint shop. I love how clean the lines and gaps are, nicely done.


-
I will have to get me a pair or two as well. I just have the type with the alligator teeth and they pretty much tear up everything.
-
It looks pretty nice from the one picture. If it still has the flat top carbs I would be interested if I can find a place to park it. I think the 1973's are underrated. The thing I like about them is that they are the only 240Z with the flat tops and unique hardware. Most people have have tossed the flat tops in favor of the SU's, so finding an original will soon be pretty rare, thus the value. And don't harass me about the flat tops as I actually had a 1973 240Z (Stupidly sold in a short period of insanity) that had flat tops and it ran flawlessly, even in LA traffic. I may have @Montezuma check this out as he lives in Long Beach....not far from San Pedro.
-
Yes it is
-
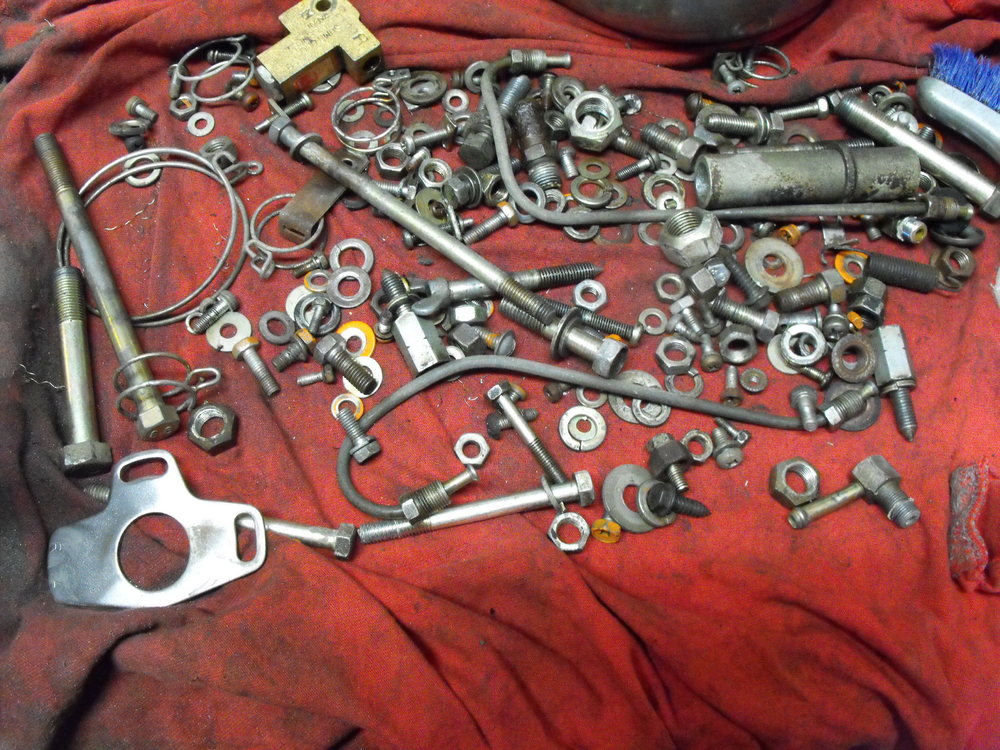
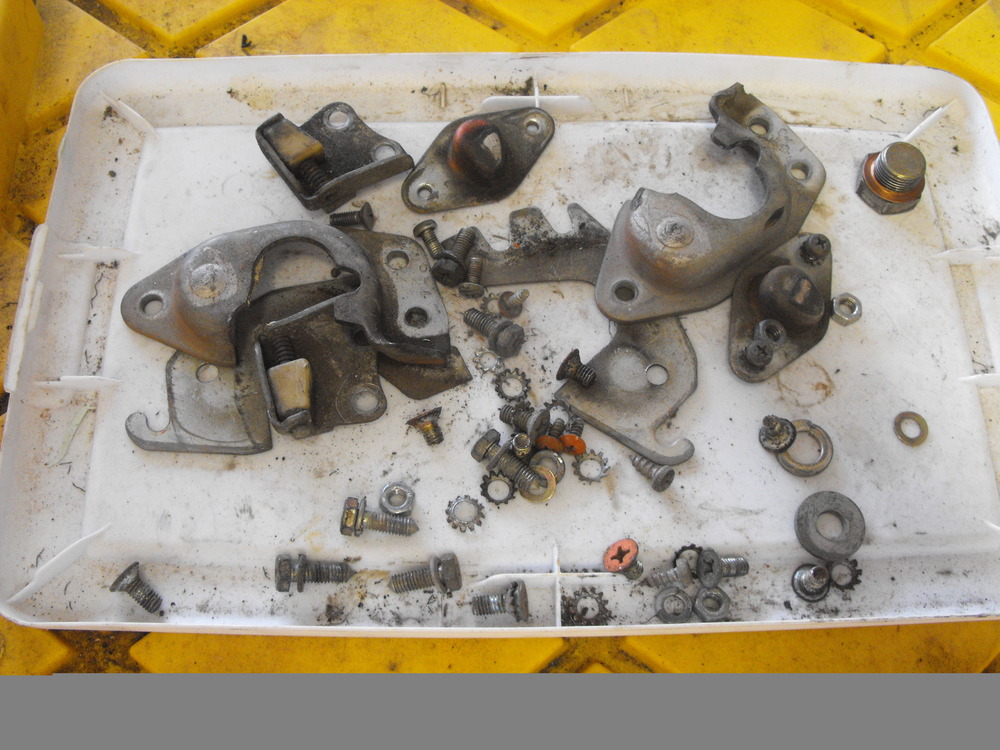
As far as the plating goes it's "Garbage IN, Garbage OUT". They need to be cleaned up but I think it is worth the work.
-
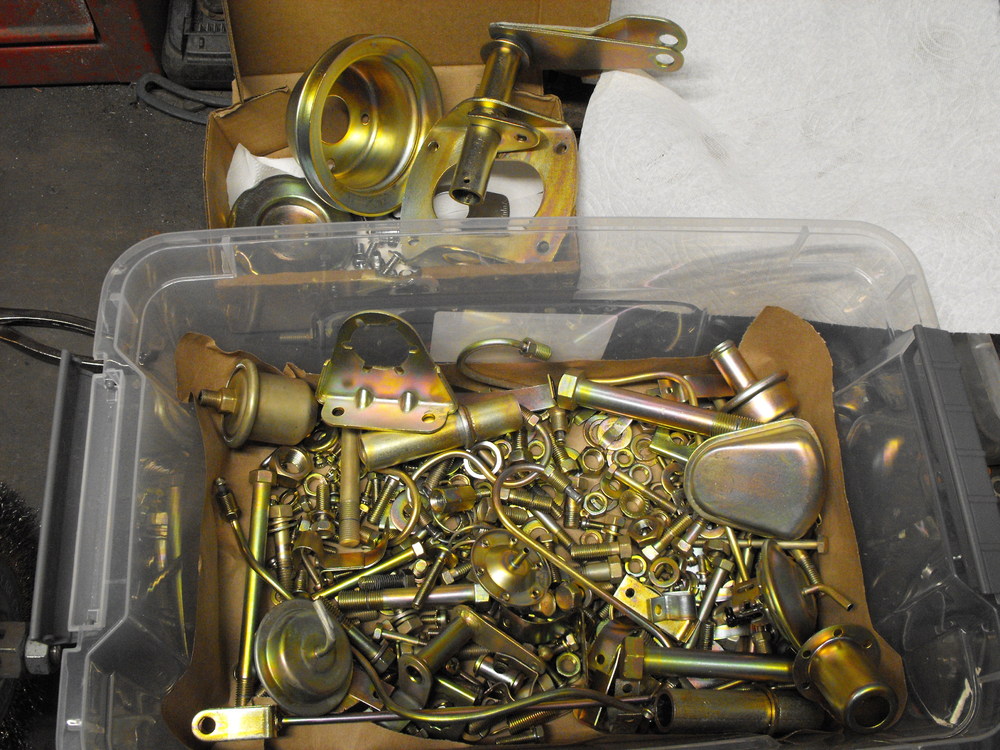
Got the silver zinc parts back from the plater. The parts came out great. Before and after pics are below.
-
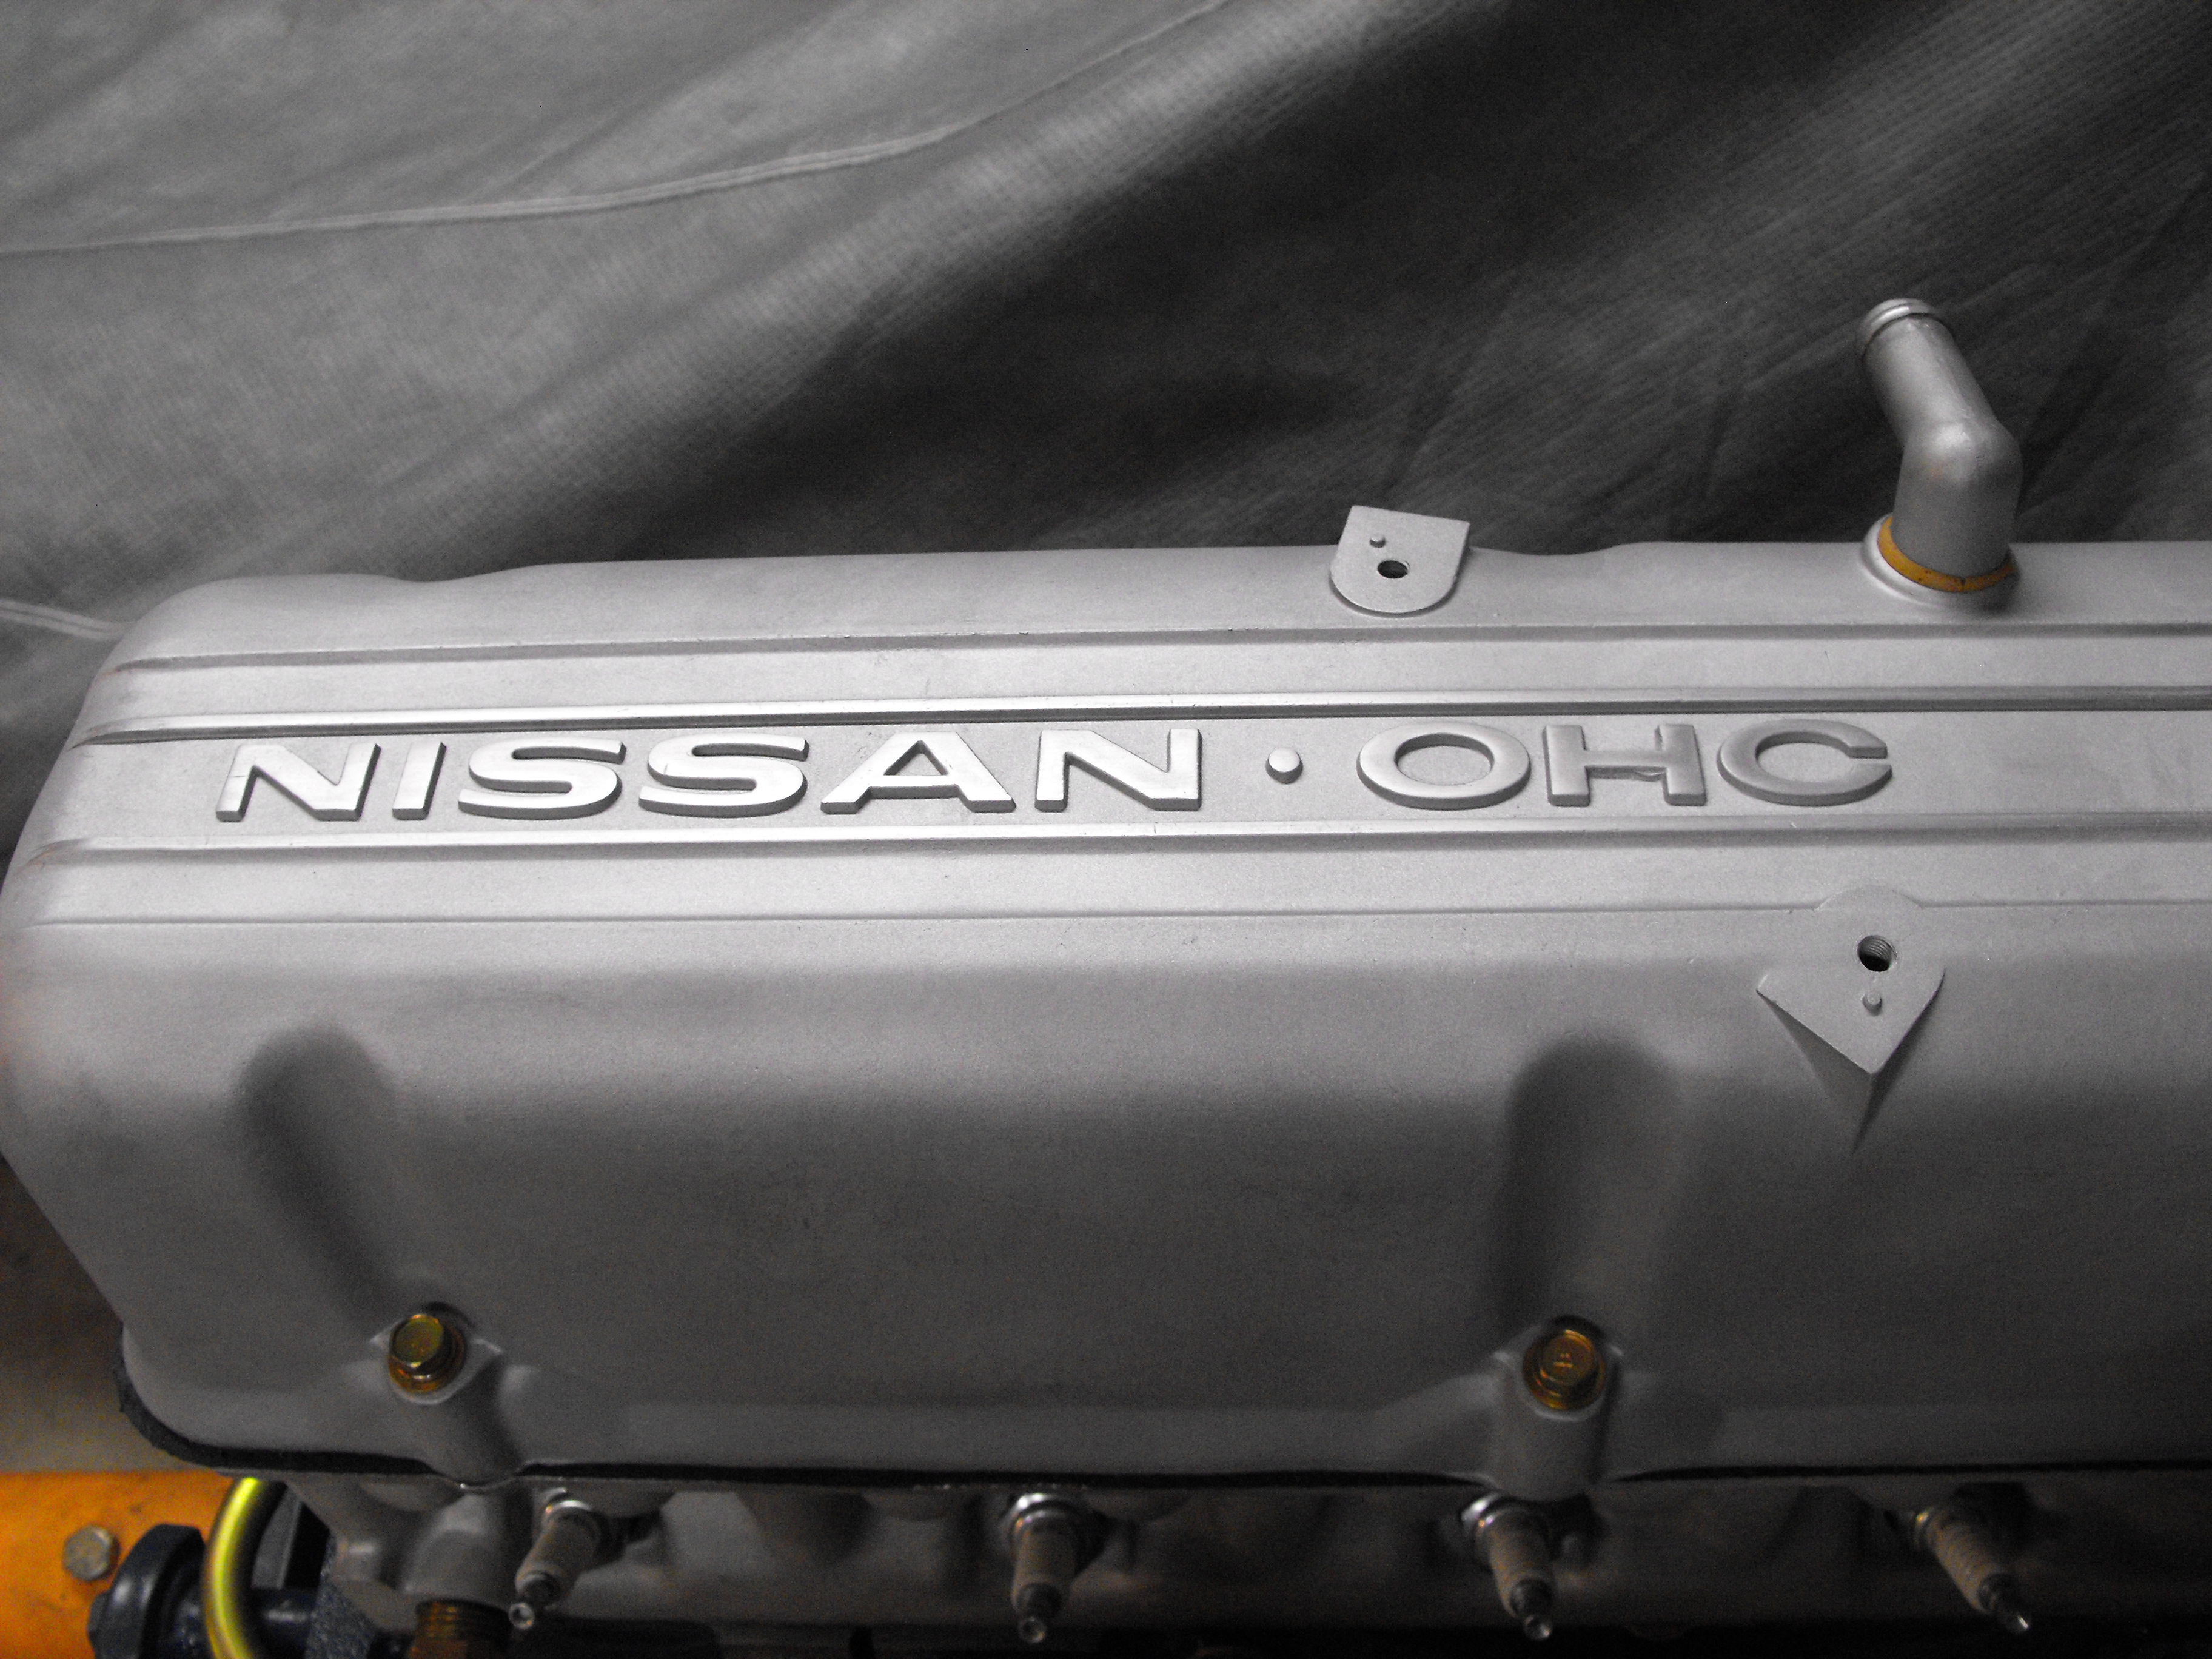
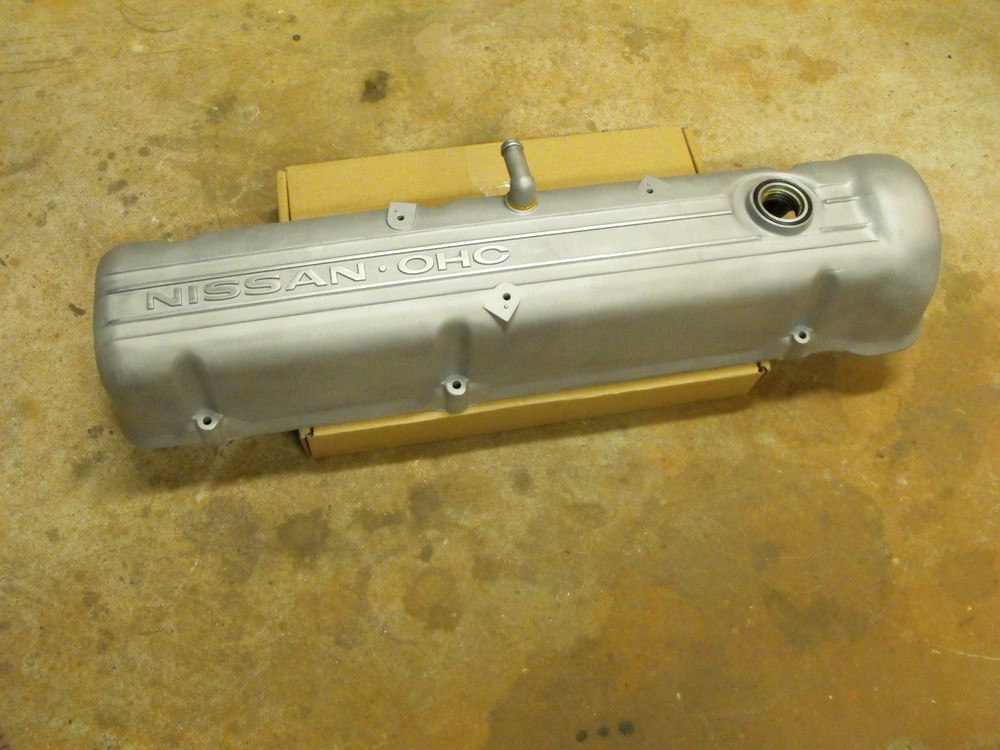
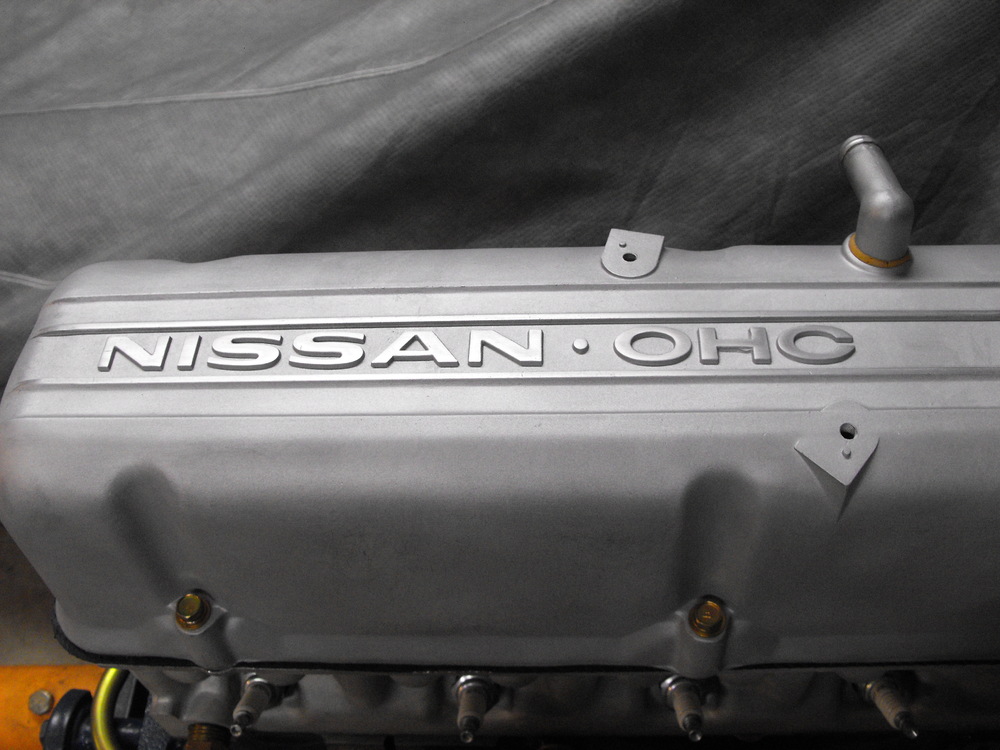
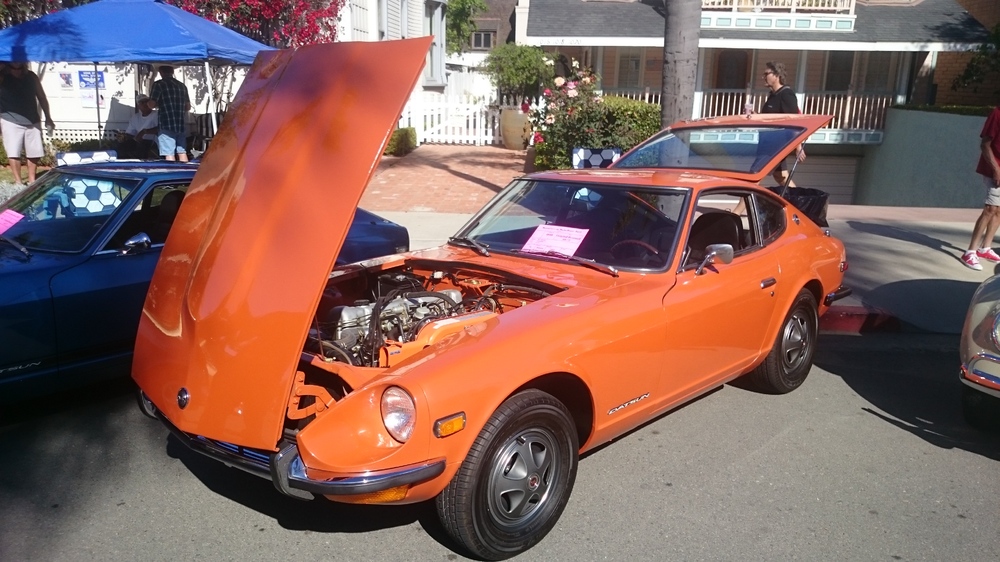
Some detail pics of the valve cover. I think this came out real nice. Took my orange Z to the Motorcars on Main Street show in Coronado today. Personally, I think it is one of the best car shows in San Diego. The Z cars get a lot of attention.

-
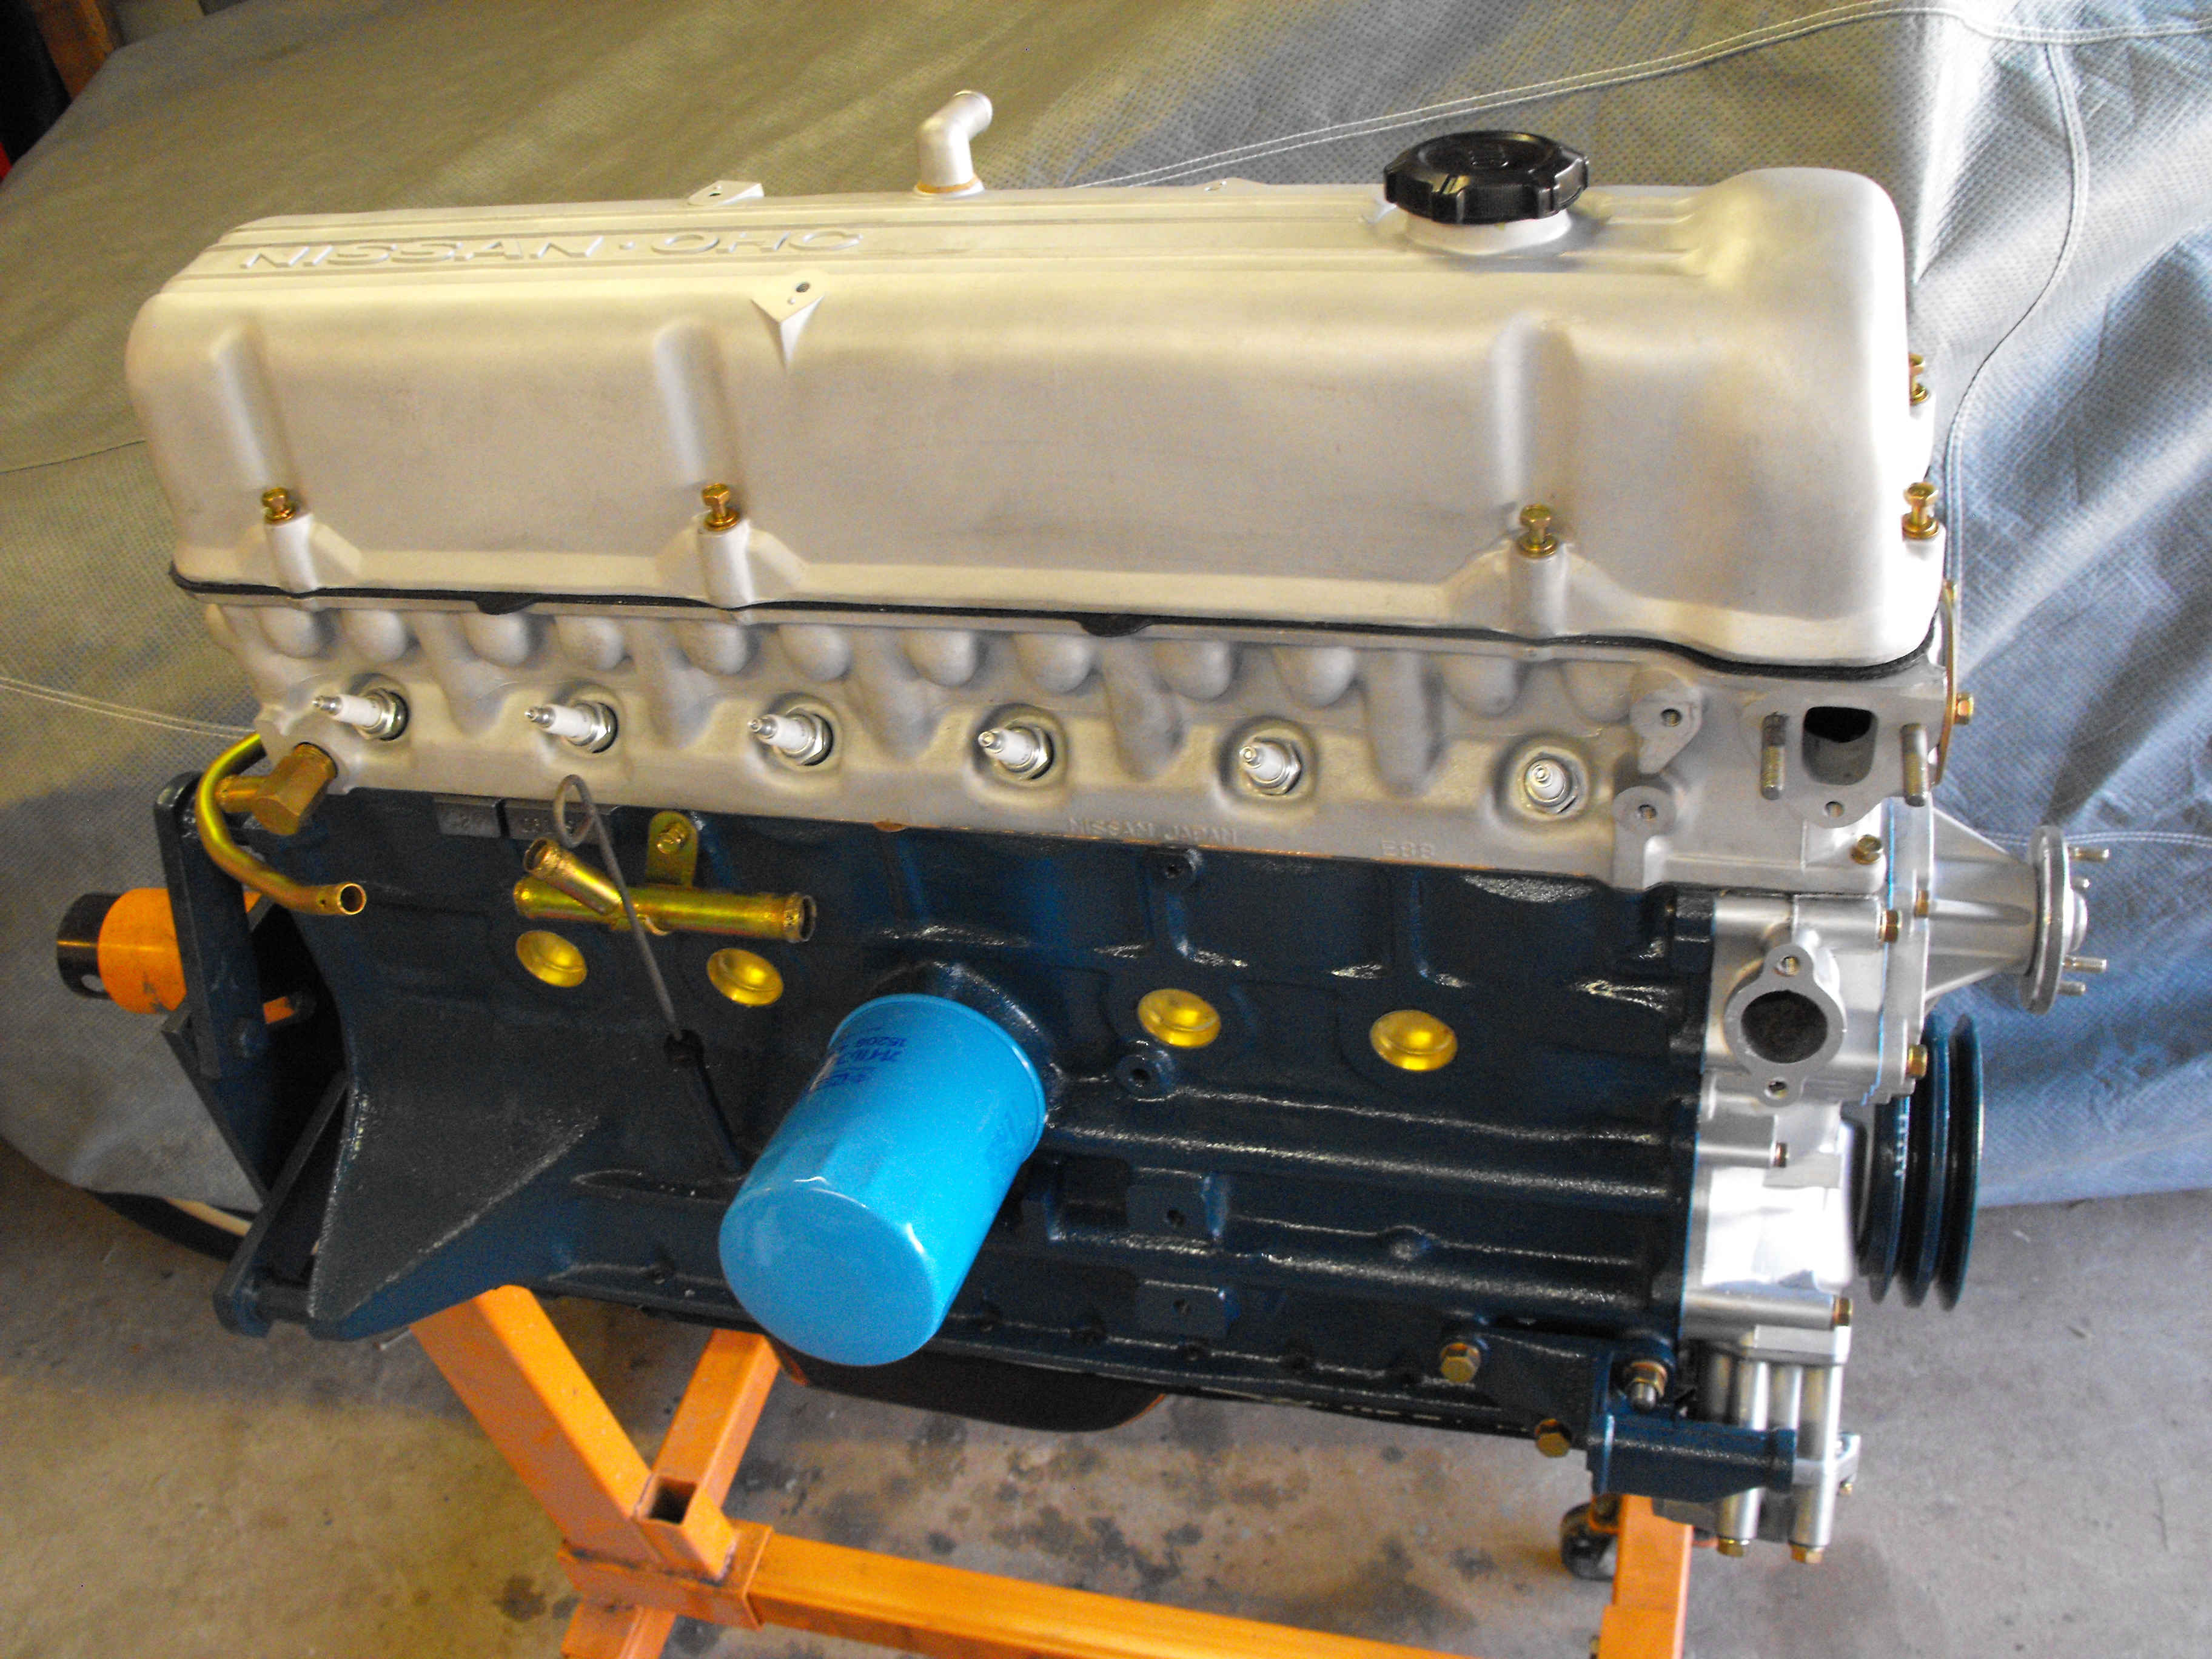
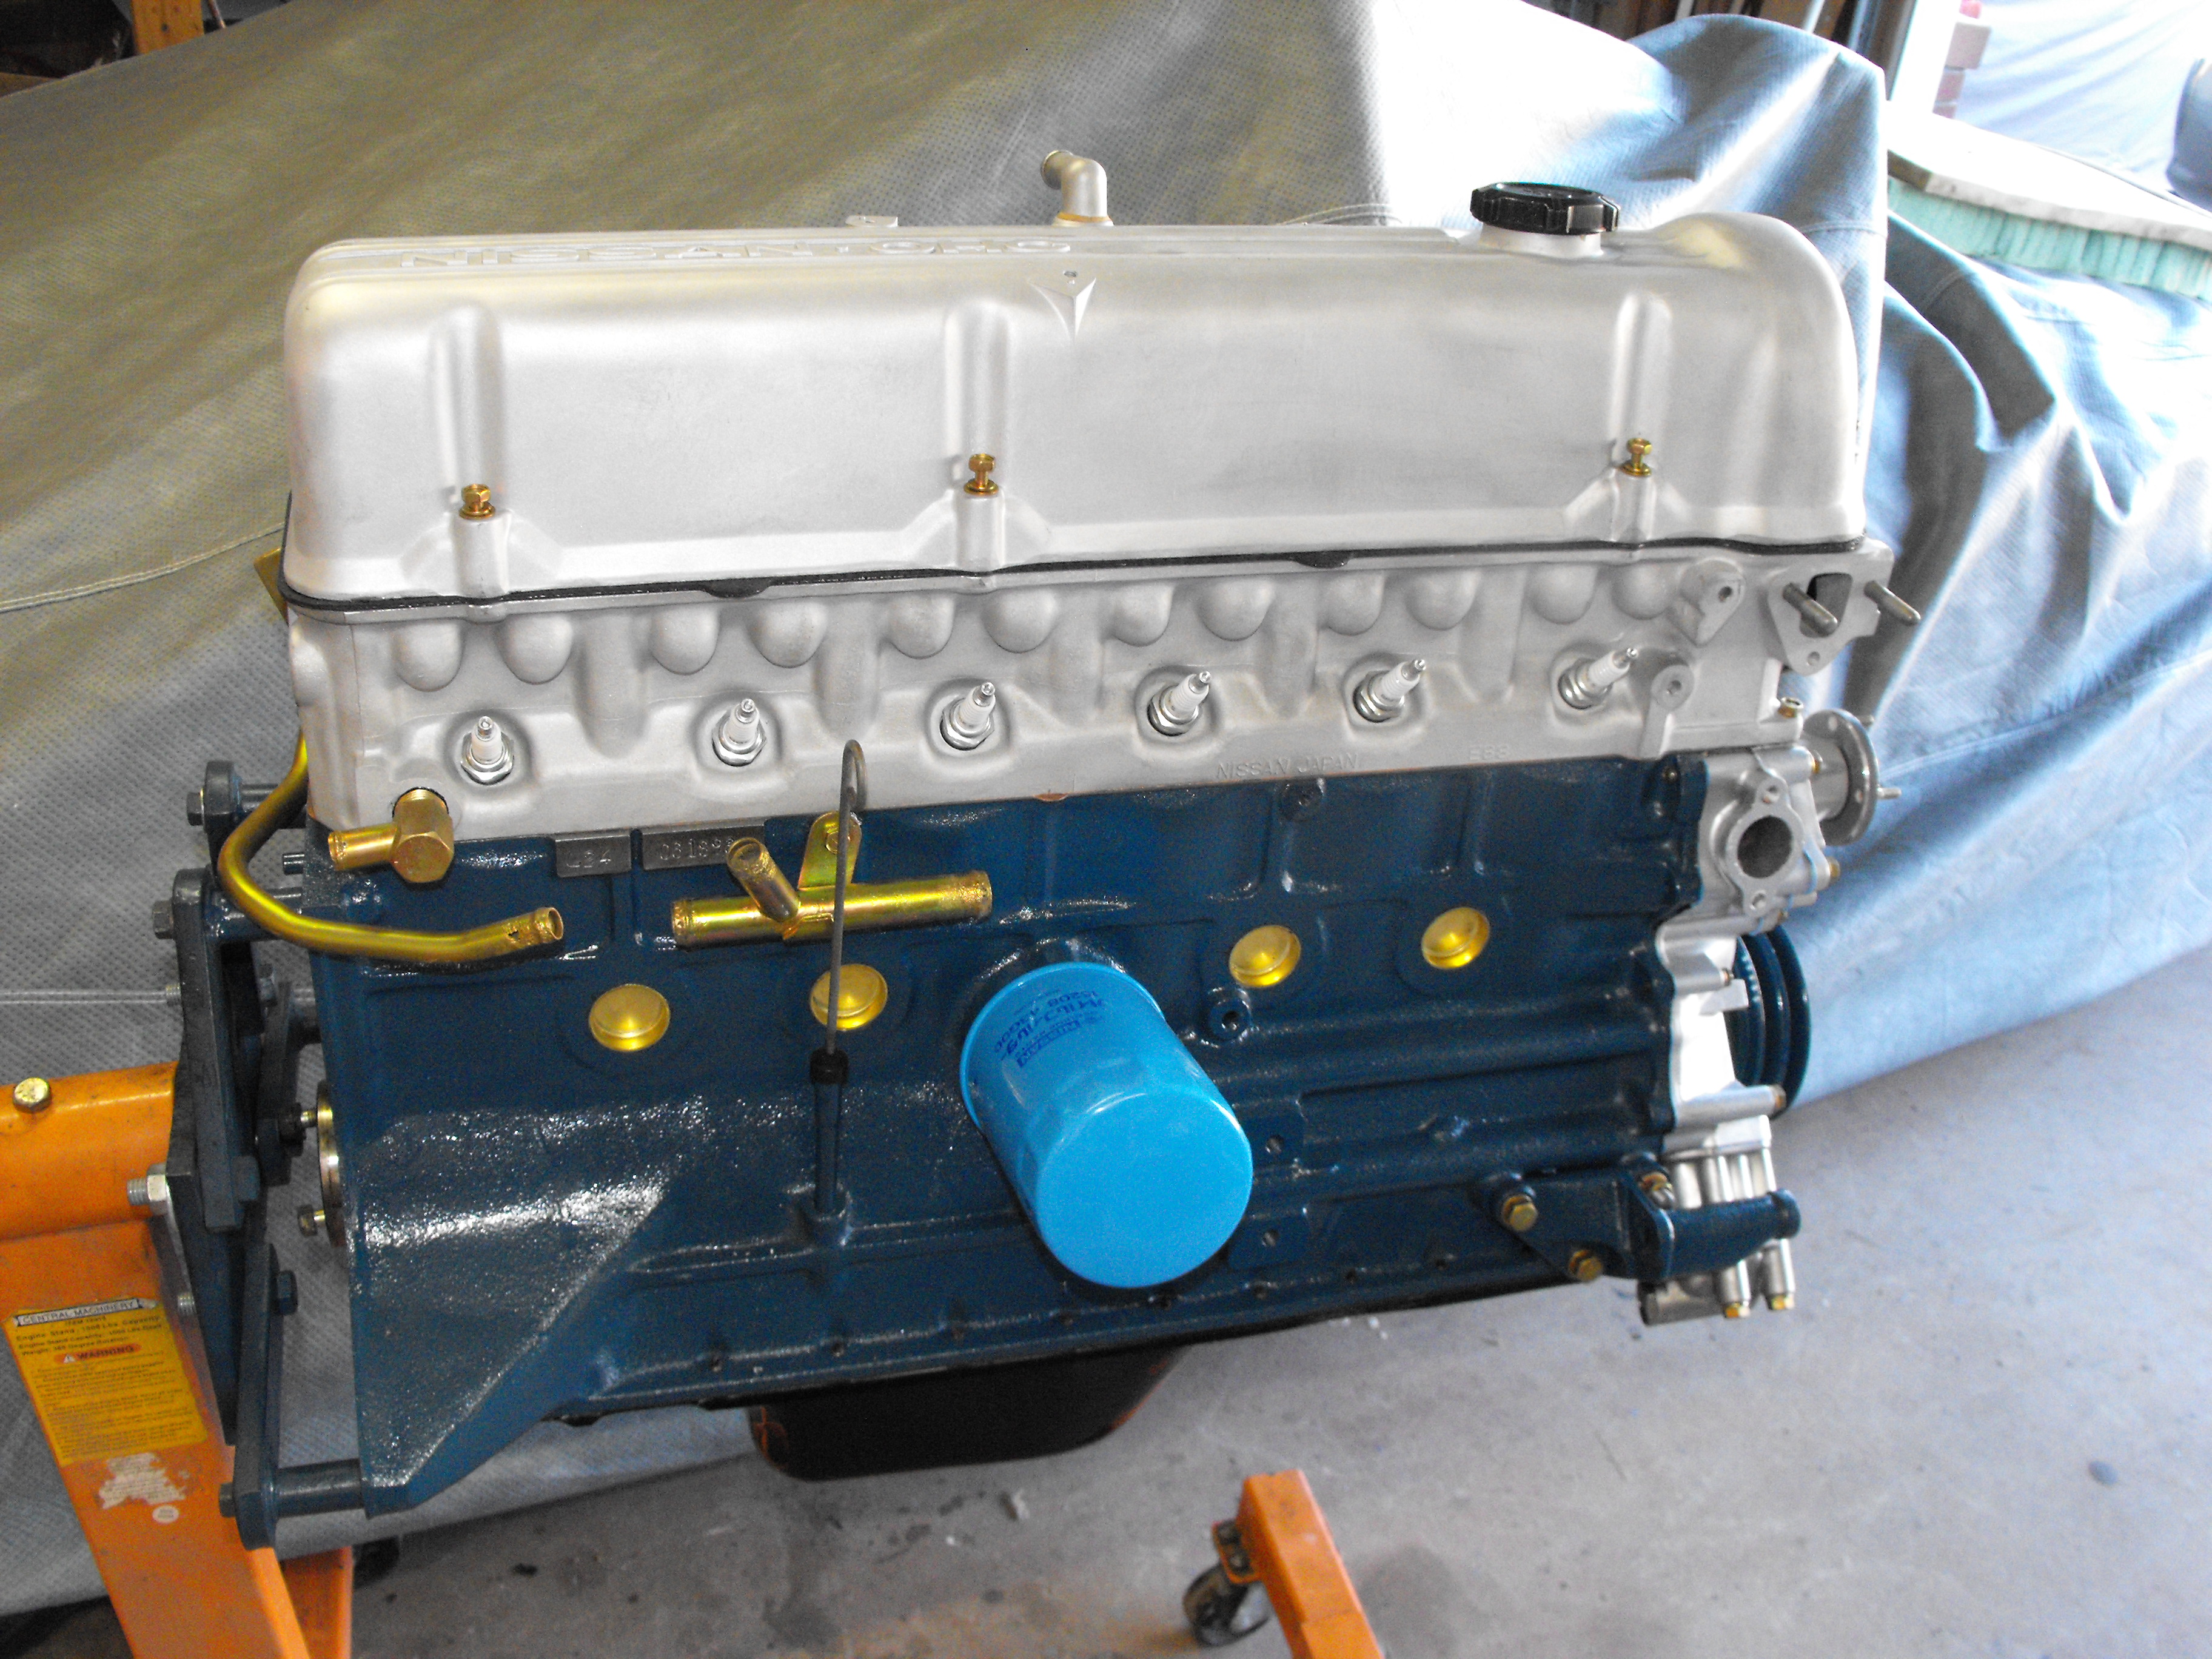
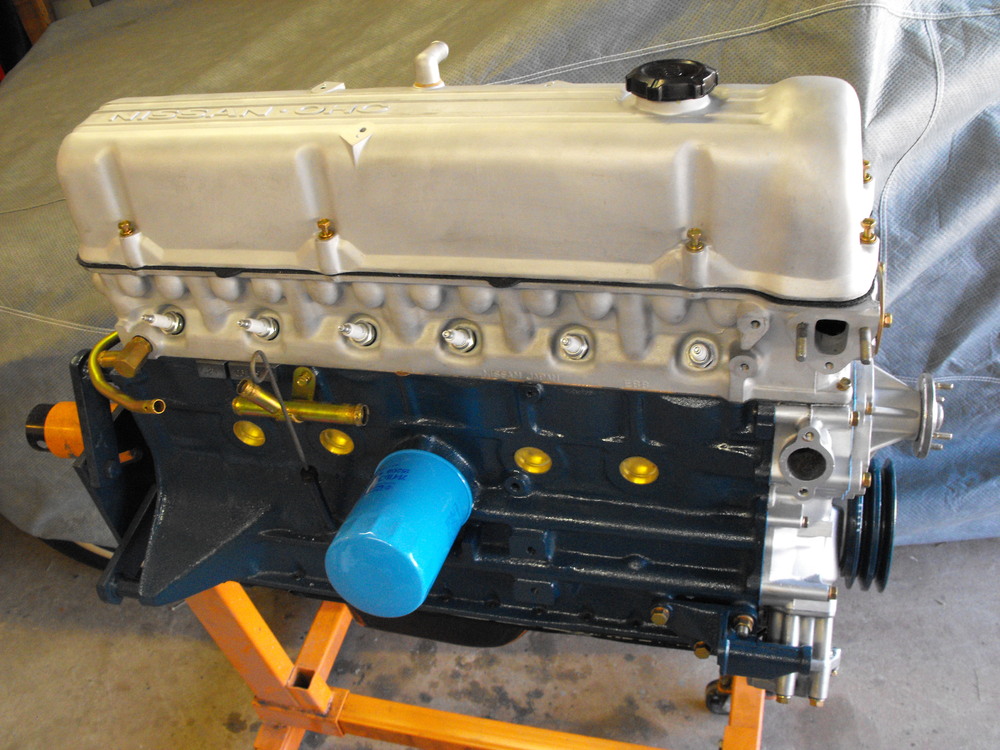
Got the valve cover back today. Just have it resting on motor for now. Will clear coat tomorrow and then install. Will also trim those silly tabs off of the valve cover gasket. Whatever happened to the old fashioned cork gaskets? These new ones are funky. I would actually be interested in picking up a couple of the cork/brown ones if they were available.
-
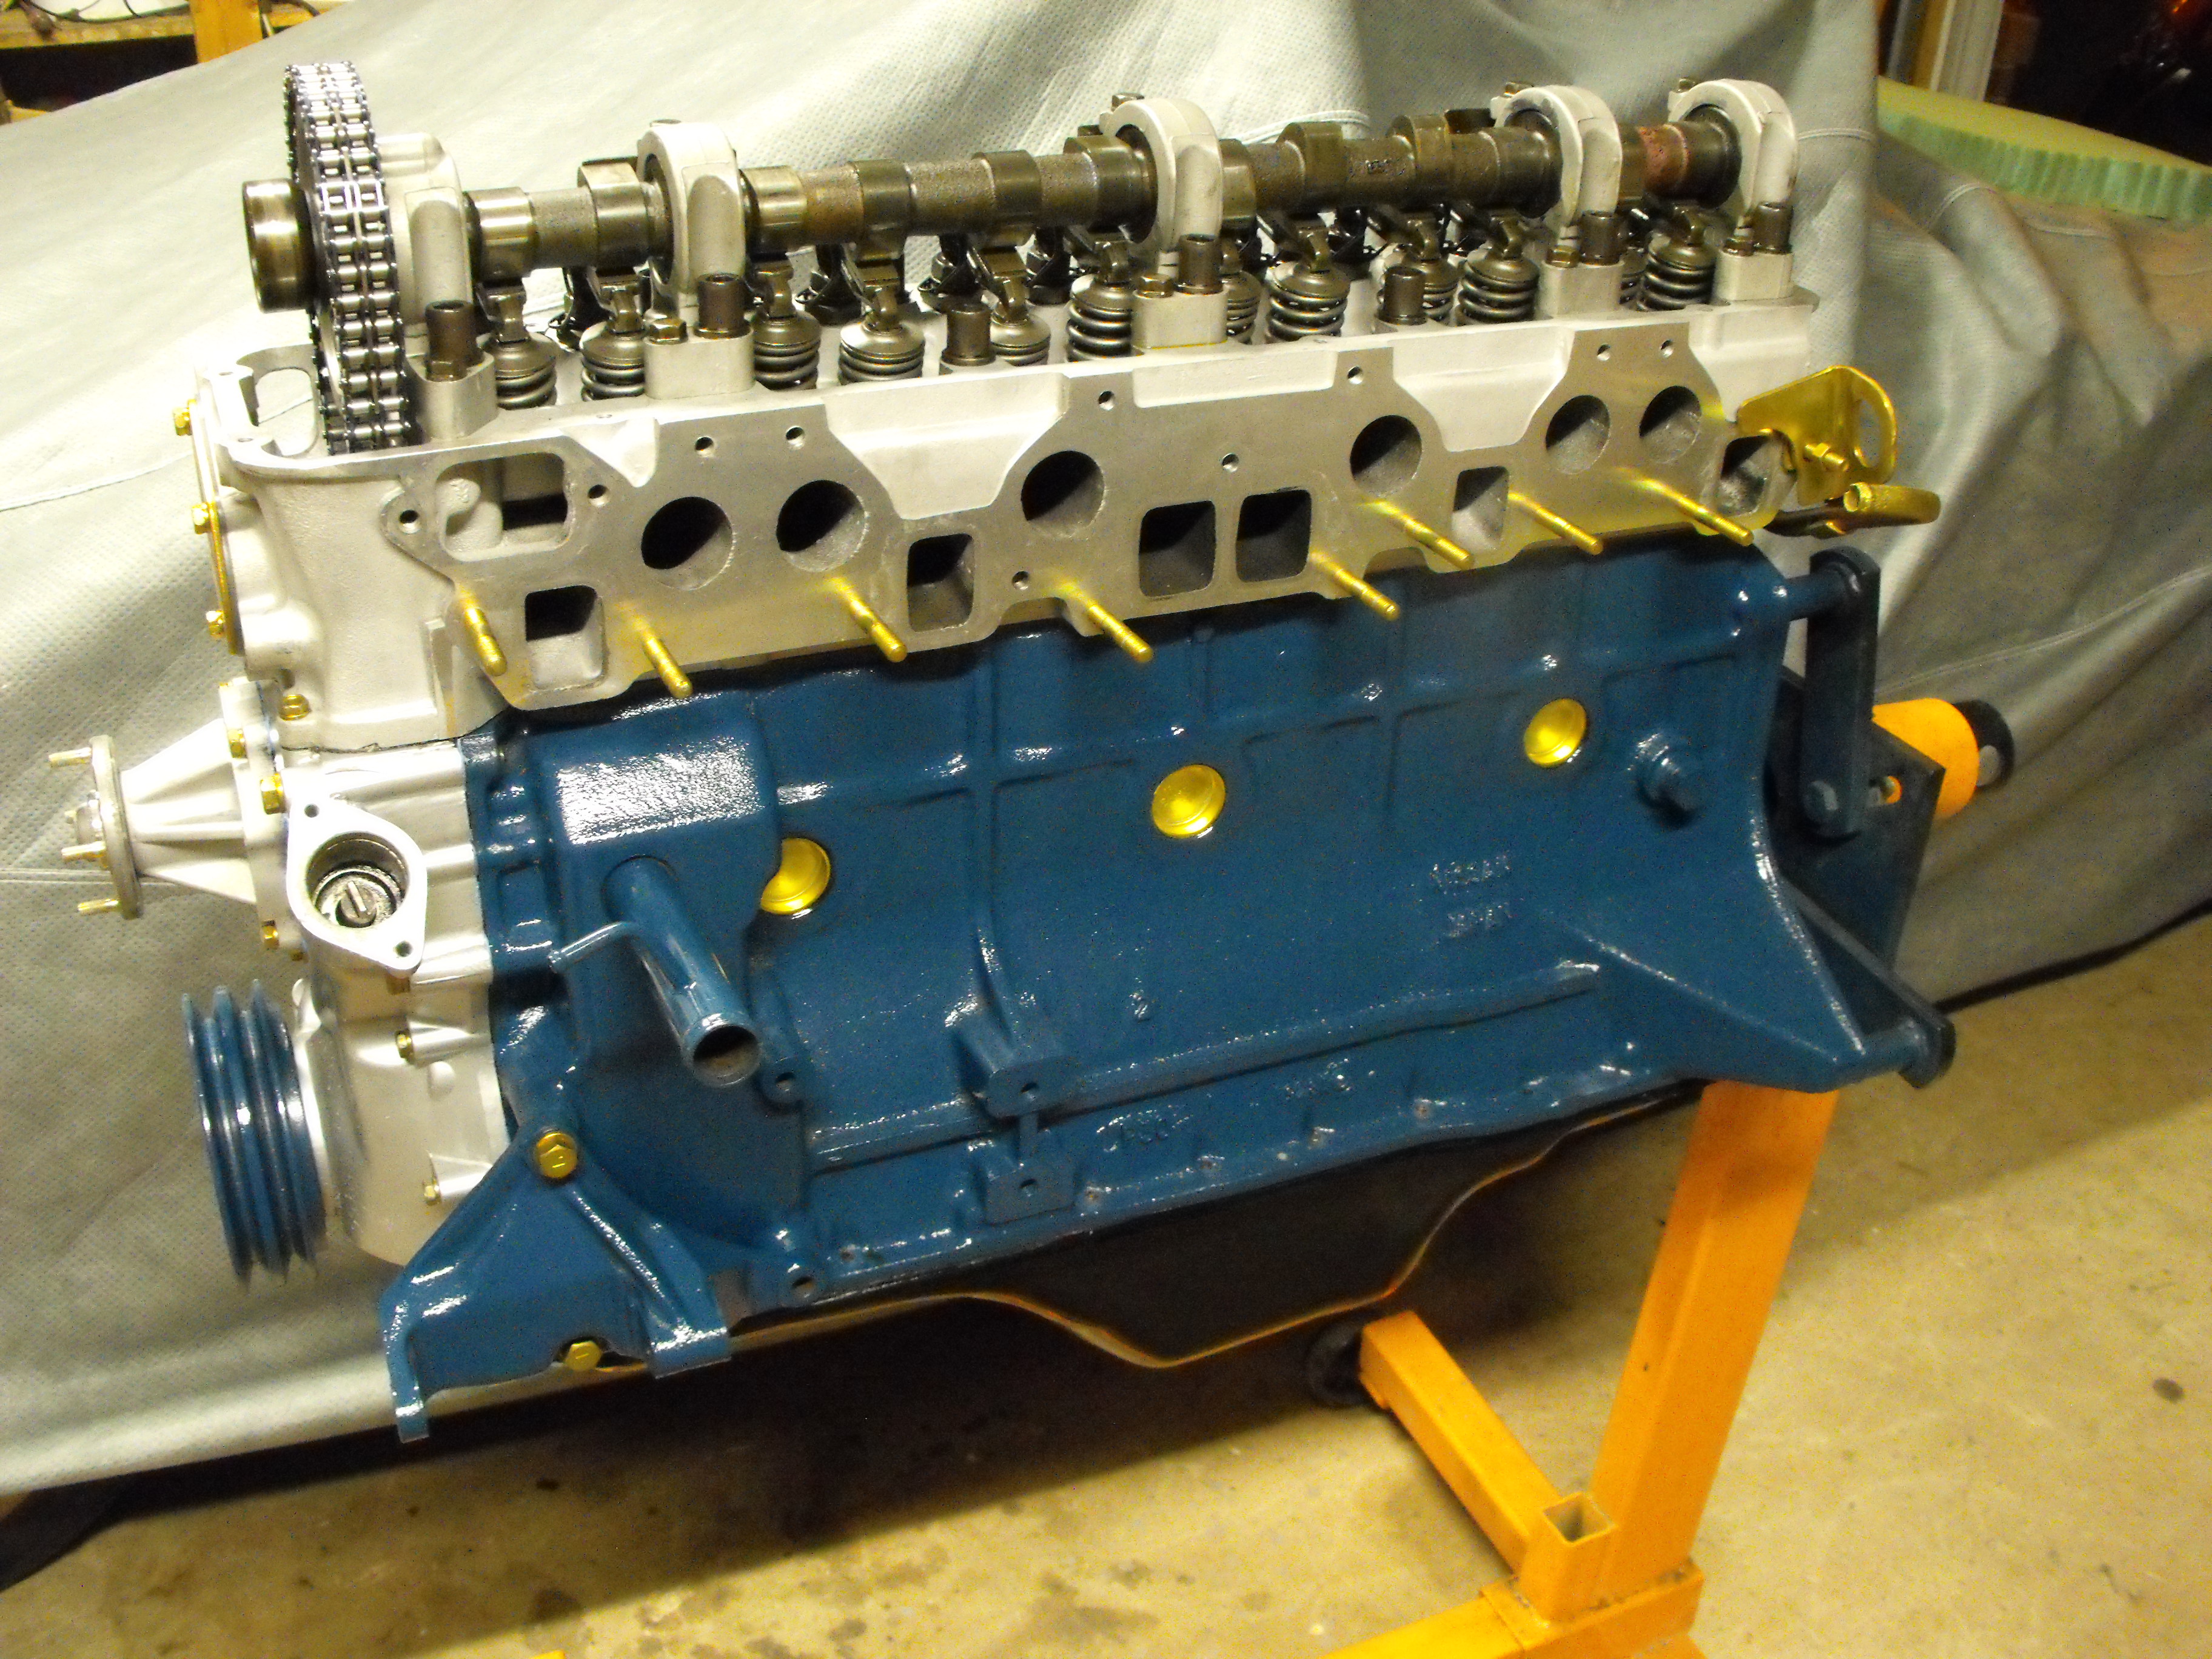
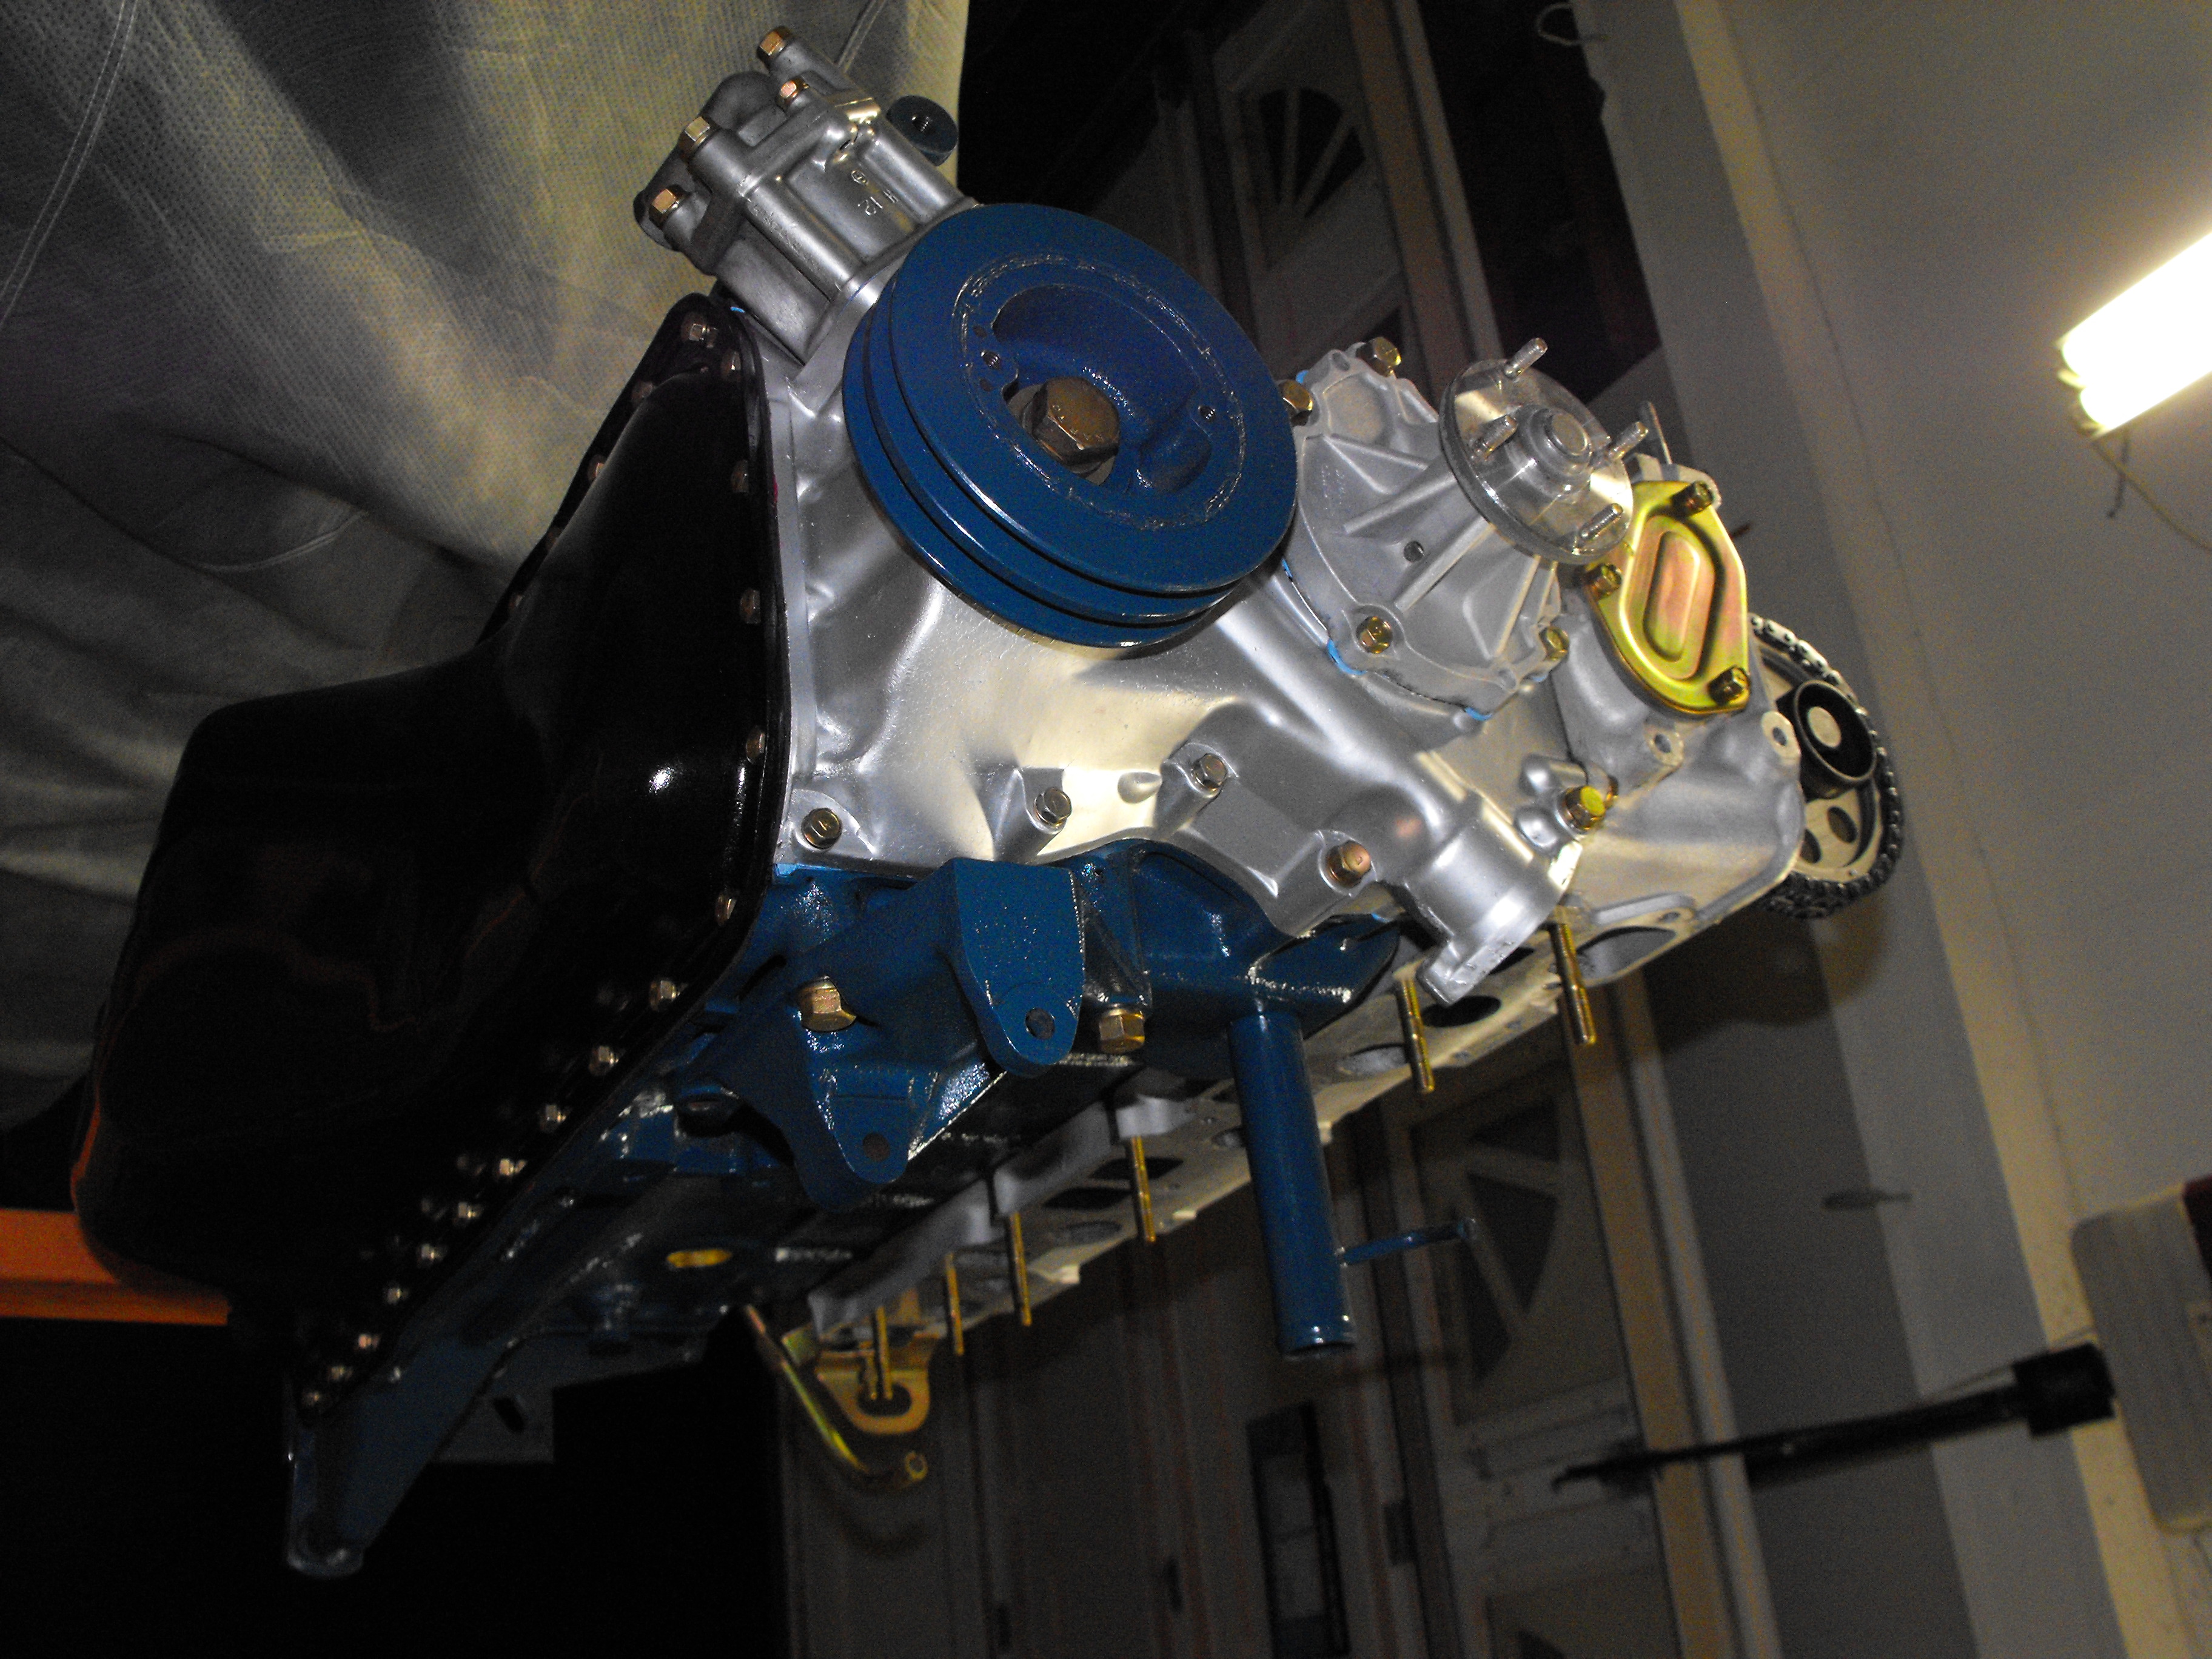
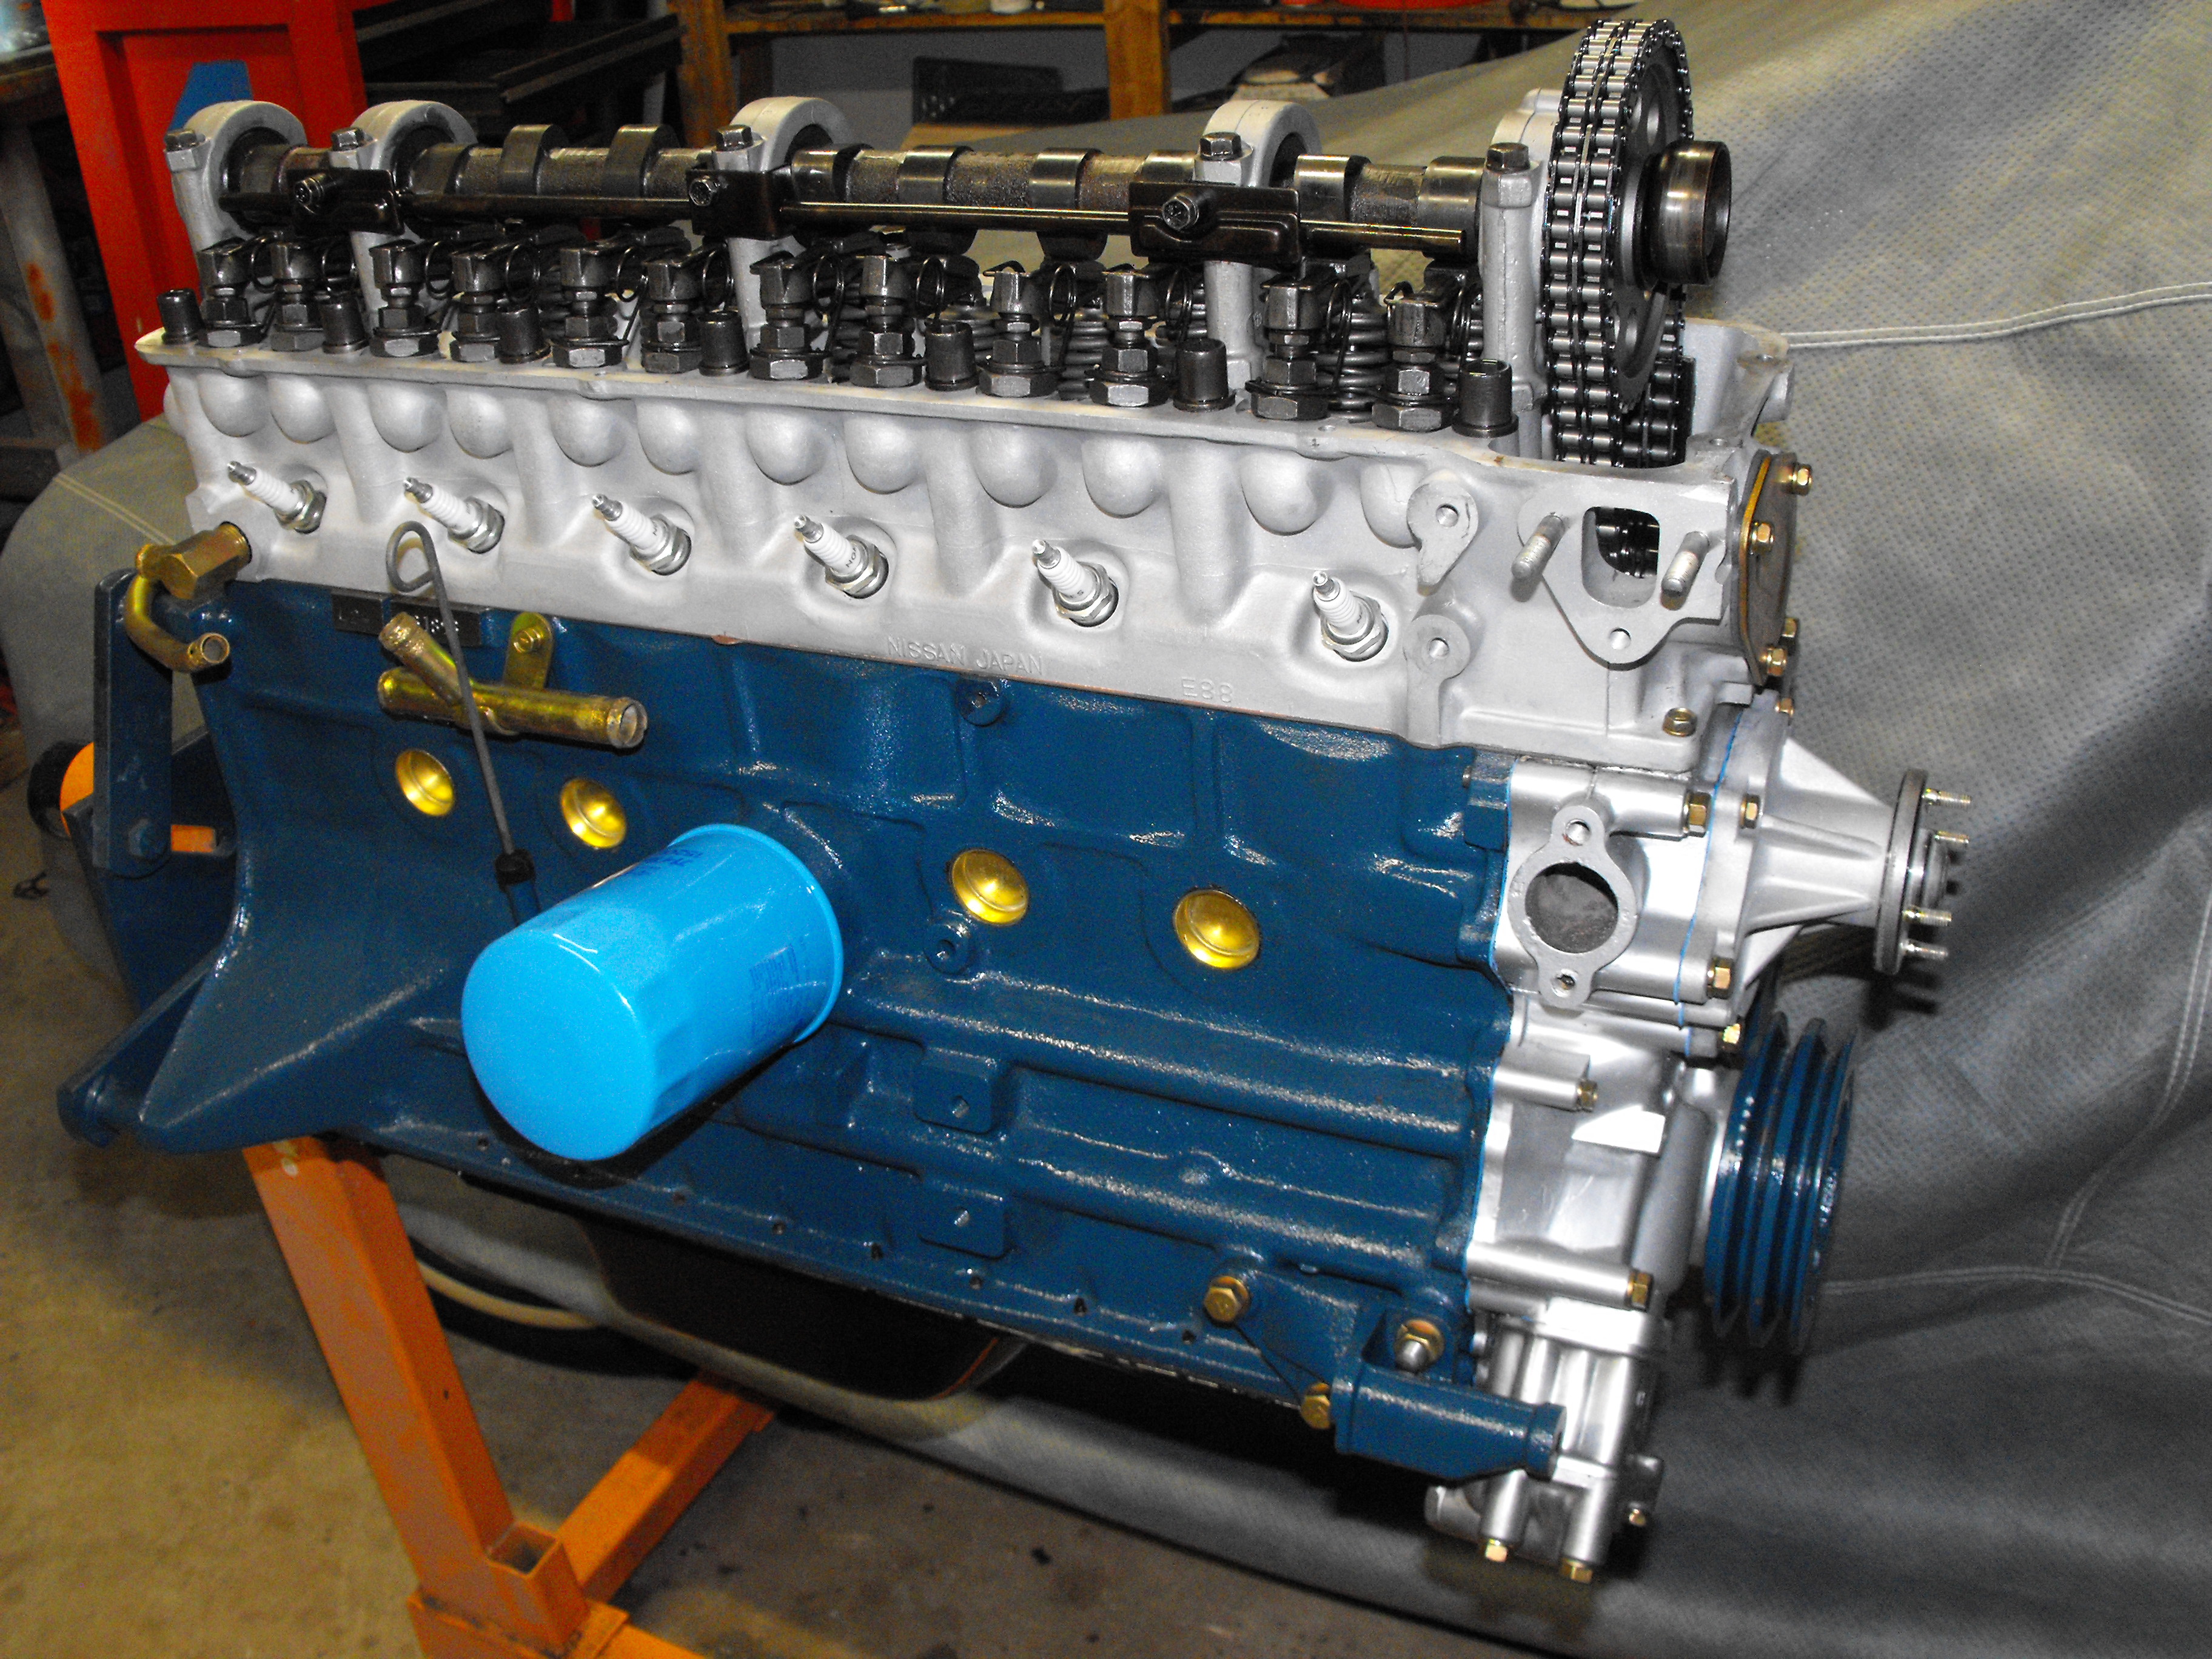
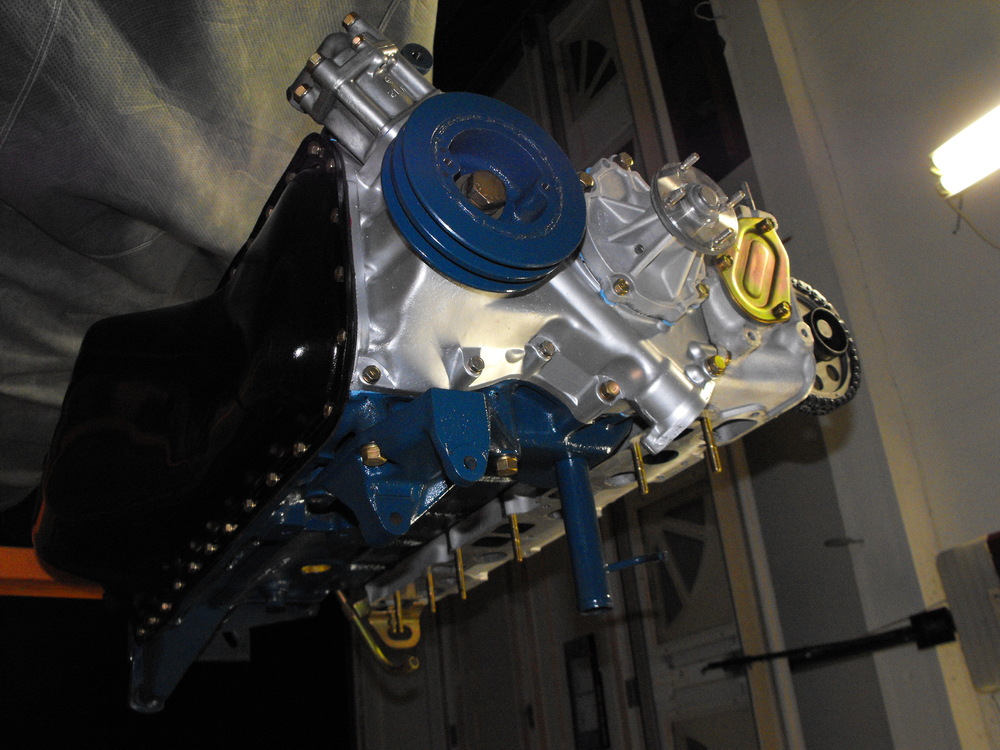
Started back on the motor assembly now that I have the engine bolts plated. Installed the timing chain cover, oil pump, water pump and oil pan. Will send the valve cover out tomorrow for the bead blast. Once that is done, the motor should be looking pretty nice and about ready to install when the time comes.


-
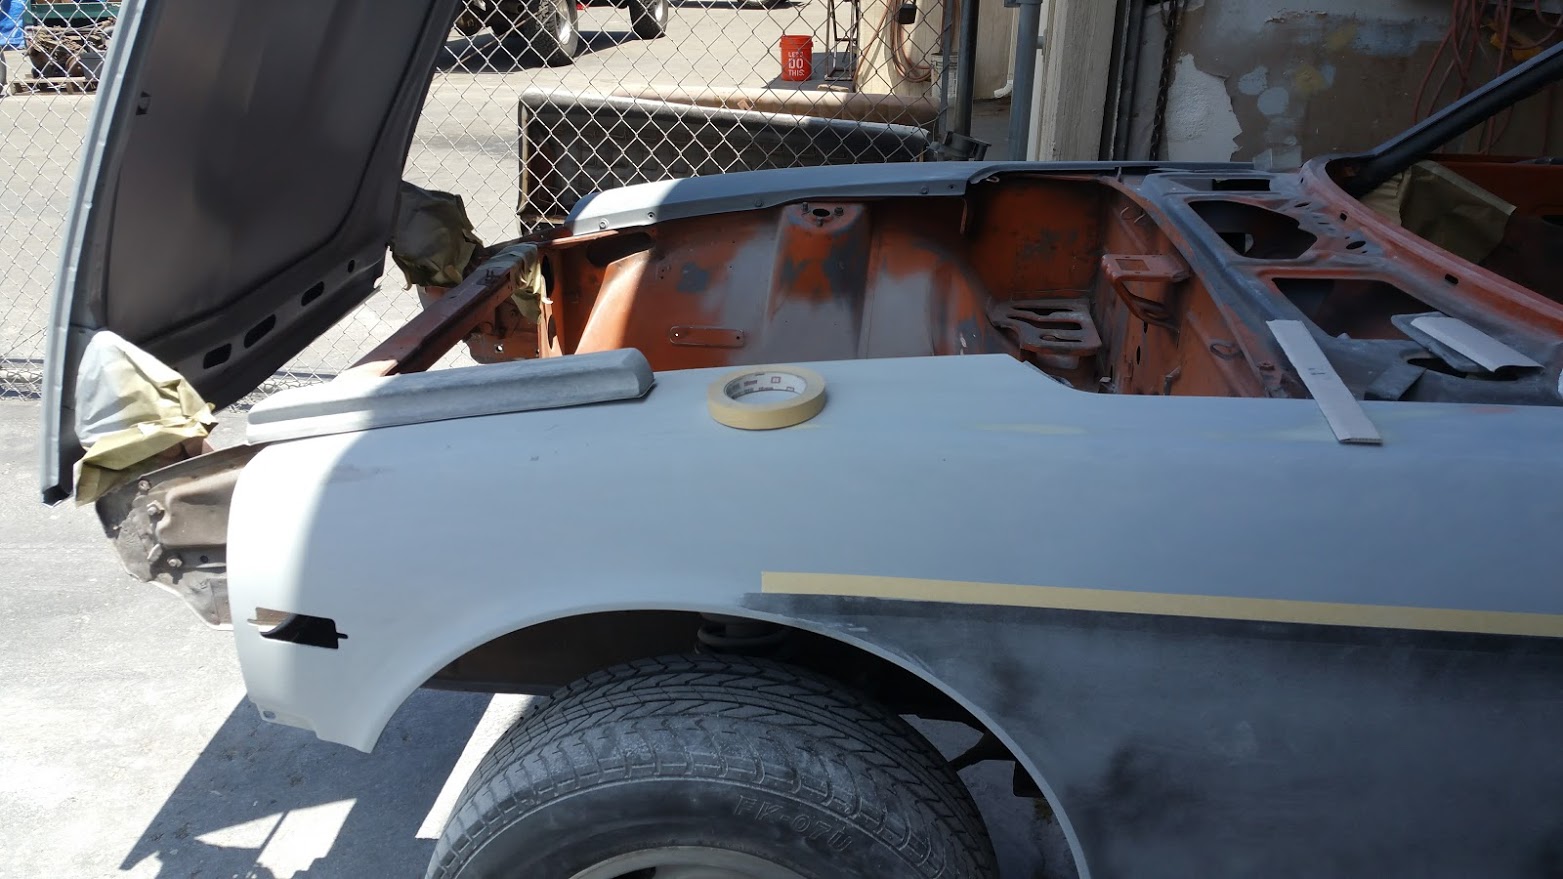
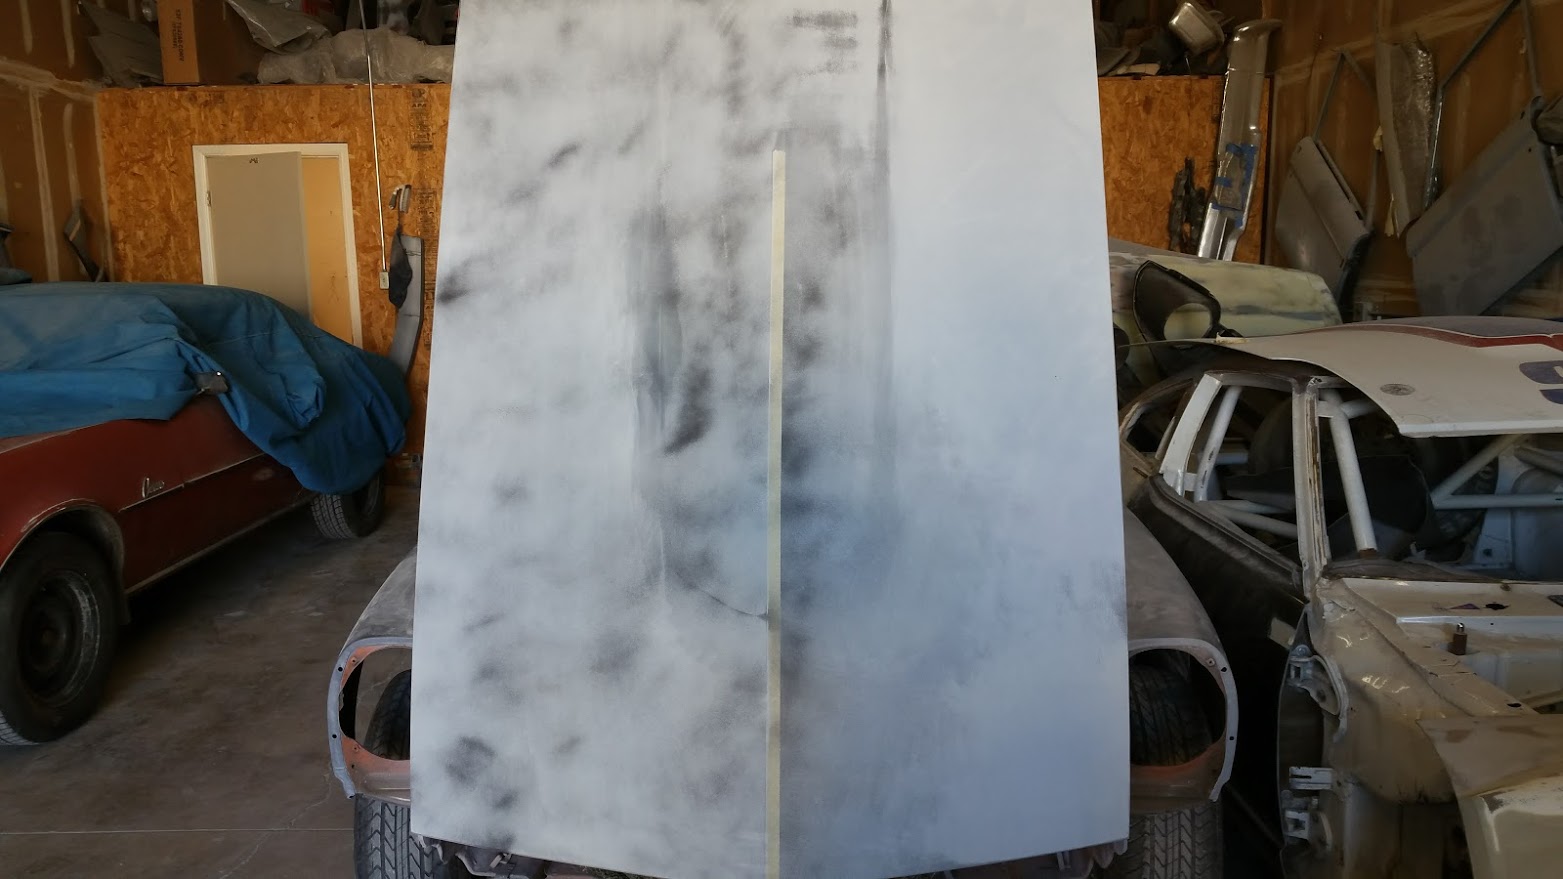
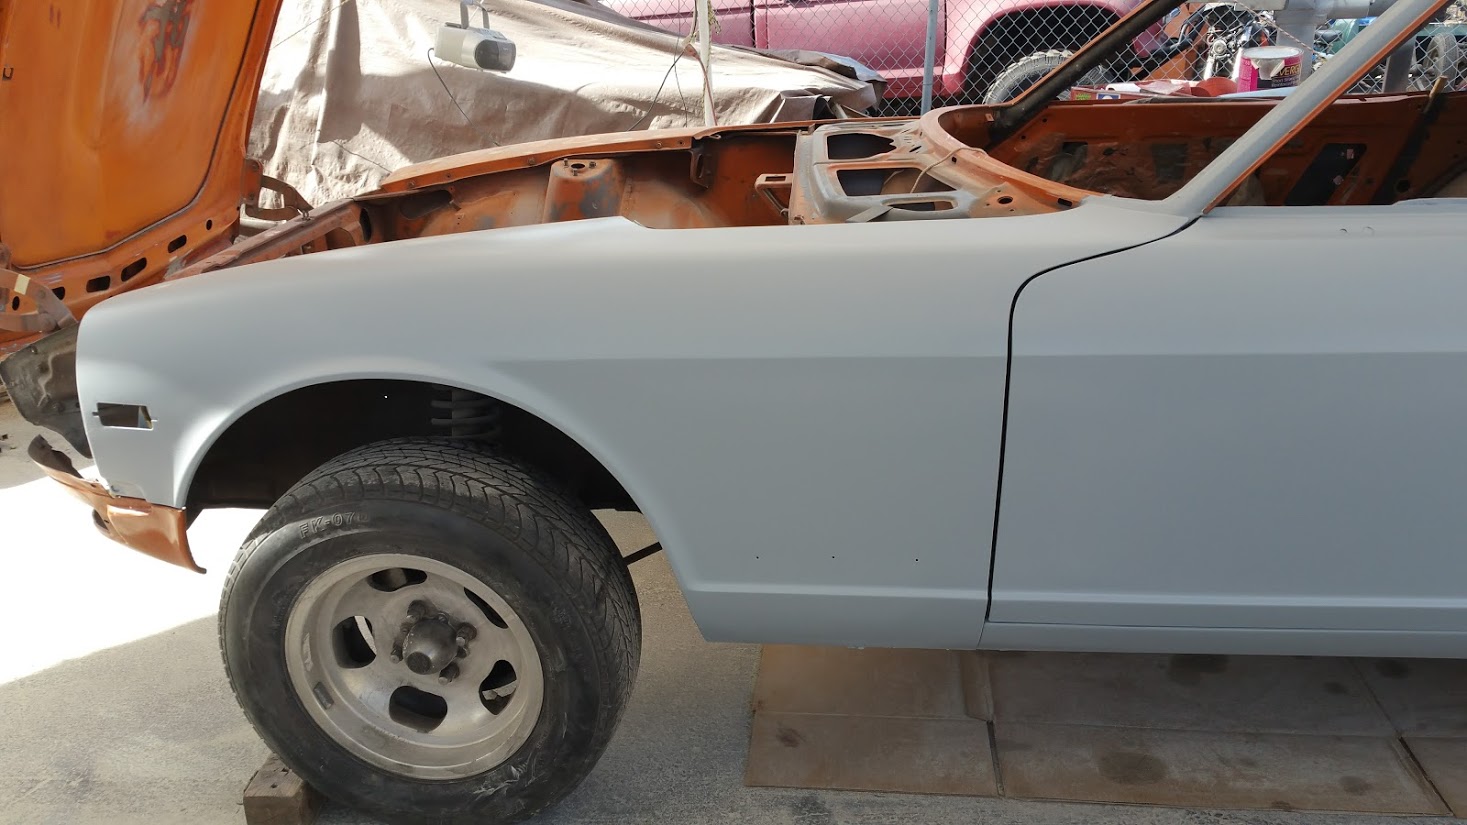
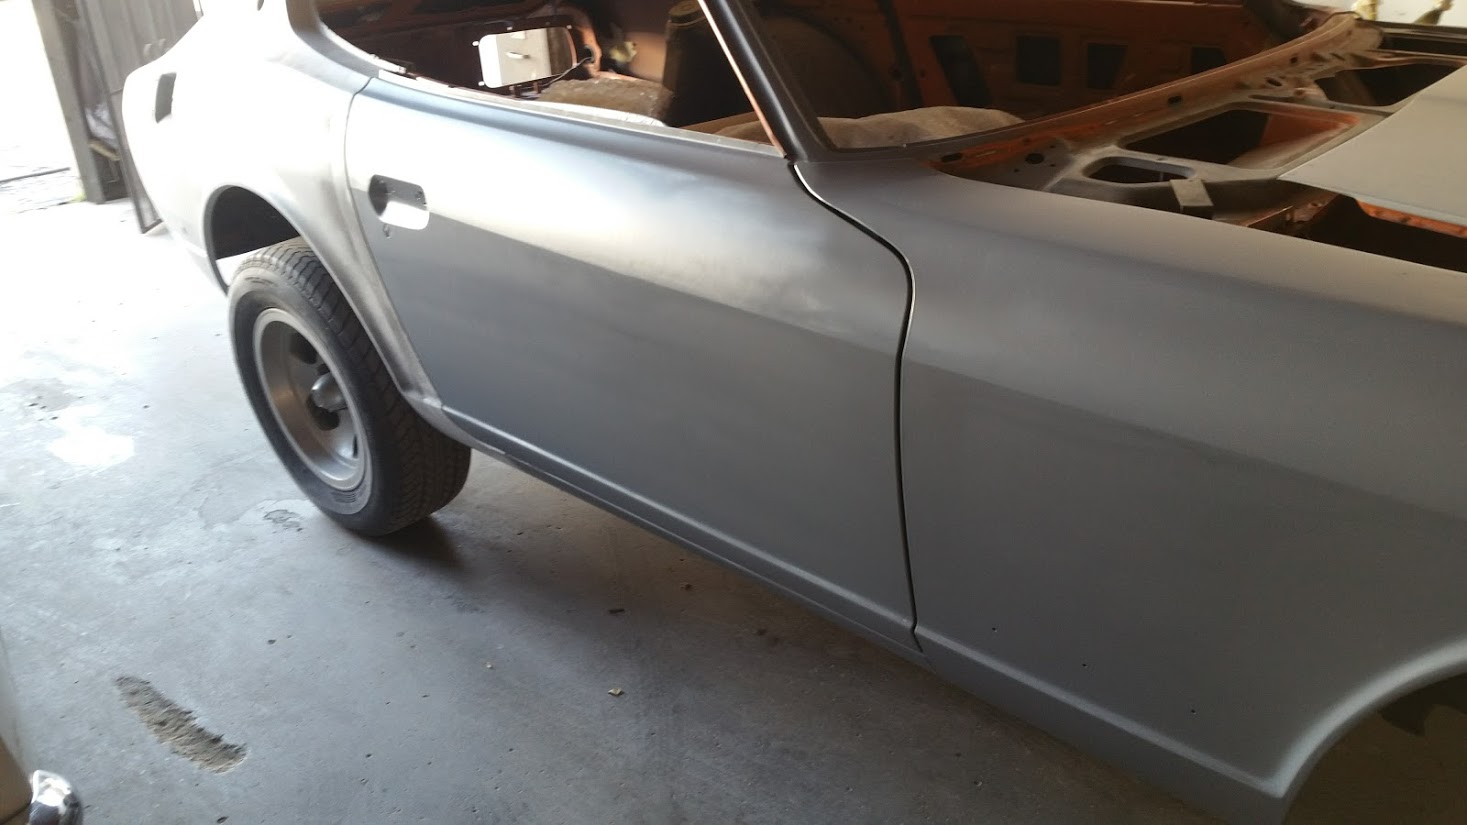
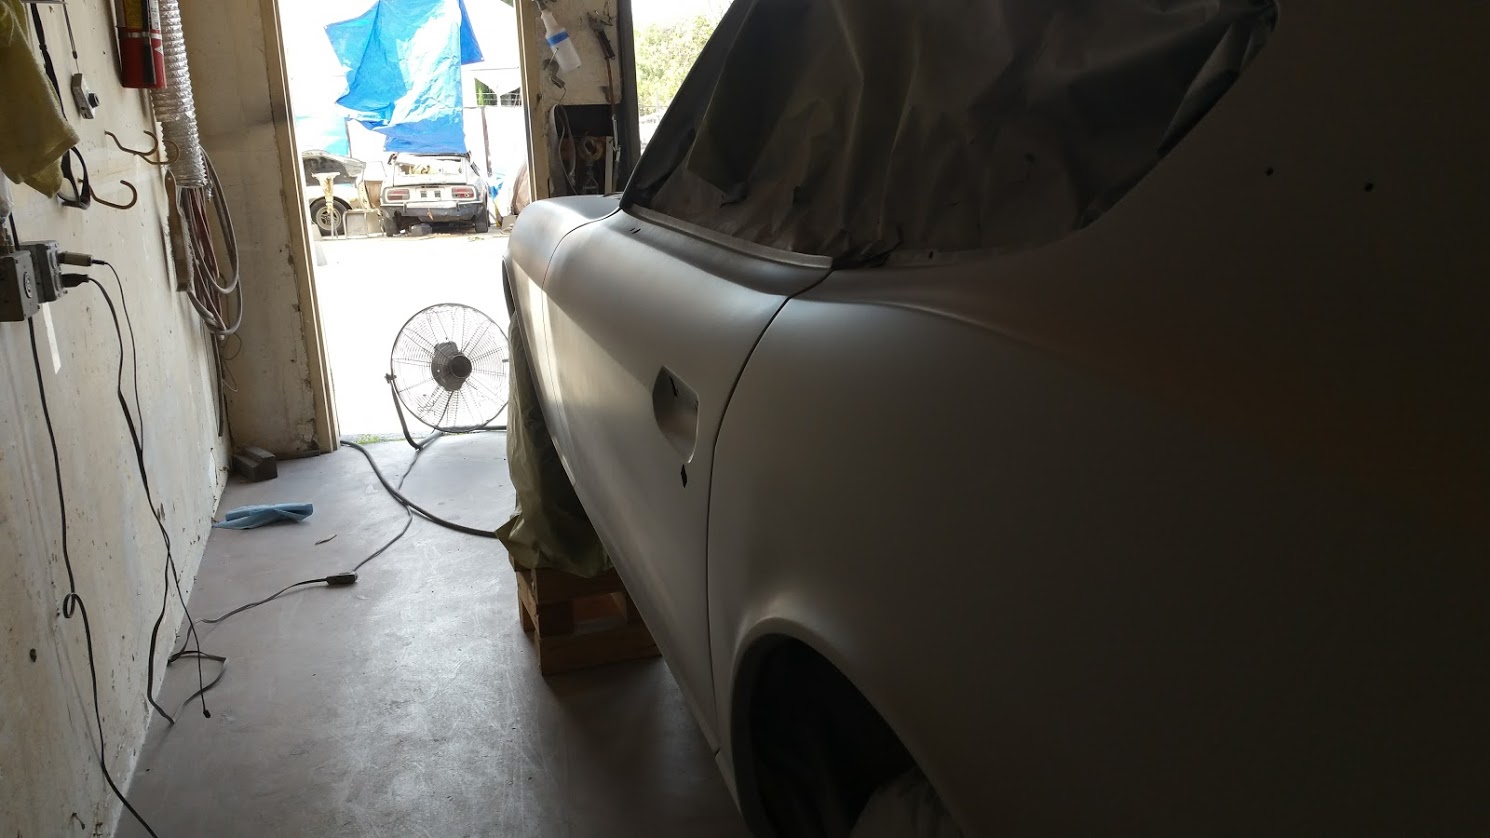
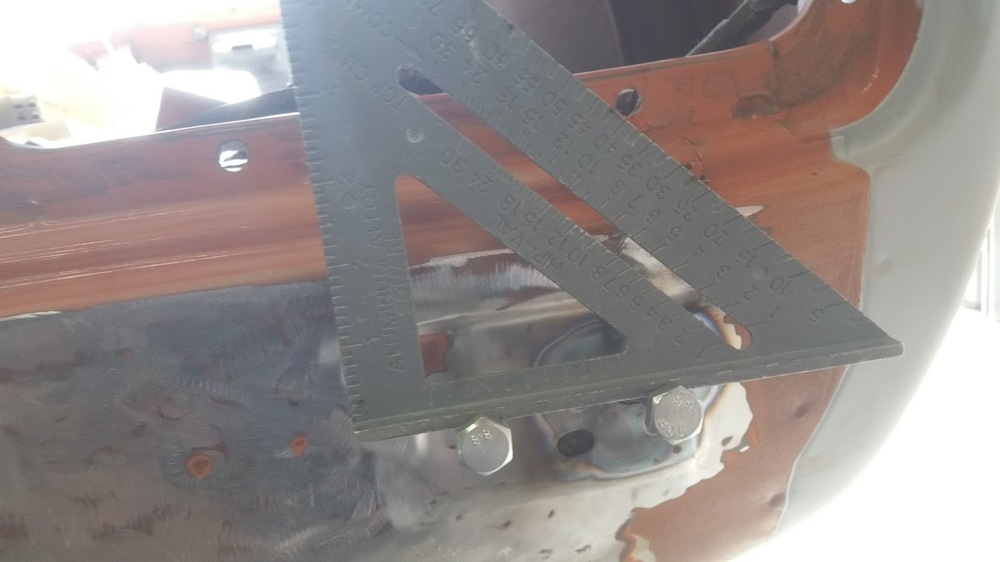
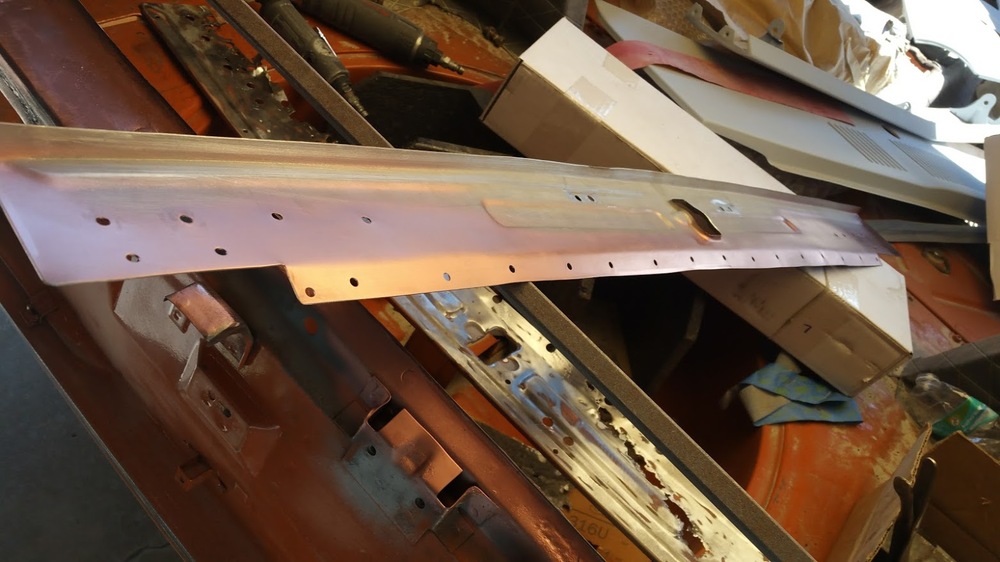
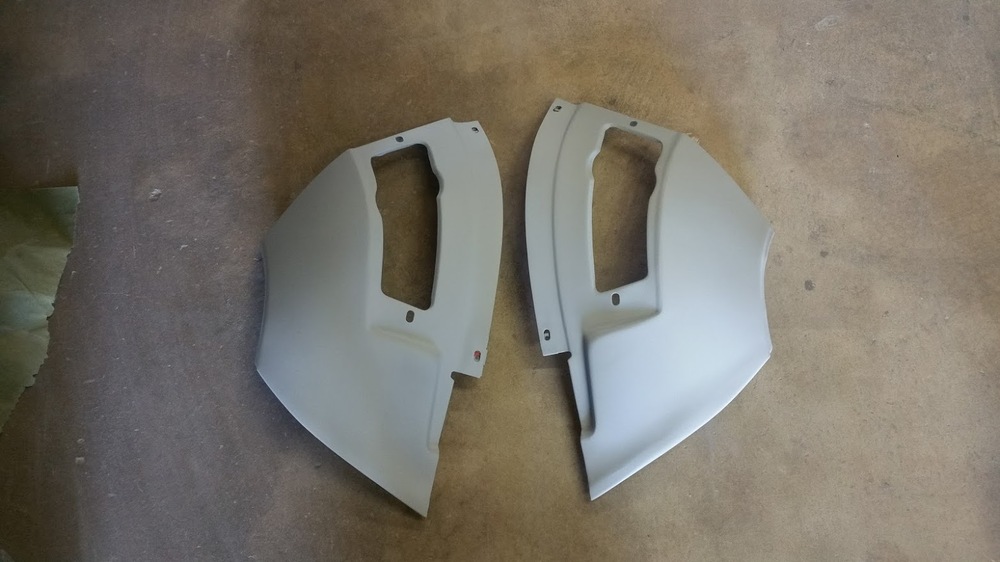
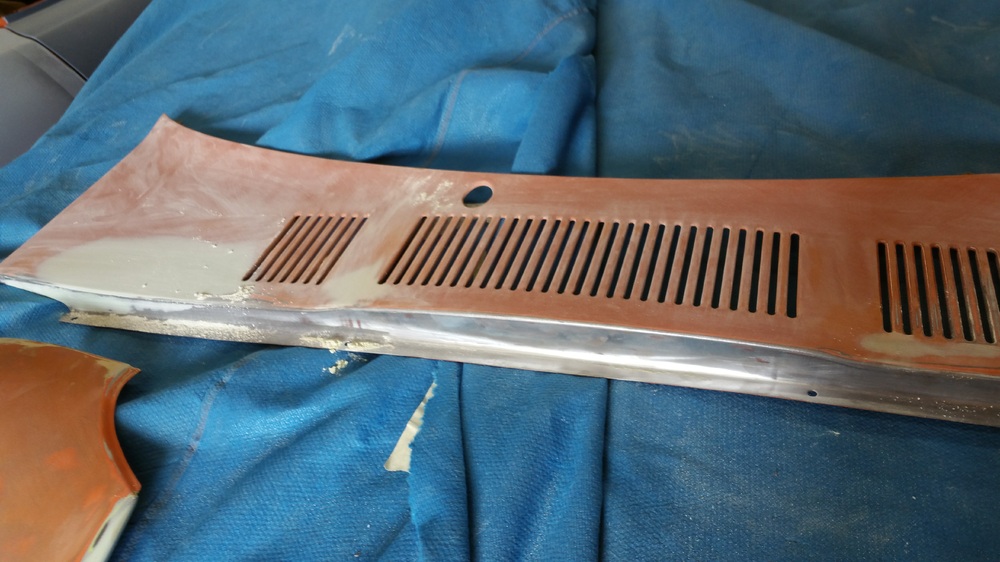
More updates from the paint shop. This is looking really nice.