.JPG.51e80f79d93a77e0045673b165973860.JPG)
moritz55
Free Member
-
Joined
-
Last visited
Everything posted by moritz55
-
 Good idea Jeff - I'll do just that. I did use large washers on the slotted side of the flanges so that I had more surface area for attaching to. Some nice white markings on the bolt head and flange will do nicely so I can assure no movement also. Many thanks..
 -
I also use Hagerty for my 1973 240z. I have it insured for $19,500 and pay roughly $220.00per year. This includes I think a $15 annual fee for towing and a battery jump if my car break's down. I was connected with them thru my Allstate Agent when I relocated to New York. I just got the magazine 2 days ago and haven't looked at it.. Thanks Zedyone !!
-
Jon .. good observation. I did have the curve along the bottom edge of the new ones "Stretched" upward. Therefore there is about 3/8" up/down play in the slots when attached to the horizontal brace before hitting the arches. Well I re-assembled all the hardware last night. I tripled checked measuring everything and the slotted holes on the Top of the New Rear Vertical Braces came in handy. It allowed me to "Center" the Rear Horizontal Brace nicely to within 1/16" . I then attached the Transverse Control Arms to the Rear Horizontal Brace. This is where the "Lower Slotted Holes" in the Vertical Braces came in handy. It gave me the ability to assure my Toe-In is where it should be. Note: Jon you were exactly right , moving the Horizontal Brace Up/Down - gave me Toe-In adjust as well as Camber. I decided to get my Toe-In as close to 0.00" as possible for each wheel. The data below reflects where I ended up before and after. 240z Stock Spec : Toe-In..........3/32"(out)....to....7/16"(in) Camber....20' +/-45' equals +1.08 degrees....to....-0.42 degrees ................................Driver.............Passenger Toe-In (Before)........ - 3/16" (out)......+ 5/16" (in) ..........(After)..........+ 1/16" (in)............0.0" Camber (Before)........- 0.3 degrees......- 1.0 degrees .............(After).......- 0.2 degrees.......- 0.3 degrees So .. because my rear suspension was way out of being square to the body with the old vertical braces, the Toe-in and Camber came back inline where it should be with the new vertical braces I had fab'b up. Also centering as best as I could the Vertical Braces and Rear Horizontal Brace to the body before attaching the transverse link arms paid off as it made the Toe-In adjustments easier to do by moving the Rear Horizontal Brace Up/Down. I was hoping to get a more + (positive) Camber out of the lower slotted holes however - it gave me more ability to adjust the Toe-In better which is more important to me. To get the camber adjustments - I'd need a more exotic set of rear-end hardware as you suggested in the links embedded above. I'll run the car for a while and re-measure the Toe-In and Camber after 1month of driving to see what they look like. Many thanks...
-
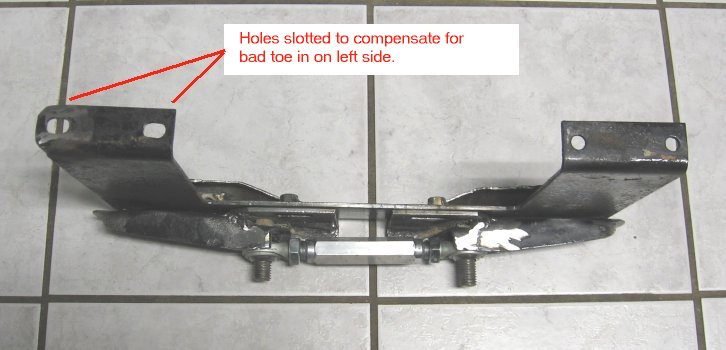
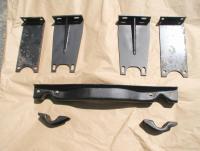
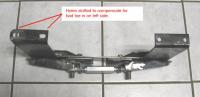
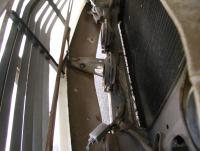
Okay Jon .... I picked up the New Rear Vertical Braces with the slotted holes. I've attached the photo showing them - they are the 2 (two) center ones (next to the 2 original ones) just above the Rear Horizontal Transverse Link Brace. You can see they are wider, I have a gusset added down the middle and they are made of 3/16 inch thick stock(slightly thicker than the metric material used). I'll start the assembly process later this evening. Stay tuned...
-
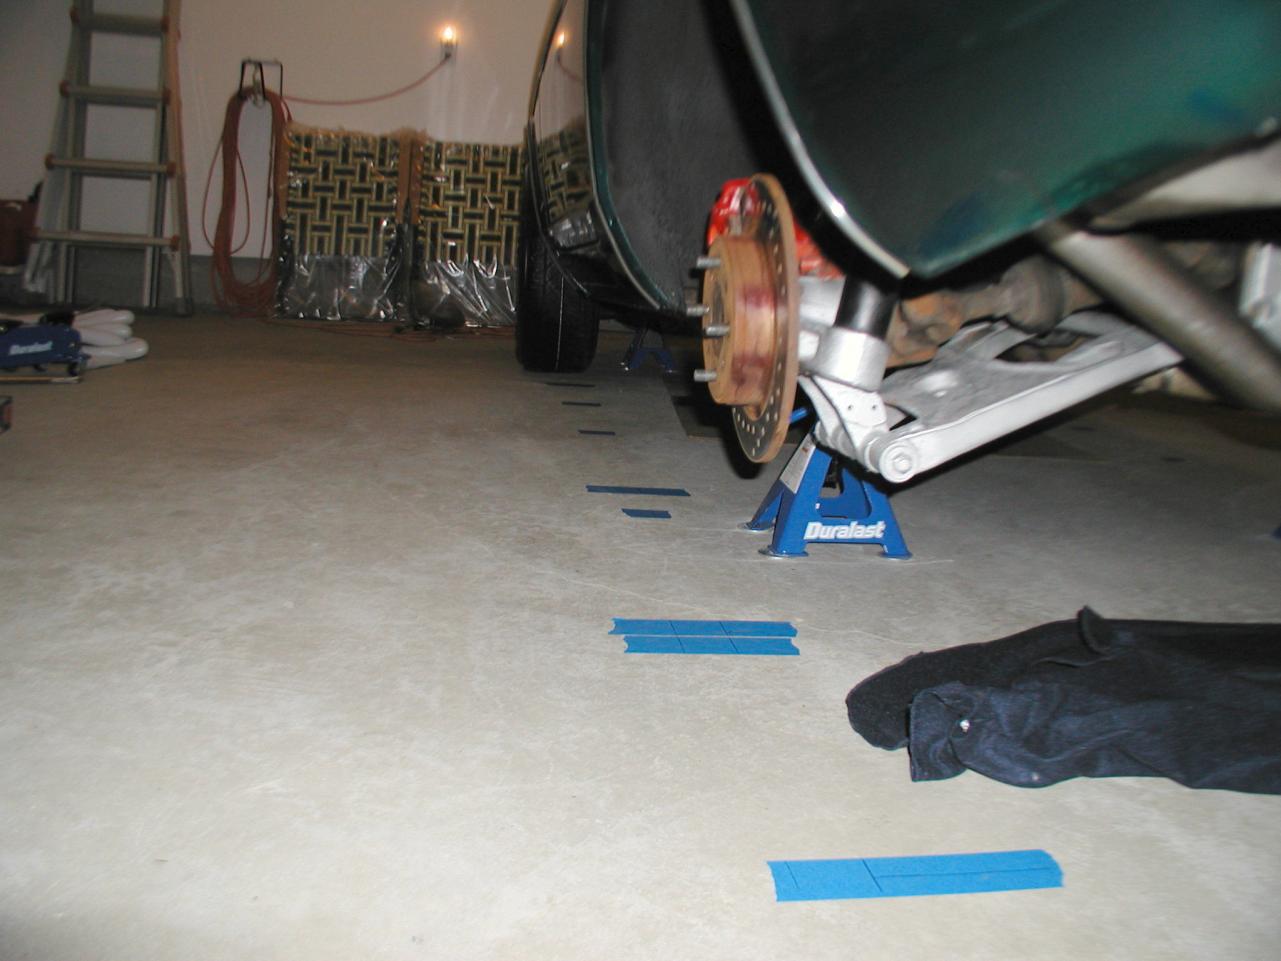
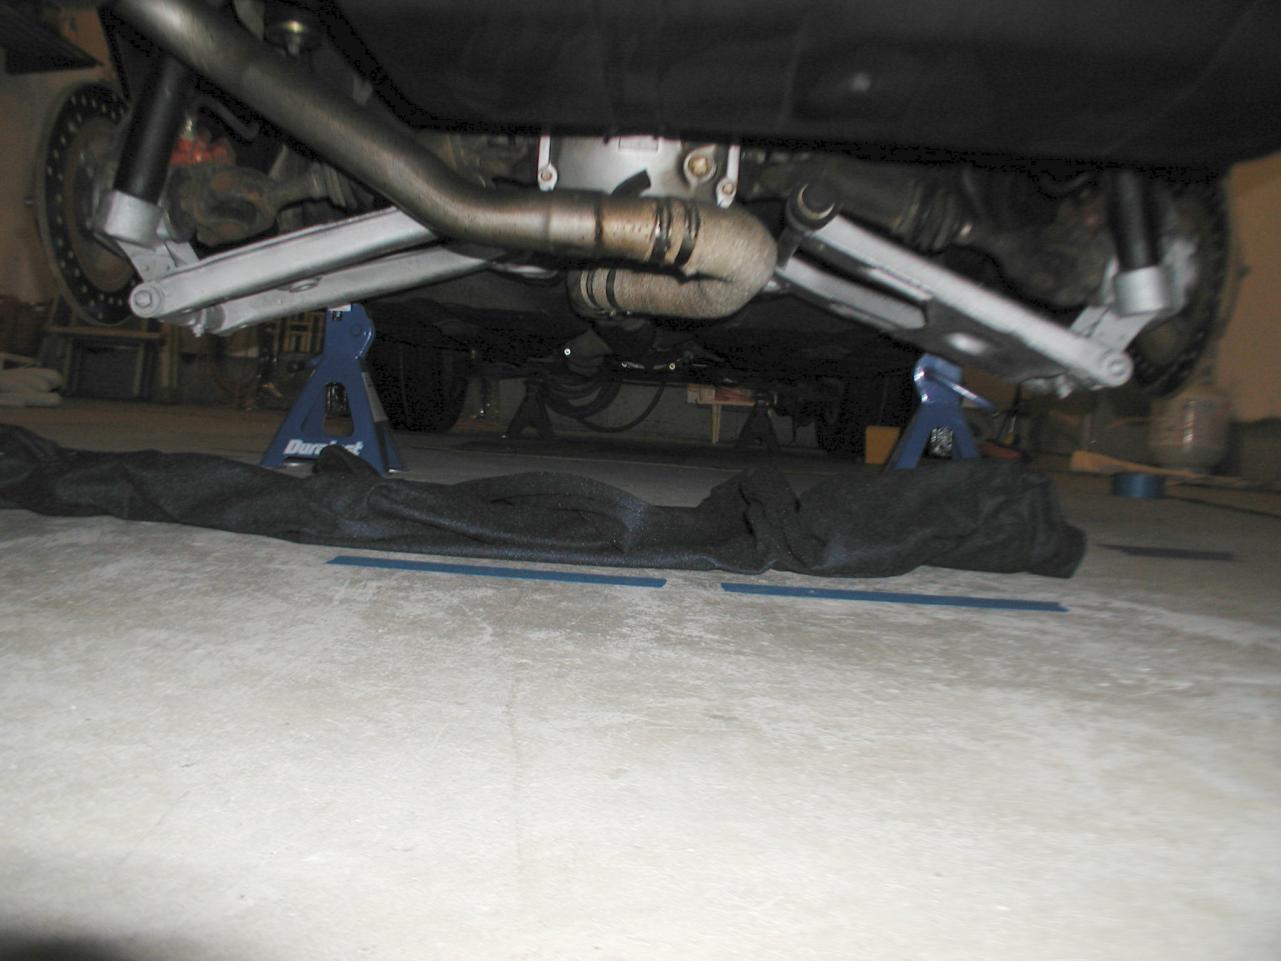
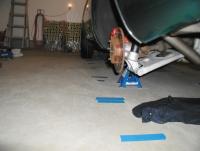
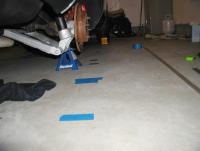
Yes.. I think you are right. I'll only get very little adjustment, maybe 3/16 inch maximum. At least I should be able to center the rear end squarely which is a major improvement. The specs for the car are as follows: Camber: 20" +/- 45' (+ 65' ; -15' ) = ( +1.01degrees ; -0.25 degrees) Toe-In: 3/32" out ; 7/16" in (roughly +0.22 degrees ; -1.00 degrees) As you may have guessed my parts were not quite ready last night. Today I'll pick them up and get some posts of the picks. Last night I spent a lot of time leveling the car relative to the garage floor as best as possible to minimize vertical "plum-line" measurement errors. And then marking the floor for squareness relative to the front wheels and car frame/body. This should help me effectively lineup the rear-end so that it's square relative to the front wheels and body before I do any adjustments. With the floor marked I should be able to measure Toe-In and Camber as I move the horizontal rear transverse link brace up and down and side-to-side. I'll try to also do a sktech of my measurements so it's better visualized. I've attached several photos of the markings and car on jacks before I begin to re-assemble and take measurements. Thanks again...

-
Thanks Jon... I pulled up the link and there is a ton of good information. My vertical braces will have the Top Holes slotted on both sides... it allows me to center the Rear End so it's square with the body (similar to 1st pic from the link you sent me, but on both sides of the vertical braces). The lower holes in the brackets I'm having fab'd up are on the same vertical braces, but slotted Up/Down. This allows the rear lower horizontal brace to move up/down, but staying square in same 2(two) planes that affect Toe-In and Alignment. This results in only Camber movement for the rear wheels. I only need up to 3/16 inch of positive Camber which is not a lot to improve the rear wheels. I'll get them all posted hopefully tonite if my brackets are done. I appreciate your input and response. Hope you'll see this when I get my pictures posted. Please stay tuned ...
-
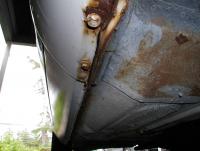
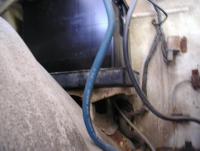
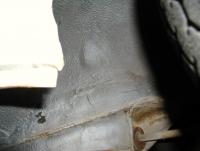
Well - if anyone is interested - I uncovered the problem in my rear end suspension after disassembly. The Rear Link Mount Braces were BOTH bent 3/16 inch - toward the passenger side of the car(the 2 Black vertical braces holding the Rear Horizontal Transverse Brace Link in place - in the photo attached). These were not Perpindicular to the Body Member they attached to. This caused the Rear Horizontal Transverse Brace Link to be shifted toward the passenger side by ~ 3/16 inch. ALSO - the passenger side Rear Link Mount Brace was bent Forward by ~3/16 inch which made my Rear End rotated a bit as well. This caused the passenger side rear wheel to be More FORWARD and the Driver side rear wheel More AFT relative to the body. My Attempted Solution: 1) I'm having a more rigid Rear Link Mount Brace design fabricated up for the 2 vertical braces. 2) I'm also having the holes slotted (2 upper & 2 lower) in each brace so it gives me the ability to Center the Braces if need be relative to the Rear Frame/Body of the car AND also allow me to have more Positive Camber Adjustment by enabling the Rear Horizontal Transverse Brace to be moved UP ~1/4inch from stock position. This upward adjustment should improve my Negative Camber by ~1.5 degrees to allow for my wide tires better. Once the Rear Braces are finished - I'll put some photos out showing the Stock ones (which are bent and not as robust) compared to the New Ones with Slotted Holes for Camber Adjustments. Many thanks .. stay tuned. Rear End 240z Labeled2.doc
-
Hi, I've been following this thread and have taken a look at my rear end. I had all the bushings replaced with urethane and a new differential mount installed along with all new u-joints almost 2 years ago. Everything is very tight and no "clunking" during shifting and no noises or vibrations - really smooth during all aspects of driving. Since this work - I have about 3000 miles on the car. PROBLEM: I got to looking at car an noticed that the Passenger side wheel appears to be more "Forward" than the Driver side wheel? Passenger wheel clearance from front of rear fender to tire is 2" where as the Driver side measures 2-3/8". There is a 3/8" difference which seams quite a bit and thus noticeable. I took the measurements about 2" above bottom of door lining it up with the decorative body crease. Note that the car sits pretty level: Driver Rear Fender height - 26-1/4" Passenger Rear Fender height : 26-1/8" QUESTIONS: 1) Can someone confirm some dimensions for me from the attachment(not of my car , I only wish) I have included? I measure Front = 14-1/2" and Rear = 14-1/2" . Zero - Toe In design if all is aligned correctly? 2) I'm wondering if the Rear INNER Transvere Link Brackets are worn or bent slightly causing the Passenger to be outboard more? 3) OR my Rear Suspension is ROTATED slightly such that the Driver Side is 3/16" to far BACK and the Passenger Side is 3/16" to far FORWARD? I think this may be the problem... I'll be dissambling the rear end this weekend. Any insight and advice is welcome. Many thanks... Rear End 240z Labeled2.doc
-
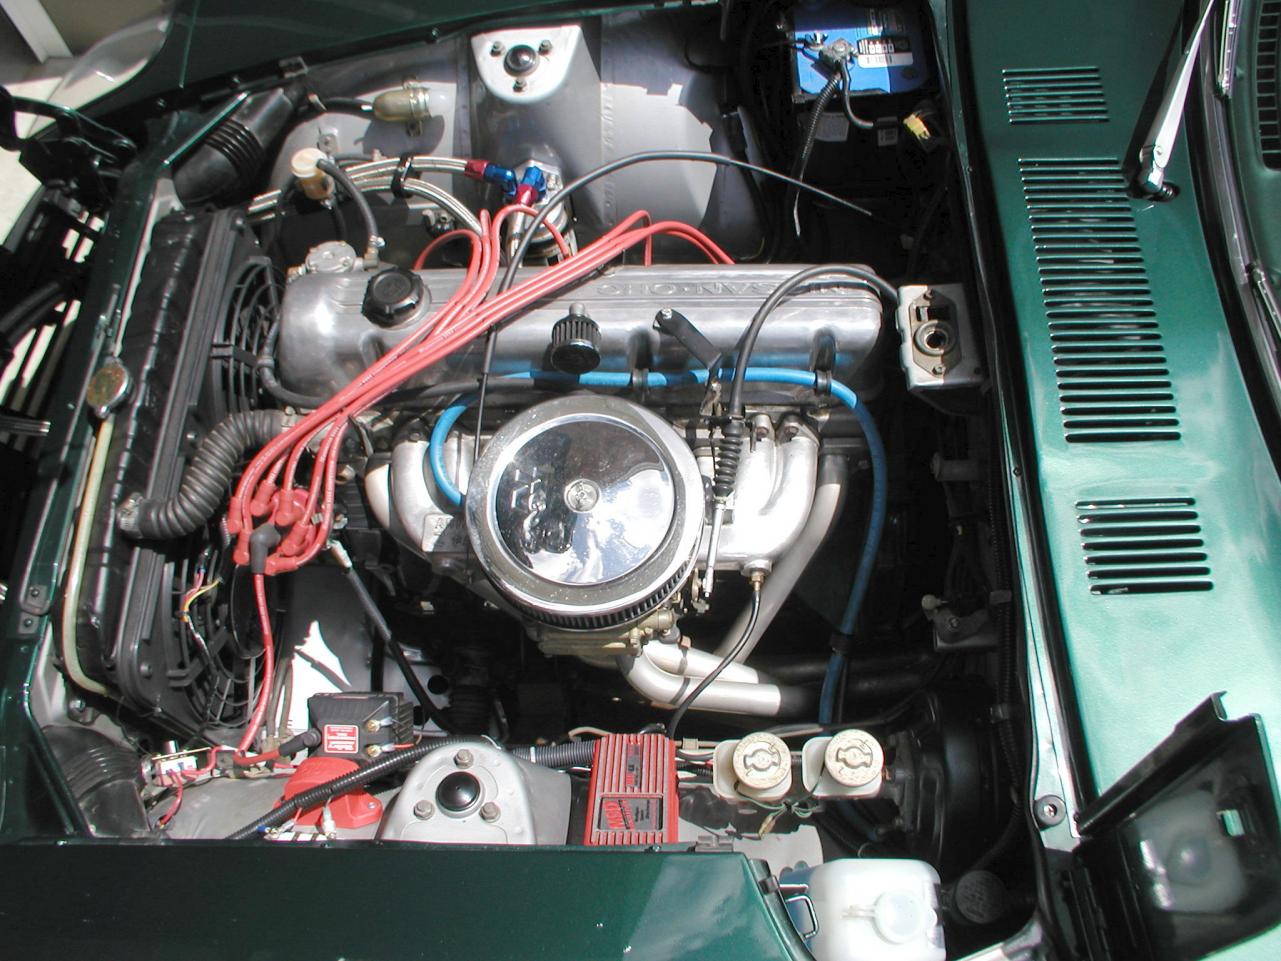
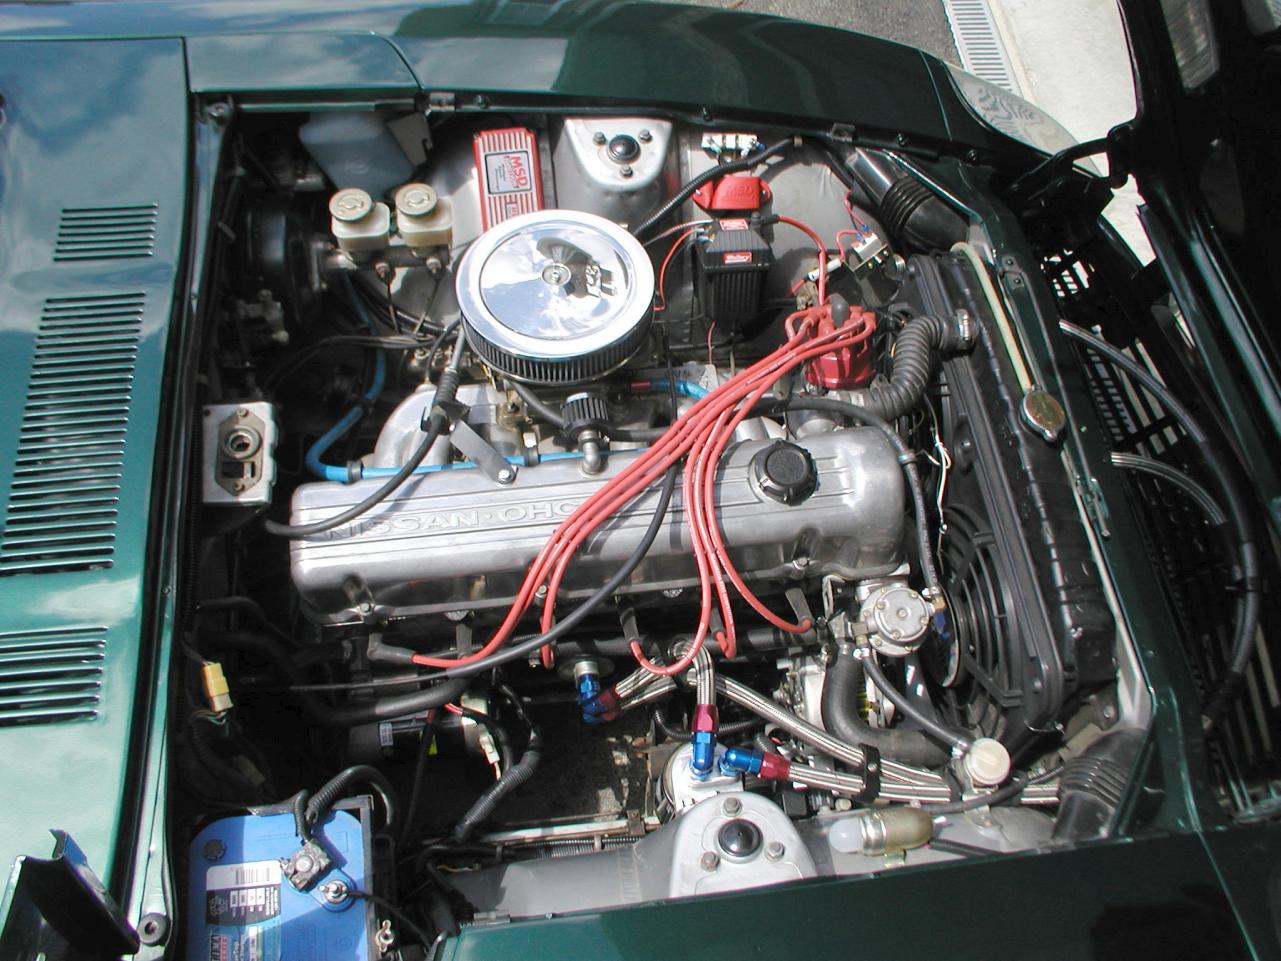
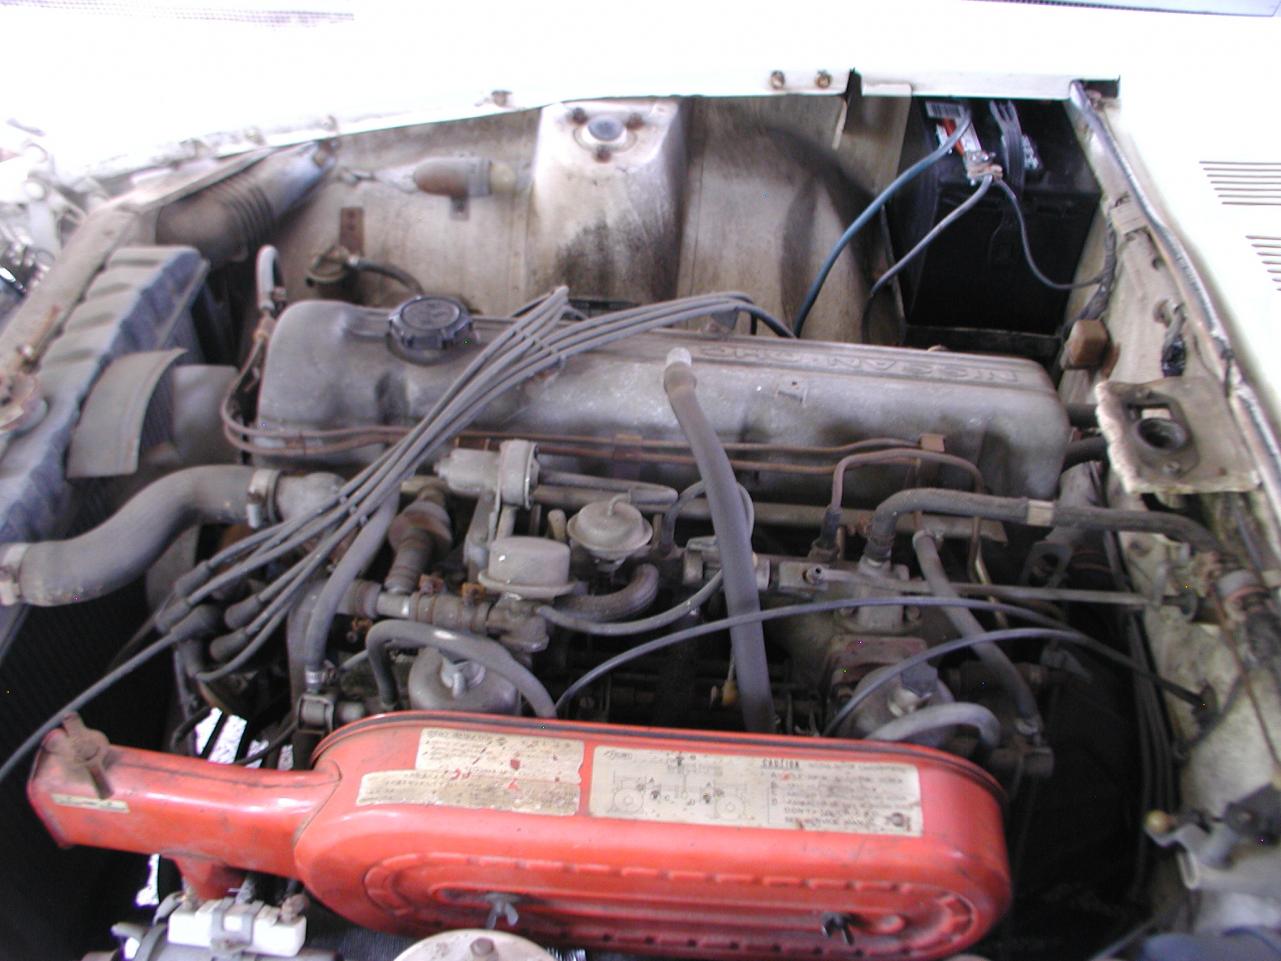
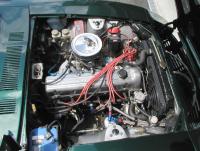
I don't know ChrisA if this helps but here's an MSD 6A hookup I used with the Mallory Unilite Breakerless (LED) Distributor and Mallory Promaster Coil. Thanks to Dave Irwin (ZsOnthebrain) it works flawlessly and my engine runs super especially since my plugs are gapped at .060" . The nice thing is that my stock 240z Tach works as well. I've attached the documentation for my hookup as well as a few high level engine photos. Many thanks ... MSD 6A Wiring 05-13-08 Layout.doc

-
You may have to install a Starter Button if your Starter Ignition switch is bad? Before I'd go there - try to use a Starter Relay type circuit. Eitherway it's reduces the required amperage that goes through your Ignition Switch and may make your switch usable. If that doesn't work - run from the Starter Relay circuit - 2 wires to a small low voltage starter button placed somewhere under dash. You would use this for only Starting the car bypassing your ignition switch. Hope this helps...
-
Not sure if this insight would help, but I had problems on Hot days with my 240z not starting. The soleniod would not engage. After many upgrades such as 60amp alternator (to keep the battery fully charged), new cables, cleaned the grounds, new starter and soleniod - I finally installed a Starter Relay kit. This allowed my ignition switch to use low voltage/amperage - and assure 12v and up to 15amps went directly to the the soleniod. Cured my "clicking" noise when trying to start on hot days (85+ degrees). Here's my posting from last month. http://www.classiczcars.com/forums/showthread.php?t=34668 Hope this helps ... good luck.
-
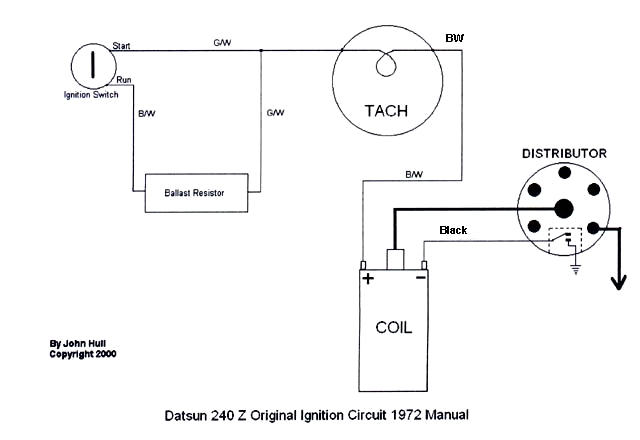
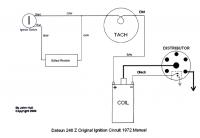
Welcome to this valuable site and thanks for inquiring on a stock Tach Repair approach. I've not be able to locate any schematics for a 240z Stock positive trigger tach for my Sept 1972 built car. There are several styles of Tach Hookups and I'm sure your 280z is a - negative trigger tach off the coil. Notice my attachments on how the 240z Tach plugs into the harness and the schematic of how it's tied into the ignition circuit. Mine is a 4 wire hookup BUT with 2 of the wires being an inductive loop to complete the ignition circuit (not functional to the tach itself) - so really for the 240z Tach it only has 2 wires - Orange (positive trigger) and Black (Gnd). Here's the thread from several weeks ago on this subject also. Referenced in this is a member who may have explored repairing a stock tach several years ago - "ESCANLON". http://www.classiczcars.com/forums/showthread.php?t=34680 Many thanks ...

-
Well I installed this 12v Starter Relay kit. It was pretty easy to do in about 20mins. The challenge for me was getting the wire lengths to my liking such that it integrated nicely into my harness. The Relay and 15amp Fuse fit nicely in my Battery area out of the way. Tried it today in +85F heat - while running some errands for the 4th of July cookout and it worked superbly! Immediate starting when I turn the key to Start! It's a reall treat and no more worry when I go to a gas station to fill up on a really hot day. Highly recommended for anyone with a bit of a flakey starting problem in high temperature conditions. Thanks all and Happy 4th of July!
-
Similar to Dave , Arne , Gary and Andrew - do the Harness upgrades and convert to the 60amp 280zx Alternator with Built-in Regulator. You'll need Dave's Regulator Adapter along with the Headlight & Parking Light harneses. I have H4 conversions to 100watts and they are outstanding with the harness. Last weekend I was caught in a terrible storm driving back from Saratoga Sprins on RT 87 - Thruway. They were oustanding. I also went so far as to install the MSA - MAXI fuse box, just to assure my overall electical system was in good shape. This cost roughly $75.00 last year. It was a plug in and I saved the old fuse box - not hard at all to do (10-15mins.) Lastly - I just installed this 240z Relay Starter Kit from eBay. It made a huge difference in starting when the car is Hot. My car now starts instantly and reliably in 90F heat. Link: http://cgi.ebay.com/ebaymotors/ws/eBayISAPI.dll?ViewItem&item=220393746648&viewitem= I feel much better about the electrical system and reliability after all these upgrades. If I had to do it over with limited funds - I'd do the following sequence for providing me the best improvement on my overall electrical system: 1) 60amp Alternator (w/builtin regulator) use Dave's Plug-In Adapter into regulator socket 2) Headlight Harness (Dave's) 3) Parking Light Harness (Dave's) 4) H4 headlight upgrade (MSA) 5) Starter Relay Kit upgrade (eBay - $15 plus shipping) 6) MSA MAXI Fuse box upgrade...(items 2 thru 5 will put less load on your fuse box). Good luck ....
-
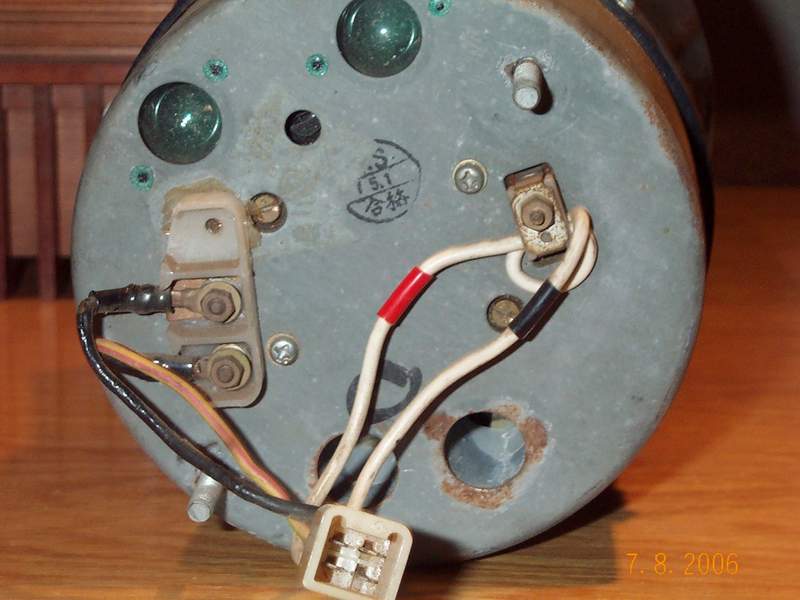
I have the typical 4 wire connector. One Orange wire, One Black wire, and a white wire loop w/Red tape & w/Black Tape into the same connector. The white wire is an inductive loop that completes the ignition circuit. Here is a photo attached: Many thanks..

-
Zedyone Kenobi - this past weekend I swapped out my flakey '73 tach with another 240z stock tach. The replacement appears to work nicely - however it's old and can break anytime as well. Question for folks following this posting. 1) Is there anyone on this site that will repiar a Stock Tach ? New Tach Installation for 240z ... I do have a 240z Tach with all New Electronics added to enable a (-) Coil Trigger off of new electronic ignition. I'm trying to figure out to to integrate Negative Trigger (New Tach) it into my Mallory Unilite Dizzy, Mallory Promaster Coil & MSD 6A box. To get my stock tach to work I added the MSD Tach adapter with the ballast resistor. (see the 1st page of the attachment) Question: 2) How would I integrate the NEW (-)Negative Trigger Coil Tach into my current set. Any help is appreciated. MSD 6A Wiring 05-13-08 Layout.doc
-
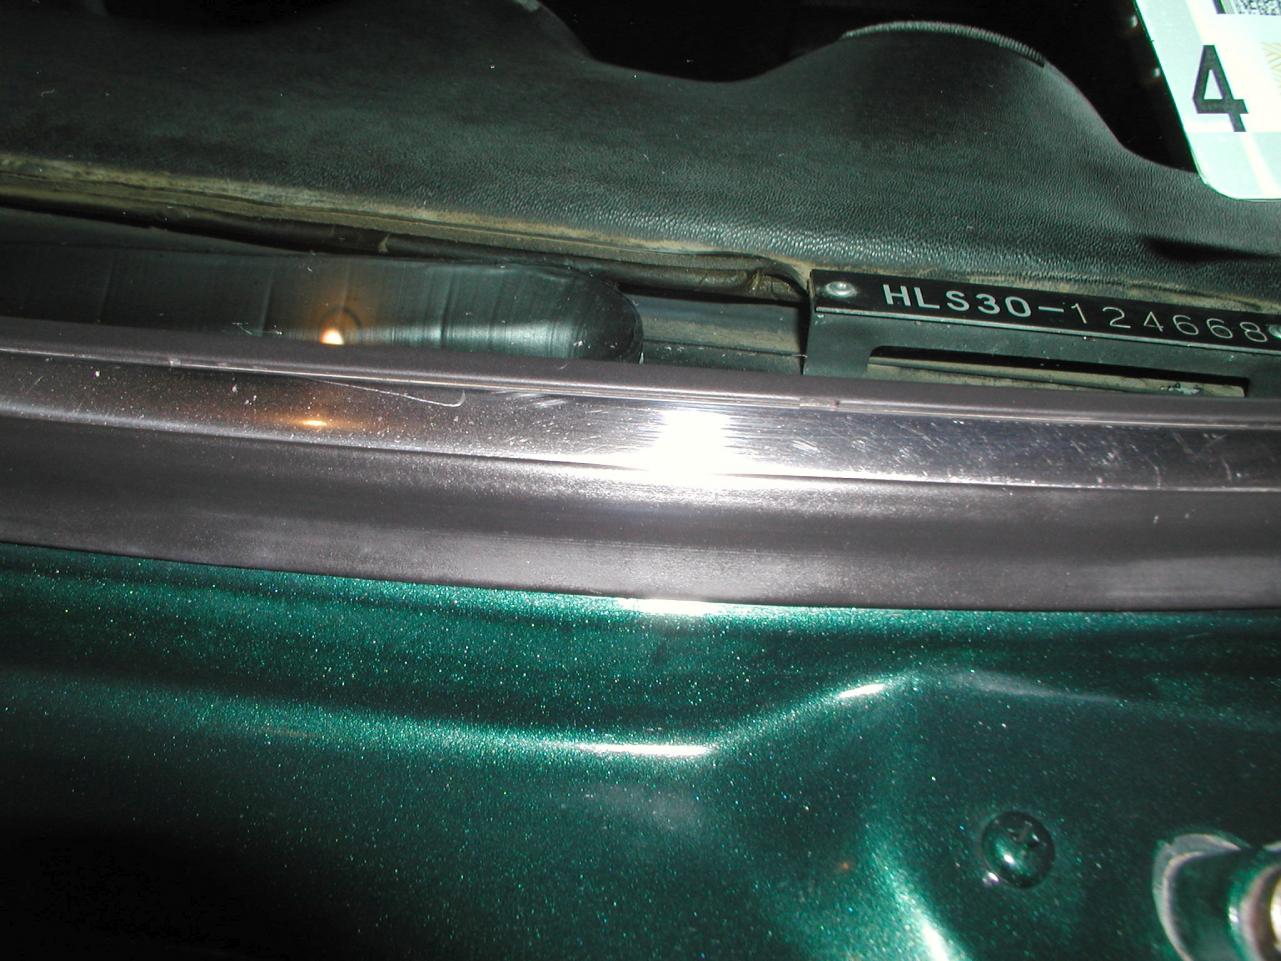
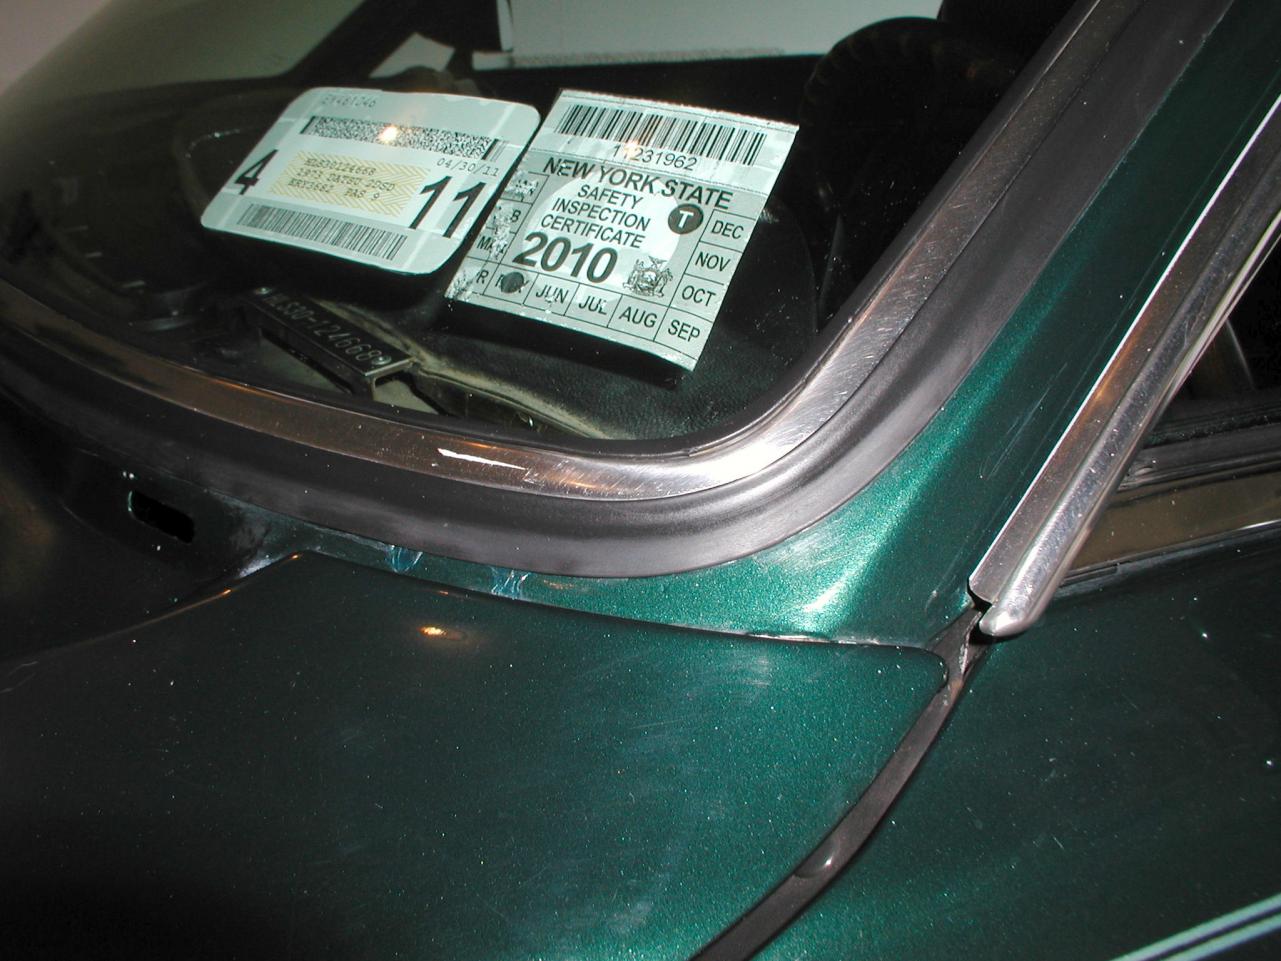
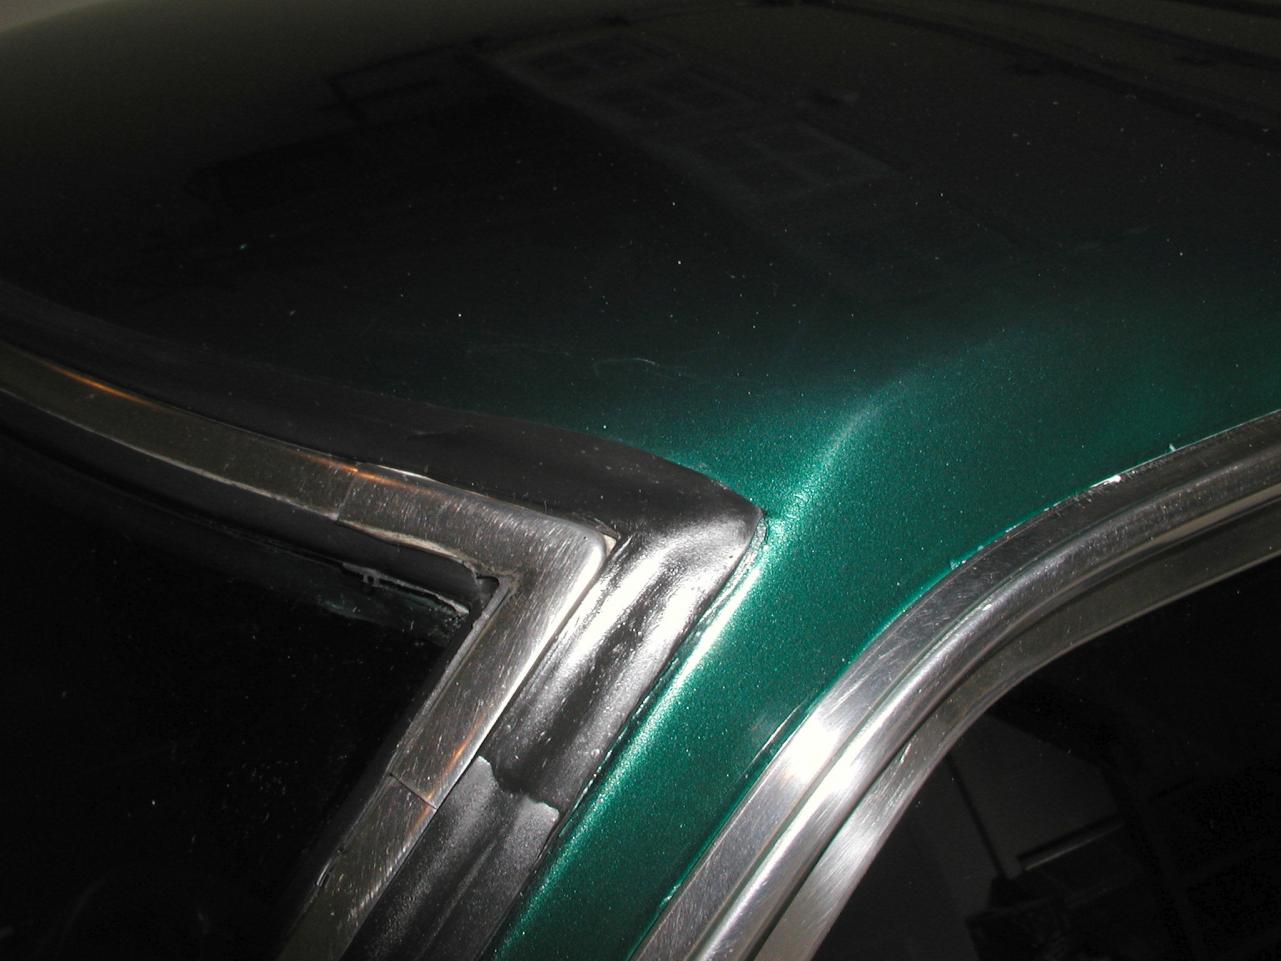
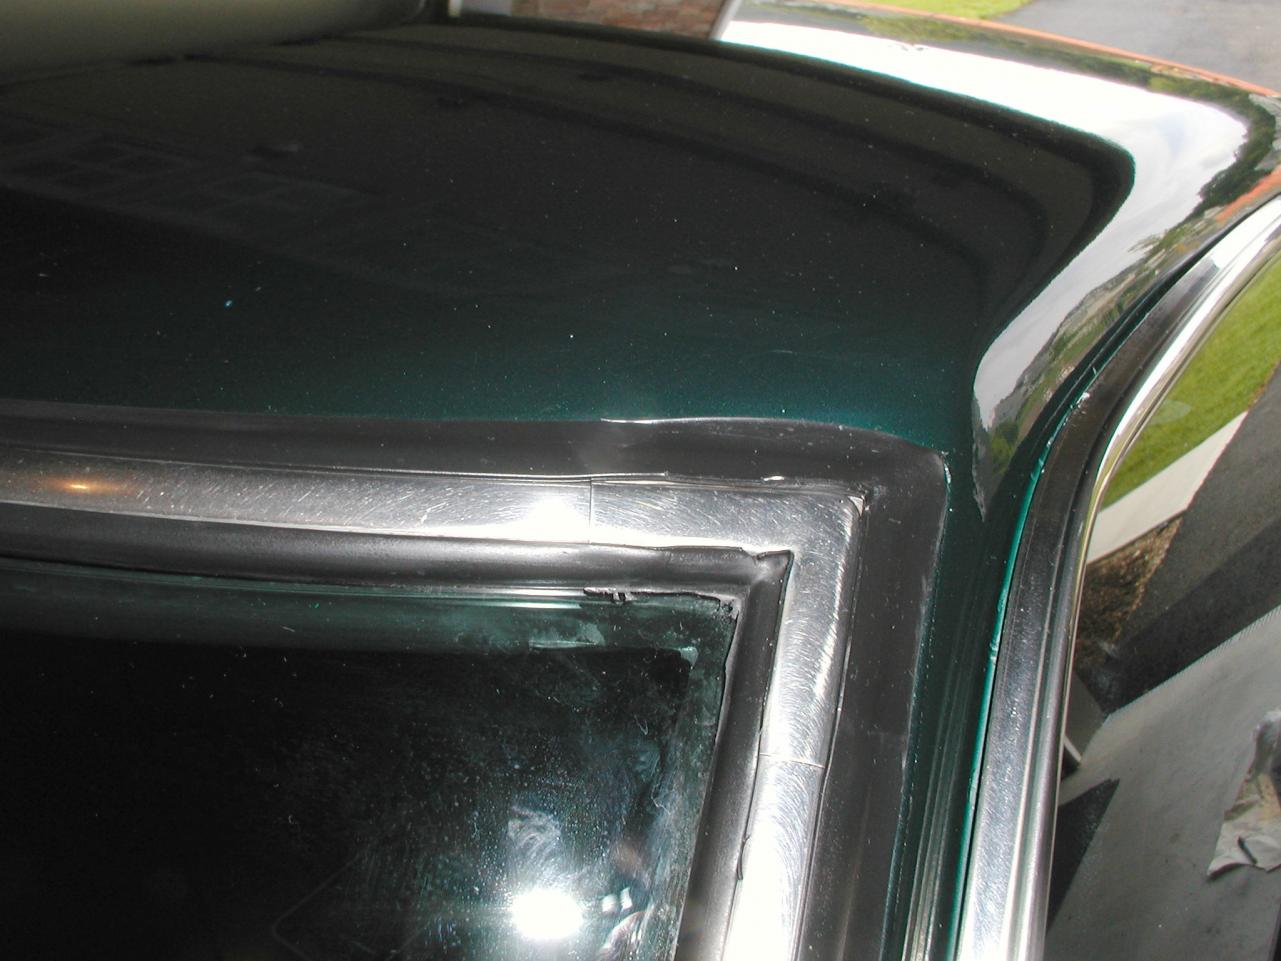
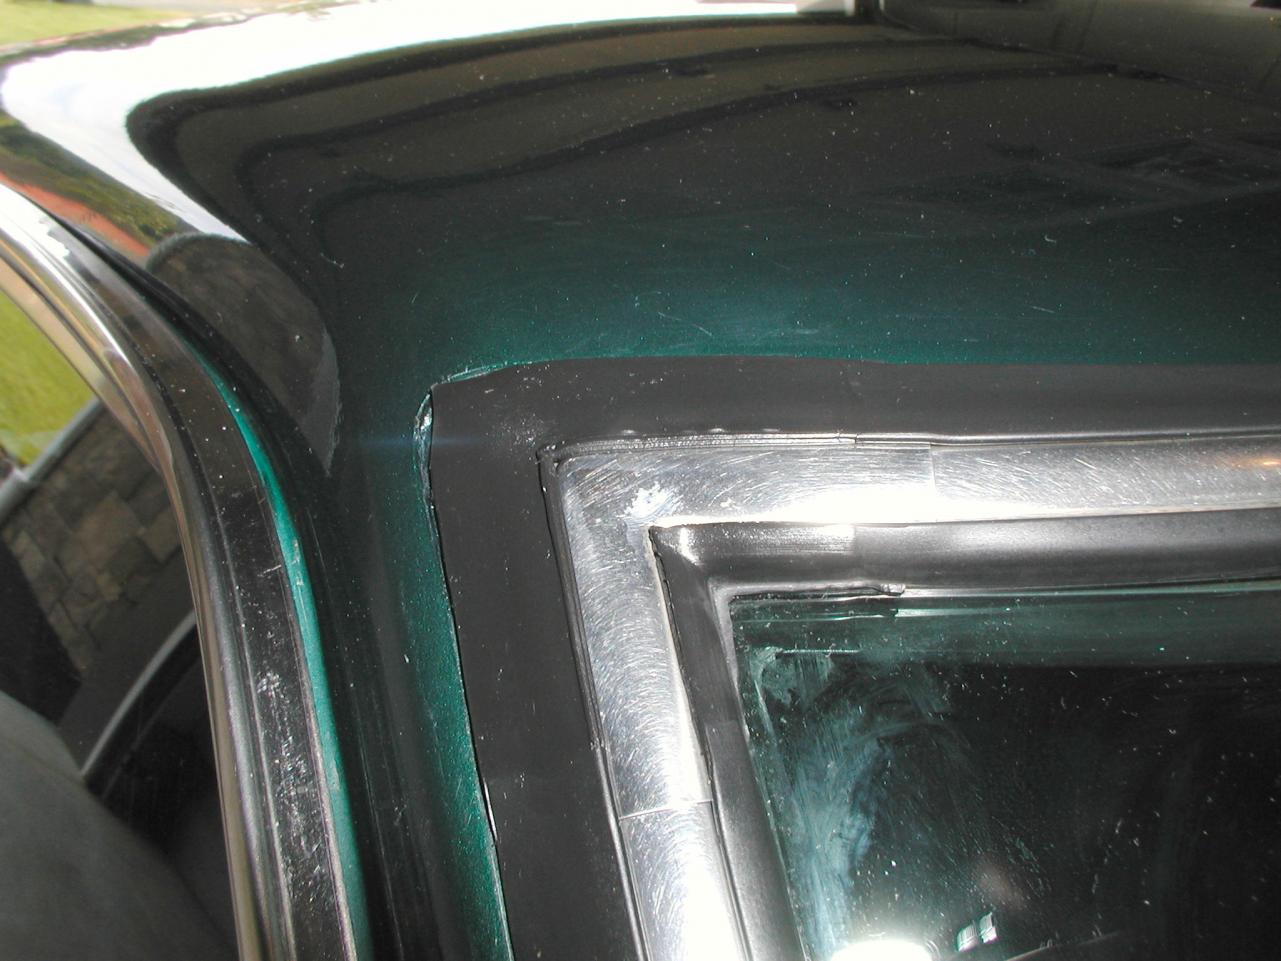
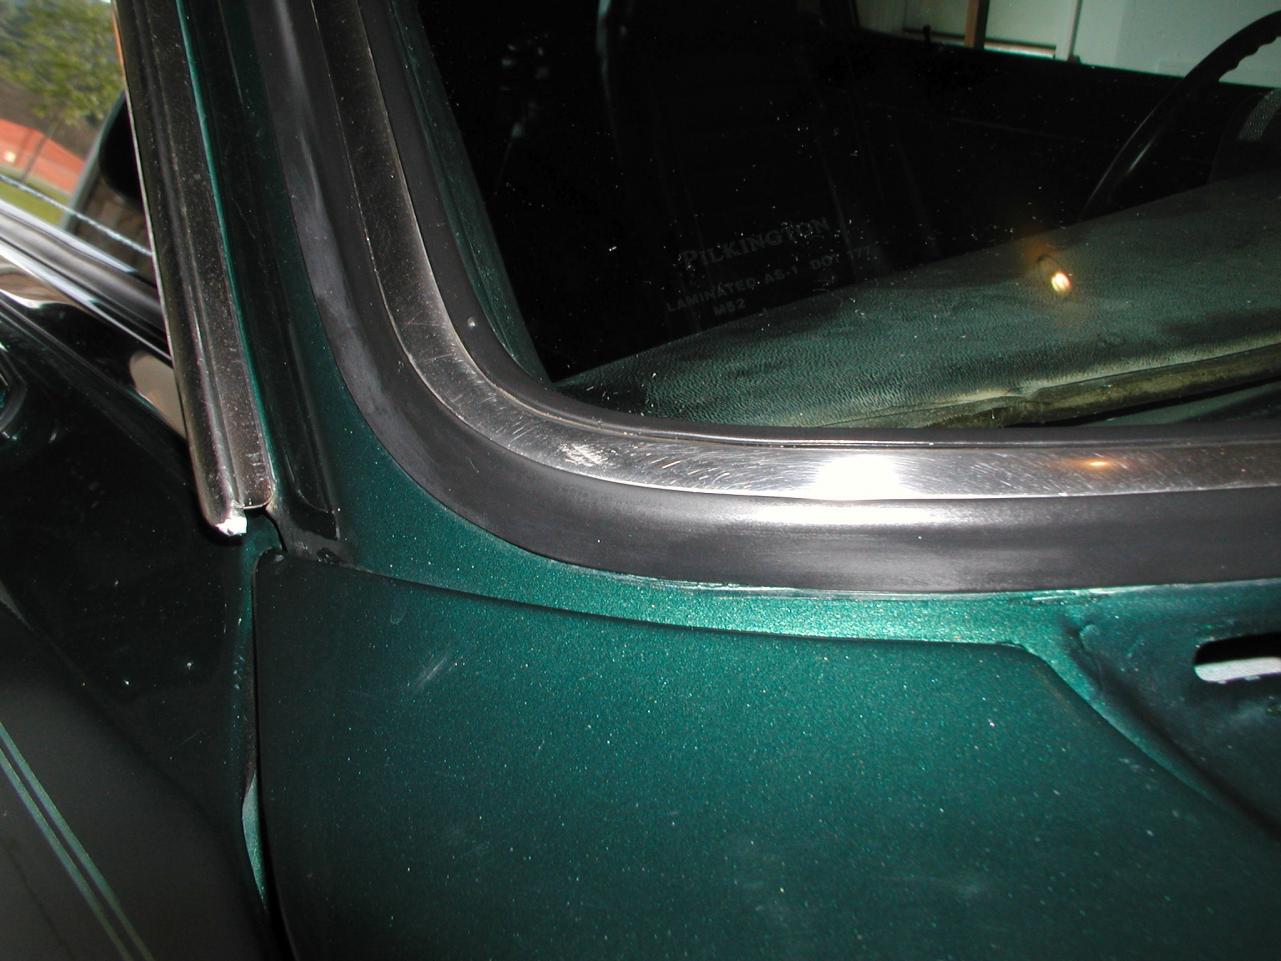
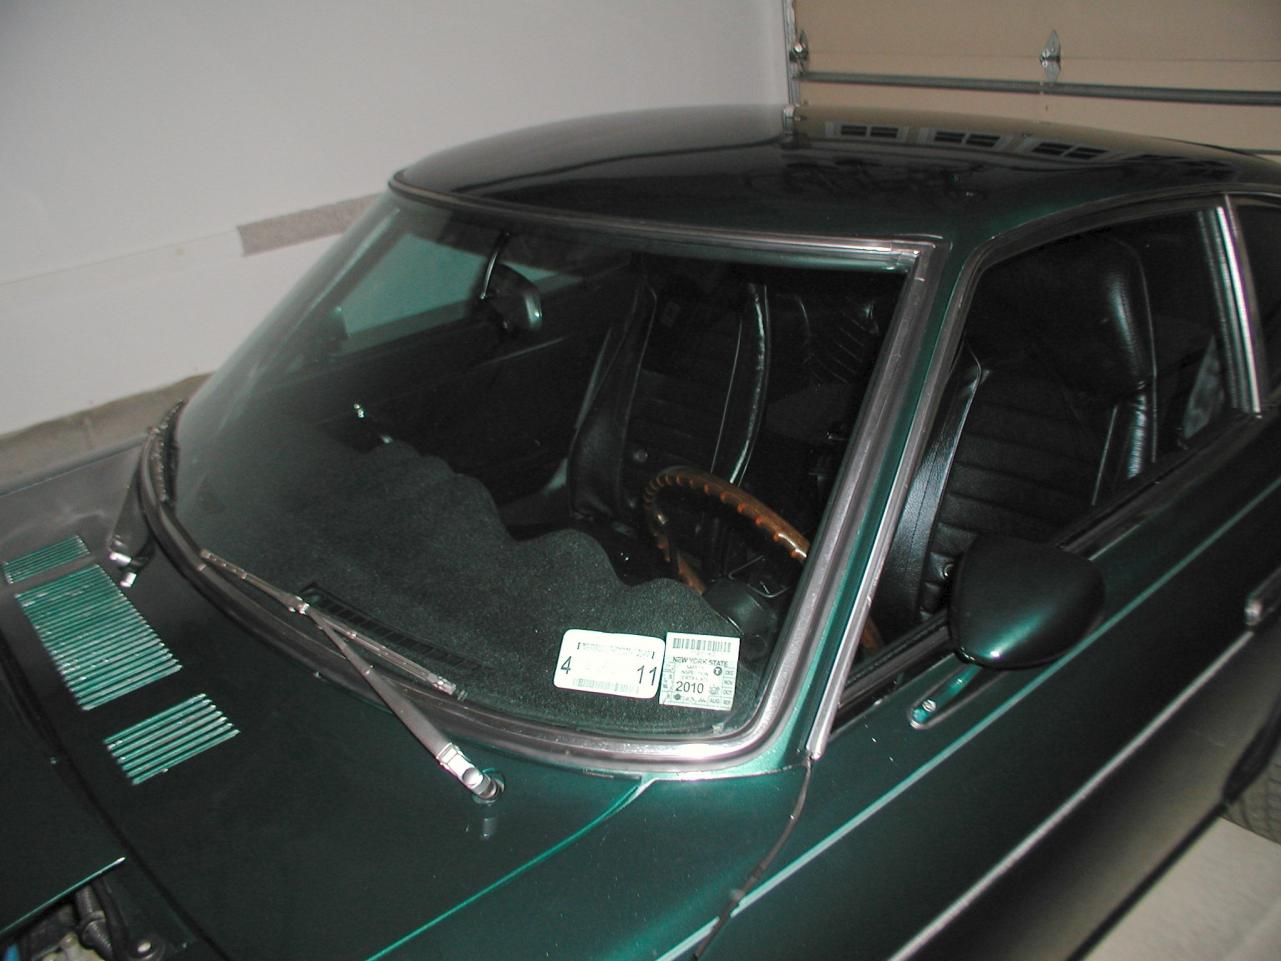
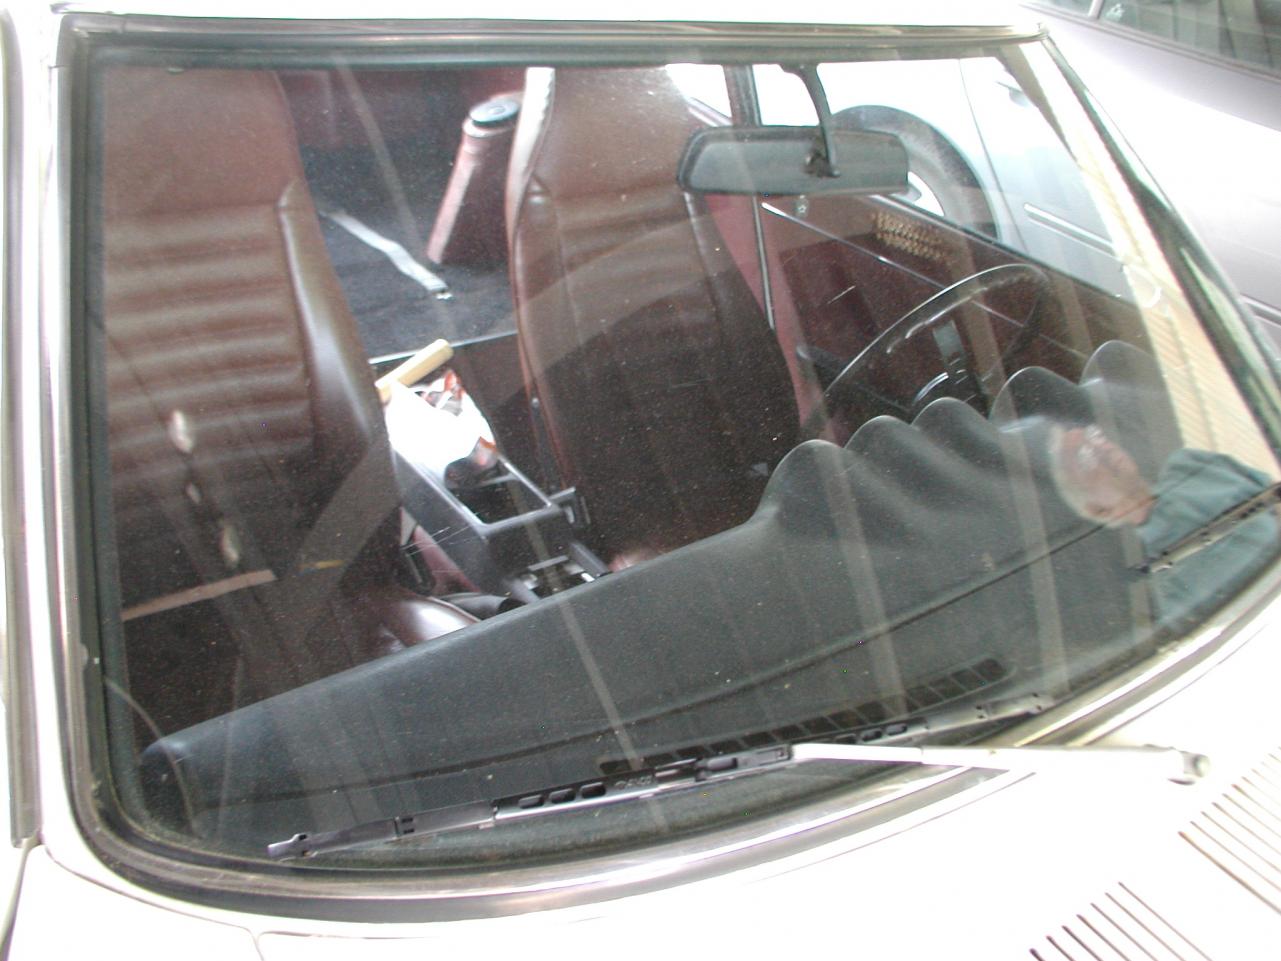
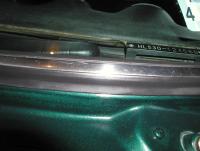
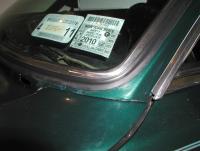
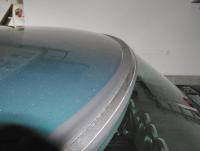
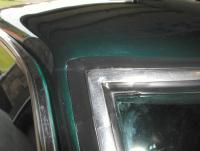
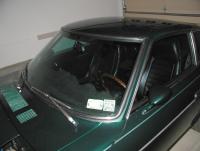
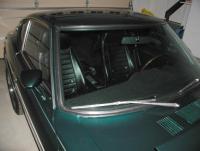
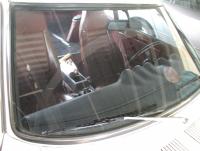
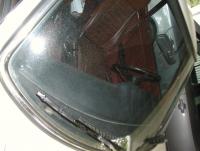
Well all - I finally picked up my car with the new windsheild installed. I'm quite pleased given the complexity of the task. The Body/Auto Glass shop not only had to paint the channel with my matching '96 Green (was original '73 Datsun Silver), but they spent quite a bit of time centering the window and weatherstripping into the channel to minimize any edge missmatch affect. I've included the photos... The worse corner is the passenger top corner. You can see the MSA weather strip is not as rounded on the corner (it's more a pointed ) as original so you can see the paint buildup edge affect from the prior 2 paint jobs being done with the original winsheild still installed. However - the new glass is terrific and since it is flawless, the tradeoff for the minor top corner edge affects make it well worth it. The glass came from Pilkington Glass, Ohio and is beautiful - it's made in the UK according to Pilkington. Shipping was a mess however - not their fault, it was the trucker's error - Roadway. Instead of 3-5 business days for delivery, it came in 10 business days. Pilkington managed the messup for me and made good by not charging me shipping costs. This delay saved me $100 usd which was the shipping costs! Many thanks again for all the advice !!!


-
Thanks Carl great data! My prior 73 240z that I referenced above did have a 17 tooth gear - so it must have been the Black one. Must have had a stock 3.545 rear end in it. My current '73 240z has the 3.9 rear end with an '82 280zx 5spd and I know that's a 19 teeth speedo gear - this must have been the white one that I replaced when I had the transmission dropped and rebuilt as well. This gear was fine and I had no speedo bouncing - but I bought a new gear anyway and replaced it as a precaution. Many thanks again ..
-
On my 73 240z that I sold last March '08, my speedomter was a bit unstable when accelerating only - ussually in 2nd or 3rd gear. It turned out while having the transmission rebuilt that the Nylon speedo gear to the cable was worm and even had a tooth missing. I think it was a white color gear with 17 teeth. Bought from the local Nissan dealer a replacement. They needed to know the transmission type and year, along with the color and tooth count of the gear to order the correct part. I had an 82/83 280zx 5sp manual transmission in the car. This took care of the porblem when the transmission was re-installed in the car. Many thanks..
-
Well folks - I didn't want you to think I forgot to update you all on my new windsheild installation. The New Windsheild from Pilkington Glass was to arrive by Tues , 6/9 this week and it did not. It appears the shipping carrier had it on the worng truck ?? So as of yesterday it was back in Ohio. I'm hoping the glass is here by Friday , 6/12 so it can be installed. I'll keep you all updated. Many thanks...
-
Many thanks Carl this is a huge help on input. The chrome bumpers and exterior trim pieces are actually is good shape.
-
Thanks Carl ... what would you estimate is needed to bring it back to a respectable level? Do you think the Automatic detracts much? Rif .. I sent you a private email. Someone was willing to offer around $6200 but must sell a car he's finishing putting back together first.
-
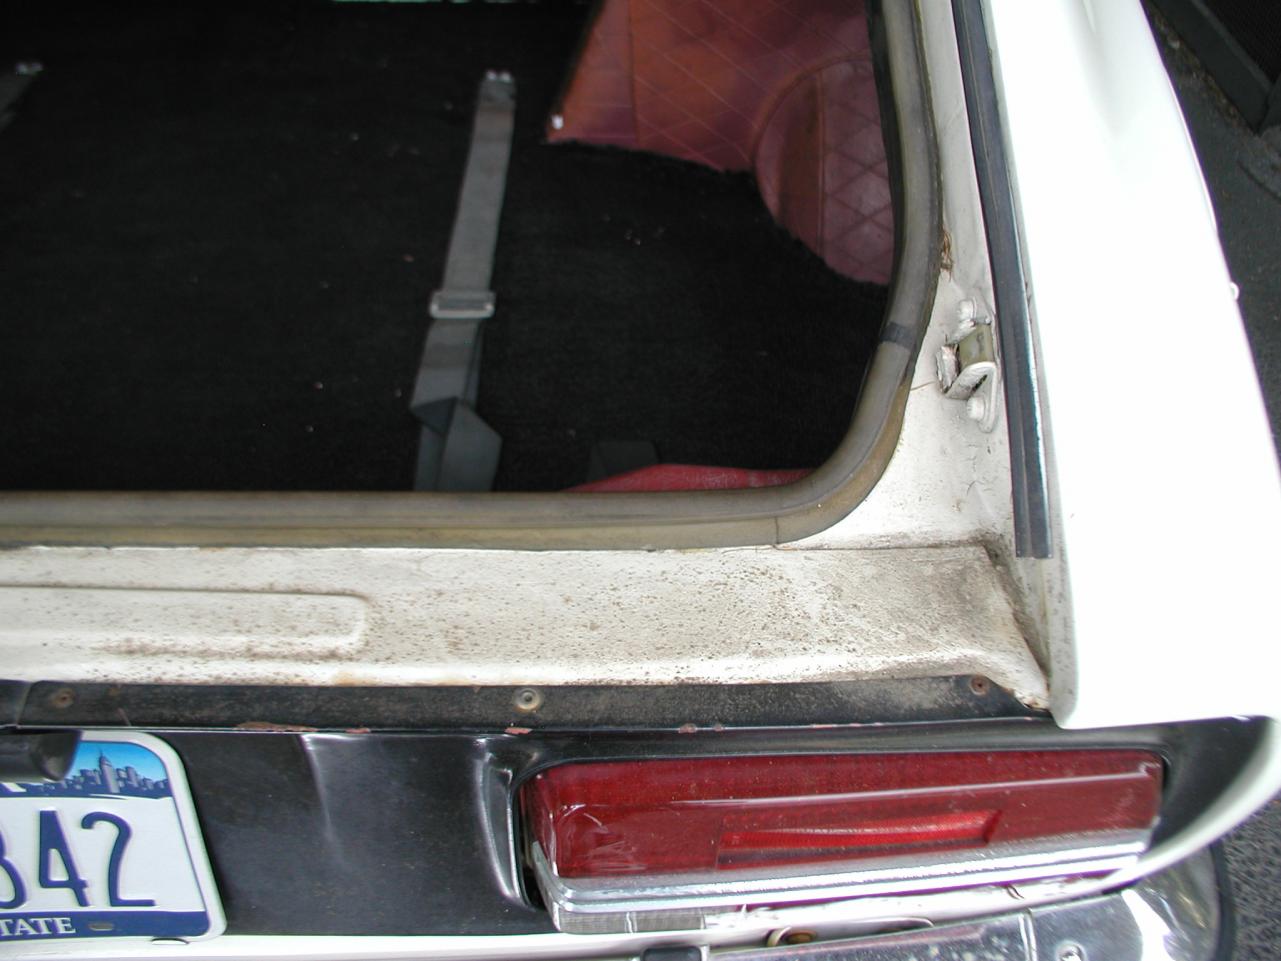
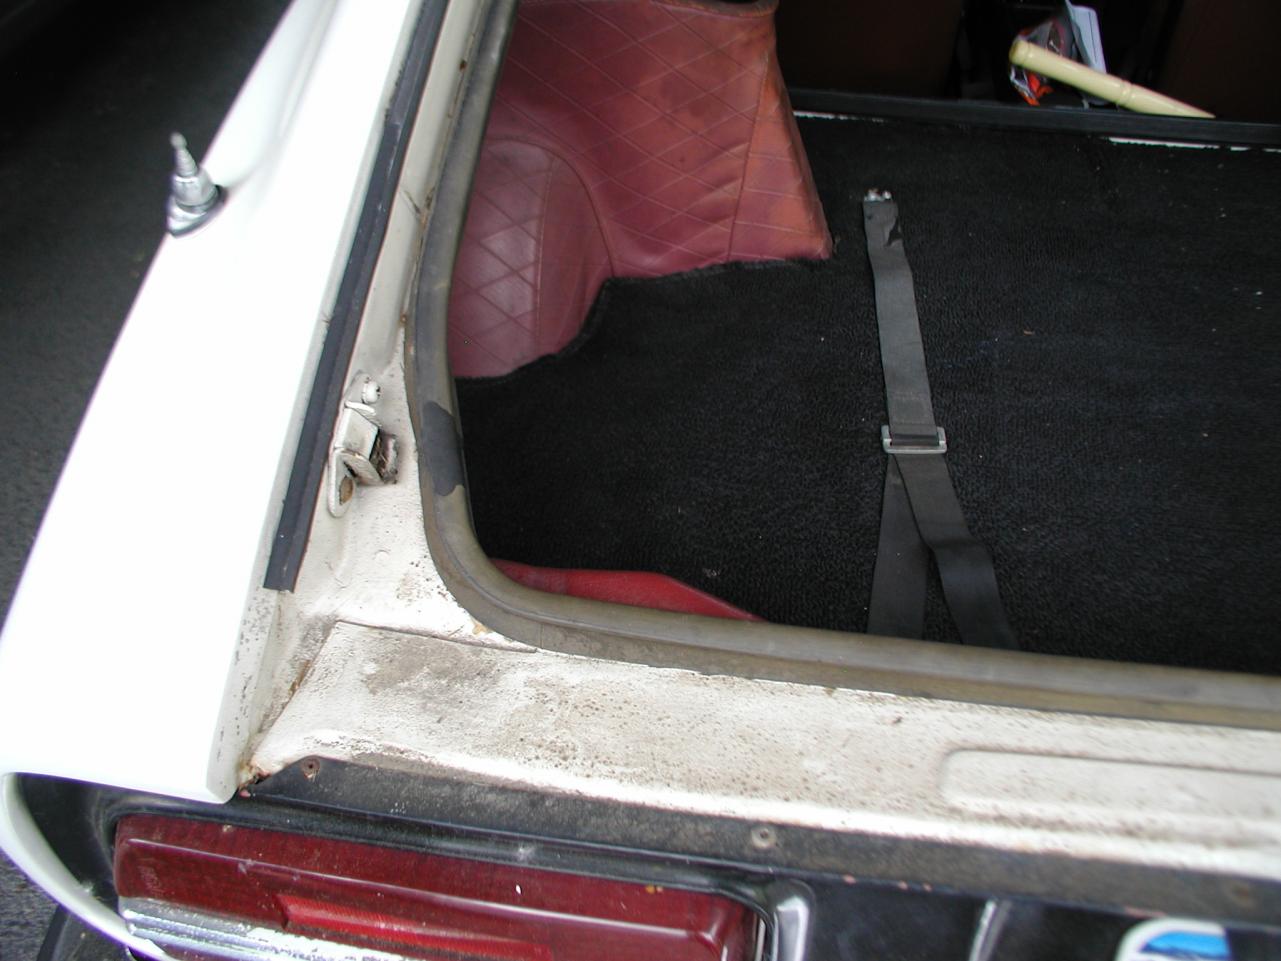
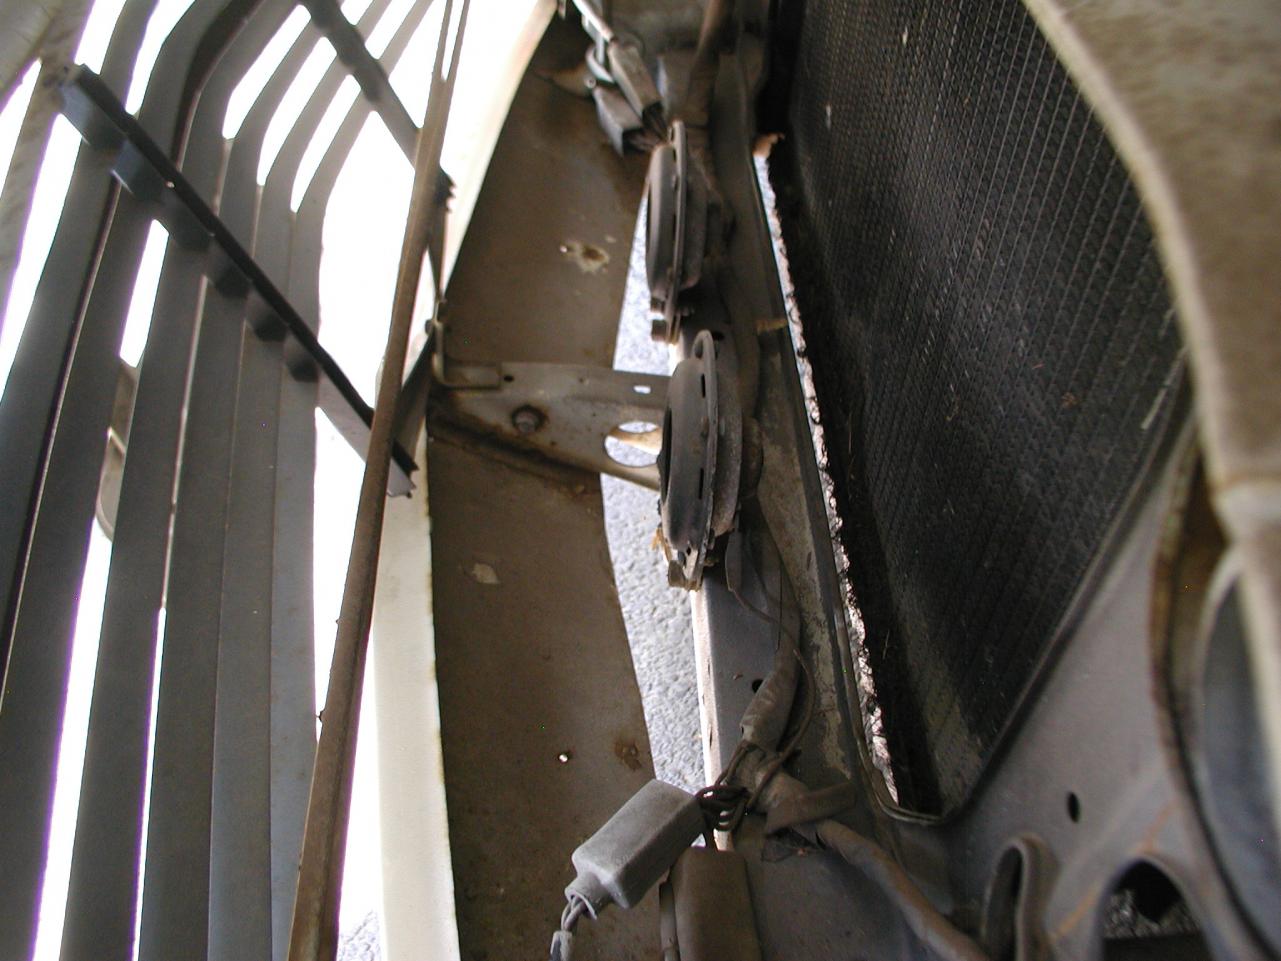
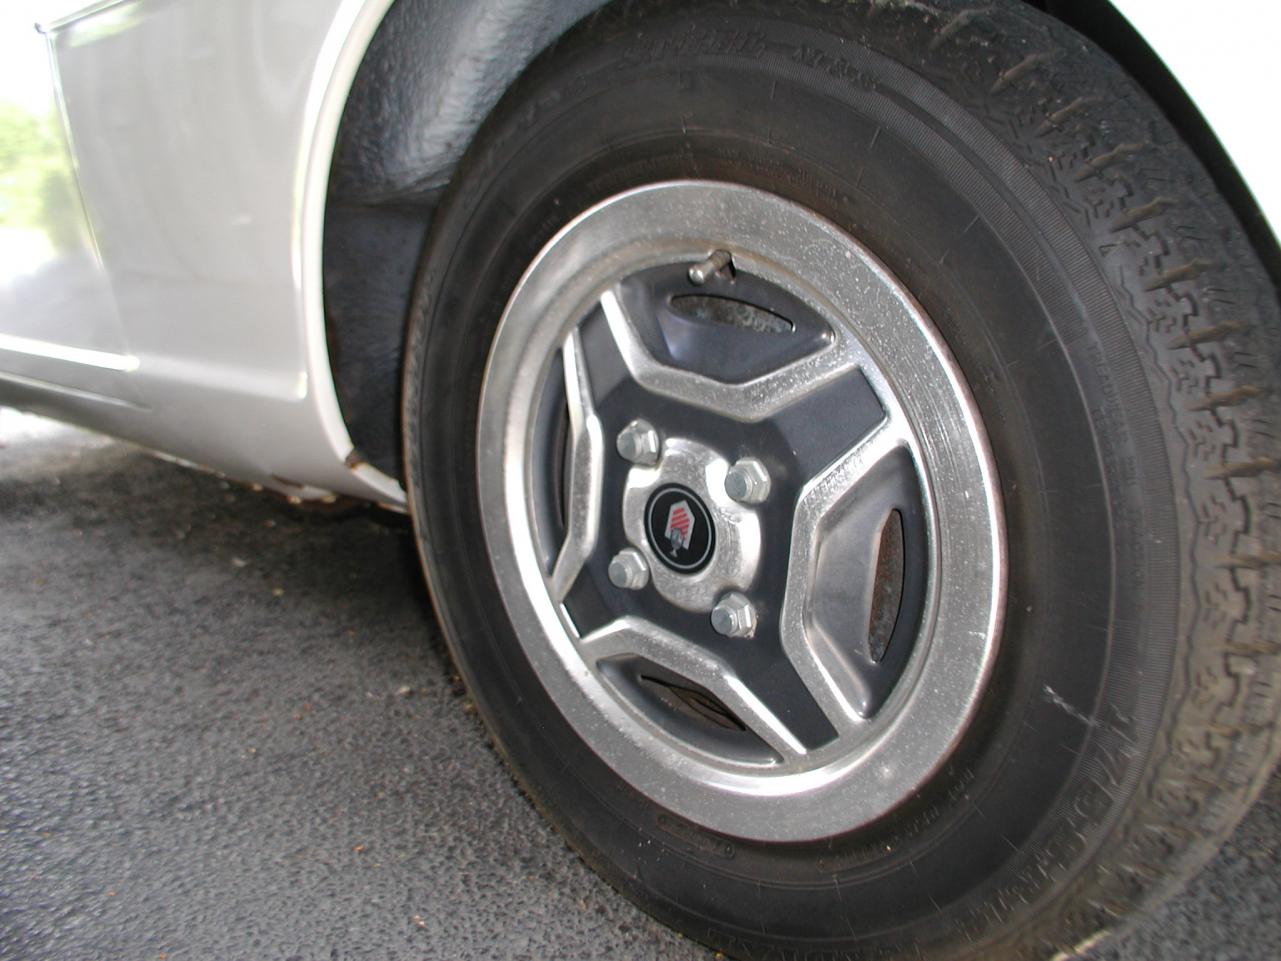
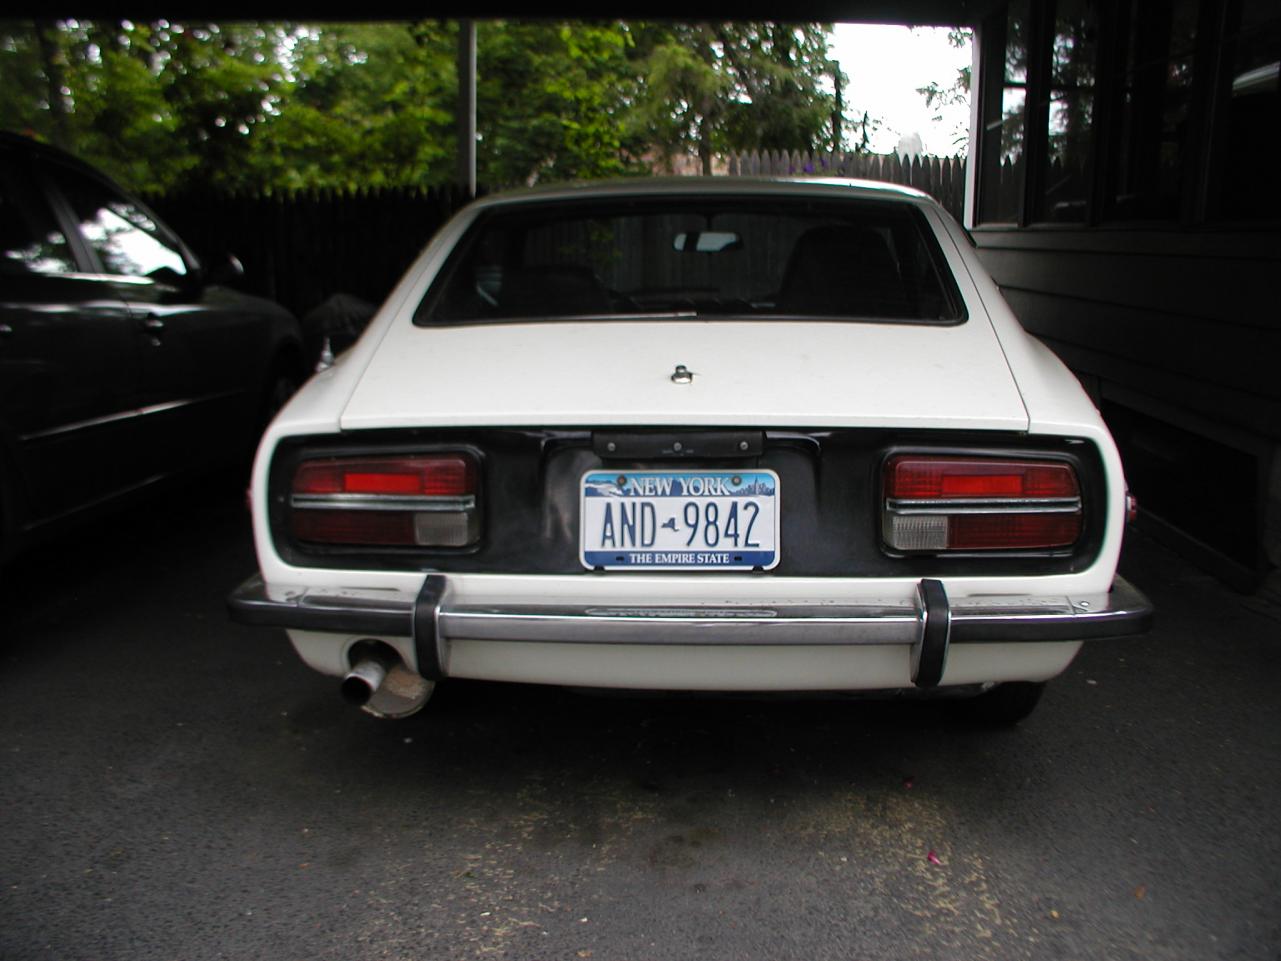
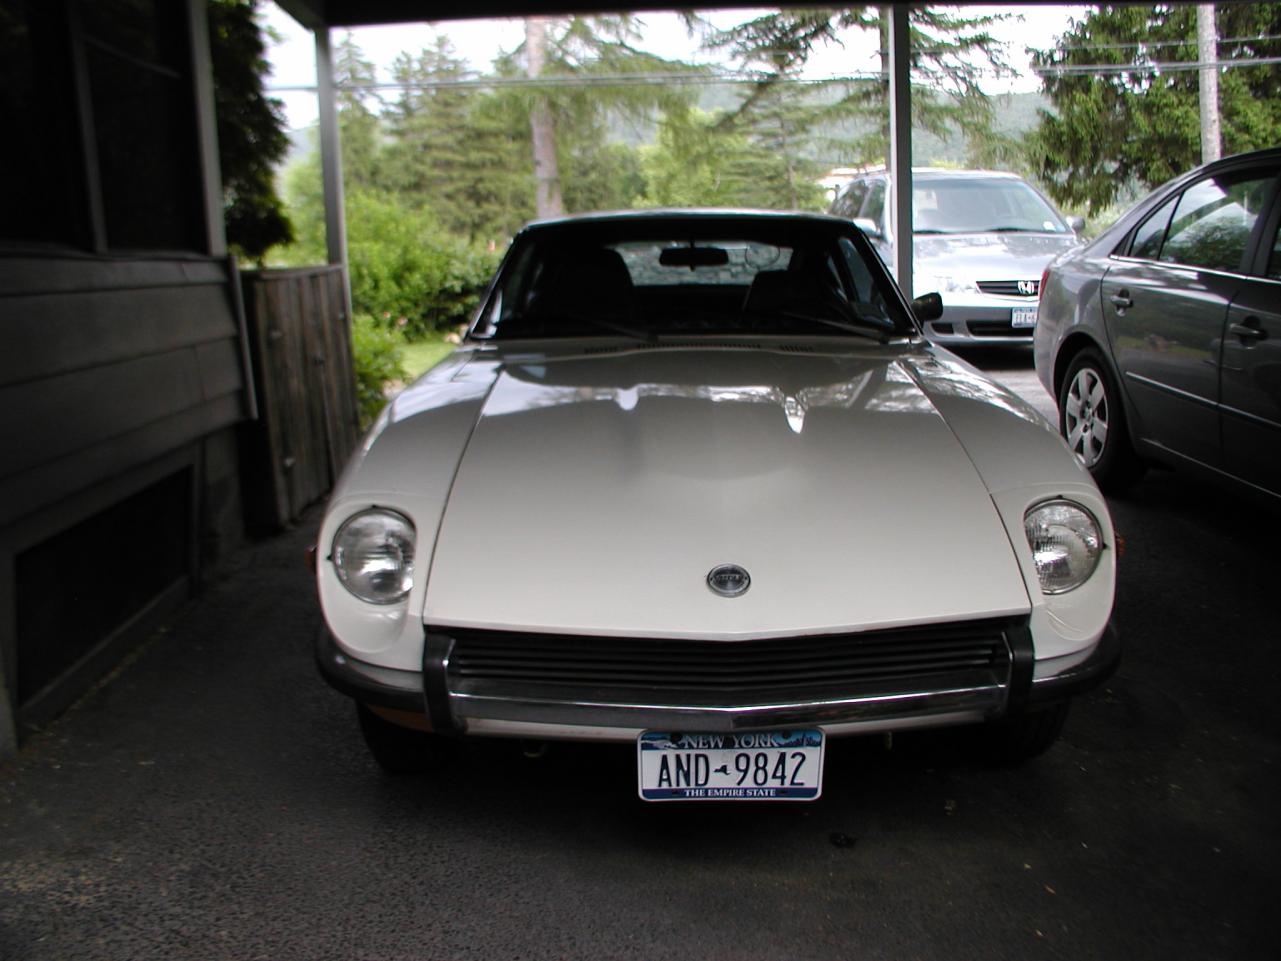
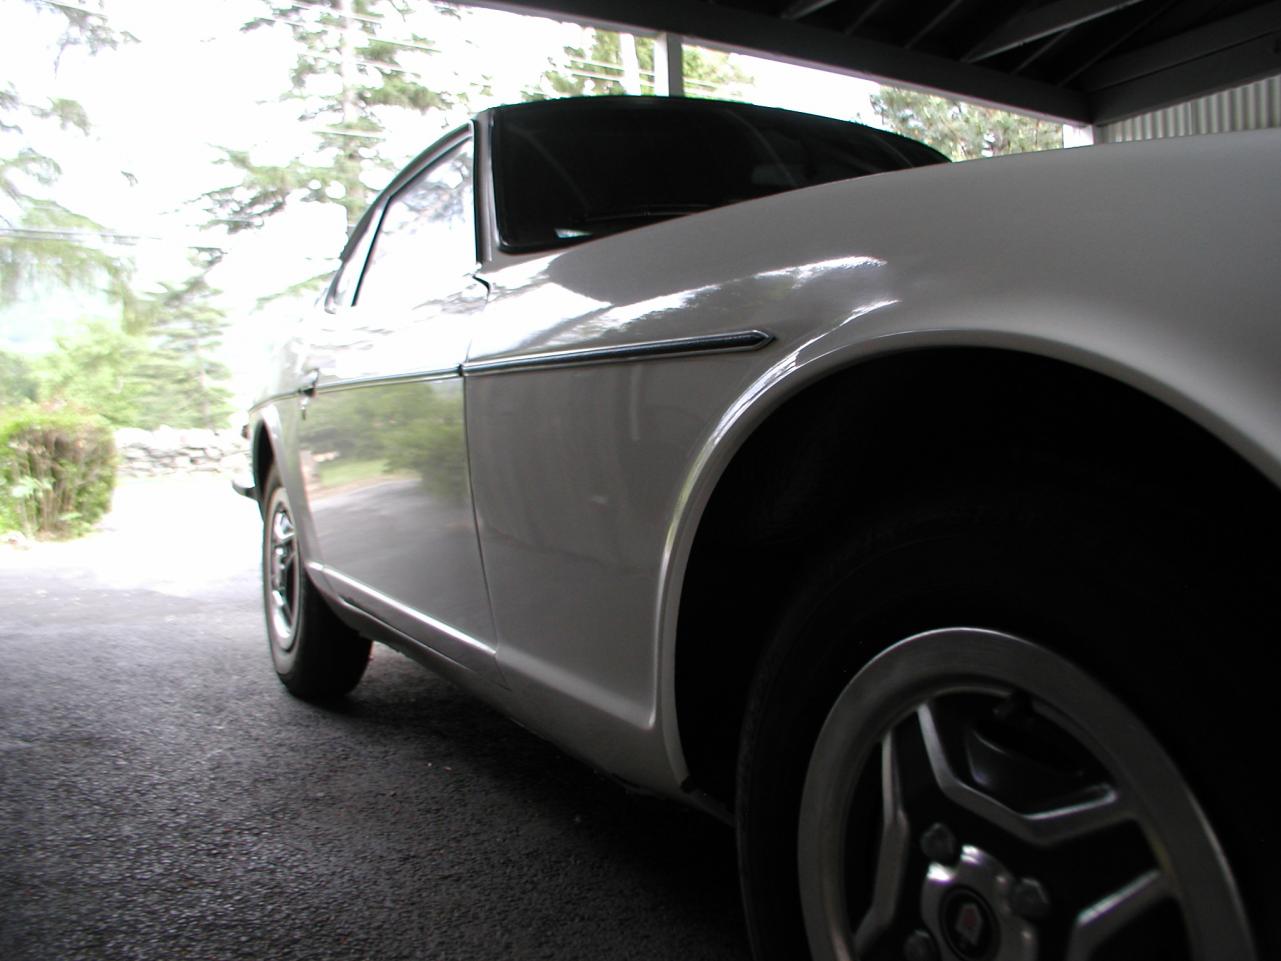
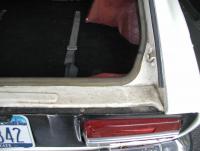
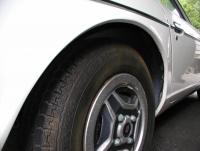
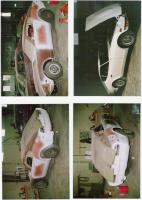
Note the block of 4 photos above was when the car was at Maaco being repainted and repaired in 1992. Here are more photos , these are the last of them! You'll notice on the last photo in this post .. front right wheel - you'll see the damage to the lower fender from the tire mechanic I referenced. Many thanks...


-
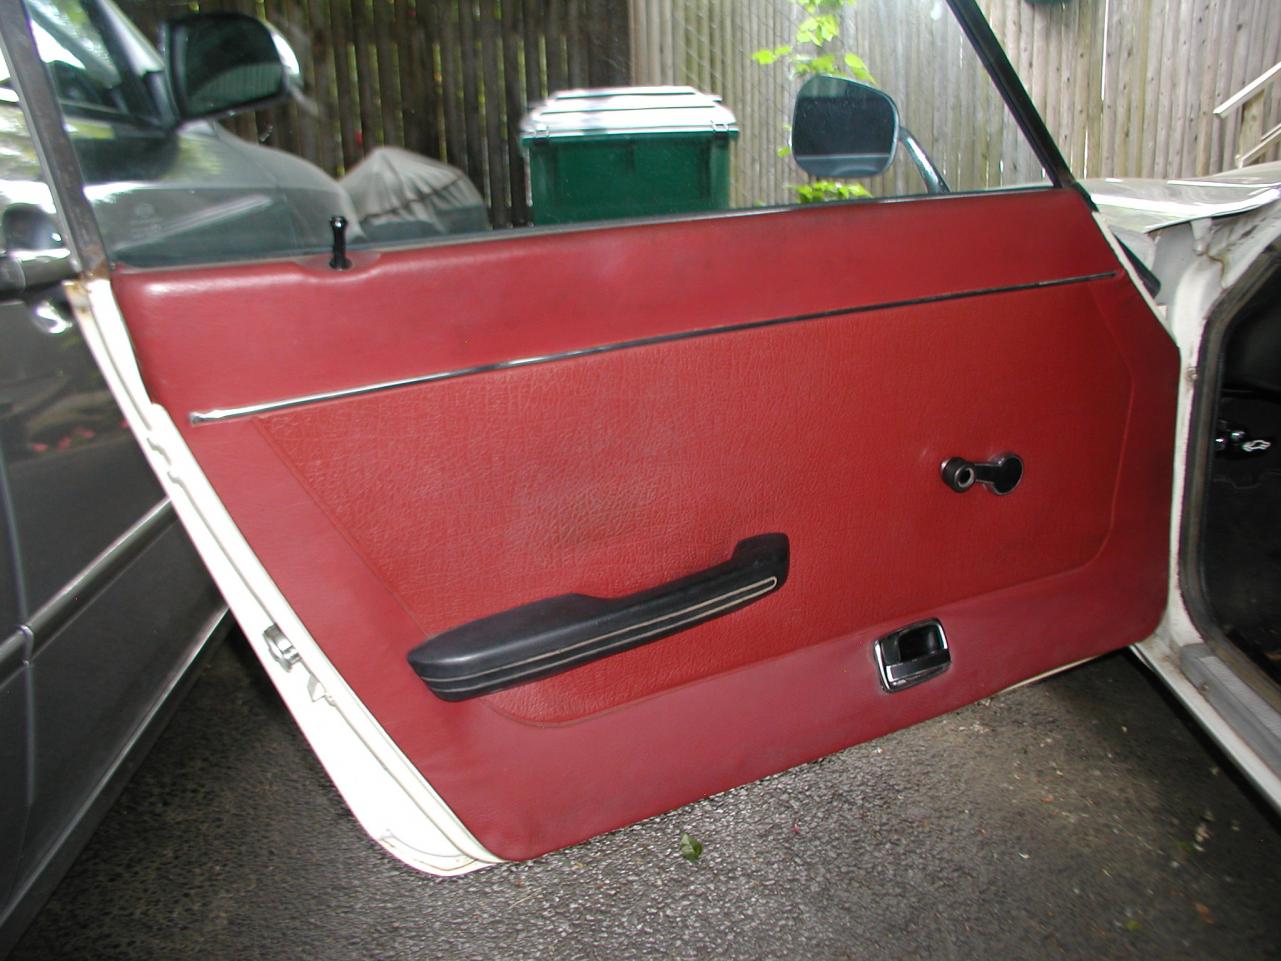
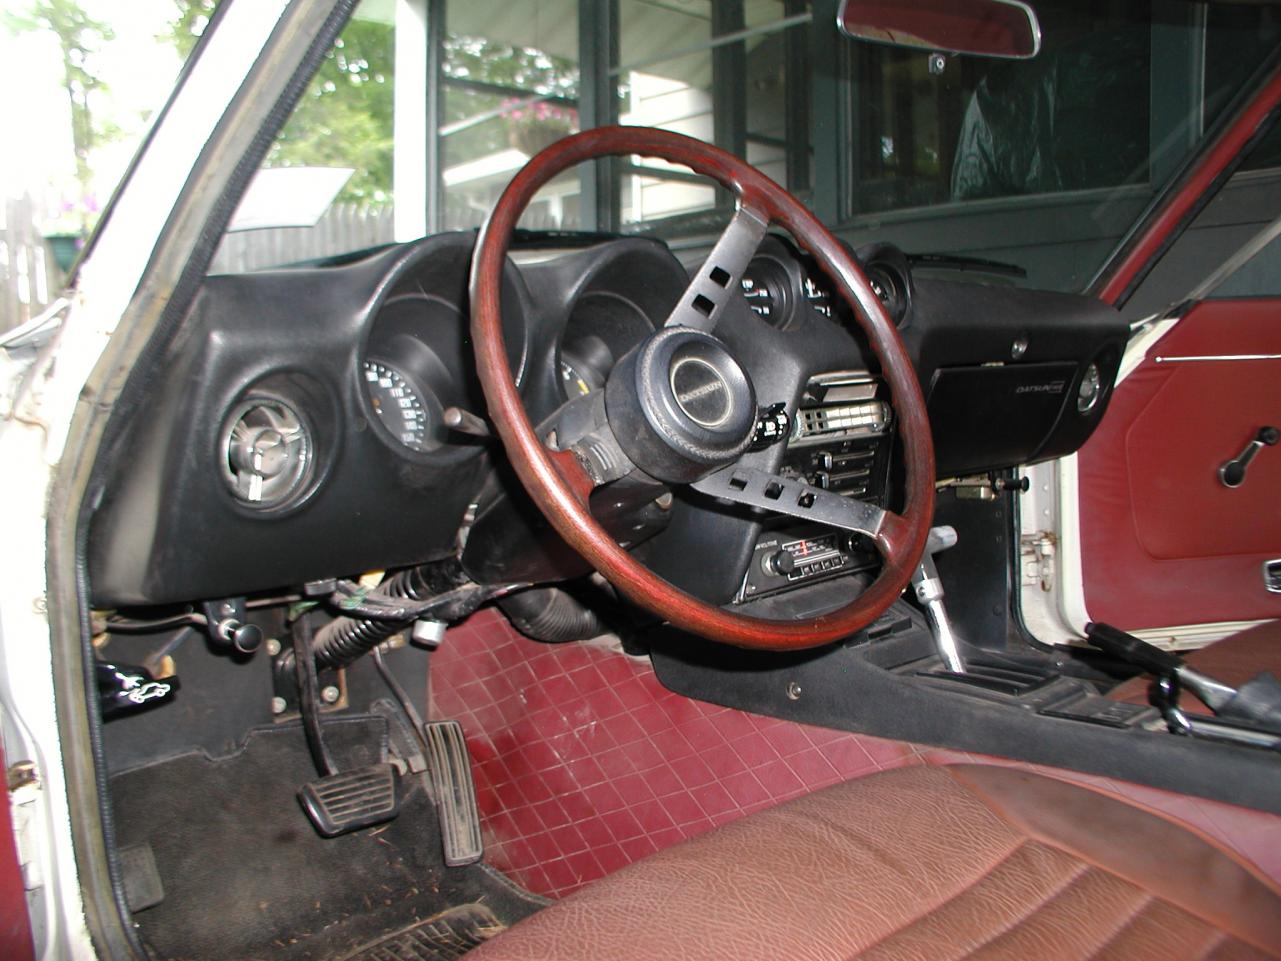
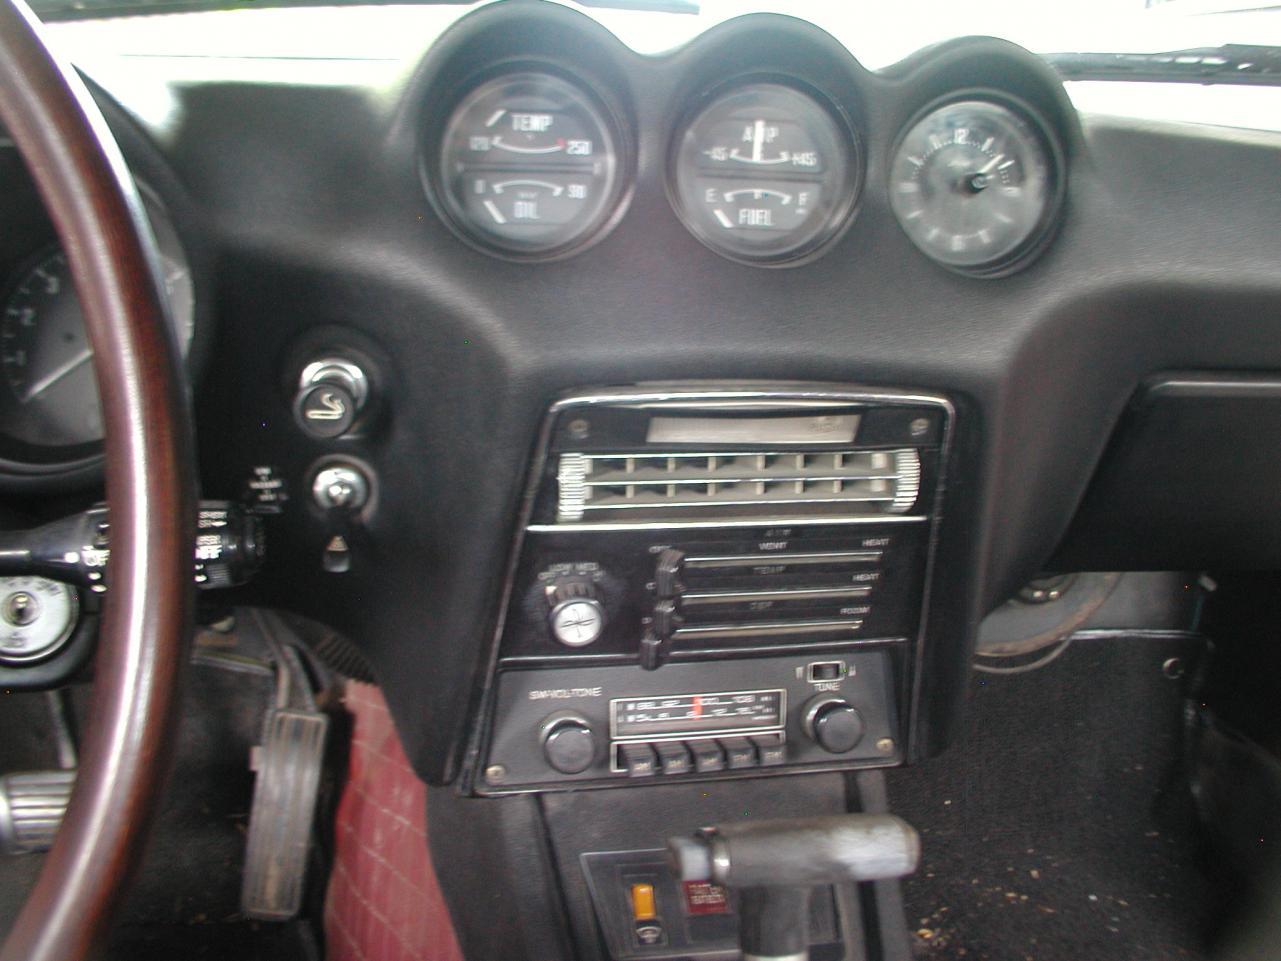
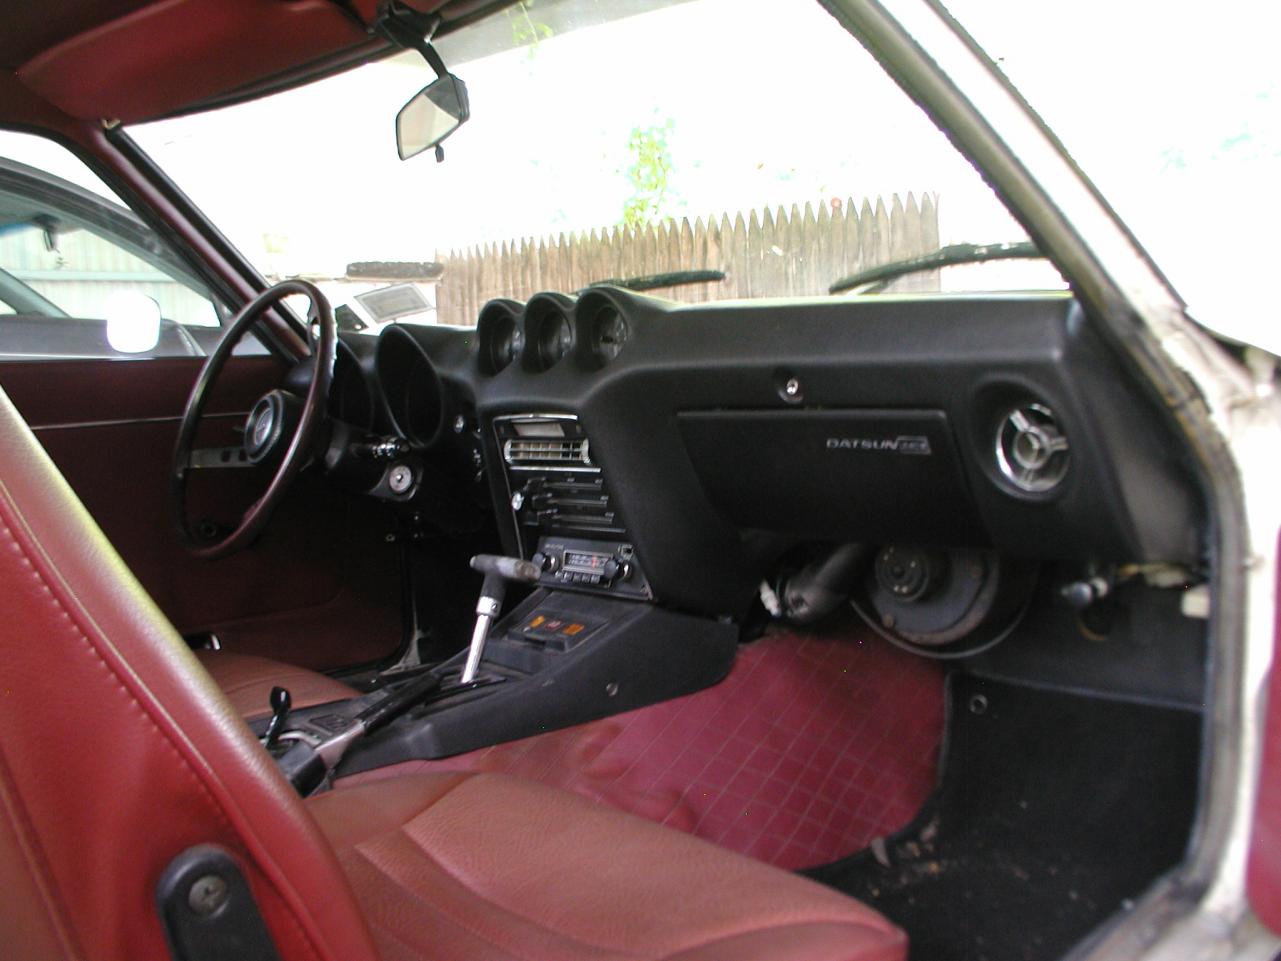
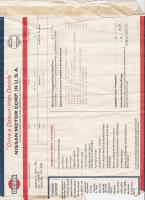
Here are more photos and scanned documents. I'll continue to post as many as possible. Many thanks...

-
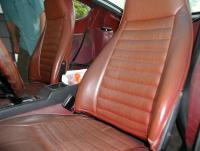
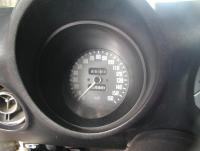
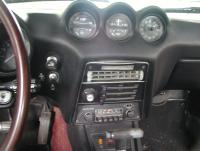
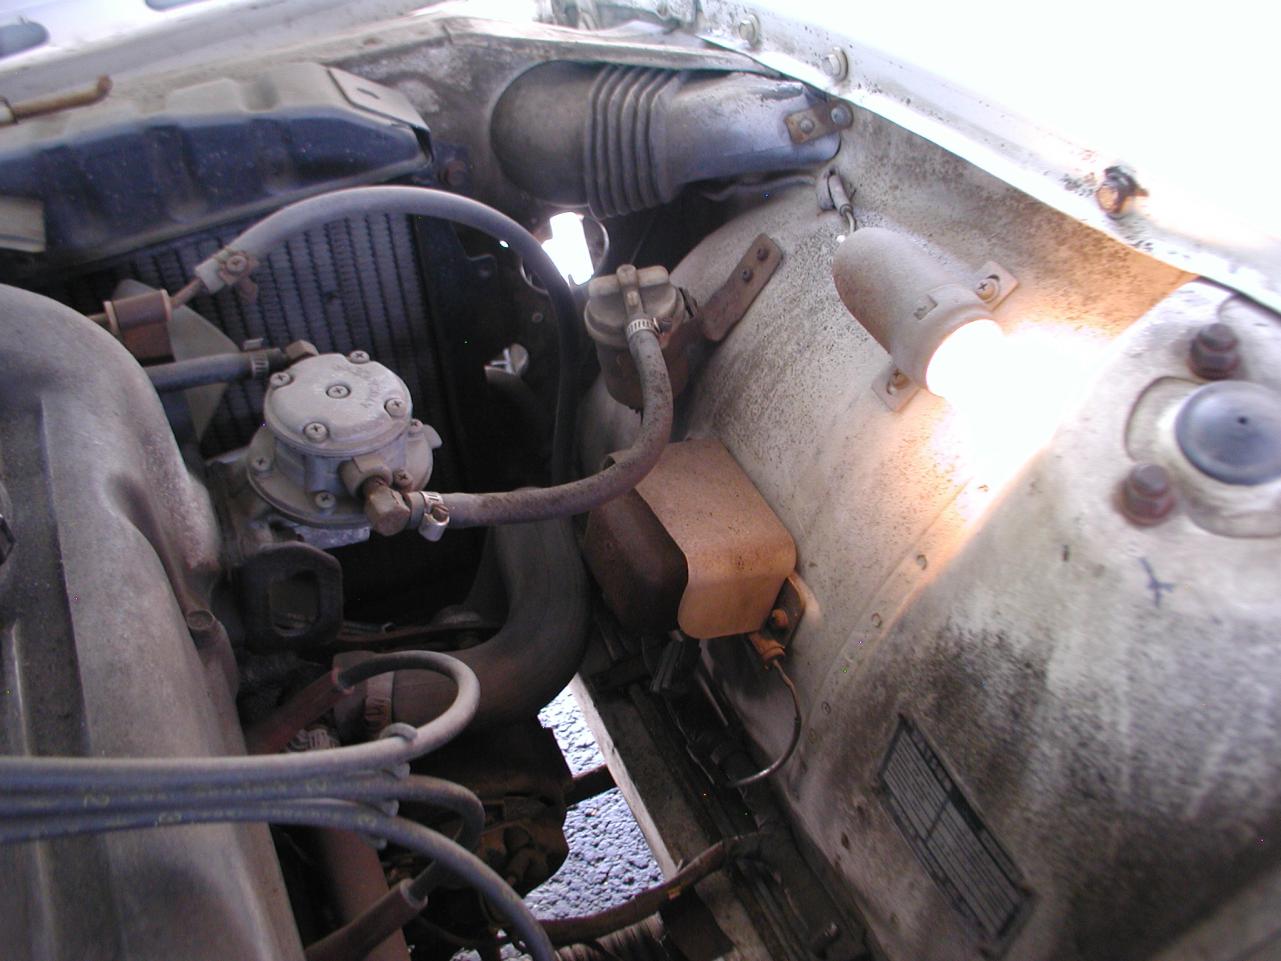
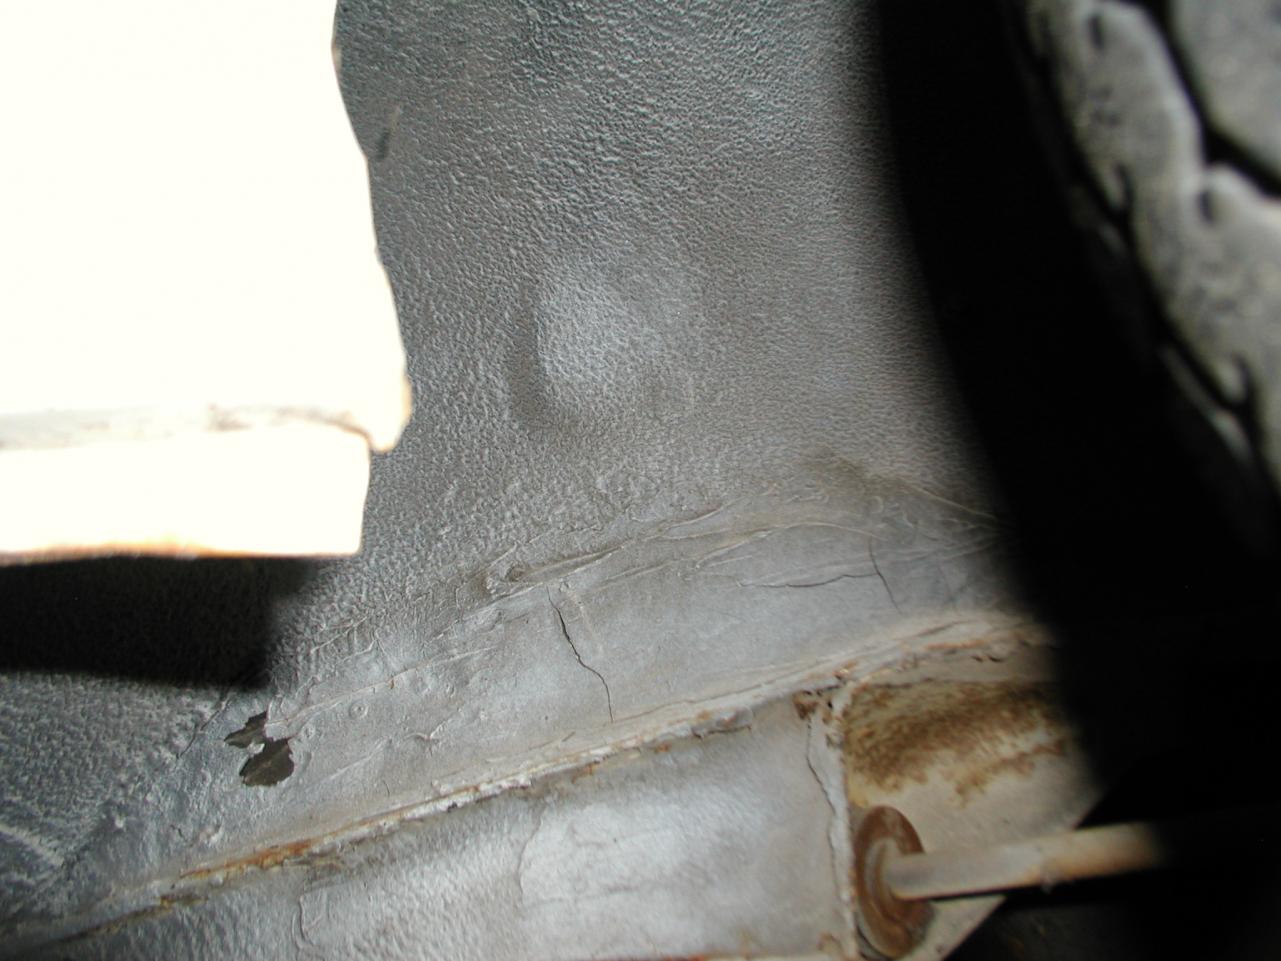
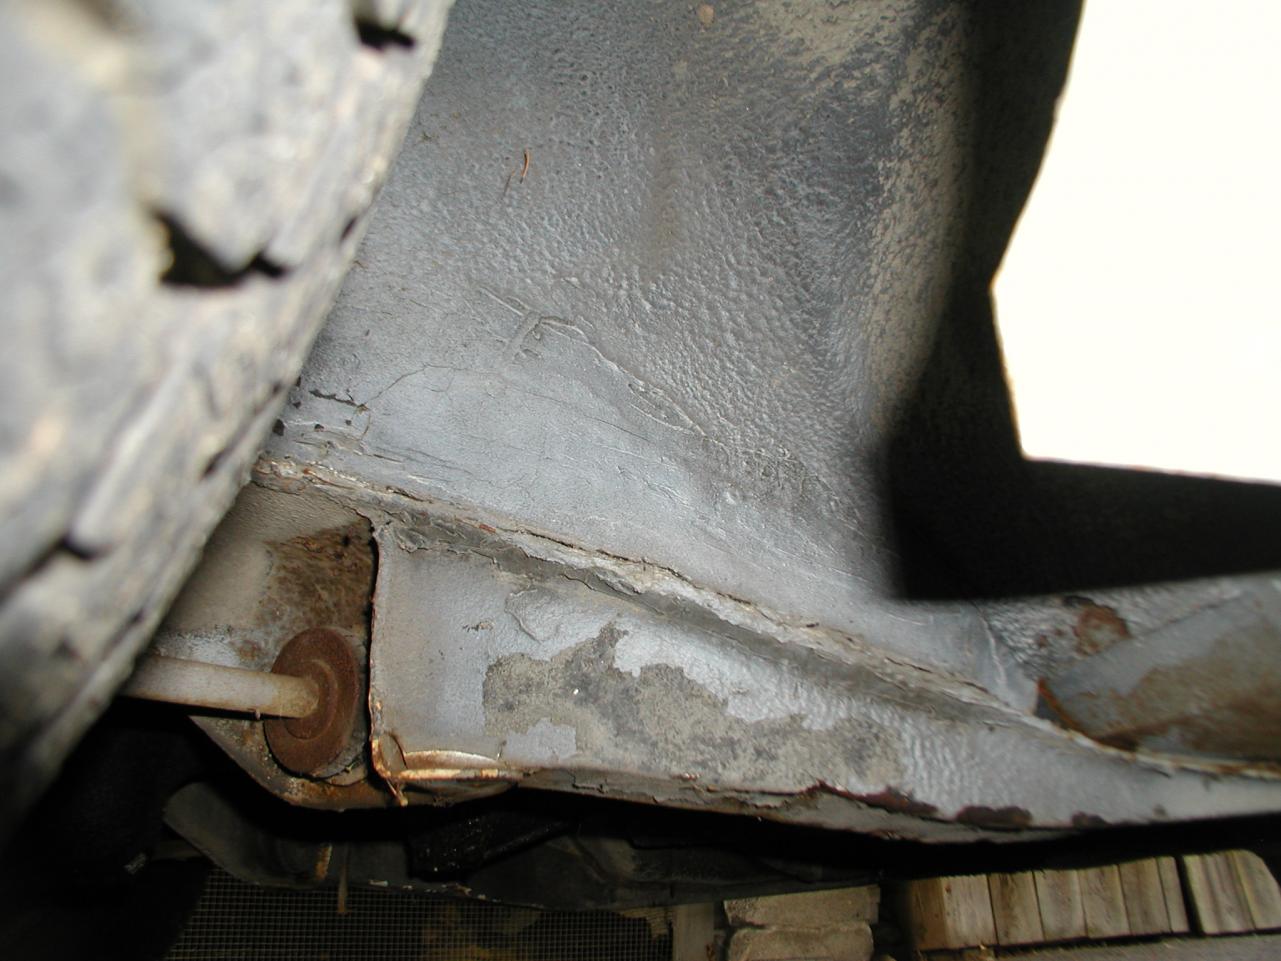
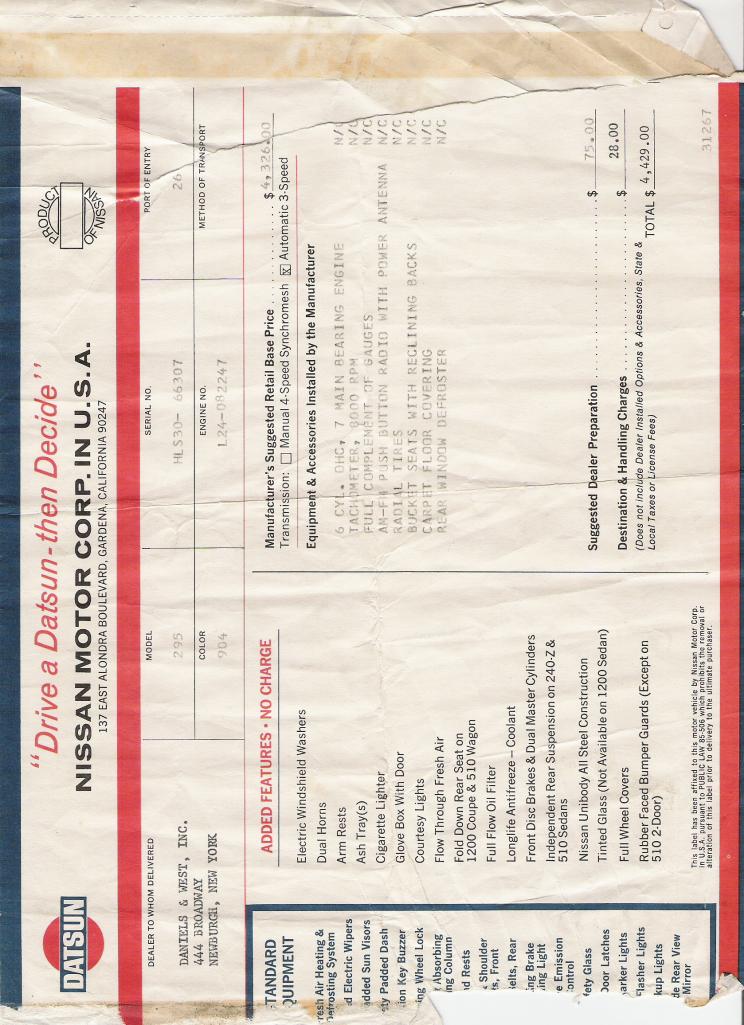
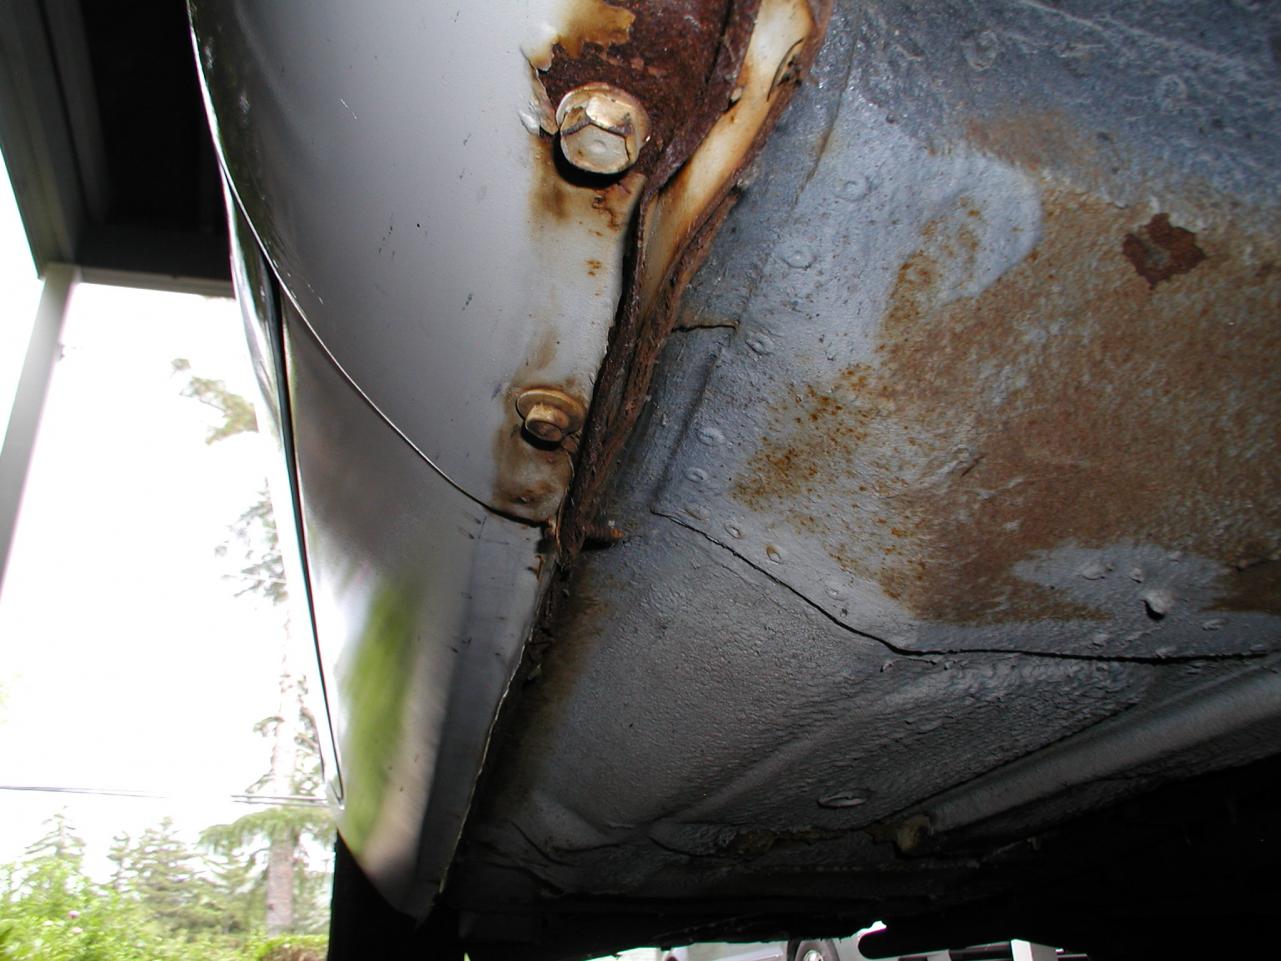
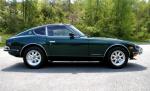
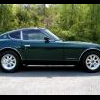
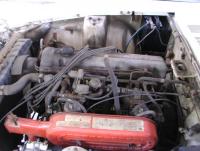
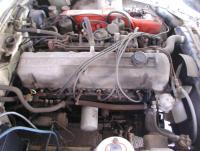
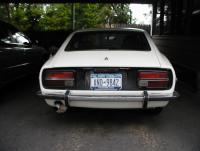
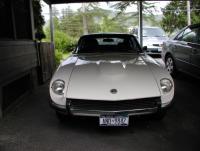
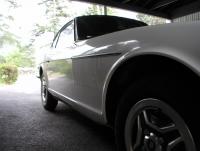
I'm helping a gentlemen who I just met last week get an estimate and sell his 1972 240z. I've written up what I know and welcome feedback on a fair price. I'll also include as manay photos as possible.. Many thanks... ========== Description =================== 1972 Datsun 240z – Vin: HLS30-66307 67,437 miles, Automatic 3sp Trans, Original Owner Exterior - 904 White, Interior – Red Car Location: Beacon, New York 12508 Original Owner: Joe M. purchased the 1972 240z in May of ’72 for $4568.00. He always garaged it and never drove it winters and very in frequently in the rain. He really stopped driving in the nice weather heavily around 10 years ago when it vapor-looked up on a trip with he and his wife on a busy roadway. His wife refused to go anywhere in the car after that! Joe just kept it and used it sparingly ever since. Car is all original and unmolested from what I can tell. Even the engine wraps and hoses look 37years old! Other than new tires which have about 5000 miles on them, new brakes which have about 10000 miles on them and the SU’s rebuild around 5years ago, the entire car from engine, hoses, transmission, interior is completely stock. Joe has done routine maintenance faithfully changing the engine oil, points and plugs are specified. He had the dealer follow the maintenance schedule as prescribed. Joe bought this car in his early 50’s and now would like to find it a good home – someone to bring it back to life. The car was just NYS inspected and passed (other than needing new wiper blades). Joe’s friend is a mechanic and takes car of tune-ups and routine maintenance – this friend just had it for a 2weeks getting it inspected and took it out on the interstate getting it up to ~120mph as it was still climbing. Body: Joe had the car painted by Maaco from Oct ’91 till April ’92 which was a bad experience in his mind. They replaced the rockers, floor panels, front fenders and lower valiance and has an itemized bill of everything done. Although he was not happy with the job the body is in very good shape. He’s missing an emblem on the back and says he has it along with a box full of other parts. You’ll notice damage on the passenger lower fender behind the front wheel. It’s bent slightly caused by the tire mechanic lifting it incorrectly when he had new tires installed. Interior: Interior needs a refresh. Dash is stock and NOT cracked. Clock and oil pressure gauge stopped working – I think the oil pressure gauge just needs a new sending unit. Stock radio and antenna still work! I’ve attached all the photos I could get to this document.