EScanlon
Free Member
-
Joined
-
Last visited
Everything posted by EScanlon
-
Another product with which I've been pleased with: BOSS GLOSS by the POR folks. Note: it does warn that it will leave a SLICK and SLIPPERY surface and should not be used on those surfaces that should NOT be slippery (i.e. foot pedals, tires, steering wheels etc.). However, the finish is as good as or better than my old favorite Clear Guard (no longer available). Additionally Boss Gloss also has a UV protectant in it. It isn't cheap, about $8 for a pint, but it goes a LONG way, and it doesn't need constant reapplication. 2¢
-
Sorry this reply is so late to your post. There are several sources for the 74 Z, but since you refer to it as a Fairlady, then you may have a Japanese model and therefore, right hand drive. Motorsports, Victoria British are but two sources I can think of, but you'd have to contact them to find out if they have RHD carpeting. (The difference will be in the reinforcement for the accelerator pedal and cut-out for the throttle stop). Hope this helps.
-
POR alone will haze or cloud up from UV light. It doesn't hurt it but cosmetically it will look as if you coated it with talcum powder. The Chassis Coat is an excellent product to put on it. You can get it in gloss or satin as well as other colors. The combination between POR and Chassis Coat is excellent in my opinion. Undercoating, on a properly prepared, rust-proofed and painted underside has additional benefits other than "protecting" from road grime. A good coating applied uniformly, on a clean base (i.e. not 6 months after applying the POR mentioned above) will help quiet the under pan from rock, gravel and sand noise. It will also "deaden" any vibrations in the sheet metal. This will actually help reduce noice in the car, just like the tar paper coating on the interior. When I did my car, I POR'ed the interior after having sandblasted the floor pans, then I applied a seam to seam total pan (including tunnel) covering of the OEM style Tar Pads. I put them on from the bottom of the cowl bucket all the way to the tail light openings. (Except for the wheel wells and shock towers) I even put some inside the tool compartments. These pads aren't cheap, and they aren't light, but the difference in the car is nothing short of astounding. The car is QUIET! I'm not talking Acura level quiet (sorry, that's my "luxury" car), but definitely, in my opinion, quieter than my wife's Subaru (although she says it isn't). However, although we might disagree as to the level of noise reduction, we both agree that the reduction in cabin noise is not only drastic it is incredible. The pads are called Q-Pads and they are by EverCoat. I paid about $20 for 6 12"x12" (nominal), and it took about 8 packages to do the complete floor pan, the inside of the doors and inside the rear fenders. Expensive, but the ride is so much nicer. Hope this helps someone. Enrique
-
If you do you'll give yourself tons of grief later. If the back plastic insert, which fits on the horn switch mechanism is cracked, use JB Weld to fill in any gaps. You can also use a couple of those plastic wire ties on the outside of the plastic, but still inside the foam of the pad, to make it tight. Let it sit over night (at least). Then with a Dremel grind / sand smooth and then you can put it on as it is supposed to be. I've personally done this and it does work. Enrique
-
The 73 schematic differs if Automatic or Manual. Could you state which one you have?
-
Hopefully I keep my "arrogance" and condescending attitude in check. I have been accused of that (on another site), so if I come off that way, mostly I'll apologize. (Unless it's something really boneheaded that gets posted.) To remove the latch mechanism DOES involve somewhat of a major disassembly of the door in order to get normal sized American hands and not the smaller Japanese ones that originally worked on it. In brief, you need to: Remove the door panel which includes the arm rest, window crank, and door open handle. Once there, you need to remove the outer chrome trim that has the rubber wipe. Then you will remove the rear window channel sash so that you can then remove the window pane. Once you've done that, you will then remove the window channel. (that's the stainless steel window frame). Take note and care in case the rubber moldings at the front and rear are still glued on. Once you've removed that, you will disassemble the connecting rods for the outside handle, the door lock knob AND the inner fulcrumed lever combination that goes to the inside lock handle. Mind you, others may tell you that you CAN remove the rods from the latch by pulling and / or prying them out of the plastic holders, but remember that those plastic connectors may in fact be 30 years old. Some of them CAN be obtained, but others are very rare and difficult to replace to boot. NOW, you can undo the 3 screws to remove the mechanism. Once you have it out, you could replace the spring, but sincerely, replace the unit. Undoubtedly several pieces have failed, will fail, or are missing. Stuff like the rubber bumper for the lock mechanism when you actuate the key lock or knob. The rubber around the latch, and other rubber bumper pieces that eliminate or reduce the famous metal clunking sounds coming from this piece. For that reason a NEW unit will make your car quieter. Hope this helps, I've personally reworked and quieted my doors and the whole car to where you can actually whisper to your passenger and be heard! Enrique Scanlon
-
Not only the hazzle of doing the work, but a good upholsterer should be able to literally re-create the pattern and styling of the original seat. 2¢
-
First off: If you are NOT familiar with automotive wiring, DO NOT go modifying the circuitry (wires). That 10 gage "wire" from the battery to the starter is in fact a fusible link and not a true "wire". There are various wires that may seem redundant, not needed, superfluous and even stupid in the 240 but you will find that the system can in fact be made to work properly. My car has the original wiring and I've incorporated fog lamps, courtesy lamps, newer h4 halo headlights to mention a few items. I would suggest that you first look at your fuse box. Take it out, clean the contacts for the fuses, replace fuses if they fail a visual and / or a physical continuity check. Don't assume that if they "look" good they are. It is MUCH cheaper to replace all of the fuses than to repair a burnt wiring harness or car. Next, since you've already experienced problems, check your combination switch. Don't just wiggle the thing, check for continuity and if necessary, replace it or repair it. That you have turn signals on one side says the flasher is good, the side they're bad on is probably suffering from a bad contact either in the combo switch, or a short in the wiring. There's tons of information in the archives, just search for wiring or fuse box or any one of half a dozen words and you'll get a ton of information. If you are planning on rewiring the car, go to the boneyard and get a wiring harness from the same year if possible, as there are some changes from year to year. Also, make sure that if you have a manual you get one from a manual car (ditto automatic). Then replace it after labeling each connector on BOTH sides of the connection. If you don't do this, you'll make this into a major PITA job. Feel free to e-mail me or post here as I've done a complete dash rewire as well as getting items to work that others have had problems with. Enrique Scanlon
-
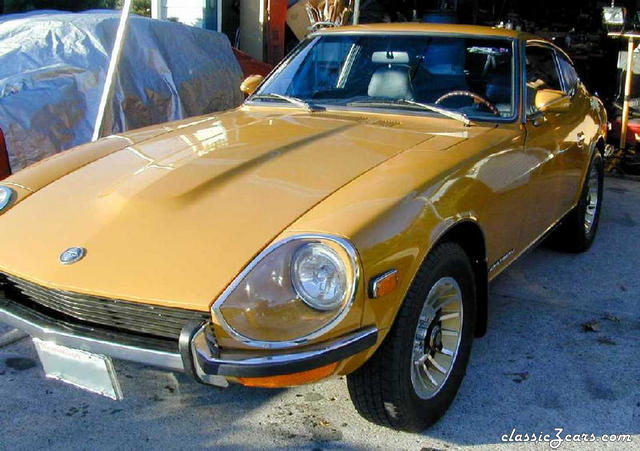 The color is 920 Gold, aka Mustard, which is the original color for the car. It's been repainted and clear coated by the IPO and it is just slightly darker than what the original color is supposed to be.
 -
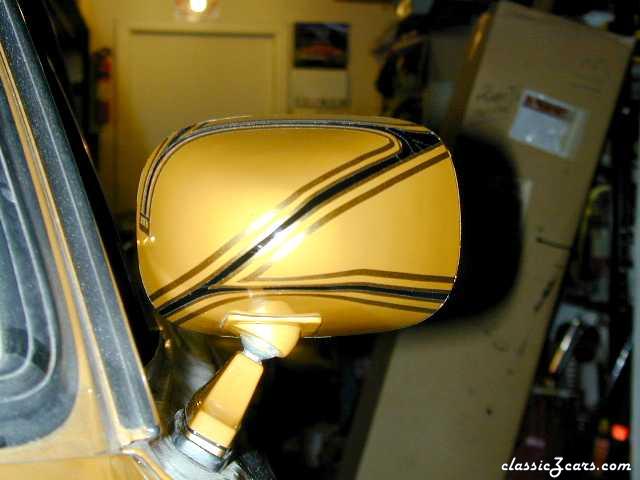
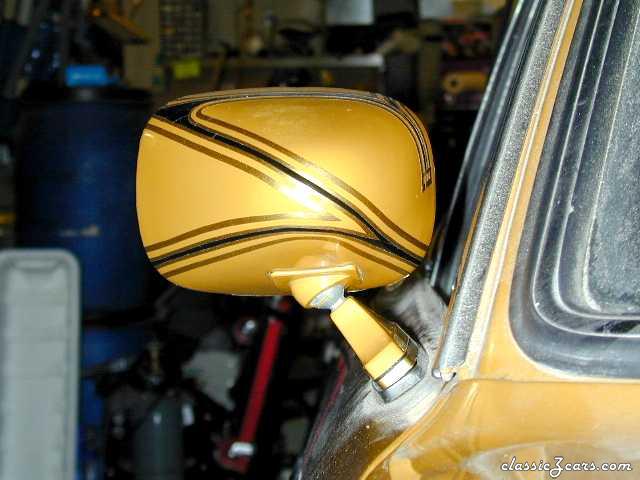 Close up of the back of the Right Hand mirror.
 -
-
-
-
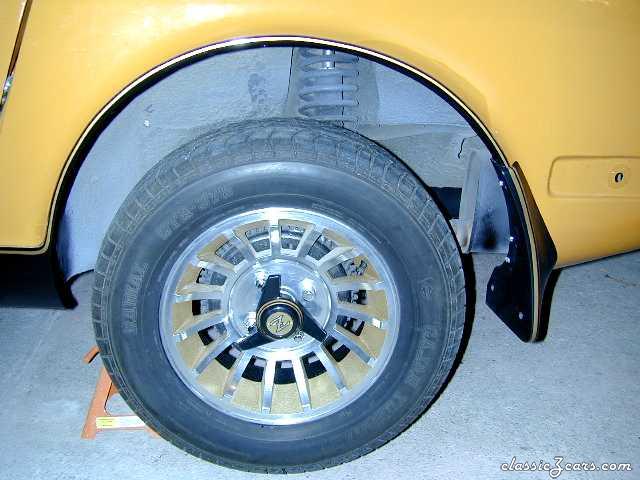
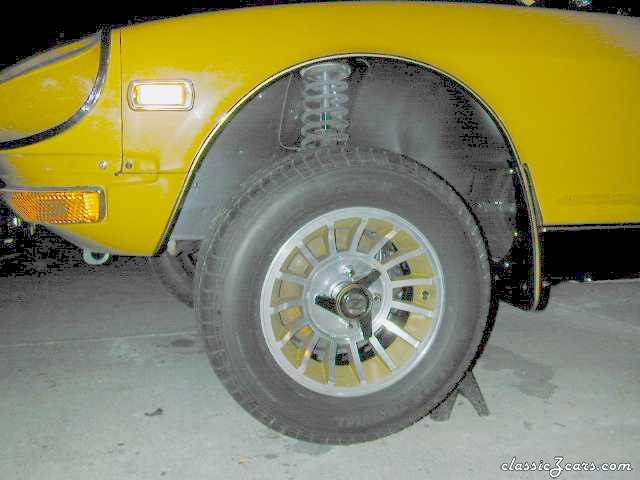 Close up of the Front Wheel Well Edge Trim and Mud Flap
 -
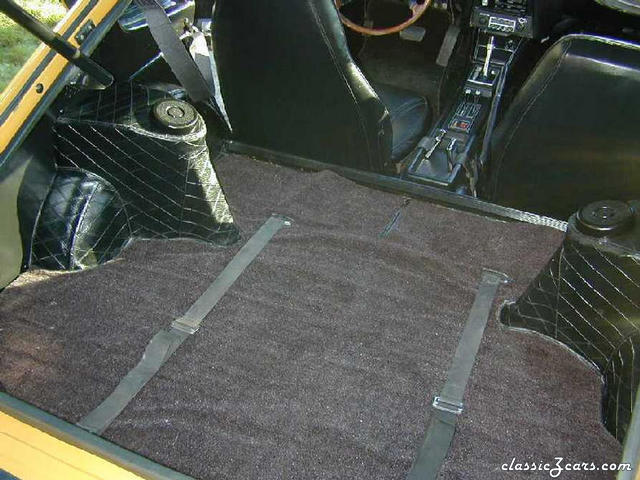
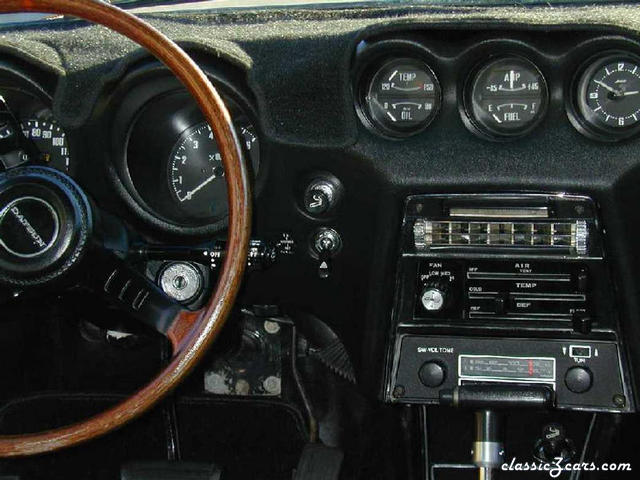
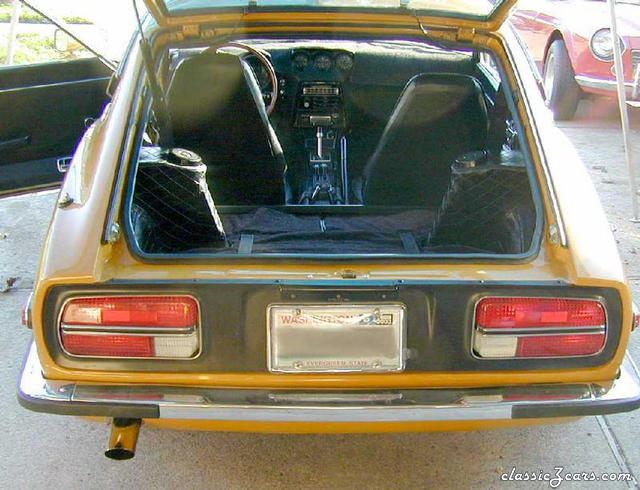
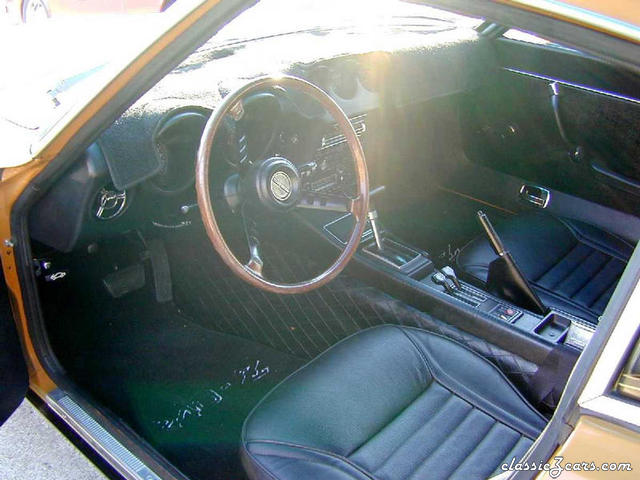 Interior shot, sorry about the glare.
 -
-
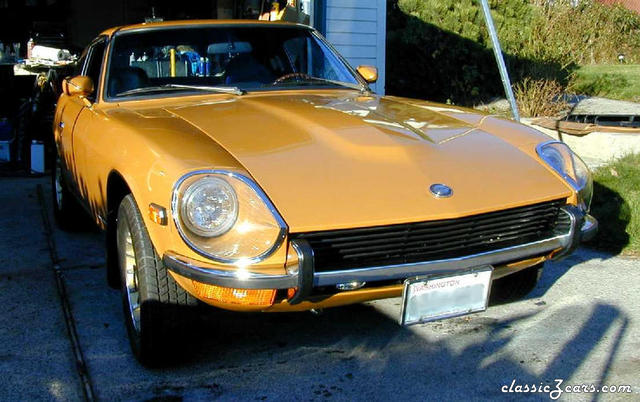 Front Right 3/4 shot.
 -
Mod to drain cowl drain tube OUT of the body
-

From the album: Front Fender Drain
Another shot of the hose showing how it will fit between the fender and fender support. -

From the album: Front Fender Drain
This is what I did to drain the Cowl all the way to the ground and not just behind the fender. The hoses were trimmed once the fender was bolted in place. -
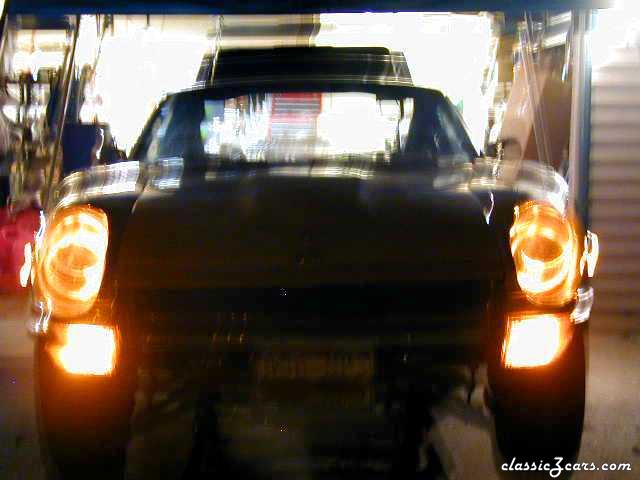 How's this for a wicked look at dusk?
 -
 Front end of the car with the OEM style Headlight Covers.
 -
-
 Back end of the car after repairing the valance and sill.
 -
 Picture of my 71 Console, with the Throttle and Choke as well as customized Fog Lamp Switch