Zs-ondabrain
Free Member
-
Joined
-
Last visited
Everything posted by Zs-ondabrain
-
 Sounds like Christmas After Christmas thing. Can't wait for Christmas to be over, for many reasons. But I always look forward to wills gifts. Dave.
 -
send me one clock or the scan of one or even just the face. I'll convert it and email it back. etc etc. Dave.
-
what's wrong with the wipers? Switch or motor? Dave.
-
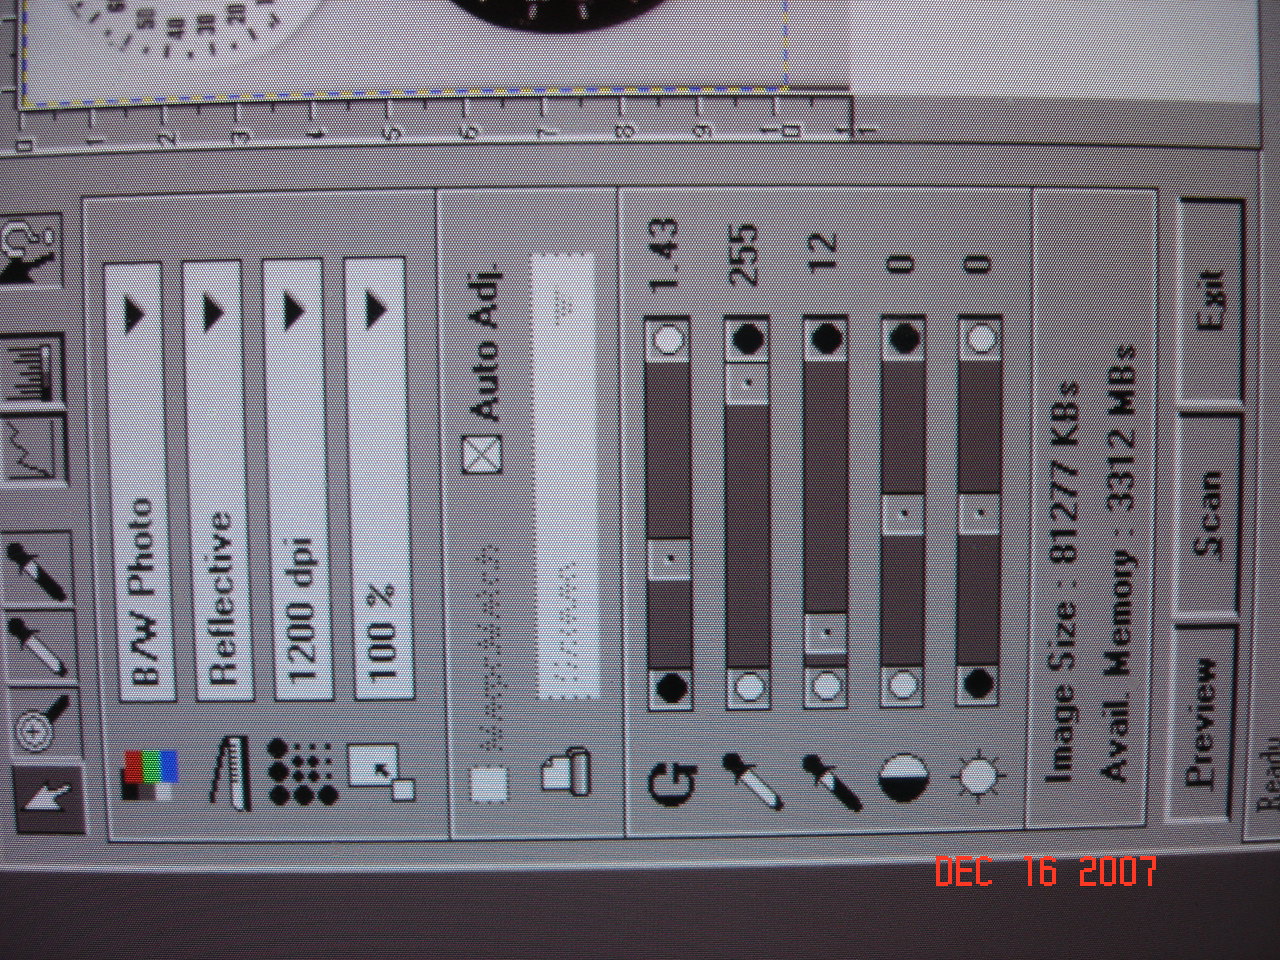
B/W photo Reflective 1200 DPI 100%scan I don't know what the rest is but here's a picture of my monitor with the scanner up. I used a basic program for playing with the pics. Presto Image Folio. It's an older one but it works. Dave.

-
No hole, but it was easy to pull it from the back side enough to align the sticker, then release it and it peirced the vinyl. It's a spring steel needle and there should be enough flex to pull it out of the way. But you're right about the EL being punctured by the needle but if it's punctured one and maybe a dab of silicone on each side before you poke it will stop the enviromental issue. But then again, the wire is grounded thru the chassis and may also cause bigger problems. Tough call and I hate to see you waste one just to see if it would be a problem or not. But the whole Idea of the Stock Z gauges being EL would be Awesome. I guess you need to find an EL specialist who can tell you if peircing it with a grounded needle would be a big issue or not. And if it is an issue, maybe a needle could be molded to the inner case and come to an end, resting on the face of the gauge.?? Maybe. Dave.
-
I wrote a letter to the supply guy at Presslabel.com and he wrote back saying he'd send me 1 or 2 sheets of the White Laser Vinyl Adhesive Film, Free of charge. So I should have a decent sample to see if it's worth buying a 50 pack (8.5"x 11") at $35.00 I have to pull my clock again to fix something so I'll scan it and work on the white face conversion. Then when the samples show up I'll shoot out a sample in the Ink Jet but I'm gonna start looking for a decent priced Laser Jet printer, but only if I decide to go balls to the wall with the white face project. I'm sure that the finished product itself will pay for the Vinyl and printer. But this also means I'll have to pull every gauge again and scan it. I like the old font on the original gauges but that's not a problem cause I just convert black to white and vise versa. So Will and Gary, Would the rally clock be any different than what is pictured on the 1st post of the "white face " forum. If so and it's the same as the MSA version then we're good to go. Dave.
-
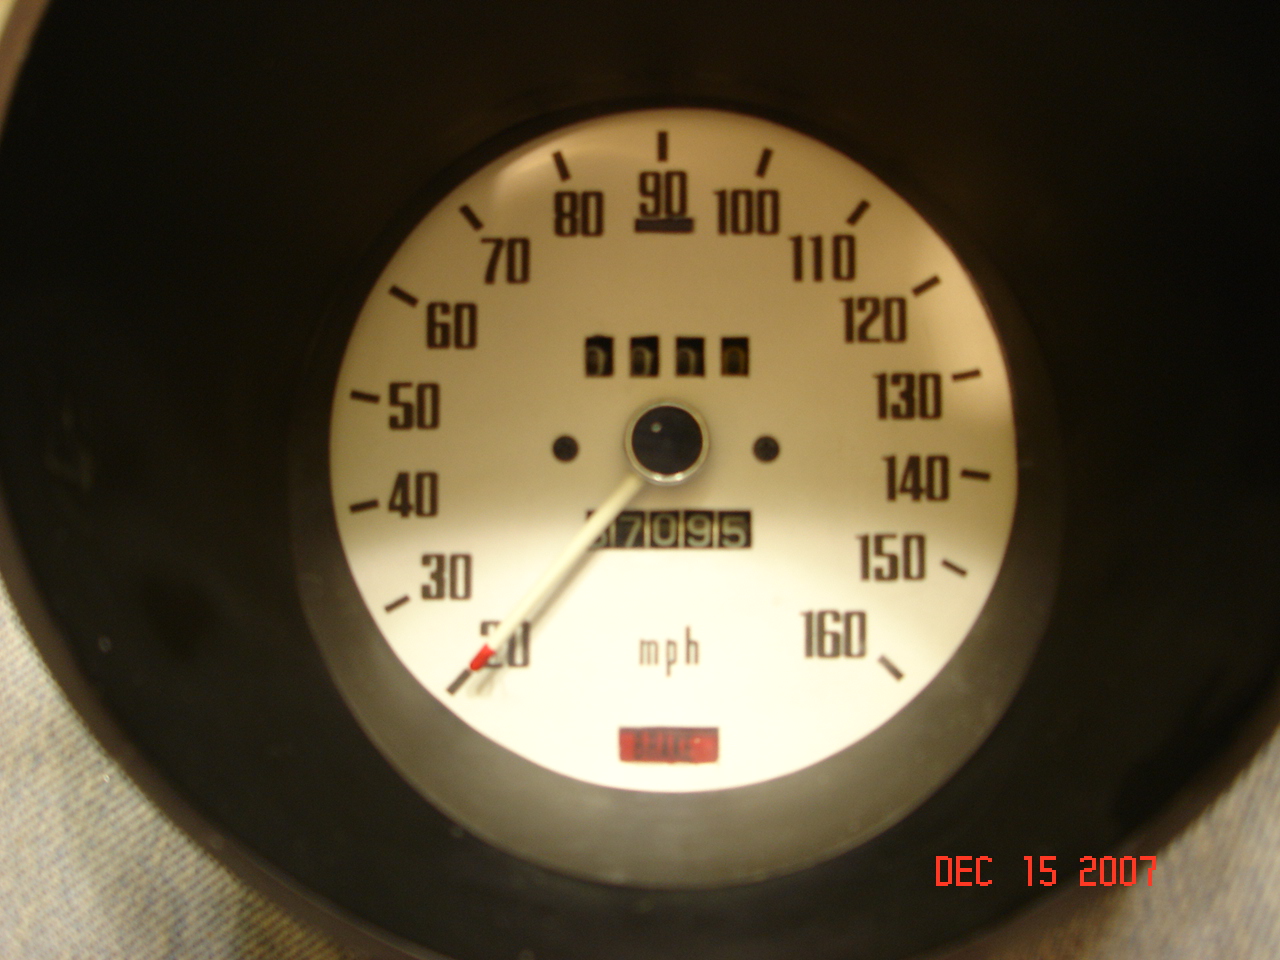
I like the gauges well lit but also try and shy away from brite and annoying. Nothing worse than trying to drive with your gauges blinding you or distracting you from the road. Like I said though, maybe 2 LED's, in the right place to slightly brighten up the dark areas only. Without over doing it. I have to remove the Speedometer anyways cause it says I'm doing 50 when I'm doing 30. This could take a few try's to get it right again. Dave.
-
After you get or make the brackets..... Pioneer and Kenwood both make "Slim Line" speakers for shallow areas like the rear of the 240Z. I have the Pioneers because I liked the sound of them better, when listening to the demos at the local stereo shop. I personally made a reverse replica of the drivers side out of 1/8" ABS plastic. The plate does'nt need to be heavy duty or anything like that because the speaker is light weight and won't be jolted or slammed like a door speaker would. I also used a butter lid on the back of the right speaker to reduce the chance of sharp edges rubbing the hoses. Just in case. I think I paid about $40 after tax for my 5 1/4 Pioneers. Dave
-
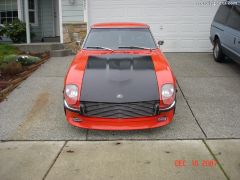
 Thanks! Now I gotta get my arse in gear and finish the hood.
 -
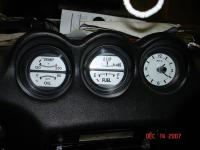
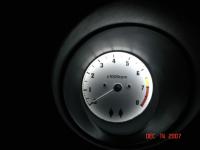
Thanks, but it's more like "DA' Cheap MAN" Just tired of spending money on things I know I can do myself. ya know? It turns out that the lighting in the Speedometer was crappy, cause whoever built it in the first place, Painted half of the green lense when the inside was painted at the factory. Even after removing the grren plastic lense, painting the underside of the face silver chrome and installing the 2) LED's, the lighting still sucks. I think the next thing I'll do is add 2 more of the LED's inside the Speedometer shell, aimed at the dark spots that are aparent in the 4th picture. Thanks again, I'm going for a drive RIGHT NOW!!. Dave.
-
Arne, check your Comcast mail. let me know if it's something you could Zip or post or whatever. Dave.
-
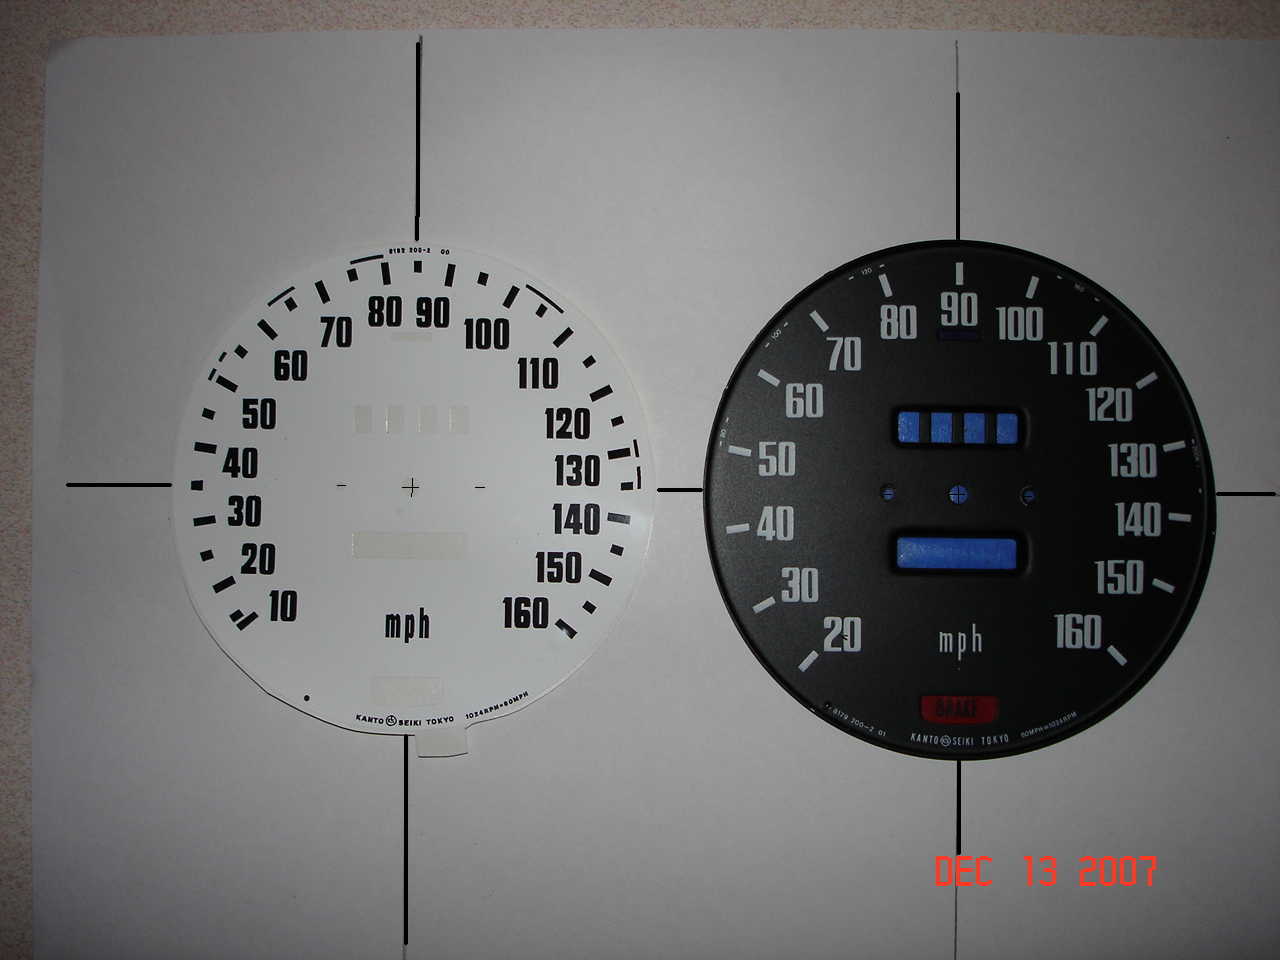
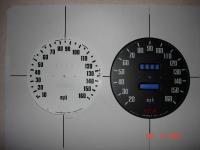
Call me impatient, but I got tired of waiting for MSA or Jason to at least acknowledge my emails. So I whipped out the OLD scanner and scanned both the 8/70 Z Speedo plate and the MSA white face speedo sticker. 25,000 megapixels later, I saved it to my portable memory stick and took it upstairs to the good computer. Fired up the Presto Image Folio and opened her up to make my own damn white face gauge. So 8 hours of staring at the monitor and a slight case of Carpol tonno? I changed all the black to white and the white to black, erased the KPH crap that ya never read anyway, erased the names and numbers cause if I wanted all that, I would'nt be sitting in front of a monitor for 8 flippen hours. So I finished it, resized it, and printed it on a piece of card stock I had sitting around for my business cards. Cut it out, cut out the mounting and odometer holes, brake and HI beam light holes and put it onto the Metal Speedo plate. Perfect fit. Every thing is "On the Money" cause it essencially was exact to begin with, just needed a little help turning to white with black. here are some shots of it in and out of the car. I used that real thin membrane 2 sided tape to mount it to the face. But I will be looking for a small pack of the adhesive backed 3 mil vinyl I posted a link about earlier in this thread. Dave. I can't upload the printable gauge face cause..... " Your file is currently 5100 x 5172." and it won't let me. I can email it but that's it. The first picture is of the Speed hole and the SuperBriteLED.com LED's


-
Mine were matt finish but I polished the hell out of them and now they are polished Stainless steel. Makes al the difference. Dave.
-
Unfortunately, when it comes to the Z, I care. That's probably what gets me in so much trouble. But the fact that I want the speedo to be correct will help keep me OUT of trouble (with the law) I've only had one ticket in the Z and that's because I was on a back road after getting the new KYB's and Eibachs? installed. I was ripping around a 25 MPH corner at about 60 MPH and he washeaded towards the same corner, coming from the other way. I had NO time to slow down. Needless to say, He loved the car and only gave me a 10 over the limit ticket. $101 that I would have rather put in the gas tank and other areas of the car. I may build and put on some weird stuff on the car but it's pretty close to exact or precise. Dave. I wrote Jason but have yet to hear back from him and the car is still missing the speedo and it's in a box on the table. I need to put it back together but would much rather have the white face on it first. I don't care about sticky residue as it'll never be back to black after I install the white faces on there.
-
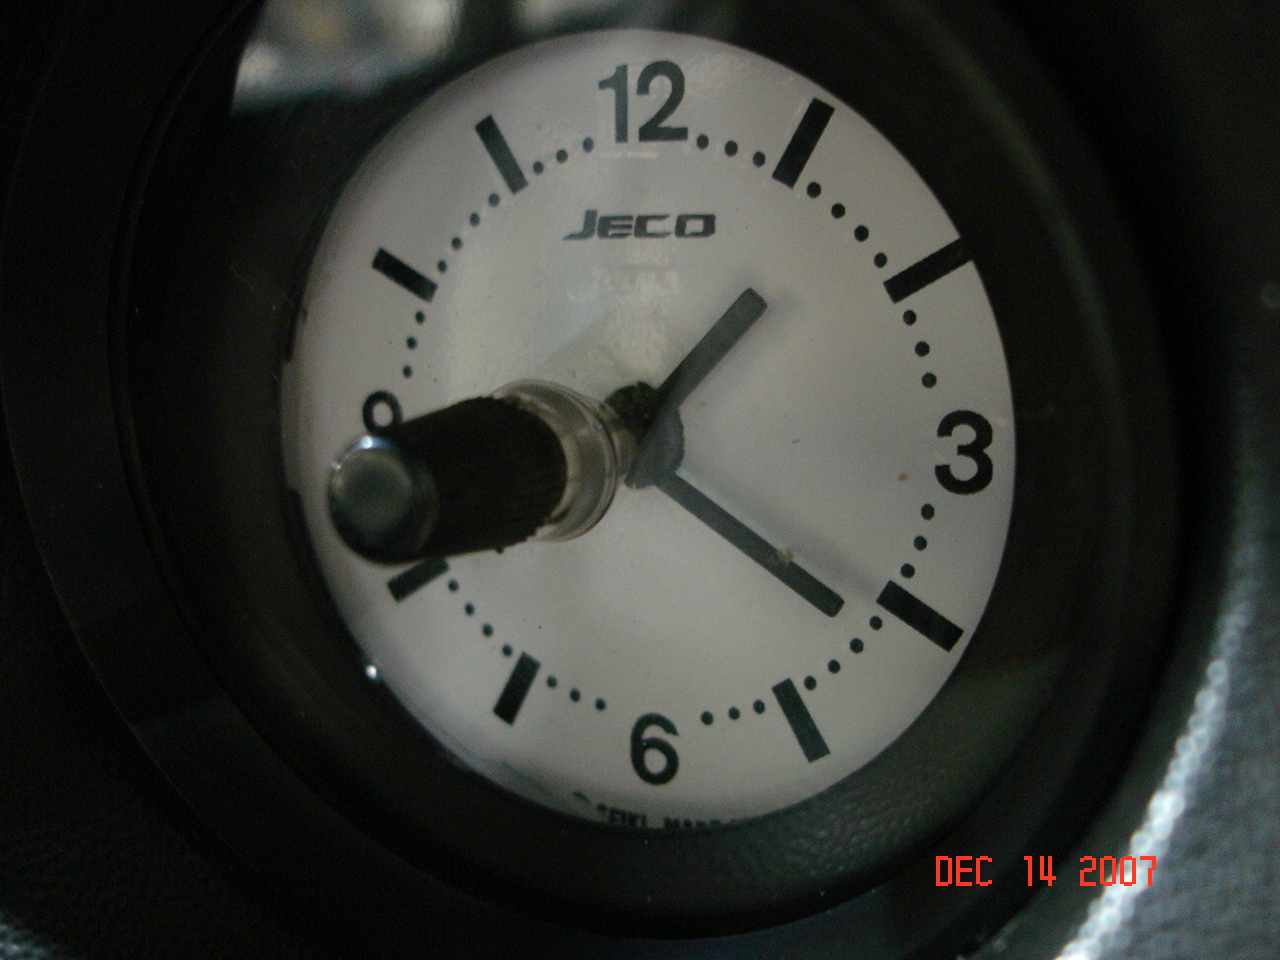
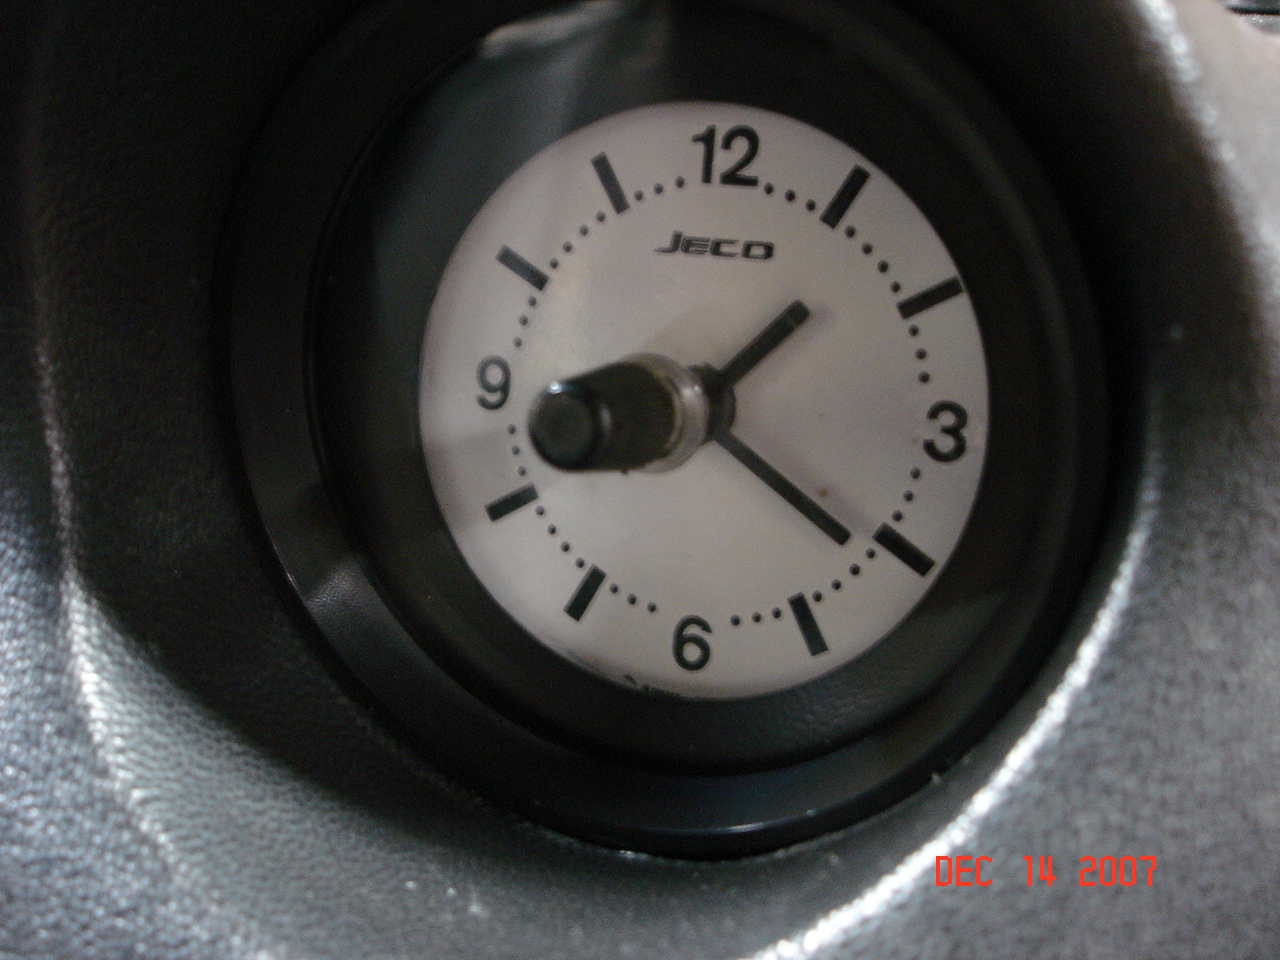
It was pretty basic. I took the emptied clock shell into Value Village (ie: GoodWill, dollar store or Volunteers of America) and asked if they had battery operated clocks. They had plenty for $1.99 each, so I bought 2 (some peoples garbage is just that, did'nt want to take a chance on just one) I took the outer shell off the actual clock, removed the seconds, minutes, hour and alarm hand. I then removed the Paper clock face and used "Goof-Off" to remove the adhesive residue. I test fitted the body to the back of the Z's clock face and found that the lip that normaly acts as a "Stop" on the Z' clock was stopping the battery clock from getting close enough to the face to attach it with double sided tape (very thin, used for attaching with minimal space between the objects) So I used the grinder to remove the small lip and then attached the clock to the face. I used the Battery clocks hands because they were a close match to the Z's hands and I knew they would fit already. I aligned the adjuster knob (clock set knob) with the hole that the power wires originally went thru, when attaching the clock to the face. I then attaches very small red and black wires to the battery holder clips on the clock and ran those thru another small hole in the back of the shell. I bought a single AA battery holder from radio shack and attach the wires together using very small telephone wire butt connectors (20 to 18 gauge) I also found that the clocks time is easily adjusted using the stock "Push Knob" that already exists on the face of the original clock.


-
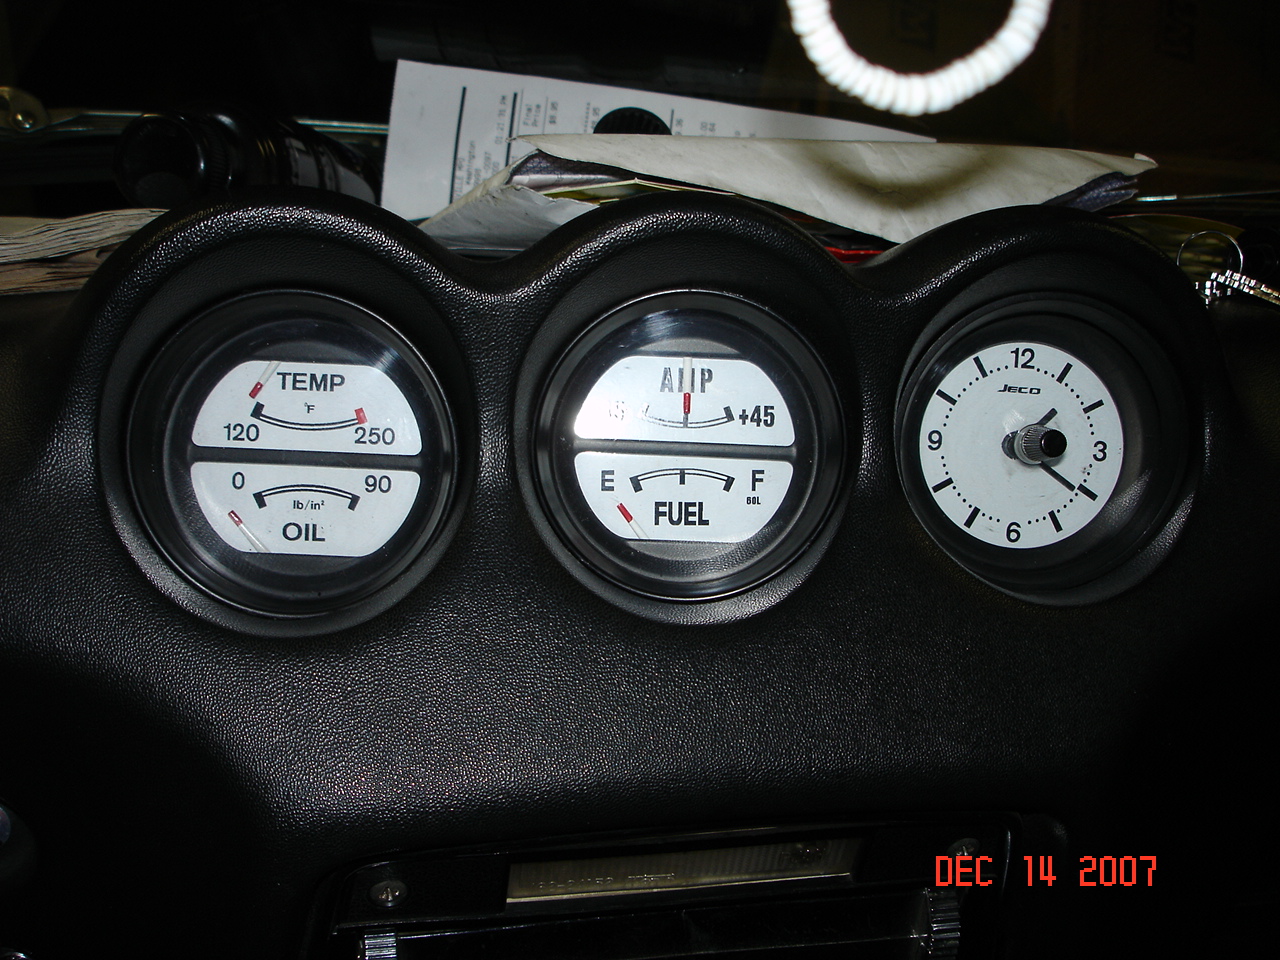
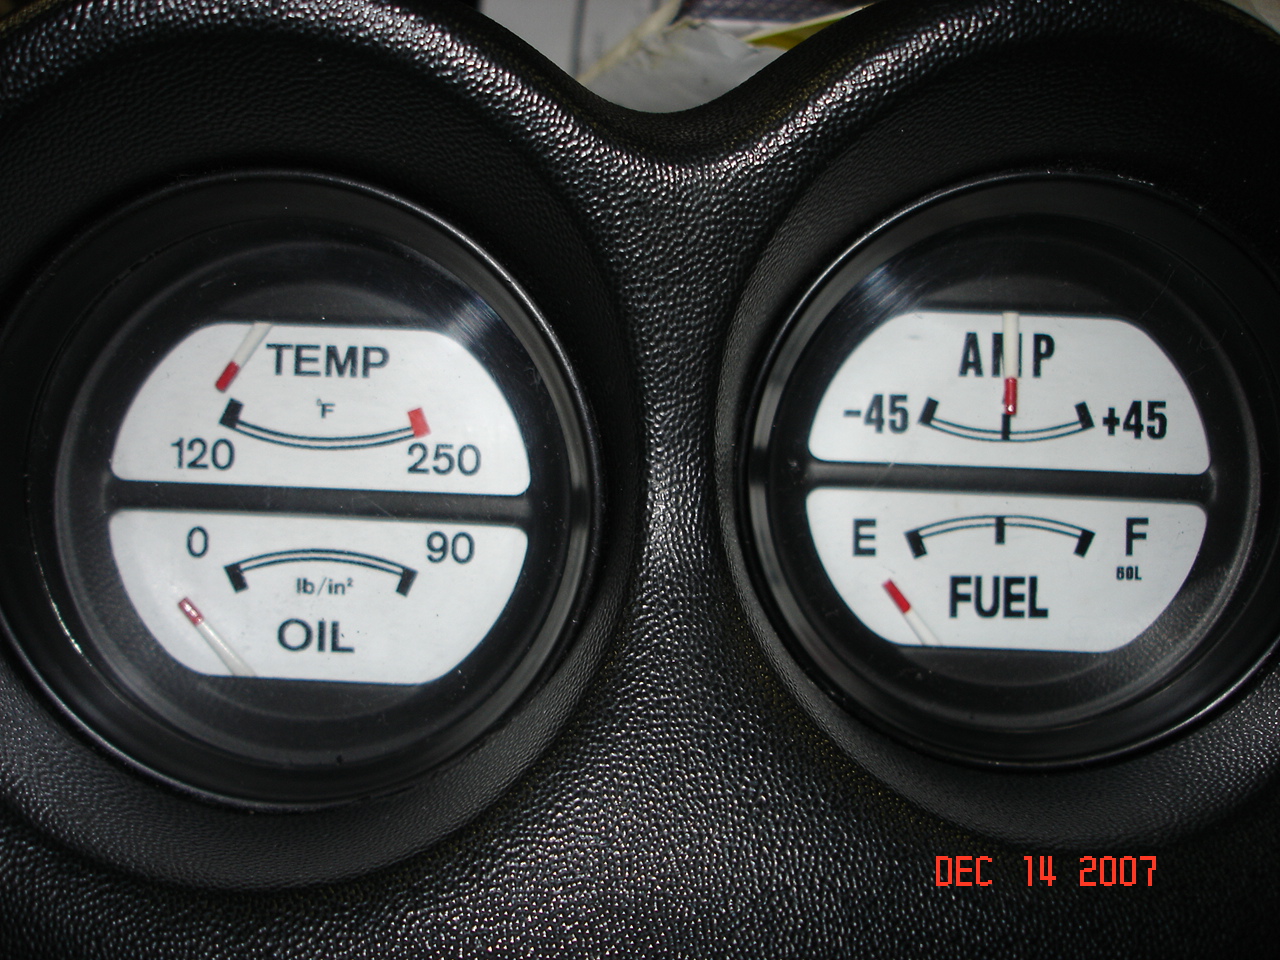
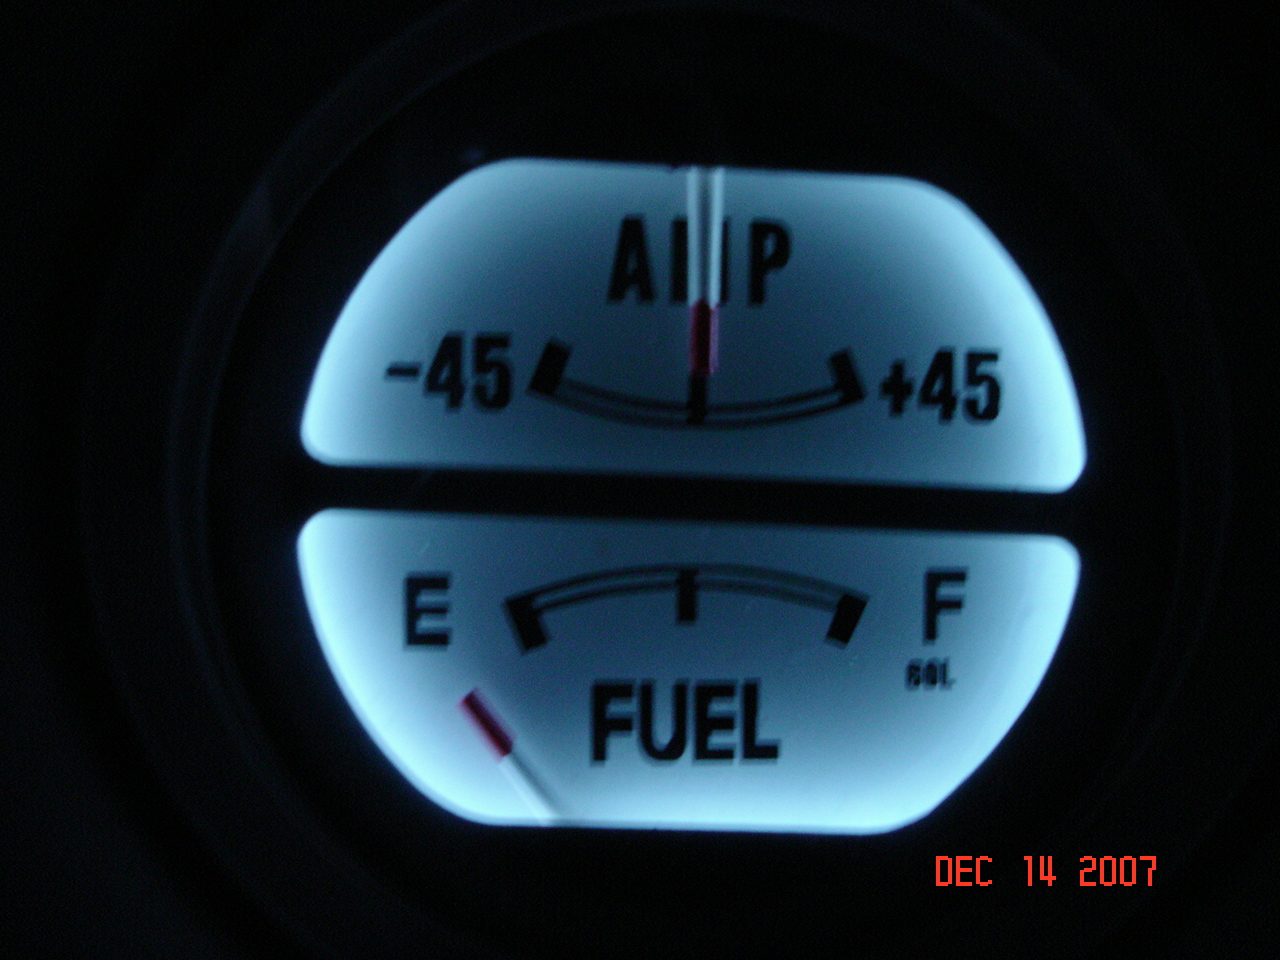
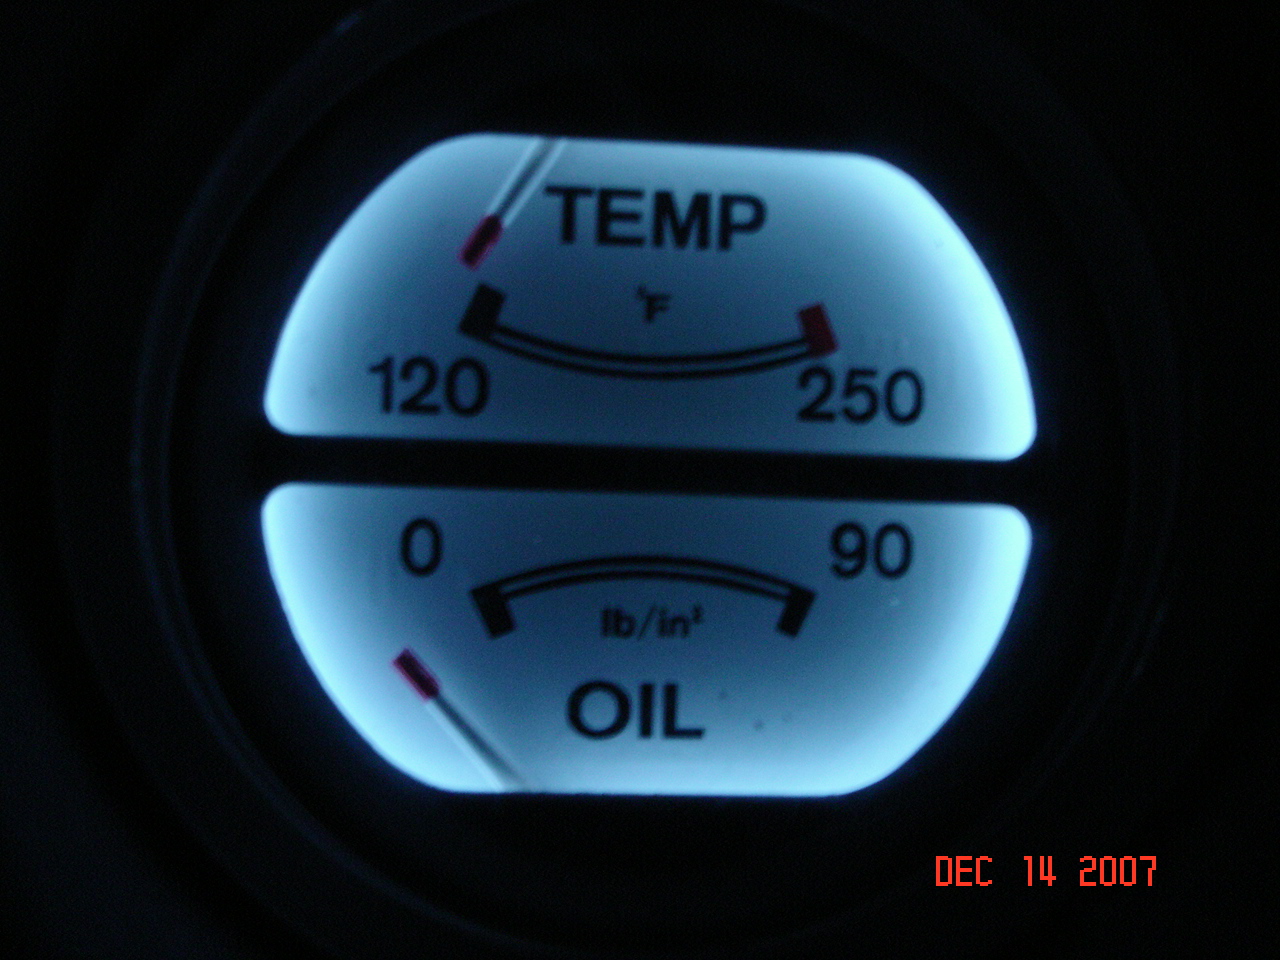
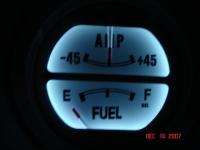
actually they do make the 60- to 60+ amp gauge sticker and it is sent with the white face gauge set I ordered along with the 45+/- set. And the other thing is the oil pressure is 145 on mine and they only sent a 90 degree one. as pictured below. I guess I should have payed more attension to the picture and not "ASSUMED" they would have or send the correct set, AND THEY EVEN ASK WHAT YEAR MAKE AND MODEL WITH BUILD DATE, THAT SHOULD HAVE BEEN their CLUE.
-
I just found this and now I'm getting tempted to do the series 1 gauges and if it's good enough, well.....maybe. http://www.presslabel.com/Merchant2/merchant.mvc?Screen=PROD&Product_Code=PSP-WLV8511&Category_Code=Waterproof&Store_Code=PL
-
I had written him last year after some jerk outbit me for a set 3 seconds before the auction was up (I HATE THAT!!) We never completed any transaction and I lost his email address. Anyways, Thank you for his updated email, I wrote him about an hour ago and hope to hear from him soon. My speedo is in peices in a box and would look so much better if it were complete and in the car, ya know. Thanks again. You'd think MSA would have all 3 available, considering how many early models are still out here. Dave.
-
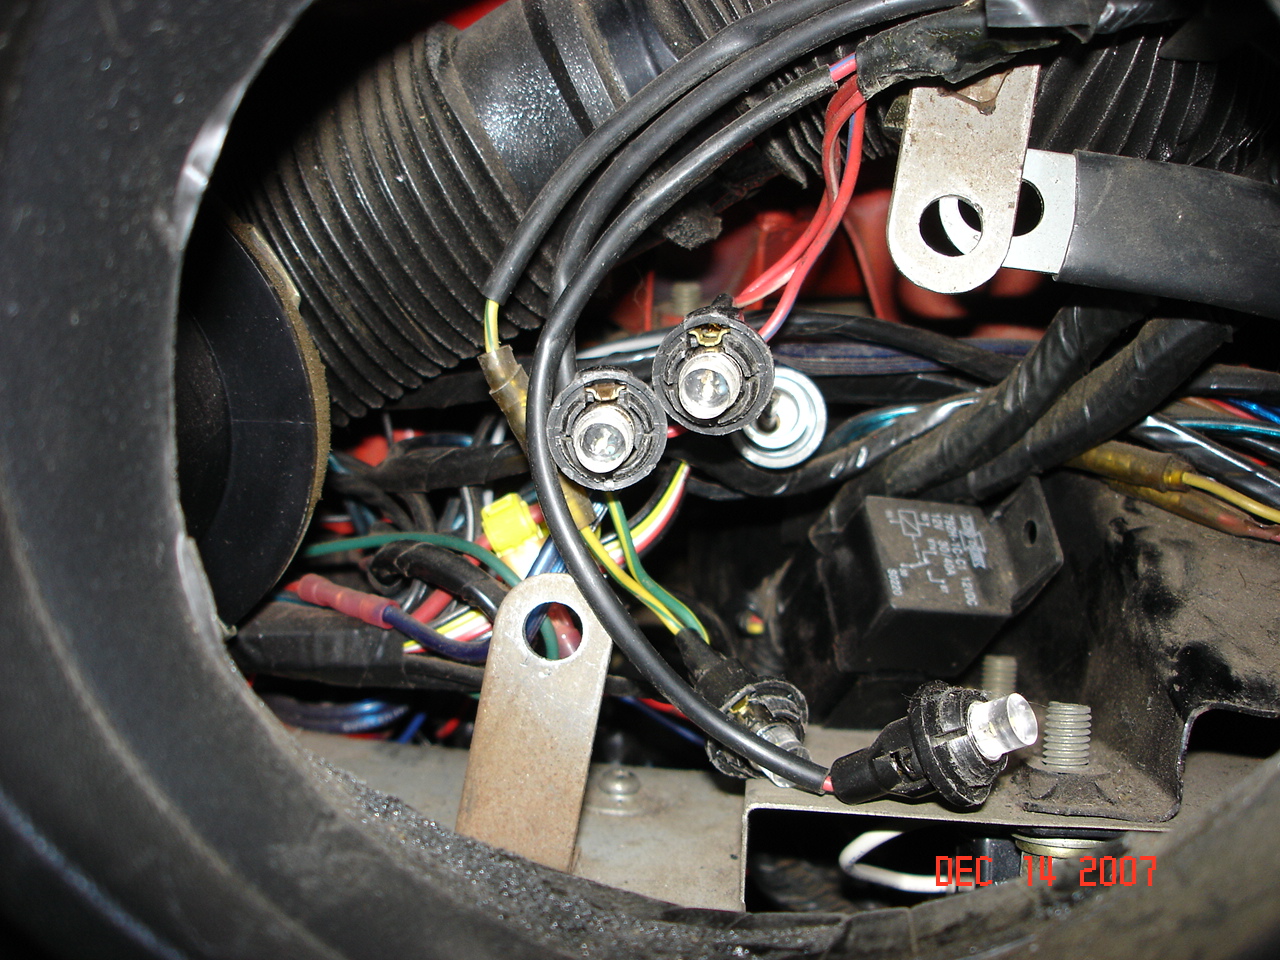
What-ever you decide on, just remember to clean both terminal and post with a battery tool (round wire brush with post cleaner on bottom) Clean all corrosion with a simple mix of Baking Soda and water (1 Tablespoon Baking soda to 6 ounces of water) This will neutralize the acid and is enviromentally safe. And practically free as most people have this in the house already. Go to the auto parts store and get the "spray on" Battery Terminal Protectant. Spray sparingly to lightly coat all exposed Lead. All other terminals in the engine compartment should have a light coat of "Di-electric Grease" which will stop or severely slow down corrosion and (oxygen and water) problems. I found blue corrosion in my ZXP plug and have yet to find anymore now that the terminals are coated with the di-electric grease (light bulb socket grease) Good Luck, Dave.
-
does'nt that year 280Z have a fuel pump relay up front, in the engine compartment? I know the 260Z had something similar to that but I could be wrong. Dave.
-
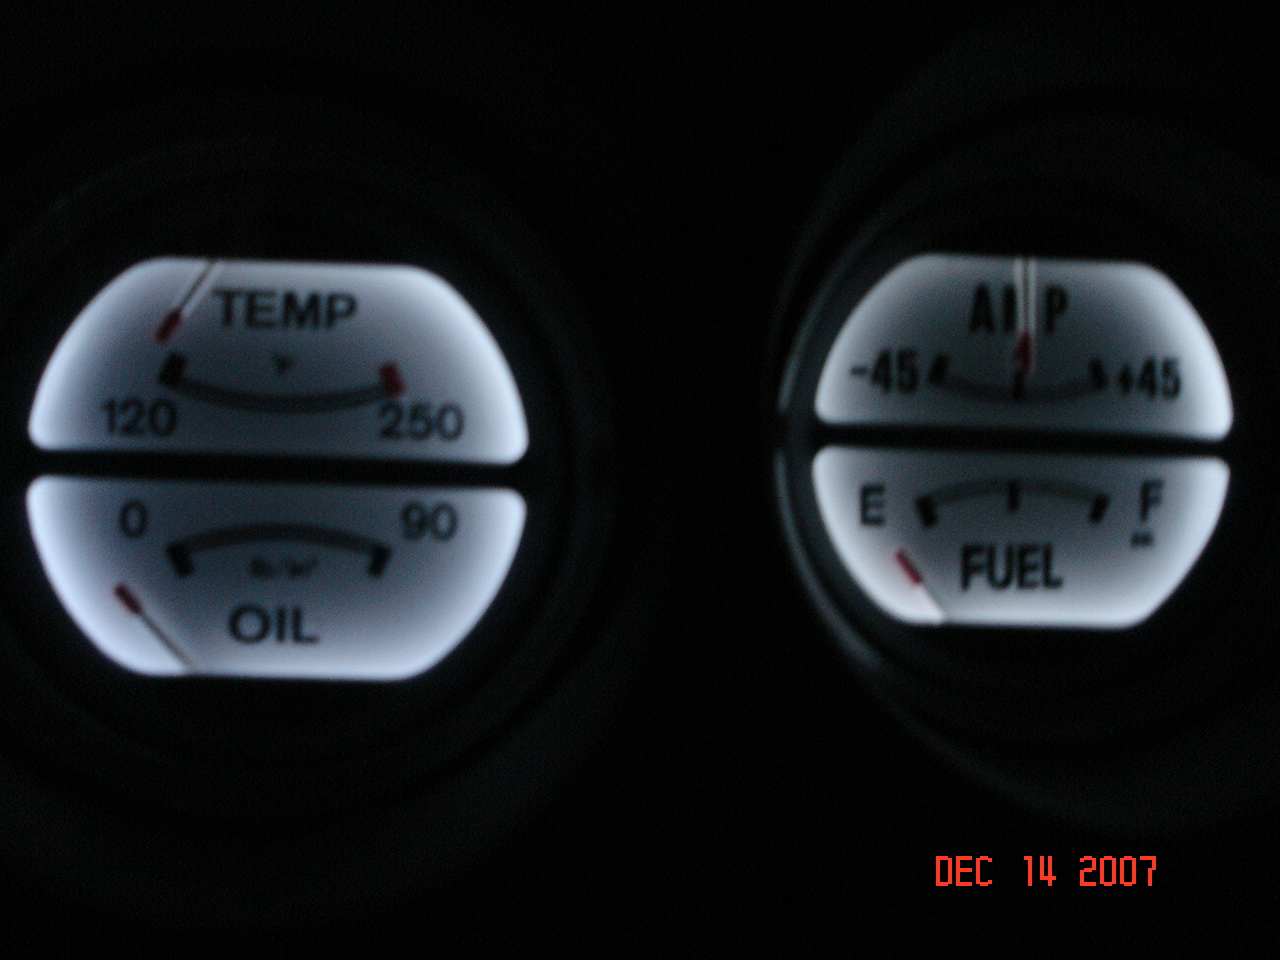
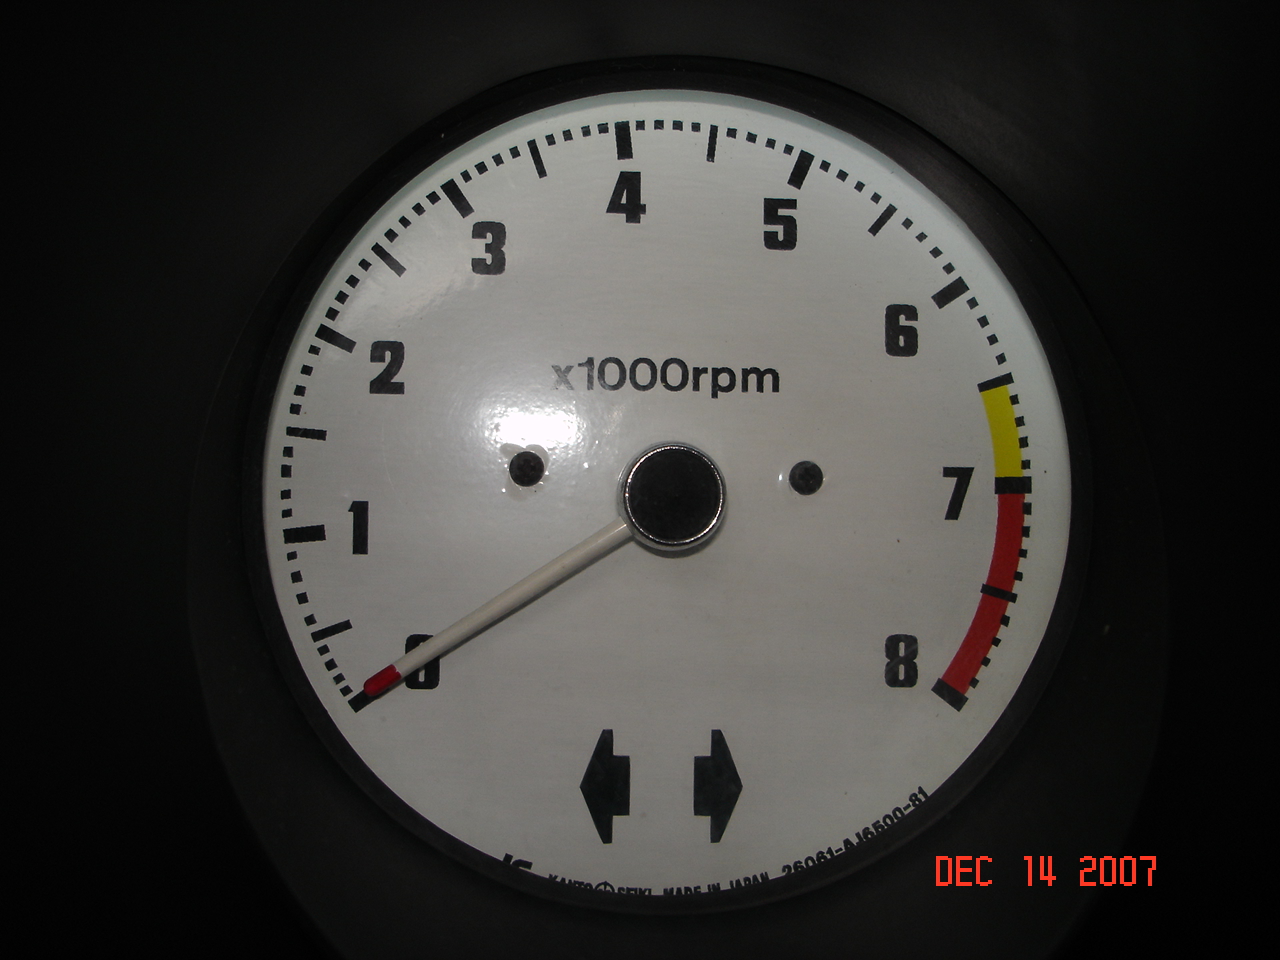
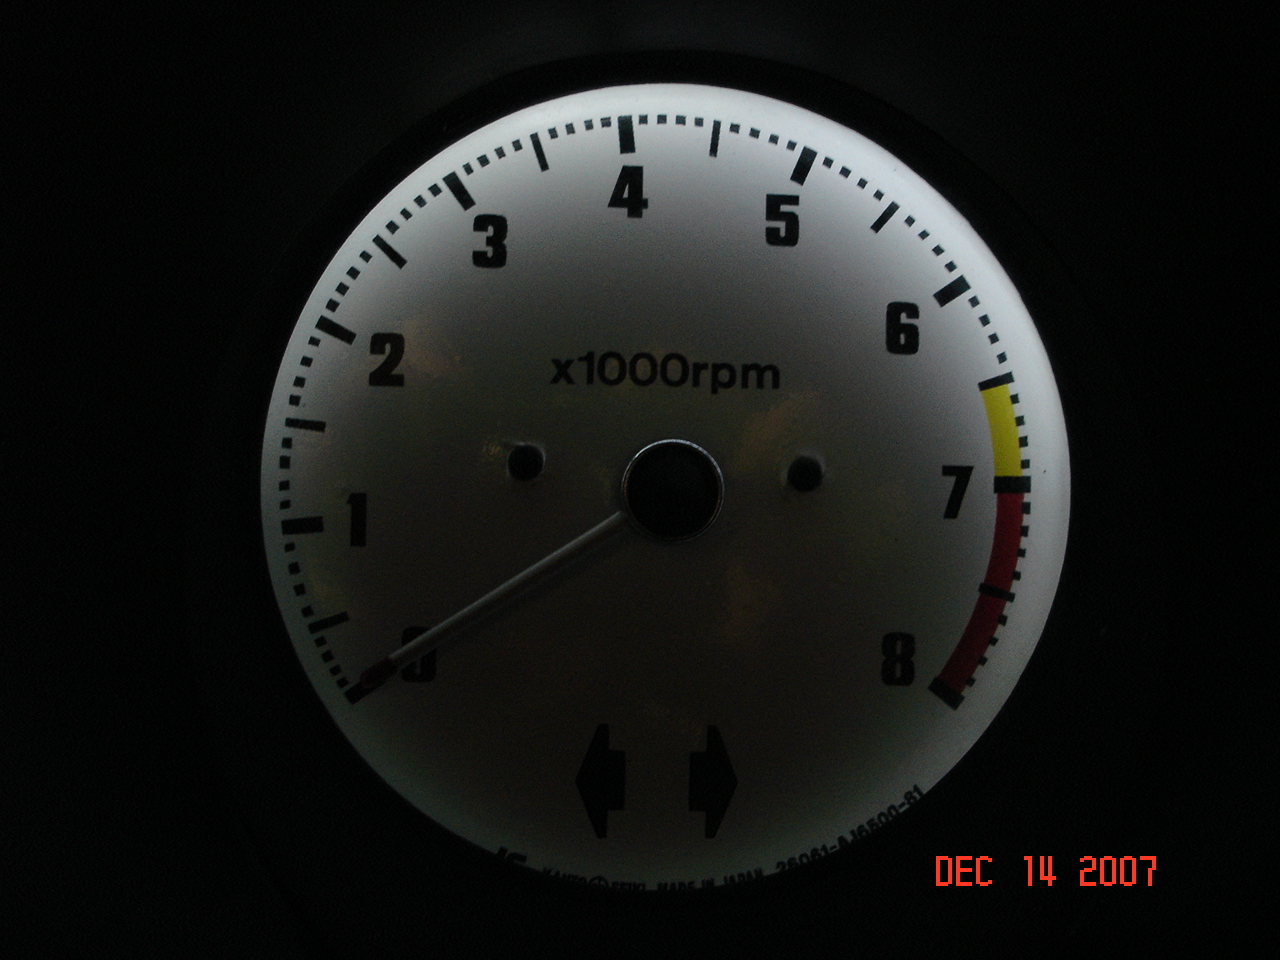
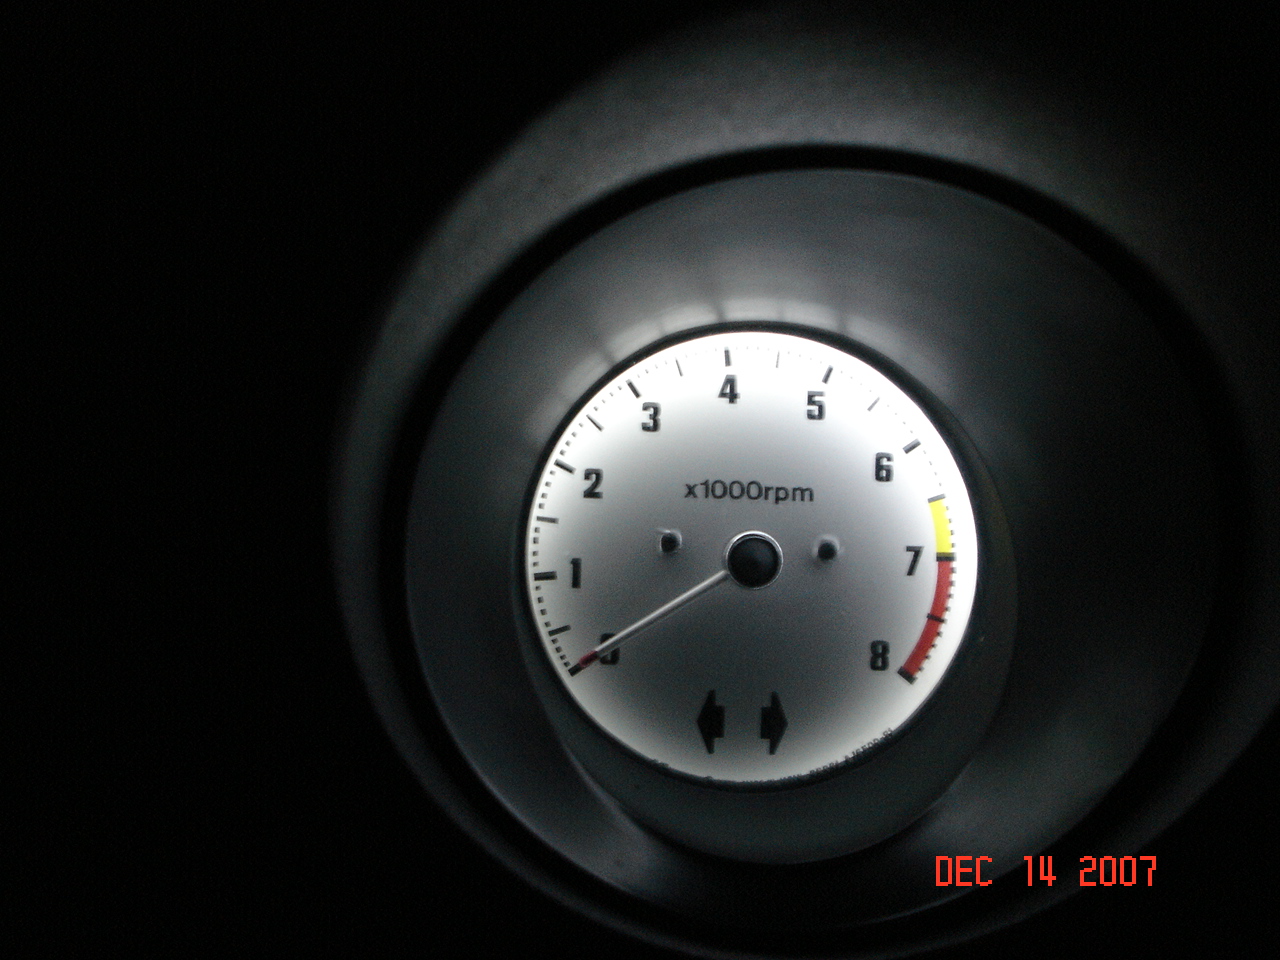
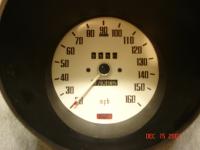
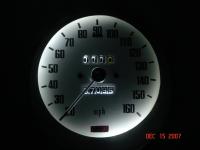
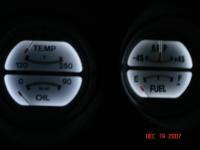
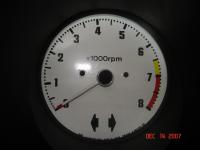
So I order the 50-5220 White Face Gauge kit from MSA. Today, I instal the kit on the temp/oil gauge, followed by the Amp/Fuel gauge, then I get to the Usual NON-working clock. I go to the local Value Village and buy 2) AA battery operated small clocks. I tear the smaller of the 2 down and build a battery operated clock into the Z's clock. Looks and works beautiful, battery sits back behind the fusebox area. So I tear the Tach out, dissasemble it, paint the back of the face with chrome paint, go to put the Vinyl sticker on and find it's off a smidge. So I line up the mounting holes and tweek it just enought that 0 to 1000 RPM's is dead on. The rest is off a little but it ain't brain surgery and we're talking.5 to 1.5 MM, depending on where ya look. ON TO THE PITA. (pain in the azz) I put the tach back in and move over to the Speedometer. Tear it out, tear it down, paint the back alcohol swab the face and get ready to instal the white face and Vhoola.... WRONG. The 90MPH mark on my face matches the 85MPH mark on the white face. My Speedo starts at 20MPH, the white face starts at 10. So the question is...... Does MSA have the Correct face for the 20 to 160 speedo. Dead center above the "HI BEAM" light is 90MPH. ANyone deal with this problem yet. I've done all the other gauges and they look AWESOME!!!!!! I just need one more gauge to finish the Much Brighter gauges. HELP....... Dave. Pics below are lit garage, garage lights off - parking lights on close ups etc. All gauges are lit with those Wide angle white B9 LED's from Superbriteleds.com AND YES, I used the wifes red nail polish for the needle tips for that extra.....you know.


-
Actually you're wrong. Solid red is the right headlight and red with a yellow stripe is the left headlight. Hi beam at the sockets is the red/white and the low beams are red/black. Hi and low beam are determined by the T/S stock and are red/white and red/yellow. They swap colors in the harness somewhere, that's where they turn red/white and red/black. I believe the 280Z's have relays near the battery for hi and low beam. look for those same color wires going into the relays near the battery. The relays could be bad or check for power in that area. I think the 280Z's also have a passing relay as well but that may only be on the automatic. Not real sure. Let us know what ya find out. Dave. Hey John, Where were the fusable links located at? just for both his and my sakes
-
-
-