CW240Z72
Free Member
-
Joined
-
Last visited
Everything posted by CW240Z72
-
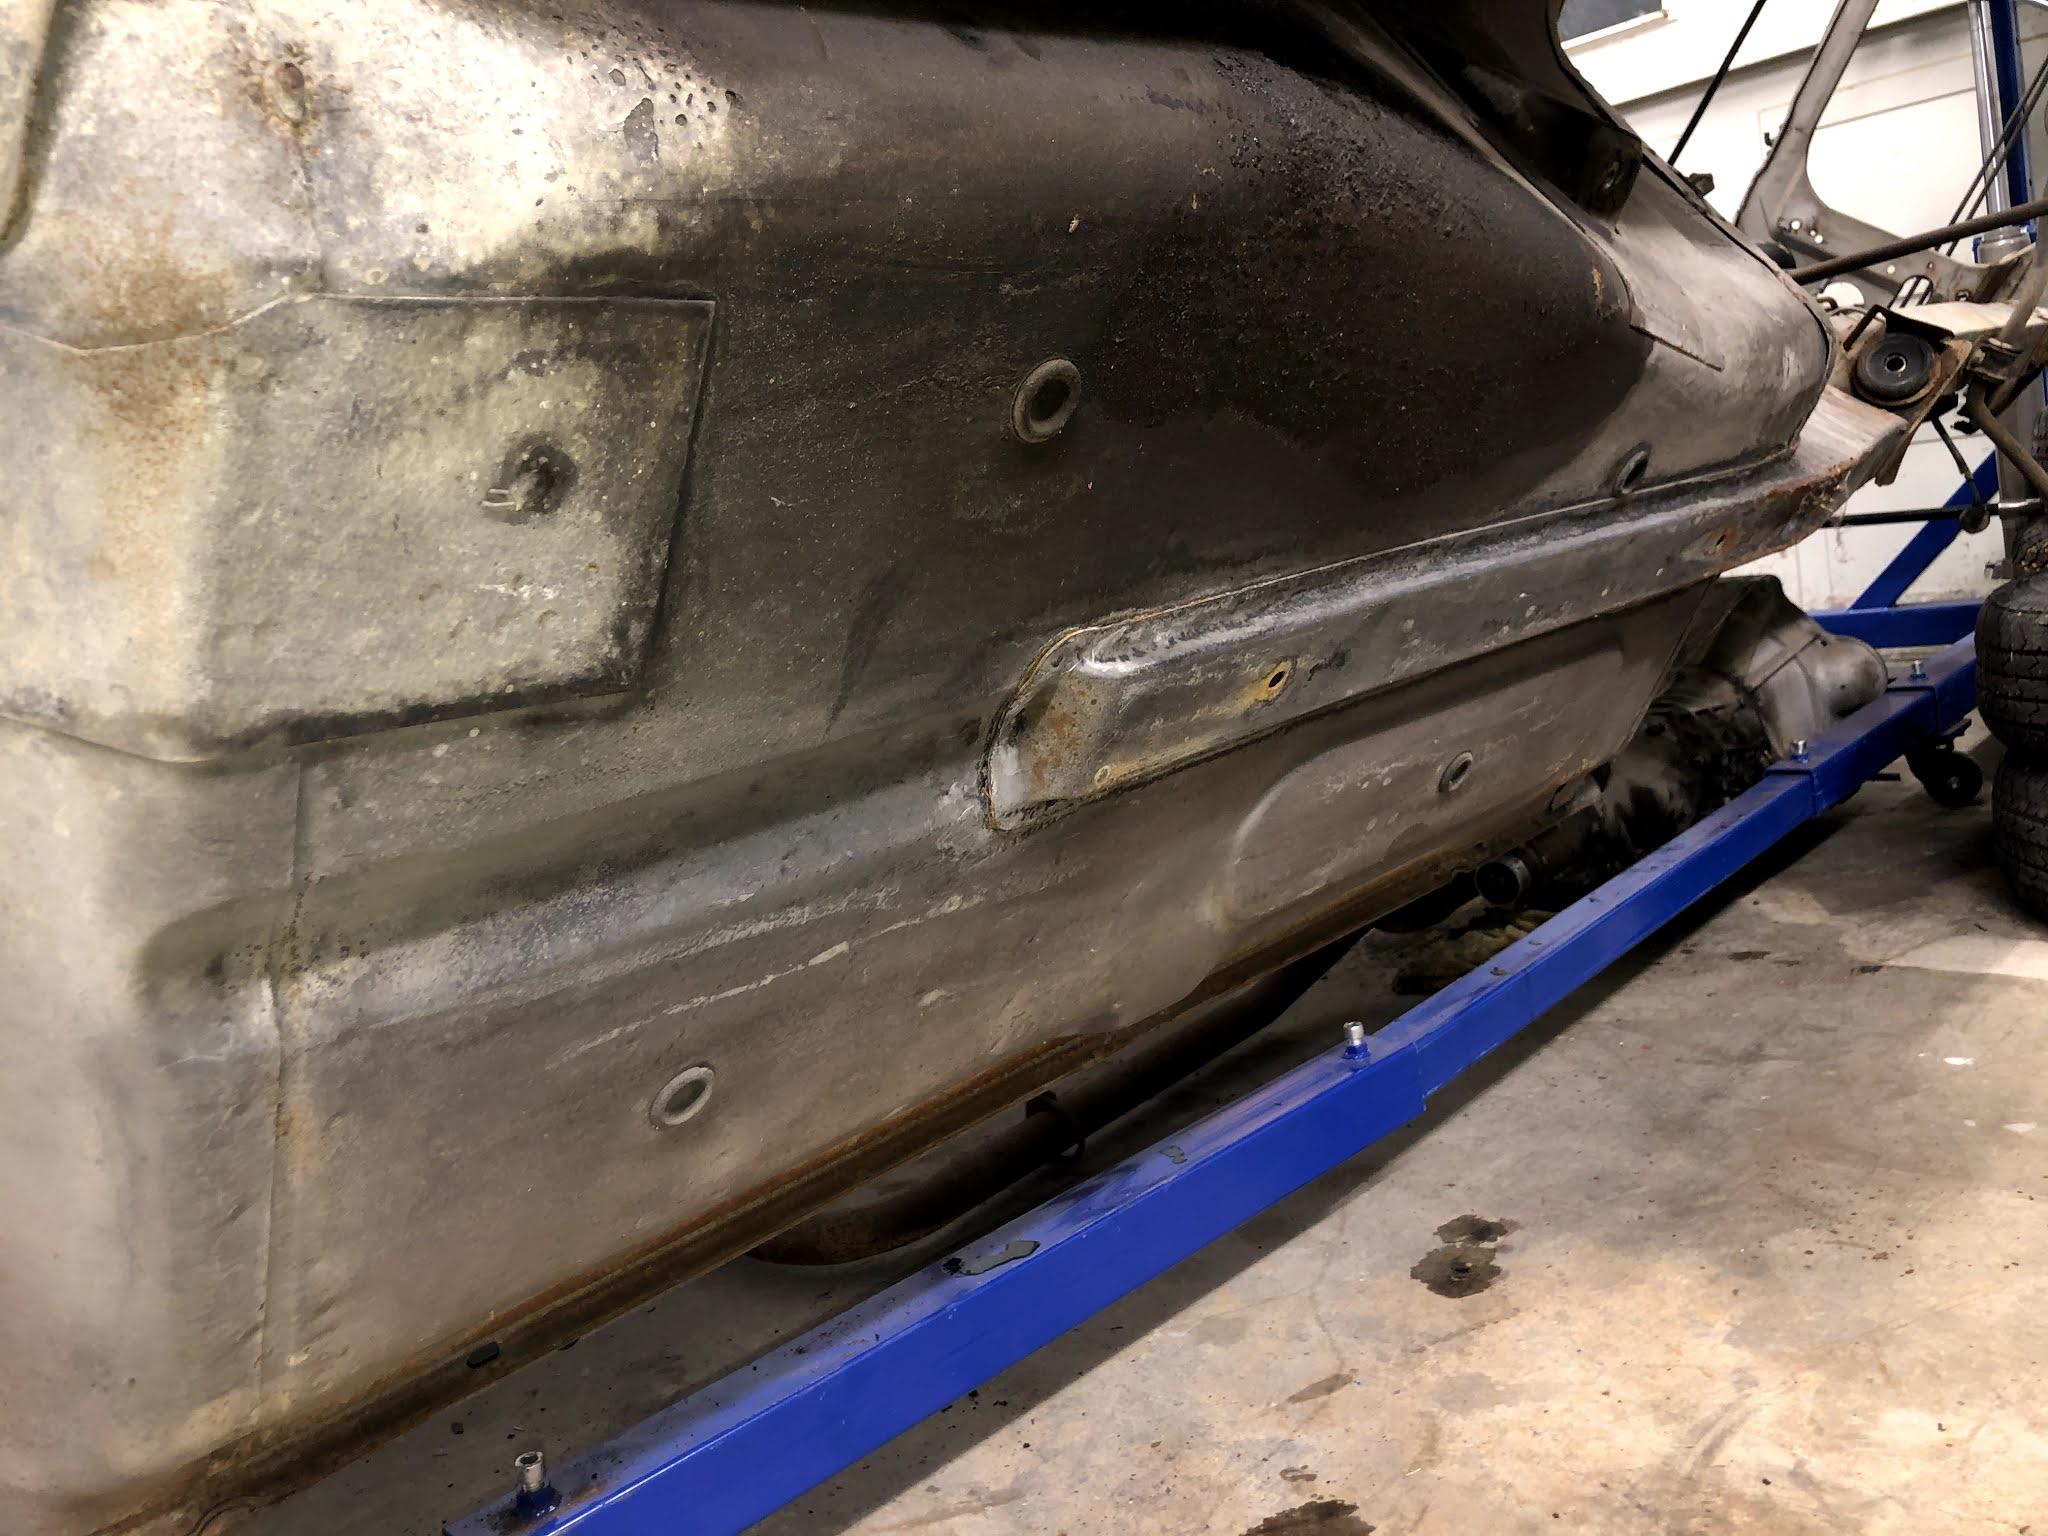
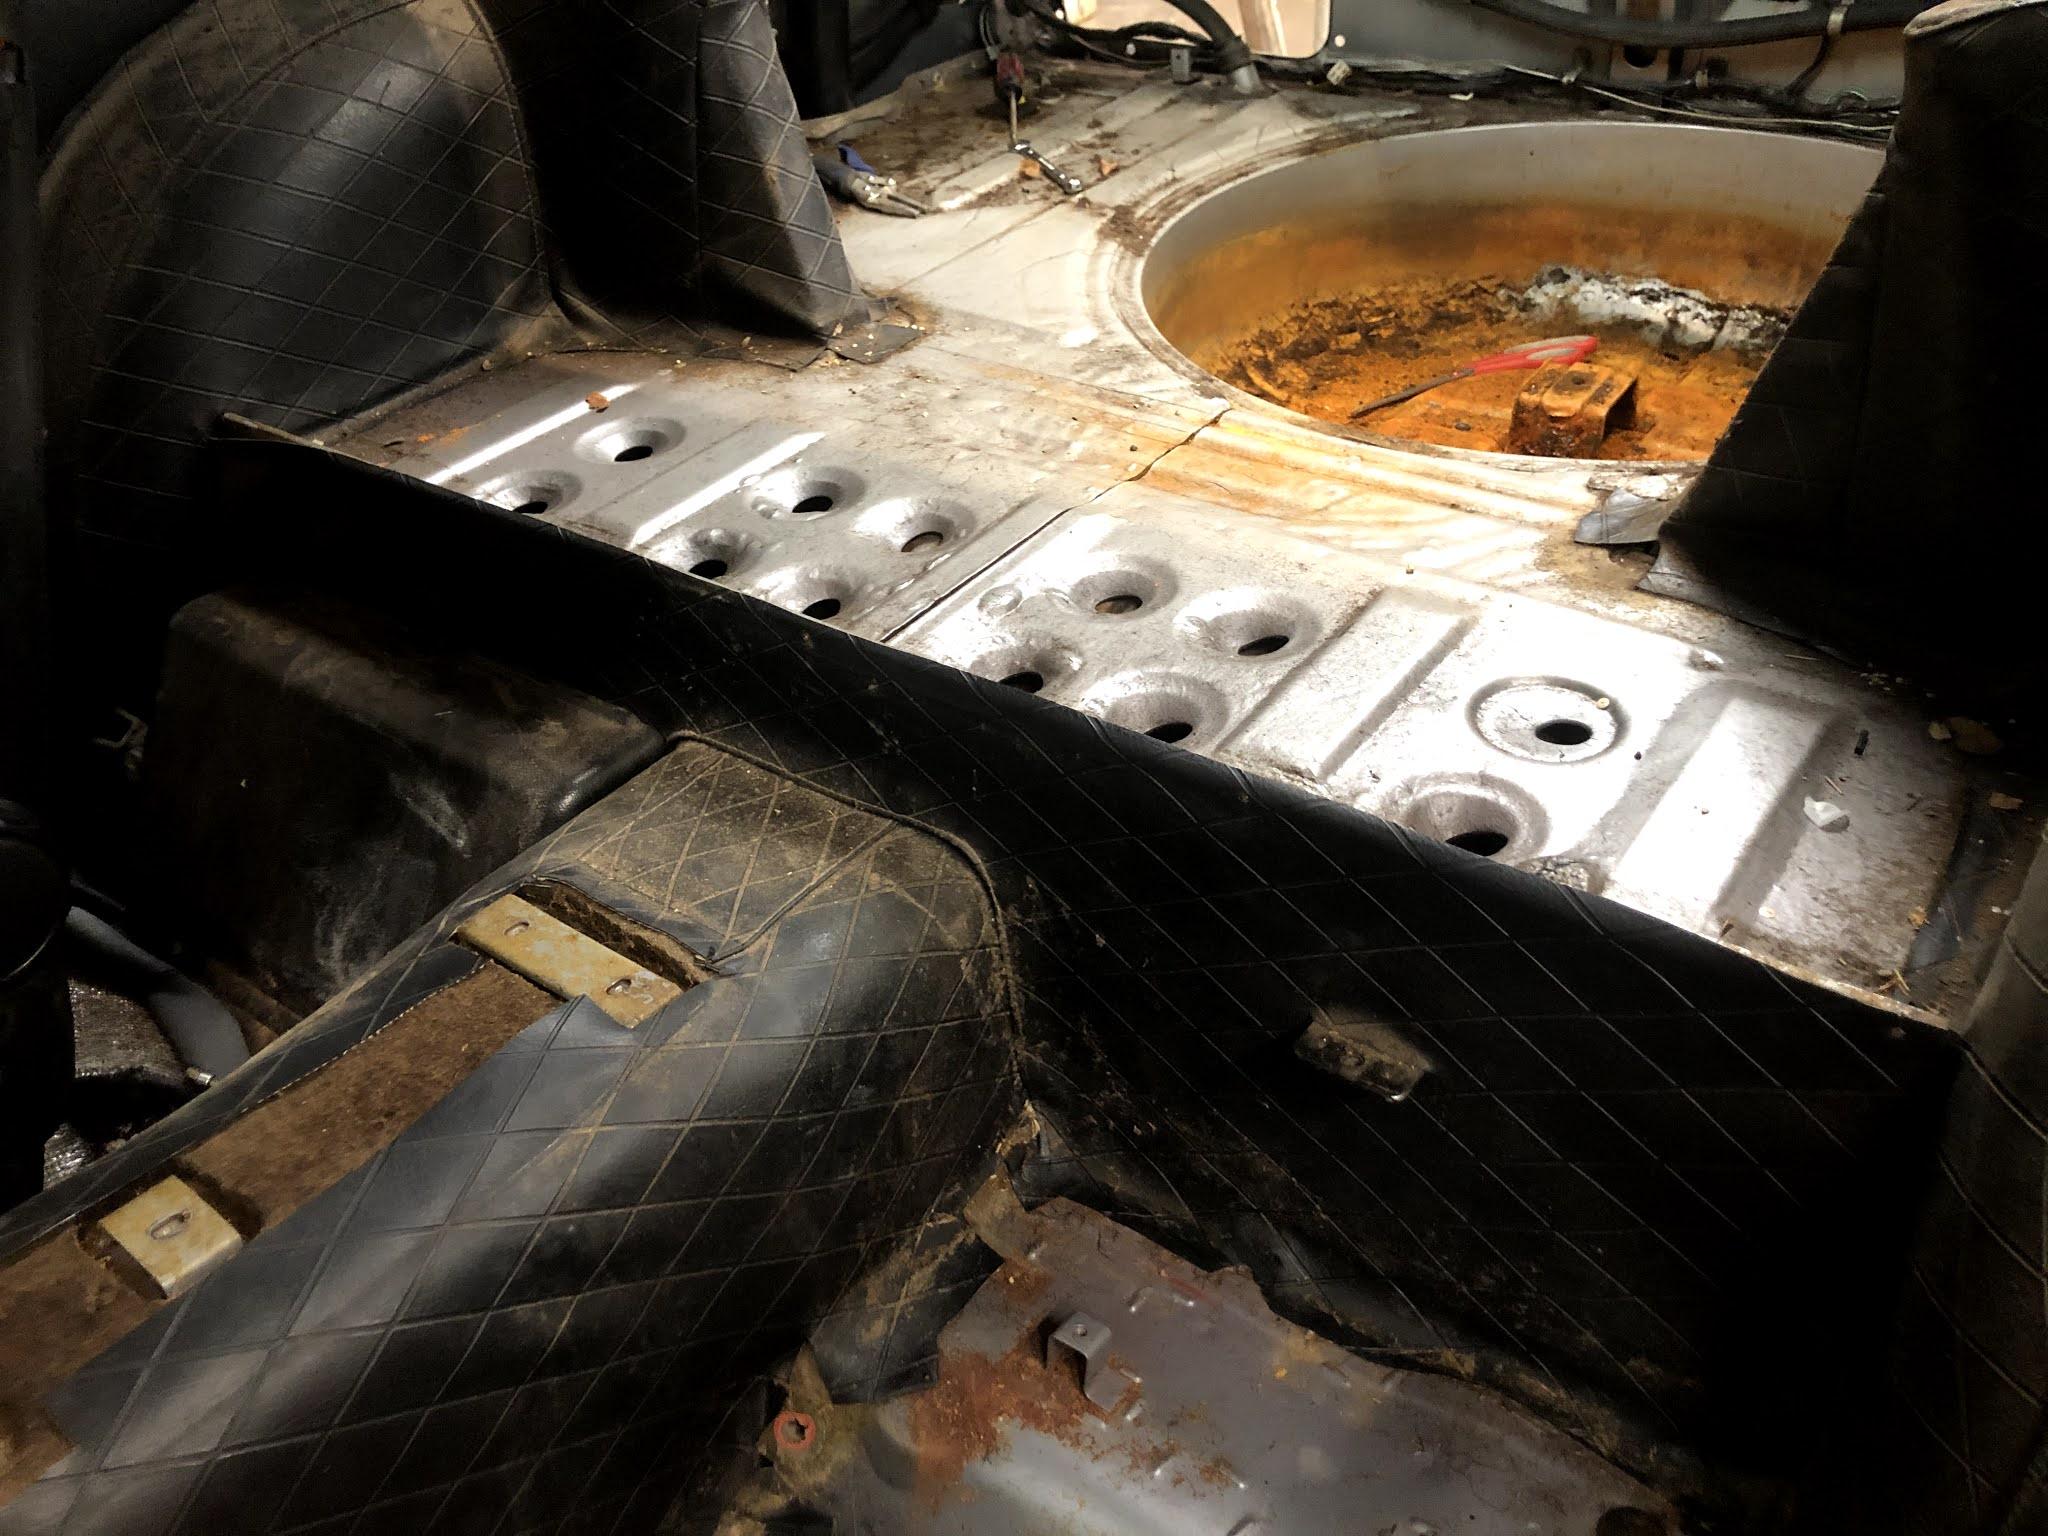
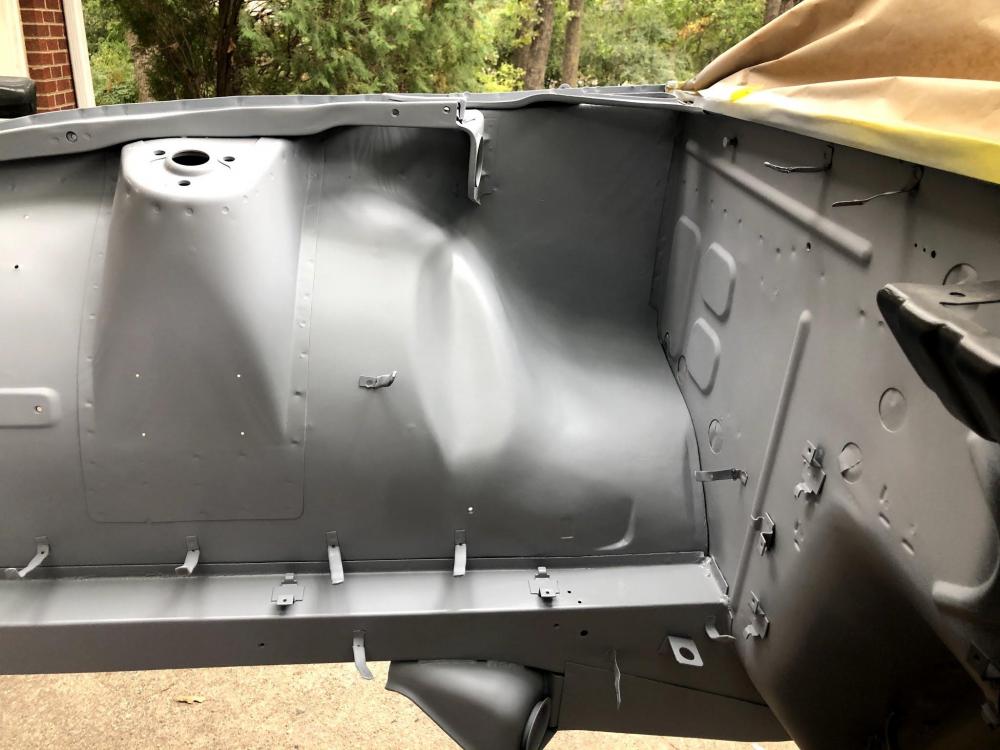
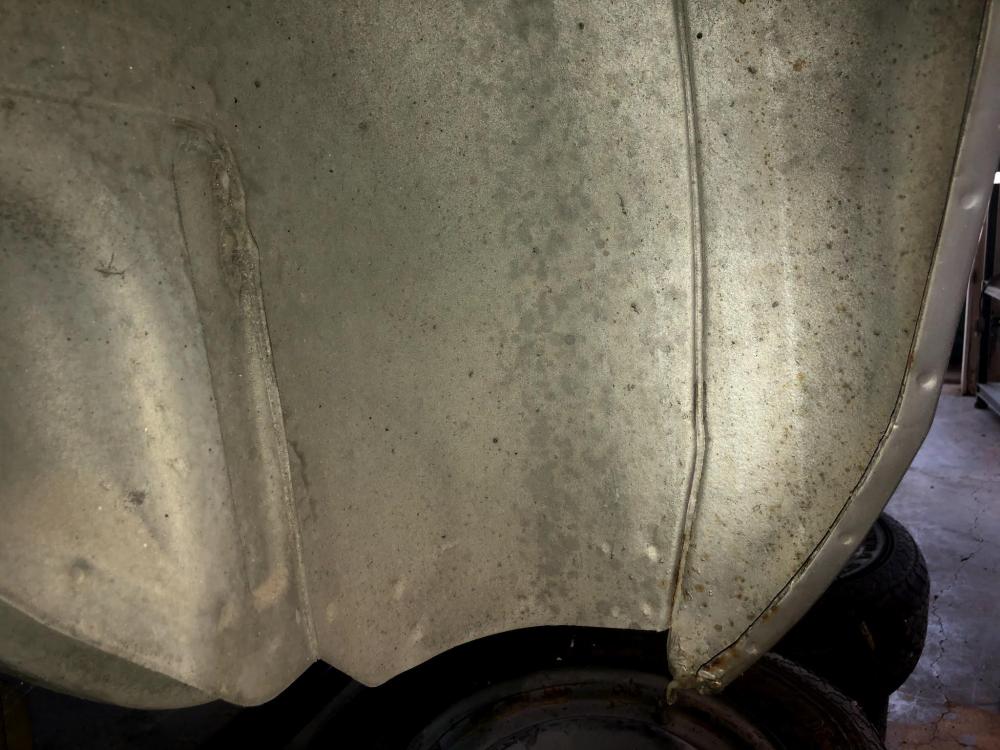
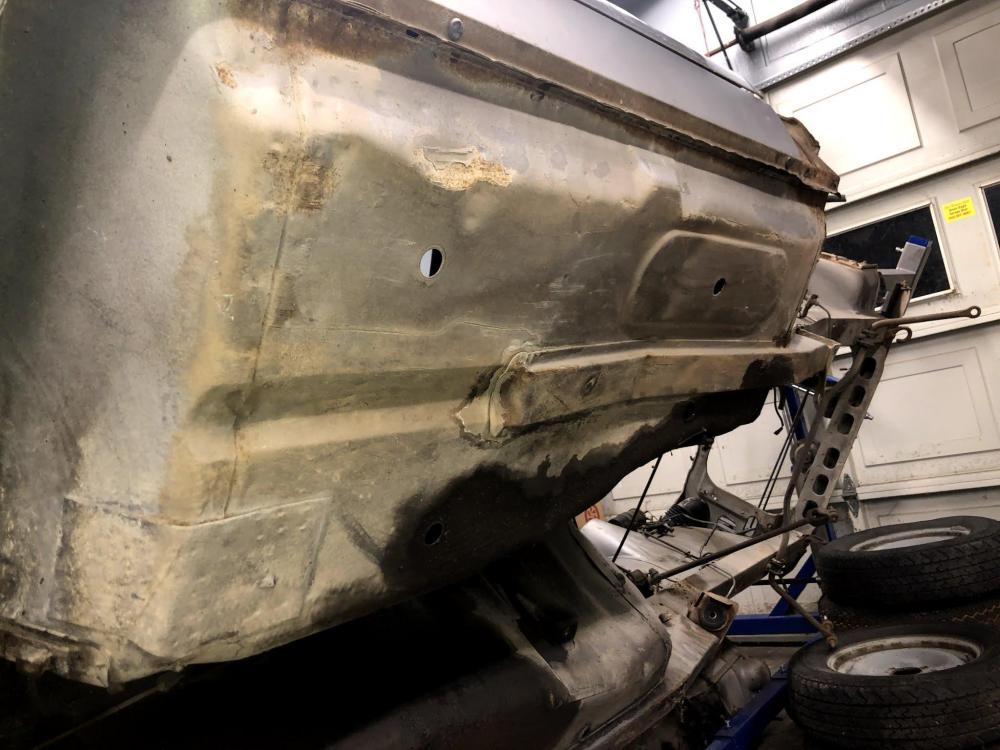
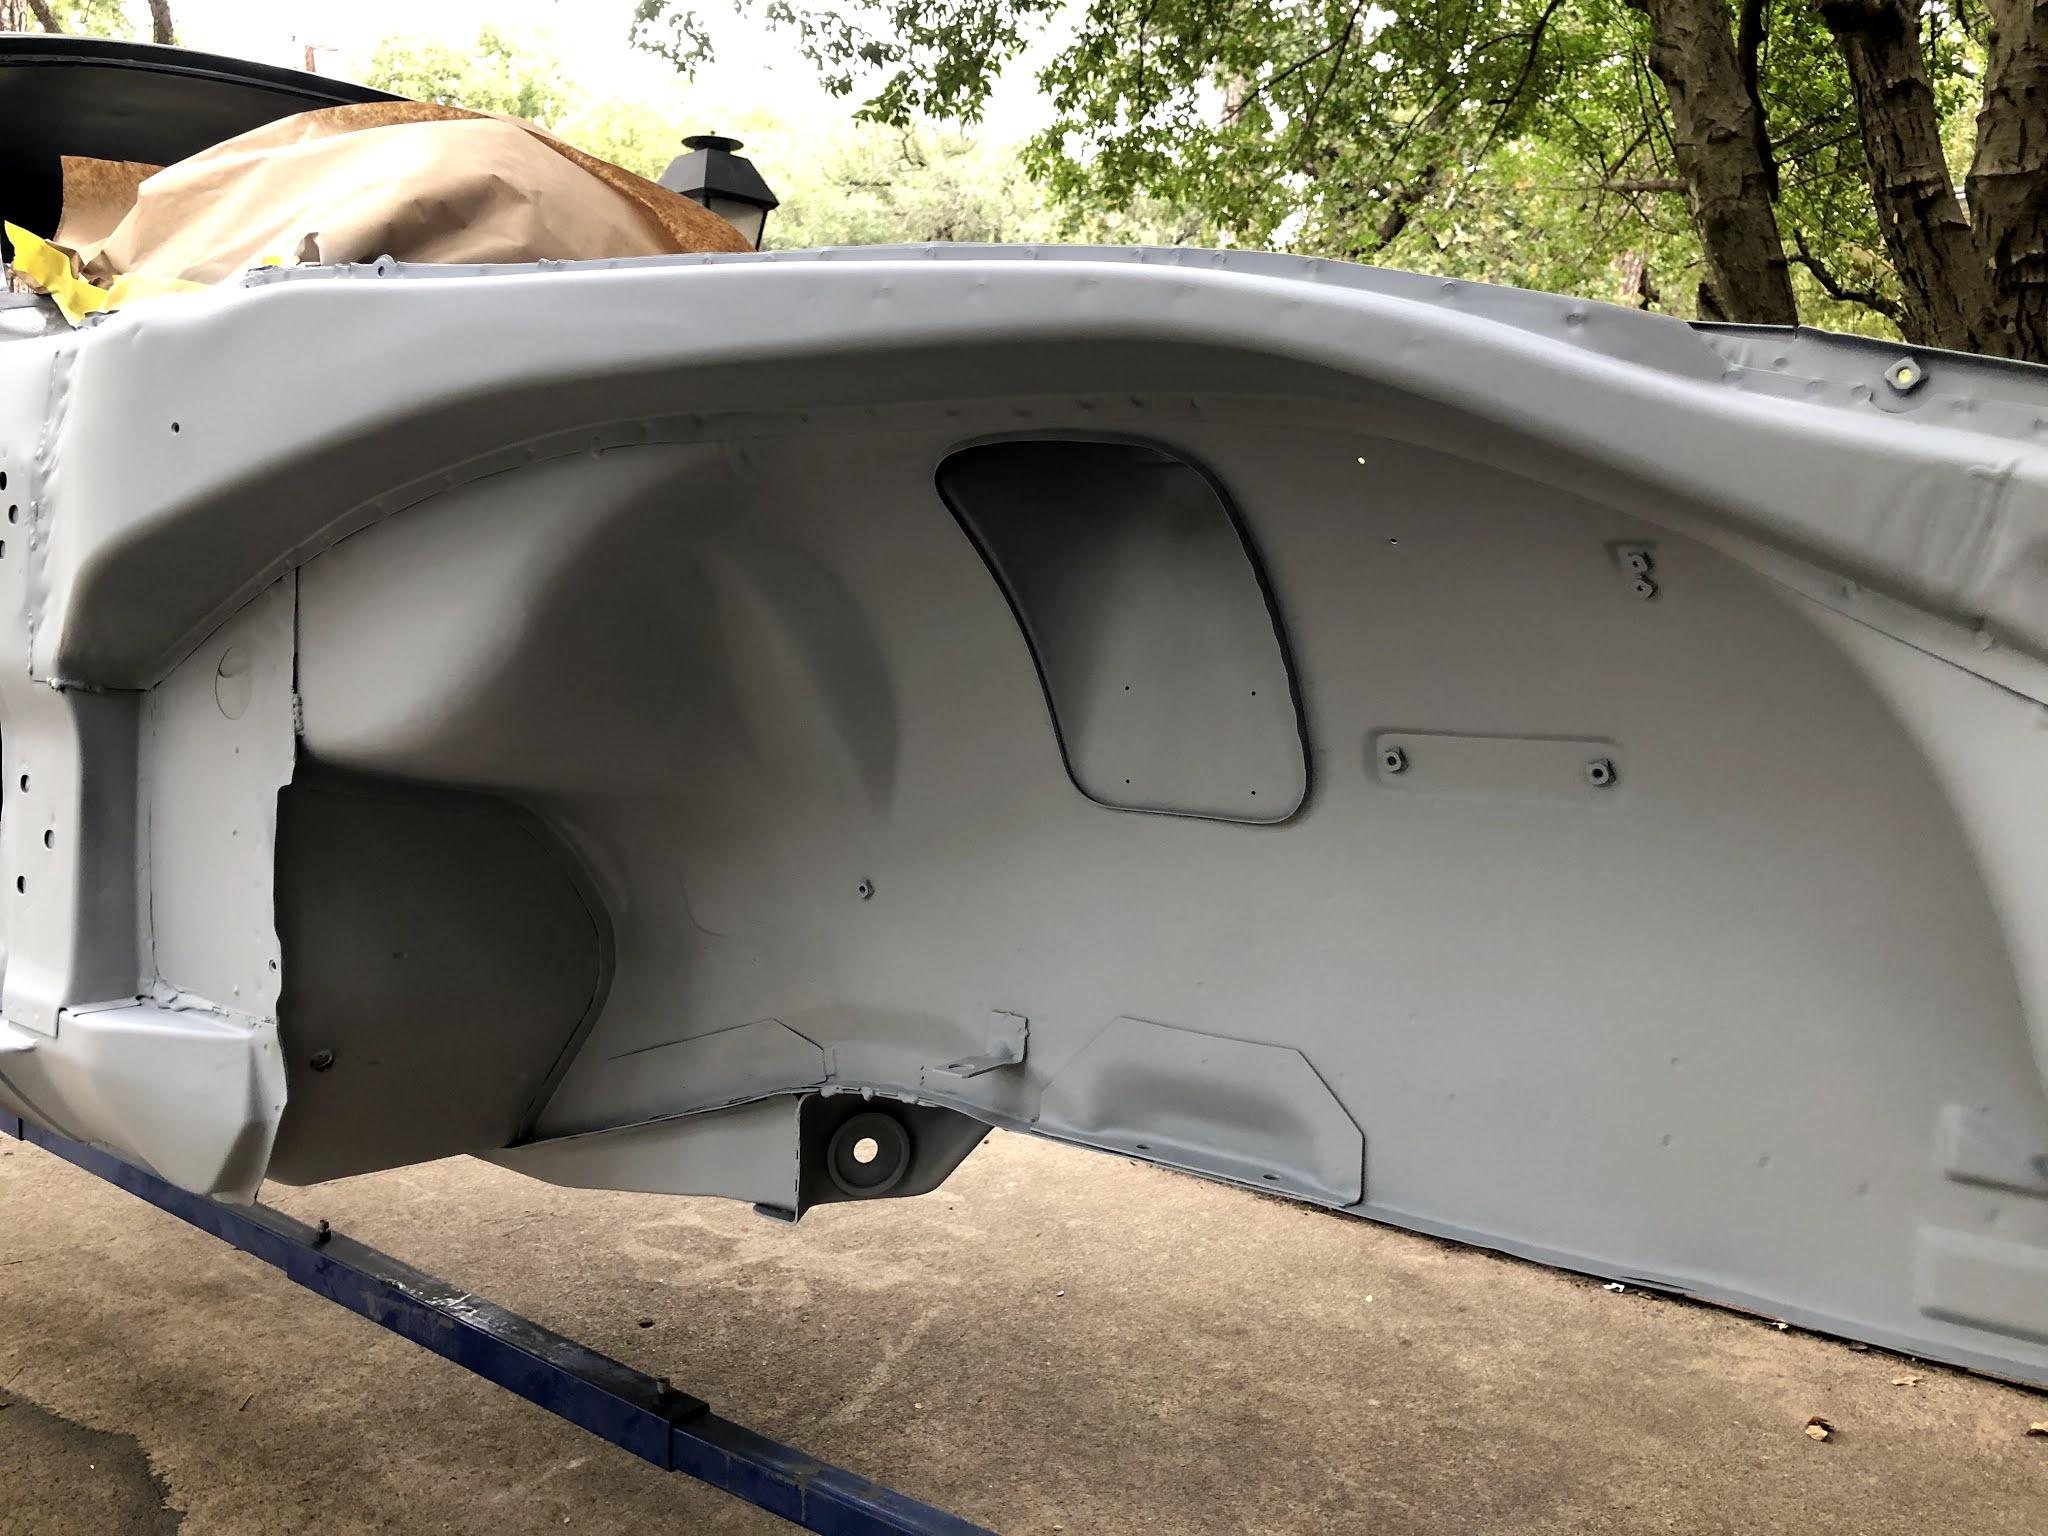
 We were very fortunate with this Z and the little amount of rust it had on the body. The one area that needed to be replaced over the entire floorboard area was a small section in the passenger foot well. Based on the isolated area of rust here, it was most likely from the dealer AC system that was installed in the car. The rusted area was cut out, surrounding metal cleaned, a patch panel replicated, welded back in, and smoothed down for a seamless transition. In the process of welding it back in we replicated the factory spot welds so that it looked as it did when the car was first assembled.

-
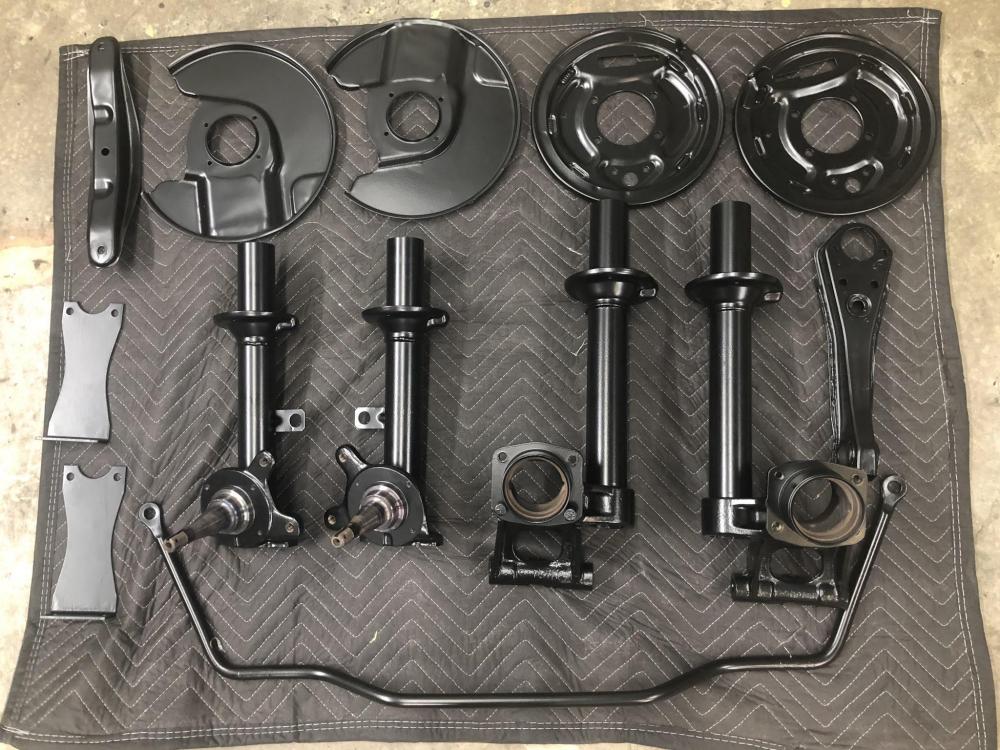
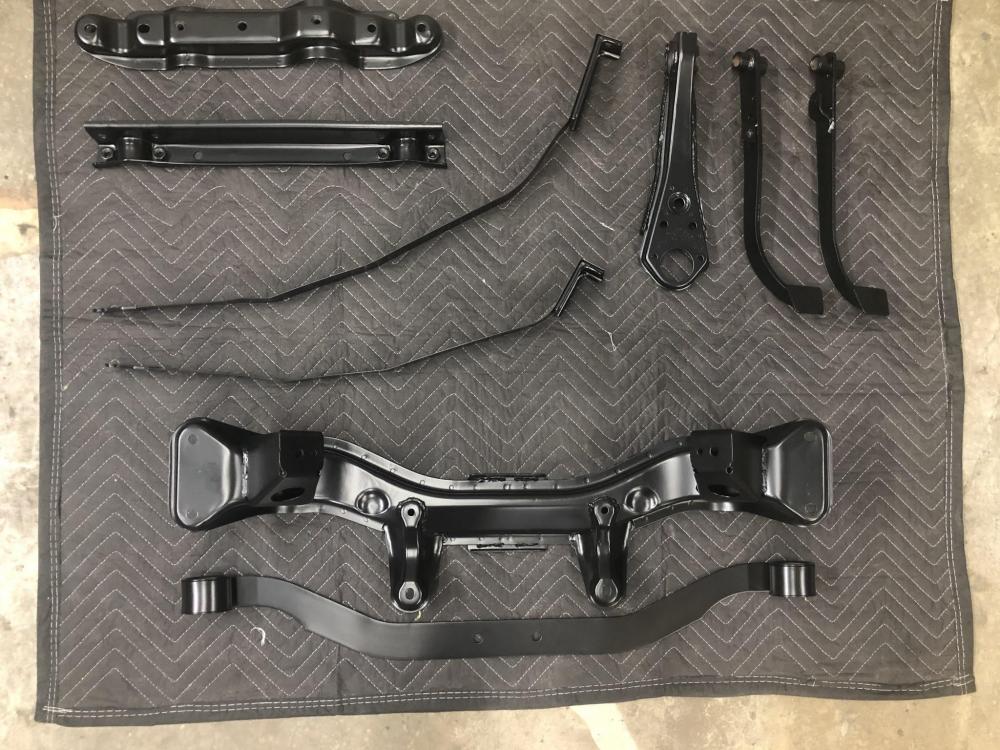
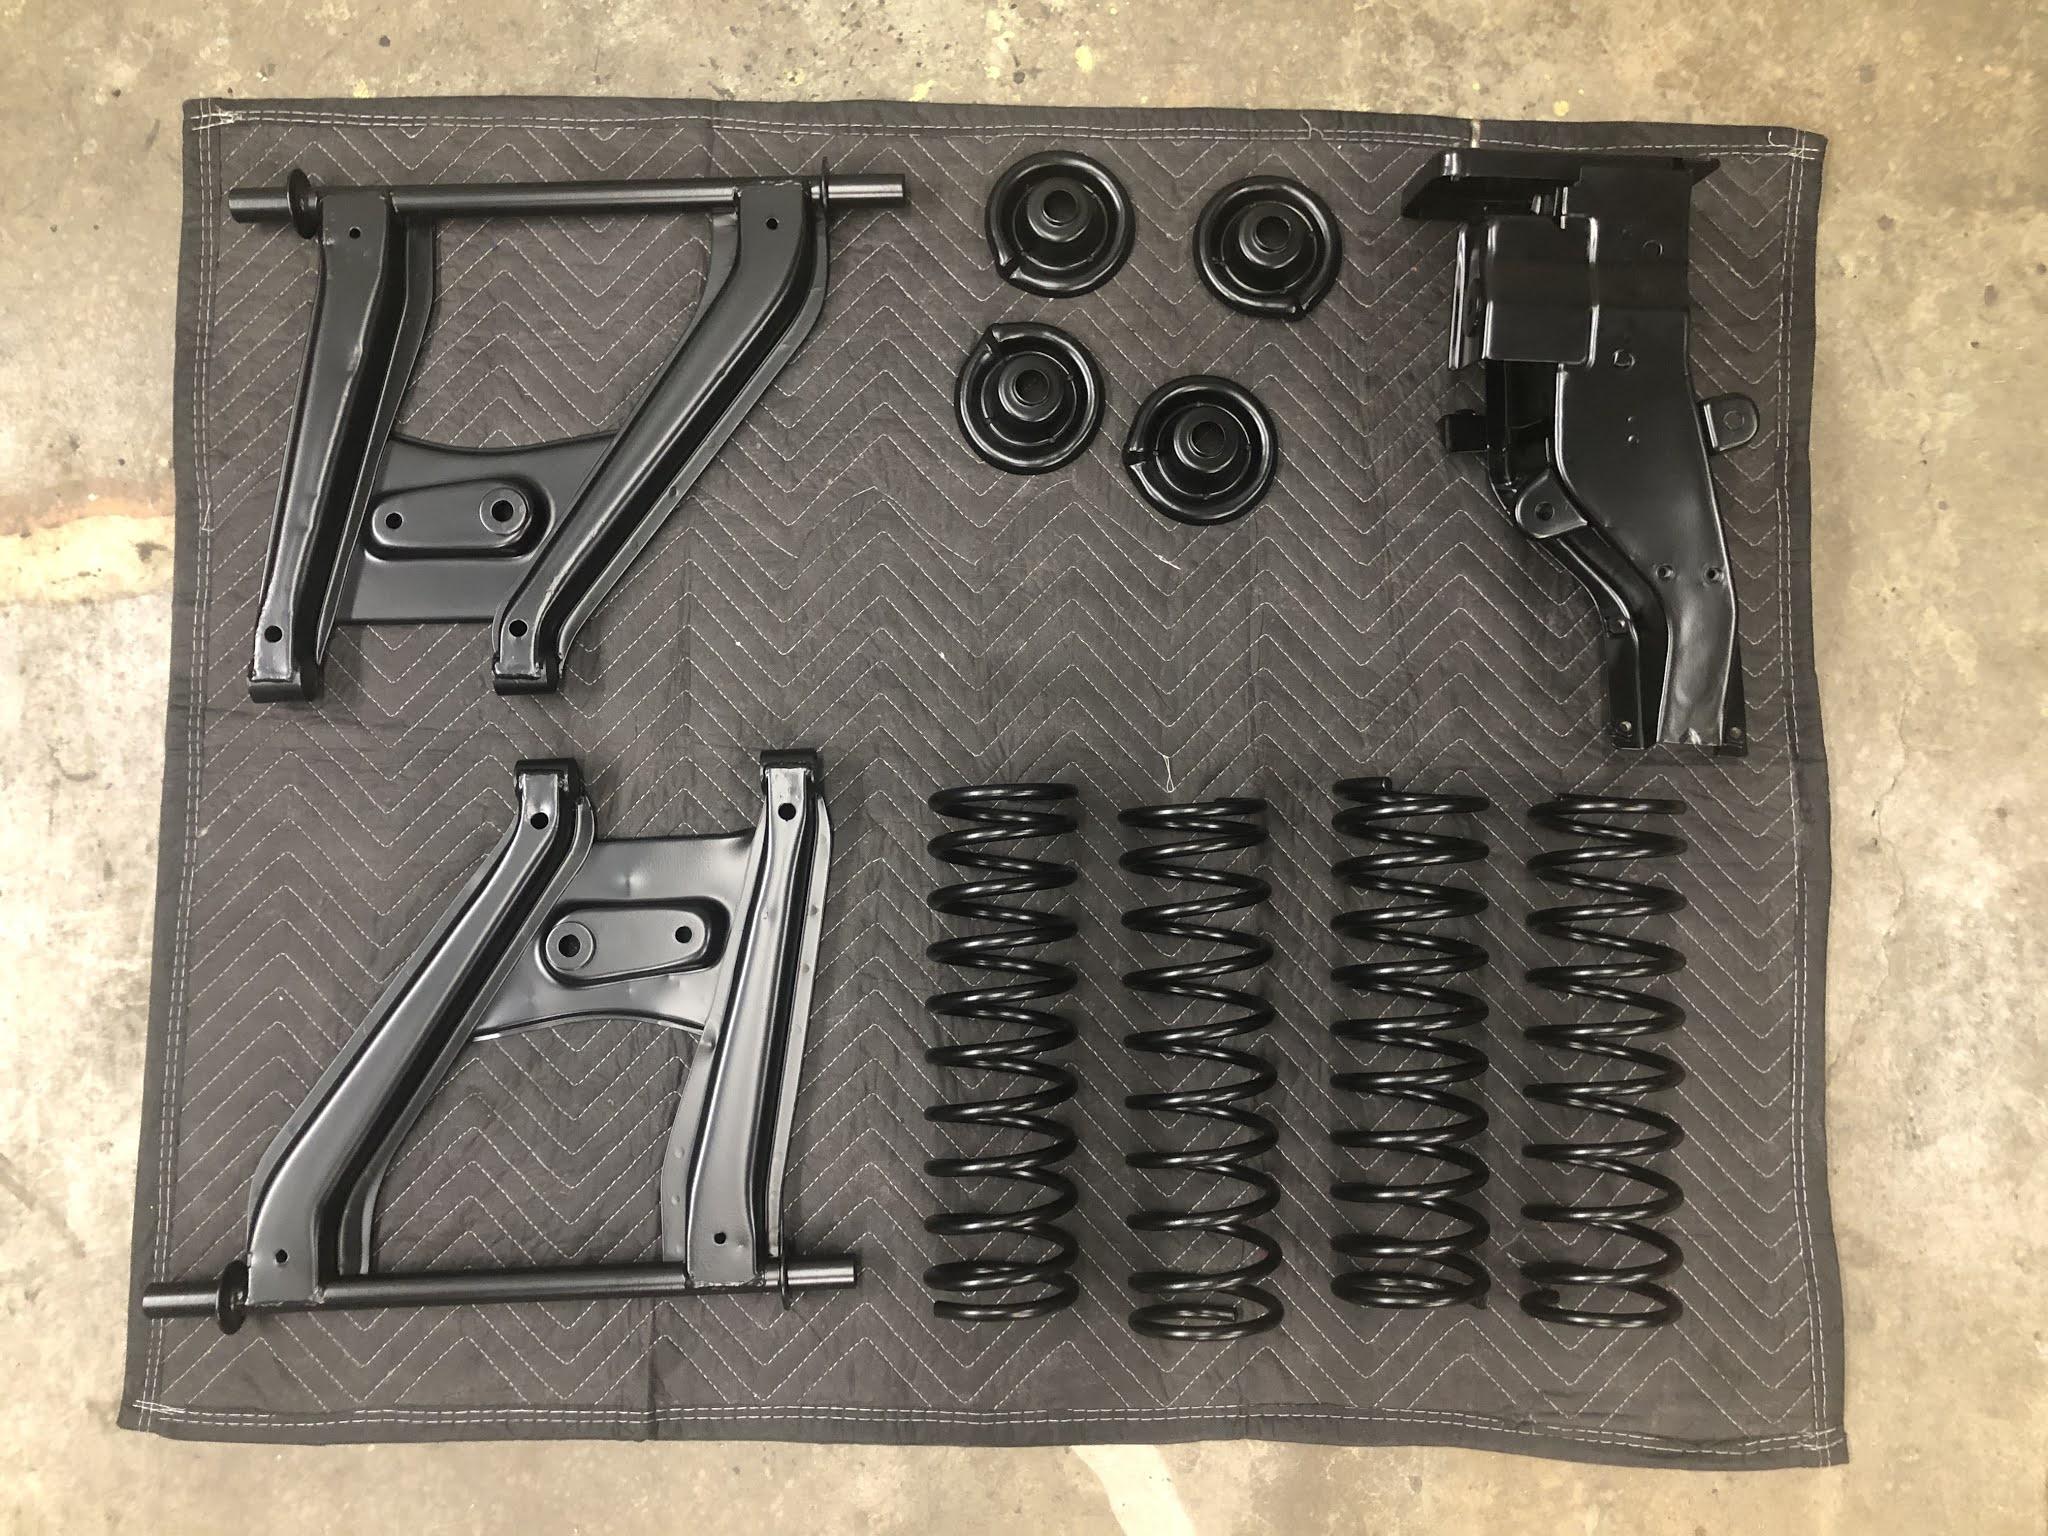
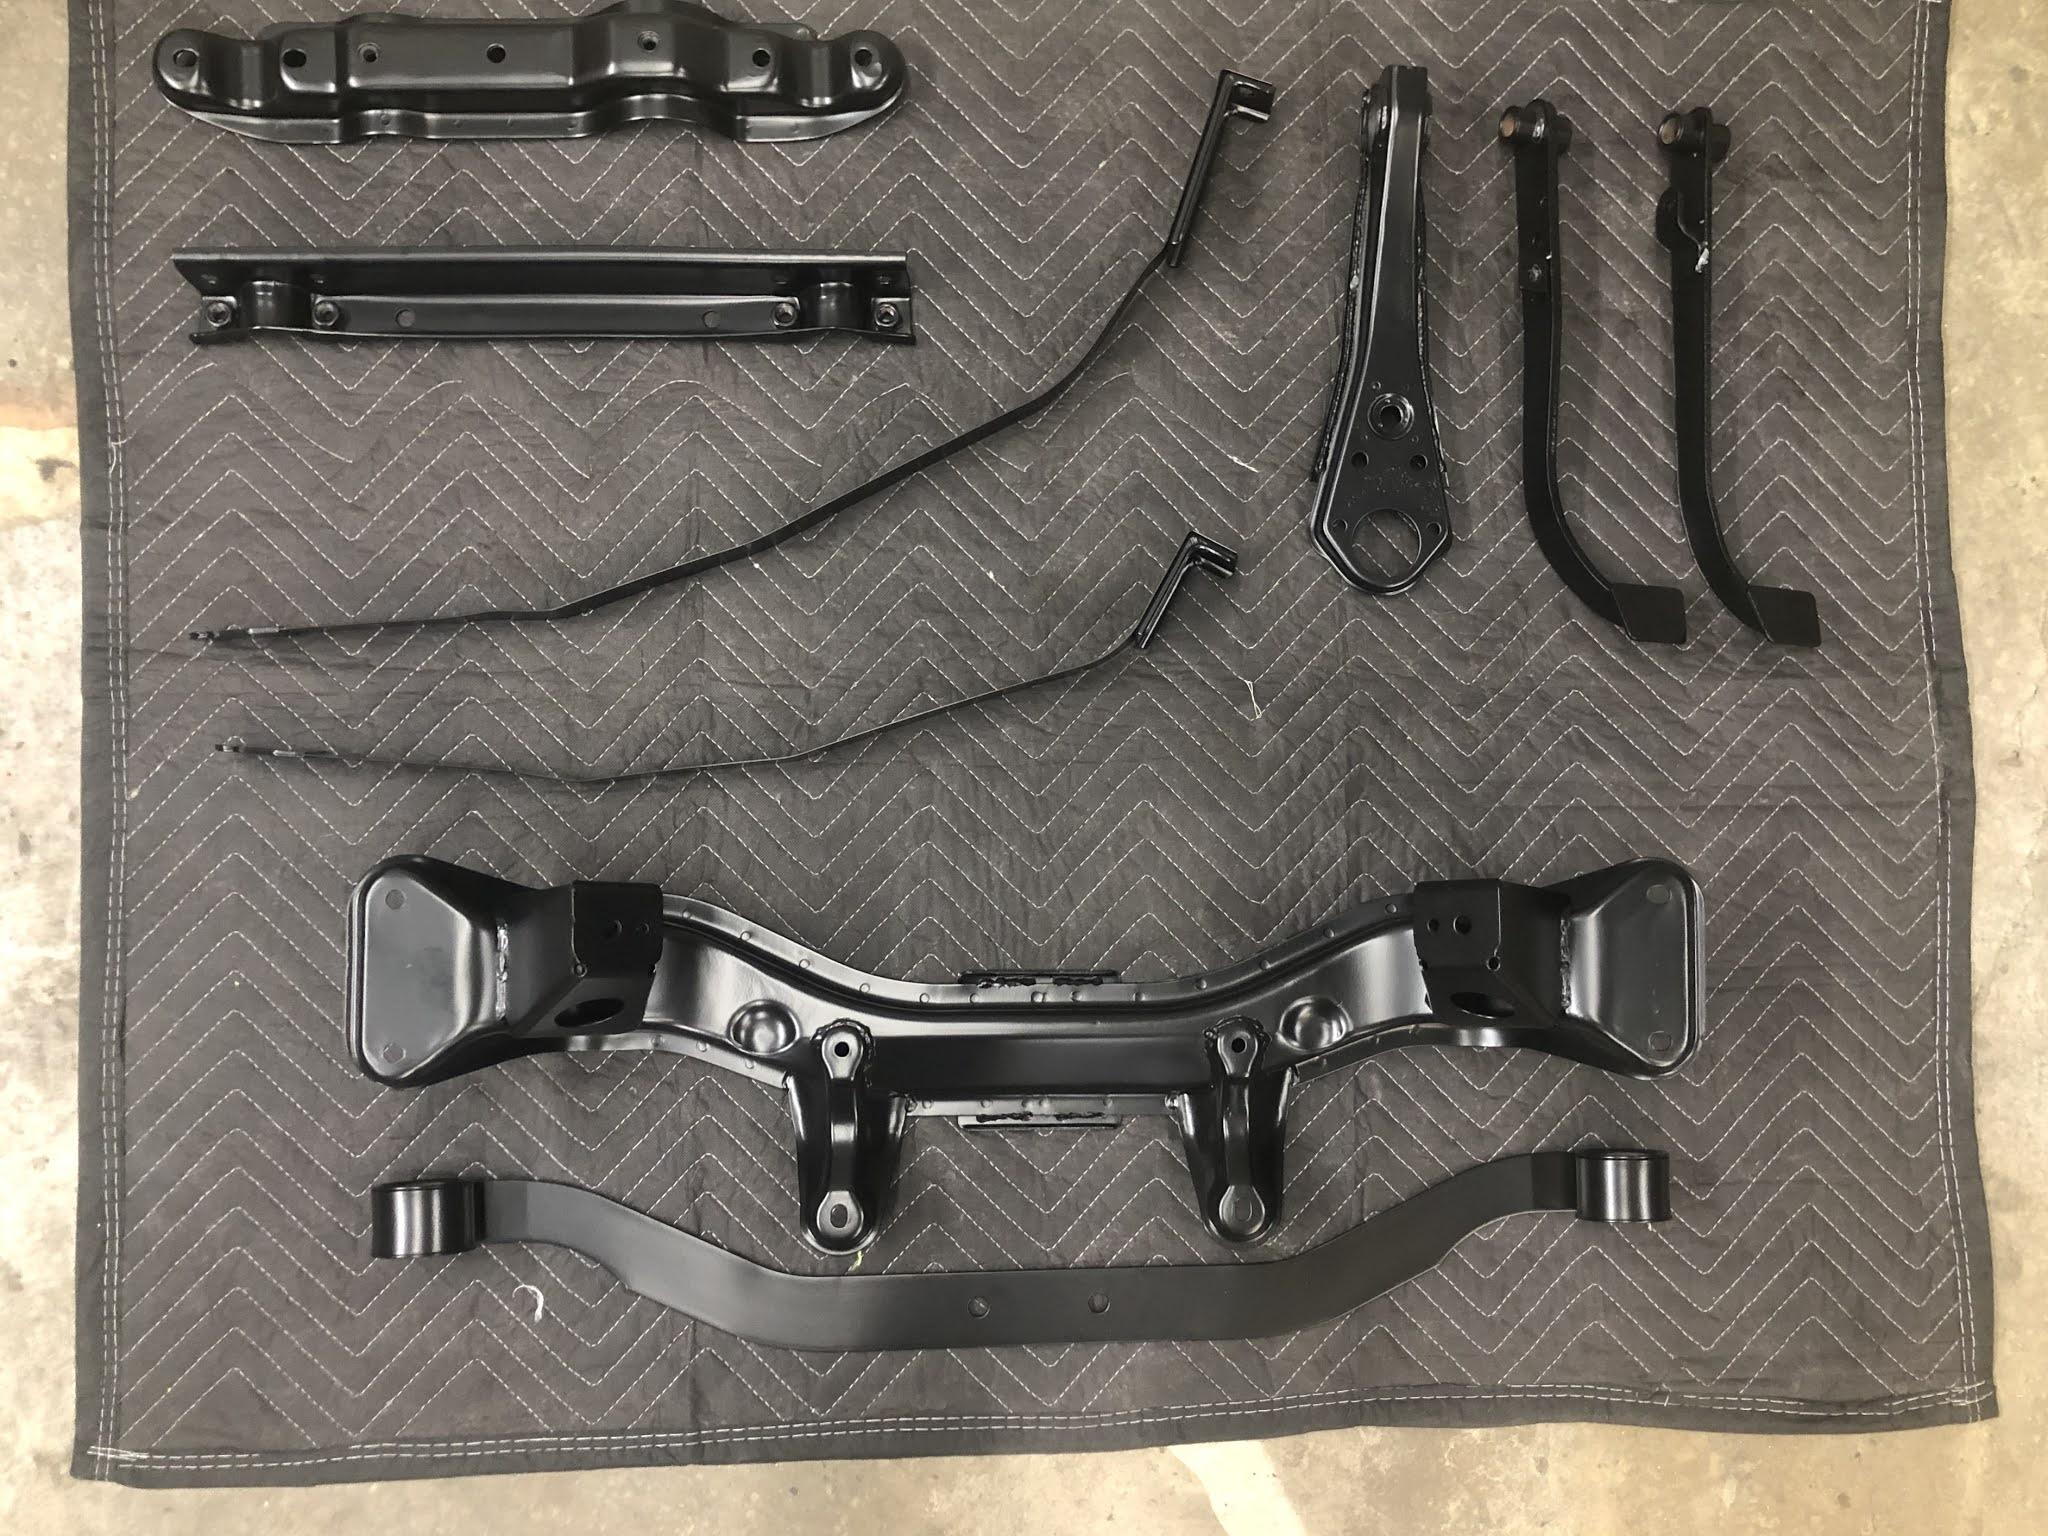
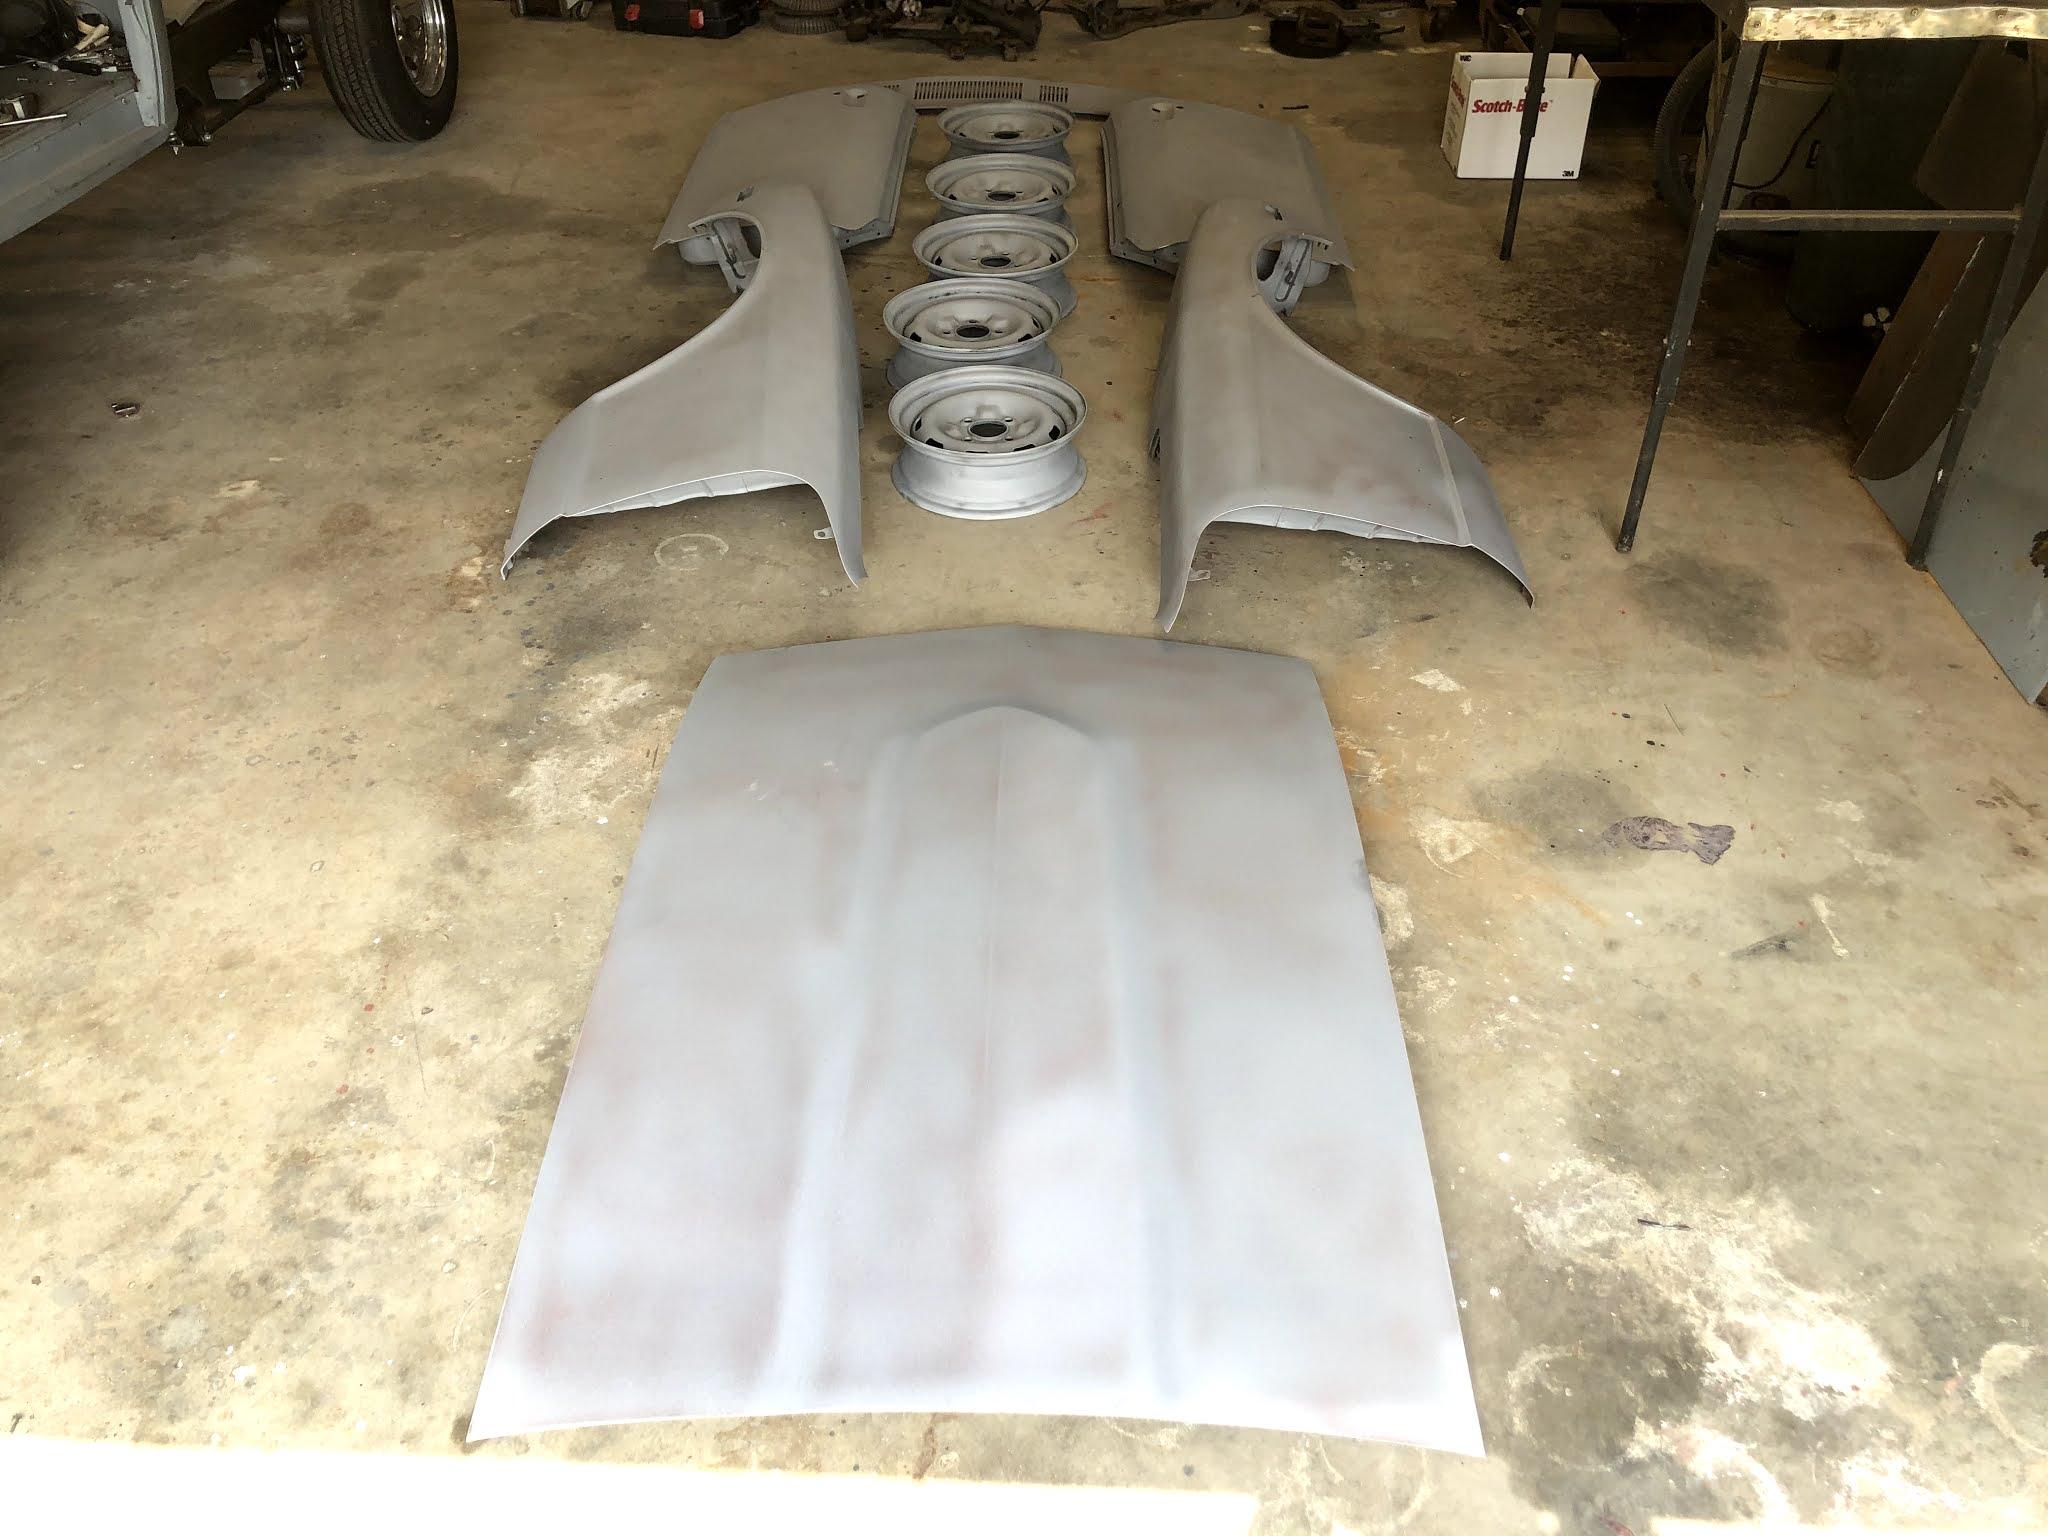
Another big accomplishment on the Z, all the parts came back from powder coating. They look GREAT, super happy with the quality of work from the guys at Quality Powder Coating (oil pan and a few smaller bits didn't make the shot).

-
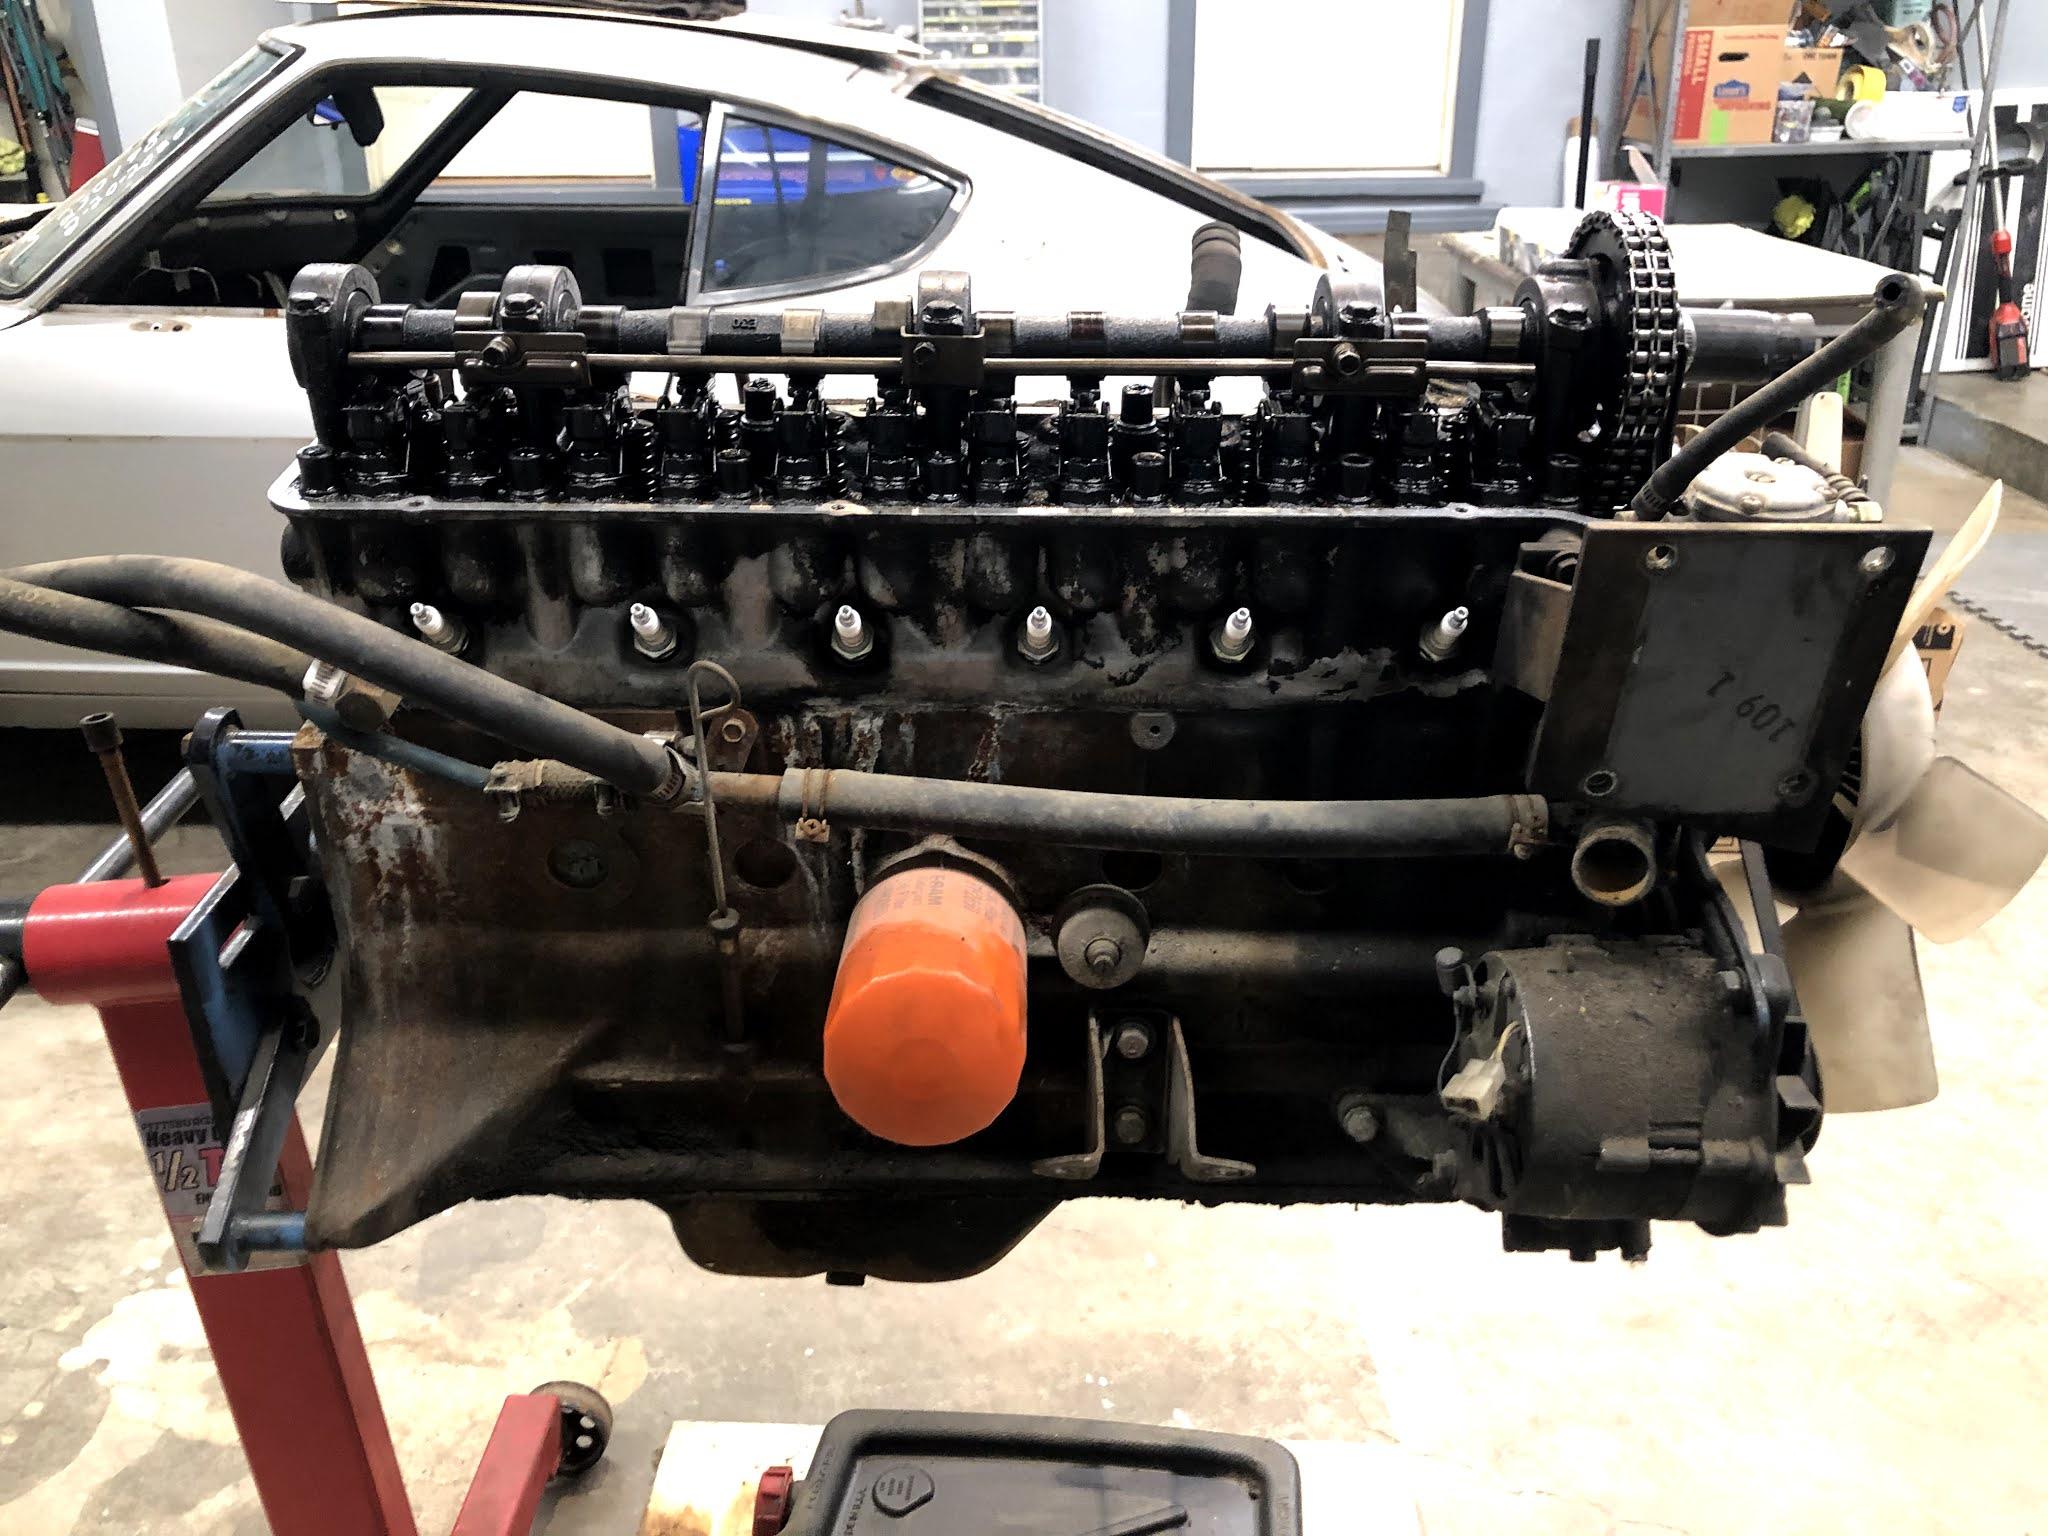
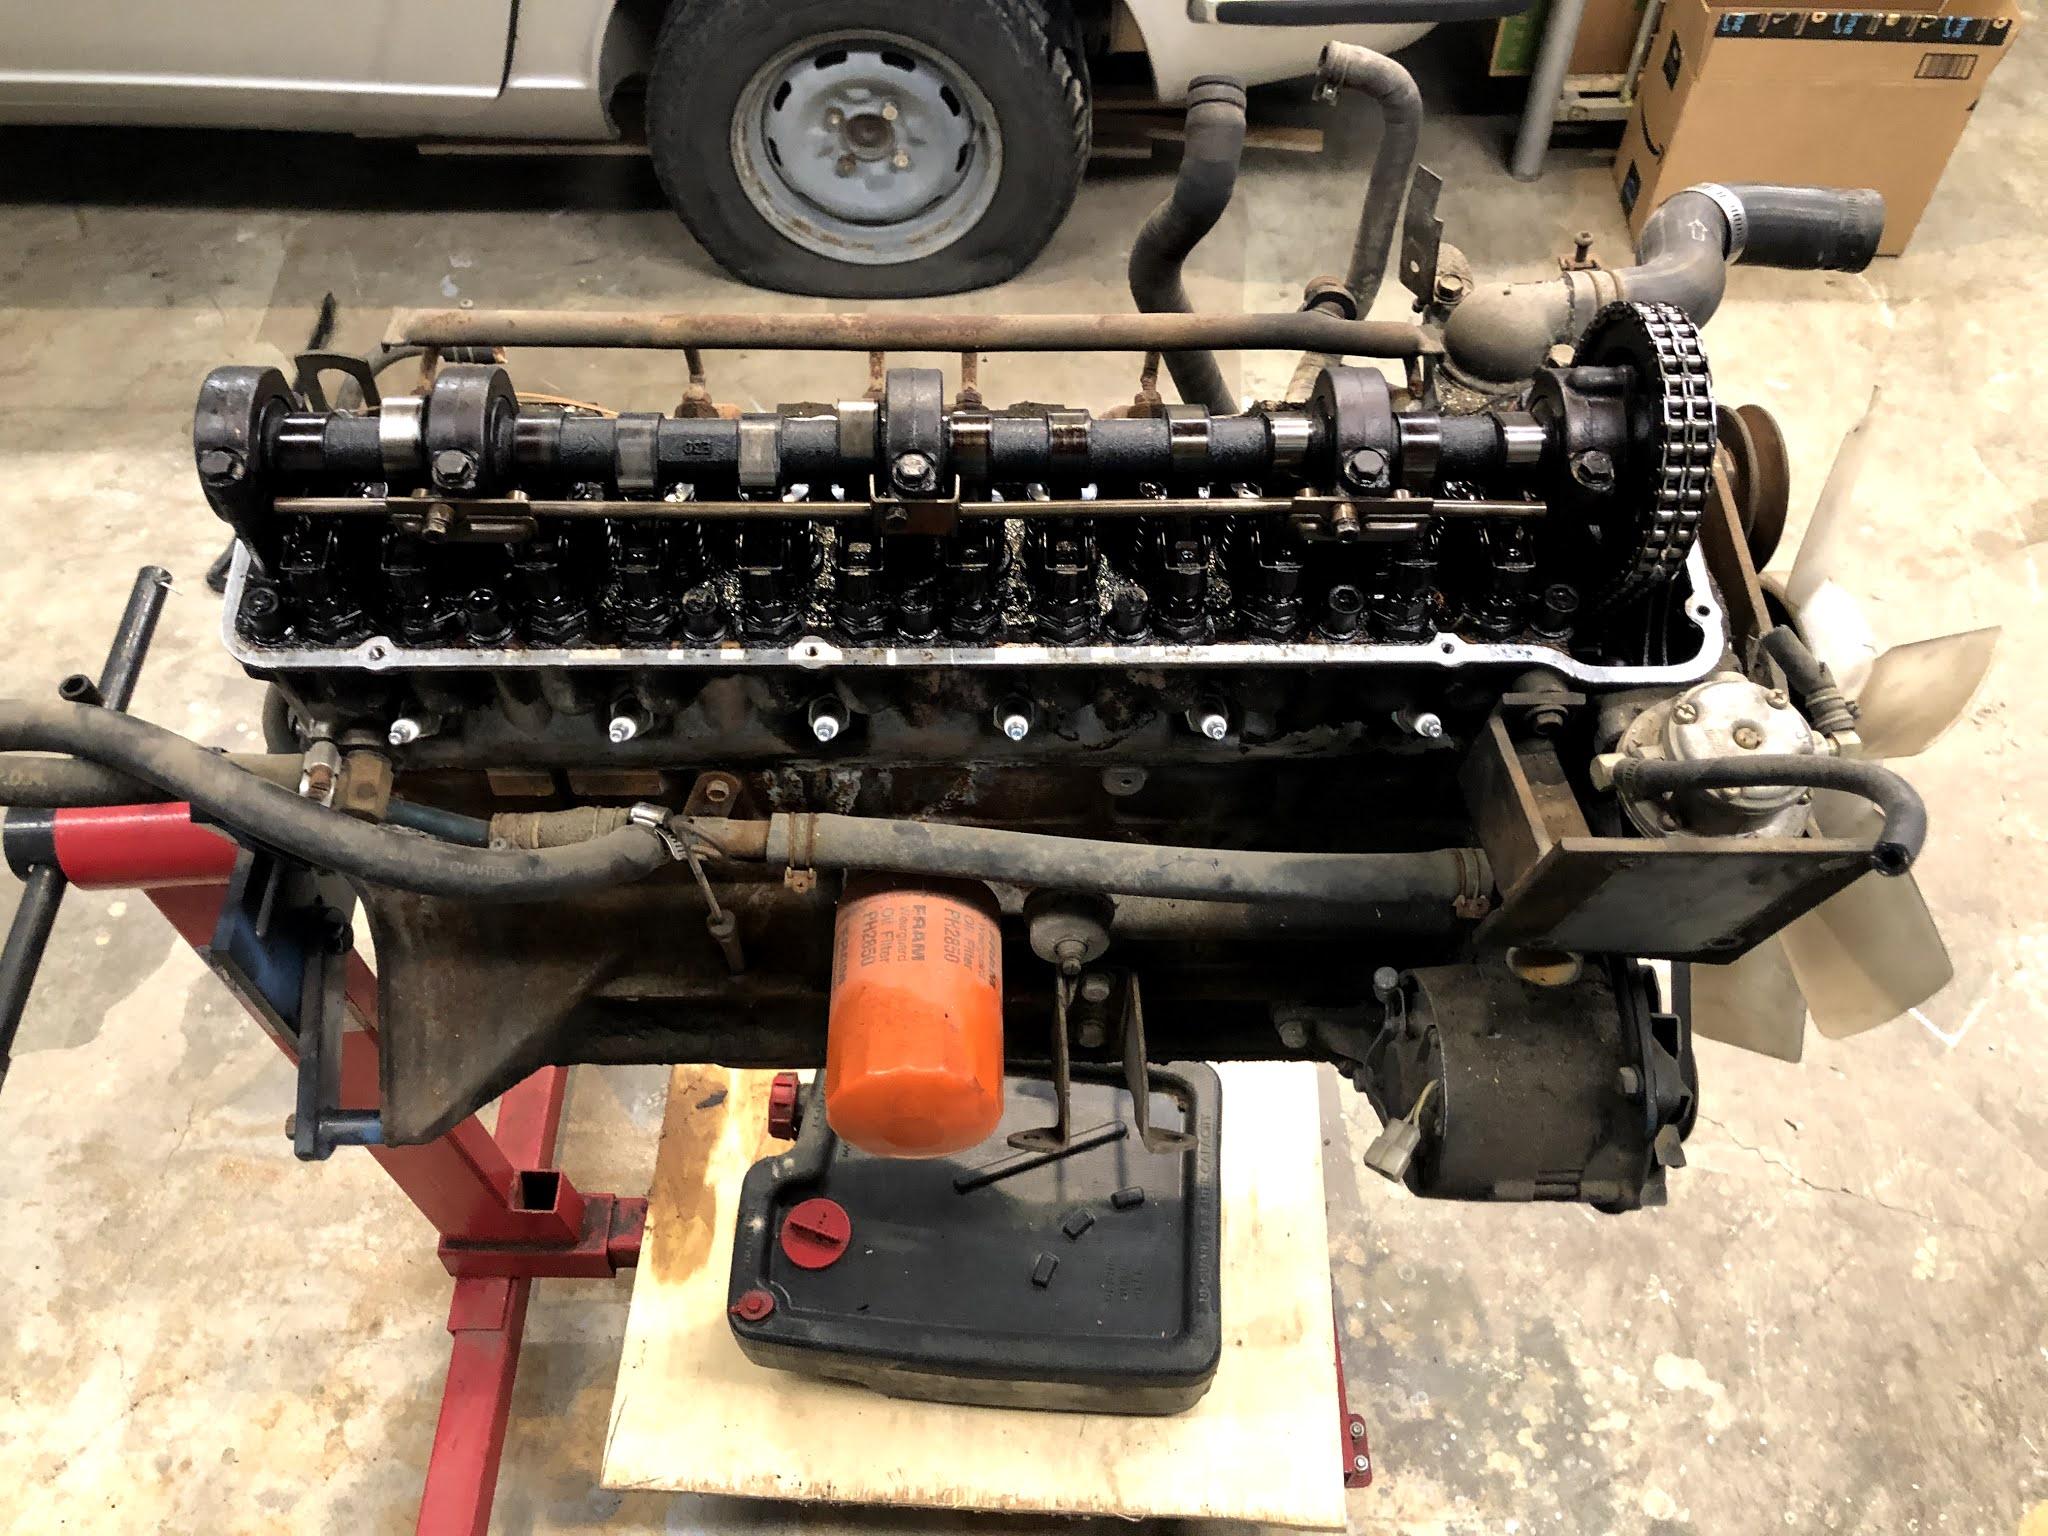
I was looking through the build photos I have of a L28 we did two years ago. An ITM kit was used on that one as well, but I can't recall any difference between the OEM slack guide and the one supplied. But no final fitment issues occurred.
-
Based on those photos and looking closer at what’s on the engine, I have a 240/260 version of the slack guide in part geometry, but the slot feature at the bottom is just a clearance hole on mine. Almost a hybrid between the two.
-
Based on the photo comparison you have of the 240z and later 280z slack guides, the overall length of what I have matches what came off my 71 and what was supplied in the kit. However, the unique lower slot feature appears to be different between the two. If it helps you sleep better at night, I have used an ITM timing set for the 280z before on L28s with no issues.
-
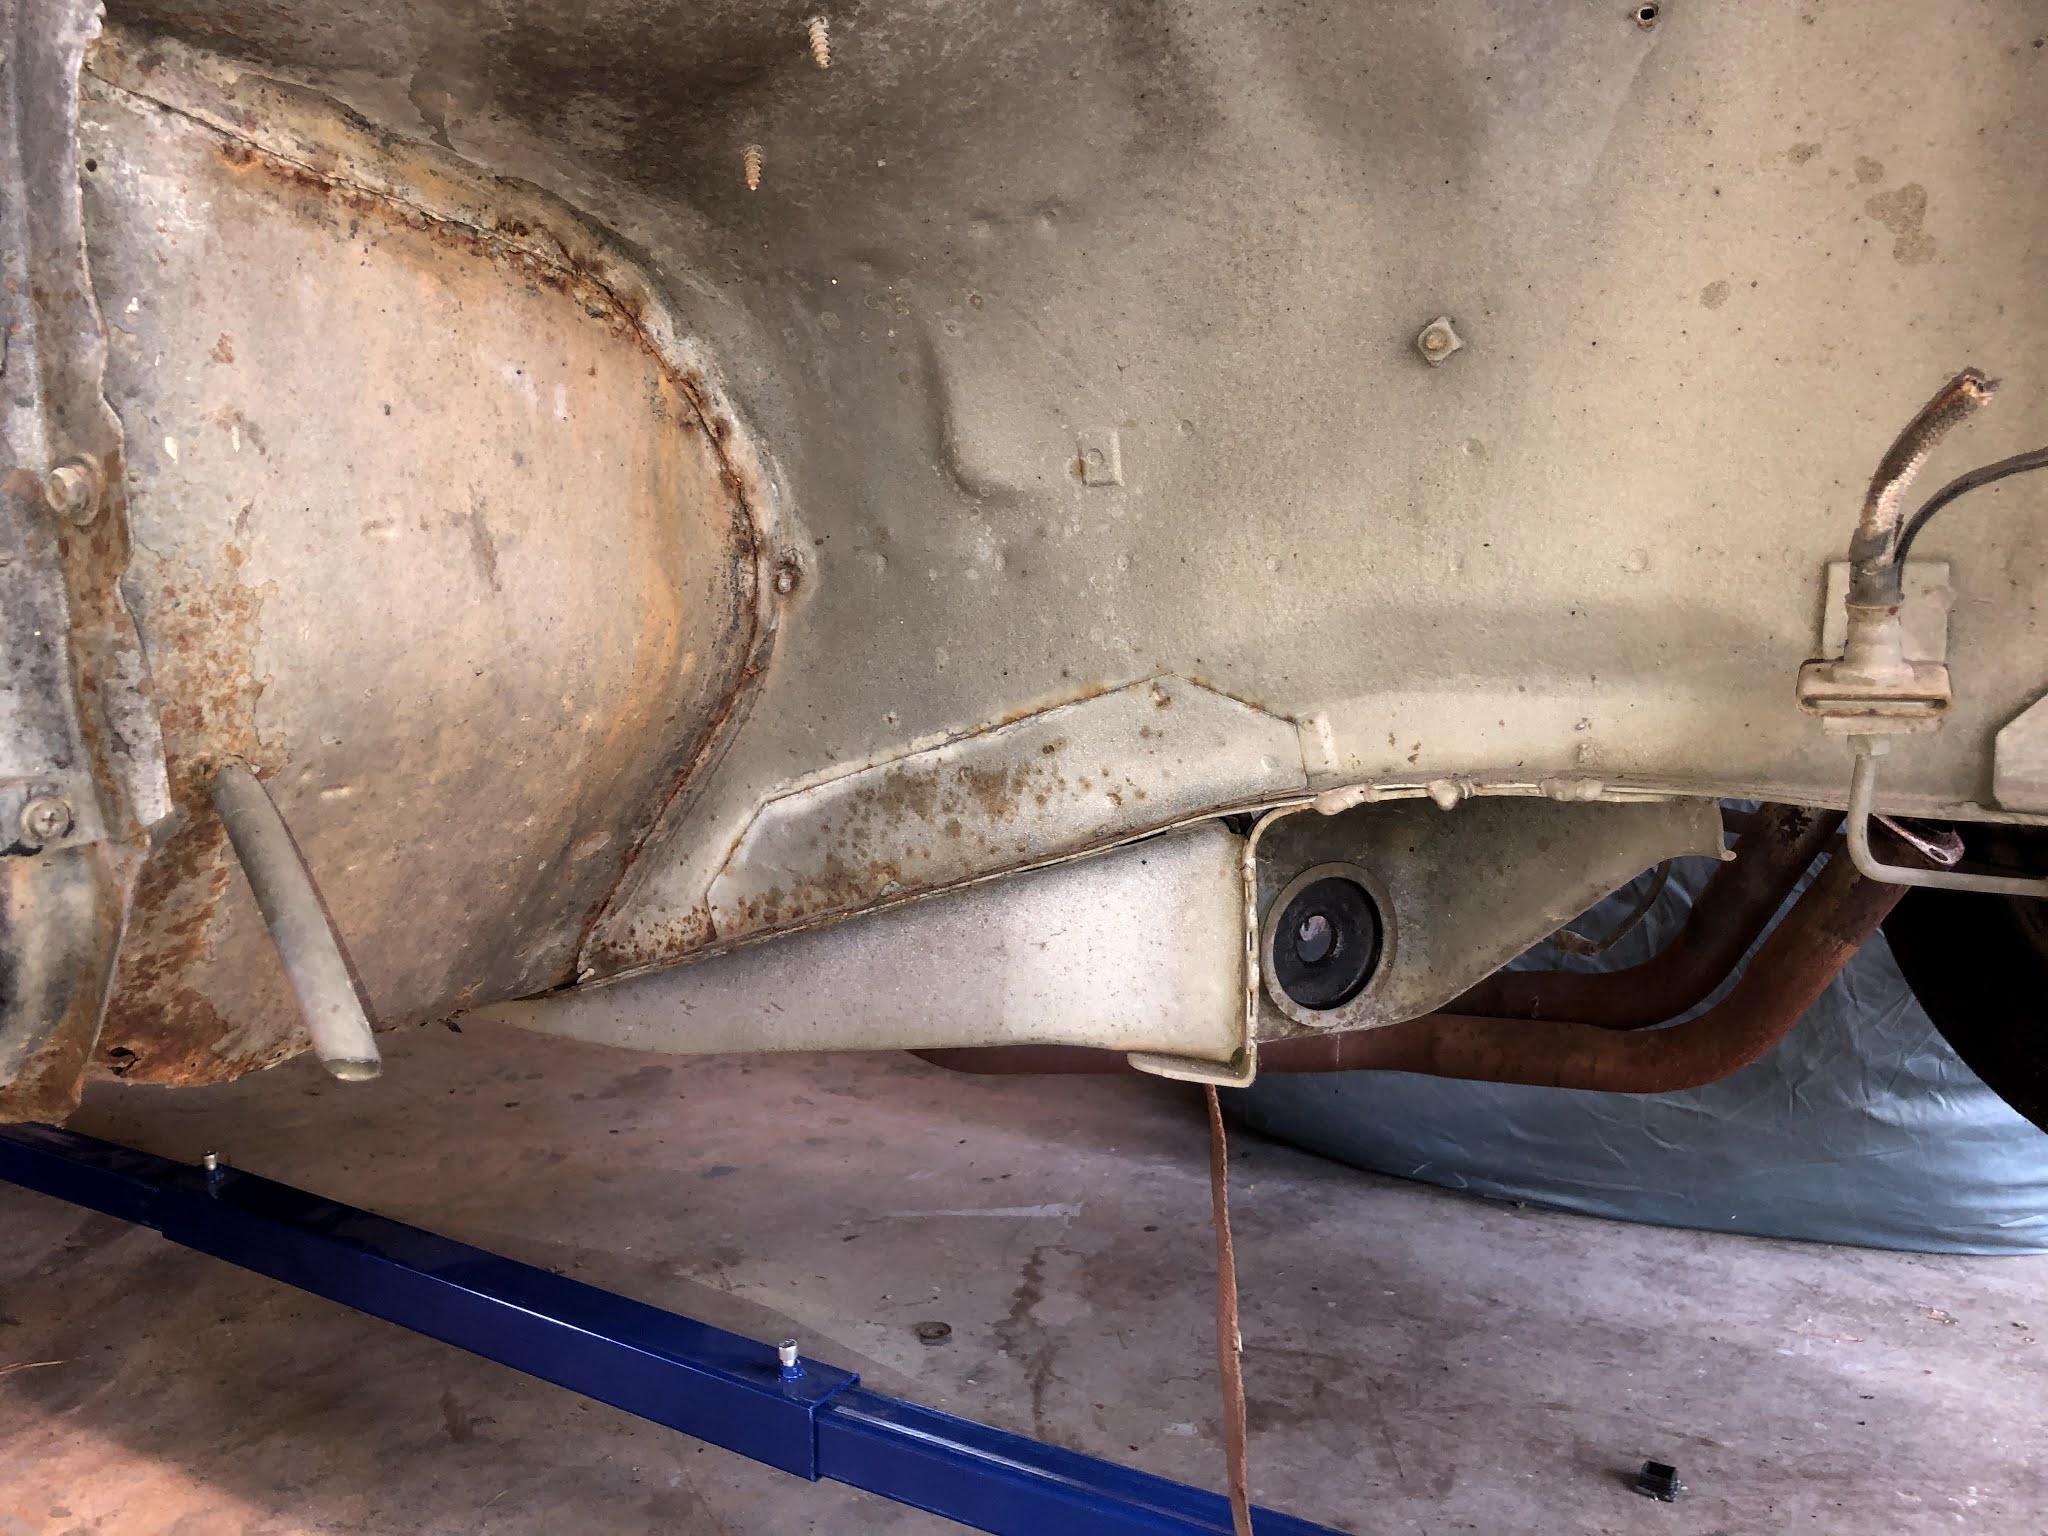
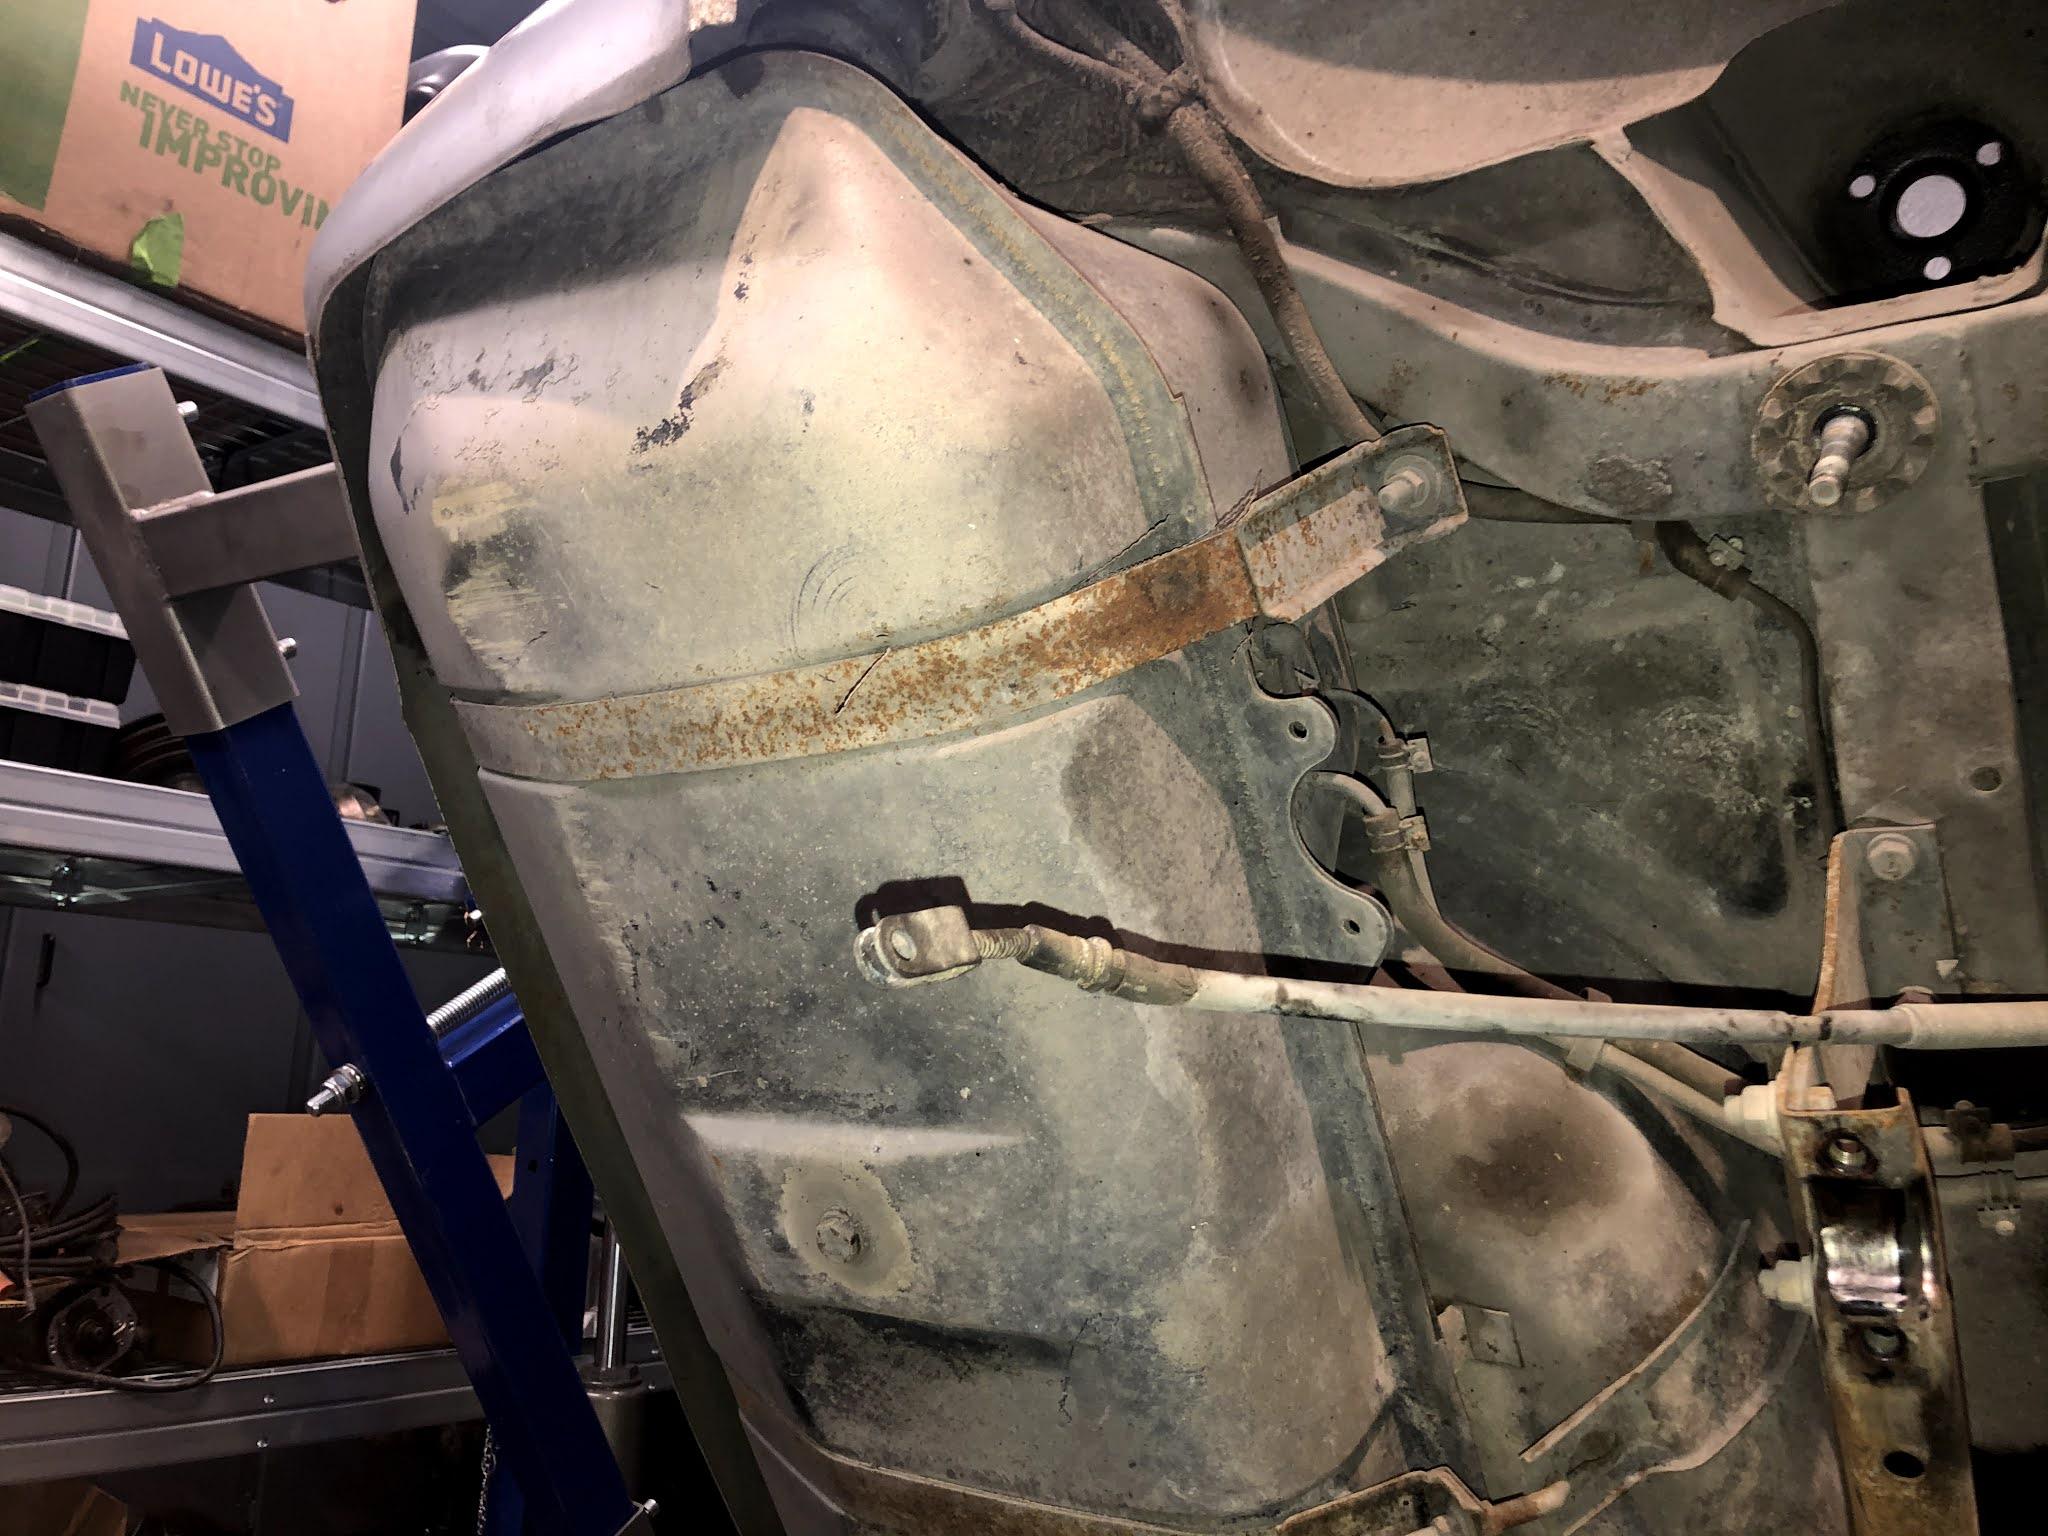
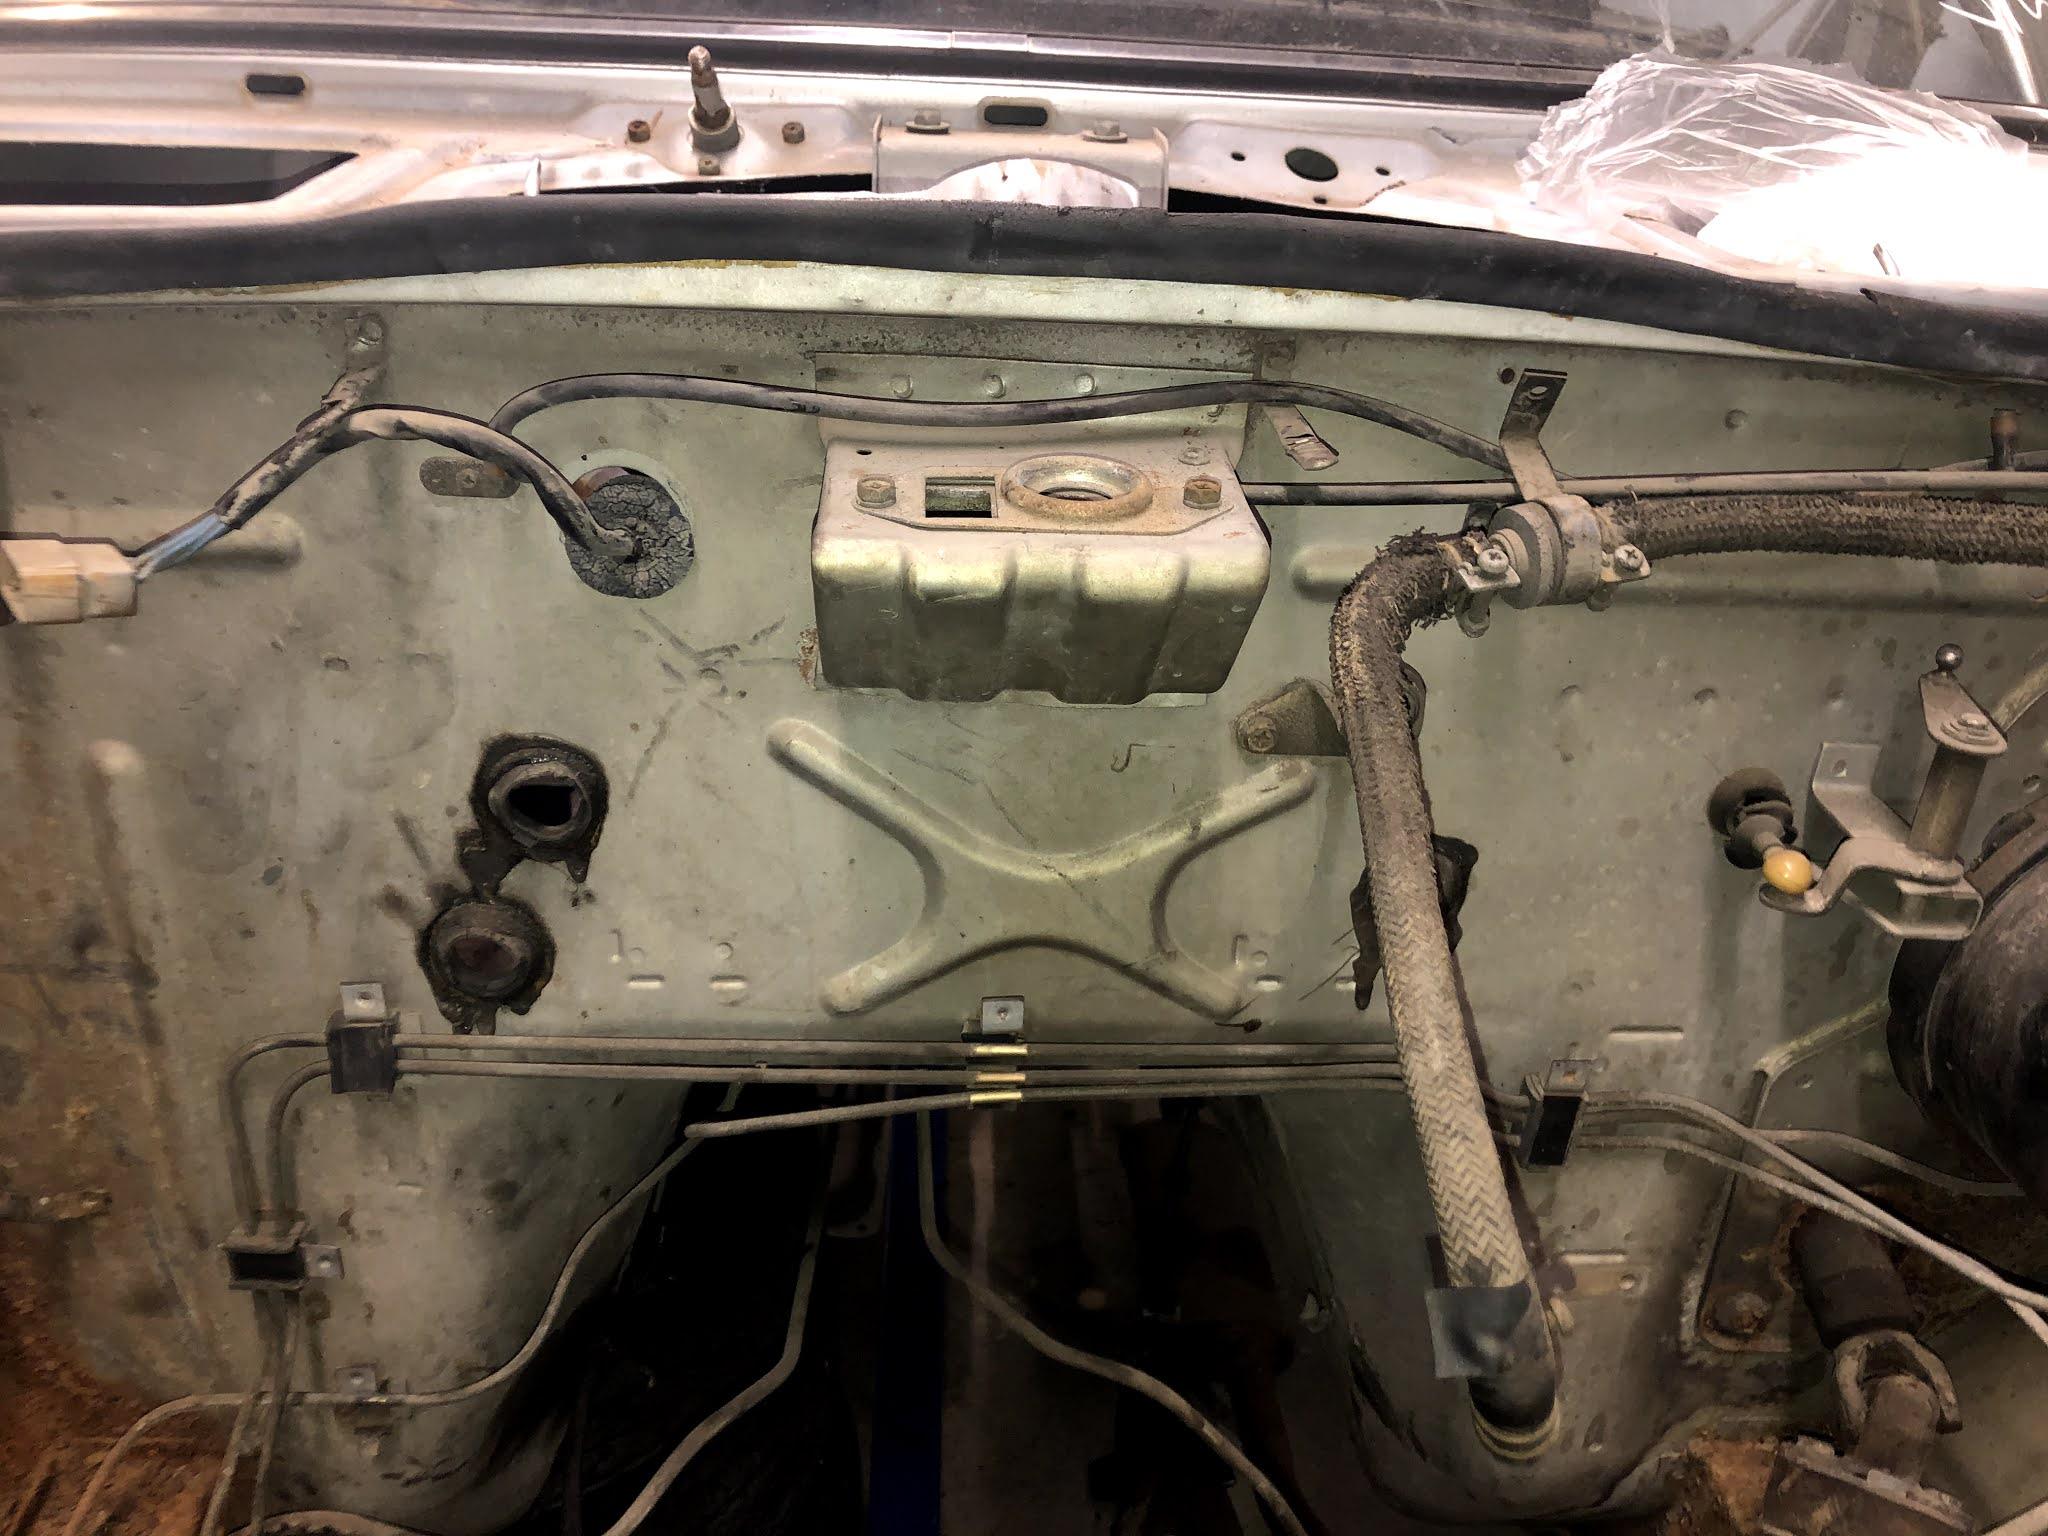
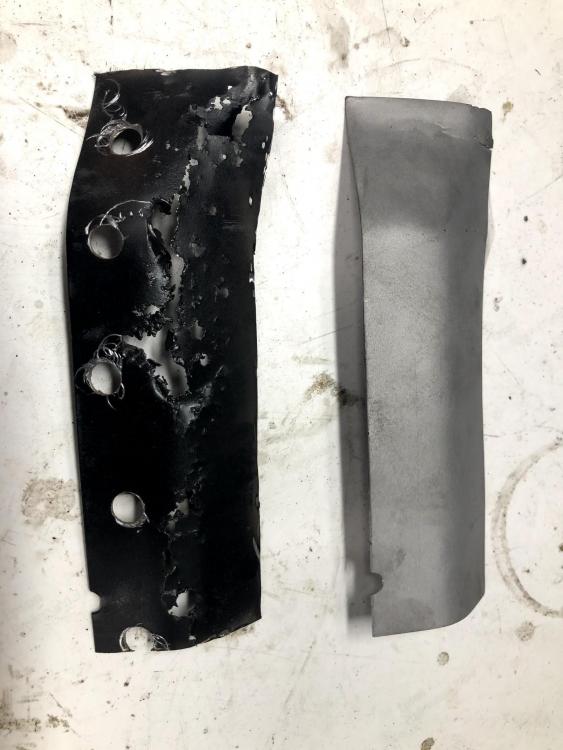
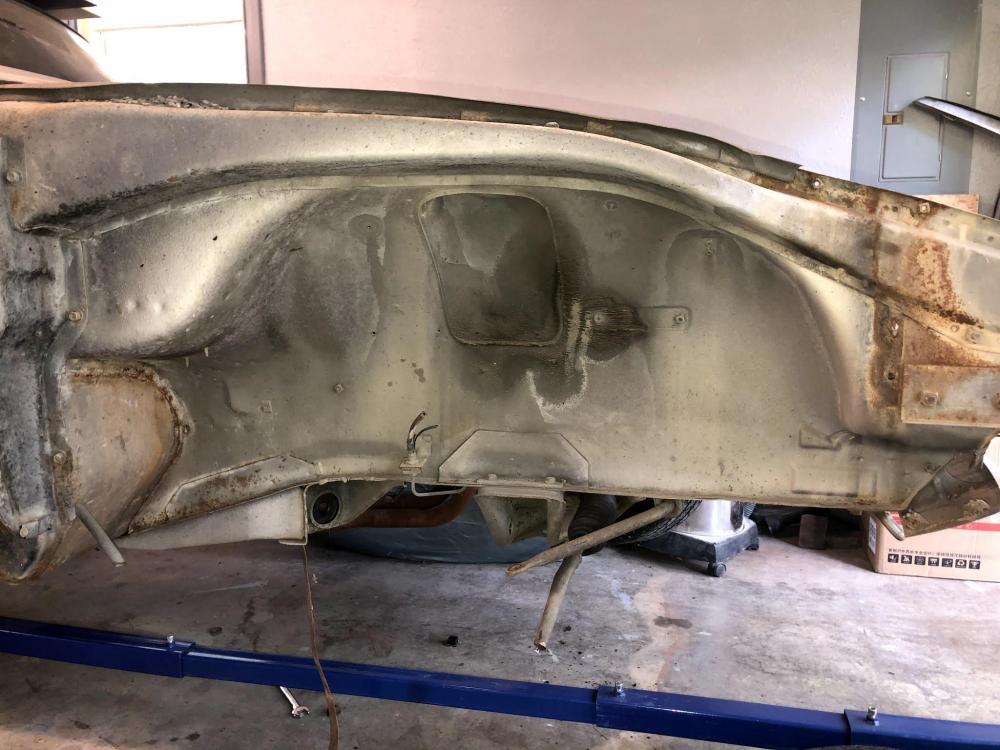
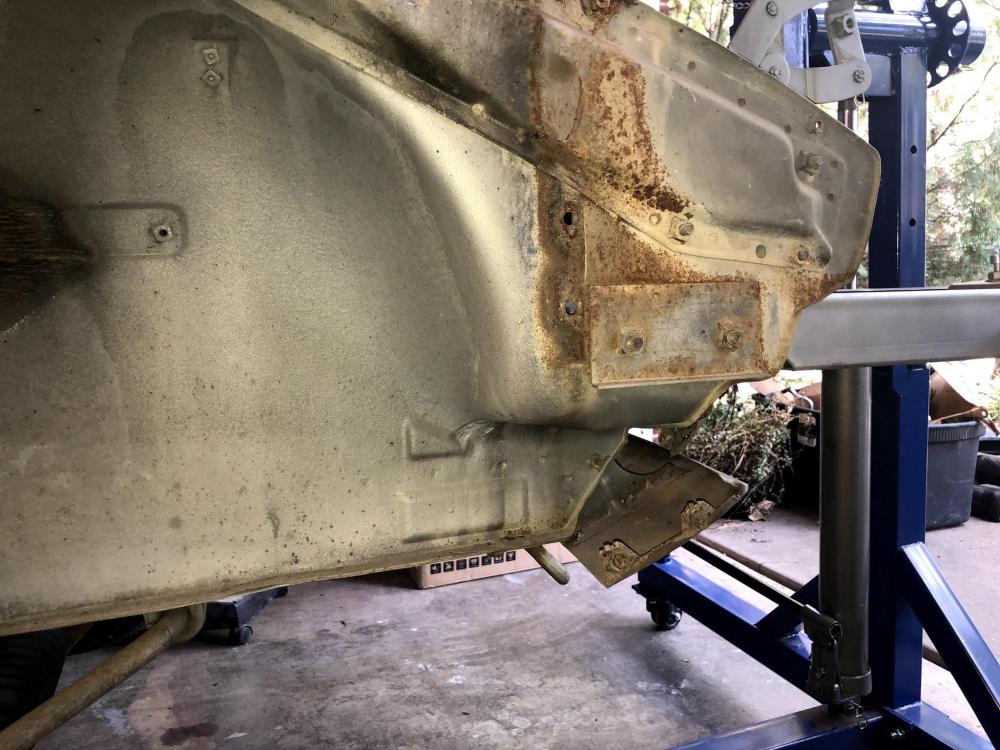
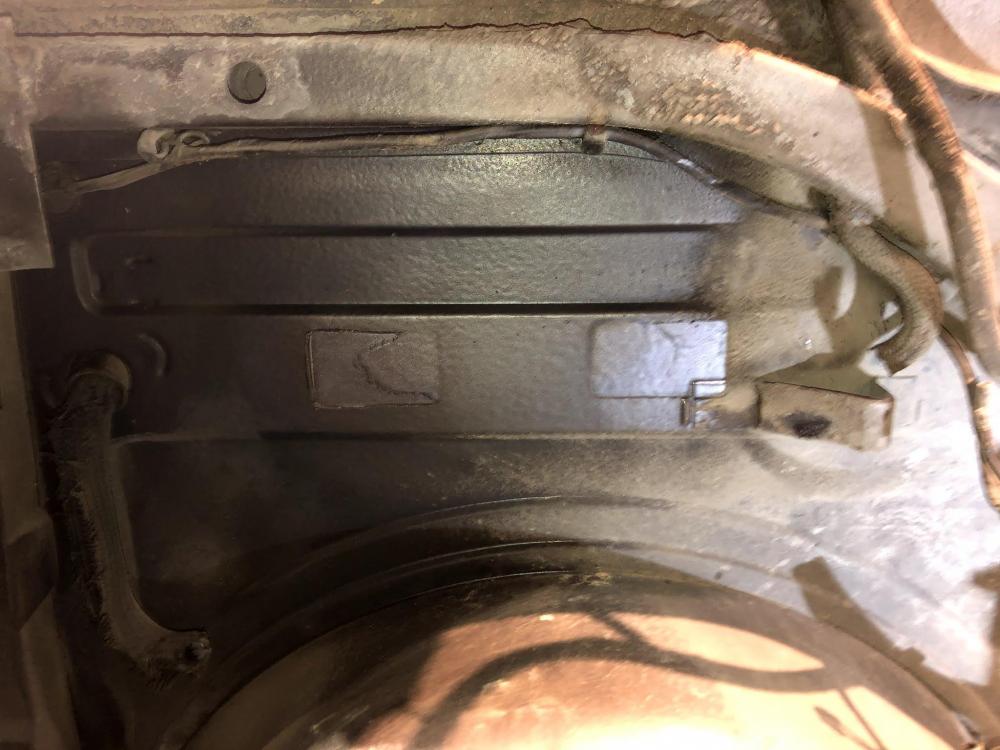
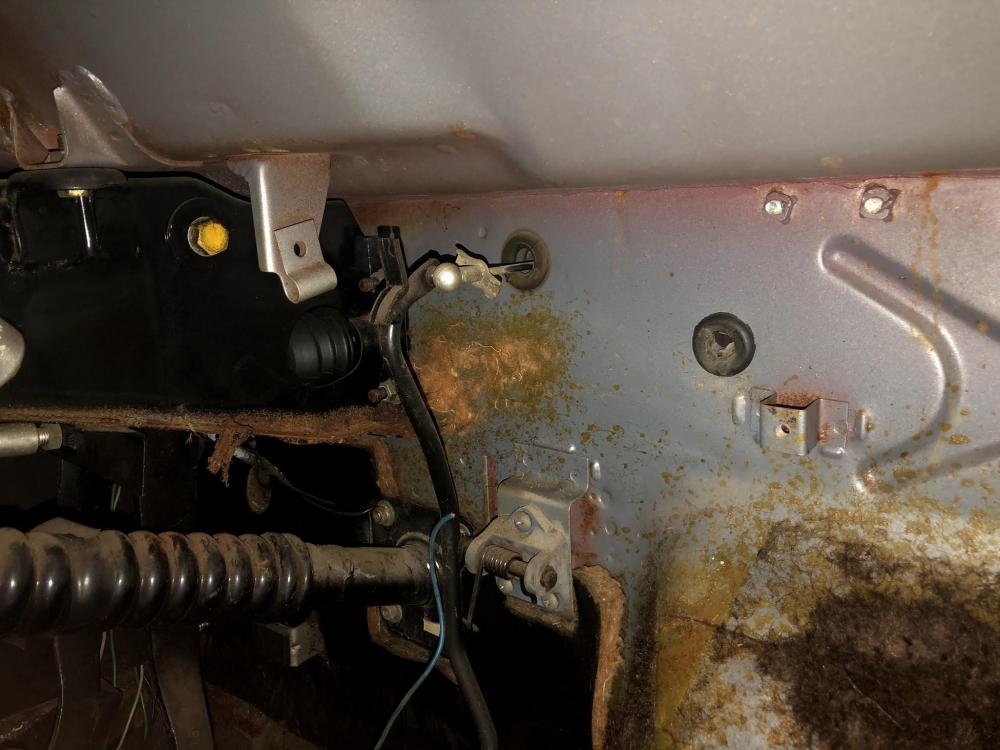
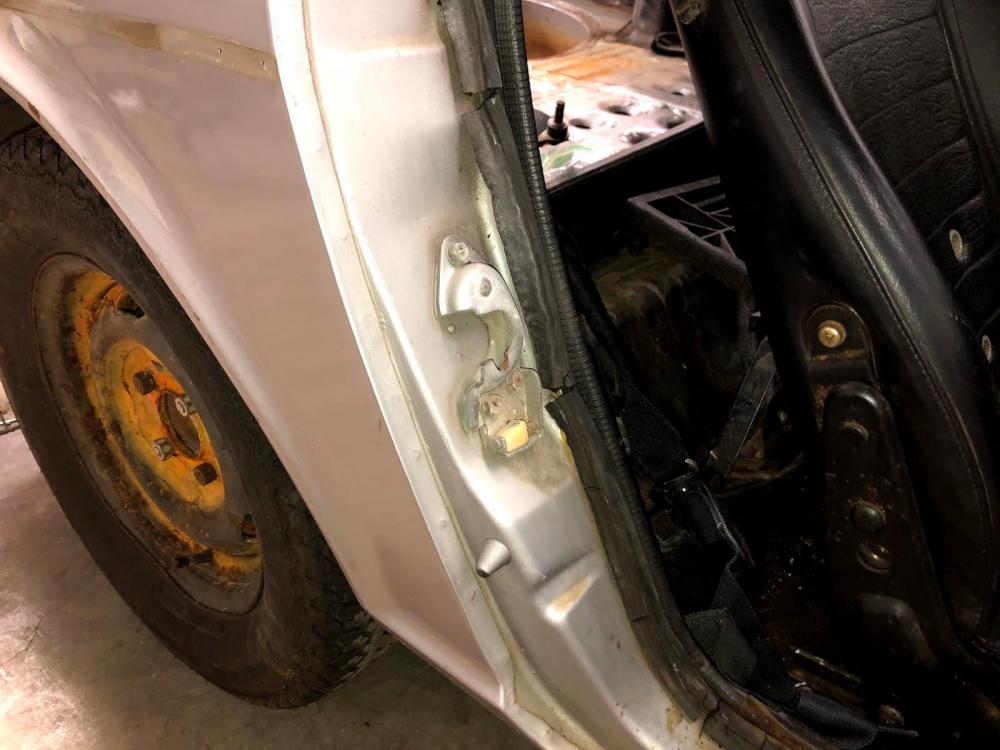
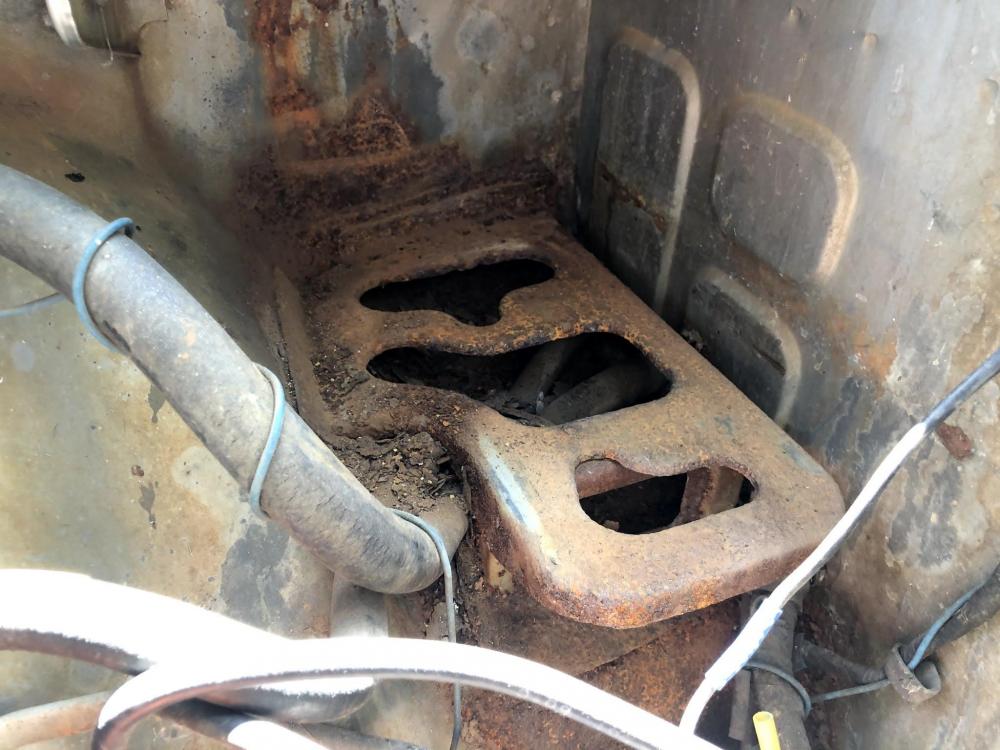
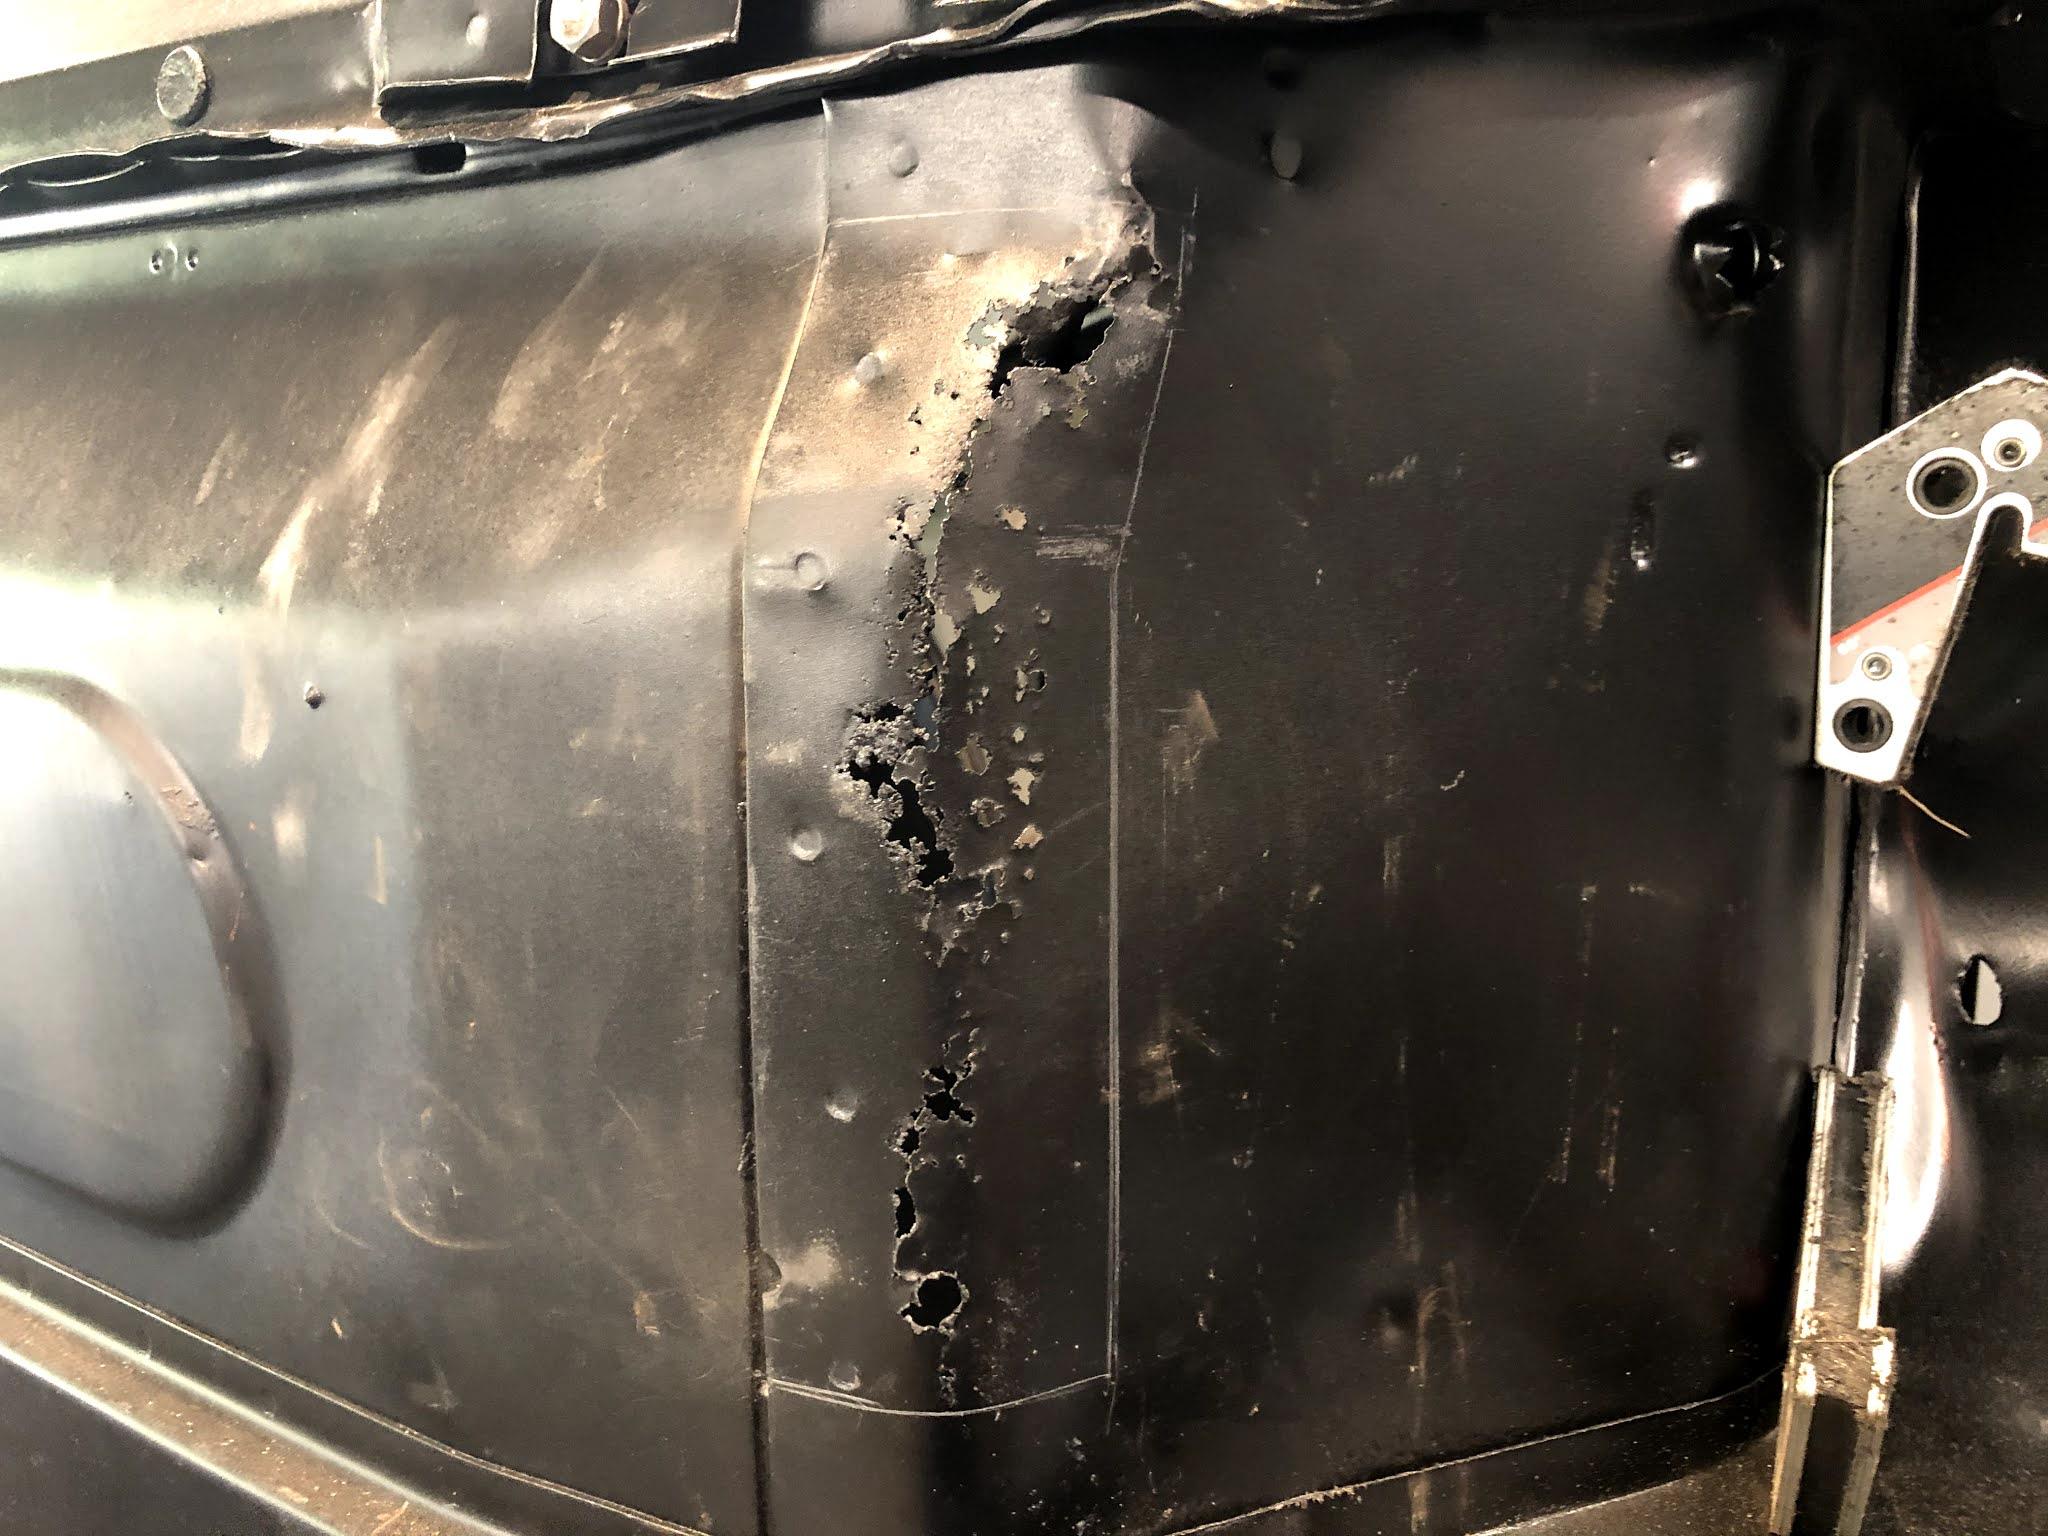
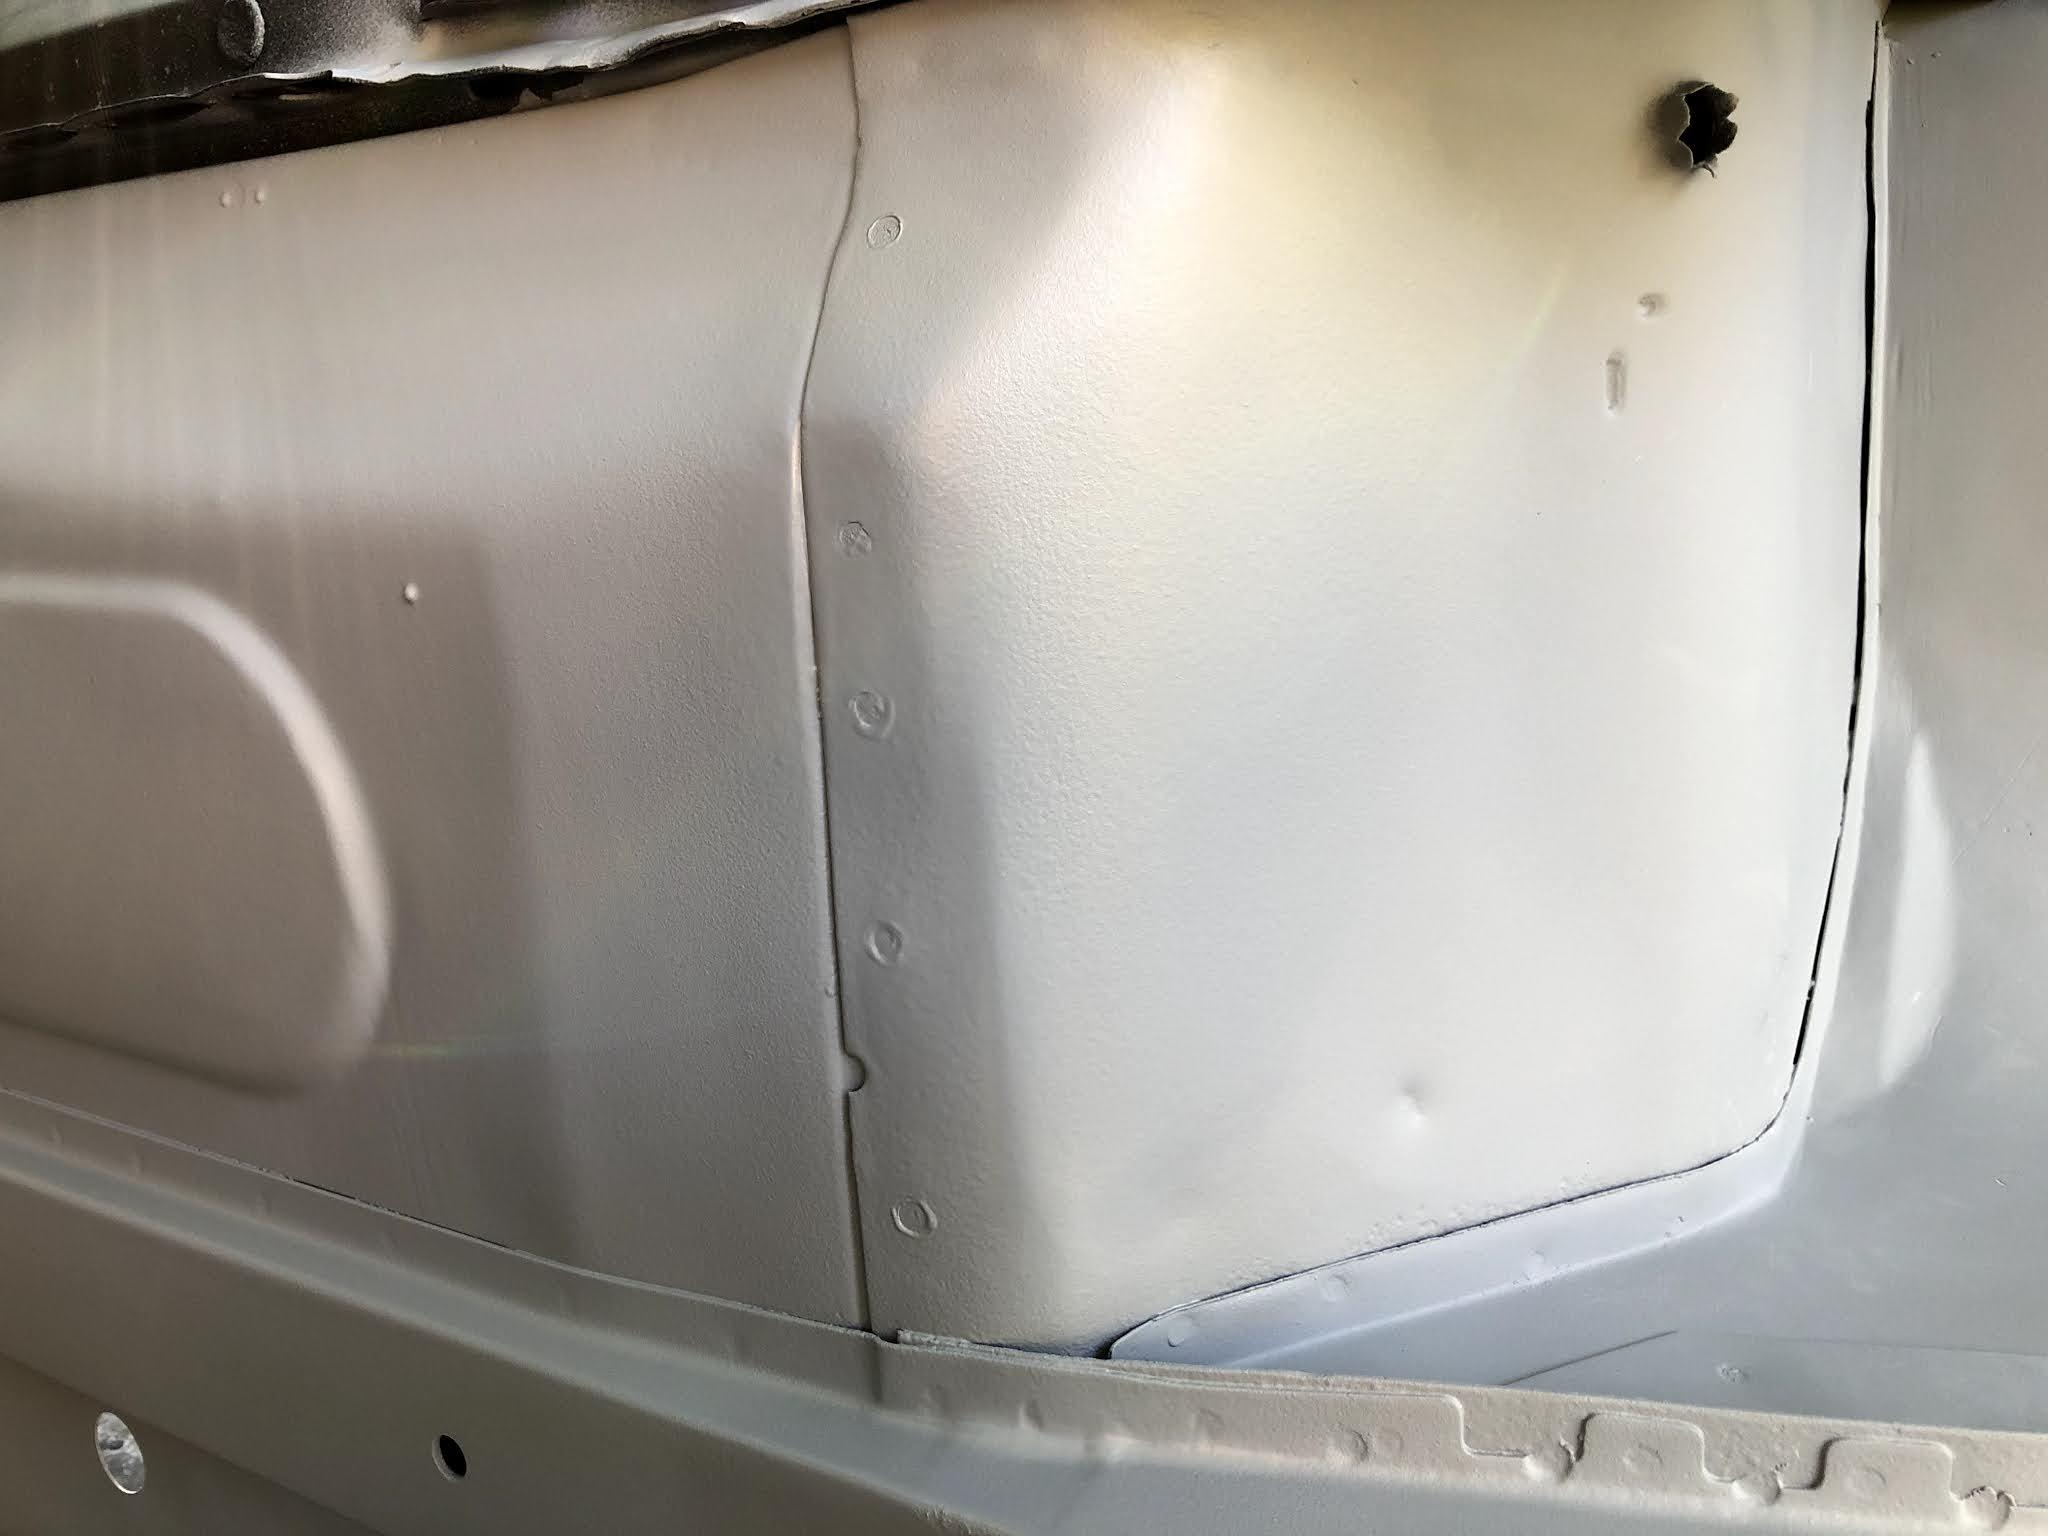
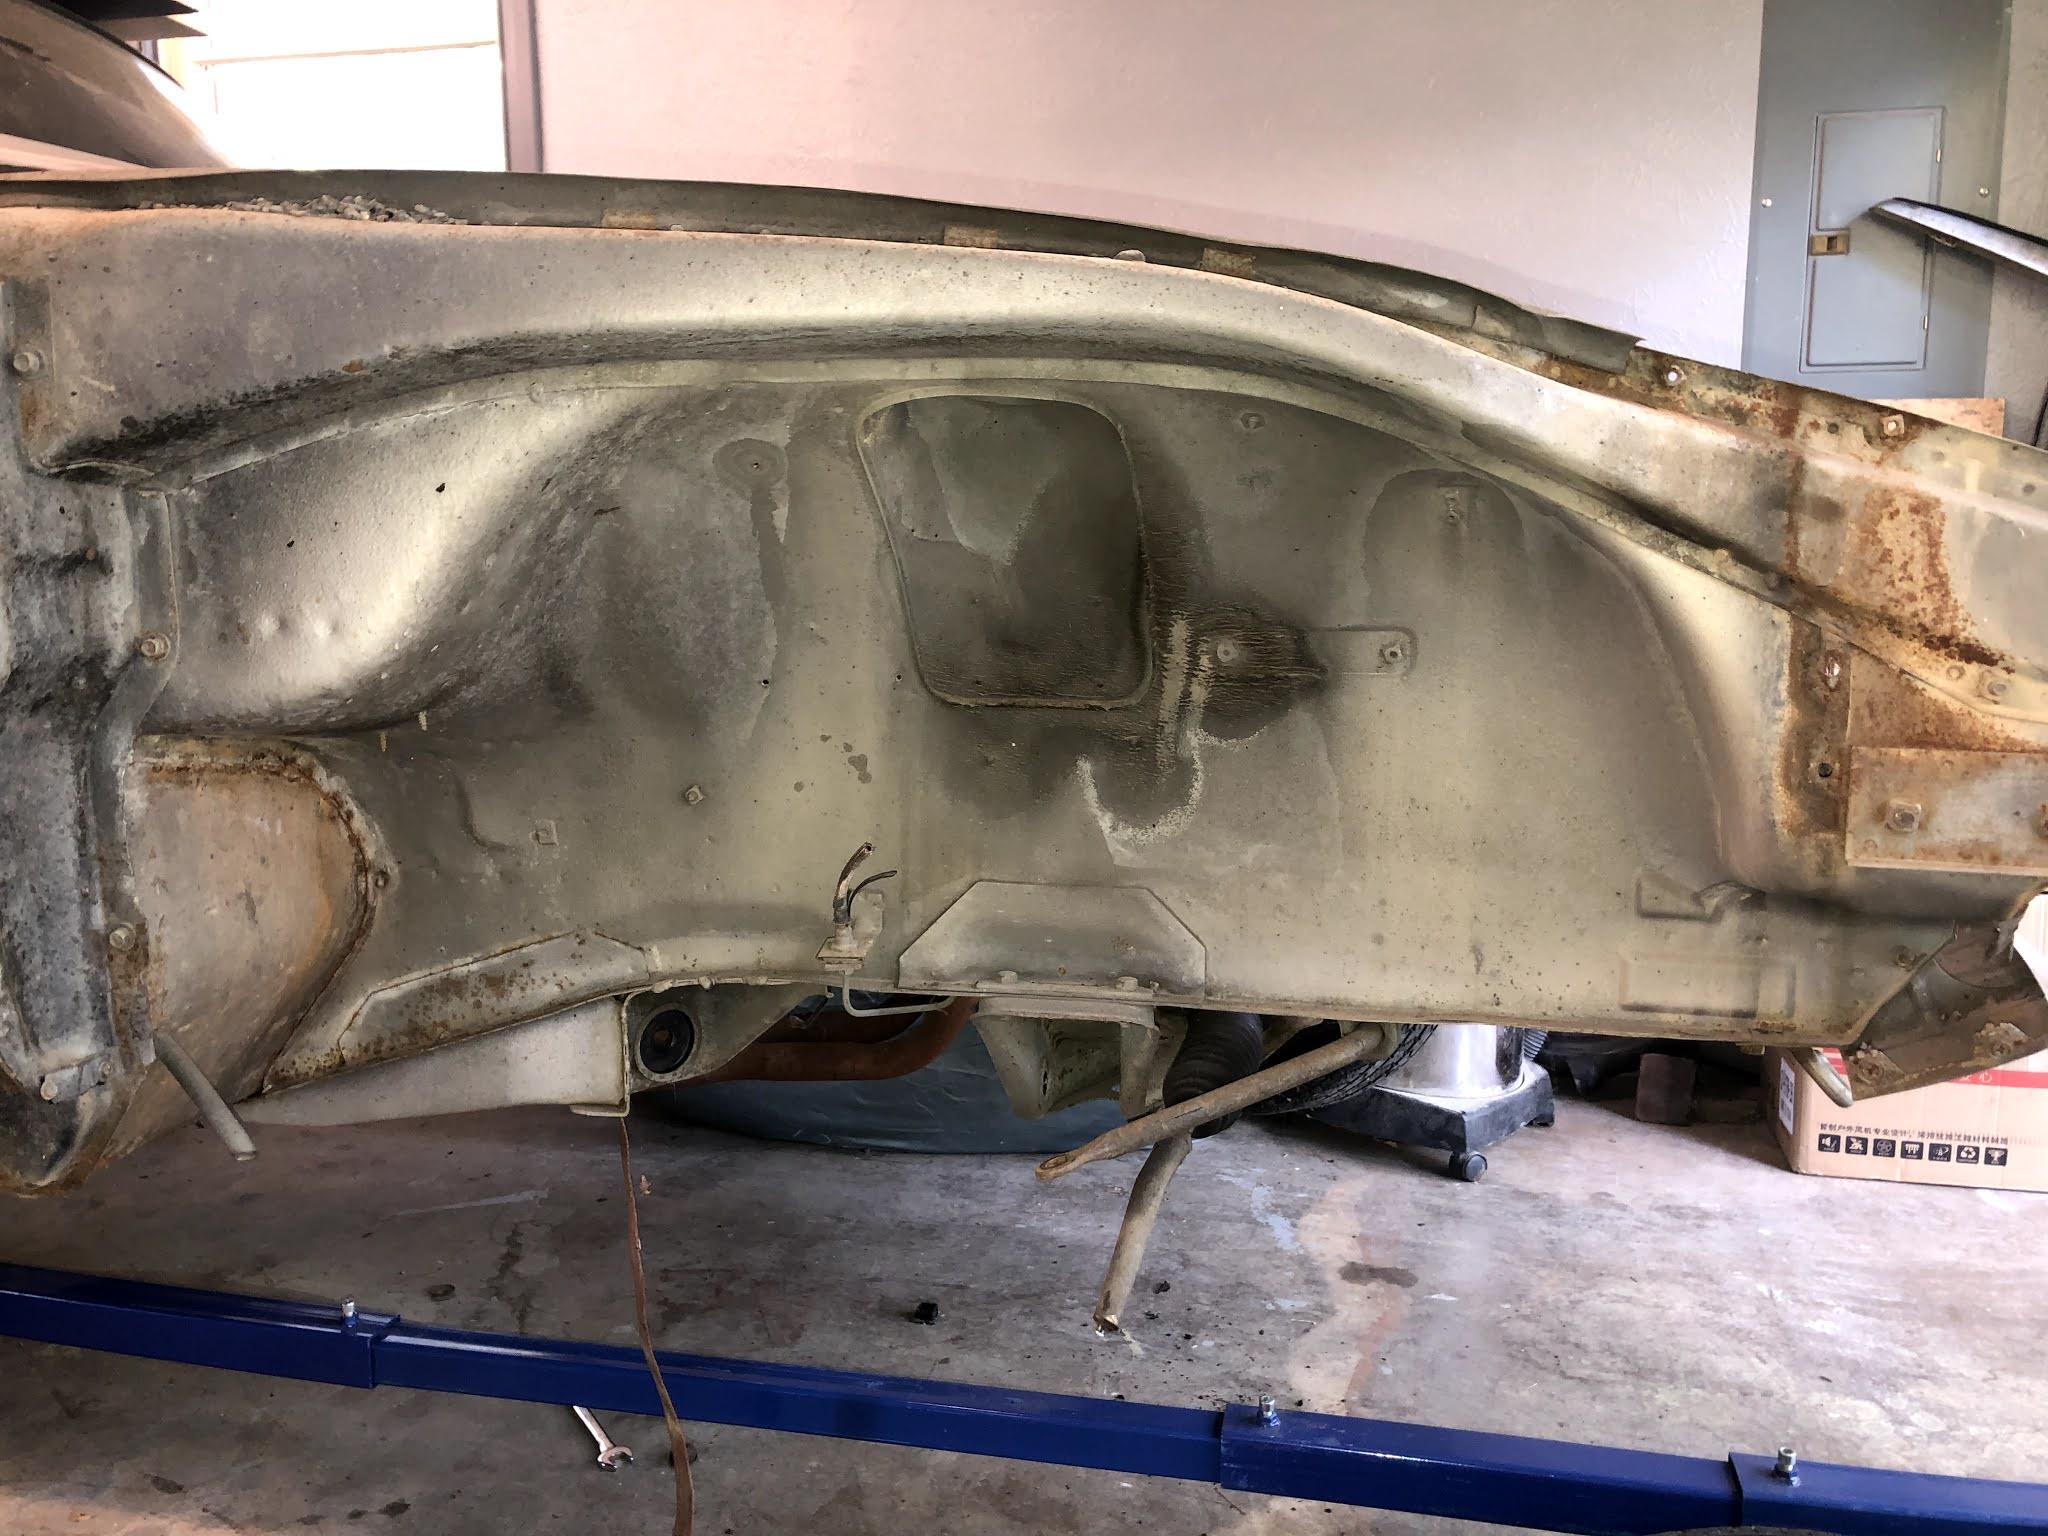
Huge improvement was made to the Z body. Before blasting the car, we removed the battery tray so that the area around it and underneath could be cleaned up and any rust removed. The battery tray itself was salvageable, but corrosion on the mounting flanges would make welding it back to the body very difficult. As a solution, we order one of the stamped trays from Klassic Fab JDM. Link to their website: Klassic Fab JDM Here's what the area under the battery tray looked like before blasting. You can seem some corrosion between the firewall and under tray area. A part from that this section of the Z was relatively clean all things considered. This tray was a very close copy of the original in size, shape, and appearance. I was very happy with the quality of the piece. The owners were kind and experienced with Z cars which is a bonus. Once the car was blasted, the area around the battery tray had not rusted through, but did show signs of pitting from corrosion. Mocking the new tray into the box showed that the areas which we would weld were thin and would again be difficult to work with without burning through. Fortunately, Klassic Fab also sells a replacement panel for the under battery tray area. This stamped also copied the factory sheet metal very well, even with the stamped locating pads to weld the wiring tabs to. While again not entirely necessary to replace both the tray and area underneath it on this car, we wanted to ensure that this rust-prone area of the Z would be good for another 50 years. The patch panel was trimmed down to the appropriate size, stich welded in, and body worked for a seamless transition from patch to original steel. I was very pleased with how well the panel matched the factory area. We only needed around 50% of the patch panel to remove all the corroded steel. If your Z is in need of a battery tray and/or the area underneath it, I would highly recommend Klassic Fab and the panels they offer. Next we'll burn in the tray for good and weld in the electrical wiring tabs.

.thumb.JPG.eb289f9e78f69ee5f08099cbdd69b365.JPG)

-
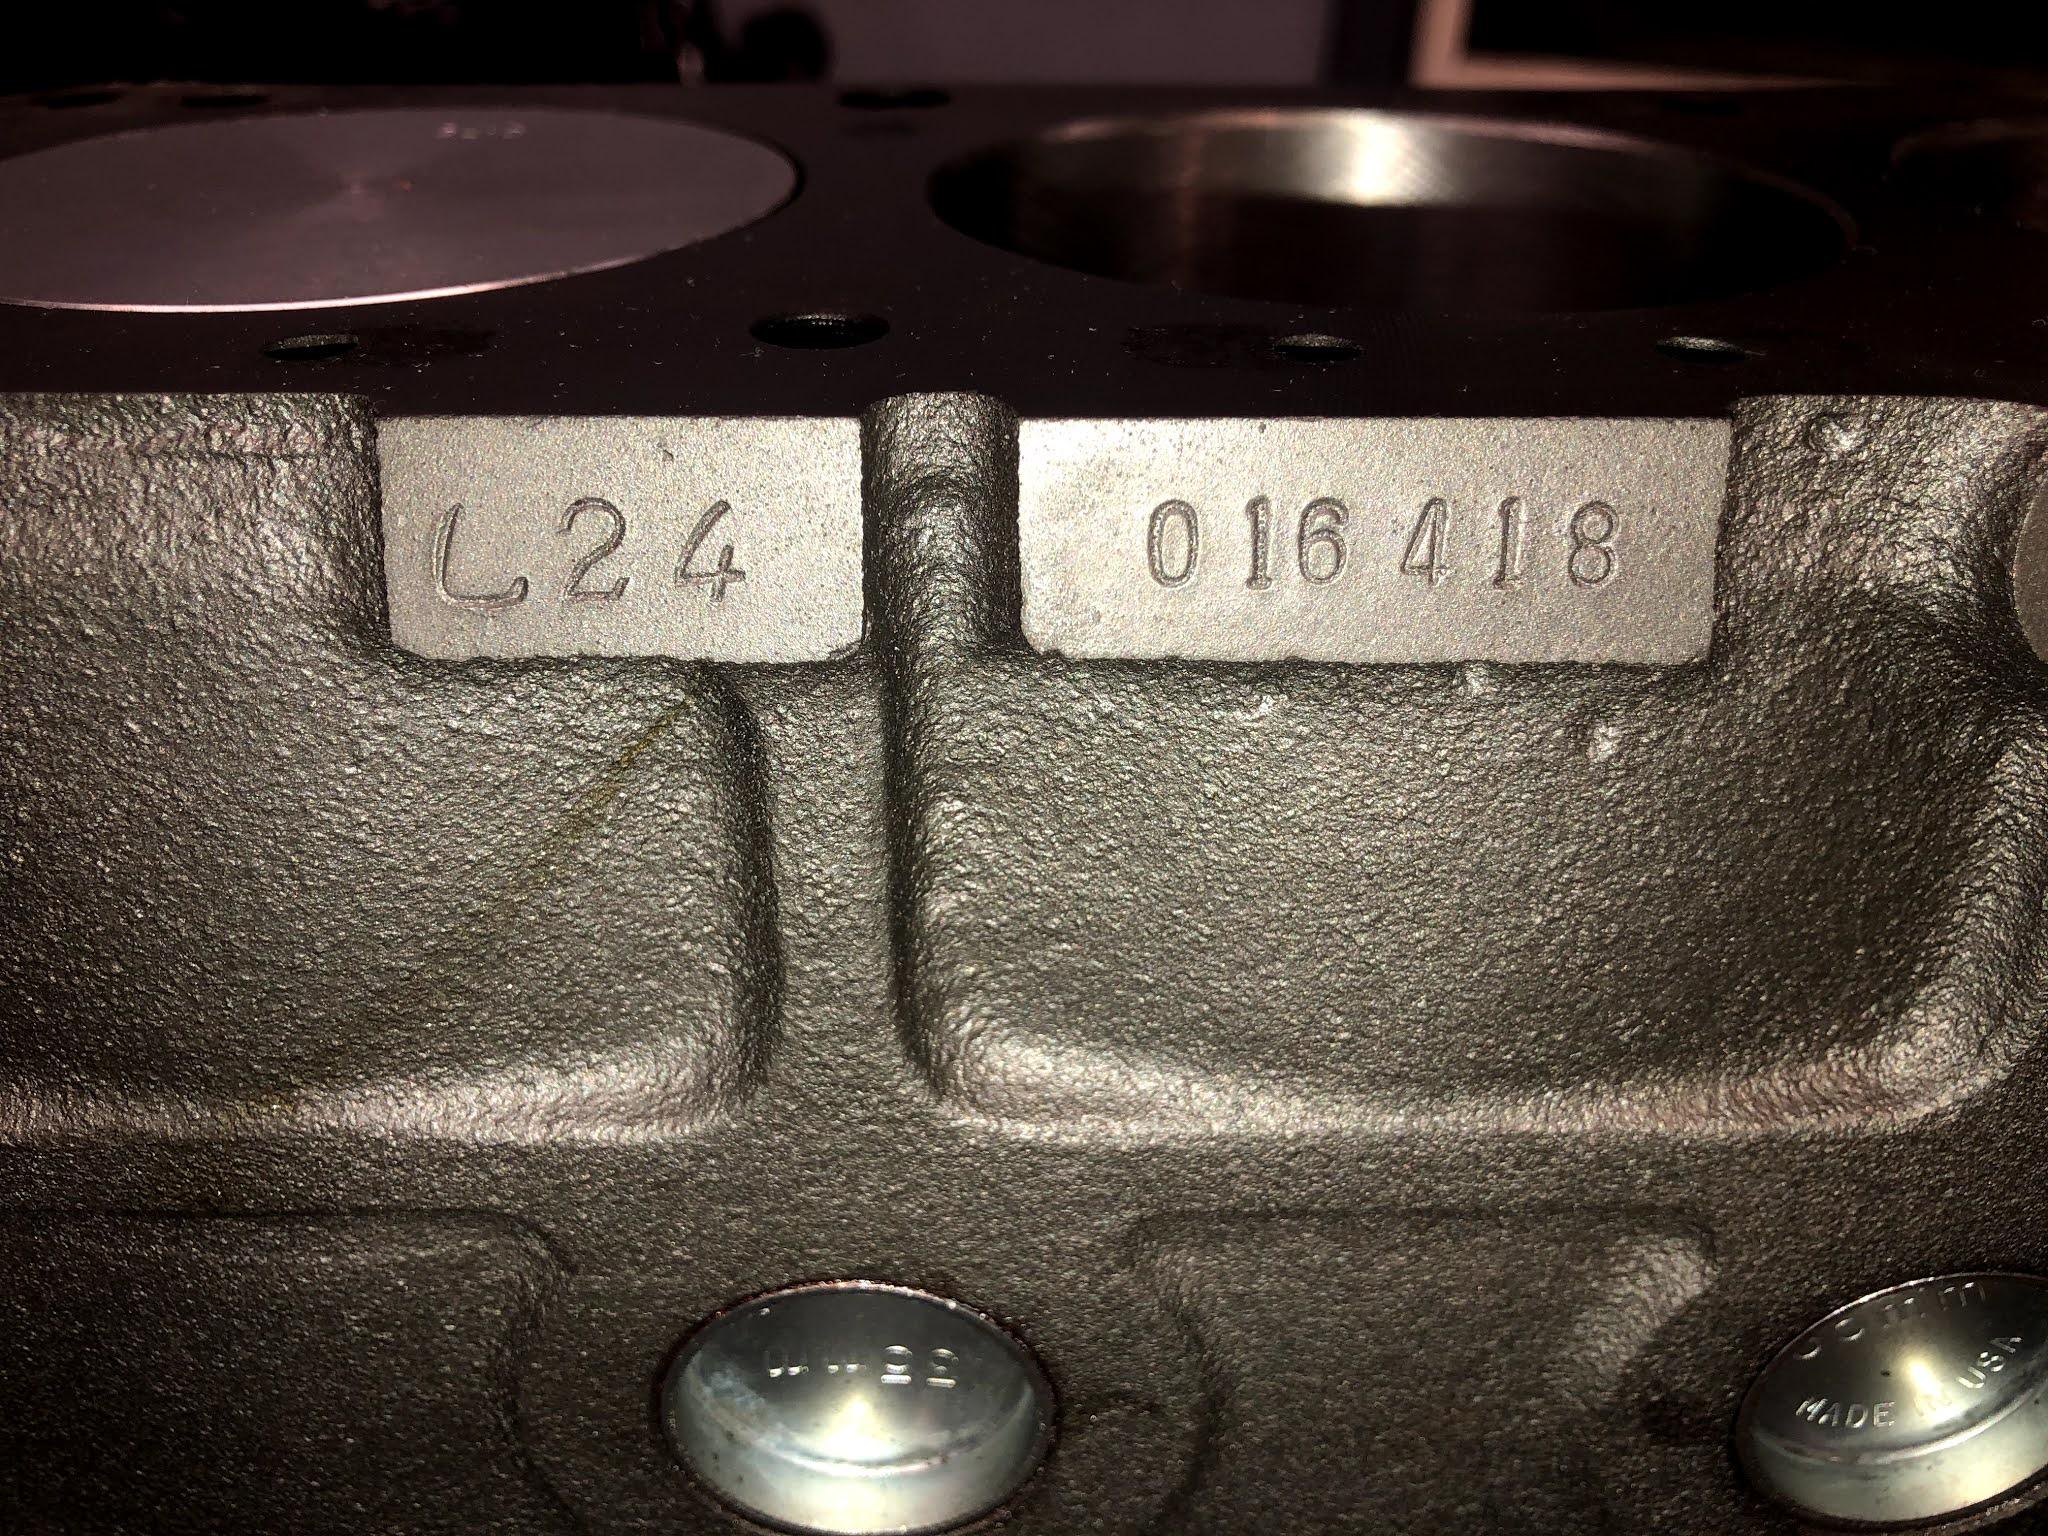
Found my invoice for the order of the ITM timing kit. P/N on it is 053-90300, listed for a 240Z. I will look for the box that it came in as a sanity check that it made it in correctly.
-
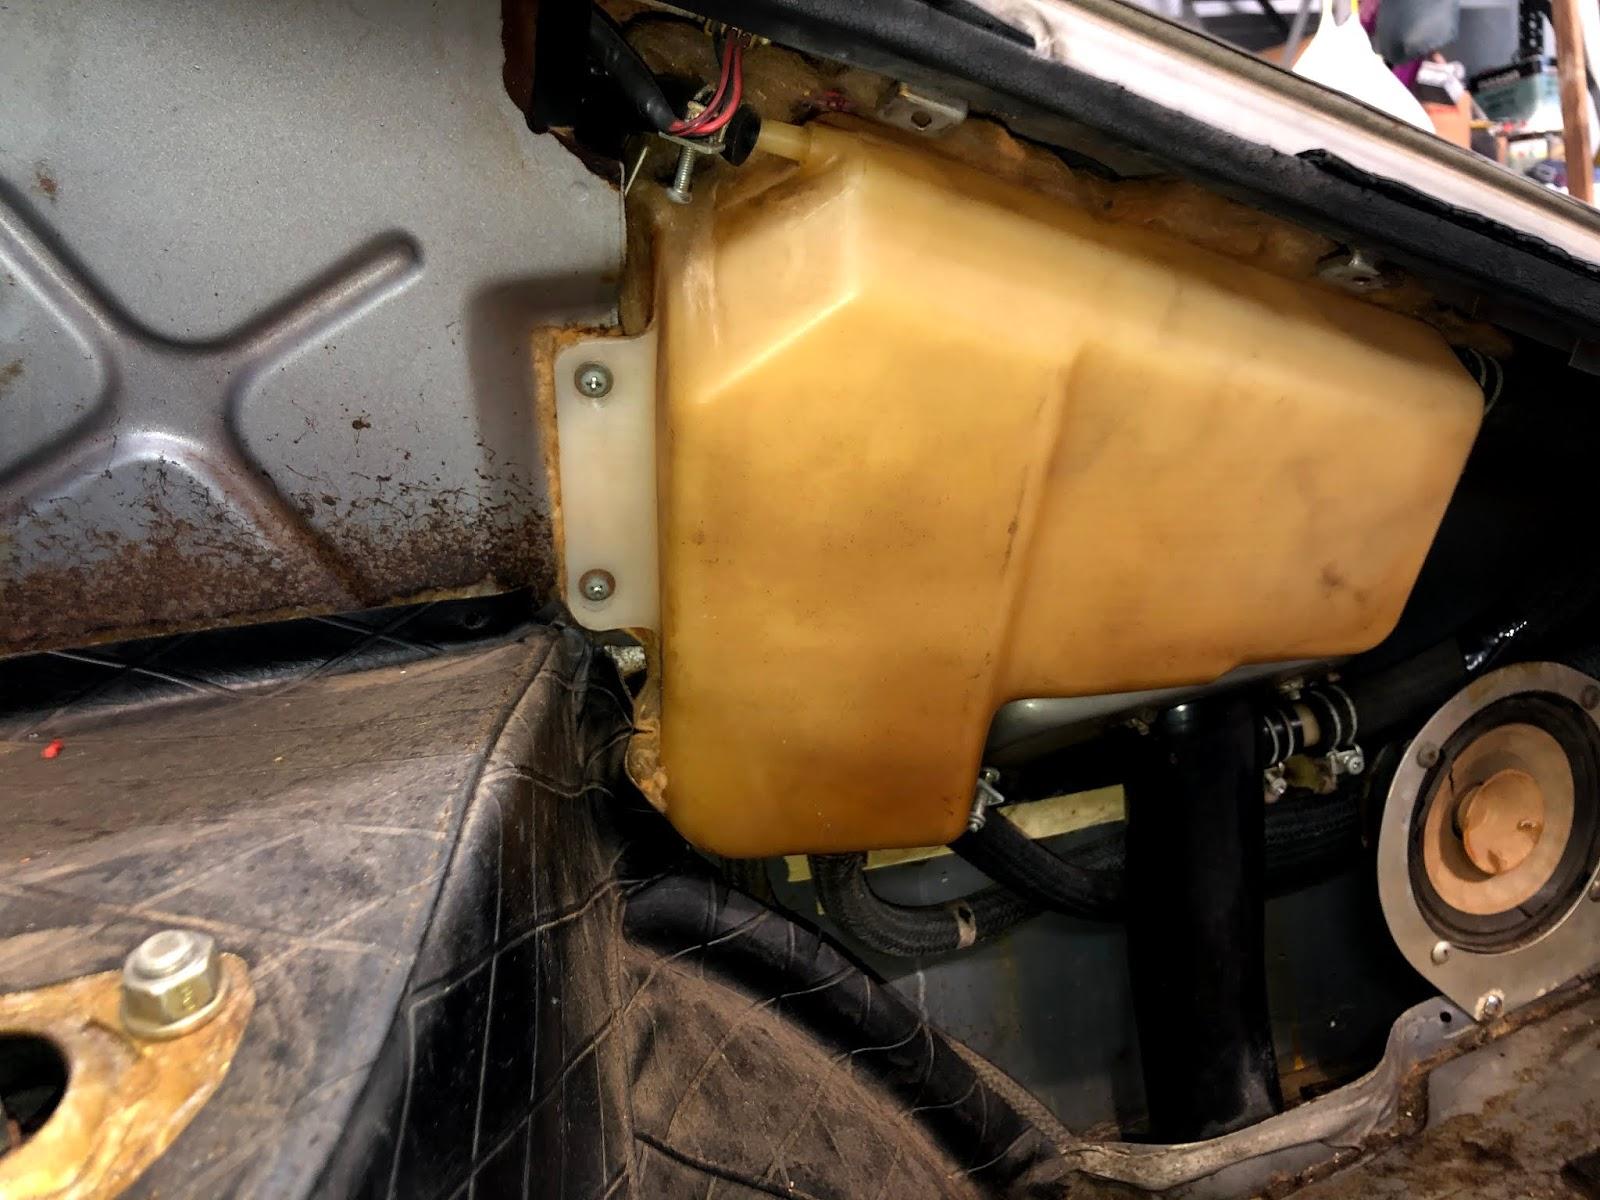
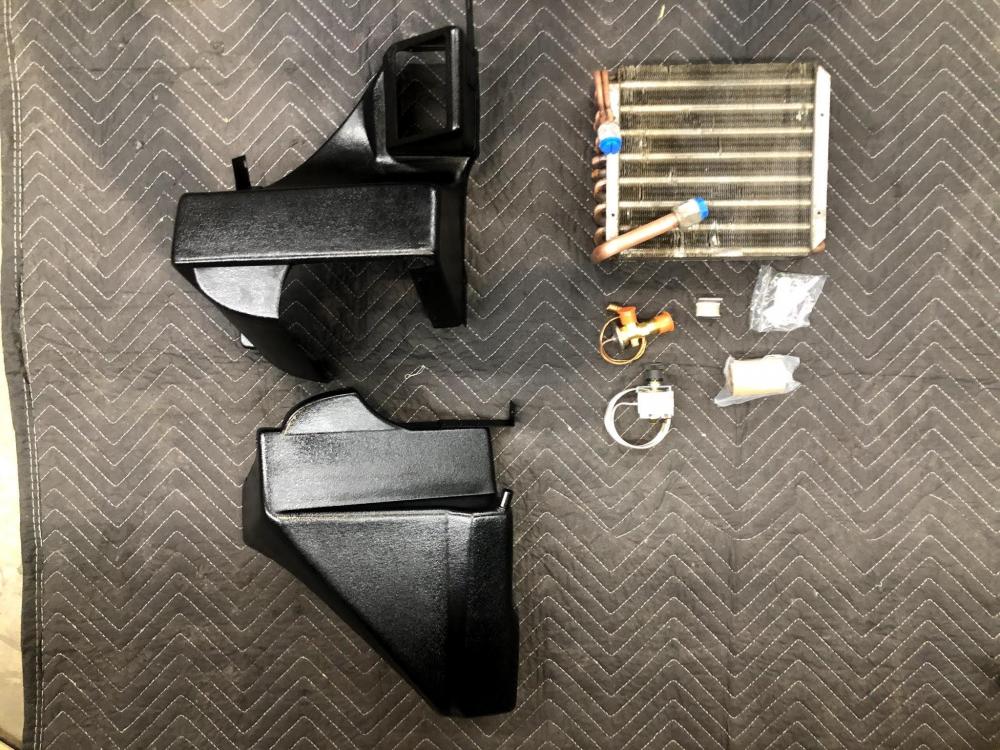
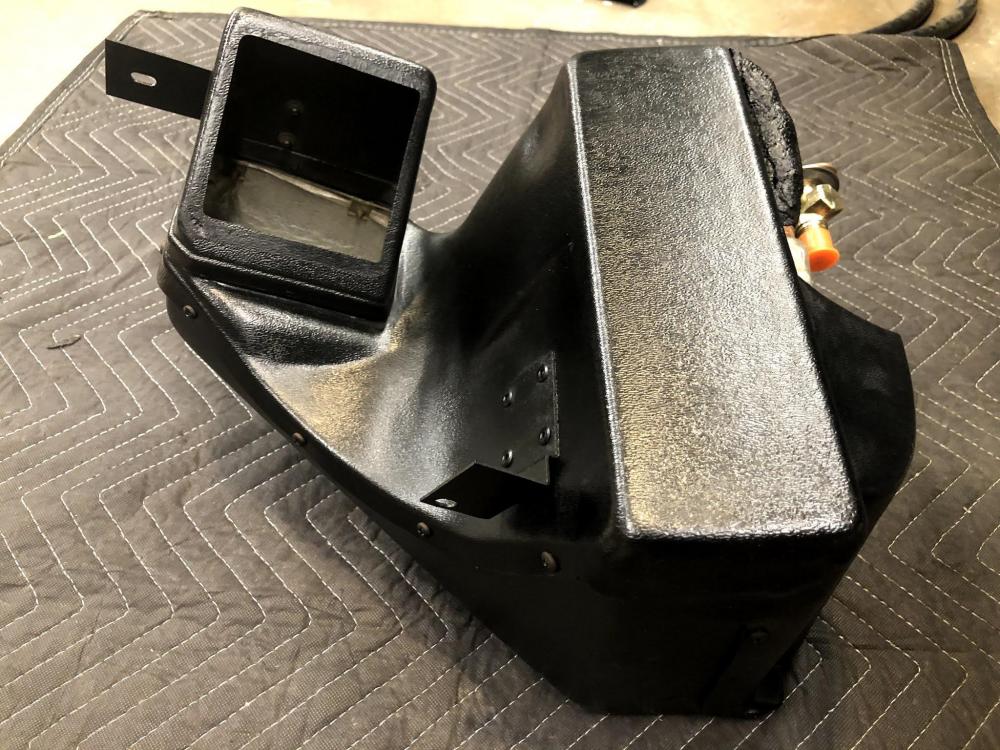
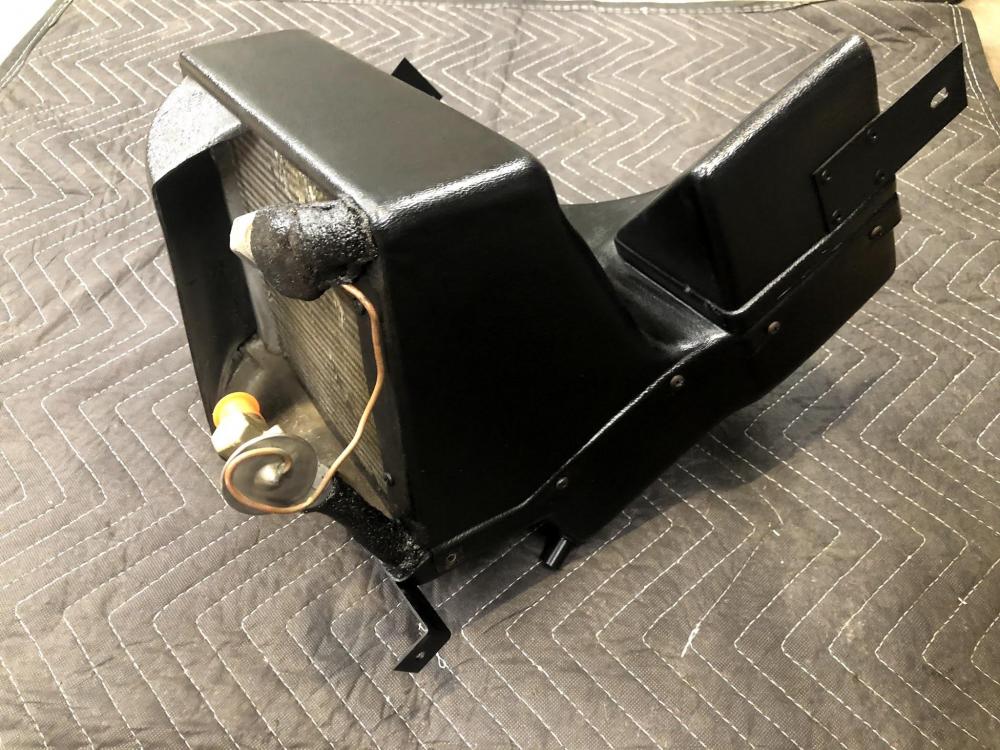
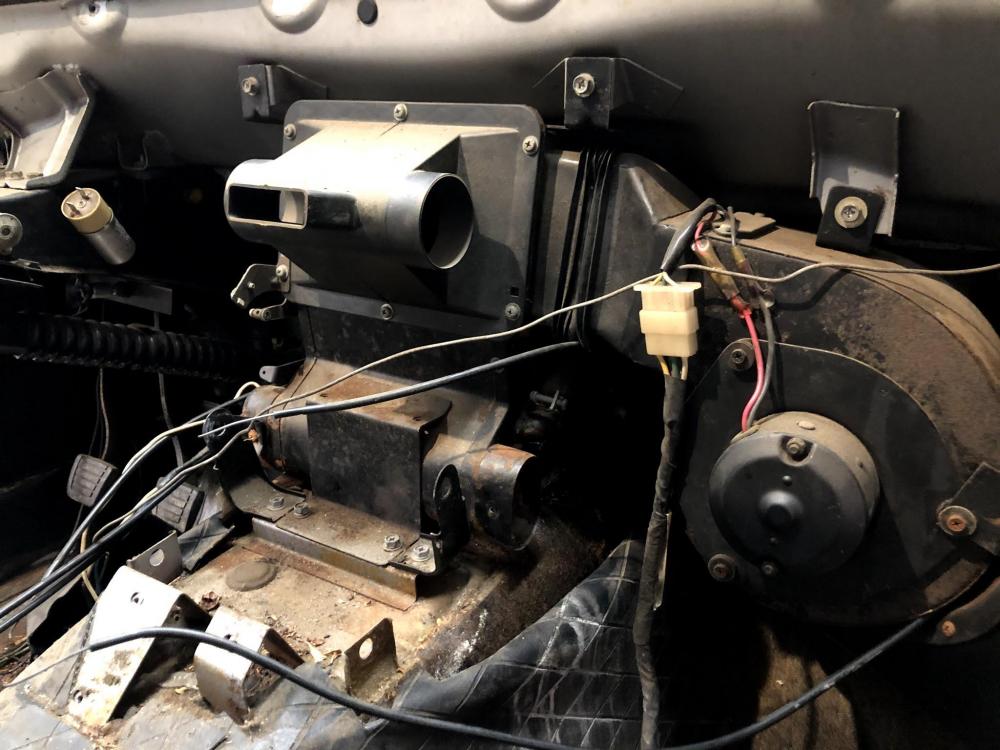
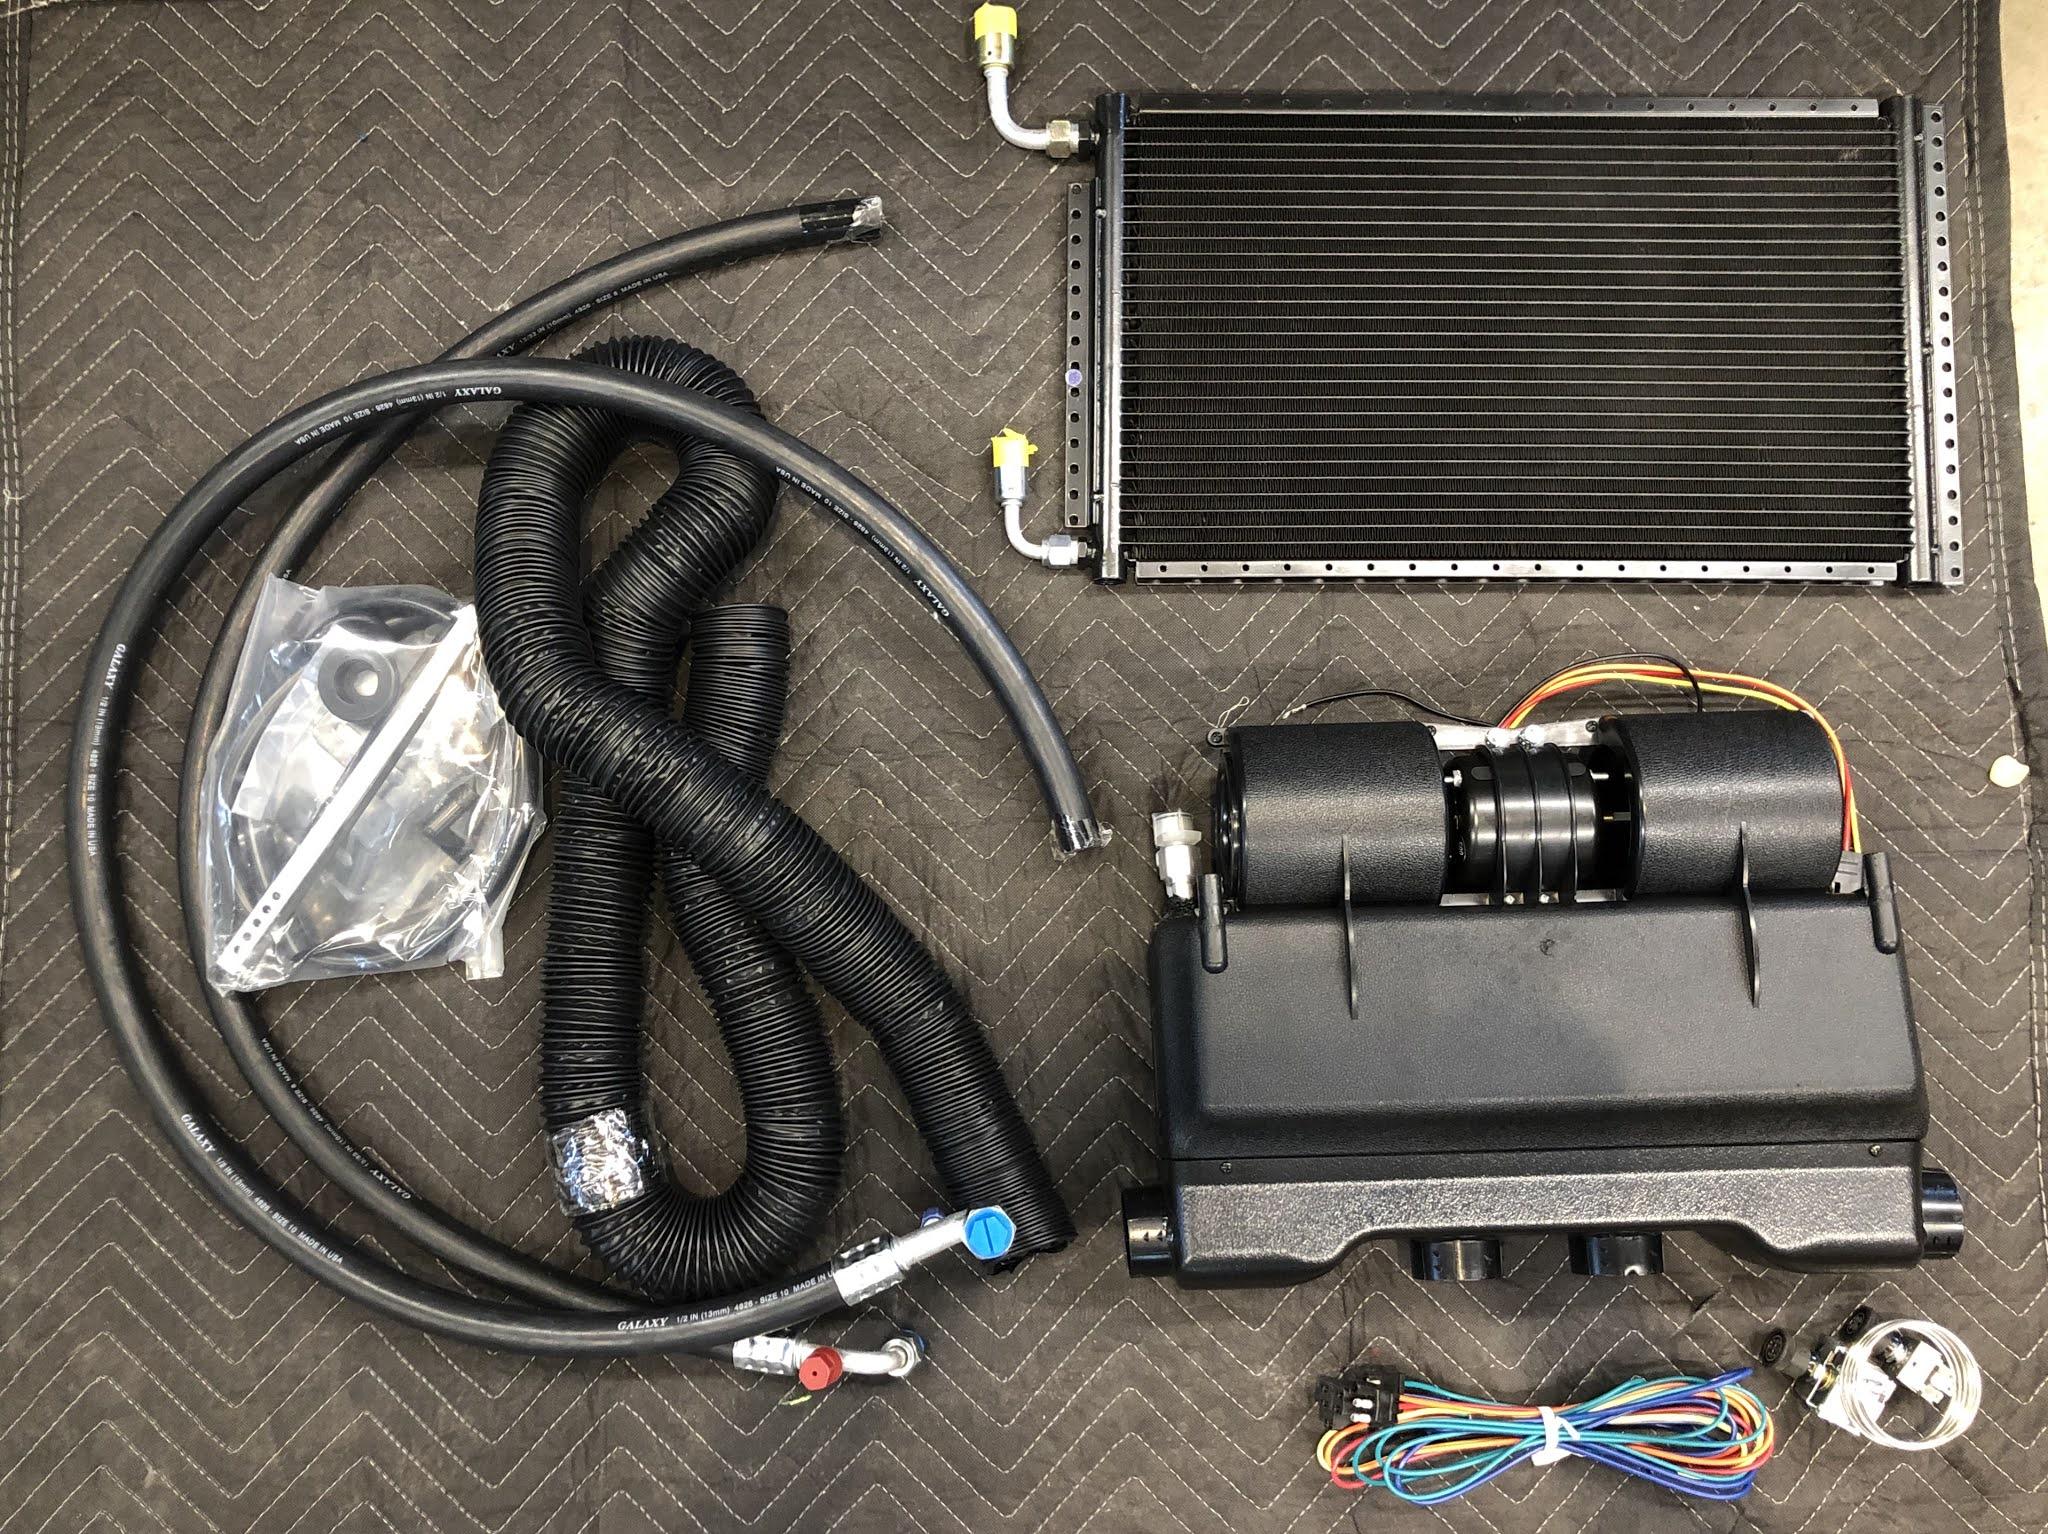
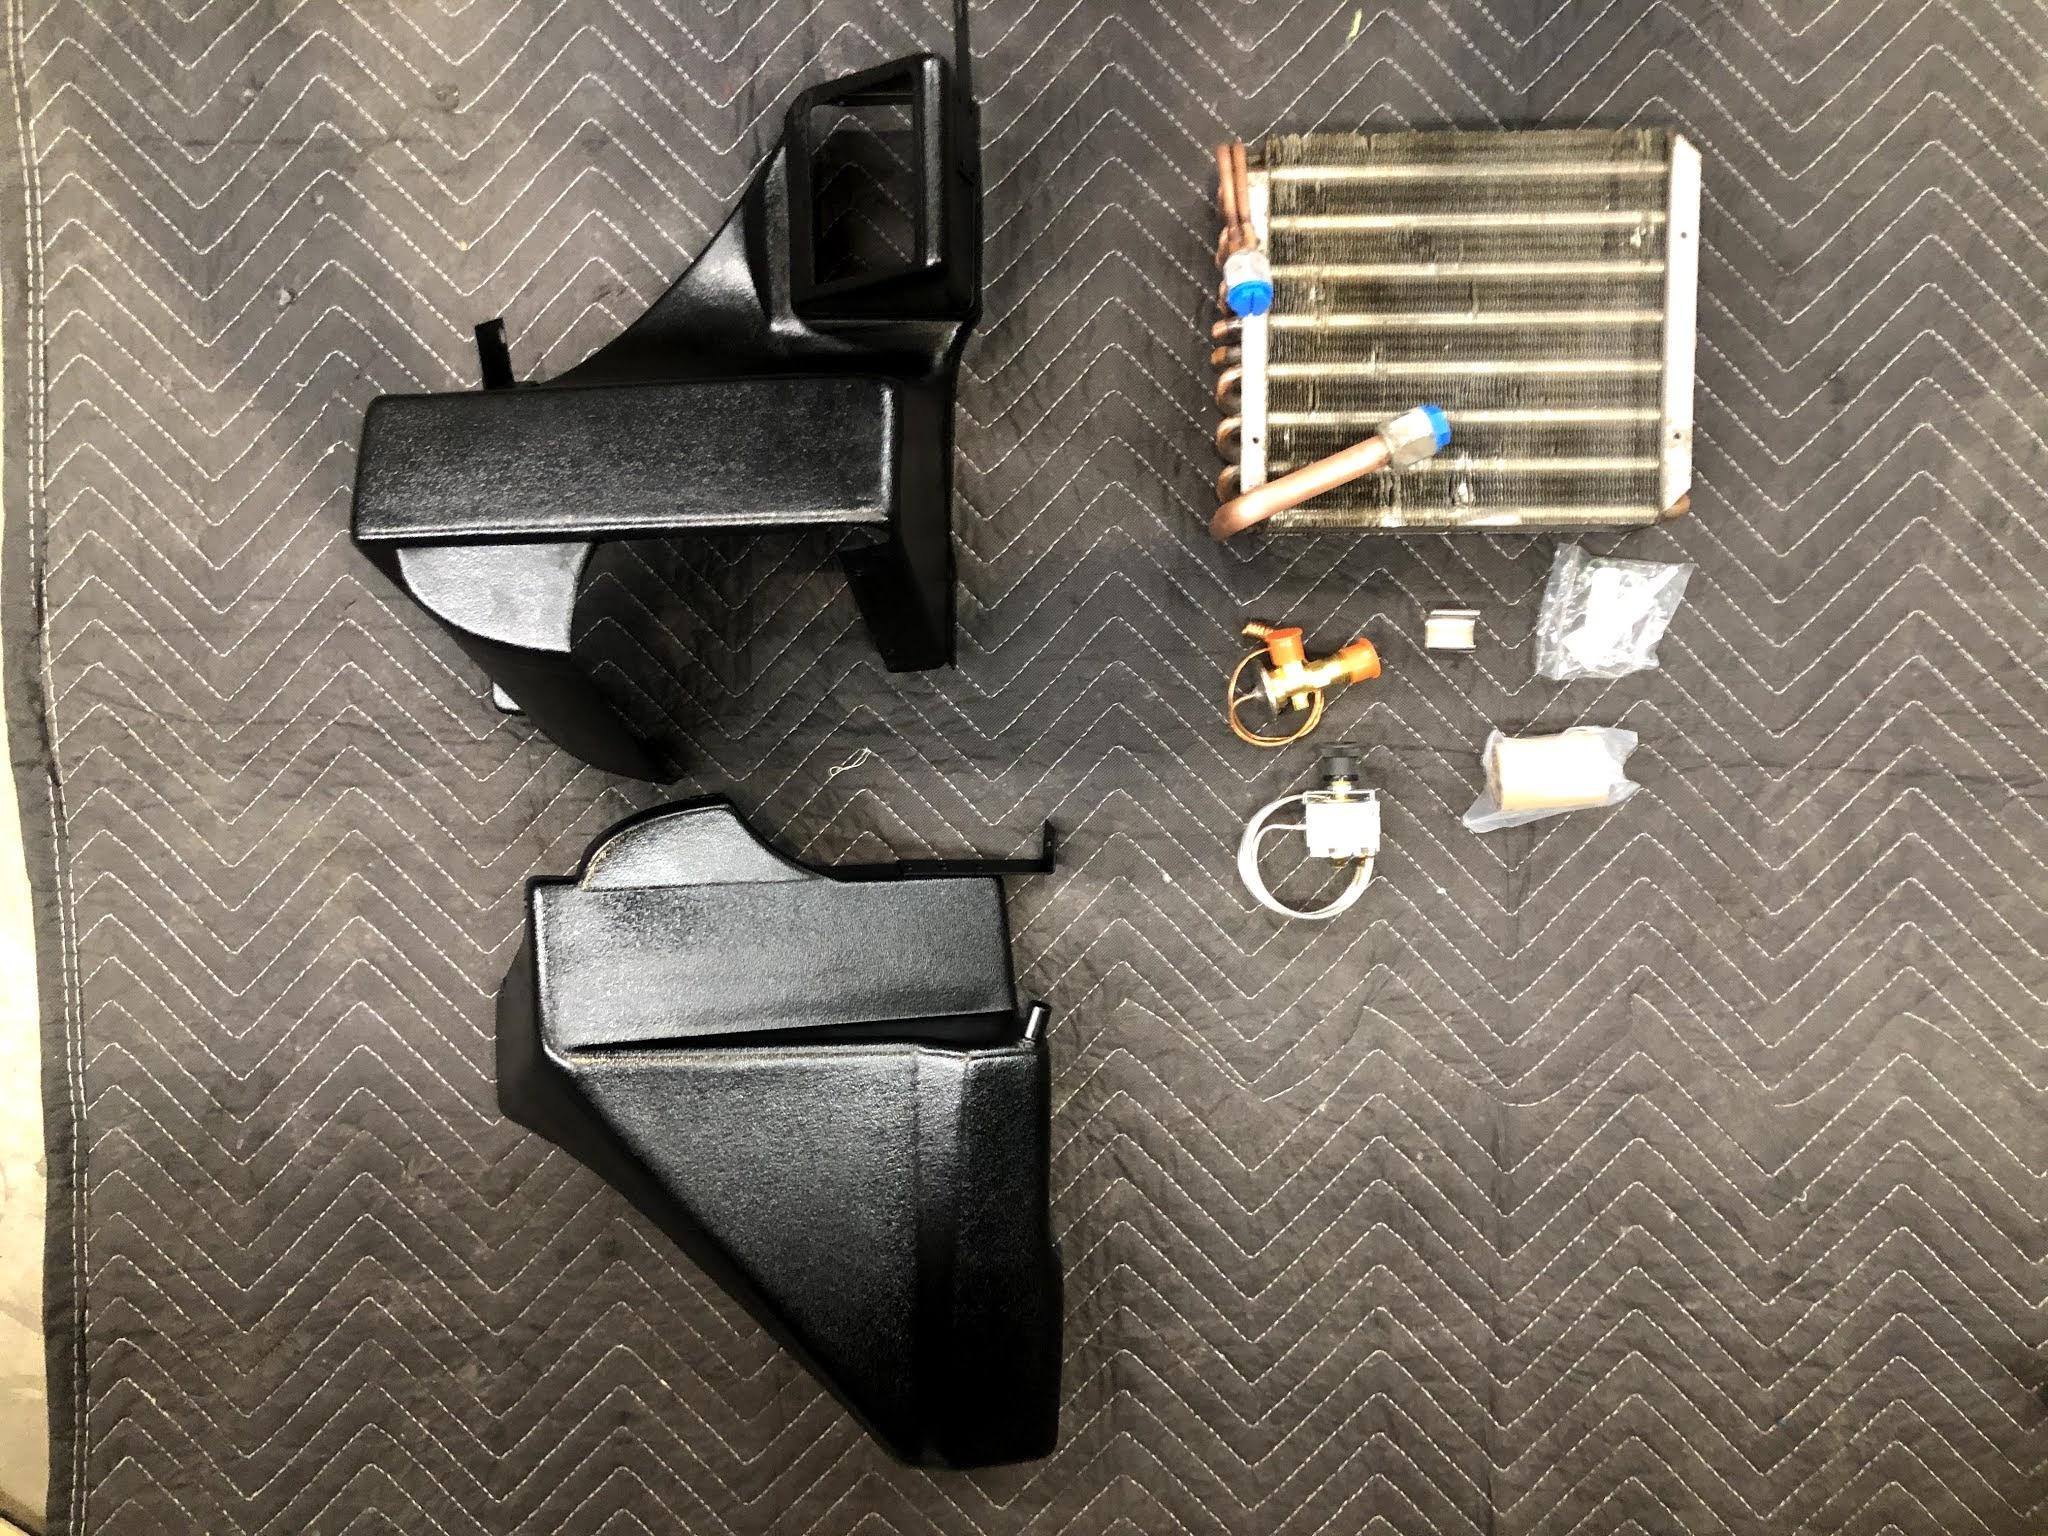
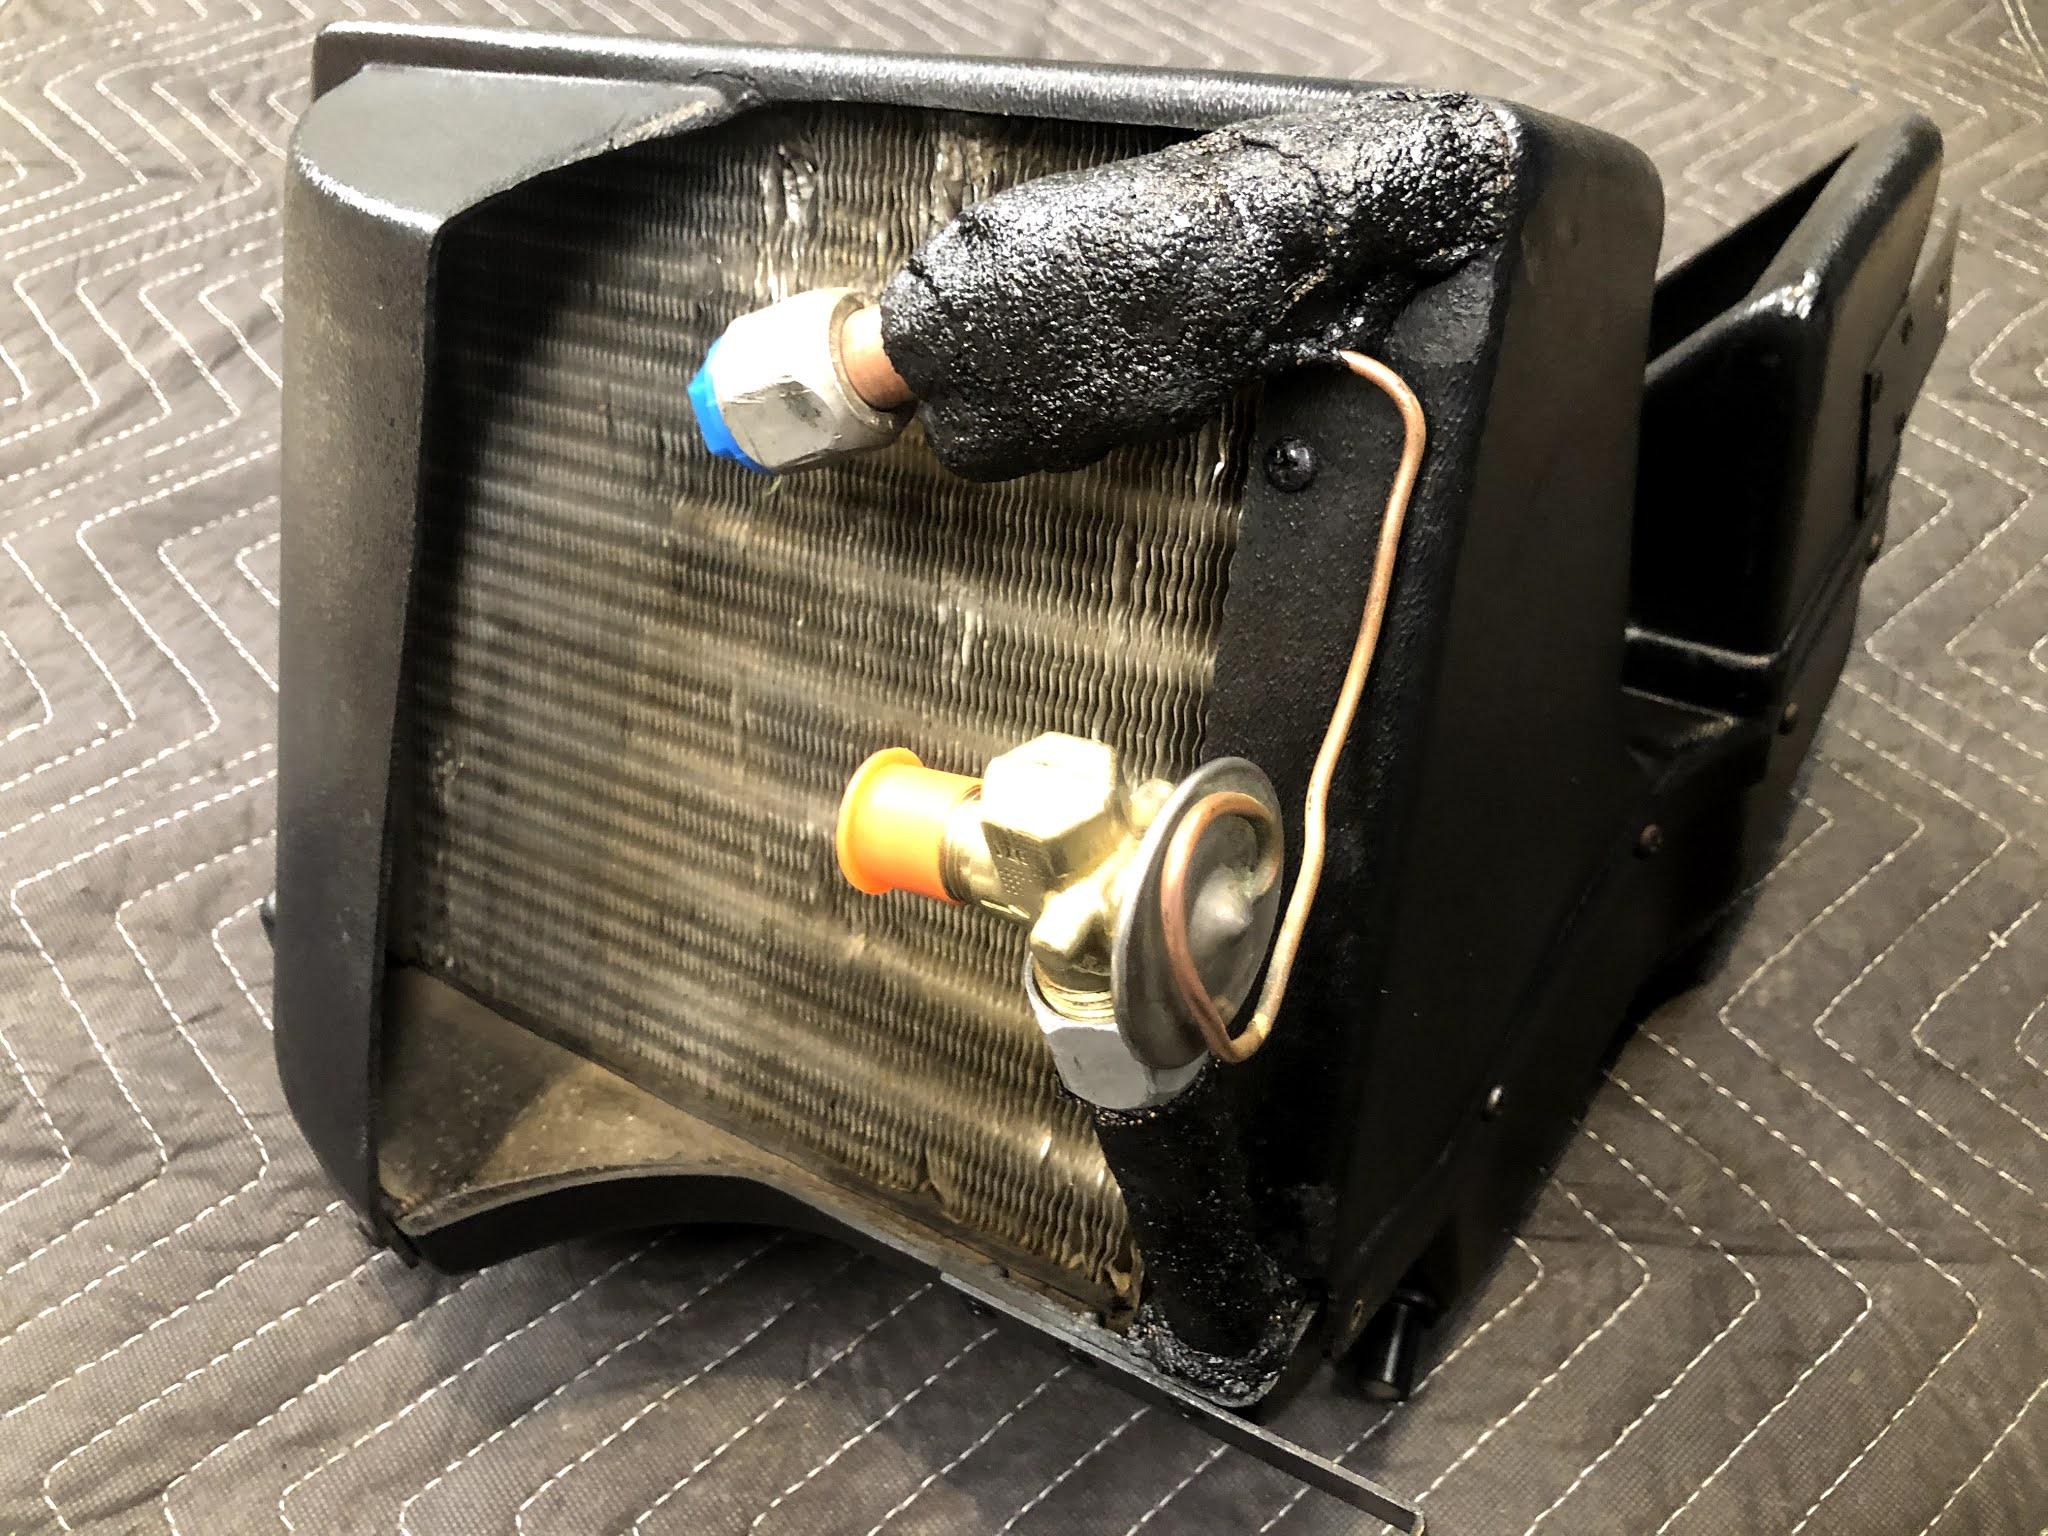
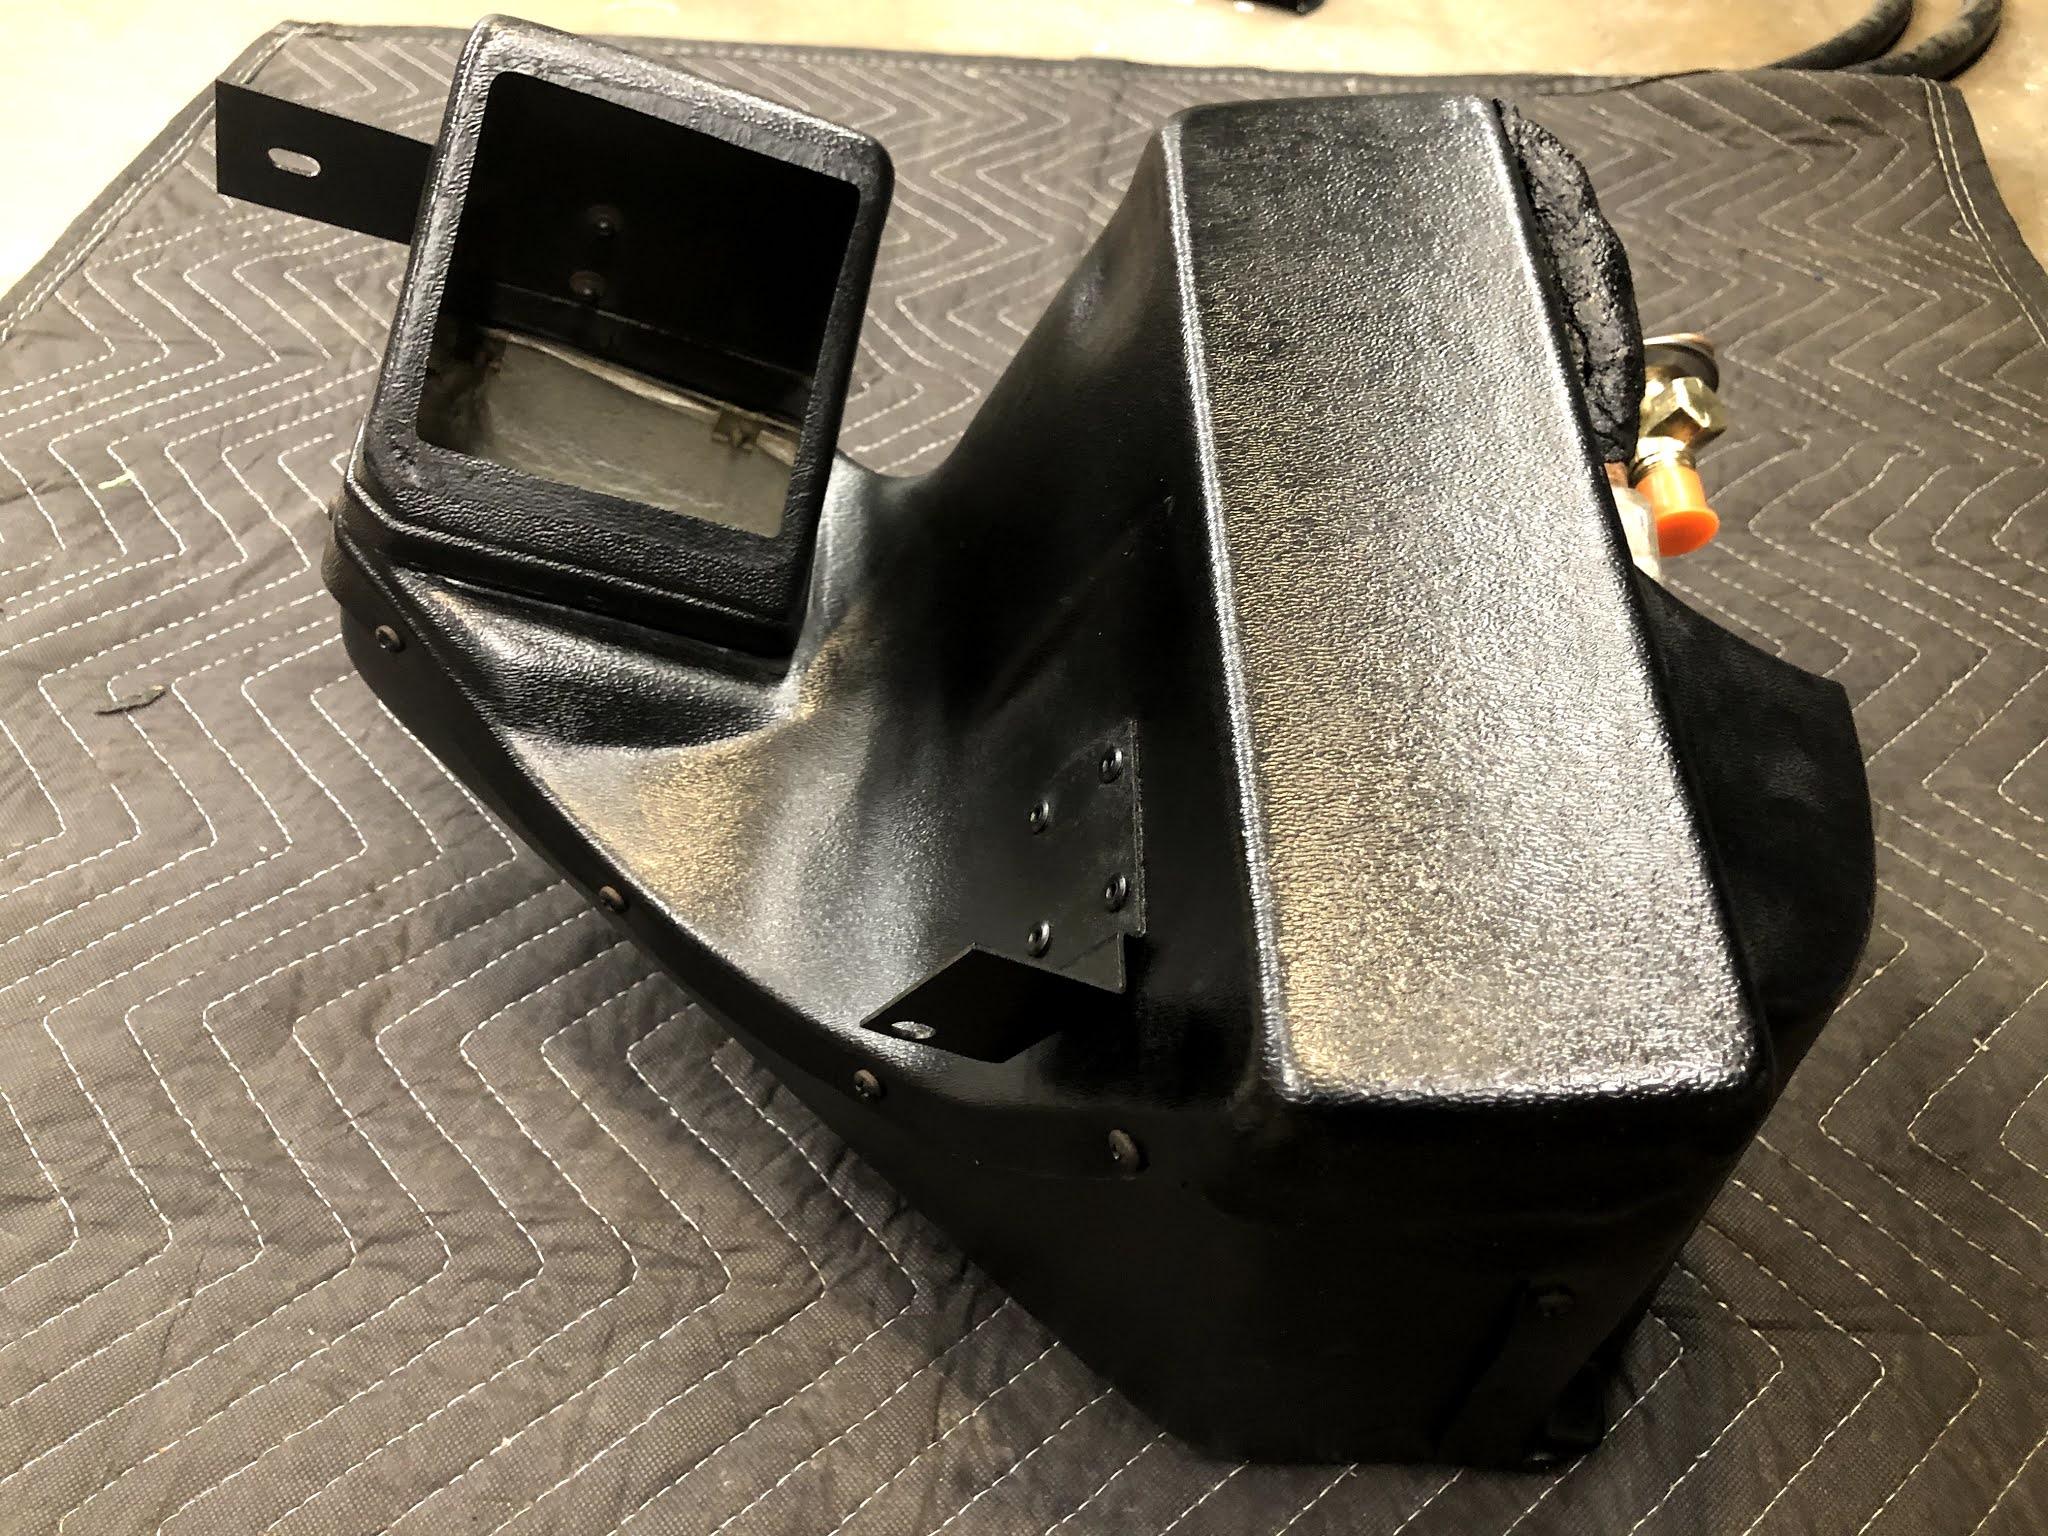
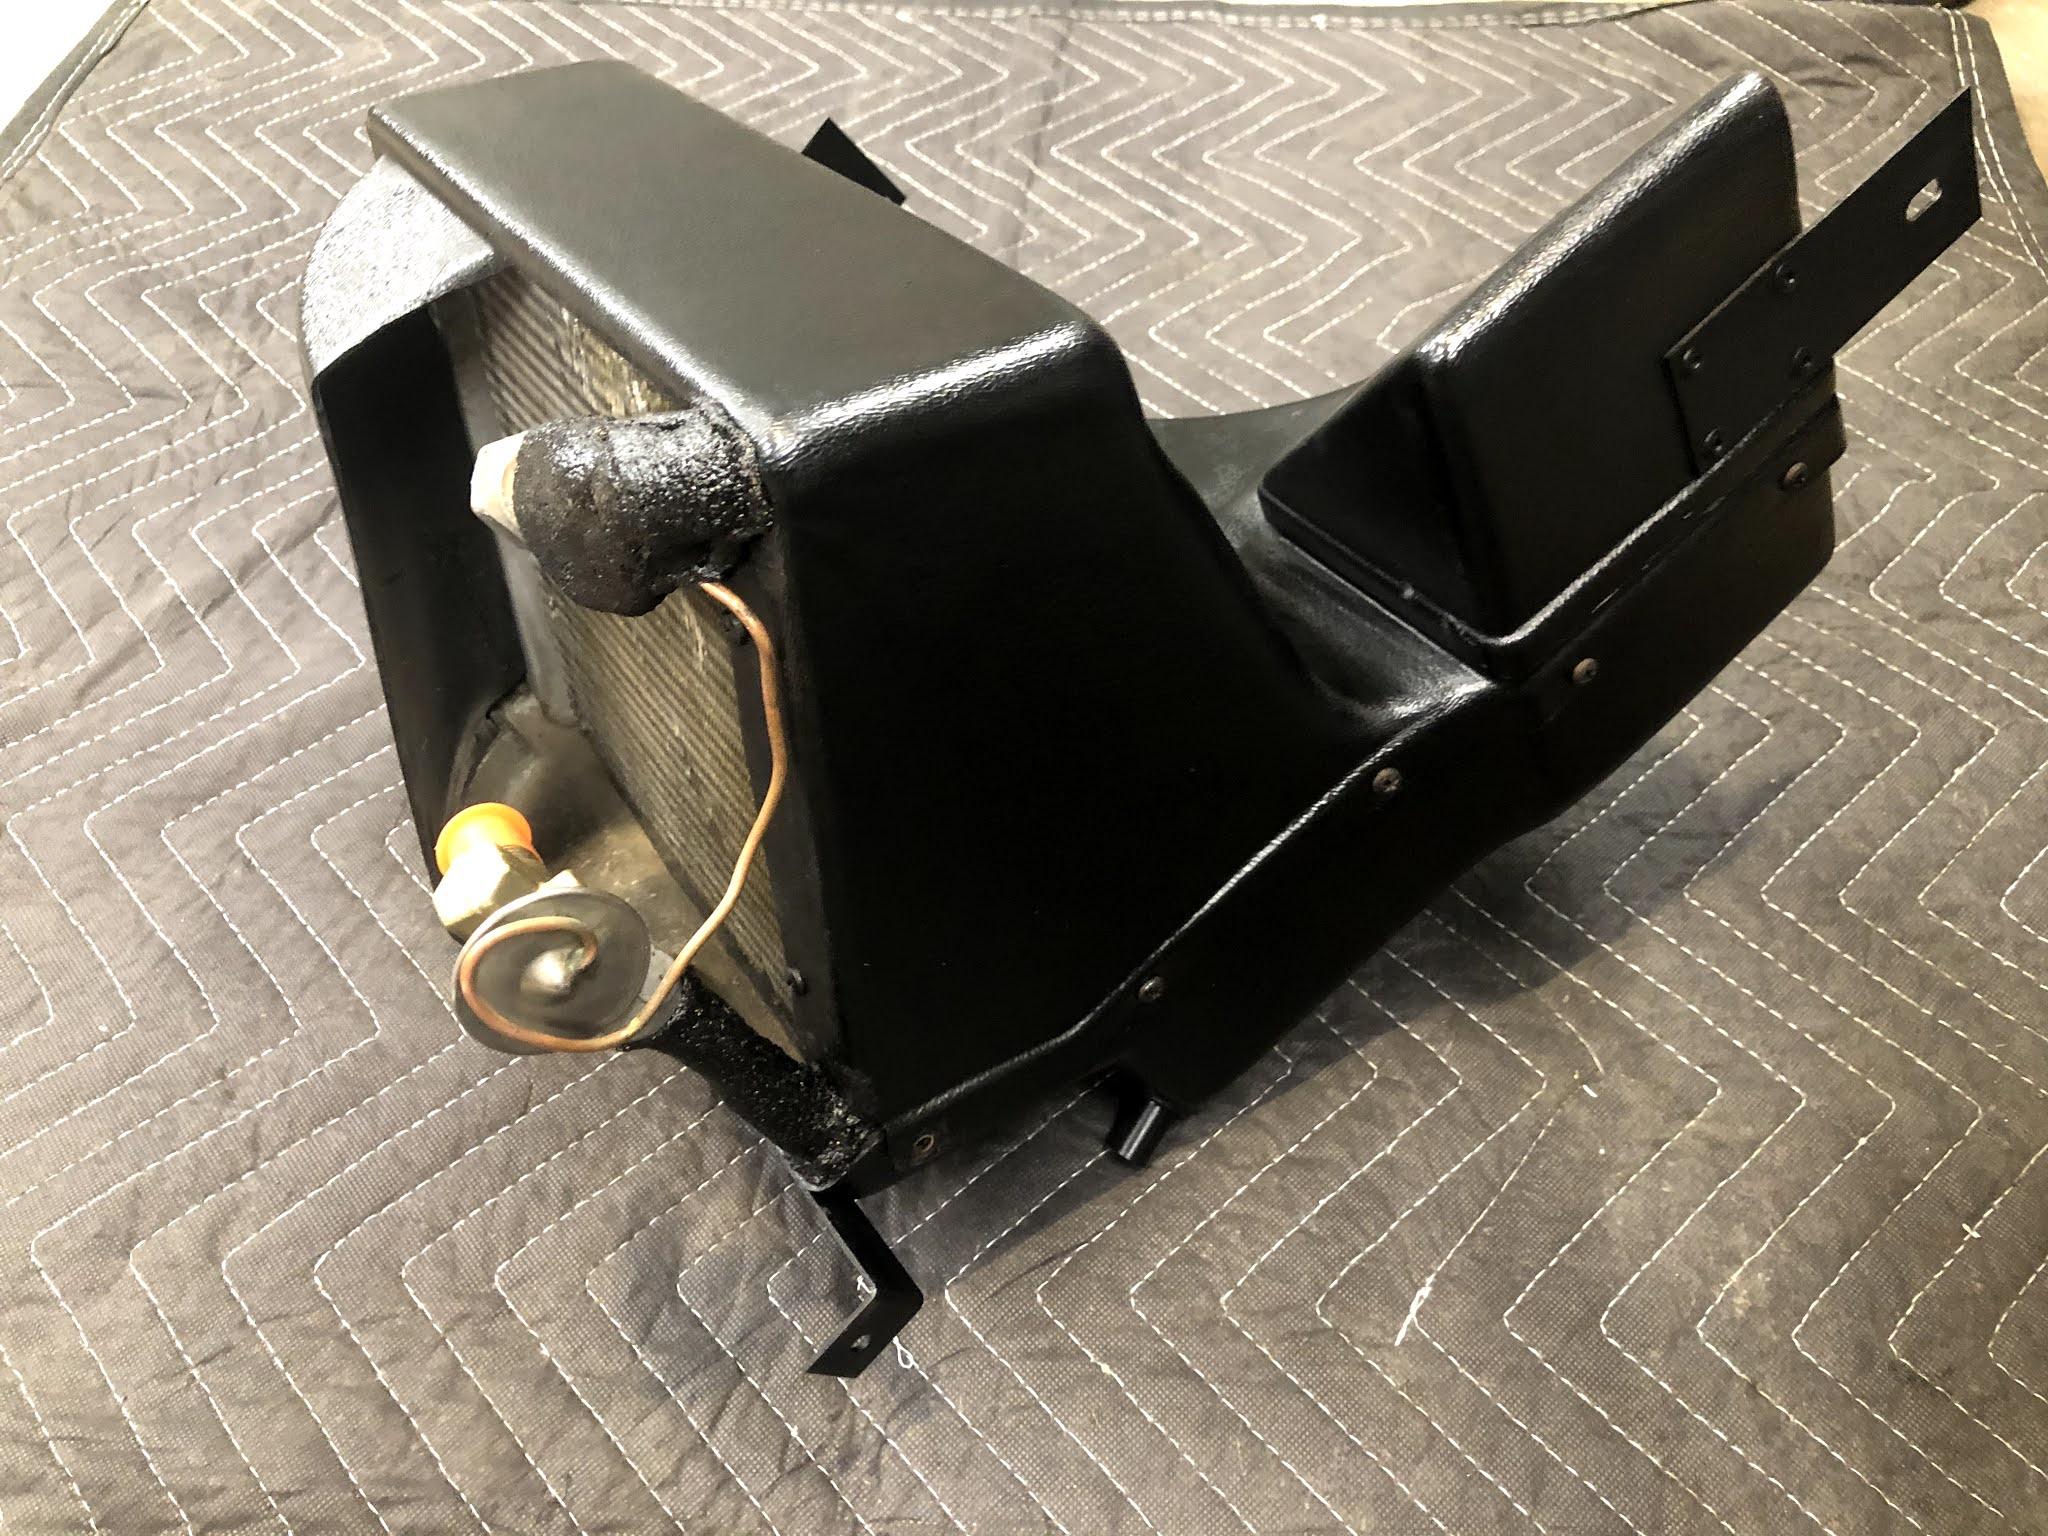
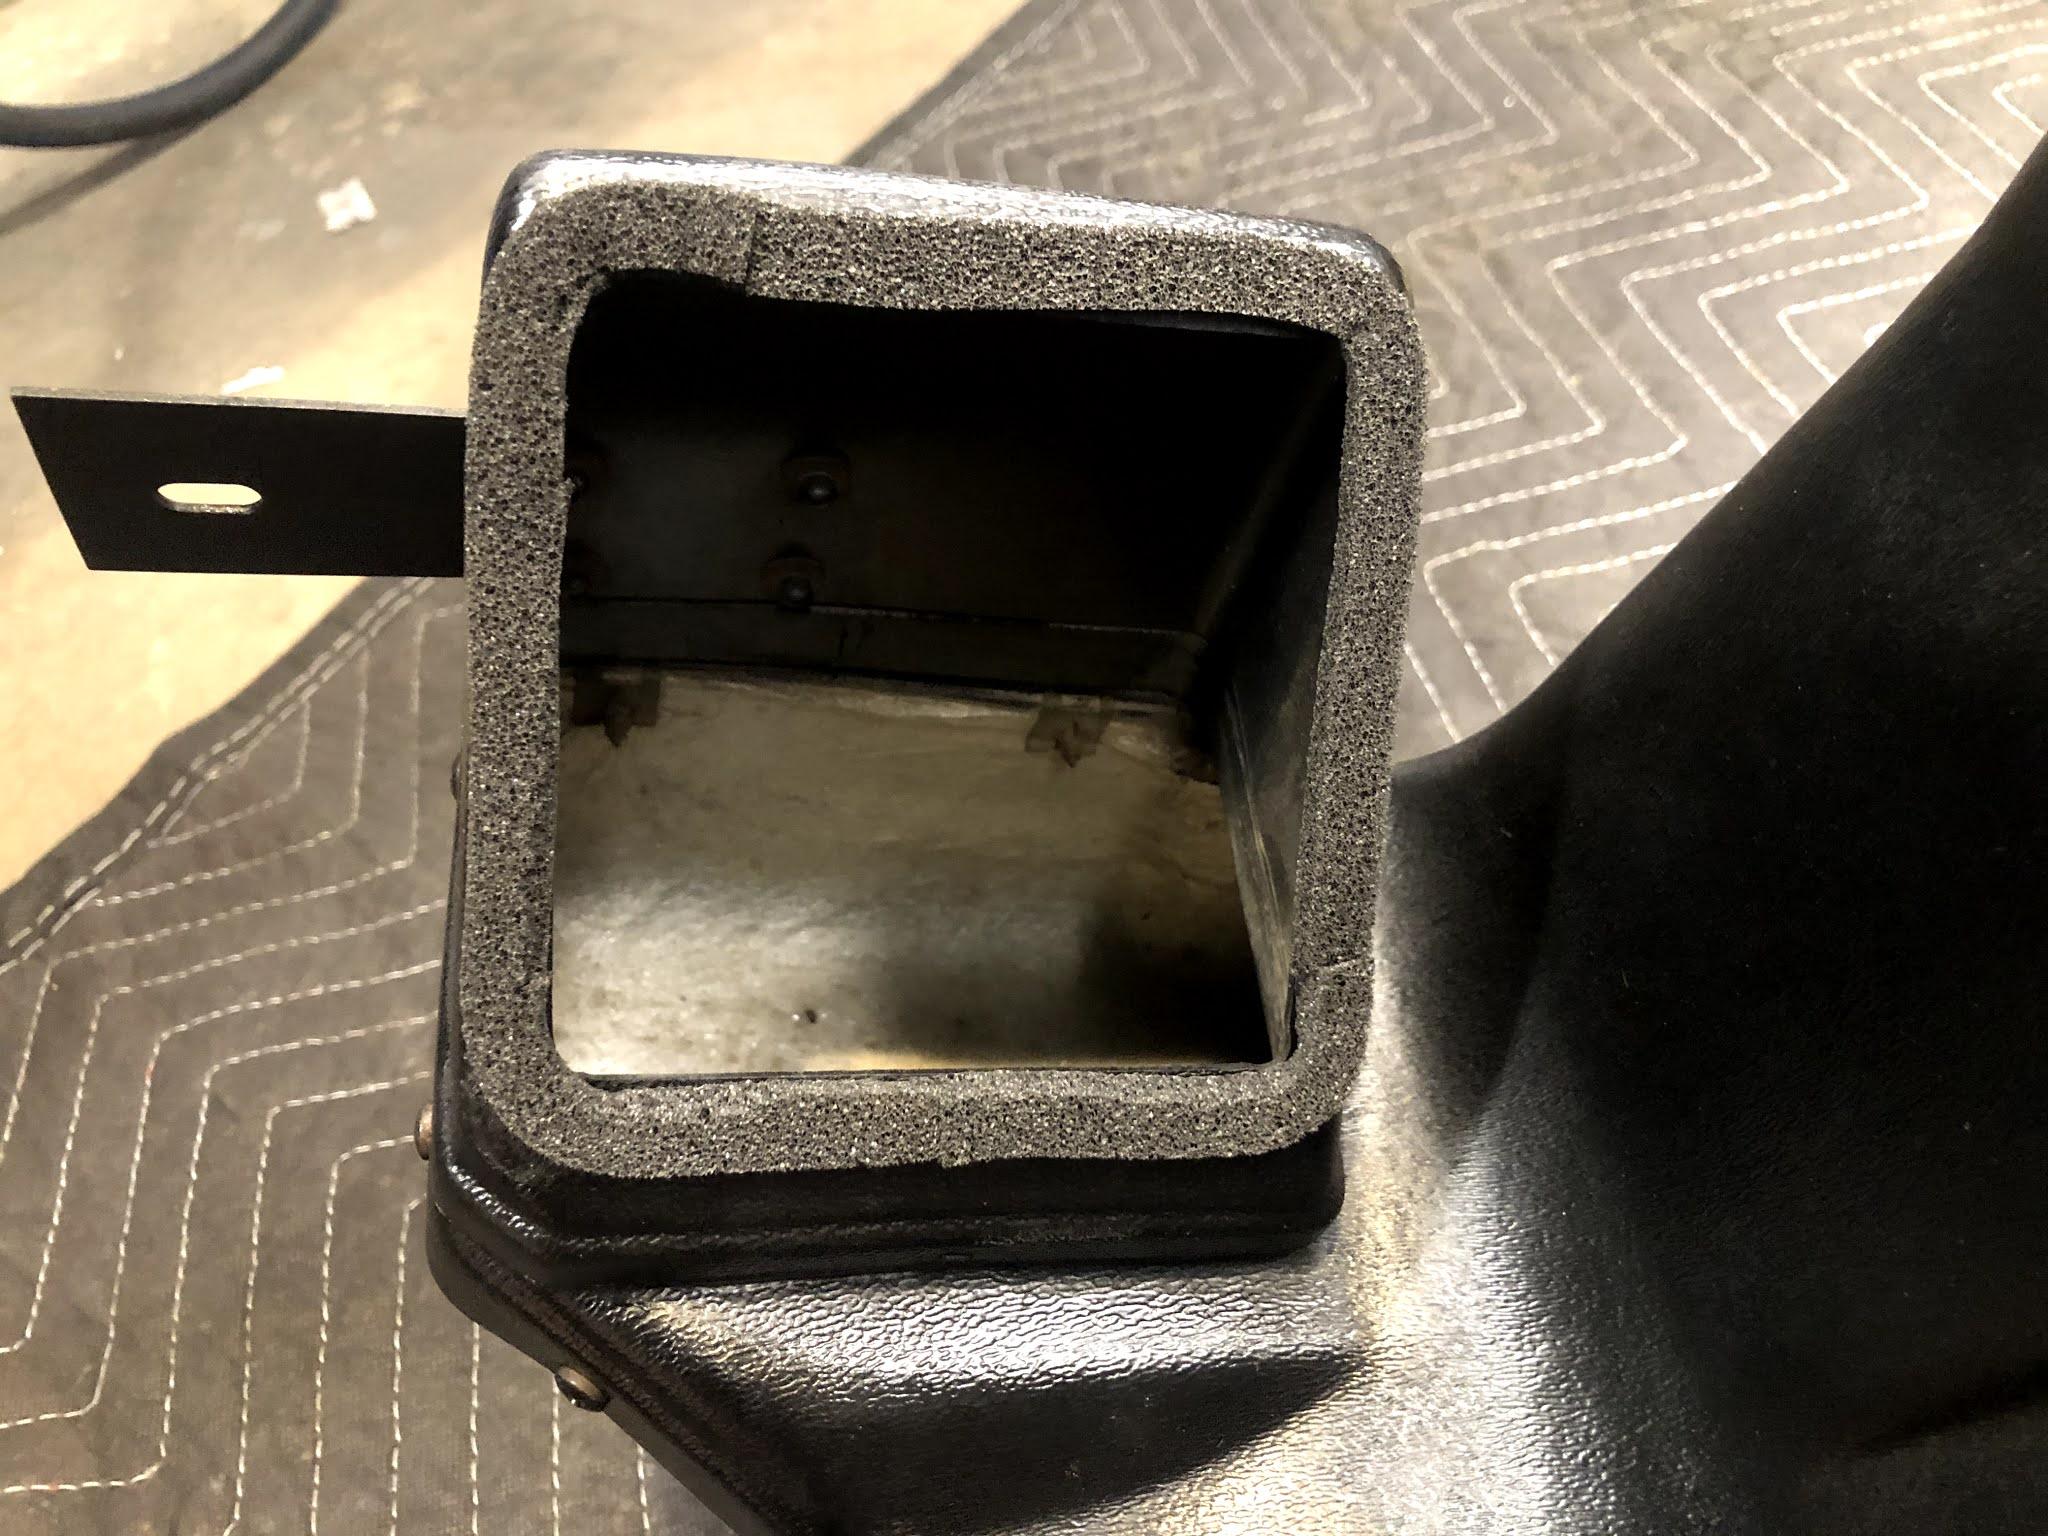
Received the AC kit from Auto AC solutions last week and decided to mock it up in the car. Link to the kit we got as reference: Z AC Kit Initially I had high hopes for this kit. From the description on the website it sounded like it was designed specifically for the Z. I wanted a system that was much cleaner than the dealer unit originally installed in the car that had the massive York compressor. This is what came in the kit (AC compressor and mounting brackets not shown - mounted those before snapping this picture) As you can see, the evaporator unit is a massive assembly. I could not figure out how to package it cleanly behind the dash and with the existing HVAC system. Perhaps I was looking at it wrong, but it didn't seem as integrated of a unit as the one removed. The compressor mounting brackets seemed fine, but the hardware provided was useless. Looked like M10X1.5 hardware for the most part, but with mix matched bolt head sizes and thread pitches. Definitely not very well thought out. I will replace all of this will better quality hardware. With the York compressor, all the AC lines and fittings remain on the RH side of the car. With this new system, the compressor is mounted down on the LH side of the engine, similar to the ZX. Now this aspect of the kit I liked, as I didn't want to look at the compressor when I opened the hood. However, the condenser seemed to be setup for the York style of system, with both inlet and outlet ports on the same side of the unit. Again, I don't think this was very well thought out. We'll be able to make it work, but with more effort than I was anticipating. Another feature of this kit is the ability to maintain the smog pump as the AC compressor bracket has holes to relocate it slightly higher up. With all that said, I am pretty disappointed in this kit. Looks like a quality Sanden compressor and some cobbled together off the shelf pieces to make a "kit". With that said, we decided to rebuild the evaporator originally on the car and utilize the new valving, hardware, and fittings so that the under dash appearance was as clean as possible. For someone who is looking to install AC in a Z but retain the factory heater and look, I'd suggest picking up only the engine mounting bracket and compressor. You could easily build the rest of the system yourself, if you can locate an original style evaporator. Pulling the evaporator a part, it was amazingly clean and needed very little to recondition. The plastic housing was split open, cleaned, new seals installed, and painted. The evaporator core itself was thoroughly cleaned externally, checked for leaks, flushed, and vacuumed to ensure no containments were left. We'll leave it plugged until final install.


-
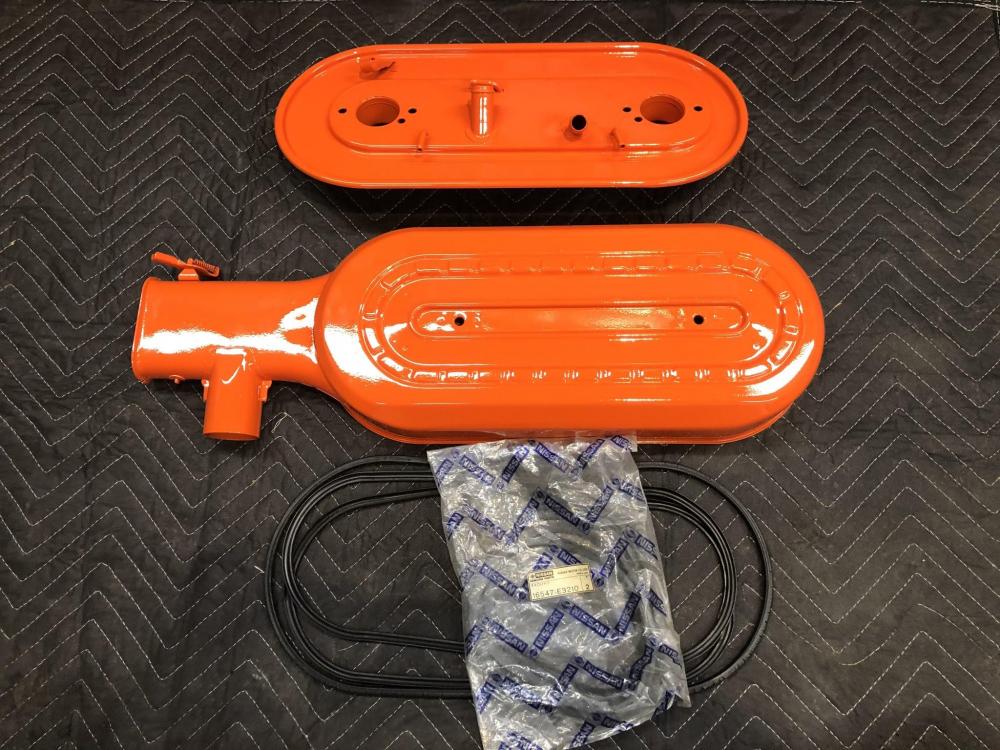
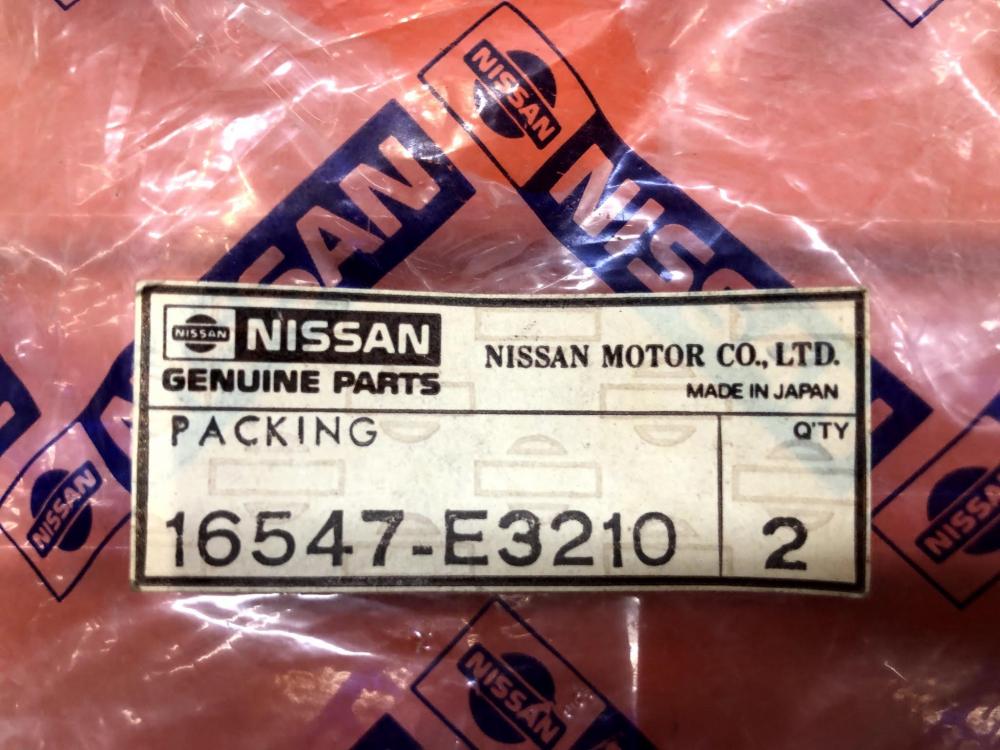
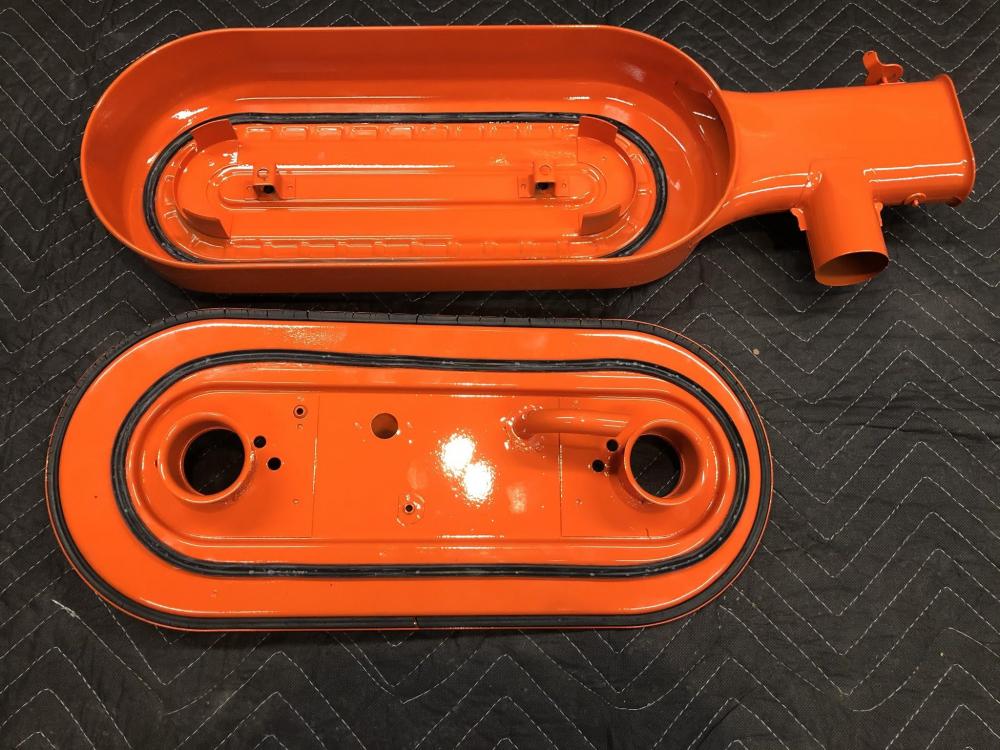
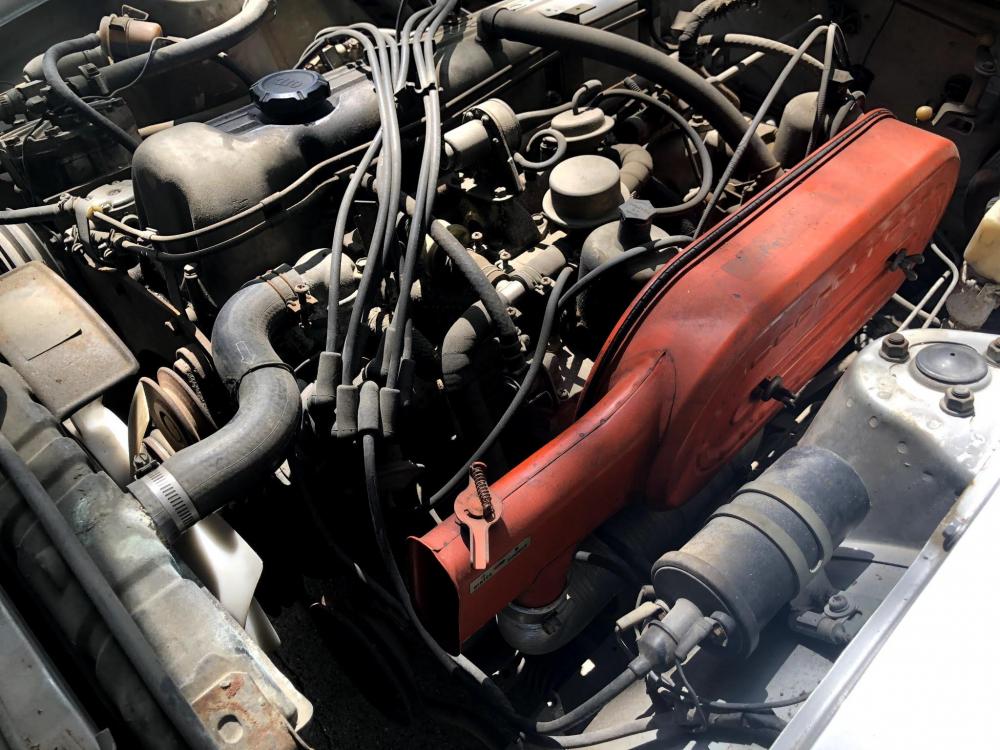
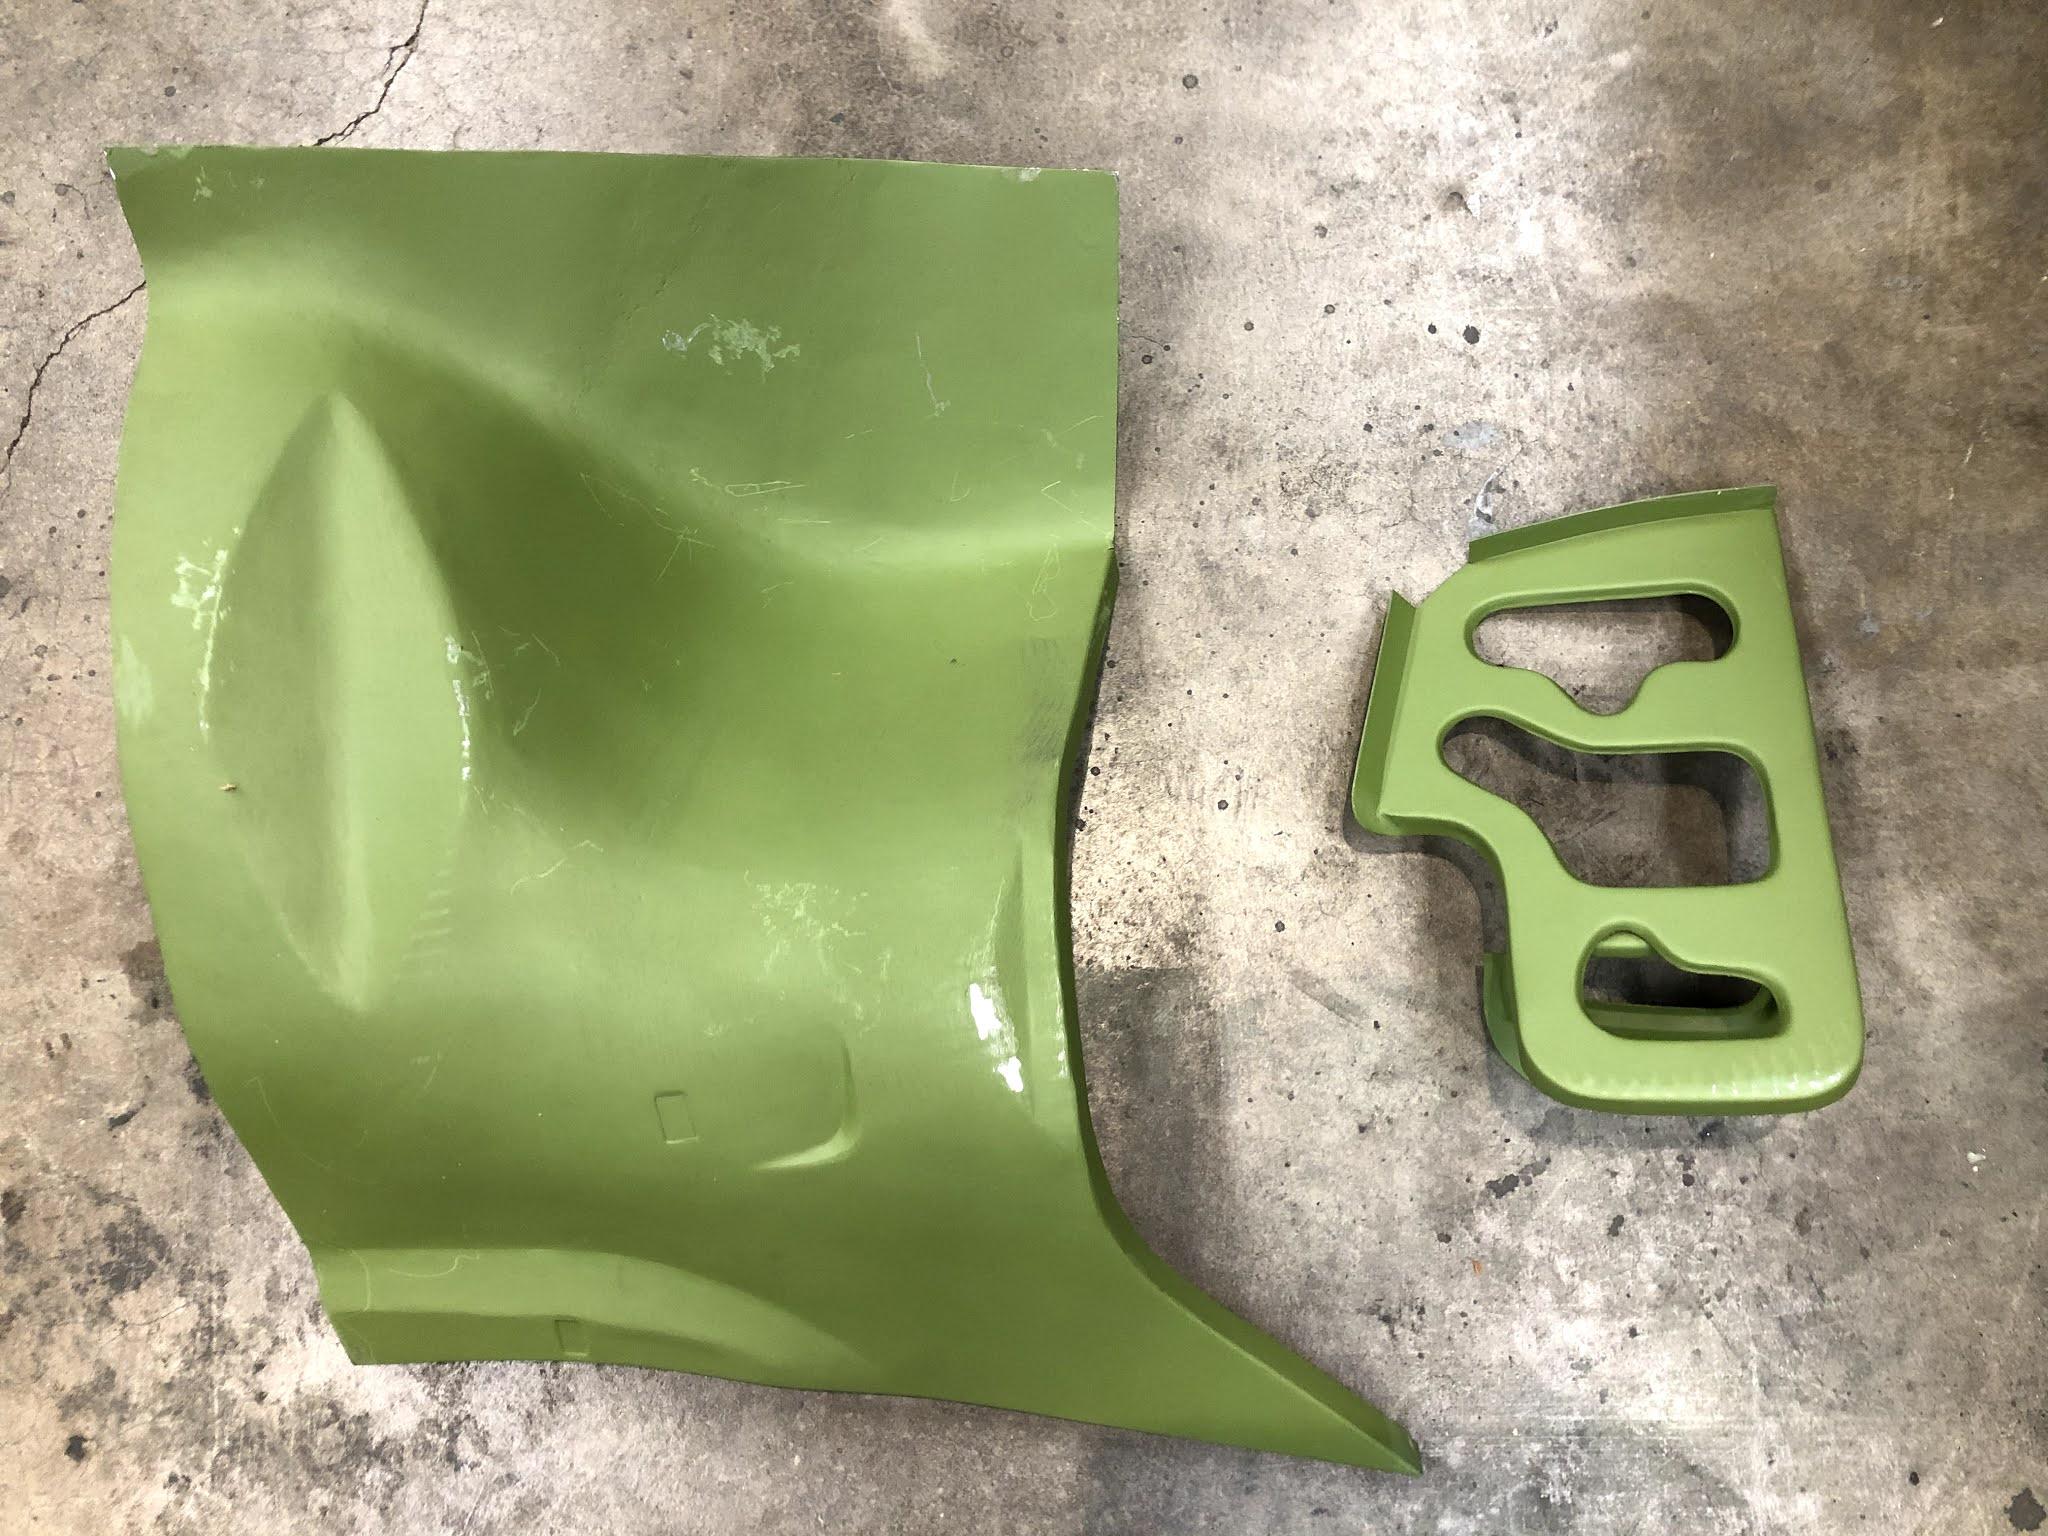
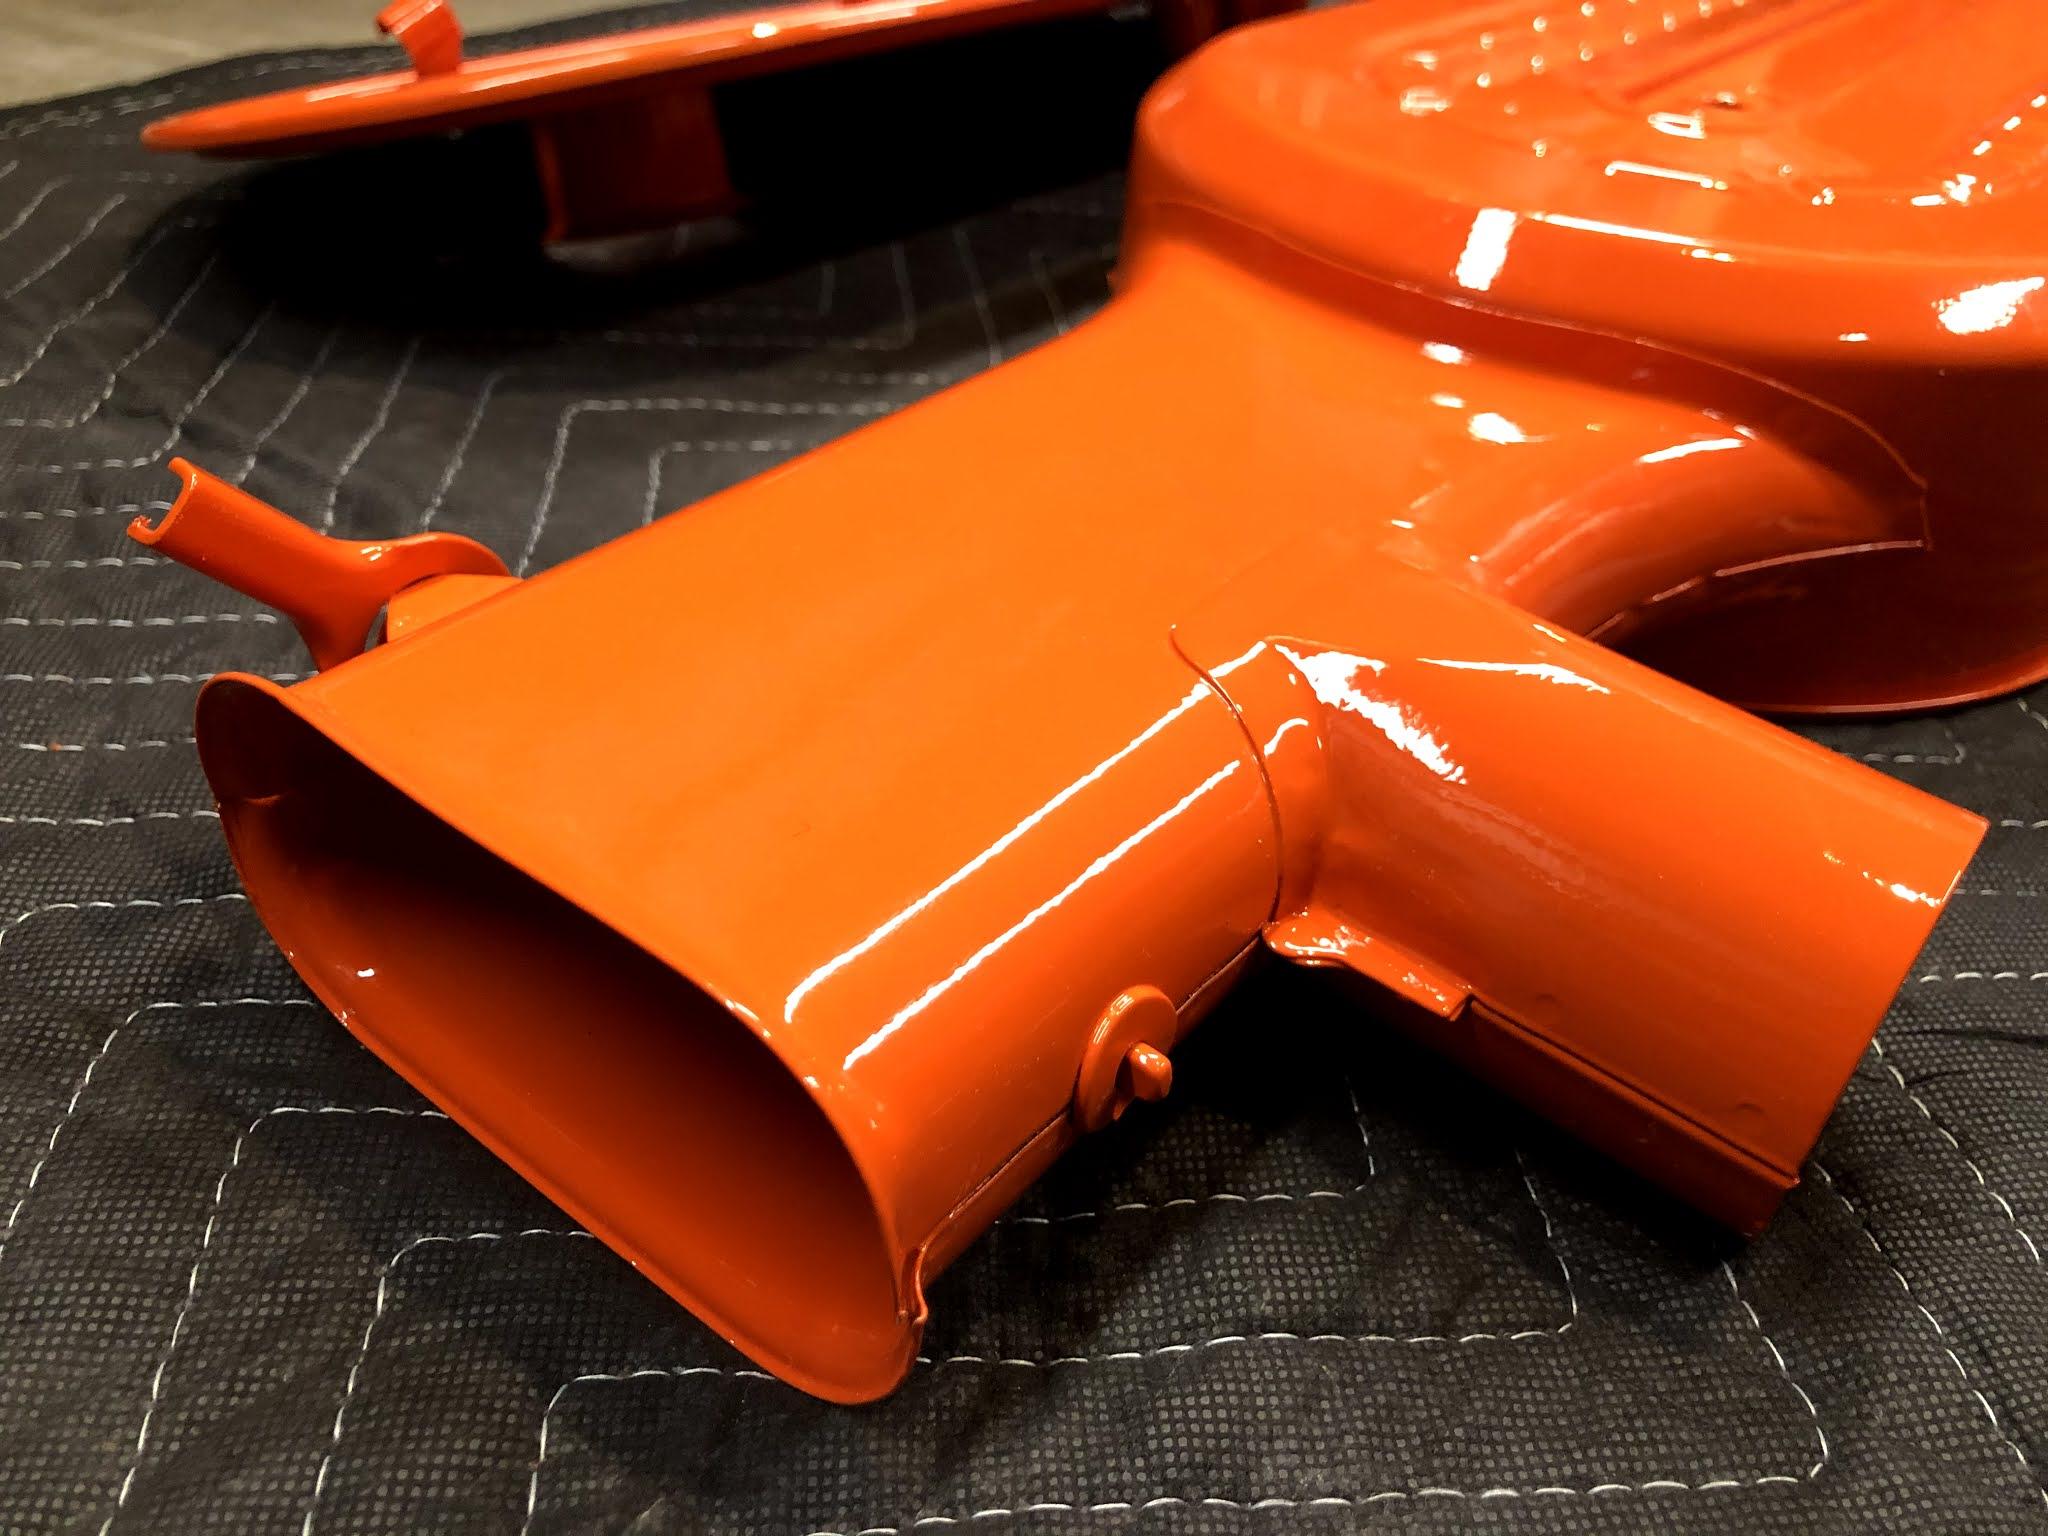
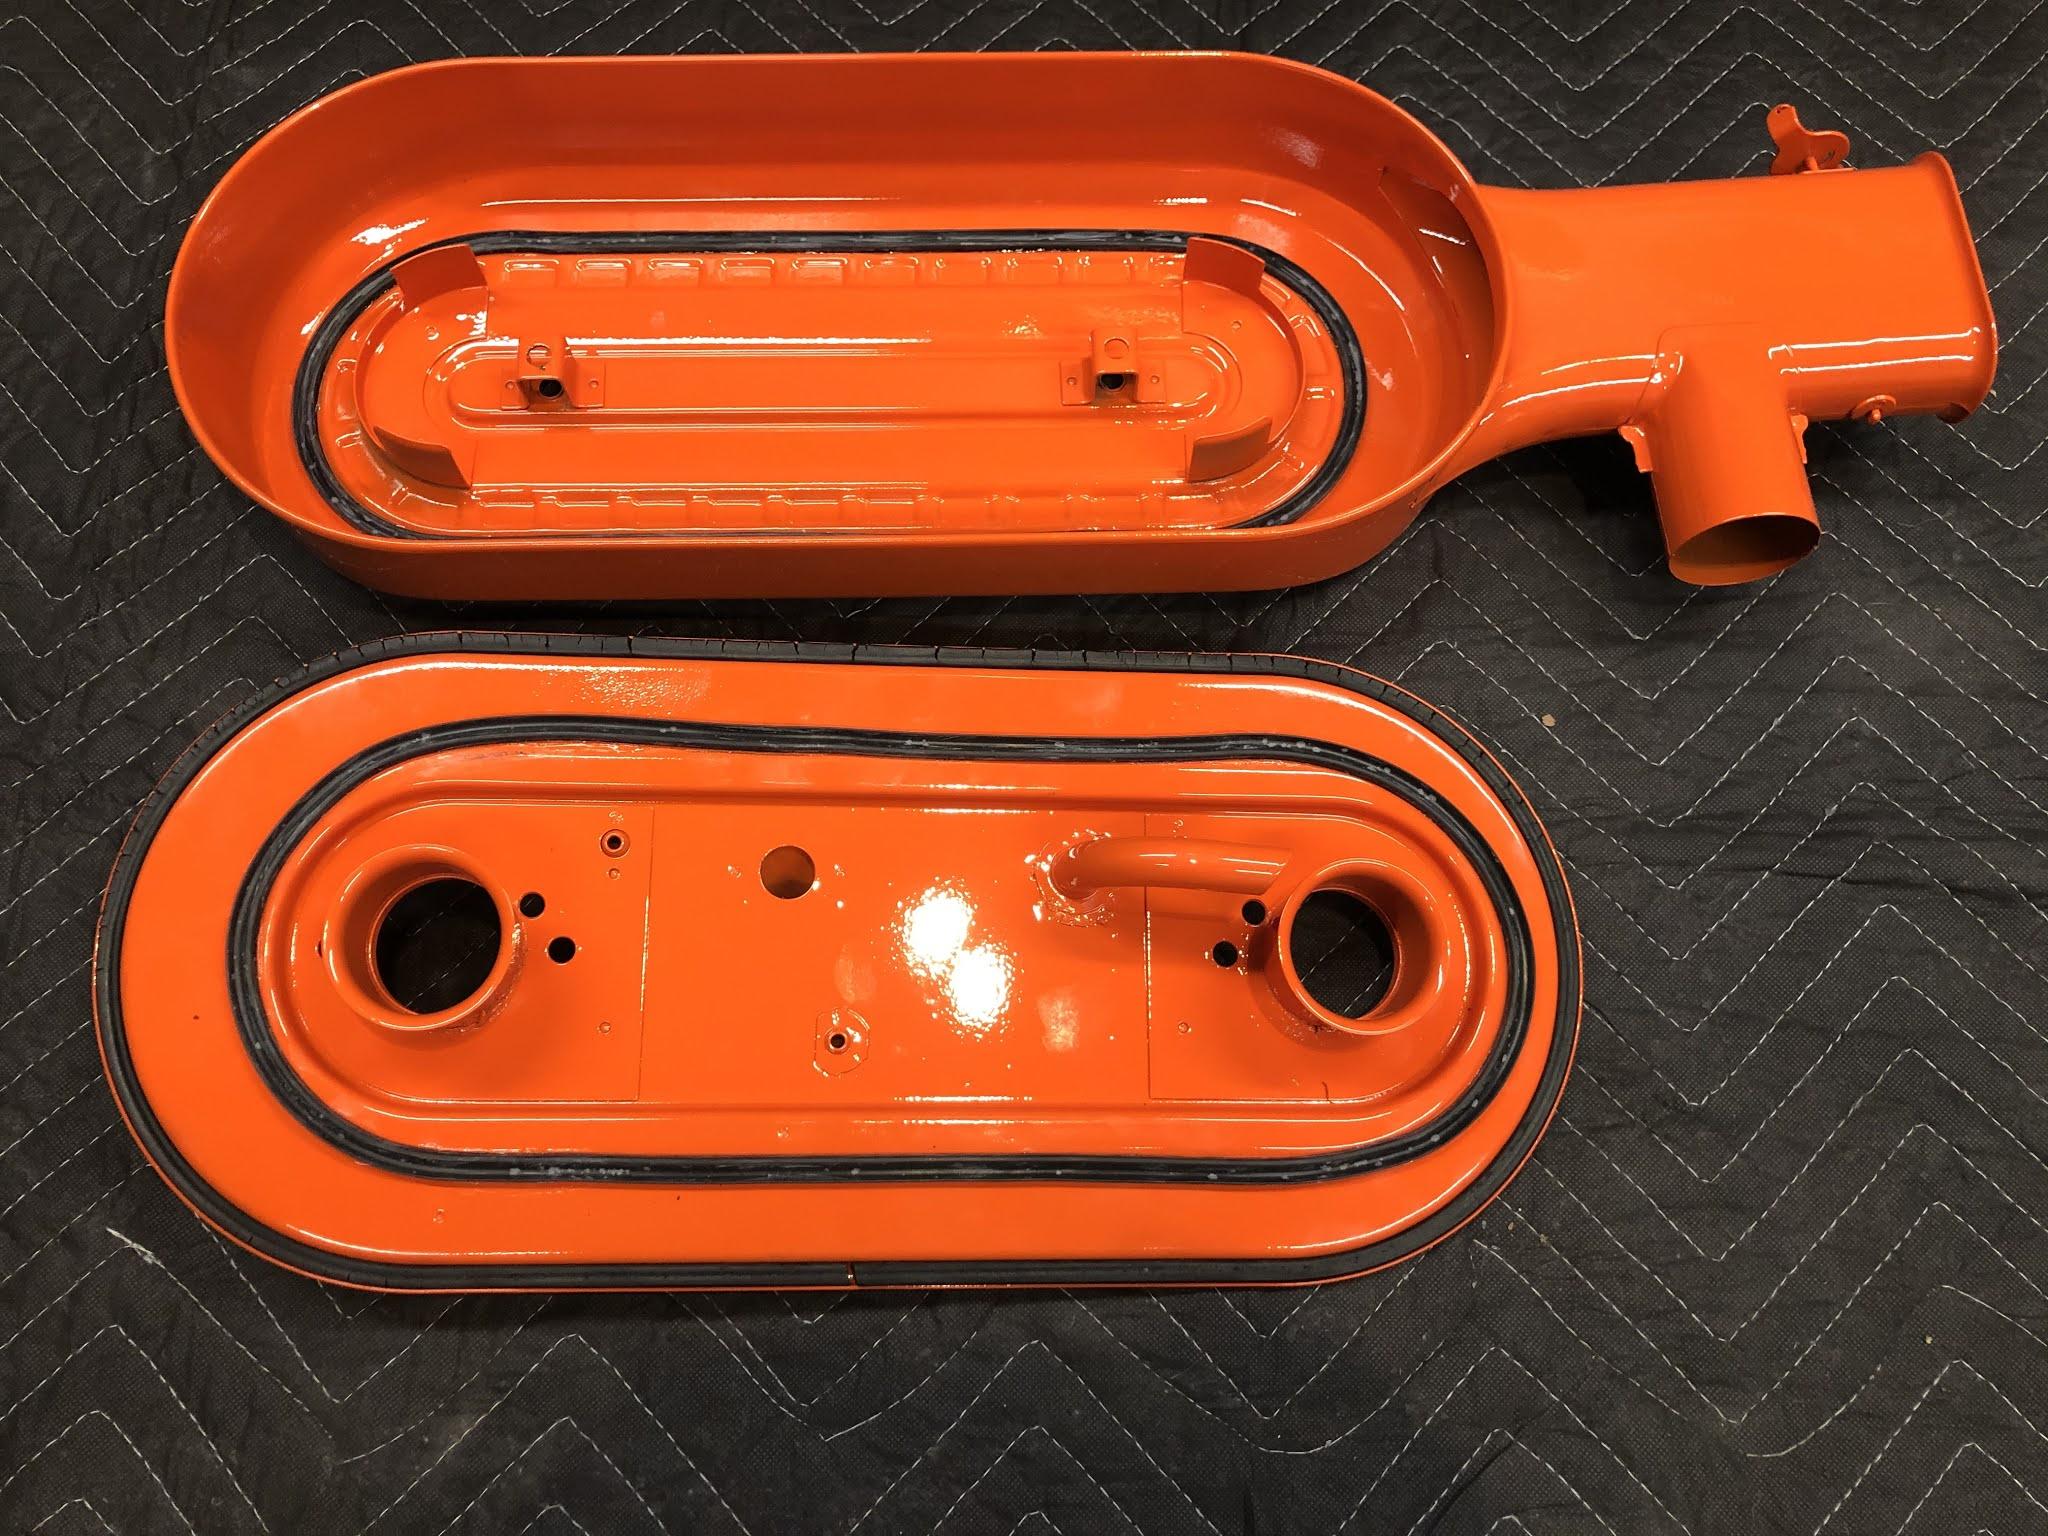
Another small restoration project, cleaning up the original air cleaner. During the dustless blasting process we had both pieces of the air clean blasted, coated with a DTM, and then finished in the correct shade of orange. In my stash of parts was a set of NOS air cleaner gaskets. Once the correct stickers arrive this assembly will be ready for install.

-
Very cool! I have looked into a few ways to achieve this with various chemicals. I found another how to video of a guy doing this to a washer bottle. When I get to that point in the build I'll report back on how successful this DIY process is for me.
-
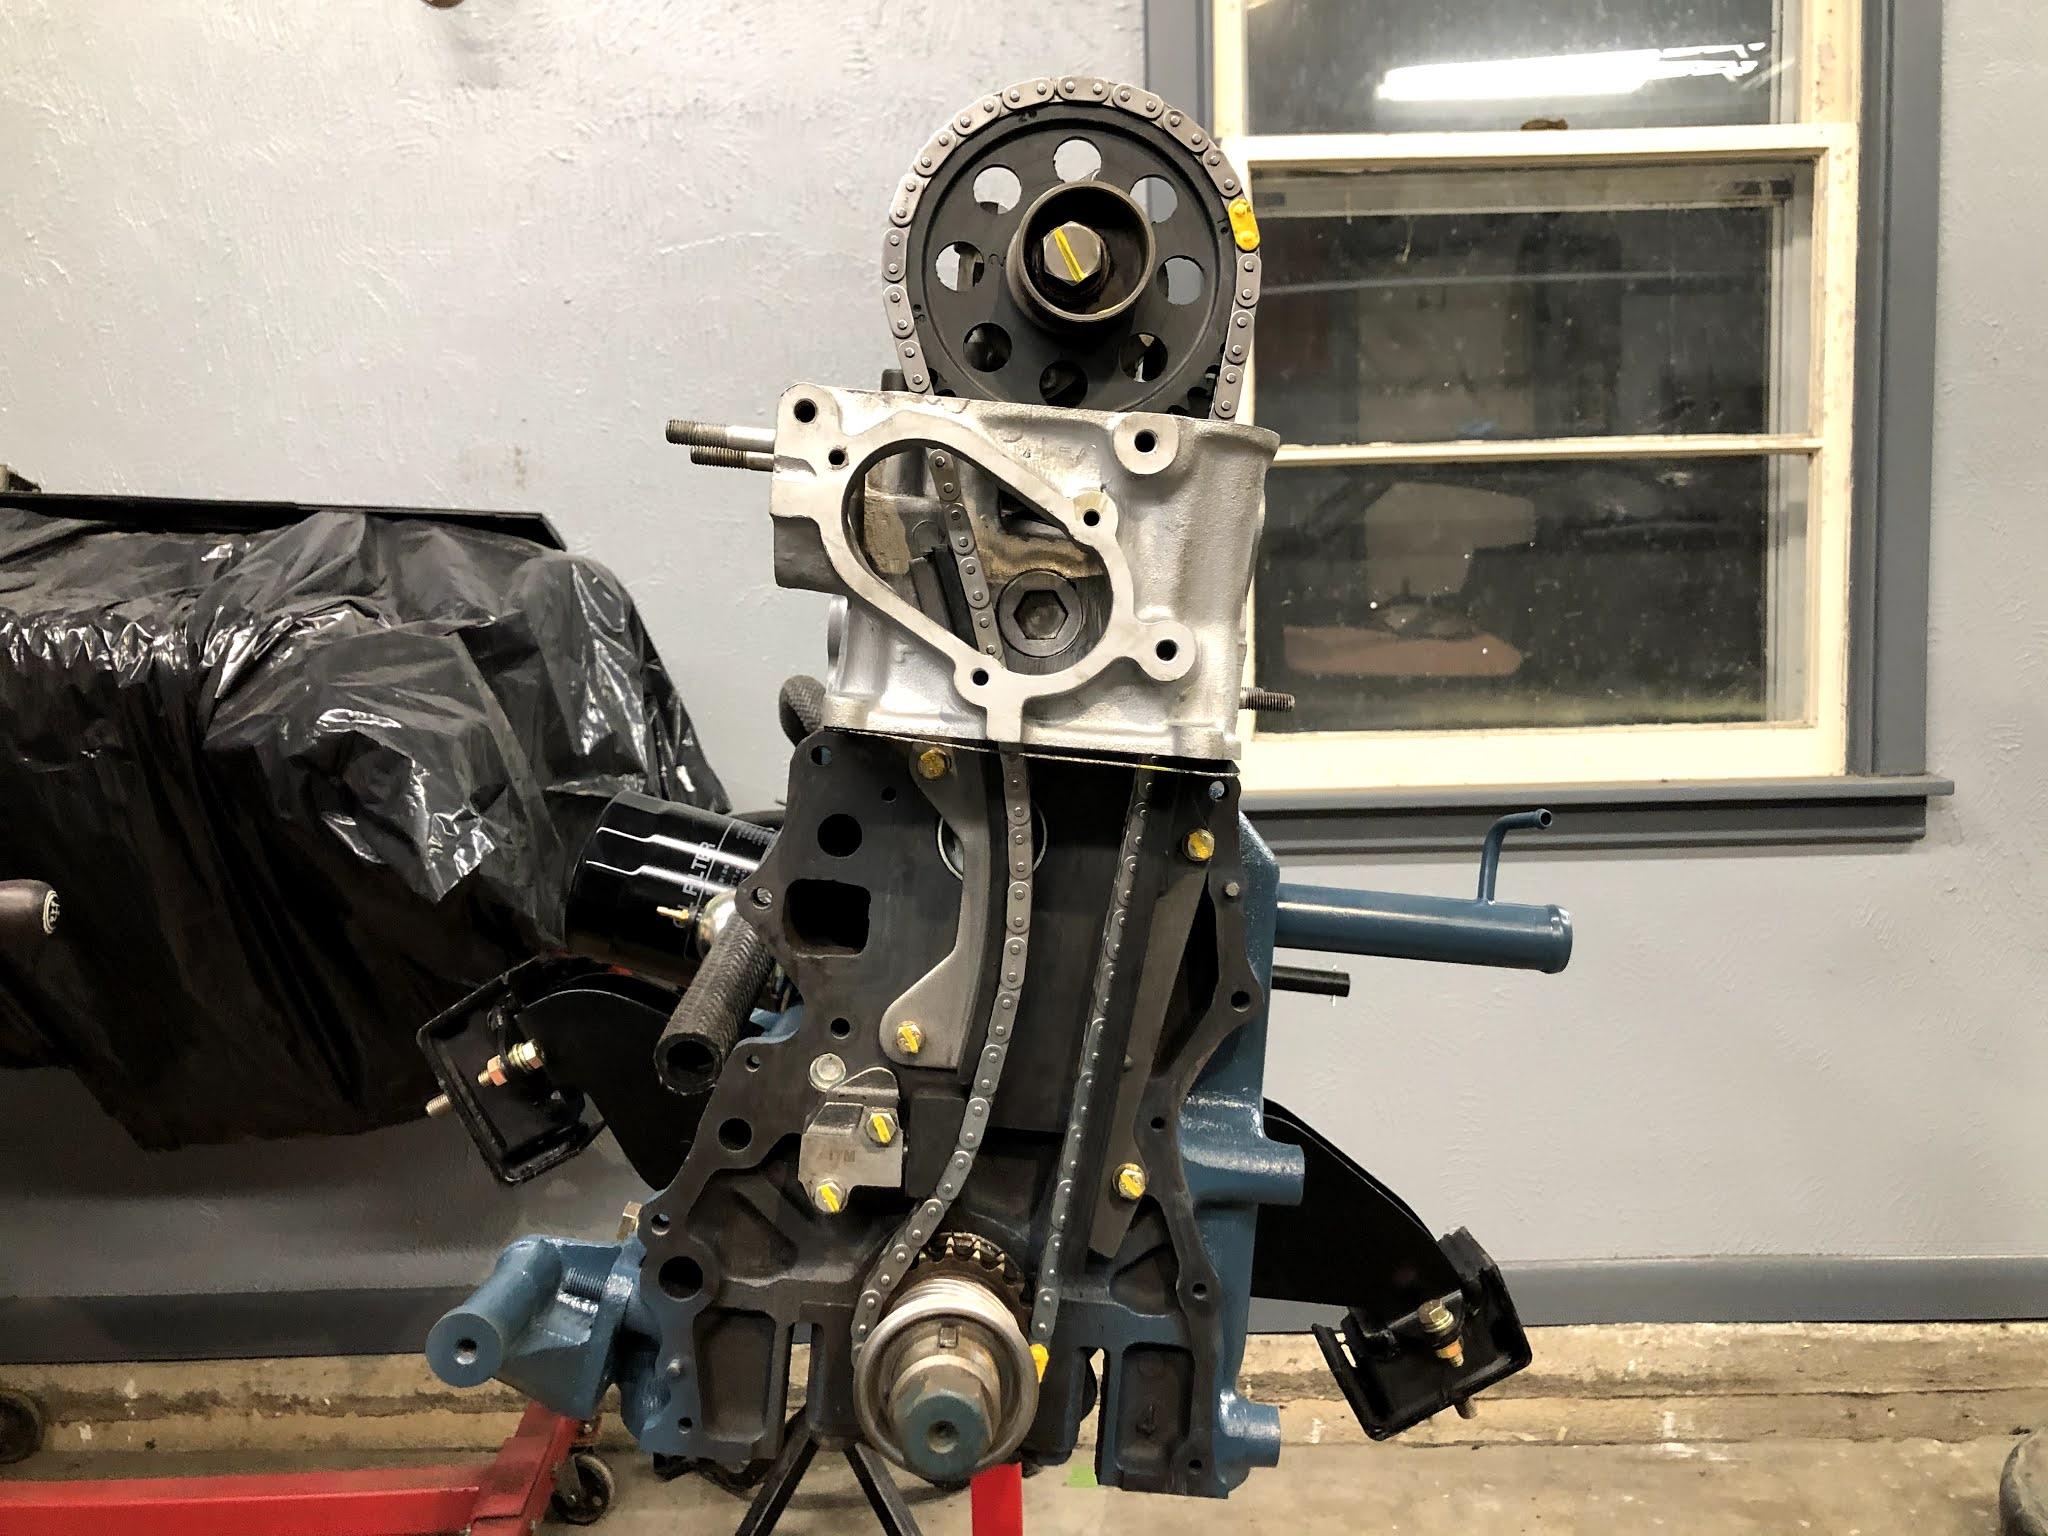
Complete timing set from ITM. This is the fourth ITM timing set I've installed, have not ran across a fitment issue yet, but good eye. I'll compare it to the original one pulled out again as a sanity check.
-
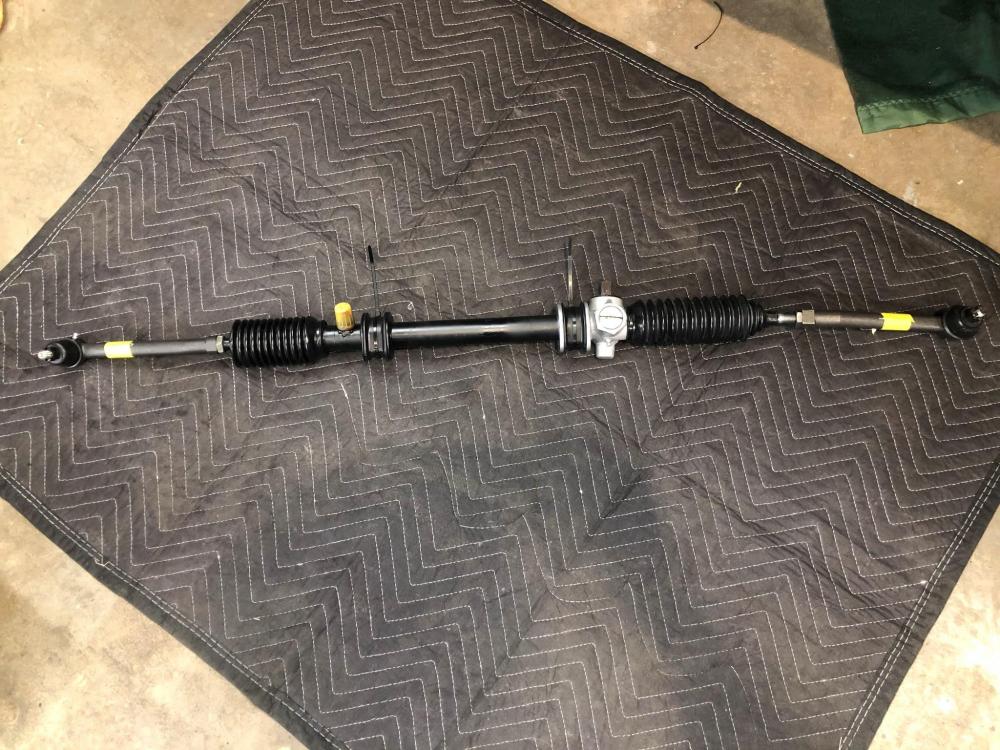
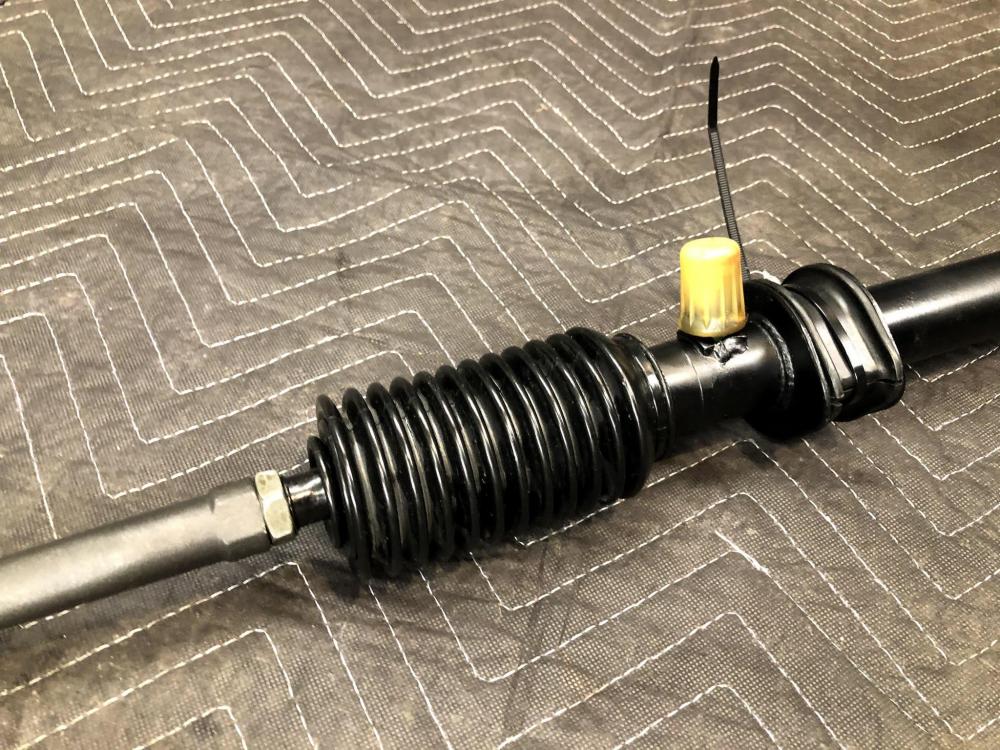
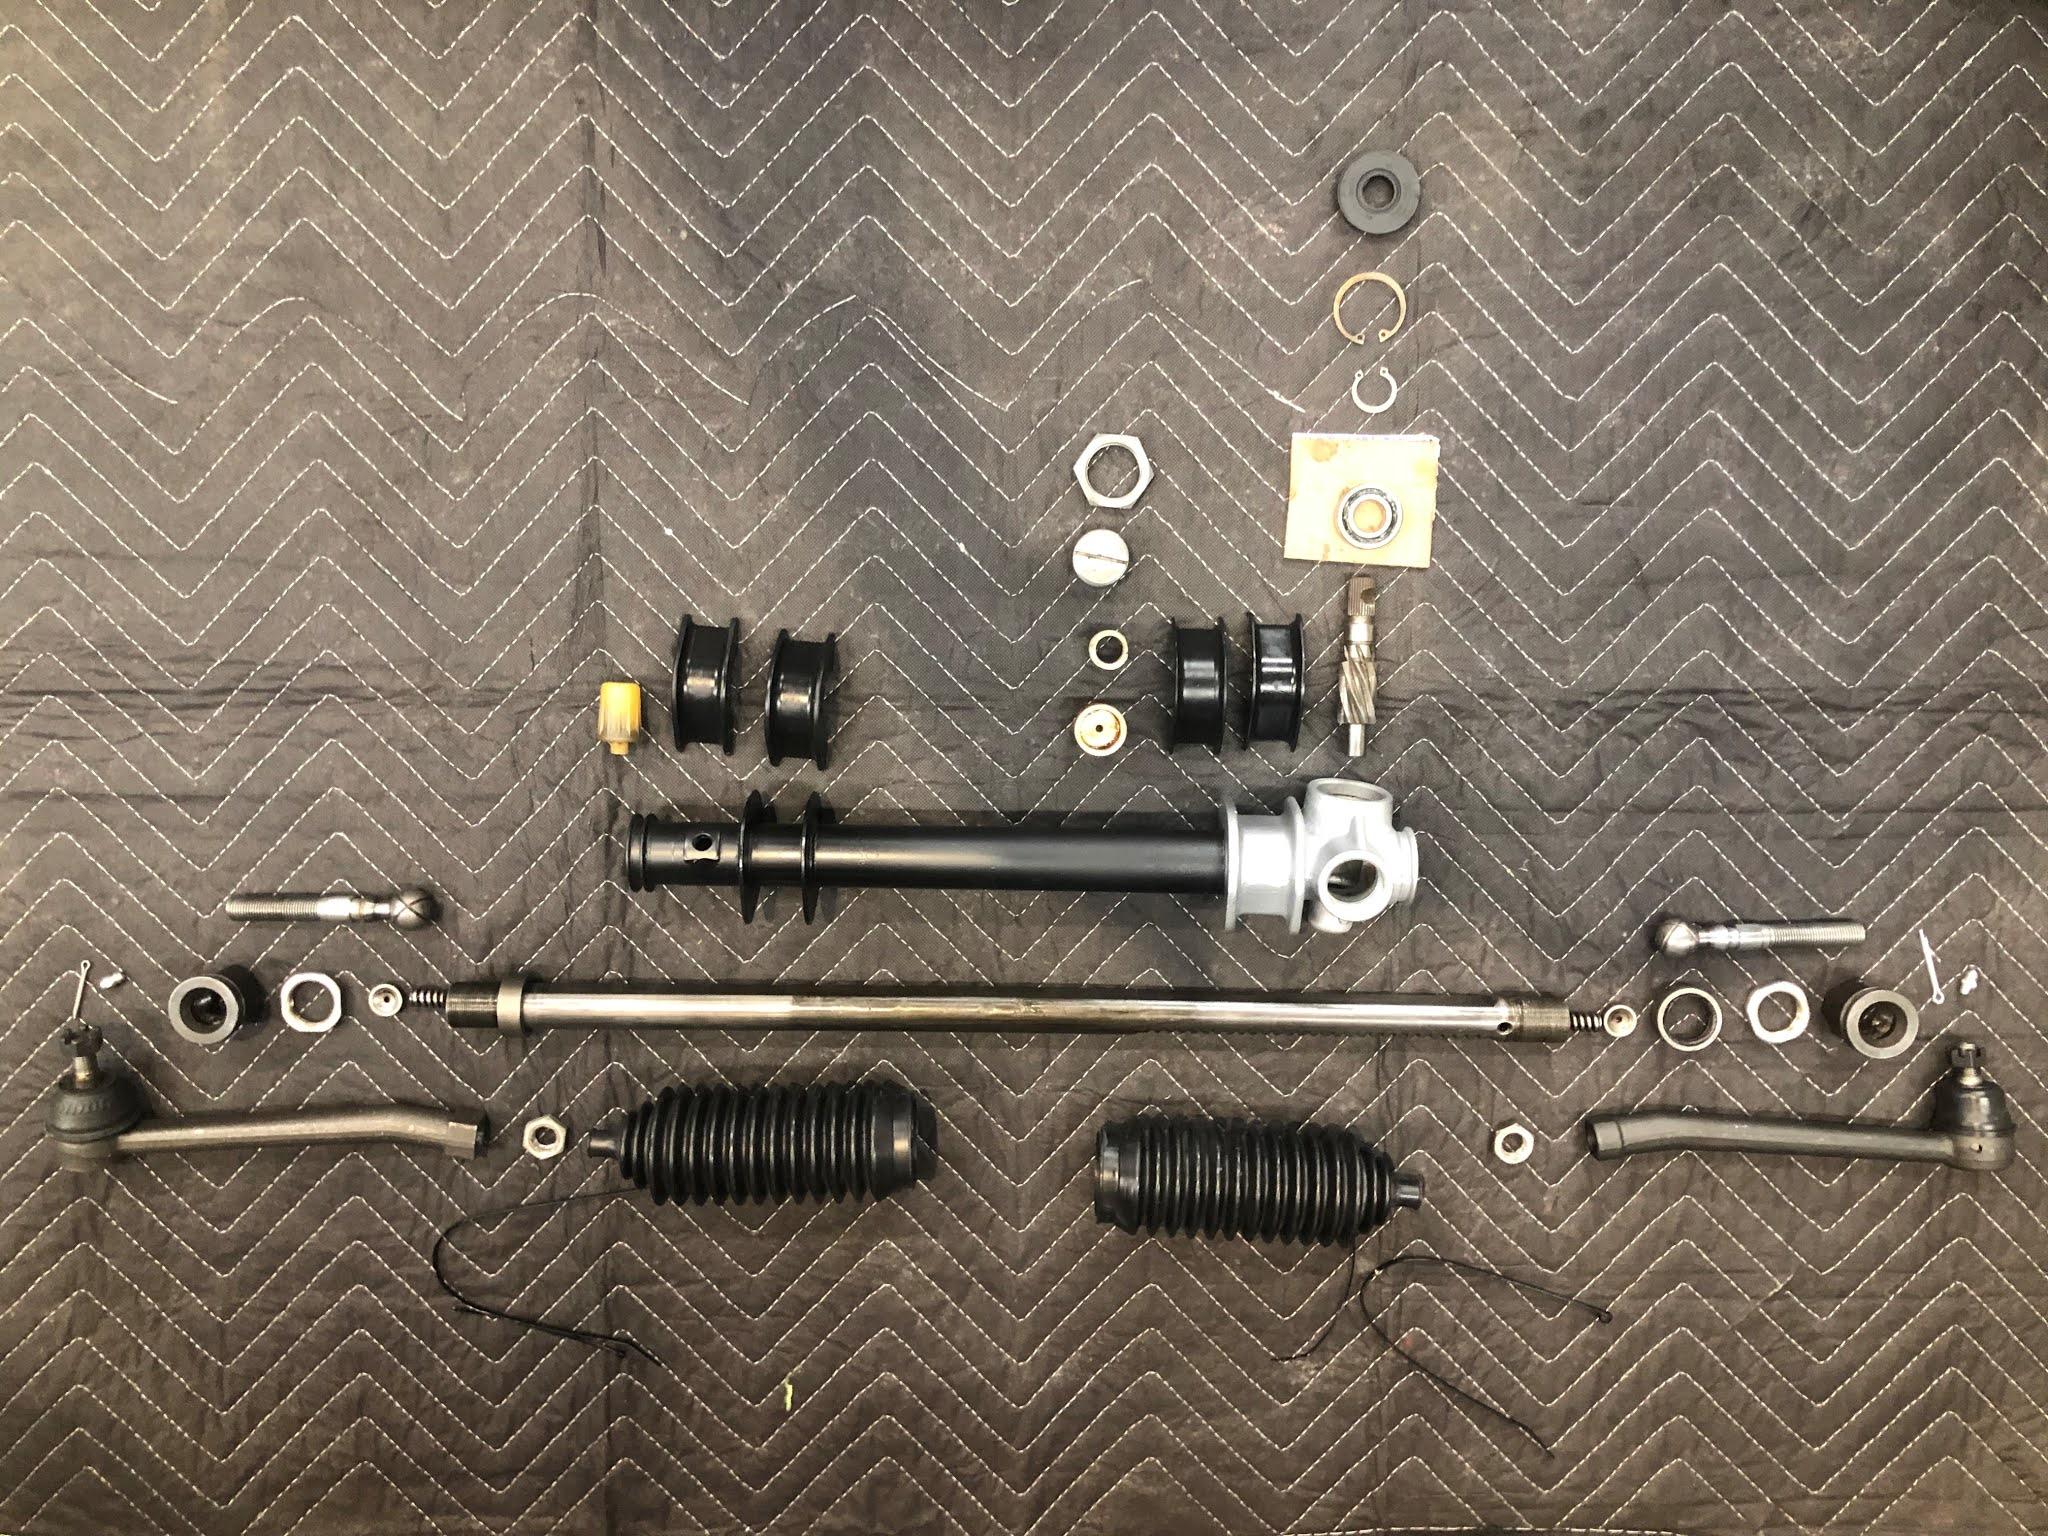
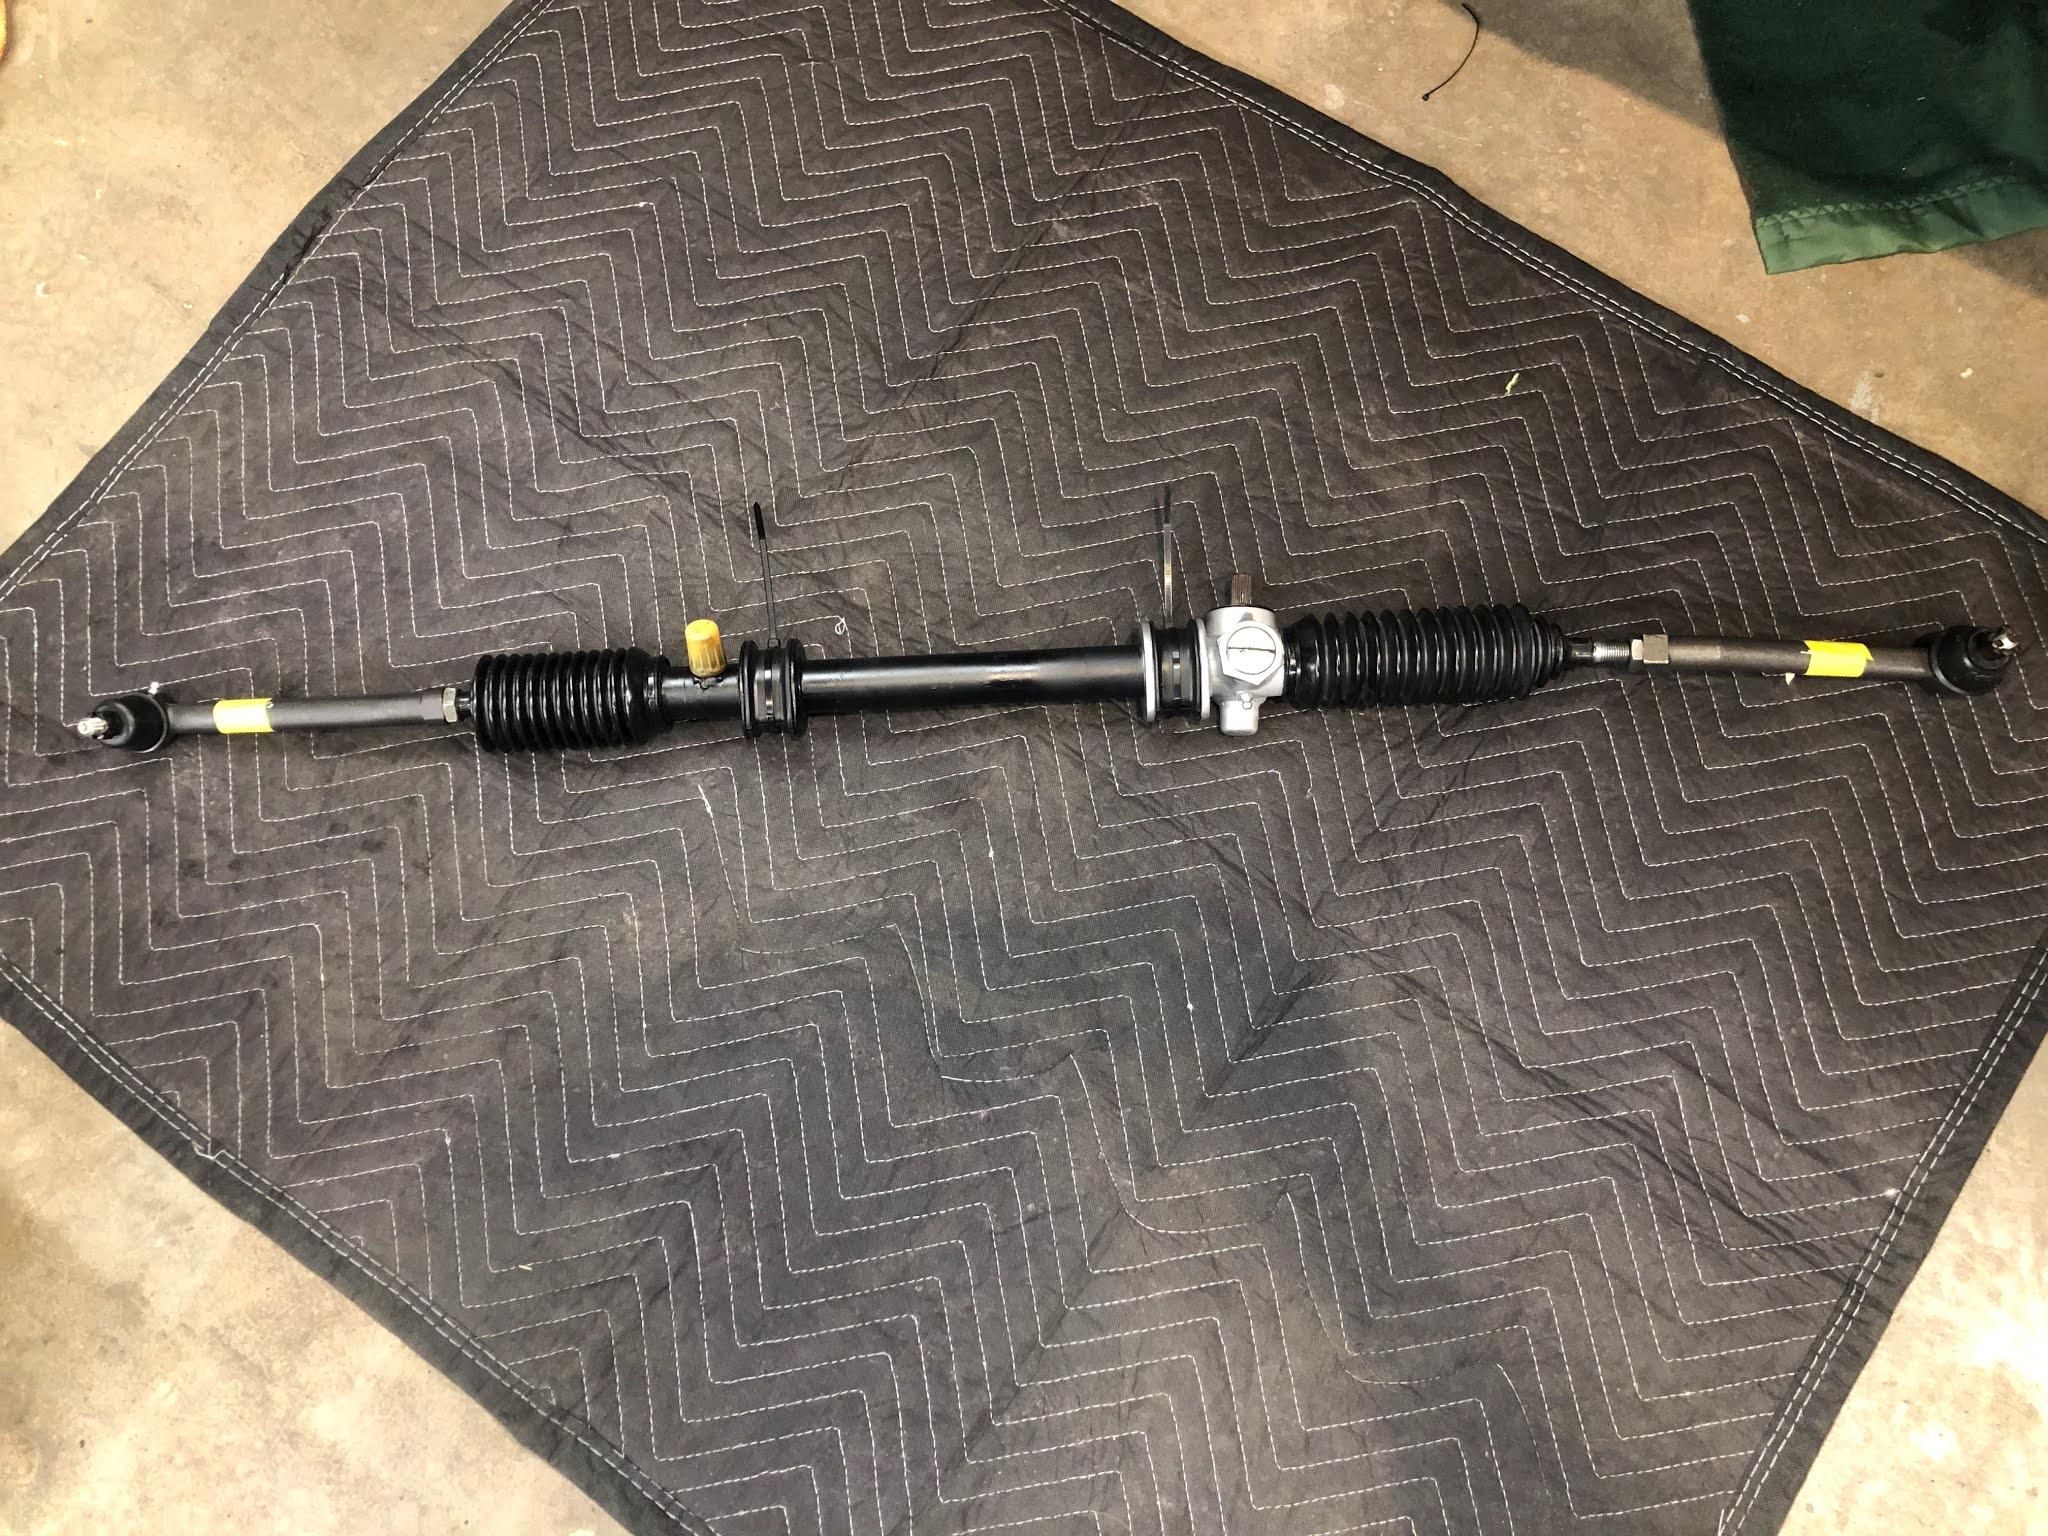
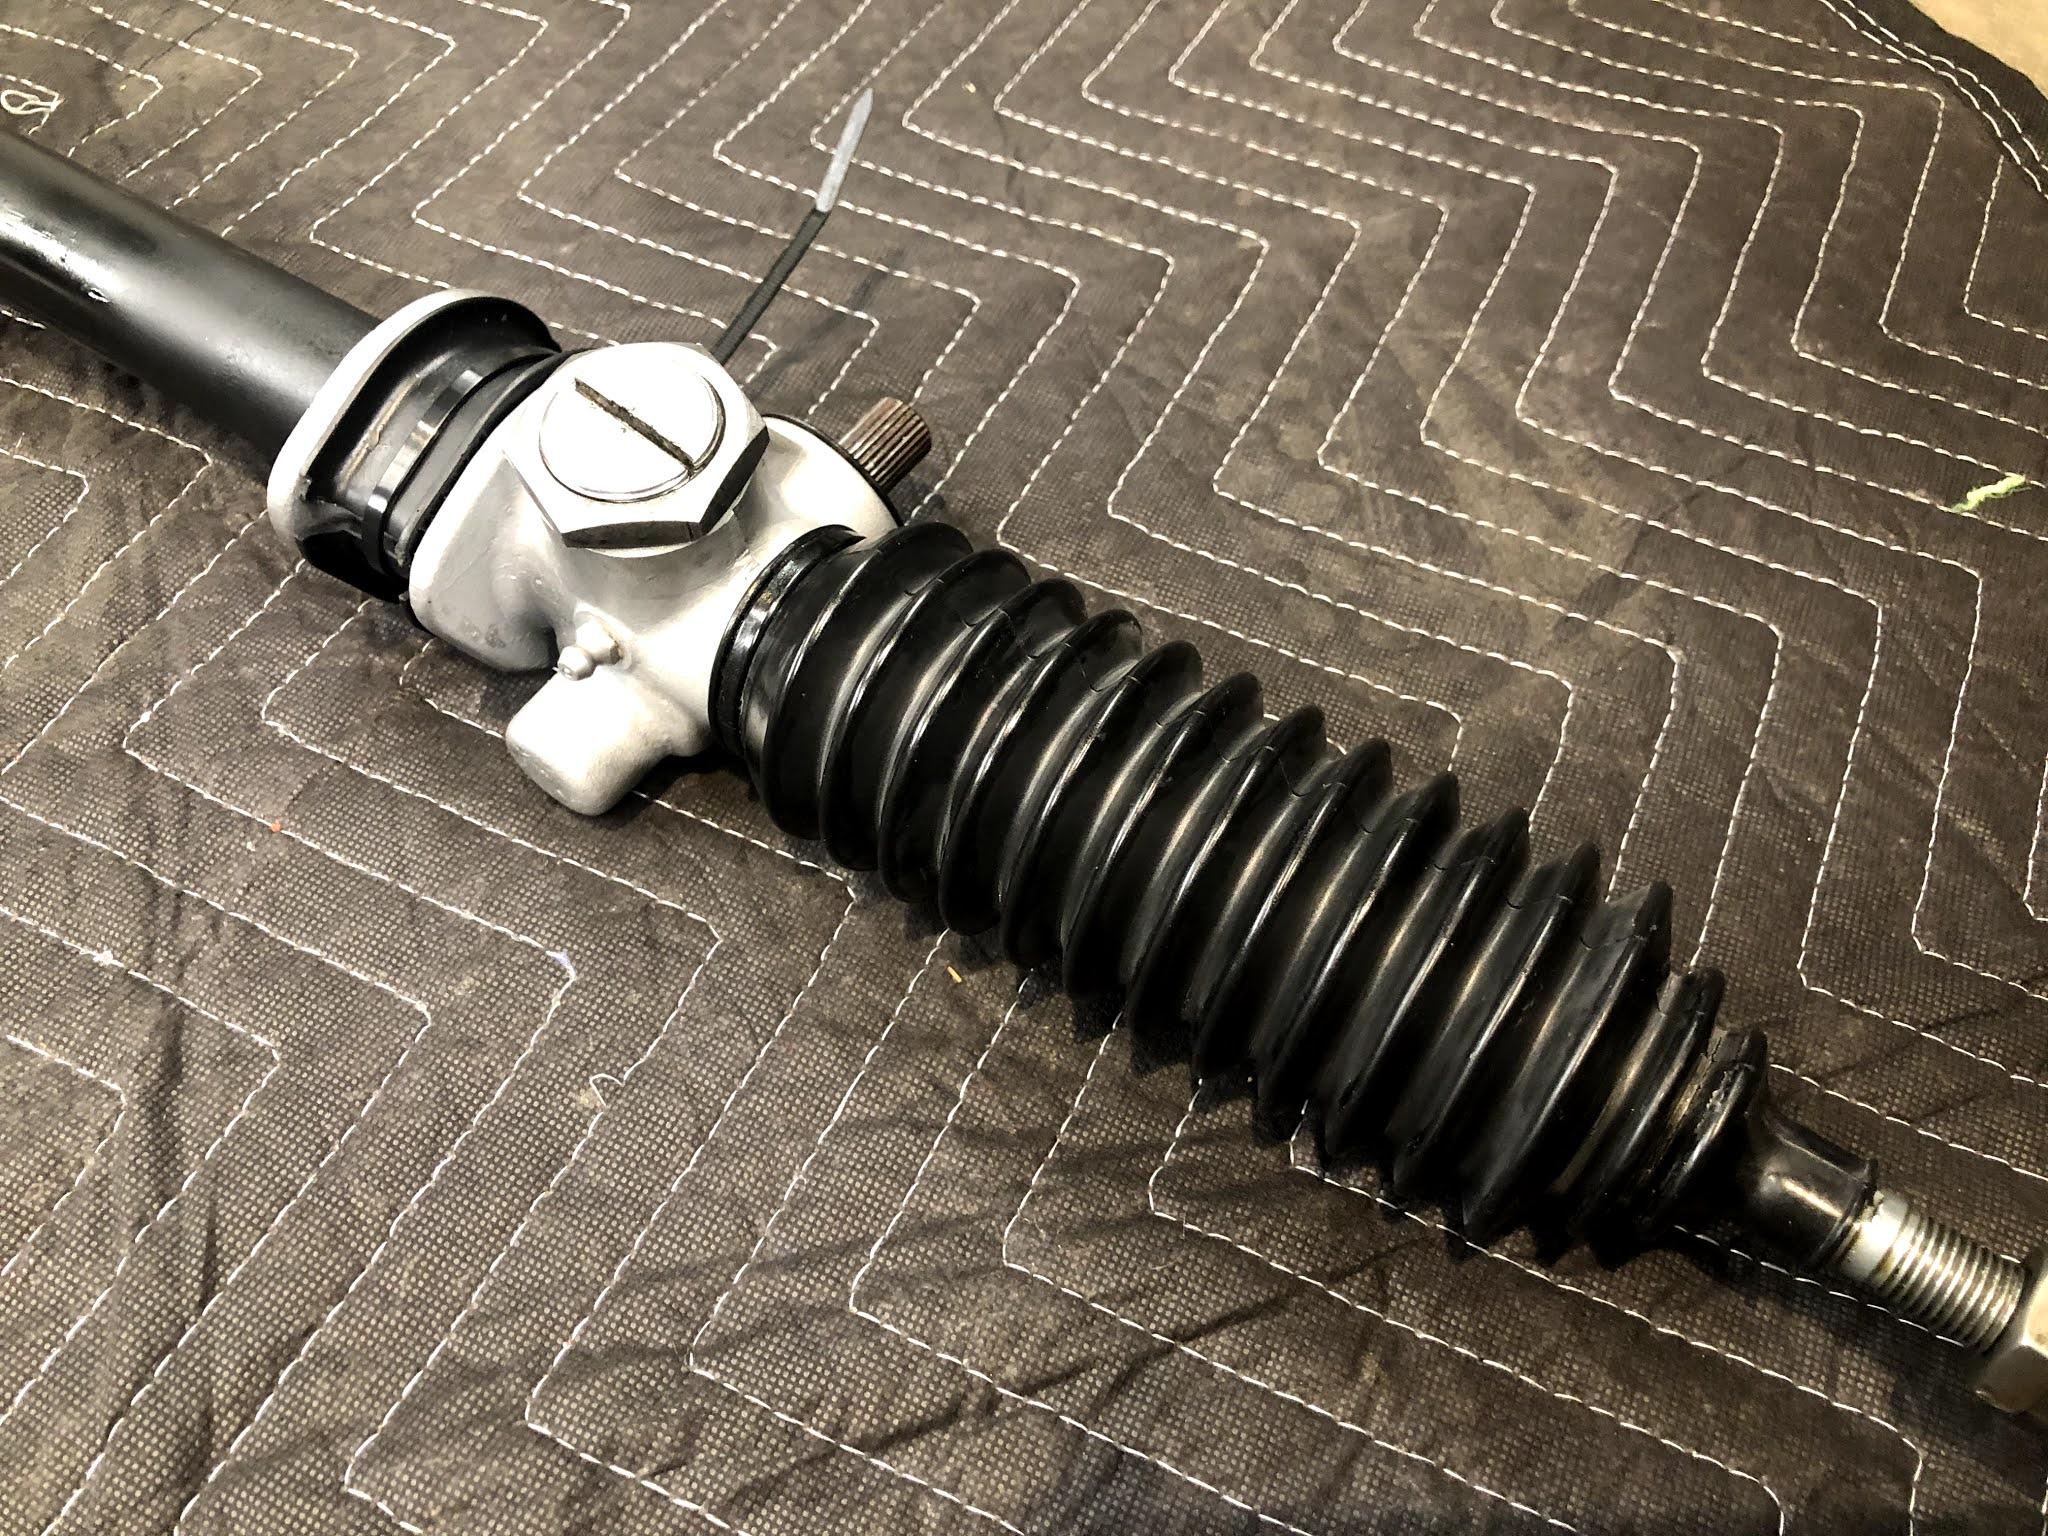
With the long block out of the way, and waiting on hardware to come back from the plating shop and bigger parts off to get powder coated, I turned back to rebuilding the smaller assemblies on hand. Next up was the rack and pinion. I ordered up new bushings, rack bellows, tie rod ends. The FSM has an easy to follow guide for rebuilding these. Tore the assembly all the way down, media blasted the housing, and used a generous amount of grease on the gear system.


-
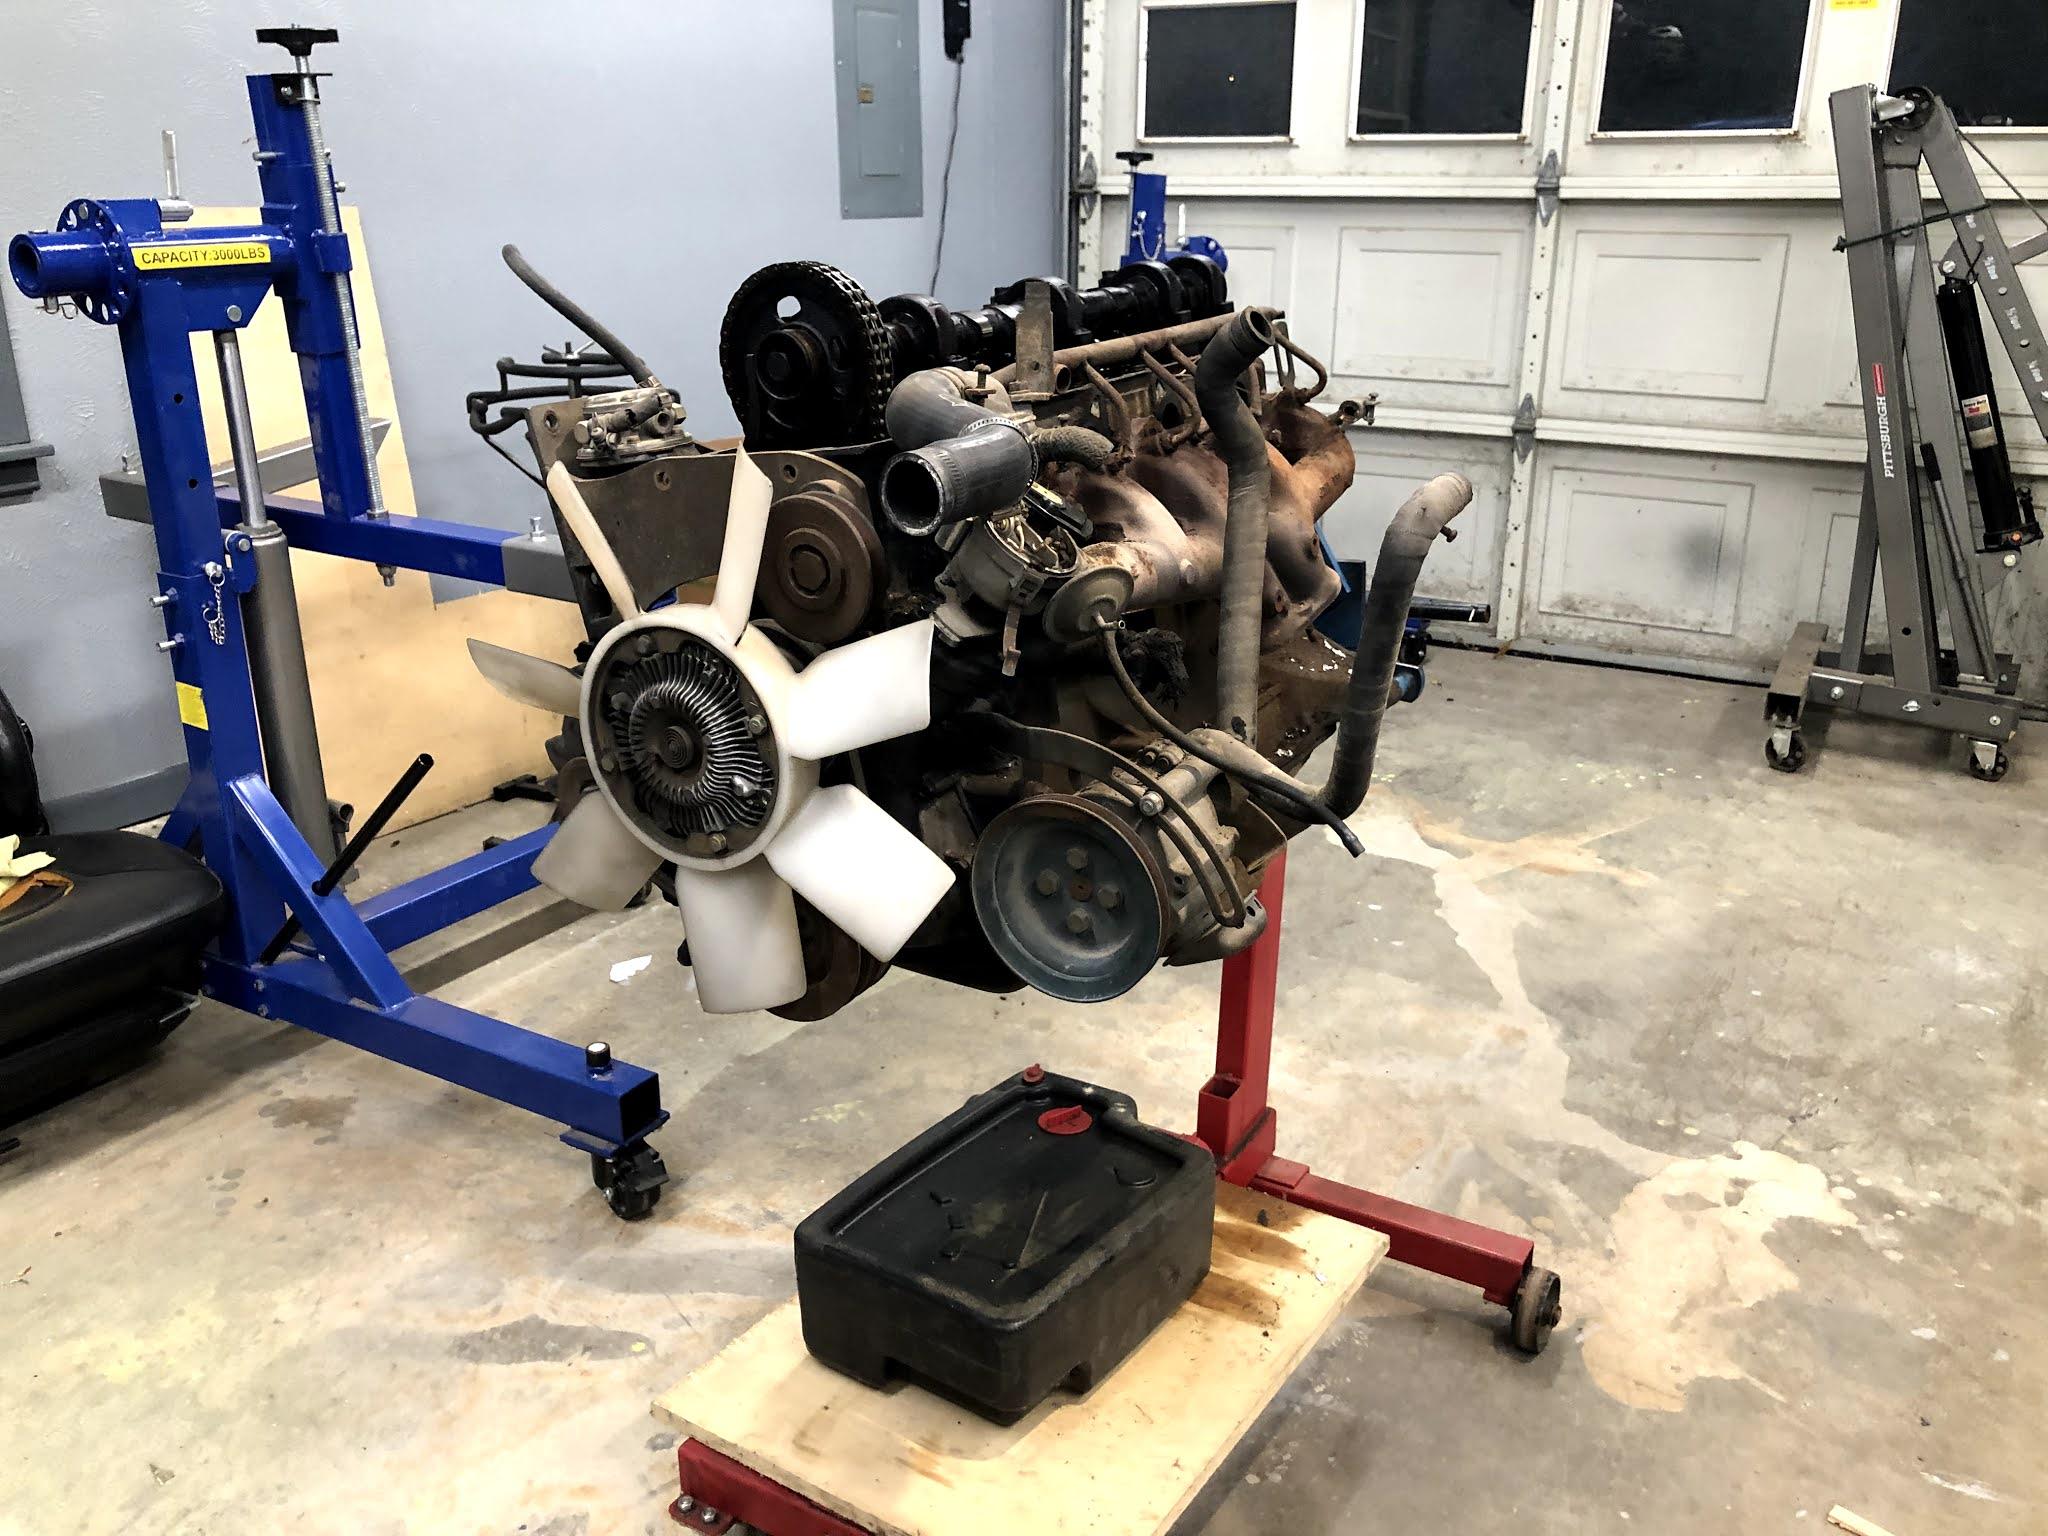
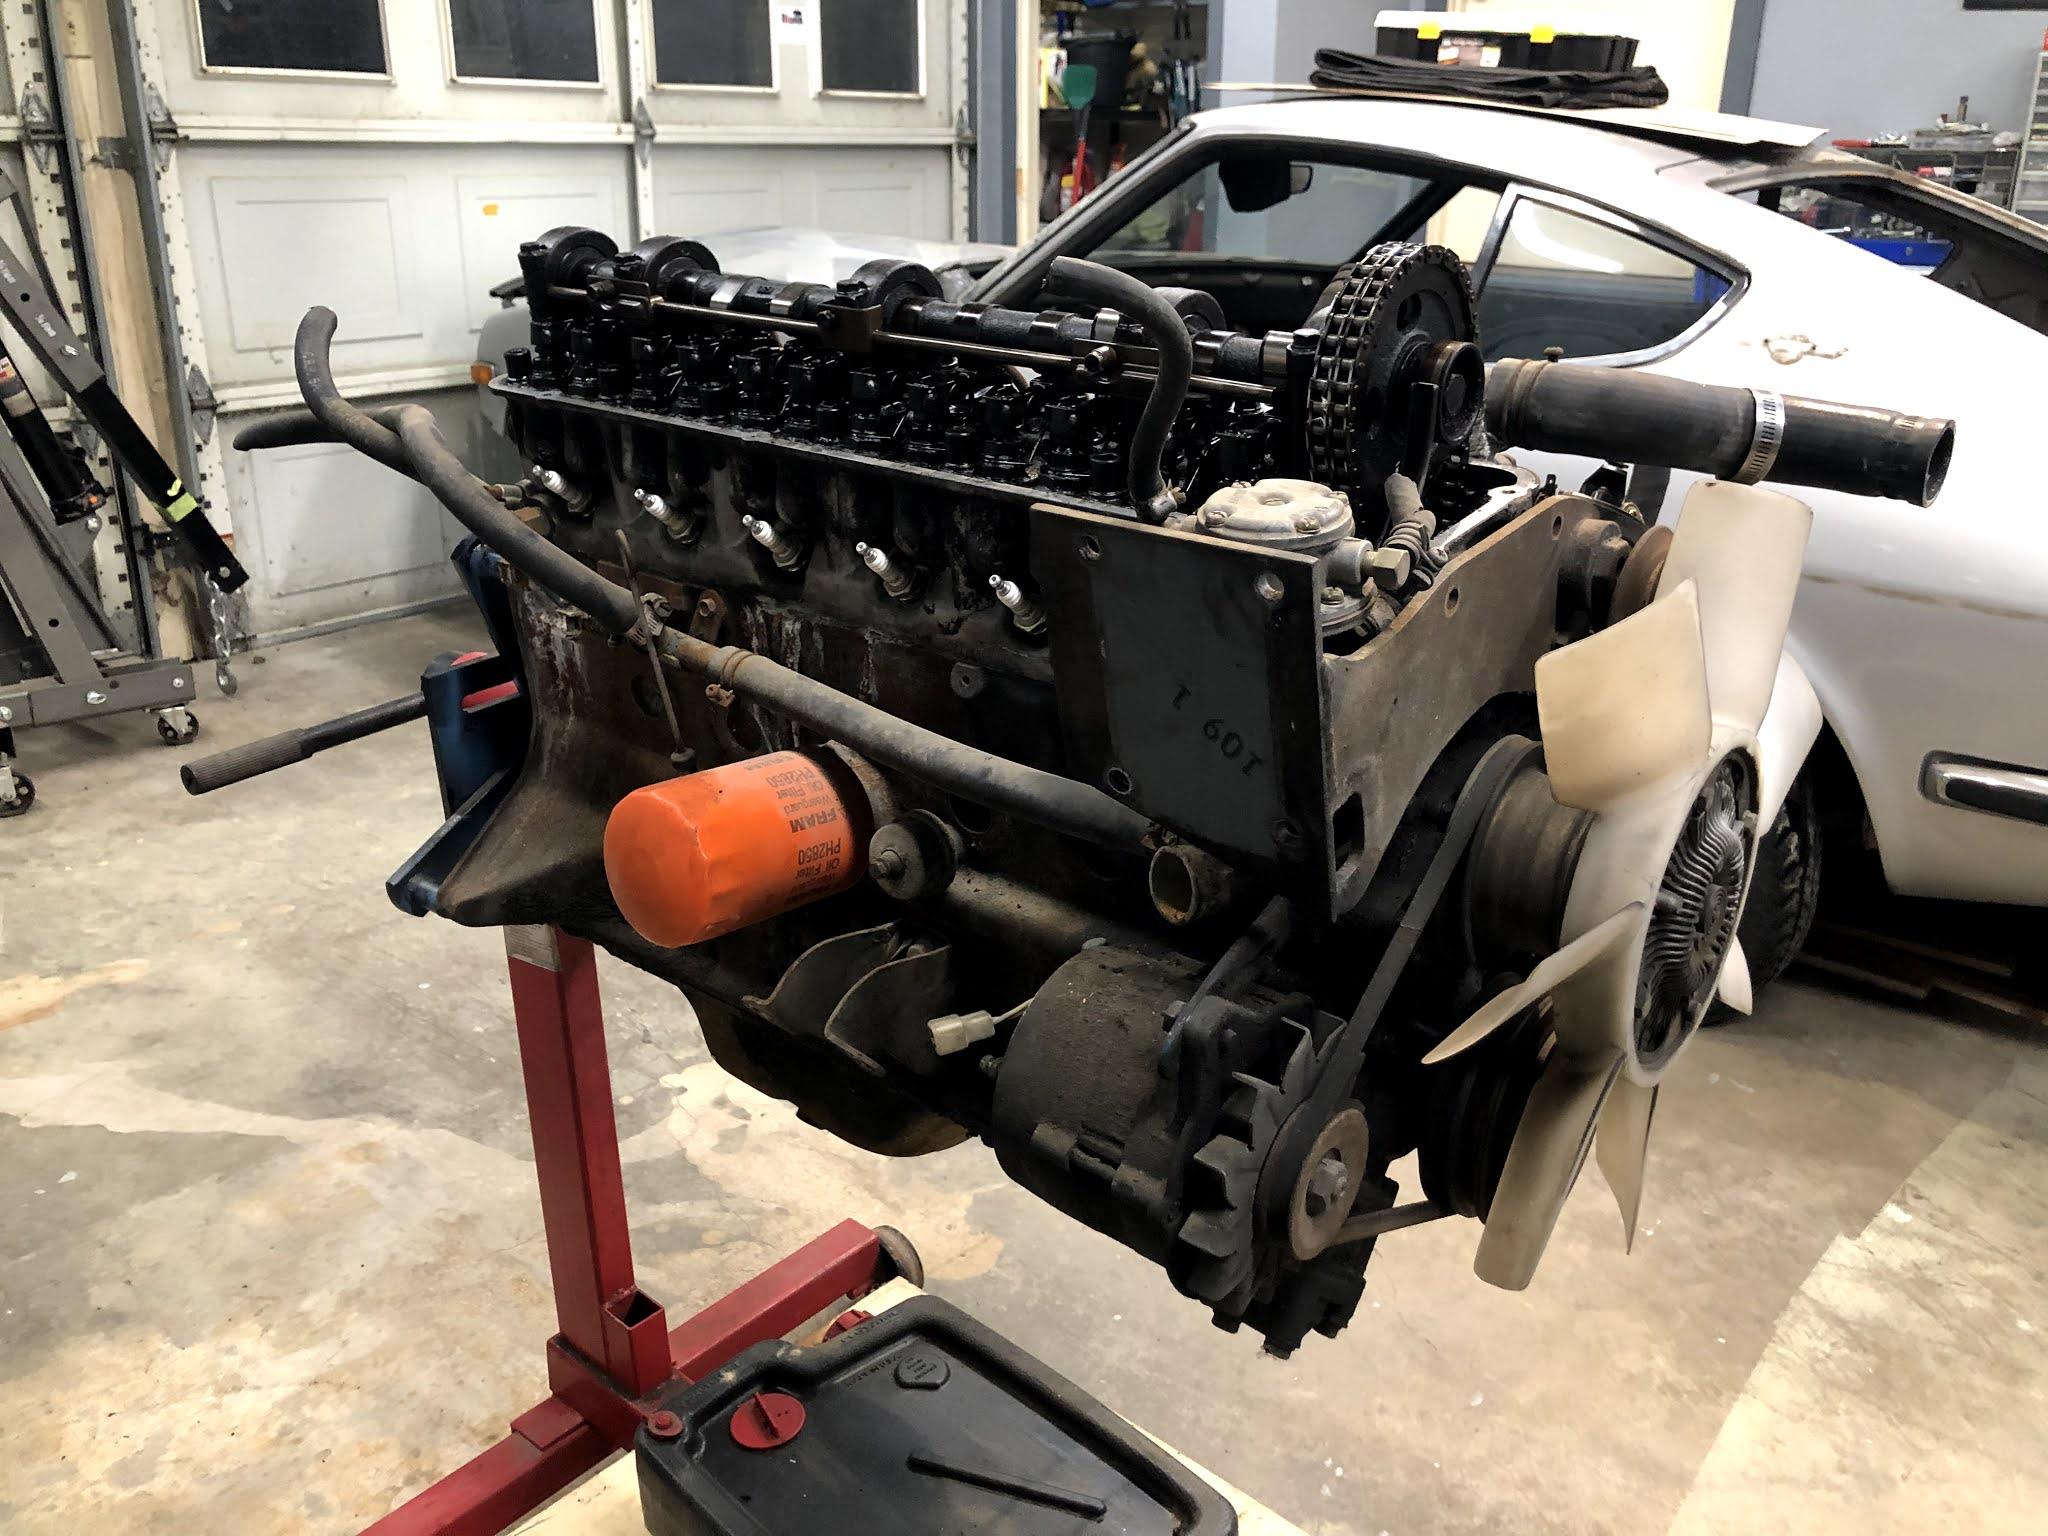
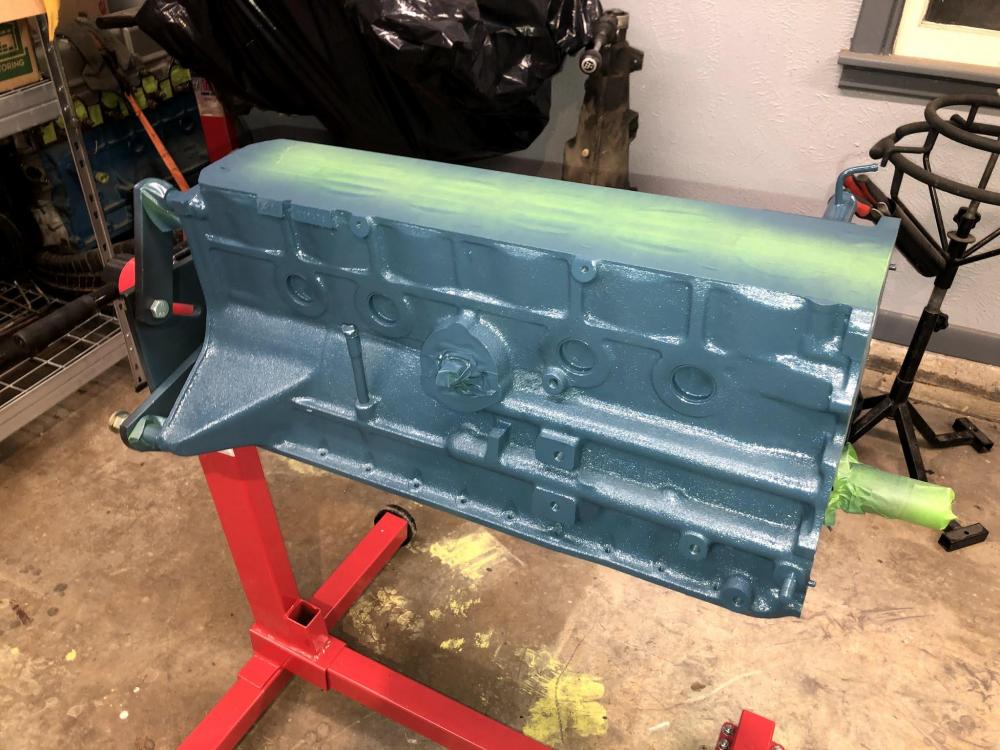
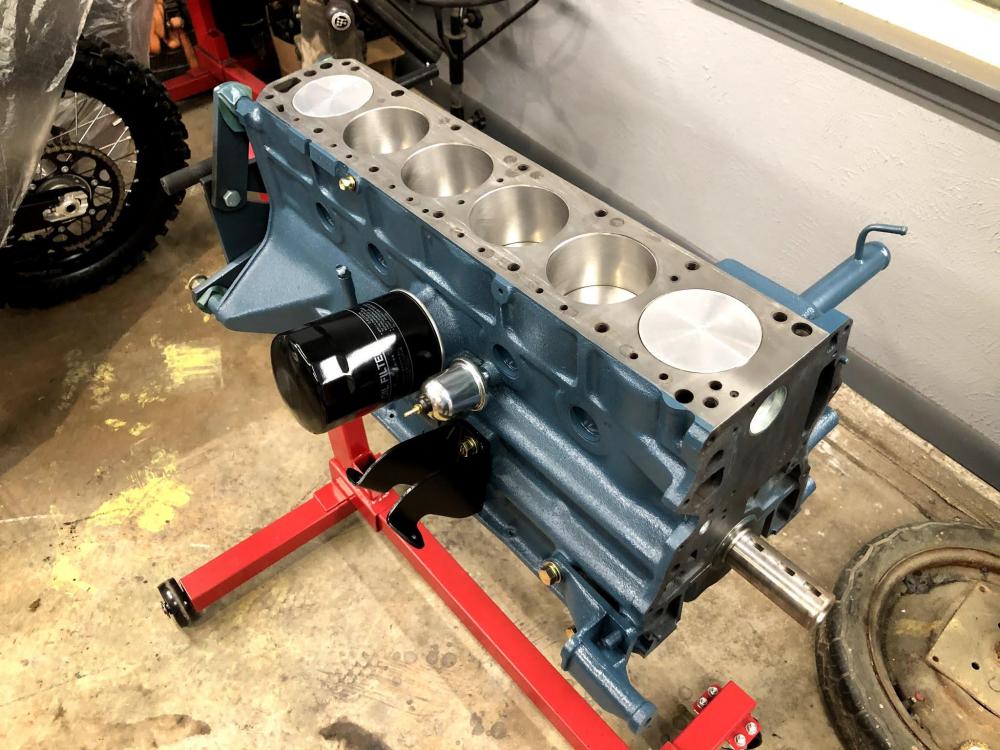
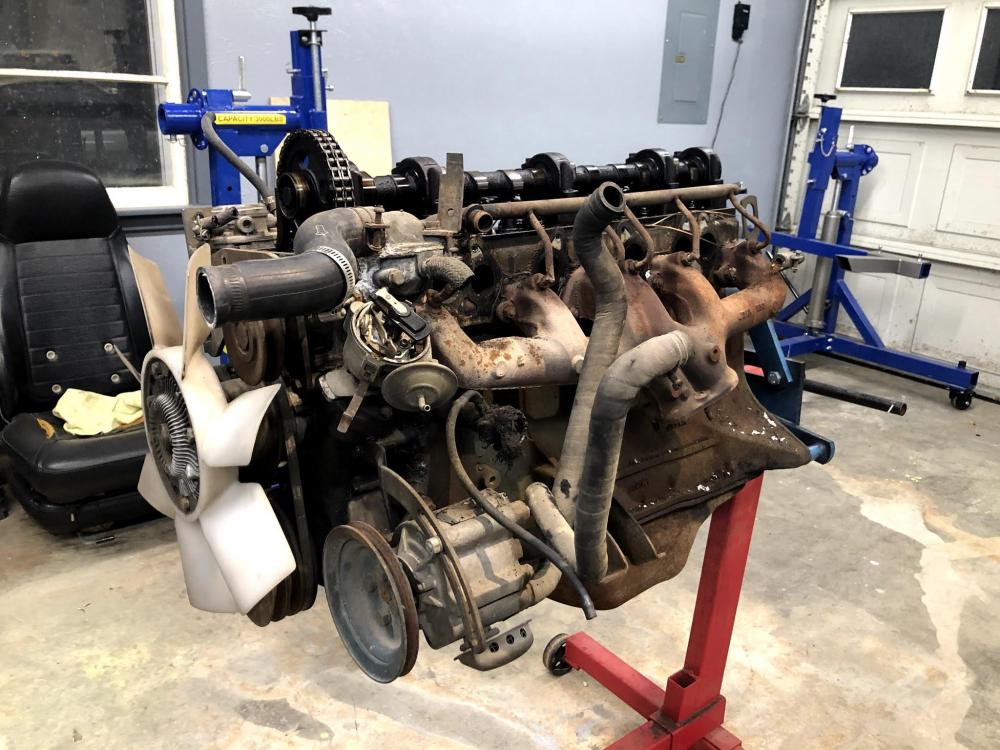
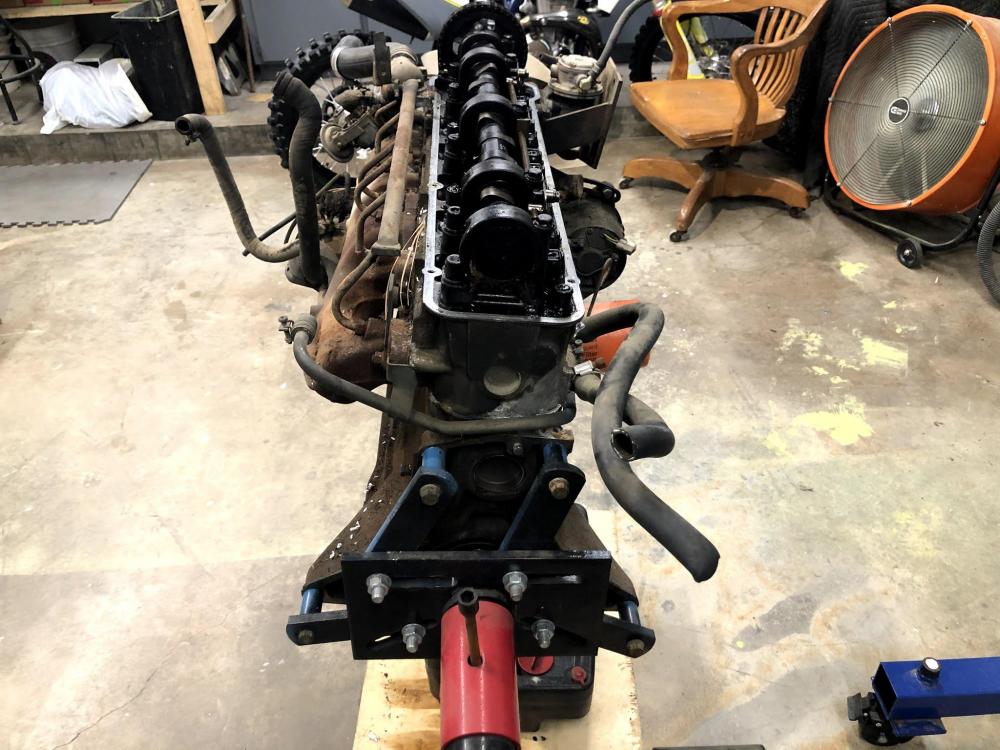
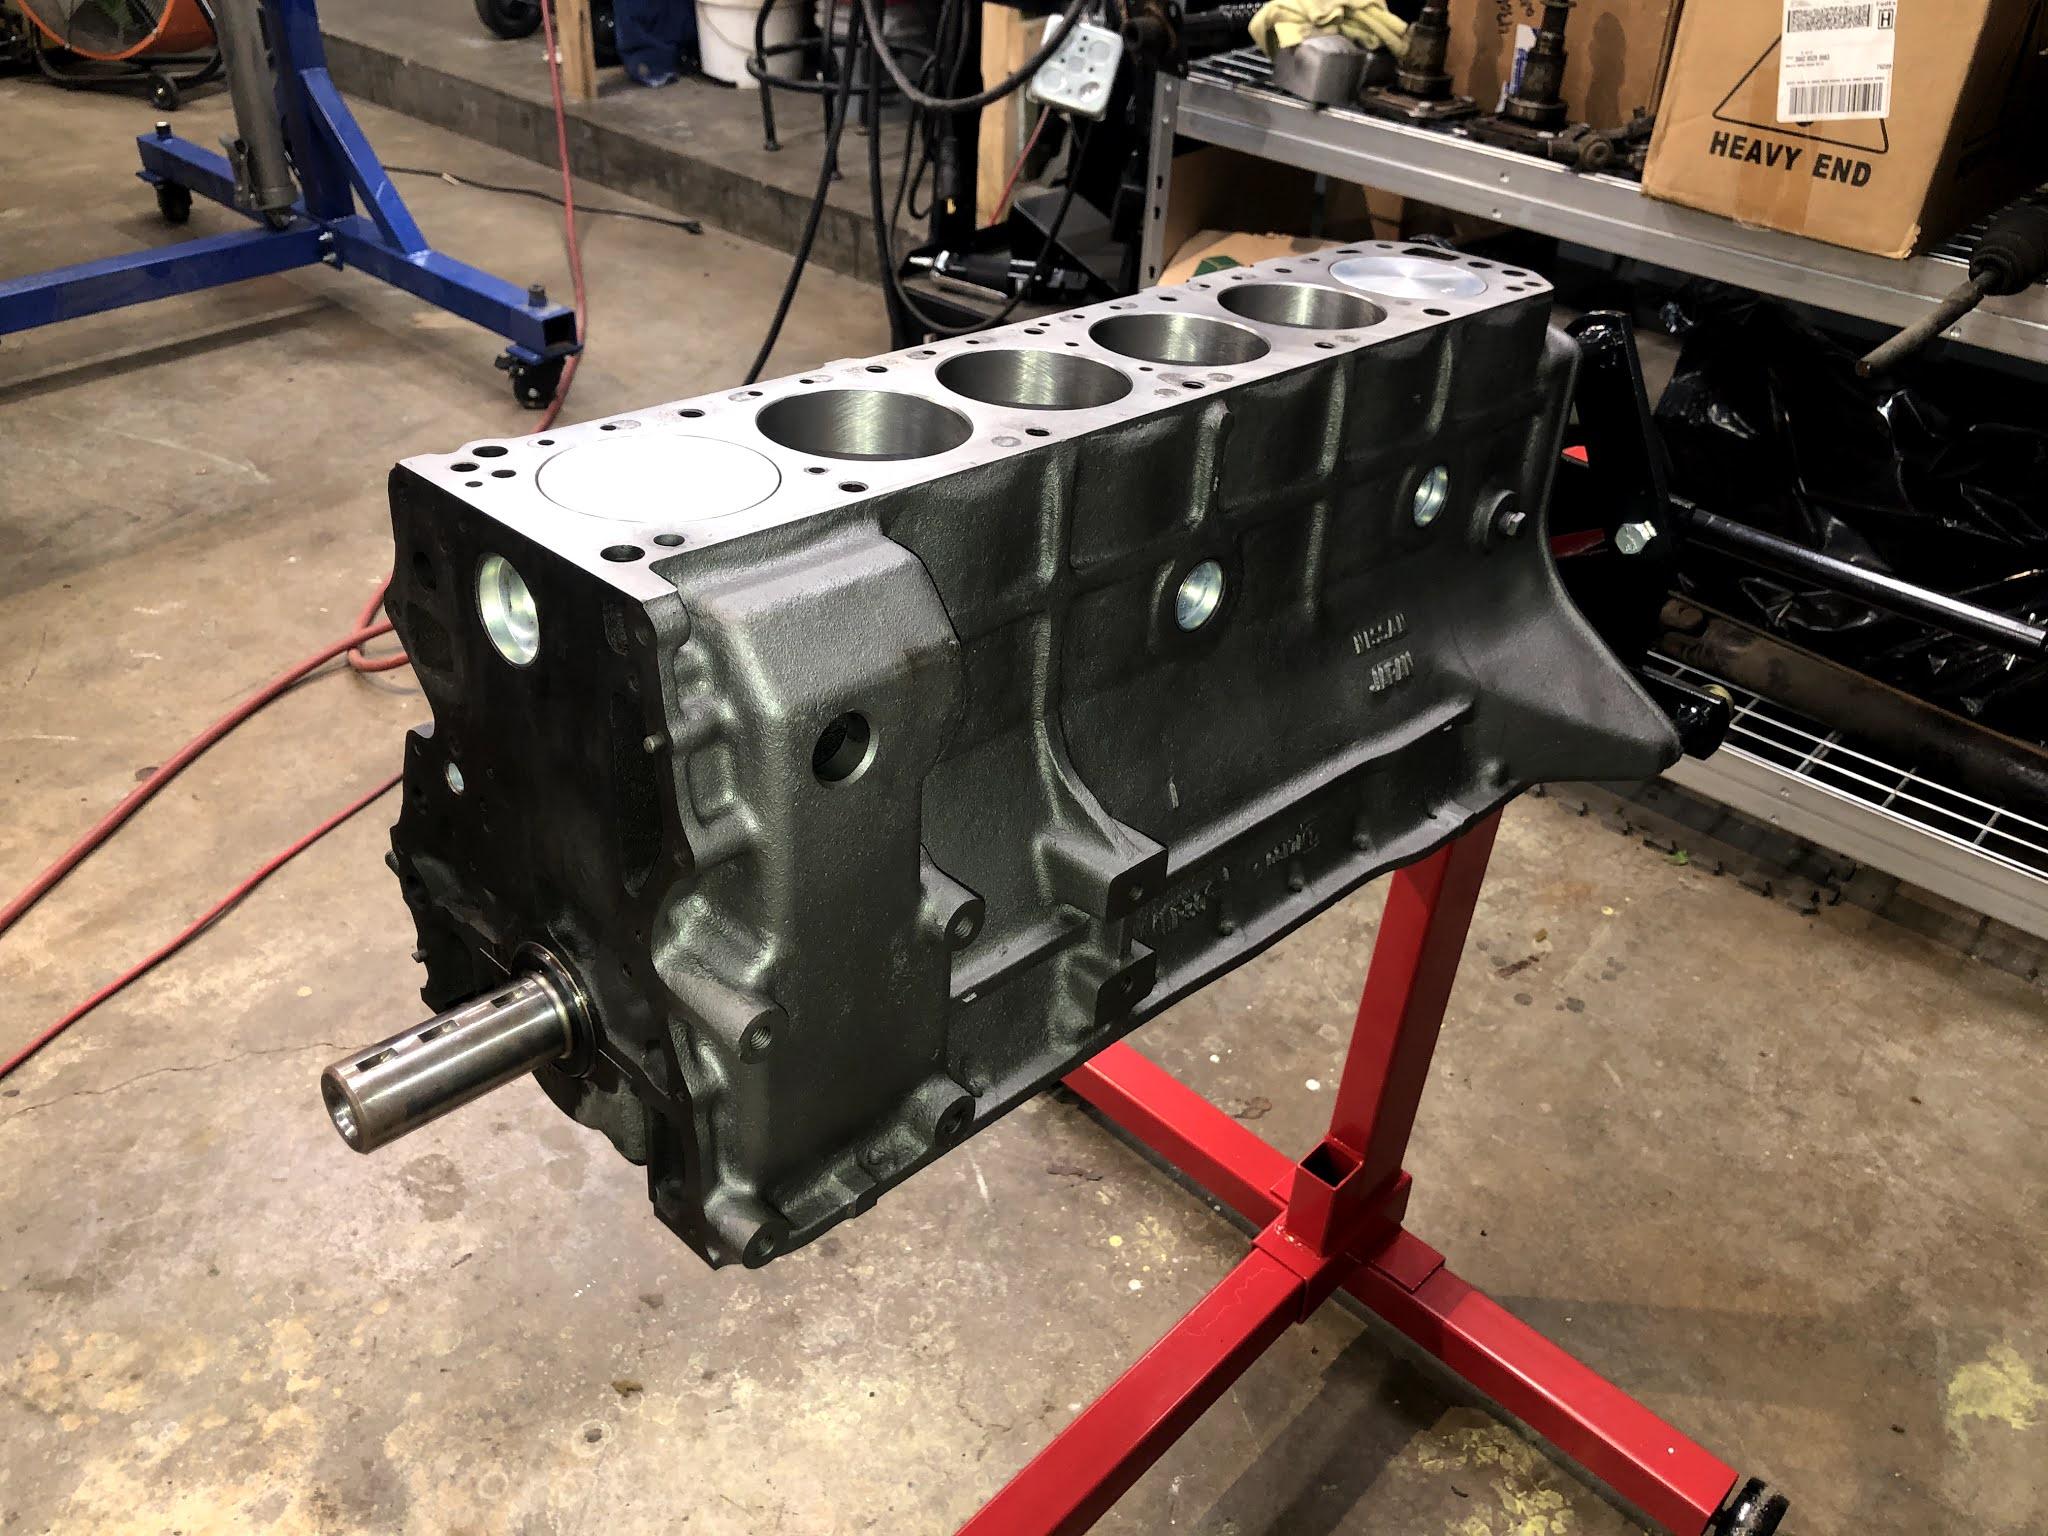
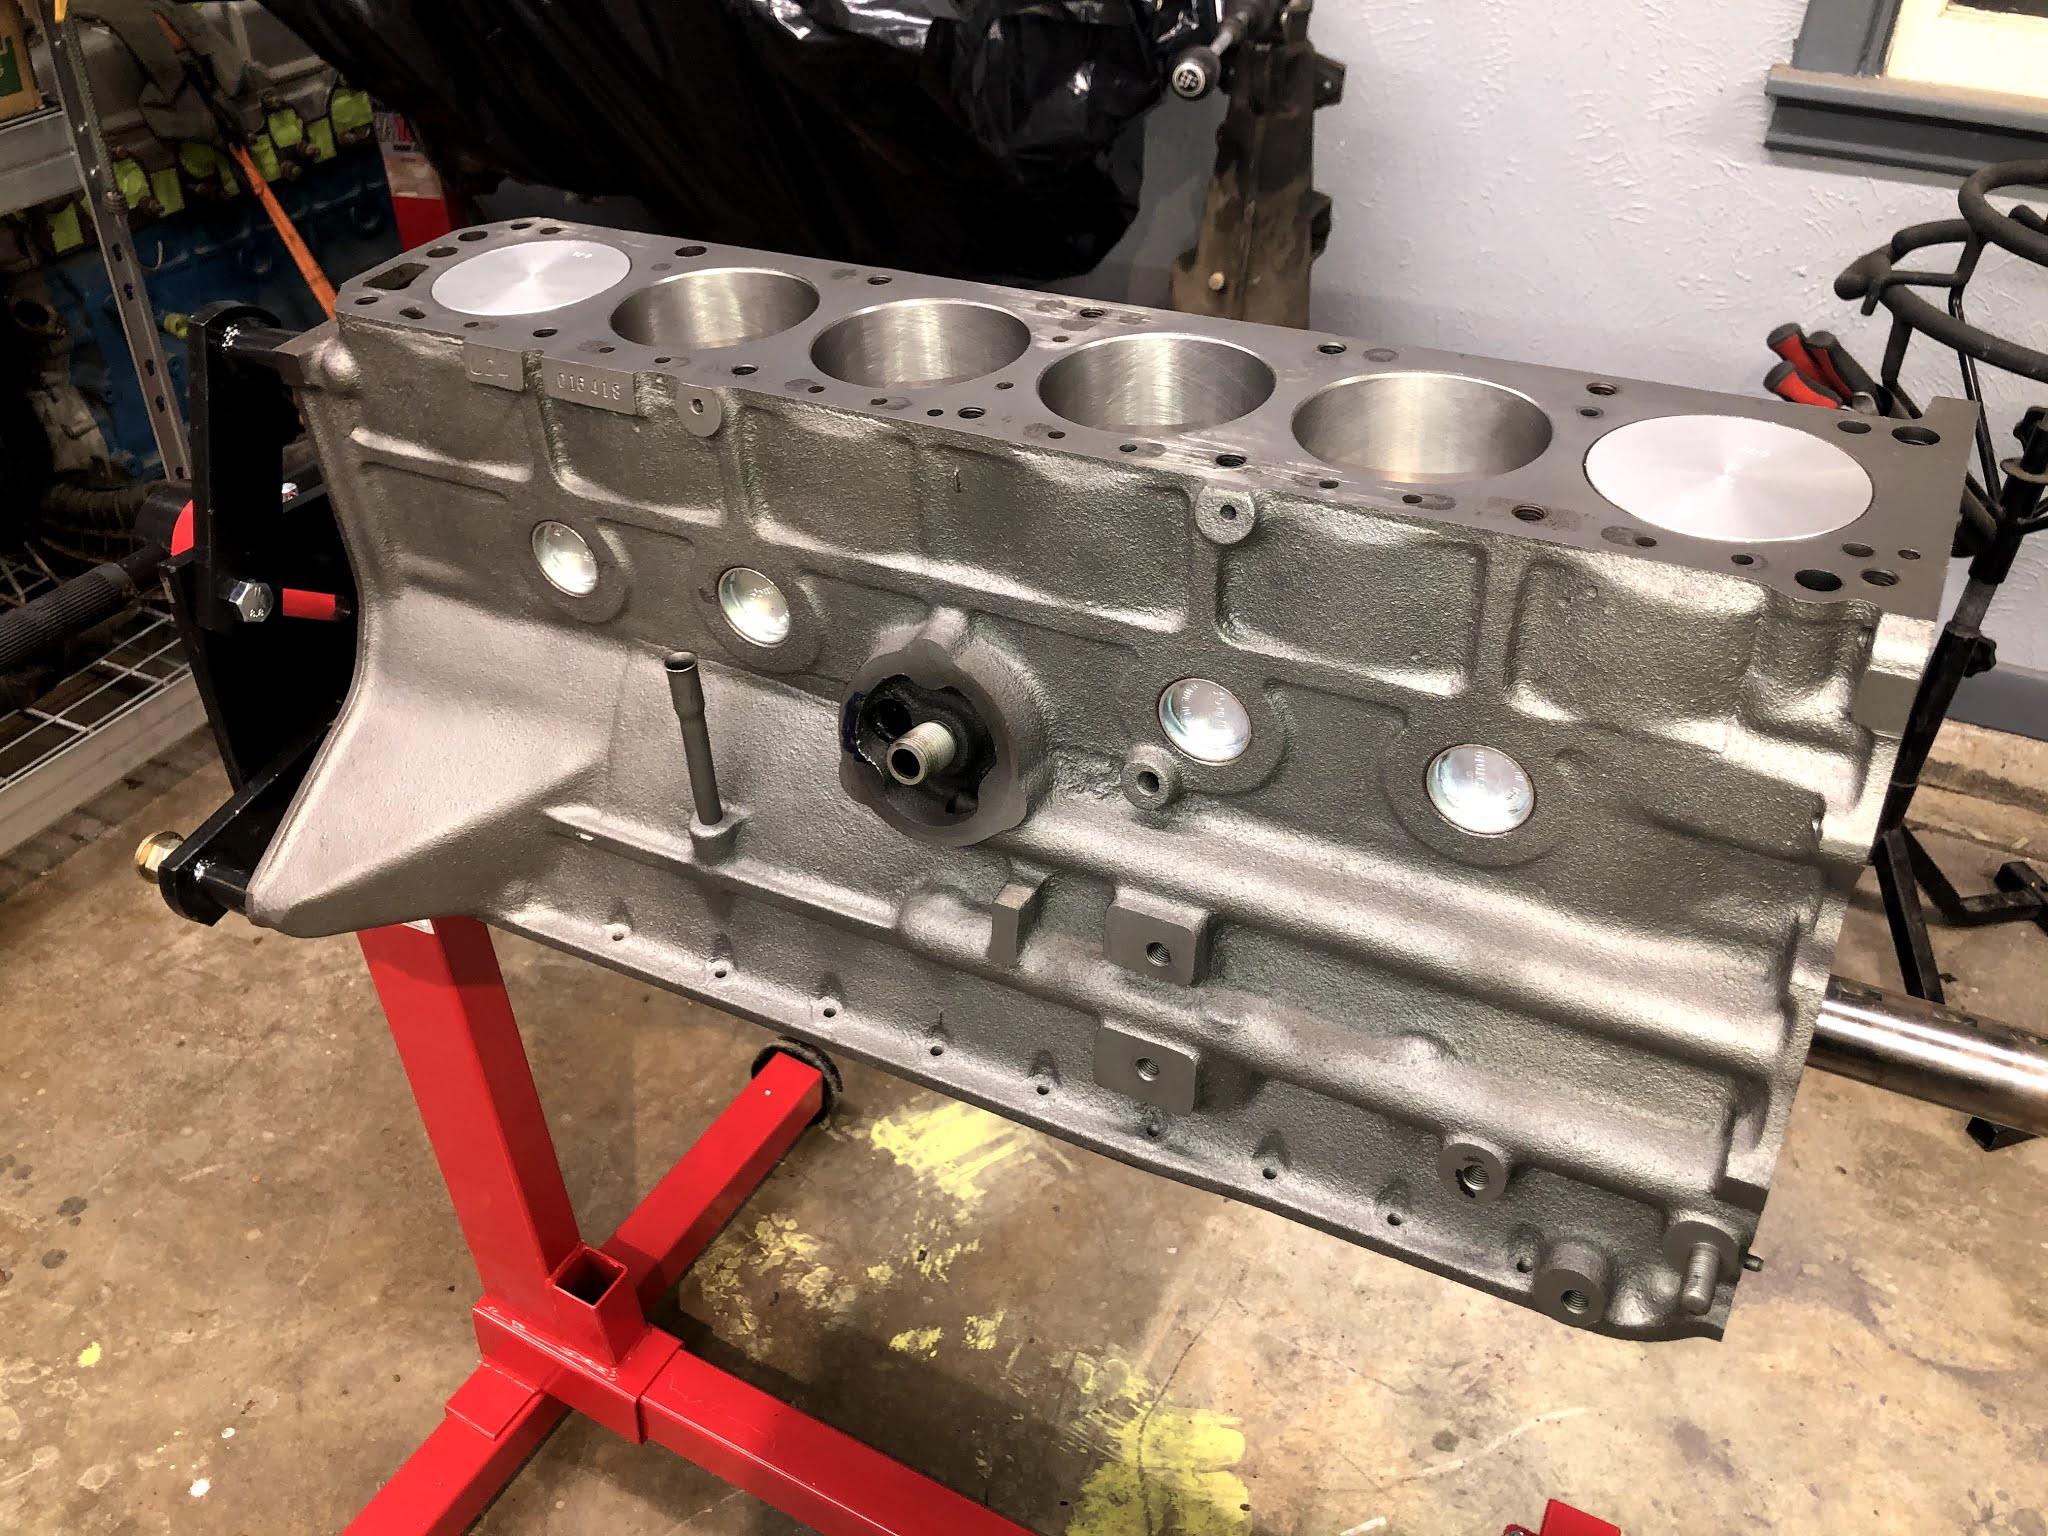
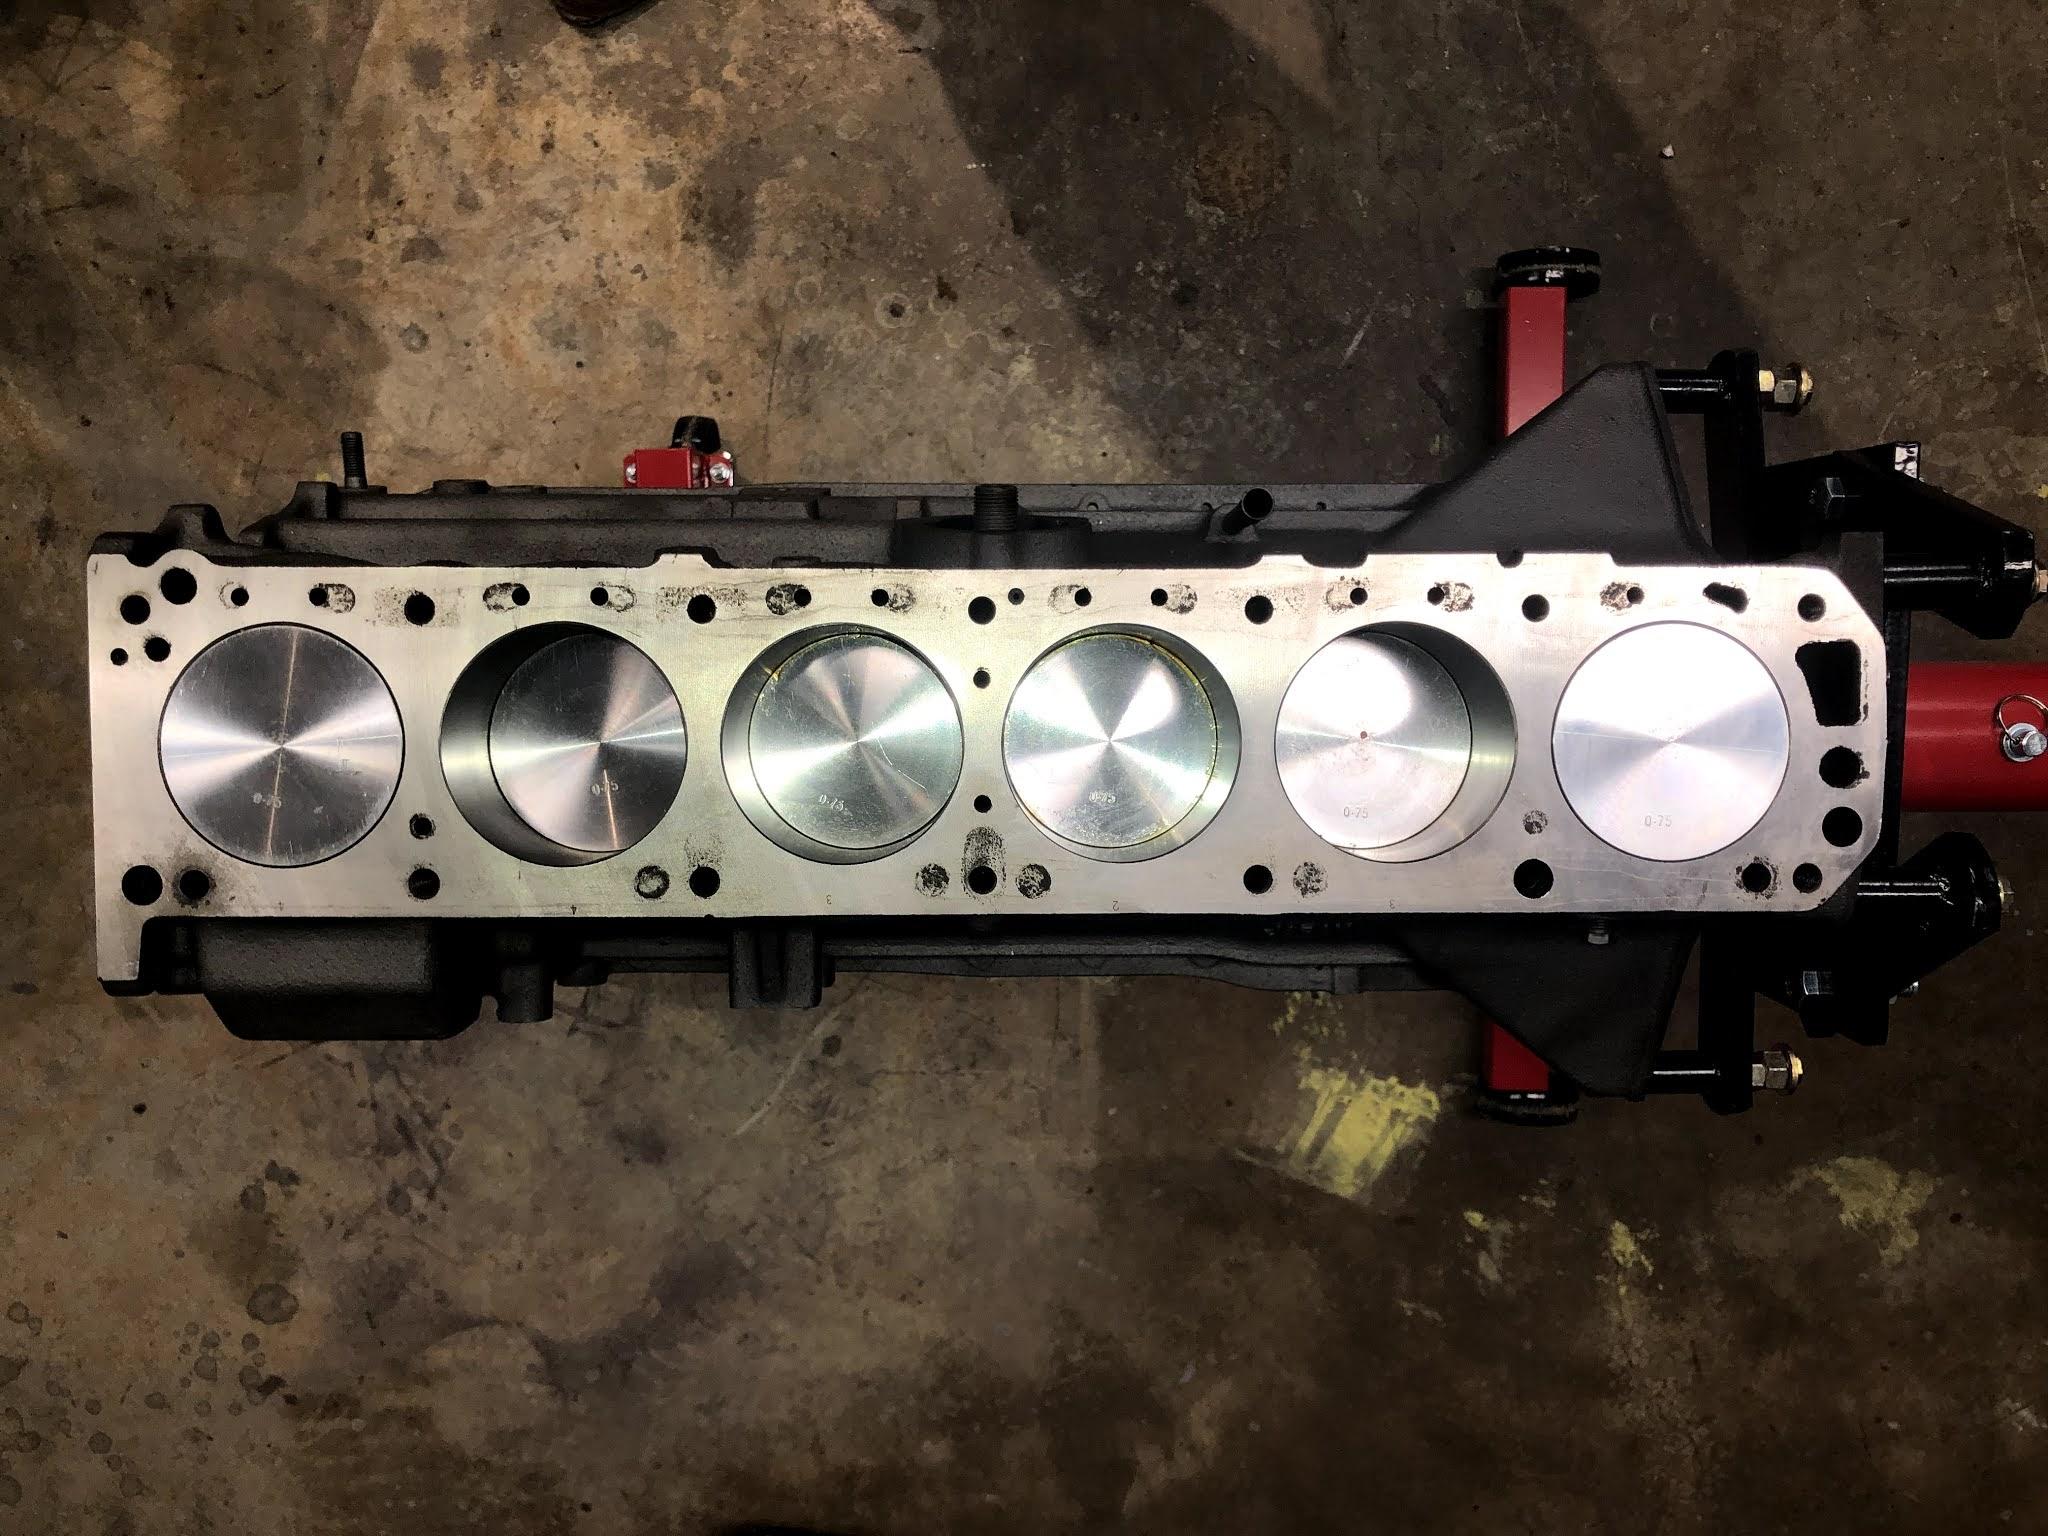
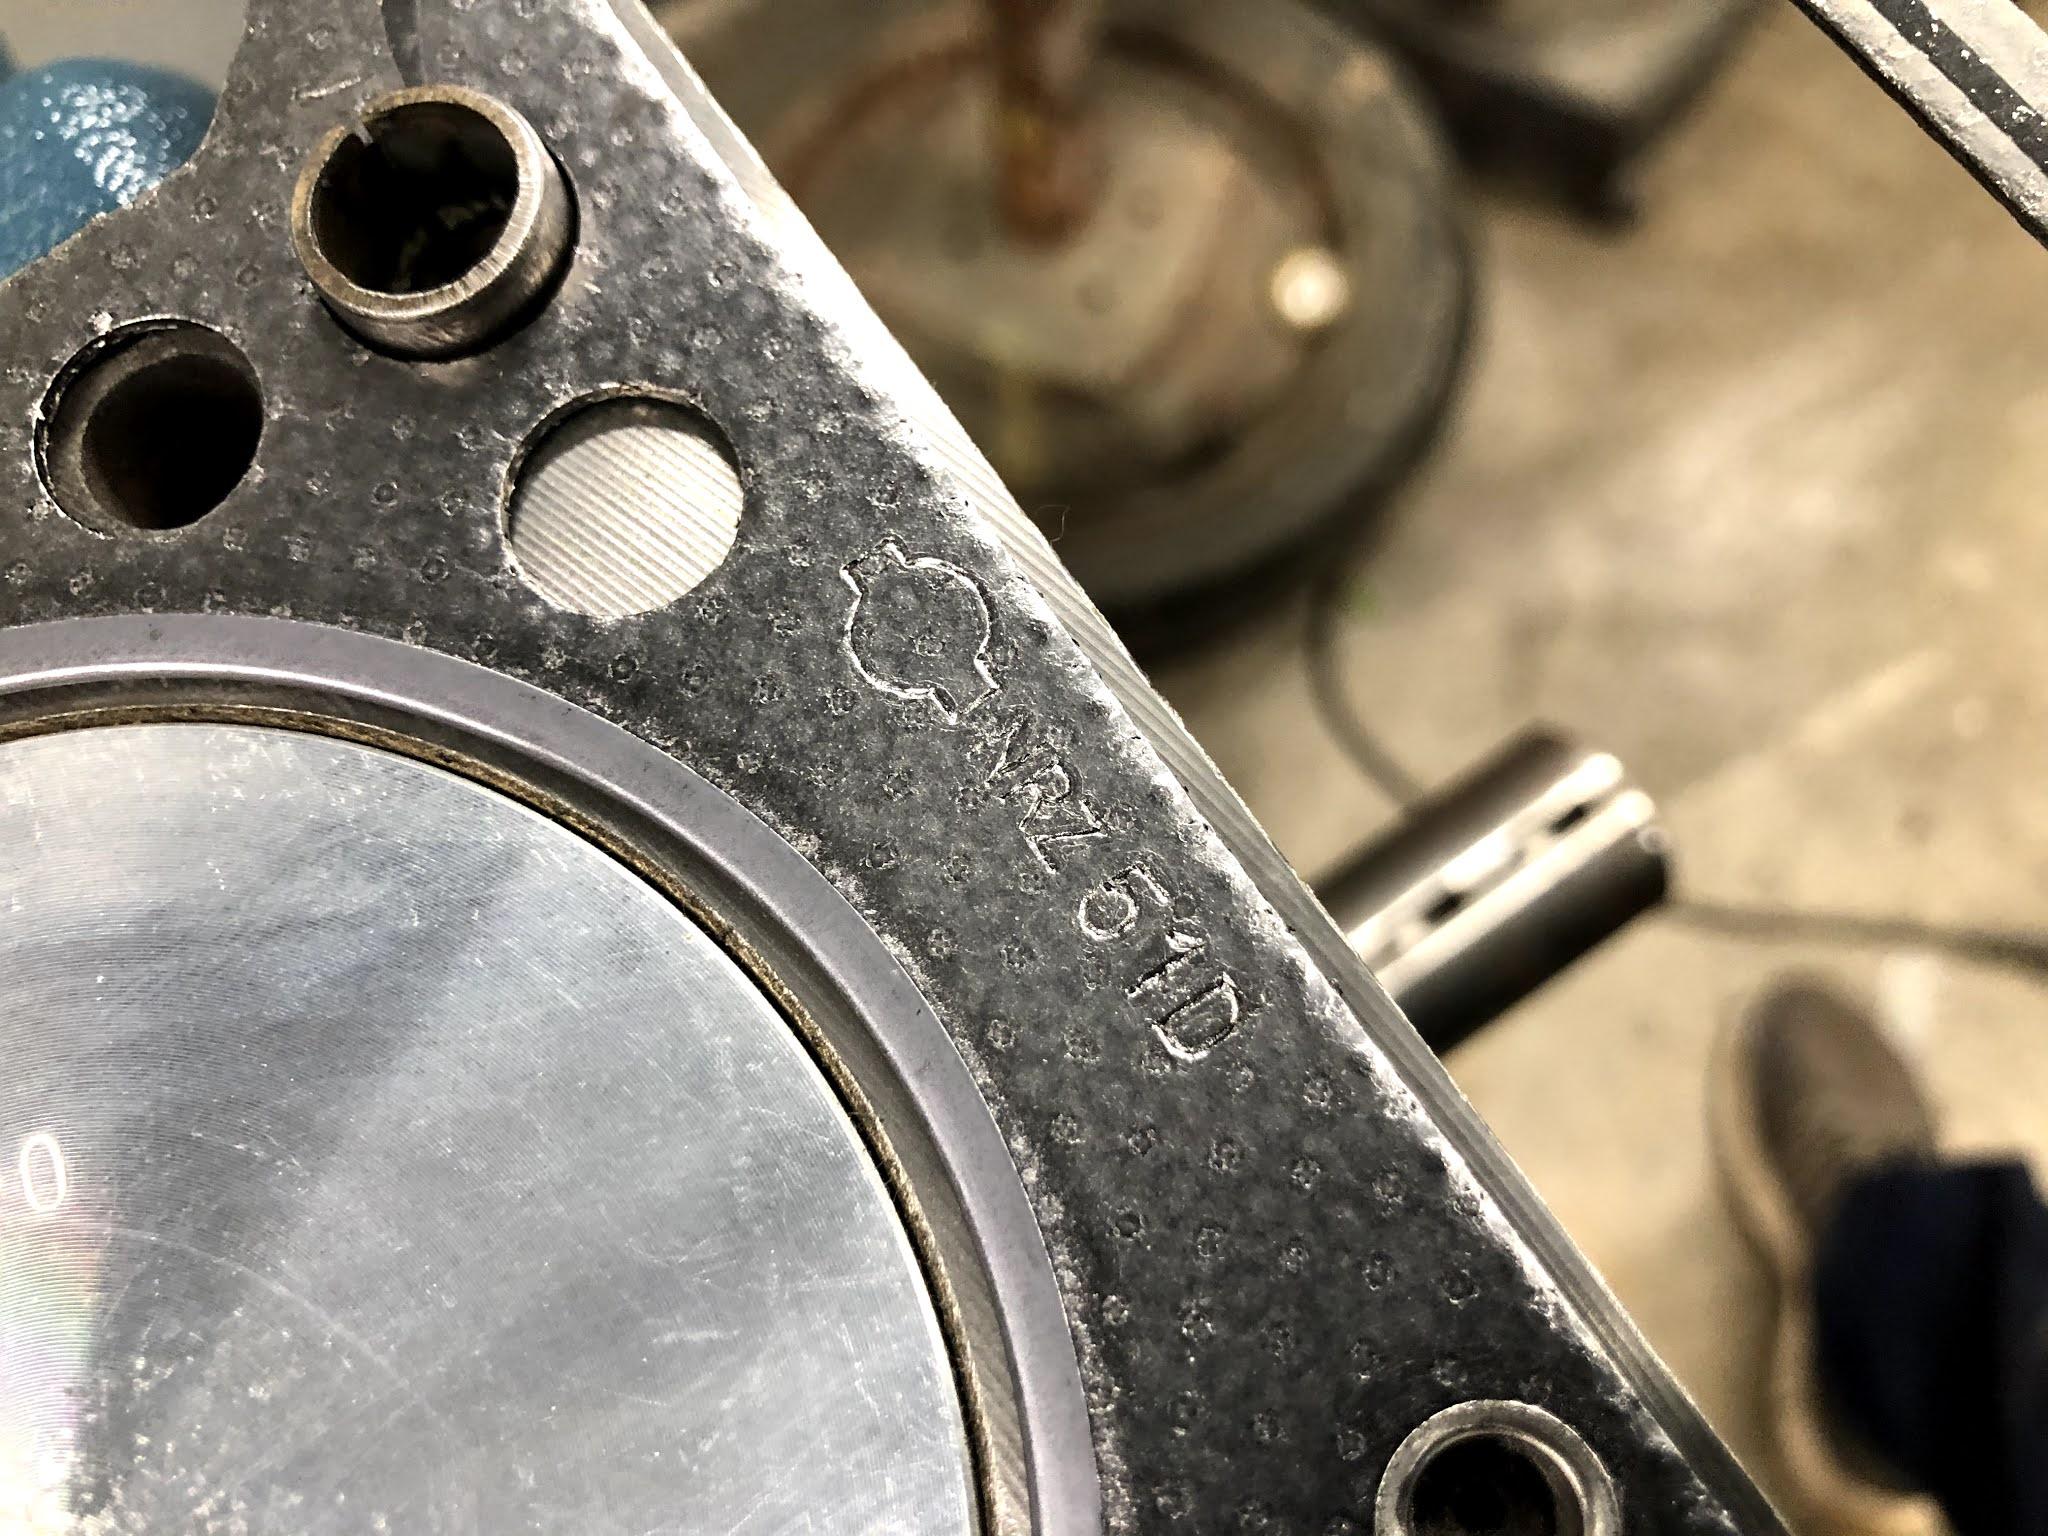
Engine came back from the machine shop ready for reassembly. Short block was torn down, cleaned, inspected, and rebuilt with new bearings, pistons, rings and seals. Head was also torn down and thoroughly cleaned, and checked for any damage. After that, a valve job and decking the surfaces was done to complete the machine work. Engine and head came back separate so I could paint the block in the correct shade of blue and reassemble it at my own pace. The long block was completed with a new timing set and an OEM set of head bolts and washers.


-
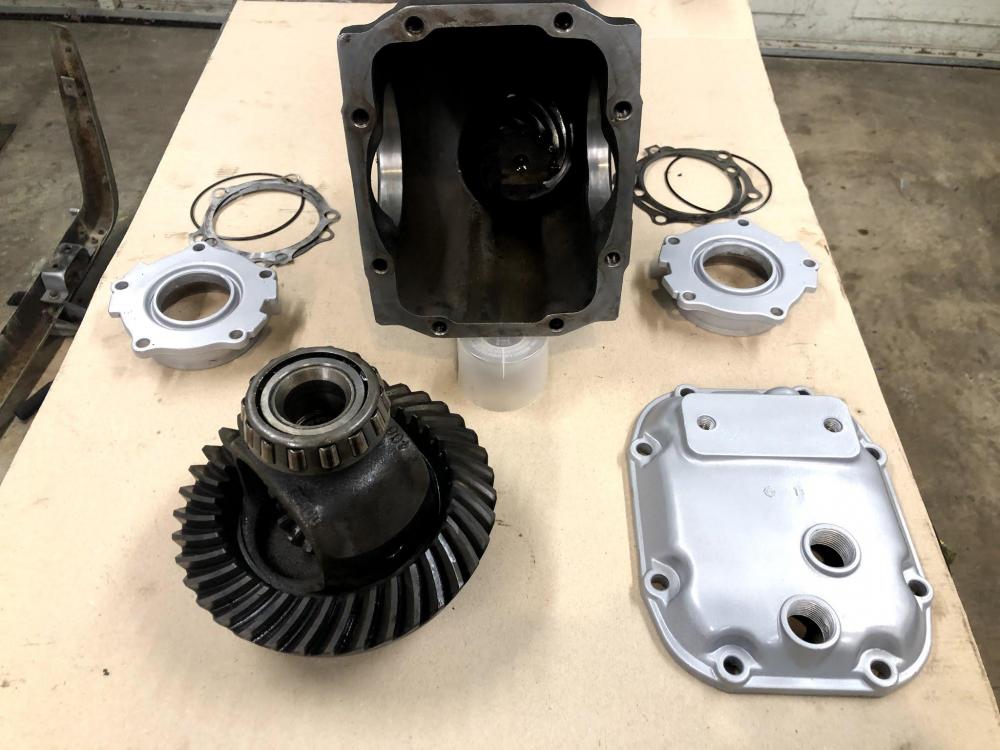
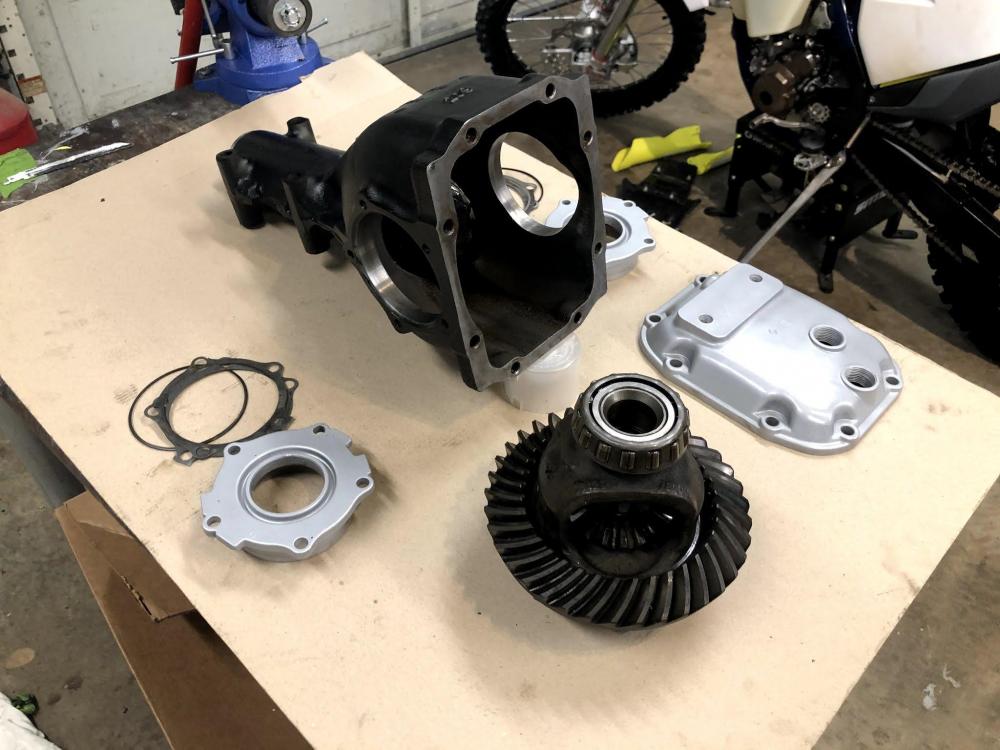
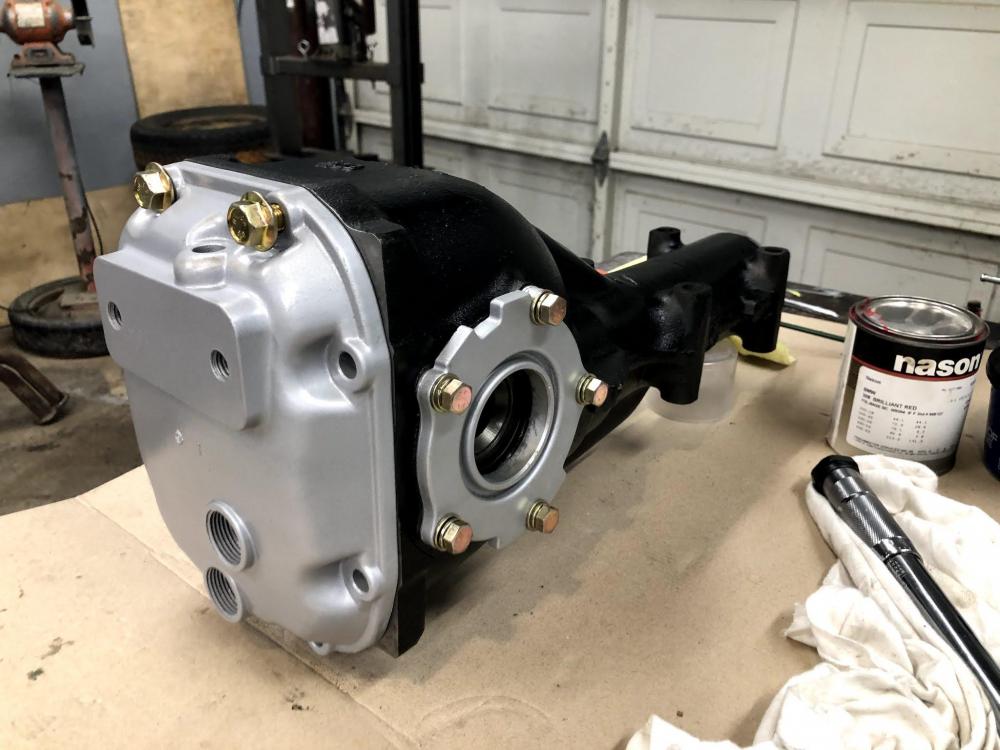
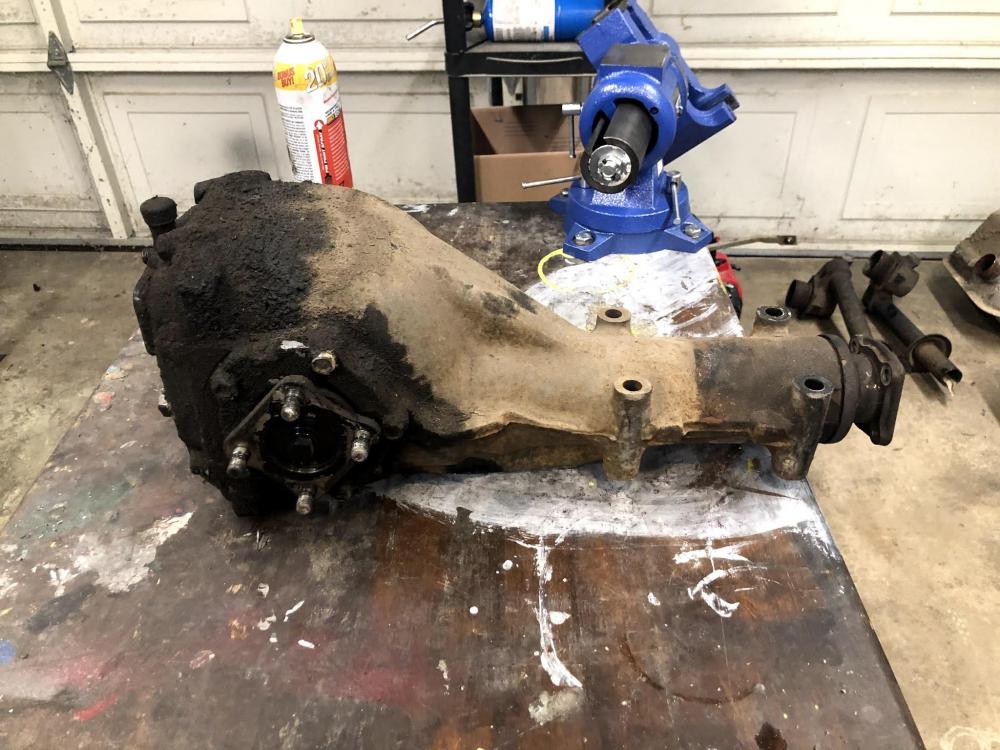
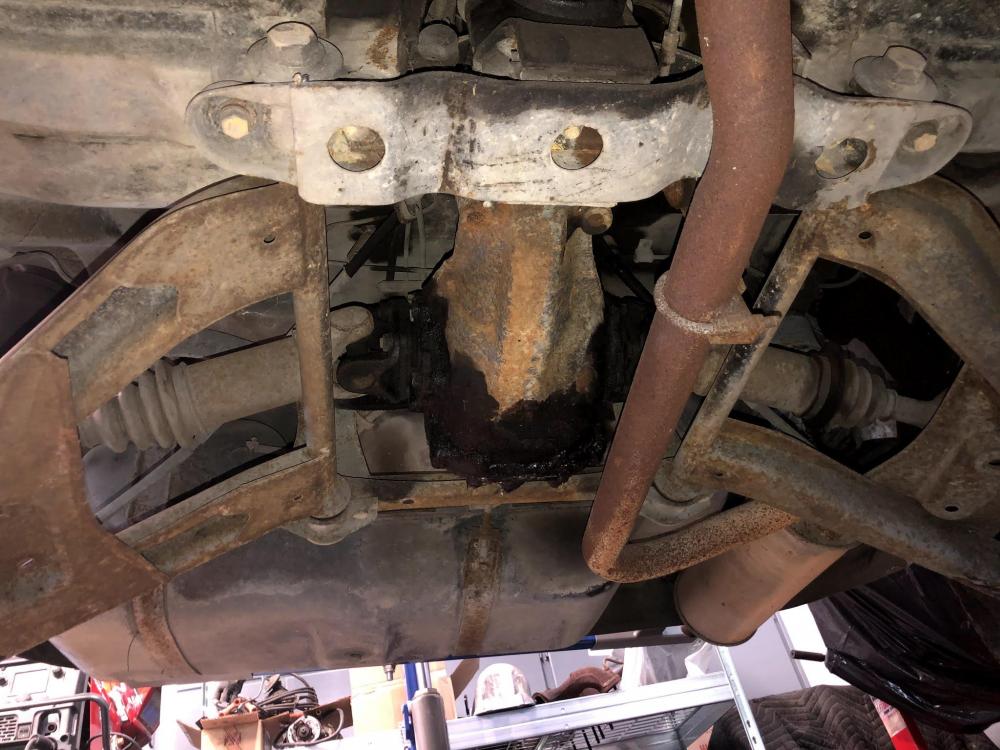
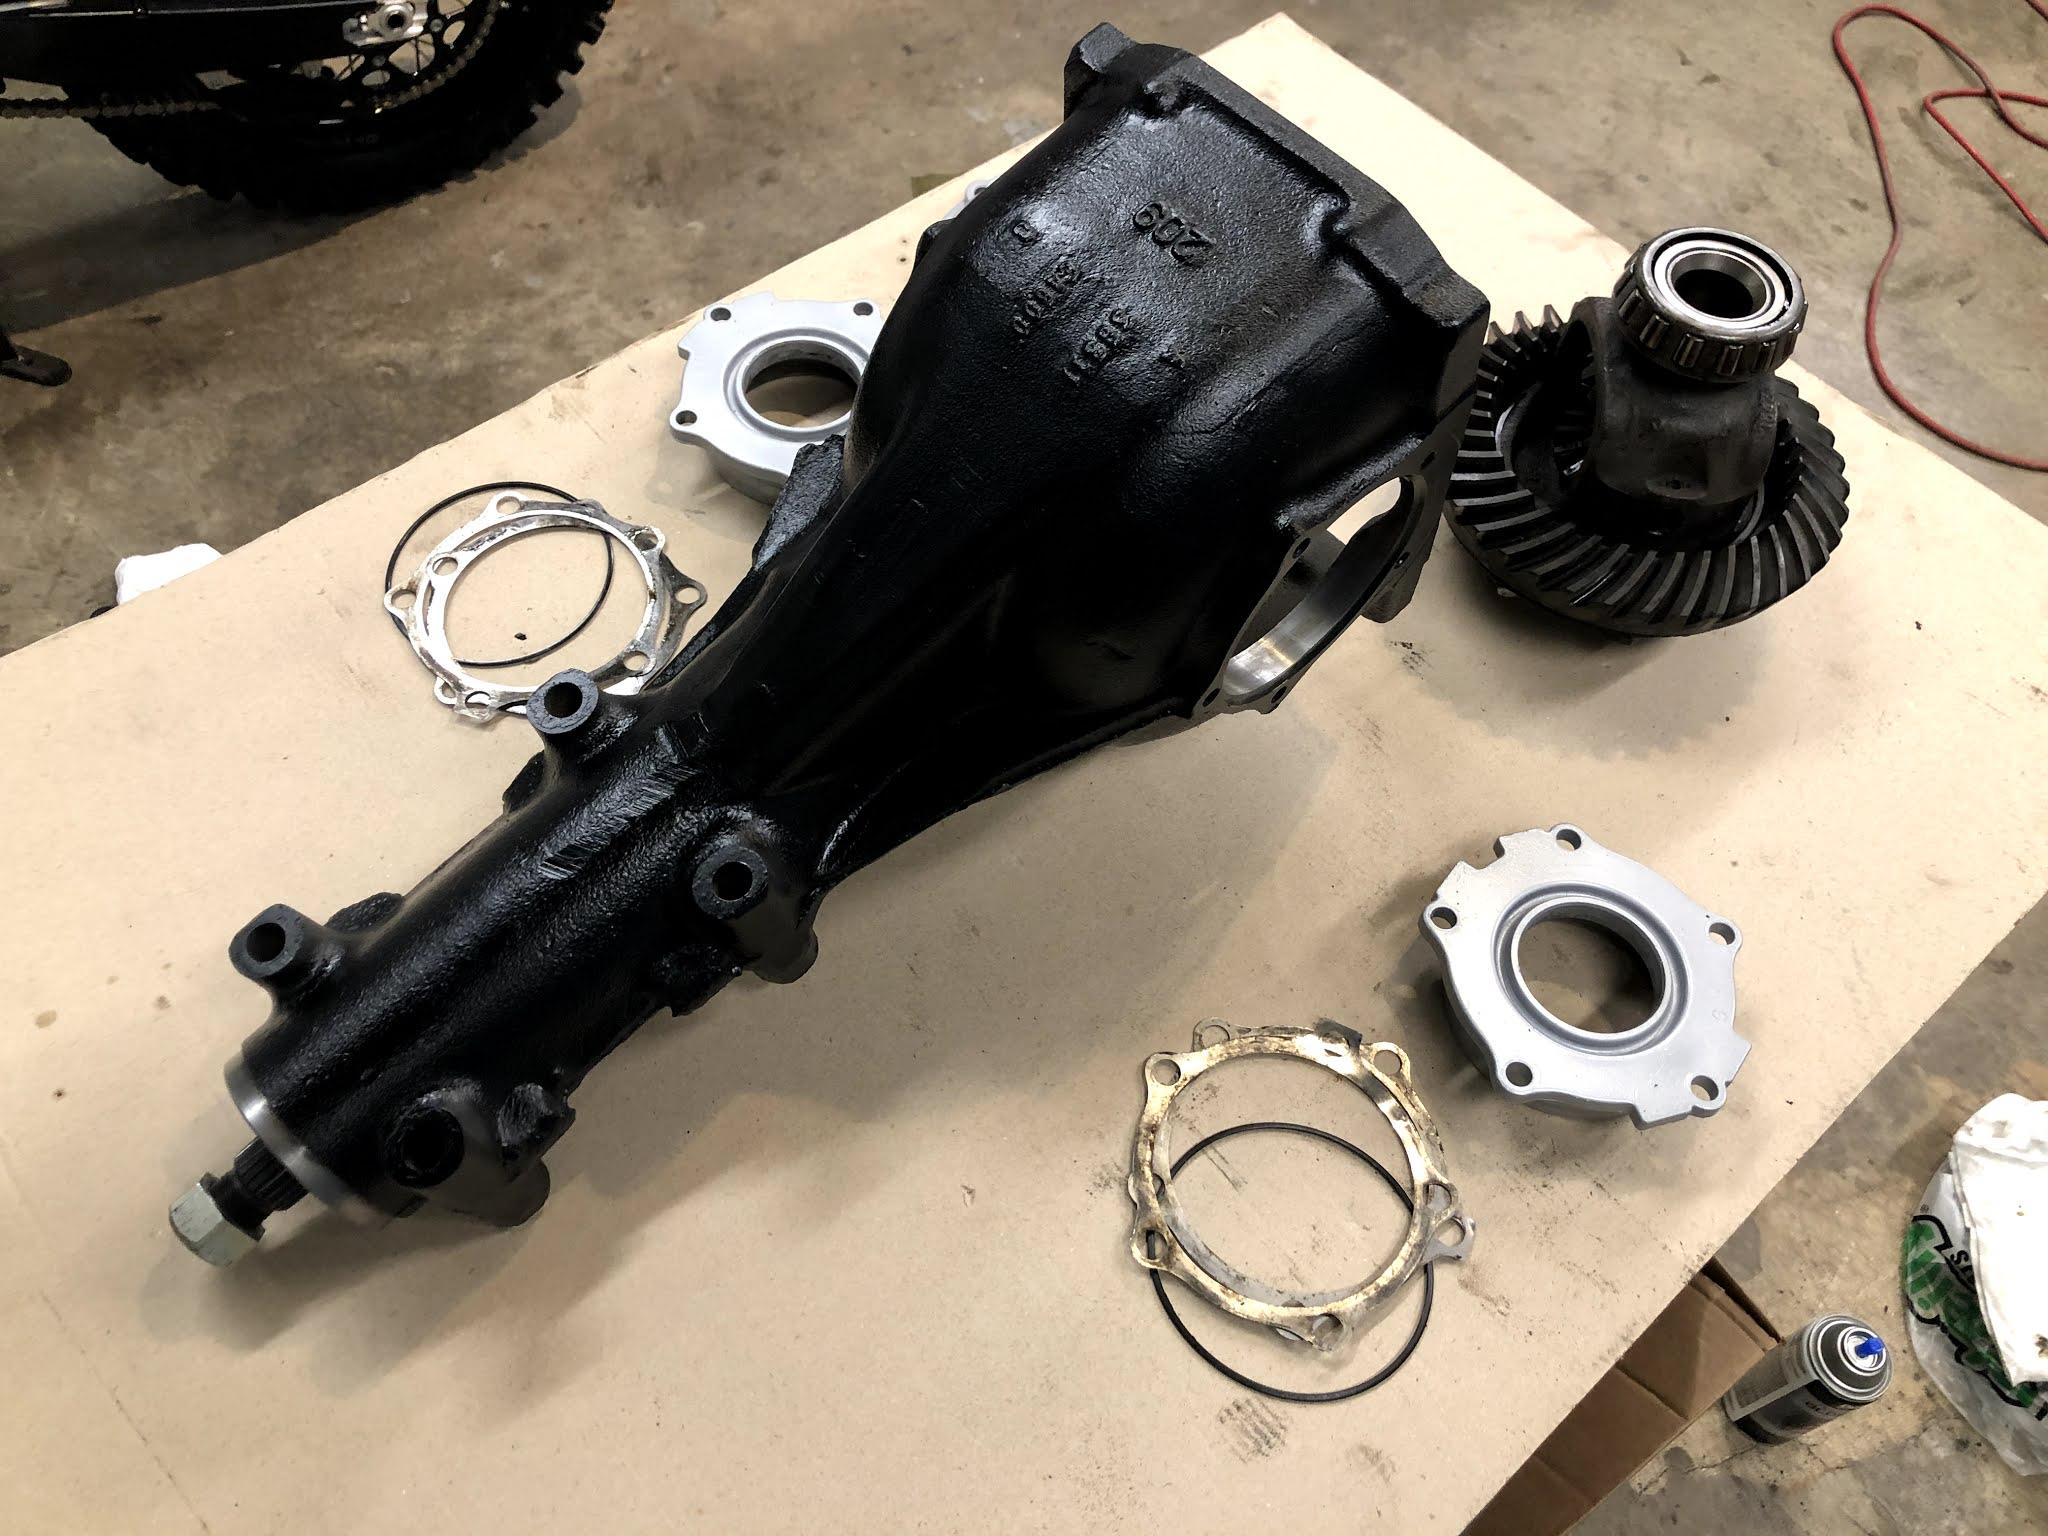
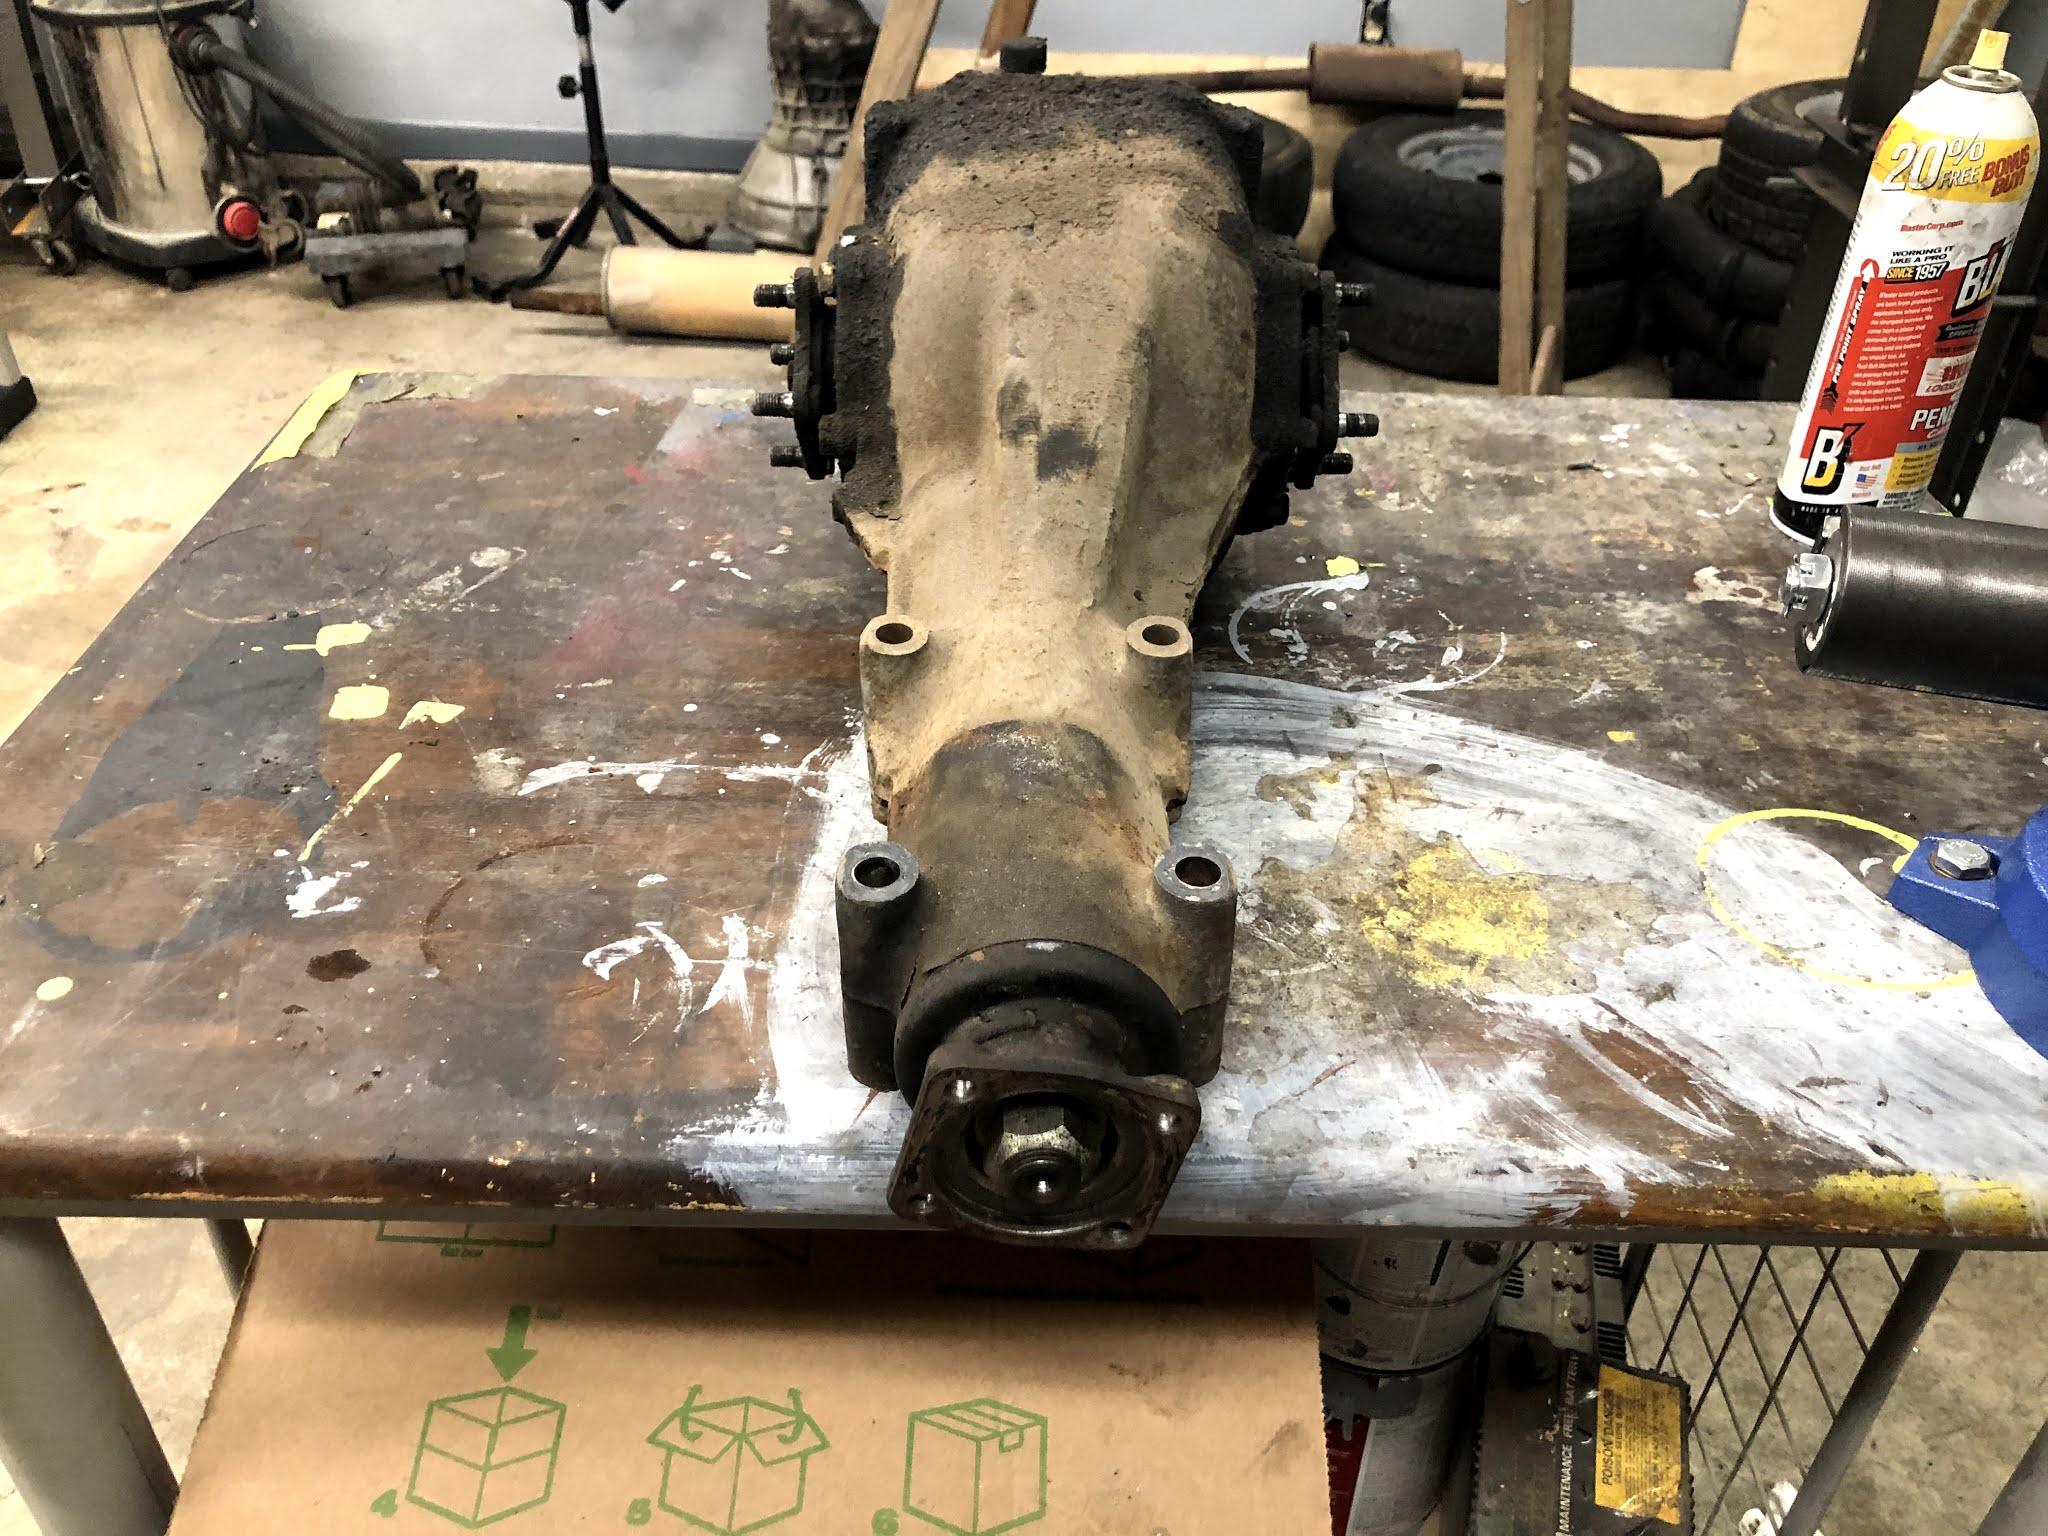
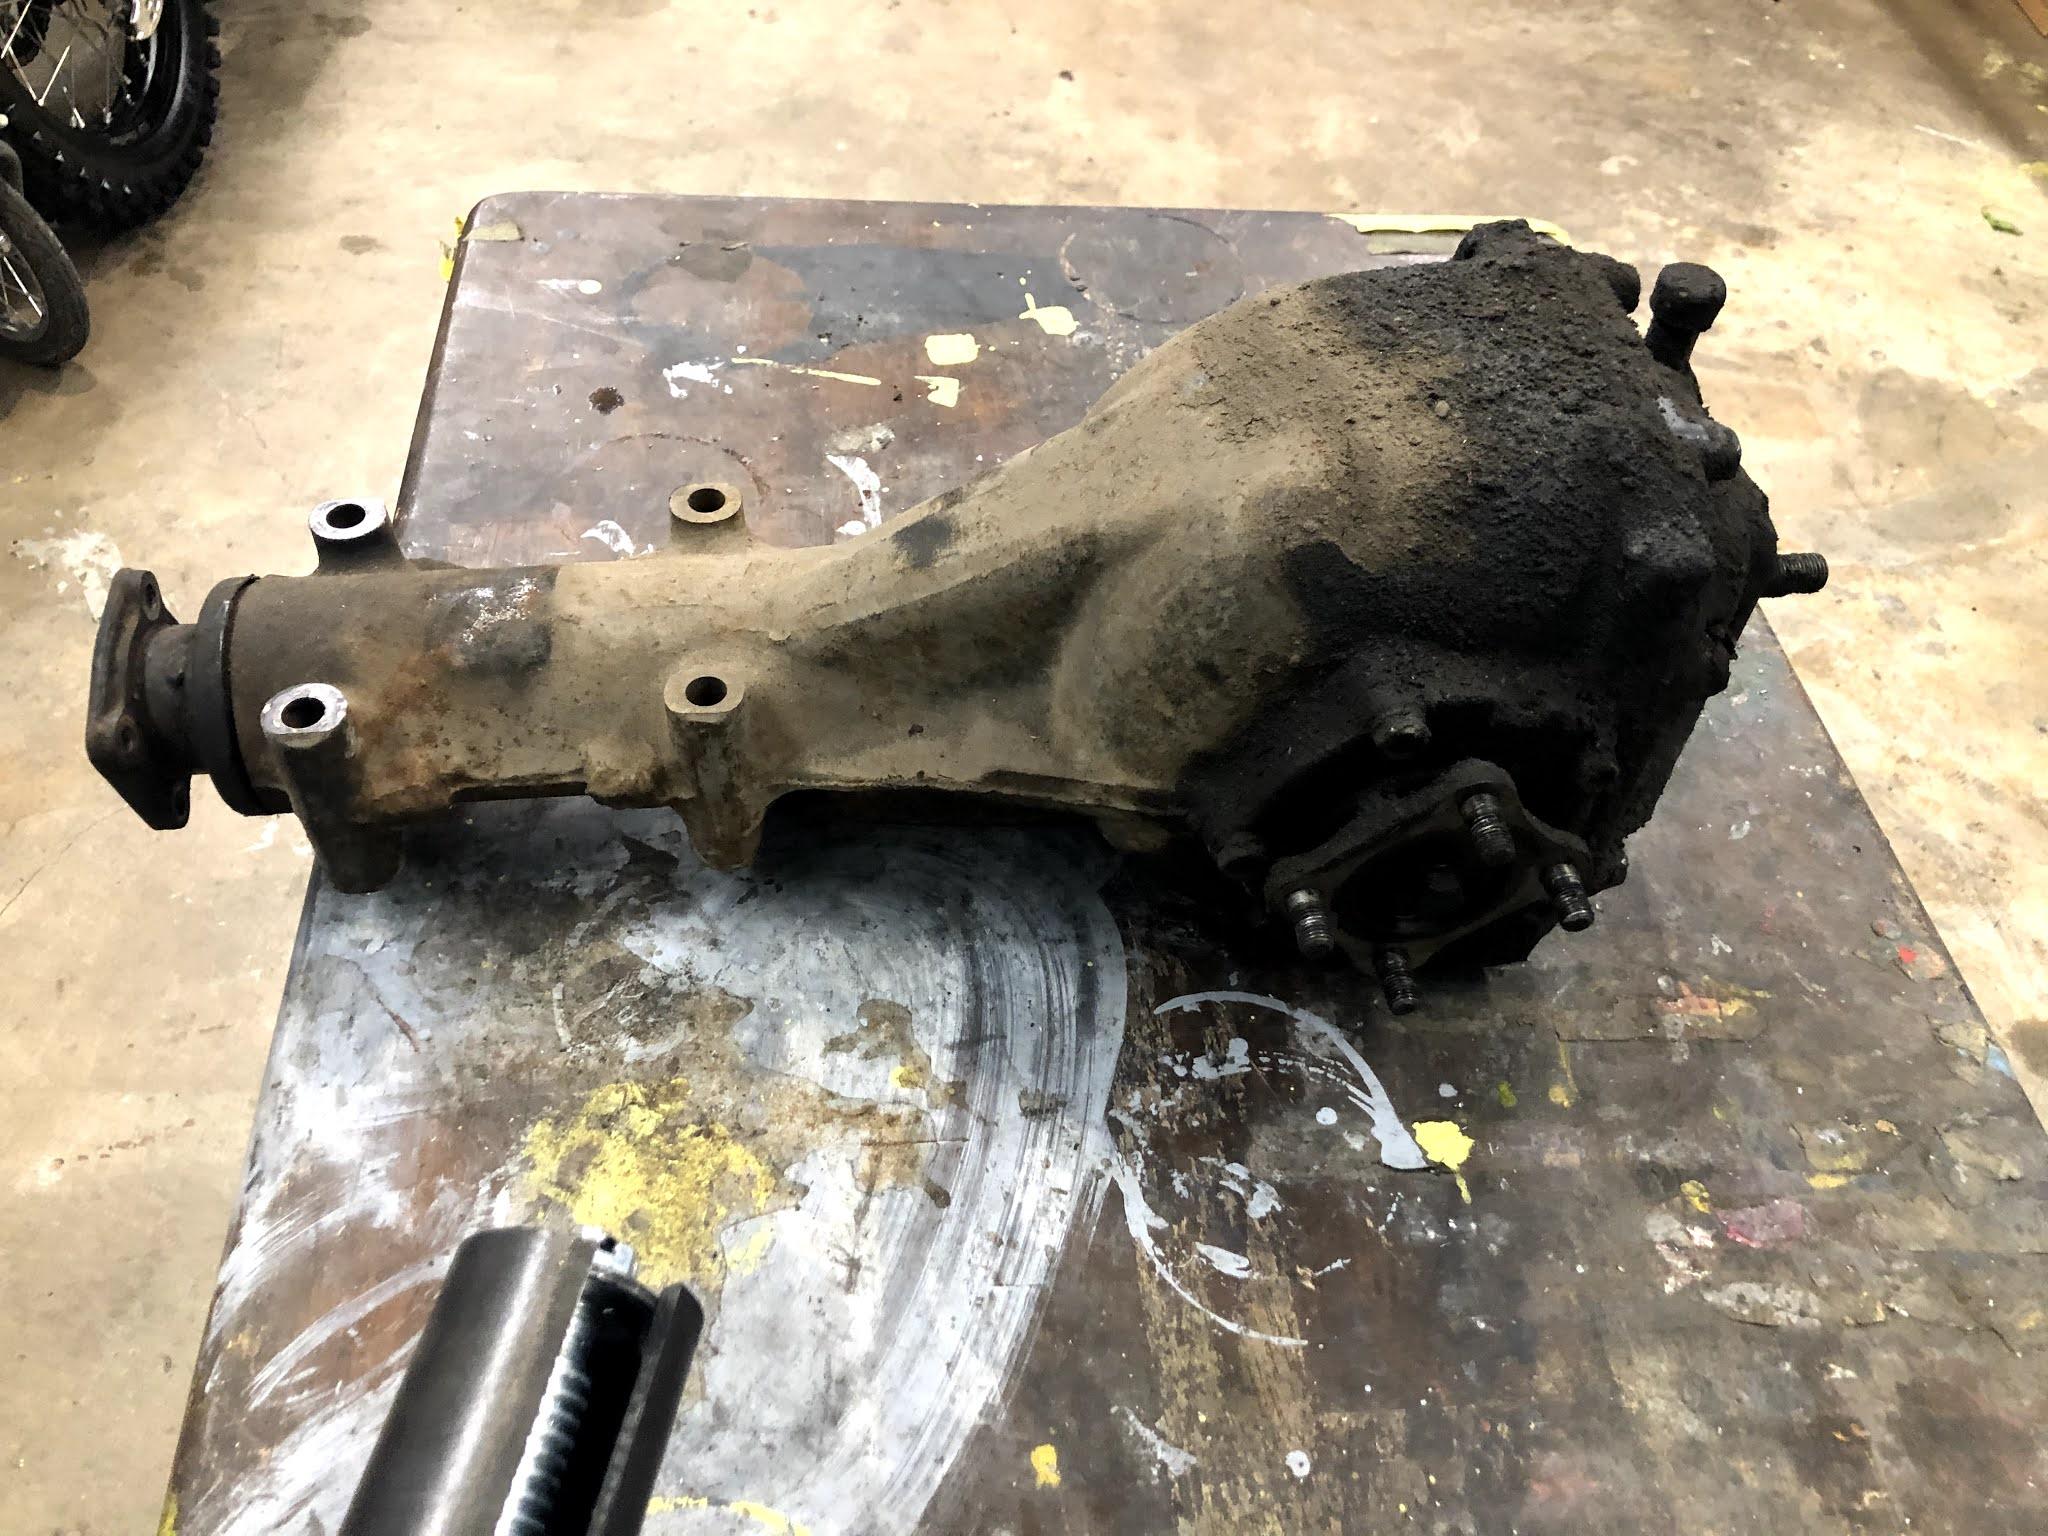
After a thorough cleaning and some fresh paint, the assembly was built back up with new seals, bearings, and contact pattern verified. At this point the remaining hardware not installed on the diff was sent off to be zinc plated. Once that returns it will get the final button up and torqued to spec. We are working with the goal of a 100% original appearing restoration (as possible). I know Nissan most likely built these assemblies up and painted the entire unit black, but I couldn't get myself to do that. A little raw aluminum and zinc hardware will look nicely when it's all back together.

-
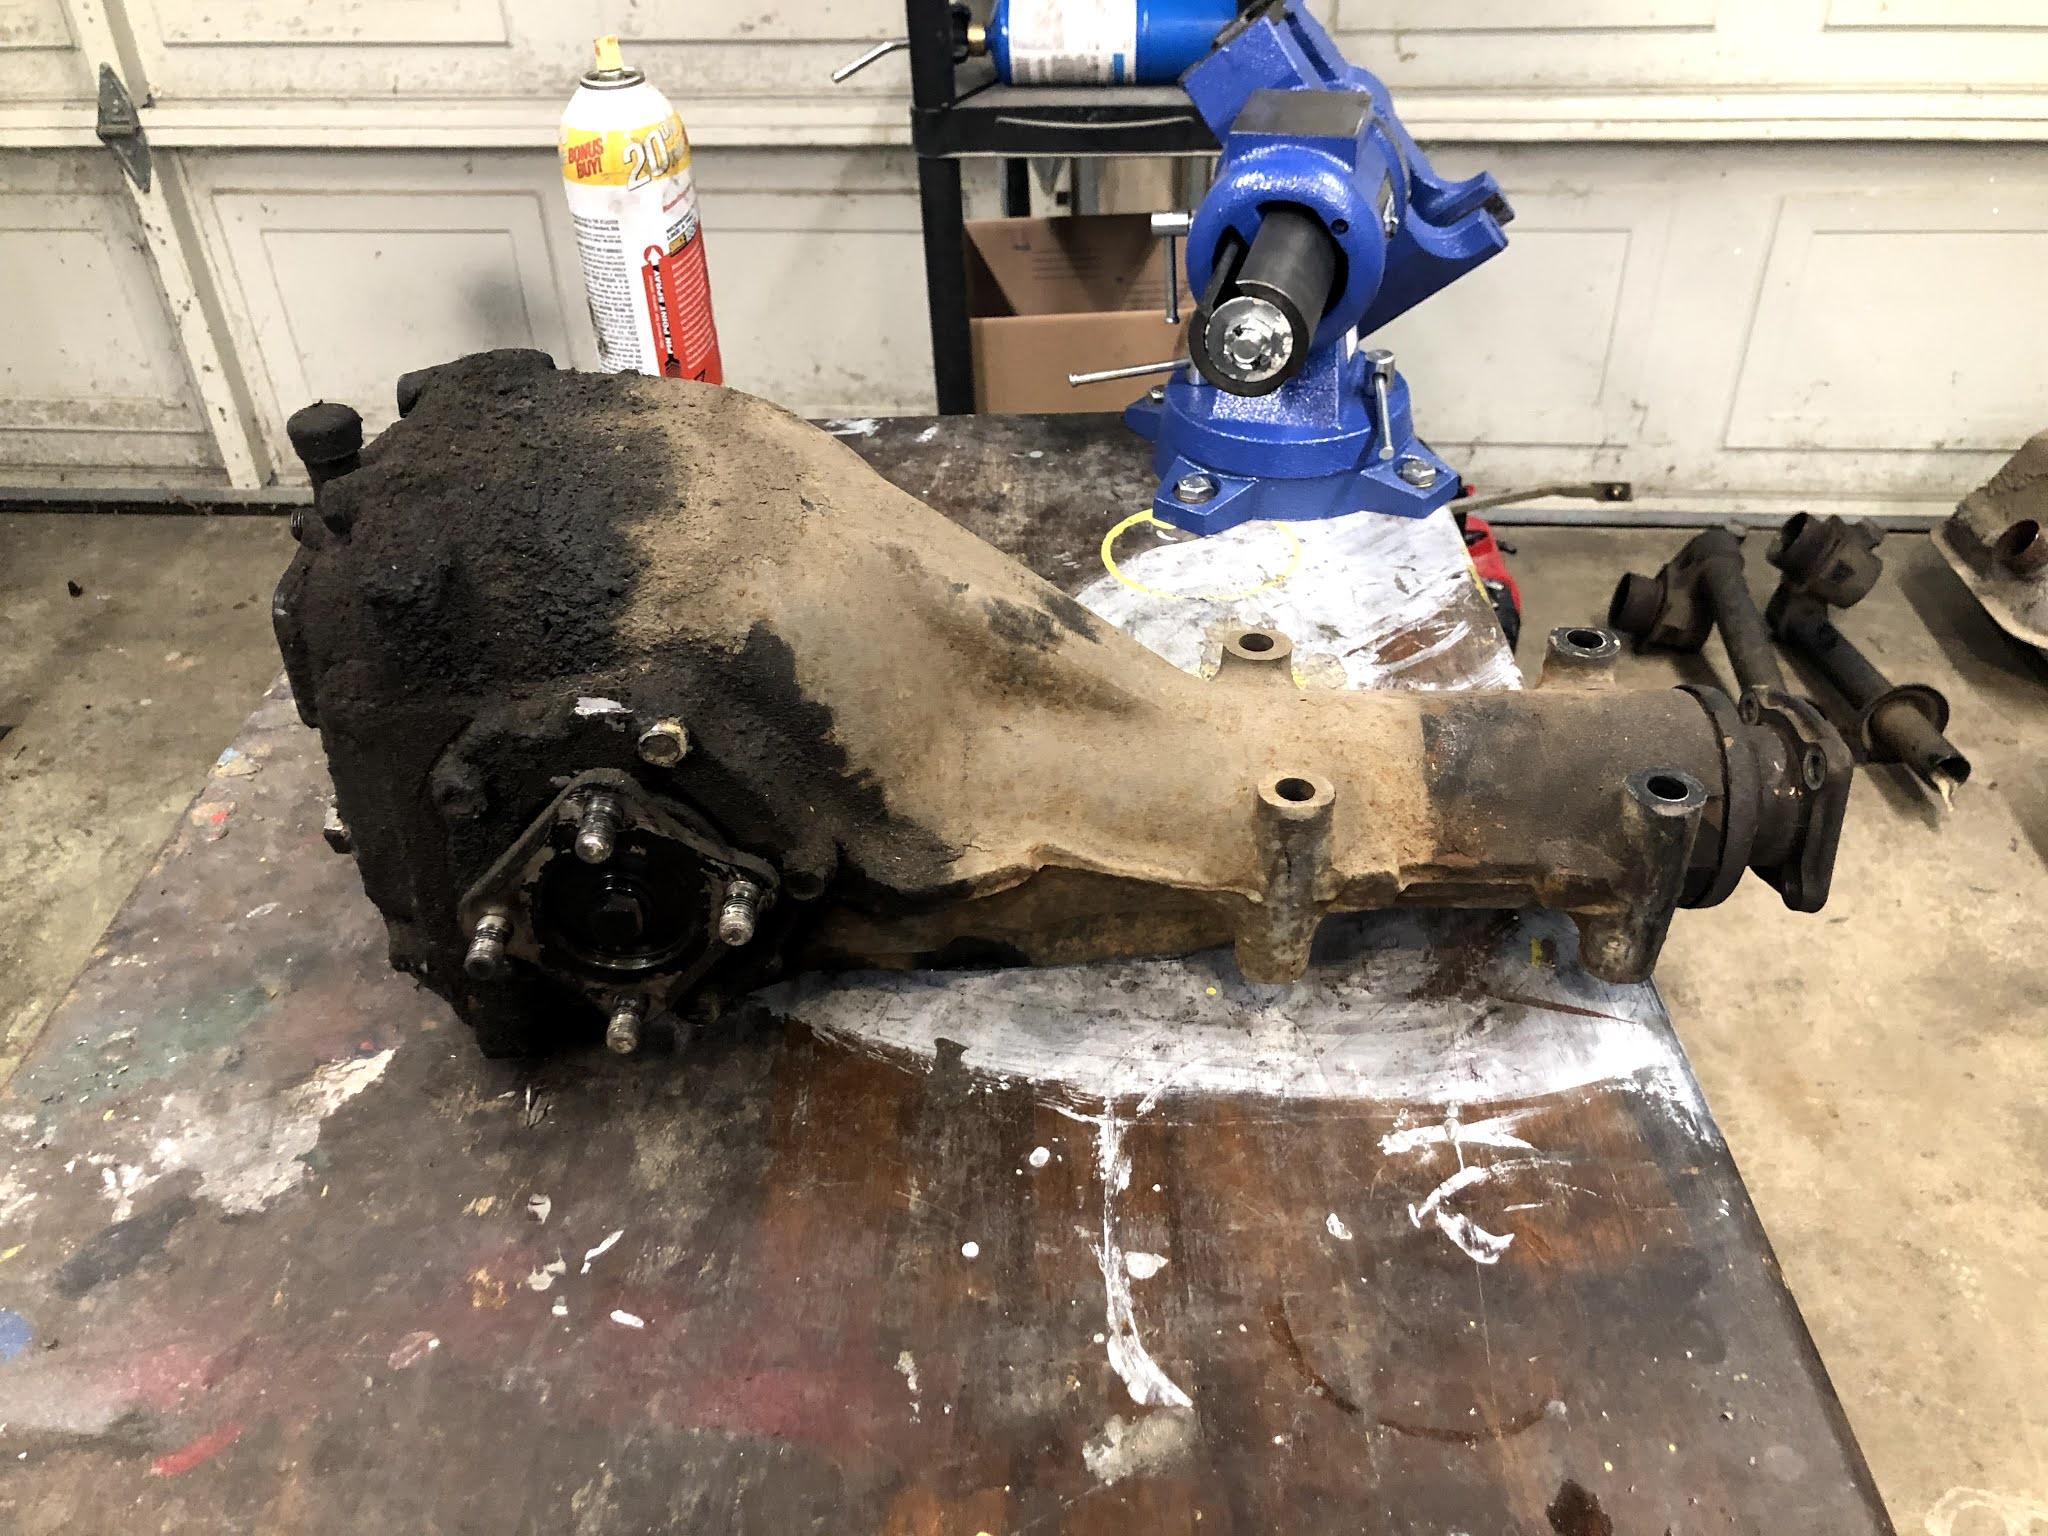
At this point the car was torn down just about all the way. I was itching to start the rebuilding/reassembly process. Taking a break from the body work, I grabbed the R180 rear end and began the refresh for it.


-
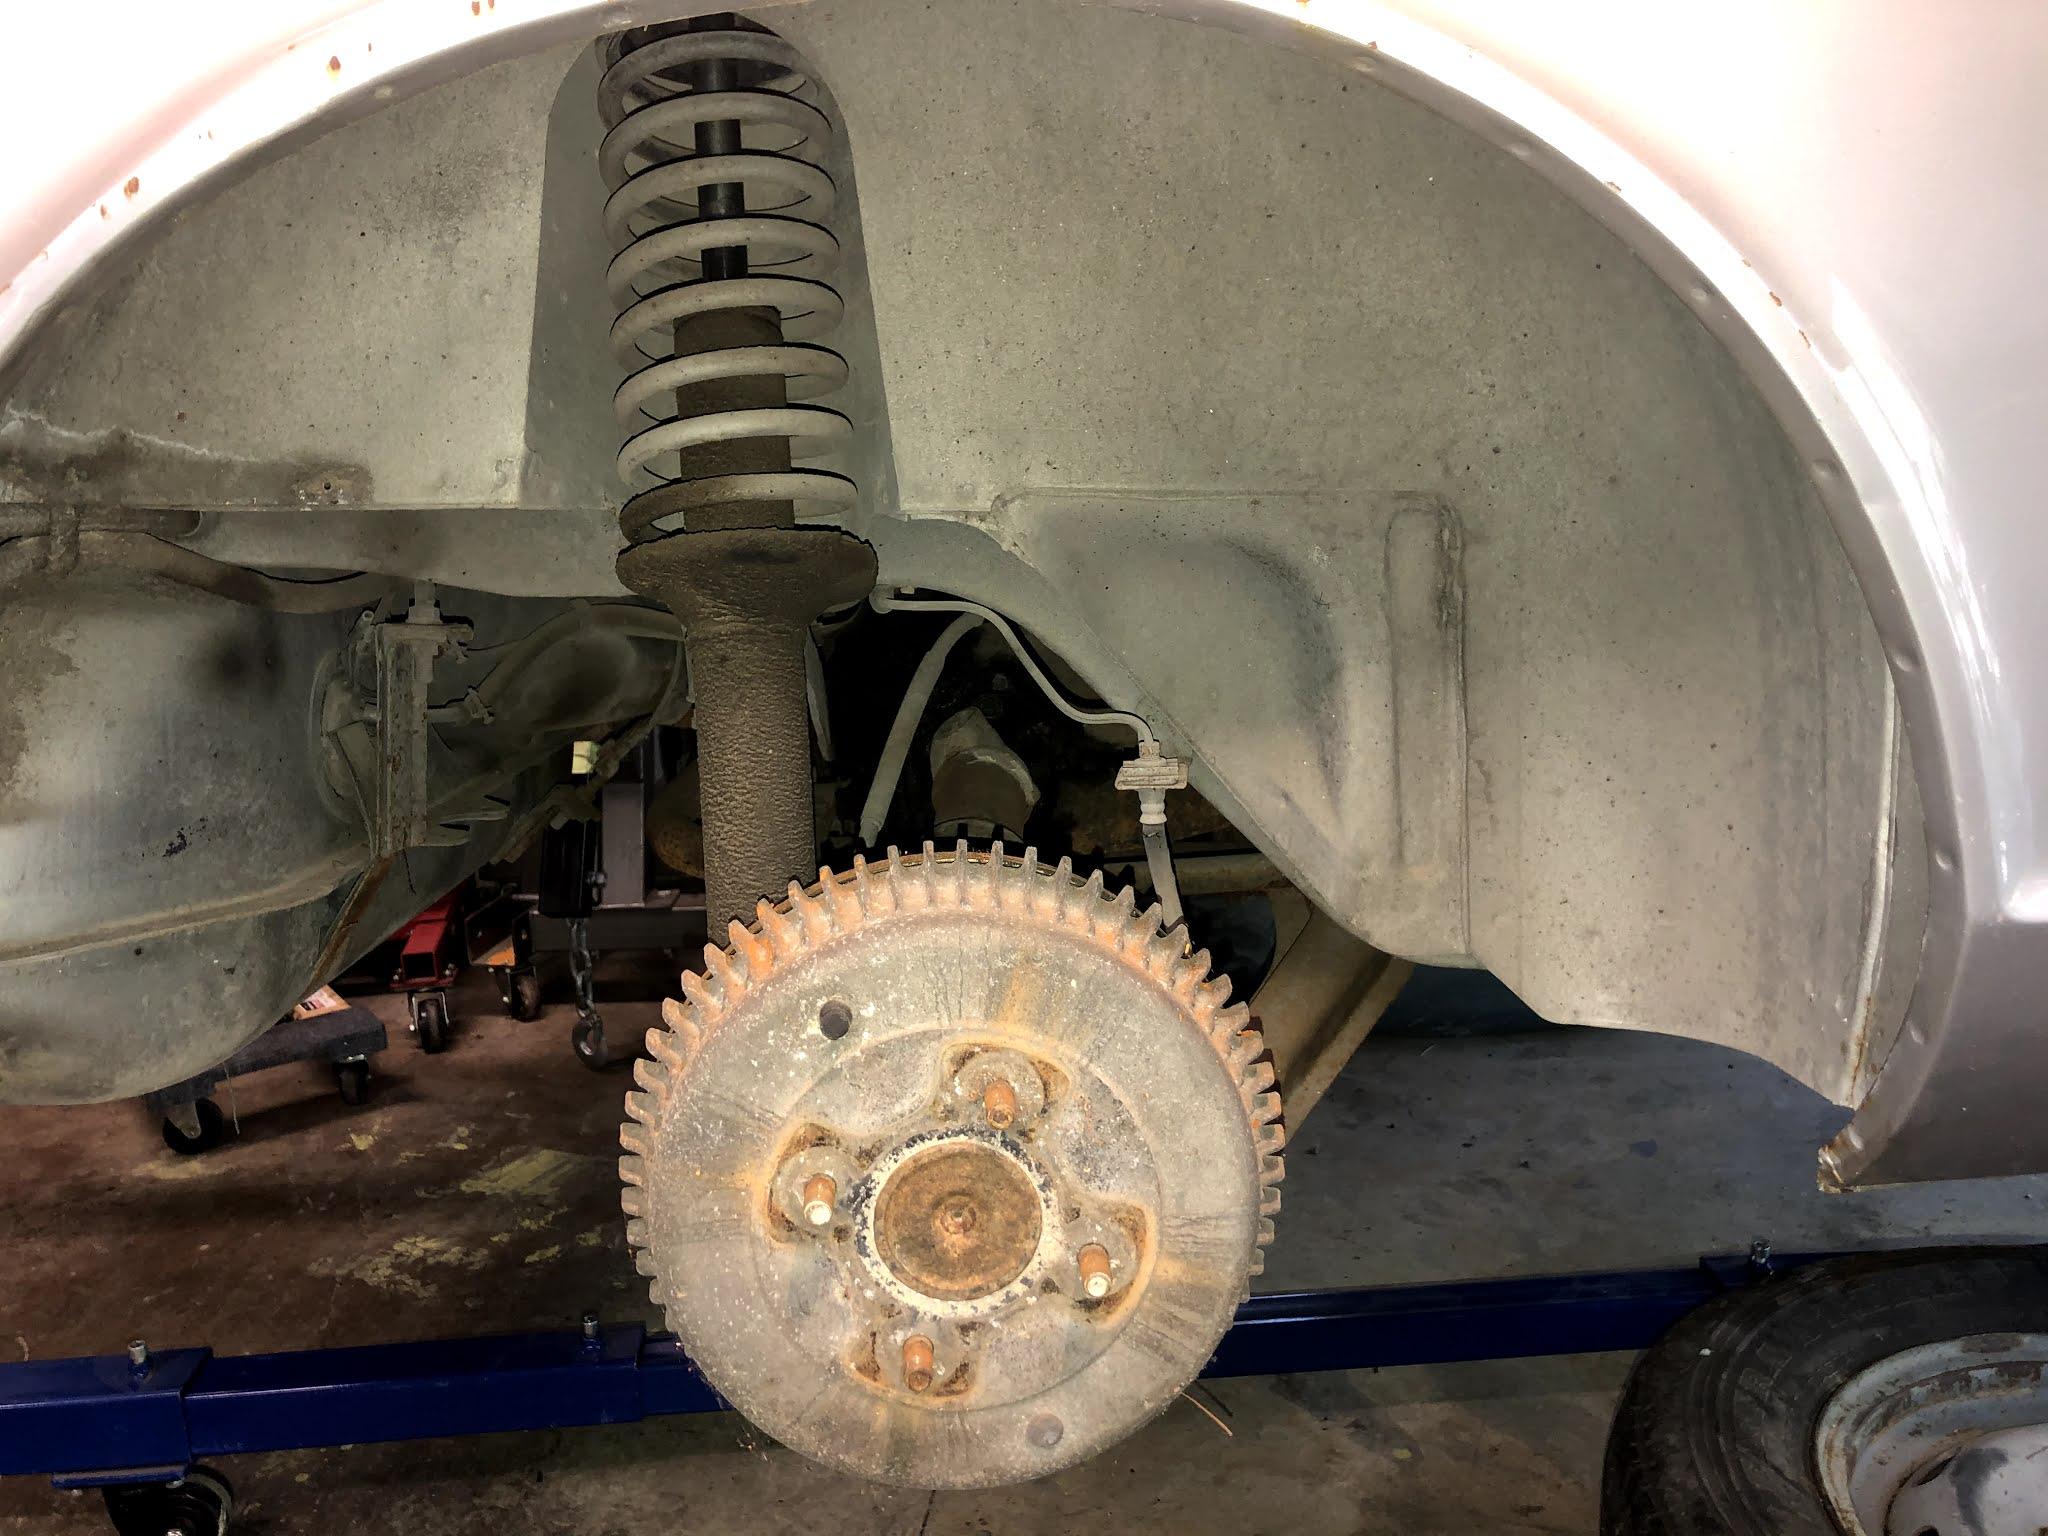
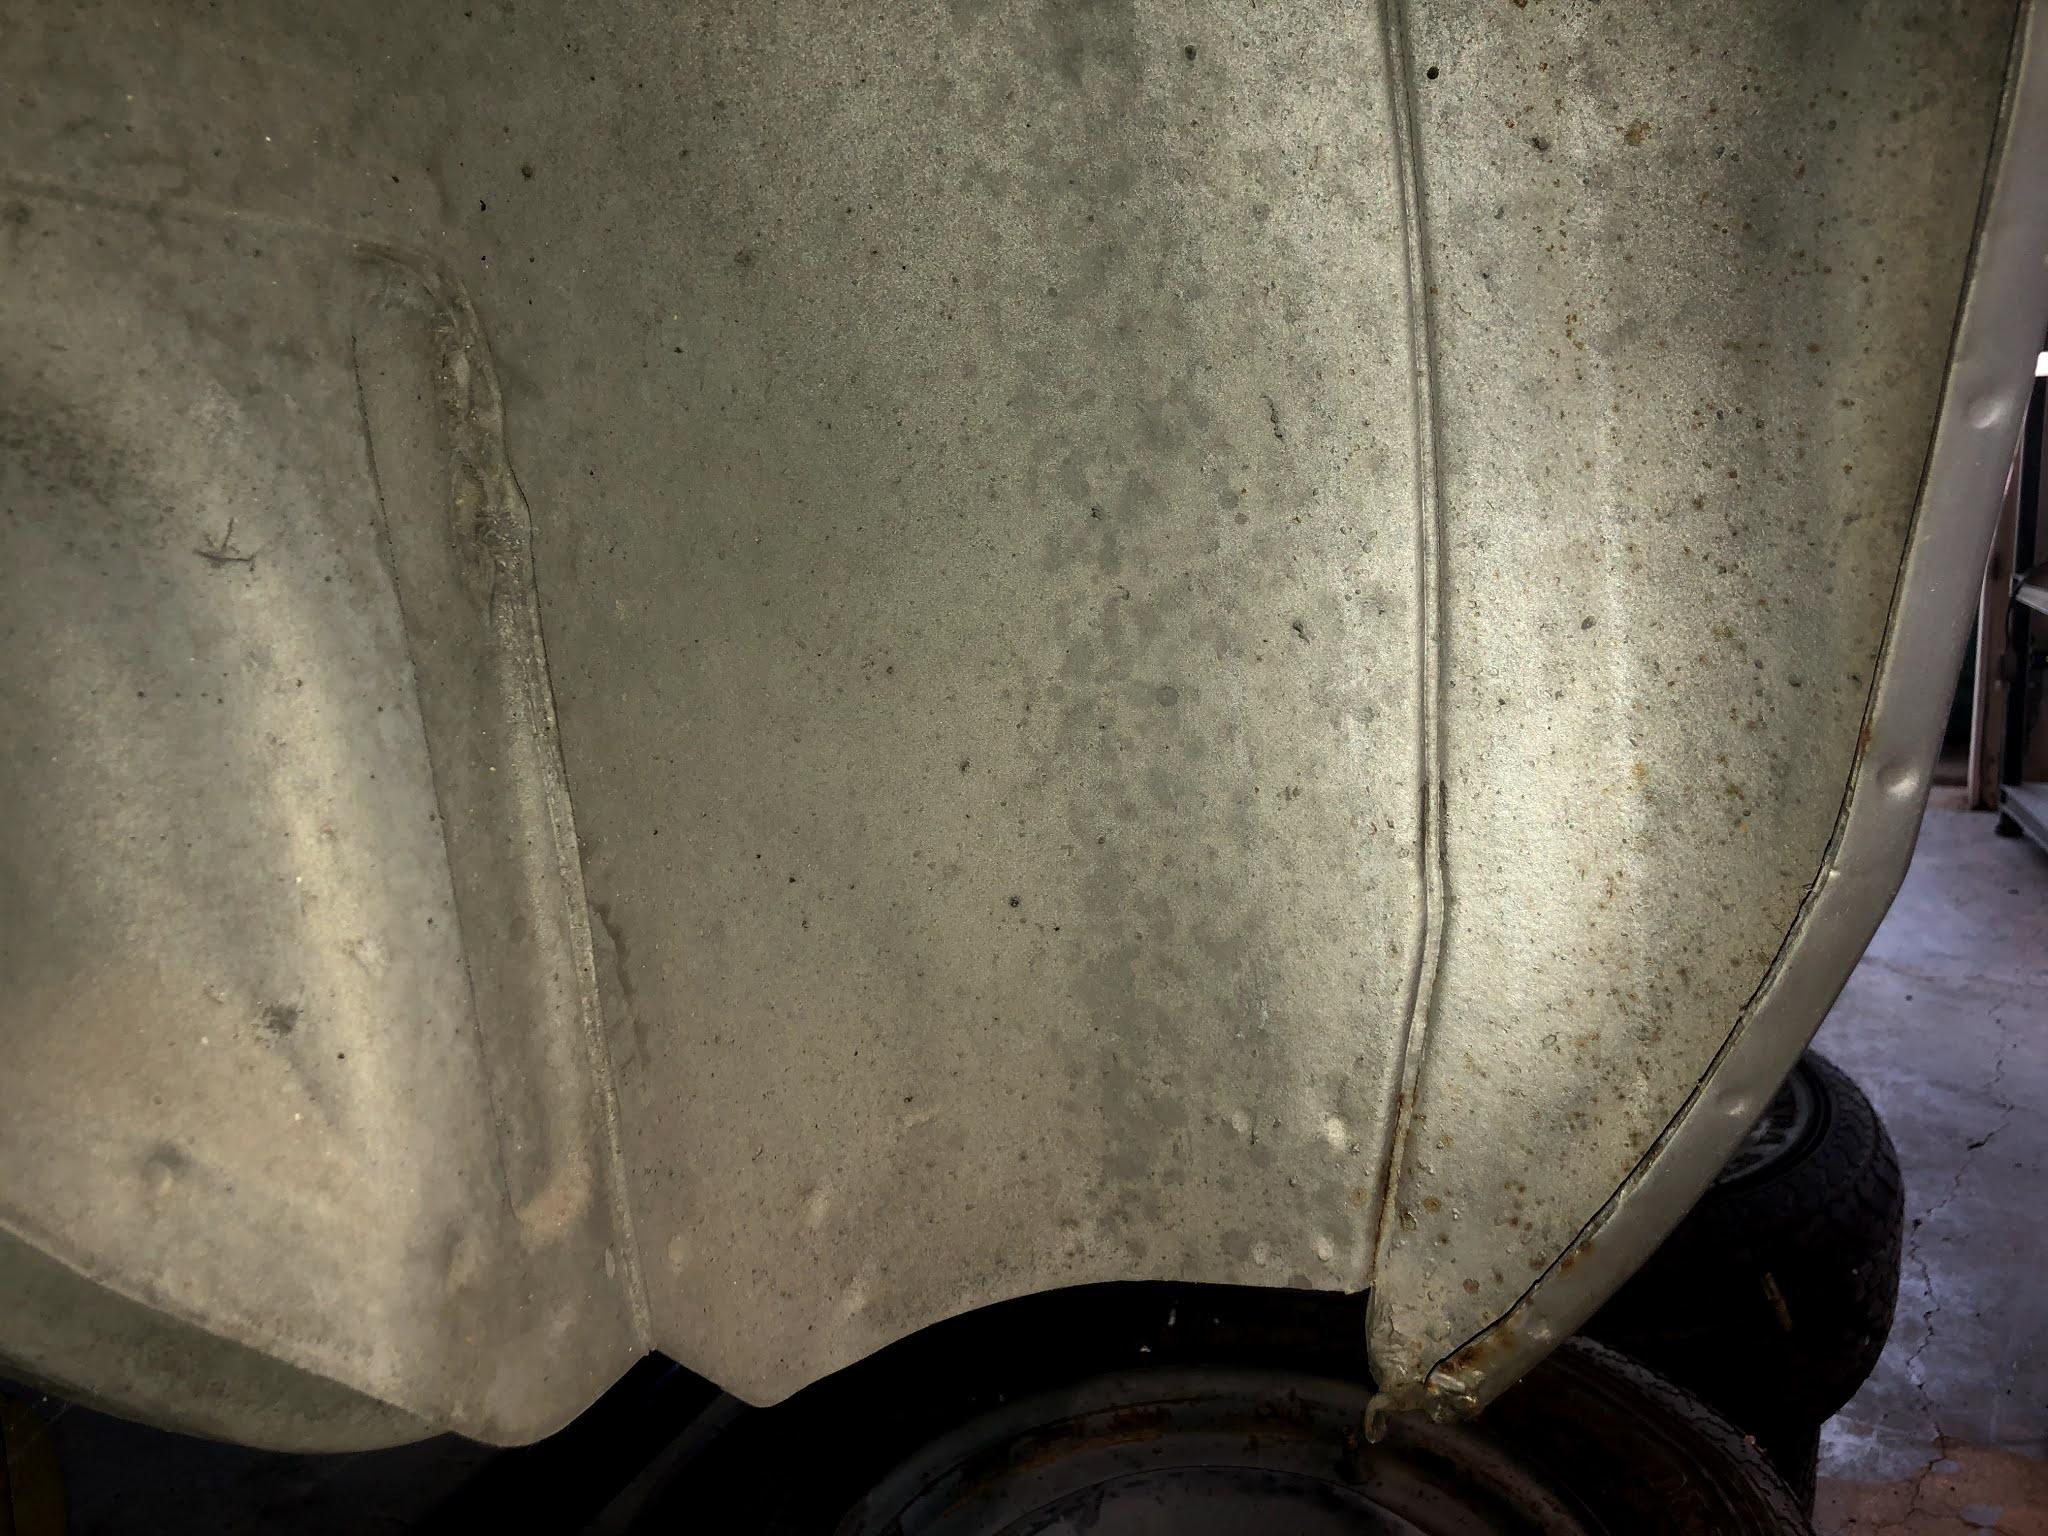
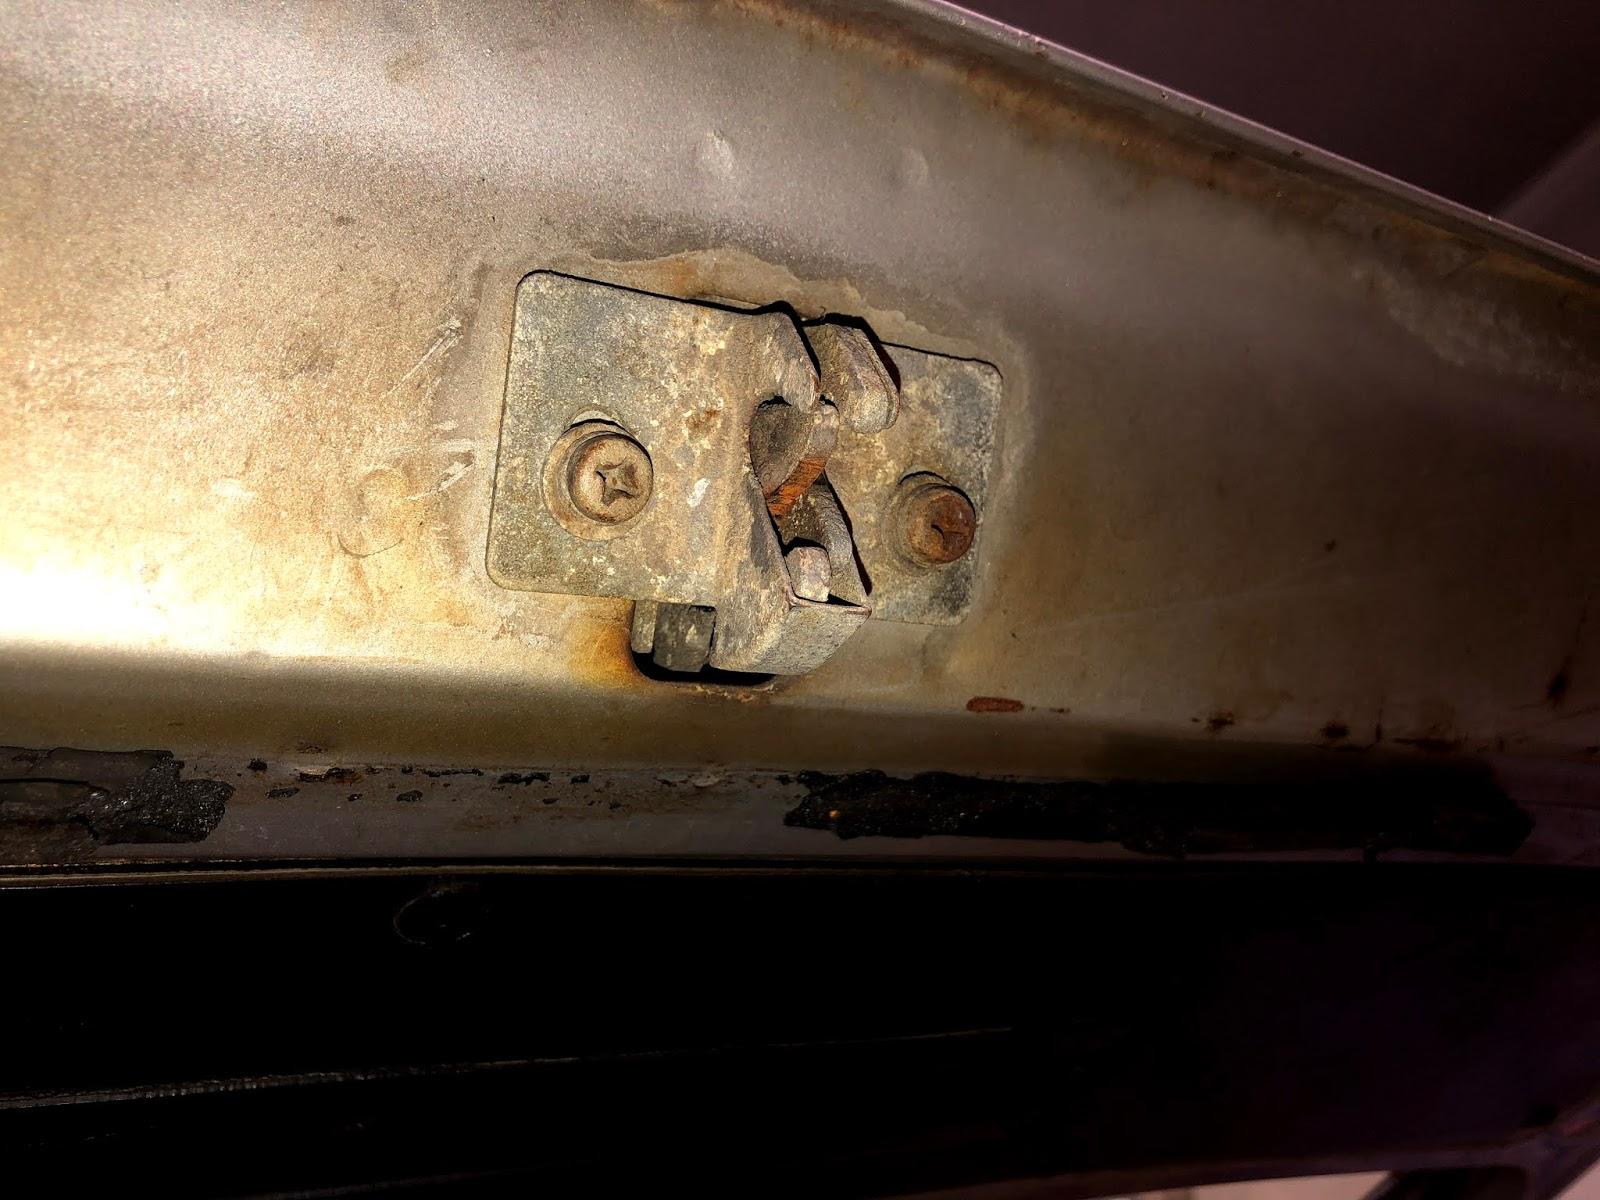
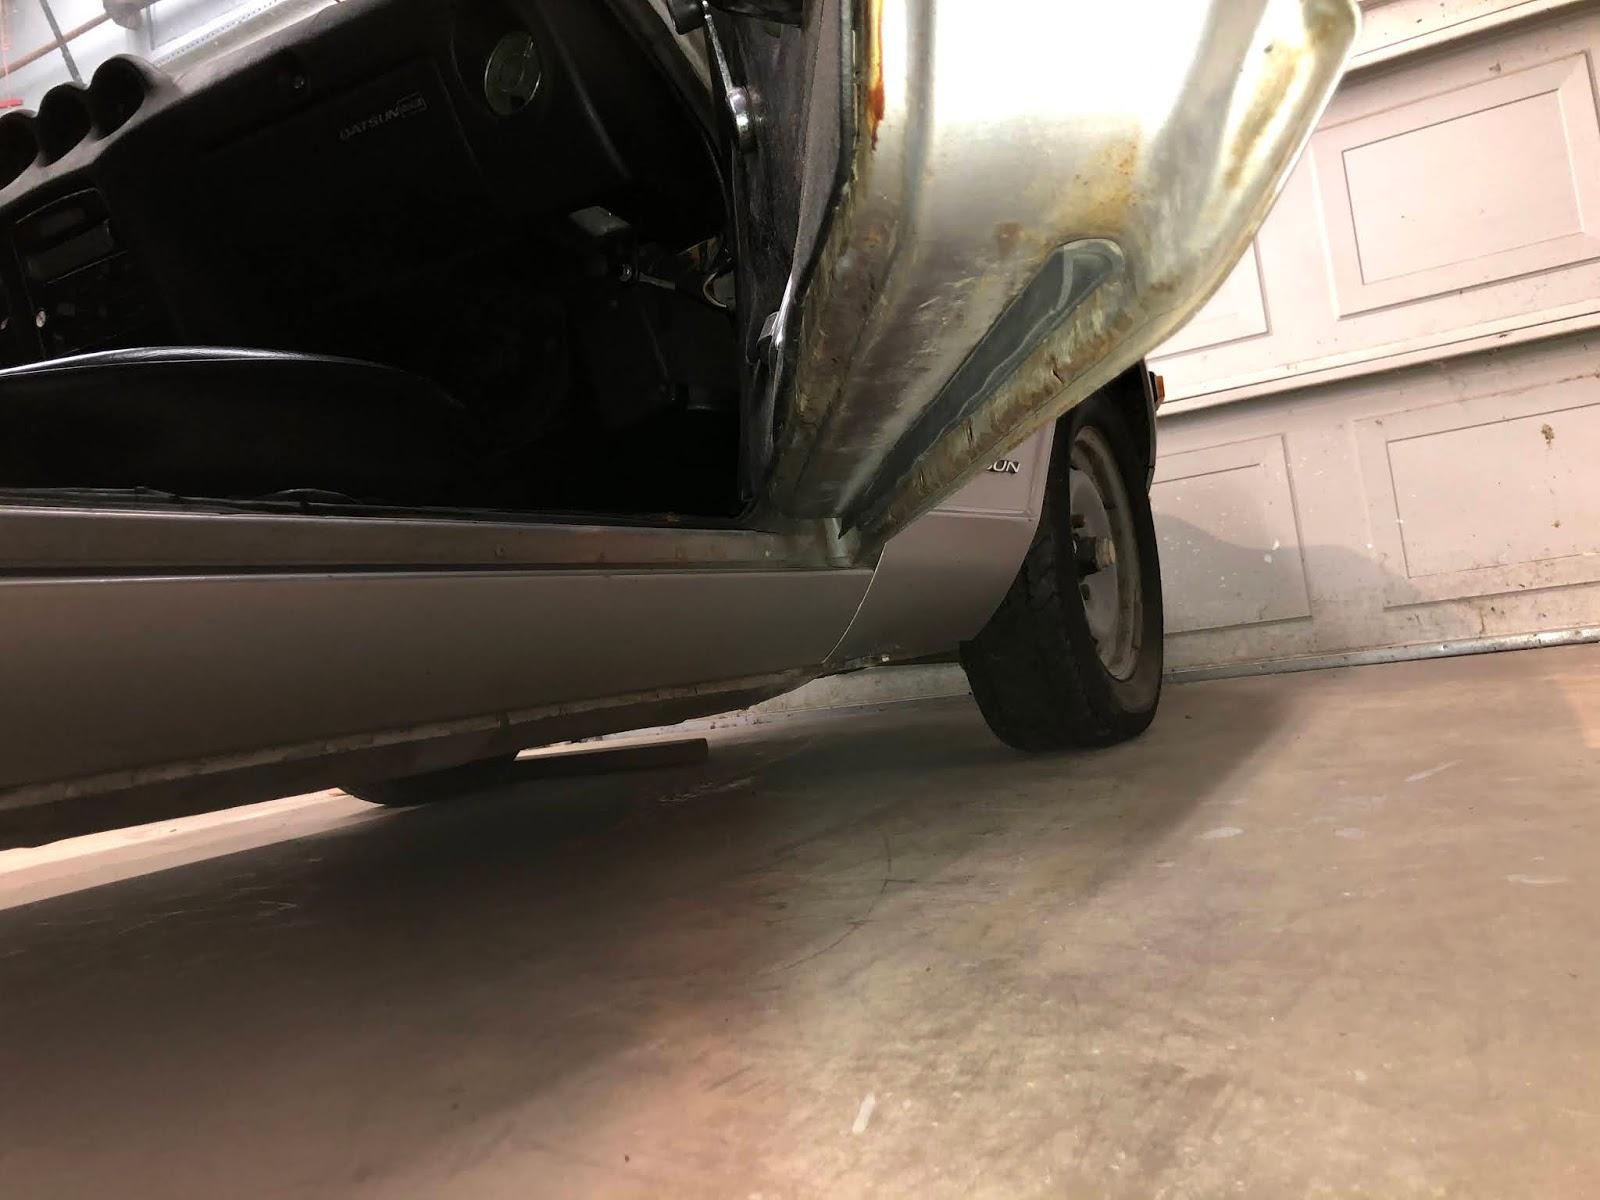
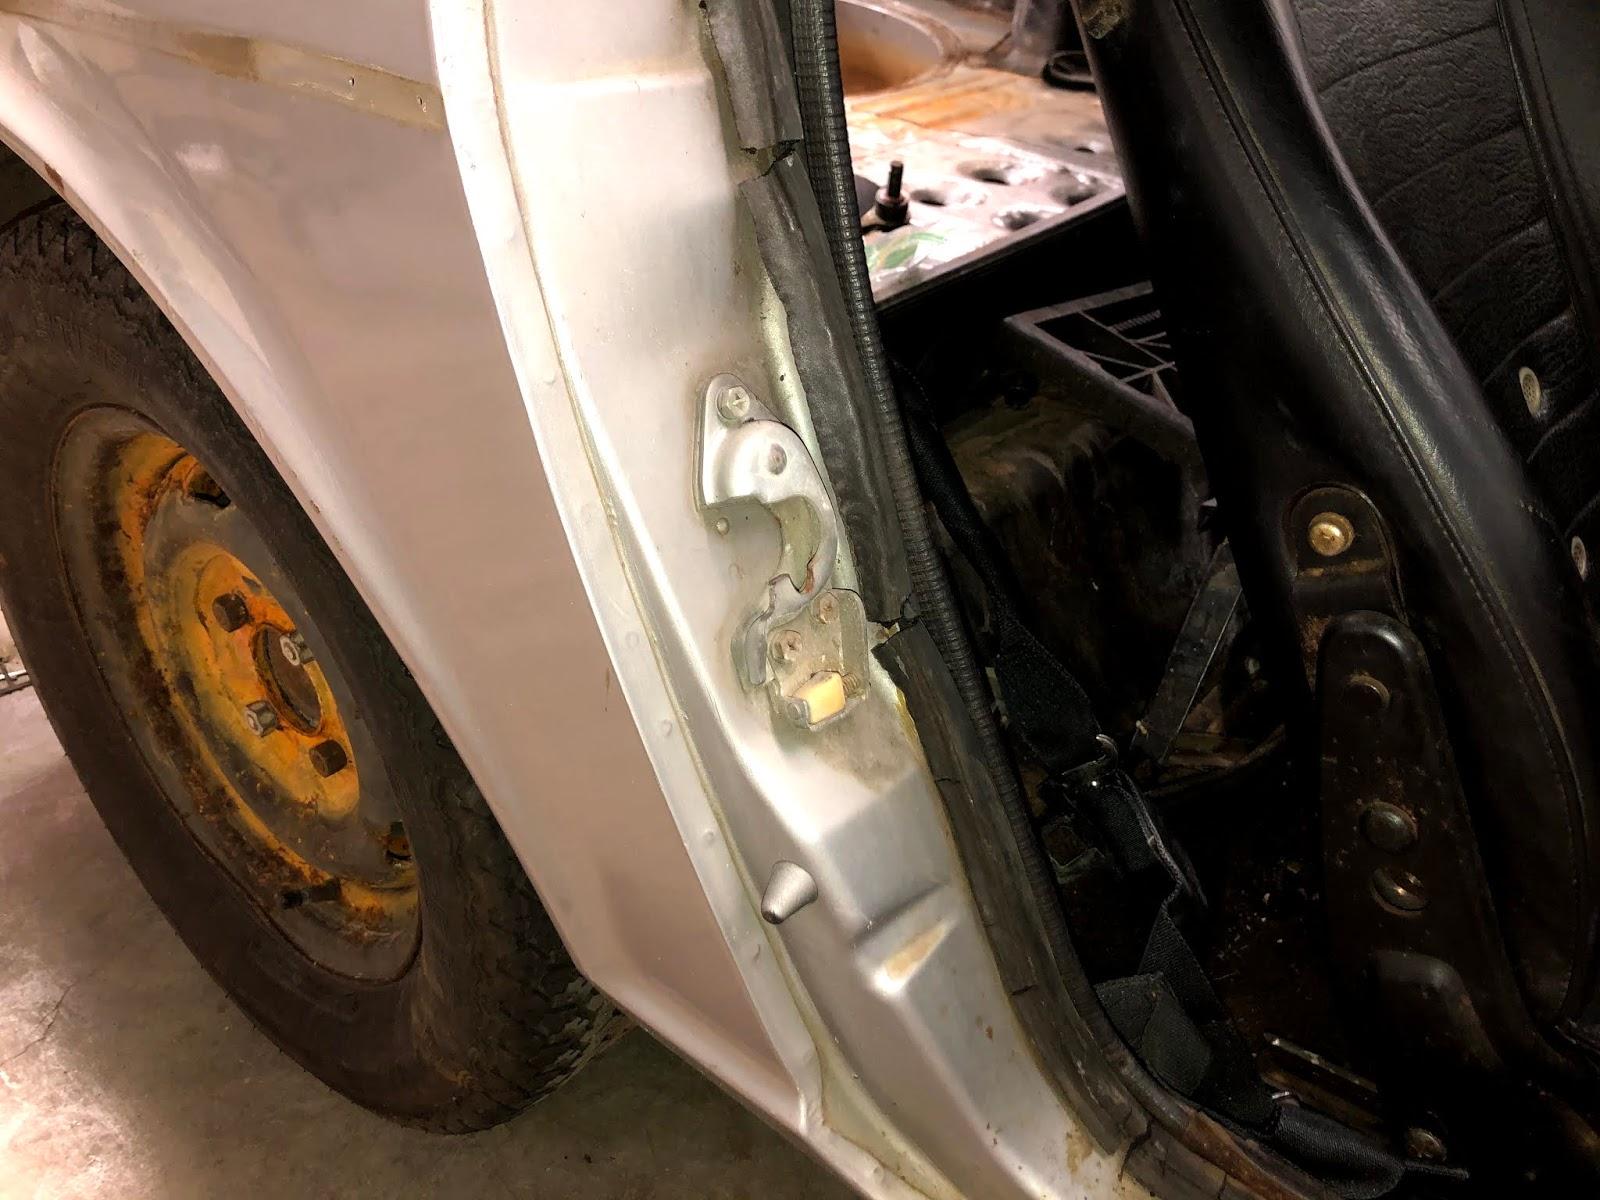
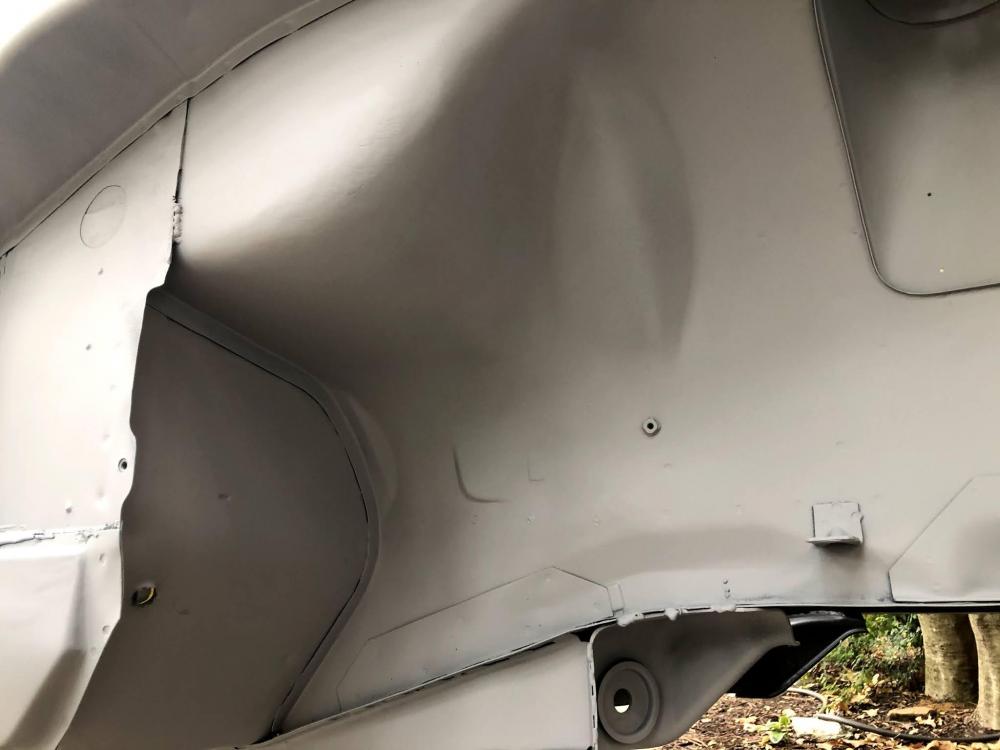
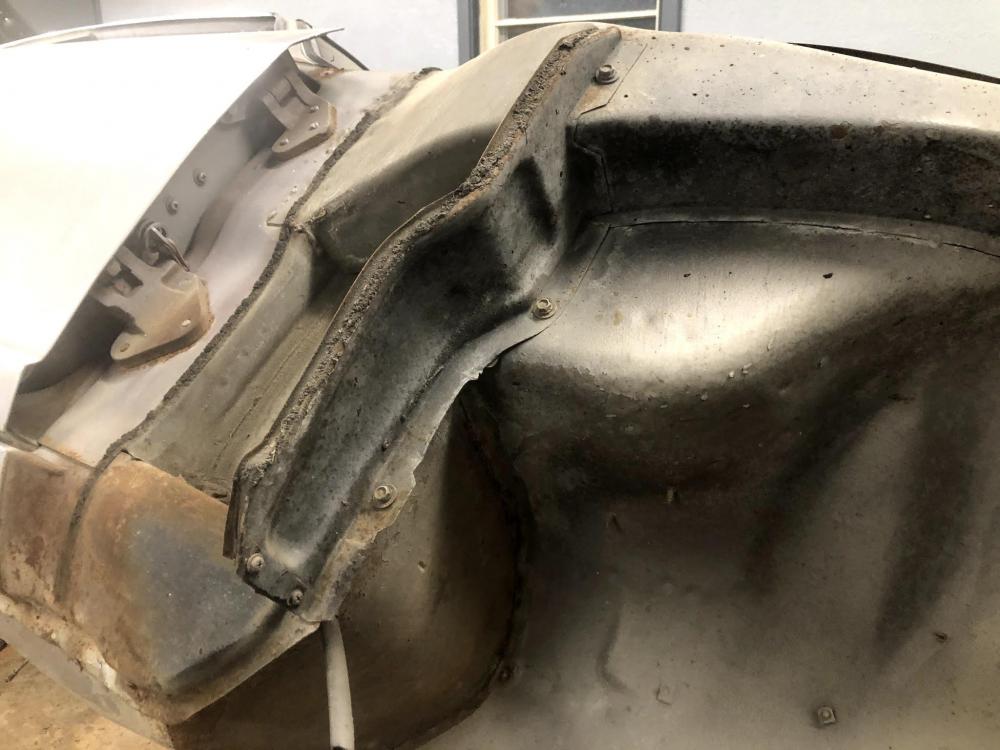
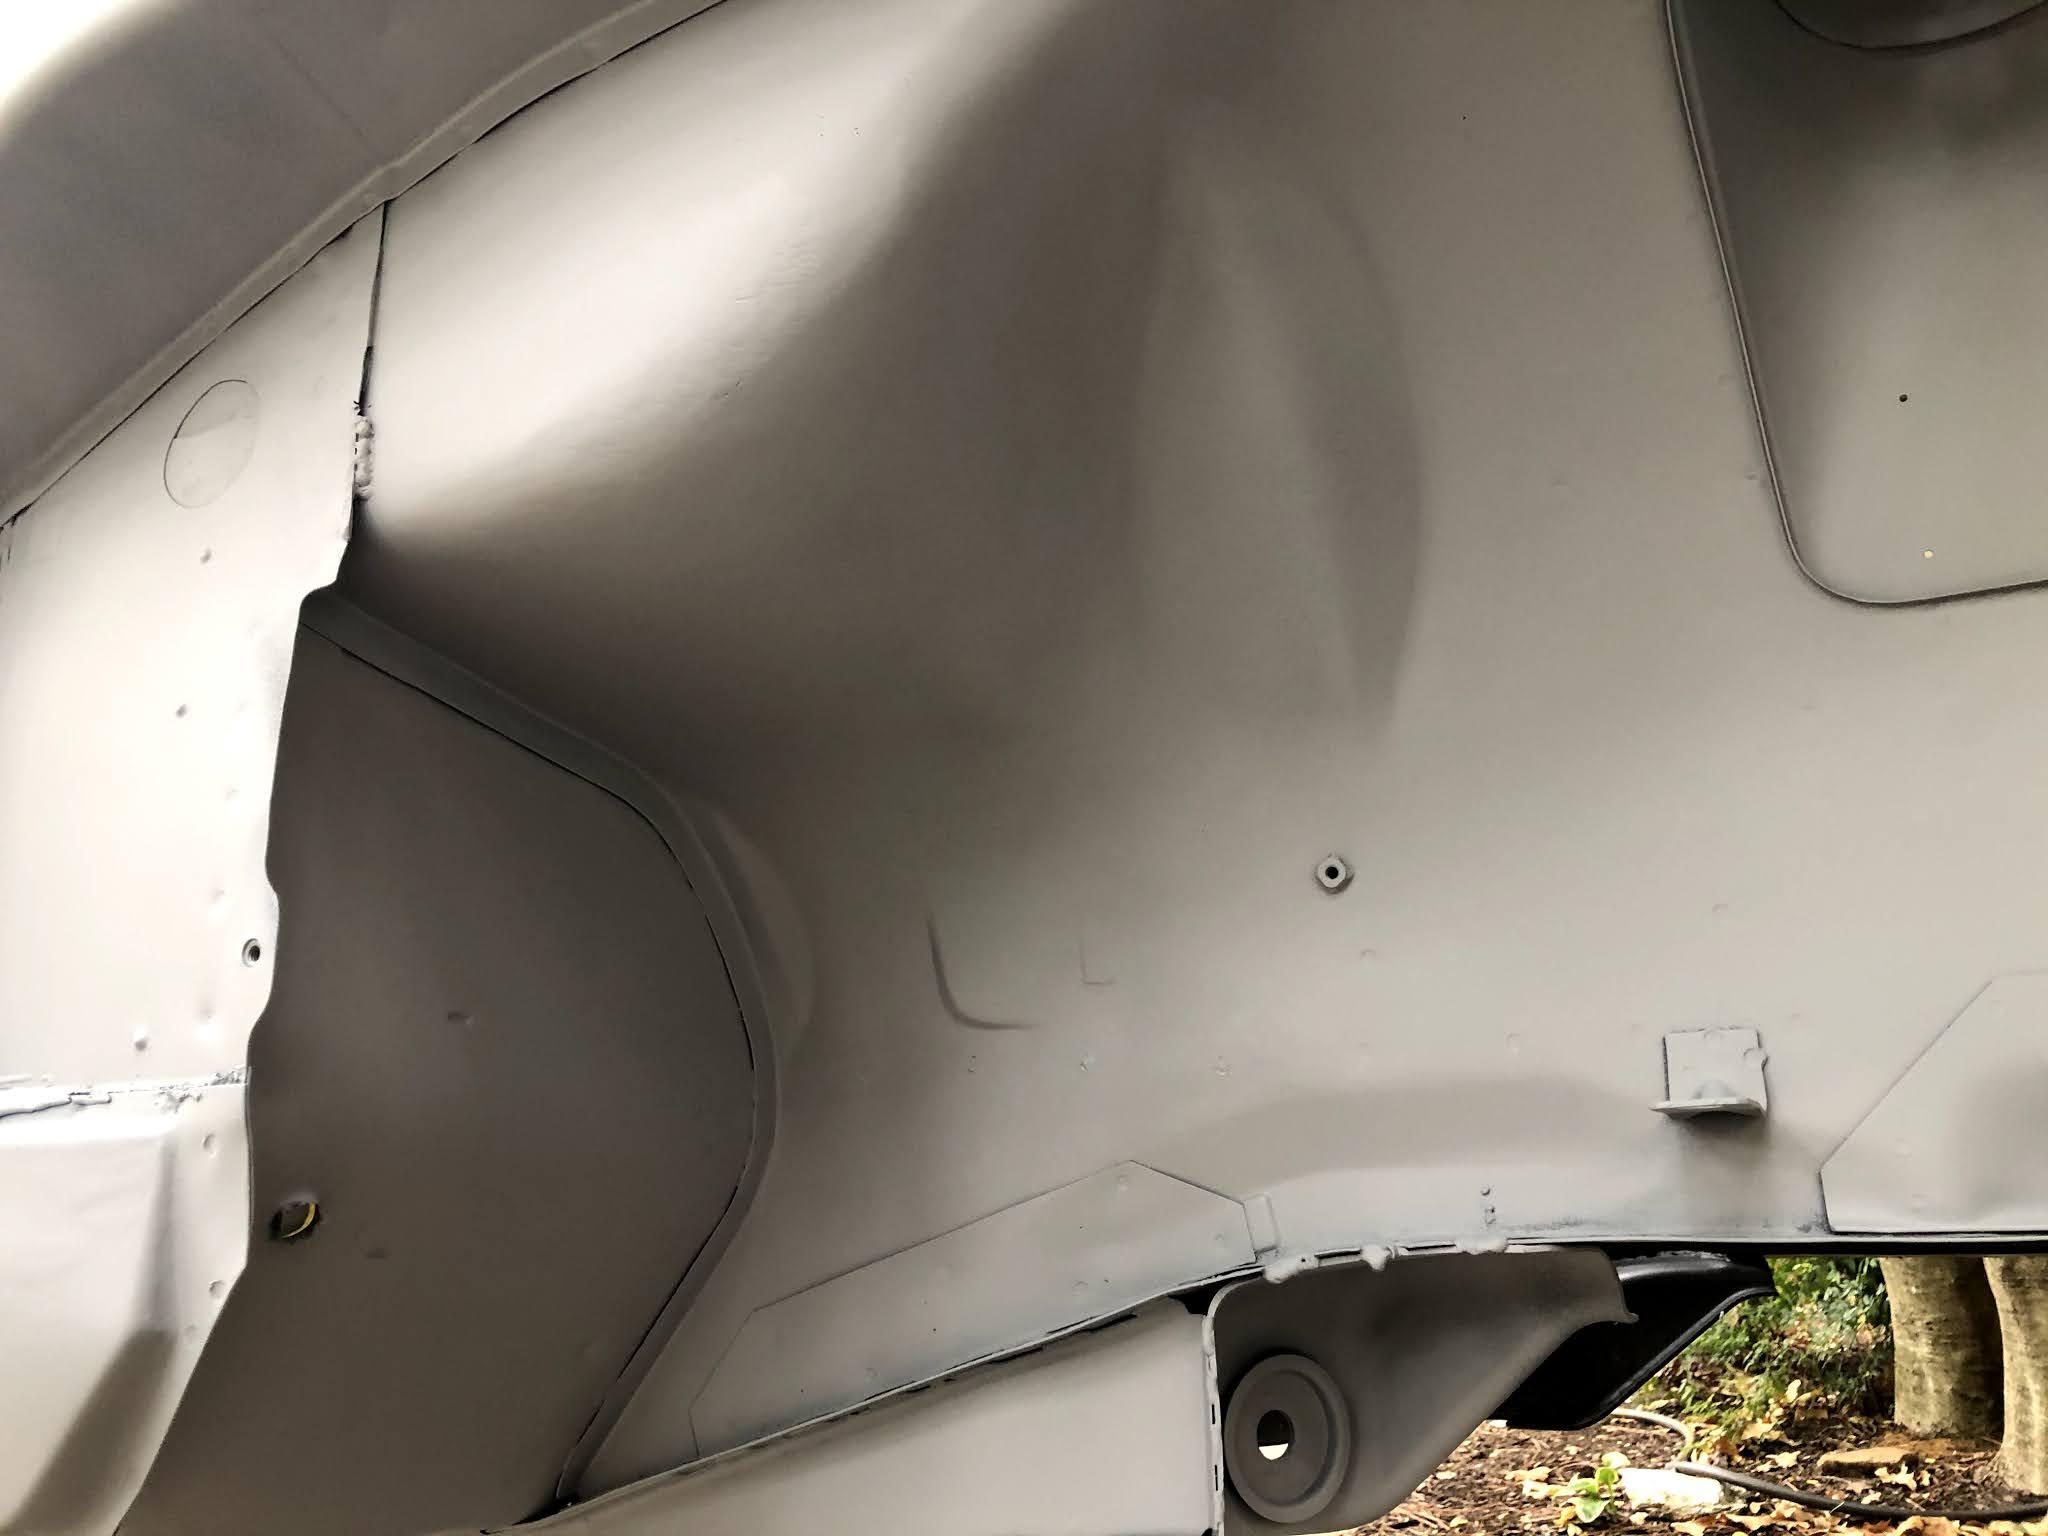
Good eye. Yes, the LHR wheel well lip has a little bit of body damage at one point in the Z's life. Fortunately a bit of stud gun/ hammer dolly work was all that we needed to make it right (pics to follow).
-
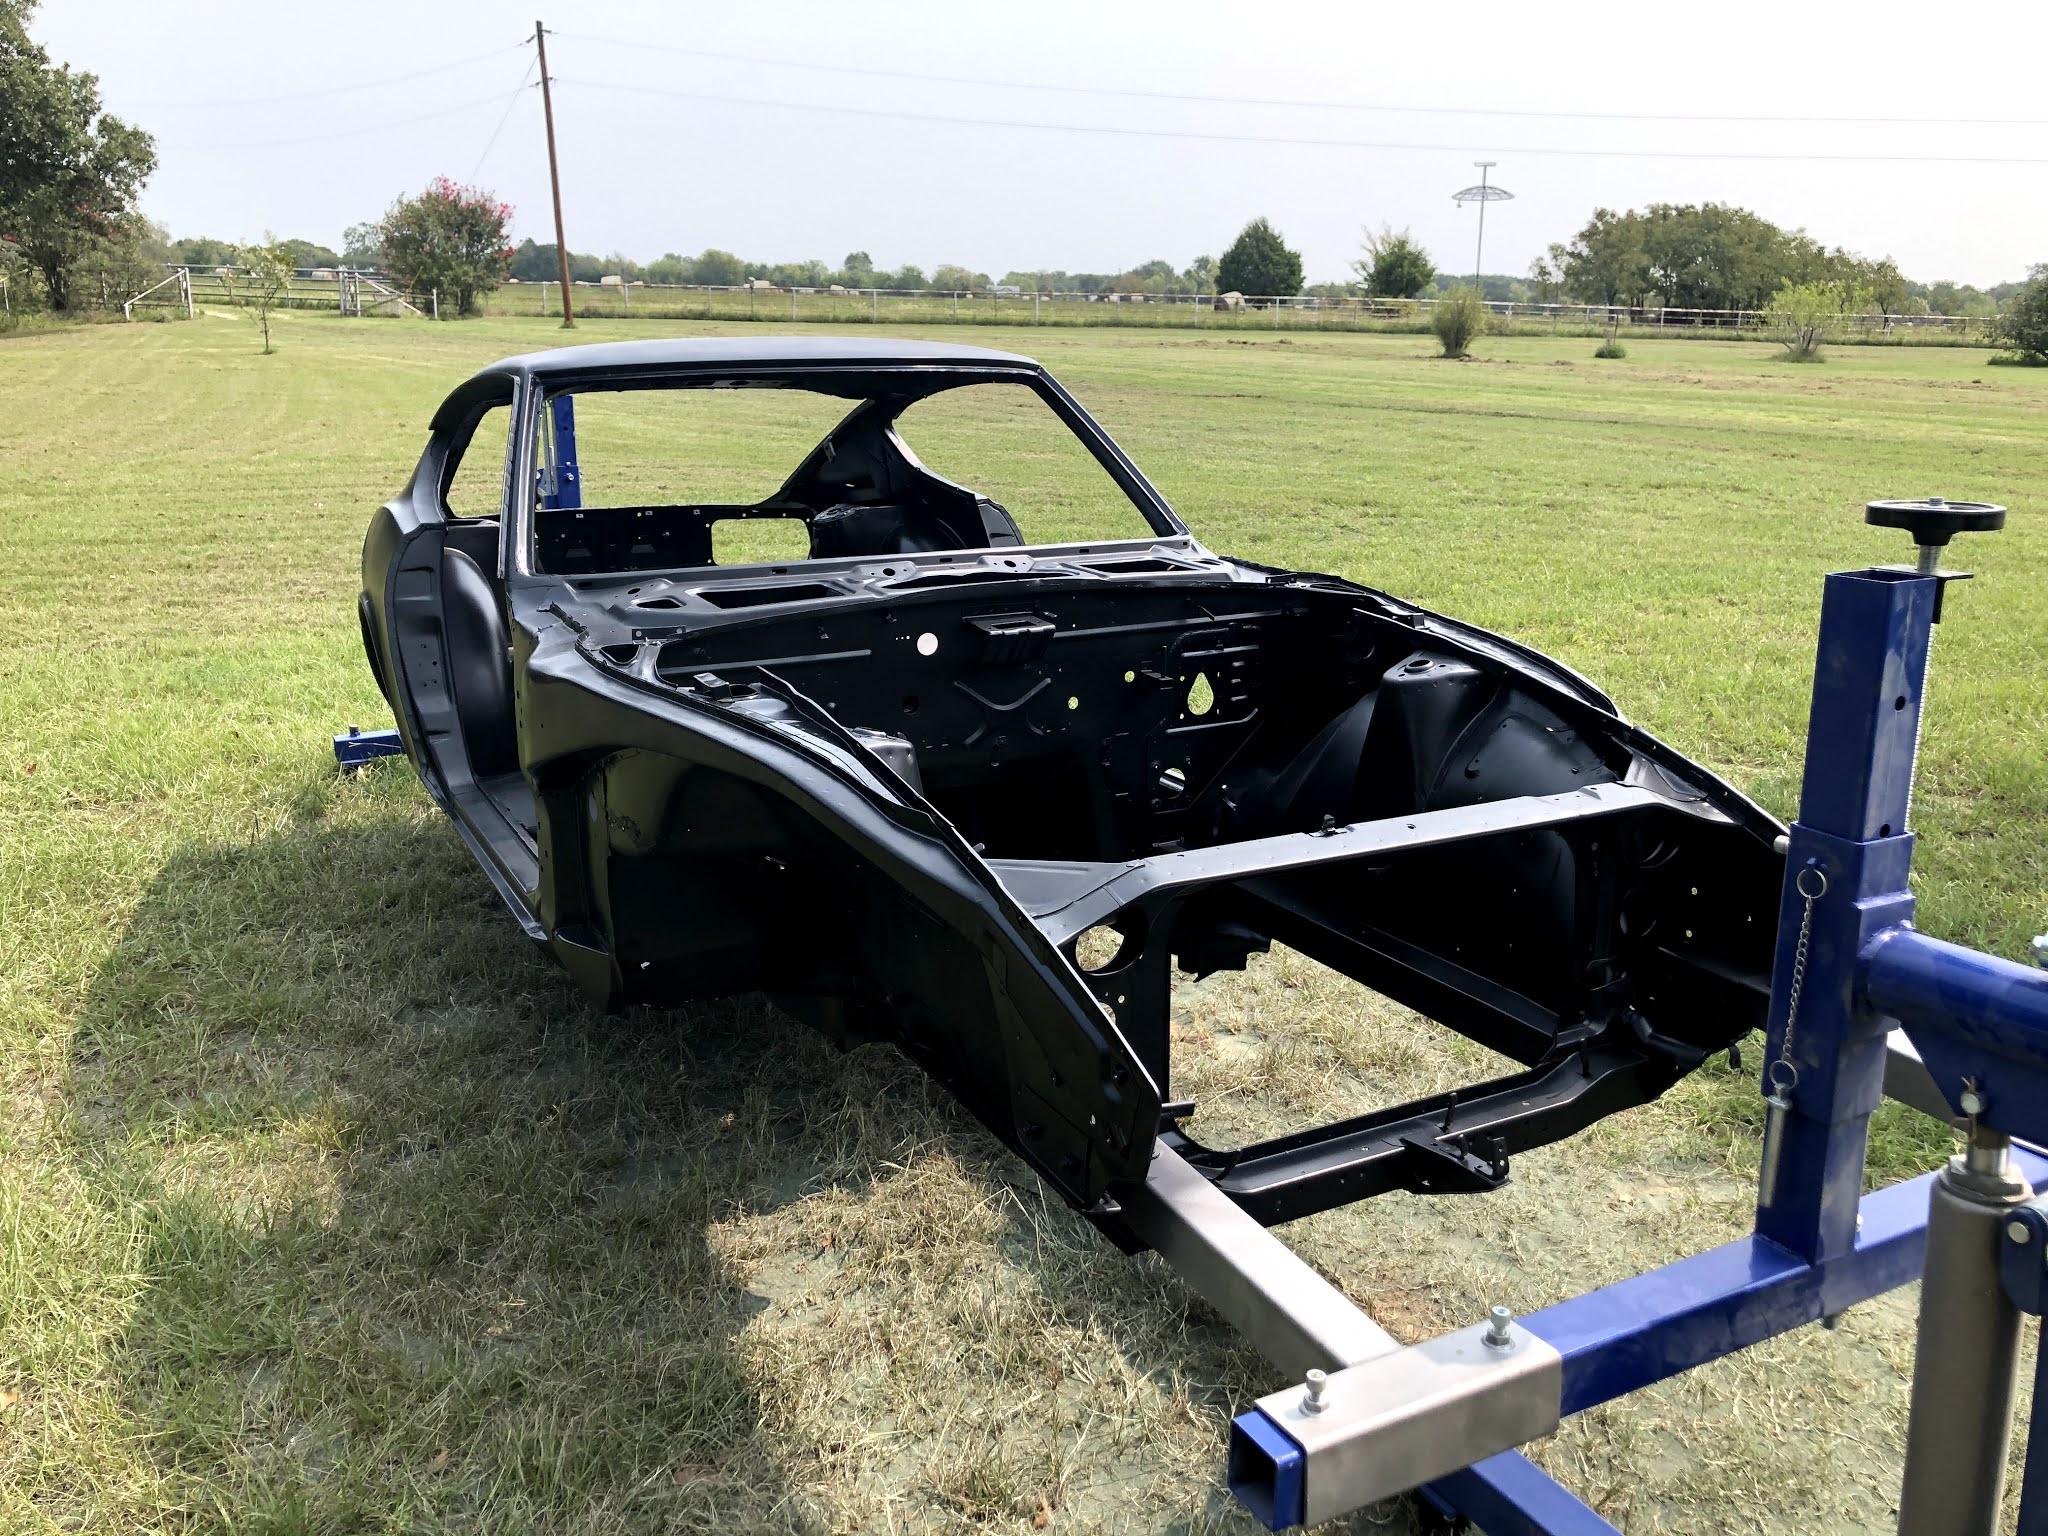
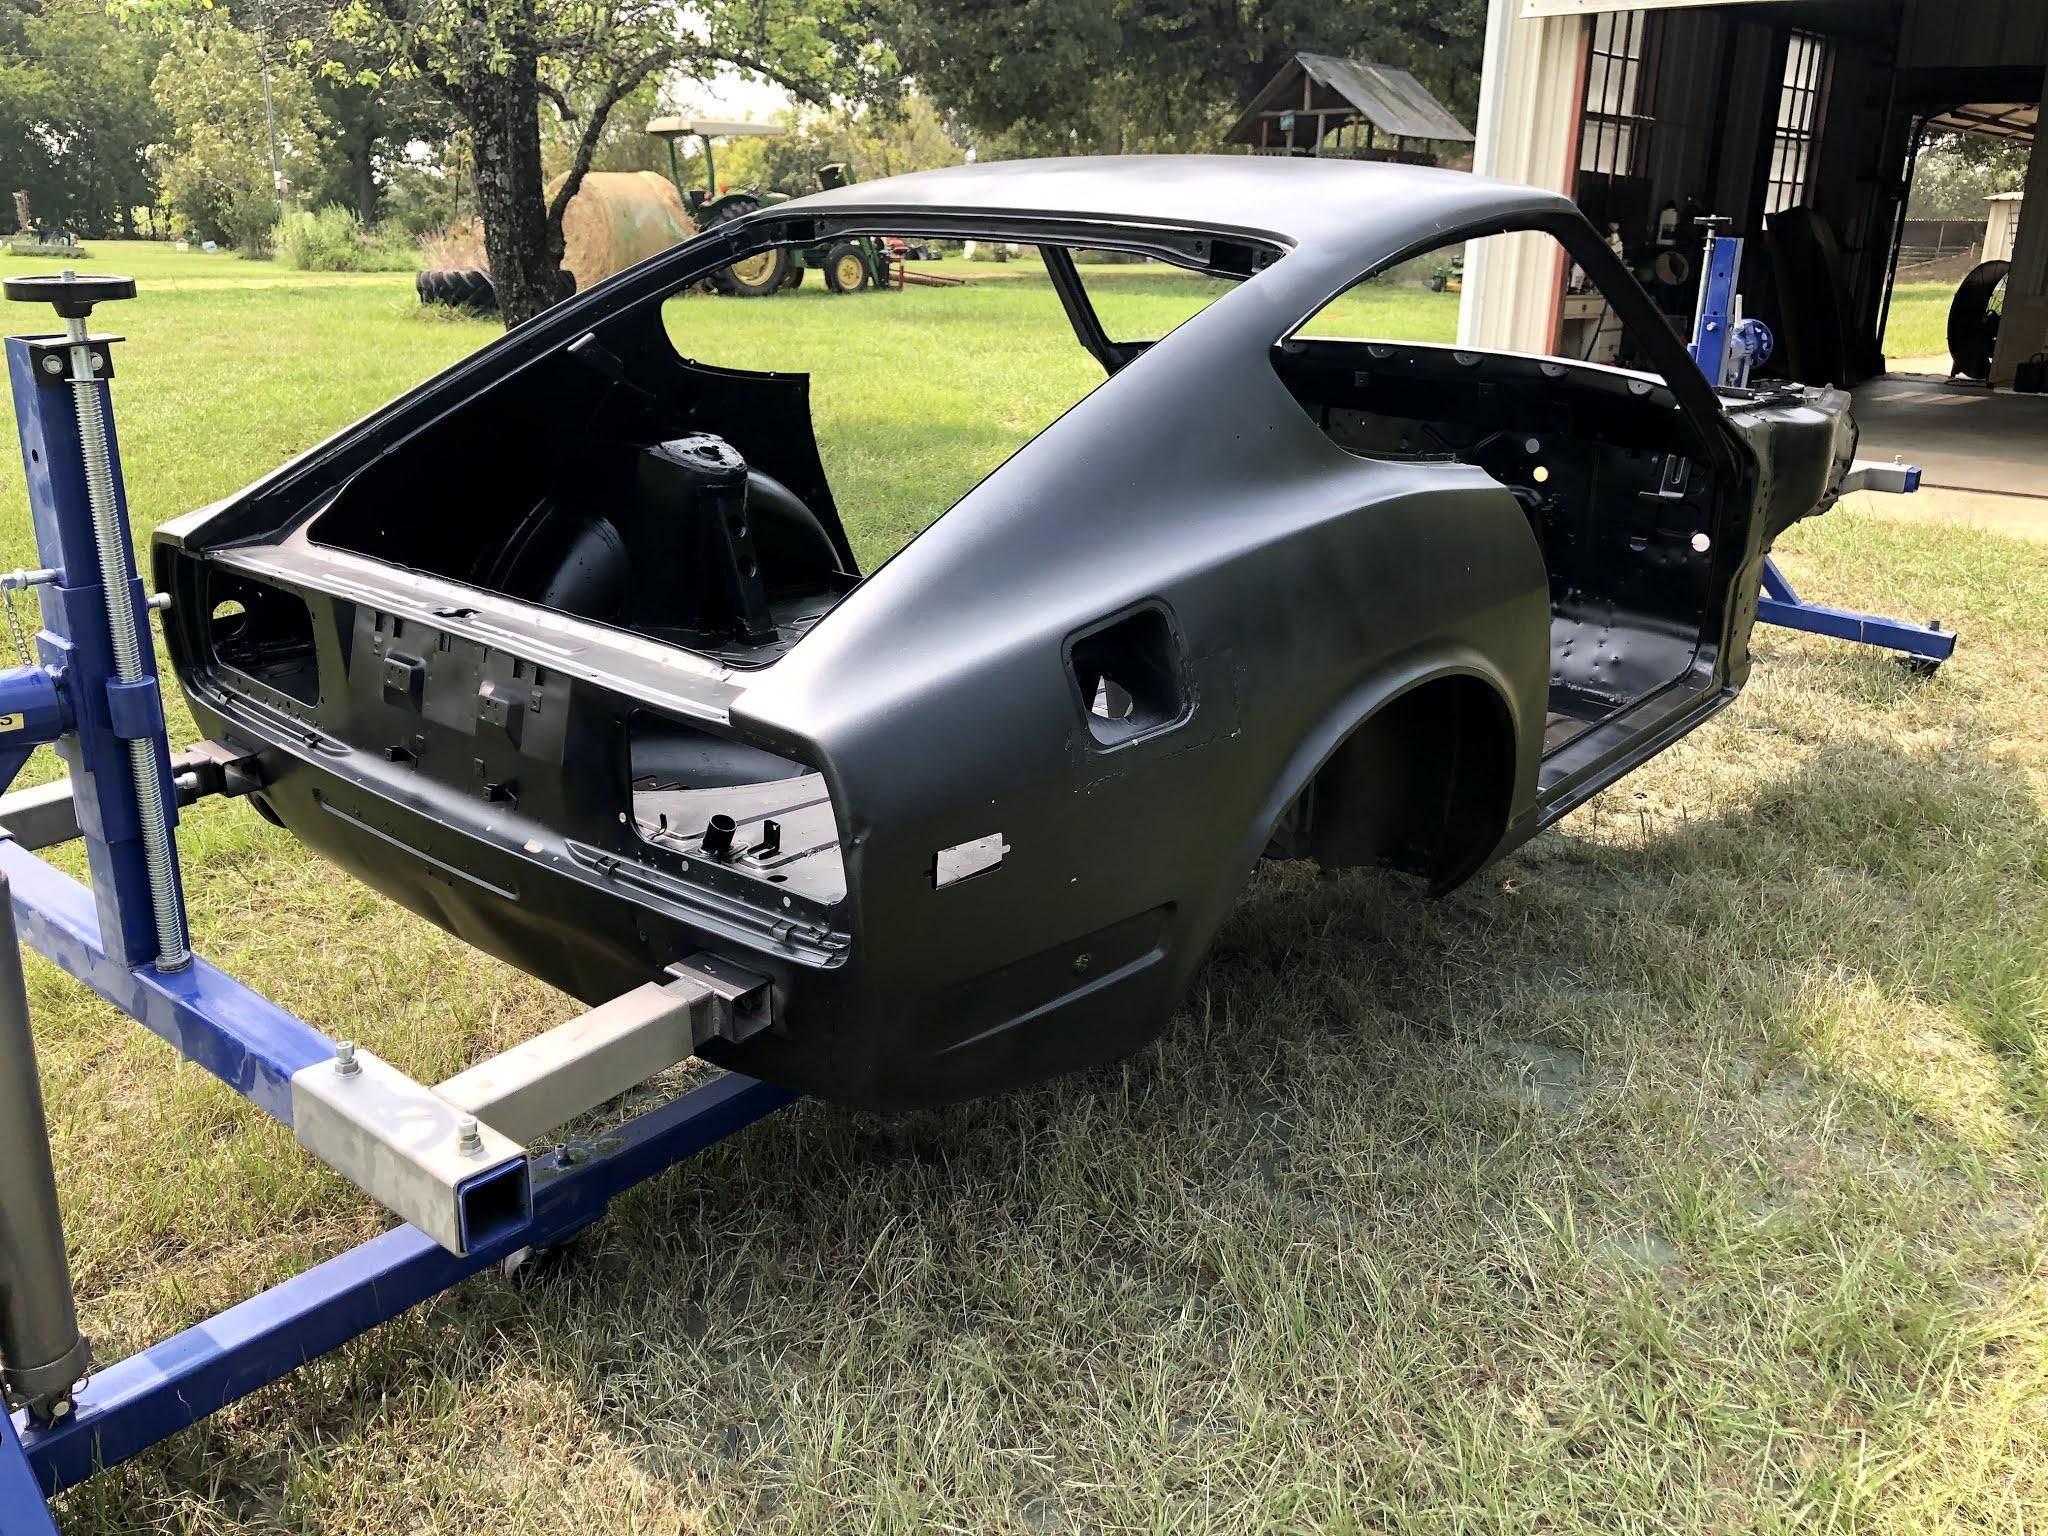
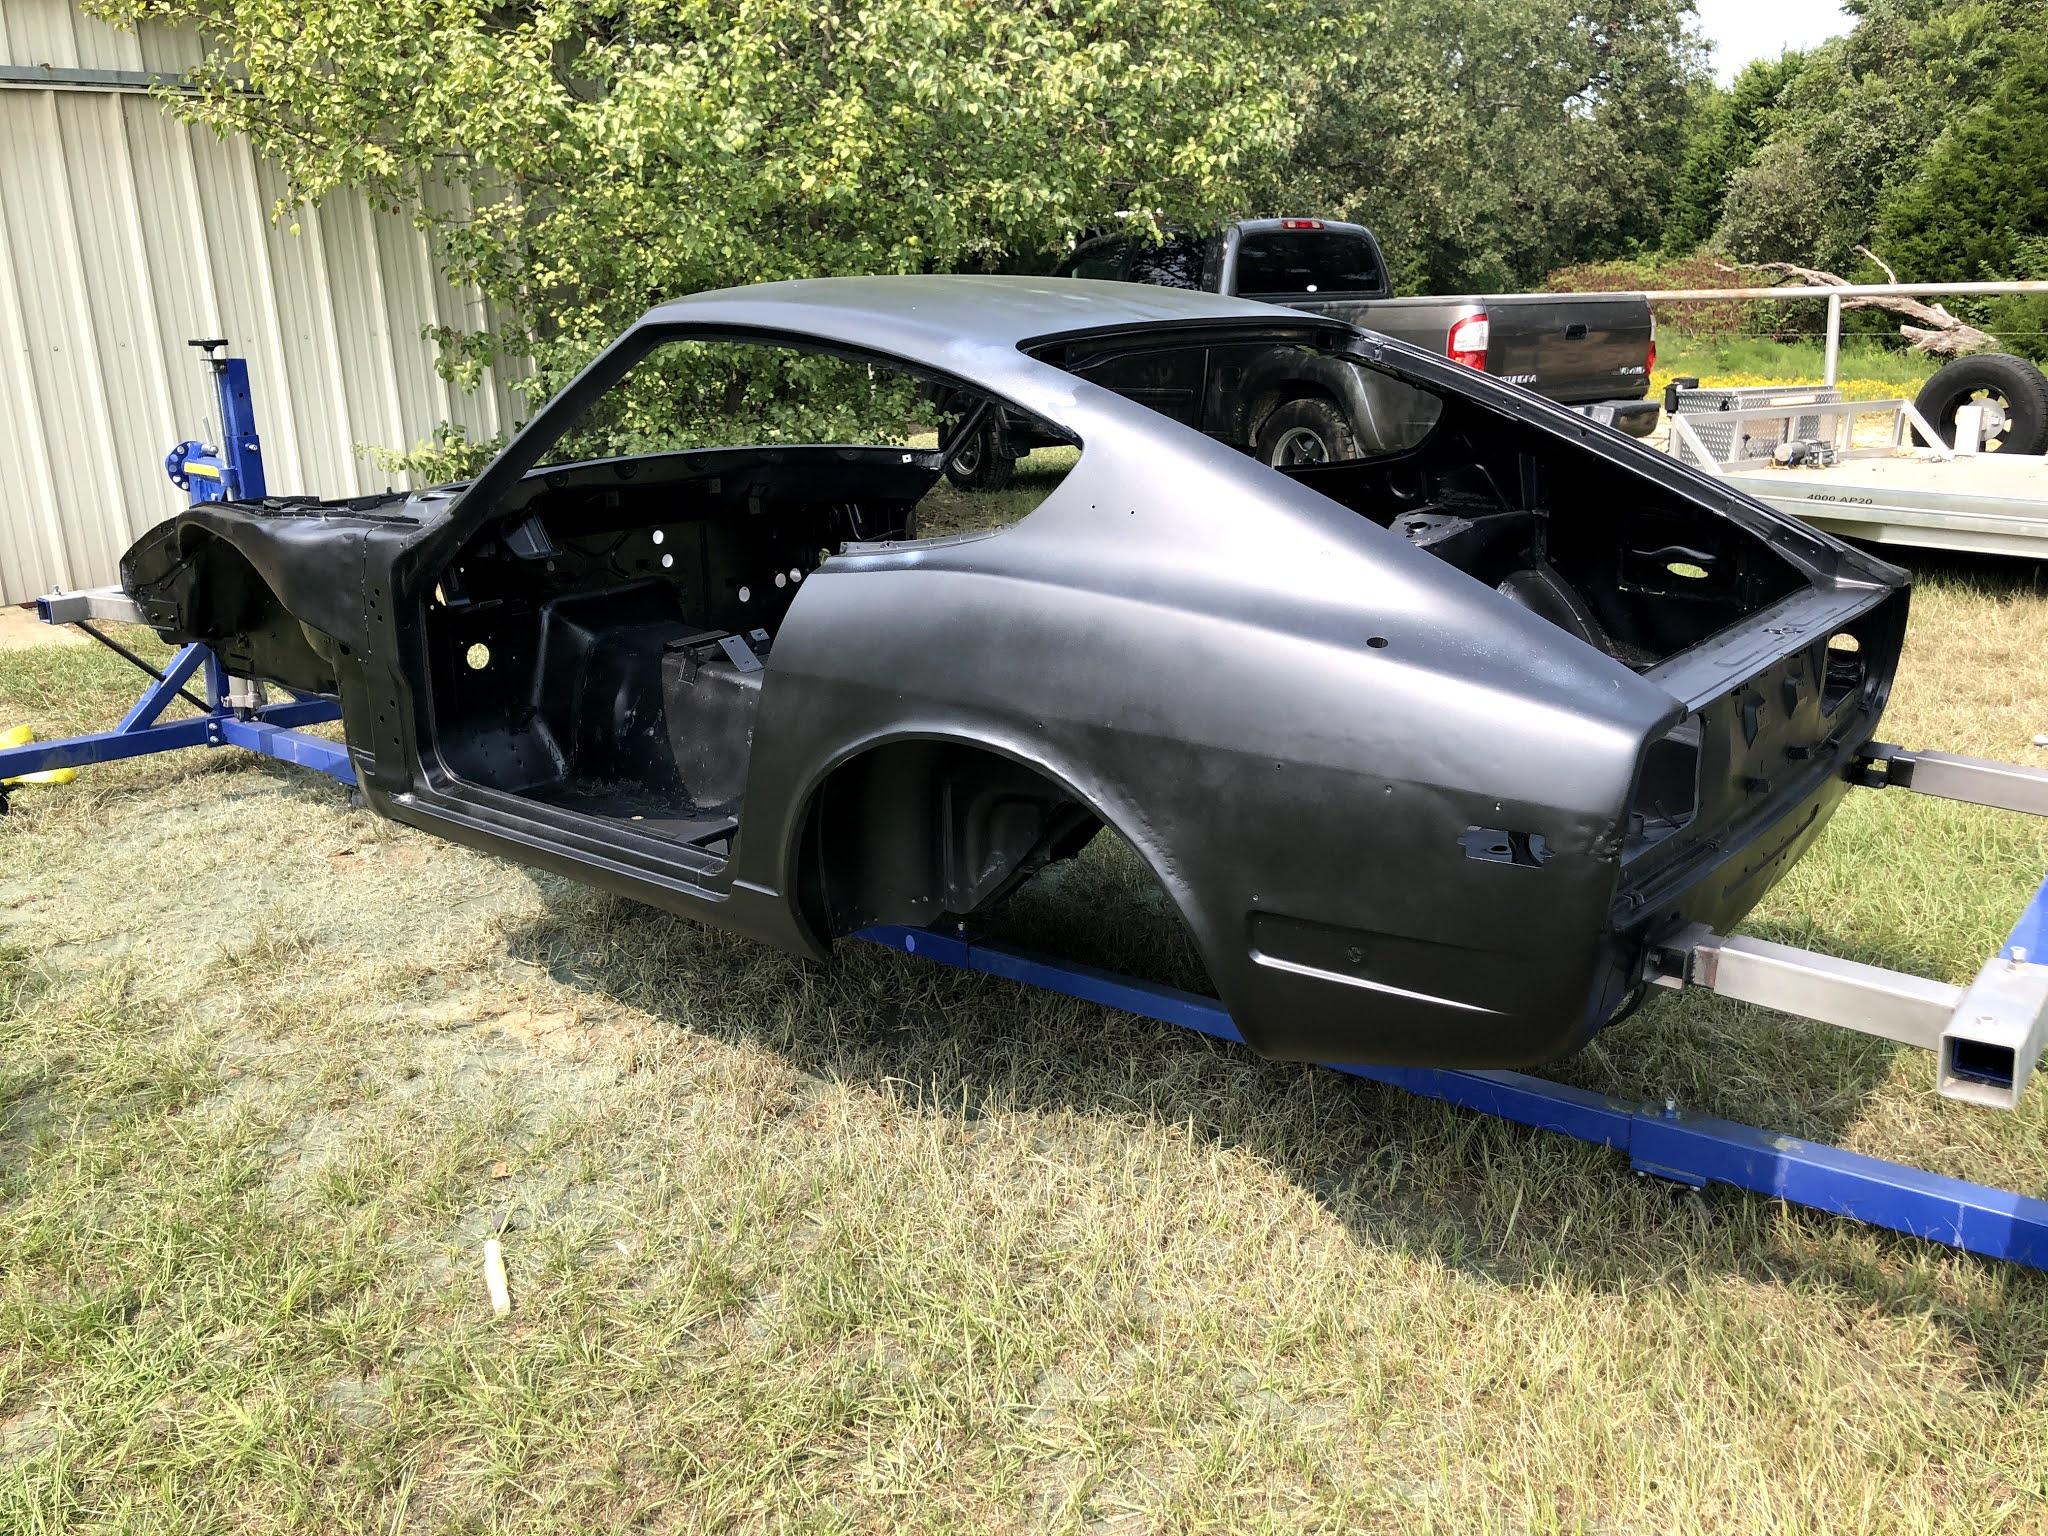
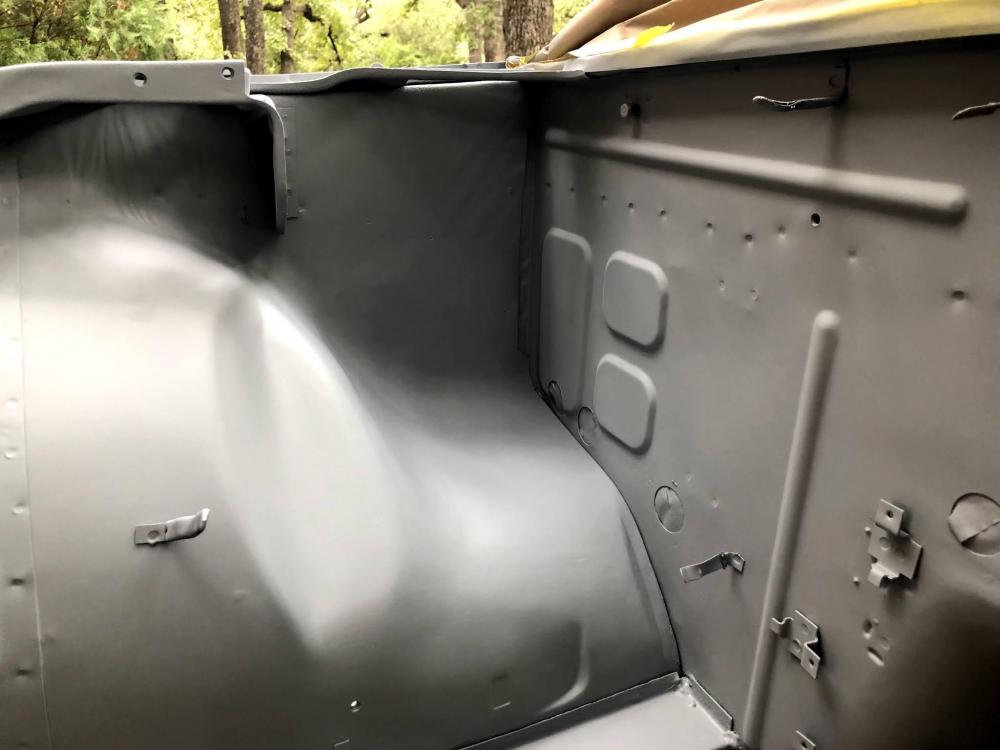
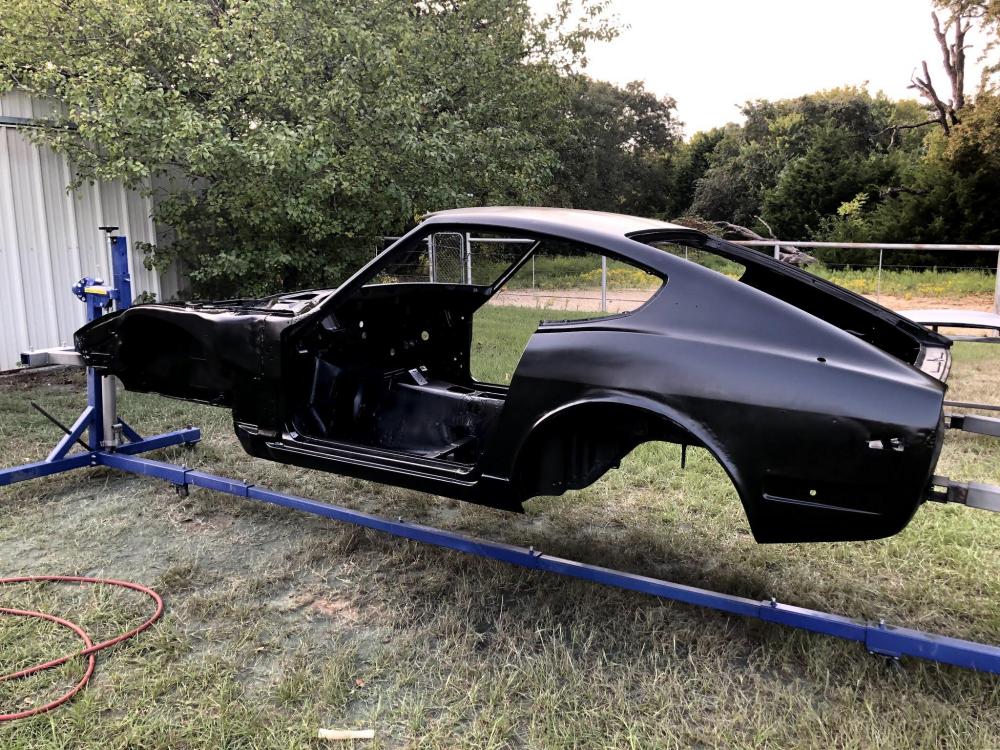
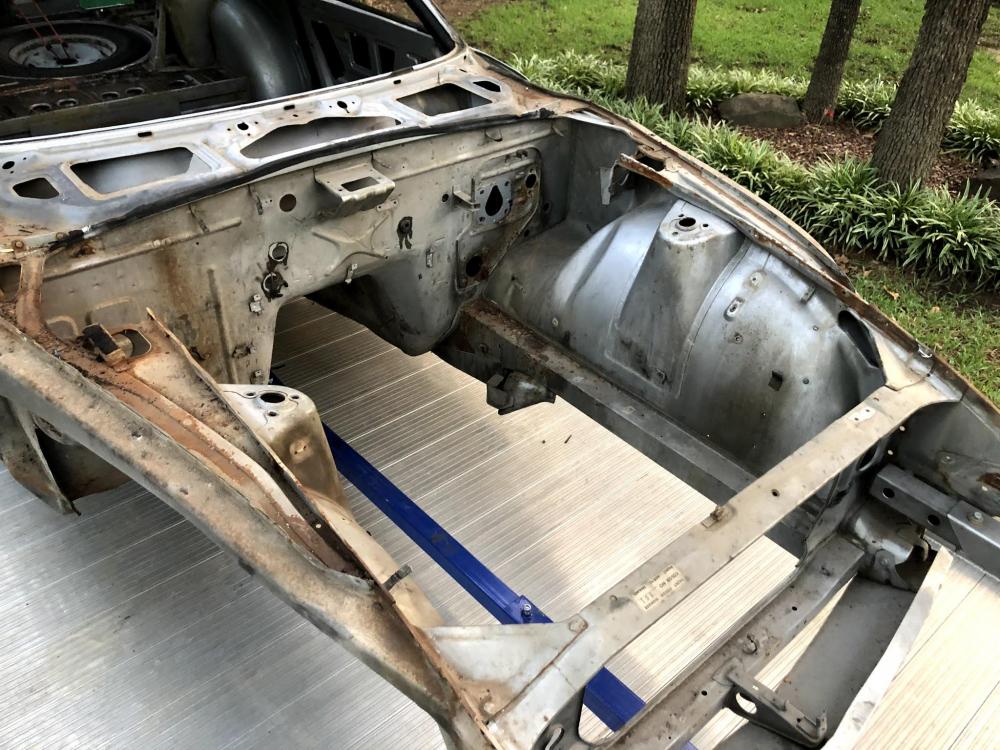
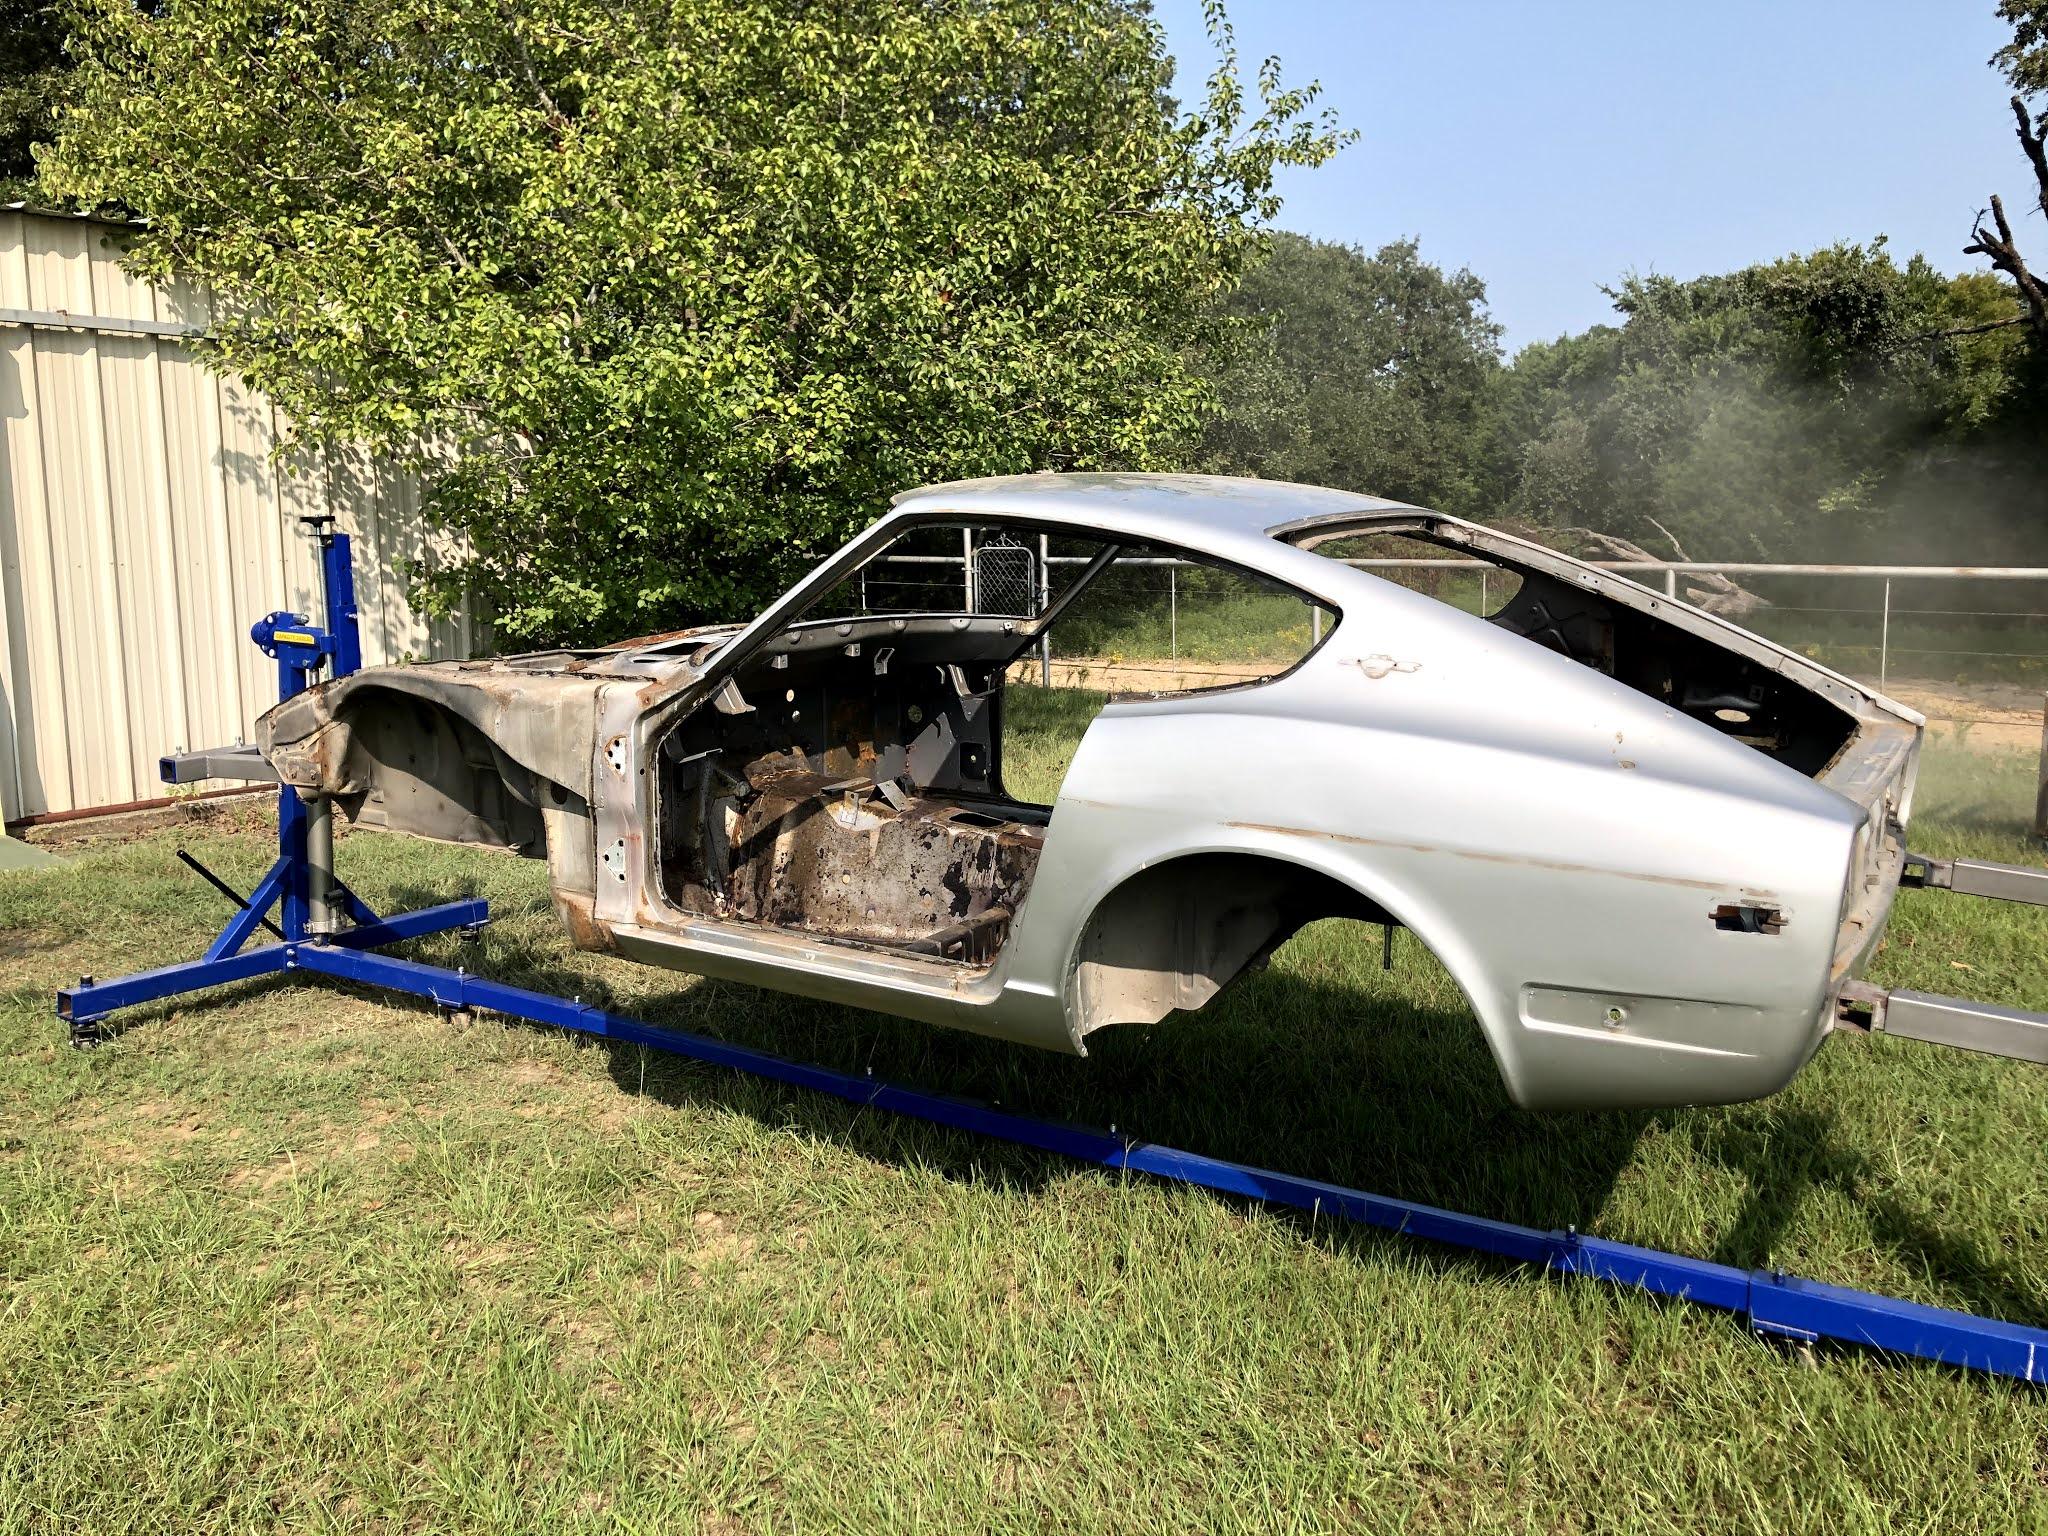
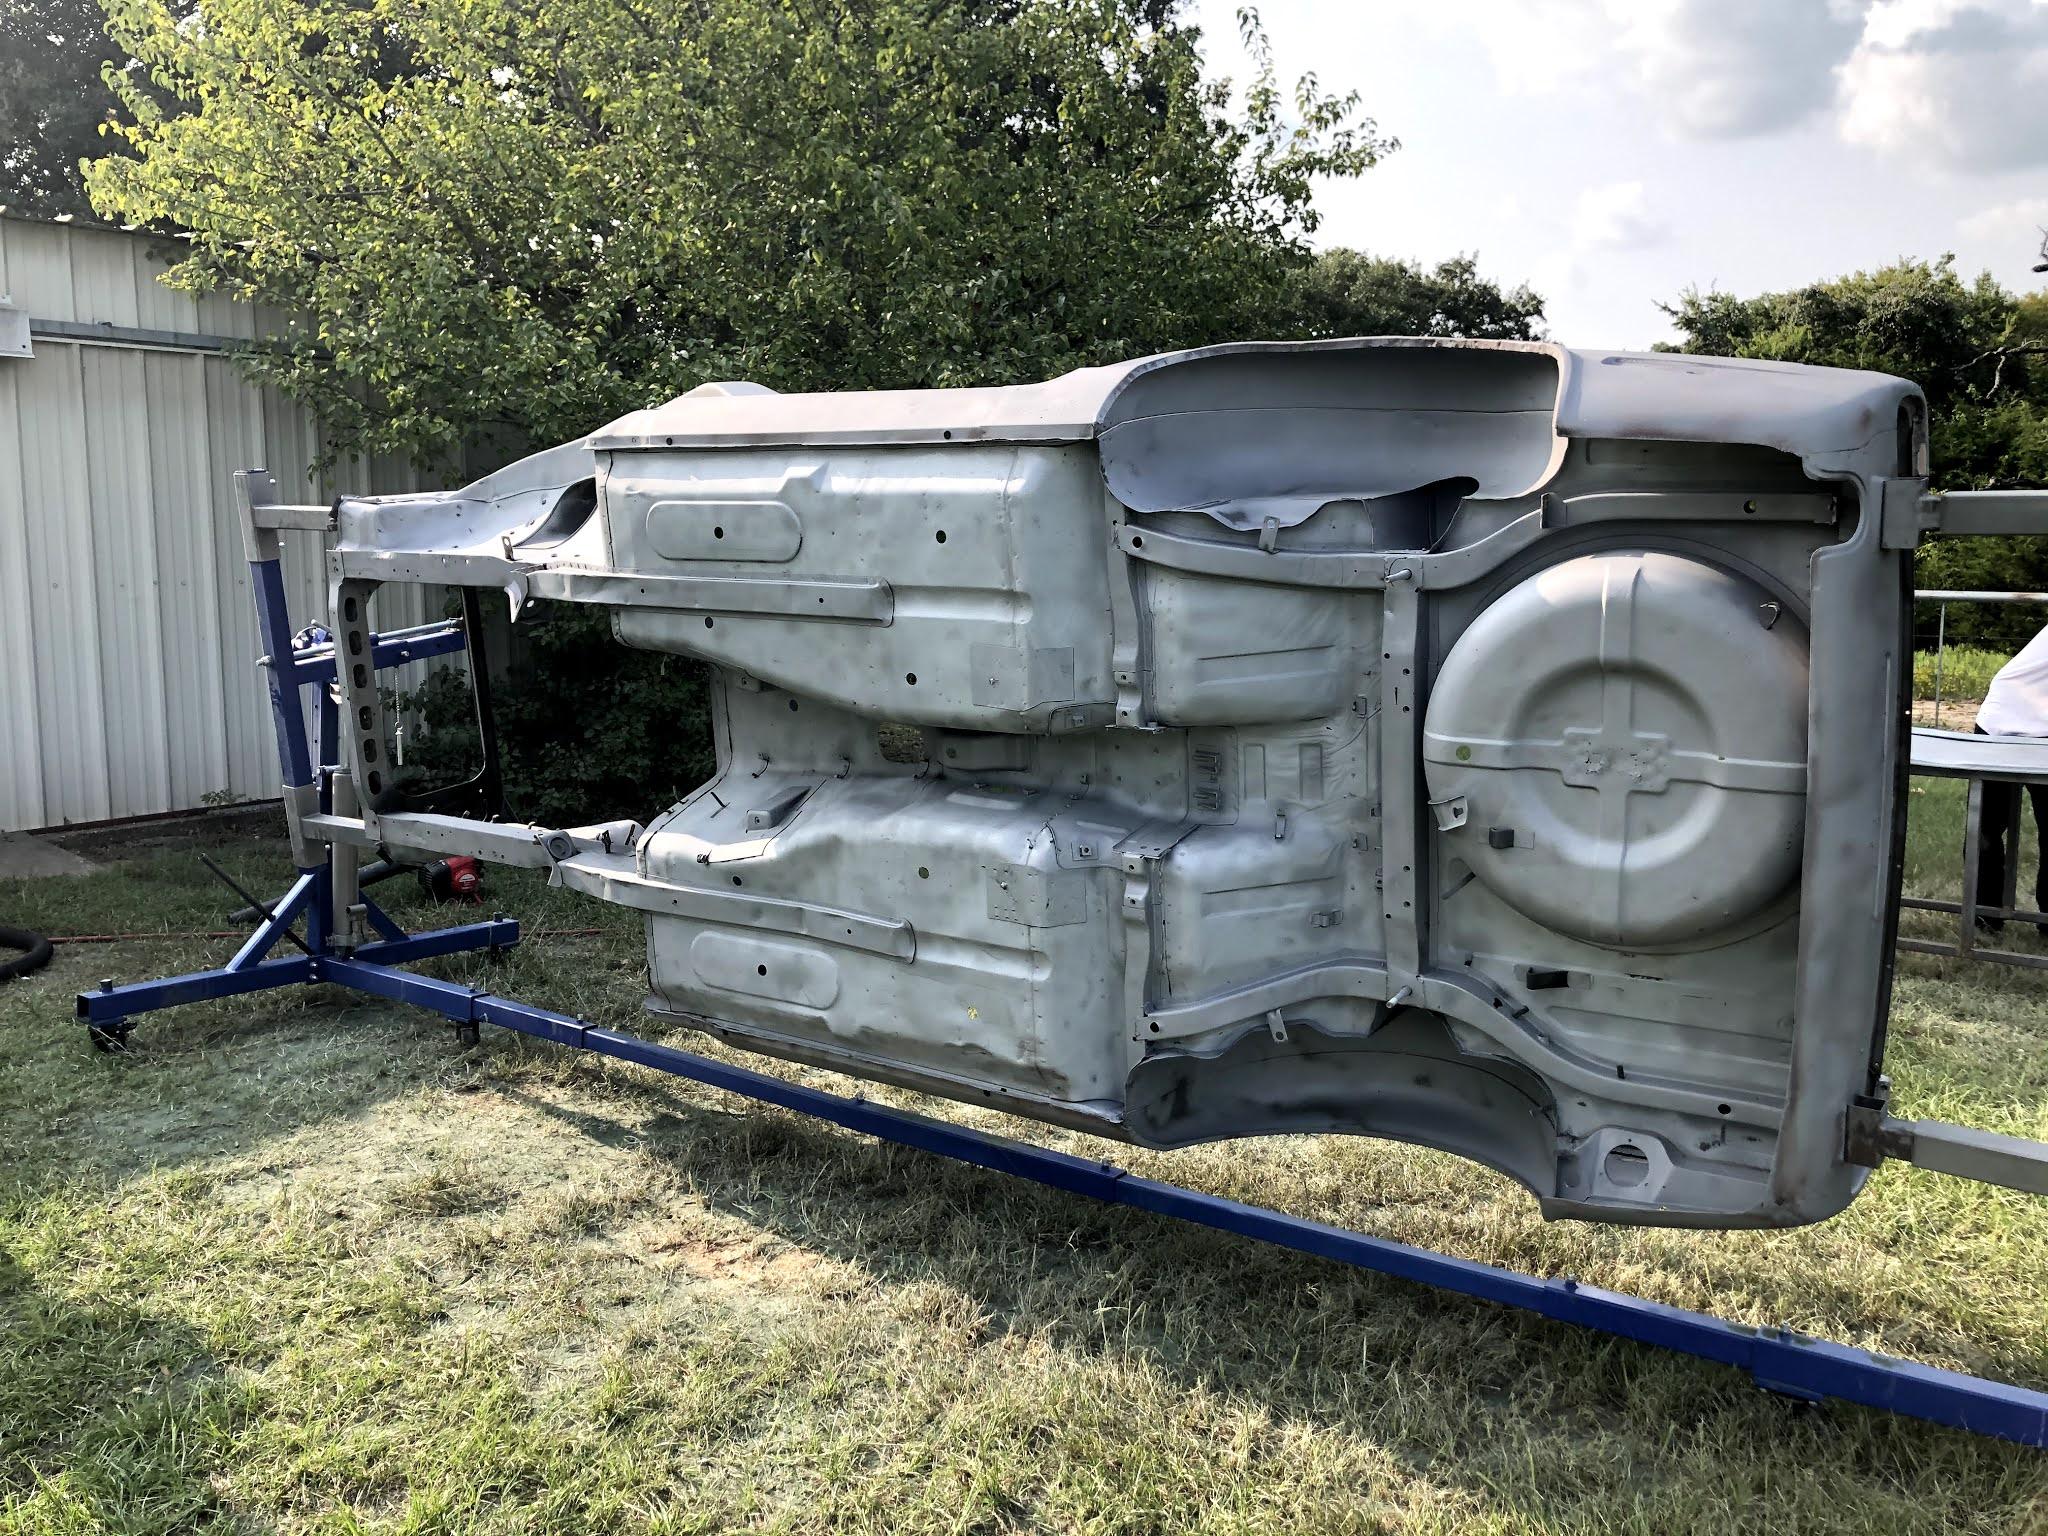
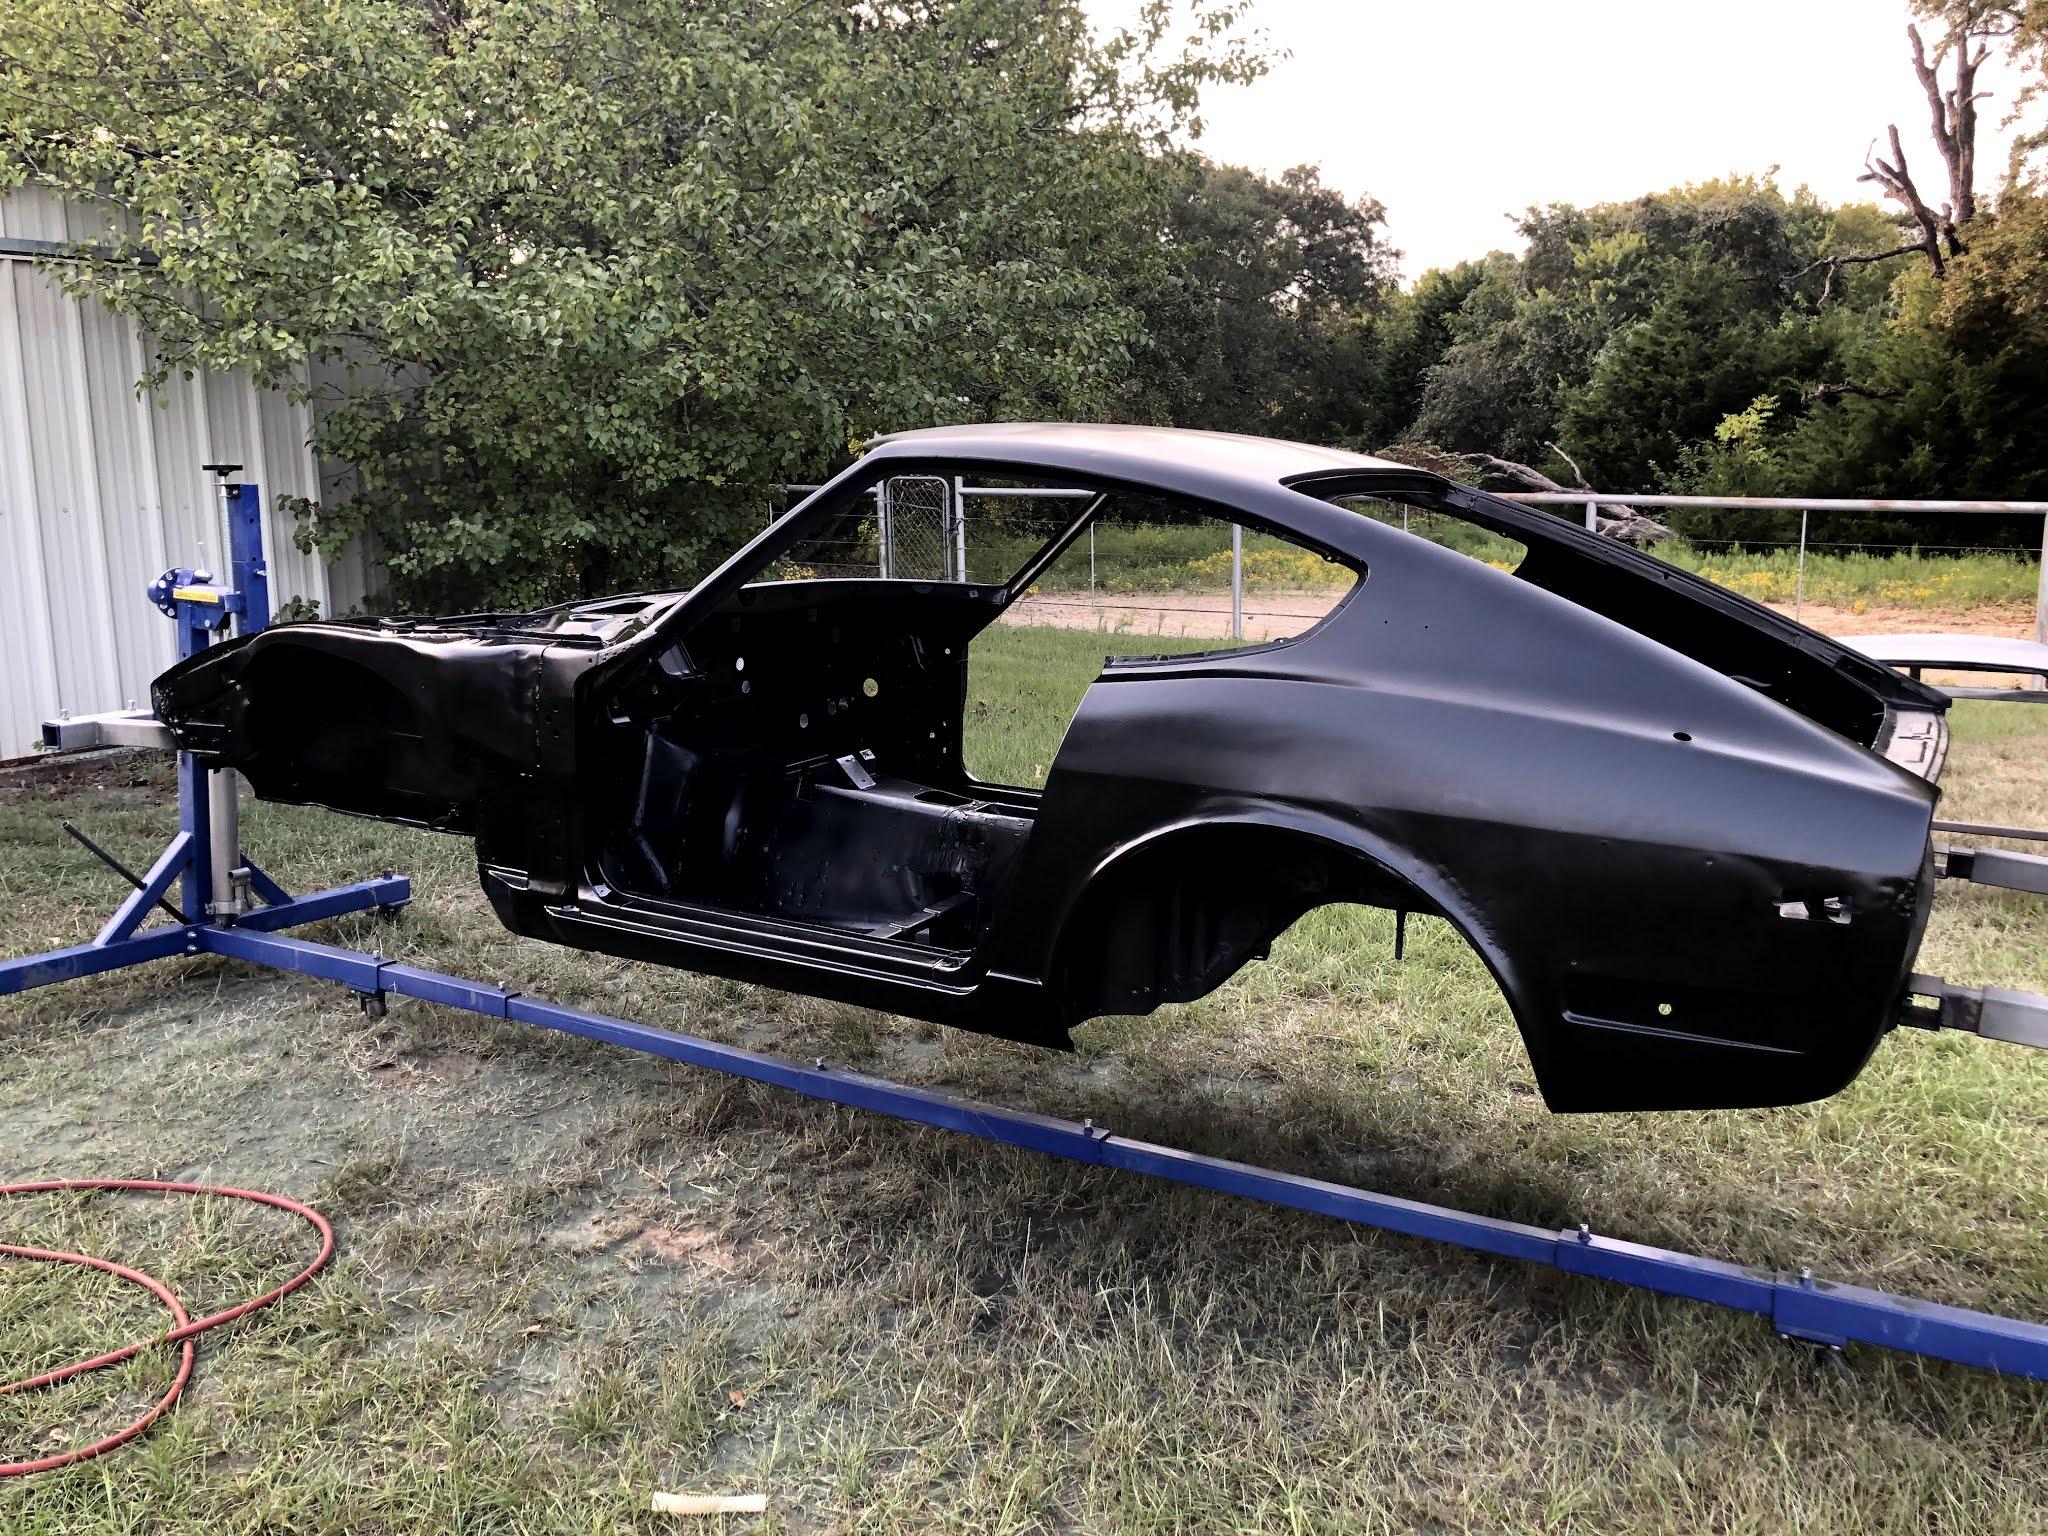
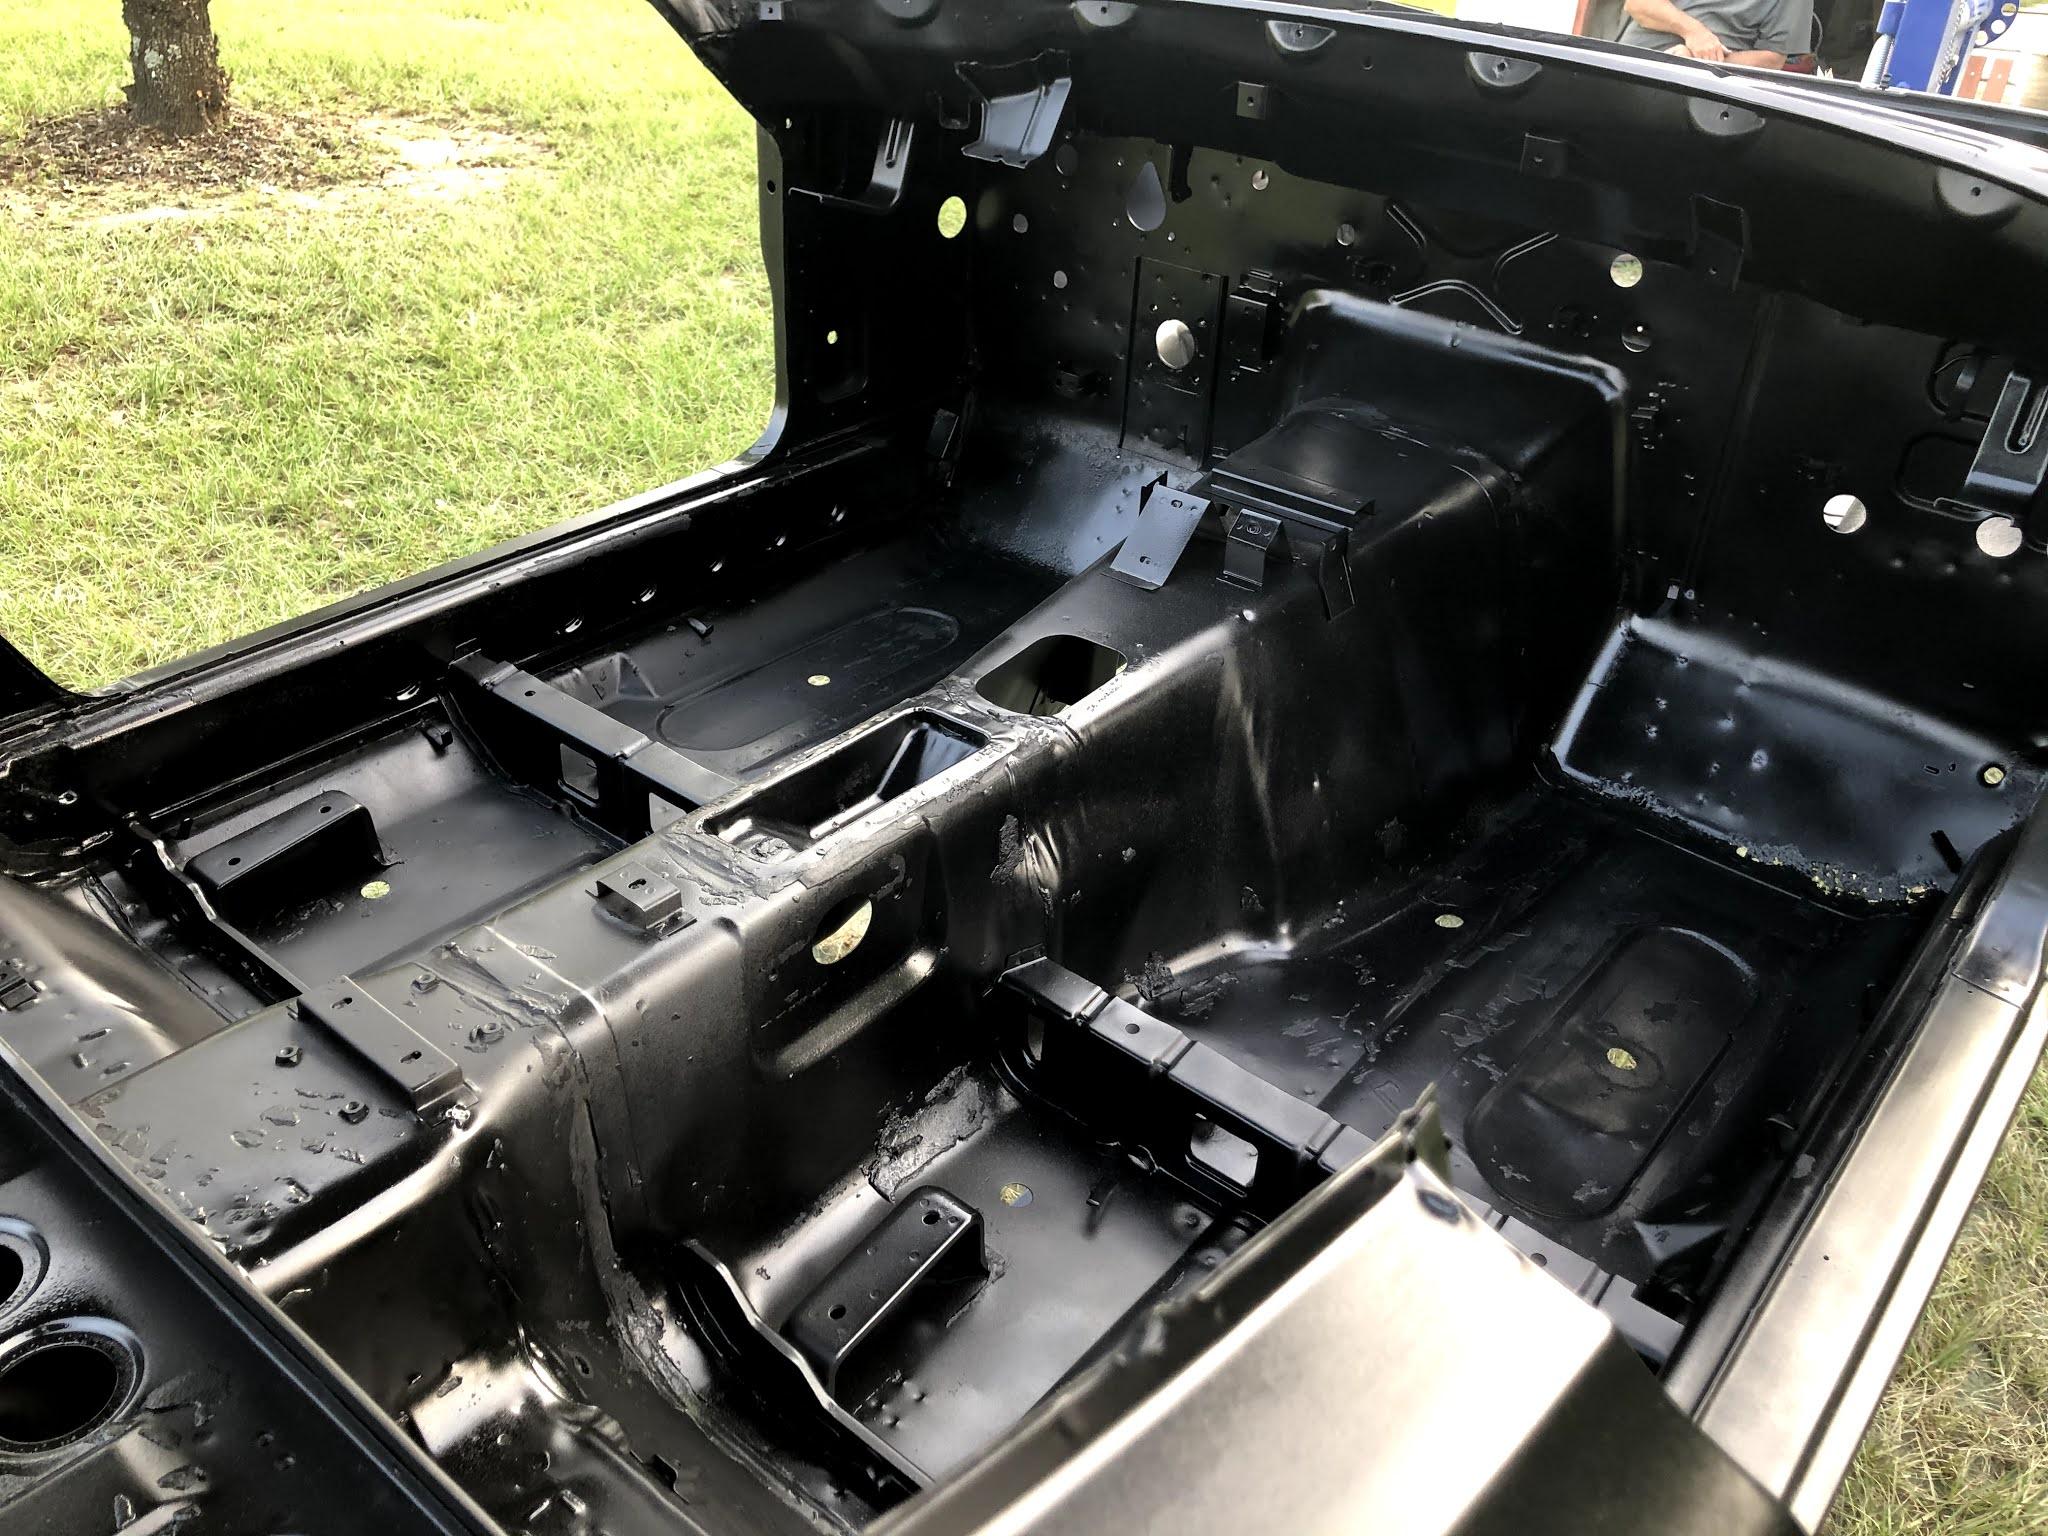
Huge milestone was accomplished on the Z. We had the entire shell and all components dustless blasted. We were very happy with the final results of this. No new problems were unearthed behind the respray. Shell was immediately followed up with a DTM (direct to metal) primer to prevent contamination from handling the raw steel.


.thumb.jpg.1cfe1d9109aa0ce668cdb6395a4066ad.jpg)
.thumb.jpg.34bc616637038fc0fc6997426b692e9d.jpg)

.thumb.jpg.403d9e6407955406e432cdcf50d2697d.jpg)
.thumb.jpg.3f565cbccebb6ed1b79281be63c4ebbb.jpg)

.thumb.jpg.f419e57109bc1f8518c65013bb22803e.jpg)
.thumb.jpg.a9d183e1bd1cd9a29d80fb04ae27e5ab.jpg)


-
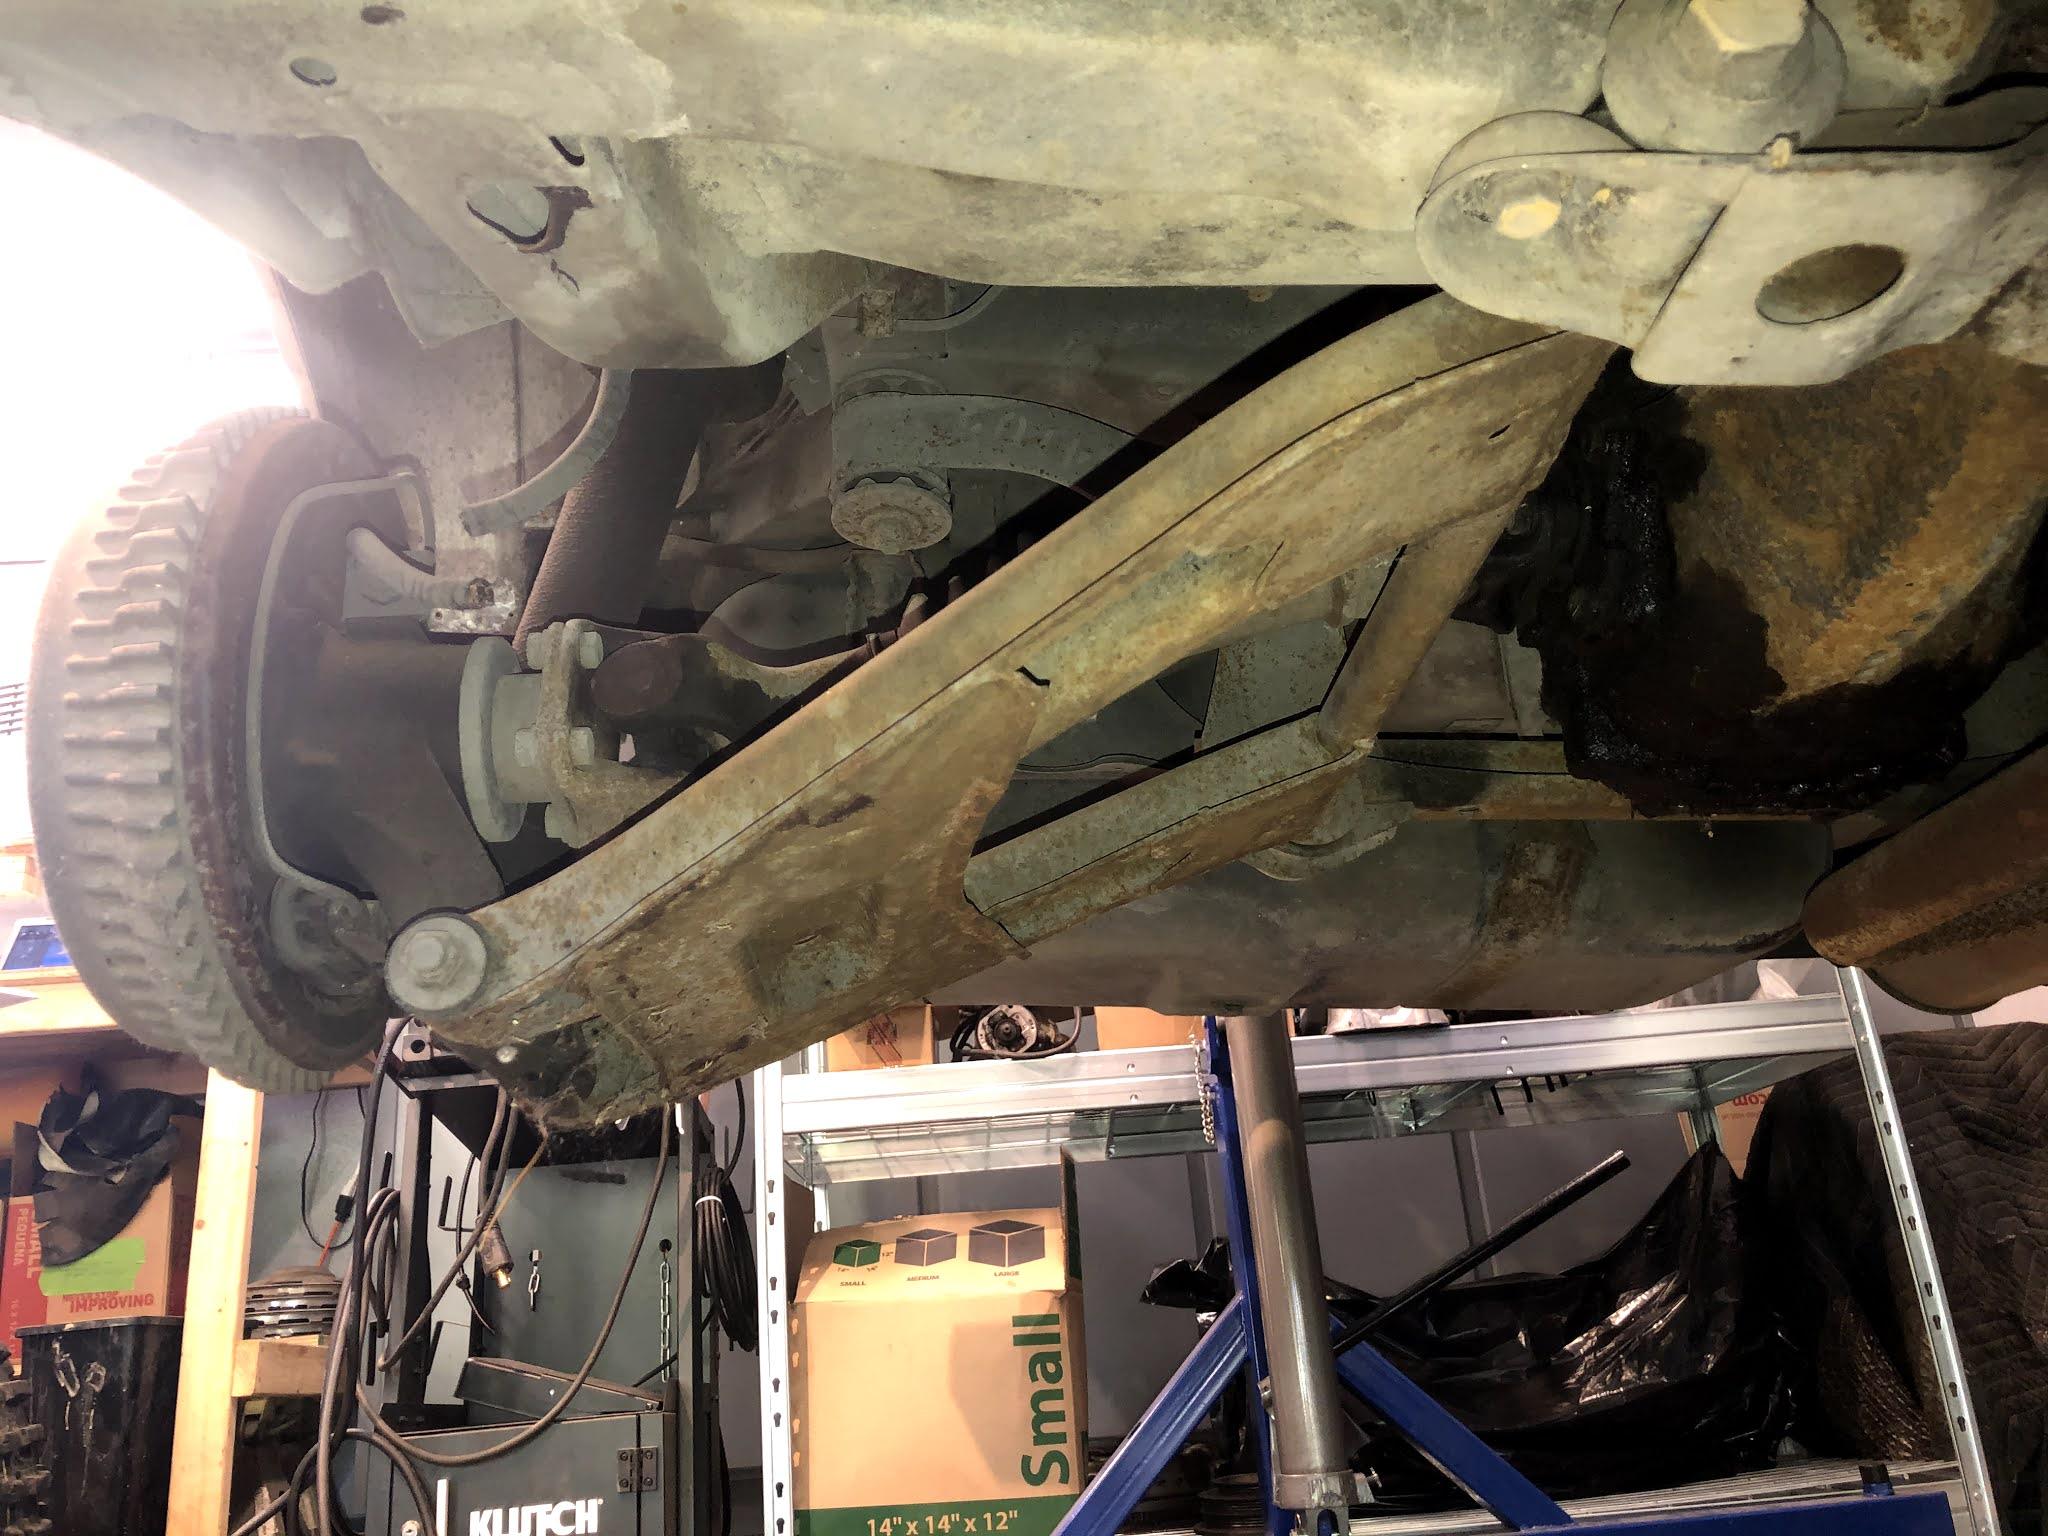
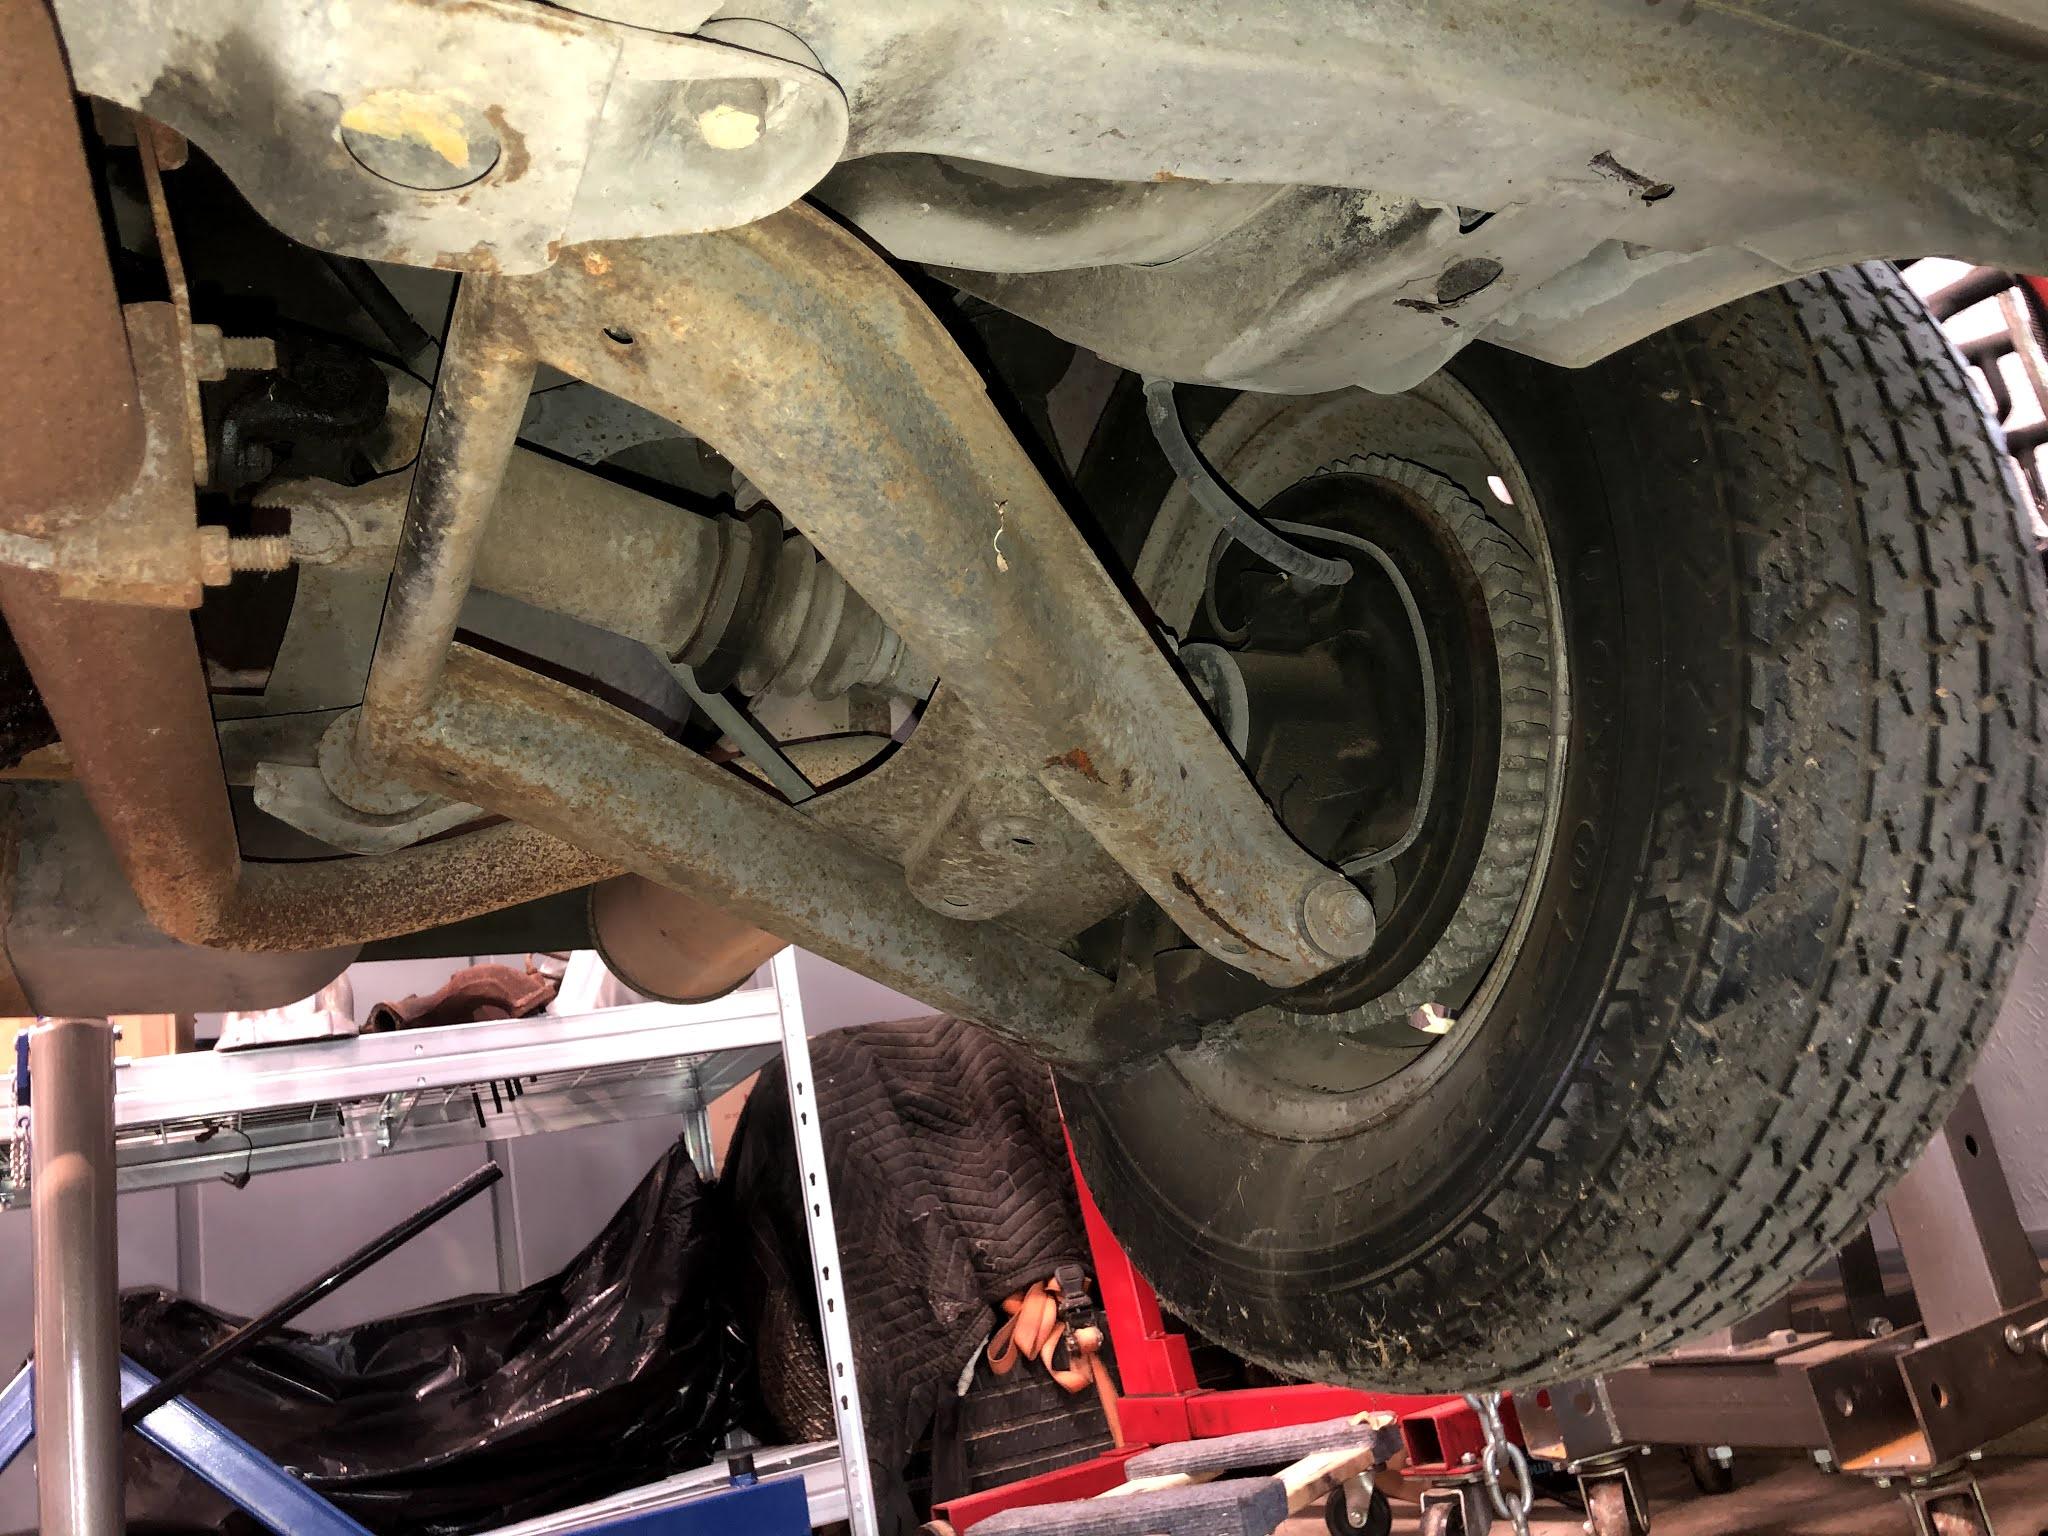
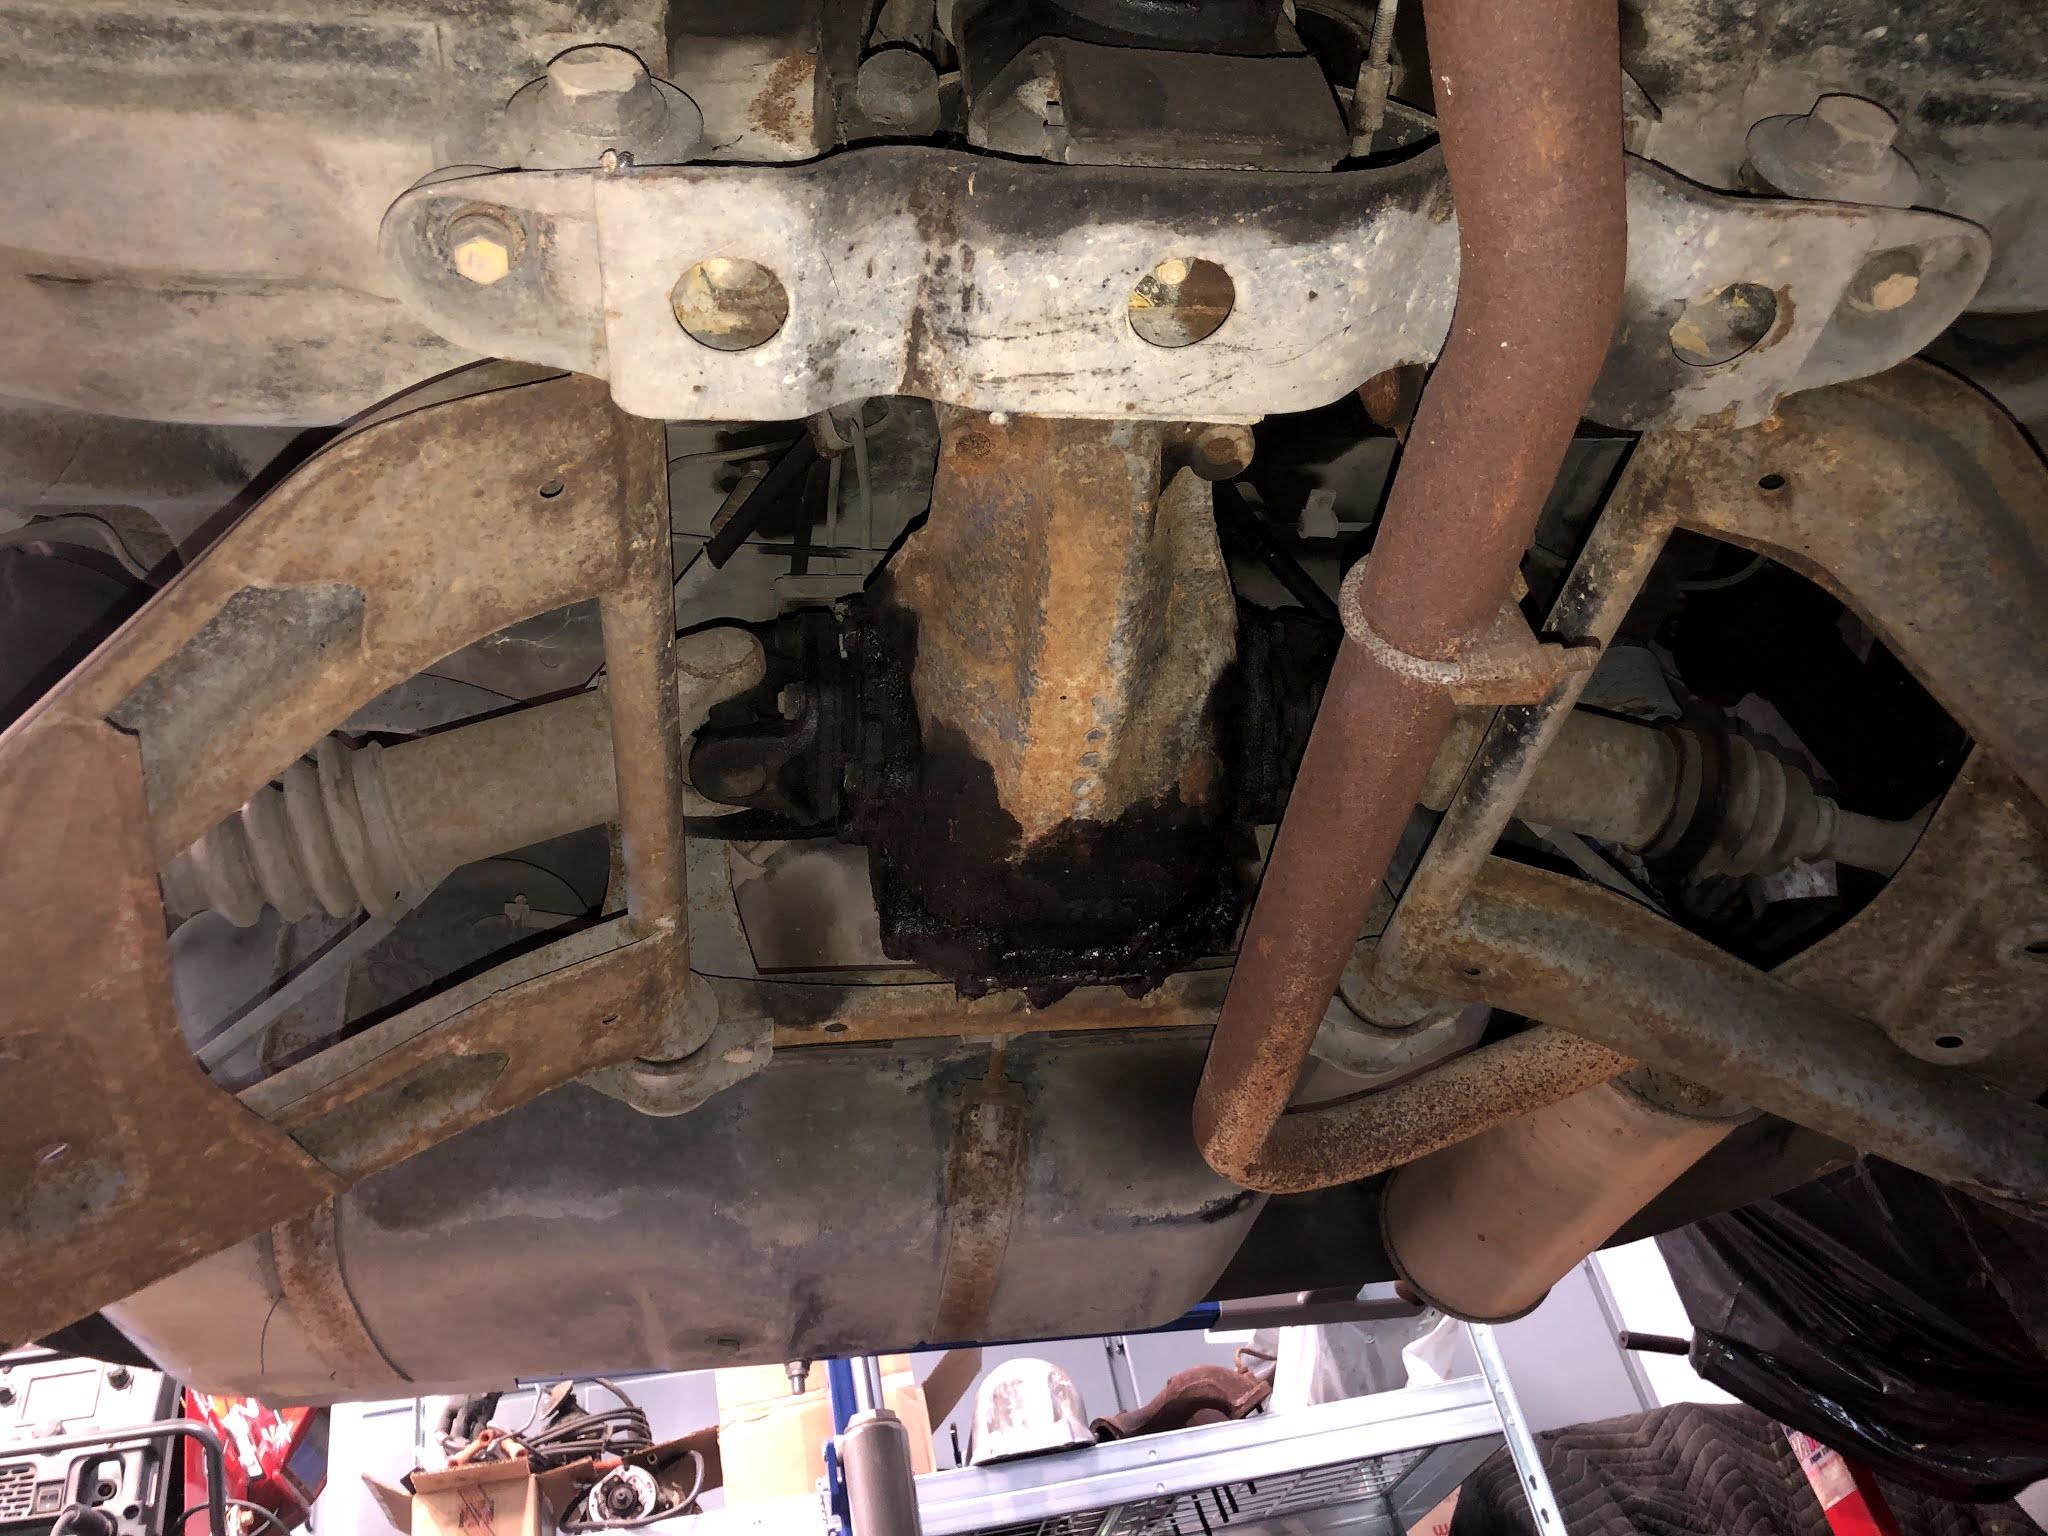
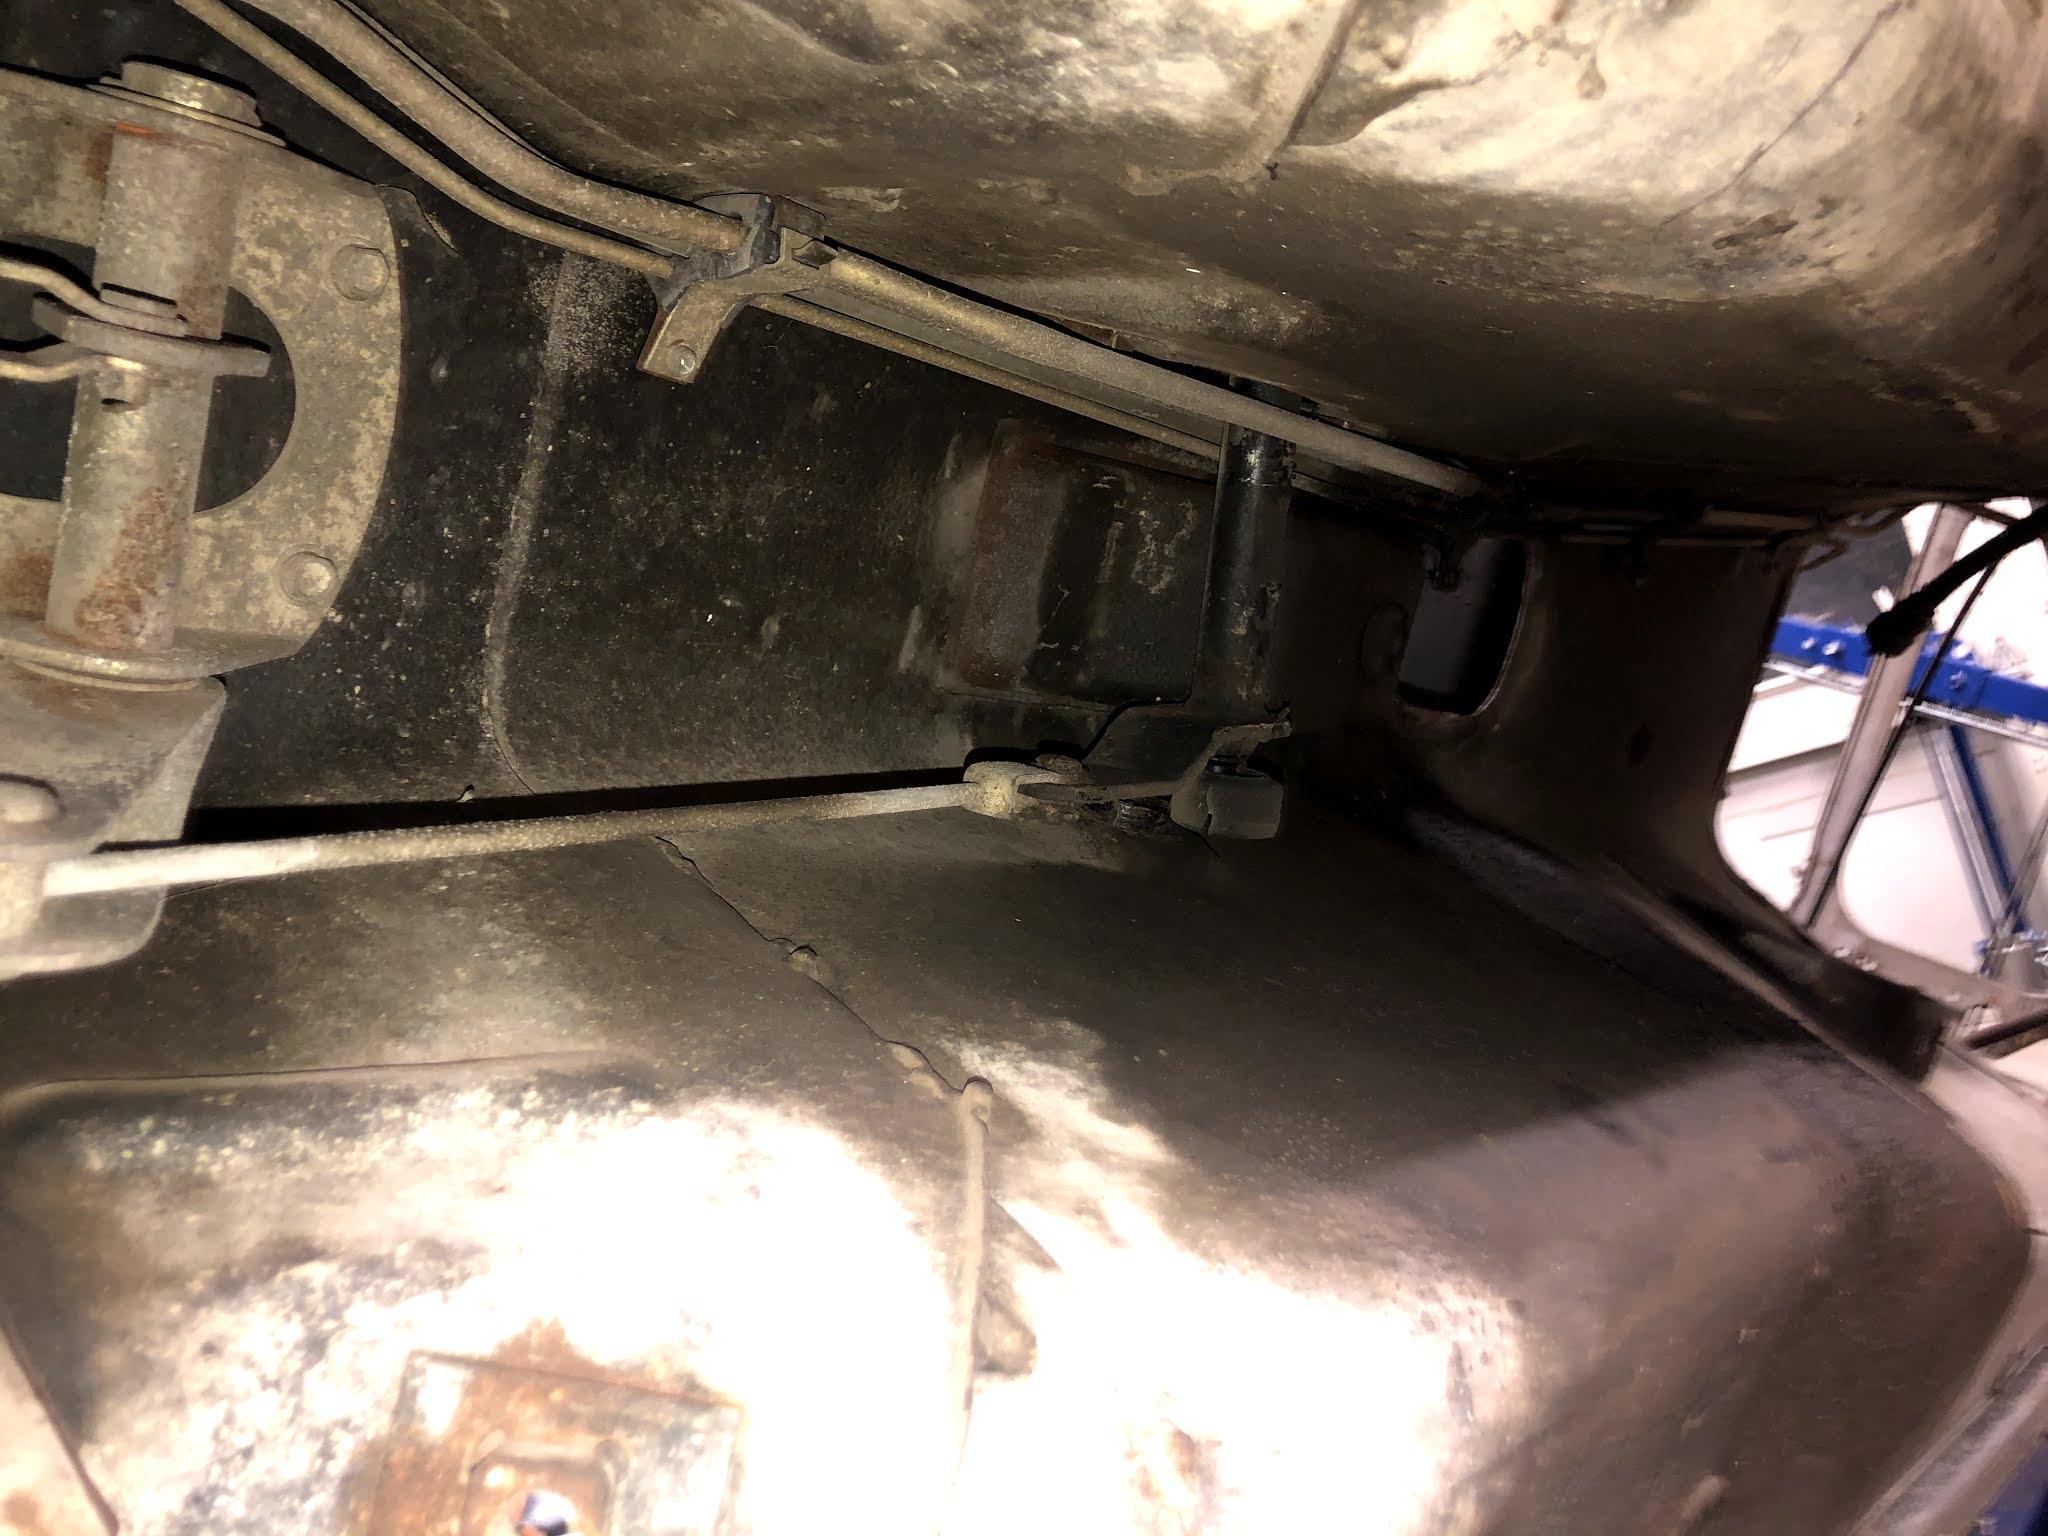
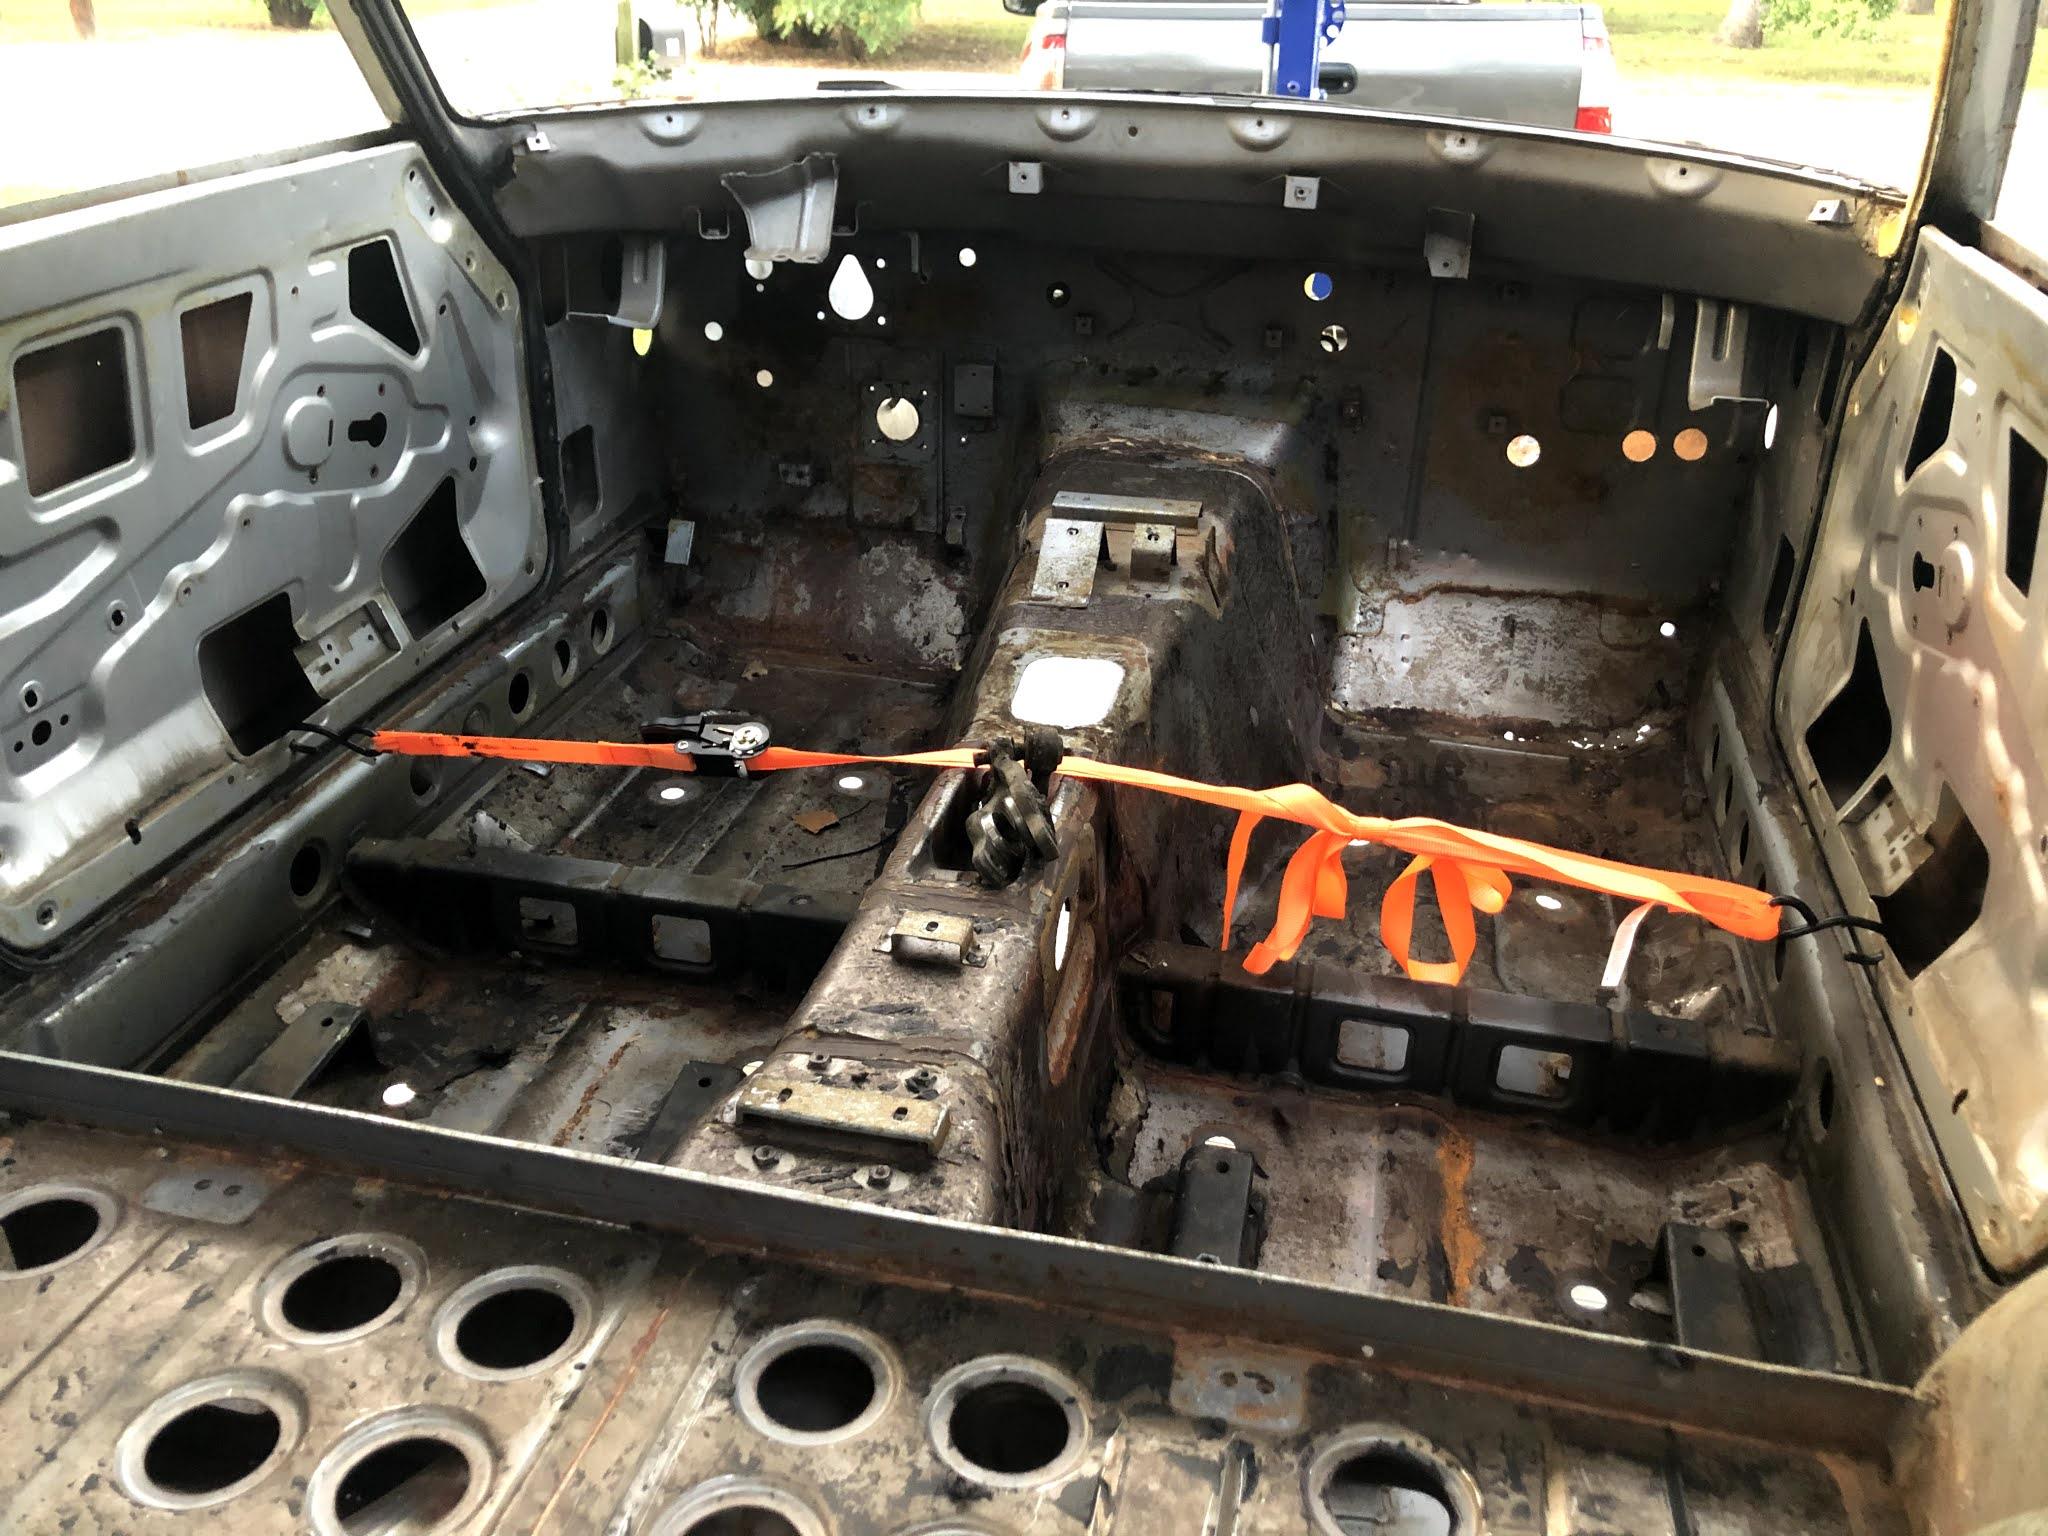
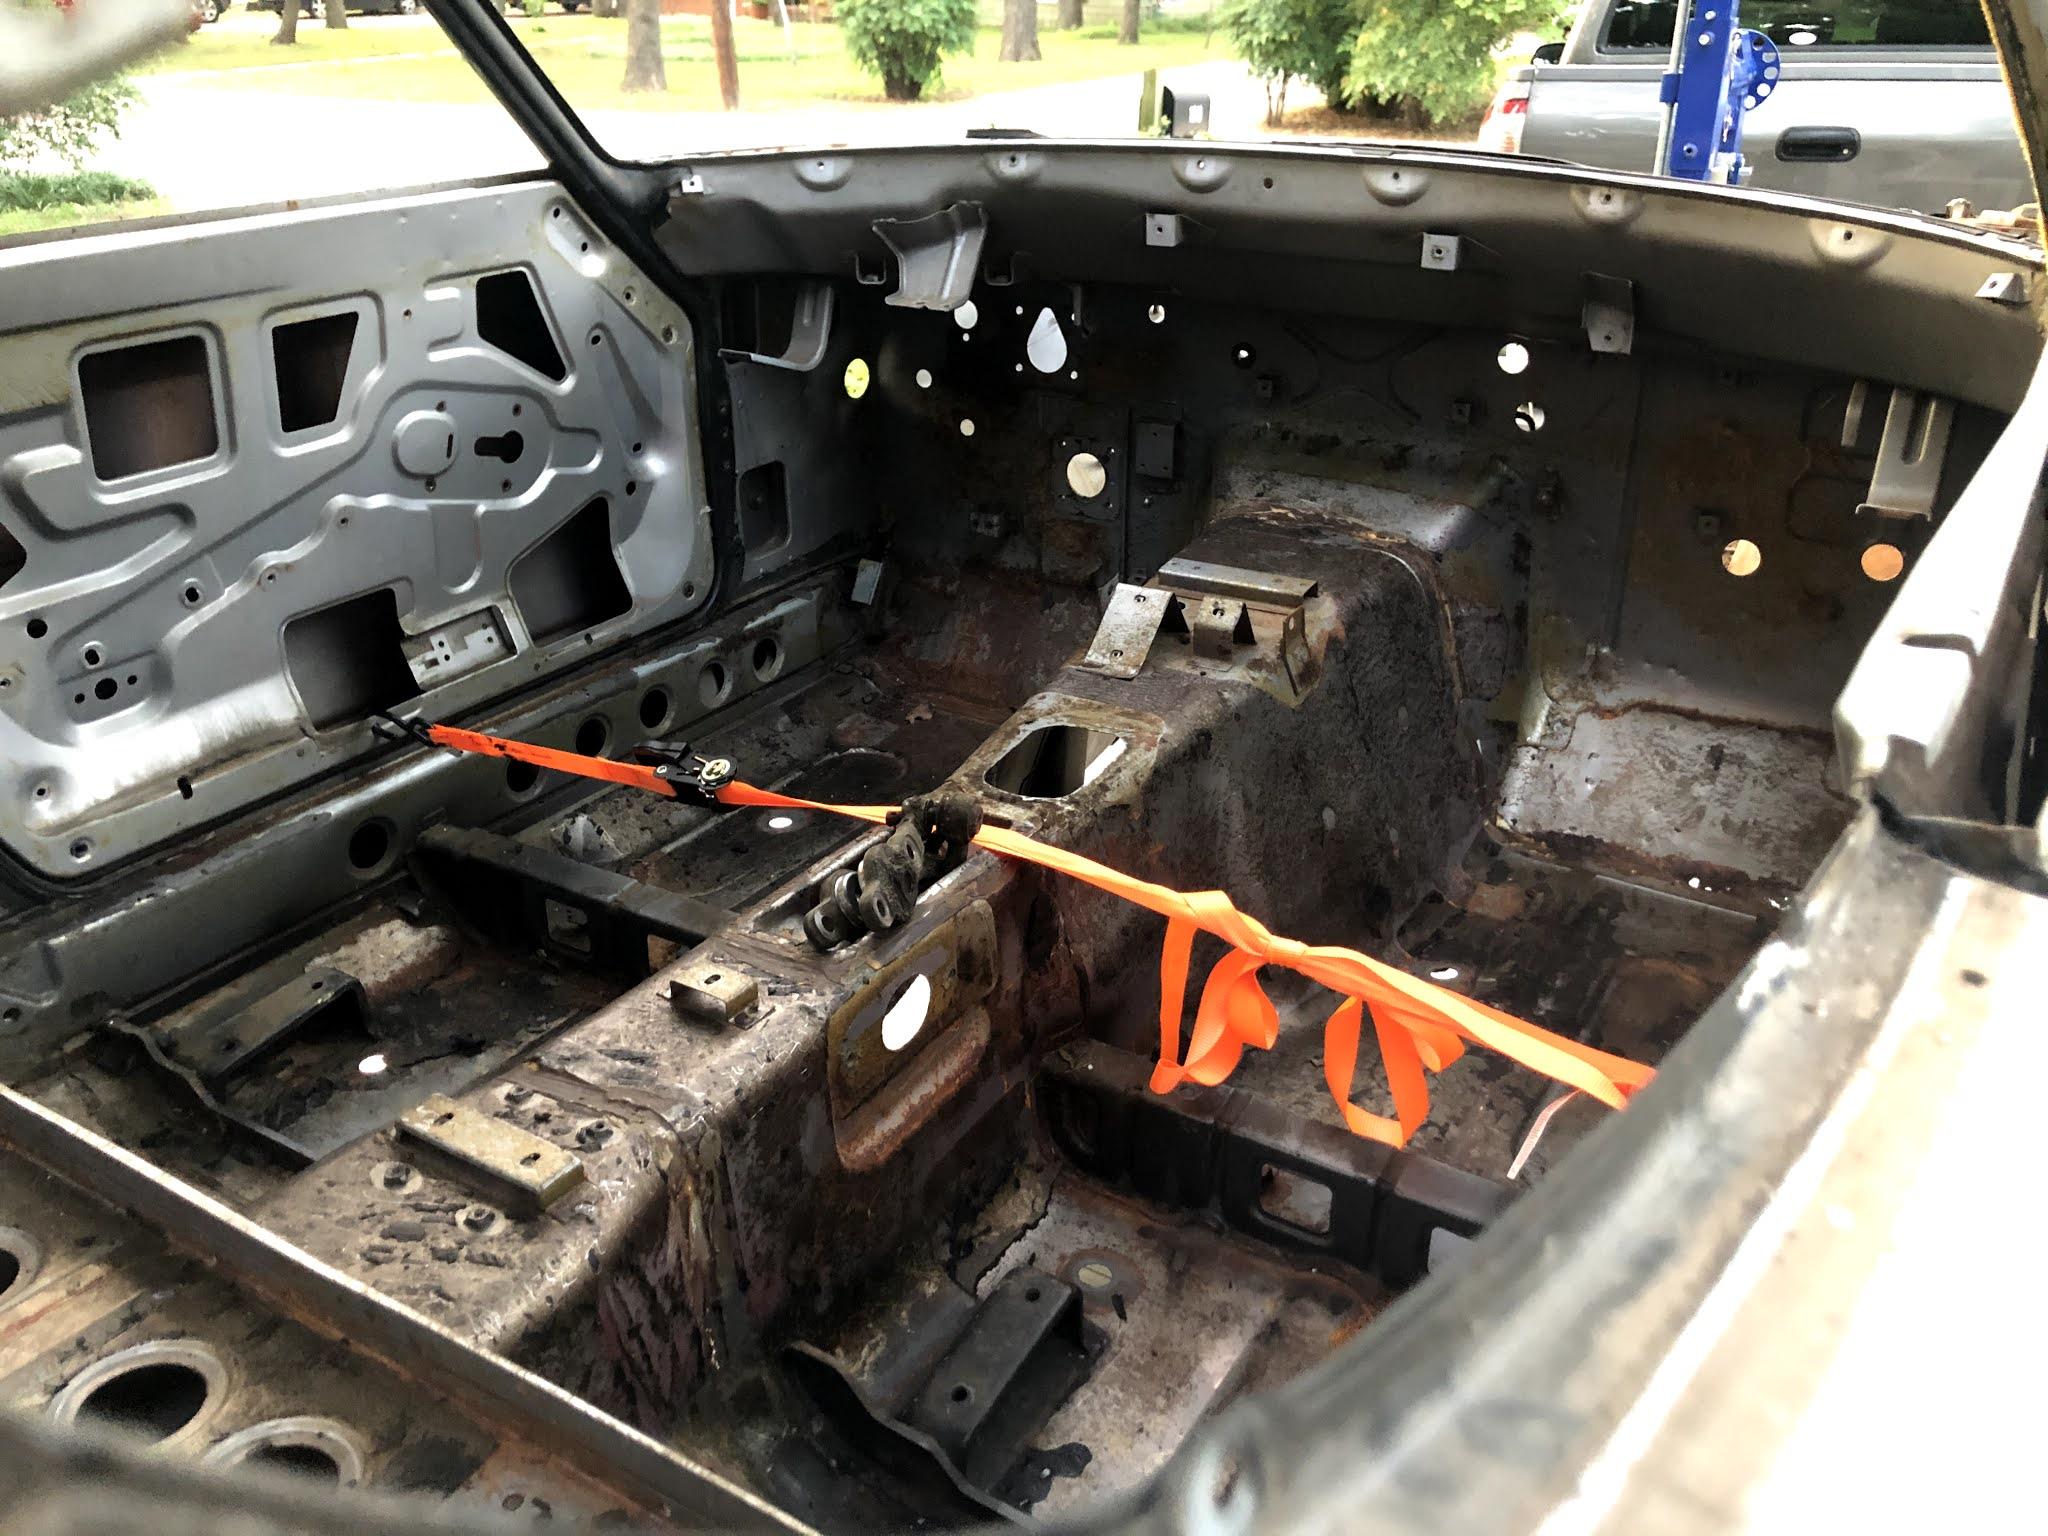
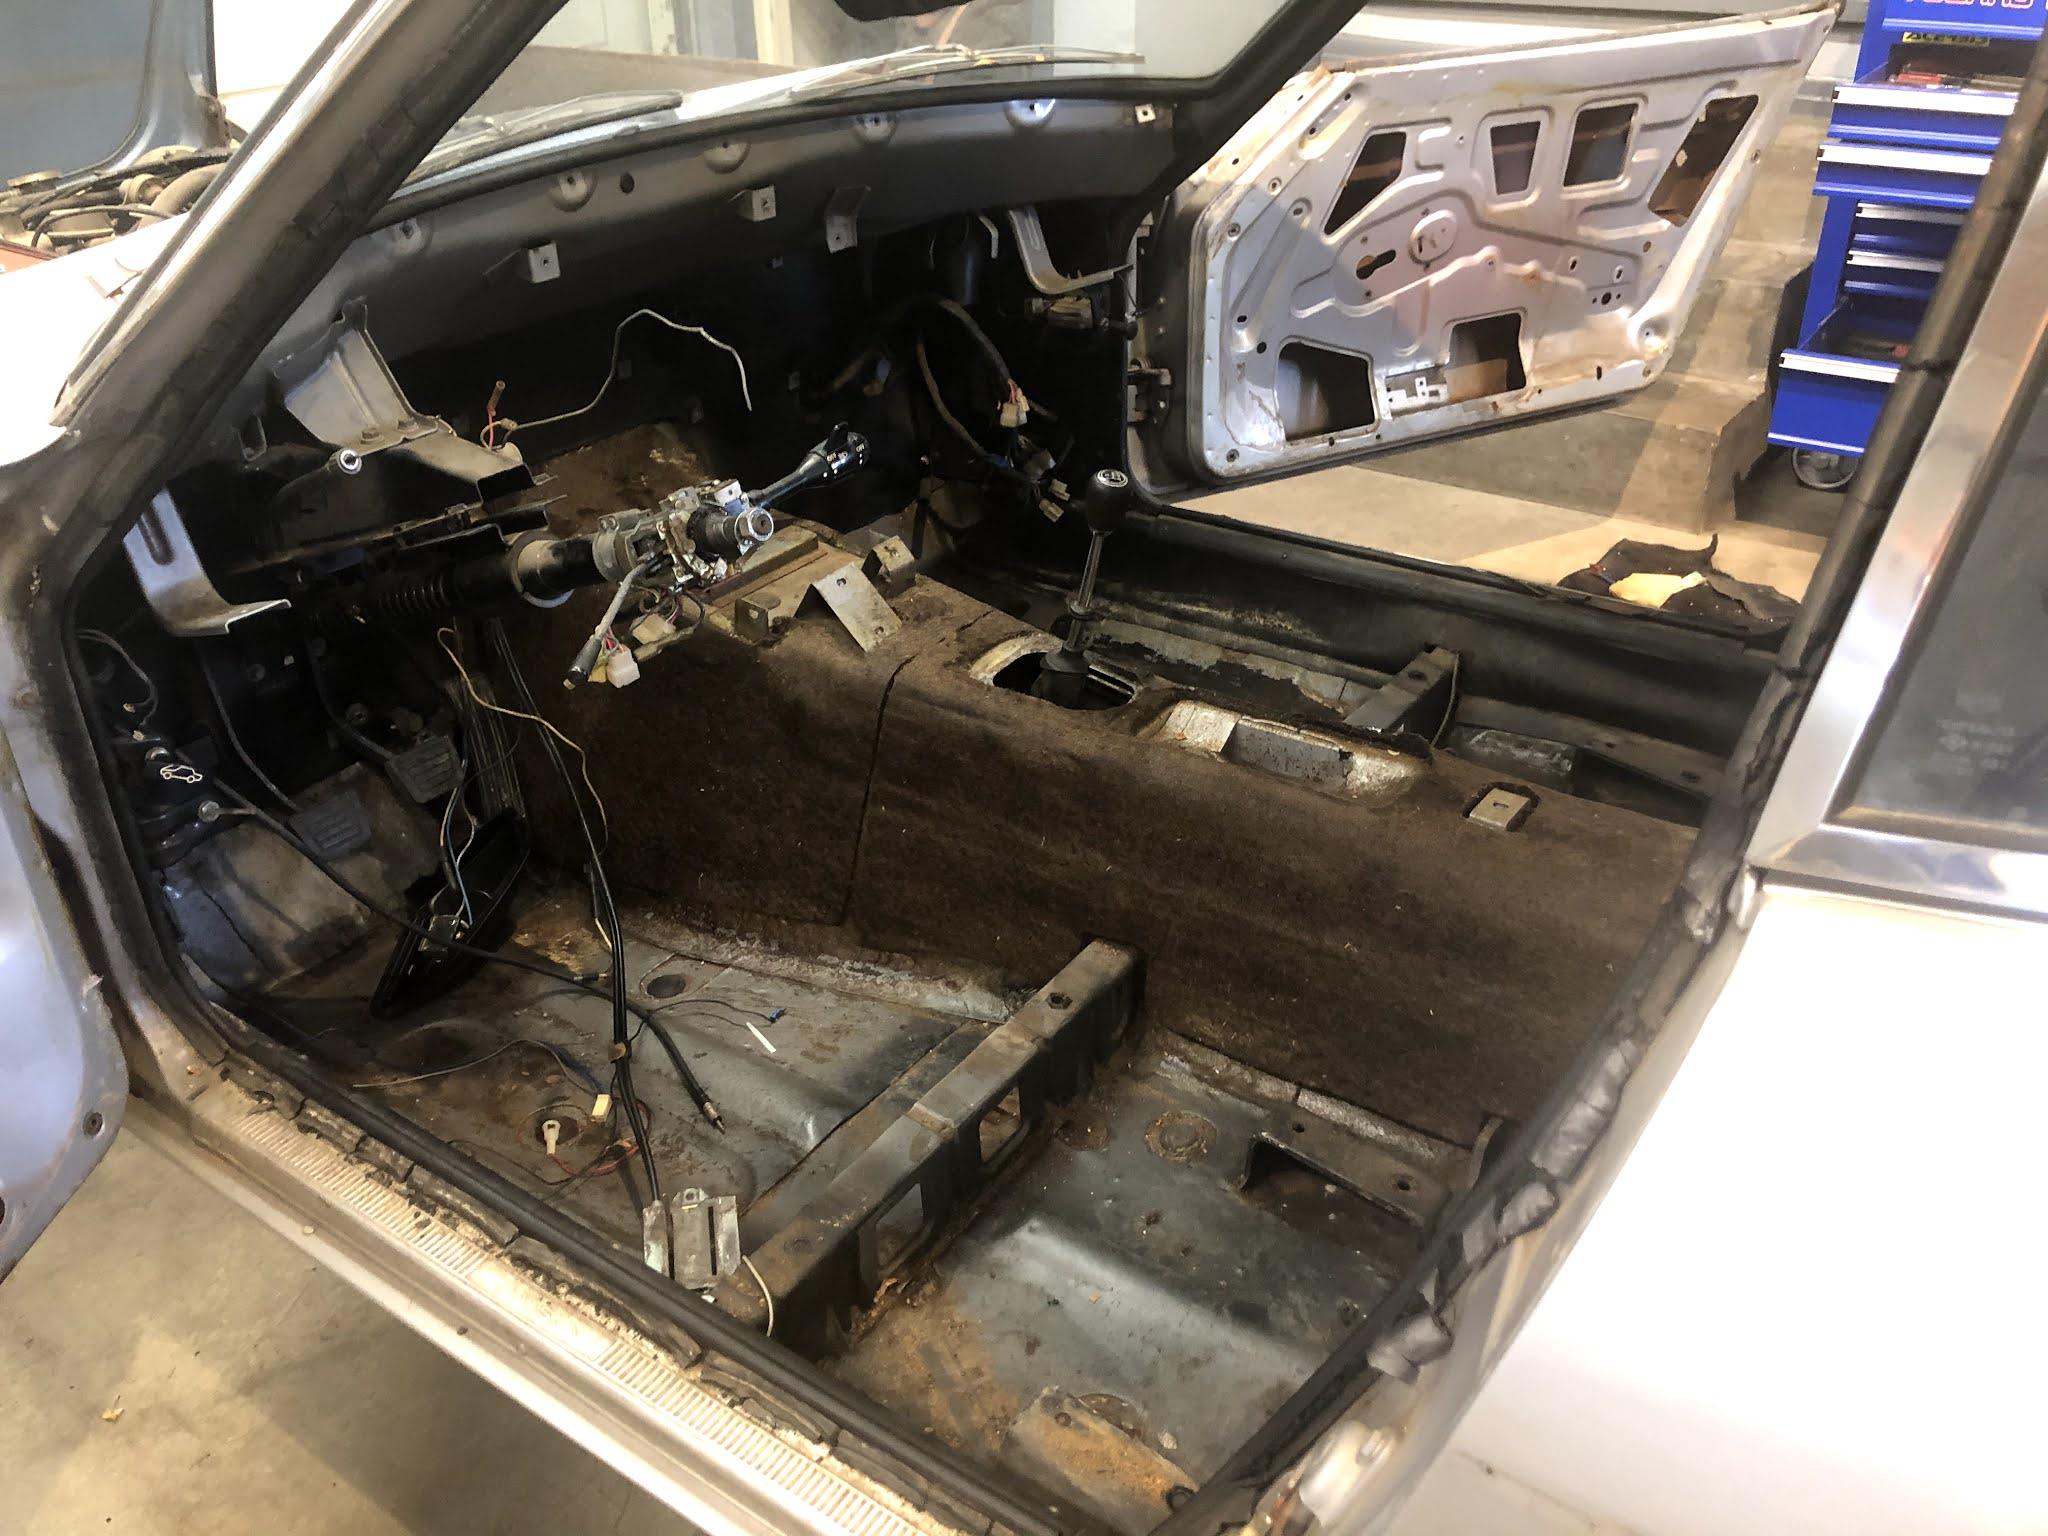
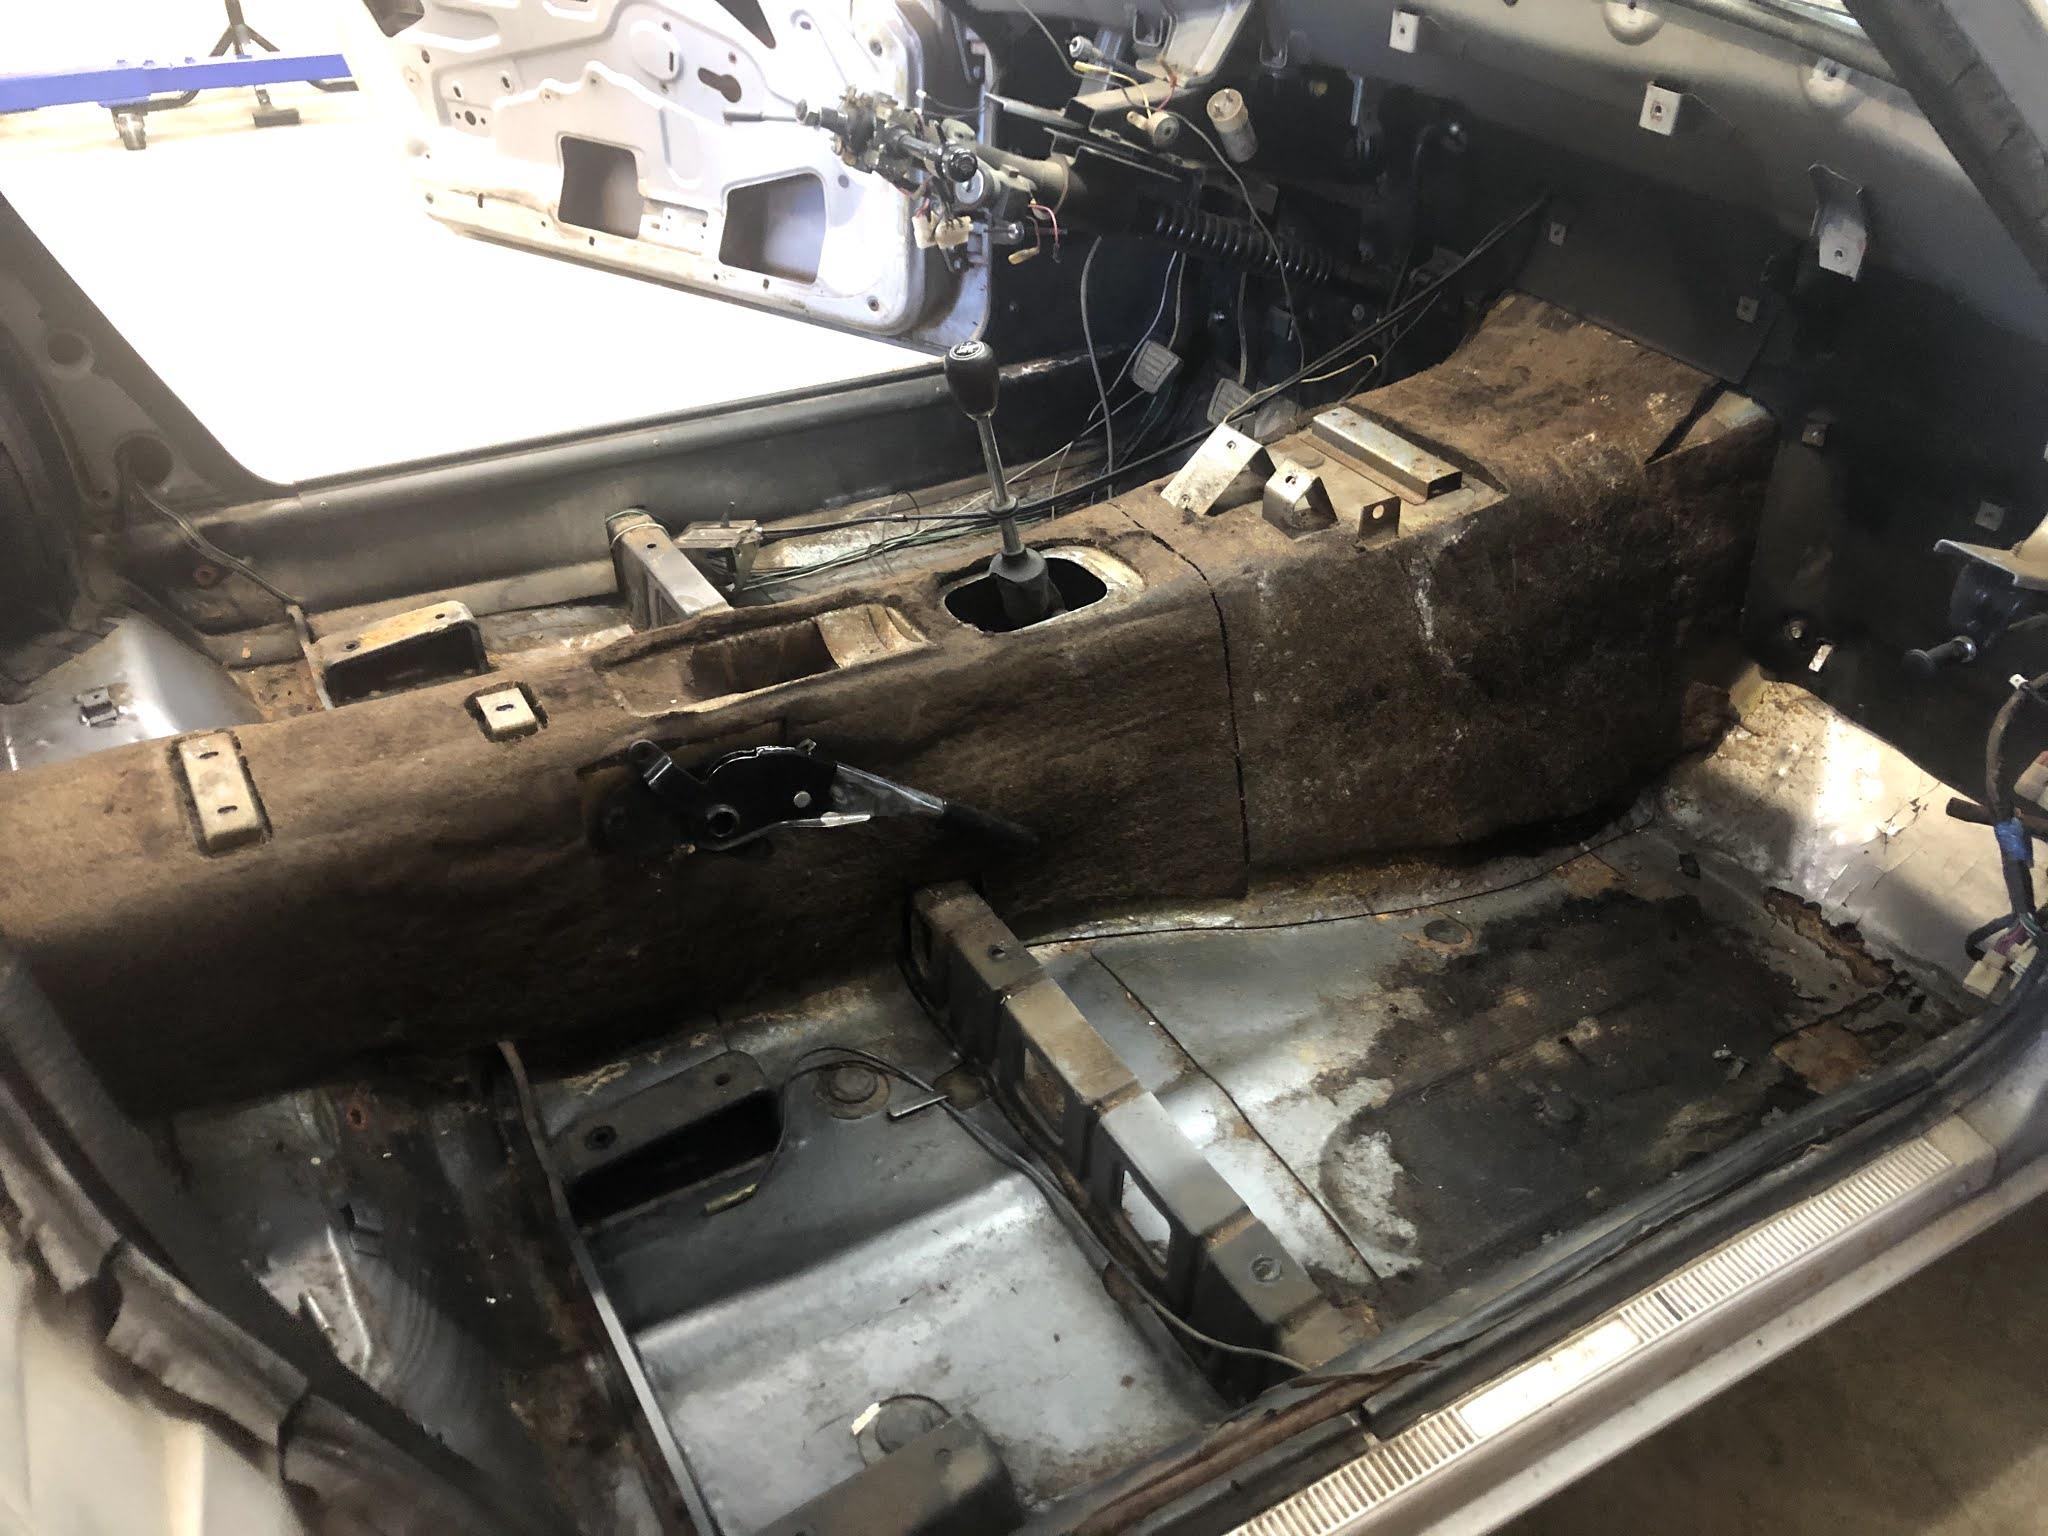
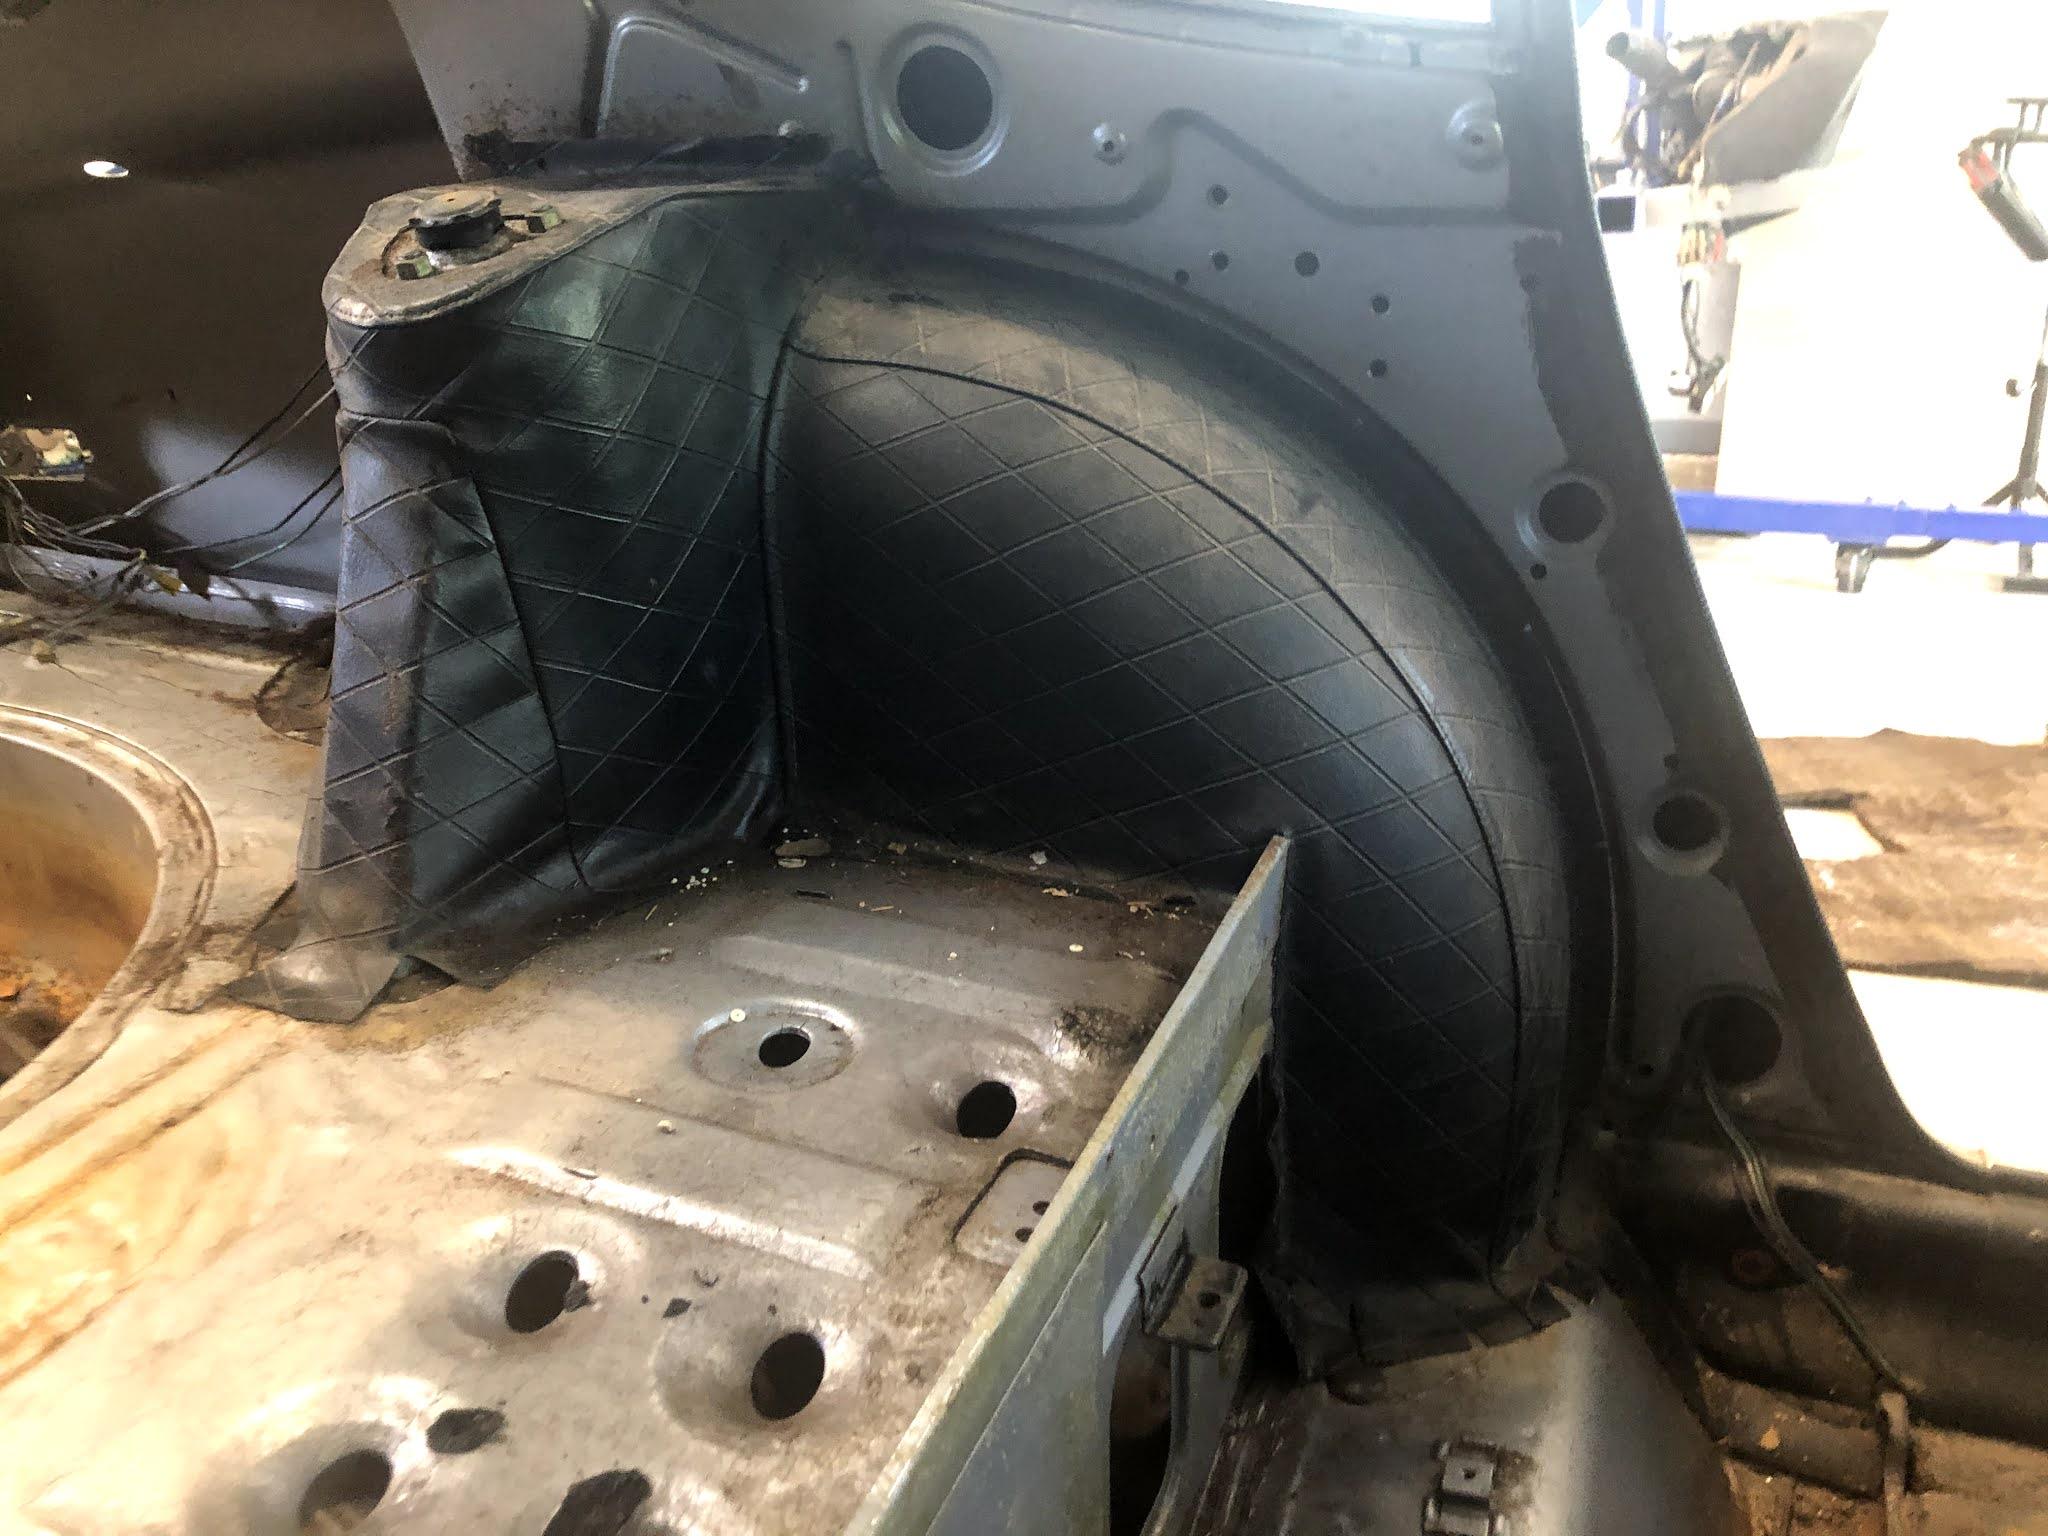
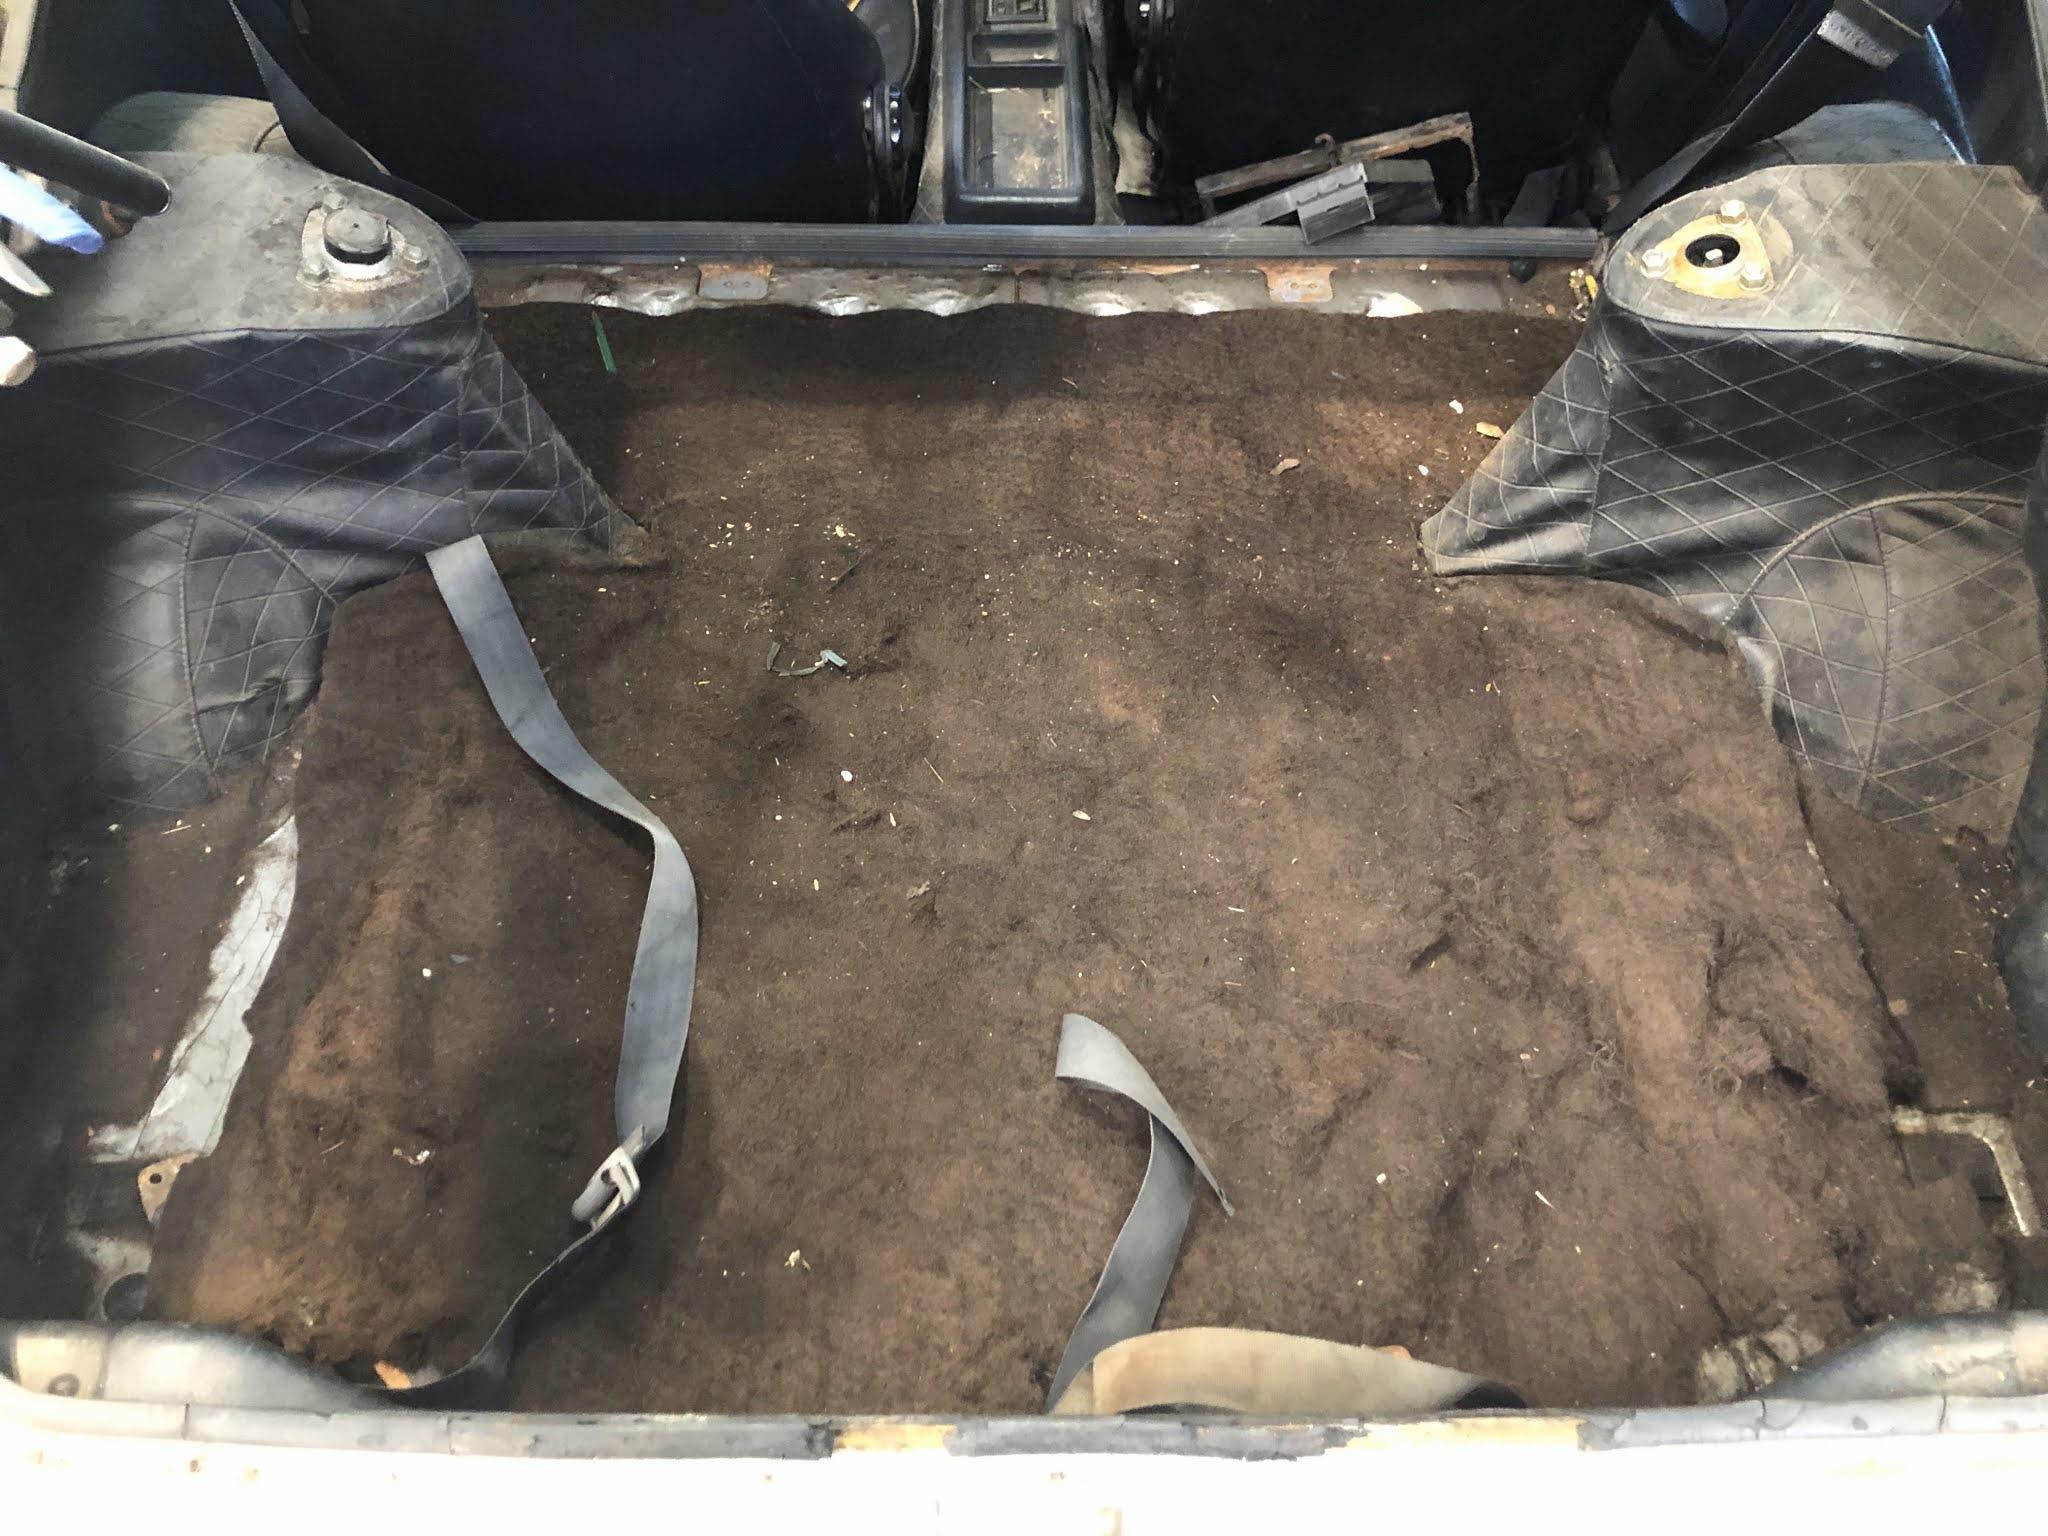
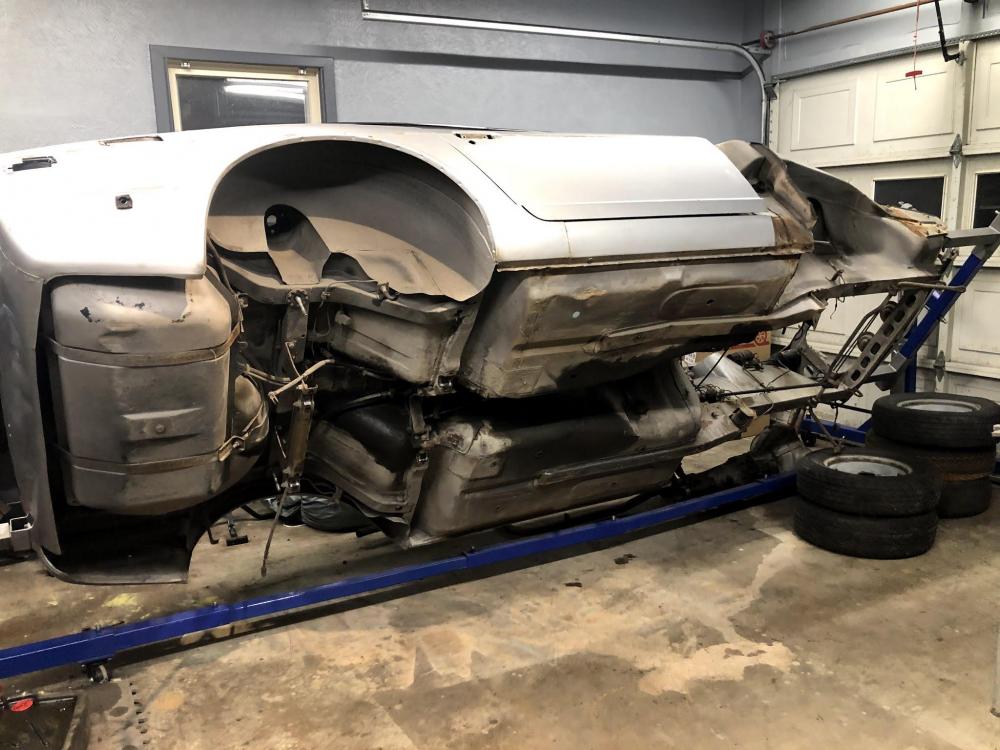
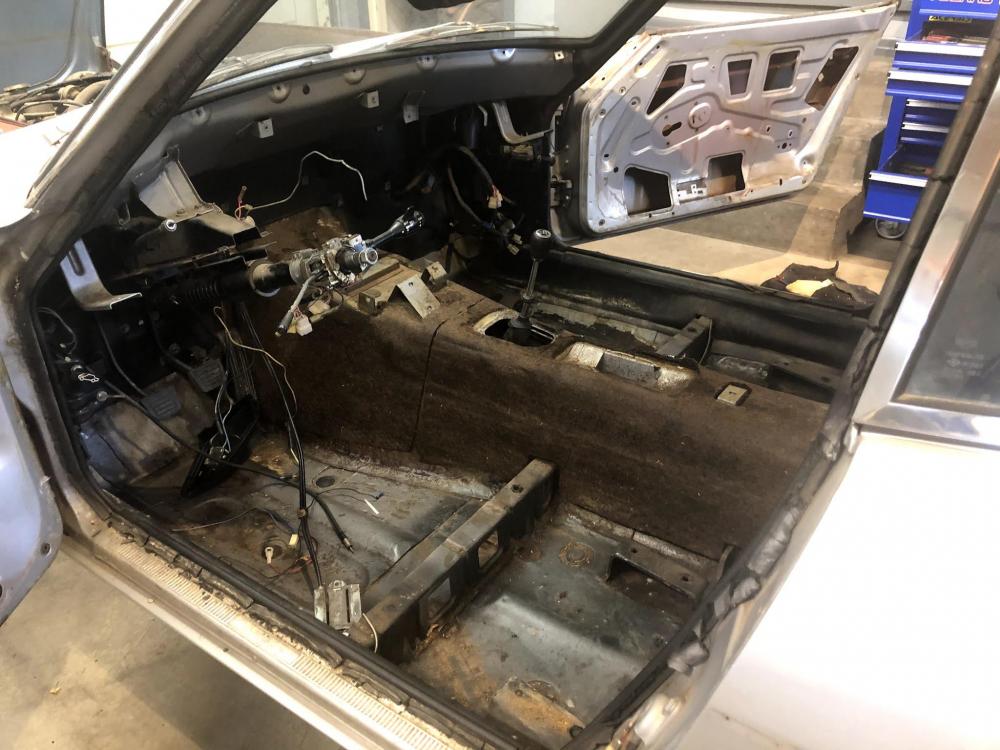
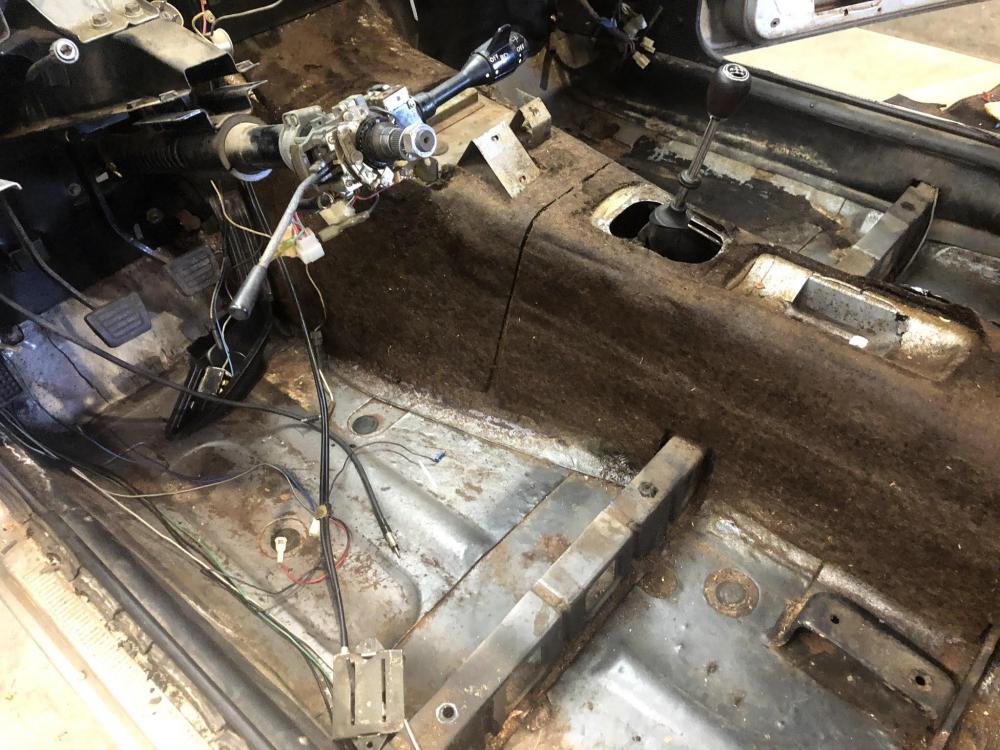
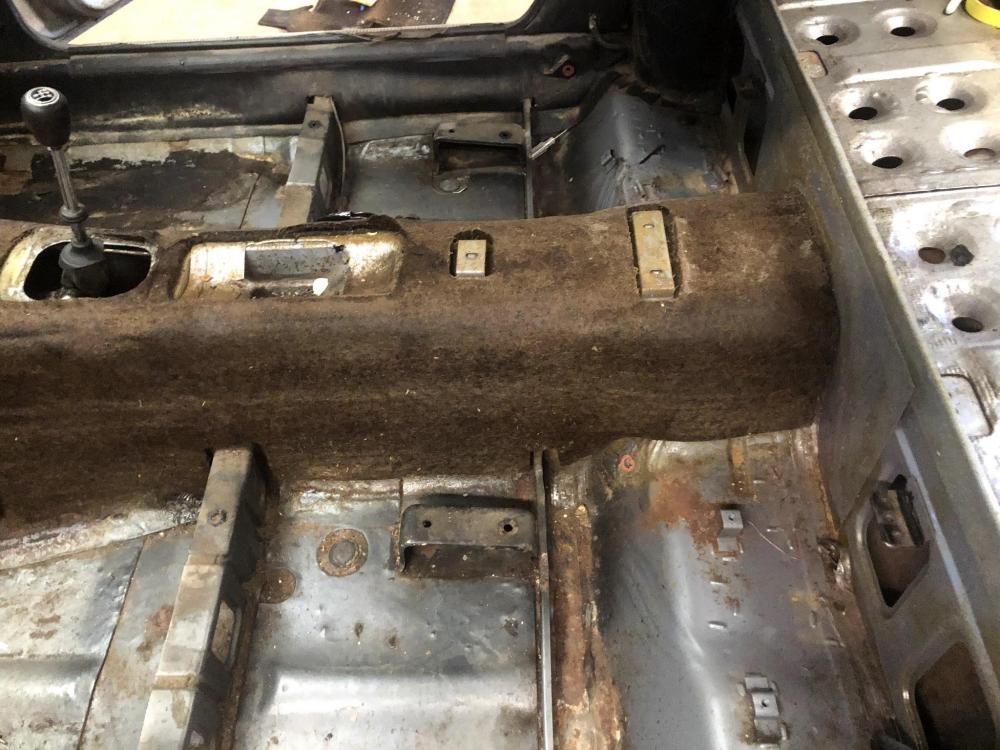
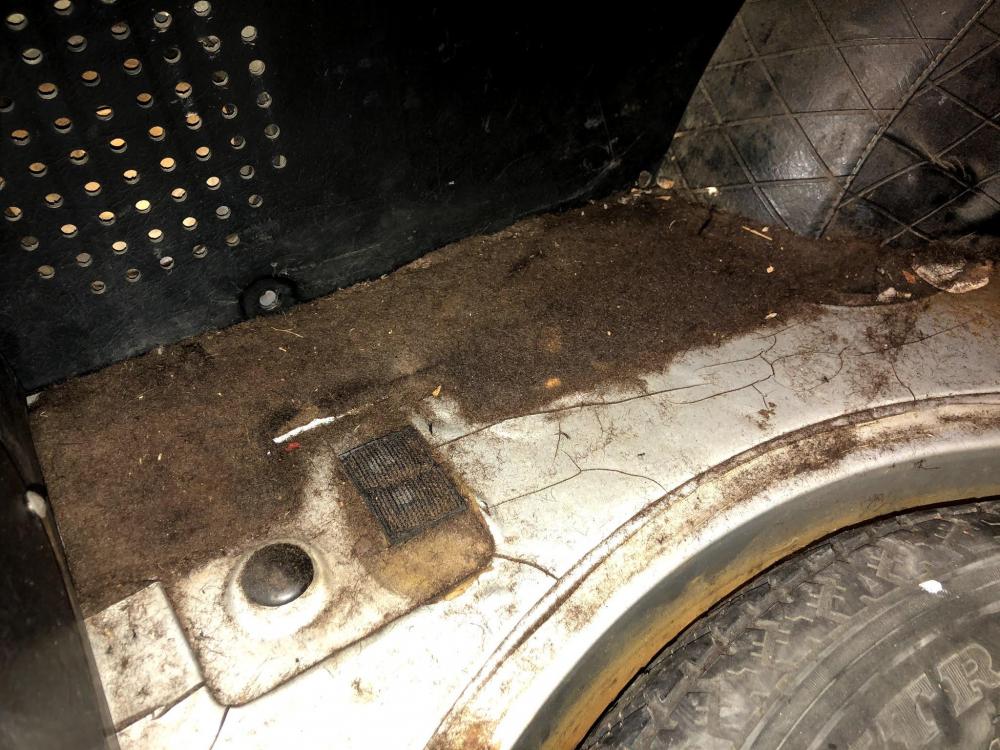
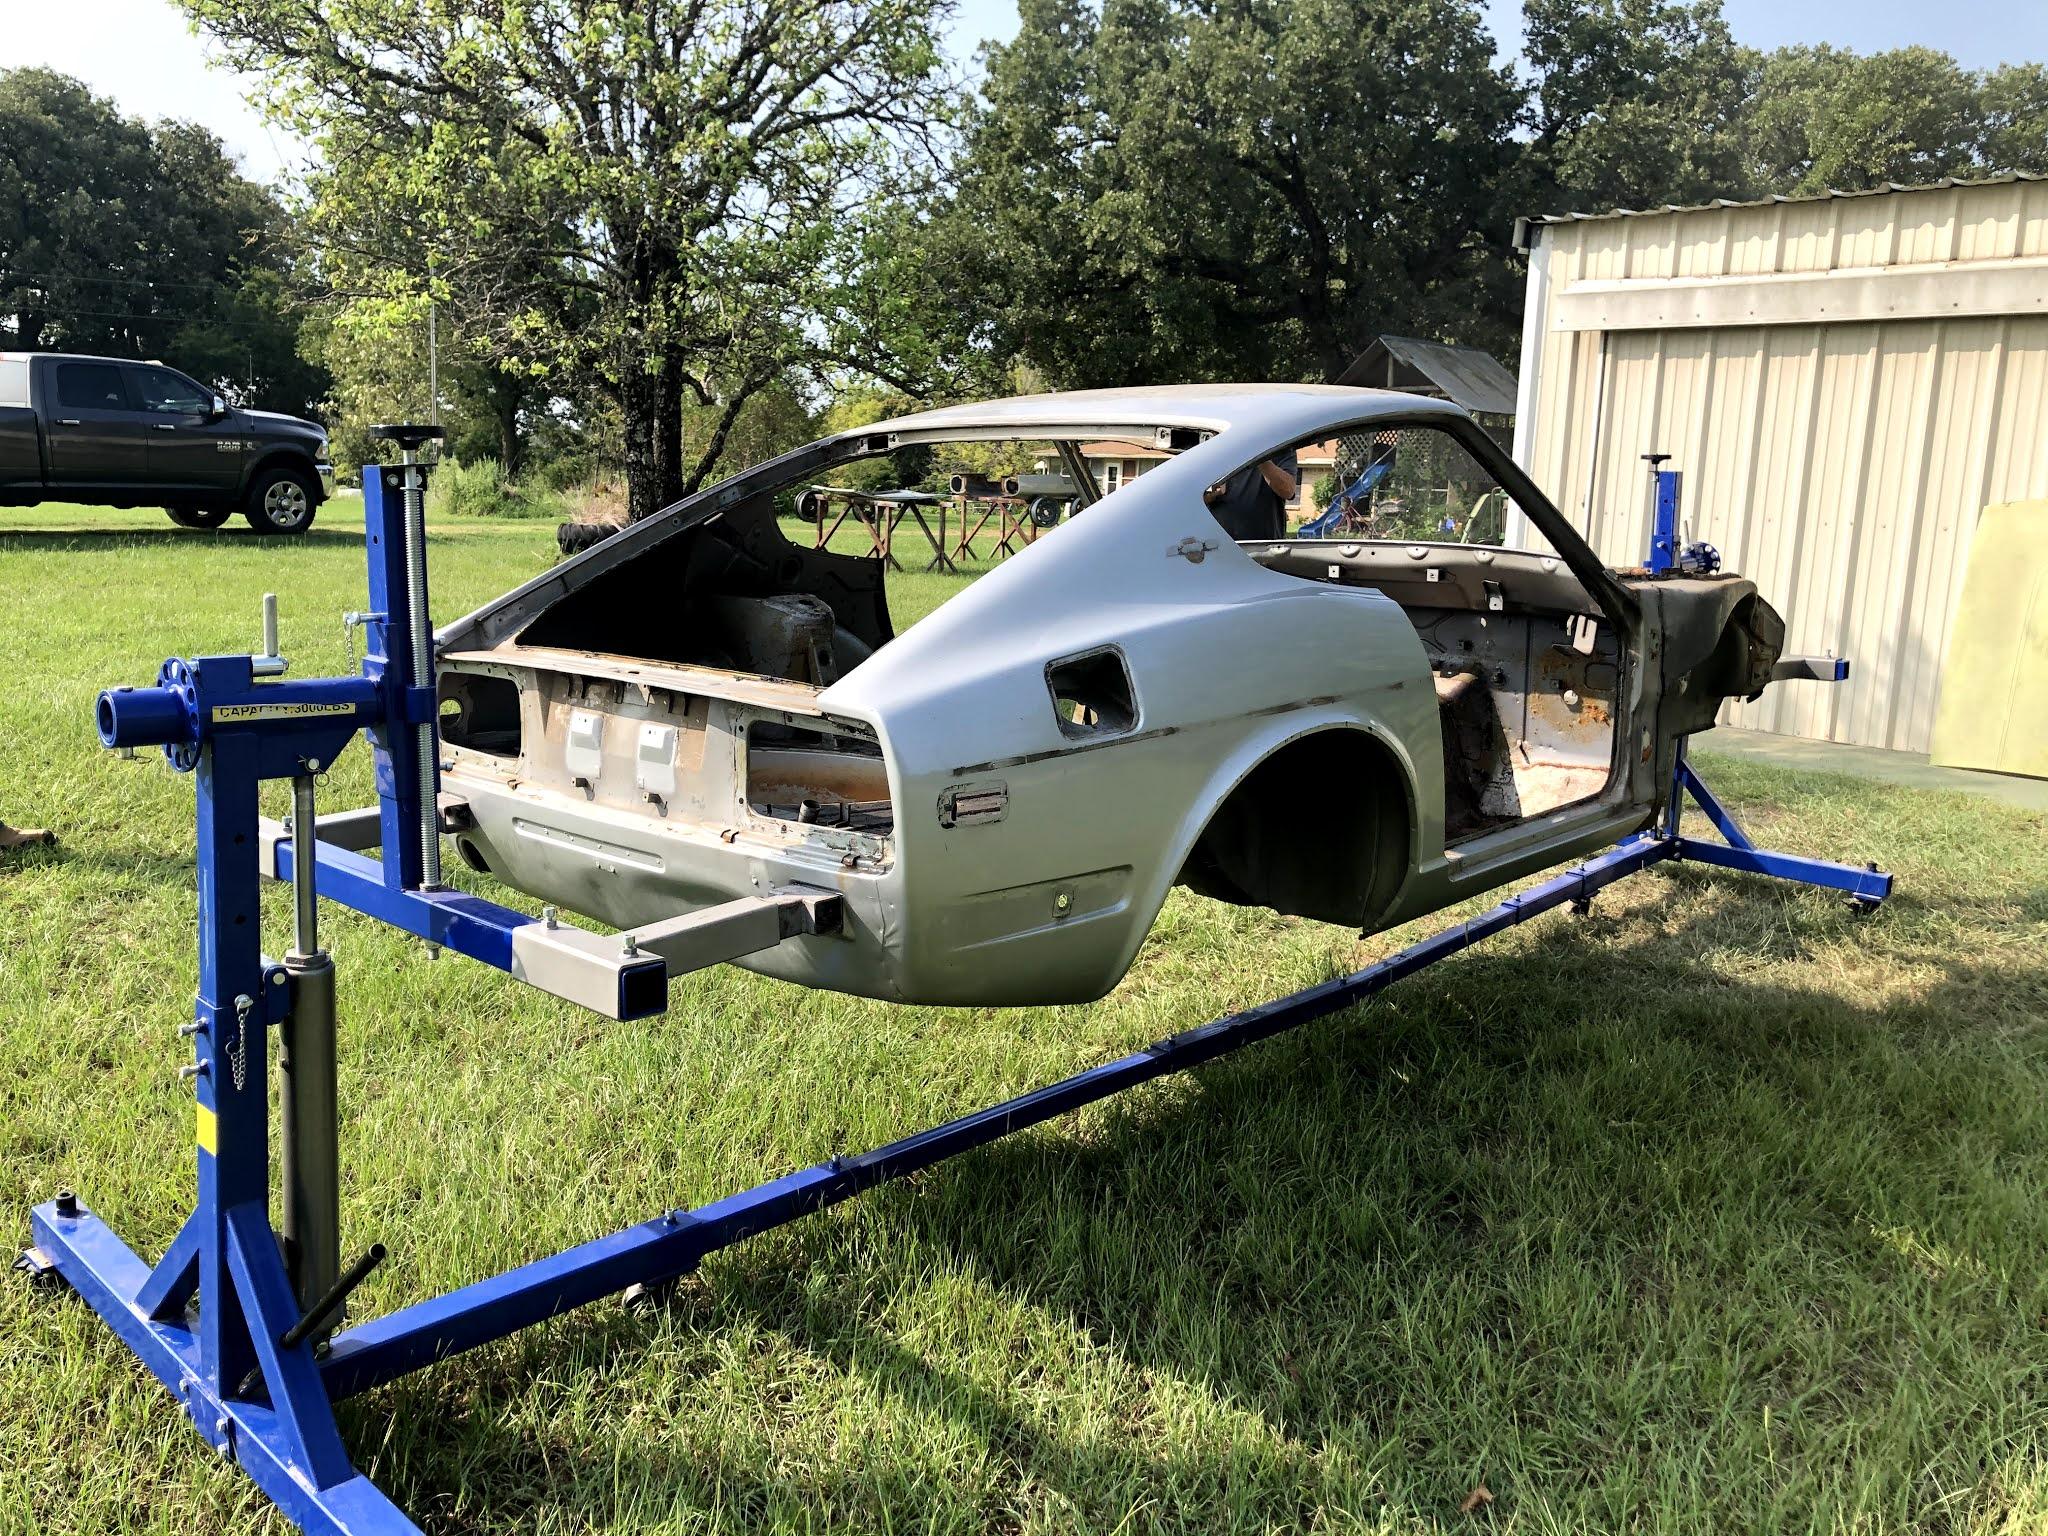
Engine out, interior out, and getting back to tearing the body back down. Before blasting it, I wanted to remove the factory sound deadening from the floors so that no area would be left untreated. It surprises me when I see very nicely restored Z cars, taken all the way to bare metal, but the sound deadening wasn't removed. Lots of rust, no matter how clean the car appears, likes to live under there. Once that was out of the way, the remaining suspension, steering, and various components on the underside of the Z, were documented, tagged and removed. After having all the heavier structural parts off the shell, we mounted it to a rotisserie.


-
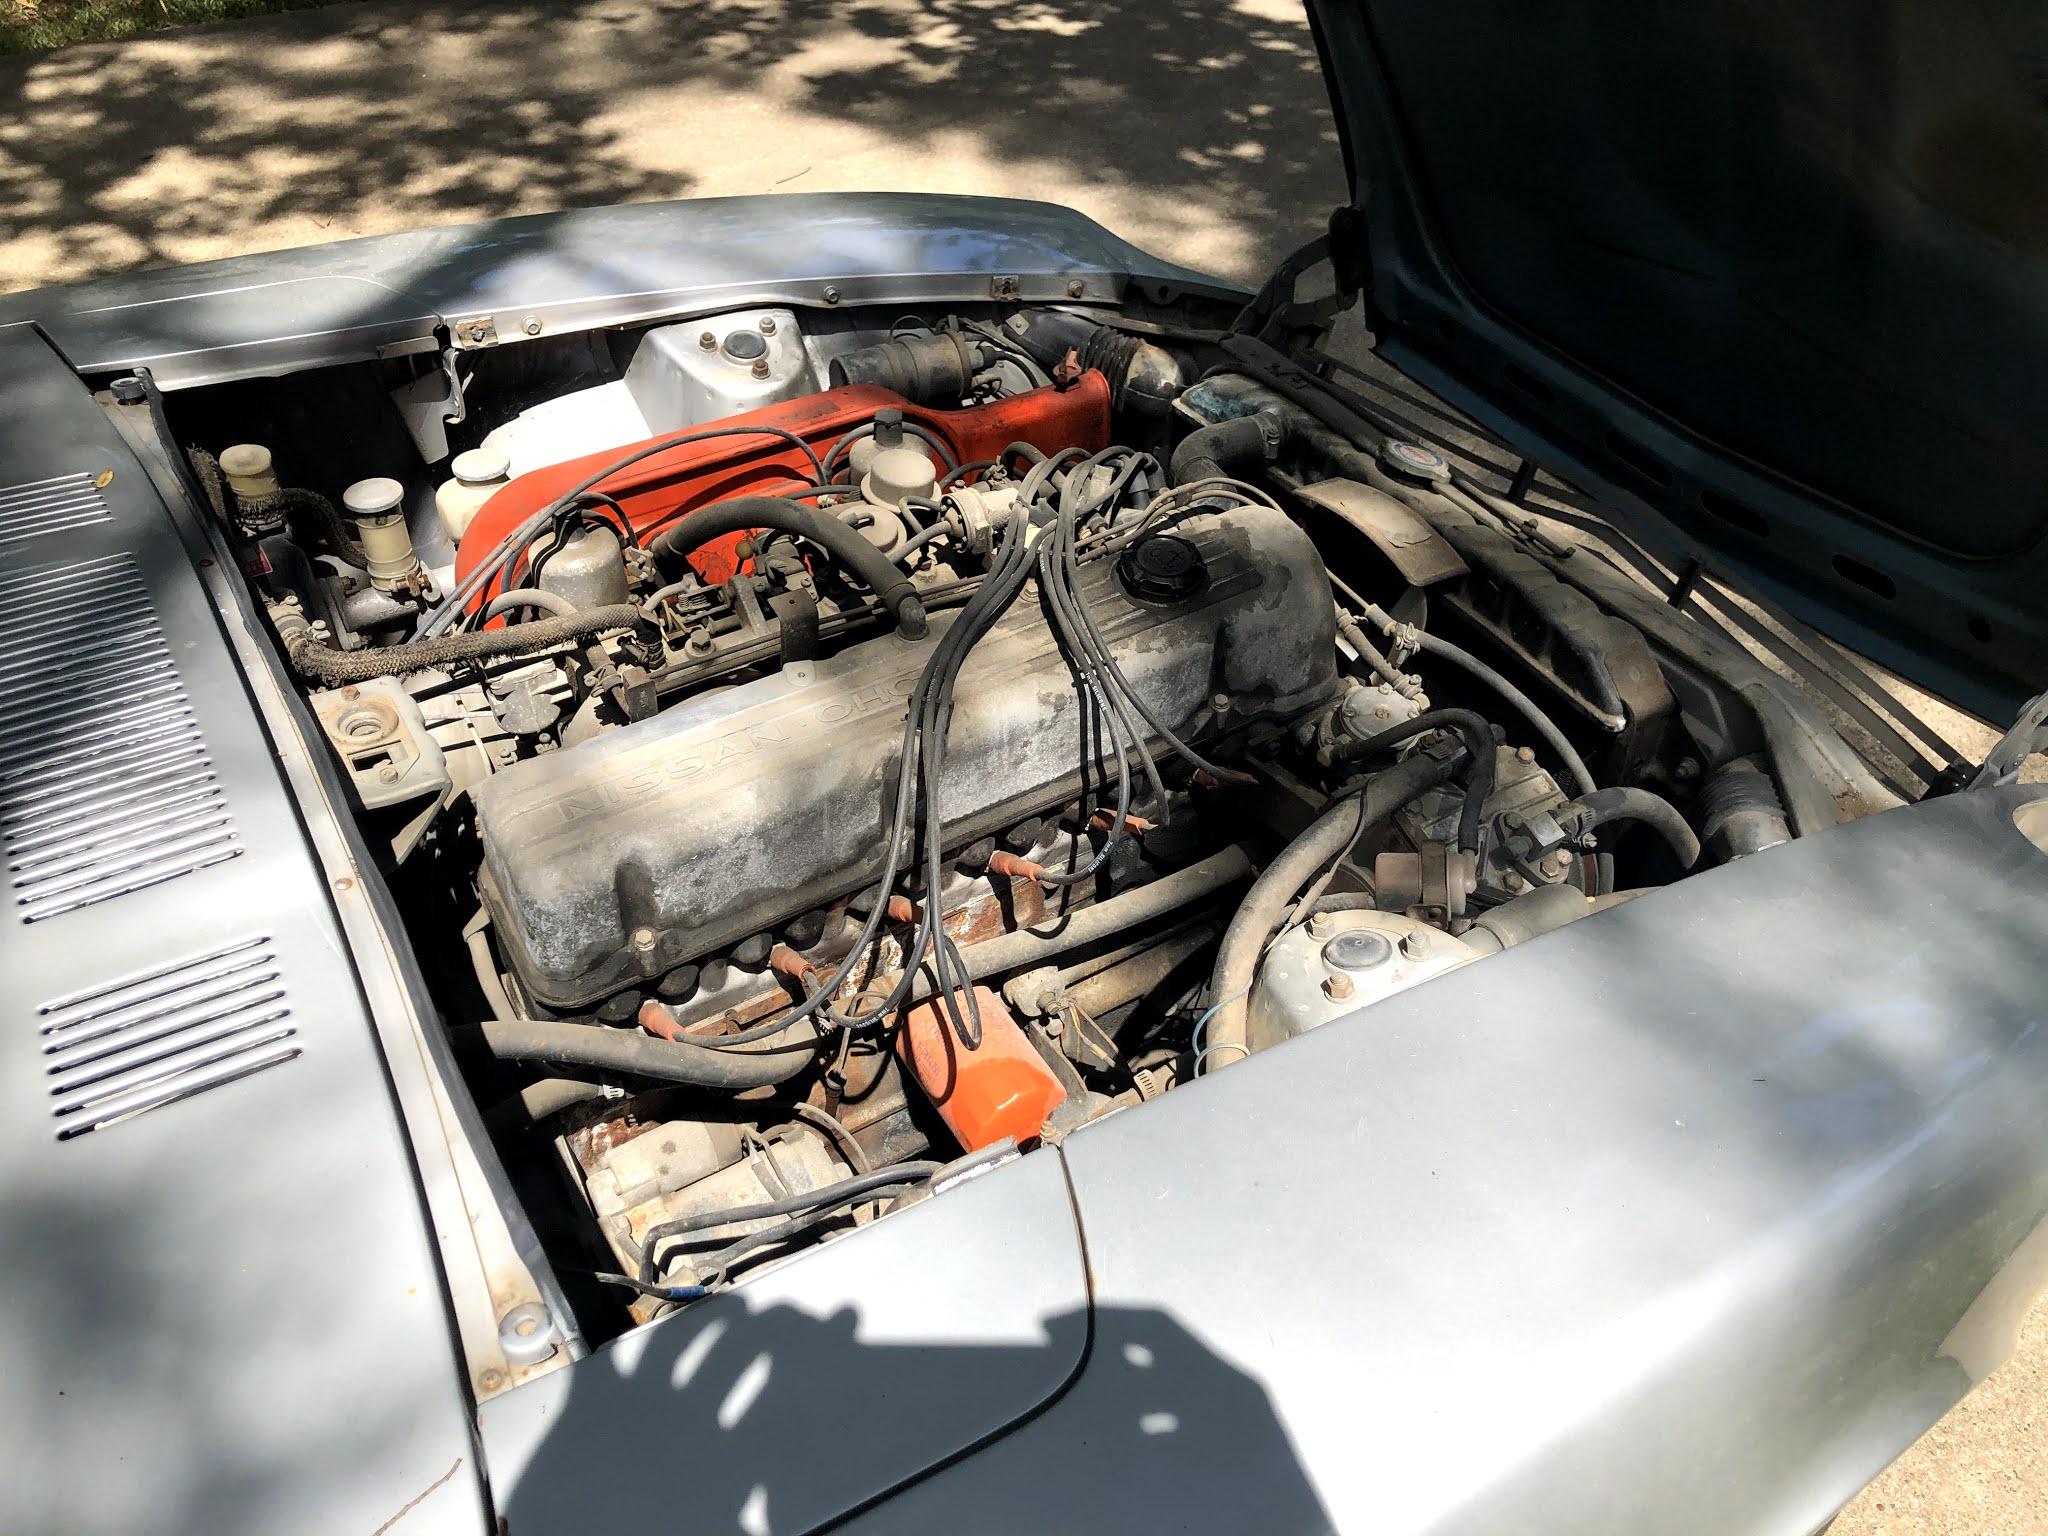
Taking a break from the interior strip down, pulled the engine out in preparation for sending the long block out for a thorough cleaning and rebuild.


-
Swim at your own risk! I was pretty surprised how bad it looked initially, and how clean it came out after blasting. Pics to follow...
-
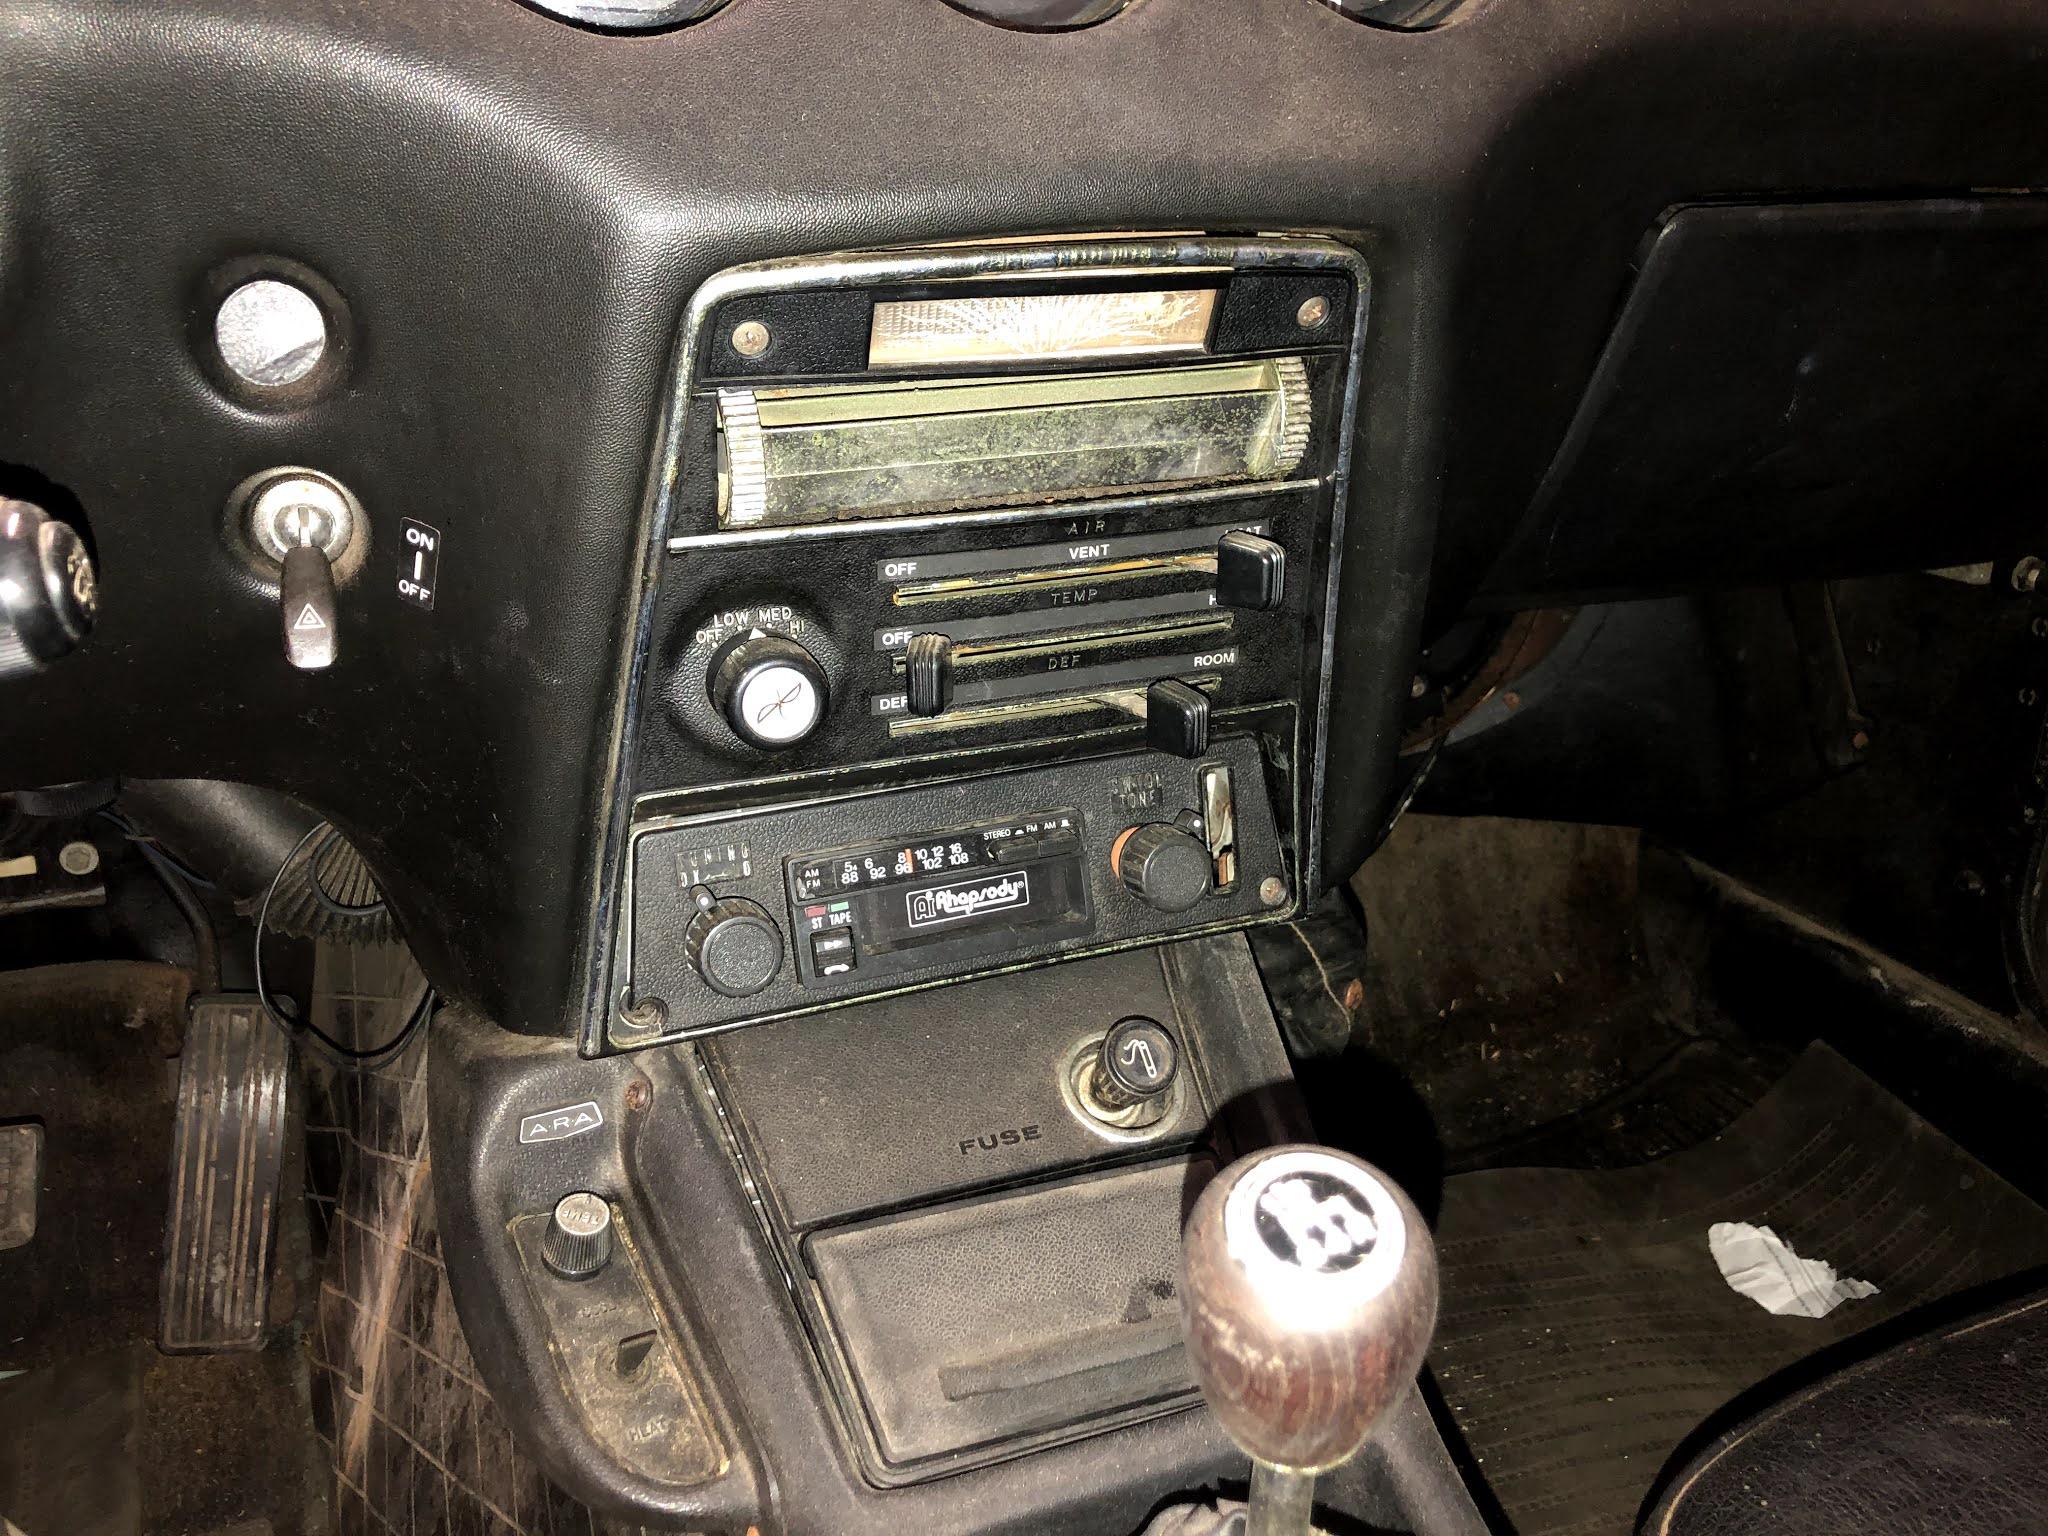
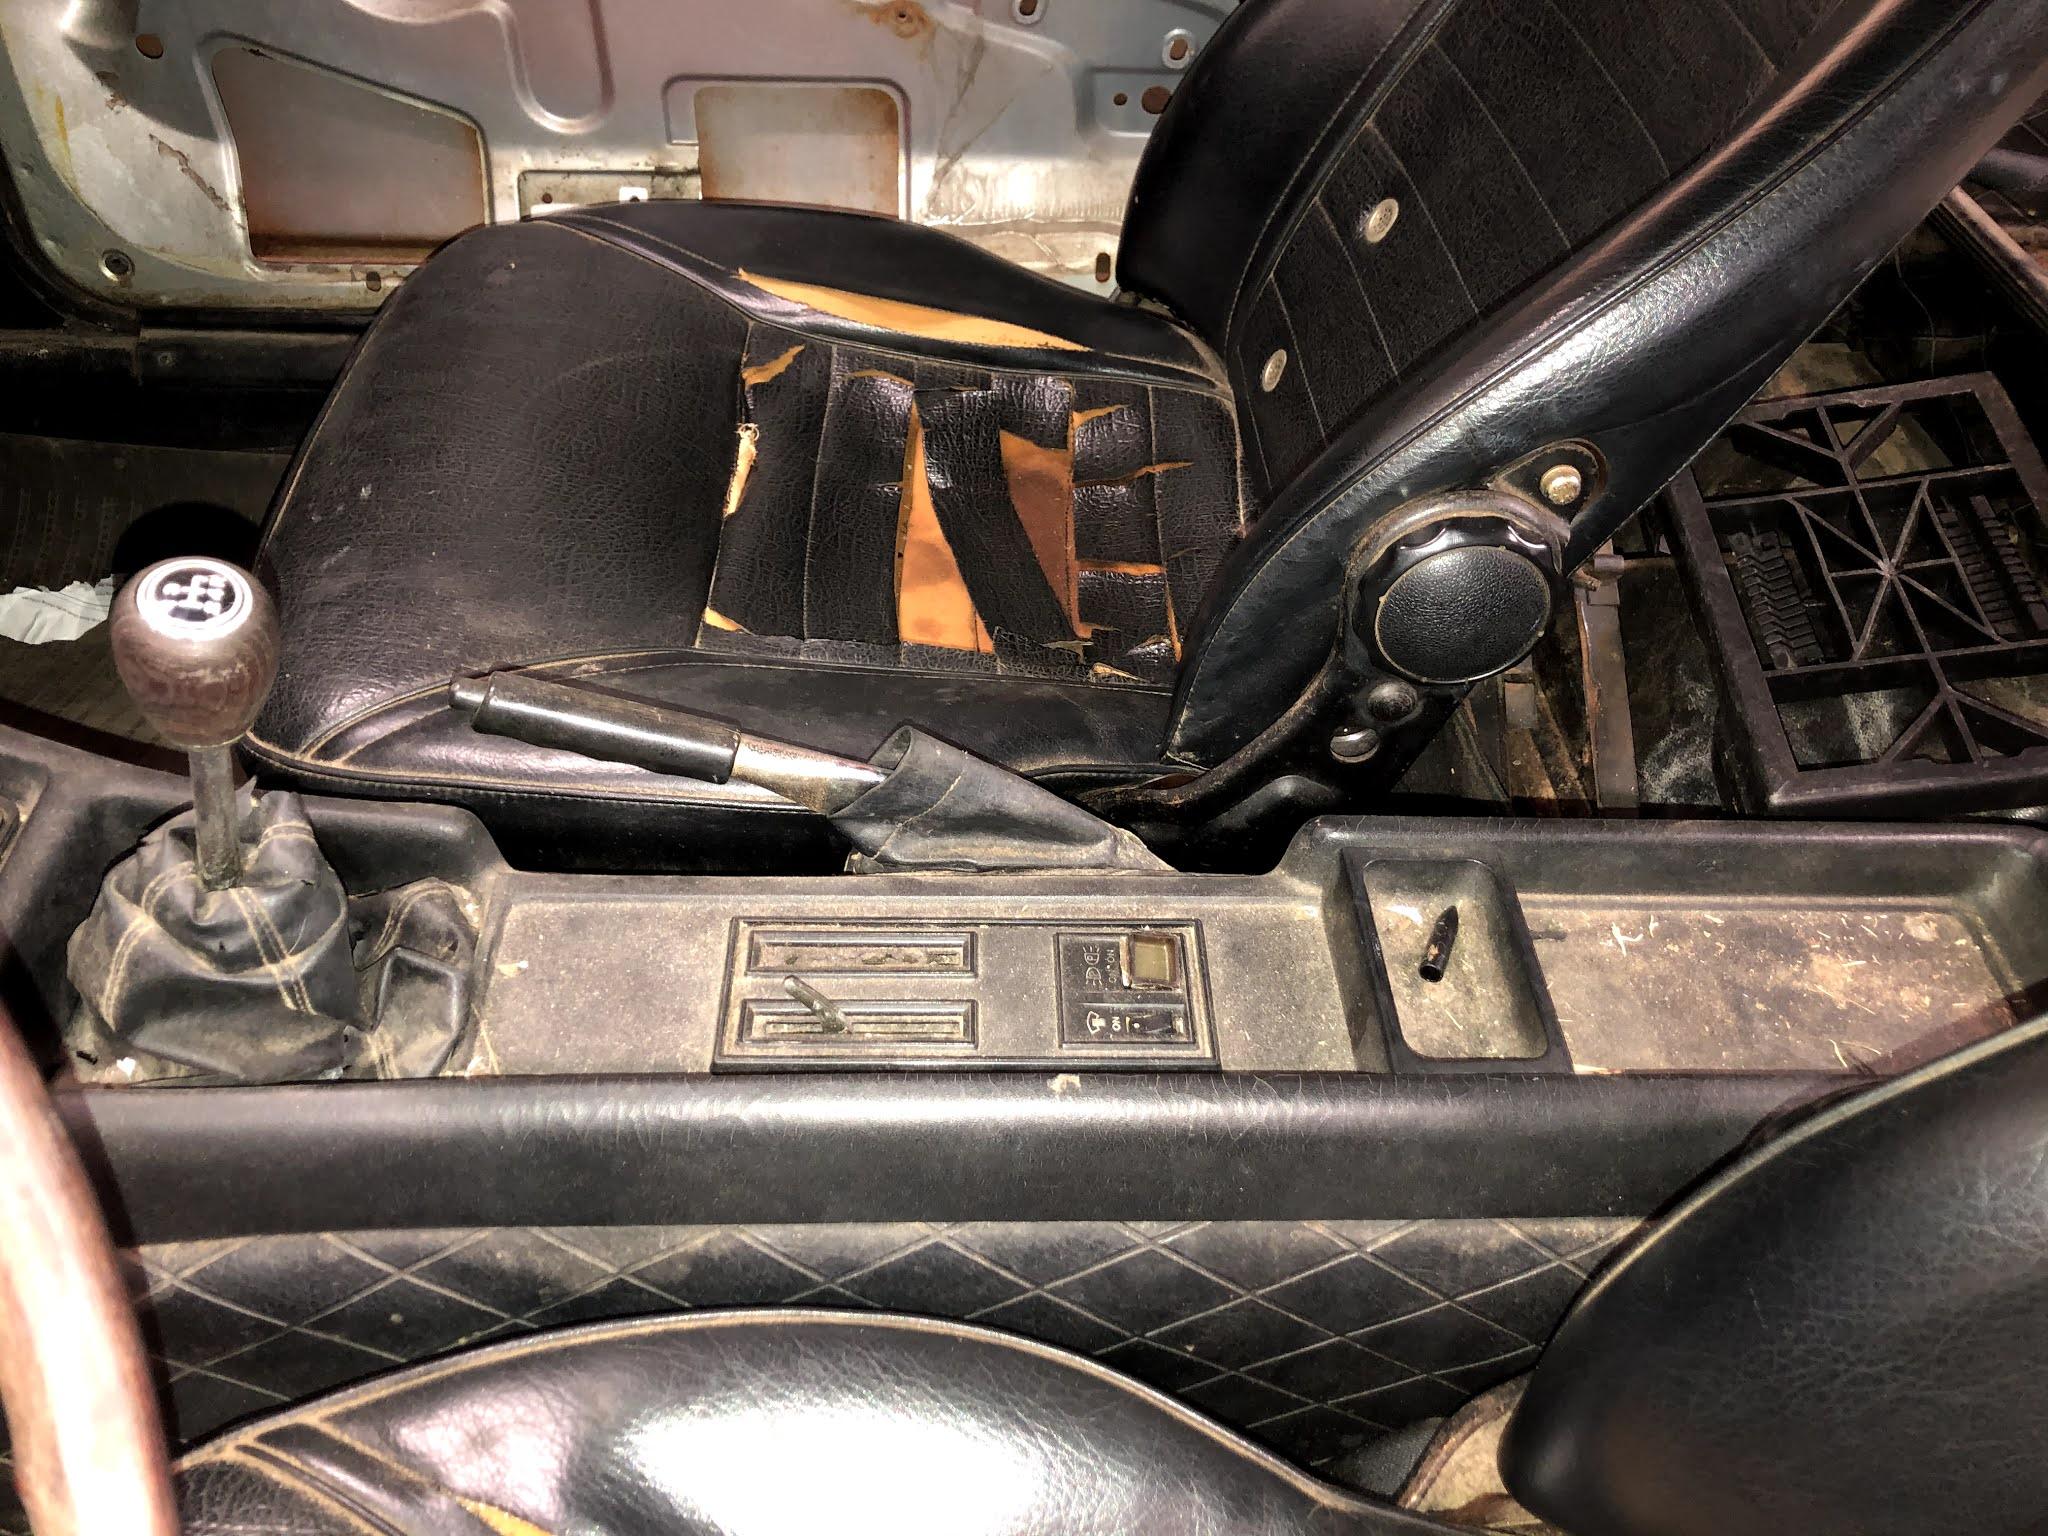
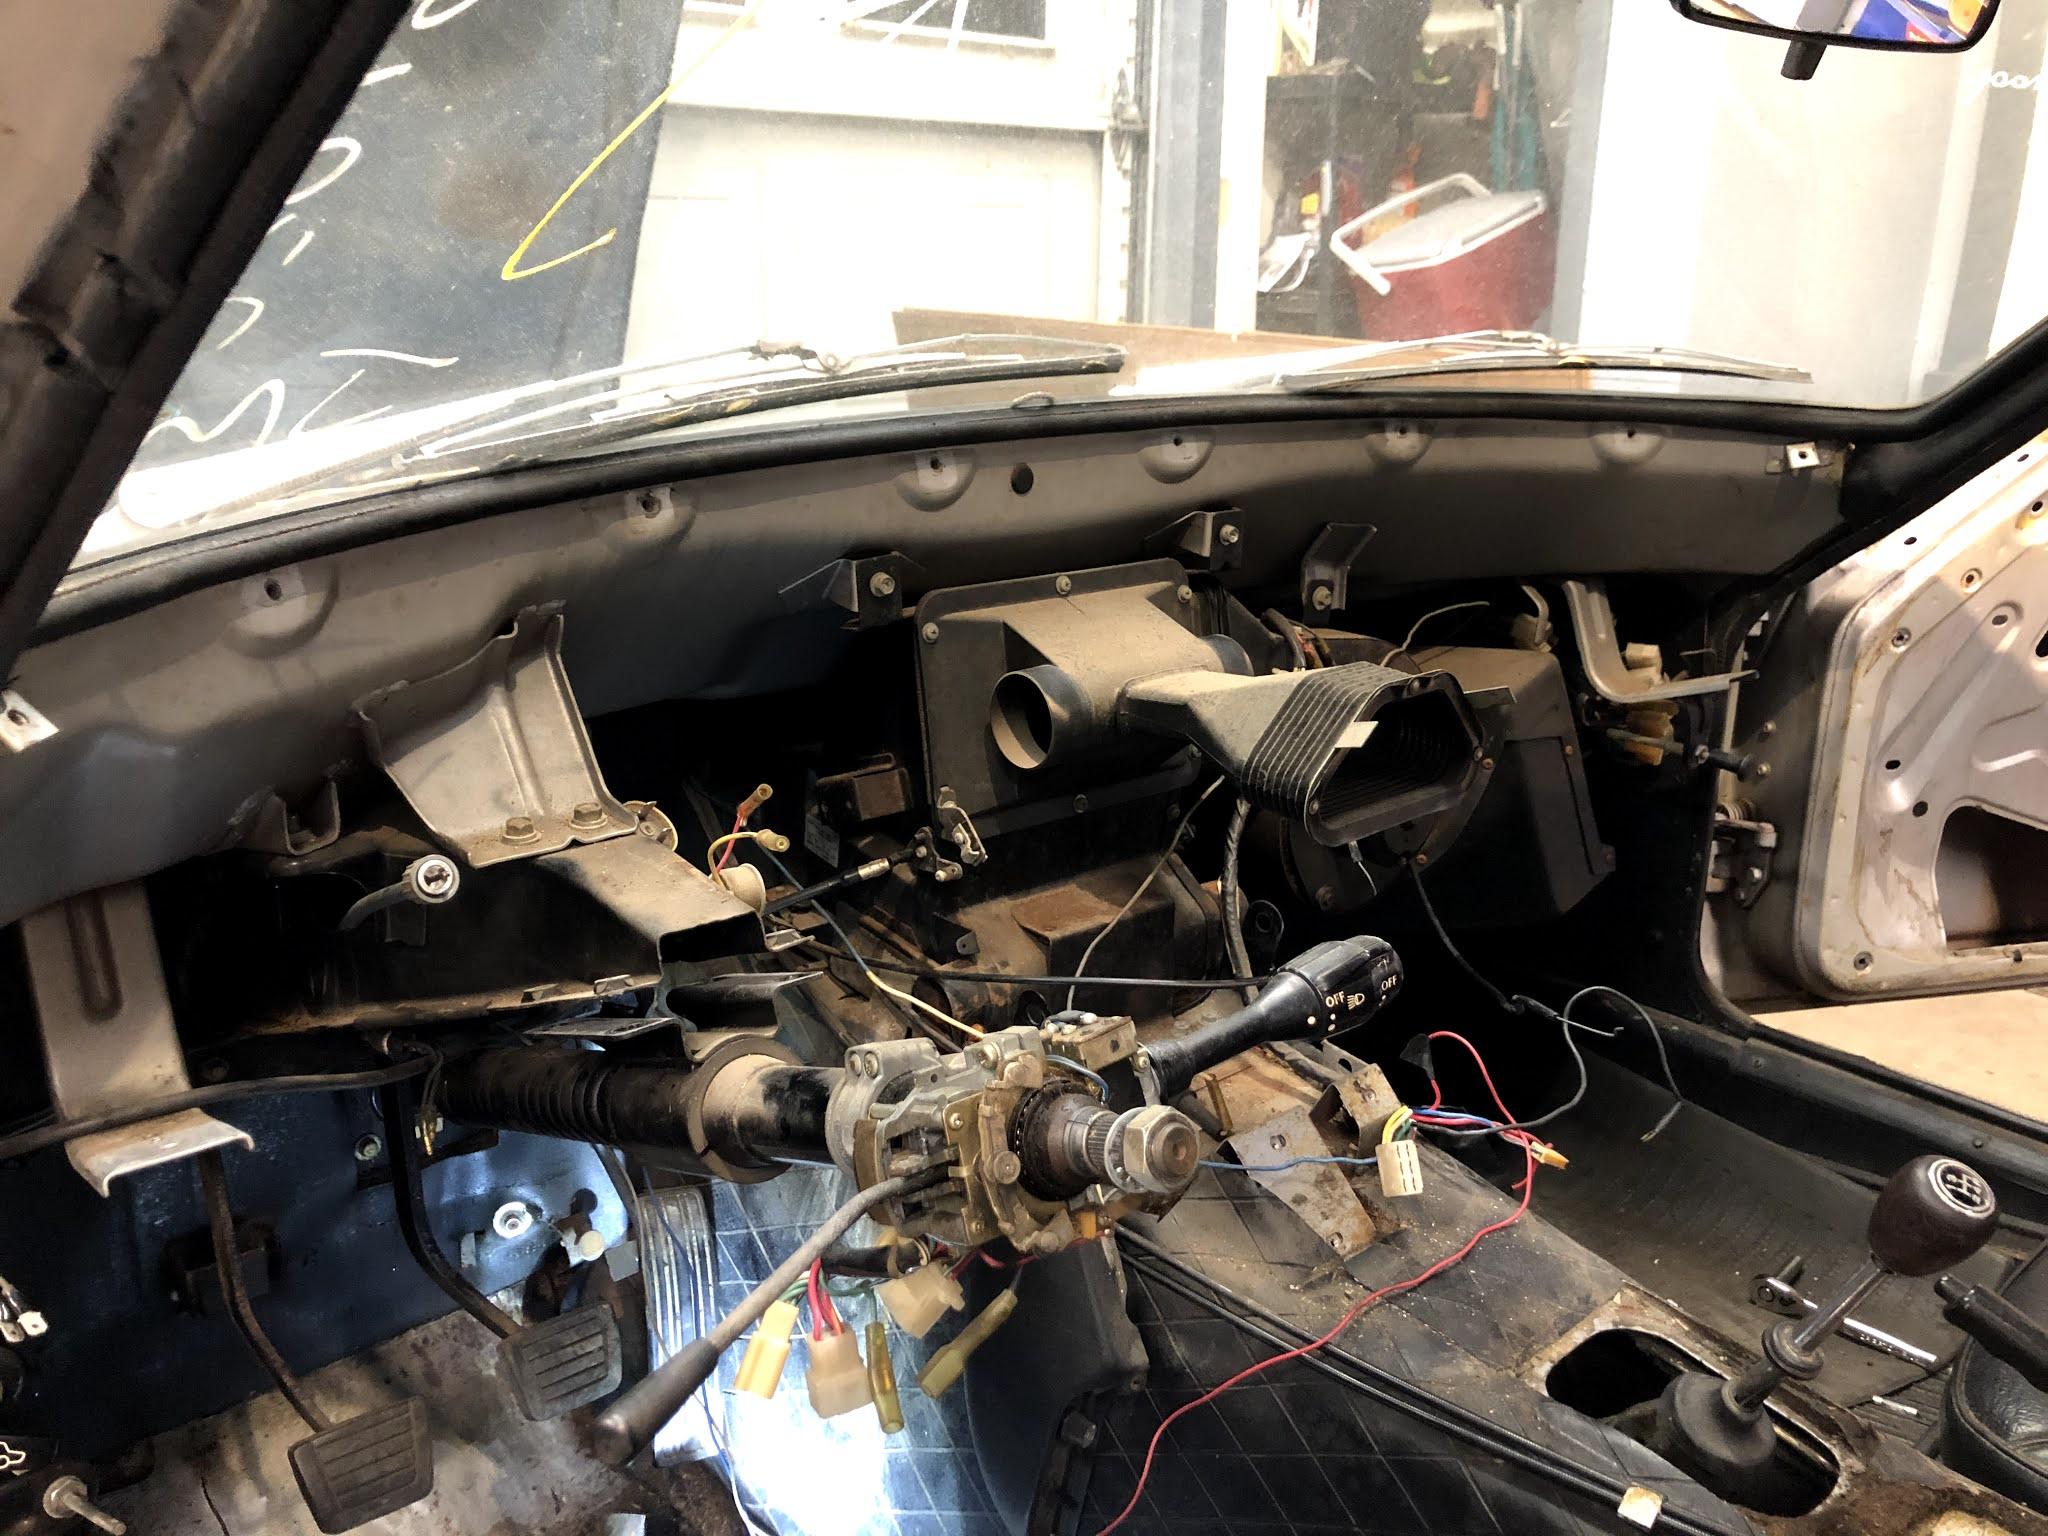
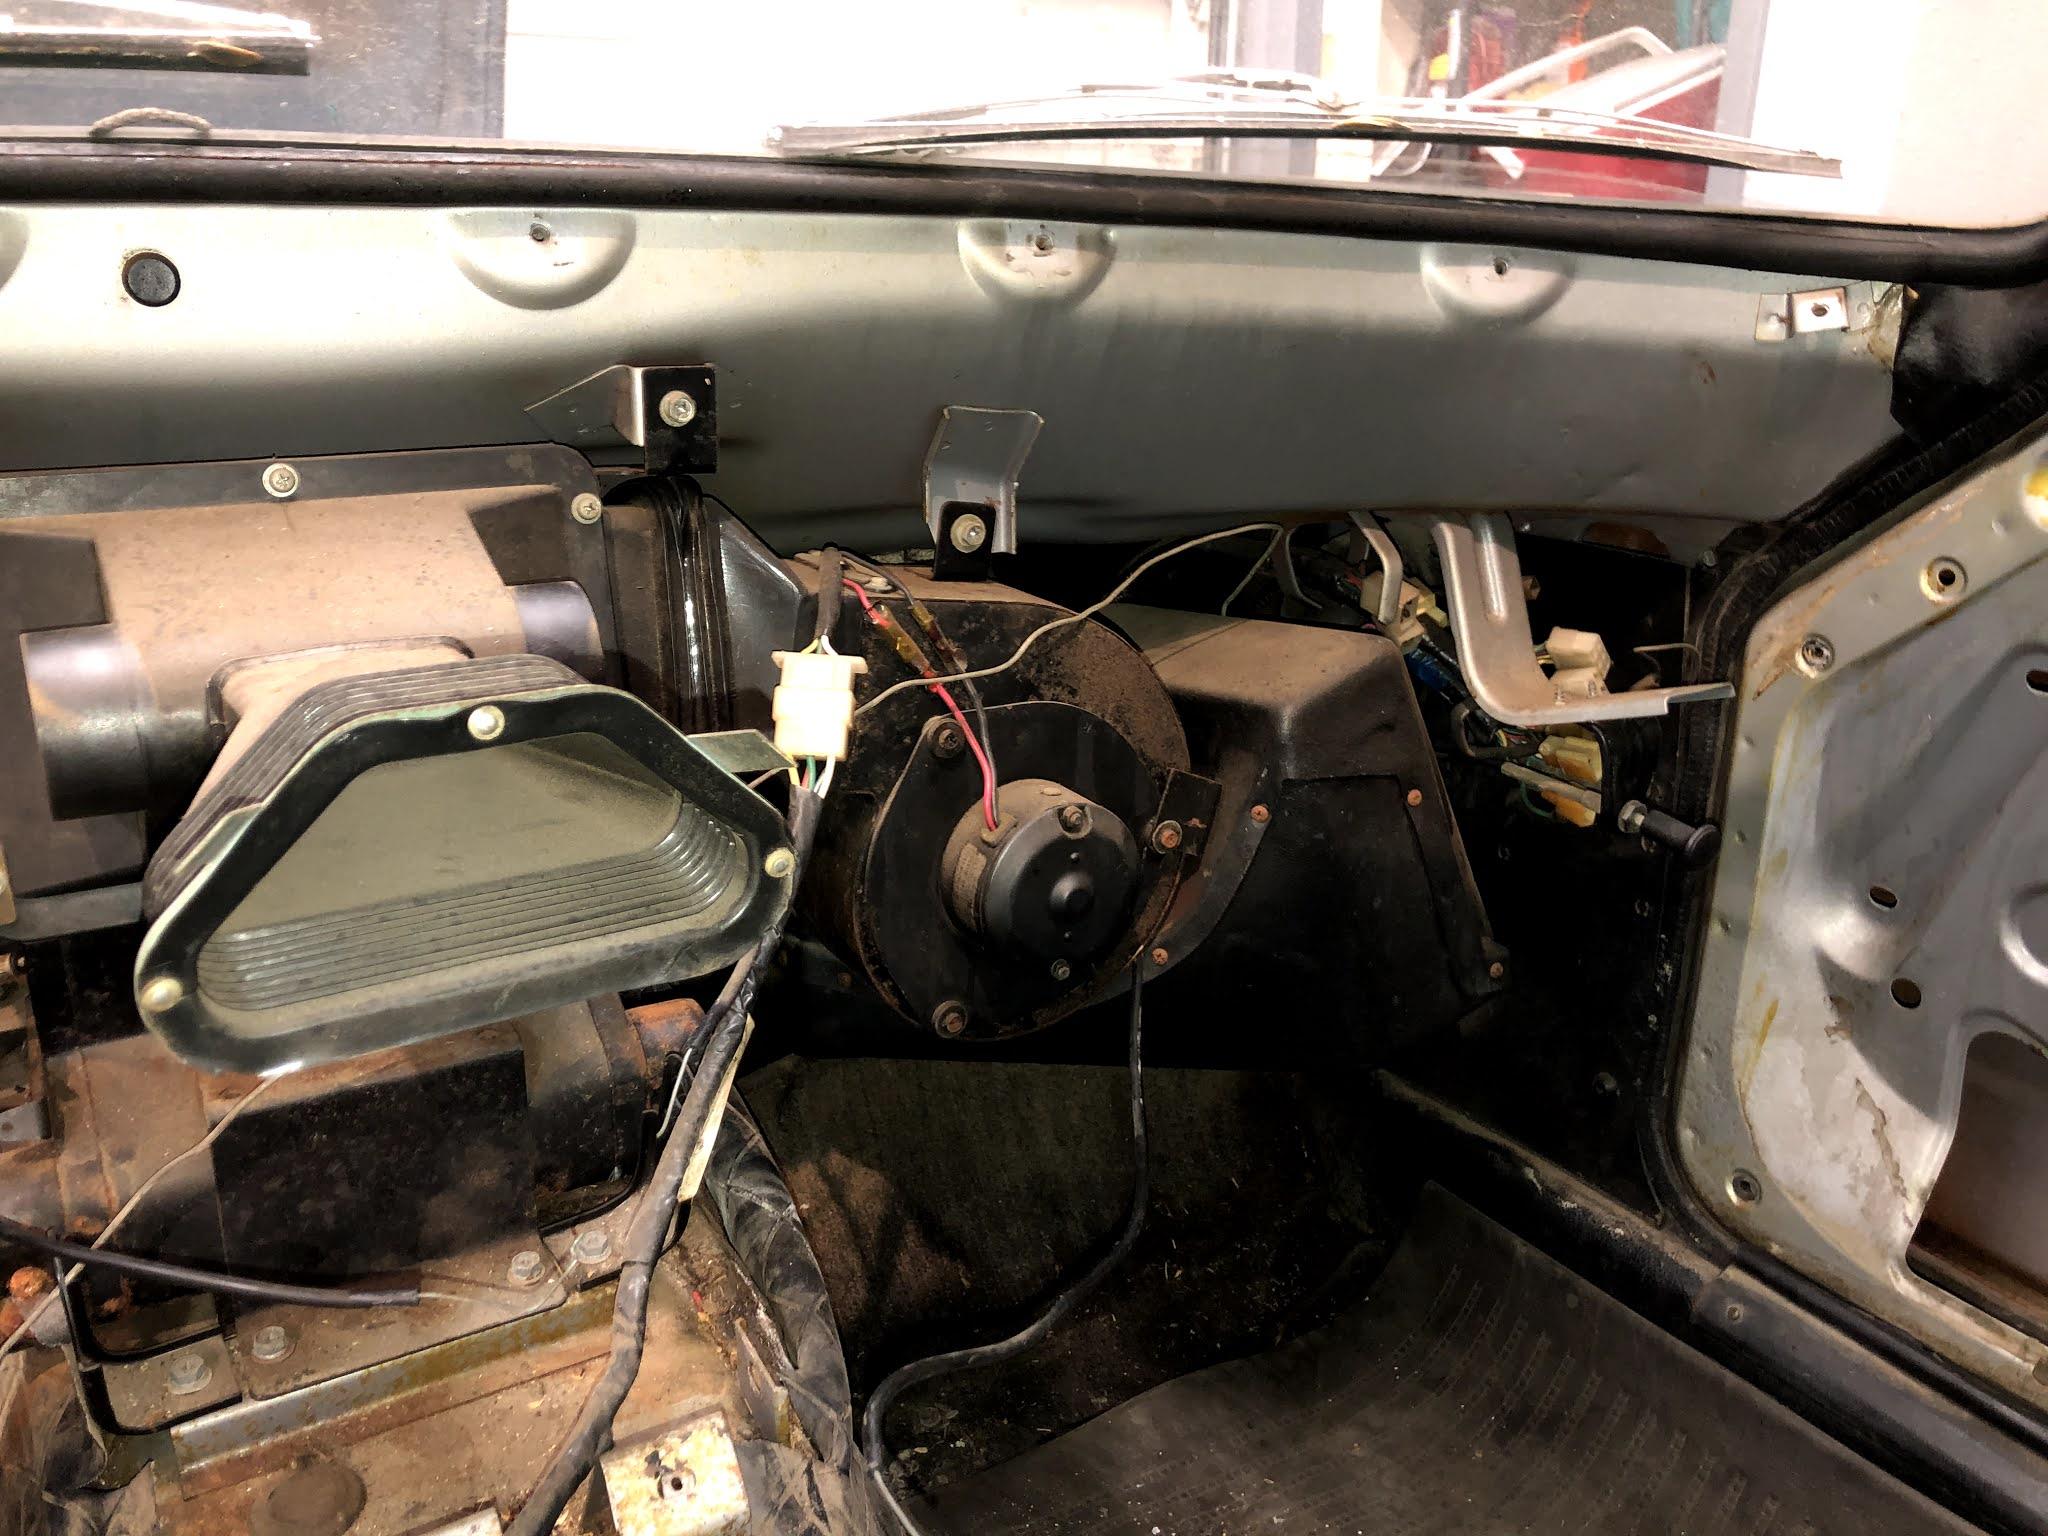
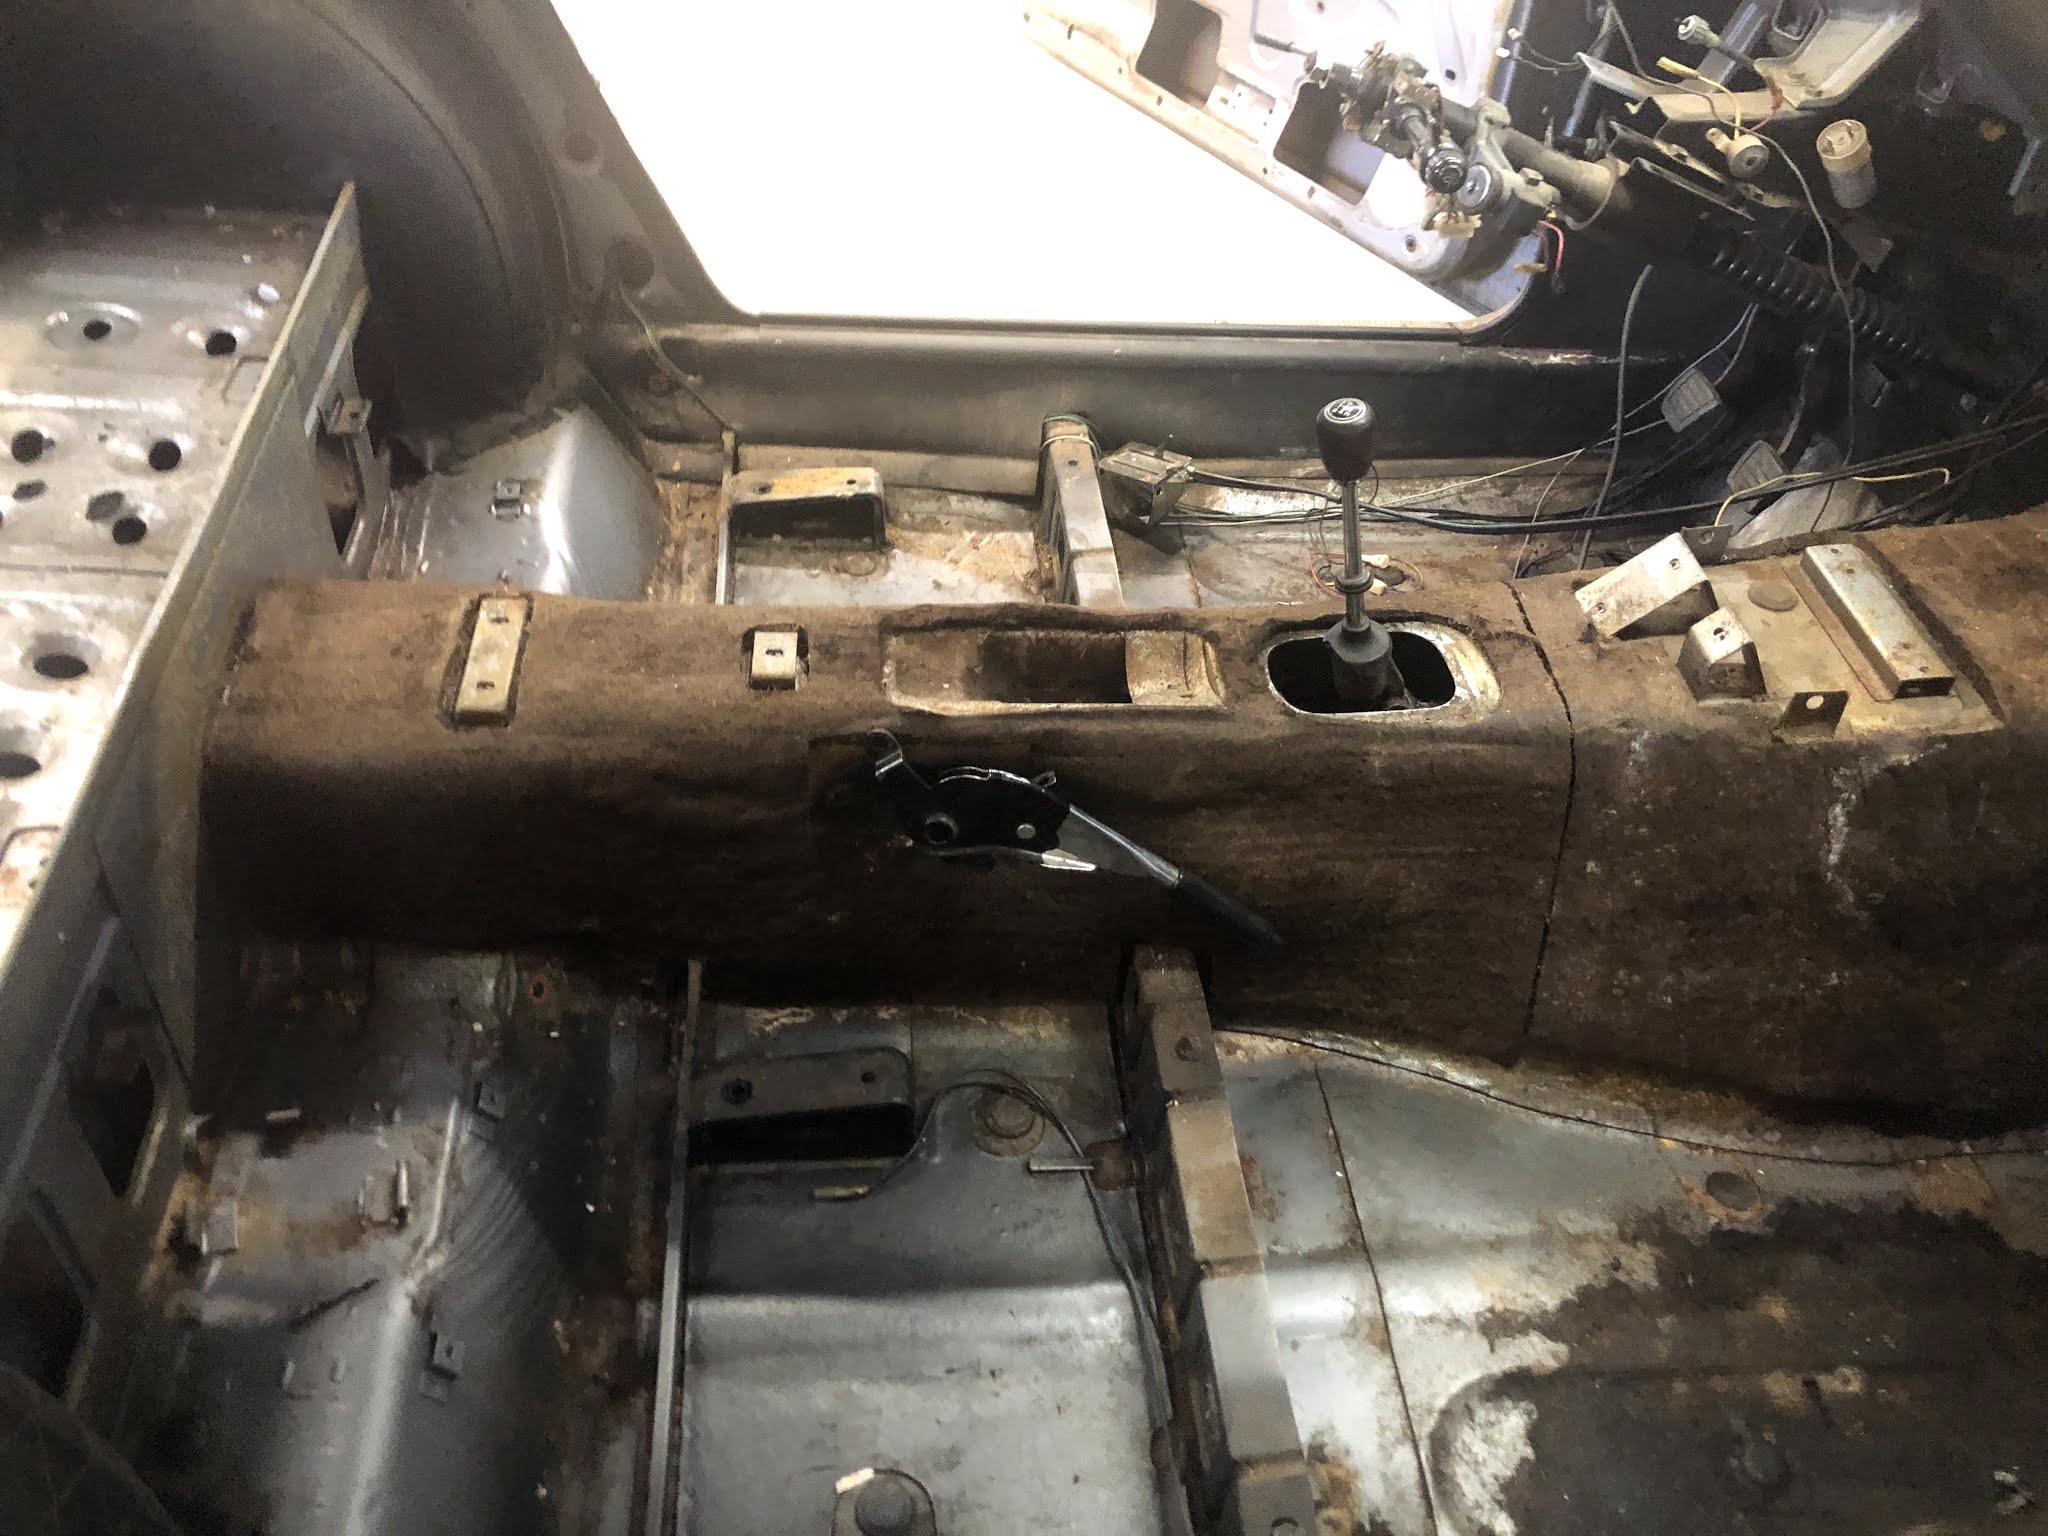
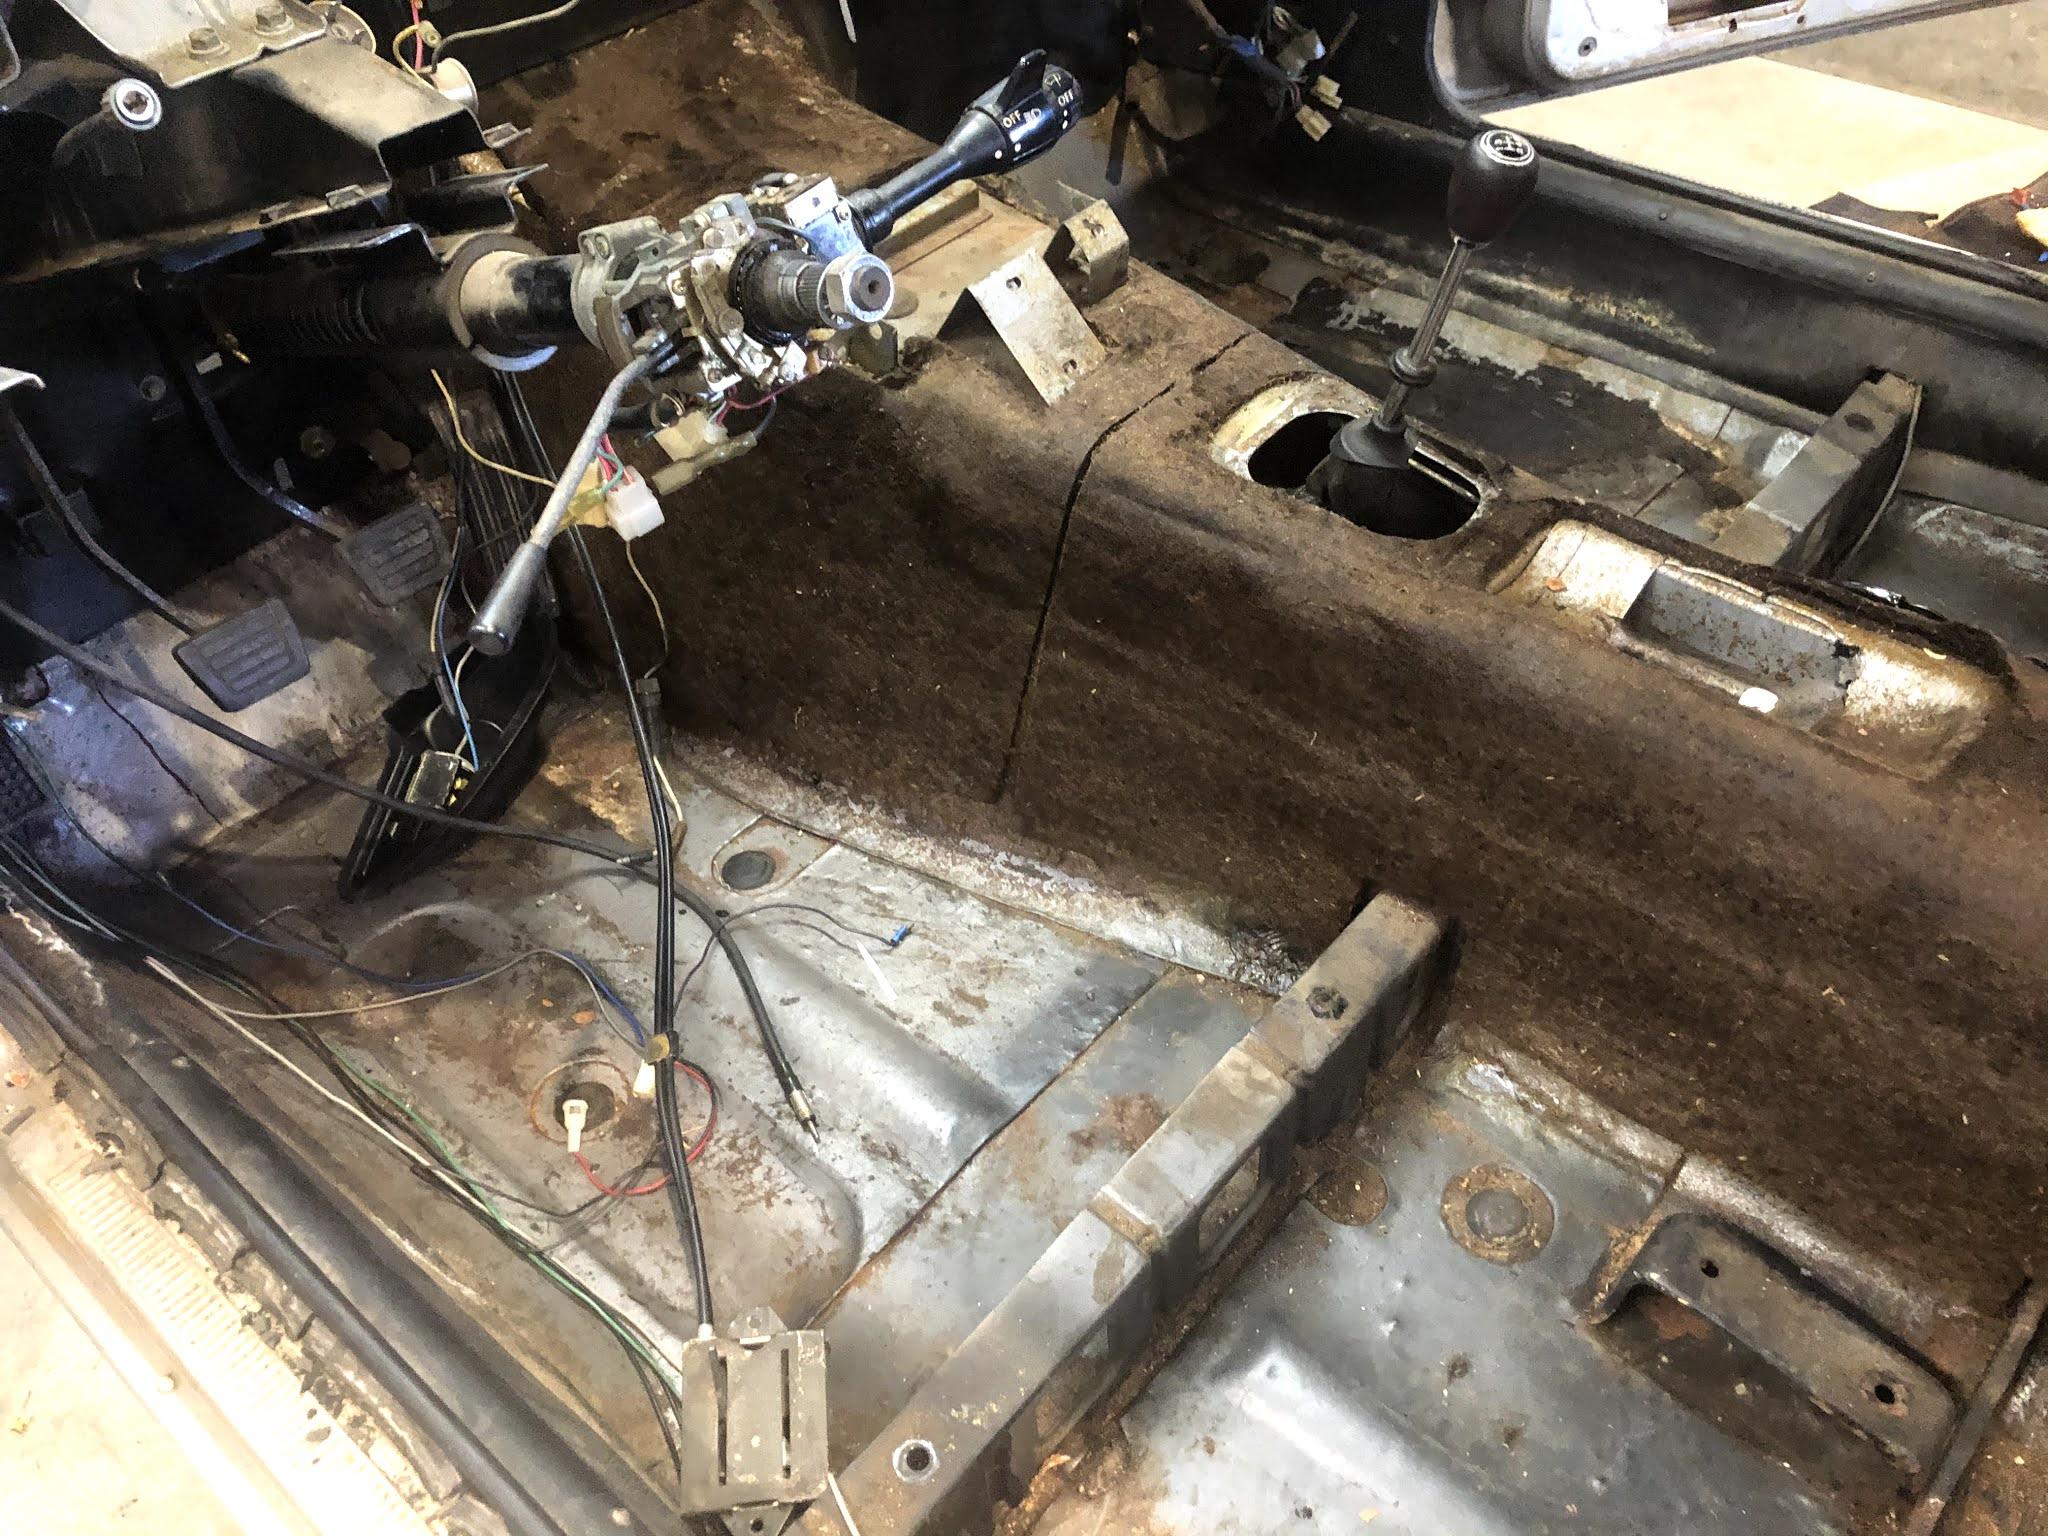
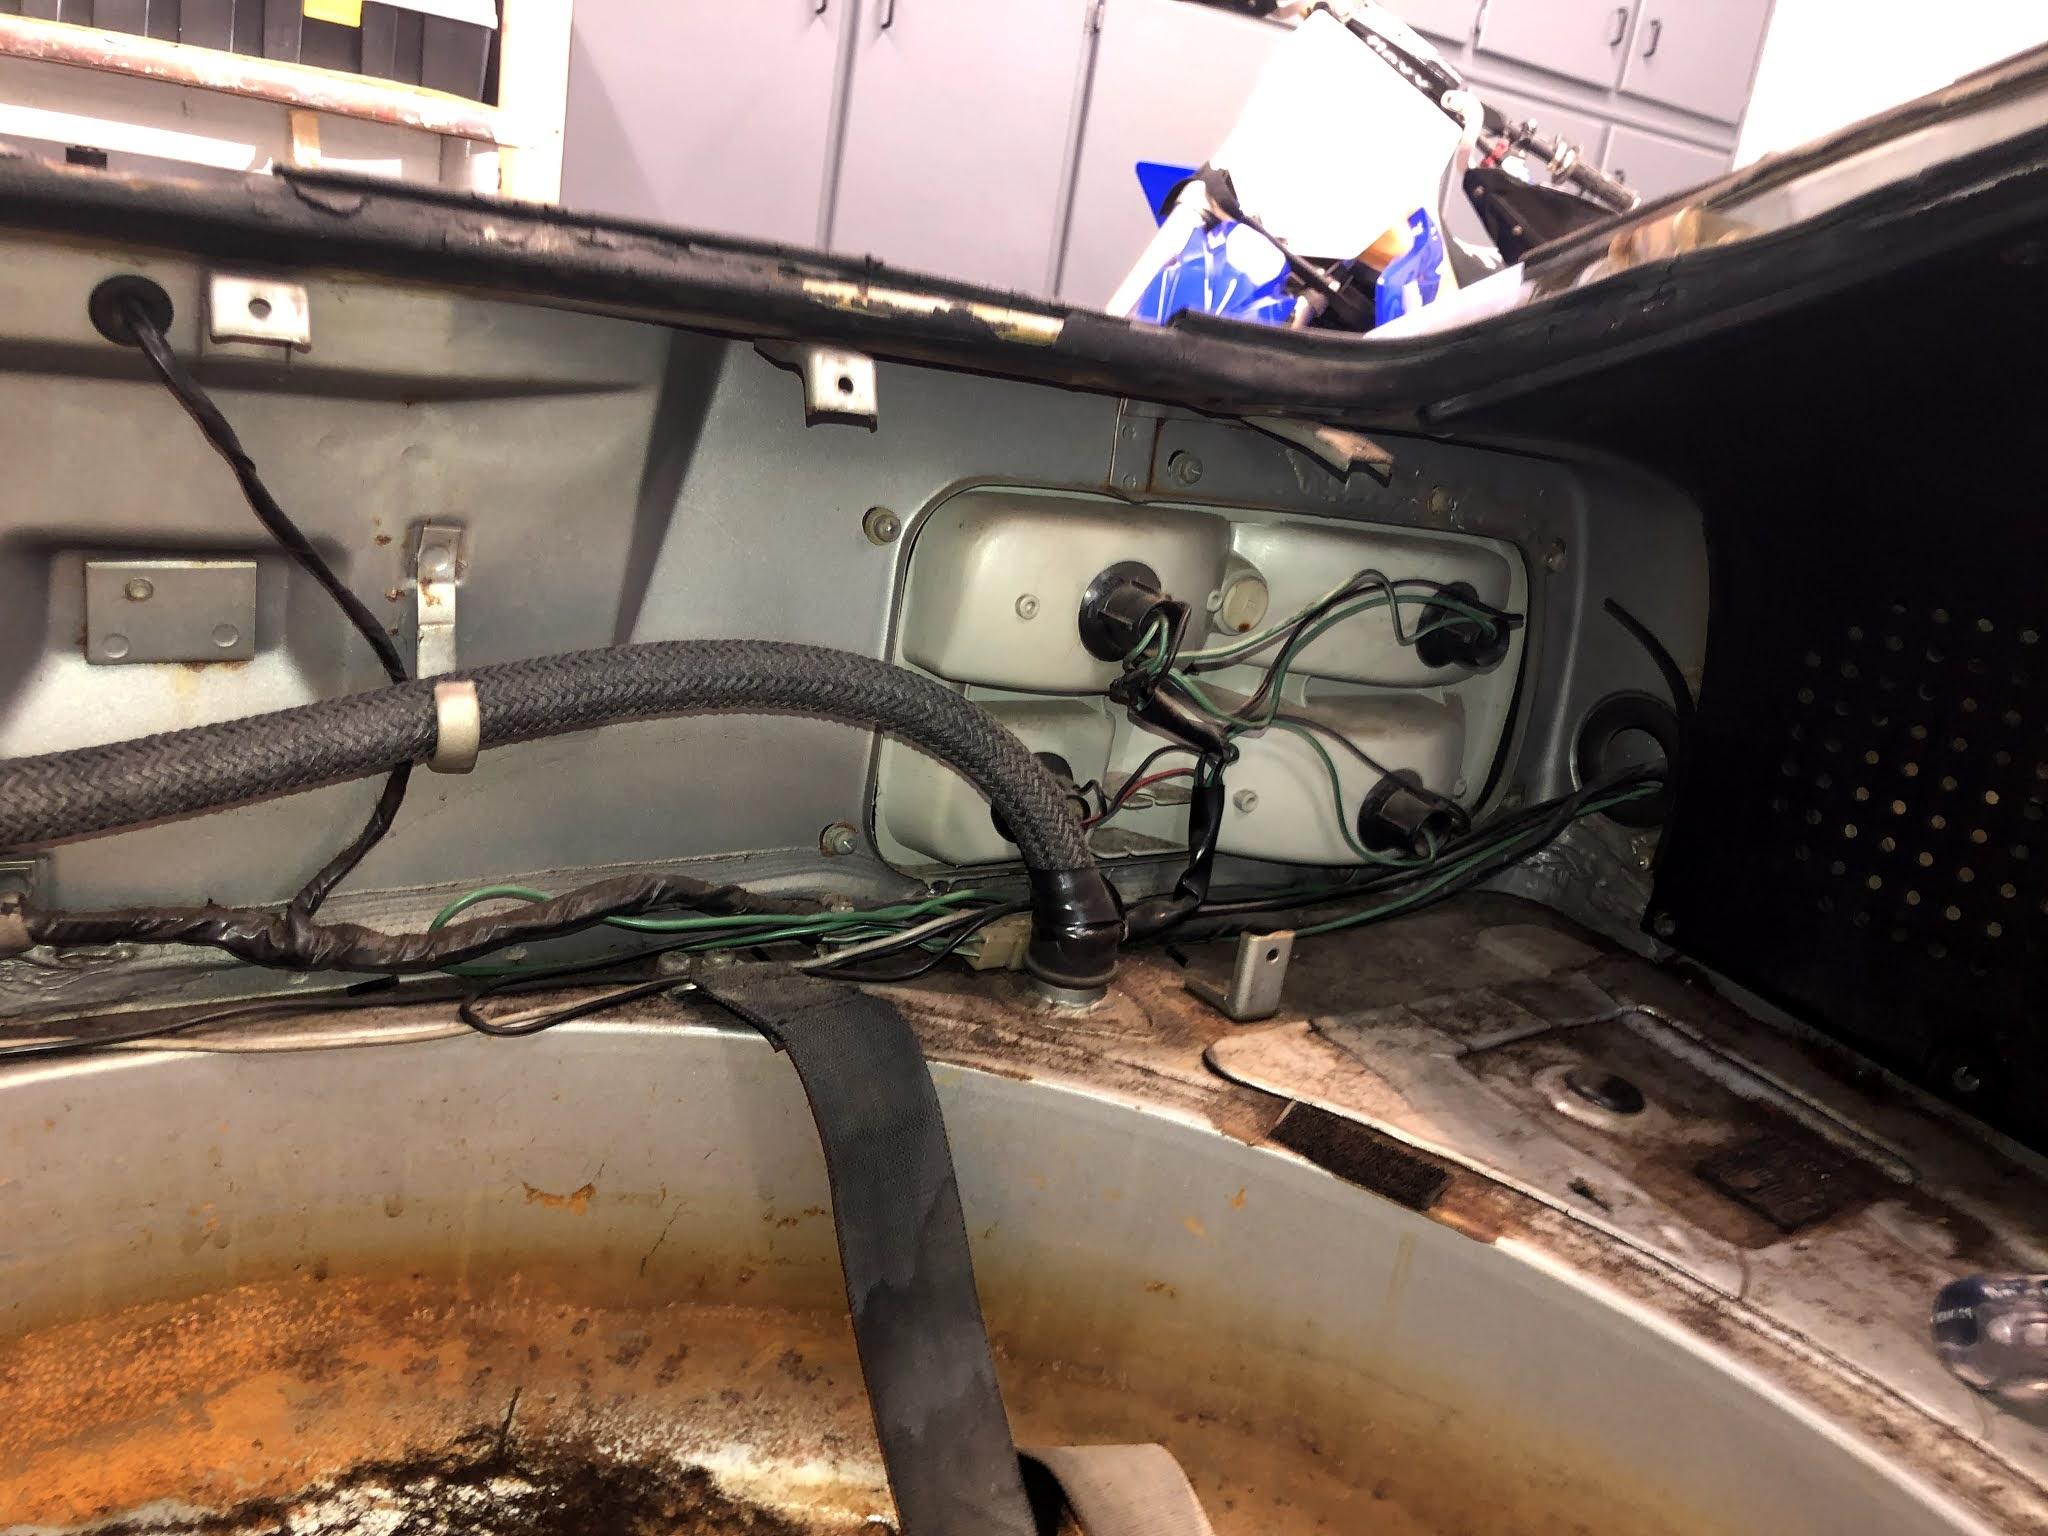
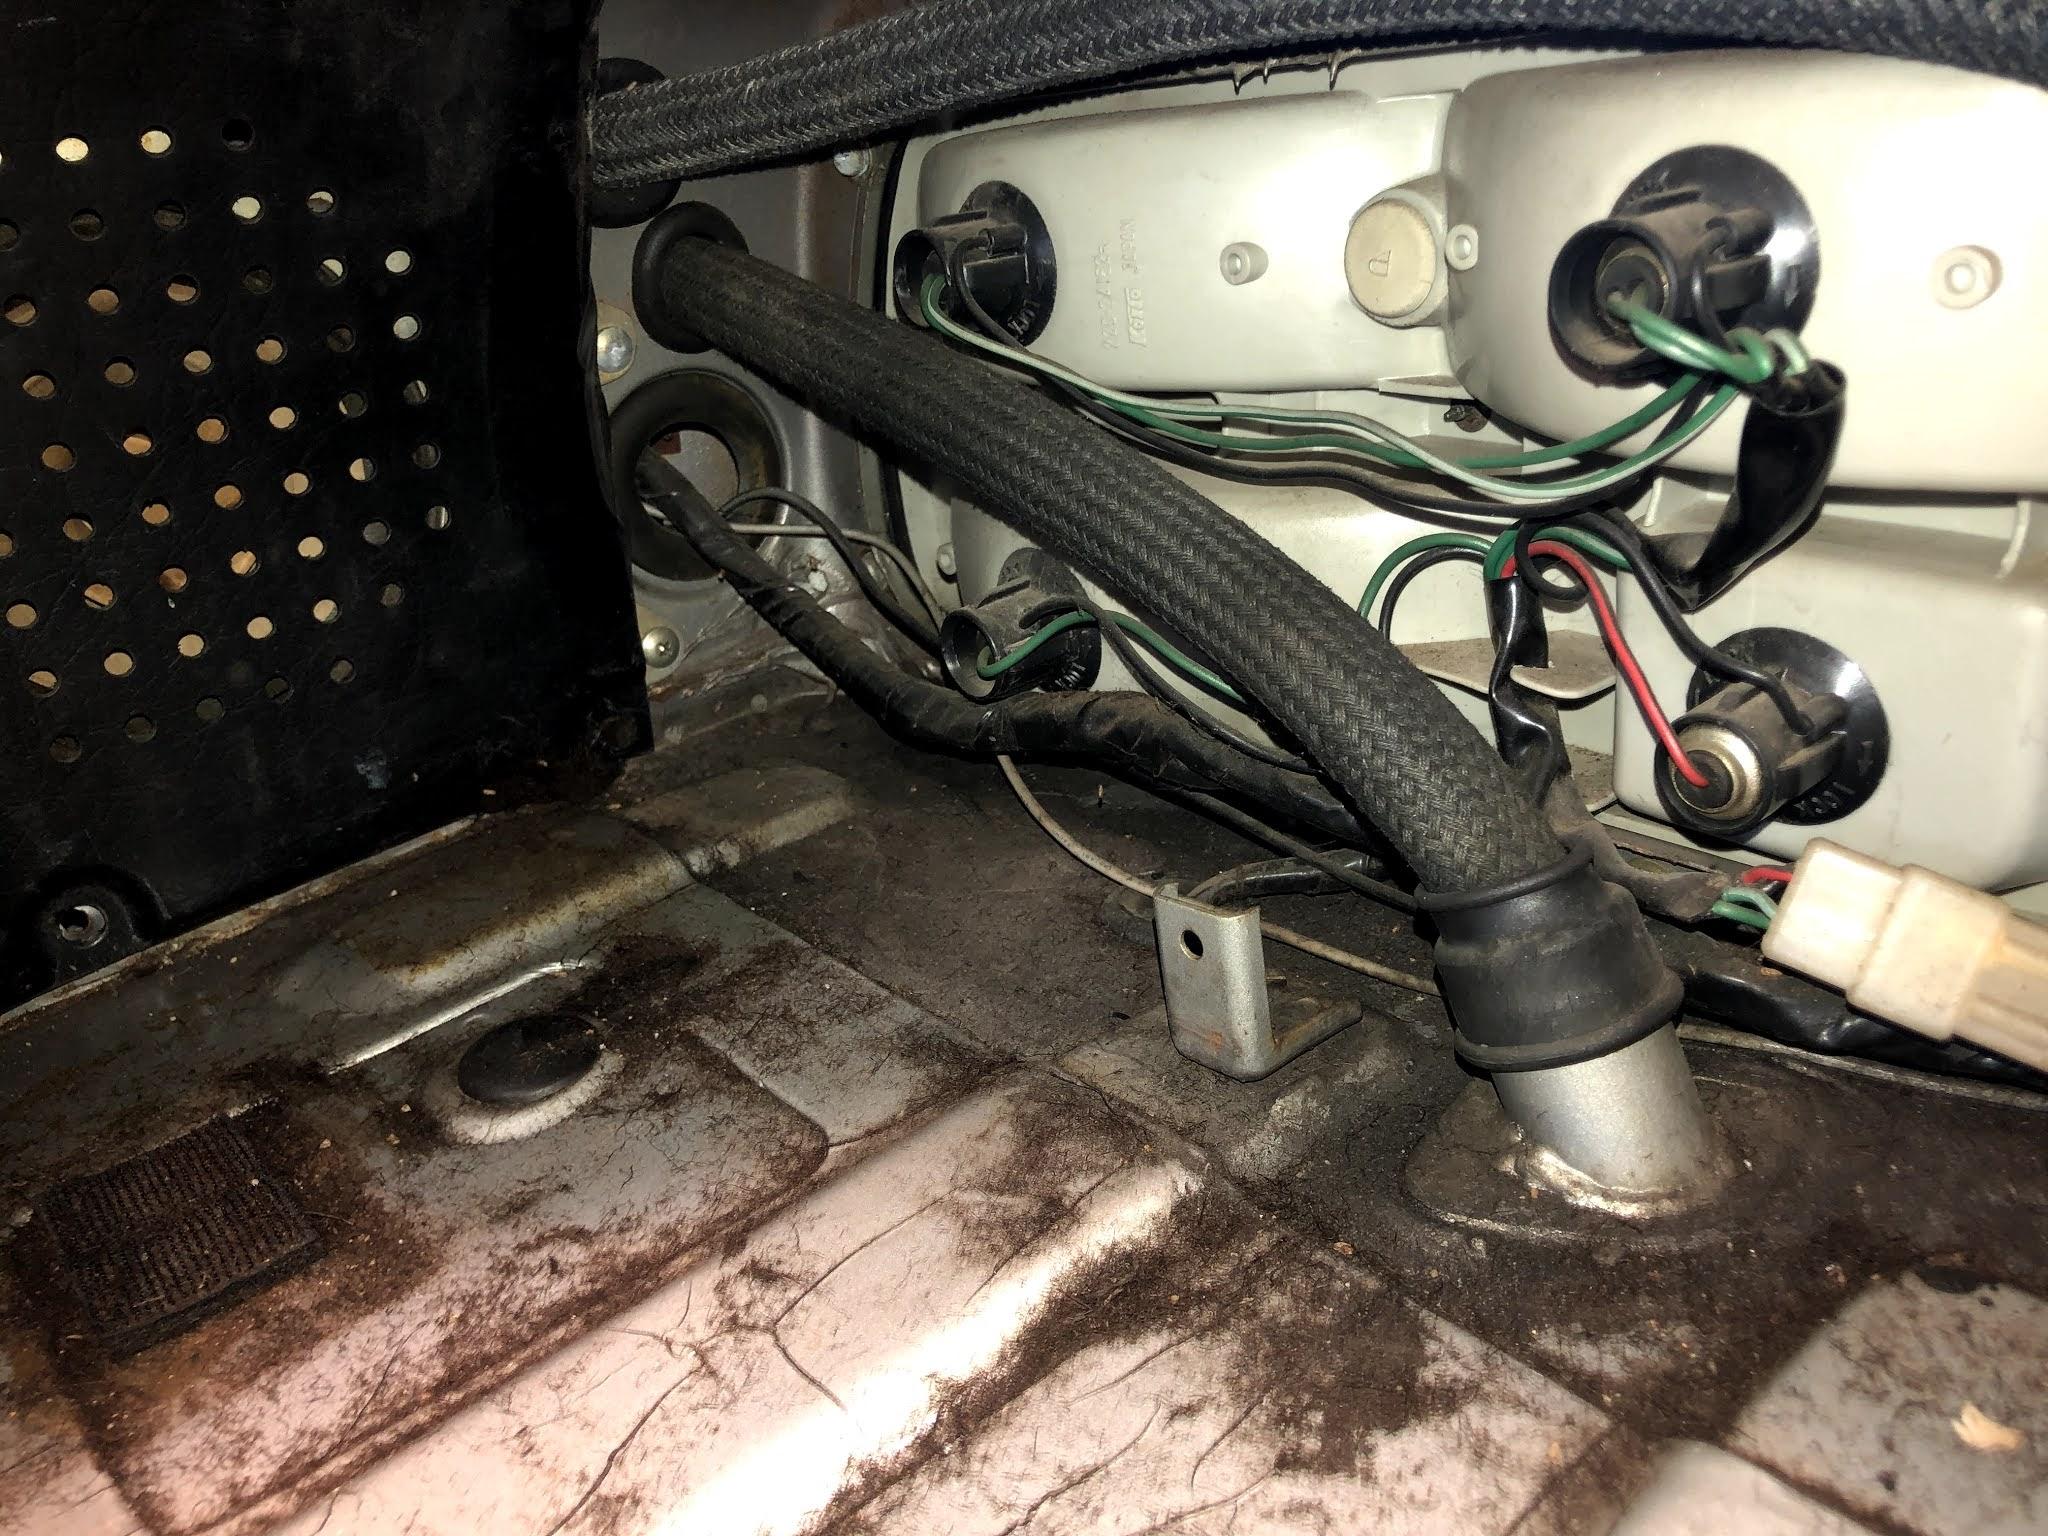
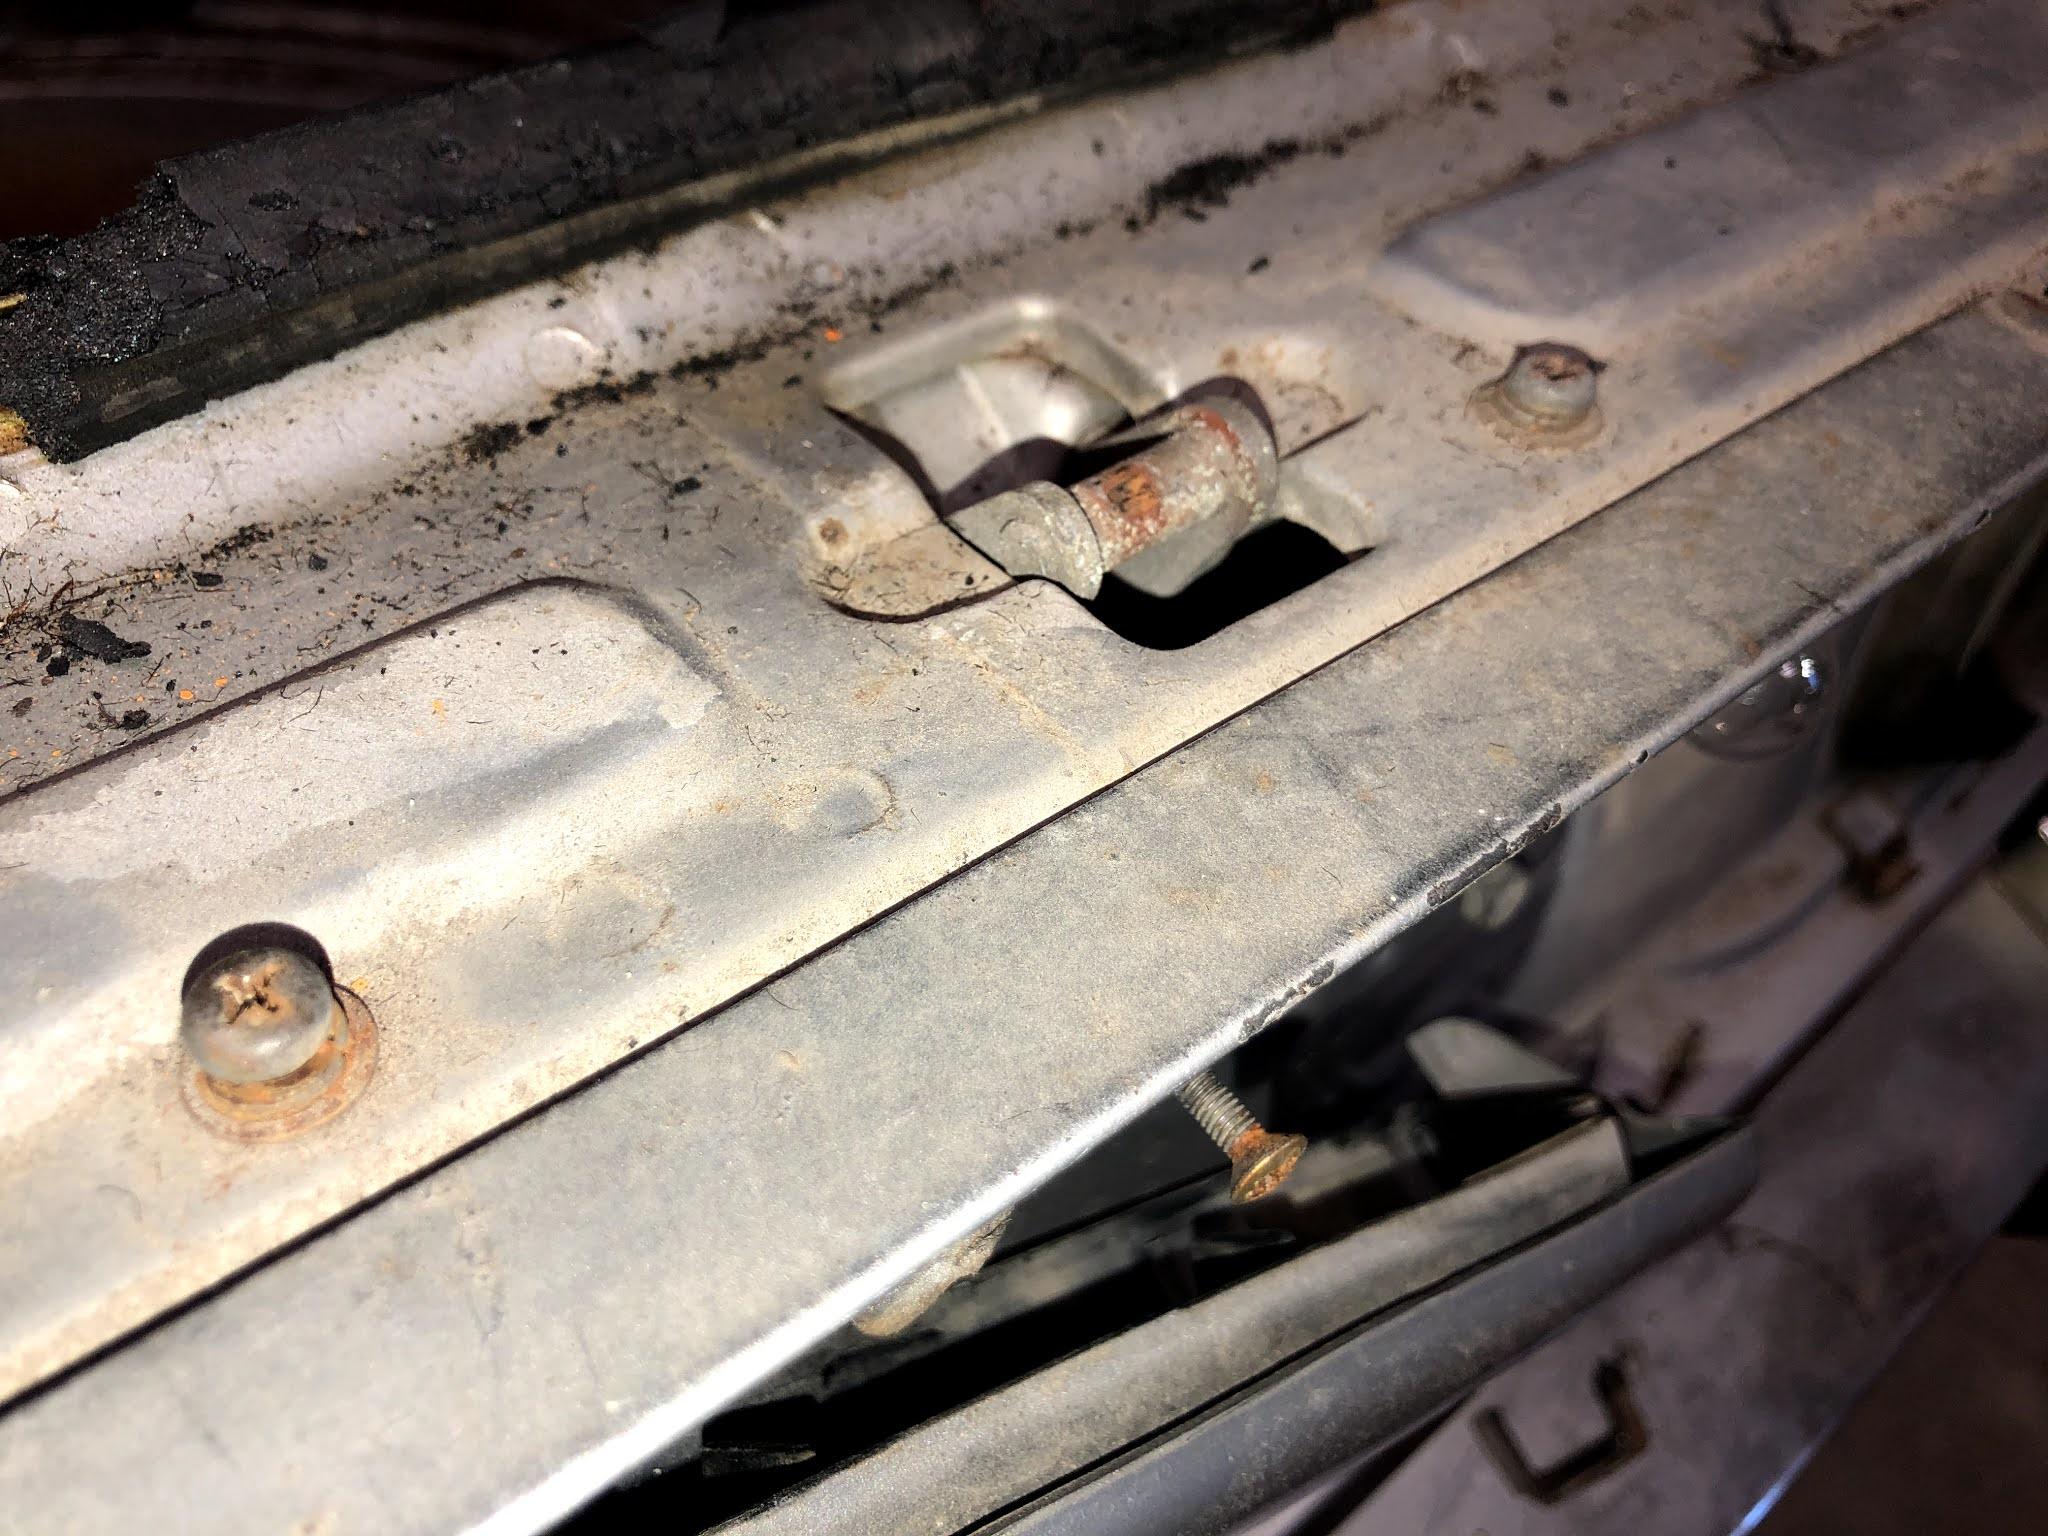
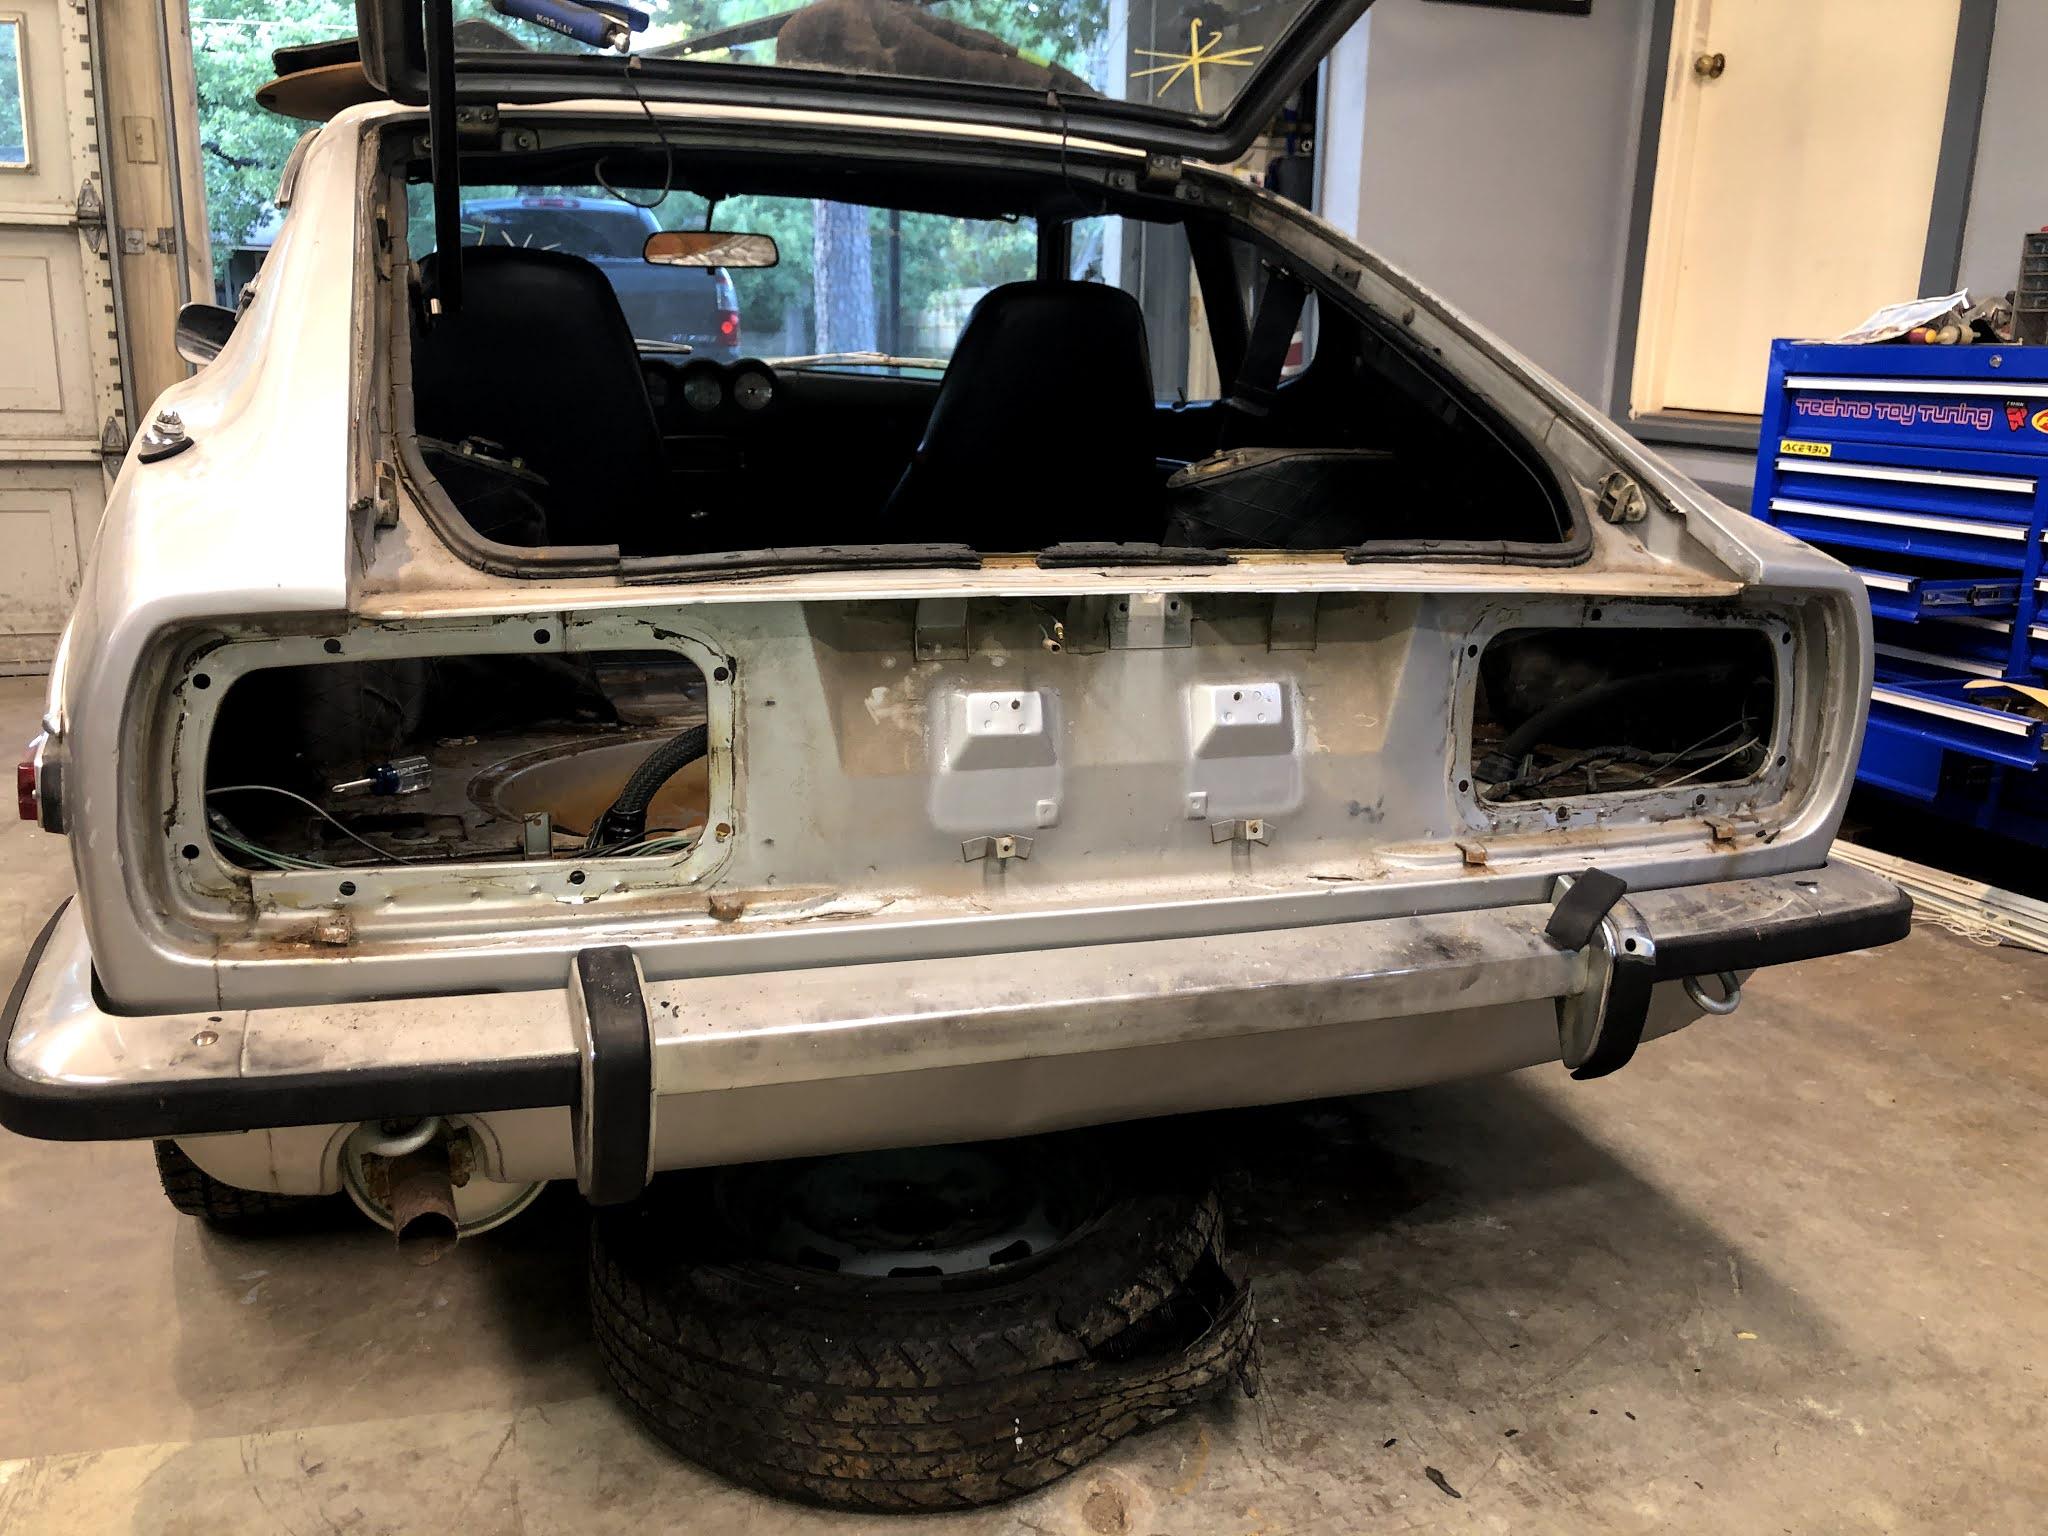
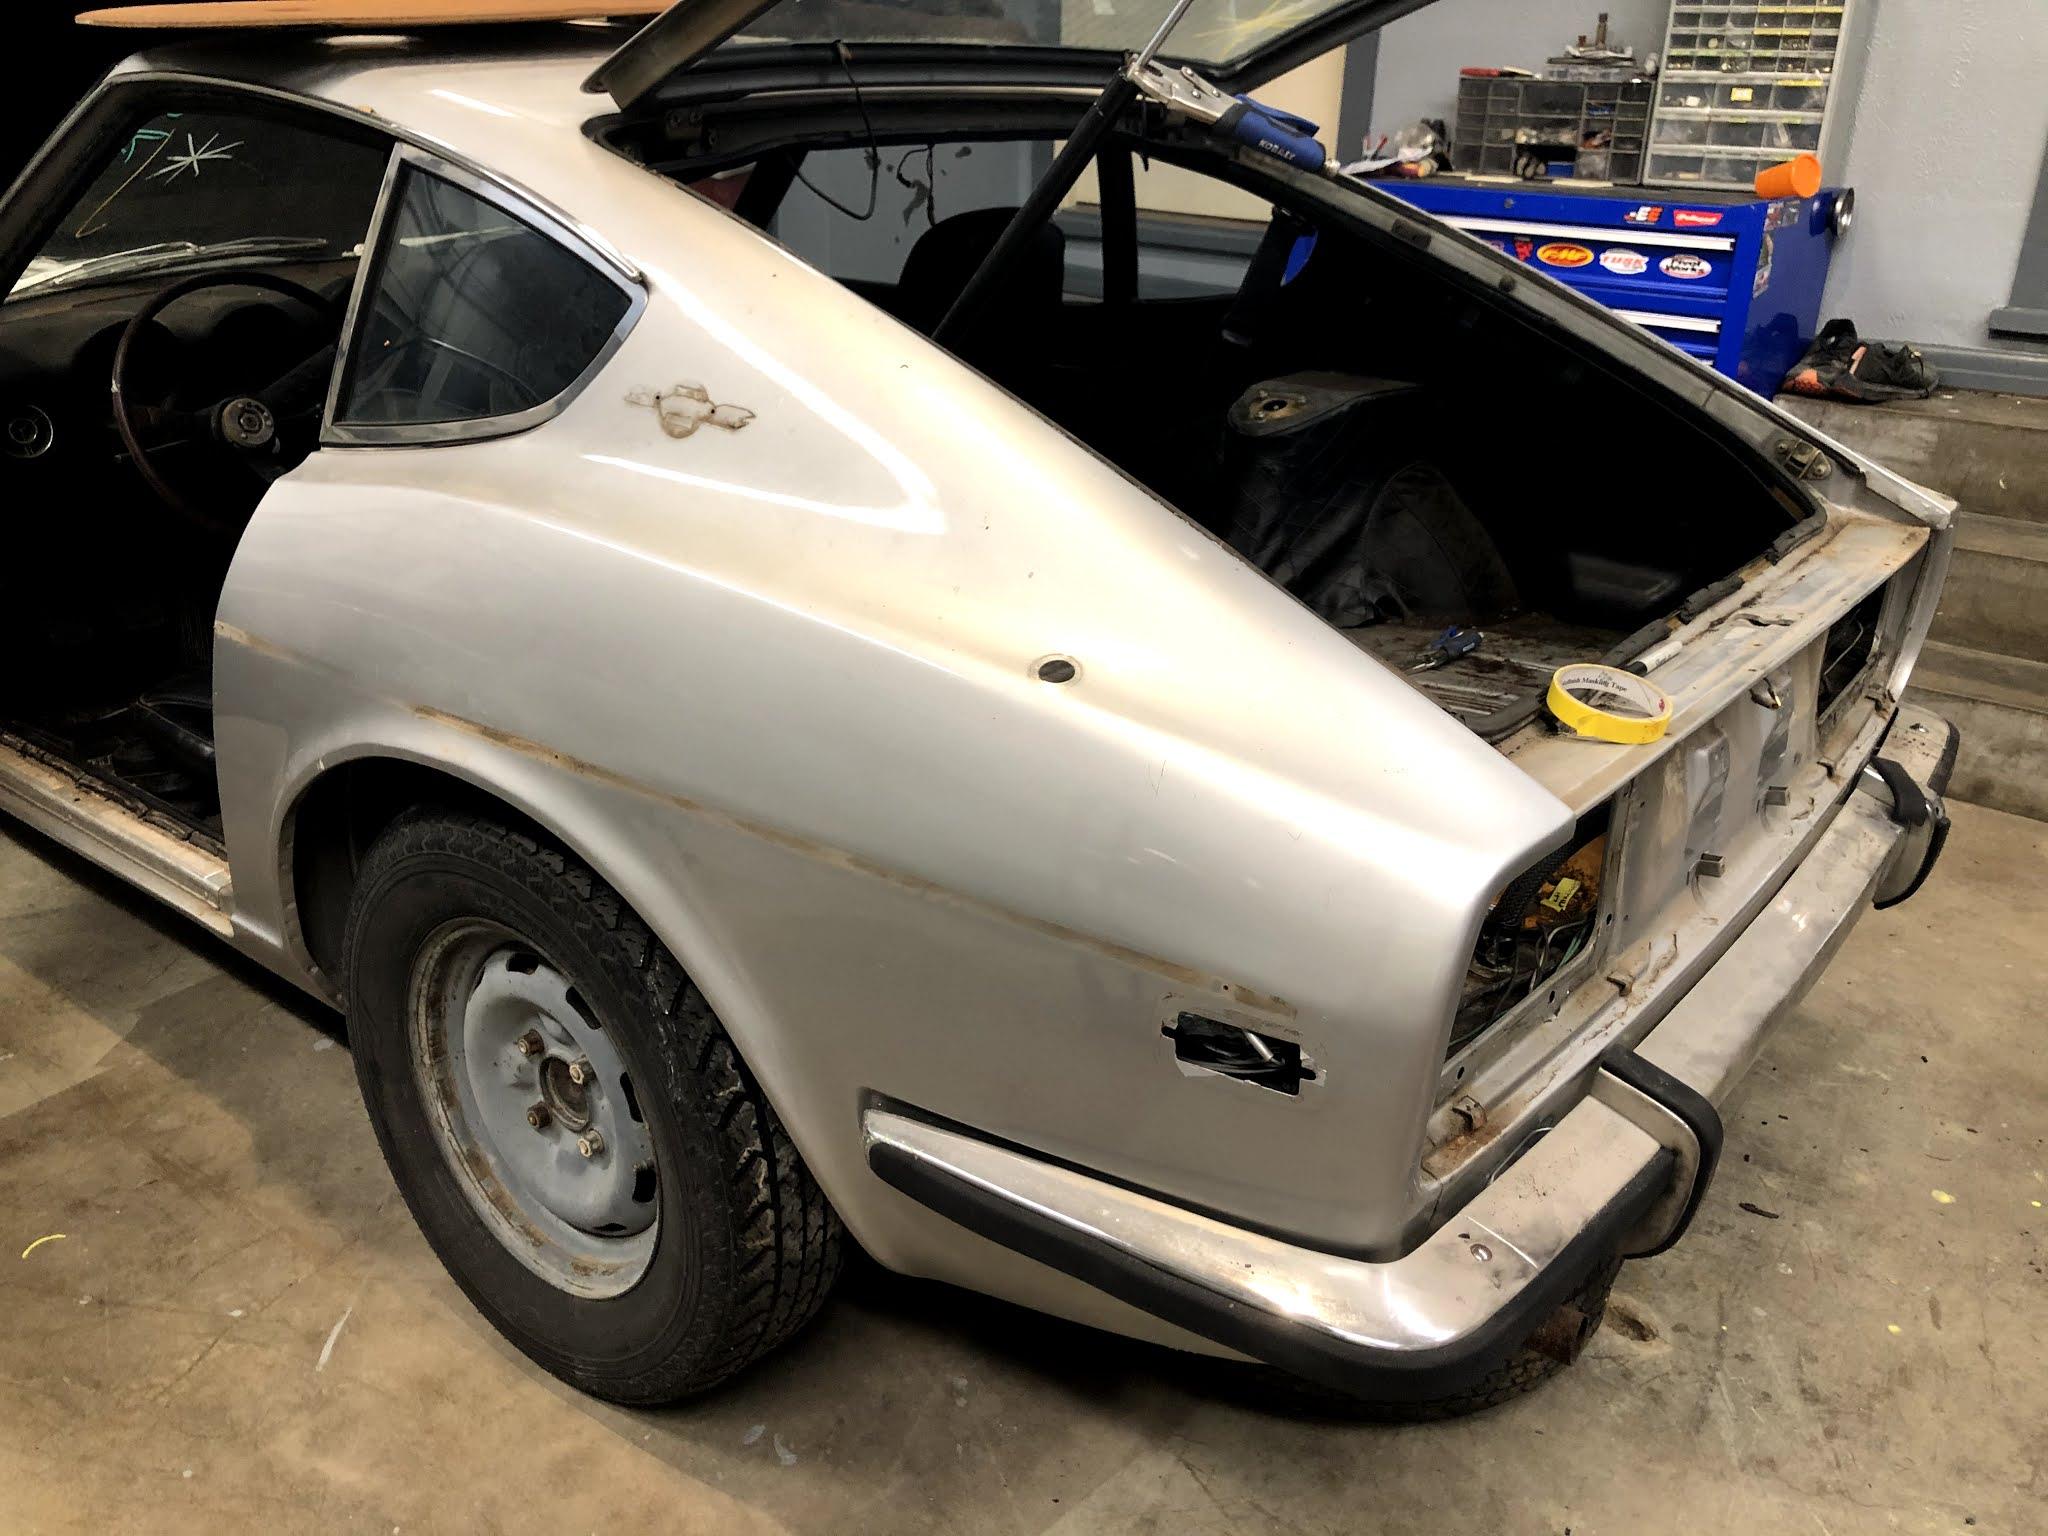
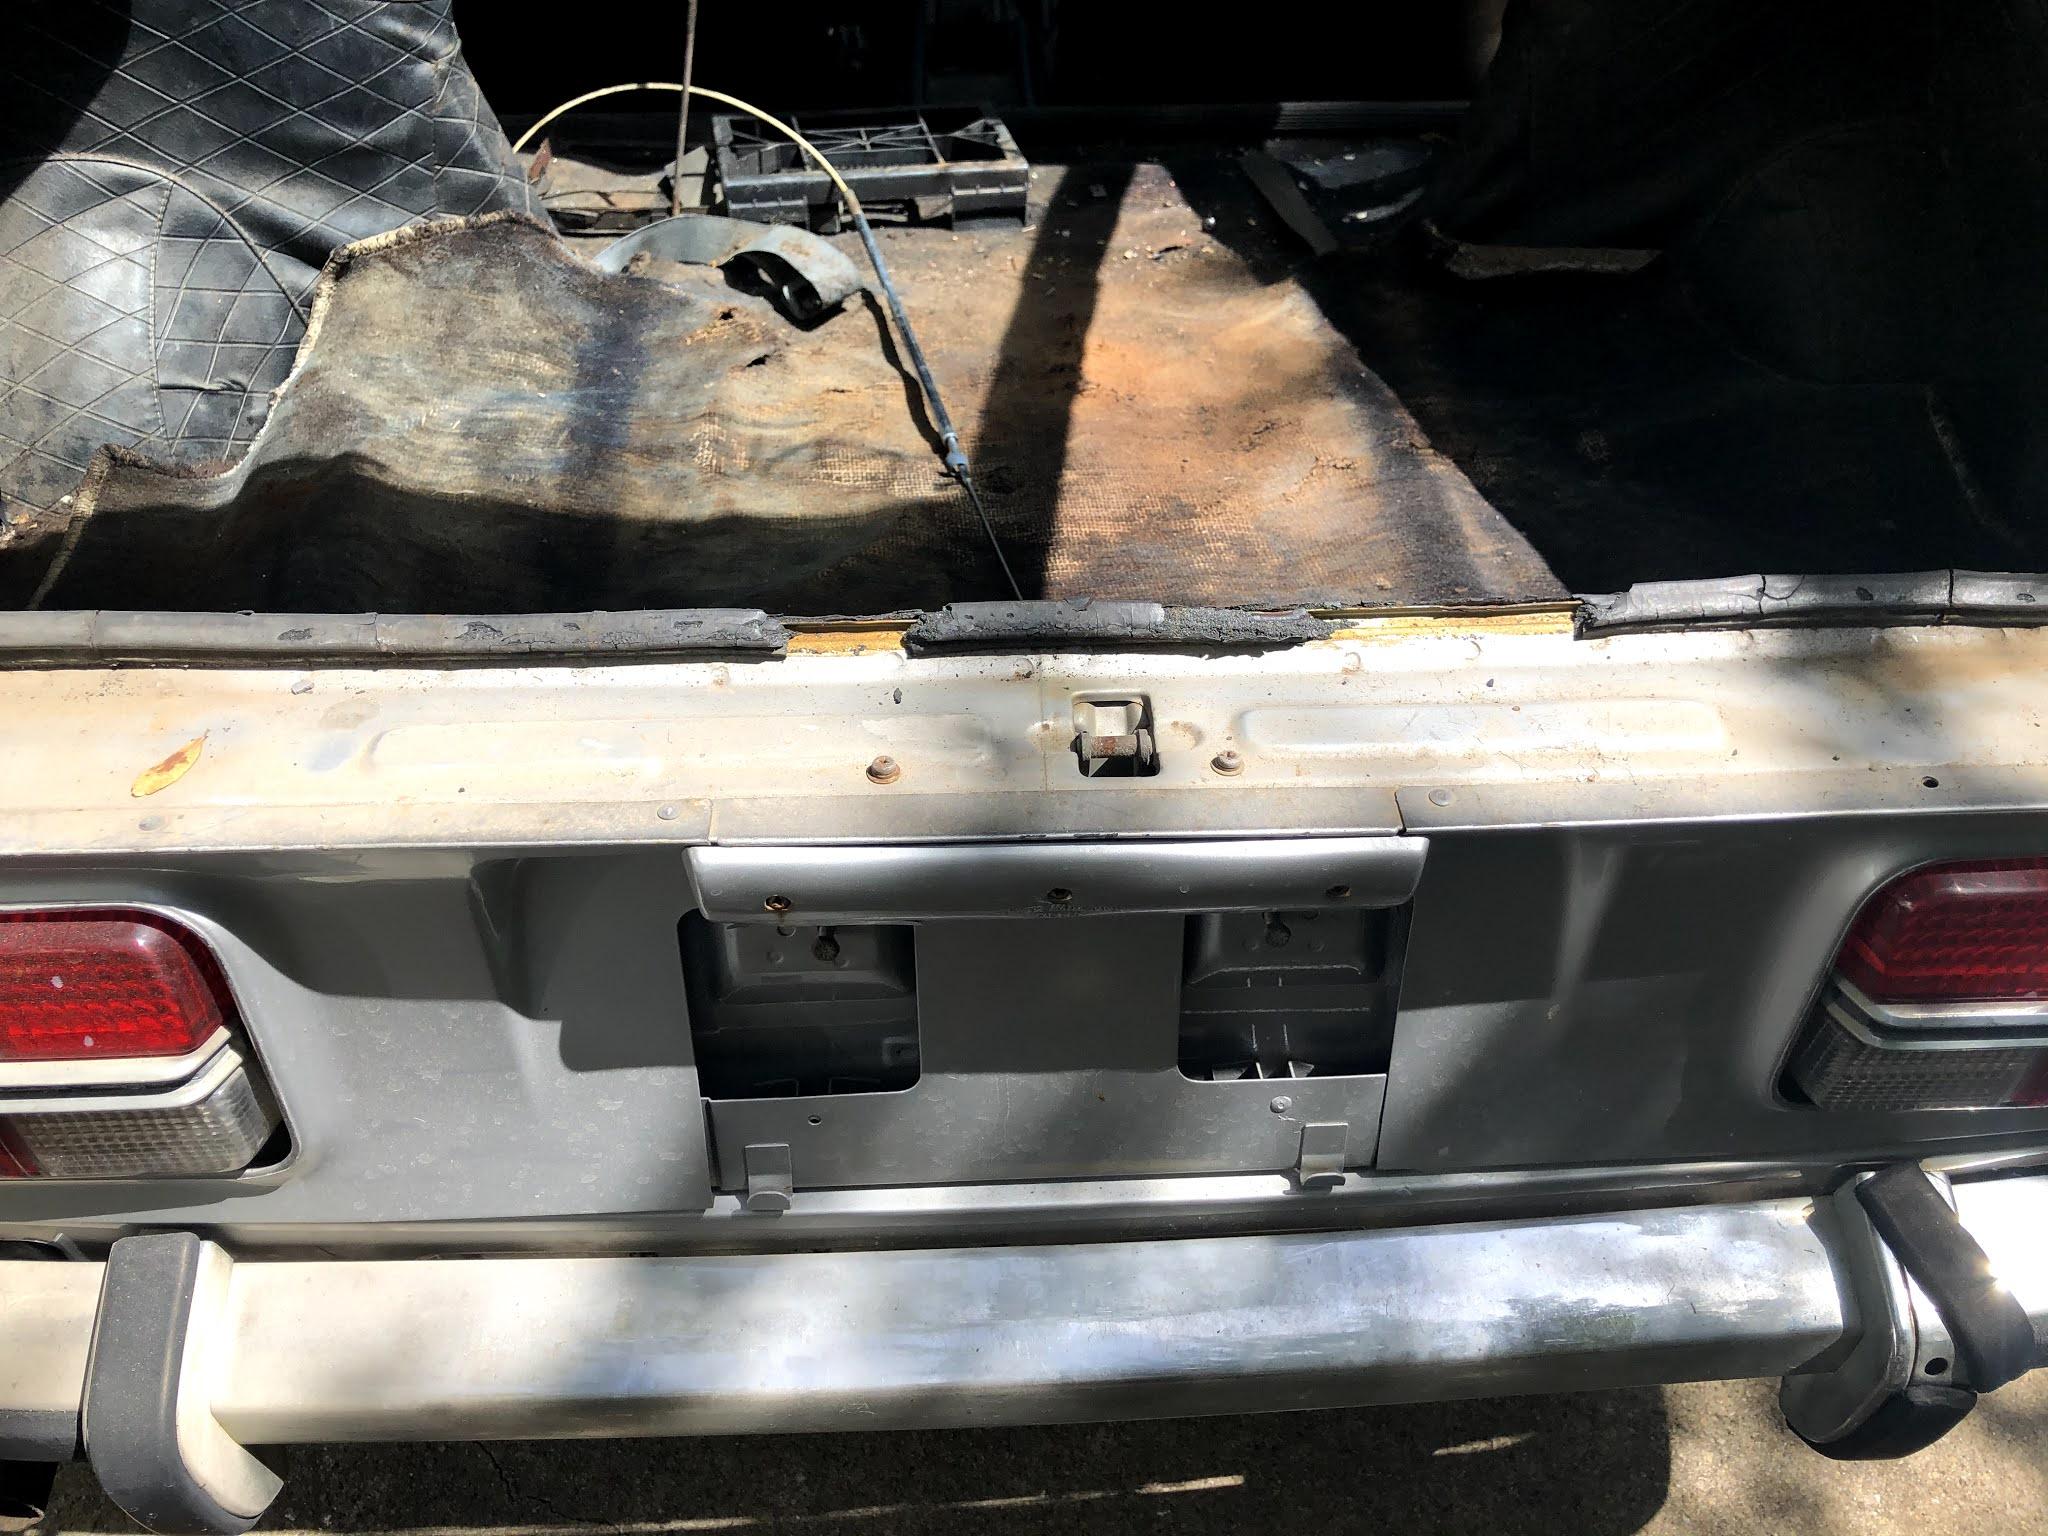
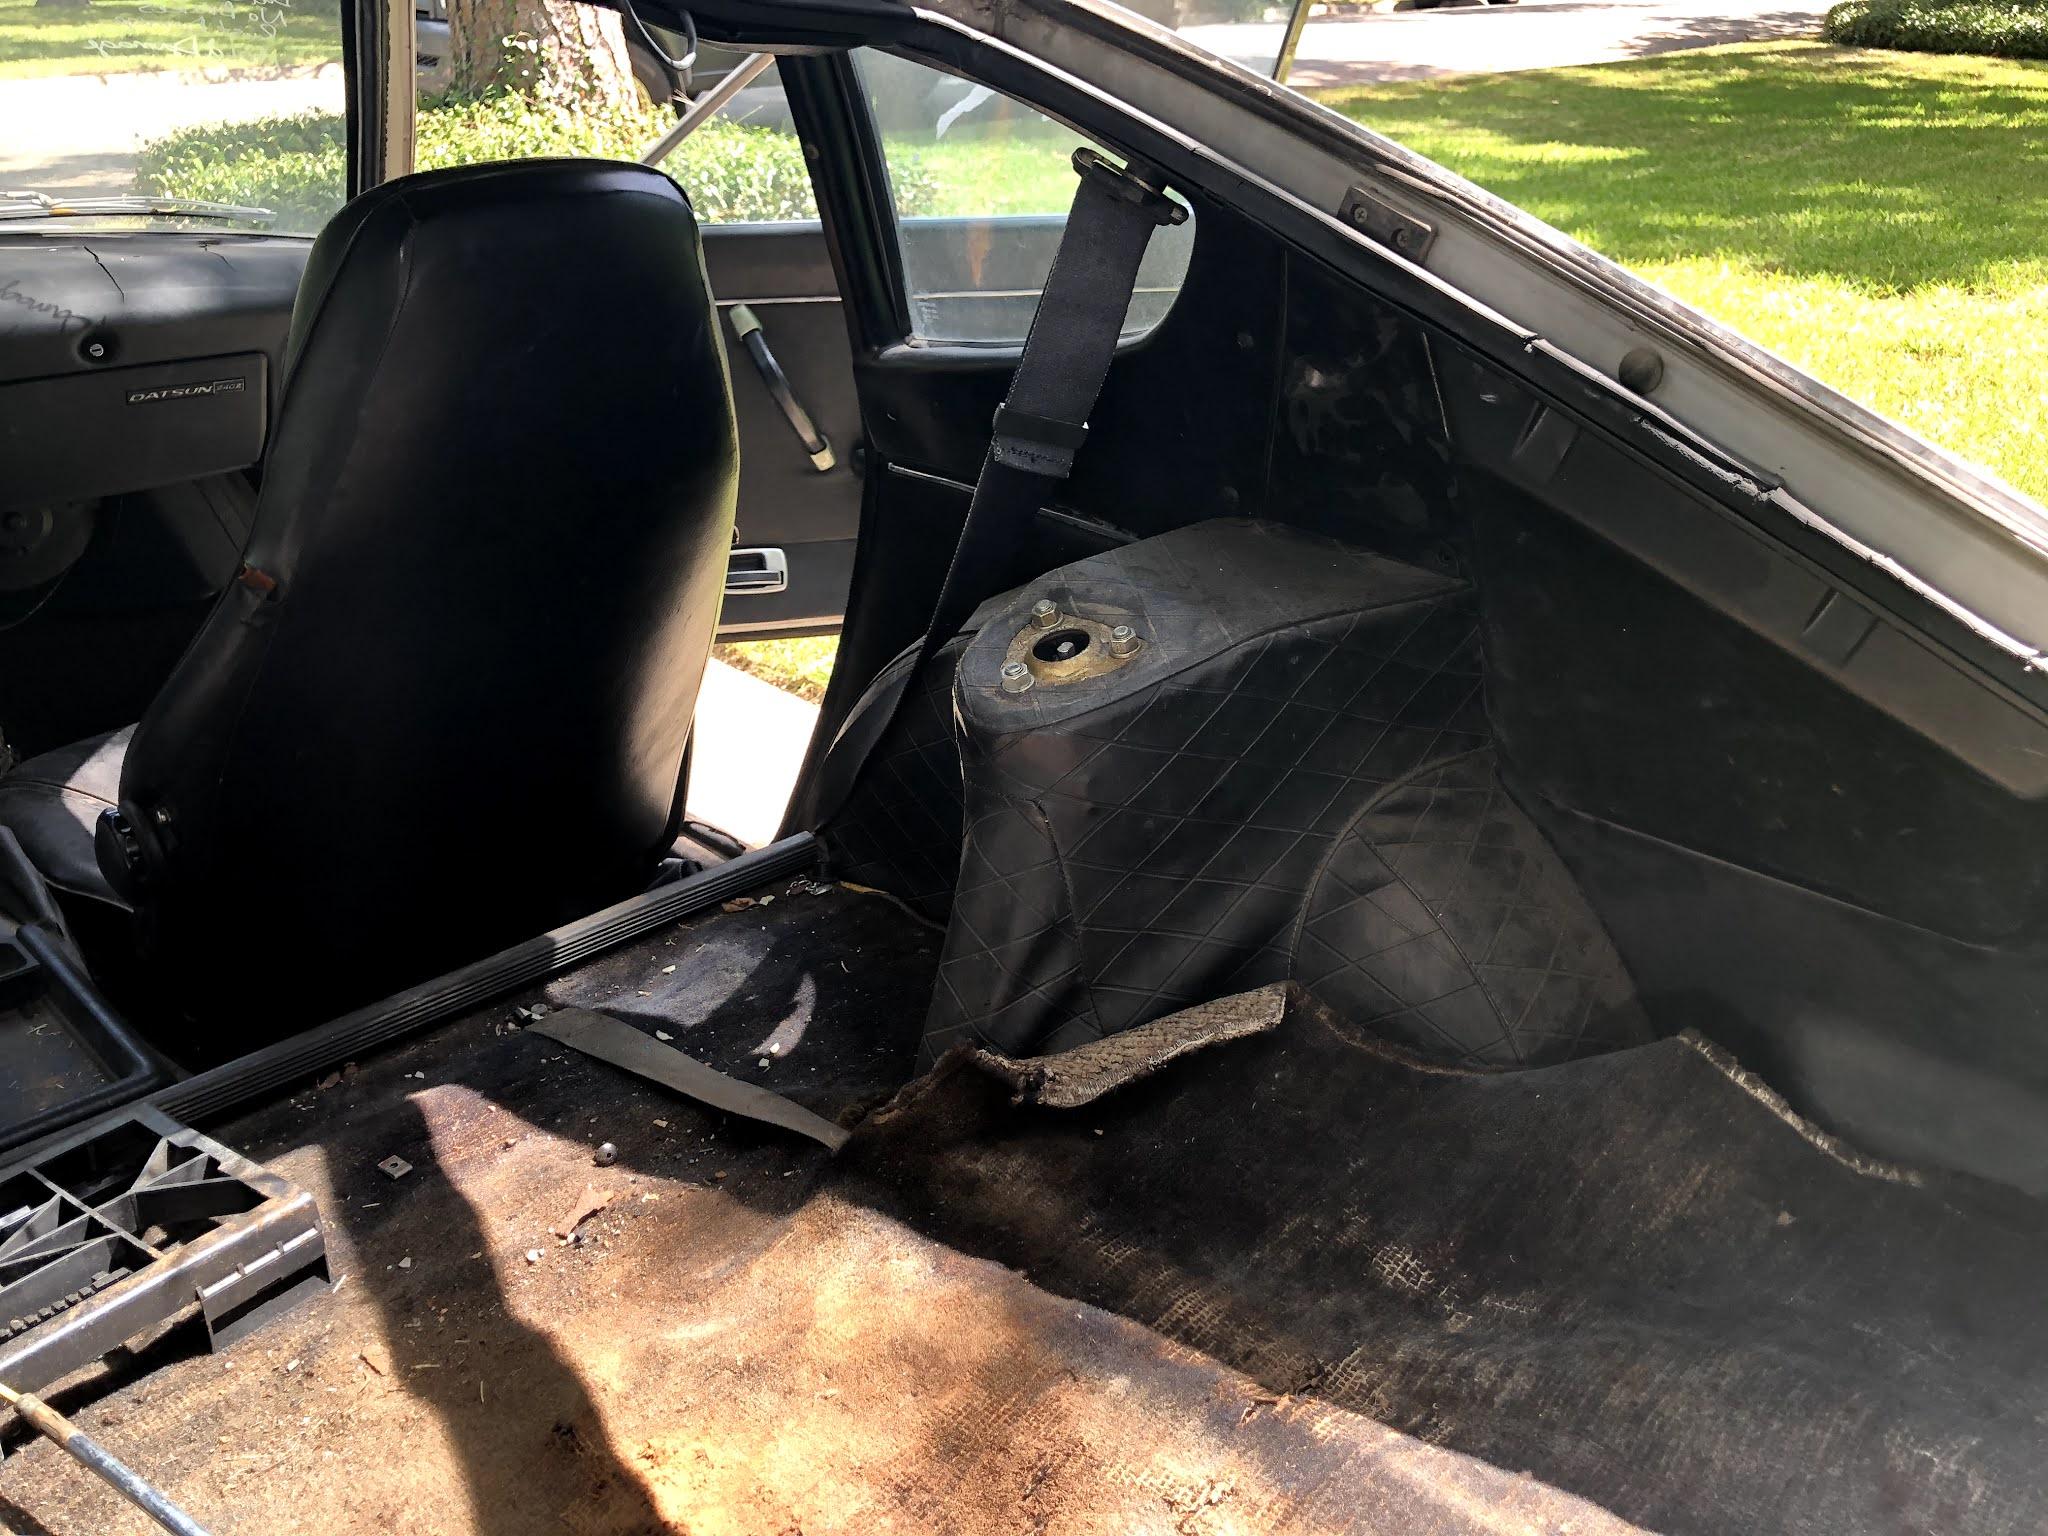
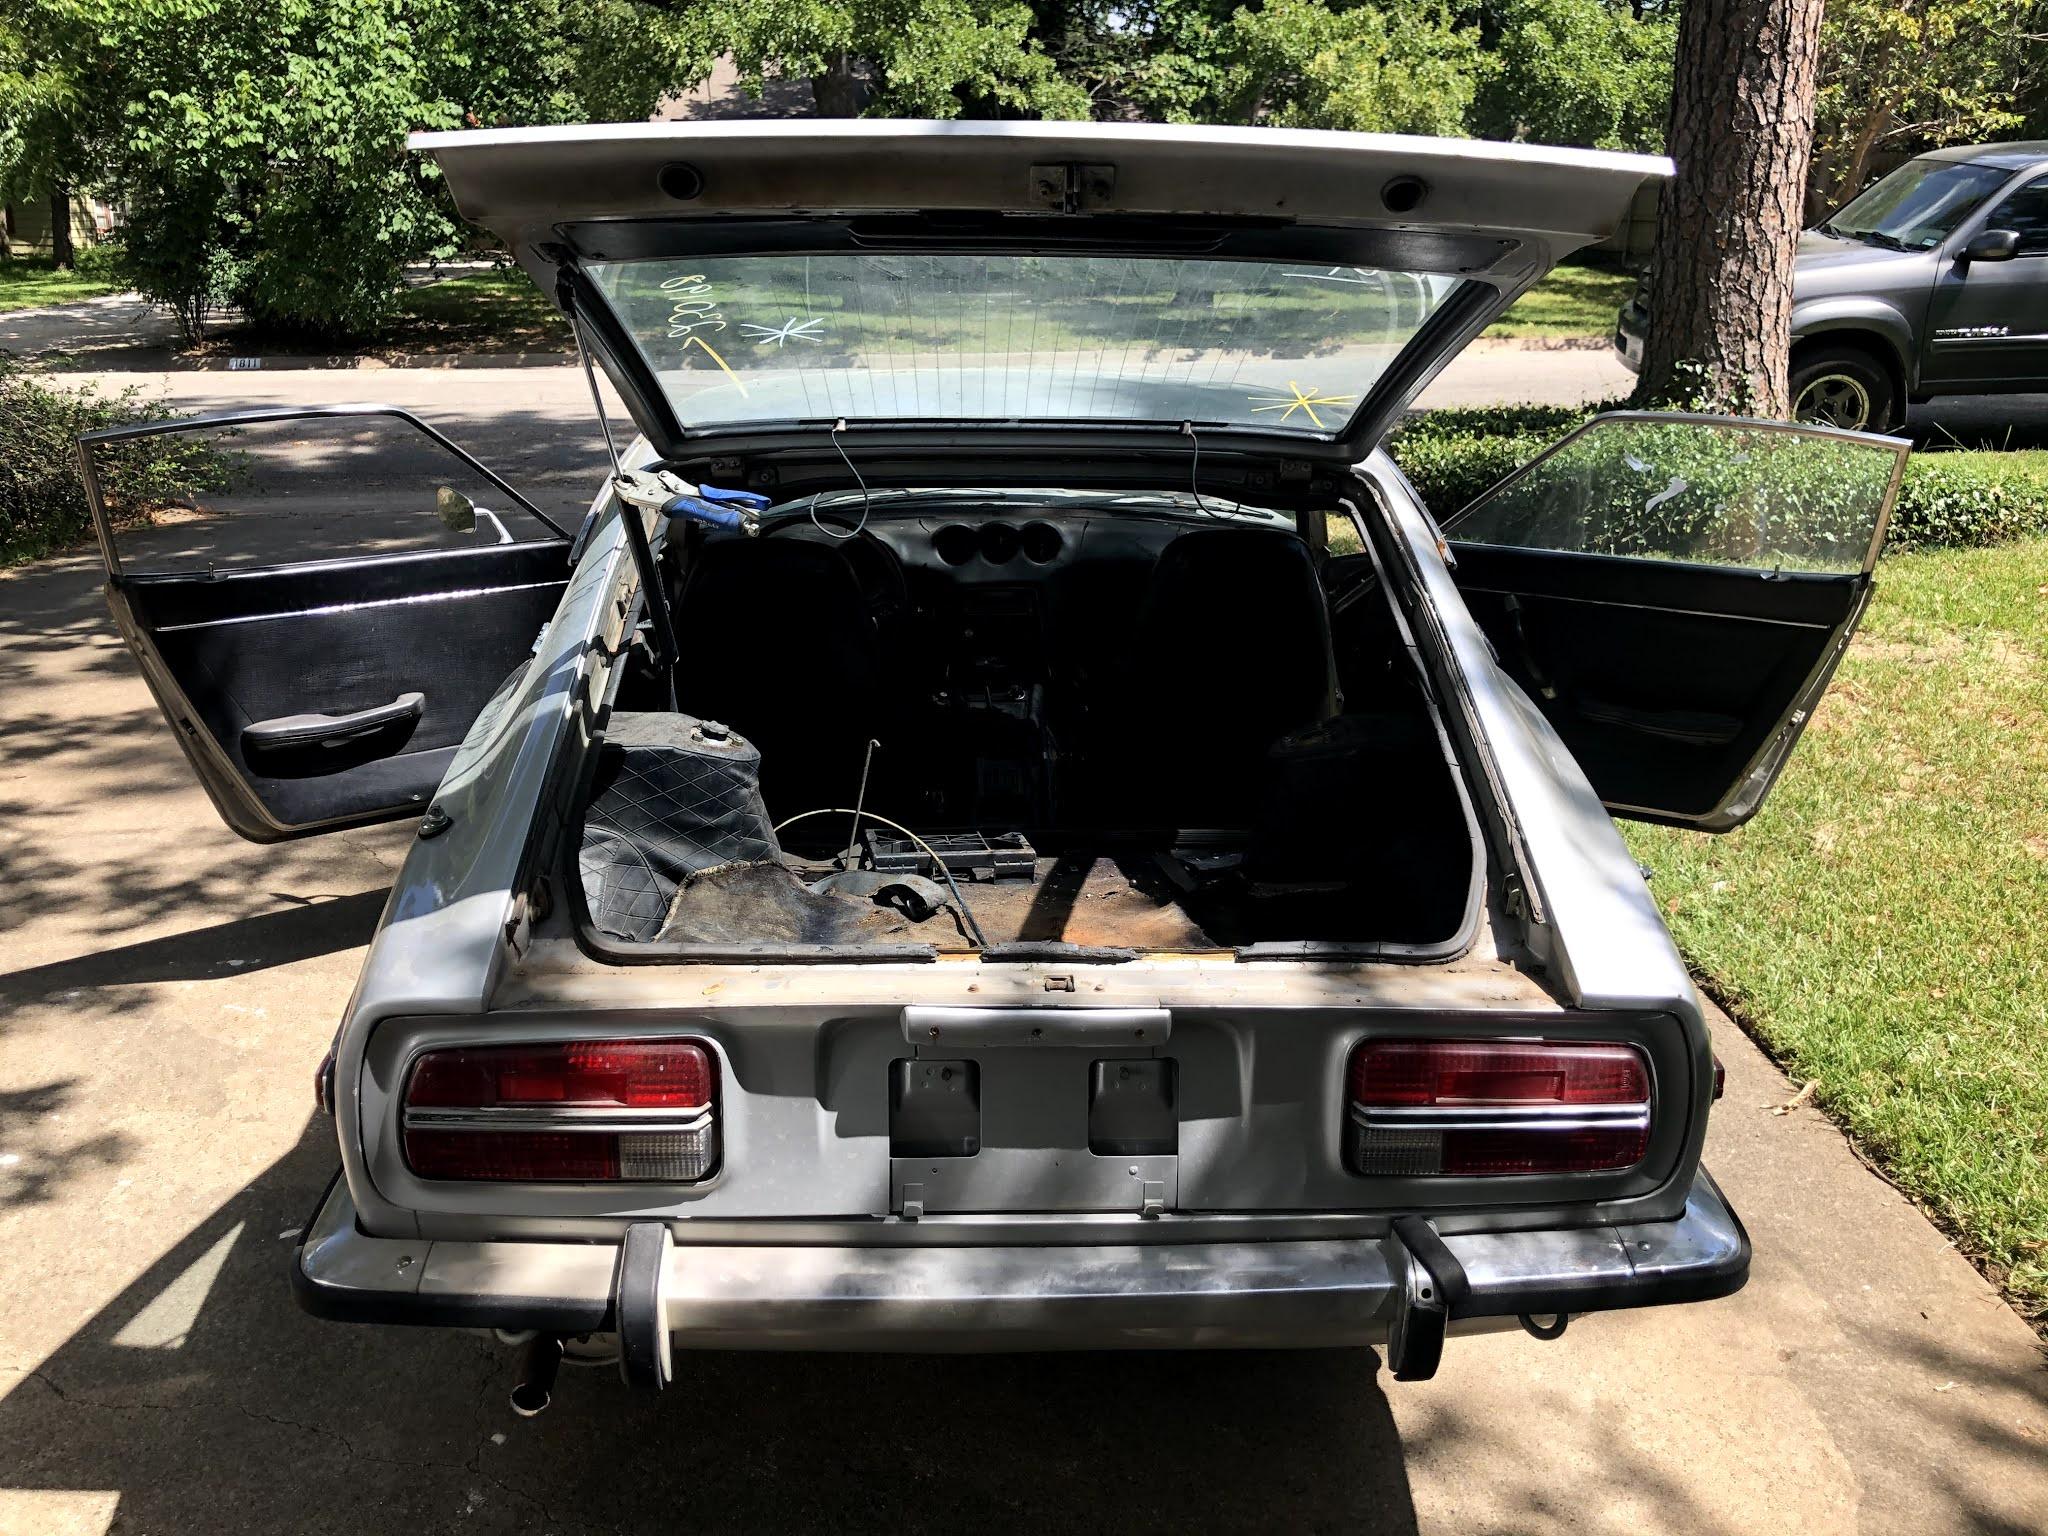
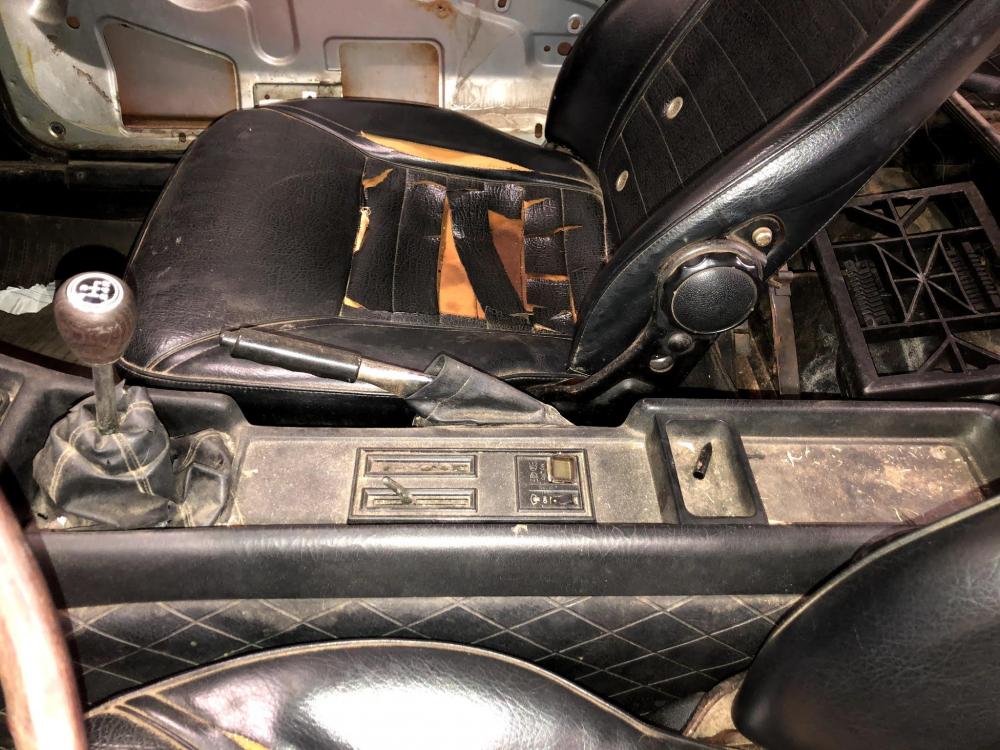
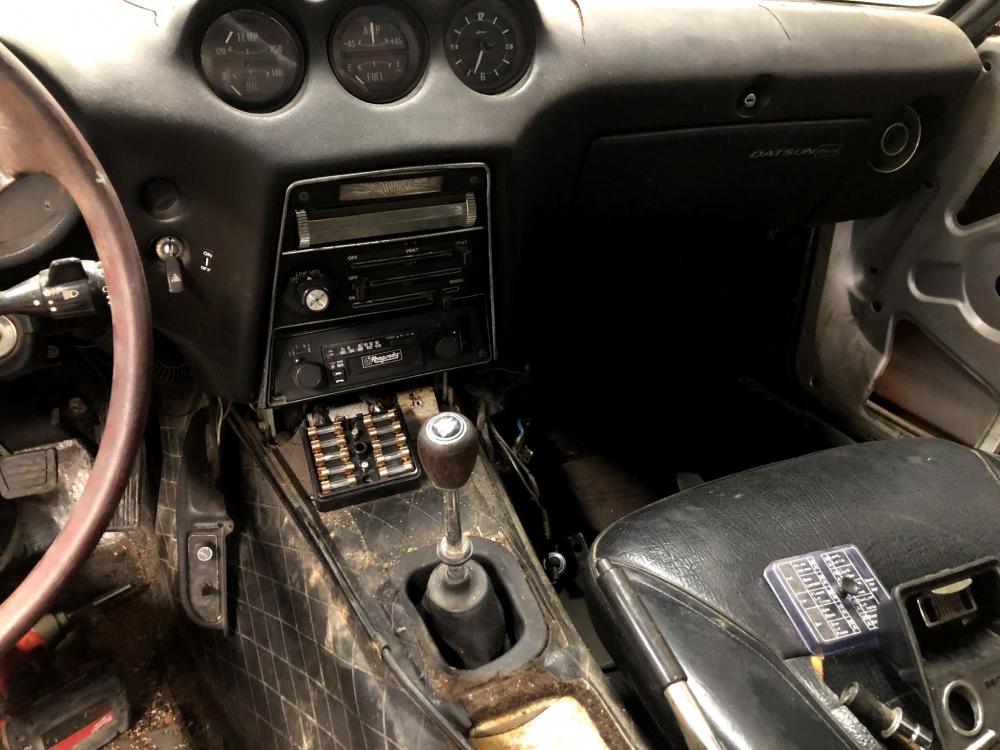
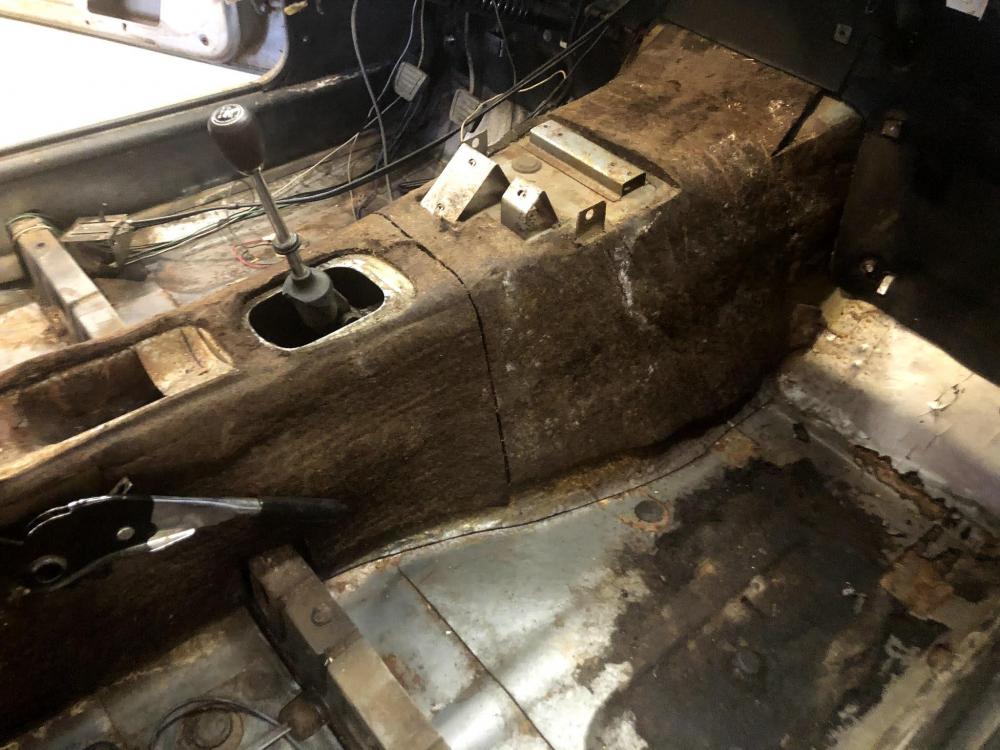
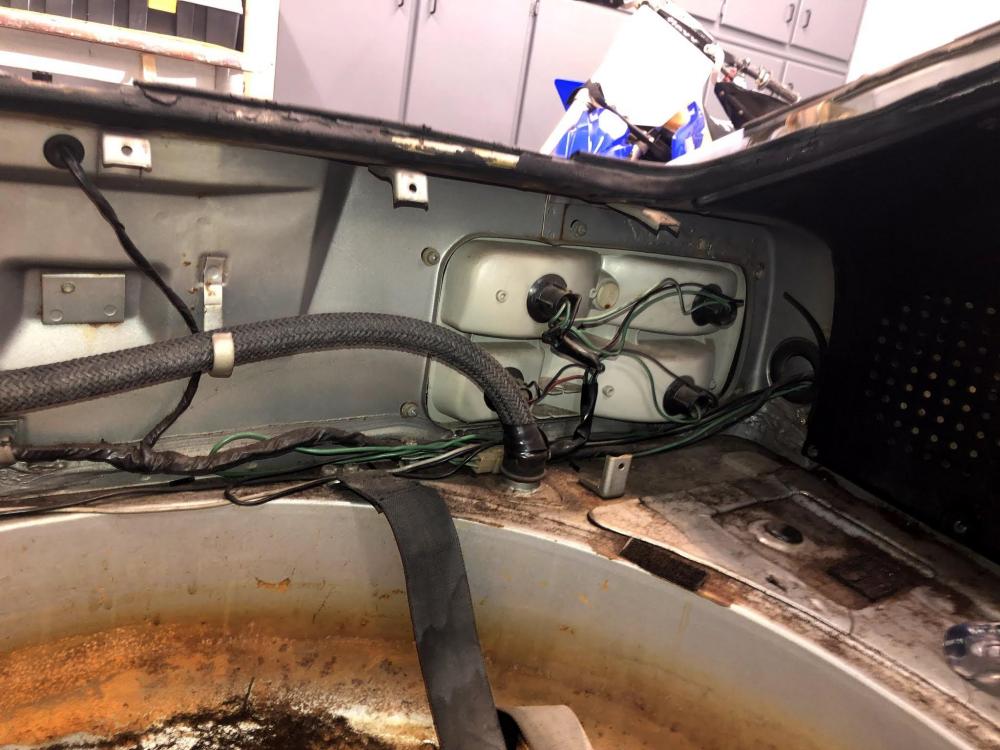
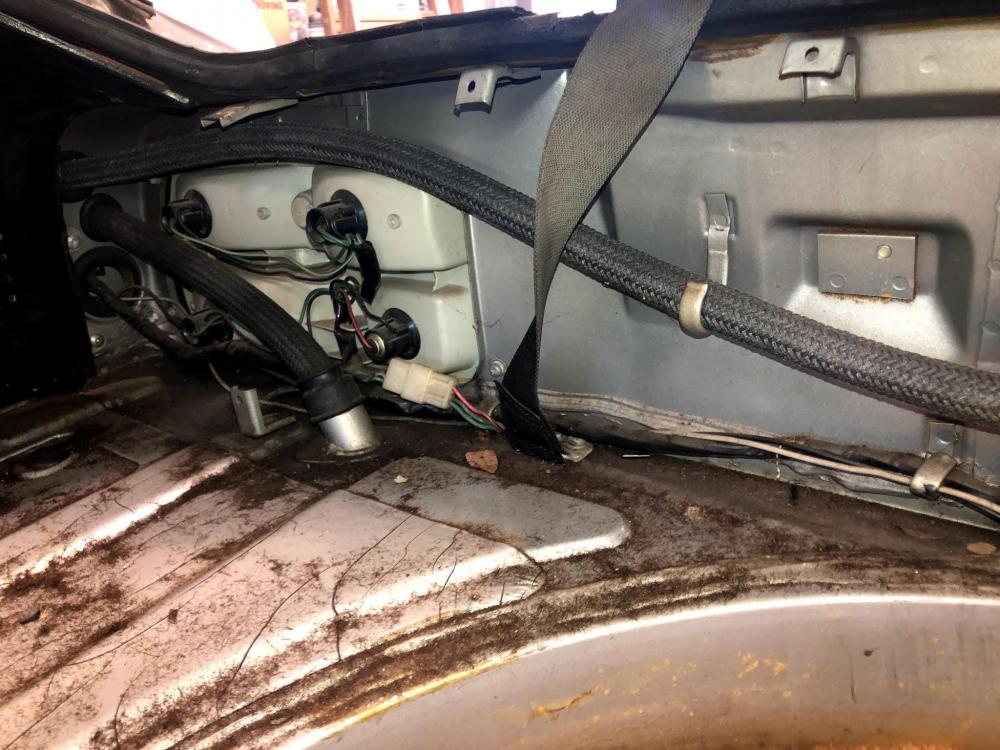
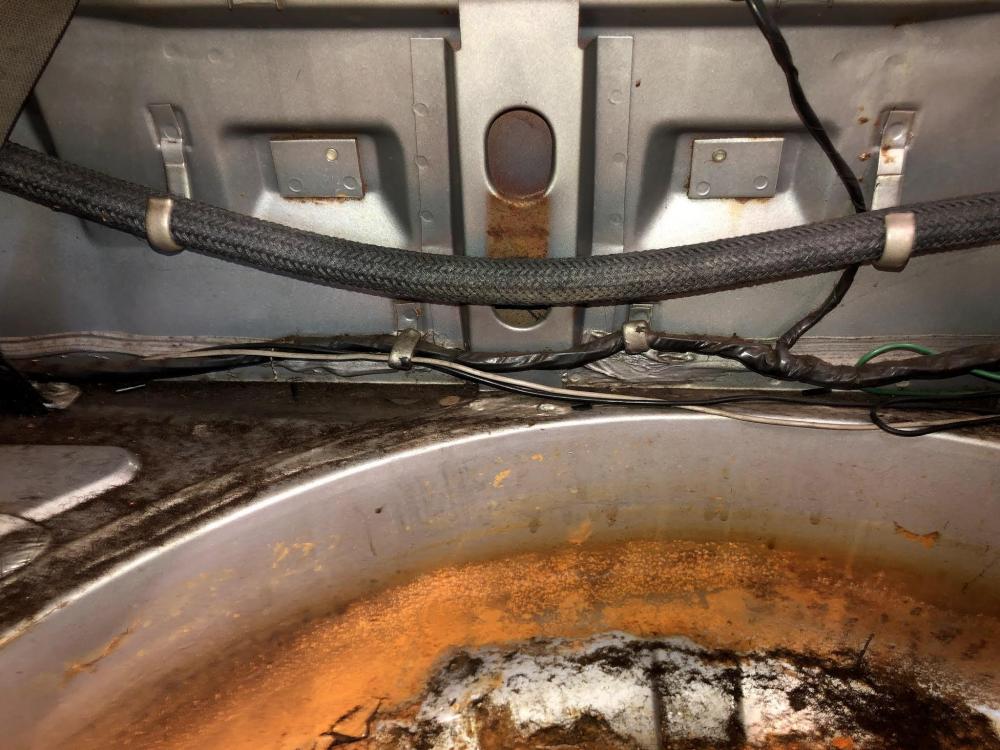
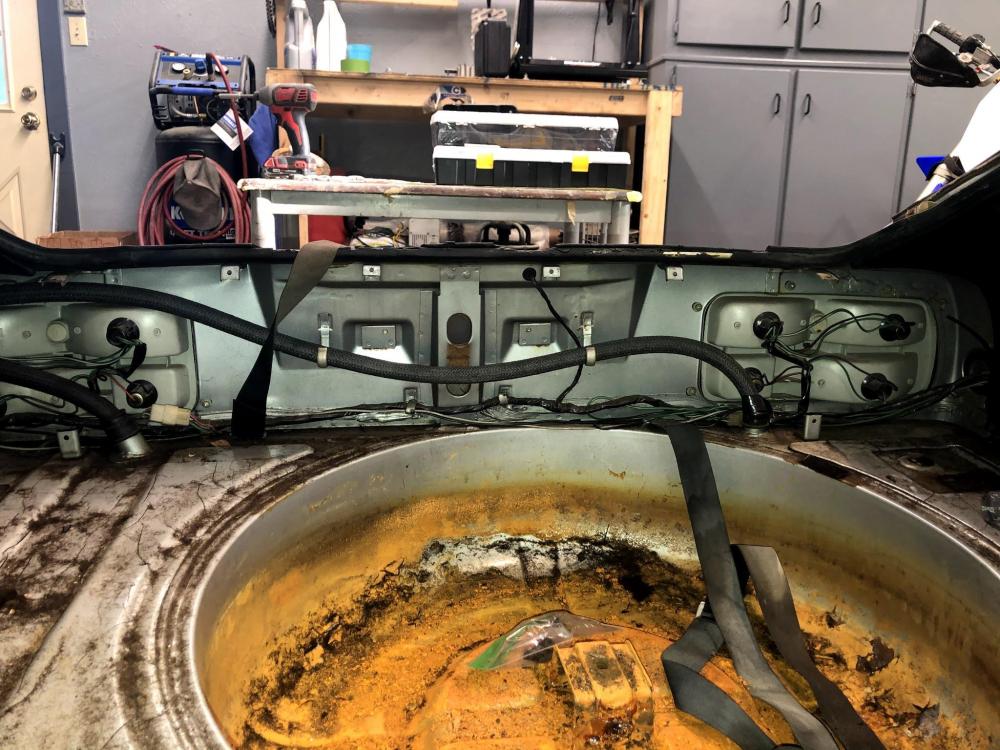
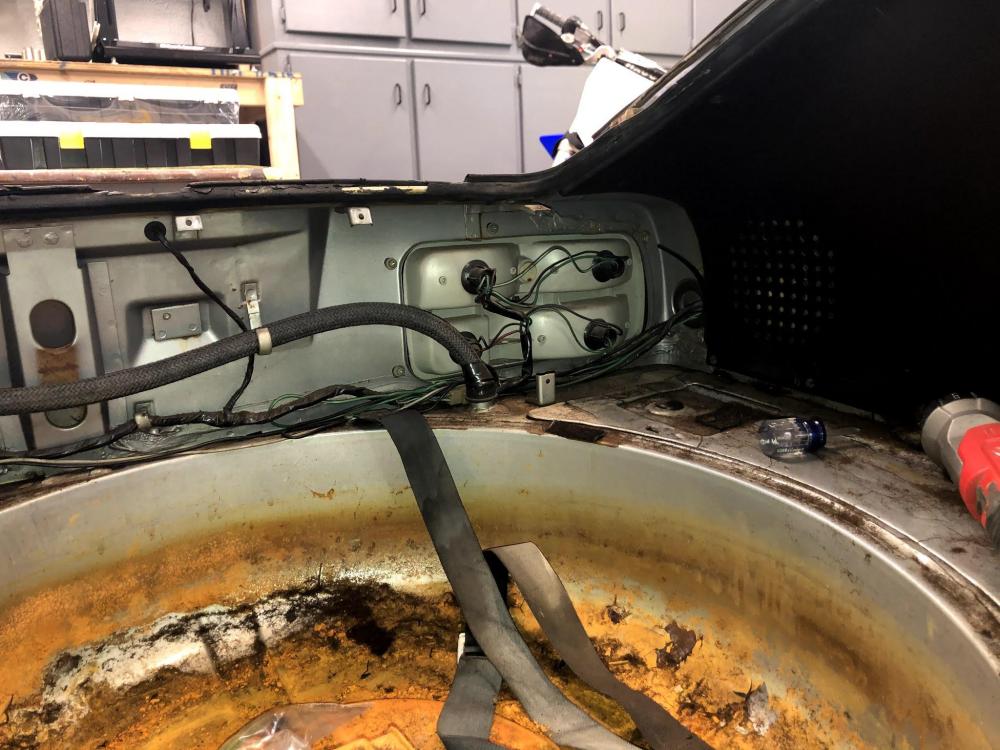
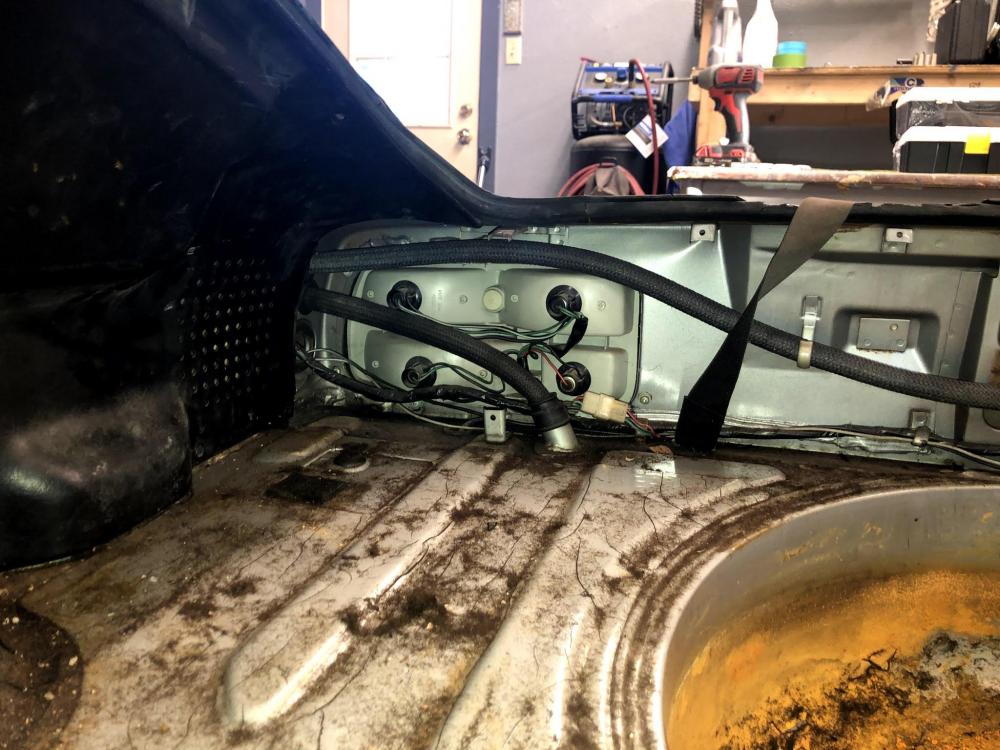
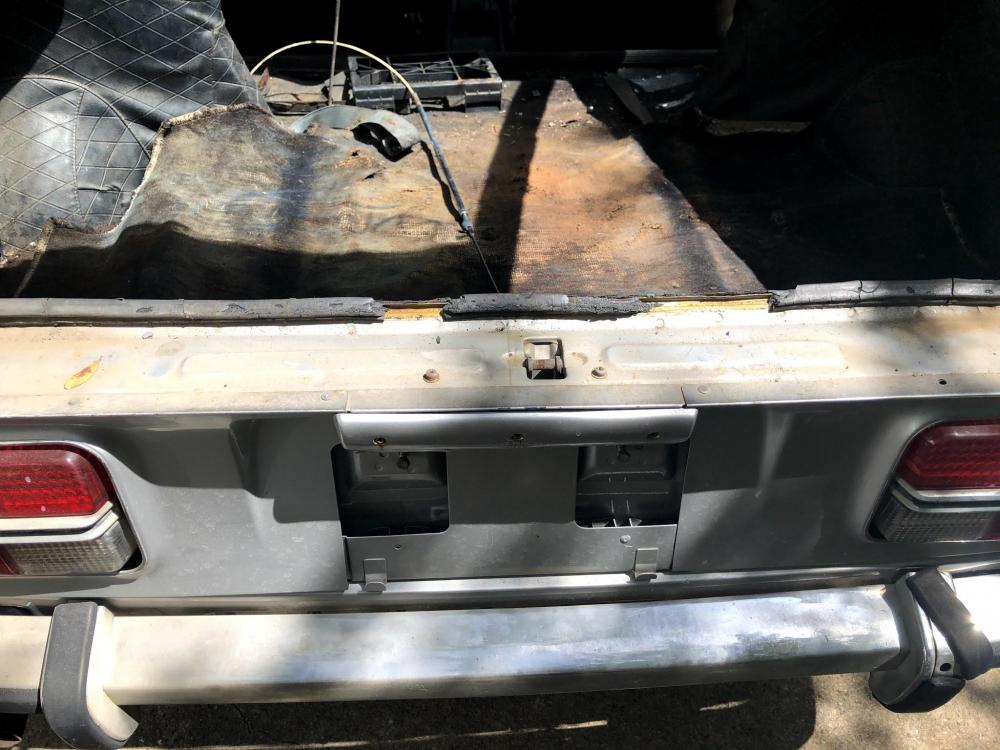
Hatch stripped, tail light area stripped, doors stripped down to the shell only. Carpet was chunked, and now on to removing the dash, HVAC system, seats, and center console. Car needs to be stripped as far down as we can get it so that the shell can get dustless blasted.


-
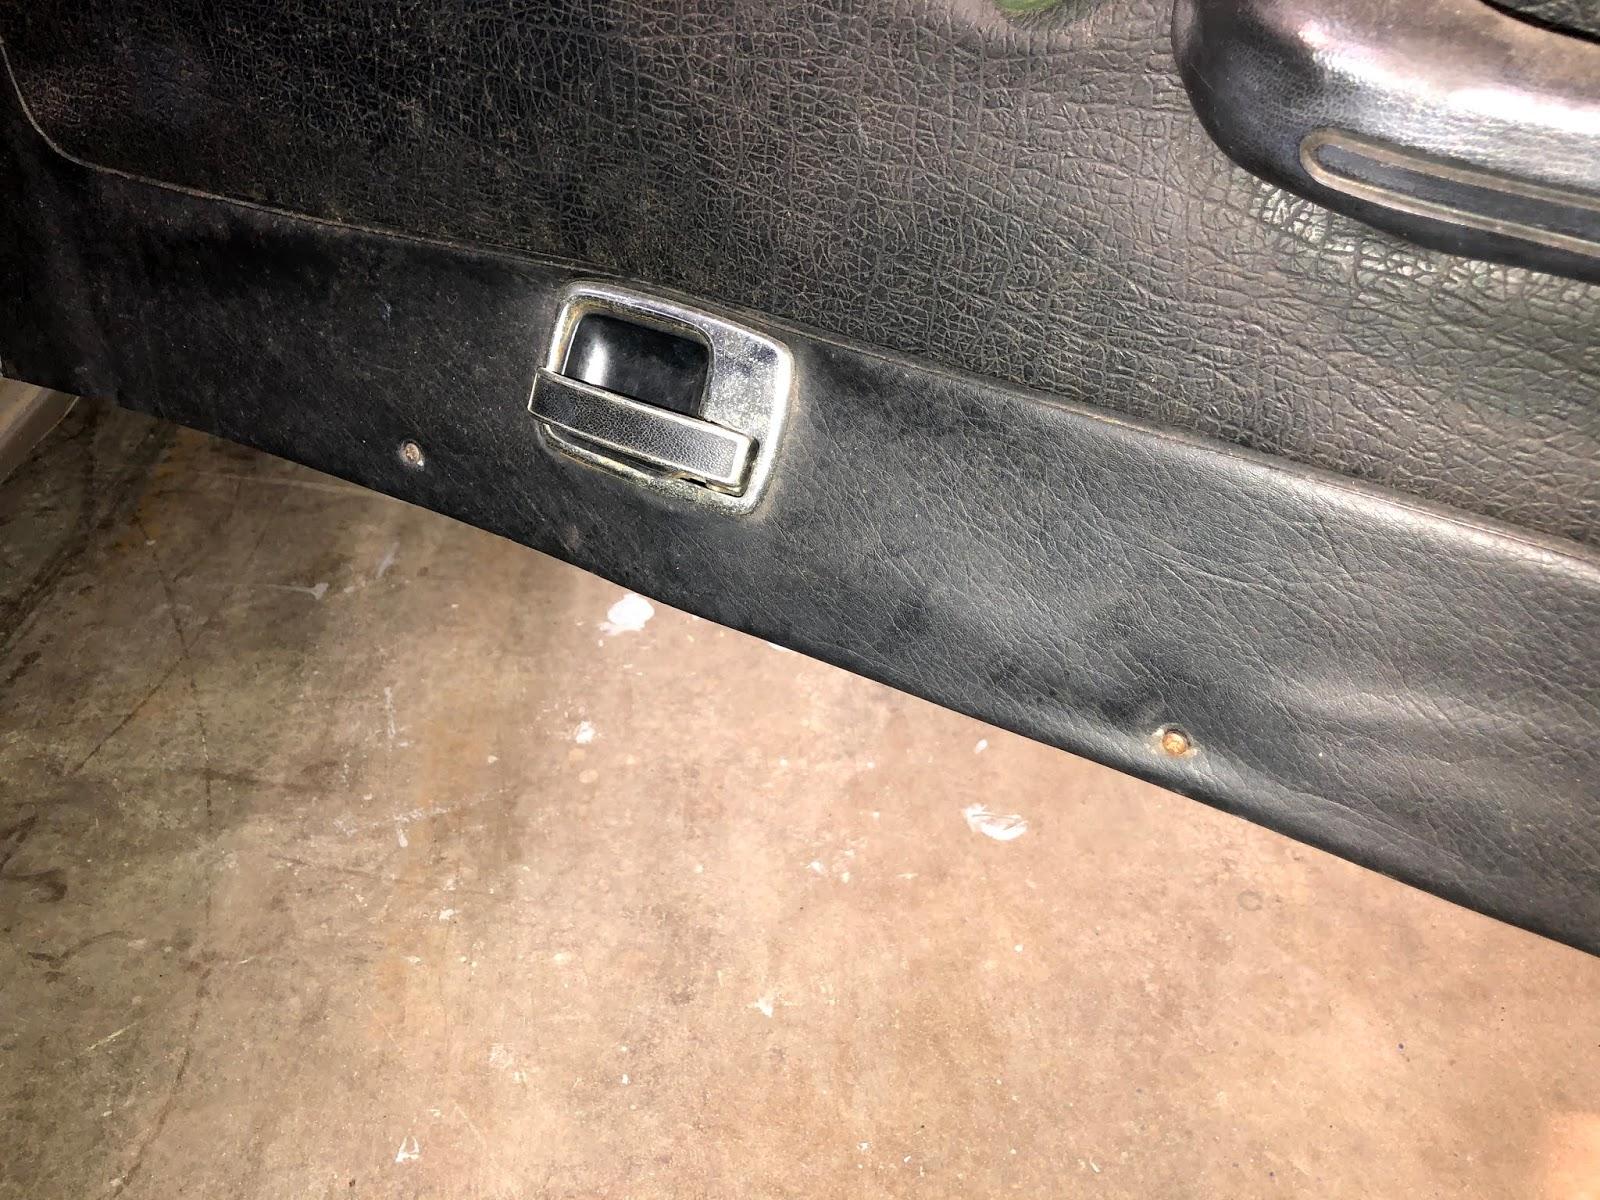
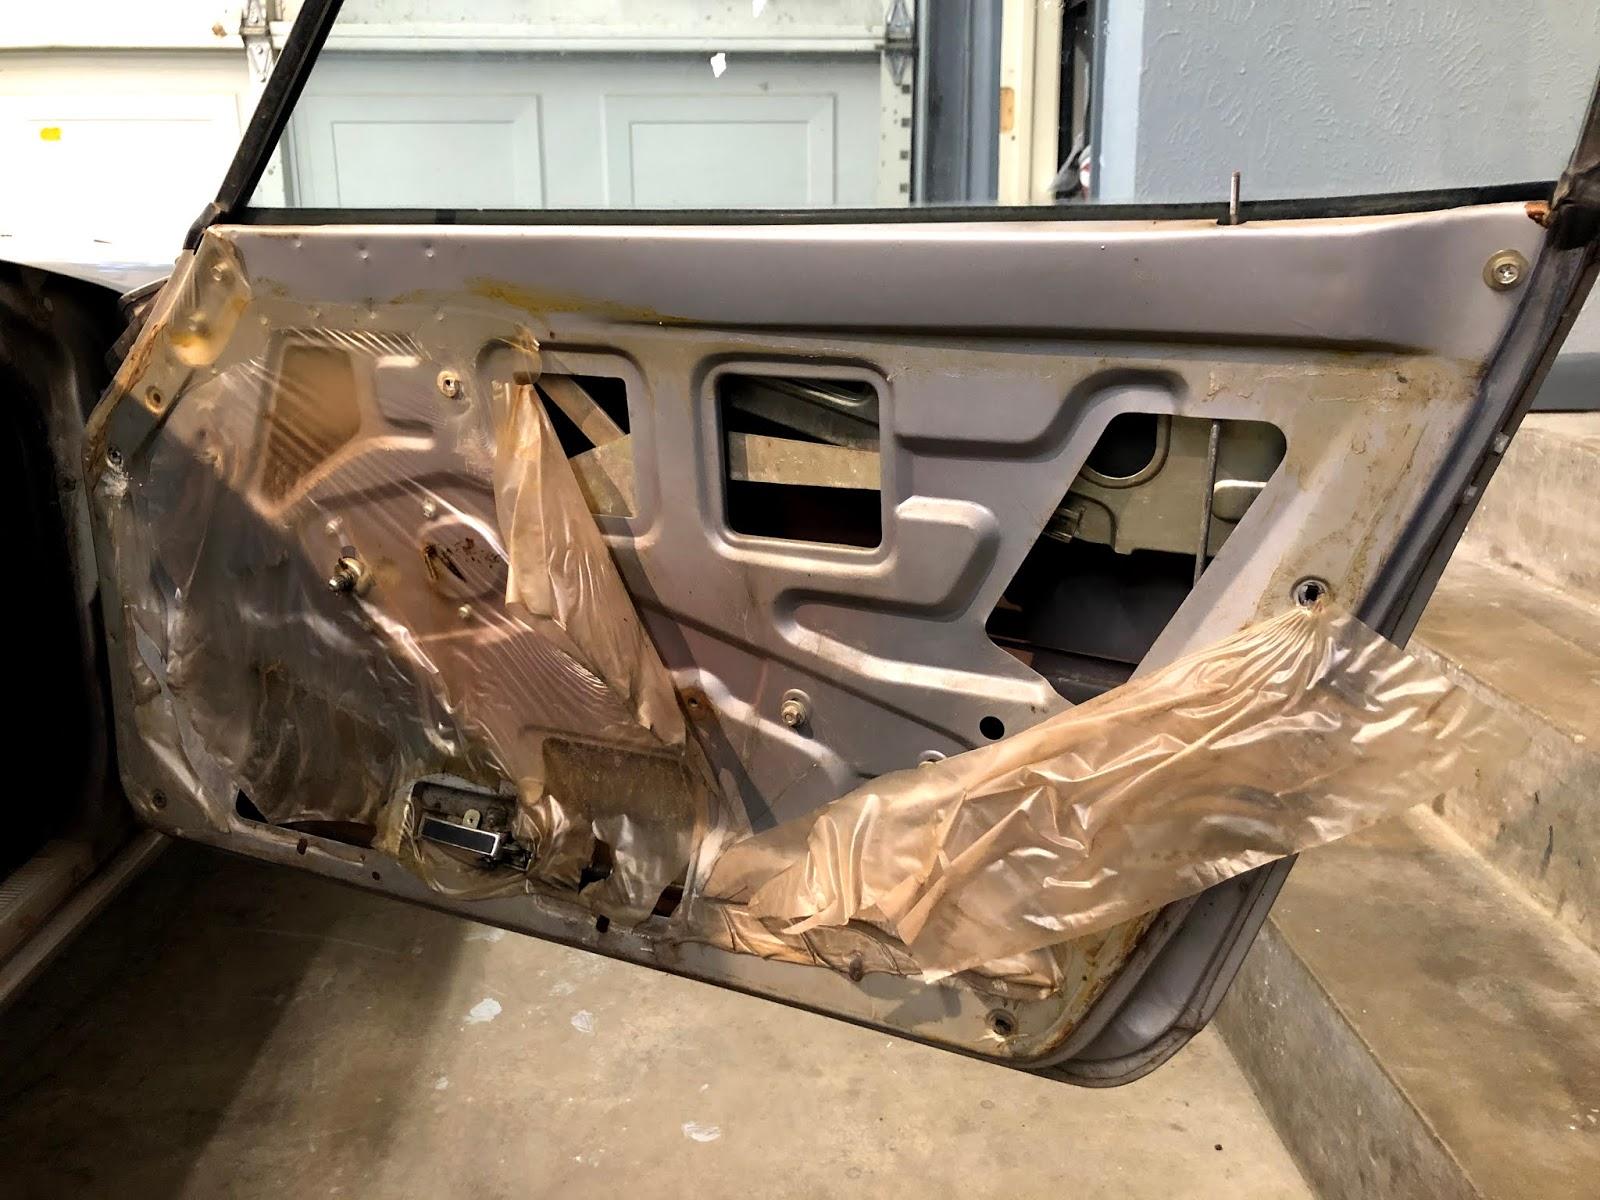
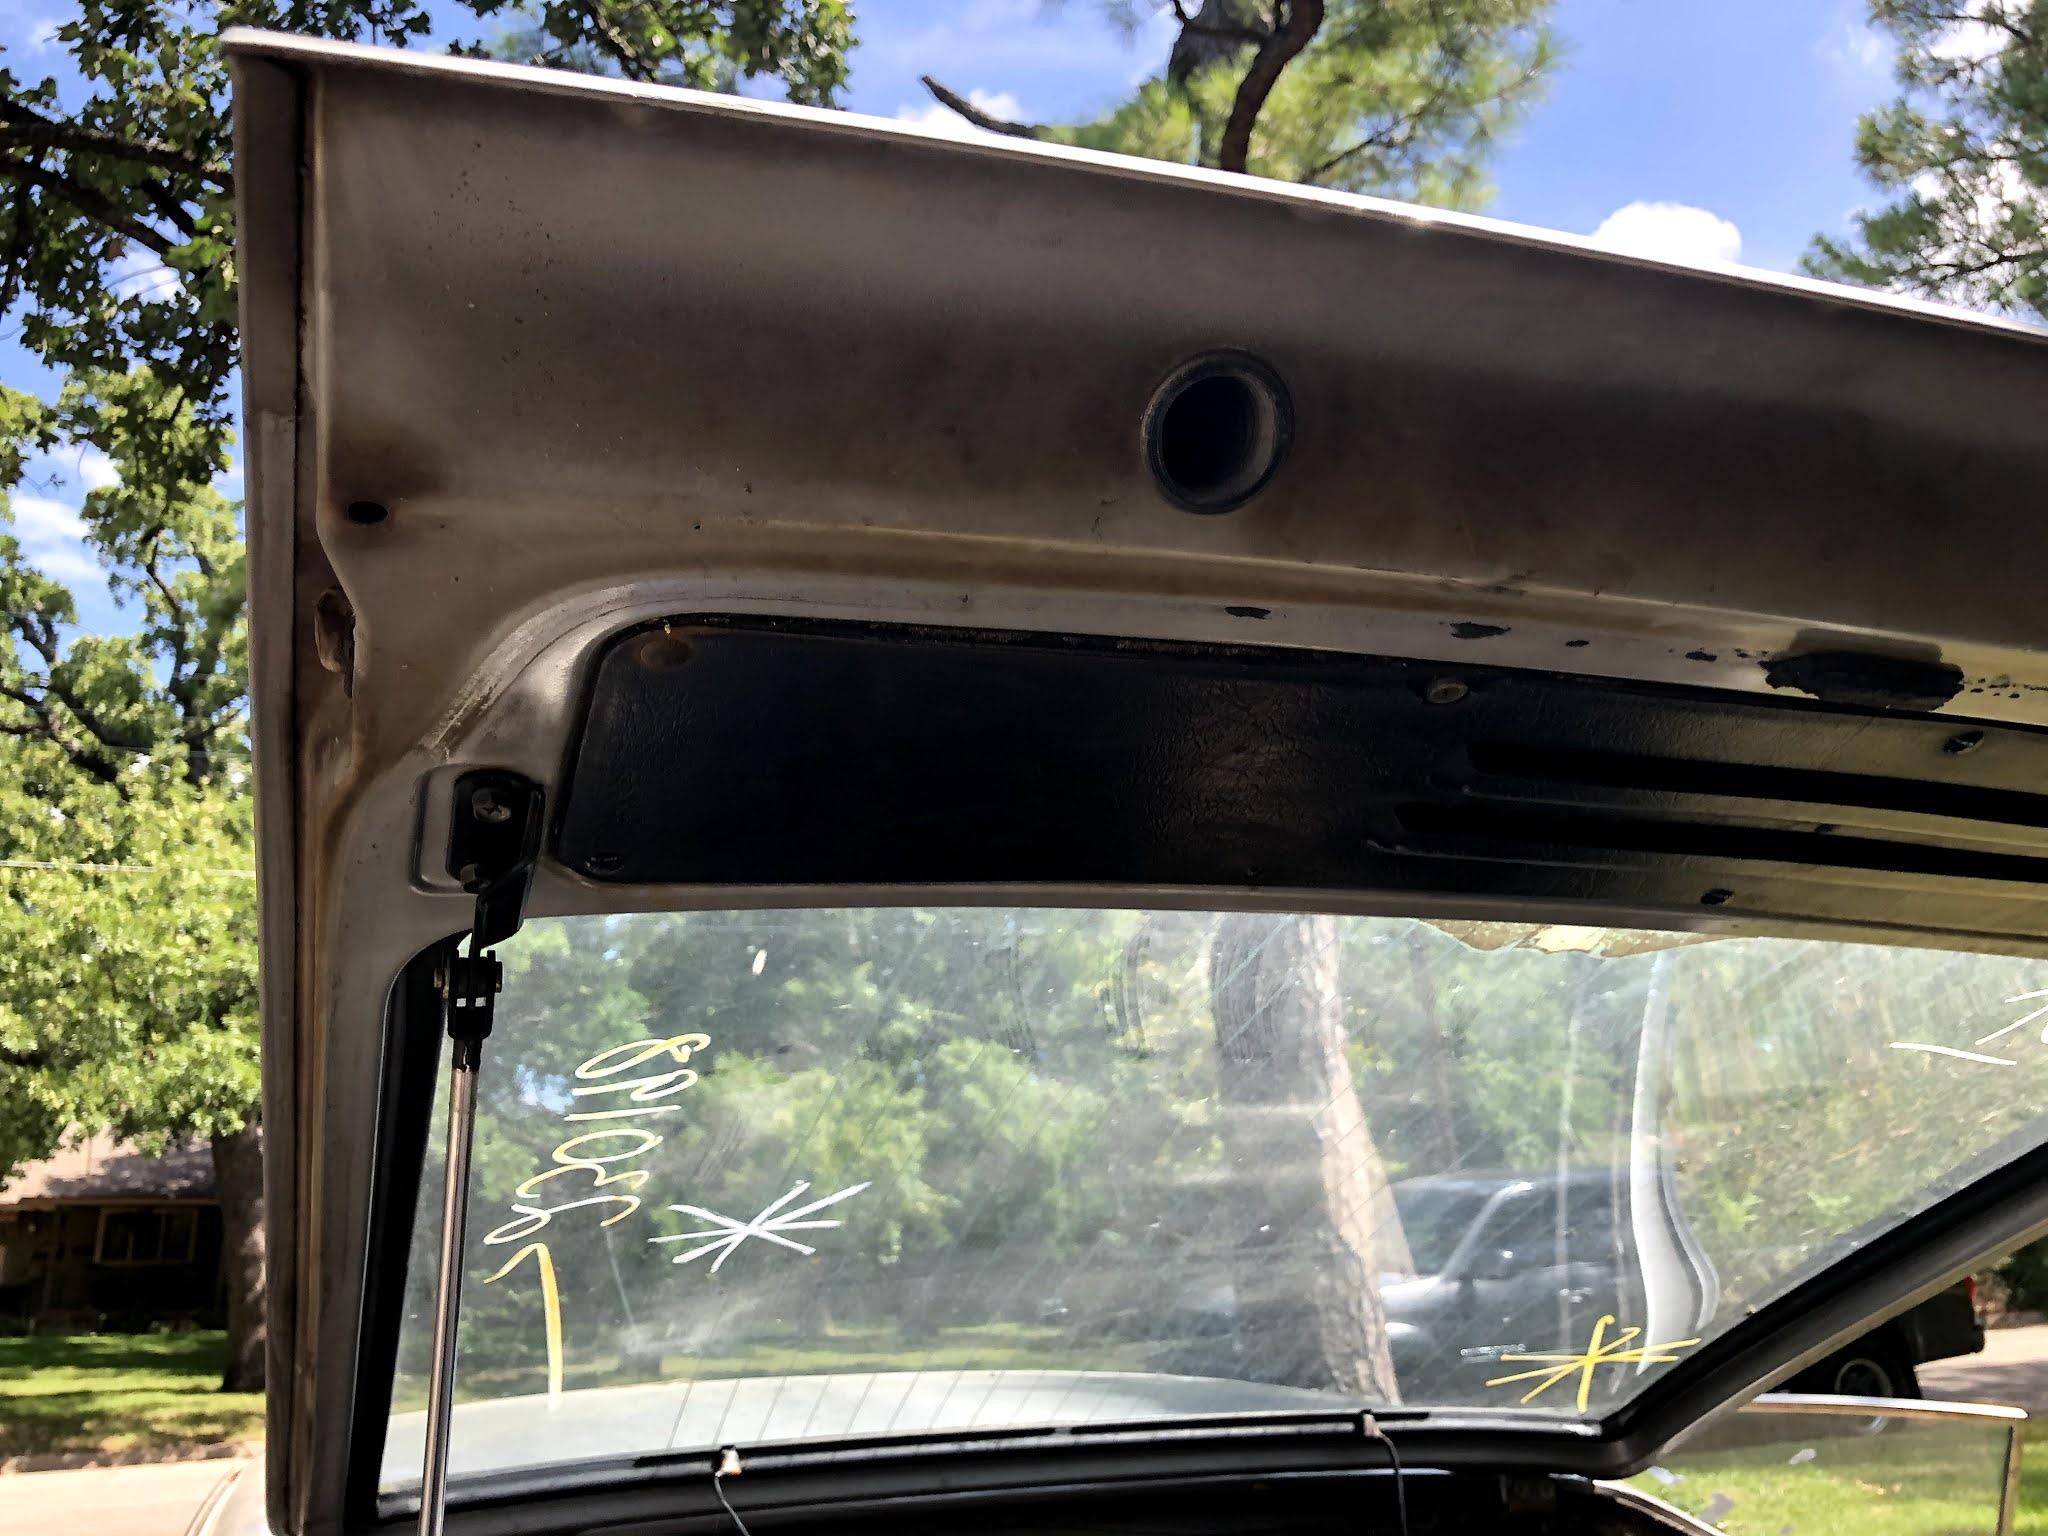
Most of these photos may not be of much use to the group, more or less a way for me to reference how things went back together and to better tell the Z's story. Continuing on the hatch area tear down, the internals of the hatch were removed, and followed up with a tear down of the doors.


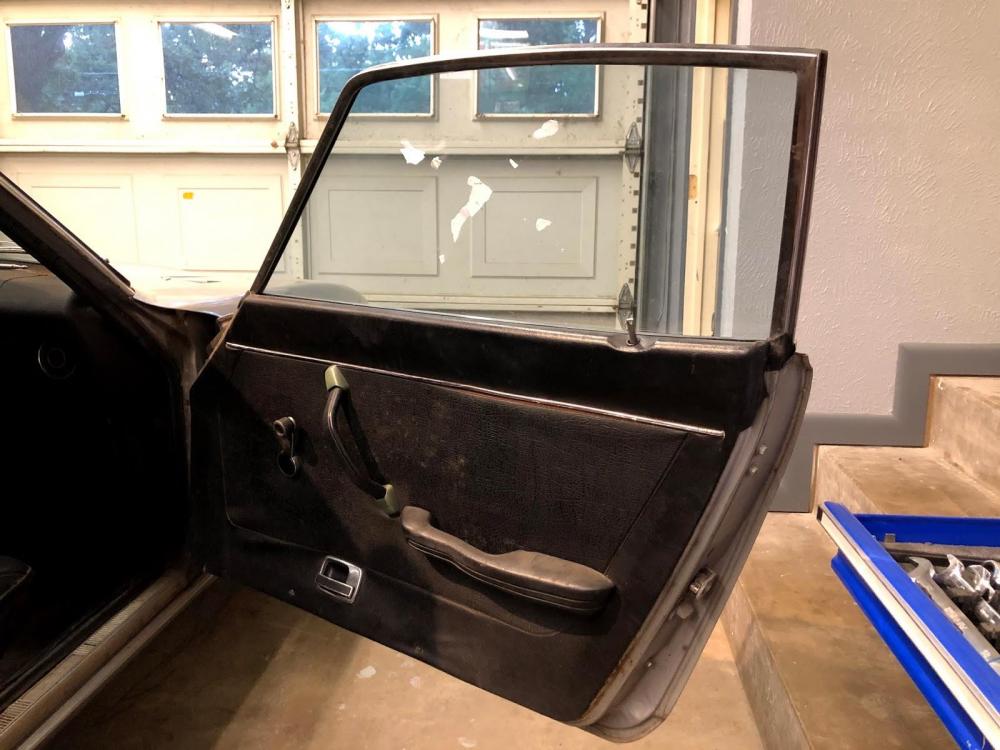
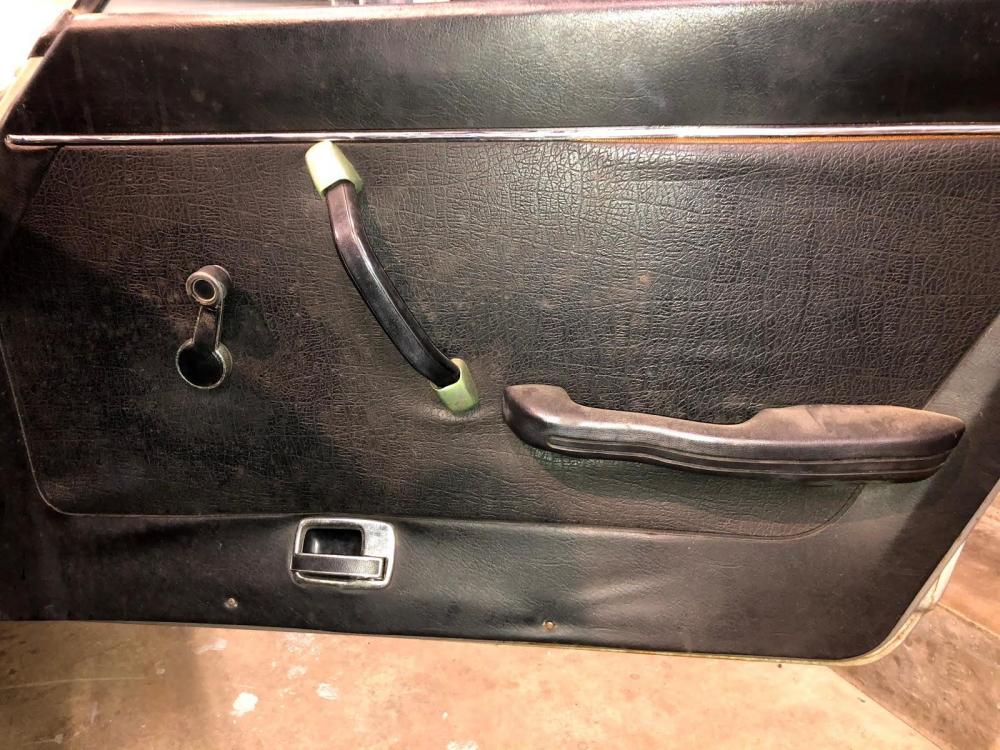


-
First day of restoration. Began with tearing down the interior and hatch area of the Z, documenting each part, fastener type and quantity, and making notes of what we would need to order.


-
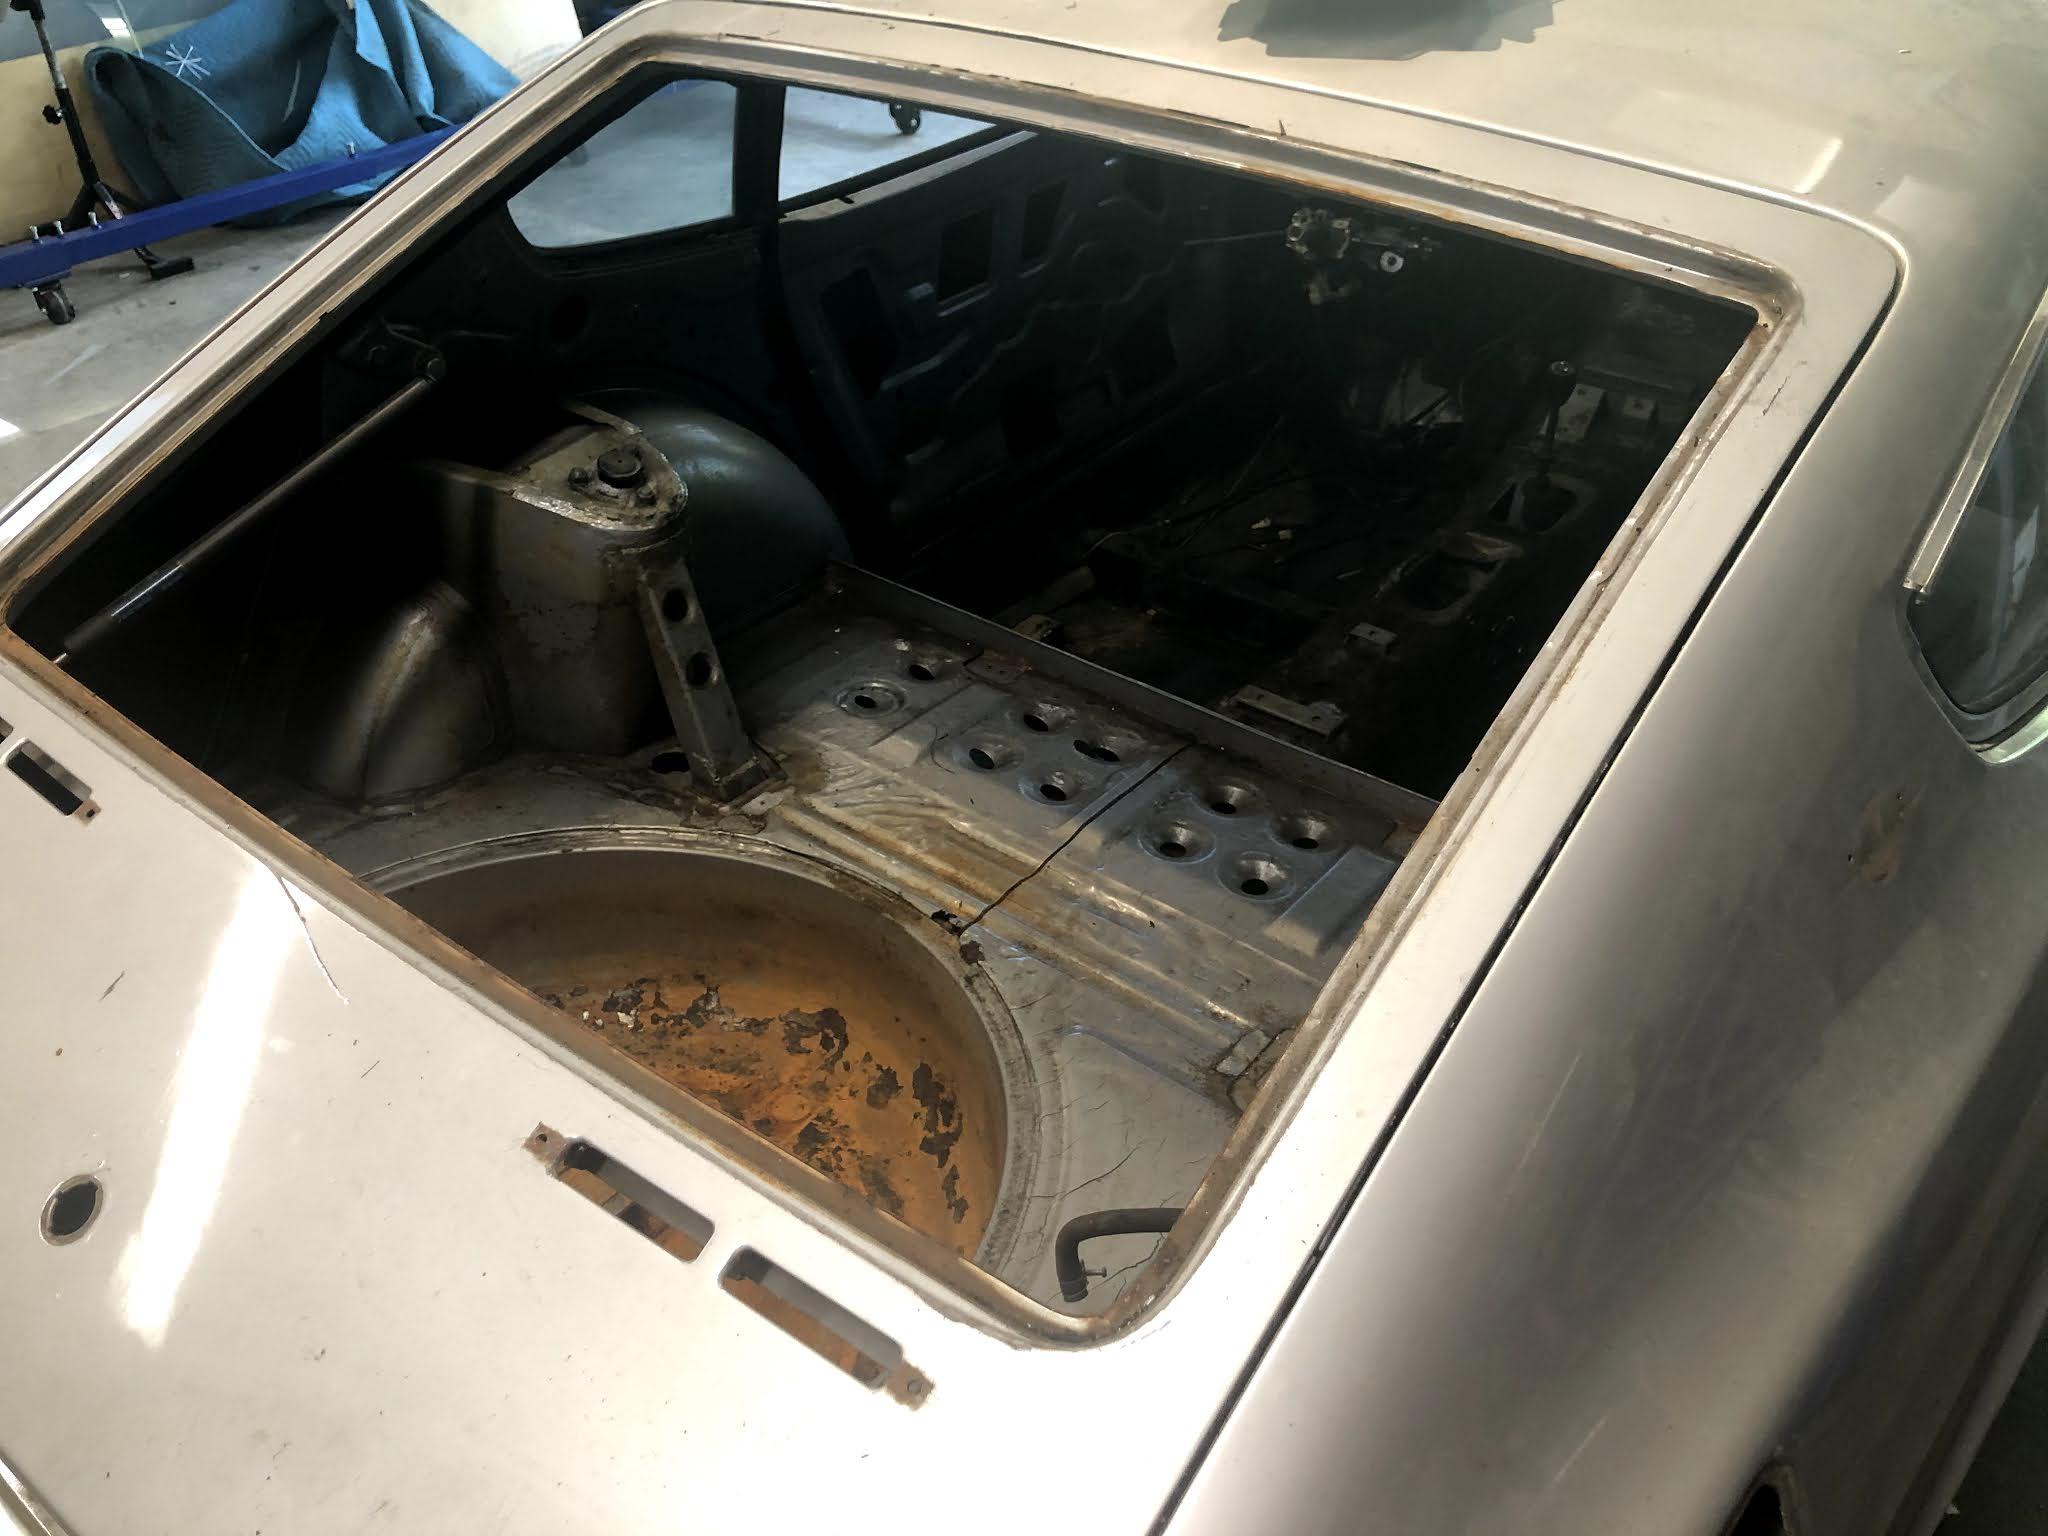
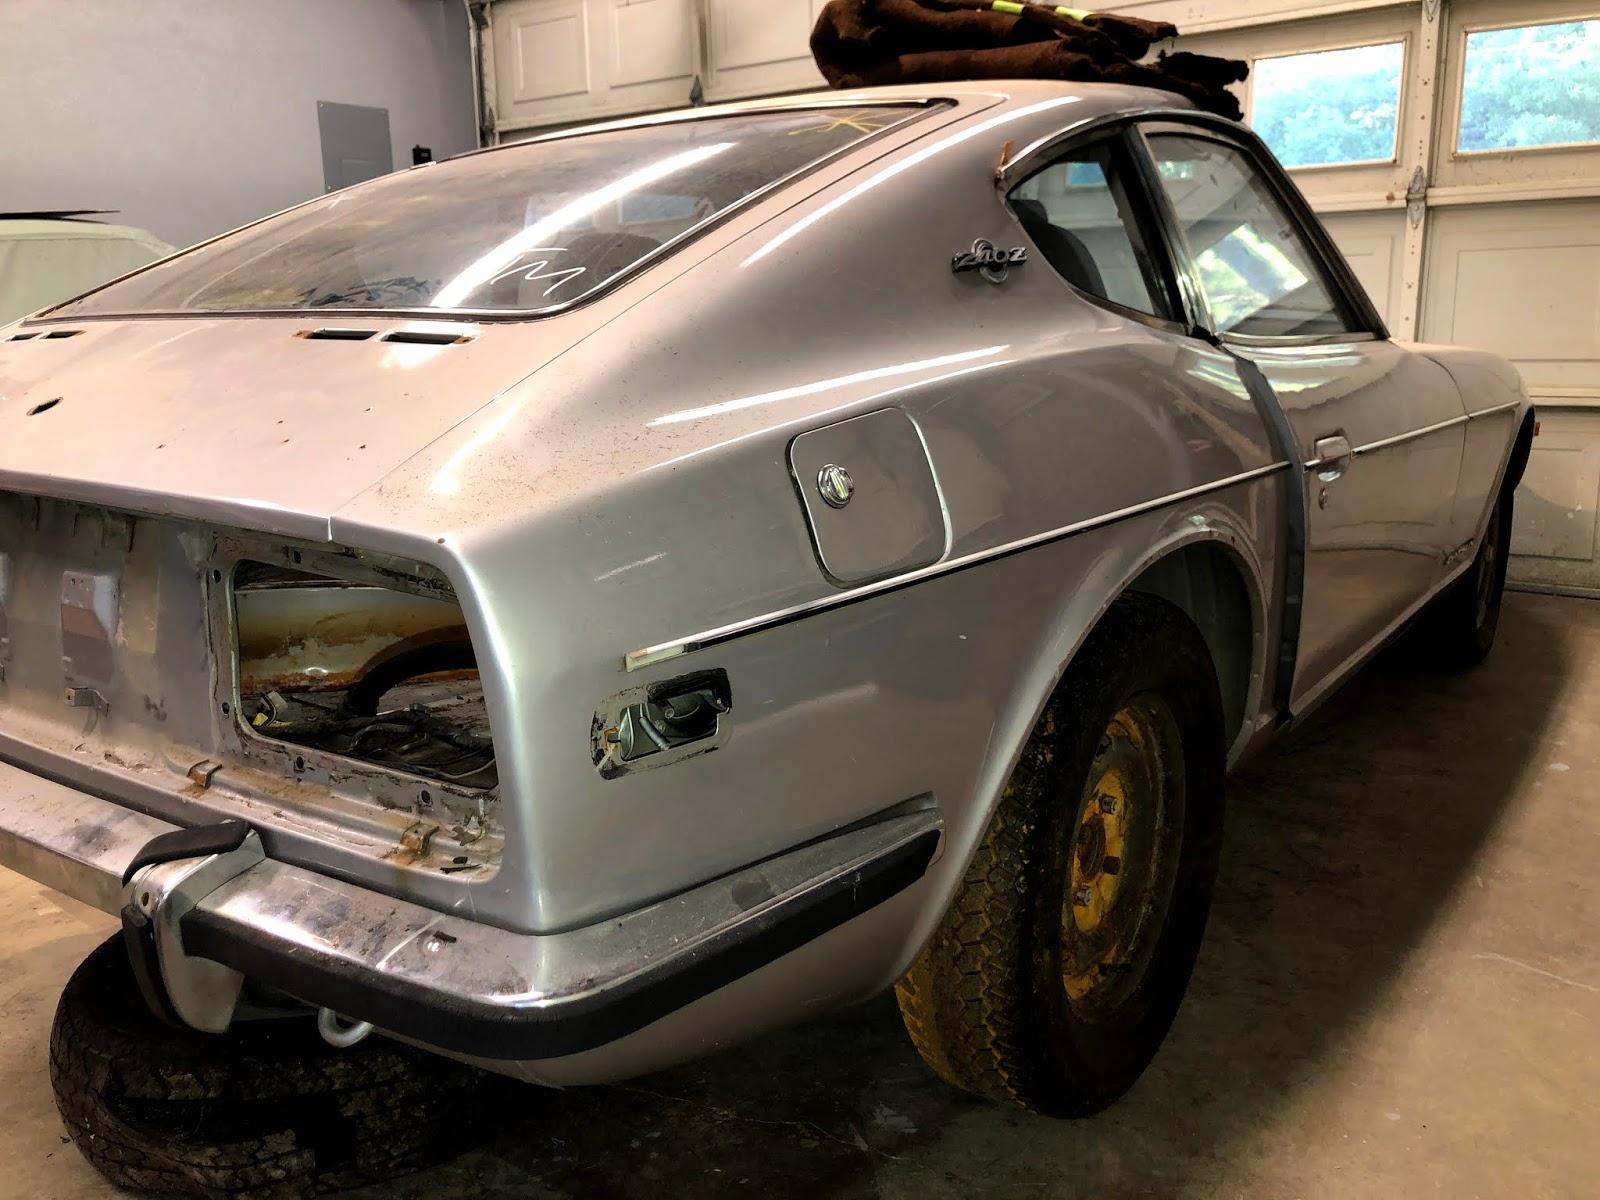
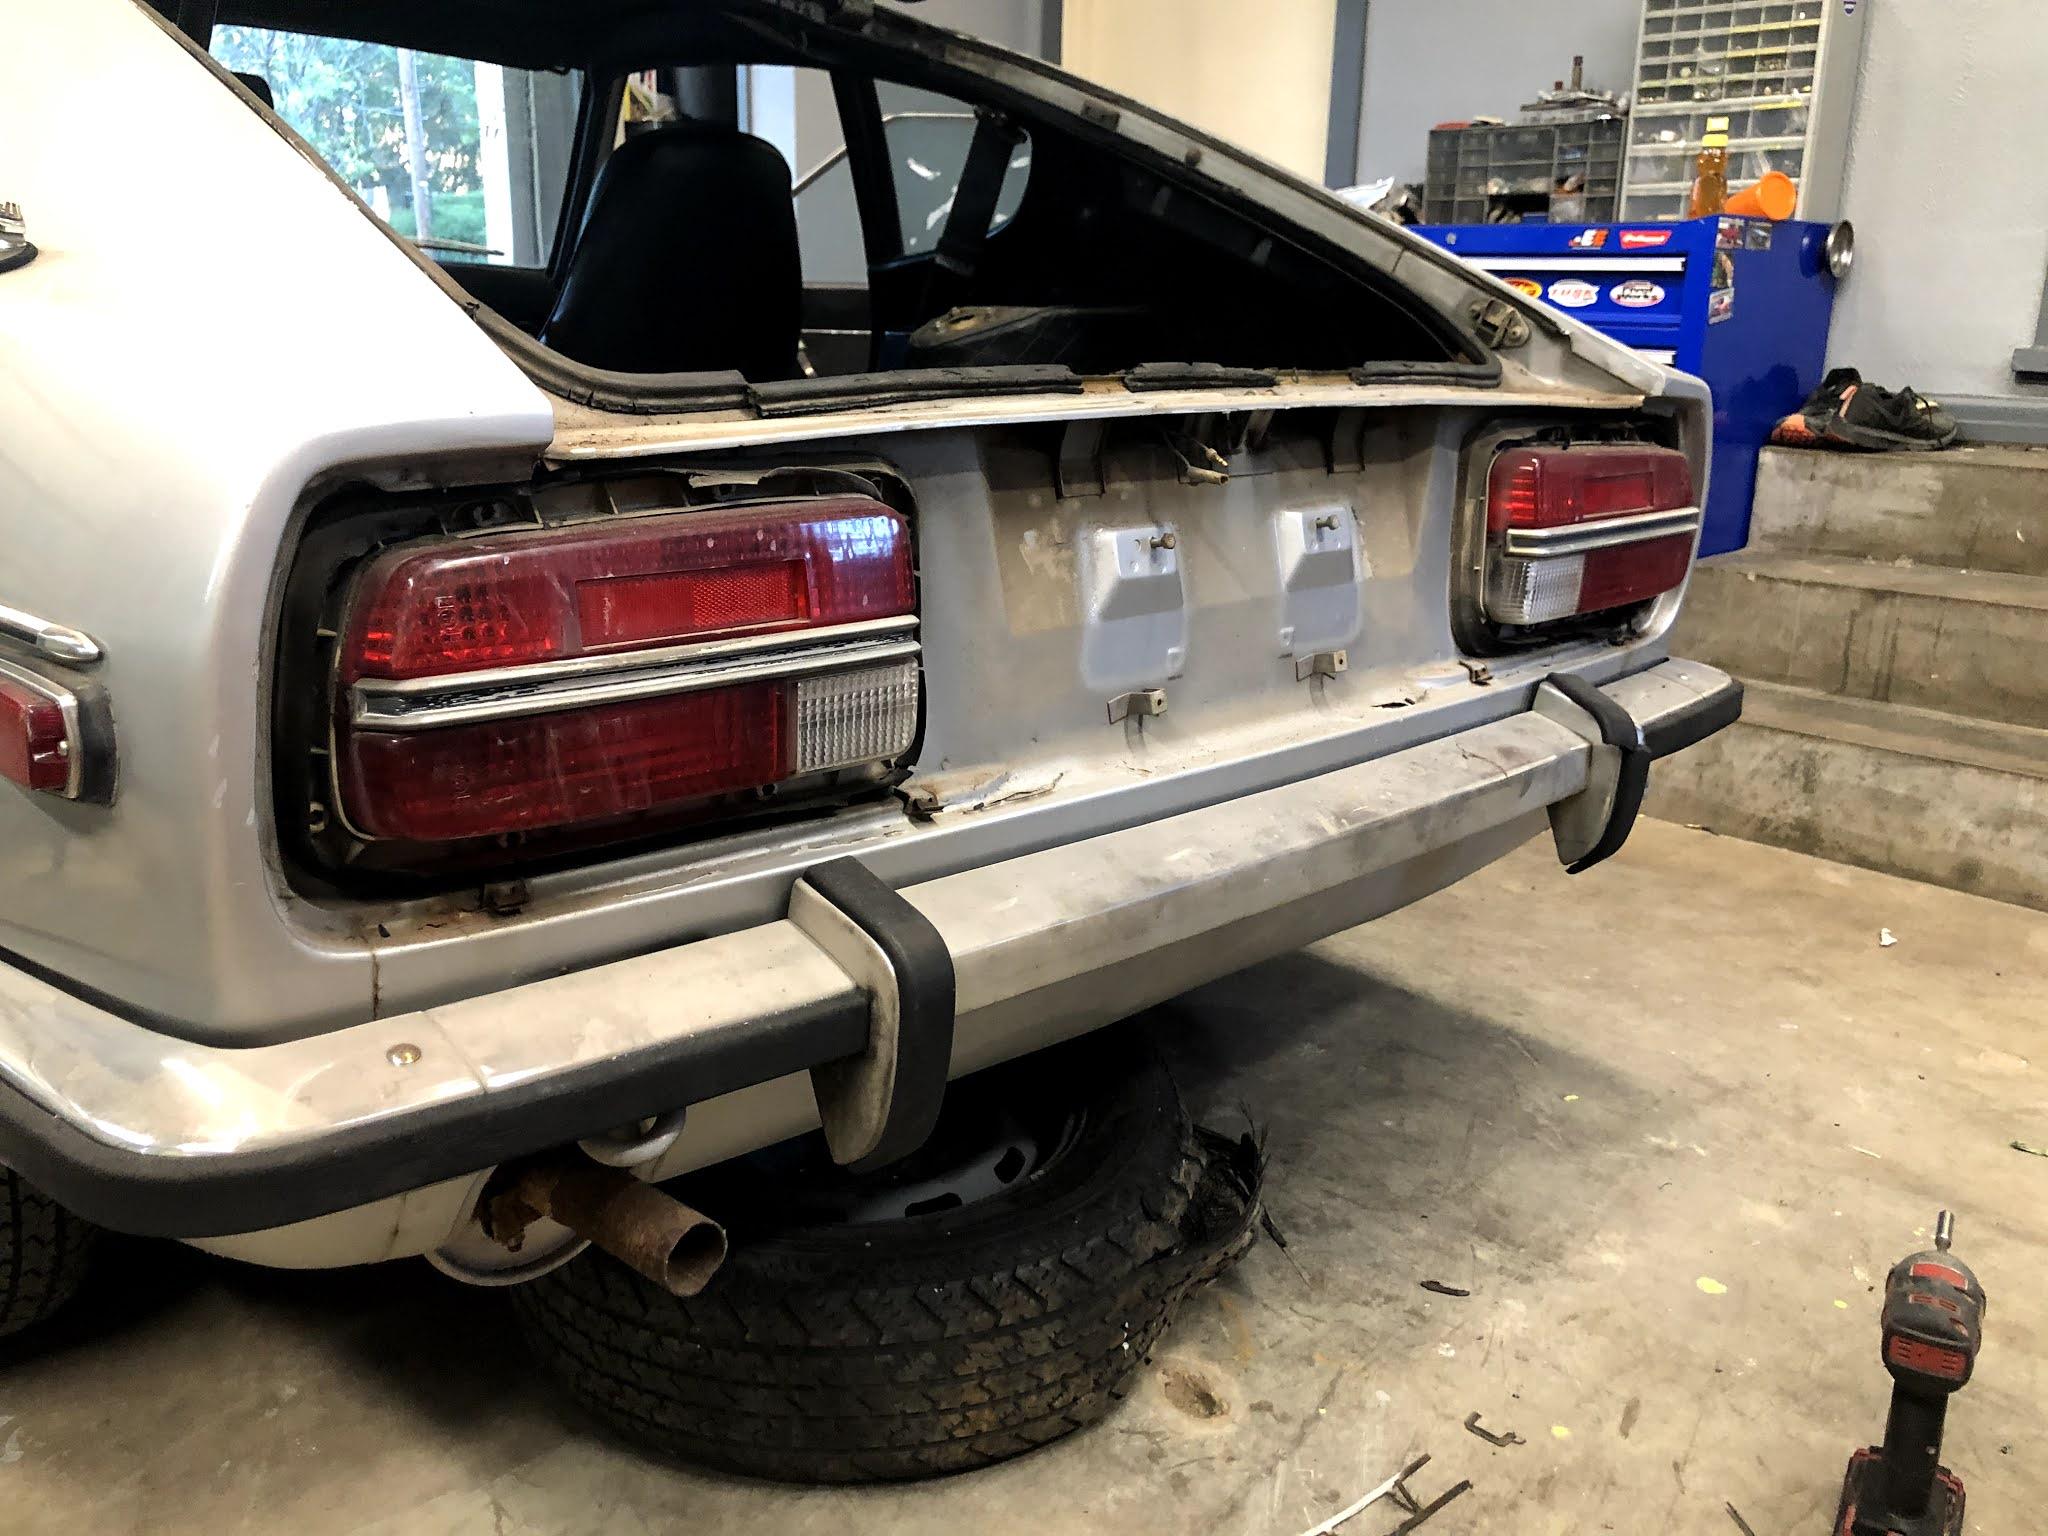
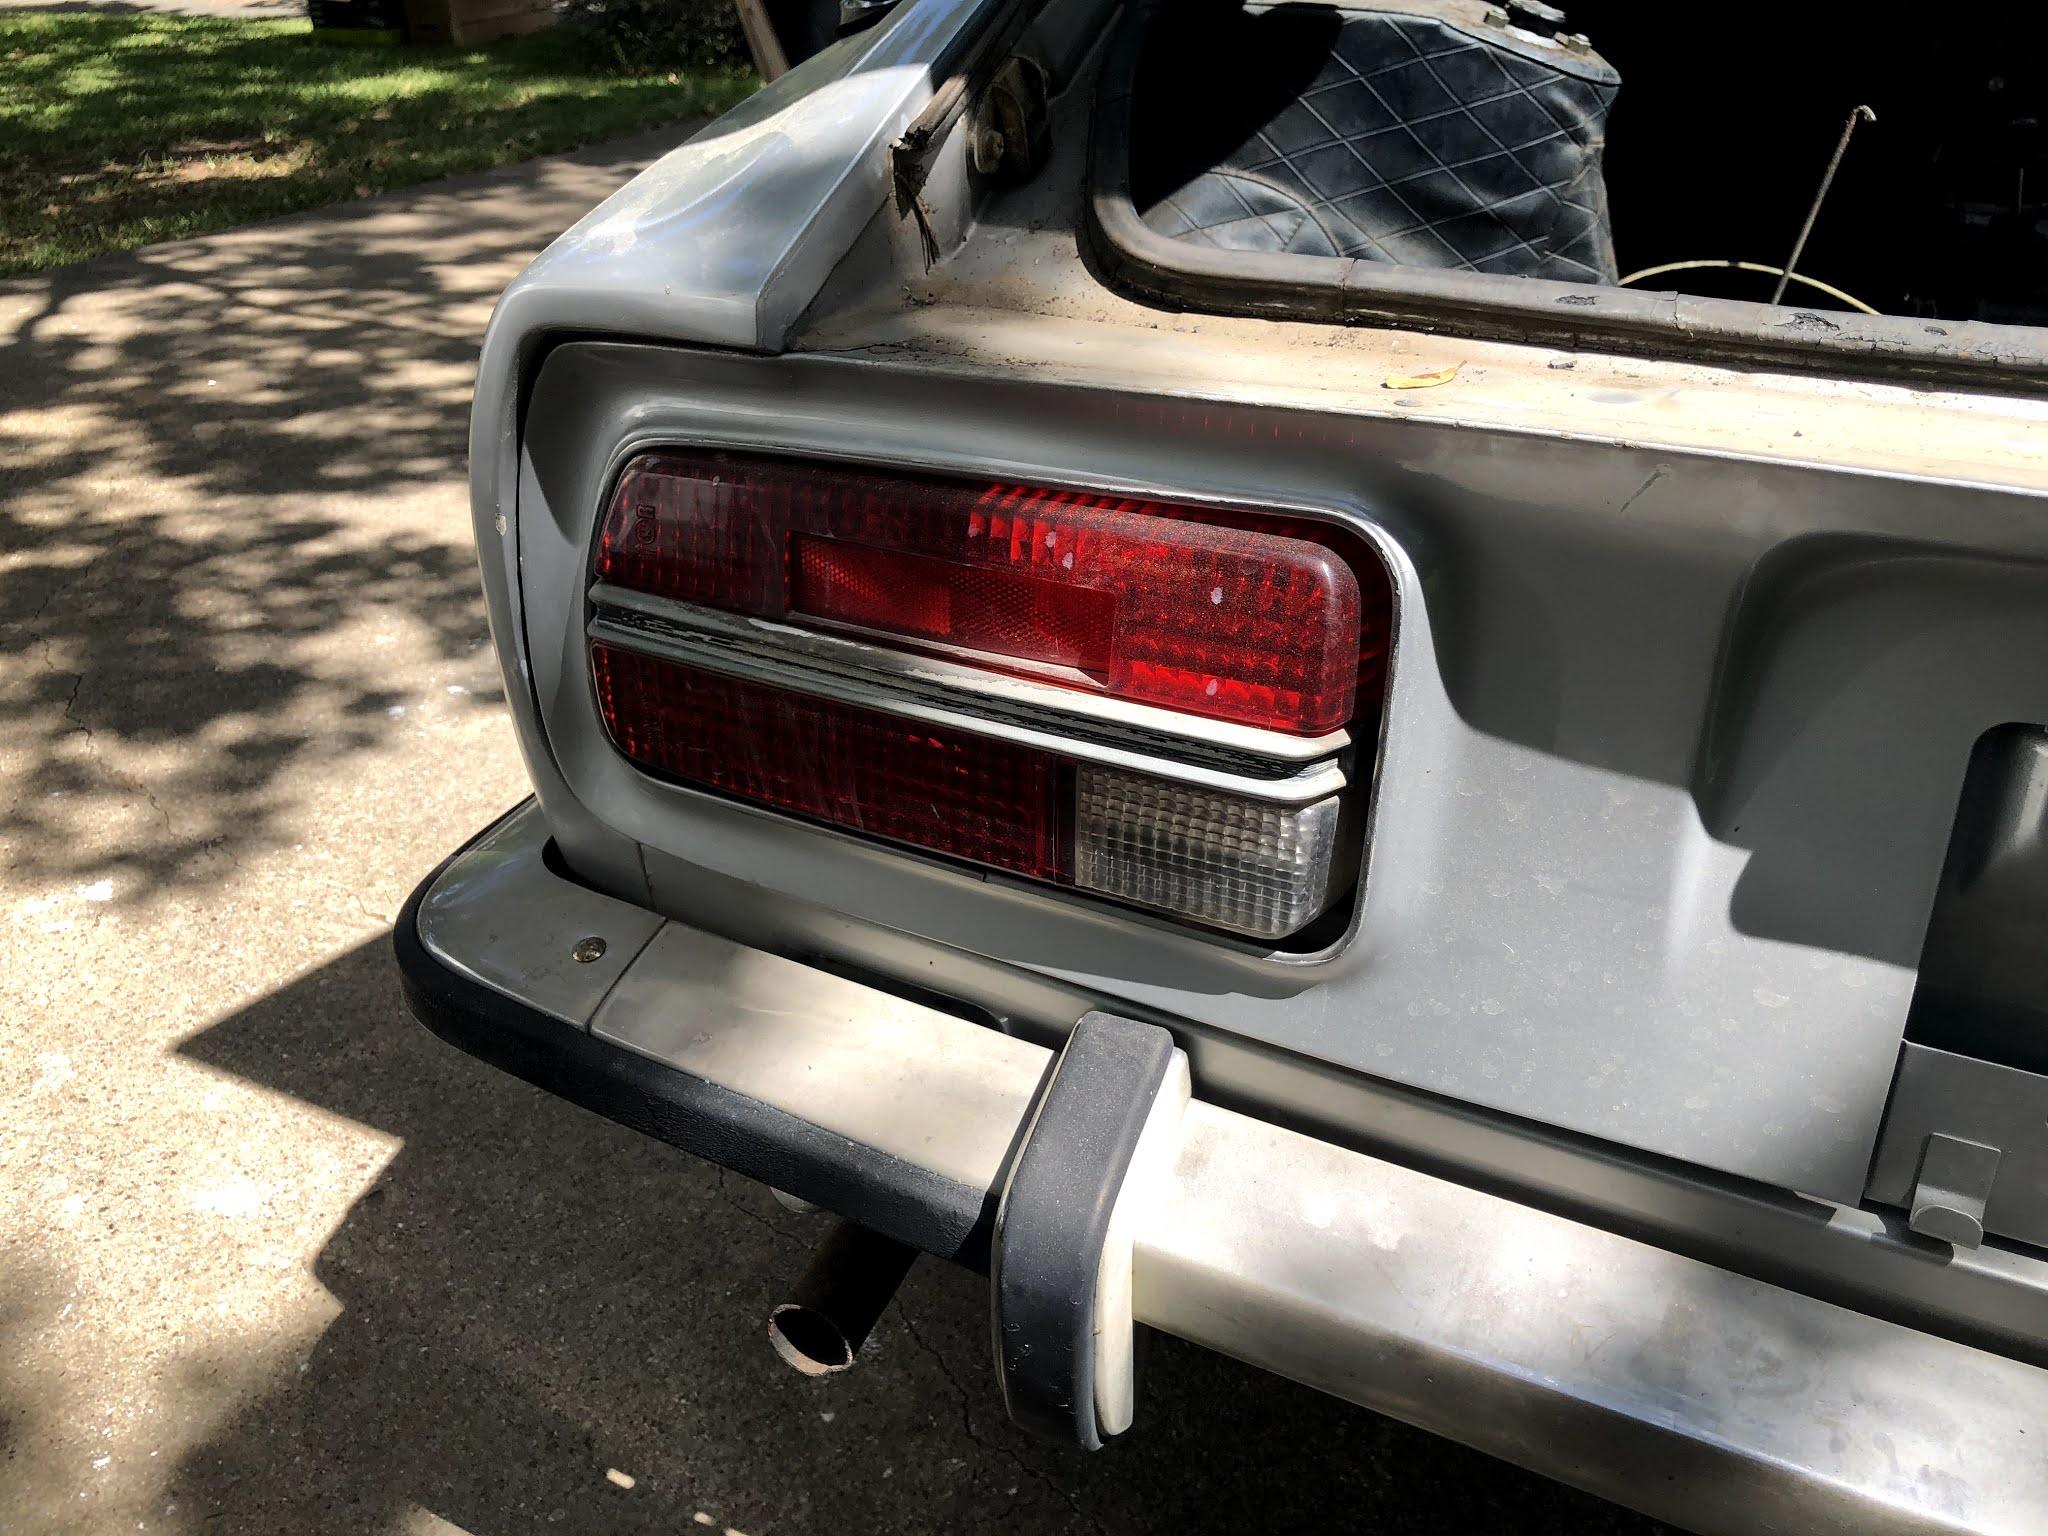
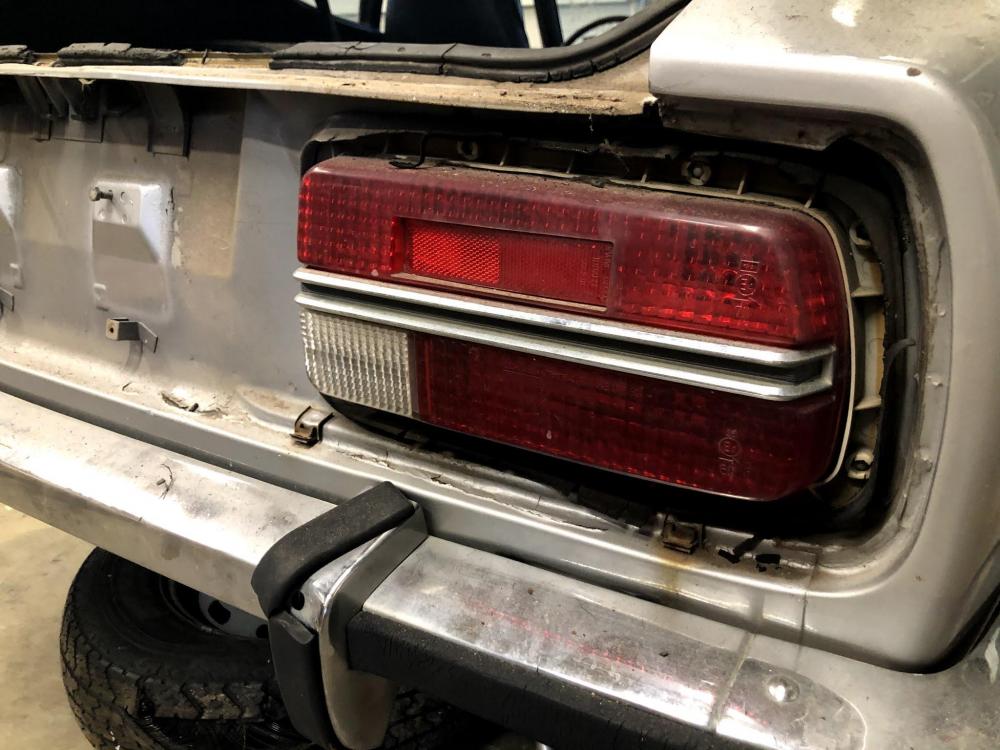
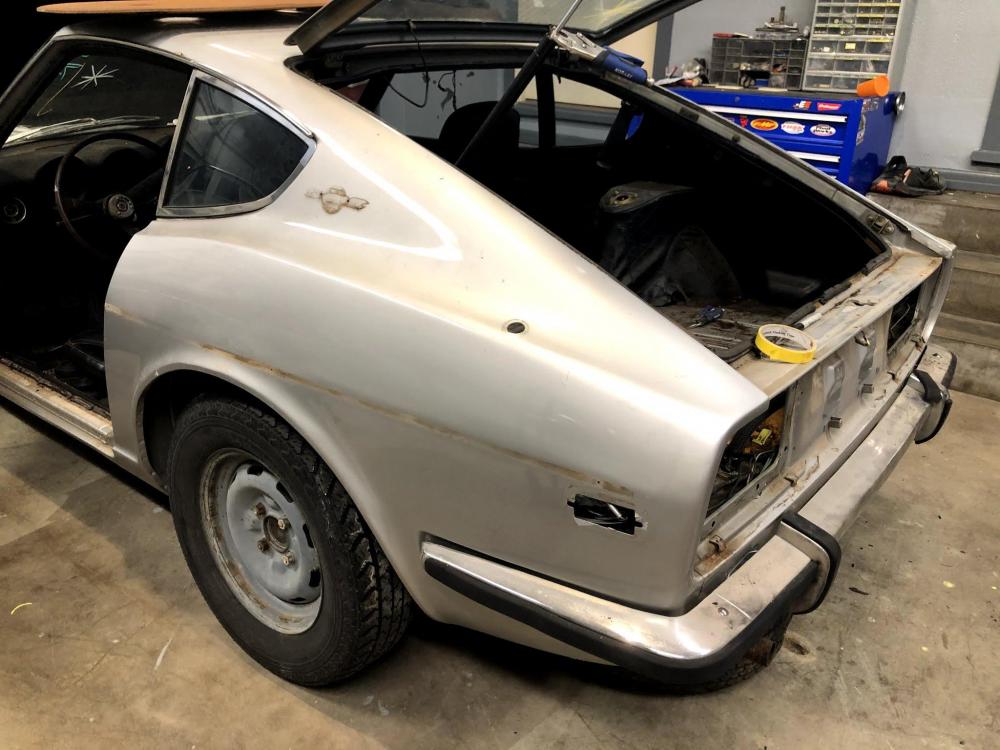
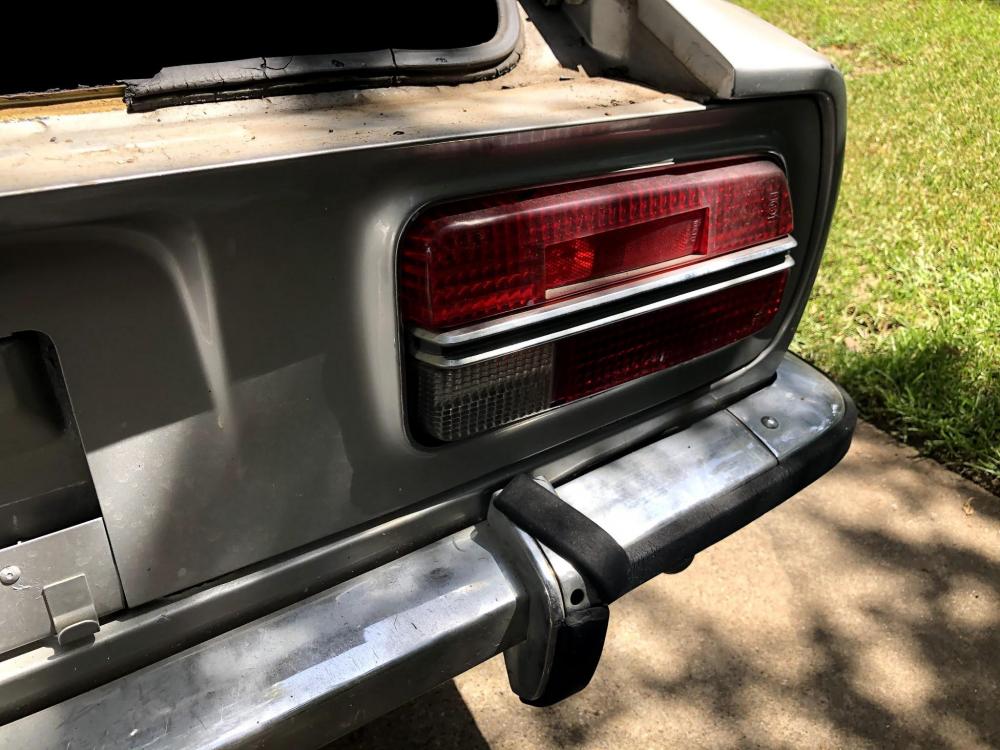
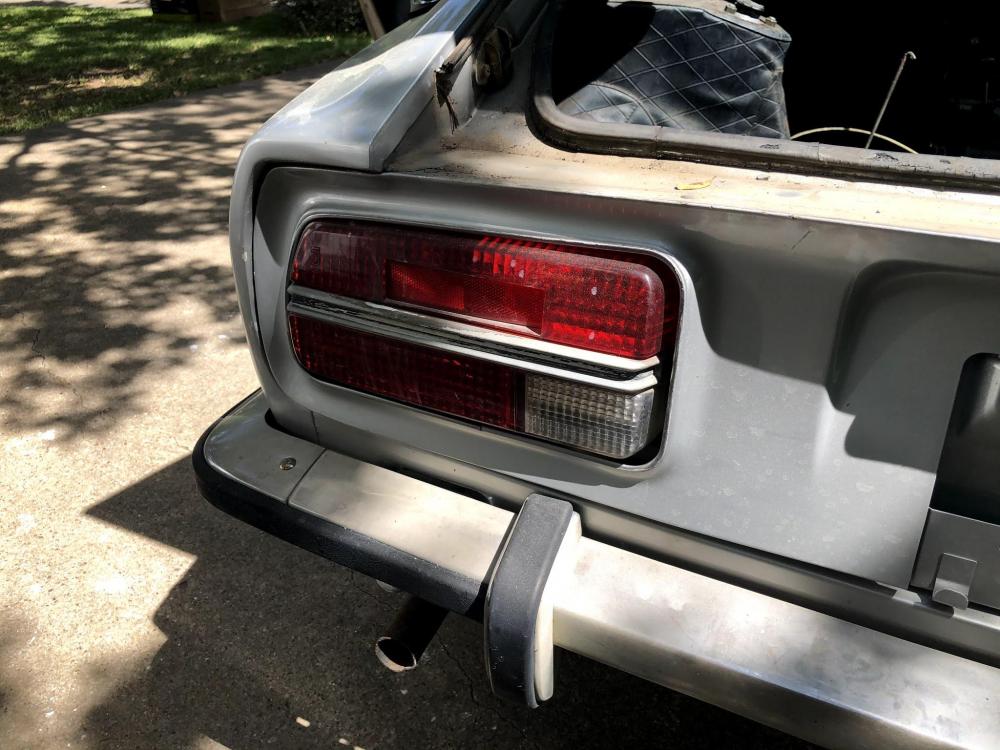
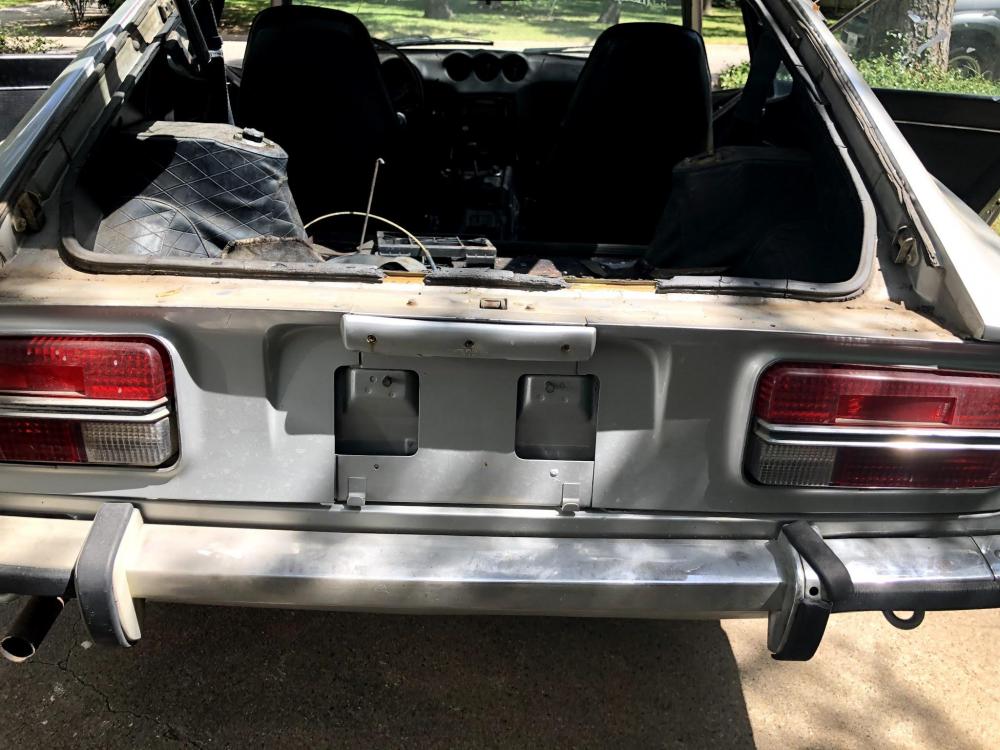
Rear hatch and lower valance of this Z are about as clean as they come on a survivor. No rust on the body or hatch panel.


-
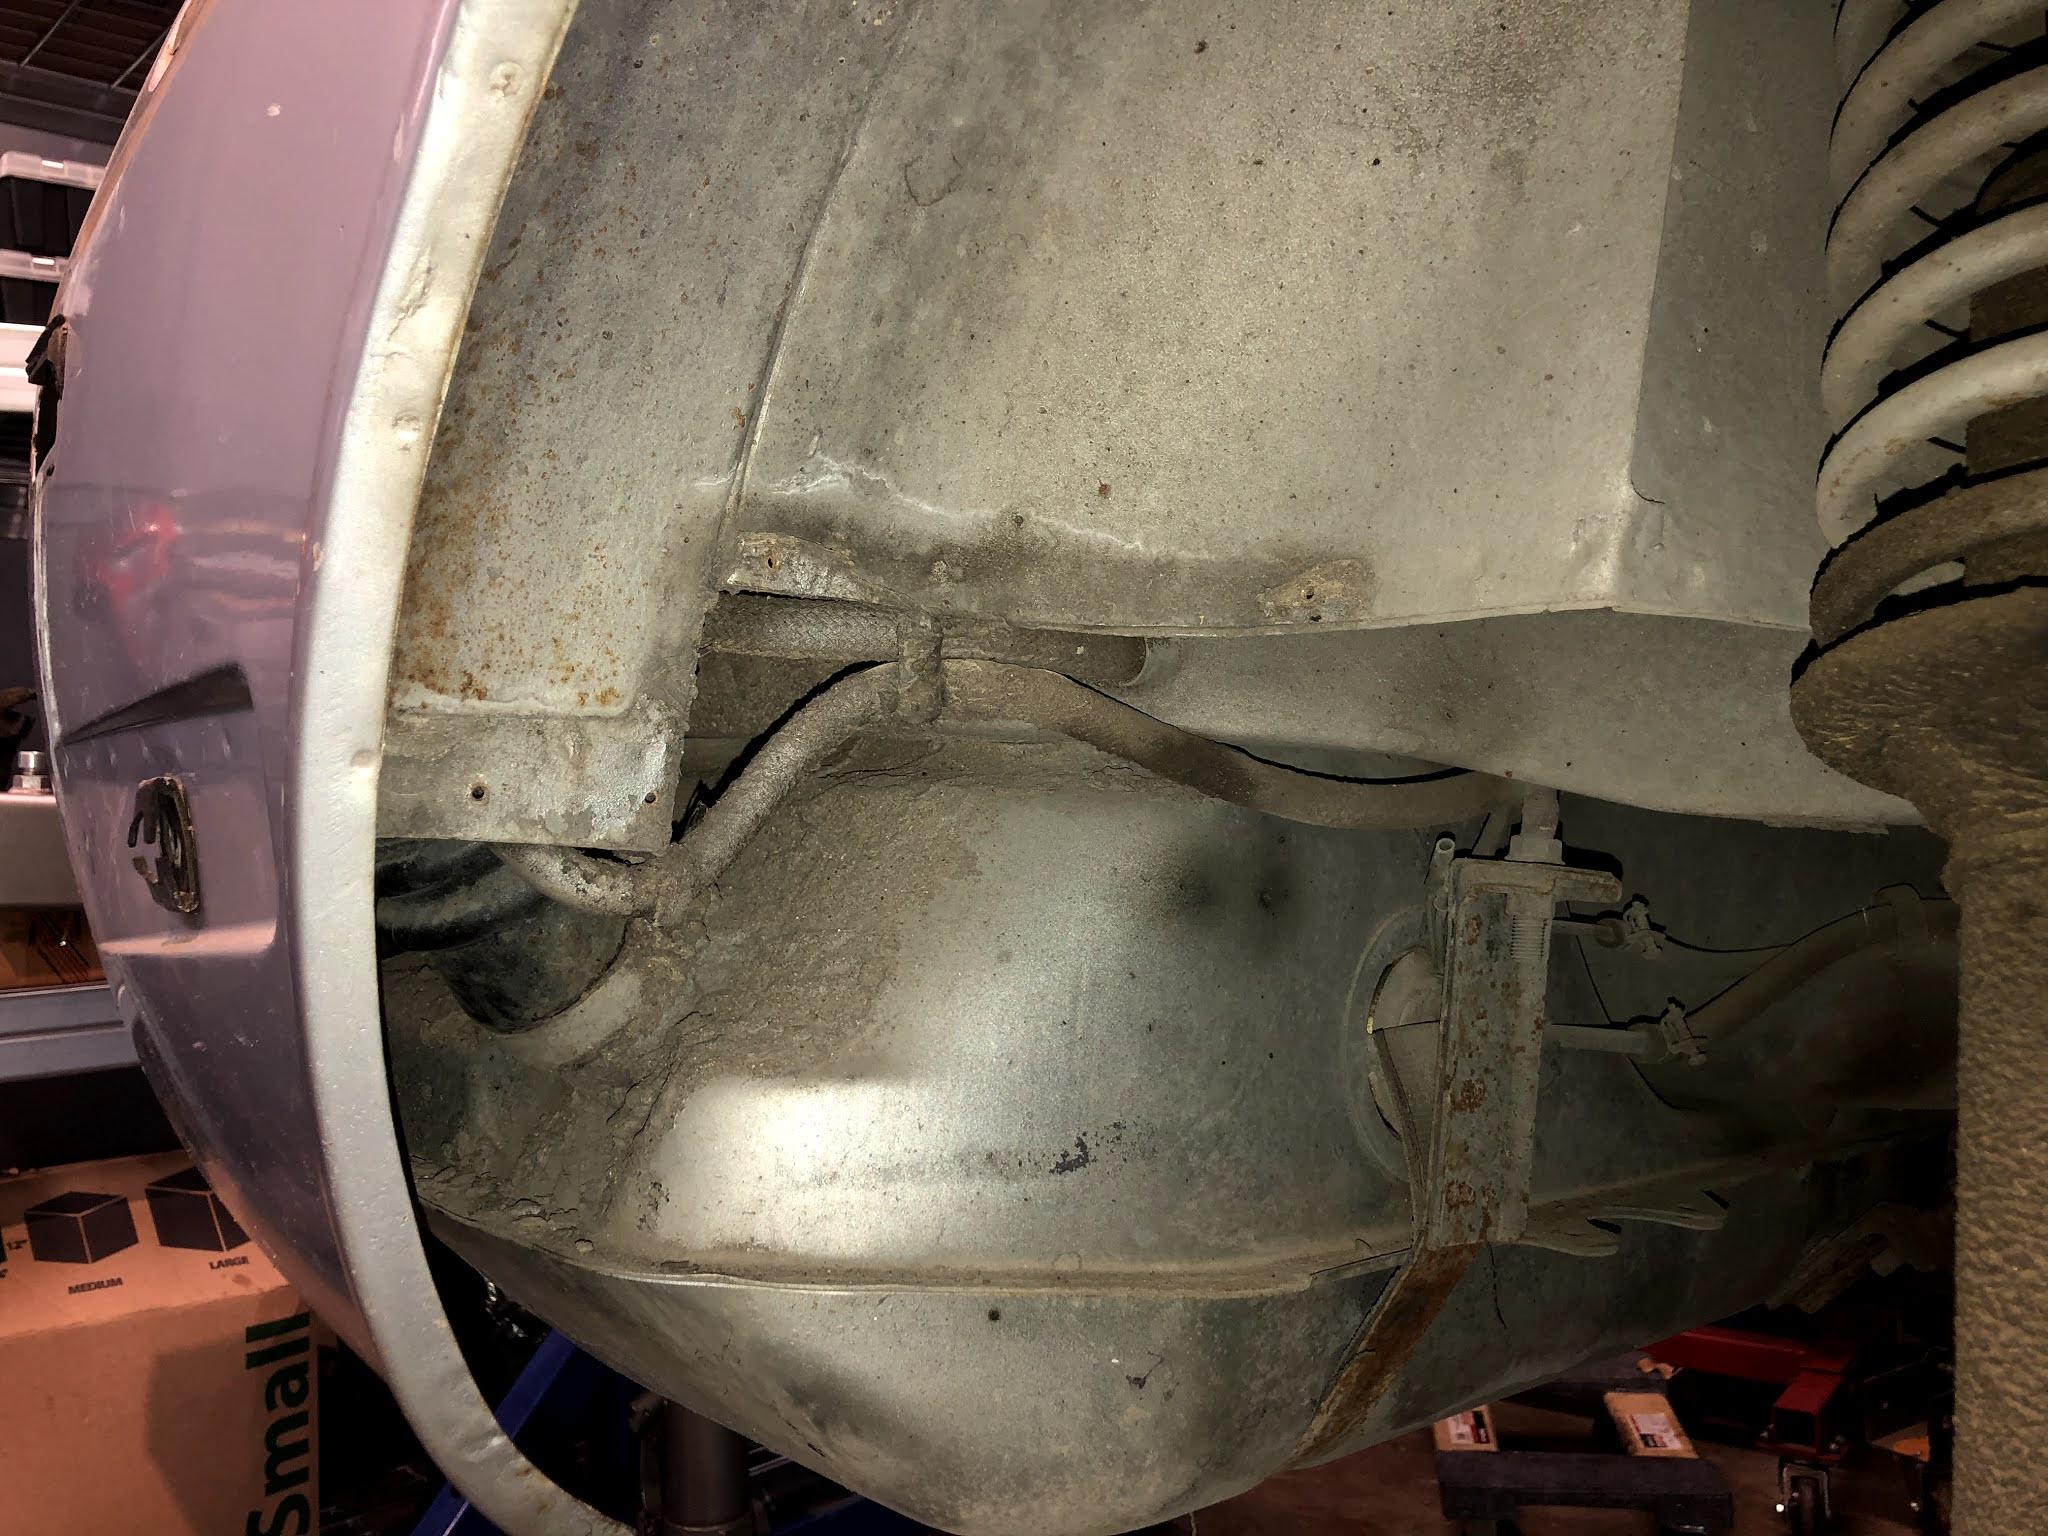
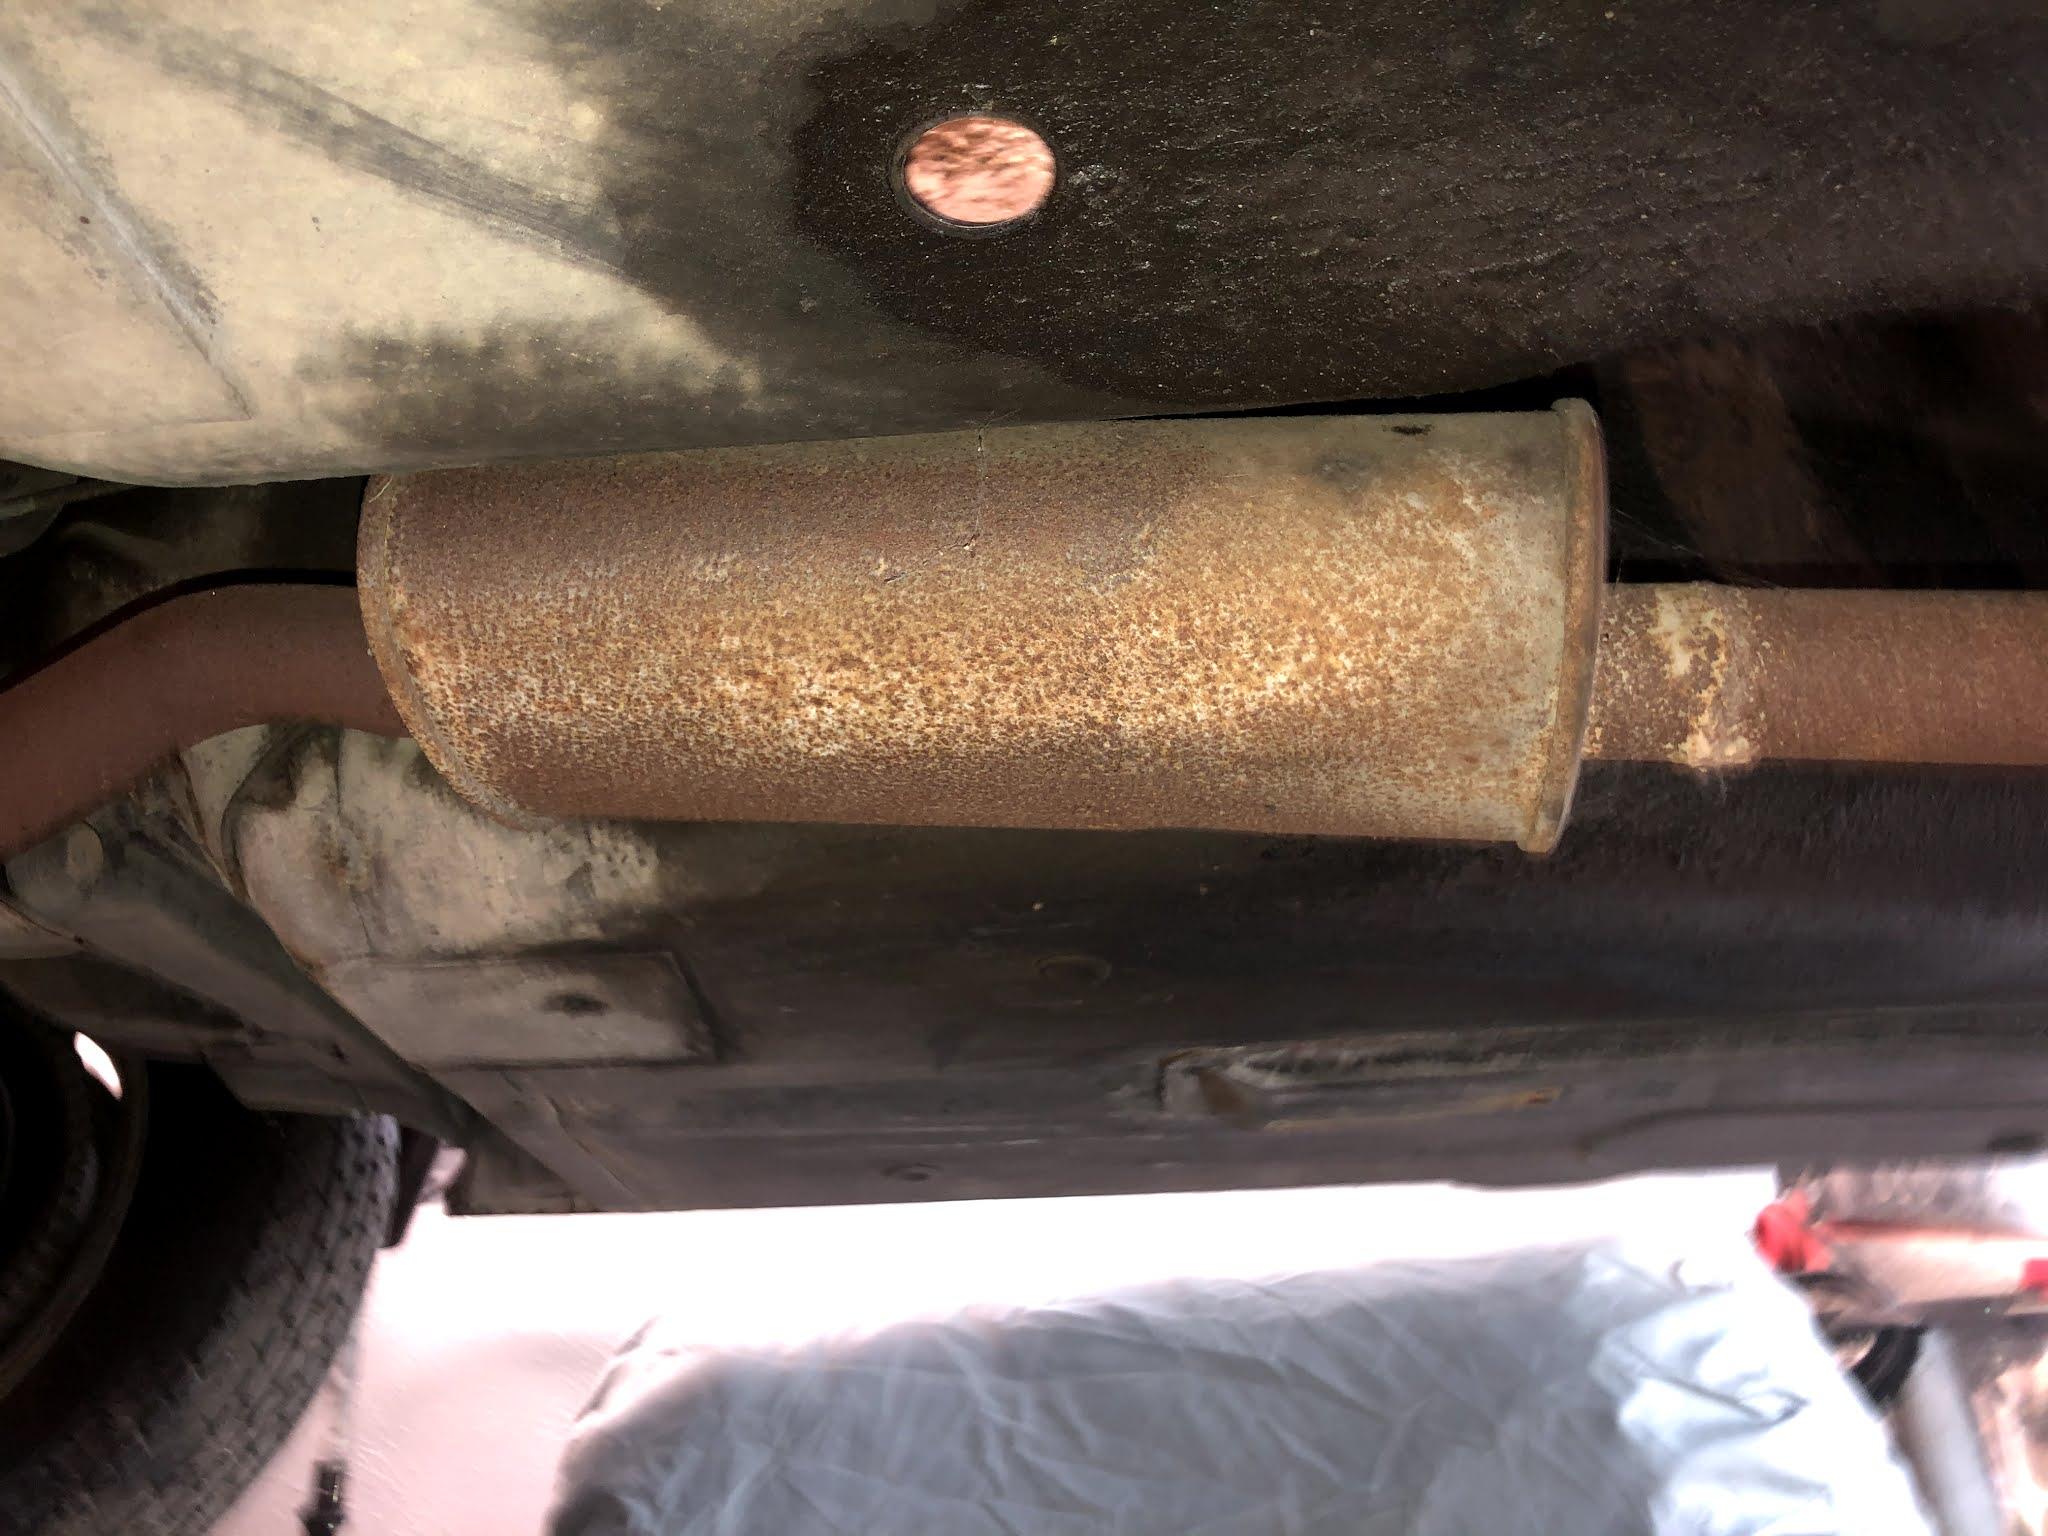
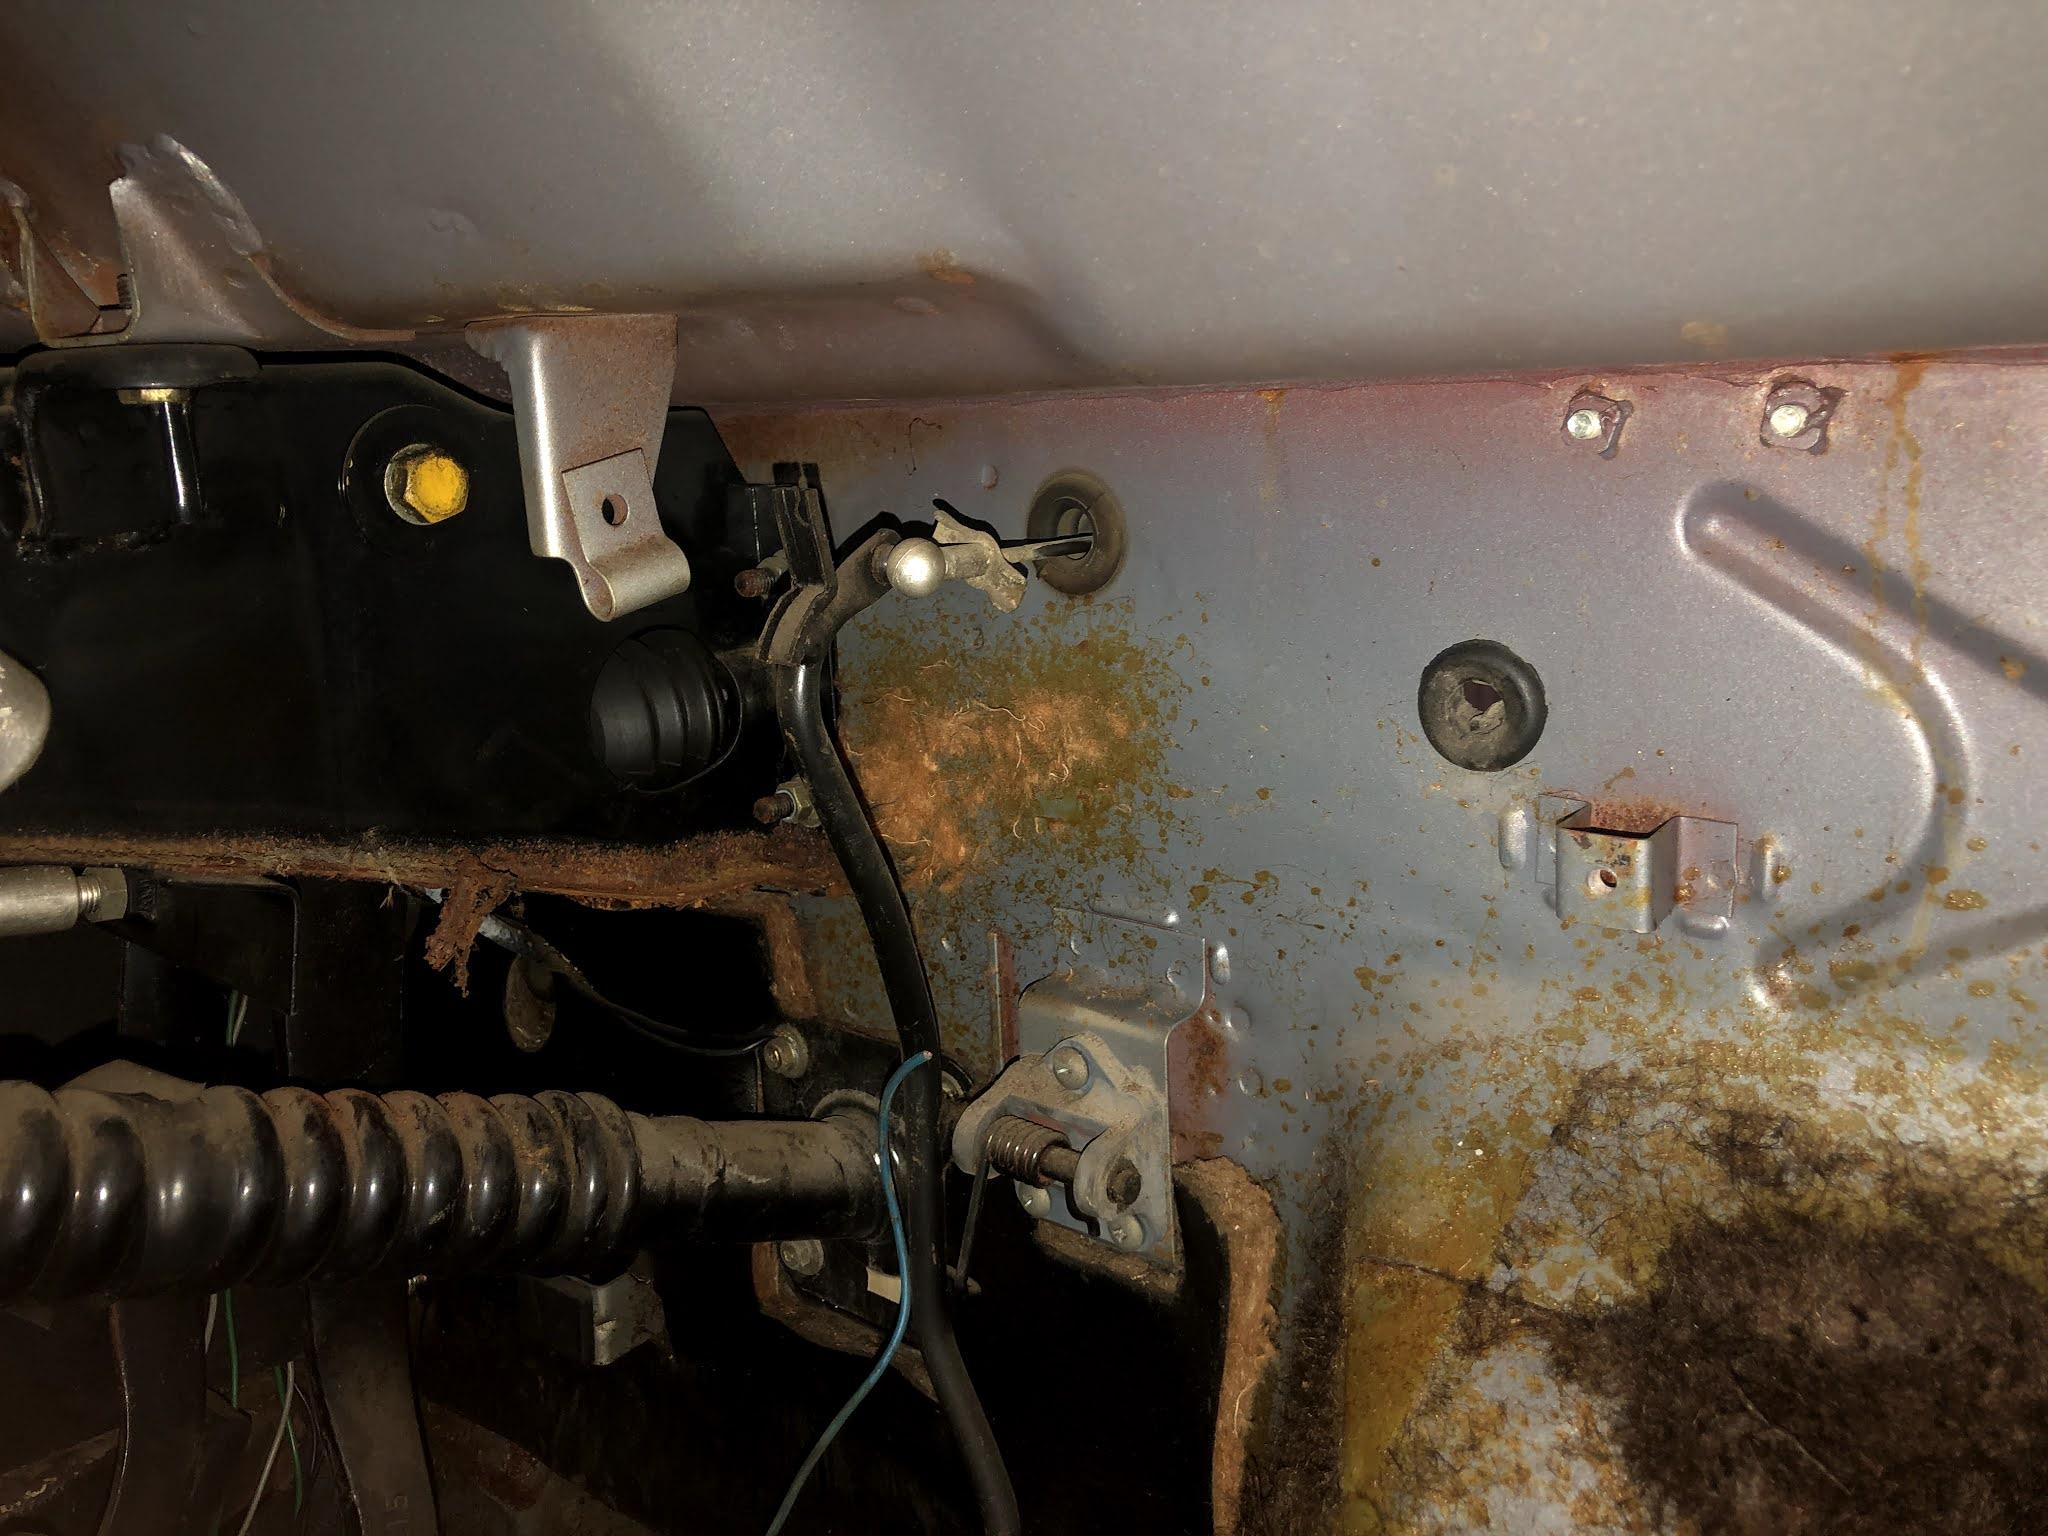
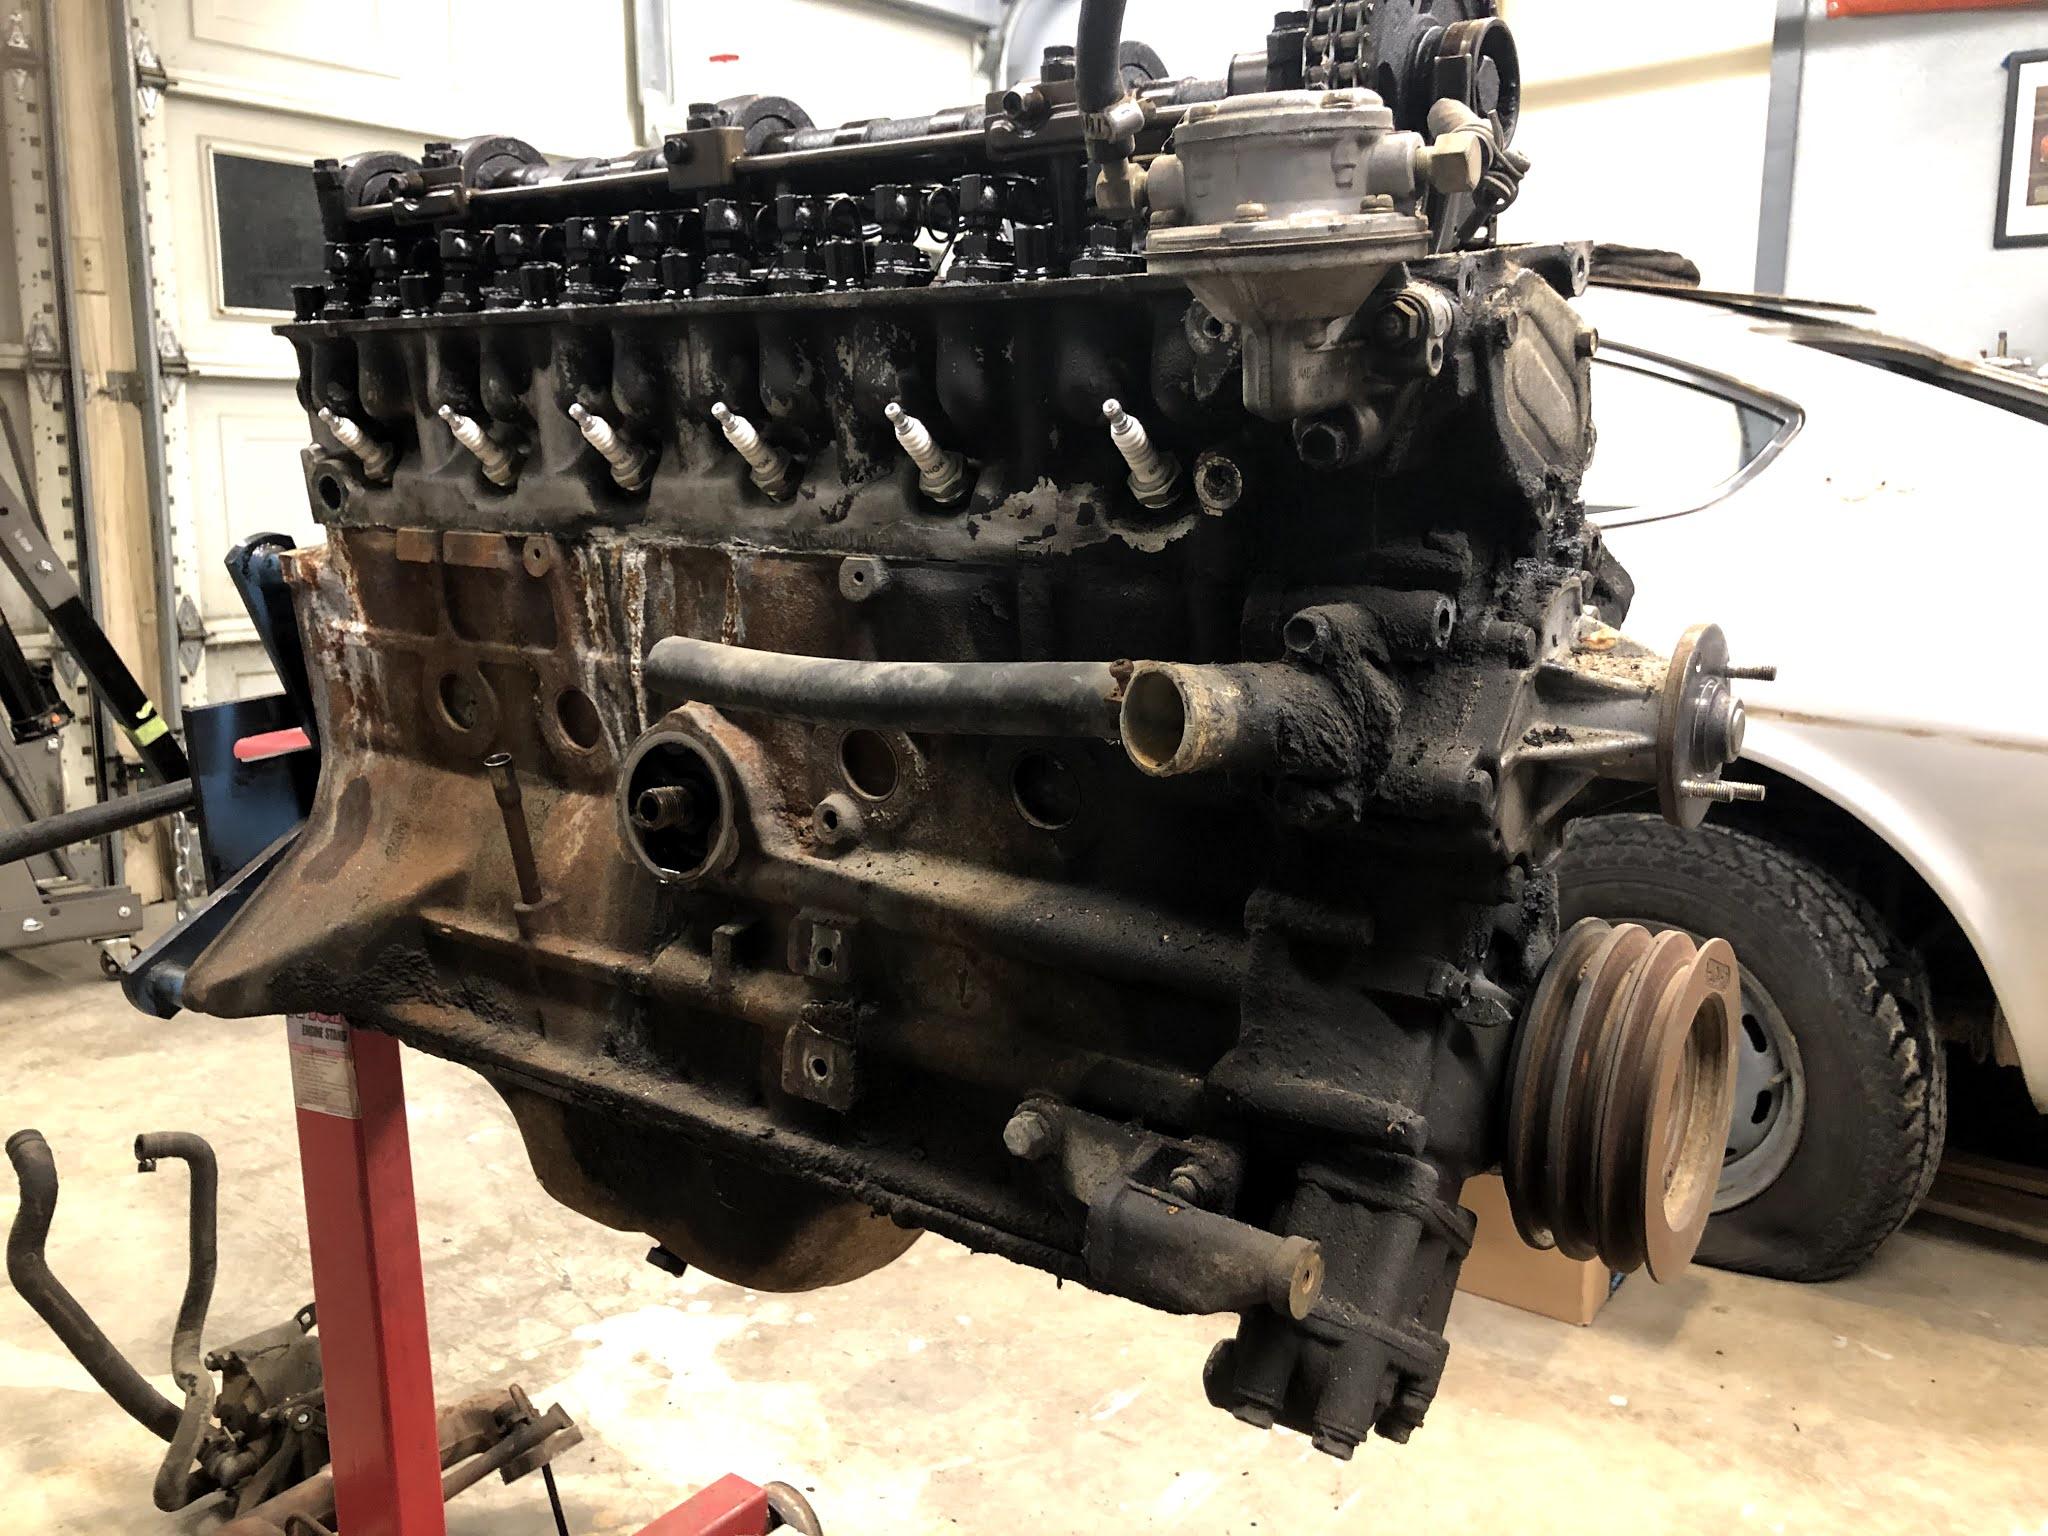
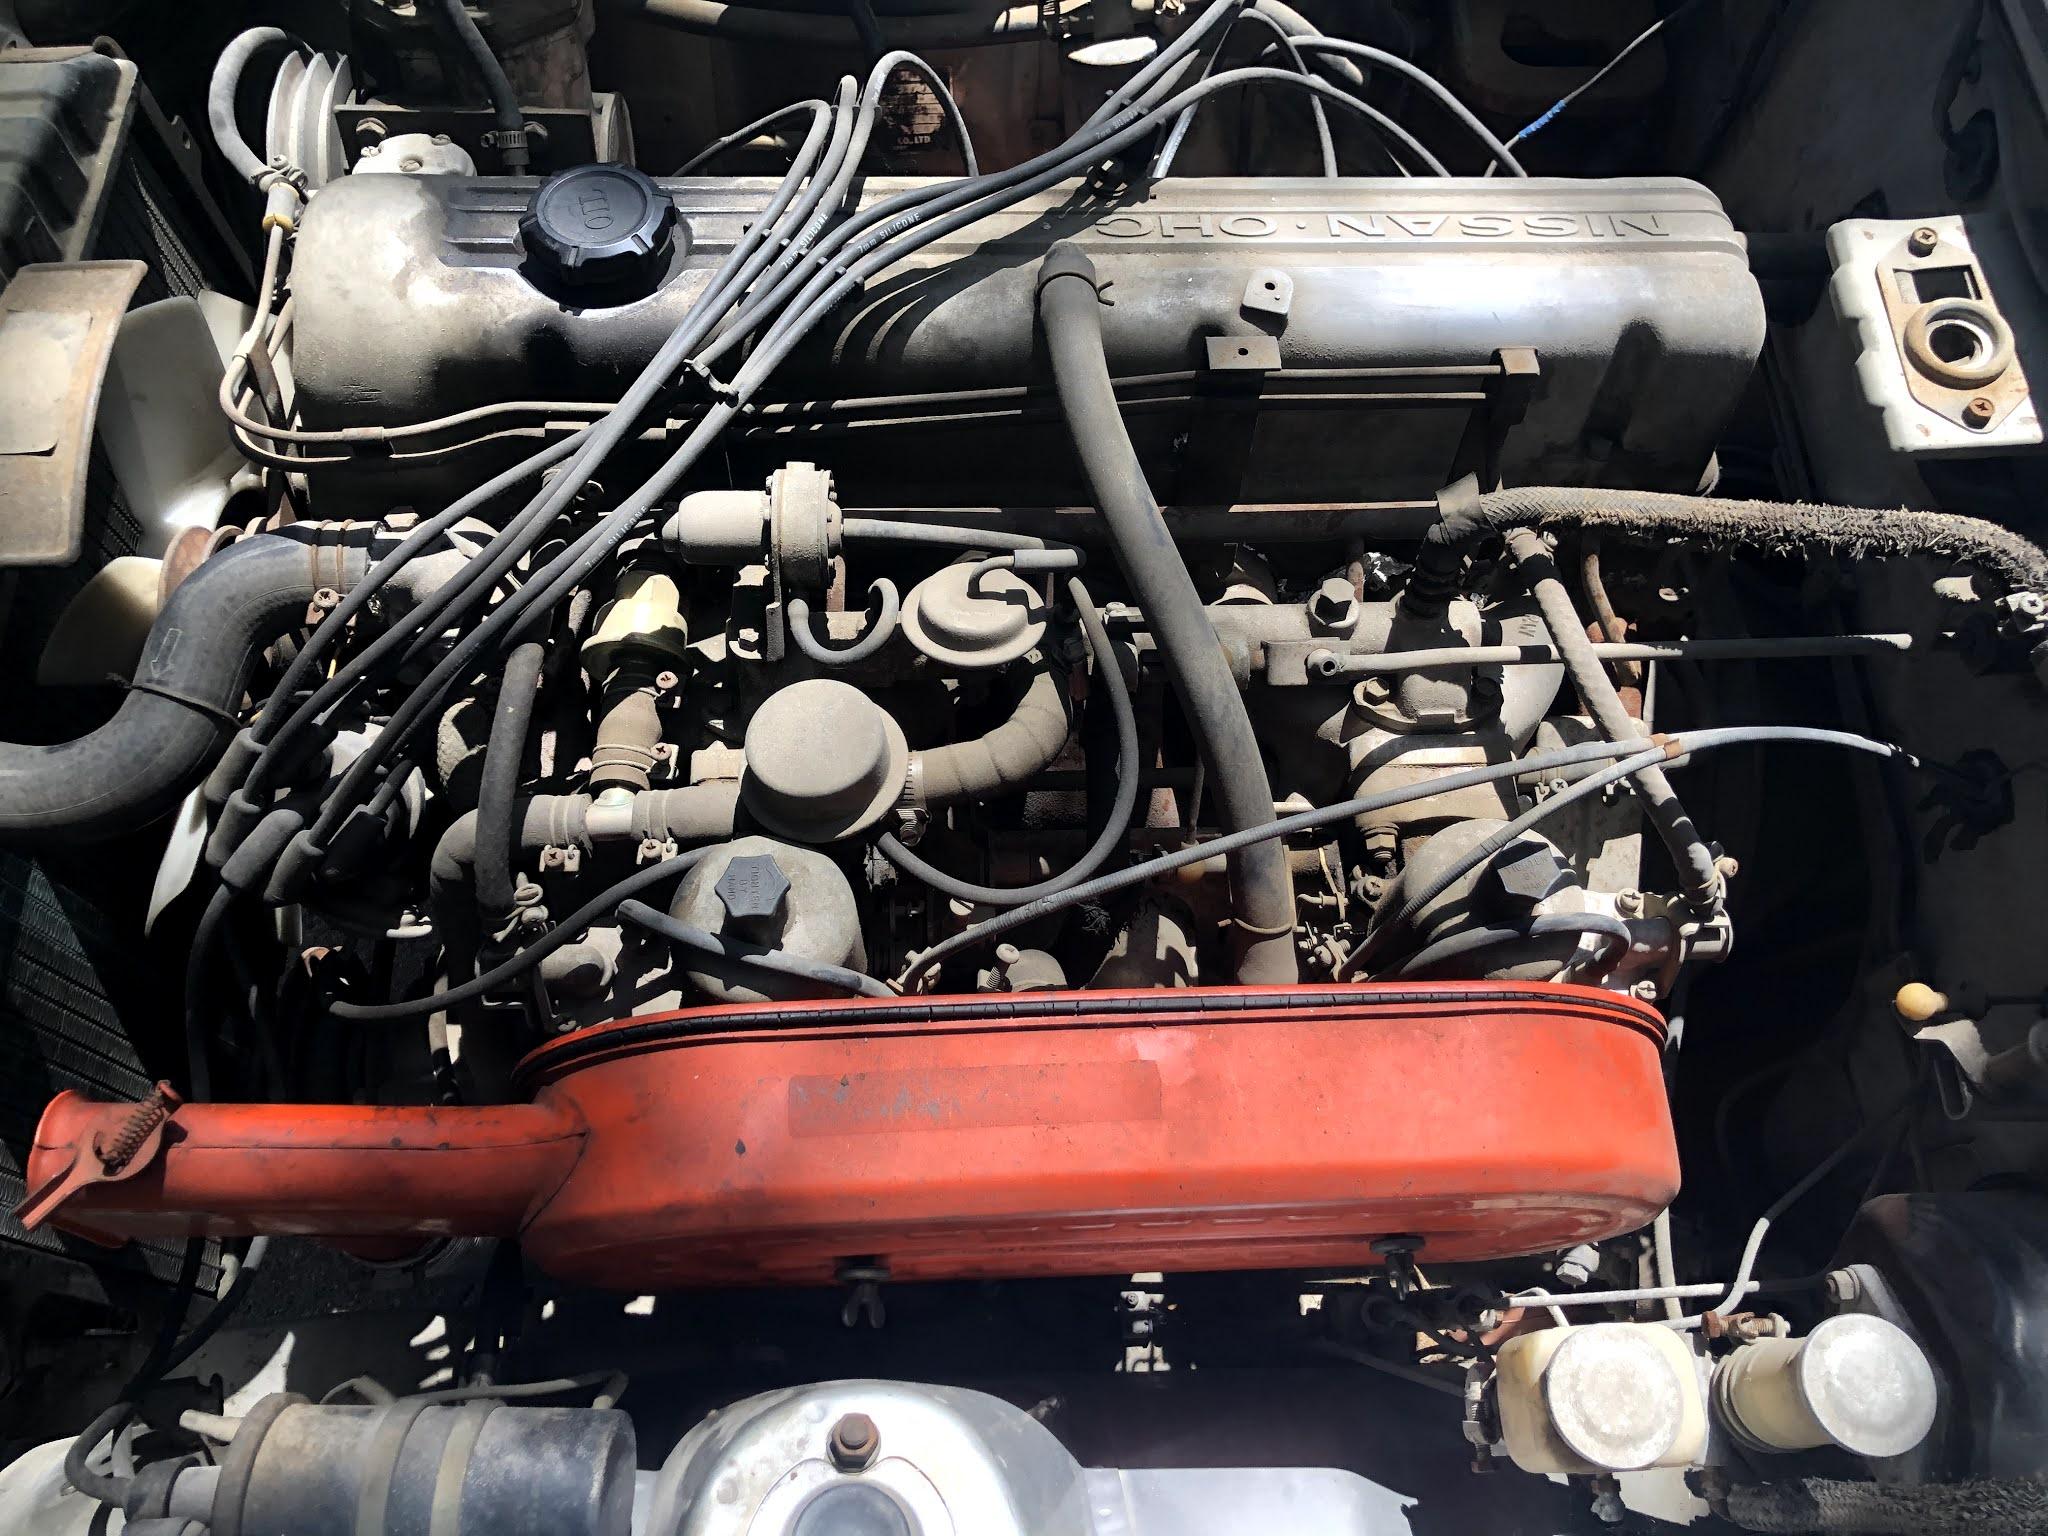
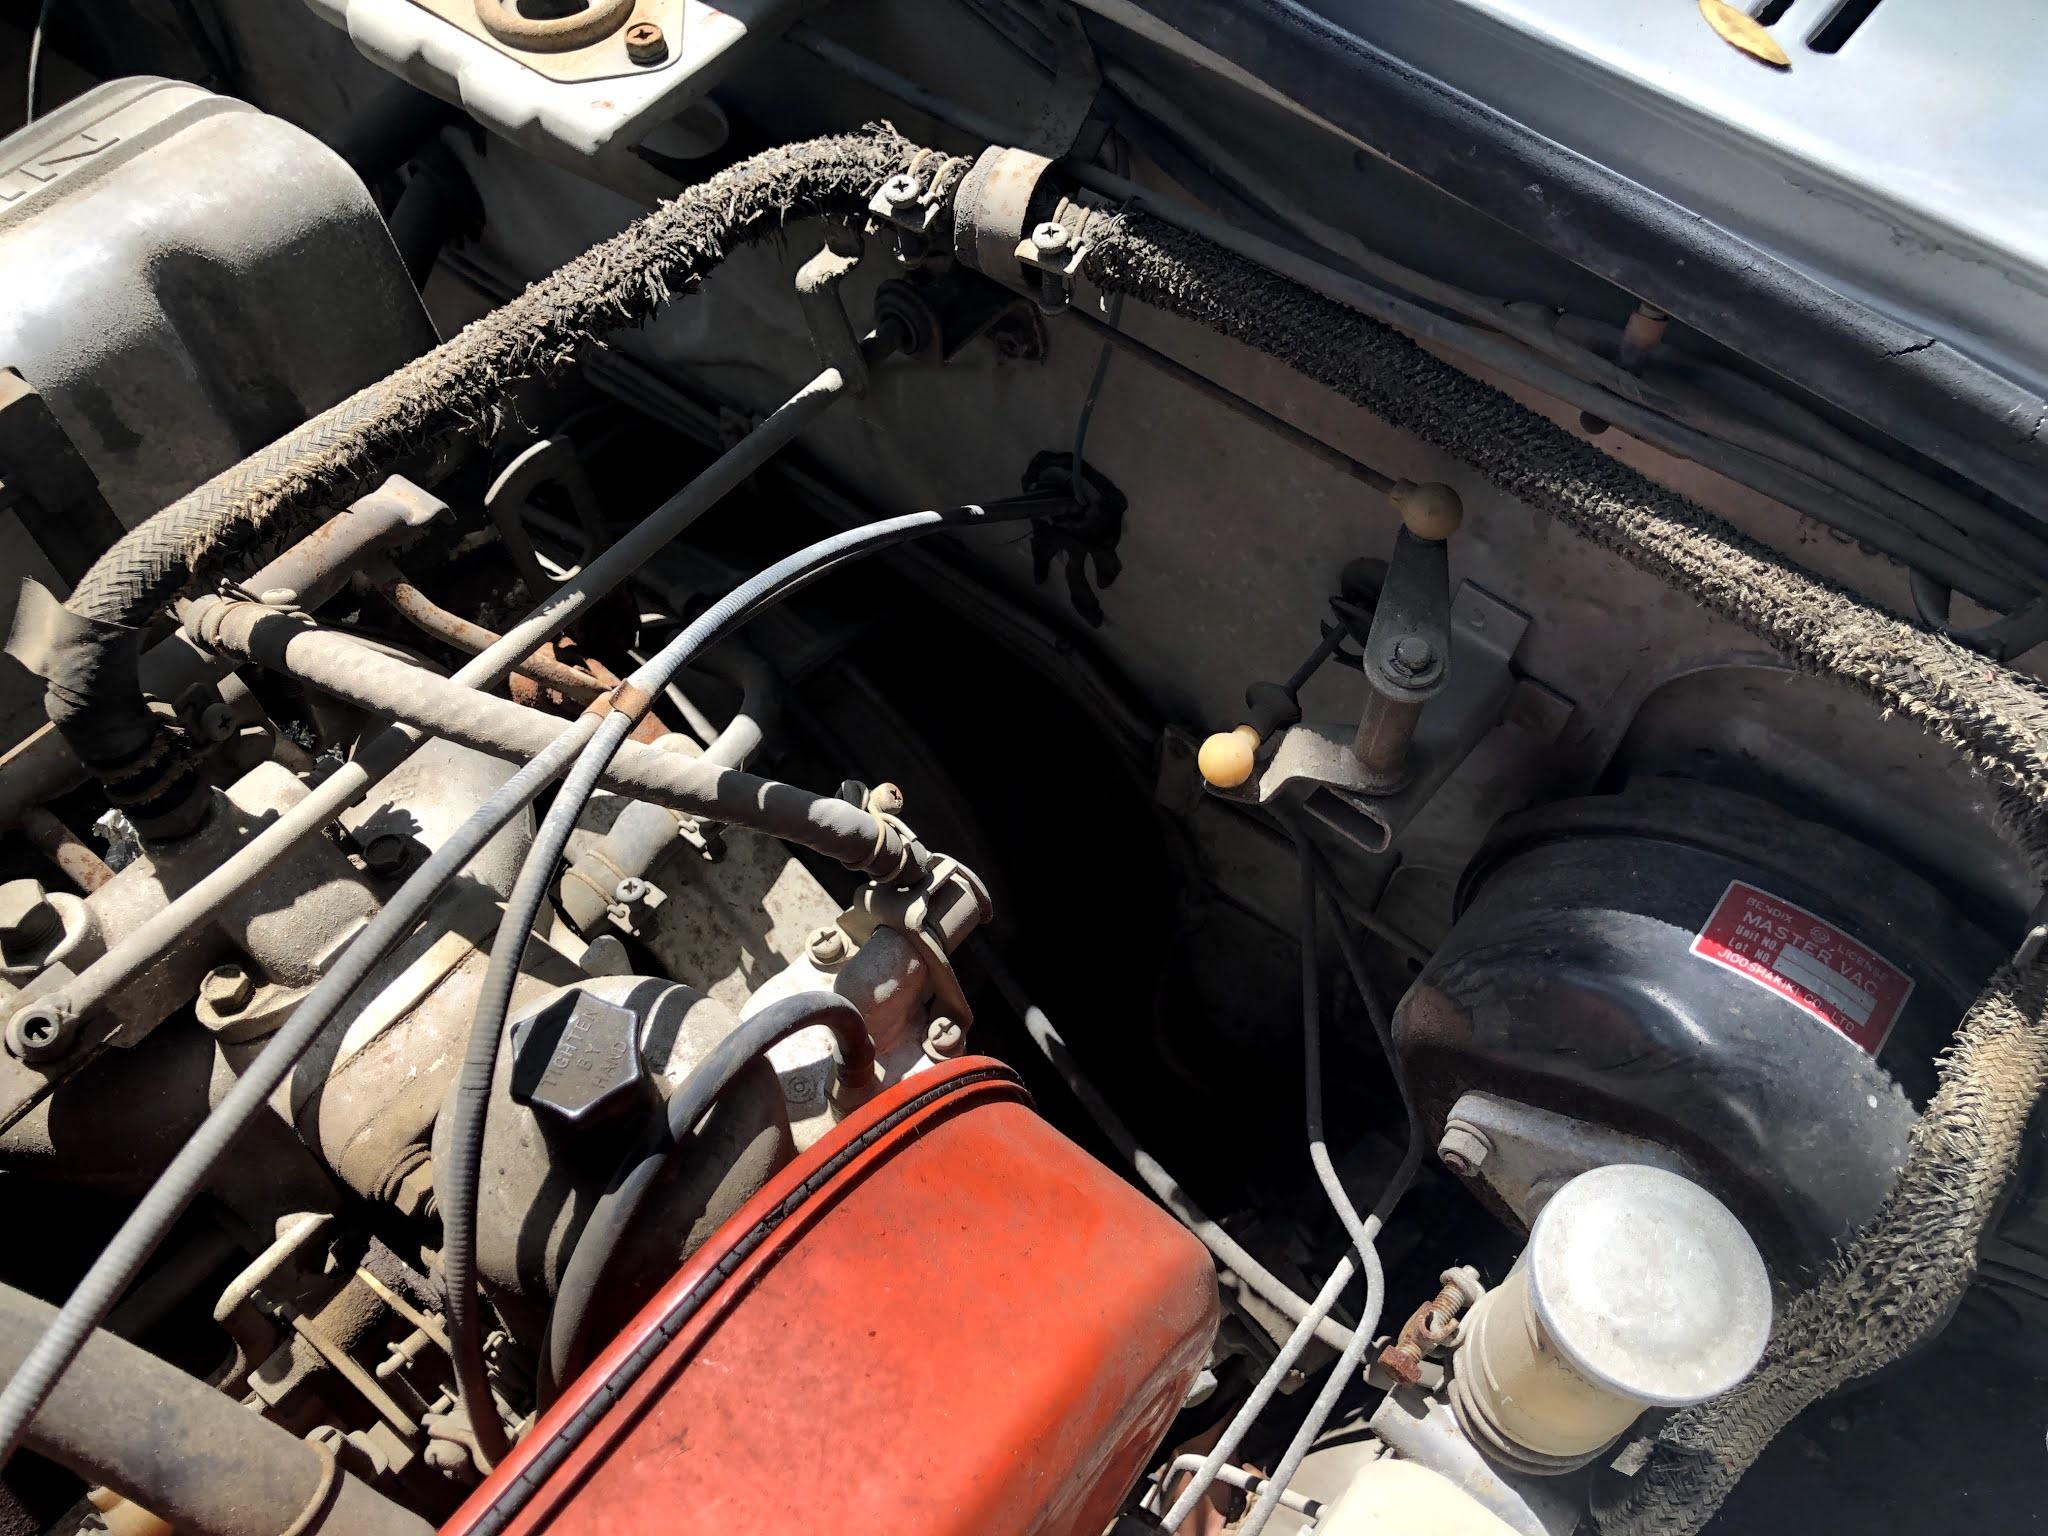
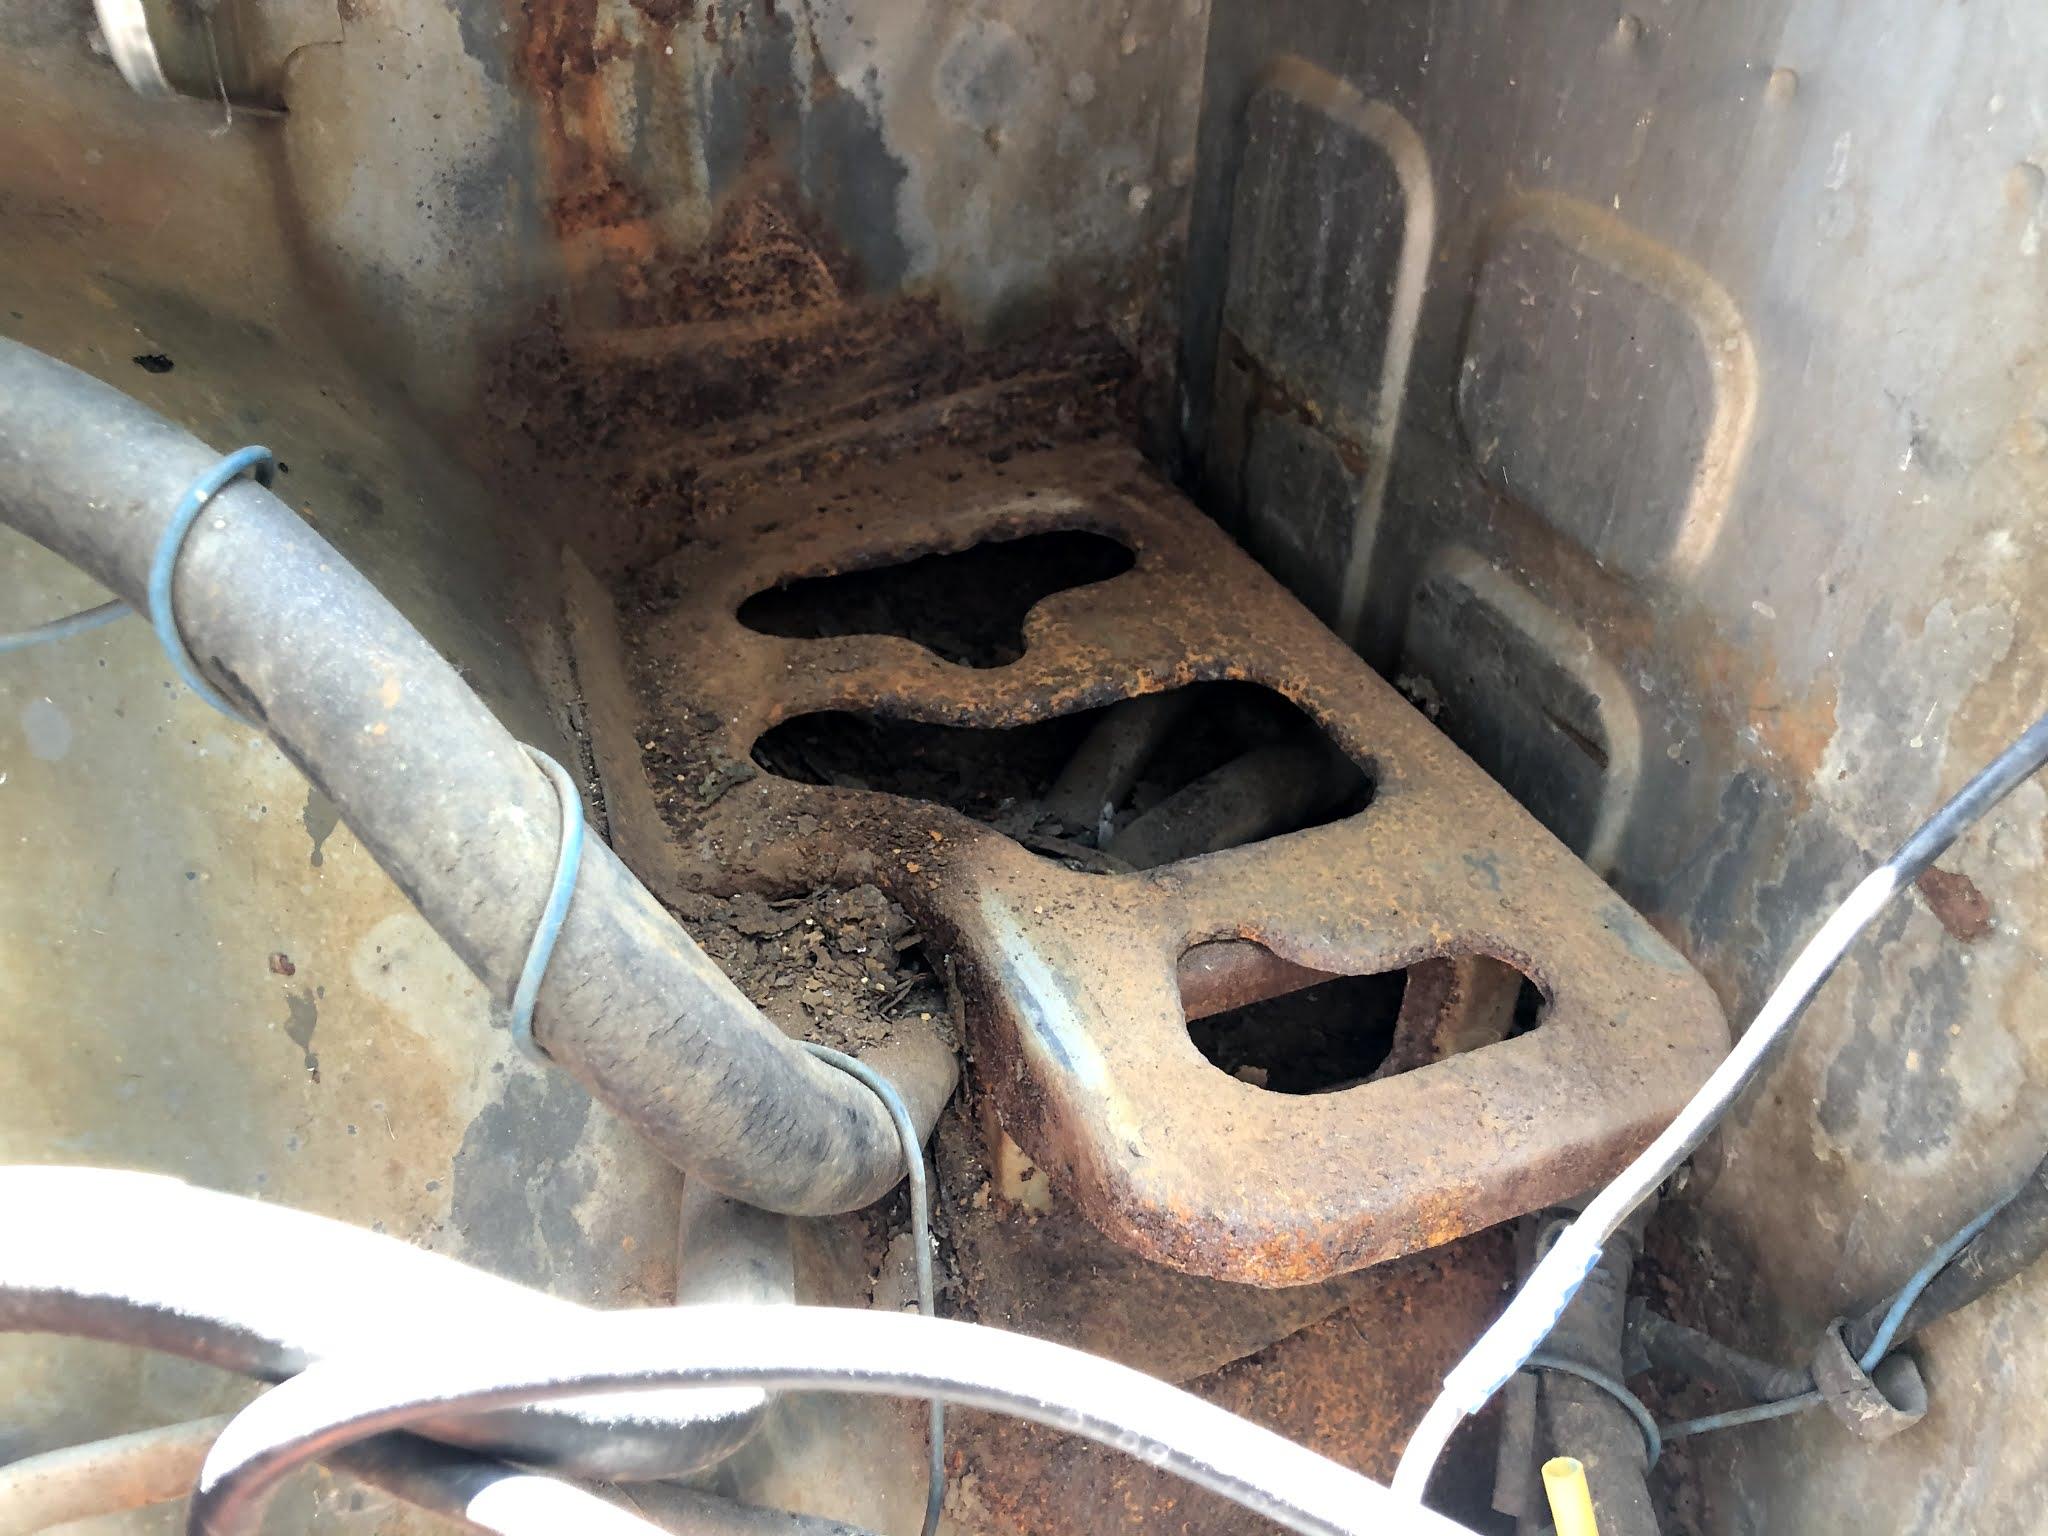
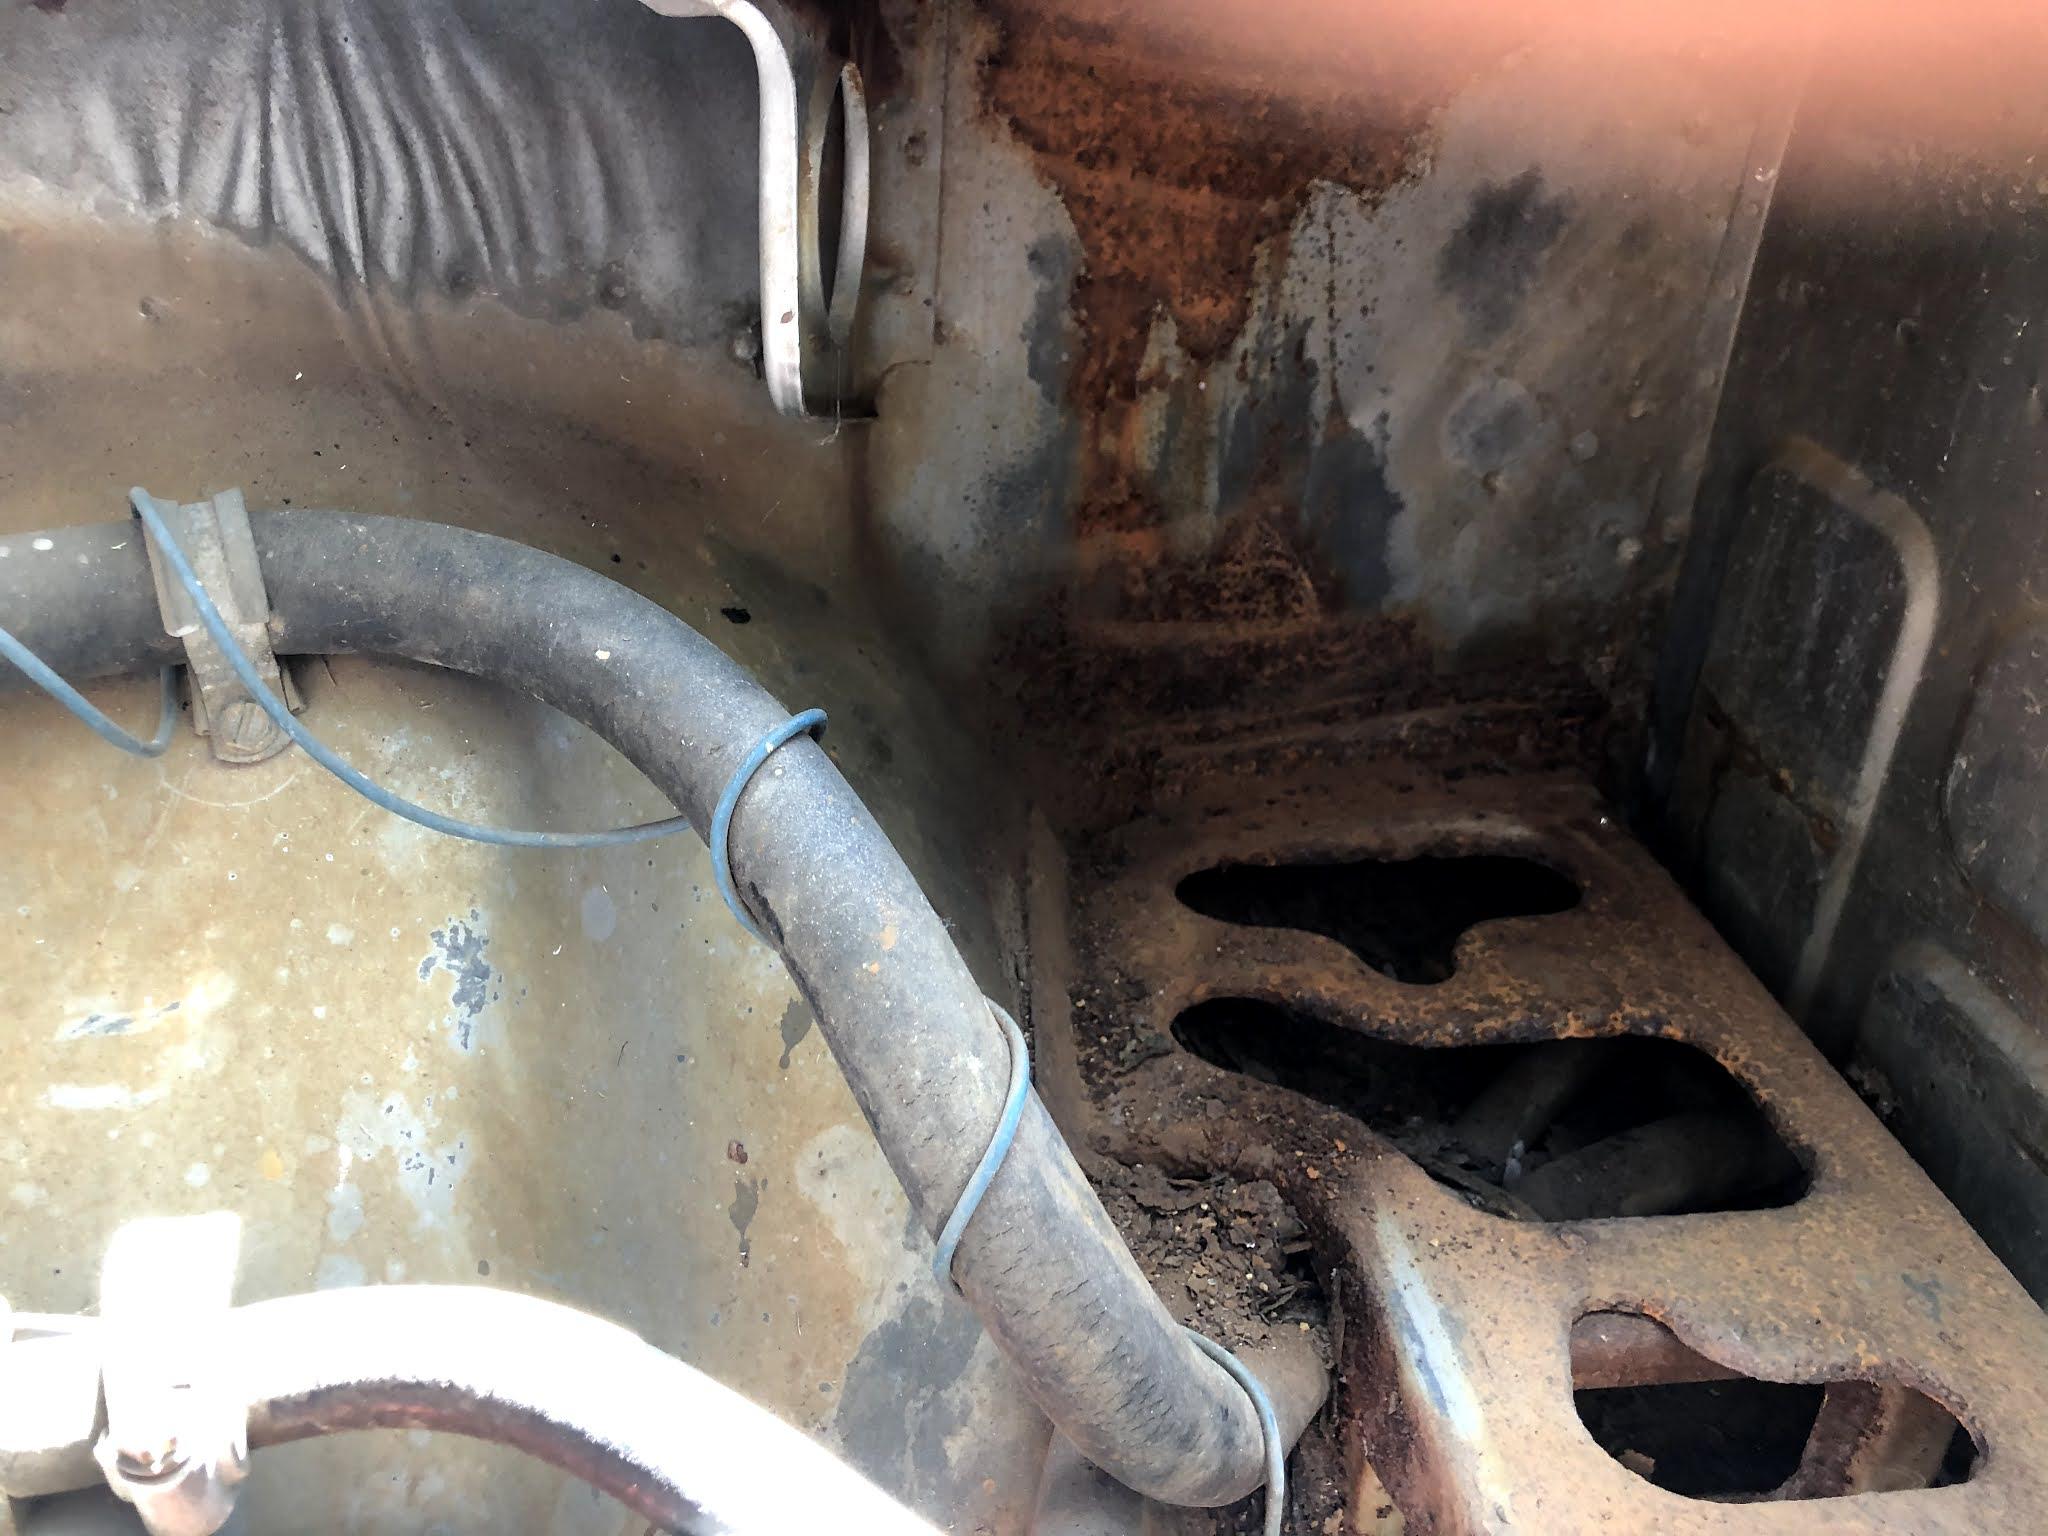
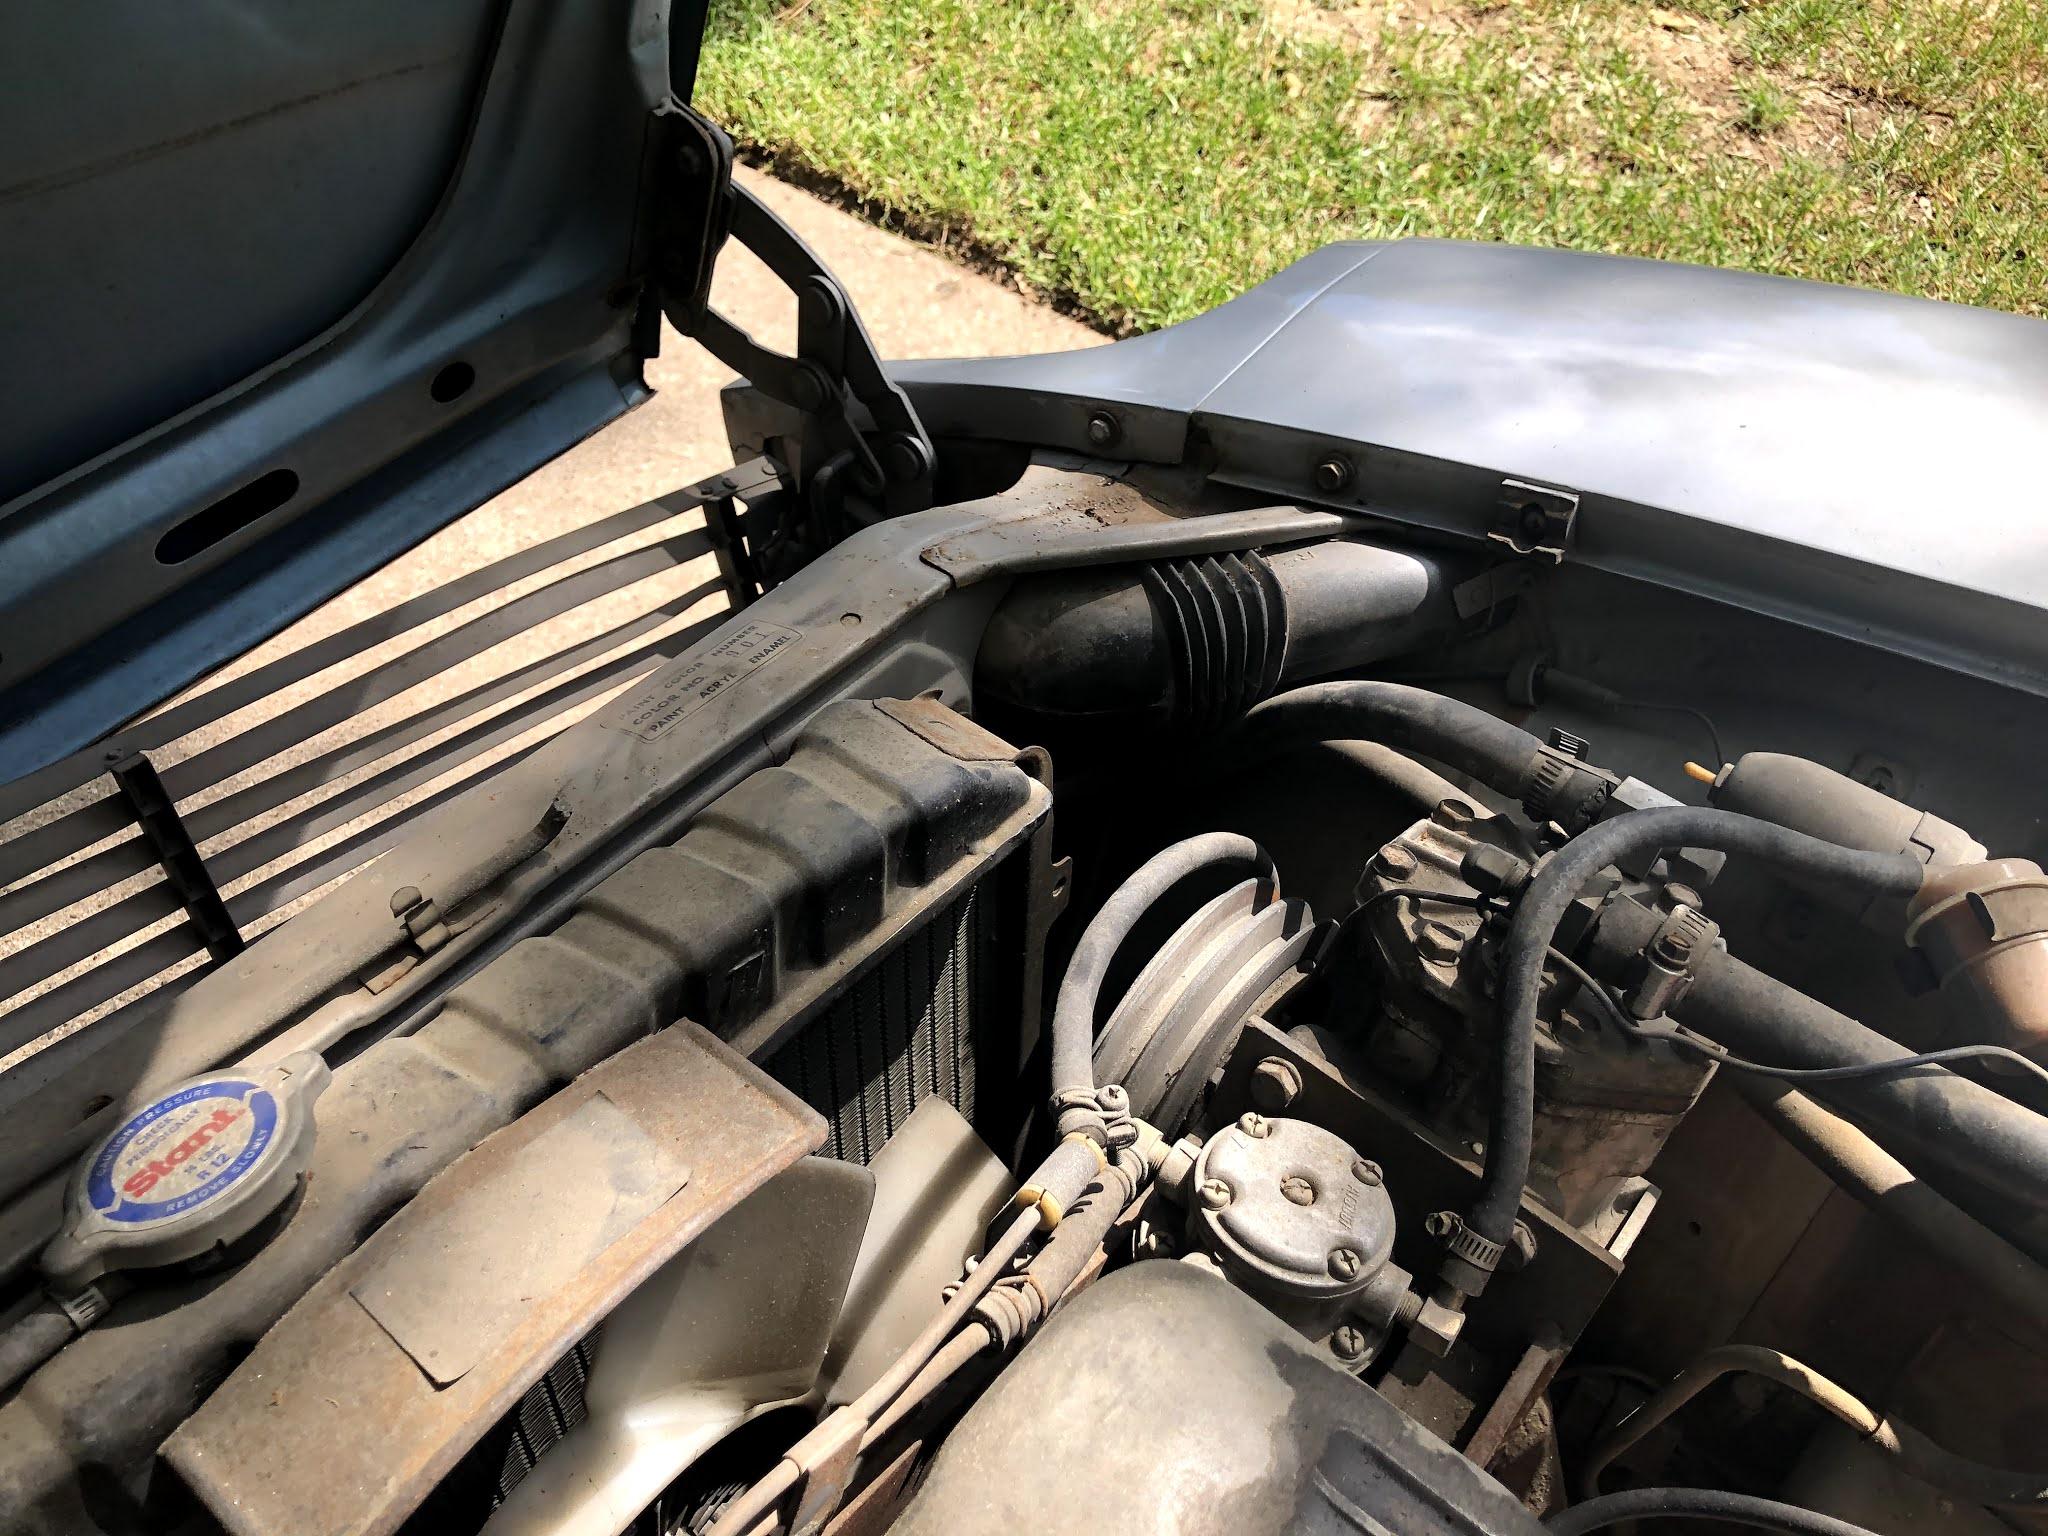
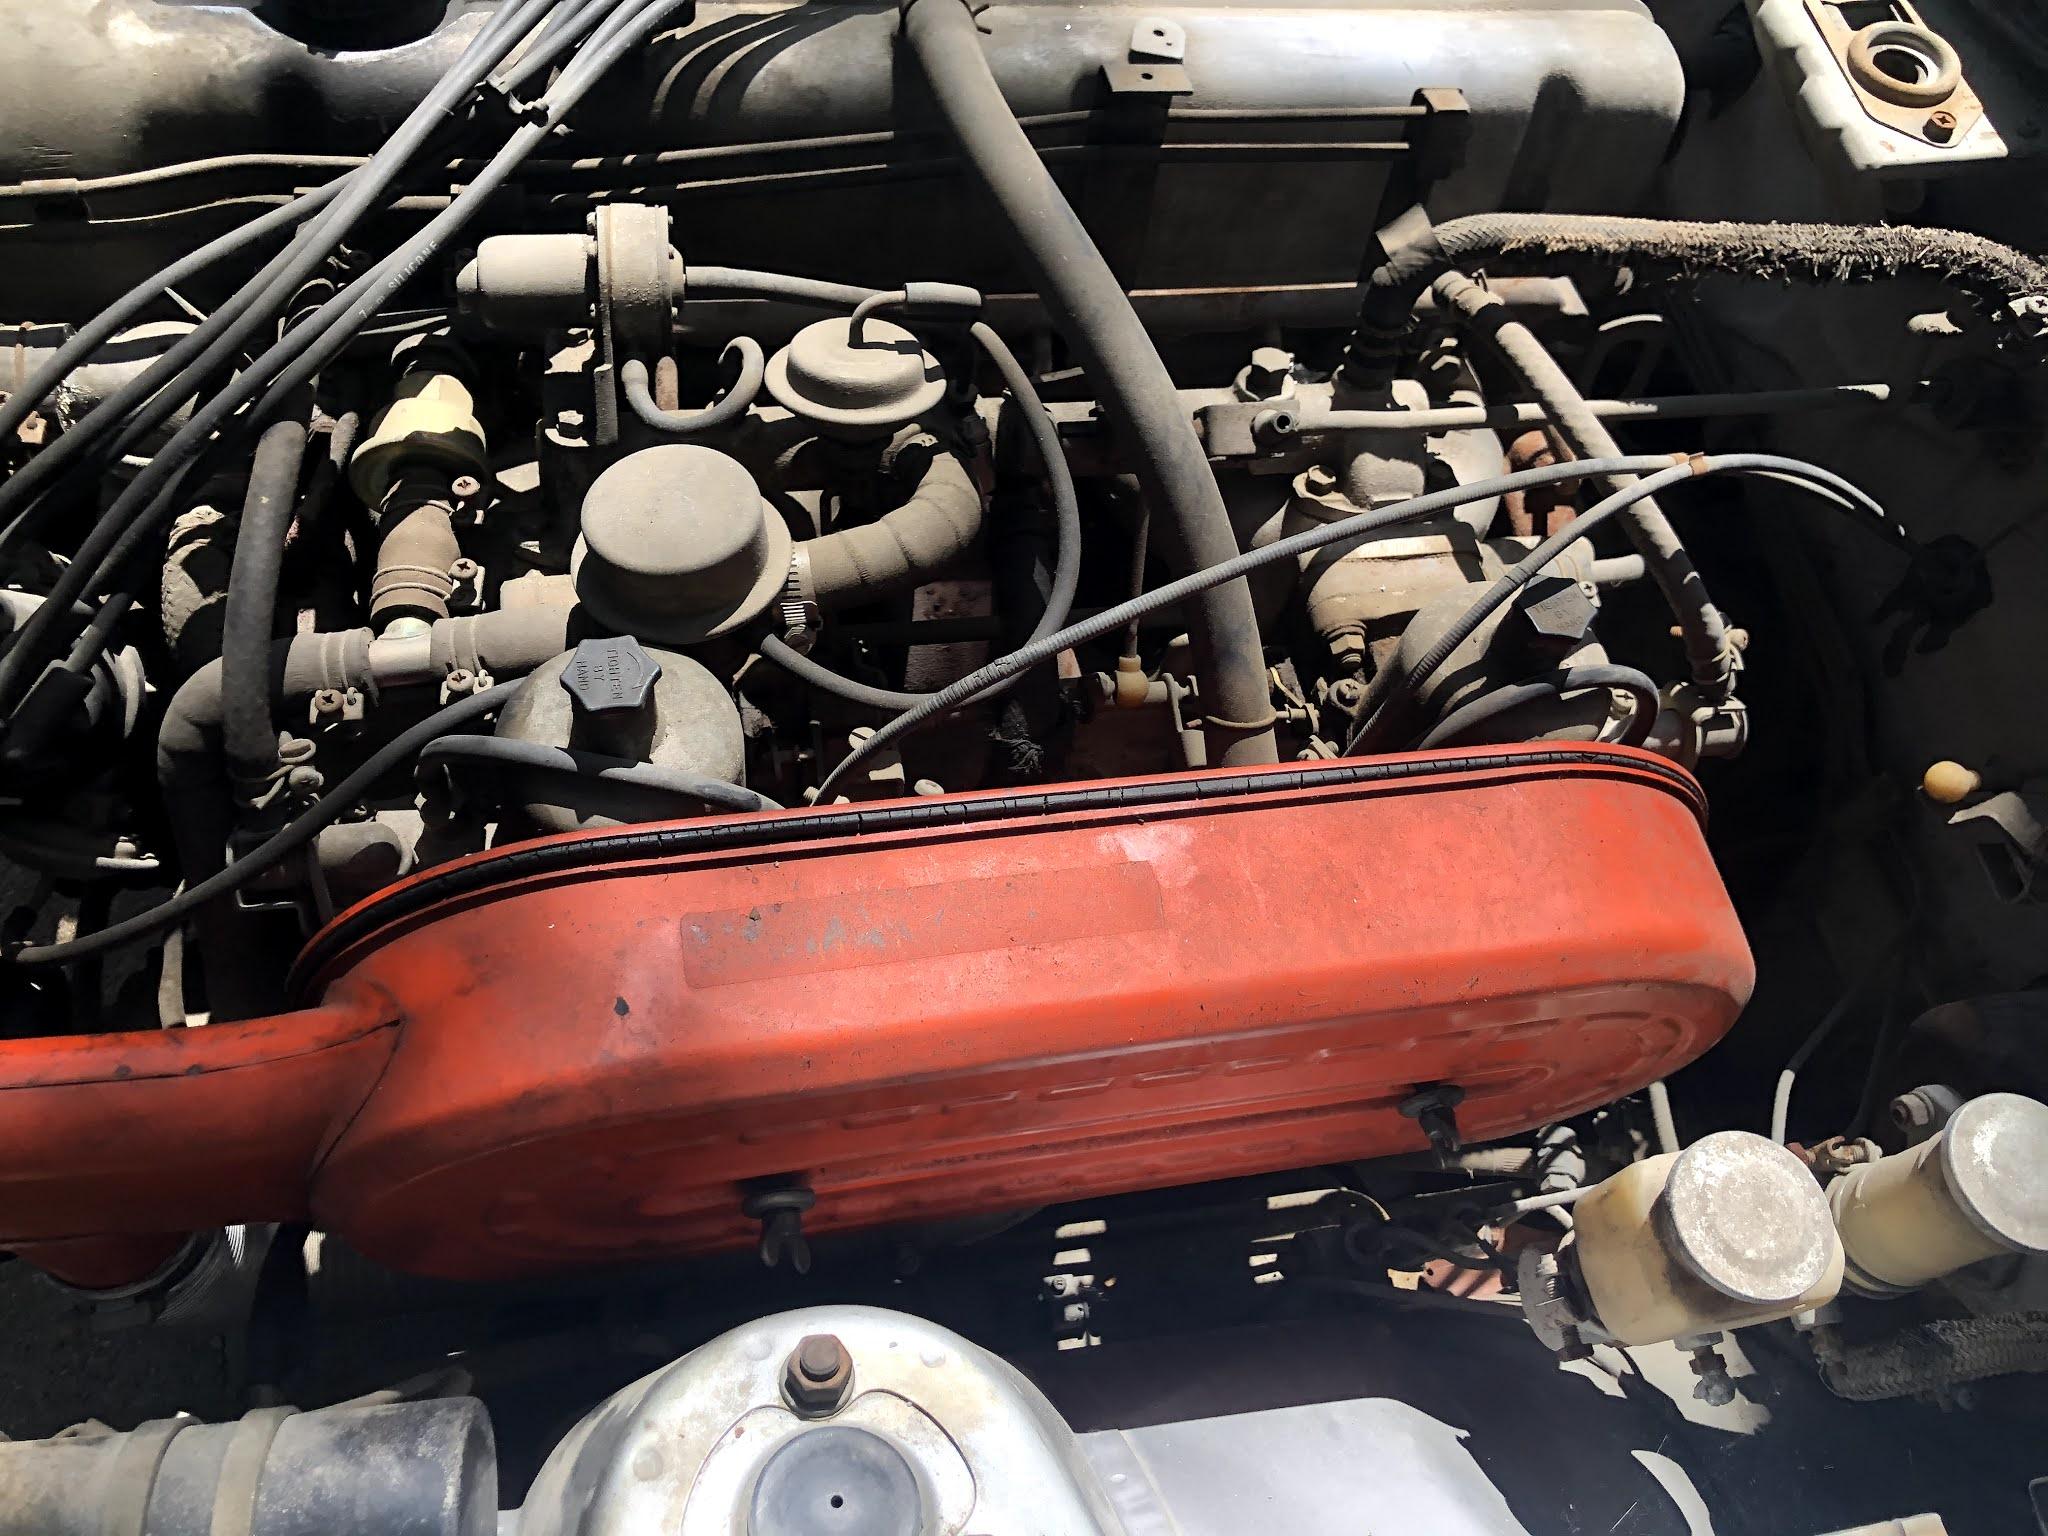
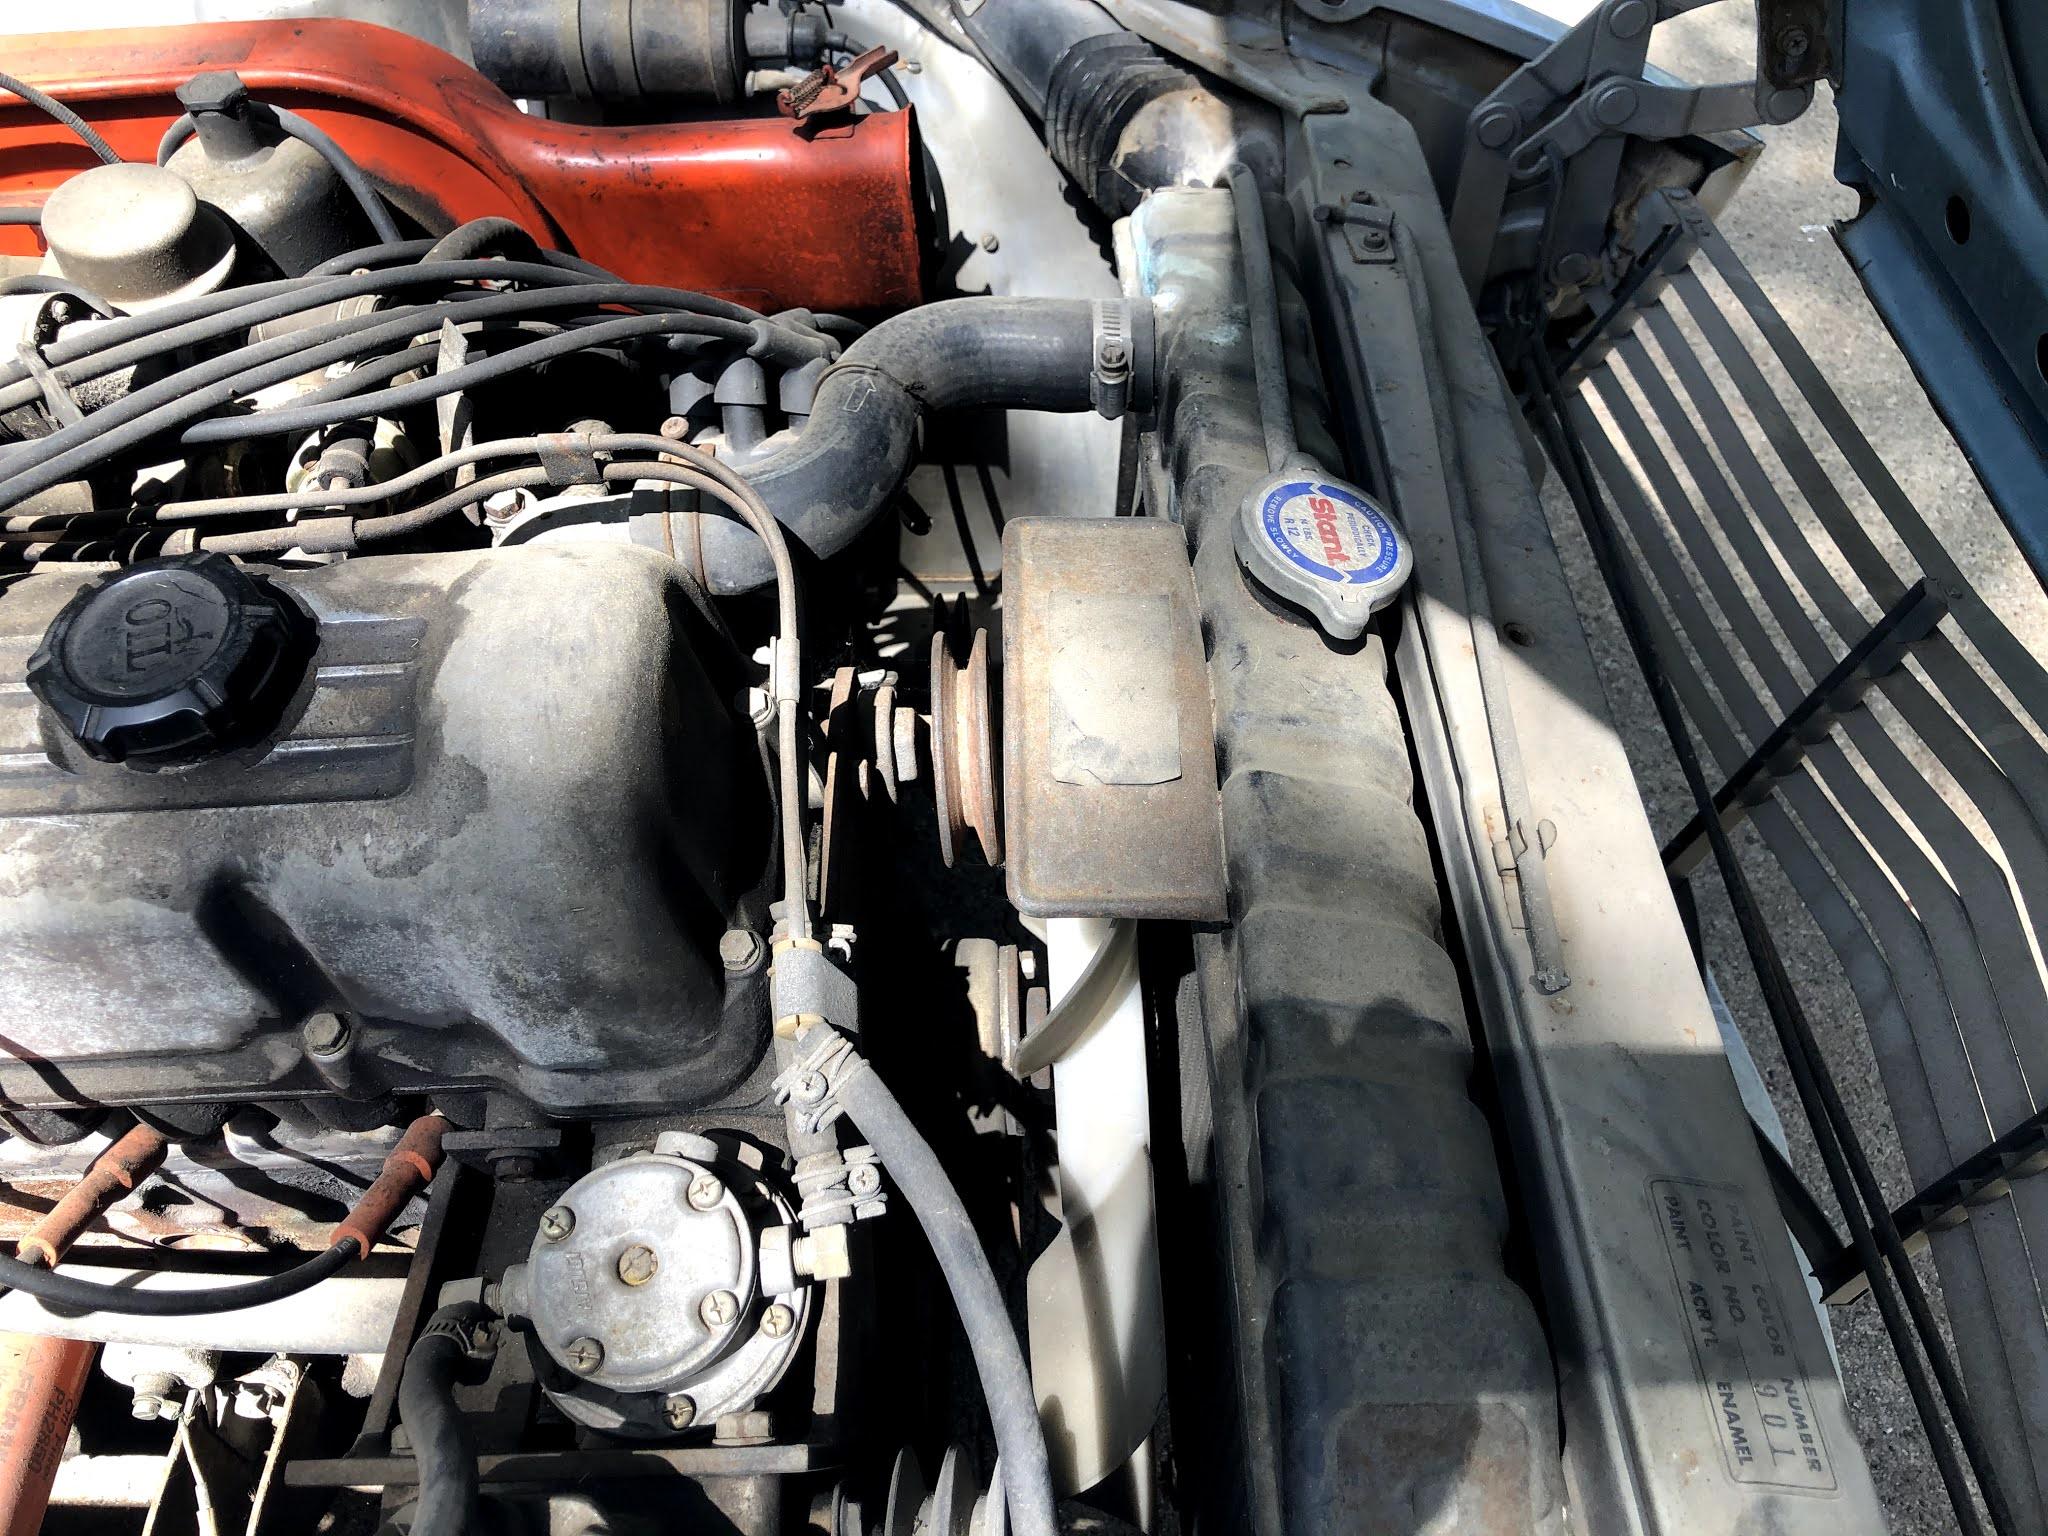
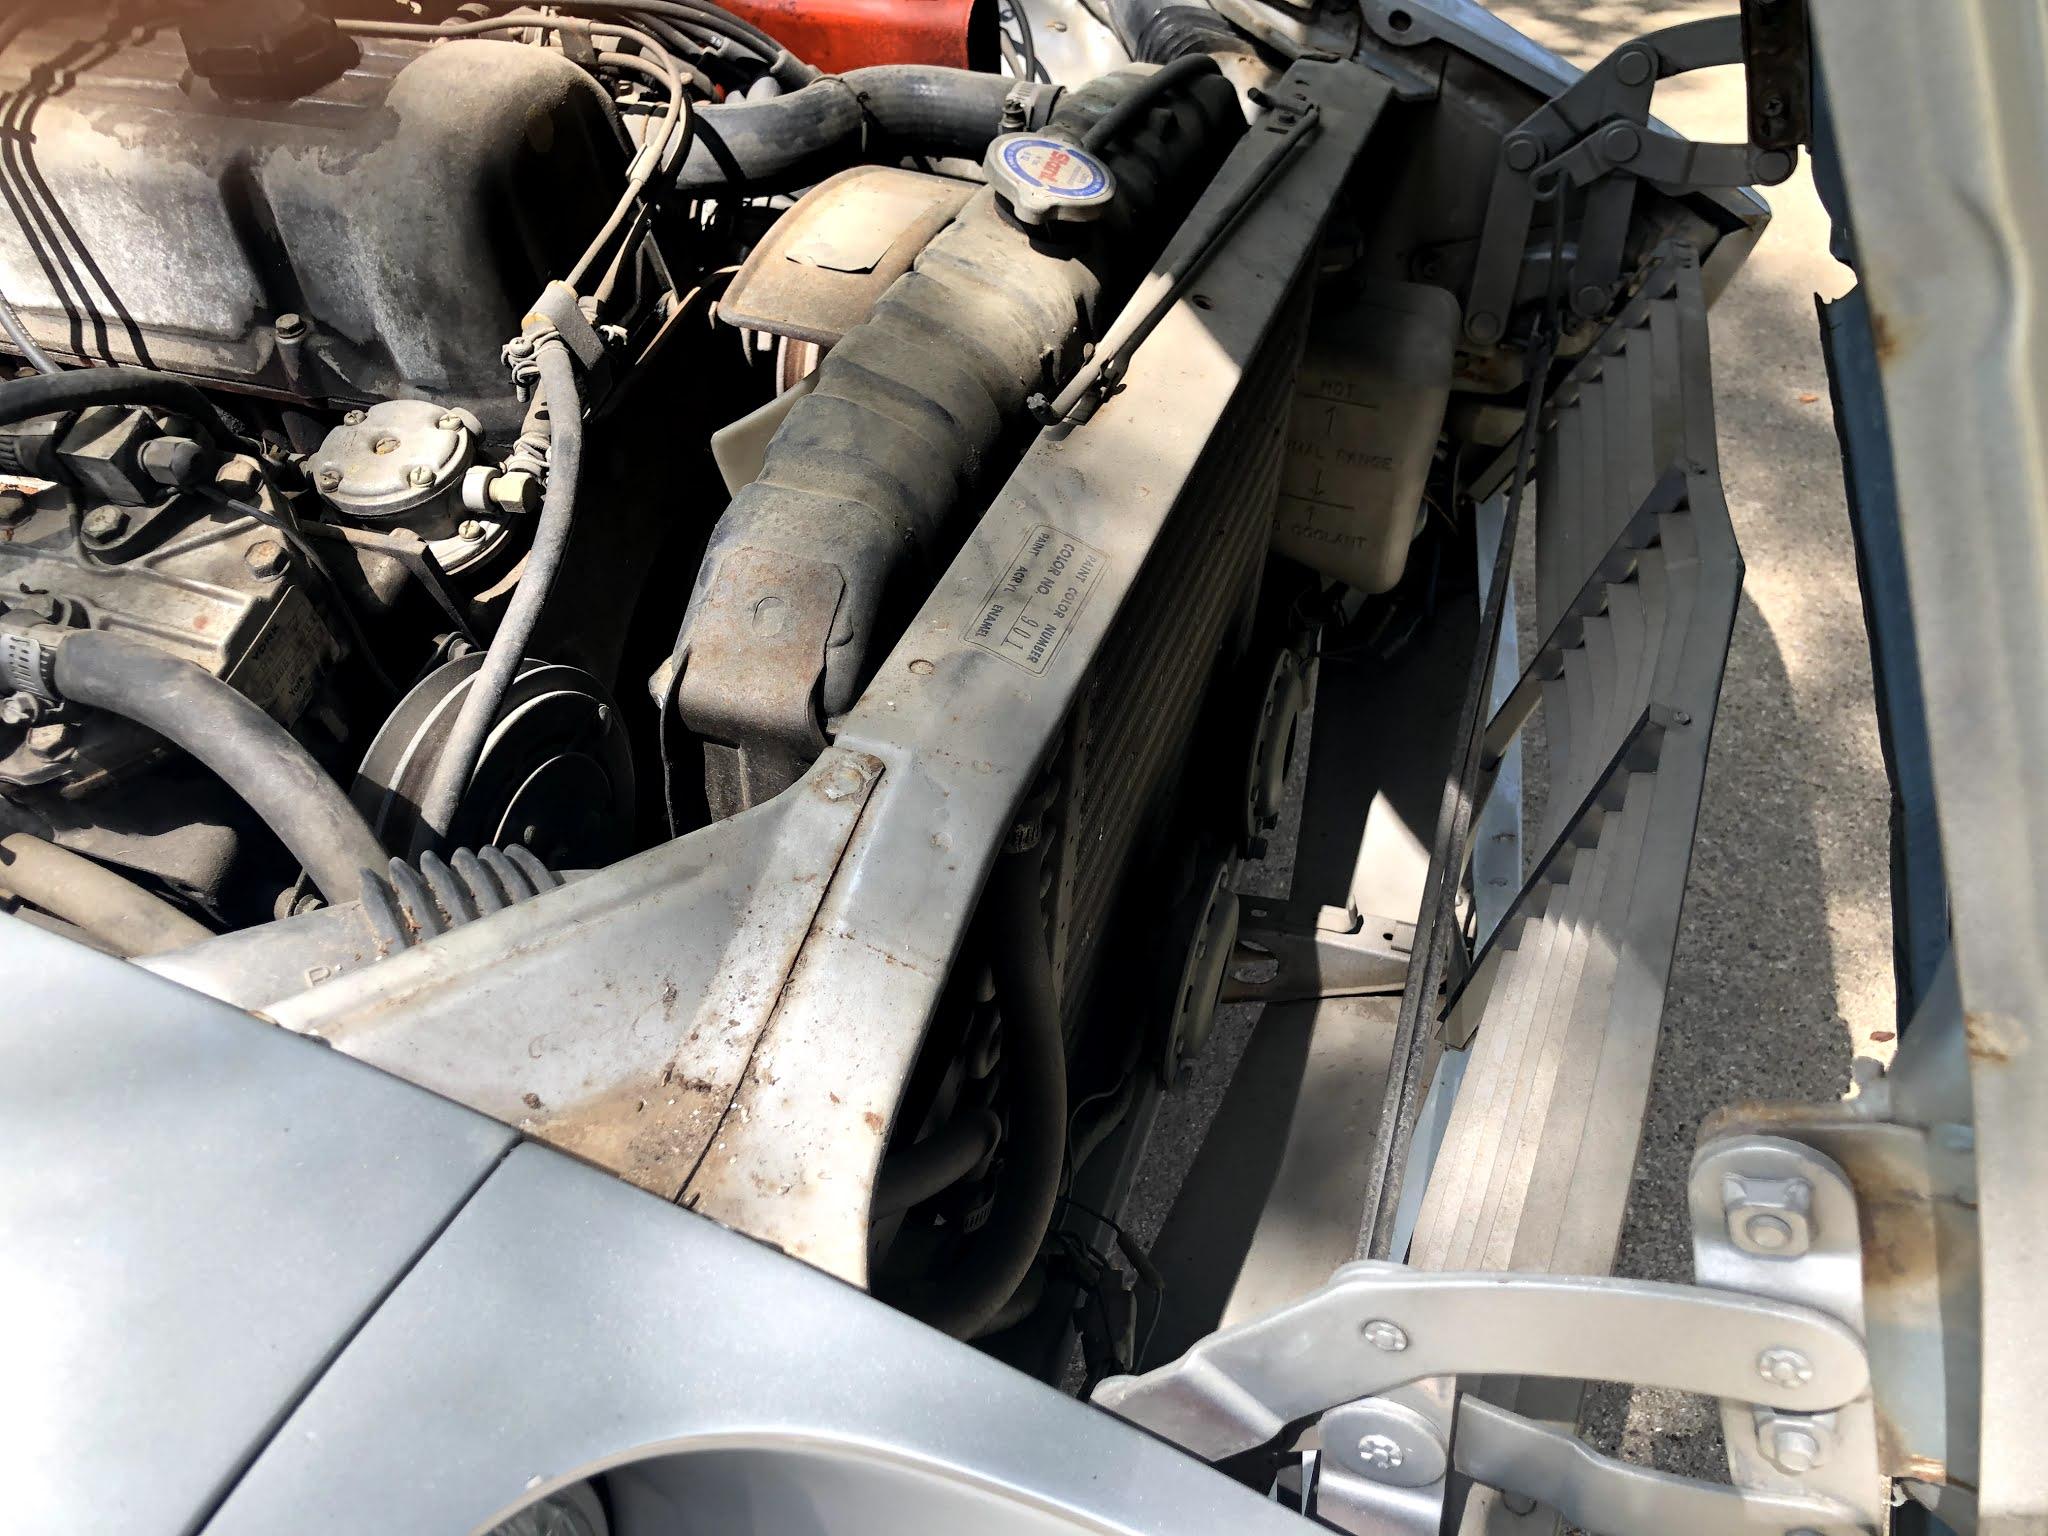
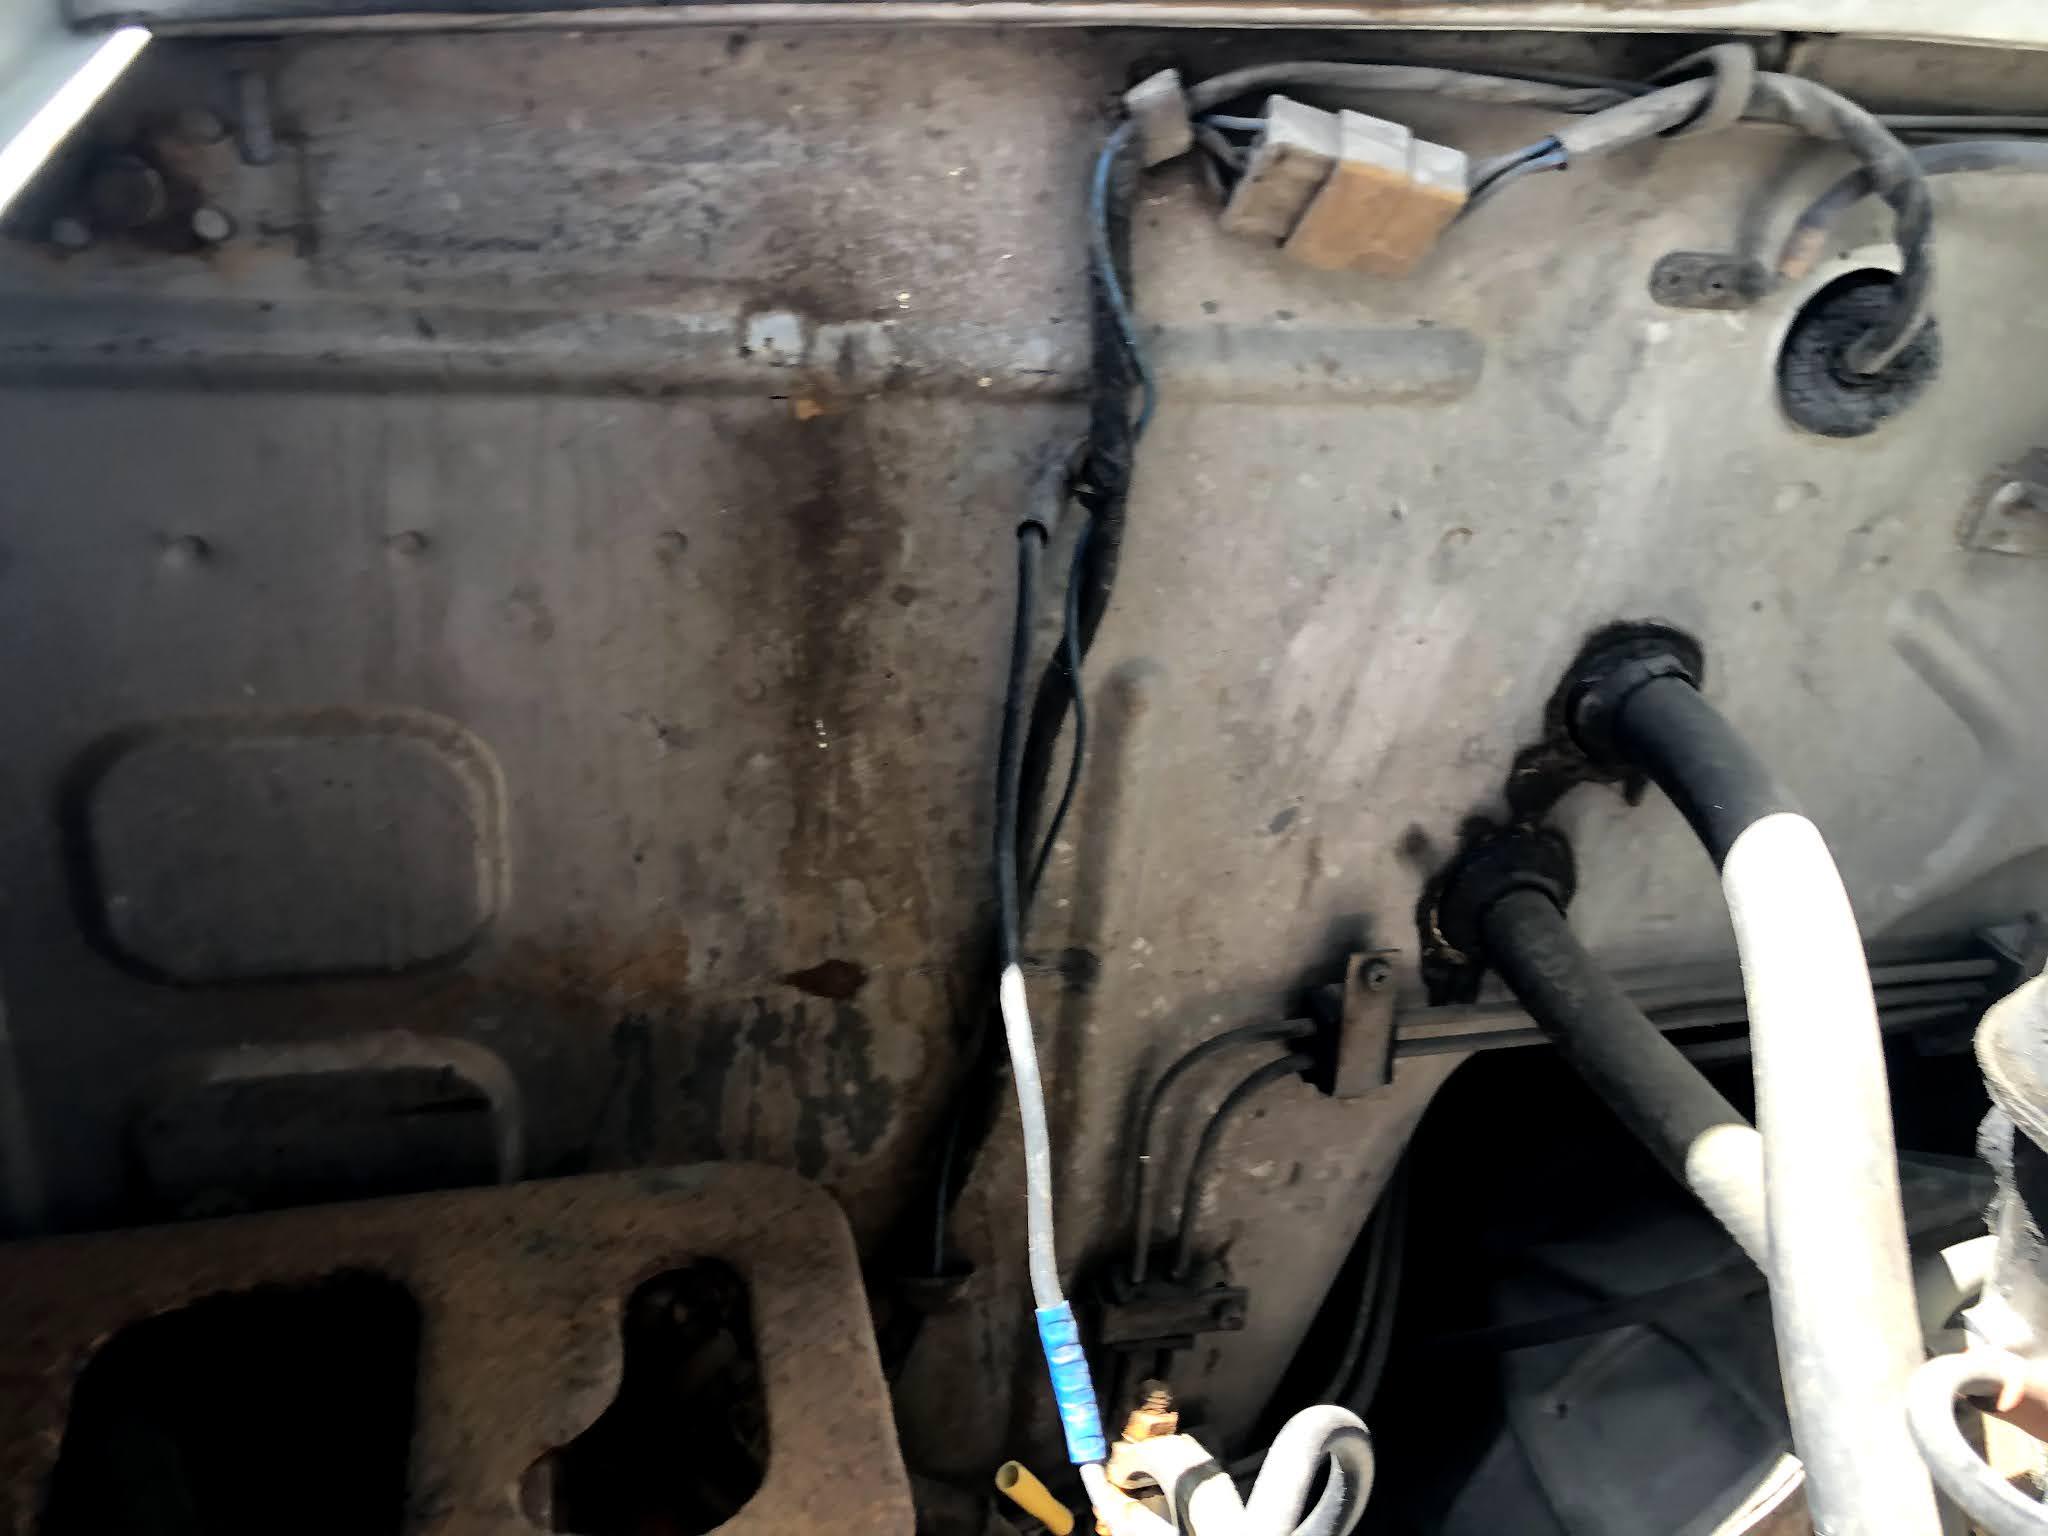
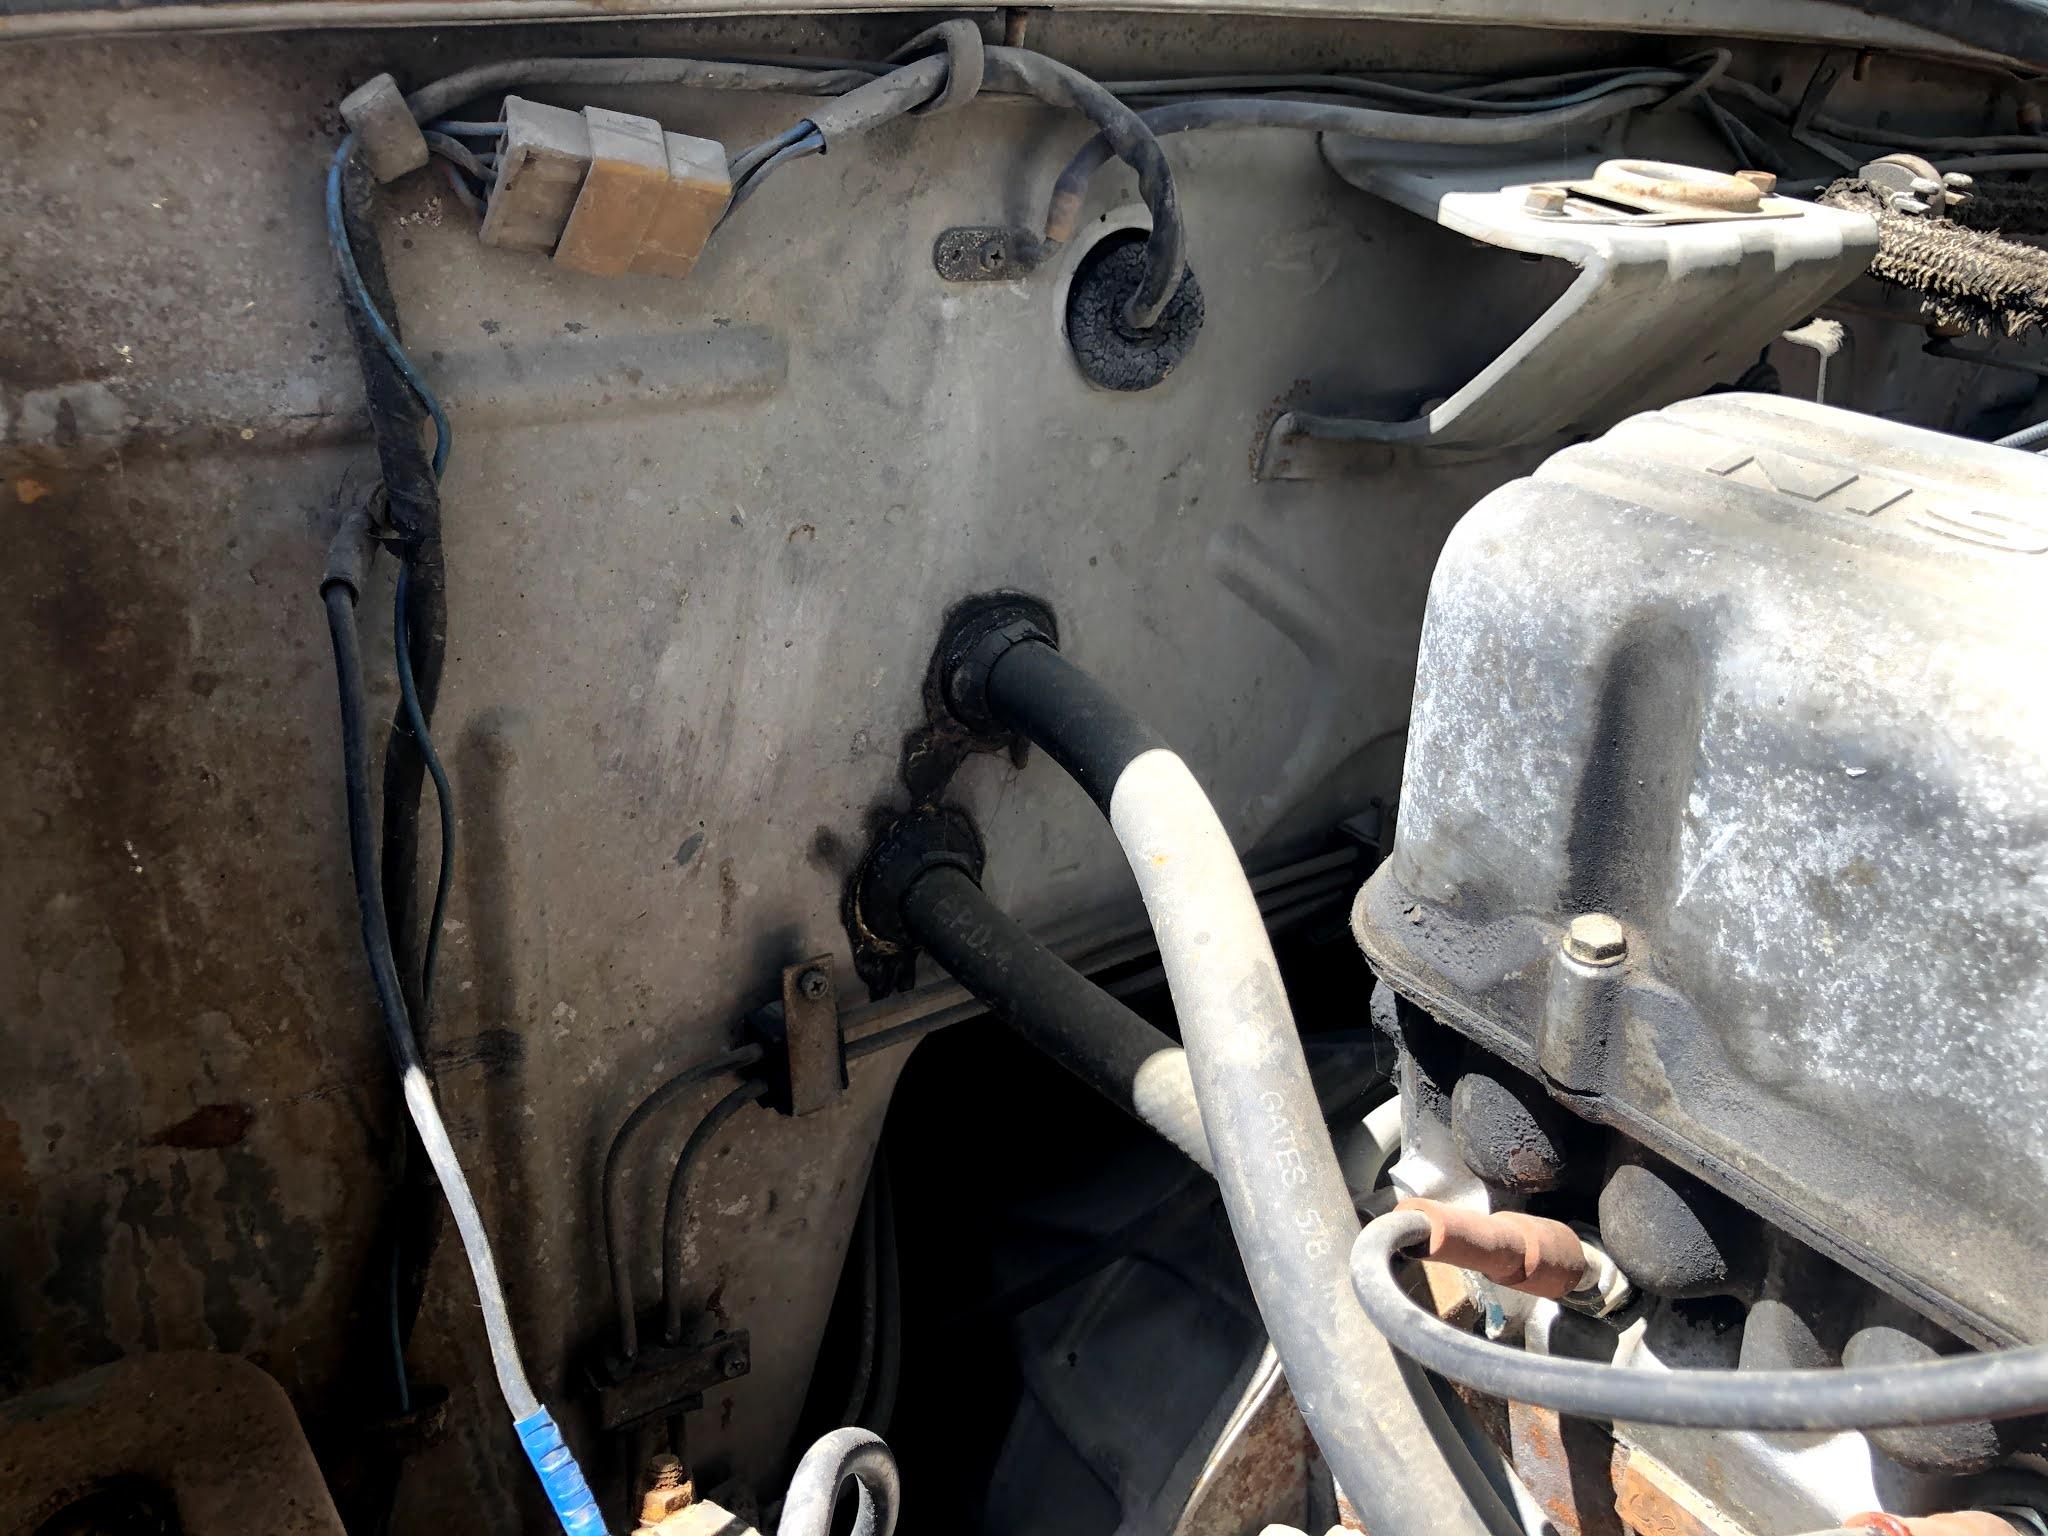
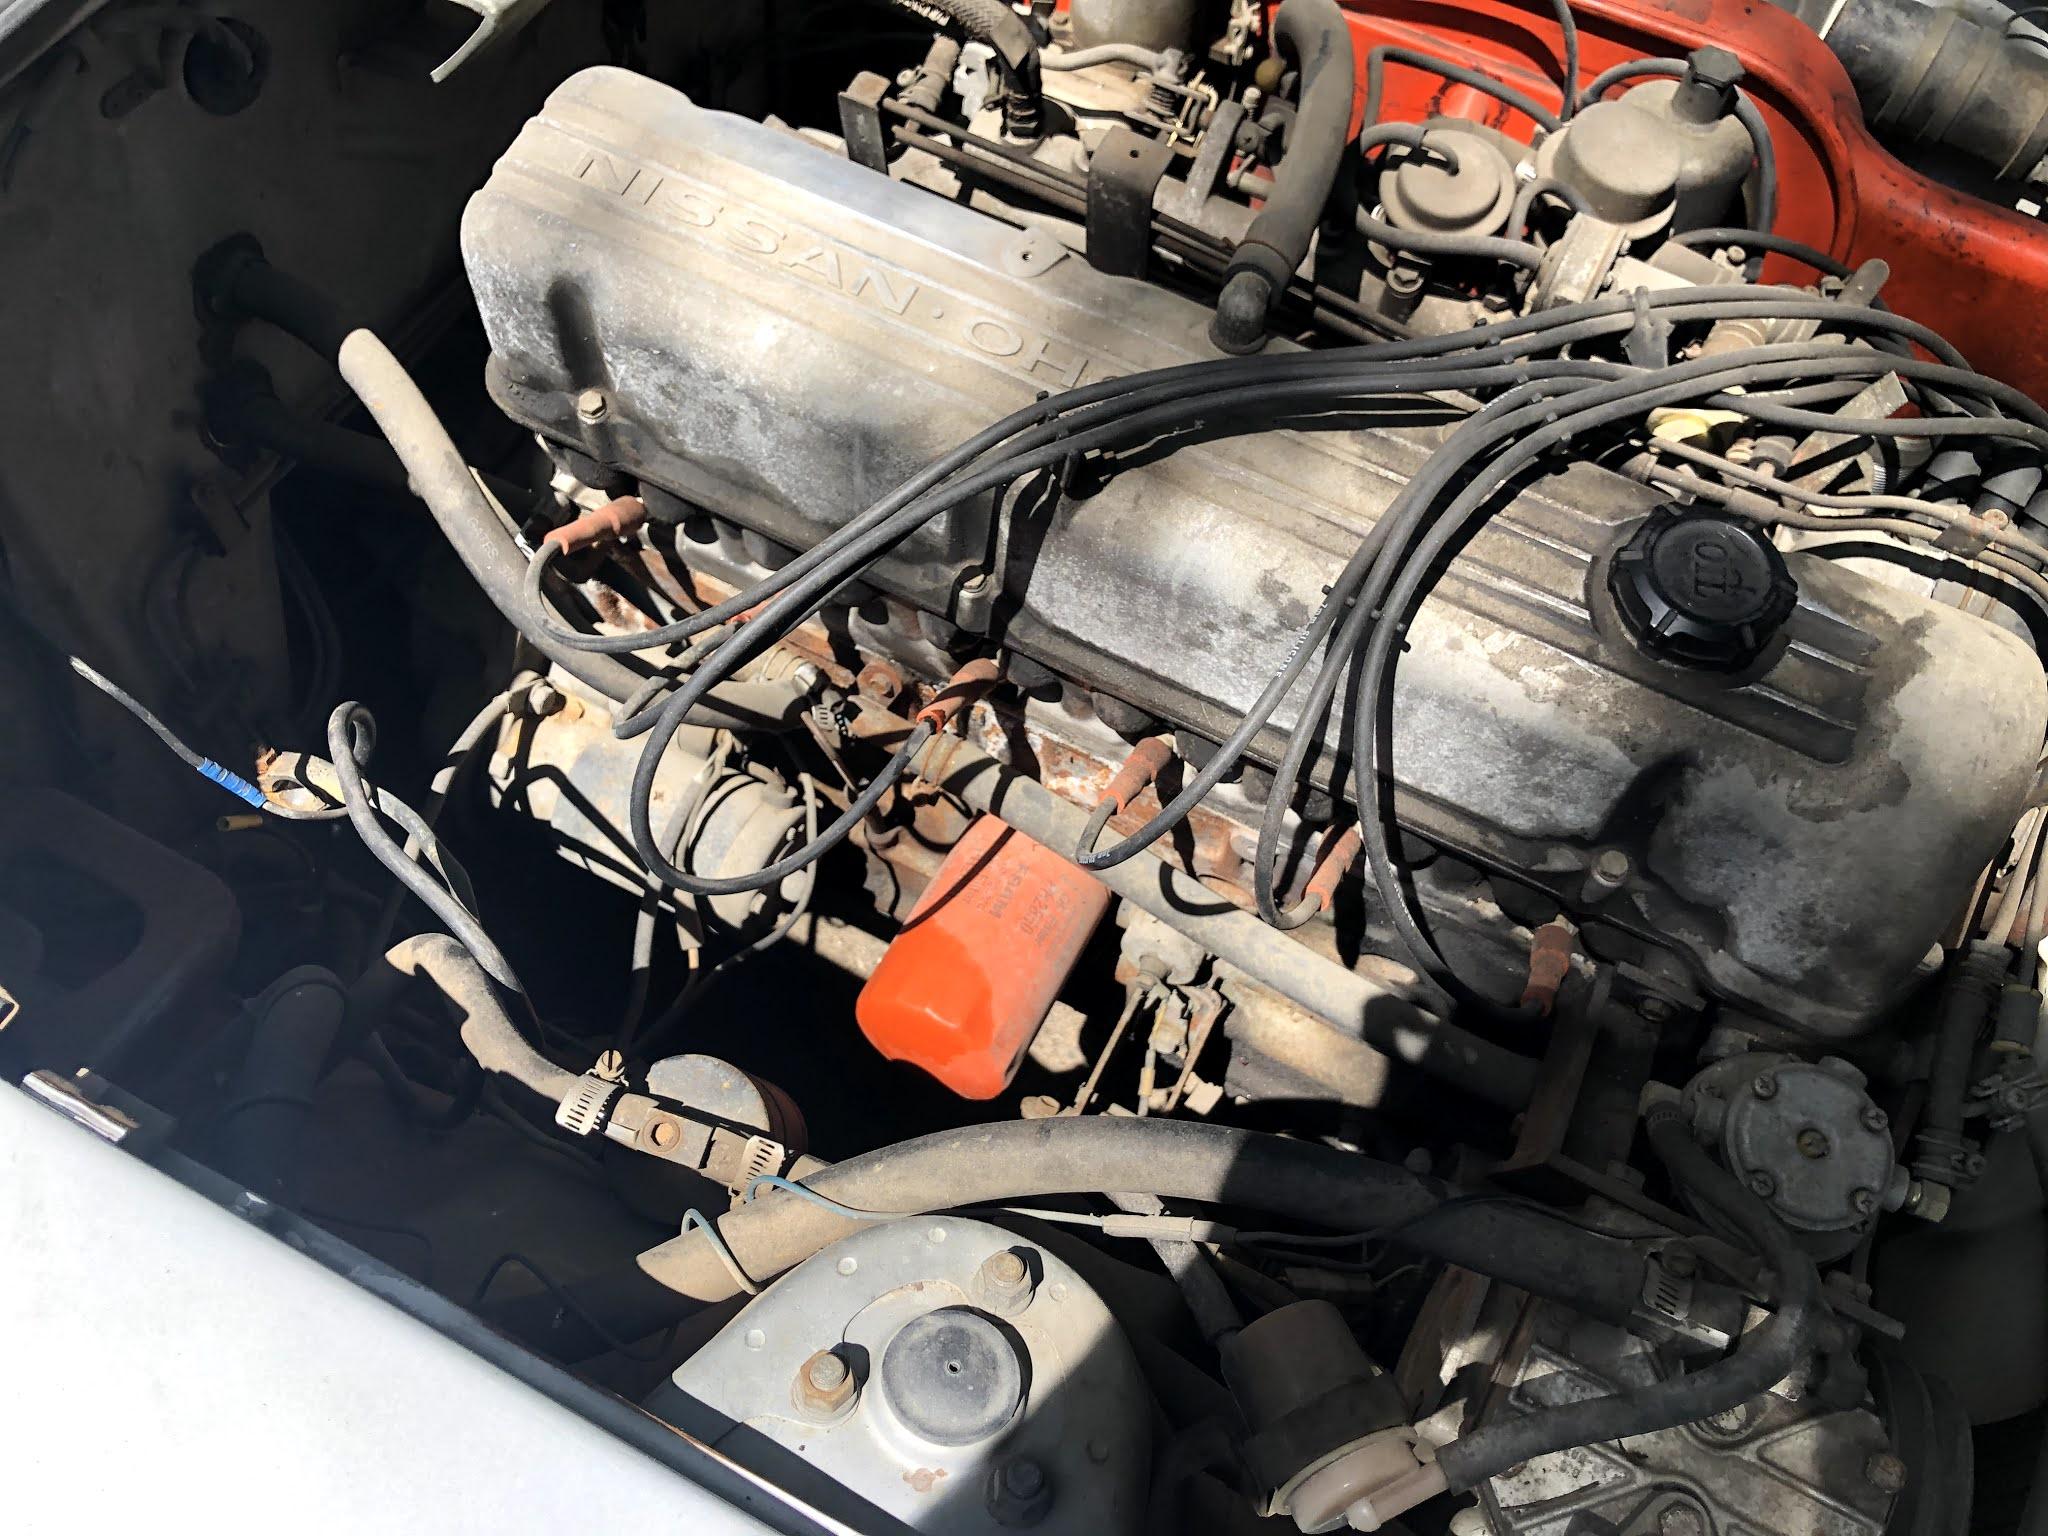
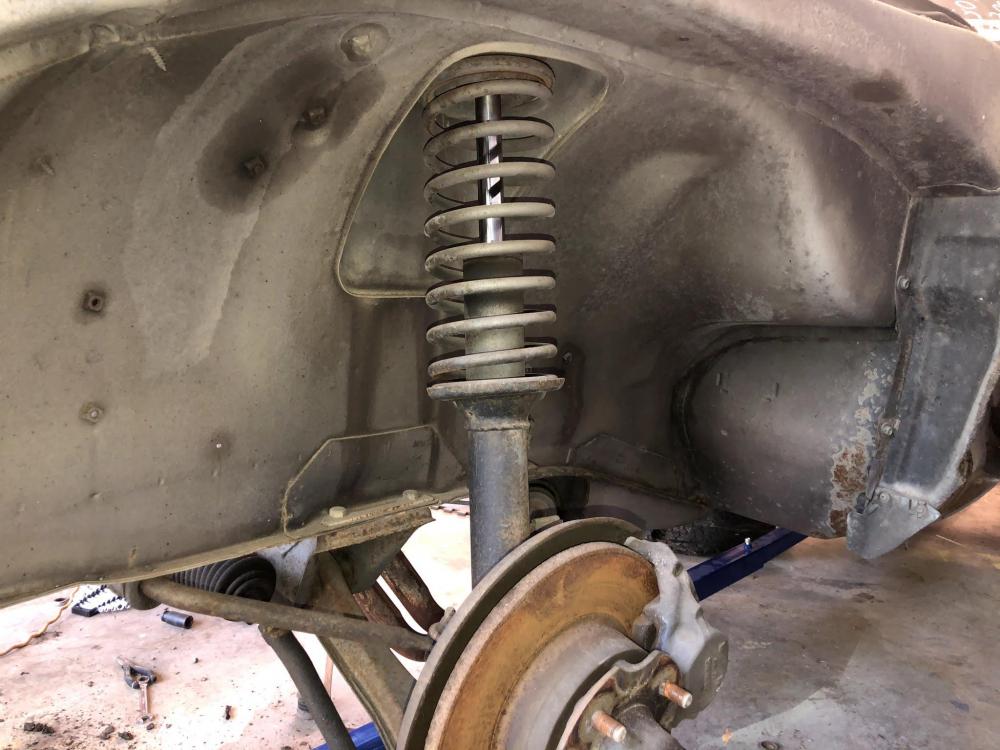
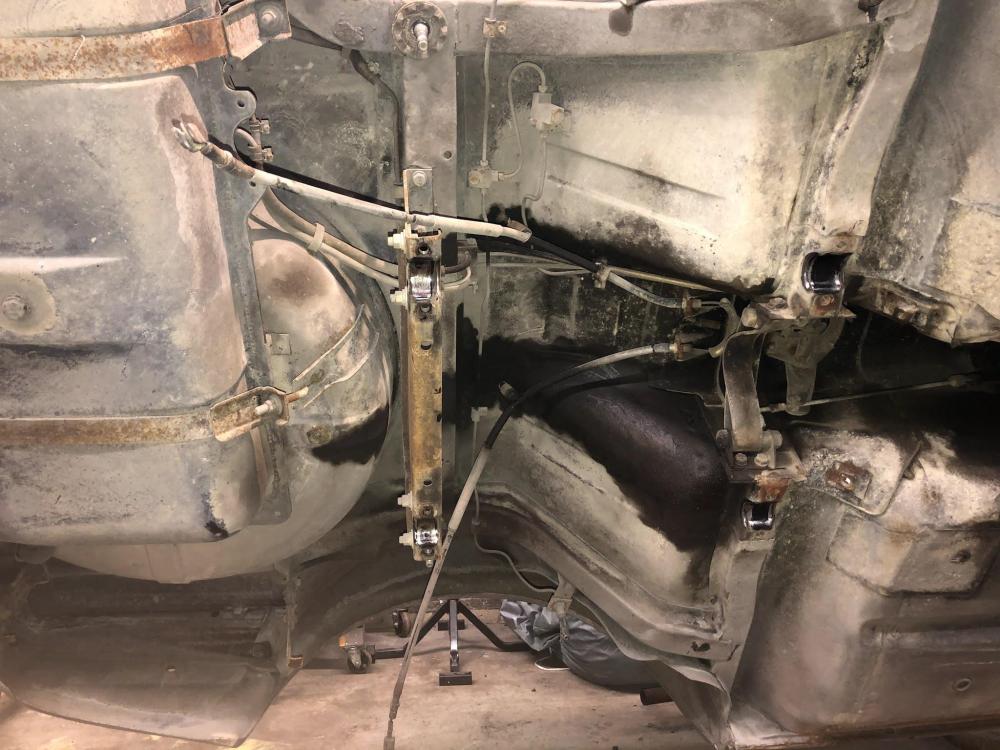
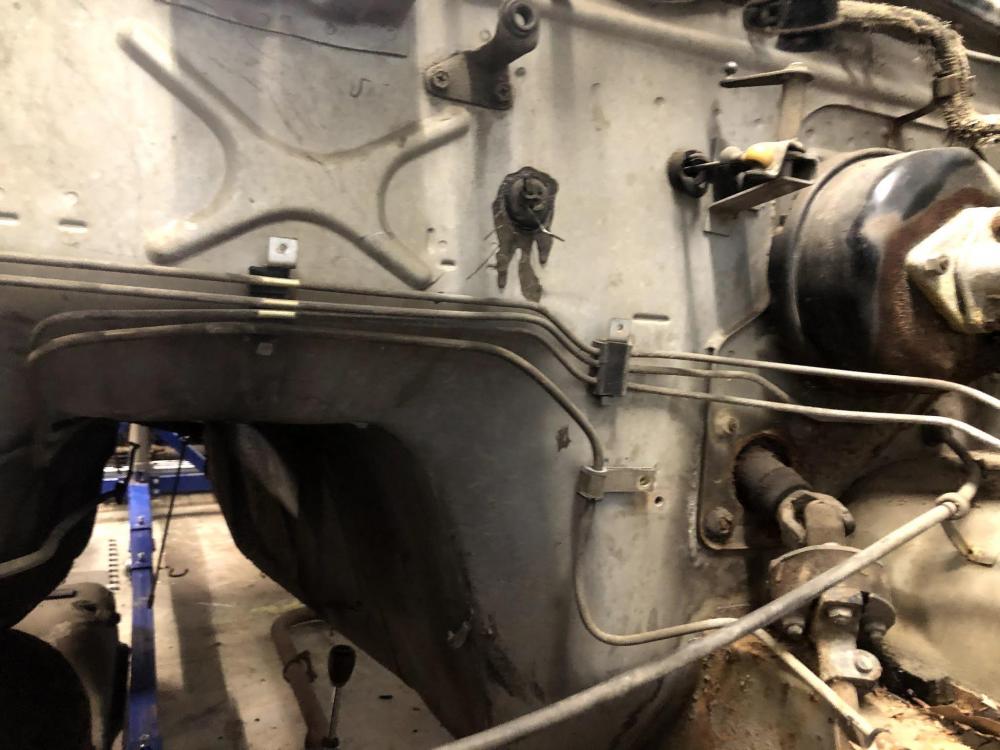
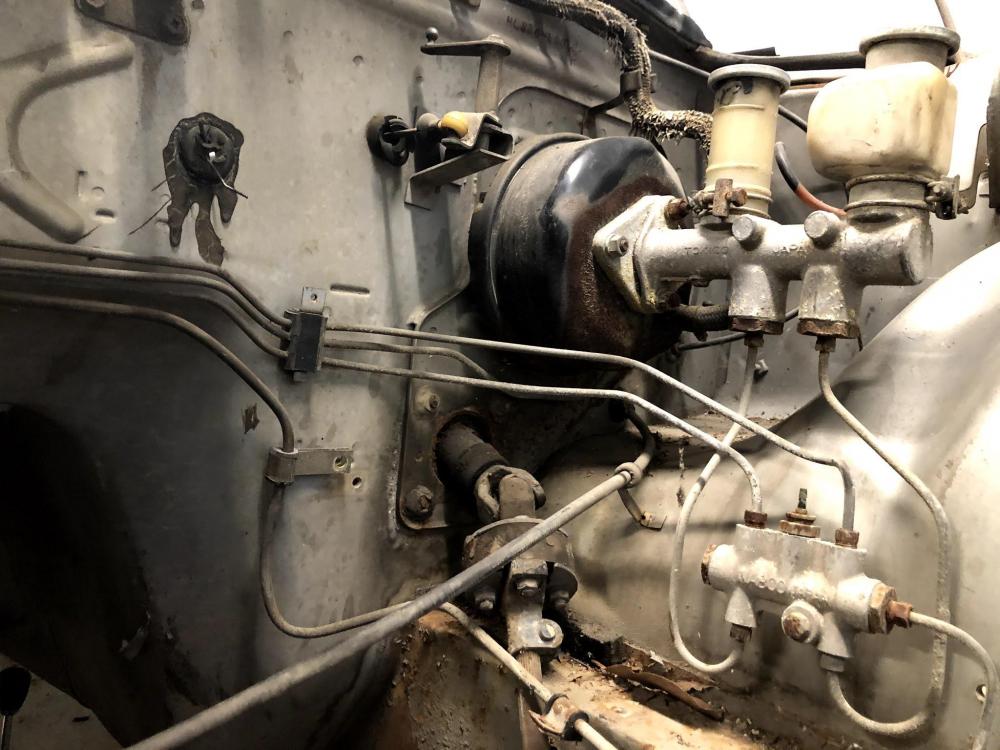
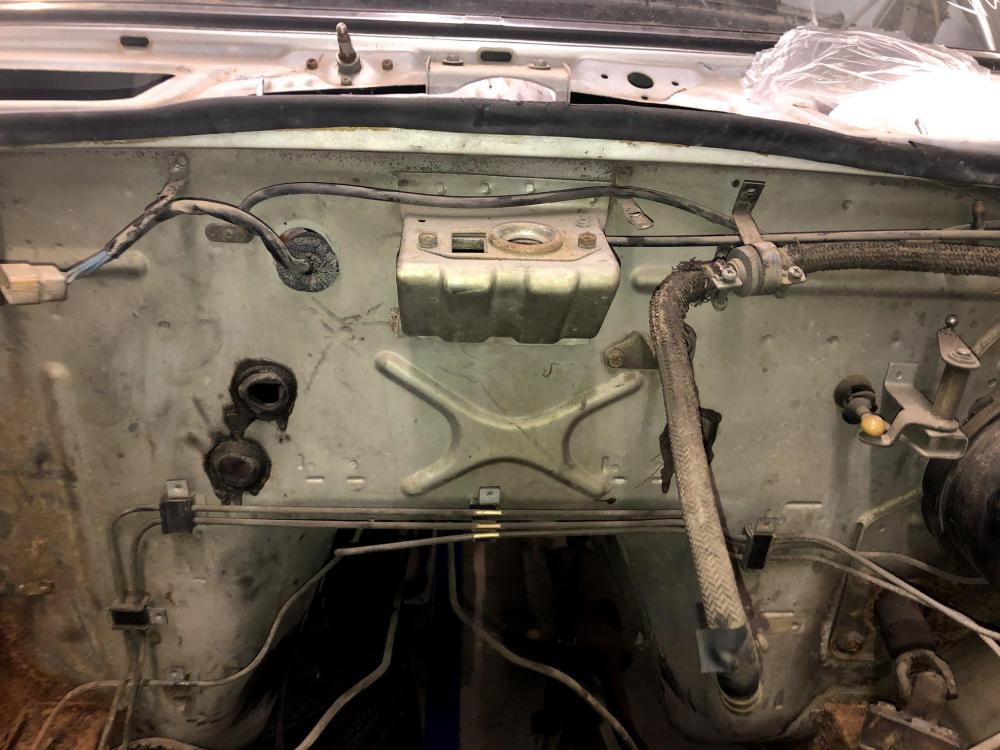
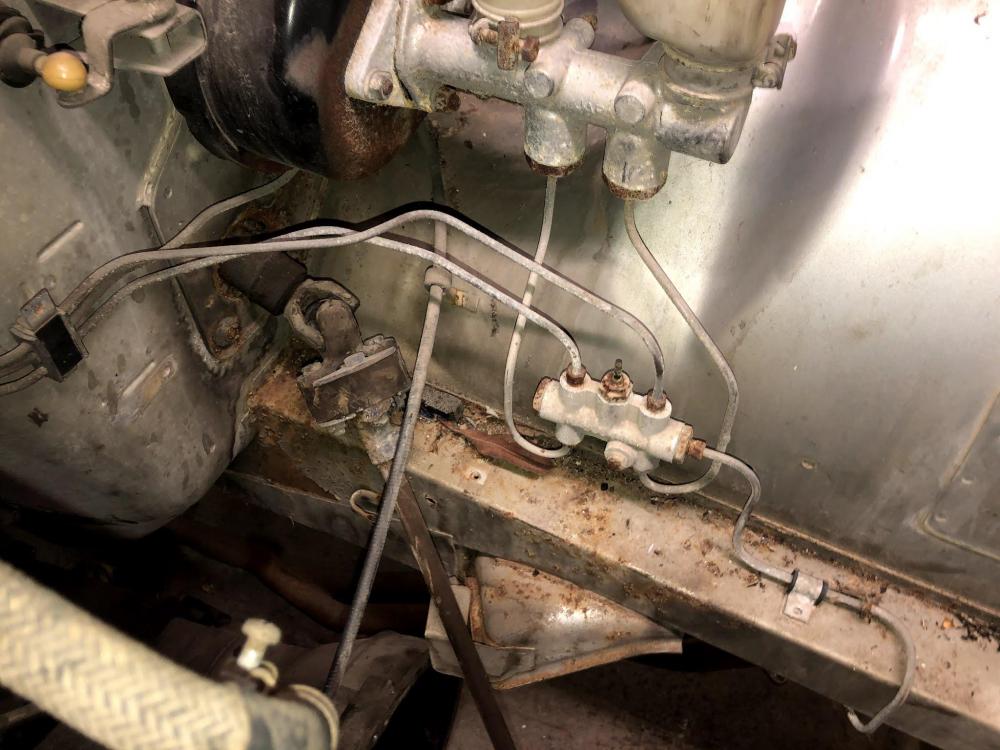
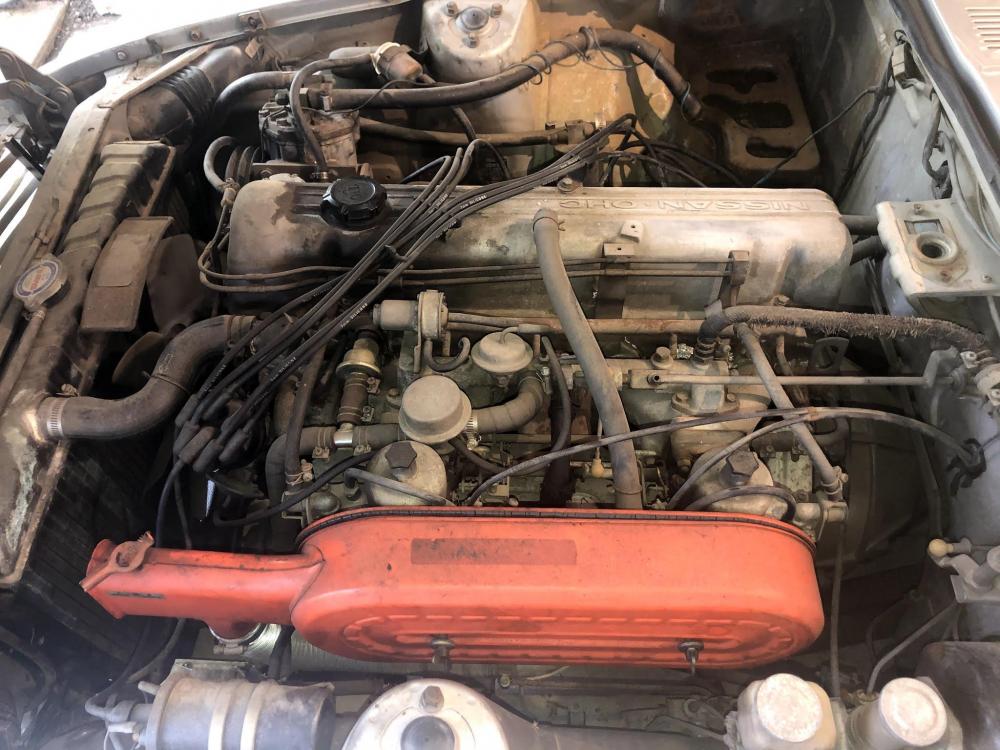
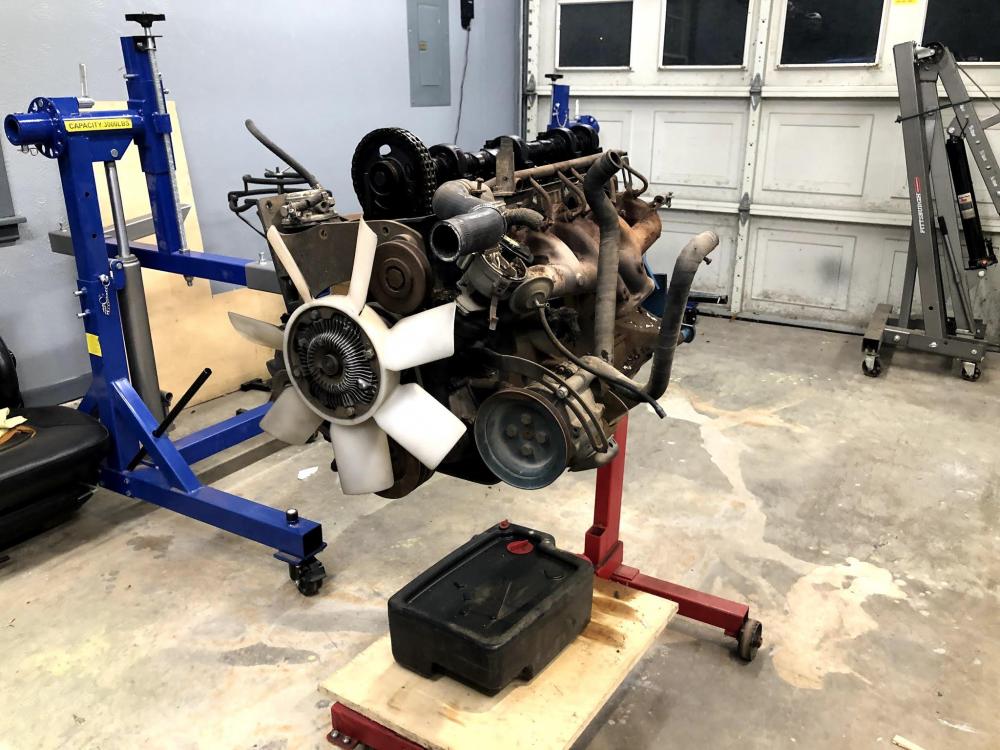
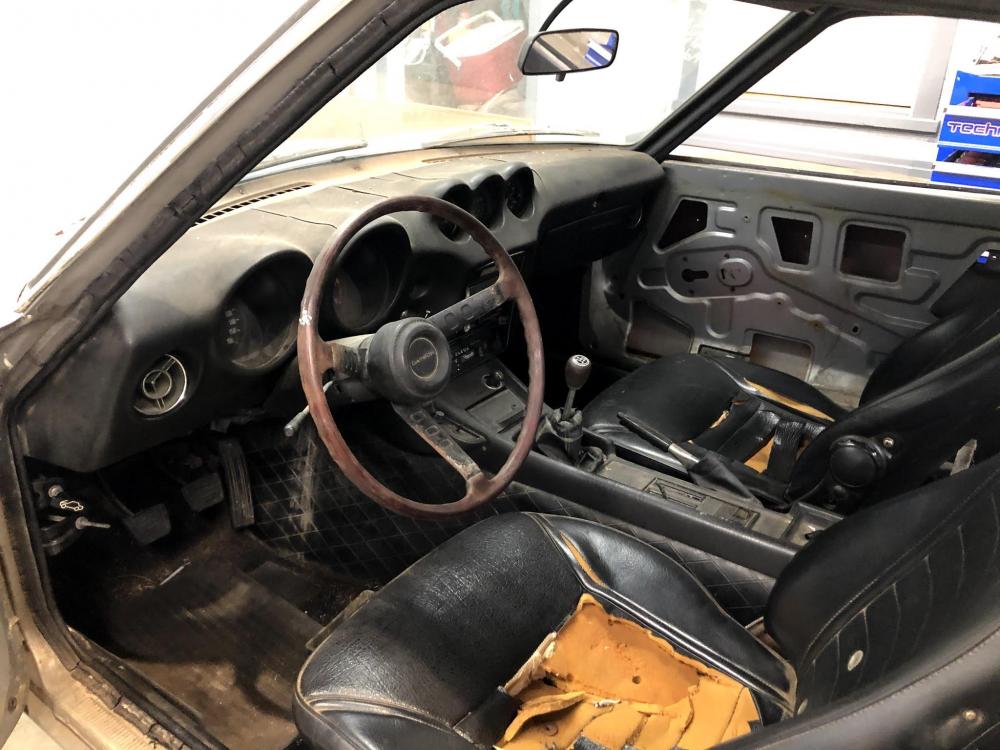
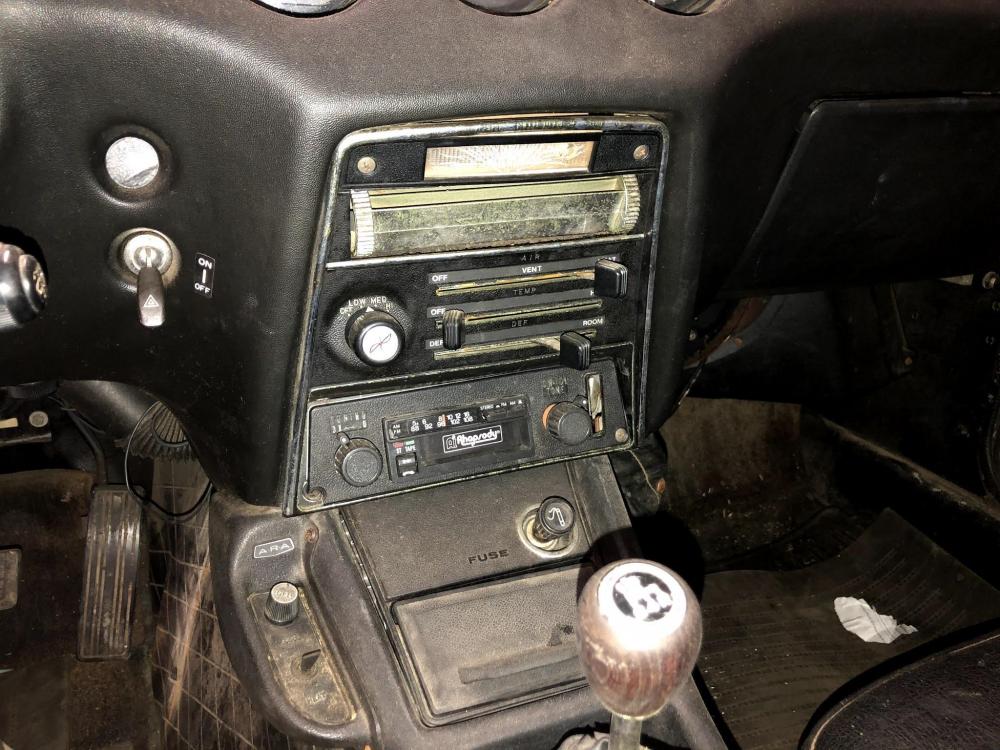
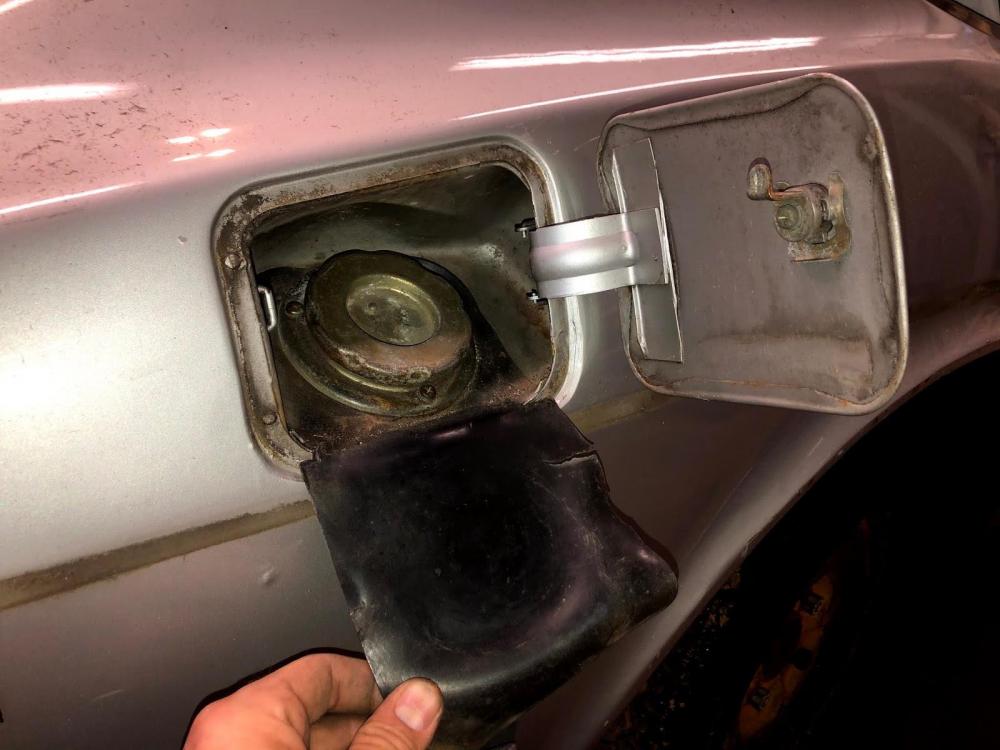
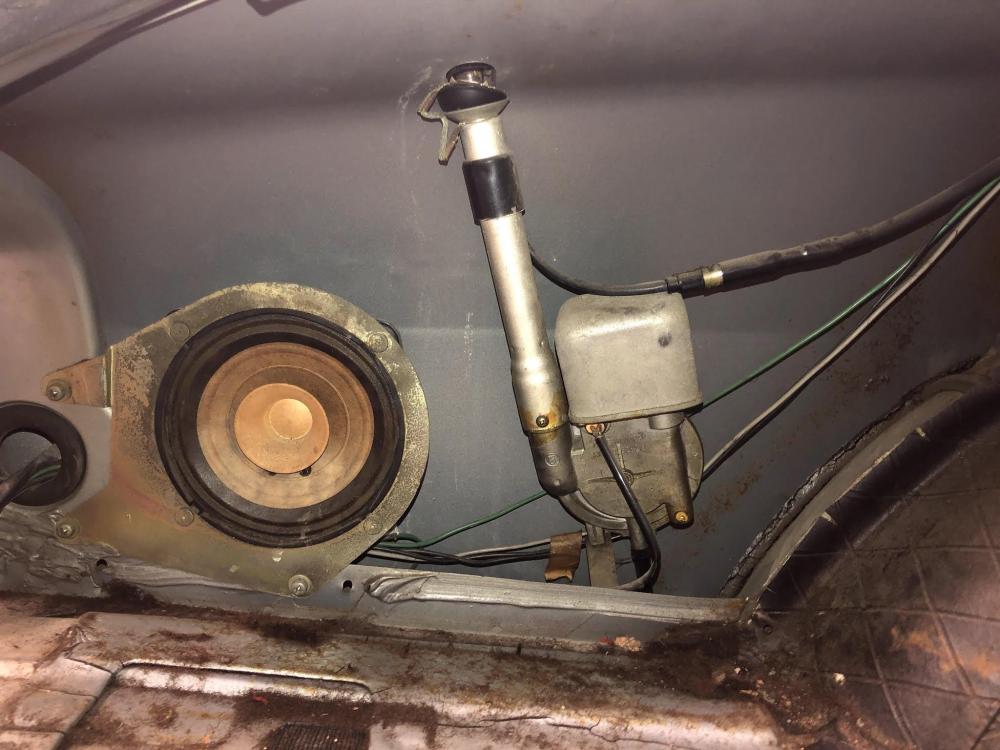
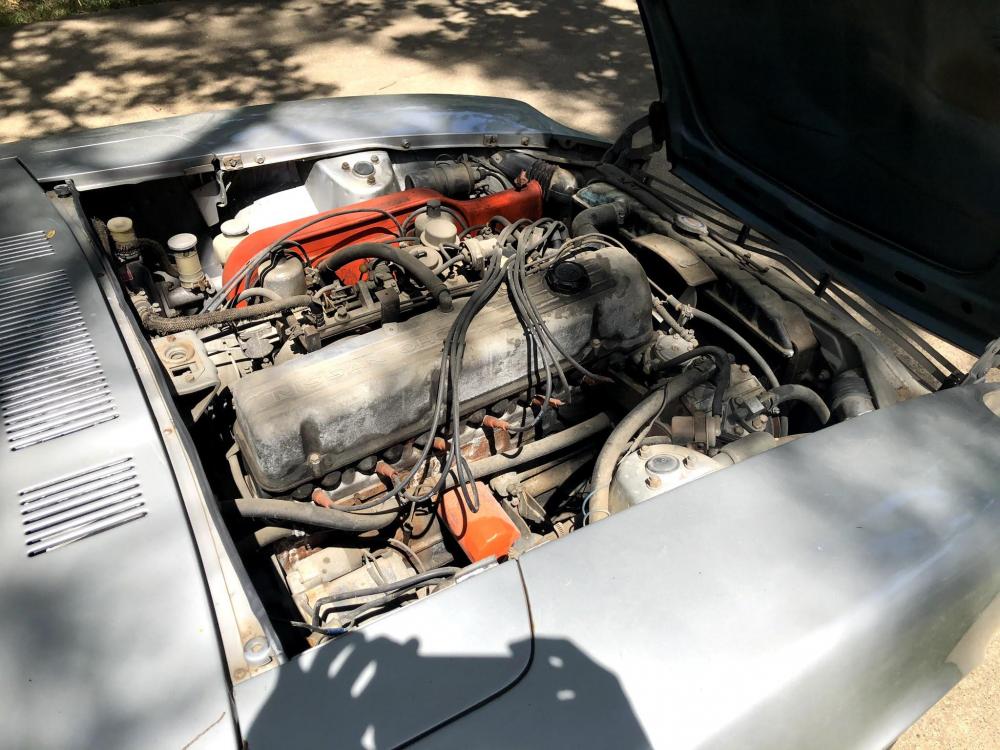
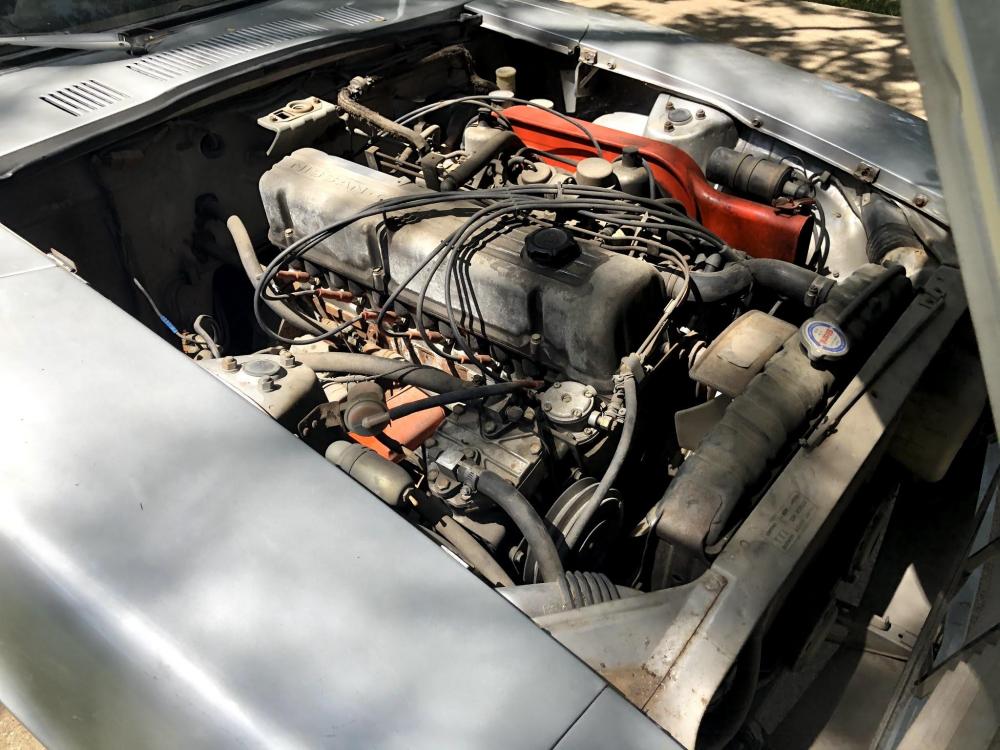
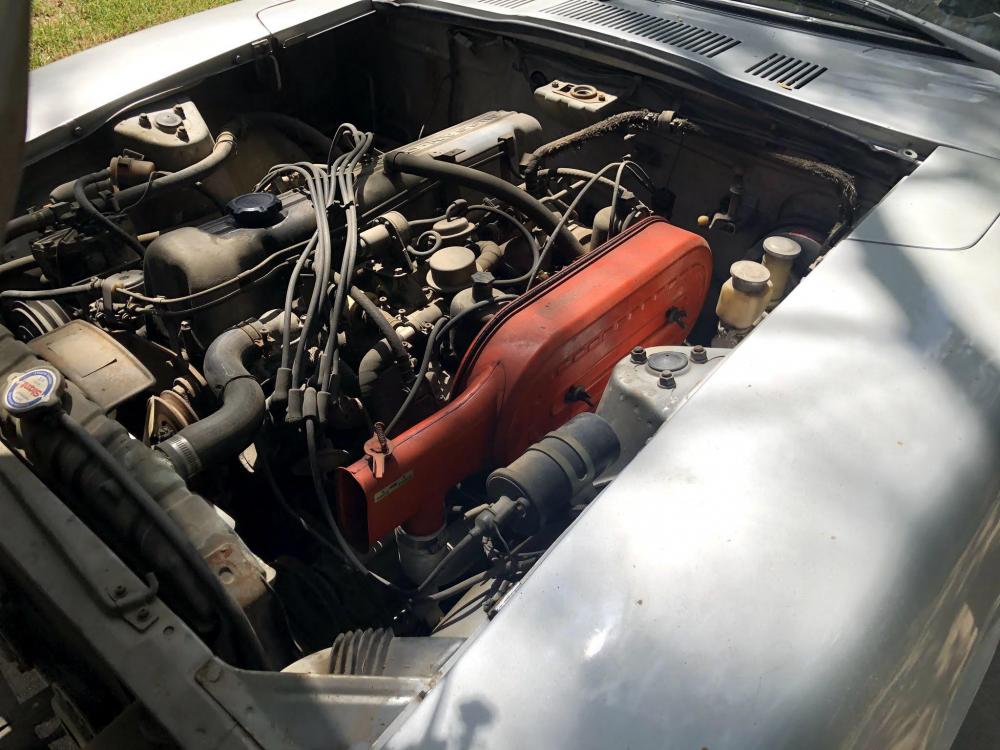
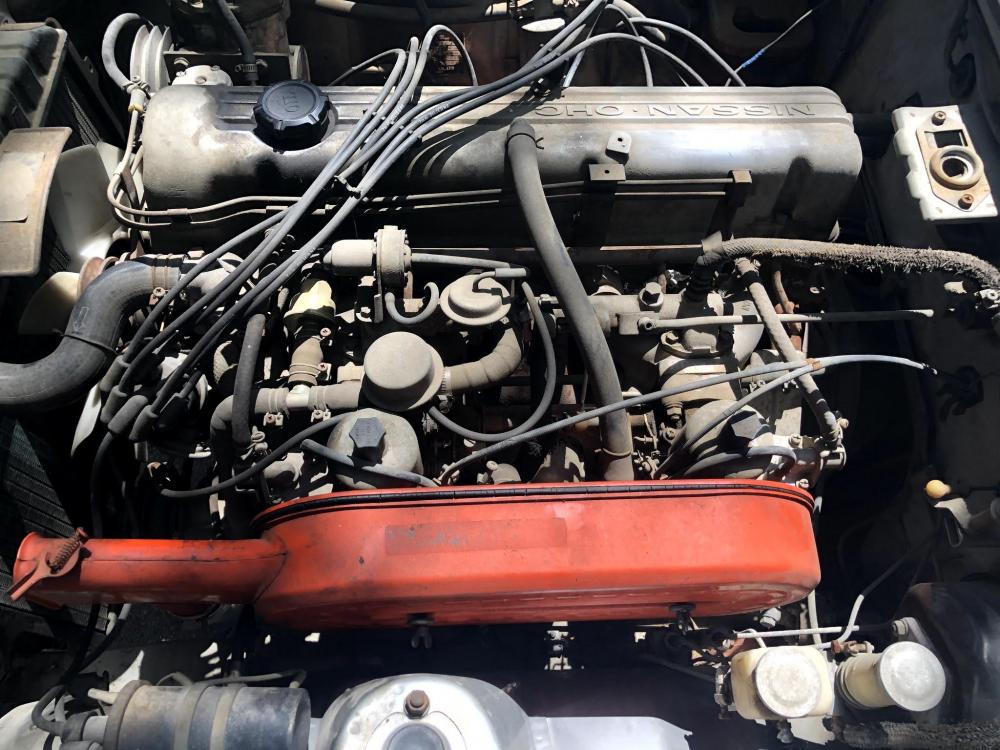
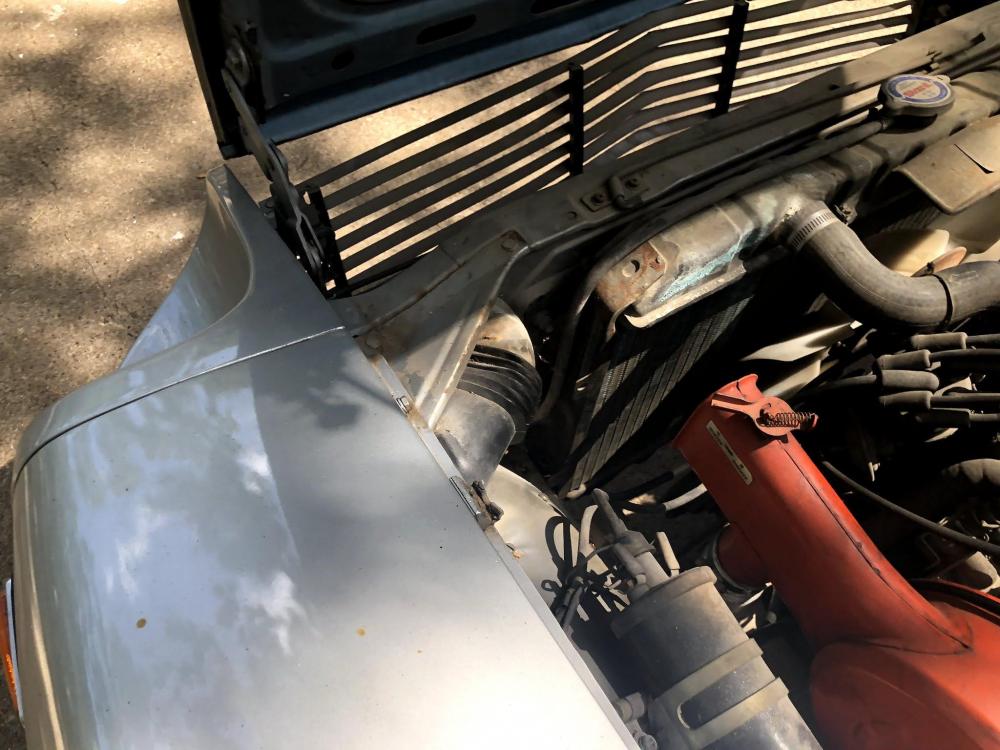
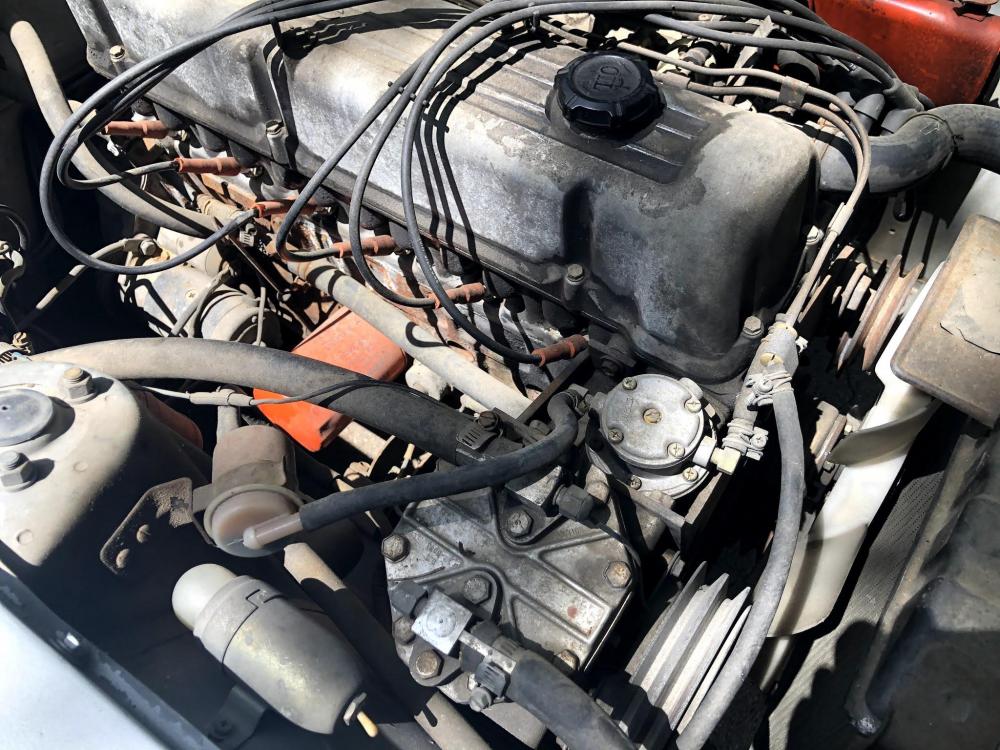
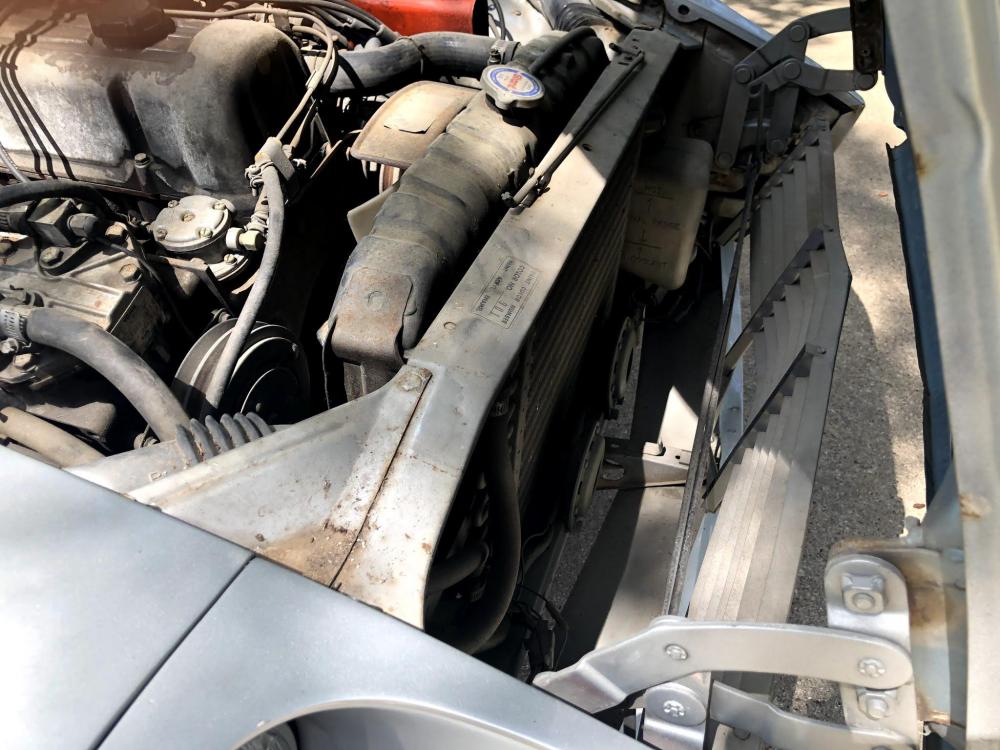
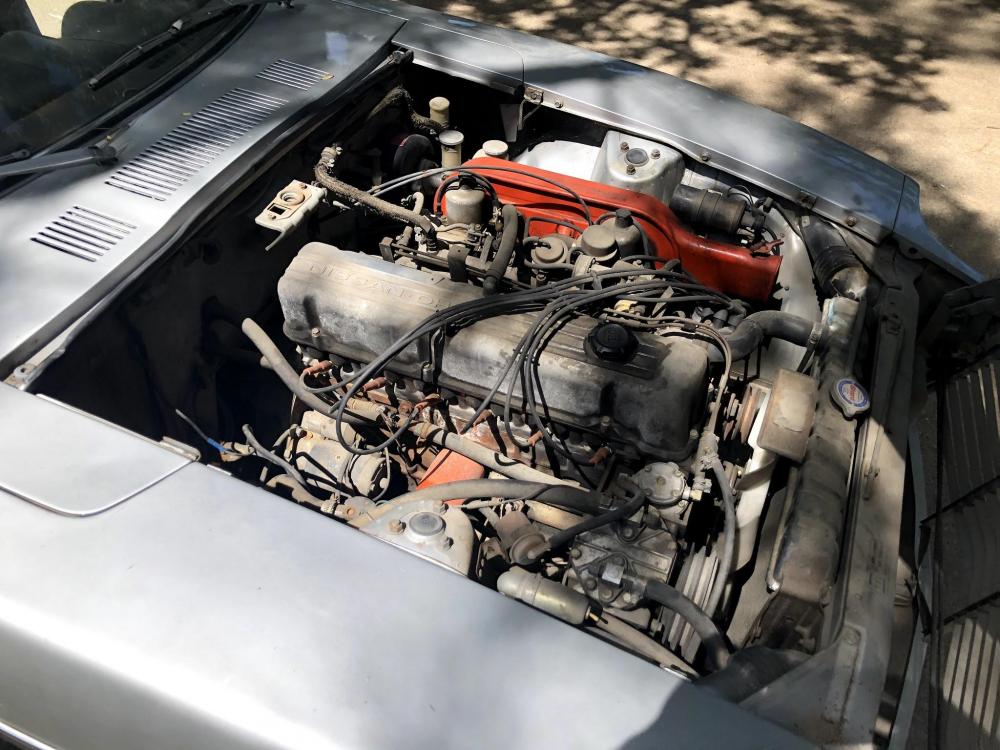
Engine is complete and appears unmodified. Only a handful of incorrect items like hoses and hose clamps are out of place from how it came from the factory. Dealer installed York compressor will be replaced with a modern one, and fitted on the LH lower side of the engine. Engine does not show any major signs of issues or damage. Does not leak, had clean oil in it when purchased, and spins freely. I have not found the underlying reason why the car was parked 30 years ago, apart from being "old". Battery tray area is solid (despite how it may look in photos). Rust has not eaten through the tray or underneath it.


.JPG.b9ee0d39439d8af1888c68d84c5a288a.JPG)


.jpg.916a28794d4ce29e9bcc75bd1047e19a.jpg)
.jpg.670db01c035099ecace5304c4984870b.jpg)
.jpg.f7c1741bfacaa12421e3547c32a41dec.jpg)
.jpg.84da57c65c5a6bcb34bfd12b1c6884b3.jpg)
.jpg.bf1e9b33728f5bc91953e414f30df686.jpg)
.jpg.5f0a8680469f0ba5e84f339d2786ee89.jpg)