ConVerTT
Free Member
-
Joined
-
Last visited
Everything posted by ConVerTT
-
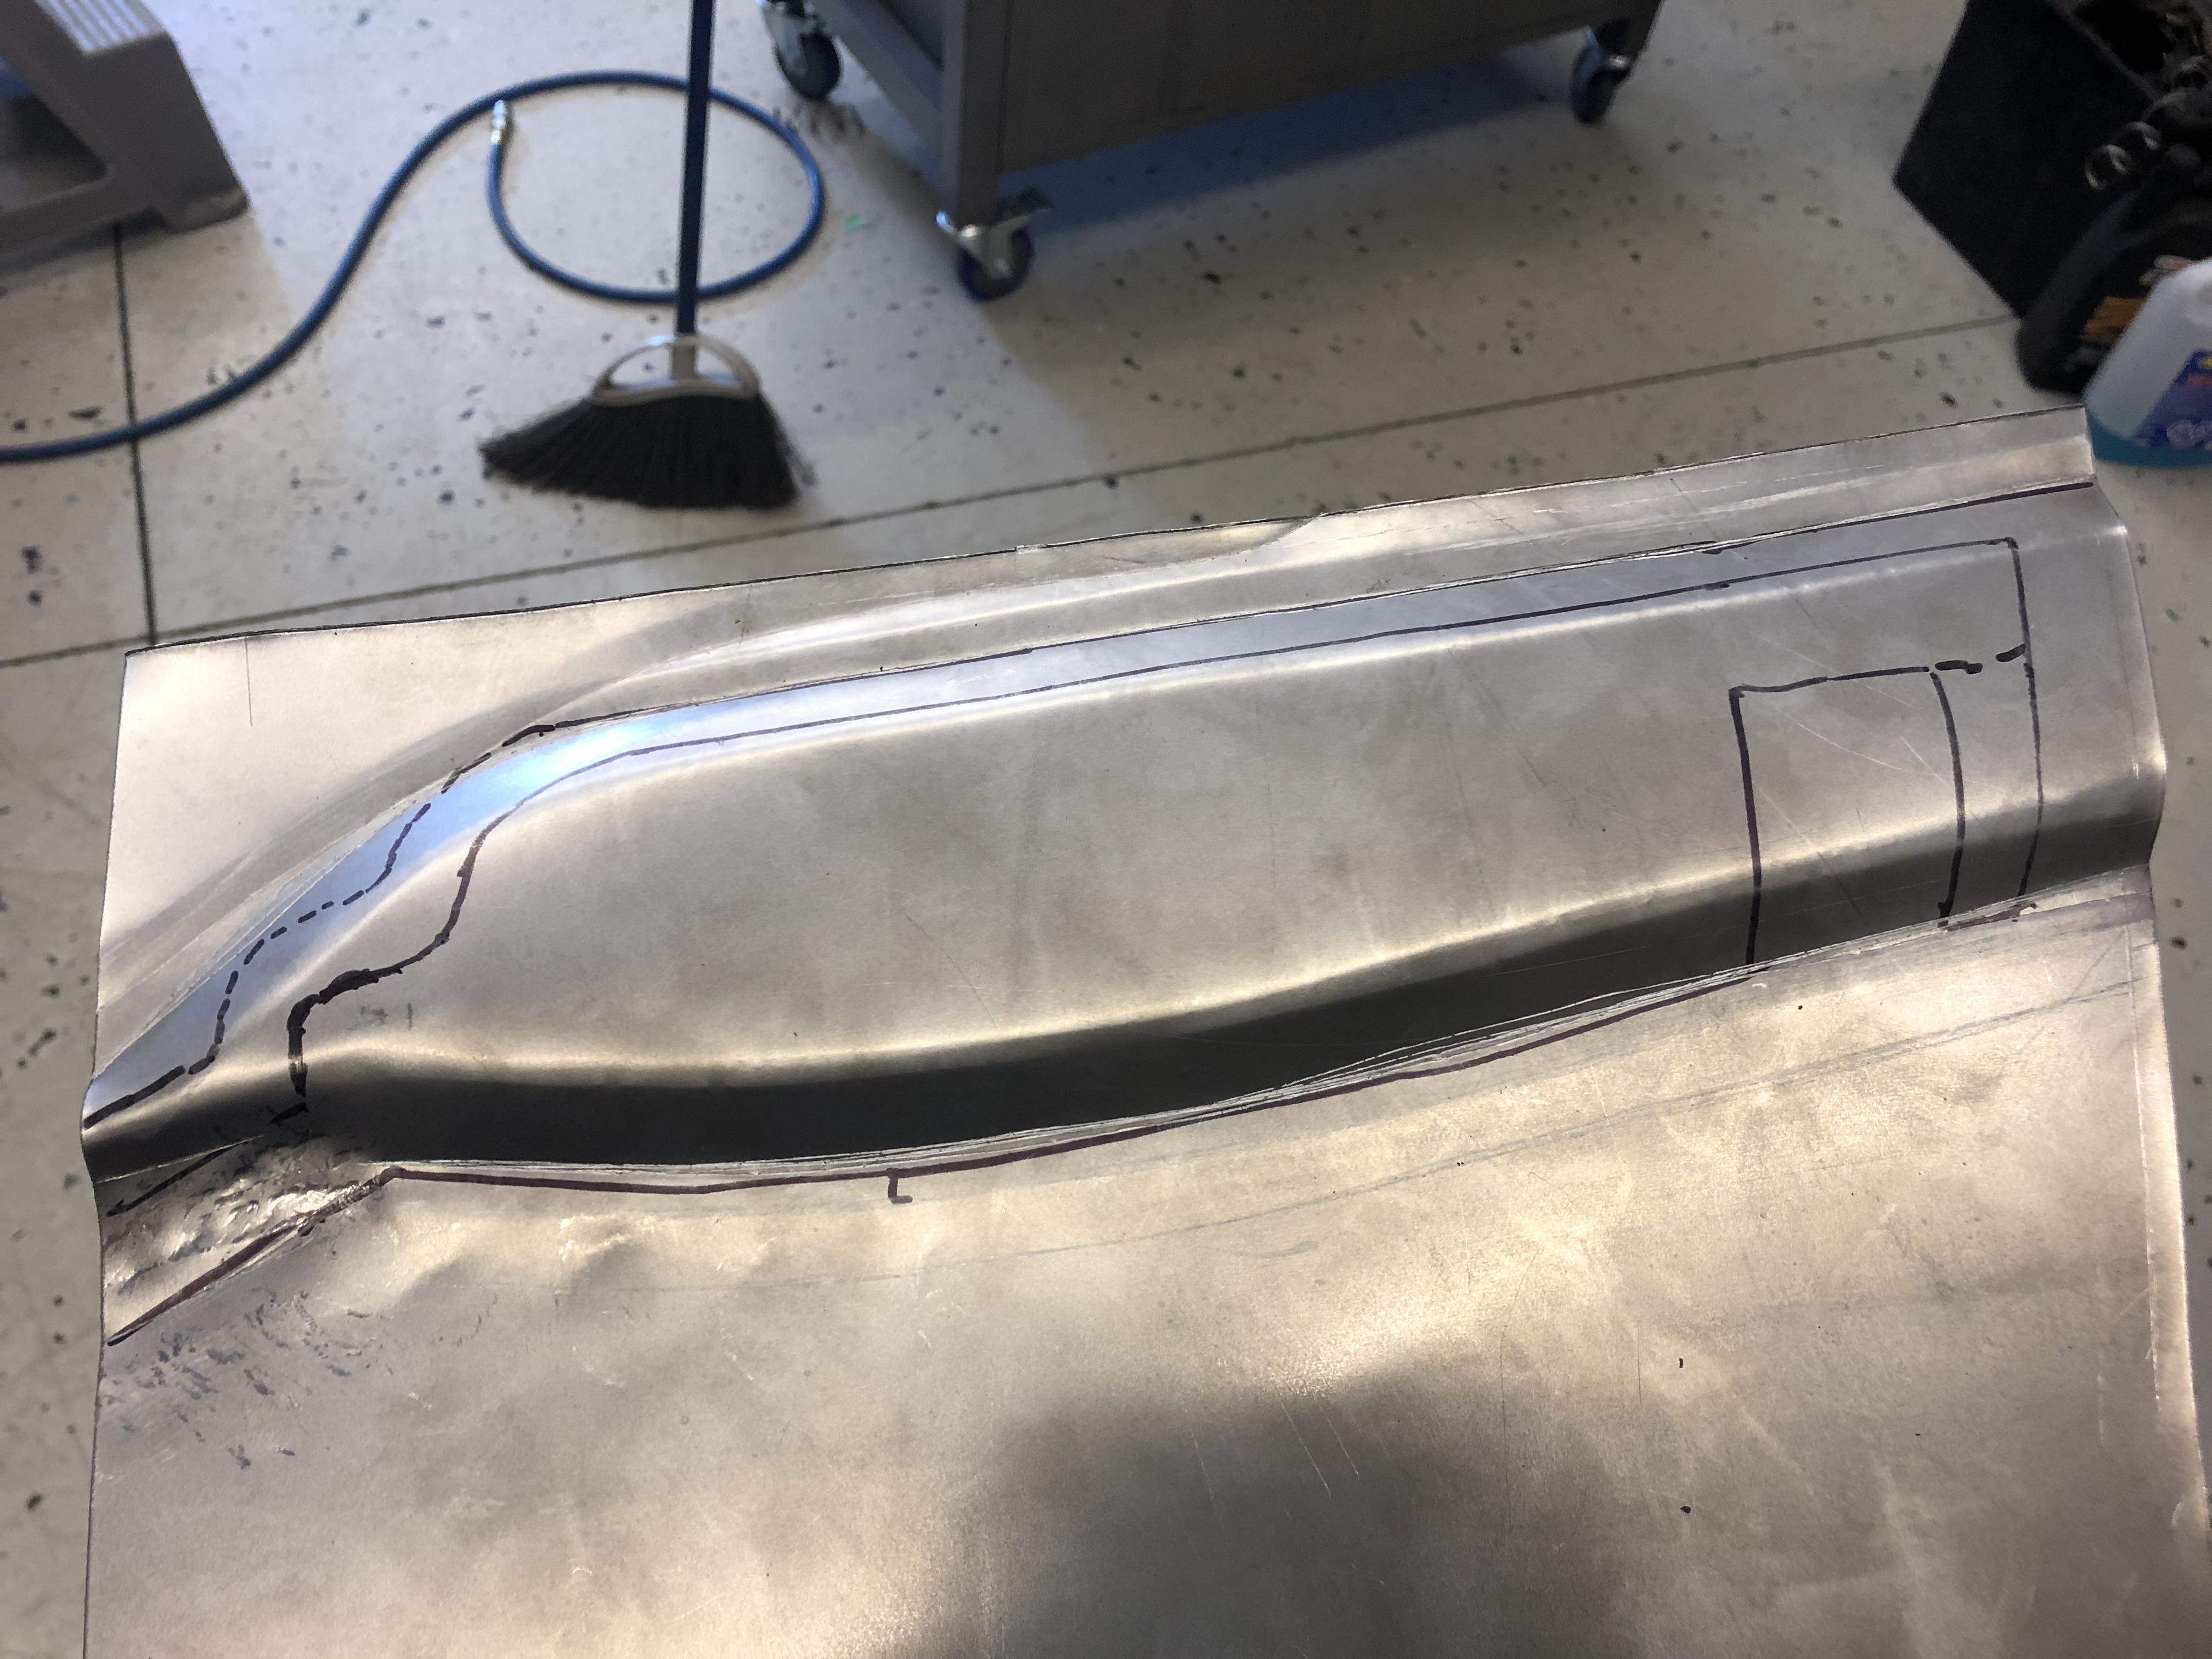
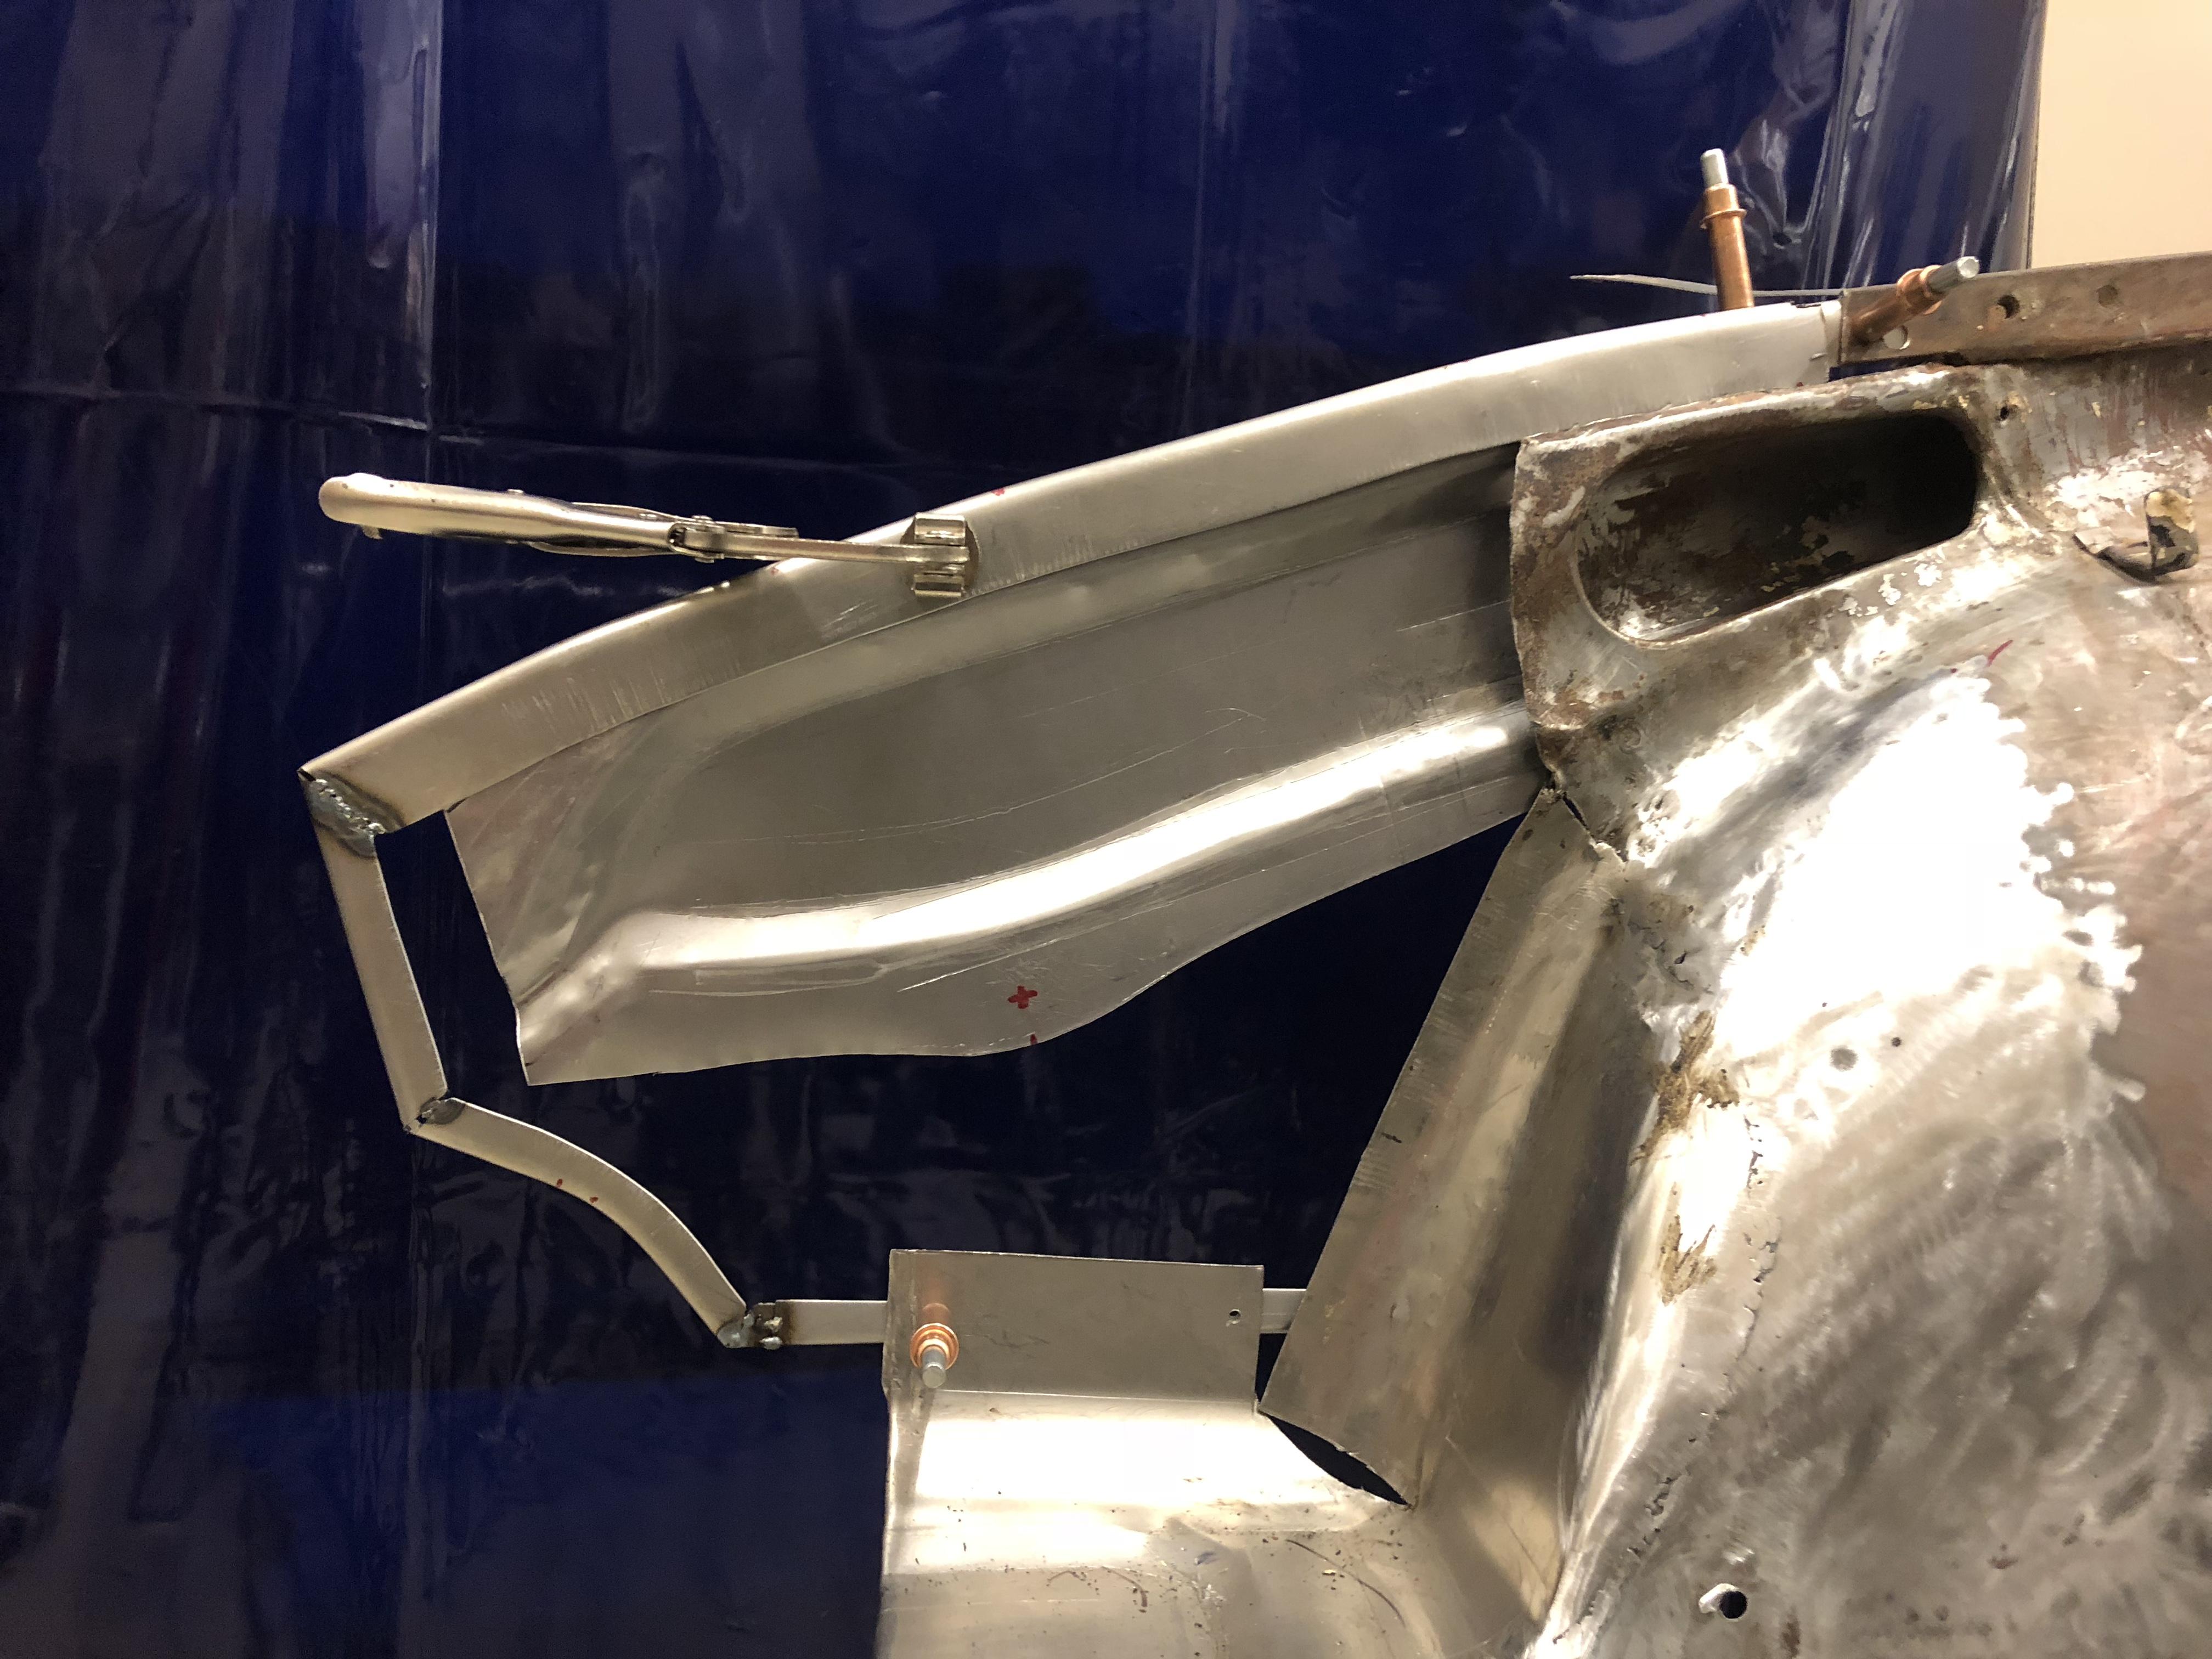
Sure. I didn’t take many pics but here is one of my failed first attempt .... I basically made a pattern of the backing plate and traced it onto a flat piece of metal and then used the bead roller to roll in the angles. Then I trimmed the edges to match the original. So what’s wrong with this one? 1) bent it the wrong direction ?♂️ (basically it’s now for the LHS instead of the RHS) and 2) started too close to the edge so wouldn’t have been able to trim it up properly anyways ?♂️ Oh well - all part of the “fun” right?

-
Great project! Tribute car? And which coil overs?
-
Thanks Patcon! And yes I wish I had a few D-ring anchors in the floor for many reasons too!
-
-
-
-
-
Nice patches! Are you rust treating inside the rail or just leaving it alone at this point?
-
Hey Thanks Patcon! Those would be perfect. Where to buy?
-
-
Yes exactly. I couldn’t get a decent grip so I just looped a strap from a scrap piece of sheet metal and bolted it on
-
Tours are free! Burnouts ... have to charge ? For the Nissan guys ...Greg and Seb from SpecialtyZ will be back in Edmonton for Dynopalooza 2019 in June. I think there will be old roadsters all the way through new GTRs this year. I probably won’t have a car there this year, but it is still a good time ...
-
Those aren’t terrible! What’s the plan?
-
-
Very nice work! A couple of thoughts on the brace.... Adding a 90 degree (down) bend with about a 1/2” flange along the edge between the bracket and the valve cover will add stiffness to the whole brace and minimize any stress on the valve cover bolts and the COPs. You may want to consider bending similar edges at each endof the bracket as well for even more stiffness. I hope this helps ..
-
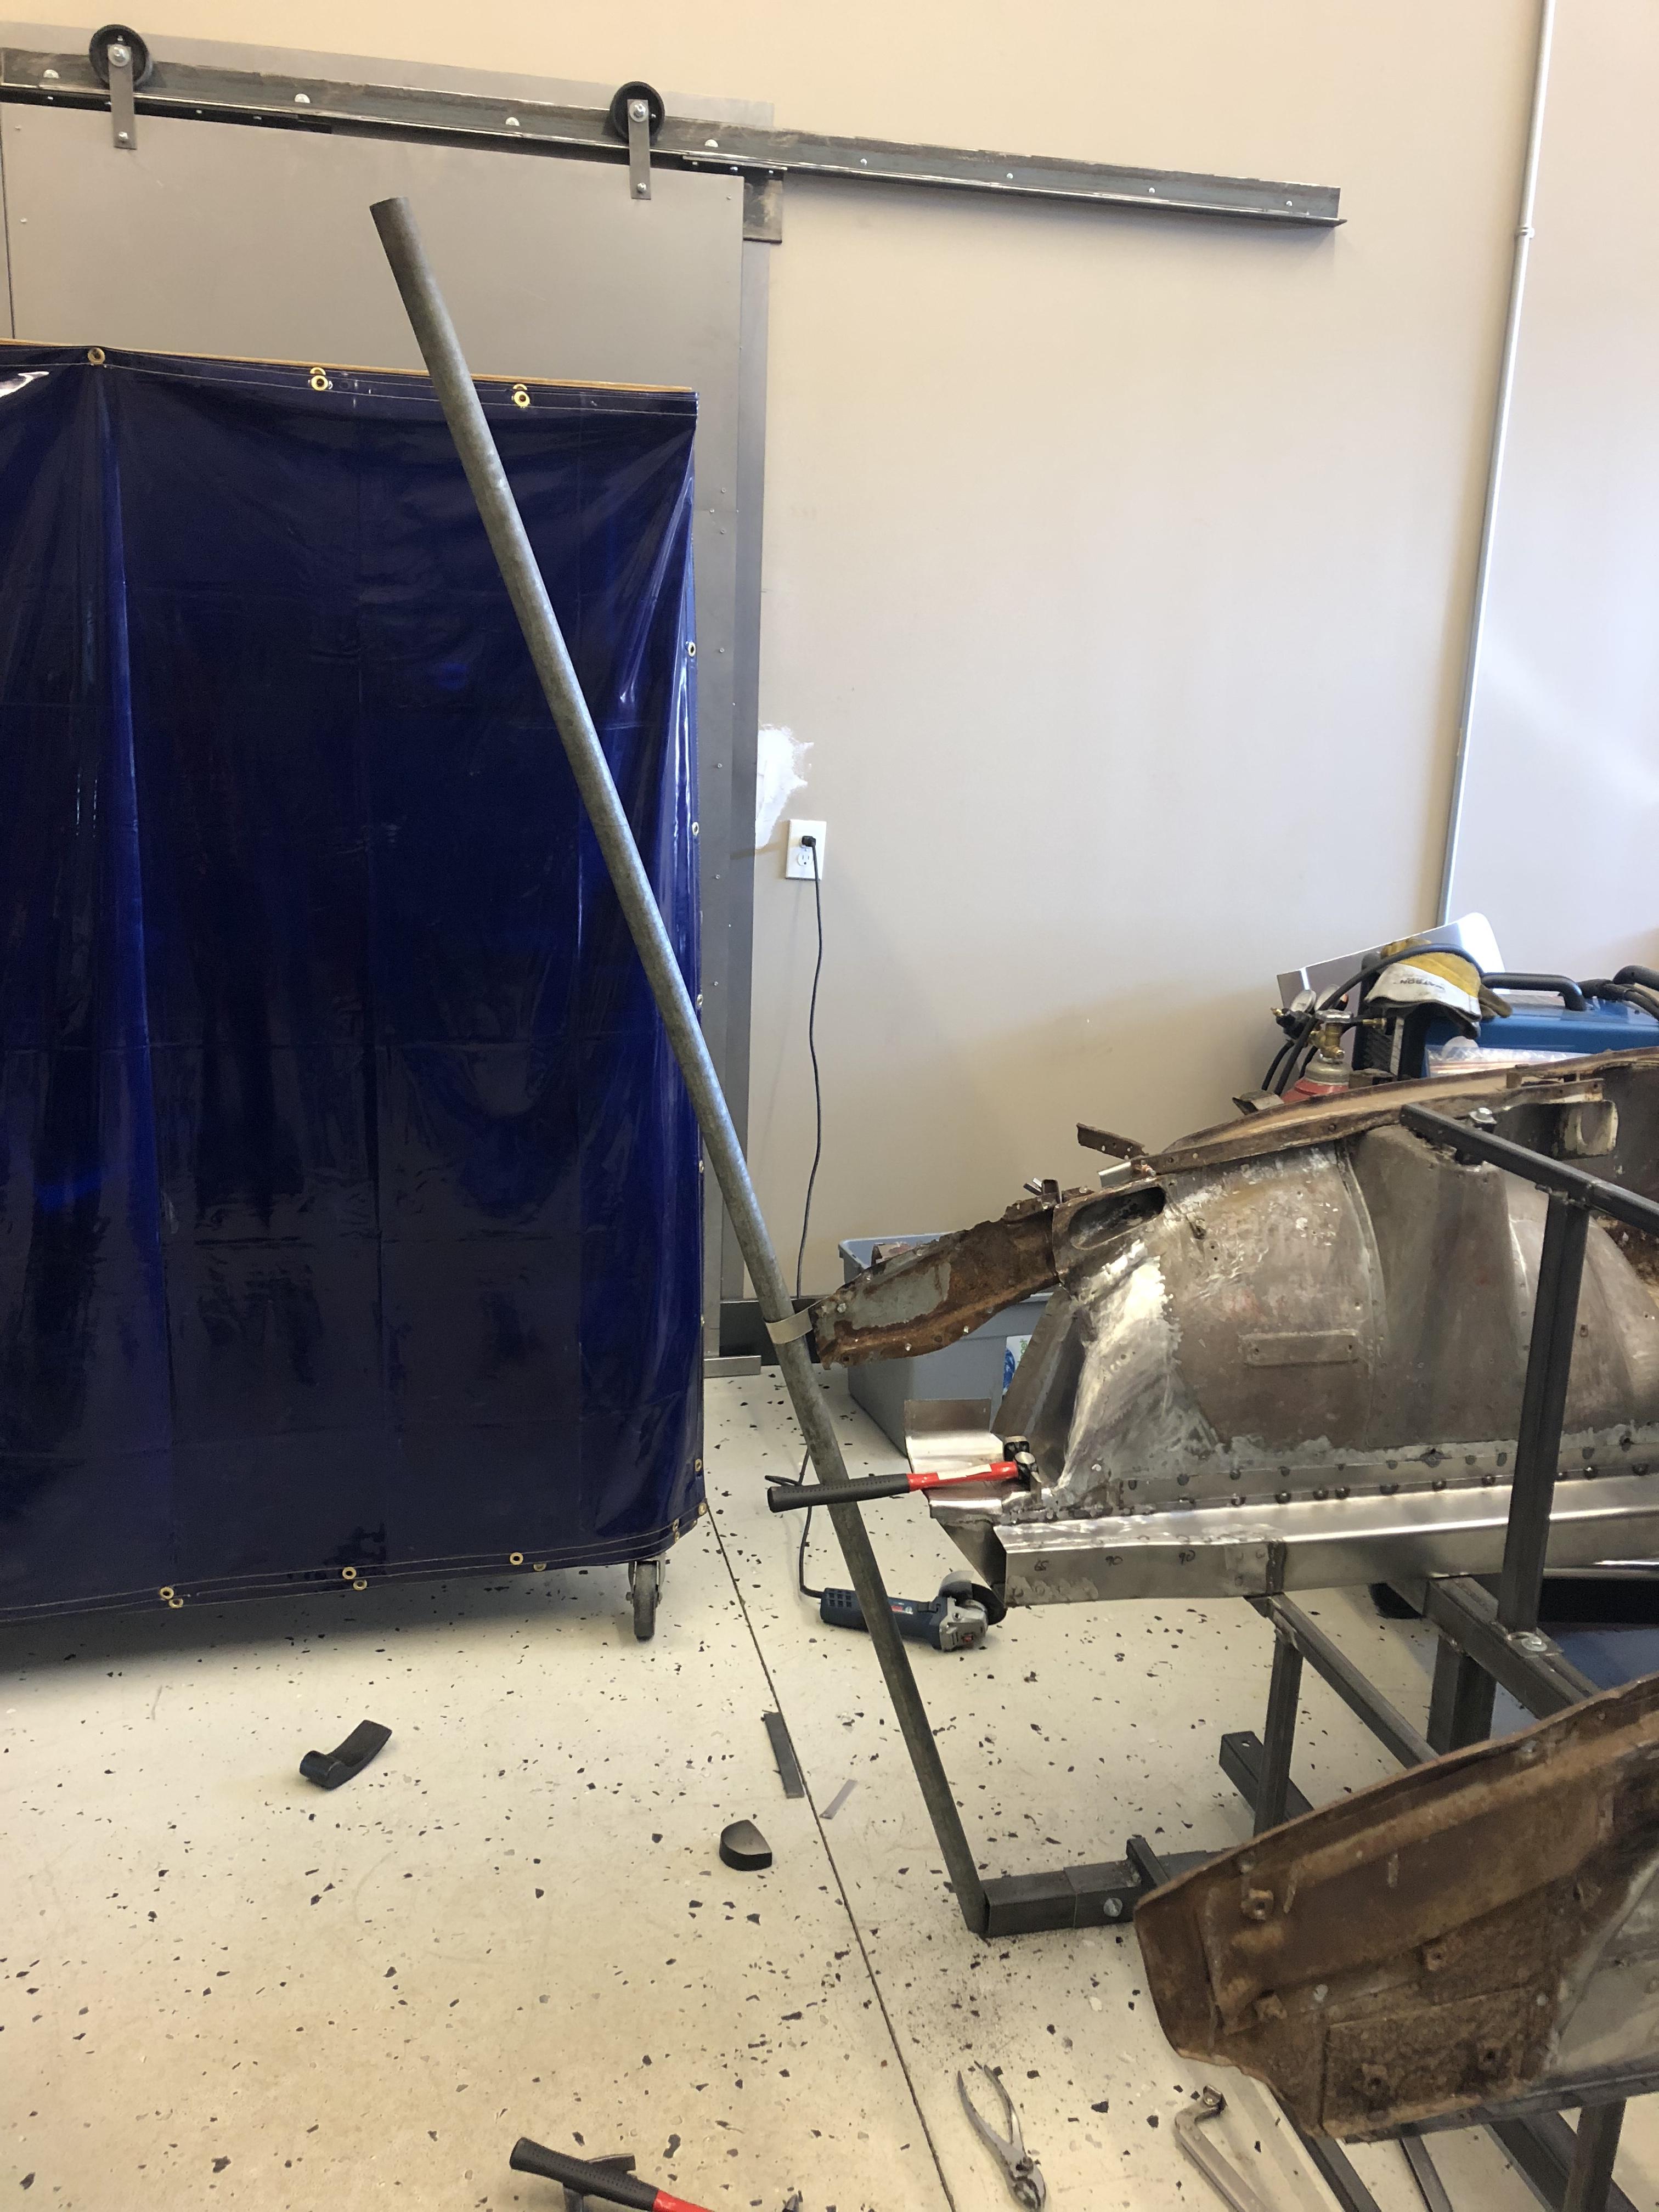
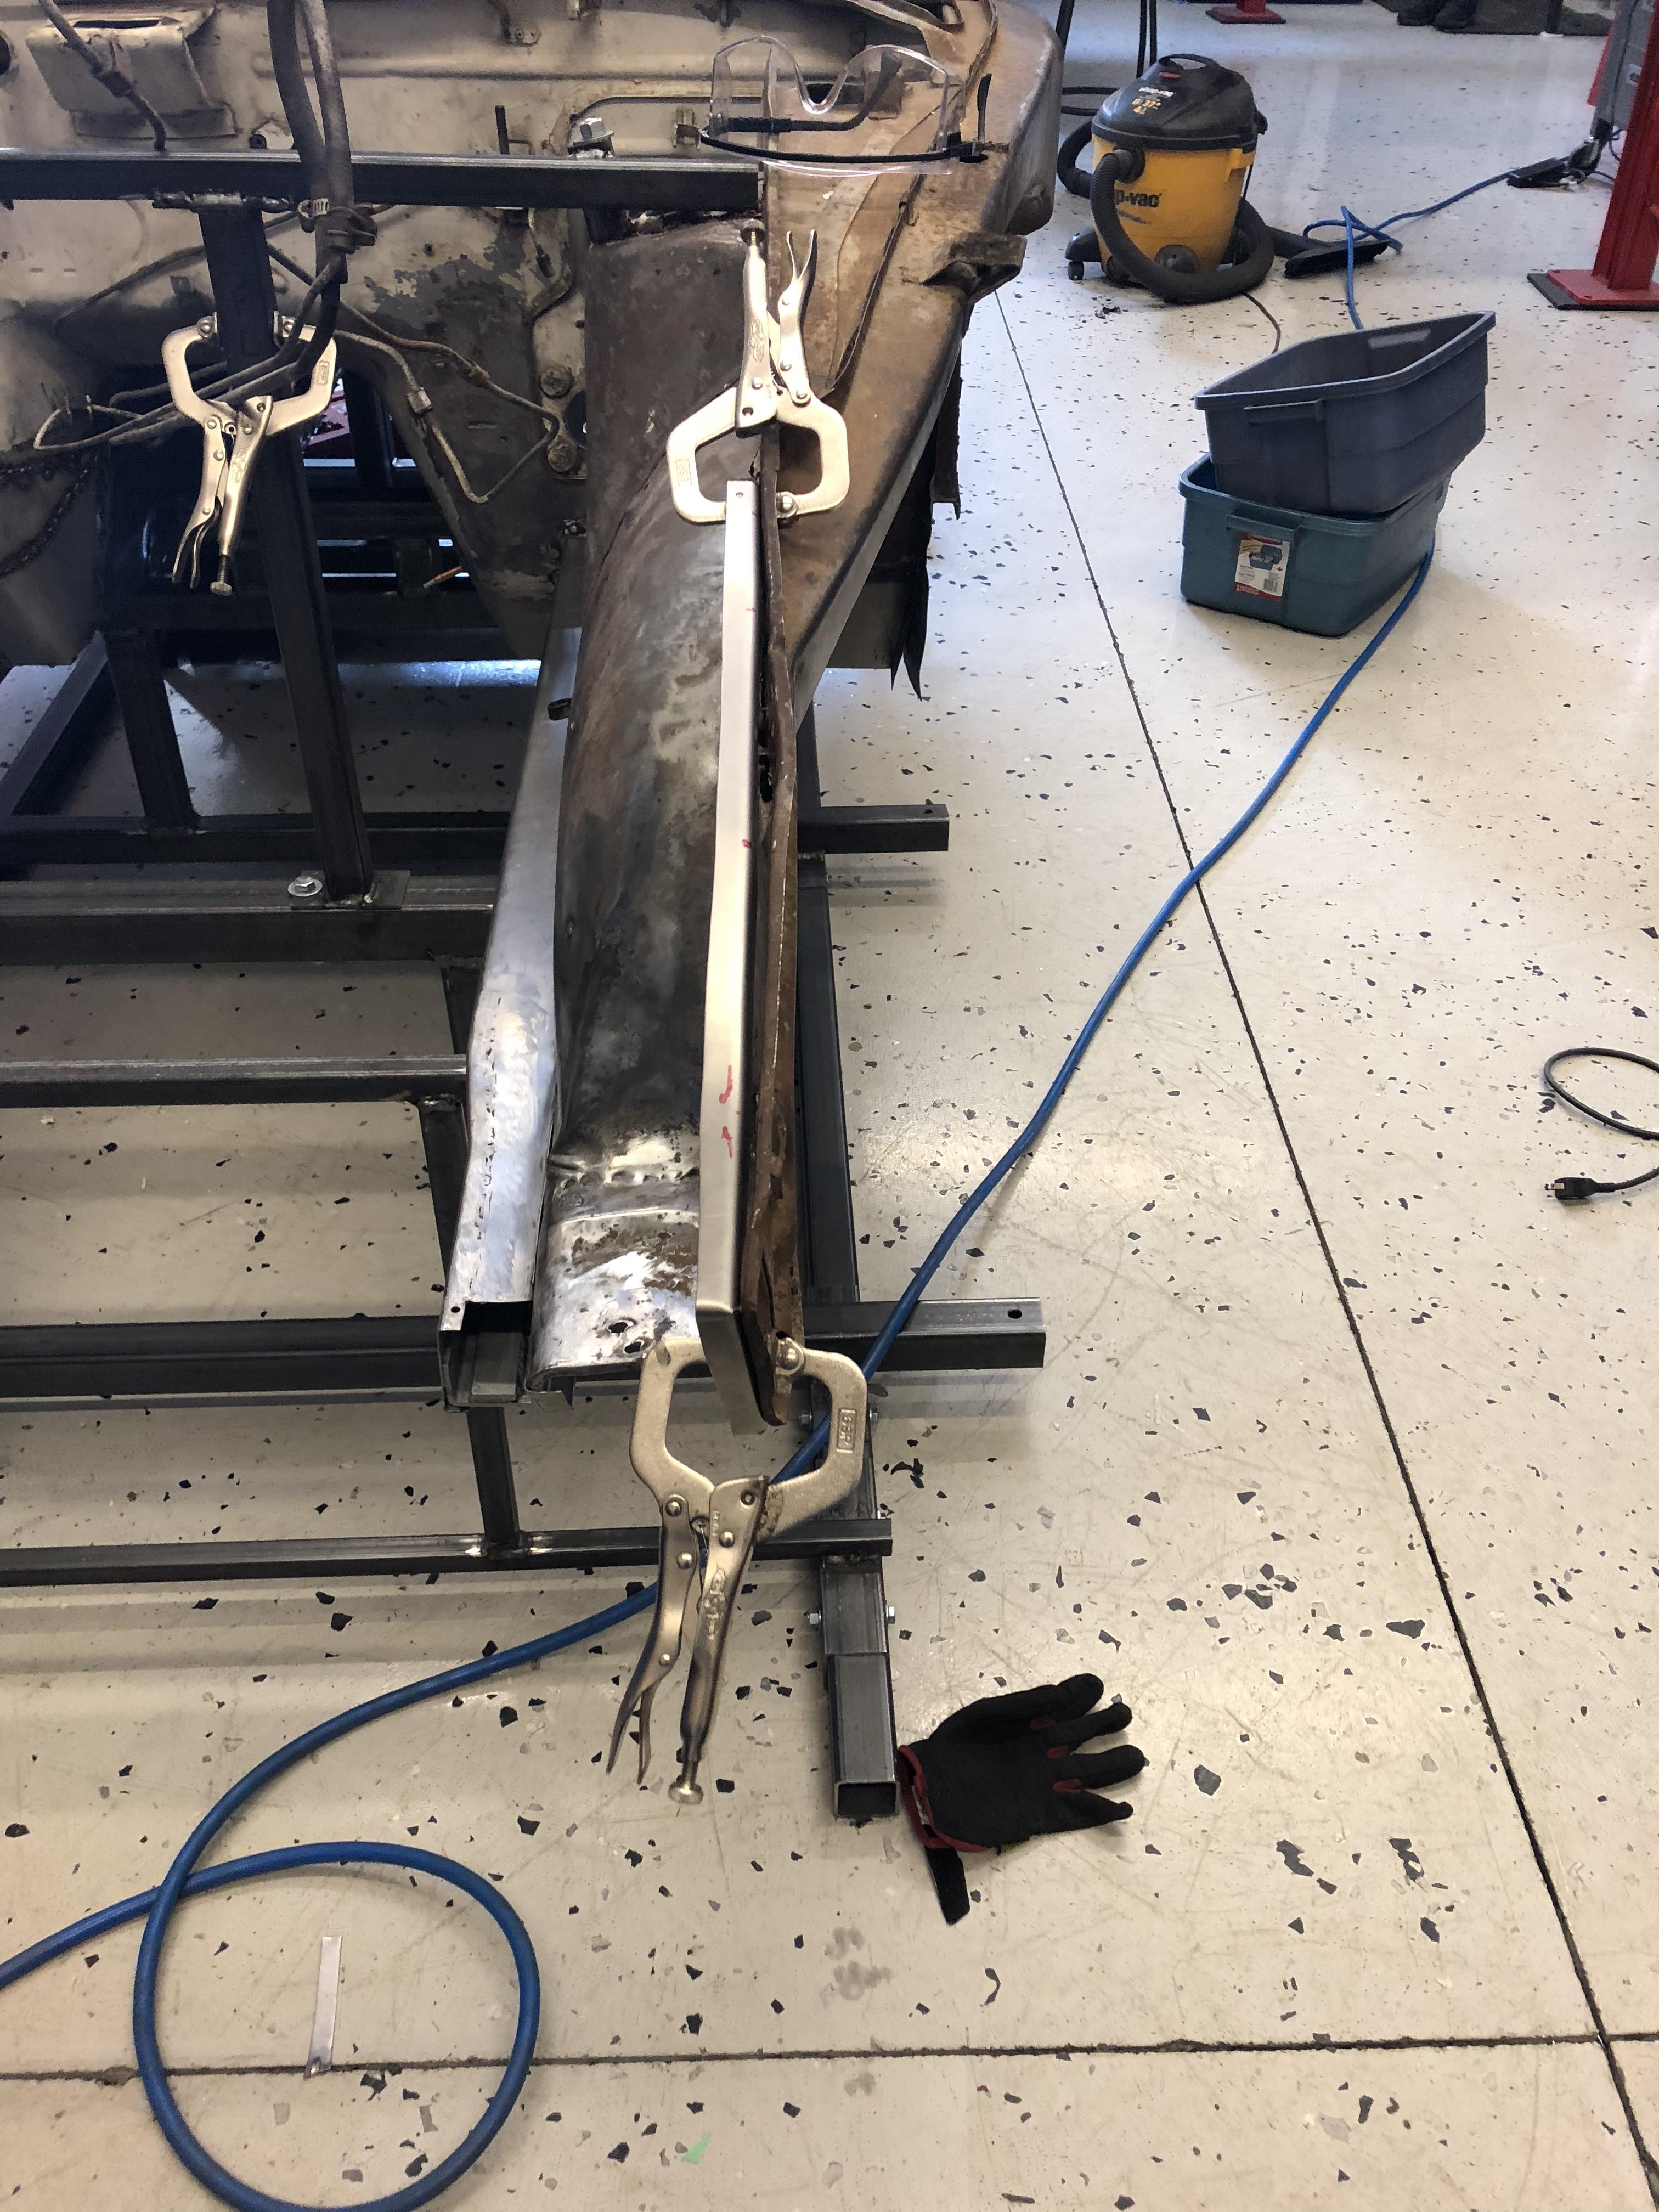
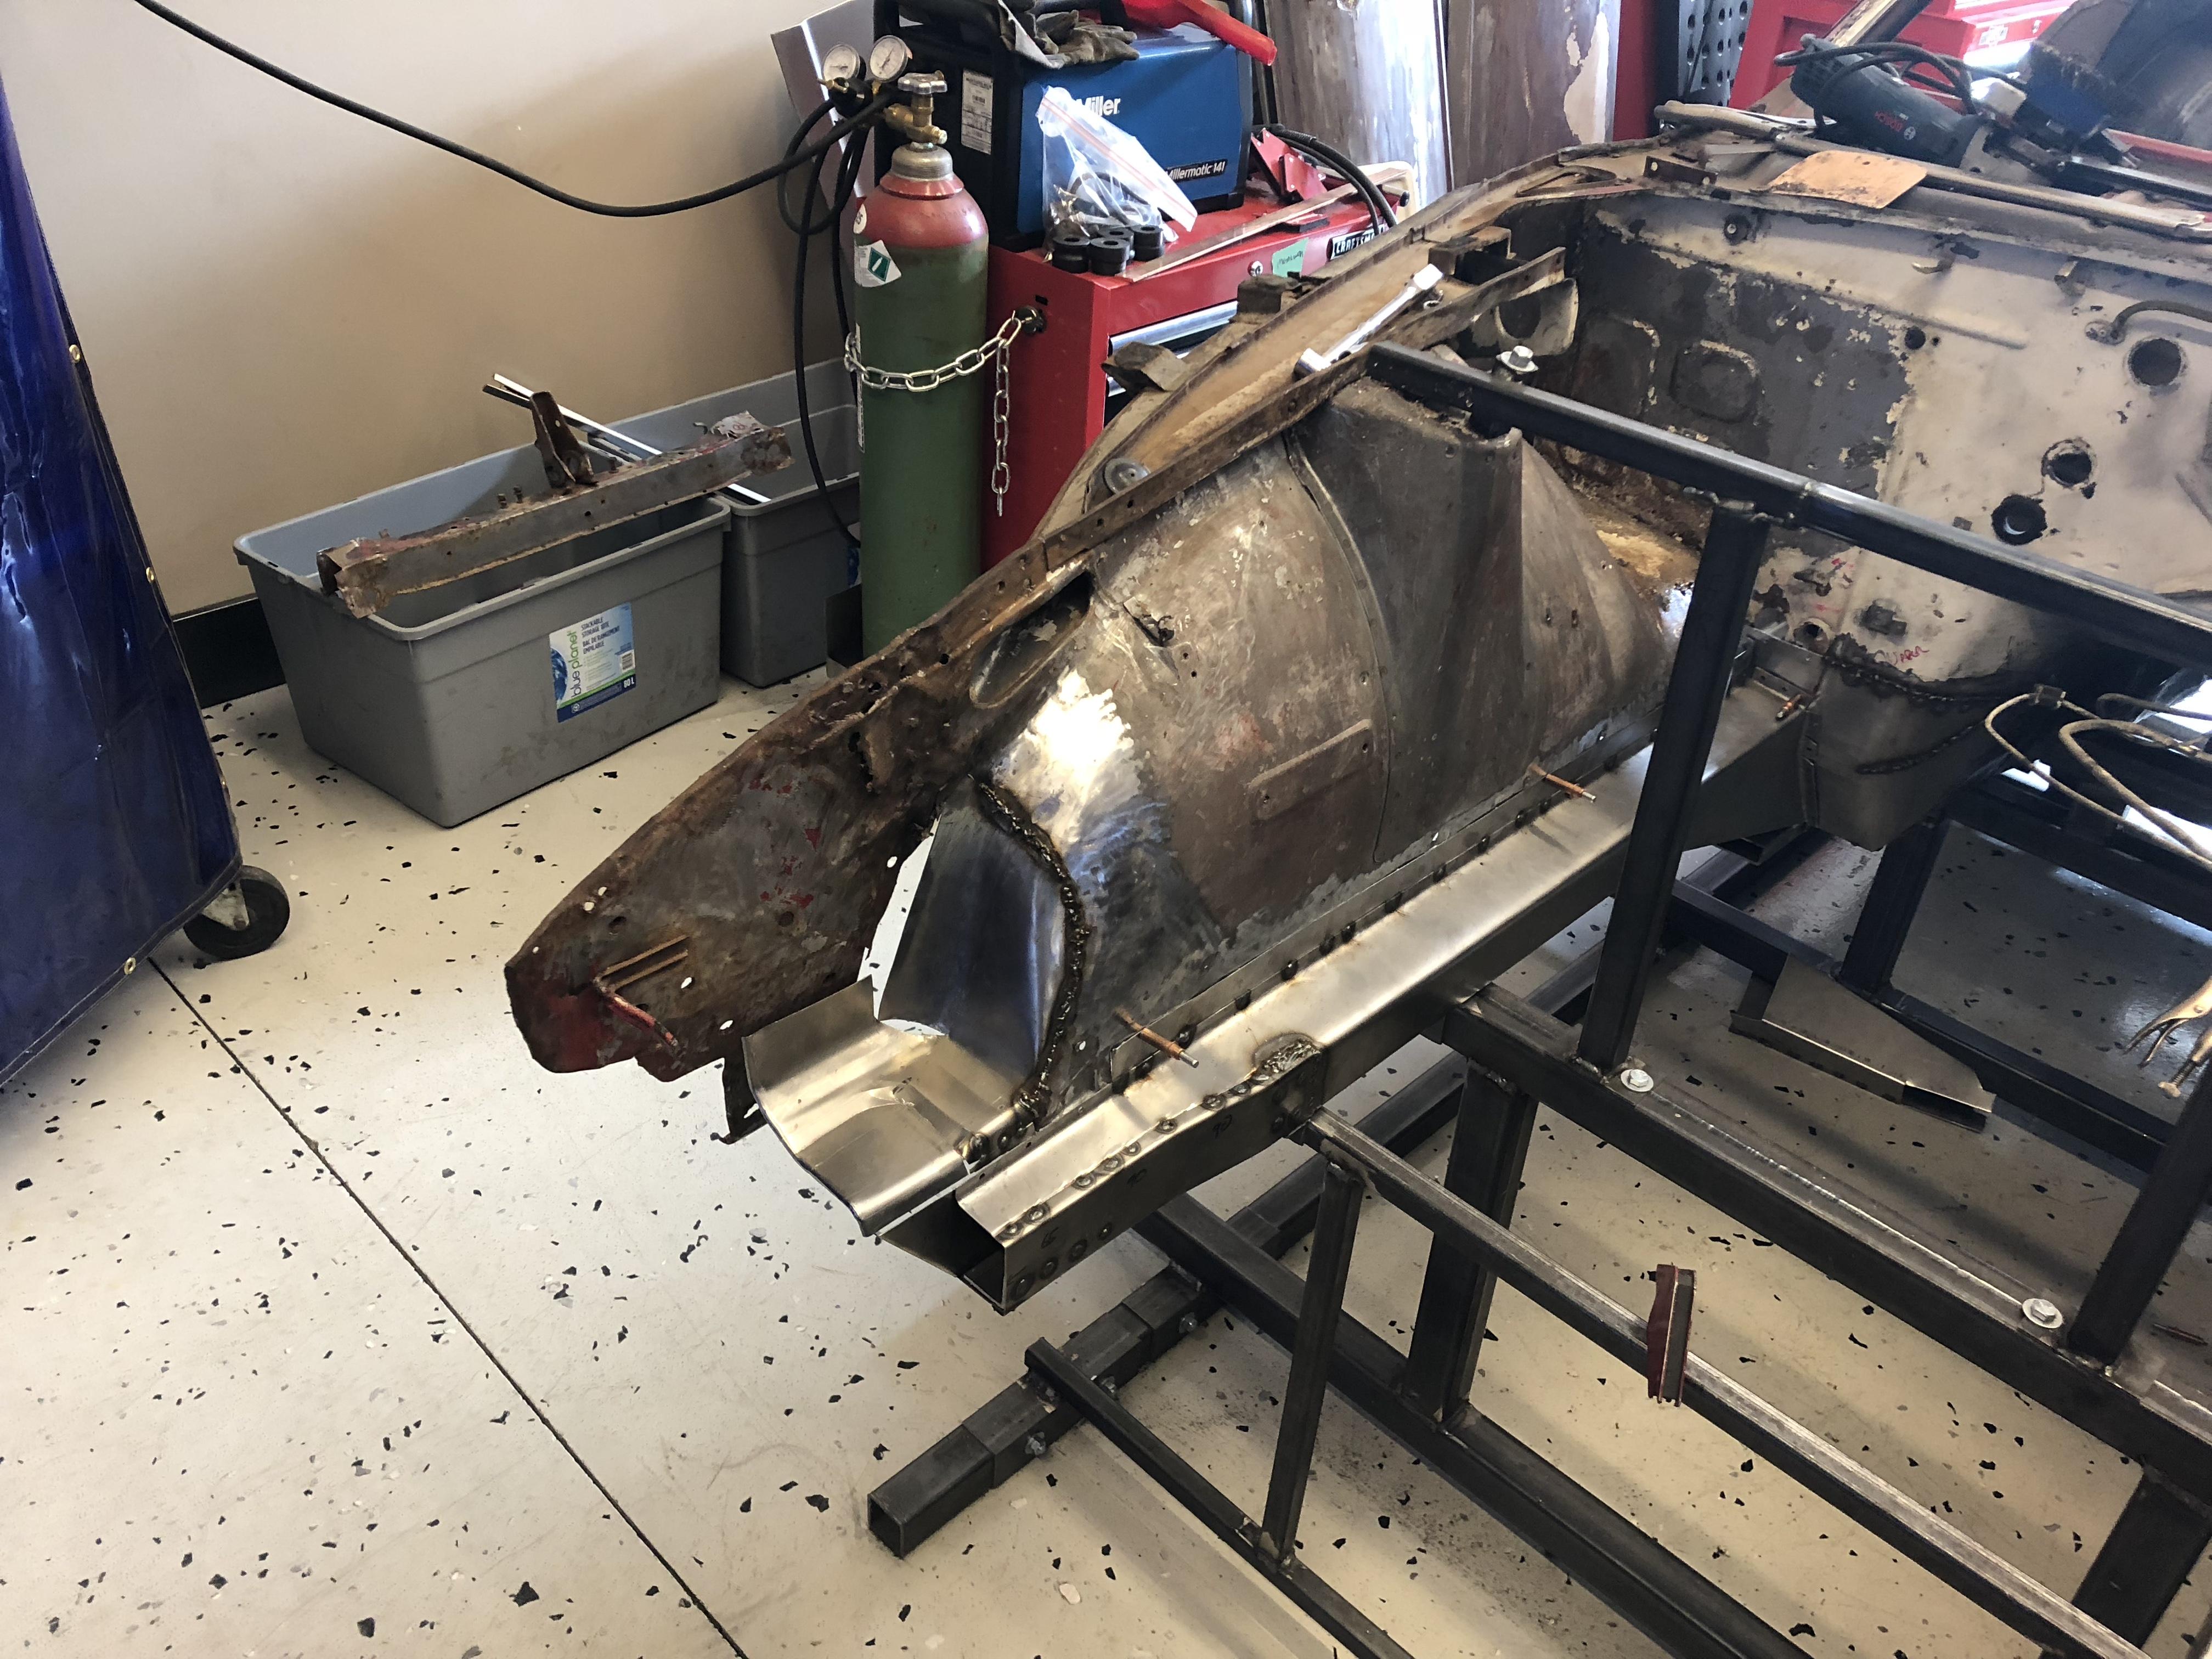
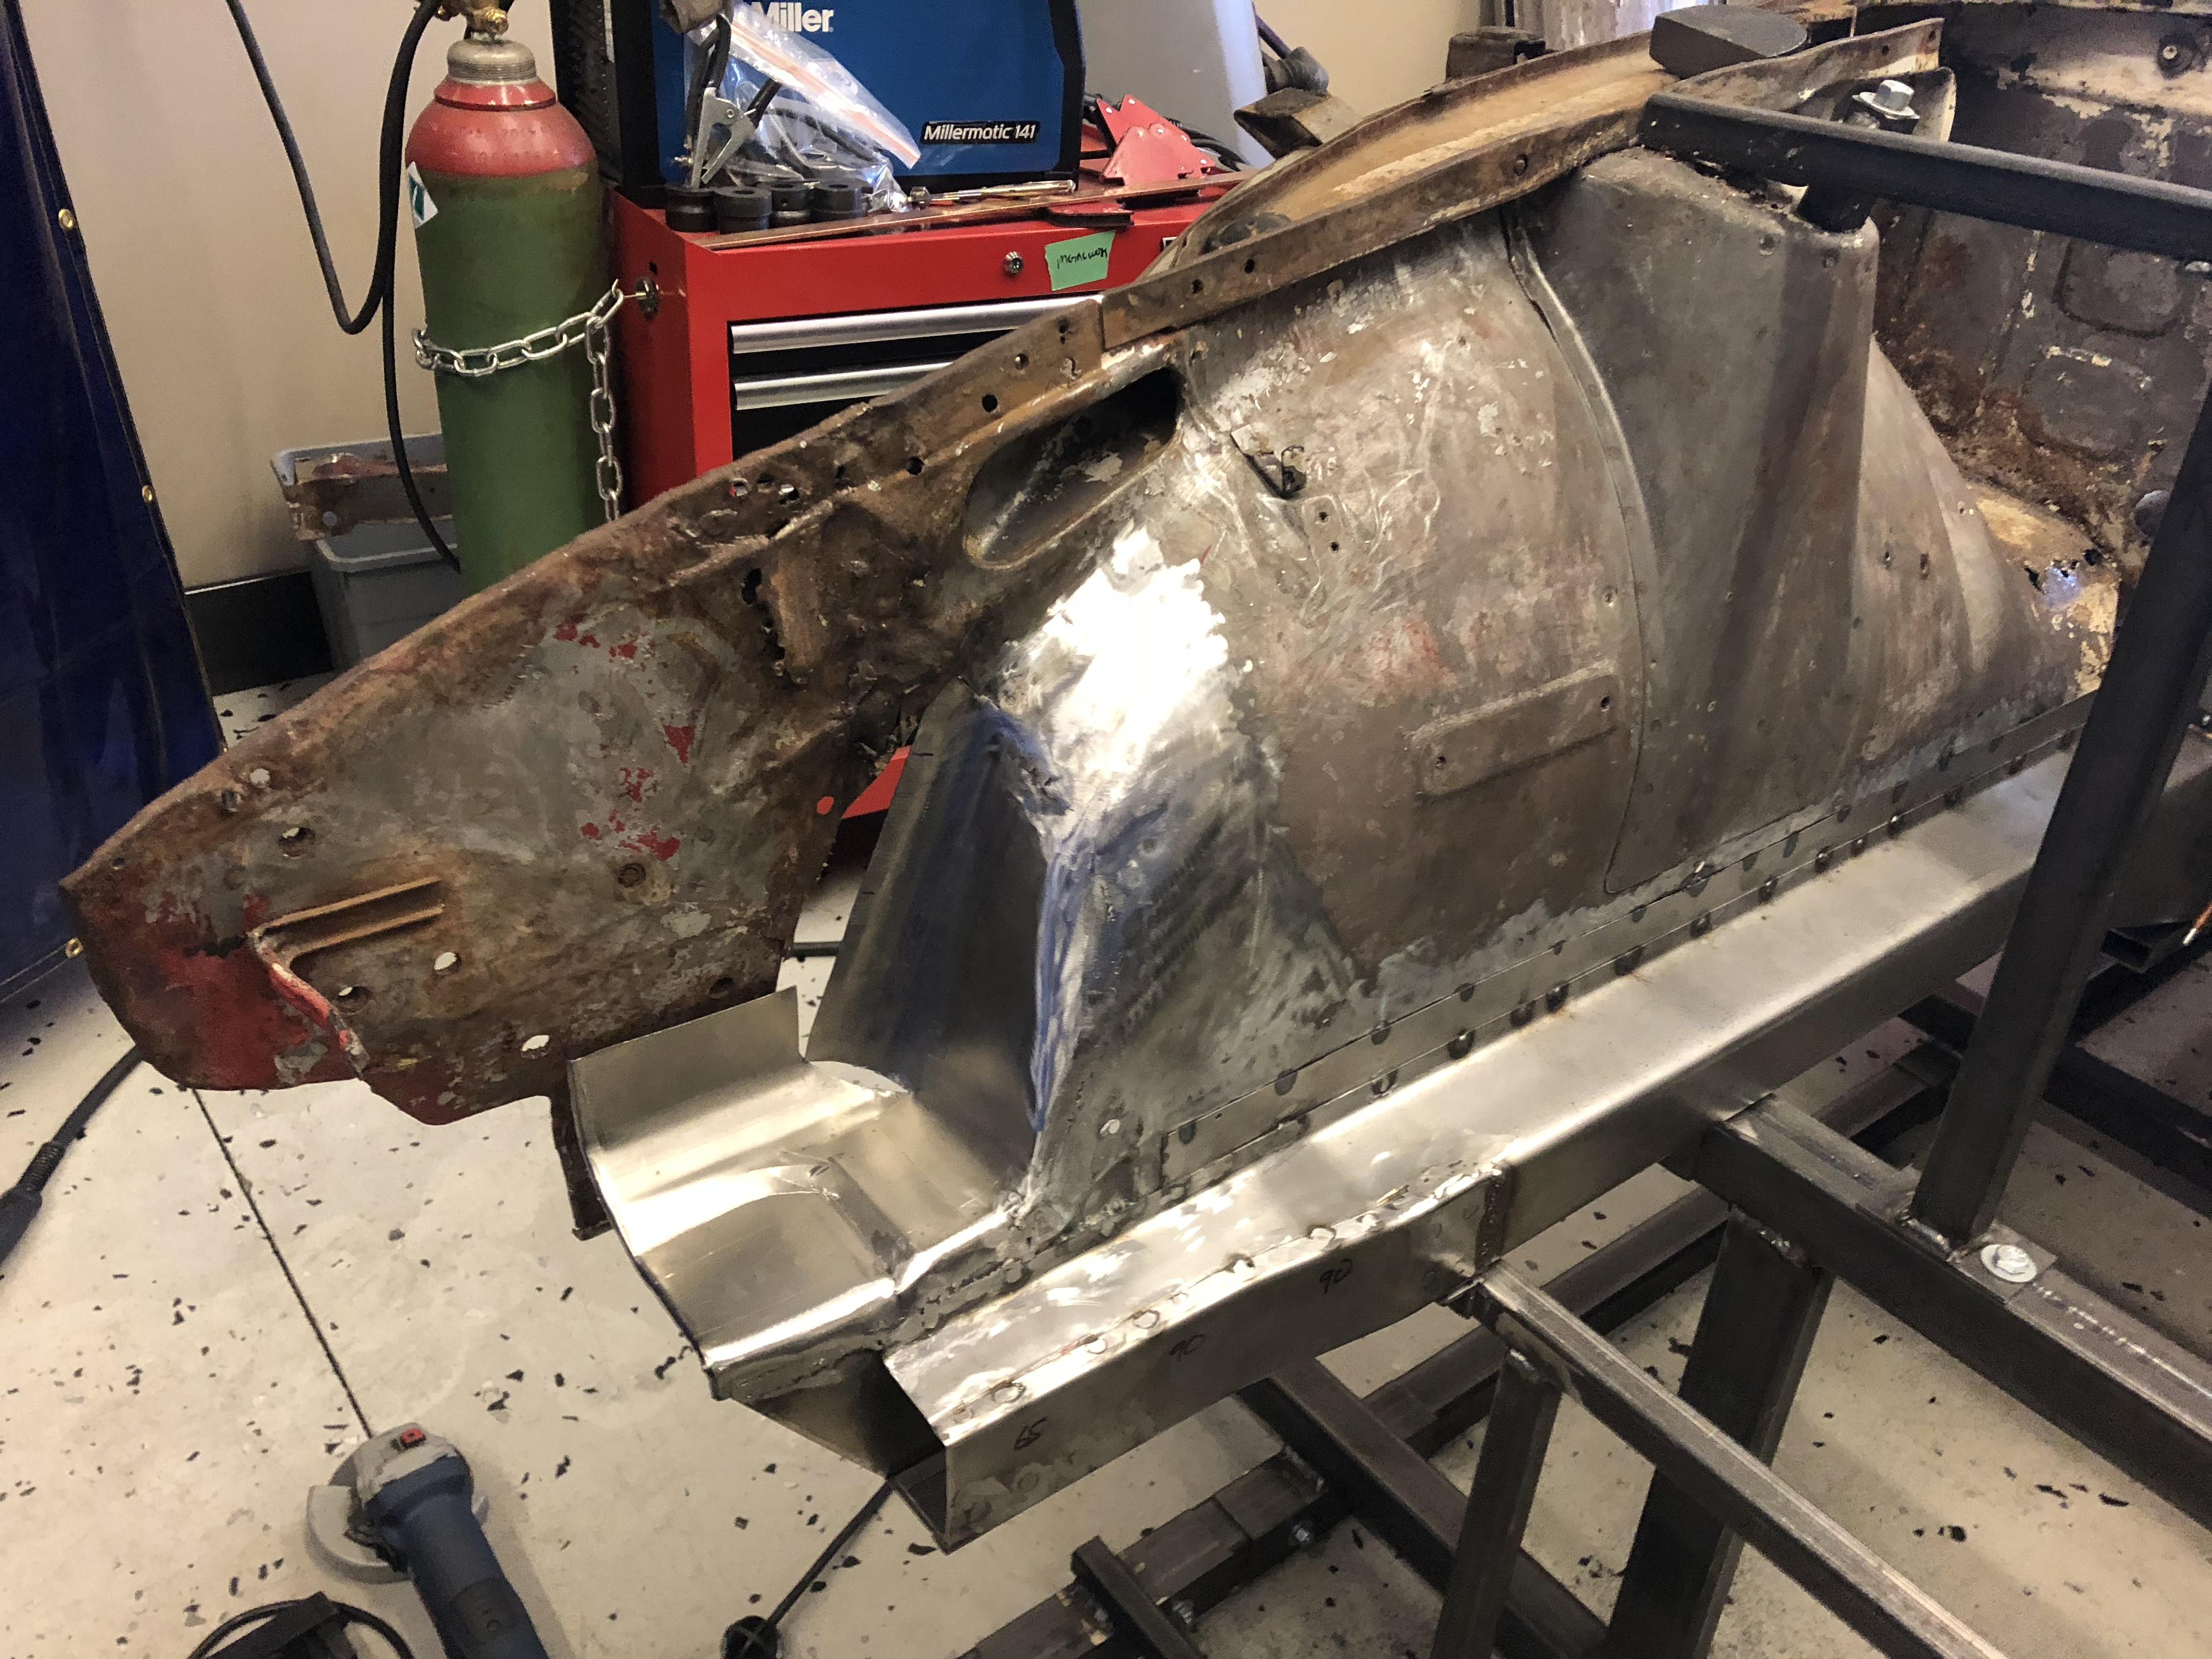
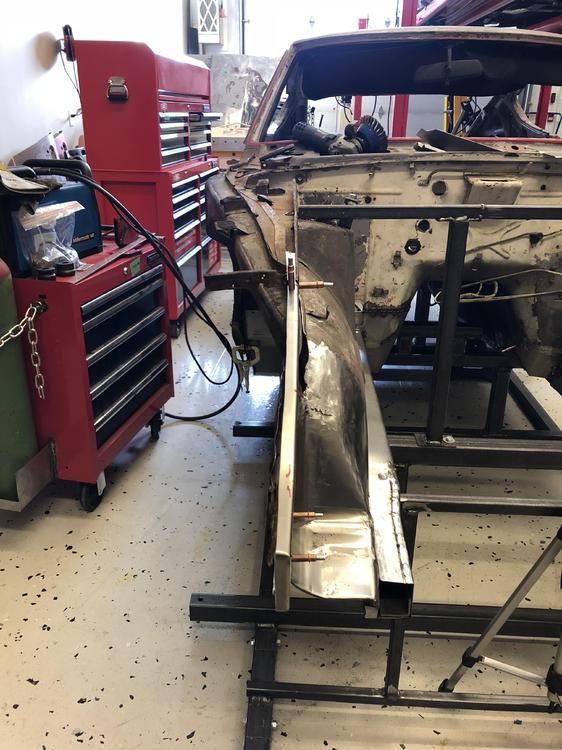
Someone was asking about how the jig can be used to re-align body panels ... basically BFH... I had to pull this backer plate forward about 1/4” and down about 1/2” to repair previous accident damage. Easy peasy .... Depending what you need to do, you can use pry bars, come-alongs or whatever for works ....

-
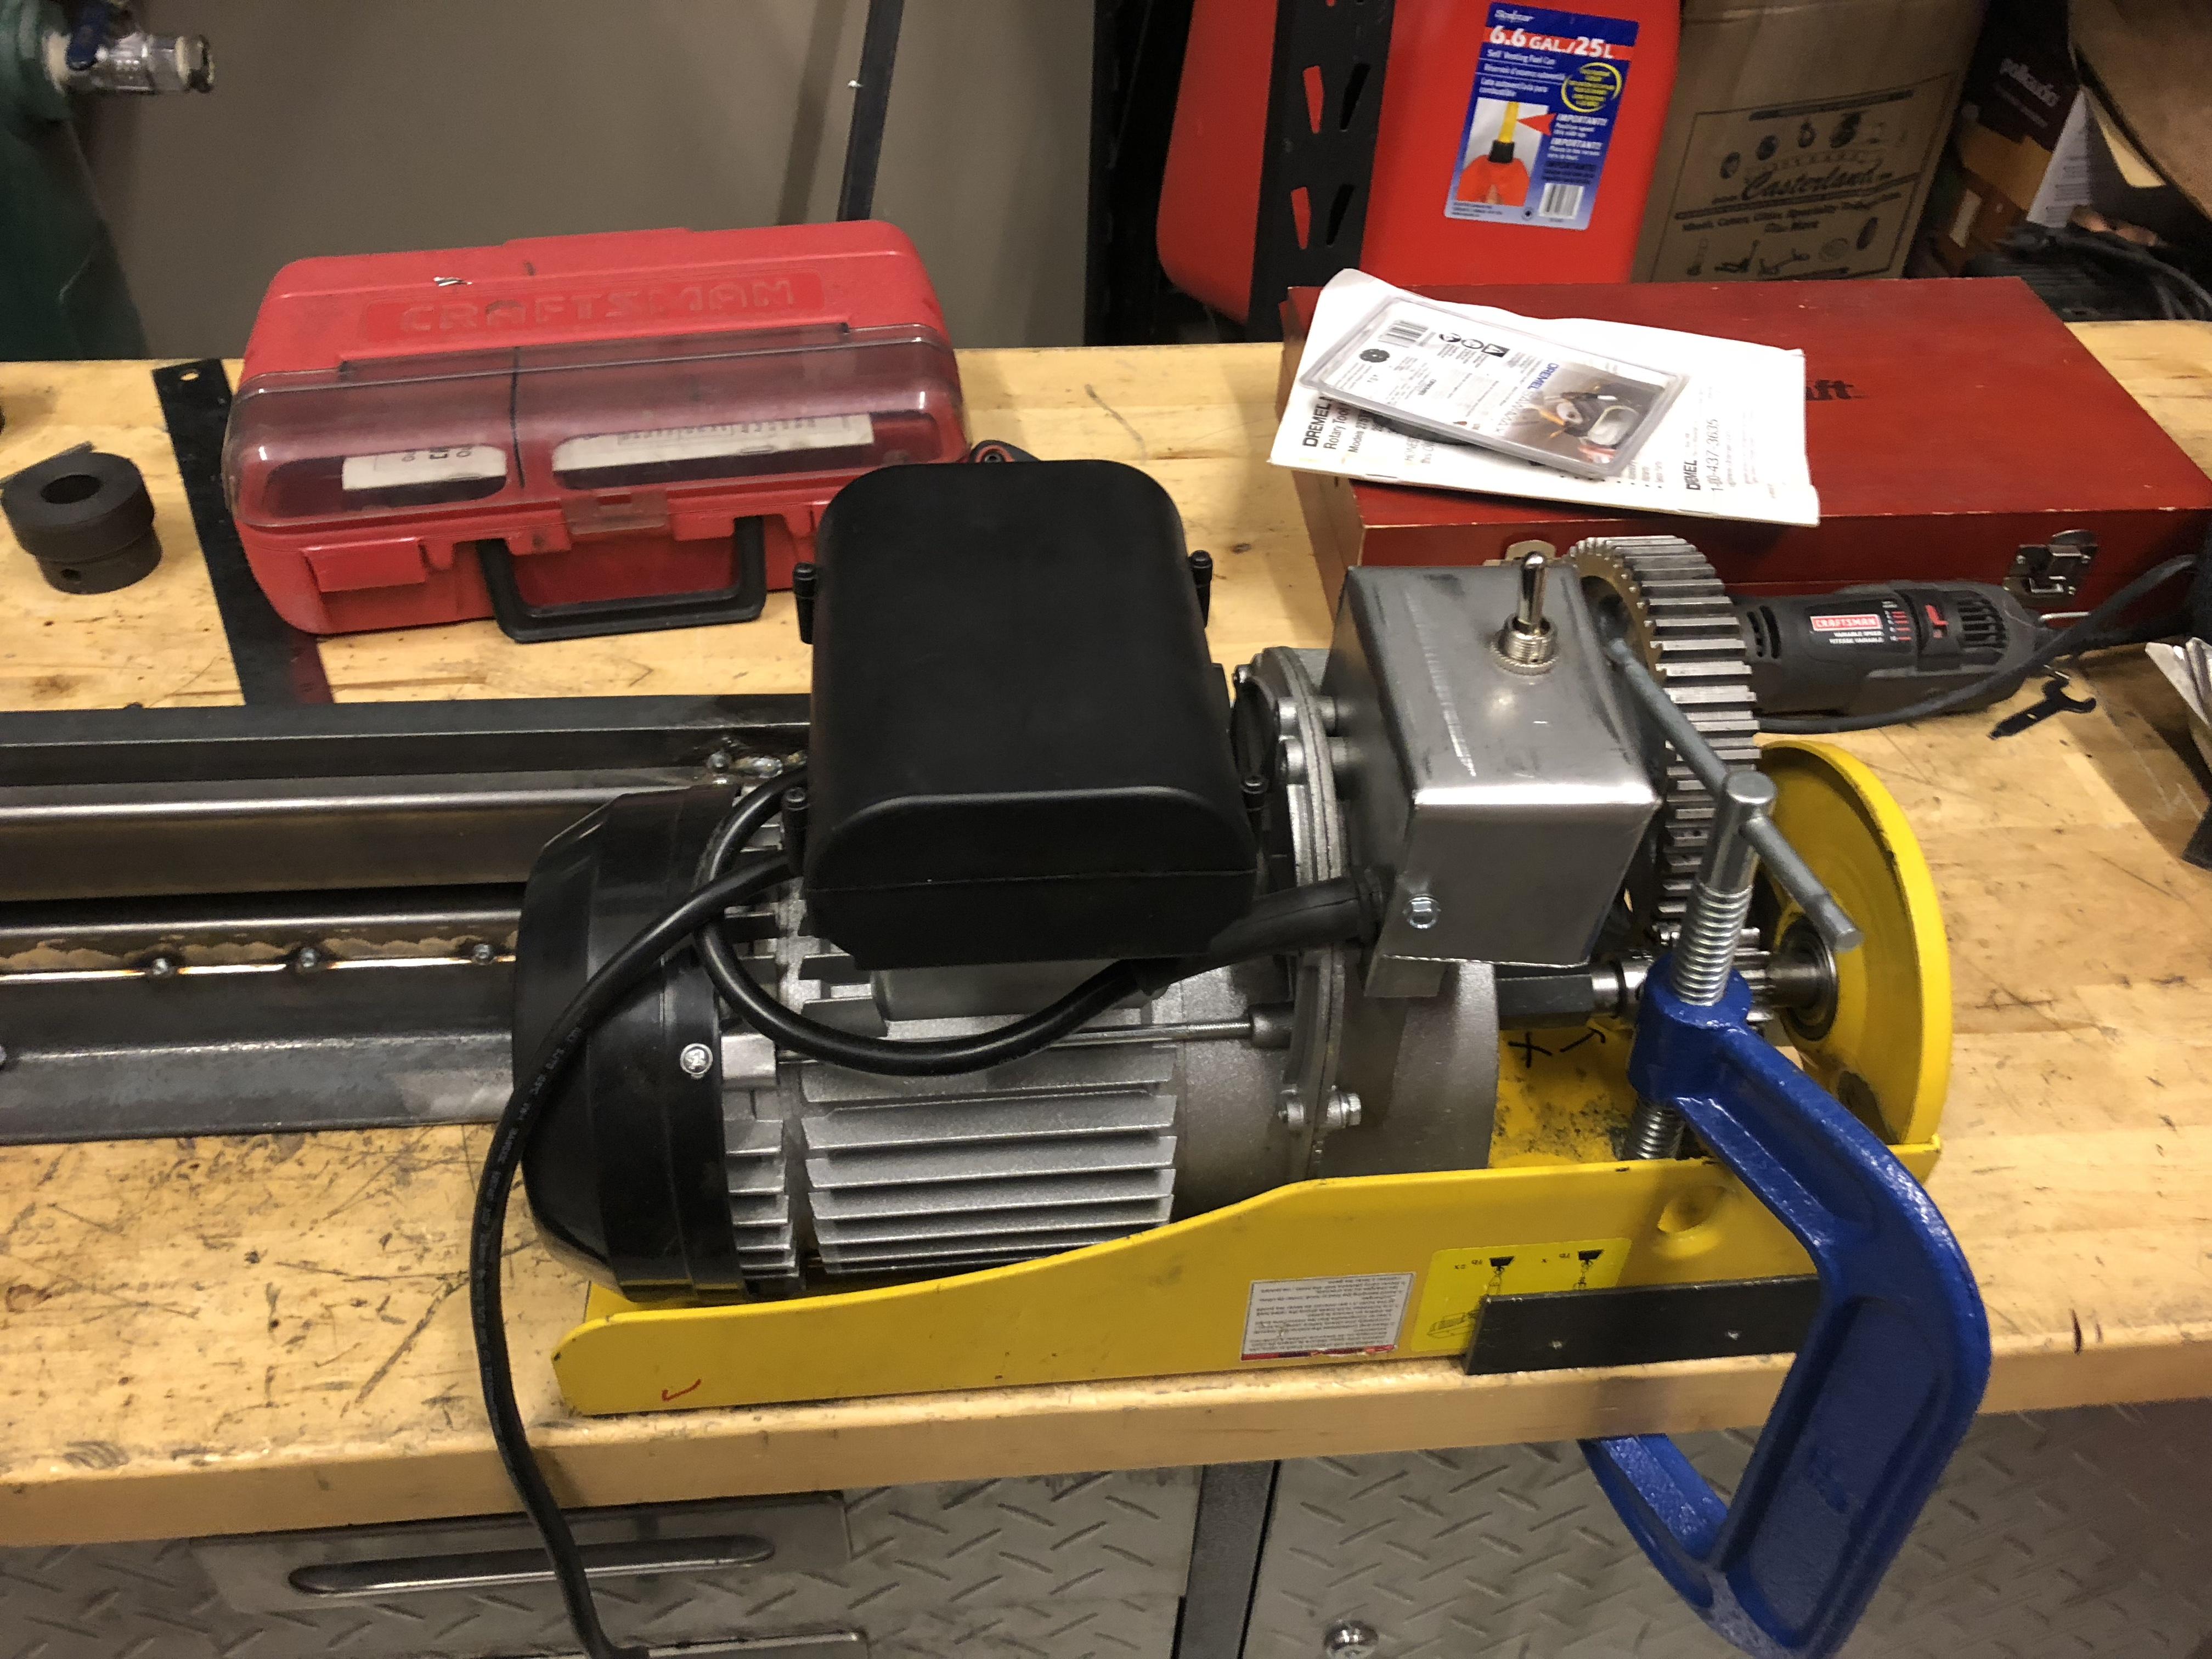
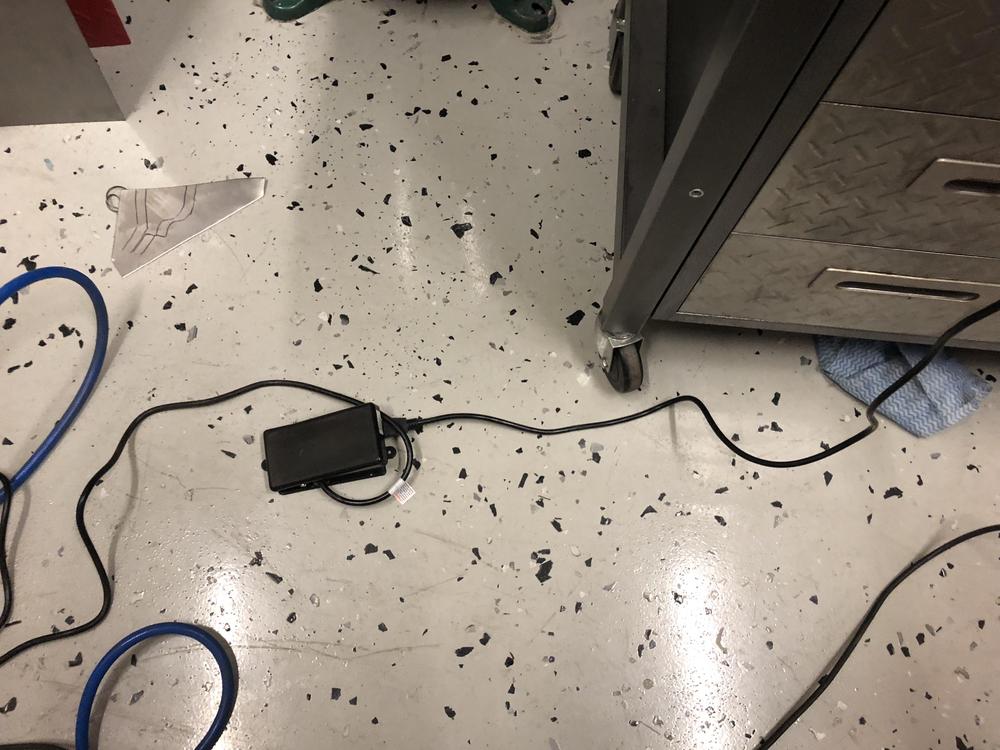
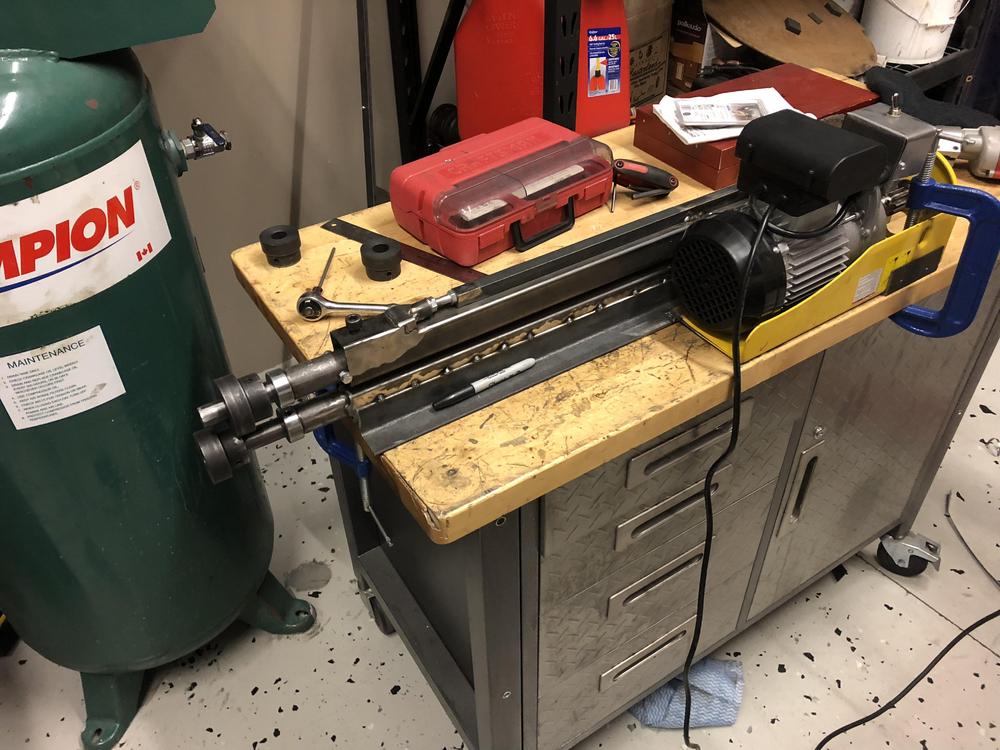
So after some hammer and dolly work the backer plate was re-aligned .... It didn’t look too bad but some of the rust pitting actually went all the way through once I started grinding so ...Plan B again.... _ It’s not perfect but it’s reasonably close. I probably could have just patched the holes on the original plate. I did a couple of mods to Big Bertha last week and wanted to try her out so ... Bertha got rewired with a proper bi-directional toggle switch and a deadman foot peddle so both hands are completely free to control the work piece ... So basically just need to weld her all up ...


-
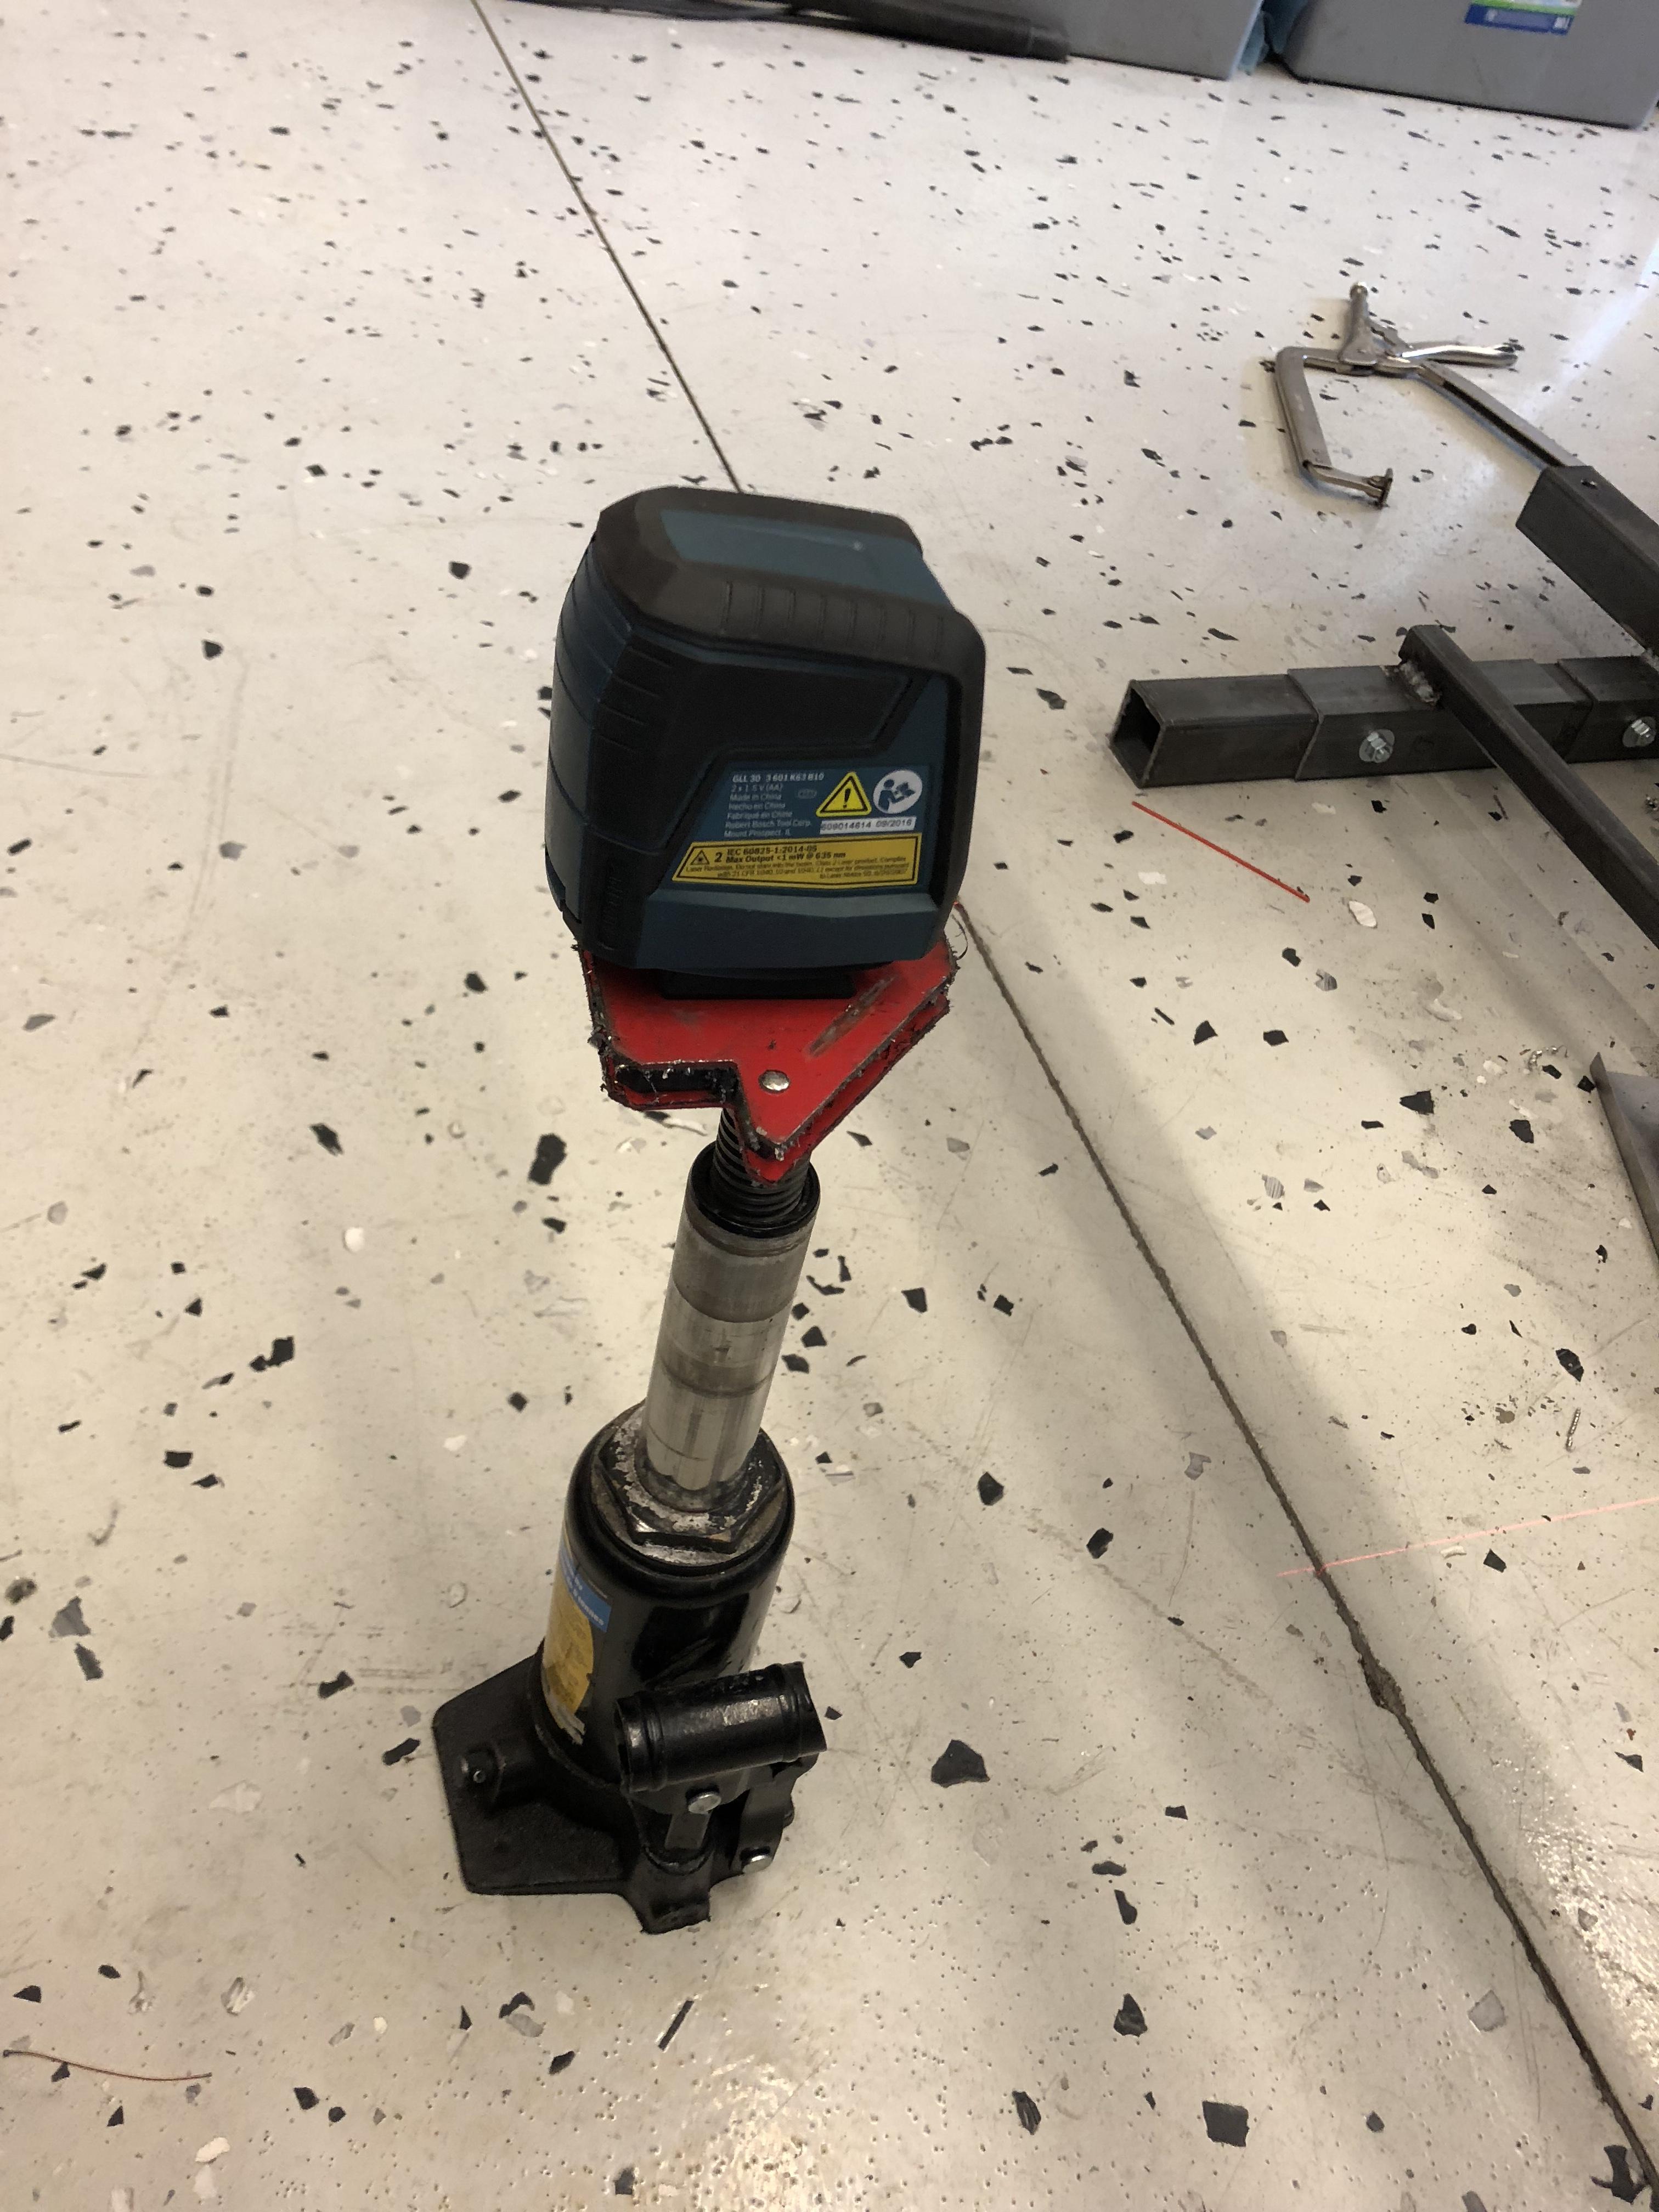
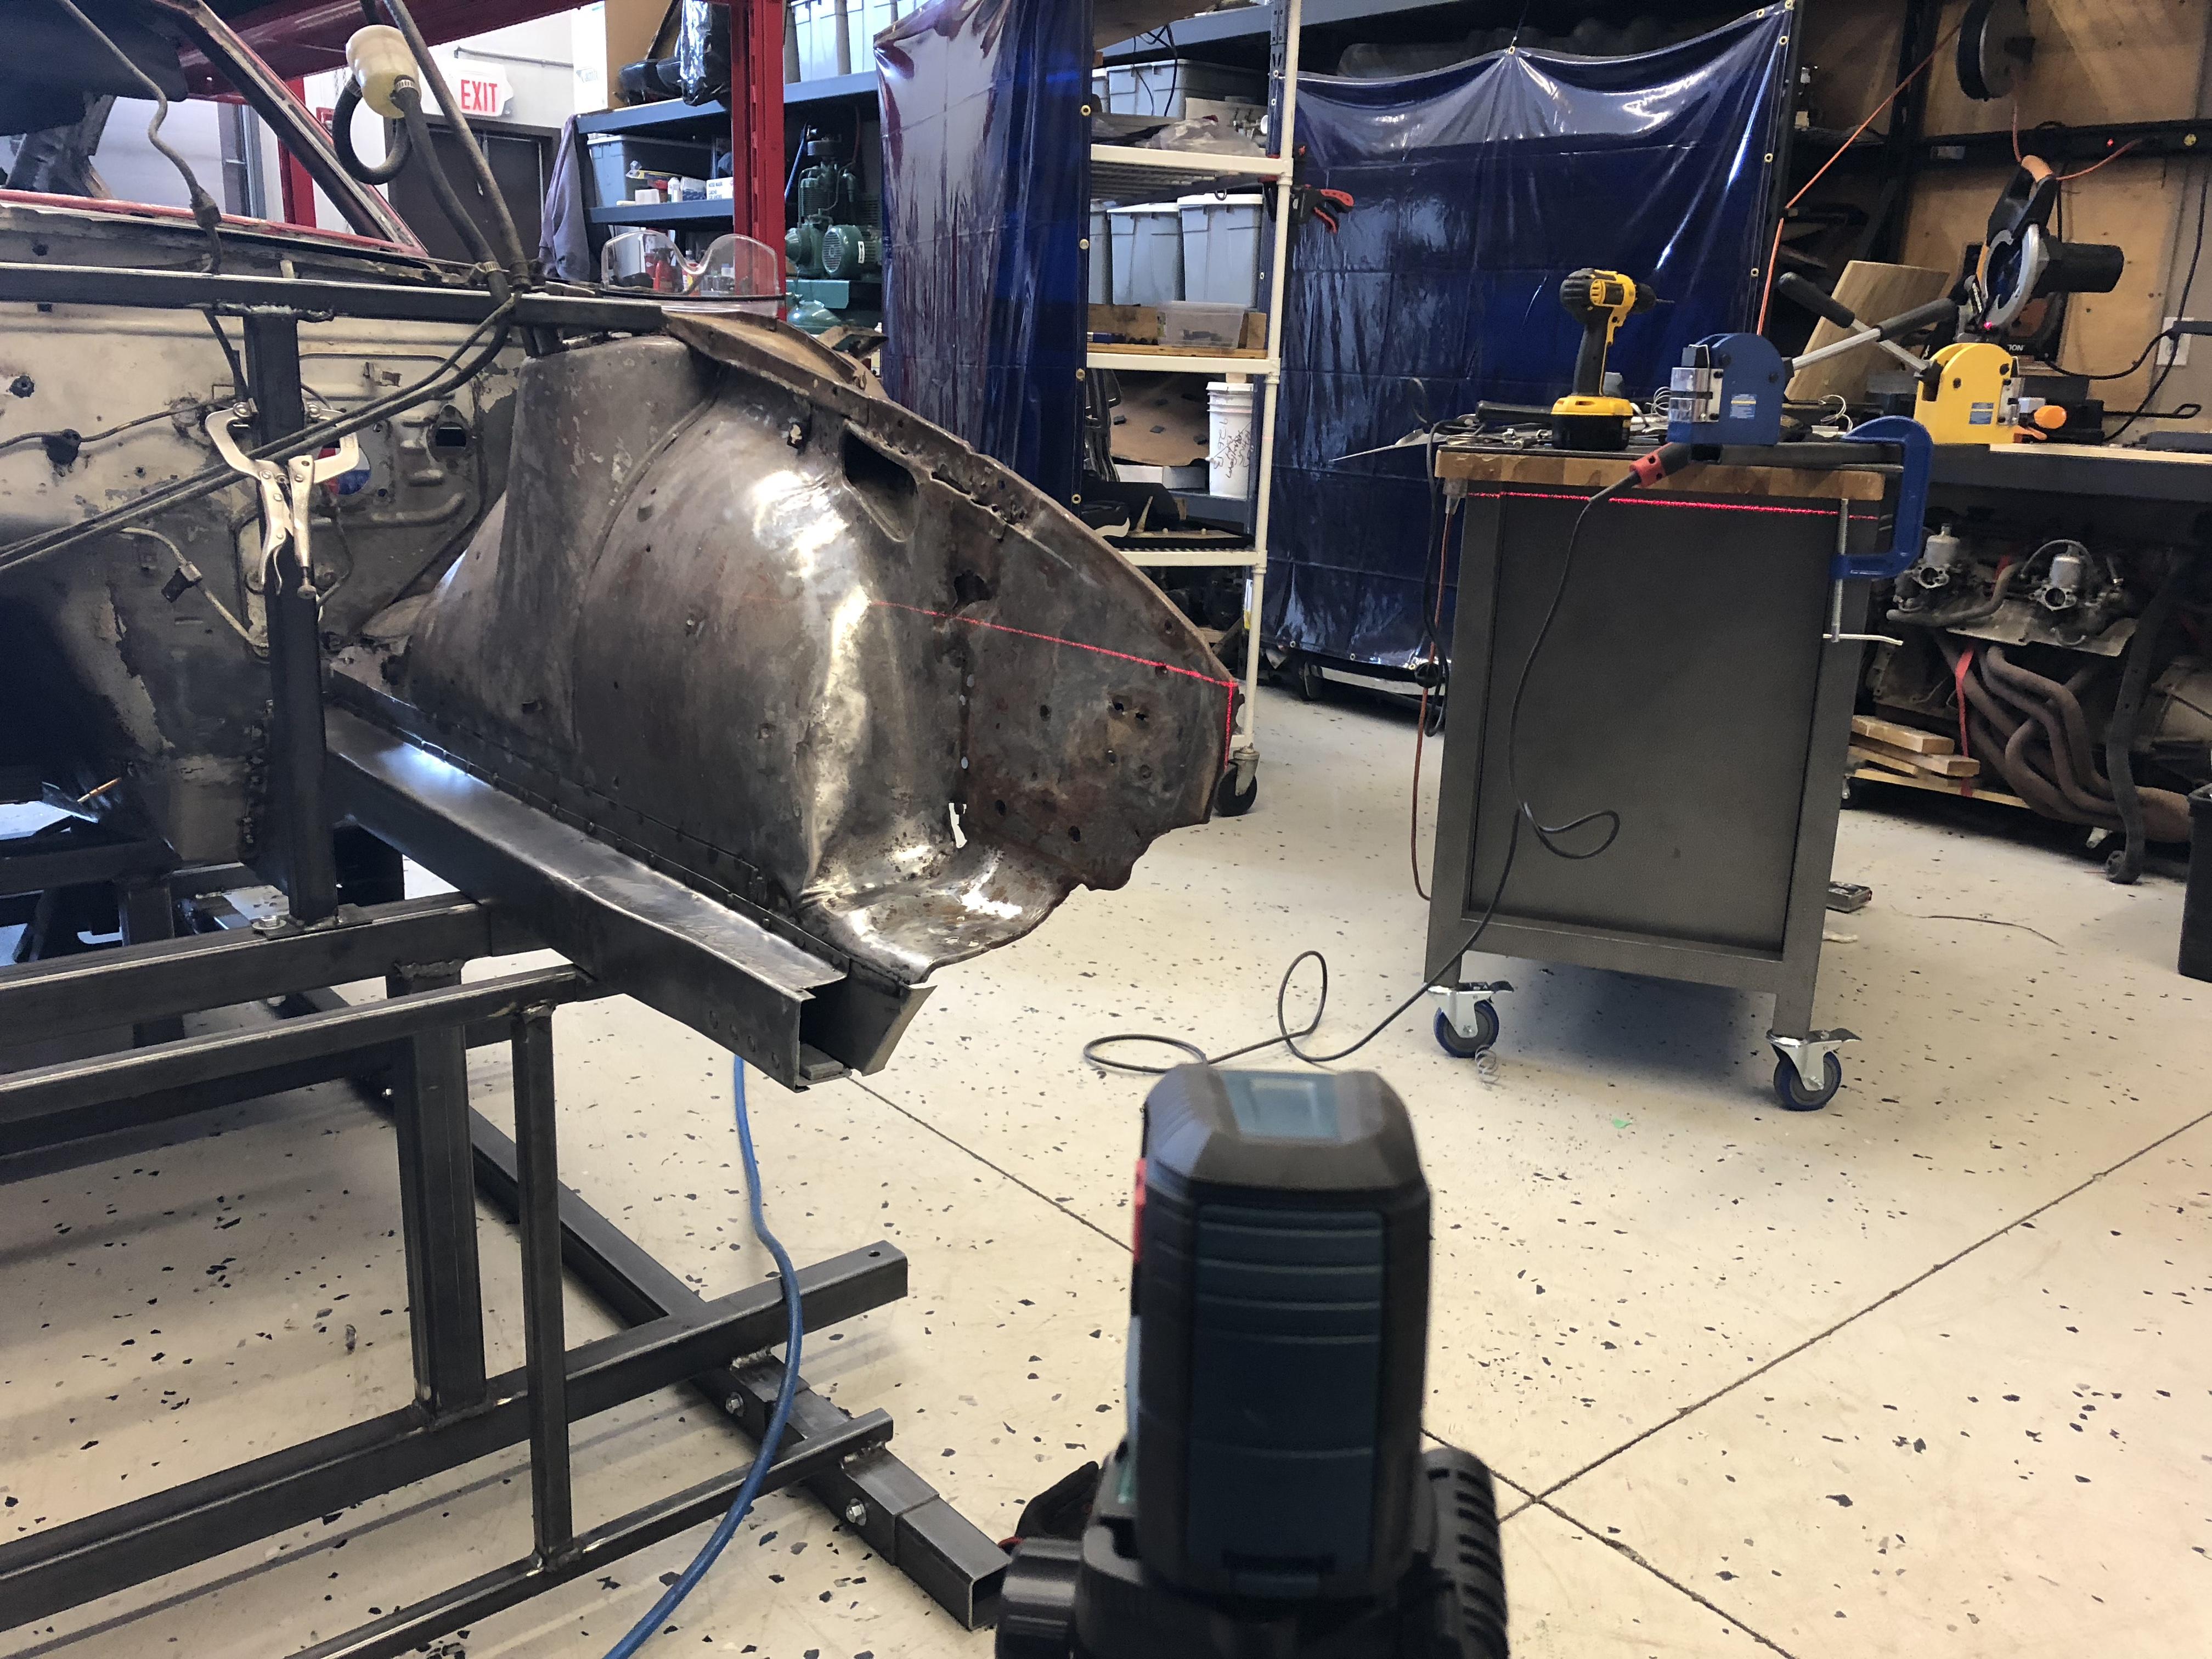
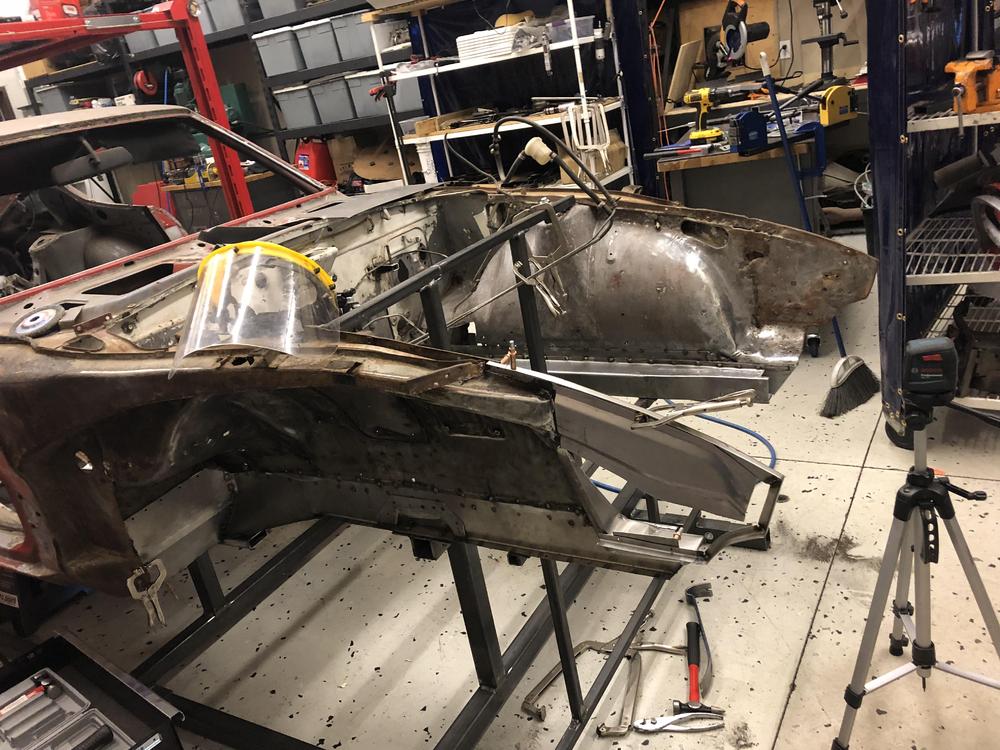
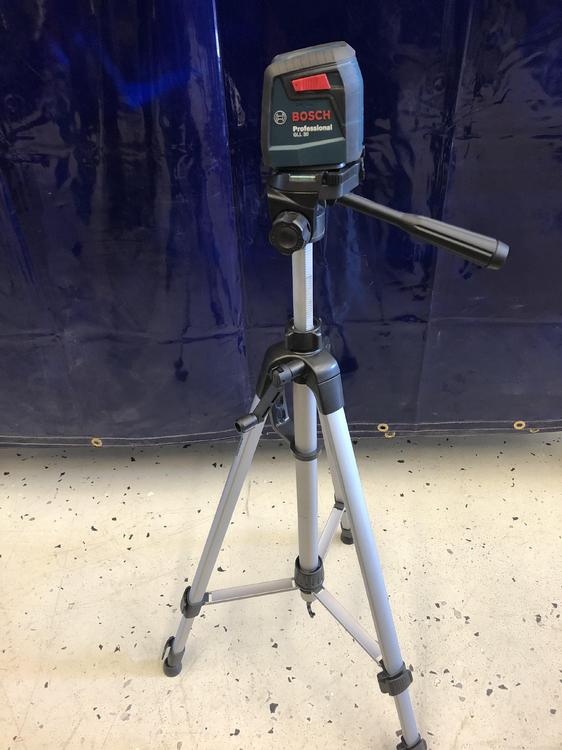
Sure. So I use a Bosch GLL 30 on a tripod, or on a bottle jack for down low. Because the jig is already plumb and level, the main issue ensuring infinite height adjustability. The Bosch doesn’t produce two vertical lines, just one vertical and one horizontal in a cross hair. So let’s say you are aligning fenders for example. First you set up the laser on the longitudinal center line of the car. Then pivot the tripod to dial the laser in to a reference point on one fender. The pivot it back to center. The horizontal laser line will hit both fenders allowing you to check the alignment of the same reference point on the second fender. The Bosch has similar accuracy specs to the model you posted (5/16 in 30 ft), which is plenty accurate in my opinion. So in the fender example, the fenders are 39 inches apart, and you are working from the centerline so 19.5 inches. I’ll use 3 ft (so I can do the math in my head ?) - accuracy increases to 1/32 “ over that distance, (which I would call negligible). You can spend more for more accuracy, but I wouldn’t. Certainly these lasers are well inside the factory tolerances on the day the car was built. You should be able to get what you need for $50. I hope this helps ...

-
-
-
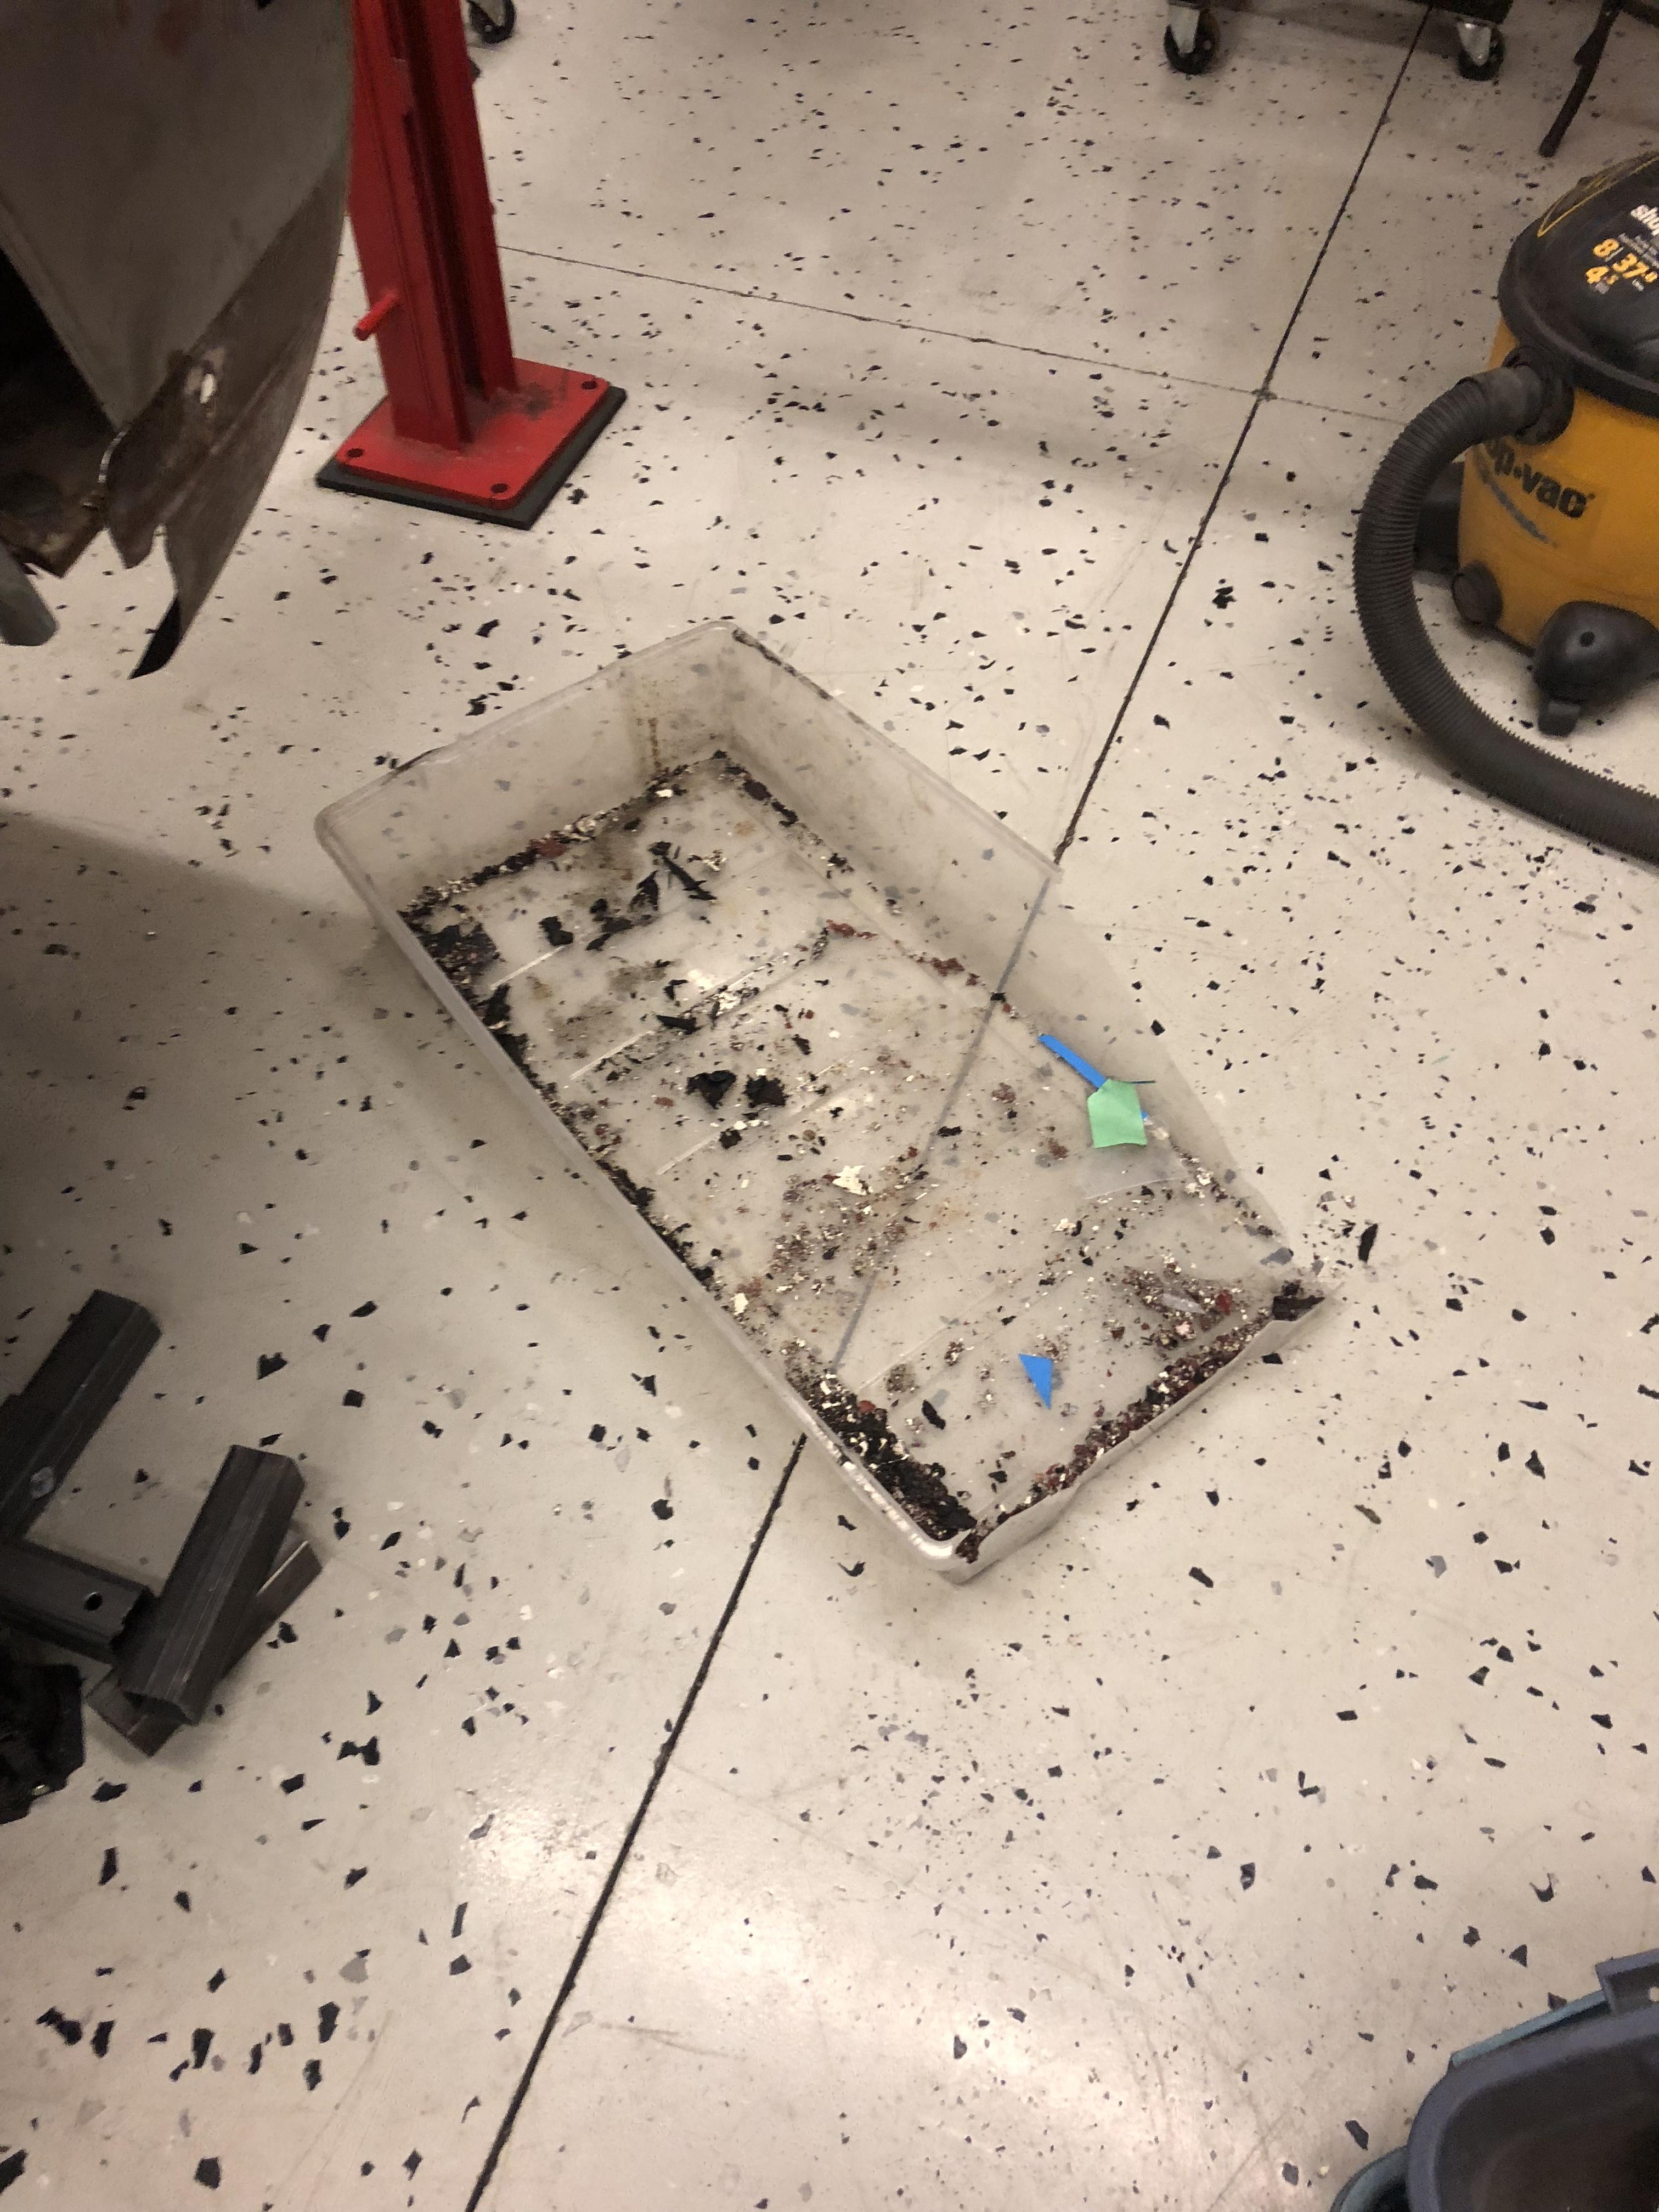
Ohhh yeah - I’ve had a few days that started like that too ?
-
Thanks Namerow! Good idea - my “notes” are all over the place but I will measure it up and post the dimensions when the car goes on the rotisserie.
-
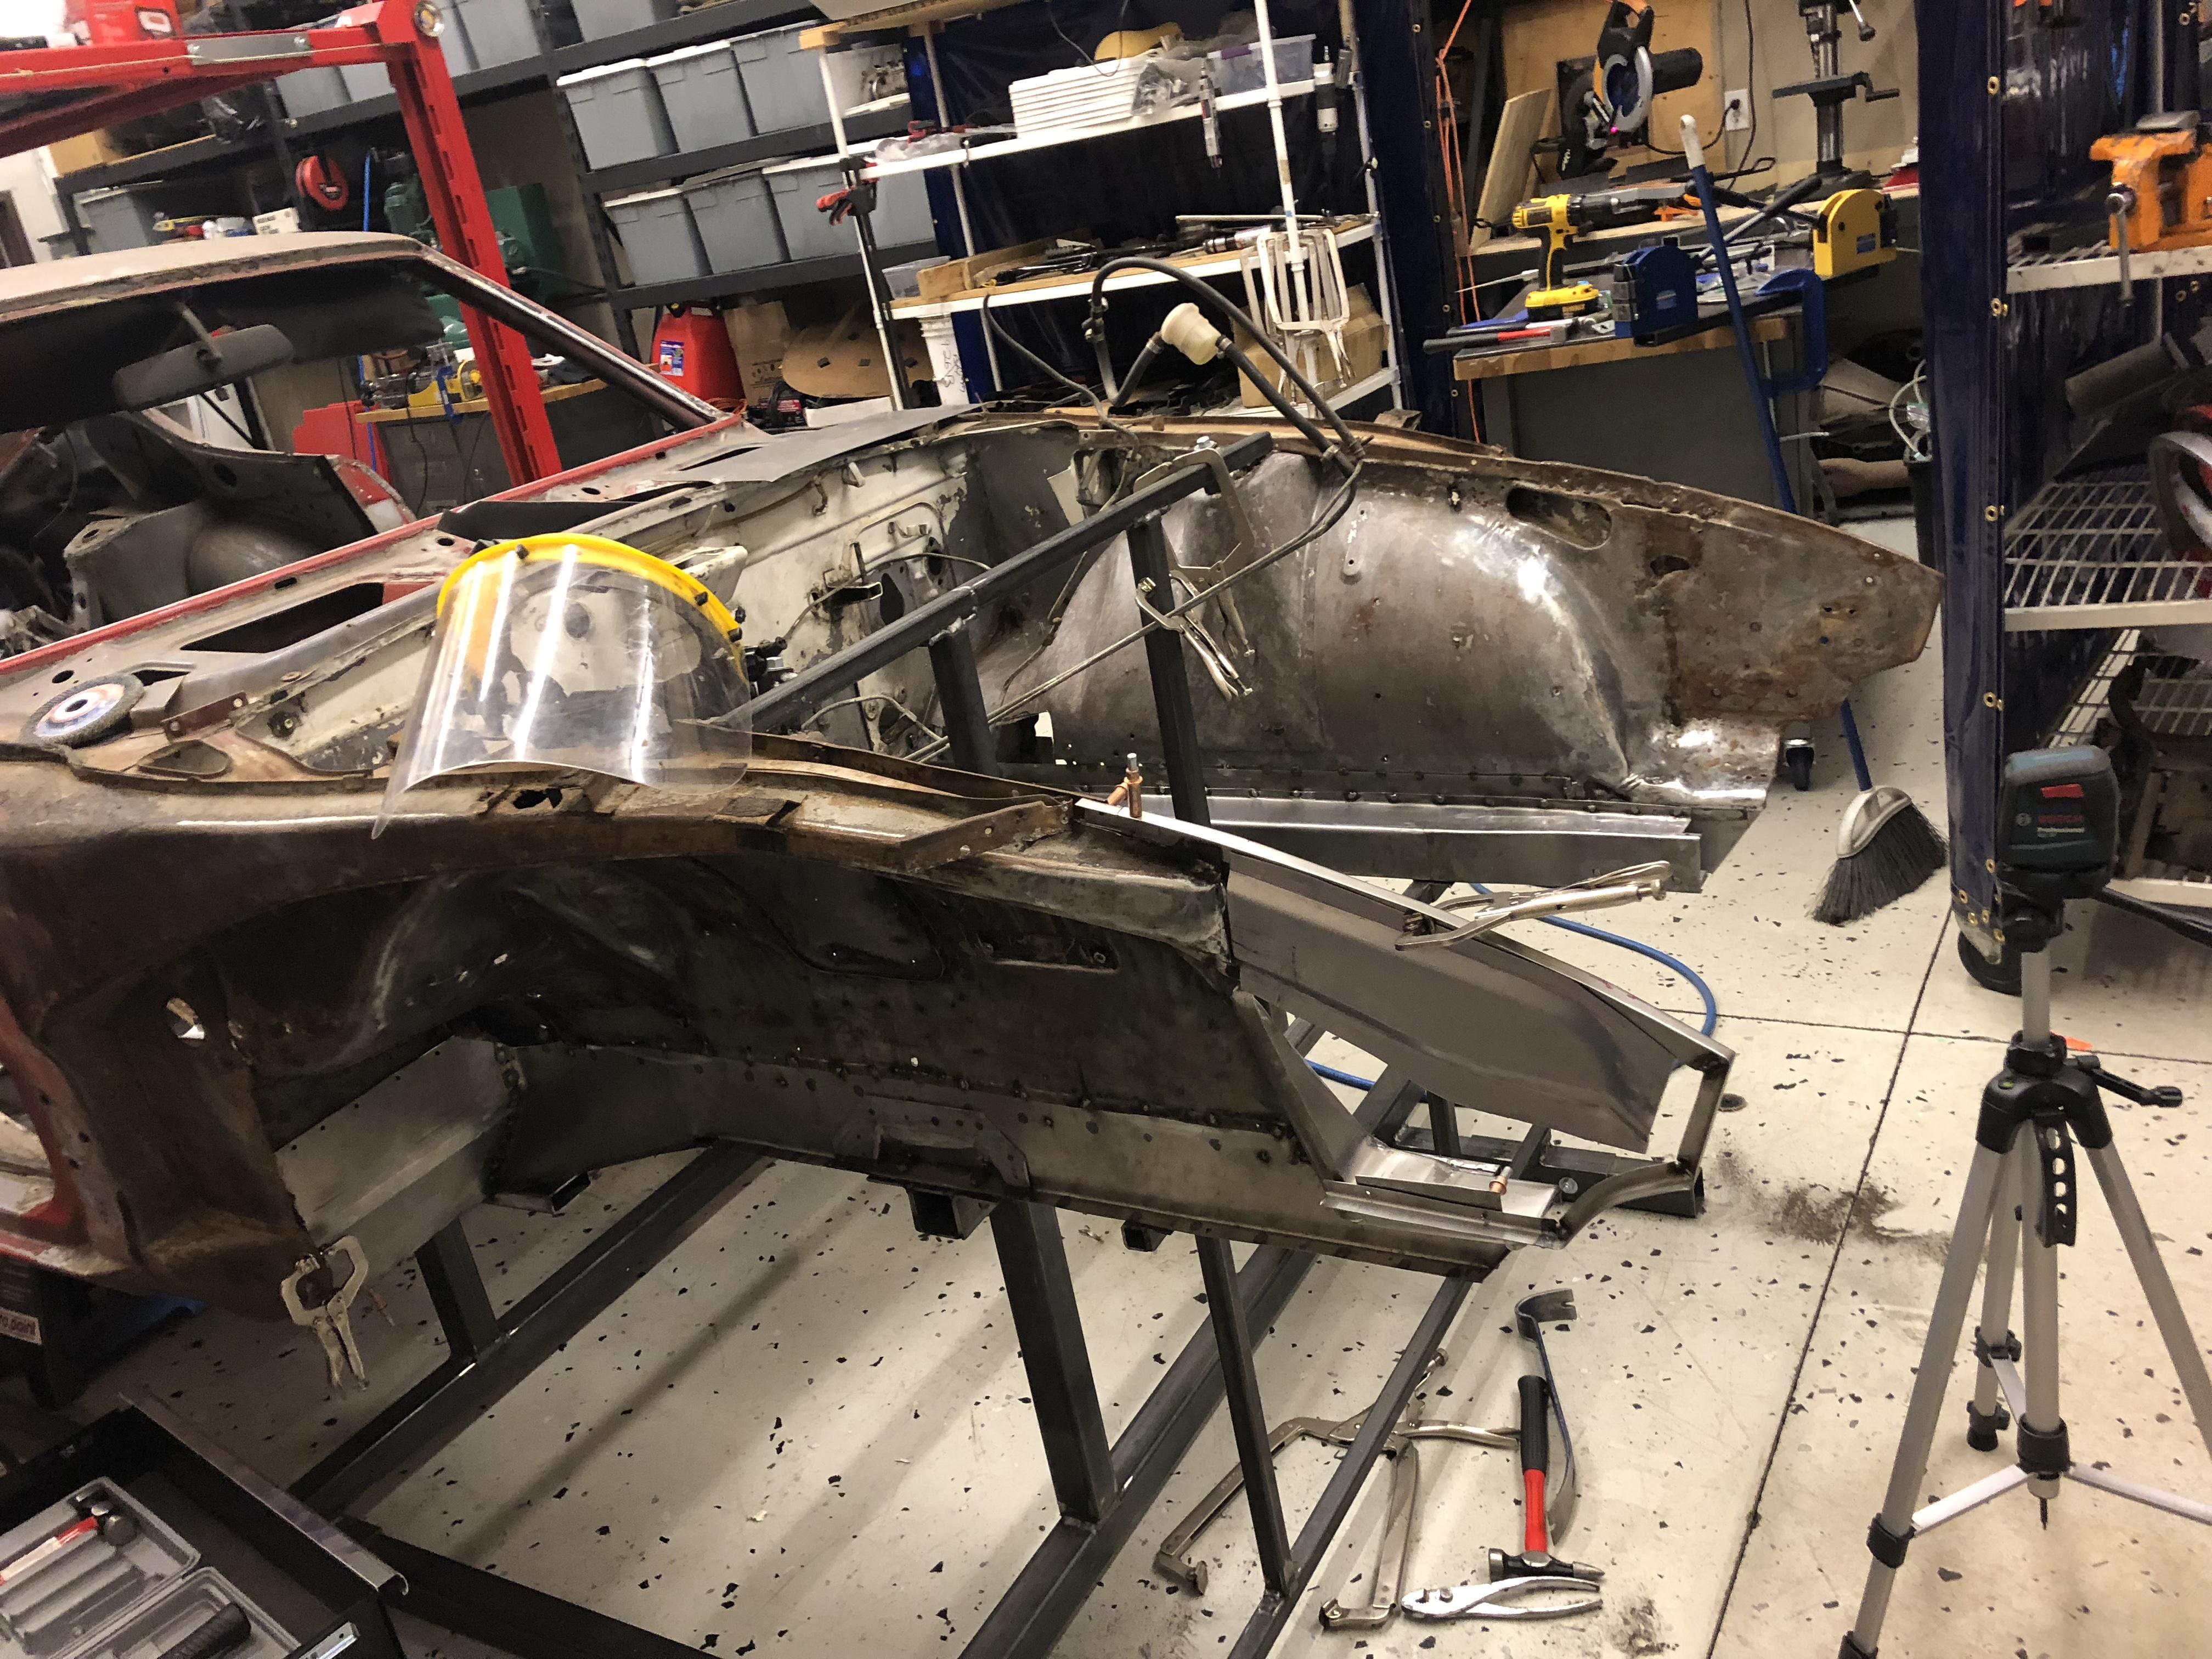
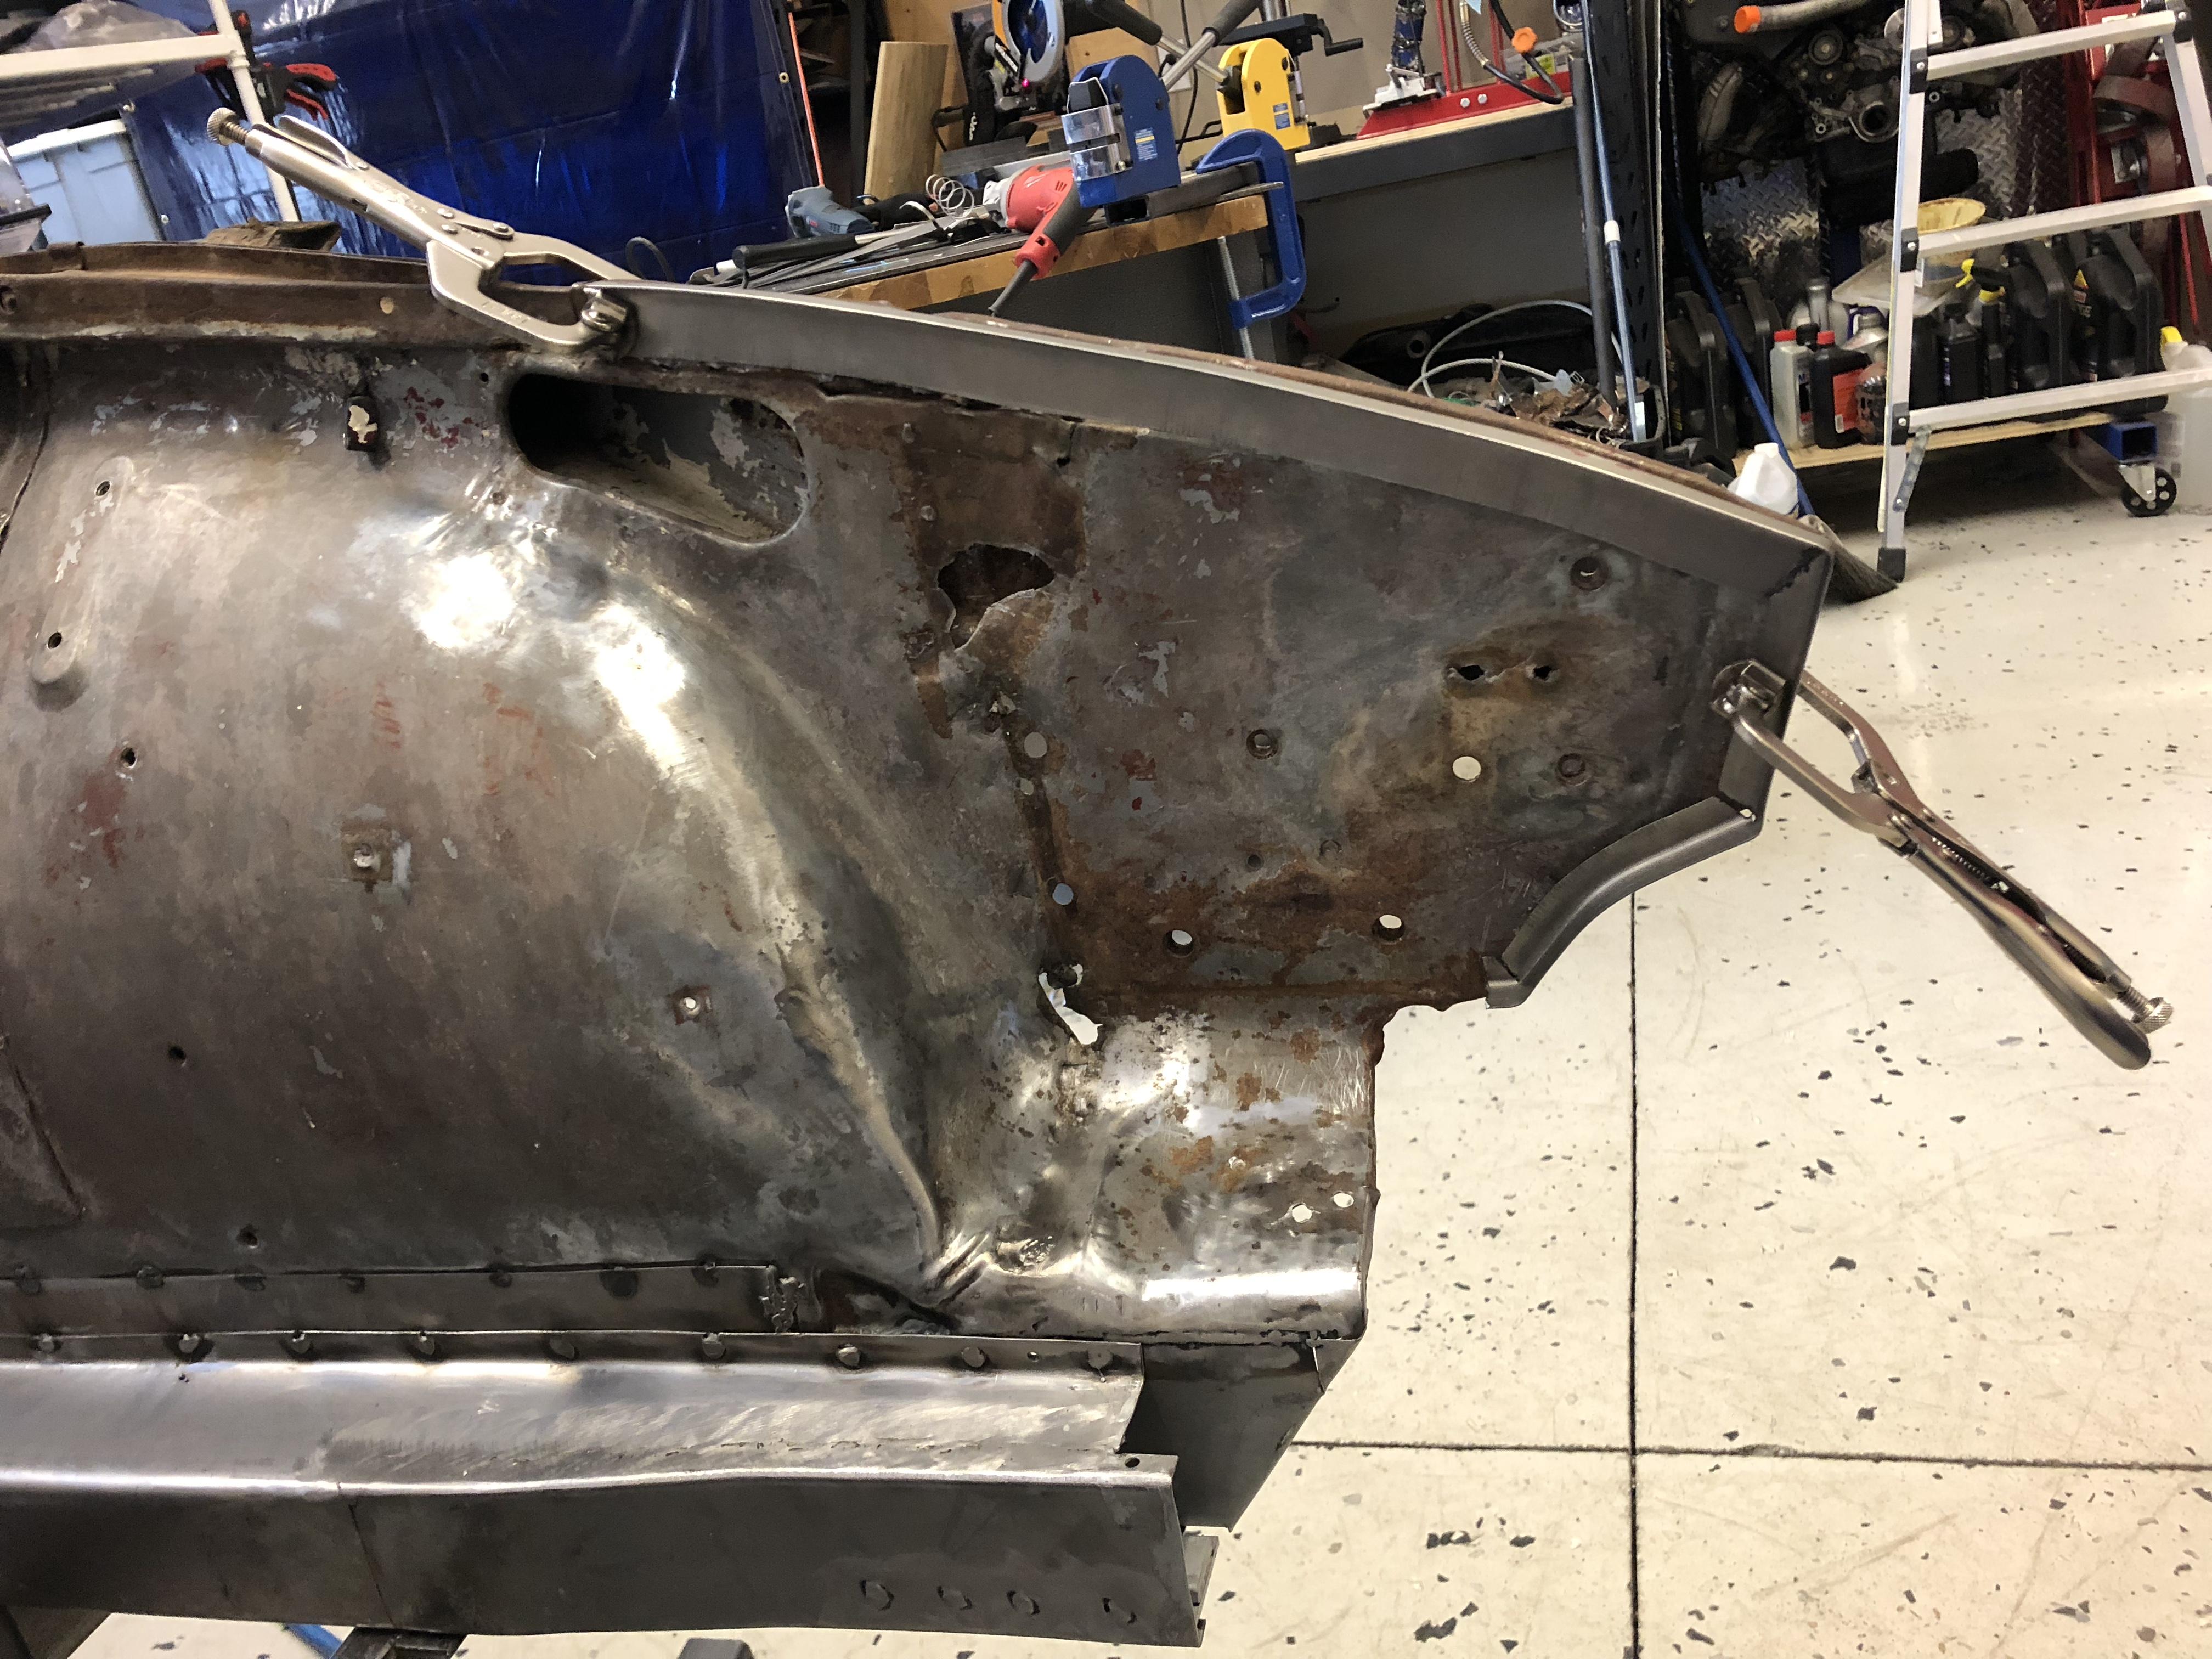
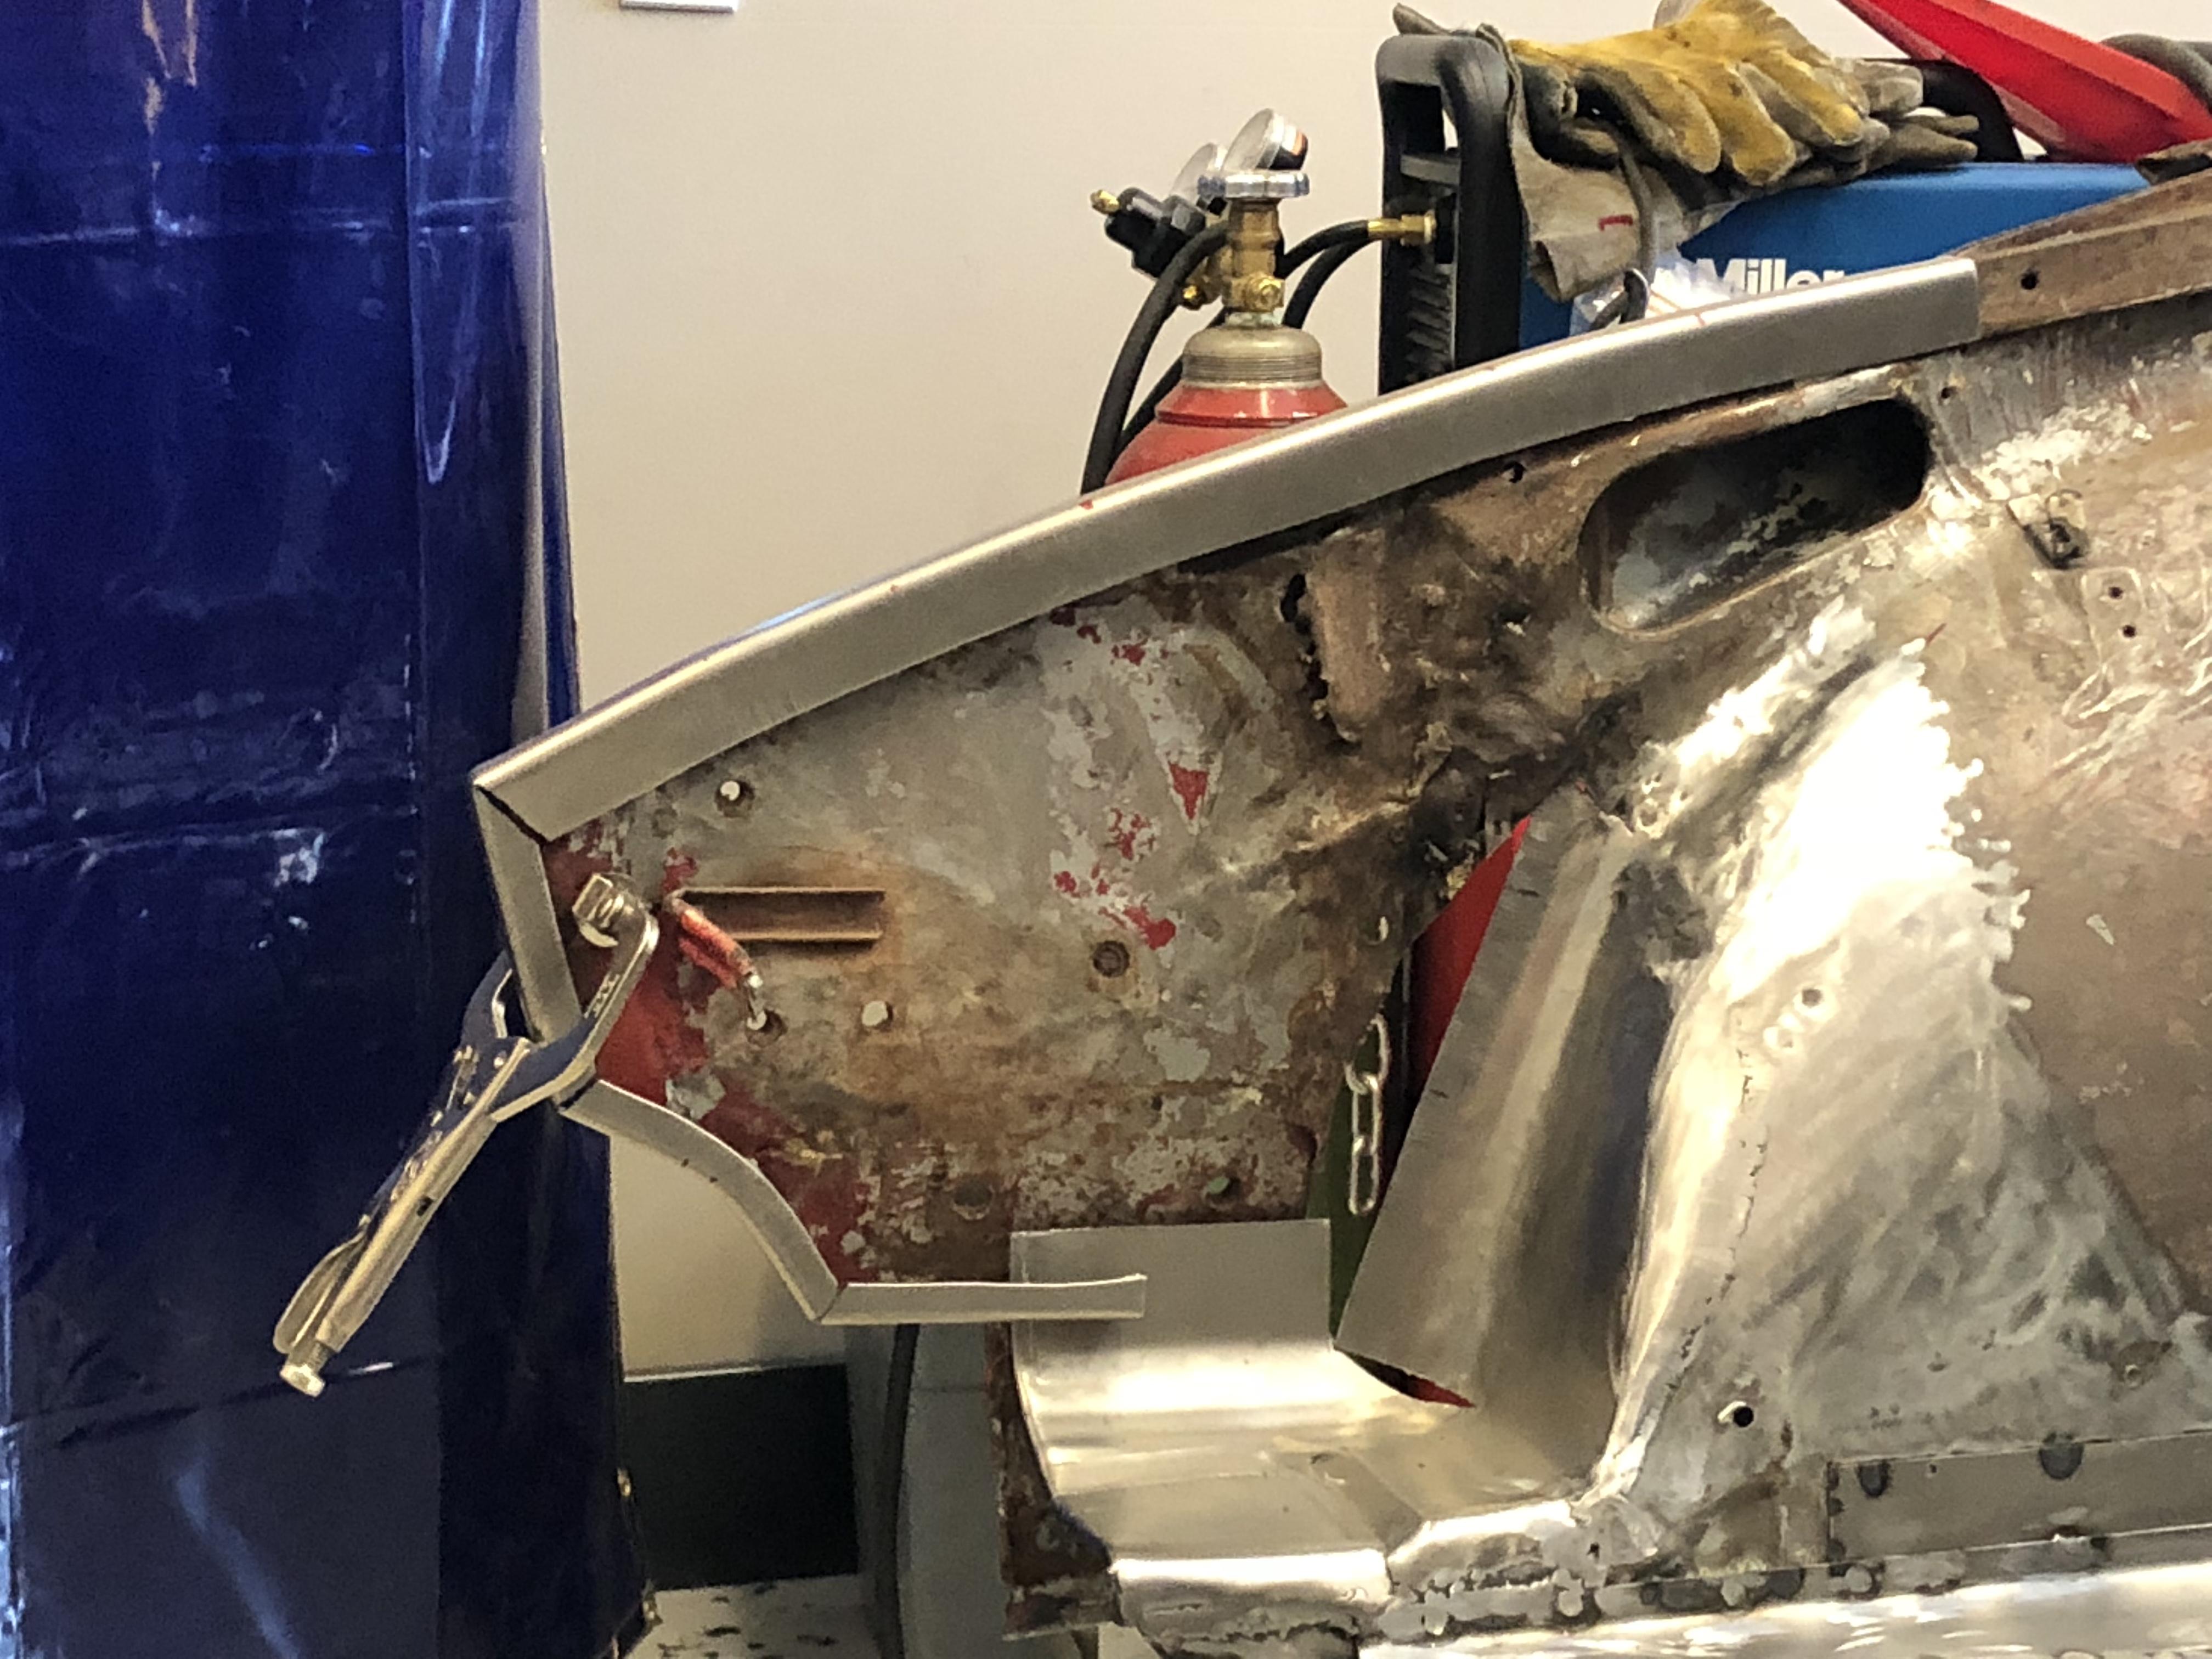
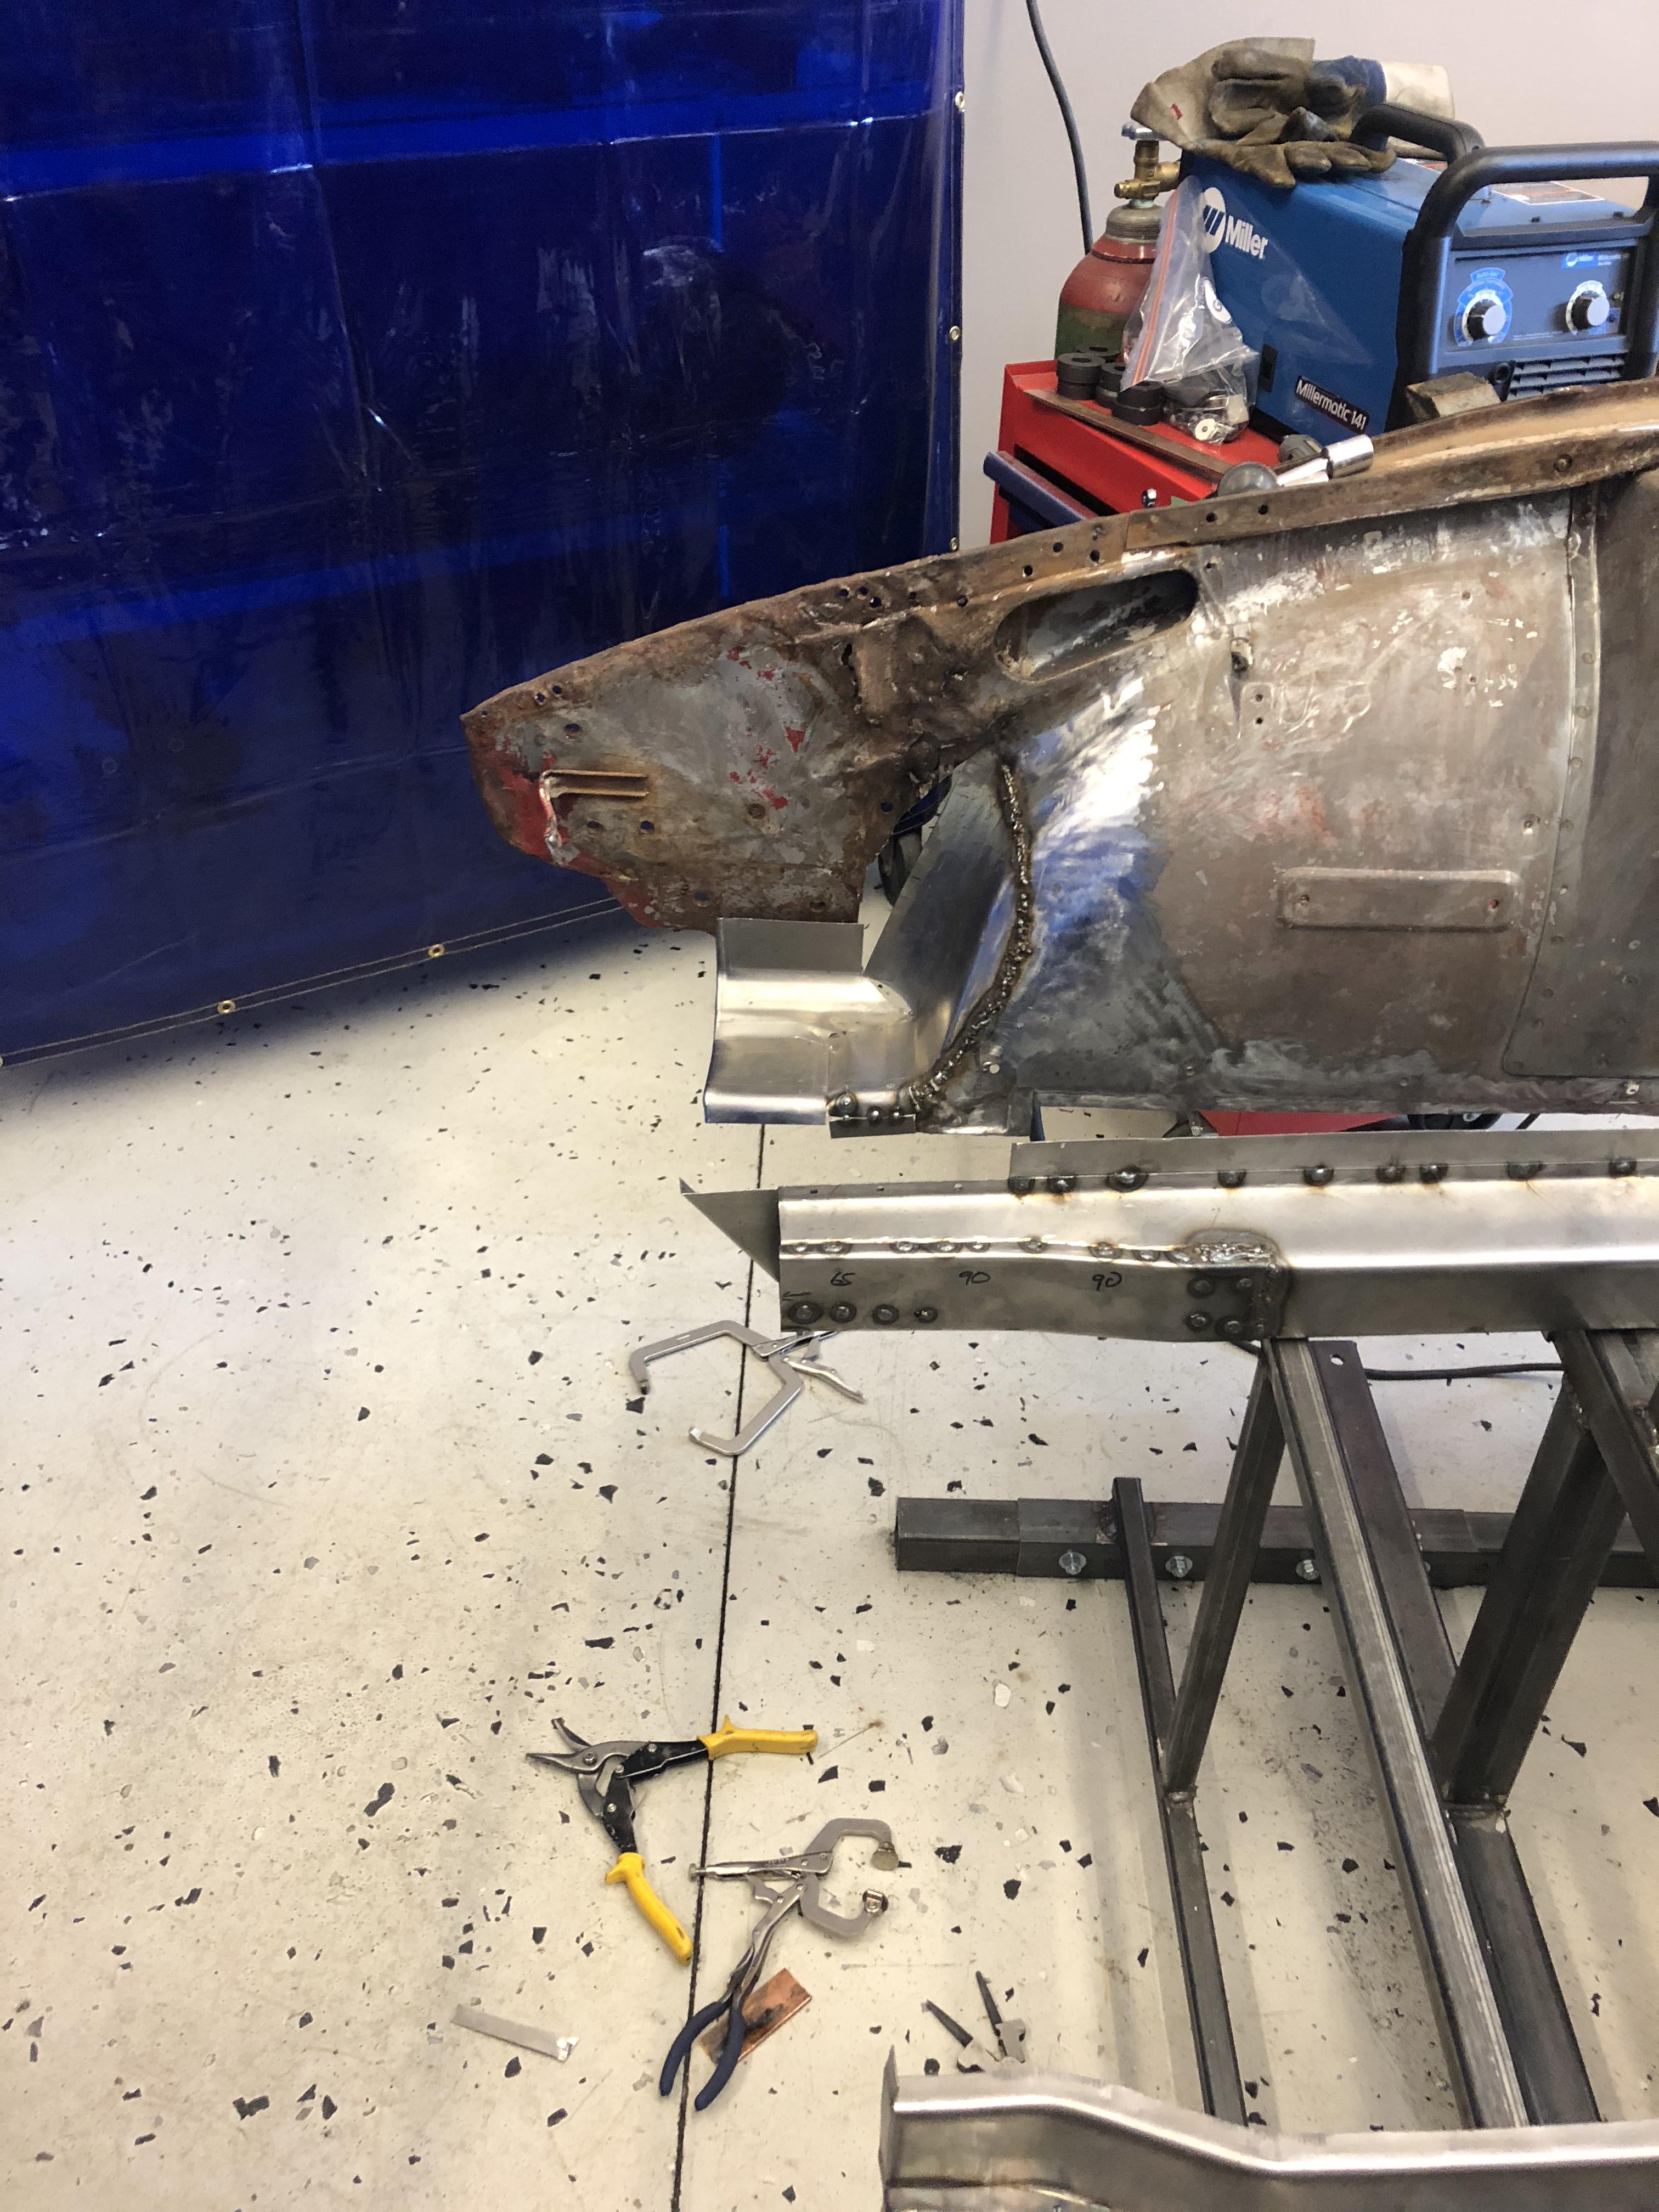
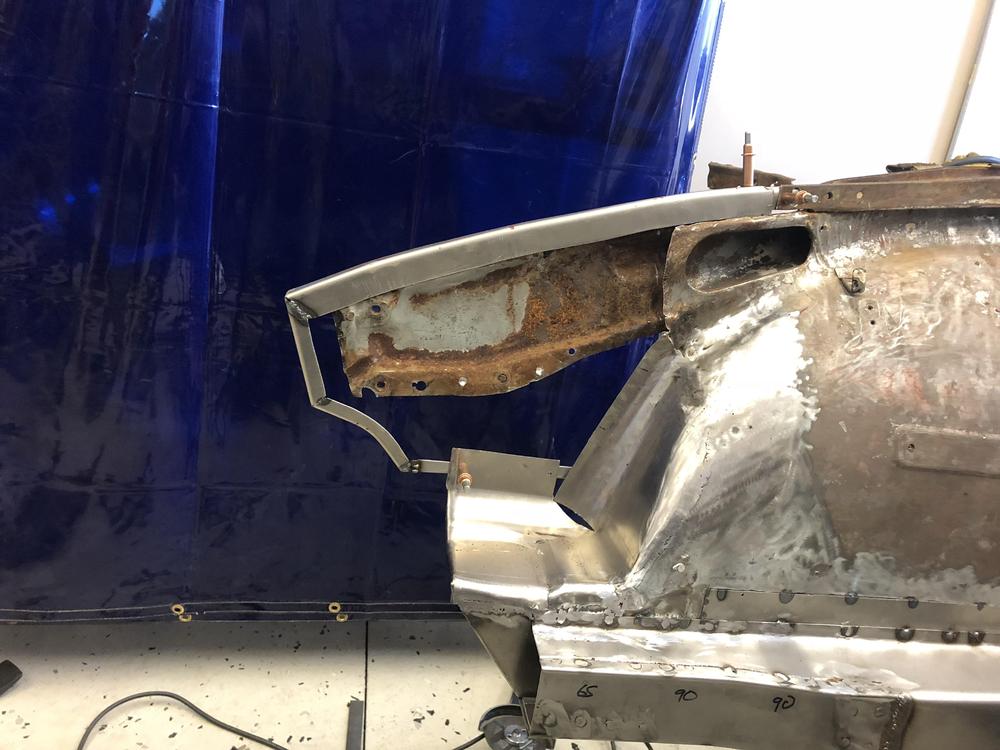
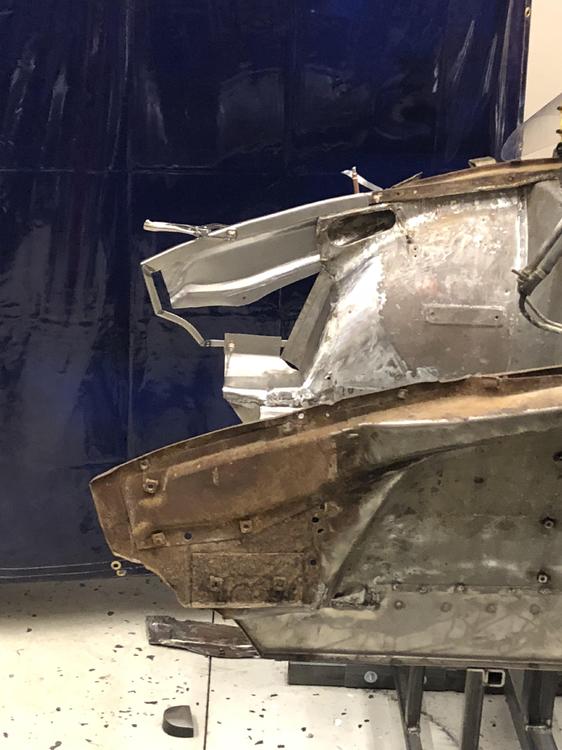
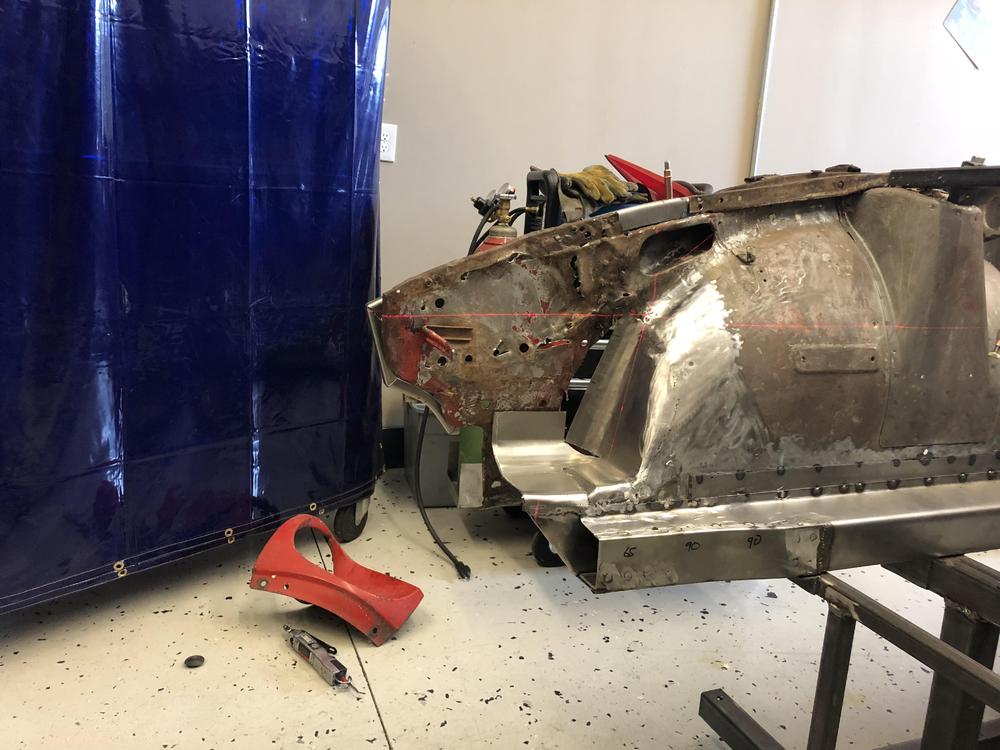
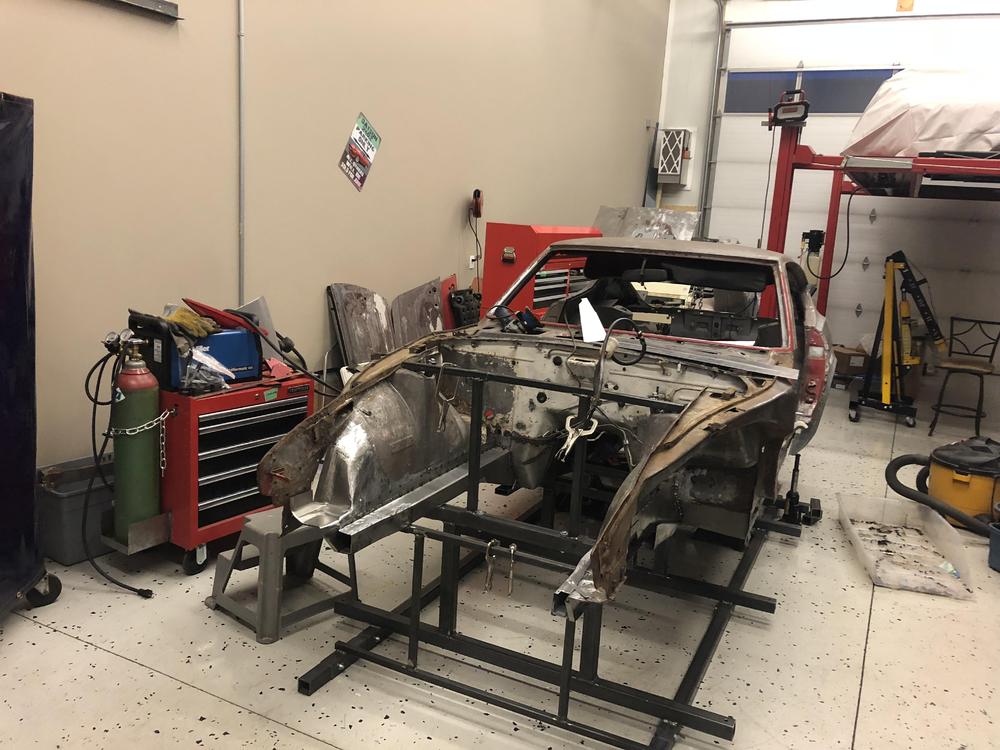
So I figured I would tackle the rest of the bad bodywork on the passenger front end..... Started by making a copy of the undamaged drivers side ... So far, so good .... Then got the laser out to check the alignment ... ... and things started heading south ?.... d I knew the previous work was bad but wholly crap - it’s out by more than an inch ! Looks like time for Plan B .... ] The backer plate is bent and rusty too . Will have to deal with that tomorrow. All in all it seems like it will work out though ....


-
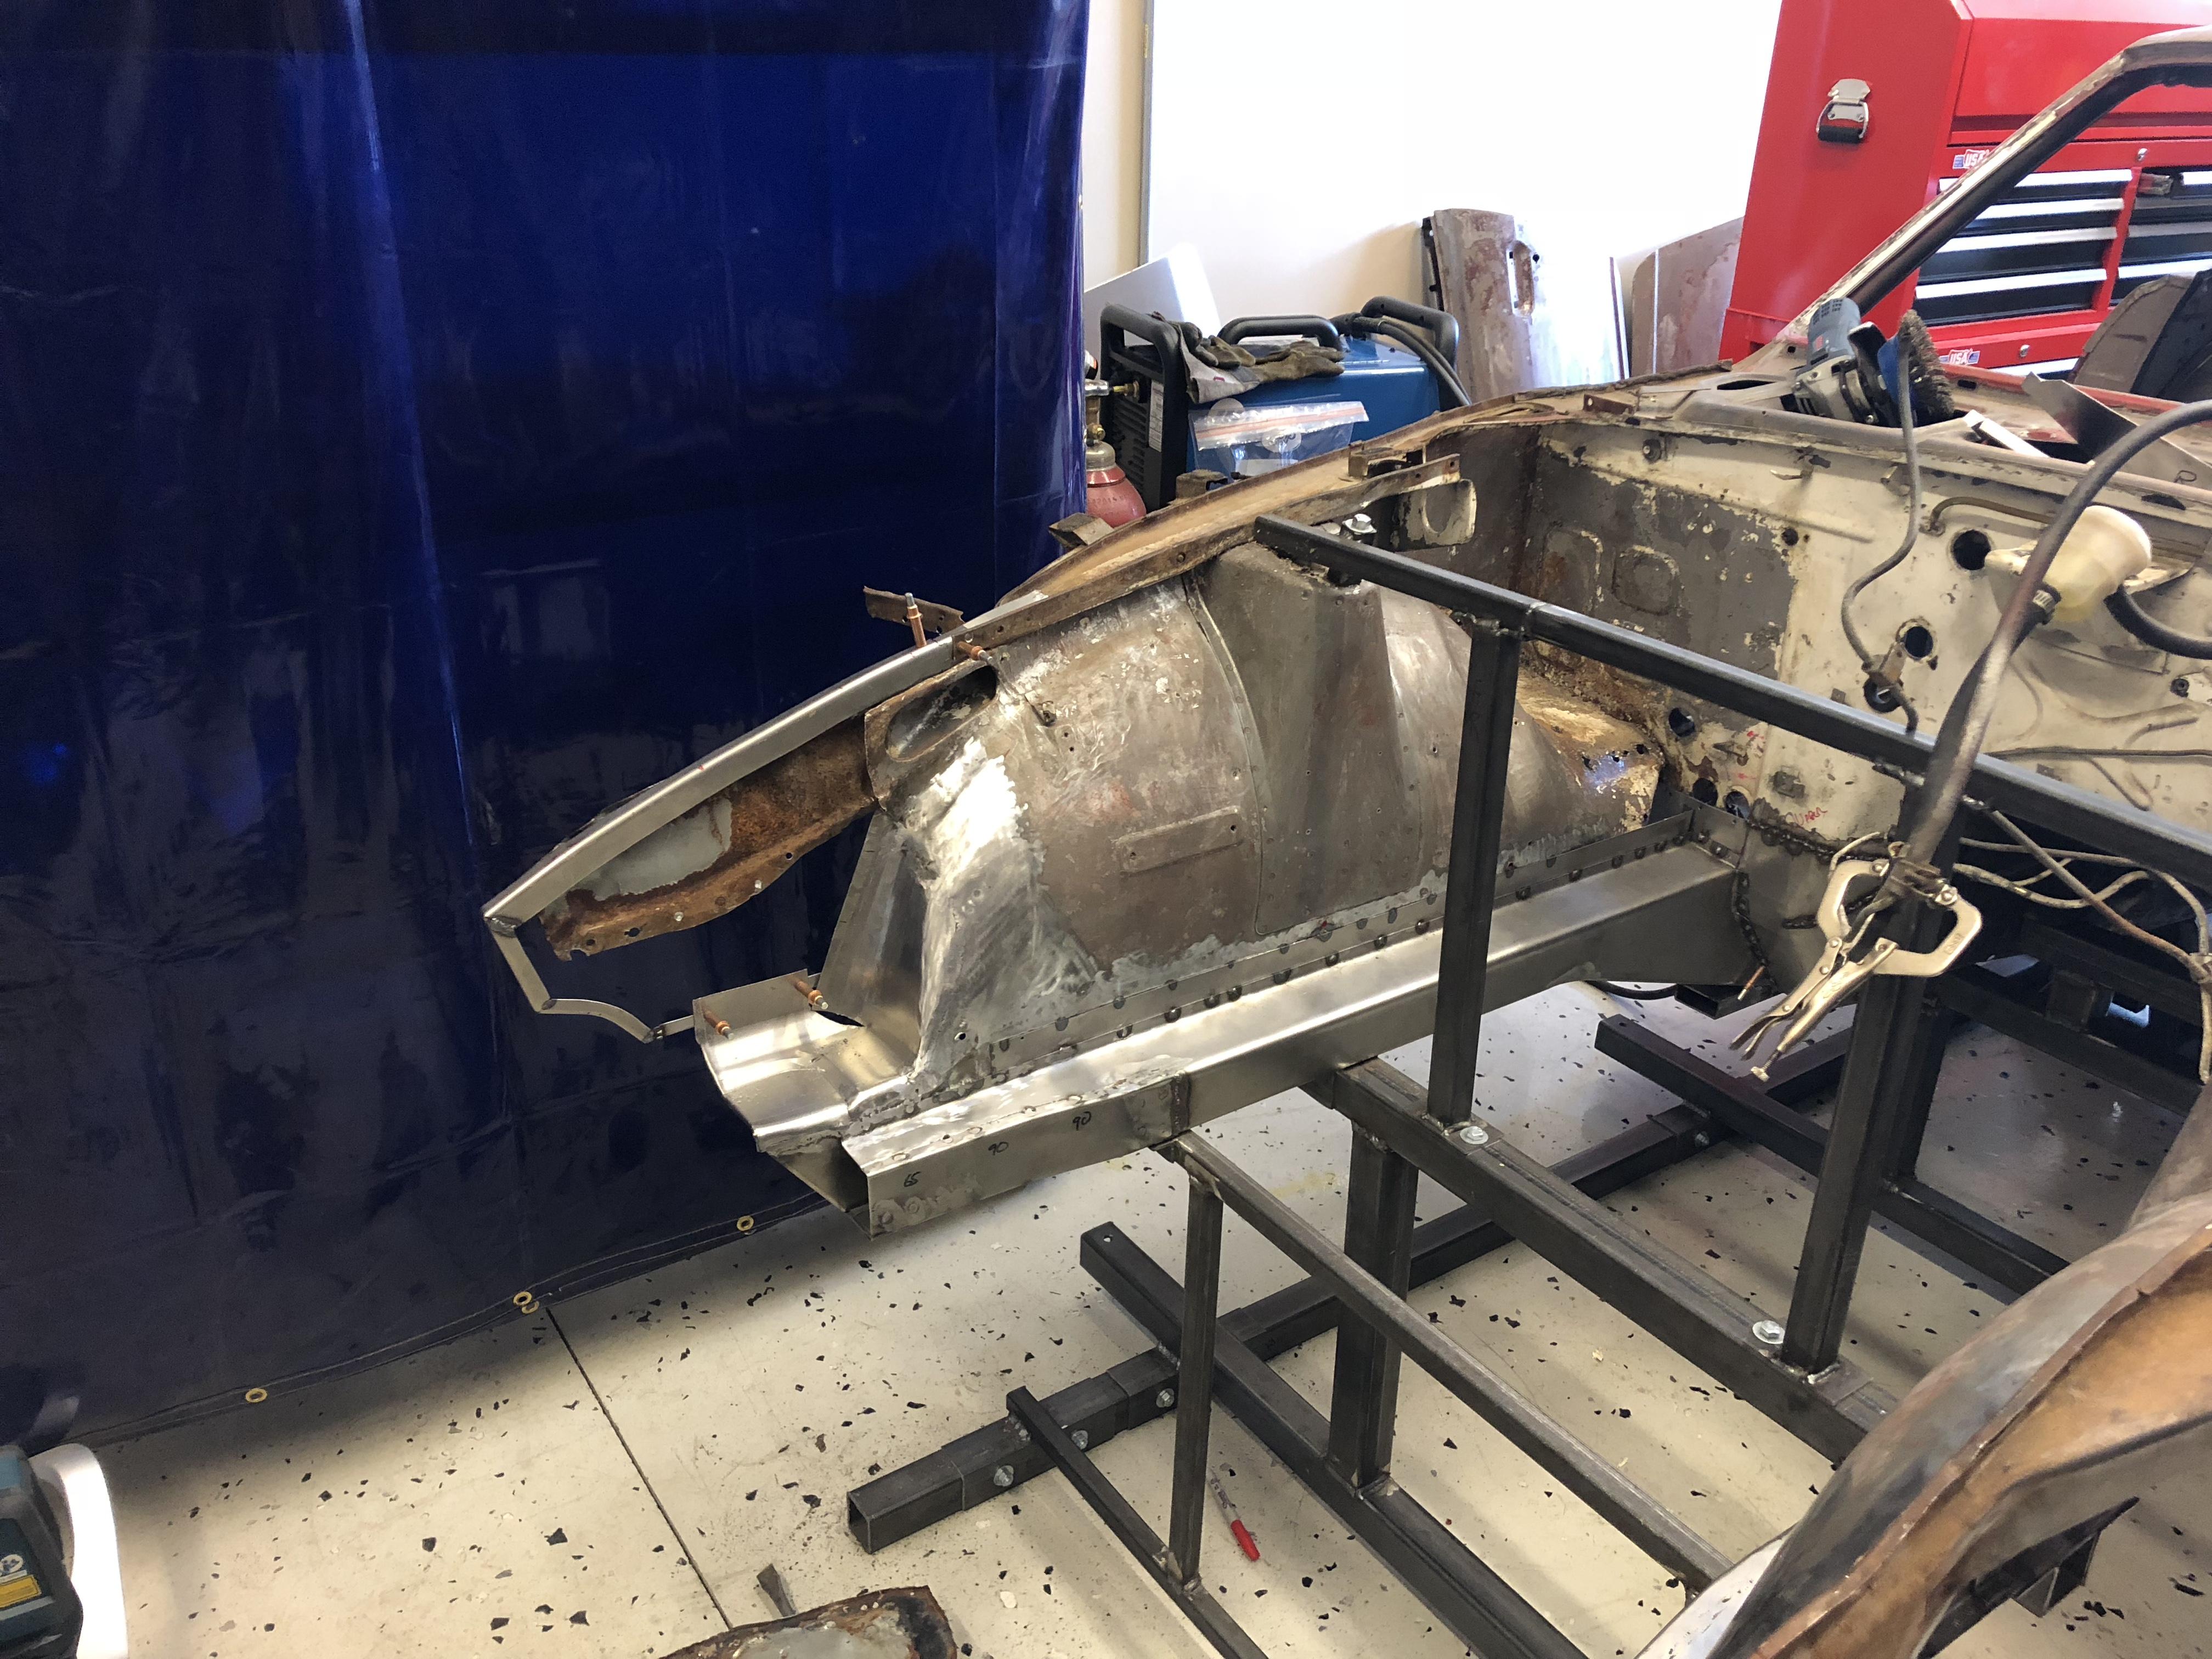
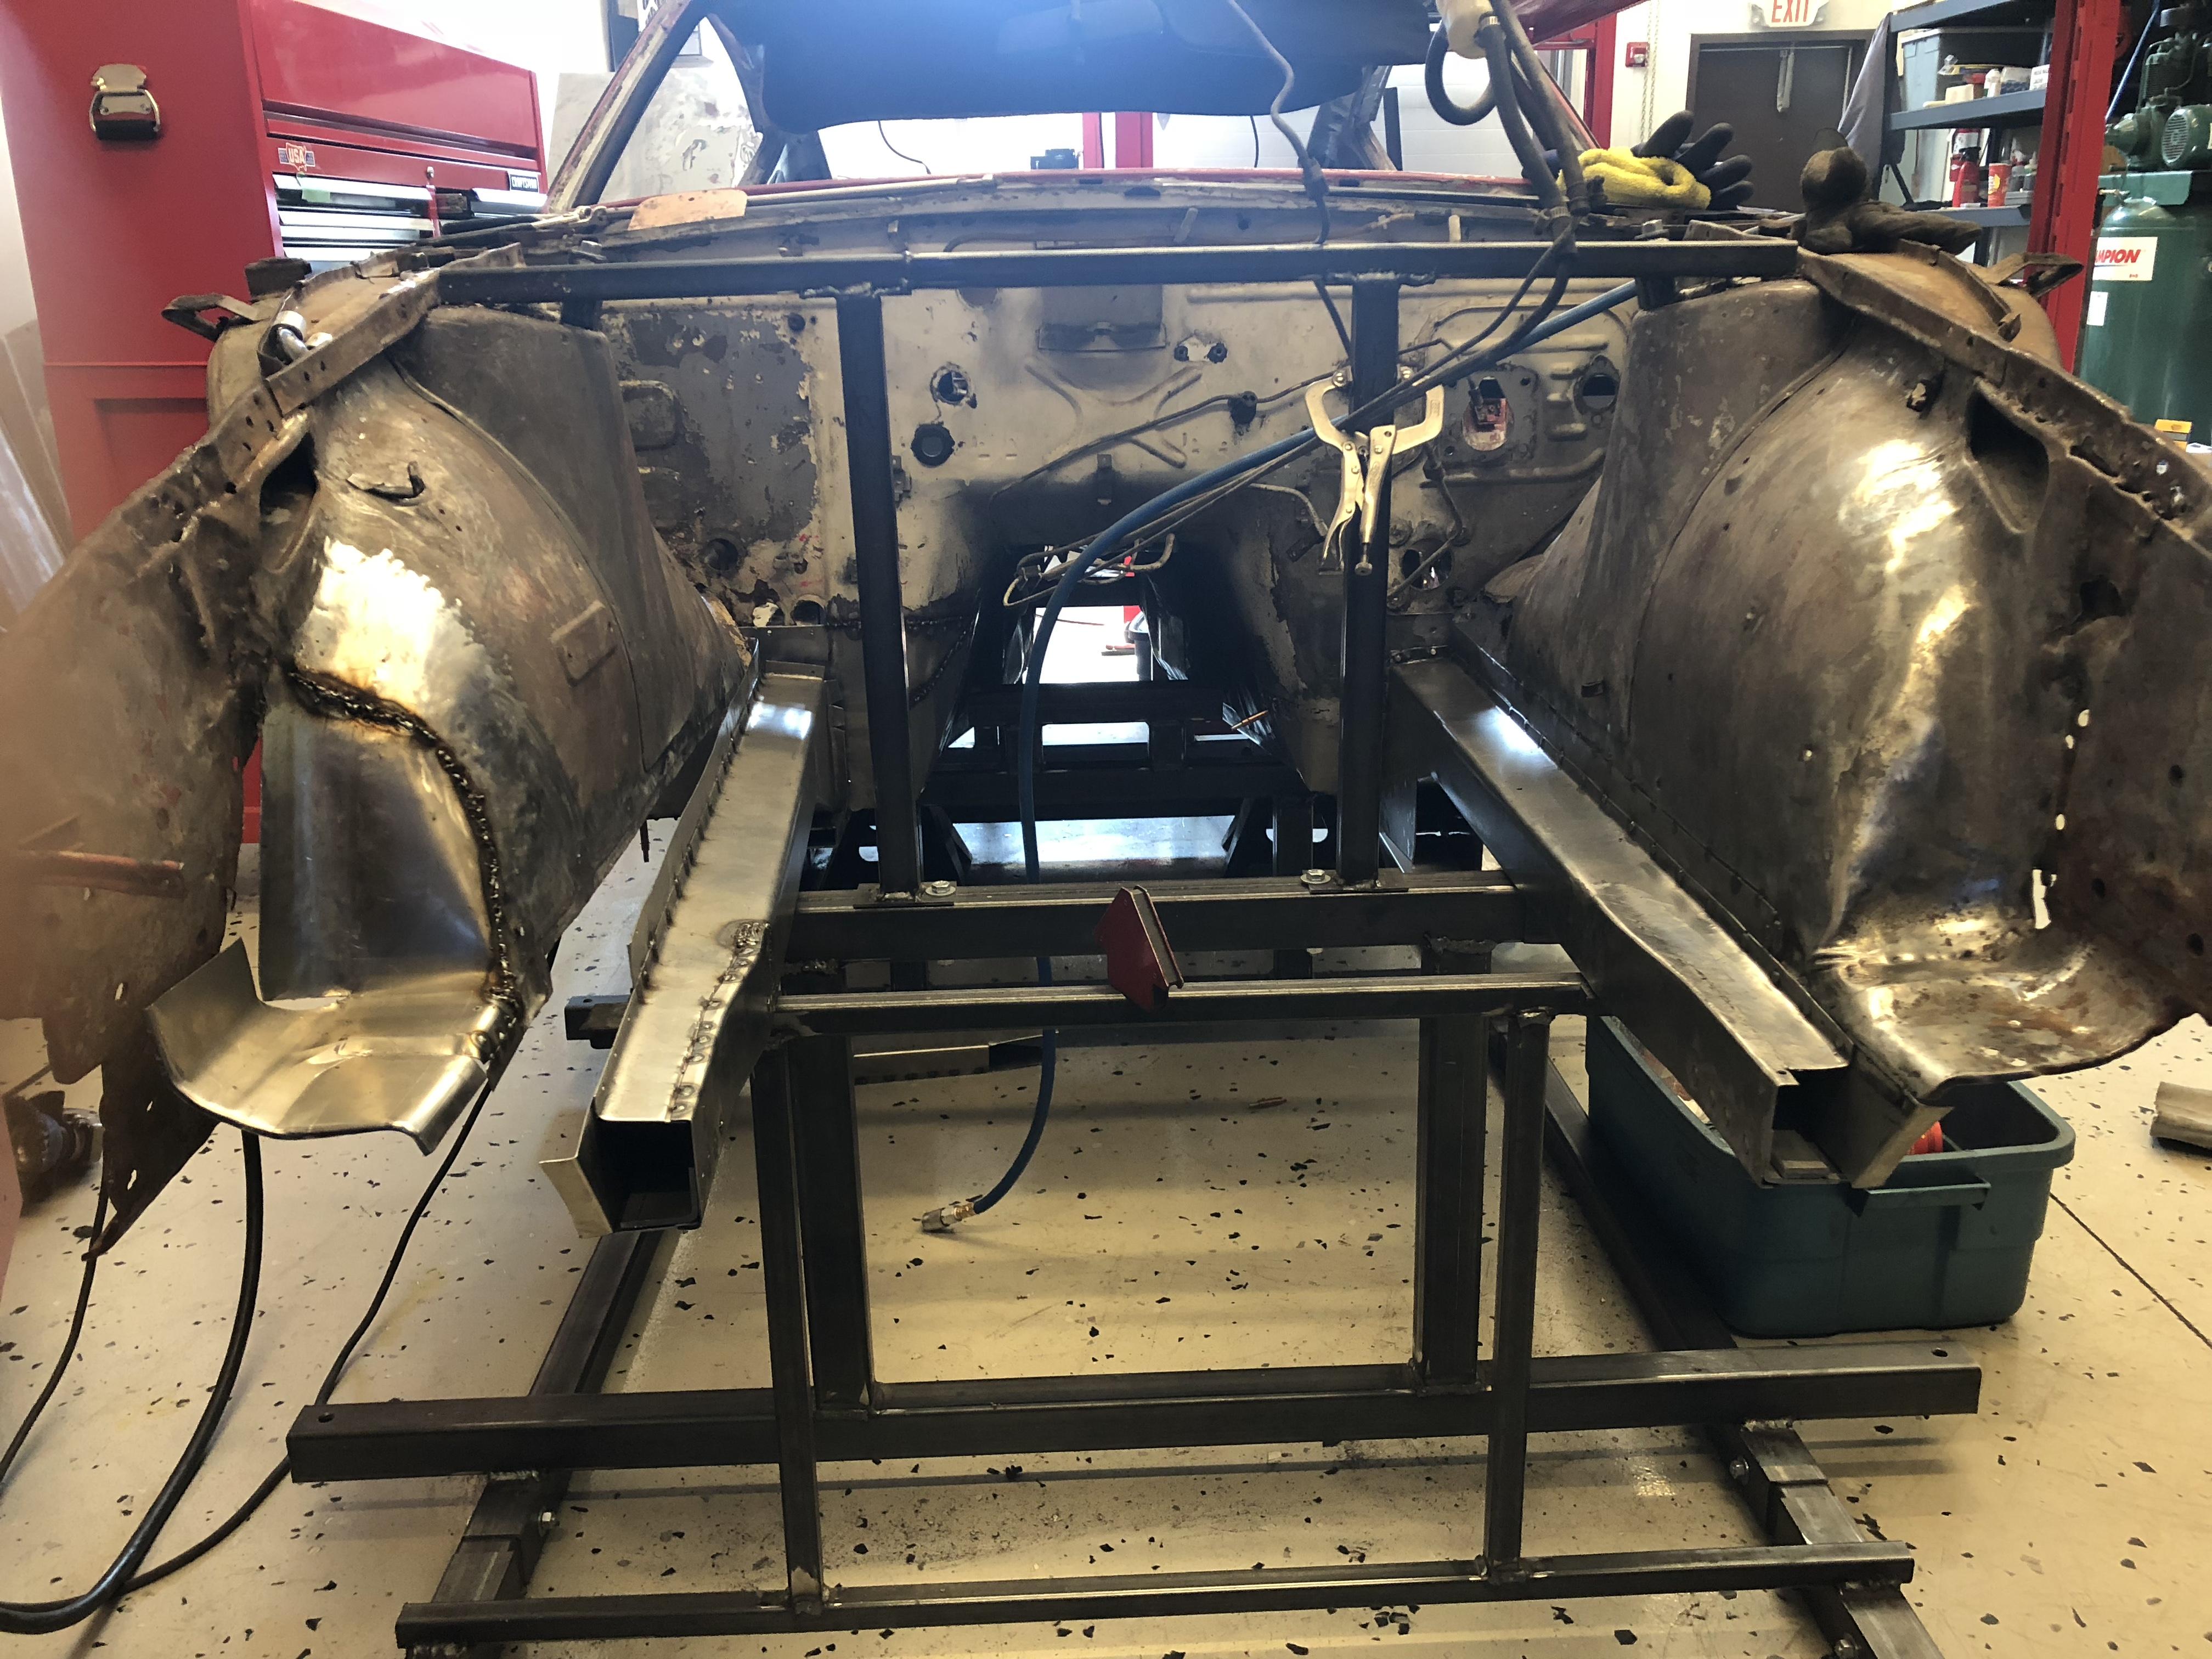
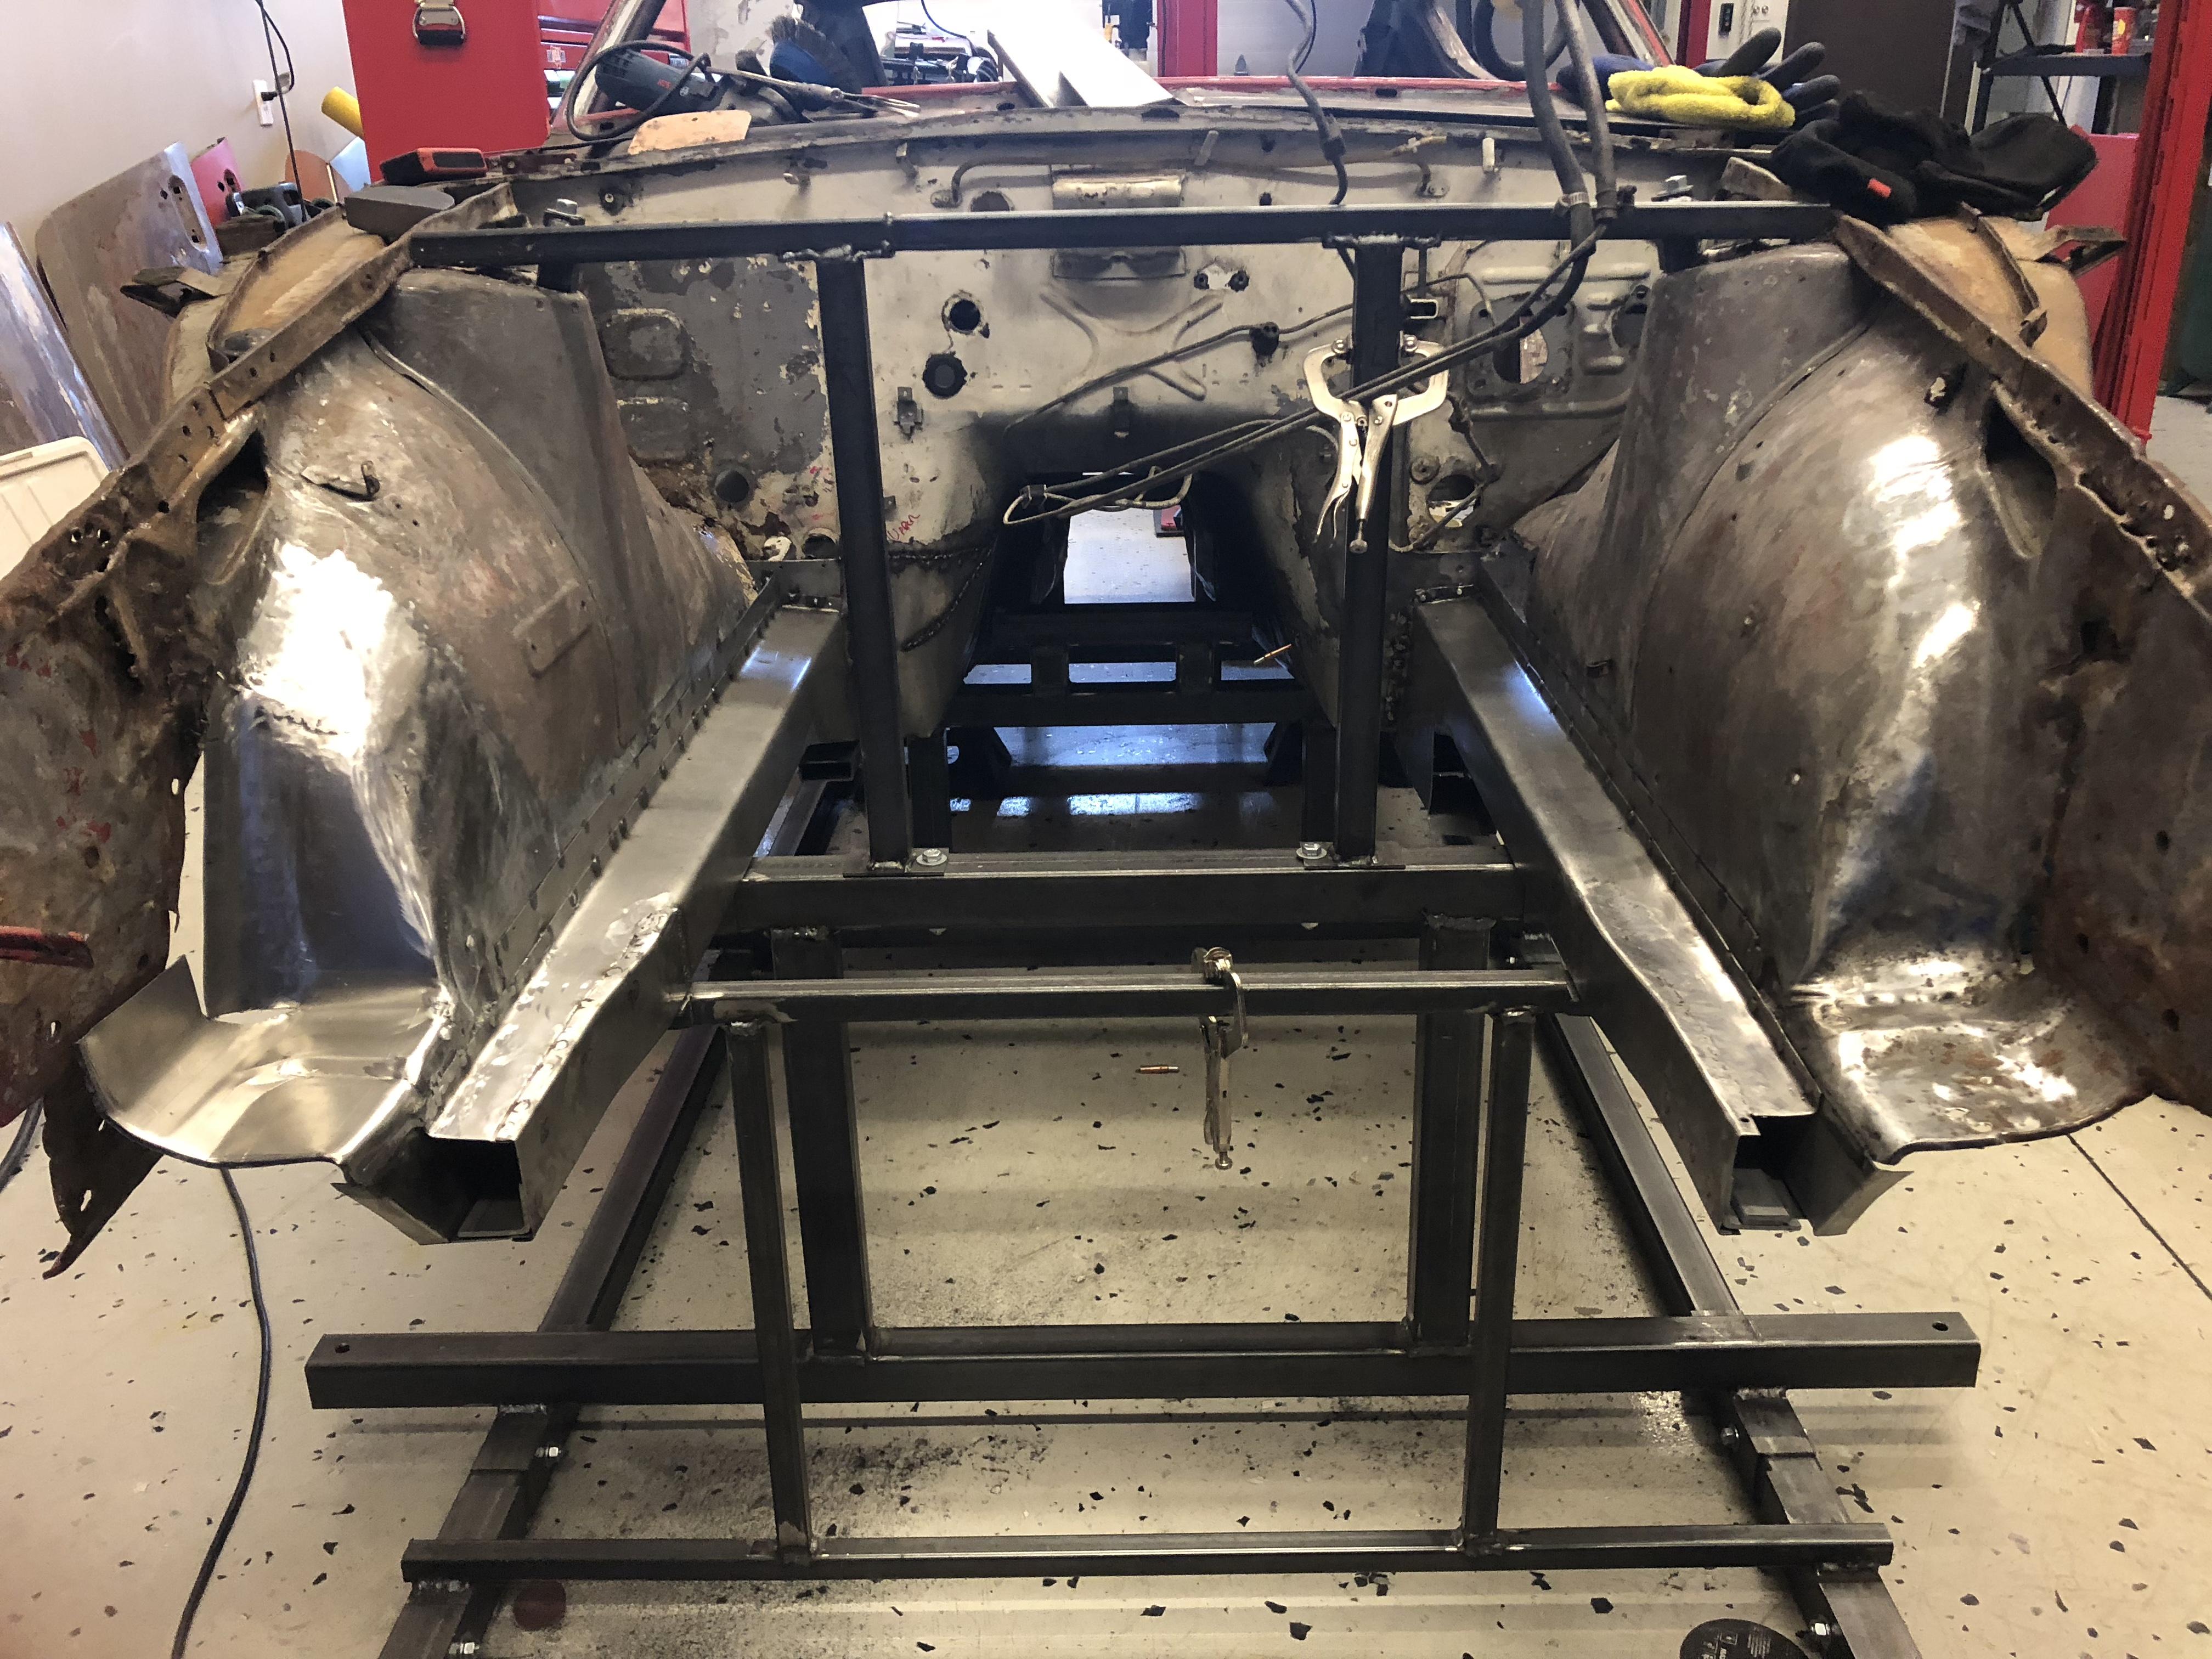
So the front rails are basically done. The jig is working really well. I can’t over-emphasize the benefits of having the car plumb, level and locked when it needs major surgery. Aligning the new rails was pretty straight-forward once they were fabbed up. Details here. ... Managed to true up the floors slighty as well. Now just need to do the battery patch, firewall repairs, rad support and (redo) the inner rockers and she will be ready to go on the rotisserie ???. Please stay tuned ....
-