inline6
 Subscriber
-
Joined
-
Last visited
Everything posted by inline6
-
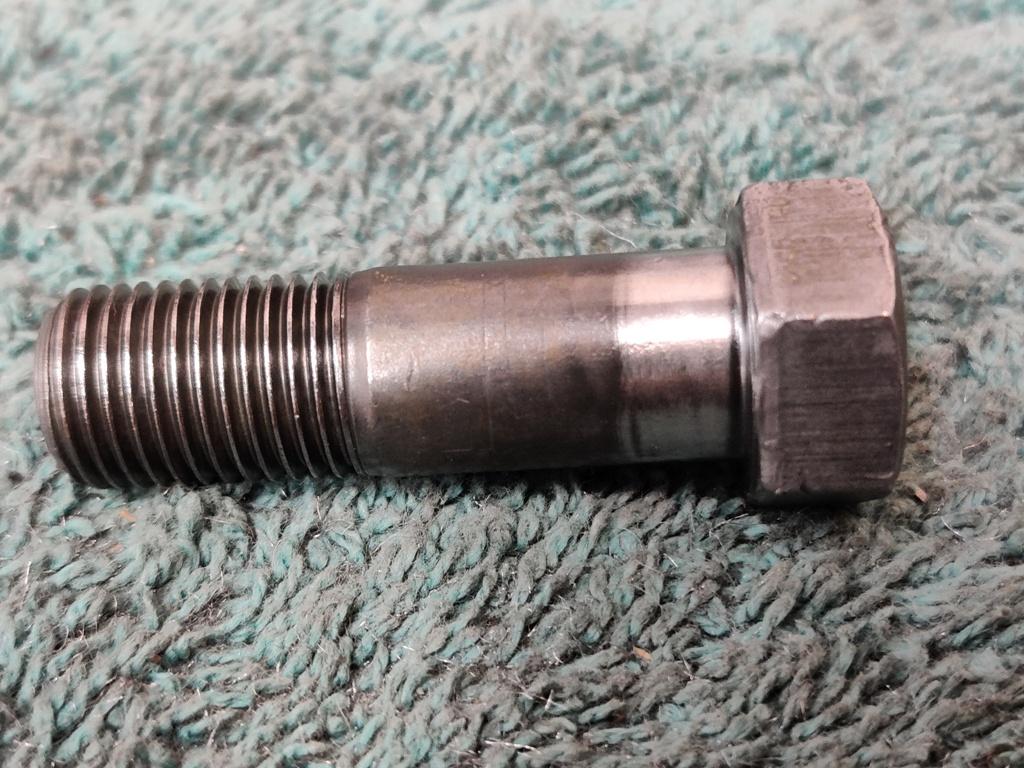
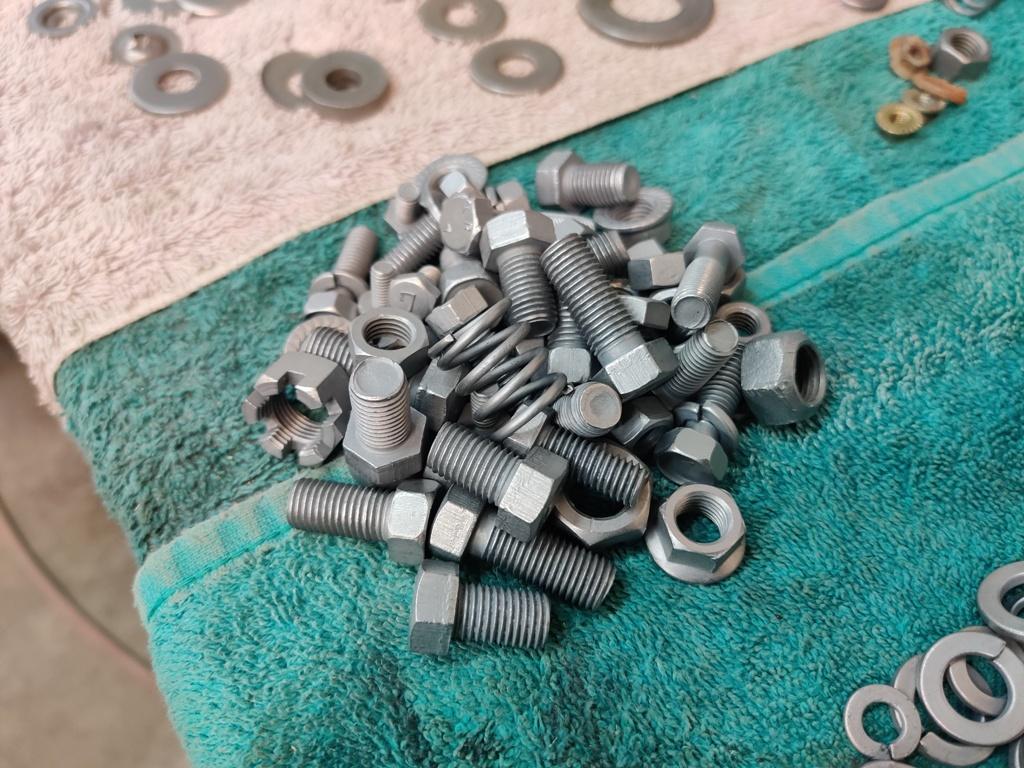
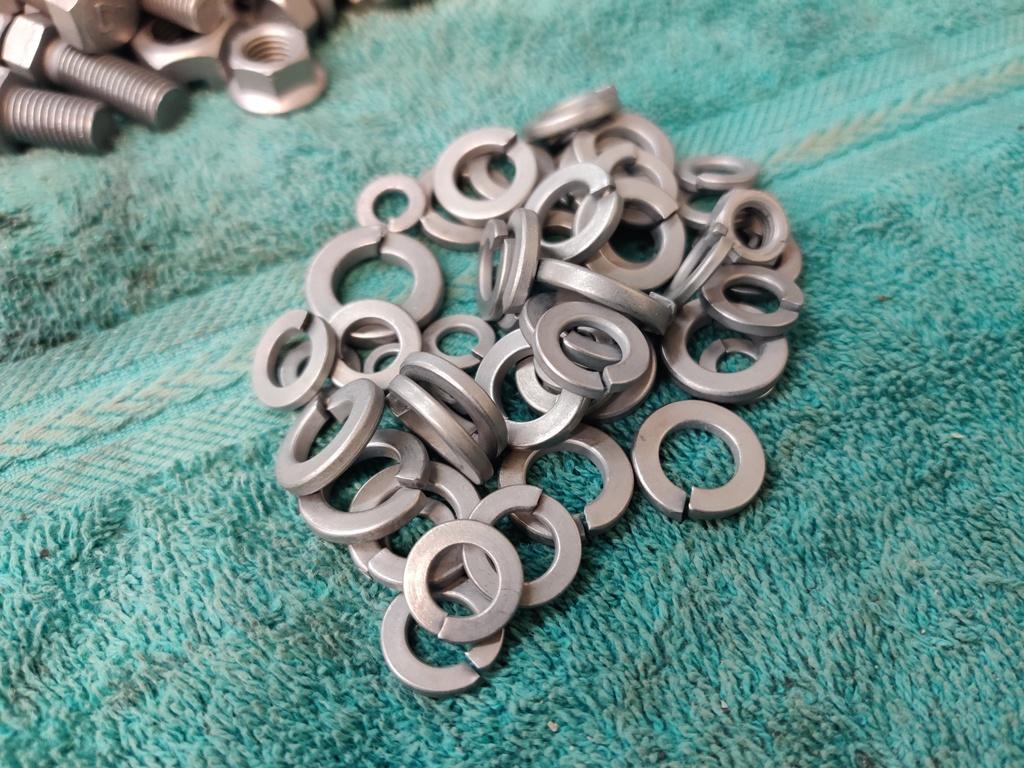
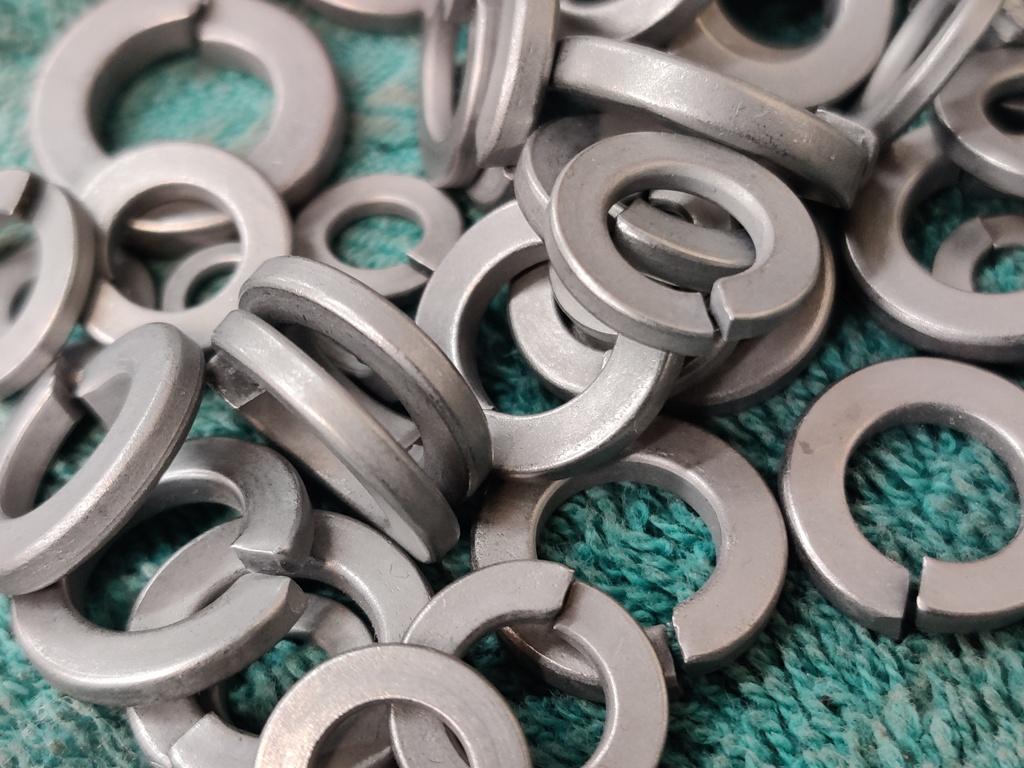
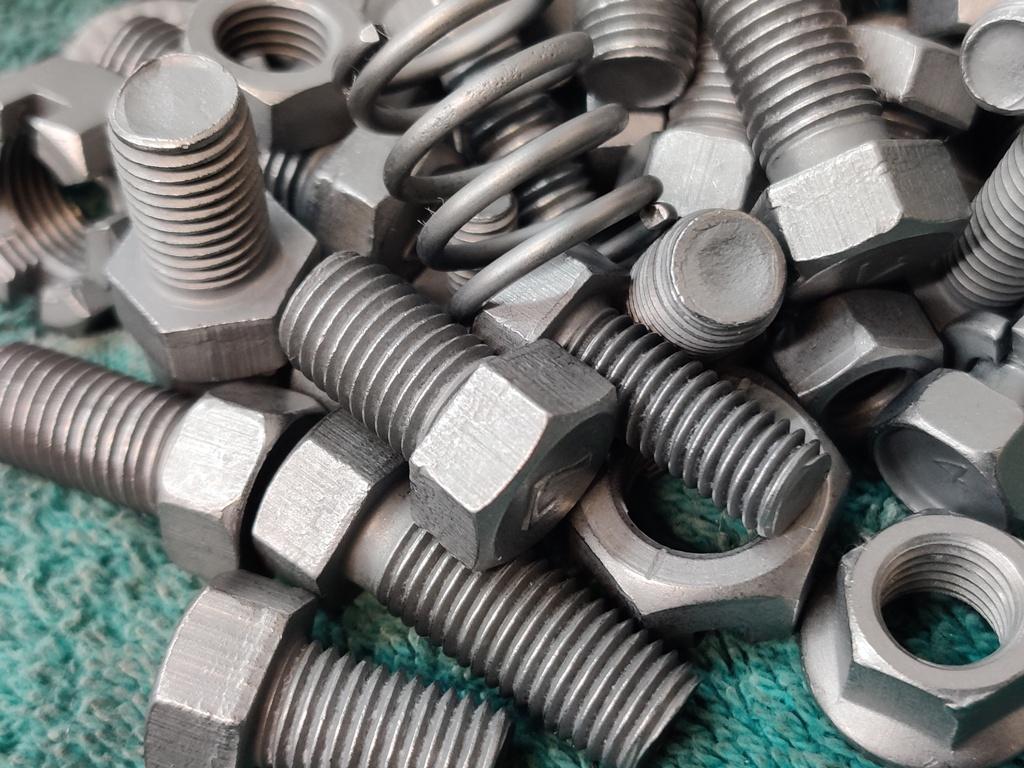
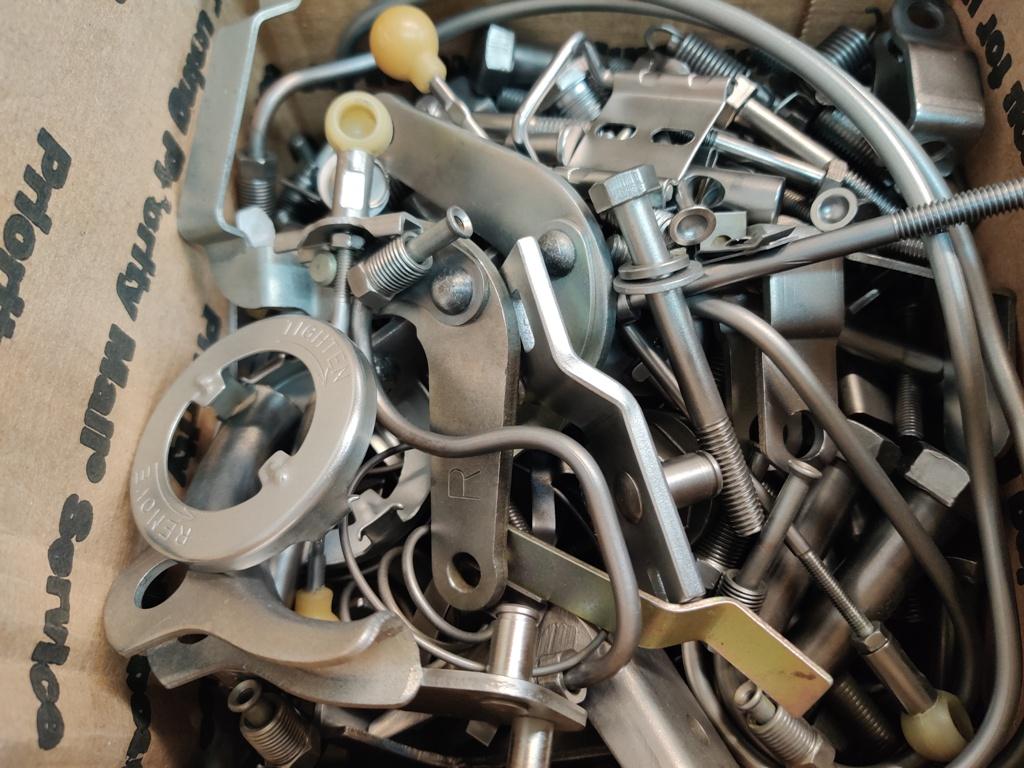
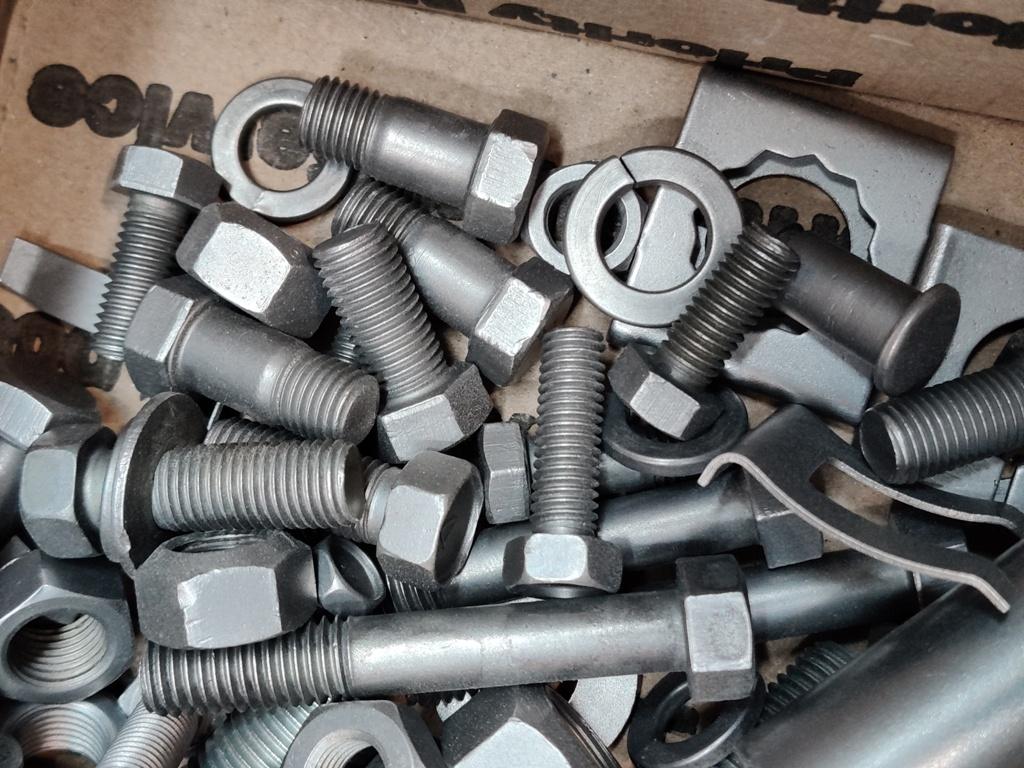
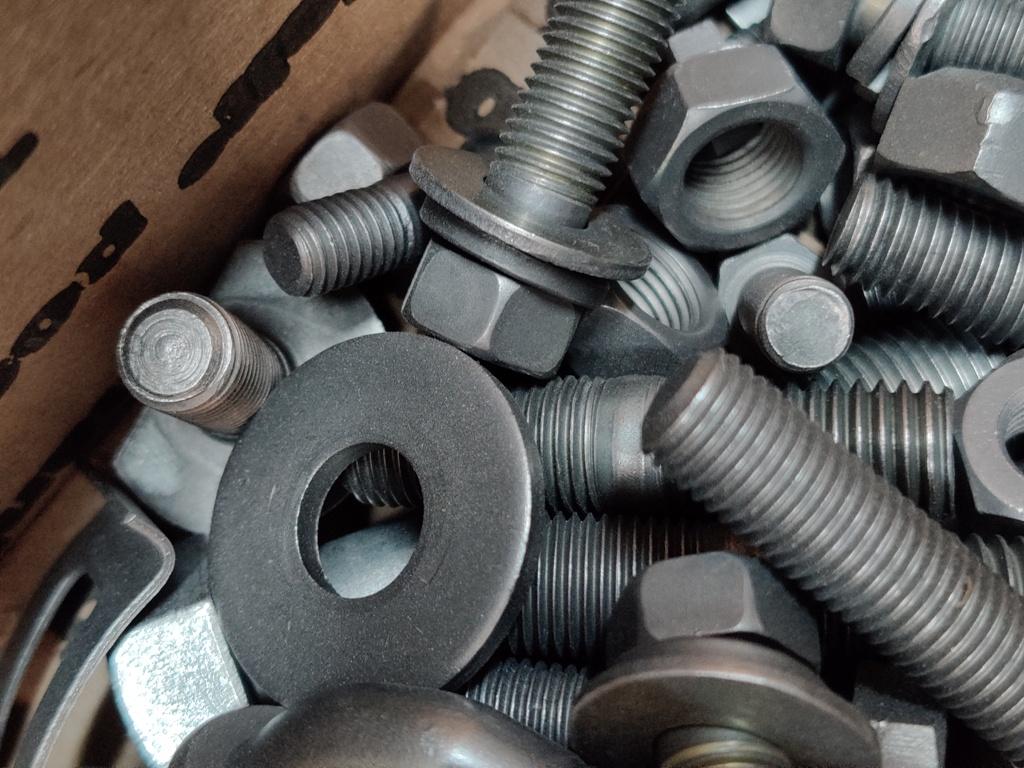
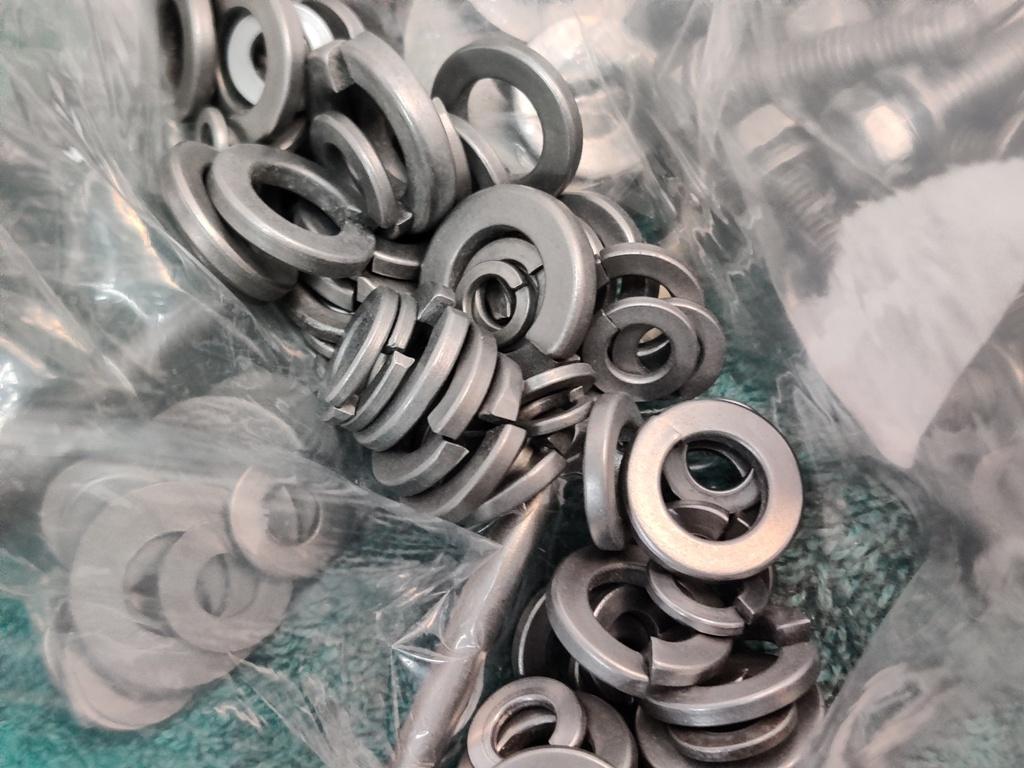
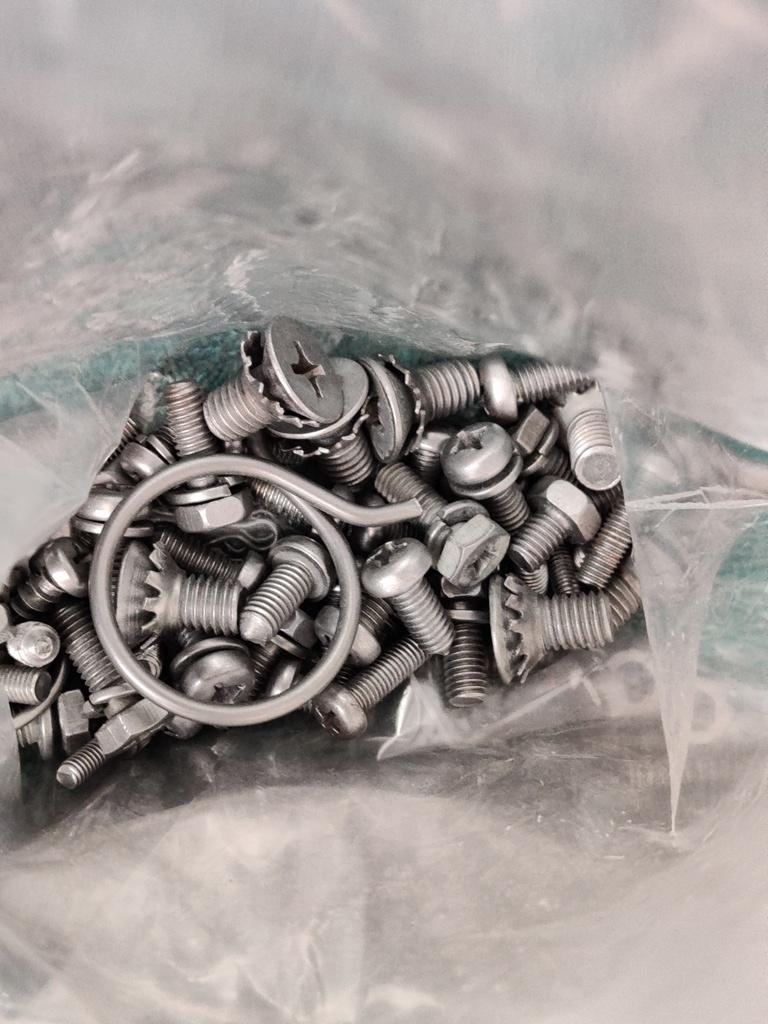
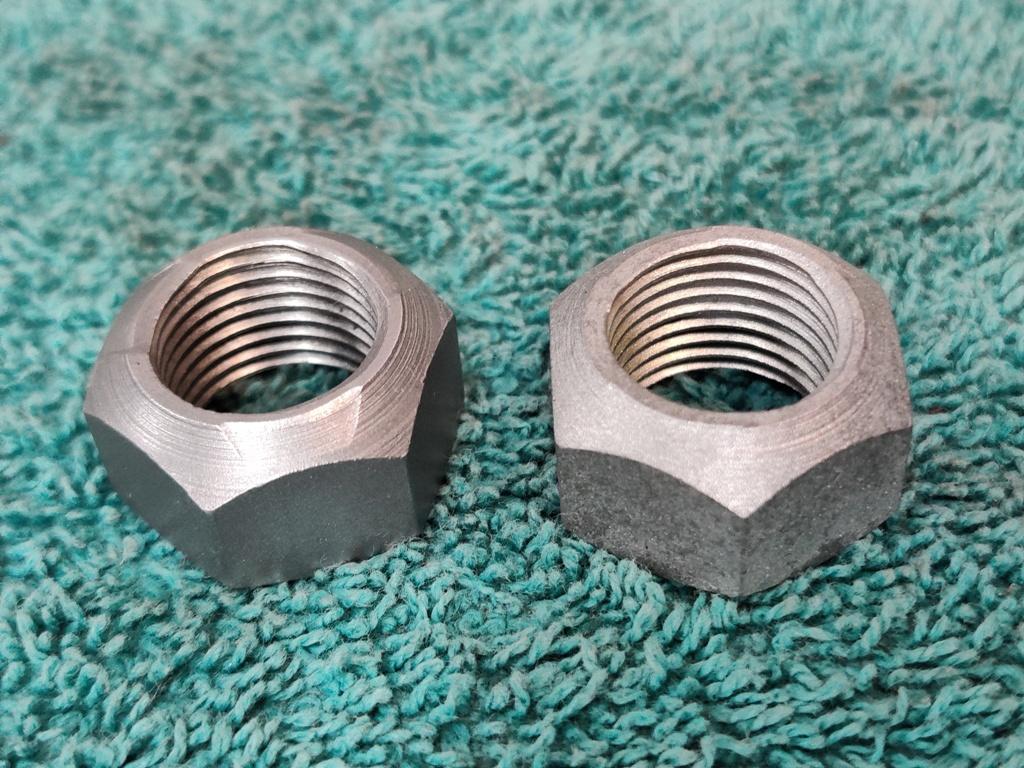
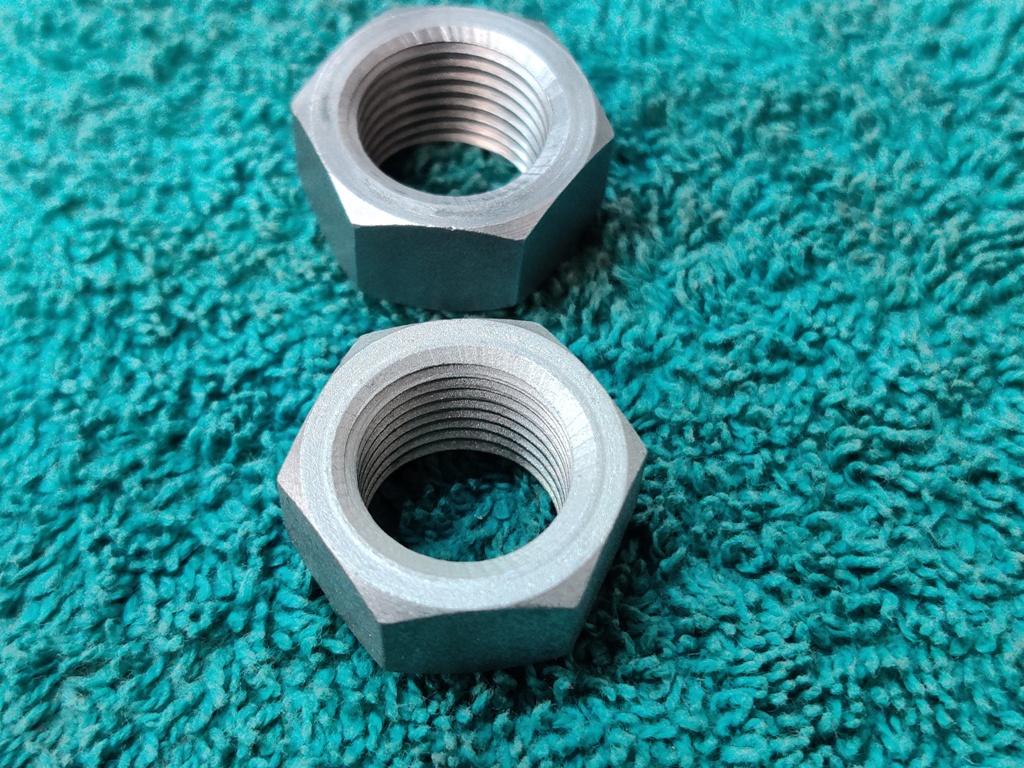
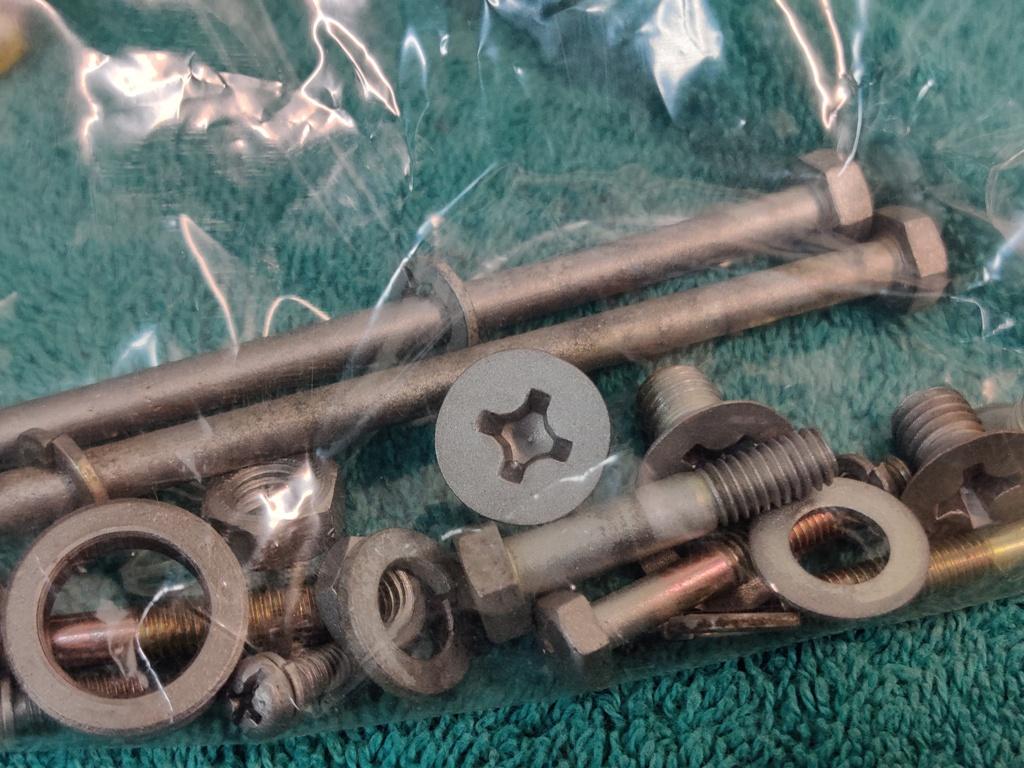
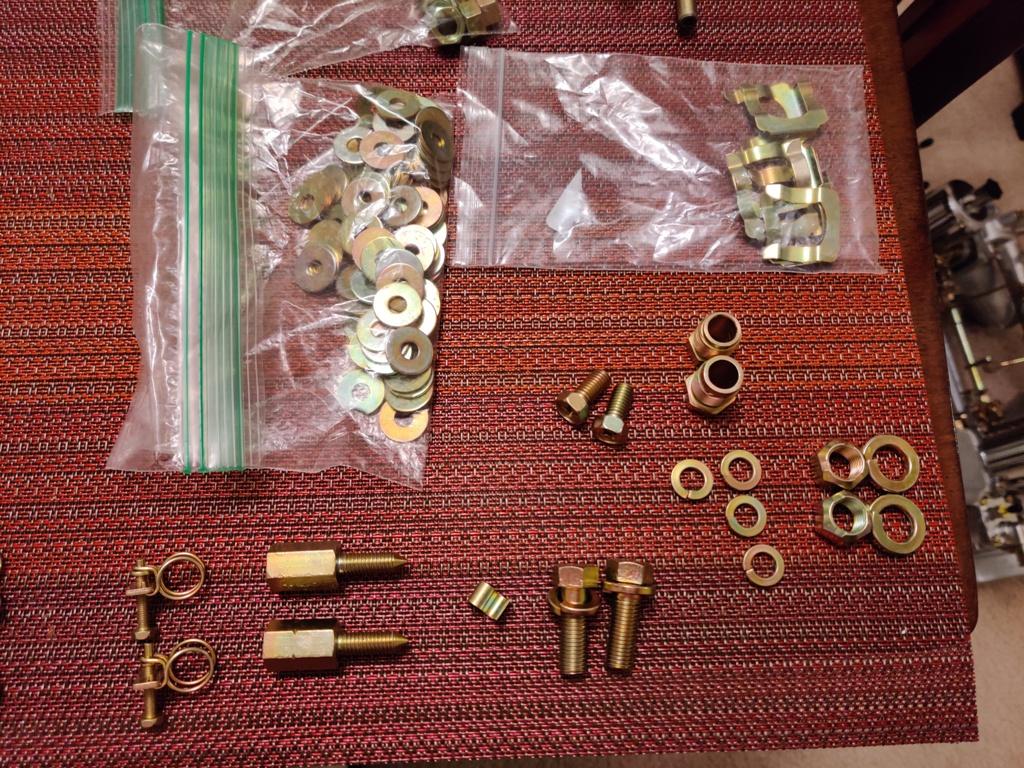
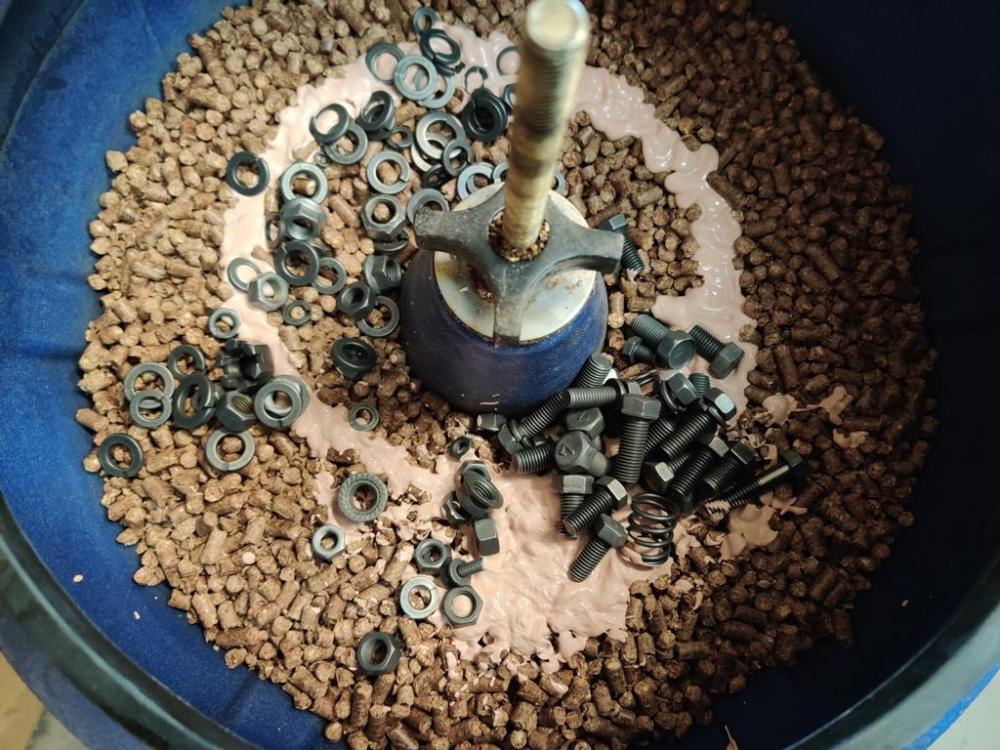
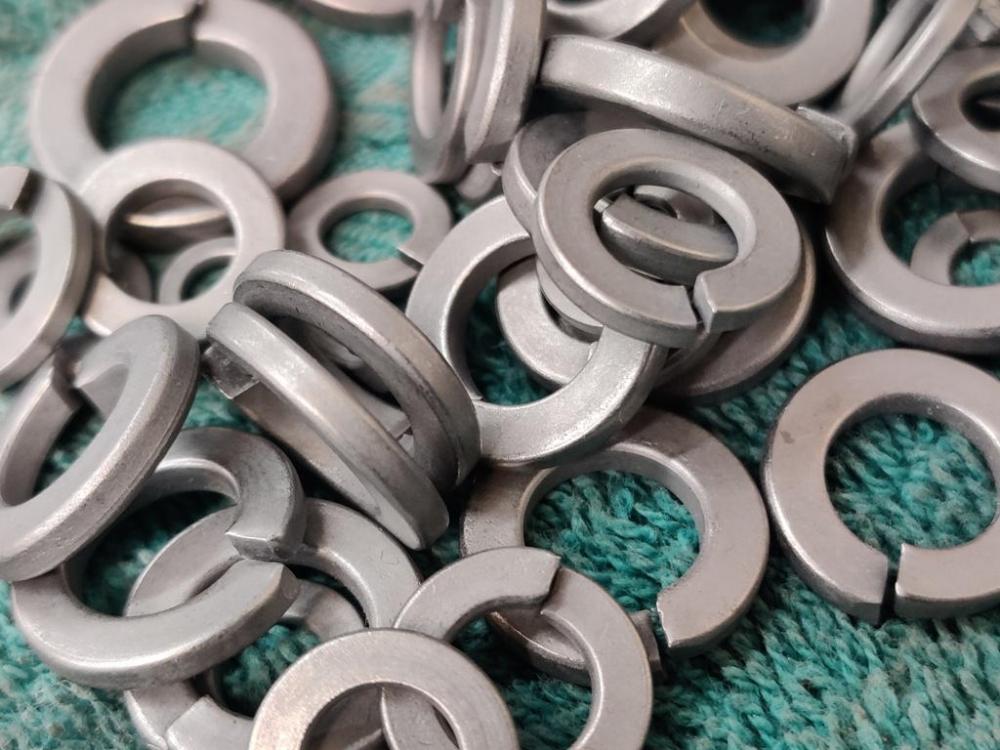
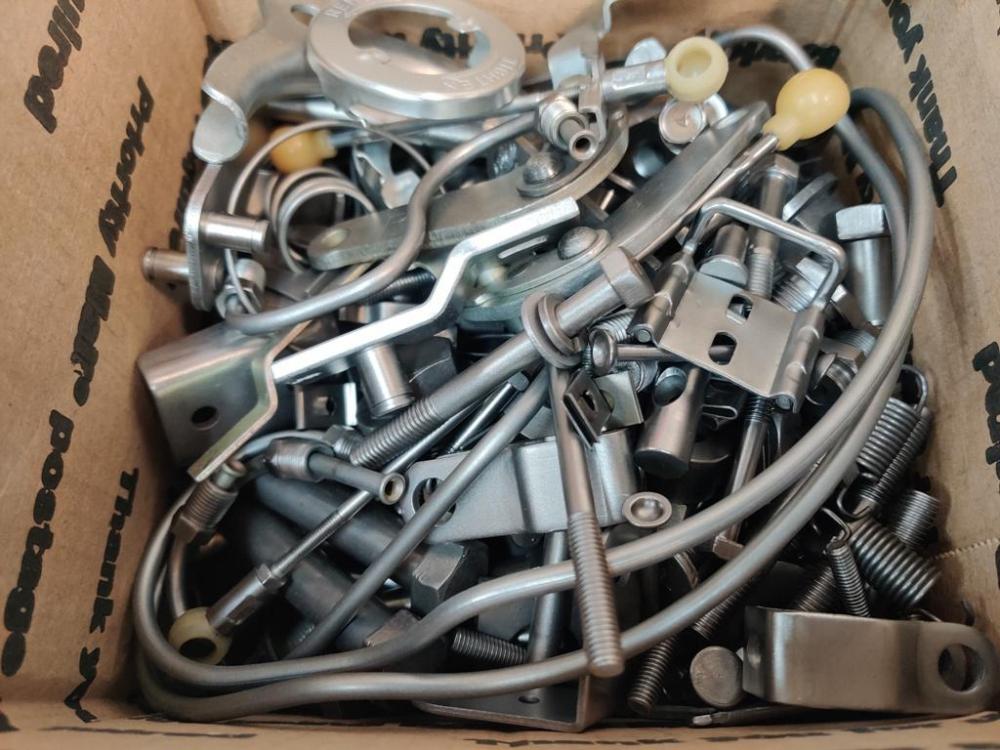
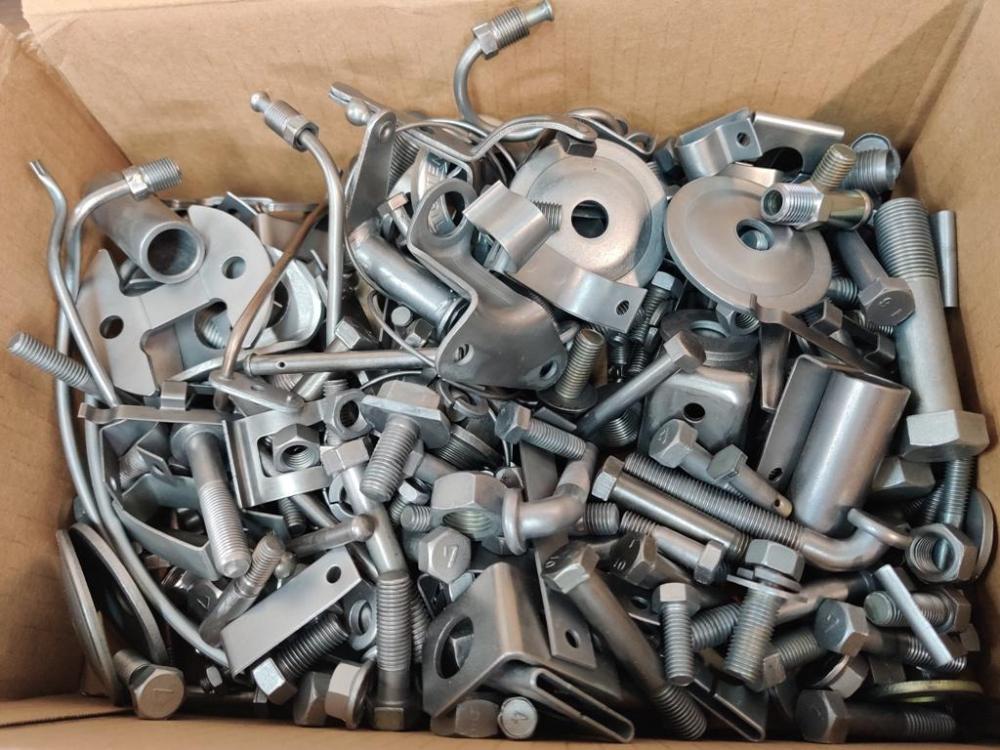
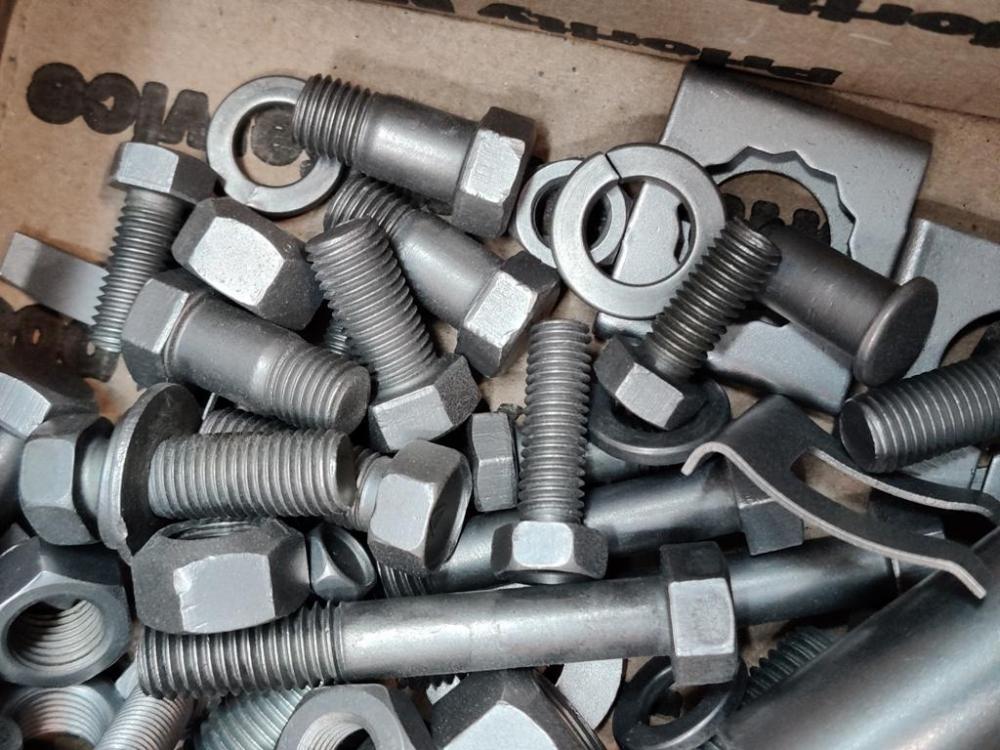
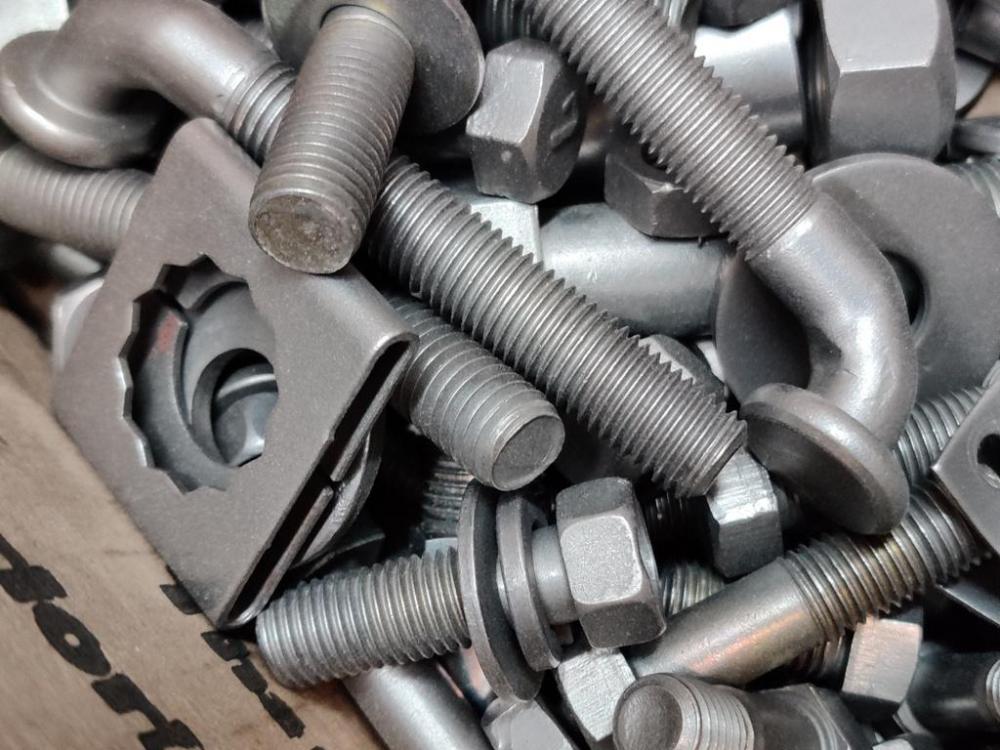
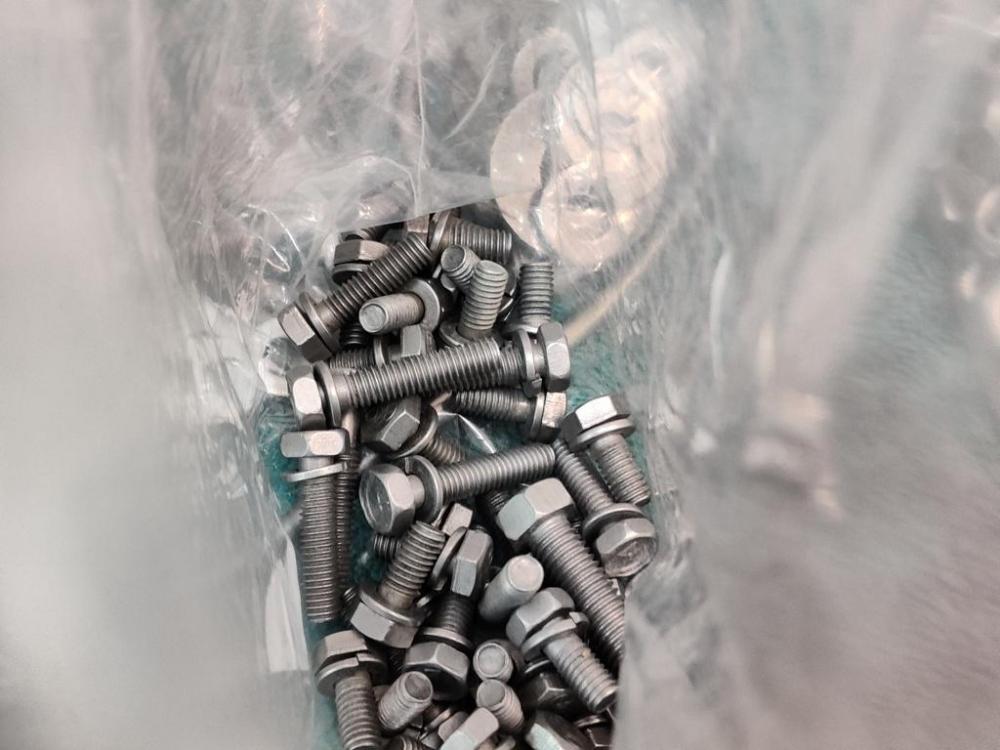
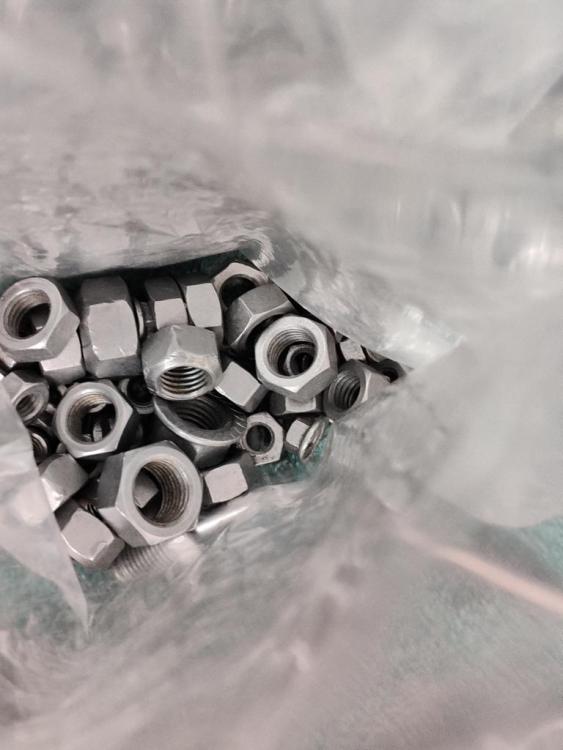
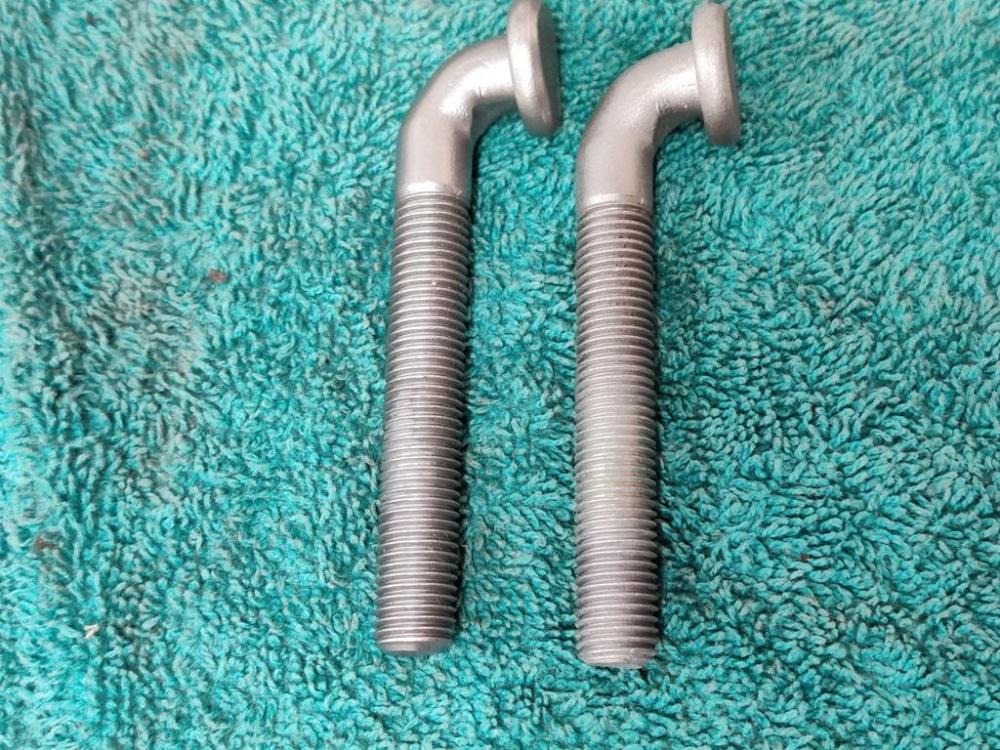
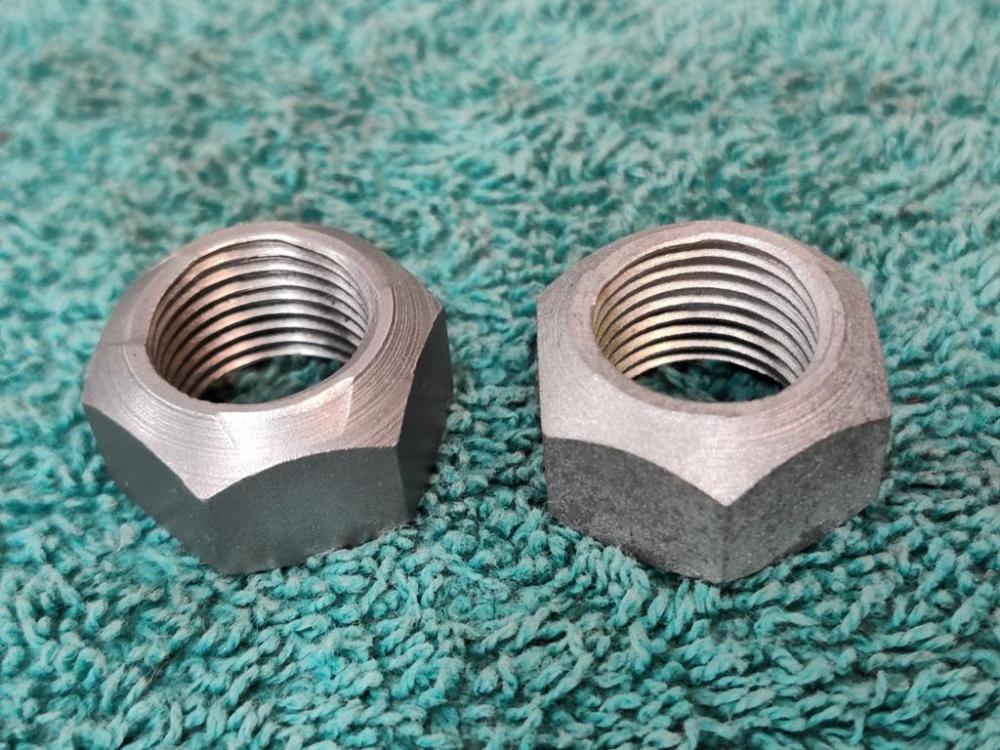
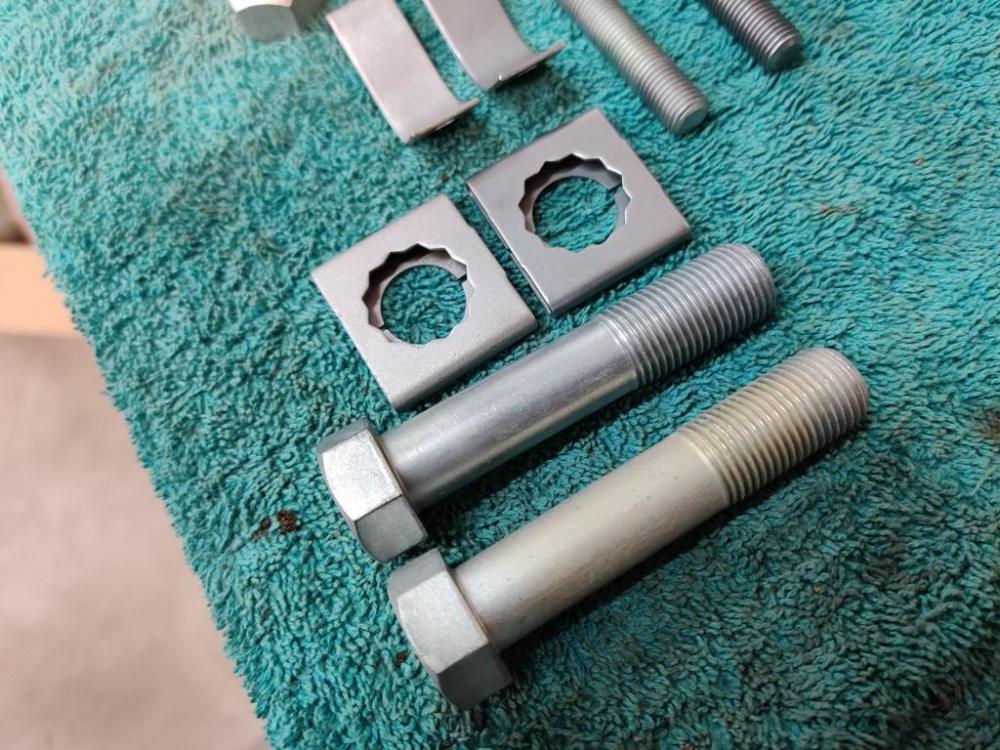
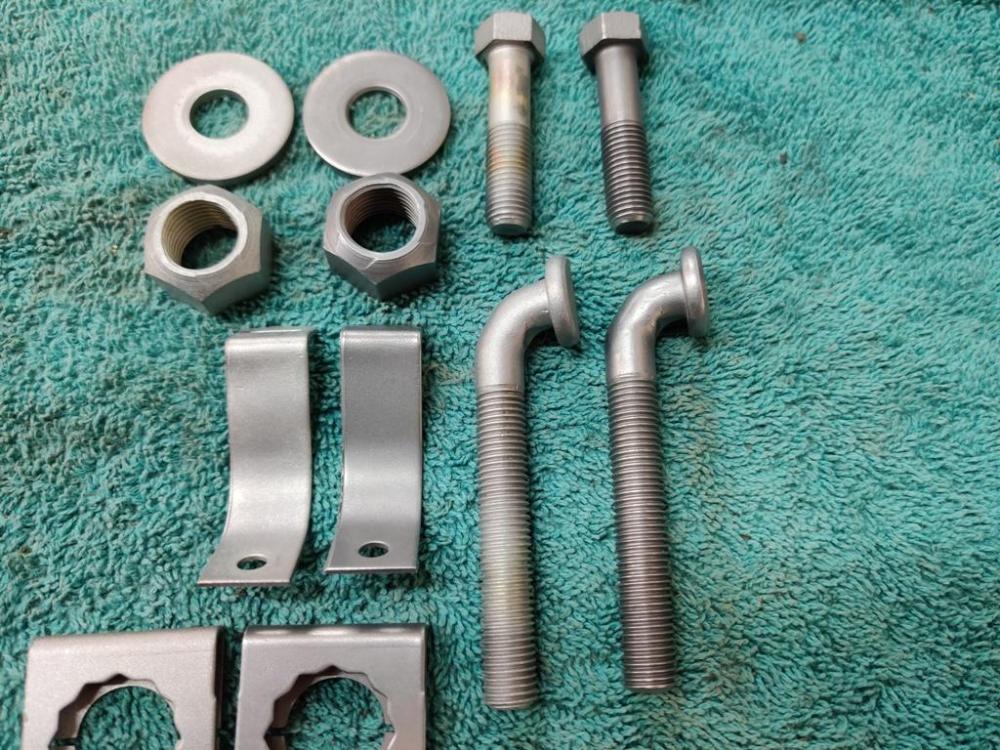
 I continue to track down hardware and run it through the process of glass bead blasting, followed by vibratory tumbling with stainless steel bits. And now, I have experimented with another round of vibrator tumbling using corn cobb and Semi-Chrome metal polish. Interesting results with that last one. Some of my hardware came out of the stainless round of tumbling looking a bit dark. On the left here is a "dark" bolt after I hit it with the dremel tool and wire brush. You can see the shiny, lighter silver part. My theory is that the parts in that batch didn't move around fast enough to keep oxidation from making them dark. The right amount of water and citric acid needs to be in the tumbler or the action is "too slow" (I think). Anyway, I experimented with adding corn cobb media and metal polish, along with a bit of laquer thinner for kicks under the theory that it would tamp down the dust a bit and not cause oxidation (rust). After tumbling for a few hours, here is what the dark hardware looked like: They are notably lighter in color. Additionally I blew them off with compressed air, immersed them in a jar of laquer thinner, and blew them off with compressed air again. Close up pics: After all of that, I still ended up using the dremel and a wire brush on the bolts. I am still thinking about a solution that will polish the parts without doing each by hand with a wire wheel. But, at least the amount of time with the wire wheel is low after the other treatments. The box of hardware is getting more and more full. 🙂 Shuffled a couple of times for pics:
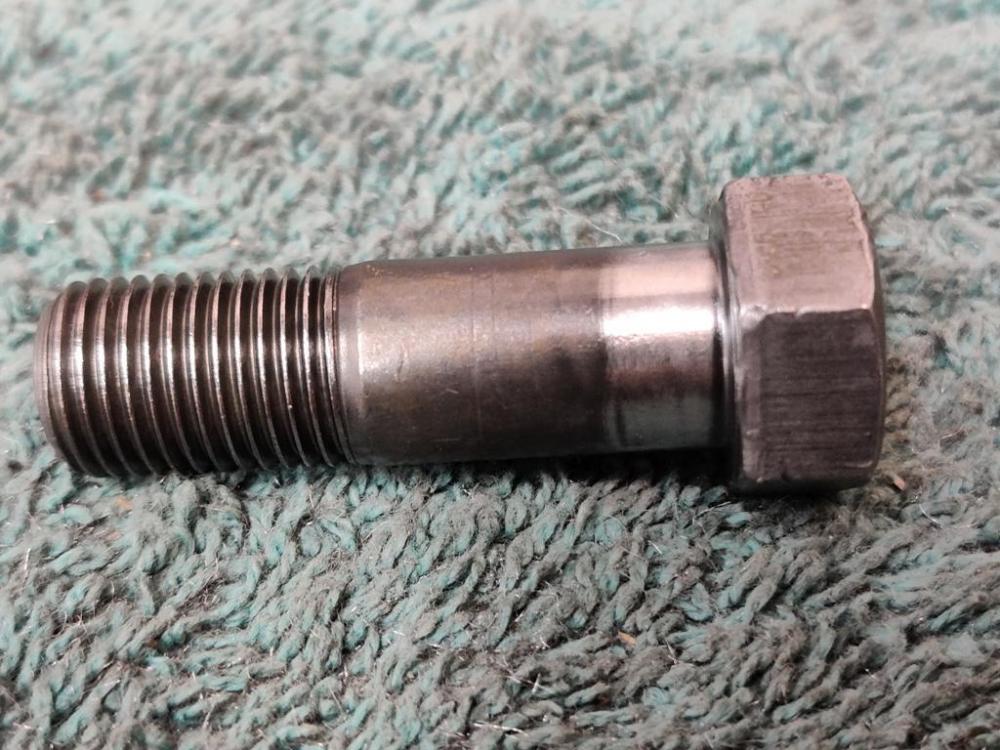


-
Part of the reason I am confused by it (again - high valuations for 4 speed equipped cars), is that just swapping the transmission isn't sufficient. Sure, you could switch only the transmission, but for a few of the common 5 speed swaps, performance through the gears suffers without also swapping to a different final drive ratio as well. And some of the five speeds require different drive shaft lengths. Putting a 5 speed can get rather involved, depending on the transmission used, and if done right, in my opinion. Yes though, on the fact that some Z owners drive in a way (short distance, short duration) that 4 gears are totally sufficient. Also, I think a lot of Z's these days don't get driven a lot. Perhaps 4 speed equipped cars aren't dinged in value (on BAT mainly) because they are certainly sufficient when the car is a garage queen.
-
Good info. I suspected that some creativity could be applied to take a mix and match of early and later antenna parts and get a functional "series 1" antenna. I'm on the look out for suitable donor parts. You mention series 2 masts. Do you know when the antennas changed from the point end? My car is a 6/71 series two, and I honestly don't know at the moment which tip the original antenna came with. The antenna did not come with the car.
-
I checked the condition of my 3.36:1 differentials a couple of days ago - the original one and the spare that came with the car. Both have more than the .0078" max back lash, with the one that originally came in the car at about .008". I assume that it has the... roughly 130k miles on it that the odometer and other records indicate. Some work to it (the original one) is necessary. I am inclined to disassemble, replace all of the bearings, and reassemble with the existing spacers/shims and see where I land. That said, I suspect the transmission is in similar condition (some measurable wear). I was able to get the car moving under its own power in my driveway and shift from first to second once without issue (at like 15 mph) before embarking on the car tear down. That is the extent of my knowledge of the condition of the original 4 speed transmission. I have not been thrilled with the idea of rebuilding the stock transmission and differential and putting them back in the car, if I am honest. I get that they have value if restored to original (or as close as possible) function and appearance, and are again put into the car. However, I think the driving experience will be "a little lacking" compared to a 5 speed with a suitable rear end ratio. So, while I will rebuild the original trans and diff, I will be setting those aside. Instead I will also be sourcing a 240SX 5 speed transmission and converting a 4.11 R180 differential (from a 86 Nissan 4X4 pickup) to a limited slip, which will utilize a new Quaife ATB unit. The differential will also be receiving a rebuild. Before beginning disassembly on it, I checked back lash (.005") and examined the ring and pinion. It looks quite good. The transmission still needs to be acquired.
-
For my question, I am assuming the 4 speed is original to the car and the car is still geographically in its "home" market. If the car came with a 5 speed originally and the car is still in its original country of import, then I assume a four speed installed would cause a hit to the value of the car.
-
Thanks for the comment. I noticed your VIN is your signature. The Z in my avatar is a 12/70 also - VIN 16511.
-
Why are 240z's with 4 speeds just as valuable as those that have been converted to 5 speeds? I get that show cars that compete as "original" need them. But that is a small minority compared to all of those (with 4 speeds) that have sold on Bring a Trailer, for example. So, setting show cars aside, why are they as valuable? Being a Datsun enthusiast for over 30 years (early 240z and 510s in particular), my recollection is that nearly everyone chucked the 4 speeds and "upgraded" with various 5 speeds options and matching rear end ratios as necessary. I'd love the hear others thoughts and opinions as to whether you agree with the premise or not and if you do, why the values don't take a hit if the car has a 4 speed. Garrett
-
What year? After 40-50 years, it is quite possible that the arm is bent. There is some adjustment if you loosen lock nuts on the thottle linkage parts. The rods can be adjusted longer/shorter. That said, I made mine to my liking for heel and toe by bending the accelerator pedal arm as needed. I also bent it so the pedal pad is not only closer height-wise but also so there is less gap between the right edge of the brake pedal and left edge of the accelerator pedal. Messing with the linkage rod lengths just accentuated the problem of too much resistance in the throttle linkage required to move from engine idle, causing jerky pedal operation (abrupt throttle opening).
-
What kind of money needs to be spent for an adequately sized 3d printer? And is that technology moving so fast that, what is $3000 today, will be $800 in a year?
-
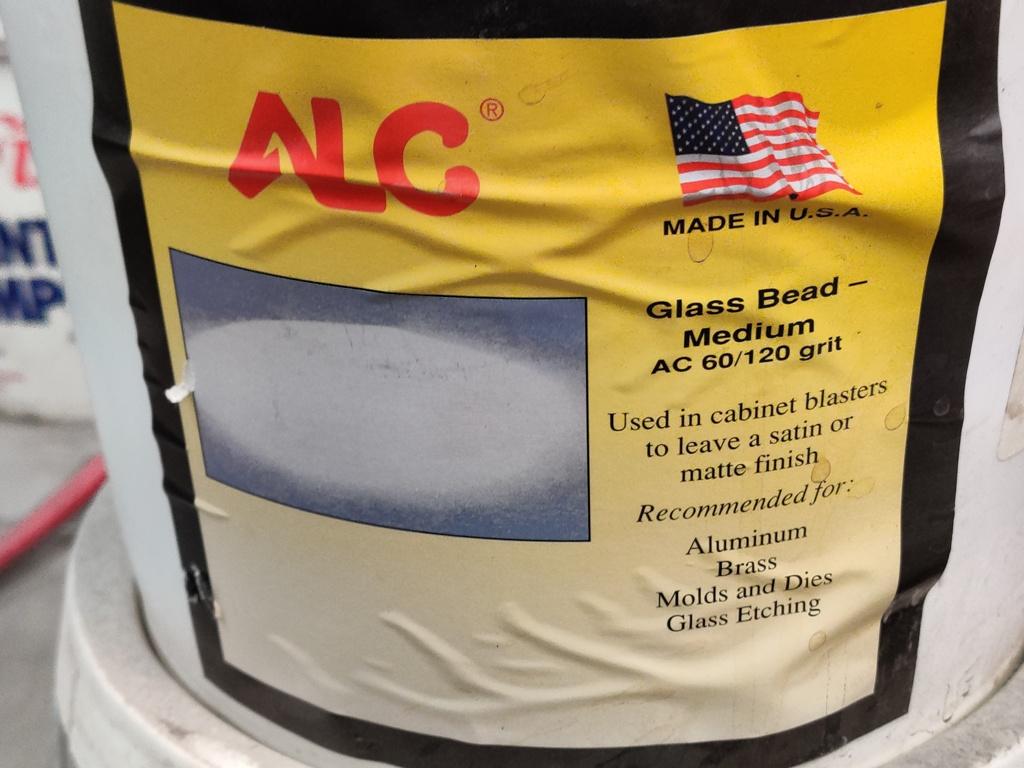
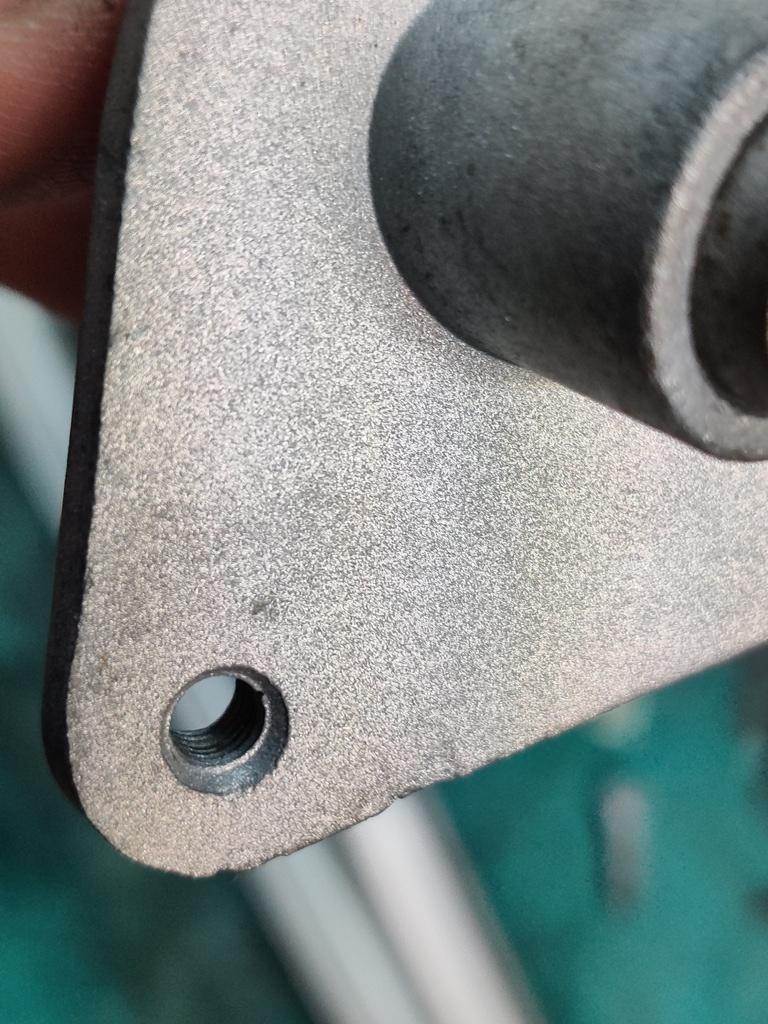
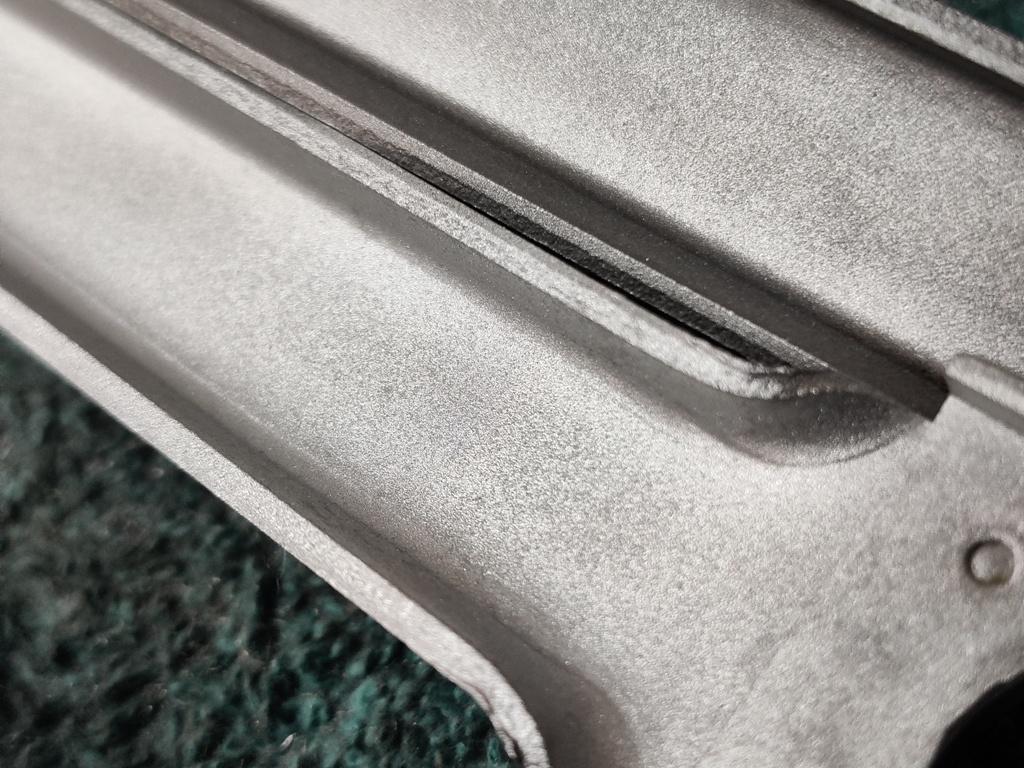
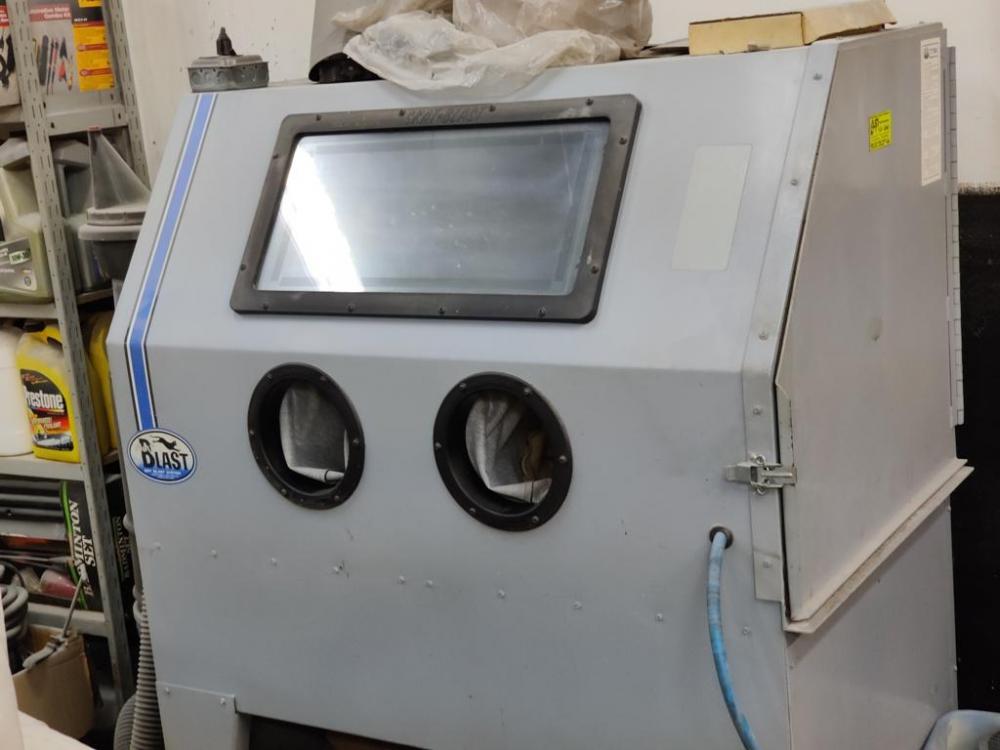
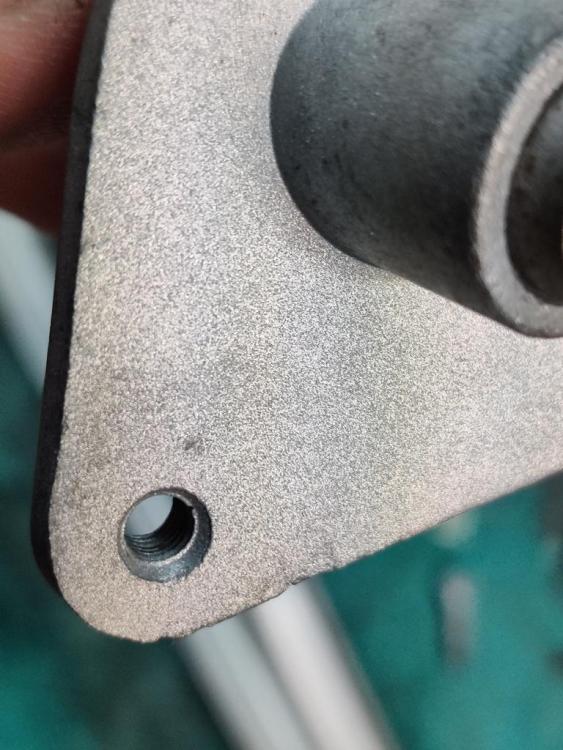
Thought I would post a pic of my glass bead cabinet and beads I am using. I've had the cabinet for about 20 years or so. I LOVE using it. The beads I am using are these which I sourced from Northern Hydraulic. It is nice to be able to buy them and not have to pay high shipping rates. The finish can be played with a bit by adjusting pressure and distance from the work. For the most part, I have been using 90 psi and varying distance. Stripping is quick. The finish is nice and easily polished by hand pretty quickly. Aluminum part: Steel part: I stayed away from the joint, for the most part, so you can se the transition of beaded surface to not beaded. Of course, I thoroughly cleaned the part after blasting.


-
Any idea if they were original? Some visible marks on mine tell me they might be, but I couldn't be happier with how tight they are.

-
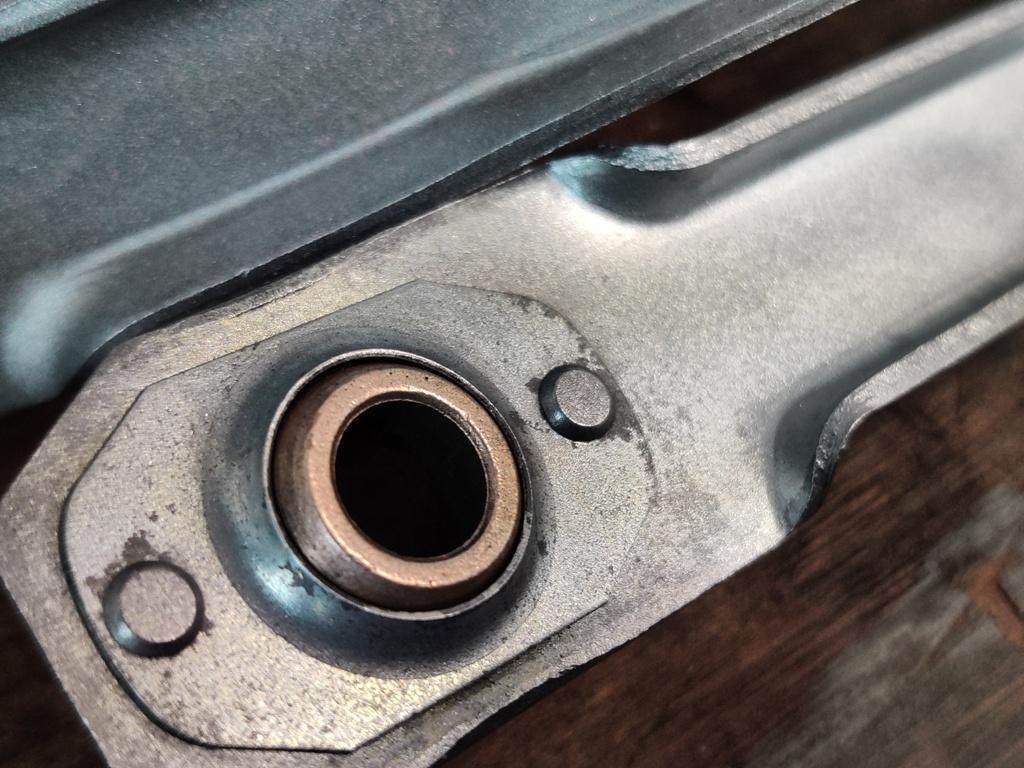
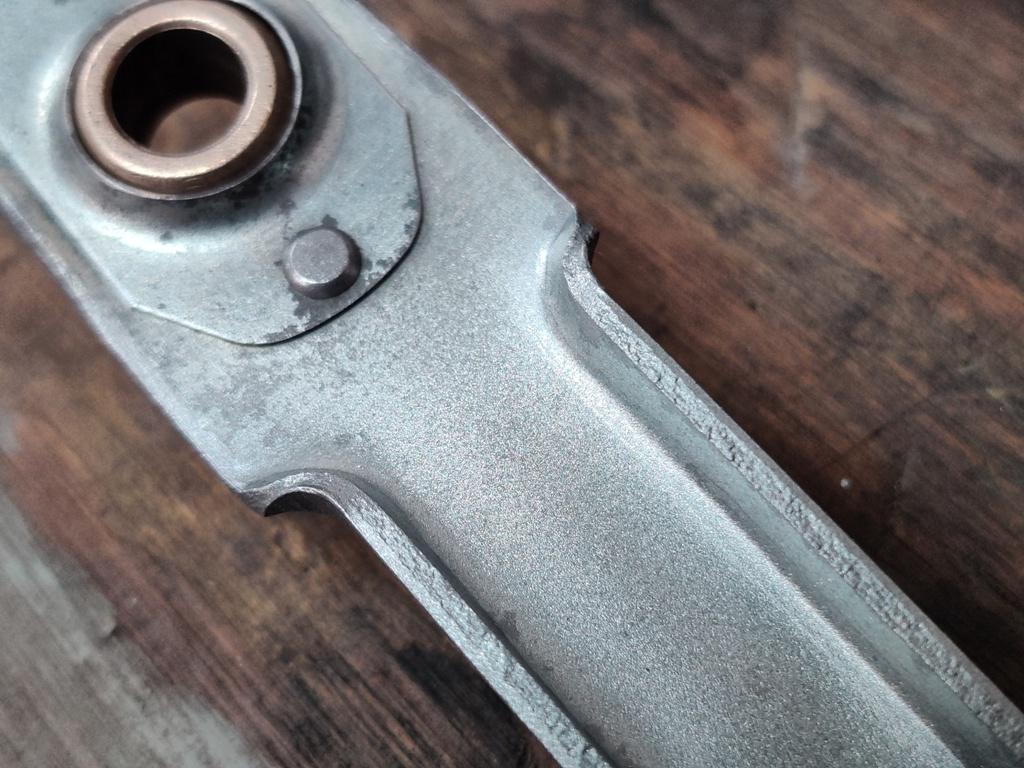
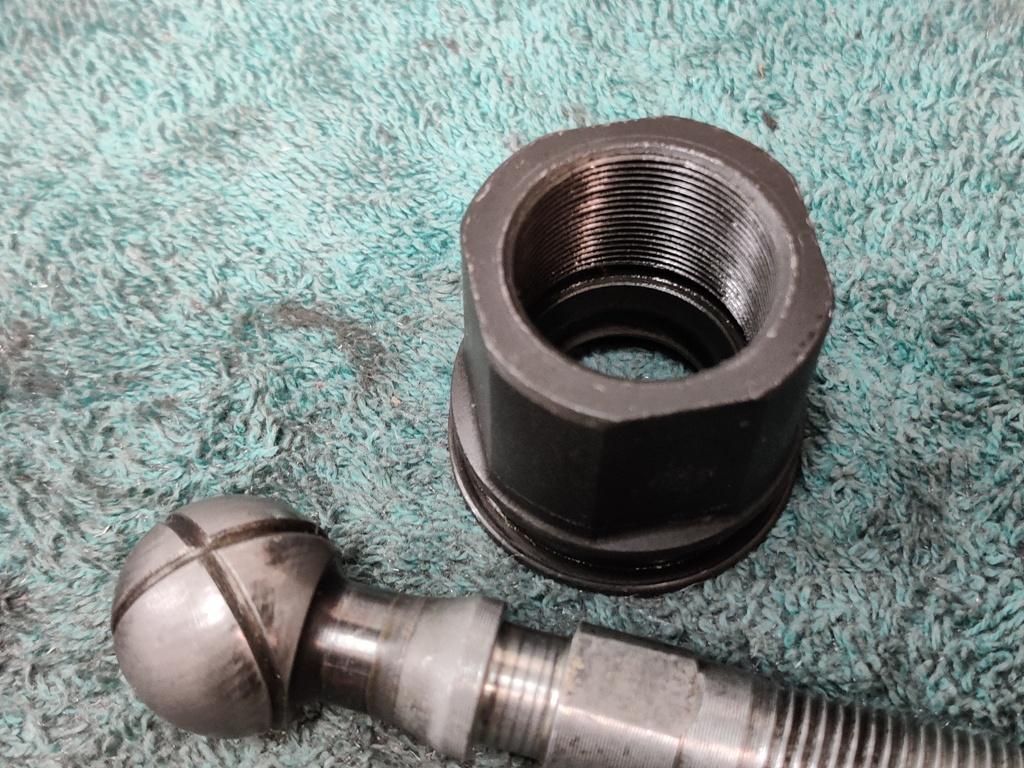
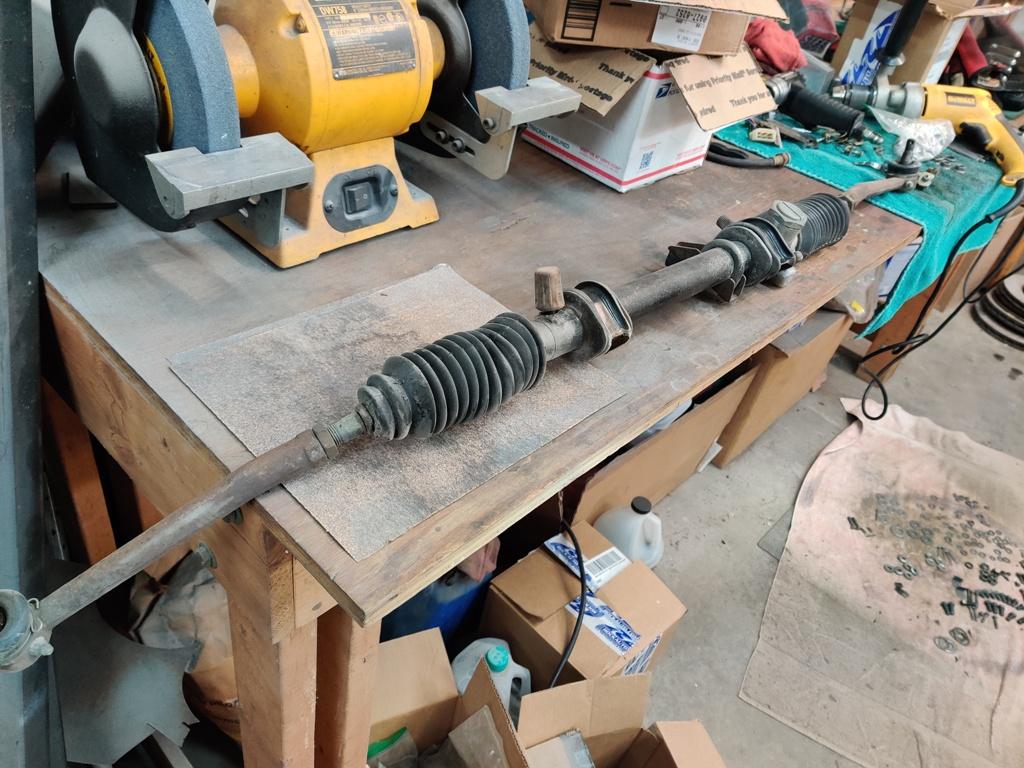
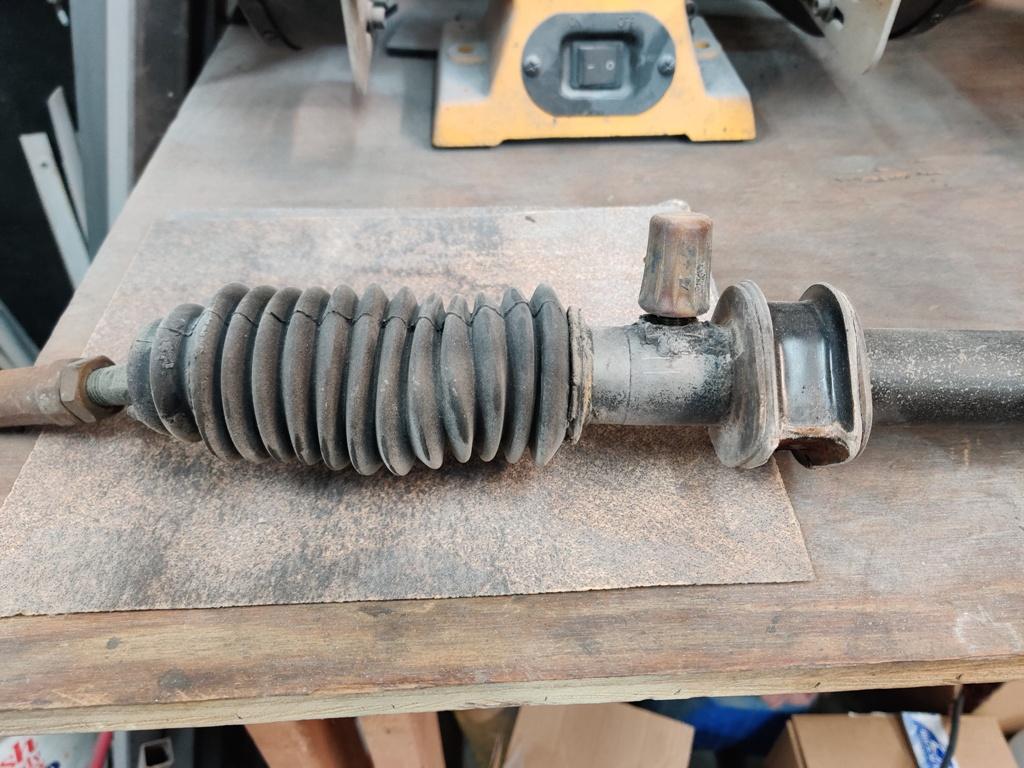
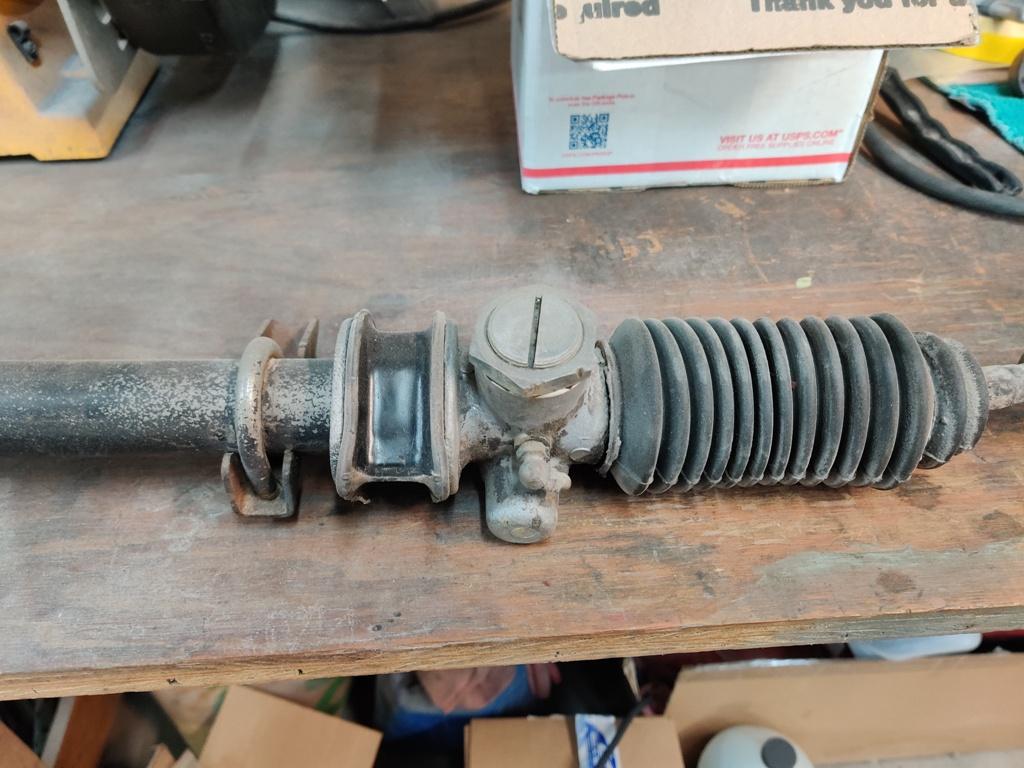
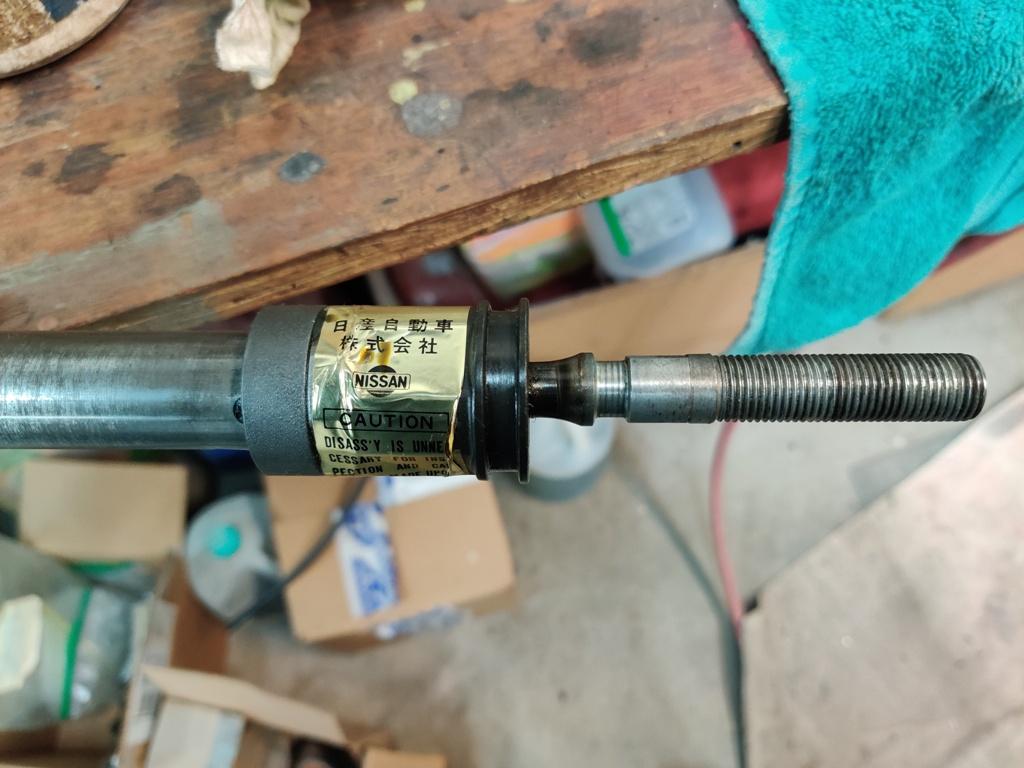
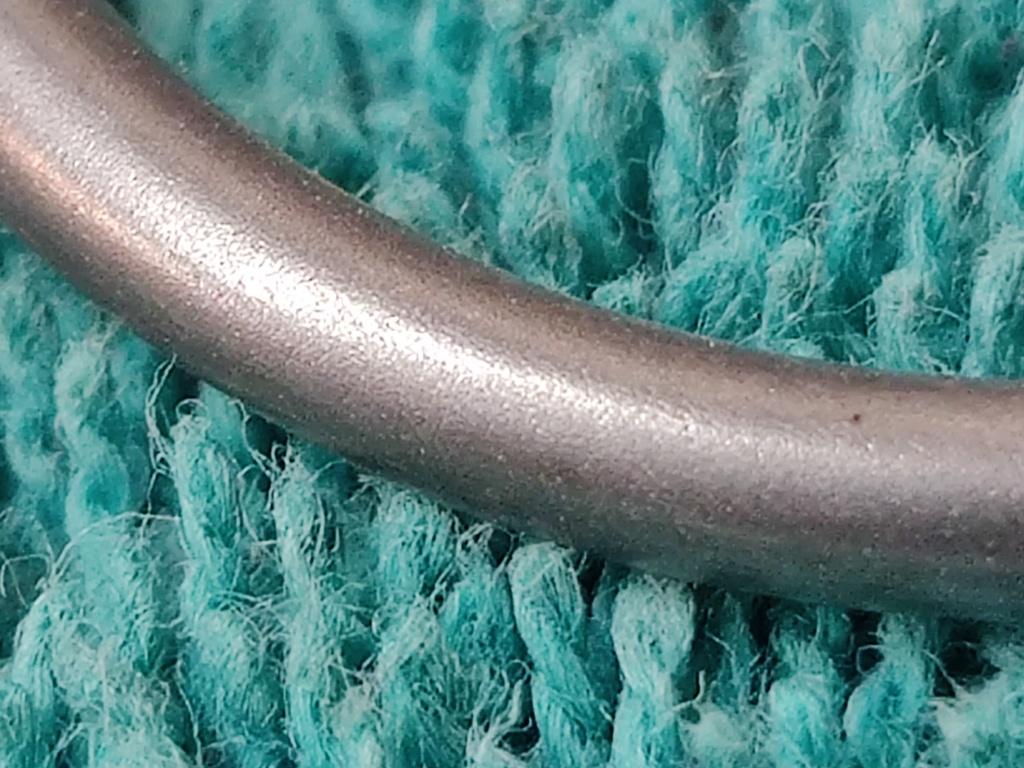
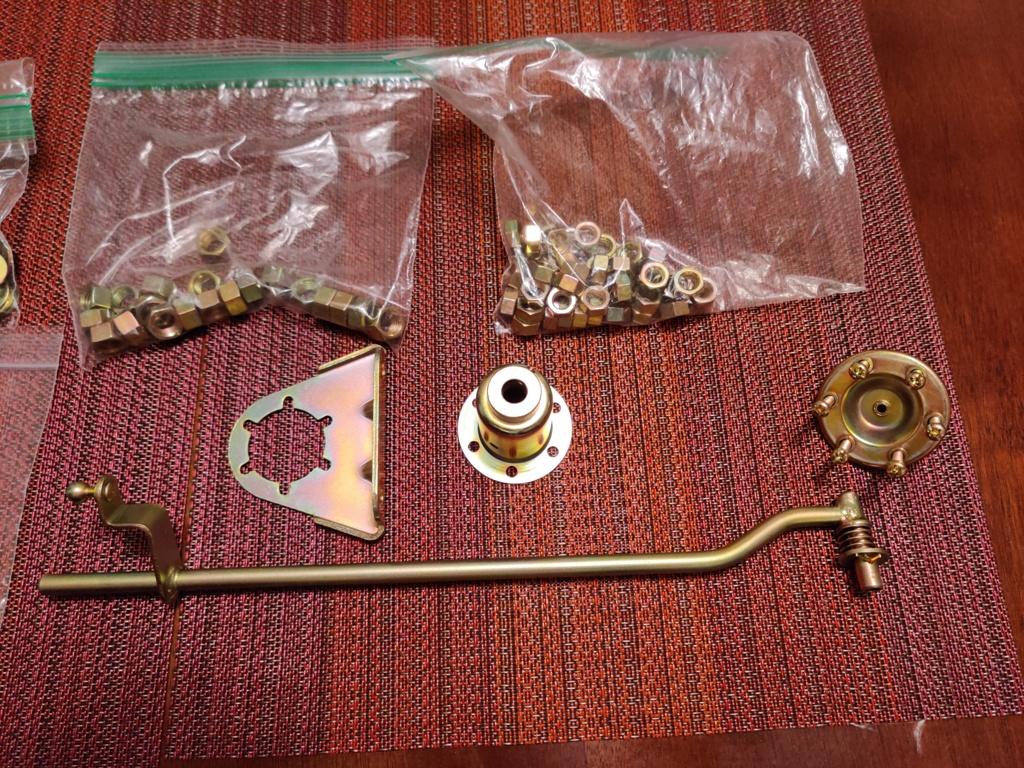
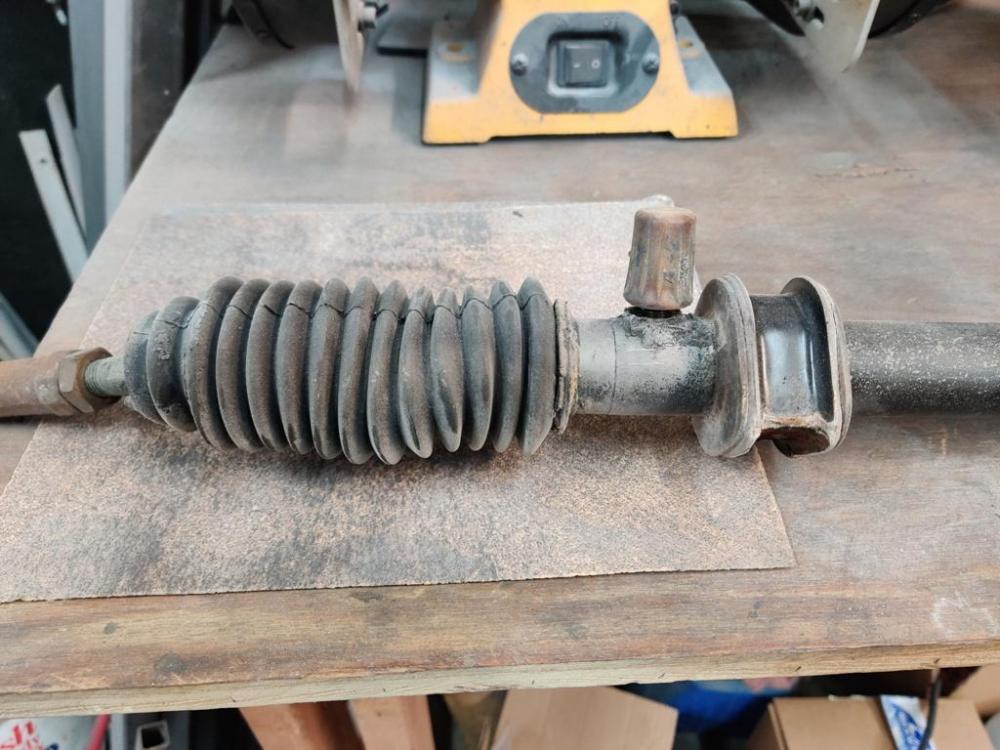
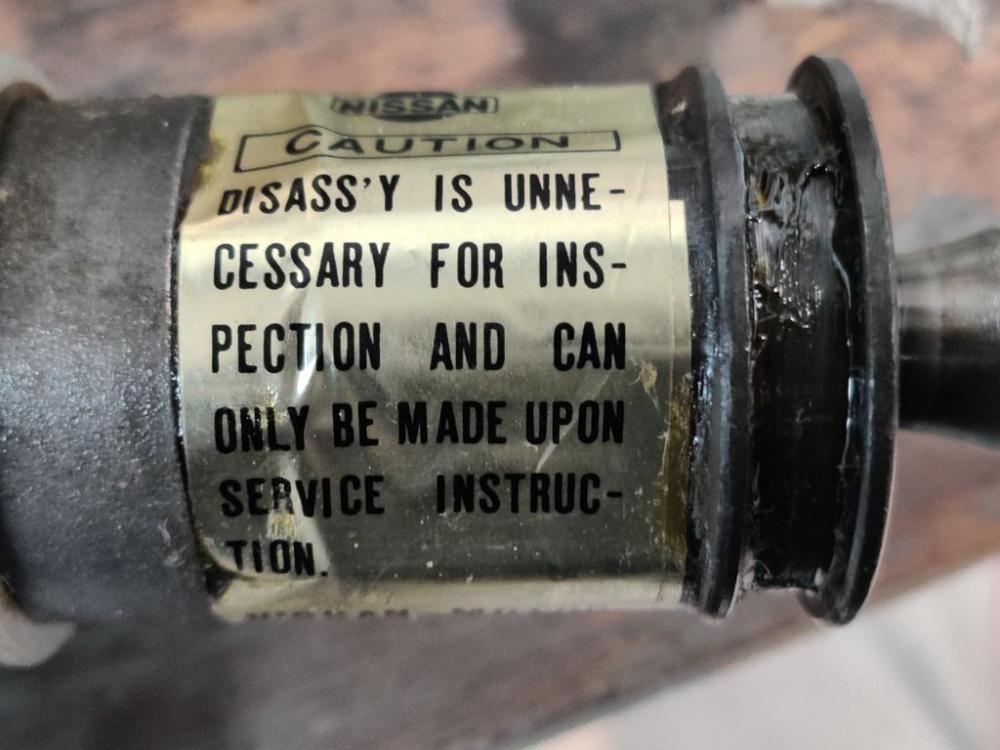
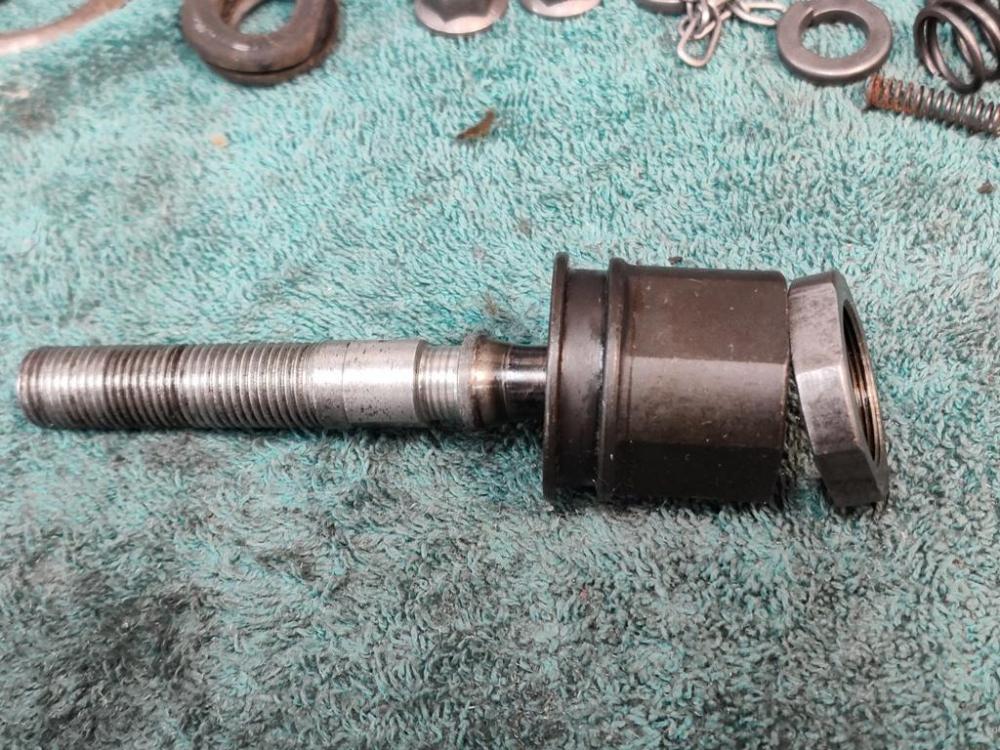
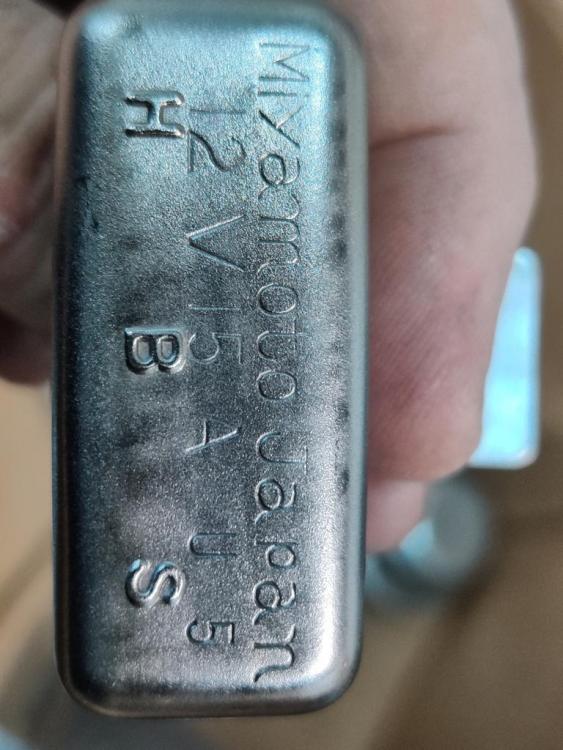
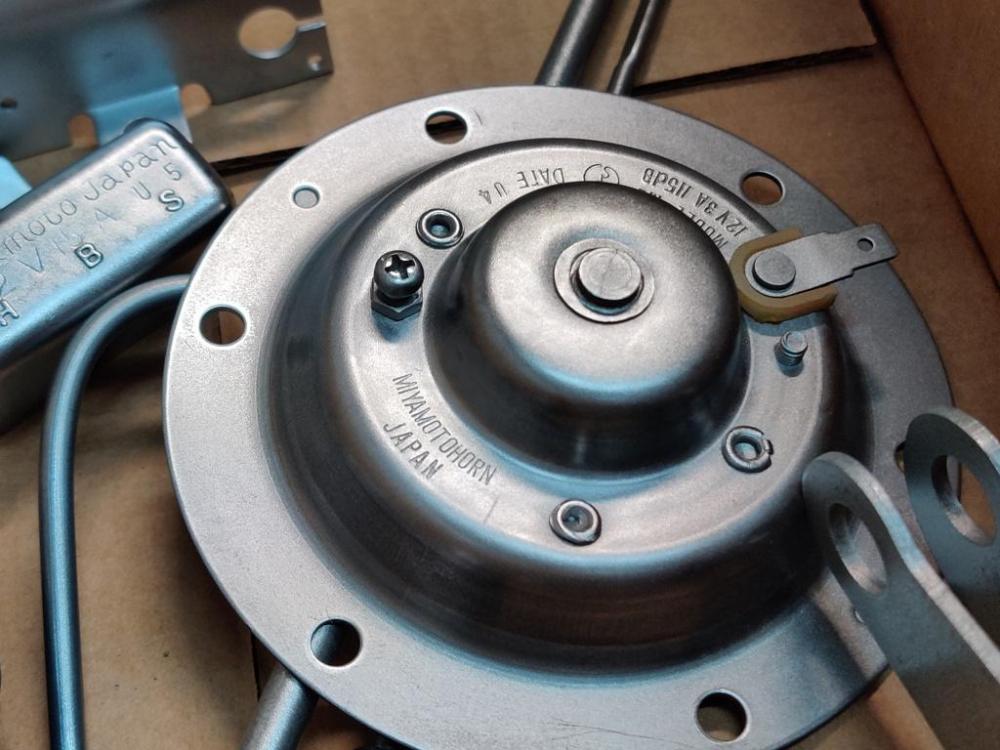
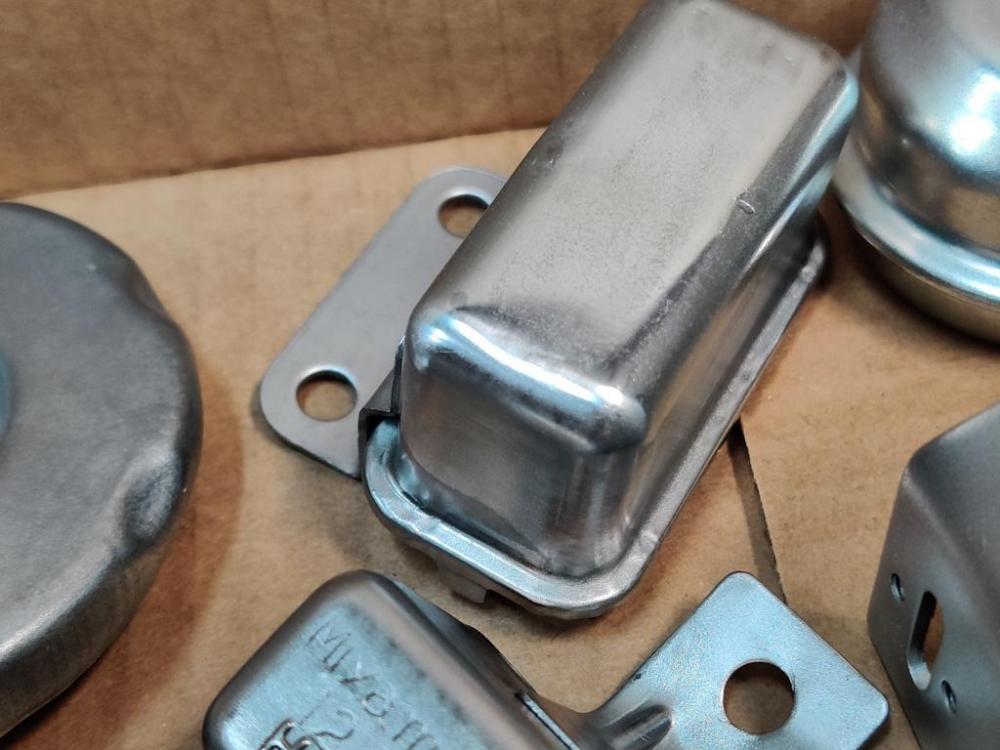
The steering rack was the target of attention today. New, aftermarket outer tie rods will be replaced with NOS original ones that I have. Boots were available new from Nissan, so these are getting replaced: When I removed the boots, I was surprised to see this: I have never seen these labels before... The inner tie rods are in great shape. I was able to lift the rack off the work bench by apply lifting force to the end of the threaded ends (both sides). I thought, maybe these were replaced by the prior owner, but I don't know. After taking them apart and examining the wear surfaces, I'd say they are not new. That is another thing that is very odd - I've never seen inner tie rod ends on a 240z where the socket and nut were not welded together. These are not, so I was able to remove them, clean everything meticulously, an examine the surfaces of the ball and socket. So much for the gold stickers... And, what were they trying to say anyway?! Garrett


-
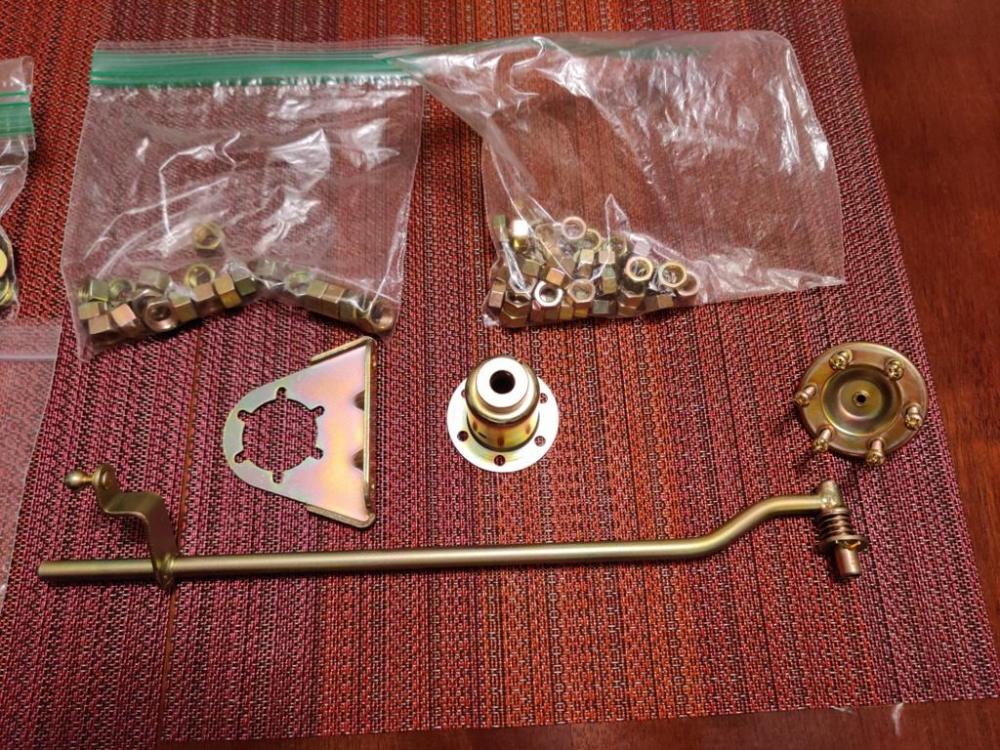
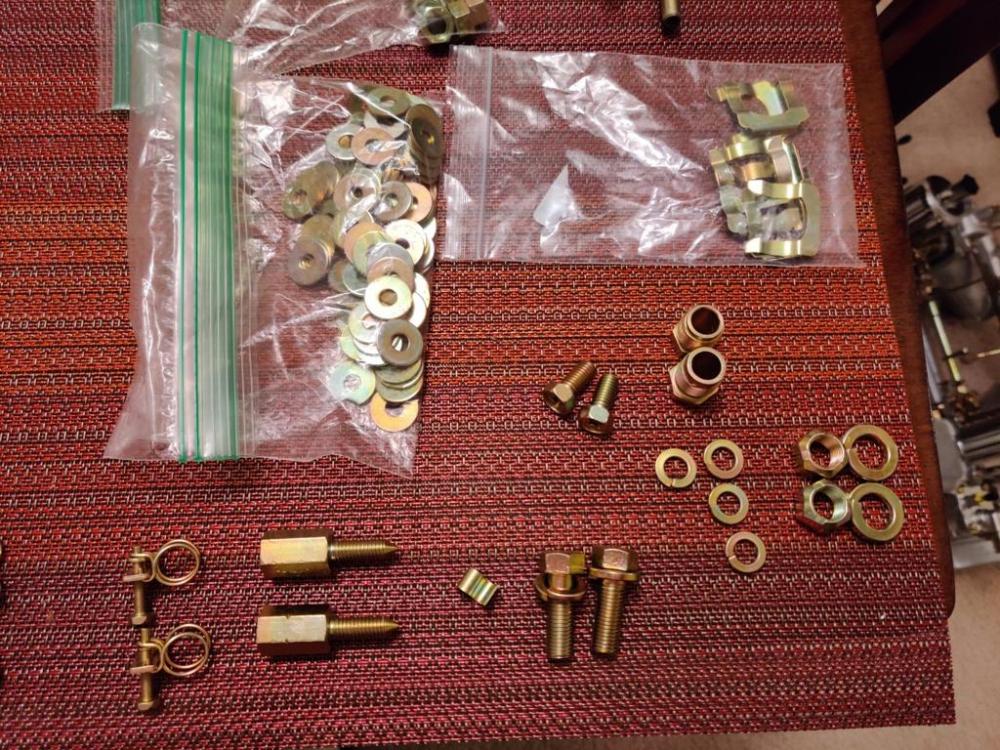
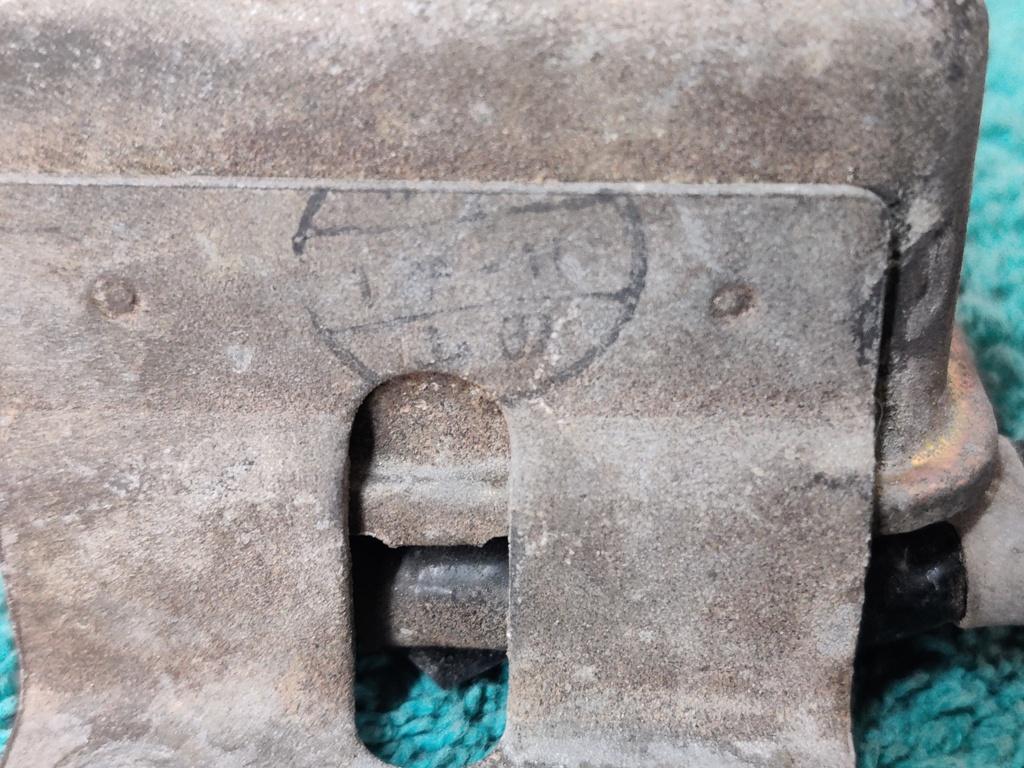
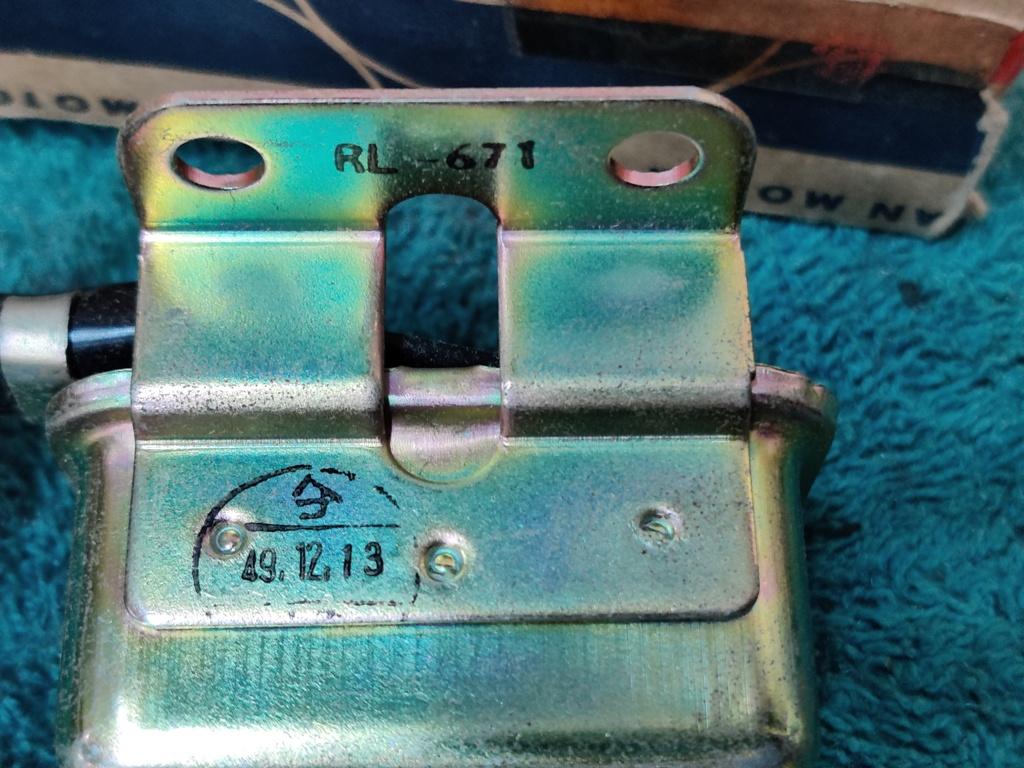
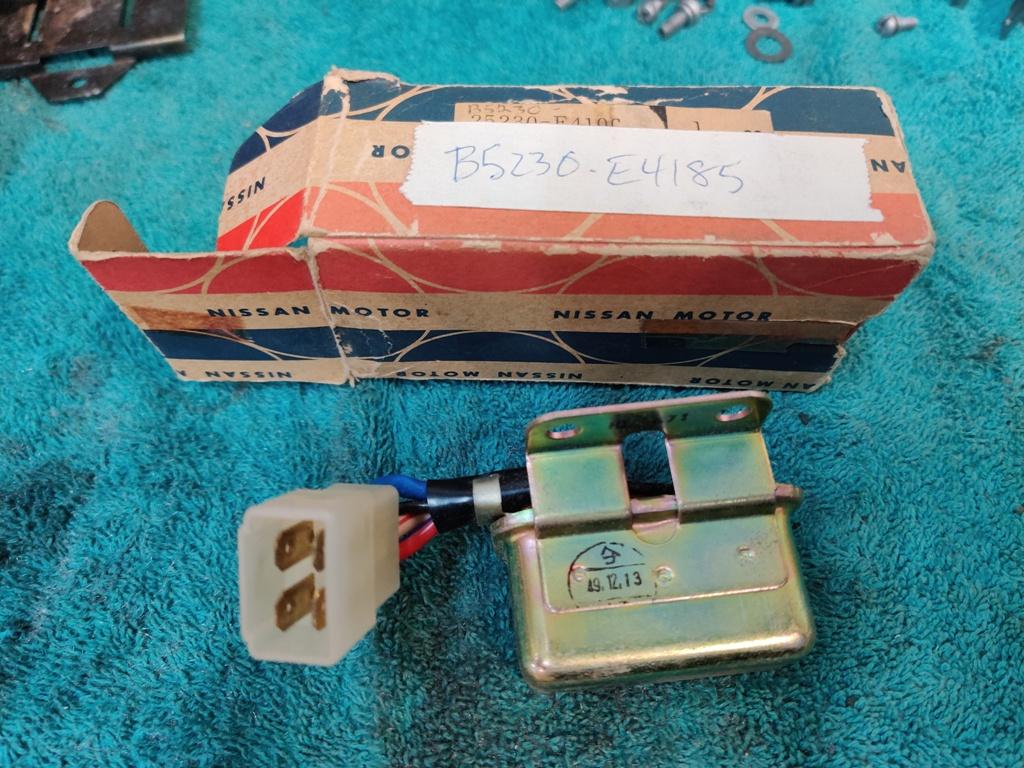
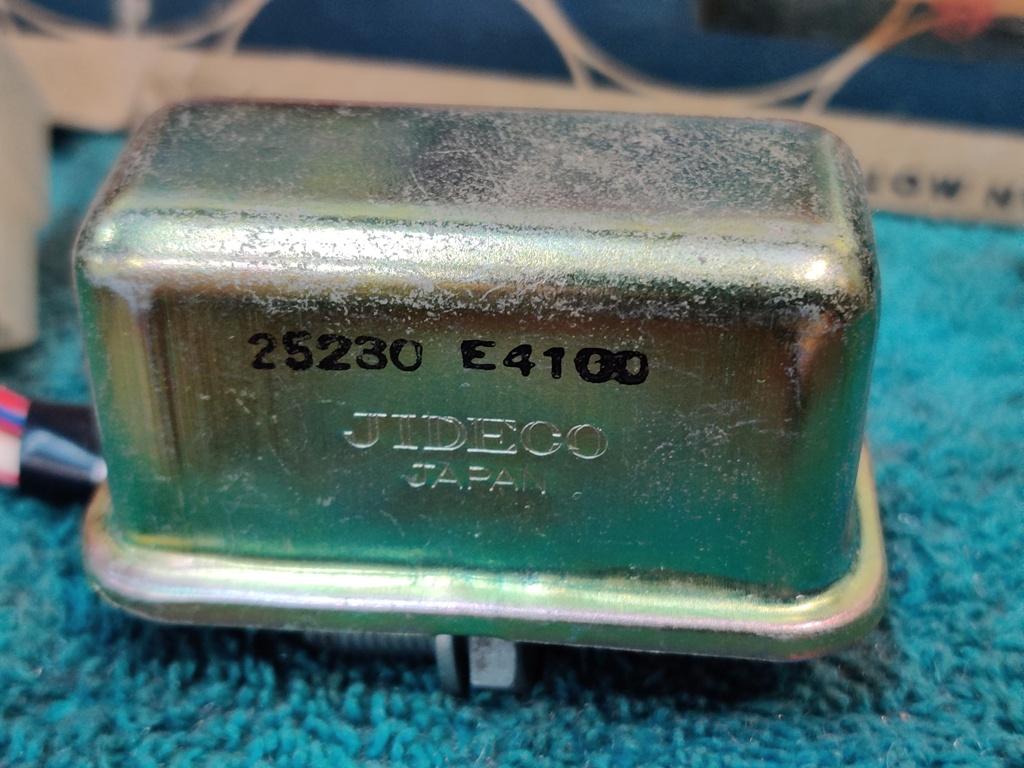
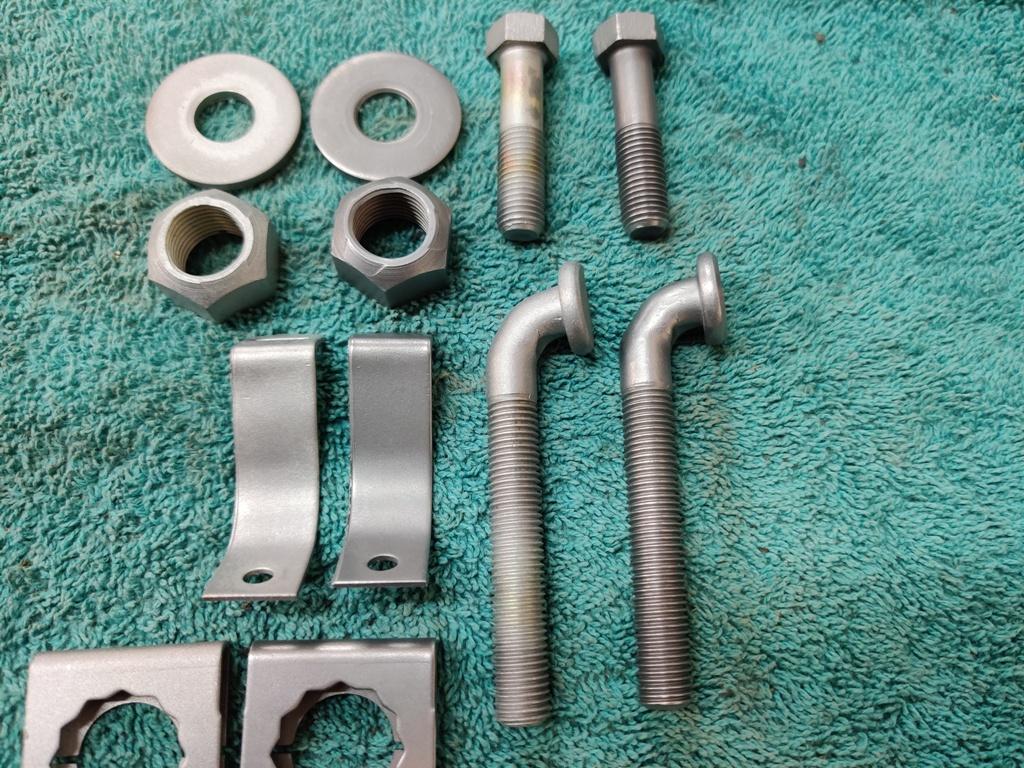
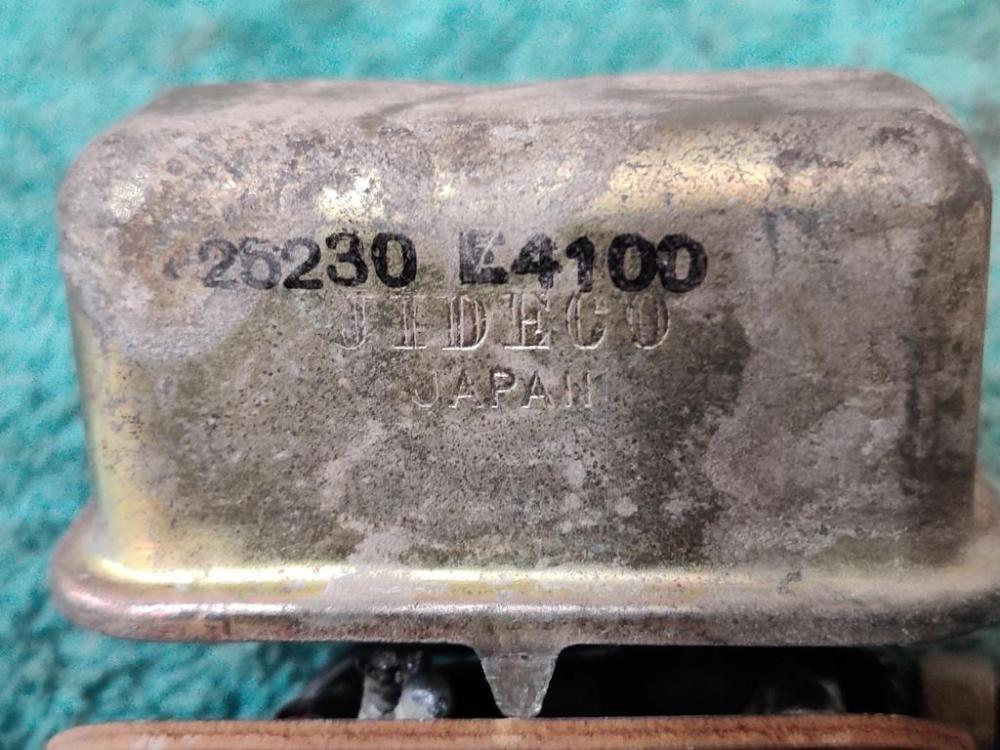
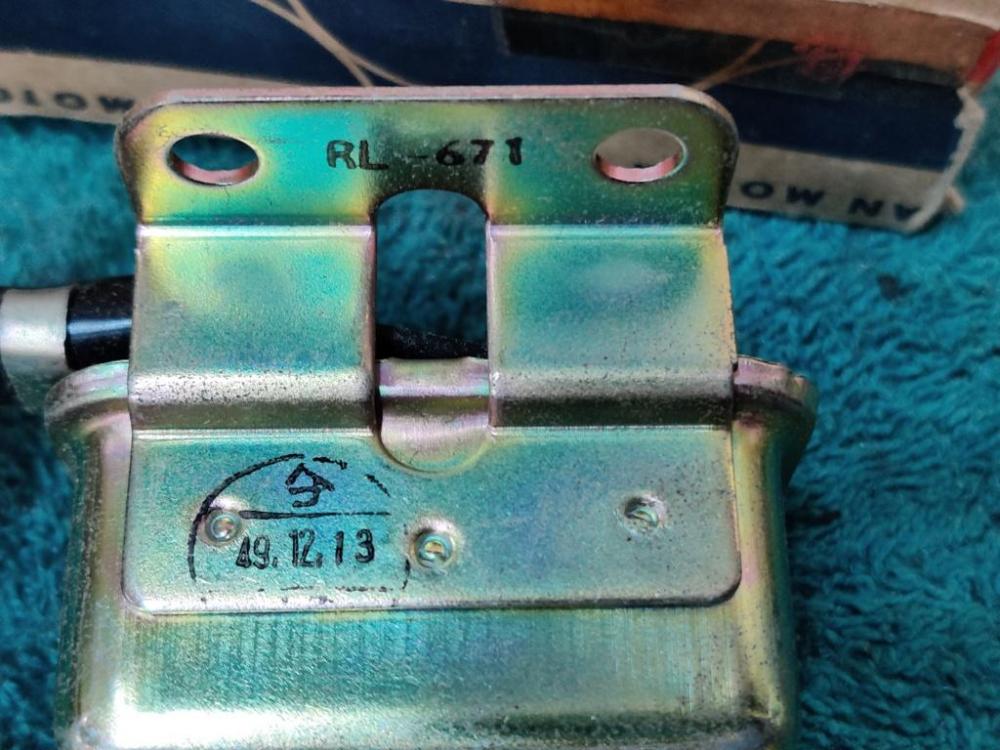
I see. So, full removal is not necessary. Interesting. I took some pics of the hardware that has only been glass bead blasted and run through the tumbler for 2 hours: This is maybe half of the fasteners. Doing them with a wire wheel by hand would be a lot more time. And holding them would be crazy difficult as so many of them are small. I am hopeful I don't have to resort to wire brushing all of these. I have one more treatment in mind to try out in the tumbler. I bought some corn cobb media and have some "semi chrome" metal polish. When I get all of the fasteners through the beading and stainless bit tumbling, I will try a batch in the corn cobb and metal polish. Theory is that the corn cobb will pick up the polish and act like little polishing rags. Will just have to try it out. However, I may not need to prep the fasteners further to get close to the factory finish? It is hard to say without some first hand experience, I guess. Another NOS item I had laying around (pics of original relay first): New Old Stock Relay:


-
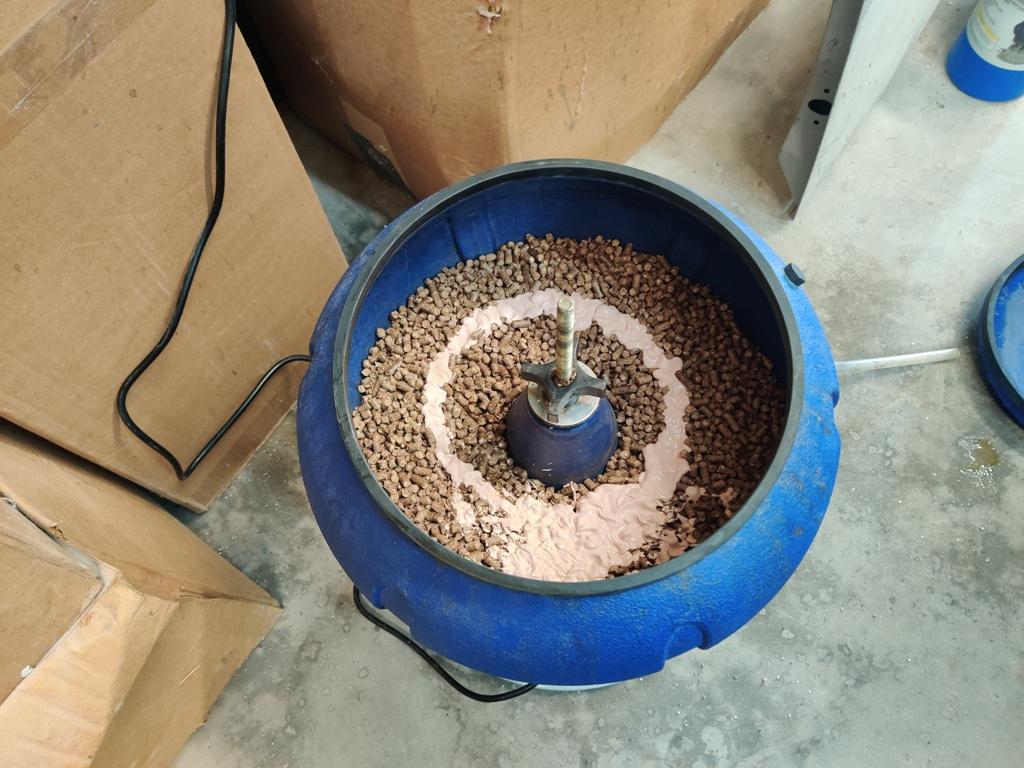
Ahhh. I was wondering about places the wire wheel can't get to. My prep thus far for all nuts and bolts and washers has just been to degrease, then glass bead blast (I have beads that are not roughing up the surface much), and then 2 hours in a 18 lb capacity vibrating tumbler with 15 lbs of stainless bits (media), some water, and a tiny bit of citric acid for 2 hours. Then, remove from the tumbler and dry with a towel and compressed air. For parts too big or awkward for the vibrating tumbler, after bead blasting, I do a bit of hand "polishing" with #000 fine steel wool. For the horns, I used a dremel lightly and then followed with #000 steel wool. I have experimented a bit with using #000 steel wool on some parts after running in the tumbler for 2 hours. I am going to try one more media experiment in the tumbler to follow the two hours in stainless bits and see how that turns out. OHHH! I was thinking I'd be able to send anything, no matter how small. Wow. That is going to be a big help. I have tiny washers and screws... tiny hardware from parts like the front turn signal lights, for example. Thanks!
-
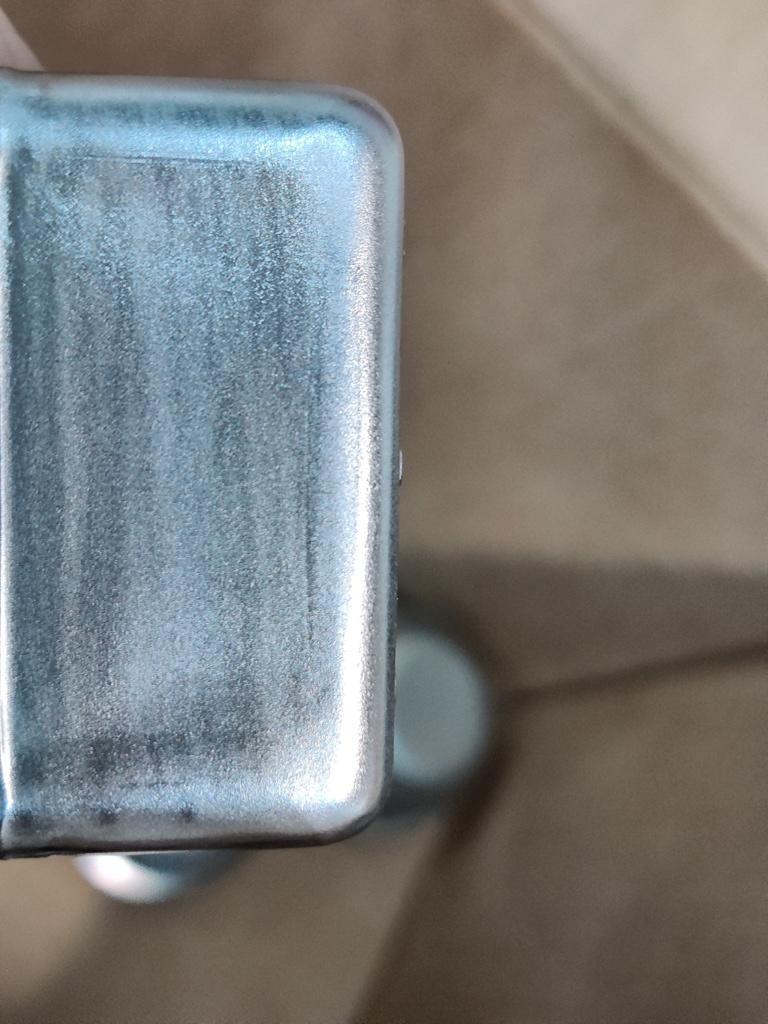
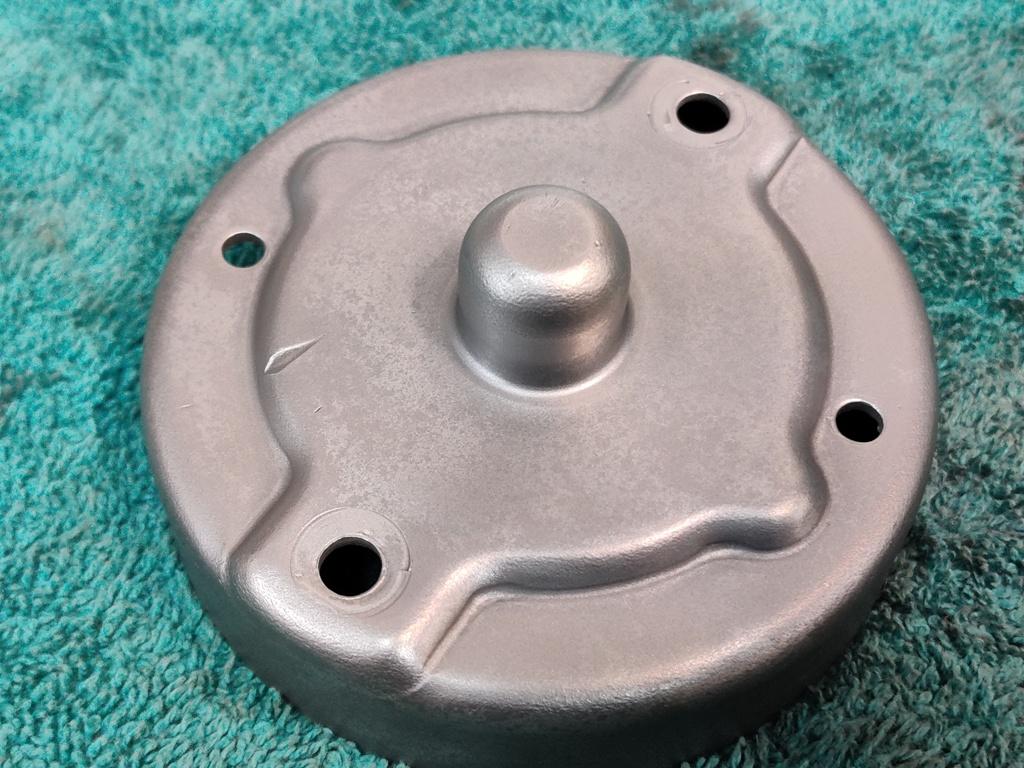
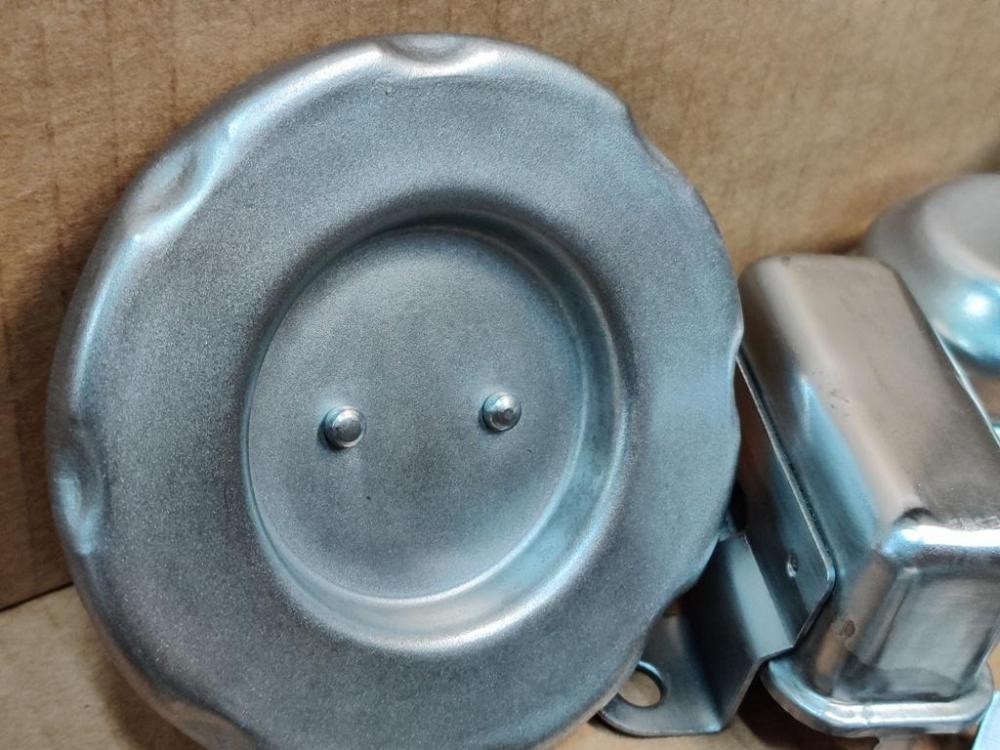
Oh, interesting. I didn't realize all the old plating has to come off. Good to know. I have a few new parts that have clear zinc on them which I will be sending off to be get plated again and finished with yellow chromate. I see. Well, I have a couple of questions then. How do these look? Additionally, when using the dremel with stainless wire brush I am getting some of this (uneven polishing): I assume that is not desirable? These horns - they need more work? With regard to this relay cover, it had some imperfections (dents) which I straightened. I ended up hitting it with 1000 grit sand paper (wet) for a bit to try to help it. It is notably more shiny than other pieces in this cardboard box which I have hand finished. Should I be shooting for that level of shine for the larger pieces if my desire is to come close to replicating the factory finish?


-
As I get further along in the process of prepping parts for plating, I feel my anxiety level rising with regard to getting the results that I hope for. At the moment, I don't know what level of shine needs to be on the parts to get the results I am looking for. I am having a hard time finding relevant videos on Youtube that provide guidance in that regard. Surface finish has an effect for sure. But, what surface finish should I be shooting for? I don't know. Also, I had some level of comfort relying on knowing a plater that returned good results .vs using a plater for which I have not seen pictures of their results. Granted, I understand now that my level of comfort may be misplaced given your experience. I think the parts, as they come from the vibrating tumbler after 2 hours in stainless steel media, are not shiny enough. For some parts, like hard brake line brackets, for example, I have experimented with polishing them by hand briefly with super fine steel wool. Also, some parts will not fit in the tumbler. For those, I have bead blasted and used the same super fine steel wool (aggressively). But that is a lot of work. Also, I have purchased some corn cobb media and plan to experiment with that, instead of the stainless media, plus some amount of "Semi-Chrome" metal polish added to see what that does as another treatment. I will post some pics a bit later.
-
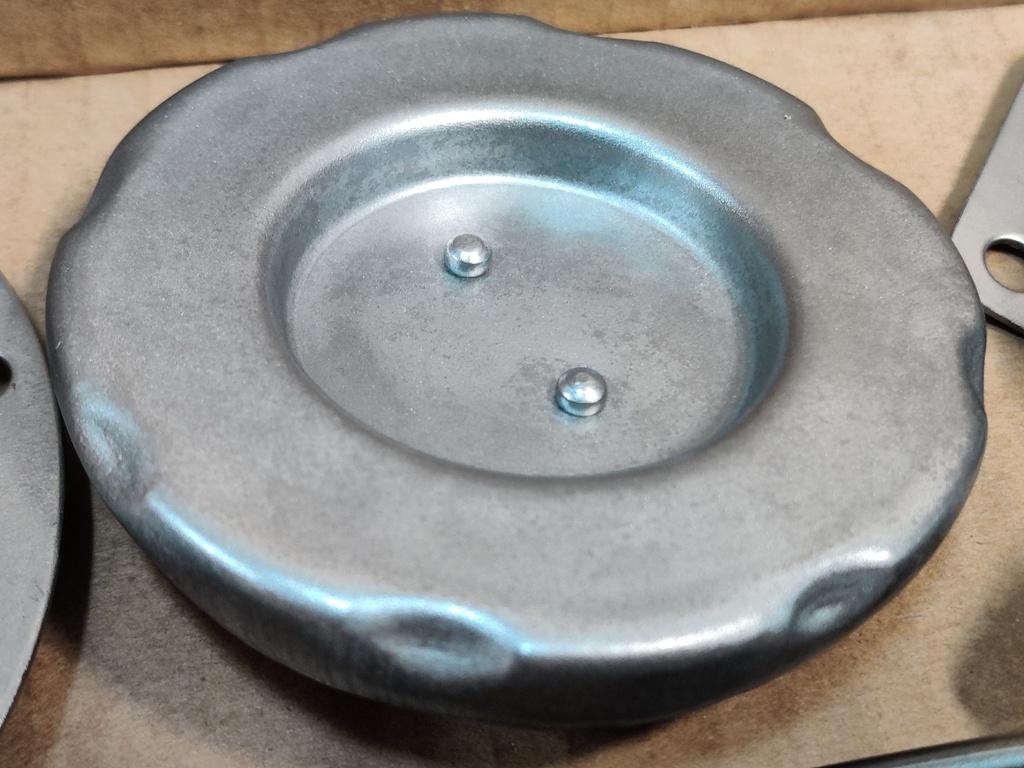
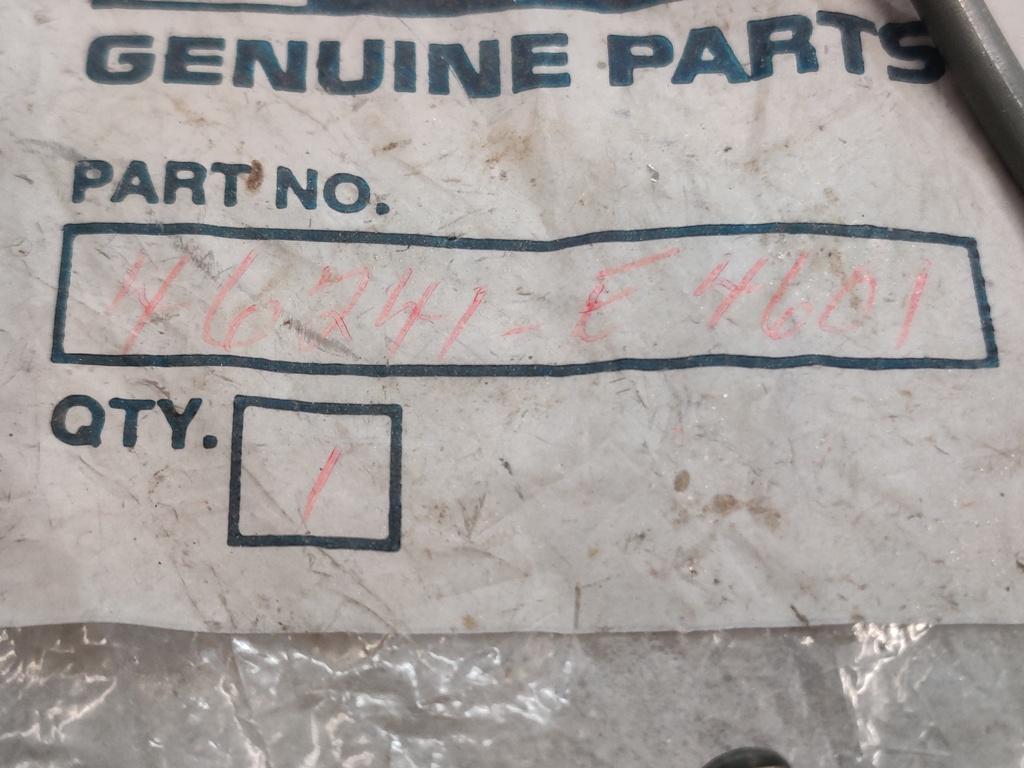
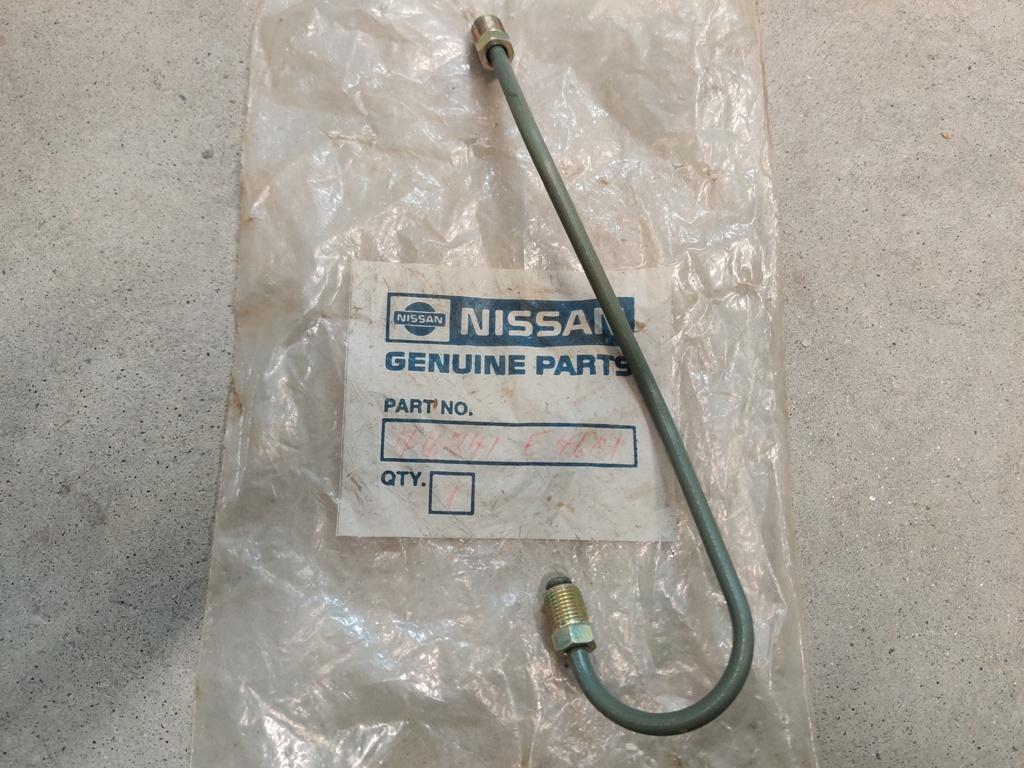
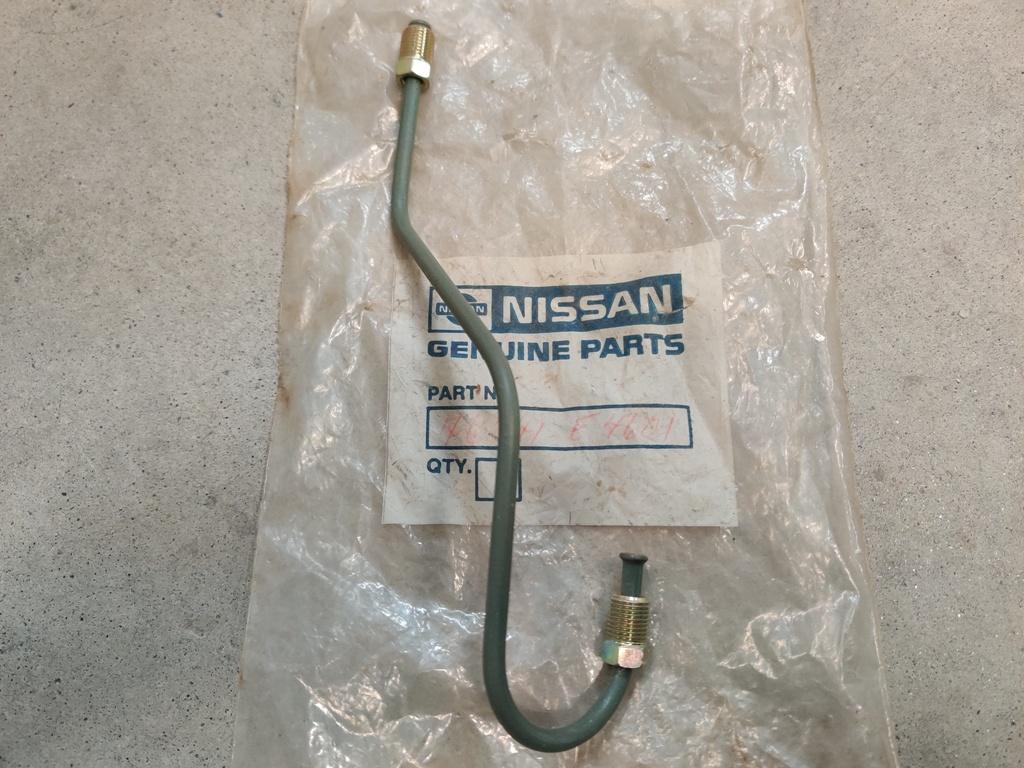
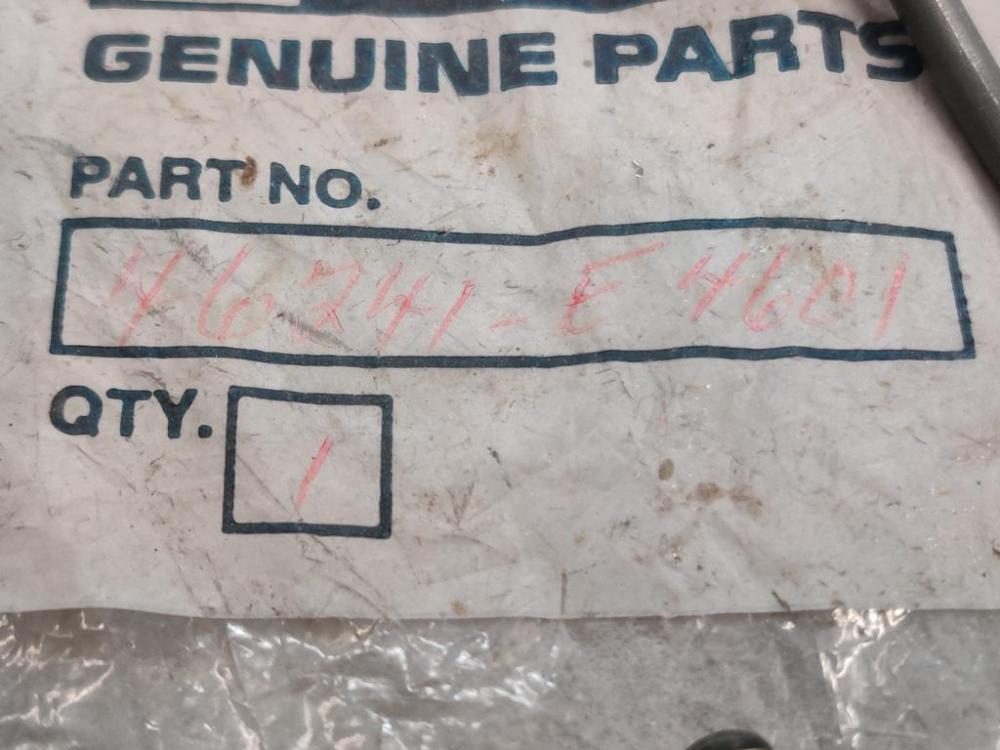
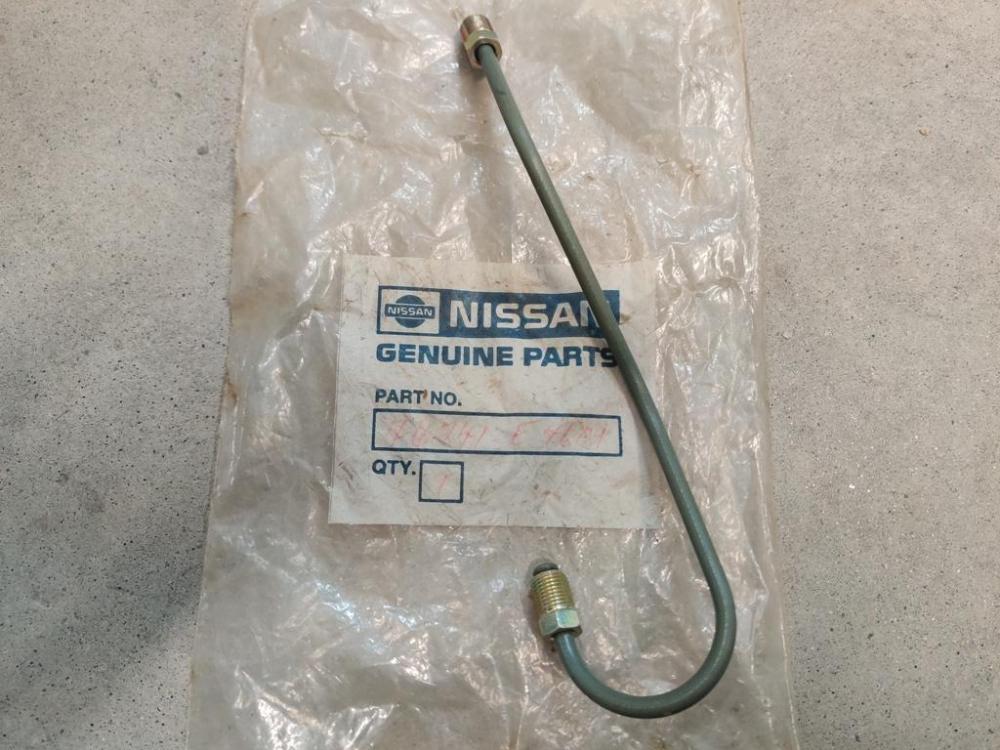
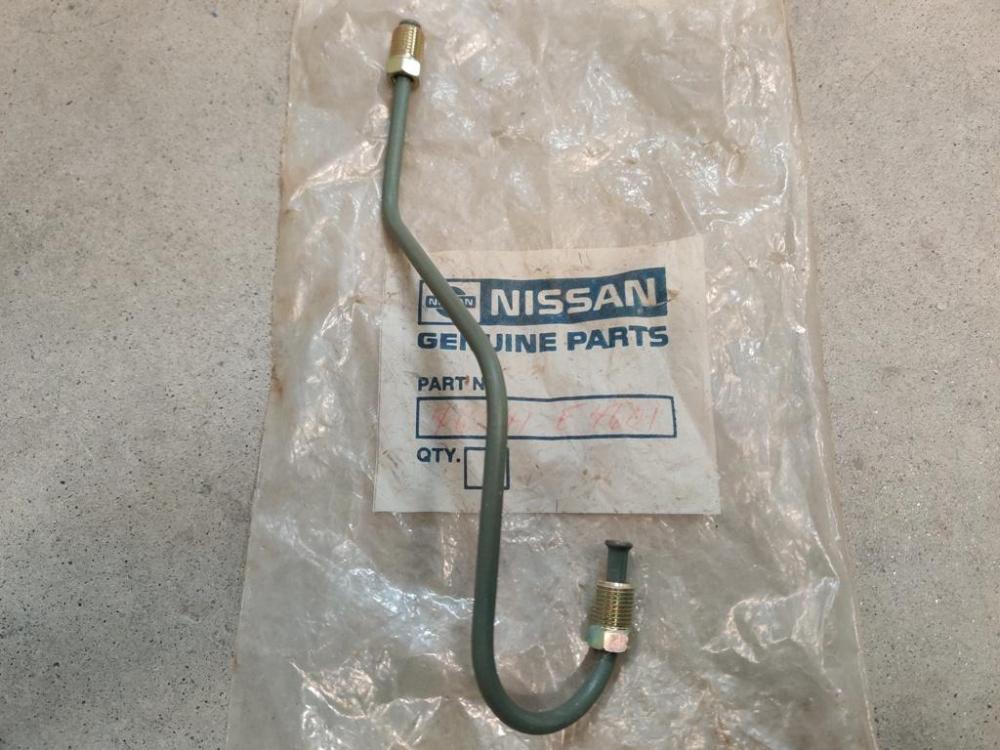
Not saying that the lines weren't gold colored, but I sourced this part in the early 90's from the dealer and it has whatever green coating that the later cars have. I find that of interest. Not sure why they switched to this treatment. Part is for Z's up to 9/71: 46241-E4601
-
Today, I experimented with my vibrating tumbler. I chose from parts I had already bead blasted and grabbed one of a few parts. I ran them in the tumbler for about two hours. I will post a few pics of my set up and media later. I did some searching on Youtube before deciding how to proceed. Following are some pics. I am not going to resize them like a typically do so the difference is easier to see. Glass bead blasted part is on the right (glass bead blasted and tumbled on the left): Glass bead blasted part is on the right (glass bead blasted and tumbled on the left): Glass bead blasted part is on the bottom (glass bead blasted and tumbled on the top): Glass bead blasted part is on the bottom (glass bead blasted and tumbled on the top): Glass bead blasted part which has been tumbled is on the right in each pair: For the large bolts in bottom of pic, blasted and tumbled one the top one.


-
Whoa! Thanks for the piece of information. https://www.facebook.com/JIMC123/ "For your auto carpet needs call Jim at 760-877-3403". I agree. I think I will take a shot at deconstructing them and switching a passenger side nylon piece for a driver side one and reassemble. I am sending parts off to be replated, so, will wait to reassemble when they come back.
-
I find the piece I am talking about difficult to name, but it is actually these things I am after: The plastic part wears. The pin that holds it and the spring in place could be driven out, and possibly reused, I guess. Or another pin made to replace it. The dove tails (the parts that are cast and break easily) are still available new from Nissan, though the tapered holes in them for the screws and lock washers are smaller in diameter than the originals on the 240z. Come to think of it, one solution would be to deconstruct a passenger side one (less wear on the plastic) and swap that piece over to a driver side. 😎

-
I would have, gladly, but I came across info a year or more back that Chester and Herod closed. Their facebook page has an indication that the business is permanently closed. https://www.facebook.com/chesterandherod1924 Carpet is relatively cheap compared to other parts of the restoration. I would love to have authentic reproductions made.
-
A few parts I have had a hard time finding for my 1971 240z rotisserie restoration and would love to source either from OEM or a faithful reproduction of original: Carpet jute (dark color, correct thickness, etc.) Carpet (best option that I have found that is currently available) Differential rear crossmember washers (upper and lower) with the rubber bonded on them Rubber bushings for the steering rack A quality windshield without the non-factory blue tint strip across the top Antenna... and/or antenna parts Dove tail receiver (bolted to lower part of door latch receiver) Shift knob Hub caps Hand brake handle
-
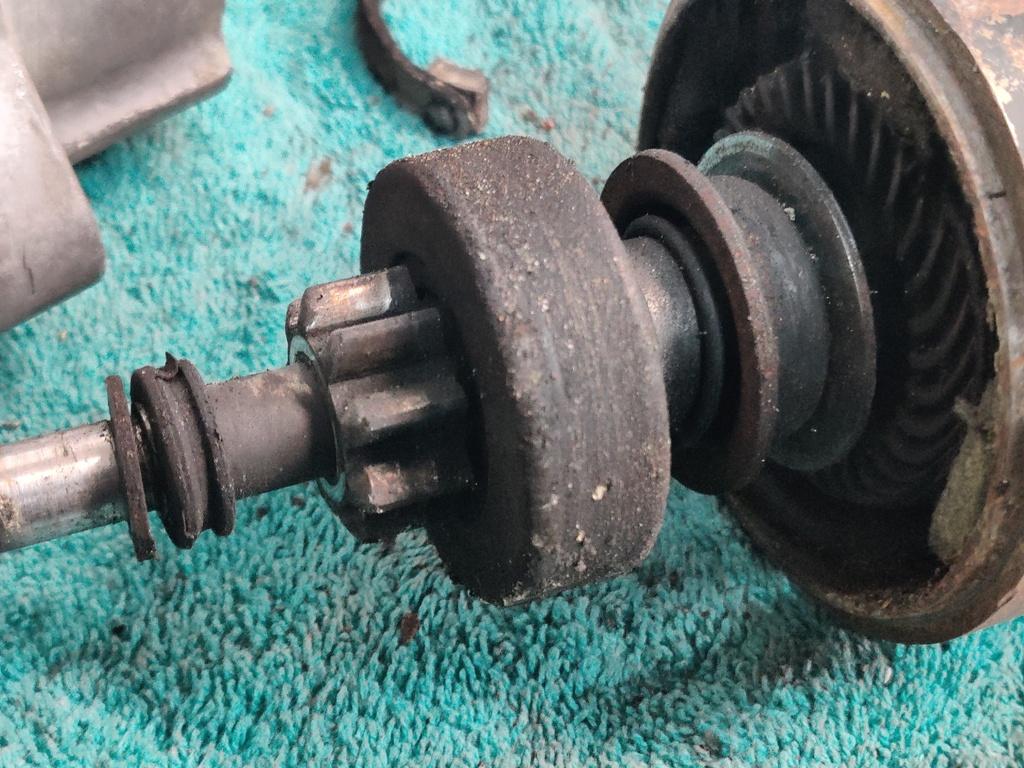
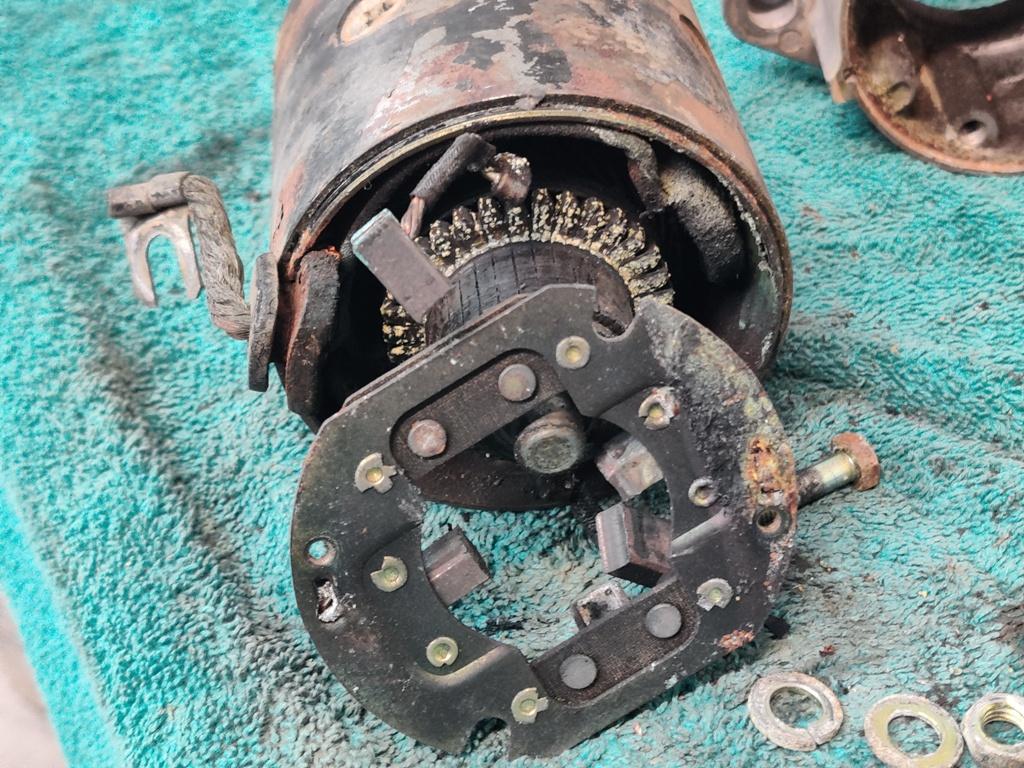
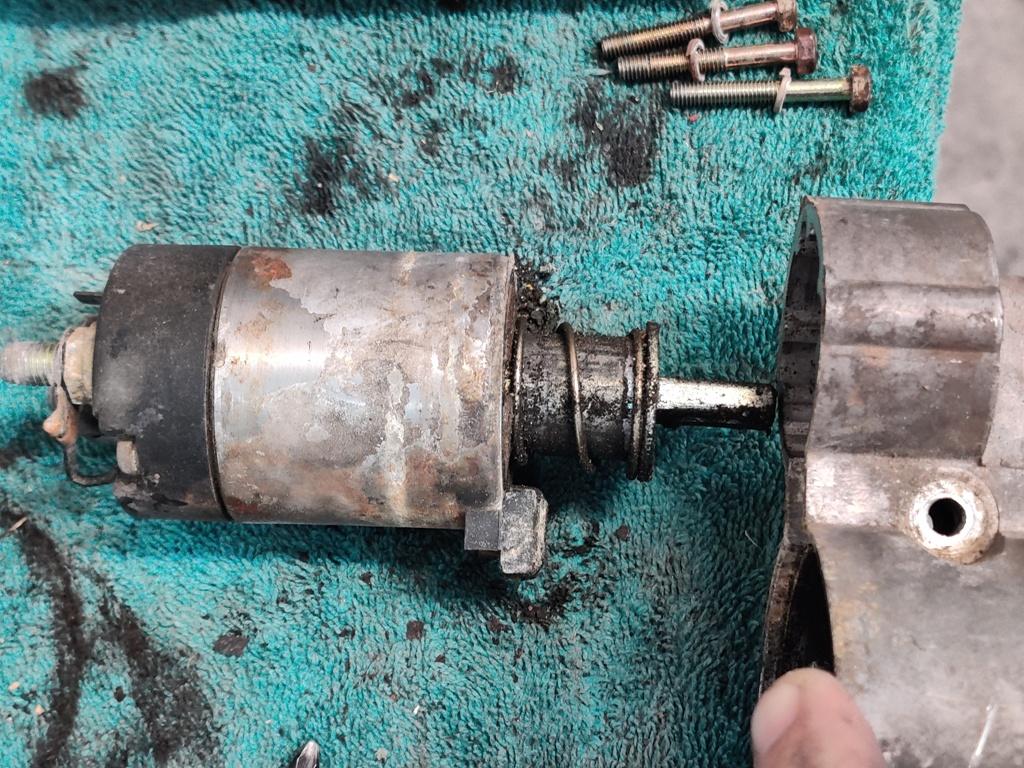
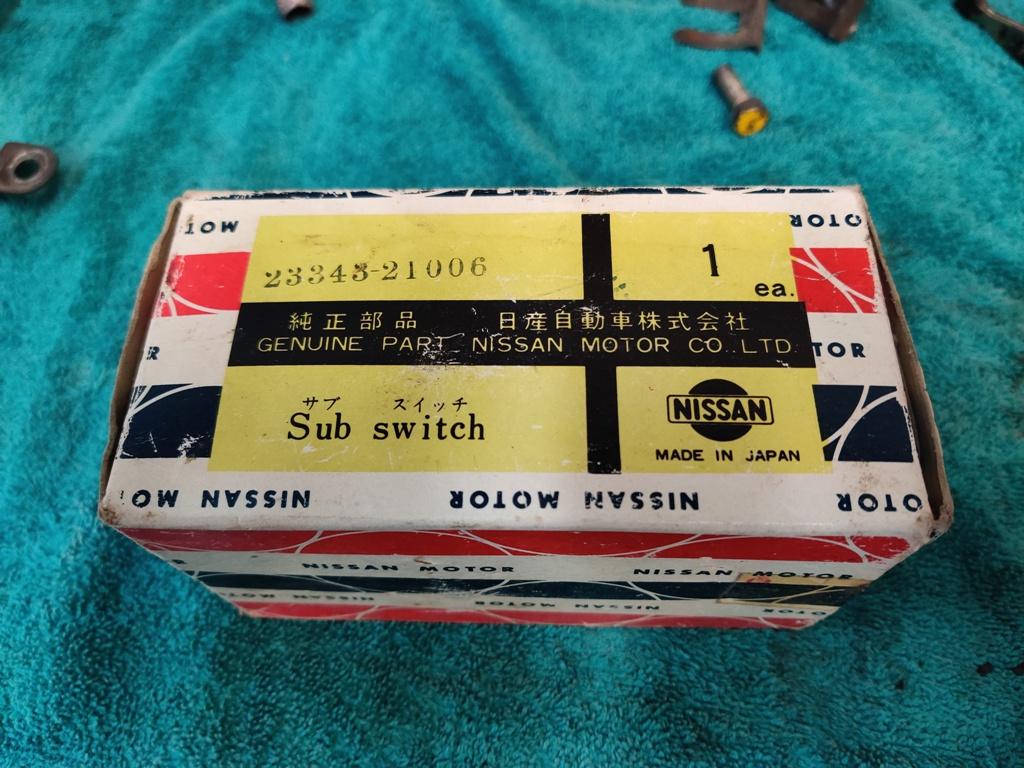
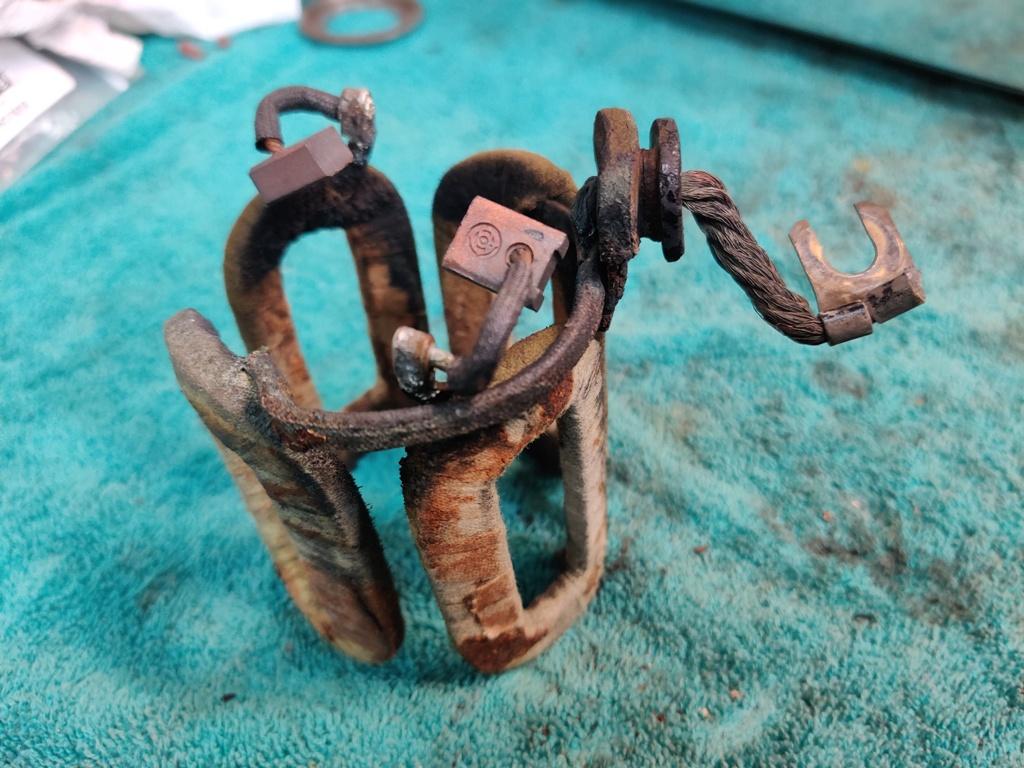
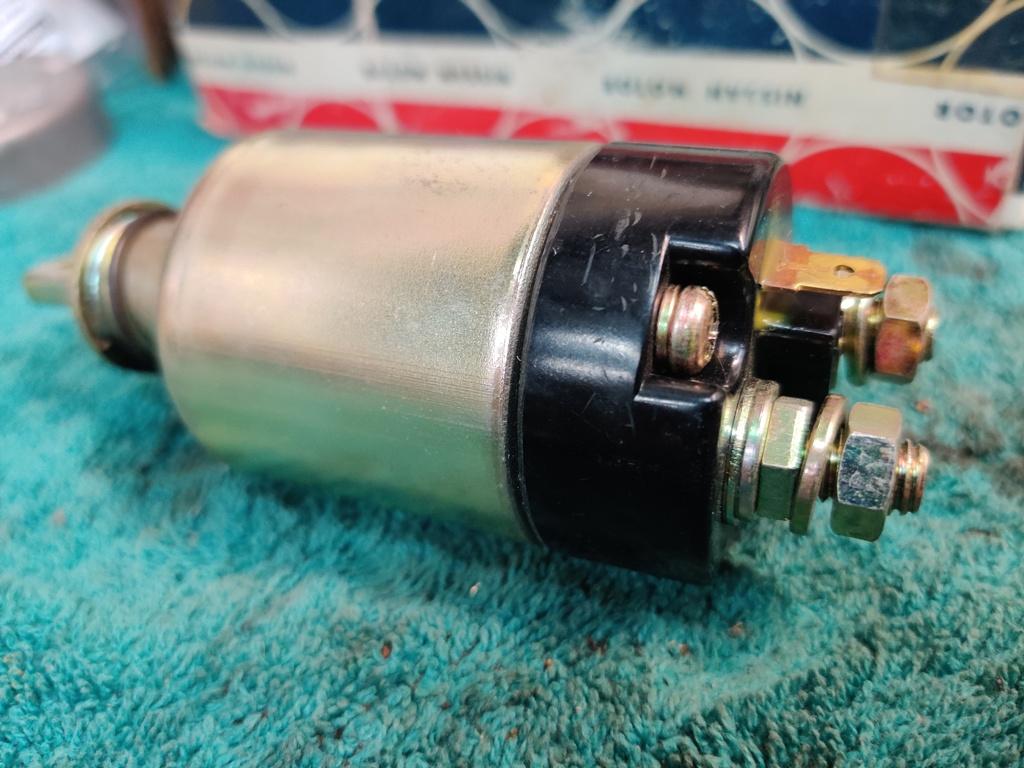
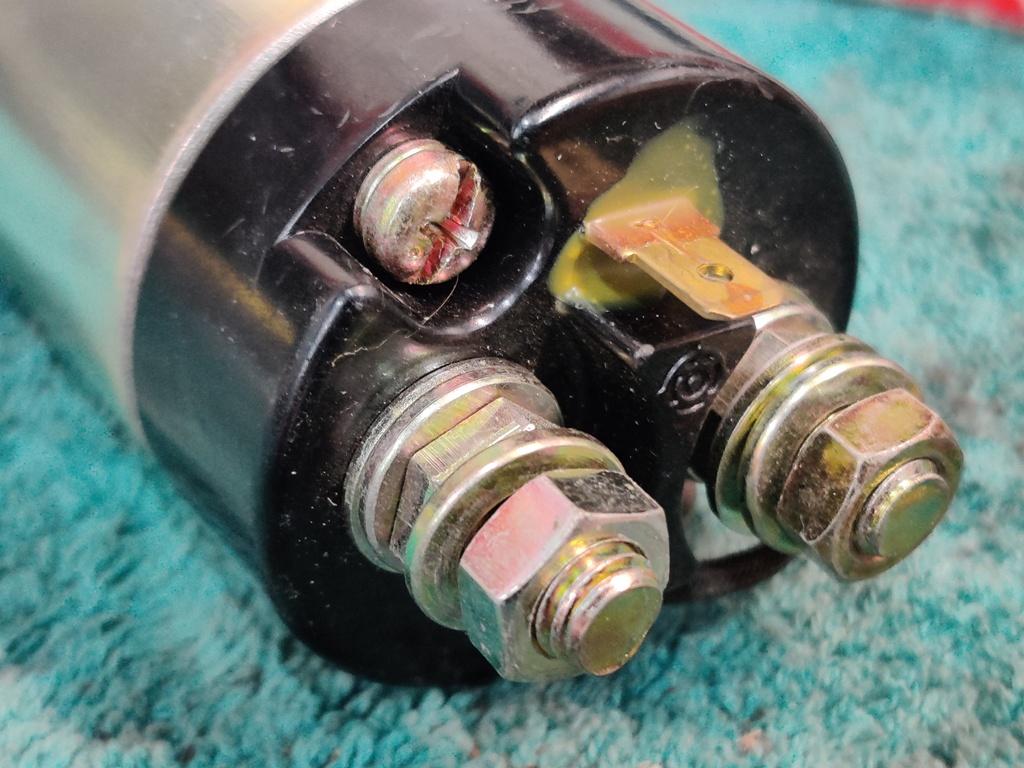
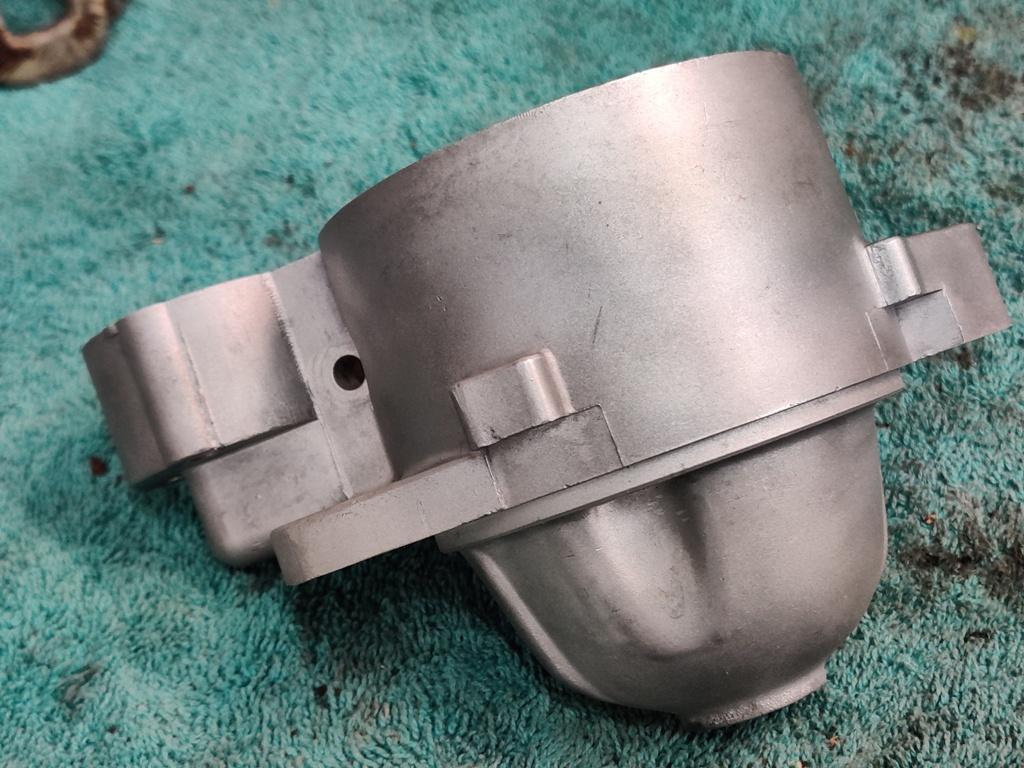
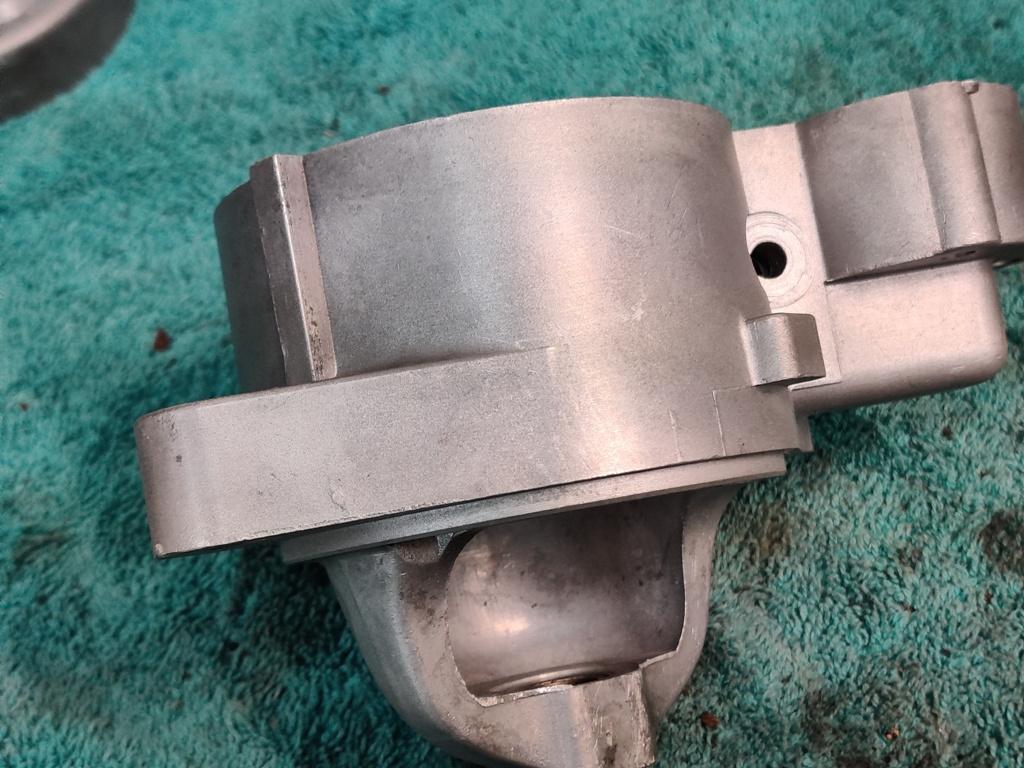
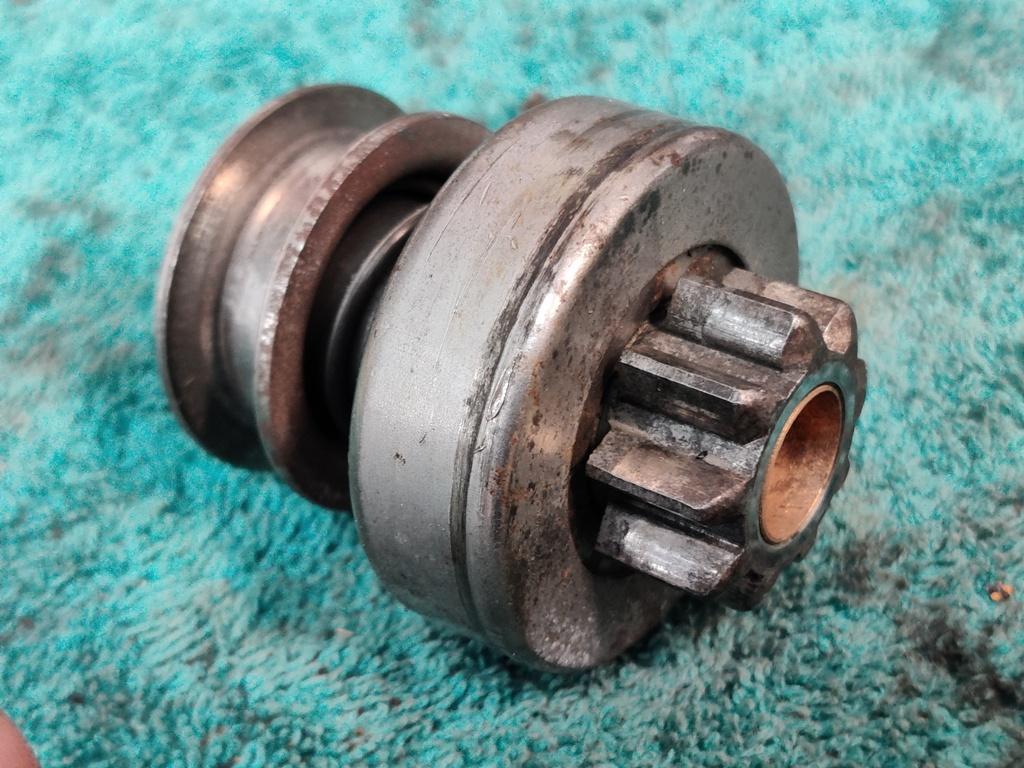
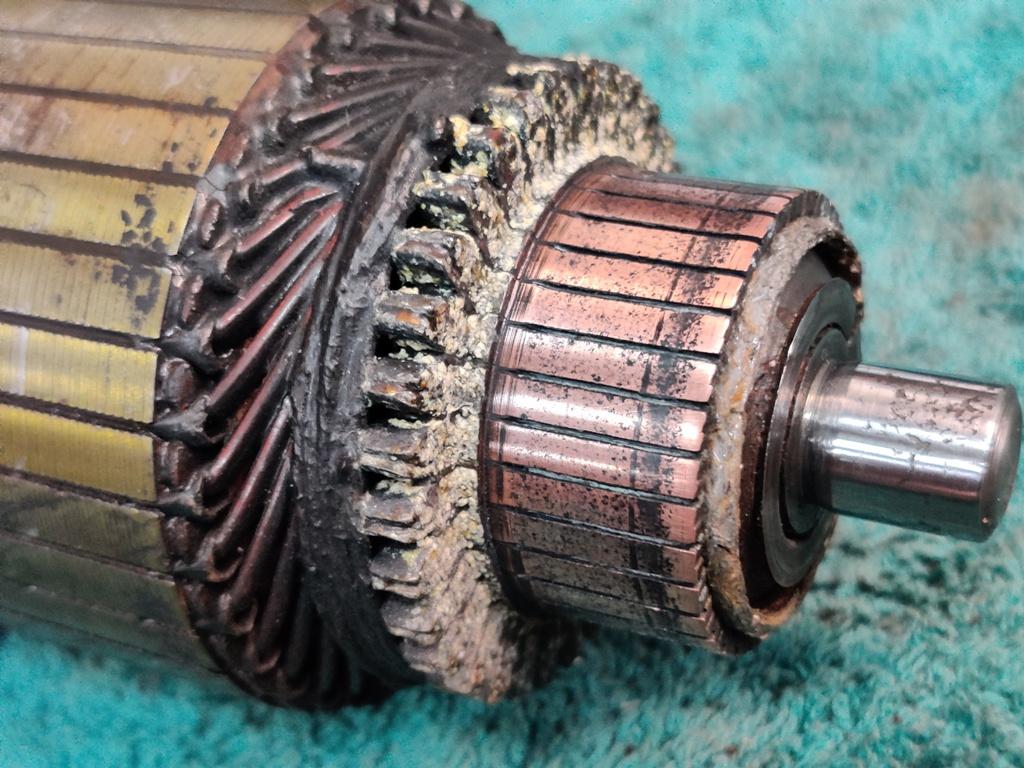
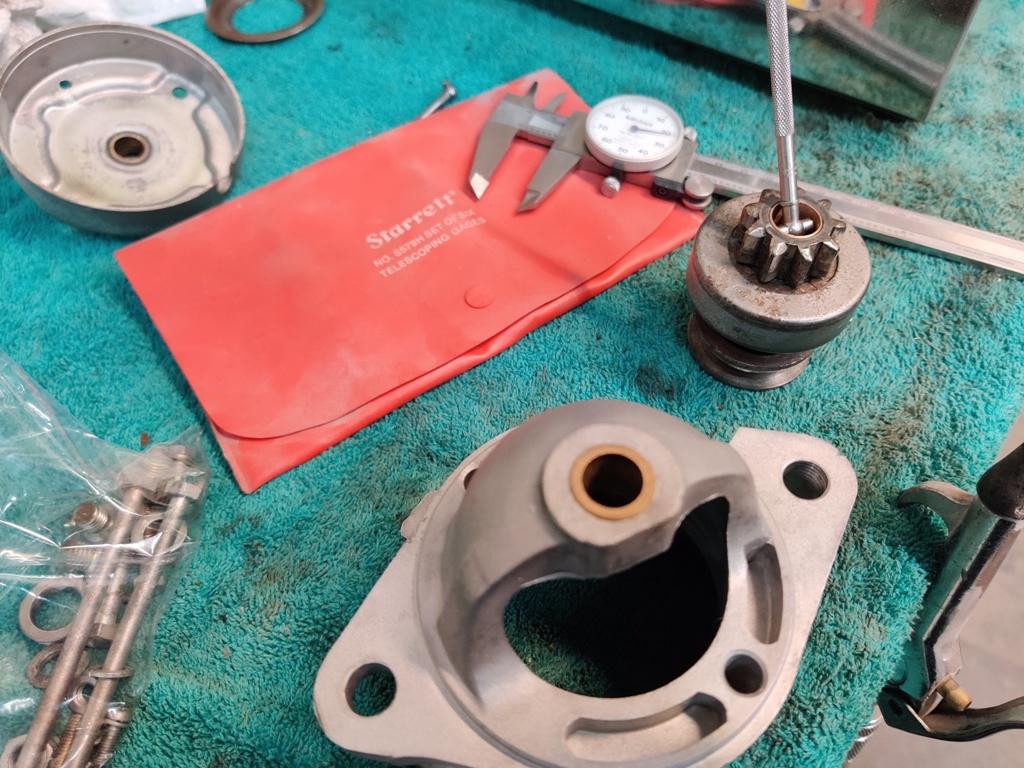
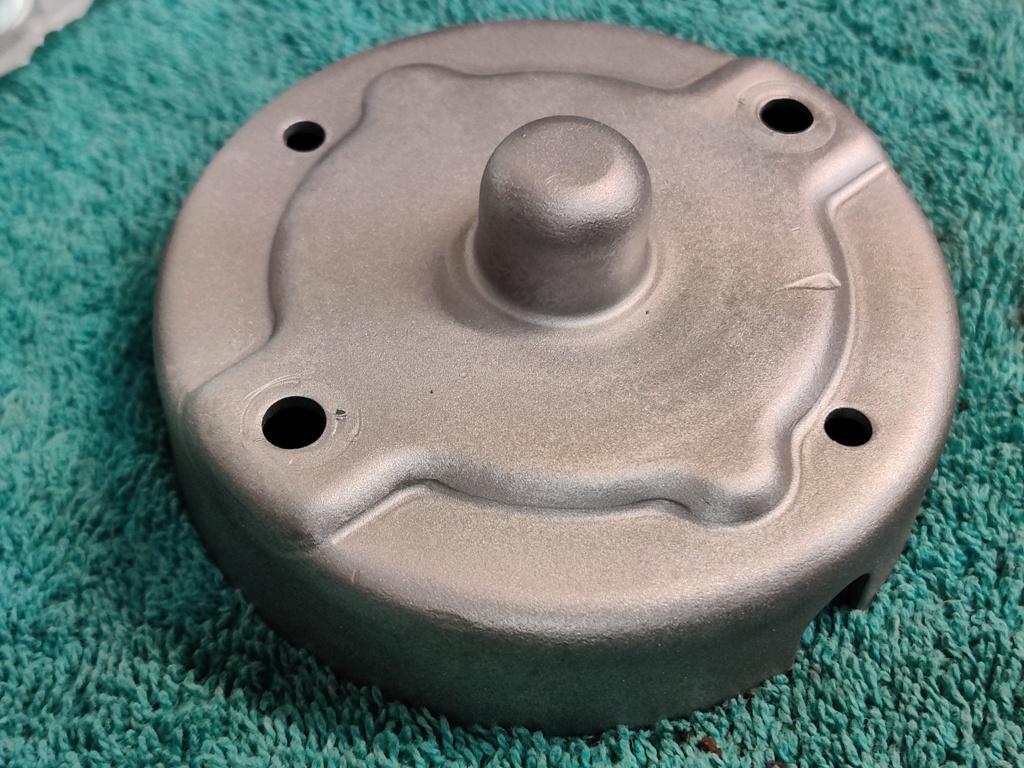
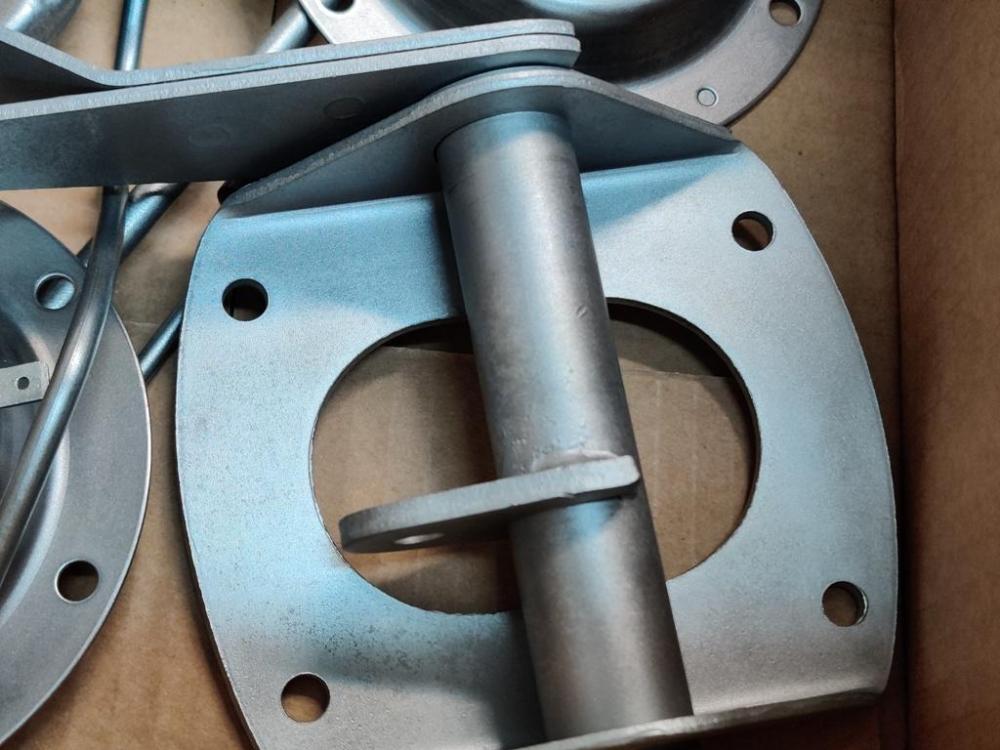
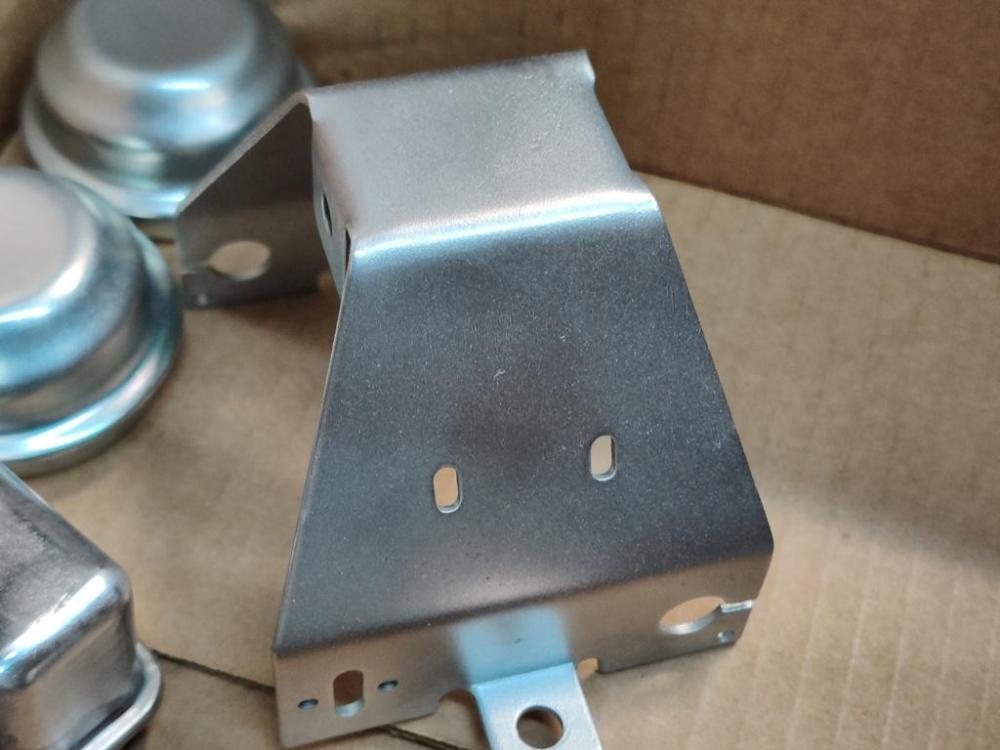
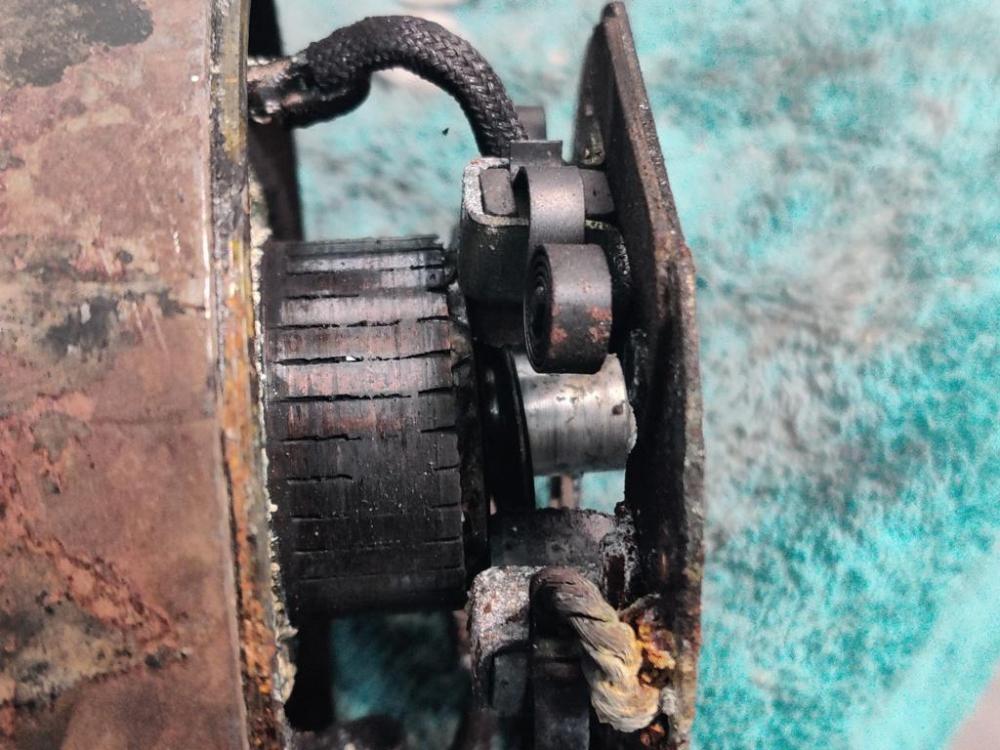
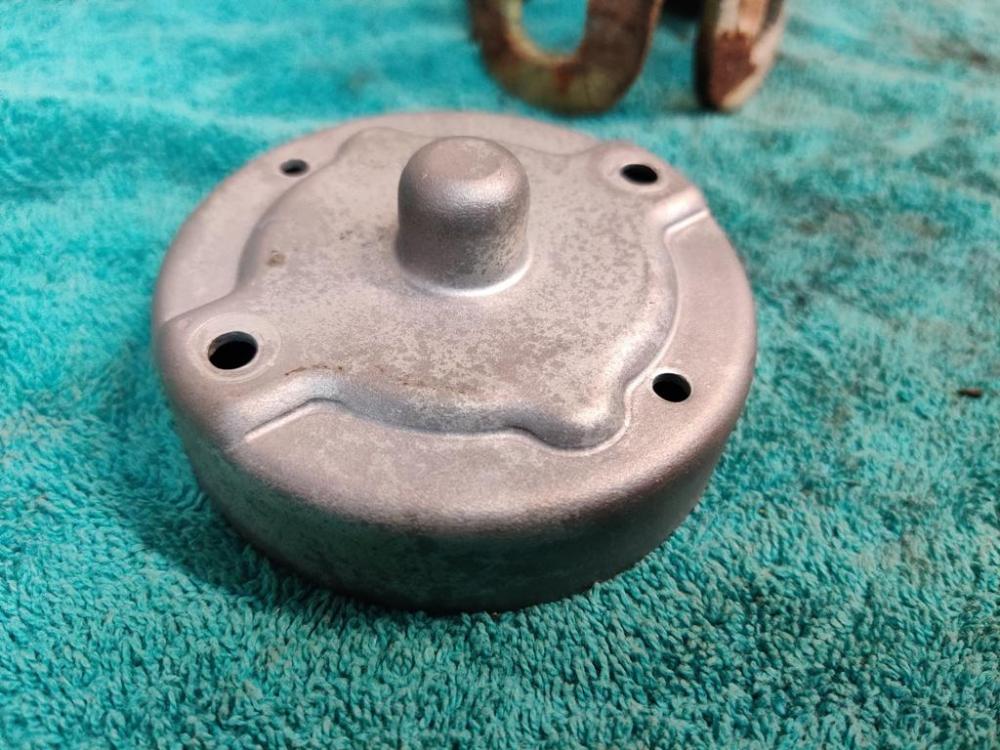
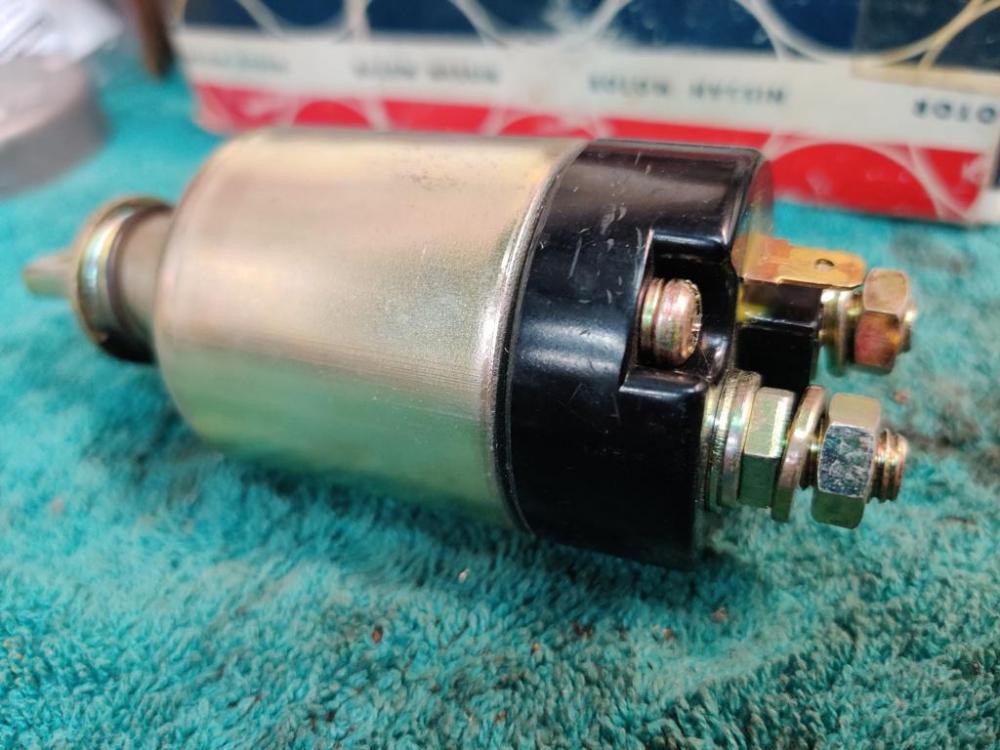
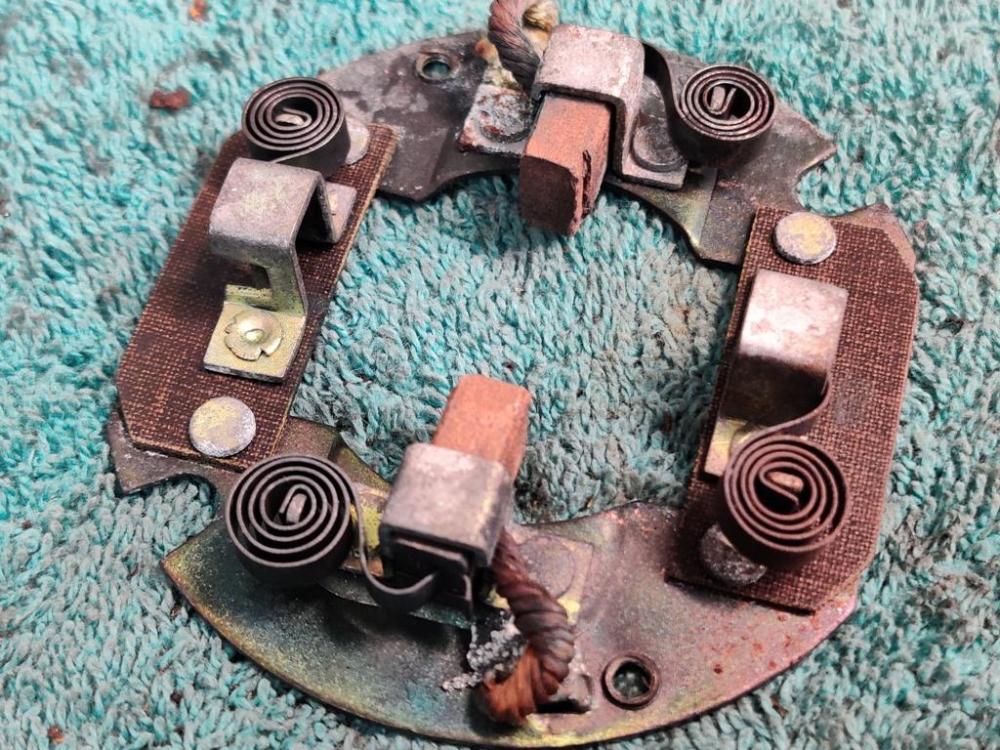
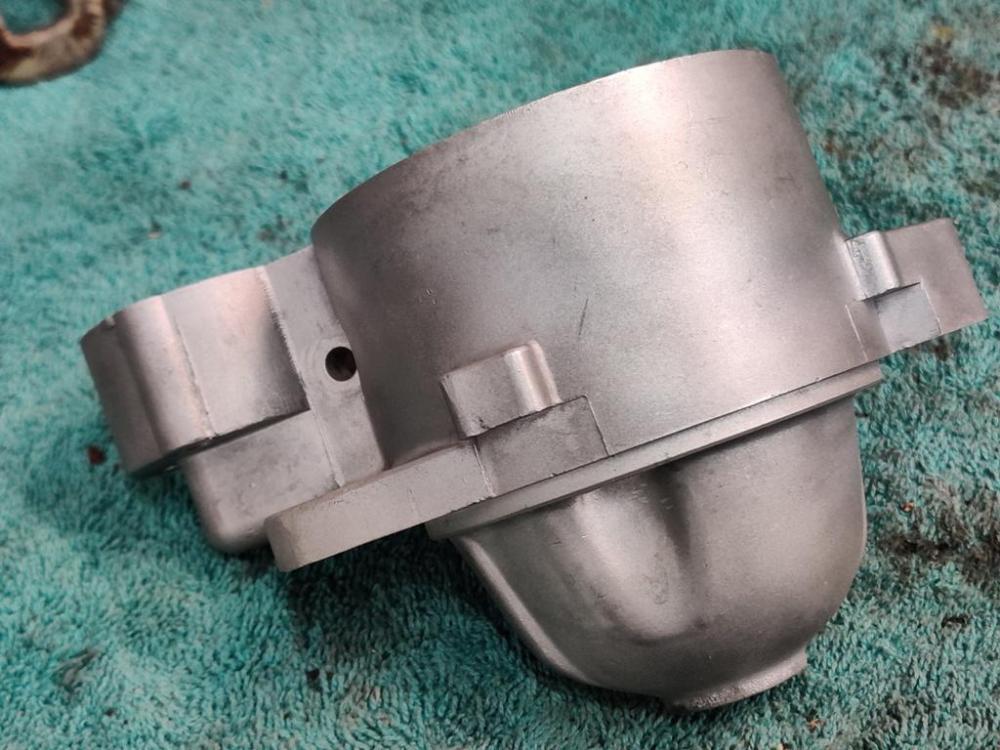
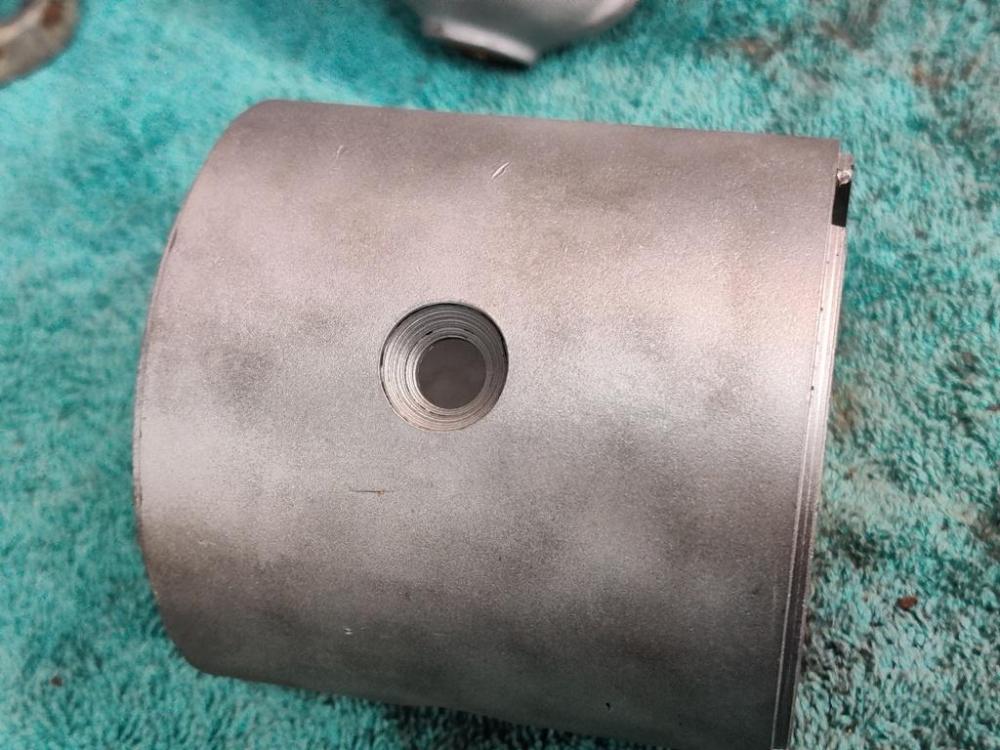
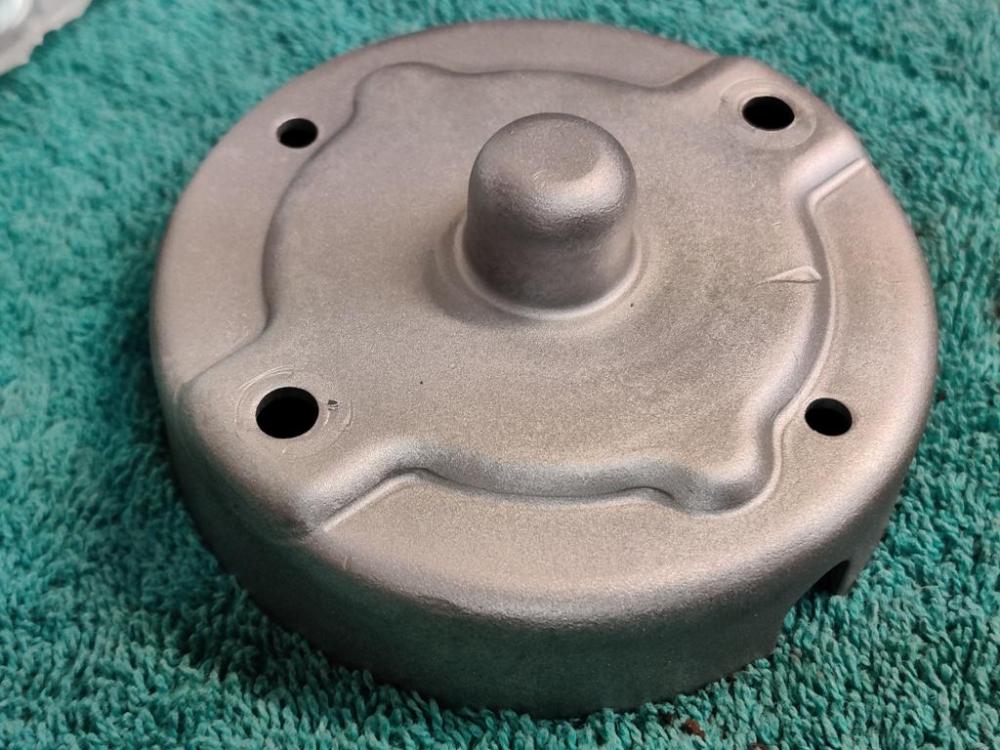
I am still rounding up hardware to prep and have re-plated. That quest led me to the starter. I forgot to take pictures of the state it was in, but basically, the plating on the starter and solenoid looked like it was mostly gone, surface rust, light corrosion, etc. It was functional, as it started the car before I removed it. I can find remanufactured starters for around $50 delivered. However, it is a bit of a guessing game as to whether the starter will come with the same parts plated as the factory did. And remanufactured starters are not all remanufactured the same way - some are lower quality, some are higher. After doing some searching, I determined that bushings are available for the front and rear of the commutator. I took some measurements of my starter components and compared them with the factory specs in the workshop manual. Still trying to determine which way to go (rebuild mine, or go with a remanufactured unit), my decision came down to the fact that I could not figure out how to get the solenoid case off (to re- plate it). I was about to go with remanufactured when I dimly recalled having purchased an OEM solenoid many years before (like more than 30) for my 510 that I never used. So, after finding this in one of my 510 parts boxes: I decided to rebuild my starter. Pics of tear down: After tear down, I put most of the parts in an ultrasonic cleaner: The brush holder came out nice: I glass bead blasted some of the parts (front cover, hardware, rear aluminum housing, steel housing) Some slight corrosion on the steel casing where the rubber grommet goes. Front cover before glass bead blasting: Starter drive (gear and clutch) looks pretty good overall and functions properly. Armature seems ok (measures within spec and shaft ends are within spec) Further glass beading of the front cover gave a more uniform finish. In the last picture, in addition to the glass beading, I took a piece of very fine steel wool to put a bit more shine on the surface. Next, I will have to order the bushings, and do the work to replace the old ones and size them to fit properly.


-
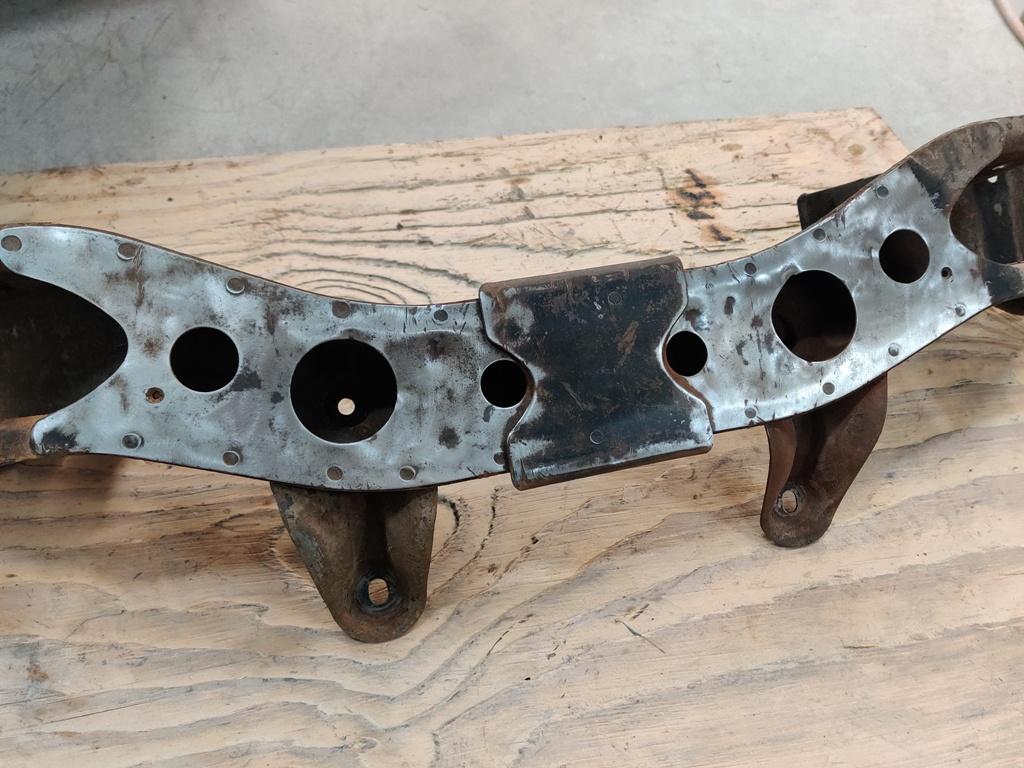
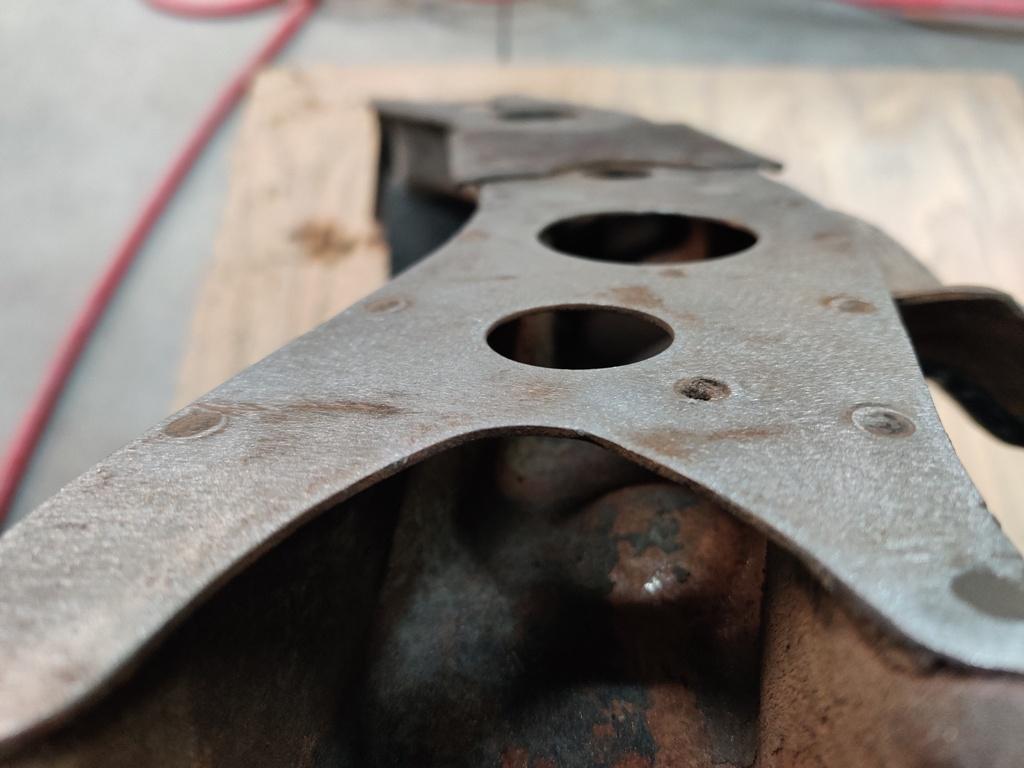
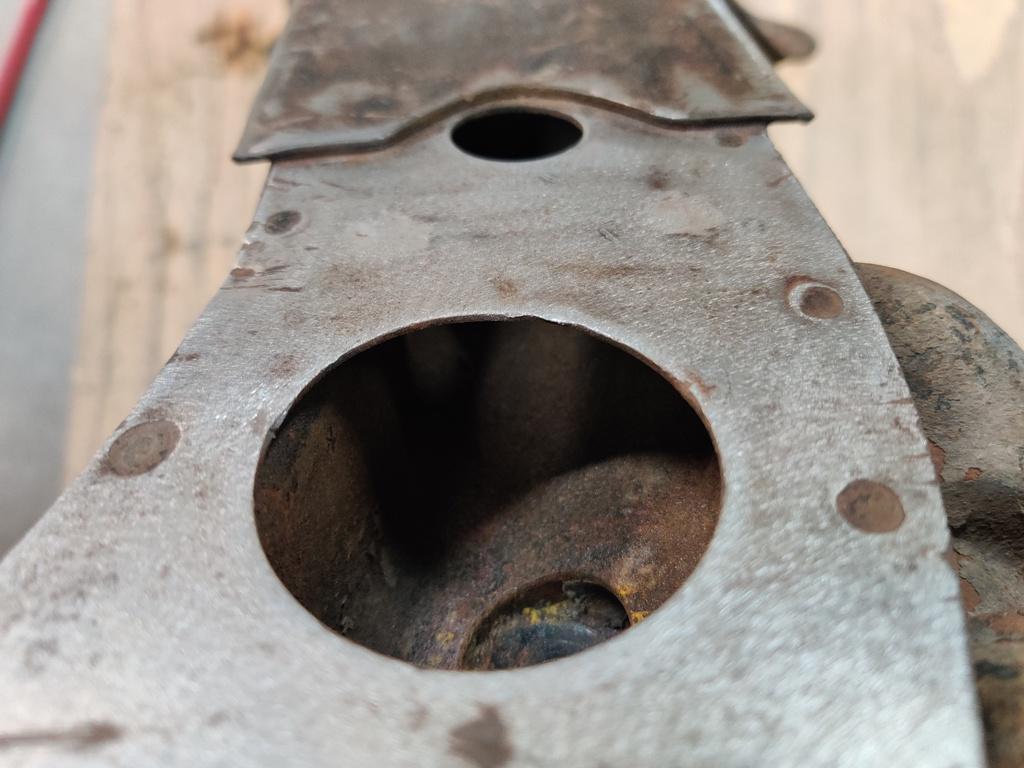
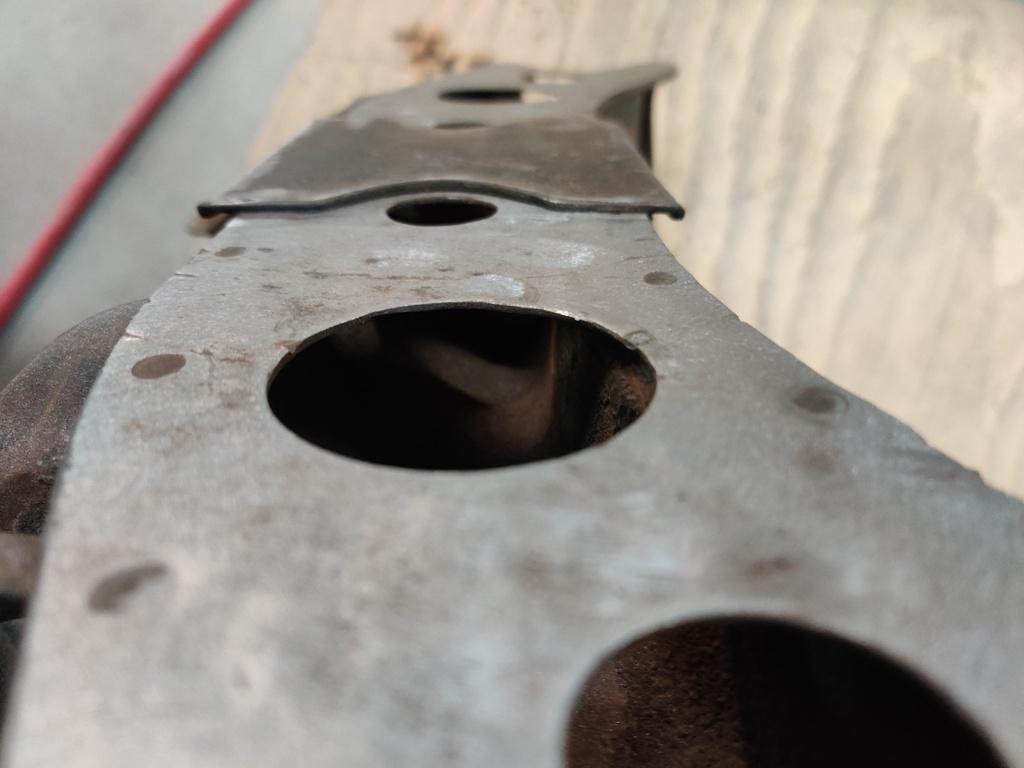
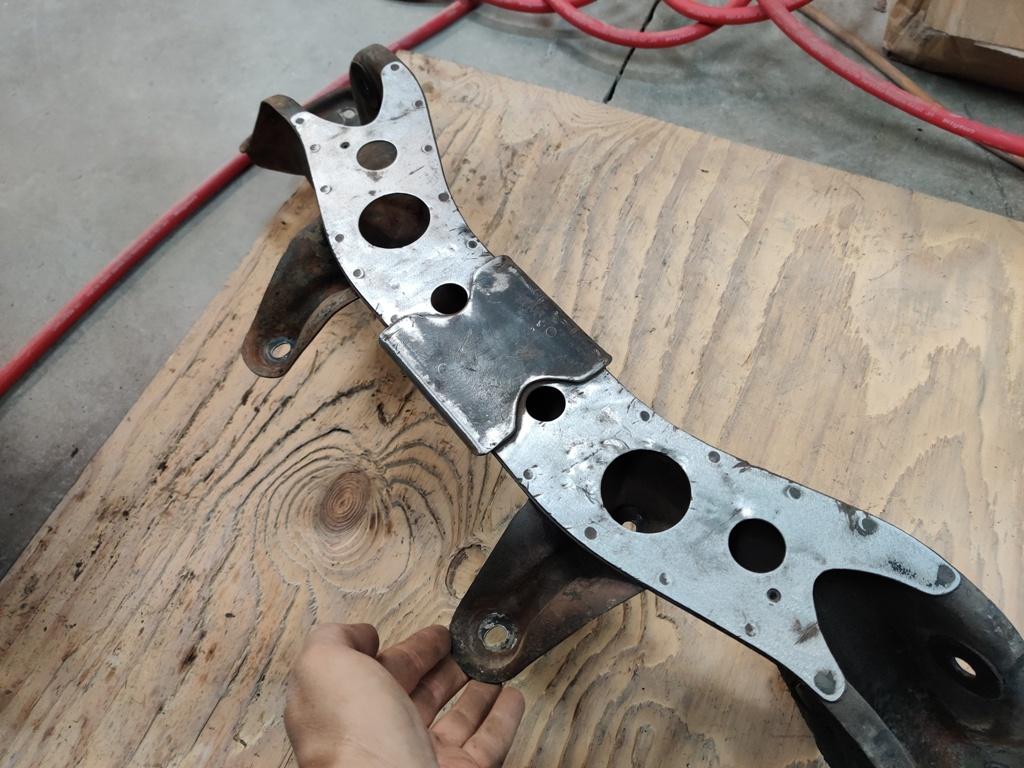
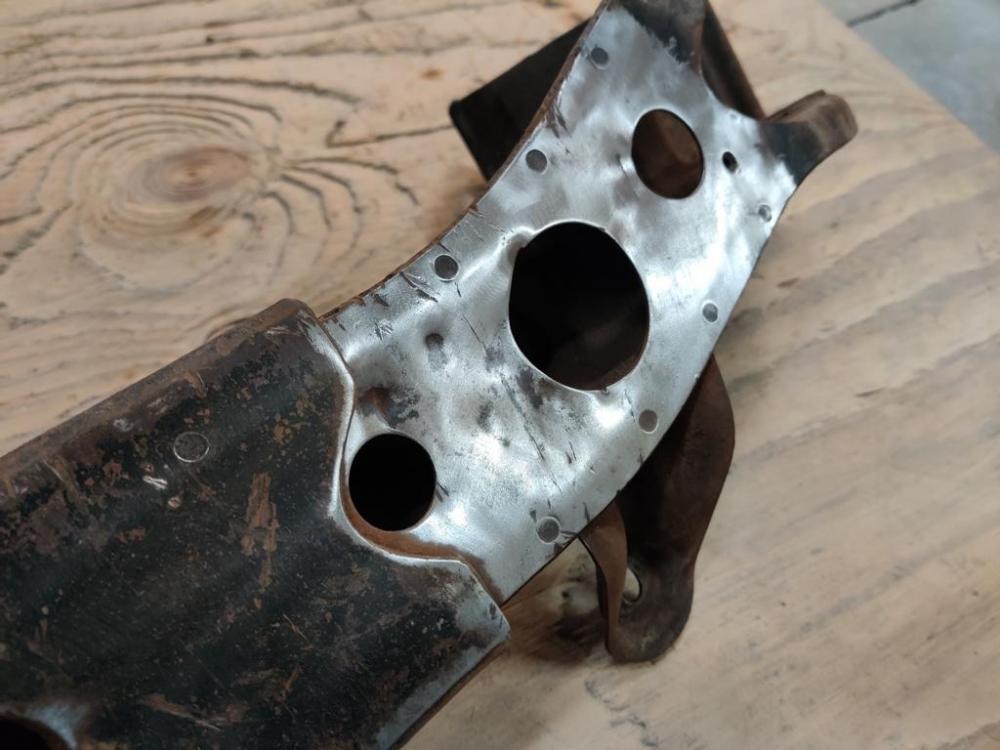
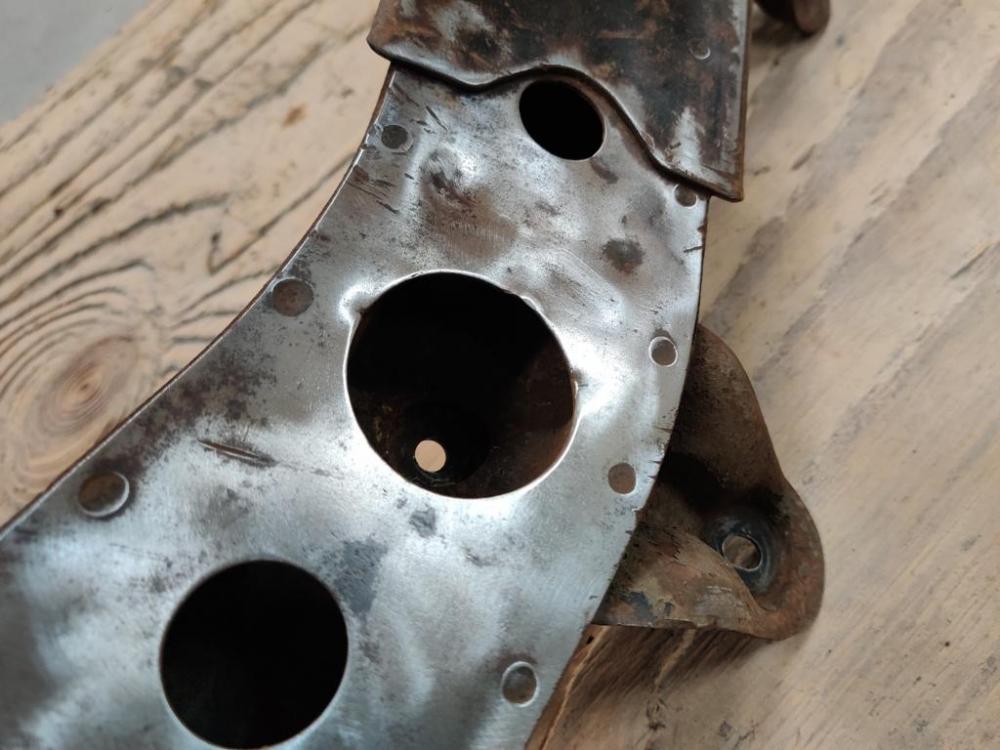
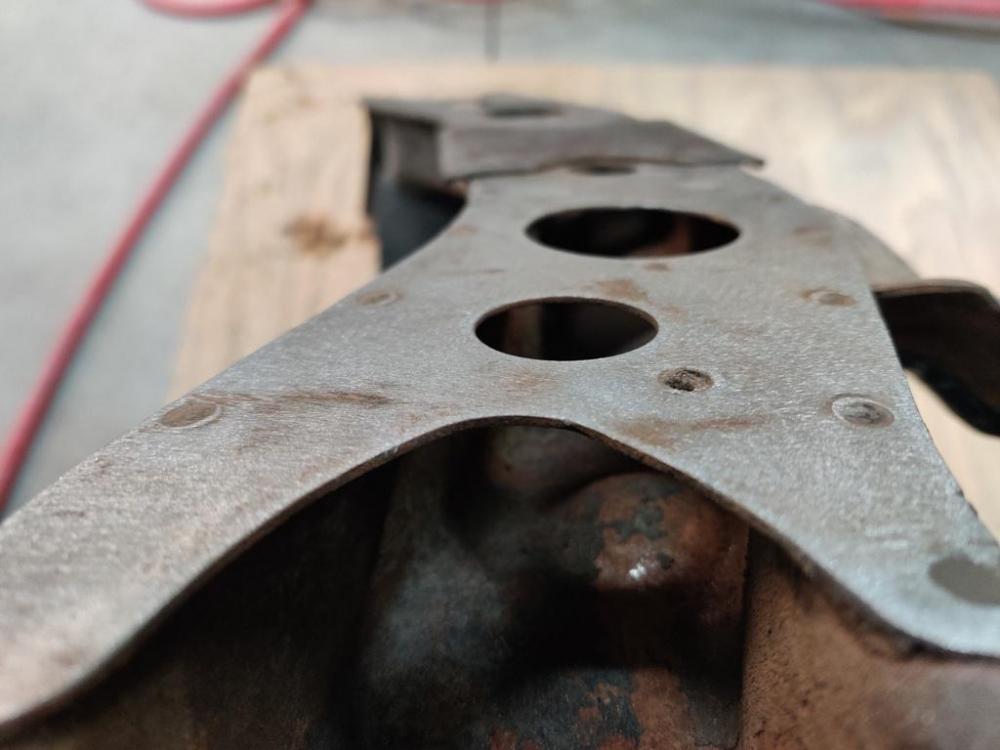
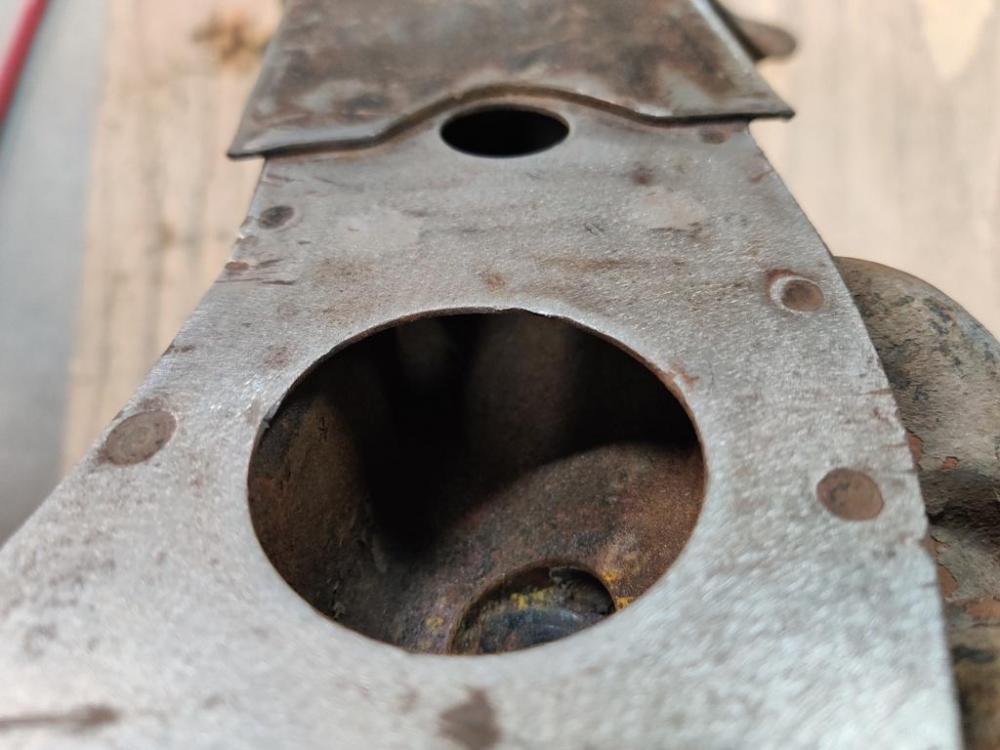
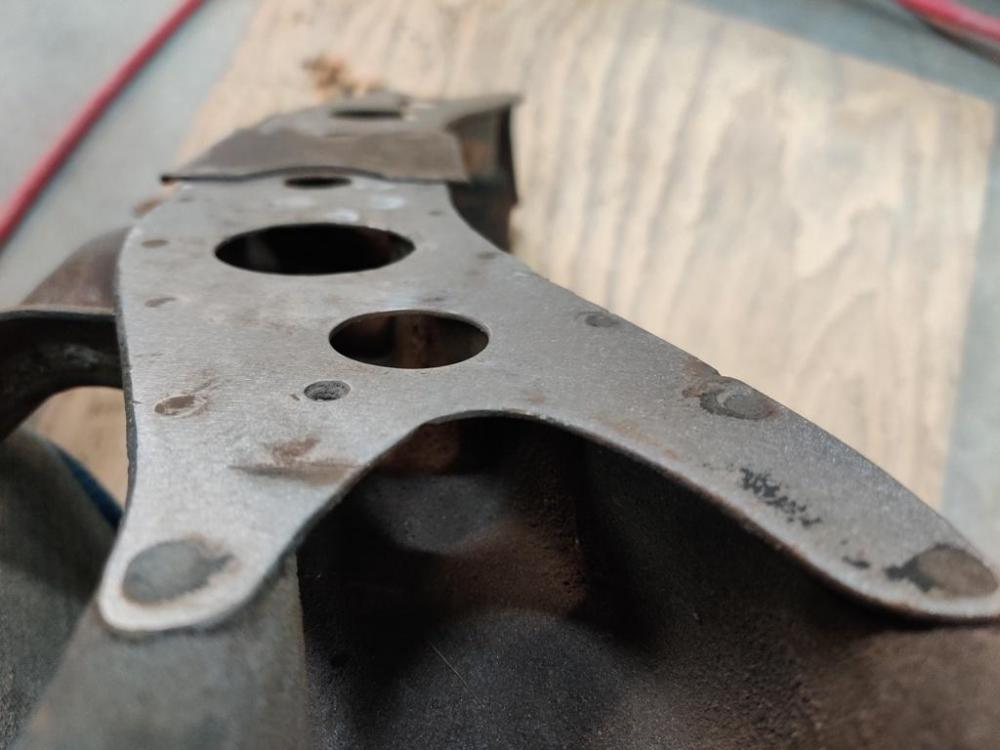
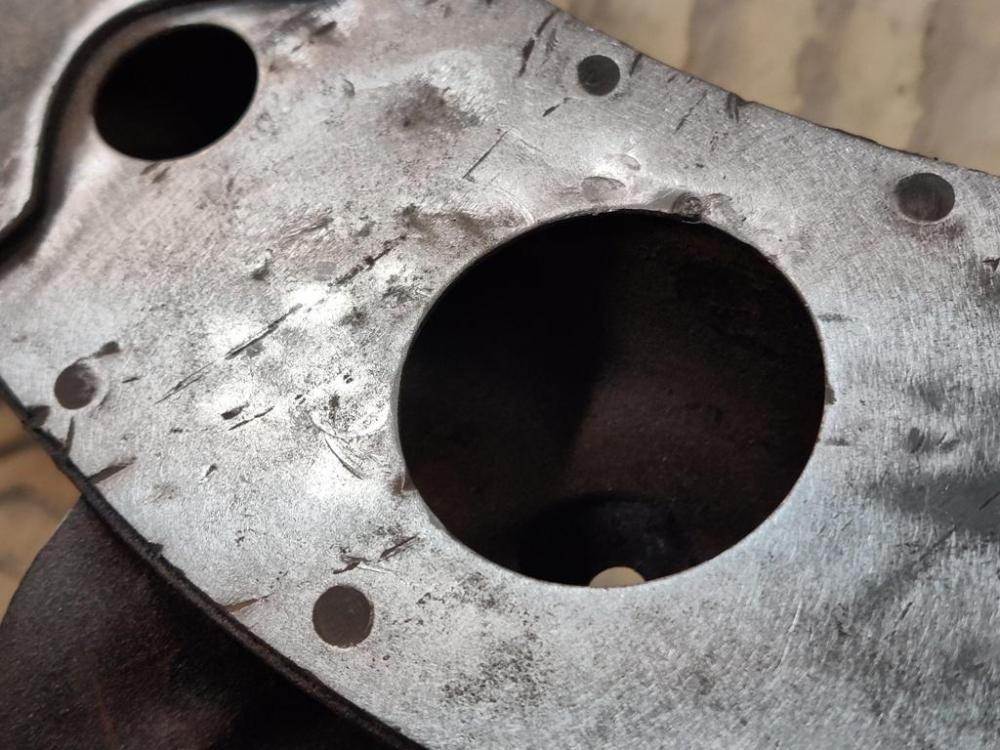
Further disassembly of the suspension components was undertaken yesterday. With the front crossmember bare, I turned by attention to addressing the dents in the bottom that had occurred over the cars time on the road. A few pics after grinding surface gunk off: Where possible, I use different sizes of sturdy C clamps and some 1/4" thick steel plate pieces to straighten dents such as these. Putting the plates (small rectangular ones) on the inside and outside of the metal to be straightened and then clamping very tightly with the clamps pulls the metal back where it was originally. I also used the stud welder and puller tool on a few small spots. Finished with a light sanding by the DA sander and 80 grit. The scratches and slight imperfections/low spots are easily resolved with just a touch of body filler. Straightening was only about and our and a half of work. The final result after sand blasting priming and painting should be really nice.


-
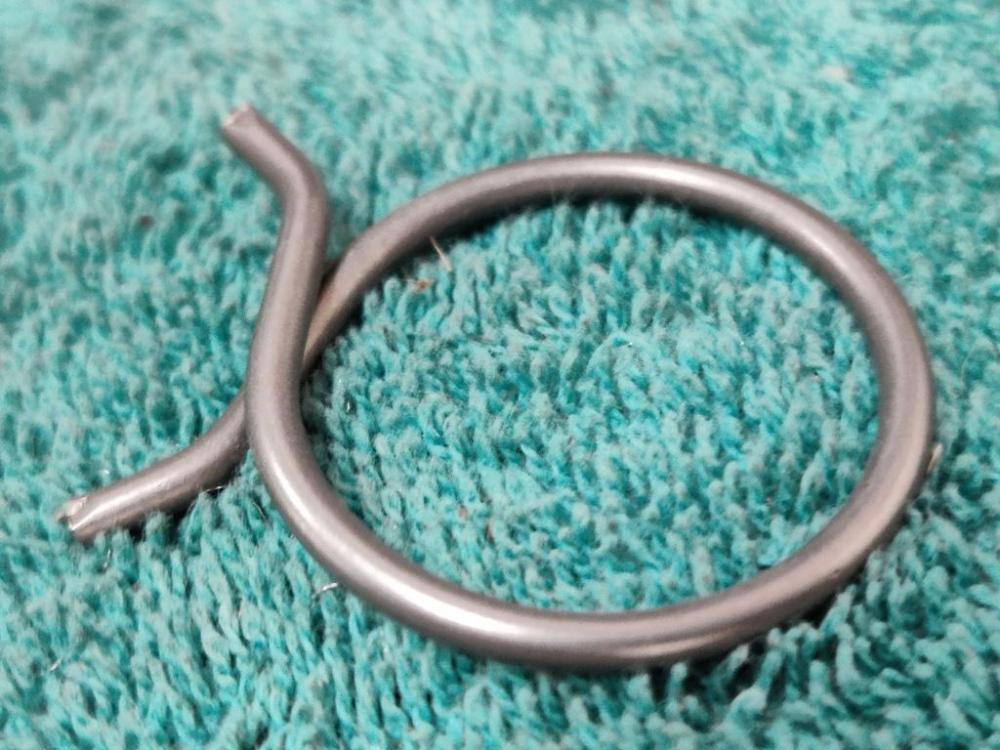
I found another, yes. I have about 20 lbs of Datsun hardware leftover mainly from 510's I went through years ago. I found the correct hose clamp amongst that hardware. Heard on plating. I guess it is worth spending my time on prep work. I think I will try utilizing my parts vibratory tumbler on some of the parts that I have already blasted with glass beads. The beads I am using are not very aggressive, but get to areas of the fastener that wire brushes have difficulty reaching. I am hoping that the type of media (or mixture) in the tumbler can be "adjusted" to give a "shiny" finish to the fasteners. Then the prep work should mostly be done, and hopefully, I can get great results. I loved the plating done by Jeff Palya at Paltech. When I had my carbs done by him, he agreed to let me send a few parts just for plating by his plater. I'd like to find a plater to work with directly that I know is good. I did try looking online for platers near by to me, but all I have to go by as to whether they are good or not is online reviews. I posted these pics once before, but these were the extra parts I had plated by Jeff: