inline6
 Subscriber
-
Joined
-
Last visited
Everything posted by inline6
-
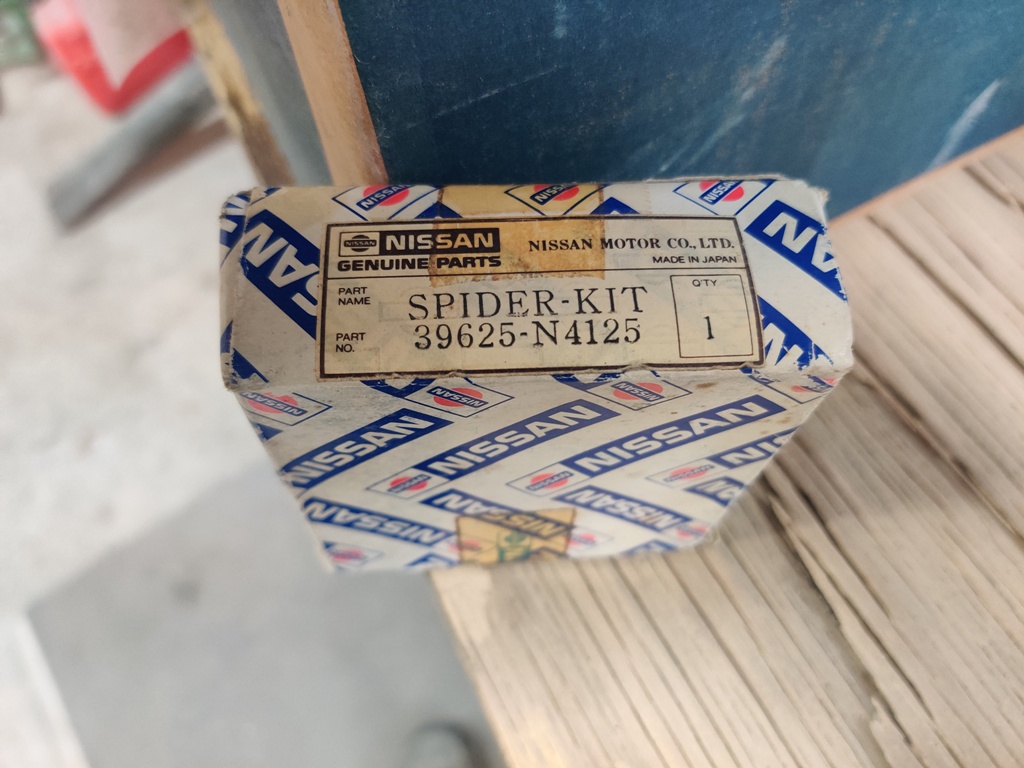
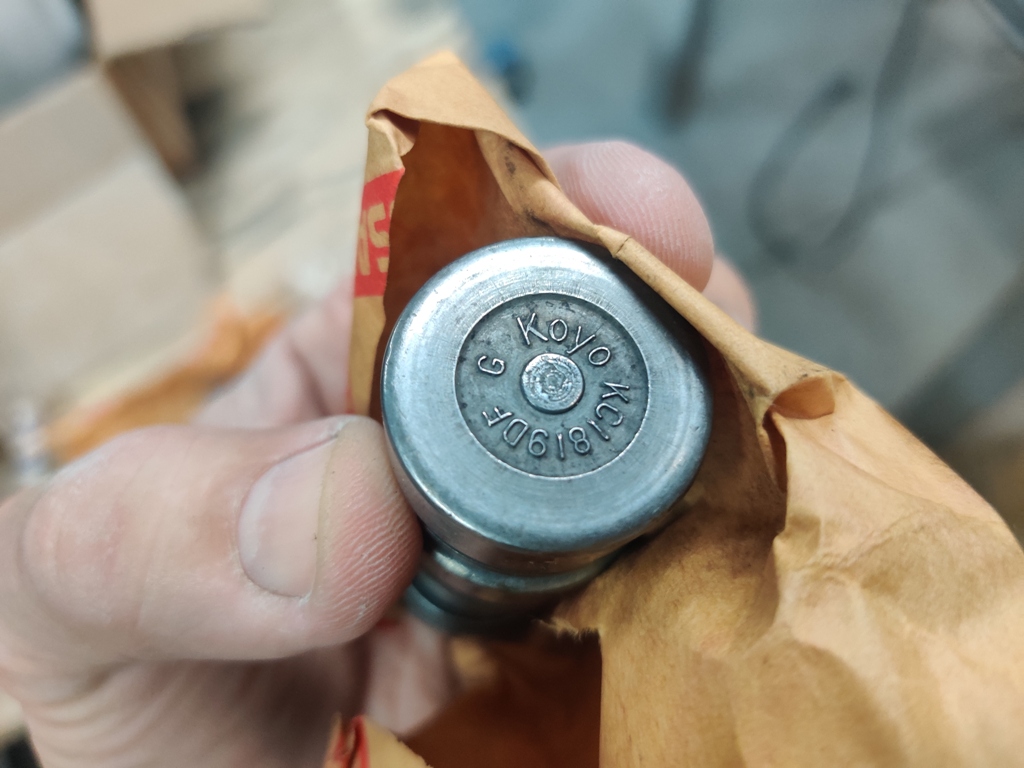
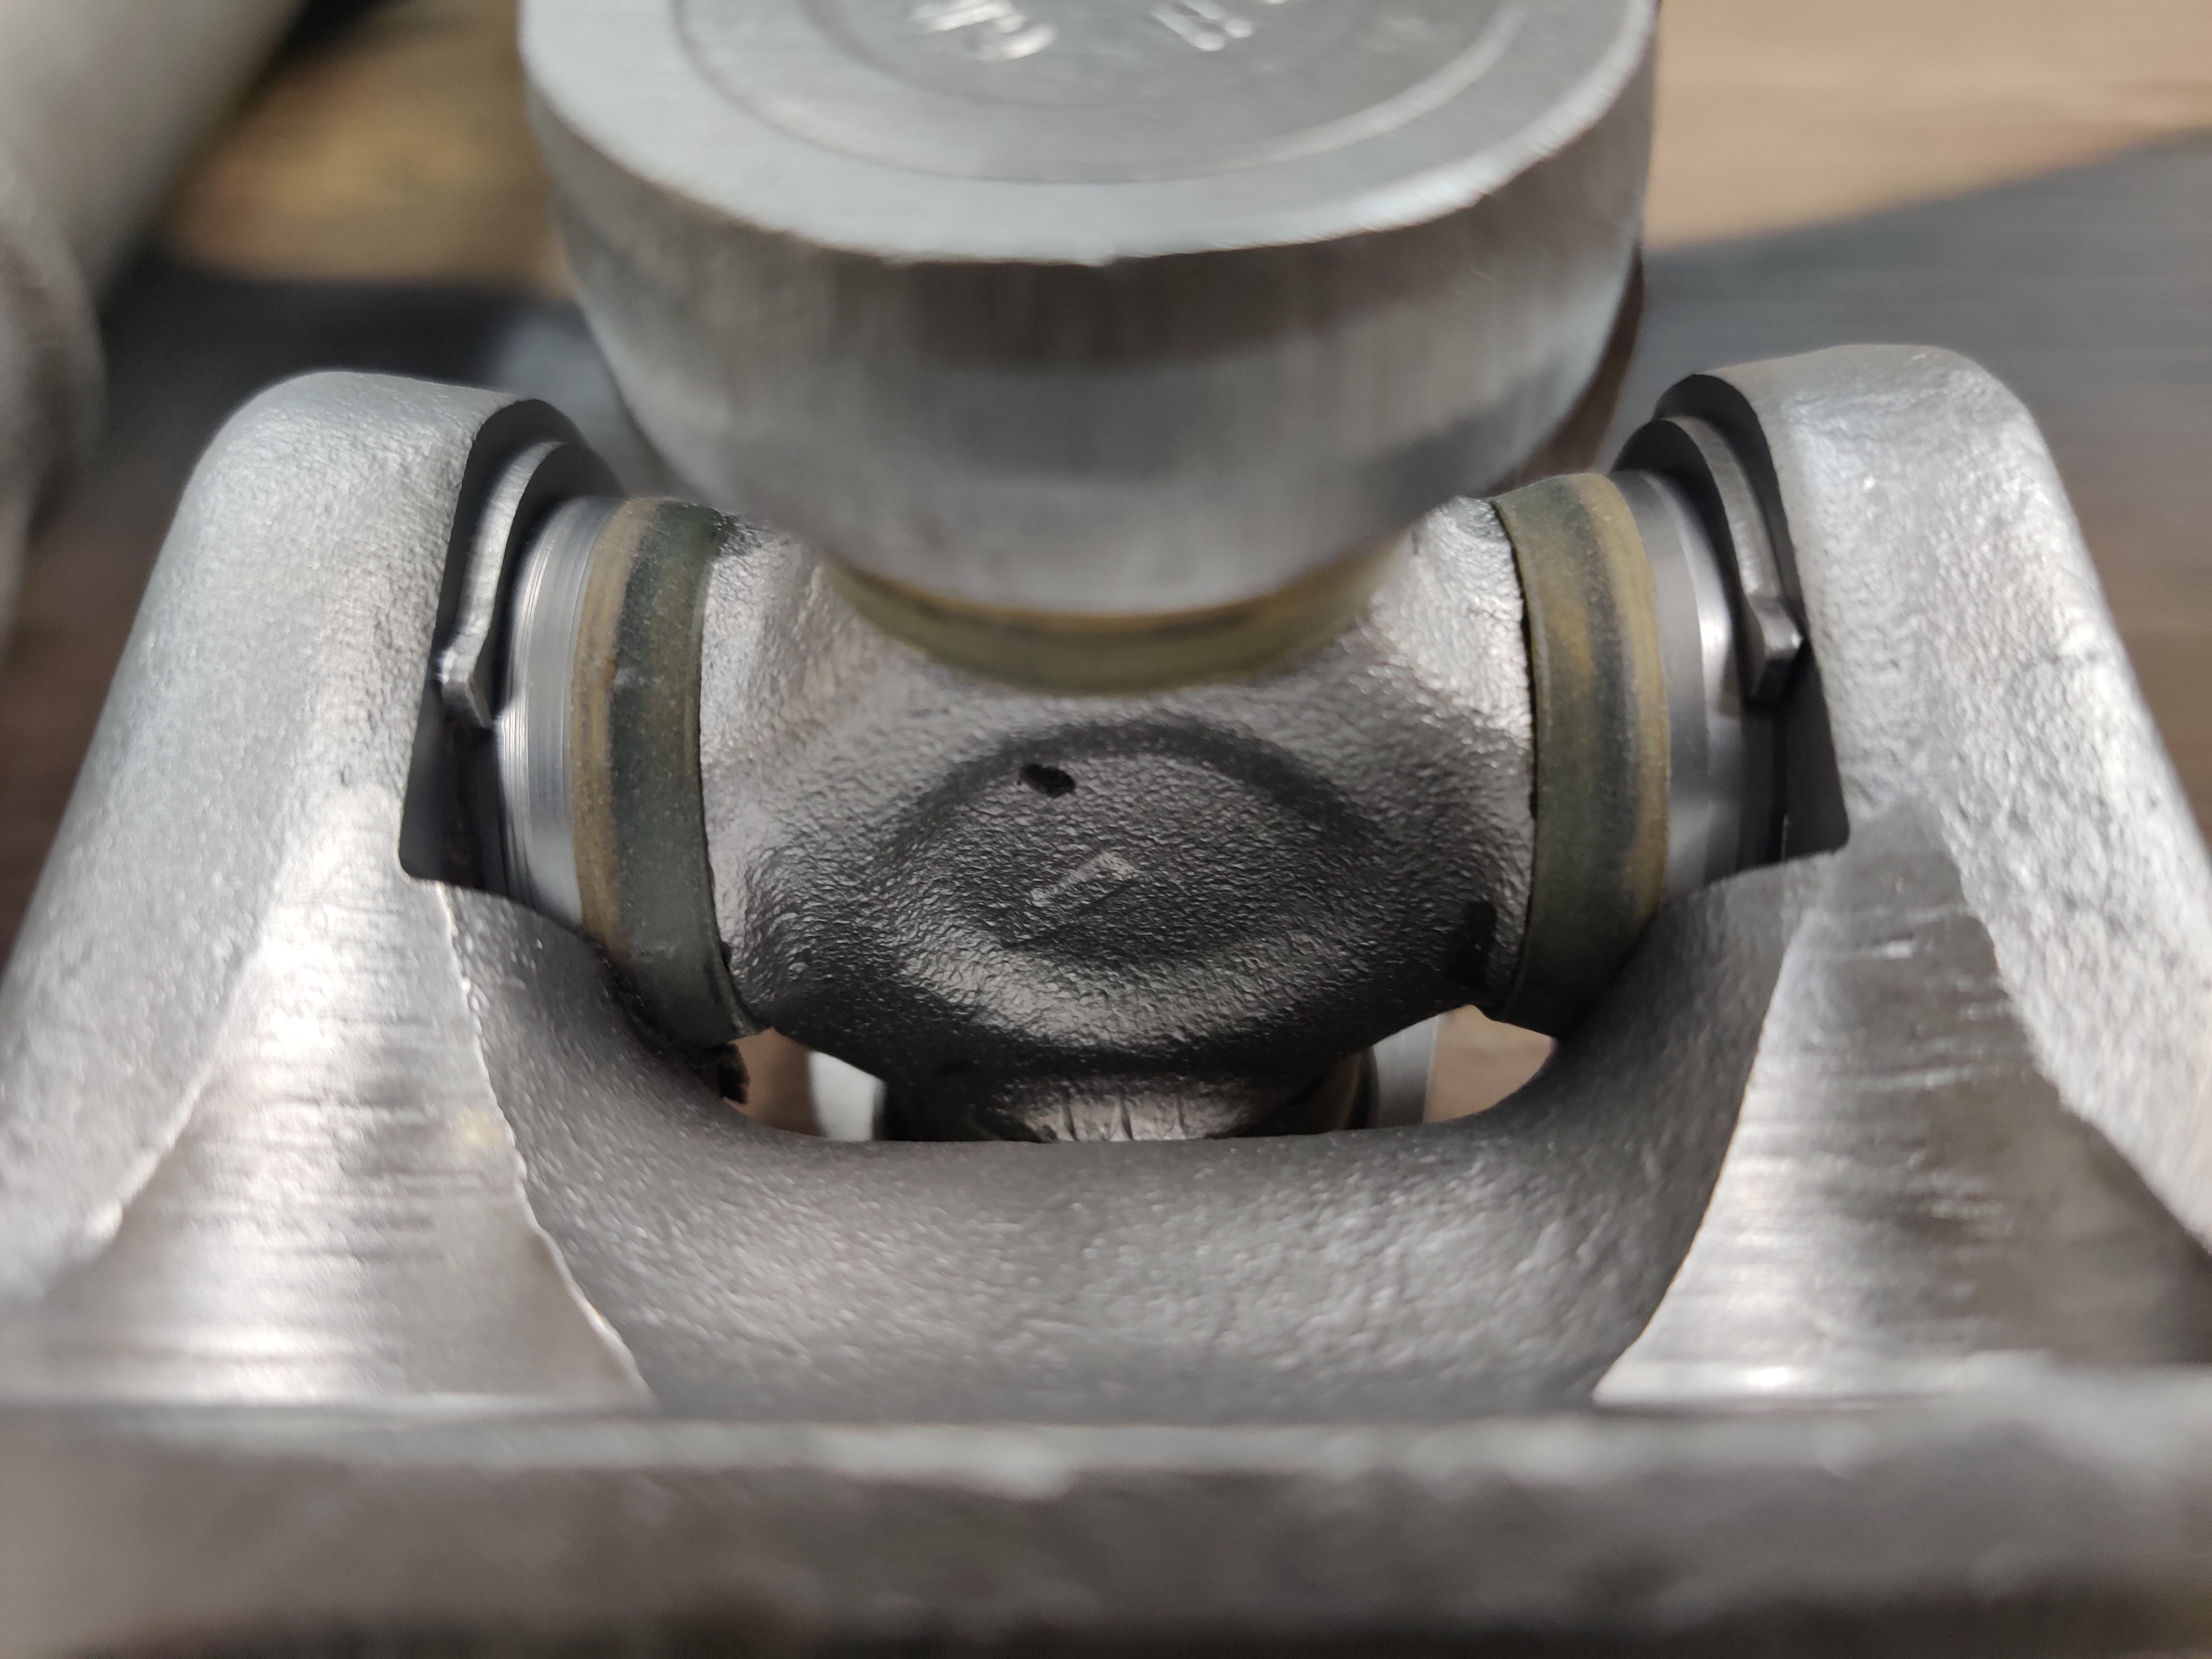
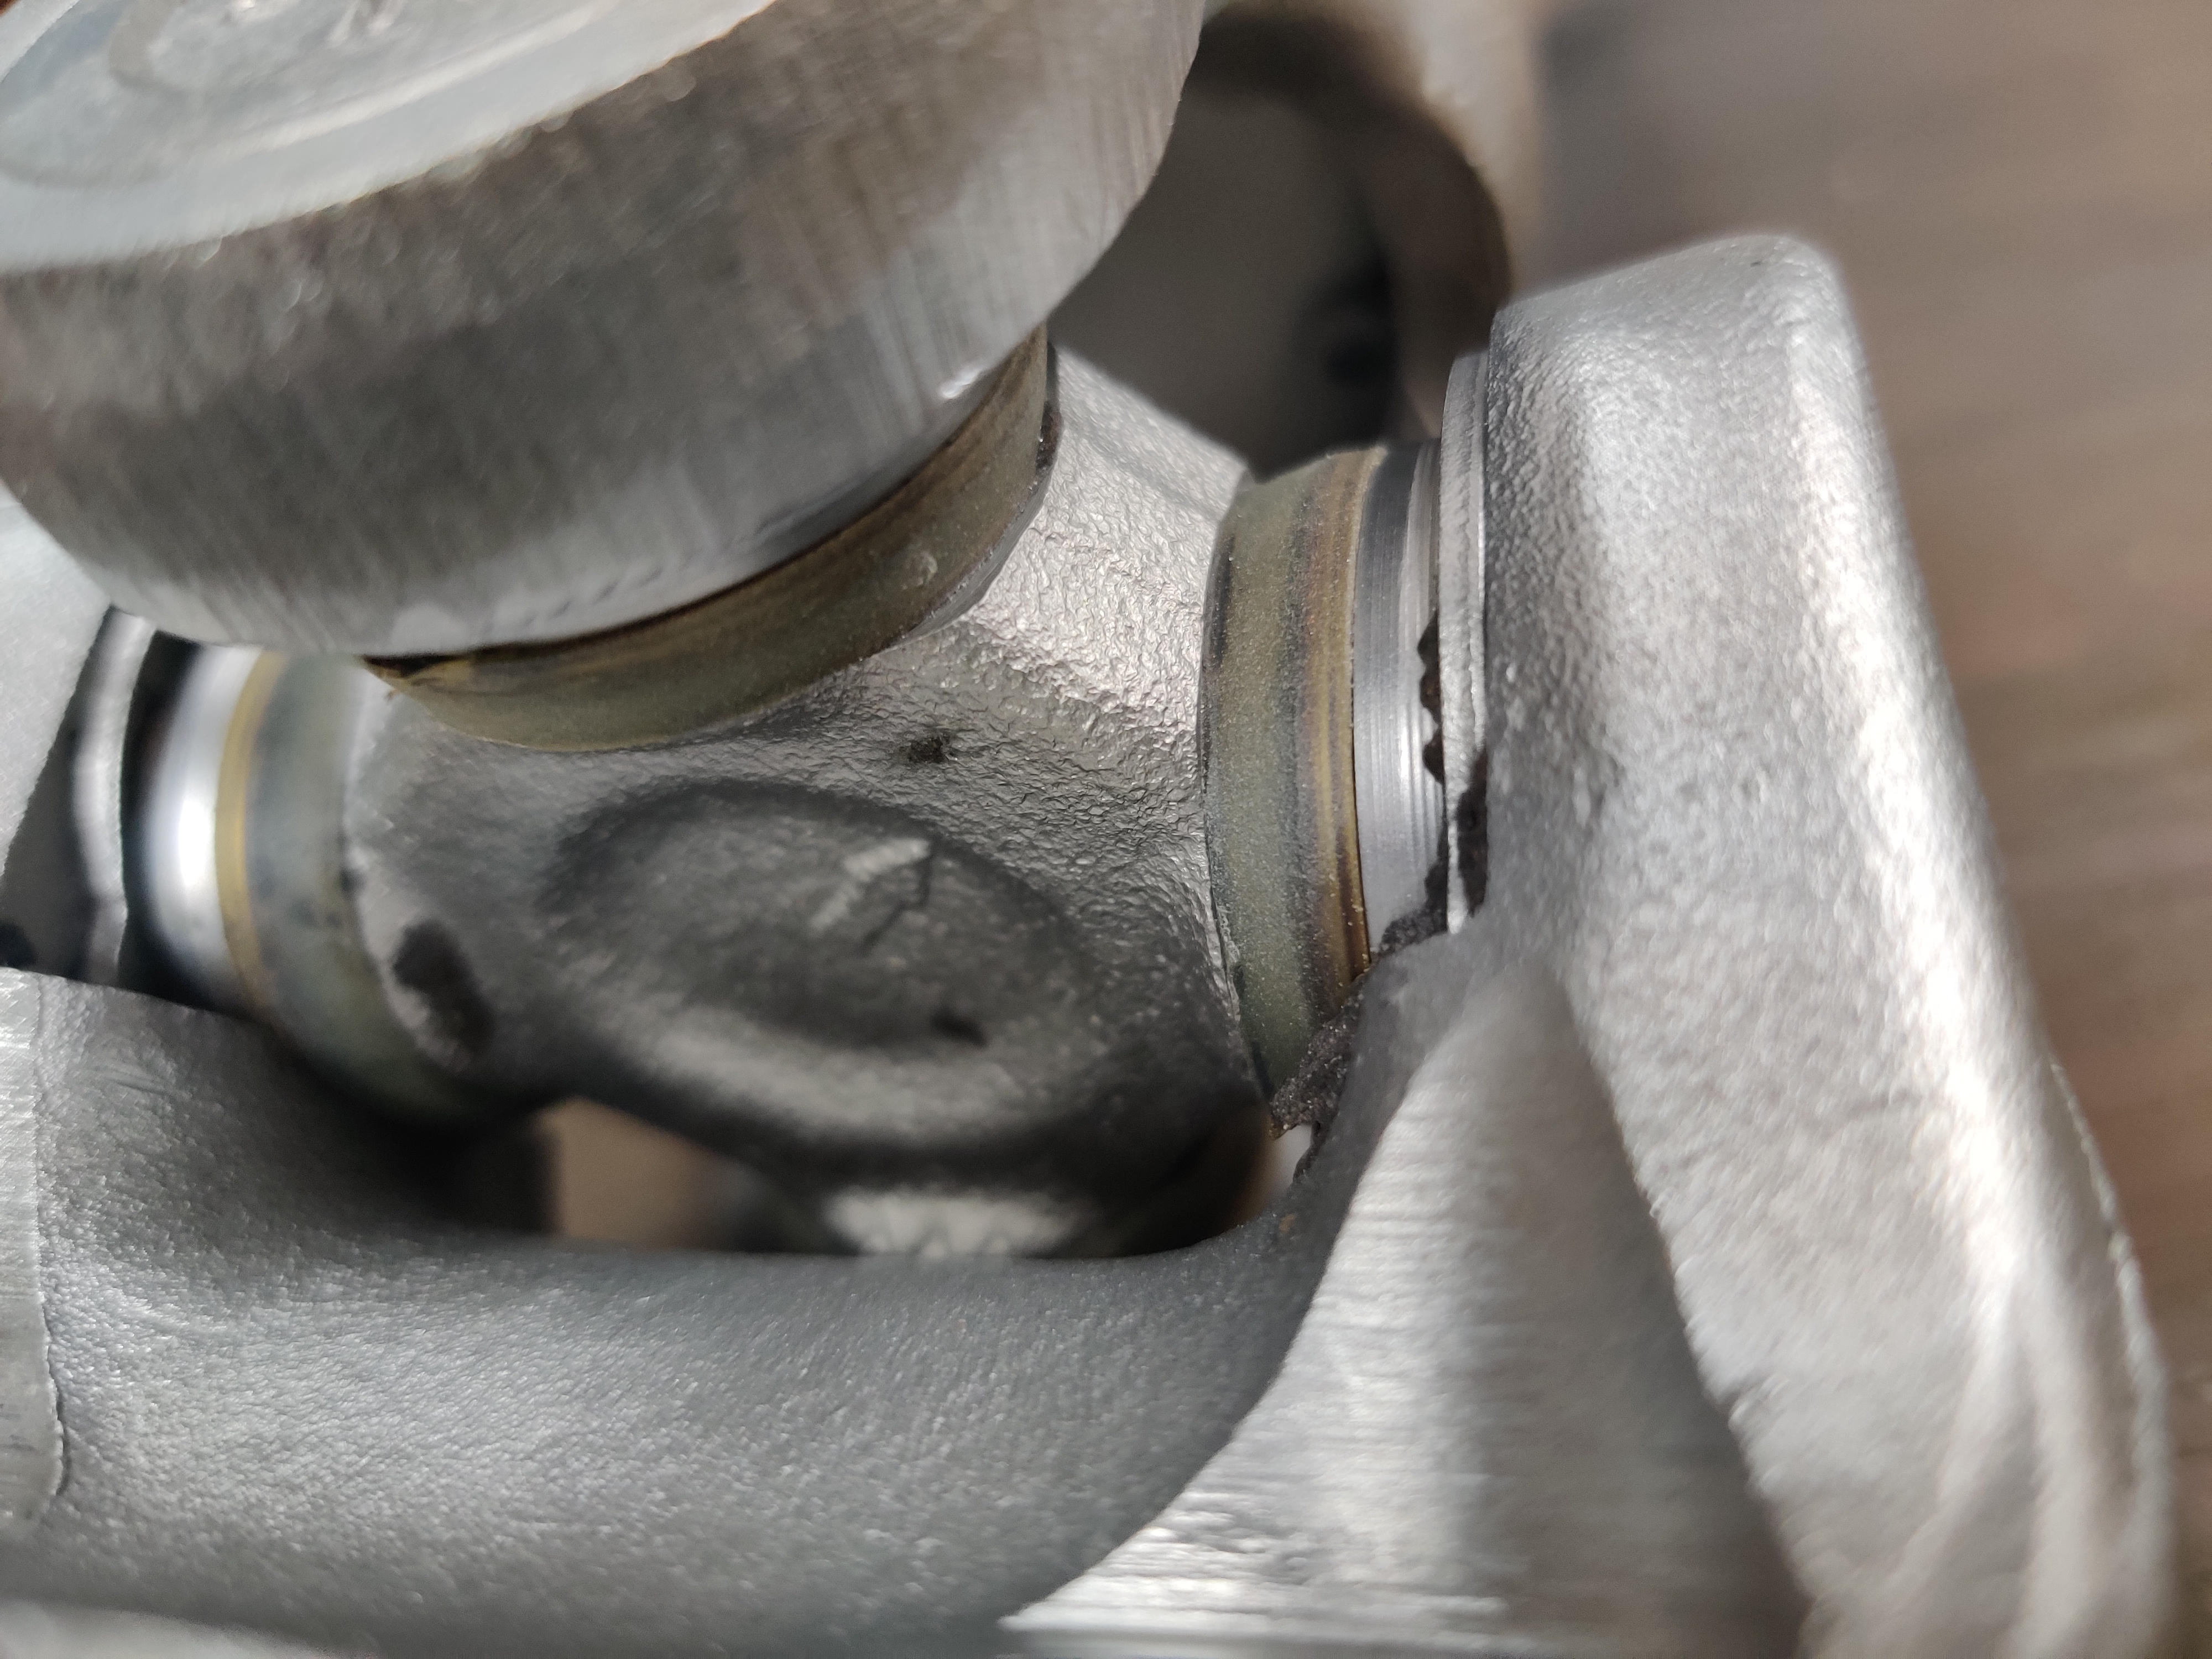
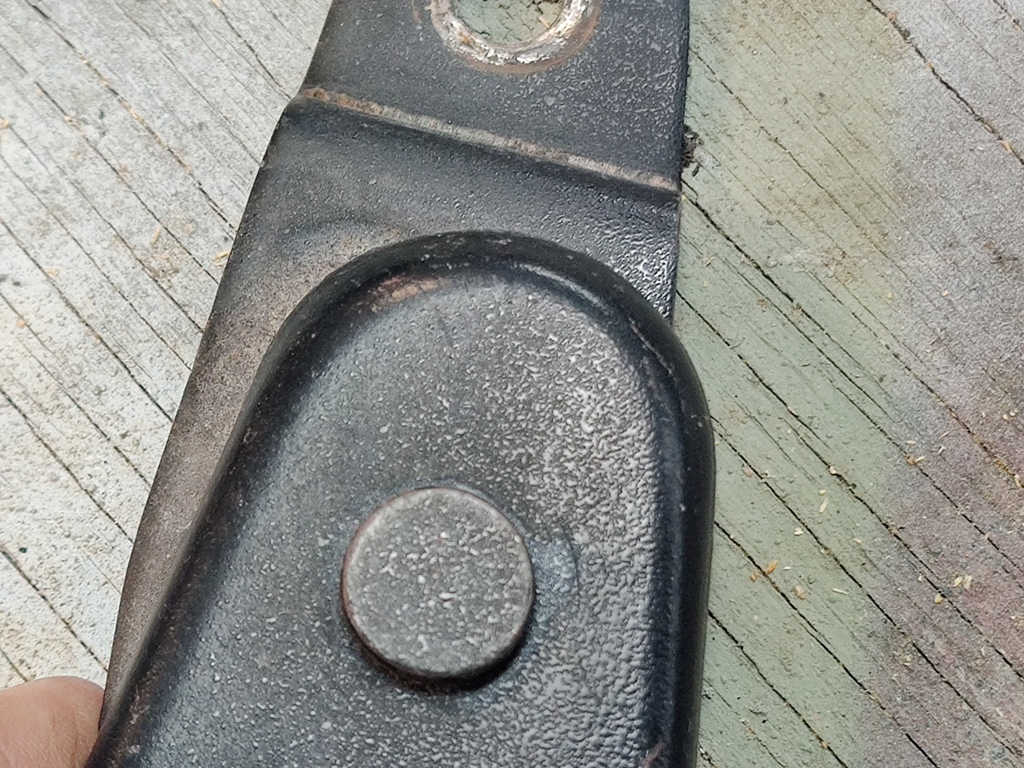
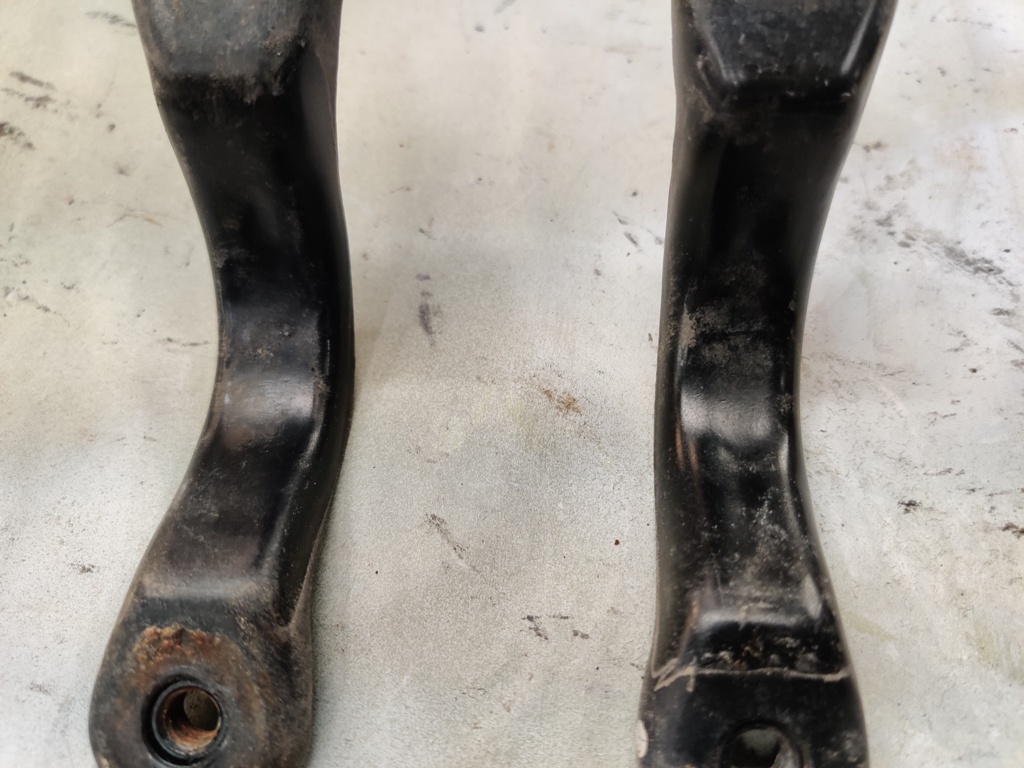
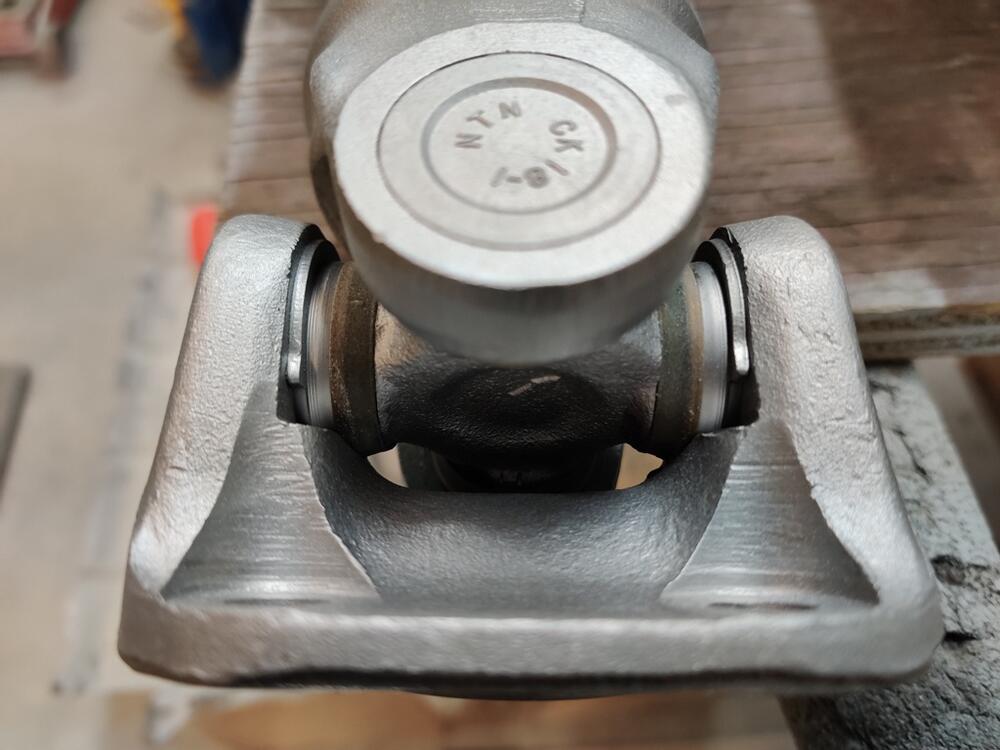
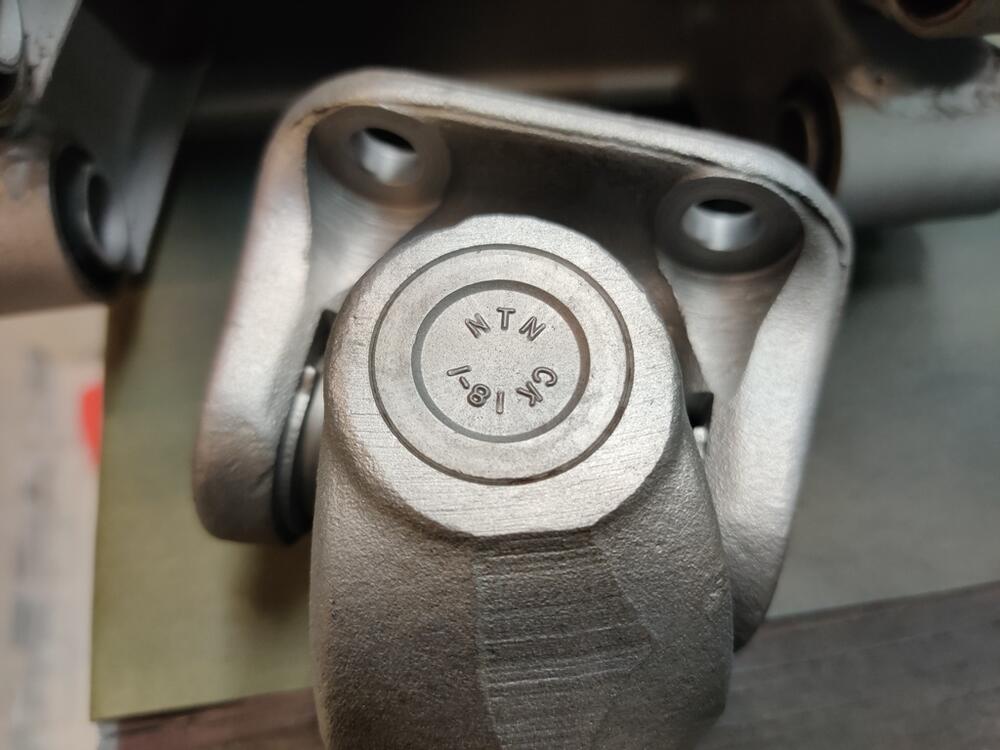
 I removed the u-joints from one of my axles tonight. I can't see any beads that got past the seals, but I will be cleaning them regardless. Took a look at that with the axle I worked on tonight and the arrows are at 90 degrees - not 180. I'd like to know if these are replacements or original. I have since a two different brands that are original so far: "Torrington" and Koyo". No idea if these N T N are also OEM.
 -
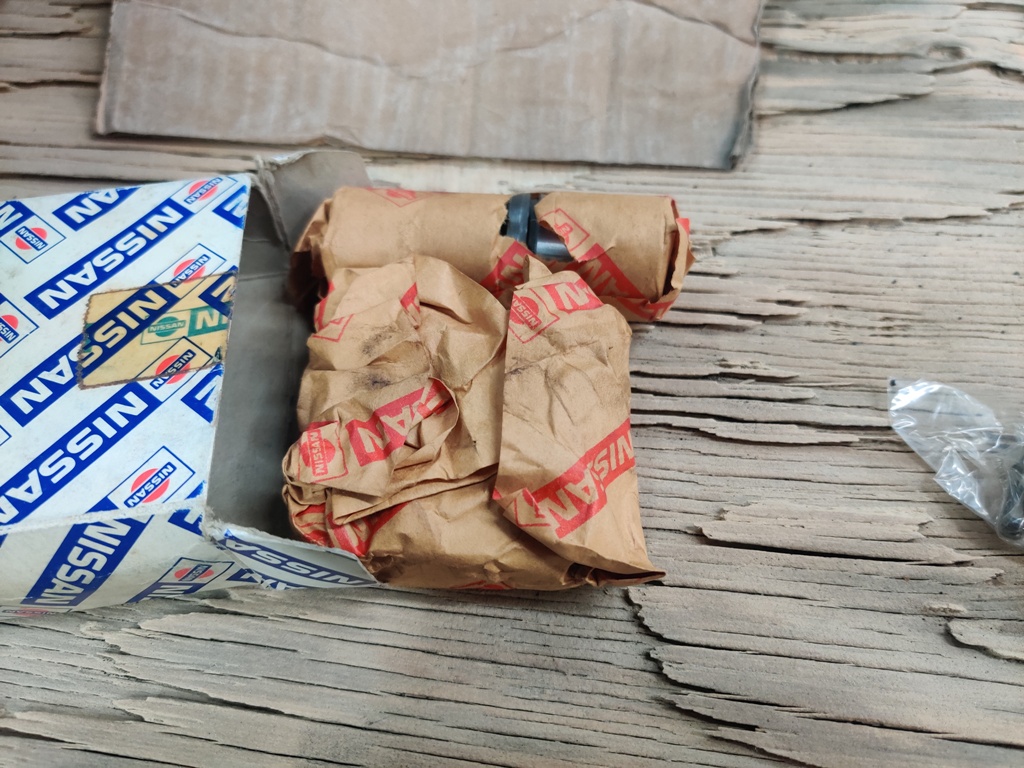
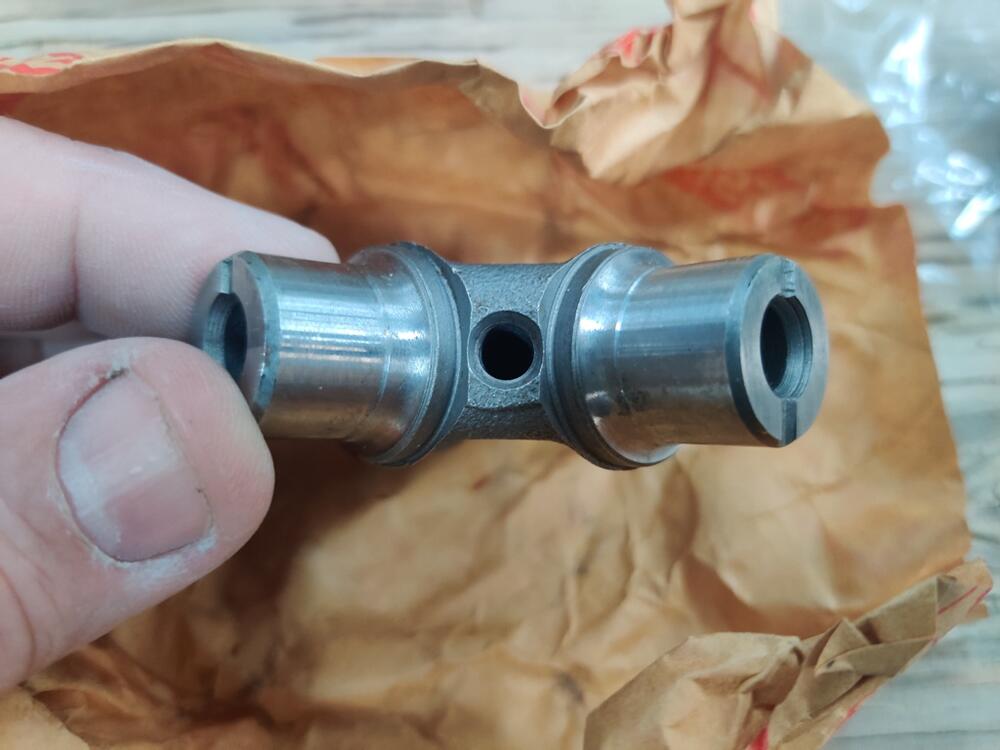
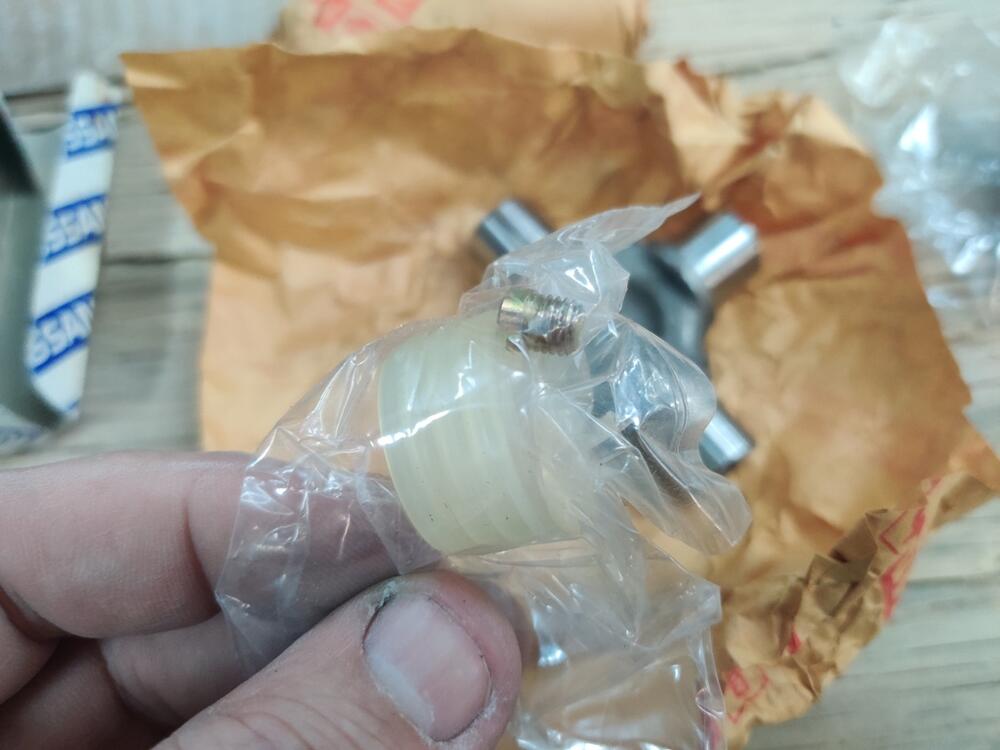
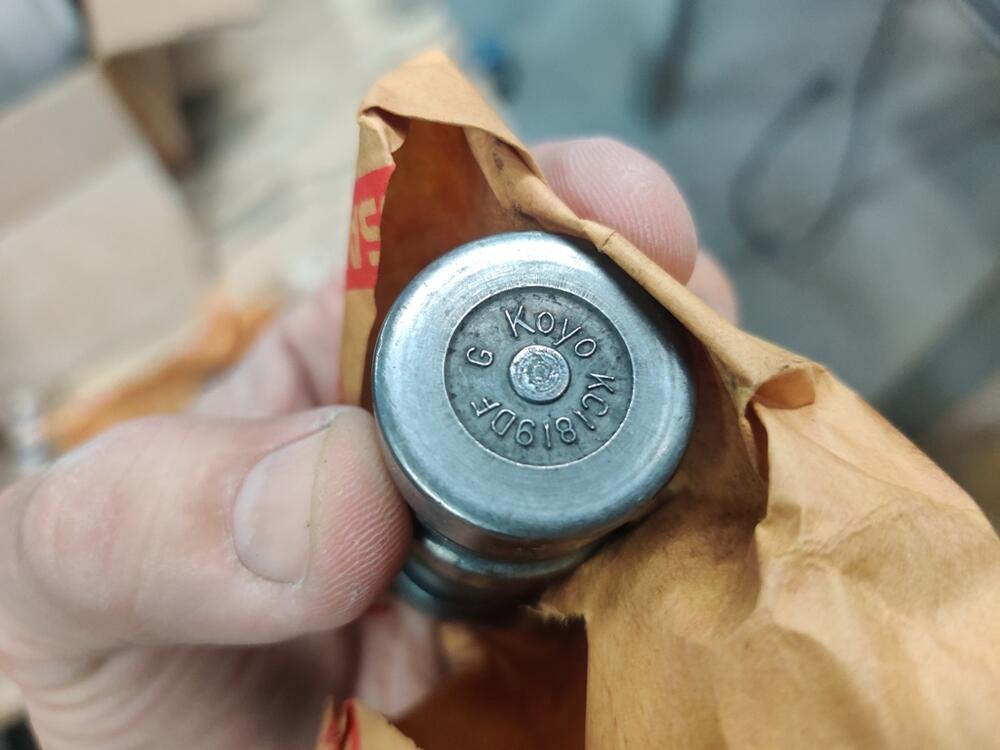
I located a couple of NOS driveshaft u-joints in my "boxes of stuff" tonight. I was curious if they were drilled for grease fittings. I found out that they are. Interestingly, if you look at the corners and markings, you see they are similar to the ones on my shafts. However, instead of an arrow, there is a D on the corner that has a flatter surface than the other corners: Additionally, the brand is Koyo for the two I have in boxes, and not grease fitting was included, but instead a plug was. I still suspect that I could drill and then tap the existing u joints for a grease fitting. I will need to decide how to proceed before I prime and paint the axles. They were painted after assembly at the factory (paint over rubber boots and bands as well), and I am thinking about replicating that. I am leaning toward taking the u-joints out and apart and cleaning them and repacking them with grease. I may attempt to drill and tap and install grease fittings into them.


-
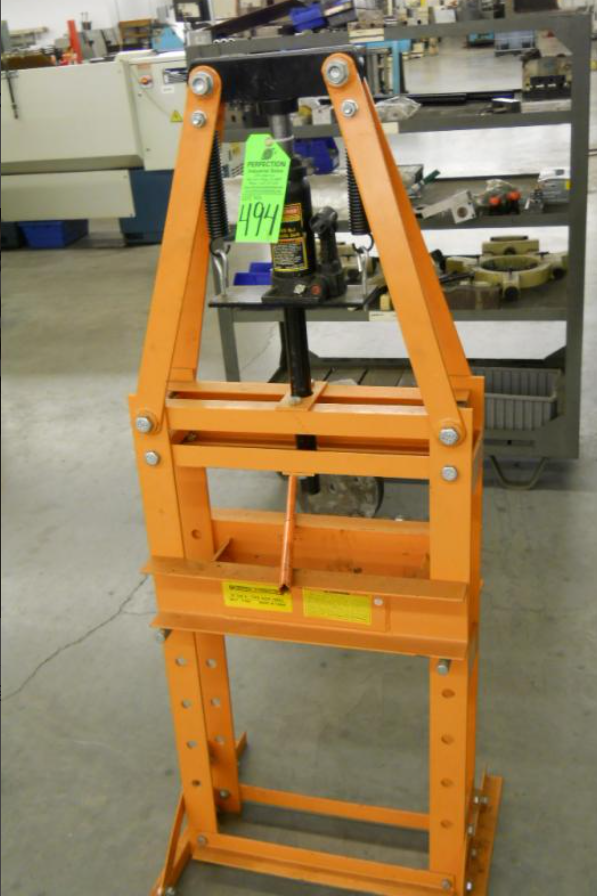
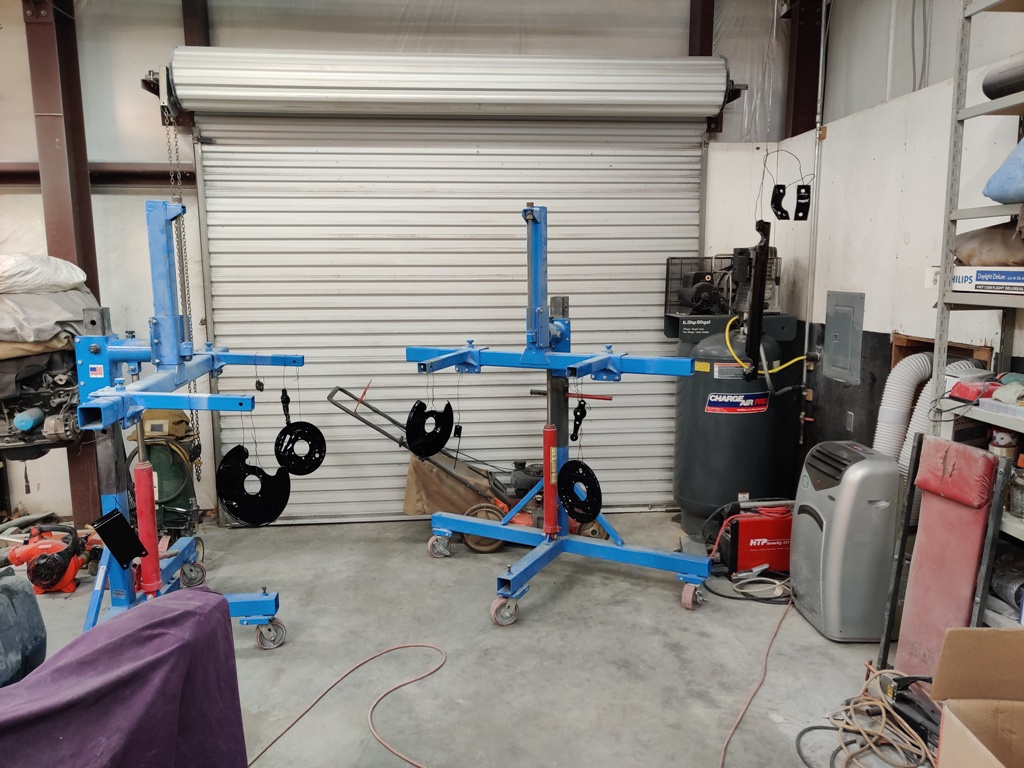
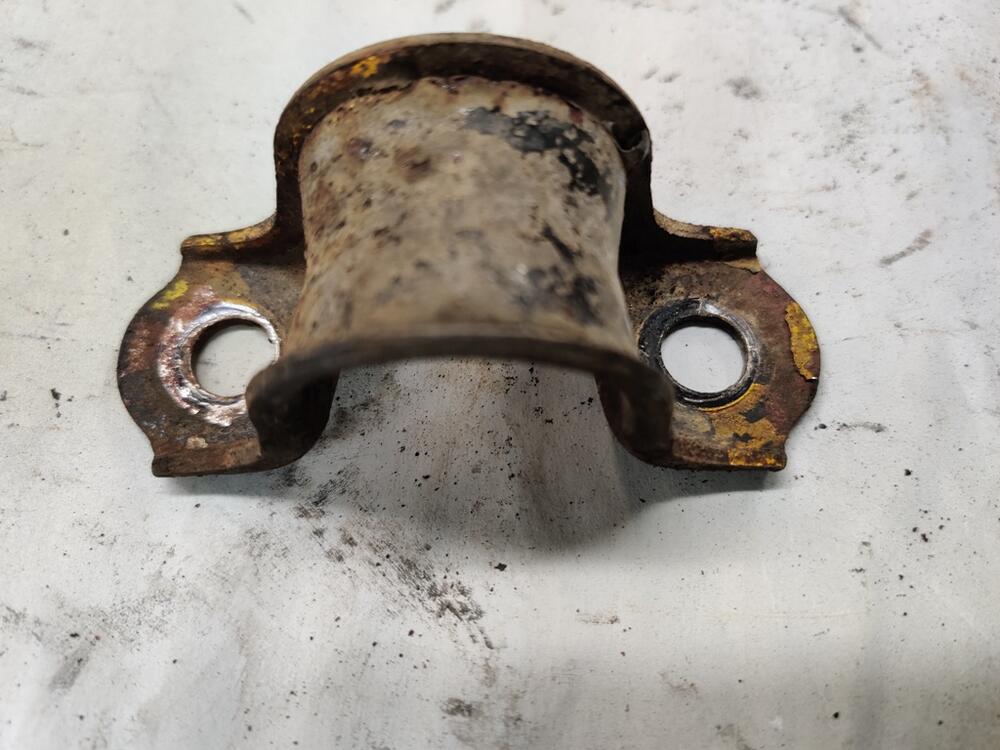
I am back from a week of vacation which consisted mainly of relaxation and recuperation. I located the manual and receipt for my press. It is a 12 ton capacity press. I purchased it in 1999 for $127 including shipping. The bottle jack stopped working a year or so ago, and with a new bottle jack (12 ton) only $30 something with shipping, it wasn't worth my time to tear it apart. Hate that. One of the few times I convinced myself to just chuck it. I did open it and look for anything obvious first. 😉 Anyway, I was reaching the limit of the bottle jack with these rear control arm bushings. The handle went kind of "soft". And I was using a propane torch simultaneously to add a bit of heat to the portion of the control arm that the bushing presses into, admittedly I did not add a lot of heat though. The 12 ton press served most of my needs... but these bushings surprised me. I didn't expect them to be this tight. But, it looks like 20T has worked, so I am thinking I will go that way.
-
My press is only 12T, I think, from harbor freight. Looks just like this: Based on everyone's input, it sounds like I would have success with a 20 ton press. I found this for $68.50 and free shipping. https://strictlymot.com/products/20-ton-hydraulic-shop-press?currency=USD&variant_sku_code=2777136-0-0-0-0-0-0&gclid=CjwKCAjwiOCgBhAgEiwAjv5whLBTtoAkp7L5HAnW0p-SVQ3SGIv9FU6RxWIz6PNaUjKpF8_iqv3SLRoCxPsQAvD_BwE Sounds like too good of a deal to be true - and I'd be risking personal info if I tried buying it!

-
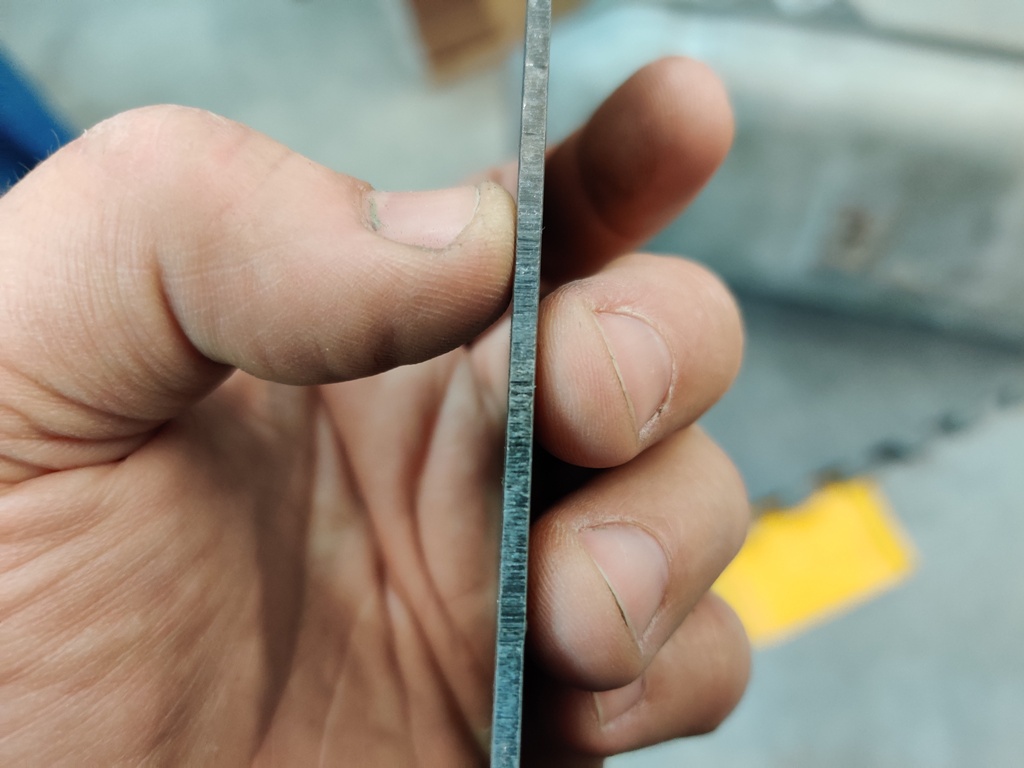
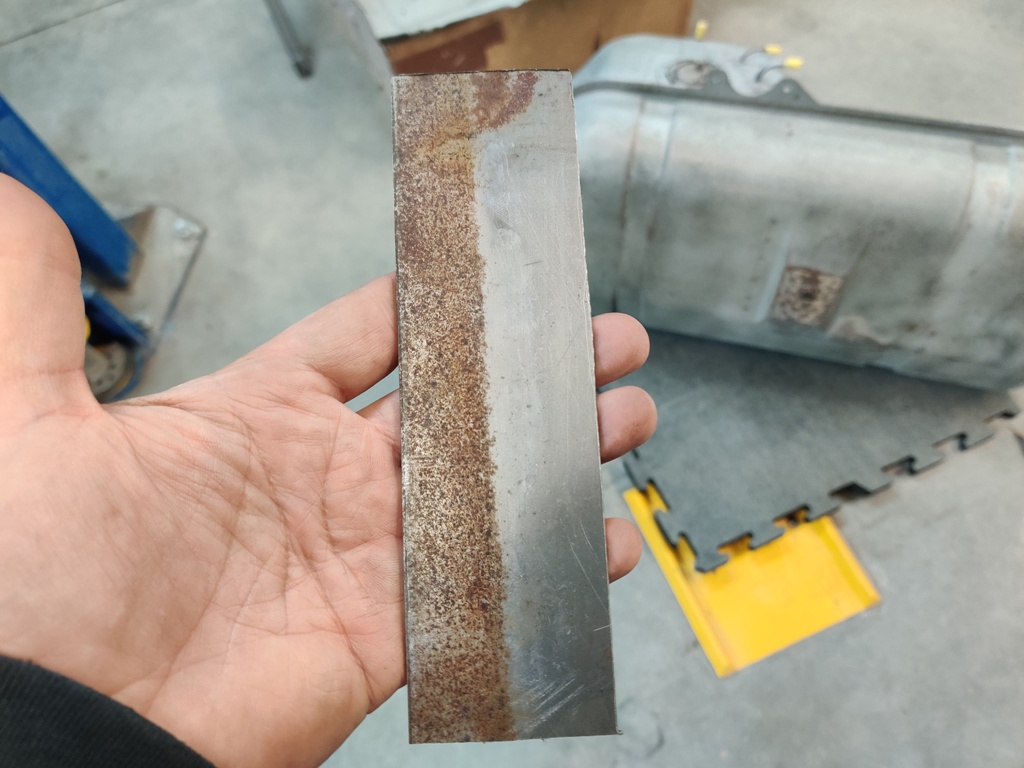
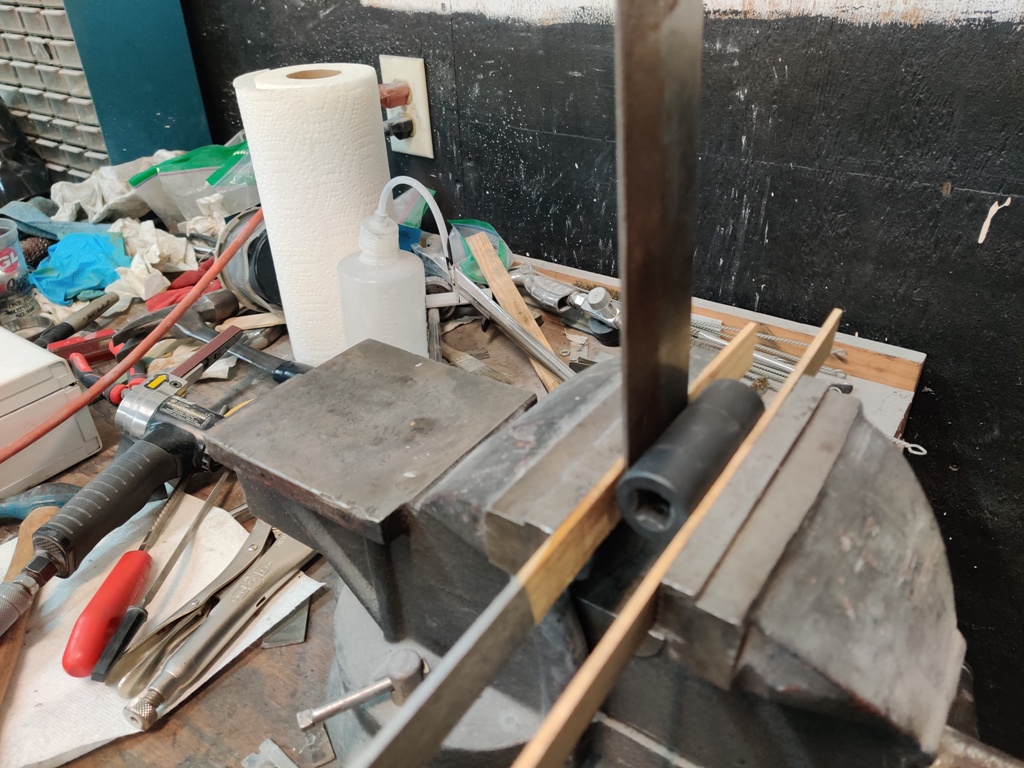
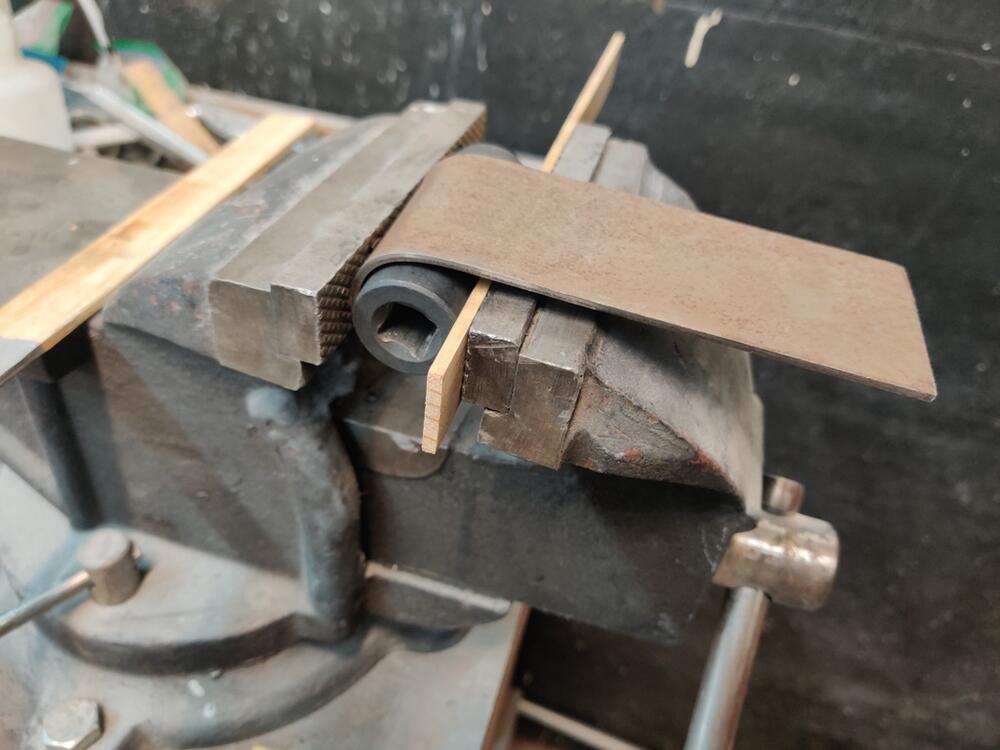
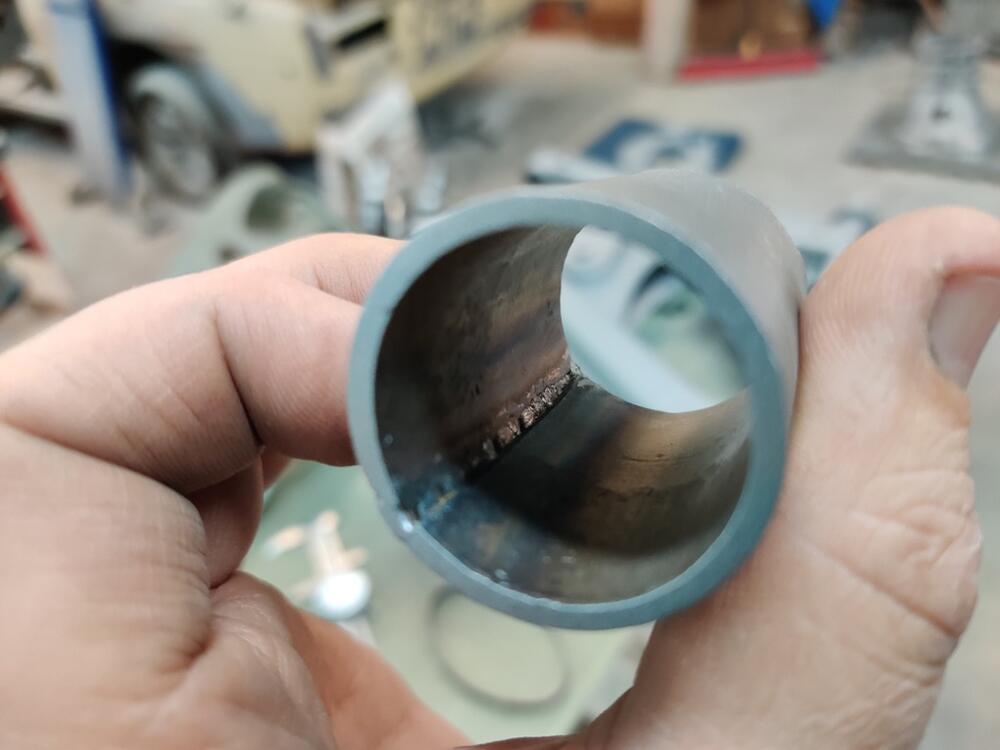
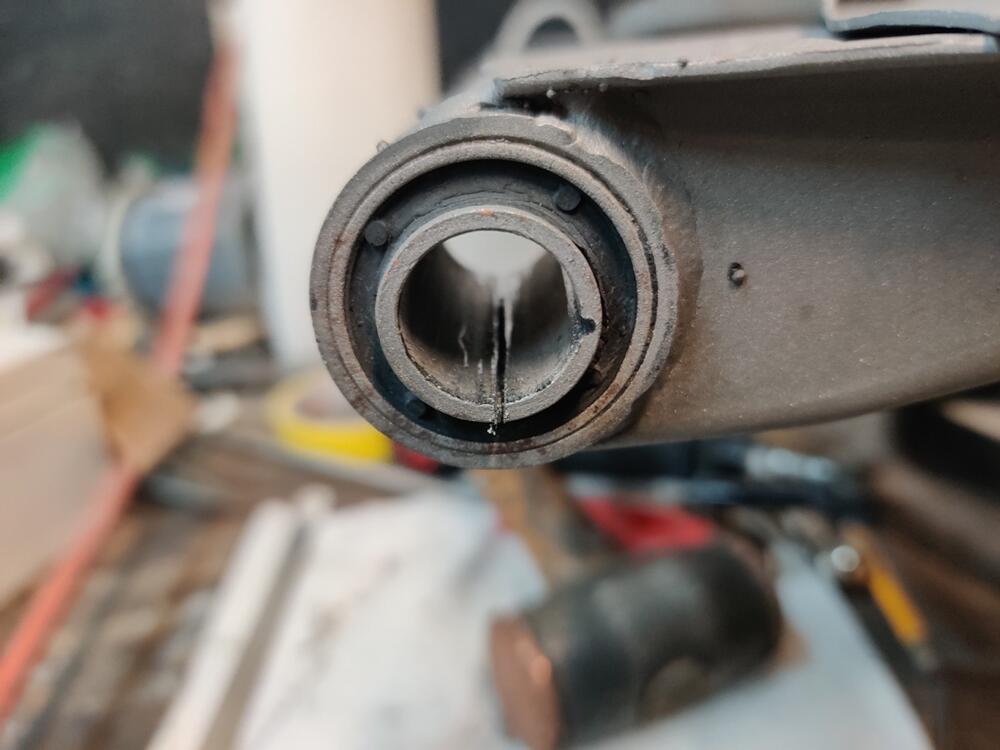
I decided in the few hours I had to work on the car today, I would make a pipe section for pressing the rear control arm bushings out and remove those. I cut a piece off of my .125 sheet that was suitably wide enough to accommodate the full depth of the bushing when pressed out of the arm, and began bending it. Using the vise, and an impact socket, I continued bending until it wrapped around the socket. Then I cut it to length and hammer formed it around the socket: I then welded the seam, dressed the weld with my hand held belt sander, and the ends with my bench grinder. Then, I bead blasted it to make it look nice. Under an hour and I was at my press with this, the control arms, and various bits to use in pressing the bushings out. Two hours later, I still hadn't gotten even one bushing to budge a millimeter. OD on a new bushing is about 1.185" if I recall correctly. And the impact socket I was using to press the bushing out is 1.182. It's a bit to big, but I should have been able to get a few thousands of an inch, but I got no movement... at... all! I tried going down in size to the next thing I had, another socket that was 1.165". But it wasn't catching enough of the bushing outer sleeve. These bushings have a very thin outer wall sleeve. In frustration, I took a hack saw to one of the bushings and cut through the inner sleeve. But, as soon as I got through it, it collapsed a bit and kept the hack saw blade from moving in and out anymore. What a royal pain in the arse. First time I have been stuck on something in a long time. I am thinking about burning them out. 😠 I will see what others have done first.


-
Spindles are out - I am talking about removing the control arm bushings from the rear suspension arms - what the spindles go through. Thanks anyway though!
-
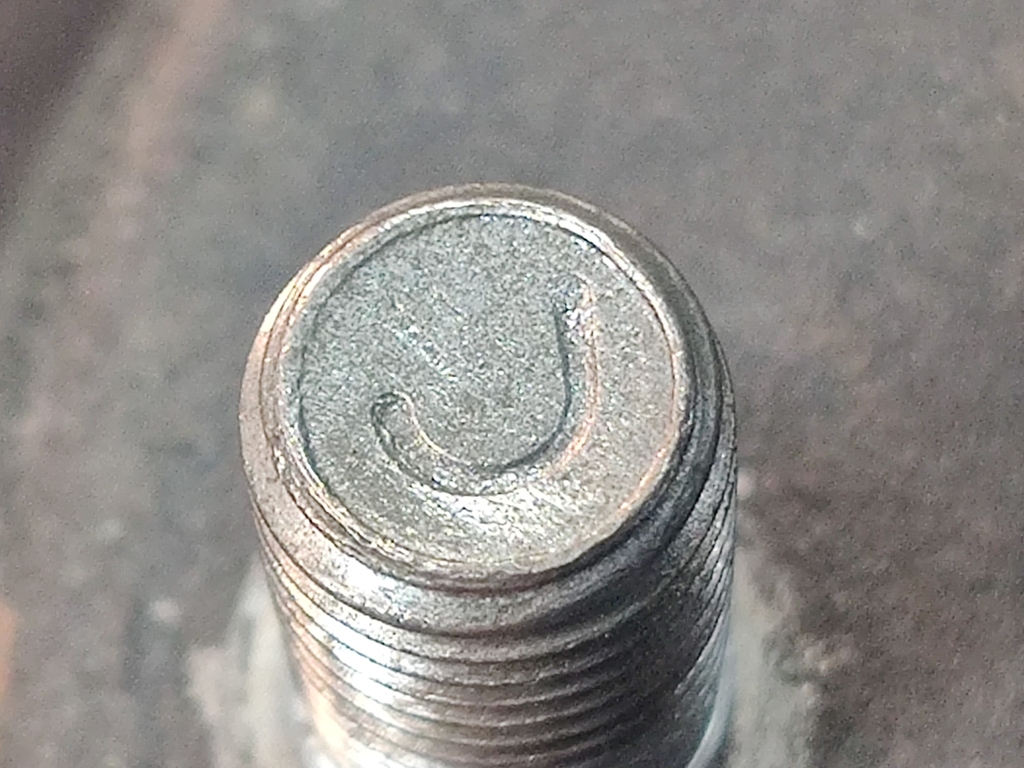
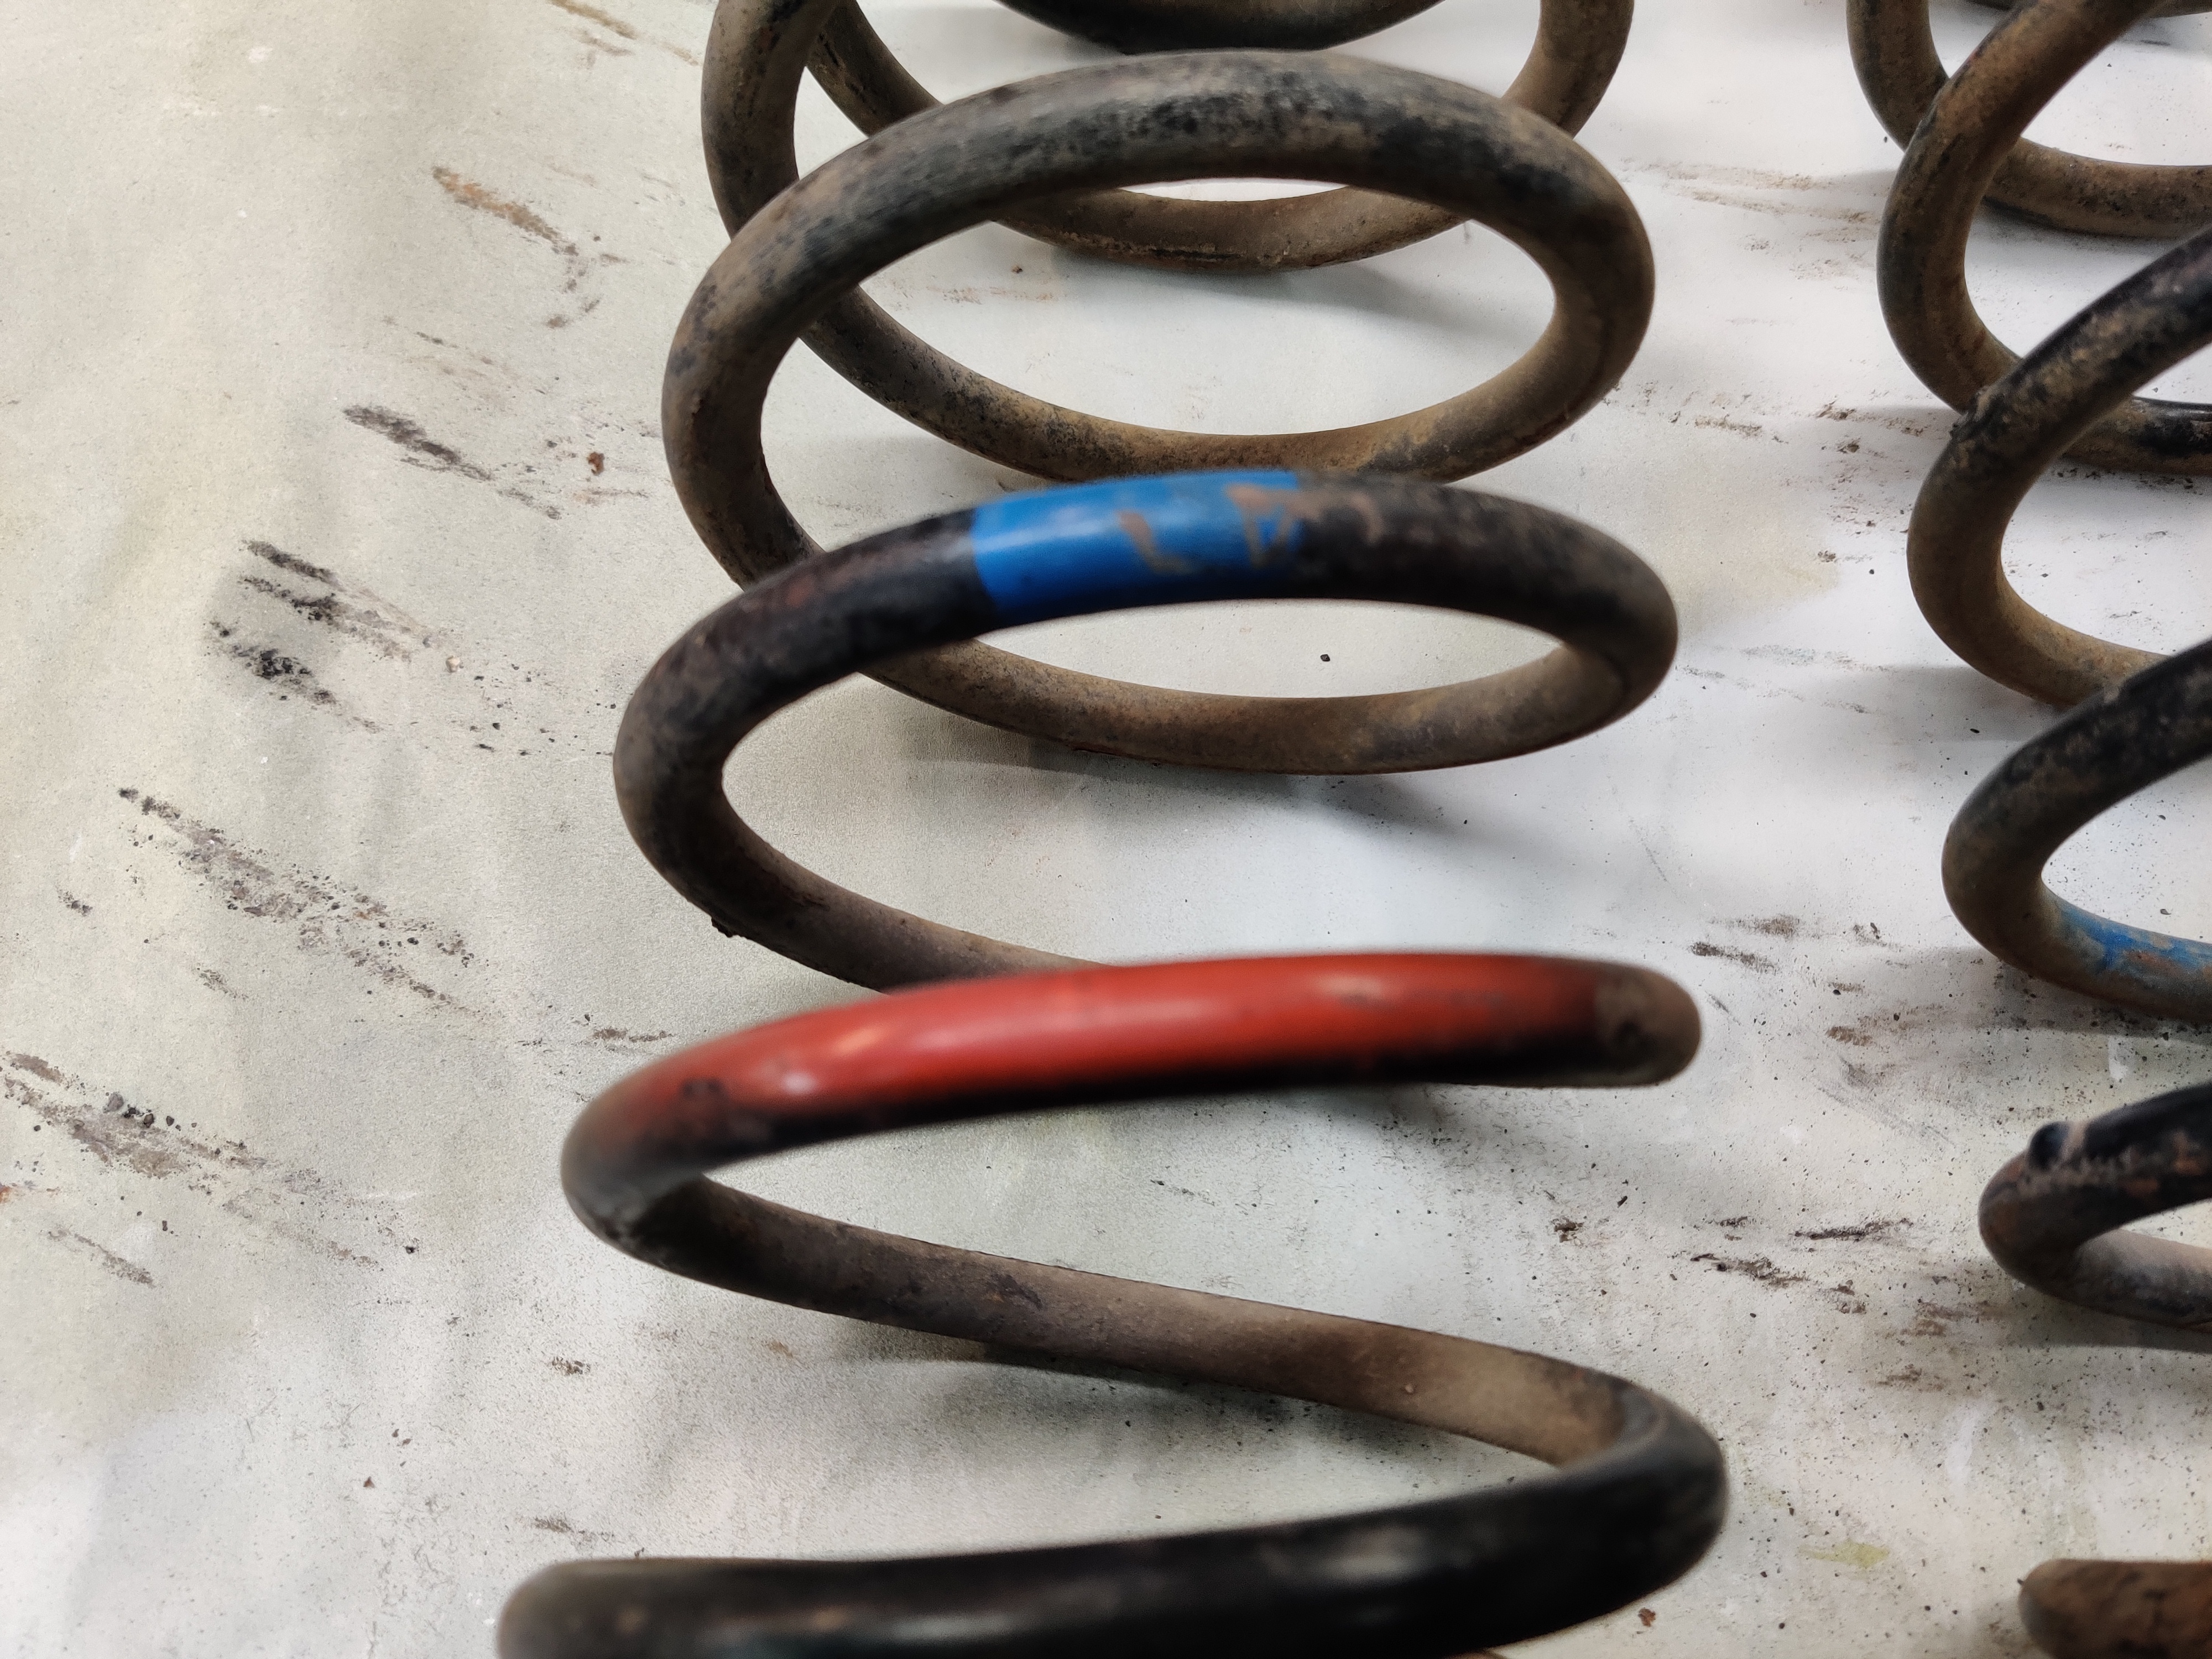
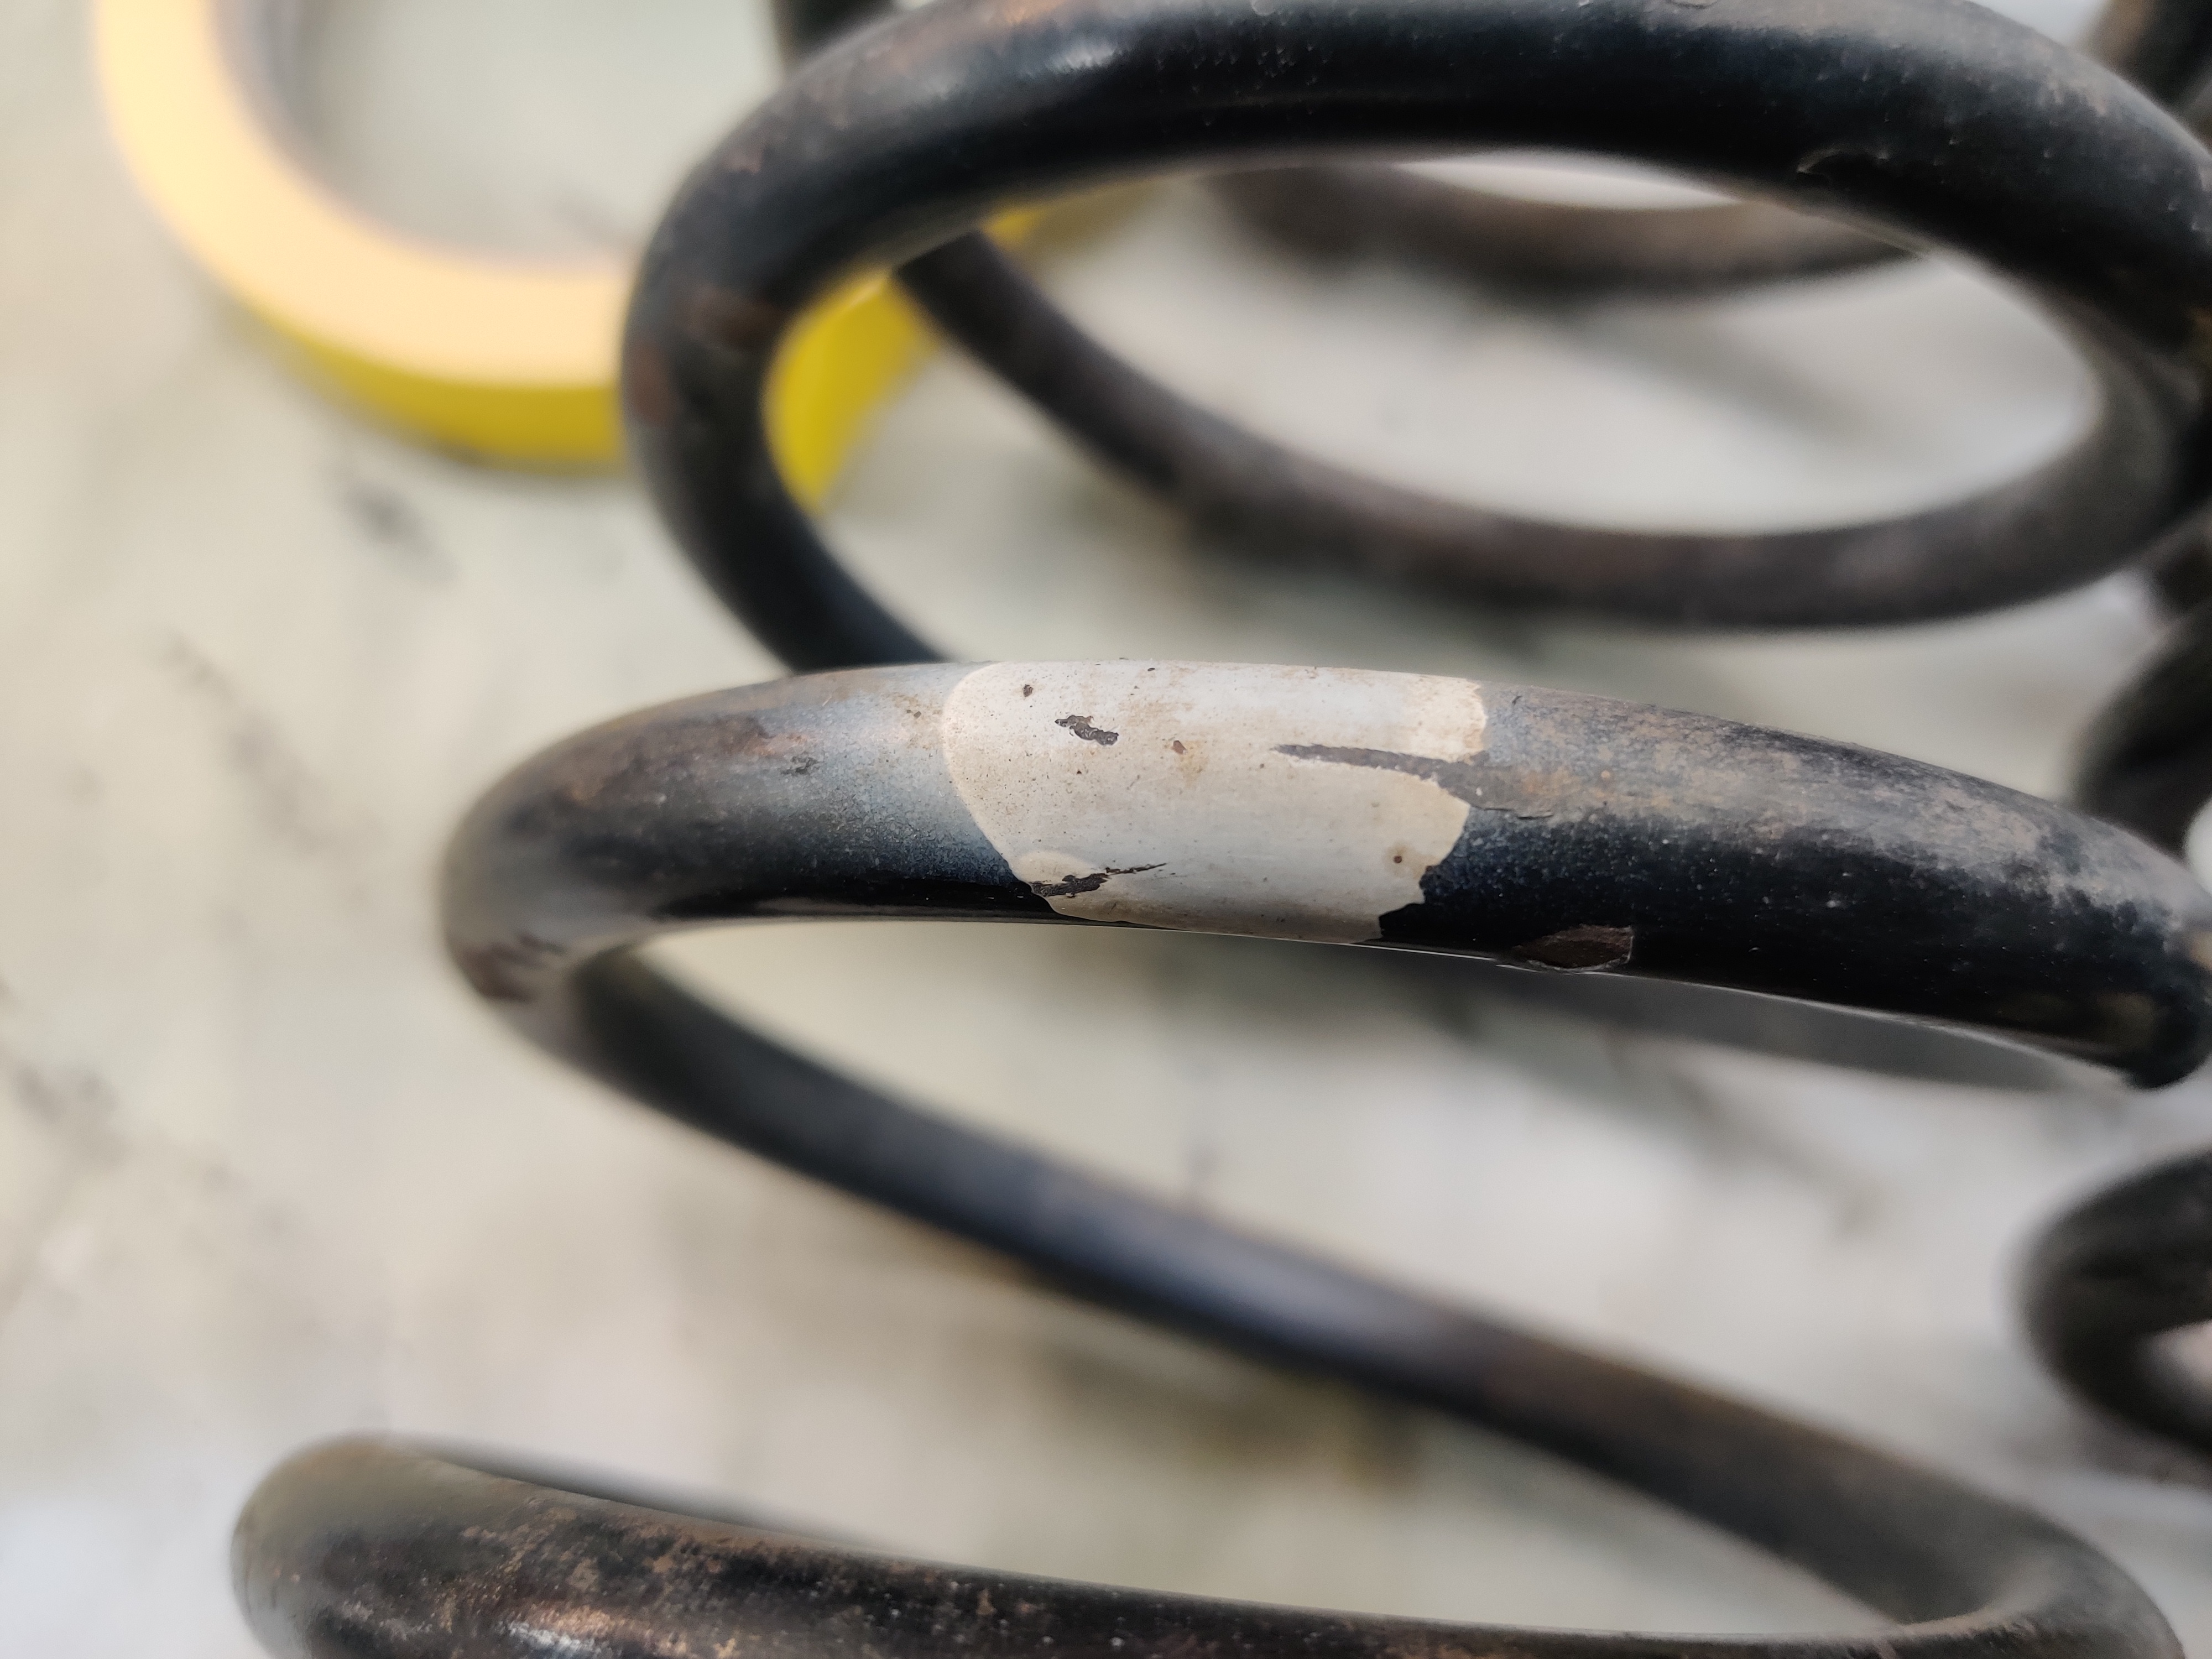
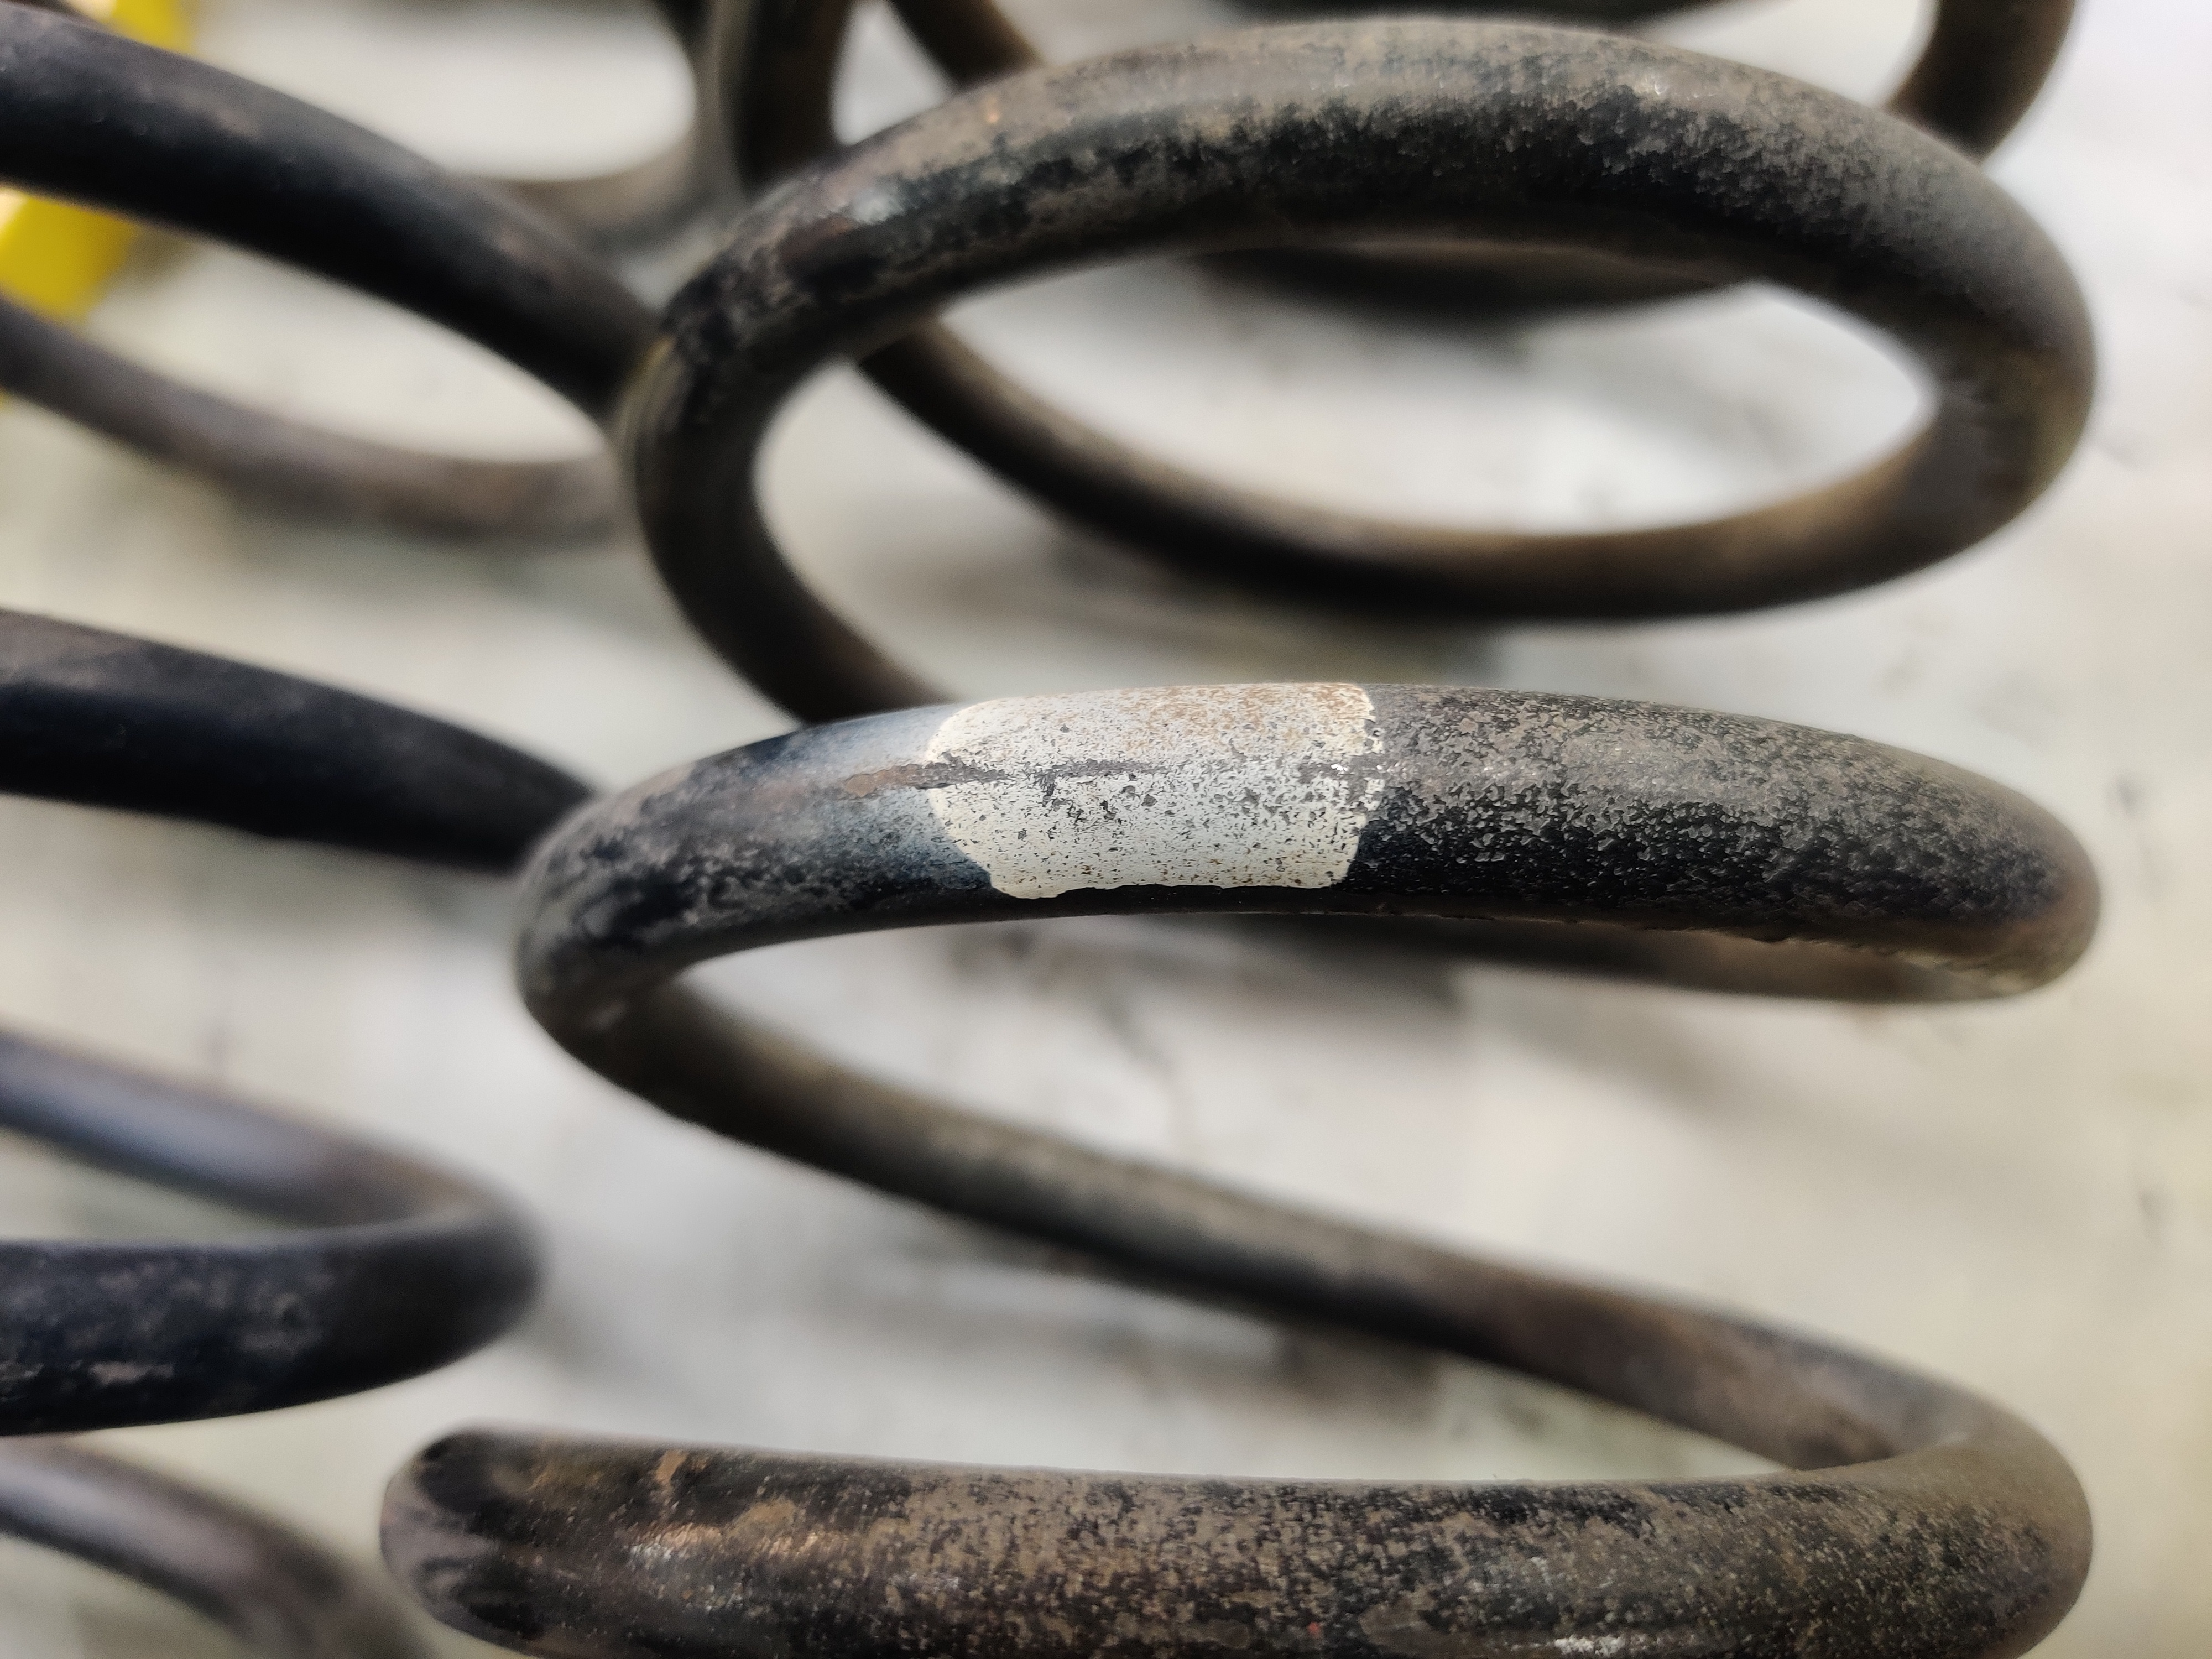
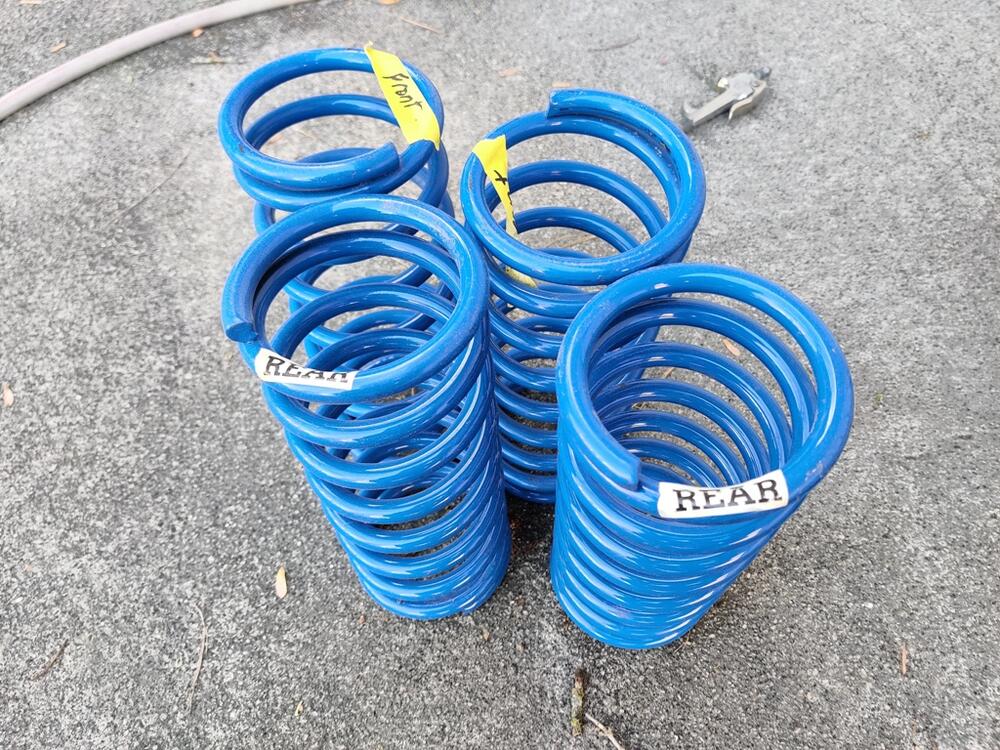
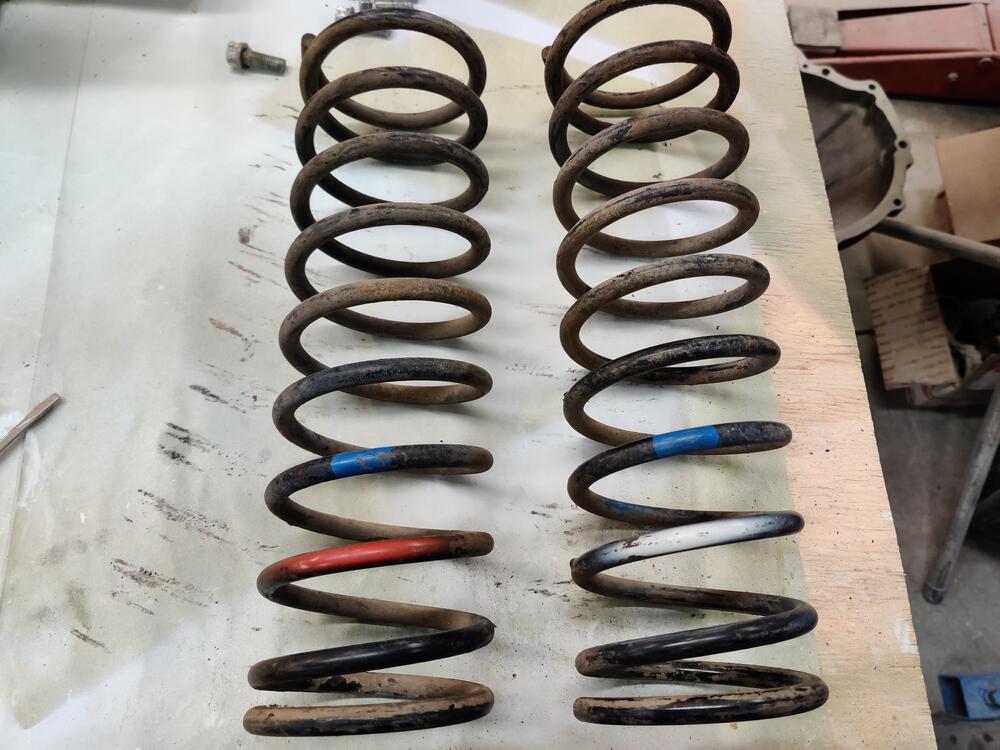
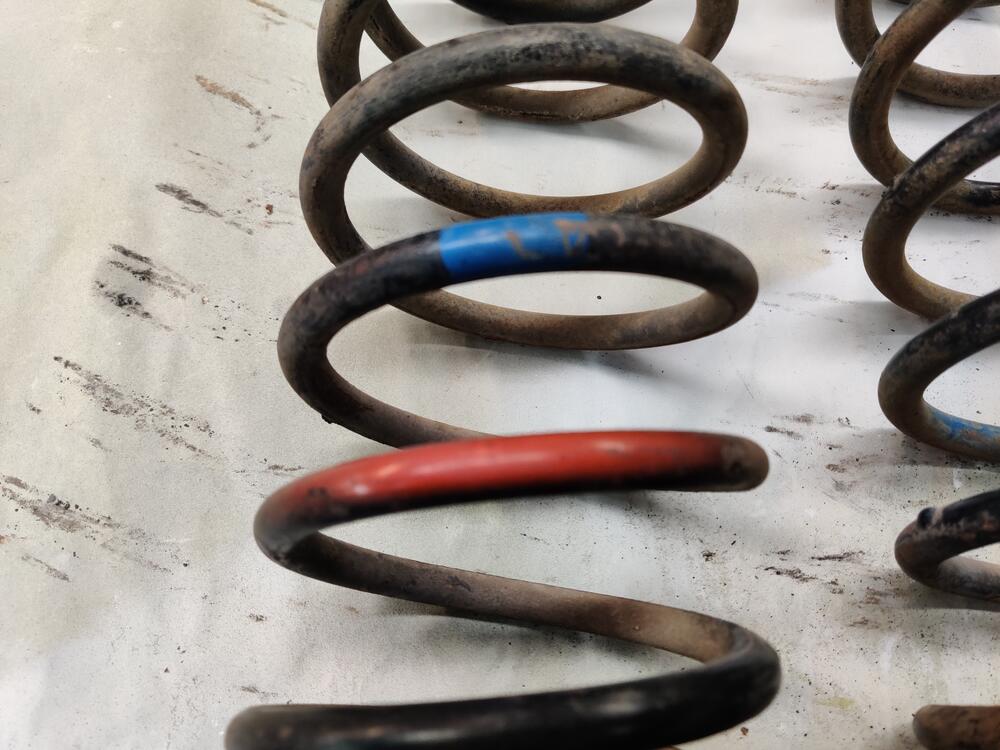
About the rates, Katz posted info that decodes which spring goes on the front left and front right, one page back in this same restoration thread: These after market springs from Suspension Techniques are the same free length and rate for the front, and the same for the rear. Interestingly, the rate for the rear is higher. In my heavily modified Z, I run 250 pounds per inch rate in the front and 375 pounds/in rate in the rear. I had already taped up studs for two out of four of the isolators before I noticed the marks. I'm curious if there are others besides the "I" and "J" on the other two. Playing two soccer games (in the freezing cold) will prevent me from making much more progress on these parts today. I had a thought about removing the bushings from the rear control arms, however. I have flat sheet in .062". I think I will make a round pipe of the right inner diameter. Should take less than 30 min.
-
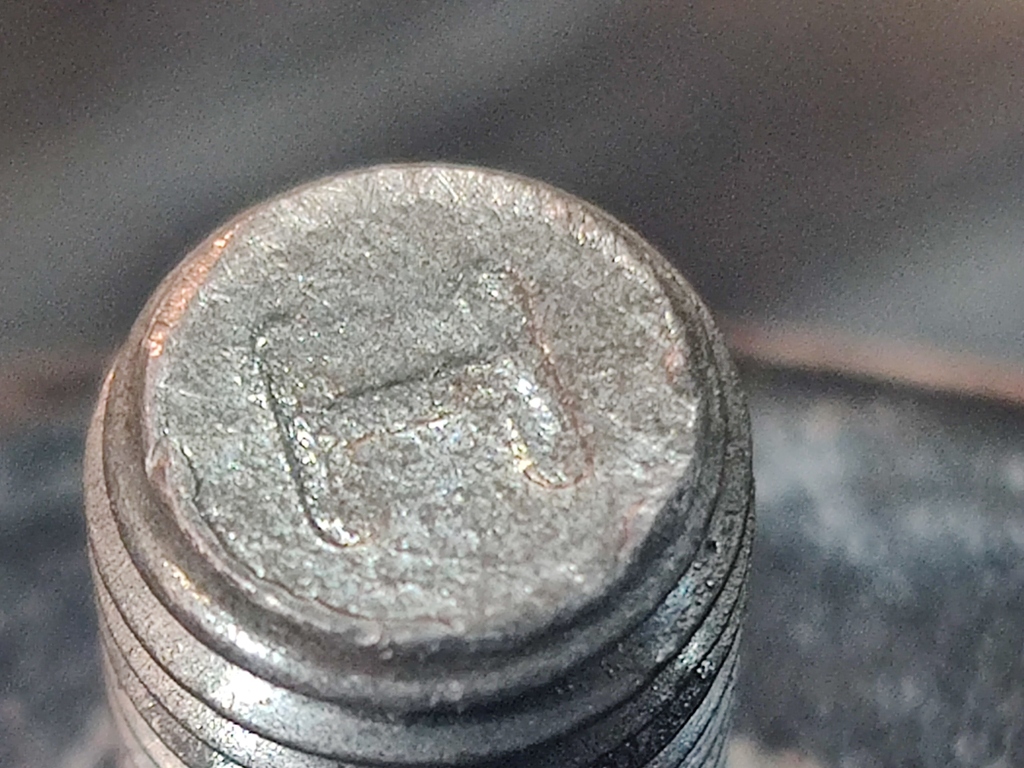
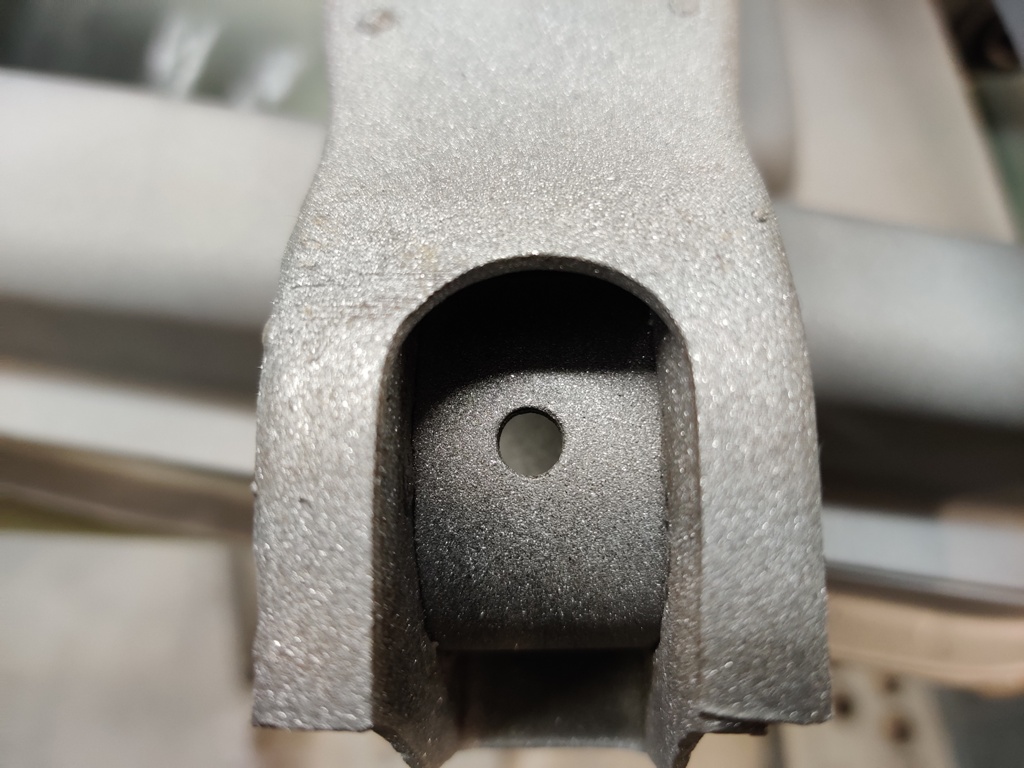
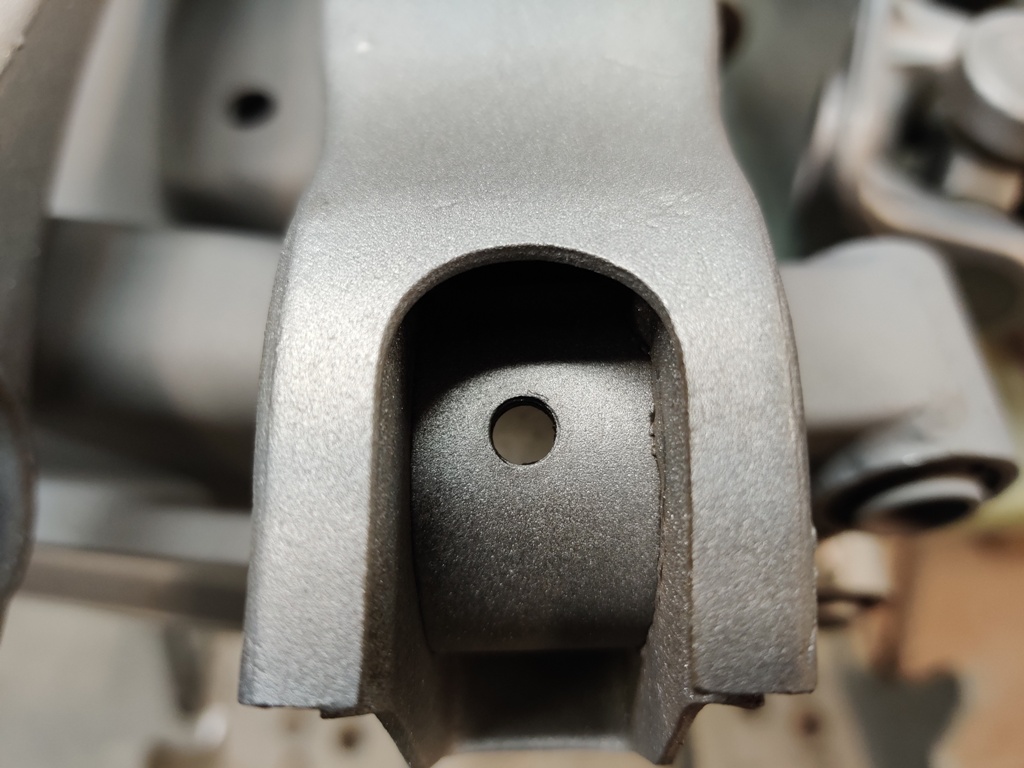
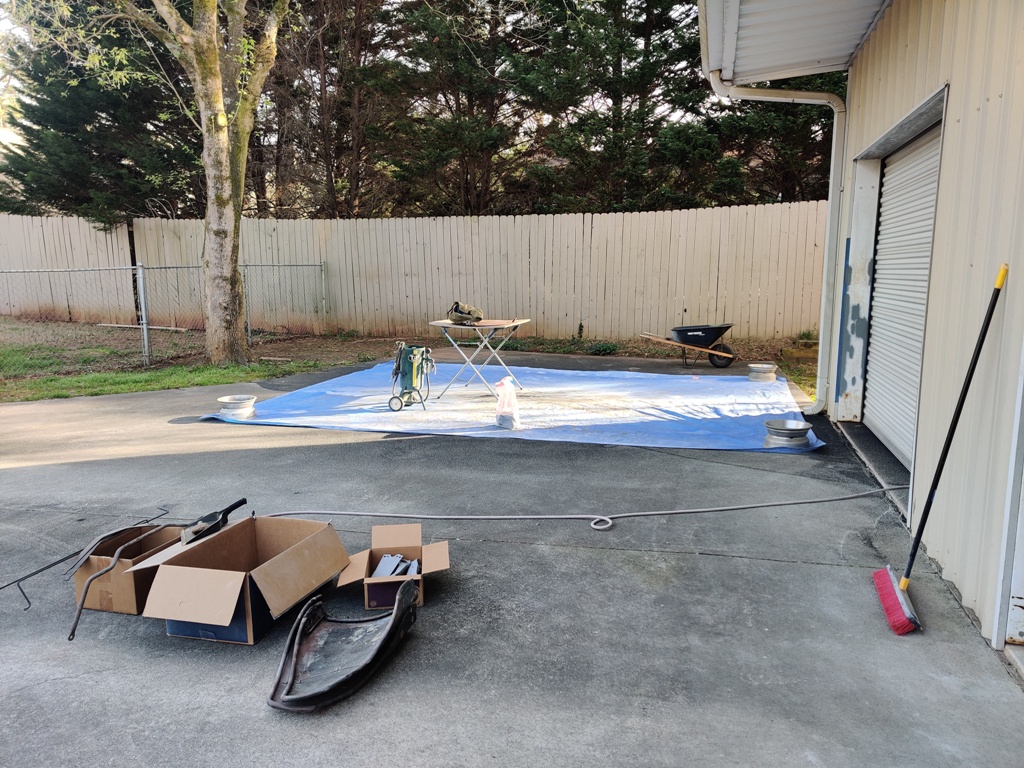
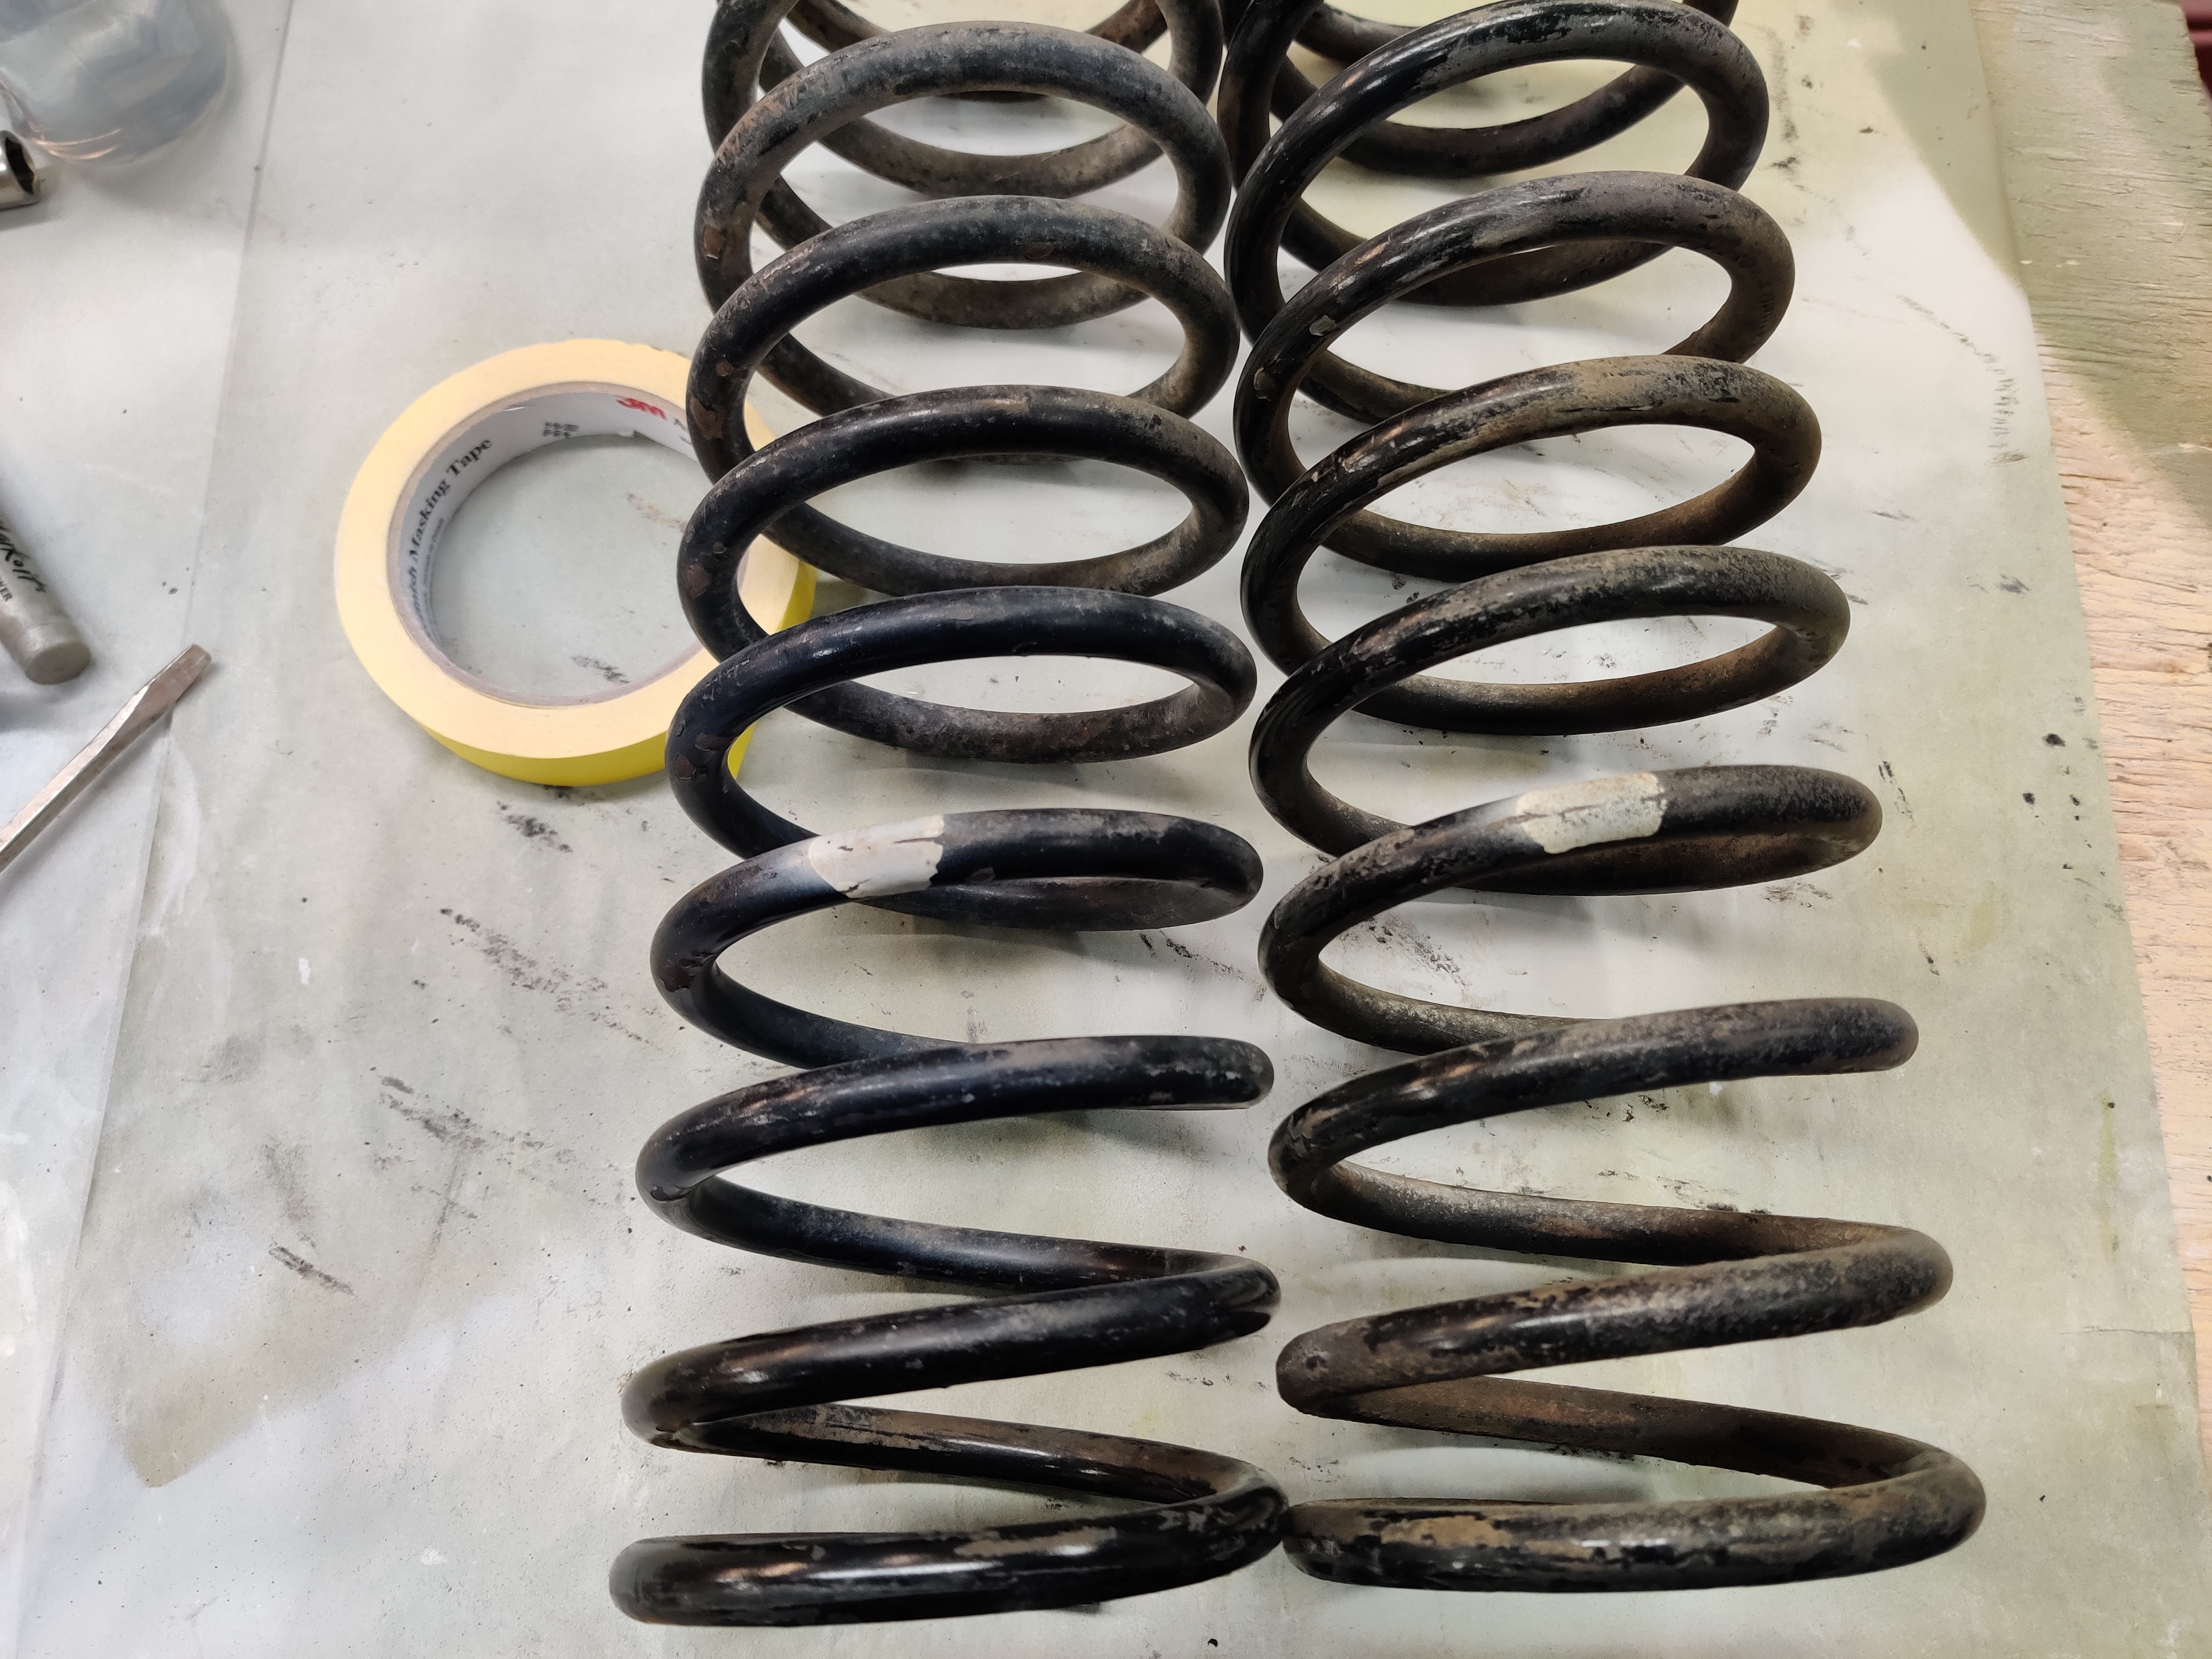
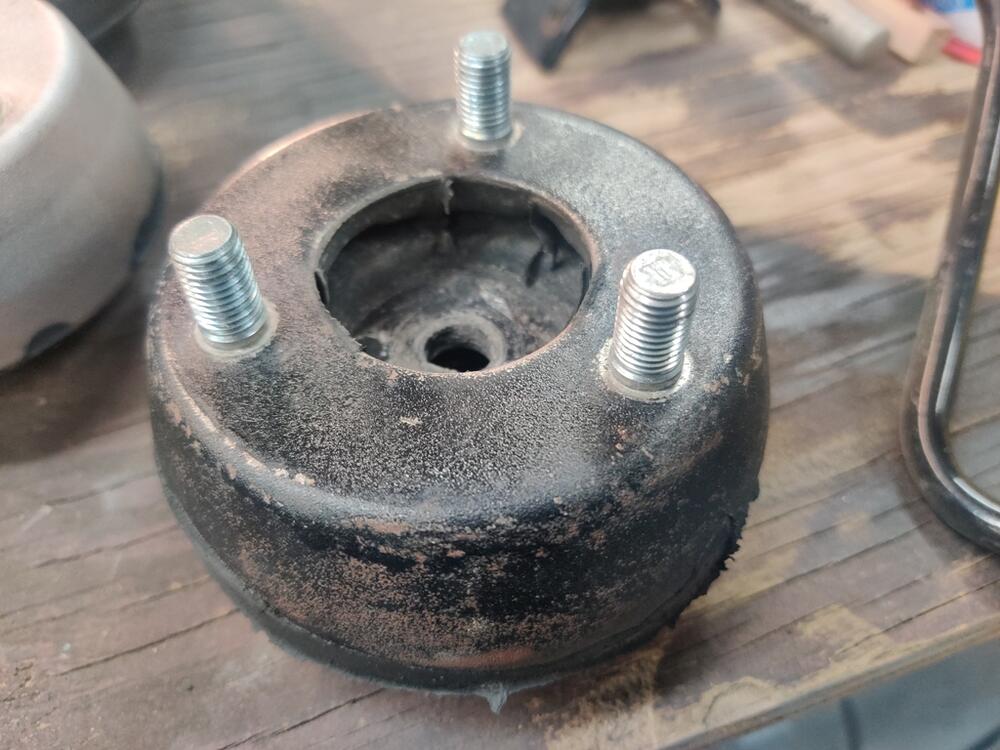
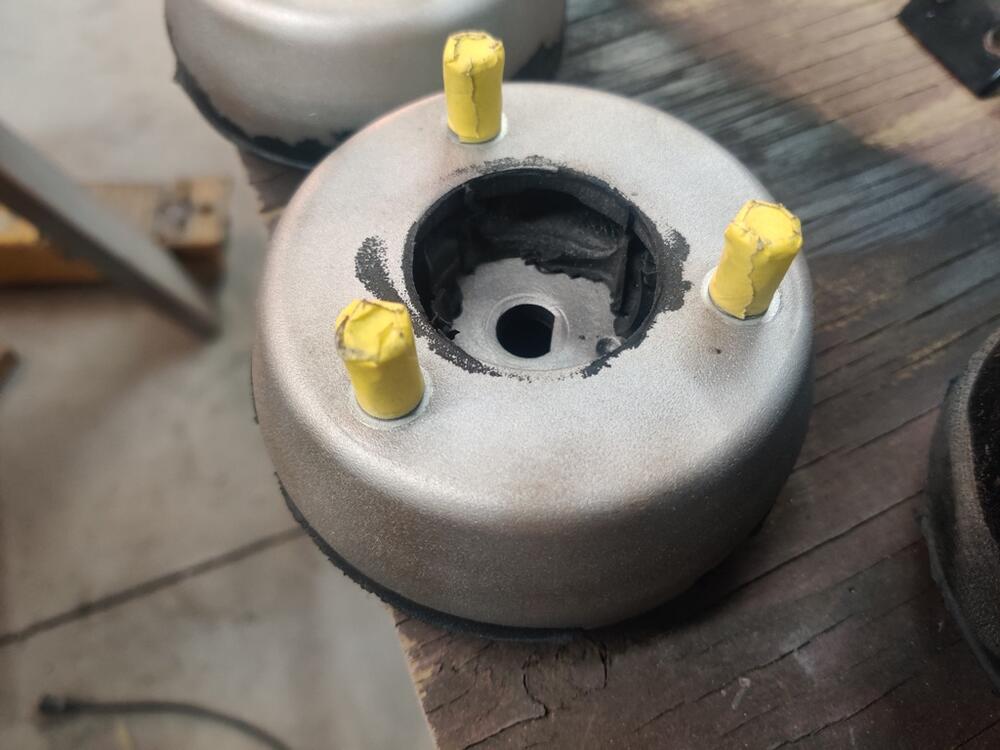
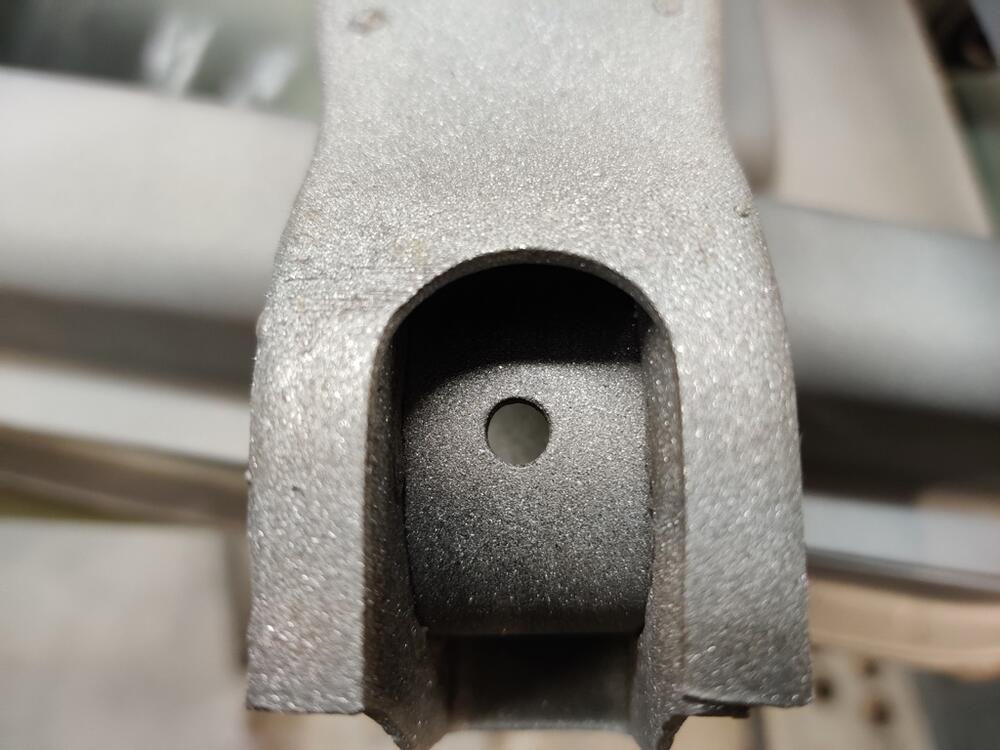
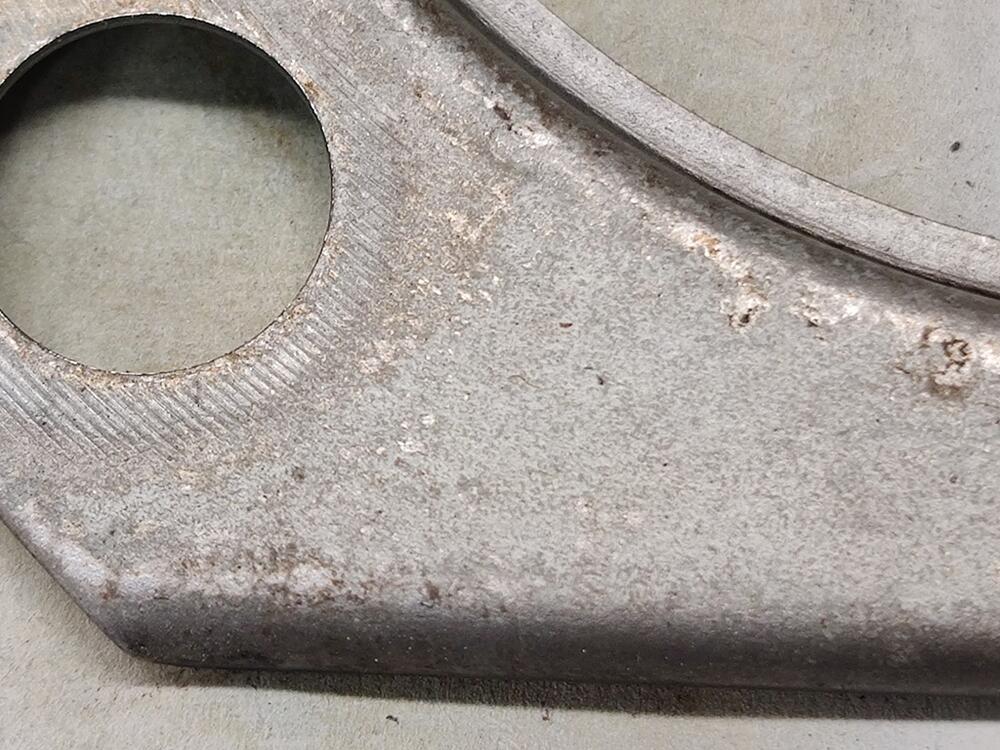
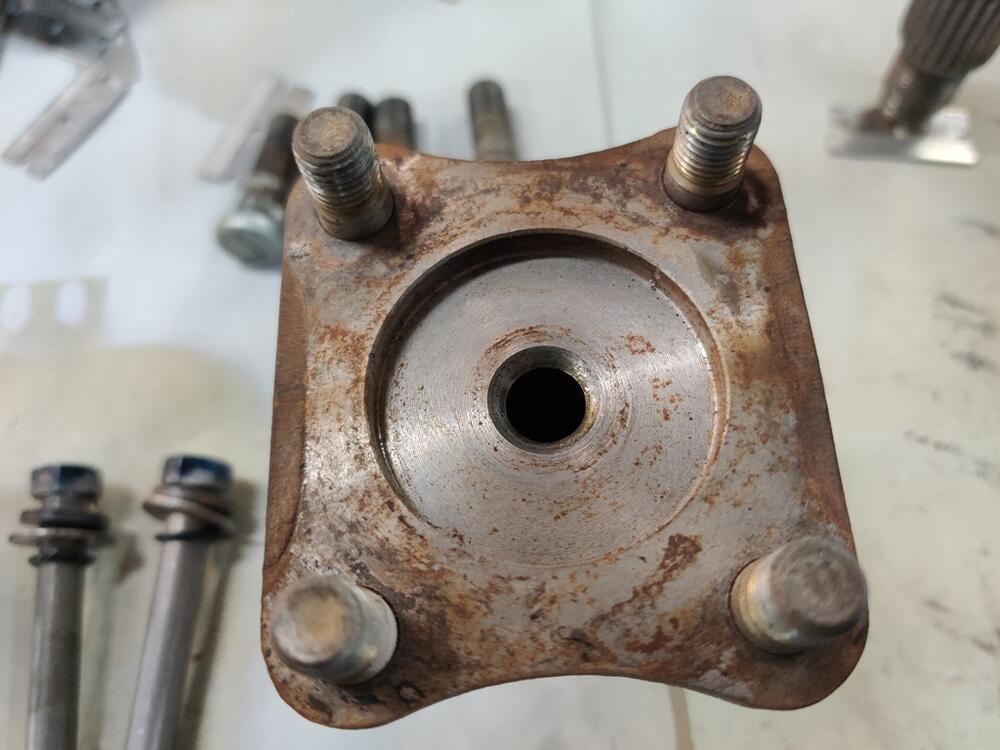
I believe I finished blasting the remainder of my parts today. It was cold... with wind gusts at times, which tried to lift the tarp up. I pushed through though. Next, I'll need to run many of the parts stripped today through the glass bead cabinet to finish them off. I welded metal in to repair the brake hose brackets on the front struts, and finished them with a 13" hand held belt sander. Didn't get pics, but I will and will show later. I forgot to get scrap tube of the right diameter this week to use to press the old bushings out of the rear control arms. I'll have to hold off on priming them until I remove those. Looking at the strut upper mounts, I observe that from the factory, the studs were not painted black: Another thing, which I never noticed before, the studs have letters... or marks pressed into the ends. Does anyone know what these mean? I decided to lightly brush the studs with a brass brush and then tape them off before putting them in the glass bead cabinet. I will leave them taped for priming and painting. I was going to strip the powder coated paint off of the Suspension Techniques springs, but I think I have decided against it. I don't like the blue color. But instead of stripping, I think I will scuff them with green Scotch-Brite and paint them black. Wish I could have sprayed primer on all these tonight, but I ran out of time, and the temp is supposed to hit 24 degrees over night. Not ideal. The epoxy primer needs 60 minimum for 8 hours to dry. Hopefully, no surface rust will start forming before I have the time and the right conditions to prime and paint.

-
Found this post about strut stickers: Wonder if there are any reproductions other than these: https://www.zeddsaver.com/products/datsun-240z-strut-decals
-
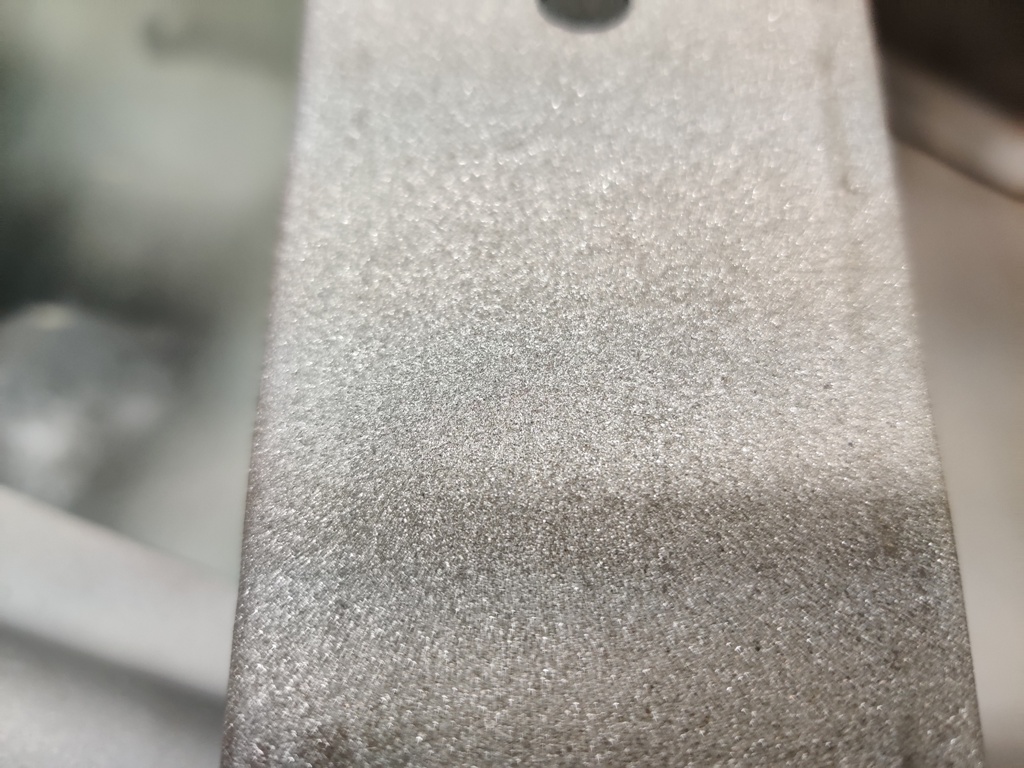
Thanks Charles! I have been re-collecting and straining the used material. I like the idea of using a storage tub. That would keep the media from traveling as far. The weather looks sunny and cold today, good for finishing the stripping of paint and rust from parts. I will attempt to finish blasting of all remaining parts today. The struts have the remnants of what I believe to be a factory sticker: Each of my struts have this same left over sticker residue. It is narrower and longer than these: https://www.zeddsaver.com/products/datsun-240z-strut-decals Anyone know what they are/said originally? The previous owner hacked the brake line support bracket. I'll repair these before painting.

-
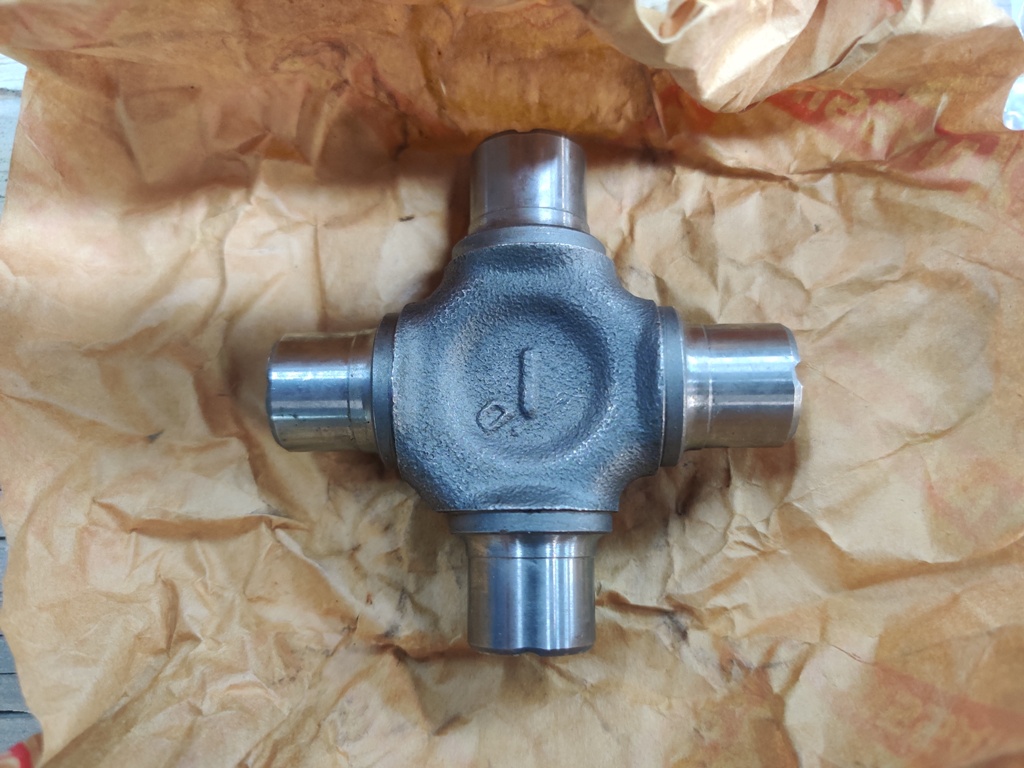
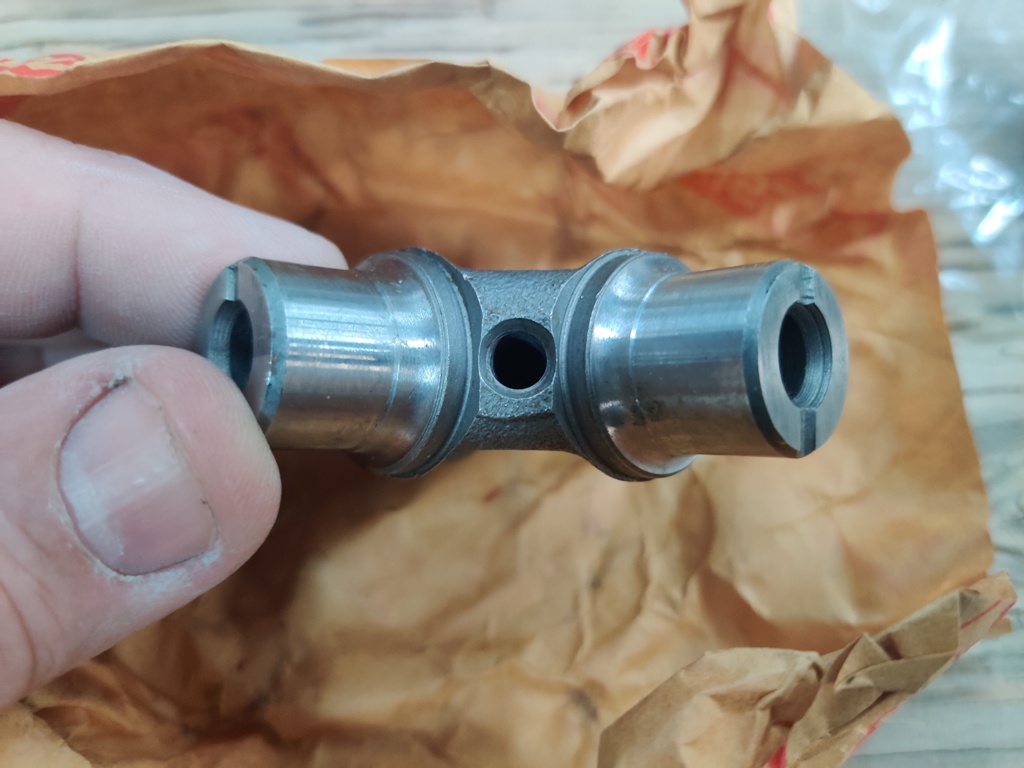
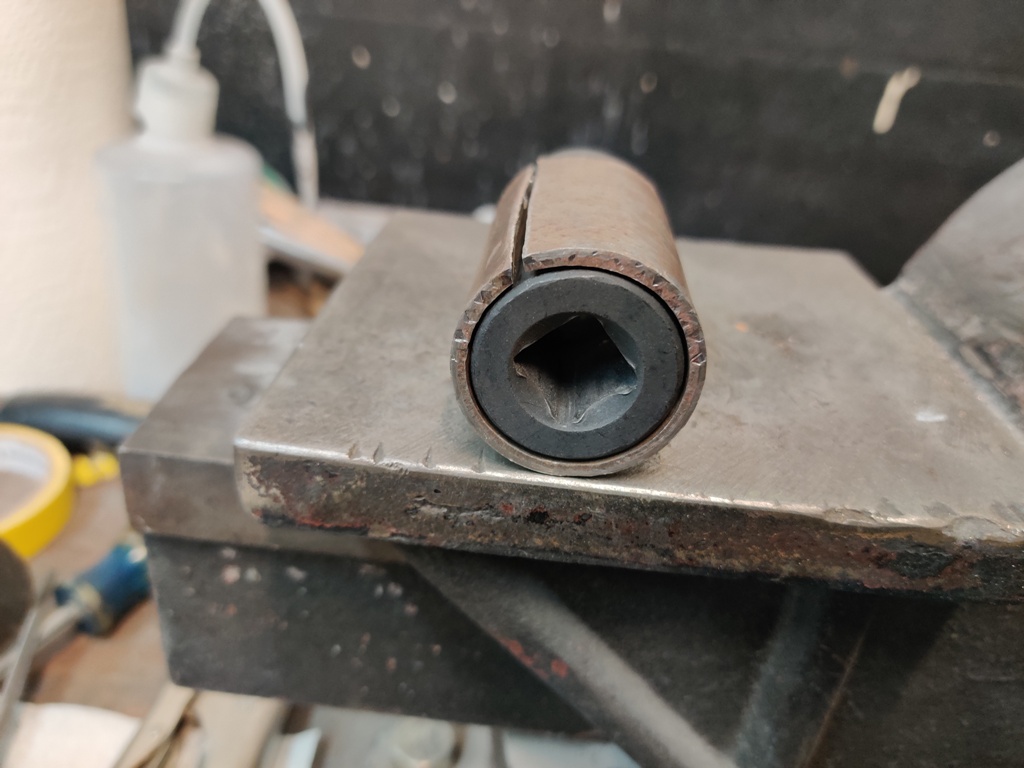
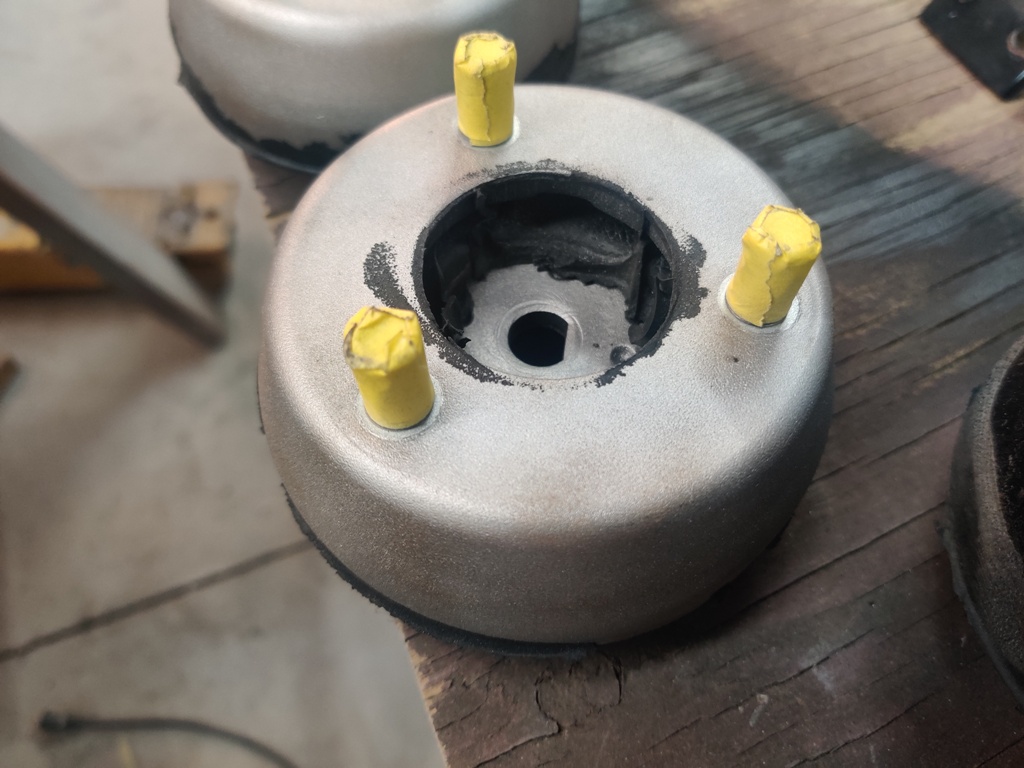
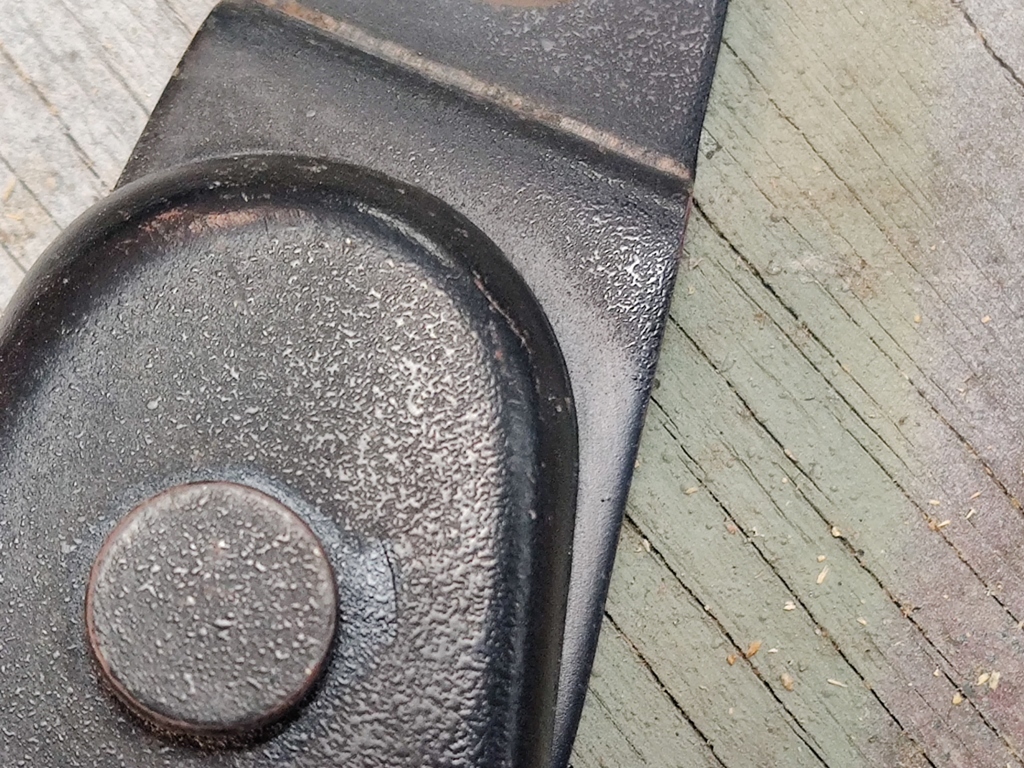
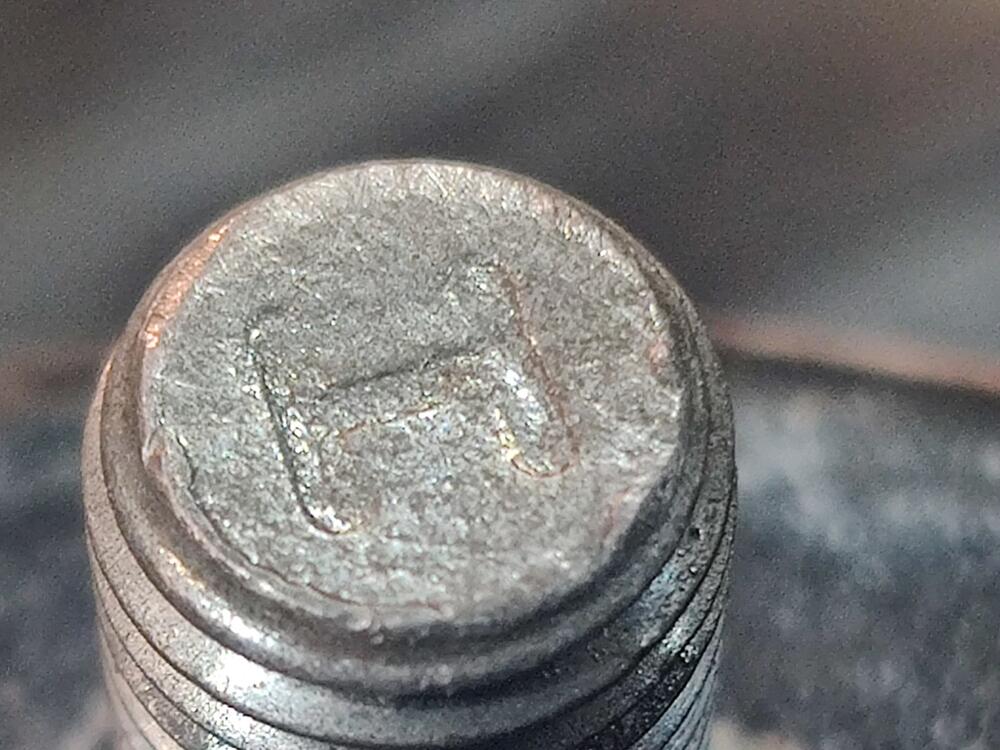
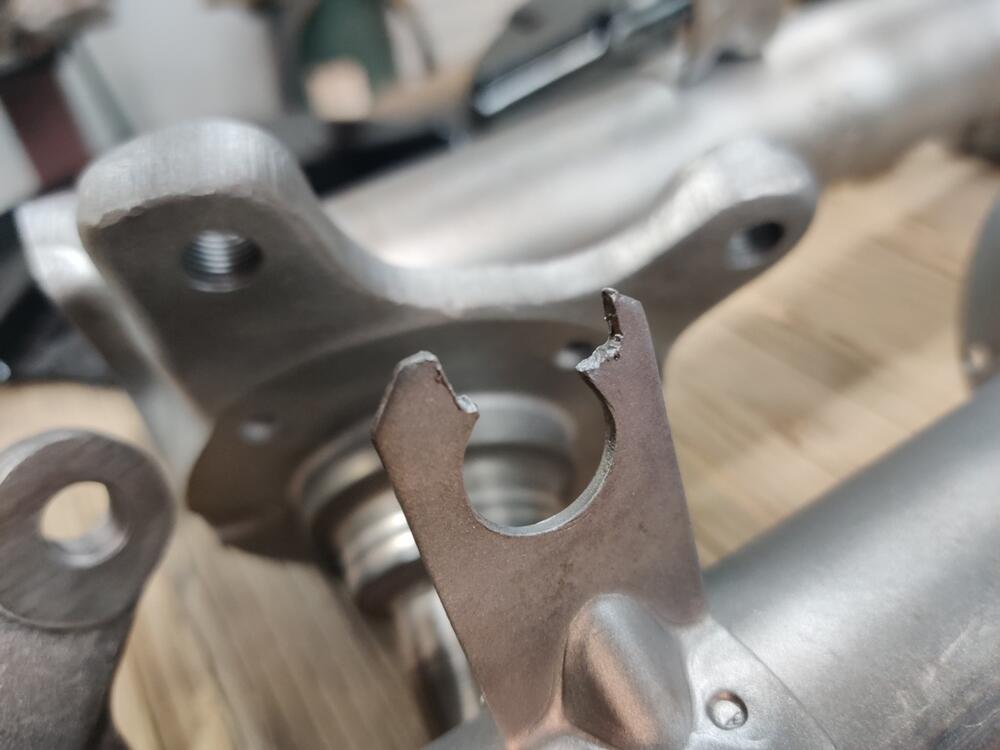
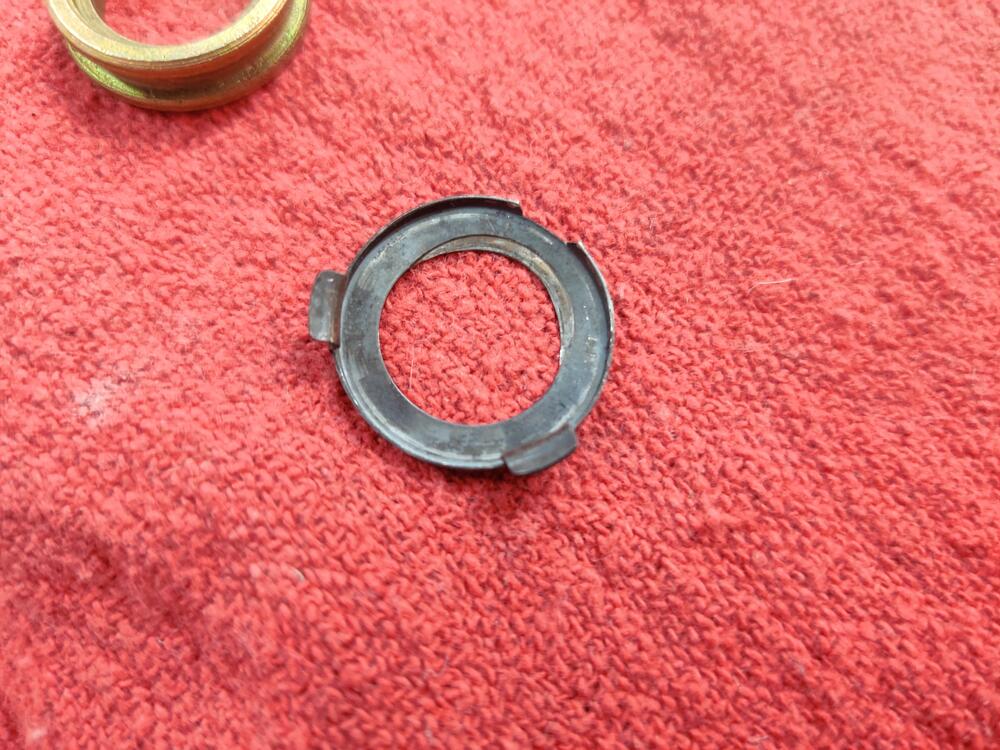
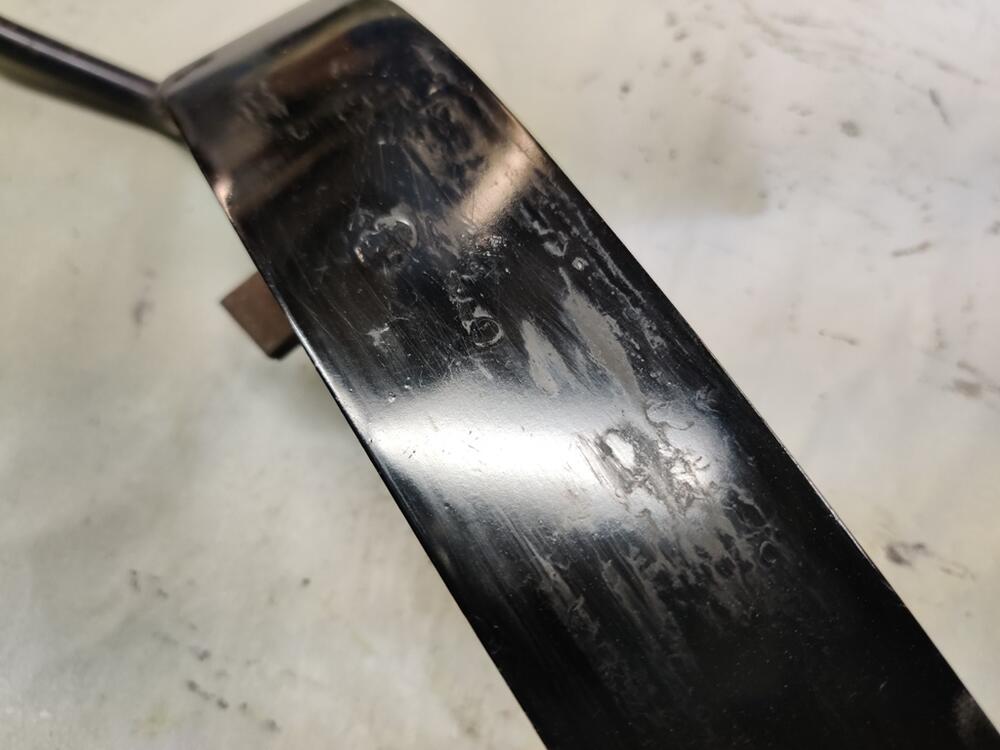
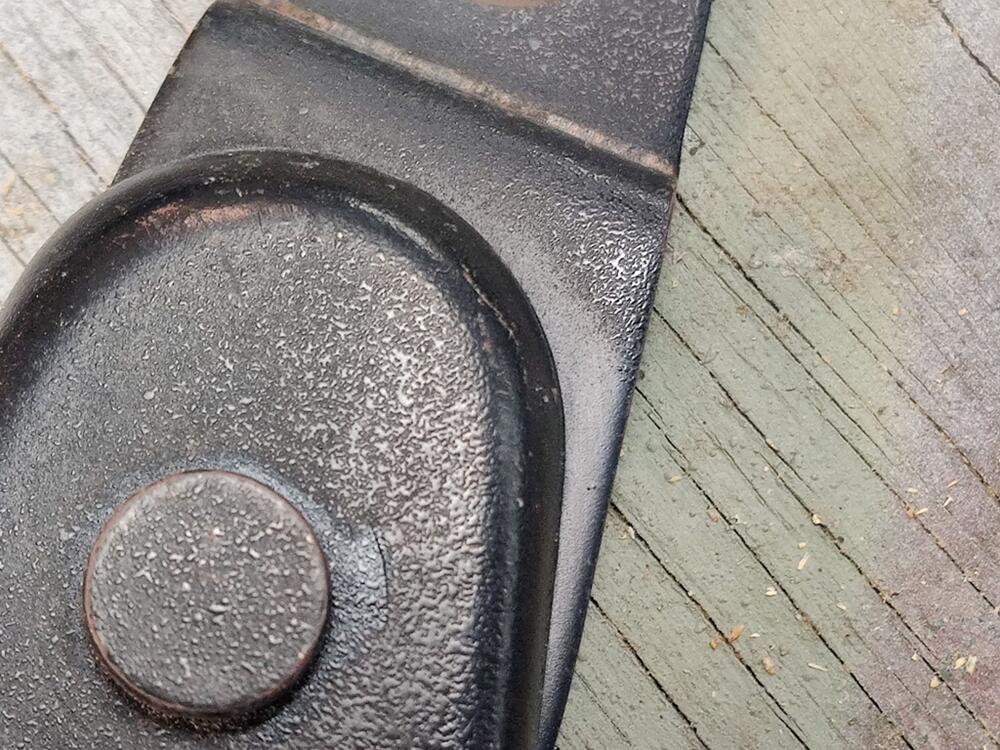
As far as I know, the u-joint is symmetrical. So, I don't think its installation in the axle has to be "clocked" a certain way. But, I don't know for sure. I don't recall seeing grease fittings on any of the factory u-joints on my Datsuns over the years. However, I believe all of the aftermarket ones I have bought in the past did have them. So, the arrow is still a mystery. Regarding getting sand/coal dust under the seals, I don't think it can happen. The seals on the original u-joints are made out of plastic and fit tightly, with no gap for the particles to wedge into. I may still take them apart however, as installation of grease fittings seems worthwhile. I mean, while I have them off the car and stripped of paint, it is only a small (relative) amount of work to disassemble them and put fresh grease. I may drill and tap the u-joints for grease fittings as well.
-
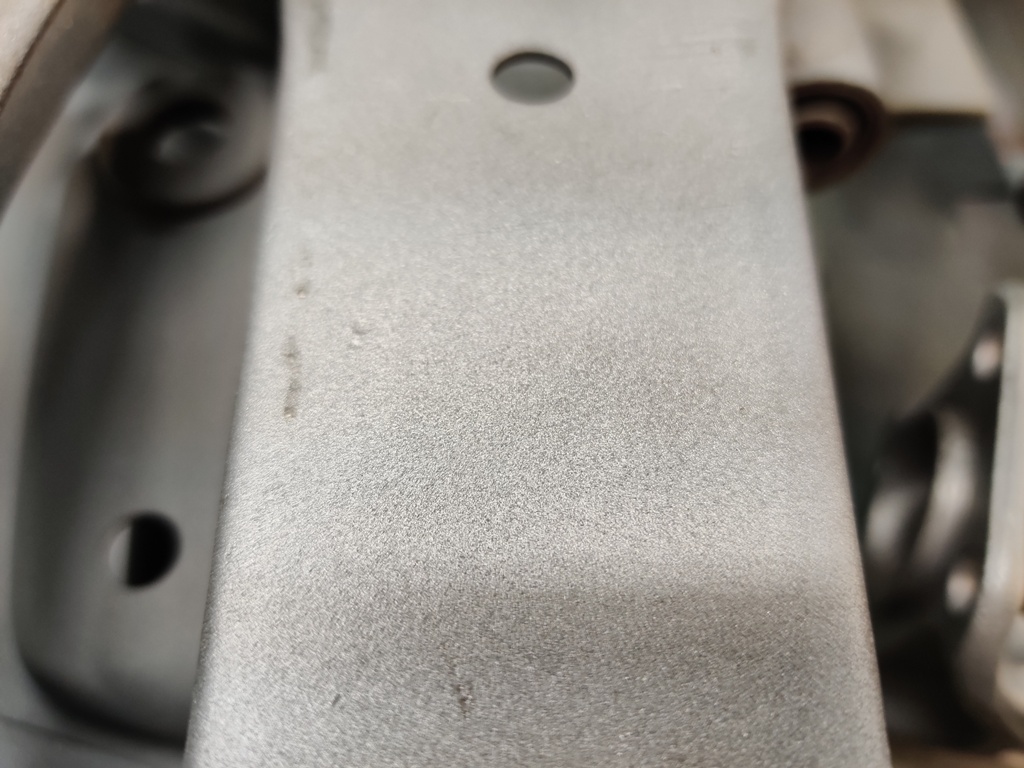
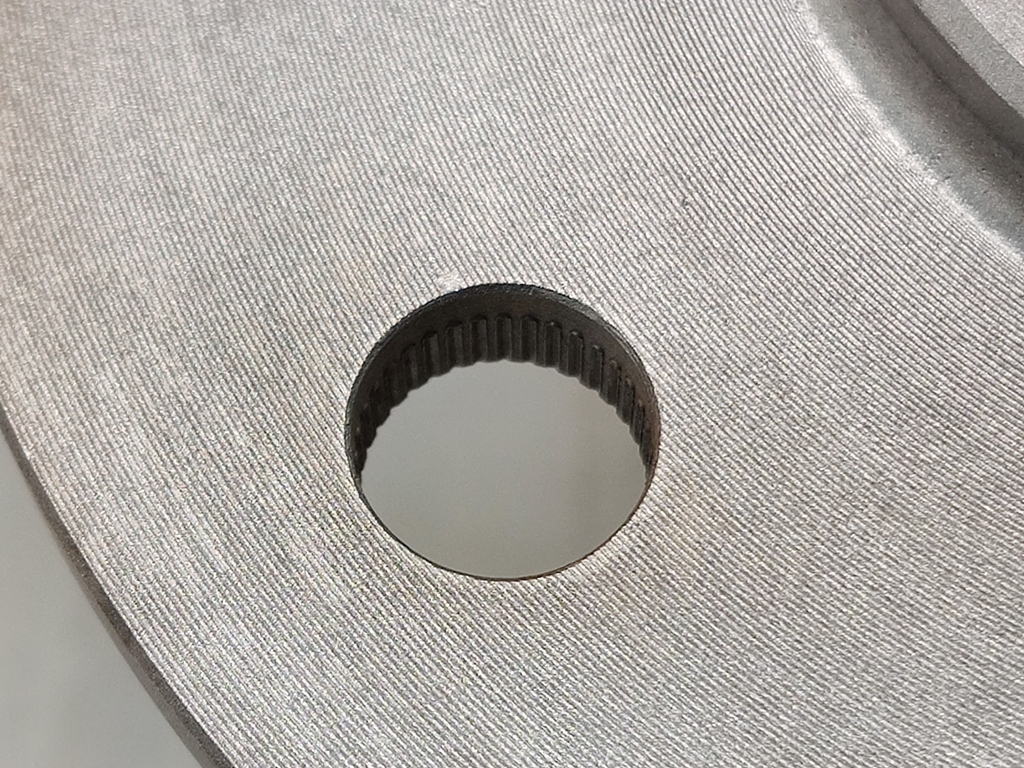
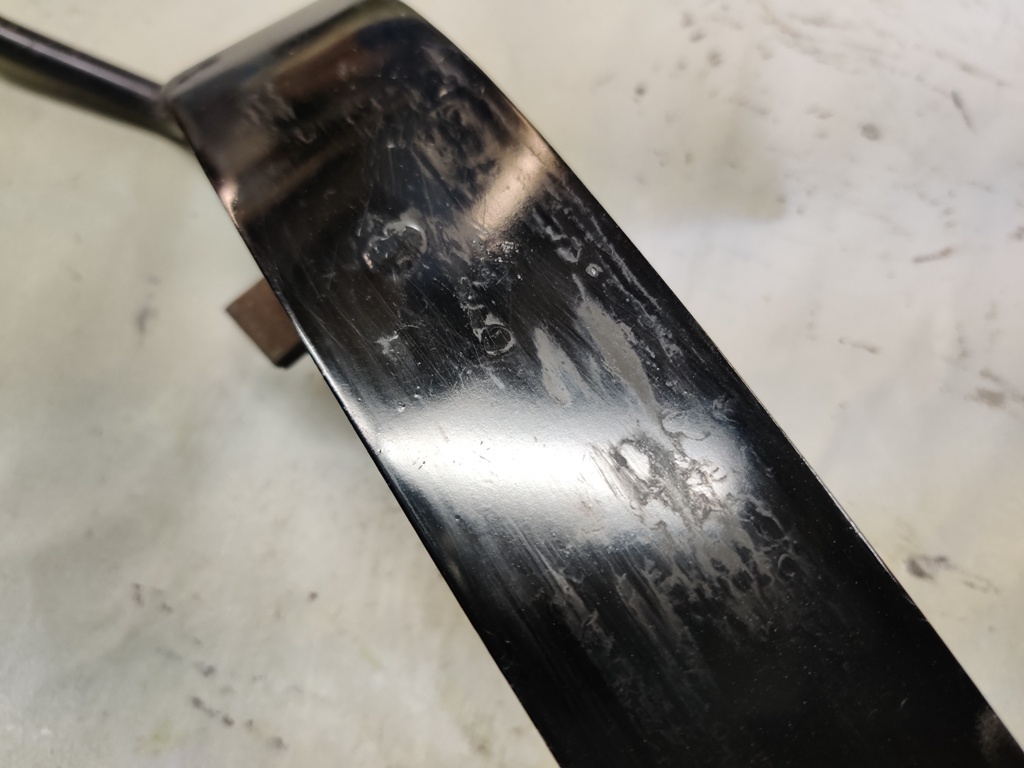
As I was glass bead blasting the axles from the car I am restoring, I noticed something I have never seen before, an arrow on the casting of the factory (I think) u-joint: I note in the direction it is pointing, it seems to me that the area of the casting between the journals is flatter than the other, similar areas. Is the arrow indicating that a grease fitting should be installed on that "corner"? Also, can you drill and install grease fittings on installed u-joints?


-
What was the cost? How do they charge for their service?
-
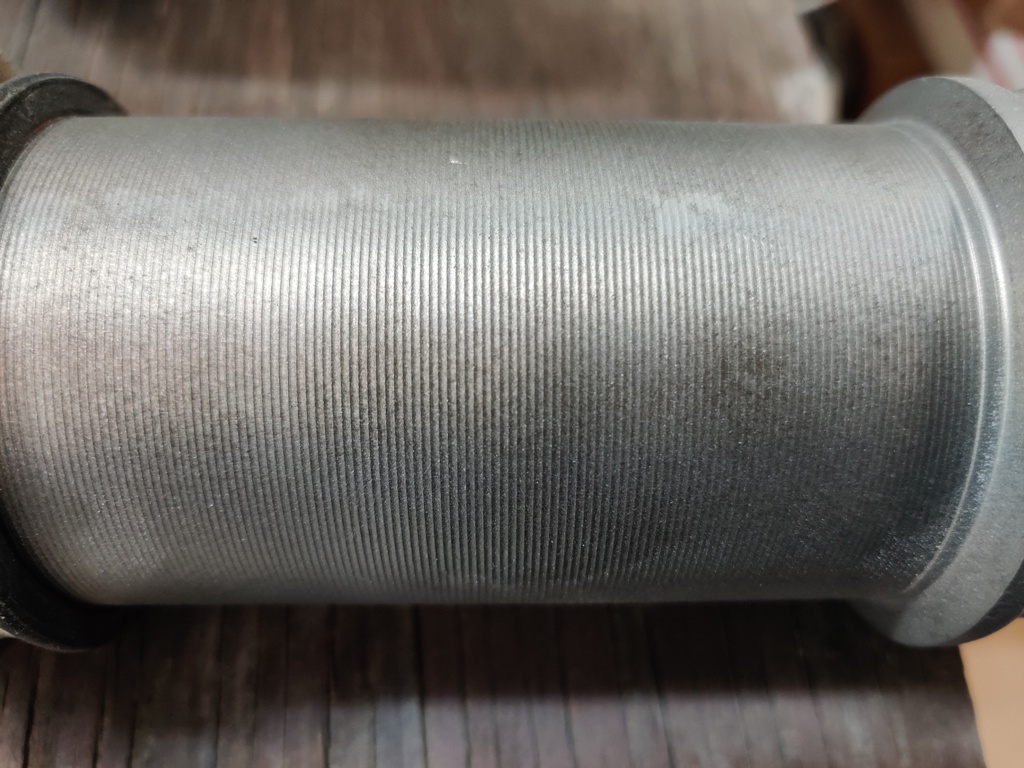
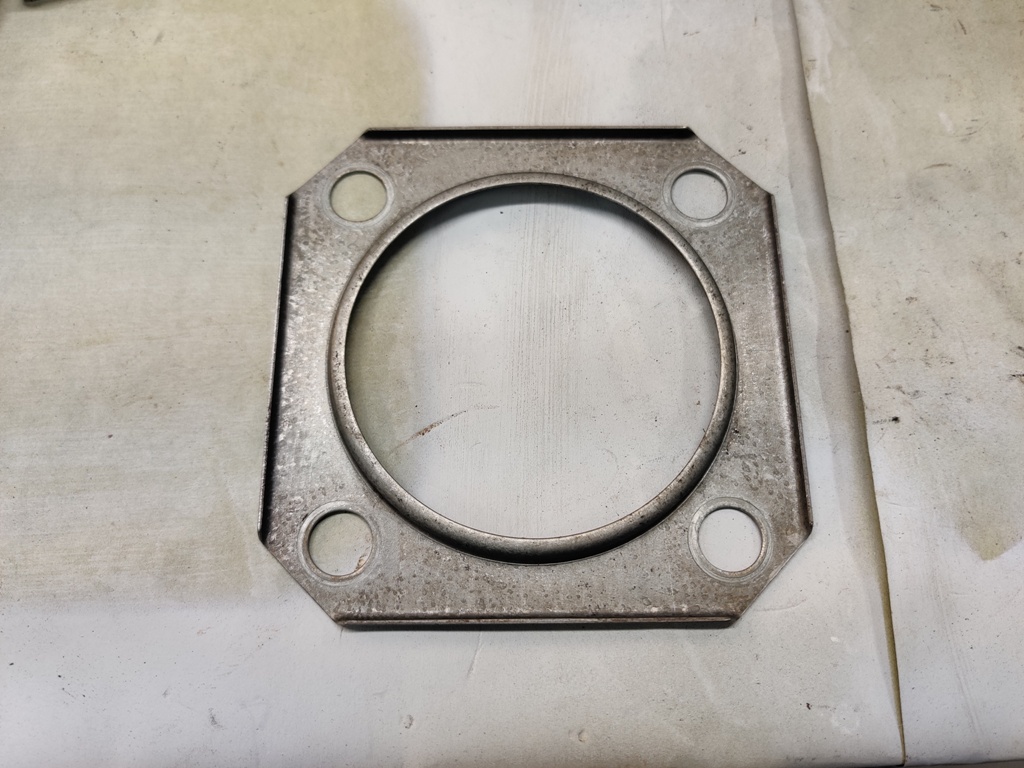
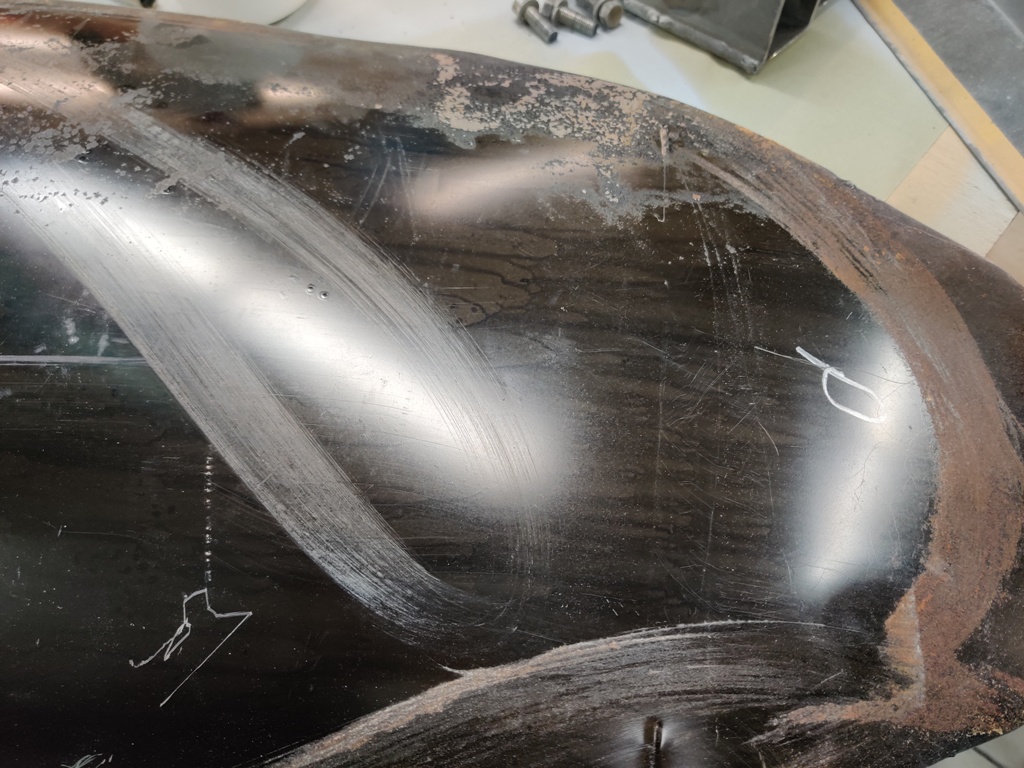
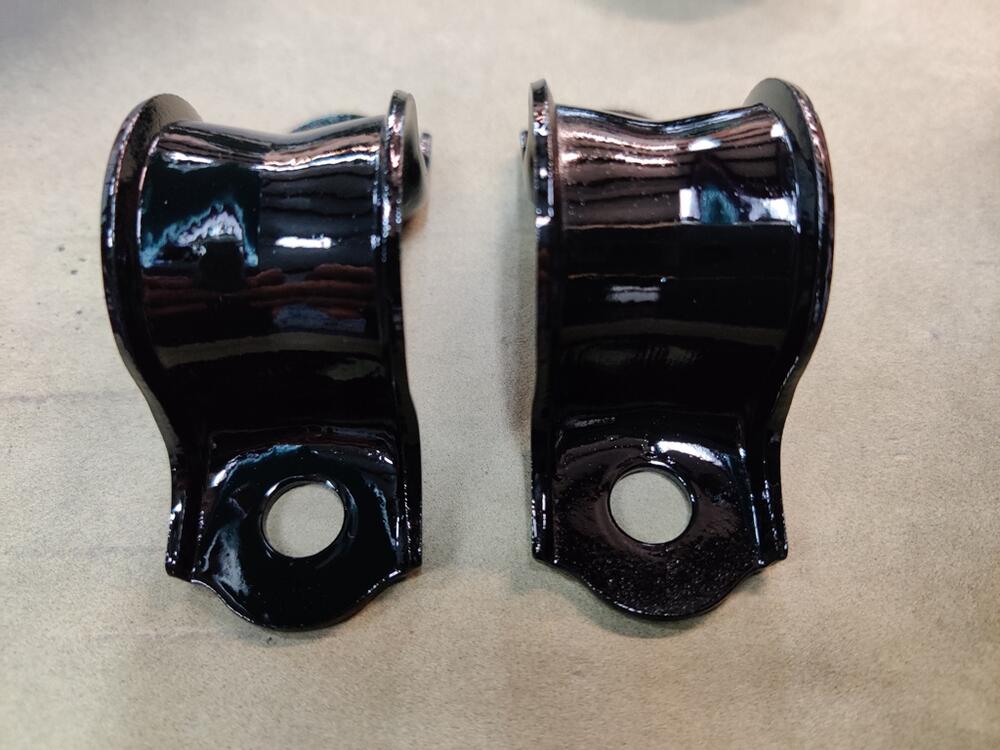
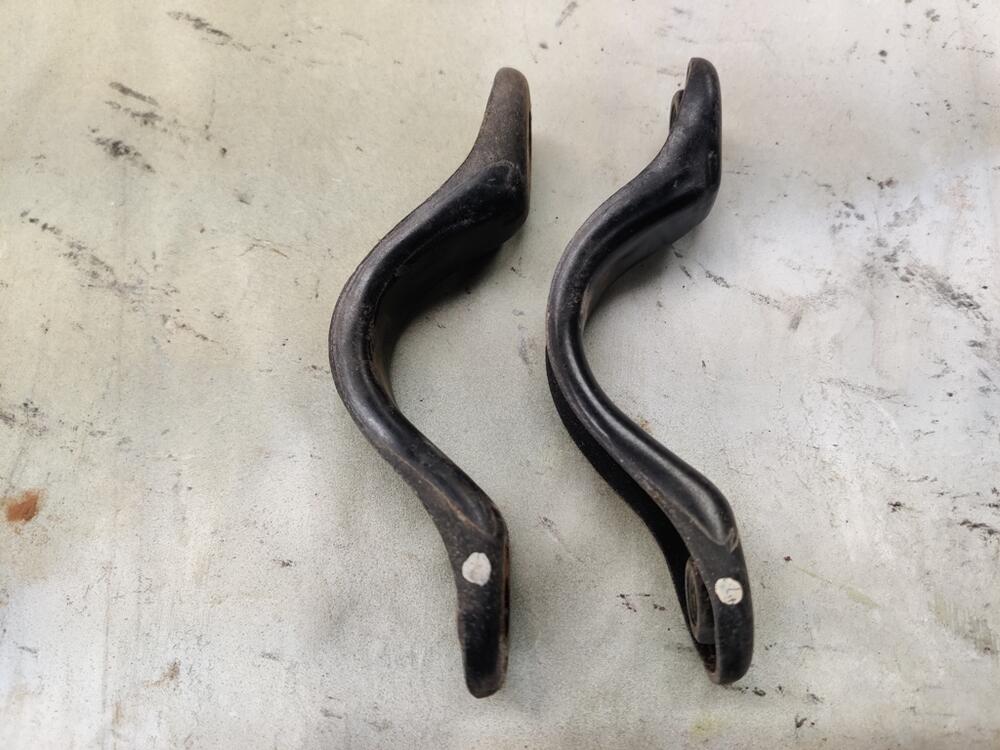
I set up for blasting parts on Saturday. It was sunny and cool, great weather for blasting. When I was using play sand, my blue tarp caught like 90% of it. Switching over and using Black Diamond (coal slag product) for the first time, I noticed two things. It is much more aggressive than play sand - Haha! And, it travels a greater distance, so my tarp wasn't catching it all. As I said previously, the plan was to blast and prime and paint all the parts from that long list at once. Right... good one. The best laid plans... I made good progress though, running through and refilling the pressure blaster 5 times over the span of about 5 hours. So, now I have switched to doing blasting on weekend days as weather permits, and priming and painting in the evenings. The black diamond leaves quite a texture on the parts: Stripping of paint and surface rust is quicker, but I didn't want to leave the texture this rough. So, I am taking each piece and running it through my glass bead cabinet to smooth out the roughness: Driveshaft u-joints appear to be original and feel like they are in great condition: So, instead of all at once, I have a few phases of "production" - some parts still to strip, some stripped bare, some epoxy primed and waiting for minor filling of scrapes and nicks, and some painted black: We'll see what the weather and this weekend allows.


-
Thanks for the info Charles. The parts I sprayed just a week or so ago all turned out with a bit more gloss than I anticipated given the 10% of flattening agent I added. Seems likely that what you indicated was in play. I got lucky with these parts in this case. I think the level of gloss is just a touch less than without the flattening agent. And, I think that matches the original parts well. The steering shaft and driveshaft, sprayed more than a year ago, are definitely duller, and the mustache bar is duller still. I think I will go with 10% again, let the solution sit for 10 minutes, and attempt to spray everything as I did last time. I weighed the individual parts of the paint solution (paint, hardener, reducer, and flattening agent) using a digital scale. So I should be able to reproduce my last effort (duly noting your info about not spraying too heavy). If I can replicate those results from a couple of weeks ago, I will be happy. I just don't want to end up with artificially glossy parts - in my opinion, that would be the result without any flattening agent. Also, the next time I spray paint on these parts, it will include all of the rest of them. So, I won't be doing several batches. The only reason I did this batch separately is that I had already blasted and primed them ages ago. For the rest, all the blasting, priming, and painting is ahead of me.
-
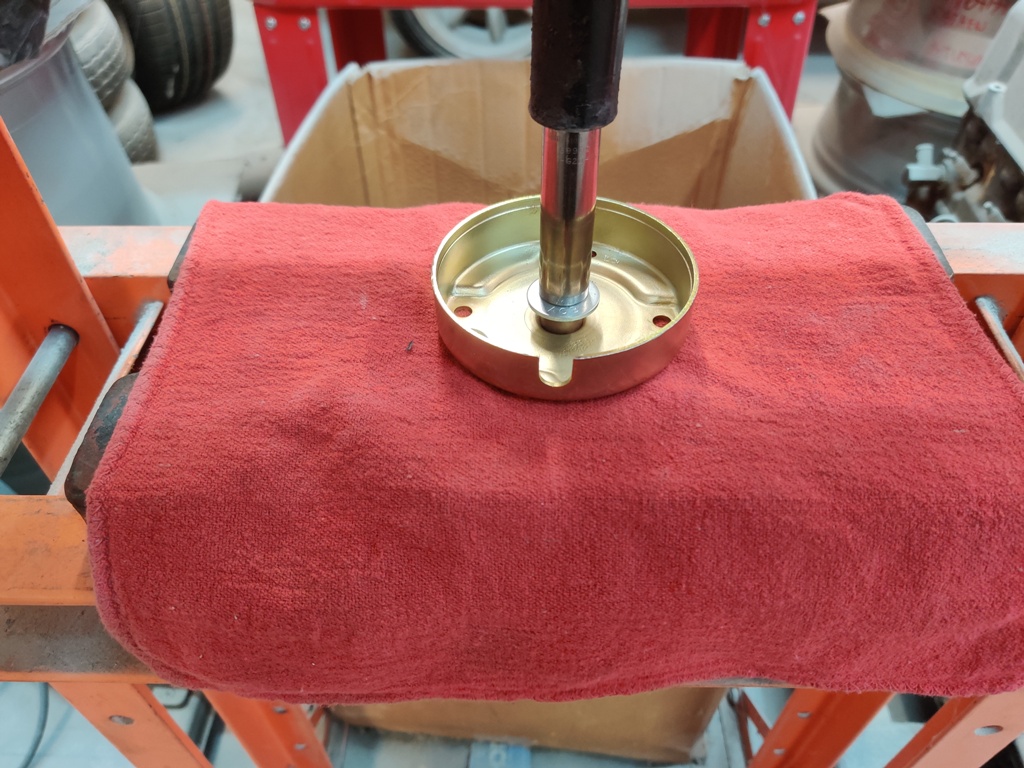
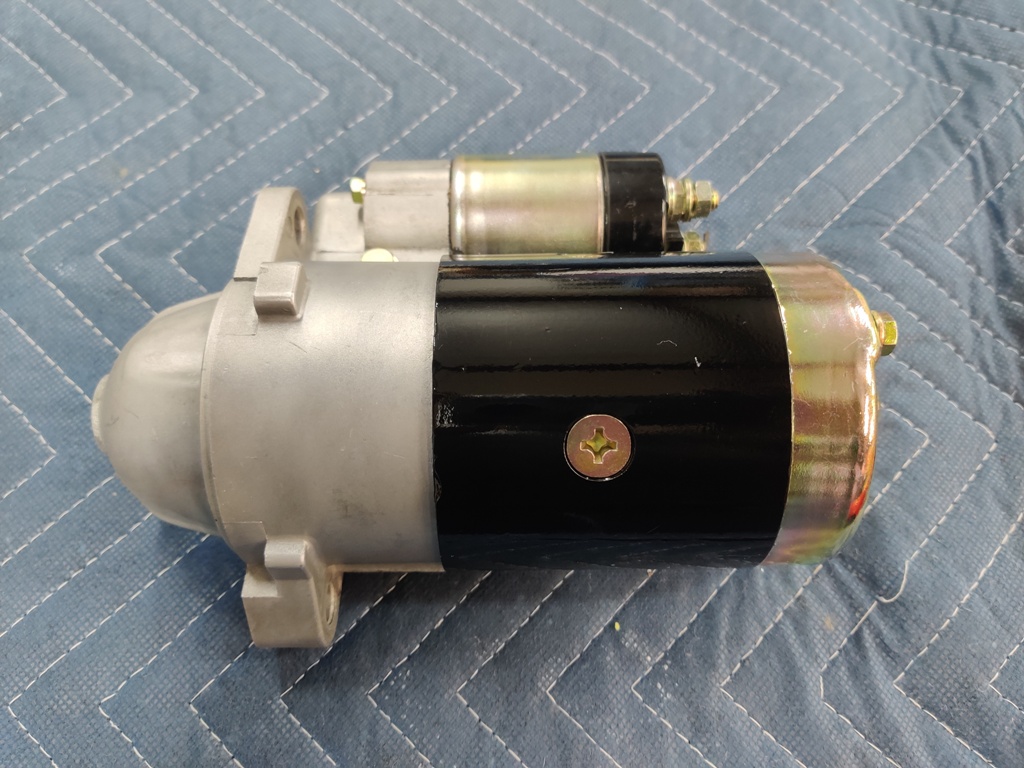
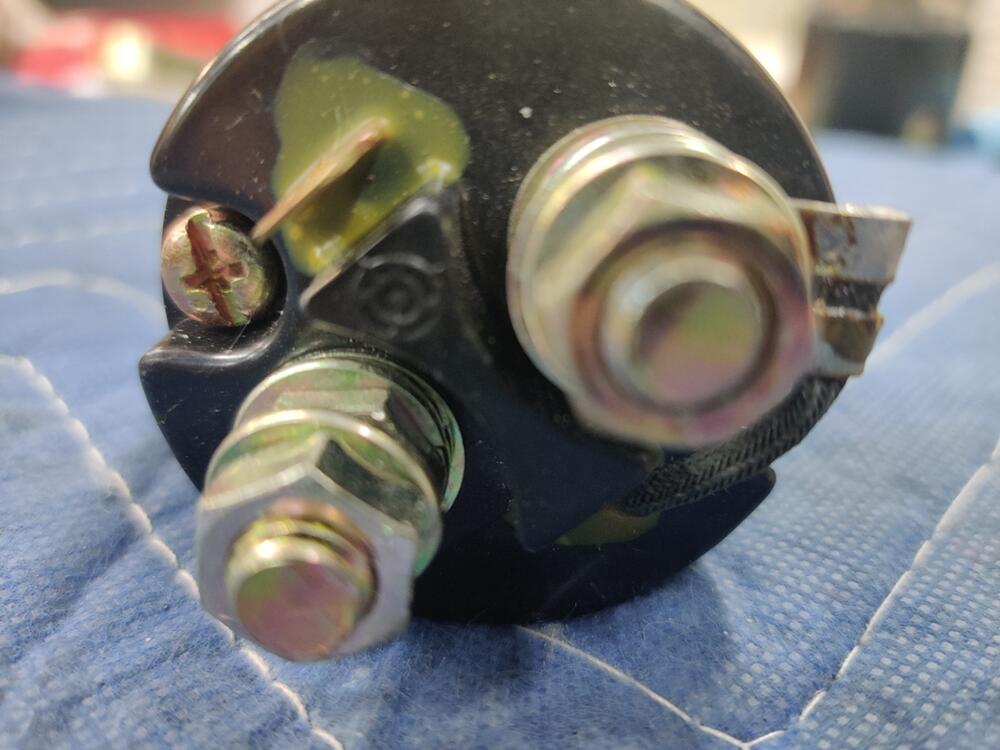
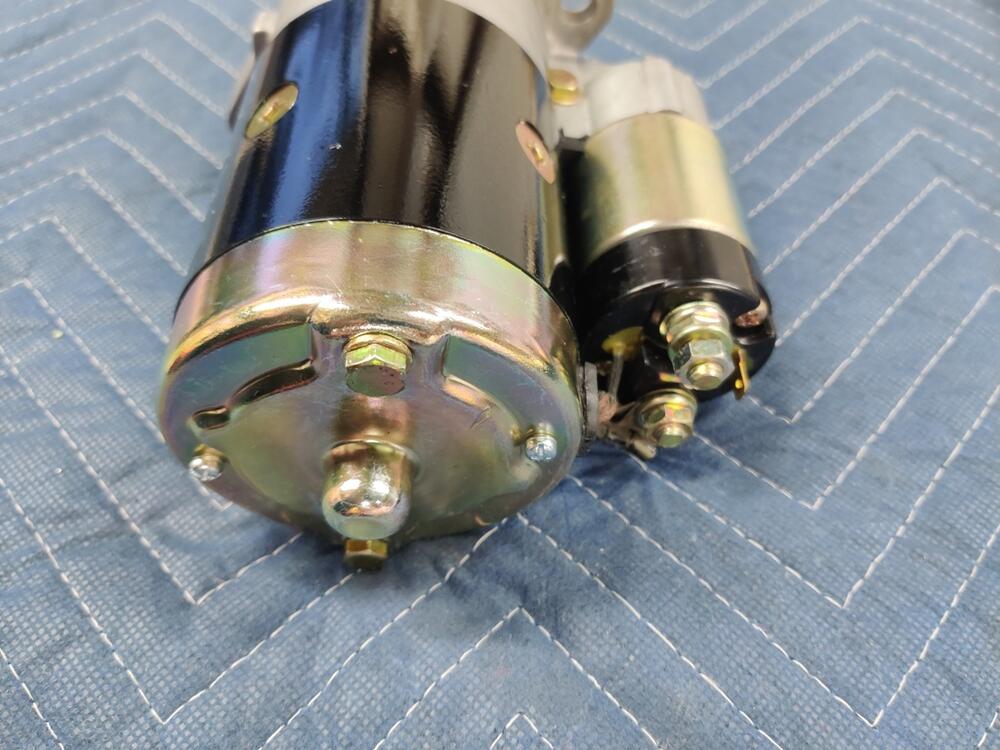
I bench tested the rebuilt starter tonight, and unfortunately, it didn't go as planned. The motor started spinning at a nice speed but then slowed. I thought, "that is odd... and not right". So I tested it again - brief amounts of juice and it would repeat the same behavior. So, about on the fourth test, I kept current applied for a bit longer, and I saw a bit of grease or oil bubble up off of the back bushing. I stopped immediately. I wiped the drop of oil that formed off with my finger and detected that the backend of the armature and the bushing were quite hot. Yeah... So, I took the starter back apart and long story short, made another round of using the 320 grit lapping paste on the front and rear bushings. When I reassembled, I checked that the pinion gear rotated nicely by hand. Then I torqued the fasteners, checked pinion gear rotation by hand one last time, and bench checked again. This time the motor spun very nicely and didn't slow down at all. I checked for heat at the front and the back and only detected a small amount of warmth, not hot at all. Would have been a problem had I mounted it on the car without checking!
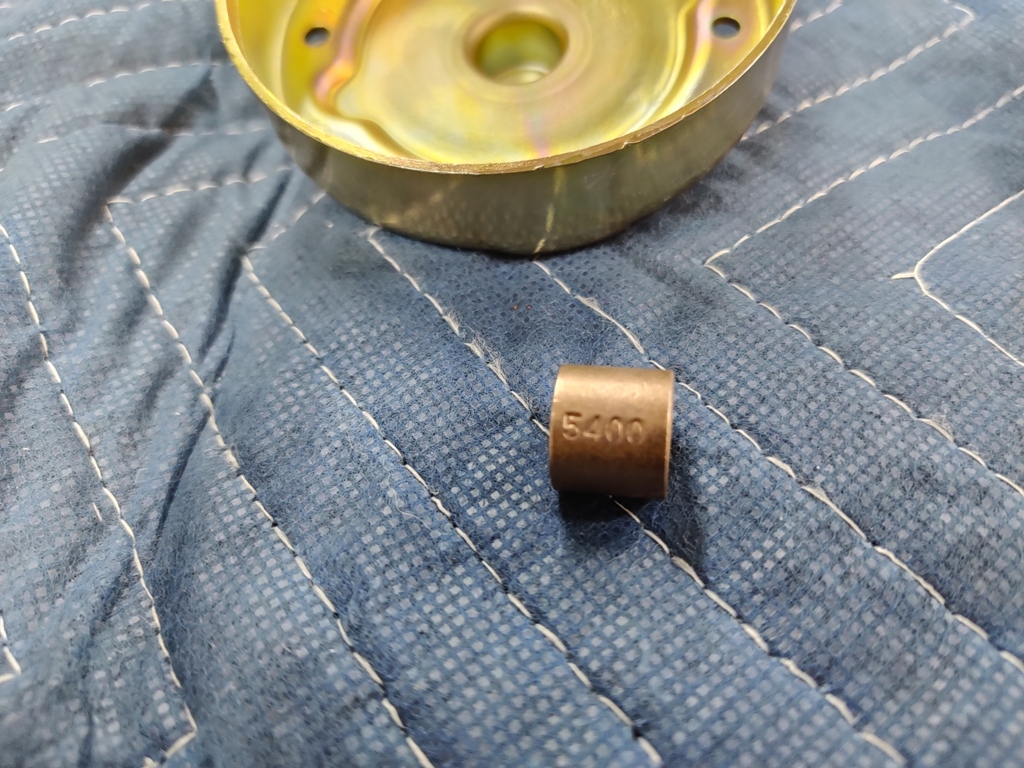
-
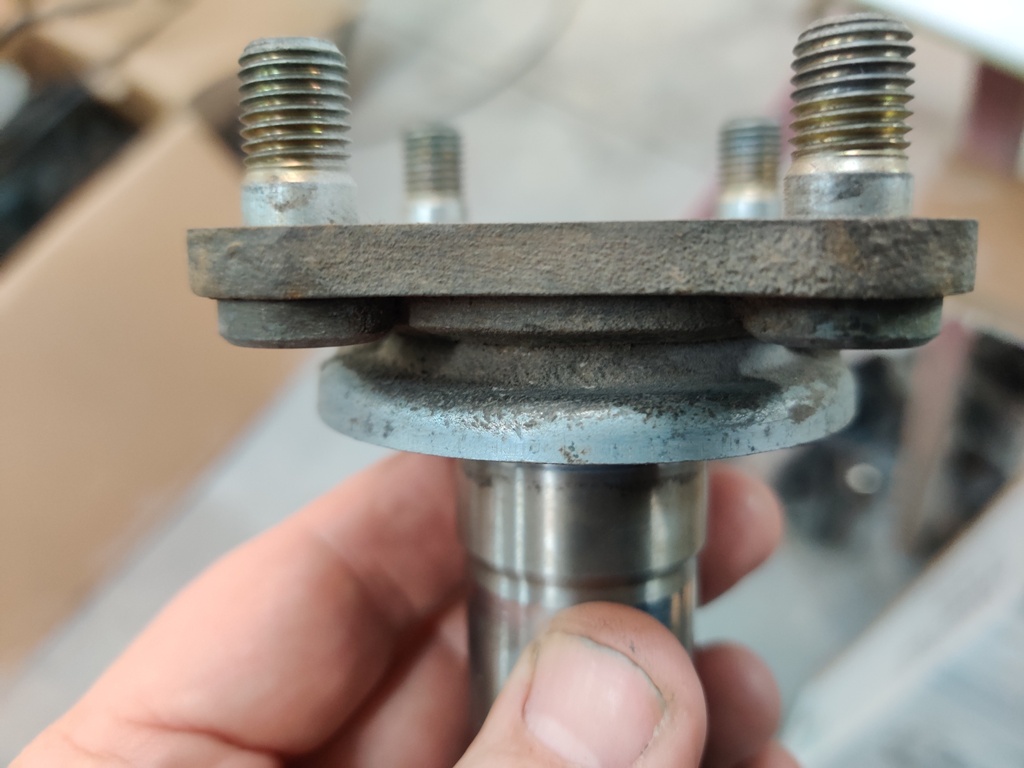
Both of my Z's had the bolts oriented with nuts on the lower side (12/70 and 6/71 production dates)
-
Thank you for the tip!
-
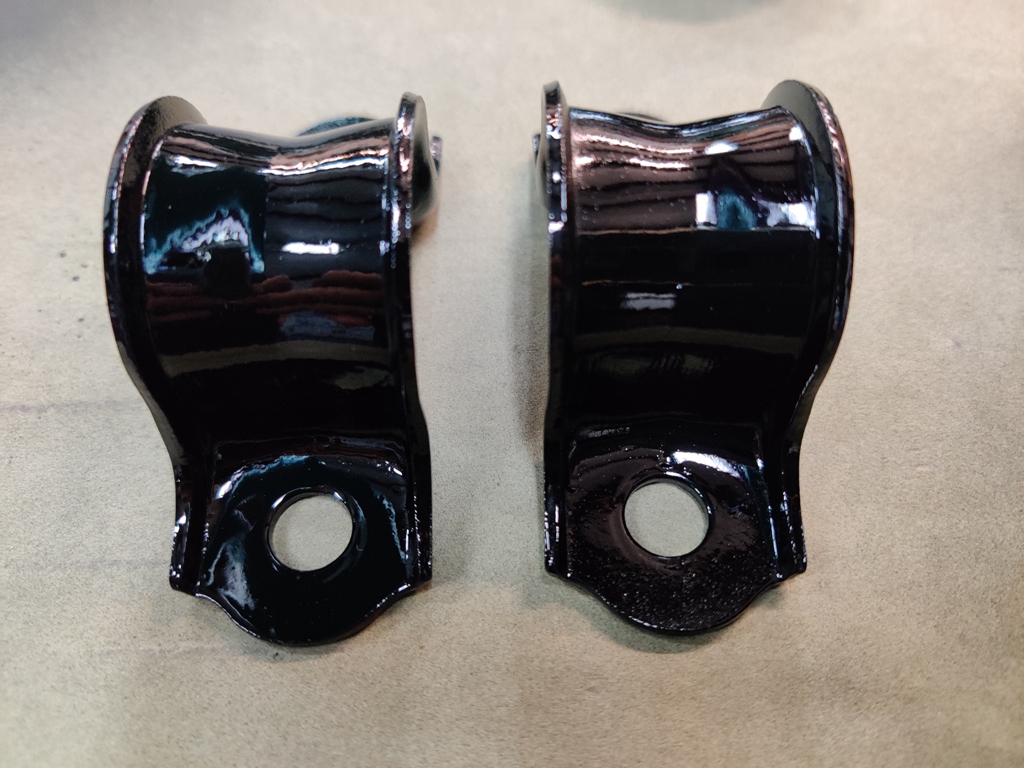
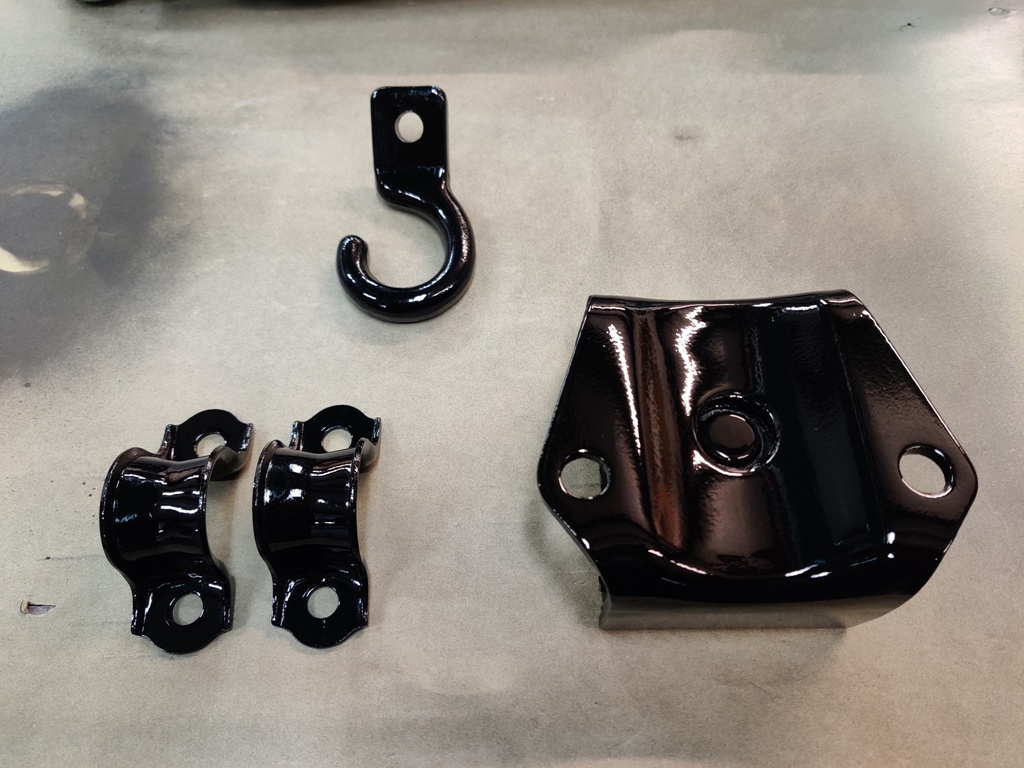
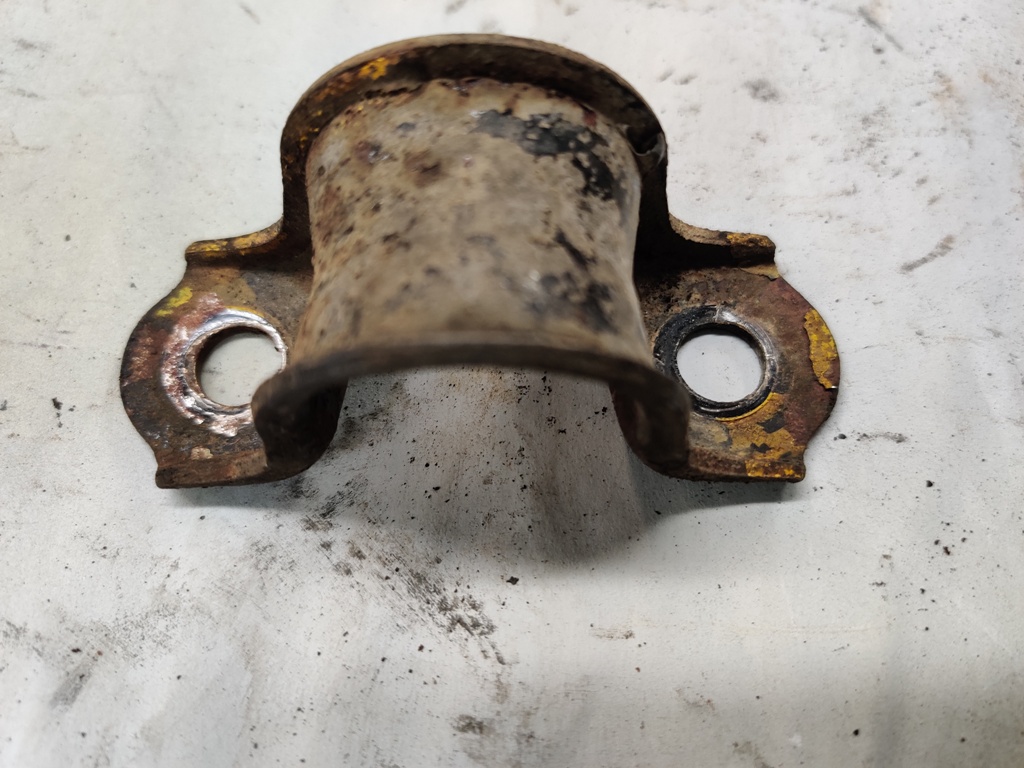
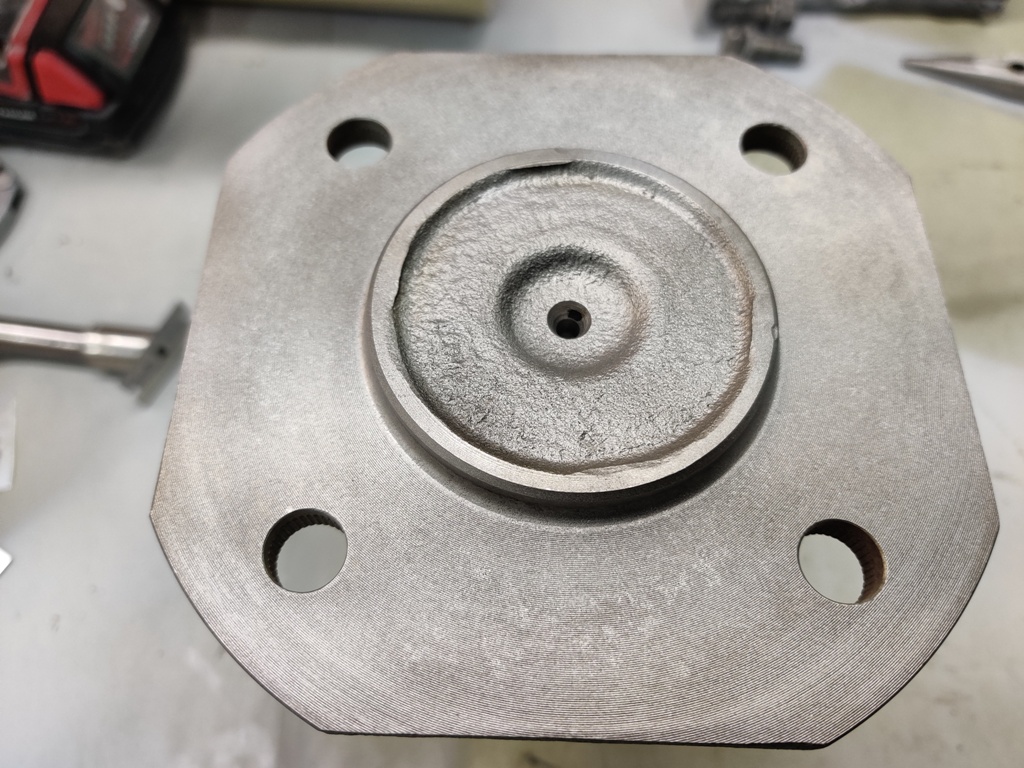
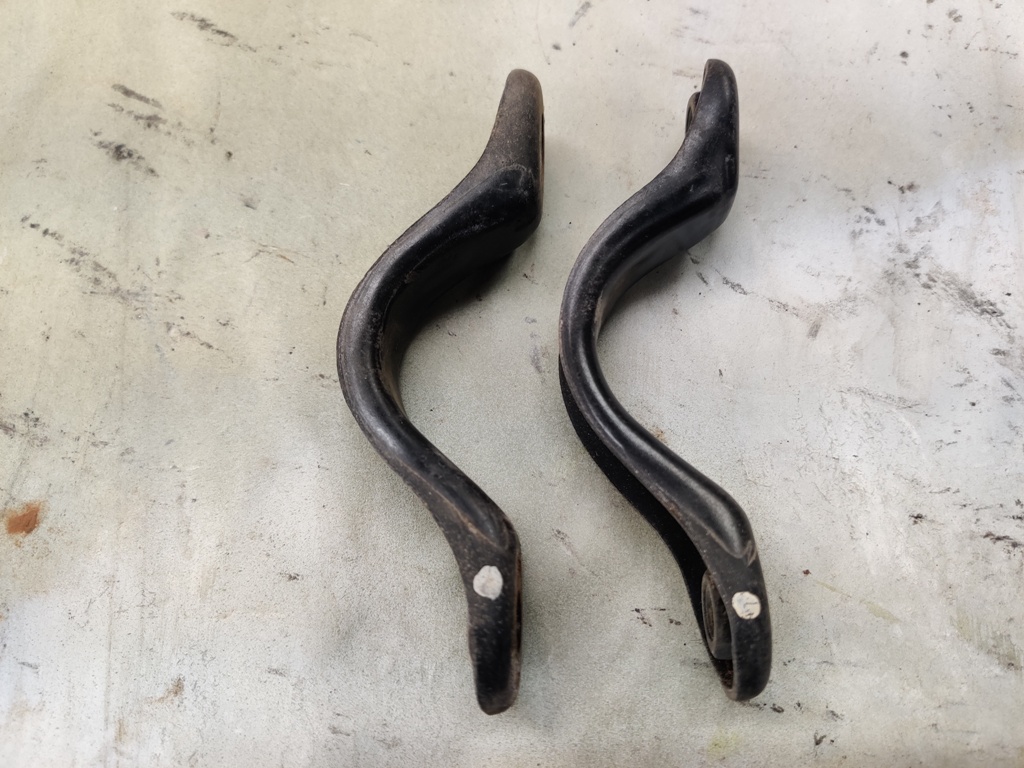
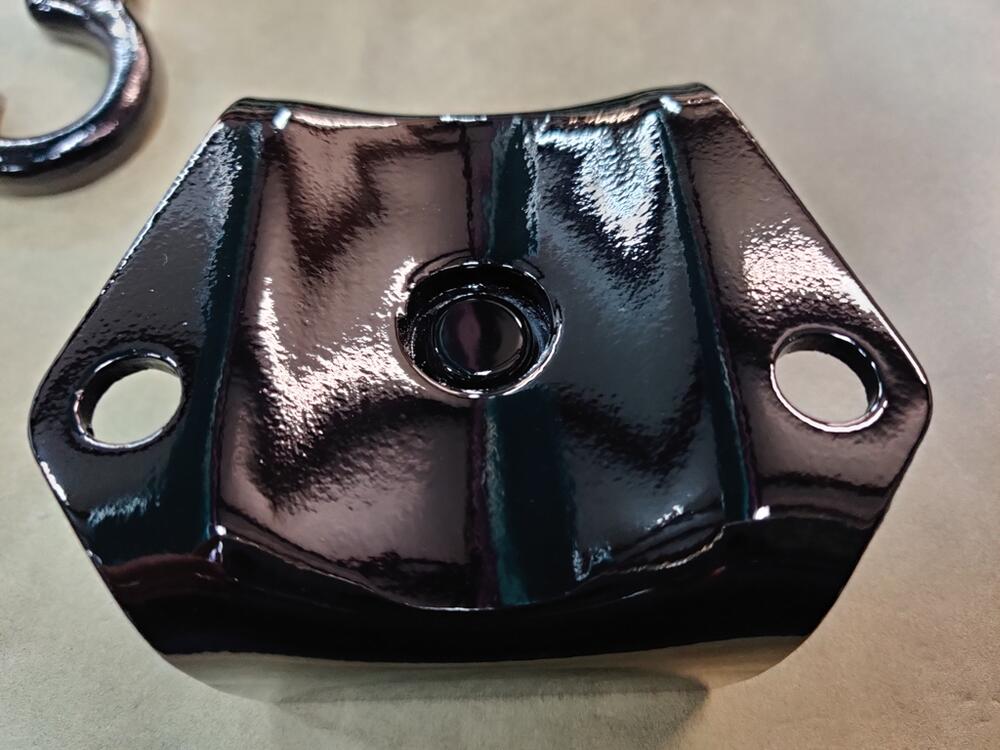
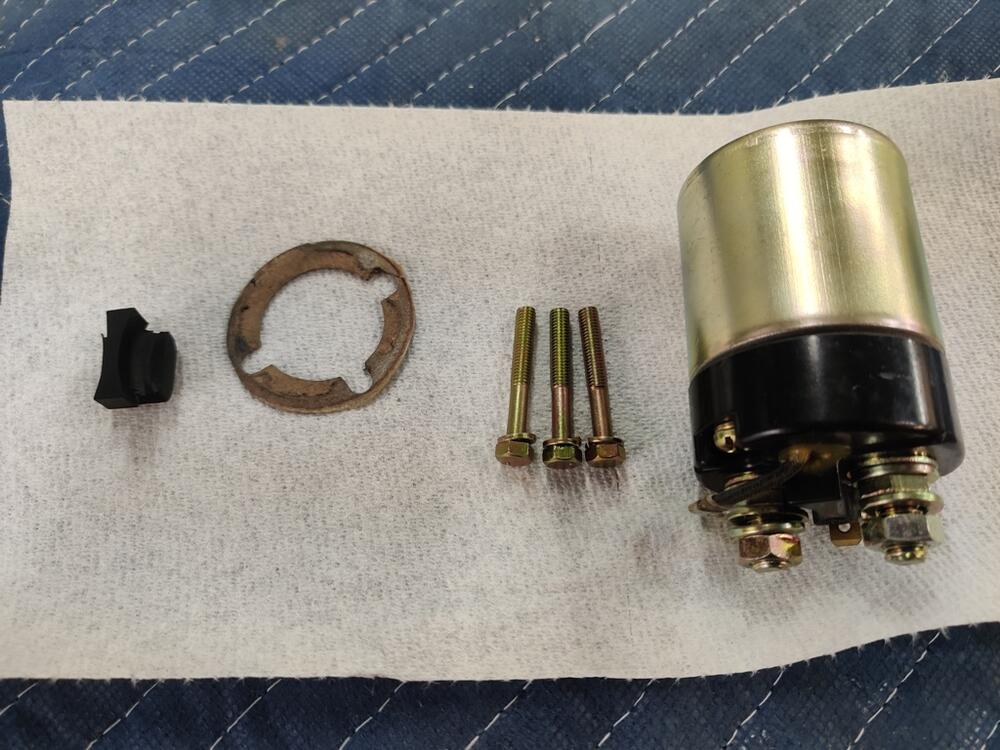
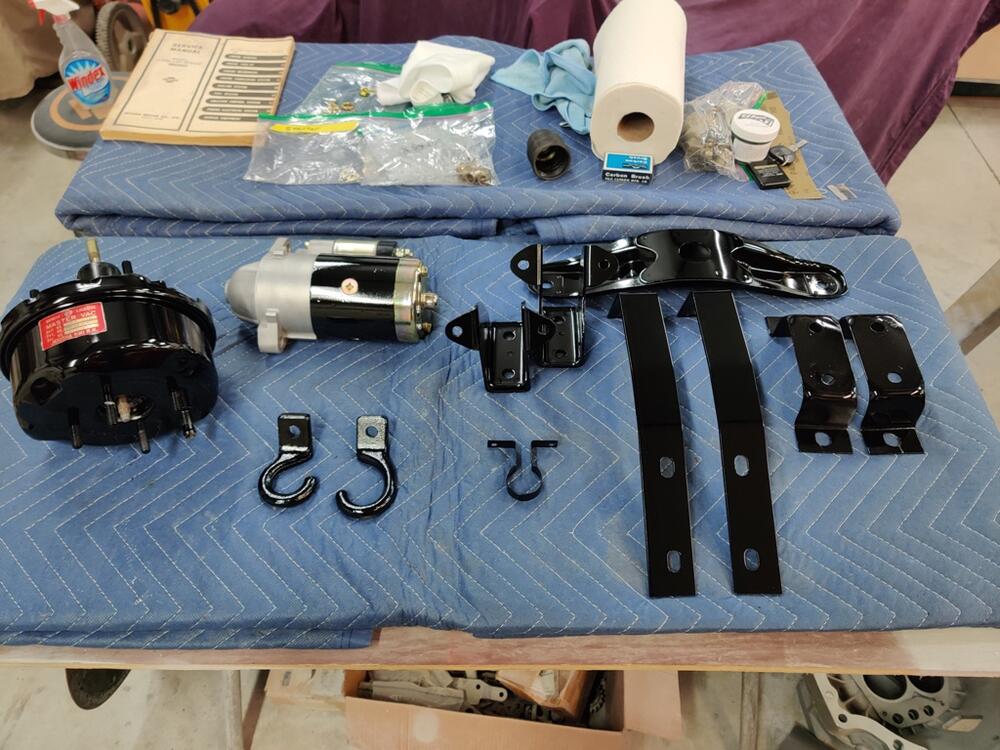
So, it looks to me like the spikes on the seat frames need to be straightened and the orientation should be 90 degrees from their mounting location. So, they should be sticking out straight... for those who want to know. Over the last few evenings, I painted a few items black, and waited for them to dry, and then worked on assembly of the starter. For the starter, I used new bushings for the front and the rear. Here is the front: The bushing is a light press fit. My measurements showed it was about .002" larger on the OD than the starter front cover "well" that the pushing presses into. After it was pressed in, I used a reamer to get the ID to a size within factory specification. I went through two bushings here because, I thought the reamer would "self center and ream straight. That ending up being laughable. Using a drill press would be sufficient, however, I don't have one yet. It's one of those tools I just haven't committed to investing in. So, I rigged up a contraption that helped with my drill angle on the second bushing and got somewhat lucky with reaming straight. For the back bushing, I did not have a suitably sized reamer and used a "paste" to get the bushing to size. The bushing ID was very close, but using the 320 grit paste and the armature to get the clearance to spec was arduous. I've never installed and sized bushings for an armature before. After decades of sitting in my parts bin, I was finally able to install the NOS solenoid. If anyone needs a box for their loose factory part, let me know. 🙂 Compared to body work, the pace of progress on this kind of stuff makes me laugh - the sense of accomplishment per hour spent is off the charts. Another note about the gloss level of the black parts - steering shaft on the left mustache bar in the center, and main driveshaft on the right: As I said before, the mustache bar has too much "flattening agent". But looking again at these three parts, I think the steering shaft and main driveshaft had a little too much also. I will respray the mustache bar, but I am ok with the other two. It's not going to kill me that a few parts are a tad bit dull. Other parts that I have painted black thus far include the motor mount brackets and transmission mount bracket, the bumper brackets, the brake booster, and the bracket for the one way valve for the booster. The next round of painting parts black will be a slog, starting with blasting, then priming, then painting. All kinds of assembly will be possible after that.


-
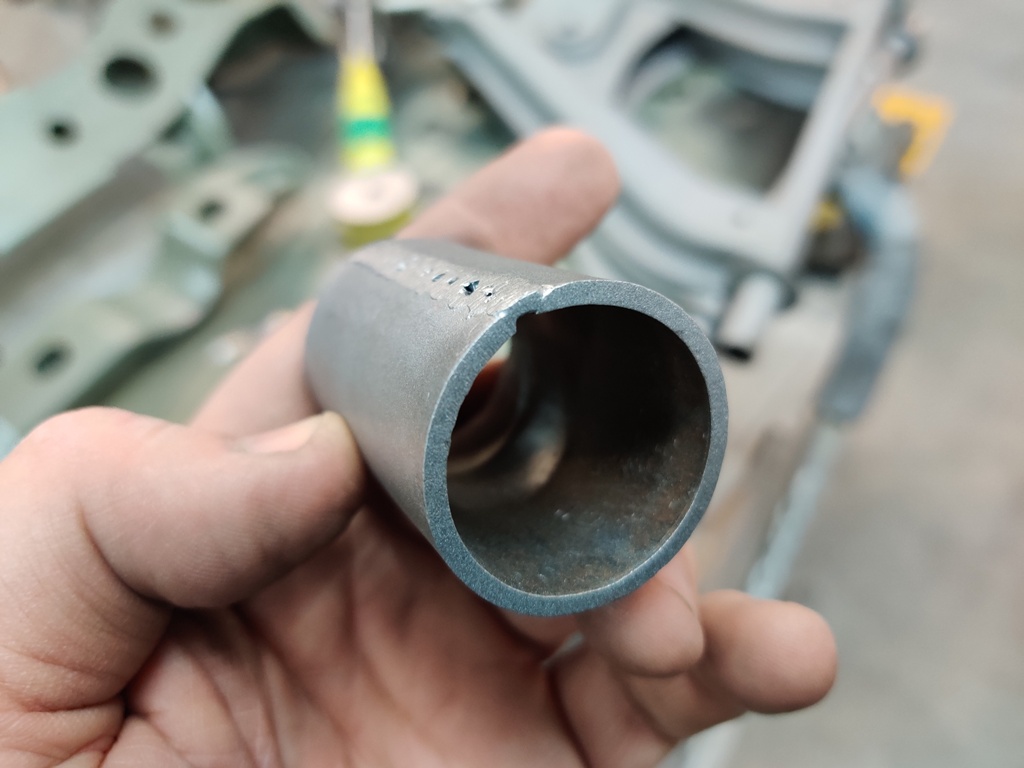
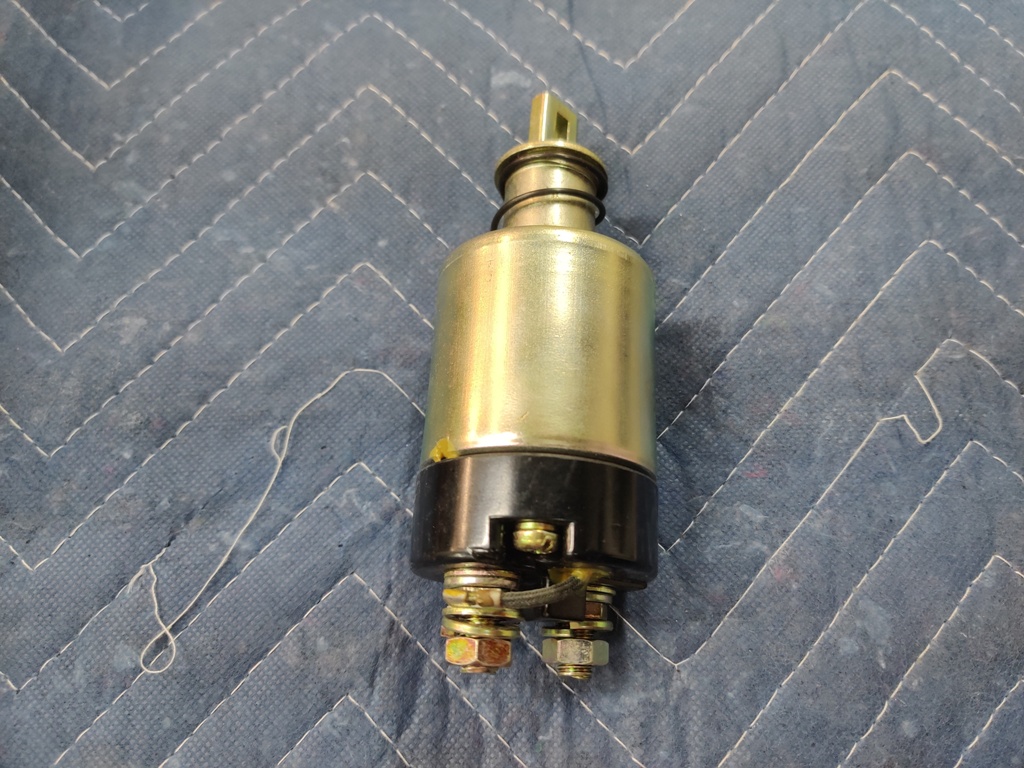
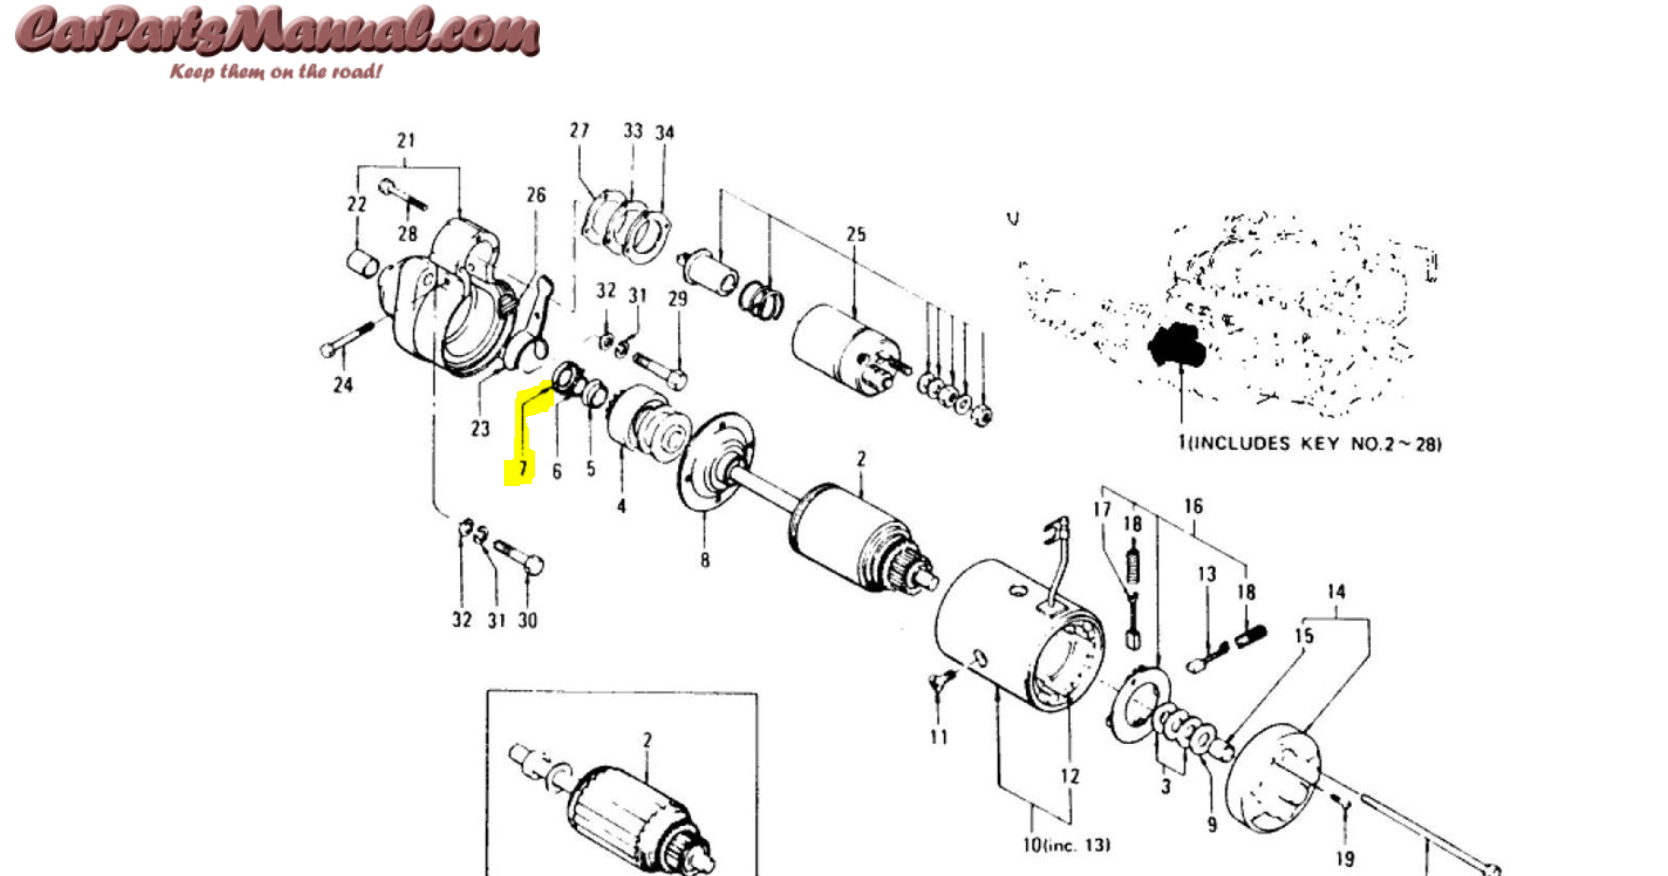
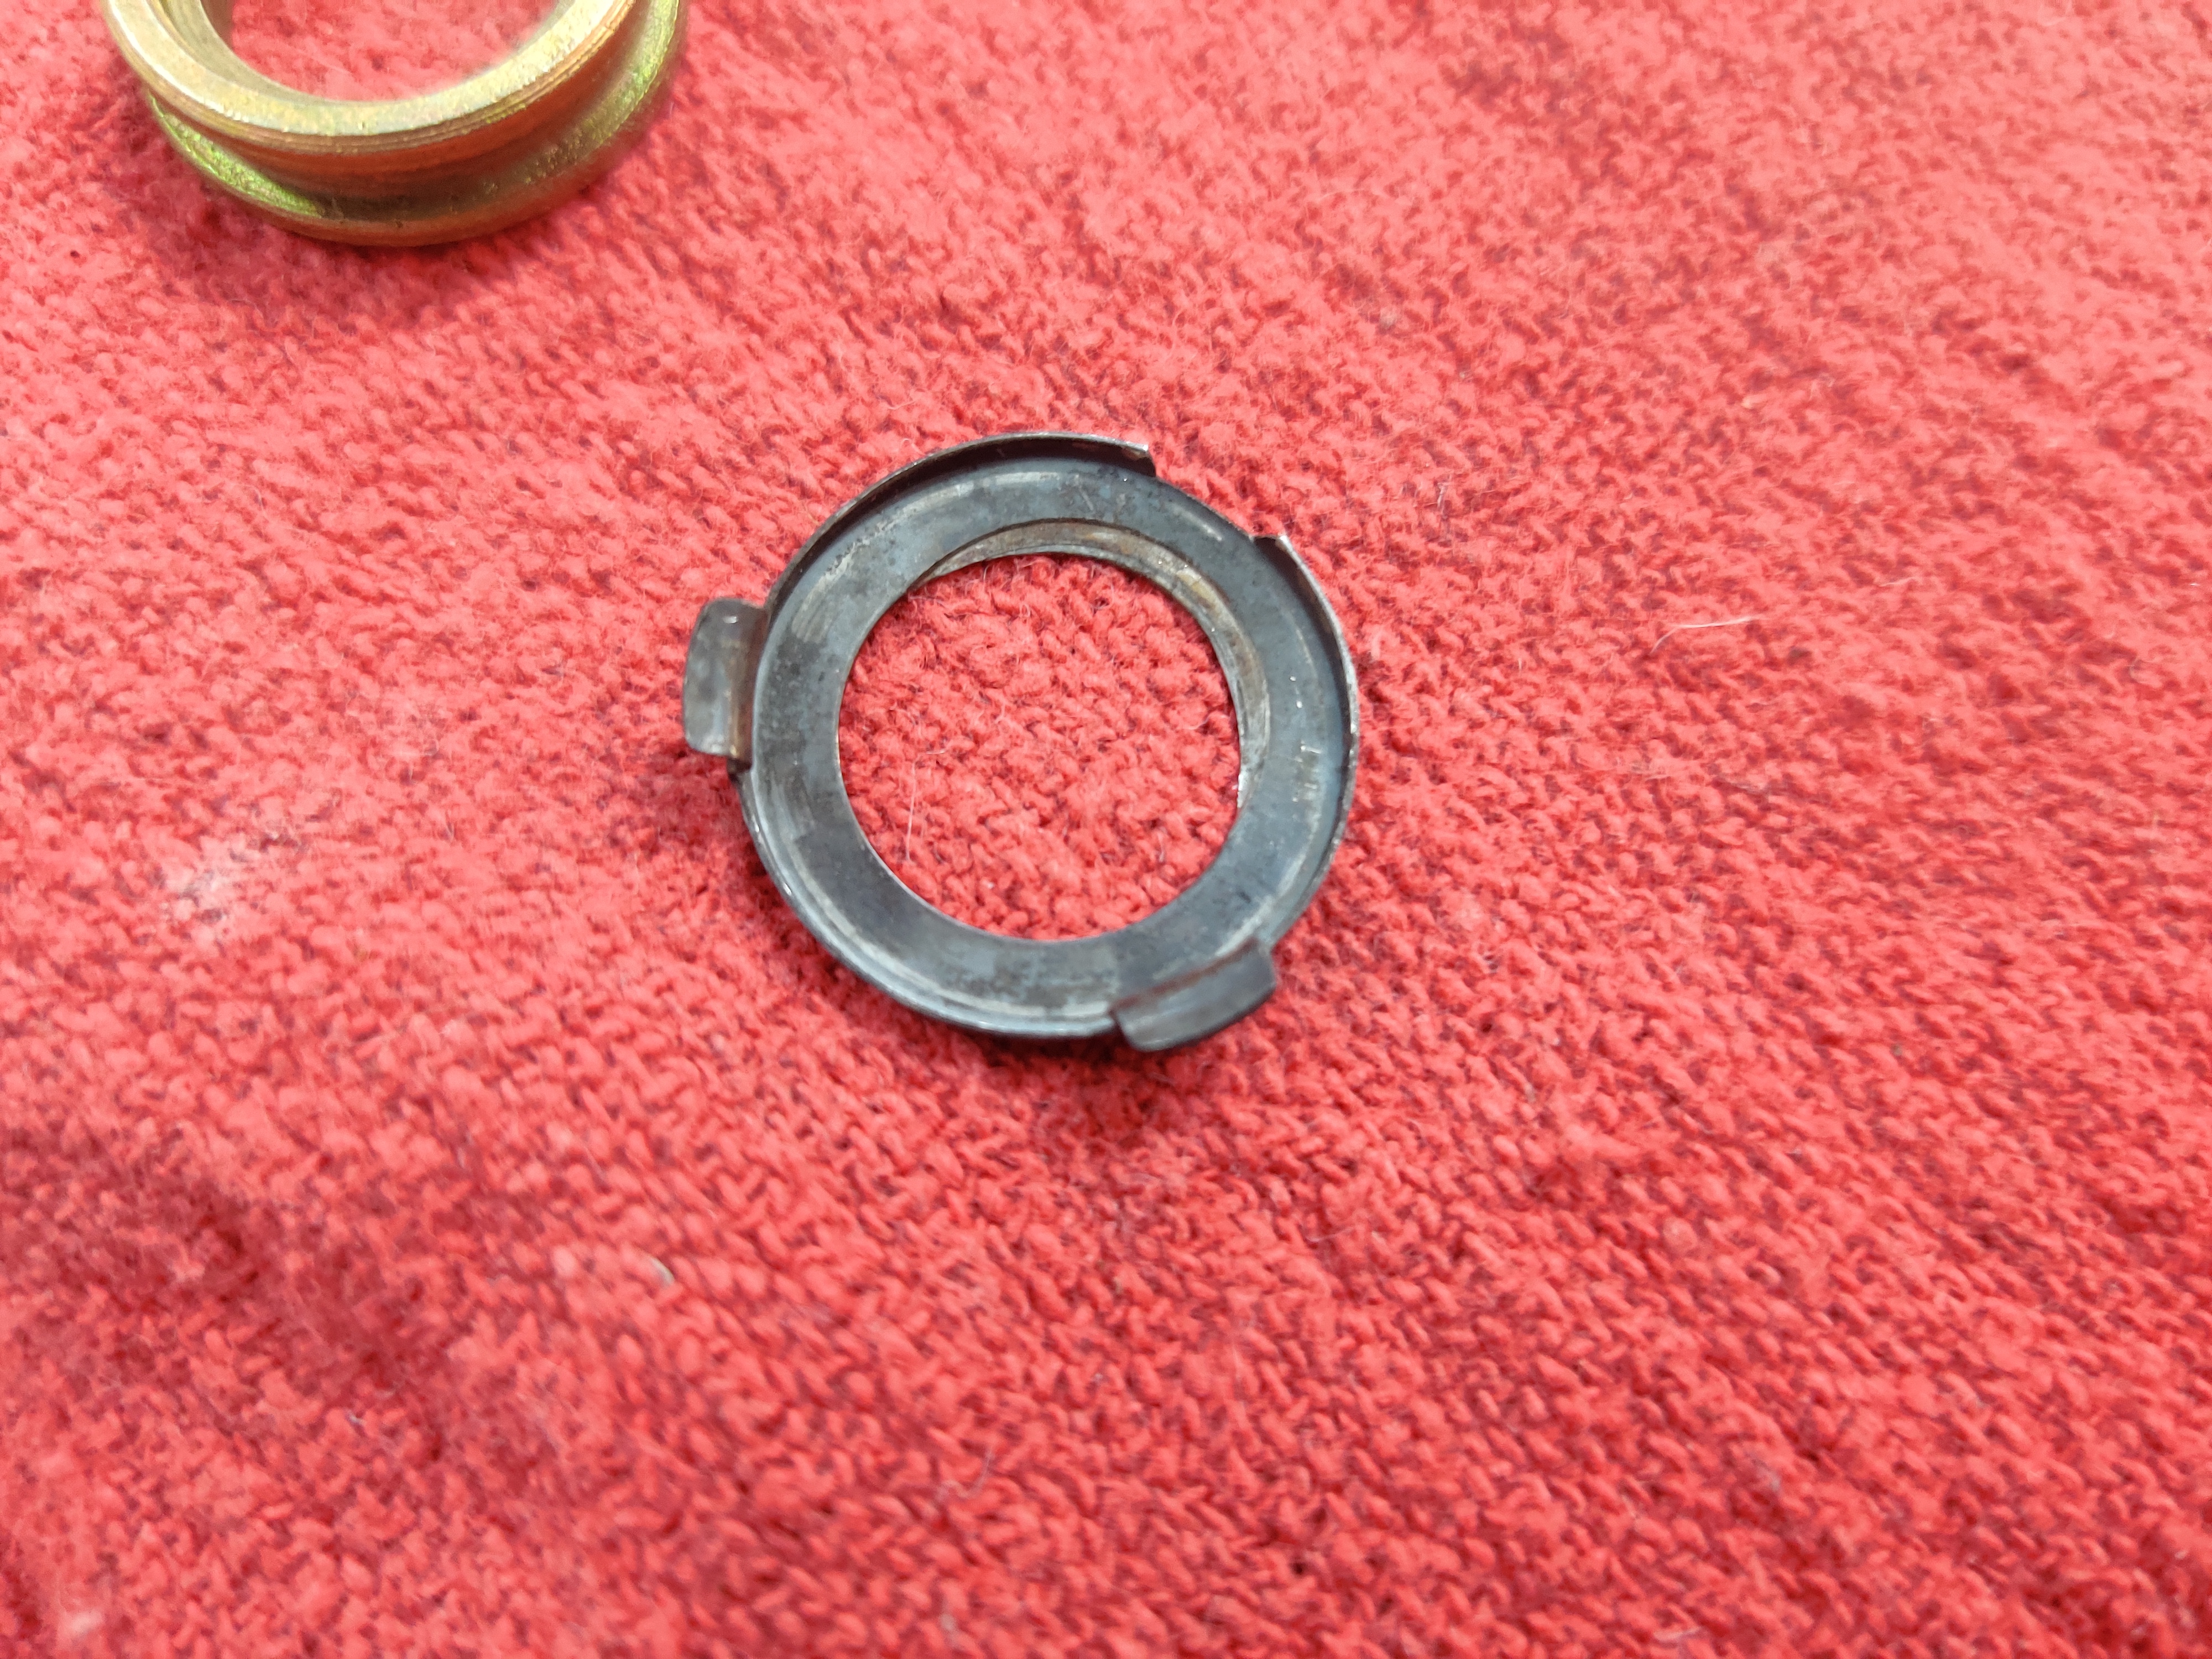
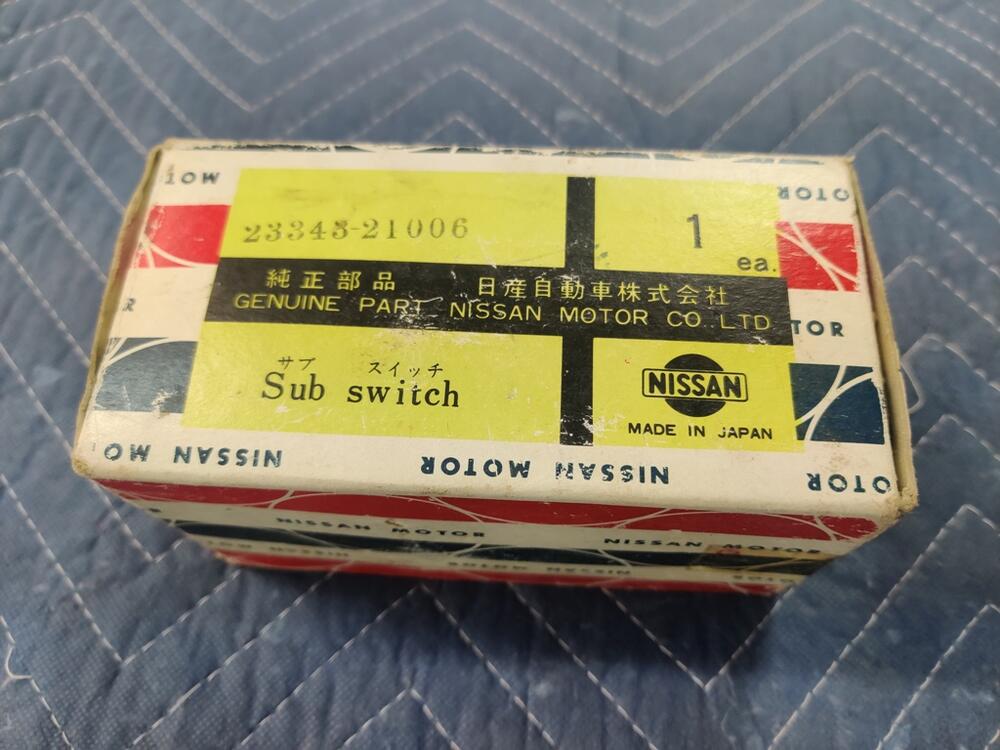
I am rebuilding my starter motor and found that I have a part that is needing replacement. If you have extra starter motors, especially ones that are for known not working or in sad shape, would you consider spending a few minutes to look at grabbing this for me? Number 7 in this diagram: If you don't know about this resource, check it out. It is very nice to have this information online. Here is mine - it is missing one of the three tabs that it is supposed to have: To get to this part, the starter has to be disassembled enough to pull the armature out. That is the only part I need. I have a couple of old Datsun 510 starters that appear to have the same part, but both are functional. So, before I make one non-functional, I am checking to see if anyone can help. Thanks for looking.

-
So, will this one a be a resto mod?
-
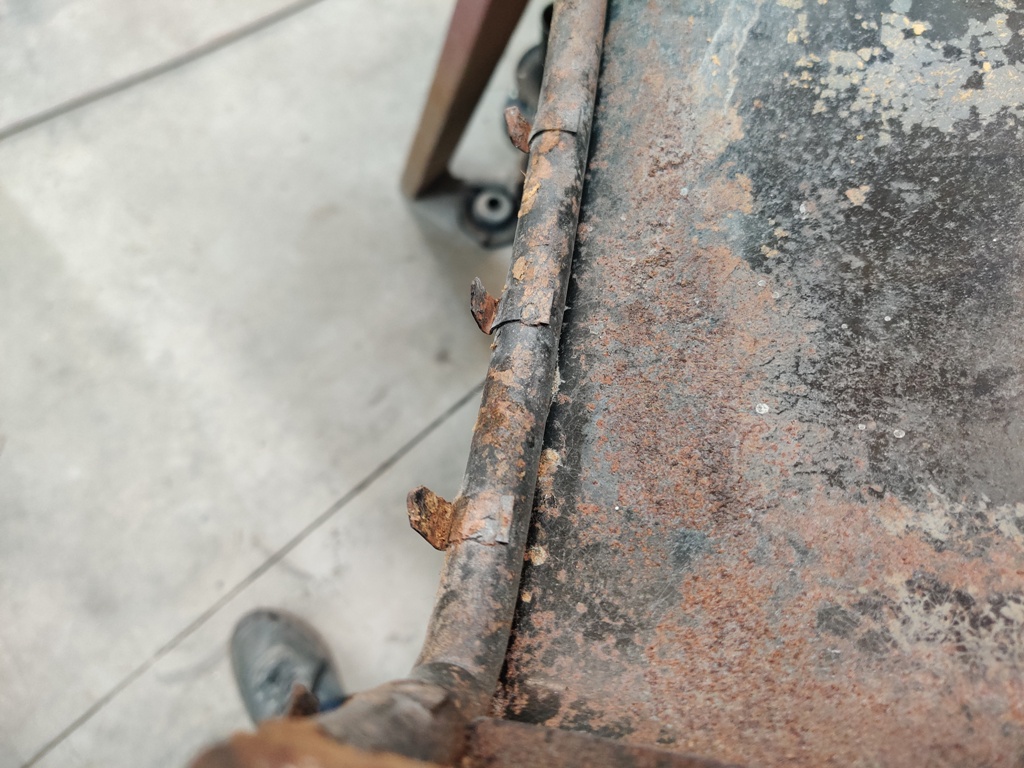
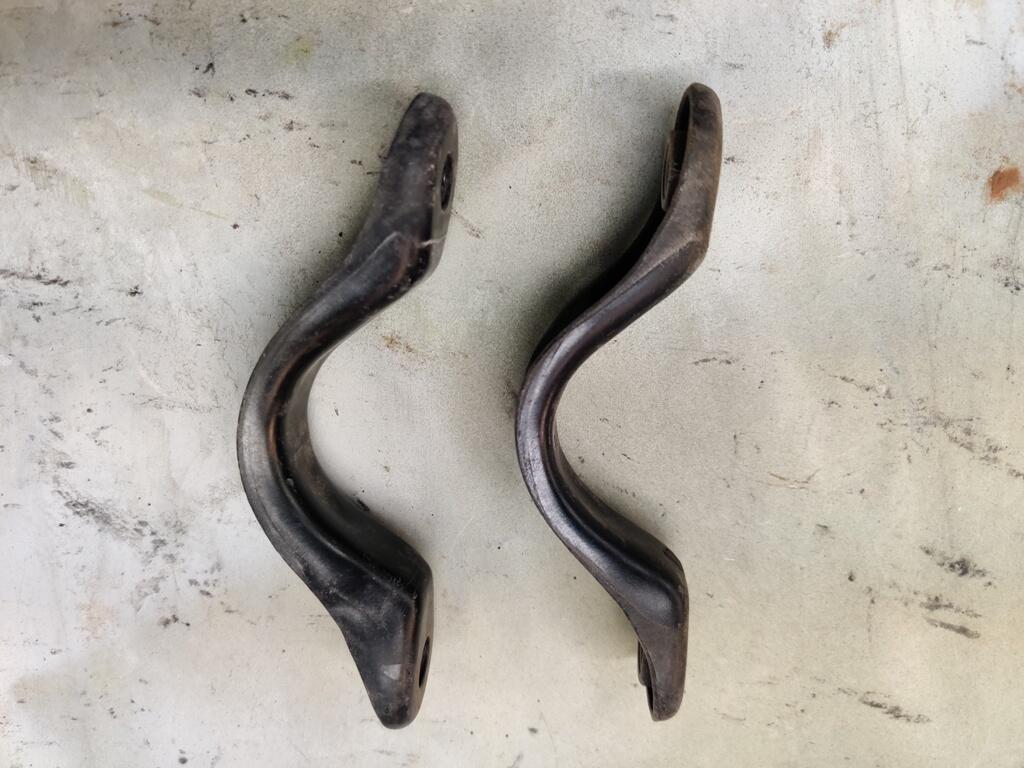
I am getting ready to "sand blast" (using Black Diamond coal slag instead of sand) most of the parts in my list above. Before I do the frames of the seats, I have a question, if anyone following my thread can help. what should the orientation of these pointed metal clips be? Should they be straightened? I have not put on upholstery before. It seems like they should be straight to start with, and after you puncture the upholster, then you tap them down at about 90 degrees to grip the upholster? I'd like to get the orientation right before I sand blast.
-
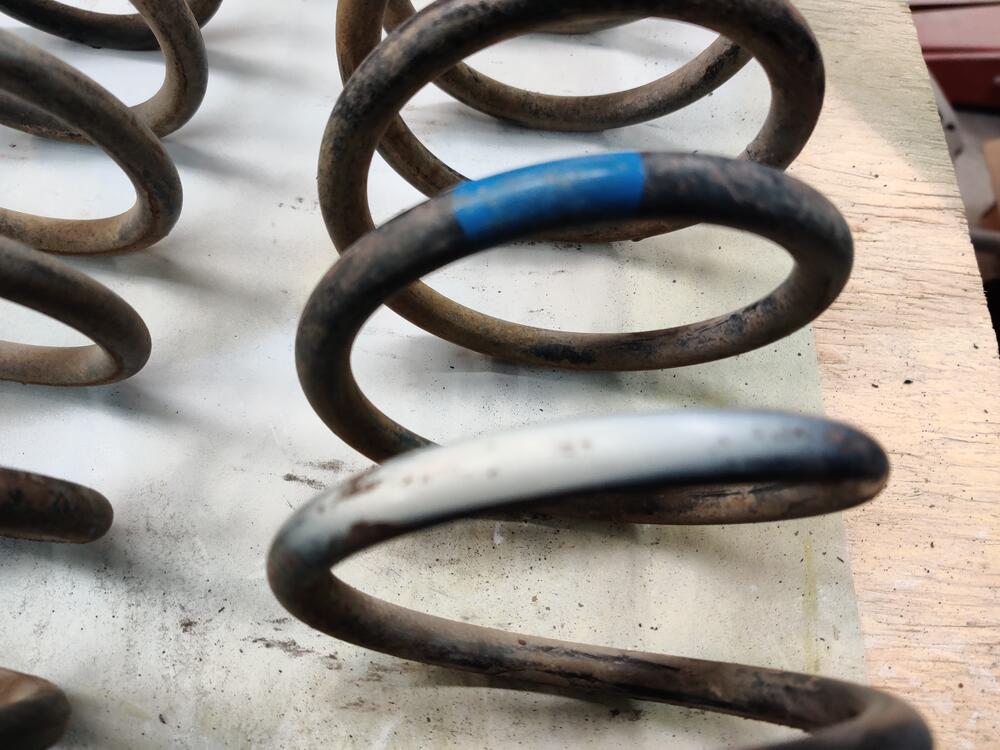
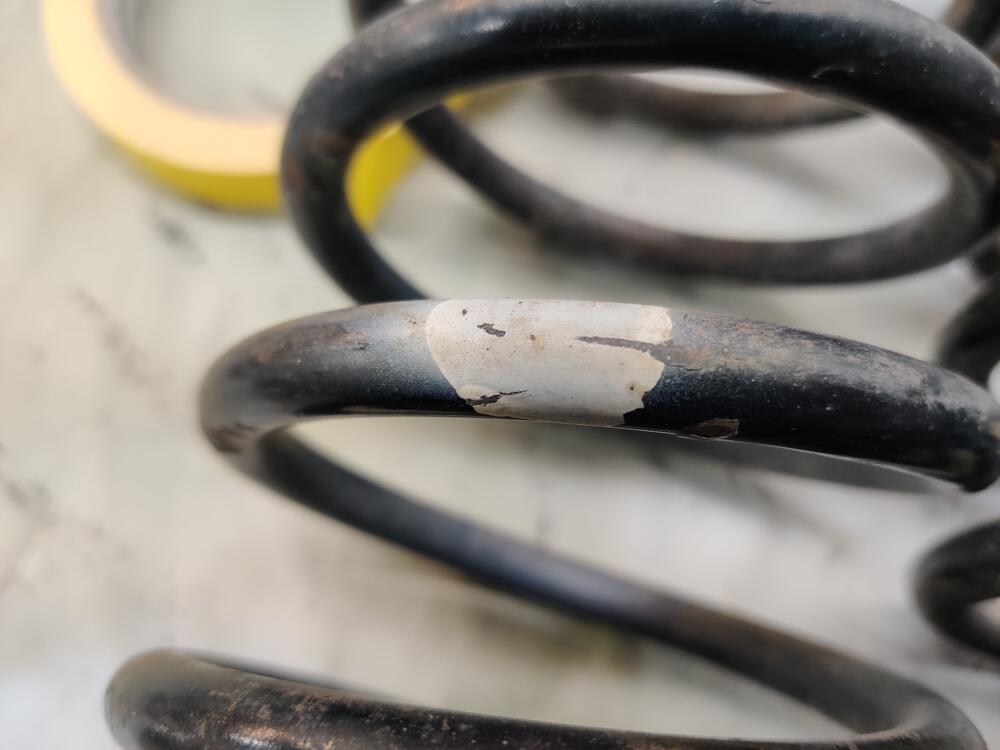
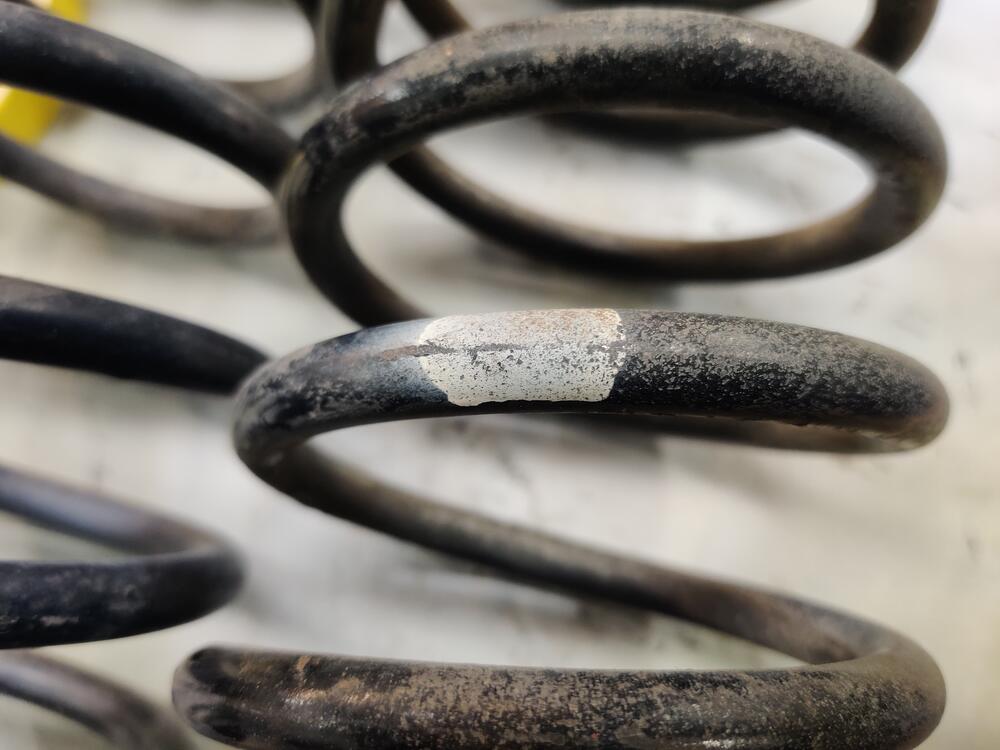
Found a post about the colors on the springs. Thanks @KatZ. I don't know if I am reading this correctly. So the two springs with one white mark only are rear springs for my car - HLS30. Looks like the part number is 55020-E4102. The front springs are the two with blue... I don't know what is different between the two. Perhaps the free length?
-
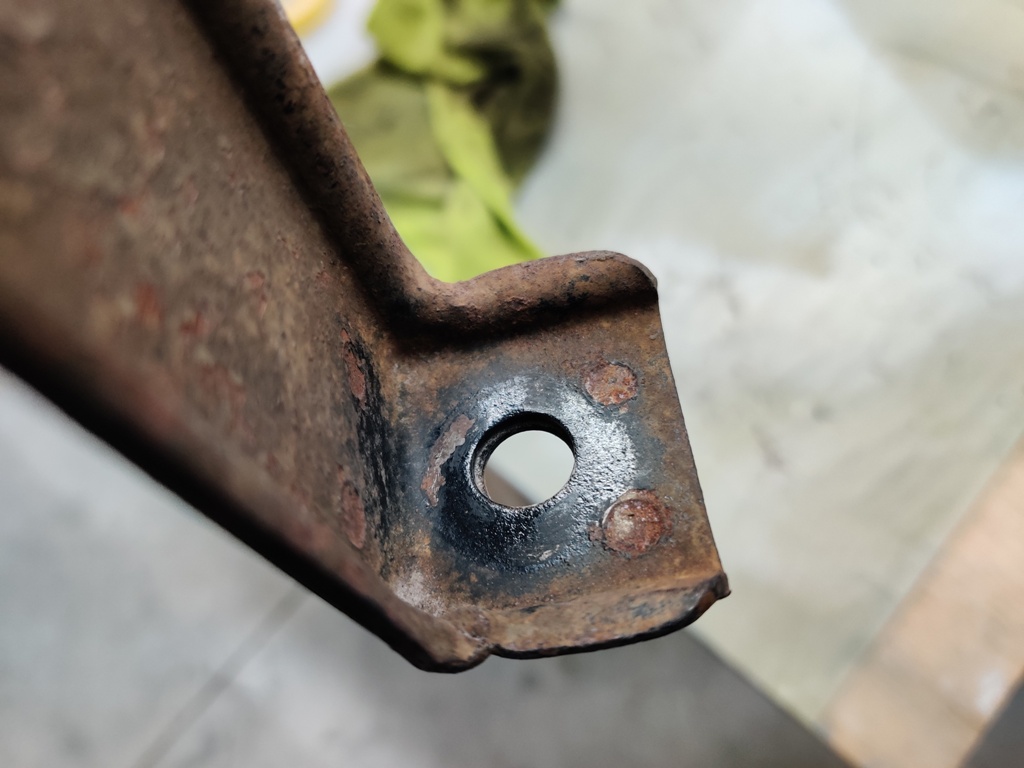
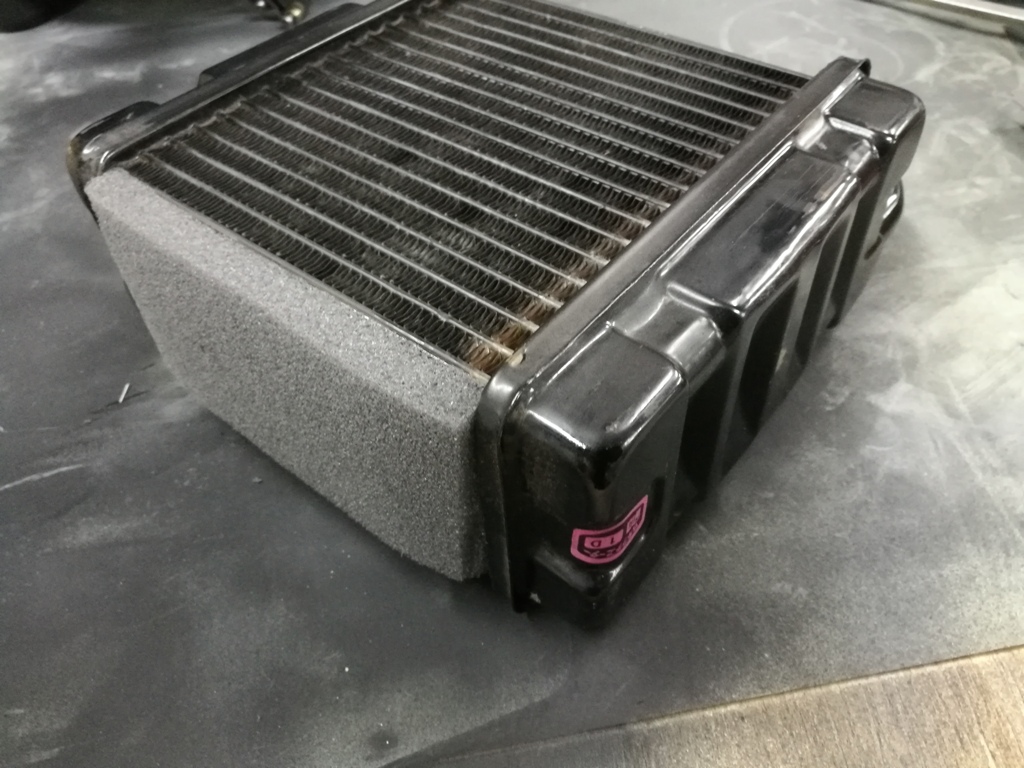
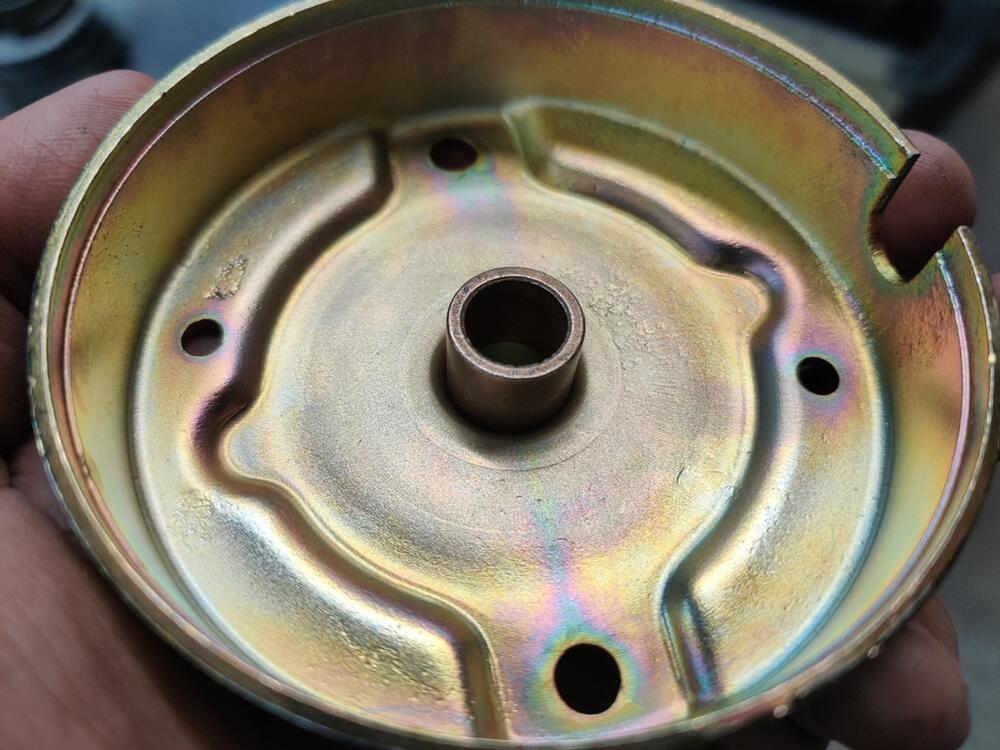
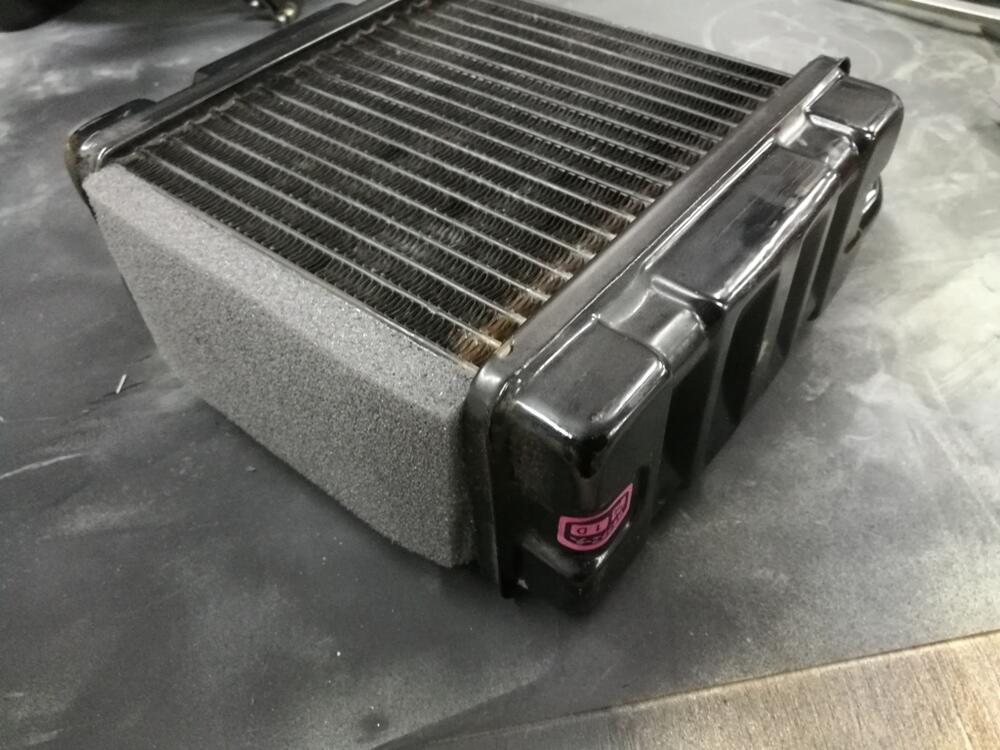
I located all of the following parts today, pulled them out of boxes and gave them a good look. Some needed a bit of filing... this and that - nothing major. The plan is to sandblast almost all of these items in a day, and prime and paint them the next day. There may be a few exceptions. For example, the seat backs are just thin sheet metal. Also, the torsion springs for the hood have some really durable paint on them - paint that laughed at lacquer thinner. I have never seen that before. But it clearly is paint. They are pock marked from road debris on their front sides, but not their backsides. A few other, more fragile pieces will get bead blasted instead. Anyway, if you see anything that is supposed to be black which is missing from my list, please say something. anti-roll bar anti-roll bar mounting brackets anti-roll bar mounting reinforcement plates battery upper frame brake booster brake booster one way valve mounting bracket brake pedal clutch pedal clutch slave cylinder differential belt arrestor strap brackets differential case differential front flange to driveshaft differential front crossmember - diff and front suspension mount differential rear mount - mustache bar differential rear mount - mustache bar washers with bonded rubber differential rubber isolator mount - front driveshaft engine mounting brackets engine mounting isolators engine oil pan front ball joints front brake backing plates front compression rods front control arms front crossmember front strut springs front strut upper mounts front strut upper spring seats front struts front tow hooks front wheel hubs gas pedal gas tank gas tank securing straps handbrake handle assembly (partial) hatch gas lift support bracket hood pull bracket hood tension rods inner front fender supports left and right air vent pull brackets lower dash mount brackets to tunnel pedal box (already painted) radiator rear axle shaft - inner flange to differential rear axle shaft - outer flange to axle/hub rear axle shafts rear brake backing plates rear strut housings rear strut springs rear strut upper mounts rear strut upper spring seat rear suspension brackets - control arms to vertical supports rear suspension control arms rear suspension crossmember - rear suspension mount rear suspension vertical supports rear tow hooks rear wheel axle/hubs seat backs upper seat frames lower steering knuckles steering rack housing steering rack mounting brackets steering rack stop bracket steering shaft with u-joint tie rod ends - outer transmission mount transmission mounting isolator Some pics: Surface rust removed from rear hubs by glass beading. Nice to see so little rust damage (first two pics). Plate behind hubs has an interesting grey coating (pic 3 and 4): Differential stub axles received no paint from the factory (pics 4 and 5): Stock springs... I need to search to determine what these paint marks mean. I recall something about location on the car... First pair: Second pair: I am taking note of different amounts of gloss on the various pieces. The dash vent control knob brackets are pretty glossy compared to the lower dash mounting brackets (pic 1). Most parts have a gloss level like this gas pedal, shiny, but not super shiny. (pic 2). Gas tank straps were originally gloss black (pic 3): More parts that were glossy but not very: transmission mount bracket (pic 1), seat back - note florescent light reflection is "dull" (pic 2), heater core (pic 3): Some interesting pics - the seat adjuster brackets seem to have been sprayed with a coat and this "spritzed" with another to give them a bit of texture: Steering rack securing brackets have interesting paint marks on them: Near the beginning of this restoration, I experimented with painting some parts black using different amounts of "flattening agent". The plan for most of these parts will be to utilized 10% to knock the gloss down. I have a suspicion that the flattening agent takes a few minutes to "work in". This pedal box was shot without any flattening agent, the steering rod has 10% and the mustache bar has 20 or 30%, can't remember which, but it is too much. I am looking forward to getting all these parts stripped and painted.


-
I am interested to see what you find. I am not quite following what you mean by "I noticed it was pouring in under the vinyl on the rear shock towers." Can you elaborate? My contribution, for what it is worth: I found that brand new tail light gaskets did not seal air tight on my first Z. The tail lights commonly develop waves in the mounting flange, so that where the flange contacts the body there are ripples. When I installed new gaskets and bolted the tail lights in place, I didn't give it a second thought. However, what was probably a few years later, when I was chasing the source of exhaust smell, I pulled the left tail light and saw "exhaust staining" on the paint under the where the gasket met the body. Looking closer, there were clearly air gaps between the body and the gasket. So, I put some 3/4" wide, 1/4 or 3/8 deep closed cell foam rubber weather strip on the body of the car where the gasket sits, and then bolted the tail light (with factory gasket still in place) to the car. This made a notable difference in the exhaust smell. It did not eliminate it, but I didn't do the same treatment to the right side tail light (still - many years later now). And the car I am talking about has hatch vents, so I assume there will always be a bit of exhaust smell when I drive with only one window down. The other thing worth mentioning is while I thought my hatch sealed all the way around on my car, I found out it did not by observing snow melting off of the car. After a light snow, the car was parked and heating up in the sun. I noticed that snow melted at the gap between the hatch and quarter panel on each side of the hatch panel in areas about 6-10 inches back from top edge of the hatch panel. It was apparent that heated air from inside of the car was escaping there and caused the snow to melt. Testing with small bits of paper, I confirmed that the panel was not touching the main hatch weather strip at those locations (only for a few inches). Those are what I found when I went looking. The car I am restoring now has vents on the quarter panels instead. When it comes time to do the assembly, I'll be investigating the same areas closely and addressing any issues I find.