73str86
Free Member
-
Joined
-
Last visited
Everything posted by 73str86
-
 Here's a rough looking one with tray (no tools) on eBay for $275. http://www.ebay.com/itm/Nissalco-Datsun-240z-Toolbox-/161633130399?pt=Vintage_Car_Truck_Parts_Accessories&hash=item25a215d79f&vxp=mtr
 -
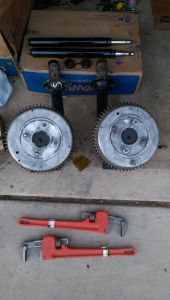
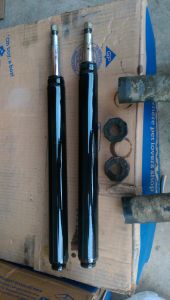
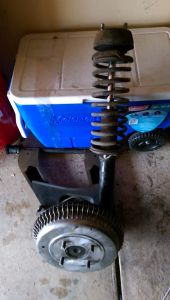
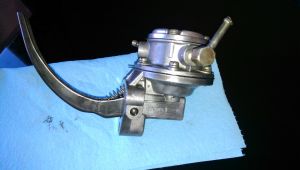
I feel very lucky today. I got home around 6pm and decided to give the strut gland packing nuts a quick attempt. With two 18" pipe wrenches from HF, I had both gland nuts and struts out of their tubes within 10 minutes. The nuts had marks on them as if the struts had been replaced in the 80s perhaps. One thing is for sure, the struts were fully shot with no rebound left. Can anyone tell me if I can reuse these original strut gland packing nuts? I have a set of used original Koni red adjustable struts with no hardware. I found the part number for the Koni red/Datsun 240z gland nut as 73.25.01.003.1 with measurements of M48 x 1.5p.
-
-
-
-
Thank you for sharing this information. I hope to get a couple baseline dyno runs this summer.
-
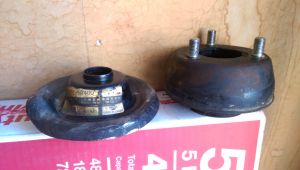
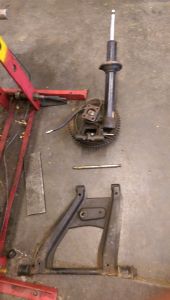
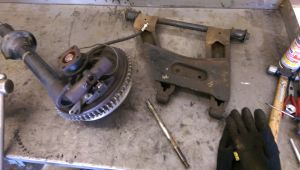
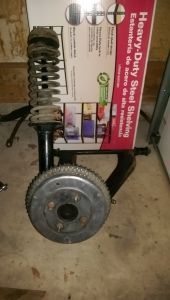
I thought it was interesting that my passenger's side strut mount insulator still shows the factory part number. The passenger's seat shows that no one rode on that side of the car, either. The struts essentially felt blown. One was bubbly to compress then never rebounded, and the other had what felt like air pockets in the tube while being compressed. I want to confirm a question regarding lowering spring height vs. original old spring height before deciding on which springs to go with. http://www.classiczcars.com/topic/51073-lowering-springs-vs-original-springs-height/ I also tackled the spindle pins yesterday. I was ambitious and also brought my half-shafts and driveshaft to press out the u-joints. I had sprayed PB blaster in the lock bolt holes and ends for about a week. It turned out the big press at the auto shop on base was getting repairs, so I used a 50 ton hydraulic press. This thing must have weighed at least 500 pounds. I was able to move a 53kg anvil but couldn't lift the steel shelf. It ended up only taking around an hour and ten minutes to remove both spindle pins. One was simply pressed out after finding a few sockets and bolts to help press the spindle pin through two chunks of steel. The second was a little more difficult. This was the driver's side, and also the one I smacked with a BFH enough to mushroom a spindle pin end. With about 15-20 tons of pressure, the pin moved about 1/4". It seemed like it was seized to one end of the bushings. We took a break and ended up laying it on a bench and using an air hammer to pop it out. All in all it wasn't too bad. For the u-joints, I believe all but one are original. Most of the half-shaft ones were binding. I tried many methods. First was with a vise, hammer, and socket. This did not work for me. After moving to the press, I crushed some caps, some wouldn't budge under 20 tons of pressure and I stopped there because the steel in the halfshaft was flexing.
-
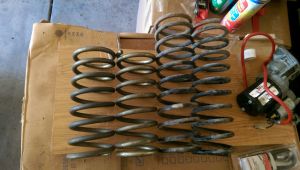
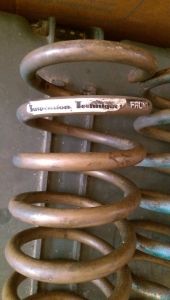
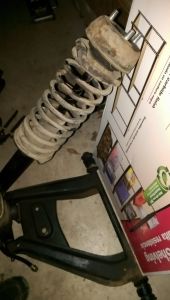
I have a question about lowering spring height vs. (old) stock spring height. I purchased what I believed were a used set of Suspension Techniques linear lowering springs. They have ST Front stickers in front. When I compare the rear pair with my original set, the ST springs are around 3" shorter. Is this normal? I can seem to compress the original springs to the ST springs' height quite easily. ST rear springs on left, original rear springs on right Stickers on front springs Thanks in advance.
-
-
-
-
-
-
-
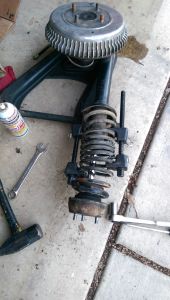
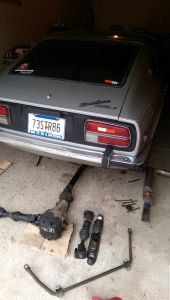
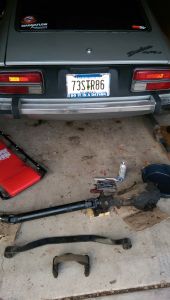
All of the rear suspension is officially out from under the car. Three main items next on the agenda: -Remove spindle pins (the auto shop on Ft. Carson has a 26 ton press) -Remove/replace driveshaft/halfshaft u-joints -Remove original 4 speed I have one coil spring out, still need to do driver's side. Lesson learned: I should have broken the nut free on top of the struts before dropping them!
-
-
-
-
-
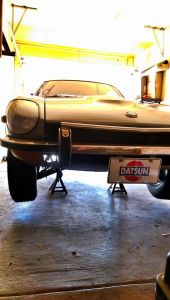
Just a quick update... I decided to go ahead and put her on jack stands for a little while. With 10-16" of snow coming this weekend, I figured it was a good time. Yesterday I soaked some of the rear suspension in penetrating oil. Today I basically wheeled around under the car, a few nuts and bolts at a time, reapplying the penetrating oil. After a few hours I removed the exhaust, rear sway bar, rear differential, half shafts, mustache bar, driveshaft, and diff strap. There's one bolt left on the driveshaft that needs some heat. I also decided to go with the RT diff mount. It's tough to decide how far to tear into the car. I'm planning on cleaning/repainting all of the rear suspension components. What I'm trying to decide is whether or not to install my Koni struts and Suspension Techniques springs while I'm at it. I'd like to be driving her again by April/May.
-
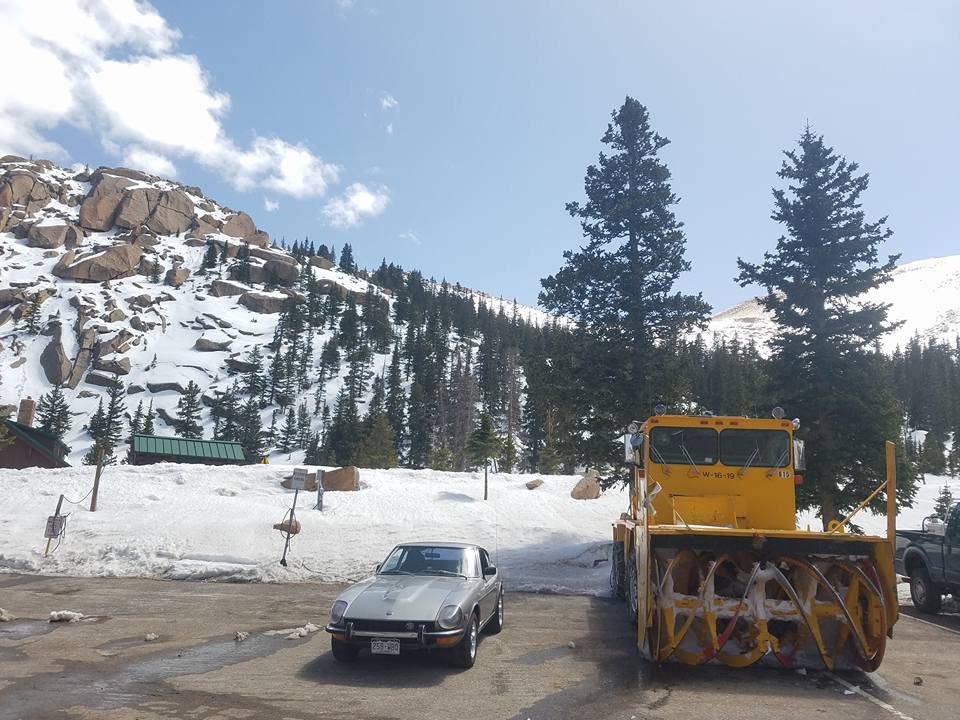
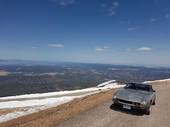
From the album: 1973 Datsun 240z
-
-
-
-
Is your current setup not loud? Here's a video of mine, an L29 with 6-2 header, 2.5" pipe, to Borla Pro XS muffler. http://www.classiczcars.com/topic/50958-clifford-research-6-2-25-to-borla-pro-xs-muffler-video/#entry463728