


motorman7
 Subscriber
-
Joined
-
Last visited
Everything posted by motorman7
-
 Wow, that car is a gem. Looks like original seats and original radio. Body looks great as well. Only off item that I can see are the rims, but that can be easily remedied. If motor is original (and I am betting it is) and the frame rails are good, that car is worth some descent cash, $3-4K minimum; $6-8K if the frame rails and motor are in good shape. Would make a wonderful restoration project. Tiffanie, If you replace anything, do not throw any of the parts away. You would be amazed what they go for. That AM radio goes for $150-$400 on e-bay. Even old braided radiator hoses go for a chunk. Keep the spare tire as well, those are rare. Your car is a major score at $500. May even have been a good buy at $5000 if the undercarriage and motor are good. Congrats and take care of that baby. Best Regards, Rich
 -
Thanks for sharing....It's always hard to lose those who have been a great help to us. It is a sad loss. Rich
-
Nice color.....garage space?
-
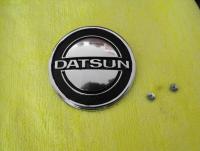
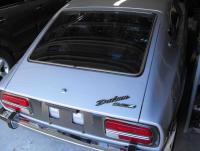
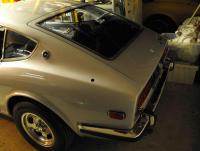
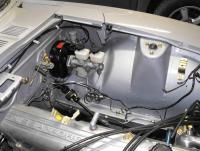
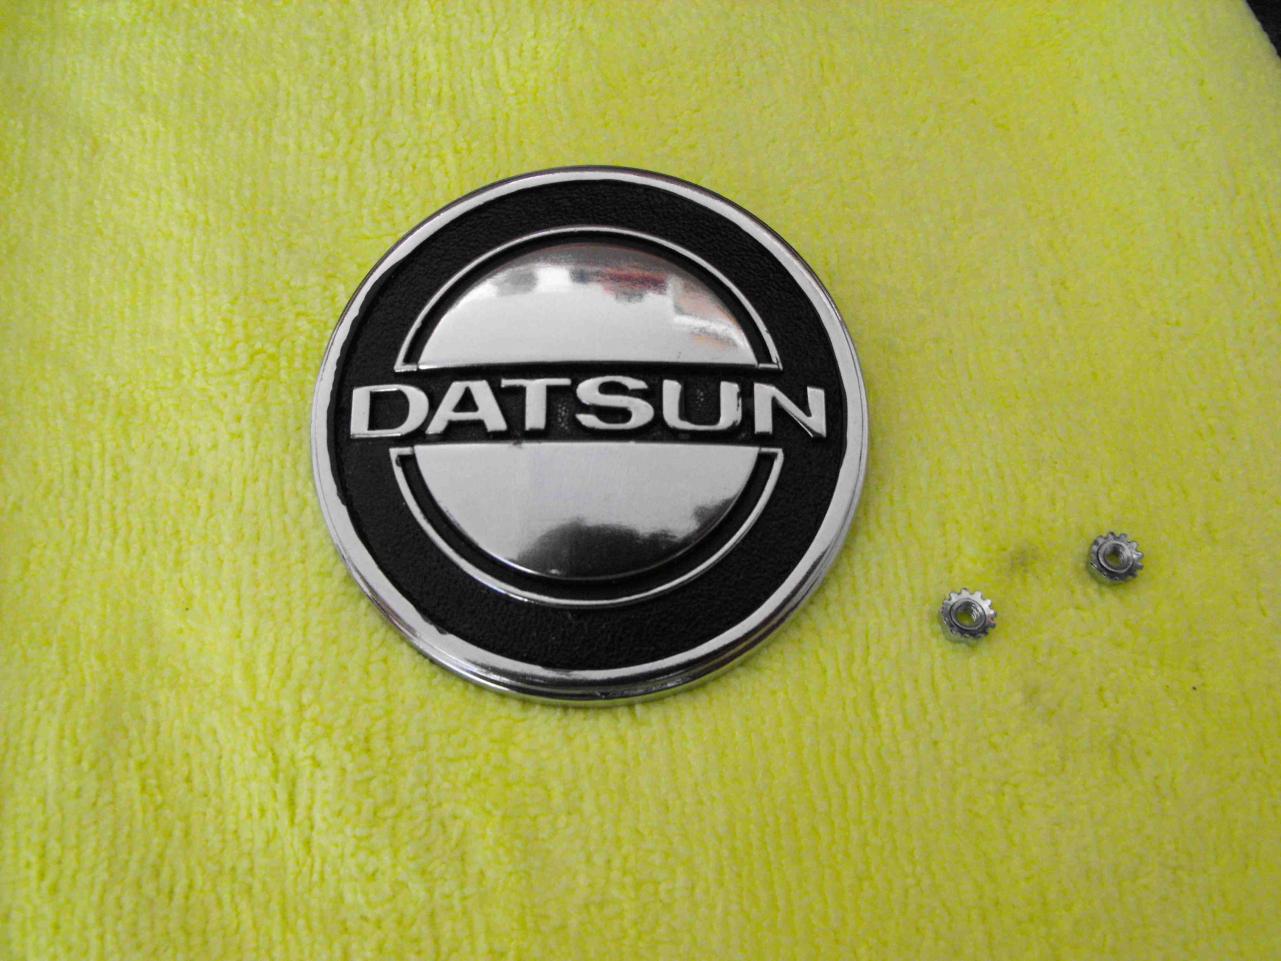
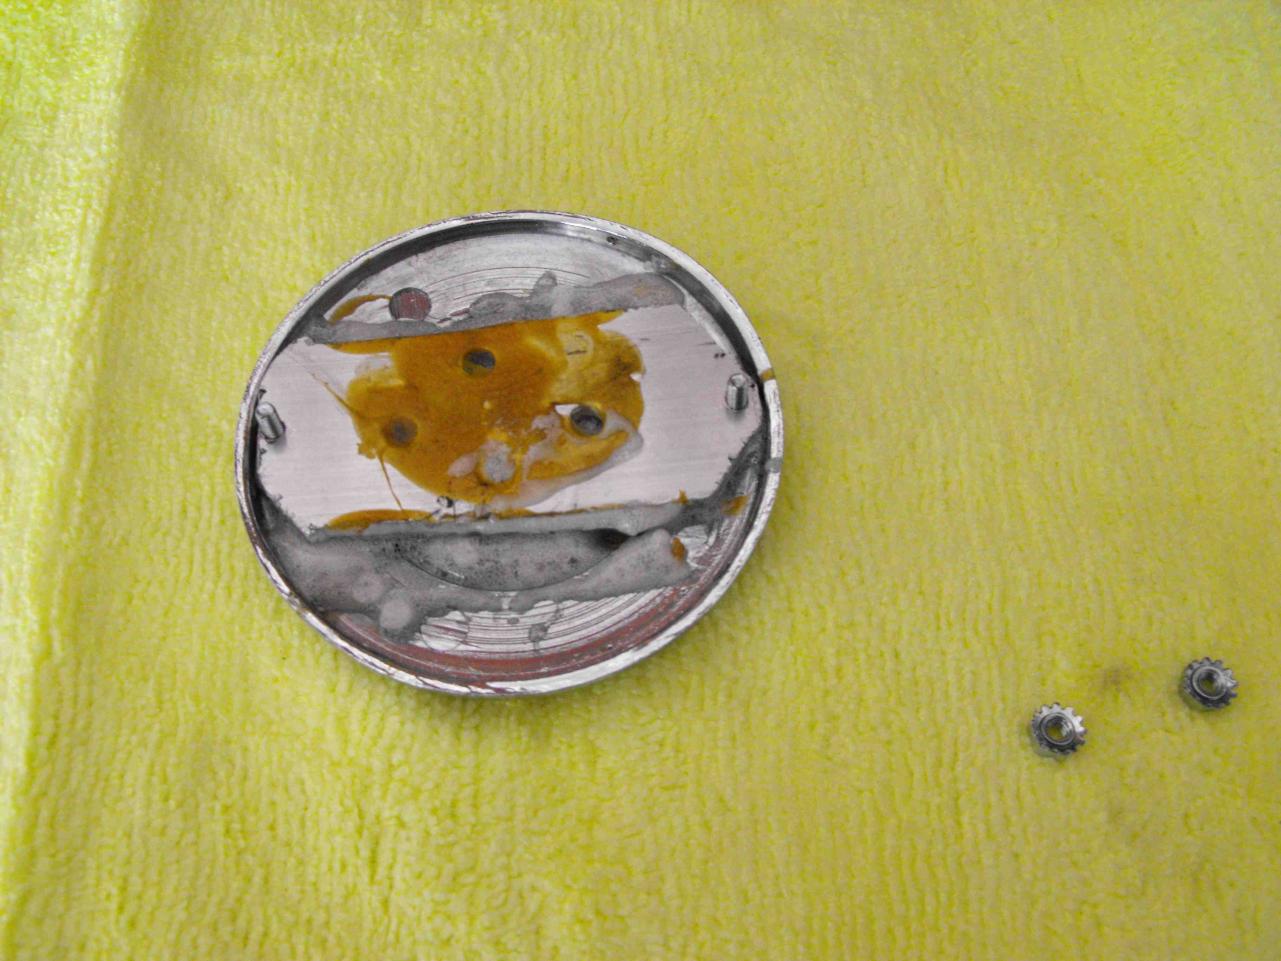
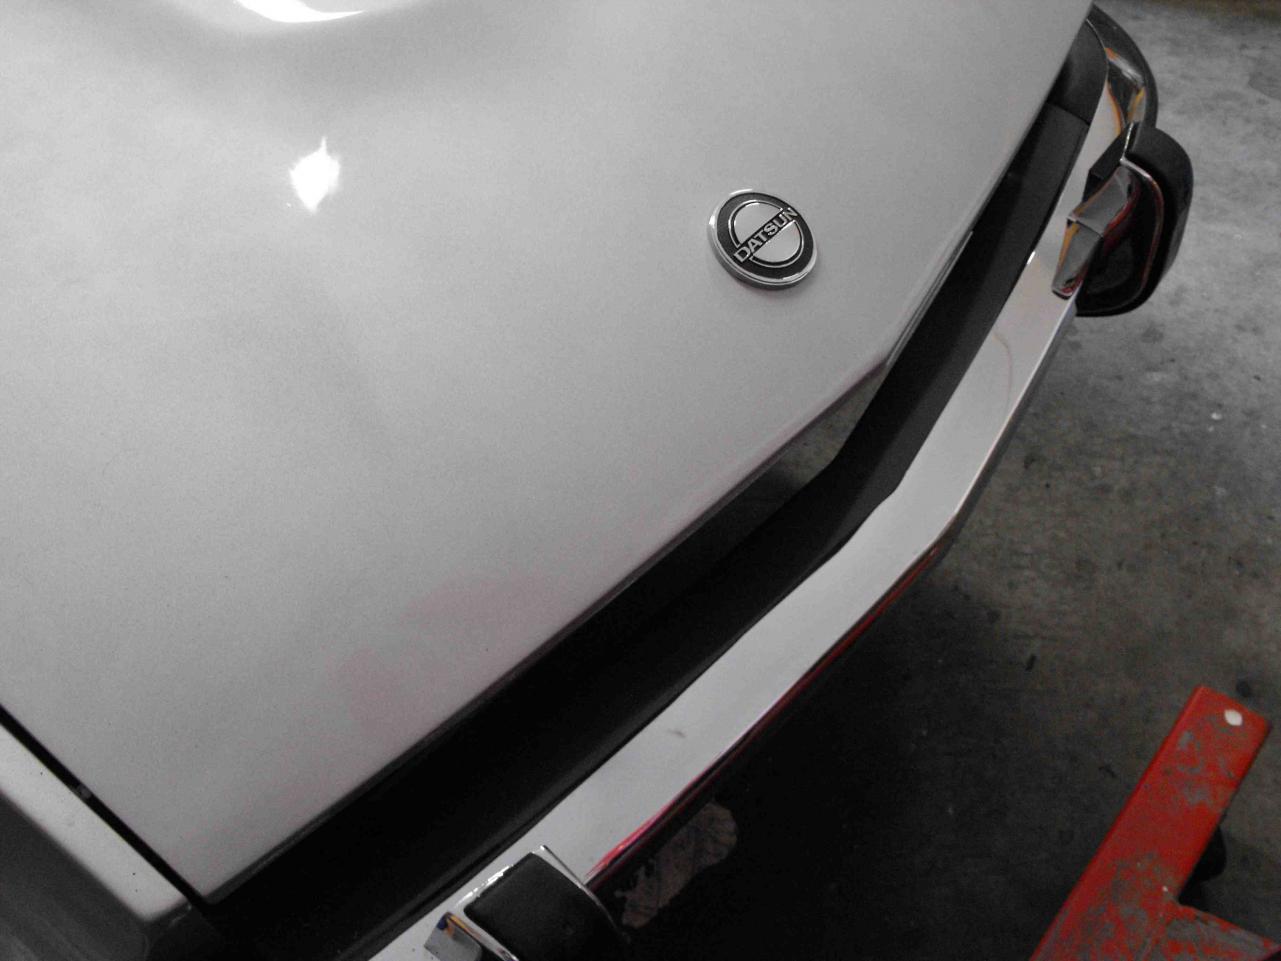
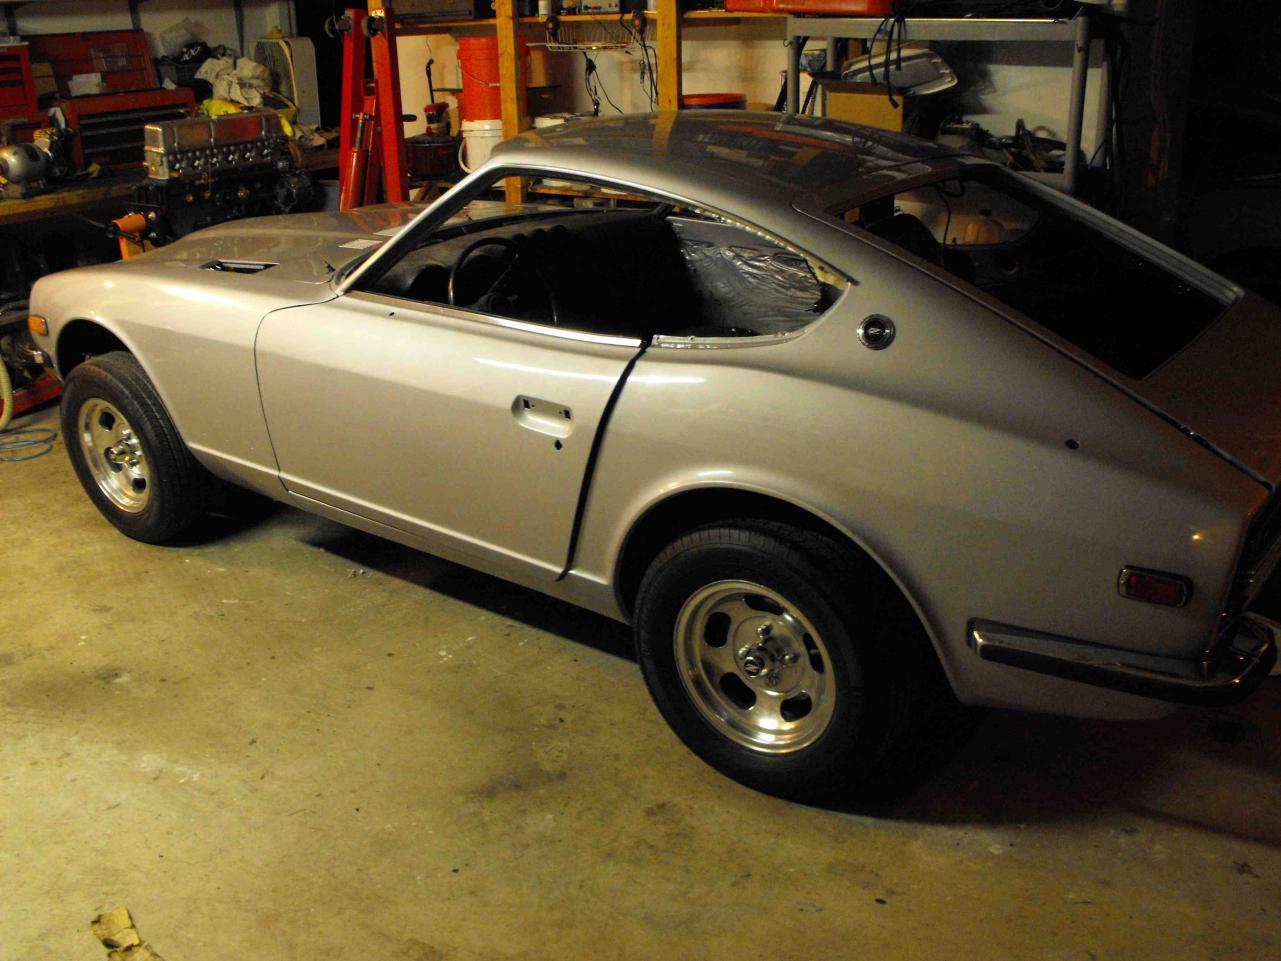
Boy, this is taking a while. Too many things going on in life. Had the half marathon last week, moving in-laws this week and next. Not getting my car time in. It is a bit frustrating. I was able to do a little bit last Thursday. Got the Brake master cylinder in, cleaned up the drivers side shock tower, zinced the coil bracket and other parts. Got some emblems in from e-bay. Got the hood emblem and both rear hatch emblems for under $80. Not bad. Only prob was that the hood emblem had no pins. I made a simple bracket to fit inside with two #4-40 screws attached to the plate. secured the bracket to the emblem with gorilla glue. Used two keps nuts to secure it to the hood. Works very well and it is removable. I put the hatch emblems on, the rear opener button, and the rear glass. The back end is looking nice. Just have to keep pluggin away bit by bit on this. Add $80 for the emblems and $125 for a carpet kit and now I am up to $5229.


-
Very Cool!! Hope to be able to paint my own some day. Keep up the good work.
-
Looks like a nuclear bomb. I wouldn't pound on that with a hammer.
-
I use this one: http://www.caswellplating.com/kits/zinc.htm After the zinc plate, I do a 20 second blue chromate dip to get more of the rainbow effect, then a 2 minute yellow chromate dip. Rinse in warm bucket of water and light air dry with 15 psi of compressor air.
Yes, this one is different than the replacement I have in my '71. The '71 is smaller diameter and a bit longer. This is larger diameter. It was working well so I will keep it on. Thanks, I do it myself with the Caswell kit. Not sure if that will work in the '73. It looks like there are some channels on the inside of the door that I have not seen on my '71 (I saw them on the passenger side, guessing they are also on the drivers side. I think these were added to improve crash resistance. PS: finished the 1/2 marathon in 2:05:41. Not bad for my first 1/2 marathon. Still debating on if I ever want to try that again.
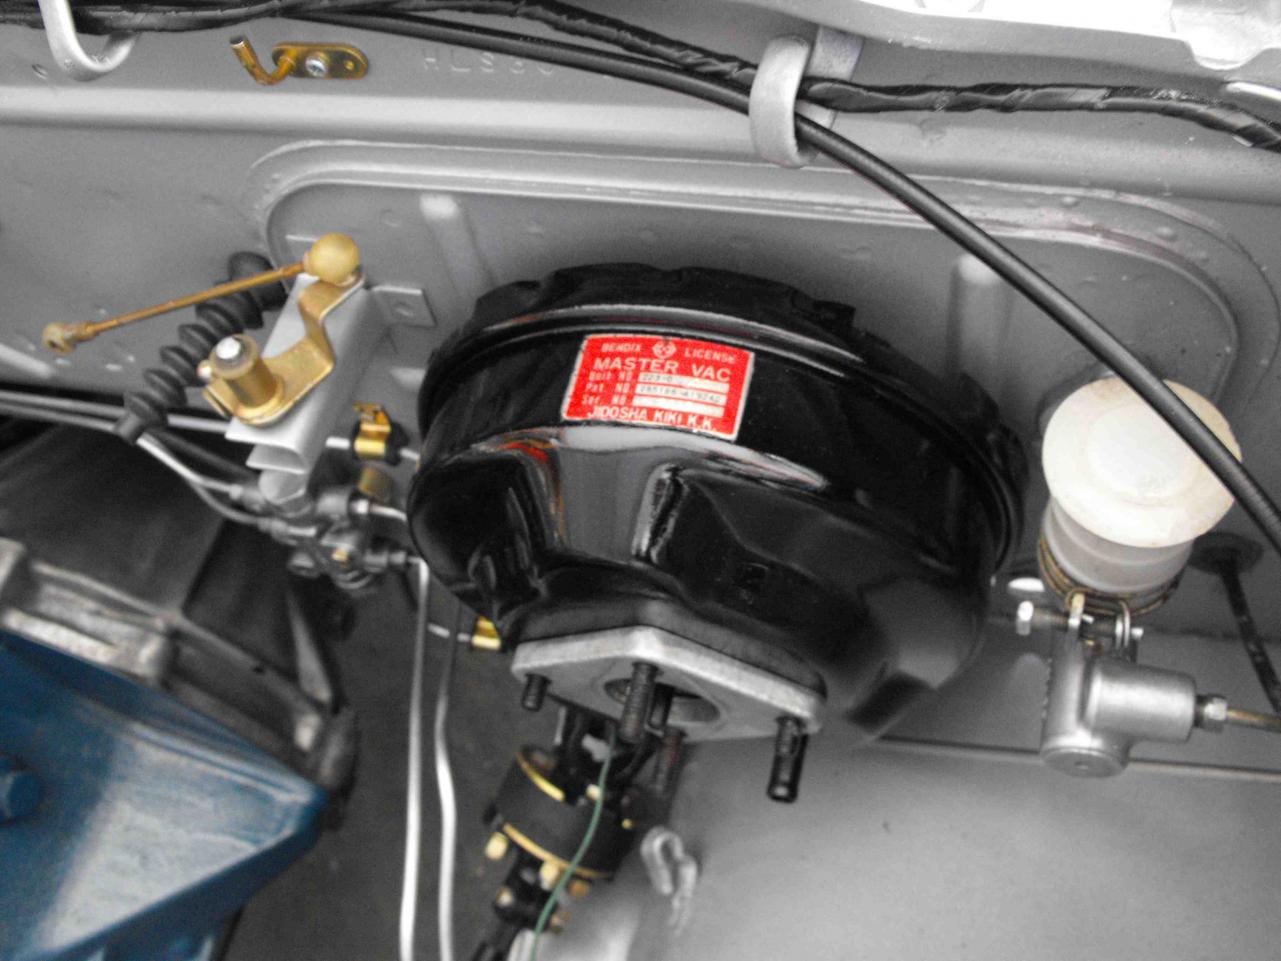
Usually, when I want to go 13 miles, I take the Z. However this weekend I will be running in the LA 1/2 marathon, so I won't get much done with the car. This will be my first 1/2 marathon, so we will see how it goes. I did just a couple small things last night. Got the brake booster on. I believe this is the original brake booster with original decal. Tried to clean it up as best I could. The decal has some dots on it, but it did clean up well. Re-painted the booster gloss black. Also got the mirror on. I got this new from Banzai motorworks. Was not as hard to put on as I thought it would be. I've seen threads on this subject. Had to remove the chrome strip on the door to get this on. Started the securing nut by putting my hand through the top slot. Tightened the nut with a 1/2" socket on a swivel feeding through the door inside slot. Worked pretty well.

 Looks nice from the picture, but not much info to go by. Could be anywhere from $2-6K based on what you have said and shown.
Hi Randy, The color is actually the correct Nissan blue. It just looks a bit dark in the above pics due to the lighting. Here are the pics before install- the color is shown better here. Thanks for the complements. Rich
Looks nice from the picture, but not much info to go by. Could be anywhere from $2-6K based on what you have said and shown.
Hi Randy, The color is actually the correct Nissan blue. It just looks a bit dark in the above pics due to the lighting. Here are the pics before install- the color is shown better here. Thanks for the complements. Rich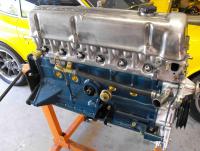
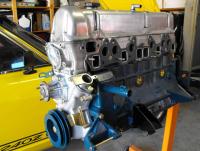
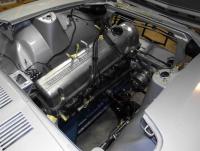
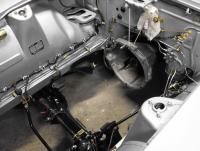
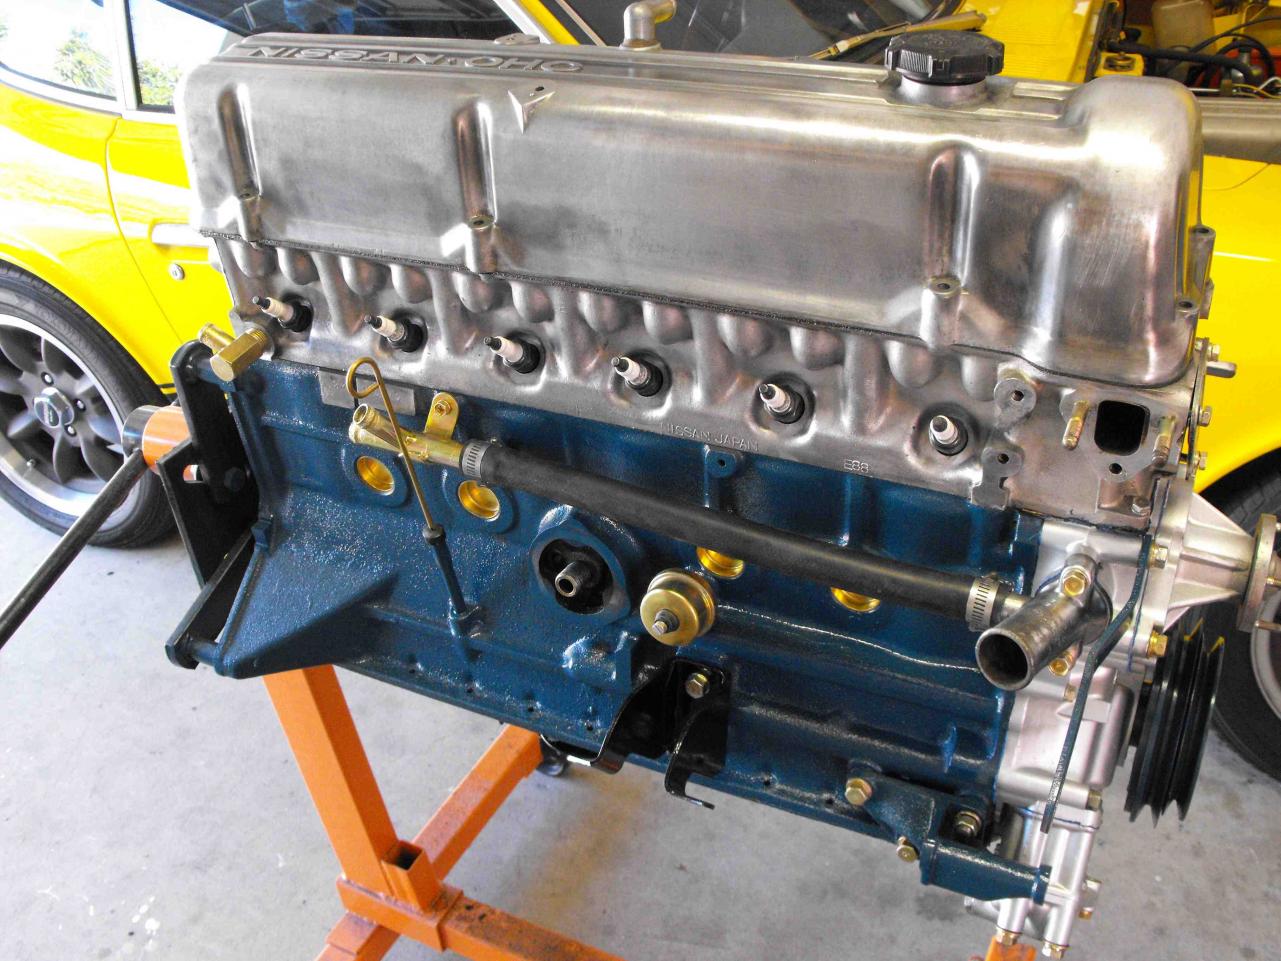
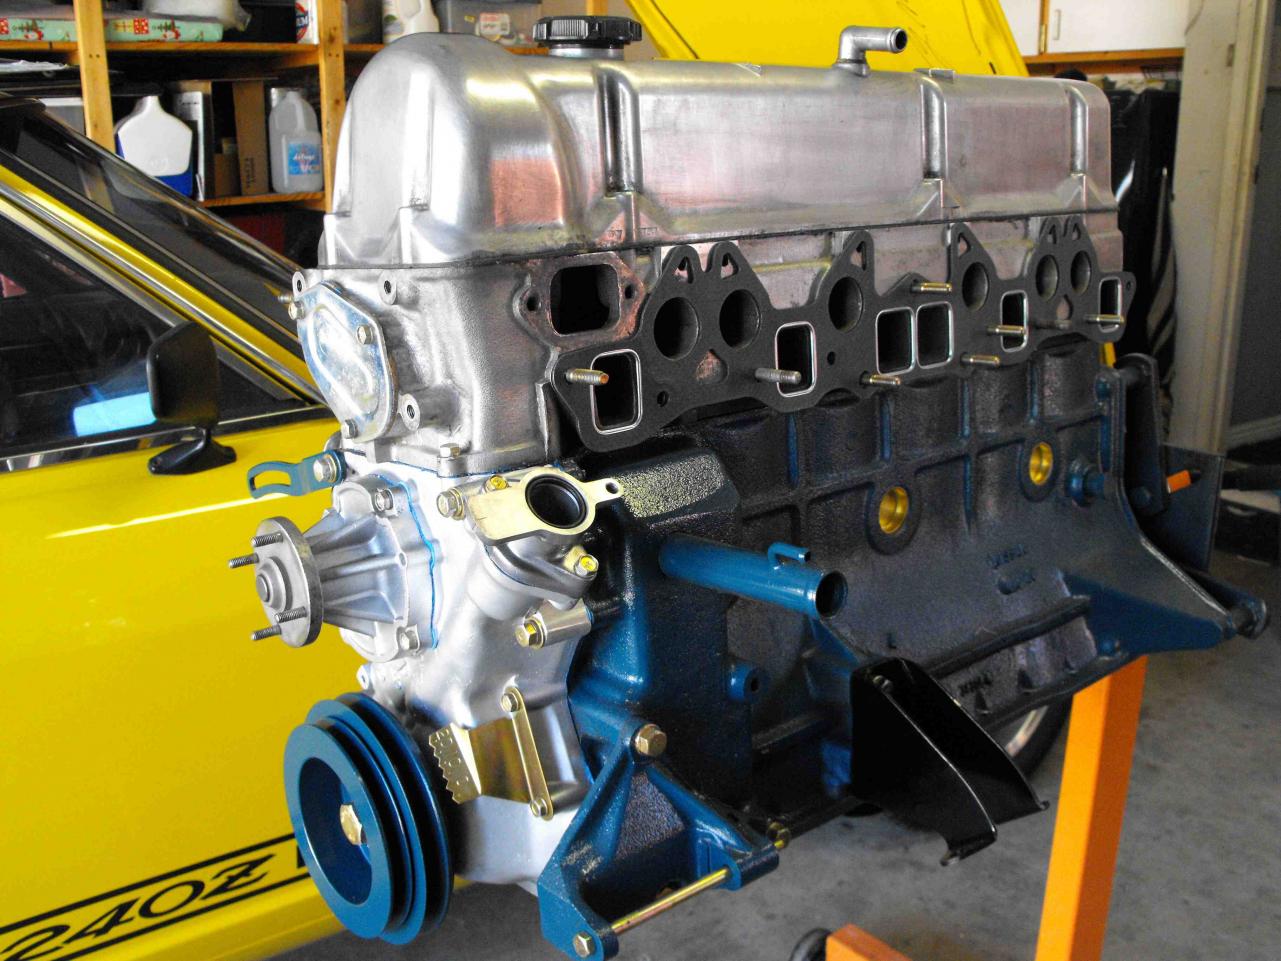
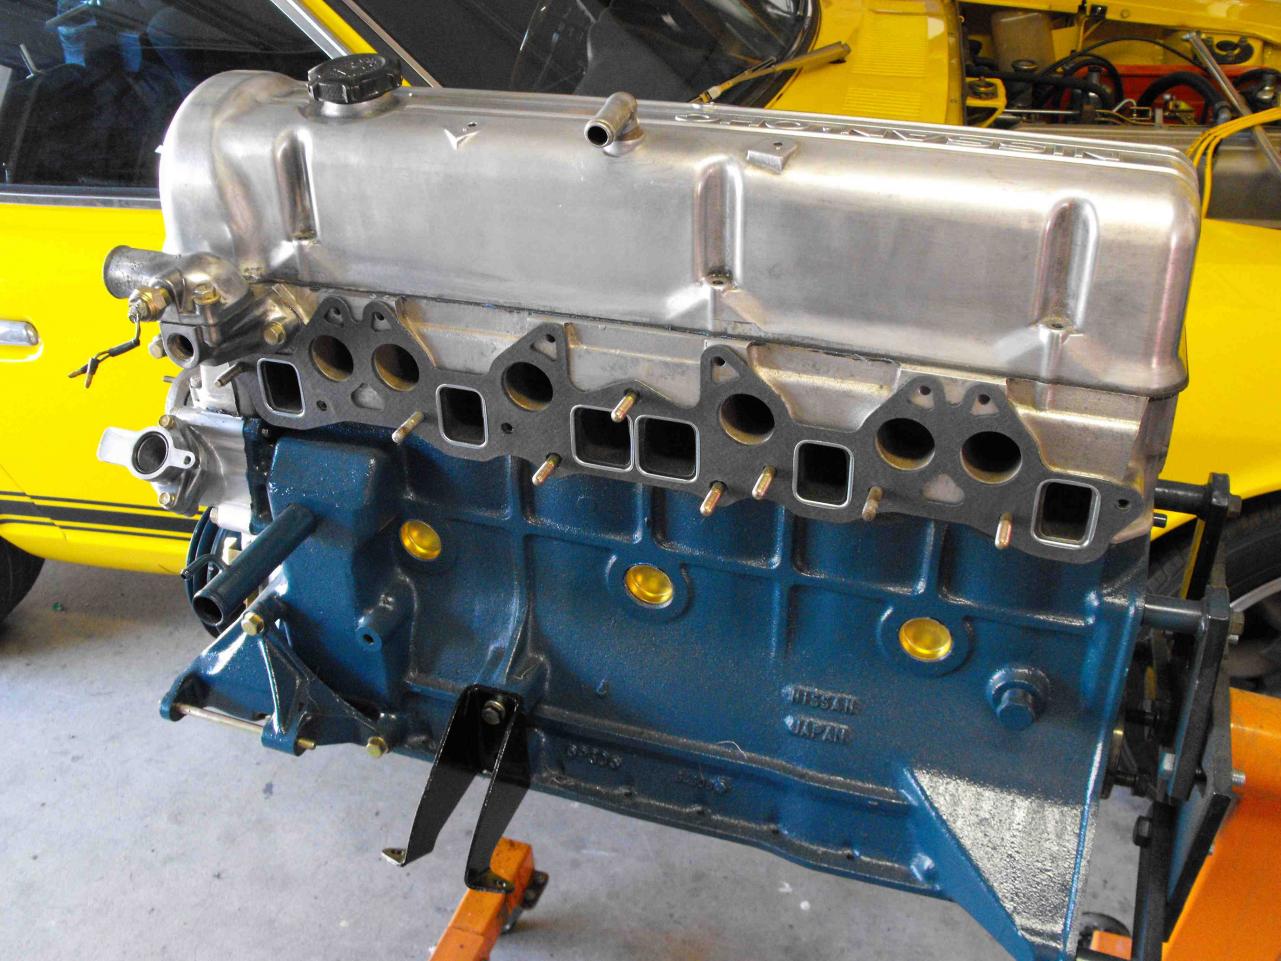
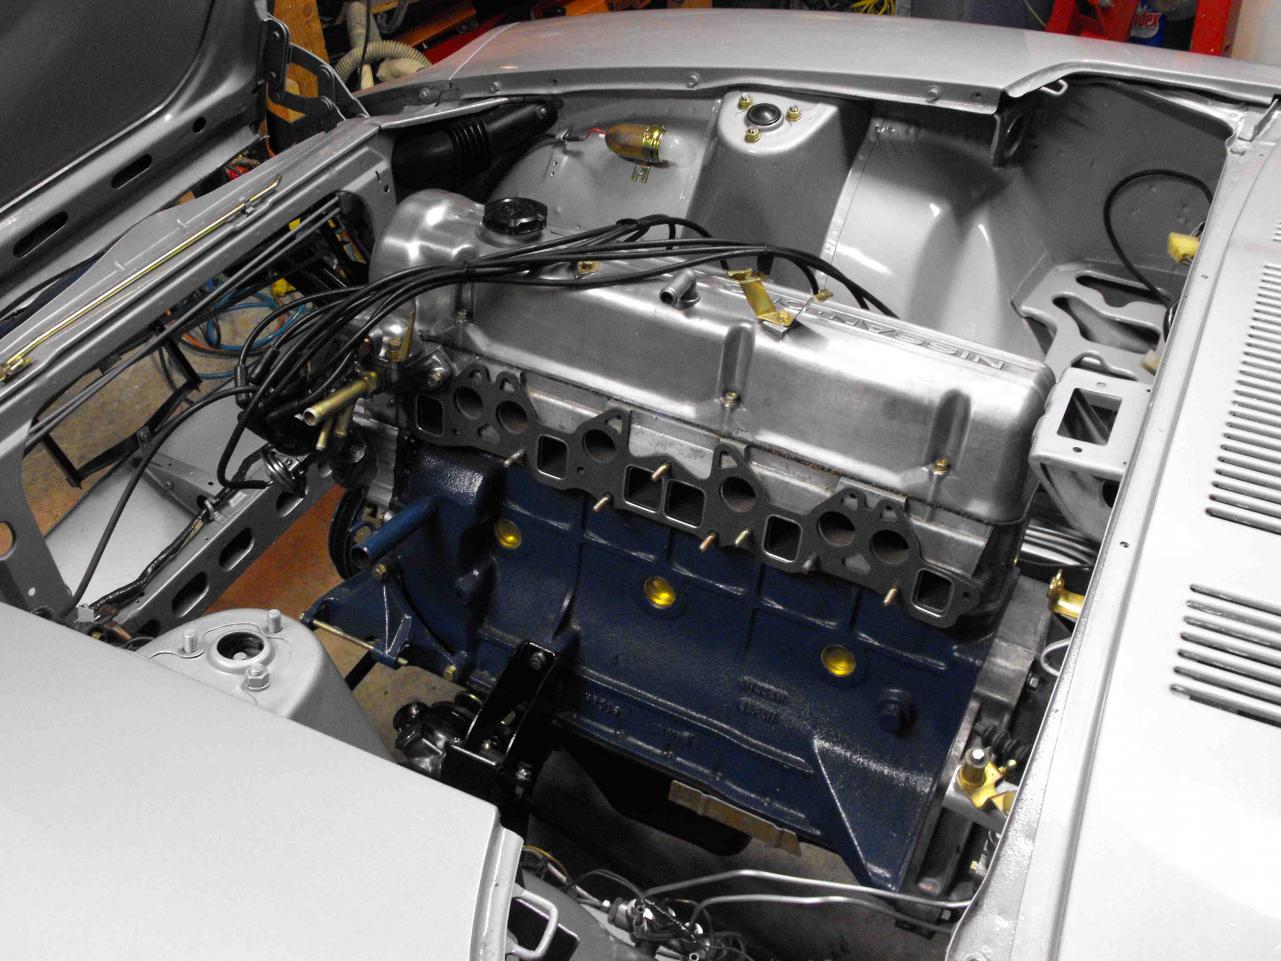
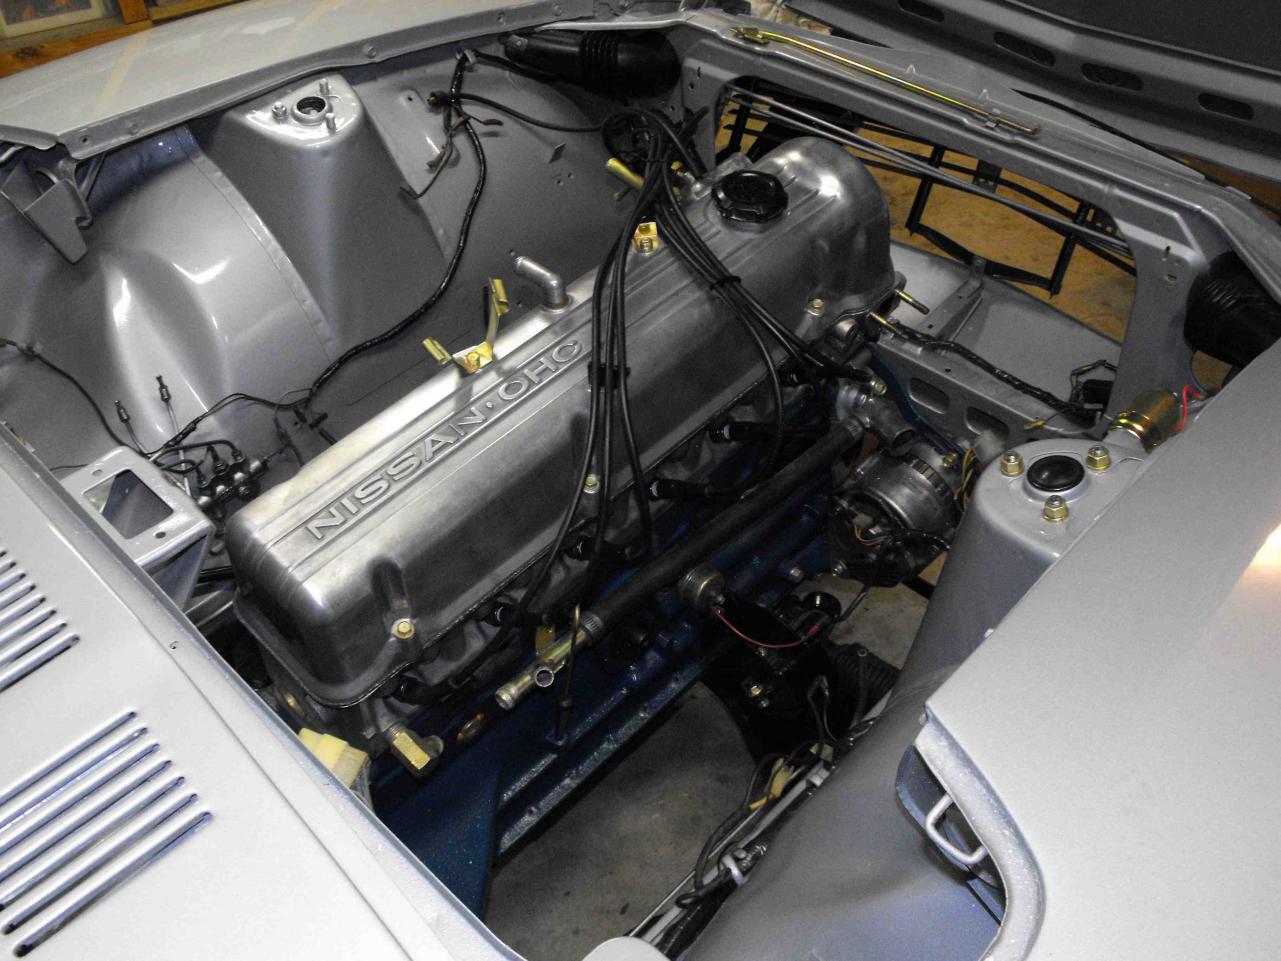
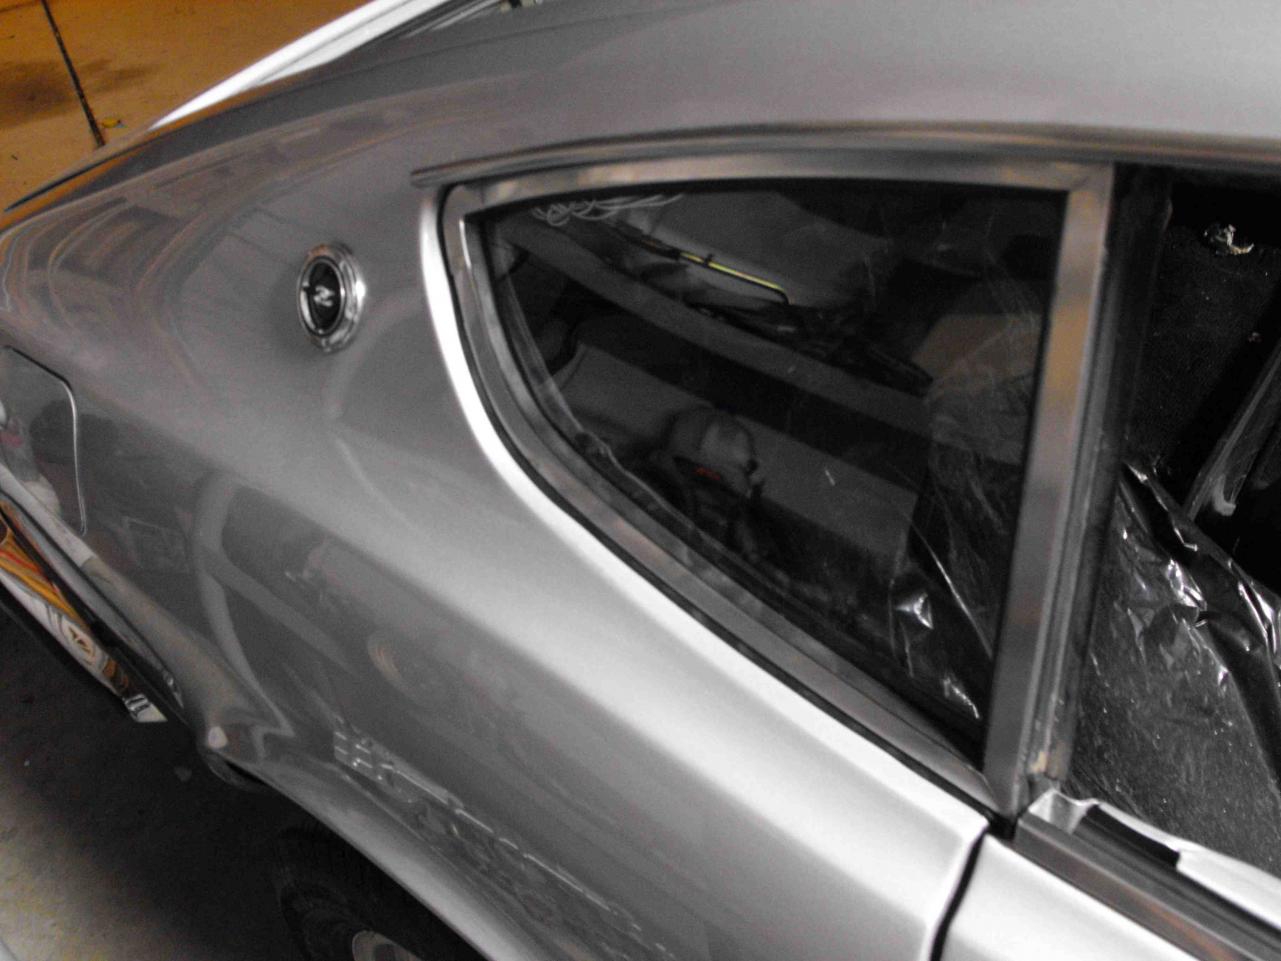
 Got the motor put in. It went pretty quick with my son helping. Put the distributor on with wires and realized the harness combs were missing. Will have to get some of those. Got the rear side windows in last Tuesday. Much thanks to the person who suggested the masking tape to hold the weatherstrip in place while it dries. I think I actually had my first ever pleasant experience with weatherstripping
 Wow, looks like a great start. I love fresh supplies and carbon fiber
I'm probably in the minority, but I almost enjoy cleaning and detailing my Z's more than driving them. Of course the best days are when I can clean and detail- then drive to show it off
Yes they did
Hi Gary, I have had two Z's done at the Maaco in OC,CA. On both cars, the paint looks great. I did the prep work myself. I stripped the cars until I was down to the rolling chassis-no motor, no glass, etc. I did most of the body work, sanding and prep myself. Some work was done by the Maaco on items that I missed-small charge for that. As mentioned by Mally002, each Maaco is different, as are their prices. I took my now yellow Z to the Maaco about 4 blocks from my house for an estimate. Their estimate for the top of the line 'signature' paint job was about $2600. The shop in OC, 60 miles away charged $1800 for the same work. In both cases, the 'signature' paint cost was the same for the outside of the car. The difference was the price for painting the engine bay, door jams, individual parts, etc.- huge cost difference. The local shop wanted $400 to do the engine bay, OC charged $50. It was worth it to take it up to OC. I did not check into the paint brand or quality. I left that to them. I really am not well versed on that subject. Regarding the paint work done, I was thrilled with the job they did on the yellow Z, not as happy, but satisfied with the silver Z. I am guessing the silver Z was more of a challenge because it was silver over silver or silver over grey primer. The yellow Z, was yellow over silver so easy to see what was missed. As a result, there are a couple areas in the engine compartment that were missed (I am being pretty picky here as one of the areas is the underside of the frame rails in the engine compartment the other is the front part of the radiator attach frame). Neither area is very visible, but these were both done well on the yellow Z. Also, the silver Z took a long time, almost 7 weeks. I knew I was in trouble when I brought it to the shop and the parking lot was filled with cars. Just like a diner, I am guessing you can also tell the good shops by the number of cars at the shop. There were few at my local Maaco, 10 times as many at the shop in OC. All in all, I am very happy with the results for the cost. Hope that helps.
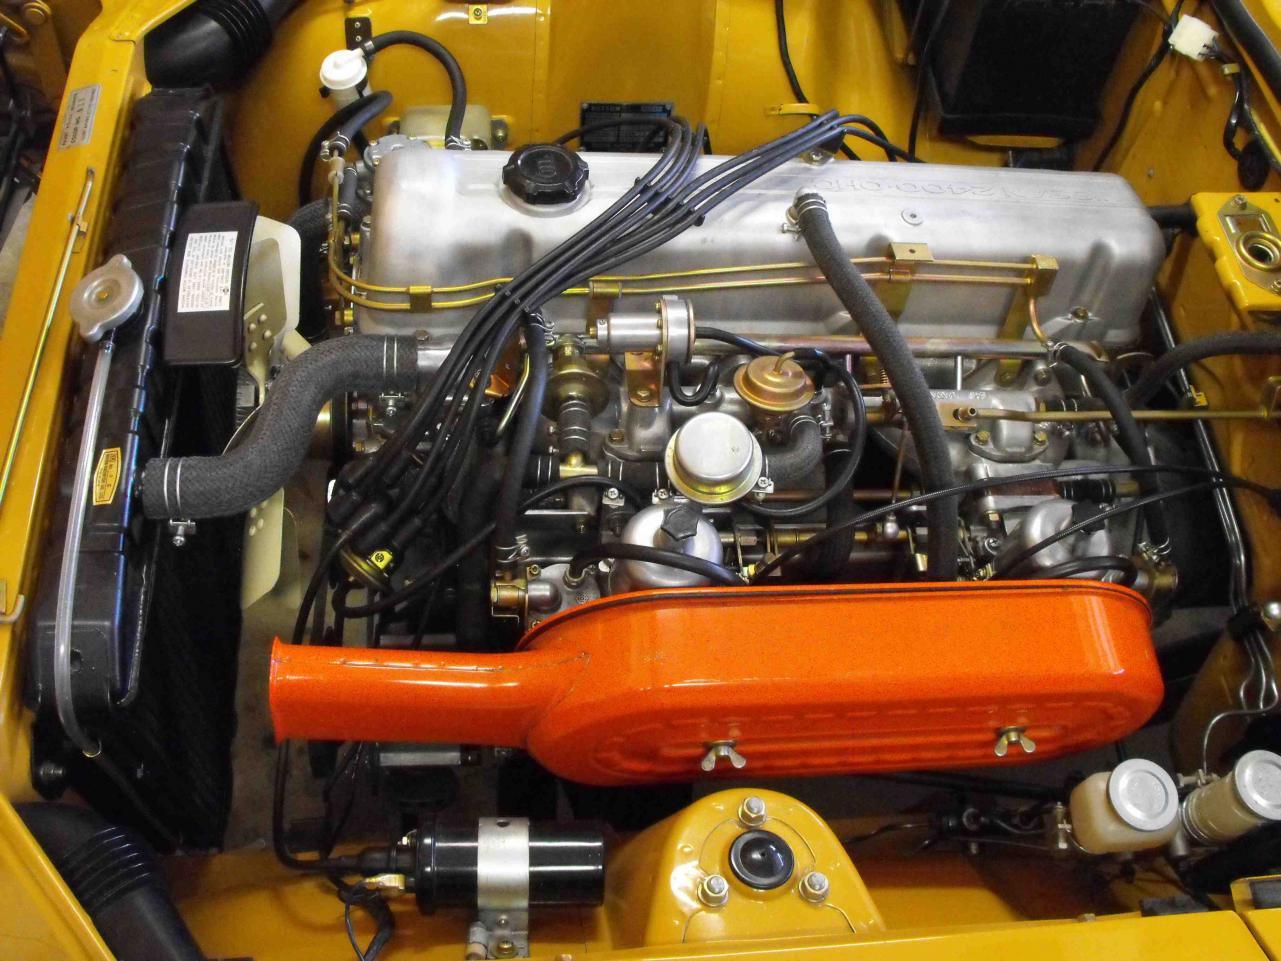
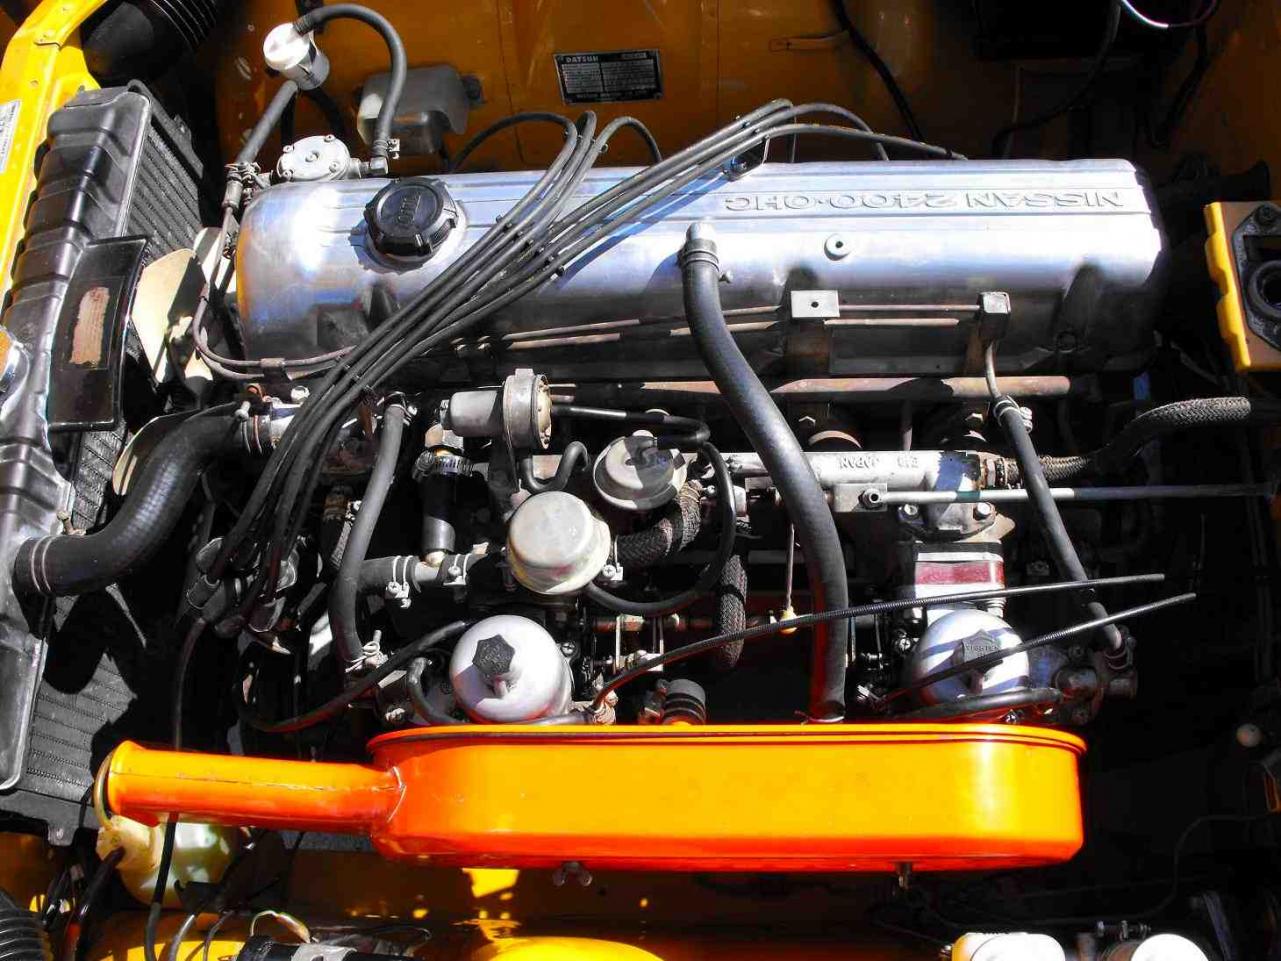
I think Arne's right. These are all original hoses on my '70 except for the radiator hose and the valve cover hose. The fuel and smog hoses are that funky rubber coated cloth stuff. It is amazing how well they withstand the heat and time. The hoses are still very pliable. These are also original plug wires with the '70 stamped on them, and original paint on the fan and air cleaner.
Wow, looks like a great start. I love fresh supplies and carbon fiber
I'm probably in the minority, but I almost enjoy cleaning and detailing my Z's more than driving them. Of course the best days are when I can clean and detail- then drive to show it off
Yes they did
Hi Gary, I have had two Z's done at the Maaco in OC,CA. On both cars, the paint looks great. I did the prep work myself. I stripped the cars until I was down to the rolling chassis-no motor, no glass, etc. I did most of the body work, sanding and prep myself. Some work was done by the Maaco on items that I missed-small charge for that. As mentioned by Mally002, each Maaco is different, as are their prices. I took my now yellow Z to the Maaco about 4 blocks from my house for an estimate. Their estimate for the top of the line 'signature' paint job was about $2600. The shop in OC, 60 miles away charged $1800 for the same work. In both cases, the 'signature' paint cost was the same for the outside of the car. The difference was the price for painting the engine bay, door jams, individual parts, etc.- huge cost difference. The local shop wanted $400 to do the engine bay, OC charged $50. It was worth it to take it up to OC. I did not check into the paint brand or quality. I left that to them. I really am not well versed on that subject. Regarding the paint work done, I was thrilled with the job they did on the yellow Z, not as happy, but satisfied with the silver Z. I am guessing the silver Z was more of a challenge because it was silver over silver or silver over grey primer. The yellow Z, was yellow over silver so easy to see what was missed. As a result, there are a couple areas in the engine compartment that were missed (I am being pretty picky here as one of the areas is the underside of the frame rails in the engine compartment the other is the front part of the radiator attach frame). Neither area is very visible, but these were both done well on the yellow Z. Also, the silver Z took a long time, almost 7 weeks. I knew I was in trouble when I brought it to the shop and the parking lot was filled with cars. Just like a diner, I am guessing you can also tell the good shops by the number of cars at the shop. There were few at my local Maaco, 10 times as many at the shop in OC. All in all, I am very happy with the results for the cost. Hope that helps.
I think Arne's right. These are all original hoses on my '70 except for the radiator hose and the valve cover hose. The fuel and smog hoses are that funky rubber coated cloth stuff. It is amazing how well they withstand the heat and time. The hoses are still very pliable. These are also original plug wires with the '70 stamped on them, and original paint on the fan and air cleaner.
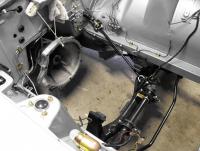
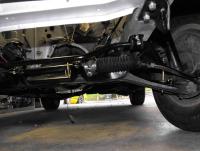
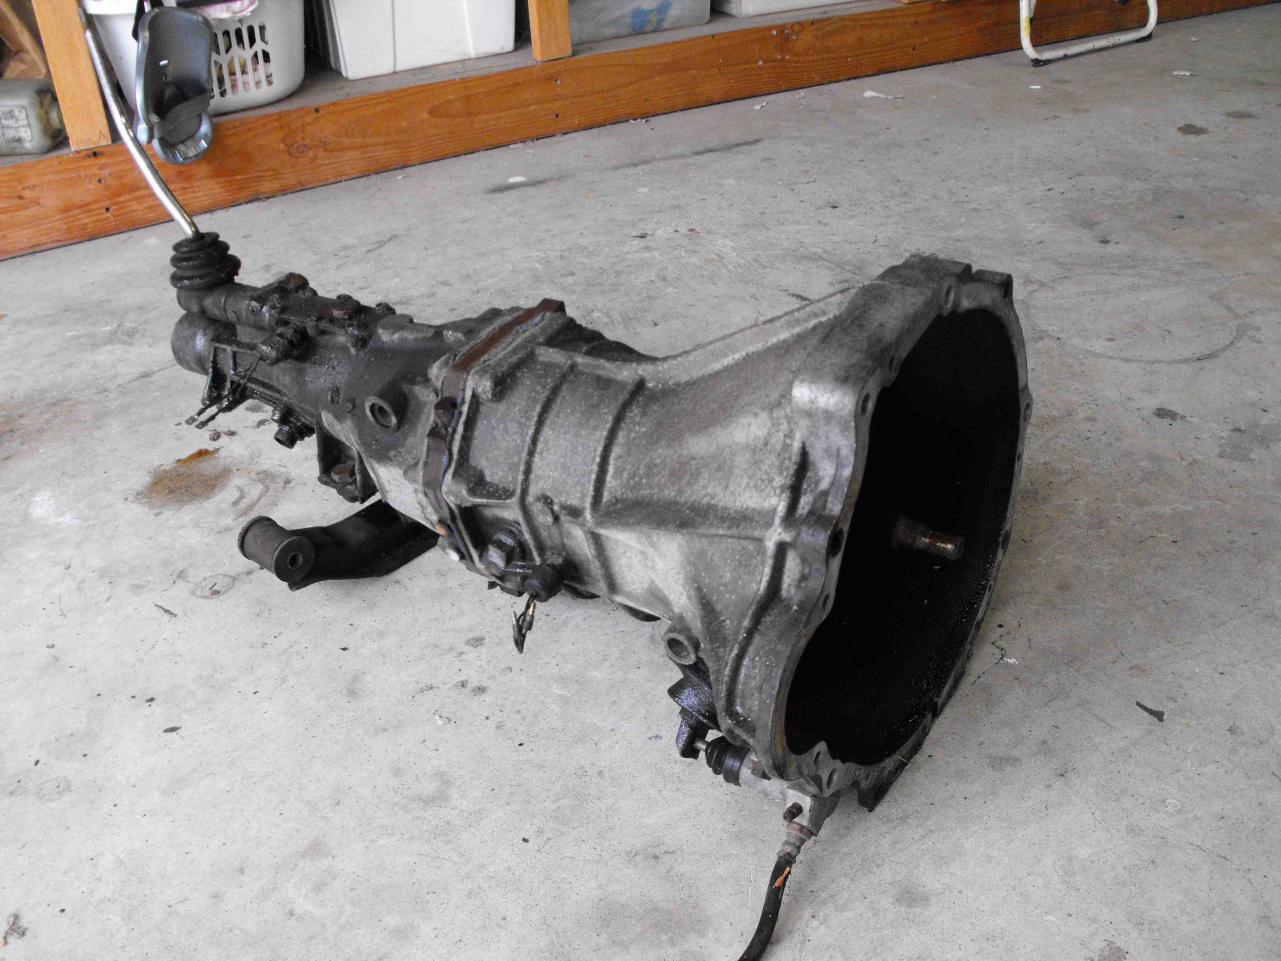
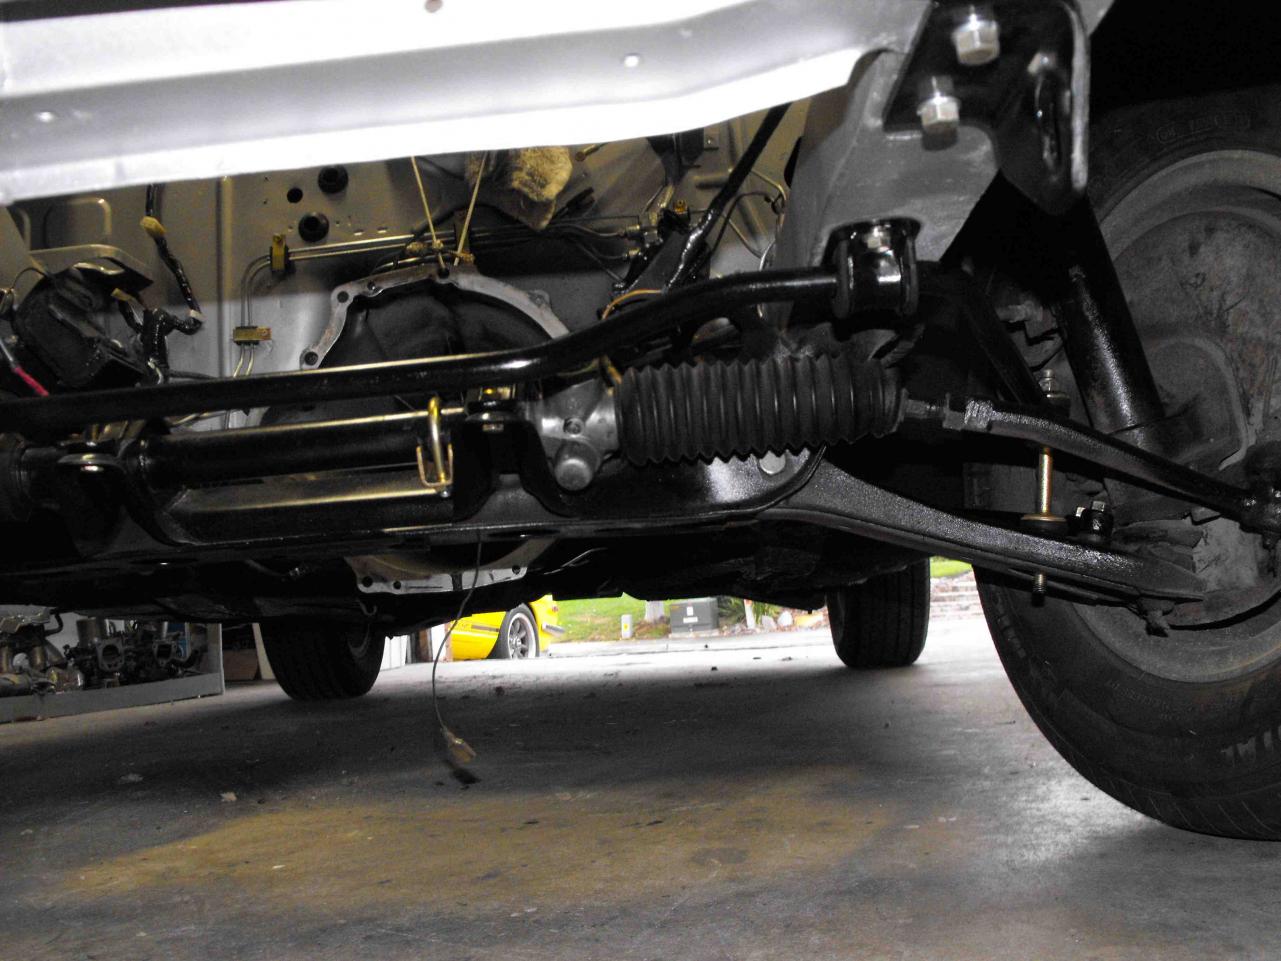
 Was hoping to have the motor in by today, but no go. Hopefully will get it in on Thursday. I did get the trans in, so that is good. Have the front end held up with a rope so I can move the car around. The trans took quite a bit of time to clean up. Was oily and pretty corroded. Got the anti-sway bar put in and the T/C rods. Put in new rubber T/C bushings. I figured out the best way to get the T/C nut to go on. Make sure parking brake is set and all four wheels on the ground; grab top of the front tire nearest the T/C bushing you are going to install nut on, and rotate it aft as much as possible. This pushes the T/C rod through the 'buckle' further and allows you to get the nut started. That is, rotate the tire aft with one arm and install the nut with the other at the same time. Worked pretty well for me. I need to paint the front disc covers. Looks like the caliper needs to come off to remove and paint that, what a pain. Add another $75 dollars to the total cost for new cluth disc, T/C bushings and pilot bearing. Had a new throw-out bearing, so no cost there, just took me 20 minutes to find it :-|. Add $26 dollars for 4 cans of undercoating. Total is now $5024. Still need to get that carpet kit and who know what else. Still a lot to do.
 I volunteered, but was a day too late. :disappoin
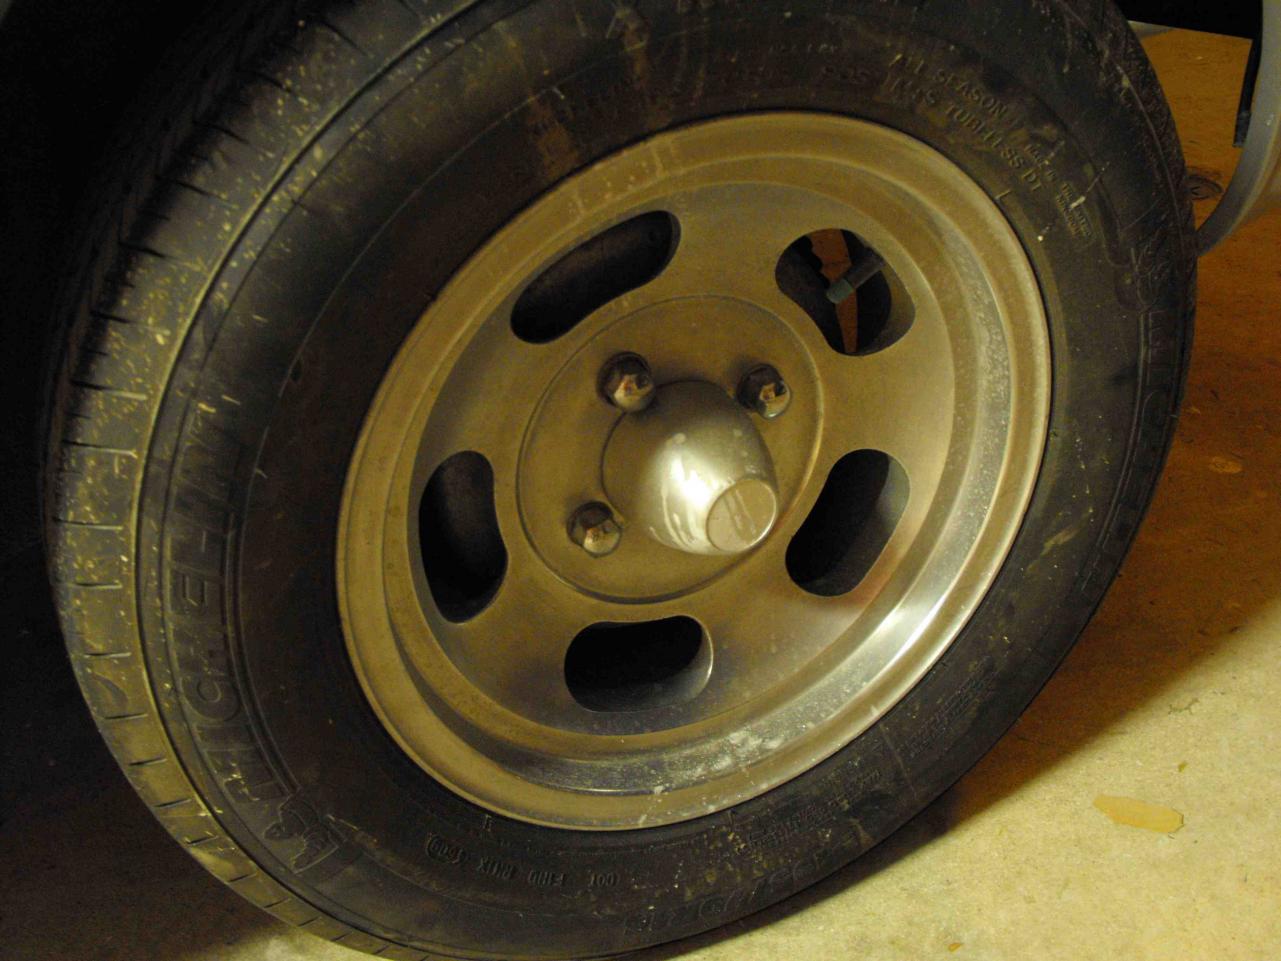
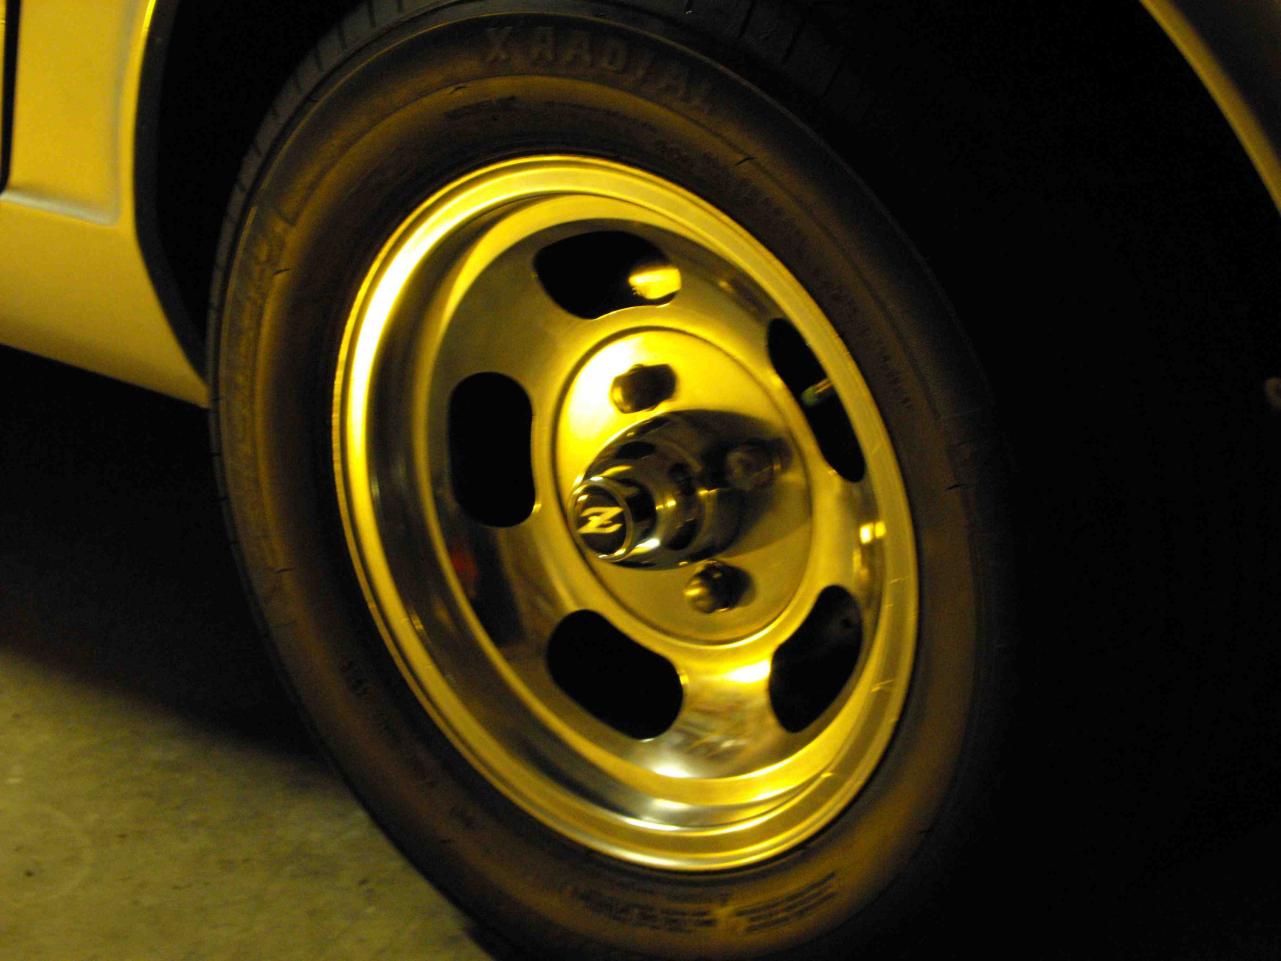
Polished the 5 slot mags with an old Craftsman drill. It runs circles around my cordless DeWalt. Also cleaned up the wheel wells.
I volunteered, but was a day too late. :disappoin
Polished the 5 slot mags with an old Craftsman drill. It runs circles around my cordless DeWalt. Also cleaned up the wheel wells.


 The more pics the better. Get good pics of the underside of the car. Also get some nice pics of the motor and interior. PS. Where in Northern Idaho? my folks live in Priest River
Not true, the only time I win is when you don't enter your car I look forward to the new wax. Oddly, I find waxing my Z's quite enjoyable.
Here's a little background on the 'donor' car. Feb2010.pdf
Hard to tell without seeing the underside and typical rust places. If you paid between 3K-5K you are probably fine. Under 3K, and you got a great deal (carbs are worth 1K alone). Over $5K - maybe you got taken. Just my thoughts. Nice car except for the whitewalls
The more pics the better. Get good pics of the underside of the car. Also get some nice pics of the motor and interior. PS. Where in Northern Idaho? my folks live in Priest River
Not true, the only time I win is when you don't enter your car I look forward to the new wax. Oddly, I find waxing my Z's quite enjoyable.
Here's a little background on the 'donor' car. Feb2010.pdf
Hard to tell without seeing the underside and typical rust places. If you paid between 3K-5K you are probably fine. Under 3K, and you got a great deal (carbs are worth 1K alone). Over $5K - maybe you got taken. Just my thoughts. Nice car except for the whitewalls


Important Information
By using this site, you agree to our Privacy Policy and Guidelines. We have placed cookies on your device to help make this website better. You can adjust your cookie settings, otherwise we'll assume you're okay to continue.