motorman7
 Subscriber
-
Joined
-
Last visited
Everything posted by motorman7
-
 @nix240z: Yes, I will pick up one as well. I would be hesitant to get a used one as I am sure the plastic is incredibly frail, like my current one. My current one is like eggshell, and is held together with super glue.
 -
I could use one of those finishing nuts as well. Did not see any on @nix240z site. The nut part on my antenna is fine, its the plastic that is not good.
-
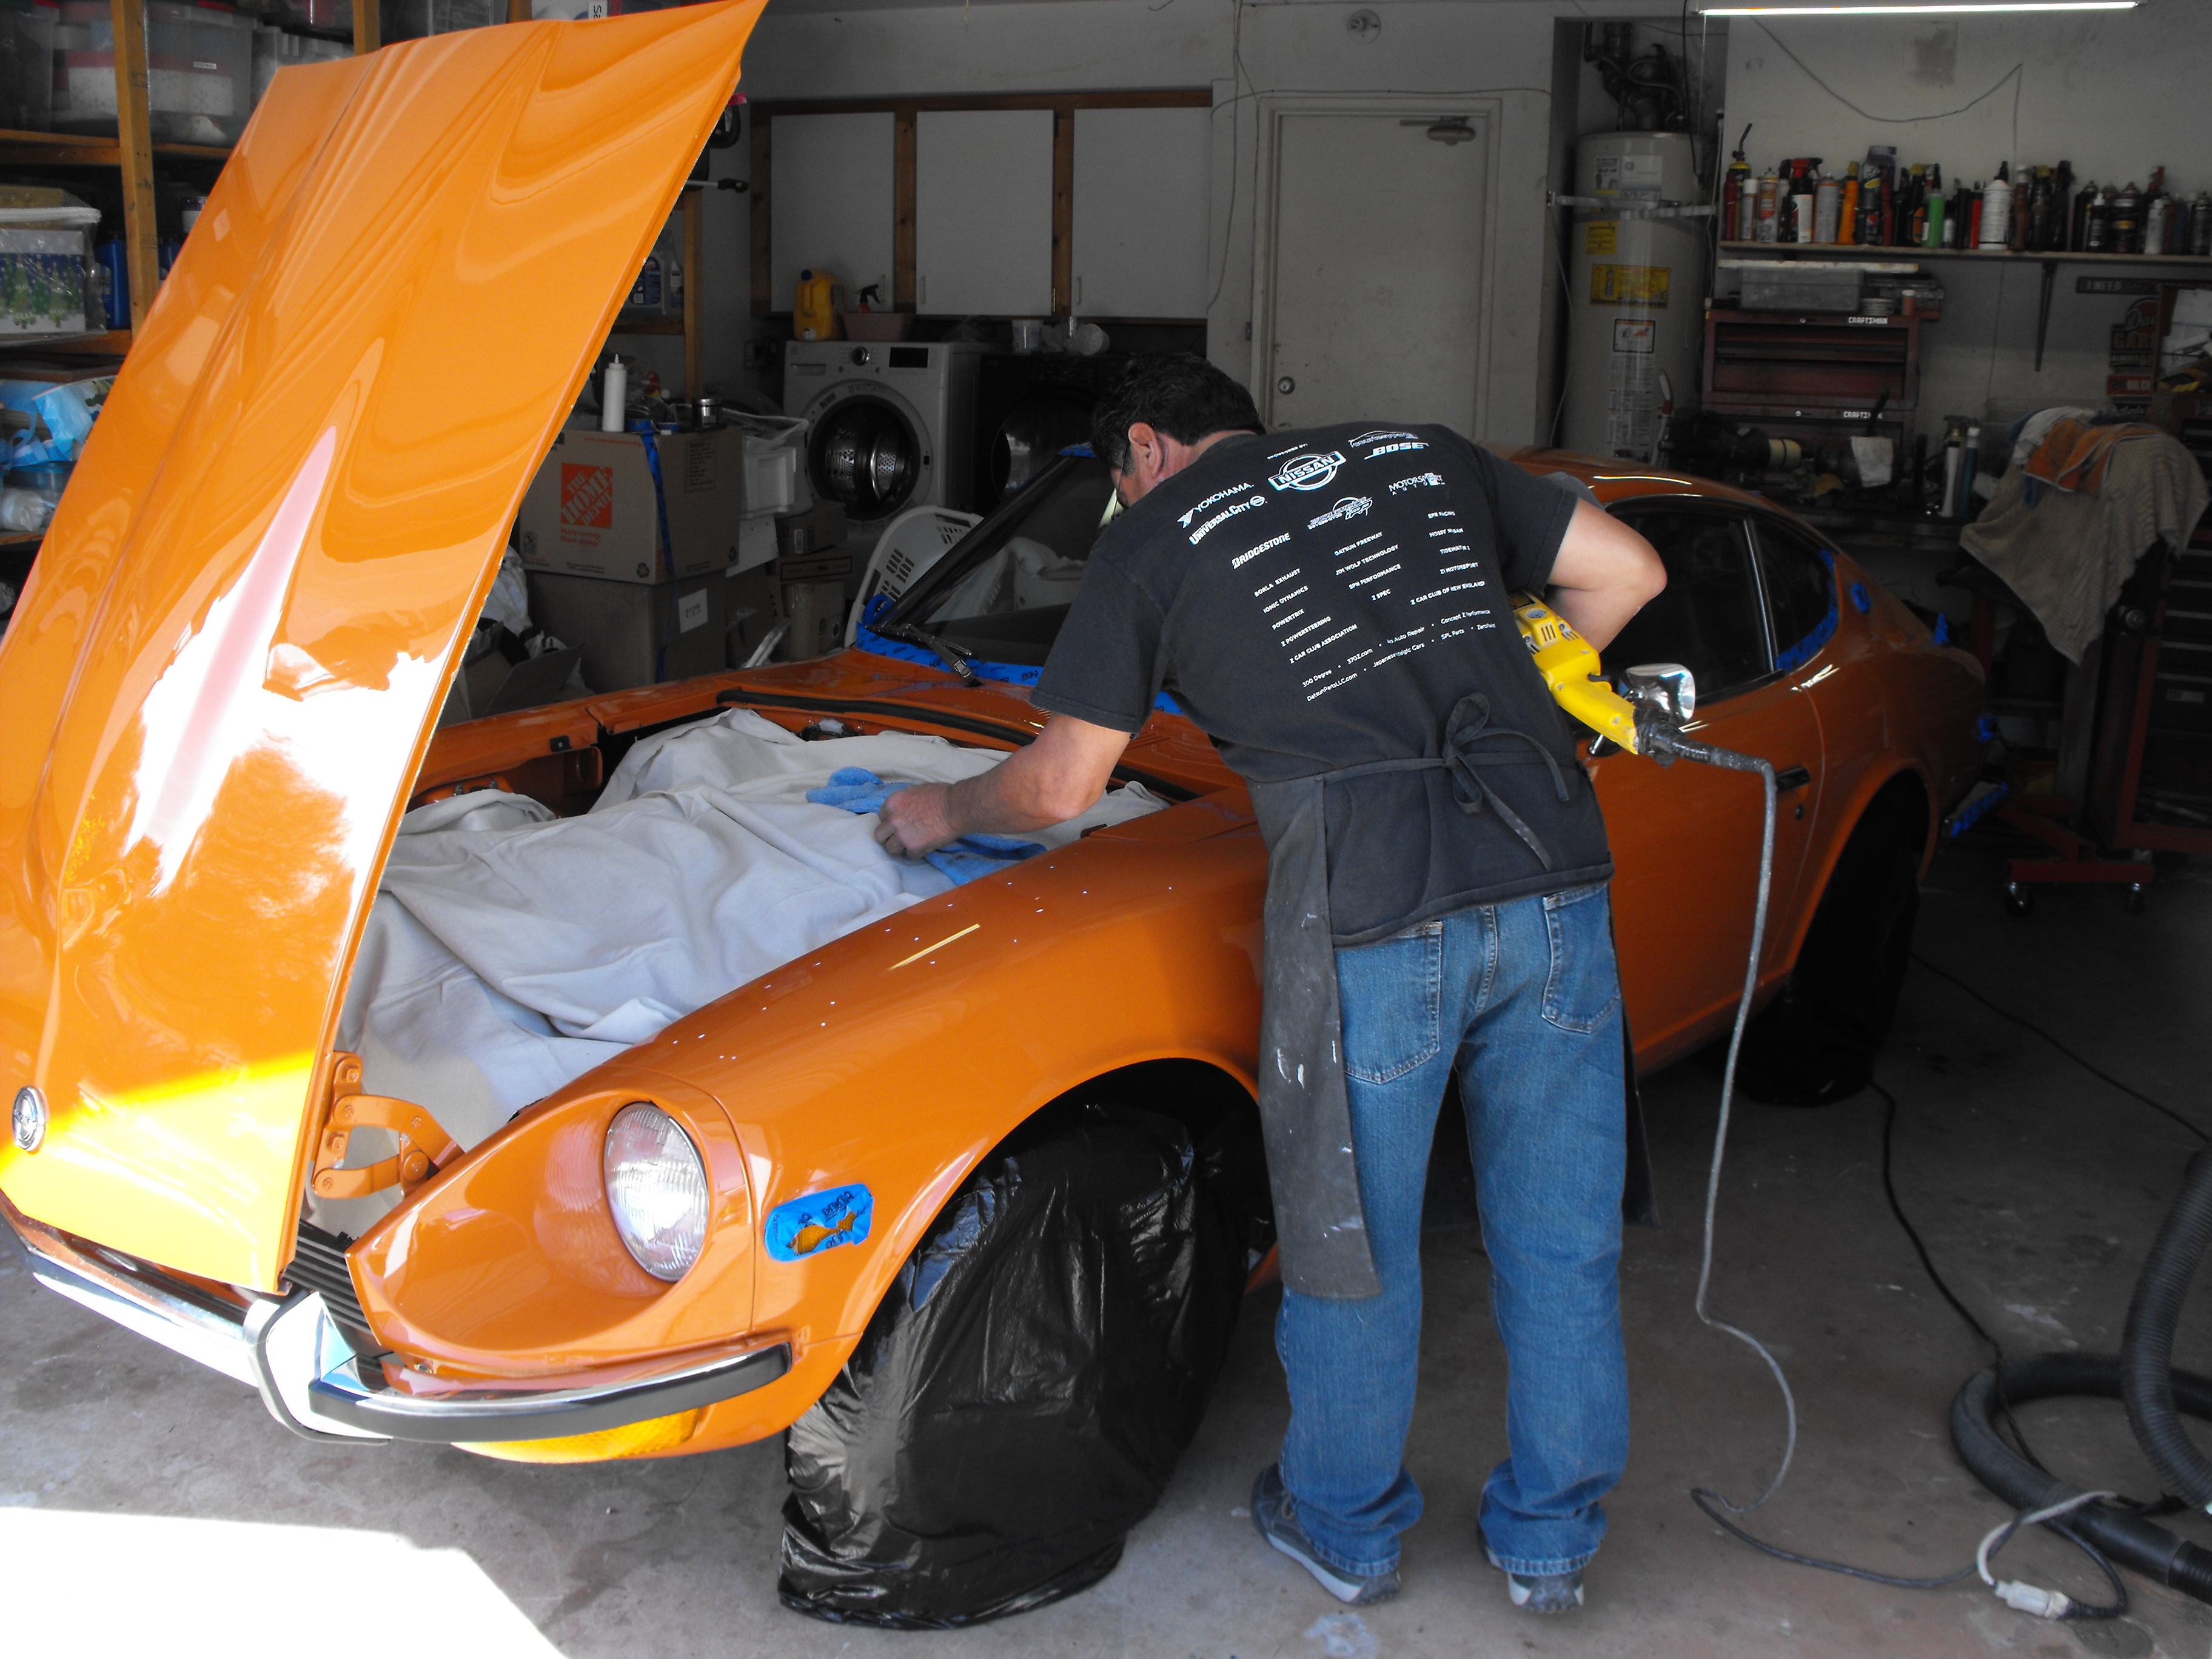
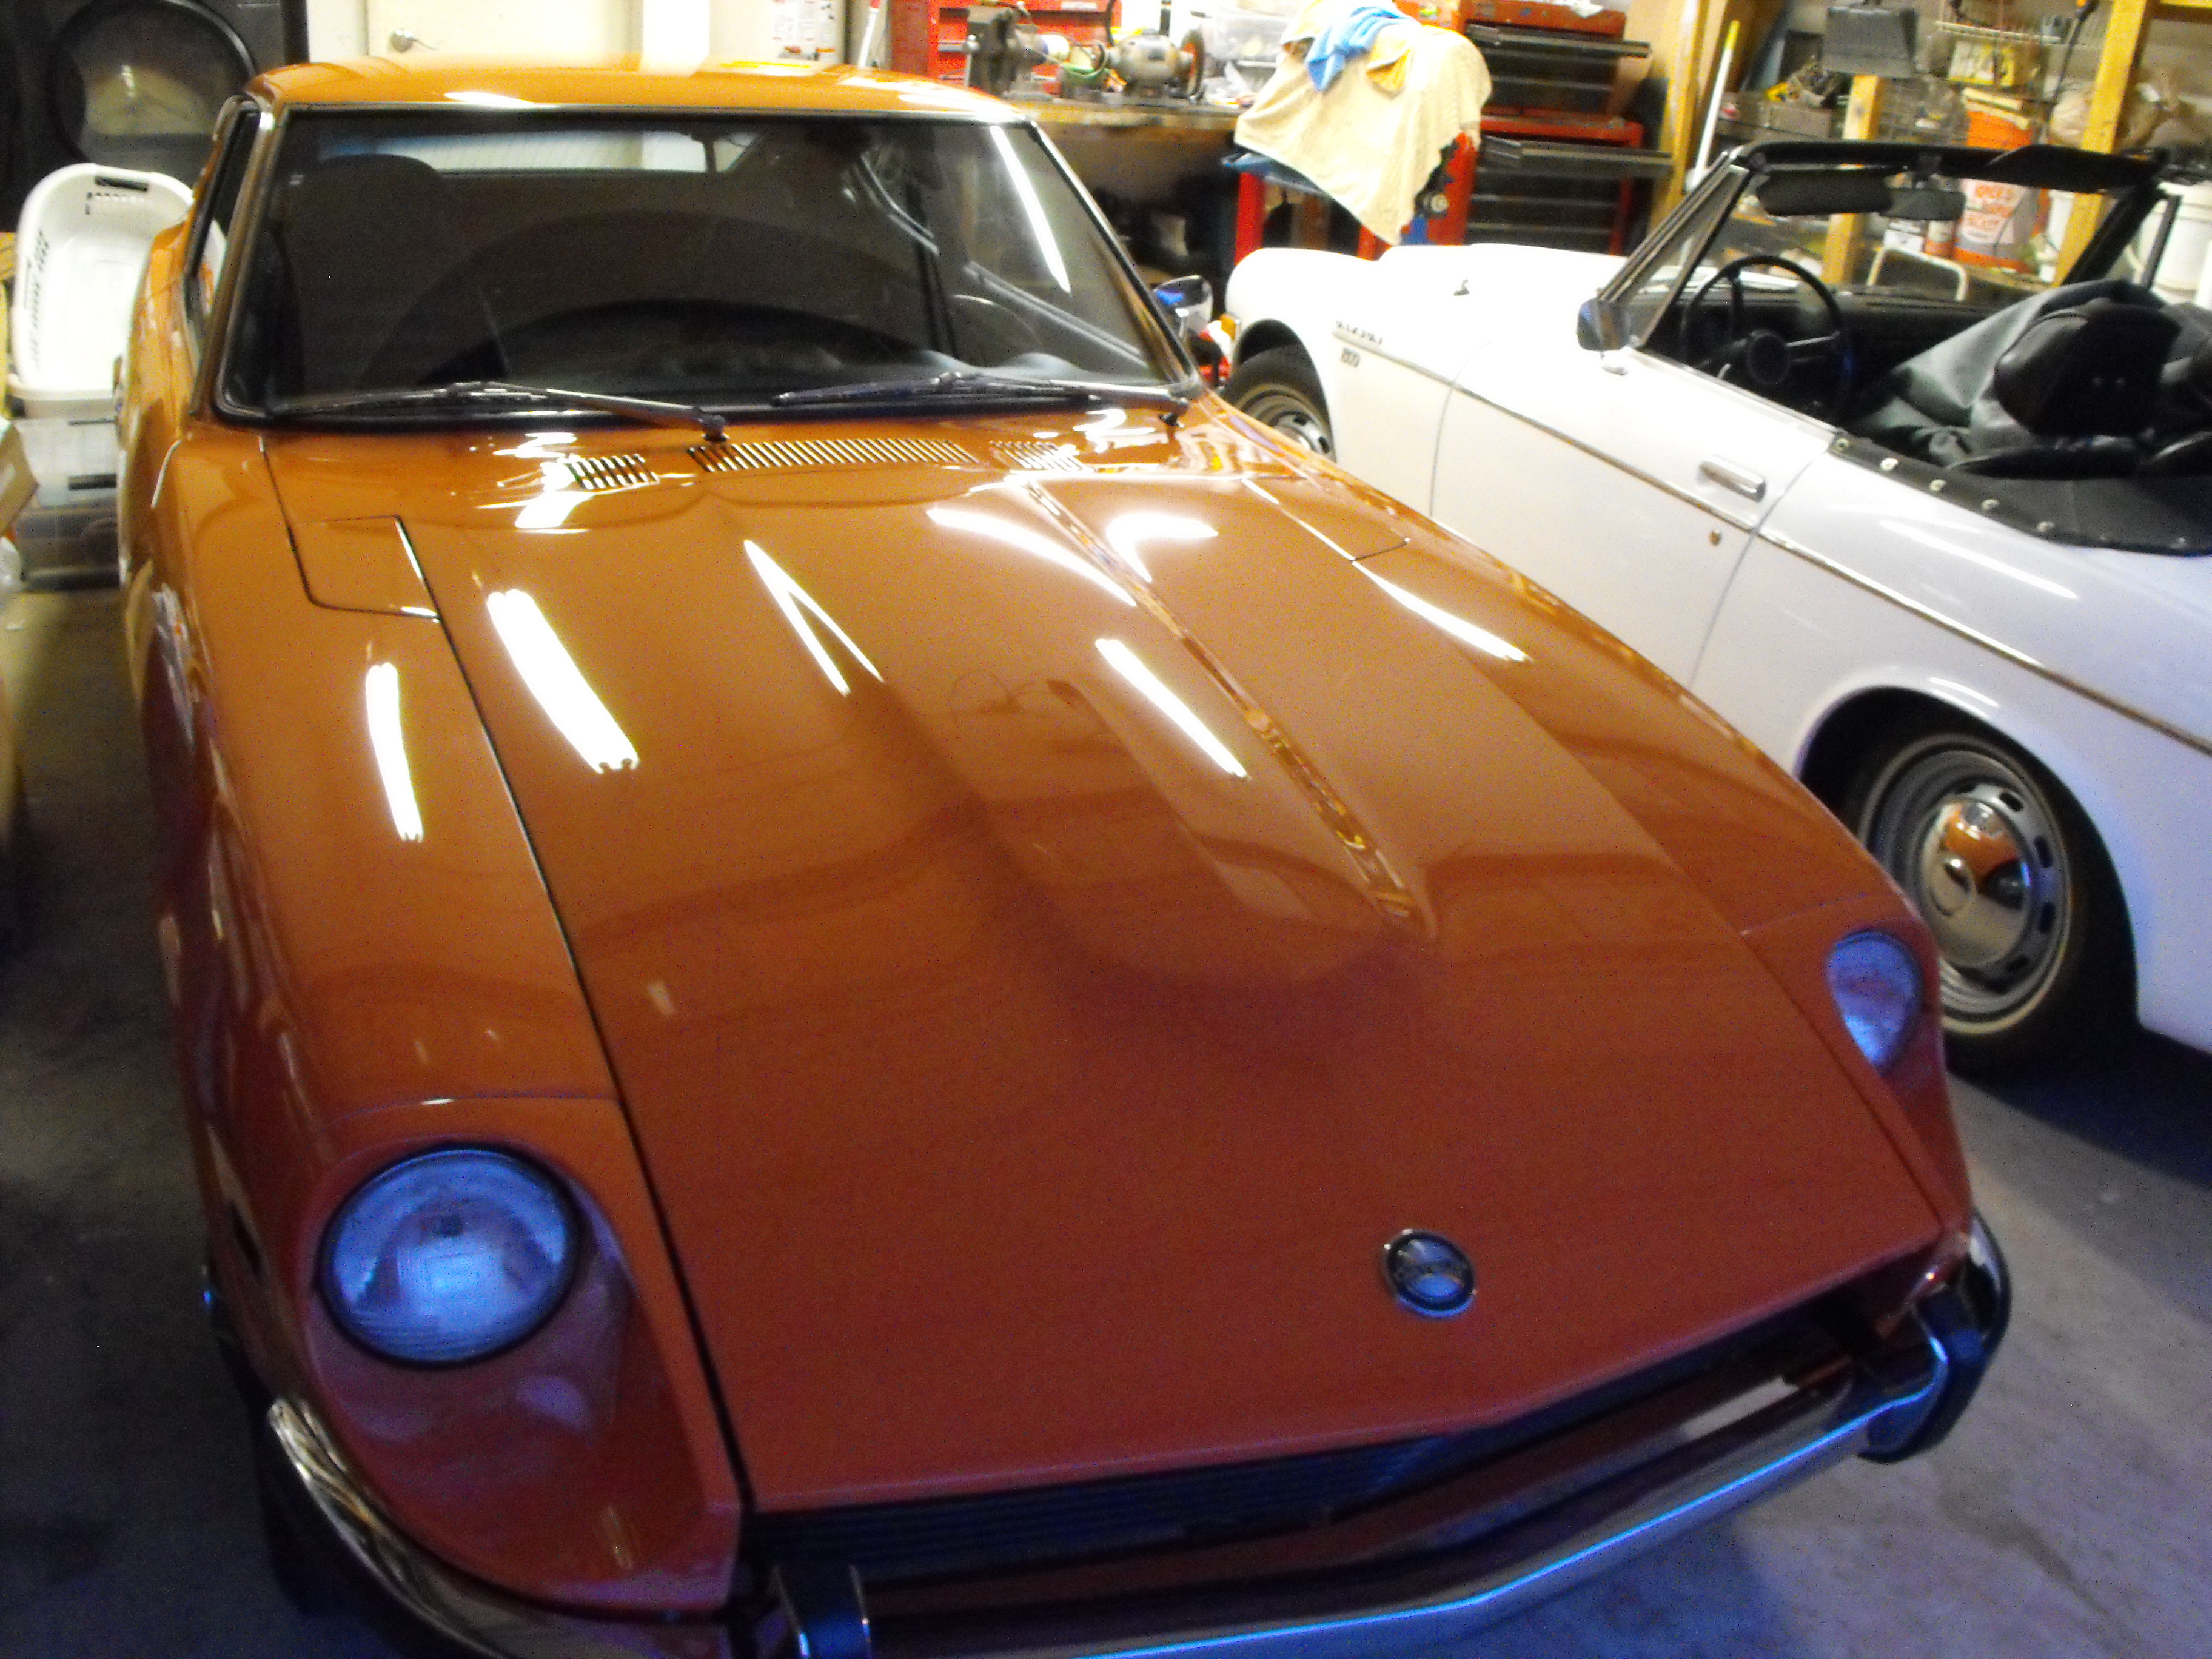
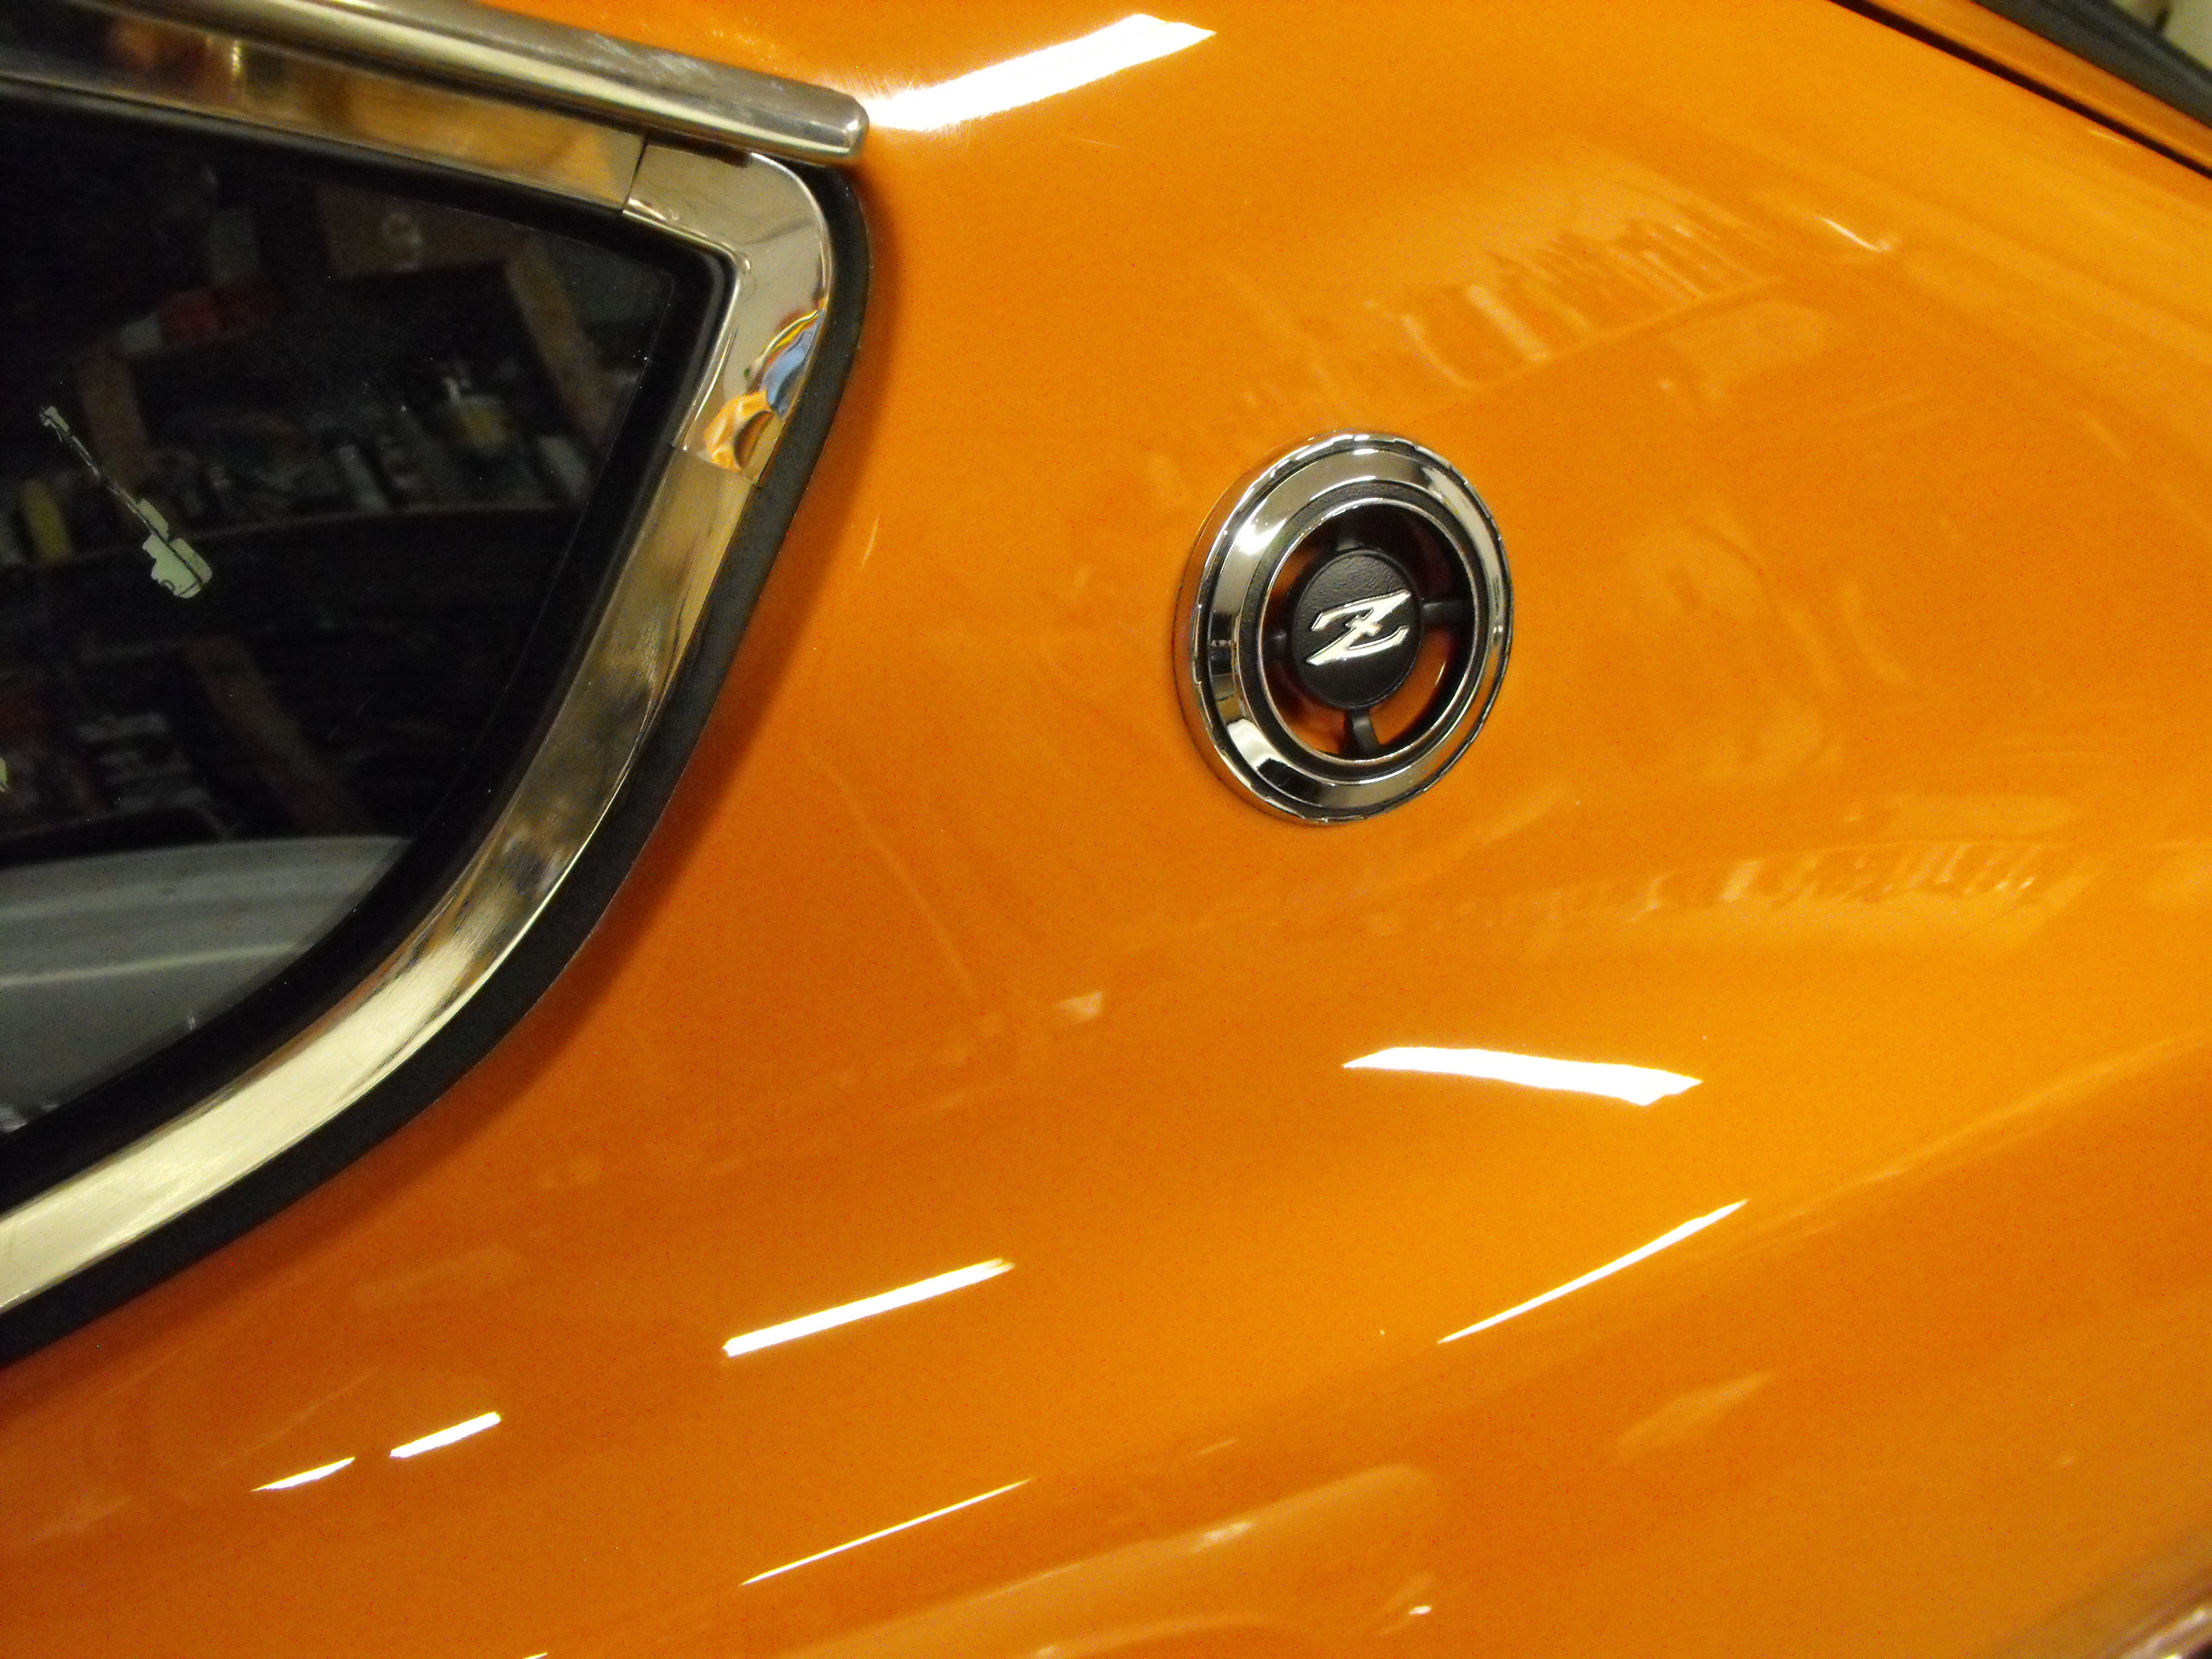
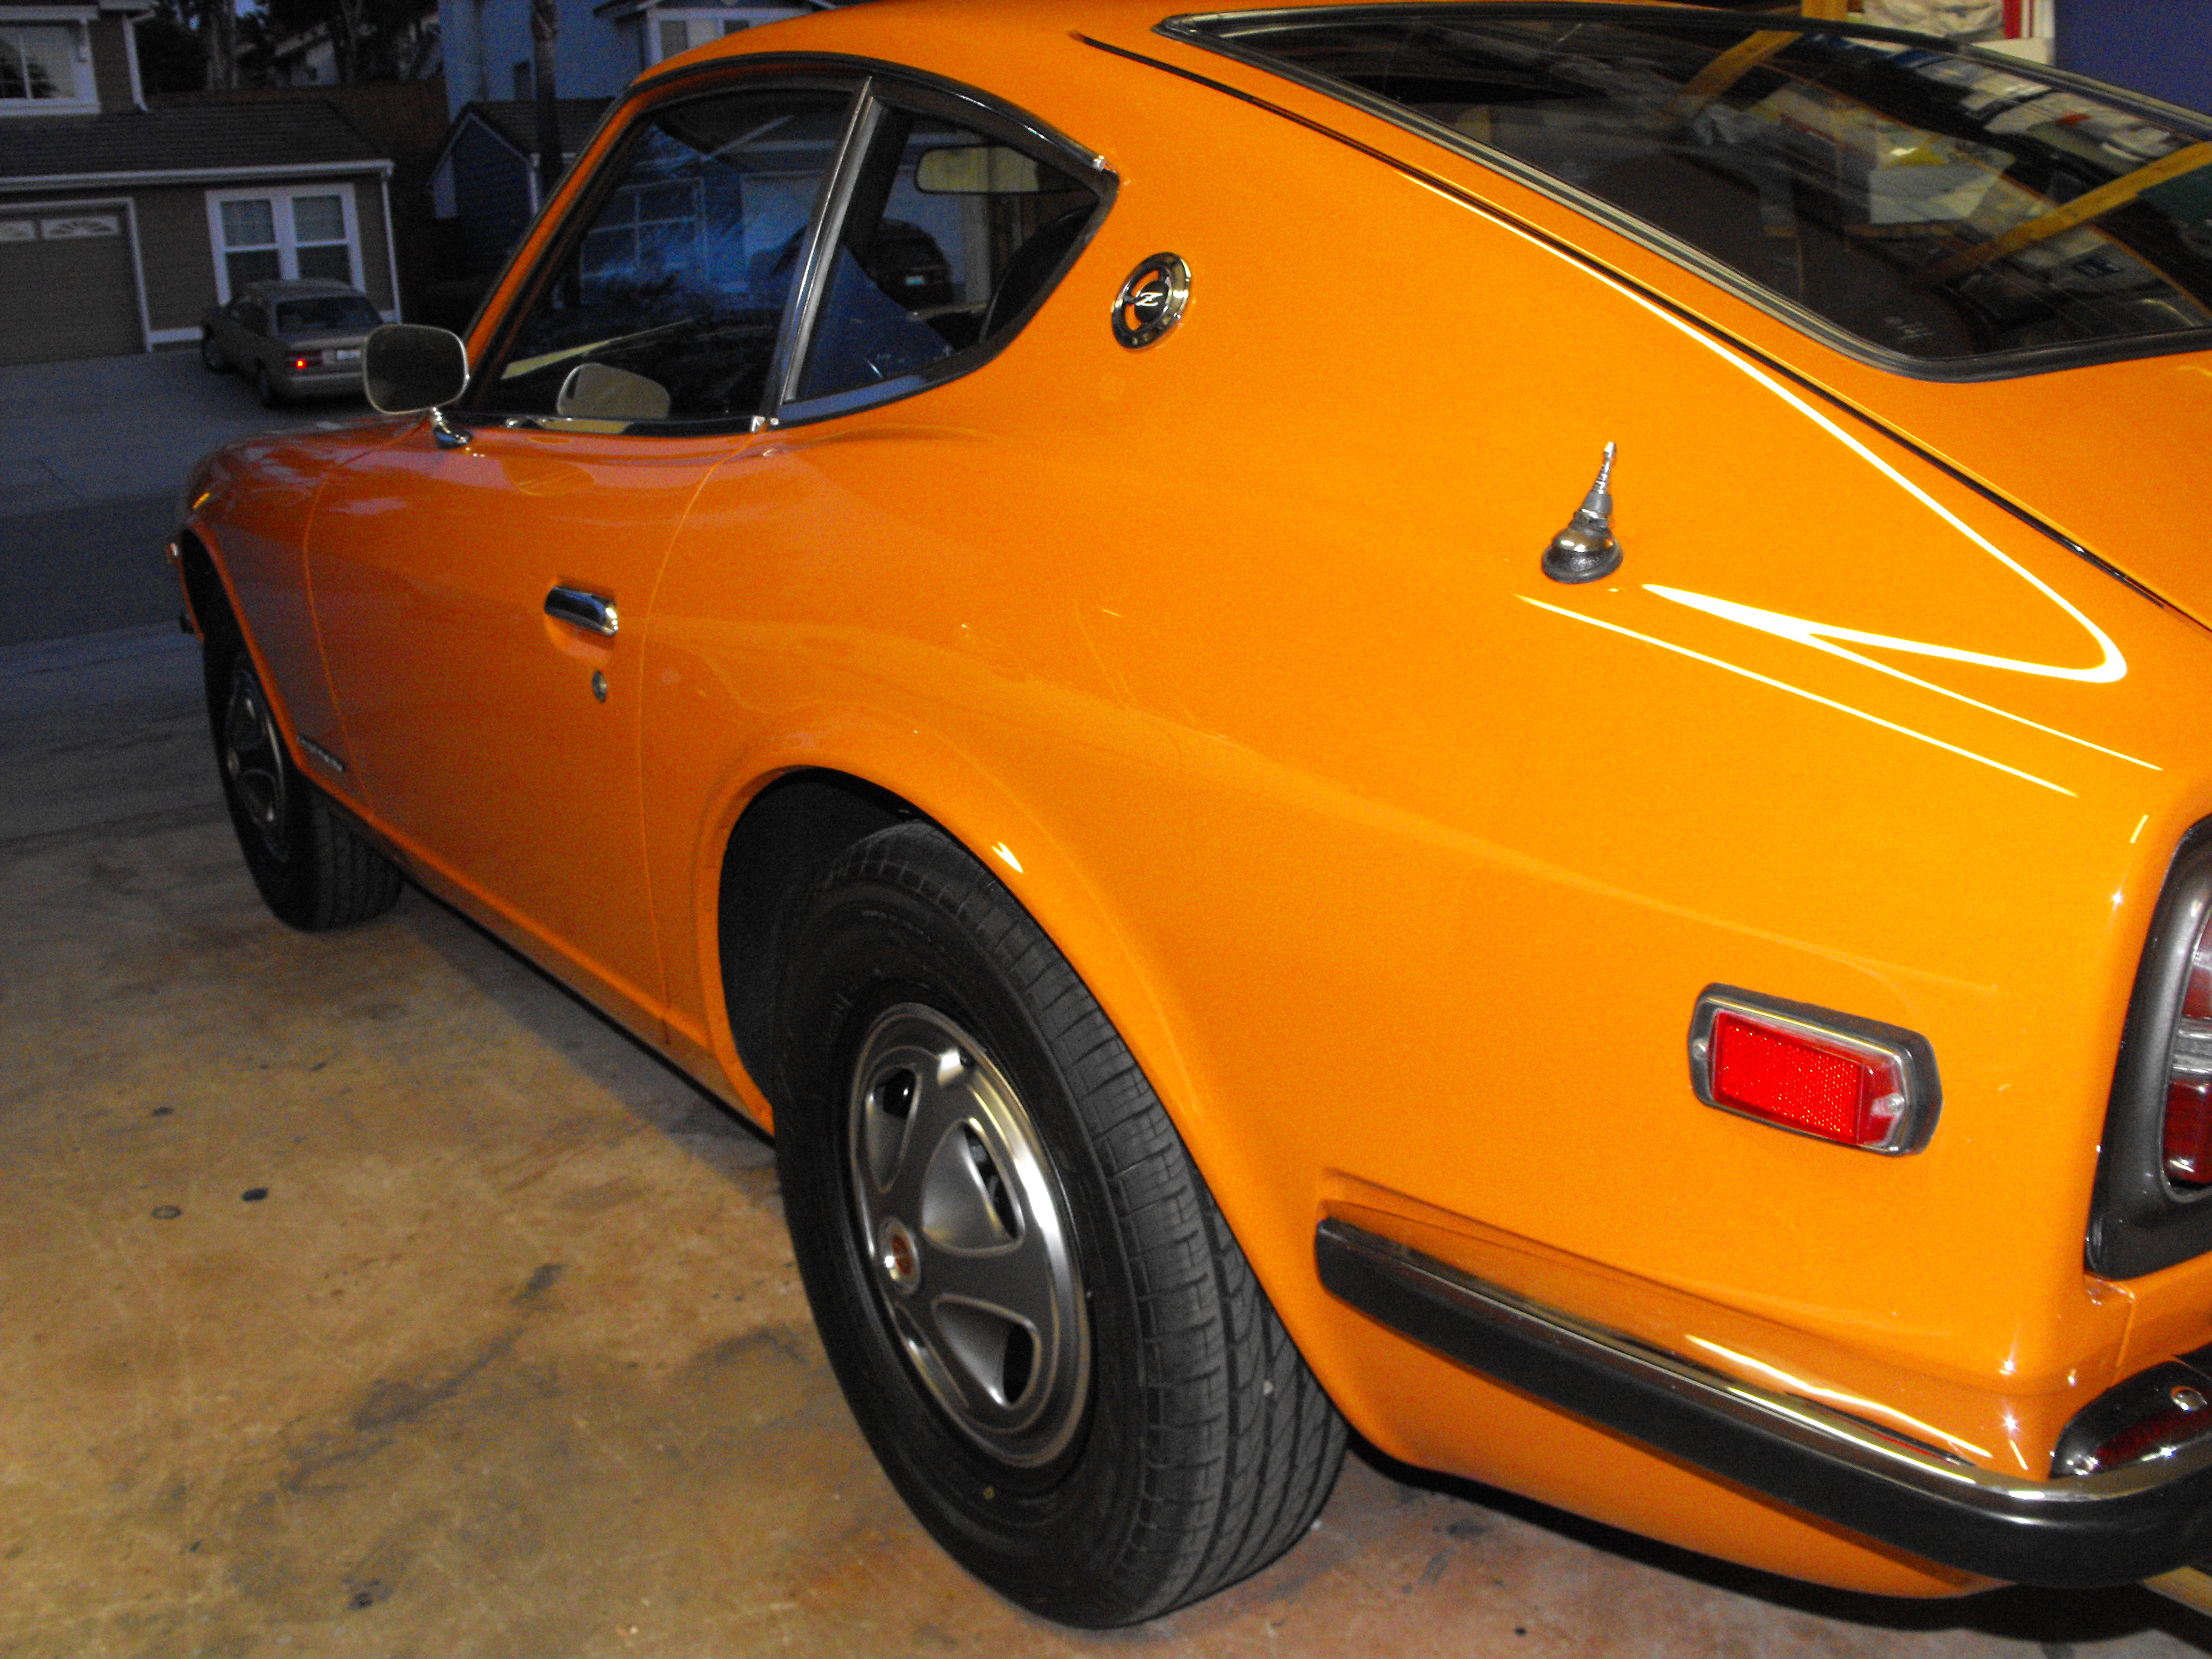
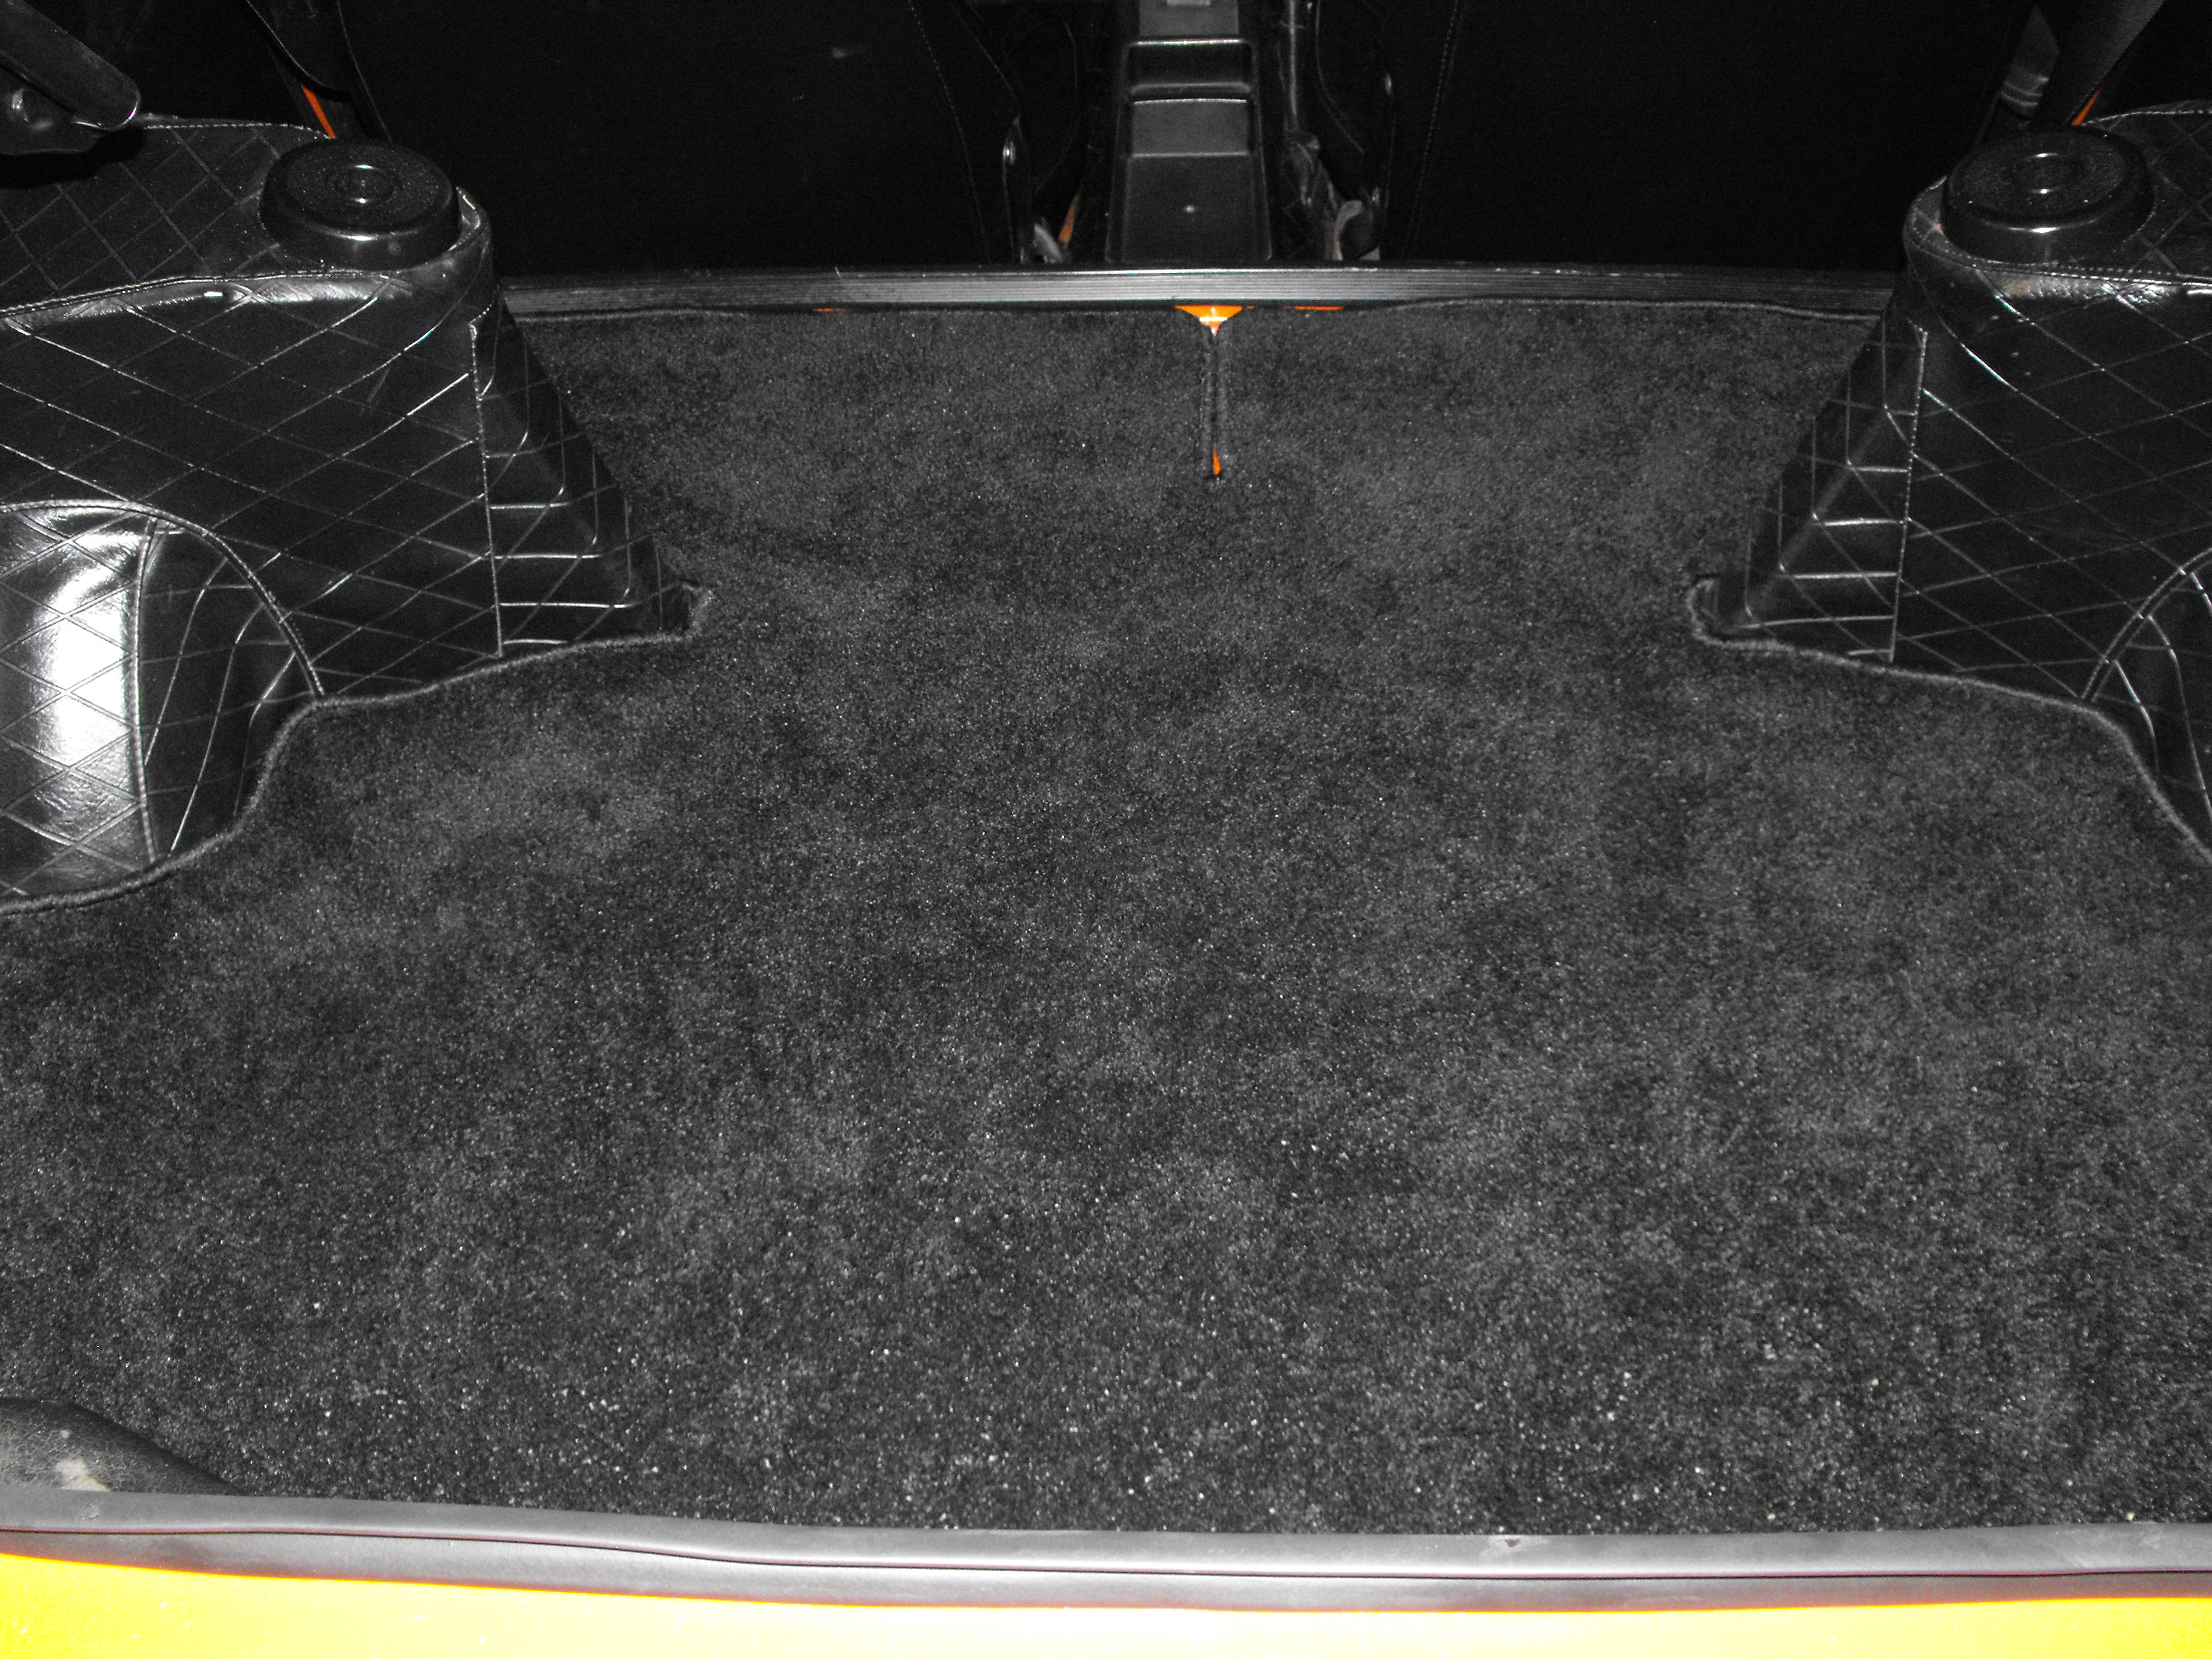
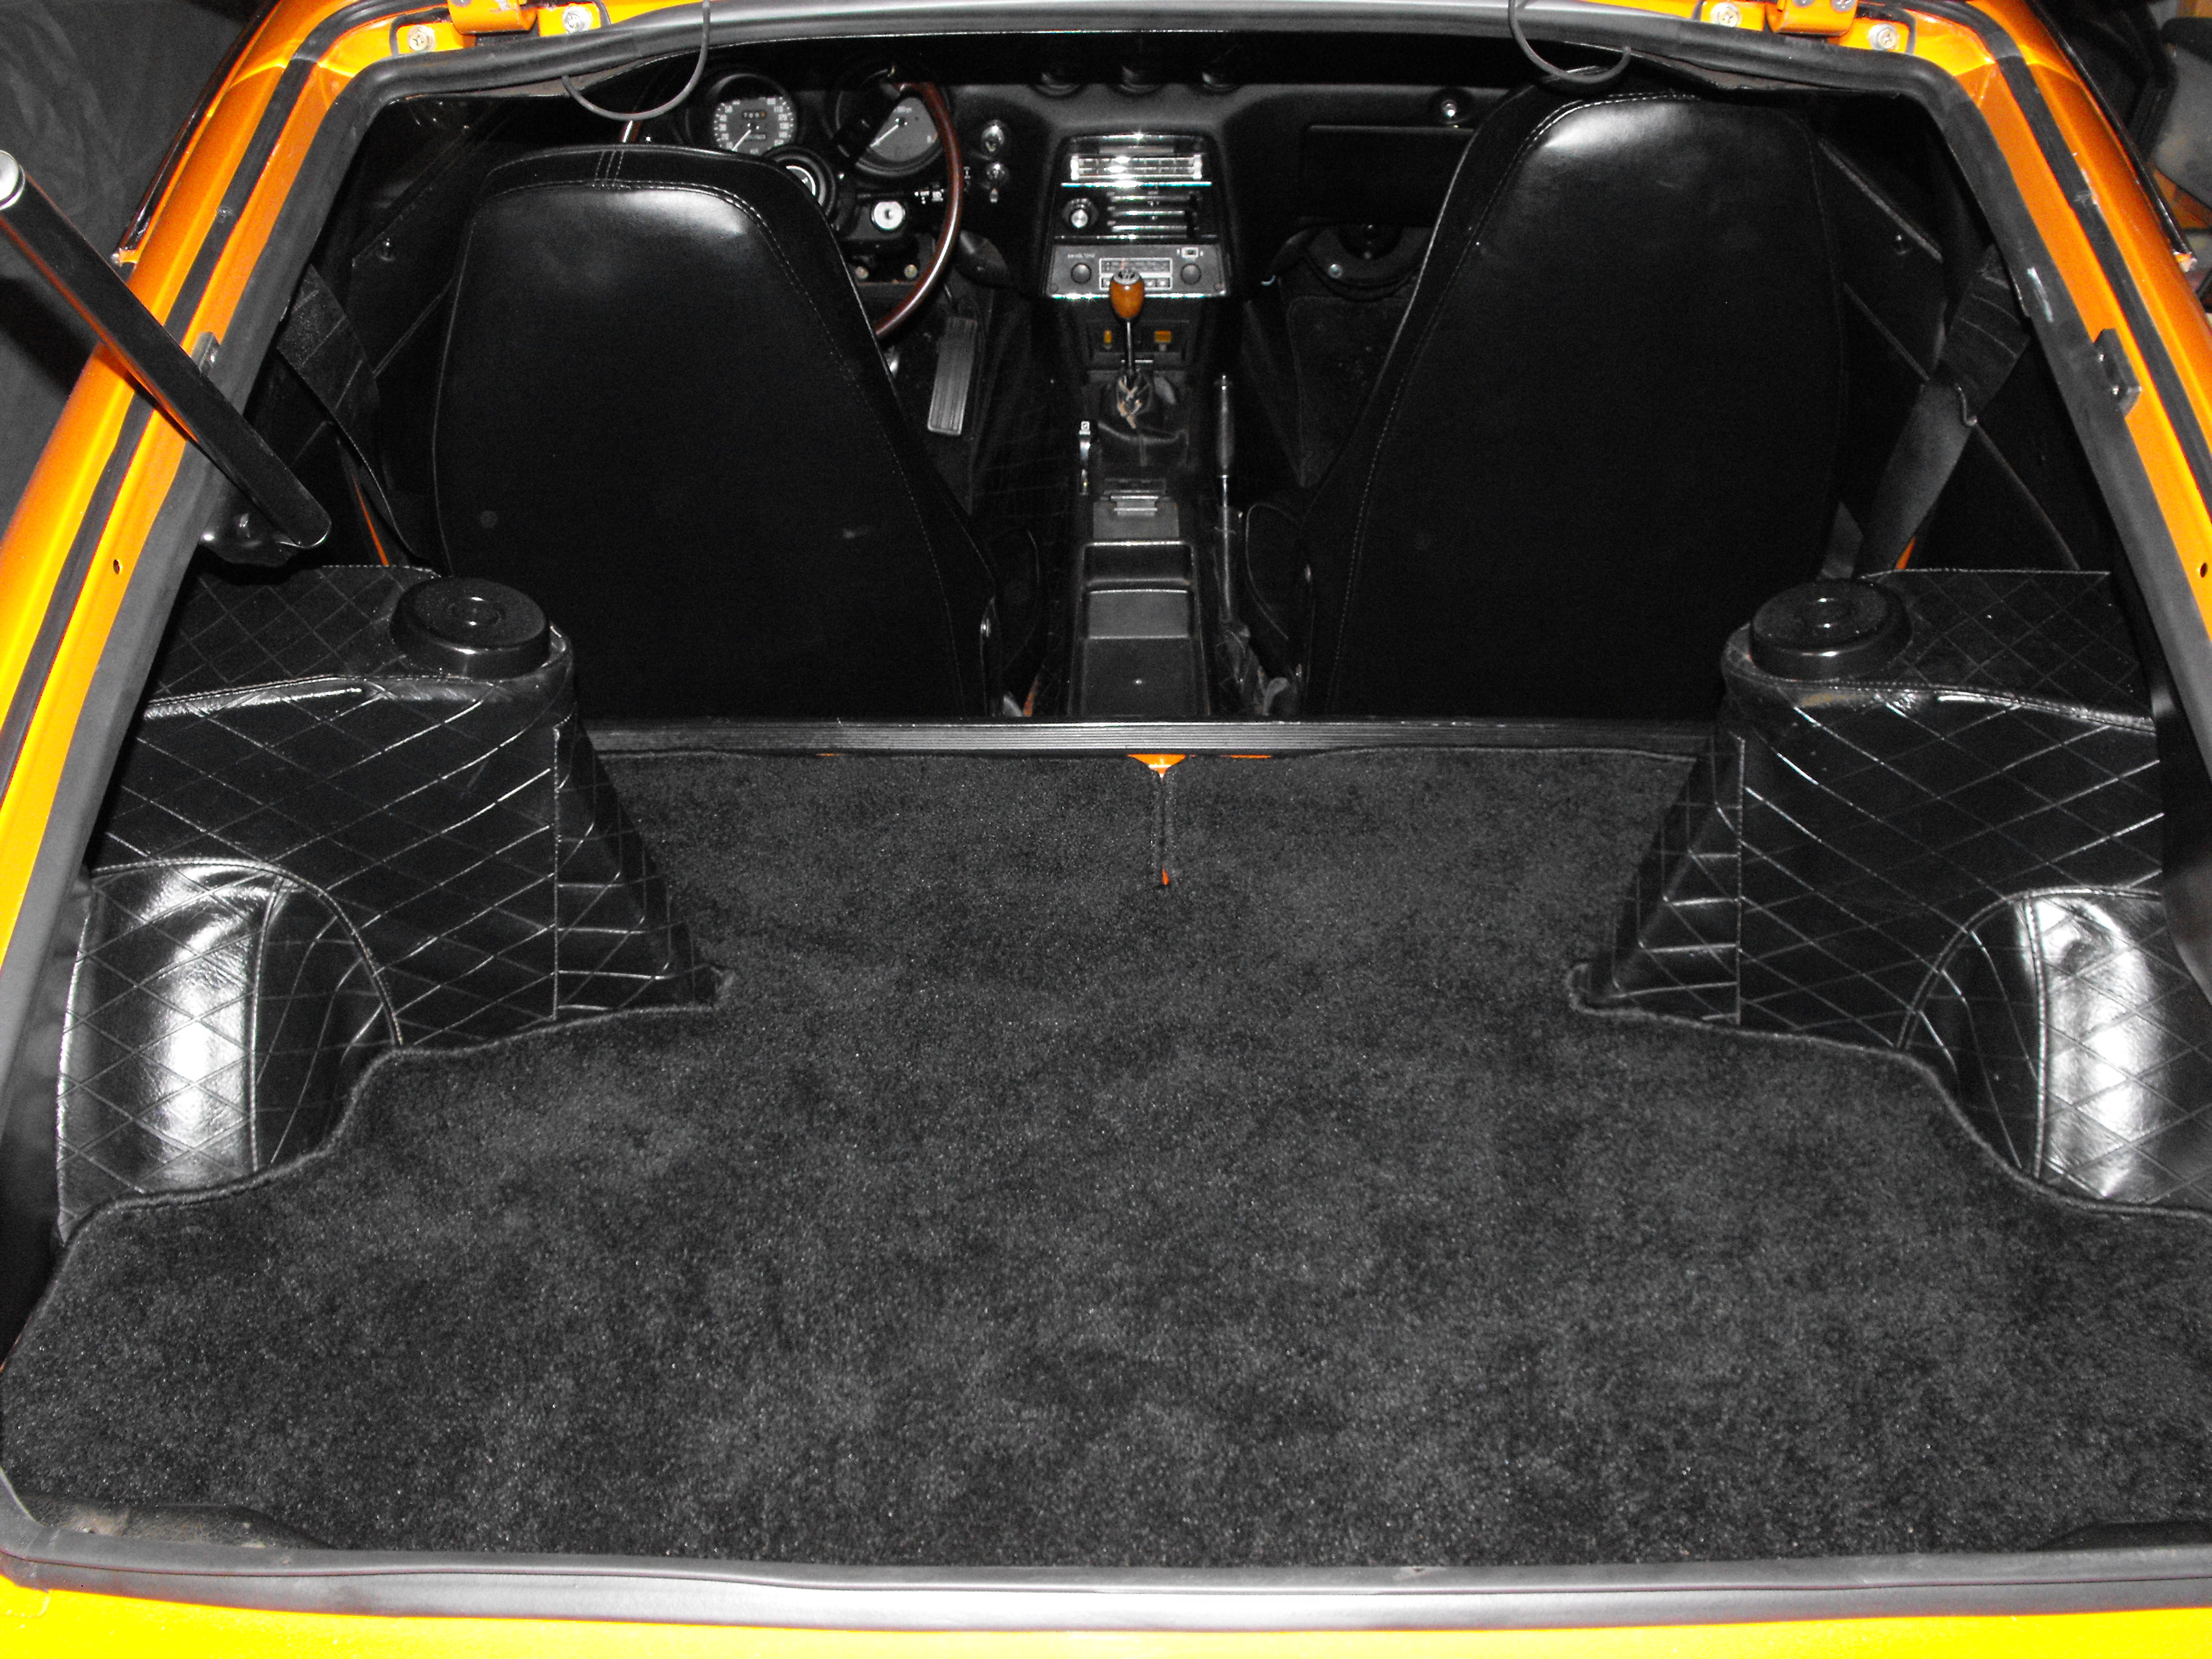
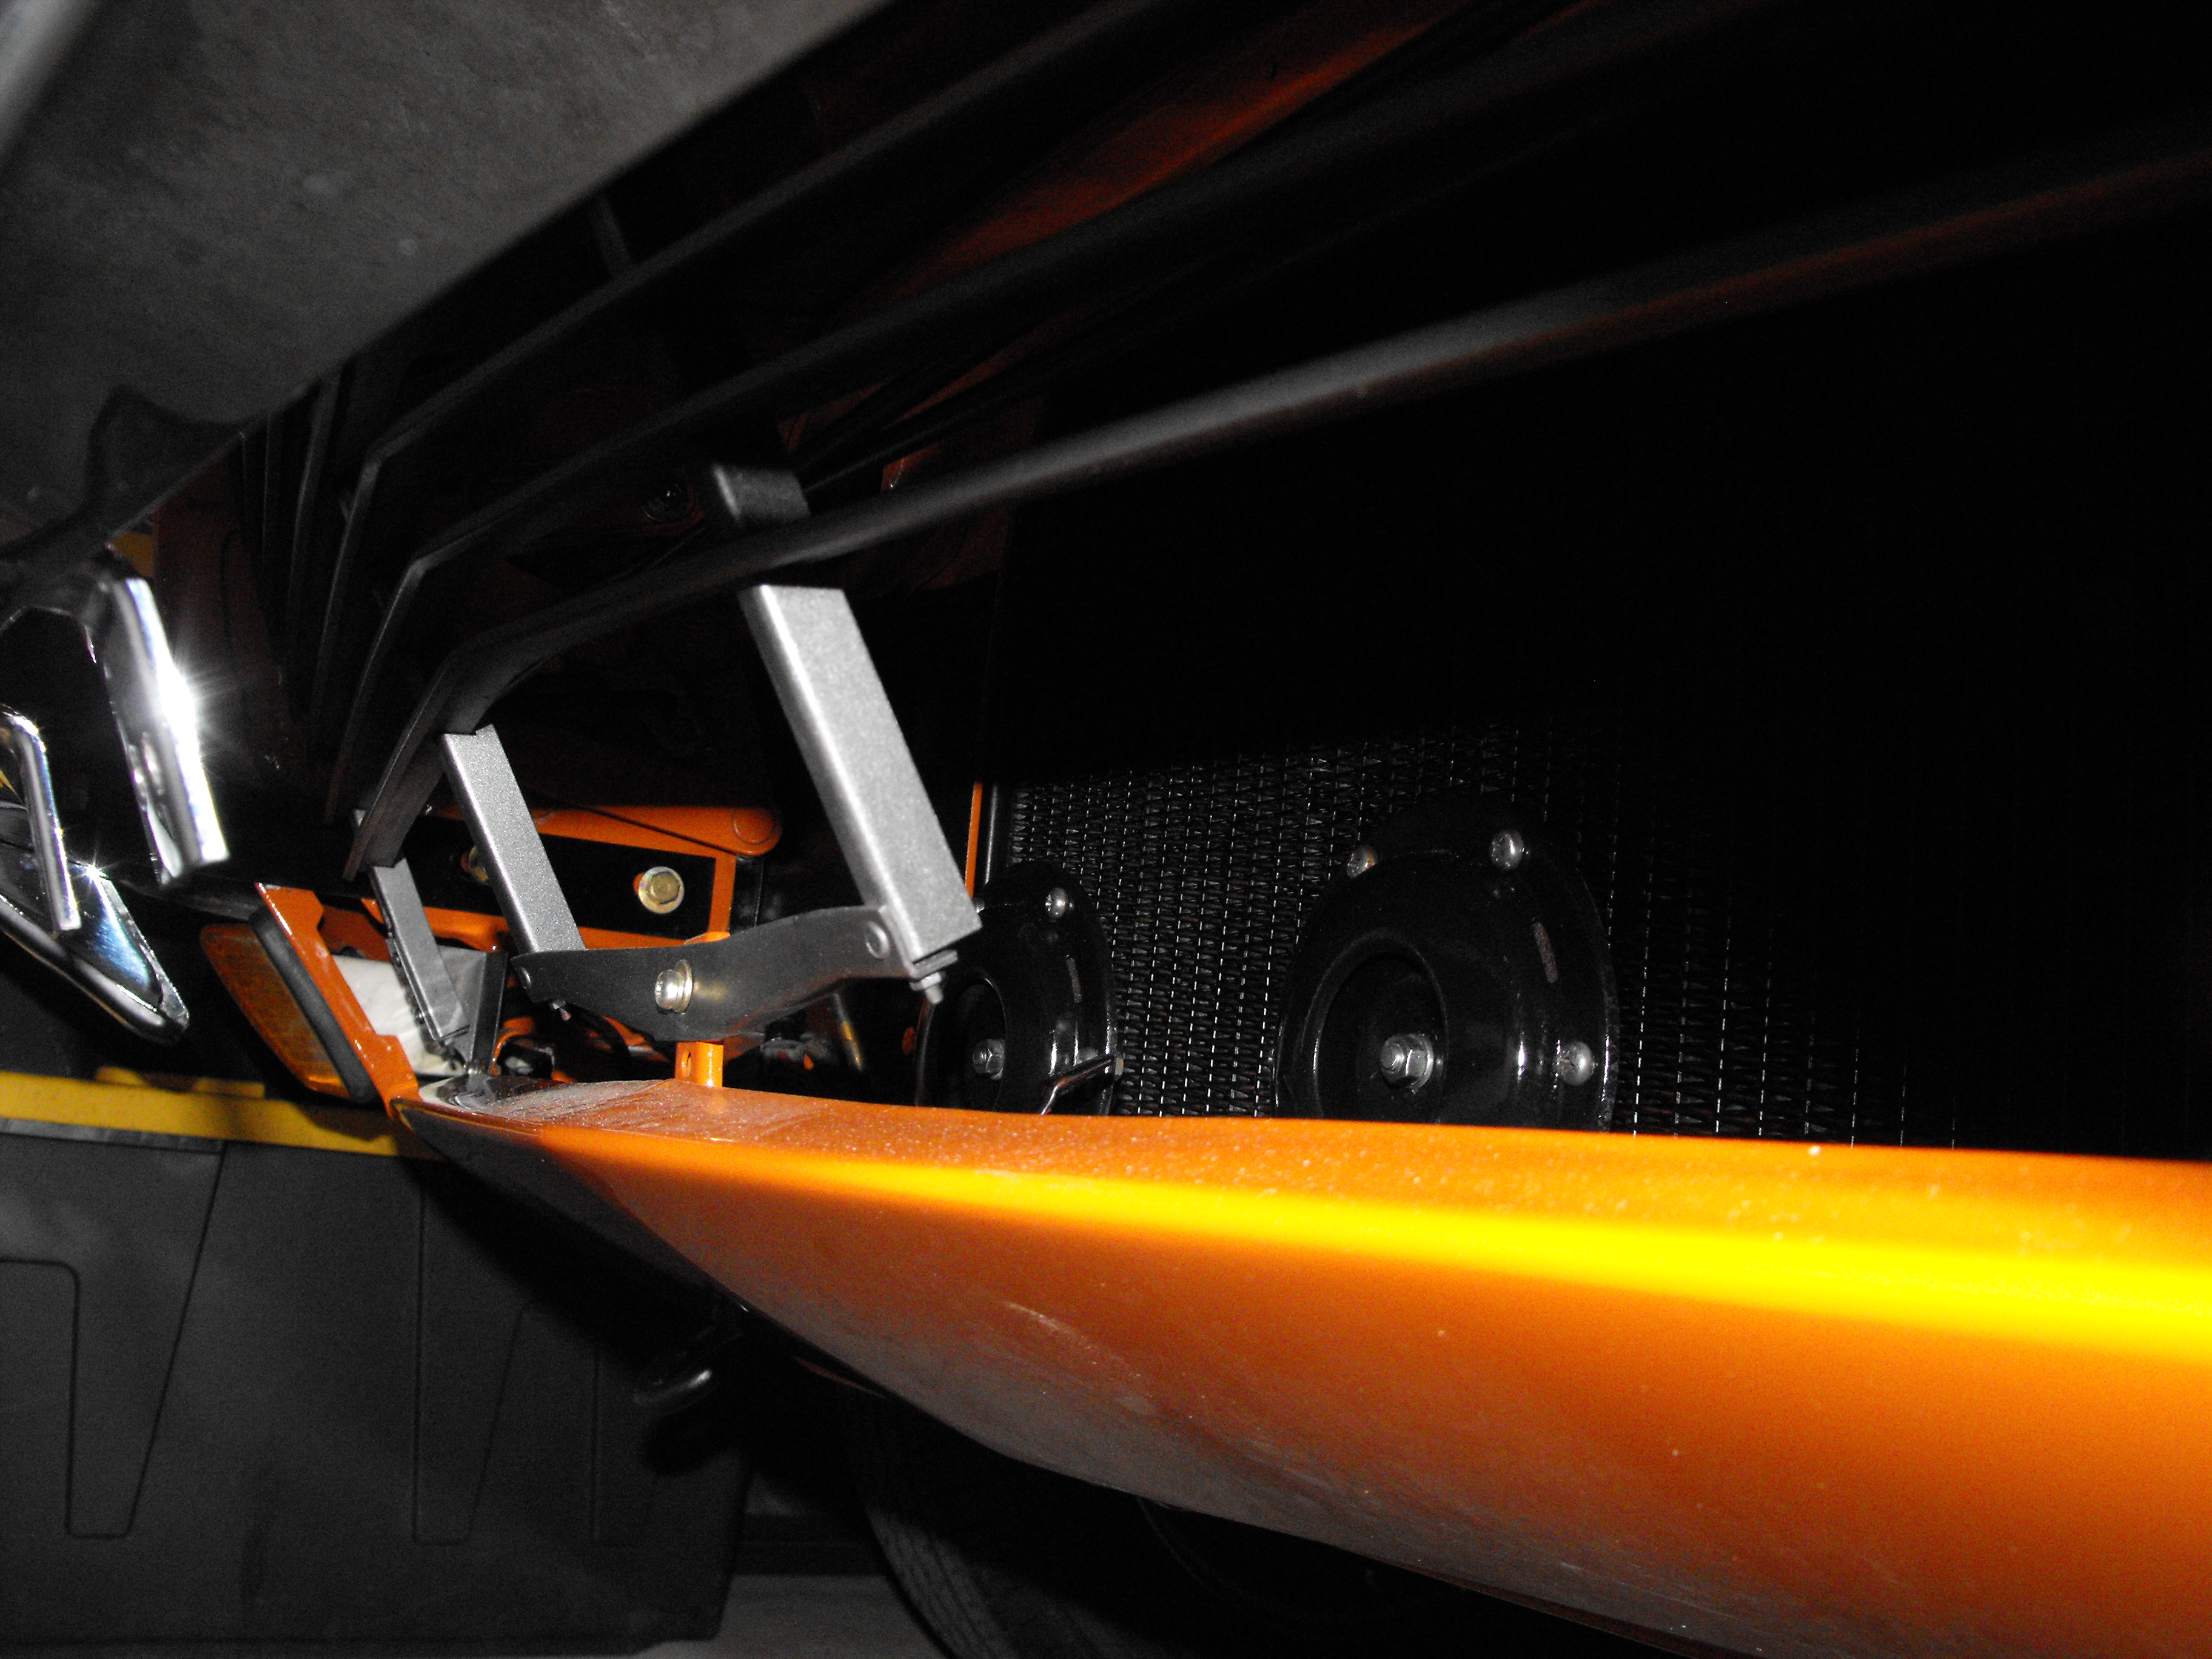
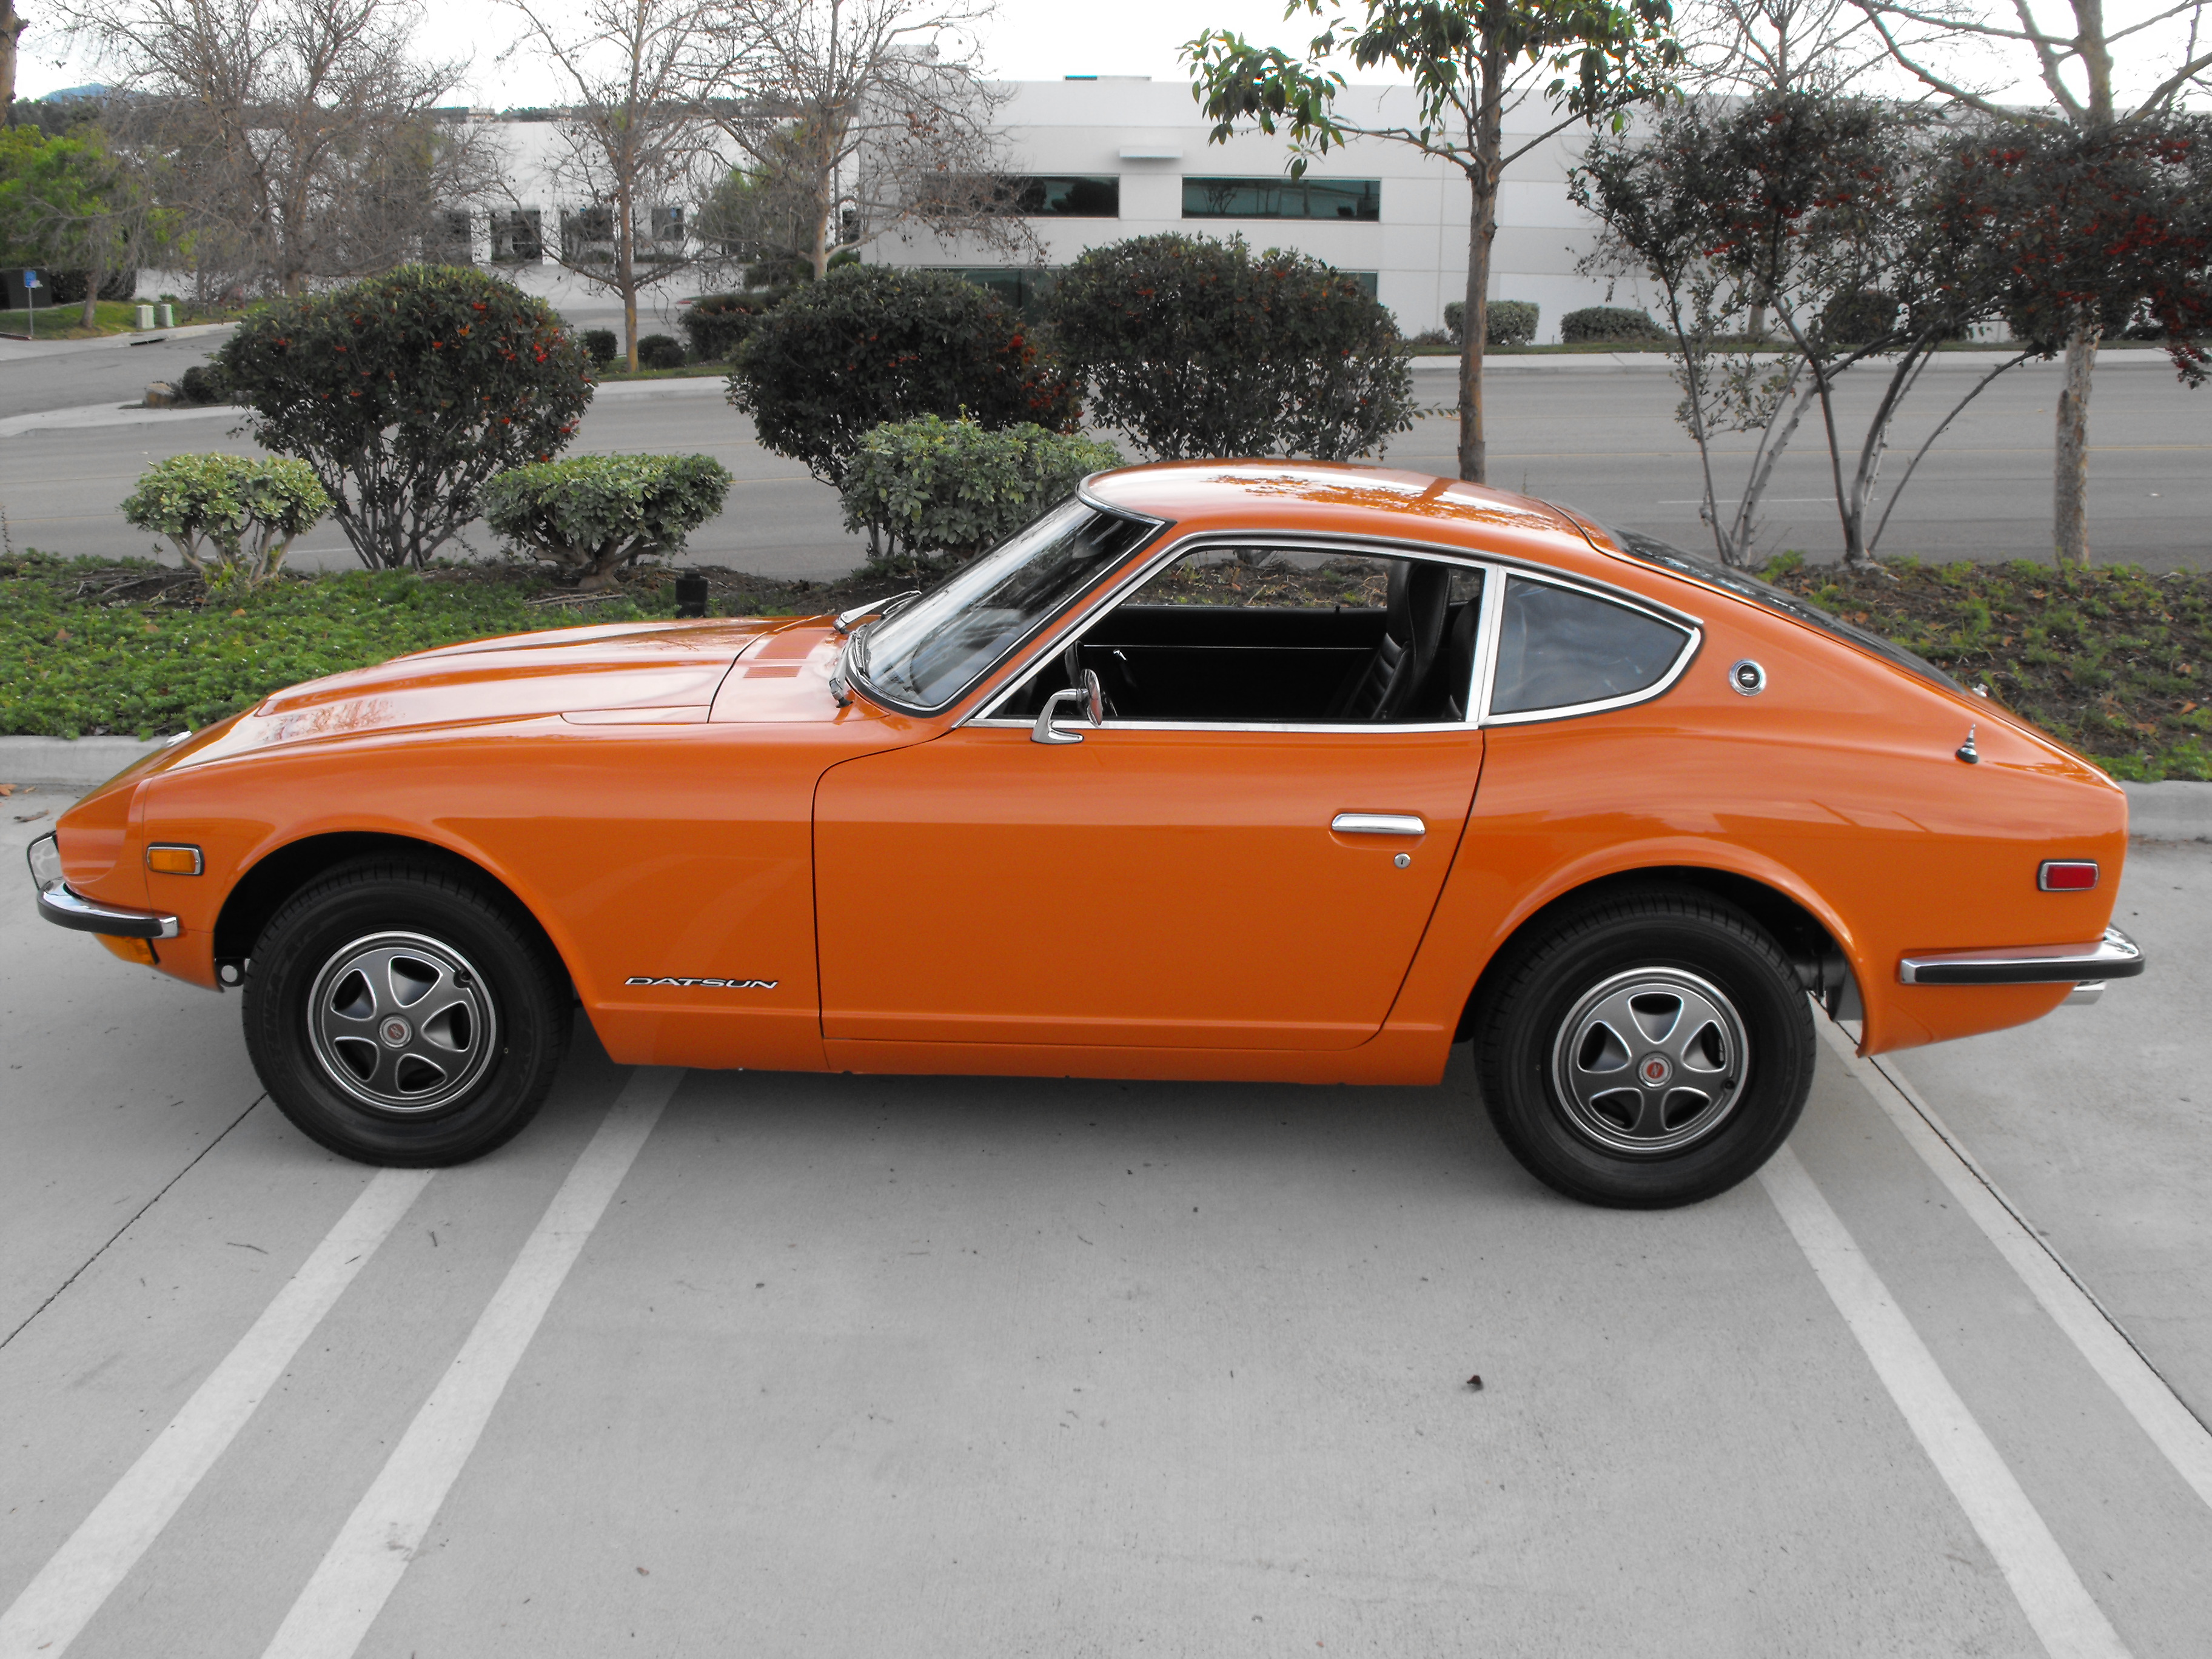
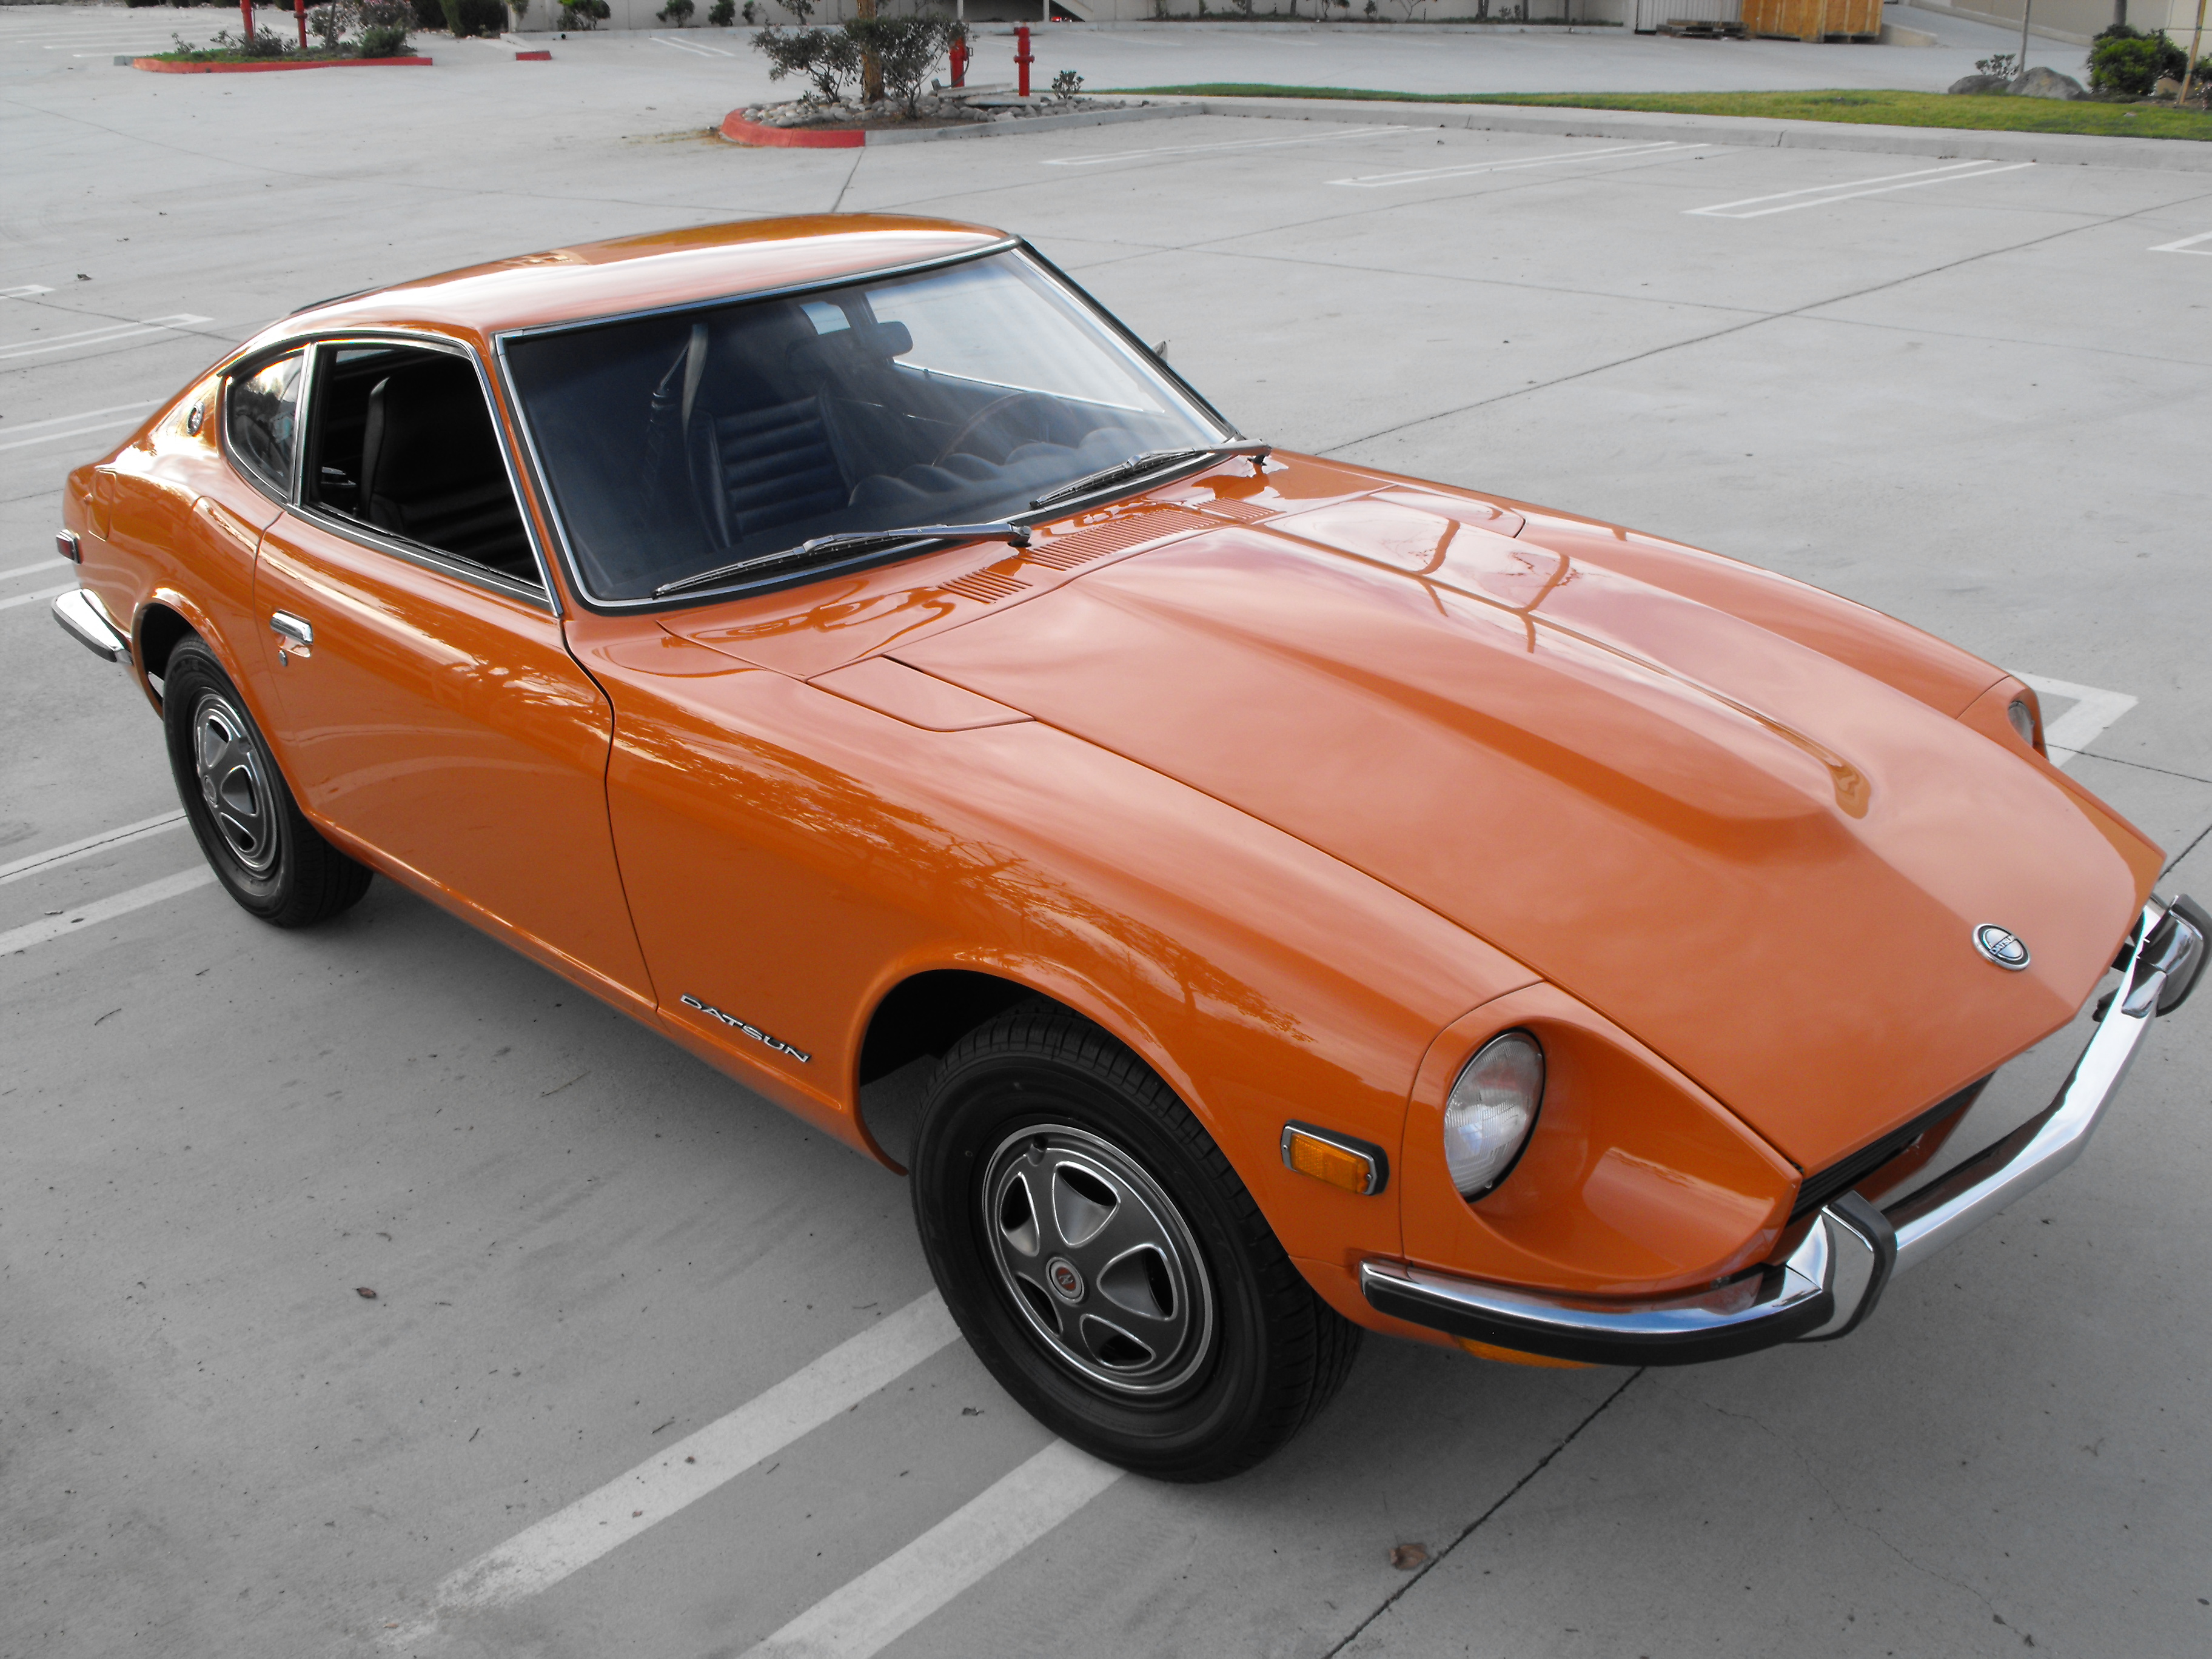
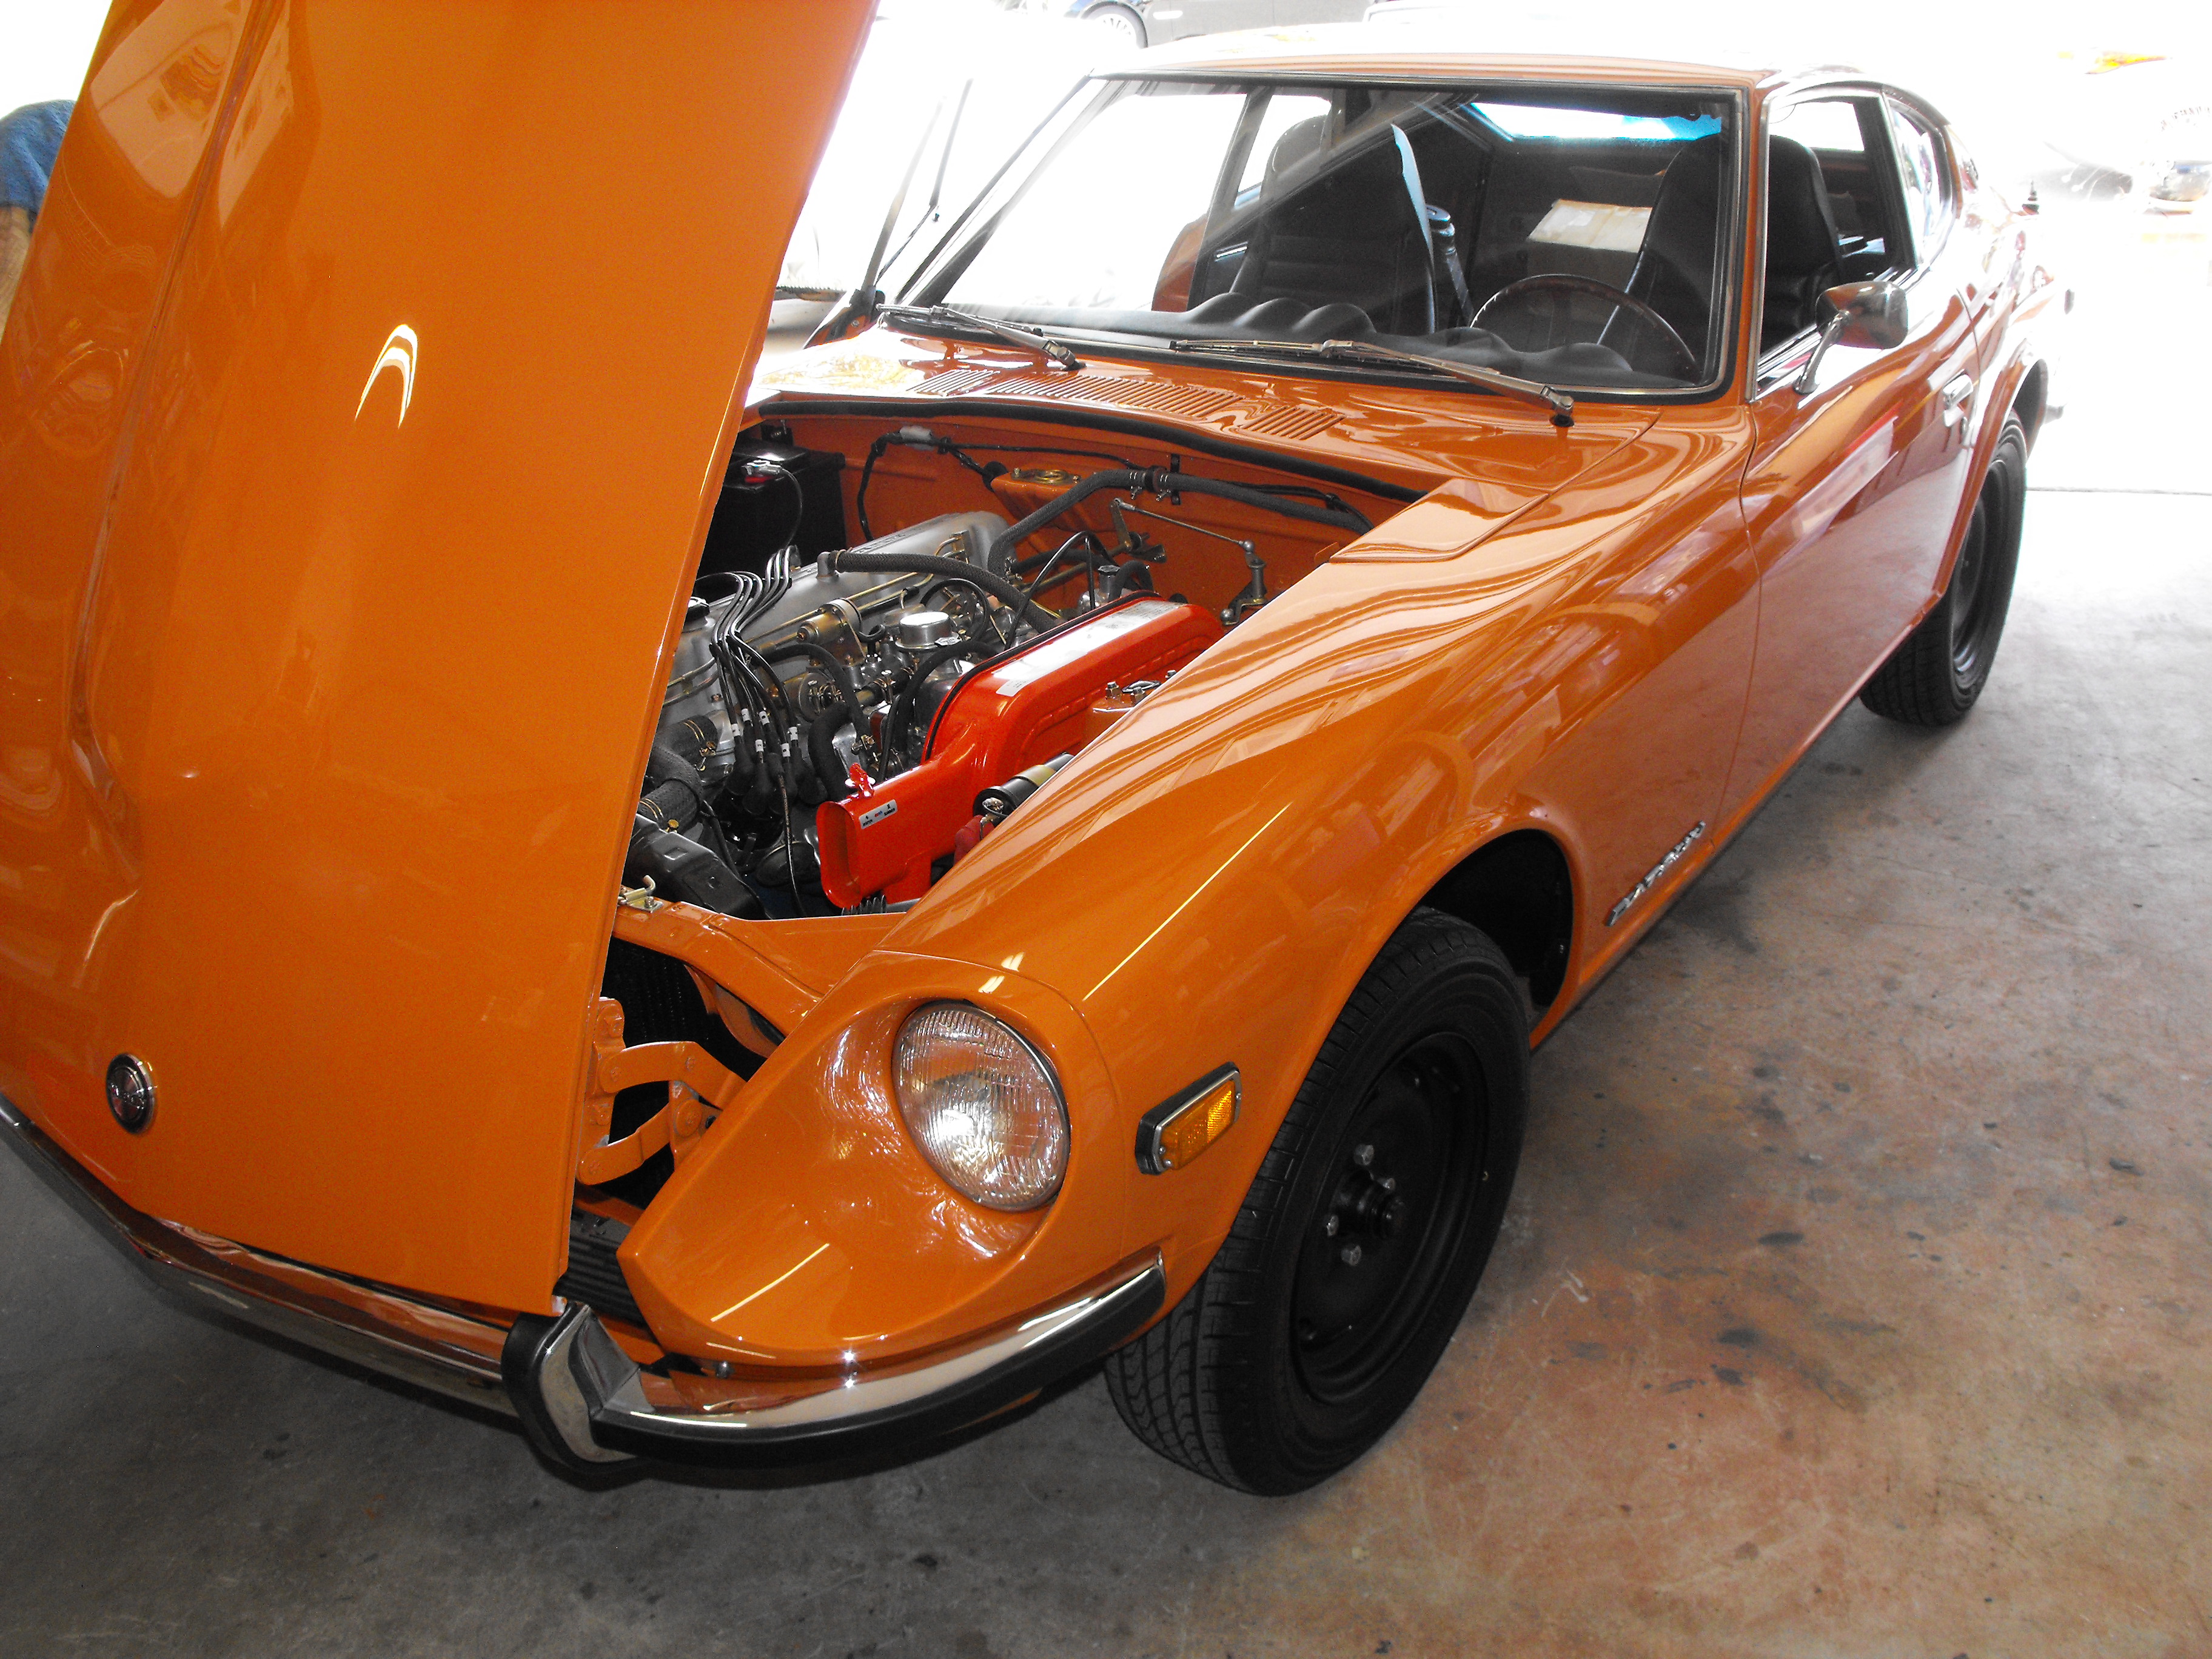
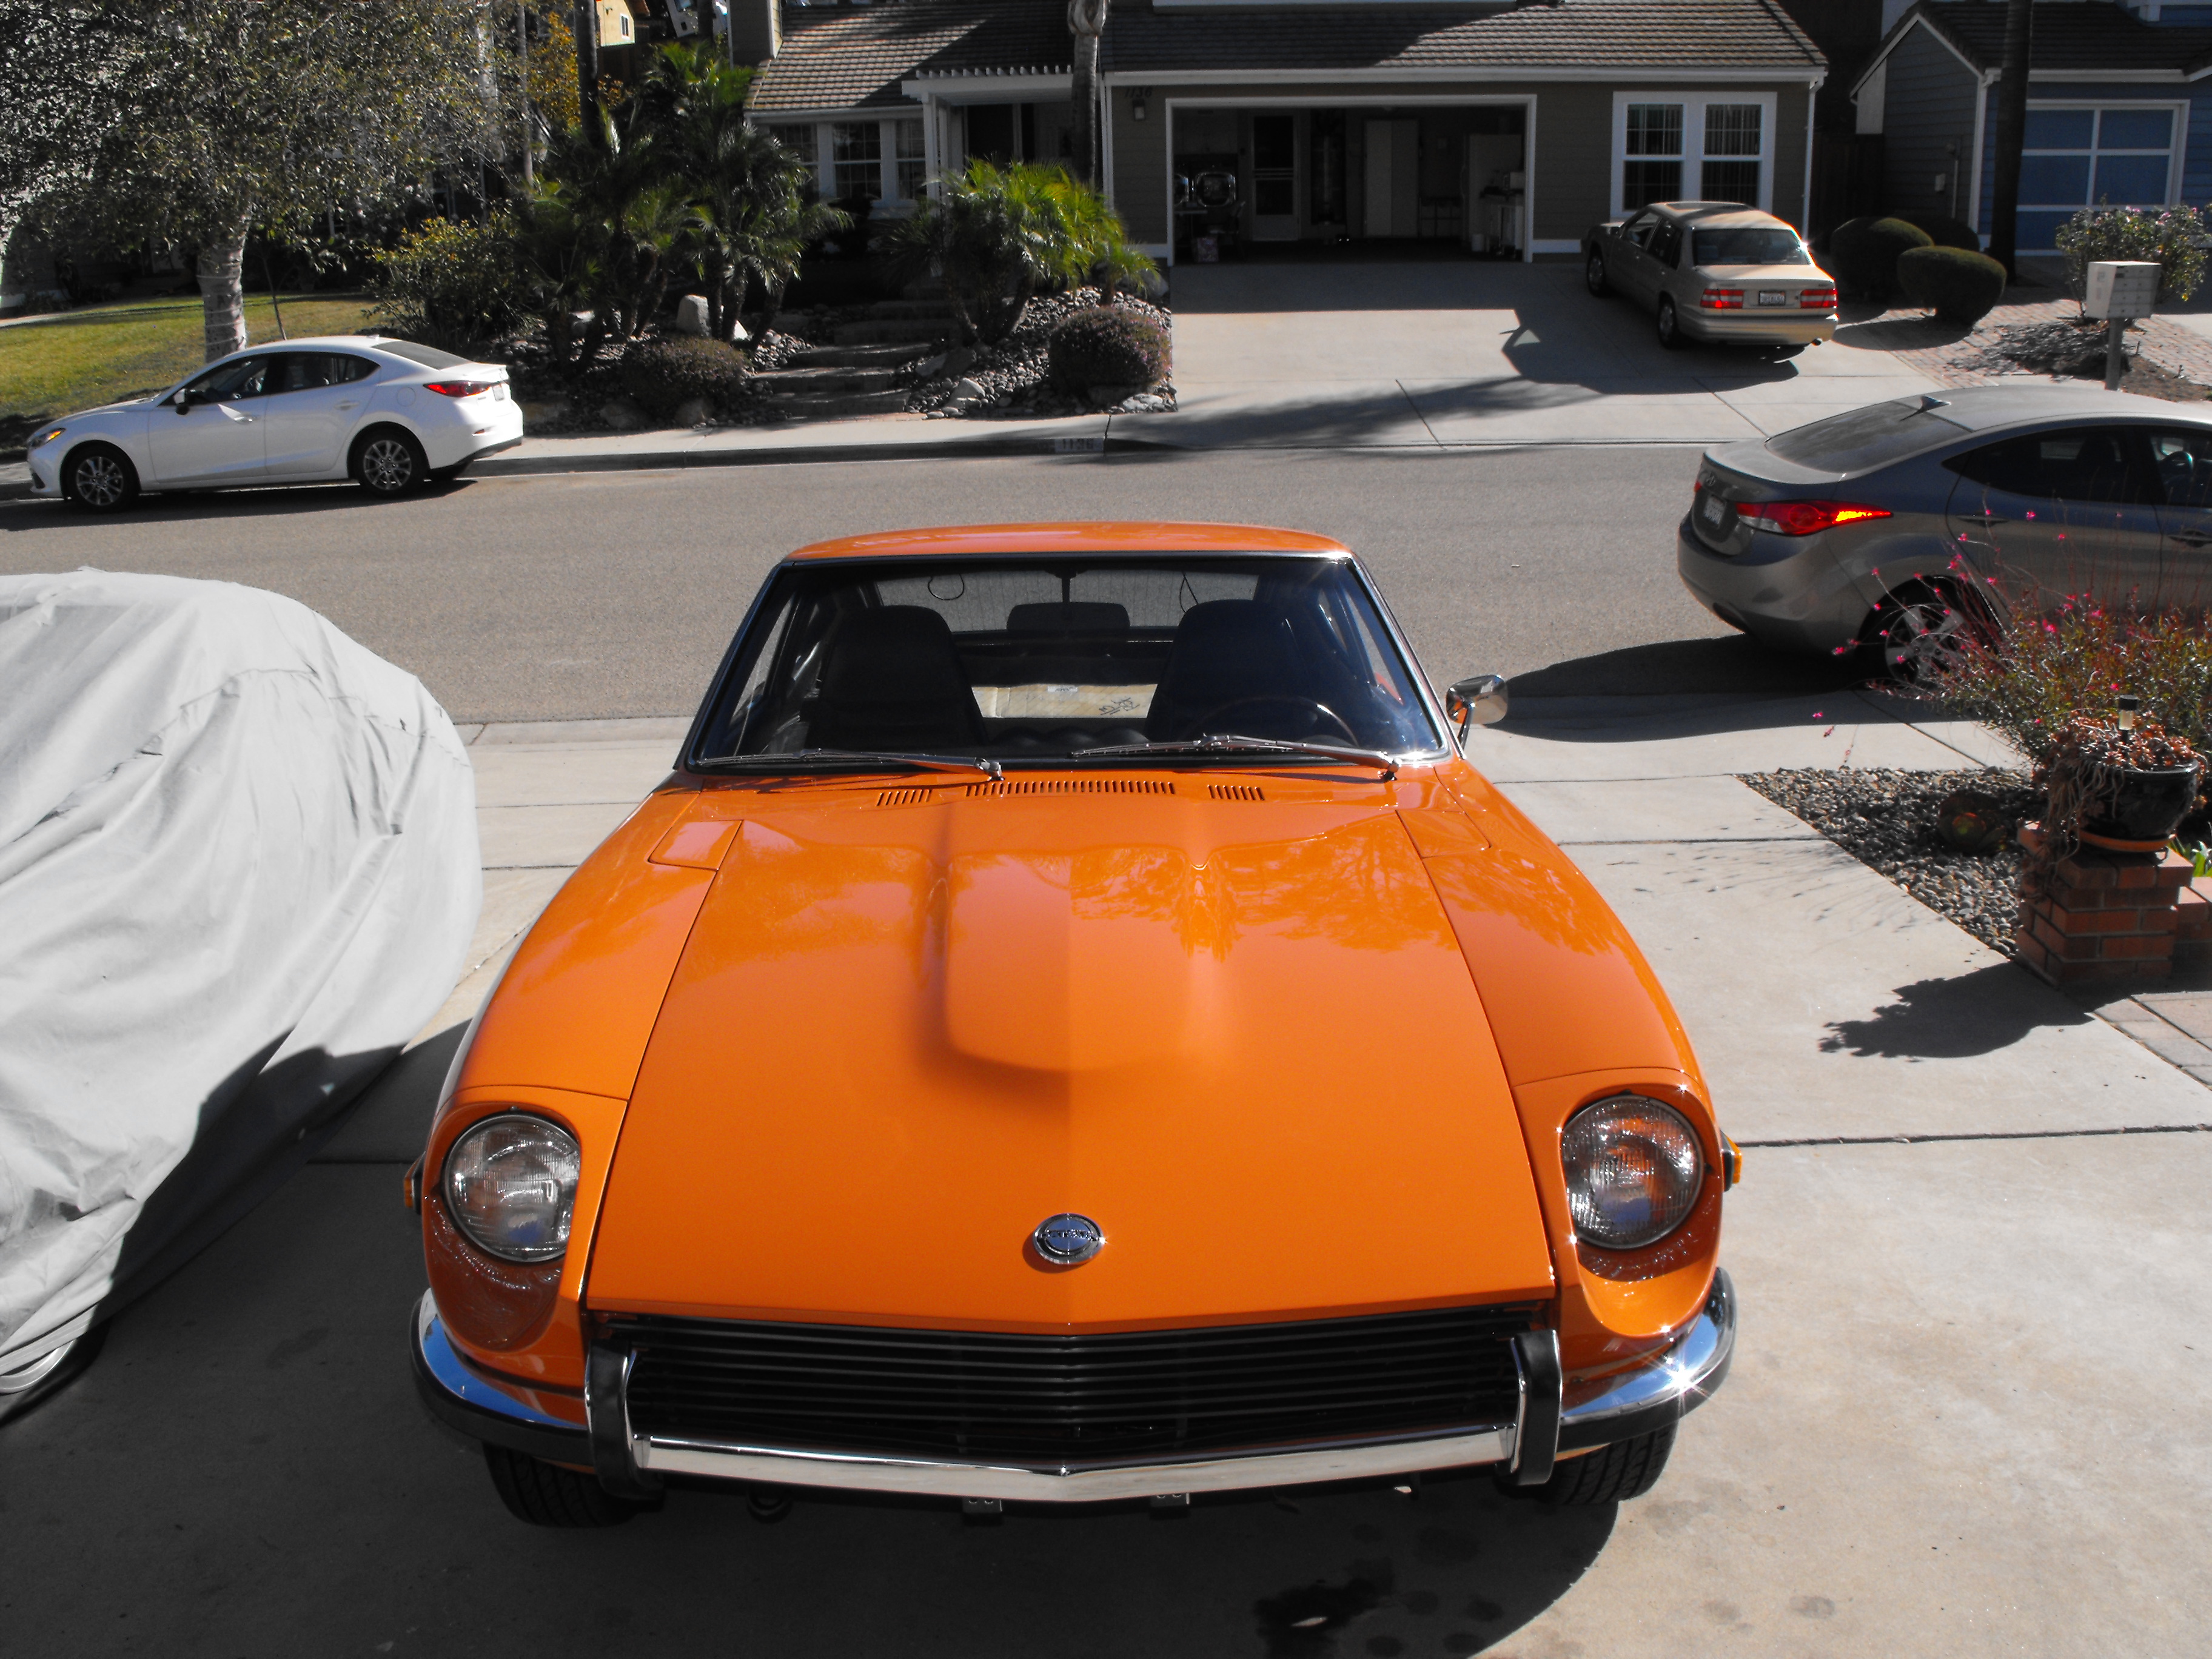
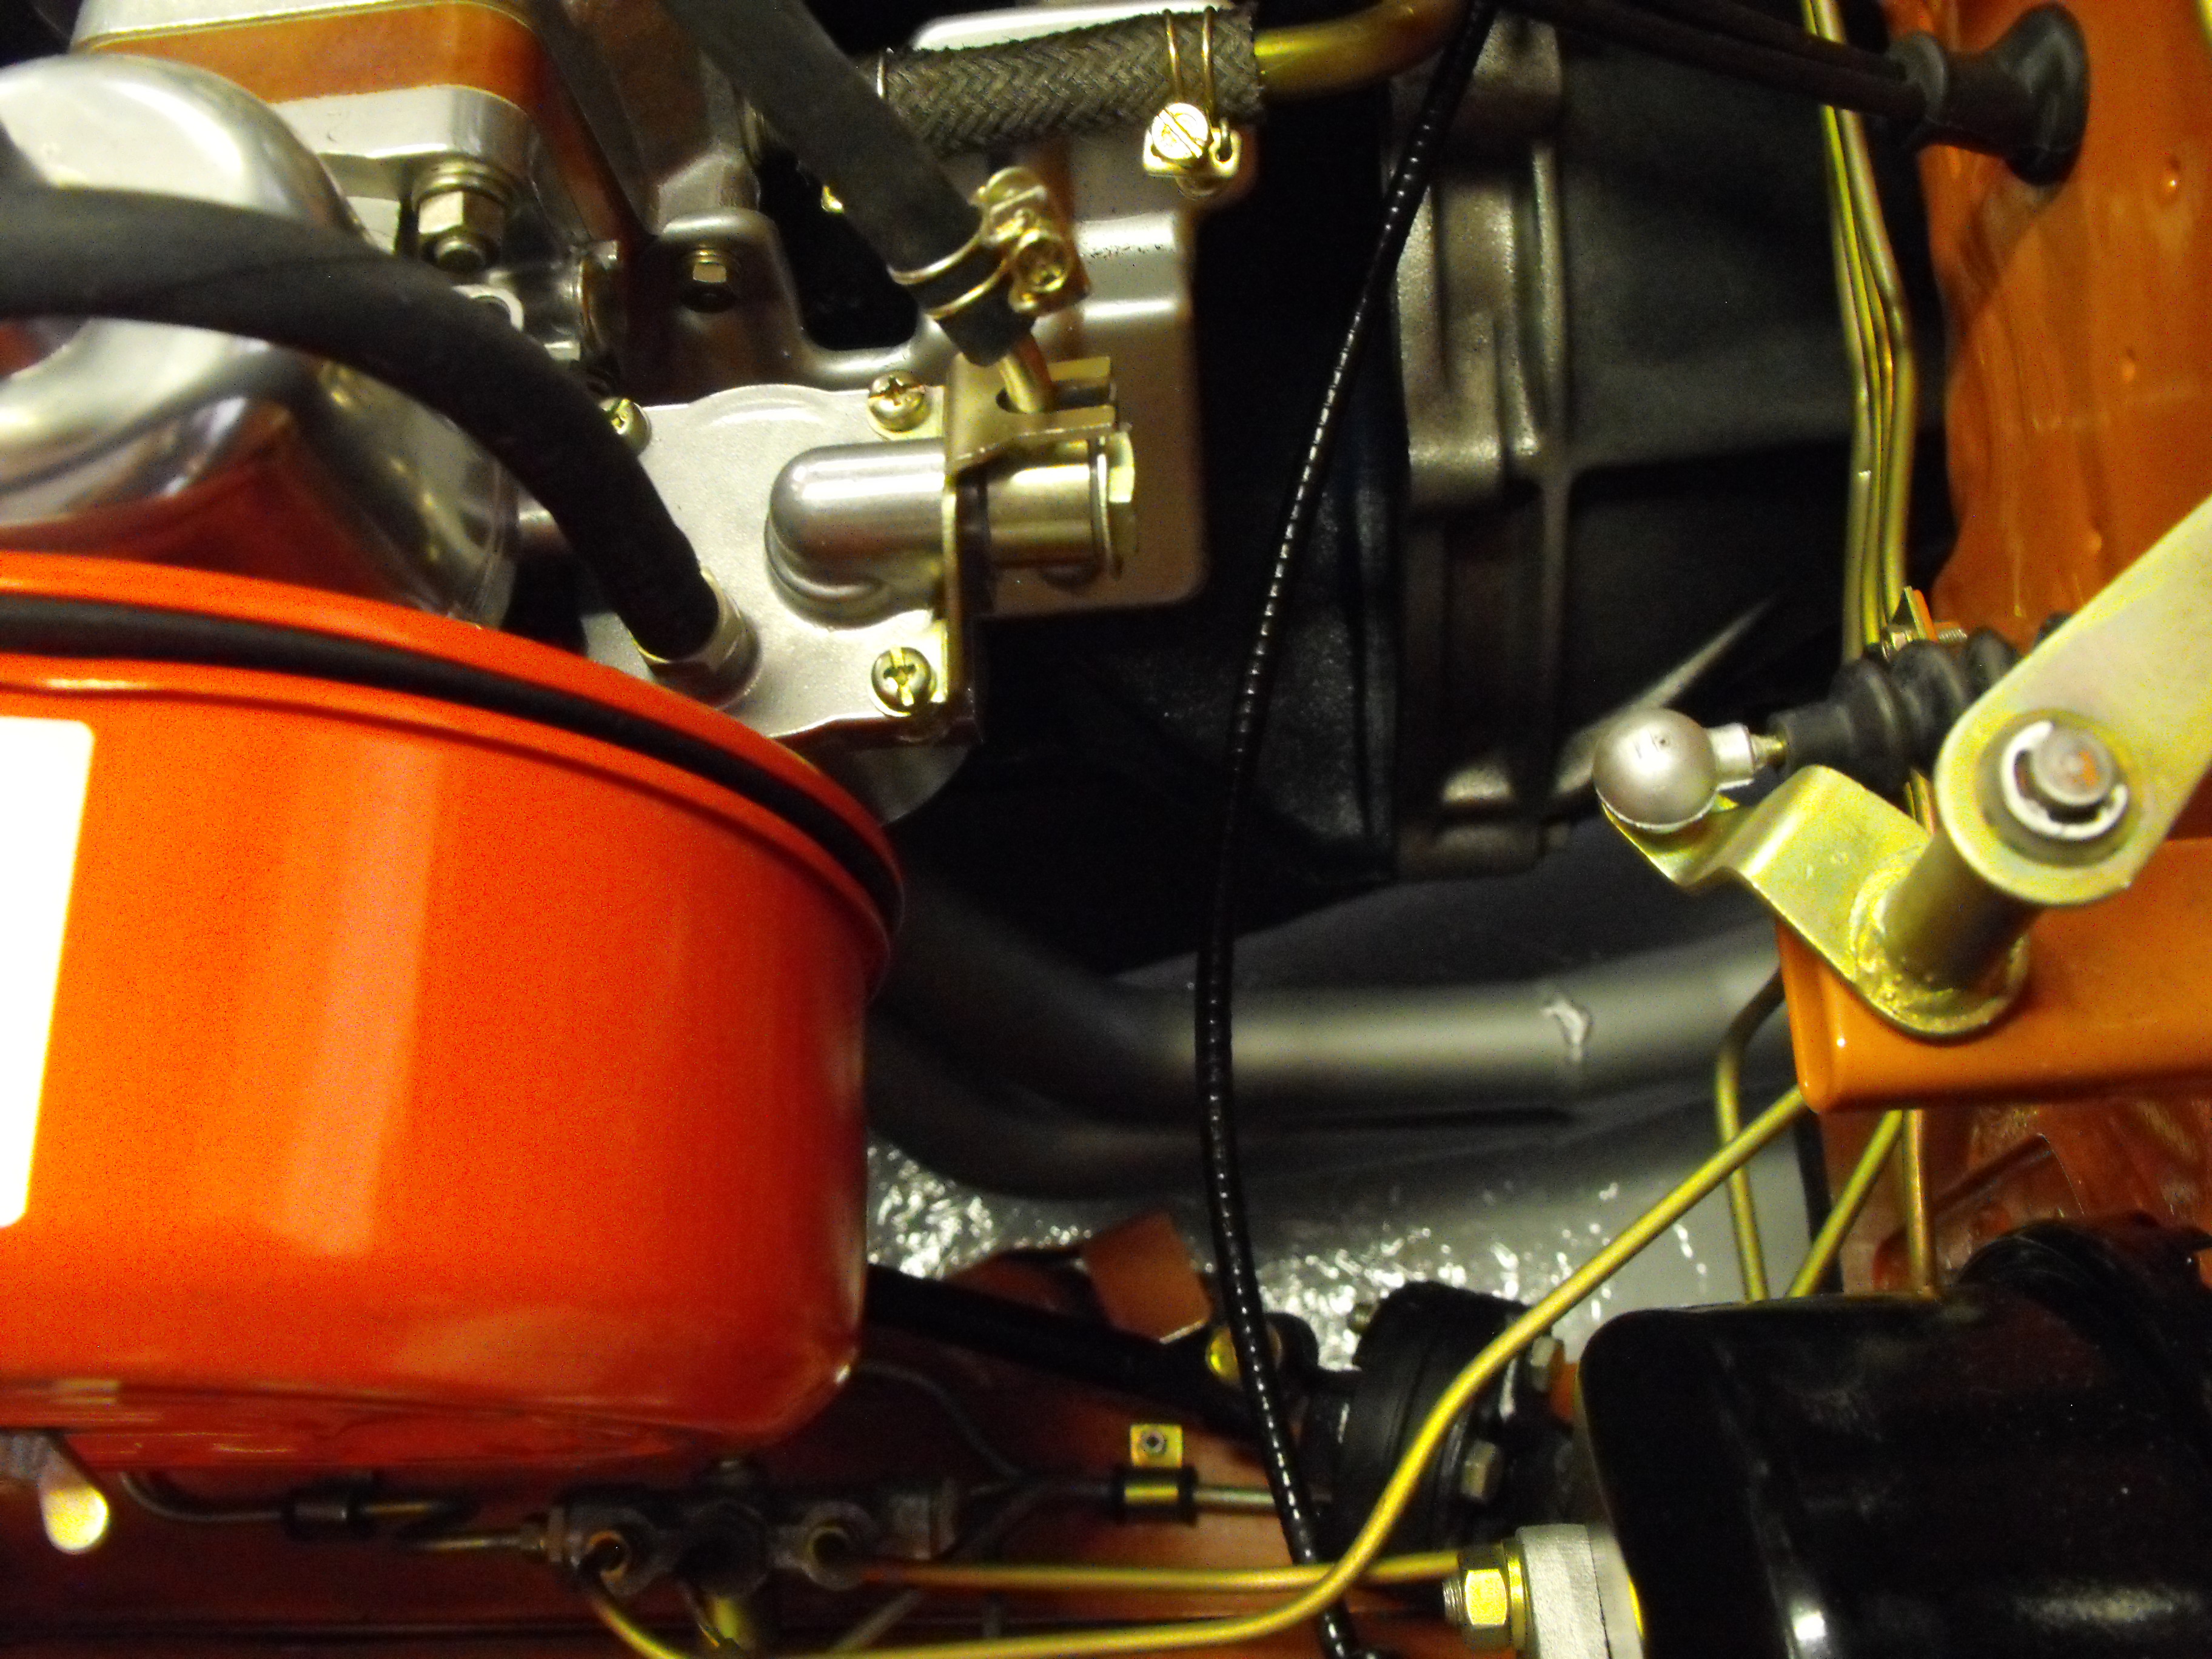
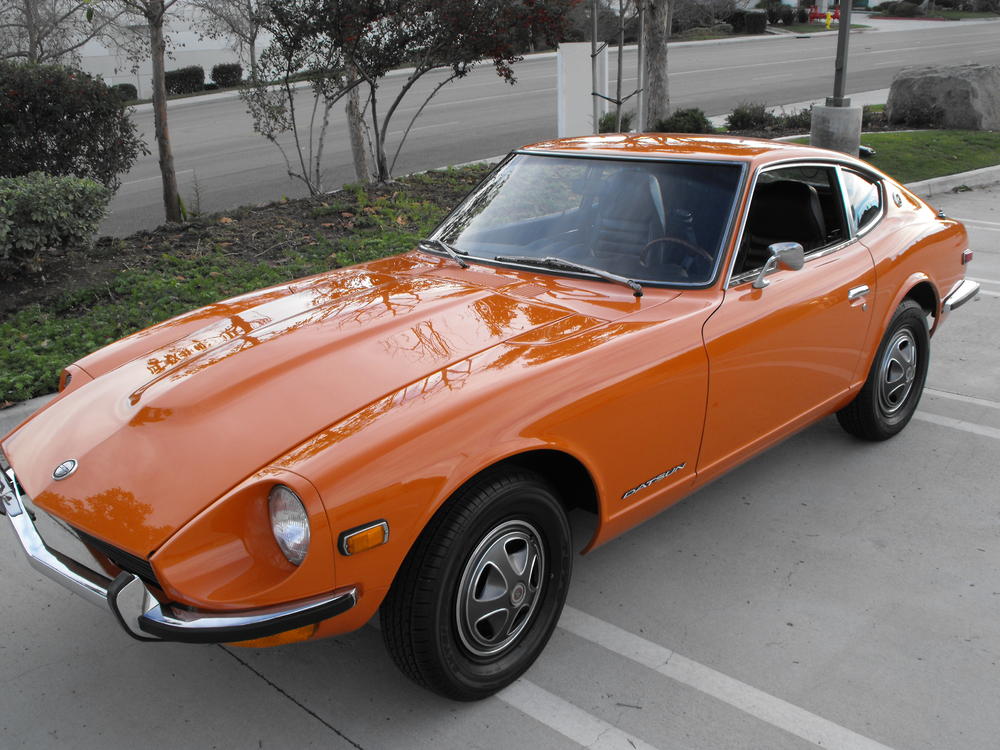
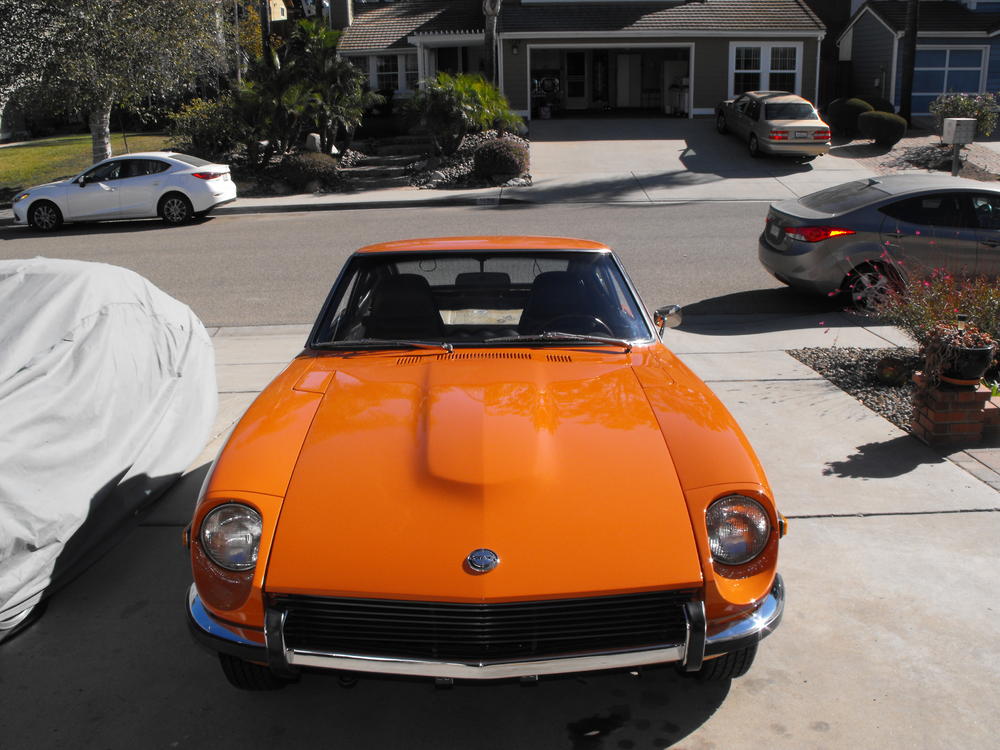
Well, things are getting close to the end here. Still waiting on a few parts to come in and the revised center section of the exhaust to be completed then she will be about ready to go. Miguel came over today and did the final polish on the paint which actually looked pretty amazing before he even started. After about 6 hours of polishing with three different compounds and pads, the paint is absolutely incredible. Not a single scratch or swirl to be seen. There are a couple pics below, but they do not do the paint justice. I will have to wait for a nice sunny day and take some pics here to really show the quality of the paint job. While Miguel was doing the polishing, I painted the rear carpet which really looks great. I was a little skeptical of how it would look, but it really looks like new carpet. I should get the new luggage straps in from Jay in the next couple days to complete the back hatch area. It should look great once these are in. Also got the hatch plugs coming in as well. Got the horns refurbed and installed. Also put in the final fender screws and touched those up with paint to match.


-
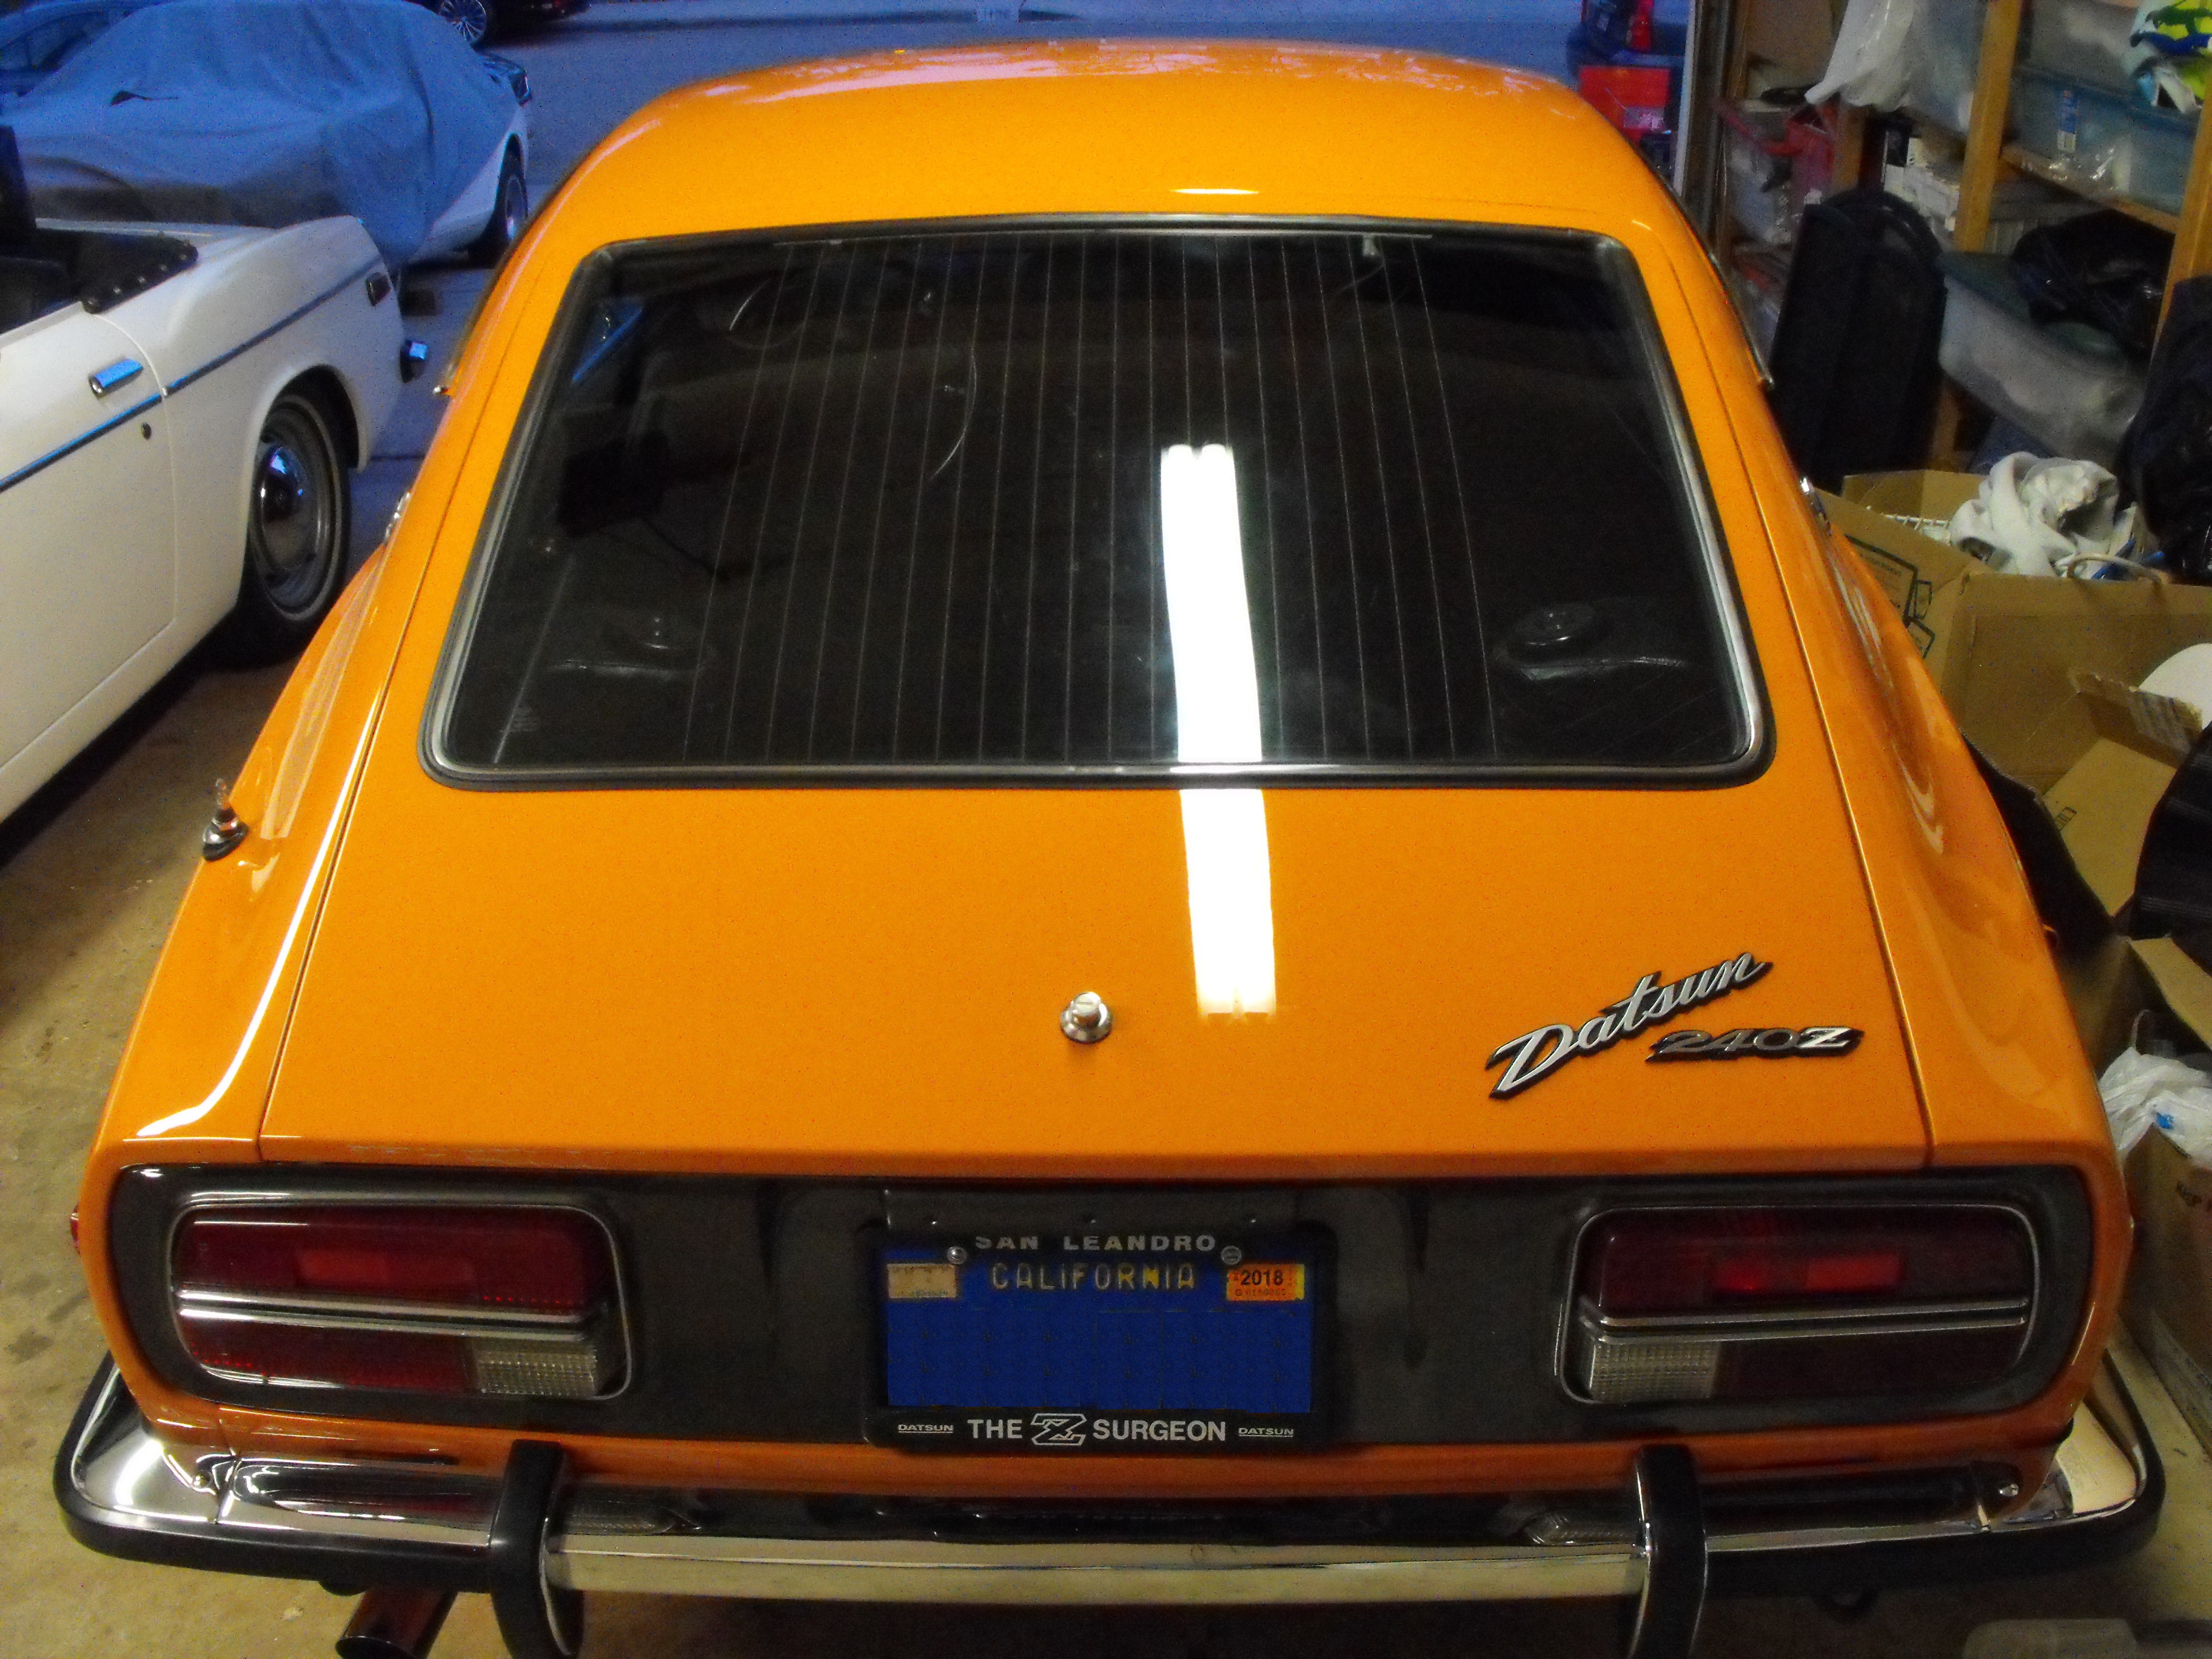
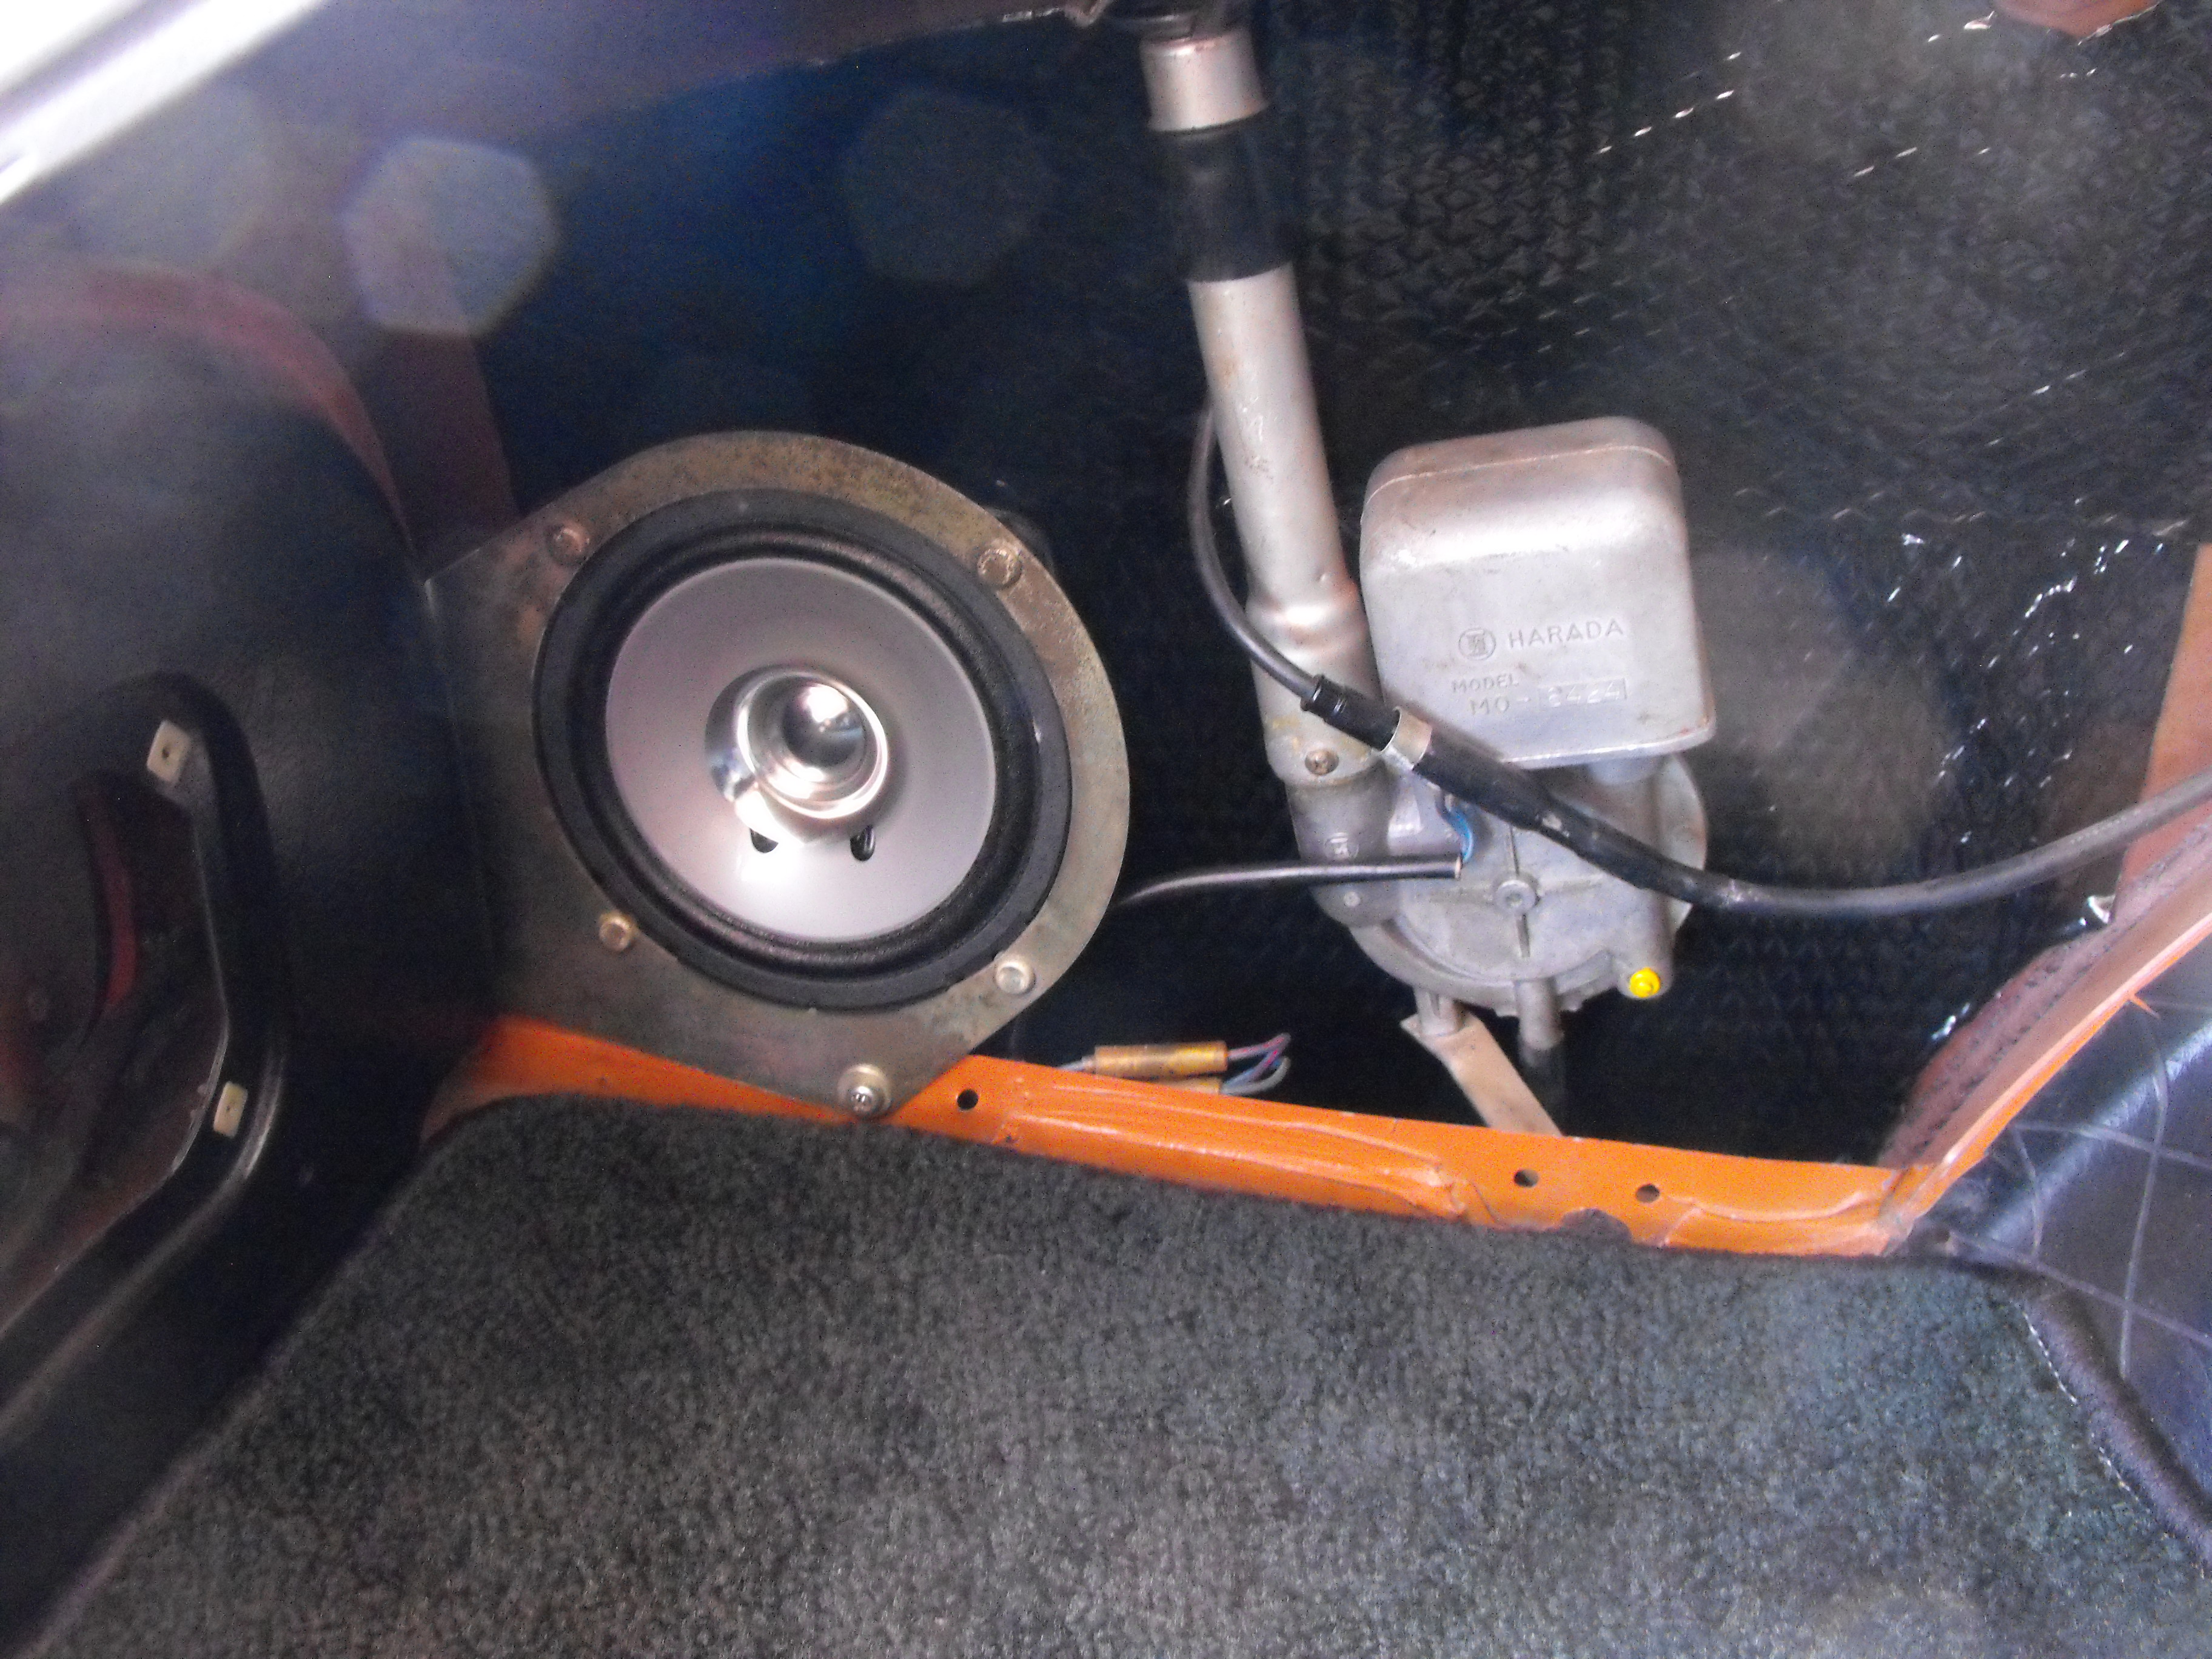
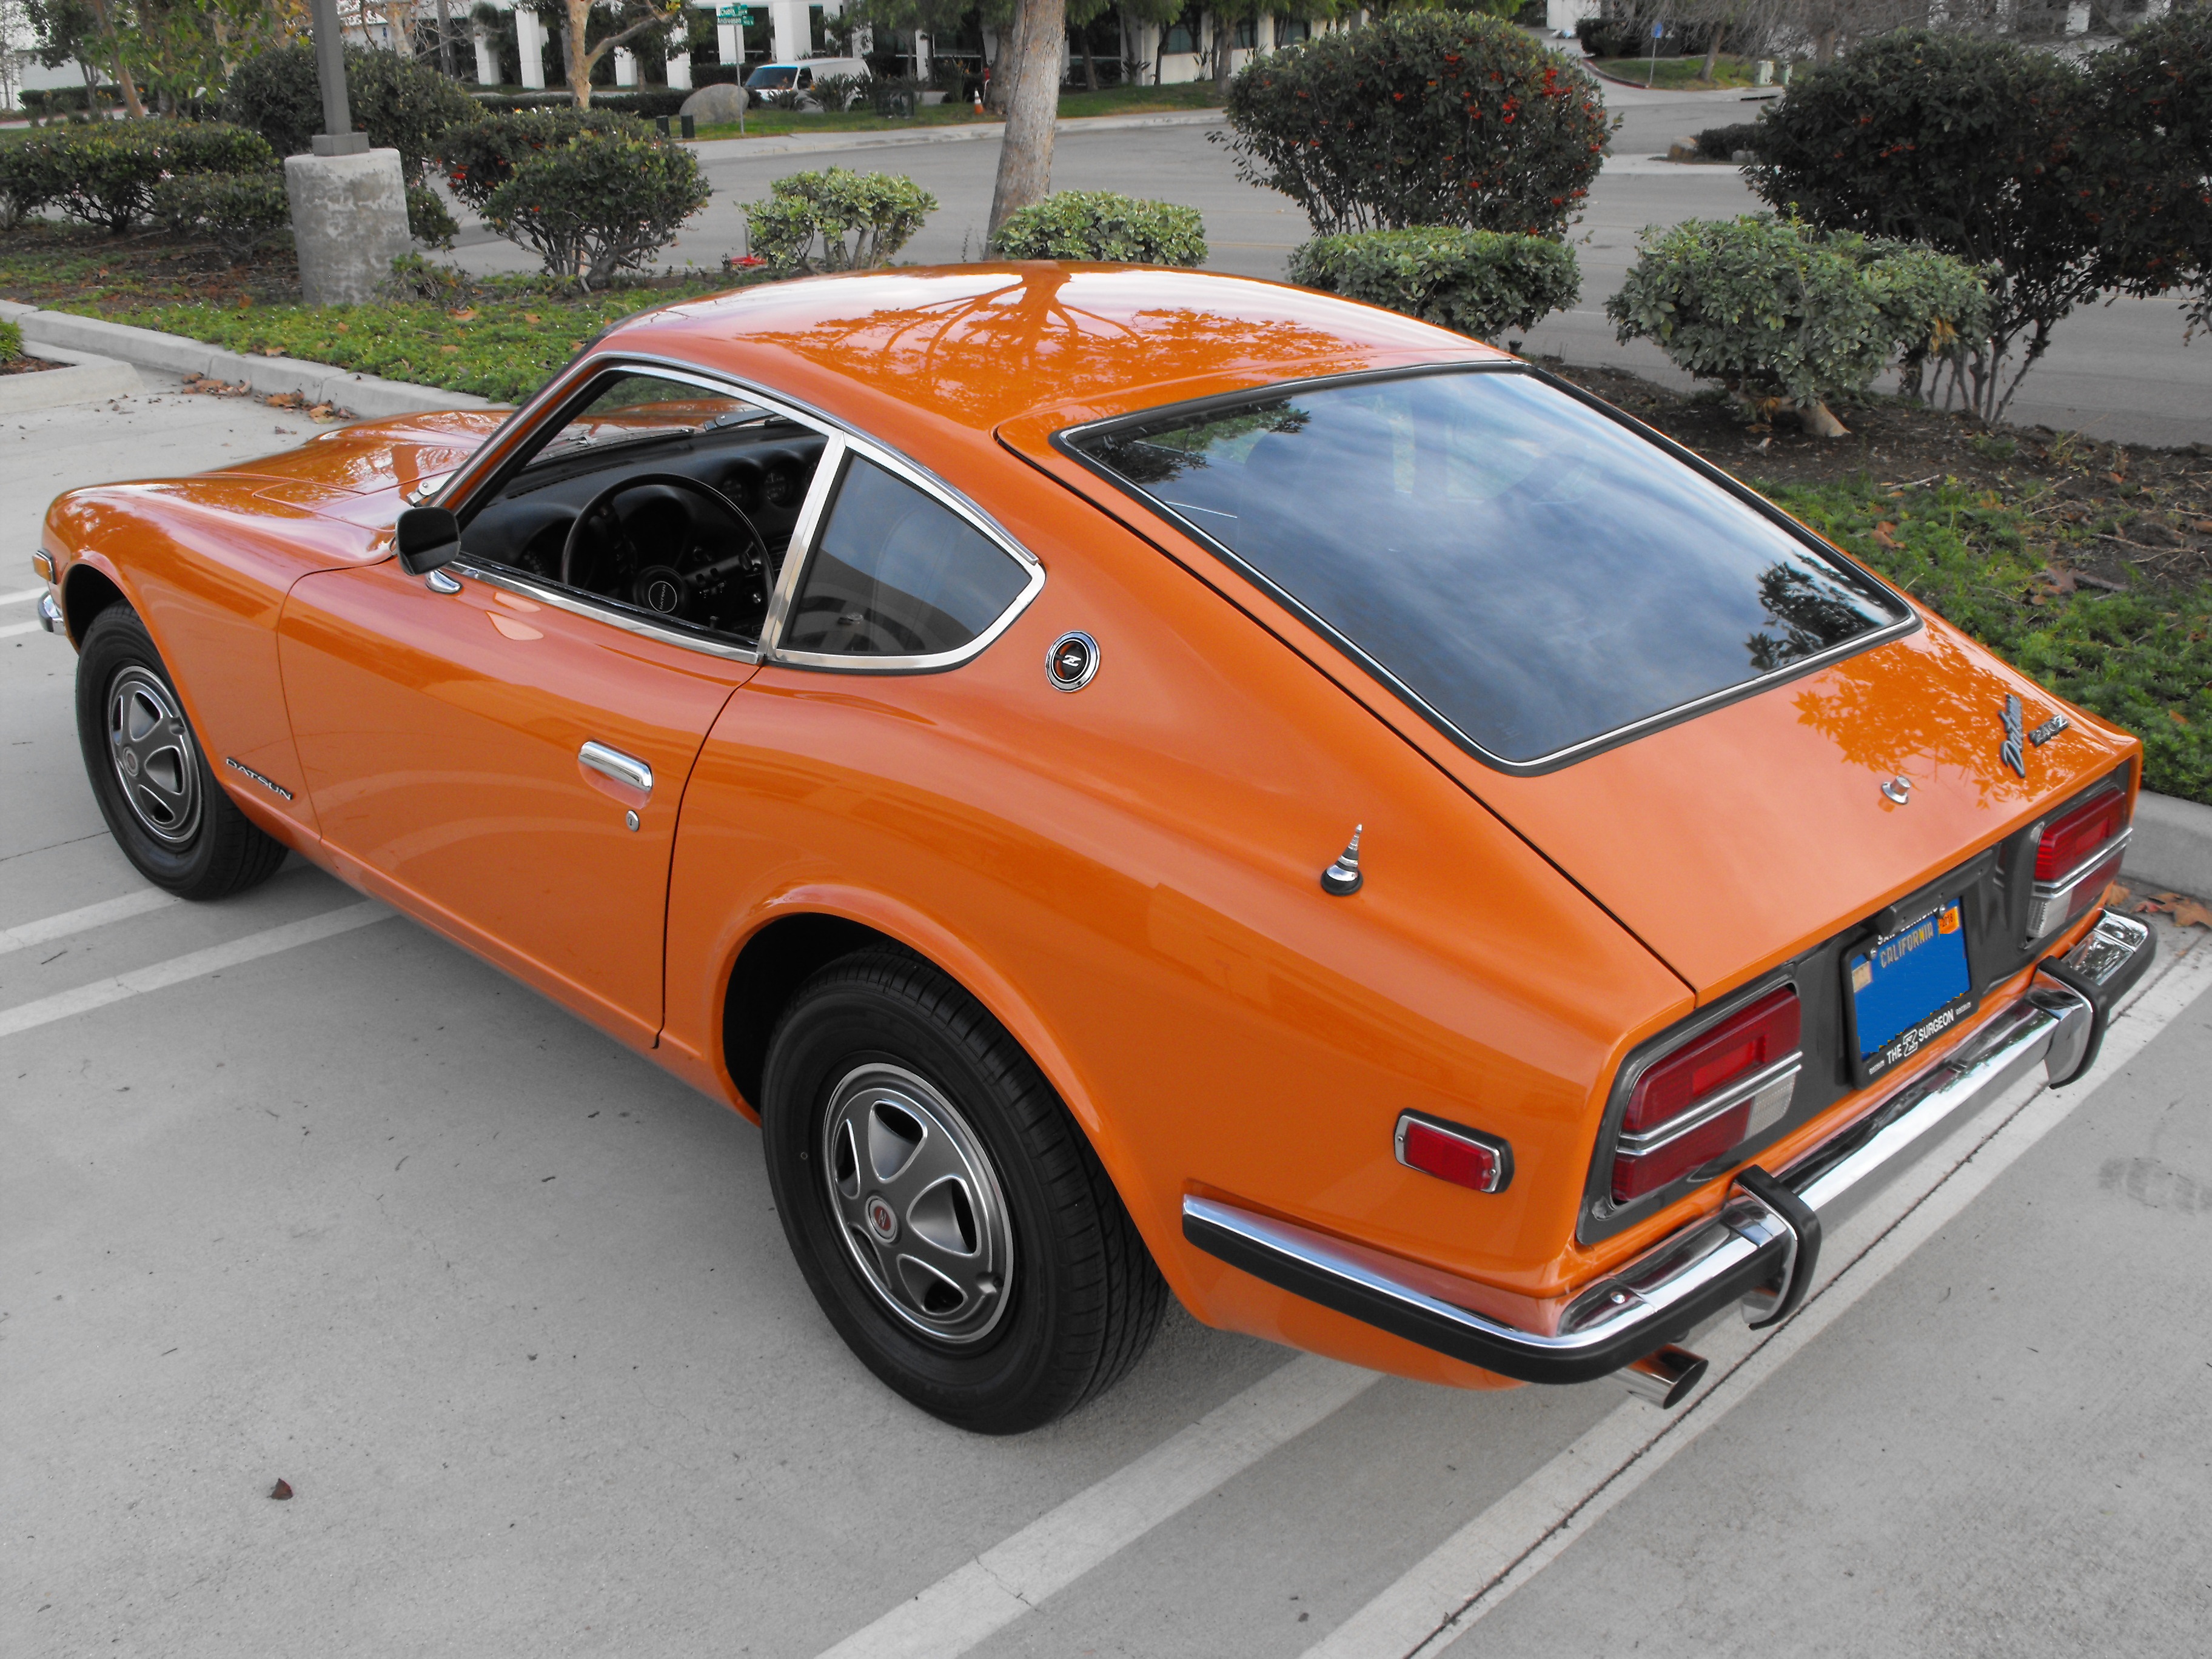
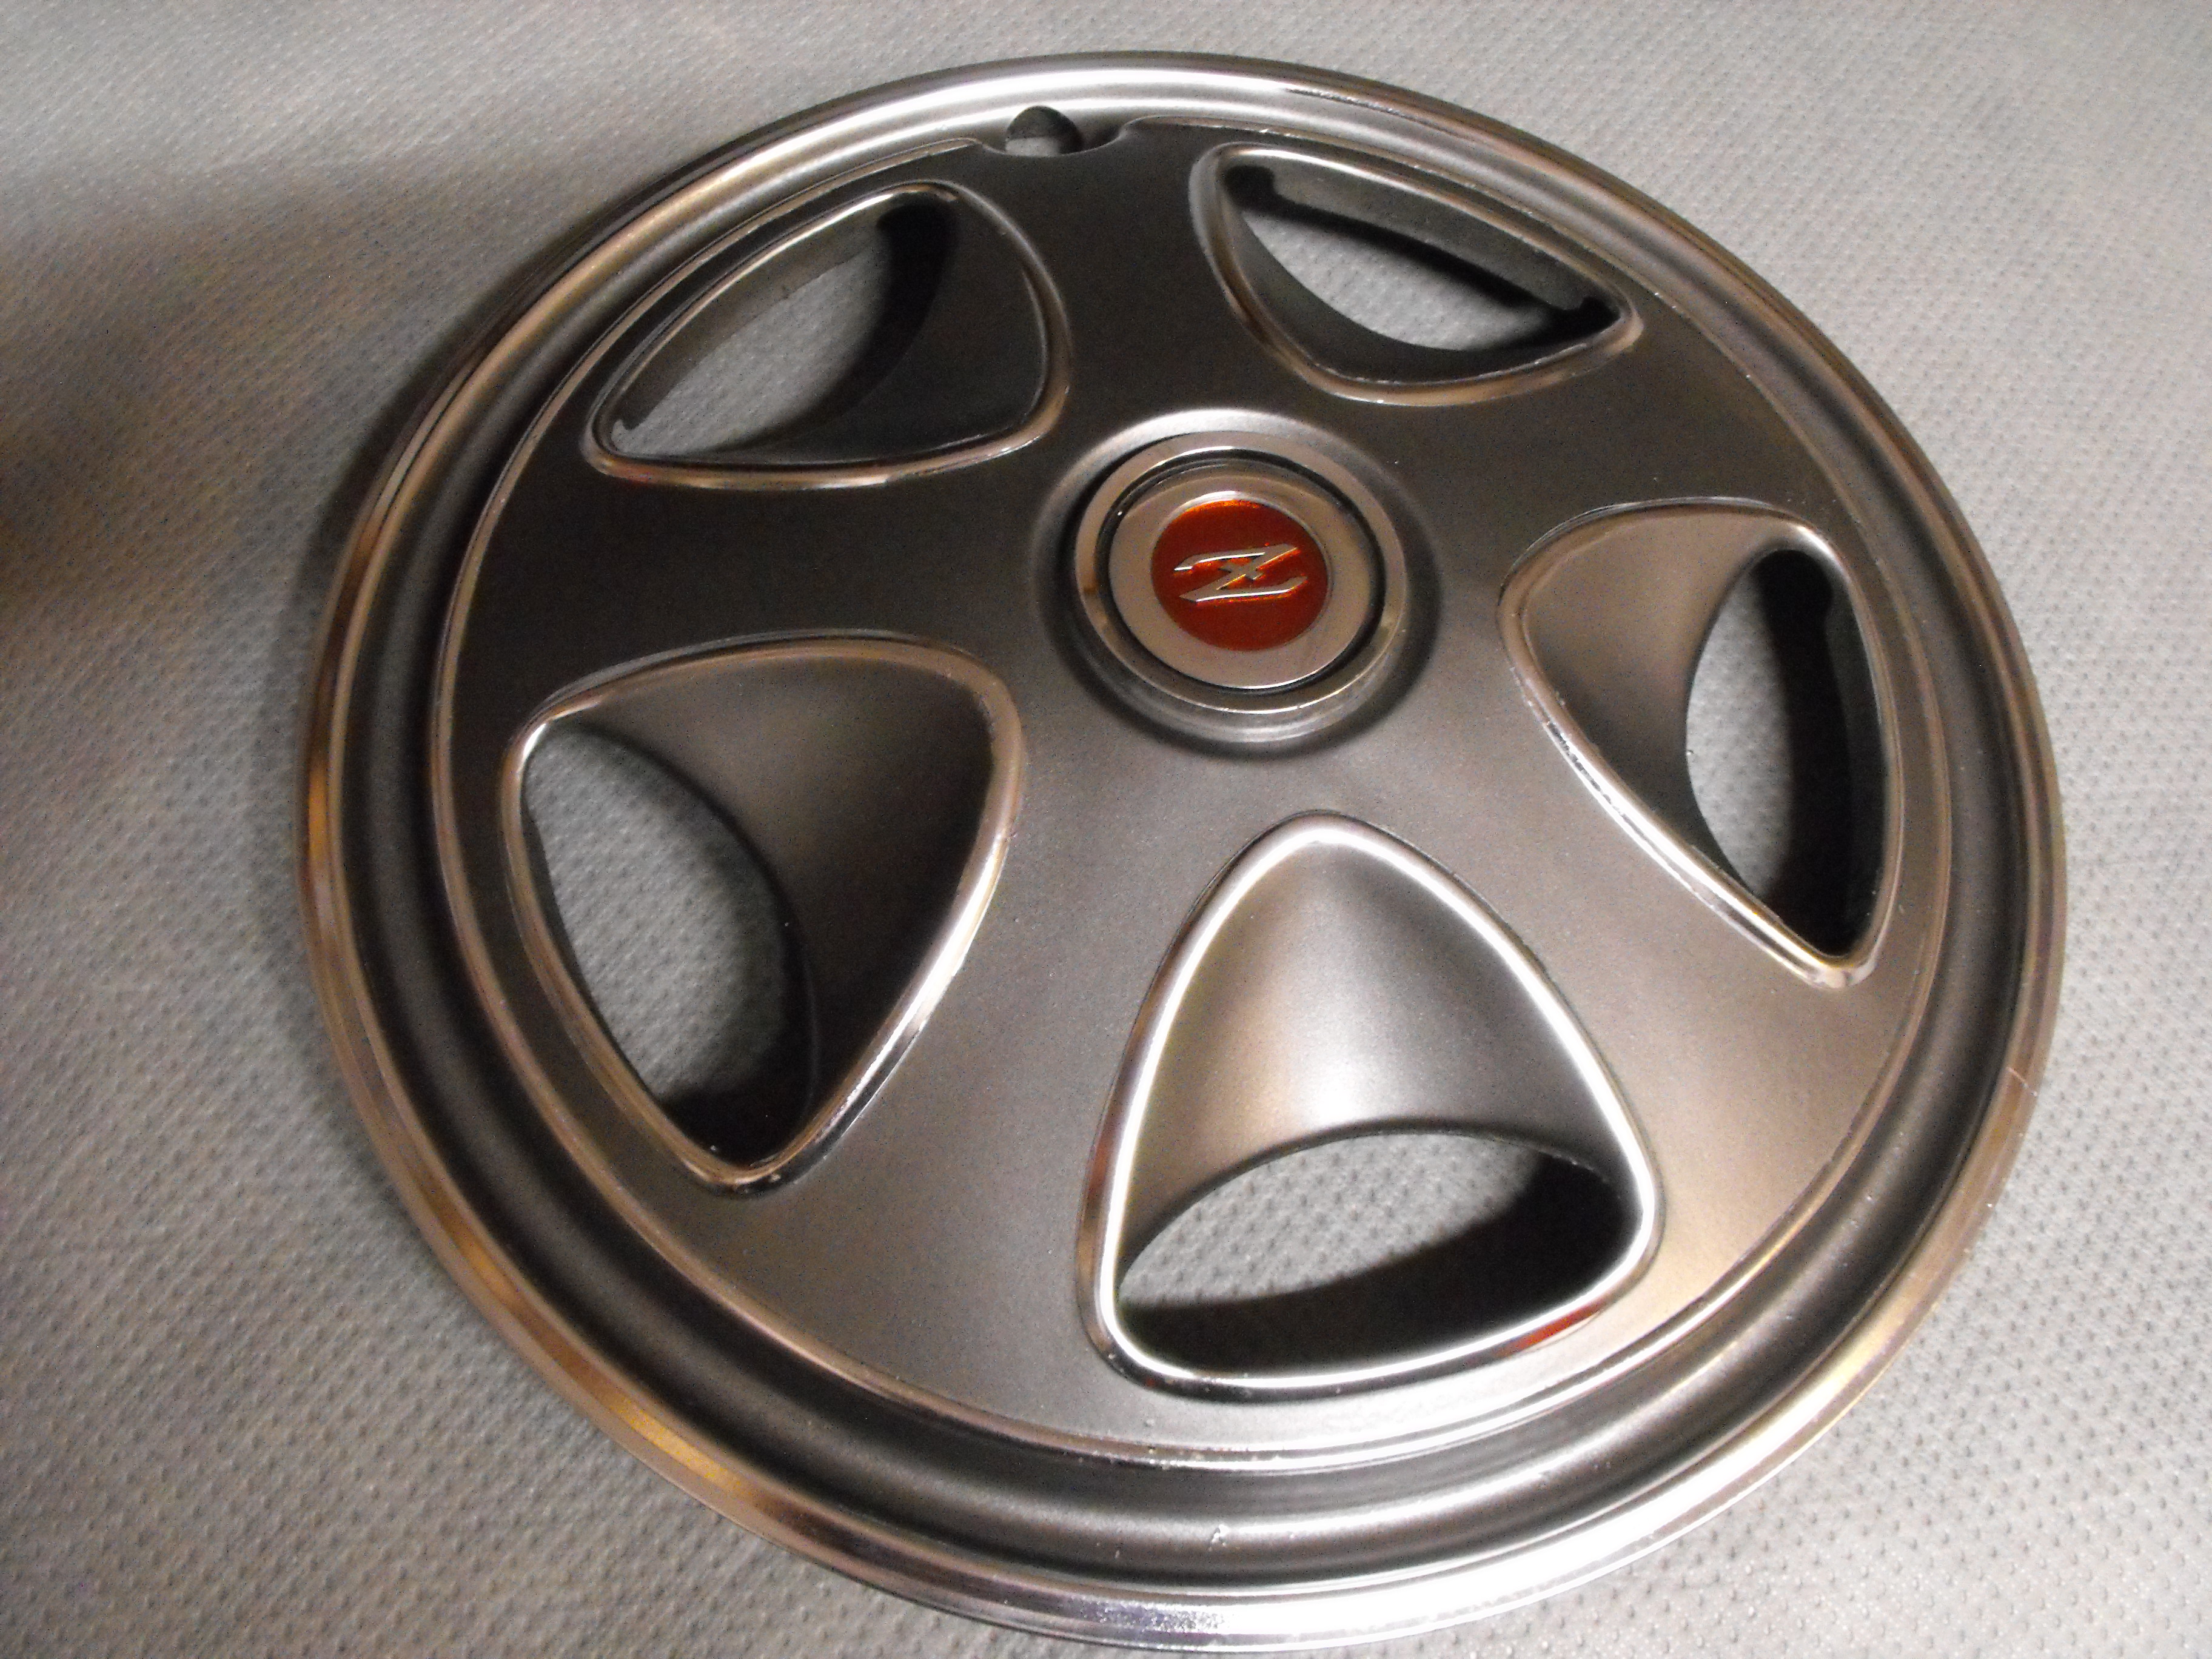
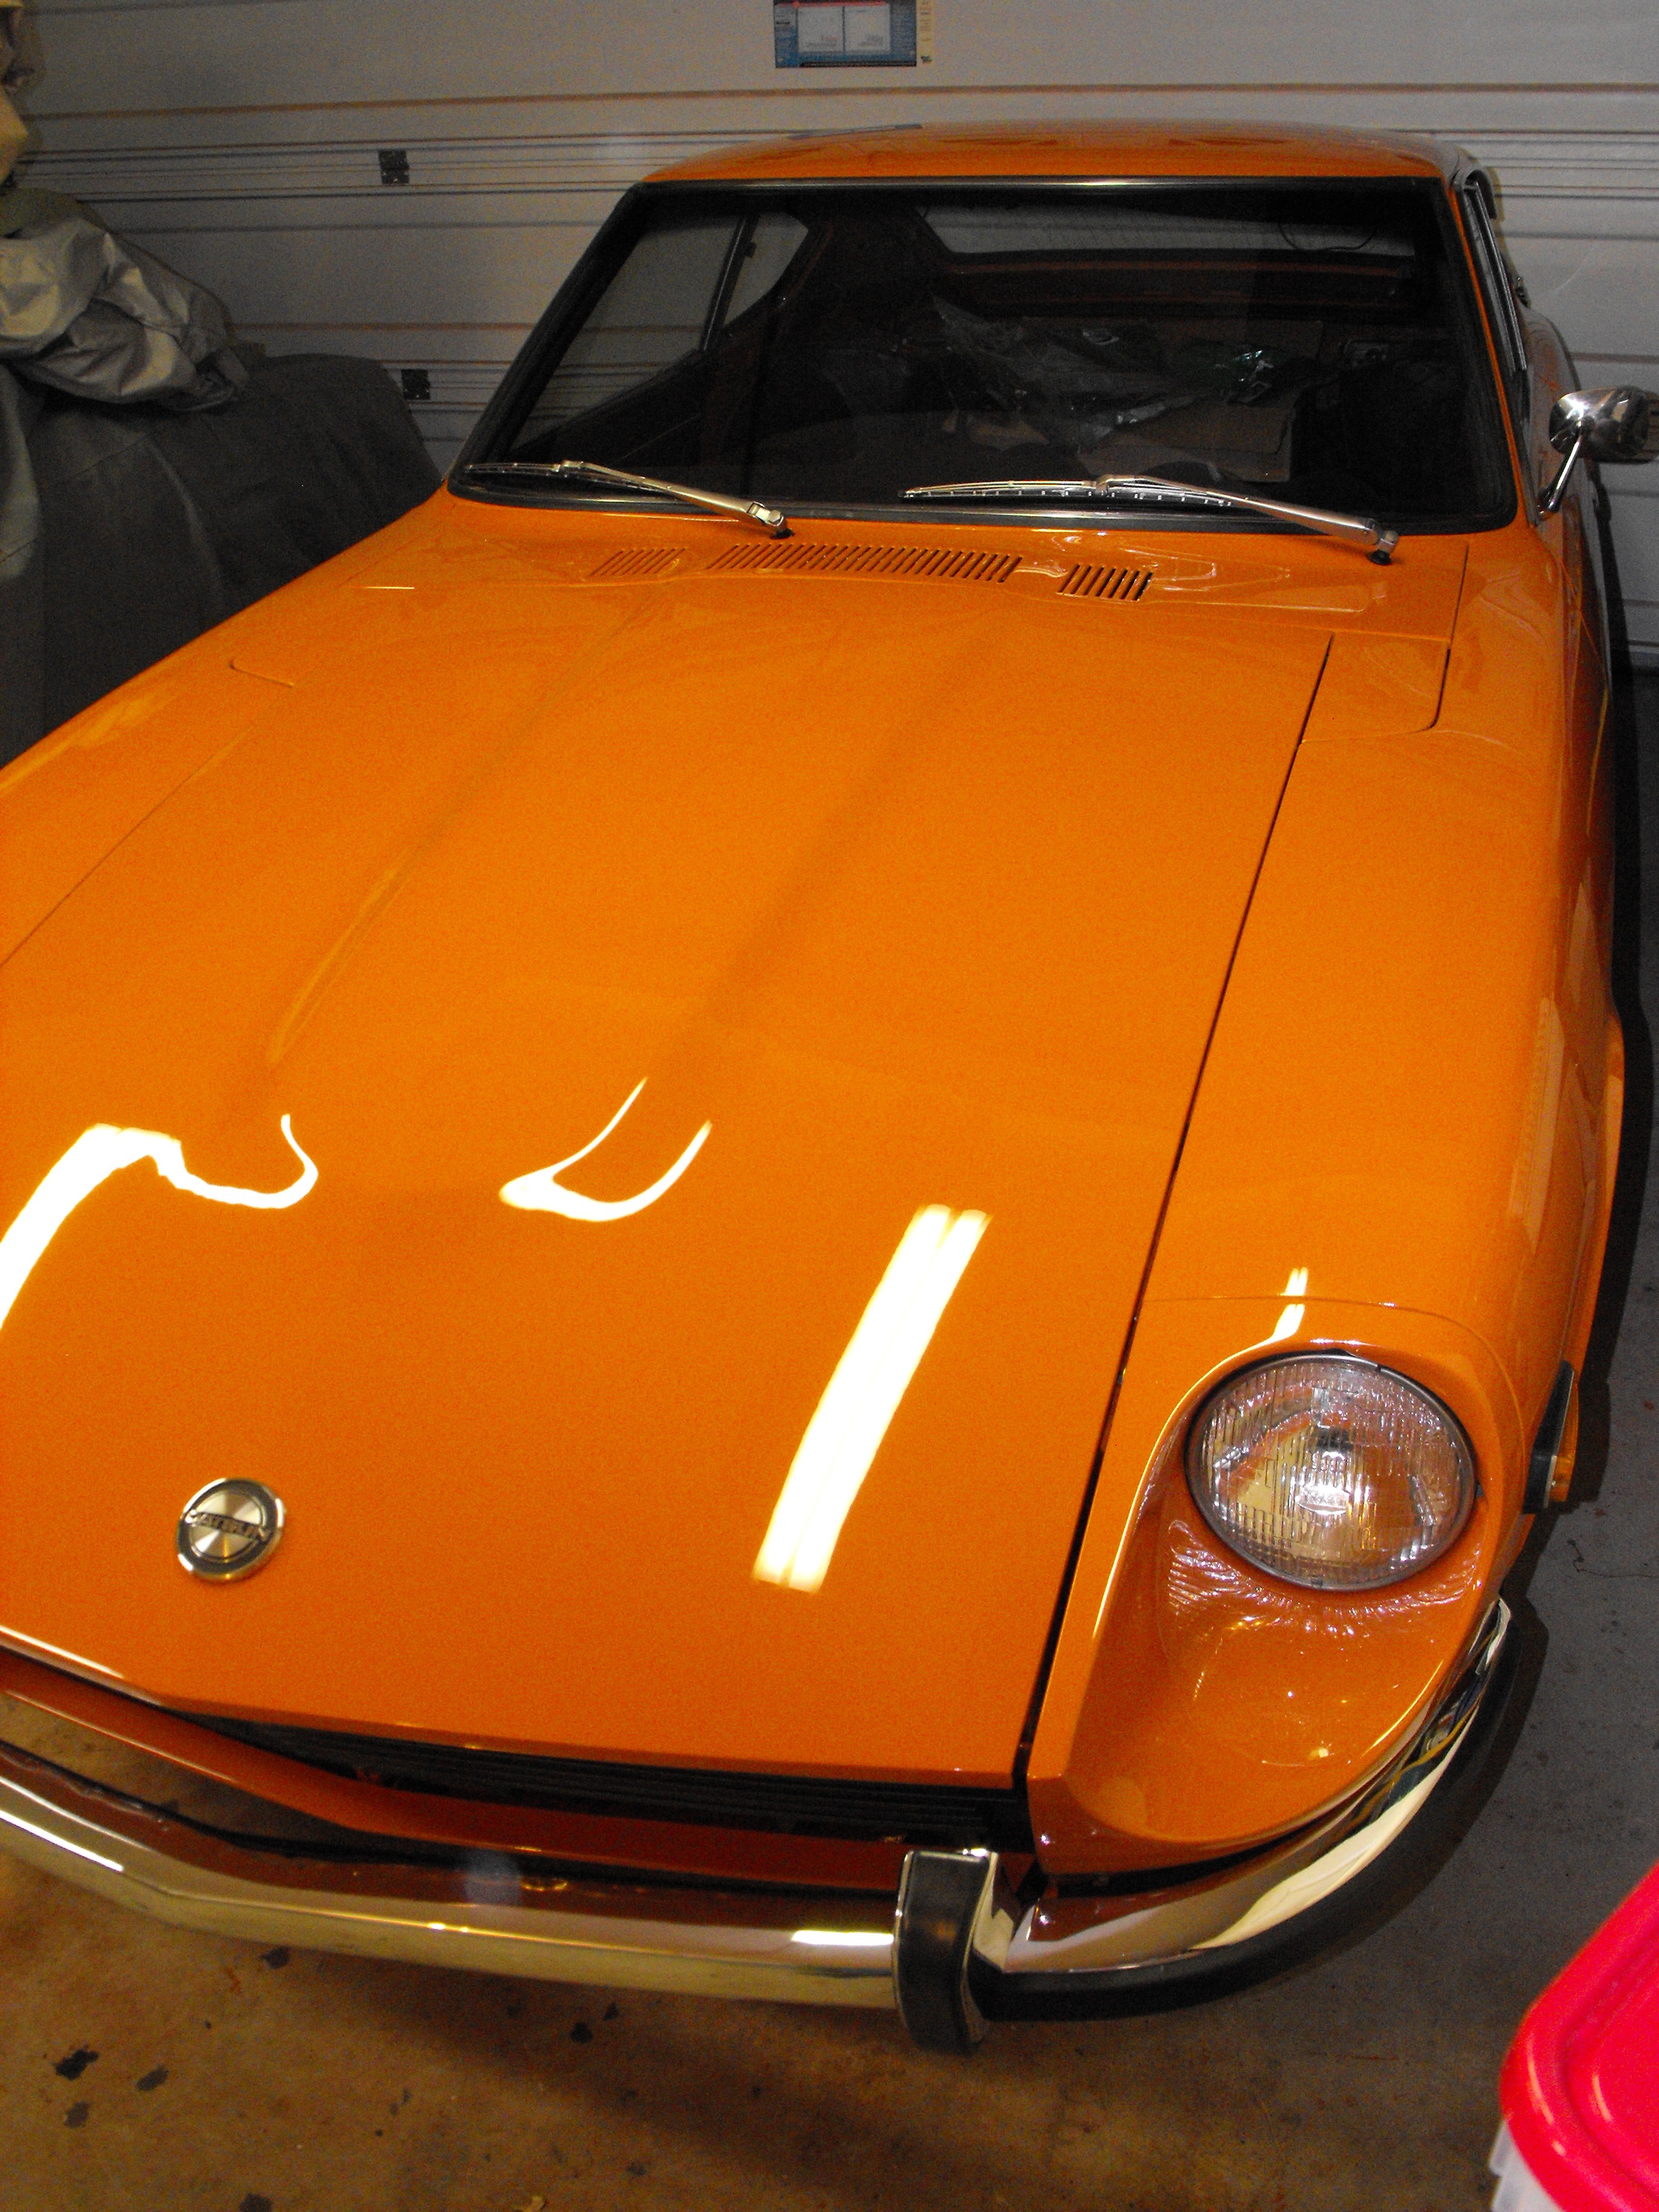
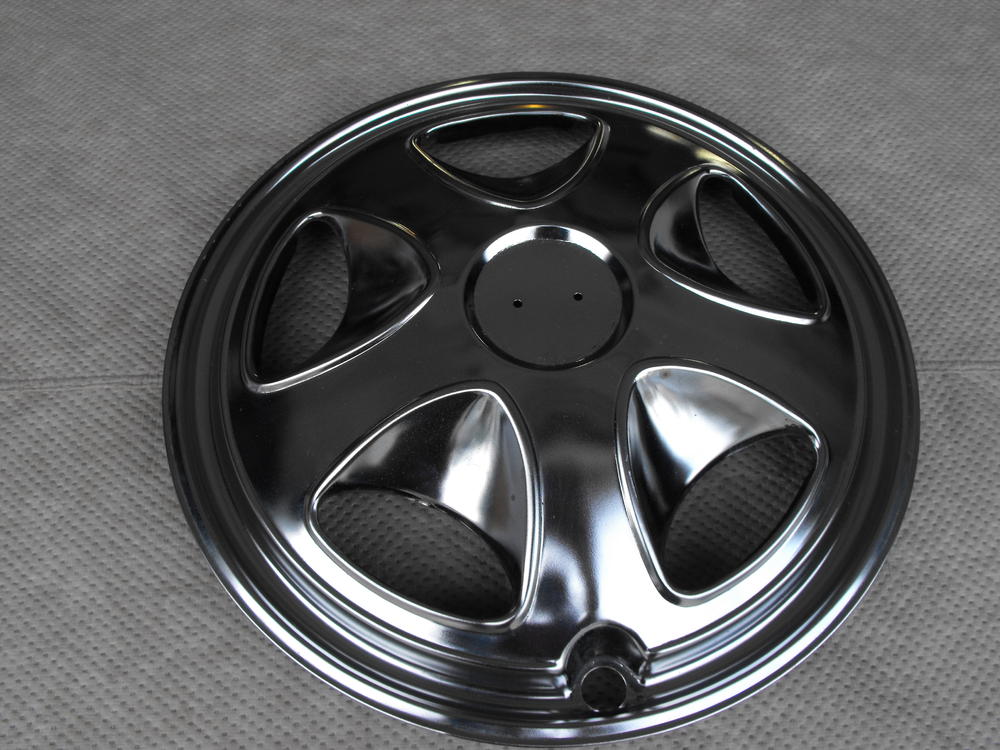
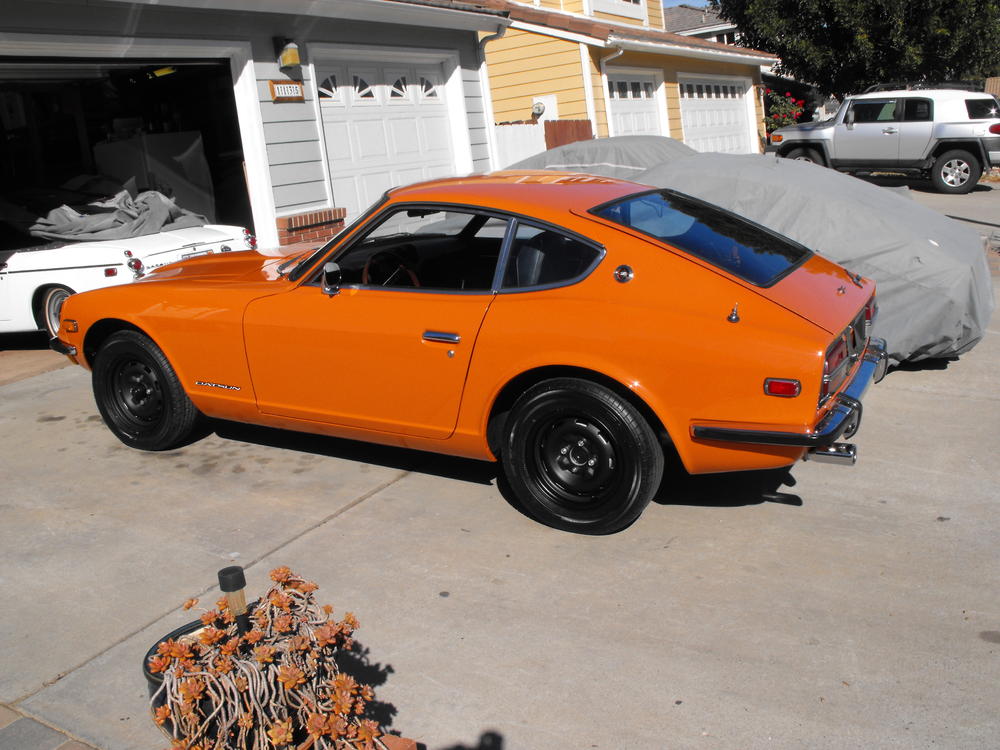
I finished the hubcaps and installed them. Also put in the new speaker. Took the car out for a small photo shoot. For some reason I thought the best conditions for photographs was with over cast skies, but I don't think that is the case here. Everything reflects off of the paint. Should have taken the photos when it was sunny..I guess. As you can tell, I am not really a skilled photographer. Anyway, here are a couple pics.


-
Yes, she's a beauty! Very well preserved. Original equipment is always very nice to see.
-
-
-
-
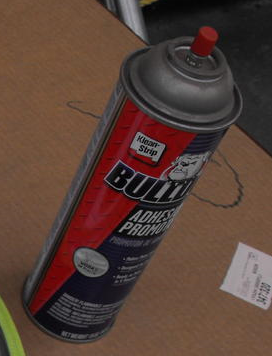
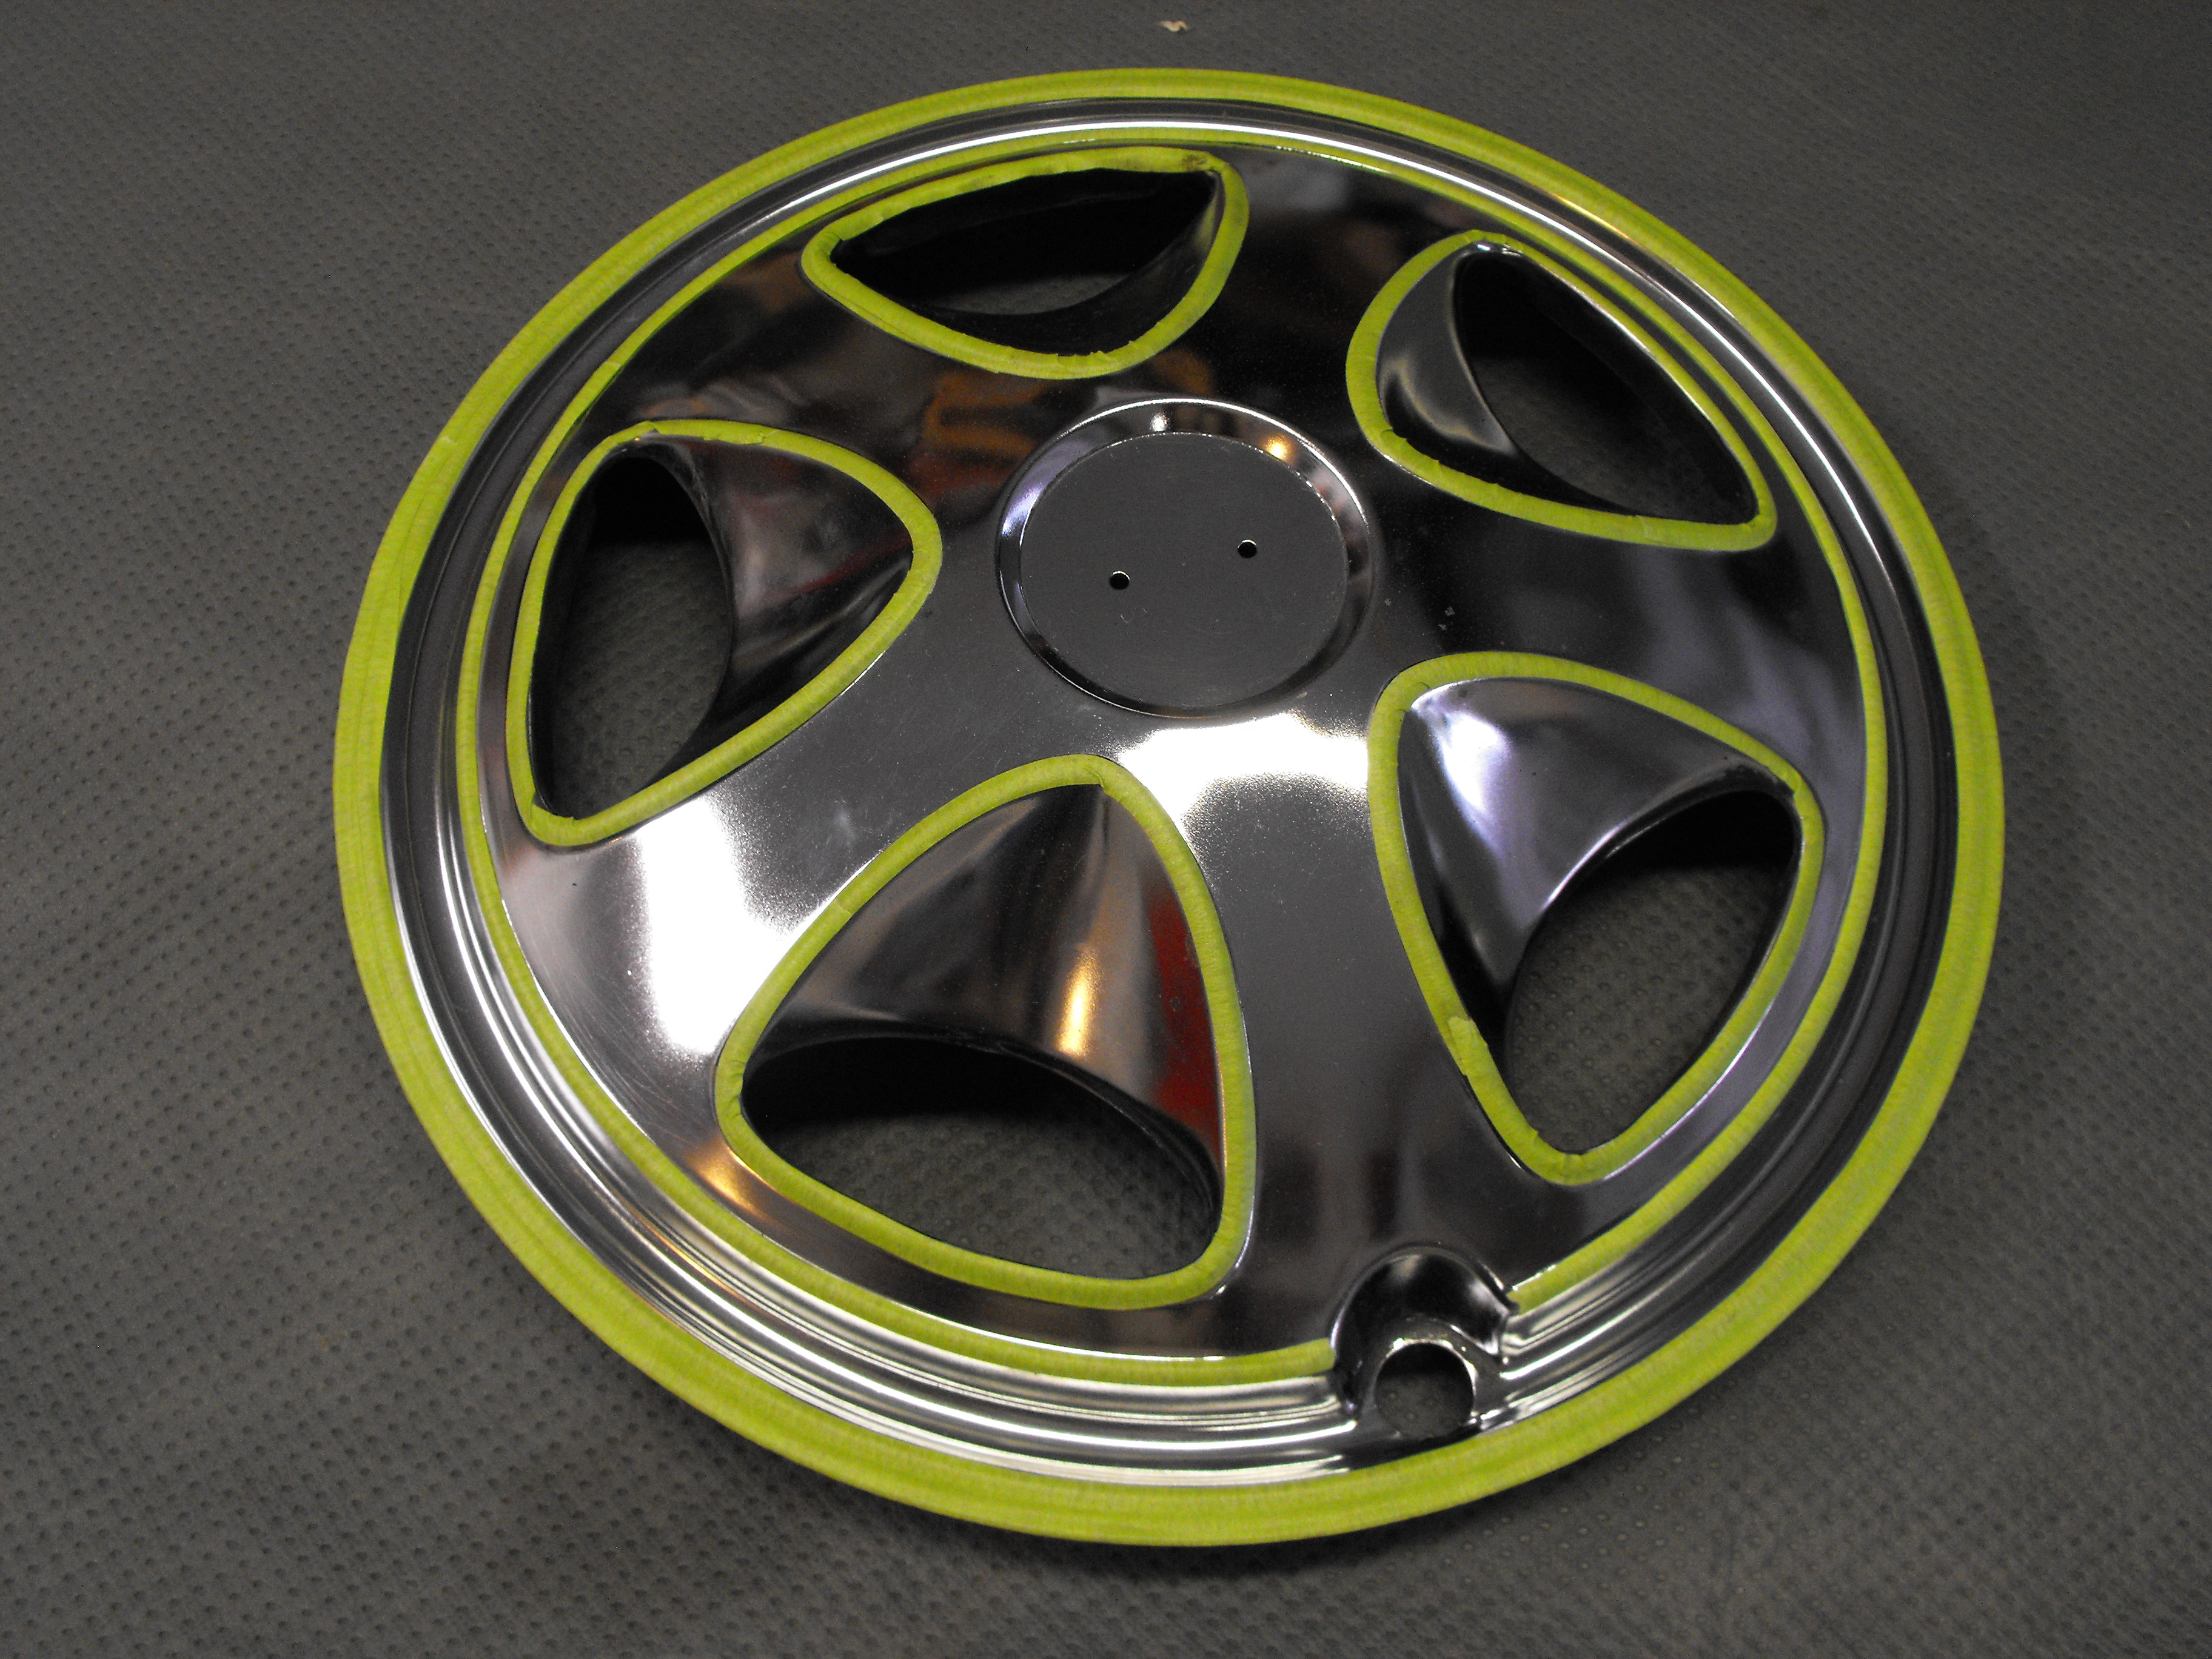
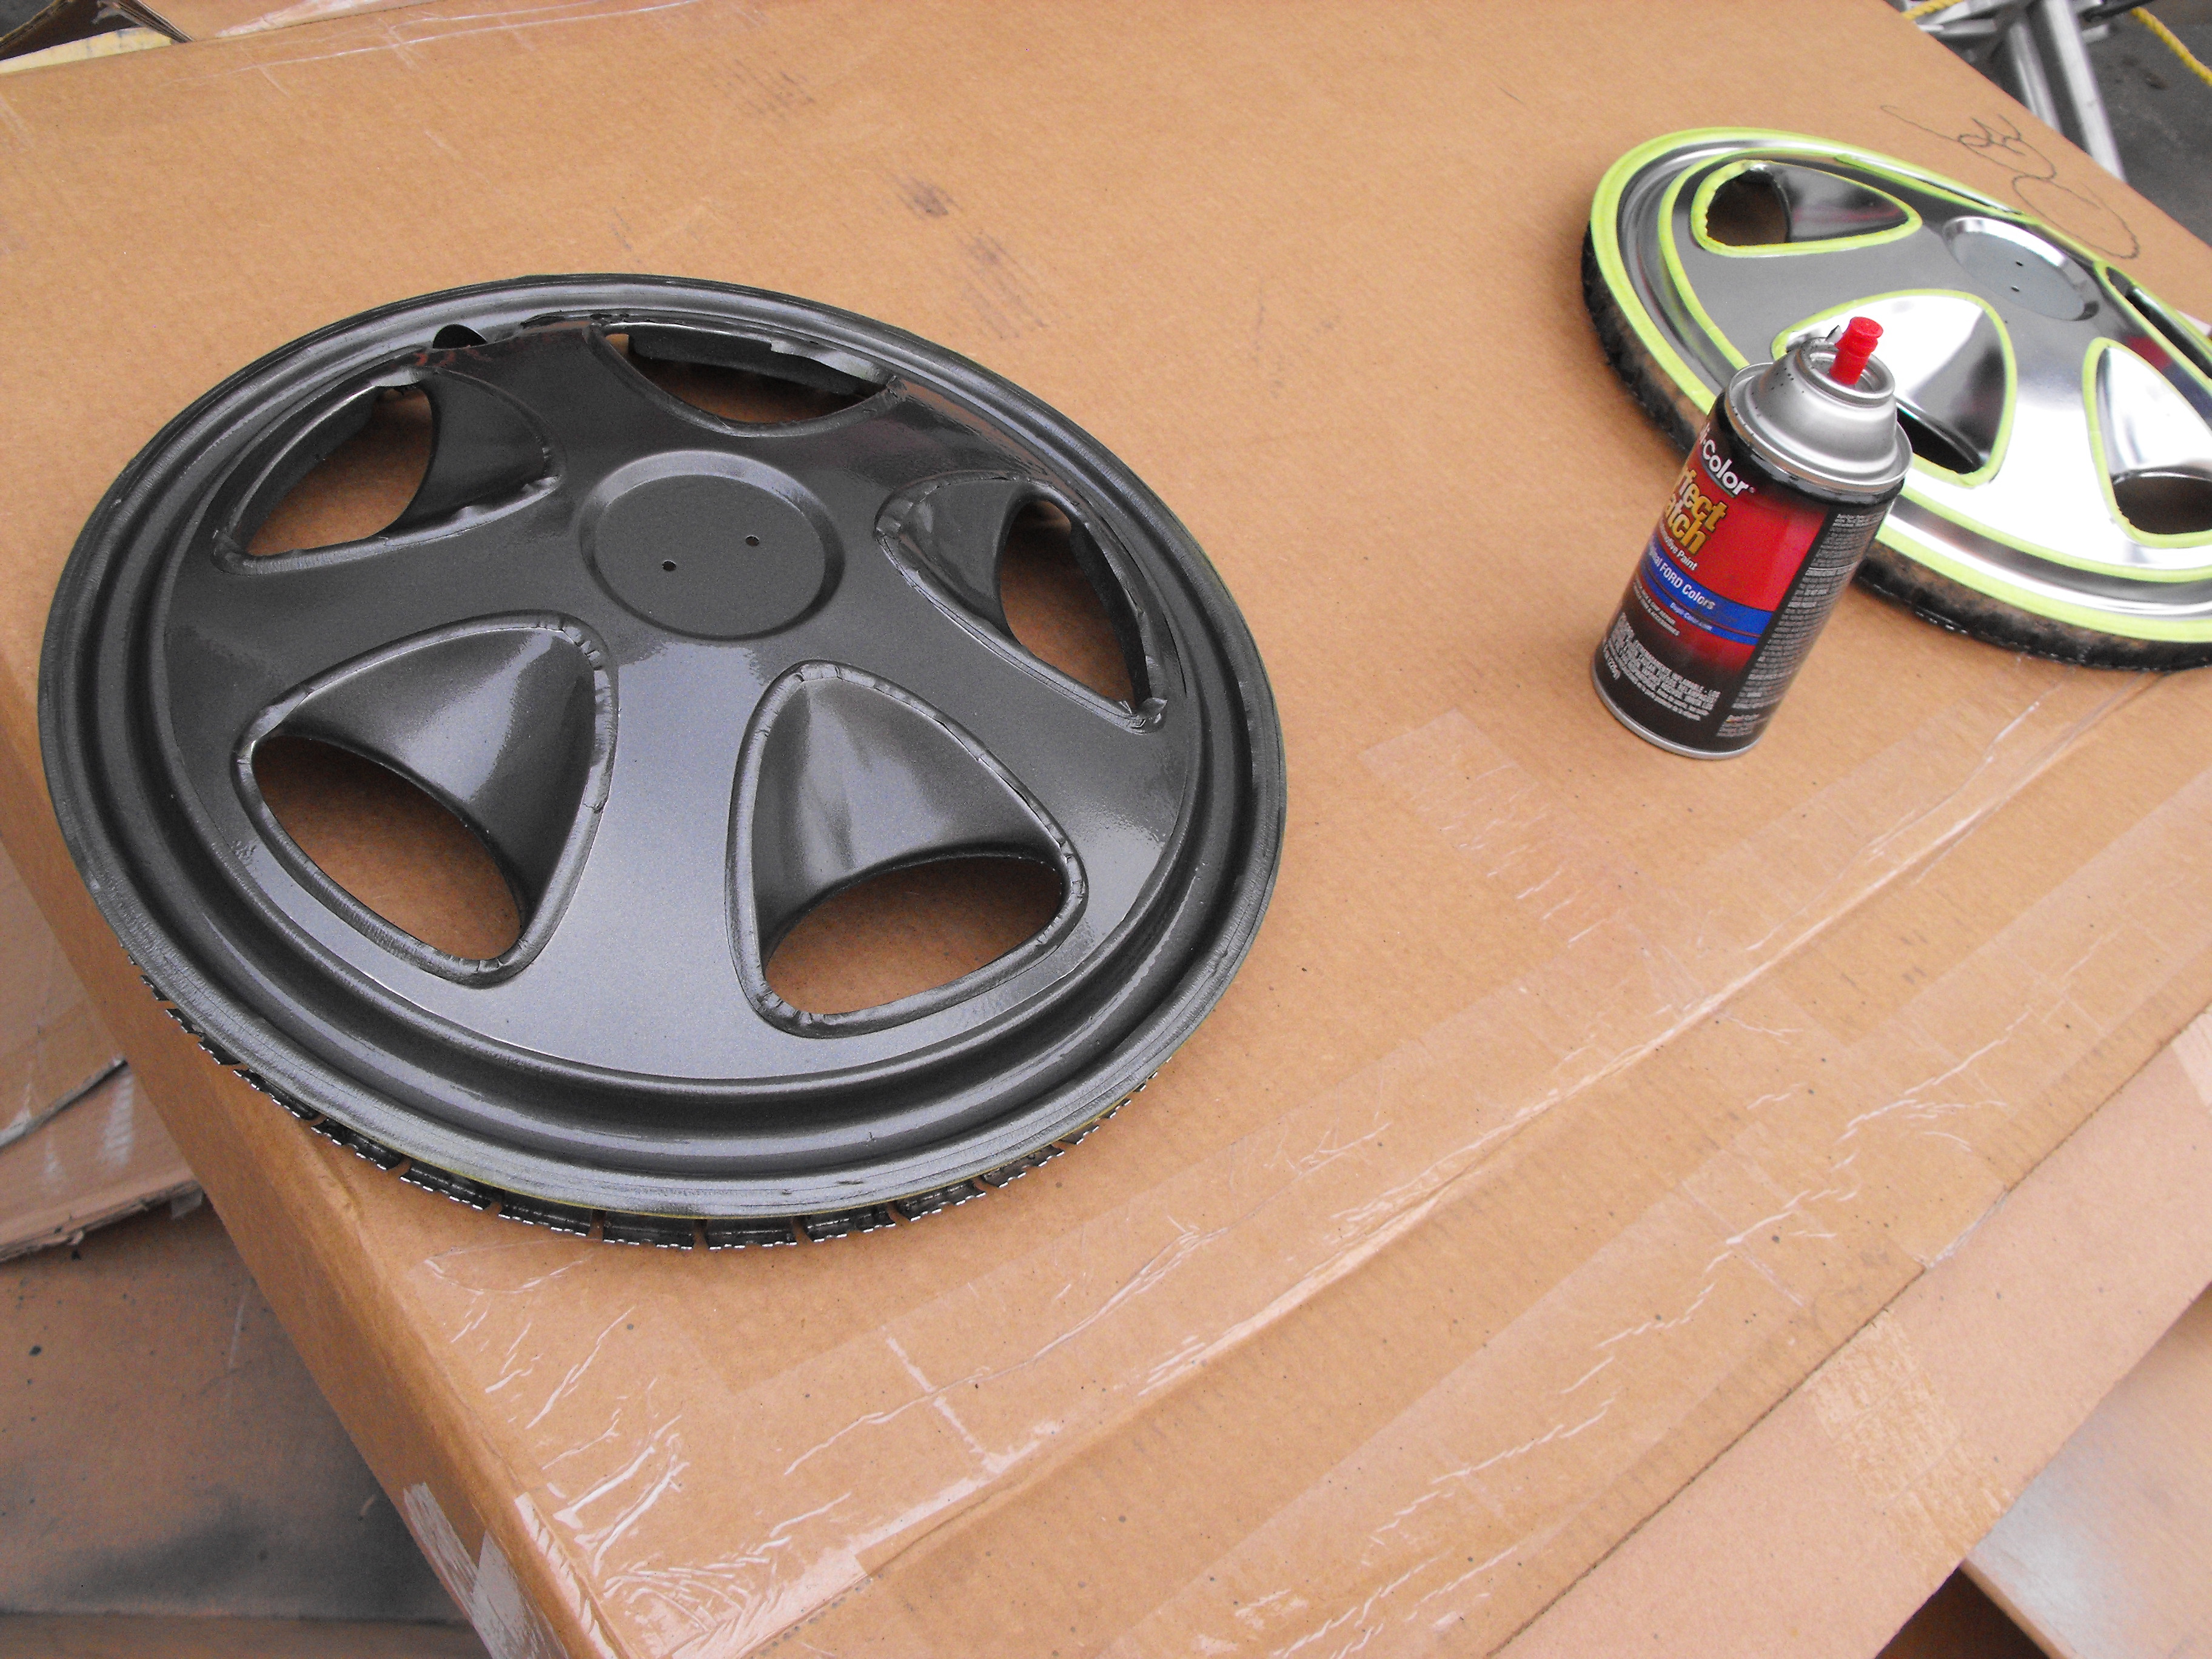
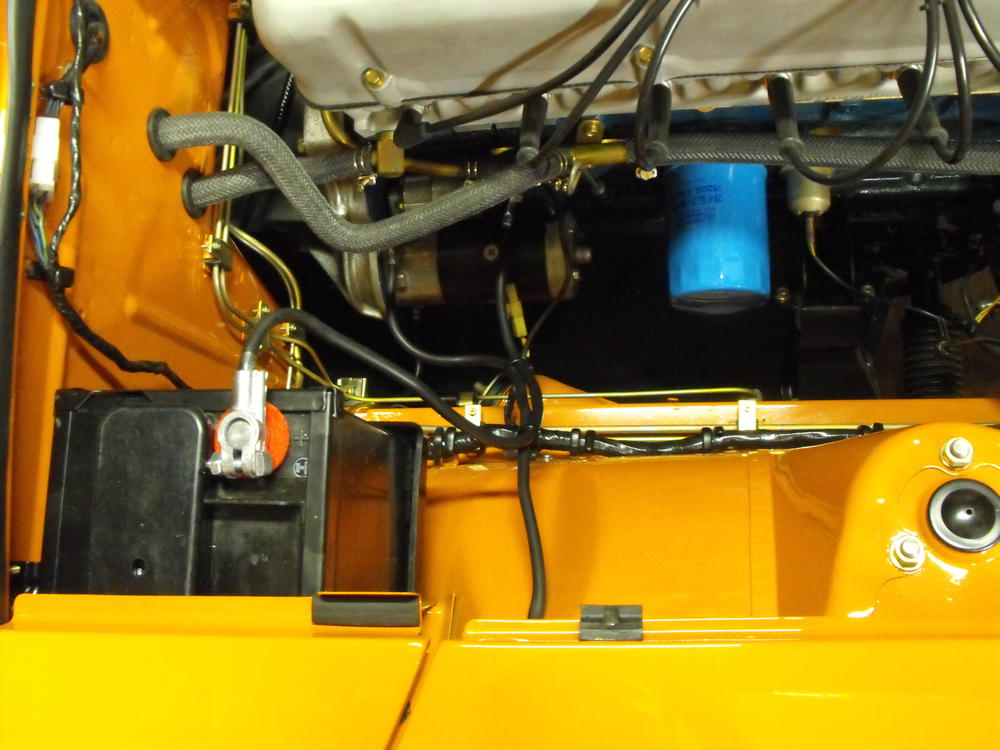
Yes, nice to have the correct battery cables in. So much nicer. I stripped all of the hubcaps and prepped a couple for paint with the green tape. Unfortunately I ran out of paint, so will order some more from Amazon. The first one came out nice.


-
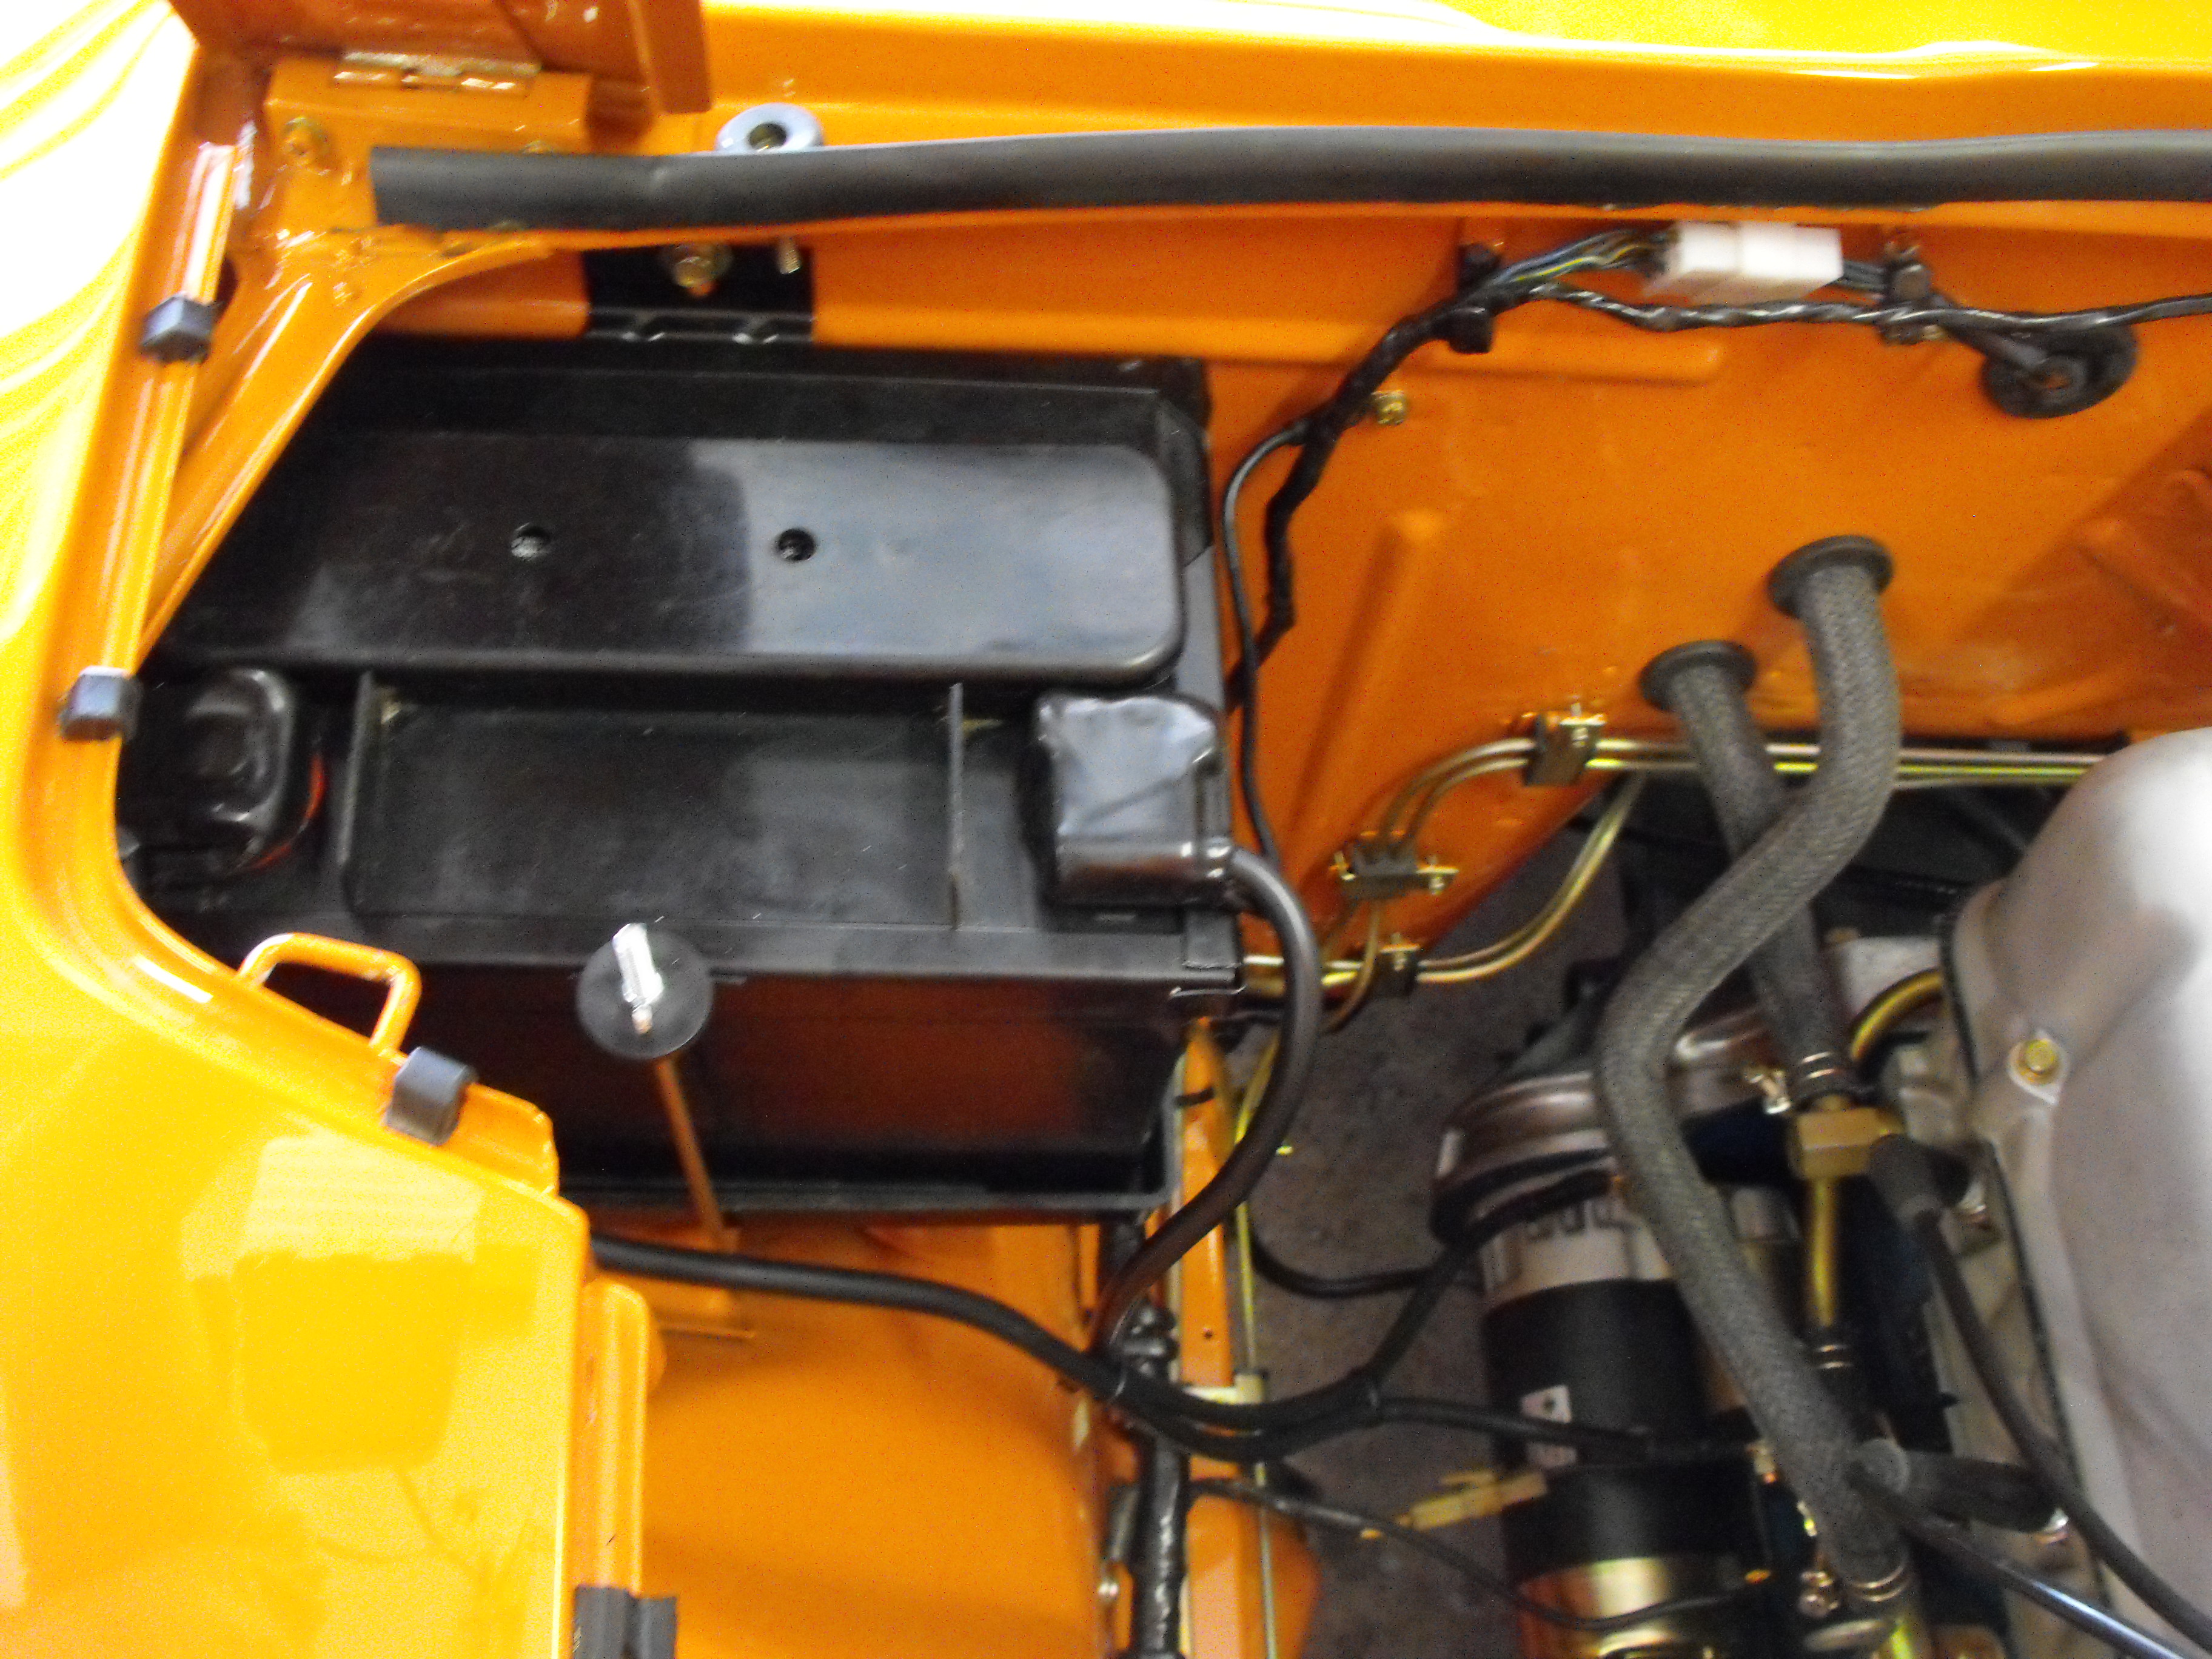
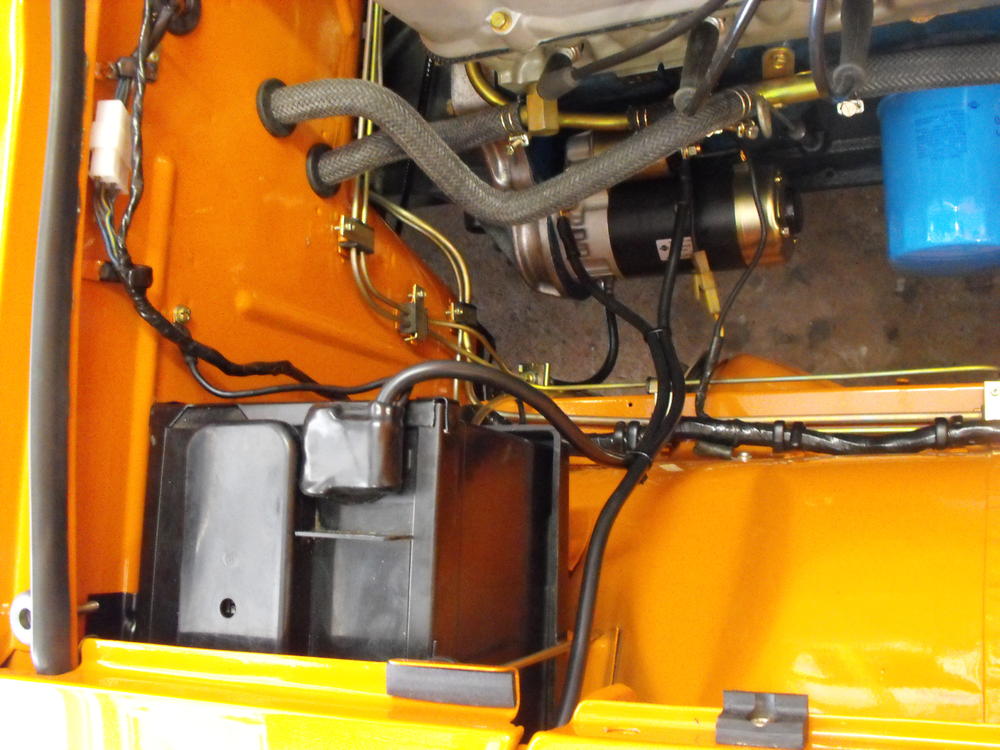
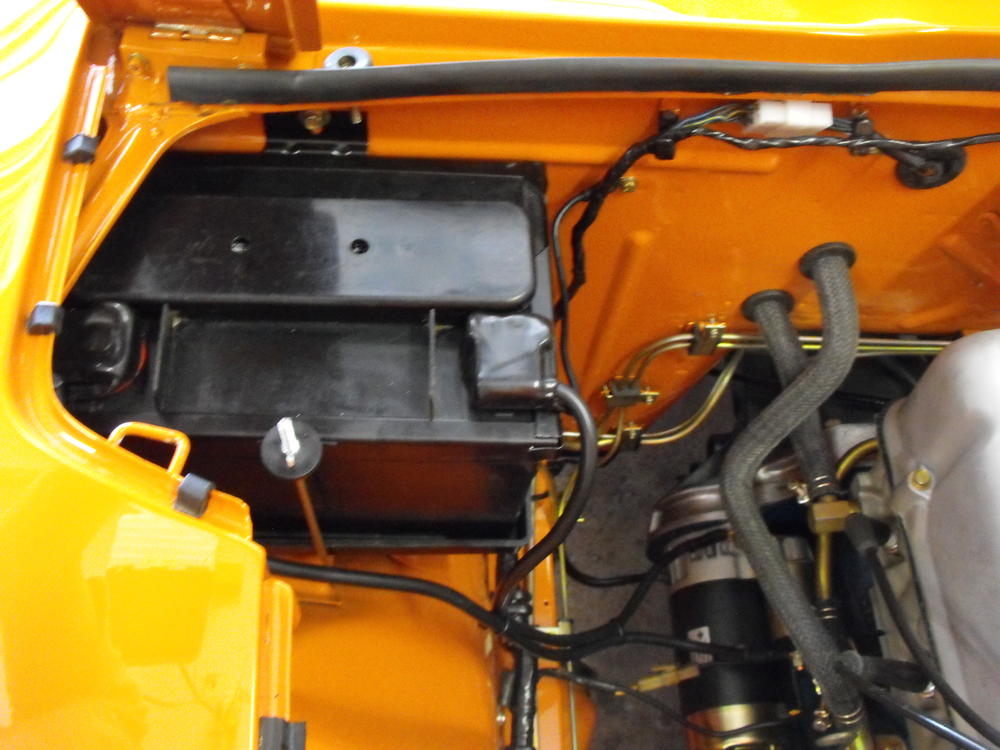
Here are the new battery cables installed. The ty-wraps are not stock, but it looks a bit nicer this way.
-
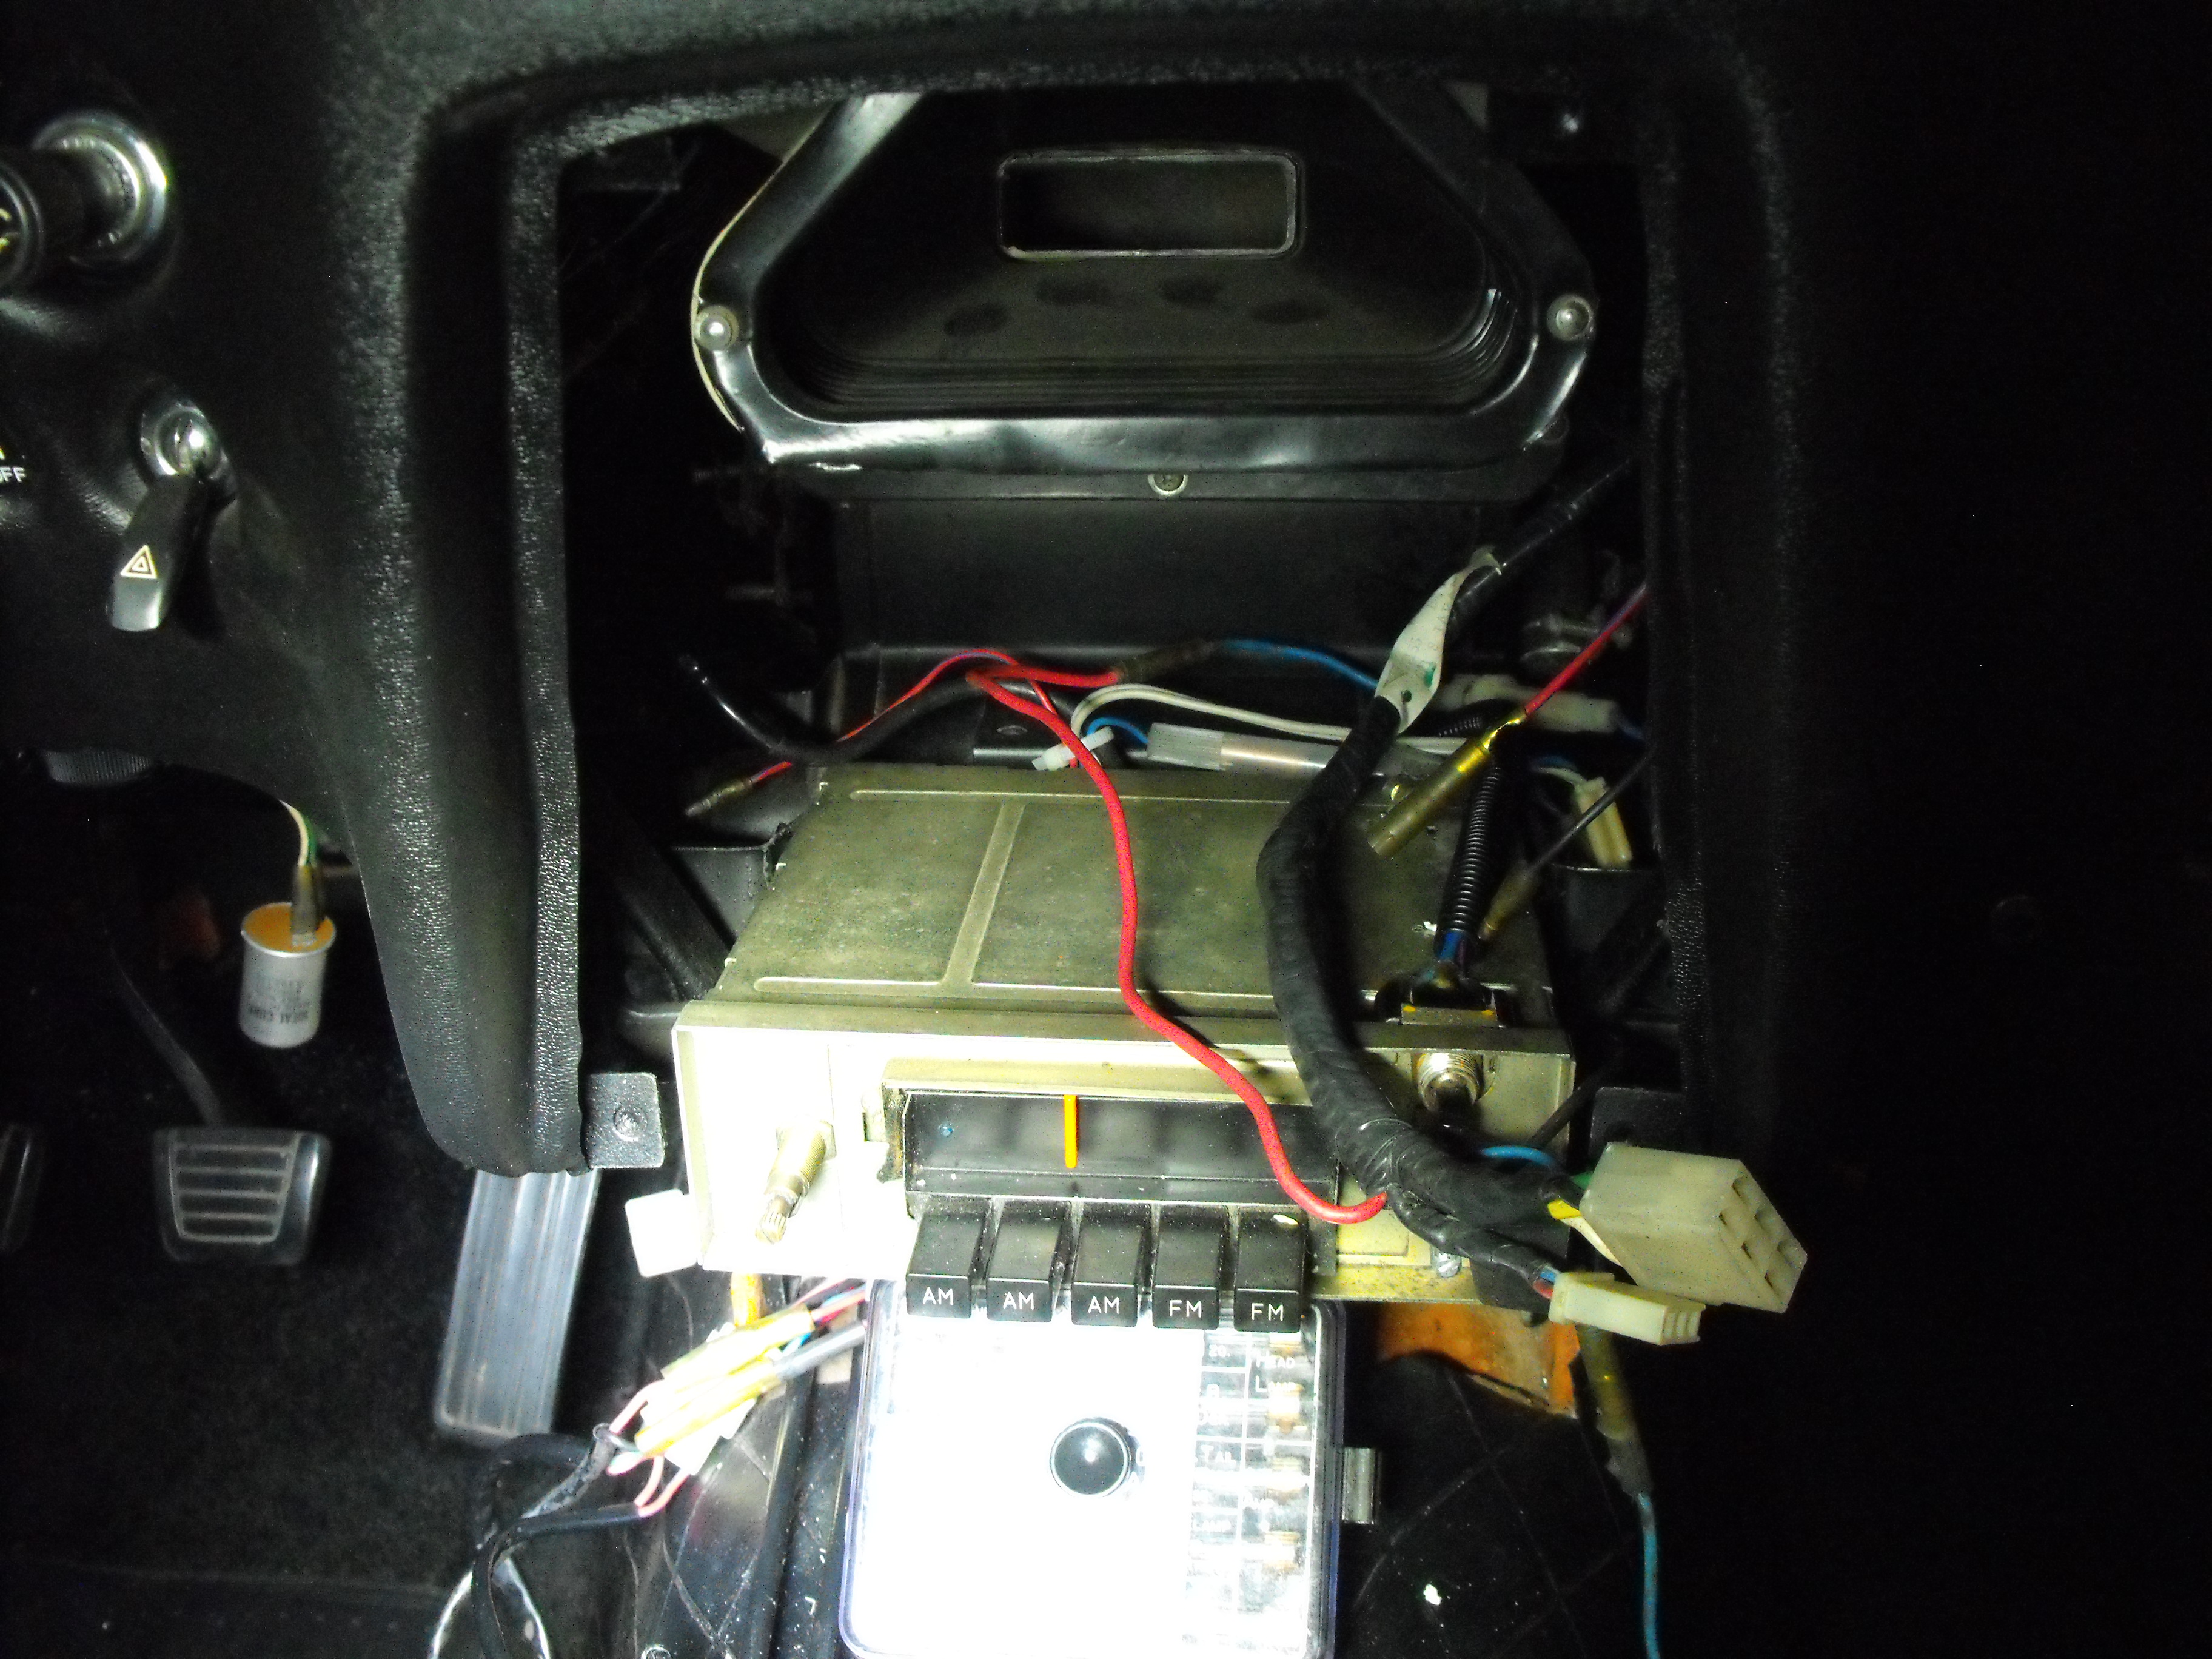
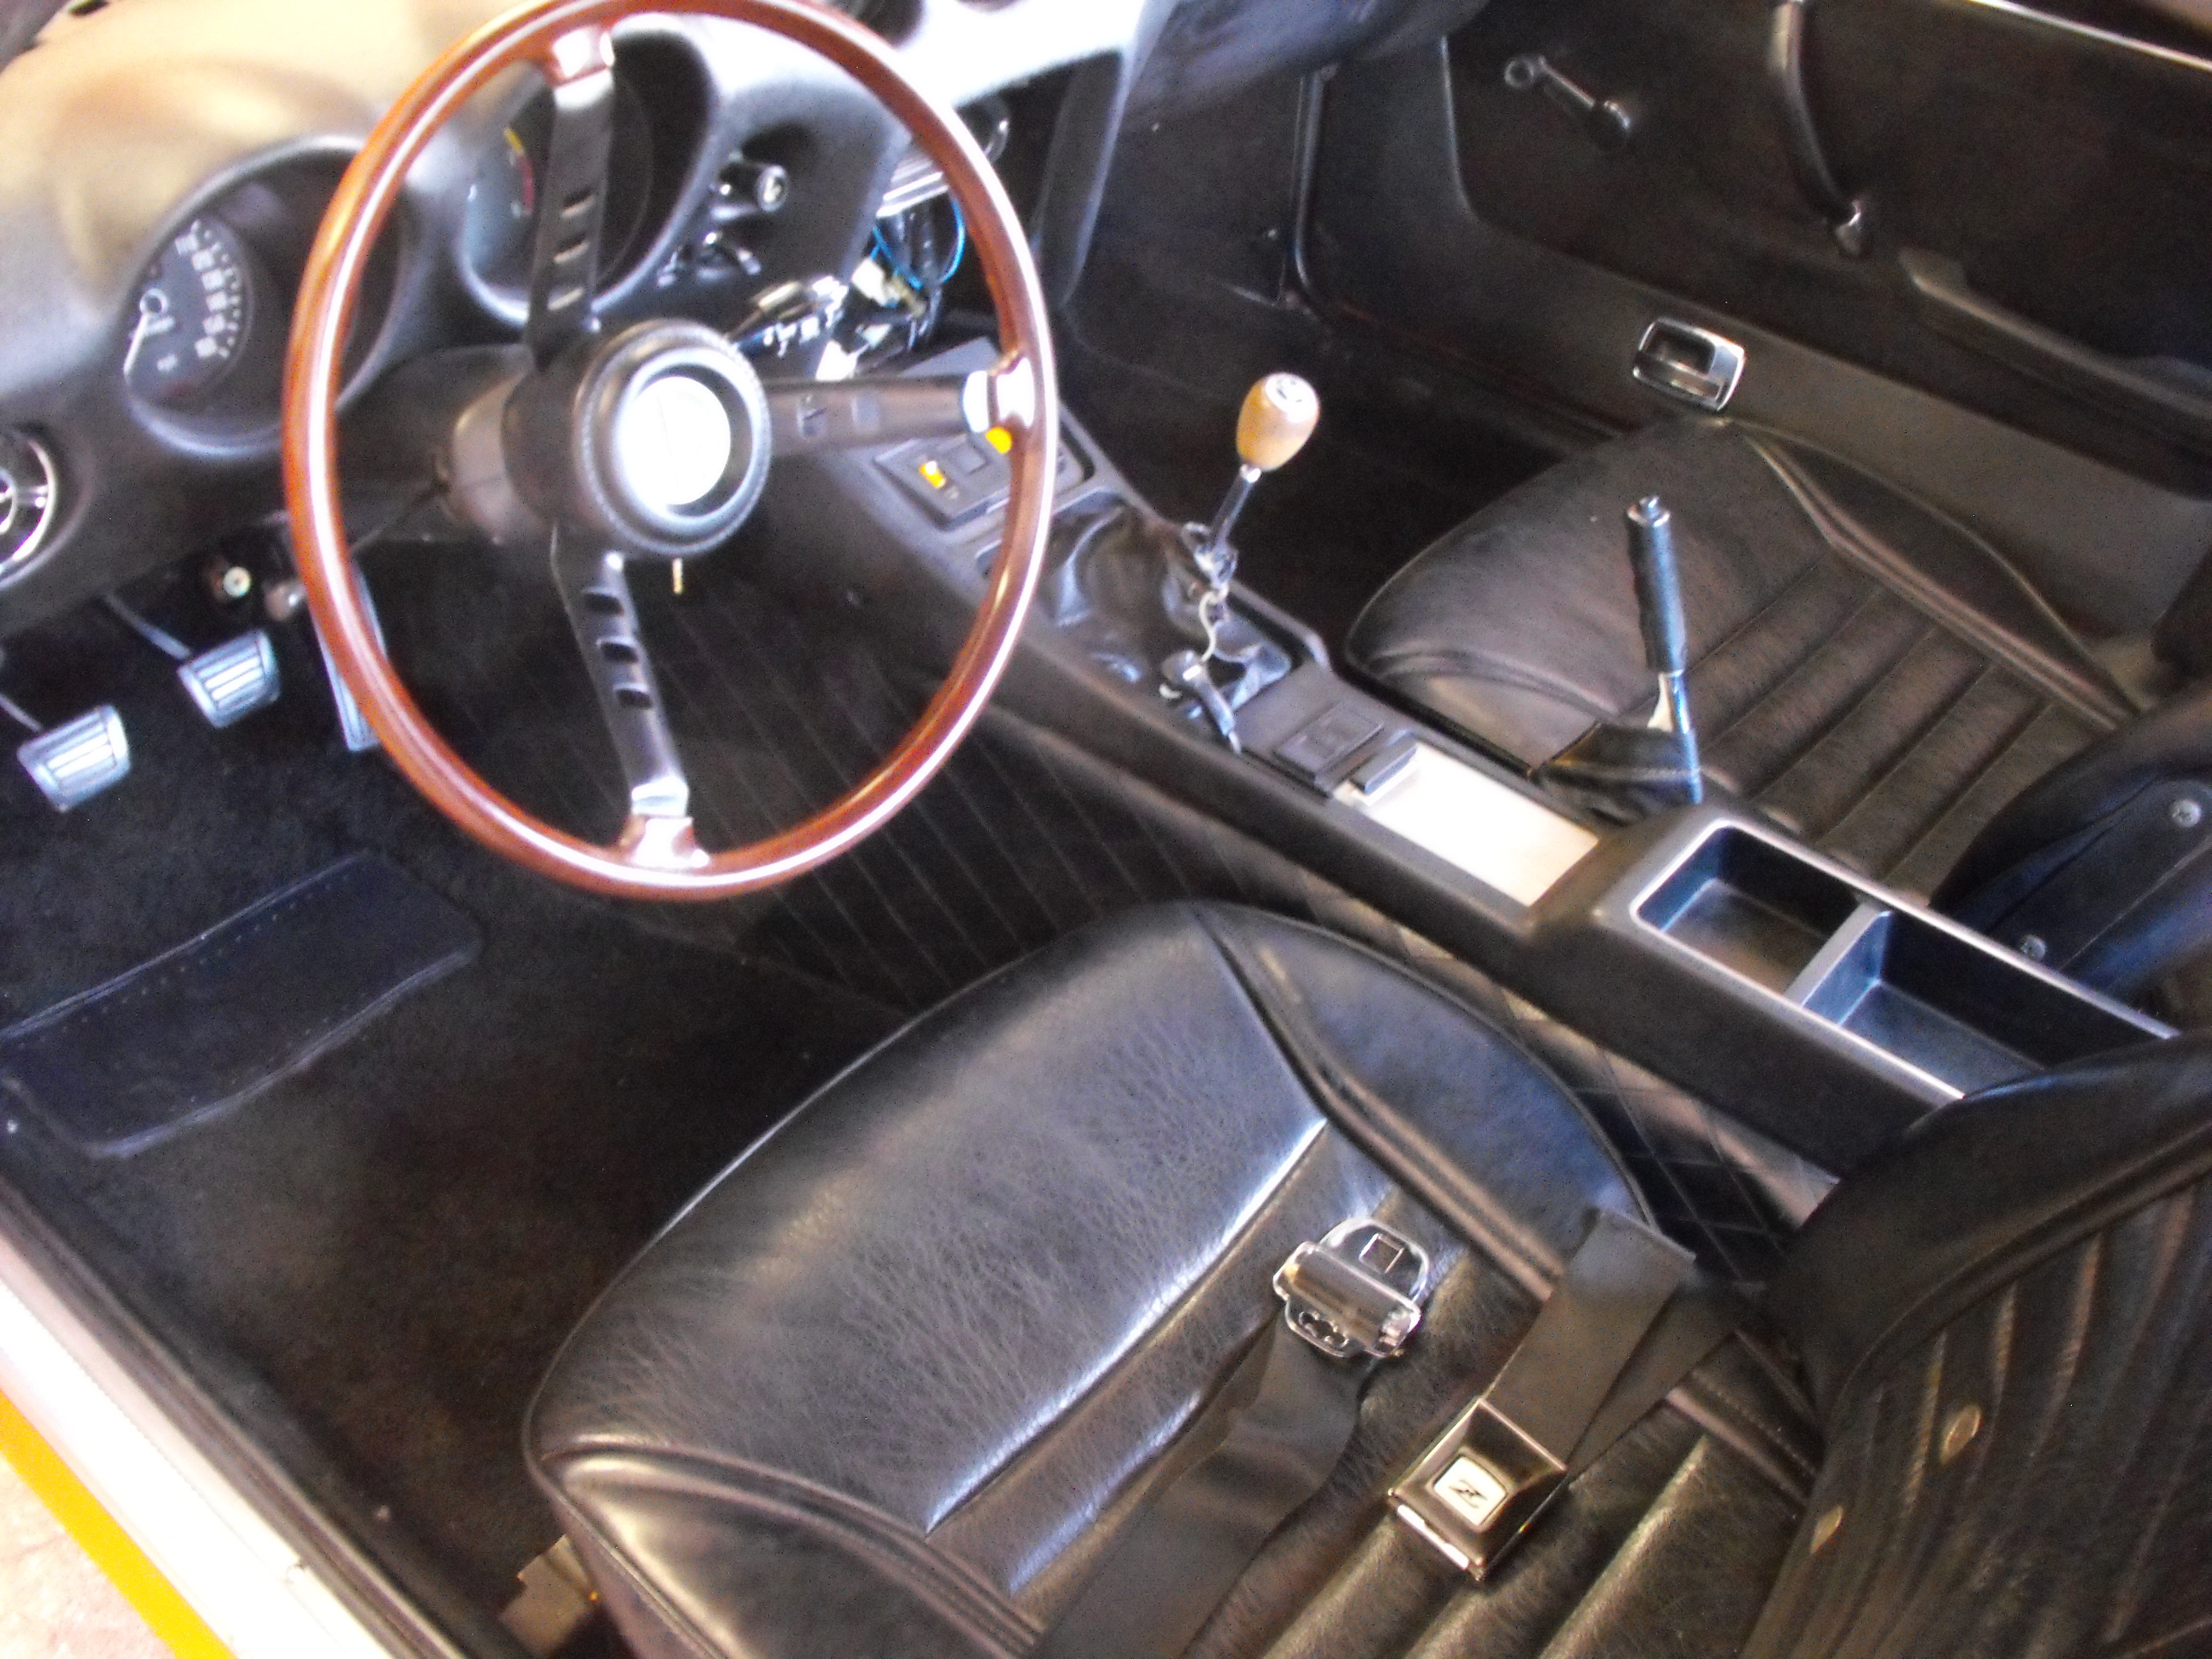
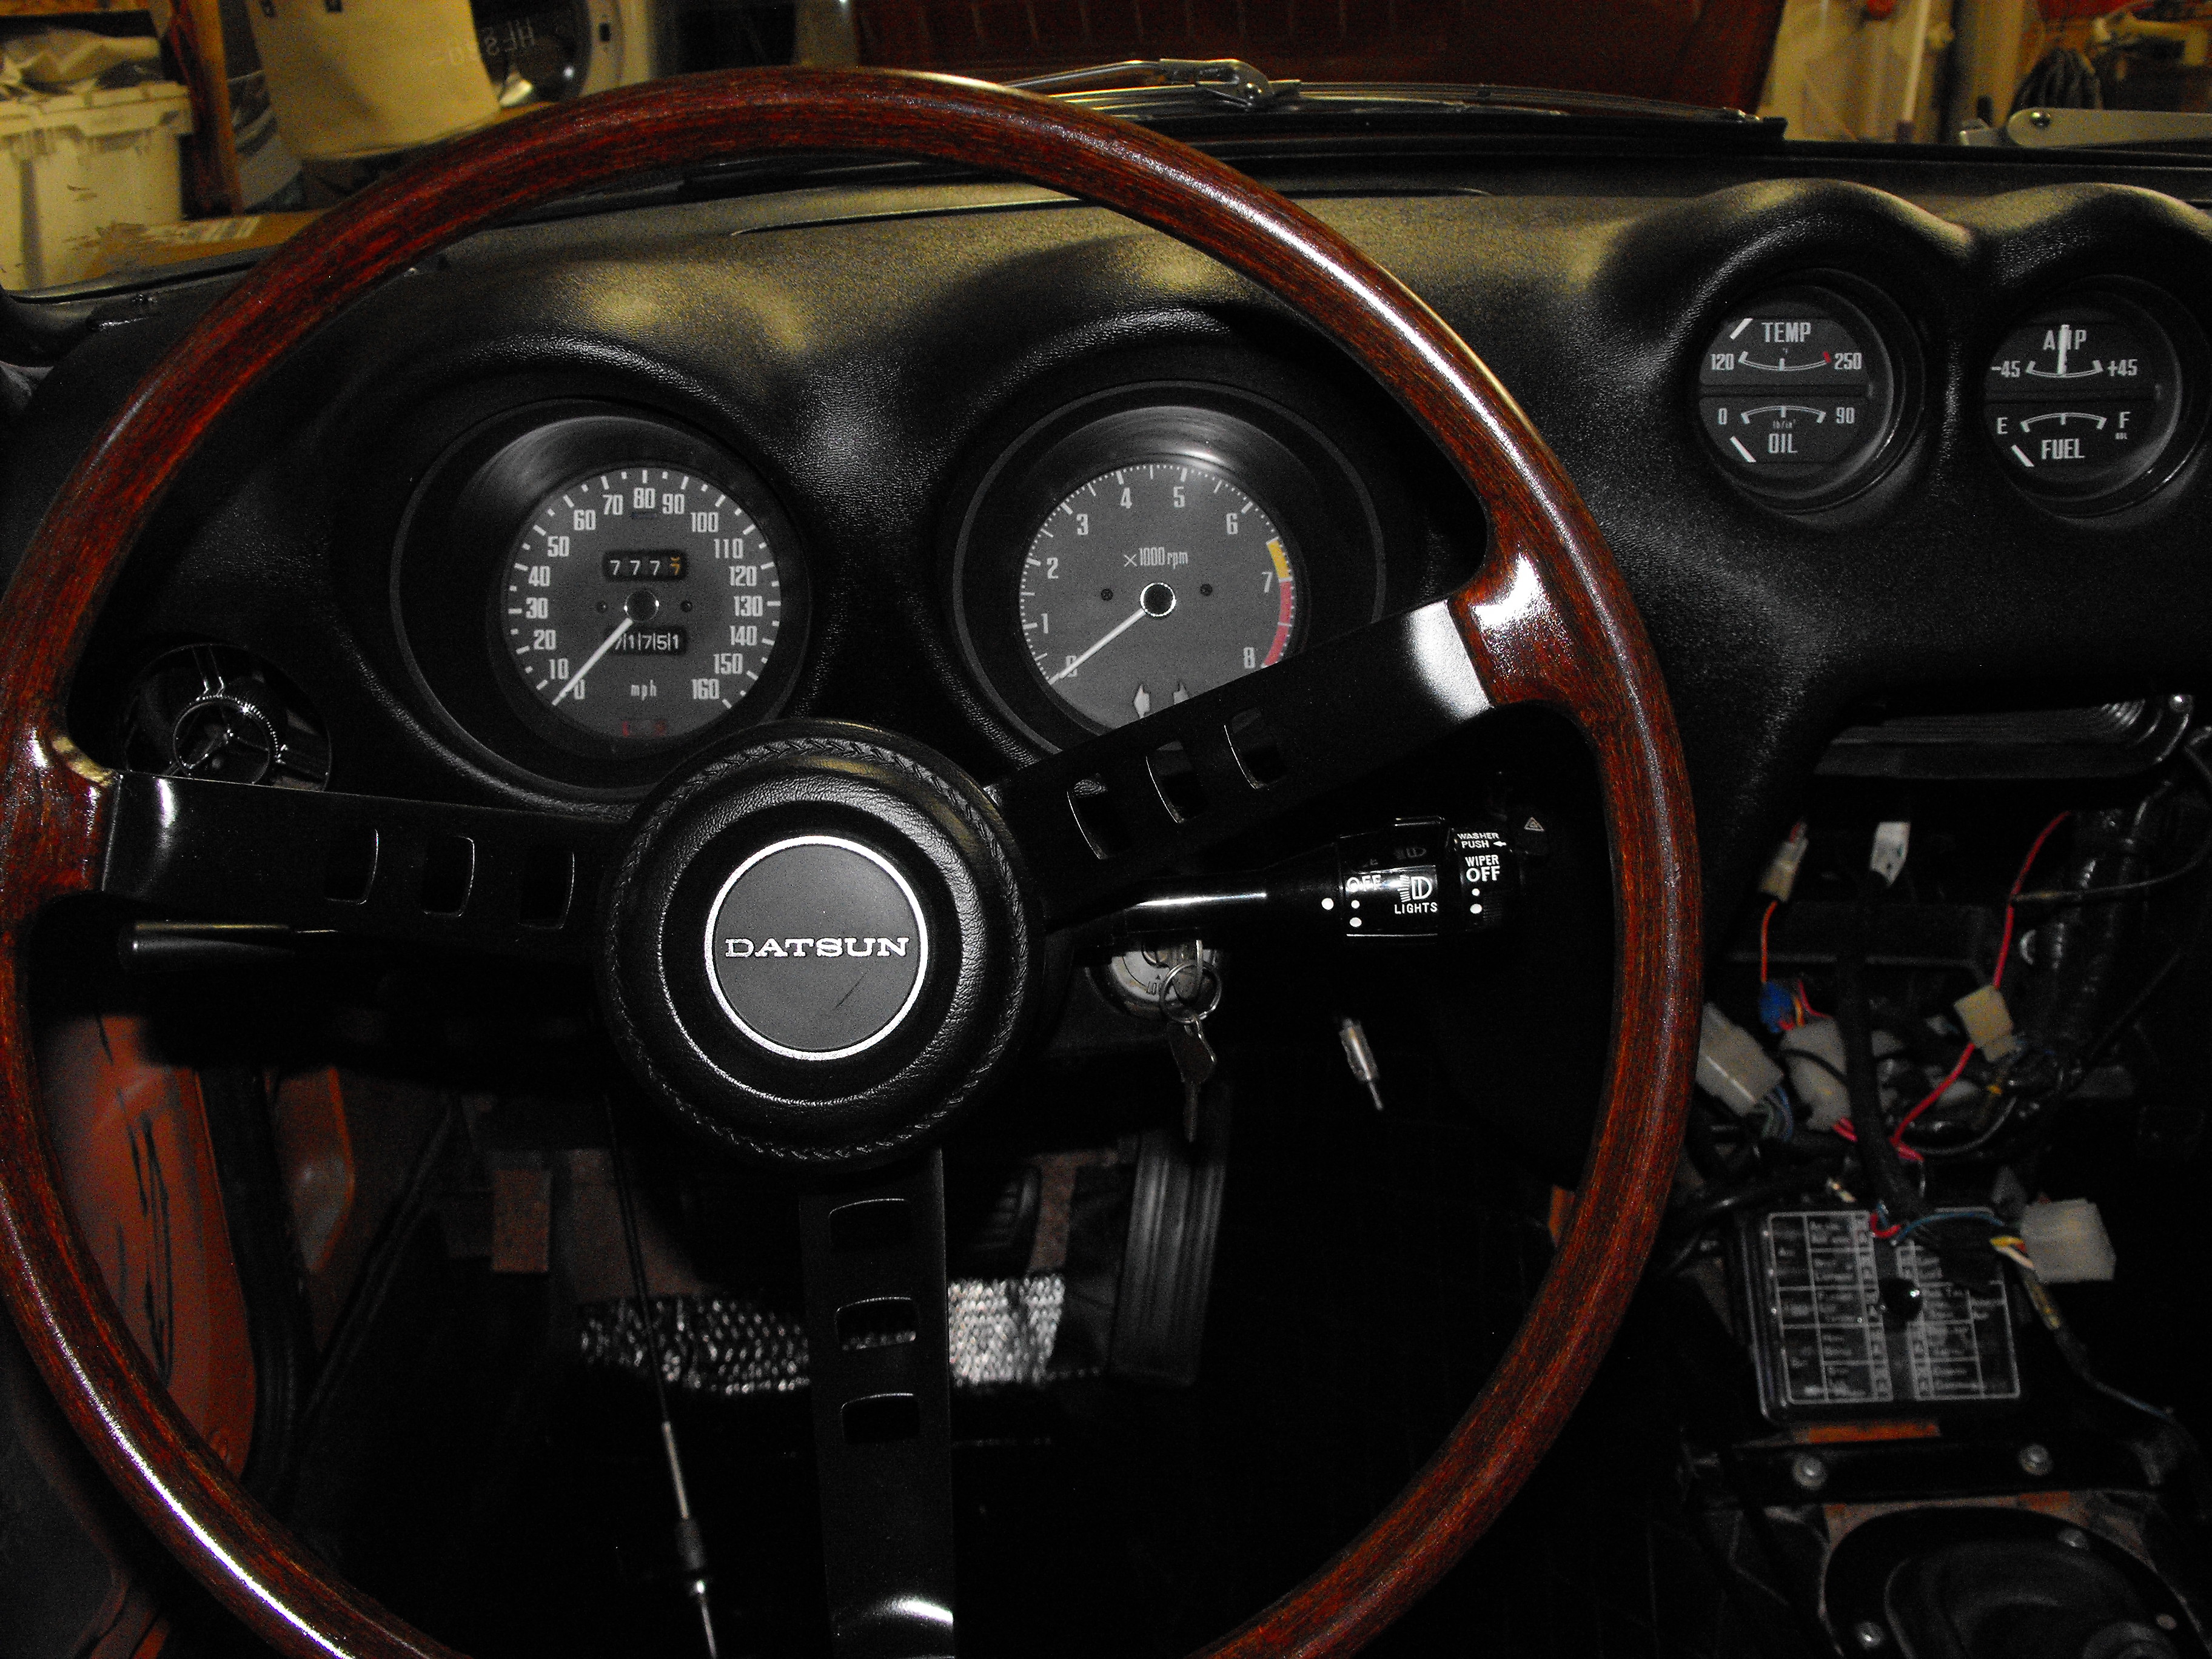
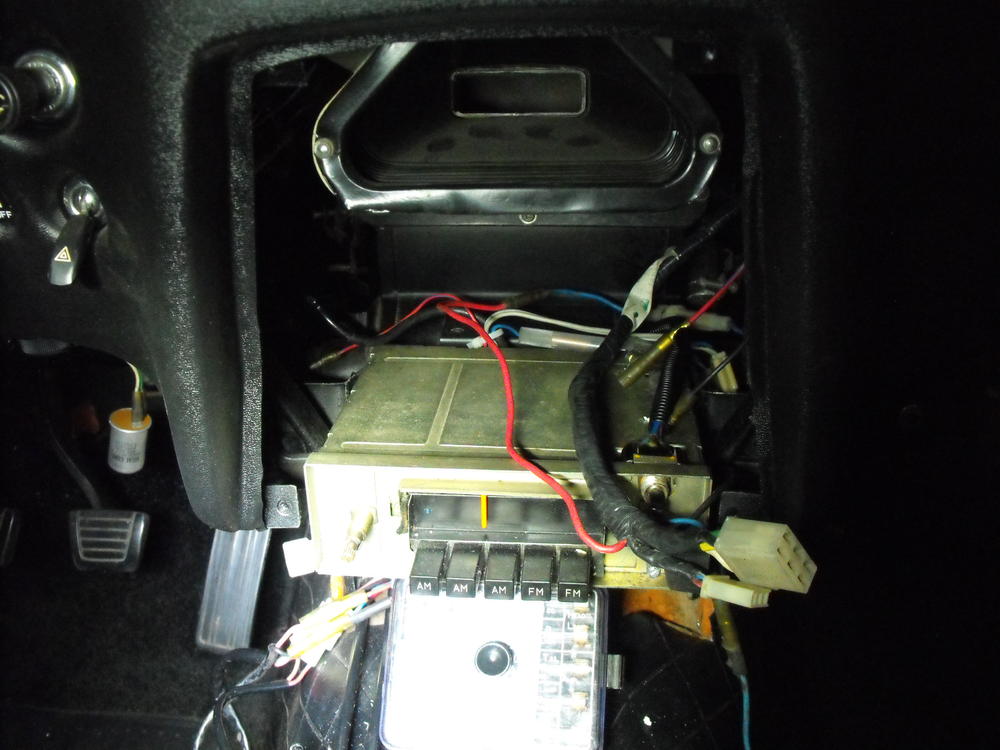
Got the radio and heater/vent control panel in. Radio lights up and works. The antenna control switch also works and runs the antenna up and down nicely. Interior is just about finished, just a few rear panels to finish. Will also add the sound deadening material in the back panels. Got the battery cables in today. They look very nice. Will take pics of those tomorrow.

-
Yes, will do that tonight. The open part of the hook is toward the center of the car.
-
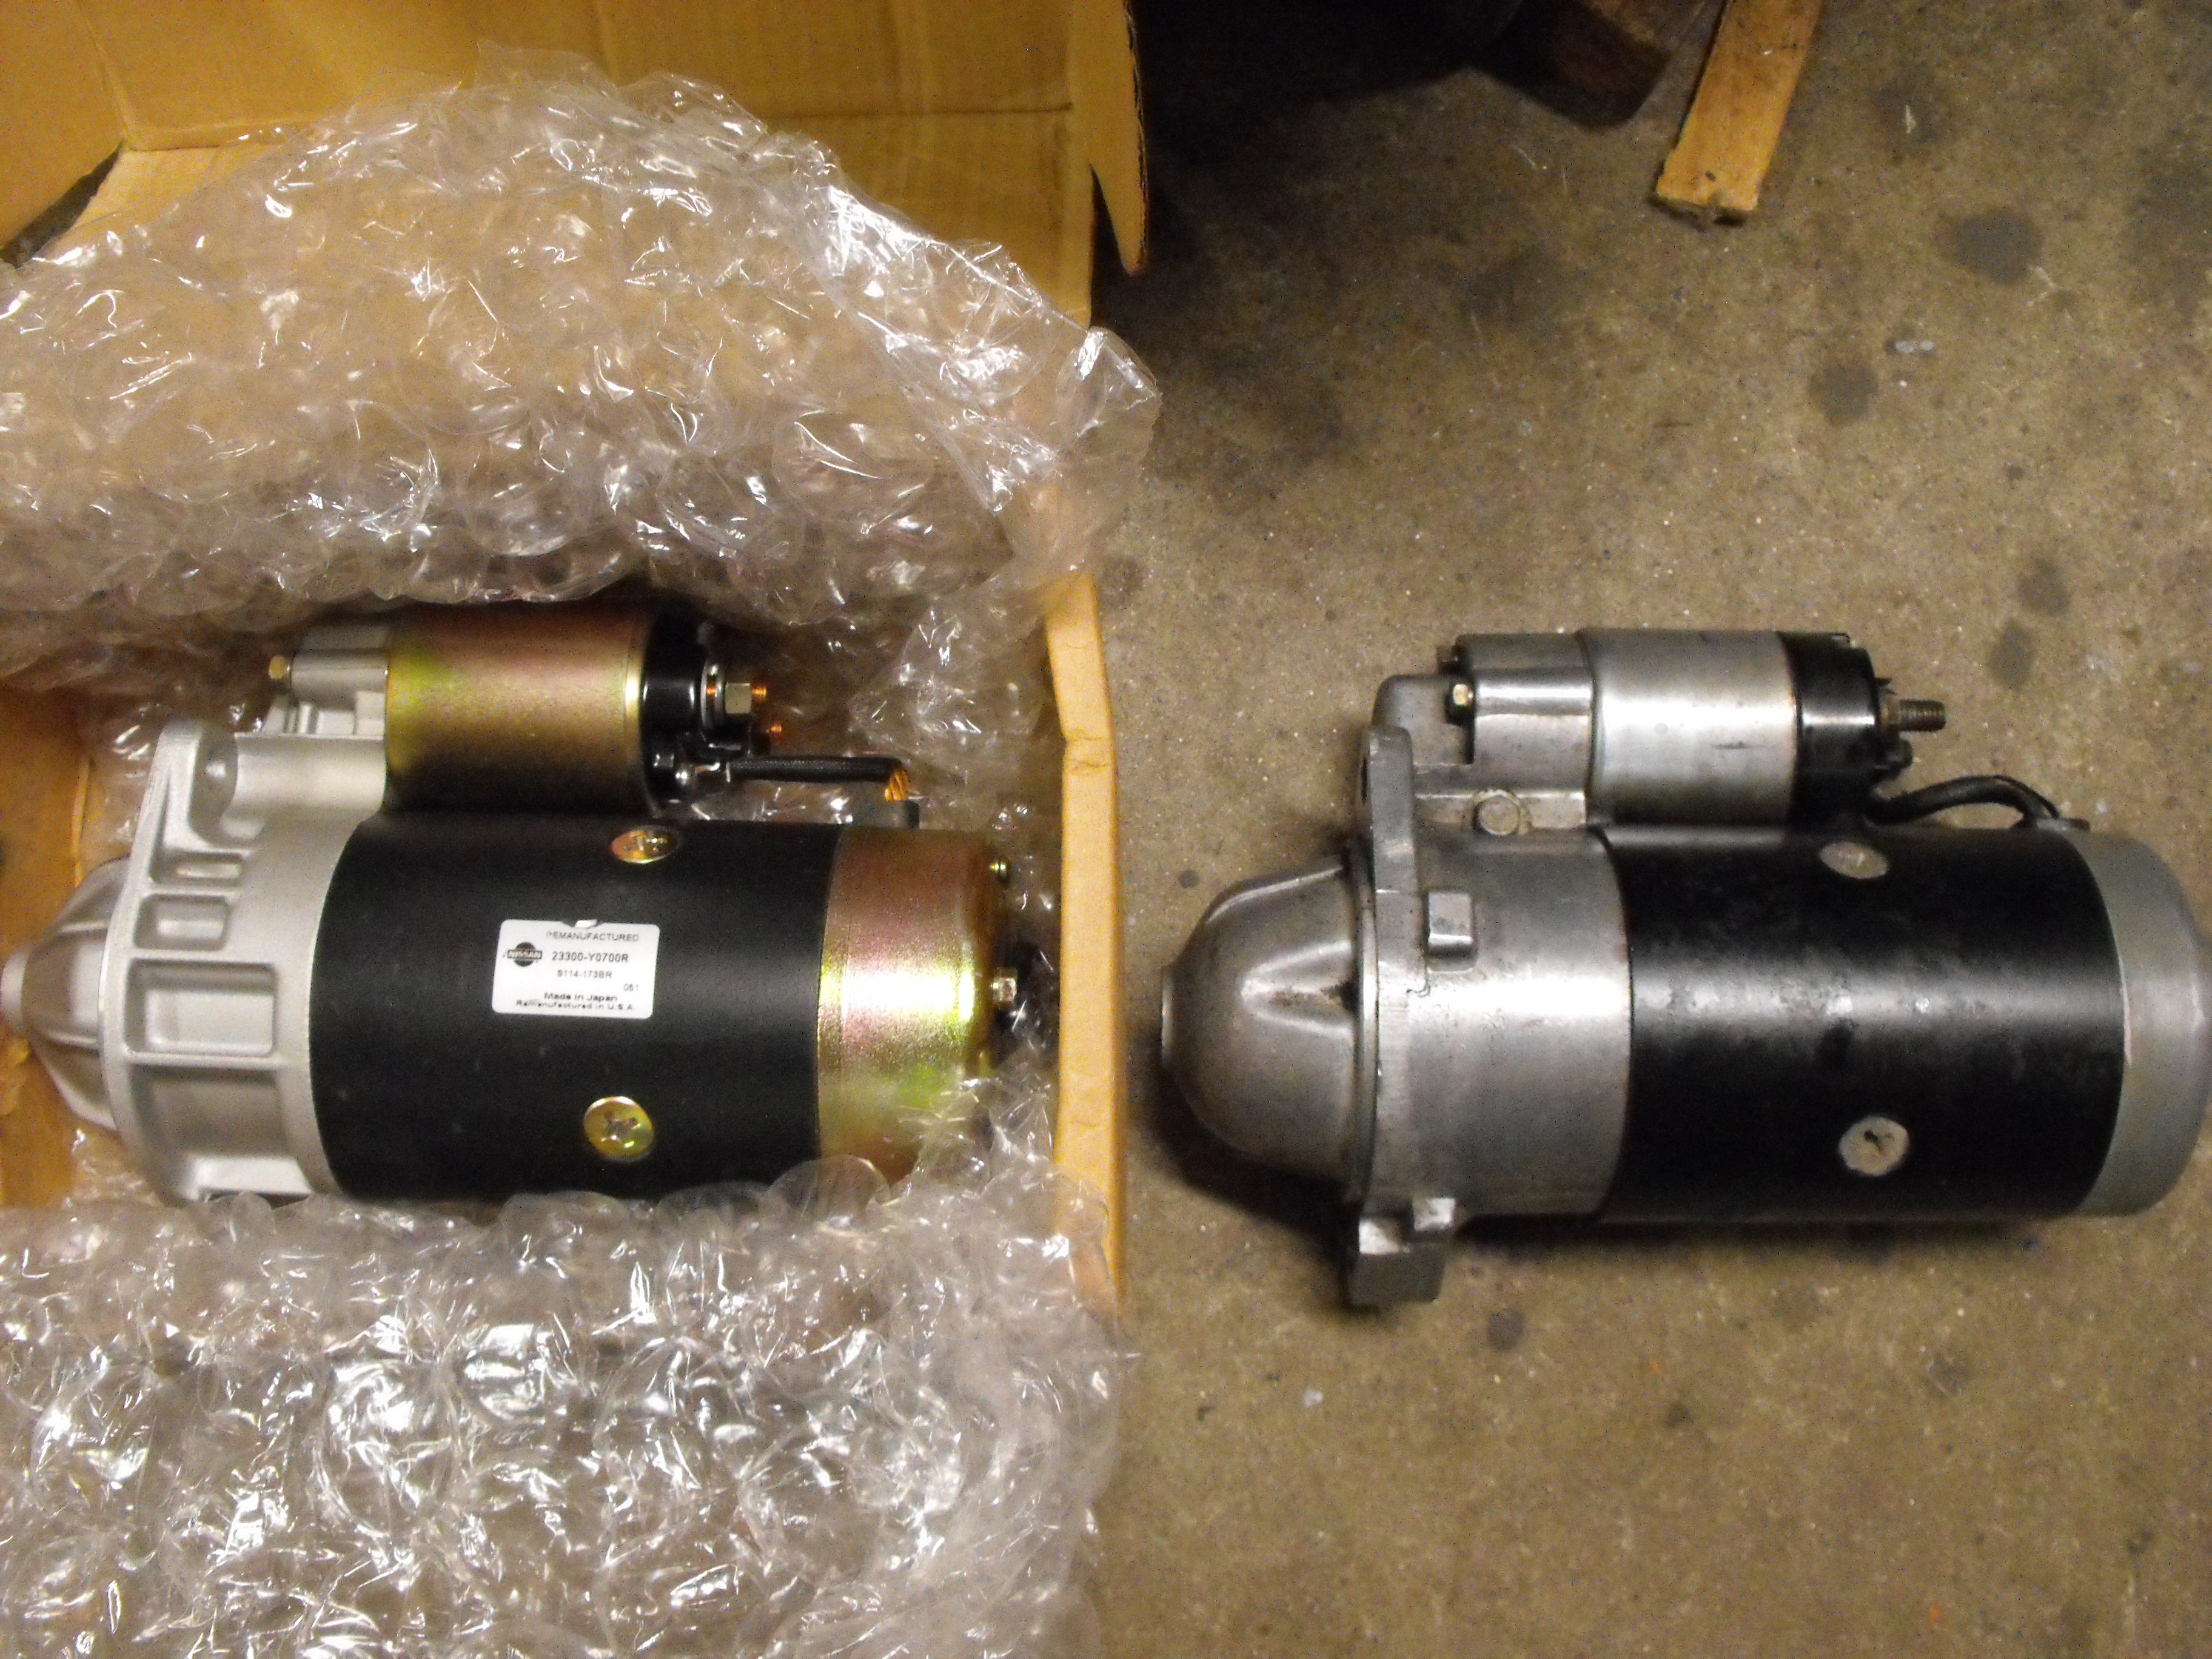
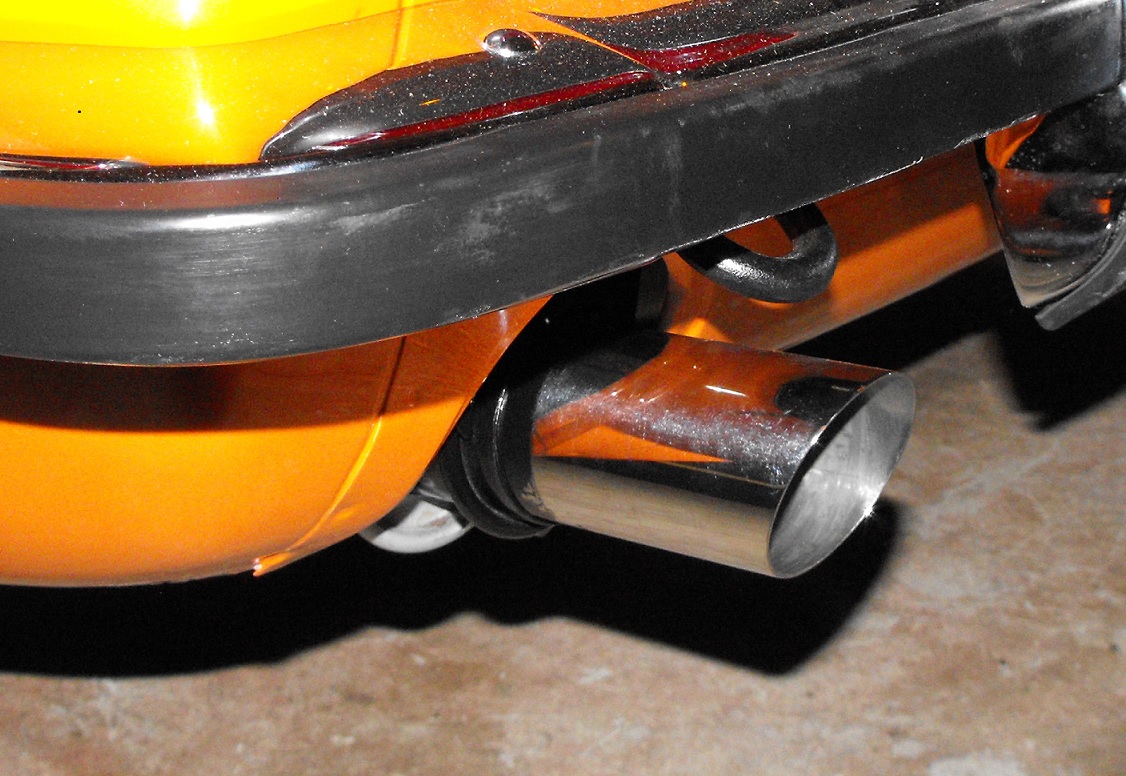
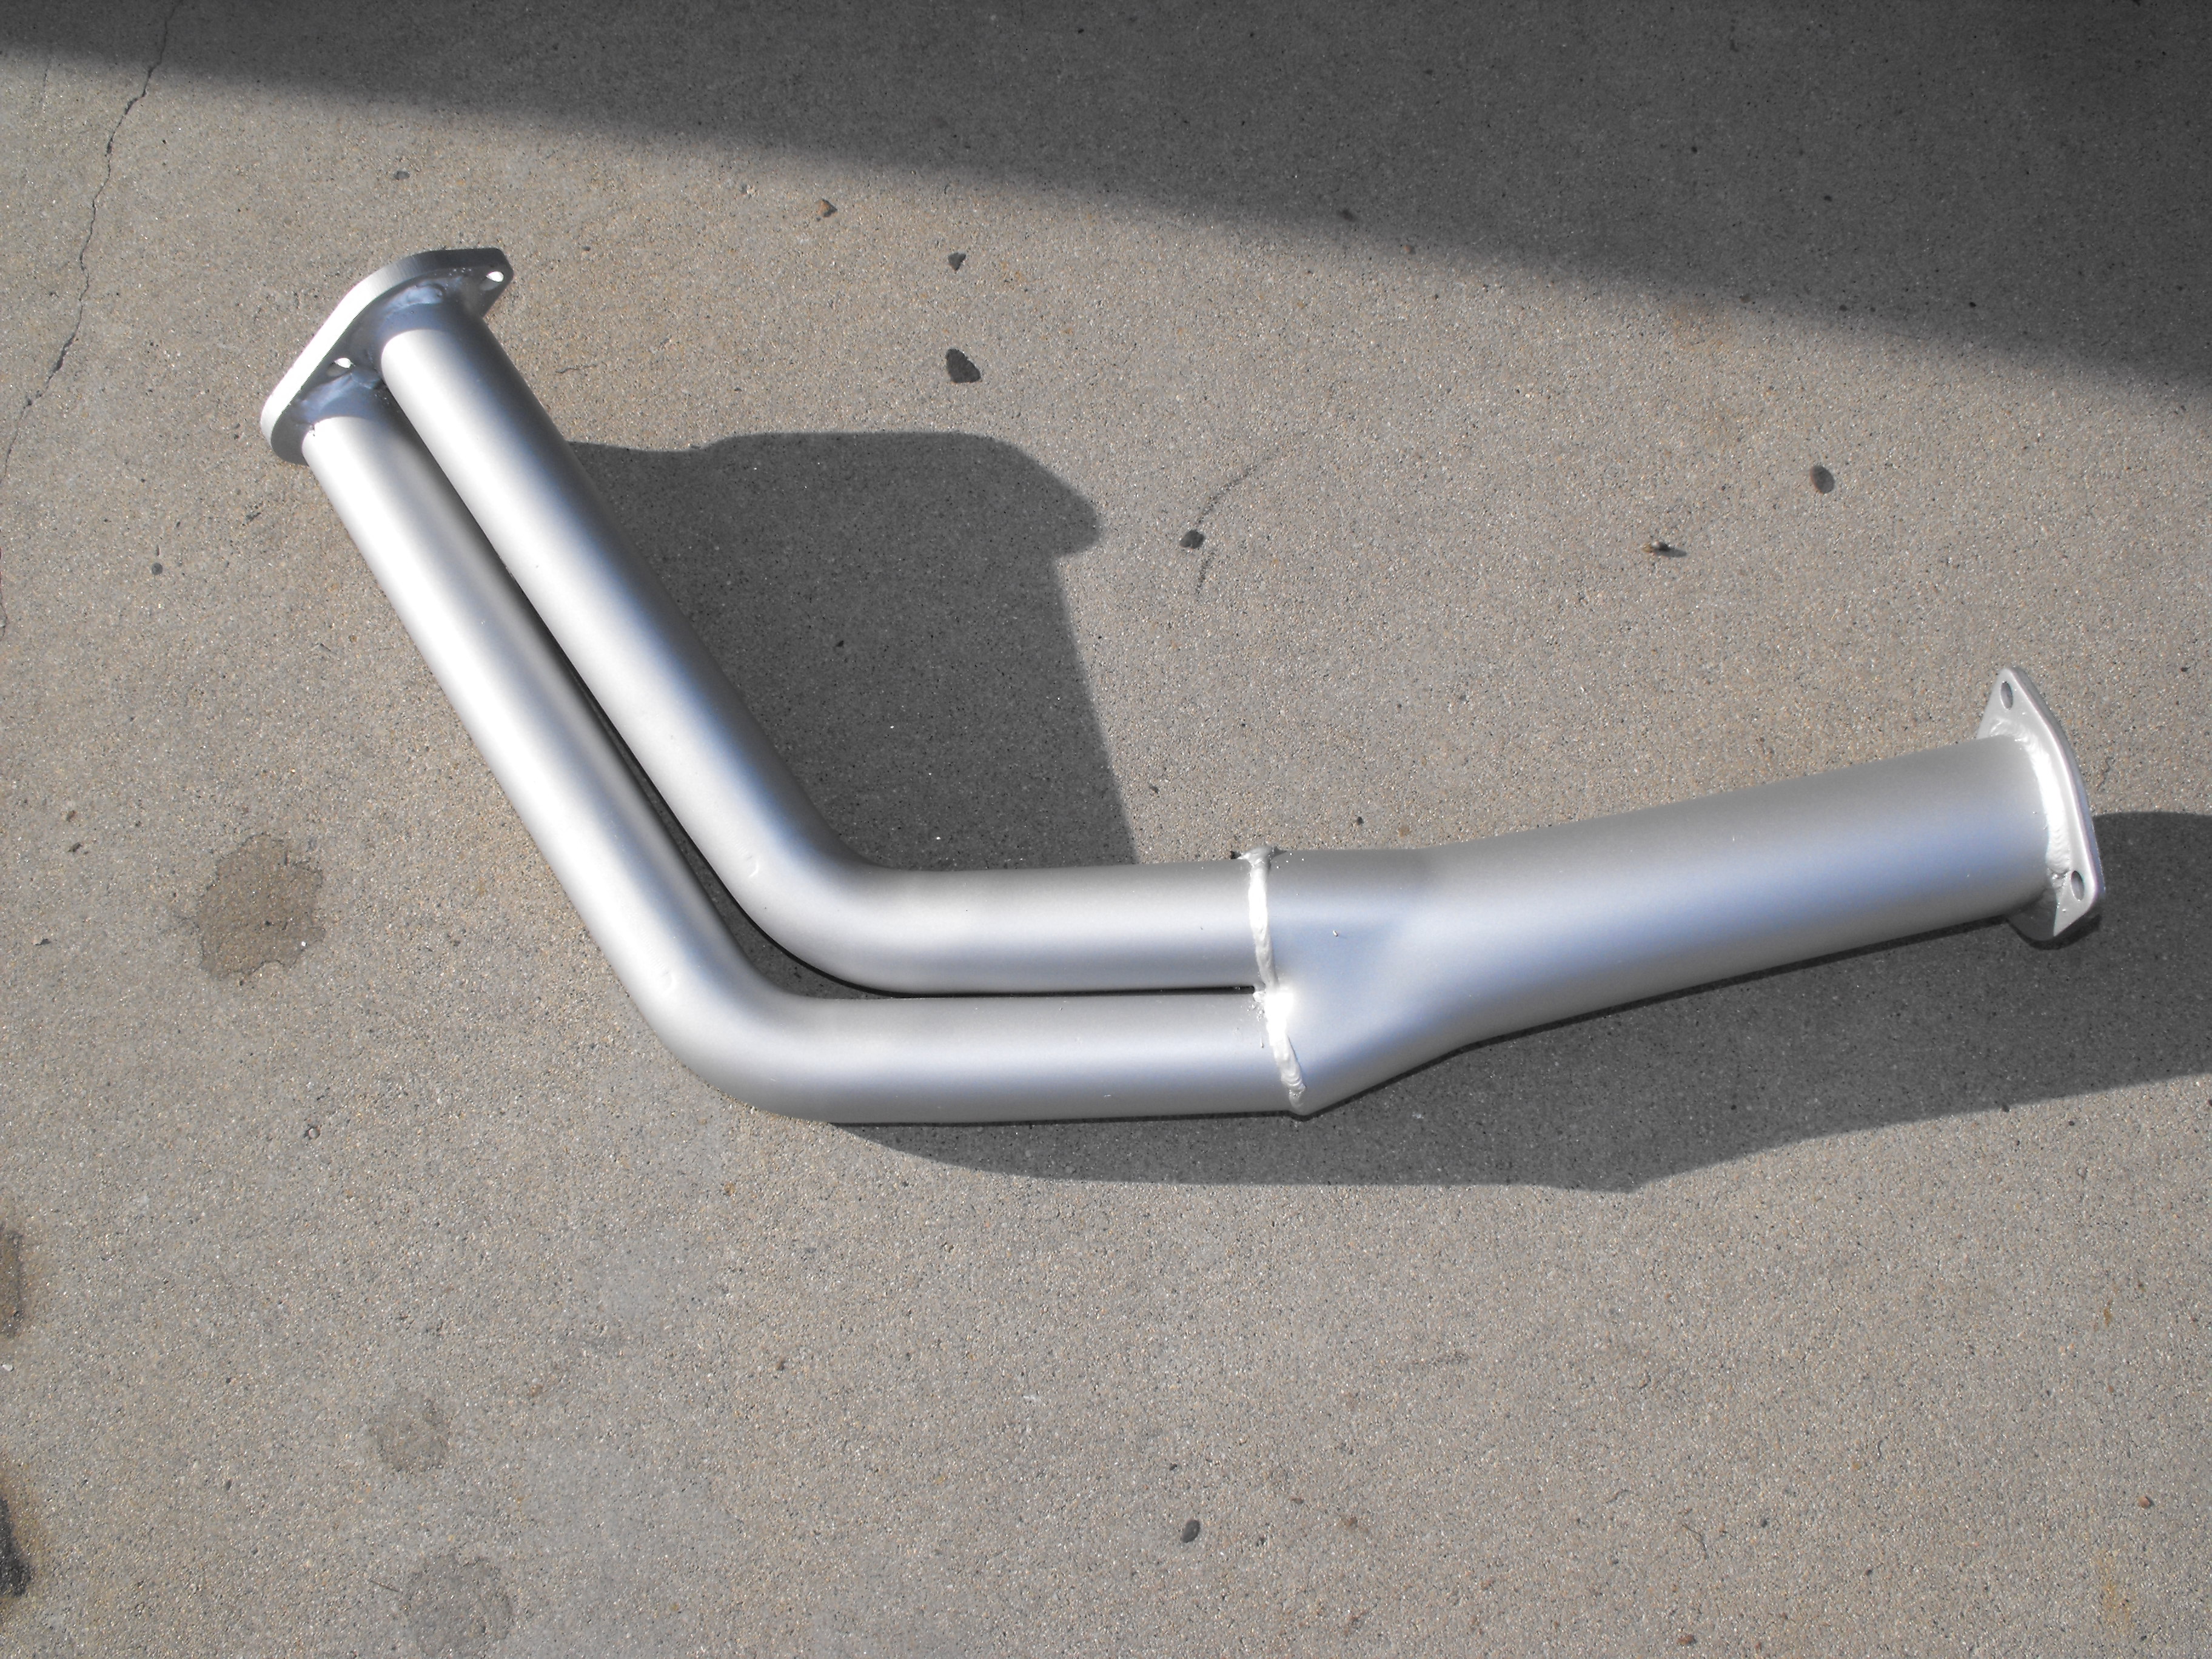
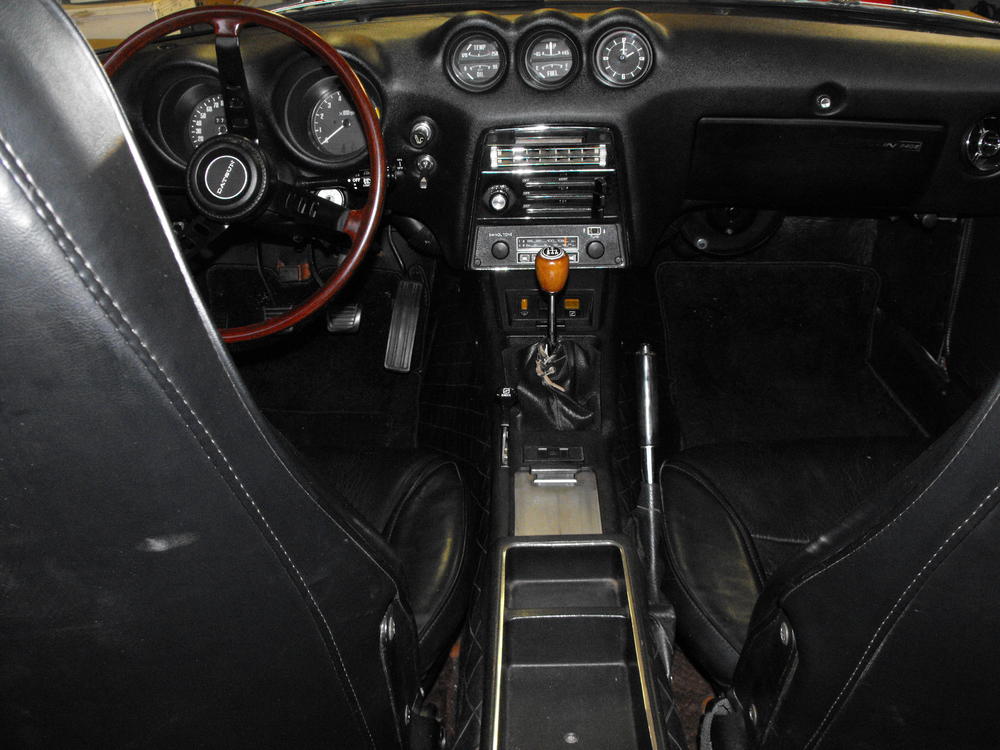
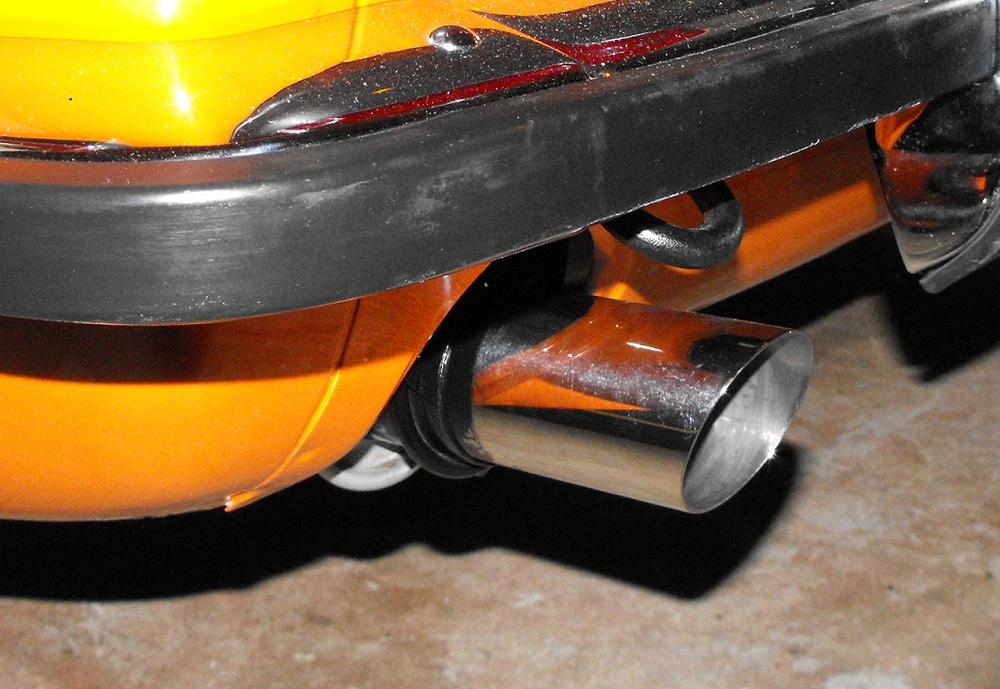
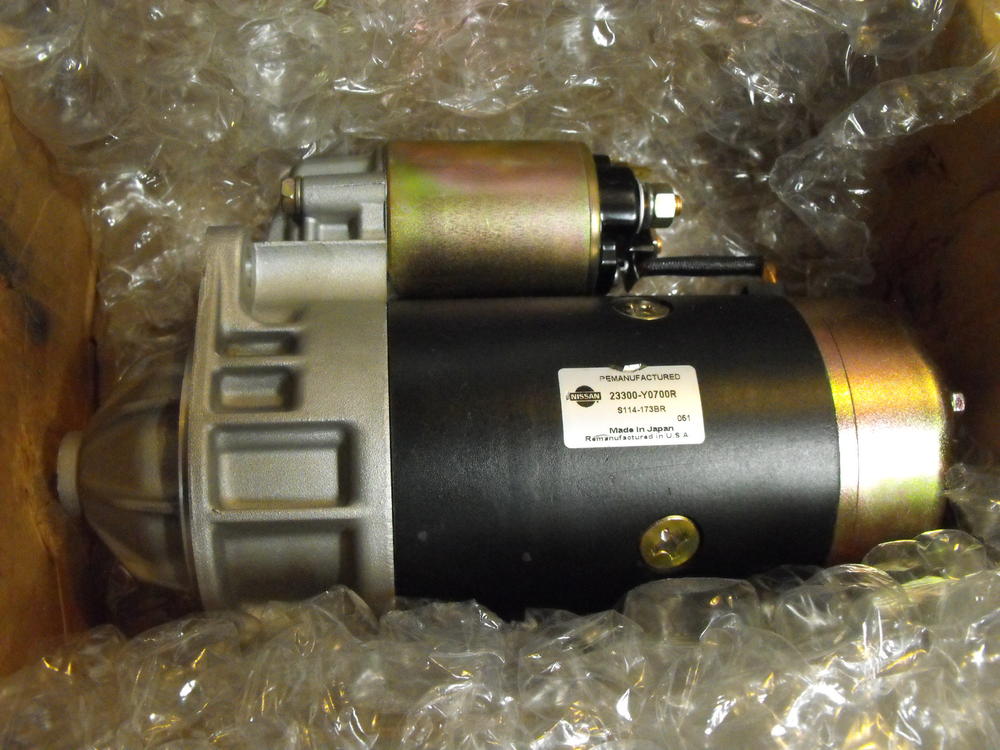
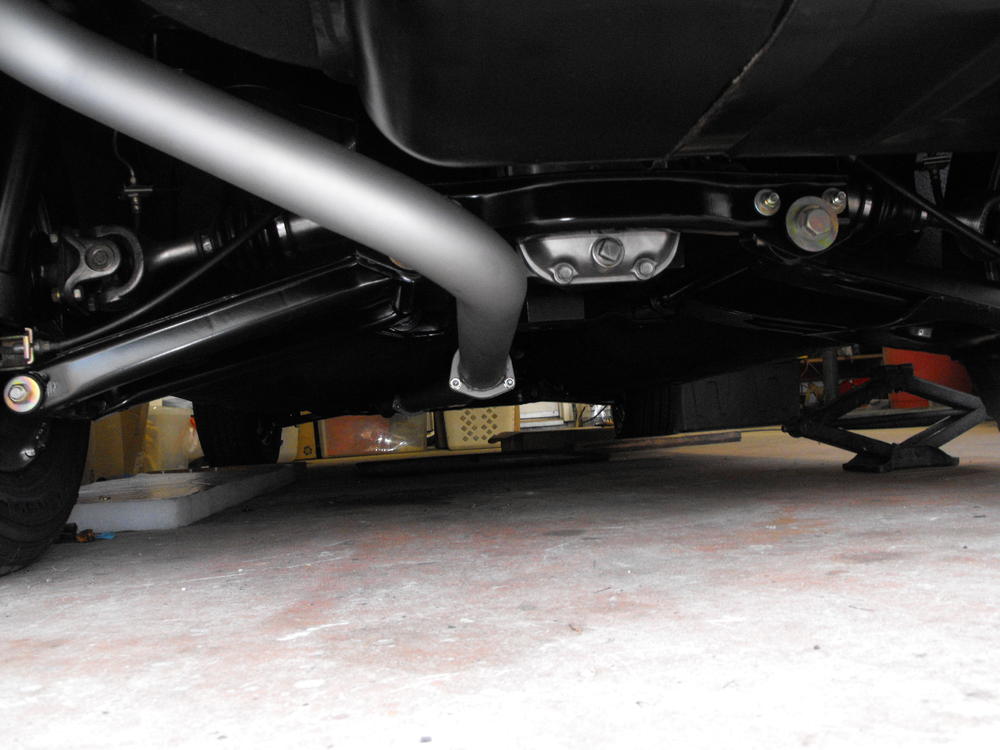
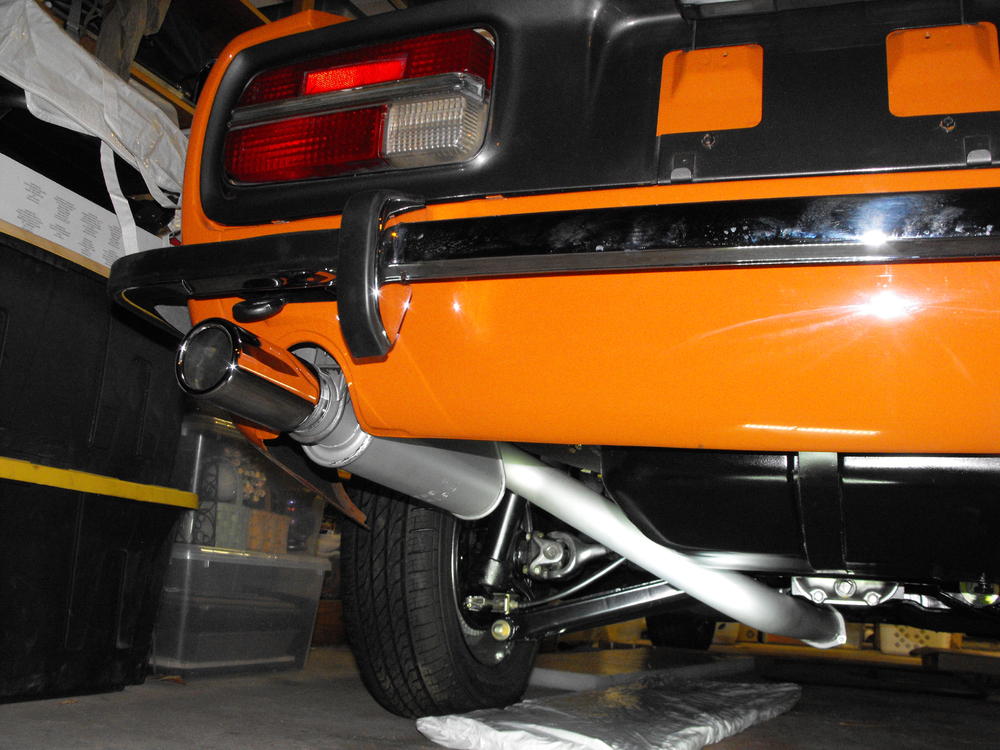
Just a few quick updates. Got the new starter in. I put the old starter and new starter side by side just to see the difference. New one looks much better in the car. Did a gentle sand on the stick shift knob with 320 grit then stained with Red Oak wood stain. Put a clear coat over that. Got the OEM style muffler tip that Jay makes so at least the muffler looks fairly close to original from the back end.


-
Hi Steve, The car belongs to a gentleman up in the Bay area who is the original owner. I believe his plans are to hold on to the car and take it to shows. Hopefully, he will keep me abreast of how the car fares. Yes, this is true. Fortunately, it is my preferred hobby and I really enjoy the work. With all that goes on in life, working on a Z is therapy for me.
-
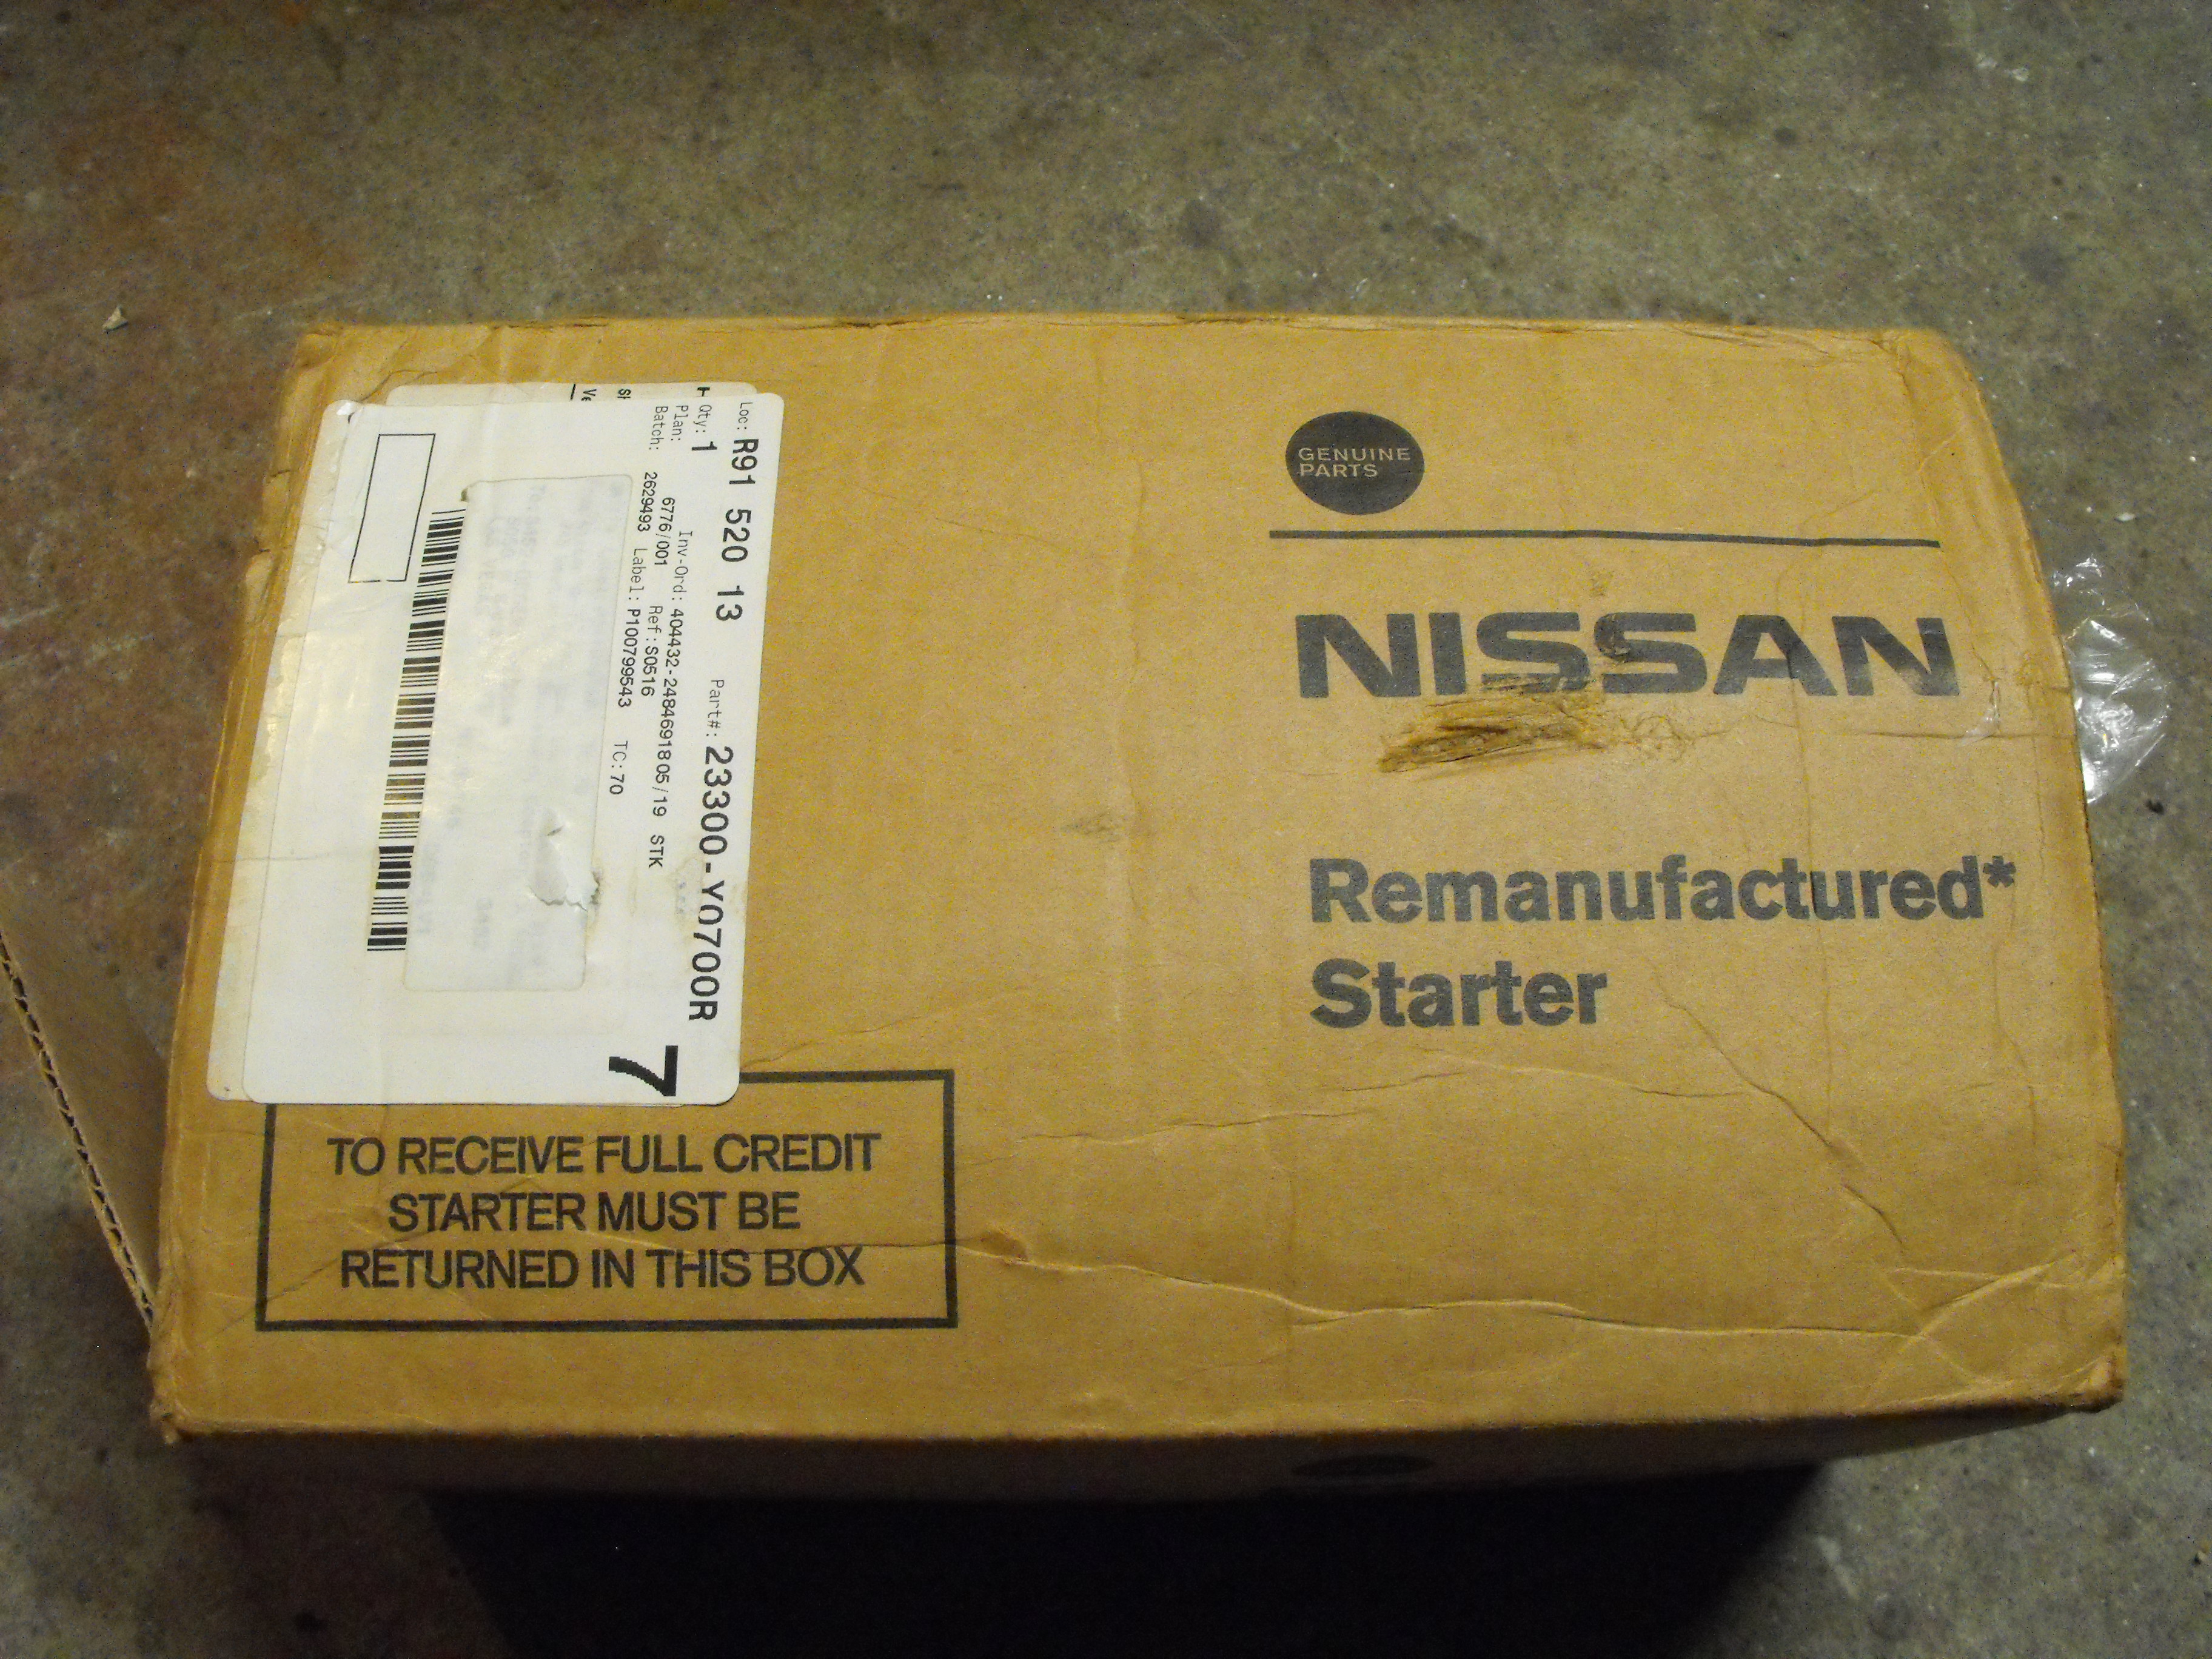
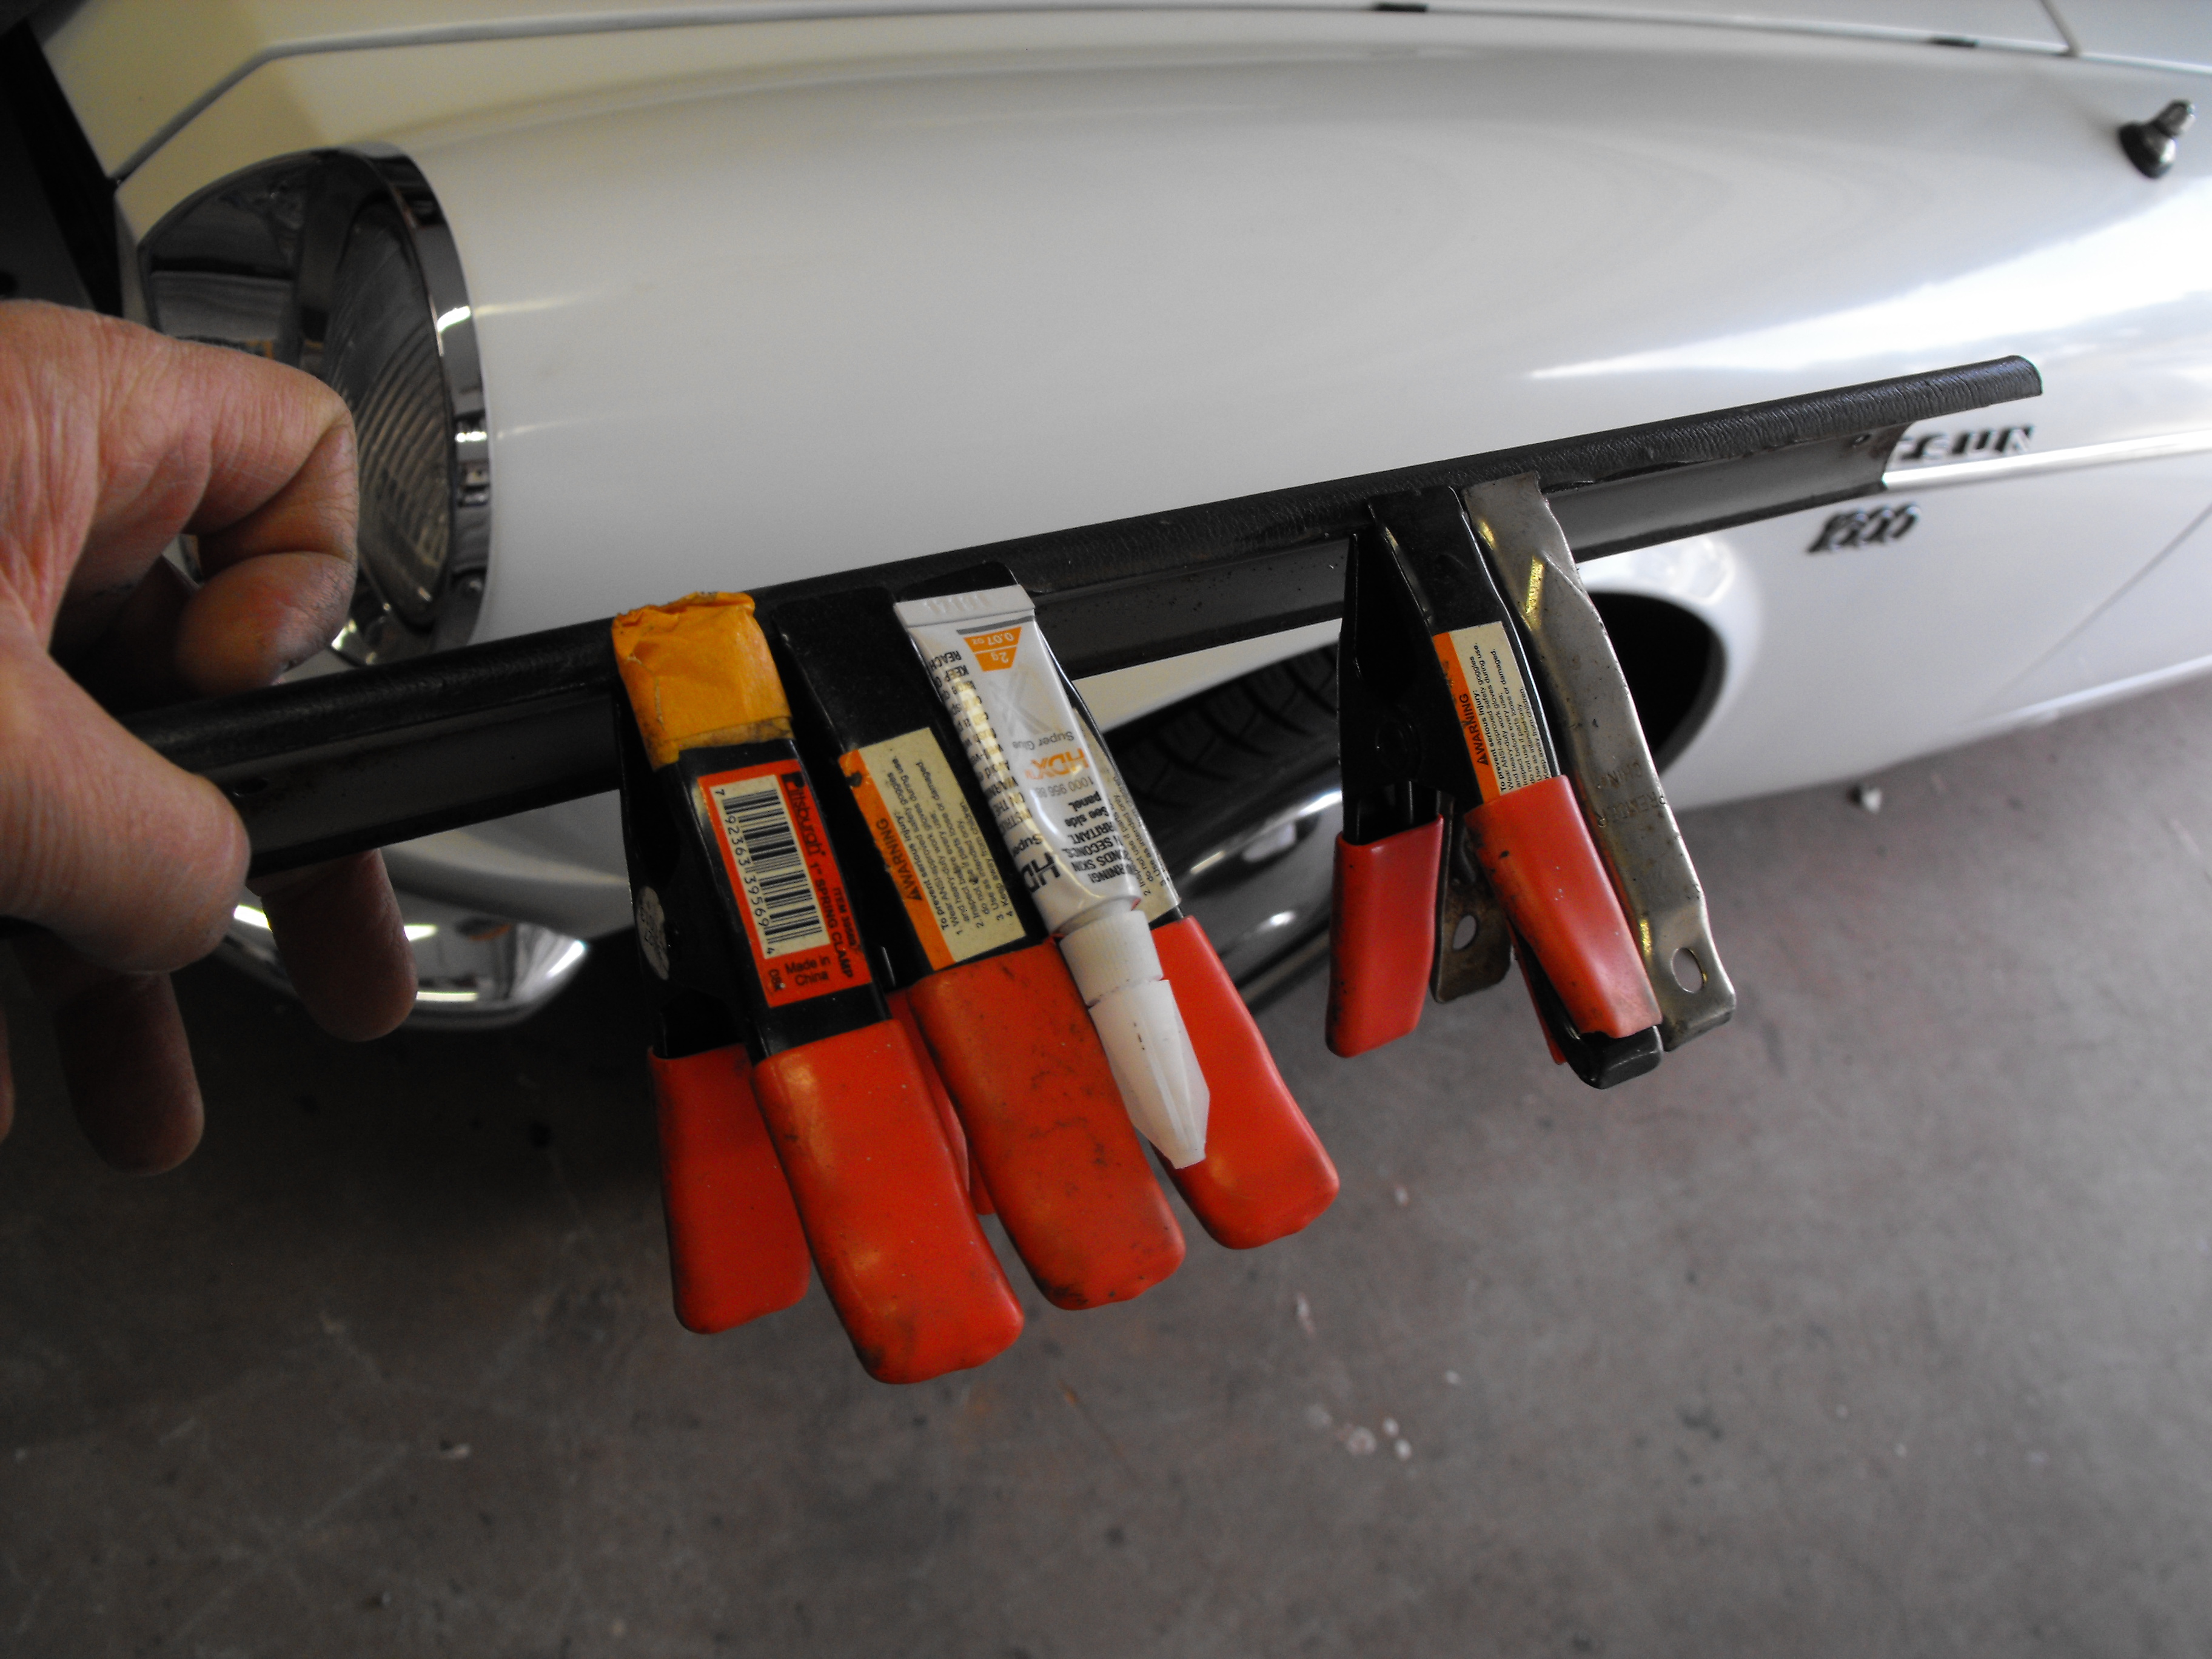
This came in today. Thanks @Zup! This is a work of art. Will install tomorrow.

-
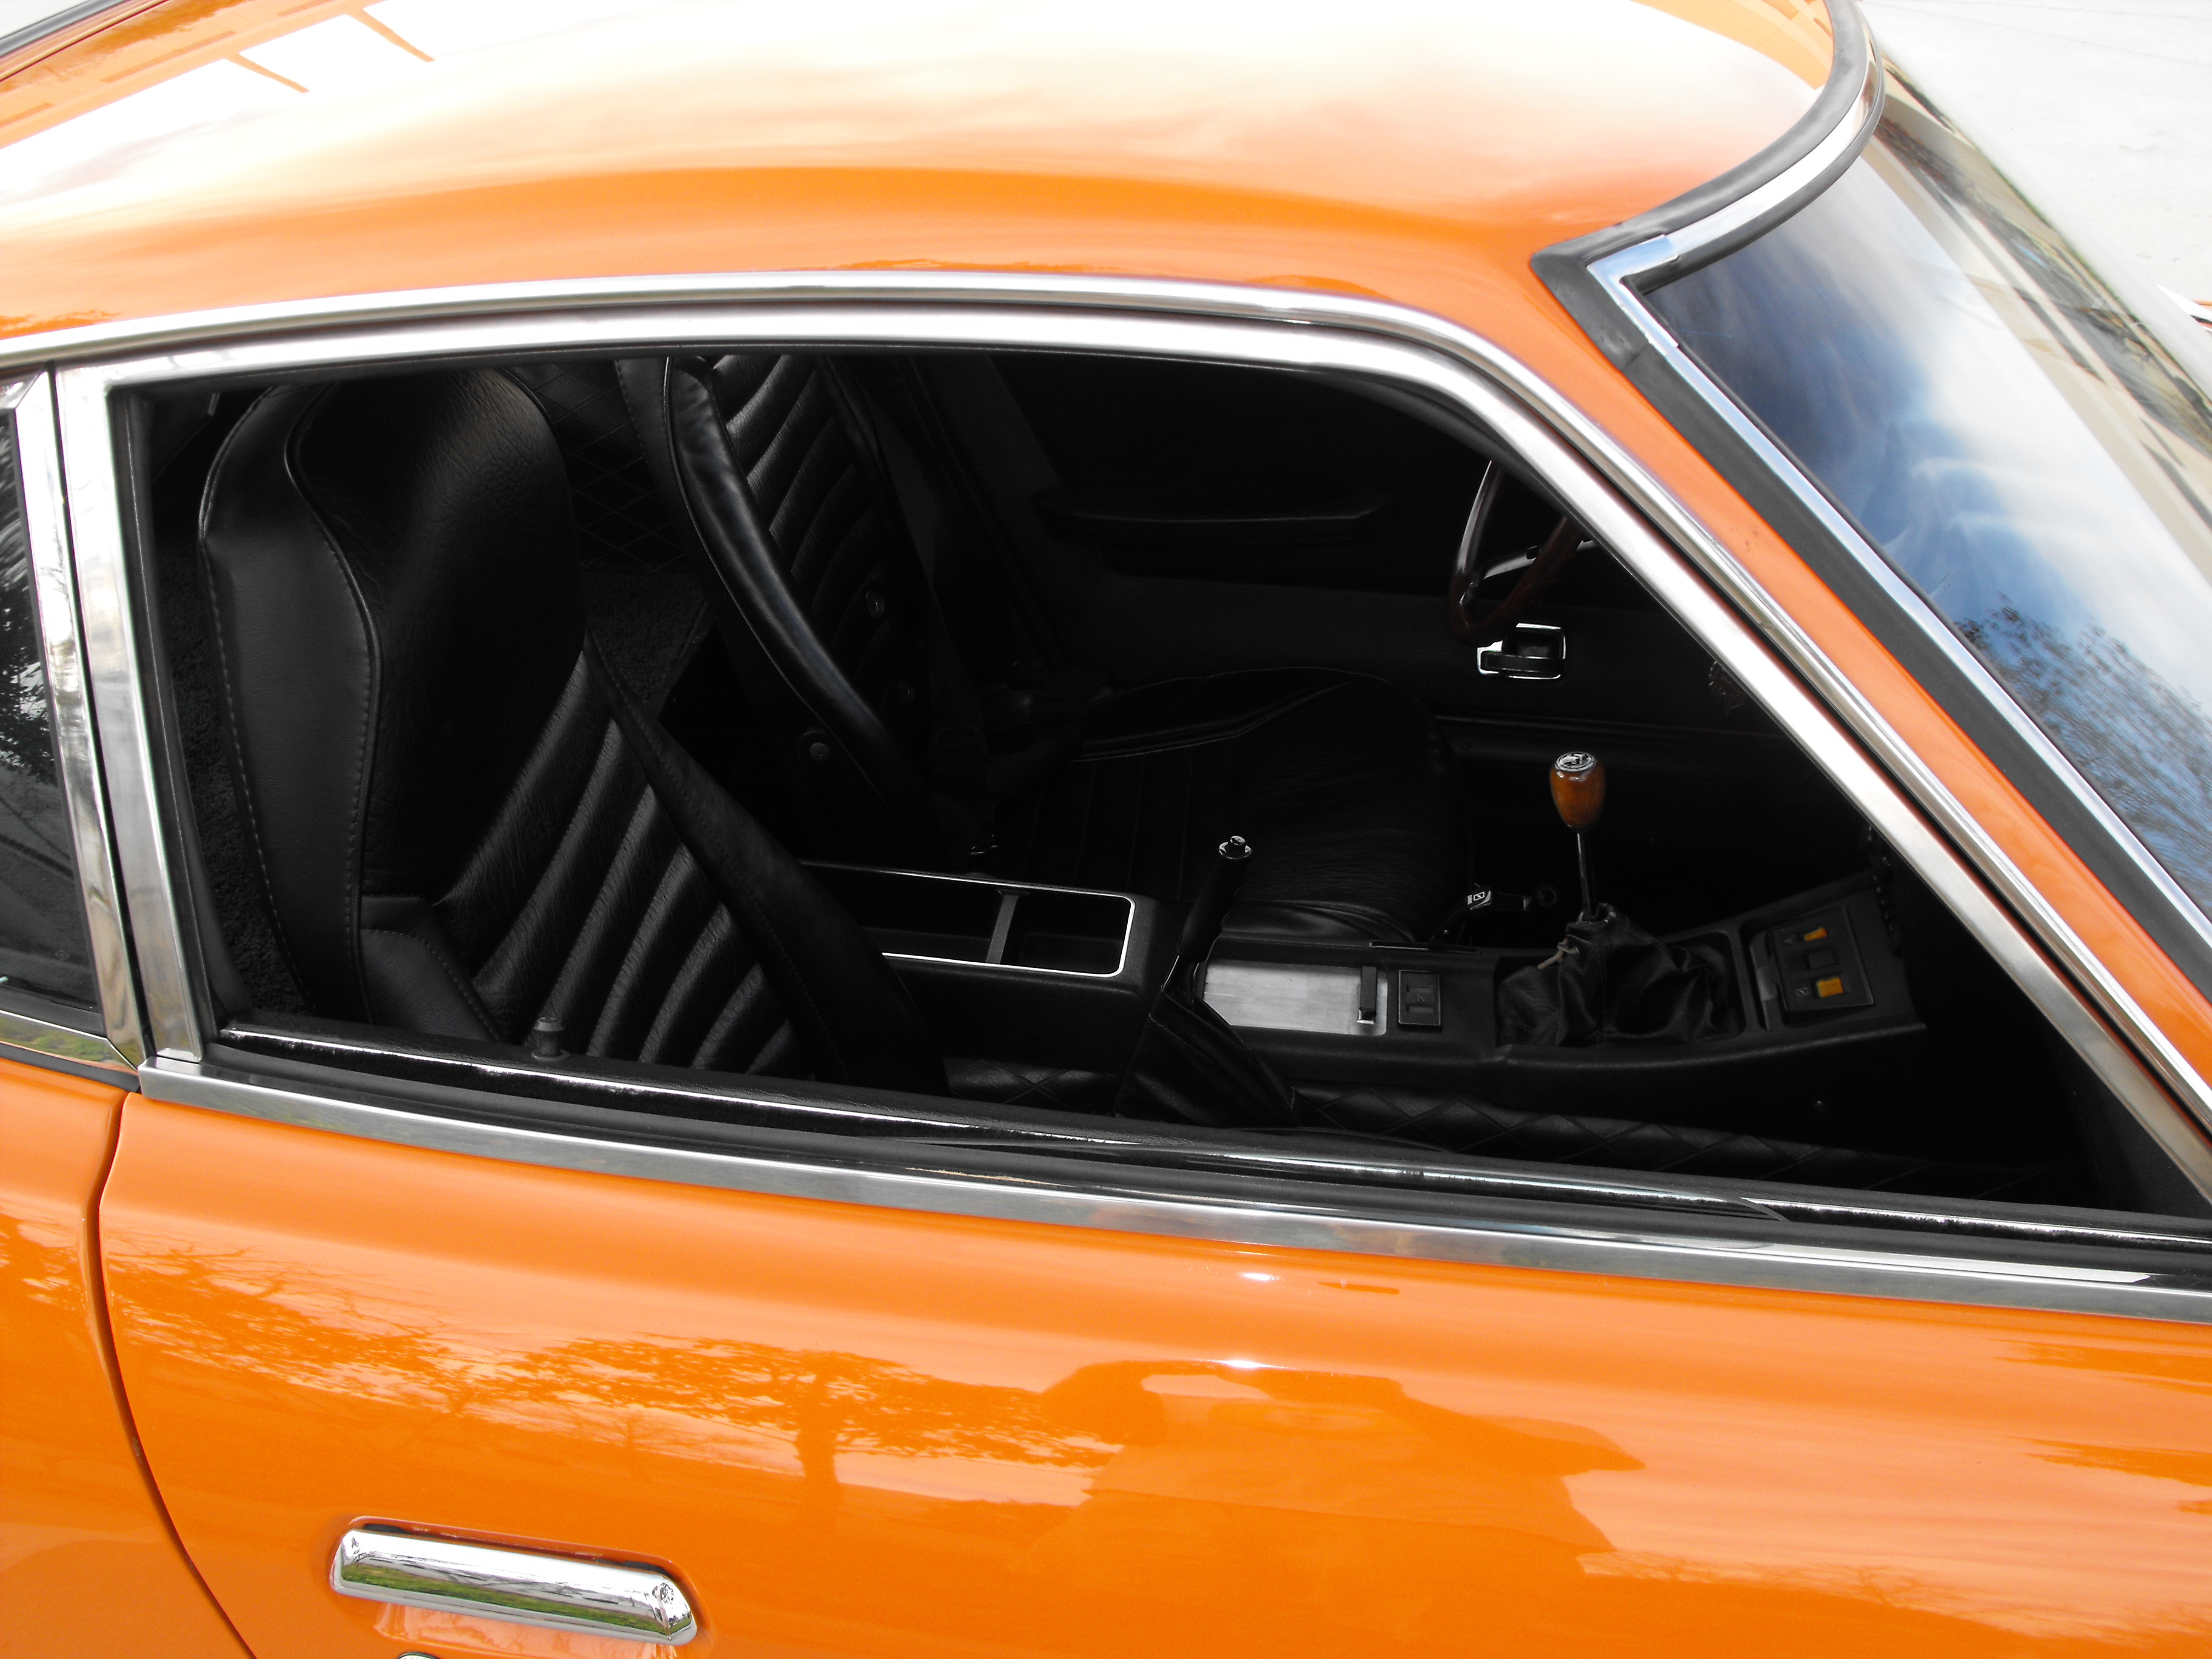
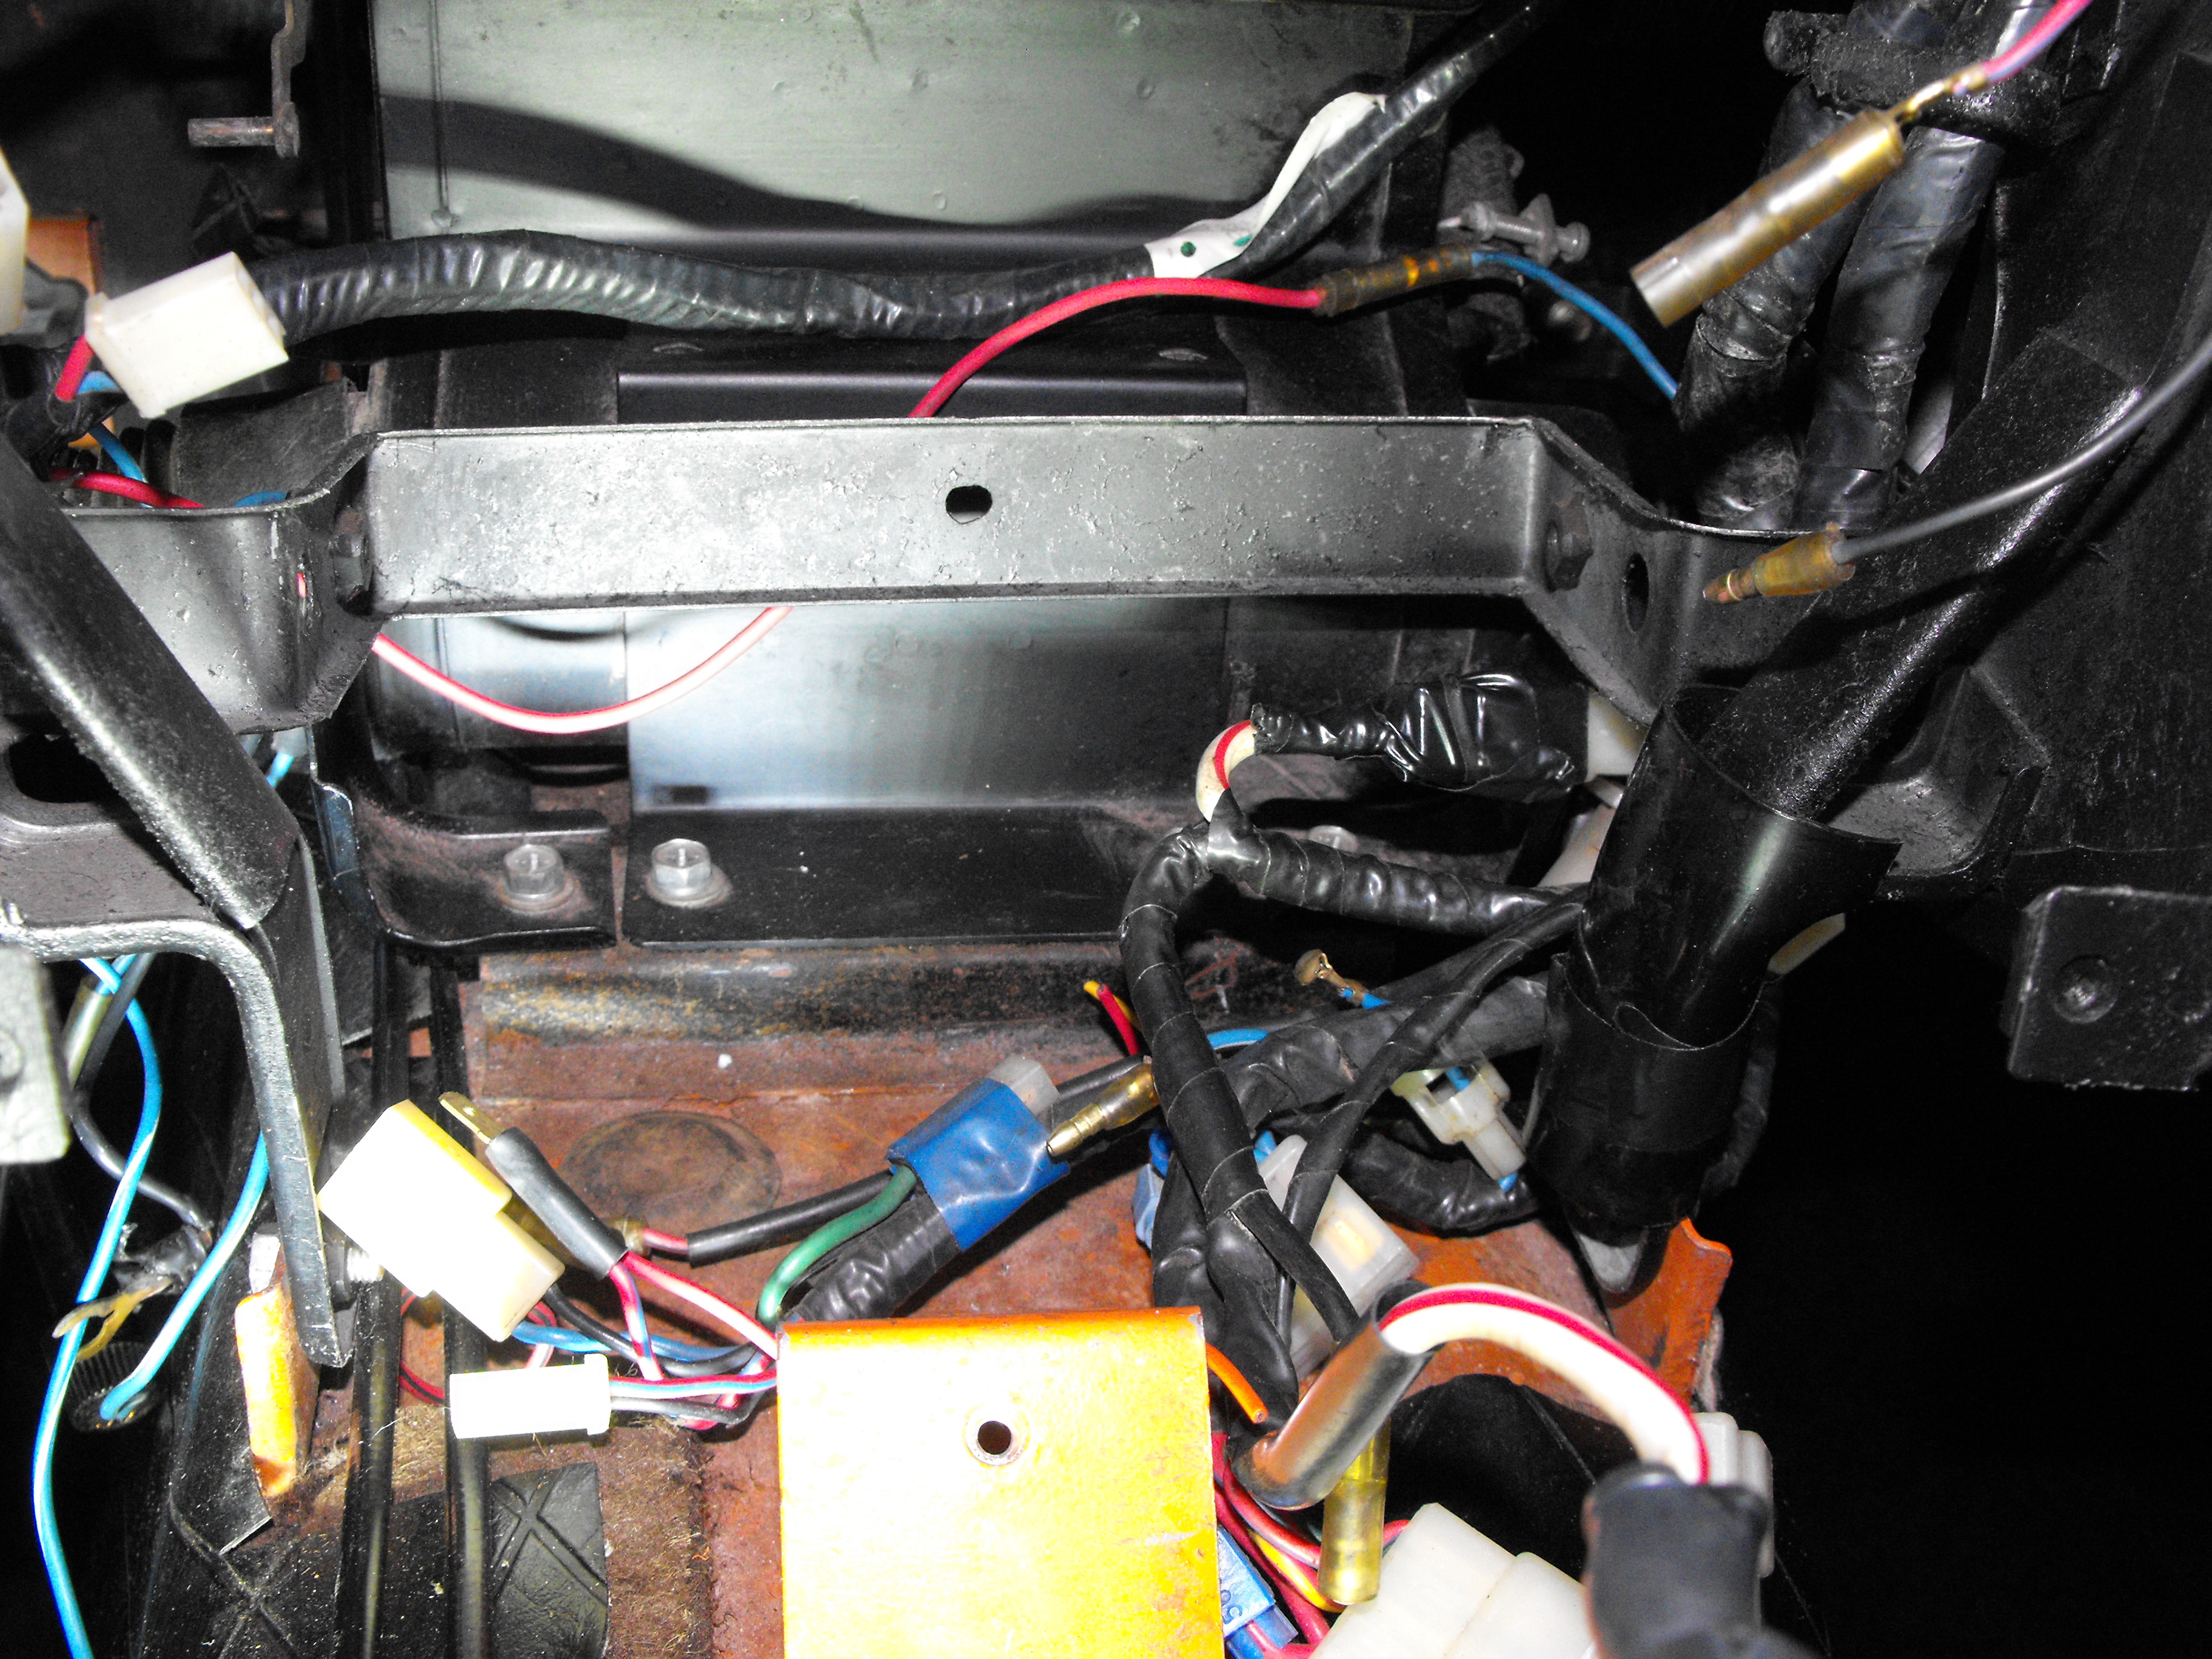
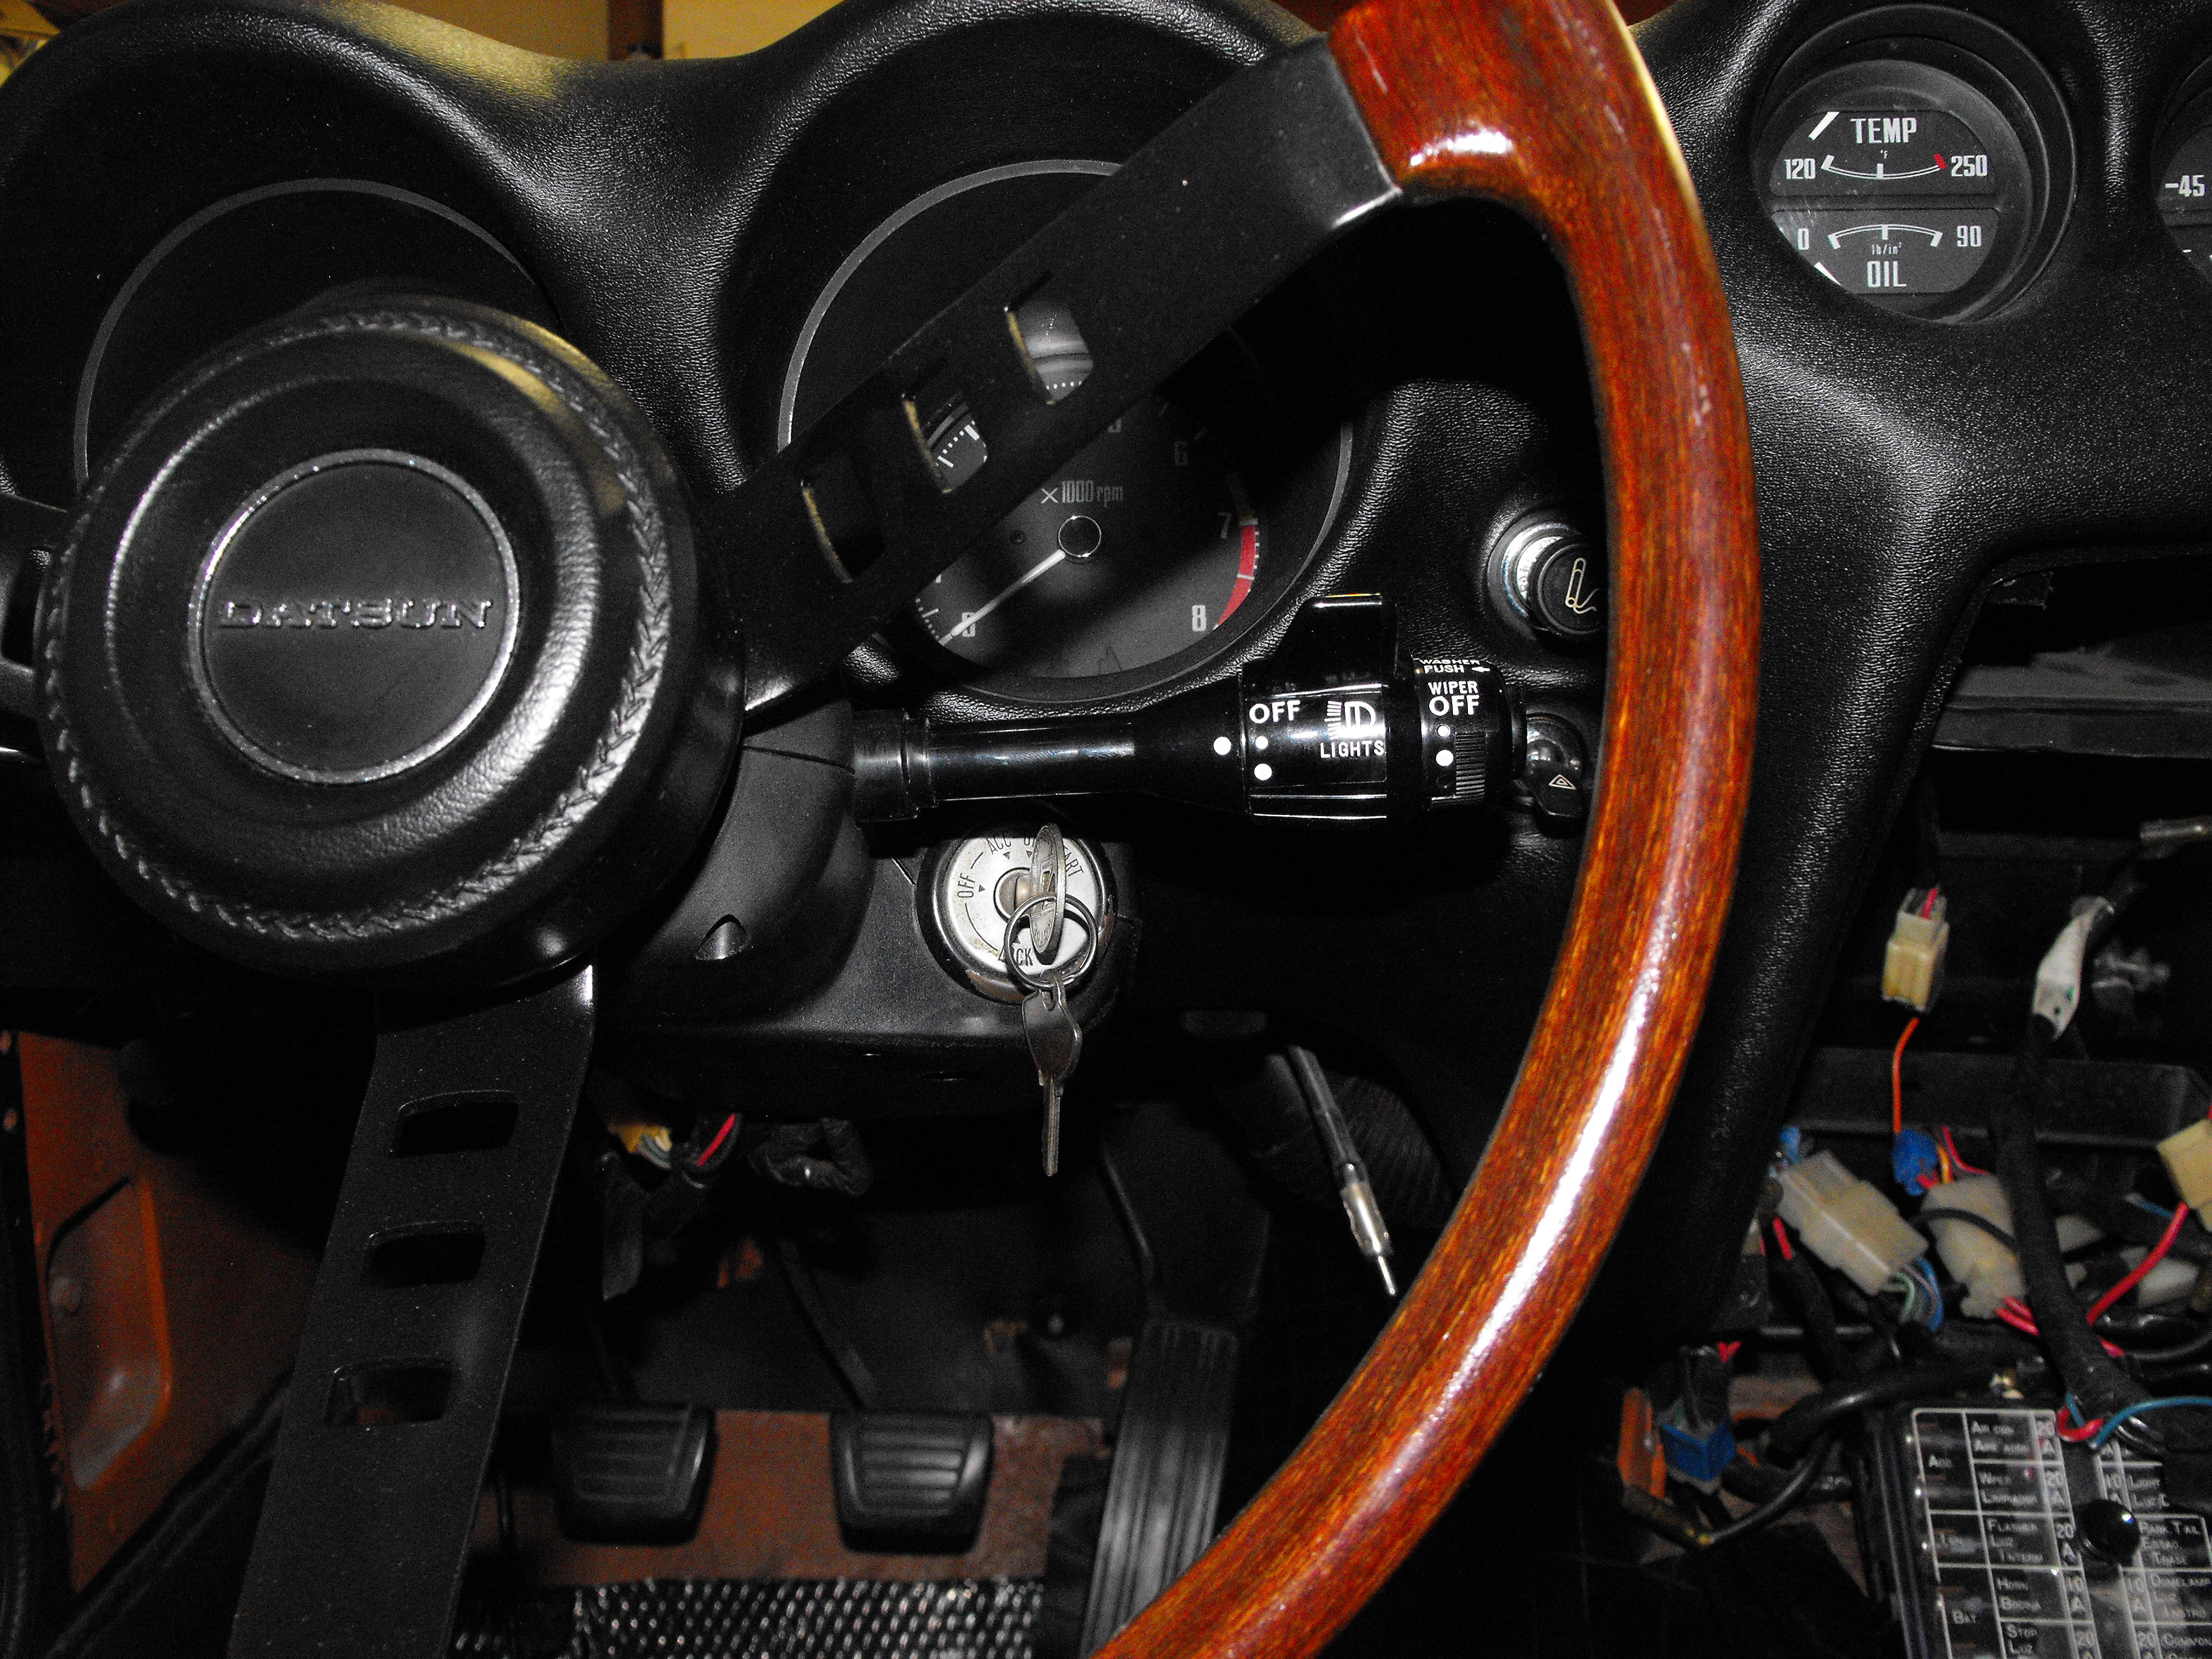
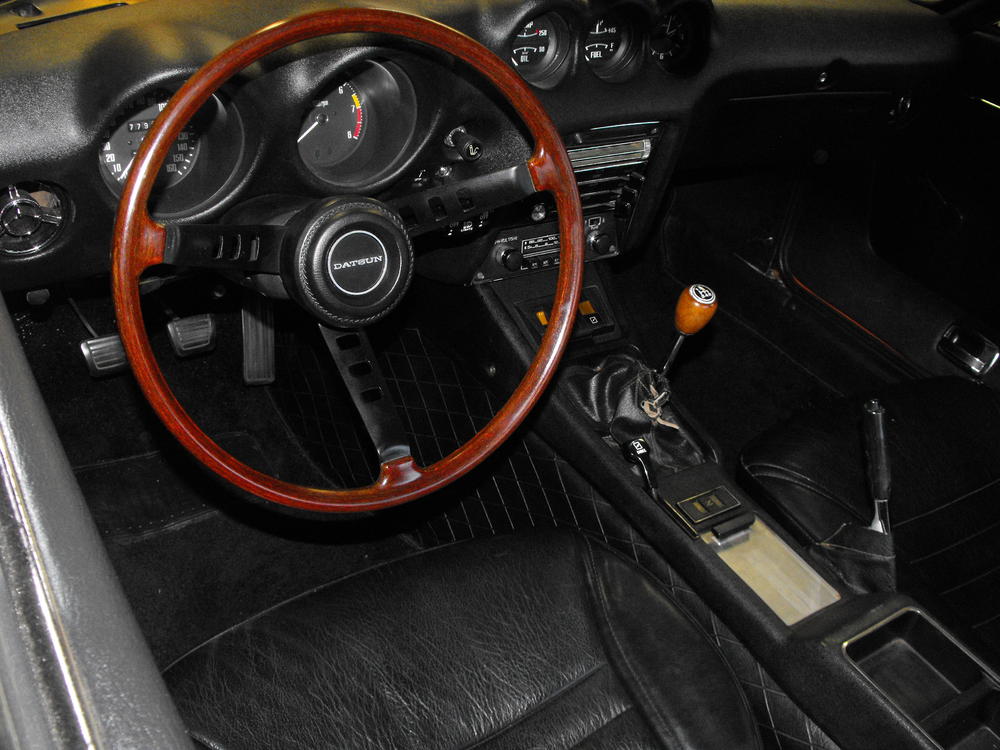
Thanks again everyone, things are coming along nicely. Got a lot of the interior in as you can see in the pics. Most electrical is working except for blinkers so will have to troubleshoot that. My meter shows that I am not getting power to the turn signal lever. Kind of weird because all the running lights, headlights and dome light work. Will play around with that today. (Edit: that was a quick fix, one small bullet connector near the fuse panel...all better) Also will be detailing hubcaps, horns and stick shift knob. Found a nice pretty new starter from @Zup along with the correct battery cables. I am looking forward to those coming in. That should really set off and complete the engine bay.


-
I took her out for the inaugural drive round the cul-de-sac. Had to watch out for the snow and ice in the corner but....oh wait, I live in SoCal. It's 80 degrees and sunny. (Just had to throw that in for the East coasters). Anyway, car is running great and is very nice to drive. Now I just have to finish up a bunch of details and she is good to go. Boy, it drives nice! Love having the new shocks and bushings. It is very smooth. Looks like the short engine video is loading. Feel free to turn the sound up Engine Vid.mp4

-
Another Z article out. Always an interesting read. http://www.nydailynews.com/autos/street-smarts/is-nissan-killing-z-retrospective-article-1.3723803
-
Thanks for the contact! I just sent him an e-mail.
-
I know. I am on e-bay quite a bit looking for those, but very hard to find. Jay at JDM parts has some of the repro pieces but not the whole system. Also hard to find OEM battery cables.
-
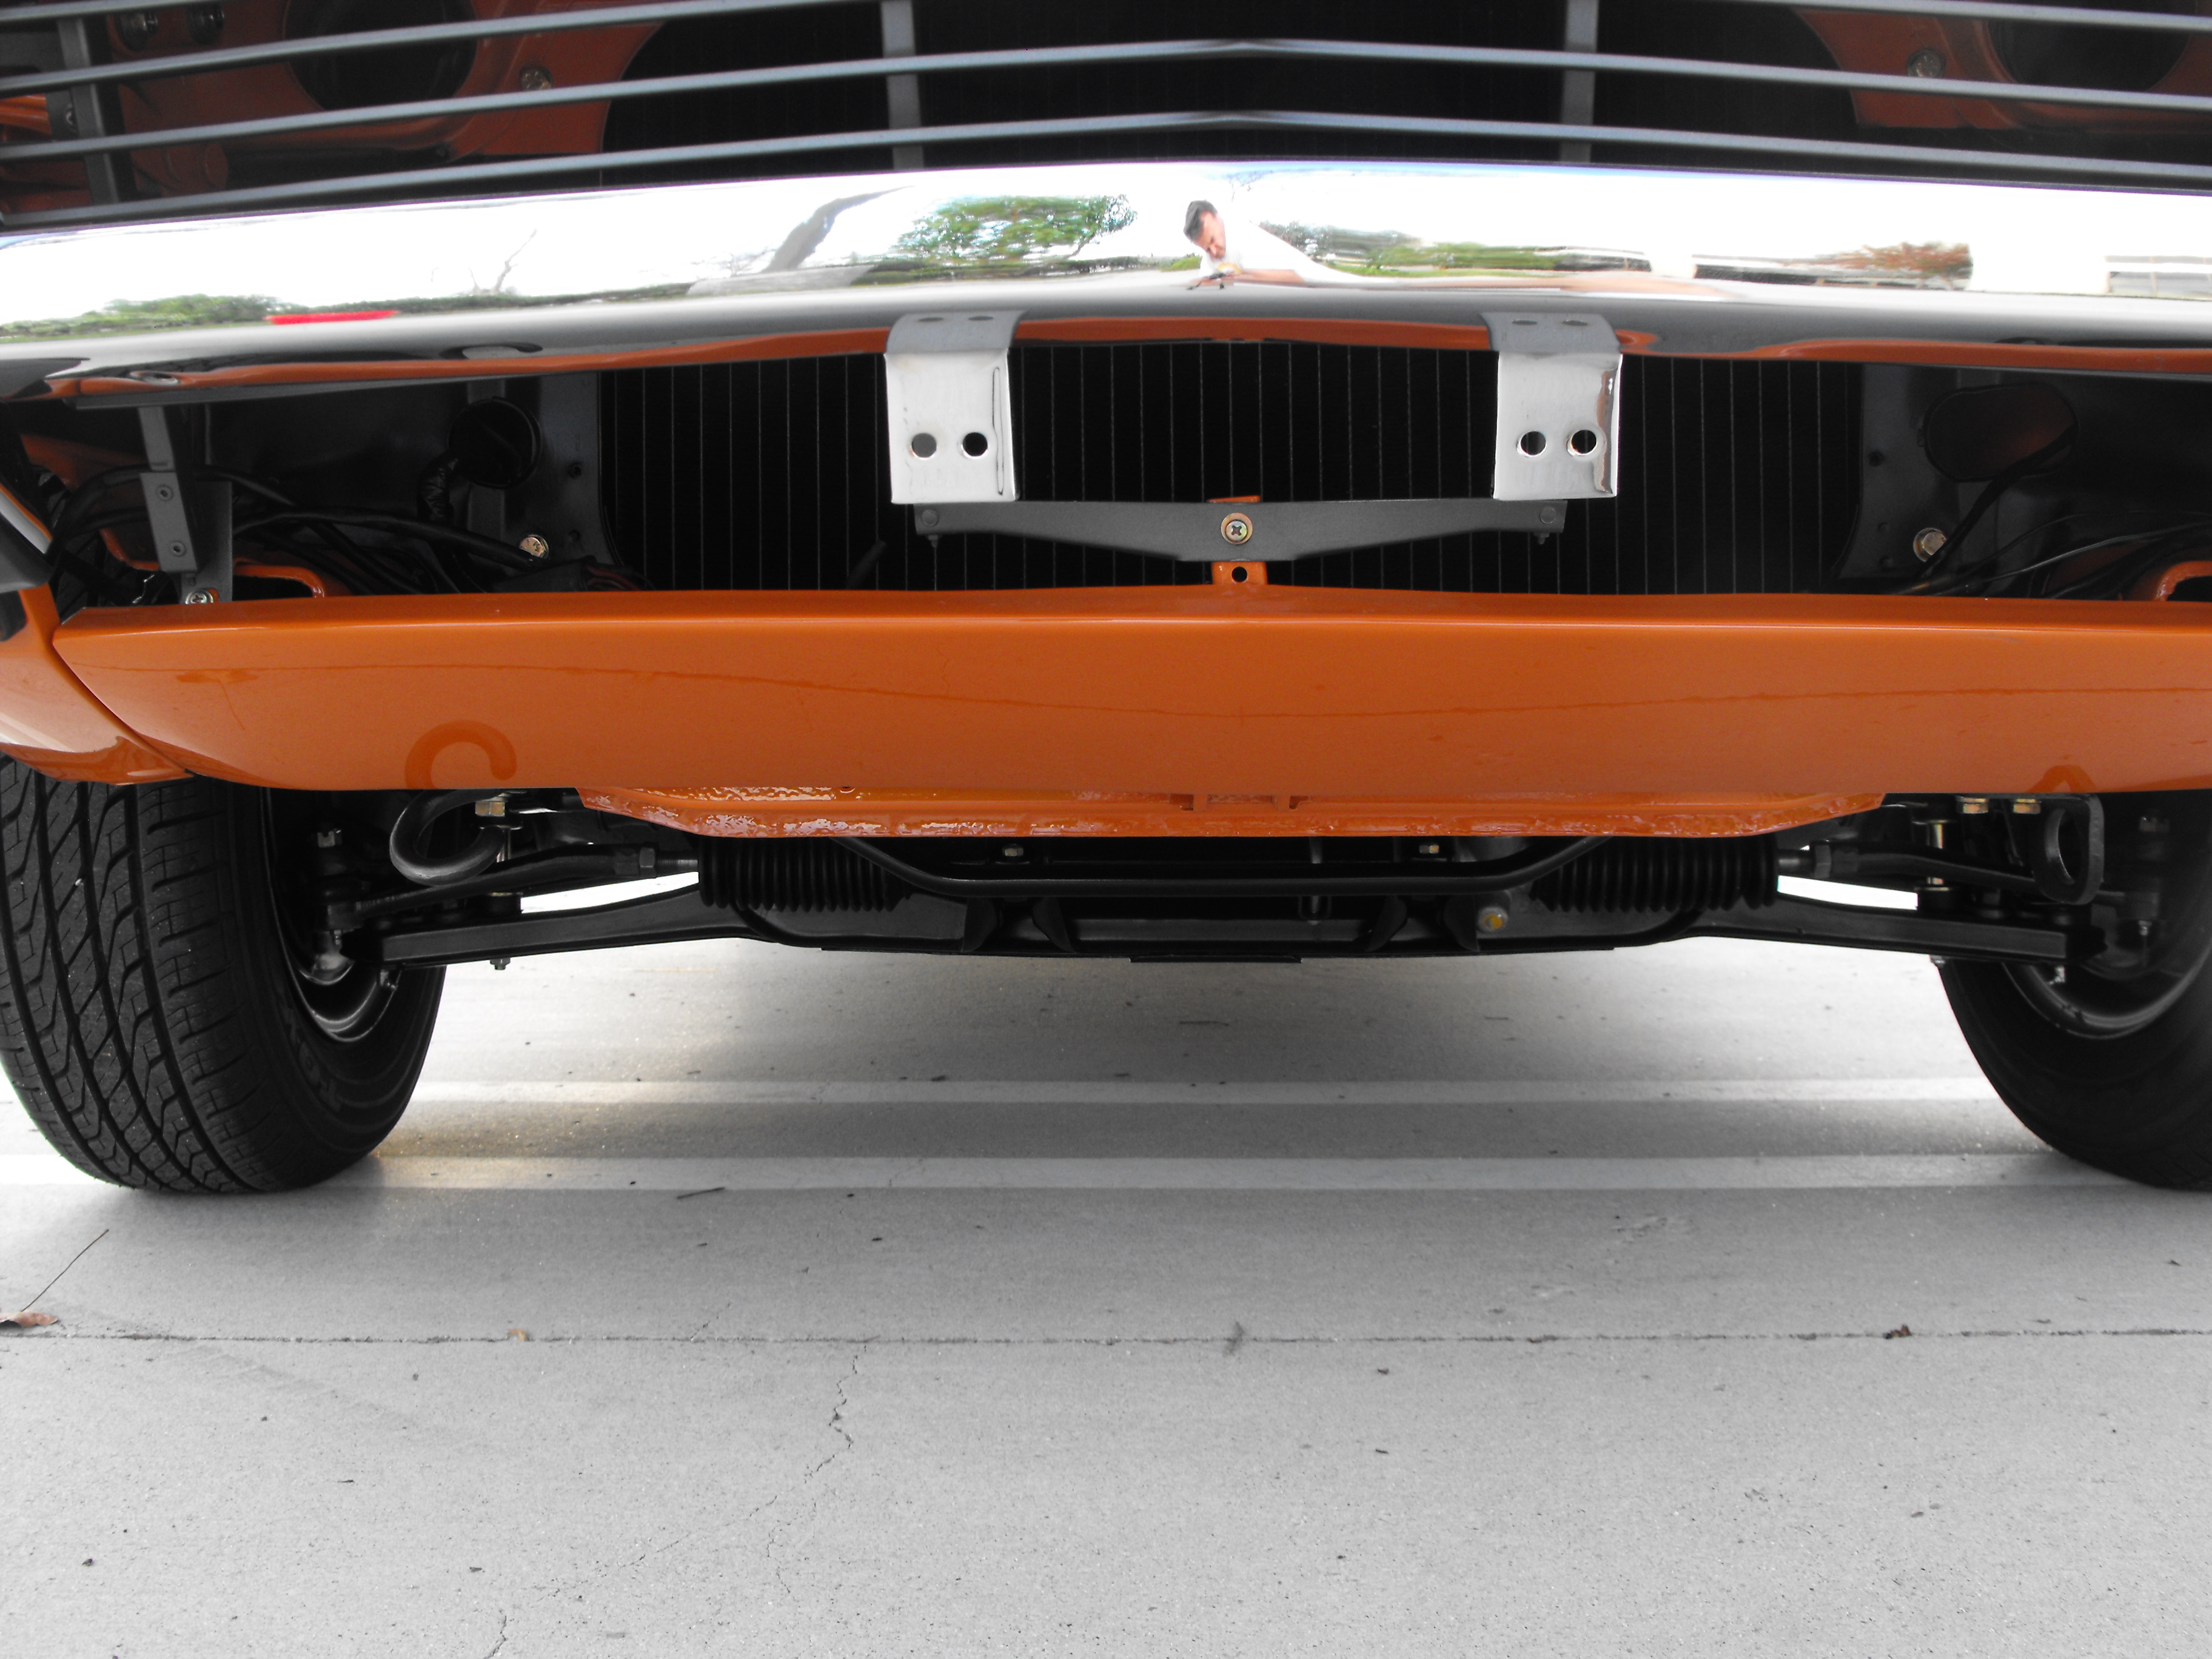
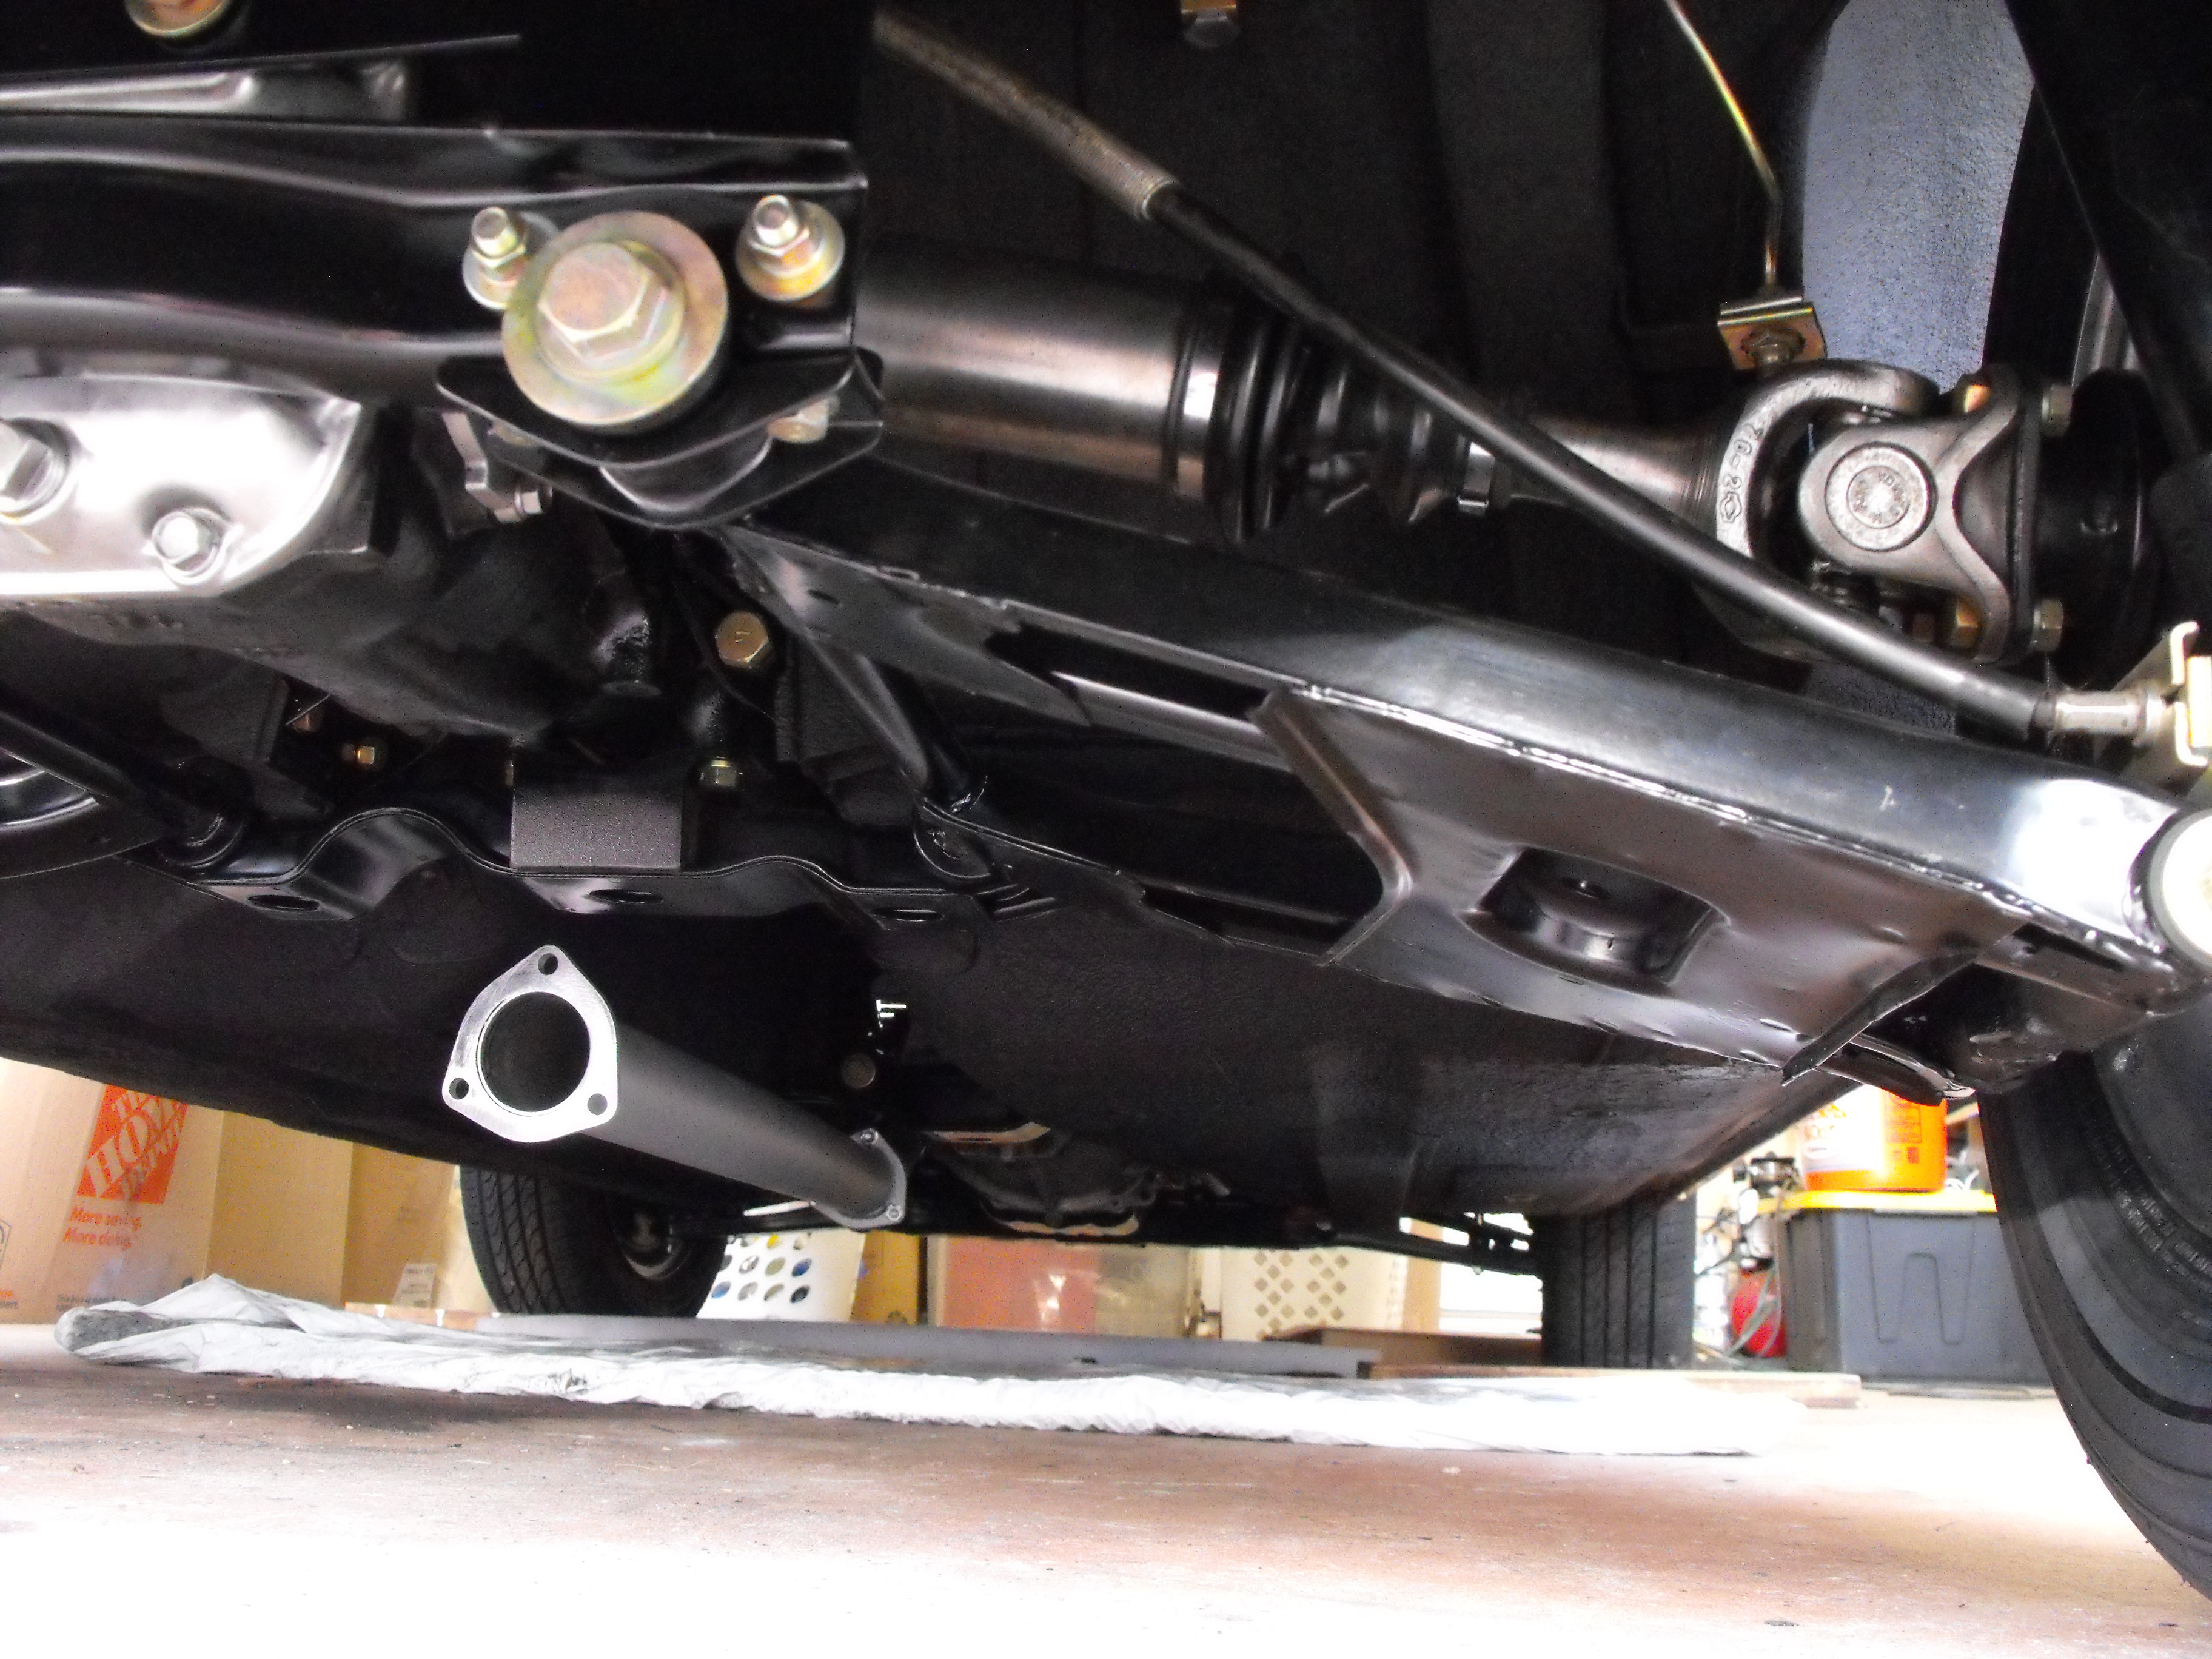
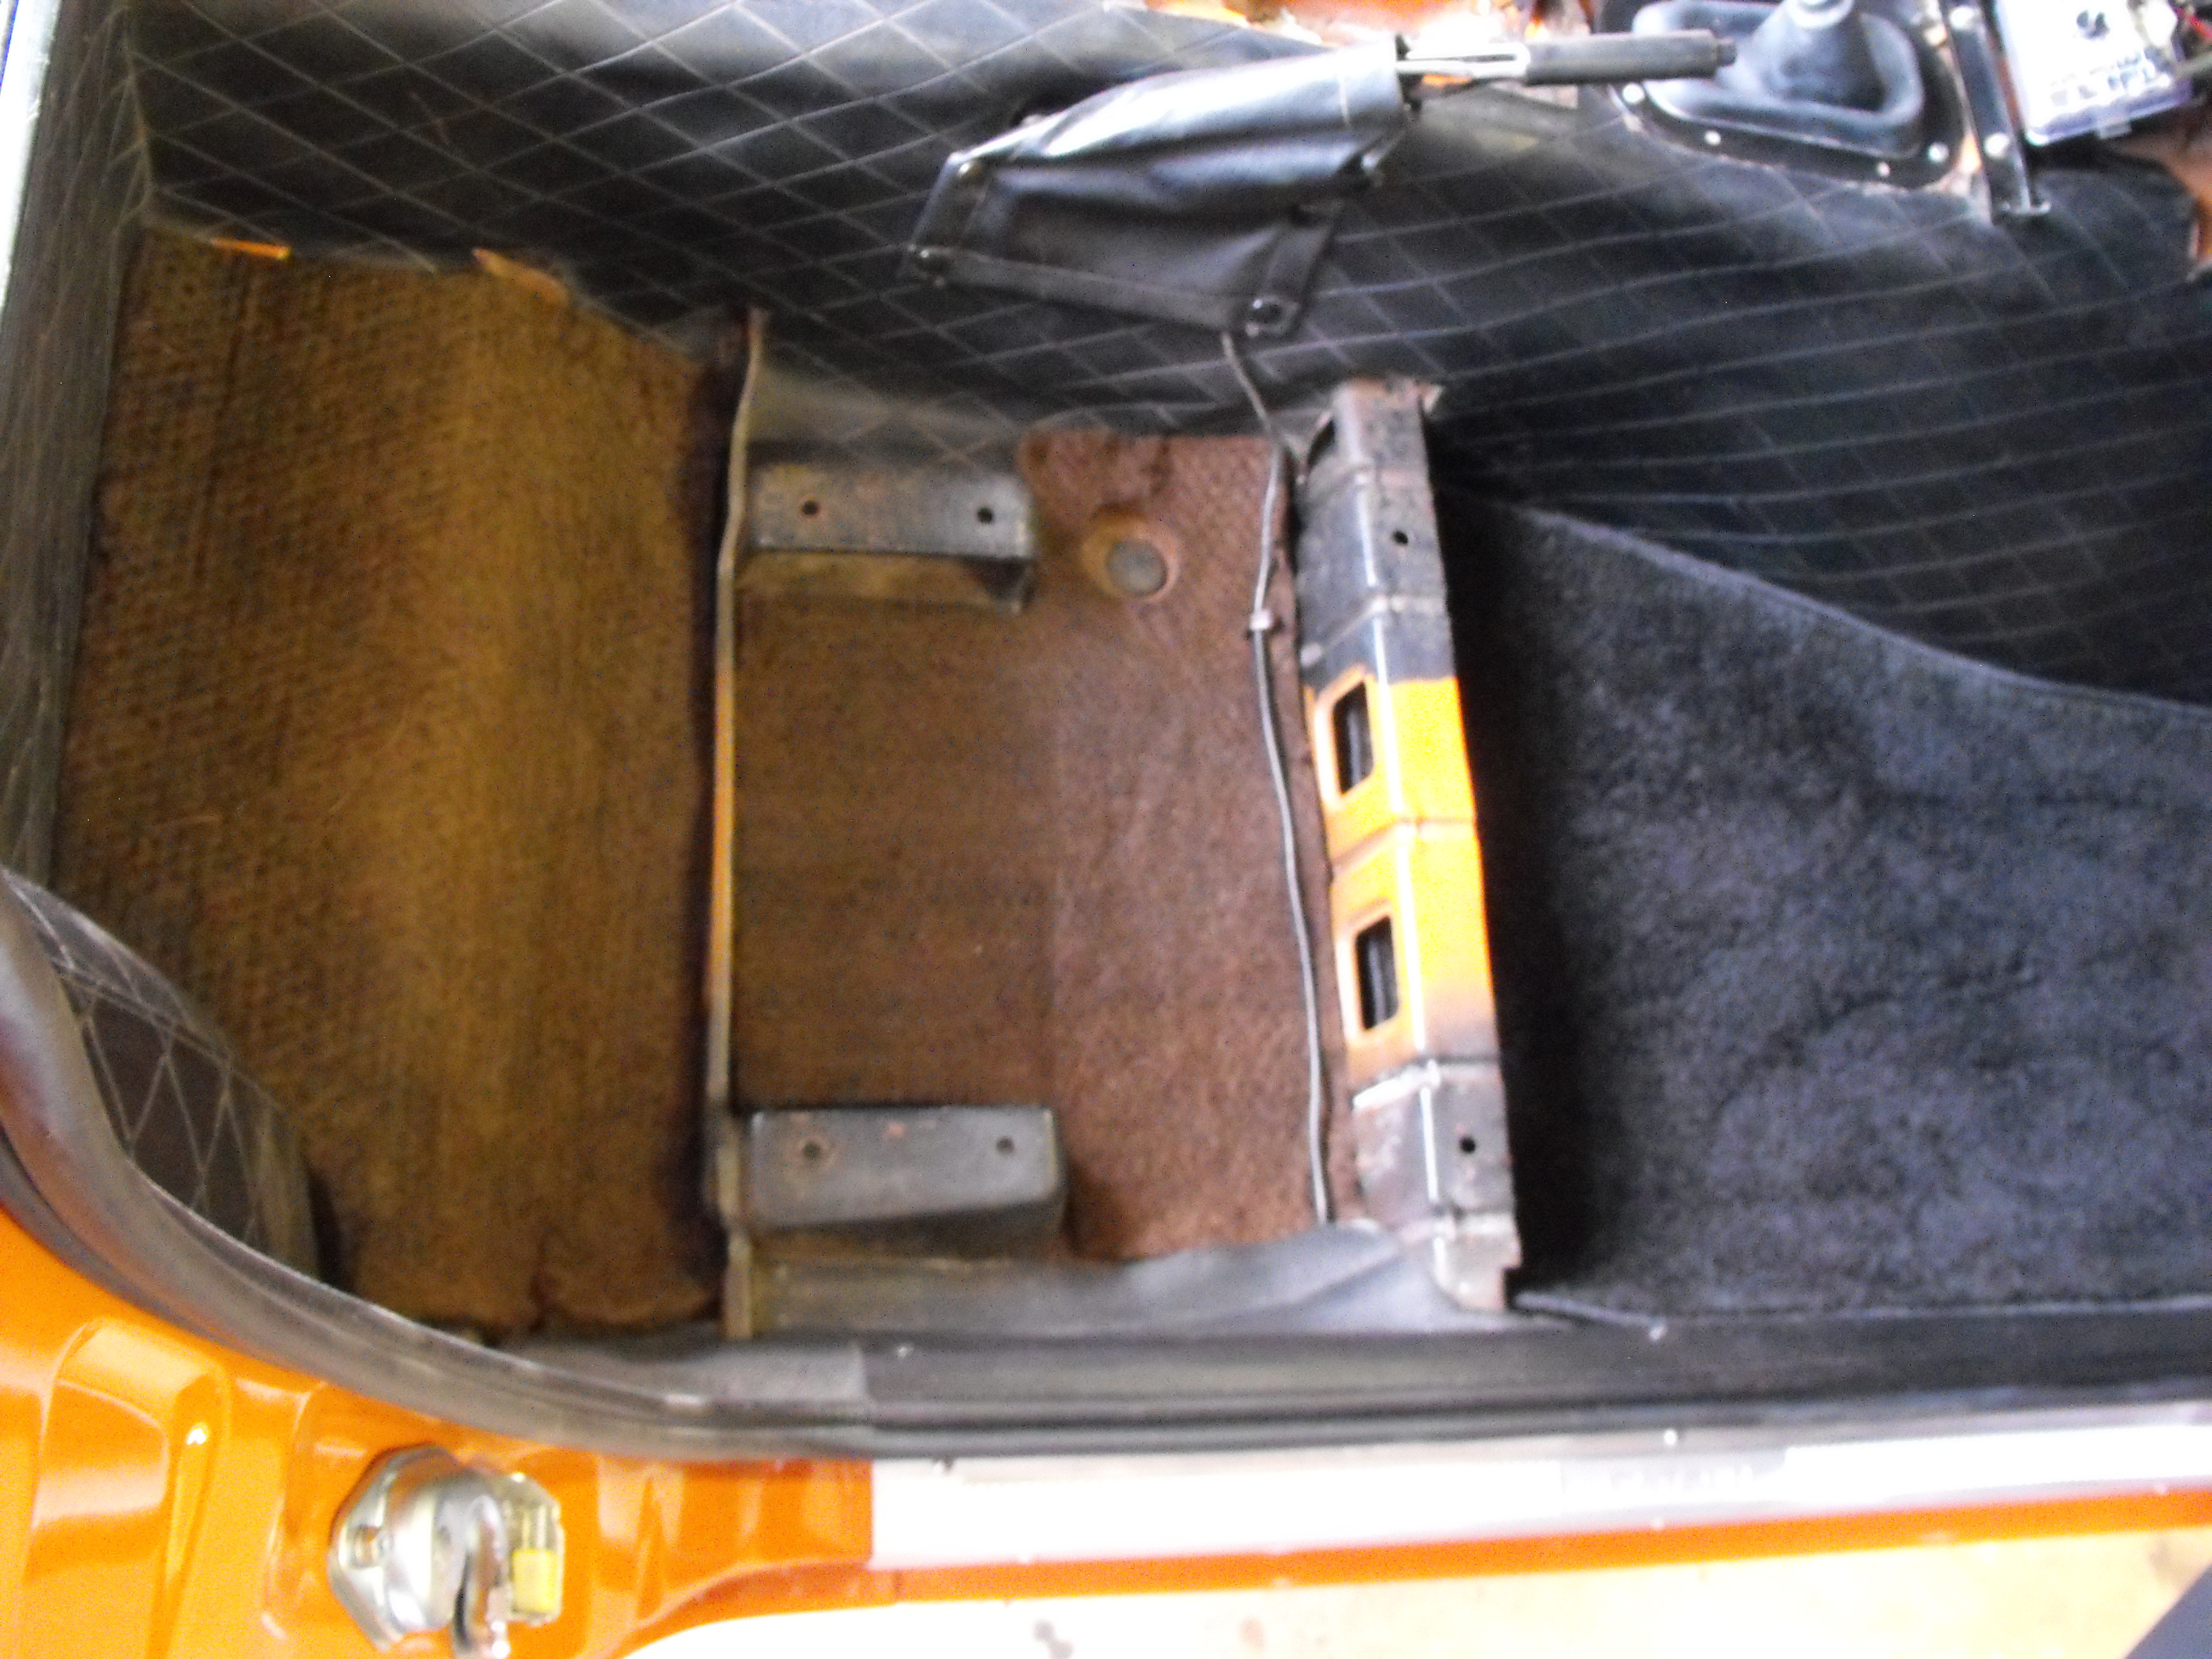
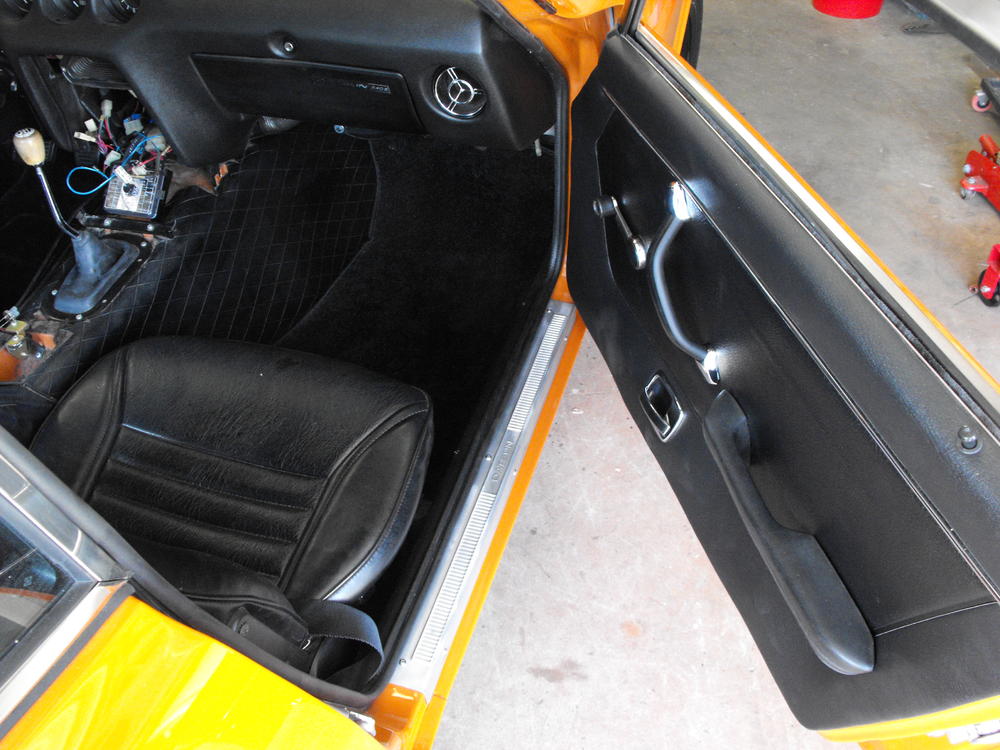
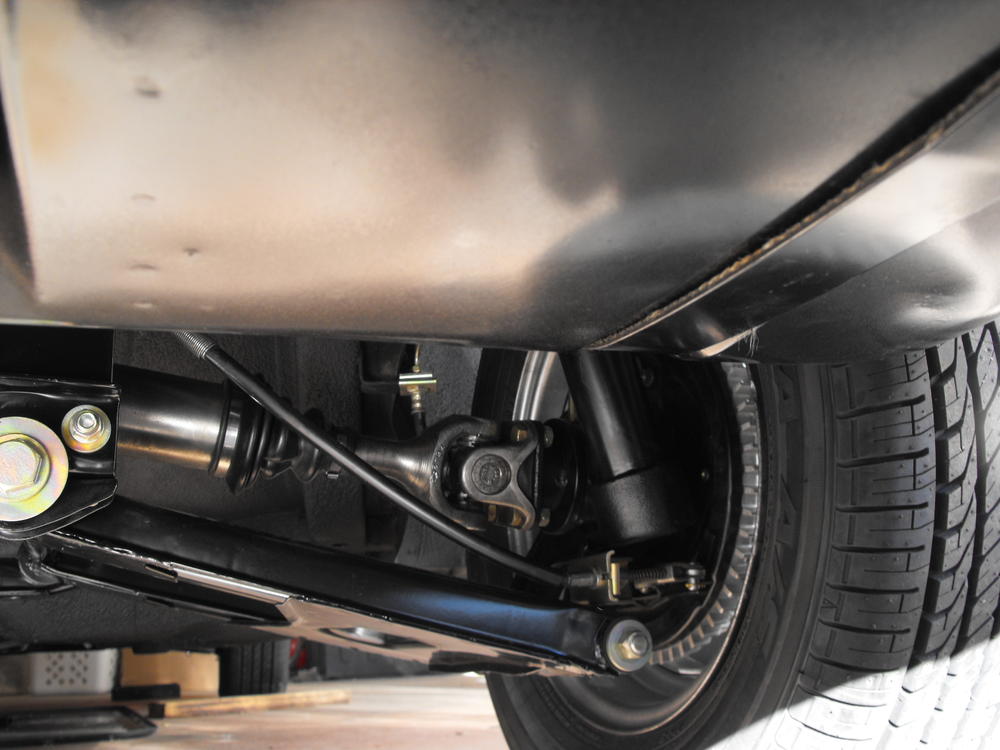
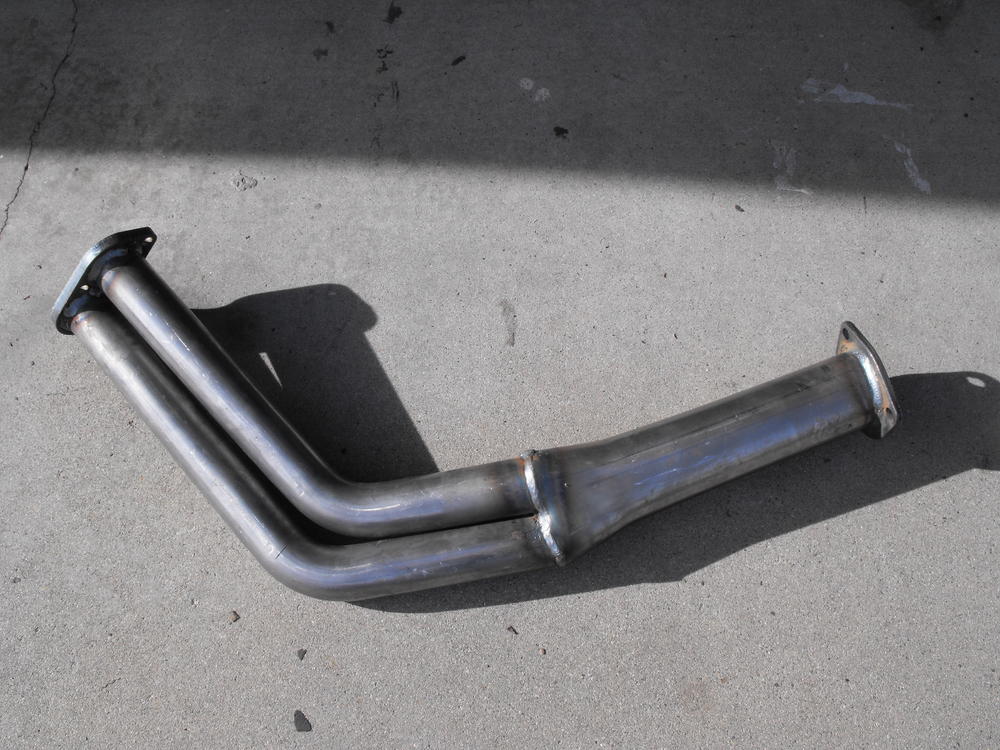
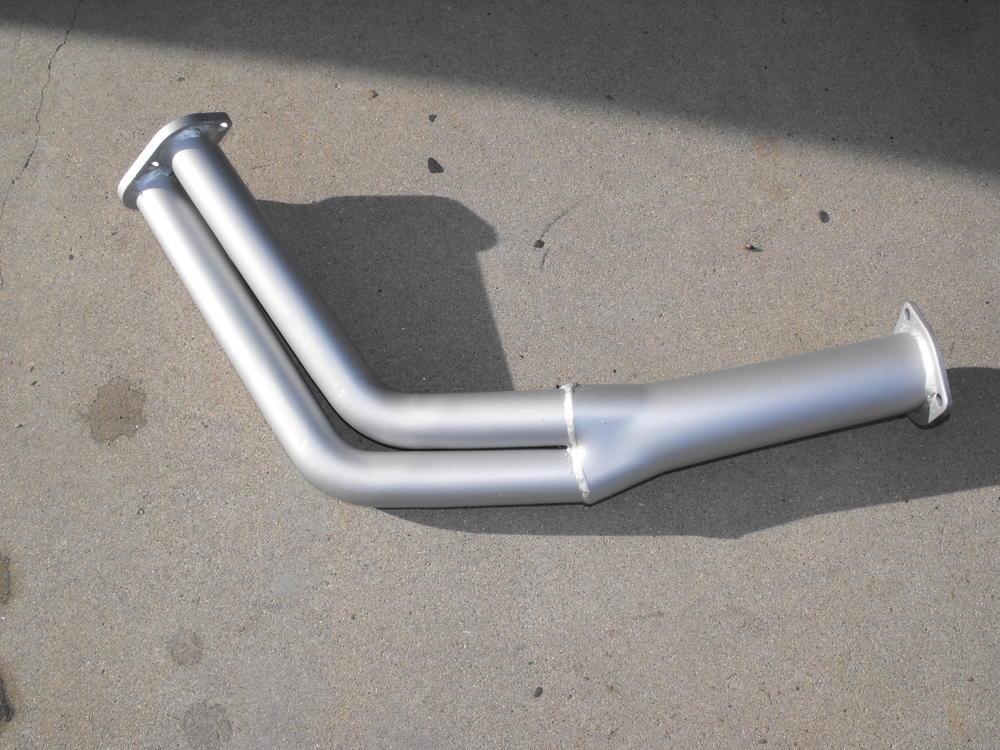
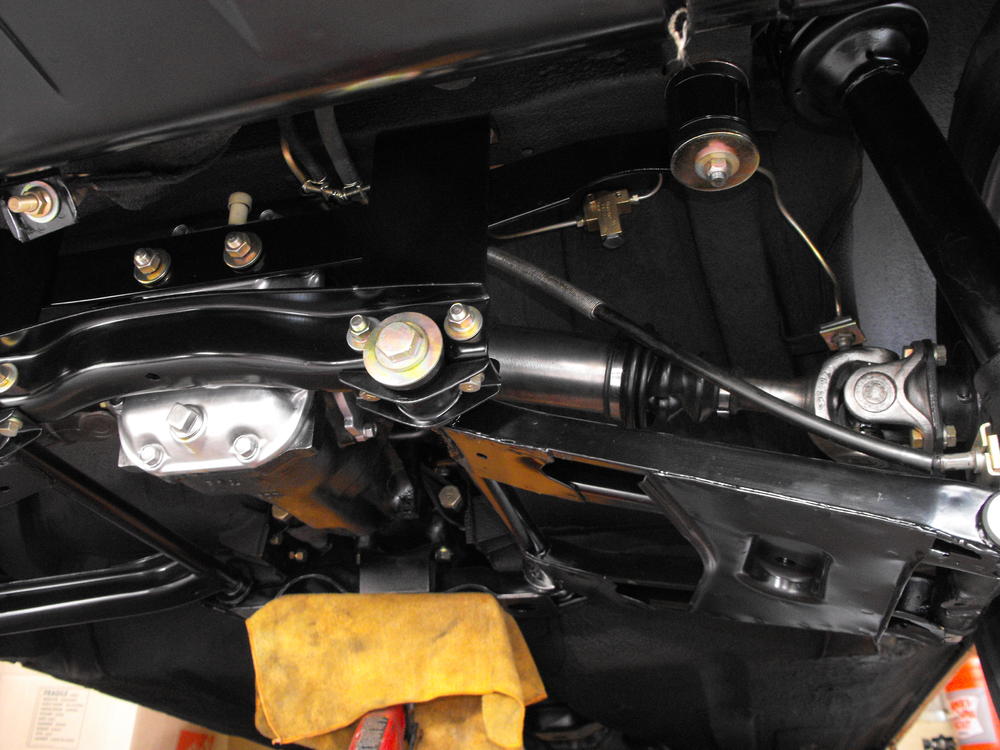
IT'S ALIVE!!! Yes, she is up and running! Very nice to have the car running. The motor sounded very nice and smooth. There was a little popping out the exhaust, not sure what that is from, but still need to set the timing. It was getting late so I will do the adjustments in the next day or two . I took a video of it, but it is 18MB. I will have to figure out how to make a lower res video so I can get it on the site here. It started up fairly quickly. I used my vacuum pump to suck the fuel up to the fuel pump, then just turned it over from there. It started up in about 15 seconds which was great. Although as perfect as this may all sound when I post here, I did overlook two things. I forgot to put a hose clamp on the fuel return line just below the fuel pump. This dumped about a quarter cup of fuel on the floor. Also did not have the oil filter fully tightened. Dripped about a tablespoon of oil there. Surprisingly there were no water leaks. That is usually the culprit. Anyway I fixed those two items and shut it down for the night. I got a ton of stuff done today. I got the exhaust painted with high temp paint and installed. I will change the tip to the OEM slant style when it arrives. For now I threw on the chrome tip that came with the exhaust system. I got a lot of the interior done. I like the OEM jute that the car came with, so I just cleaned it off and re-installed it. And, the carpet is very nice so I installed that also. The only concern is the rear hatch carpet is faded. I will have to see if I can get that dyed. Otherwise, it is in very good condition. I installed the door weather stripping and threshold finishers. I tried to repair the plastic on the door finishers but that did not work very well. Fortunately I had a nice set so I put those on. Also got the choke cable installed along with the stick shift handle. I got the rear brake cable cleaned up and installed and the drive shaft as well, before the exhaust of course. Got the clutch cylinder filled and bled. Also got the battery cables in along with the hard to find battery cover. Anyway, pics are below.


-
Hi Ray, I will have to check with the owner on this, but it is doable. Mike, the guy who runs the site says there is a way to convert the entire thread to PDF. That would also be a good way to go. Nice bit of history there. I love the construction and design with the wire frame. It is very artistic and detailed. It also reminds me a bit of those large cables on the Golden Gate bridge as main supports. . Didn't notice that, yes . Thanks again for the kind words everyone. It's pretty exciting to have is this far along. I am looking forward to hearing the motor run. Will have to see what i can do to get a video of that on here. My camera can't do videos, but my phone will.
-
I finished most of the electrical connections except for the center console. Also put in new battery cables. Turned the key and the motor turned over nicely Woo-Hoo. It's nice when things work like they are supposed to. Now I just need some to put in the exhaust system and throw some gas in the tank and she should start right up. I should have a little time with the holiday break so should have her running by Tuesday at the latest.


-
Got the windshield in. That was a piece of cake and took just about an hour from start to finish. Wife helped out a bit on the install. The more challenging item was the stainless metal trim installation. It goes pretty well if you use Windex to lube everything up and then roll the windshield rubber over the edges of the trim. Also got the windshield wipers on, love those things. Now its back to the interior.


-
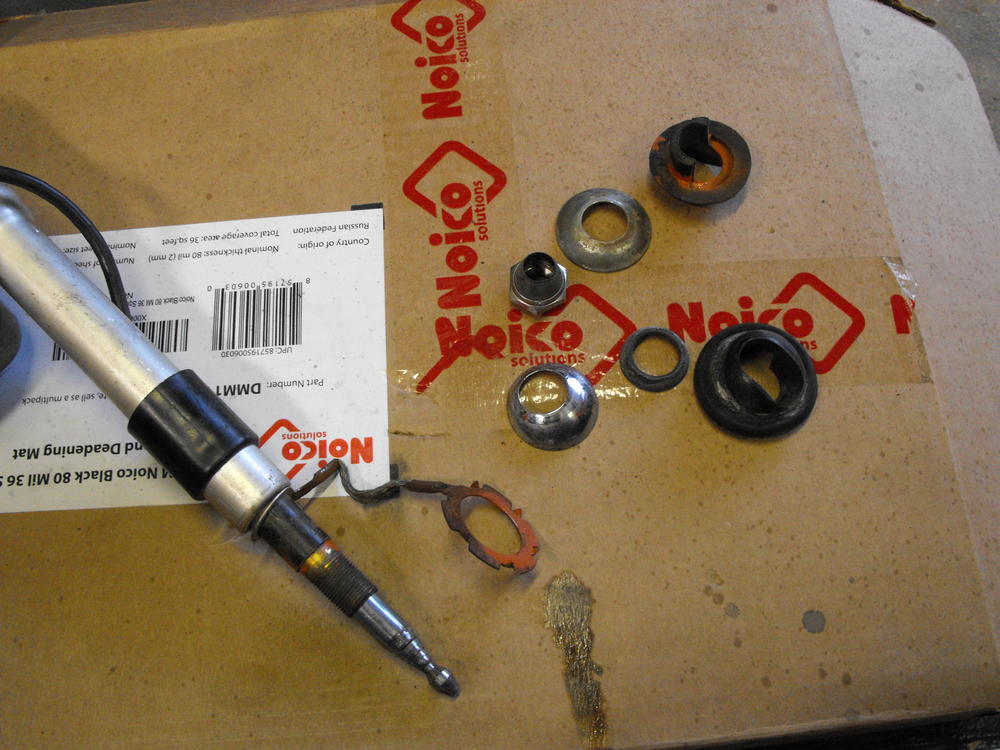
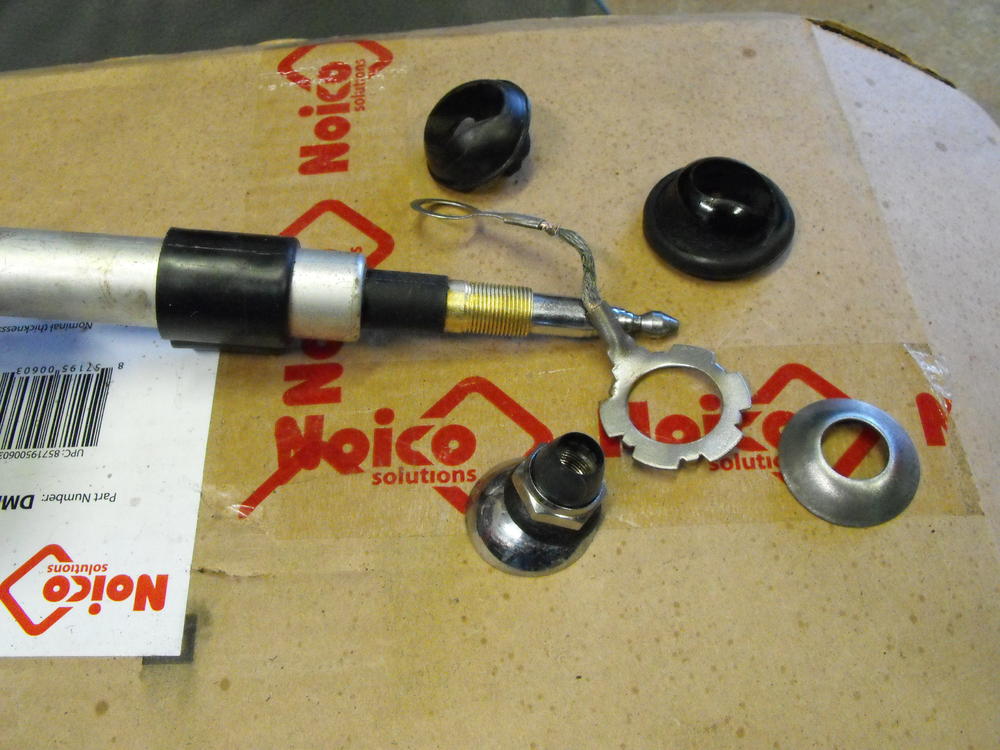
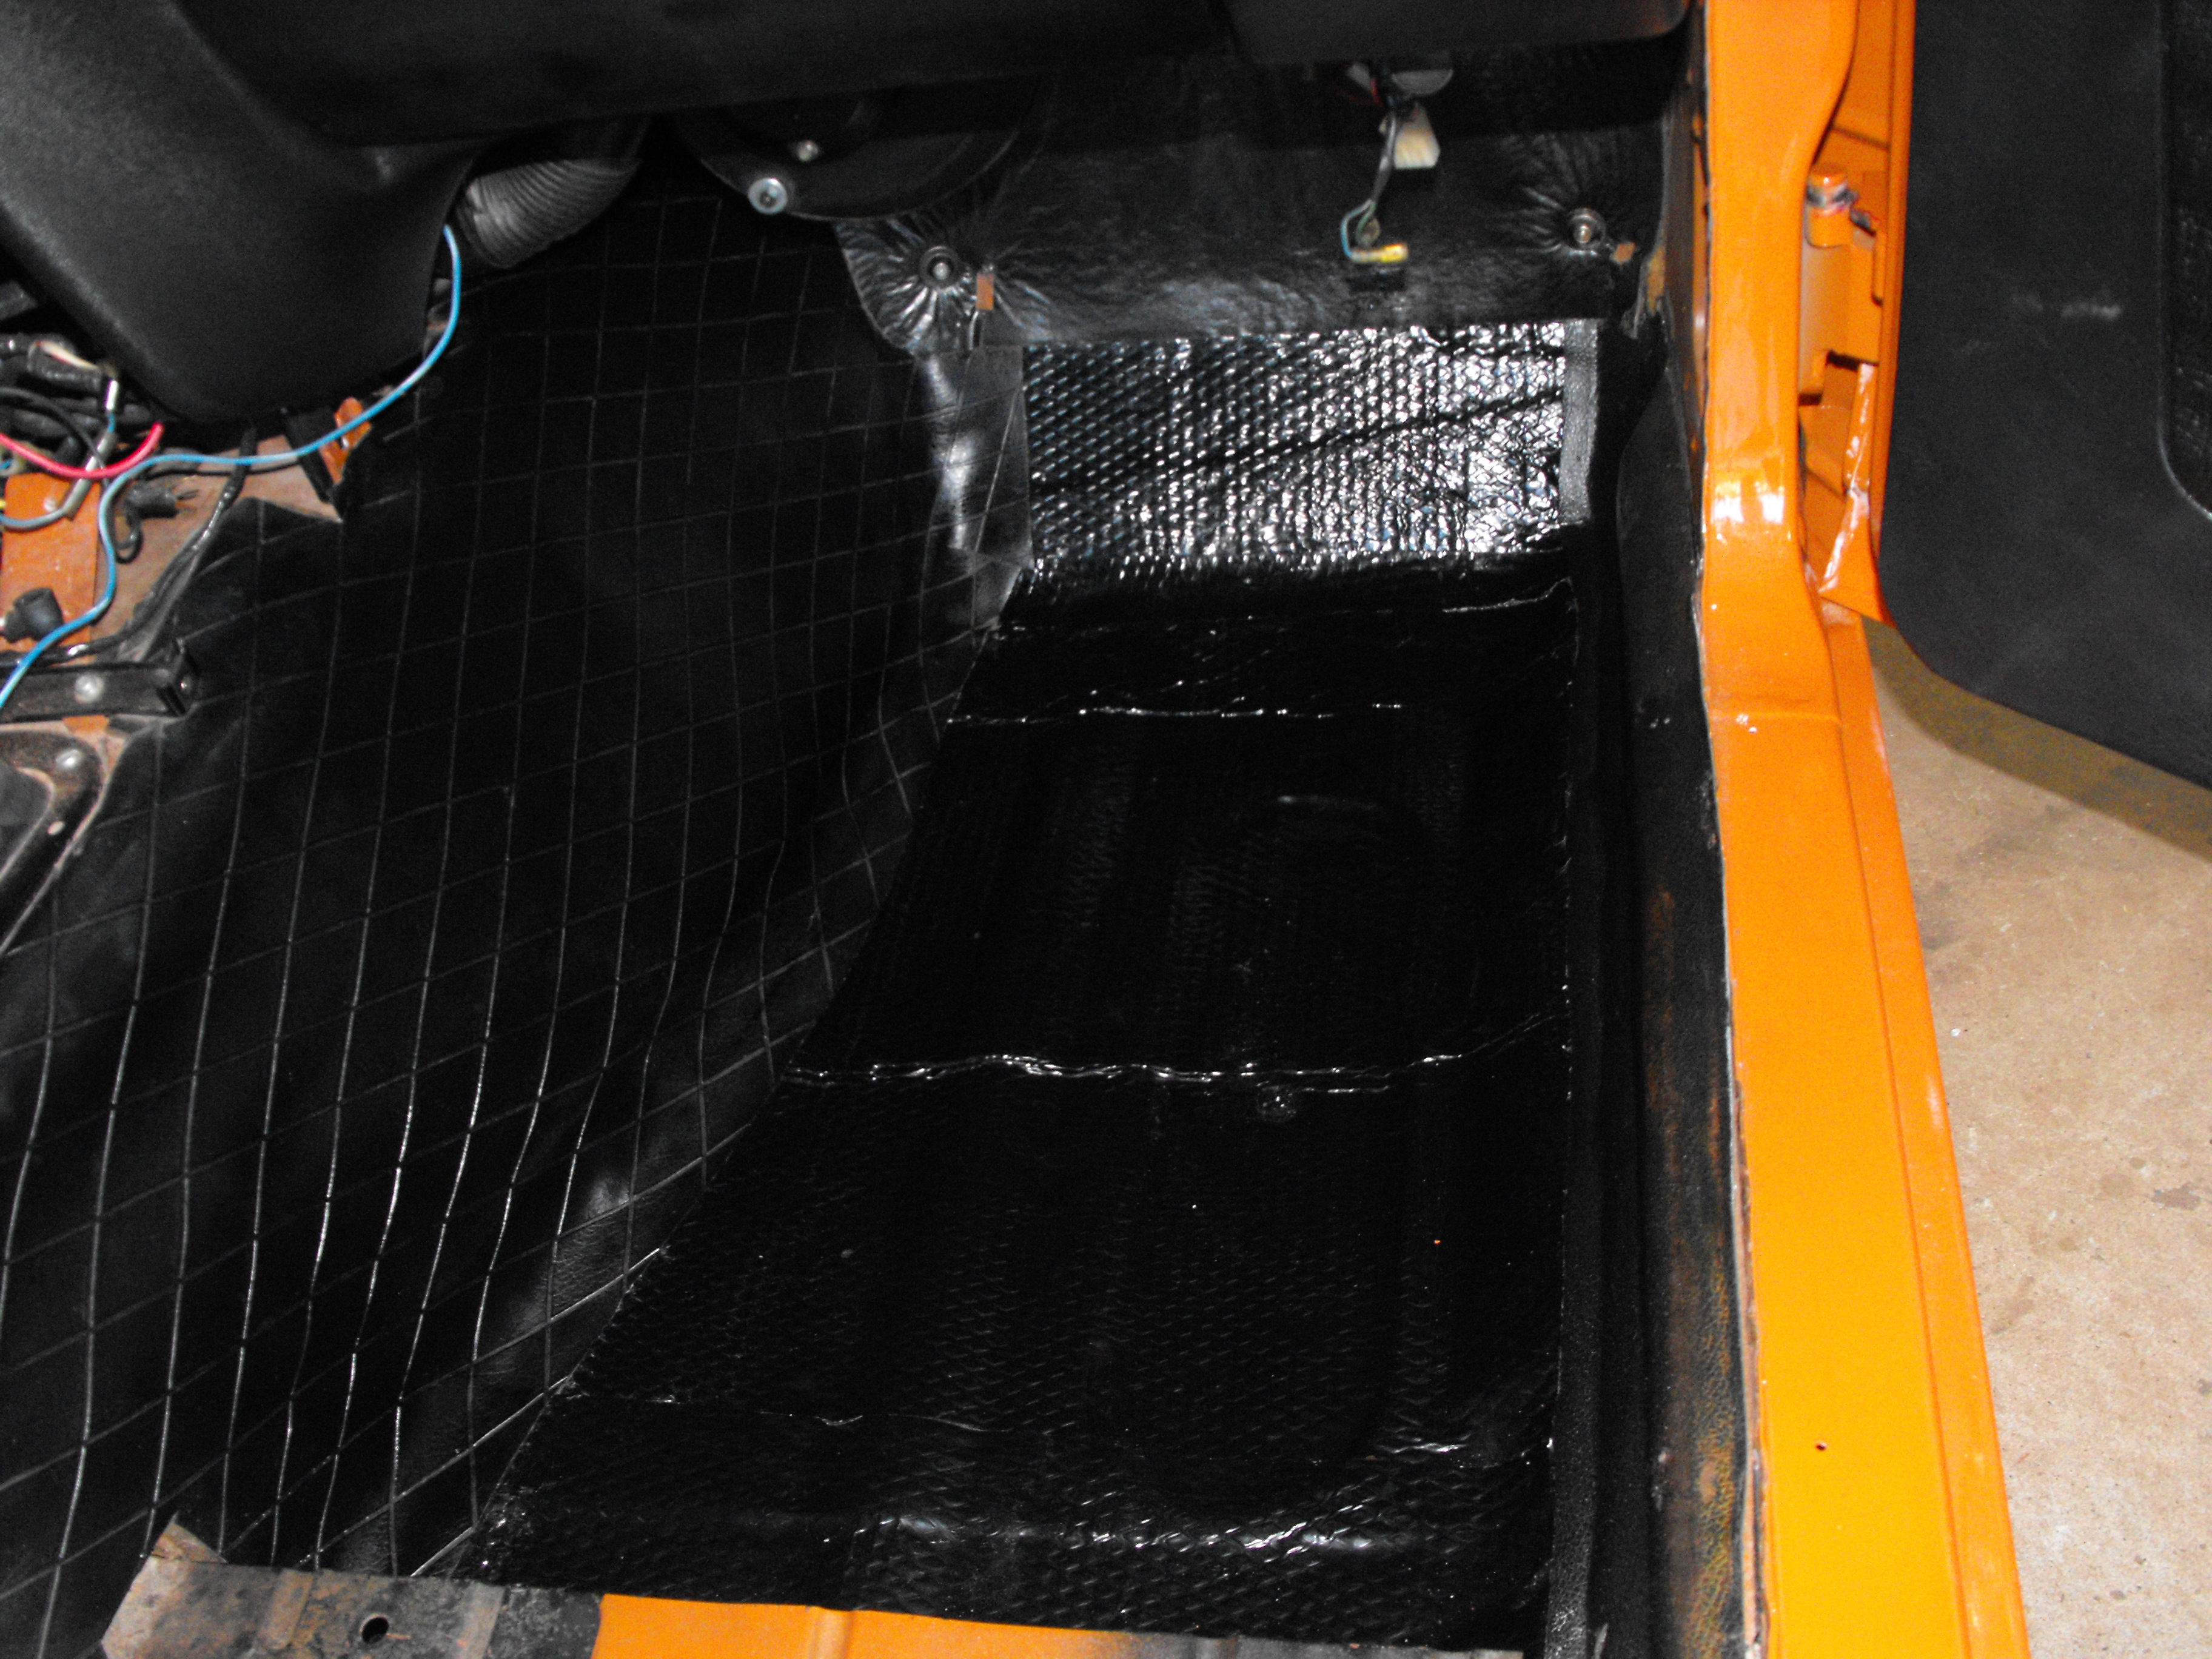
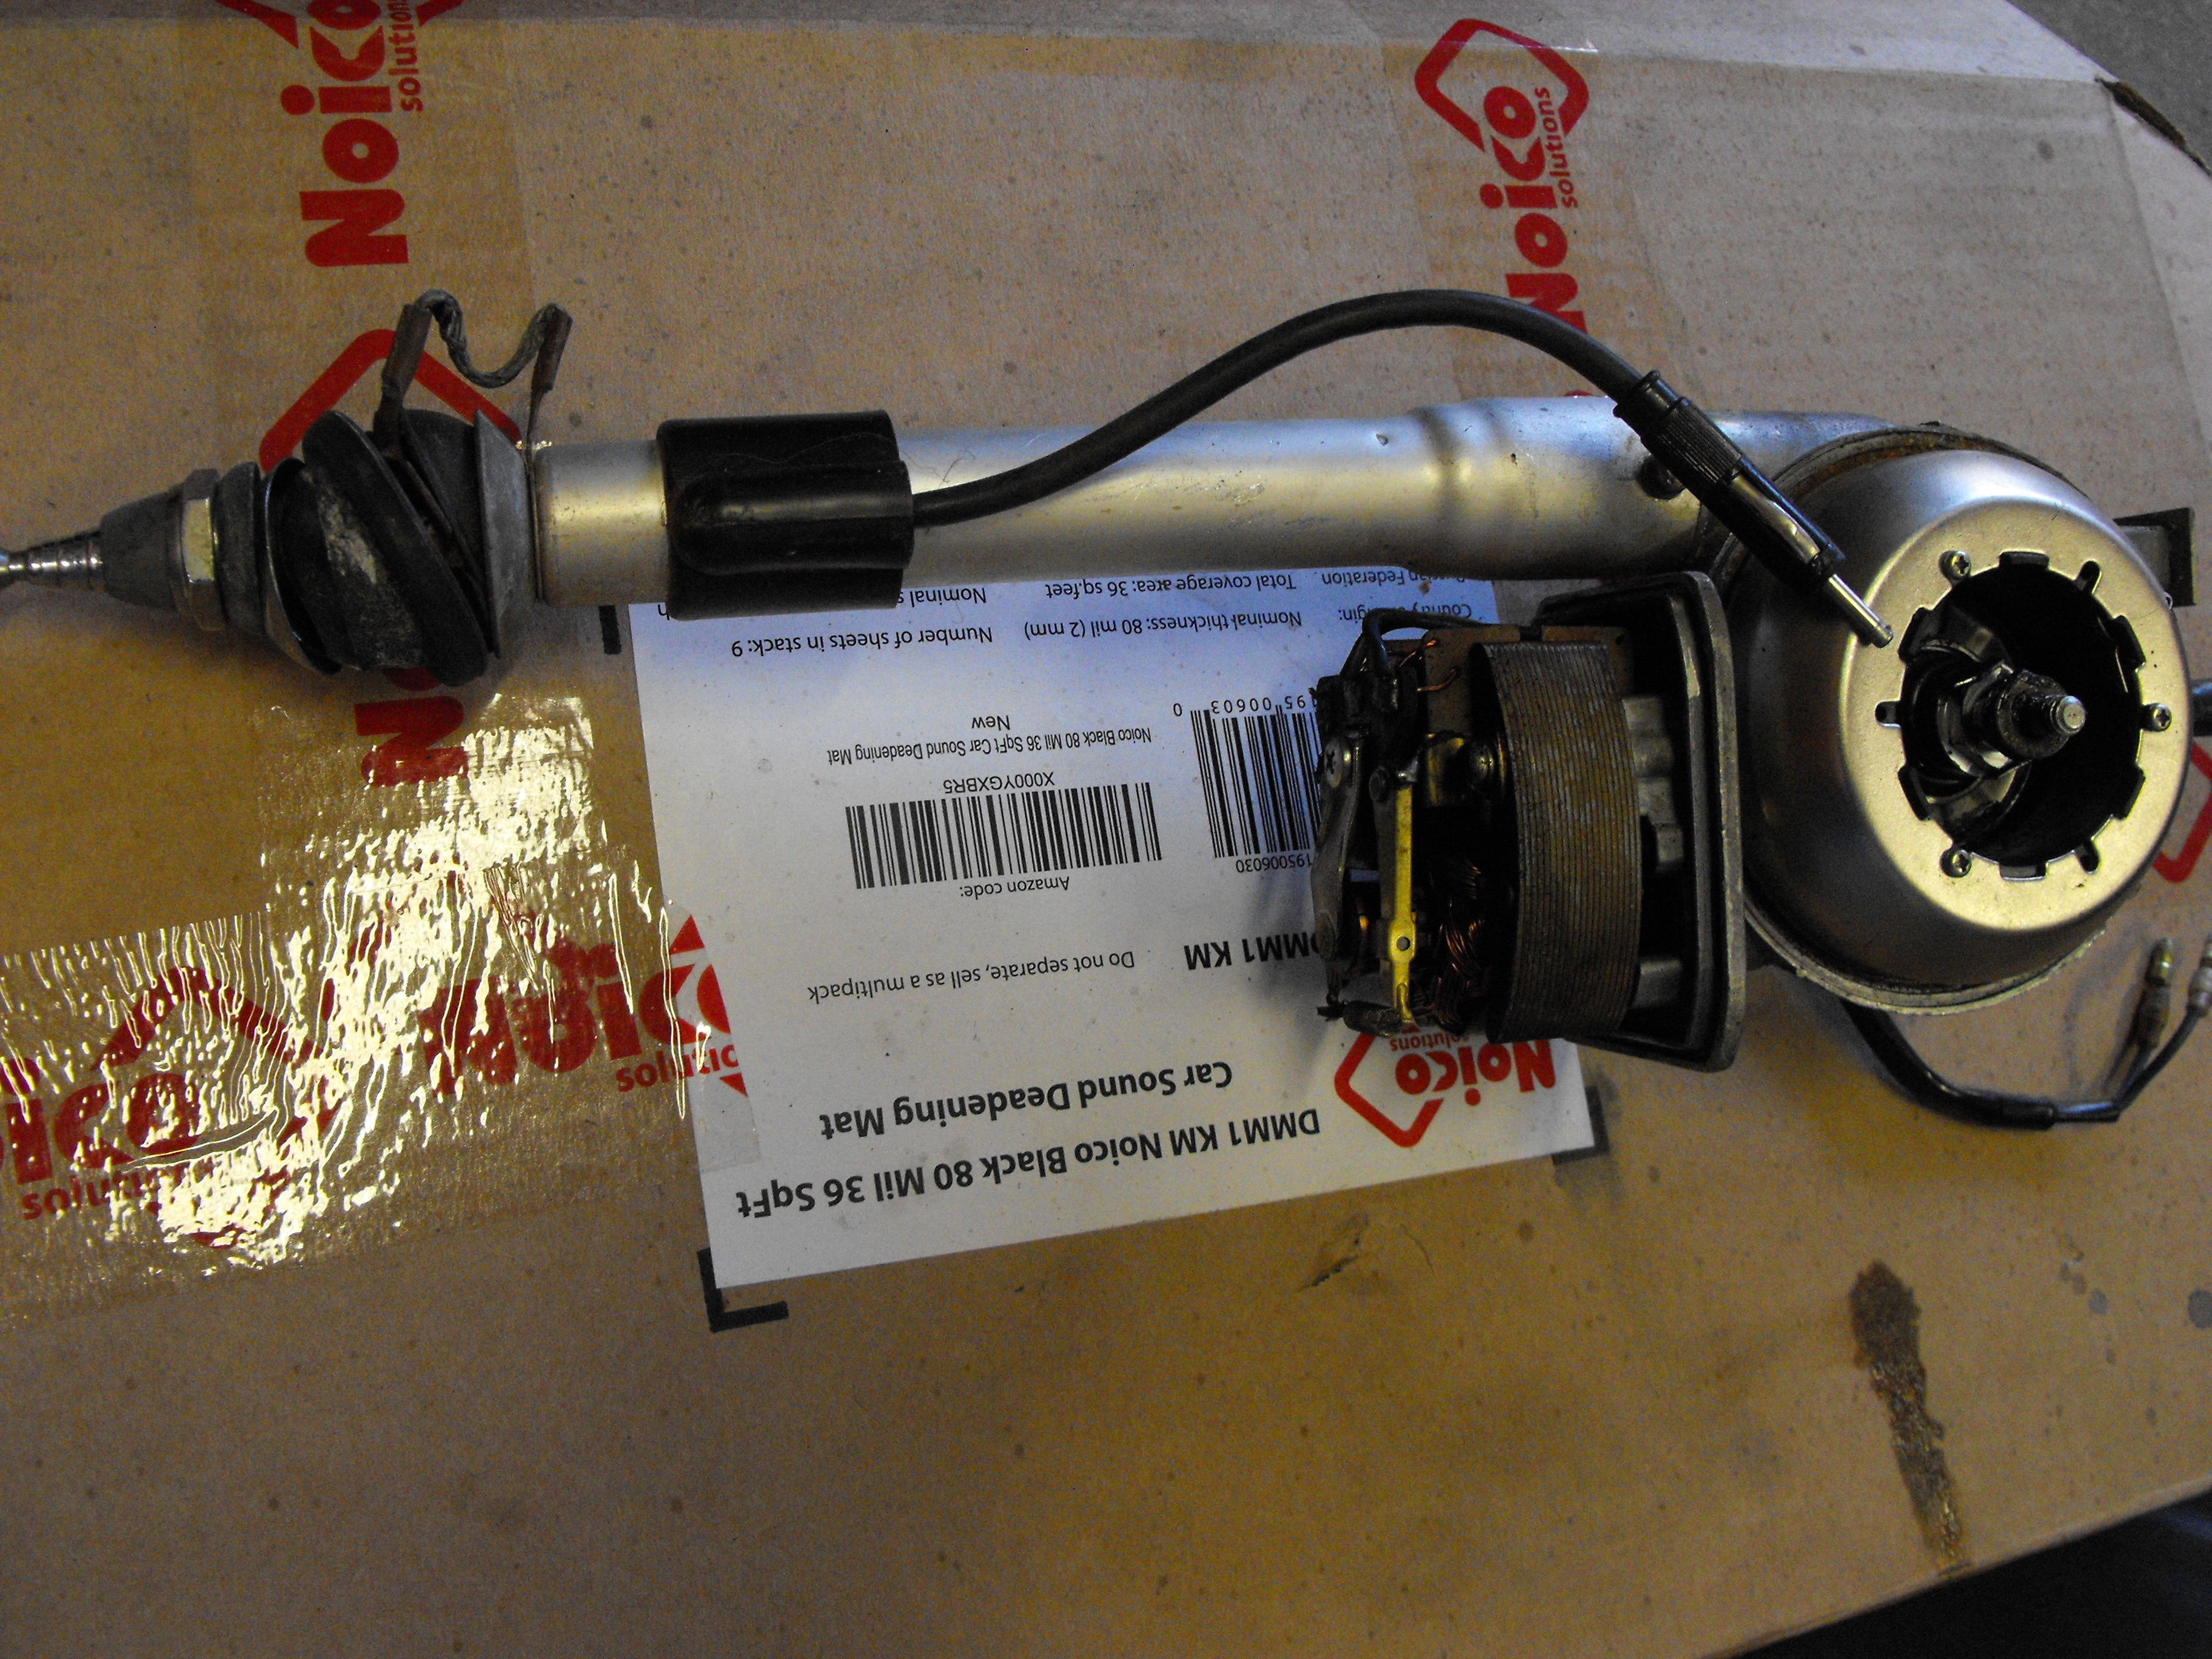
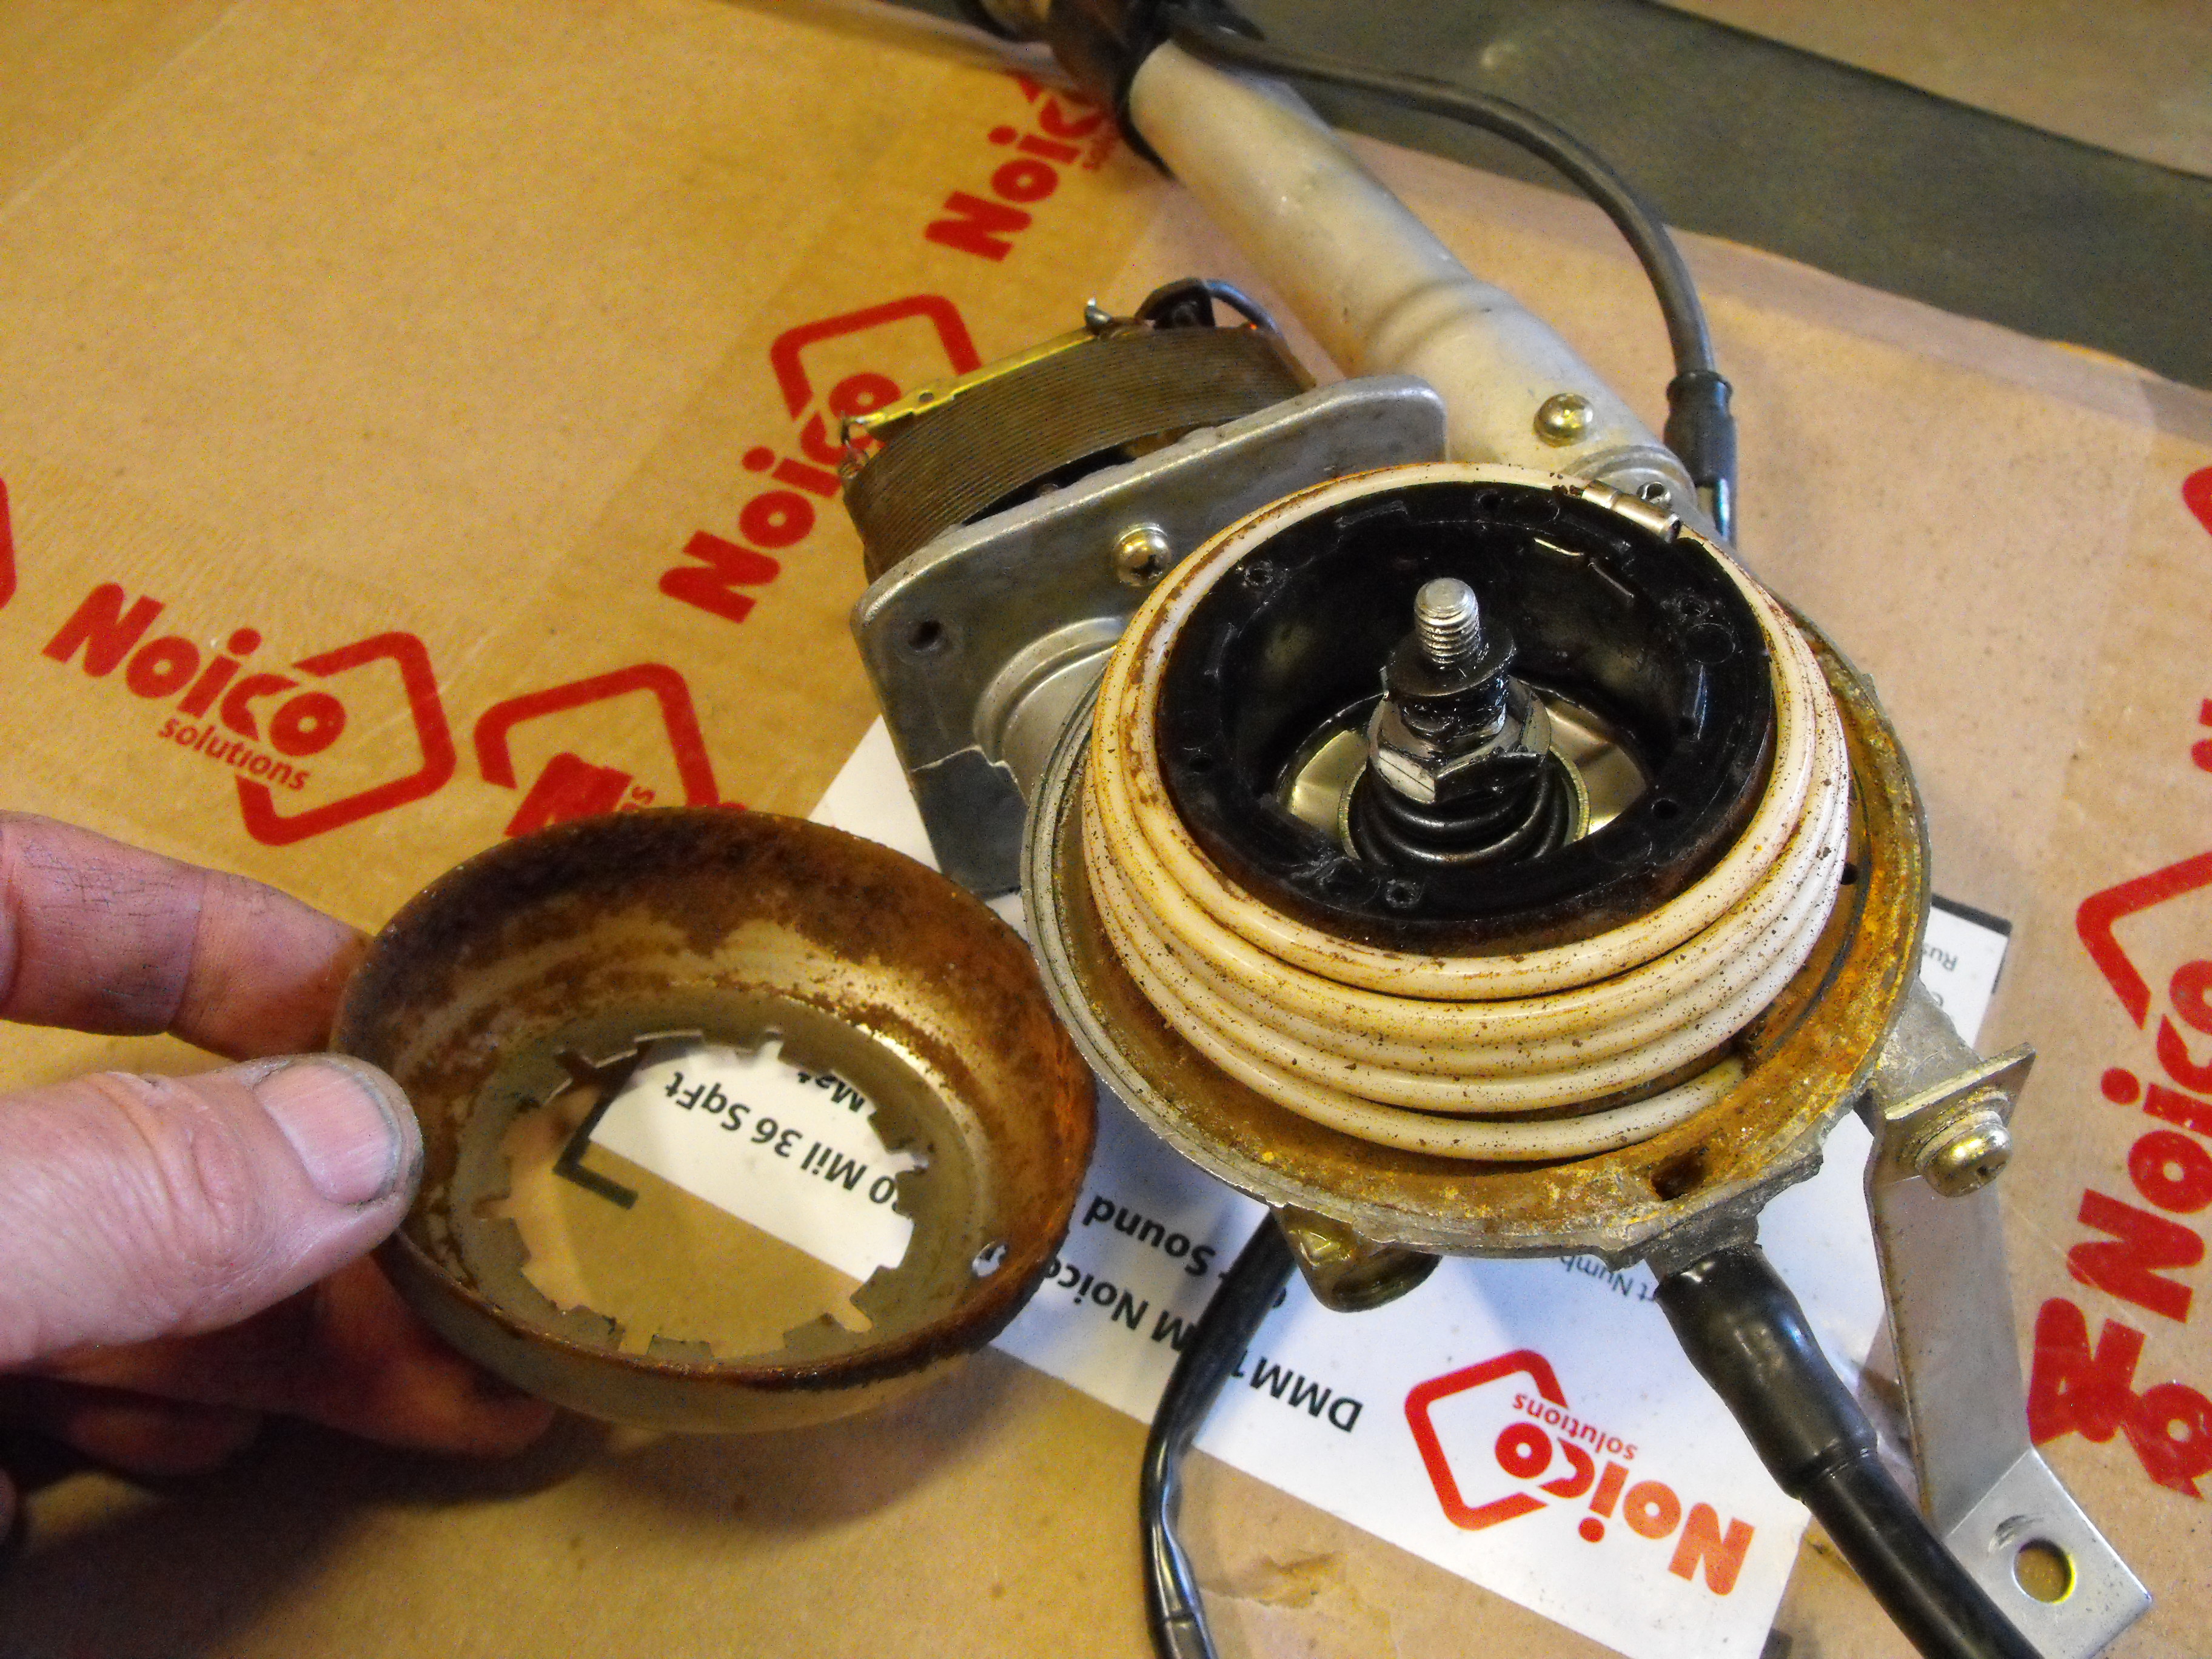
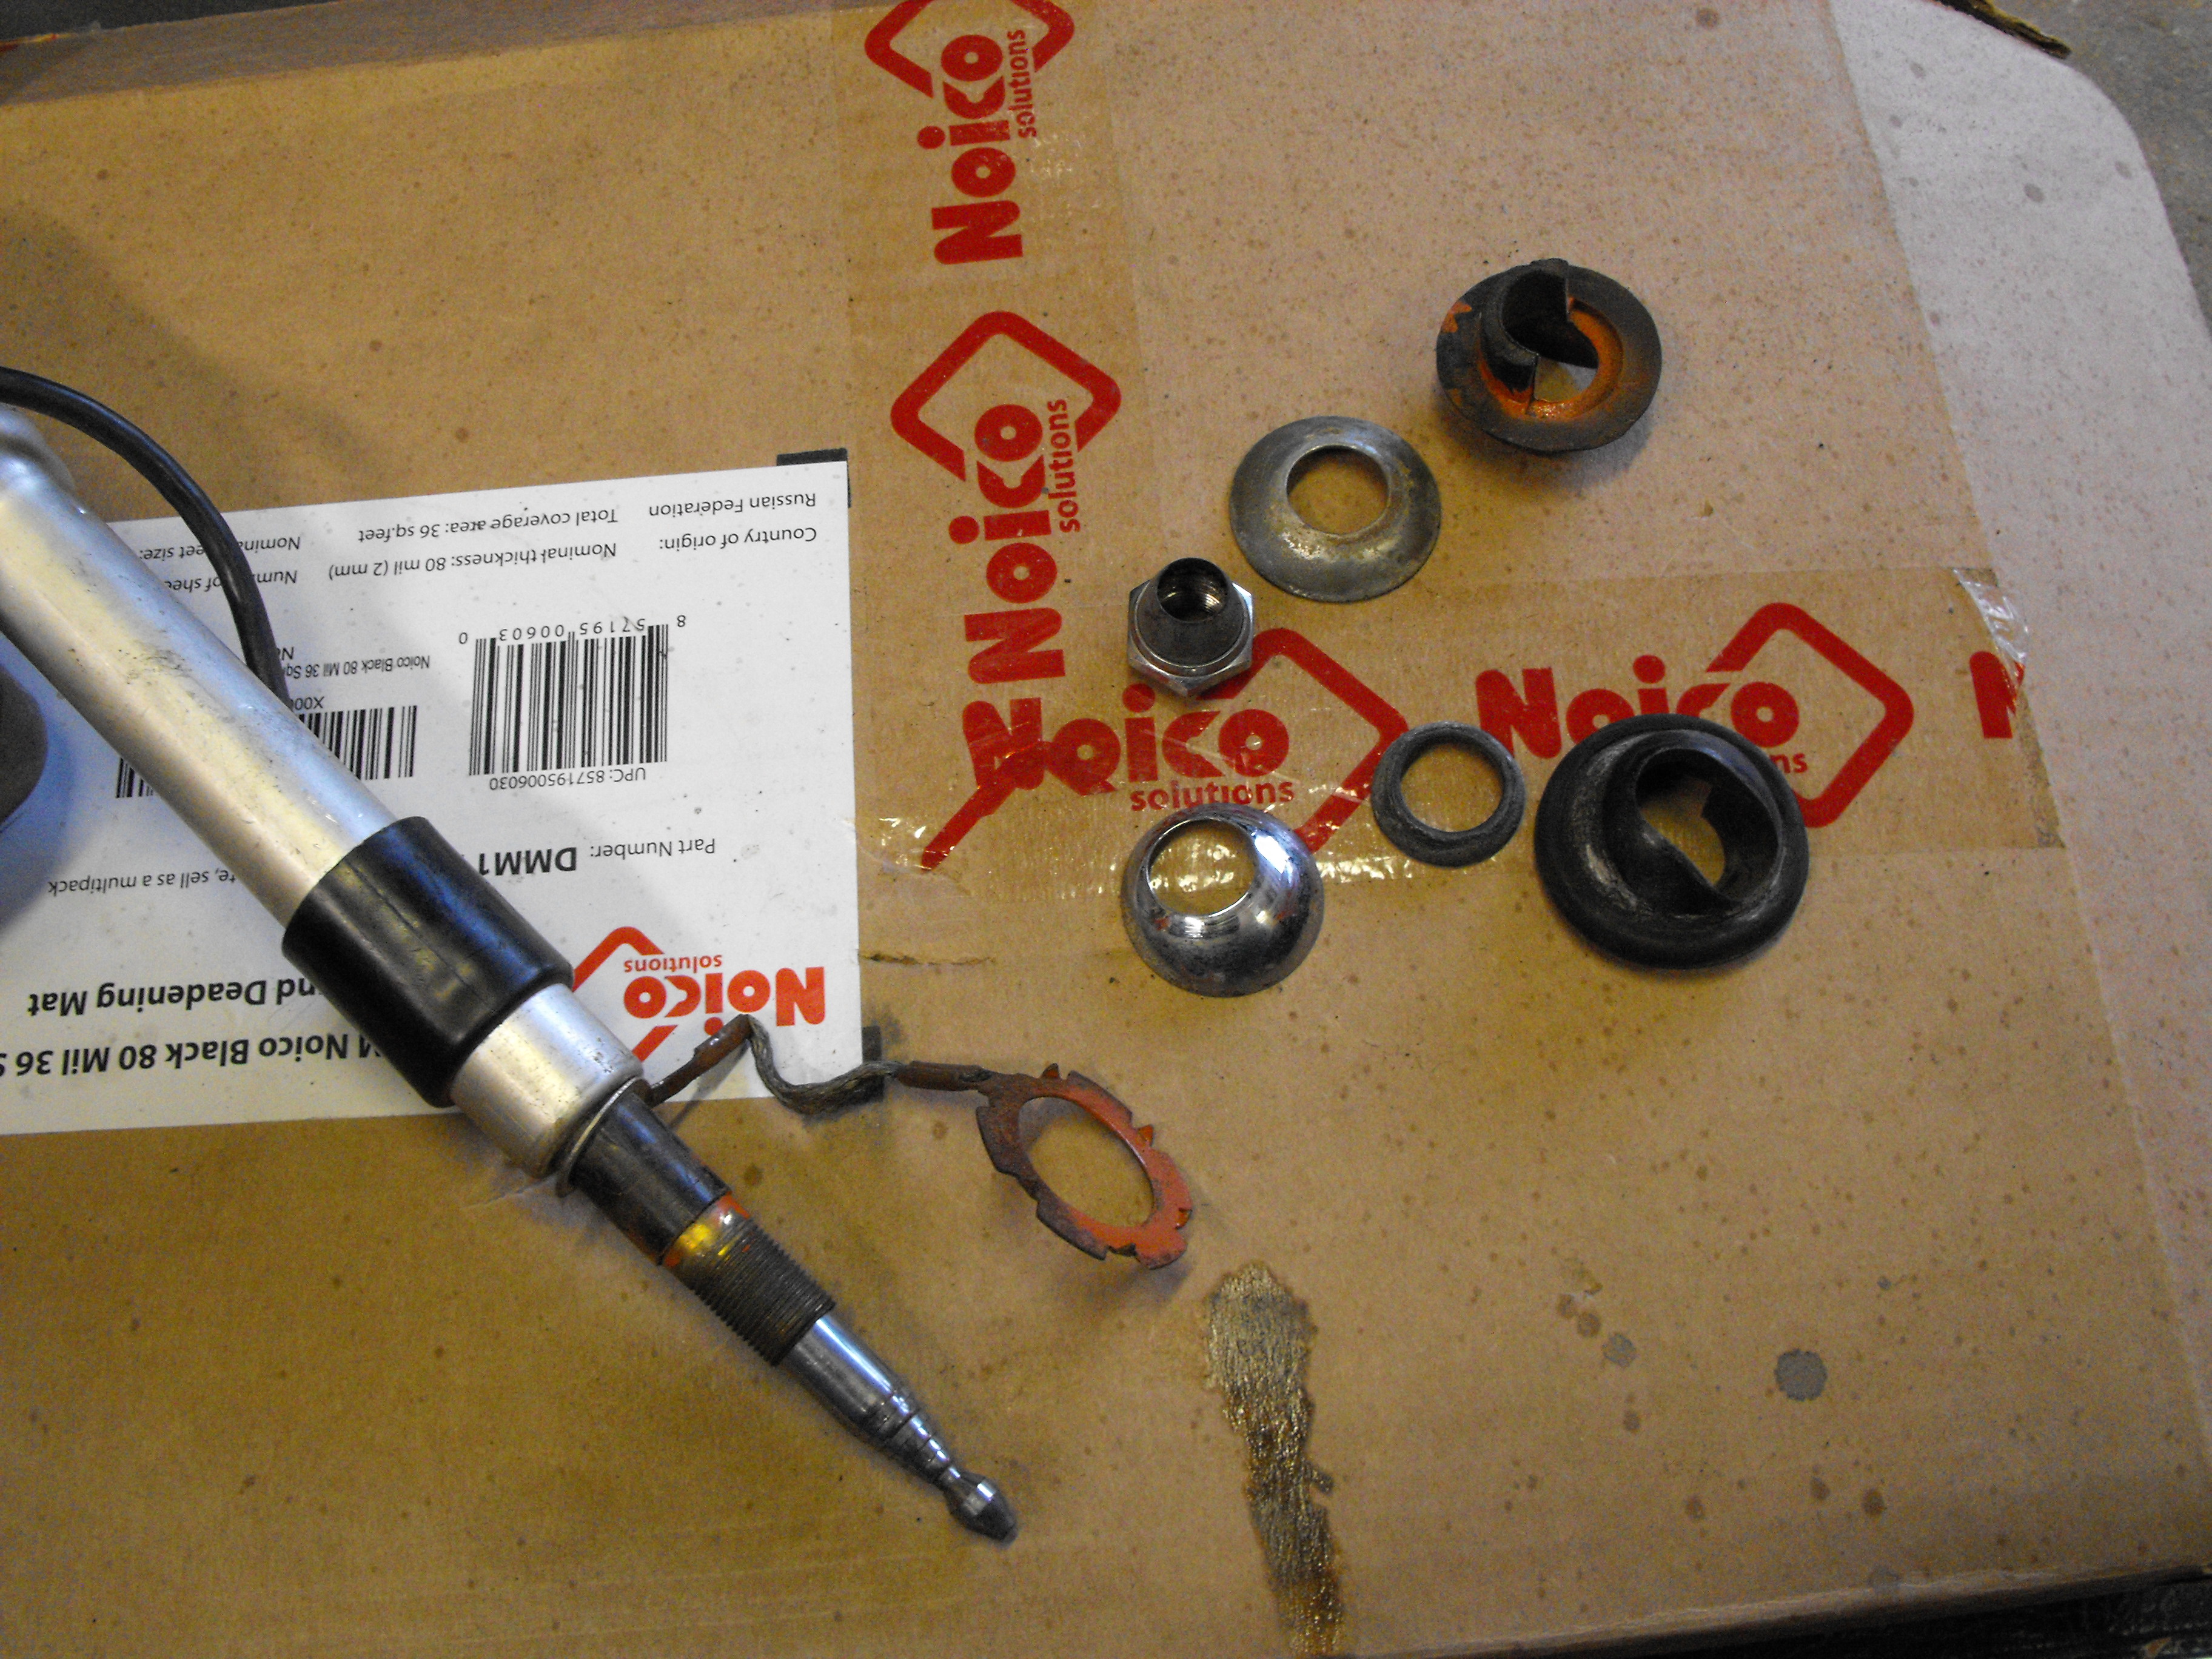
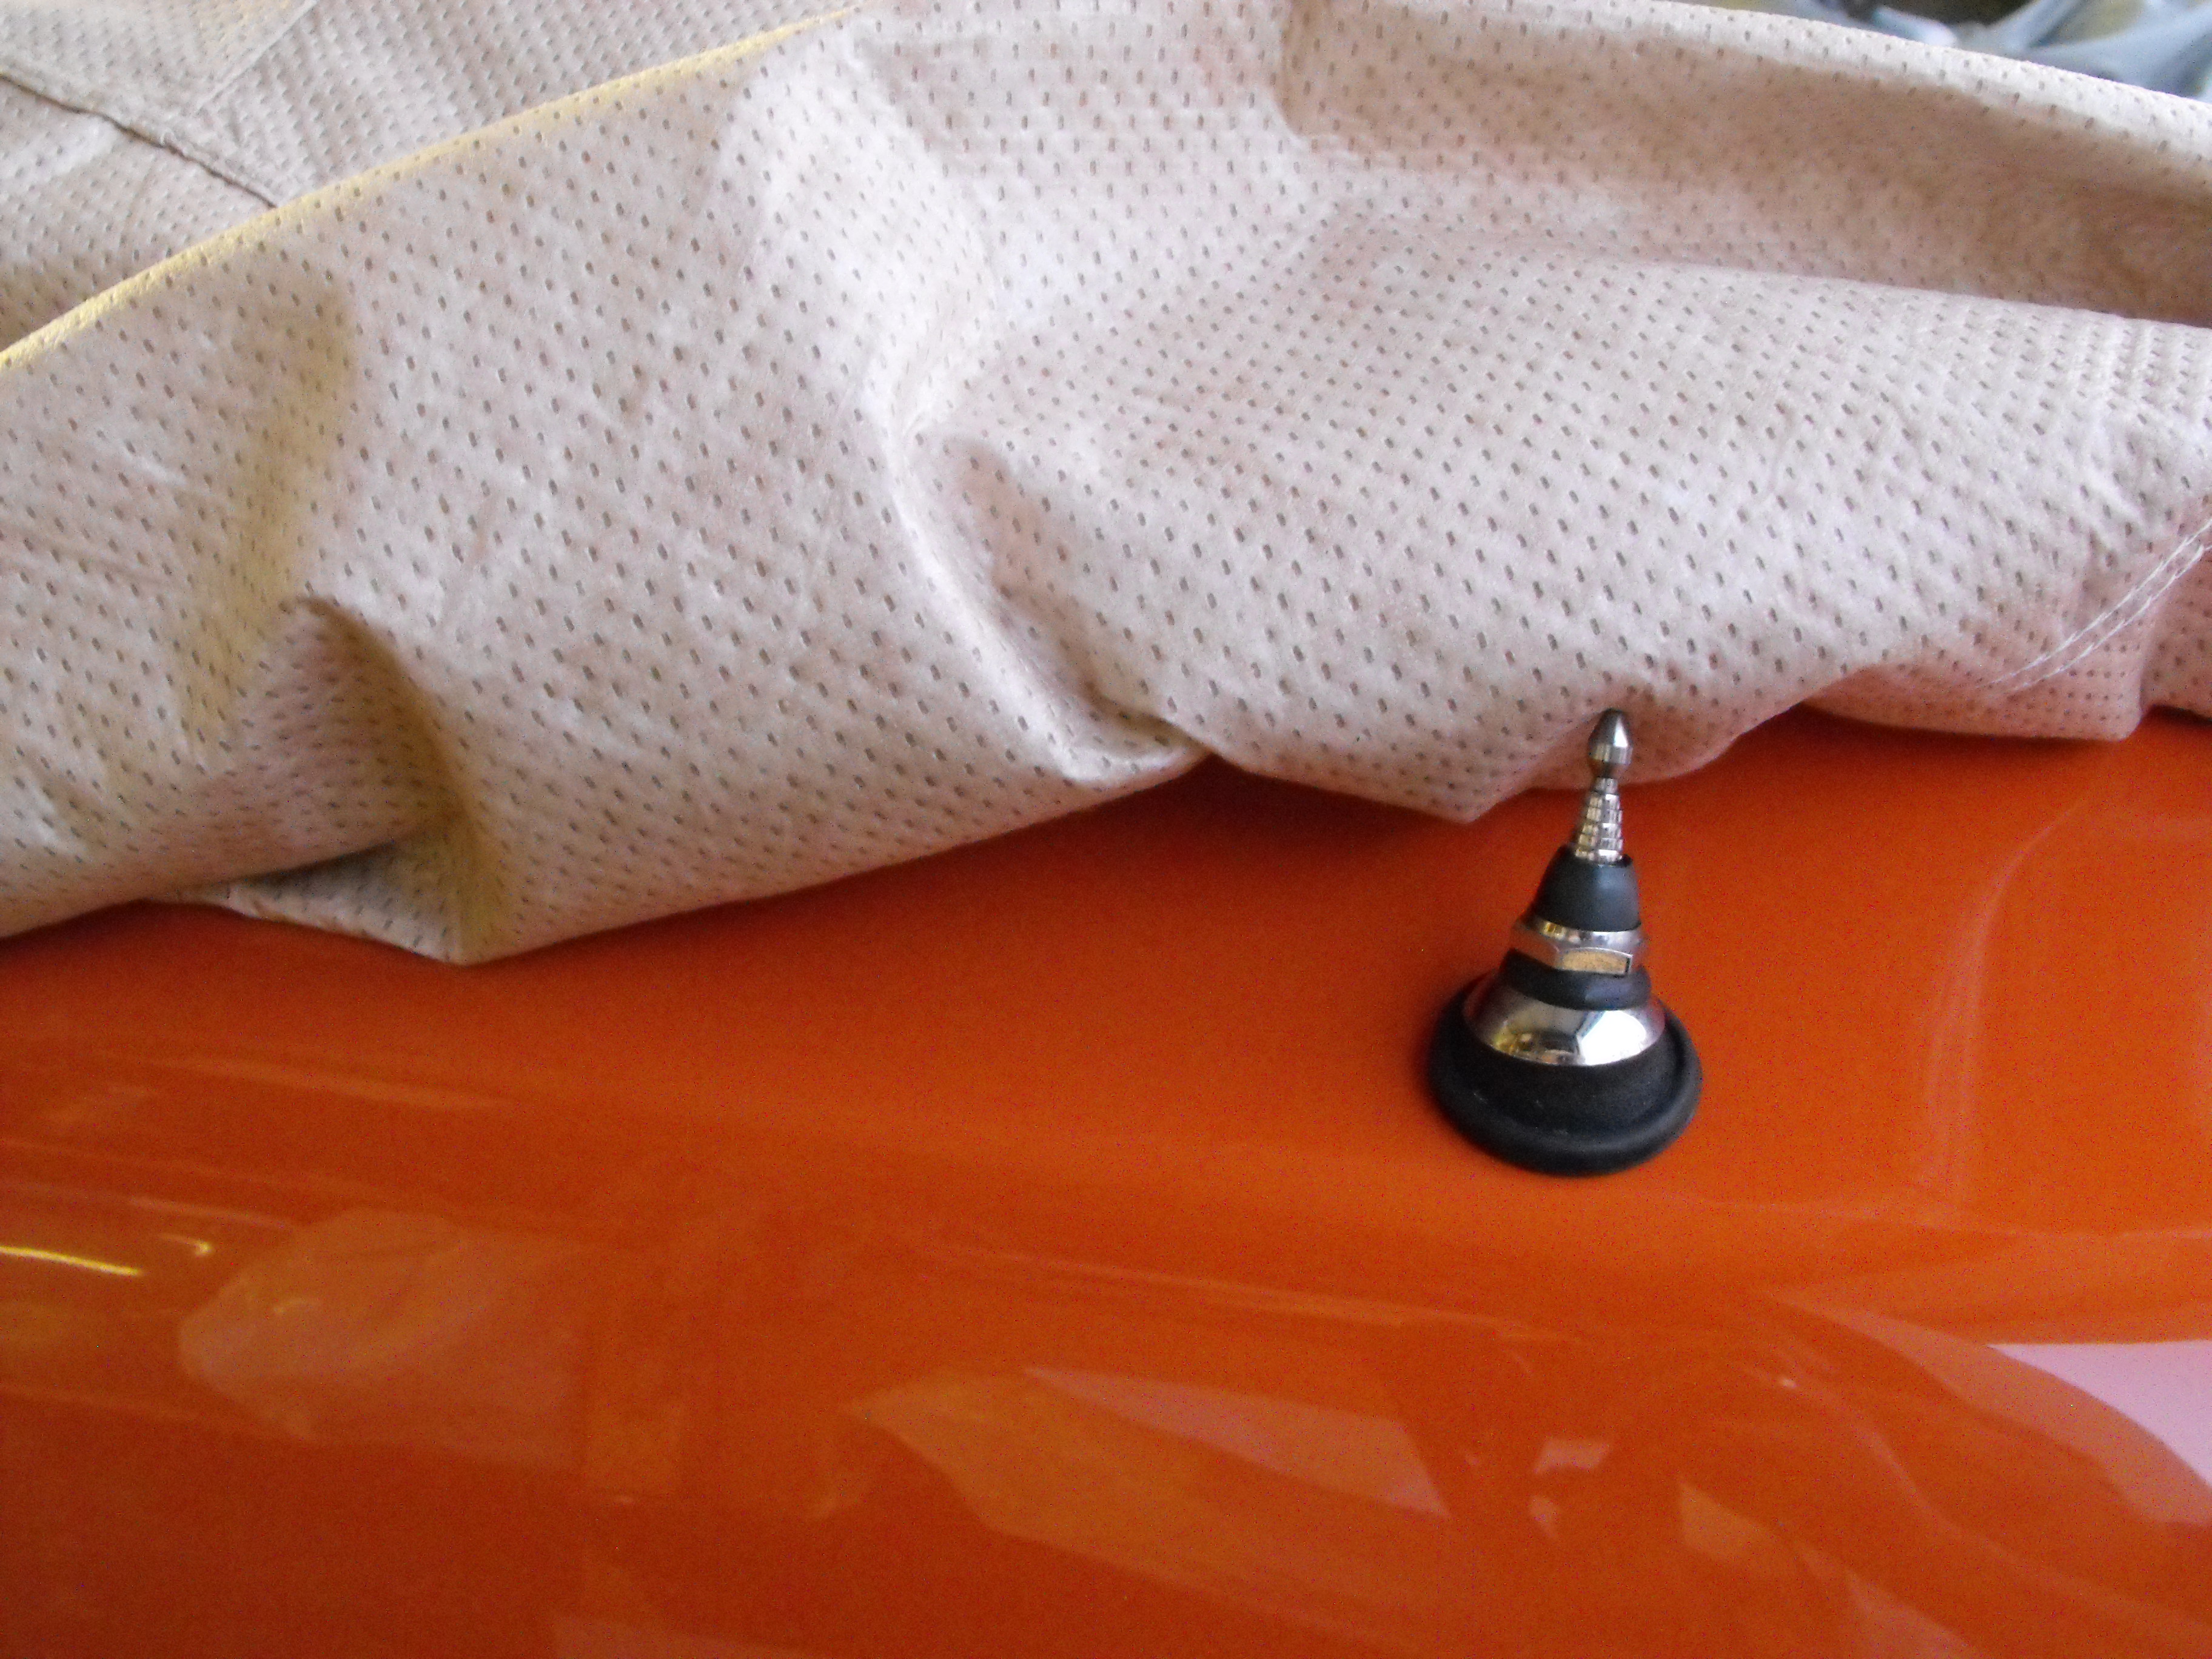
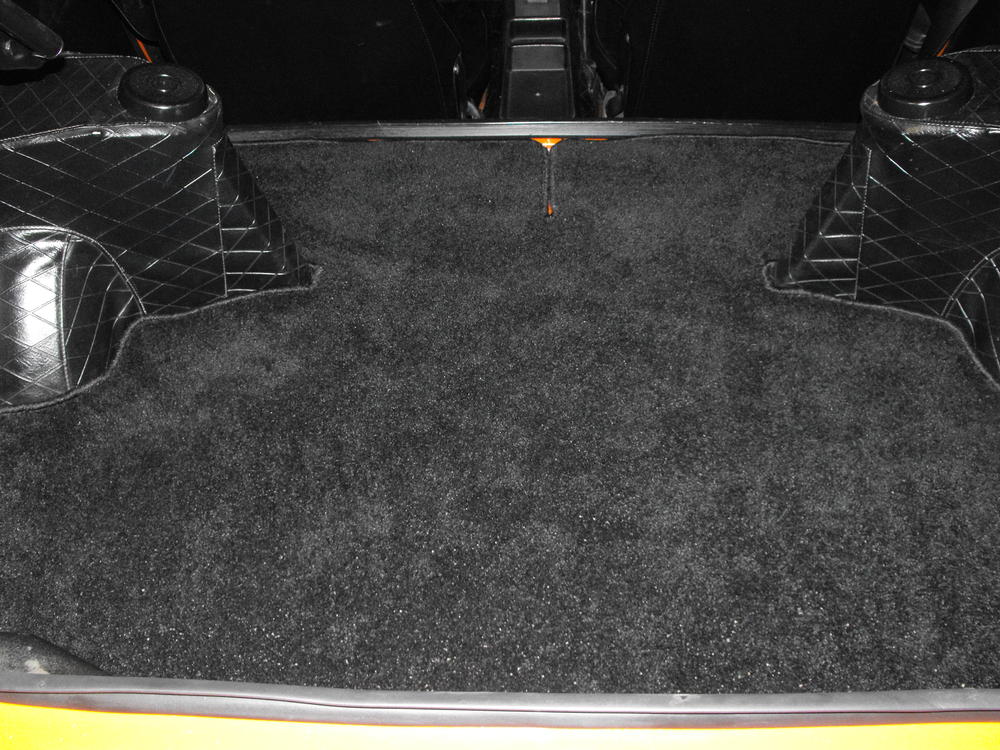
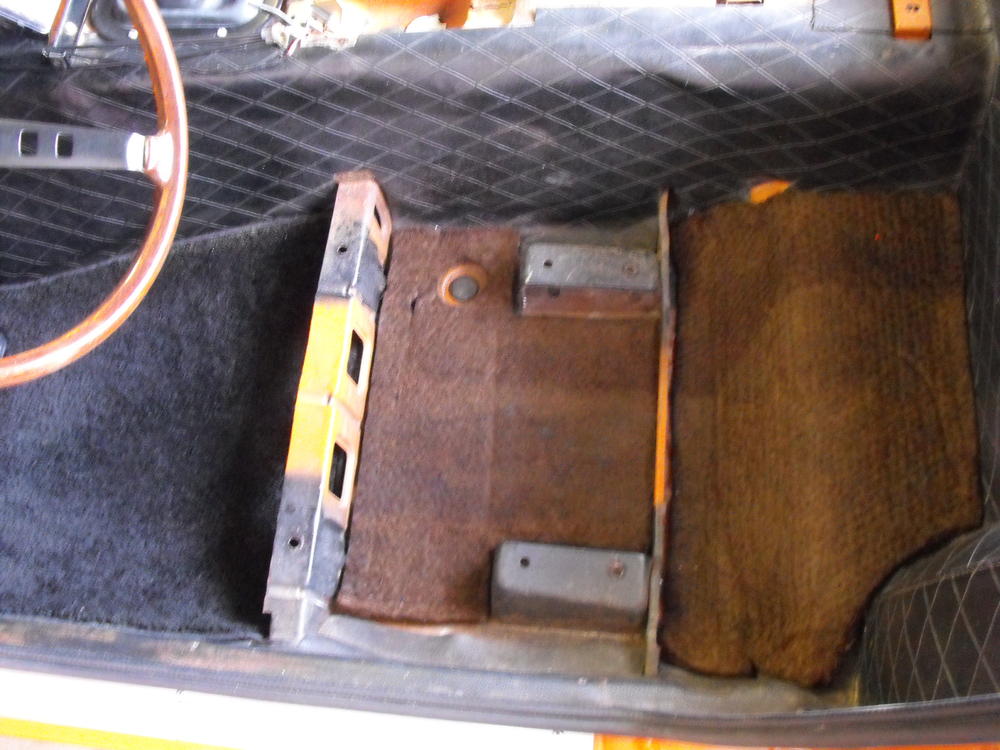
I added some more soundproofing to the floor pan. Looks a bit nicer this way. Still need to clean off some of the overspray on the vinyl on the right. I cleaned up the antenna. The antenna would not work when I hooked it up to my 12V power supply. I took it apart and cleaned up the motor area that contacts the brushes. Also opened up the cable area and cleaned that up. Quite a bit of rust in there. I used electrical spray cleaner to clean the motor and cable area. I also applied a bit of lube to the cable before closing things back up. Then ran it up and down a couple times to spread the lube. Antenna operates nicely now . I cleaned up the old parts a bit but they are pretty oxidized. I need to go through my stash and see it I have some nicer parts, so just put the antenna in loosely for now.